Hi, all! I hope you’re all enjoying our warmer weather and that you’re getting outside in the sunshine! For my vegetable gardeners who will soon be wondering how to use your surplus of zucchini, I have a recipe for you. I’m sure you’ve tried multiple zucchini bread/cake/loaf recipes with varying degrees of enjoyment, but this recipe is the actually best zucchini bread recipe. Ever. Another perk? You don’t have to drain and squeeze the zucchini like in other recipes! Seriously, you should try this recipe. You’ll never make a different one again!
Ingredients:
3 large eggs
3/4 cup granulated sugar
3/4 cup brown sugar
1 cup canola or vegetable oil
1 tsp vanilla extract
3 cups whole wheat flour
2 tsp ground cinnamon
1 tsp baking powder
1 tsp baking soda
1 tsp salt
3 cups shredded zucchini (~2 zucchini)
1/2 cup almond meal
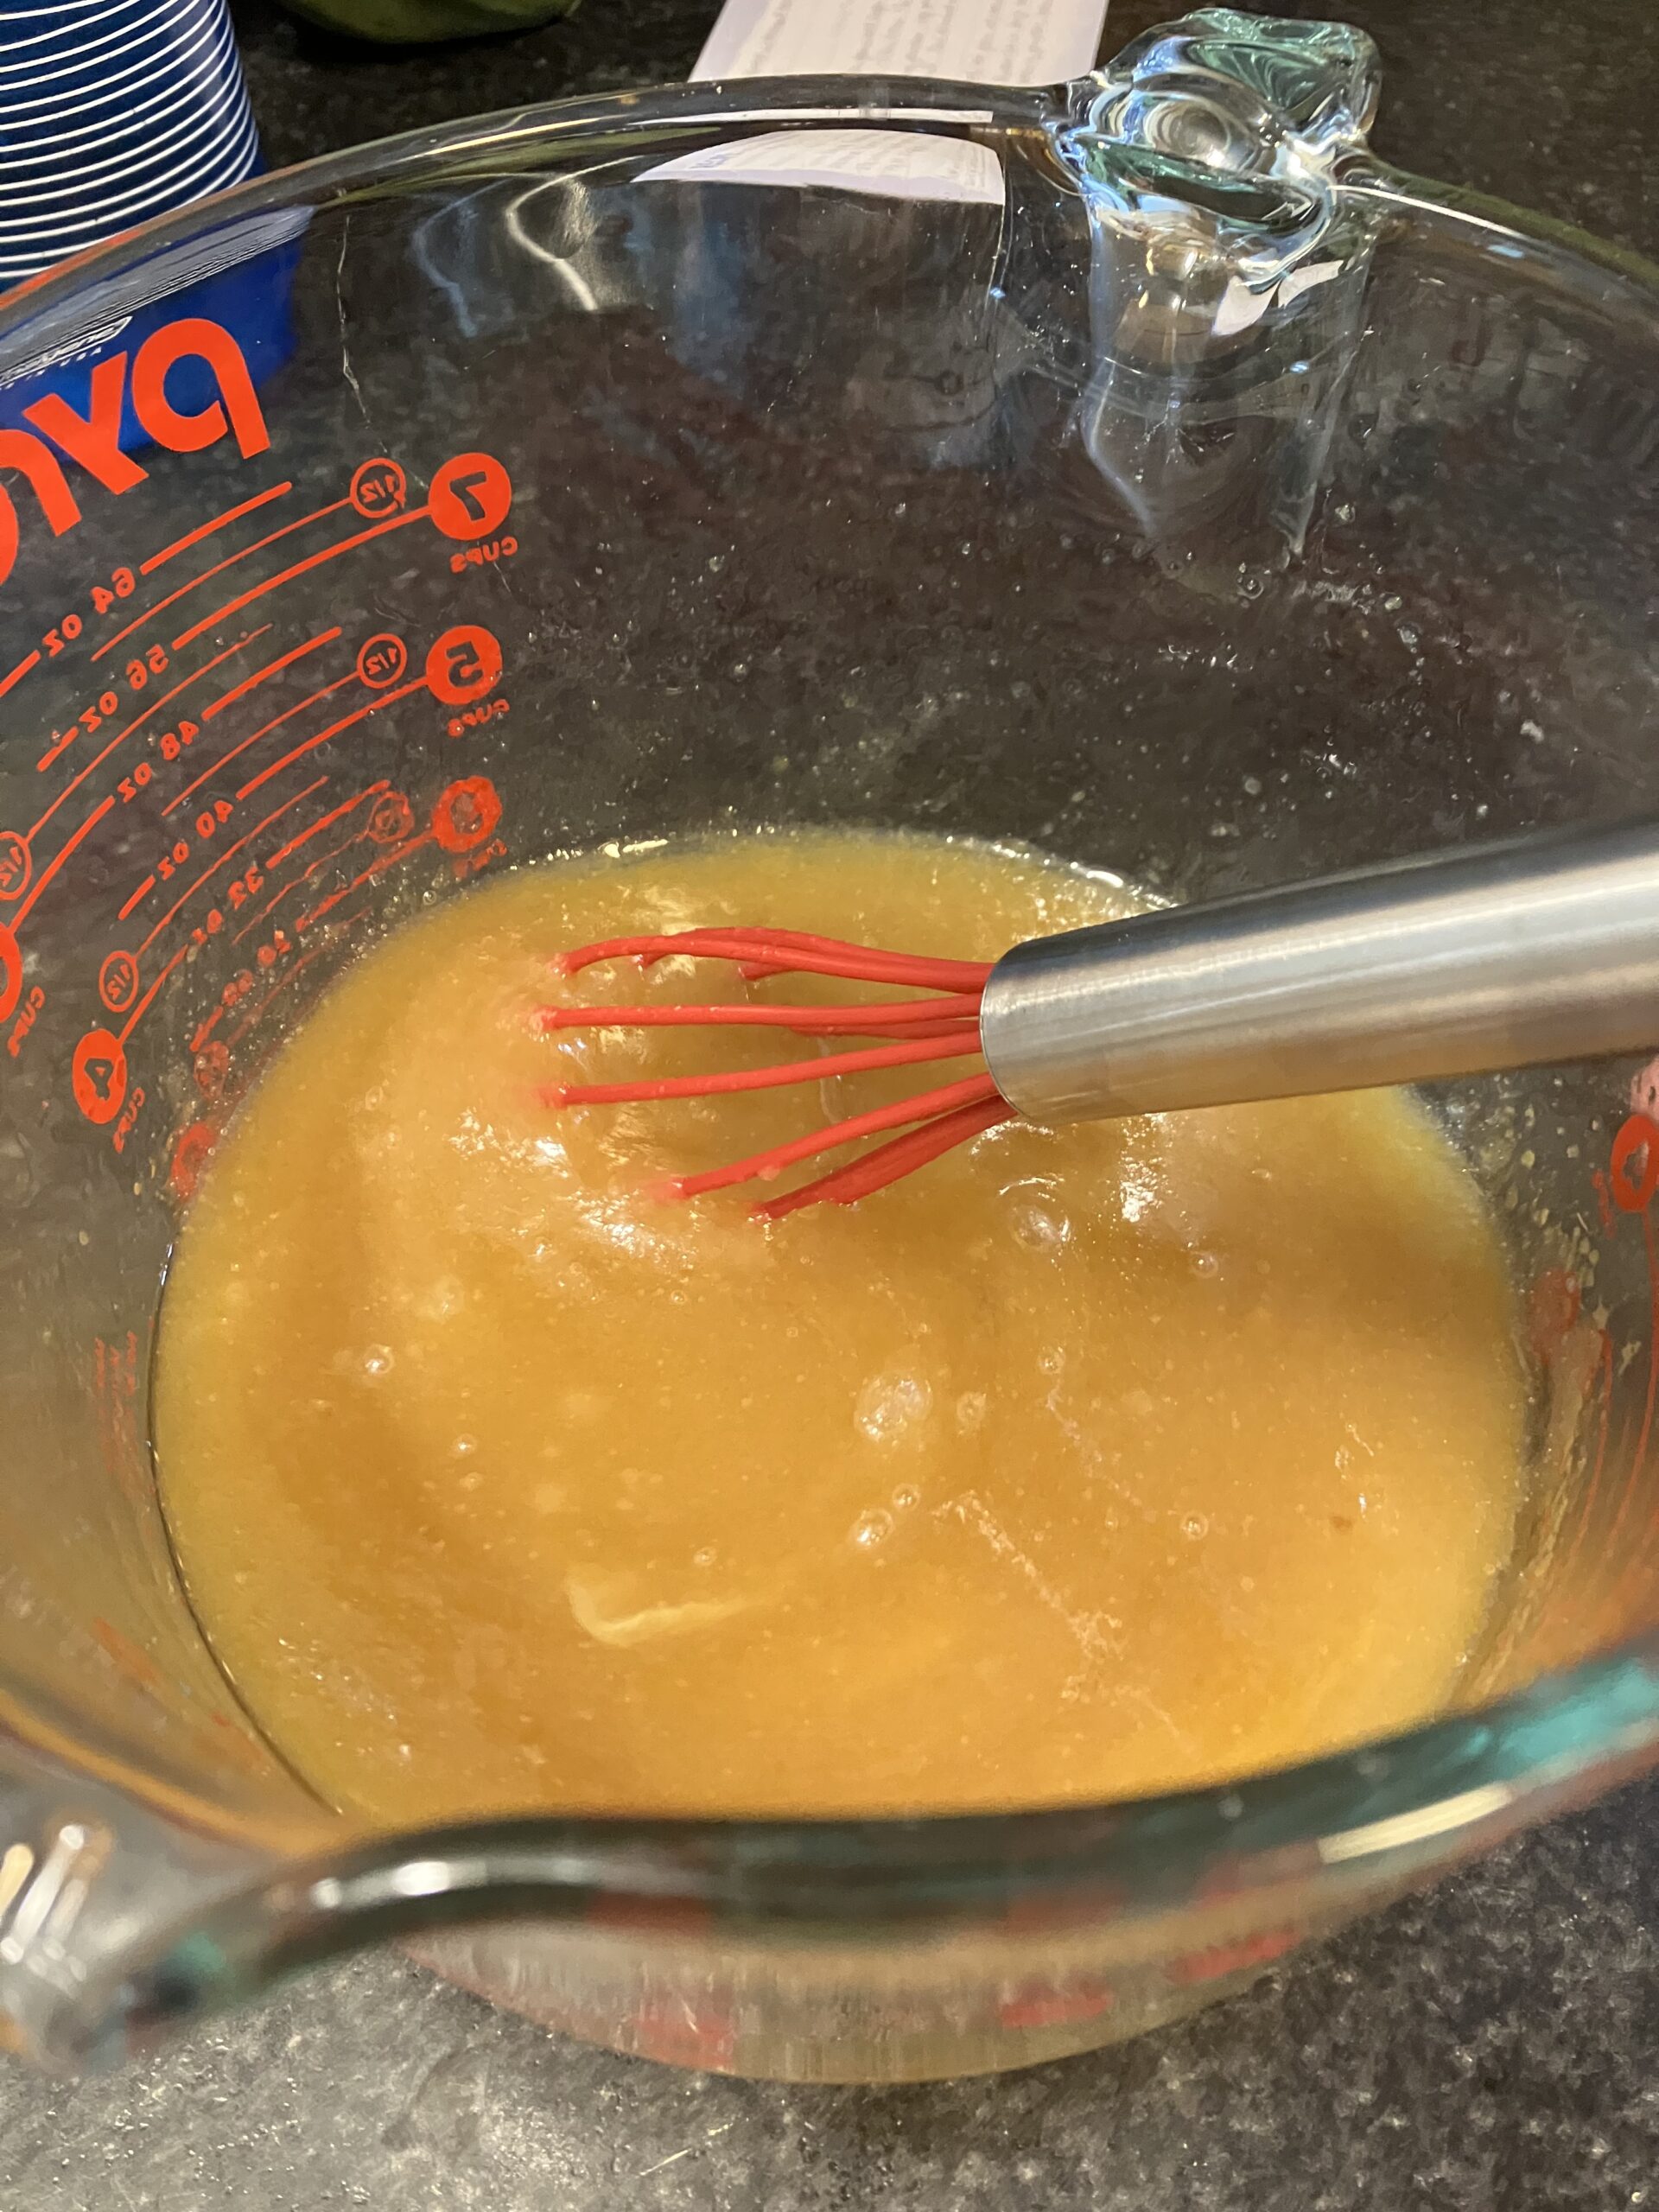
Preheat the oven to 350 degrees and grease two 9×5″ loaf pans with baking spray. Then, whisk the eggs, sugars, oil, and vanilla in a large bowl.
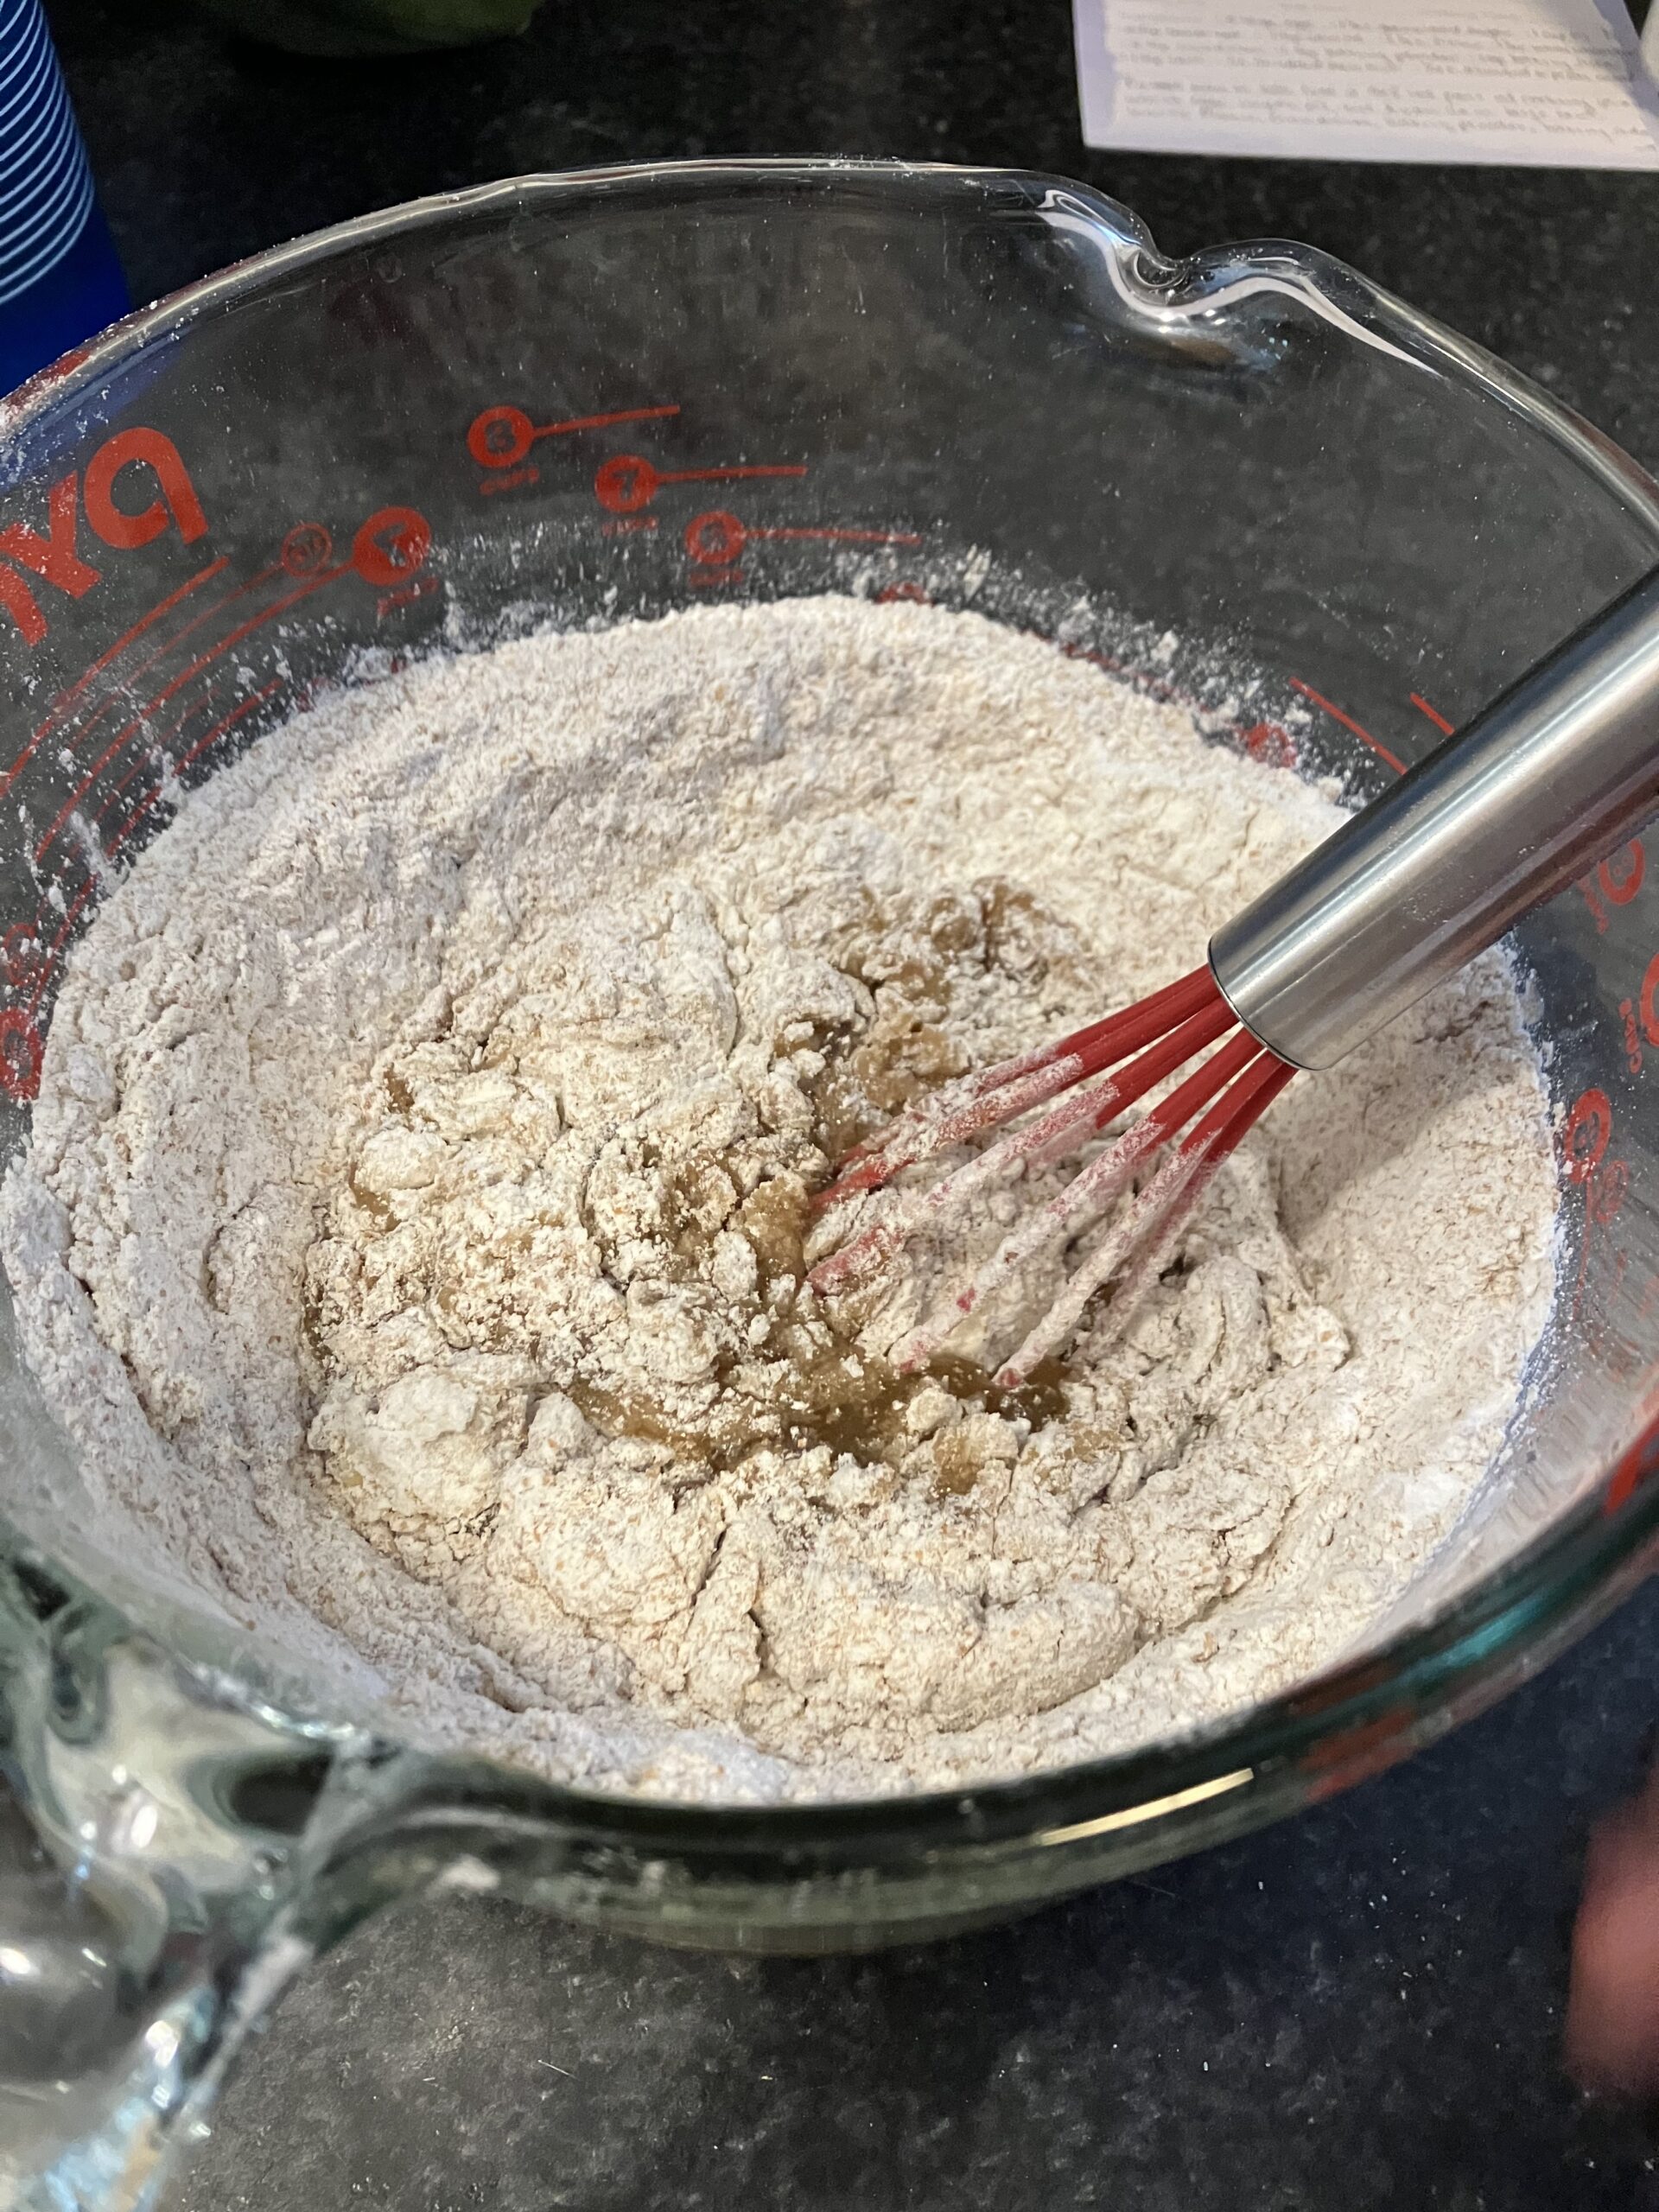
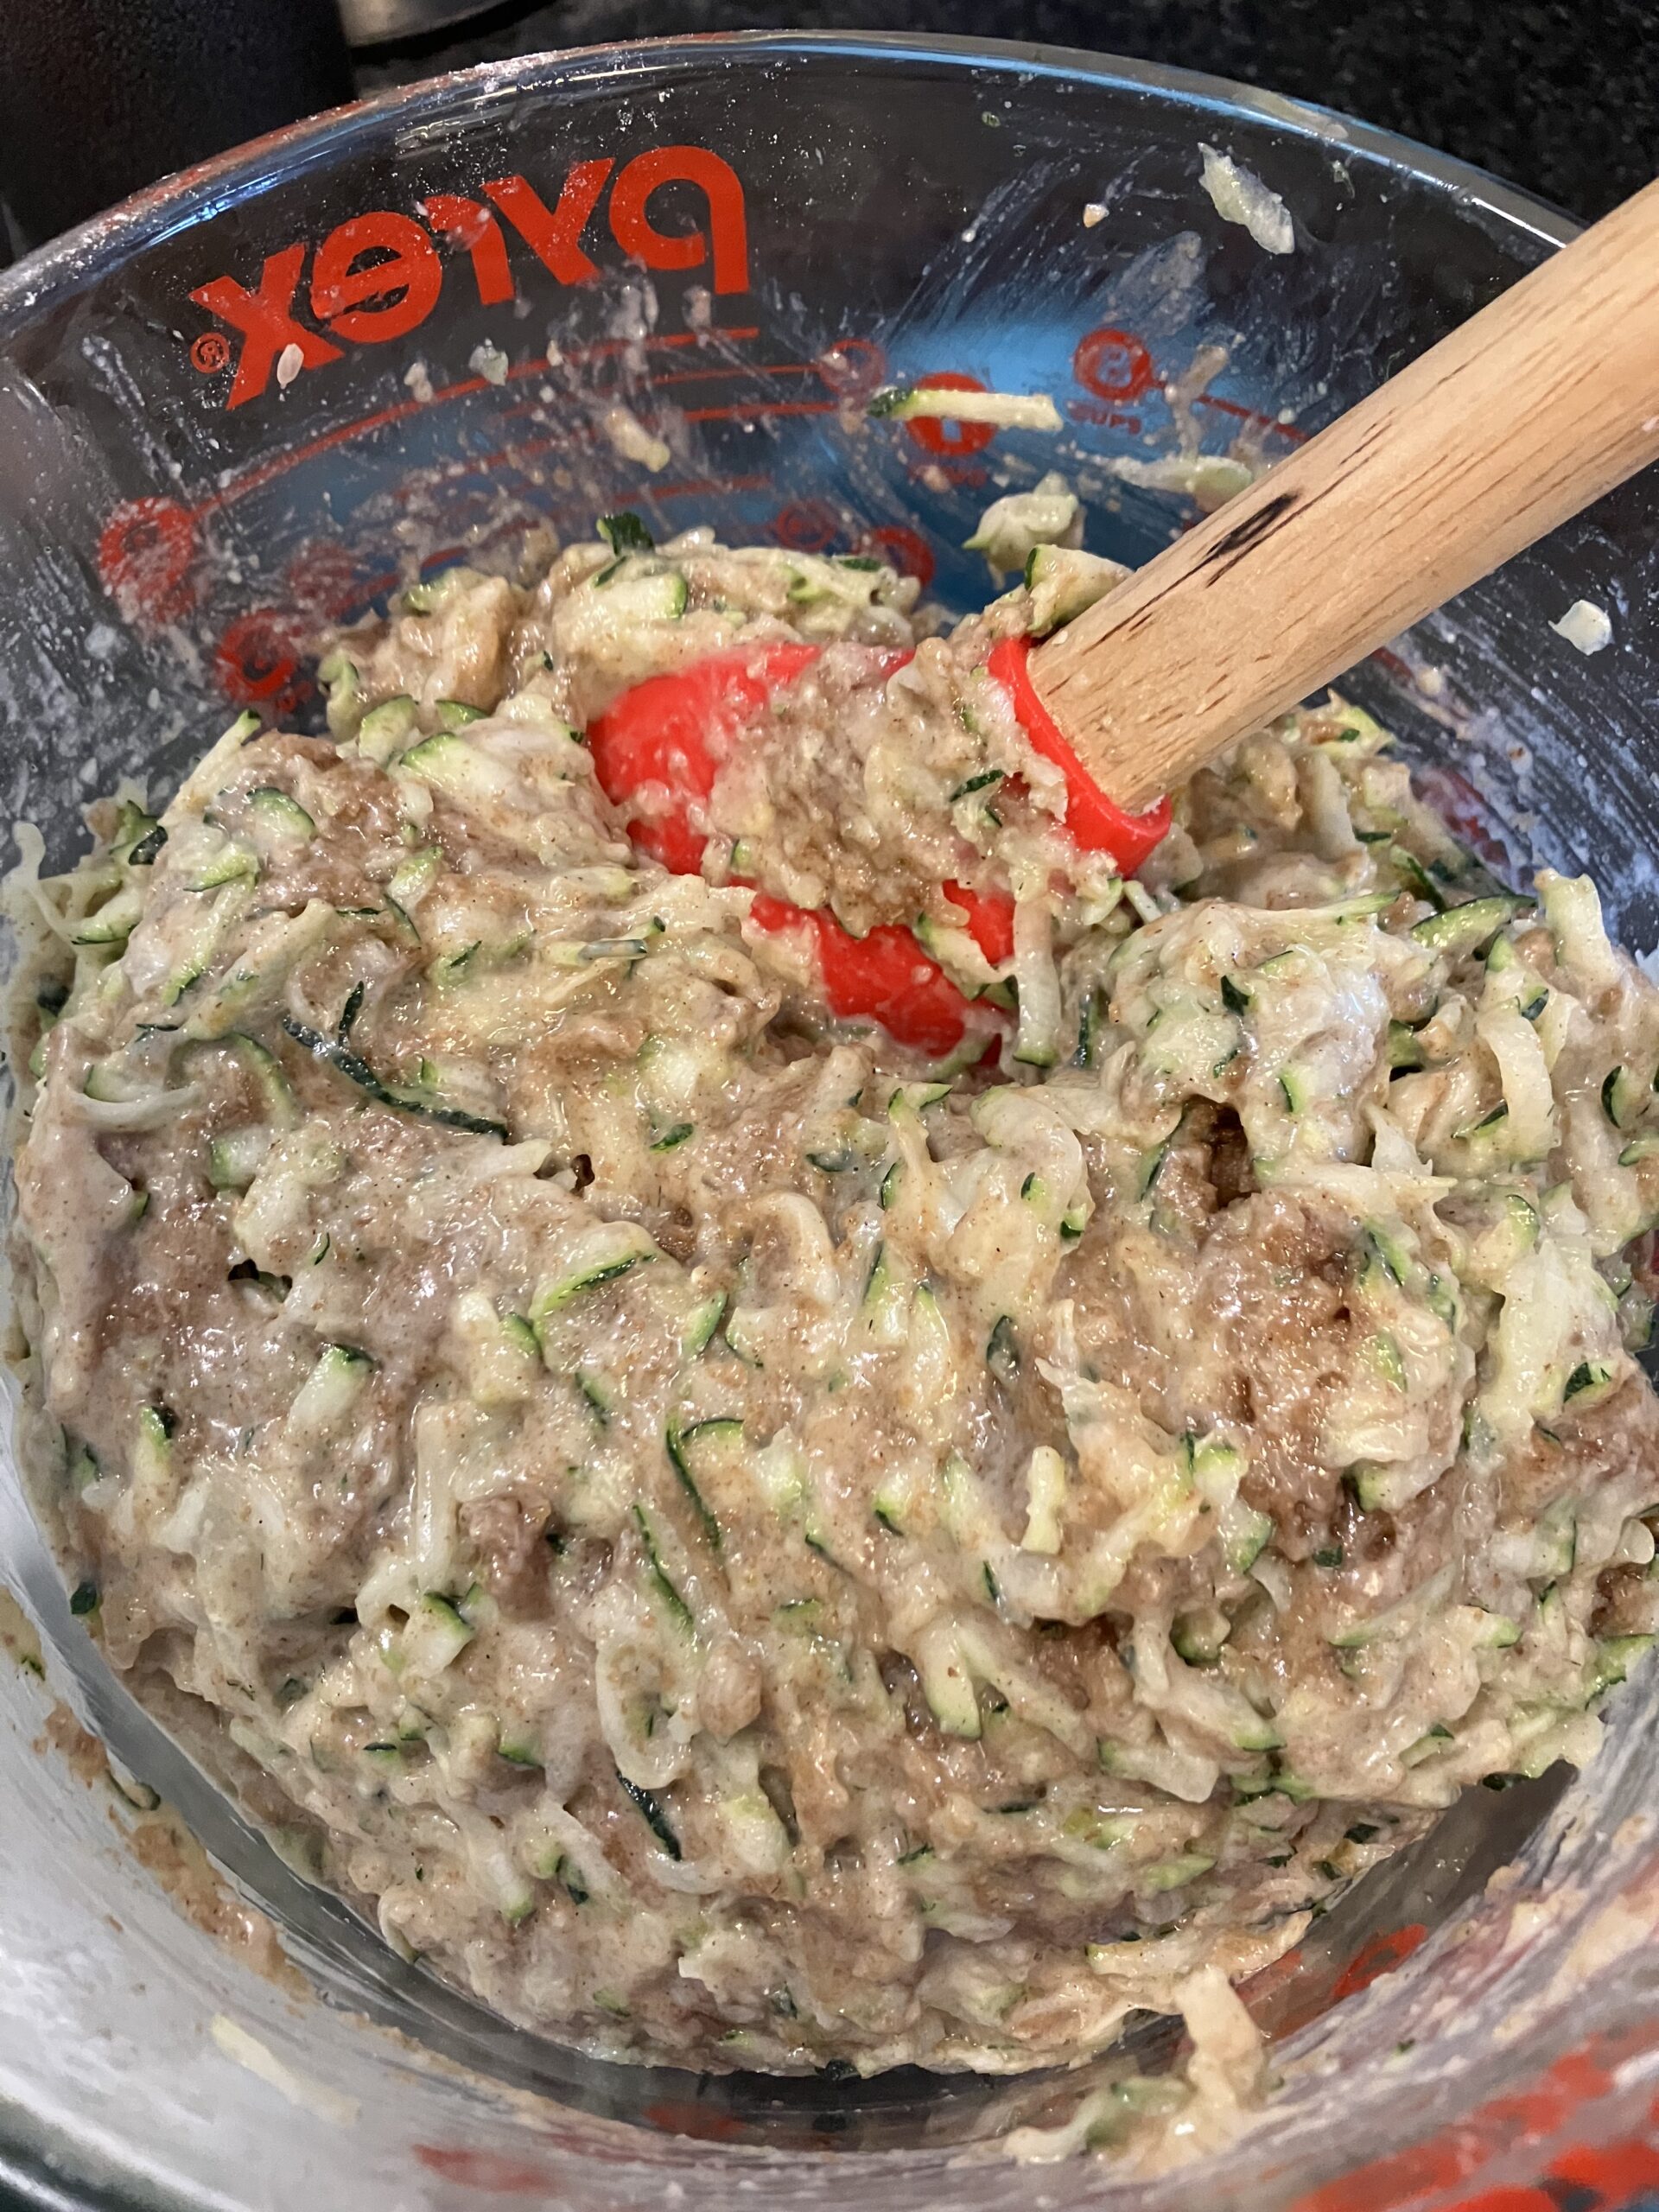
Combine the flour, cinnamon, baking powder, baking soda, and salt and mix into the wet ingredients.
Fold in the zucchini and the almond meal.
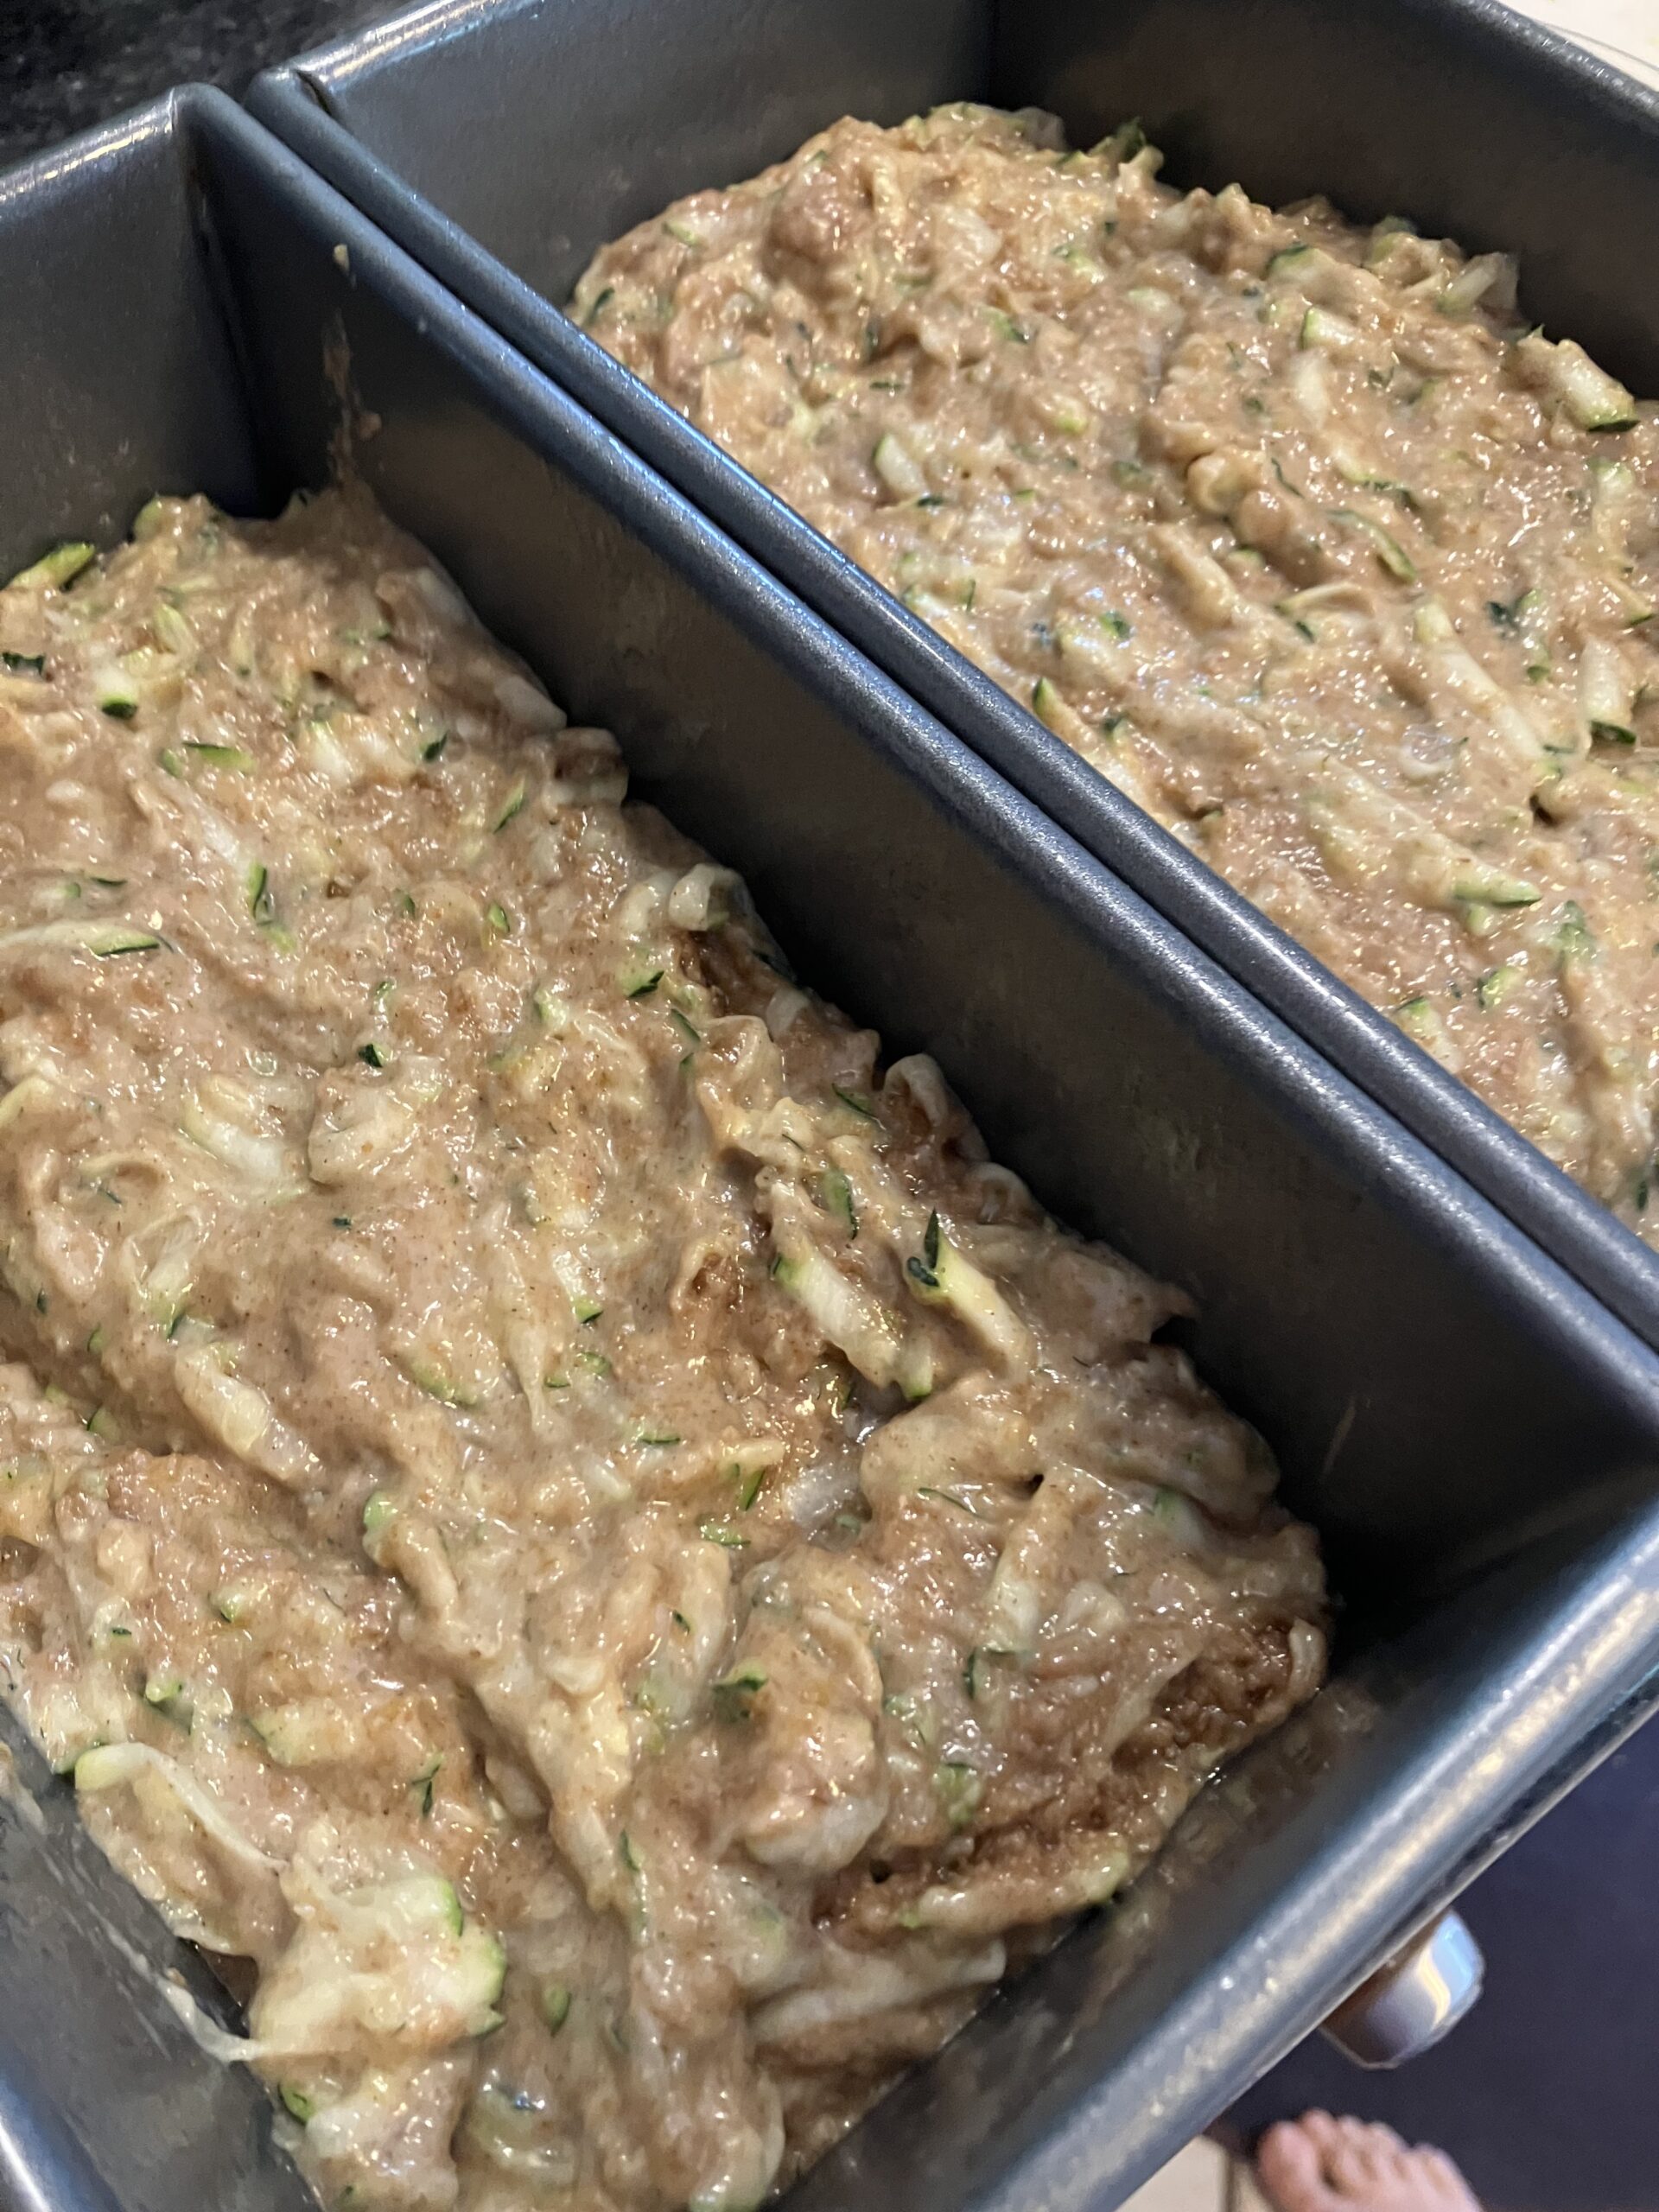
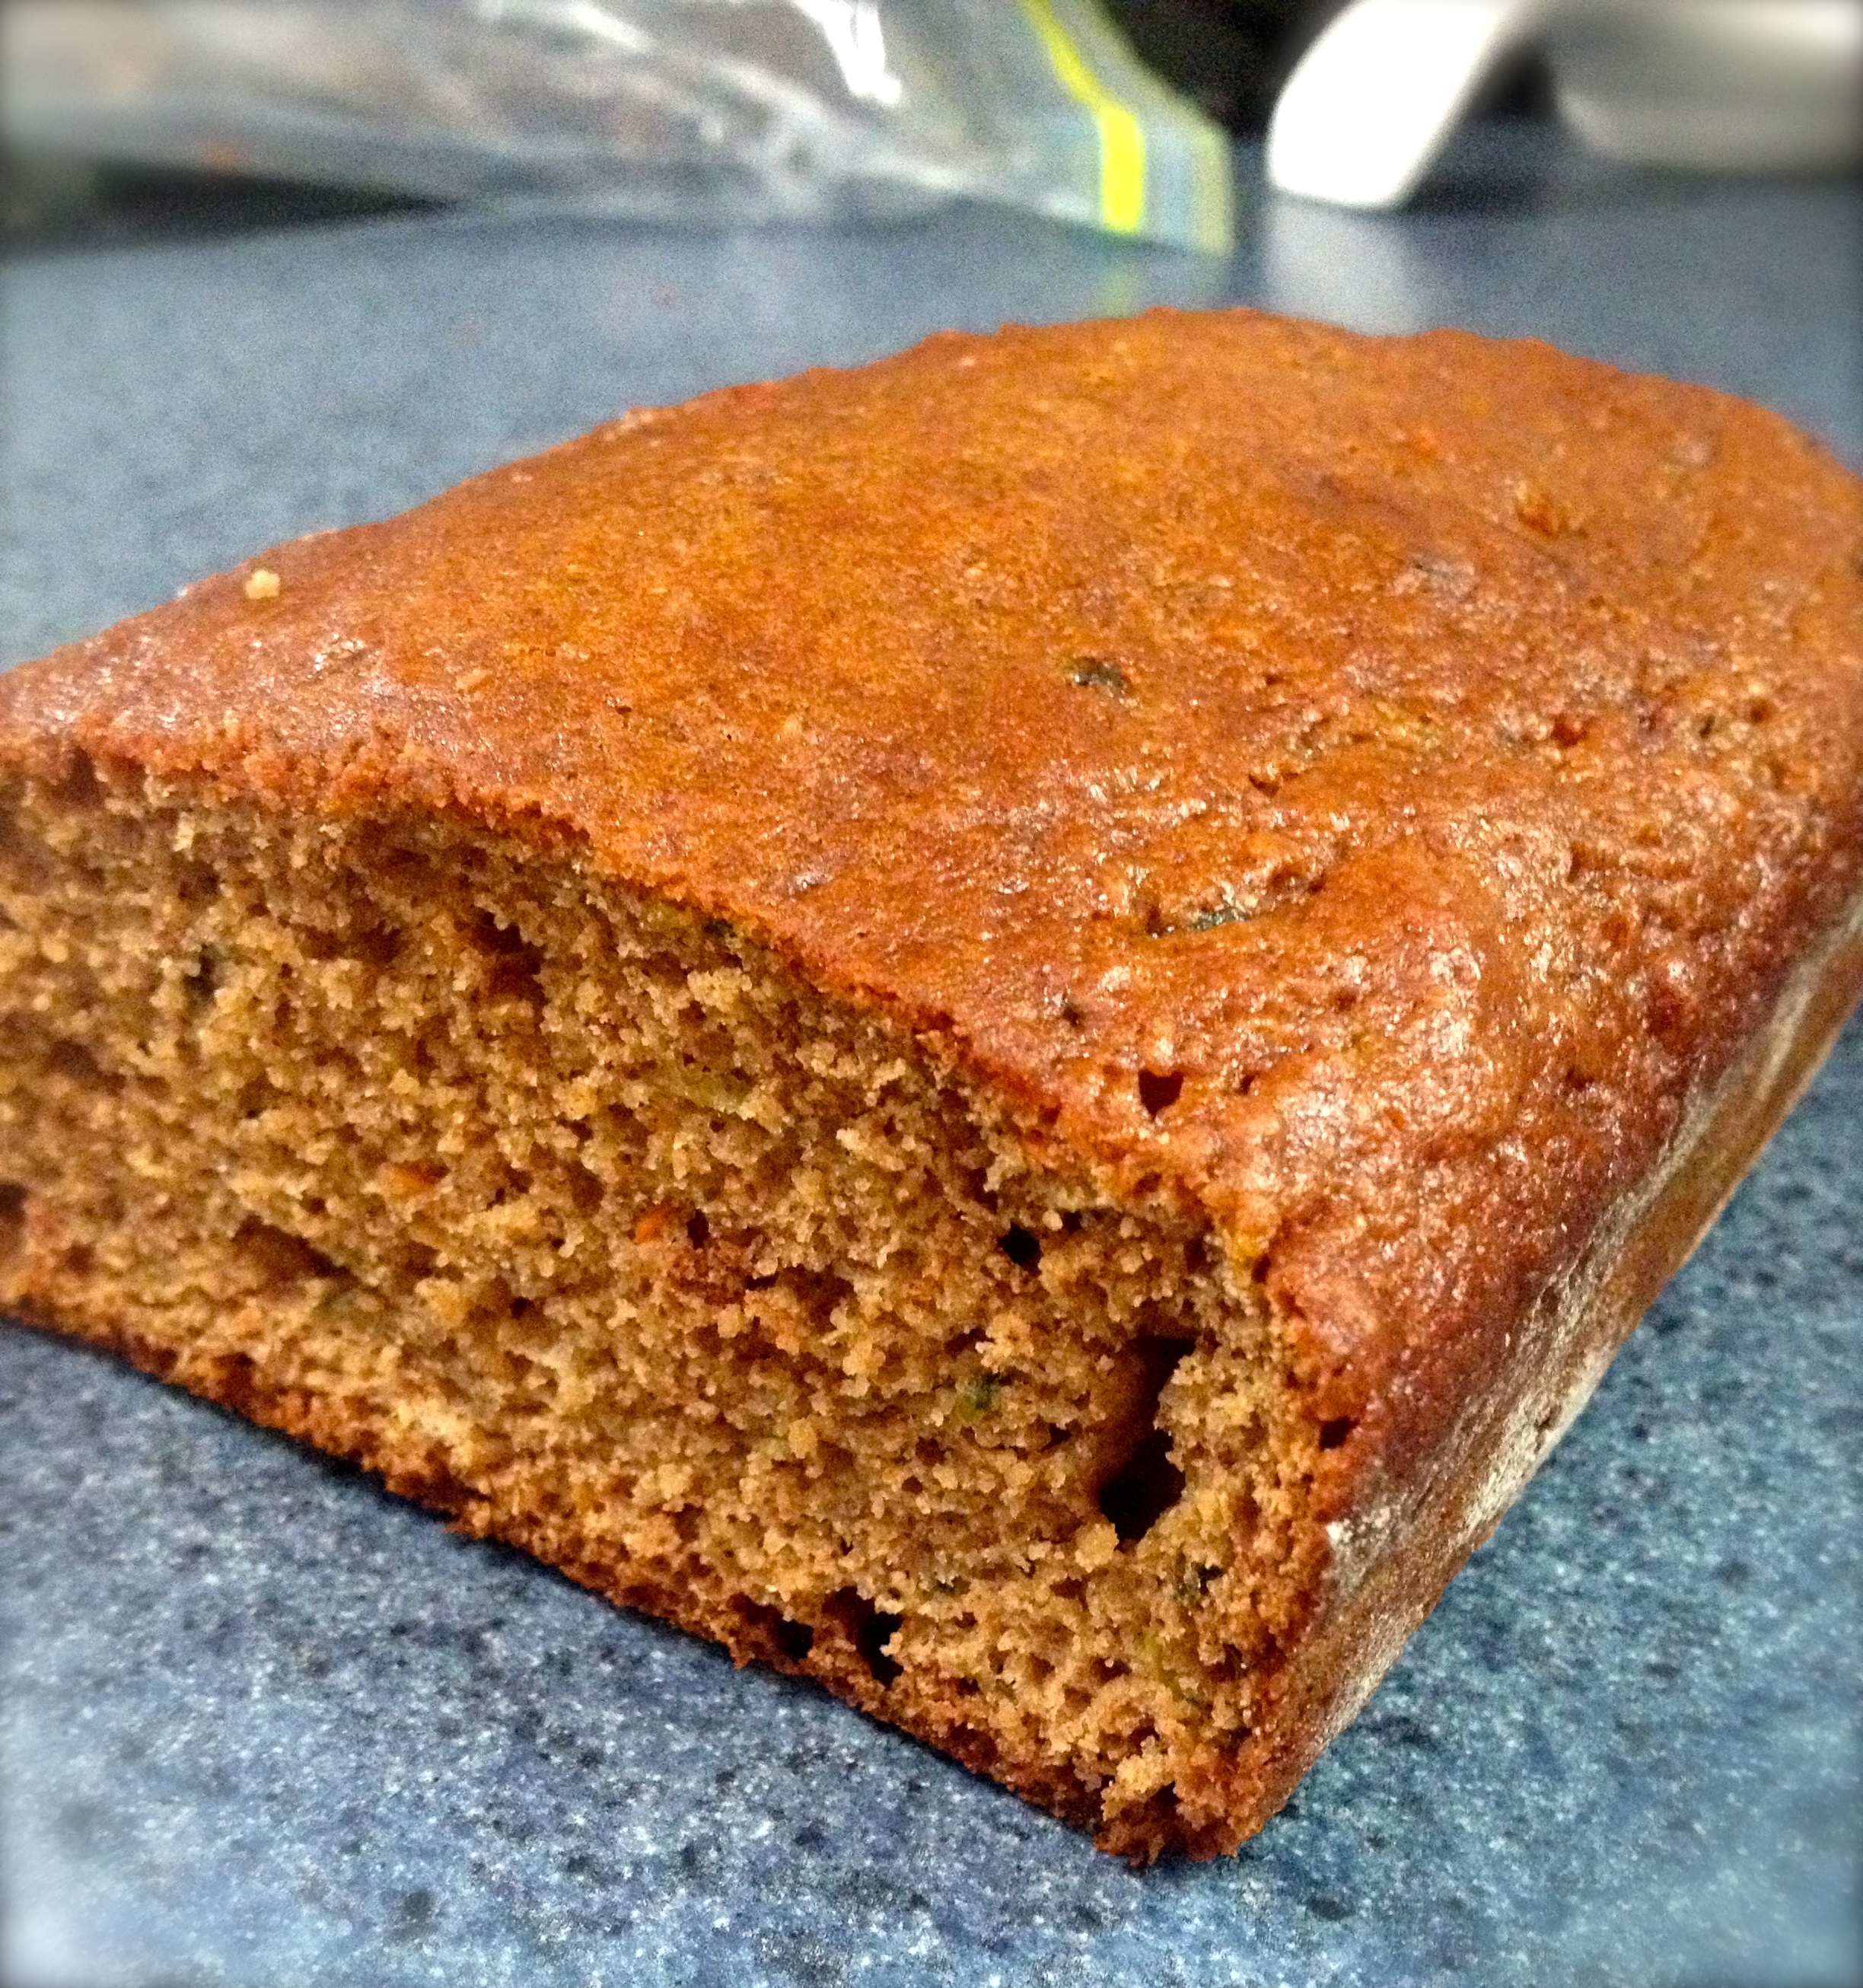
Divide the mixture evenly between the two prepared loaf pans and bake for 1 hour or until a toothpick inserted in the middle comes out clean. Let the loaves cool in their pans for about 10 minutes, and then remove to a cooling rack to finish cooling.
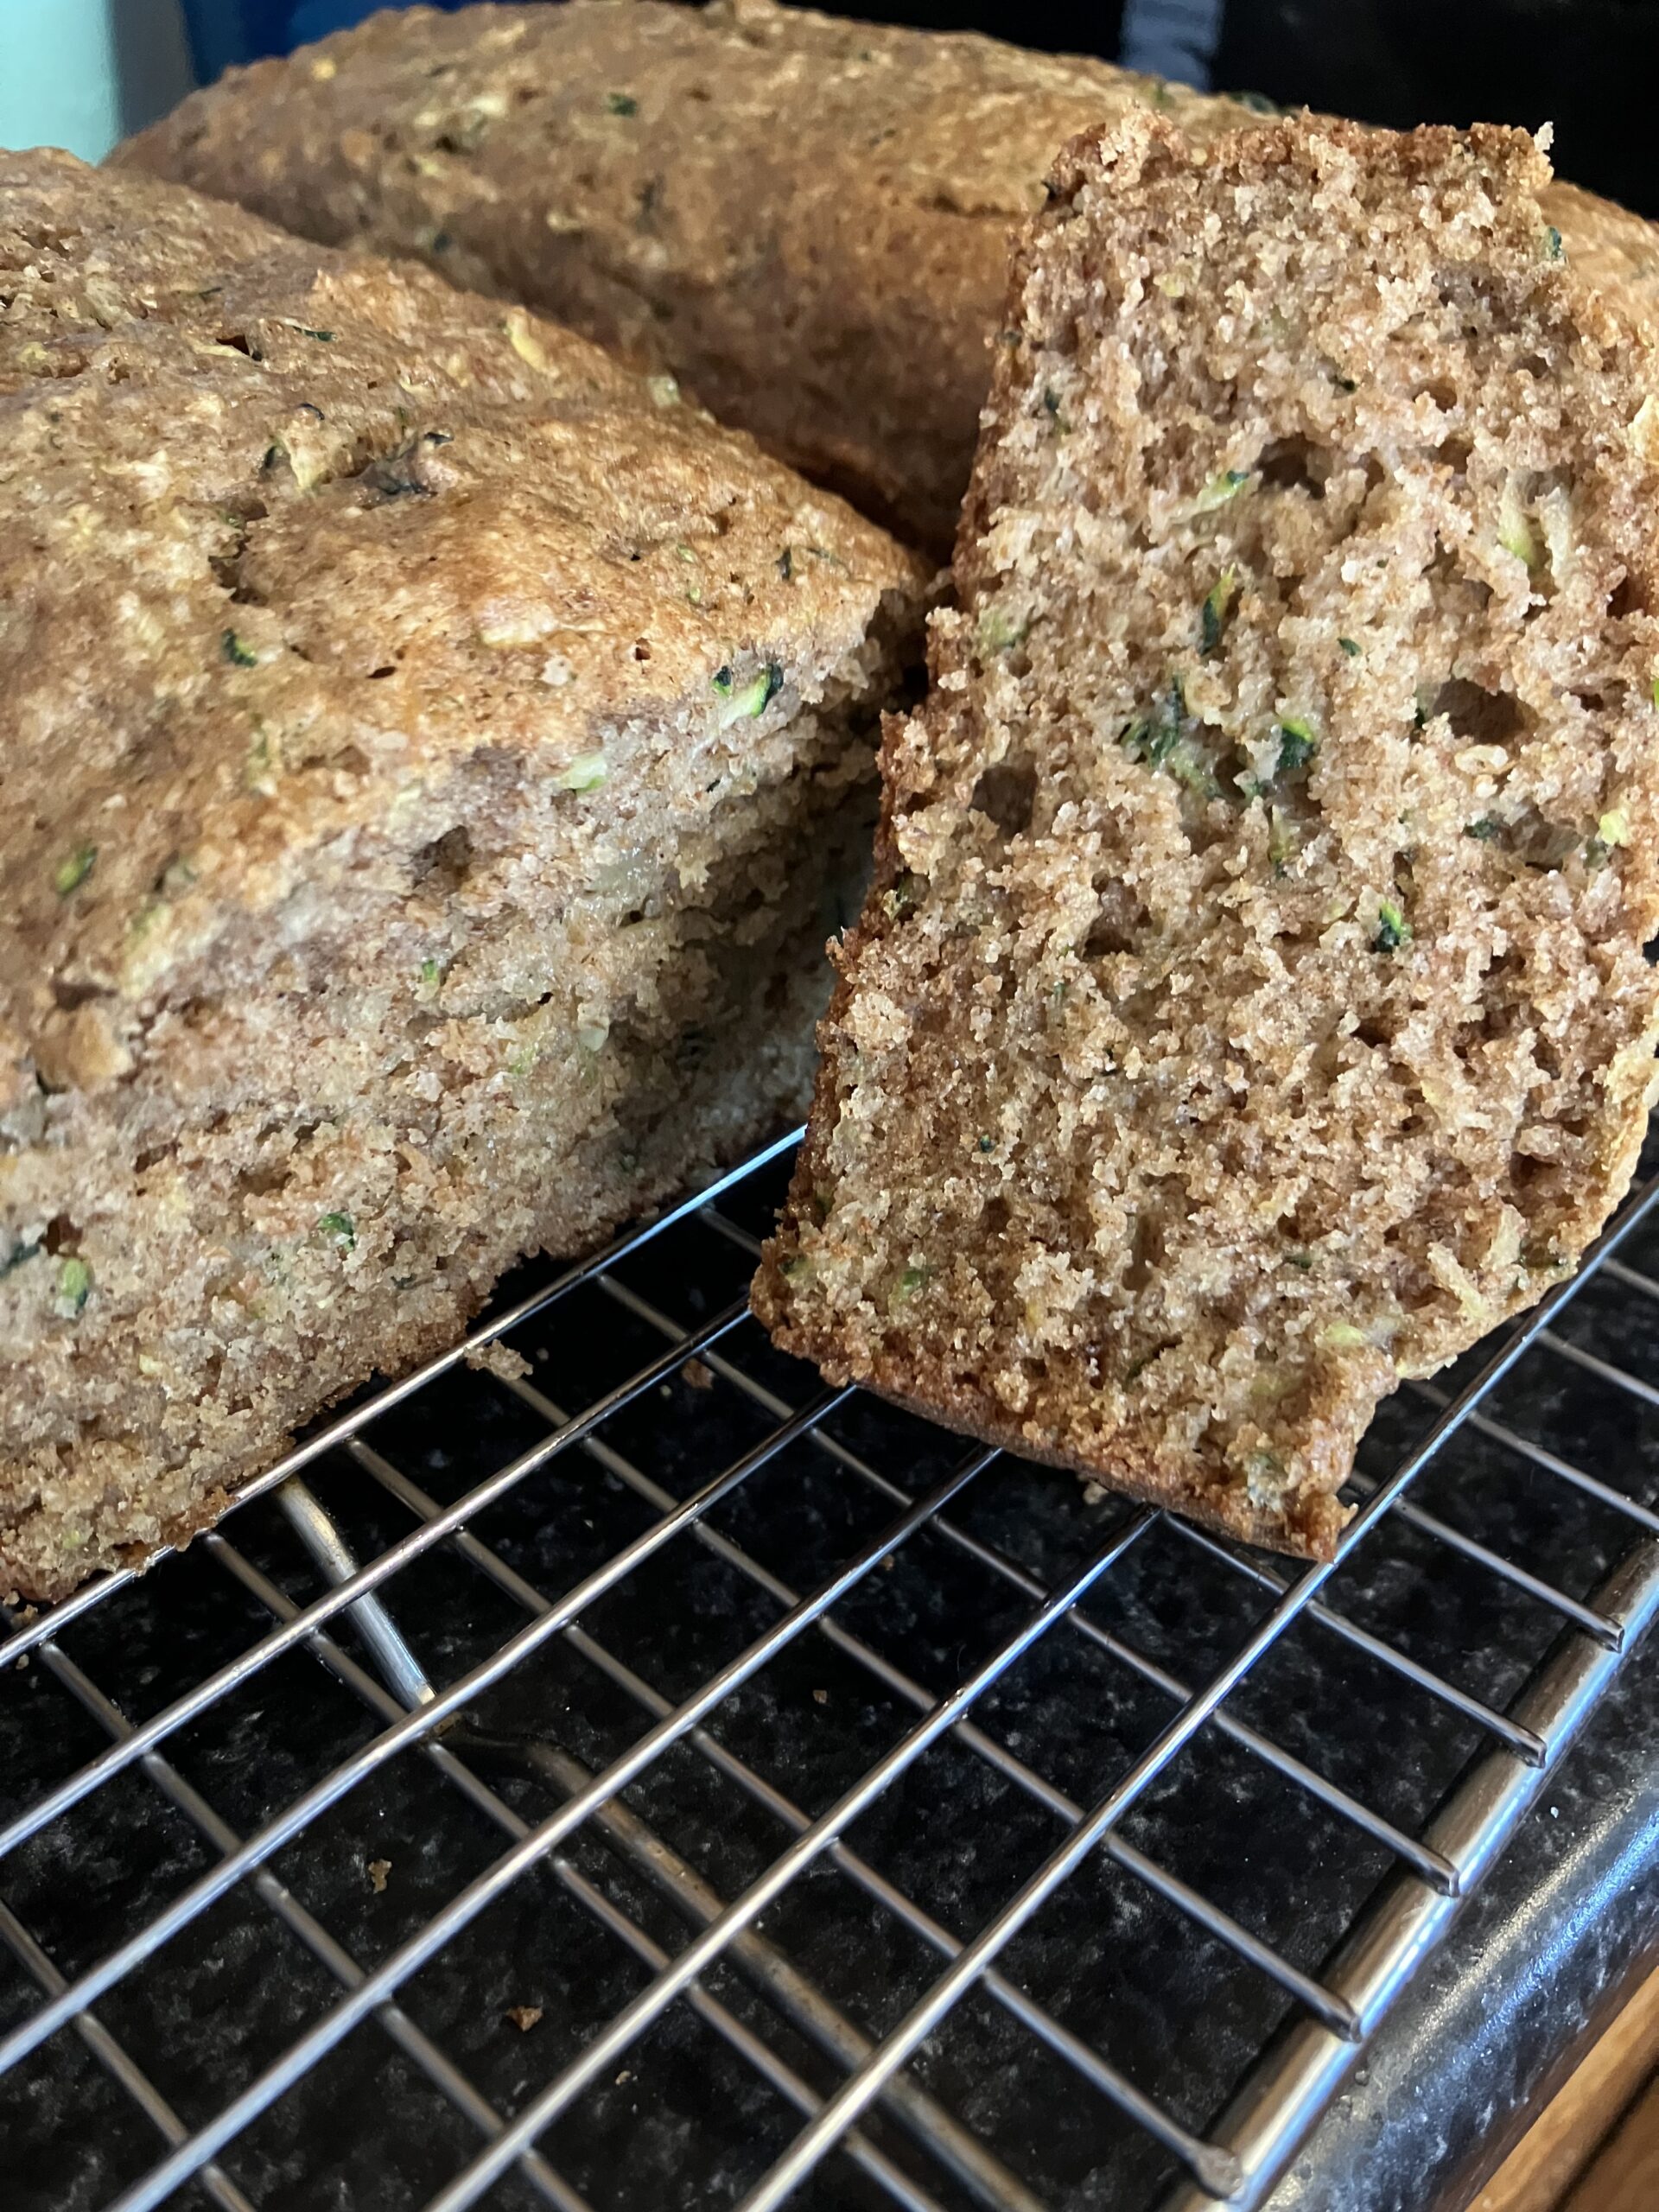
And that’s it! It doesn’t take long to prepare and is a great way to use up those couple extra zucchini. This bread freezes well and stays beautifully moist thanks to the undrained zucchini and the almond meal. You will be so glad you made this! Happy baking!
Sourdough Discard Loaf
Hi, all! I’m back again to share my weekly loaf recipe with you all. For my sourdough lovers, this is a great recipe for using up your discard- plus, it only takes a couple hours from start to finish! I learned this recipe from pantrymama.com years ago and have been loving it ever since. Here it is:
Ingredients:
100g sourdough discard (I use a whole wheat starter, but you can use white too)
360g room temperature water
450g bread flour
7g active dry yeast
10g salt
You will also need a Dutch oven or some covered bakeware dish
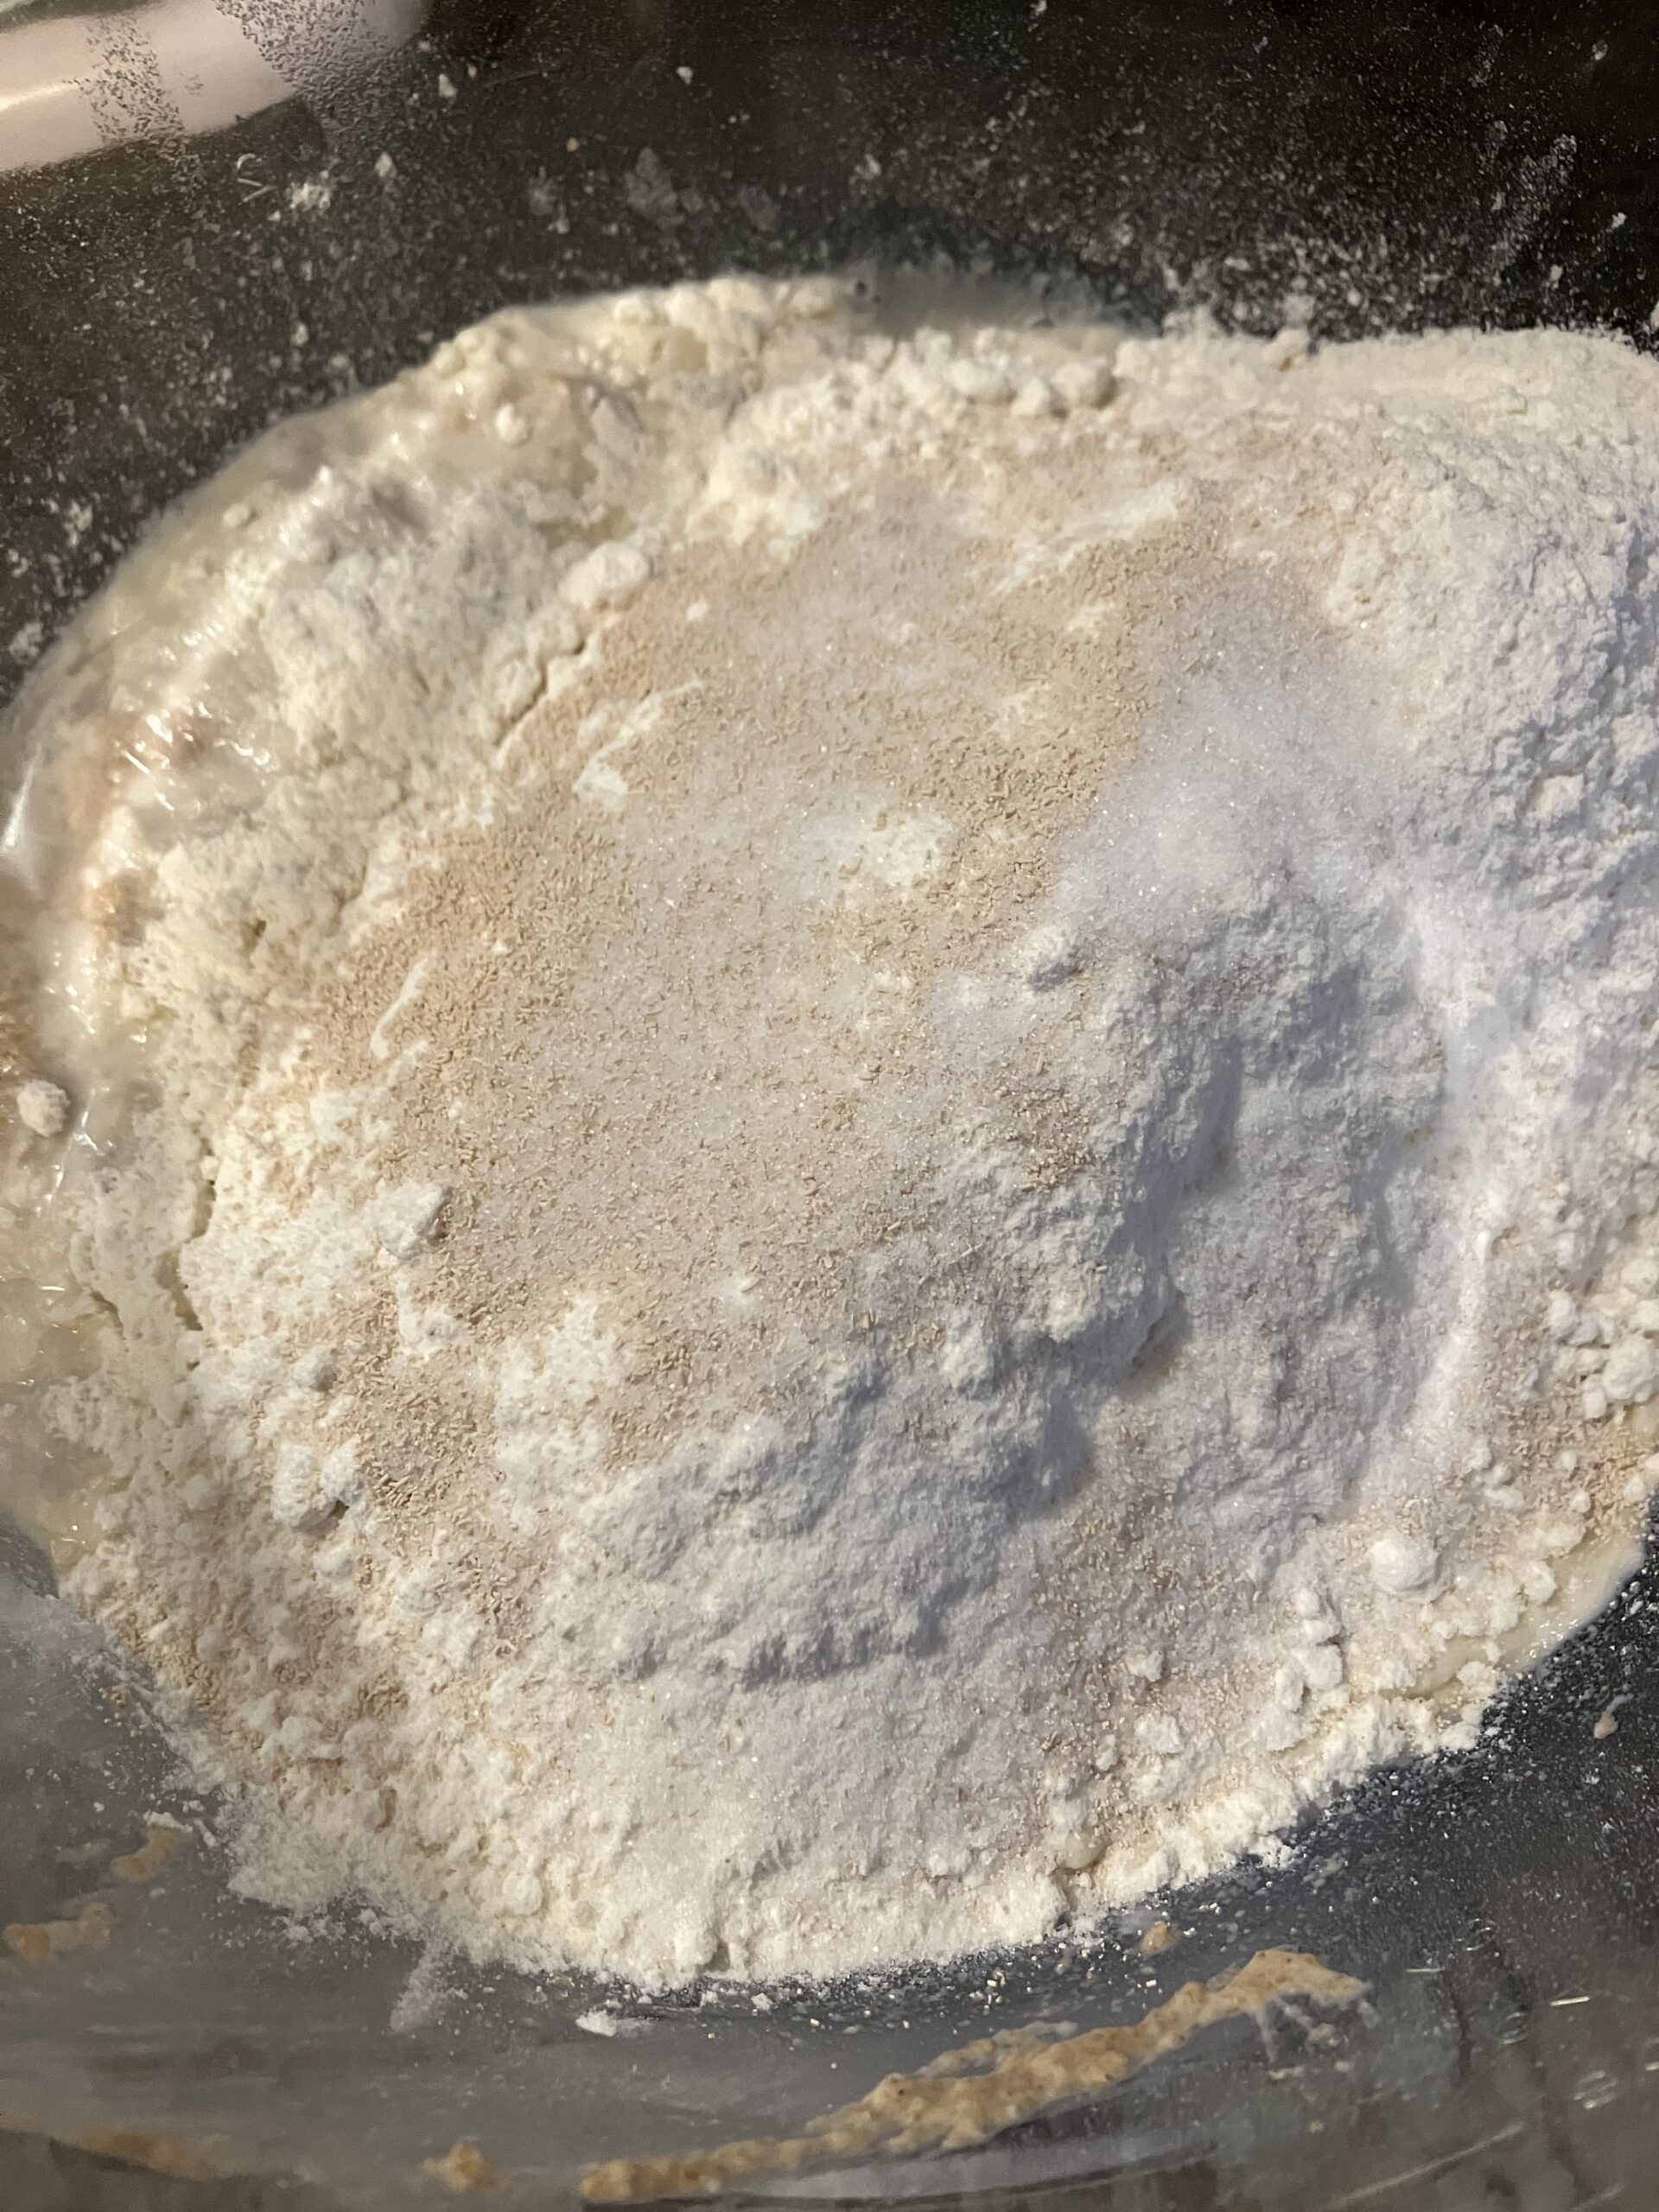
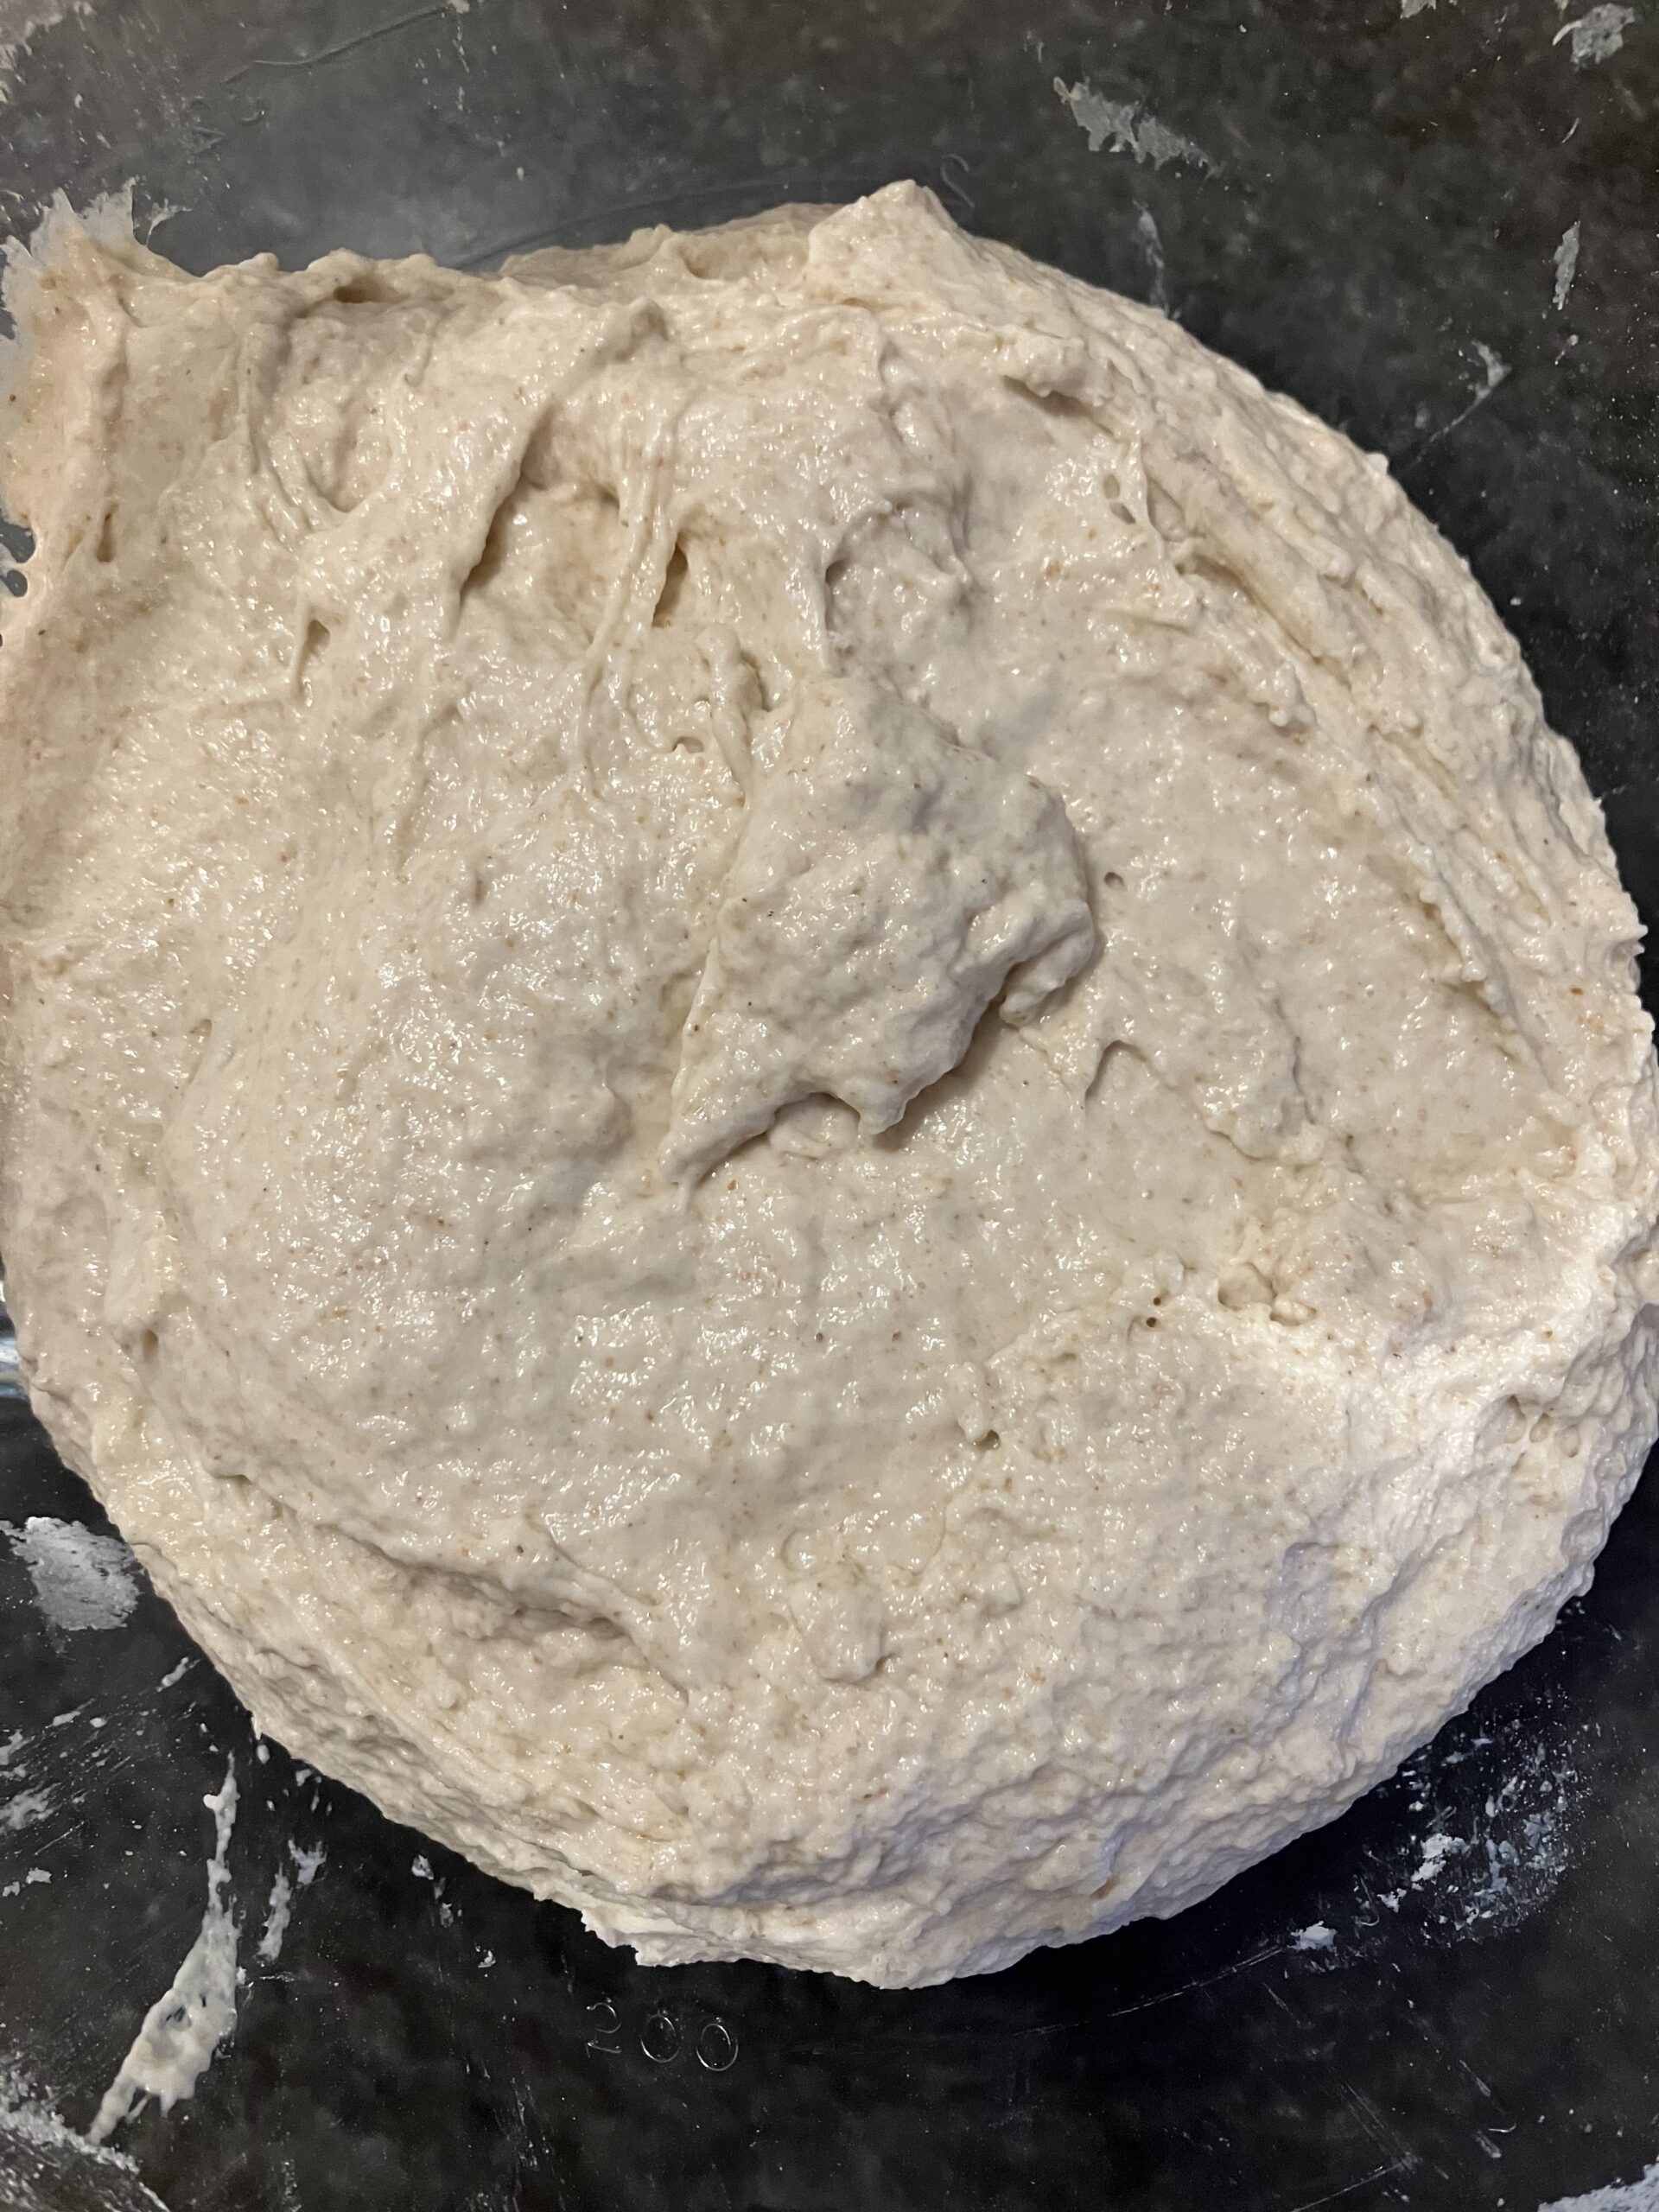
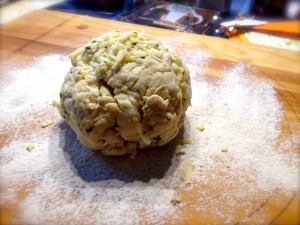
Measure all of your ingredients into a large mixing bowl. Tip: I find that the best way to ensure full mixing is to add the discard and water first; then pour the dry ingredients in. Using a stand mixer with a dough hook attachment (or a fork and some elbow grease), mix the ingredients until they are thoroughly combined.
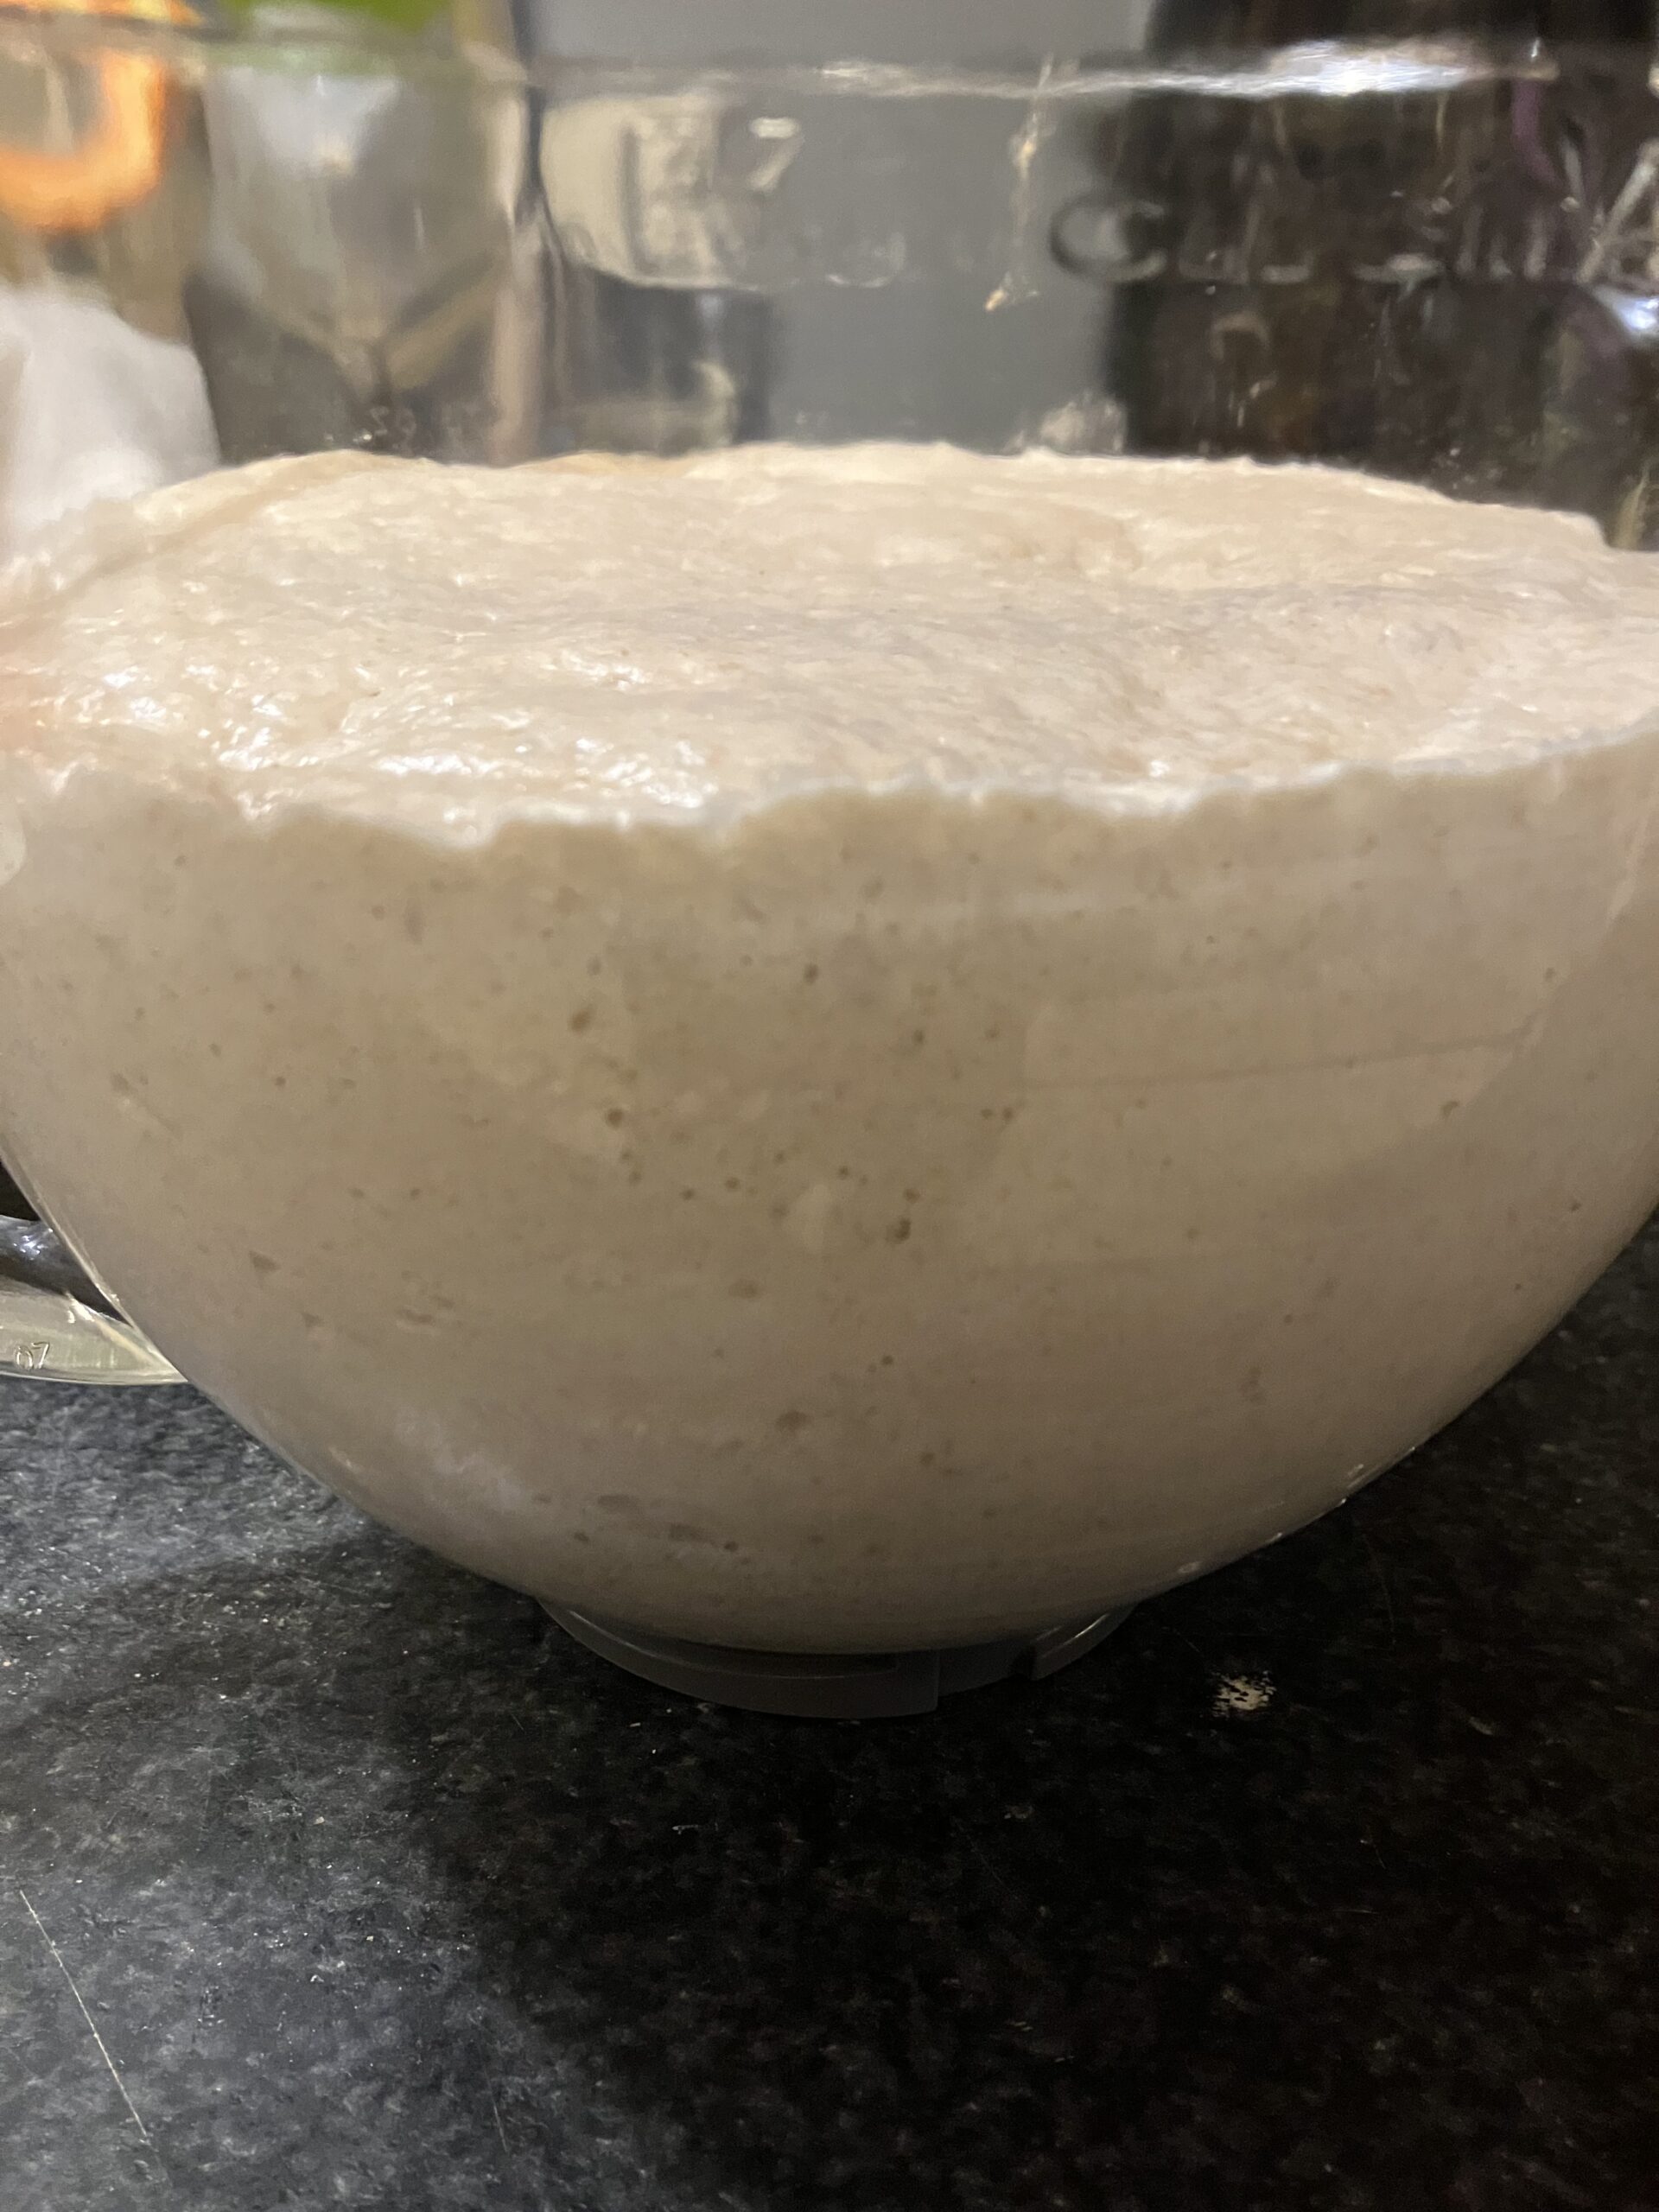
Cover the dough and leave to rise until doubled in size, usually about 1 hour.
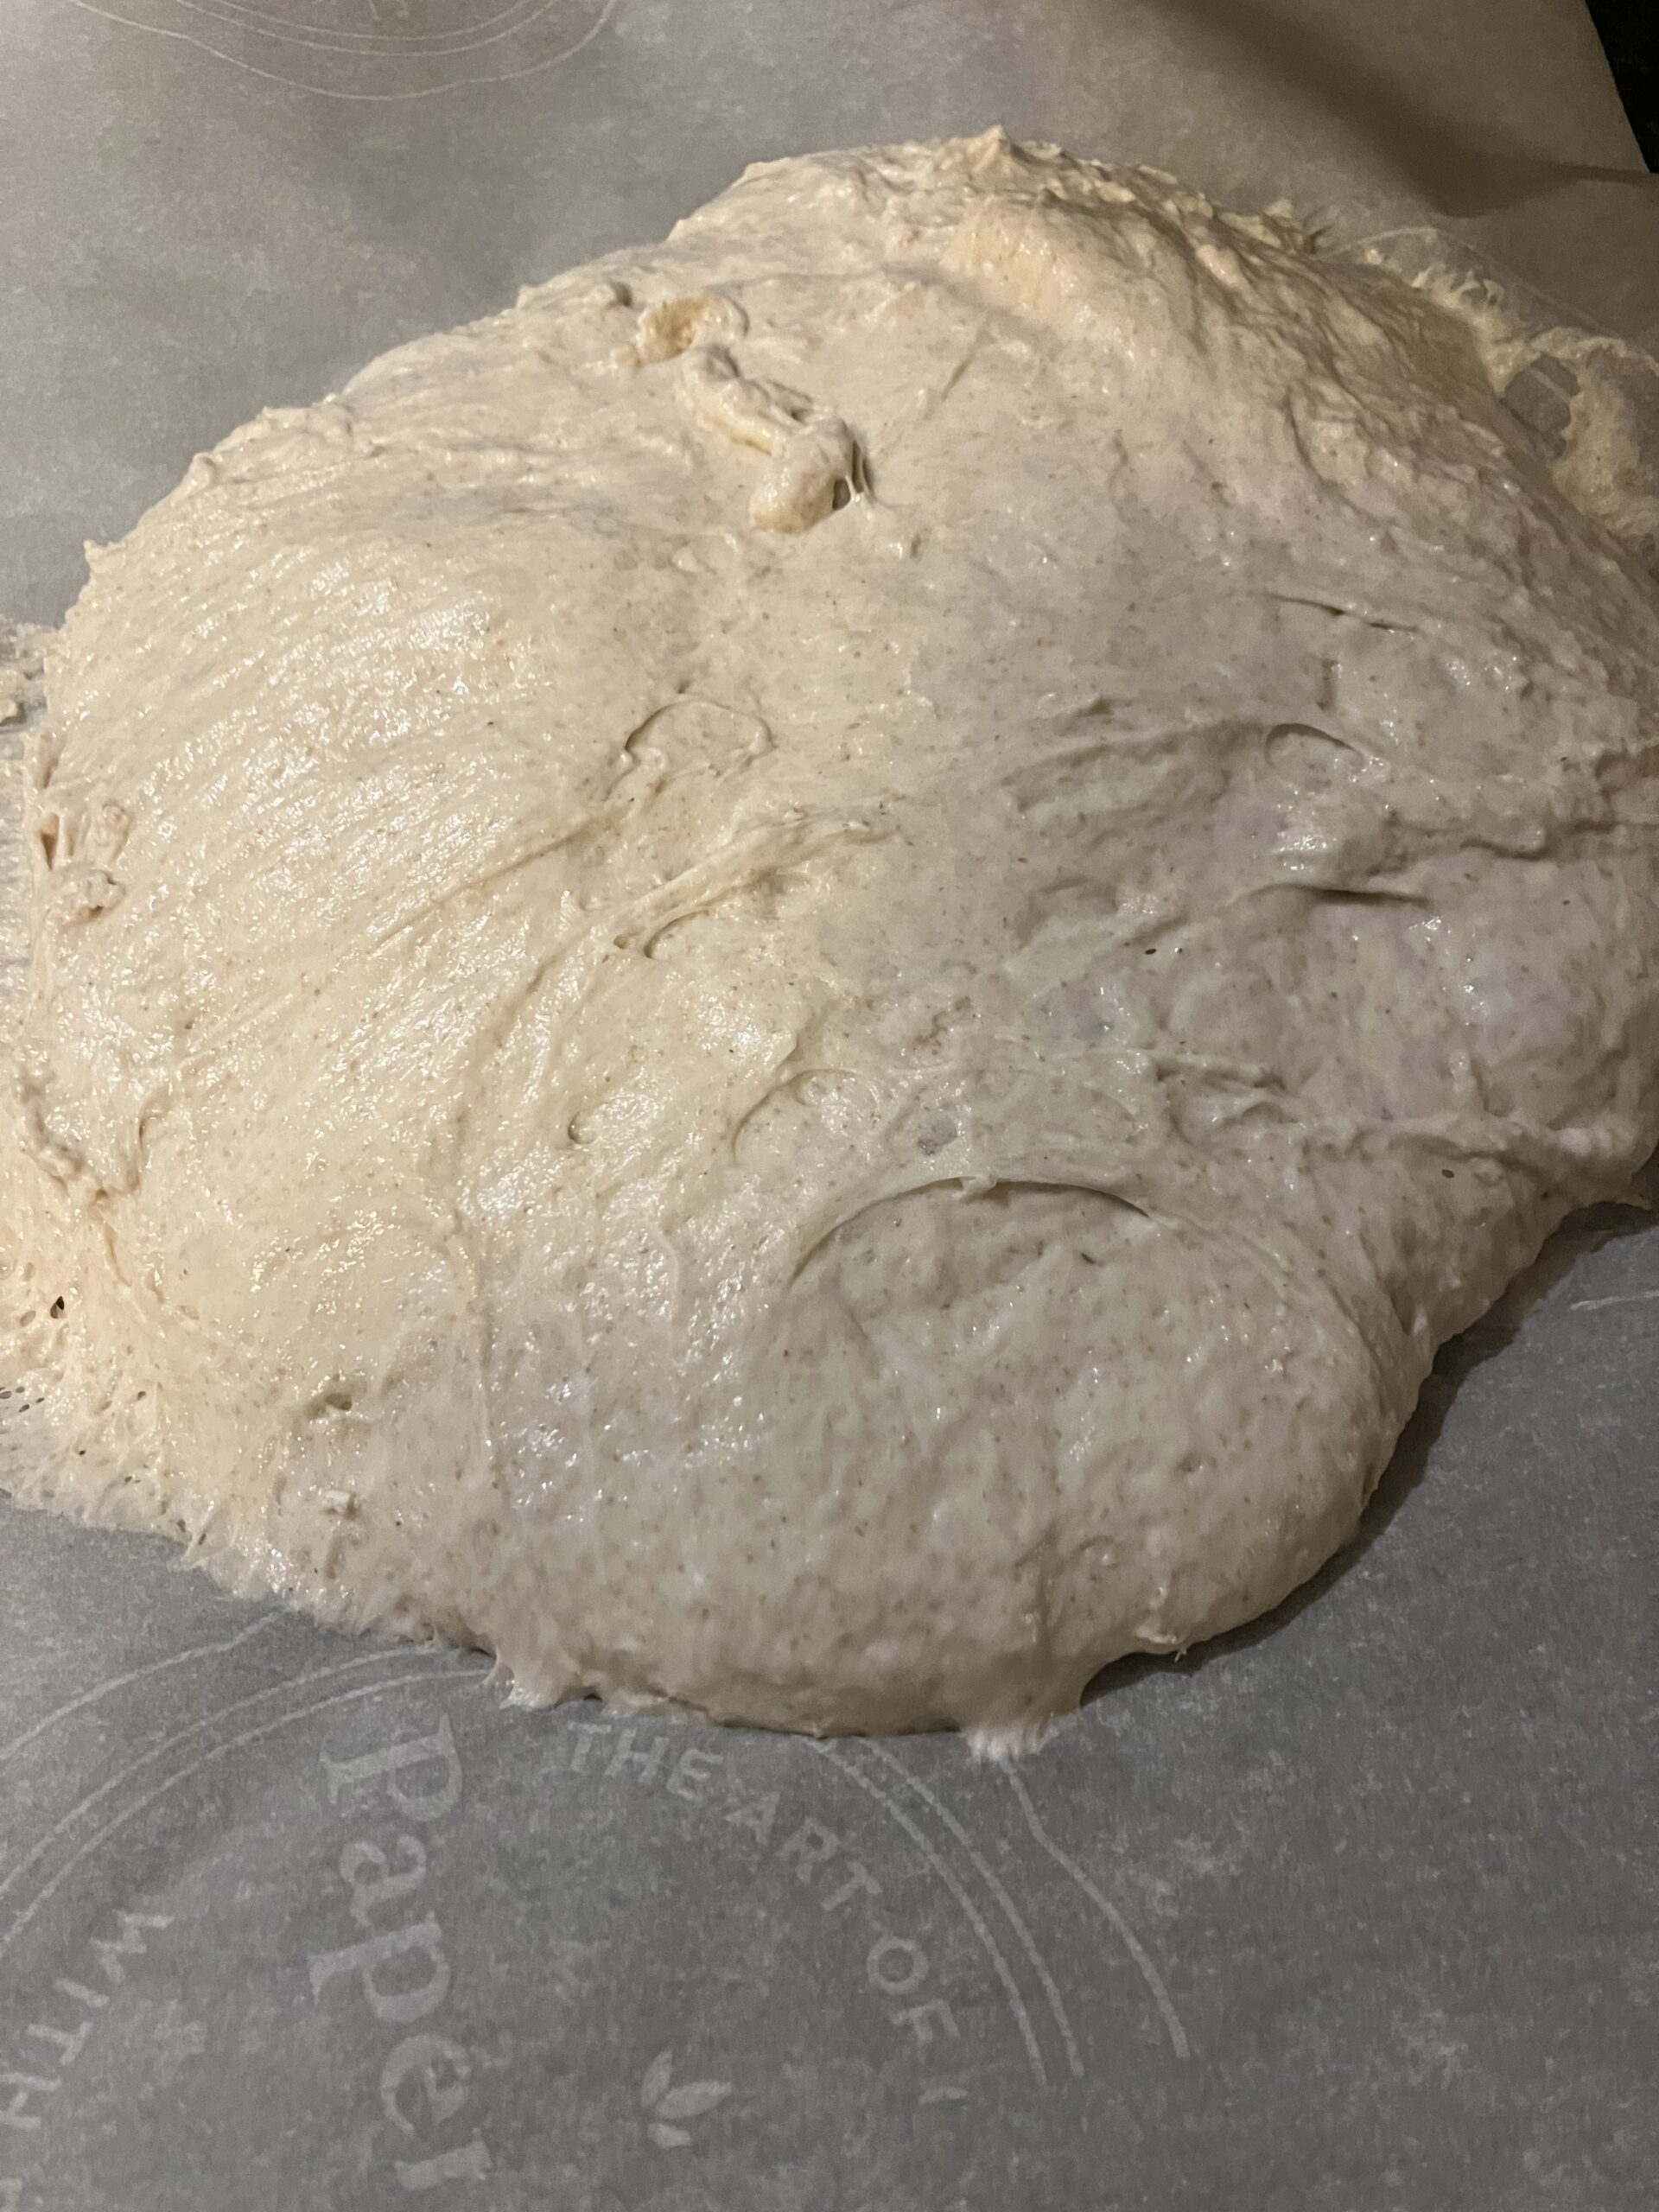
Once your dough has risen enough, preheat the oven to 425F and put your Dutch oven into the heating oven (including the Dutch oven lid). While the oven heats, pour your dough onto a large piece of parchment paper. It is a fairly loose dough so it may spread, but do your best to contain it to a rough circle.
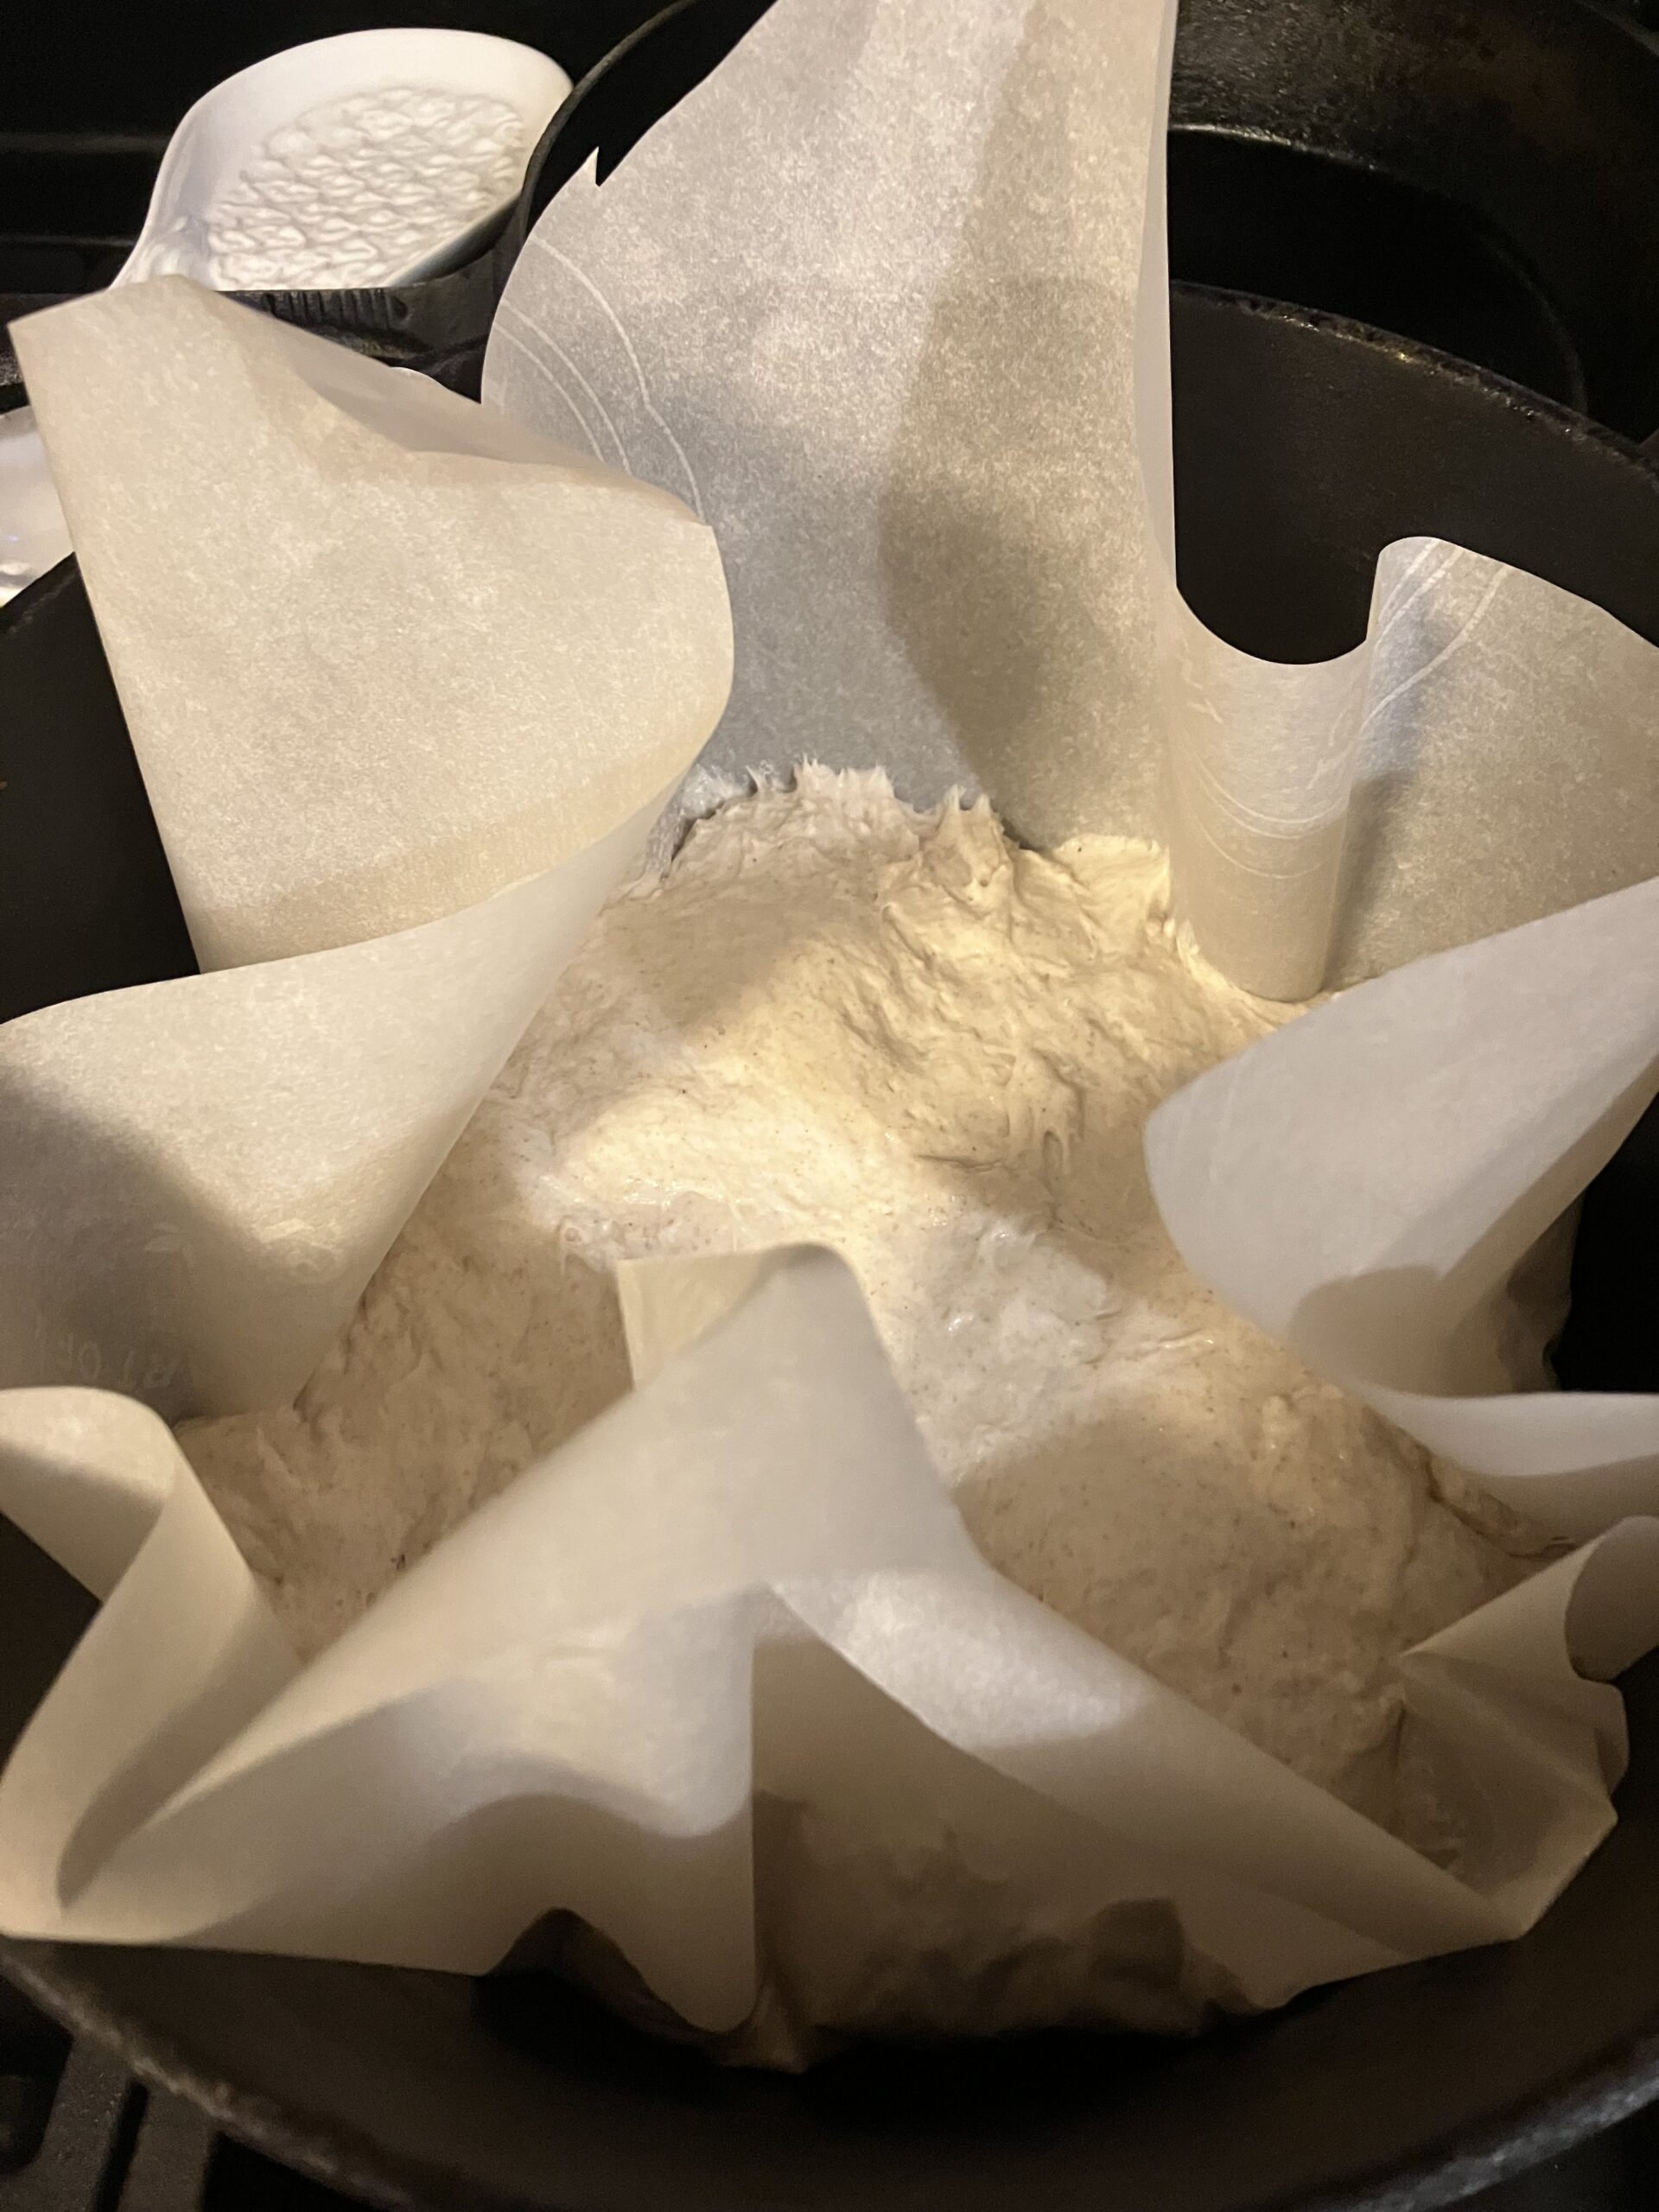
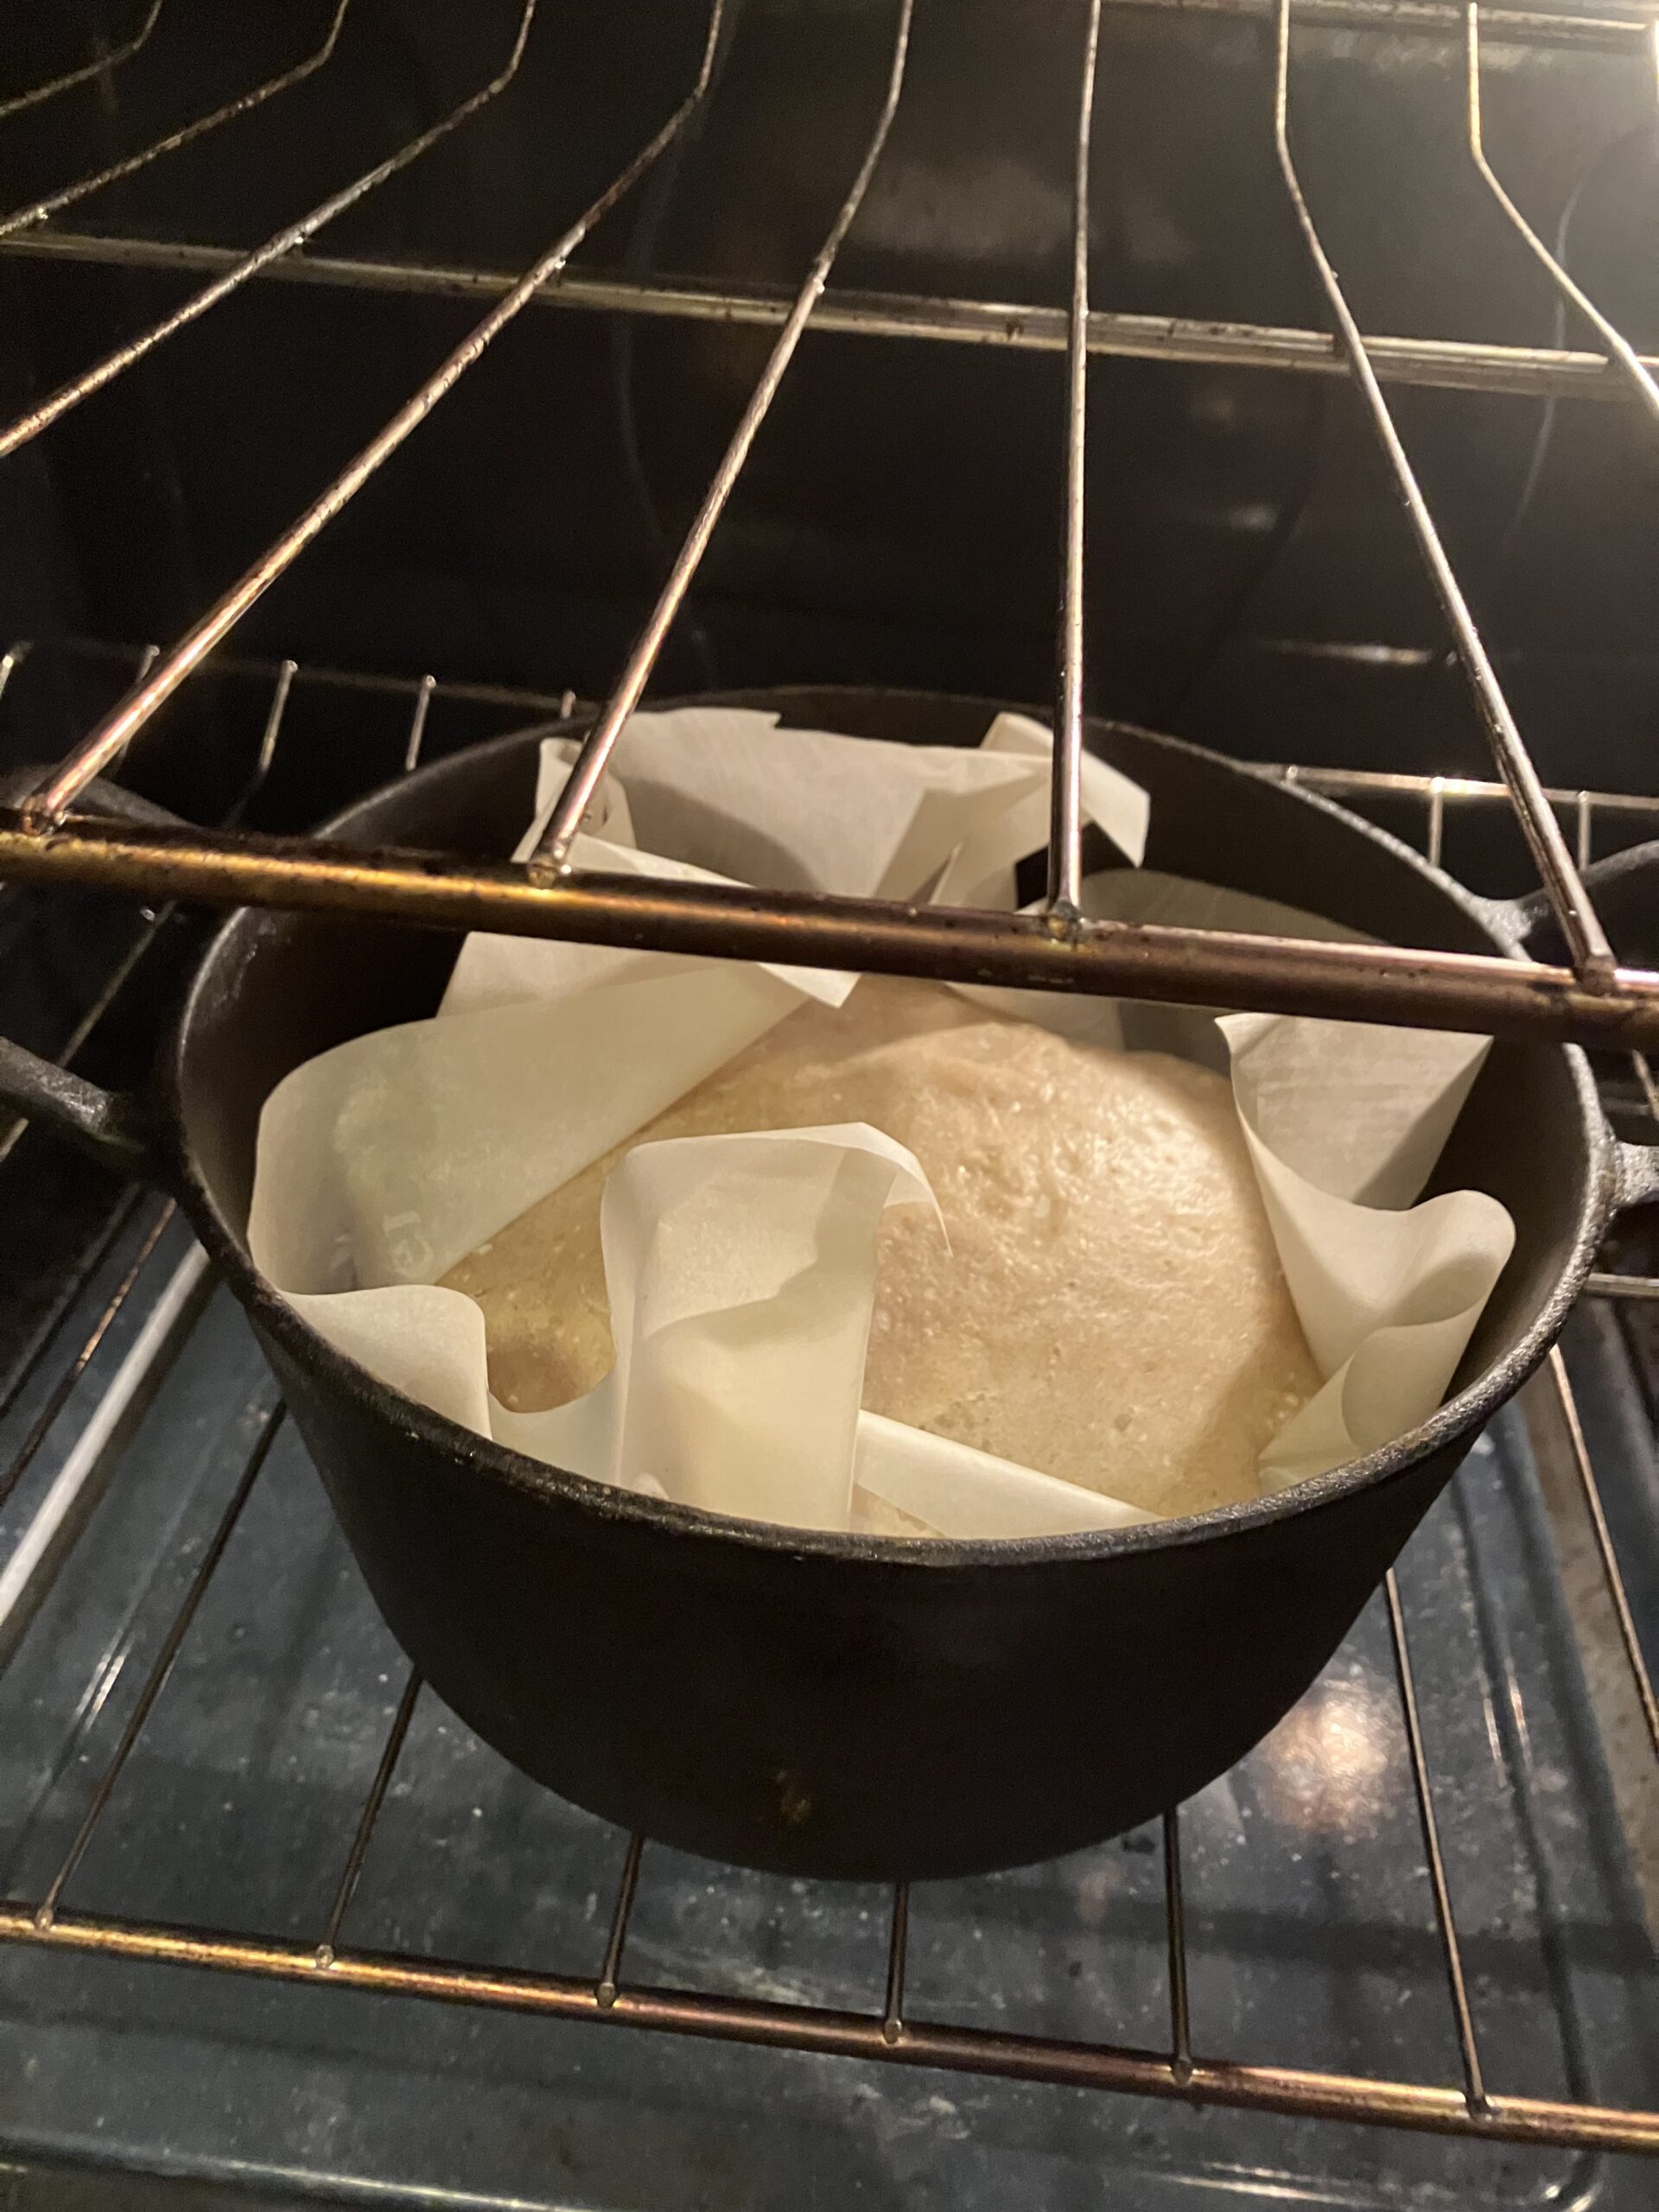
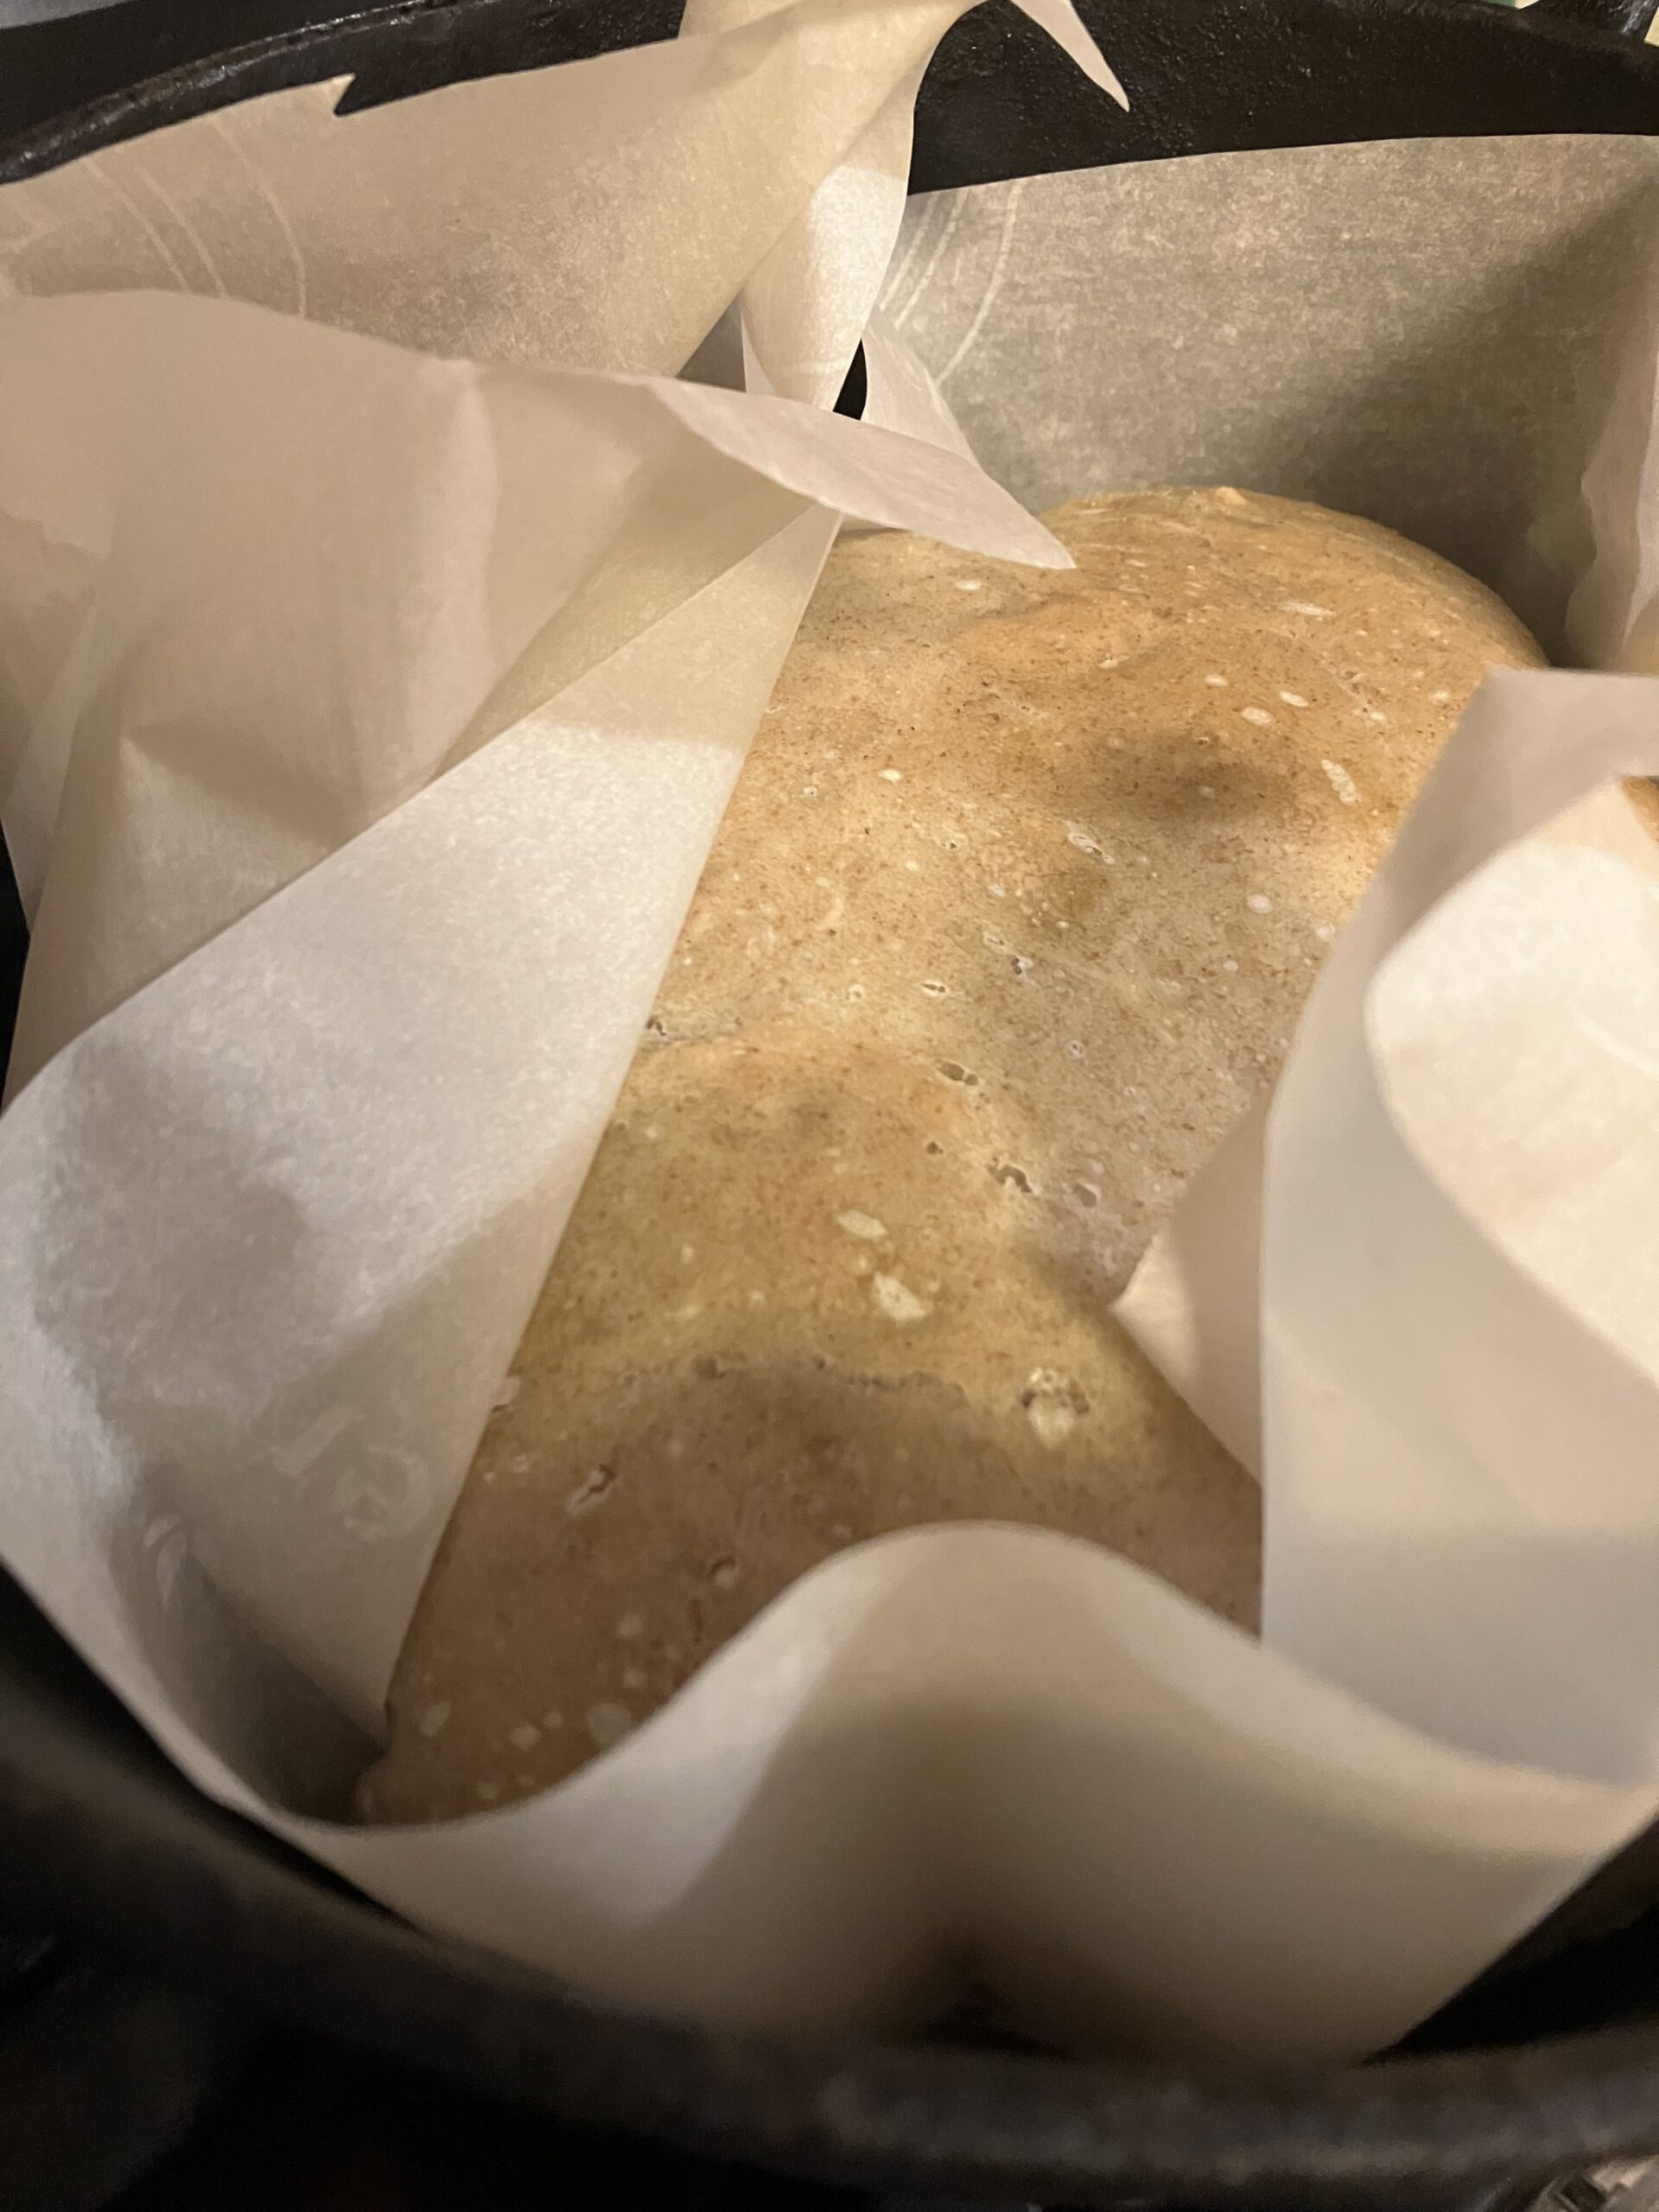
Once the oven is preheated, remove the Dutch oven and remove the lid. Place the parchment paper and dough into the Dutch oven. Tip: I find this works best if you pick up the four corners of the parchment paper and make a little hammock for the dough. Otherwise, it tends to spread out during transfer.
Cover the Dutch oven and place it back in the oven. Bake for 25 minutes. Then, remove the lid and decrease the oven temperature to 390F. Bake for an additional 15 minutes.
Remove the loaf to a cooling rack and remove the parchment paper. Let it cool for at least 10 minutes, and then slice it! I find this loaf to be excellent for savory sandwiches (especially grilled cheese), and it also makes an amazing toast. Happy baking!
Two Treats, One Dough
Hi, all! I’m back with another great recipe. This time, we’re making biscuits, but it’s really better than that. We get two baked treats out of this: flaky, buttery, crispy biscuits, and sweet, soft, cinnamon rolls.
It all starts with a basic dough recipe. Here are the ingredients:
Ingredients:
2 cups flour
4 tsp baking powder
1/2 tsp salt
1/2 tsp cream of tartar
2 tsp sugar
1/2 cup shortening
2/3 cup milk
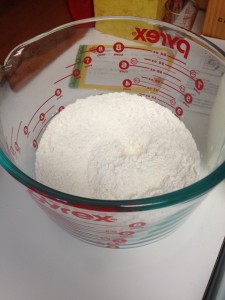
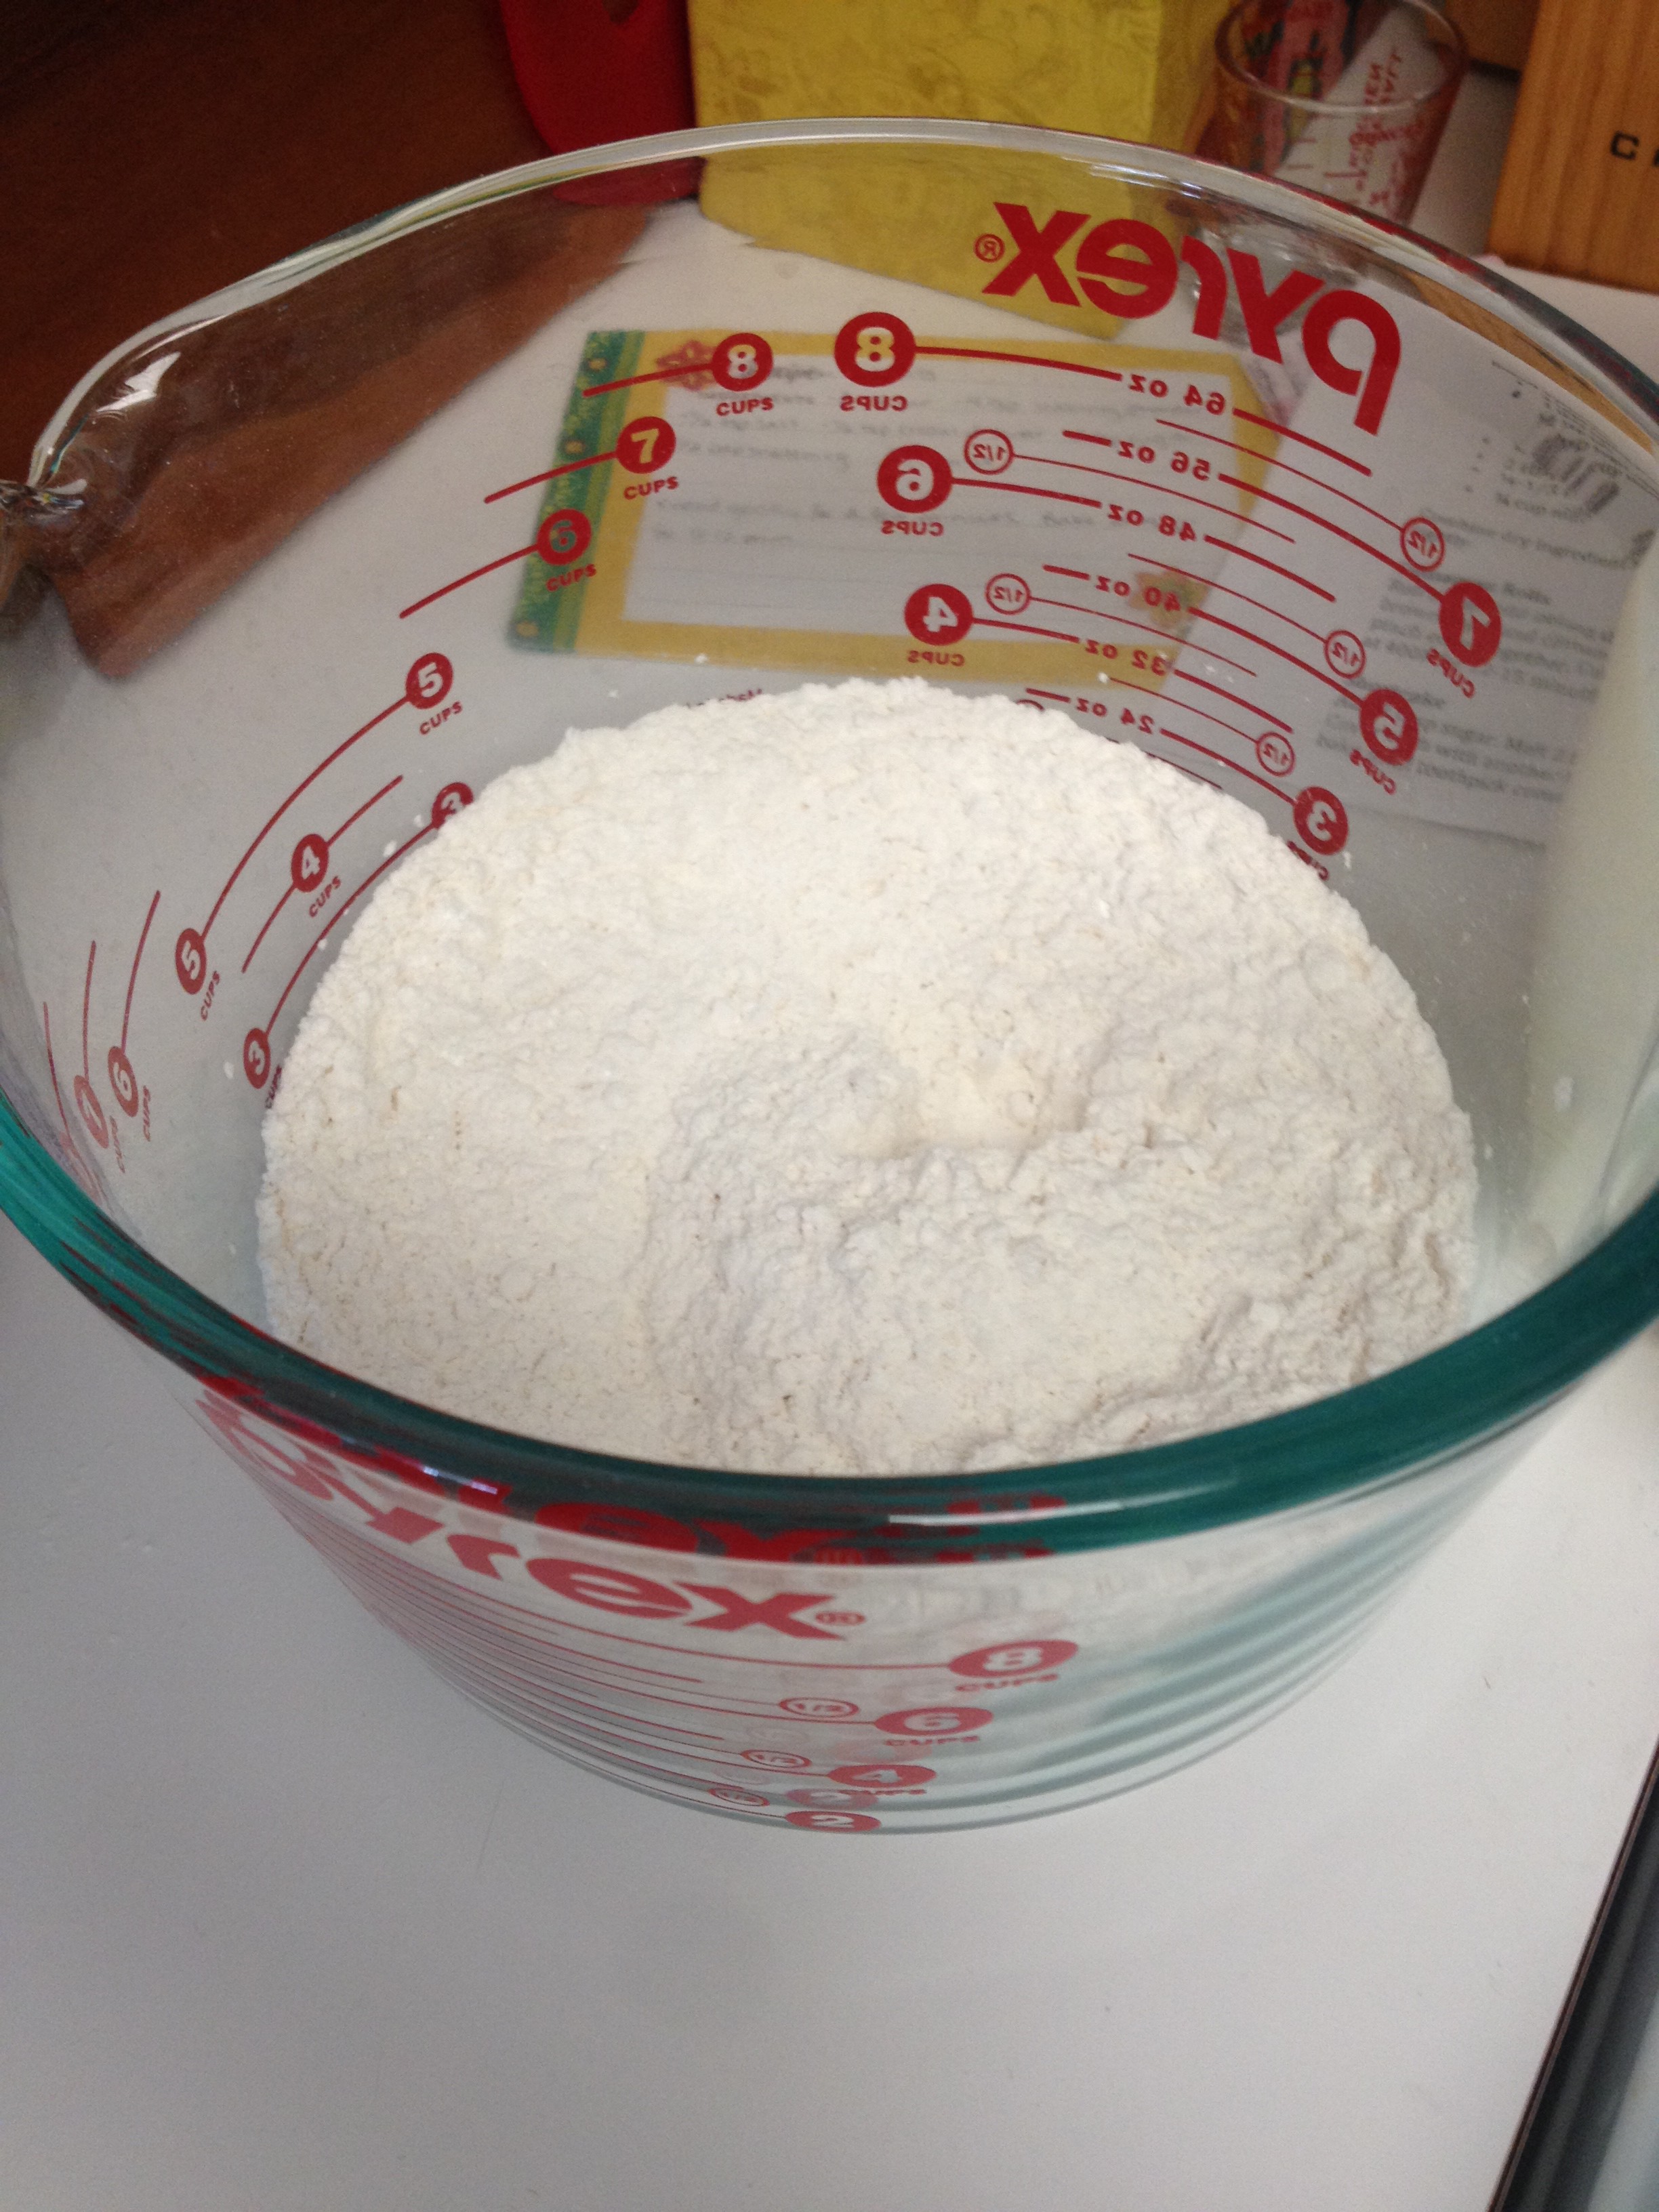
First, mix the dry ingredients together.
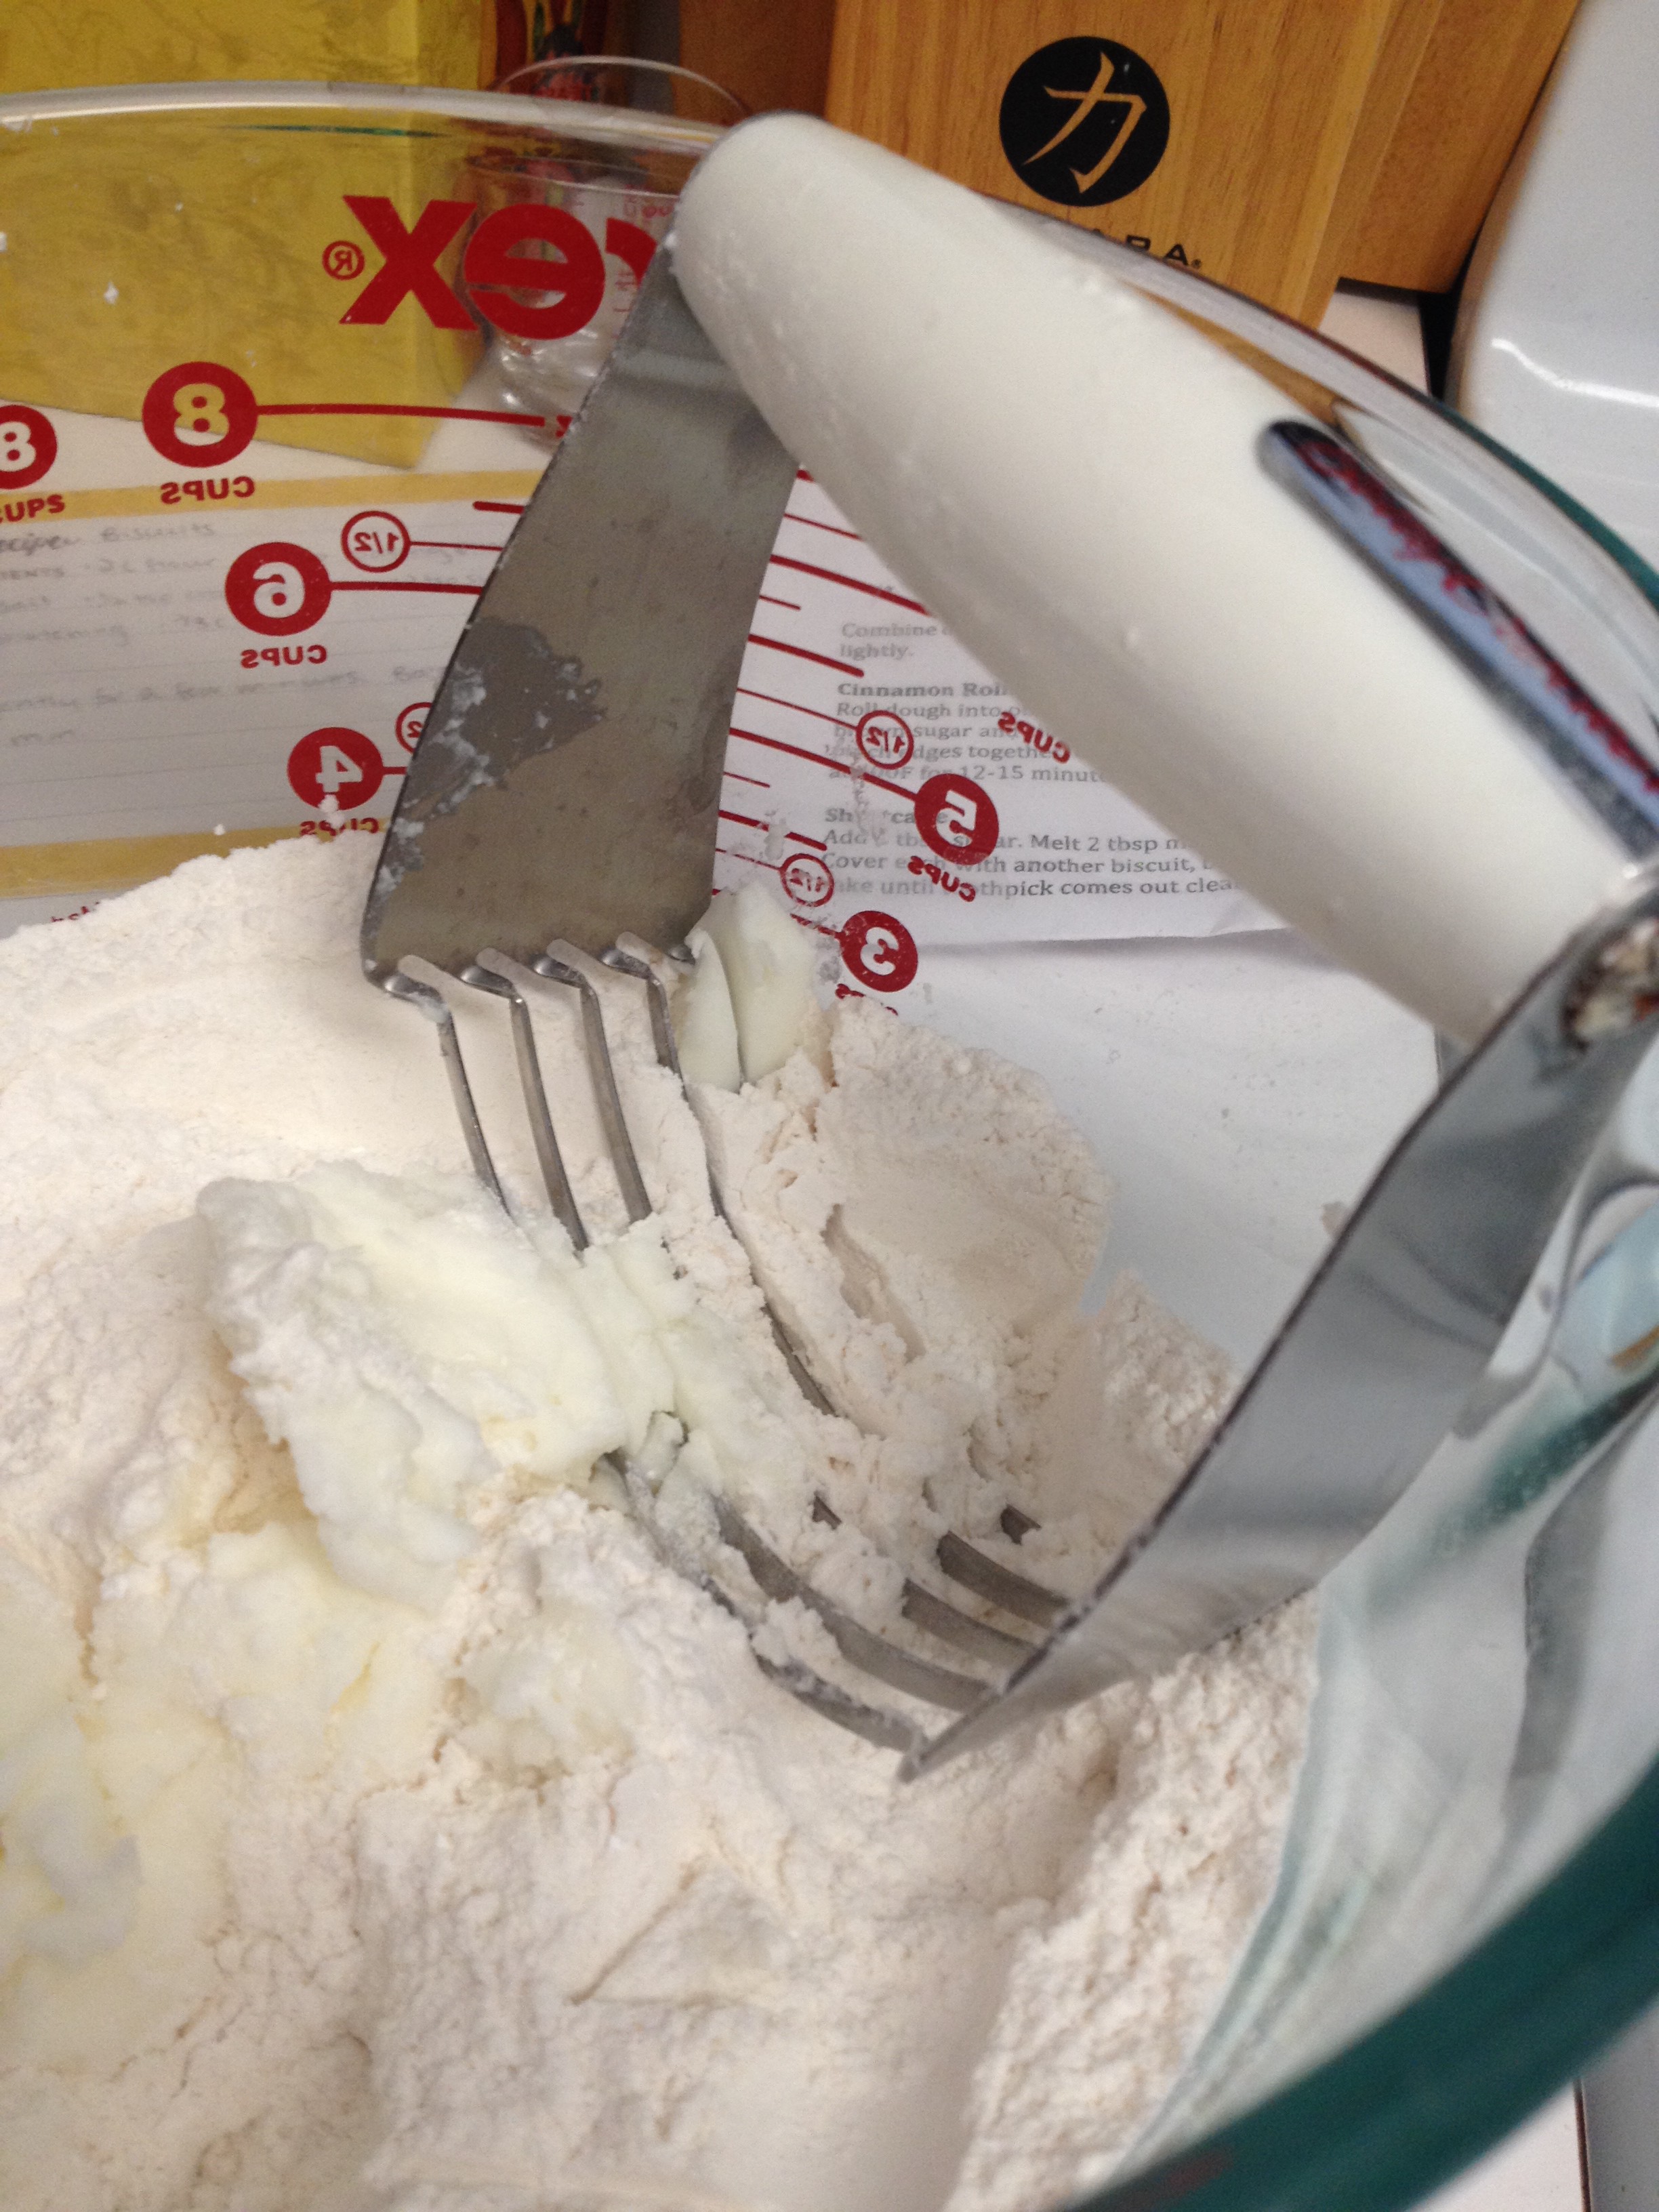
Then, cut in your shortening with a pastry cutter. What is a pastry cutter, you ask? It is a super handy tool that allows you to cut fat, like butter or shortening, into dry ingredients so that you end up with pea-sized bits of fat in your mixture (that’s what we’re going for here).
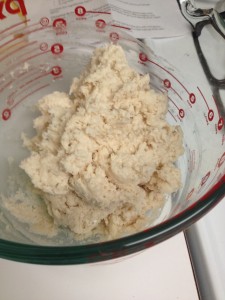
Now, gradually add your milk (I add it in about 3 doses), stirring with a fork after each addition until just mixed. It should look something like this:
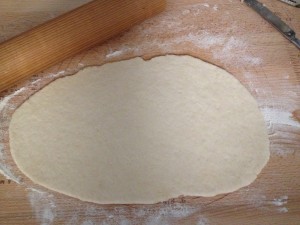
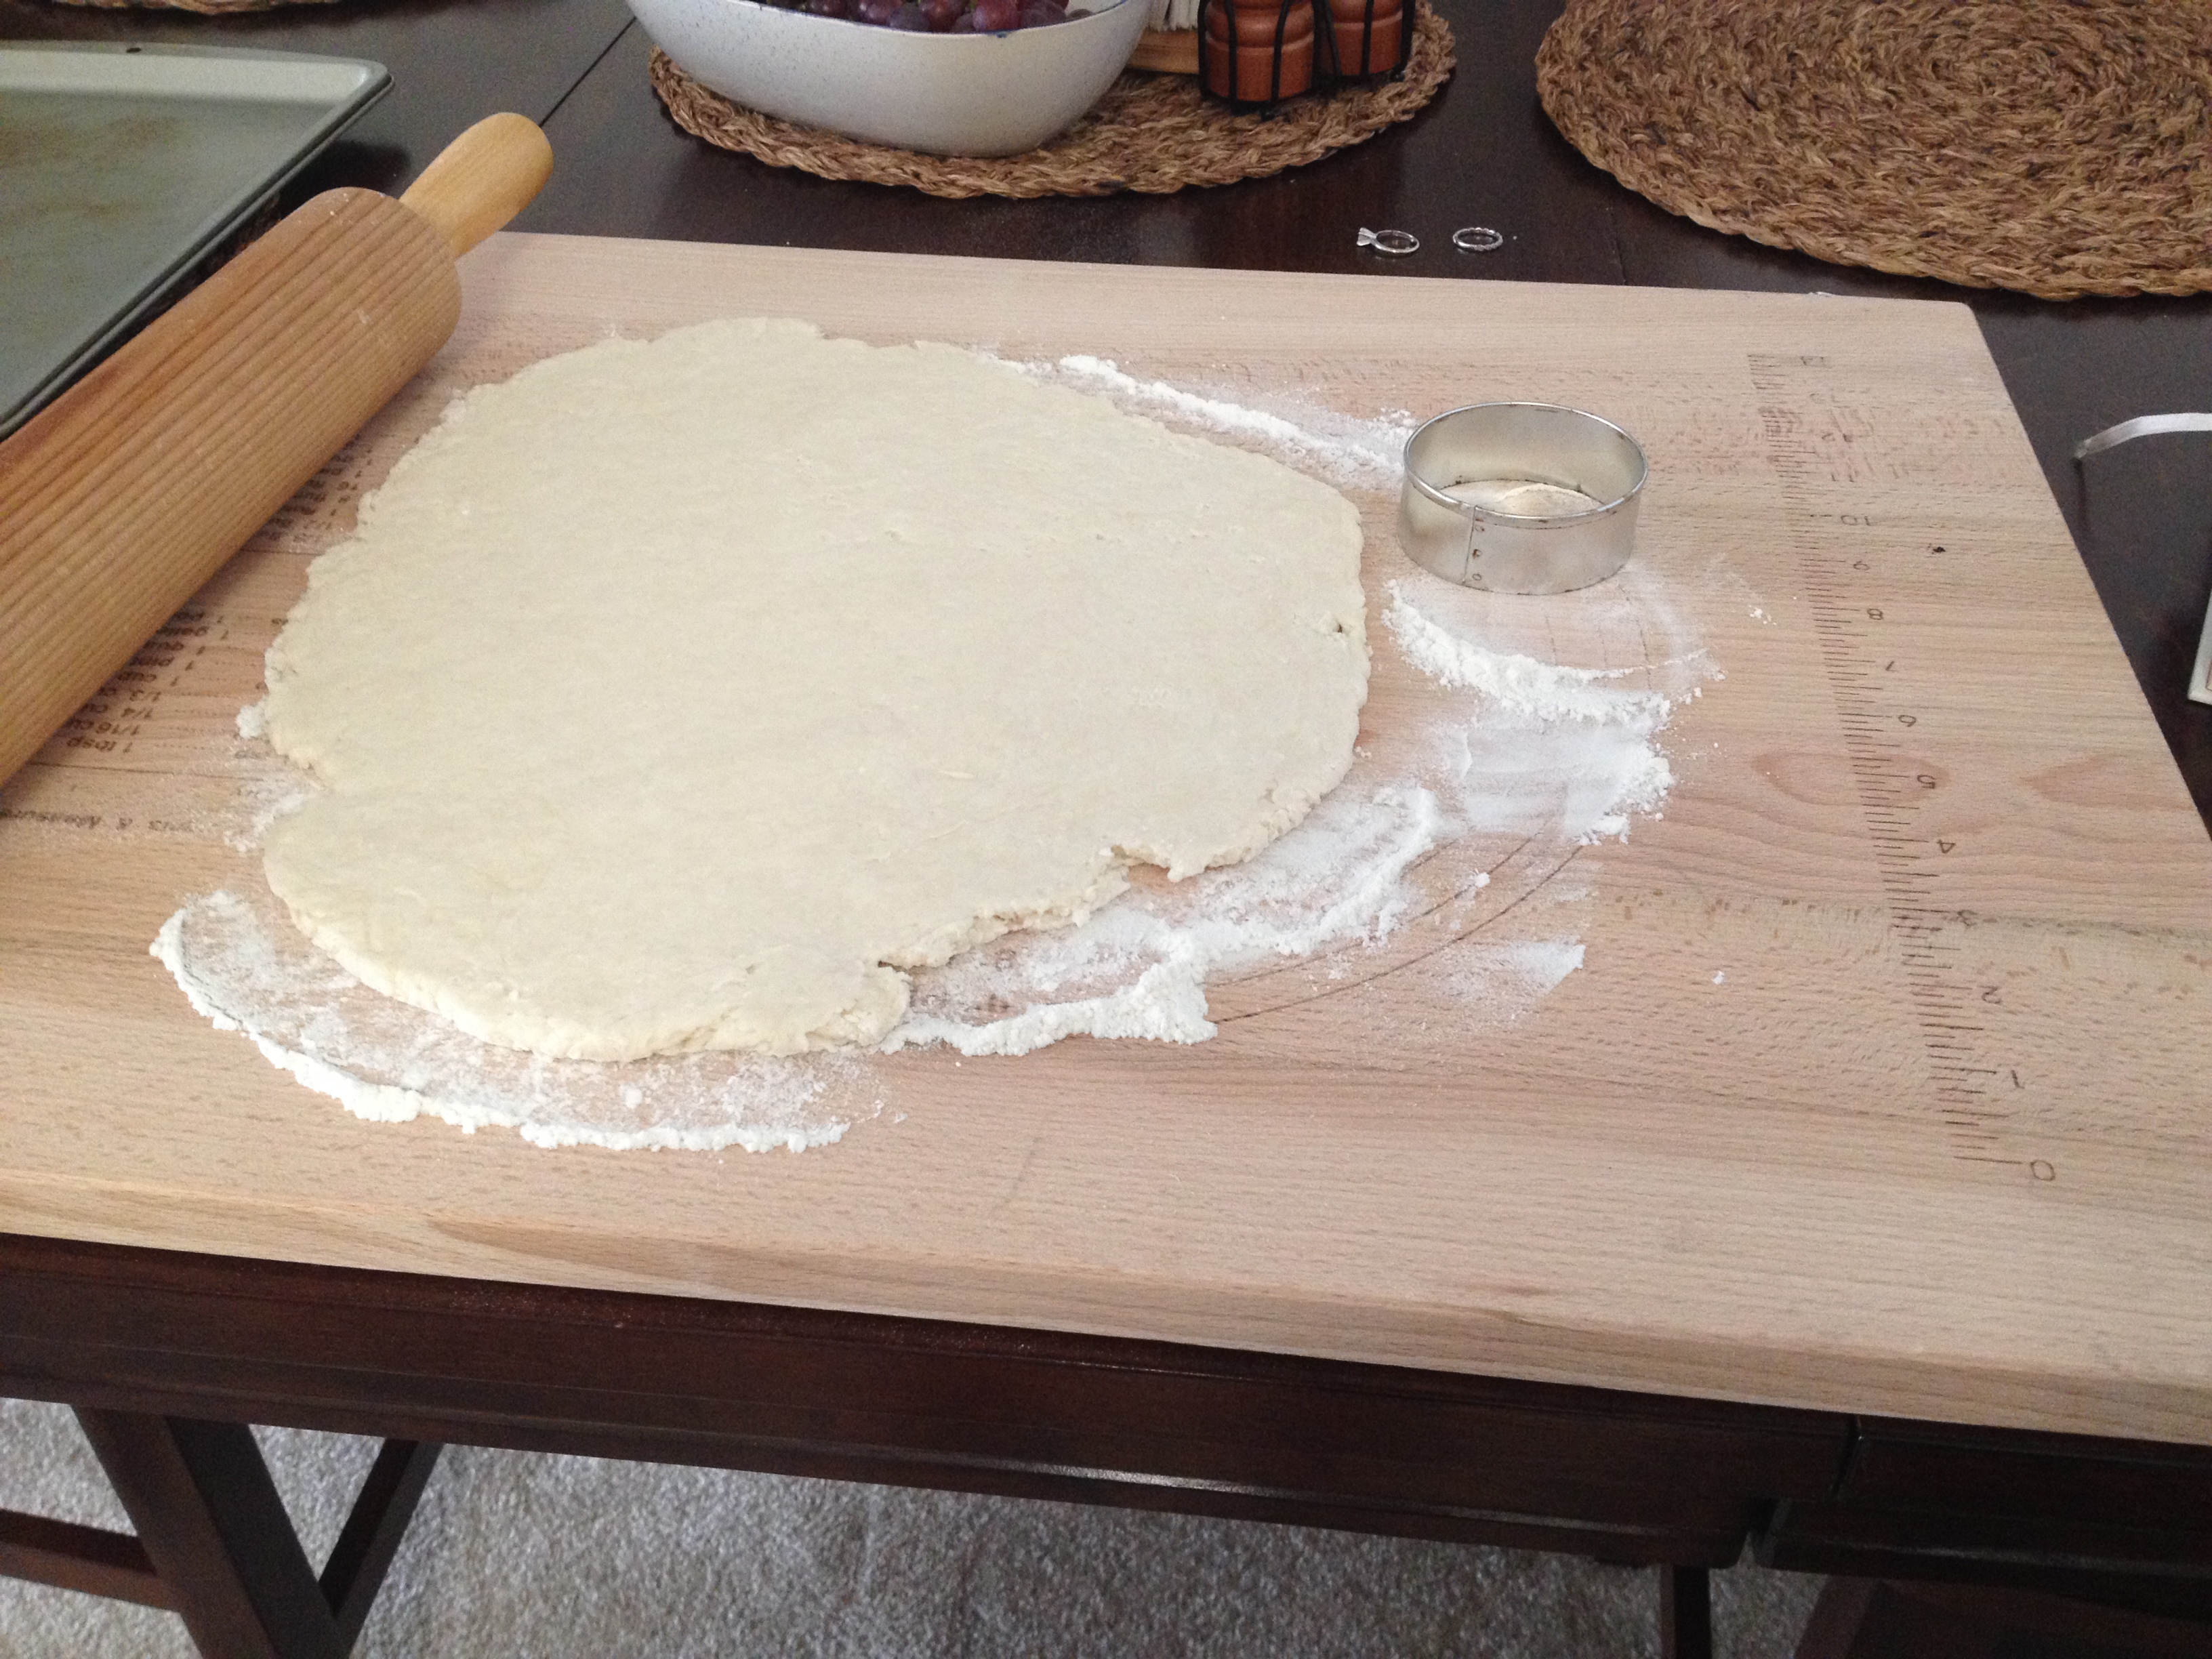
Knead the dough with your hands very briefly, until the dough is mixed. You don’t want to over-knead it, or else you’ll activate the gluten in the flour, which will create a chewy, dense biscuit instead of a flaky, crisp biscuit. When you’ve finished kneading, lightly flour a pastry board and roll out the dough until it’s about 1/2″ thick.
Using a biscuit cutter (or circular cookie cutter), cut out biscuits and lay them on a baking sheet. Since it was just my husband and I for dinner, I only cut out 6 biscuits and used the rest of the dough to make the cinnamon rolls.
Bake at 450°F for 10-12 minutes or until the biscuits are golden brown.
Since I only made 6 biscuits, I had quite a bit of leftover dough to make cinnamon rolls with! The only additional ingredients you need for these are butter, cinnamon, and granulated sugar. Tip: ADJUST YOUR OVEN TEMPERATURE! The cinnamon rolls require a 400°F oven, not 450°F like the plain biscuits. Nobody likes burnt cinnamon rolls.
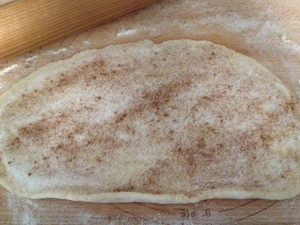
To start, re-roll the leftover dough into a rectangular shape (or as close as you can get it).
Next, butter the up-facing side of the dough. This helps the cinnamon and sugar stick. Sprinkle the buttered dough with cinnamon and sugar to taste. You can also put things like nuts or raisins in these rolls.
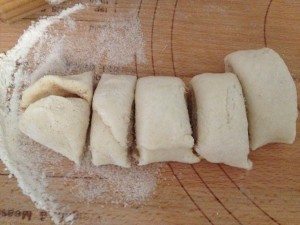
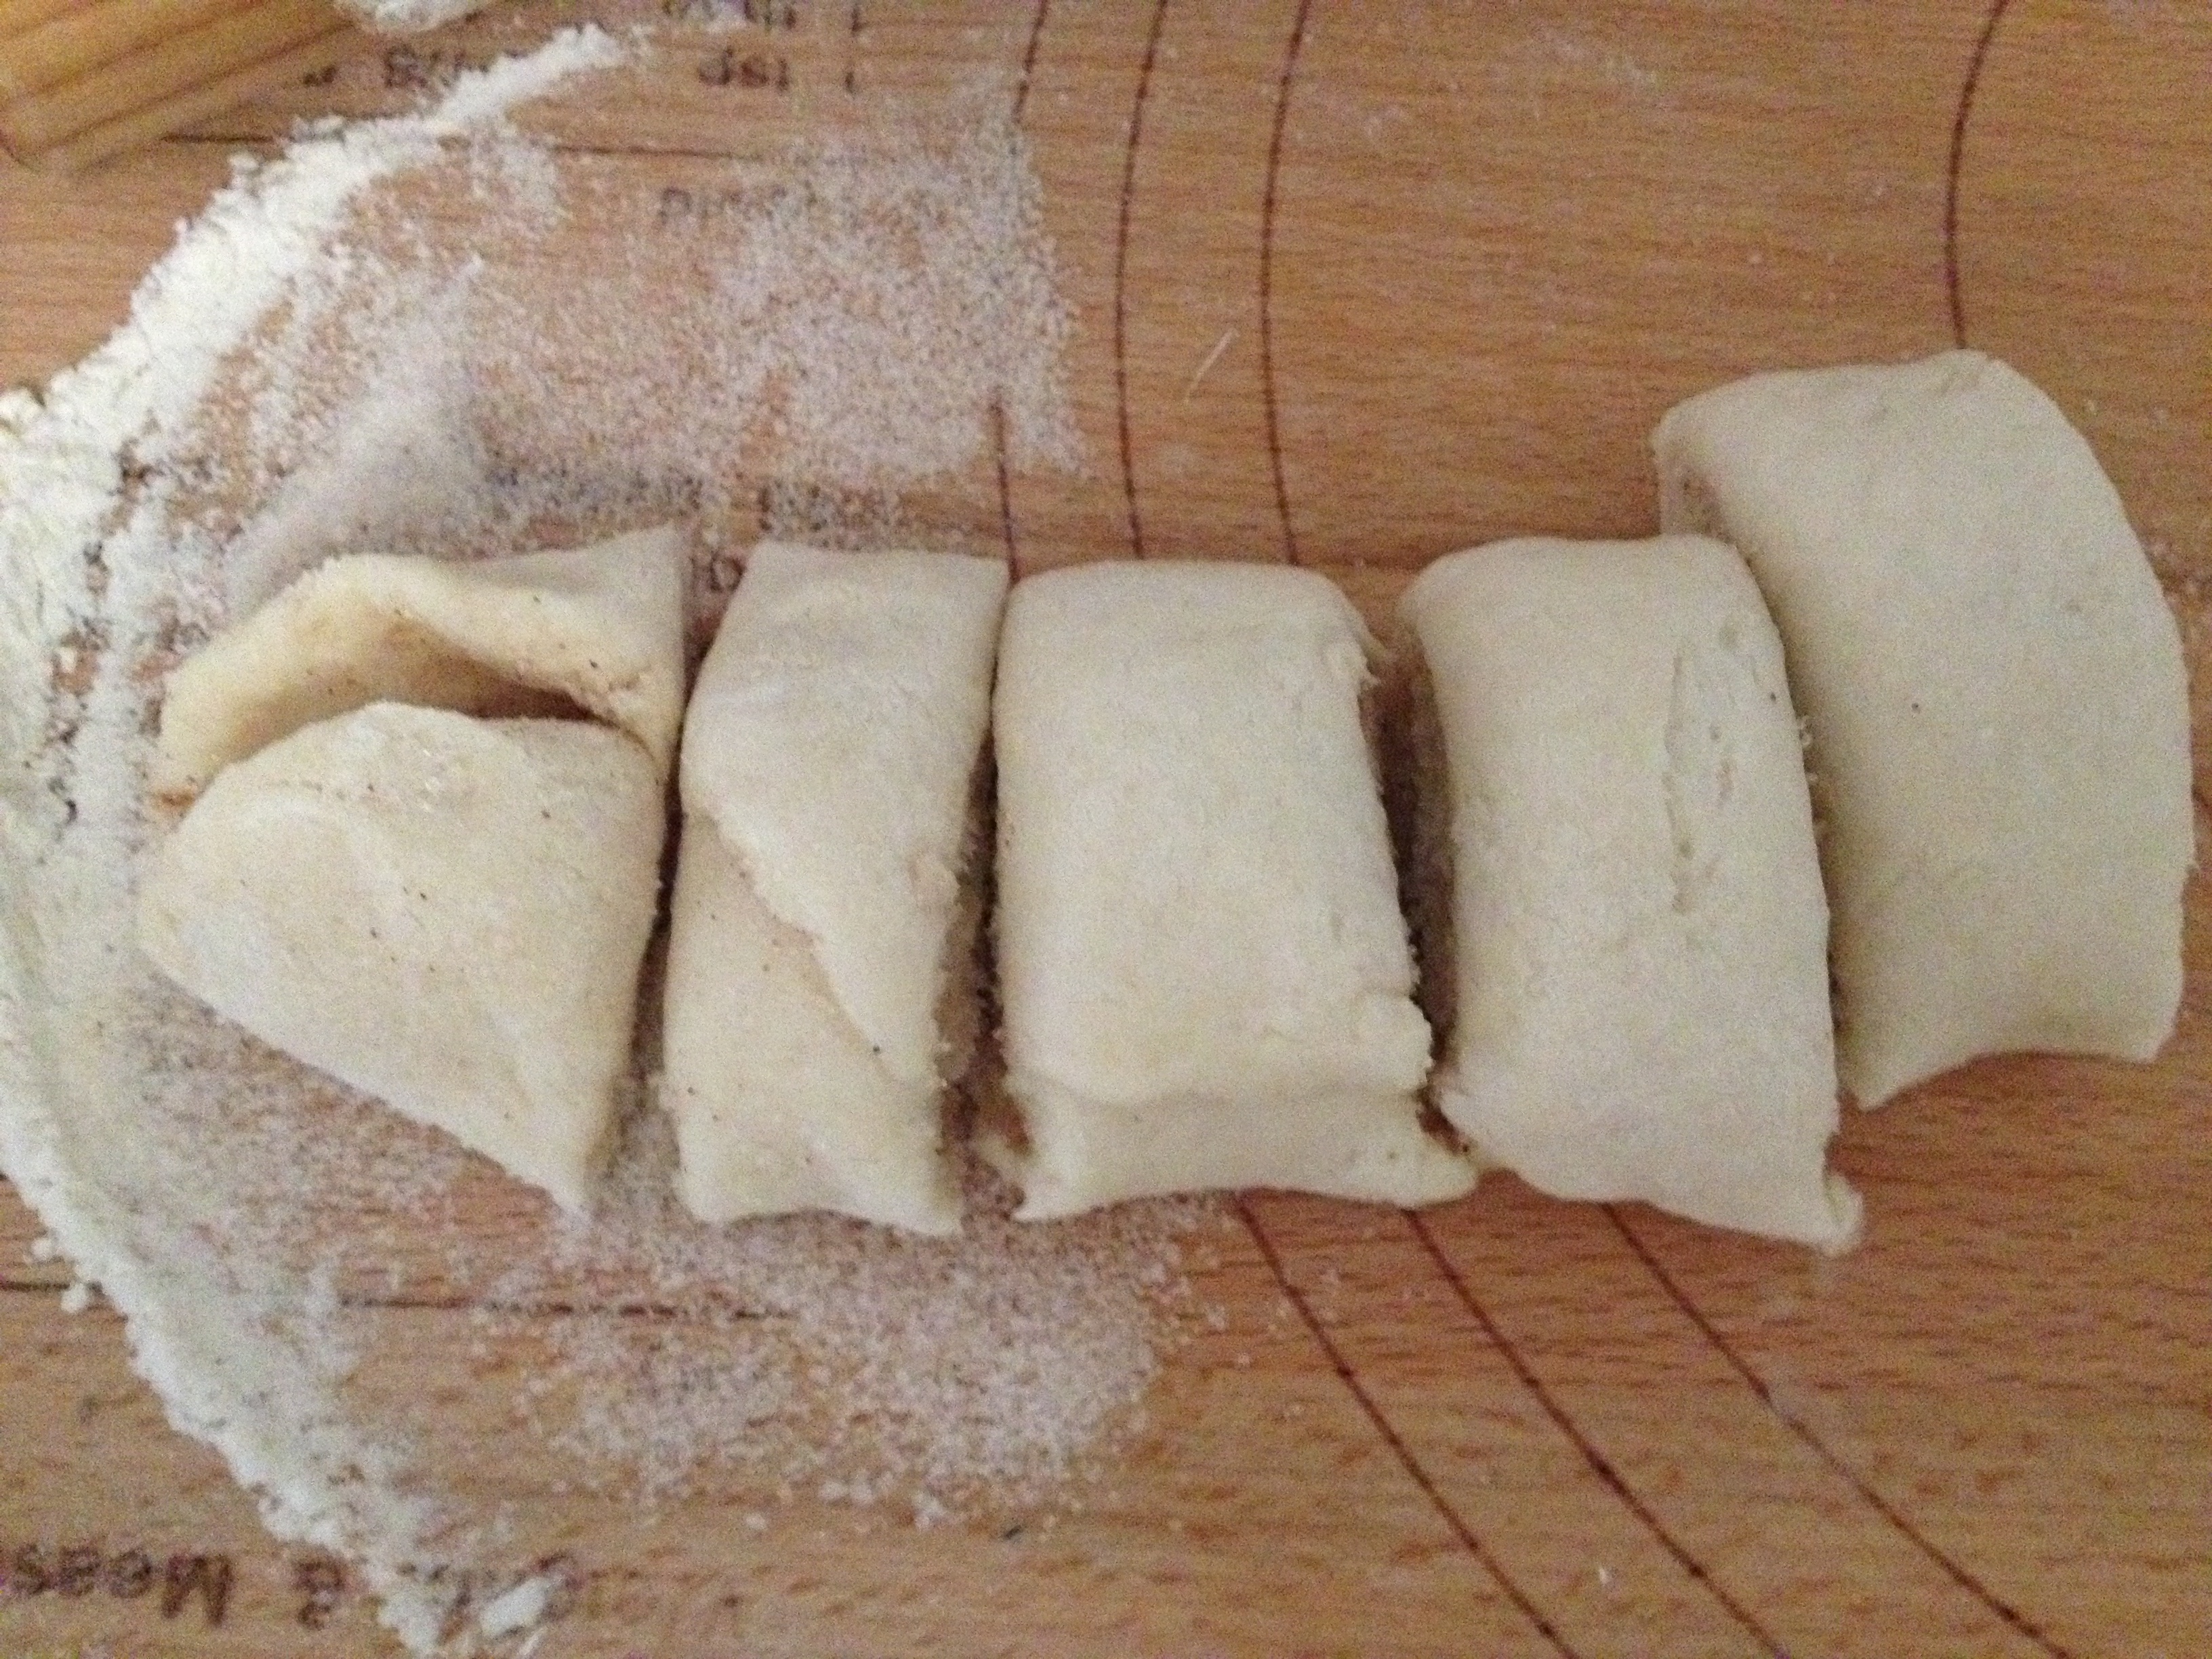
Roll the dough up into a tube, and cut into approximately 1″ slices. Arrange on a baking sheet.
Bake at 400°F for 12-15 minutes.
And then finally, because we had to have something to go with our biscuits, here is the recipe for crock pot chicken pot pie filling that I made up!
Sauce Ingredients:
1/3 cup margarine
1/3 cup flour
2/3 cup milk
1 1/2 cup chicken broth
Chicken Ingredients:
3 boneless, skinless chicken breasts
1/2 cup chopped onion
1/2 cup chicken broth
2 cups frozen veggies
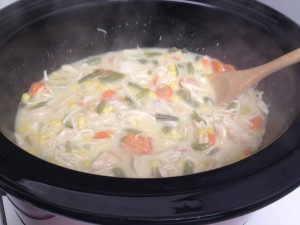
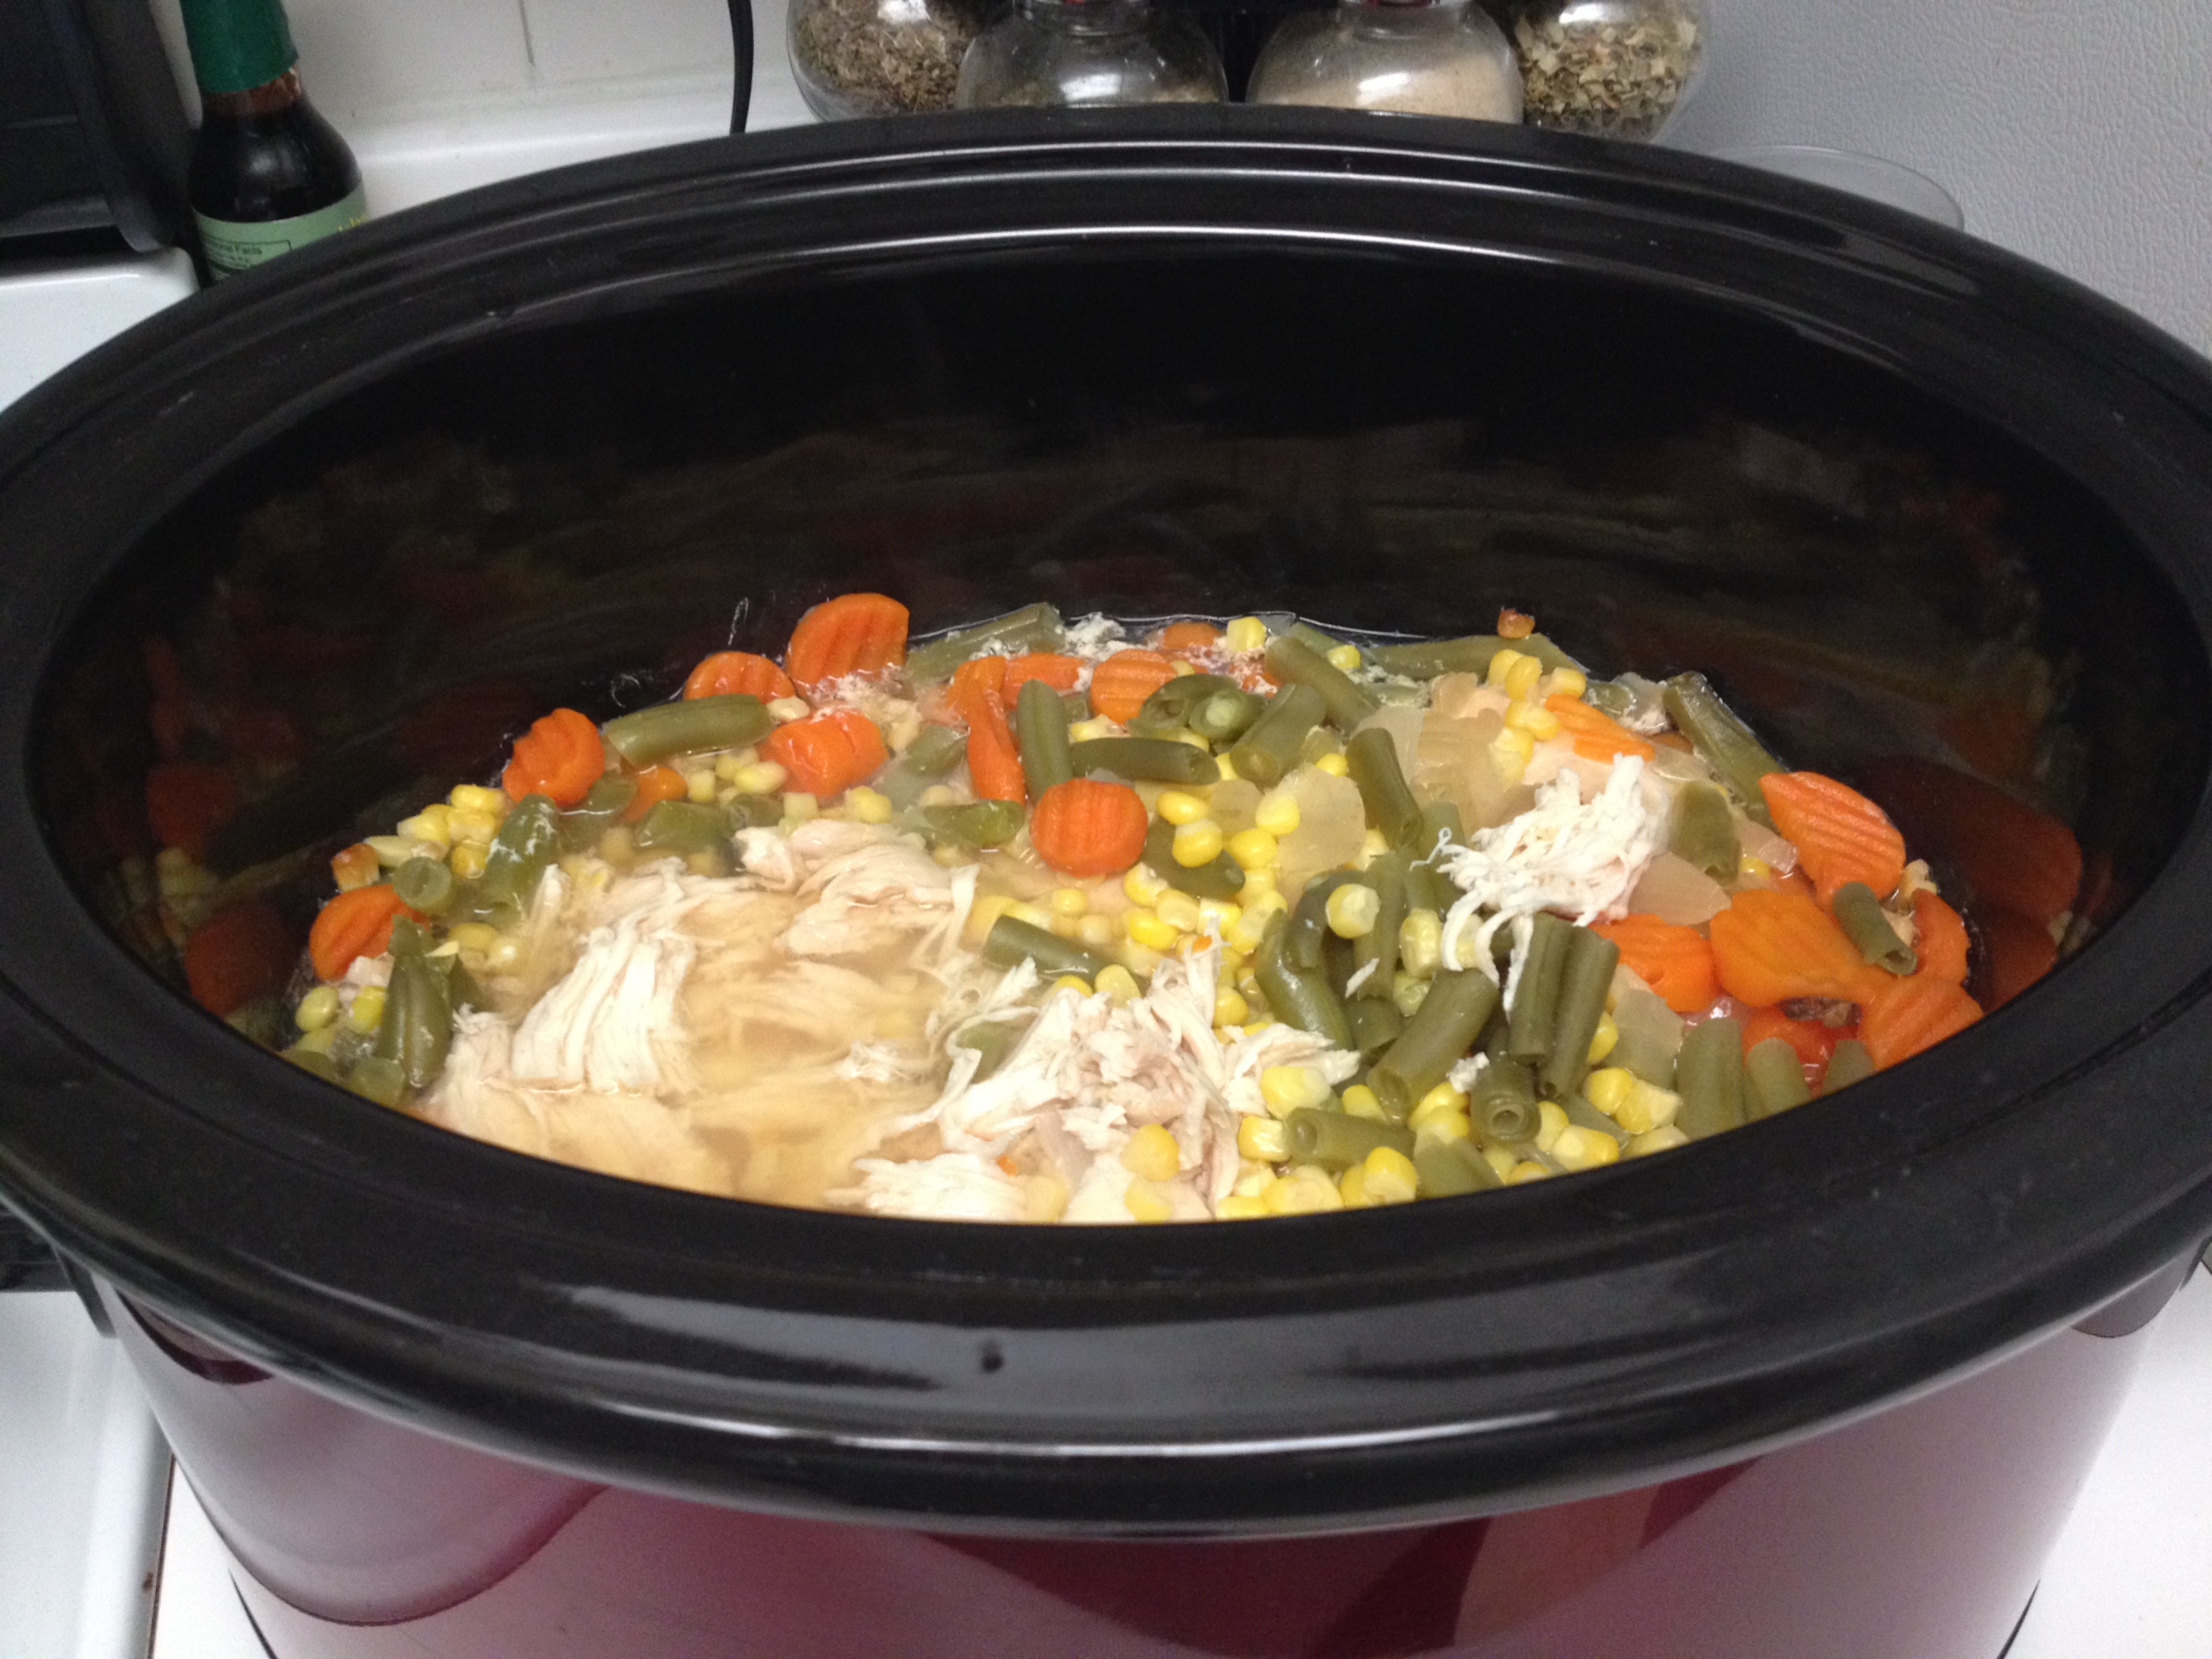
Arrange chicken, 1/2 cup broth, veggies, and onion in crockpot. Cook on high for four hours until chicken is fully cooked. Using two forks, shred chicken.
Now, we make the sauce to add to this. Combine the margarine and flour over heat and stir until they form a paste (called a roux). Add the milk, and stir until the sauce is thickened. Finally, add the 1 1/2 chicken broth, and salt and pepper to taste. Stir until fully combined. Pour the sauce into the crockpot and stir.
And now, eat your chicken pot pie filling with biscuits on top and be happy. And then have cinnamon rolls for dessert and be even happier! Enjoy!
Sweet Tea and Fresh Bread
Hi everyone! I’m finally done with my summer class and back in the kitchen making some new recipes! As you might know, zucchini is in season currently. We have a ton growing in our garden, so we had to find use for it all! My goal was to create a healthier-than-normal-but-still-delicious recipe for zucchini bread. This recipe has 3.5 servings of fruits and veggies per batch, and is also full of fiber, protein, and vitamins. Check it out:
Ingredients:
1 ½ cup granulated sugar
1 cup plus 2 tbsp applesauce (I used unsweetened, but you can use sweetened or cinnamon if you have that on hand)
3 eggs
3 tsp vanilla extract
2 cups shredded fresh zucchini
½ cup shredded fresh peeled carrots
1 ½ cup whole wheat flour
1 ½ cup white flour
1 tsp baking soda
4 tsp cinnamon (more or less to taste)
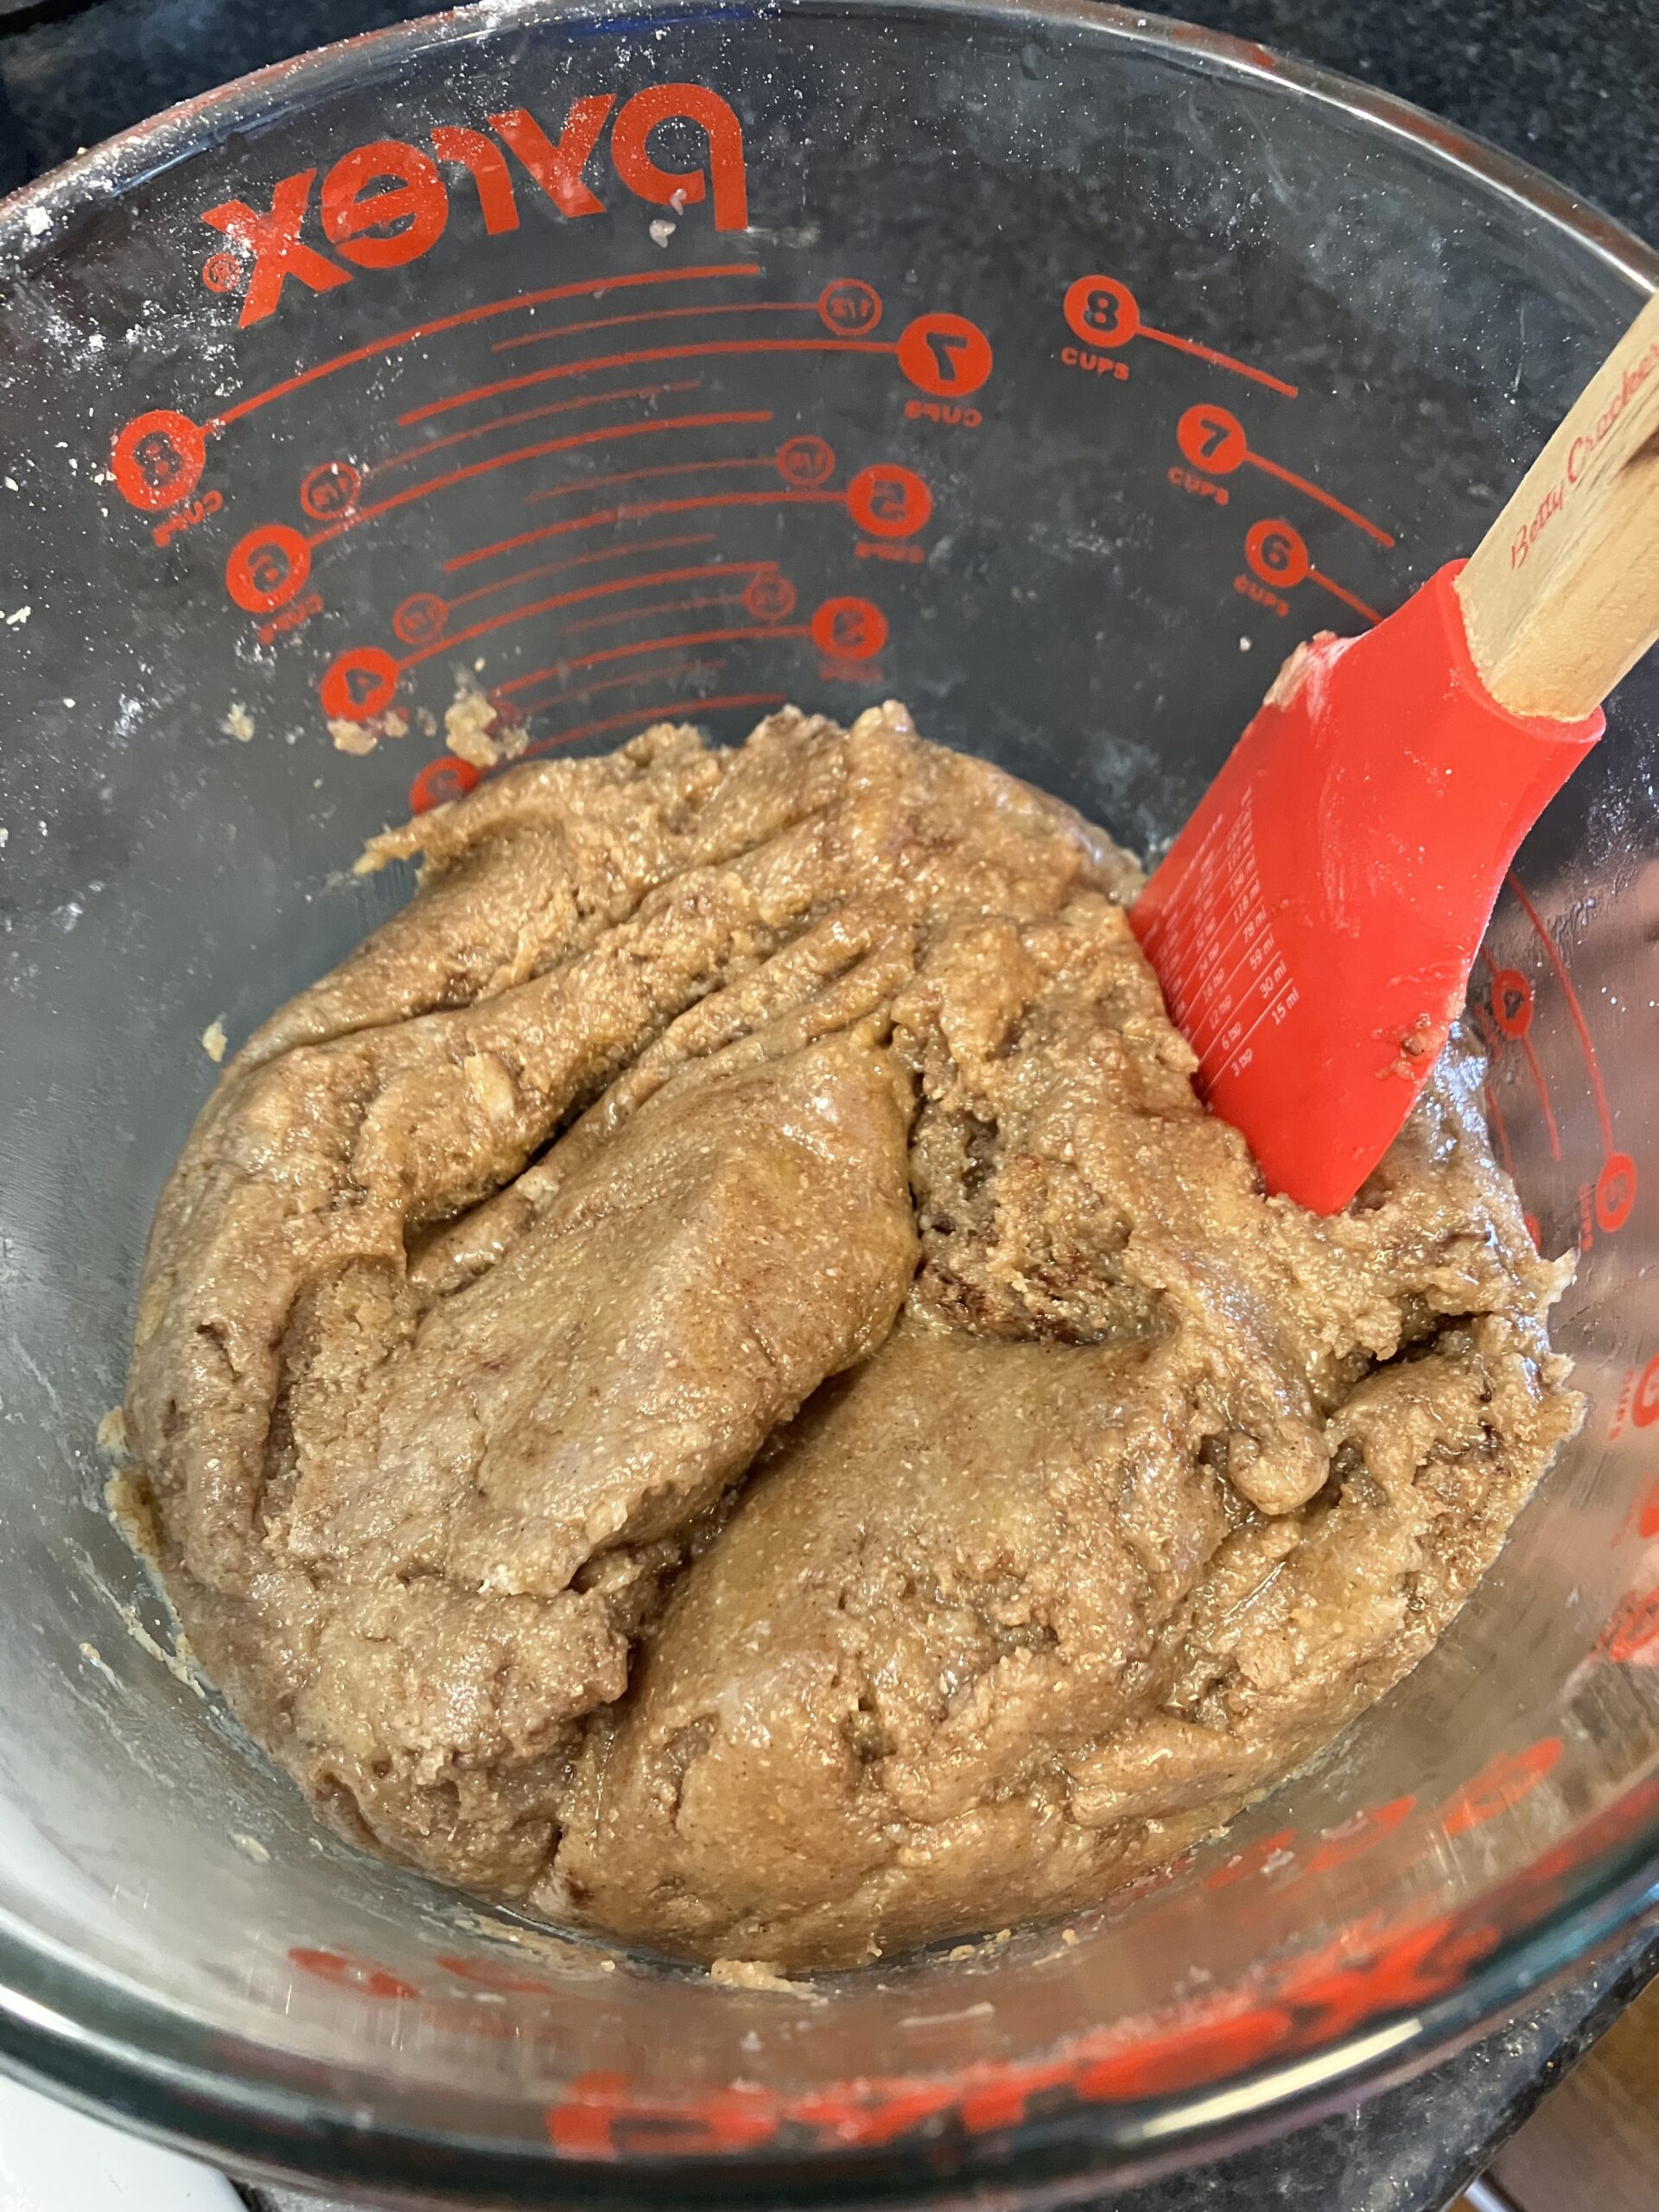
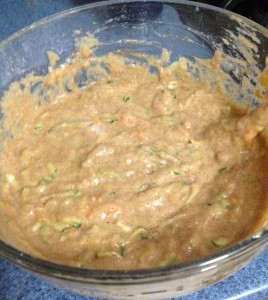
Preheat the oven to 350°F, and grease and flour two 9×5″ loaf pans. Mix the wet ingredients together in a mixing bowl, and then gradually stir in the dry ingredients. Mix until the dry ingredients are fully incorporated into the wet ingredients. It should look like this:
Divide the batter equally into the two loaf pans, and bake for 50 min to an hour, or until a toothpick inserted in the middle of the loaf comes out clean.
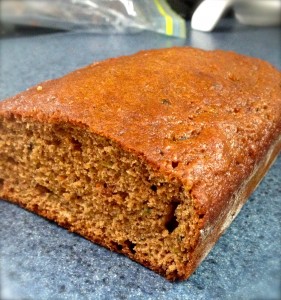
Remove the loaves from the oven and set on a cooling rack until the pans are fully cooled. Then, run a knife along the edge of the loaf and turn the pan upside down so that the loaf falls out onto the cooling rack. Next step: eat it to your heart’s content, knowing full well that you’re getting your daily servings of fruits and veggies from this bread!
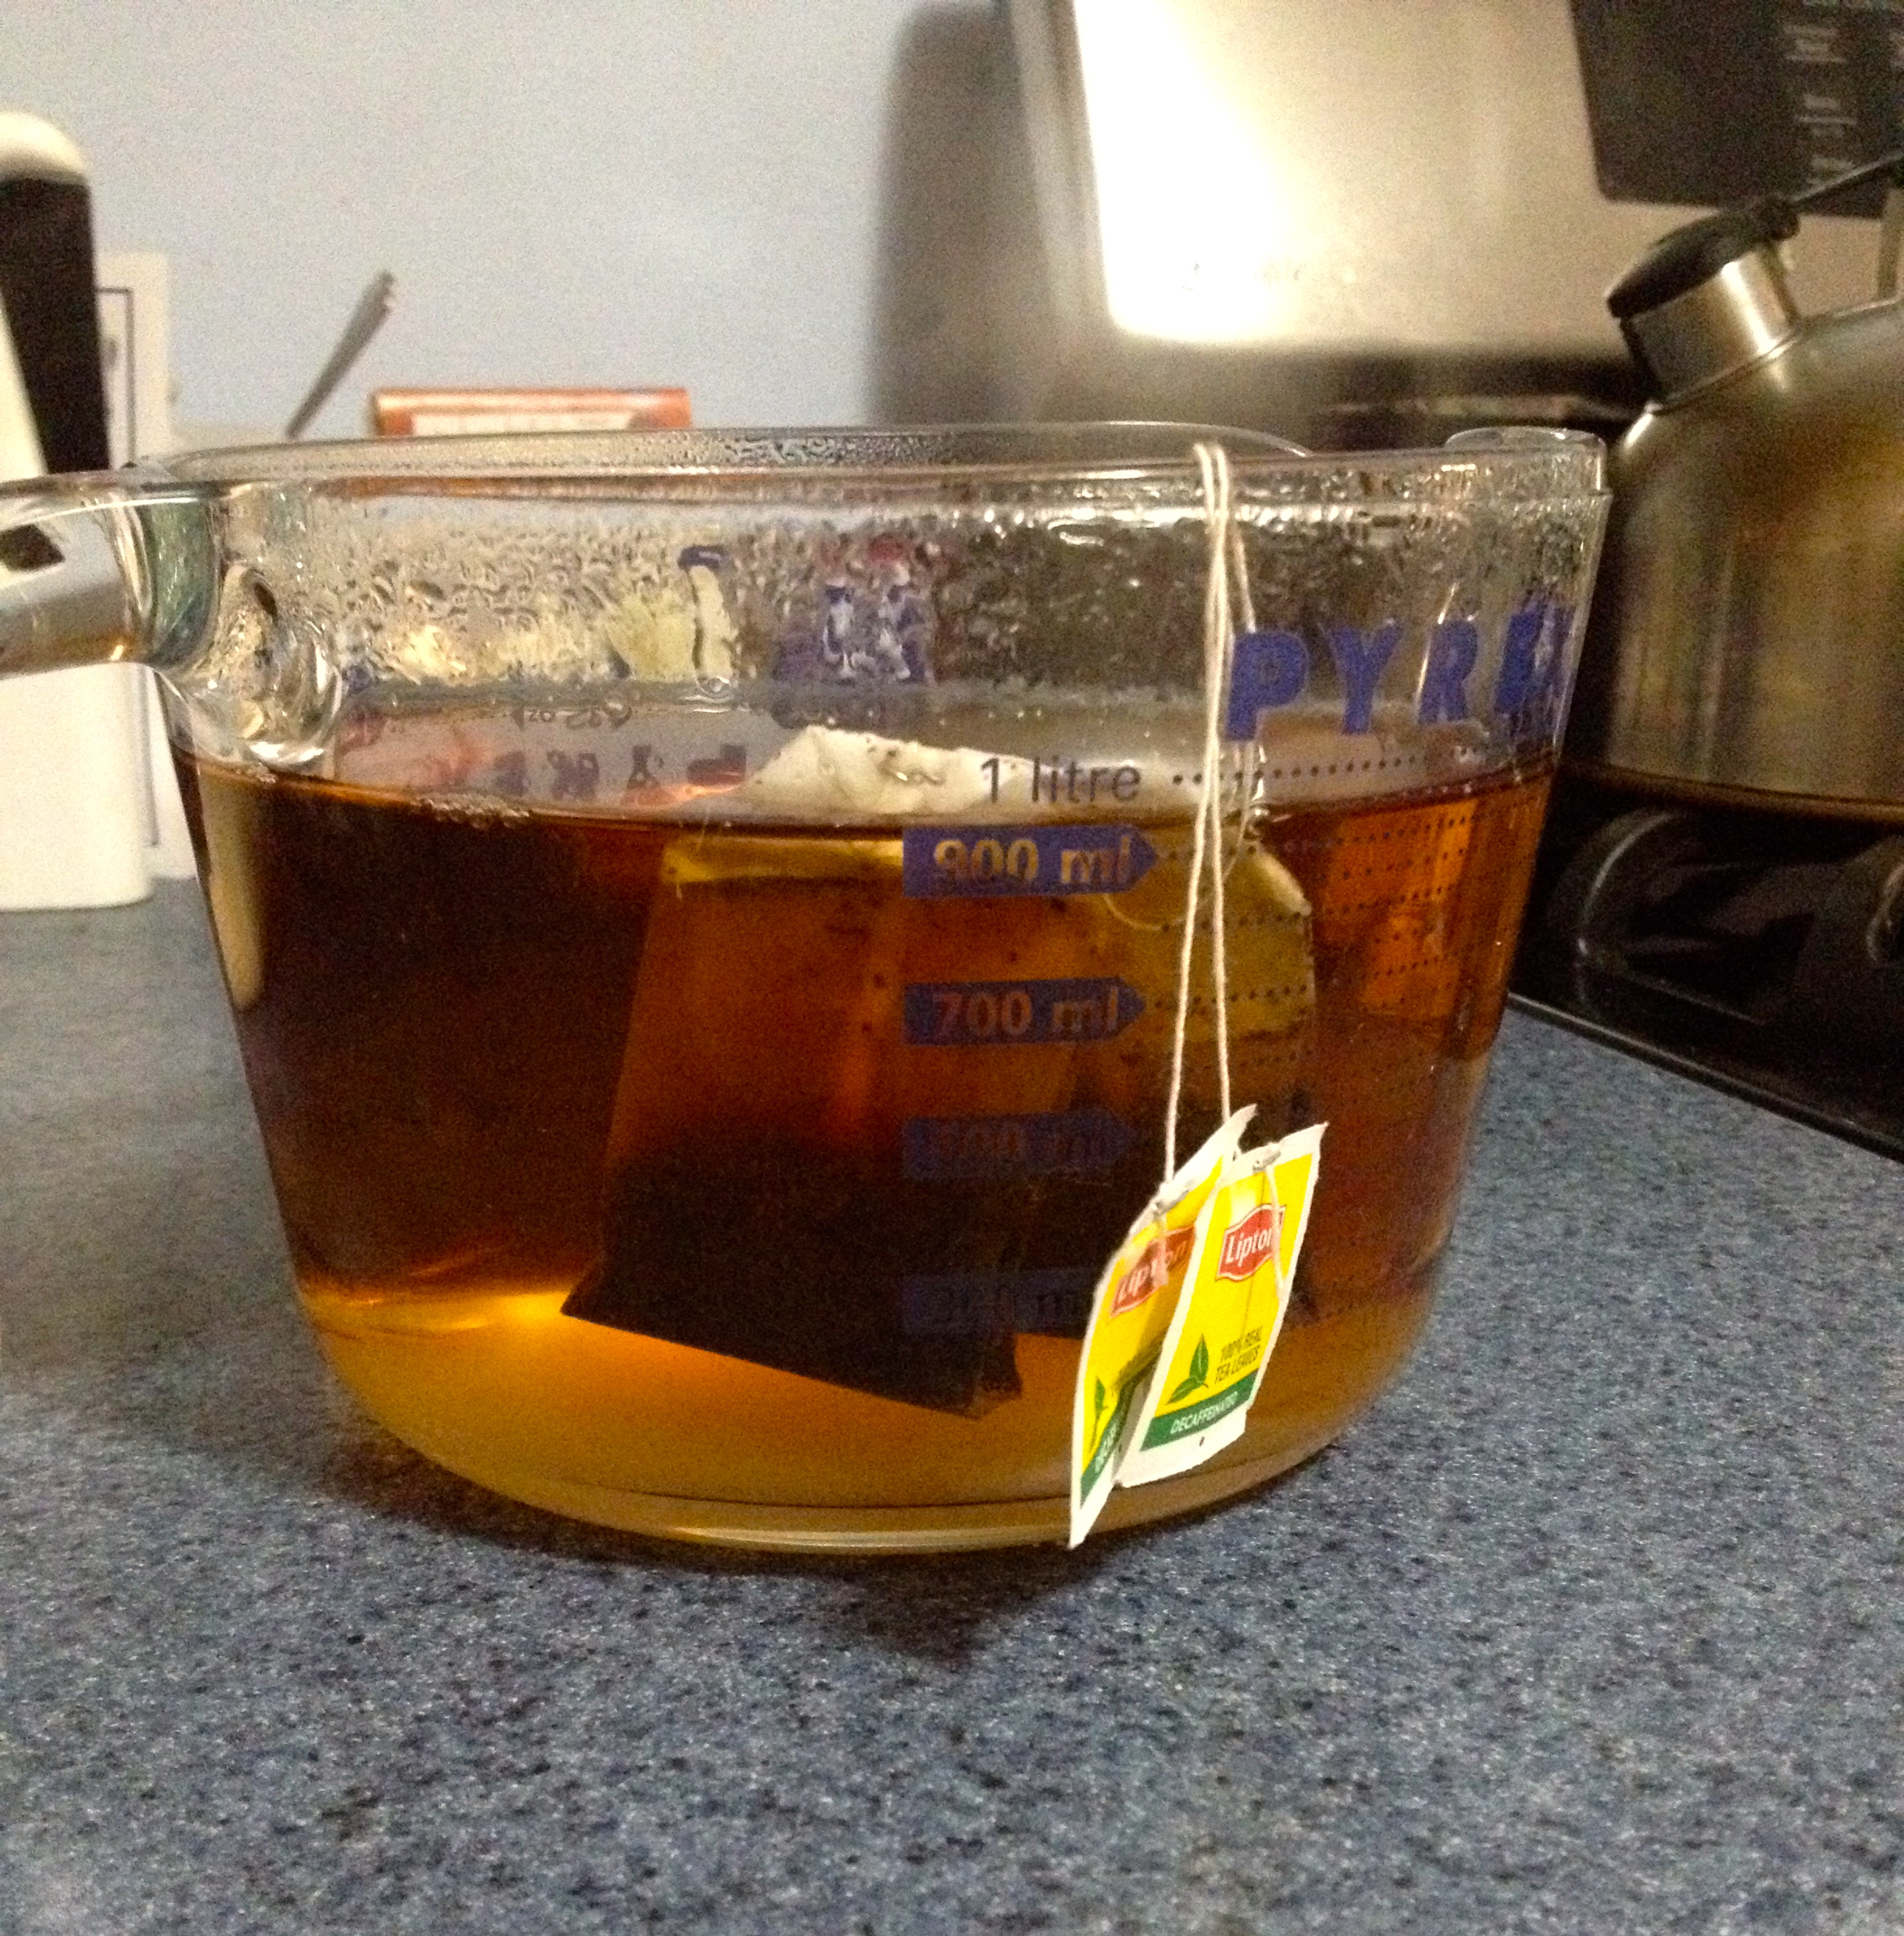
To go along with the zucchini bread, I made a quick batch of sweet tea, which was a brand new adventure for me! This recipe is super simple.
Ingredients:
2 tea bags of your choice (I used Lipton black decaf)
1 quart boiling water from the kettle
1/4 cup granulated sugar, more or less to taste
Put the tea bags in a quart container and pour the boiling water over them. Let the tea steep for about 5-7 minutes, and pour the sugar in while the tea is still super hot. Stir the mixture to dissolve the sugar. Then, remove the tea bags and let the tea cool.
And then, of course, you can enjoy your sweet tea with your favorite straw! Mine just happens to be a color changing one. You can’t go wrong with a fun straw!
These recipes are so simple, but so yummy! The zucchini bread is perfect for young kids who don’t like to eat fruits and veggies (and everyone else, too!), and the tea is a delicious treat on a hot summer day. I hope you’re all enjoying your summer as much as I am, and I hope you get to try these recipes!
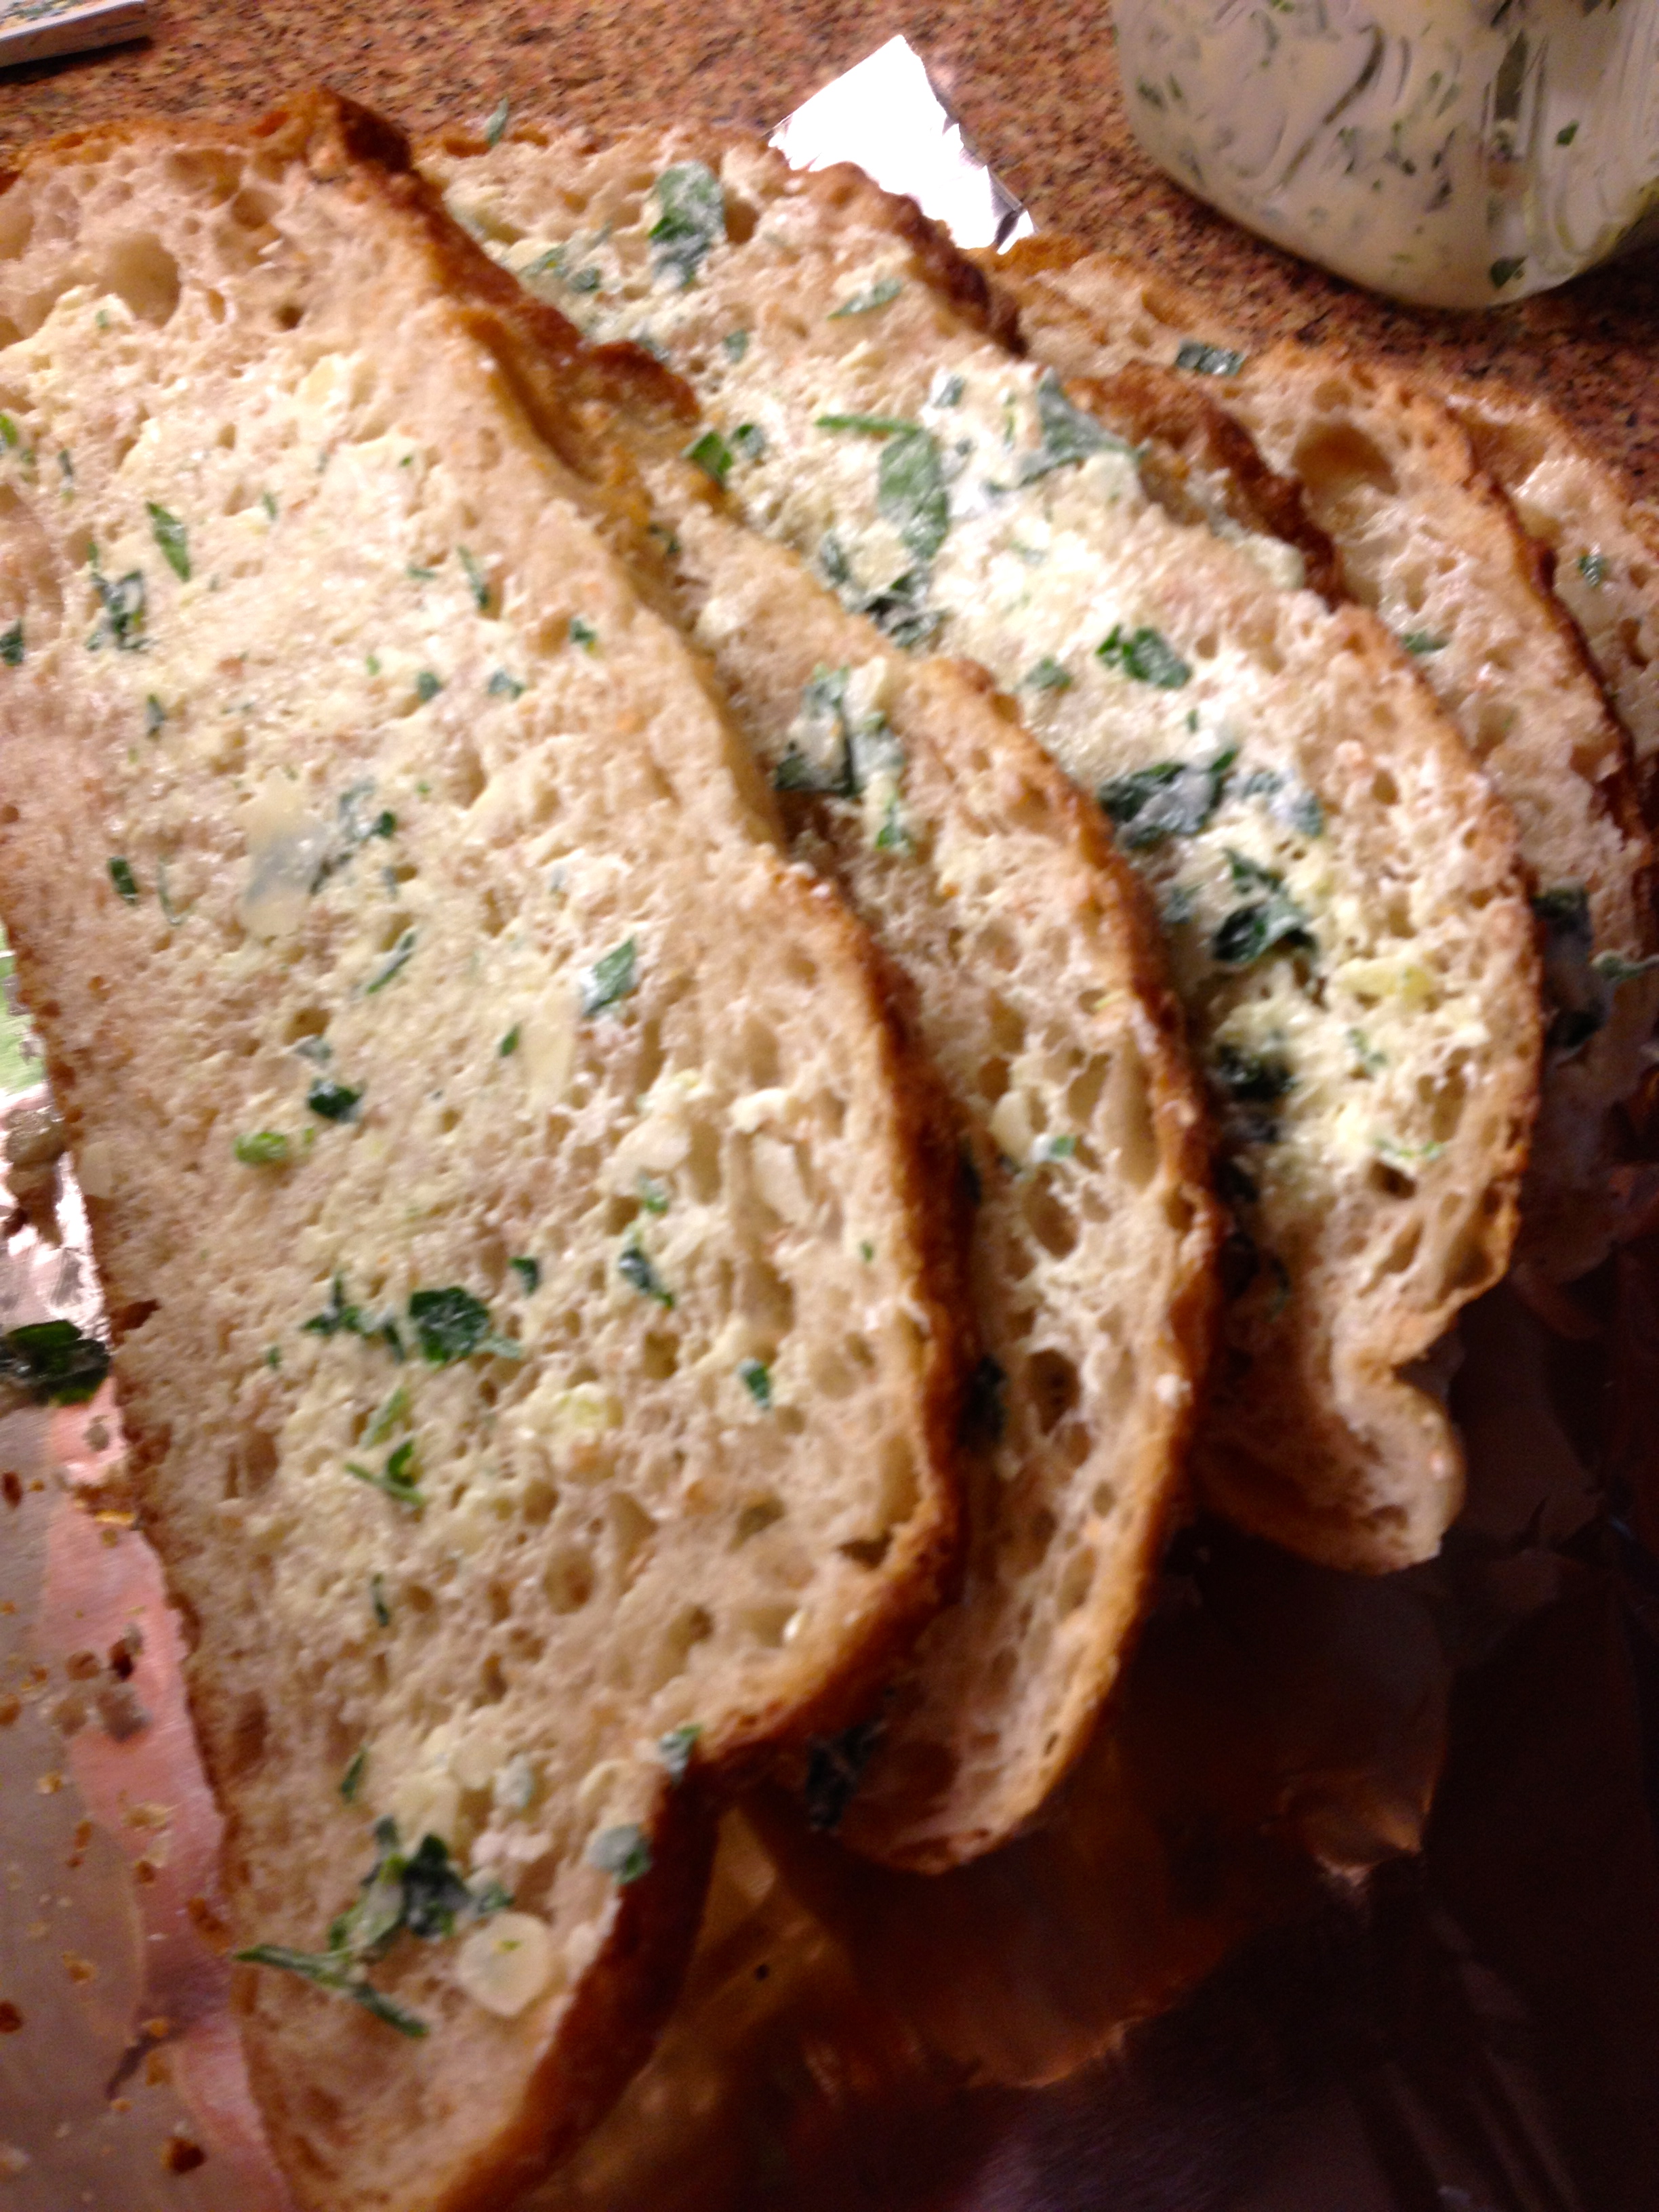
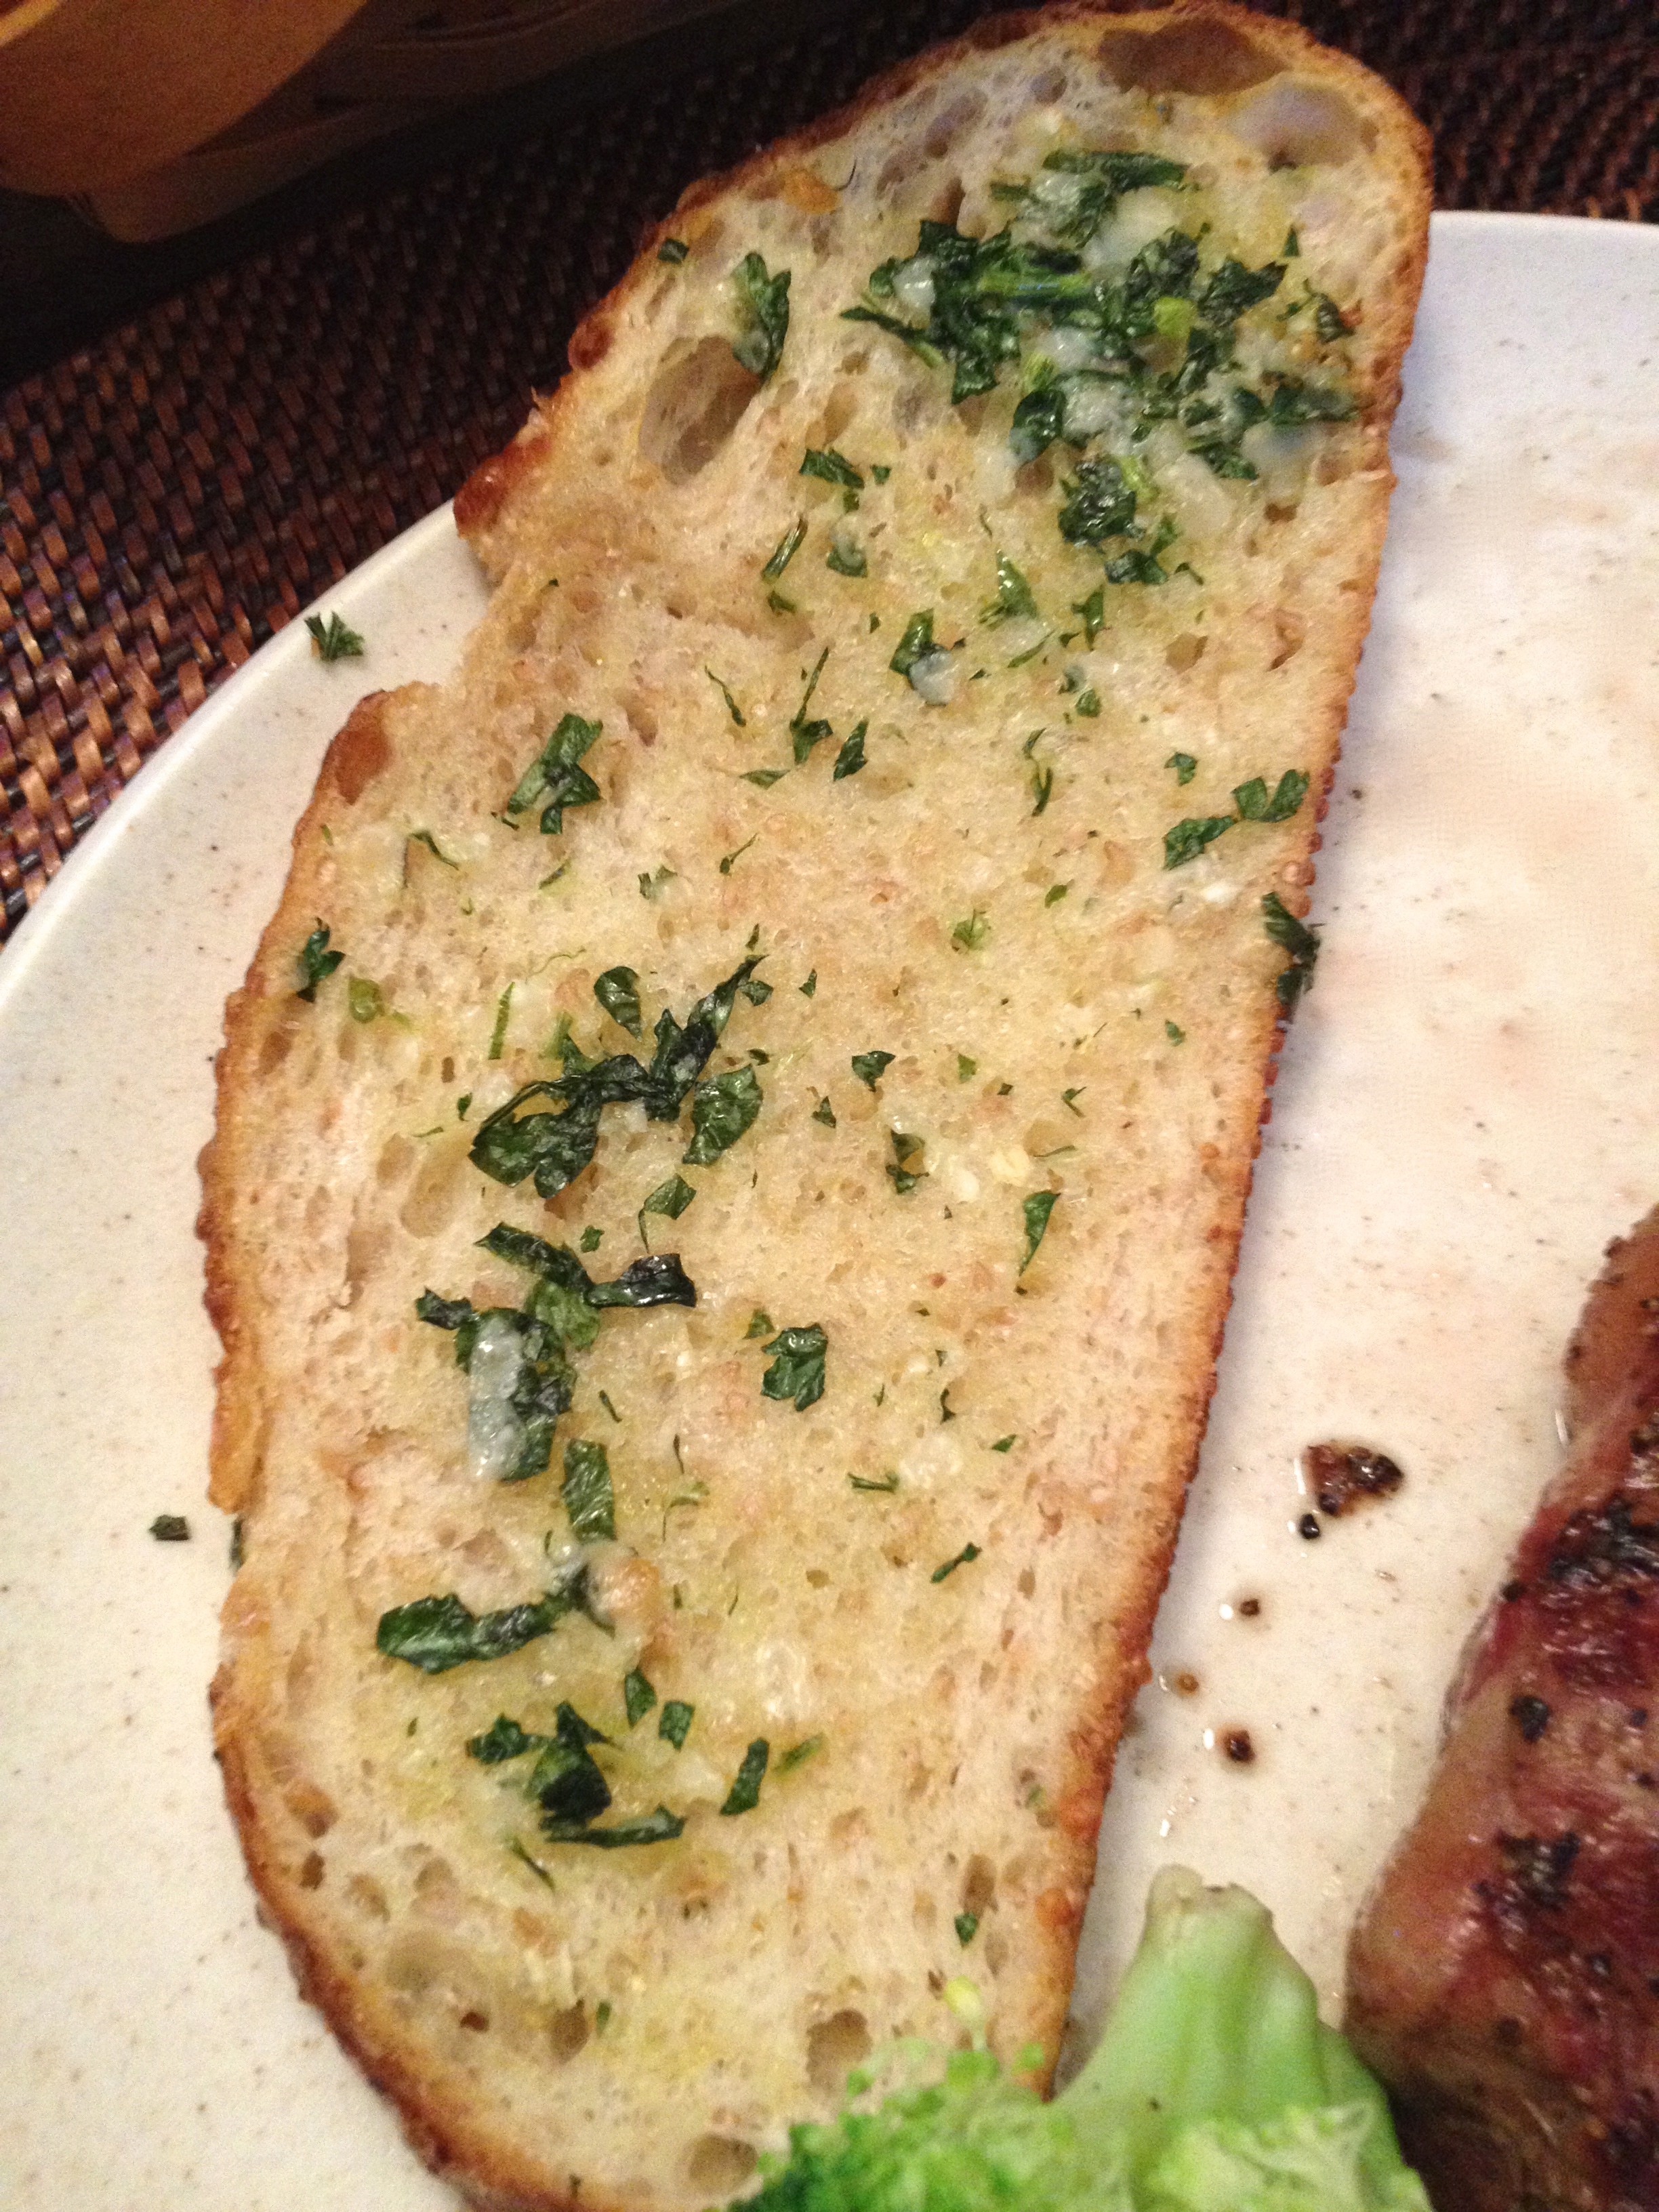
Garlic Parmesan Bread
Hi everyone! This is quicky recipe for garlic Parmesan bread on sourdough. I already wrote it on the Californian food review post, but my organizational O.C.D. demands that I put a bread recipe on the bread page! Here it is:
Ingredients:
Sourdough wheat bread, sliced (Or just plain sourdough bread)
1 stick softened butter or margarine
3 cloves fresh minced garlic
Parmesan cheese to taste
4 Tbsp minced fresh flat-leaf parsley (my aunt had this in her garden, so I used it, but it’s not entirely necessary if you don’t have it)
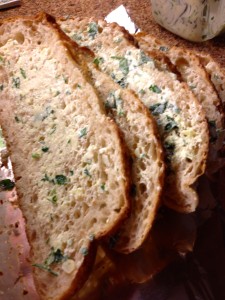
Mix the butter, garlic, Parmesan, and parsley together in a small mixing bowl. Spread the butter mixture in a thin layer on both sides of every slice of bread. Then, right before dinner, set your oven to broil and put the slices of bread on a cookie sheet. Put the cookie sheet right under the broiler, and just let the bread toast until it’s golden brown and crunchy.
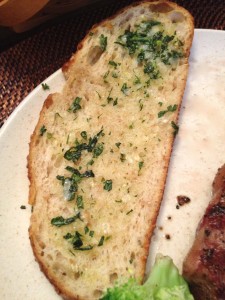
This bread has a terrific savory flavor, and goes great with any dinner. We had it with our lasagna the next night, and it was just as good as with the steak we ate the night before!
Grandma’s Cardamom Bread
Well, it’s snowing outside again. It seems like every time I make a post, I get another few inches of snow. But a little snow can’t stop me from baking! This time, I decided to make an old family favorite from my Grandma’s kitchen: cardamom bread. It’s a beautiful braided bread with sugar sprinkled on the top, and really soft, spiced insides. My family makes this bread for special breakfasts, ski trips, and sometimes just for the heck of it.
This recipe takes a little while, but a lot of it involves the bread just rising. Trust me, though, it’s worth every second! This recipe makes such a soft, moist bread, and the sweet crust on the top is the perfect complement to the warm and spicy cardamom. I’m going to write the recipe exactly how Grandma wrote it (with a few tips added in), because I figure if it ain’t broke, don’t fix it!
Here are the ingredients:
1 cup milk (to make this recipe lower-fat, use 1% milk)
1/3 cup granulated sugar
1/3 cup melted butter
1/2 tsp salt
2 packages dry yeast
4 1/2 cups flour
1 tsp ground cardamom
1 egg (plus 1 more for top)
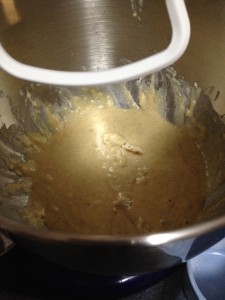
“Heat milk and butter to lukewarm (115-125°F). Put into a mixing bowl, warm milk and butter, yeast, sugar, salt, egg (room temp.), and enough flour to make a gruel-like mixture. Add cardamom.” The gruel-like mixture should be pretty liquid with a few lumps in it.
“Keep adding flour, and when dough becomes quite stiff, knead it in bowl till it doesn’t stick to sides. Shape into ball and pat melted butter on top. Place transparent wrap over dough loosely. Cover bowl with towel. Set in warm place- let it rise to 3 times its size.”
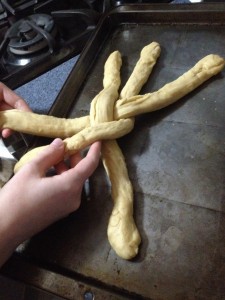
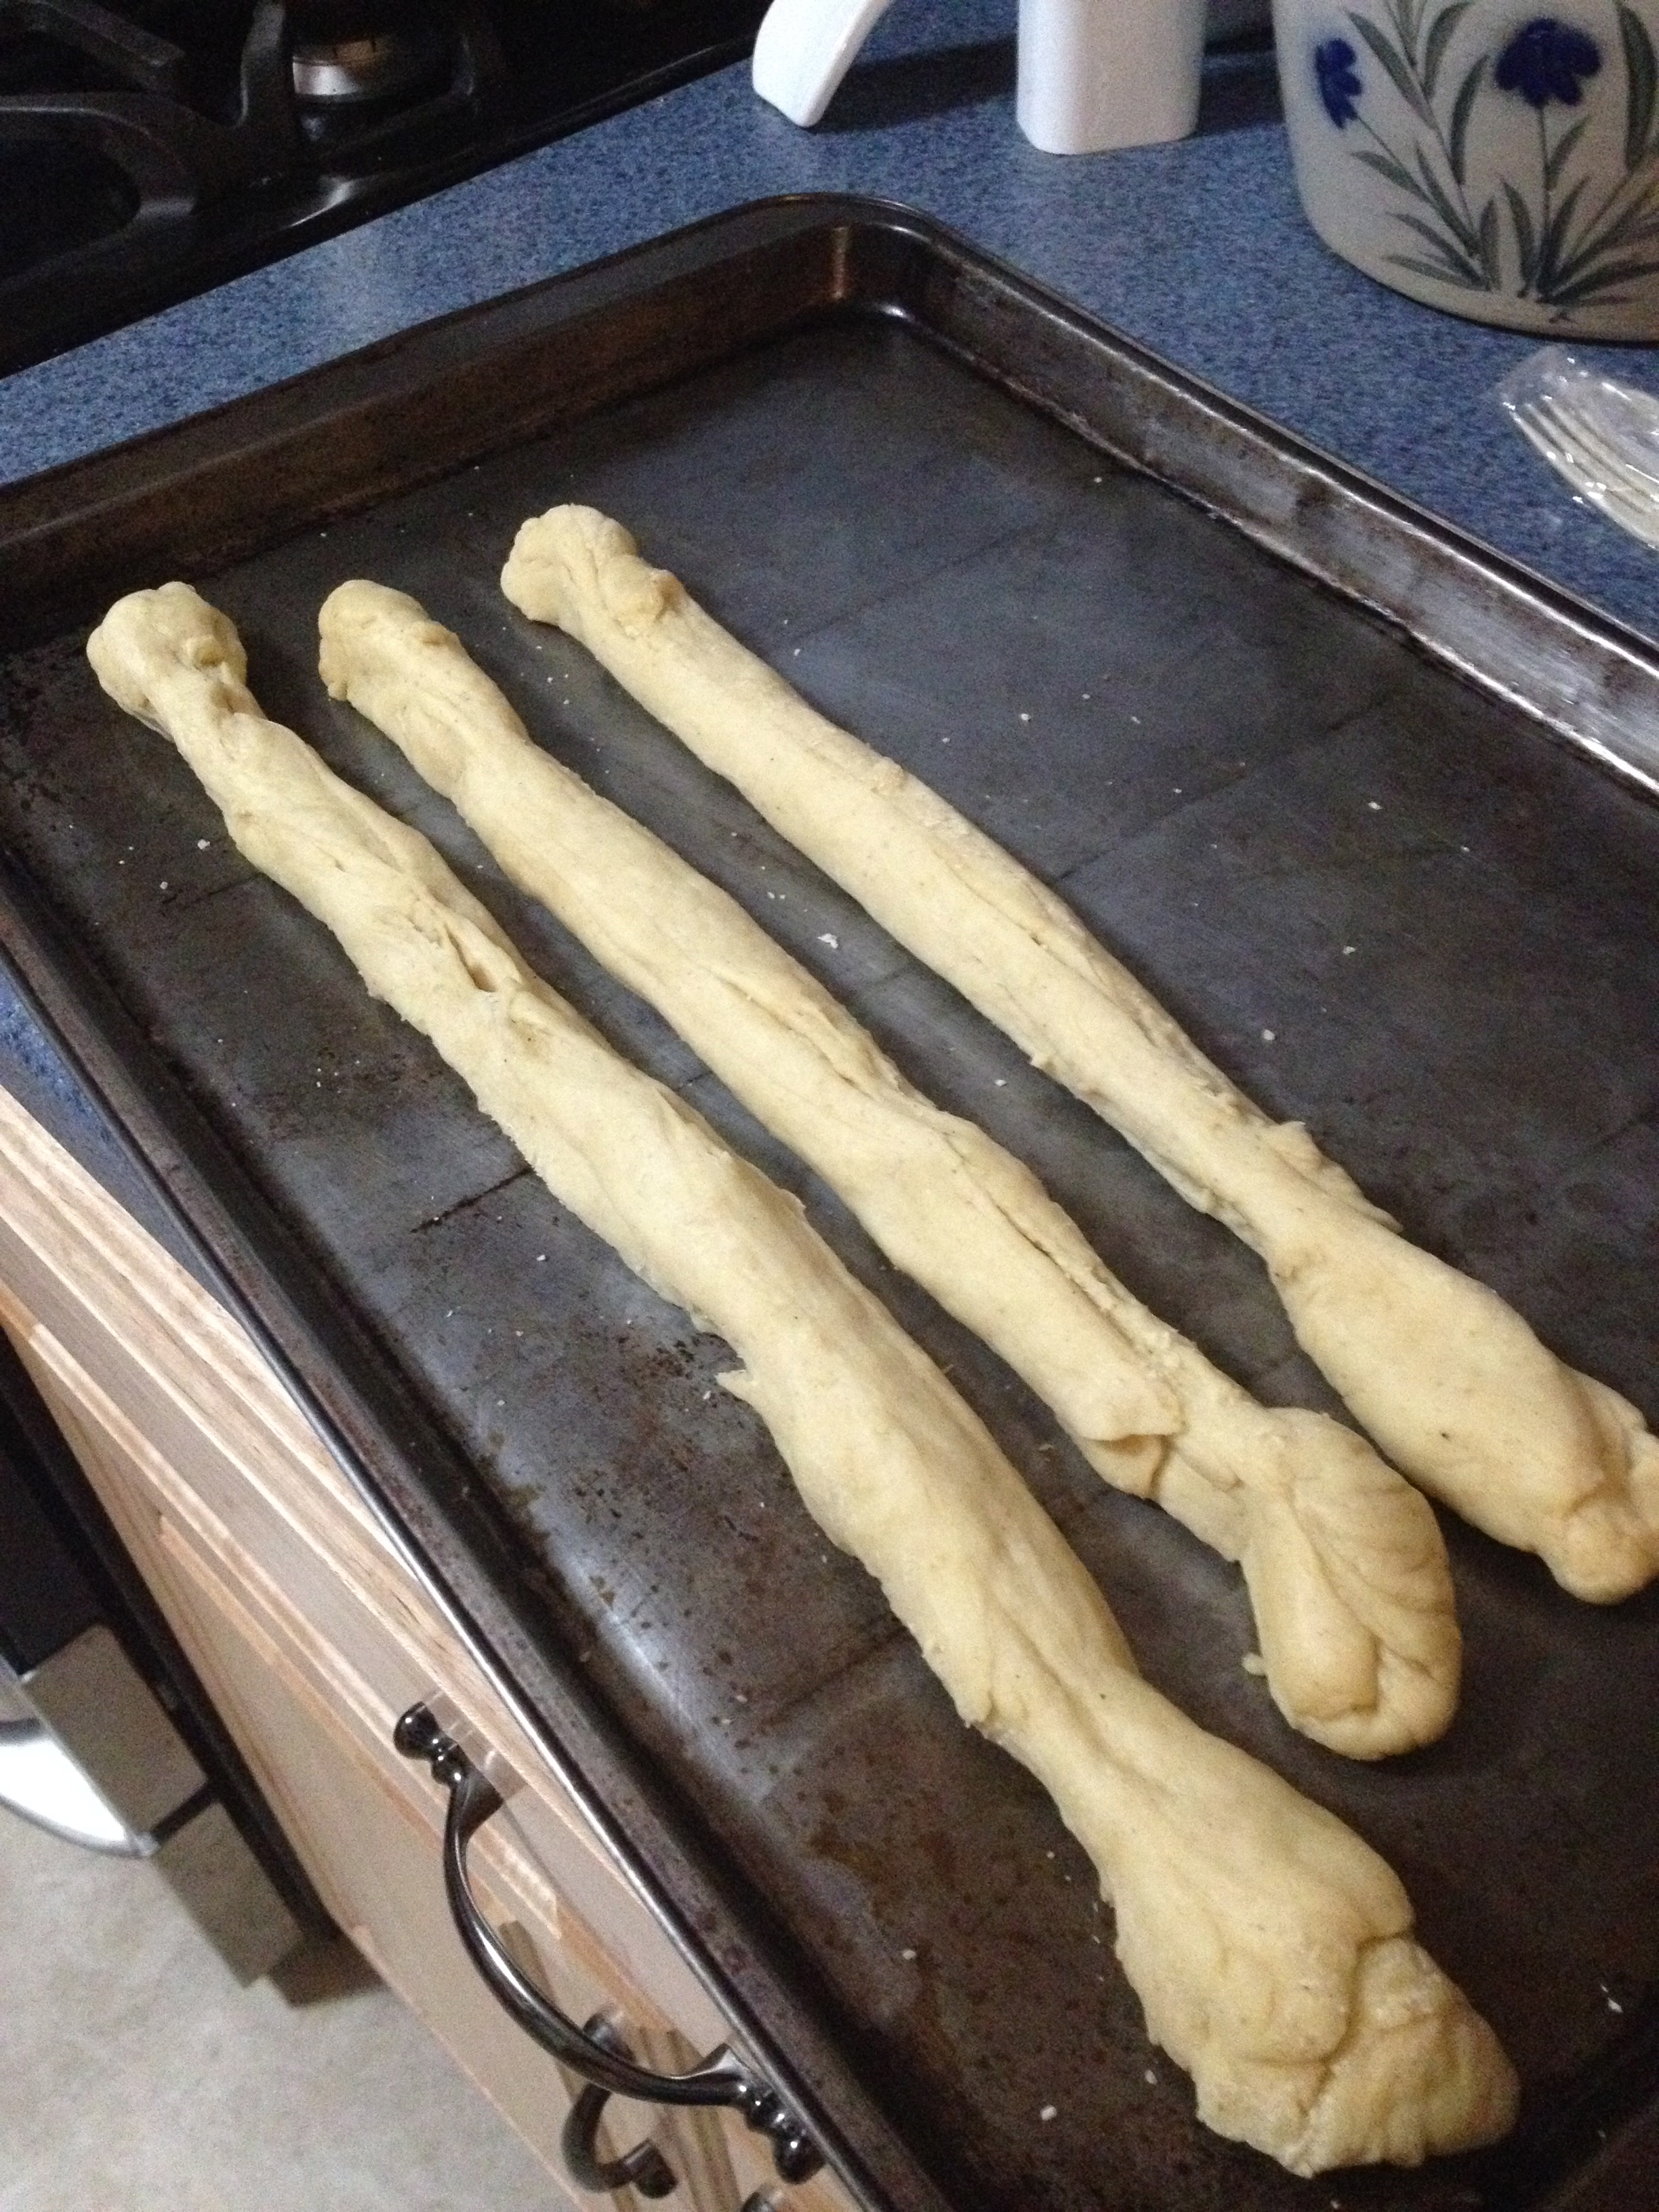
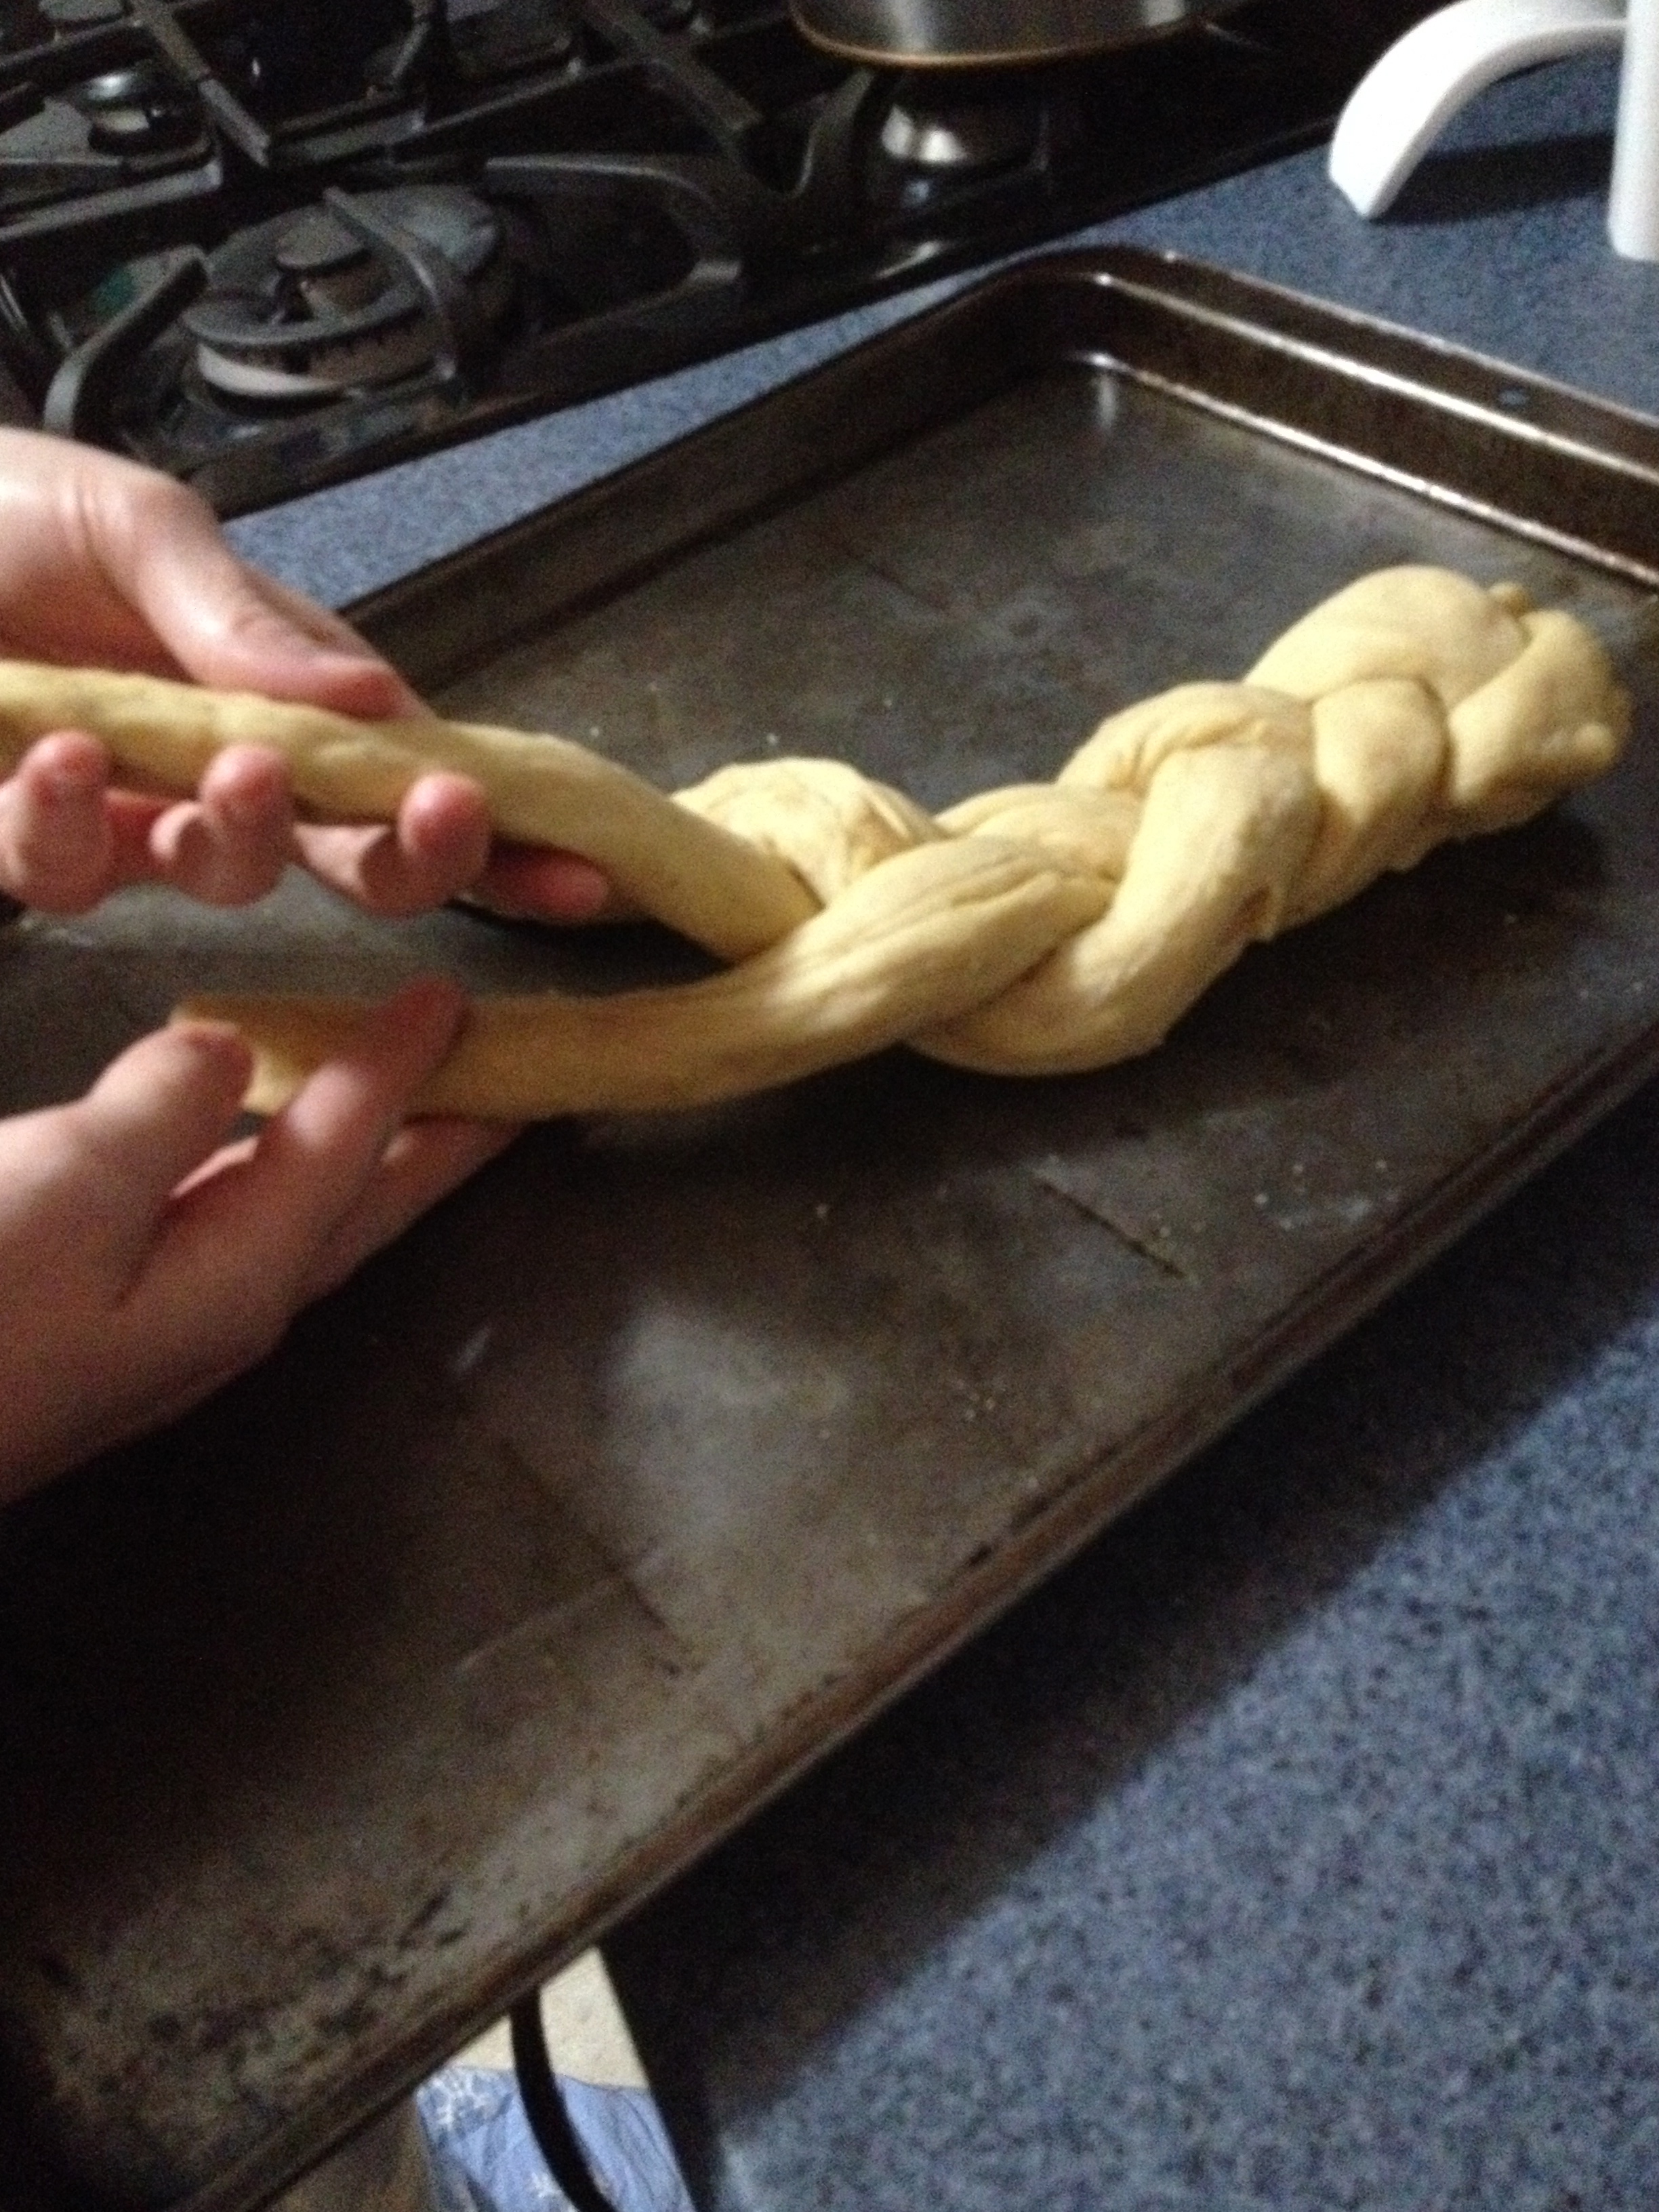
“Cut into 6 sections- 3 for each braid. Form each section into long strip and bread them together.” Here’s a play-by-play of braiding the bread. It’s not hard!
First, cut the bread dough into 6 sections and stretch the section out into long strips.
Lay the strips next to each other. Start braiding either from one end, or from the middle. It’s easier to start from the end, but looks prettier if you start from the middle.
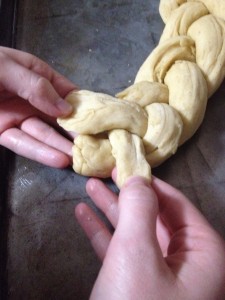
Braid the sections together, trying not to tear the dough. When you come to the end of the sections, tuck the ends under the braid.
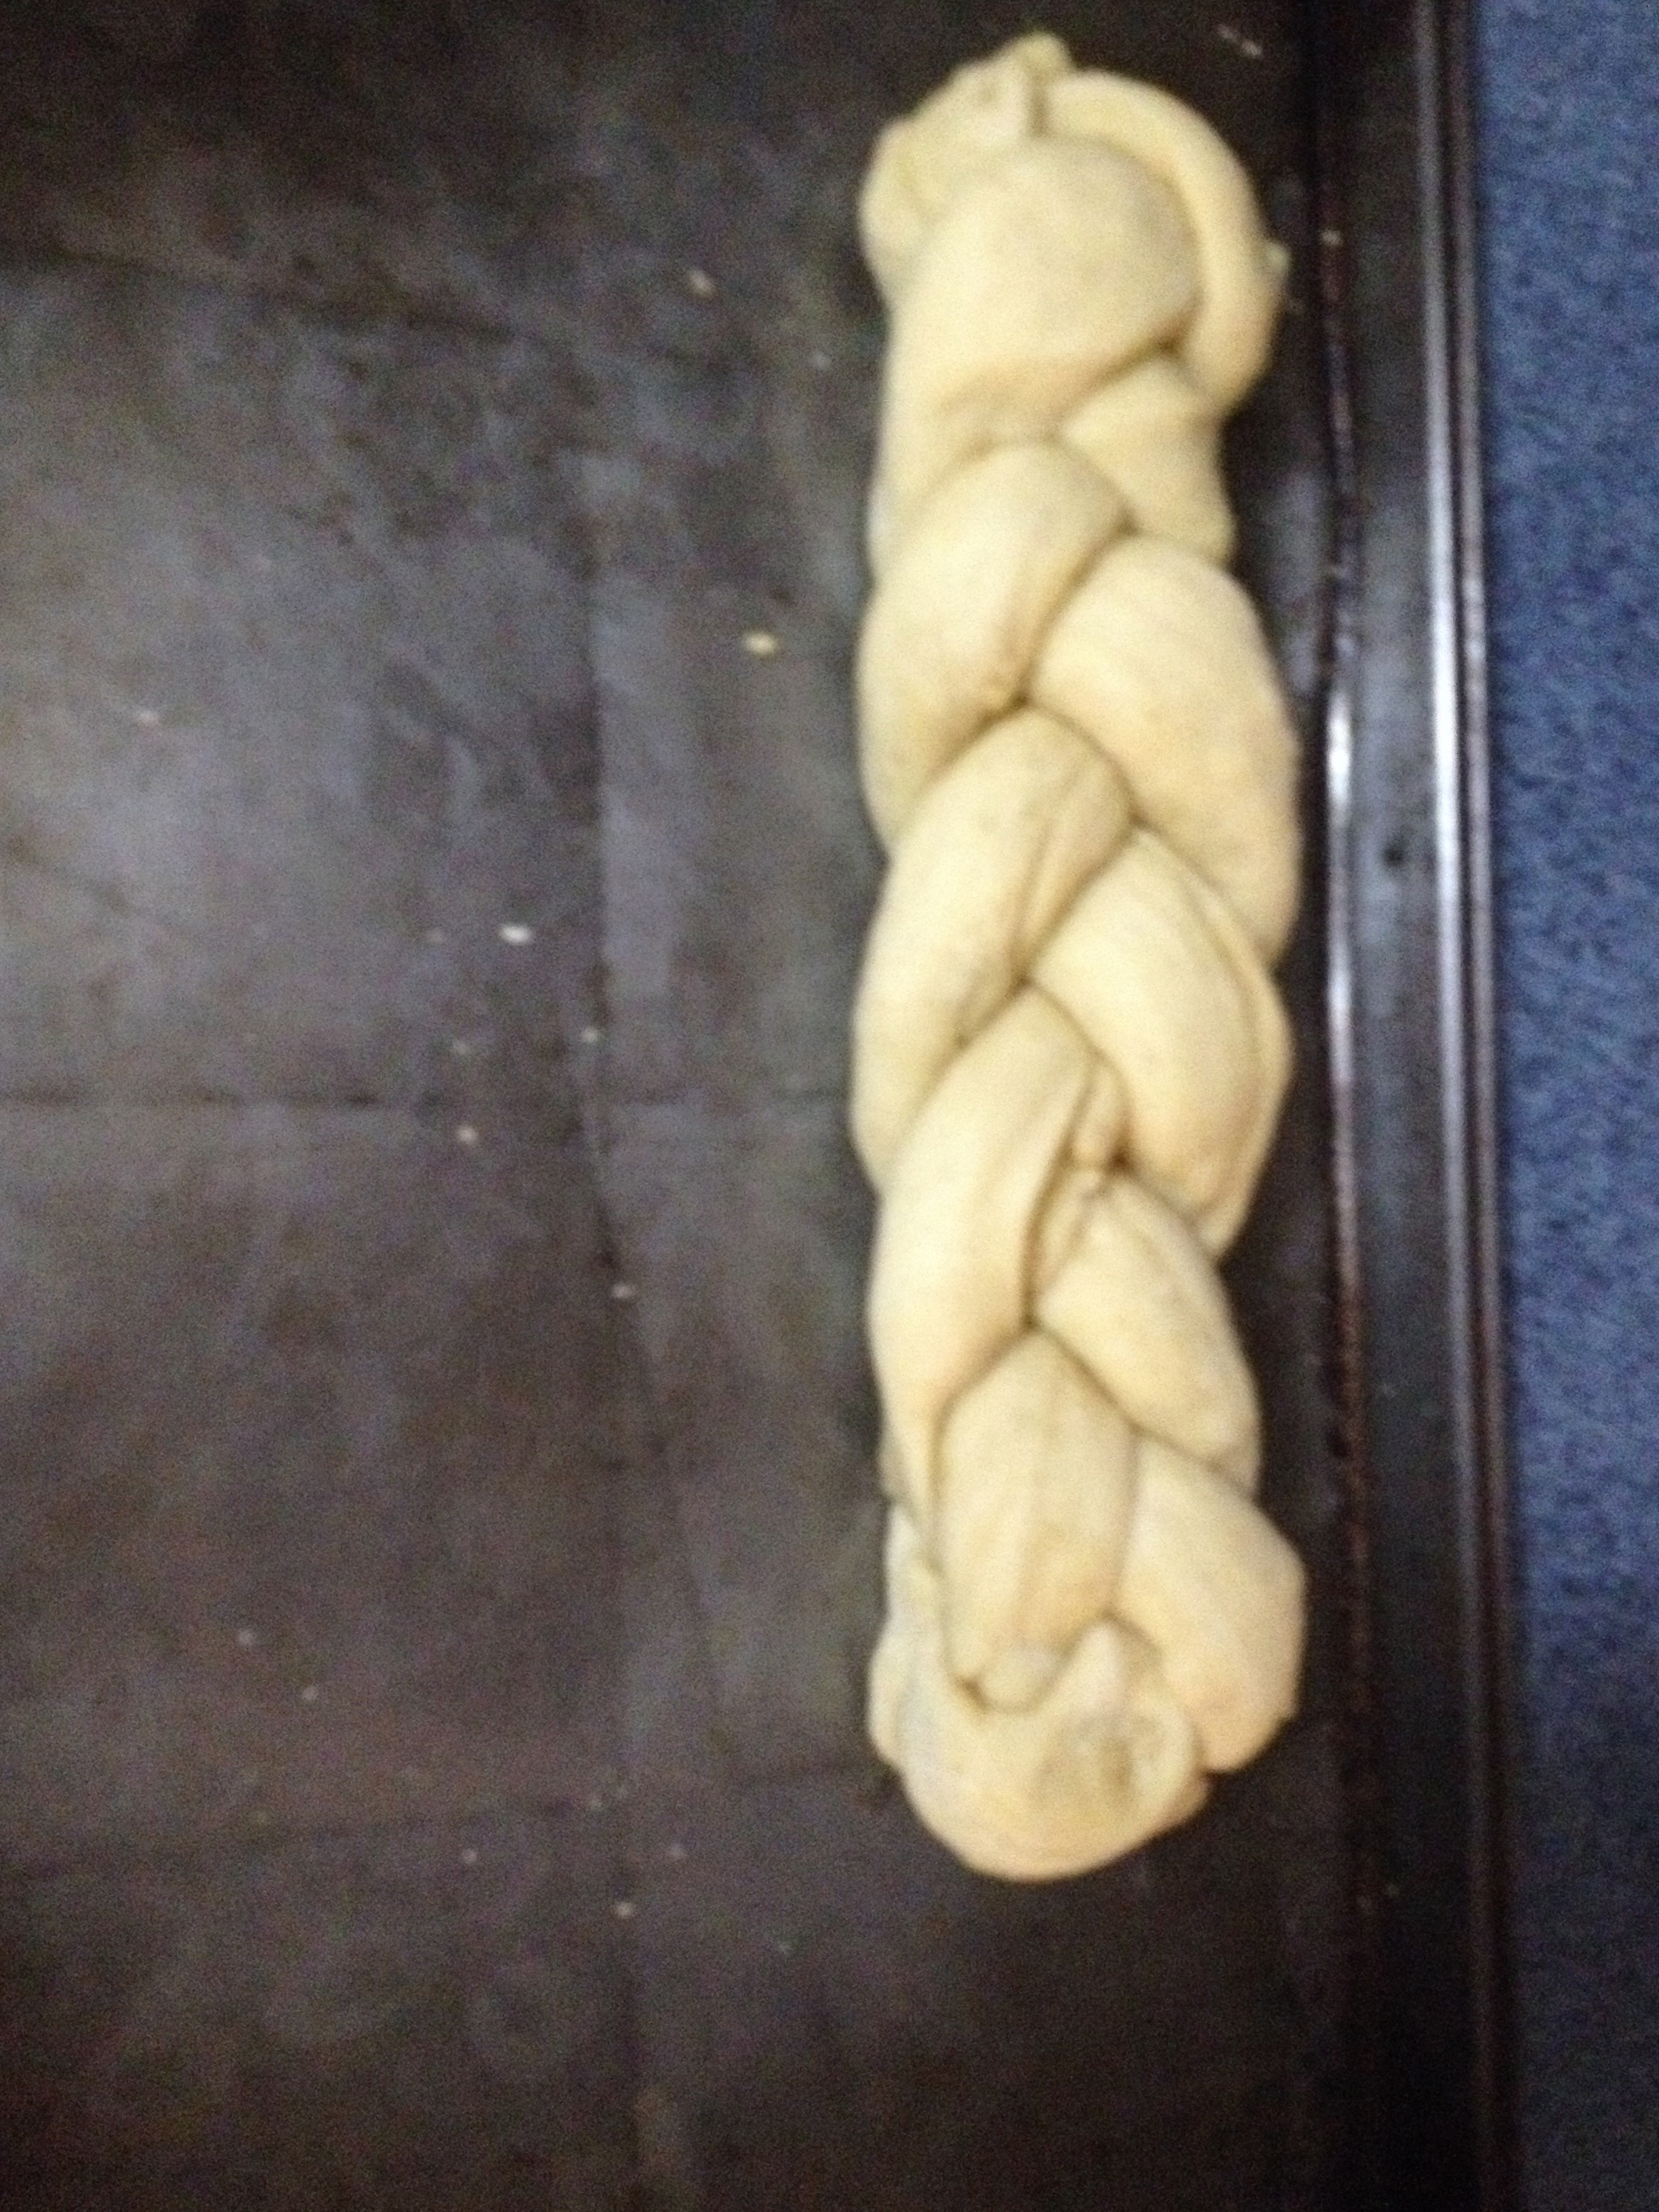
Once one half of the braid is done, turn it around and braid the other half and tuck those ends under.
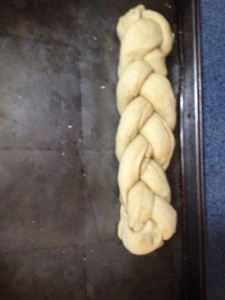
Here’s the finished braid!
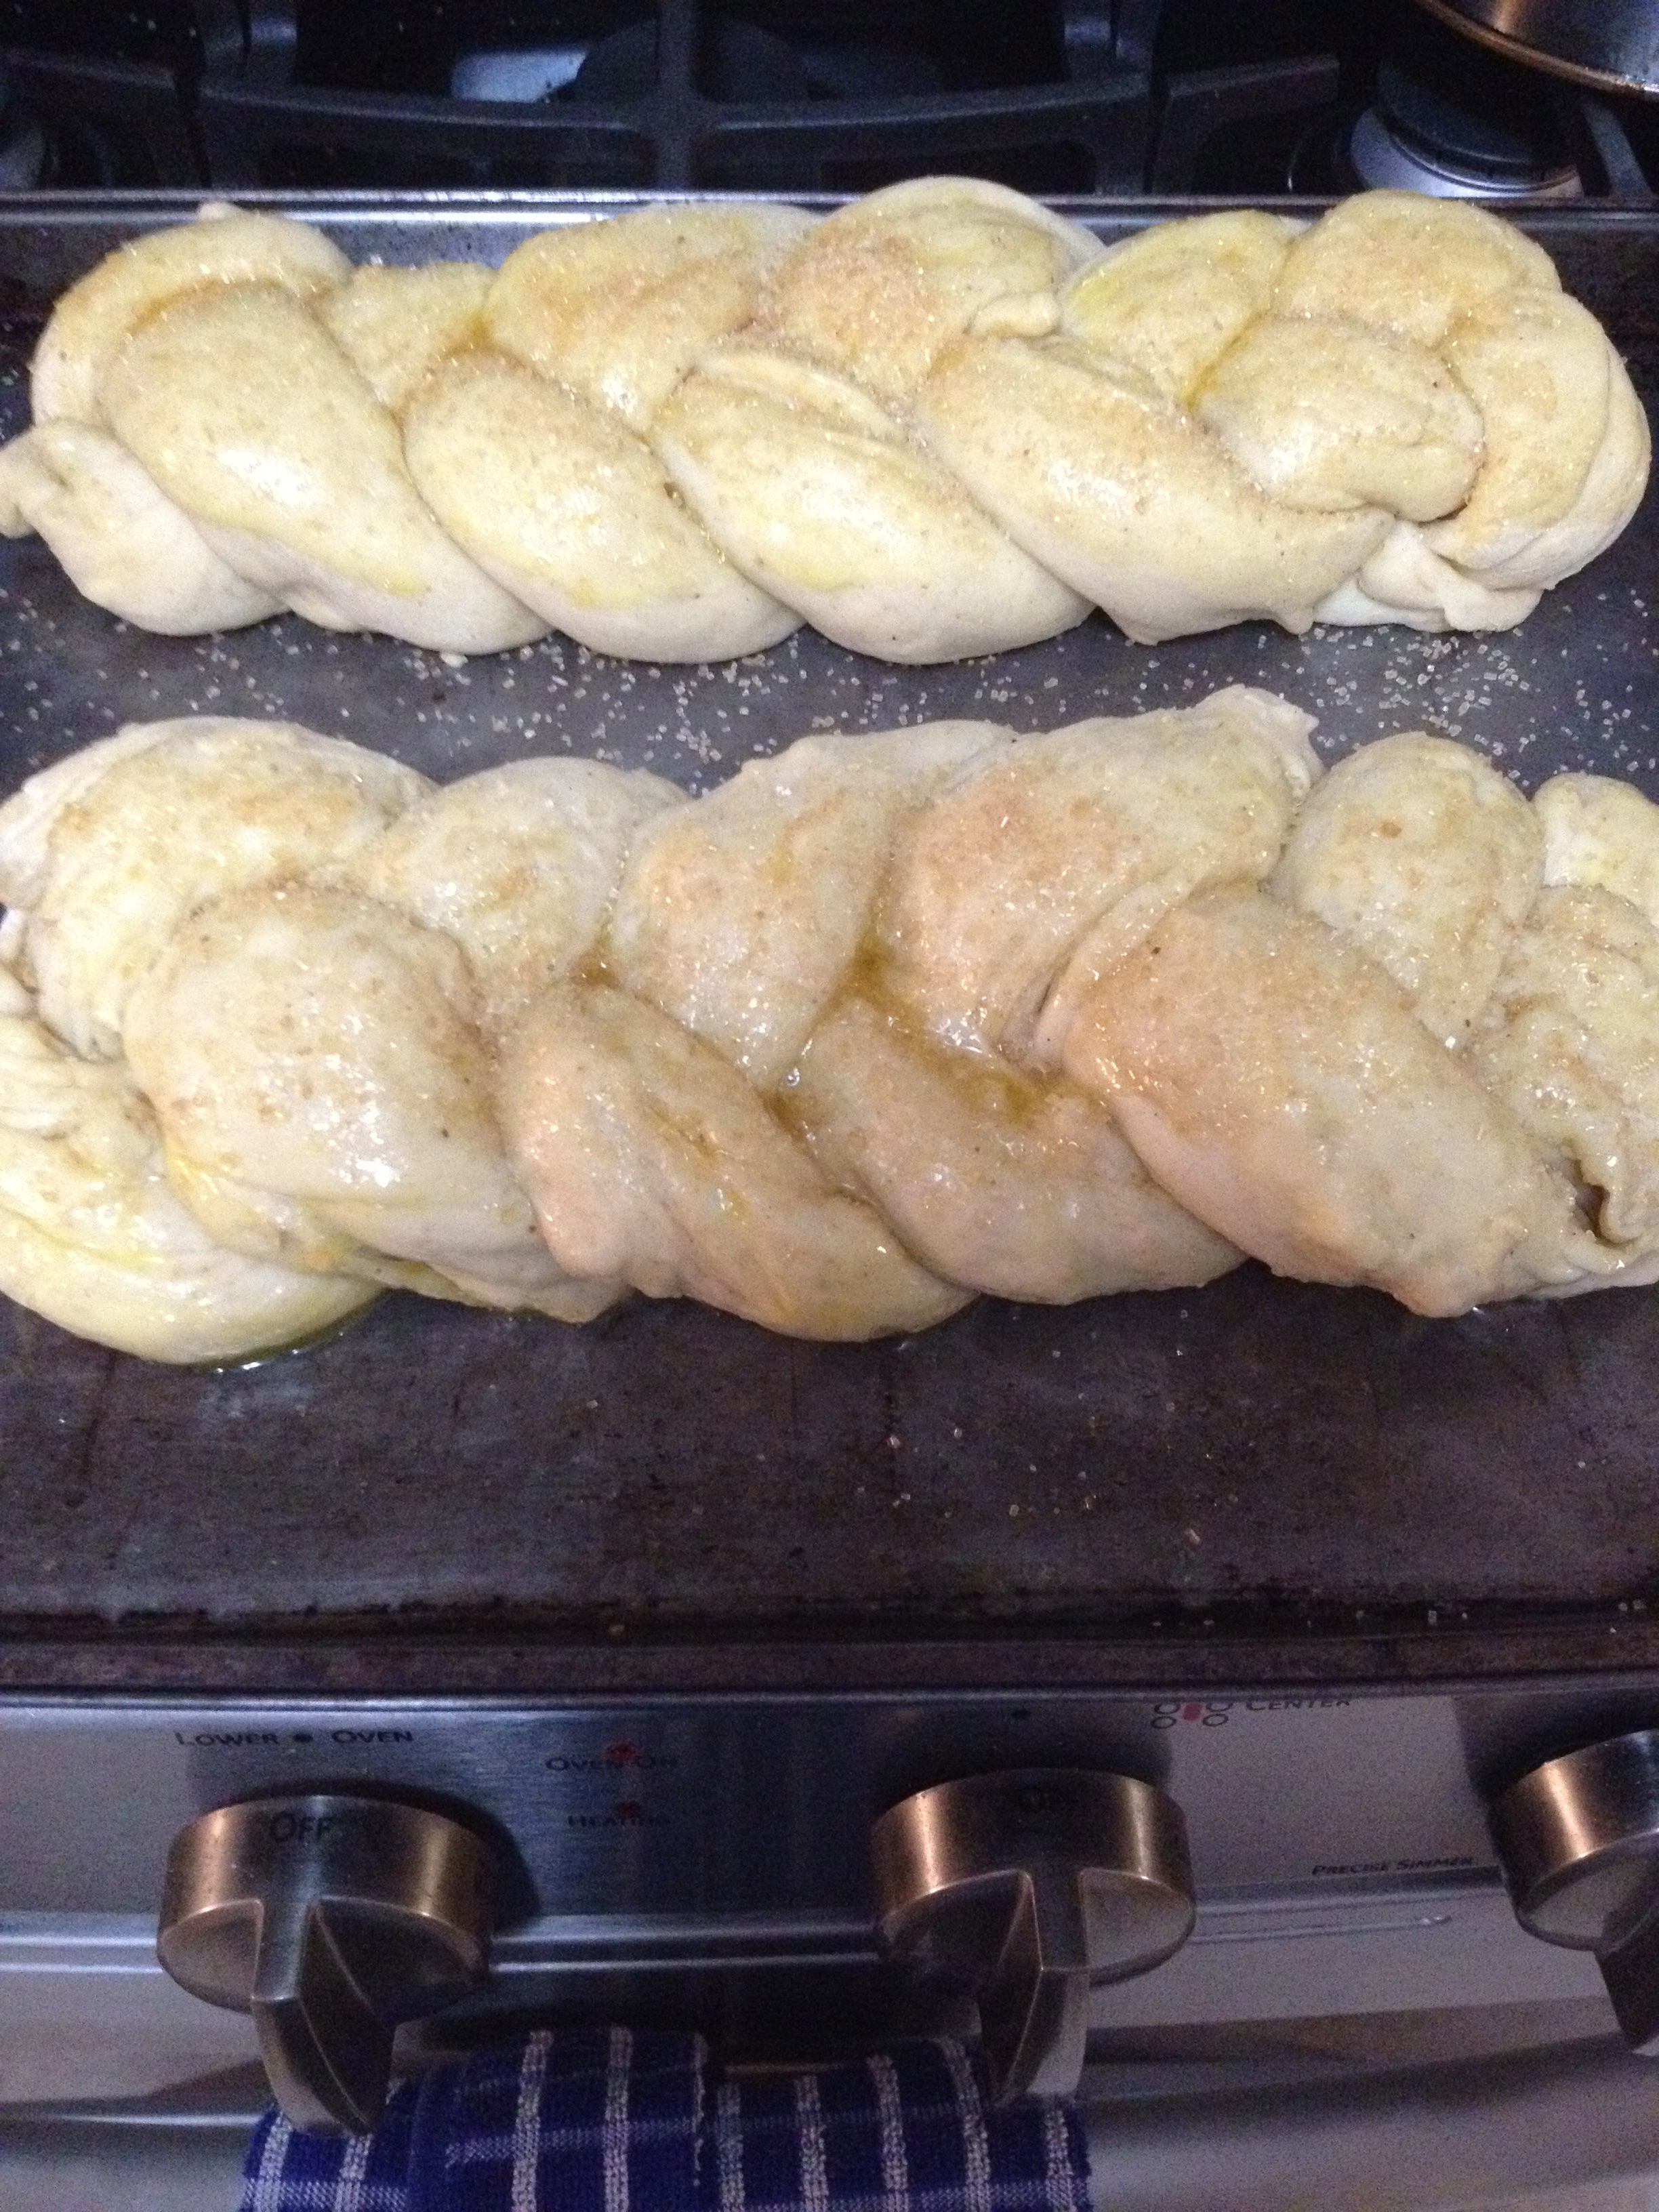
“Place on greased baking sheet and let rise for 30 to 45 minutes. Brush with beaten egg and then sprinkle with sugar (or sugar and cinnamon).” I use Sugar in the Raw, but you can use white sugar too! The beaten egg on top not only acts as a glue for the sugar, it also creates the beautiful golden brown color on the bread.
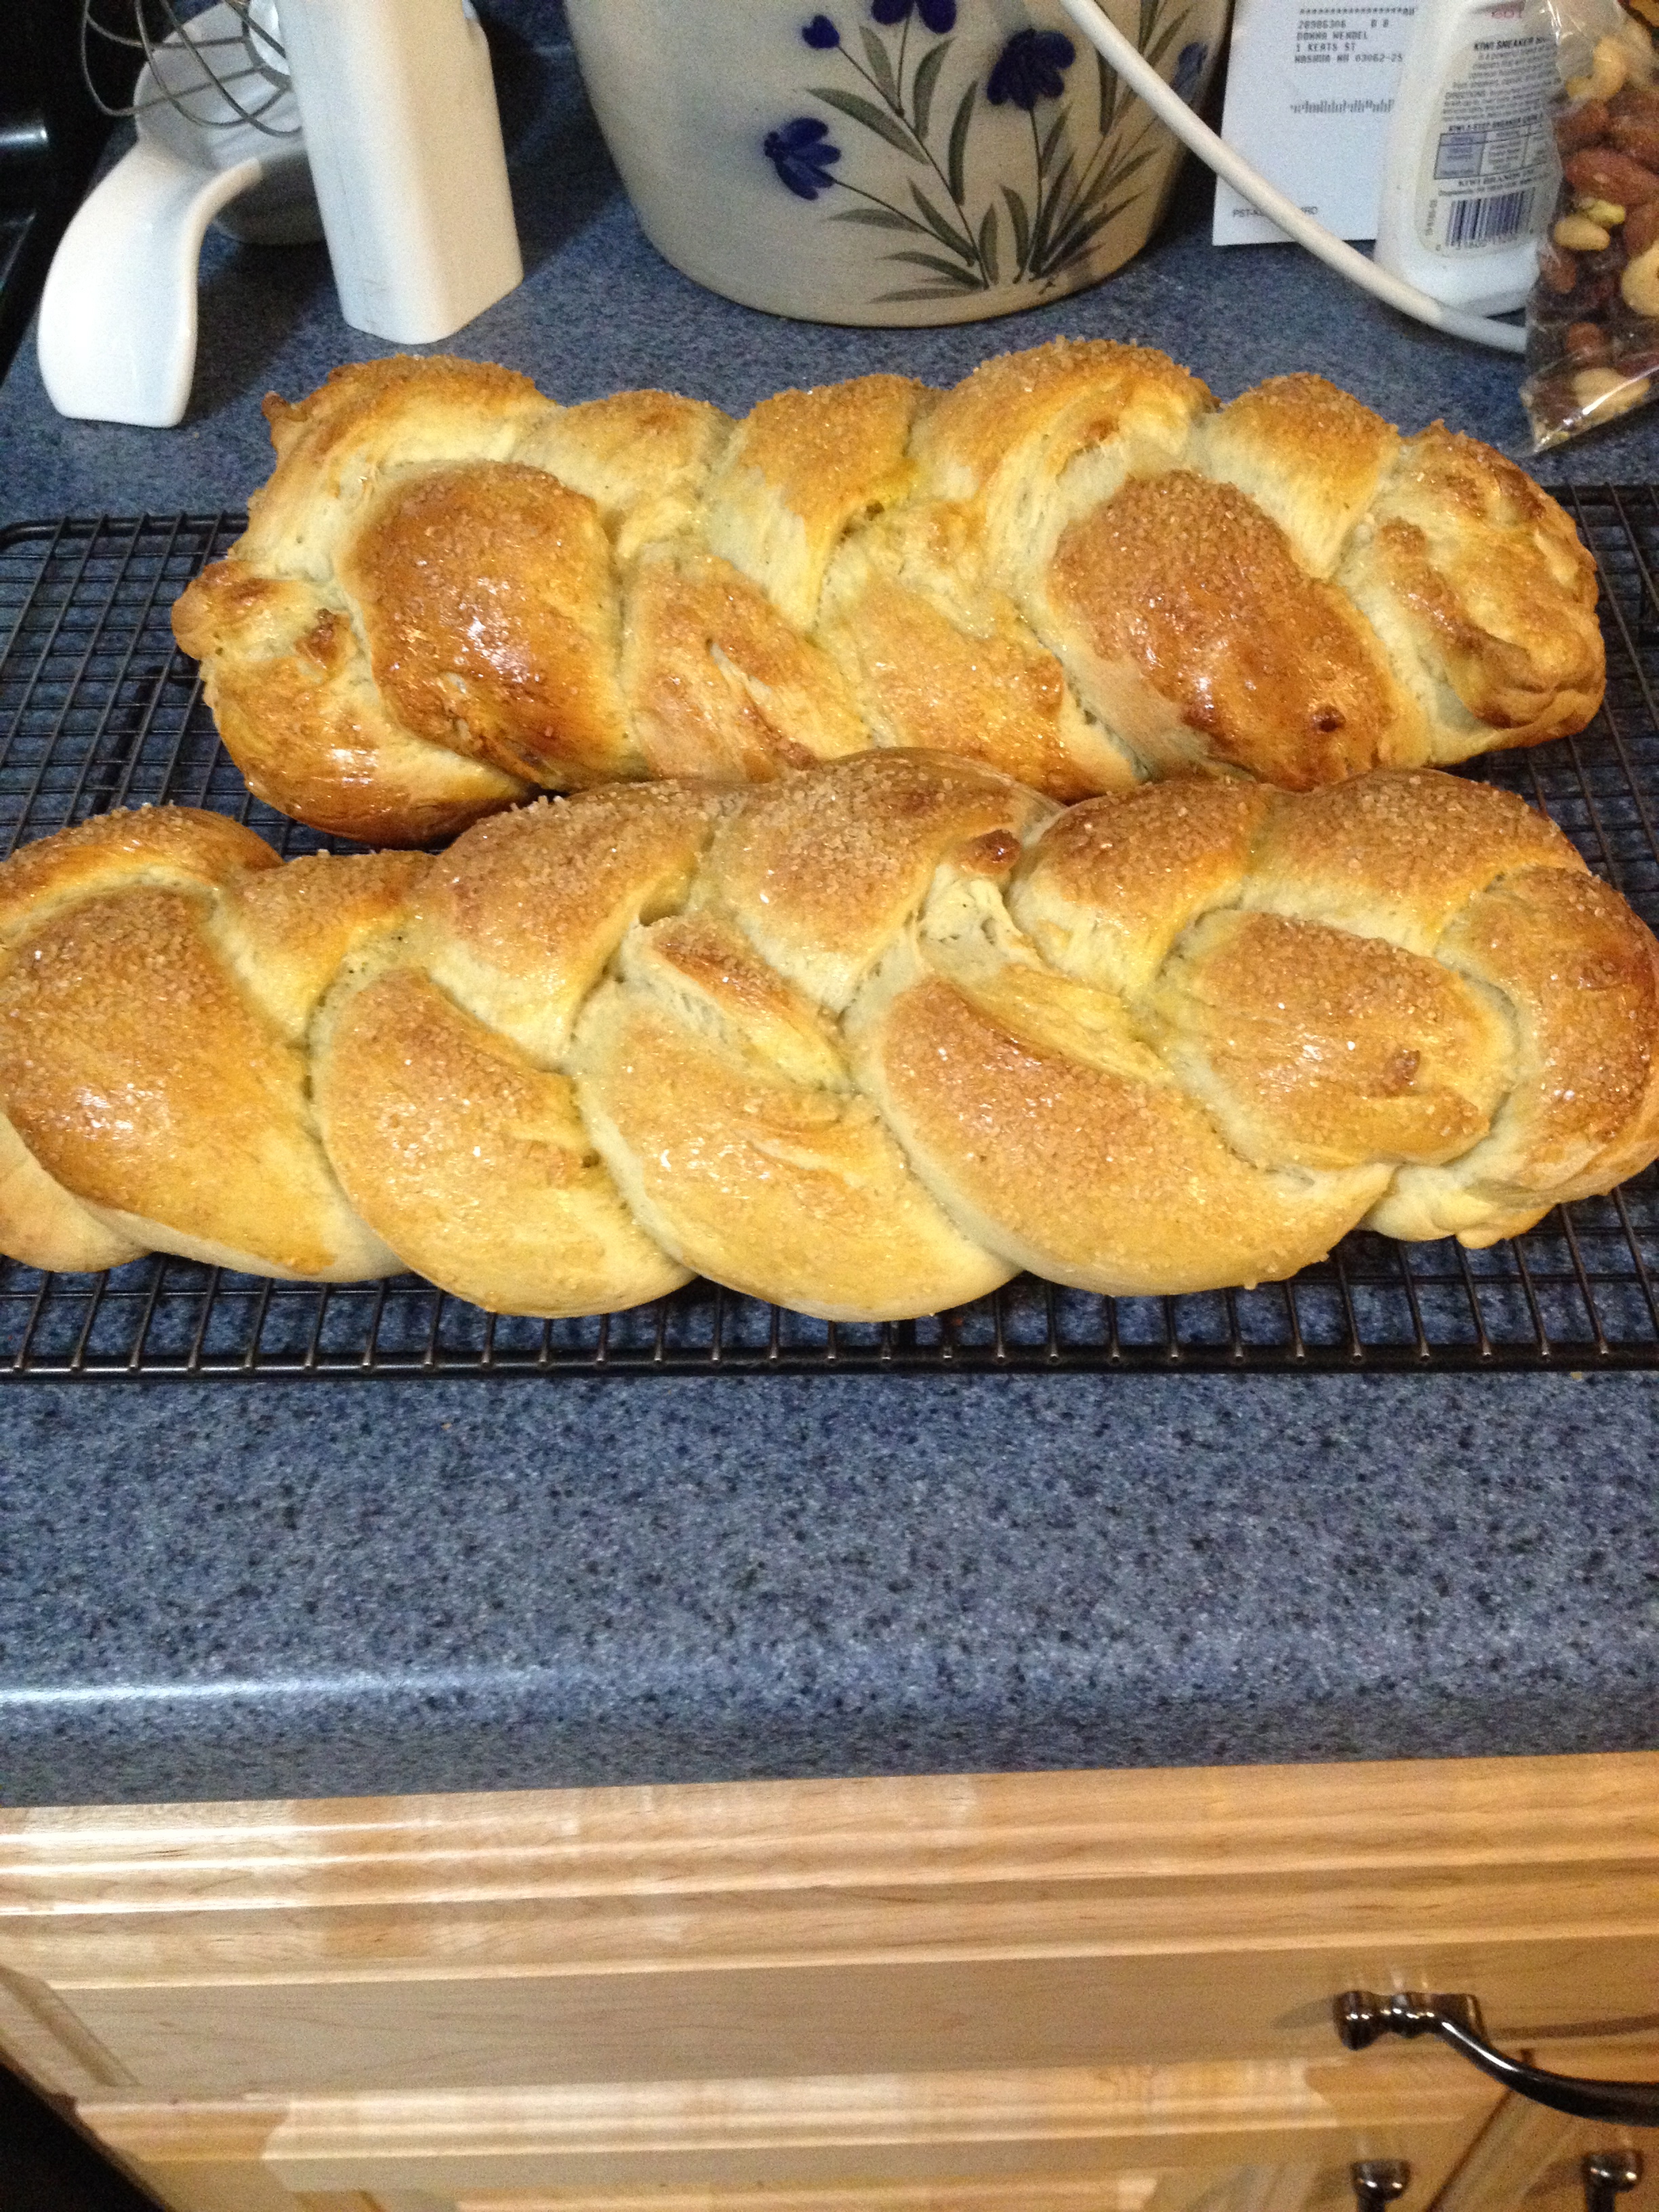
“Bake 350°F oven for 25 minutes (I cook 15 minutes on low or high shelf, then switch for the last 10 minutes). Cover with towel to cool, after removing from baking sheet and placing on cooling rack.”
And that’s all there is to it! Be warned, though, this bread gets eaten very quickly, so make sure to snag a few slices for yourself before putting it out! Sometimes, it’s best not to change an old recipe, but just appreciate it for what it is, and for the memories it brings us. Yay for Grandmas!
Soup and Biscuits
Well, Christmas is officially over. Presents opened, tree taken down, the whole nine. Sadly, one thing remains… the leftovers. For days. Although our Christmas prime rib was absolutely delicious for Christmas dinner, it got a little old after December 27th when I had my 4th serving of microwaved prime rib. So, I decided to re-purpose our leftovers. I made Beef and Roasted Vegetable soup (I’ll write the recipe below), and then, with my boyfriend’s help, made Rosemary Cheddar biscuits to go with the soup. Here’s the recipe:
Rosemary Cheddar Biscuits
2 cups all-purpose flour
1/2 tsp salt
1 tbsp baking powder
1/3 to 1/4 cup shortening
3/4 cup milk (I use low-fat to reduce fat and calories)
2/3 cup sharp cheddar, plus 1/4 cup for topping
1 tsp chopped fresh rosemary
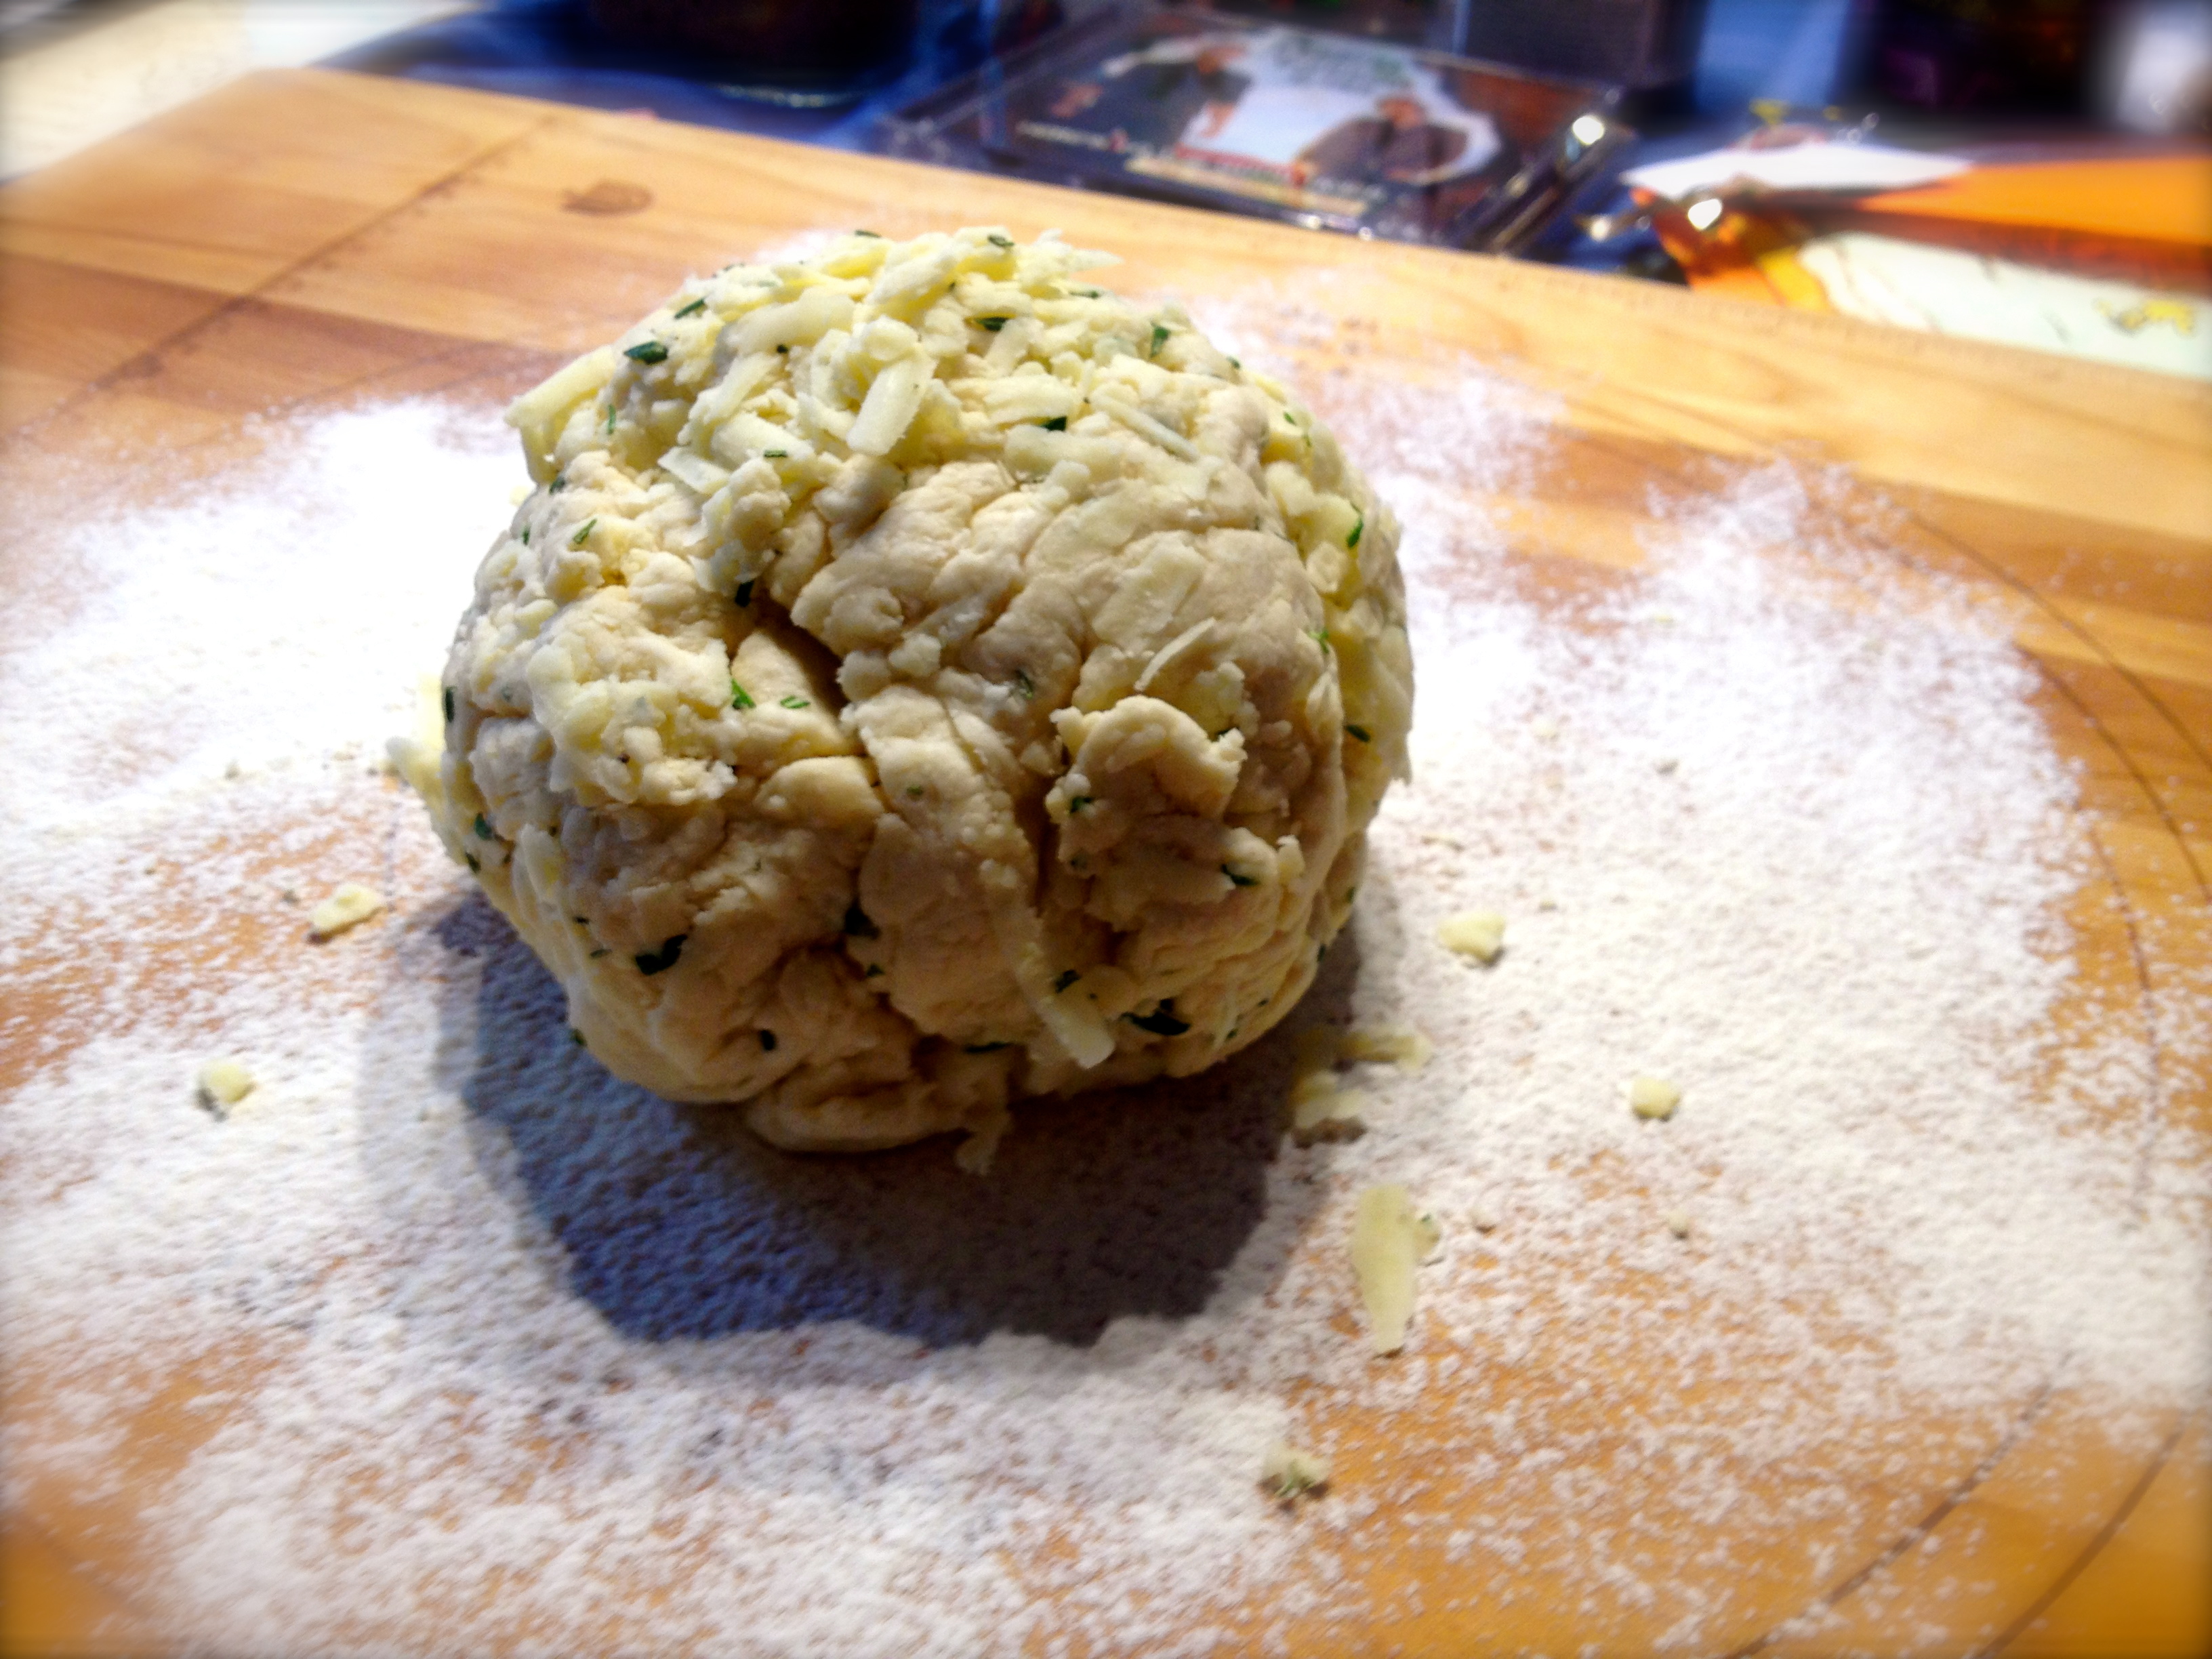
Combine the flour, salt, and baking powder. Then, using a fork or a pastry cutter, add in the shortening. Add milk, a little at a time, until the dough is soft, but not super sticky. Add the 2/3 cup cheese and rosemary and mix. Don’t handle the dough too much, or else your biscuits won’t be flaky and soft. Put the dough on a lightly floured board and knead it a few times. It should look like this:
Then, pat the dough out gently until it’s about 1/2 inch thick. Using a biscuit or cookie cutter, cut out biscuits. Sprinkle biscuits with cheddar and put on an ungreased baking sheet.
I have to admit, my metric approximation skills are really rough, so I ended up making my biscuits about an inch thick when I cut them. Let’s just say they were full-figured. Normally this recipe should make 8-10 biscuits, but I only got 6 out of it because they were so thick. You win some, you lose some.
And of course, we need the winning smile from the man who grated all the cheese for me.
Beef and Vegetable Soup
Let’s not forget the soup that I made! It’s a 2-day recipe, but it’s worth it, and it involves quite a bit of just letting the soup simmer. I made my own beef stock from the prime rib bones and scraps, but you can just buy low-sodium beef stock from the grocery store and save a day of cooking.
Homemade Beef Stock Recipe:
1 cups chopped celery
2 cups diced onion
1 cups chopped carrots
Beef bones and scraps
2 bay leaves
1 tsp salt
1 tsp black pepper
Caramelize vegetables in large sauté pan using 2 tsp vegetable oil. Put those vegetables in a large stock pot (at least a 6-qt. pot). Add bones and scraps to pot. Cover all ingredients with water until bones are covered by about 2 inches of water. Add bay leaves, salt, and pepper. Cover with lid and put on stove to boil. After it comes to a boil, turn it down to low heat for at least 2 hours. After the 2 hours are up, strain the stock into a large container and let it cool slightly. Put it in the fridge overnight, or until the fat solidifies on top. Then, using a large spoon, remove as much of the solid fat as possible.
As a side note- I was told in a cooking class that stocks should never be allowed to boil because that makes the stock cloudy, but in this soup that doesn’t matter. Let it boil!
Beef and Roasted Veggie Soup Recipe:
6 cups beef stock
~3 cups chopped bell peppers
~3 cups chopped celery
~3 cups peeled and chopped carrots
2 cans no-salt diced stewed tomatoes in juice
2 cans low-sodium chickpeas, drained
1/4 box small shell pasta
1/2 cup red wine (or cooking wine)
3 bay leaves
1 tbsp minced fresh parsley
2 cloves minced garlic (I didn’t use this in my recipe because my sister-in-law is allergic to it, but it would taste great in this soup)
Put beef stock in a large pot and let it boil to reduce slightly. While stock is boiling, put chopped peppers, celery, and carrots on a large baking sheet. Drizzle 1 1/2 tbsp olive oil over the top, and sprinkle with salt and pepper. Toss vegetables with oil, salt, and pepper until each vegetable is coated. Spread evenly over baking sheet and put in a 425°F oven for 25 minutes.
While the vegetables are roasting, take ~3 cups chopped beef (since I was using leftovers, mine was already cooked to rare, so I’d suggest having at least slightly-cooked meat beforehand) and put in large sauté pan. Cook it a little bit, until it is seared slightly. Then add the diced stewed tomatoes and cook down slightly, salting to taste. Add red wine (take pan off heat while adding alcohol) and reduce slightly, adding salt and pepper to taste.
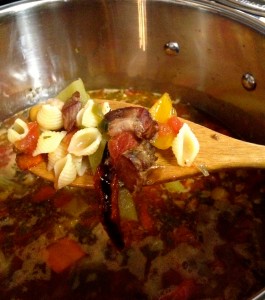
When vegetables are done roasting, add them to the boiling stock. Then, add the tomato/beef mixture, chickpeas, bay leaves, and parsley. Cover pot and let soup cook for about 15 minutes. While it is cooking, separately cook 1/4 box small shell pasta according to instructions on box. Add cooked pasta to soup and stir. Salt to taste. Serve hot.
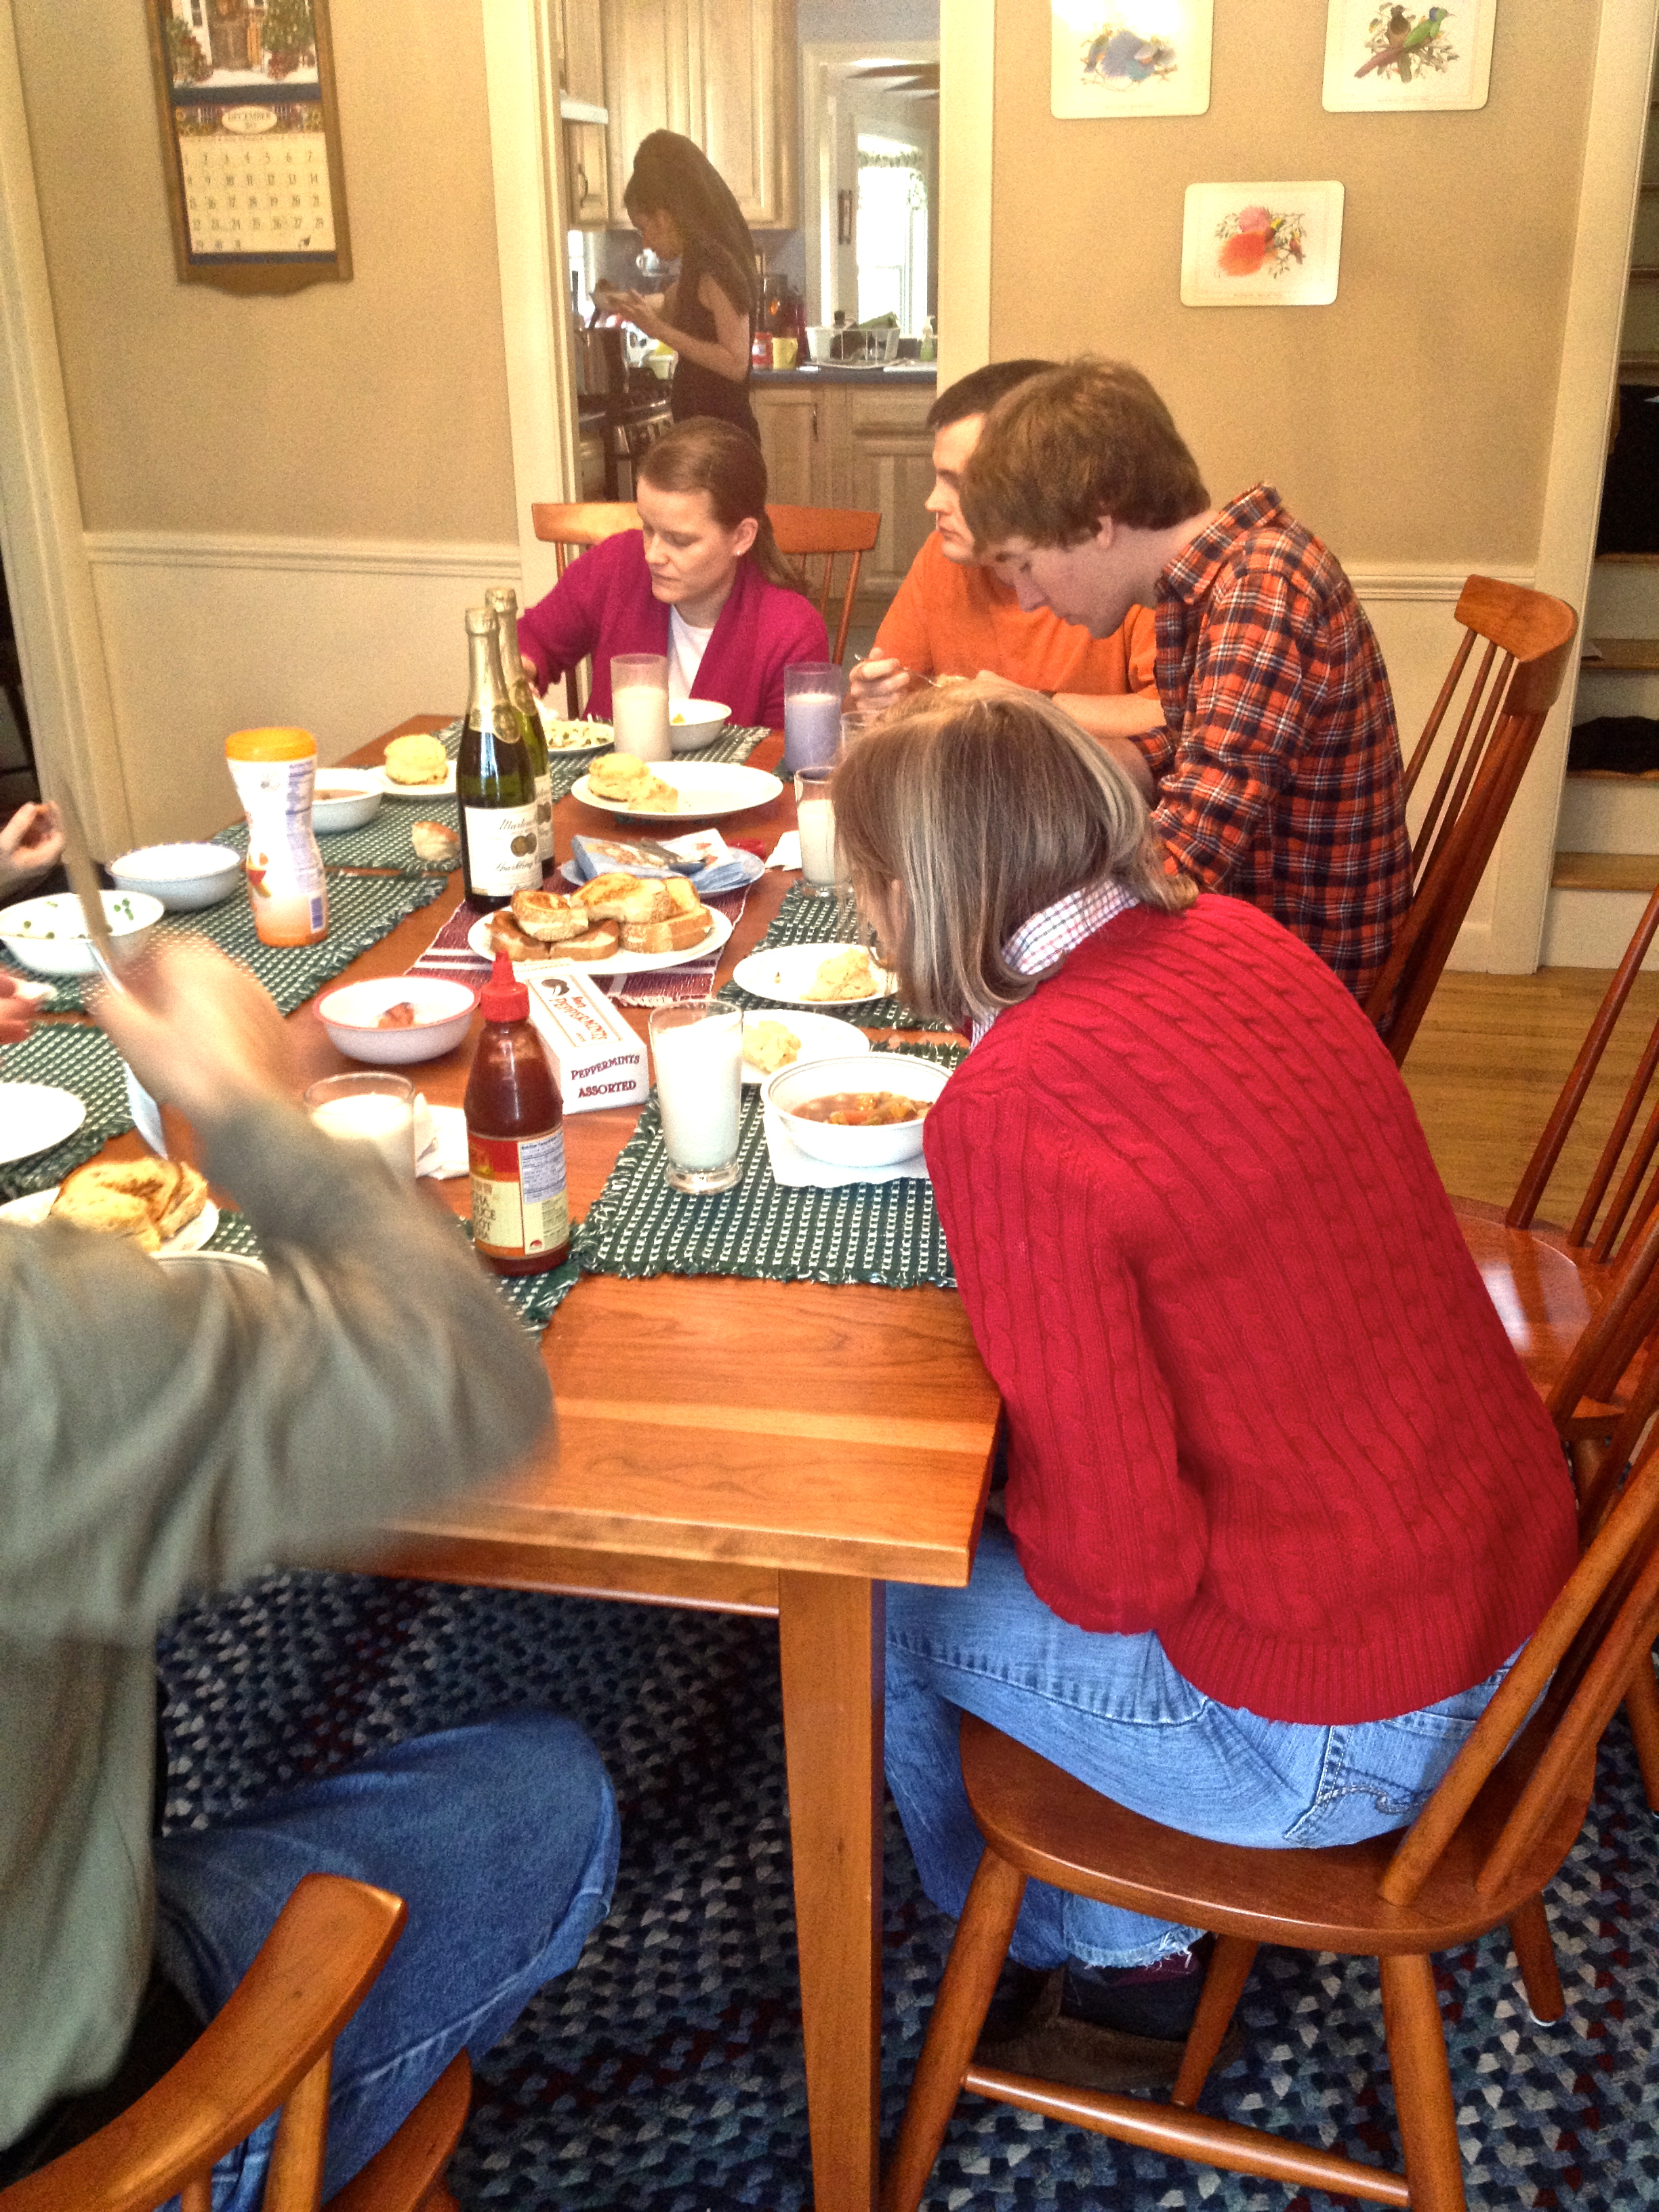
I was lucky enough to serve this food to my entire family today, because we have the rare pleasure of all being together. Once again, hooray for family!