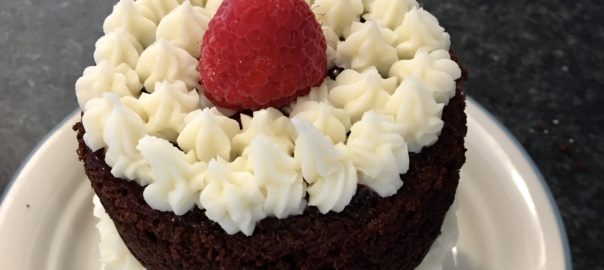
Hi, all! How are you doing? Hanging in there? I know we’ve been missing seeing our friends and family and have been missing out on lots of fun times together. However, we can continue to make the best of our situation! My sister’s birthday was yesterday and we obviously couldn’t have an in-person party, so I decided to surprise her with a mini chocolate raspberry cake and drop it off at her house. It was a fun use of time for me, was a nice surprise for her, and yielded some delicious cake- and the best part is, this recipe makes two mini layer cakes so my husband and I got one too! Here’s how you do it!
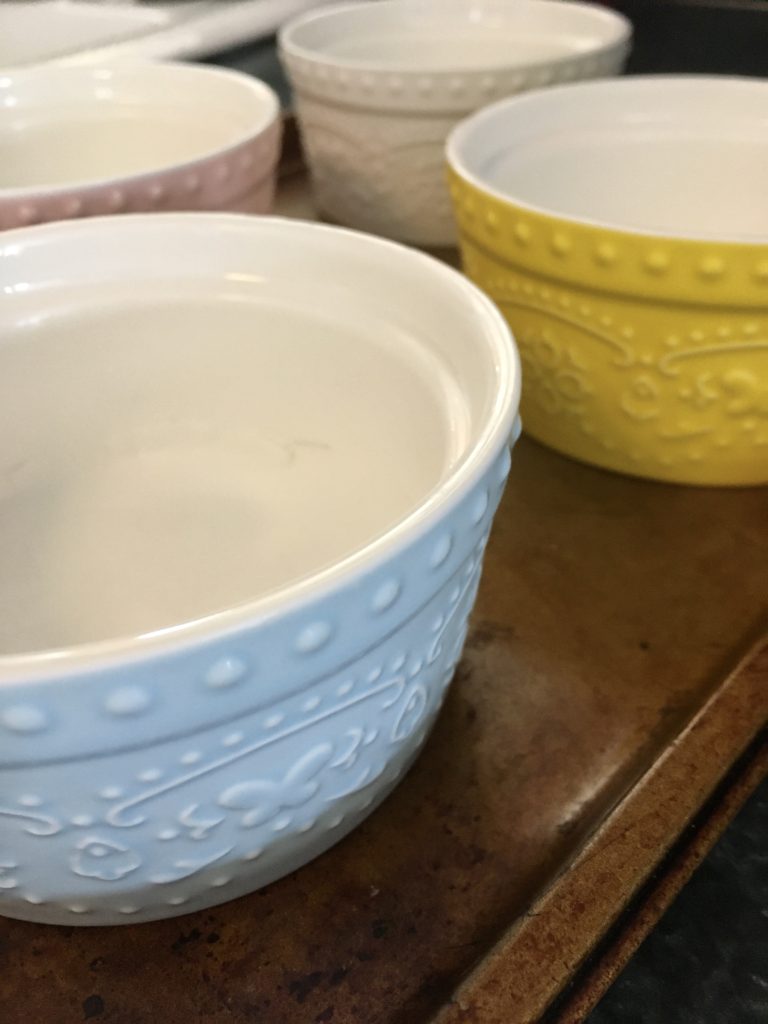
First, grease four 4″ or 7oz ramekins and line the bottoms with parchment paper. Then put the ramekins on a baking sheet so that you’ll be able to move them in and out of the oven easier.
Then, mix up a chocolate cake batter- you can either use a cake mix, or you can make one from scratch (which is what I did). Here’s my recipe for a dark chocolate cake:
Ingredients:
- 1/2 cup granulated sugar
- 1/2 cup all-purpose flour
- 1/4 cup cocoa powder
- 1/2 tsp baking powder
- 1/4 tsp baking soda
- 1/8 tsp salt
- 1 large egg
- 3 tbsp milk
- 2 tbsp vegetable oil
- 1/2 tsp vanilla extract (or extract of your choice- see note below)
- 1/4 cup boiling water
Note: You could also use another flavored extract if you prefer, such as almond or mint. Use the same amount as you would the vanilla.
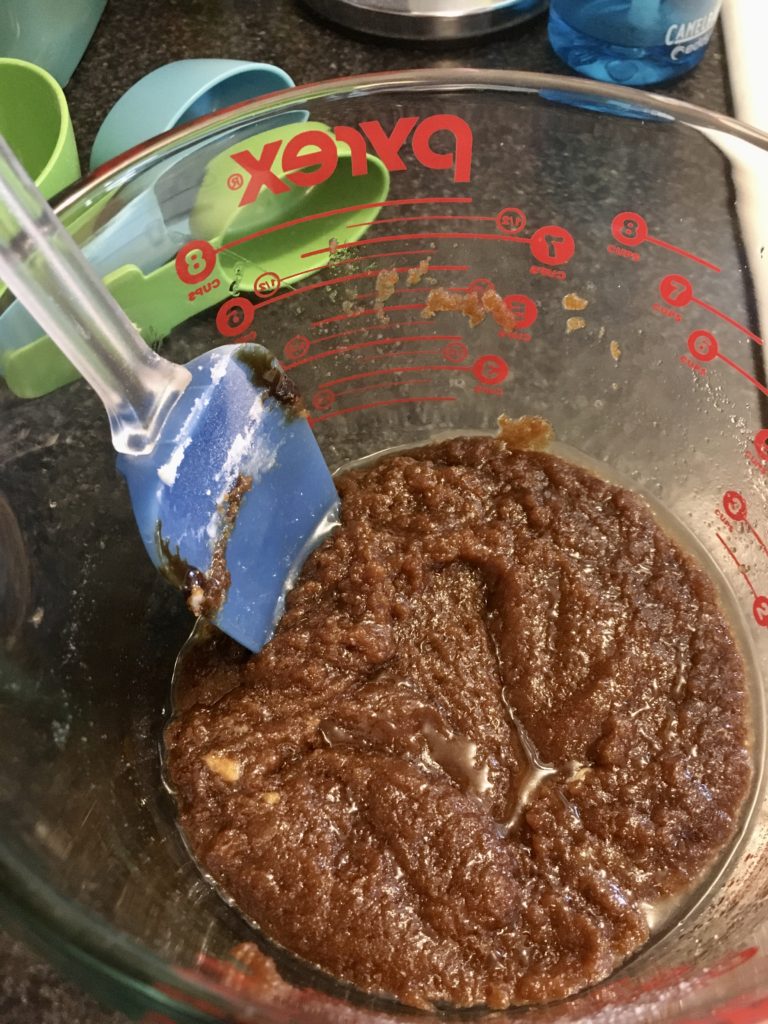
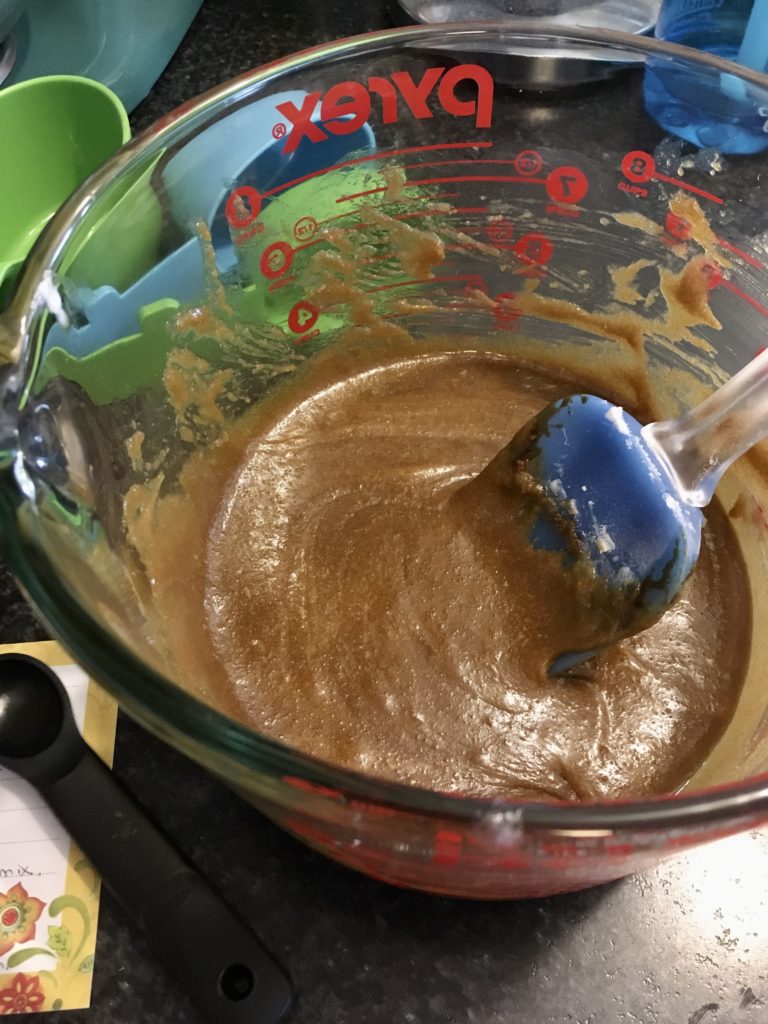
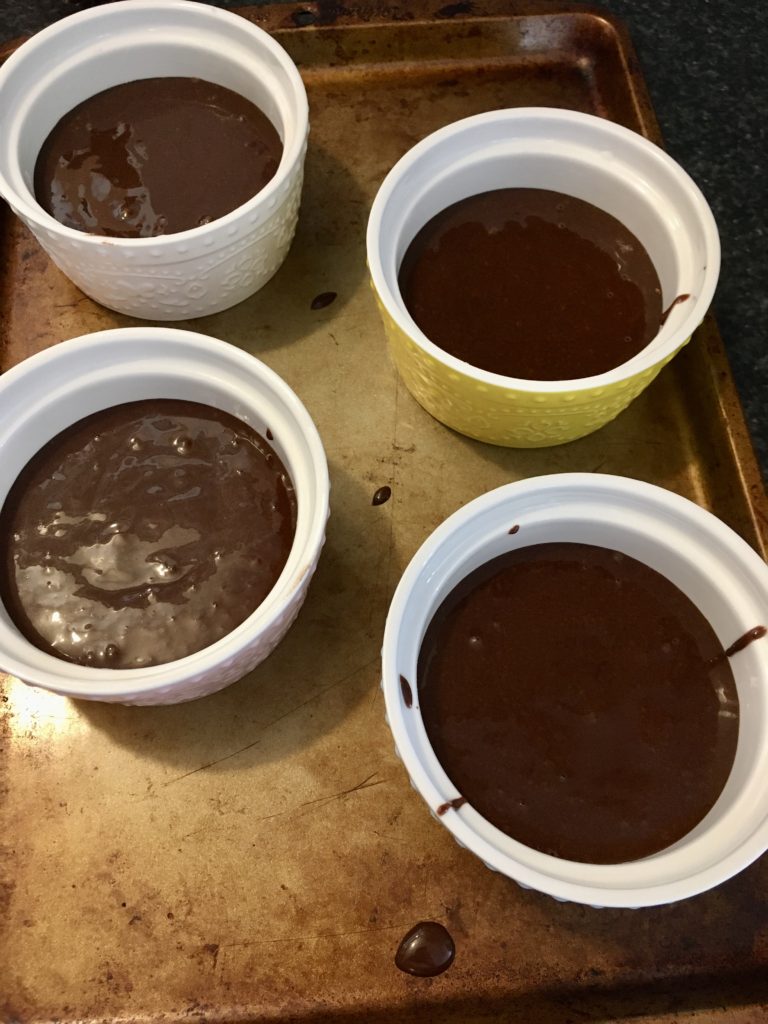
In a stand mixer or with a hand mixer, combine the sugar, flour, cocoa, baking powder, baking soda, and salt. Add the egg, milk, oil, and vanilla and stir to combine. Then increase speed on the mixer to medium and beat for 2 minutes. Then, add the boiling water and beat until fully mixed, about 30 seconds.
Divide the cake batter evenly between the ramekins and bake at 350F for about 20-22 minutes, or until a toothpick inserted in the middle comes out clean. If you’re using a cake mix, preheat the oven to the temperature instructed on the box and then bake for about half the prescribed time, and then check it every couple of minutes until it’s baked.
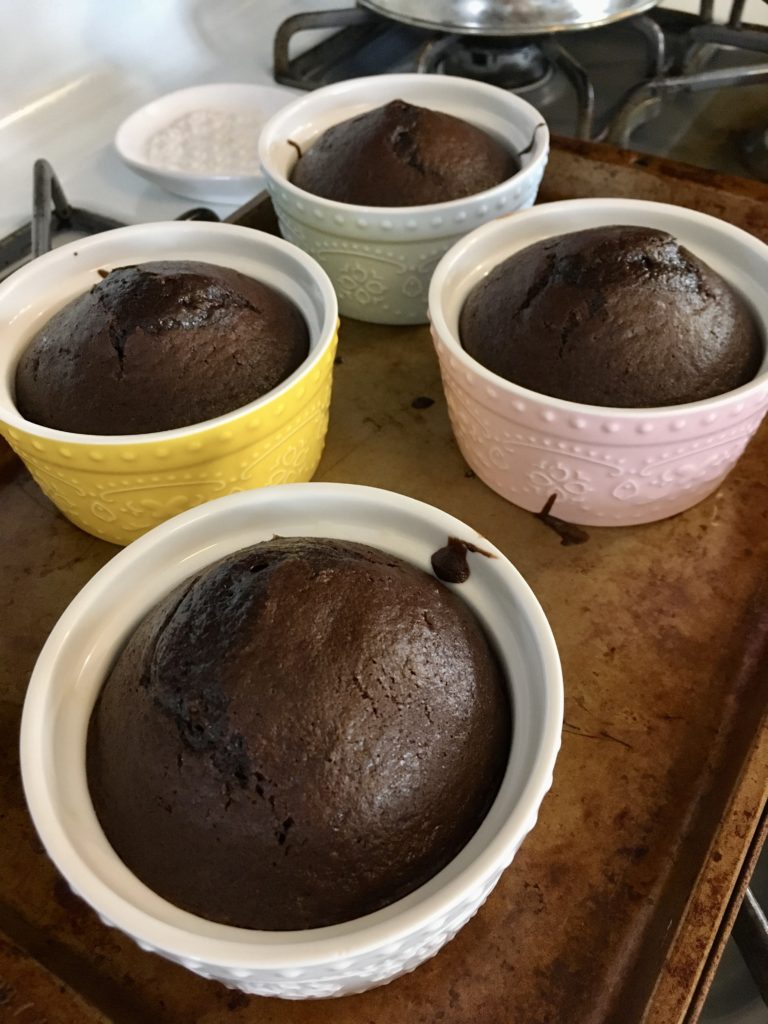
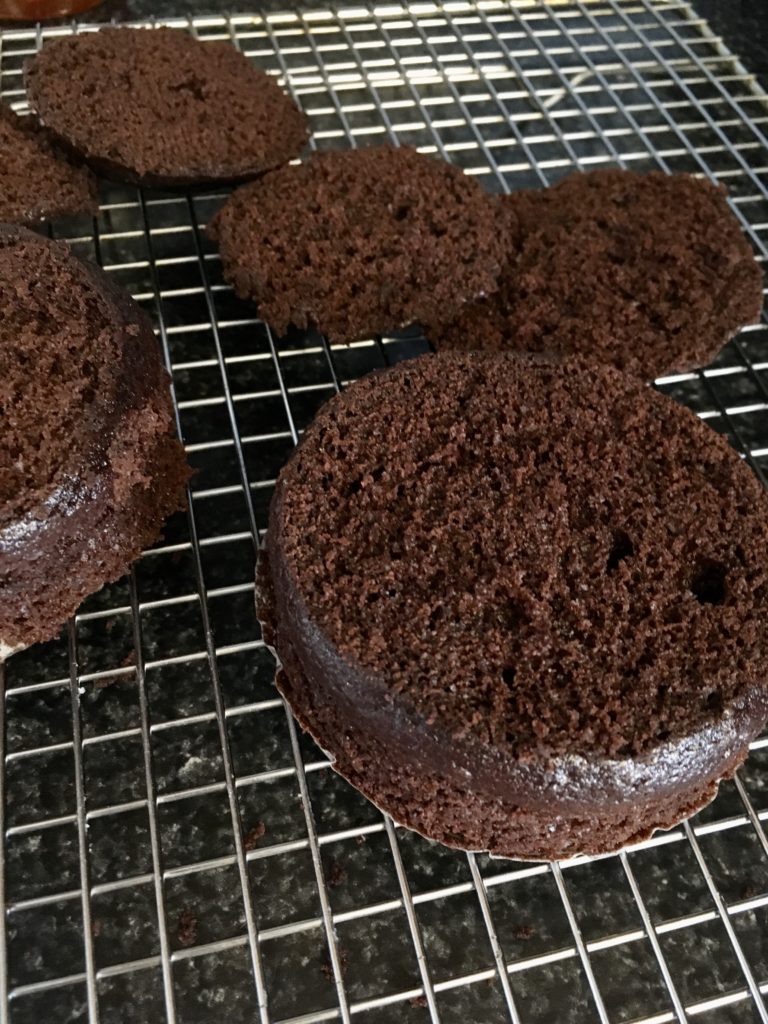
Transfer the ramekins to a wire rack to cool. Once the cakes are cooled, remove from the ramekins and remove the parchment paper. Using a serrated knife, cut the domes off the top of the cakes to create a level, flat surface. Go ahead and eat those yummy cake scraps that you cut off- pro tip, spread a little raspberry jam or peanut butter over them first and make yourself a little cake top sandwich!
Now it’s time to frost. You can either use a canned frosting or one from scratch. Here’s the recipe I used:
Ingredients:
- 3/4 cup powdered sugar
- 3 tbsp softened butter
- 1/2 tsp vanilla (again, could change the extract flavor if desired)
- 2-3 tsp milk
Note: you will also need about 6 tbsp of raspberry jam (about 3 tbsp per layer cake), or other fruit jam/sauce of your choice.
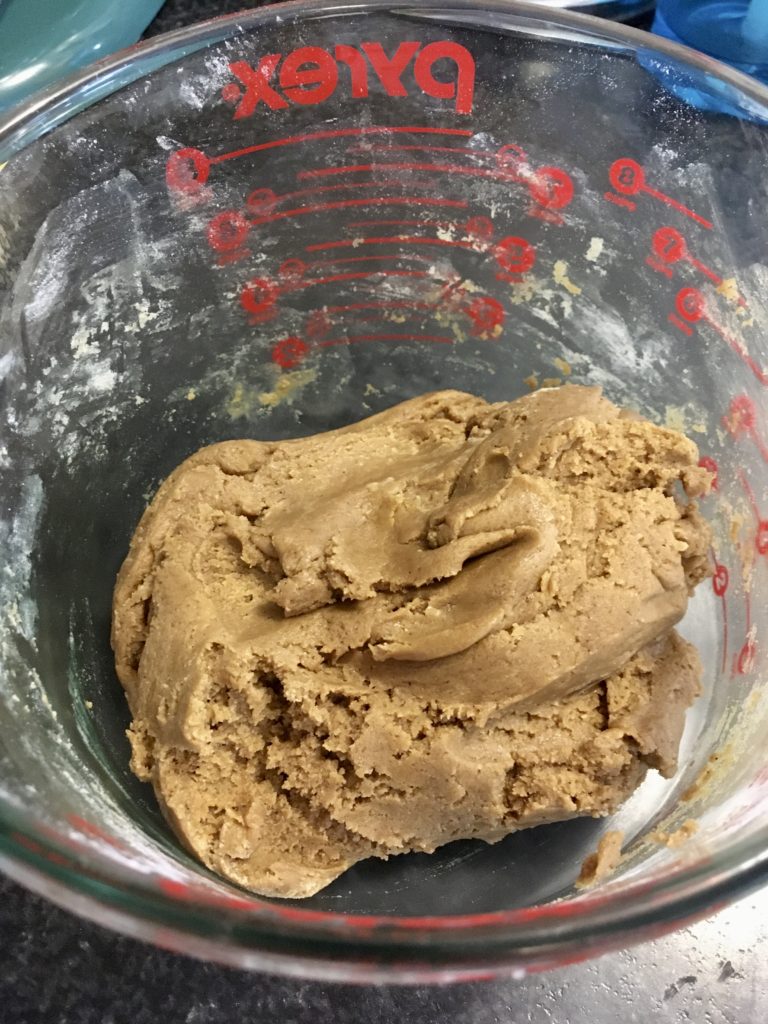
Using a hand mixer or stand mixer, beat the butter, vanilla and powdered sugar together until they are coming together in small clumps. Then add in the milk, a little at a time, and continue to beat until you’ve reached the frosting consistency you want. If you want stiffer frosting, add less milk; if it’s too stiff, add more milk.

To frost the cakes, you can either use a knife or a piping bag. I wanted to make this cake look a little fancier, so I used a piping bag. To make the cakes easier to frost, freeze them for a few minutes to get them stiff. Otherwise they may crumble a bit when you try to spread the frosting.
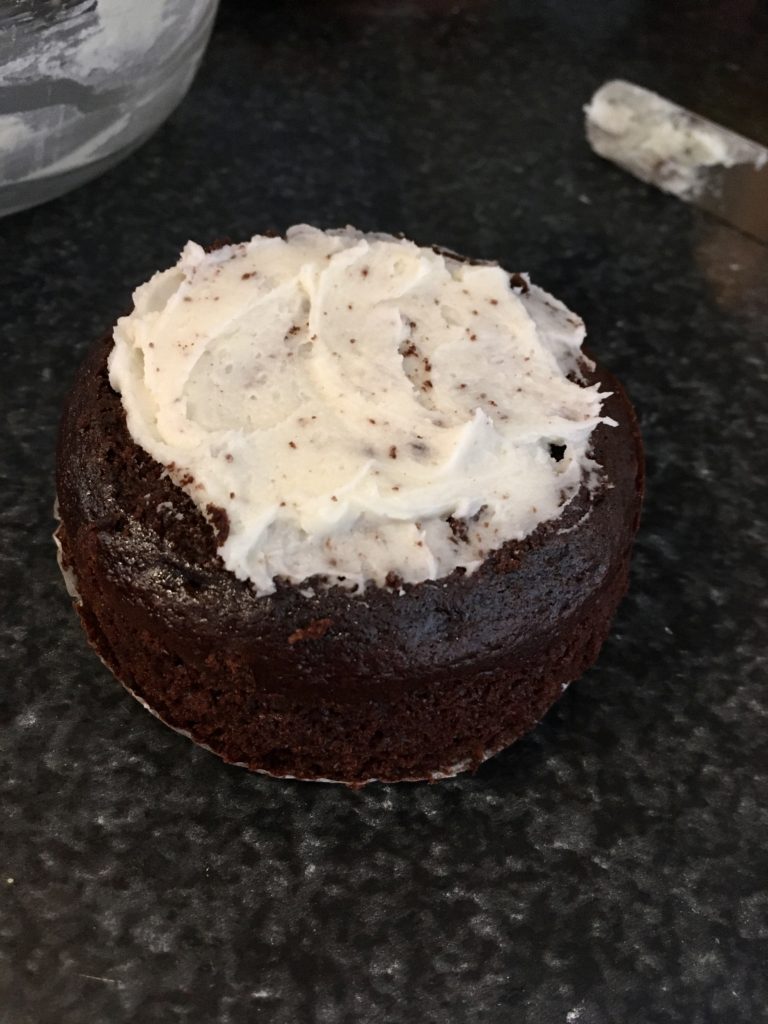
First, put about 2 tbsp of the frosting on top of one cake. Dip a knife into water and spread the frosting over the top of the cake just to make an even layer (the wet knife helps prevent the frosting from sticking too much to the knife).
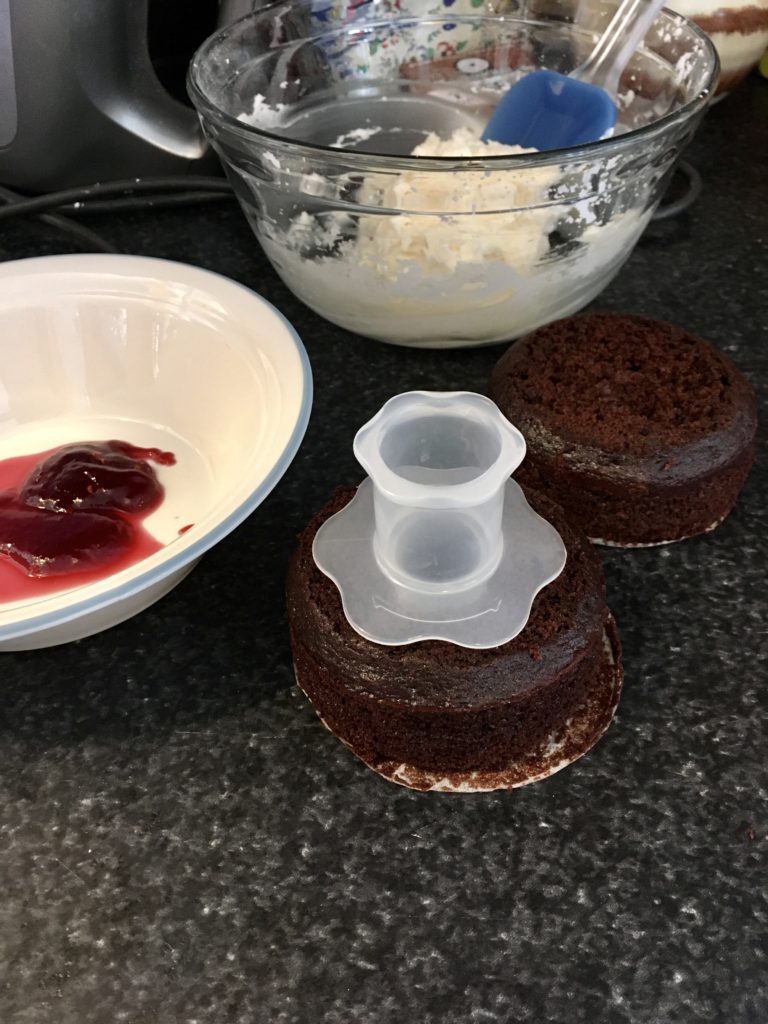
Now take a second cake and cut out a small hole in the middle. You can use a cake corer, a small round cookie cutter, or even an apple corer.
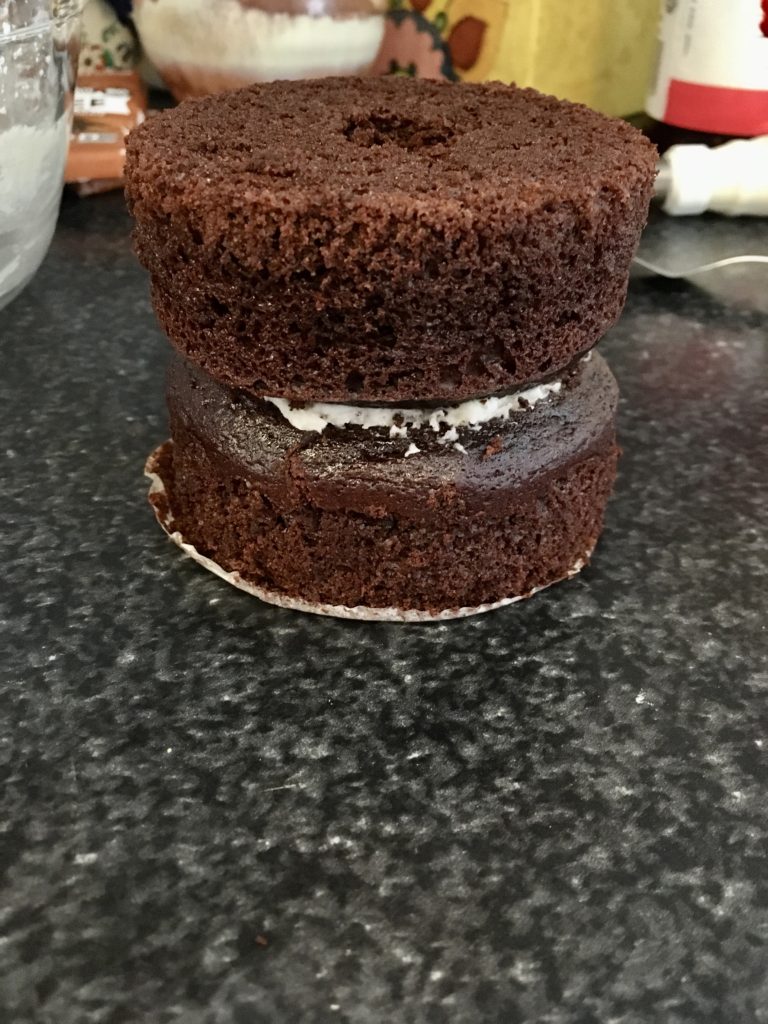
Put the cored cake, cut side down, on top of the first. Putting it cut side down will provide you with a nice flat surface to frost on the top of the cake.
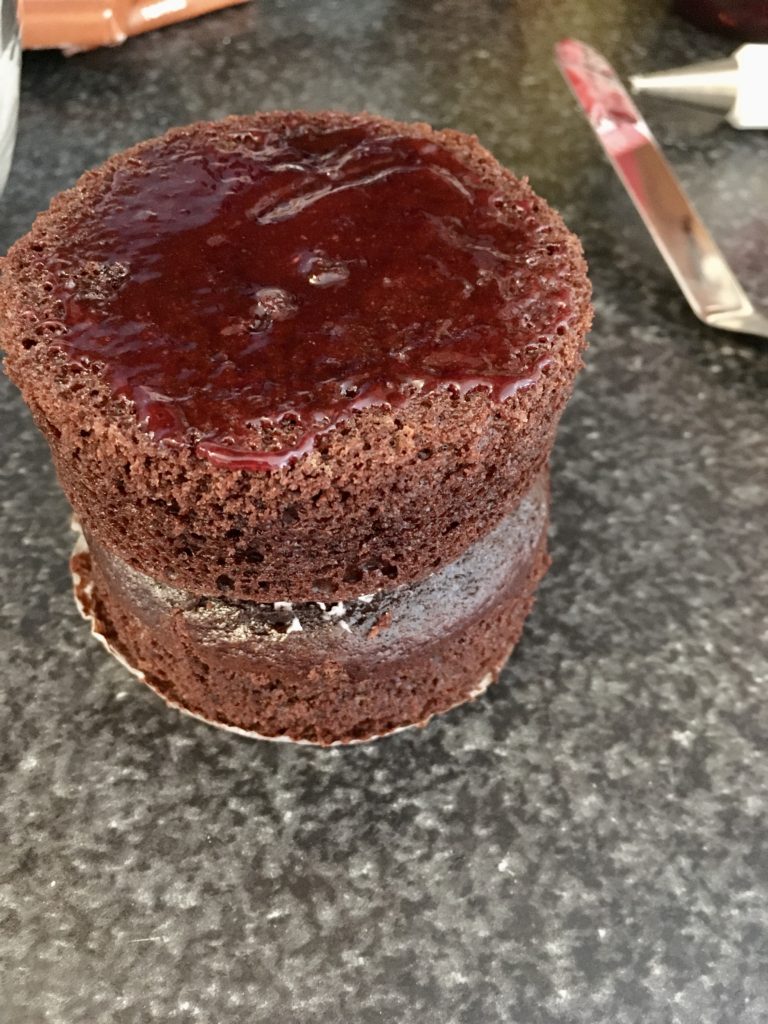
Fill the hole in the top layer with your raspberry jam. I pushed the jam through a fine mesh sieve so that it became seedless, but you can definitely leave it as it is if you’d like! After you’ve filled the hole in the middle, spread a thin layer of the jam over the top of the cake as well. This helps give it a nice glaze and will also help keep the cake moist.
Now you can finish frosting. If you’re using a piping bag, pipe little rosettes around the middle where the two layers meet and also on top of the cake, and finish with a raspberry in the middle or whatever nice garnish you’d like. If you’re using a knife, spread another 2-3 tbsp of frosting on top of the cake and garnish.
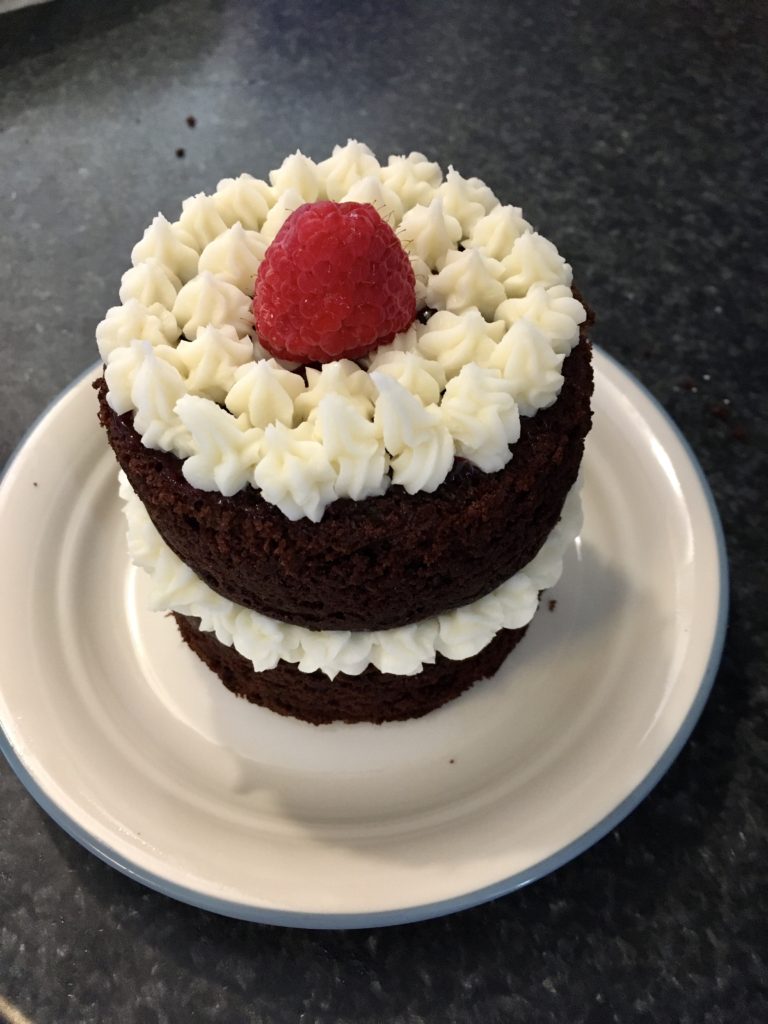
Repeat with the other two cakes that are left, to create two mini layer cakes.
And that’s it! Super yummy, and it looks and tastes really elegant, but it’s not very difficult. You could also change the flavors to whatever you like- you could fill it with peanut butter or caramel instead of jam, you could frost it with chocolate or peanut butter frosting, or you could even do a peanut butter flavored cake filled and topped with marshmallow fluff and crushed peanut butter candies! The choices are endless, but all delicious!
Happy baking!