
Buffalo Spaghetti Squash Dip
Hello, all! Happy fall! It has been a very long time since I last wrote- but this recipe makes up for the wait! For anyone who loves buffalo chicken dip, this is a great option. It is a delicious vegetarian dish, but also flexes well to include chicken if you prefer. The added bonus of this recipe is that it uses up some of our local fall produce: spaghetti squash! I ran across a similar recipe a few years ago and have been making my version ever since. Here’s the recipe:
Ingredients:
- 1 medium spaghetti squash, halved and seeds removed
- 1 tbsp olive oil
- Salt and pepper to taste
- 1 cup shredded Cheddar or Monterey Jack cheese
- 1/2 cup shredded Mozzarella cheese
- 1/2 cup plain Greek yogurt
- 1/2 tsp garlic powder
- 1/2 tsp onion powder
- 1/3 cup buffalo sauce
- 2 cups shredded chicken (if desired)
Preheat the oven to 400F and cover a small baking sheet in aluminum foil. Rub the cut sides of the spaghetti squash with the olive oil and sprinkle with salt and pepper to taste.
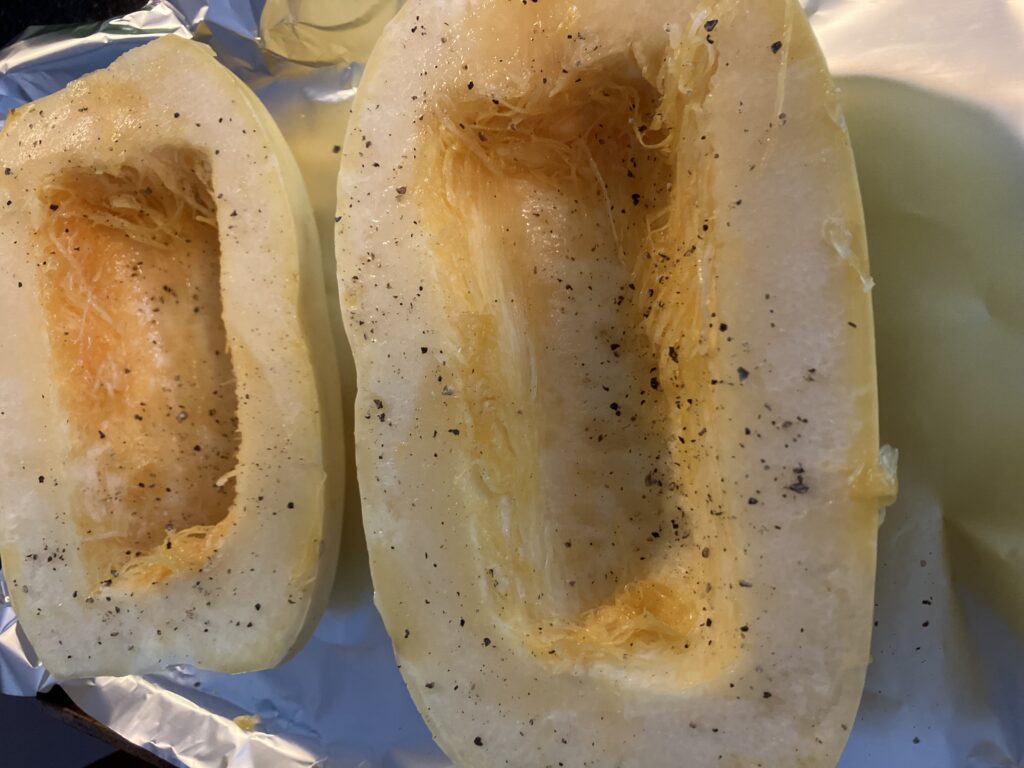
Place the squash cut side down on the baking sheet and bake for 40 minutes.
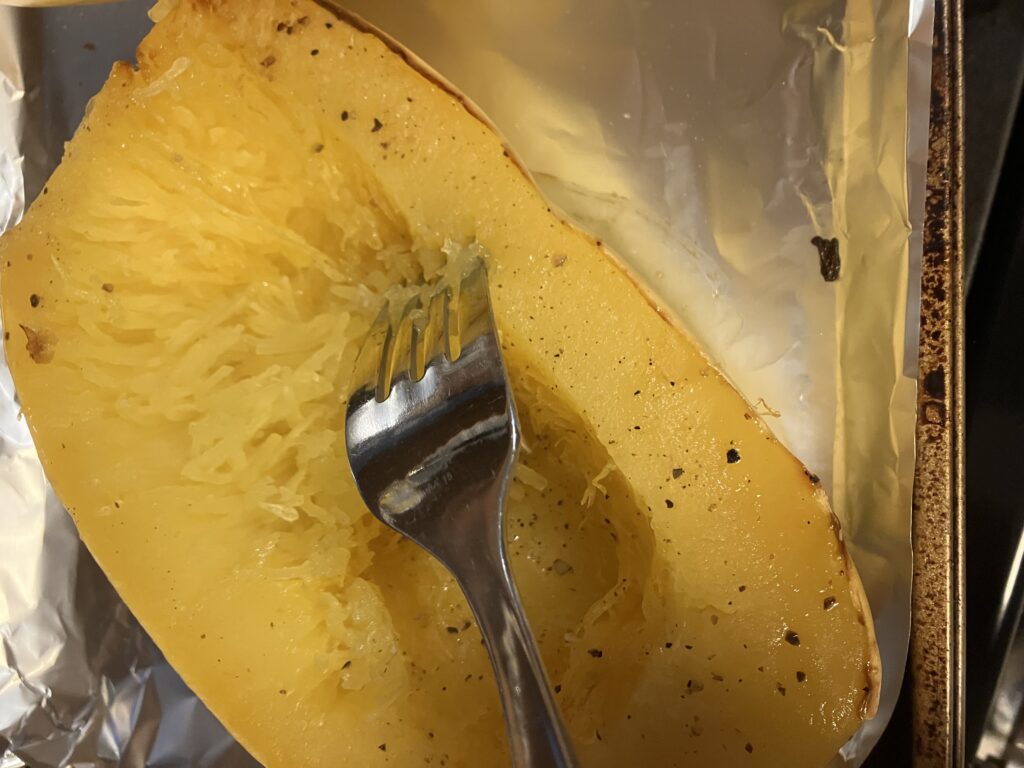
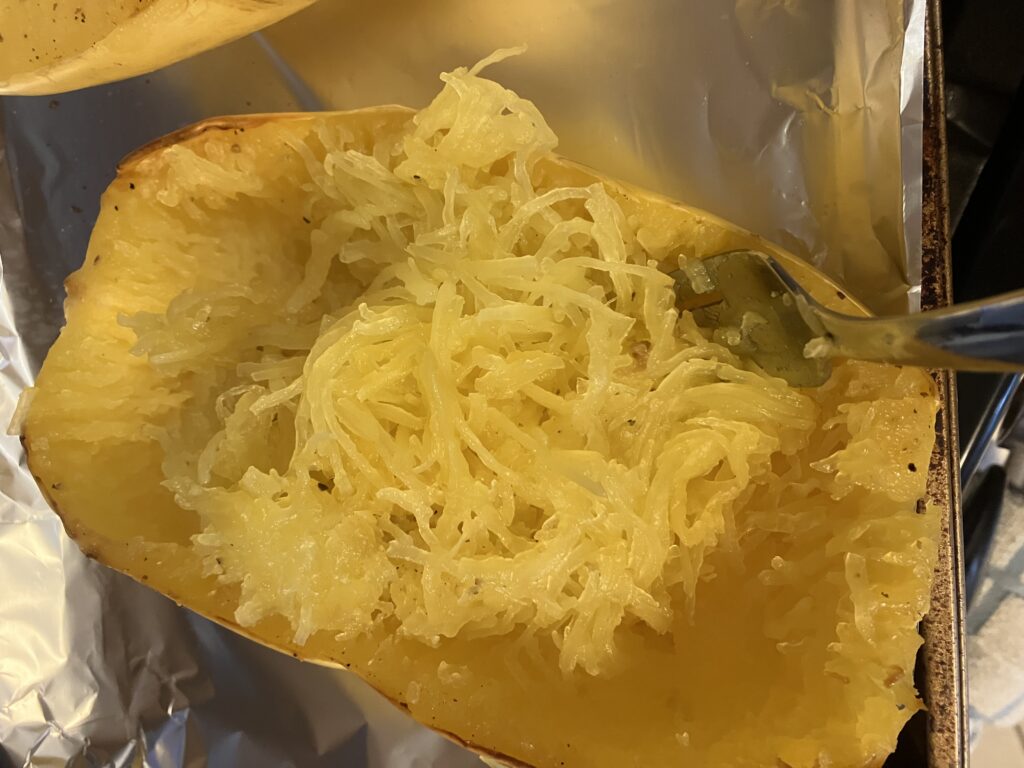
Allow the squash to cool slightly so that you can handle it (or you can use oven mitts, like I do. I’m impatient.) Using a fork, scrape the squash into strands until all the flesh is in strands.
In a medium bowl, combine the squash with all remaining ingredients except the mozzarella.
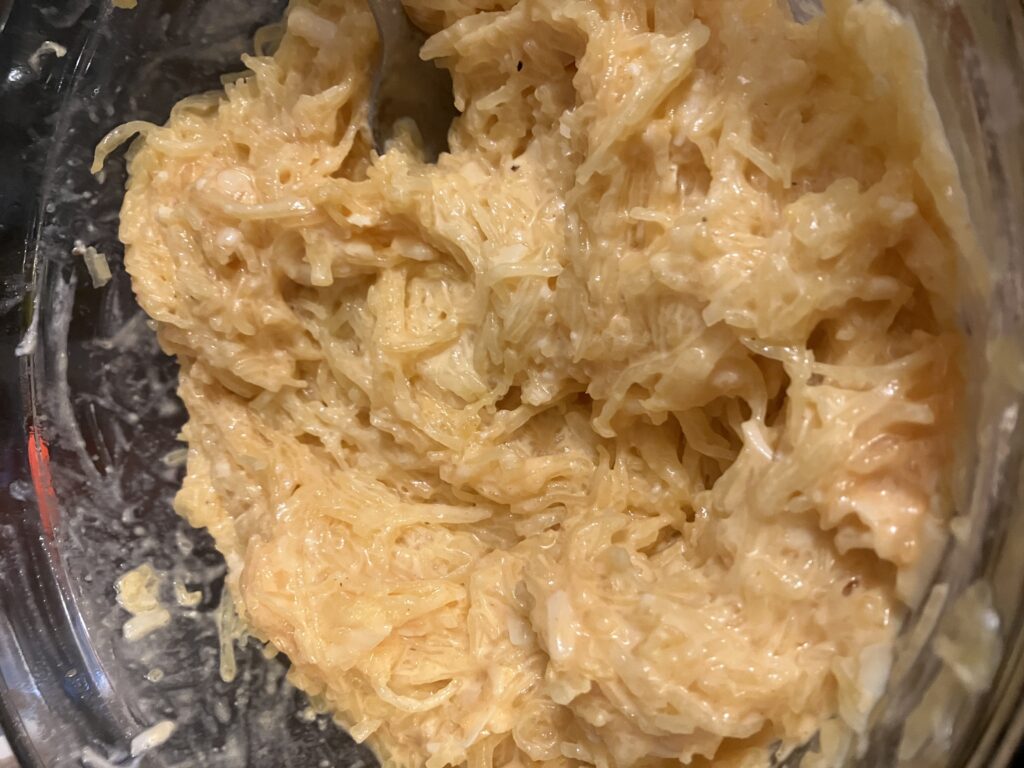
Place mixture in an 8″x4″ baking dish and sprinkle with mozzarella.
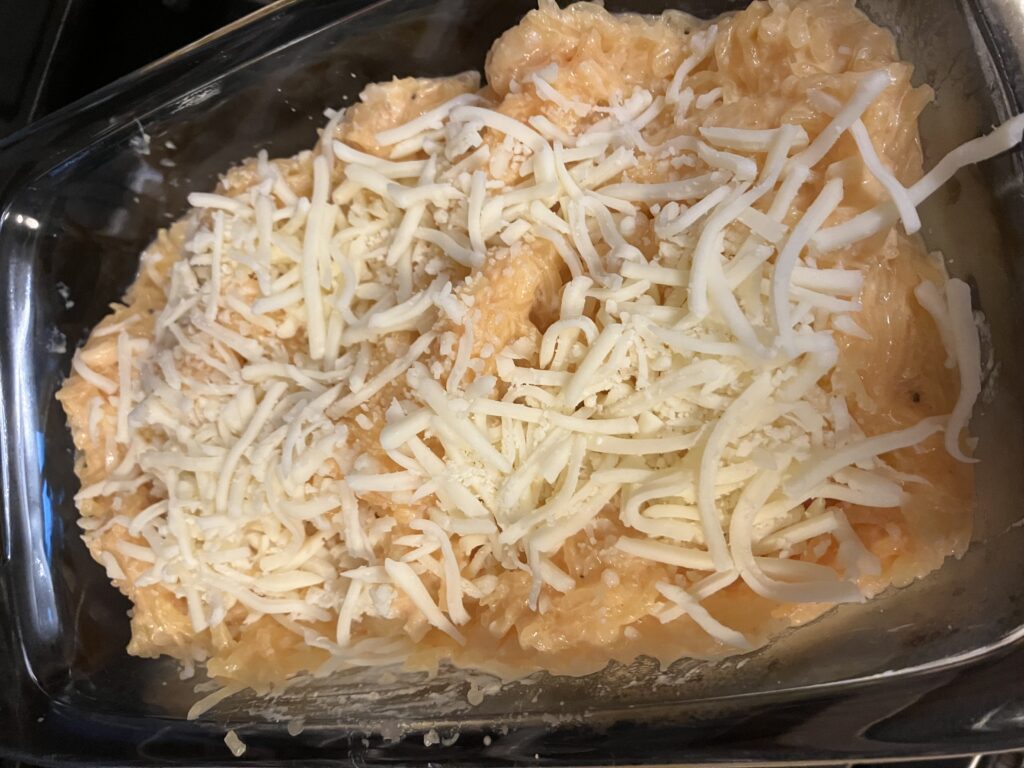
Bake for an additional 25 minutes.
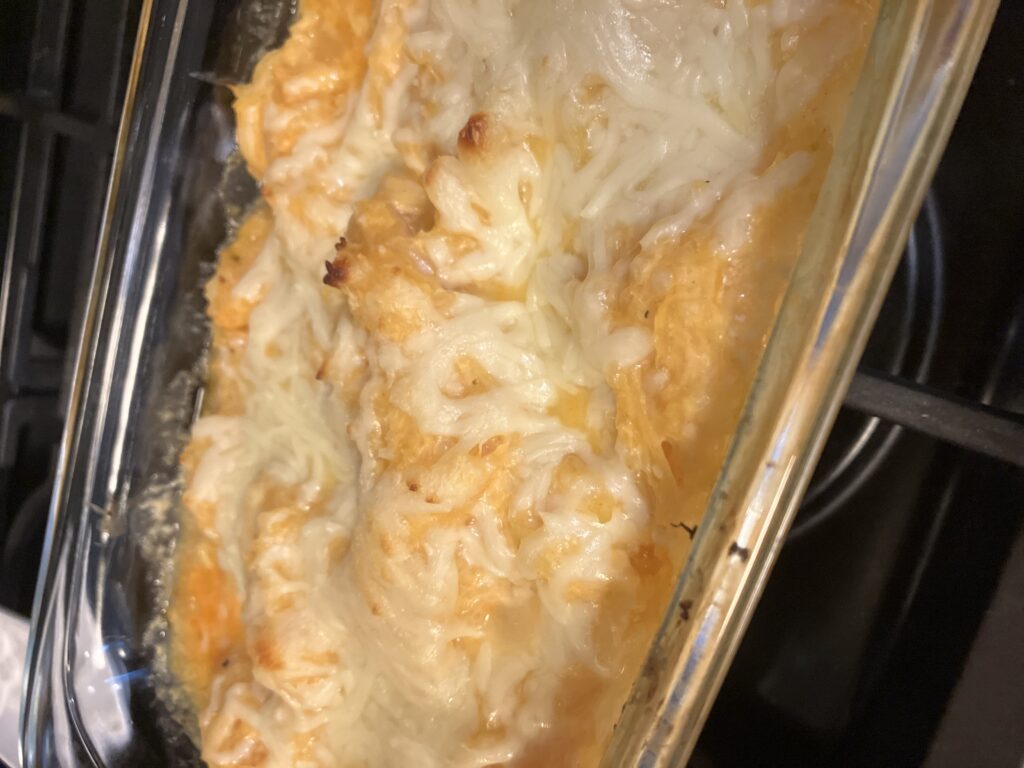
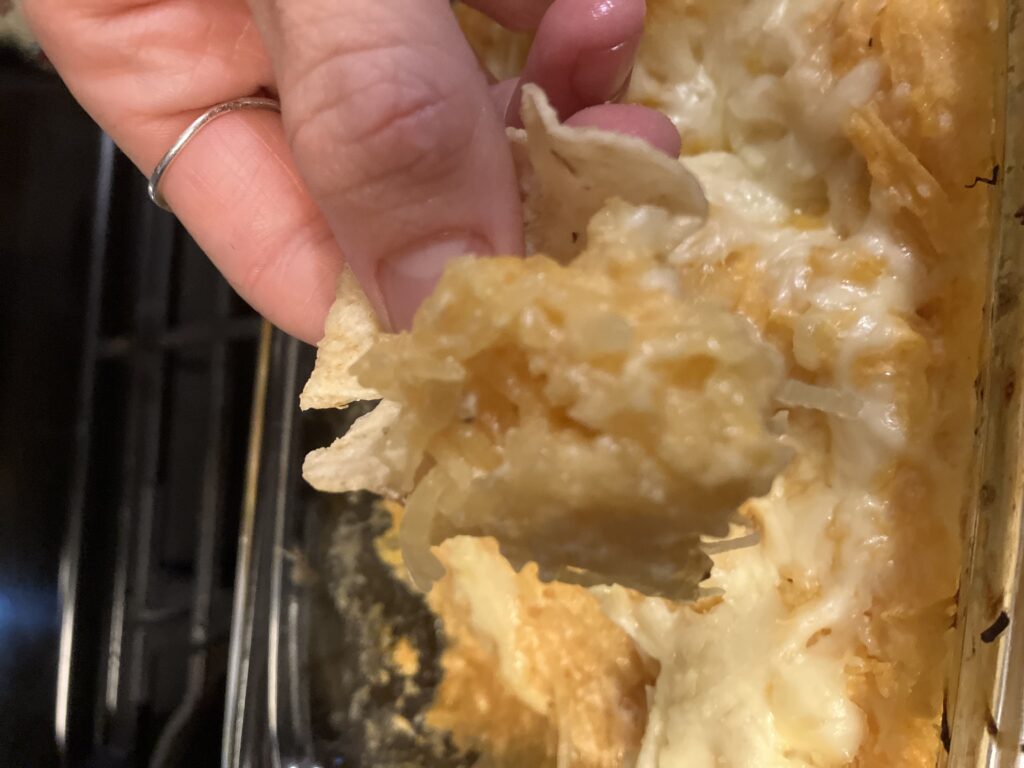
And that’s it! This dip goes really well with tortilla chips or veggie sticks. It’s really savory, has great texture, and as a bonus, it’s veggies!
Happy cooking!
Butternut Squash Soup
Hi, all! Happy February! I have a great recipe to share with you today- butternut squash soup! It’s super easy to make, is packed full of vegetables, and is deliciously sweet, savory, and spiced. It also goes very well with grilled cheese! You can make it in a stockpot or in the crockpot (my preferred option), and I’ll share both methods. Here’s the recipe:
Ingredients:
- 1 tbsp olive oil (for stockpot option)
- 2 cups vegetable stock
- 4 cloves garlic, minced
- 1 carrot, peeled and diced
- 1 Granny Smith apple, peeled and diced
- 1 yellow onion, diced
- 1 3-4 pound butternut squash, peeled and diced
- 1/2 tsp salt
- 1/4 tsp pepper
- 1/8 tsp cayenne pepper
- 1/8 tsp cinnamon
- 1/8 tsp nutmeg
- 1/2 cup unsweetened light coconut milk
Stockpot Option:
Heat 1 tbsp olive oil in a large stockpot. Add the garlic and onion and sautee until onions are translucent. Add all other ingredients except the coconut milk; stir to combine. Cook over medium heat until the mixture starts to simmer. Cover and reduce the temperature to medium-low and cook for 20-30 minutes or until the vegetables are easily mashed with a fork. Add in the coconut milk and blend using an immersion blender (if you don’t have an immersion blender, carefully pour the mixture into a blender or food processor and blend).
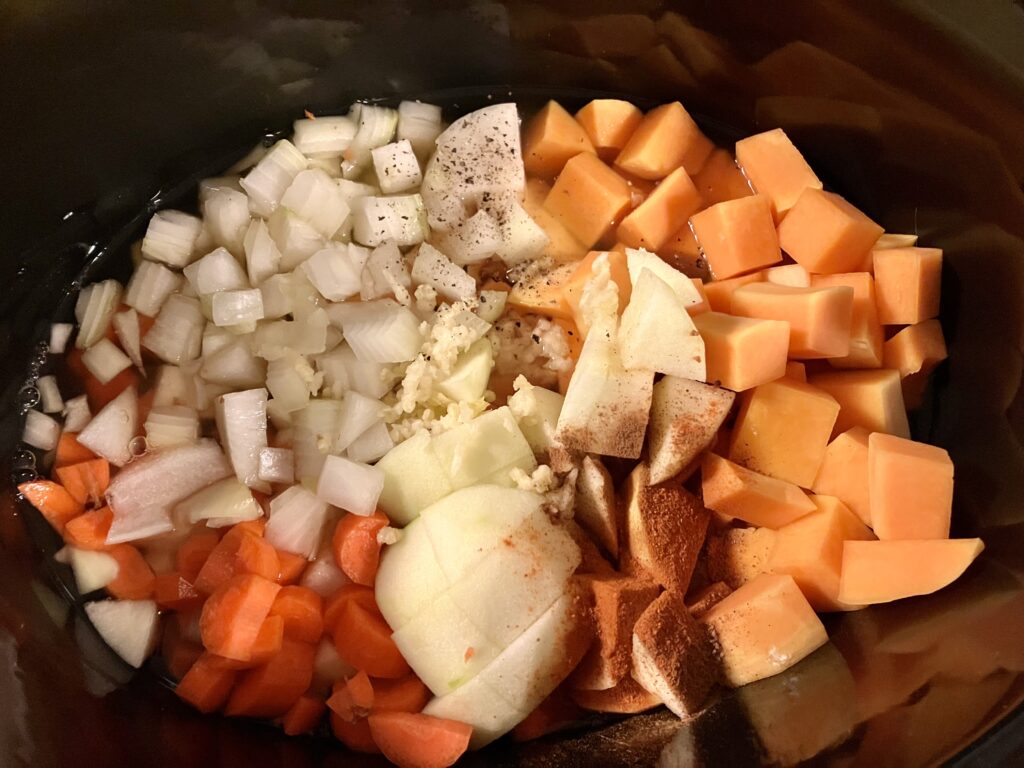
Crockpot Option:
Add all ingredients except coconut milk to a crockpot. Cook on low for 6-8 hours or on high for 3-4 hours. Add coconut milk just before serving and blend with an immersion blender or pour into blender and blend.

And that’s it! Either option is easy and equally delicious, and perfect for a chilly February day. Happy cooking!
Carrot Green Chimichurri
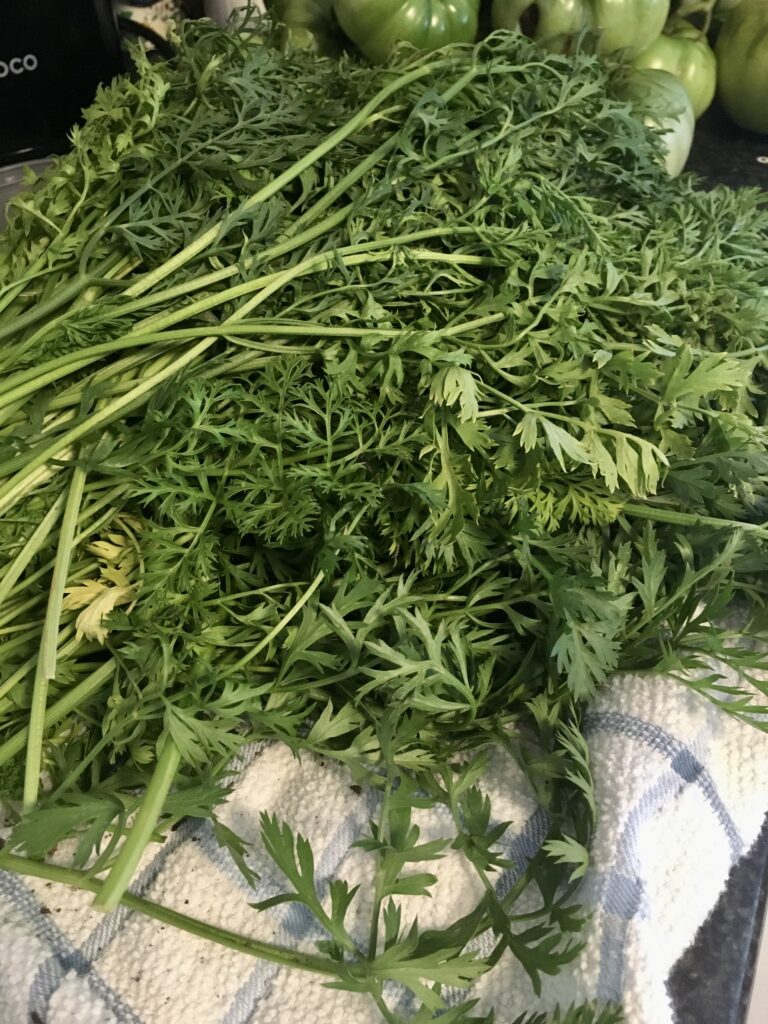
Hi all! Hope you’re enjoying your October and are enjoying the last little bits of produce from your gardens! We’ve been harvesting our carrots over the past couple of weeks and got quite the haul- which left me with the question of what to do with all the carrot greens (because I refuse to waste any food if I can help it!). I thought of making a few different sauces and was especially pleased with this chimichurri, so I wanted to share the recipe with you!
But first… what is chimichurri, anyway? It’s an Argentinian herb sauce, usually made with parsley. Conveniently, carrots (and therefore carrot greens) are in the same family as parsley and I find that they taste fairly similar, so I figured I could use them interchangeably. I’m happy to say that I was correct! Carrot greens are also often cheaper than parsley by function of carrots being cheaper than parsley, so that is a win with today’s grocery prices! Anyway, to the recipe!
Ingredients:
- 1 cup carrot greens (just the fronds and smaller stems when possible- too many bigger stems can make the sauce feel gritty)
- 1/4 cup red wine vinegar
- 1 tbsp dried oregano
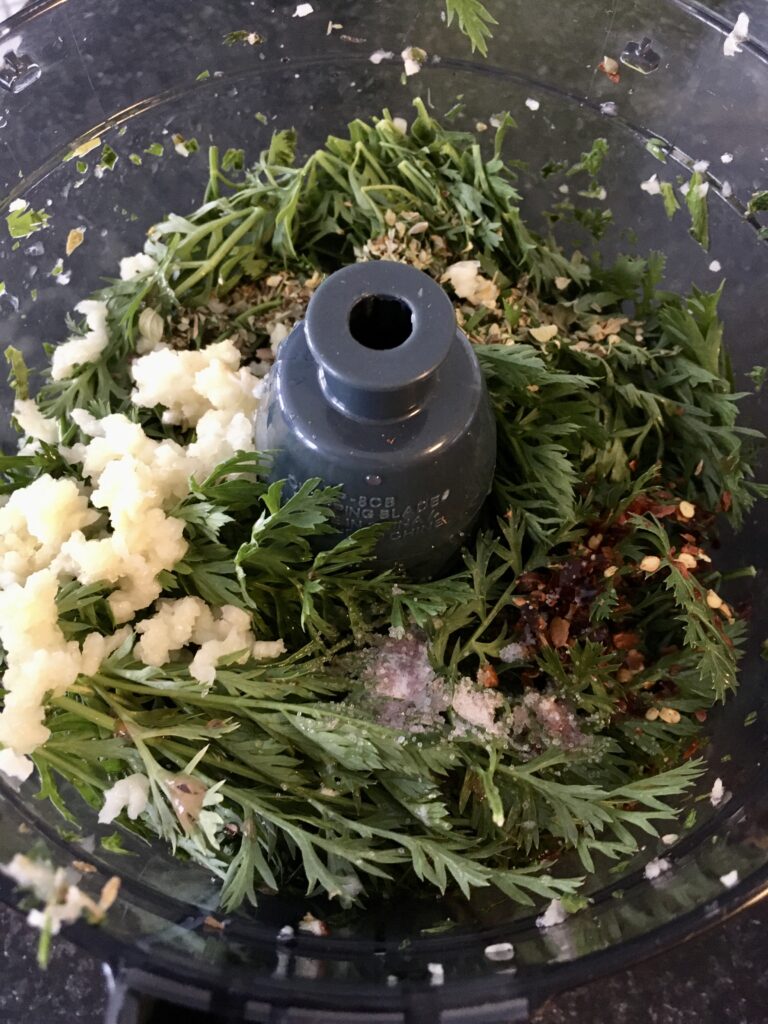
- 4 cloves garlic
- 1 tsp red pepper flakes
- 1 tsp salt
- ~1/2 cup olive oil
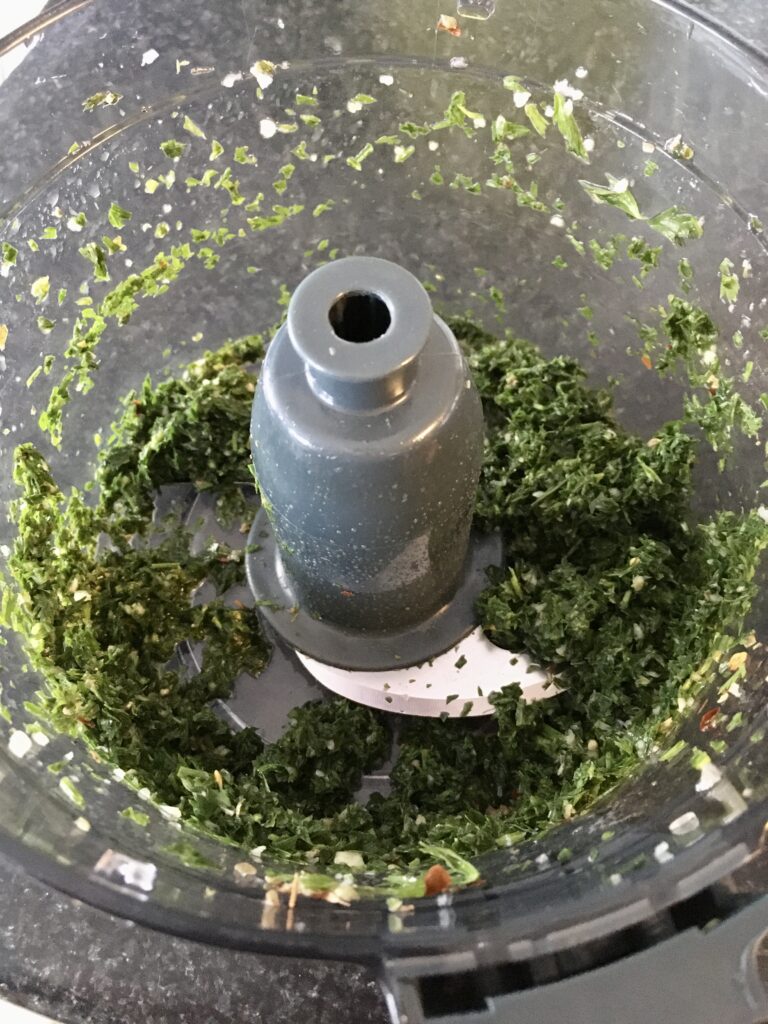
This recipe is pretty simple: pile all your ingredients except the olive oil into a food processor and blend until very finely chopped.
Scoop the herb paste into a bowl or a jar and pour the olive oil over it until the oil covers the paste.
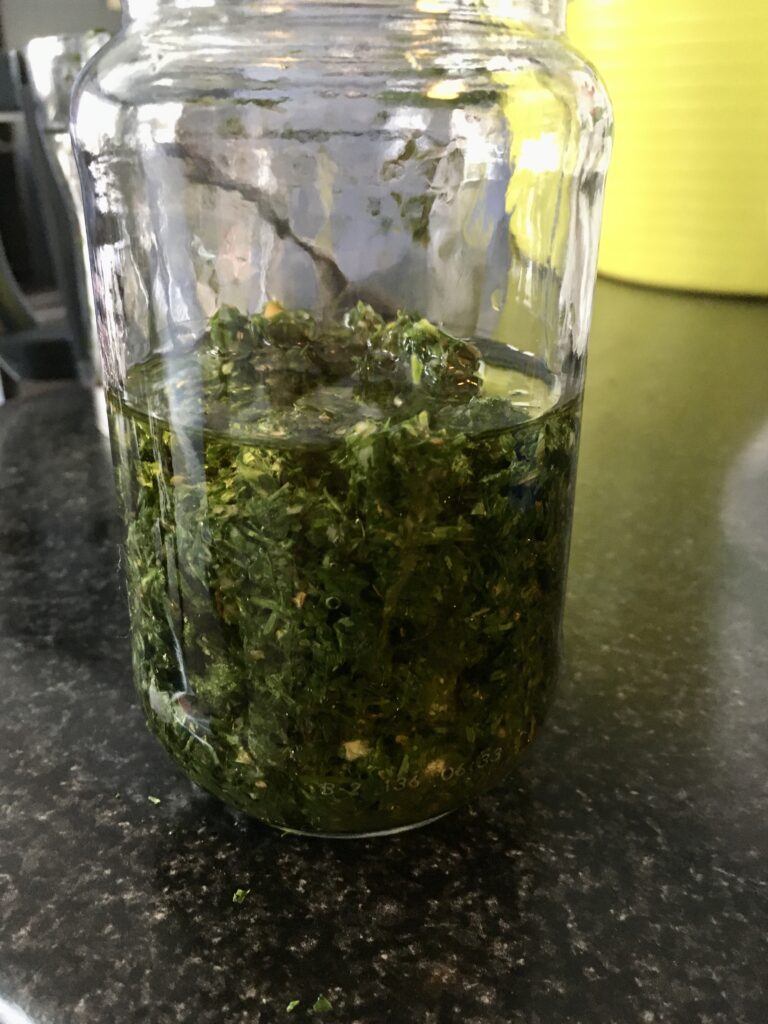
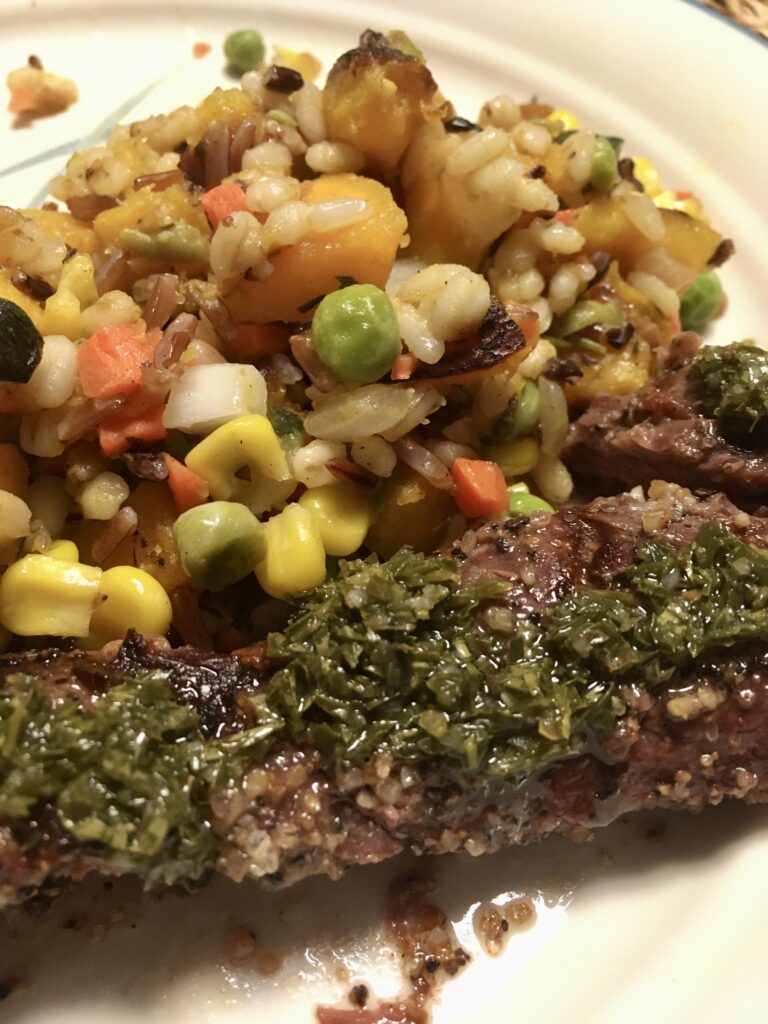
Let the mixture sit for at least a couple of hours before using it so that the flavors can meld. After that, I recommend using it over grilled meat or veggies- it is especially delicious over steak. You could also make this recipe using the traditional parsley and it would taste very similar. Store it in the fridge, but let it sit at room temperature for a little while before using it. Happy eating!
Salsa Verde
Hi, all! Hope you’re absolutely loving the warm weather we’ve been getting this weekend! I’ve been spending as much time as I possibly can outside biking, hiking, playing tennis, playing pickleball, reading… pretty much everything I can think of to do outside! Maybe you’ve been spending your time cleaning out your garden and pulling up the last of the tomato and pepper plants- as was the case for me a couple weekends ago. If you’re finding yourself with lots of unripe green tomatoes and a few straggling jalapenos, I’ve got the recipe for you! This salsa verde recipe comes from a canning book that my mom let me borrow a few weeks ago, and it is so good- it uses up those green tomatoes rather than using the traditional tomatillos, and is zingy, acidic, bright, and really flavorful. Here are the ingredients:
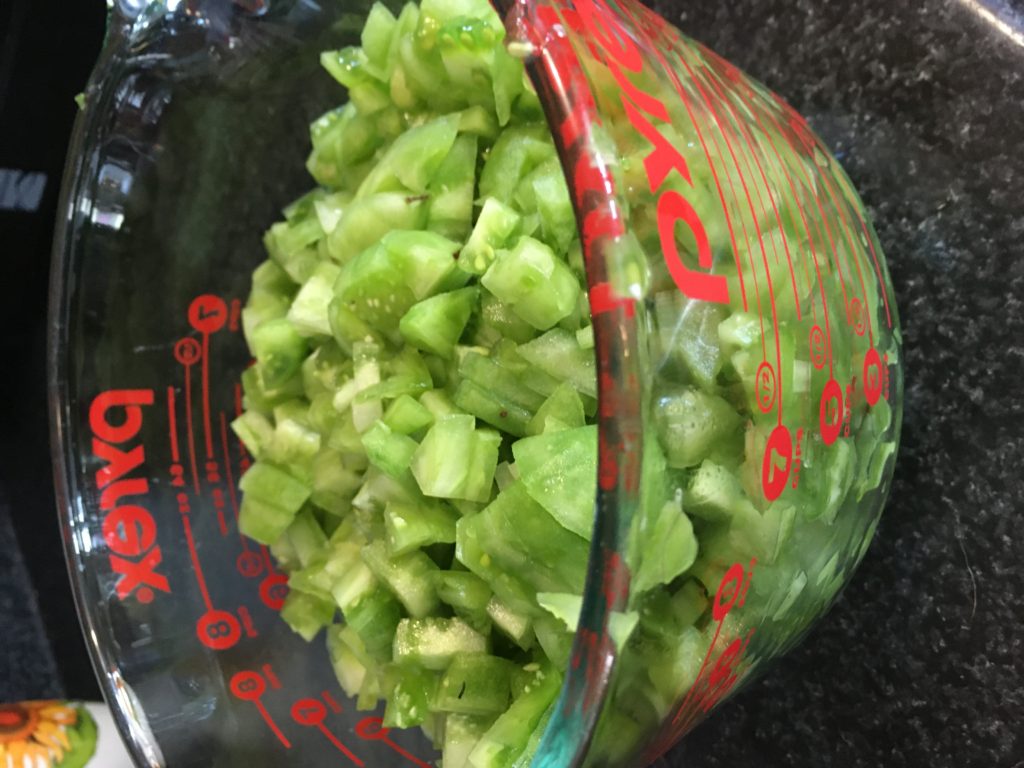
- 7 cups peeled, cored, chopped green tomatoes (see tip below for easier chopping)
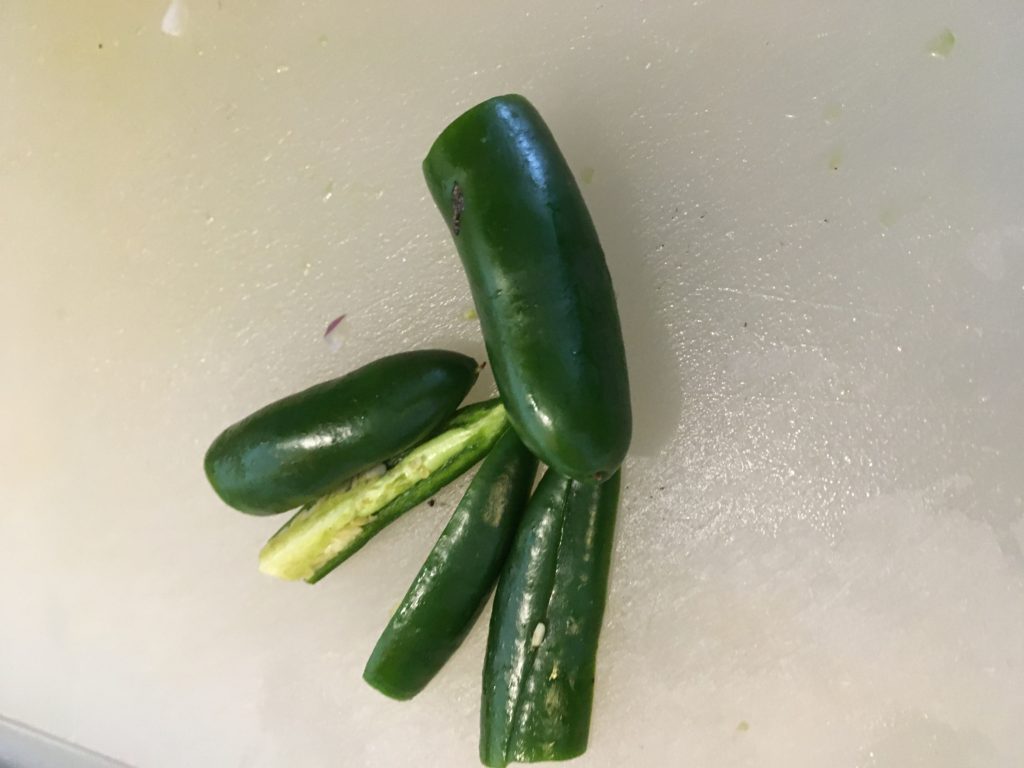
- 3-6 jalapeno peppers, finely chopped (you can use more peppers if you have them, just take the seeds and ribs out if you need to tamp down the spice level)
- 2 cups finely chopped red onion
- 2 large cloves garlic, minced
- 1/2 cup lime juice
- 1/2 cup chopped cilantro leaves
- 2 tsp ground cumin
- 1 tsp dried oregano
- 1 tsp salt
- 1 tsp black pepper
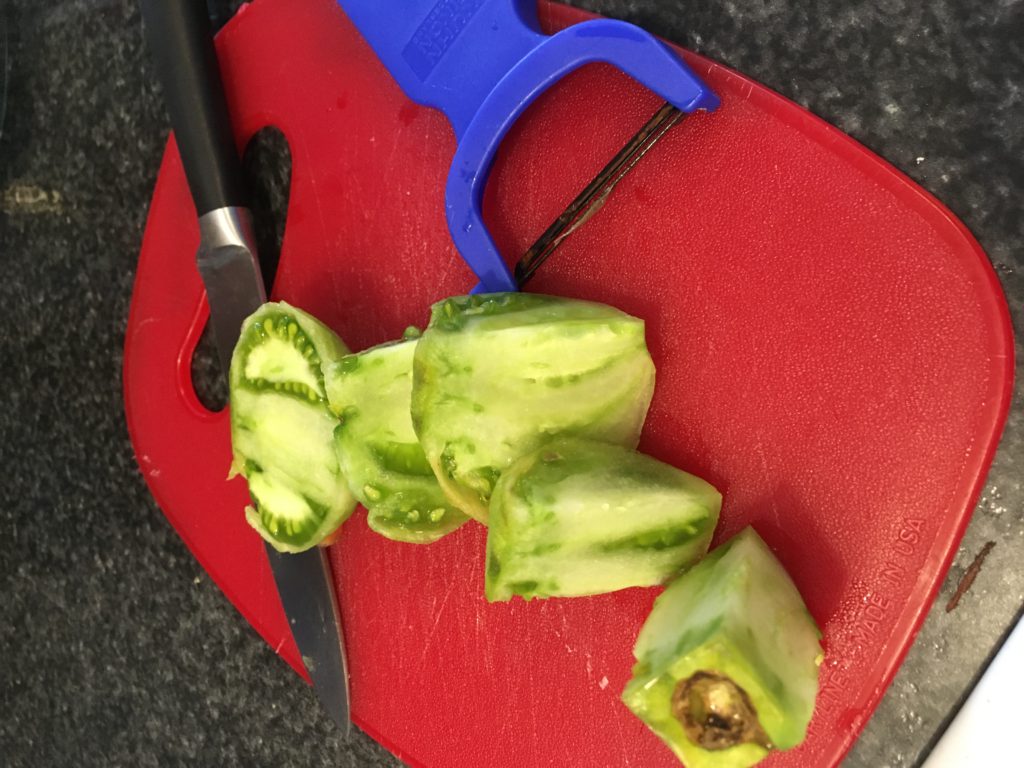
Ok, so first things first: how to easily peel and chop what seems like a gazillion green tomatoes. Take a potato peeler or a Y-peeler and peel all around the tomatoes. Using a potato peeler or a Y-peeler instead of a knife will make it go quicker and will also probably save you from wasting a good amount of each tomato. Then, instead of taking a corer to the tomato, just cut chunks off from around the core.
Chop those chunks into pea-sized pieces, and keep working until you have 7 cups of chopped green tomatoes. It will take a little time, but it’s totally worth it and gets much easier after this point!
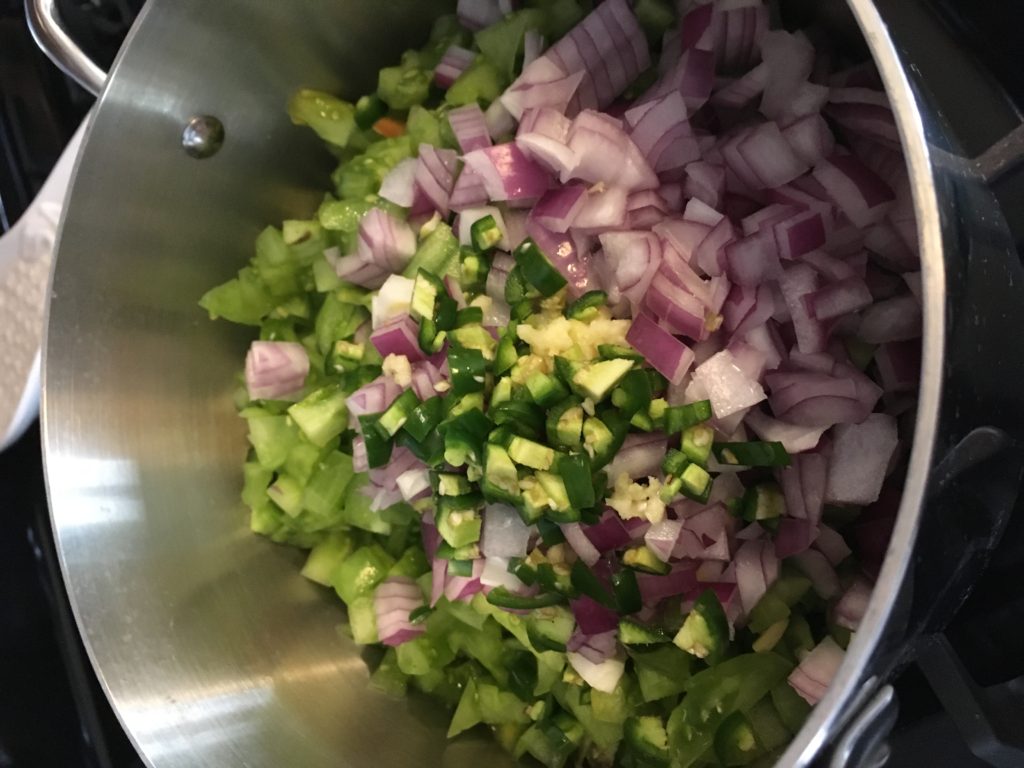
Next, chop up all your other veggies. Be careful when you chop the peppers to either wear gloves or to wash your hands VERY thoroughly afterwards, especially before touching your eyes/nose/mouth. Trust me, you don’t want jalapeno oils in your eye.
Once you’ve got all your veggies chopped, combine the tomatoes, peppers, onions, garlic, and lime juice in a stainless steel sauté pan.
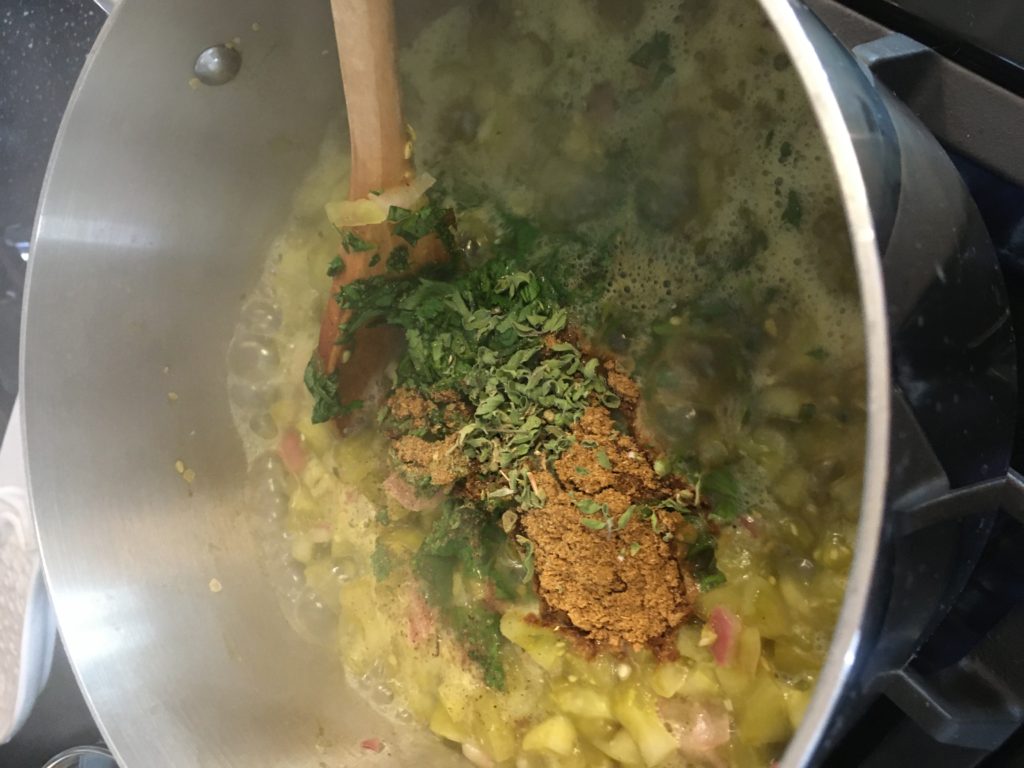
Stir the mixture frequently over medium-high heat until the mixture cooks down a bit and comes to a boil. Then, add the remaining ingredients and continue to boil the salsa gently for an additional five minutes, stirring frequently.
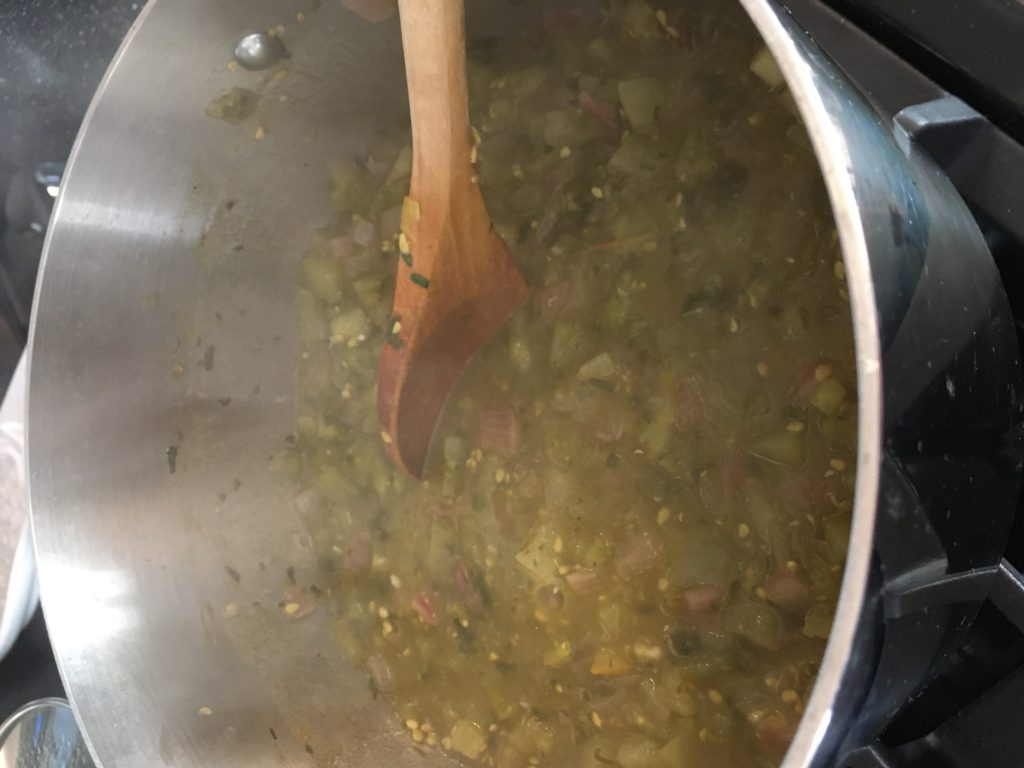
And that’s it! You can either let the salsa cool and put it in the fridge to use within a few days, or you can put it in canning jars to preserve for the winter (canning instructions below). Happy cooking!
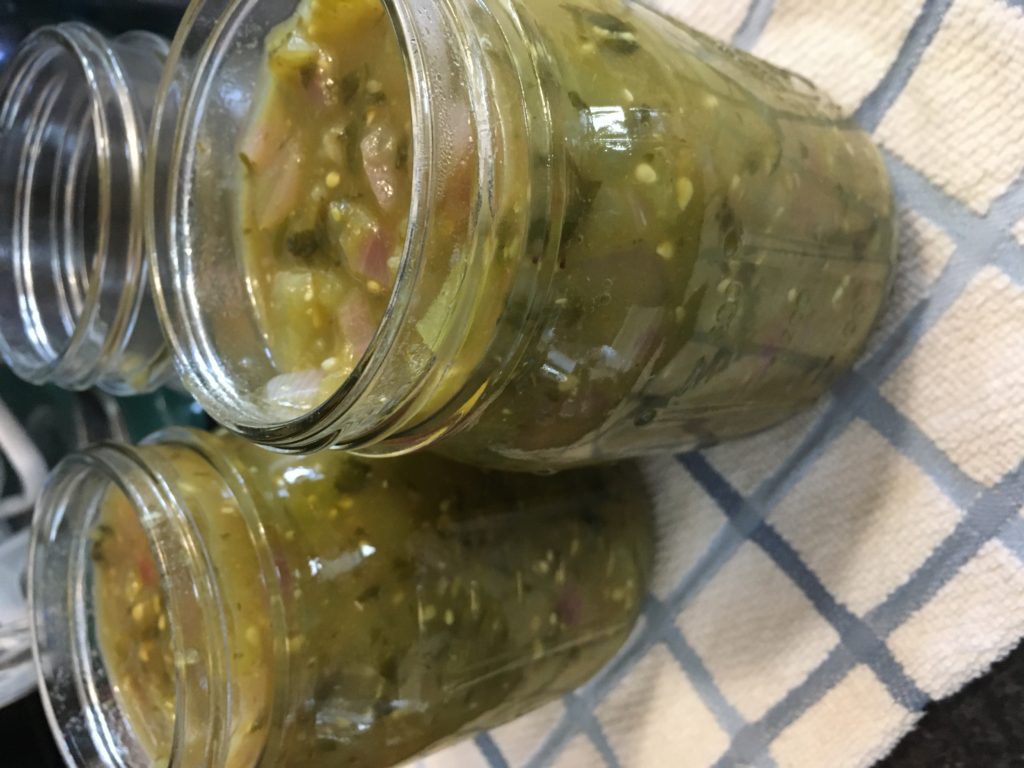
For hot water canning: boil pint jars in canning pot to sterilize. Fill jars with salsa, leaving a 1/2″ space at the top. Put a clean lid on (one that has been dipped in hot water to soften the seal) and screw bands on until fingertip tight. Boil for 20 minutes, completely submerged in water. After 20 minutes remove the canner lid. Wait 5 minutes, then remove jars, cool, and store.
Roasted Brussels Sprouts with Bacon
Hi all! This is an easy and absolutely delicious vegetable recipe that goes with just about any meal. Here are the ingredients:
- 1 lb Brussels sprouts
- 2 slices thick-cut bacon
- olive oil
- salt and pepper to taste
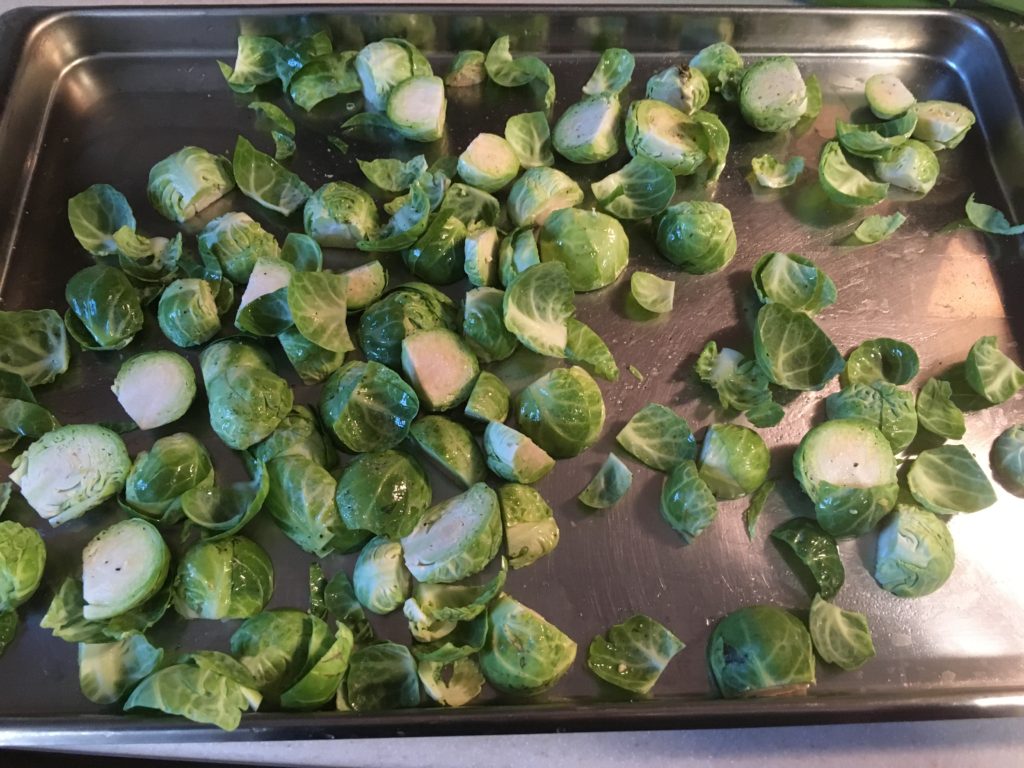
First, preheat the oven to 425F. Wash the Brussels sprouts, cut the ends off, and cut the sprouts in half. Toss with olive oil, salt, and pepper to taste and arrange in a single layer on a baking sheet.
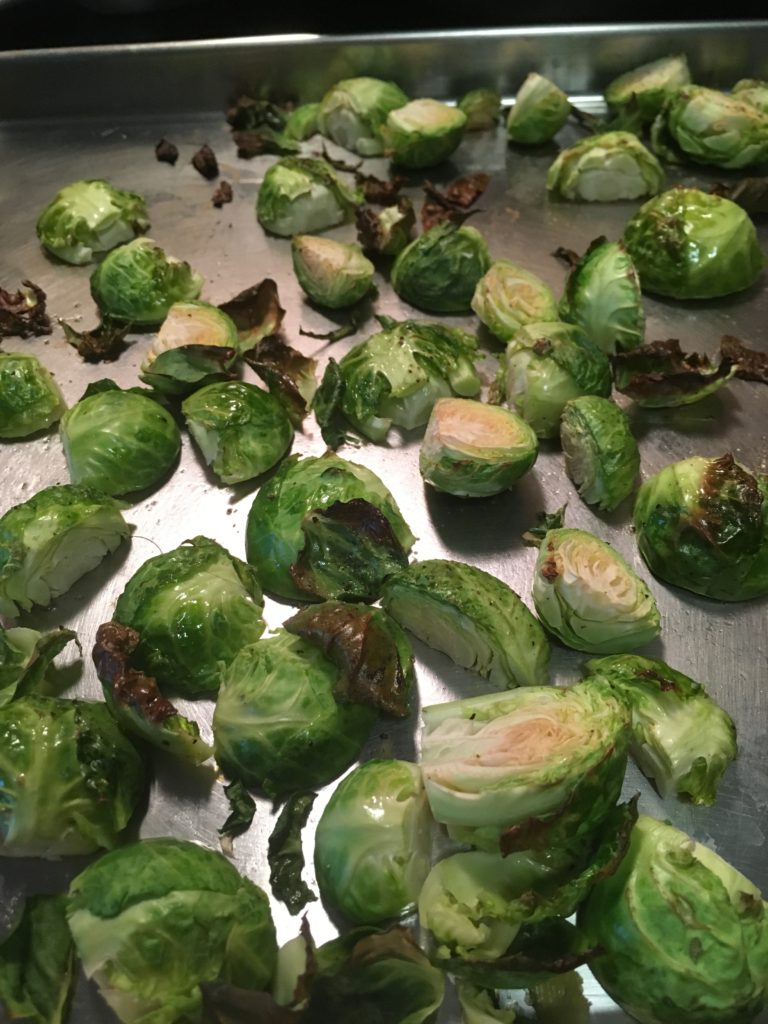
Roast for ~15 minutes. While the sprouts are roasting, cook bacon to medium-crispy either in frying pan or in microwave, depending on your preference (we used the microwave to keep the mess to a minimum!).
When the sprouts have roasted for ~15 minutes or until your preferred degree of doneness, remove them from the oven.
Crumble bacon over the top of the Brussels sprouts and turn broiler to high setting. Broil the sprouts and bacon for 3-5 minutes or until the bacon is very browned and crispy.

So easy and delicious! Happy cooking!
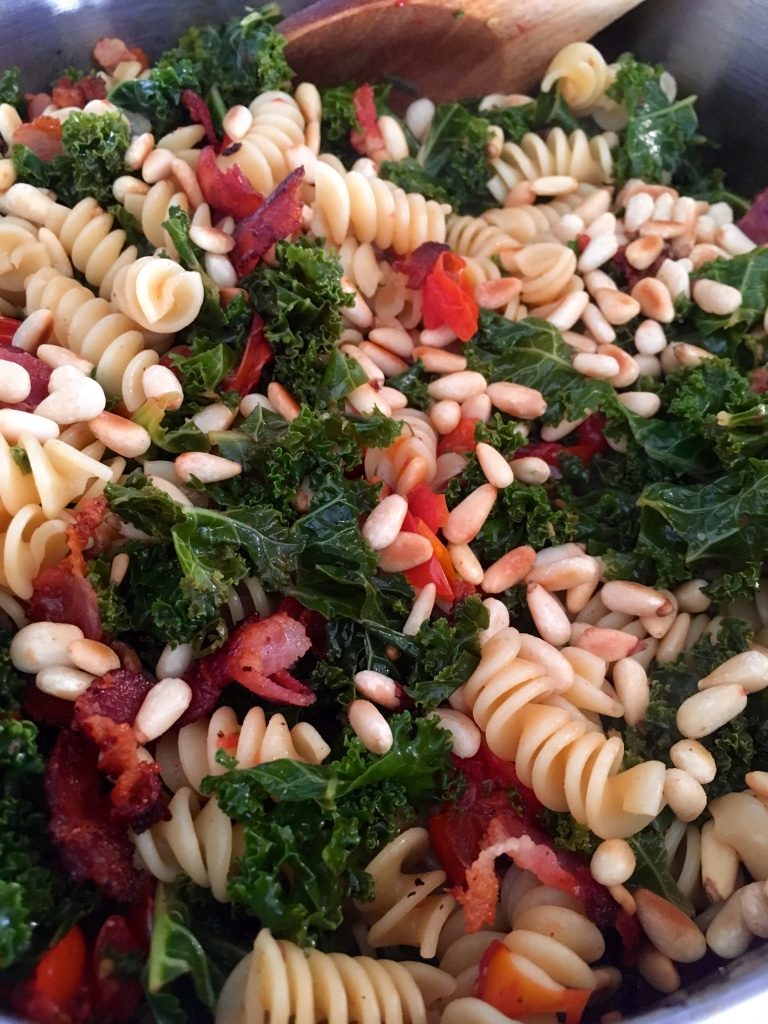
Kale & Roasted Tomato Pasta
Hi, all! Hard to believe how fast the summer is flying by! I’m trying to hold on to summer as long as I can and savor all the good summer dishes that I’ve been able to make with my veggies from Misfits Market. This past week I received a nice bunch of kale and some cherry tomatoes (along with a bunch of other goodies, of course) and figured there must be a good way to put them together other than a typical kale salad. I found a few good ideas for how to combine the two, riffed a bit on all of them, and made this delicious pasta dish from it! Here’s the recipe:
- 8oz pasta (can be whole grain)
- 1 pint cherry tomatoes, divided
- Olive oil
- 3 slices low-sodium bacon, chopped
- 1 bunch kale, stems removed
- 3 cloves garlic
- dash salt
- 1 tsp rosemary, finely chopped
- 2 tbsp pine nuts
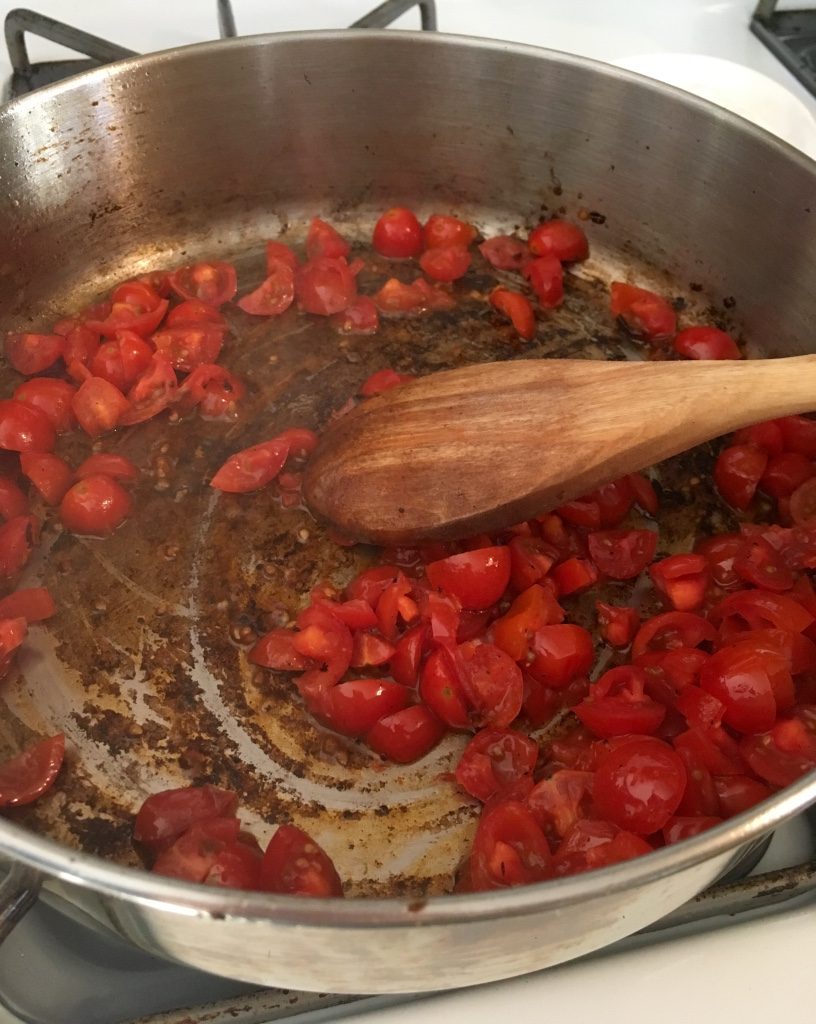
First, preheat the oven to 375F. Slice half of the cherry tomatoes in half lengthwise. Toss in a bowl with a drizzle of olive oil and 1 clove minced garlic.
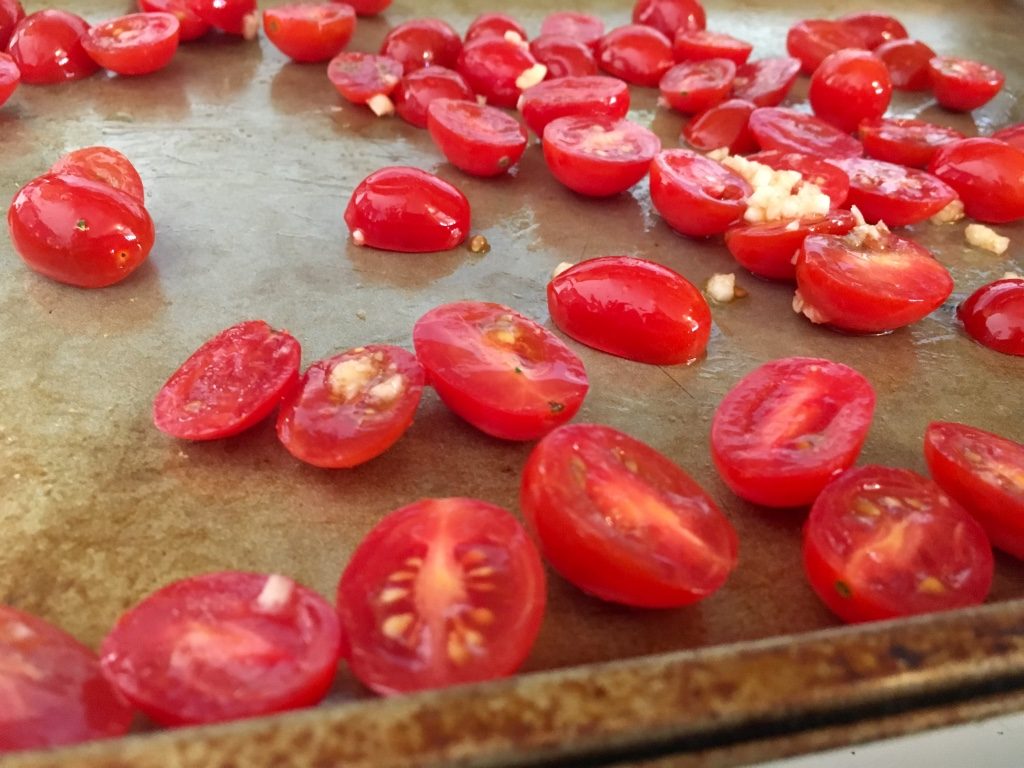
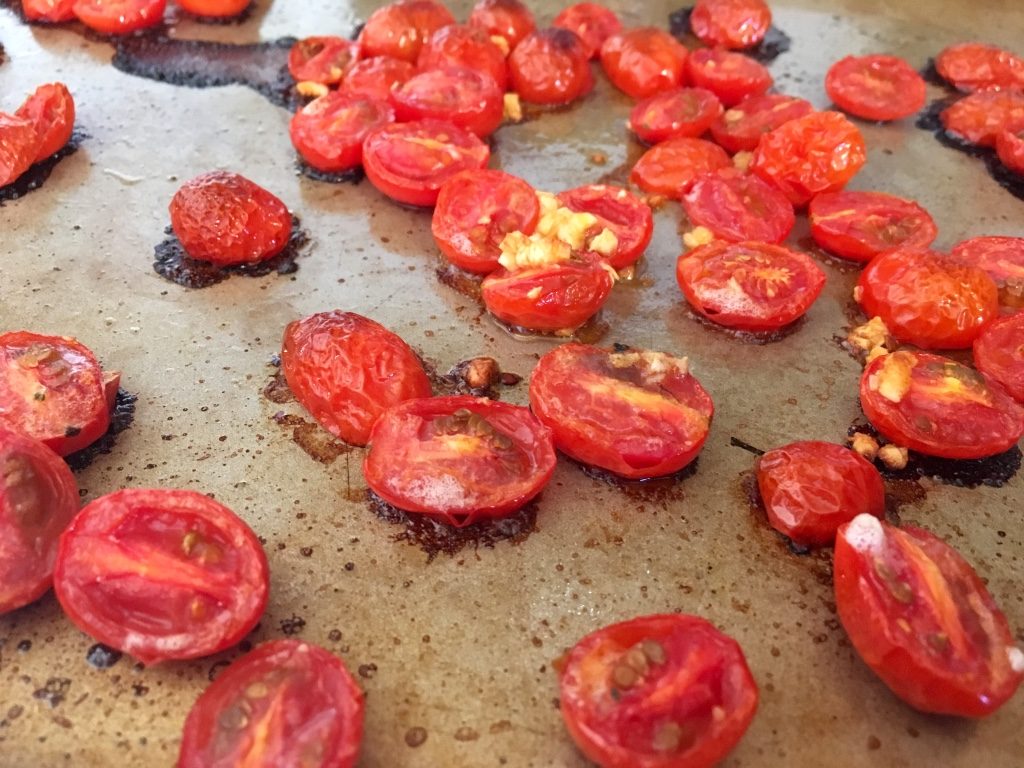
Arrange in a single layer on a baking sheet and roast in the oven for about 20 minutes. Set aside.
While the tomatoes are roasting, cook the pasta according to the box directions until al dente. Drain, reserving 1 cup of the cooking liquid. Meanwhile, cook bacon pieces in a skillet over medium-high heat until crispy. Remove from pan using slotted spoon and set aside. Chop the remaining cherry tomatoes into quarters and add to the rendered bacon fat in the skillet. Cook over medium heat, stirring often, until the tomatoes soften and release their juices.
Chop the kale into small pieces. Add the kale, rosemary, remaining 2 cloves minced garlic, and a dash of salt to the skillet. Briefly stir to combine all of the ingredients.
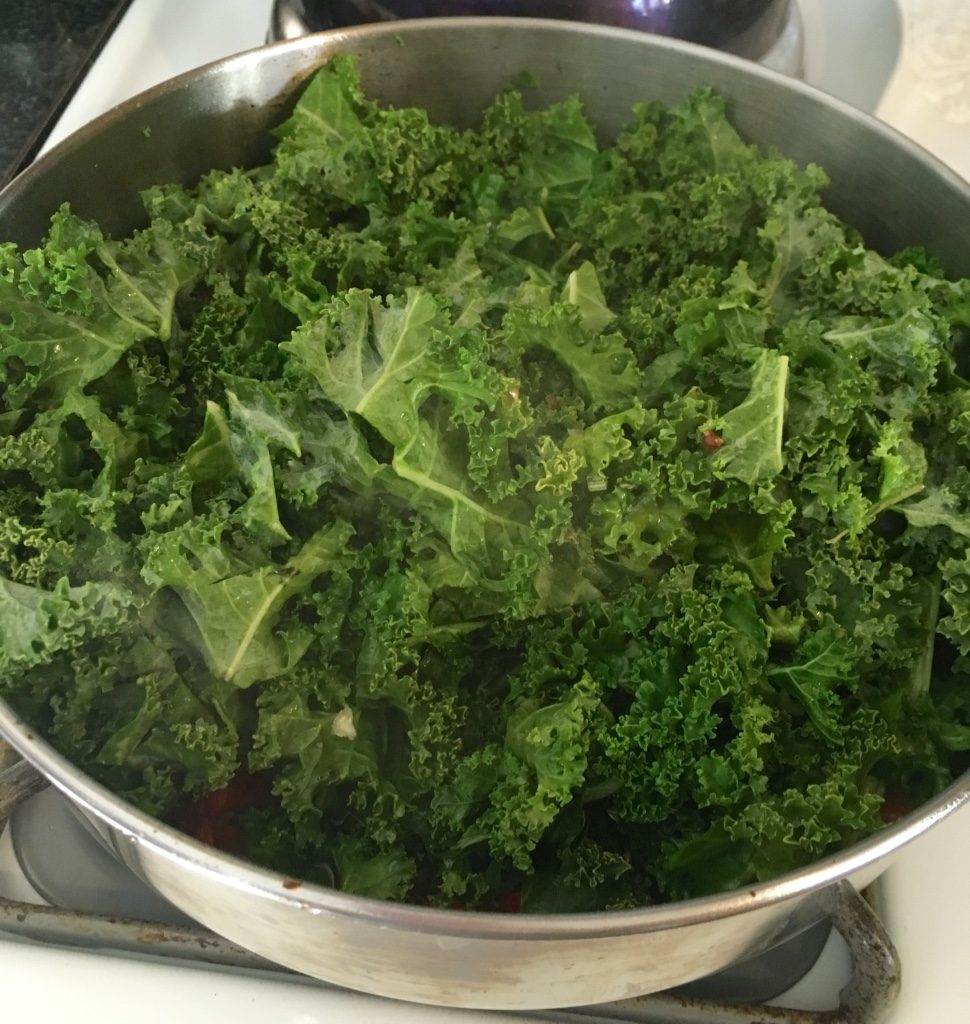
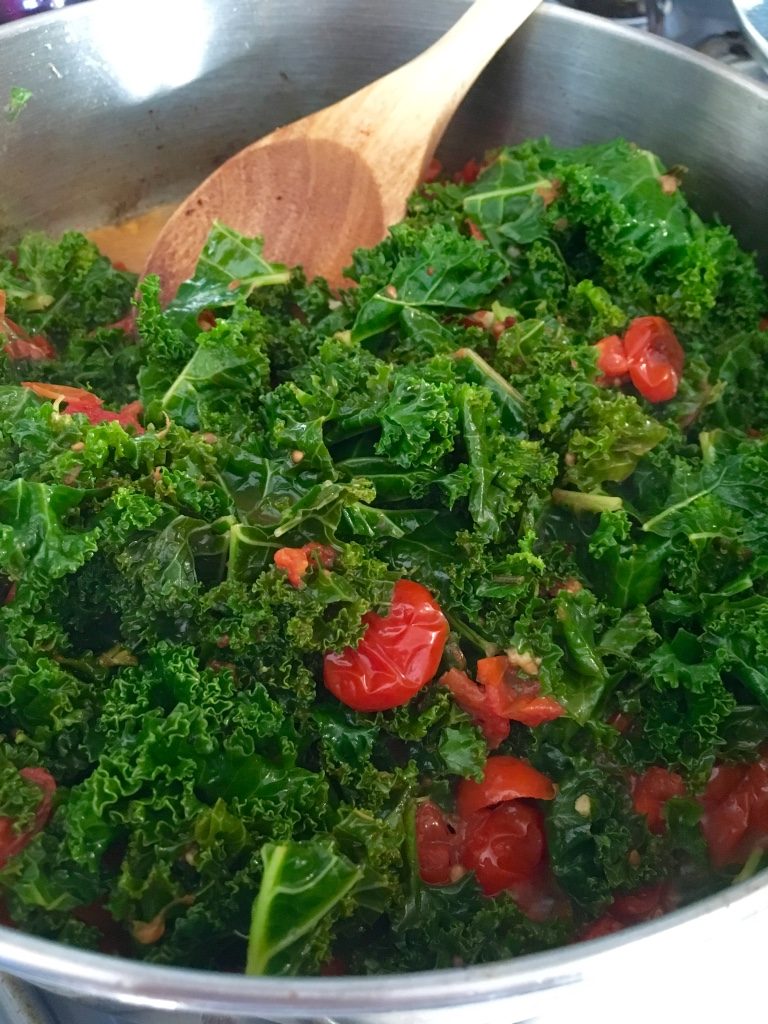
Add 1/2 to 1 cup of reserved pasta water to the pan; cover and let cook over medium heat until kale is wilted and cooked down.
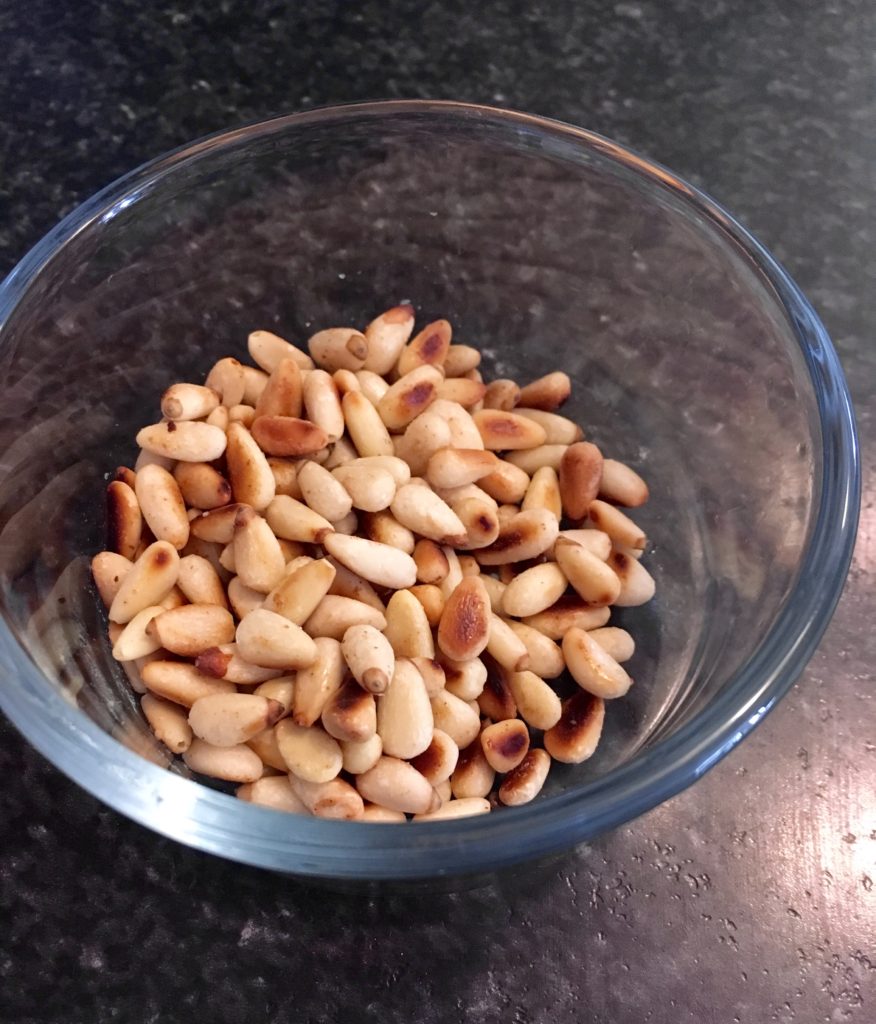
While kale mixture cooks down, pour pine nuts into a small skillet over medium heat. Stir the nuts occasionally until they start to turn brown and smell toasty and nutty. Remove from heat and set aside.
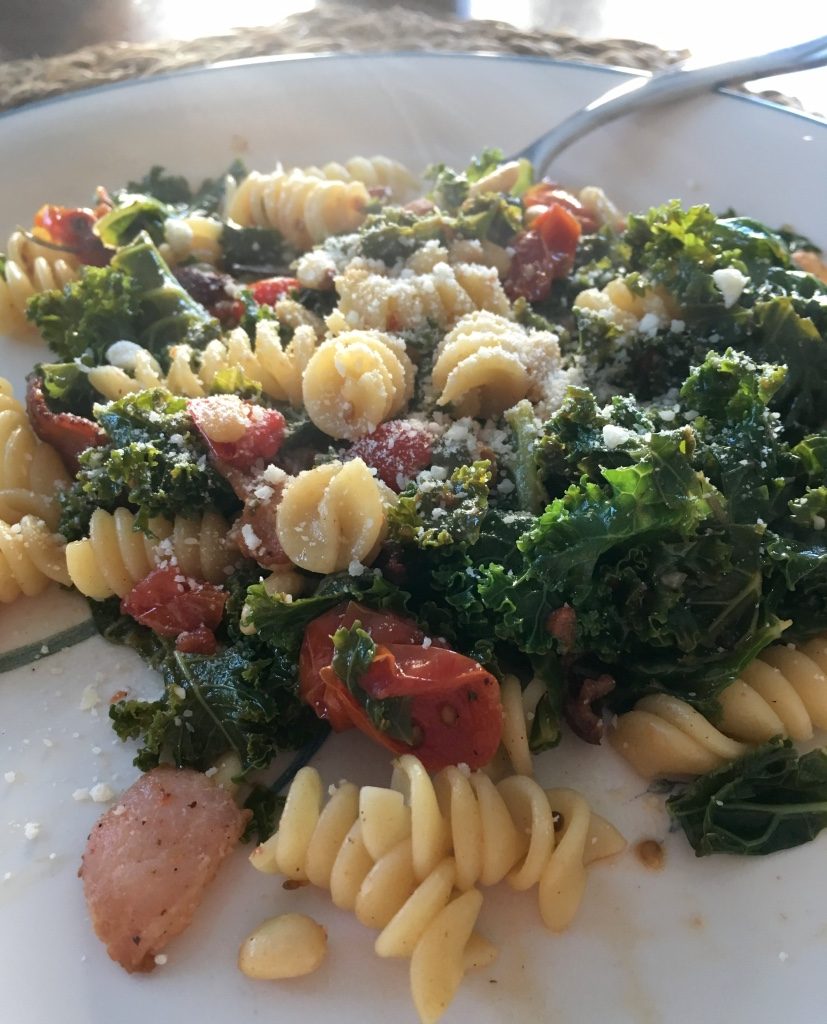
Once the kale mixture is cooked down, add pasta, pine nuts, roasted tomatoes, and bacon to the mixture. Toss to combine ingredients.
Serve with Parmesan cheese, and enjoy! Happy cooking!
Easy Babaganoush
Hi, all! Happy August- I can’t believe the summer is flying by so quickly! I’ve been loving the summer produce coming from my garden and from my Misfits Markets boxes, and this new recipe takes full advantage of that! I had a spare eggplant that I needed to use up and had heard great things about babaganoush, a Lebanese dip, so I decided to try it. My hopes of liking it were pretty low, but I was very pleasantly surprised with how good it was- even my dad, who normally doesn’t like eggplant, enjoyed it! This dip has a really clean, refreshing flavor, with a little kick at the end from the garlic in it. Here’s the recipe:
- 1 small to medium eggplant
- 1 clove garlic, minced
- 1/4 tsp salt
- 1/4 cup finely chopped flat-leaf parsley or 2 tbsp dried parsley
- 2 tbsp tahini (sesame seed paste)
- 2 tbsp lemon juice
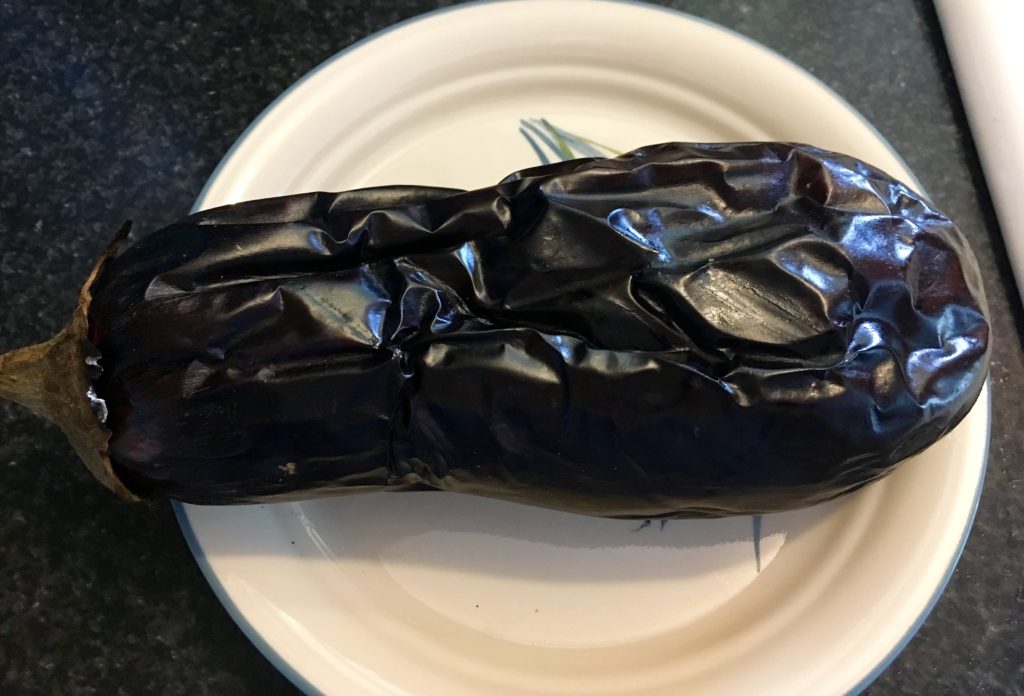
First, preheat a gas grill to 450F. Prick the eggplant all over with a fork. Grill the eggplant on all sides over the flame until all sides are charred and the skin is wrinkled, about 10 minutes. Alternatively, heat an oven to 450F and place the pricked eggplant on a foil-lined cookie sheet; bake in the oven for 20 minutes until soft.
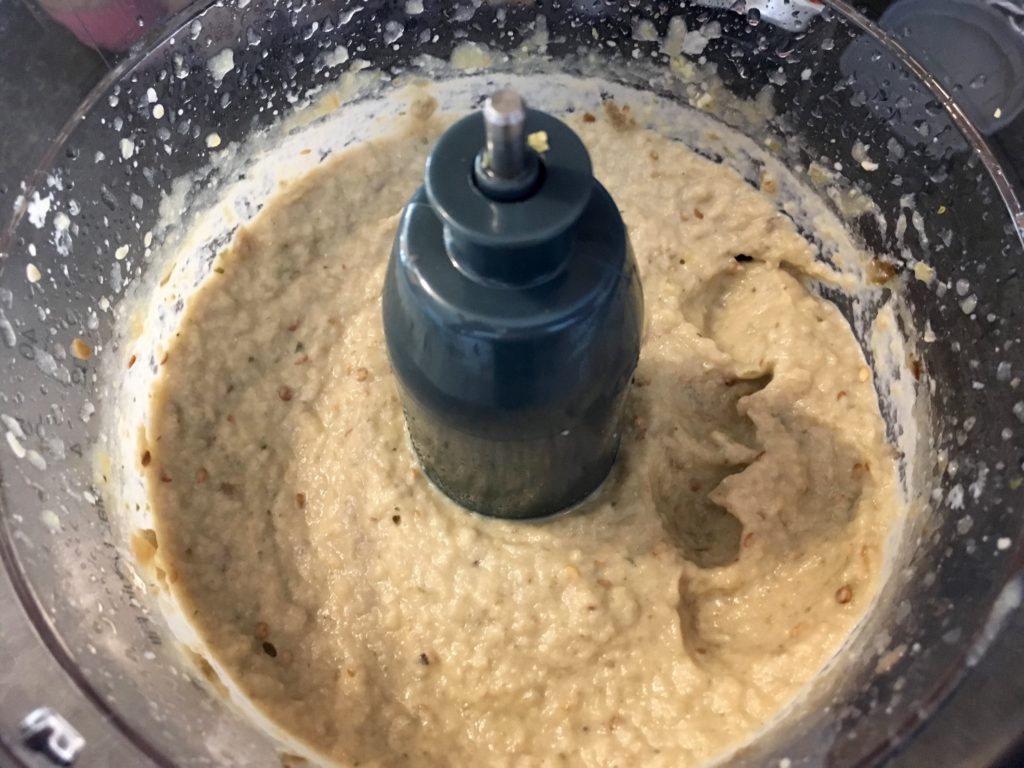
Let the eggplant cool. Then, cut the eggplant in half lengthwise and drain any excess liquid. Scoop out the flesh into a food processor and process until smooth.
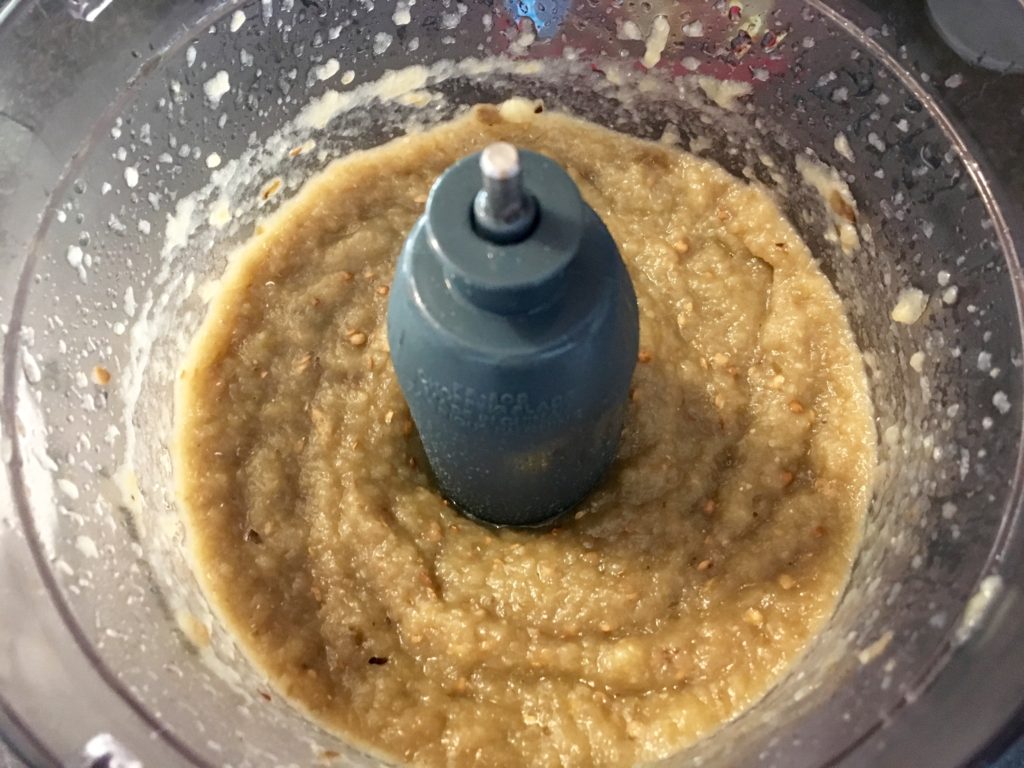
While the eggplant is processing, mash garlic and salt together with the flat side of a knife until they form a paste. Add the garlic paste, lemon juice, parsley, and tahini to the processor. Note: tahini tends to separate, so make sure to mix it up really well before using it!
Process all of the ingredients together until they are fully mixed and smooth.
Scoop the dip into a bowl and serve with pita chips or a veggie platter, and enjoy! This dip keeps well in a closed container in the fridge for 3 days- just stir it up before eating as it may slightly separate.

Happy cooking!
Arugula Pesto
Hi, all! Summer is in full swing and the summer produce is really starting to take off. Thanks to my Misfits Market box, I recently got some fresh arugula to use. I had some leftover pine nuts, so I decided to try making an arugula pesto- and it came out super well! It tasted delicious and really fresh, and went well with the pizza I made that night (recipe also below!). Here’s the recipe:
- 2 cups arugula
- 1/4 cup basil
- 1 cup olive oil
- 1 cup grated Parmesan
- 1/3 cup pine nuts
- 1 tbsp lemon zest
- salt and pepper
- 1 clove garlic, crushed
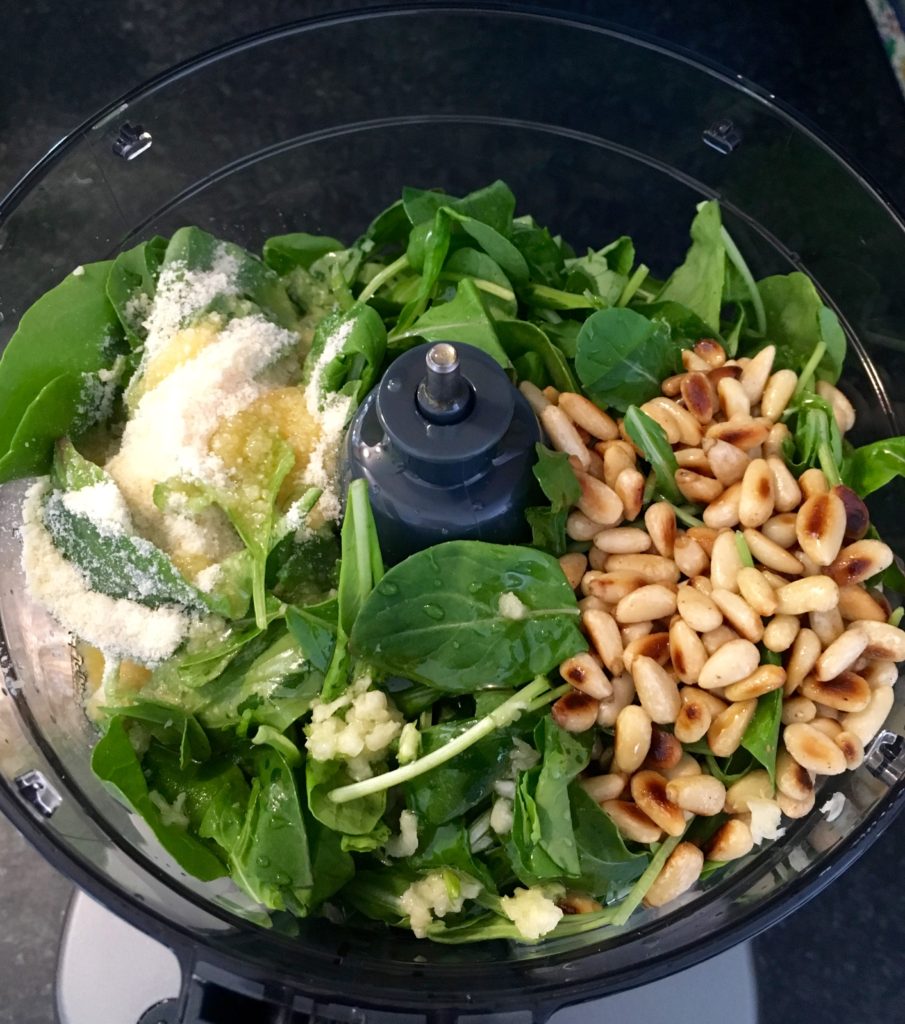
First, toast the pine nuts in a sauté pan over medium heat. The trick to toasting them without burning them is to just toss the nuts in the hot pan and remove them from the heat as soon as you start to smell them.
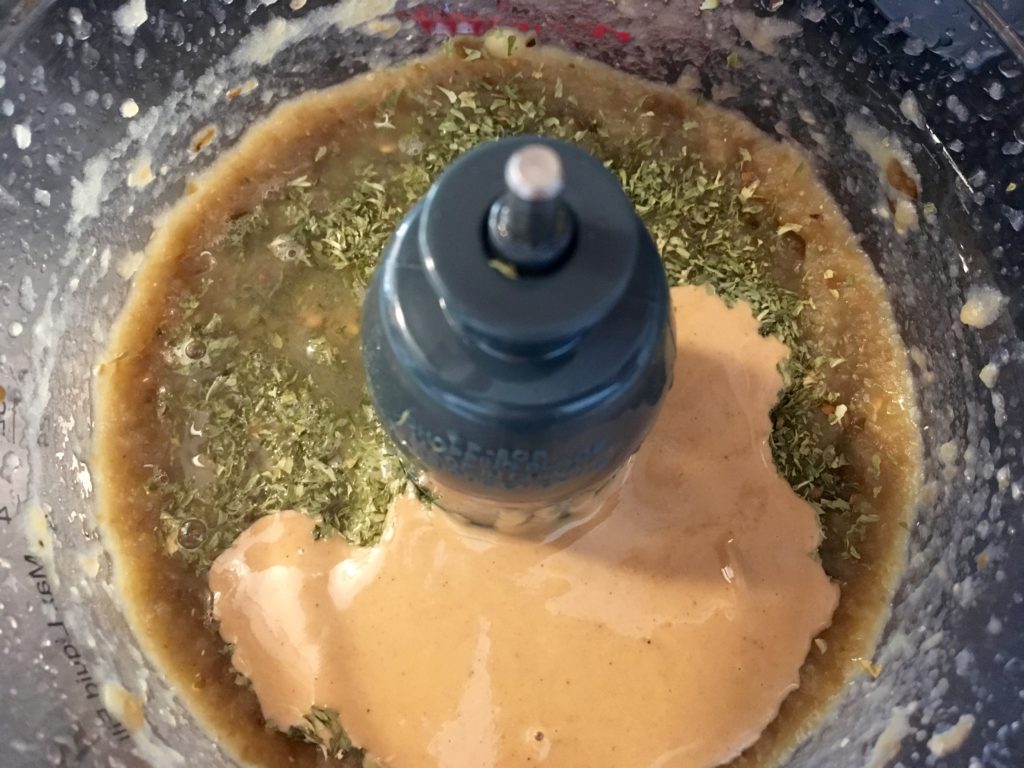
Next, put all the ingredients (including the toasted nuts) into a food processor.
Process the ingredients together until they come together. If the consistency is too runny, try adding extra cheese; if too thick, try adding extra olive oil and pulsing the mixture to loosen it. Taste and adjust the seasoning.
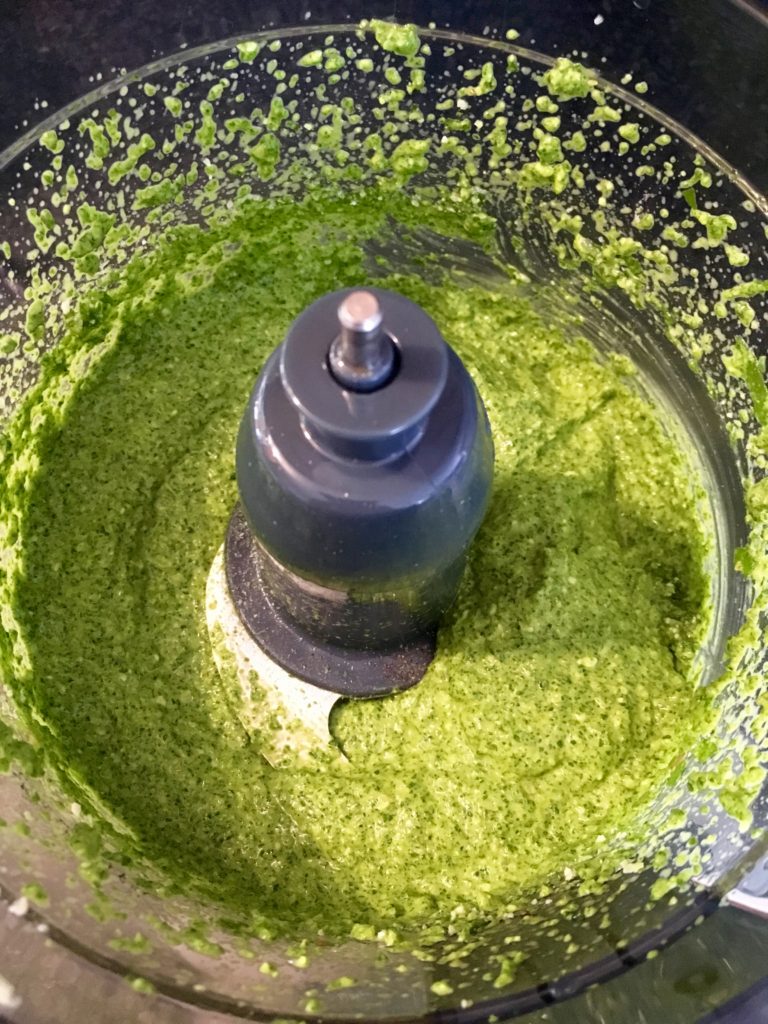
And that’s it! You can freeze this pesto to use later, or you can make it up to 3 days ahead of when you’ll need it. This works well with pasta or as a sauce for vegetables, and also is delicious as a substitute for pizza sauce in the pizza recipe below:
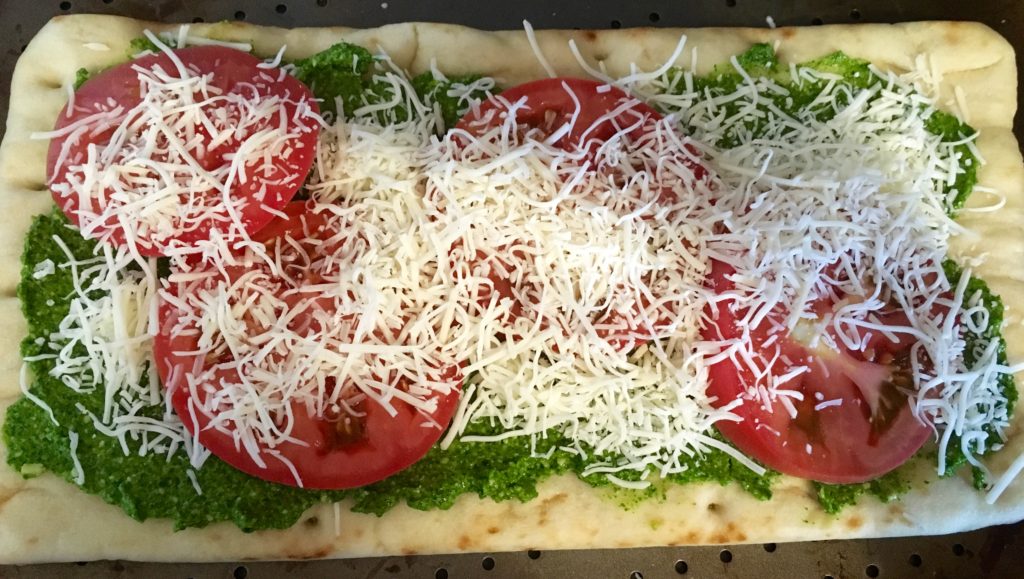
- 1 pre-made pizza crust (I like Stonefire crusts)
- Arugula pesto
- 1 heirloom tomato
- Shredded mozzarella (or other Italian cheese blend)
- Shredded Parmesan cheese
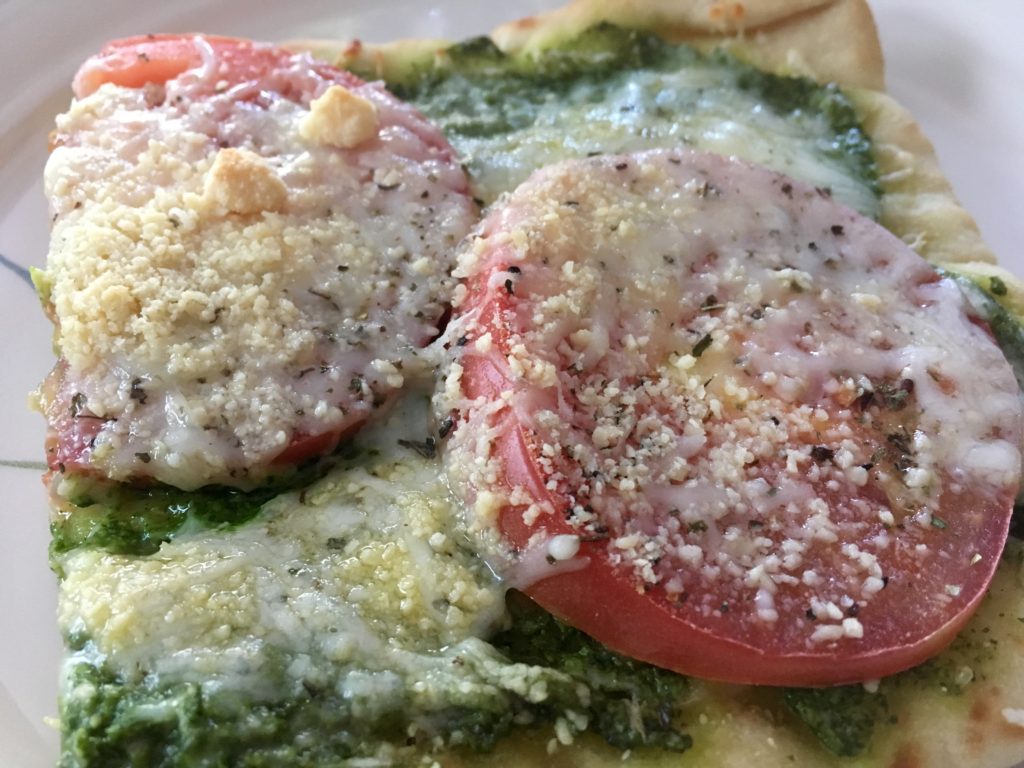
Spread a layer of the pesto over the crust. Slice the tomato and layer that over the pesto. Sprinkle the cheese over the top.
Bake according to the crusts’ reheat directions until the crust is fully heated and the cheese is bubbling. Slice it up and enjoy!
Happy cooking!
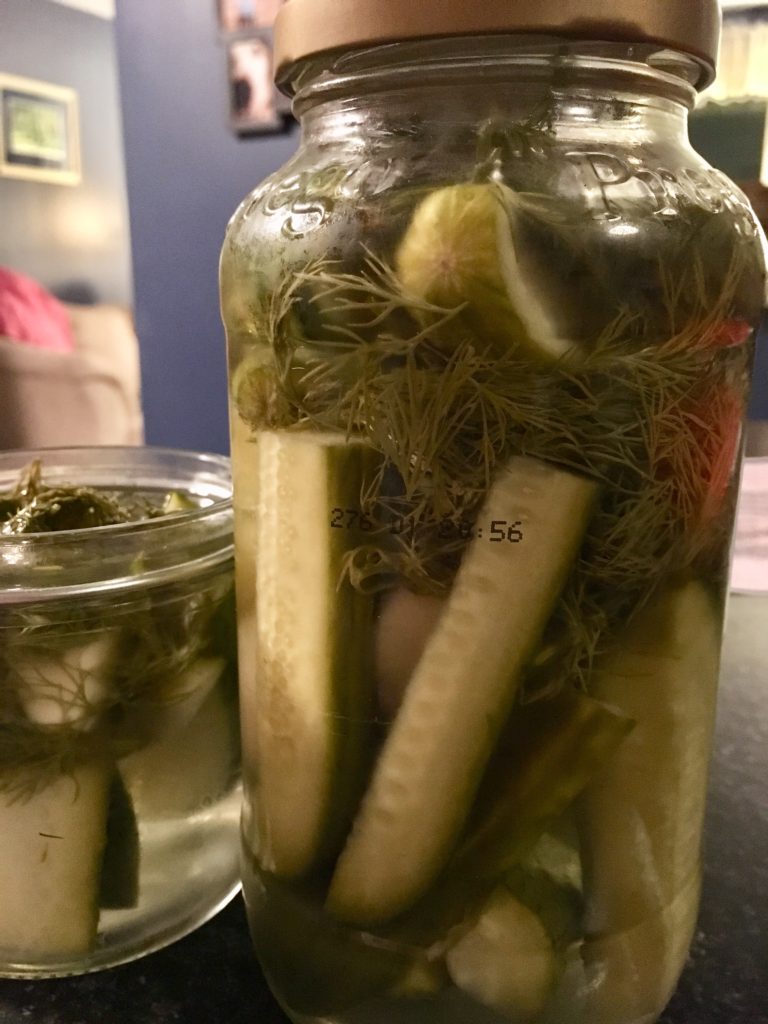
Homemade Dill Pickles
Hi, all! Time for another veggie recipe courtesy of Misfits Market (if you’re interested in trying out Misfits Market, get 25% off your first box by clicking here)! We got a few nice cucumbers in our box last week and, as great as cucumbers are, they’re not really my go-to vegetable. I decided to try my hand at turning them into something that I much prefer: dill pickles! It was surprisingly easy- just throw a few ingredients into a mason jar with cucumber spears (you can also do cucumber slices if you prefer) and leave it in the fridge for three days! Here’s the recipe:
- 2 large cucumbers, quartered lengthwise and halved width-wise (you can also cut them into thin little cucumber “chips”)
- 1 3/4 cup water
- 1/2 cup plus 2 tbsp white vinegar
- 1/2 tbsp granulated sugar
- 1/2 tbsp salt
- 2 garlic cloves, whole
- 1 head fresh dill
Stir water, vinegar, sugar, and salt together in a saucepan over high heat. Bring to a boil, then remove from the heat and cool completely.
While the vinegar mixture cools, combine cucumber spears, garlic, and dill in a sealable plastic container or a mason jar.
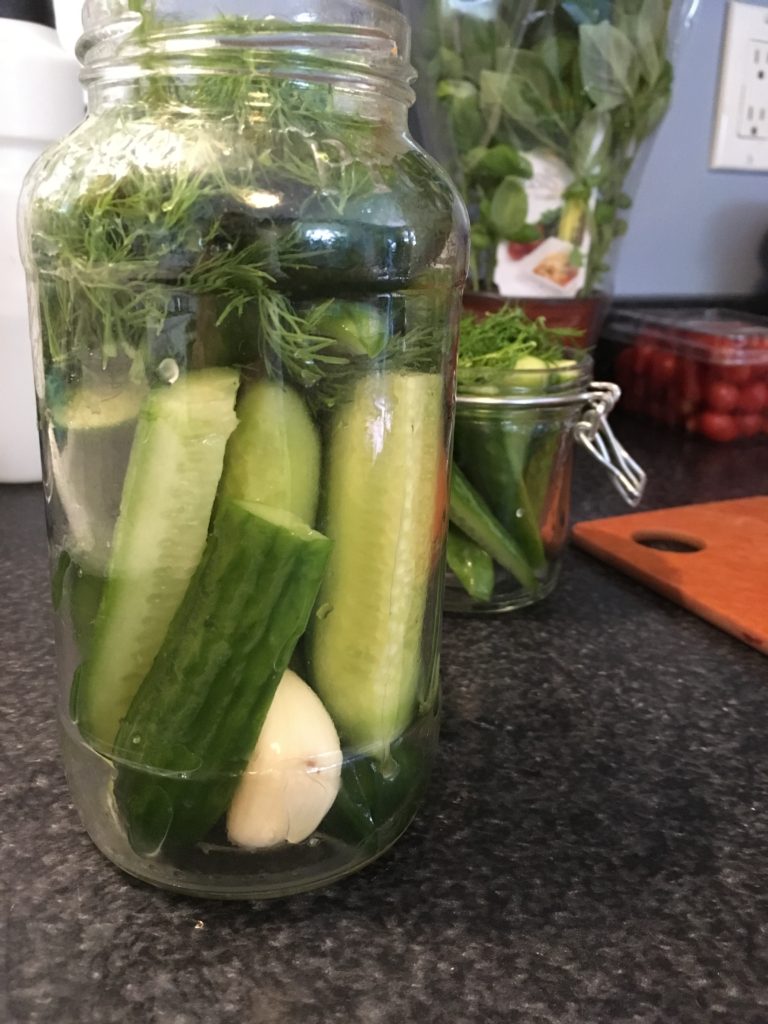
Pour the vinegar mixture over the cucumber mixture.
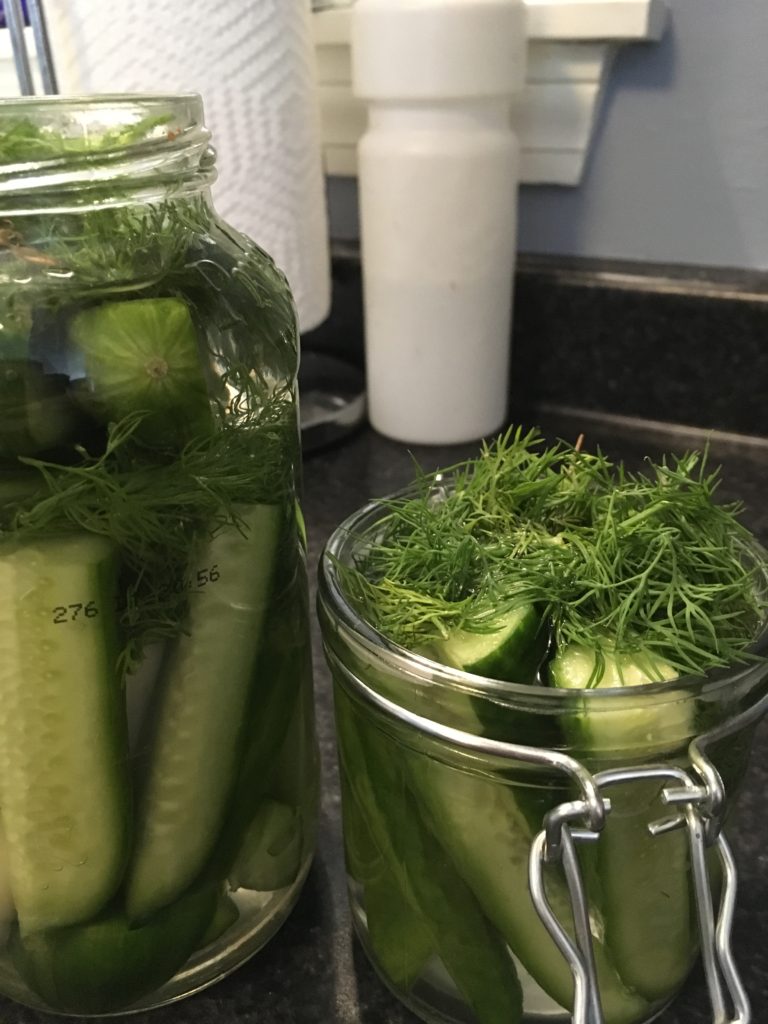
Seal the jars/containers and put them in the fridge for at least three days. After three days, you’ll have delicious dill pickles!
That’s it! Super easy and a delicious way to transform a vegetable that I wasn’t feeling excited about into something that I really enjoy. Happy cooking!
Garlic Parmesan Eggplant
Hi everyone! I’ve got a great veggie recipe for you today- a yummy breaded and baked eggplant! I’ve recently started a subscription to Misfits Market, a company devoted to reducing food waste. They take surplus or “ugly” organic produce that grocery stores won’t sell and send it right to your door for cheaper than grocery store prices. This has led to a super fun time trying new vegetables and trying out different recipes that I would never make otherwise, like the one I’m about to share with you!
Hi everyone! I’ve got a great veggie recipe for you today- a yummy breaded and baked eggplant! I’ve recently started a subscription to Misfits Market, a company devoted to reducing food waste. They take surplus or “ugly” organic produce that grocery stores won’t sell and send it right to your door for cheaper than grocery store prices. This has led to a super fun time trying new vegetables and trying out different recipes that I would never make otherwise, like the one I’m about to share with you!
Ingredients:
- 1 medium to large eggplant (peeling optional)
- 6 tbsp melted unsalted butter
- 1 cup Italian breadcrumbs
- 1/4 cup Parmesan cheese
- Paprika to taste
- Garlic powder to taste
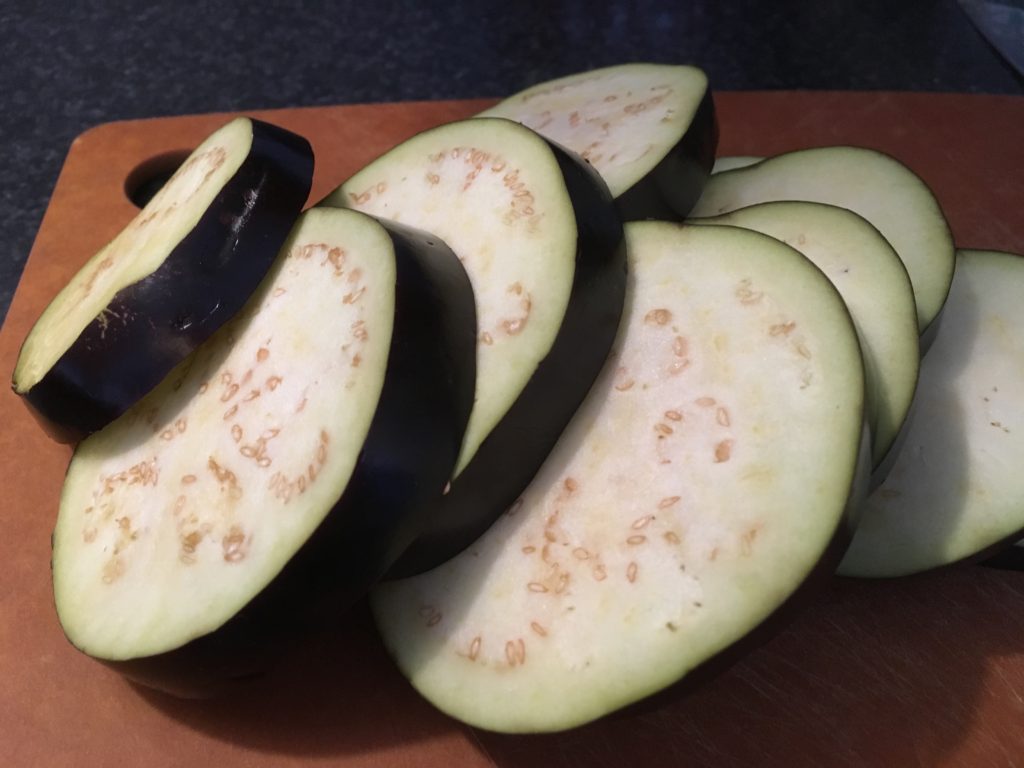
First, wash the eggplant and cut off the stem. If you want to peel the eggplant, do that now. I chose not to peel mine so that it held together better. Slice the eggplant into 1/2″ slices.
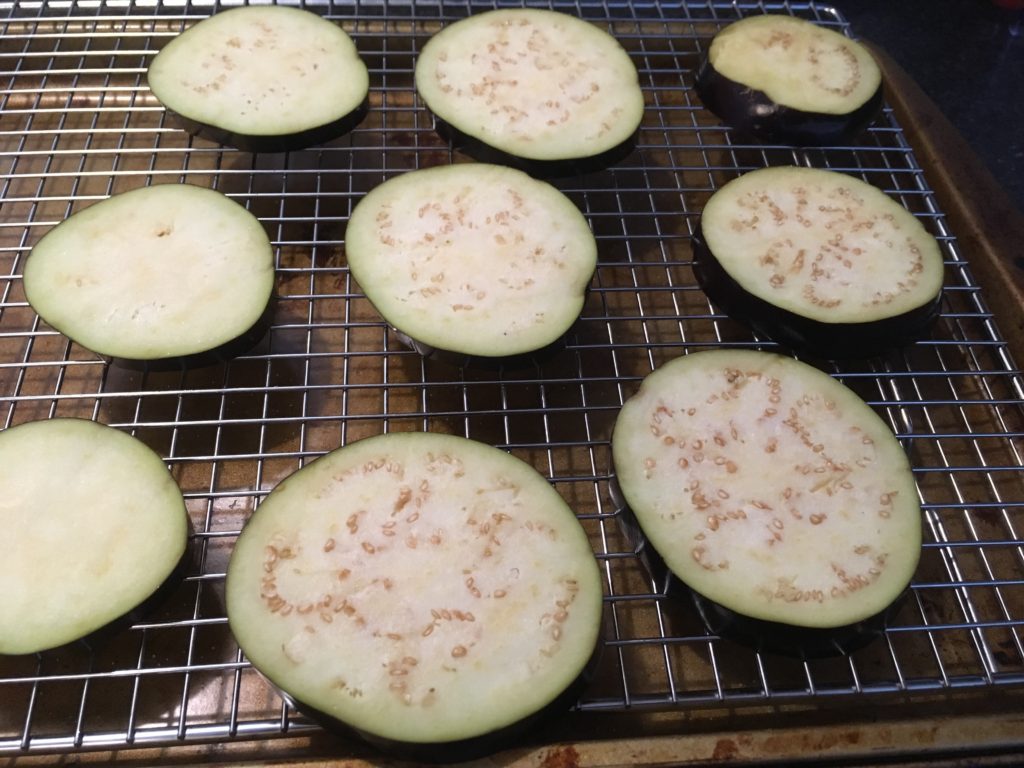
Place them on a cooling rack over a baking sheet and sprinkle them with salt, and leave them for about 30 minutes. This will help to draw out excess water which you can then wipe away to prevent your breading from getting soggy.
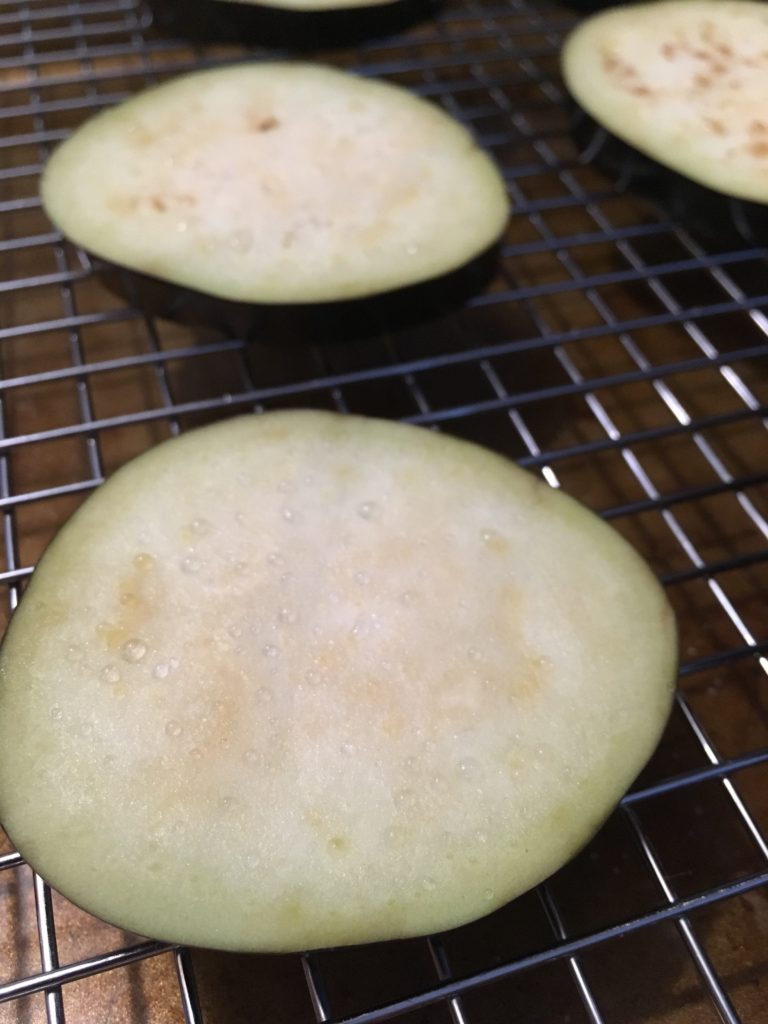
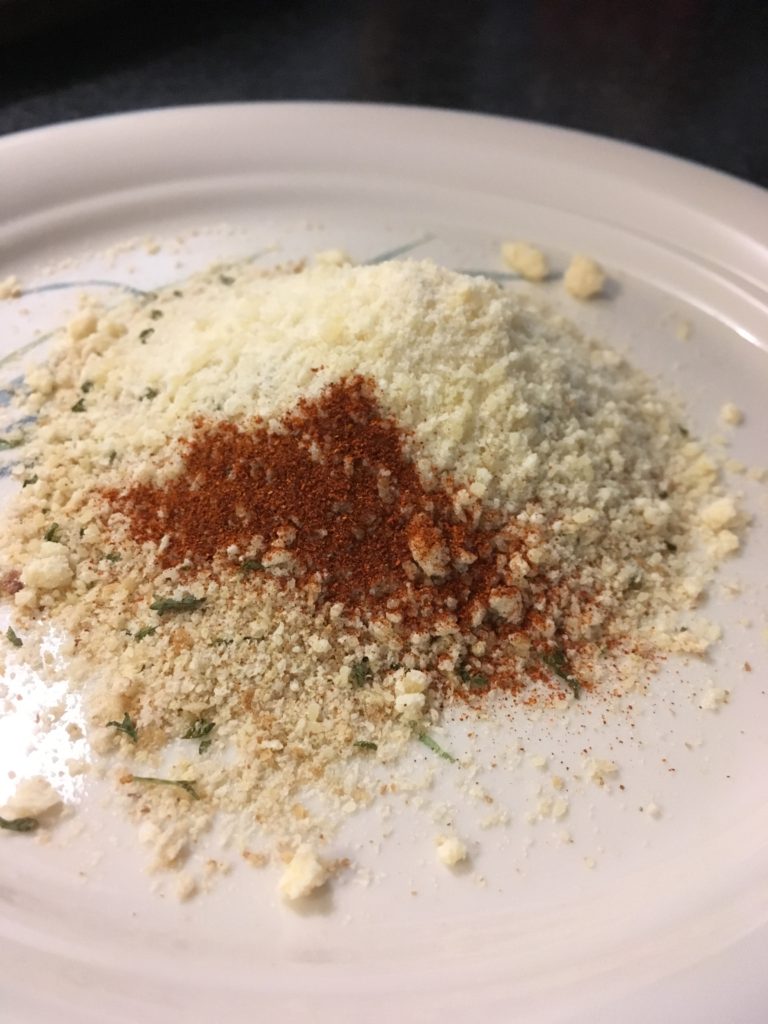
Preheat the oven to 400F. Using a paper towel, blot away the water that has come out of the eggplant slices. Next, mix the breadcrumbs with the cheese, paprika, and garlic powder.
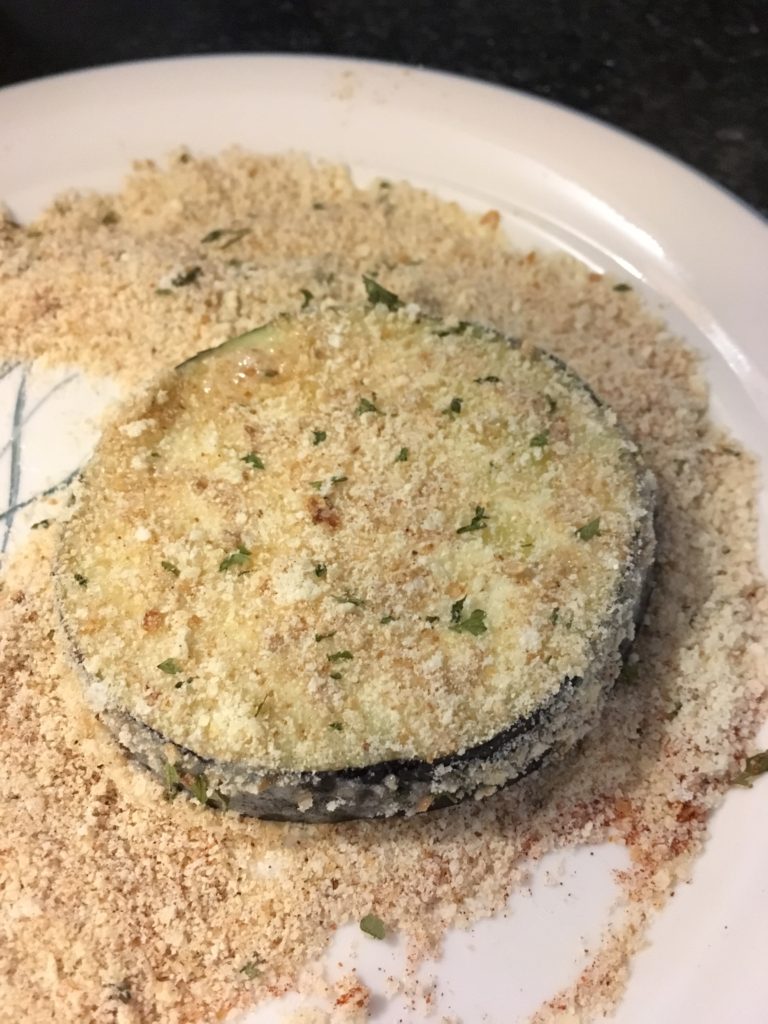
Dip the eggplant slices in the melted butter and then coat in the breadcrumb mixture. Place on the baking sheet.
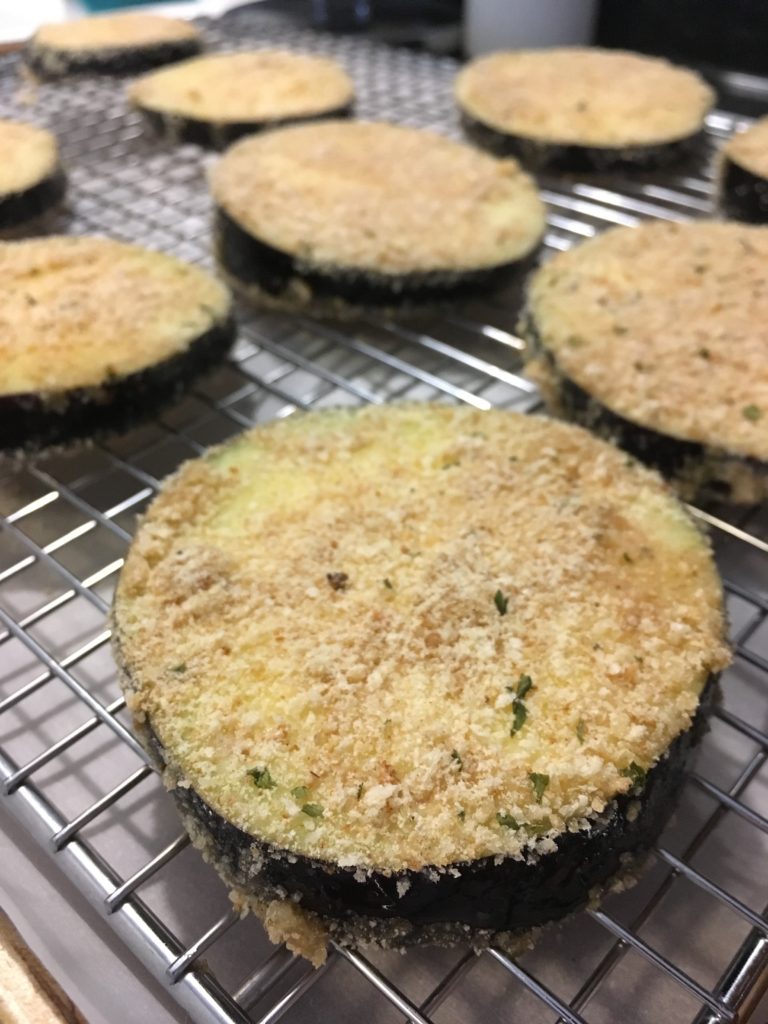
Bake for 15 minutes or until golden brown.
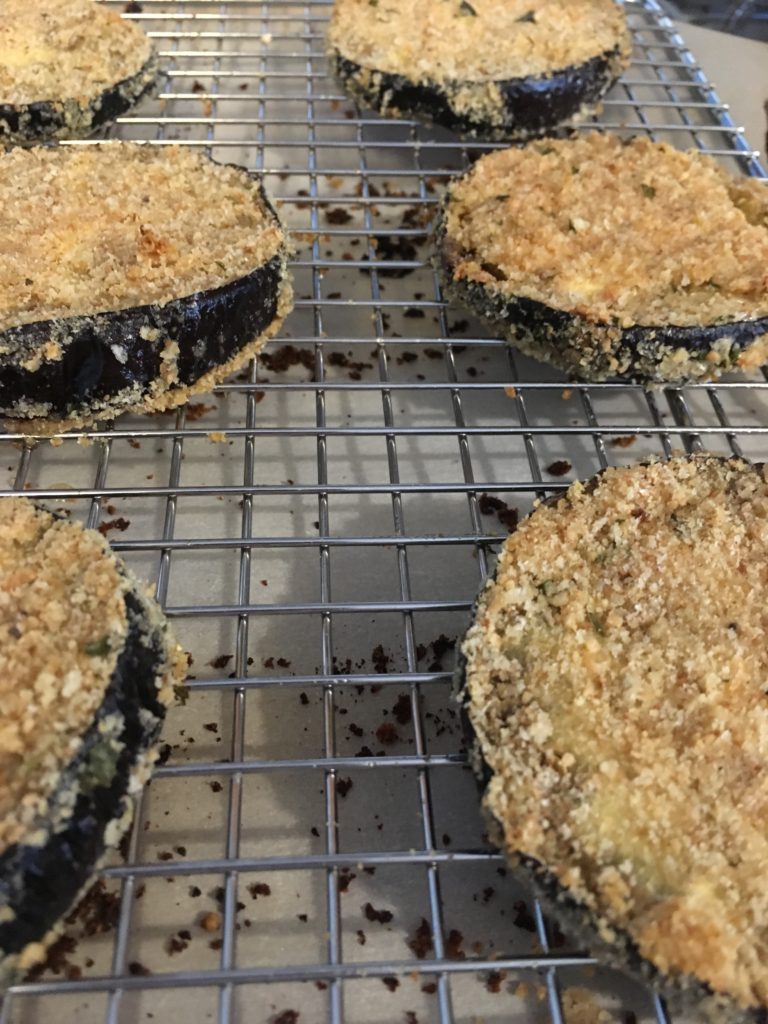
And now you have deliciously crispy eggplant to enjoy on its own, as a side dish, or as the star of a yummy eggplant parm! Happy cooking!