Monthly Archives: April 2018

The Best Chicken and Waffles

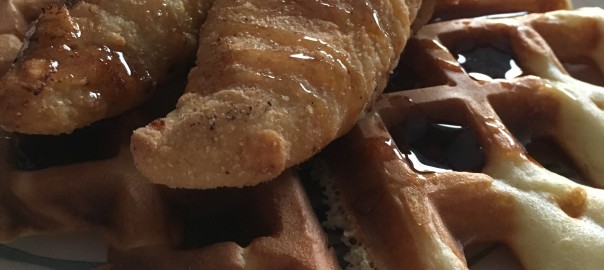
Hi all! I have SUCH a good recipe to share today. It’s the ultimate comfort food that my husband and I crave: chicken and waffles. The mixture of crunchy, spicy chicken with the sweet and fluffy waffles is to die for. There’s this popular waffle house near our house that makes awesome chicken and waffles. The downside is that the wait is usually about 30-40 minutes and the food is fairly expensive for what it is. After a couple trips to the waffle house, I decided to try my hand at making this delicious meal, and was very pleasantly surprised. Here’s the recipe:

Ingredients:

  • 1-2 lbs chicken tenders (depending on how many people you want to feed)
  • 2 cups buttermilk, divided (you can also use 1 cup regular milk and add 2 tsp lemon juice or vinegar)
  • 1 tsp salt, divided
  • 1 tsp black pepper, divided
  • hot sauce to taste
  • 1 1/4 cup all purpose flour
  • 1/2 cup yellow cornmeal
  • 1 tsp paprika
  • cayenne pepper to taste (I used ~1/4 tsp)
  • chili powder to taste (~1/8 tsp)
  • canola oil for frying
  • Belgian waffle mix, prepared according to box directions

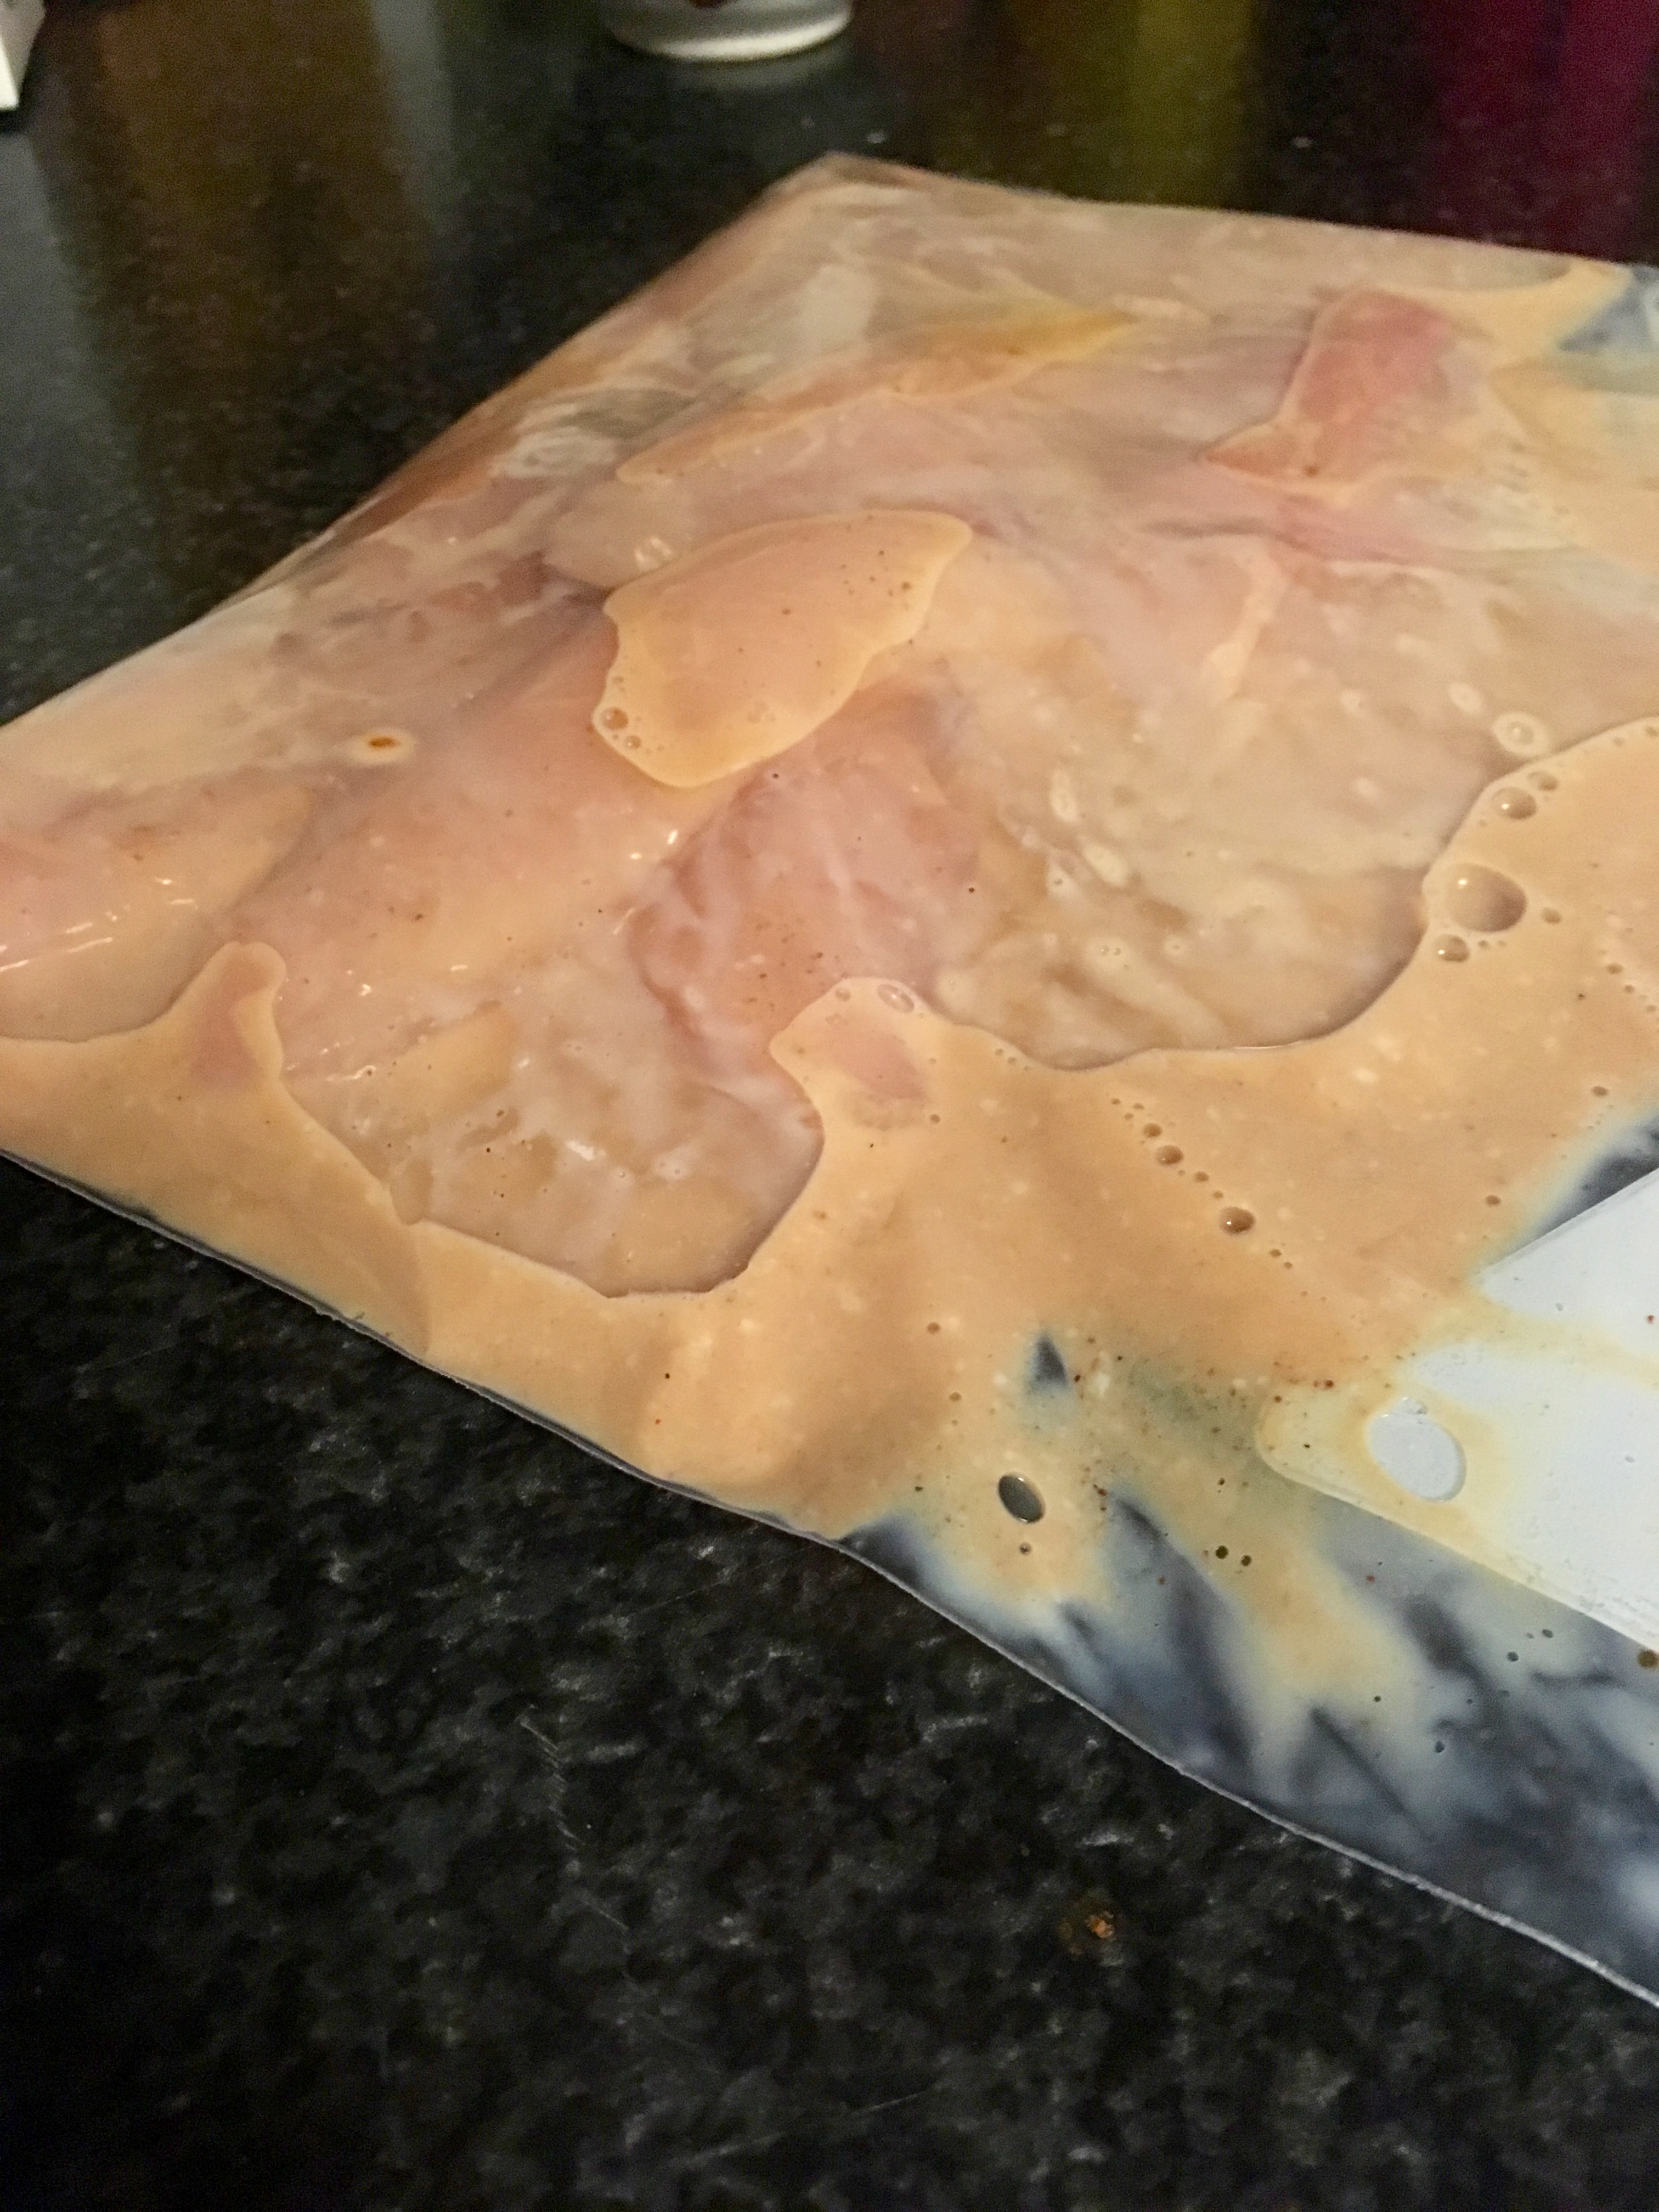
First, get started on the marinade. Mix up 1 cup of buttermilk, 1/2 tsp salt, 1/2 tsp pepper, and hot sauce. Pour into a food storage bag with the chicken. Let the air out before sealing the bag, and massage the bag to get the marinade all over the chicken. Refrigerate the marinating chicken for at least 4 hours.

IMG_4284

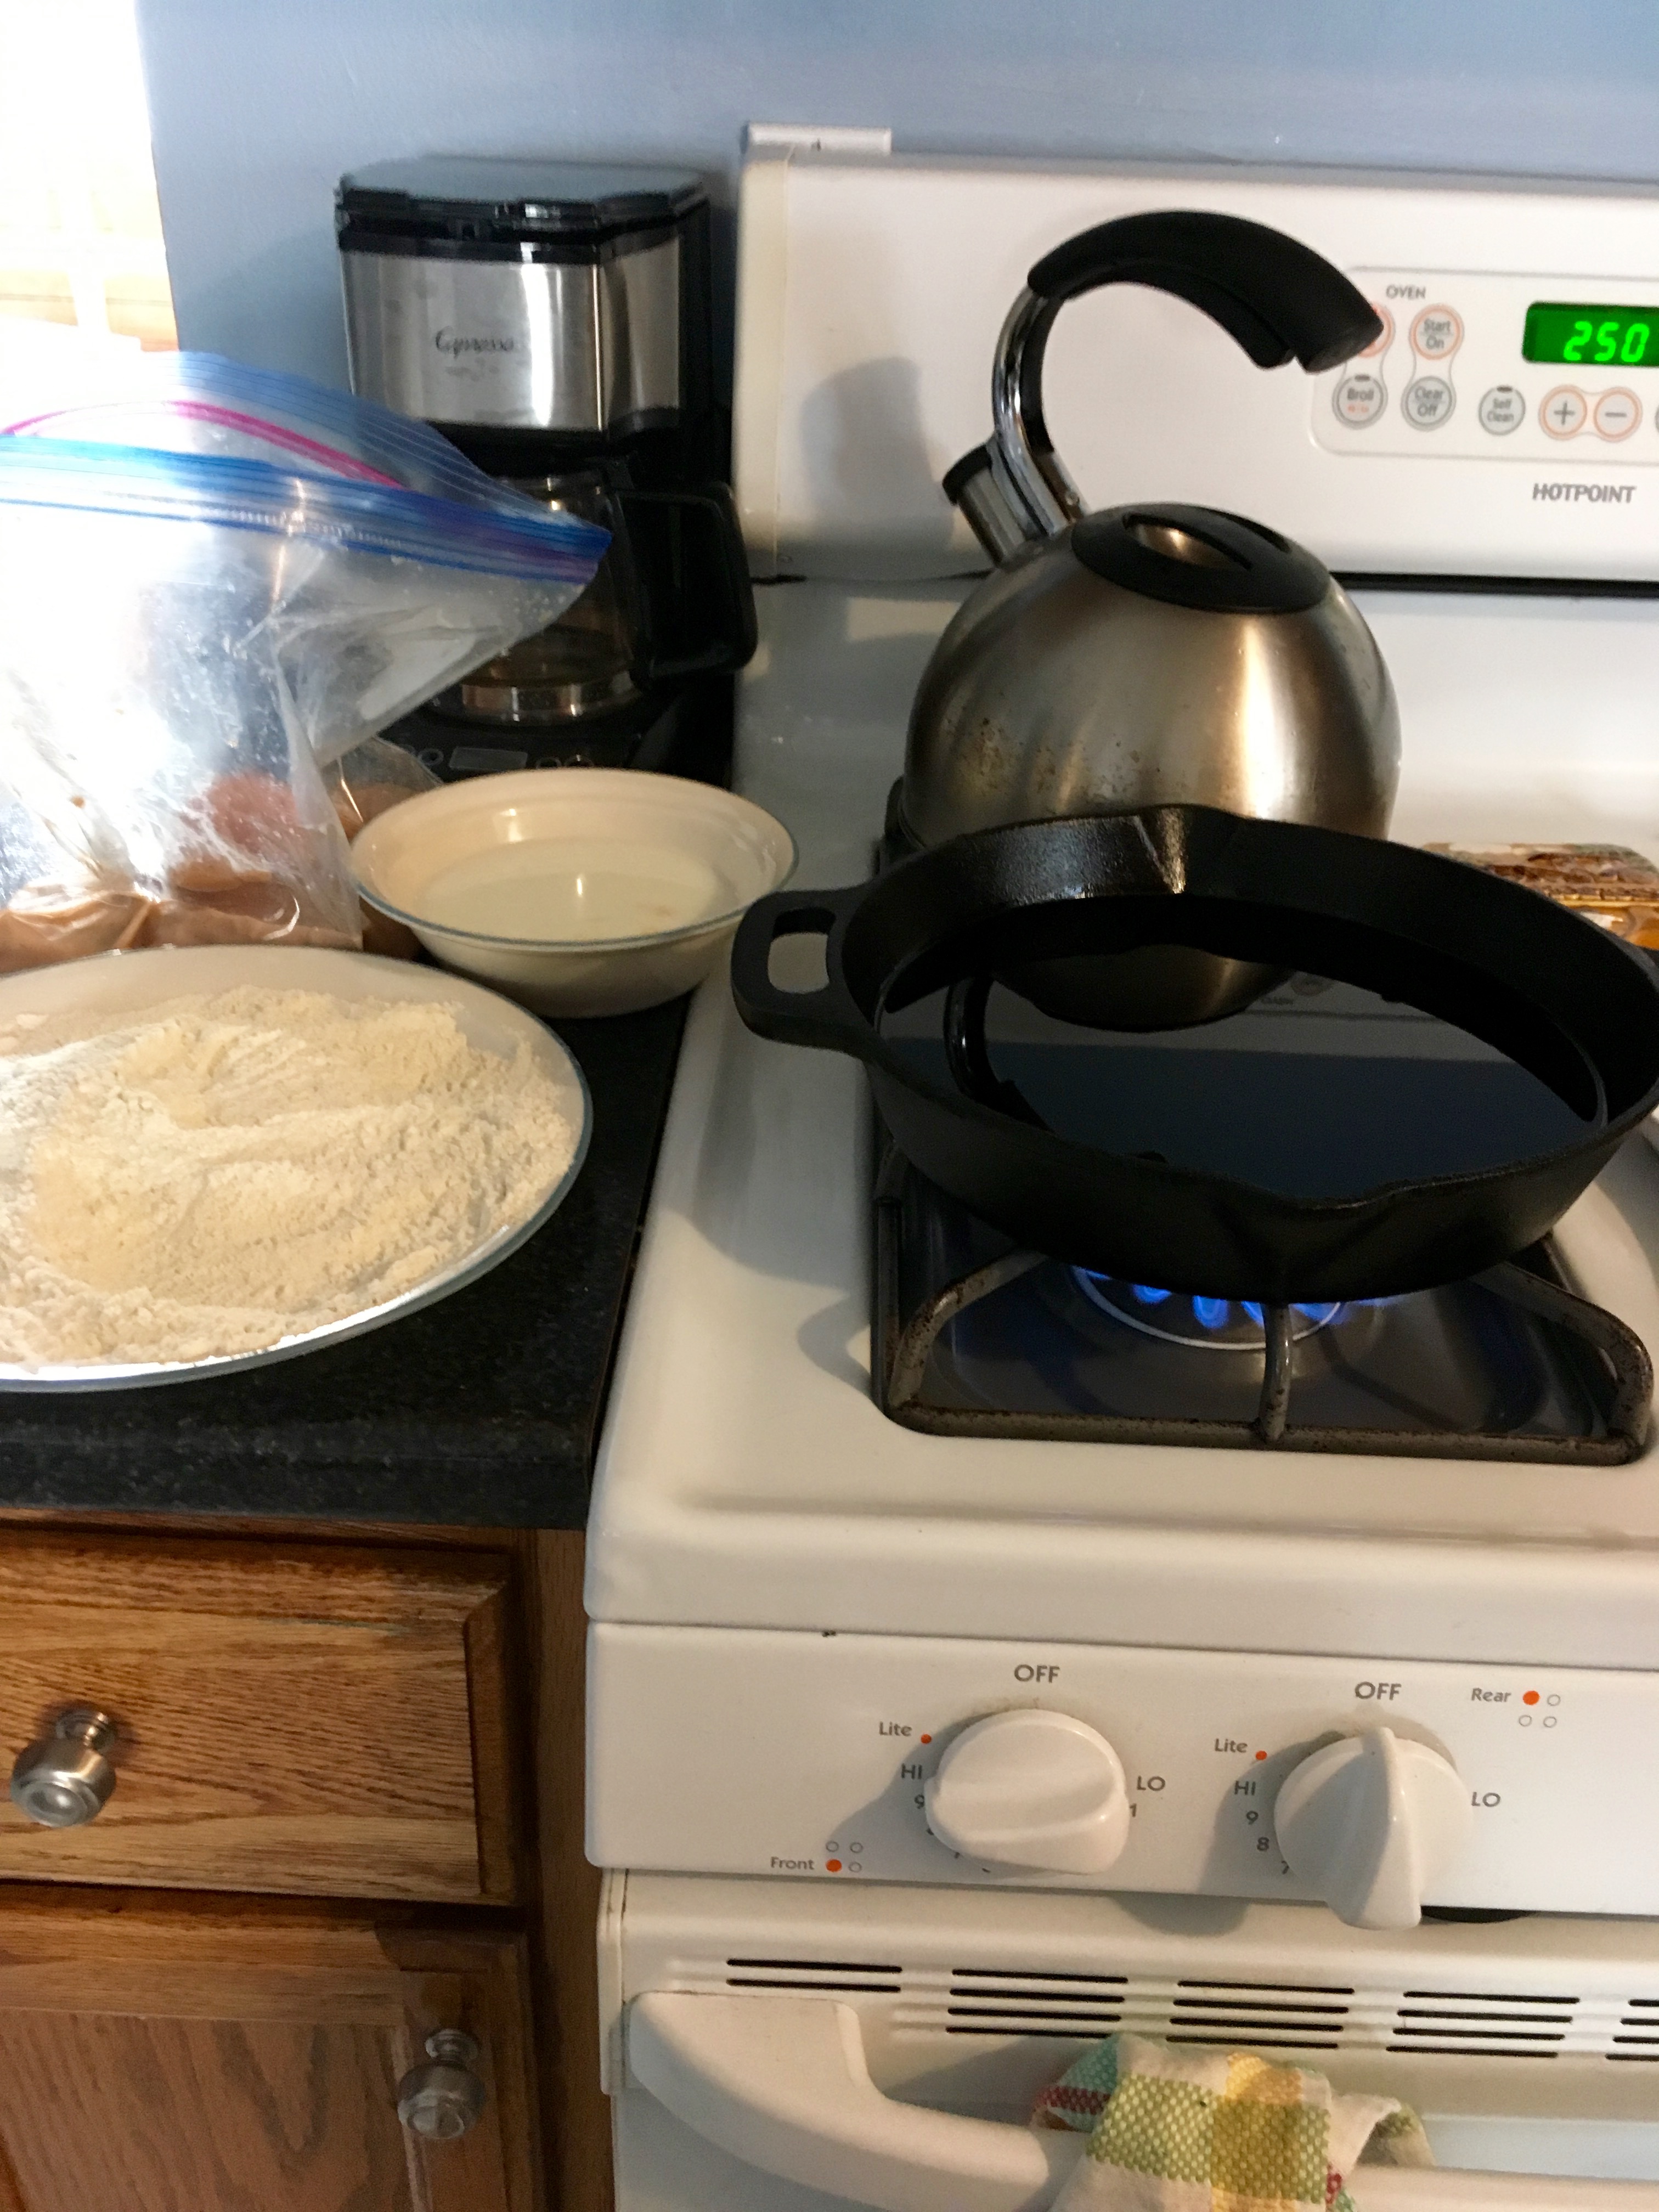
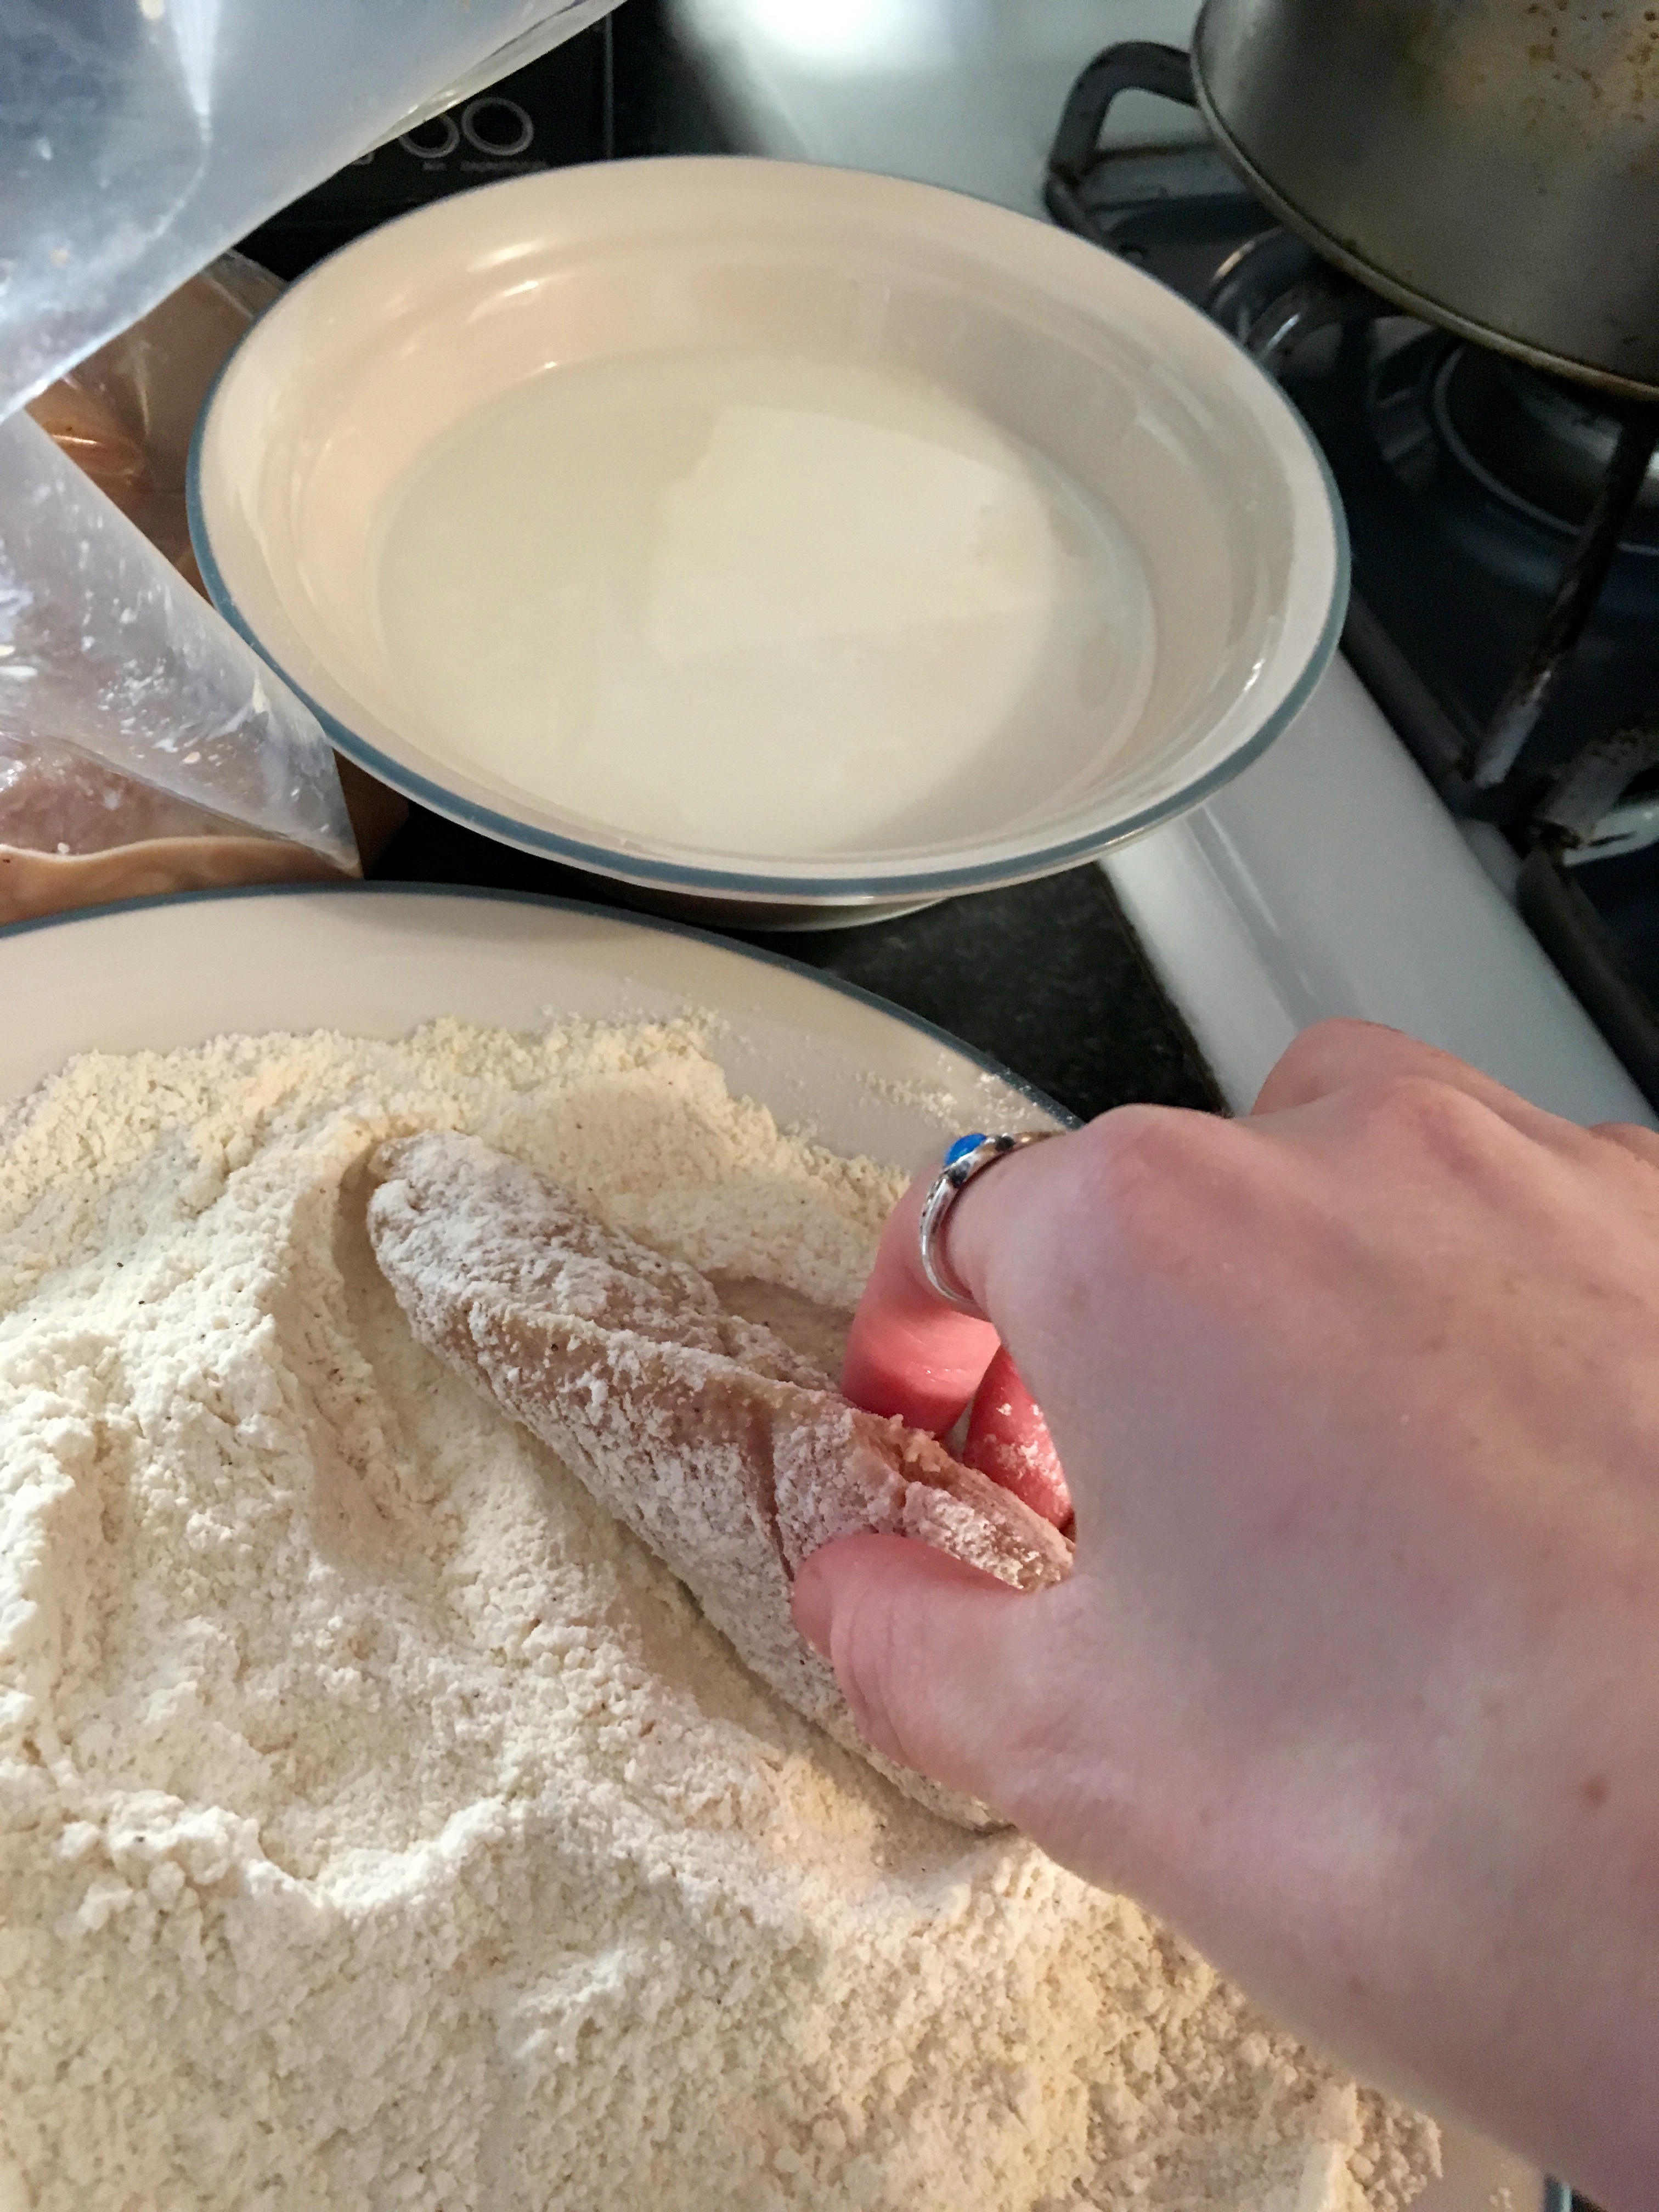
After the chicken is done marinating, it’s time to prep. Preheat the oven to 250°F. Whisk together the flour, cornmeal, chili powder, cayenne, 1/2 tsp salt, and 1/2 tsp pepper on a plate or in a large shallow bowl. Pour remaining 1 cup buttermilk into a separate bowl.

IMG_4285

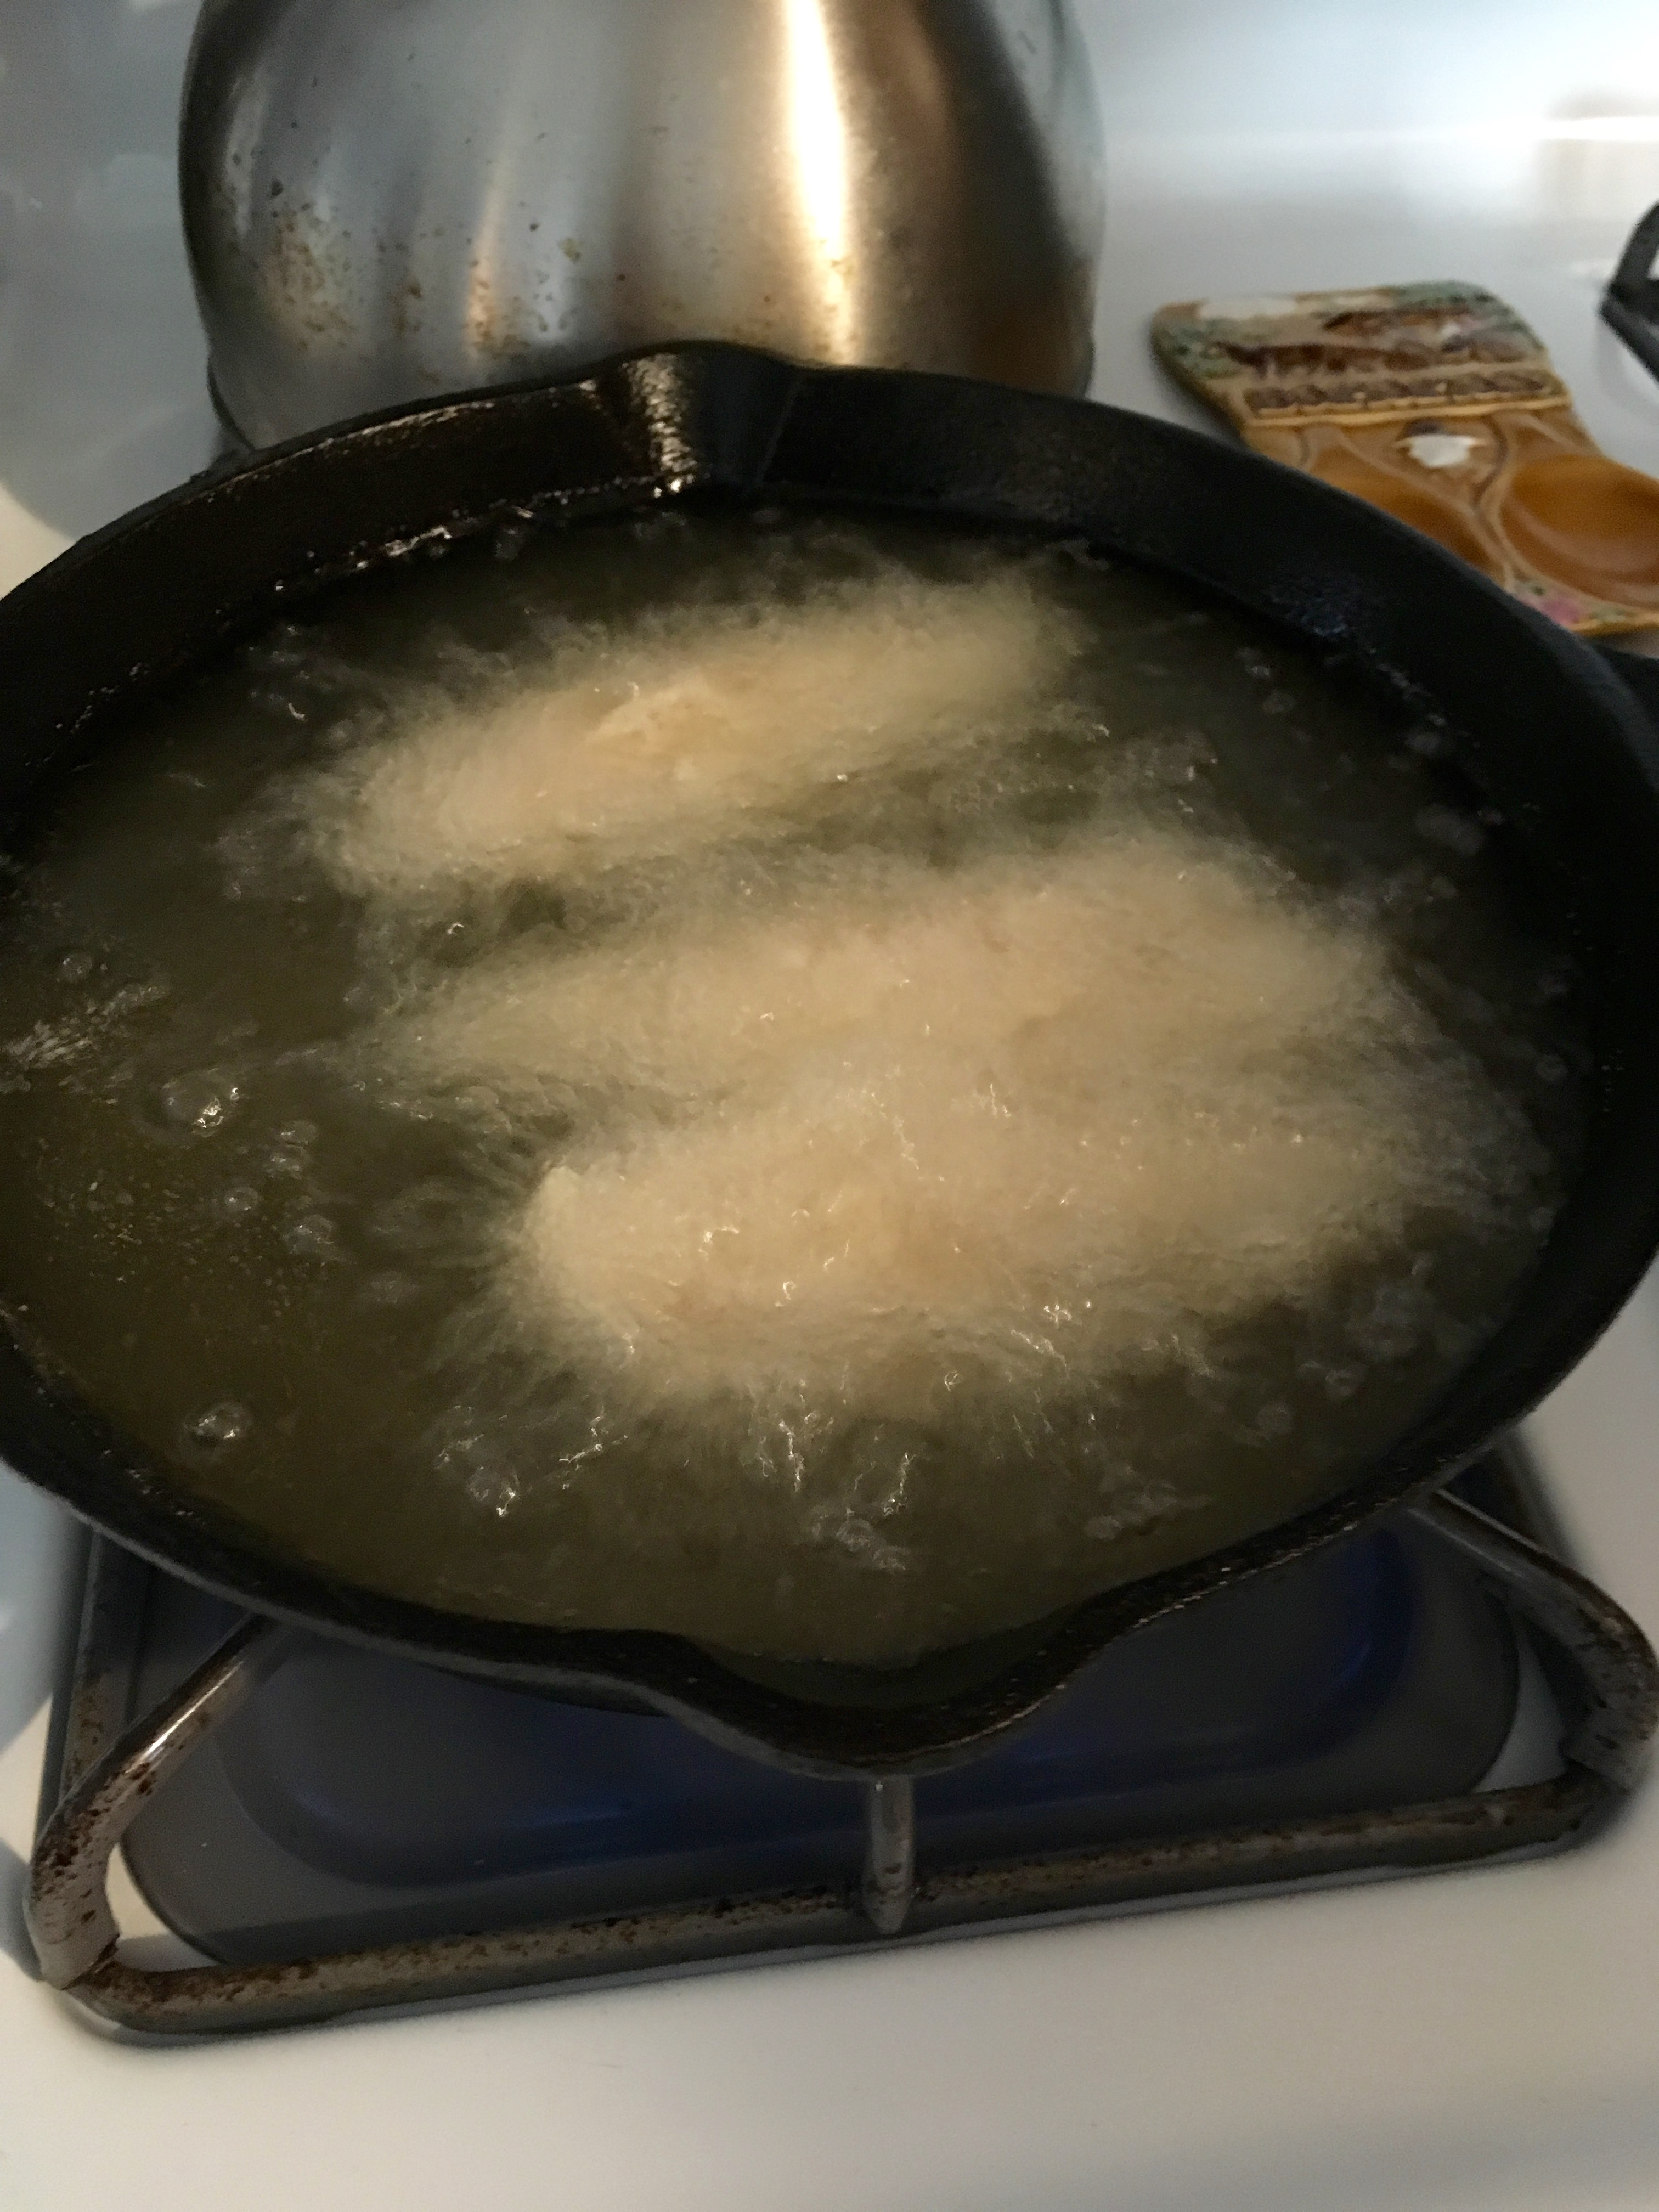
Now, get your frying station ready. Have the oil heated to about 350°F, with the marinated chicken, dry mixture, and buttermilk close by. This is also a good time to get started on making waffles (it does involve some multitasking).

IMG_4286

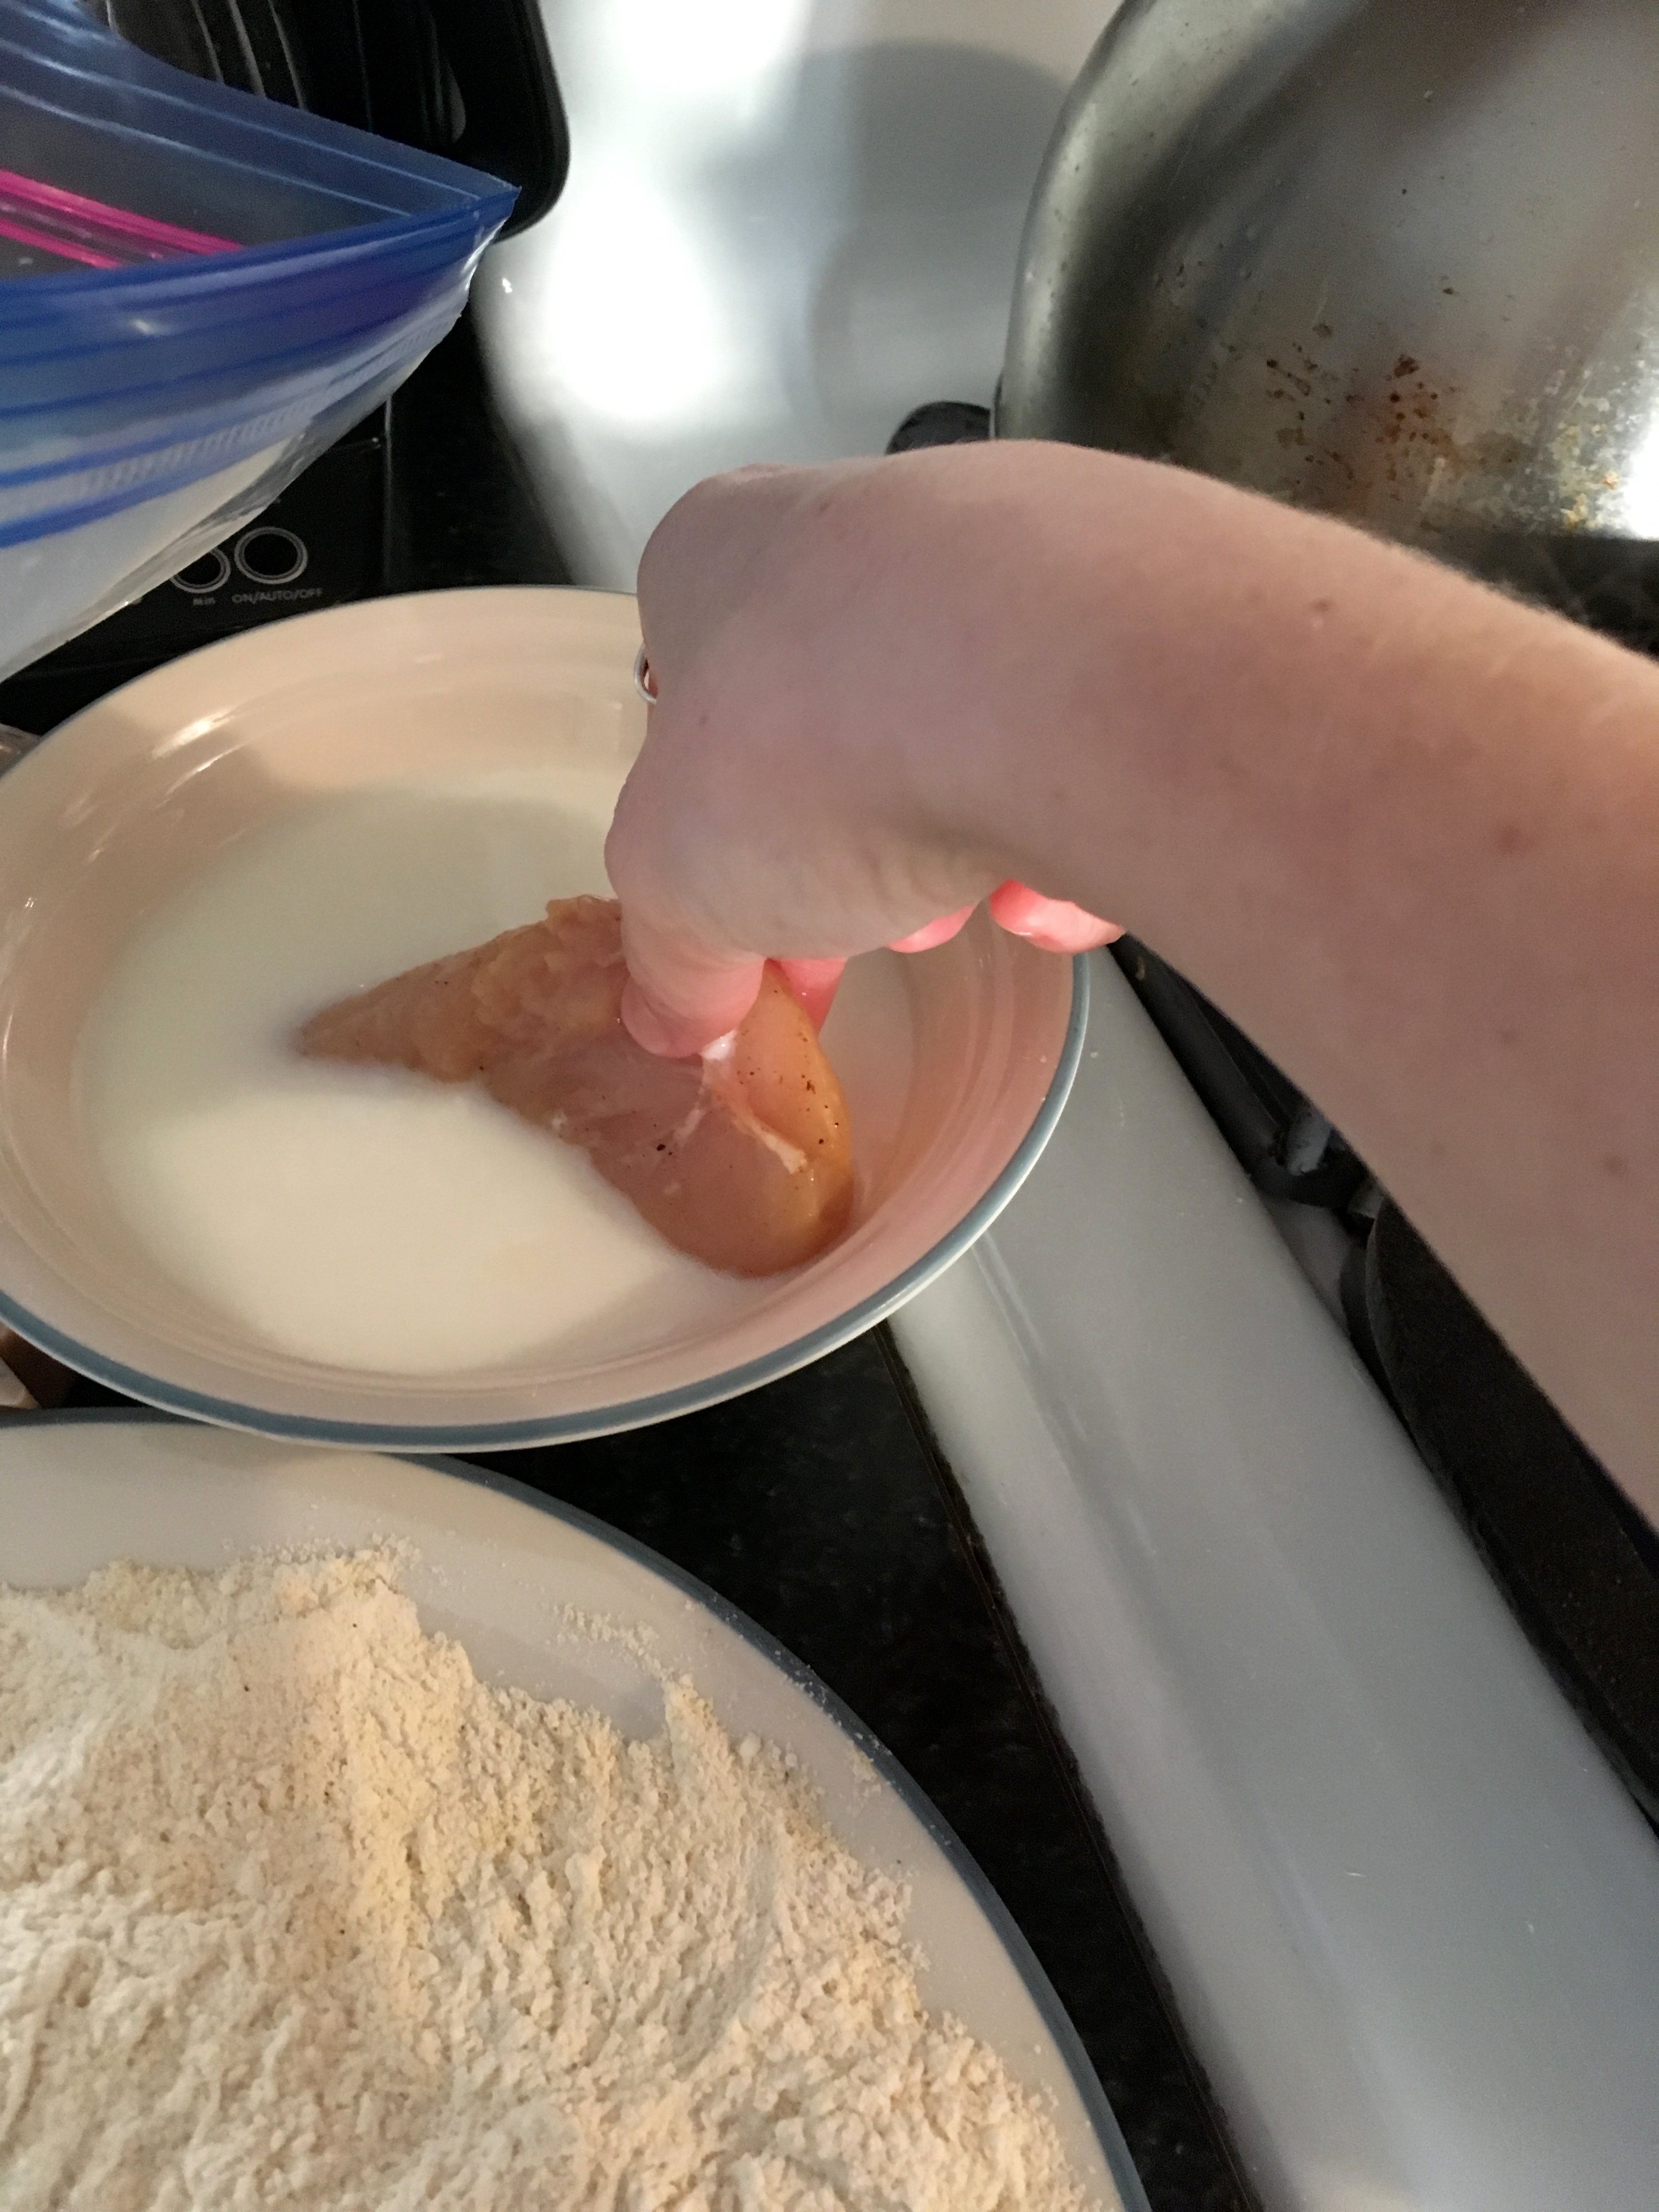
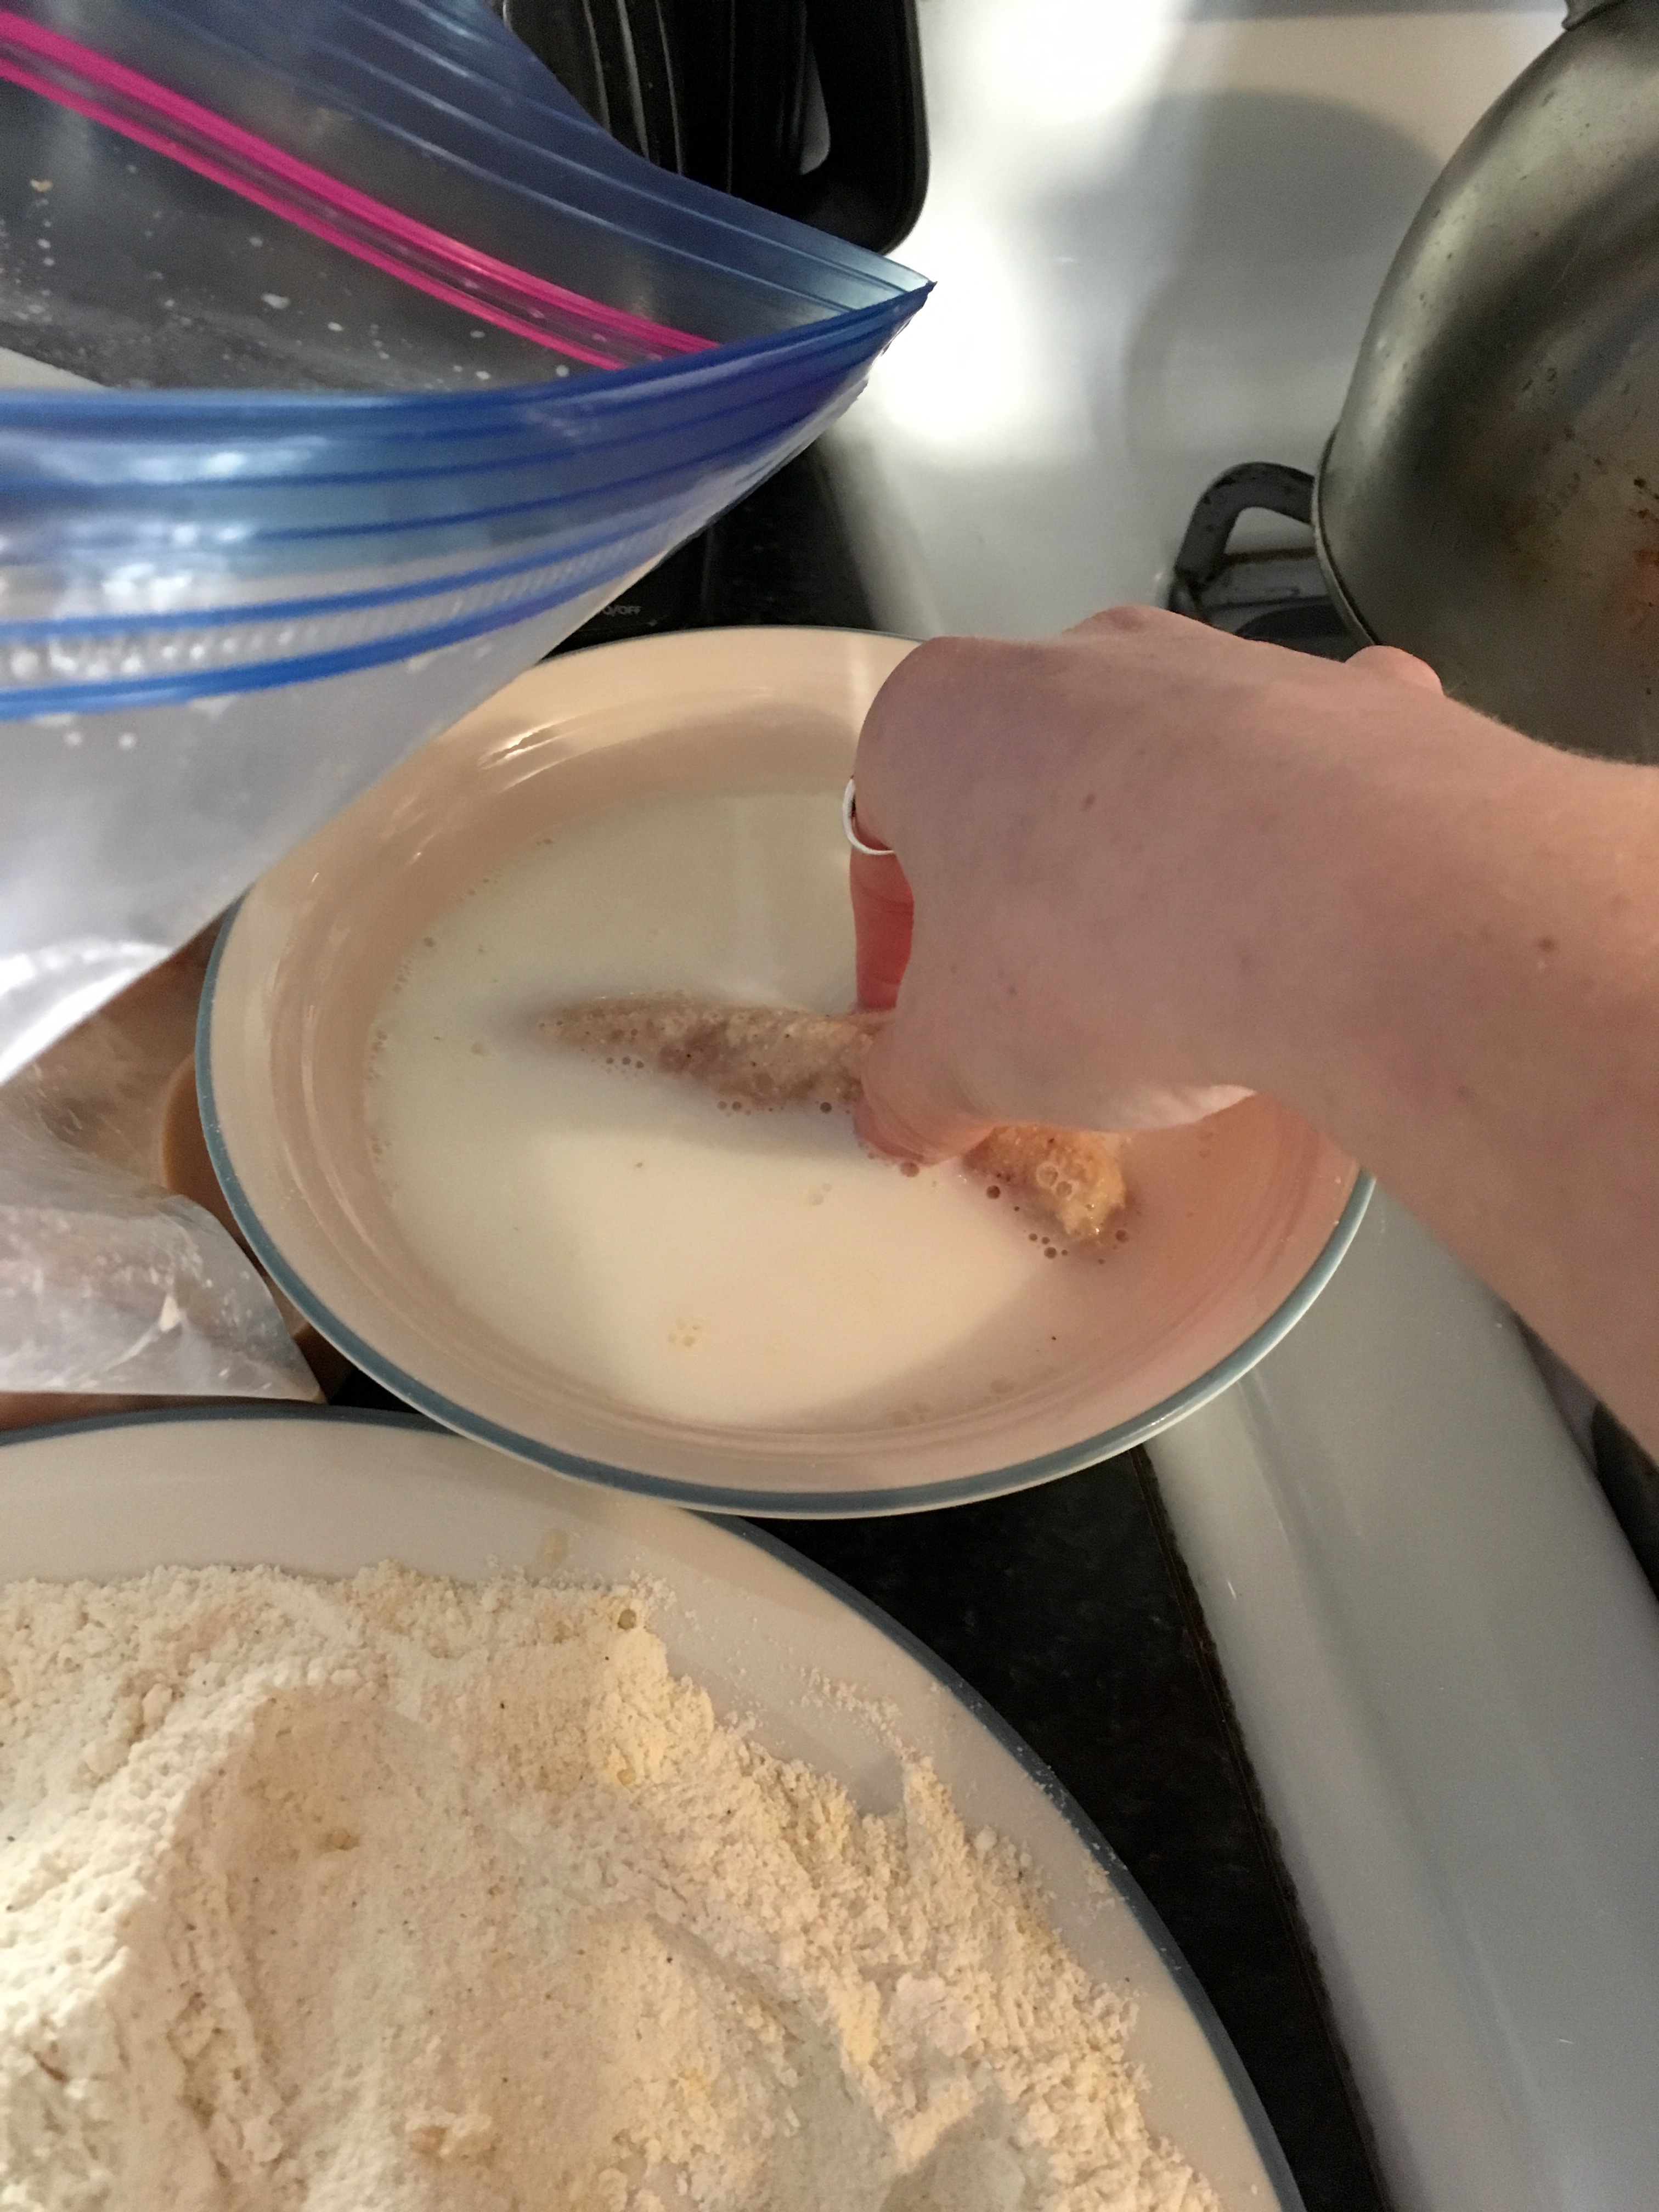
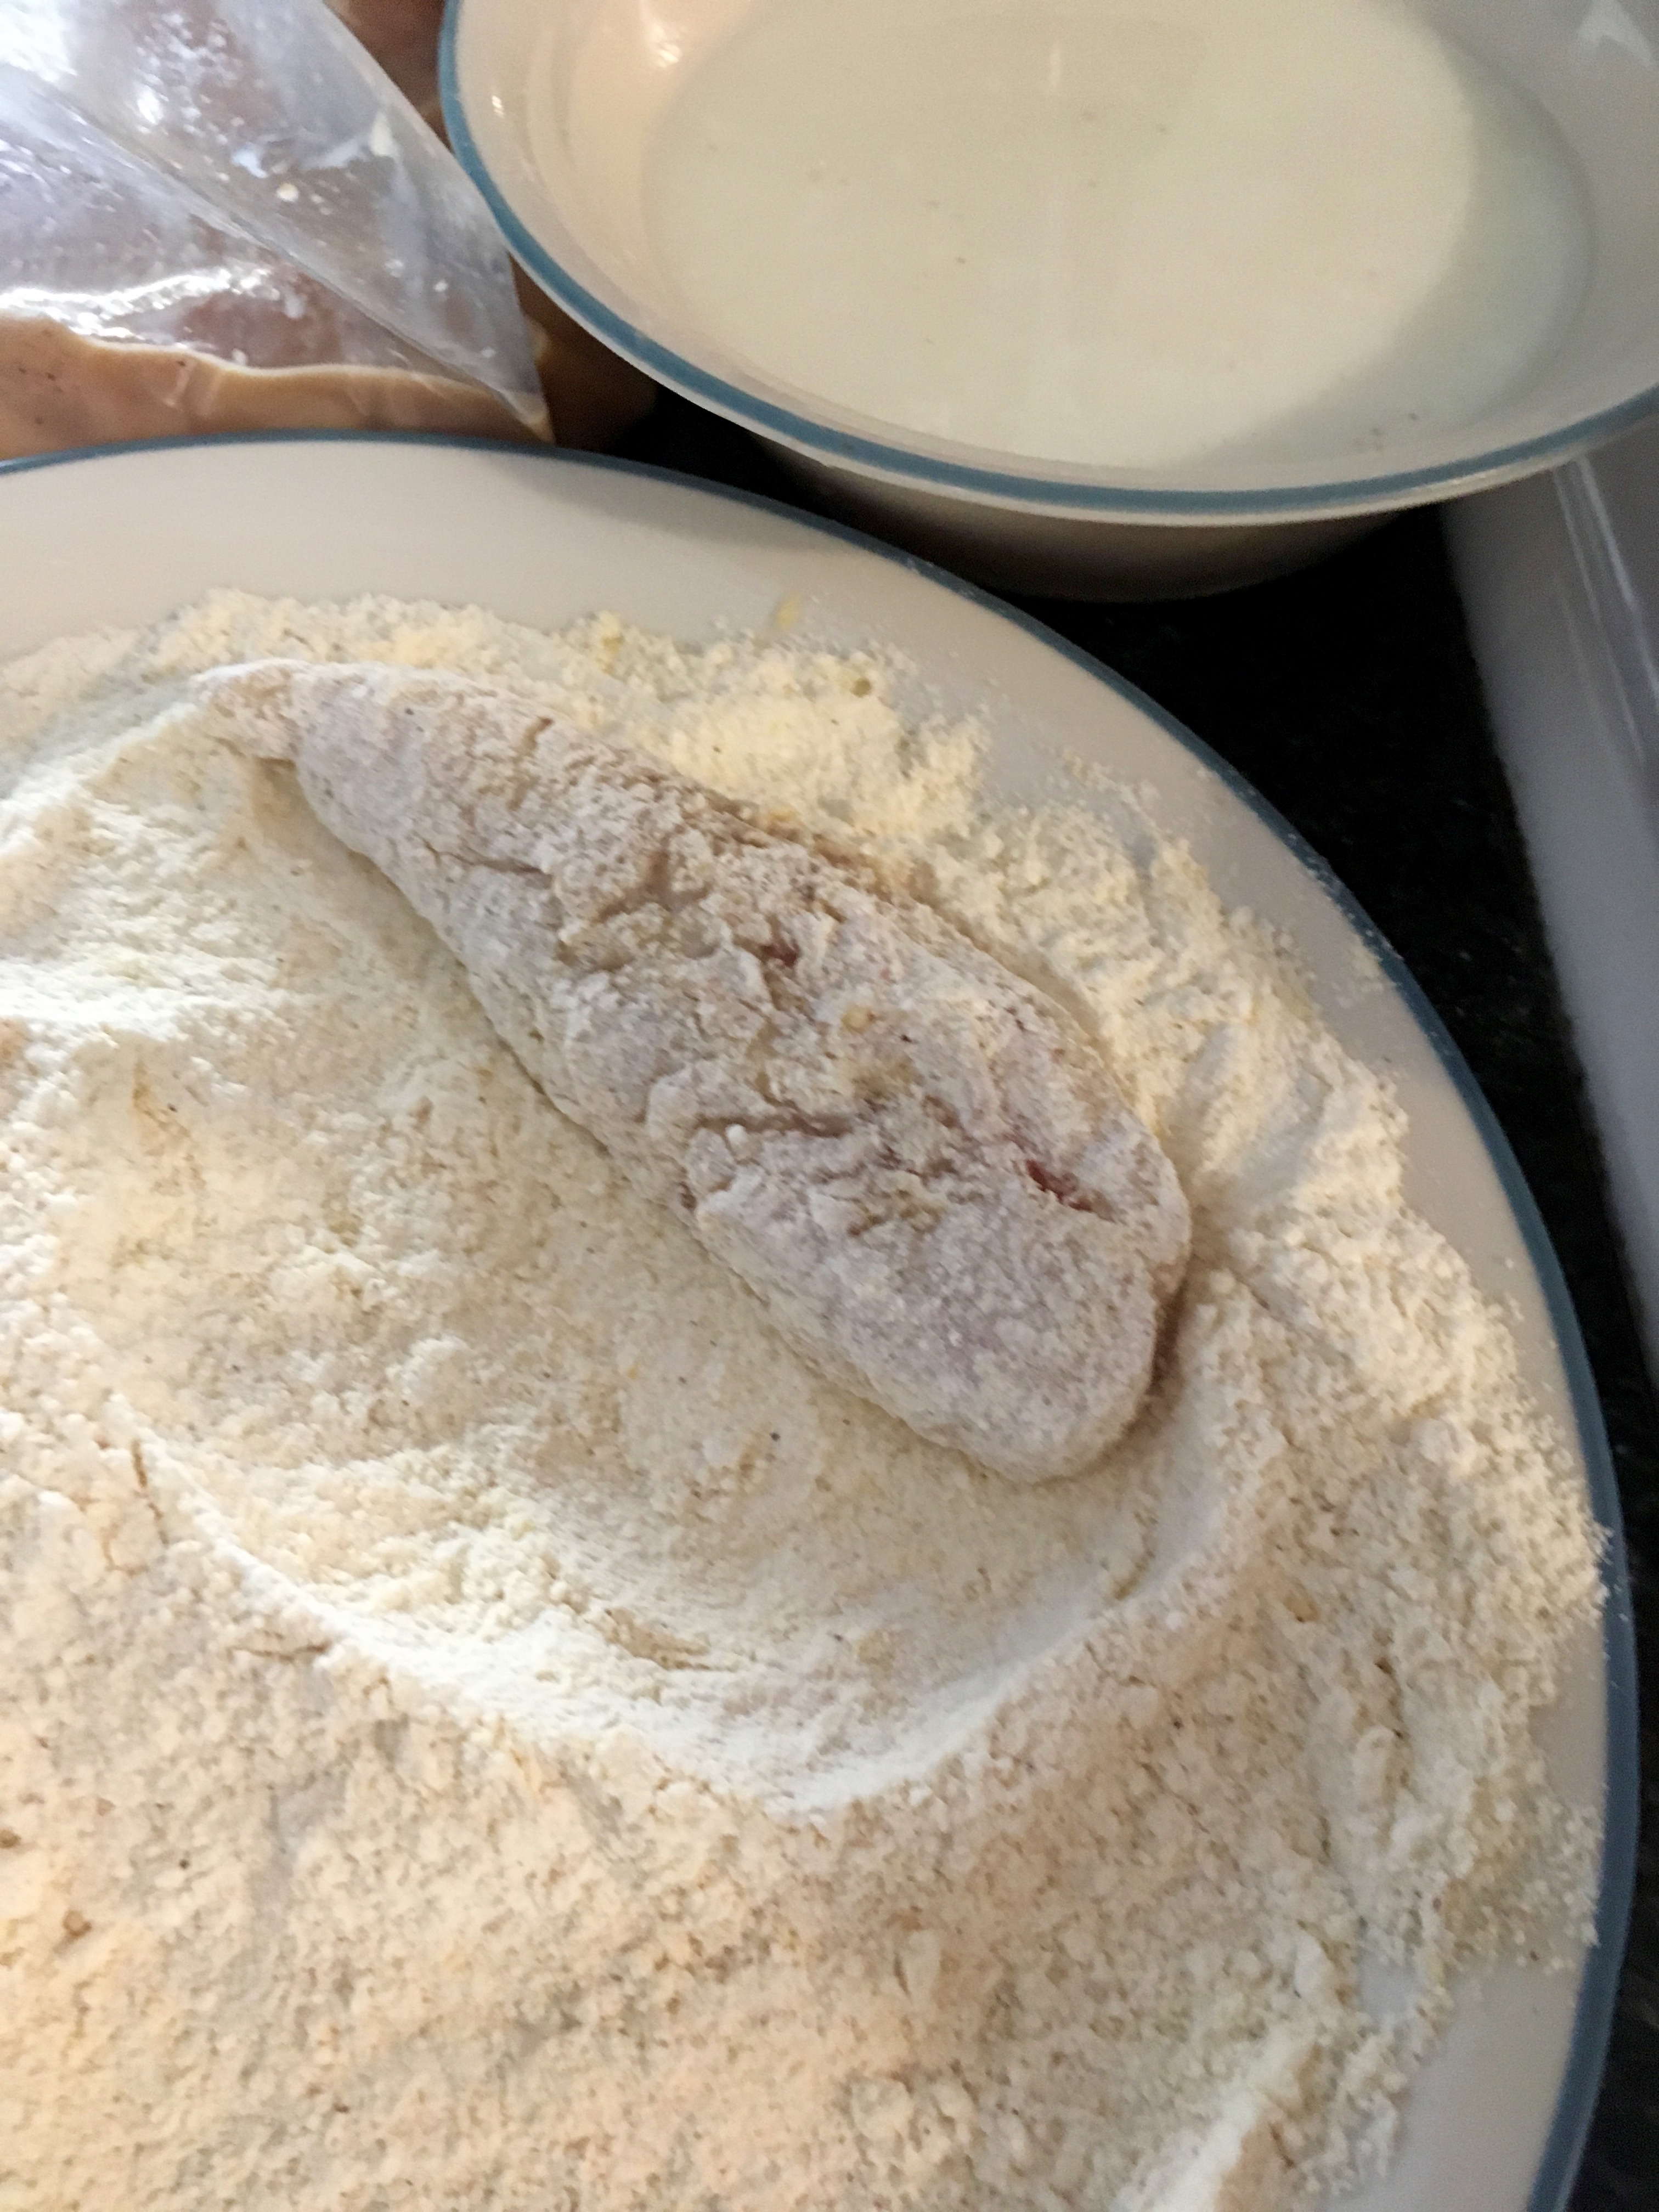
Dip the chicken into the buttermilk, then into the dry mix- then back into the buttermilk, and back into the dry mixture. This double dipping ensures a good thick crust around the chicken for perfect crunch.

IMG_4288IMG_4289IMG_4290IMG_4291

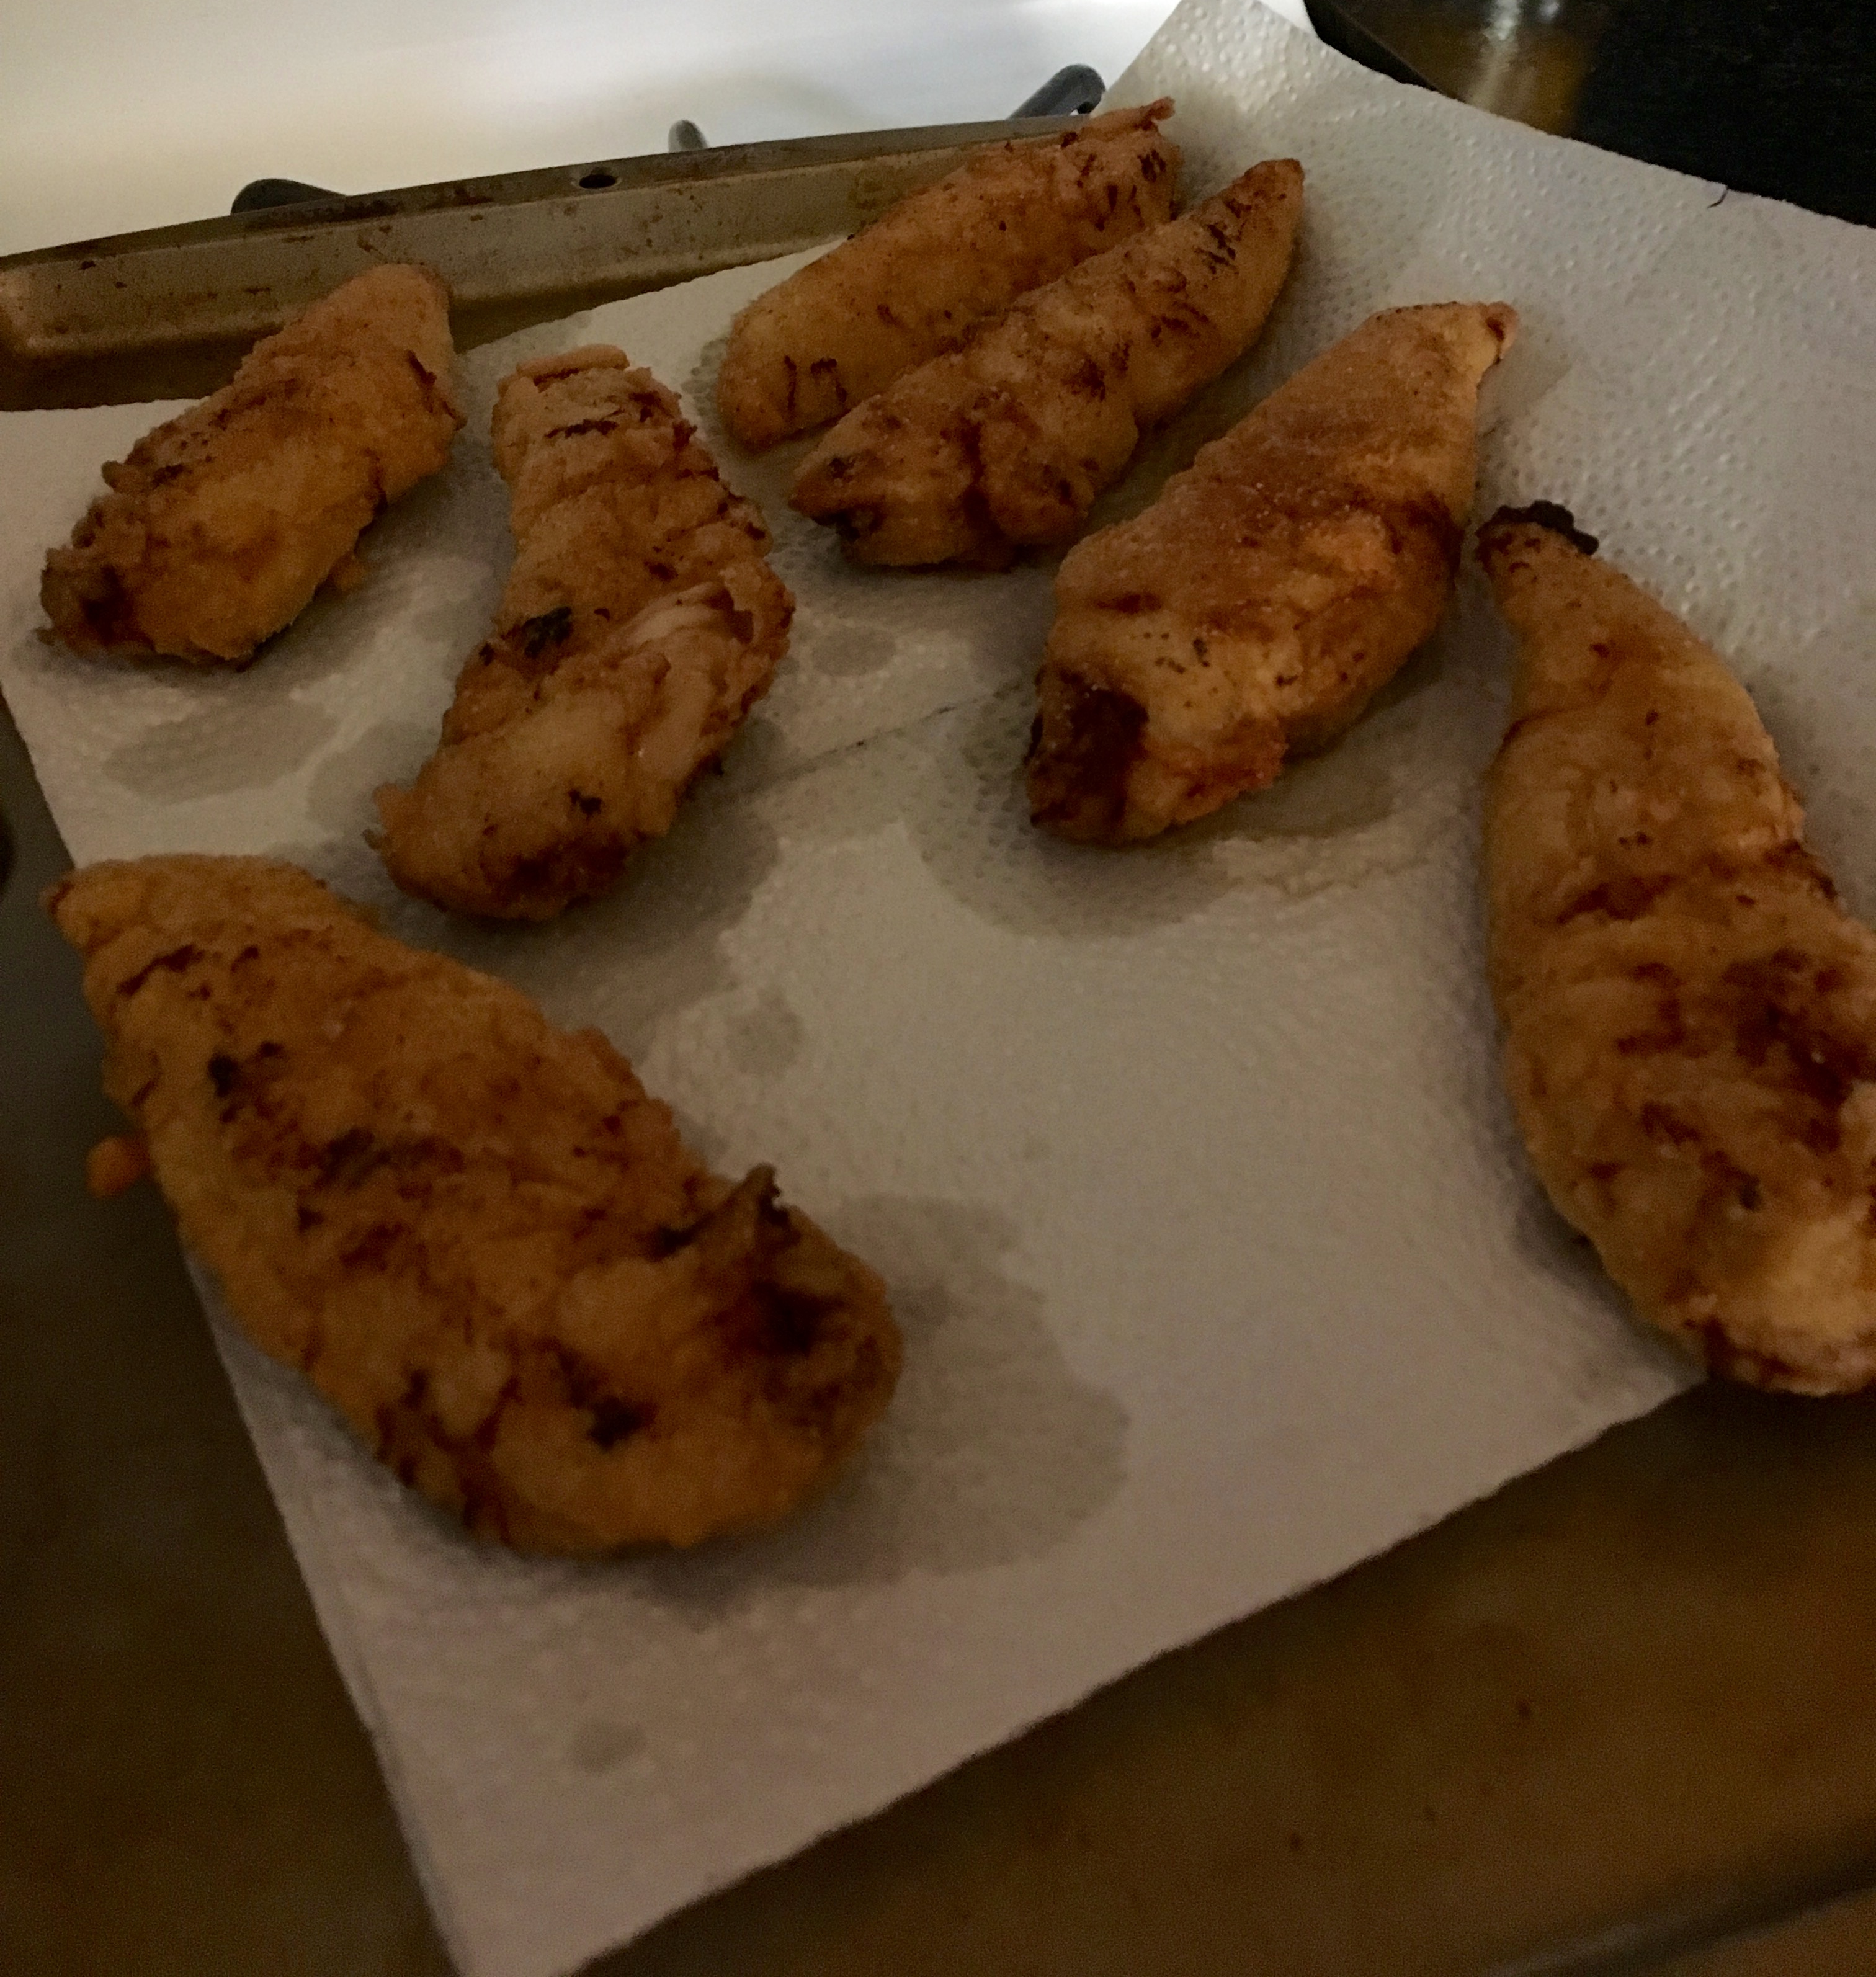
Fry the chicken in the hot oil, turning a few times, until a food thermometer inserted into the thickest part of the tender reads 165°. Tip: put only a few tenders in the fryer at the same time to prevent cooling down the oil and making the crust soggy.

IMG_4292

When the tenders are done, transfer to a paper towel lined baking sheet and keep warm in the preheated oven.

IMG_4293

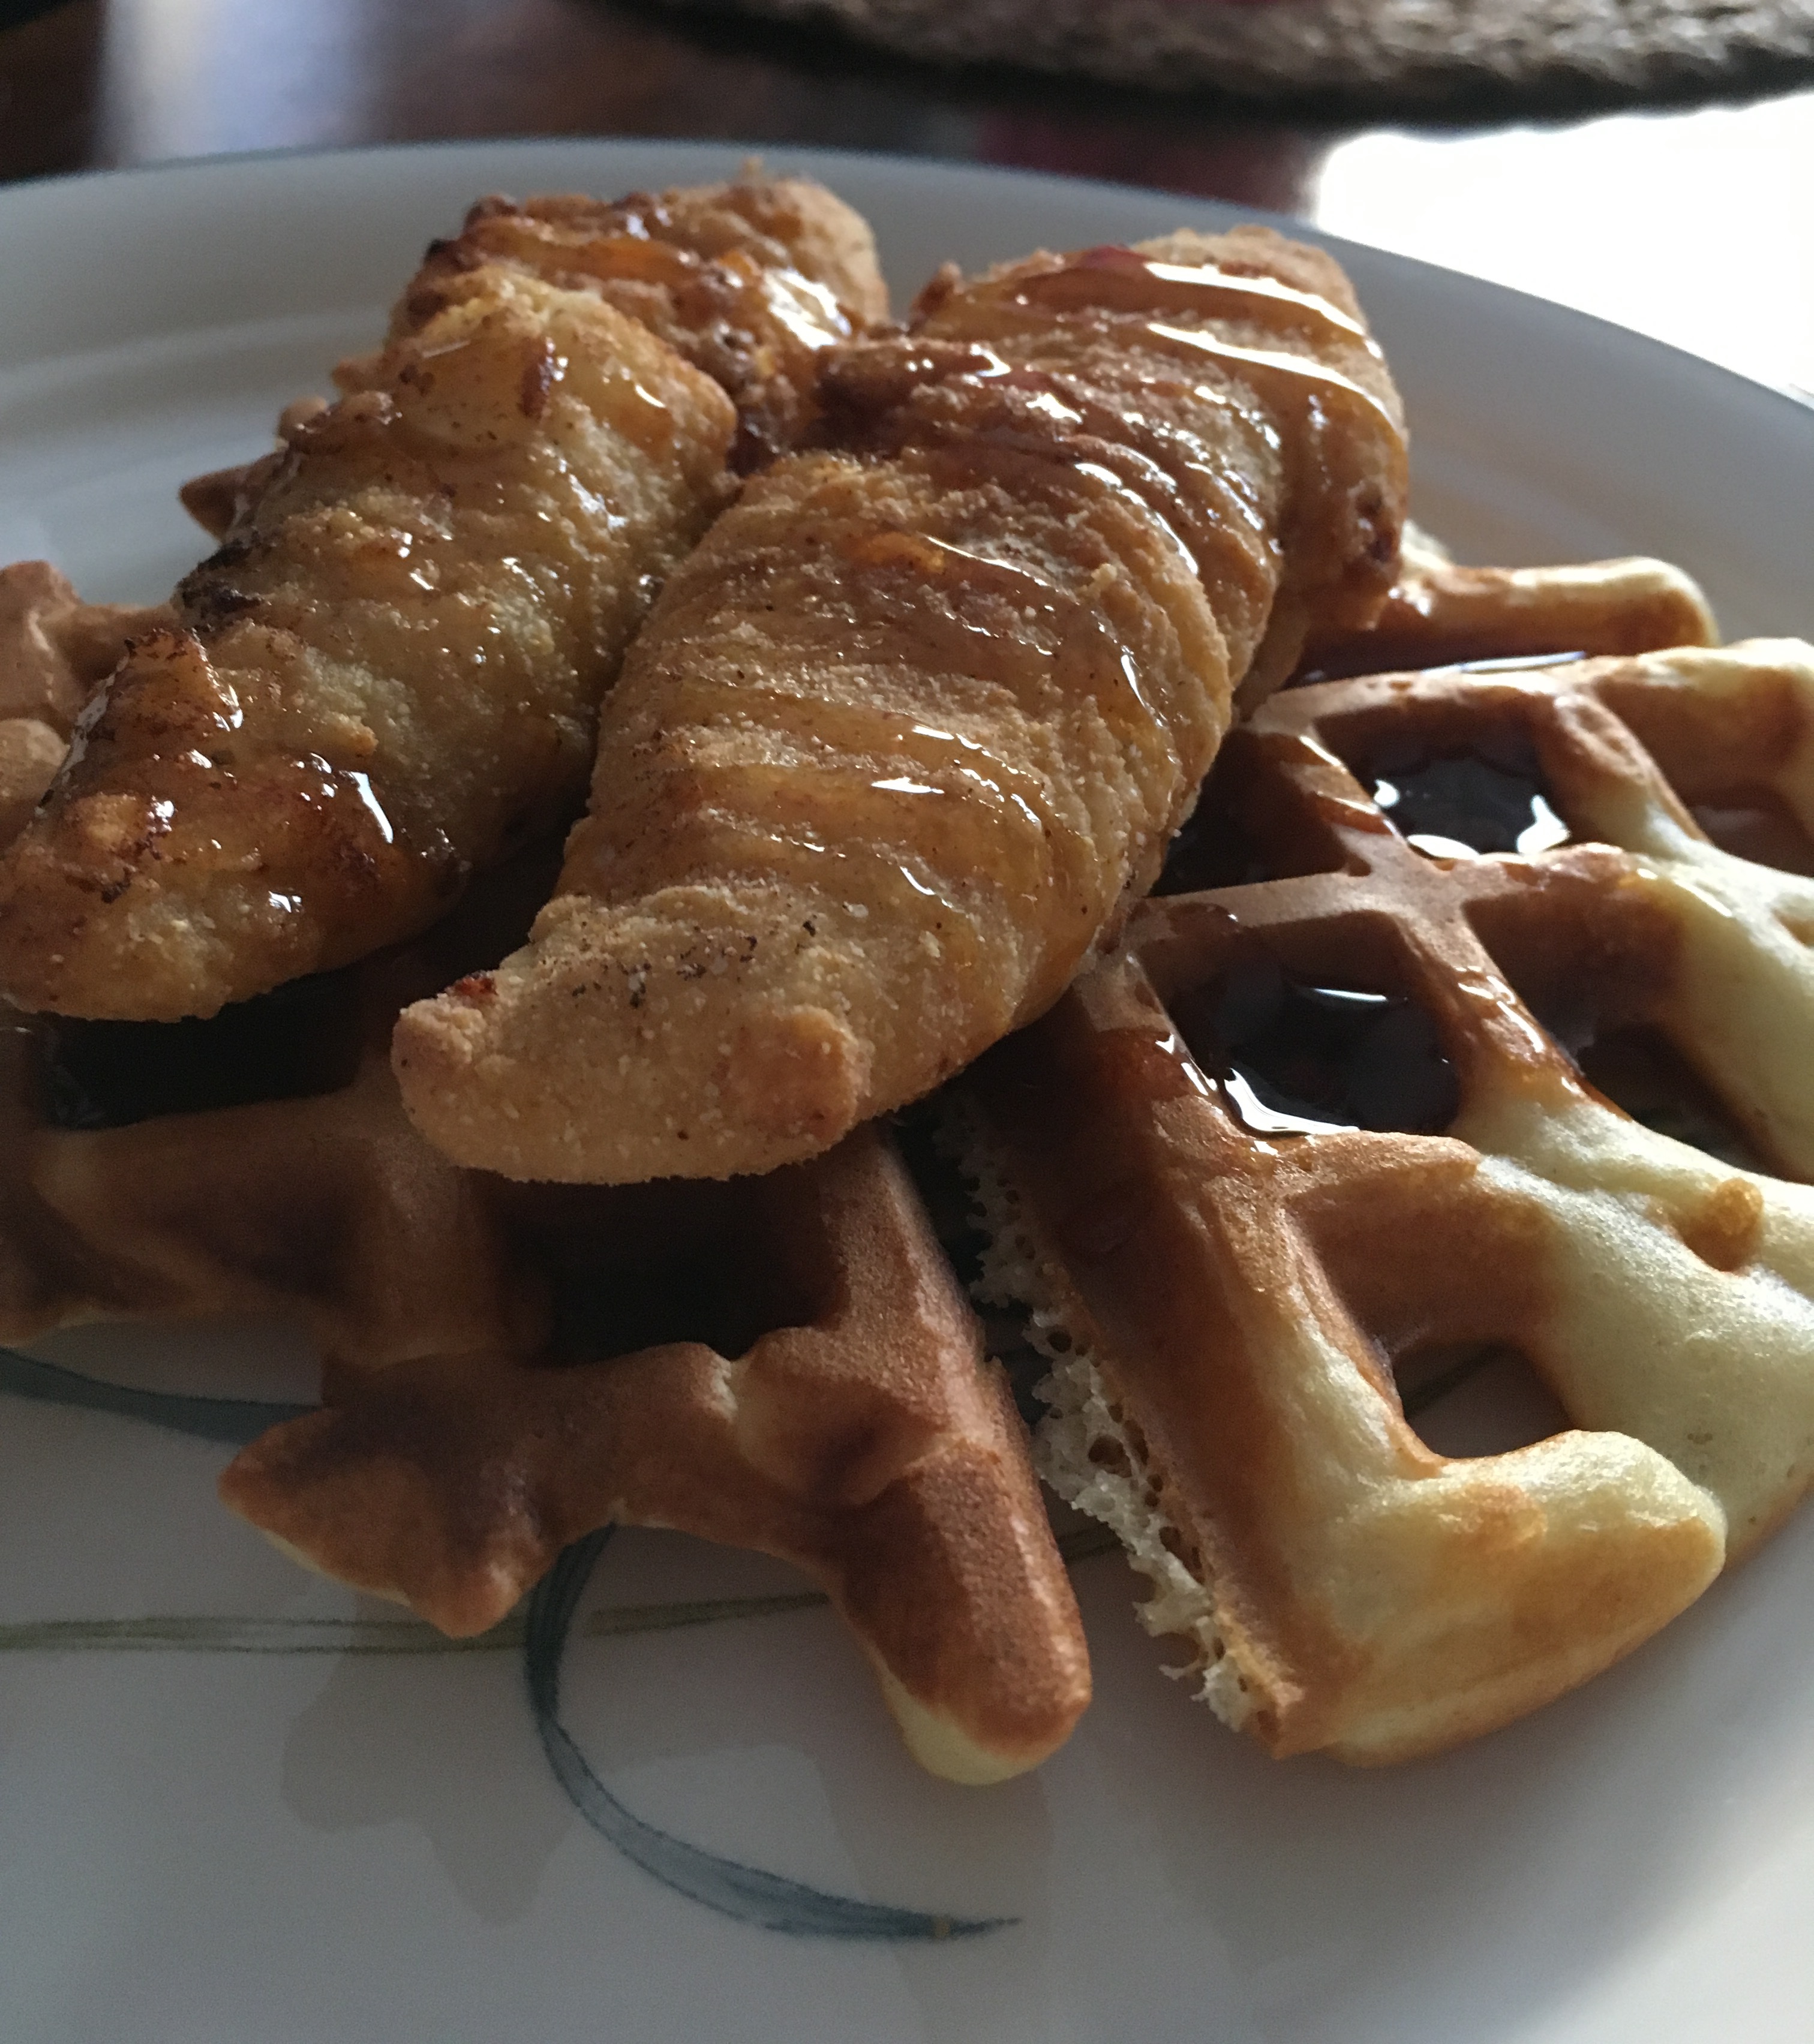
Once all your tenders are done, pop a few on top of a golden brown waffle and drizzle with syrup! You could definitely mix your syrup with some red pepper flakes or cayenne for an extra kick of spice, or you could keep it traditional (my personal favorite).

IMG_4296

Shout out to the waffle making king, my husband!
IMG_4294

Enjoy making, and eating, this awesome comfort food!


Homemade Girl Scout Cookies

Hello everyone! I hope you all had a wonderful Easter! I stayed off of social media for Lent this year, so the blog also had to wait until after Easter. It’s good to be back! I have a couple recipes ready to share, the first being homemade Girl Scout Cookies. My hubby’s favorite ones are the Tagalongs, those shortbread cookies with peanut butter on top and then covered in chocolate. I bought him a box a little while ago and he ate all of the cookies in about two days (I honestly don’t think that’s an exaggeration), so I decided it was time to learn how to make my own since the boxed cookies come only once a year. They turned out really well! Here’s the recipe:

Ingredients:

  • 2 cups flour
  • 1 cup (2 sticks) softened butter
  • 1/2 cup granulated sugar
  • 2 tbsp milk
  • 1/2 tsp salt
  • 1/2 tsp vanilla extract
  • 1 1/2 cup creamy peanut butter
  • 3/4 cup confectioner’s sugar
  • 1 bag semisweet chocolate chips or melting chocolate

Preheat the oven to 350°F and line a baking sheet with parchment paper. Cream the butter and sugar together, and then add in the flour and salt and mix. Add the vanilla and milk and mix until thoroughly incorporated. (Hint: it helped me to mix with my hands since the dough was a bit crumbly at first).

IMG_4225IMG_4226

Roll out the cookie dough onto a floured surface, about 1/4″ thick. You don’t have to measure, just try and make sure that the cookies are all the same thickness so that they bake evenly! Using a small circular cookie cutter, cut out dough rounds and place them on the lined baking sheet.

IMG_4227

Bake for 12-15 minutes or until the cookies are light golden. Pro tip: mine stayed pretty pale, so I just went for 15 minutes and then called it a day. You could probably bake them a bit longer, but keep a close eye on them to prevent burning! Leave the cookies on the sheet for a few minutes because they’re very fragile when they’re hot. After a few minutes, remove them from the cookie sheet and transfer to a cooling rack to cool completely.

IMG_4228

While the cookies are cooling, get started on your confectioner’s peanut butter. Mix the peanut butter and powdered sugar together, using either a hand mixer or your elbow grease. I used the hand mixer.

IMG_4229

Dollop some of the peanut butter mixture onto each cookie and spread it out to form an even layer on each cookie. The peanut butter mix recipe makes a lot of mix, so there should be plenty of mixture to make a thick layer on each cookie!

IMG_4231IMG_4234

Put the cookies in the freezer for about 10 minutes to set the mixture. This will ensure you don’t lose all of your peanut butter when the cookie is dipped in the chocolate! Meanwhile, line a baking sheet with parchment paper, or re-use the one you used to bake the cookies.

When the freezing time is almost done, melt the chocolate. To do so, pour the chips into a bowl and microwave on high for ~30 seconds. Remove the chips from the microwave and stir. Repeat this process until the chocolate chips are melted and smooth.

When the cookies are out of the freezer, dip them in the melted chocolate to cover. It will be messy, but so worth it!! Another technique I used when I was running out of chocolate was to scoop up the chocolate with a spoon and pour it over the top of a cookie, letting the chocolate run down the sides to cover.

IMG_4235

These cookies are easily good enough to take the place of store bought Girl Scout cookies. And now we don’t have to wait for Girl Scout cookie time every year-hooray! Happy baking!