Monthly Archives: November 2014

It’s Like Banana Bread…

Hello everyone! I hope you’re excited for Thanksgiving! I know my family is gearing up for having our usual twenty-something people at our house. More on Thanksgiving and holiday desserts to come in a few weeks, though- for now I’m focusing on something that can be made any time of year, not just the holidays!

I’m sure you’ve all experienced having overripe bananas. No one wants to eat them, but you hate to throw the fruit away because it’s technically still edible. This happened in my house yesterday, and I decided that instead of making my usual banana bread, I would break out of the mold and make something new. A banana cinnamon cake!

This cake is moist, sweet, spiced, and drizzled with the perfect cinnamon and sugar glaze. Here’s the recipe!

Cake Ingredients:

  • 3 very ripe bananas, mashed (until they’re basically pureed)
  • 3/4 cup granulated sugar
  • 1/2 cup brown sugar
  • 1/2 cup vegetable oil
  • 2 eggs
  • 1 tsp vanilla extract
  • 2 cups flour
  • 1 tsp baking soda
  • 1/2 tsp salt
  • 1/2 tsp ground cinnamon

Glaze Ingredients:

  • 1/2 cup powdered sugar
  • 1/4 tsp ground cinnamon
  • 1/8 tsp cream of tartar
  • 1/2 cup milk

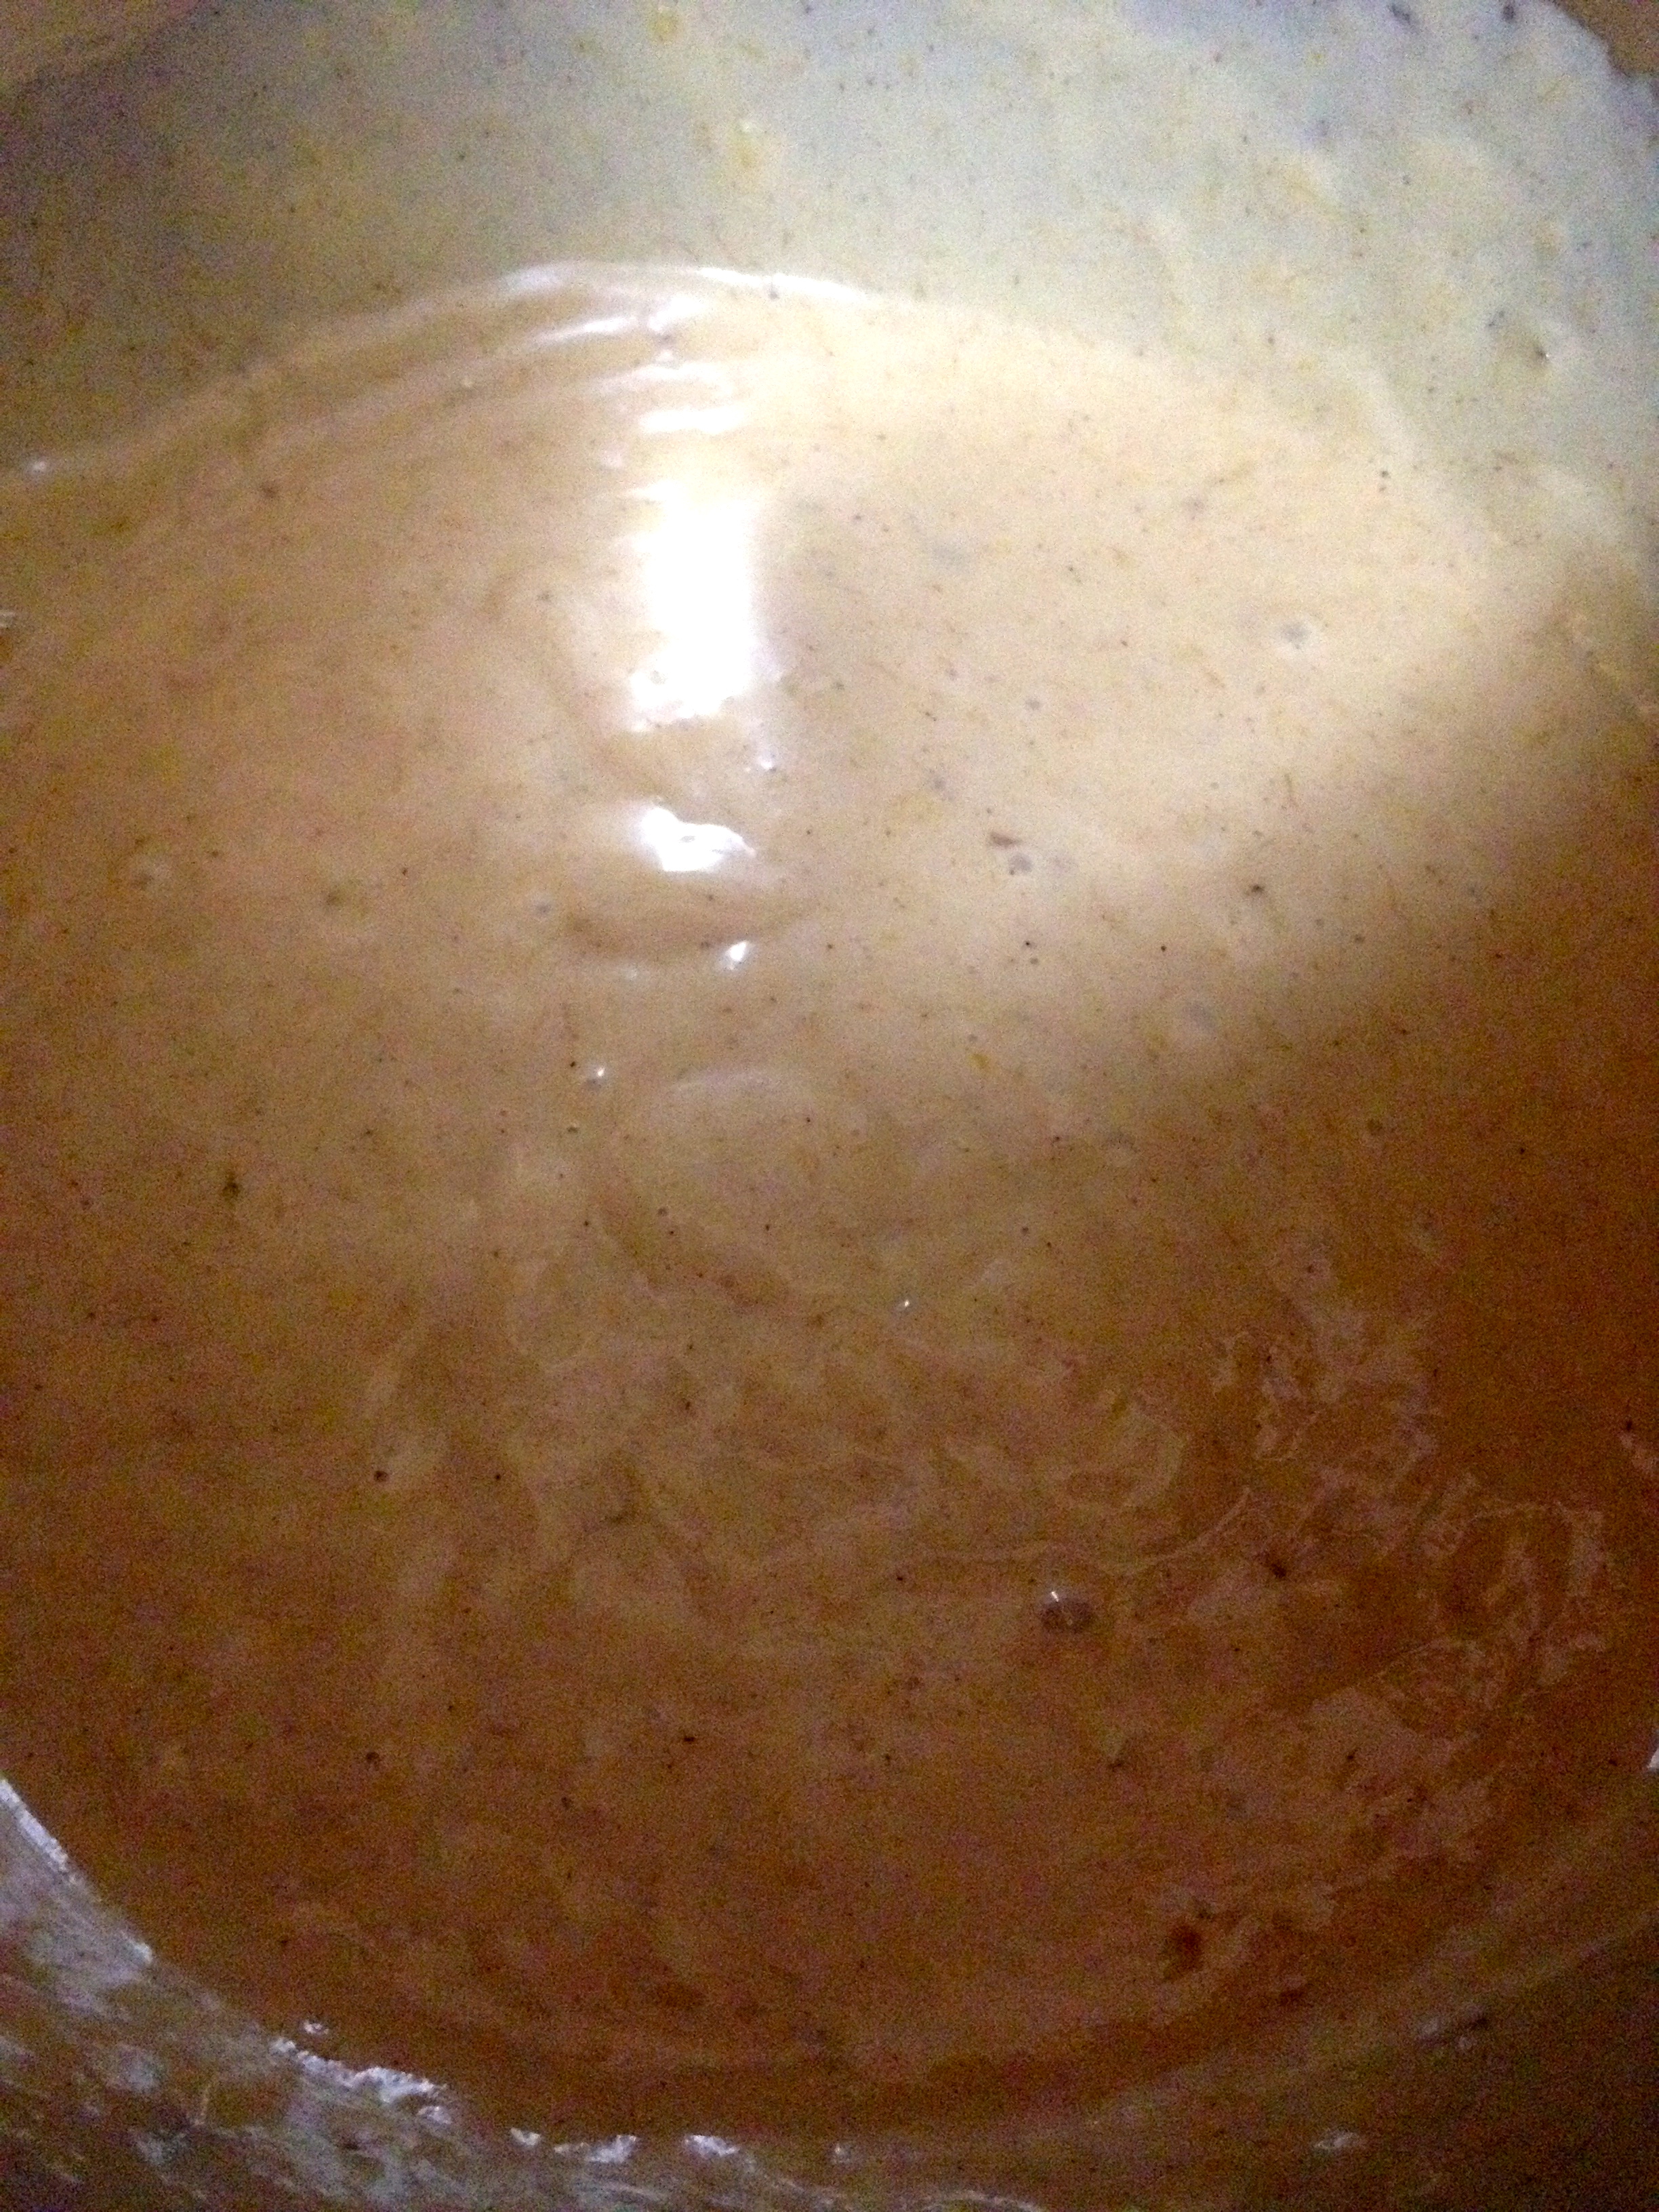
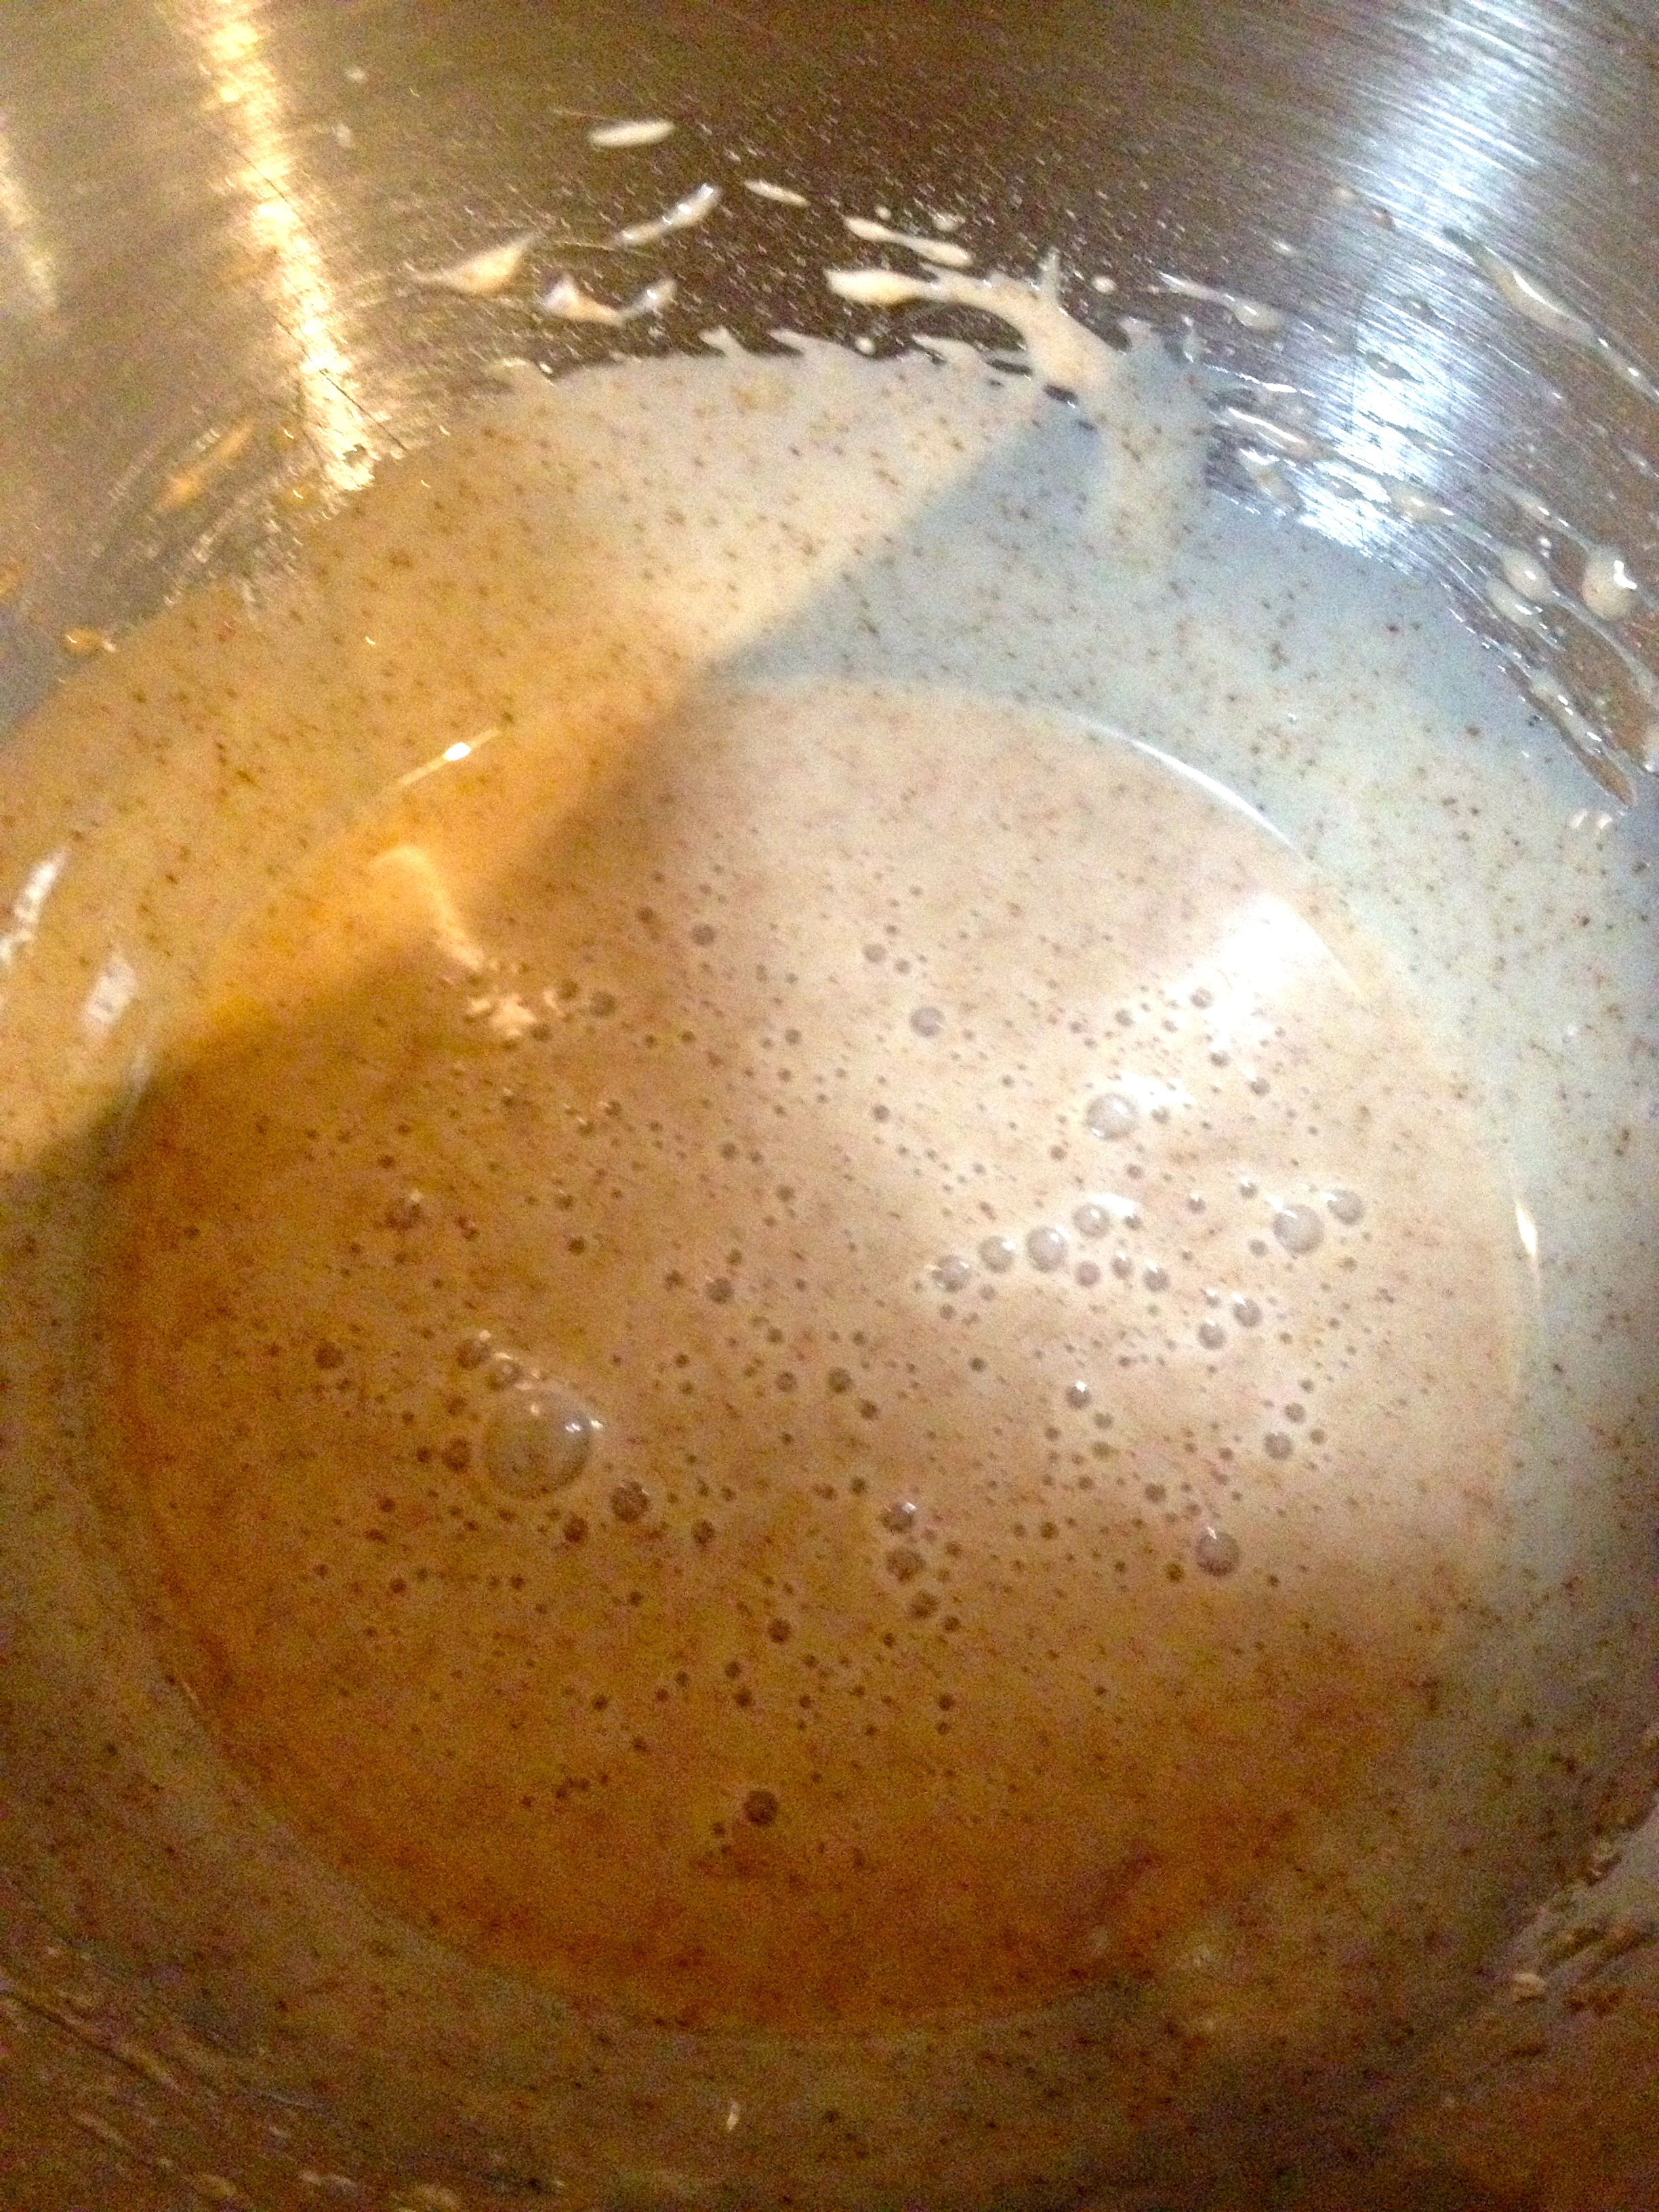
In a stand mixer, stir the bananas, granulated sugar, and brown sugar until they’re well mixed. Add the eggs, oil, and vanilla, and stir to combine. Add the dry ingredients and mix on low speed until the ingredients are fully combined, and then mix on high speed for about 2 minutes.

IMG_2043

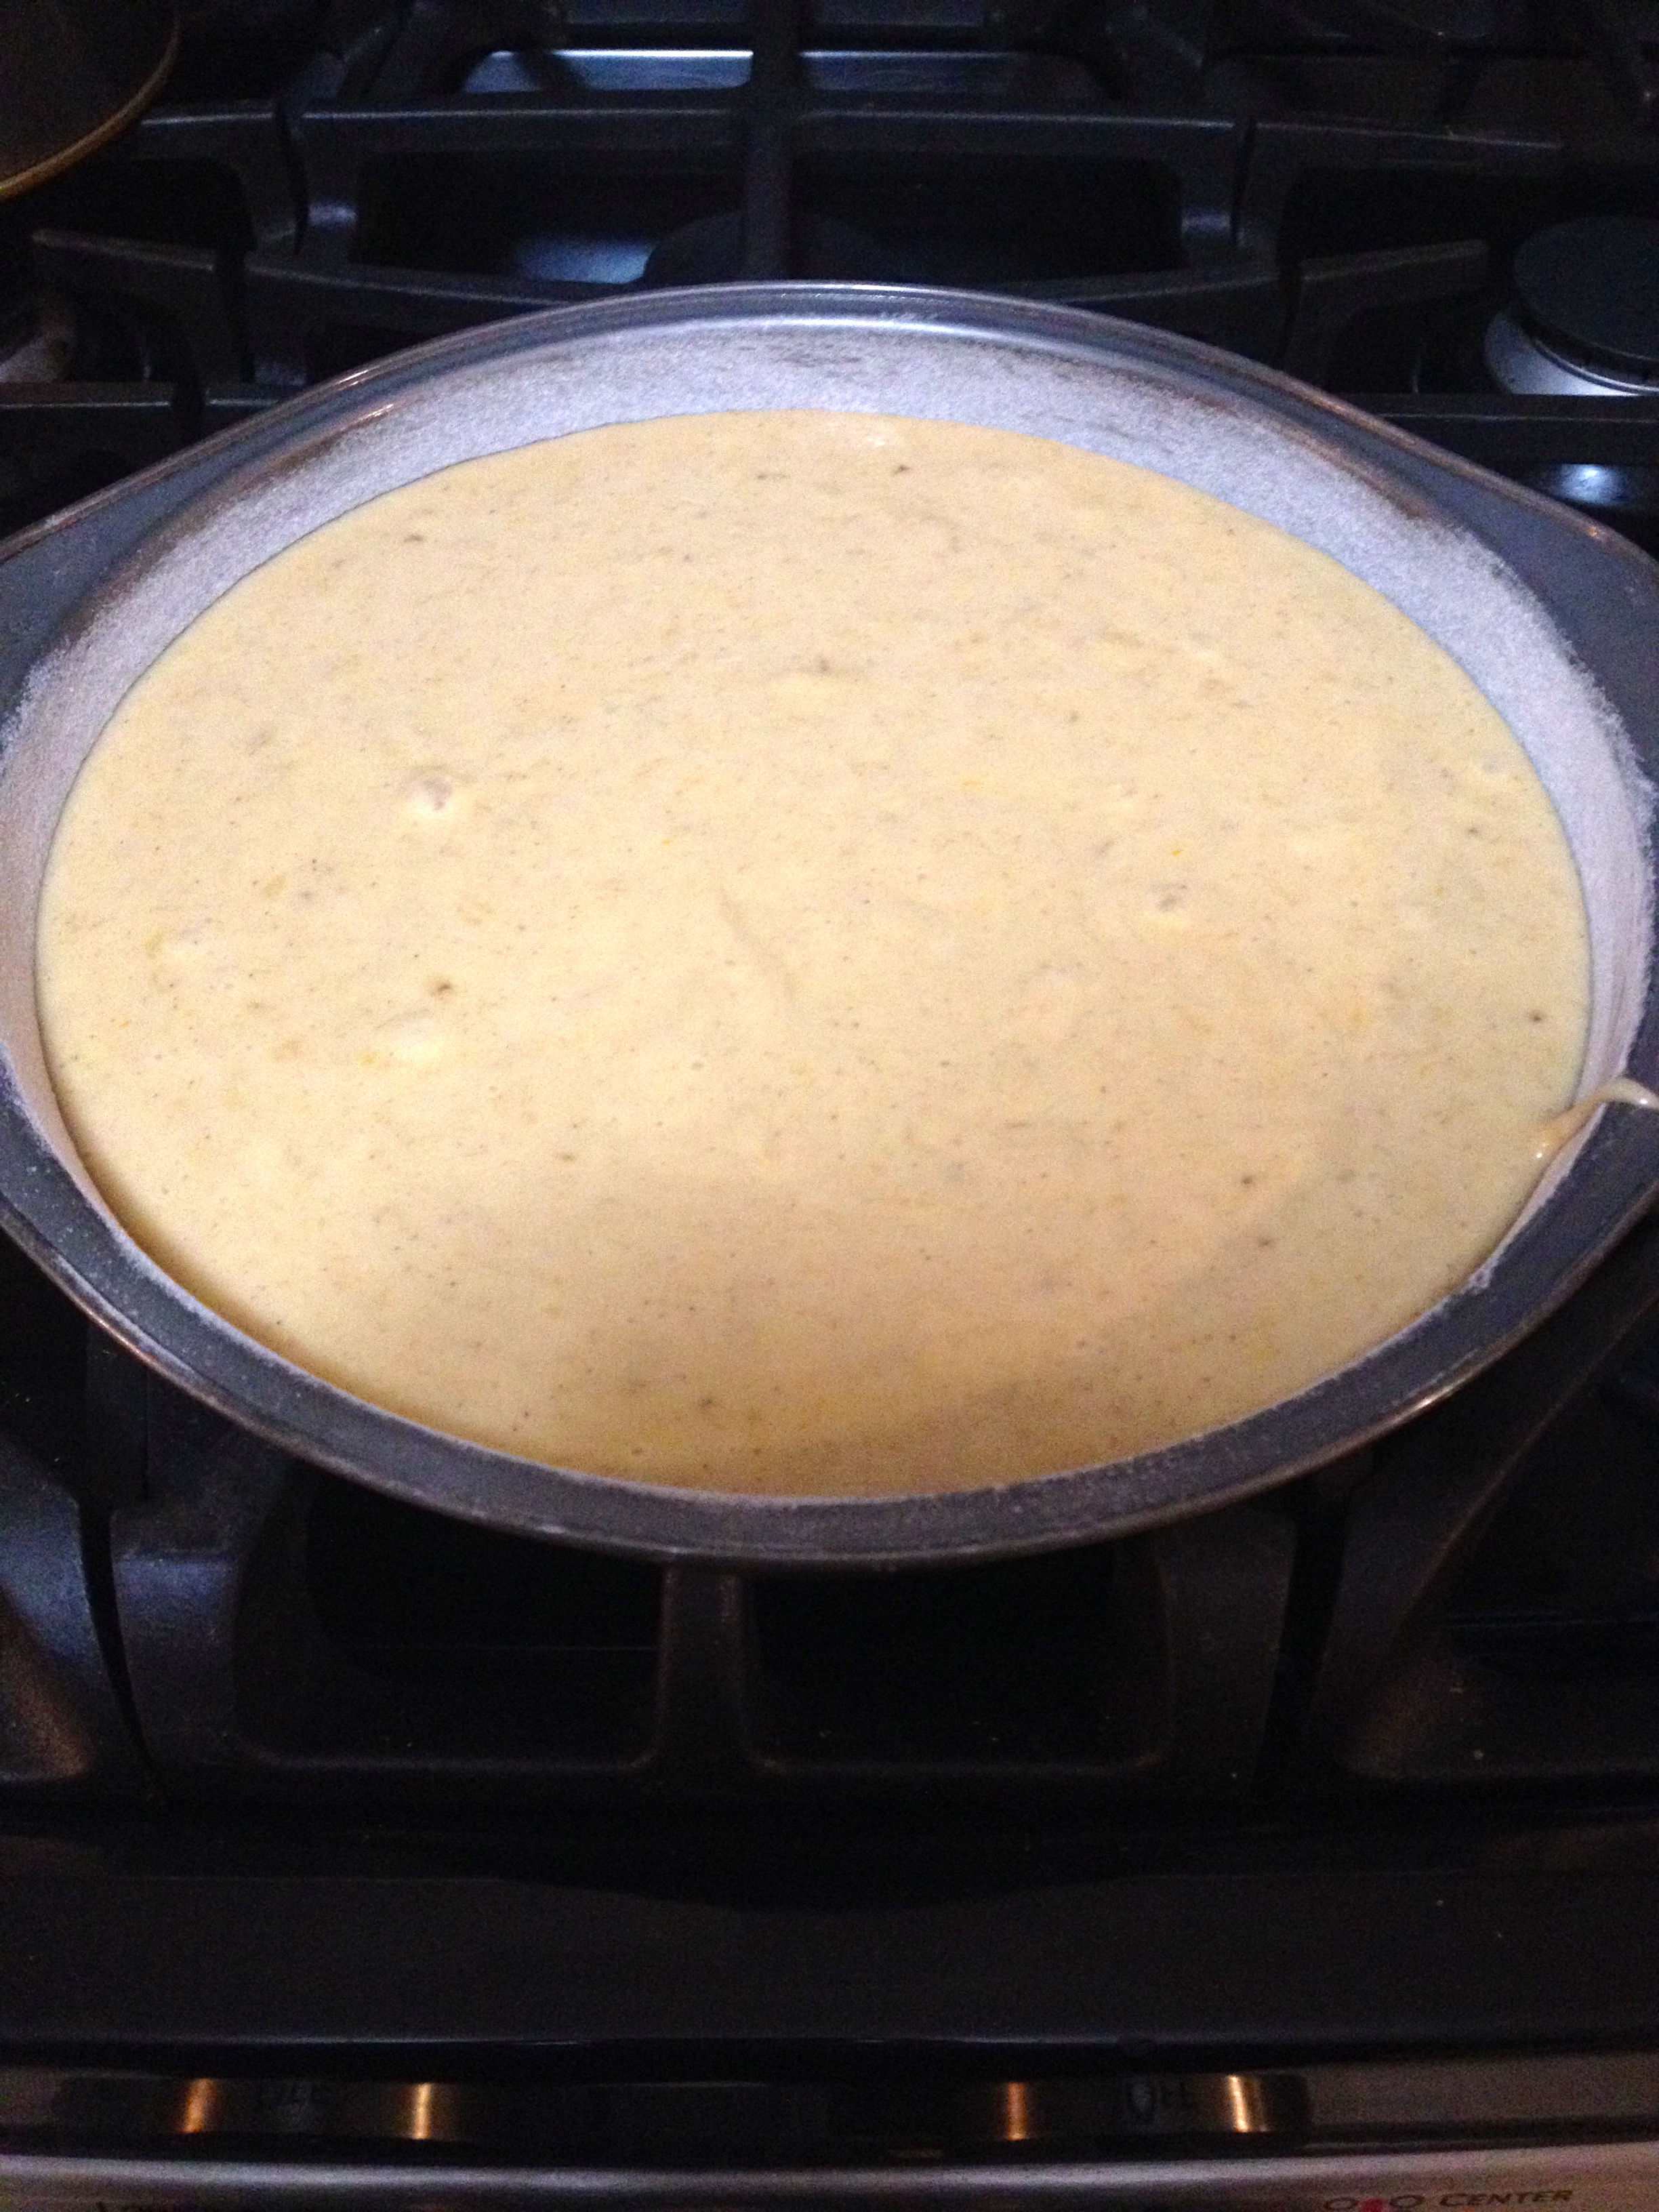
Grease and flour a 9×2″ round cake pan, and pour the batter into it.

IMG_2044

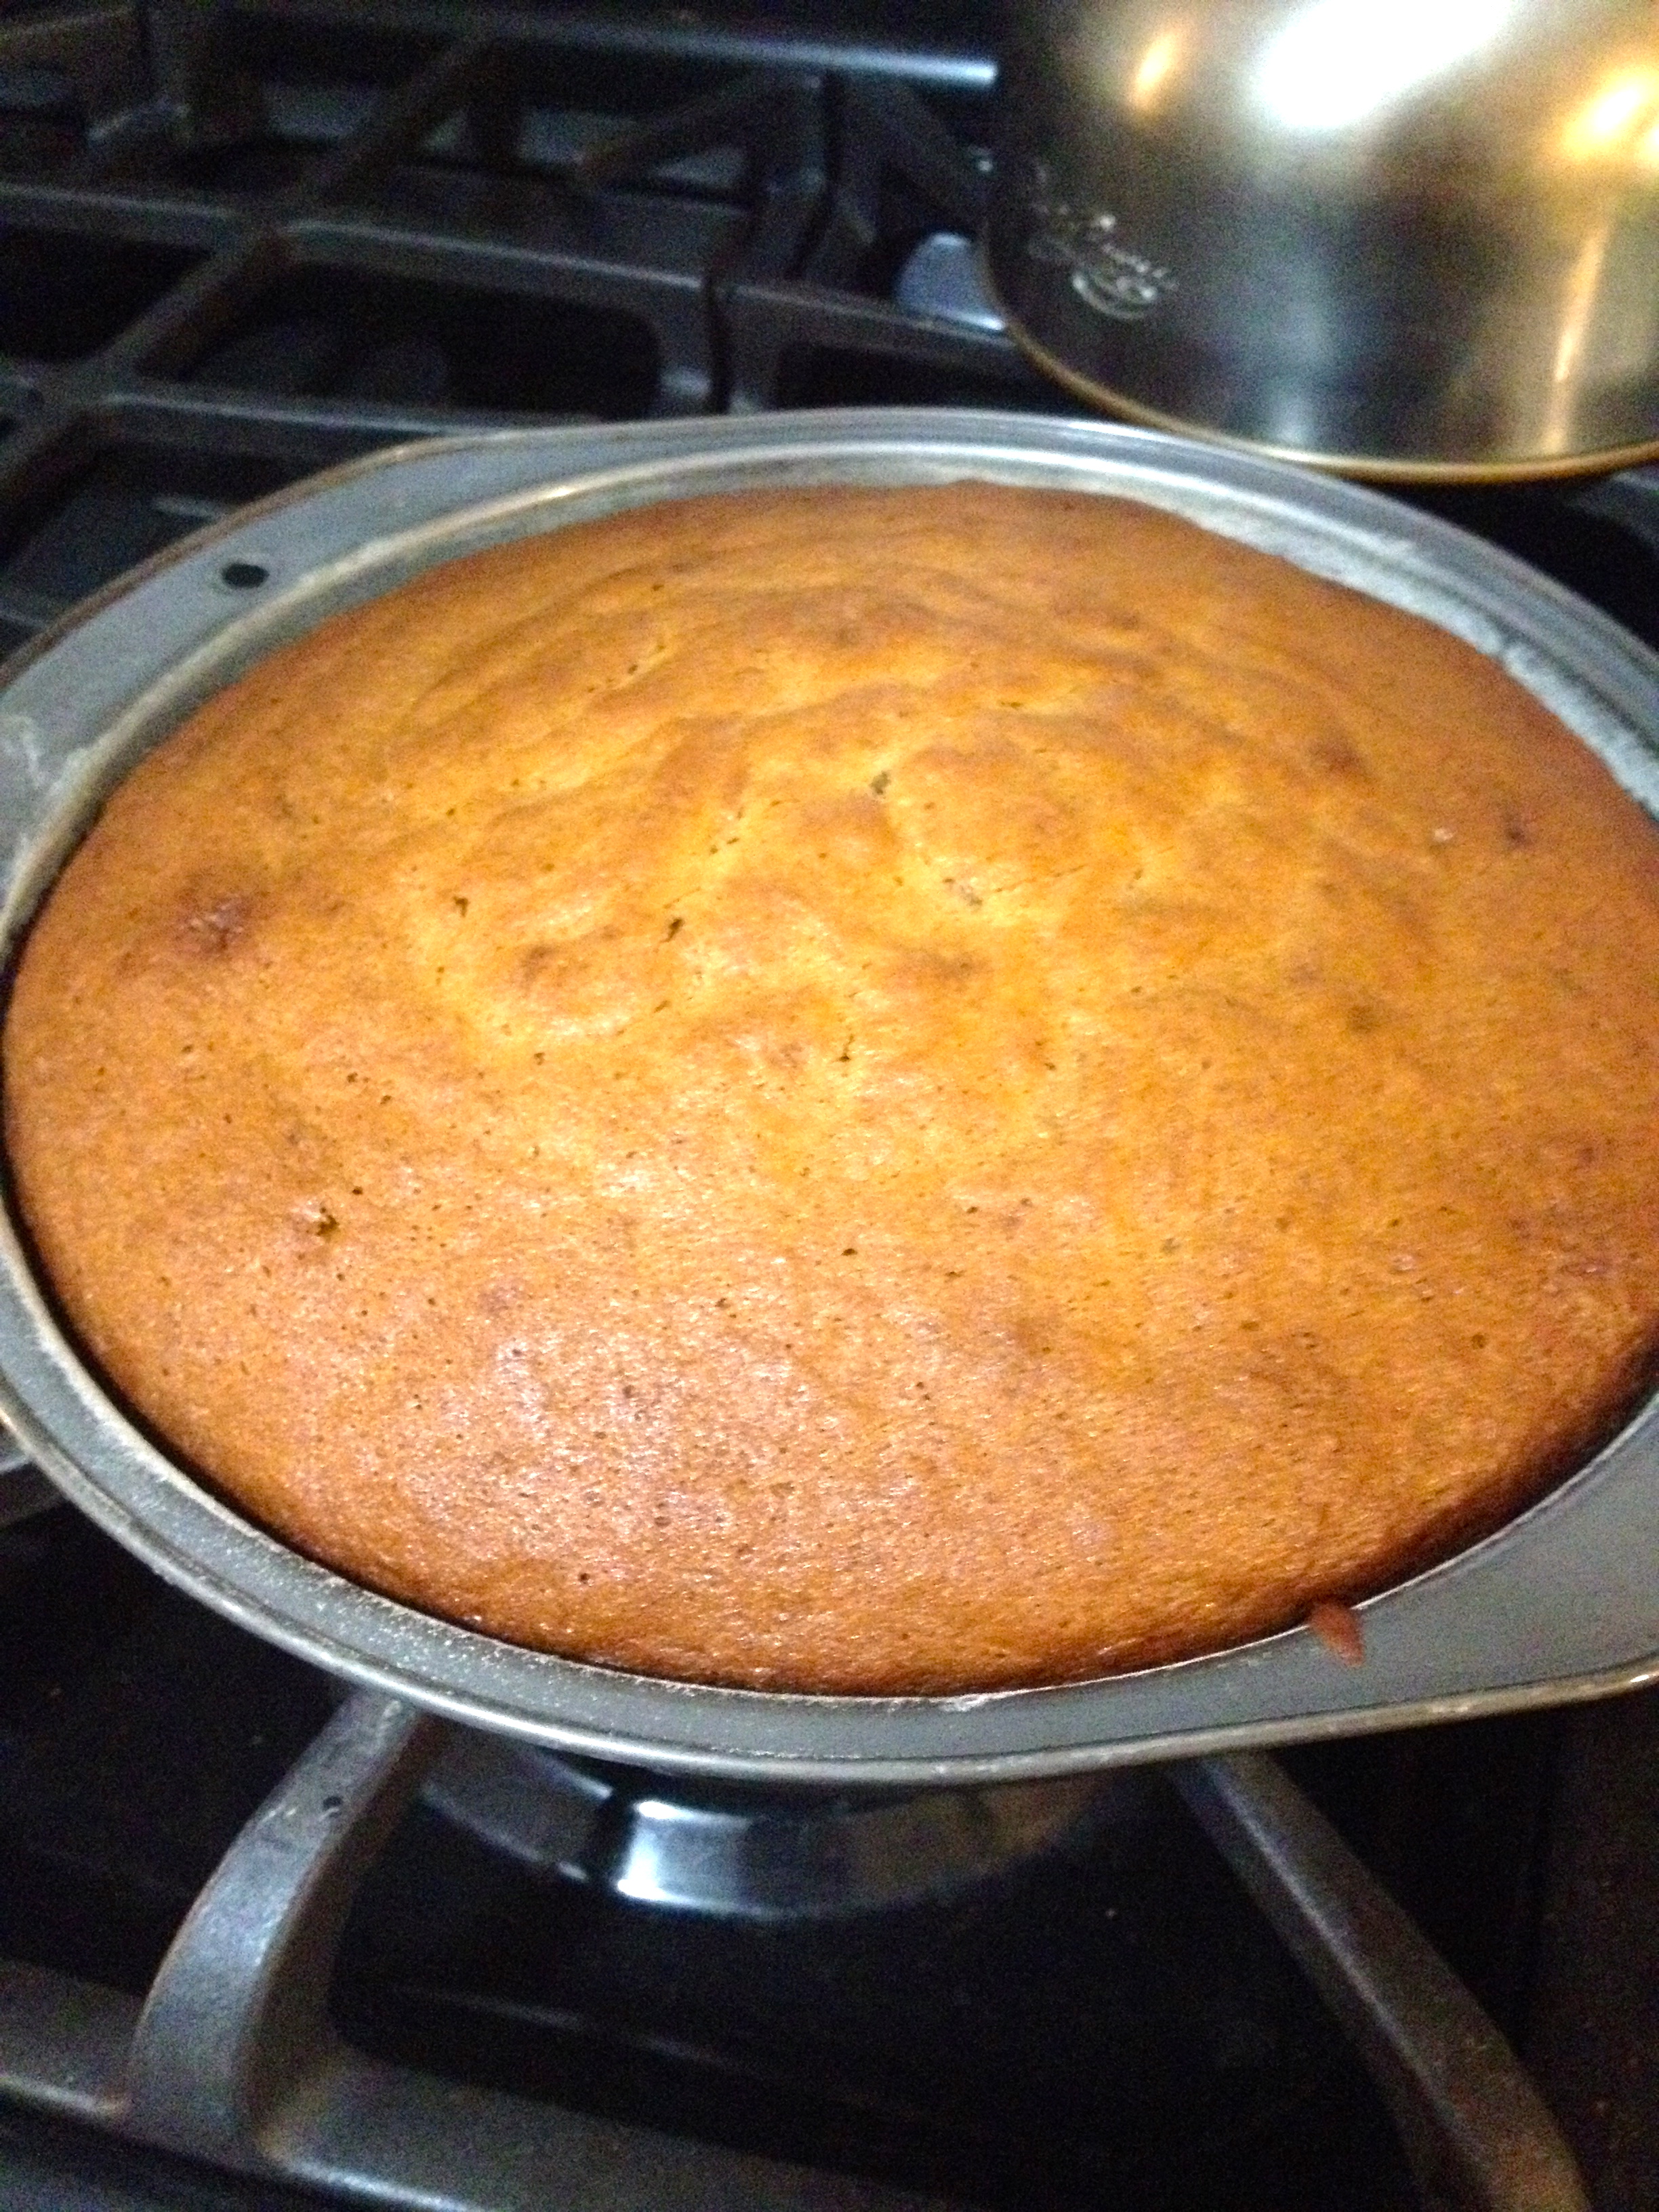
Bake at 350ºF for 40-45 minutes, or until a toothpick inserted in the middle of the cake comes out clean.

IMG_2045

Once the cake is completely cool, start making your glaze. Combine the sugar, cream of tartar, and cinnamon together. Add a little milk at a time and mix the glaze with a hand mixer on low speed until the glaze is fairly loose and runny. When you have reached your desired thickness, turn the mixer onto high speed to add a little air and volume into the glaze.

IMG_2051


Pour the glaze over the top of the cake. It will drip down the sides, so you may want to put it on a plate to start with so that the glaze doesn’t end up on the counter! The glaze will become firm shortly (thanks to the cream of tartar), so don’t worry about it being sticky and messy.

IMG_2053

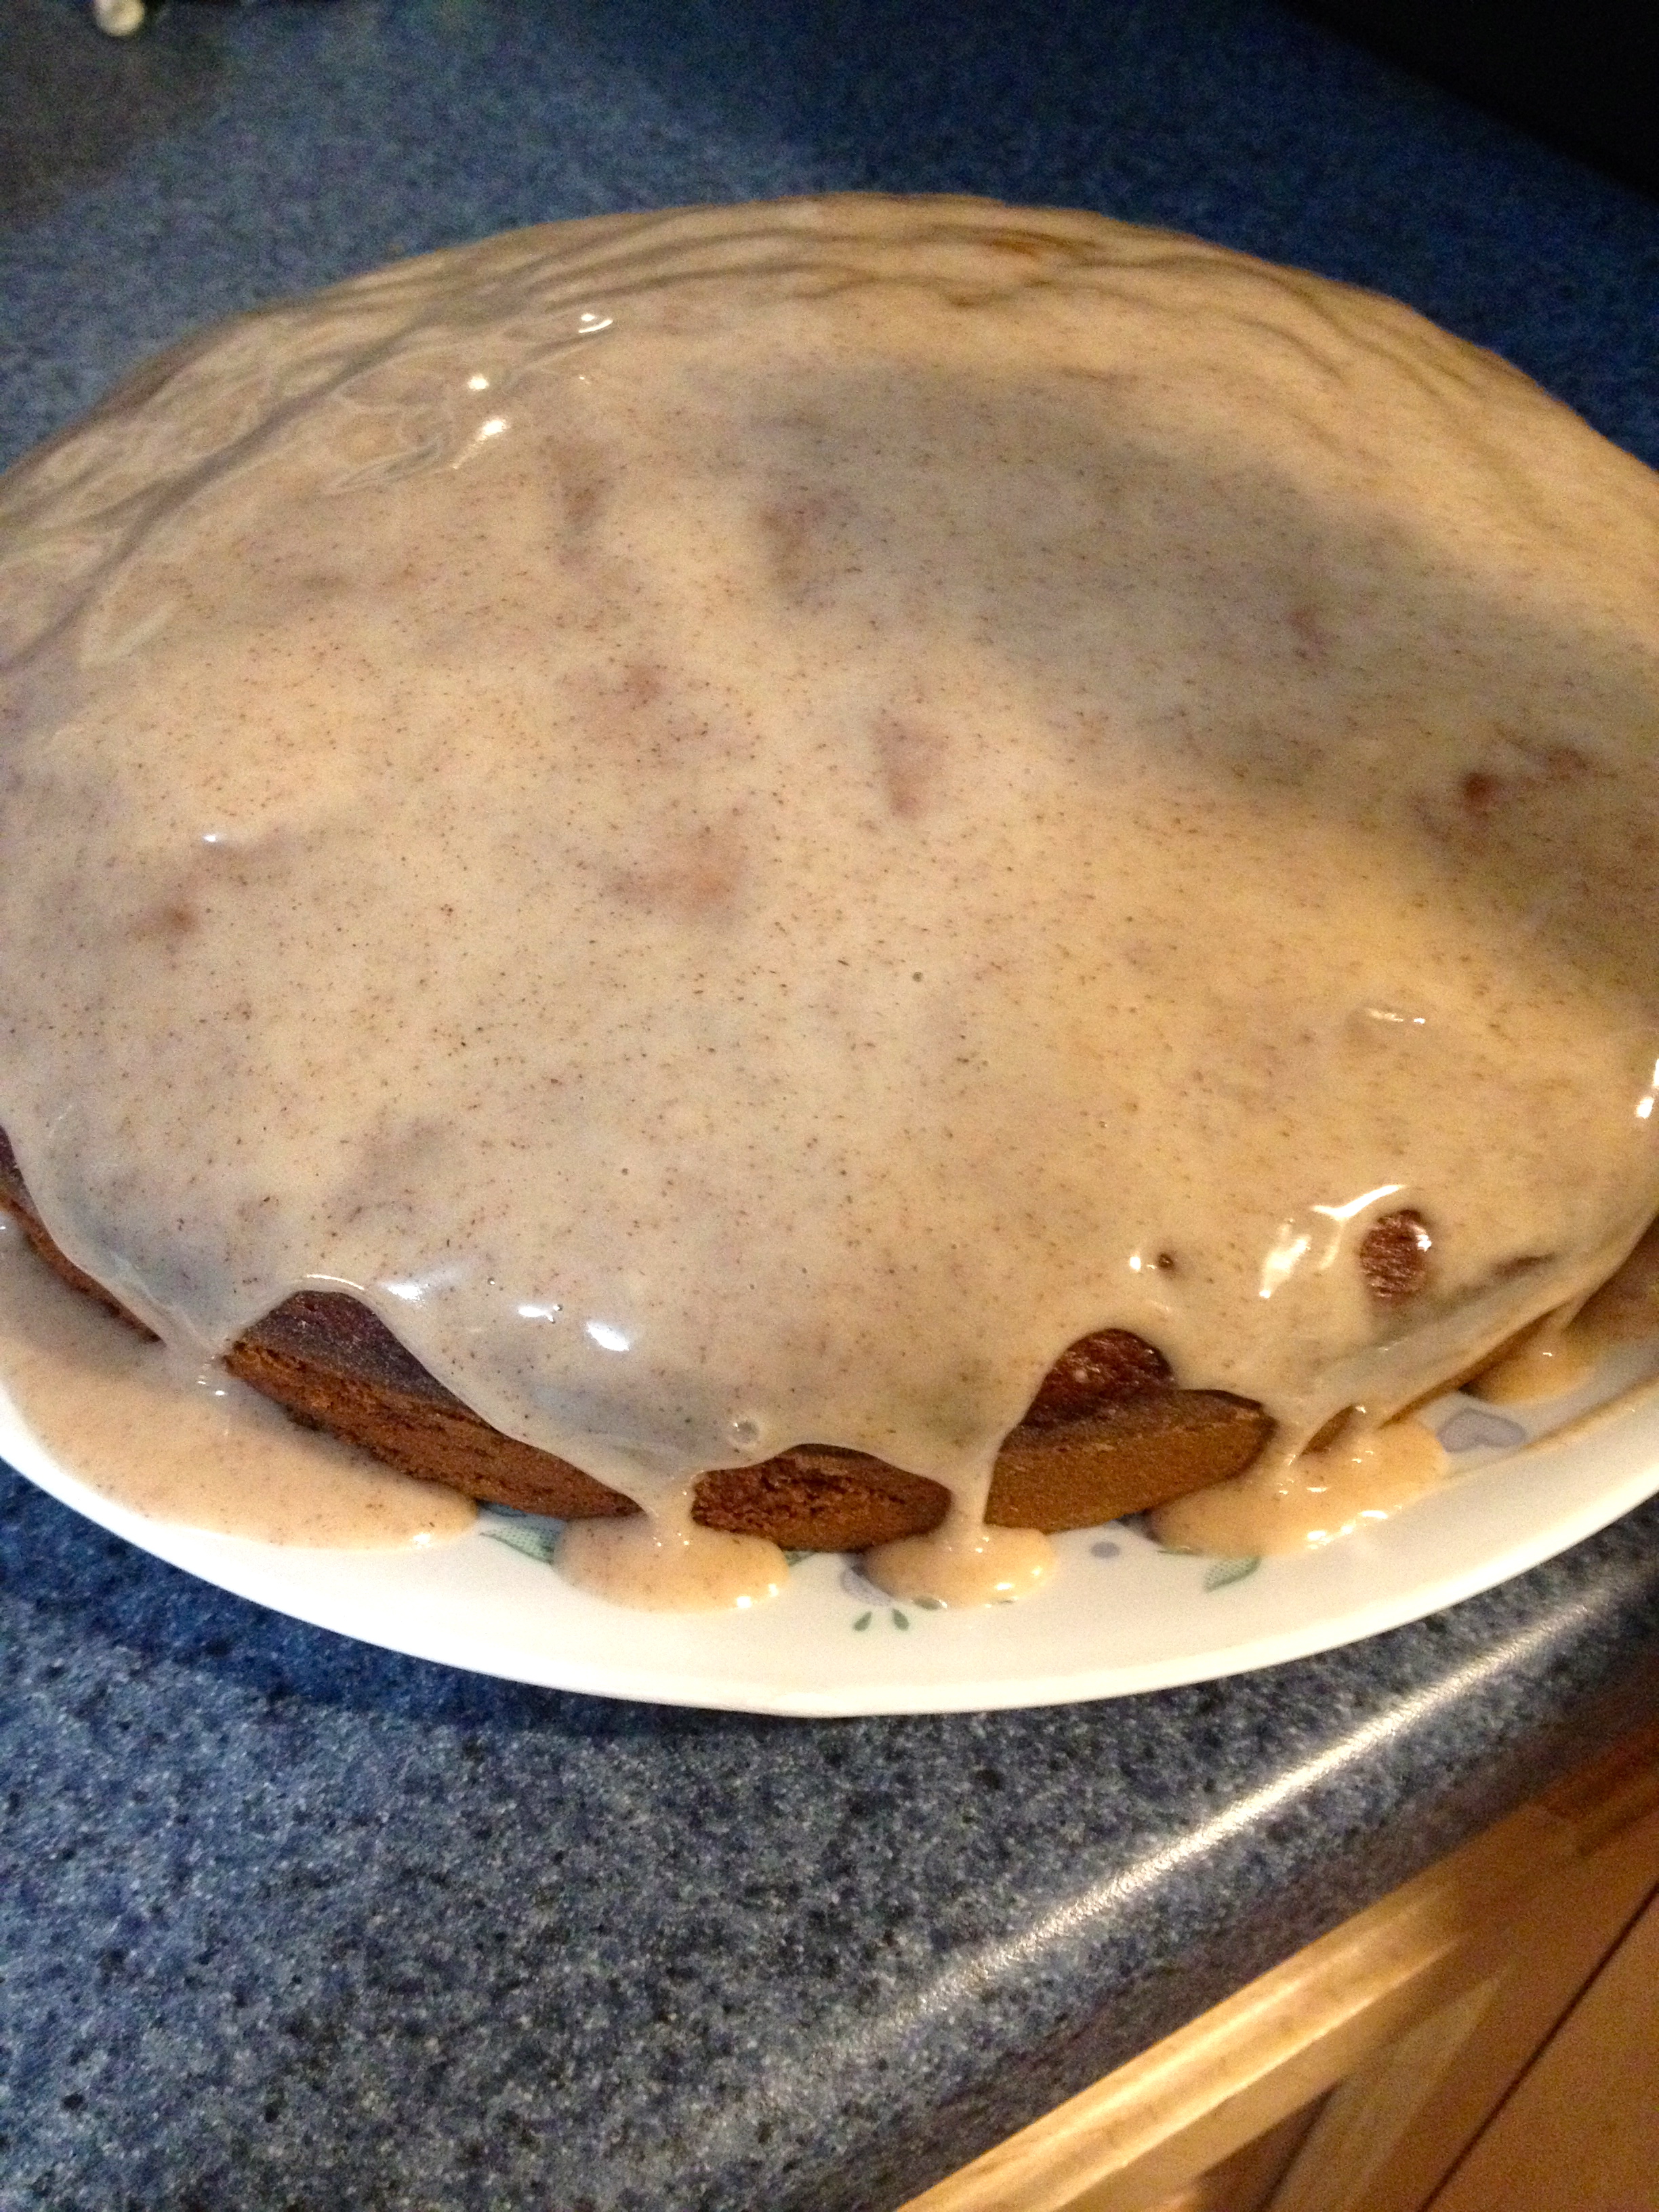
And now, enjoy! This cake is so yummy and such a great way to use up those bananas so that nothing goes to waste! I hope you all have a wonderful Thanksgiving, and happy baking (for the bread and for the holiday desserts)!

Cookie Painting

Hello all! I’m so pumped to share my new idea with you: cookie painting! Yes, with actual paintbrushes. I’m sure all of you are familiar with frosted sugar cookies, and this is just a fun twist off of that. The best part? It’s simple, and it’s a great activity for kids! I’m really excited about this, so I’m going to jump right in!

The cookie recipe itself is the same as my “Pumpkin Pie Cookies” recipe (check my old posts for that recipe, too!). Here are the ingredients:

  • 3 3/4 cups all-purpose flour
  • 1 tsp baking powder
  • 1/2 tsp salt
  • 2 sticks unsalted butter (room temp. or softened)
  • 2 cups granulated sugar
  • 2 eggs
  • 1 tsp vanilla extract

Cream the butter and sugar together. Add the eggs and vanilla, and mix well. Gradually add the dry ingredients, mixing until the dough is absolutely delicious and it’s tempting to just eat the dough (but really until everything is thoroughly incorporated). Then wrap the dough in plastic wrap and chill it in the fridge or freezer until it’s nice and cold, which will make it easier to work with.

Roll it out on a floured pastry board or flat surface until it’s about 1/4 inch thick.

IMG_0746

Cut out circles in the dough with a circle cookie cutter (or really any shape that you want to decorate- I just chose generic circles because I wanted the paintings to be showcased!).

Put the cookies on an ungreased baking sheet, and put in them in the oven at 350ºF for 8-10 minutes, switching racks after 5 minutes to ensure even baking. Some recipes call for a parchment-lined baking sheet, but if you take the cookies off the sheet right after they’ve come out of the oven you should be fine.

Let the cookies cool on a wire cooling rack. In the meantime, you can make up your “paint”, which is really a loose powdered sugar icing. There is no set recipe for this, so I’ll give you directions for how I make it.

  1. Pour 1/2 lb. (half a box) of powdered sugar into a medium mixing bowl.
  2. Sprinkle a pinch of cream of tartar (~1/8 tsp) in with the powdered sugar (this will help the glaze harden on your cookies).
  3. very little bit at a time, add milk to the sugar until you have a runny icing, about the consistency of regular paint.
  4. Divide the icing into 5 separate small bowls.
  5. Using food coloring, make each bowl of frosting a different color (I made four colors and left the fifth portion white). I made my colors pretty vibrant by adding 4 drops of the food coloring per bowl.

IMG_1986

Now you’re ready to paint! This is the fun part, because you can be as creative or not as you please, and the cookies will taste great no matter what! An added perk is that if you mess up on your painting, you can just eat the mistake and start over with a new cookie! Just be sure to be gentle, because the cookies could break. I also suggest having one paintbrush per color, so that you don’t have to clean the brush between every color change.

Tip: The colors will be lighter when you first paint them on, and then will darken as the glaze hardens. The white glaze will really be an obvious white color, not the clear color that paints on.

IMG_1990

Here are some of my designs:

IMG_1994

IMG_1993

IMG_1992

This recipe is great for kid parties, or for decorating holiday cookies! You can easily switch it up by using a specific cookie cutter, like a Santa shape or a heart. This recipe is just fun and simple! Plus, the sugar cookies are delicious! Happy baking, and happy painting!