Monthly Archives: January 2015

Healthy(ish) Cookies!

Hey friends! I hope you all are holding down the fort in this impending ice age! I can say without doubt that all the grocery stores in my area are completely ransacked of their milk and bread (and maybe some peanut butter, fluff, and Nutella, too). In light of this impending chilly craziness, I thought of something for you all to do inside- BAKE! Big surprise, right? And it just so happens that I have a great new recipe to share with you!

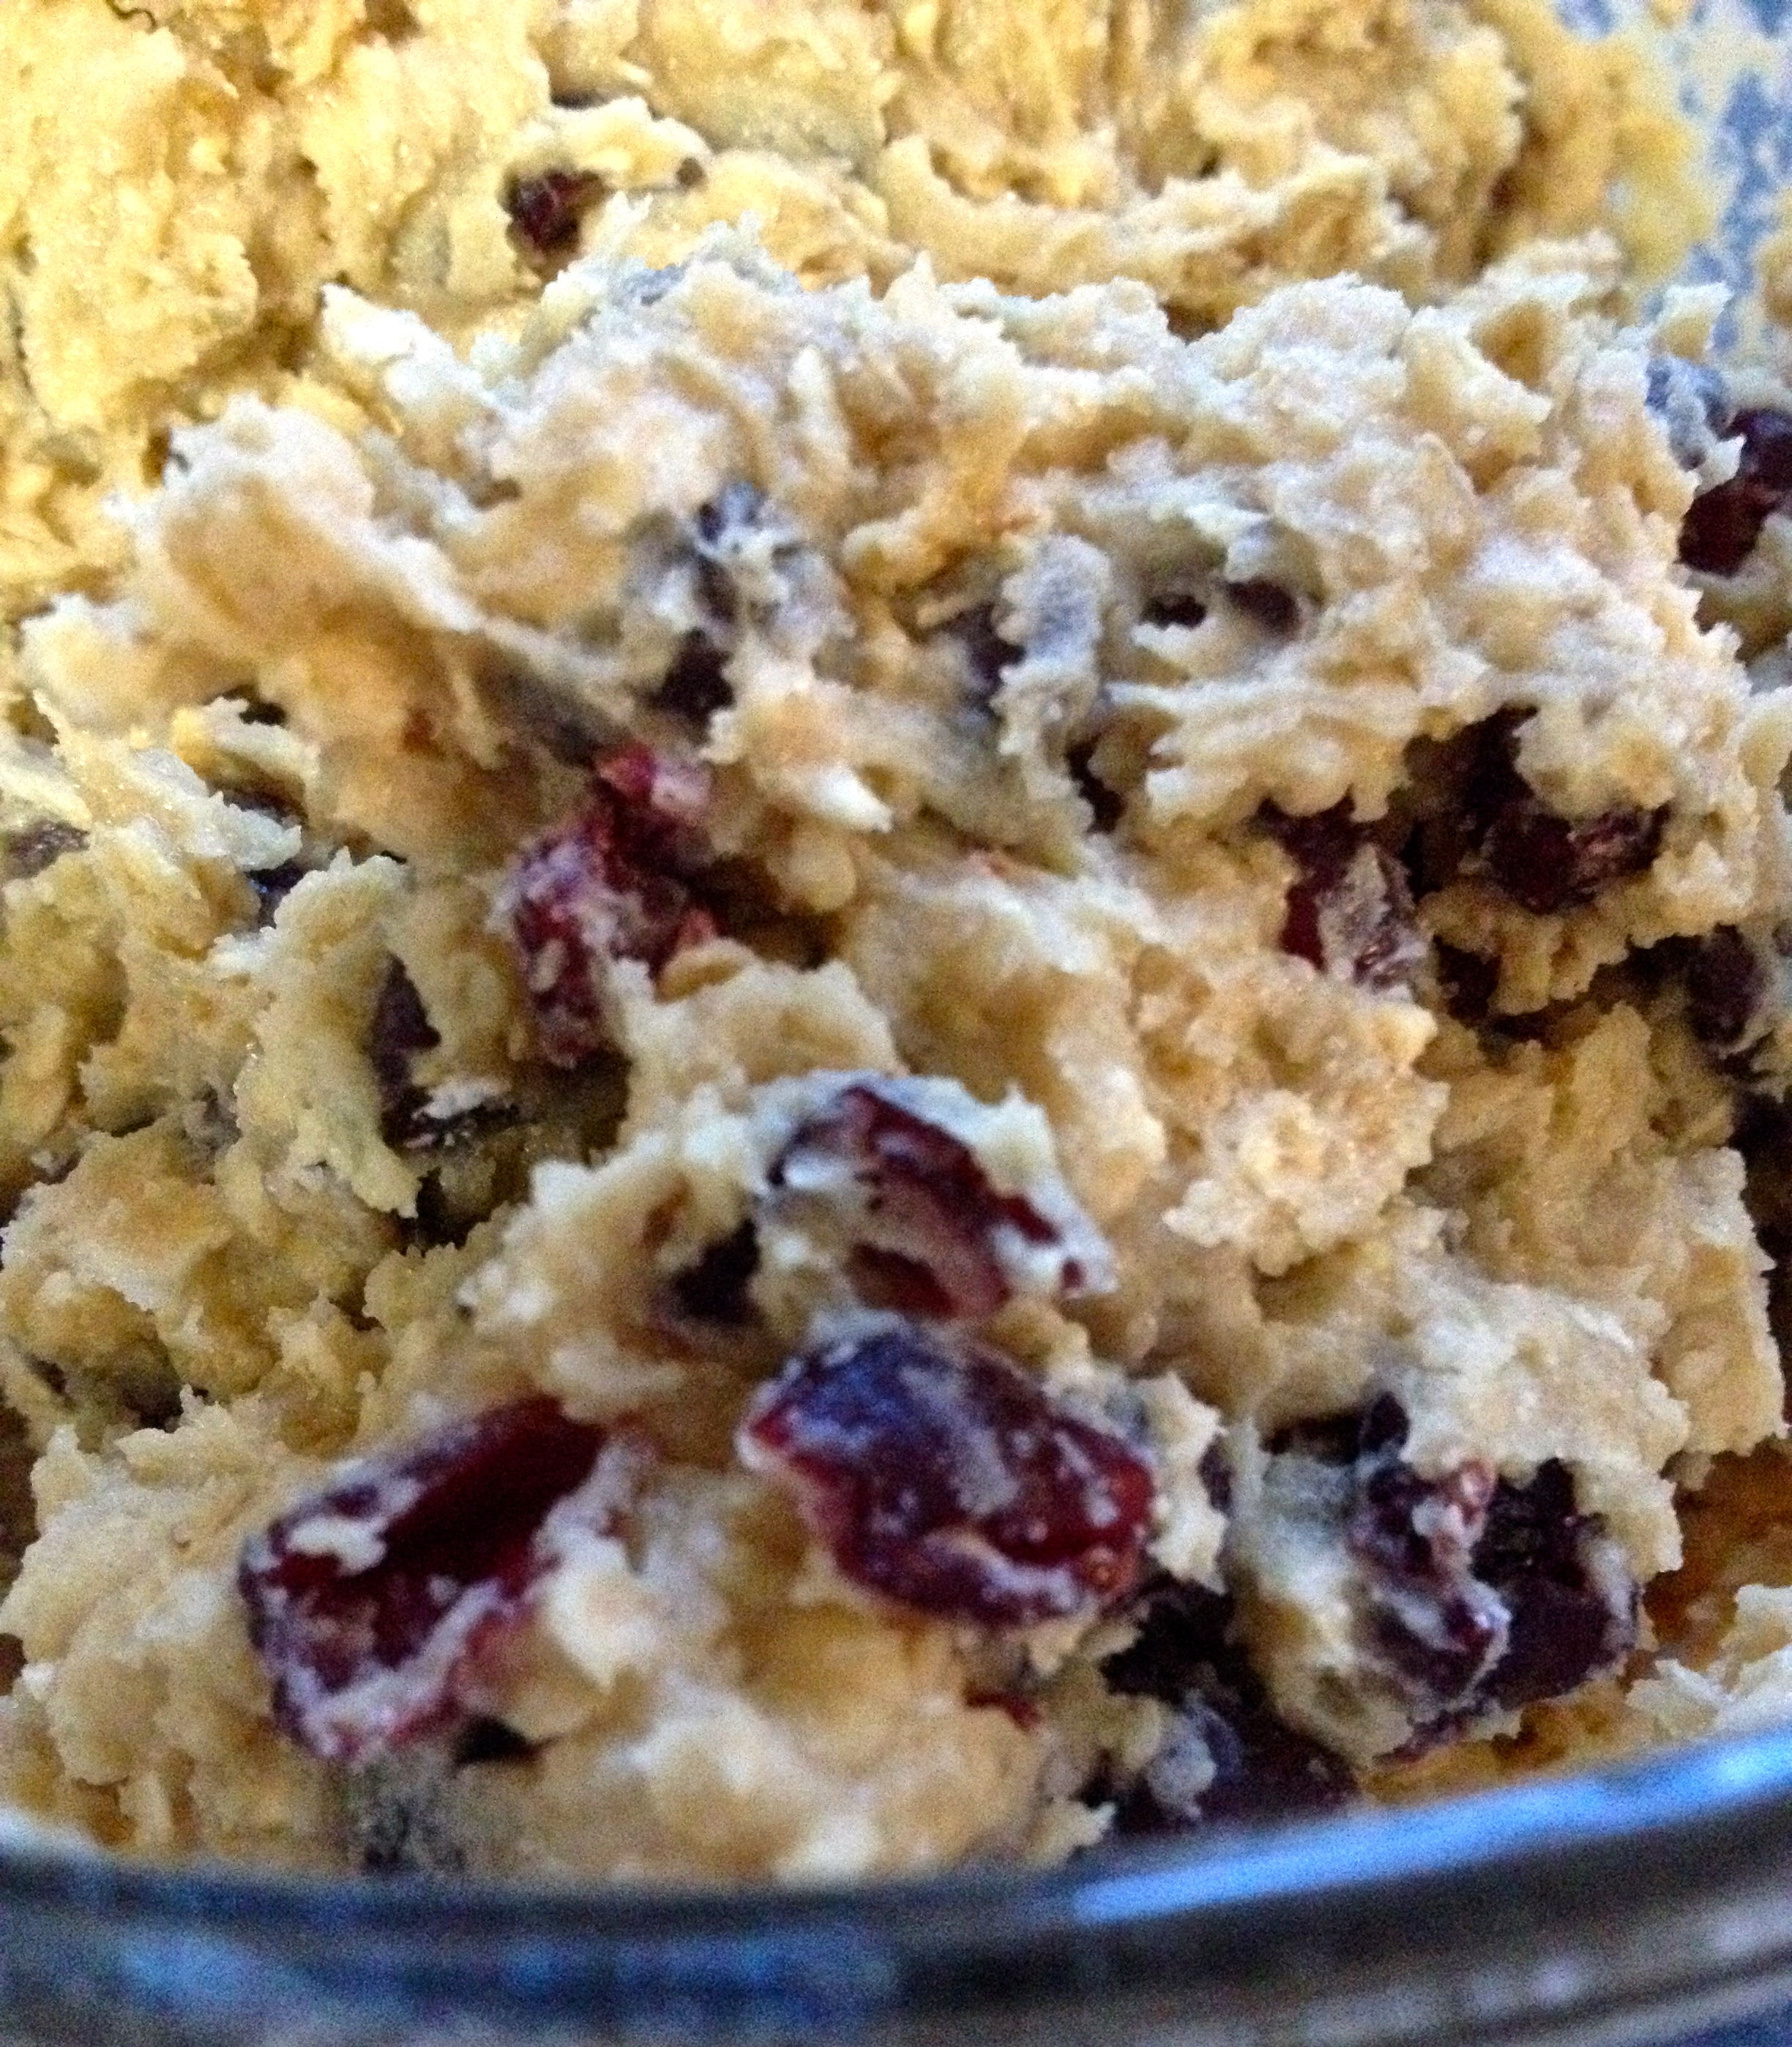
This recipe is for Oatmeal Cranberry Chocolate cookies. These are sooo yummy- the perfect combination of chewy oatmeal that provides soluble fiber to fill you up (and is heart healthy!), the sweet dried cranberries, and the dark chocolate (we’ll say this is included for the antioxidants). Here are the ingredients:

  • 1 cup margarine, softened
  • 1 cup granulated sugar
  • 1 cup brown sugar
  • 2 eggs
  • 1 tbsp vanilla extract
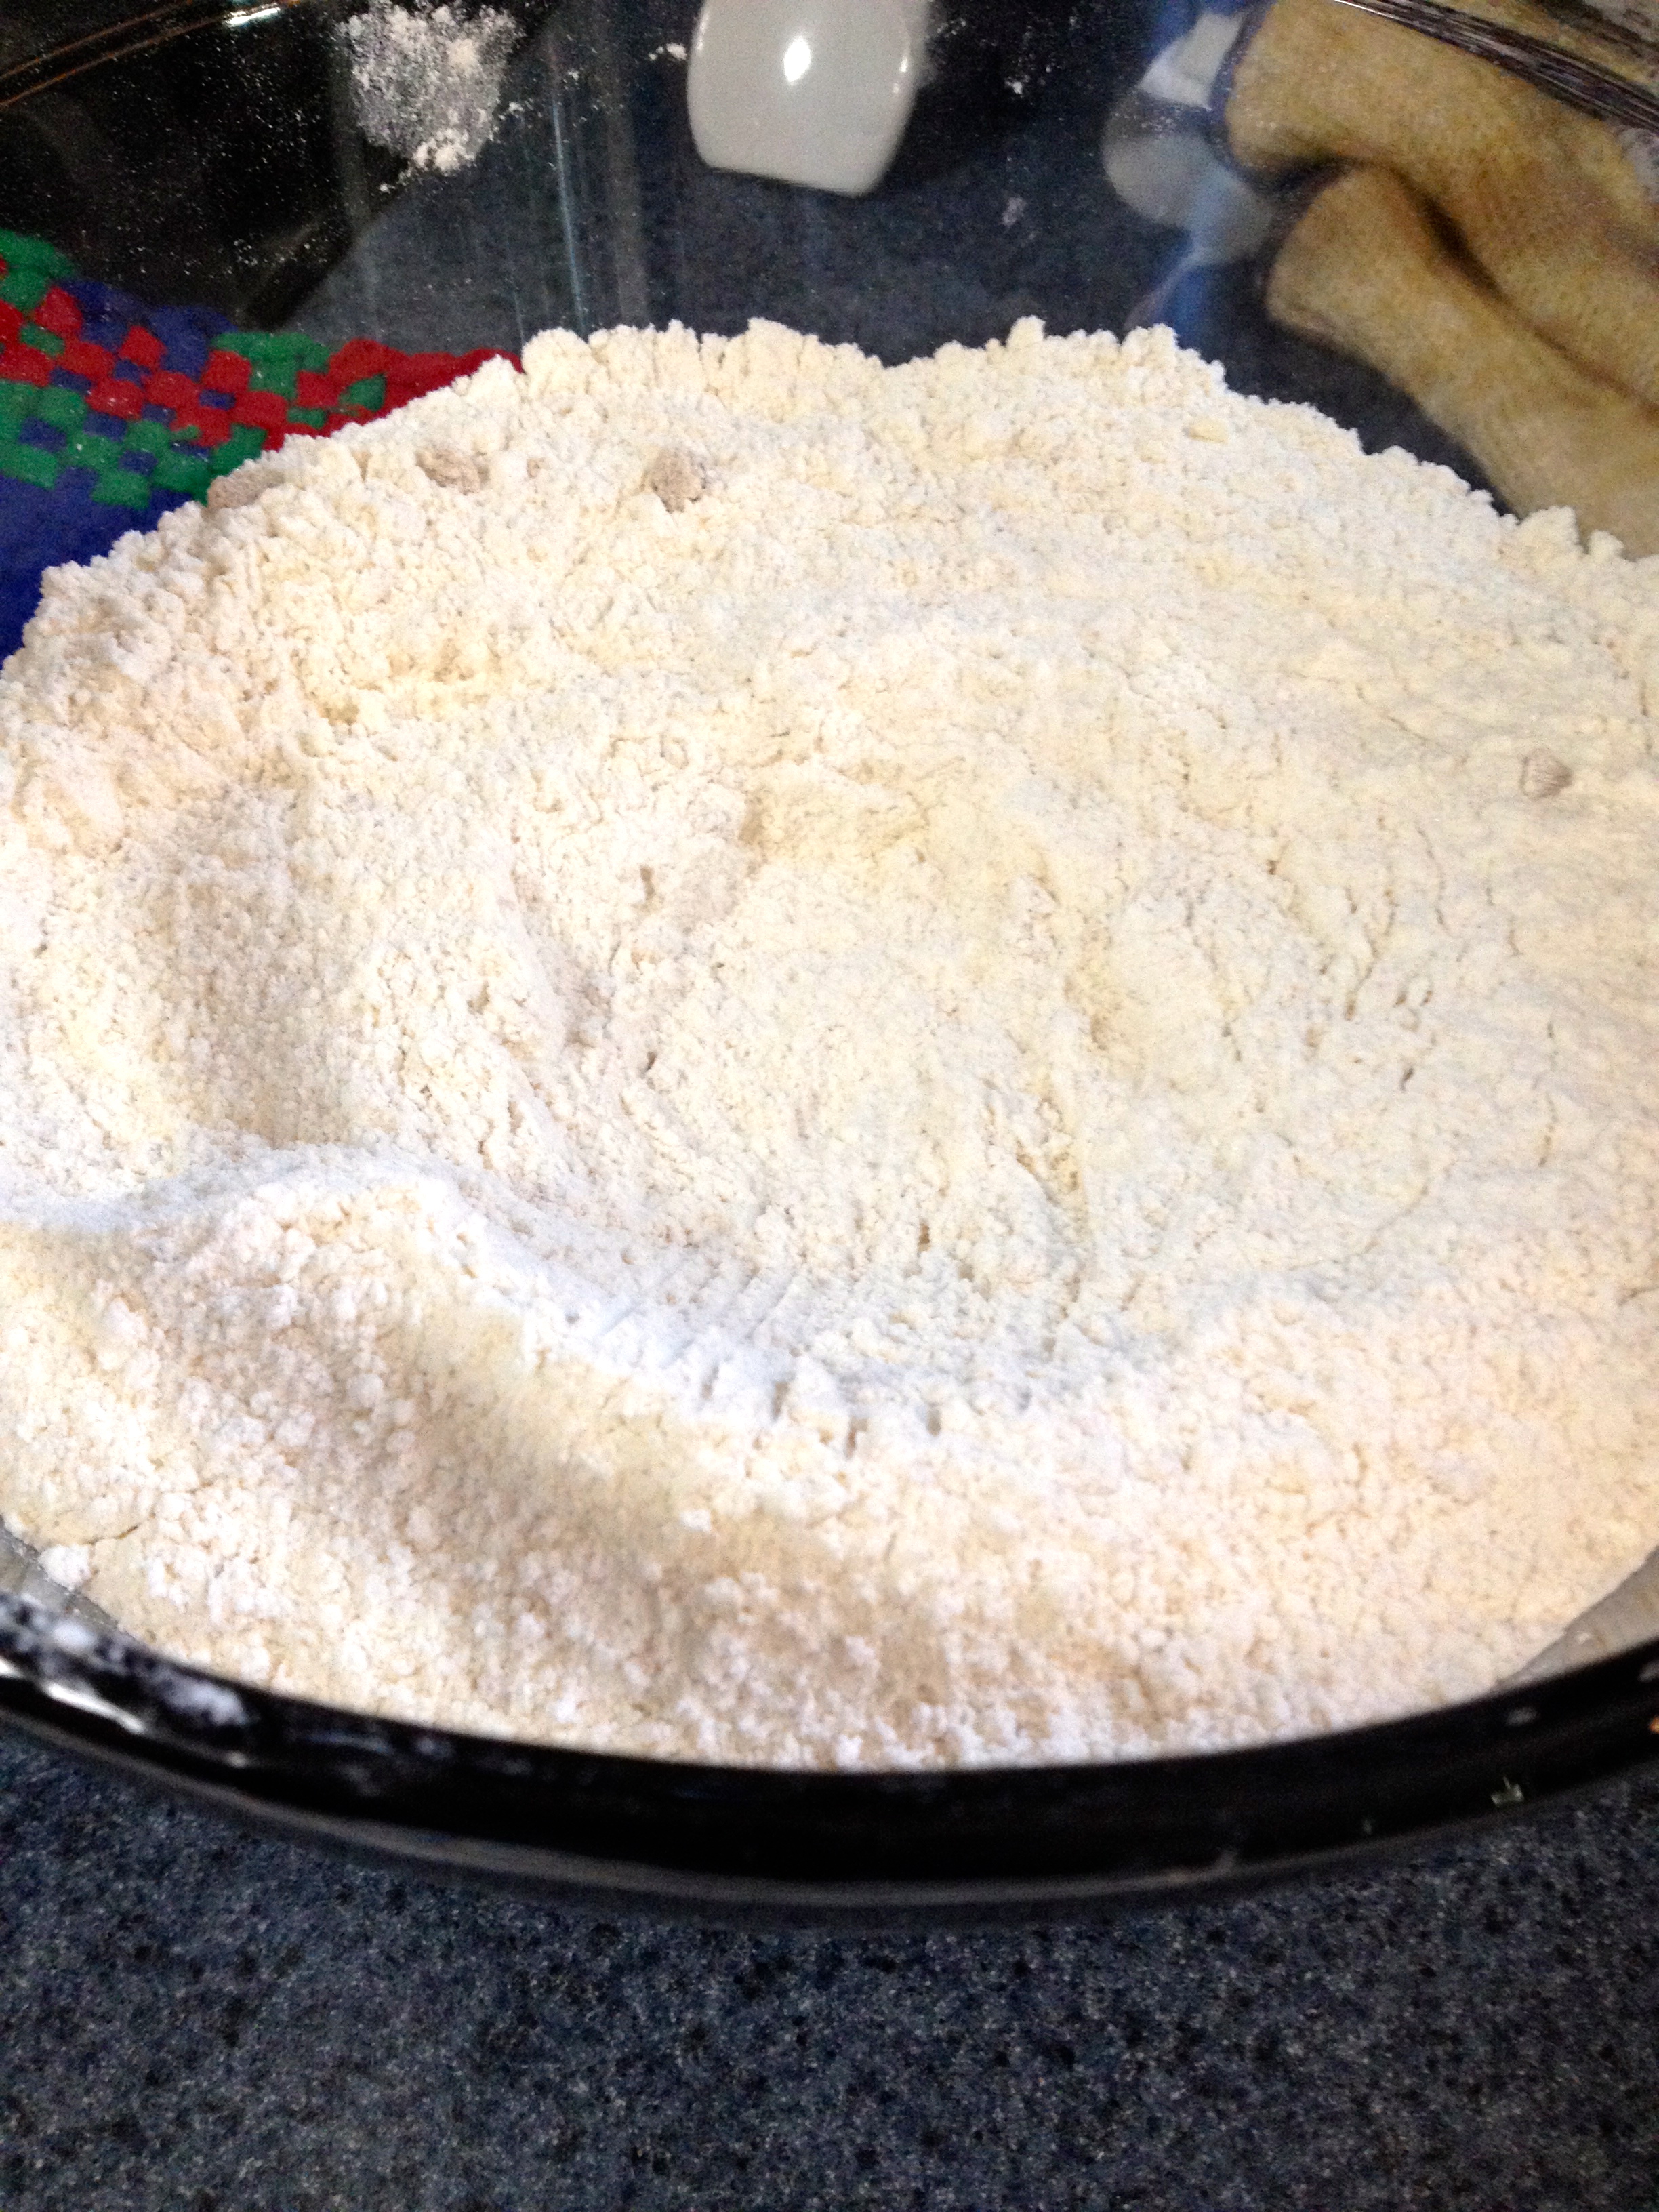
  • 2 cups flour
  • 1 1/2 cup quick-cooking oats (either the 1-minute or 3-minute kind)
  • 1 tsp baking soda
  • 1/2 tsp salt
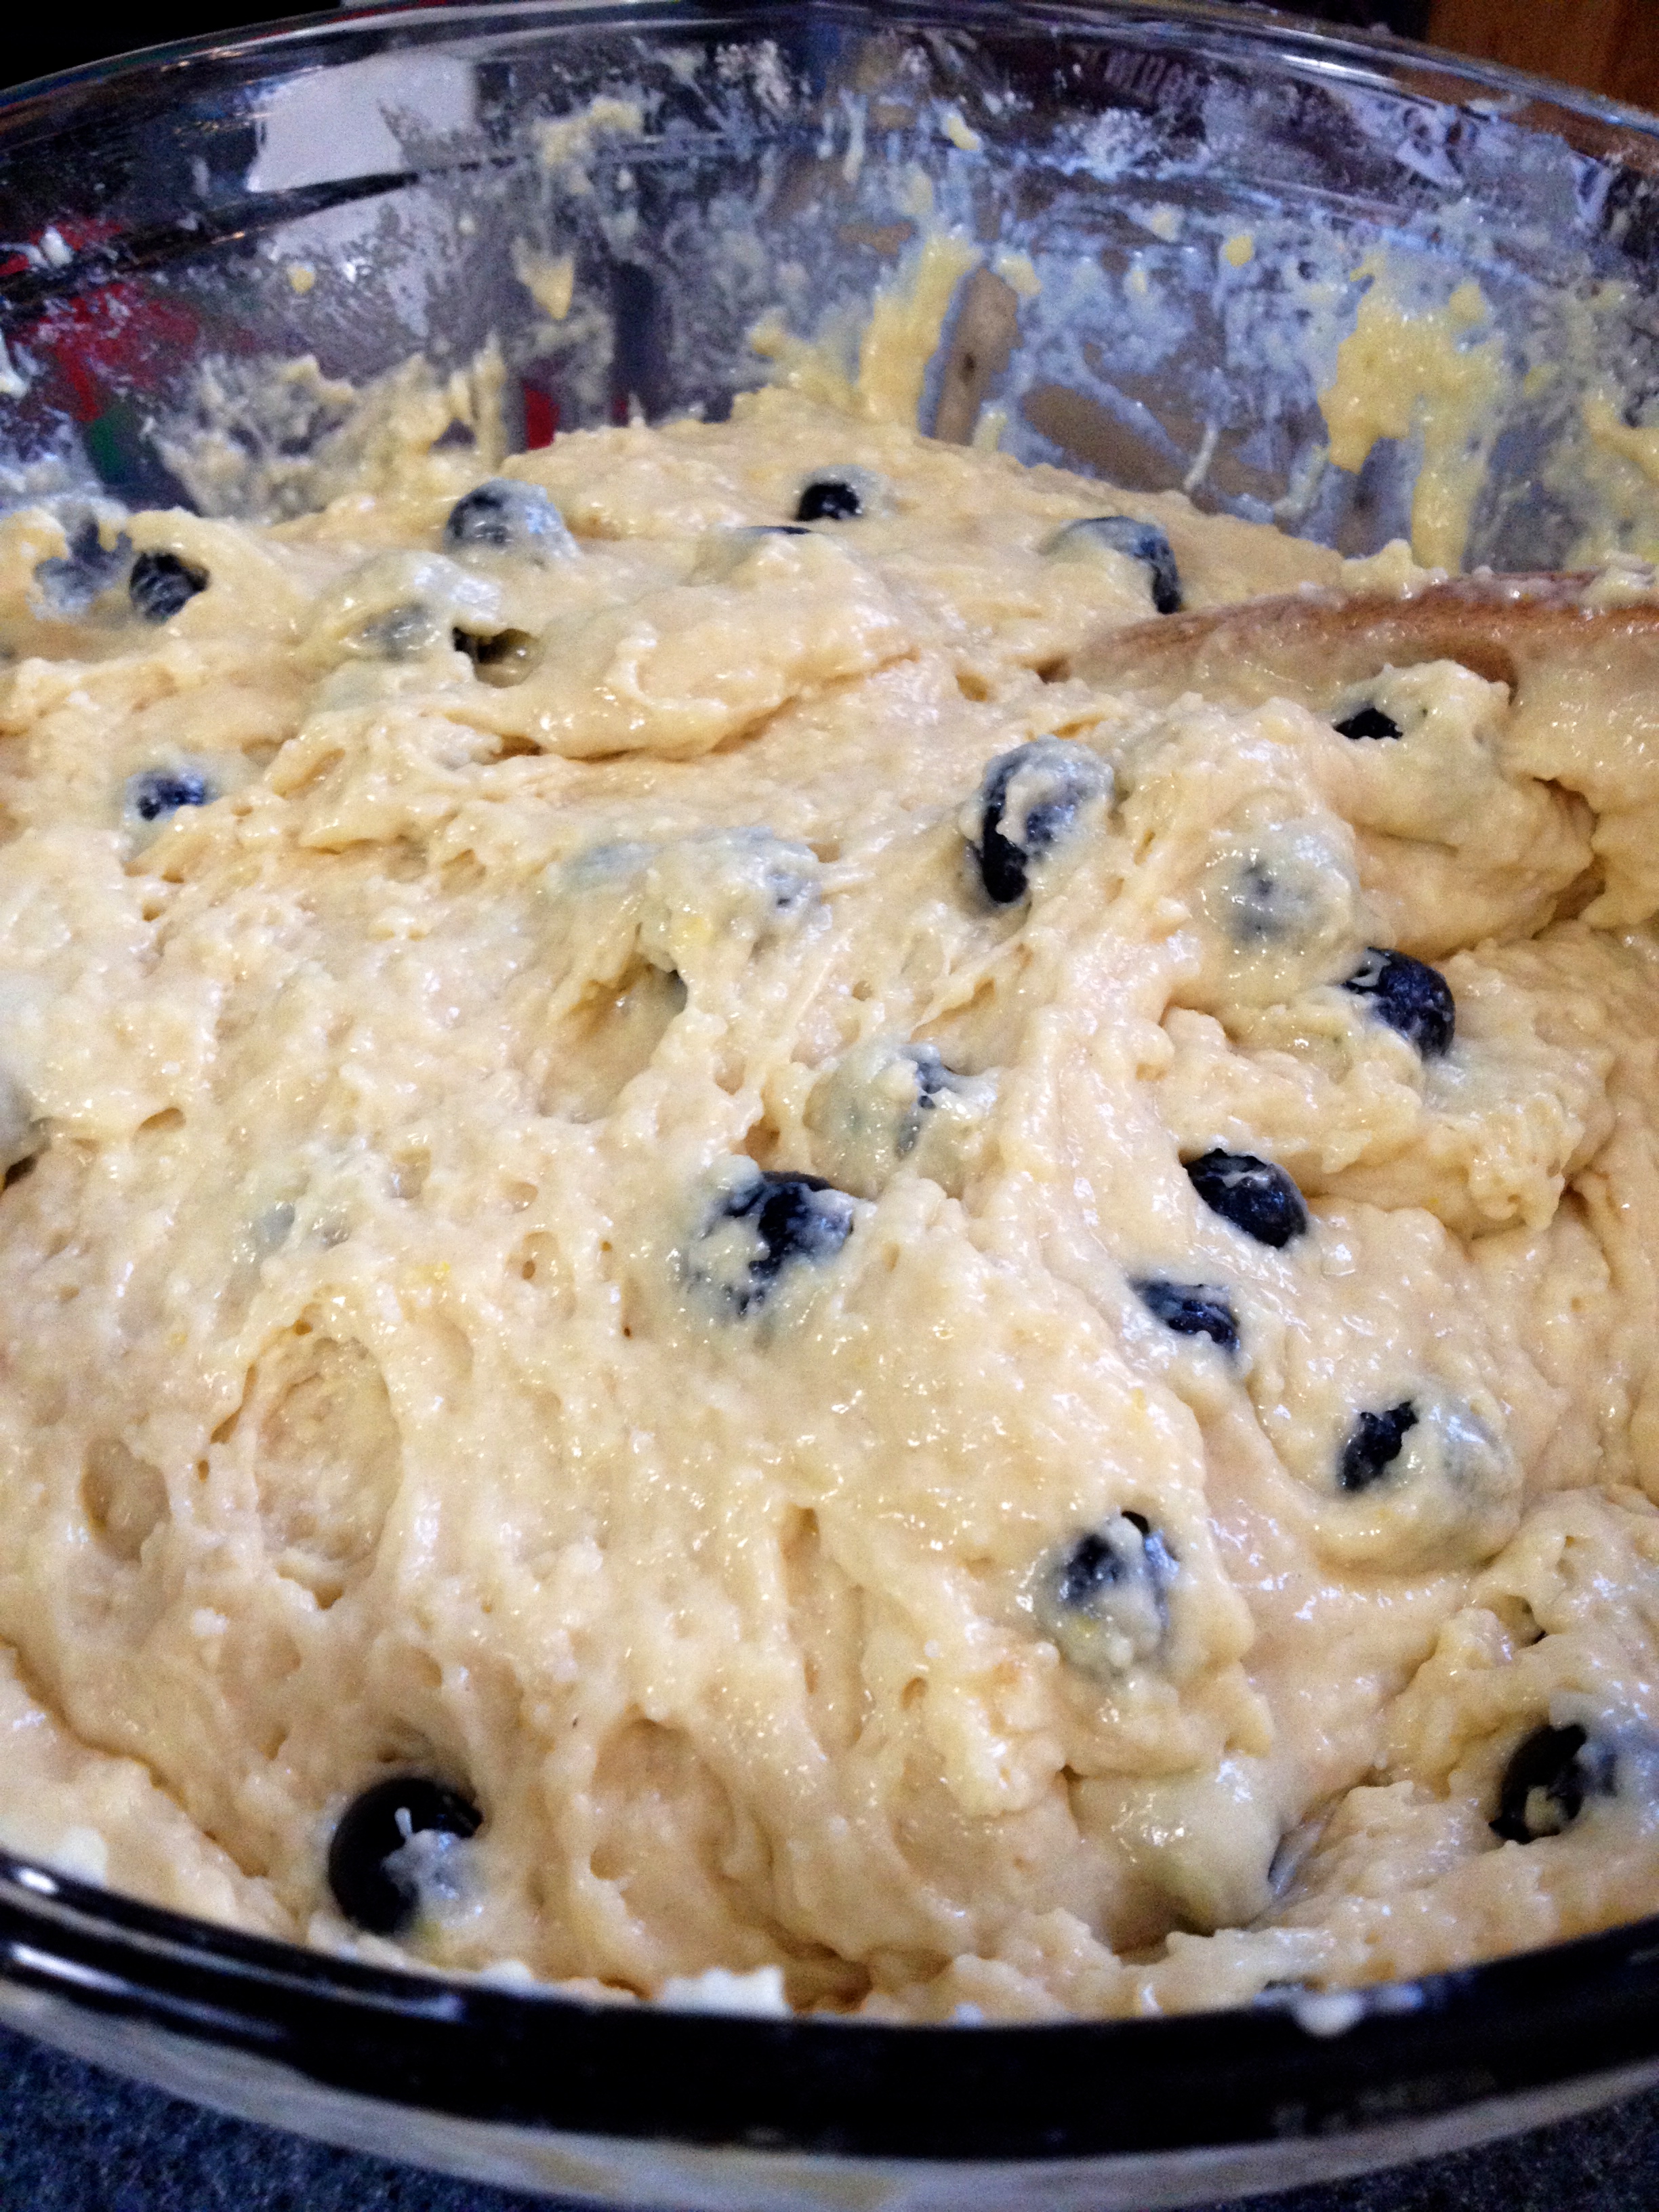
  • 1 cup dried cranberries
  • 1 bag Nestle dark chocolate morsels

First, preheat the oven to 375ºF. Cream the margarine and sugars together until they’re fully combined. Then, stir in the eggs and vanilla and mix well. Add the dry ingredients and mix until the most delicious cookie dough ever is in front of you!

IMG_2232

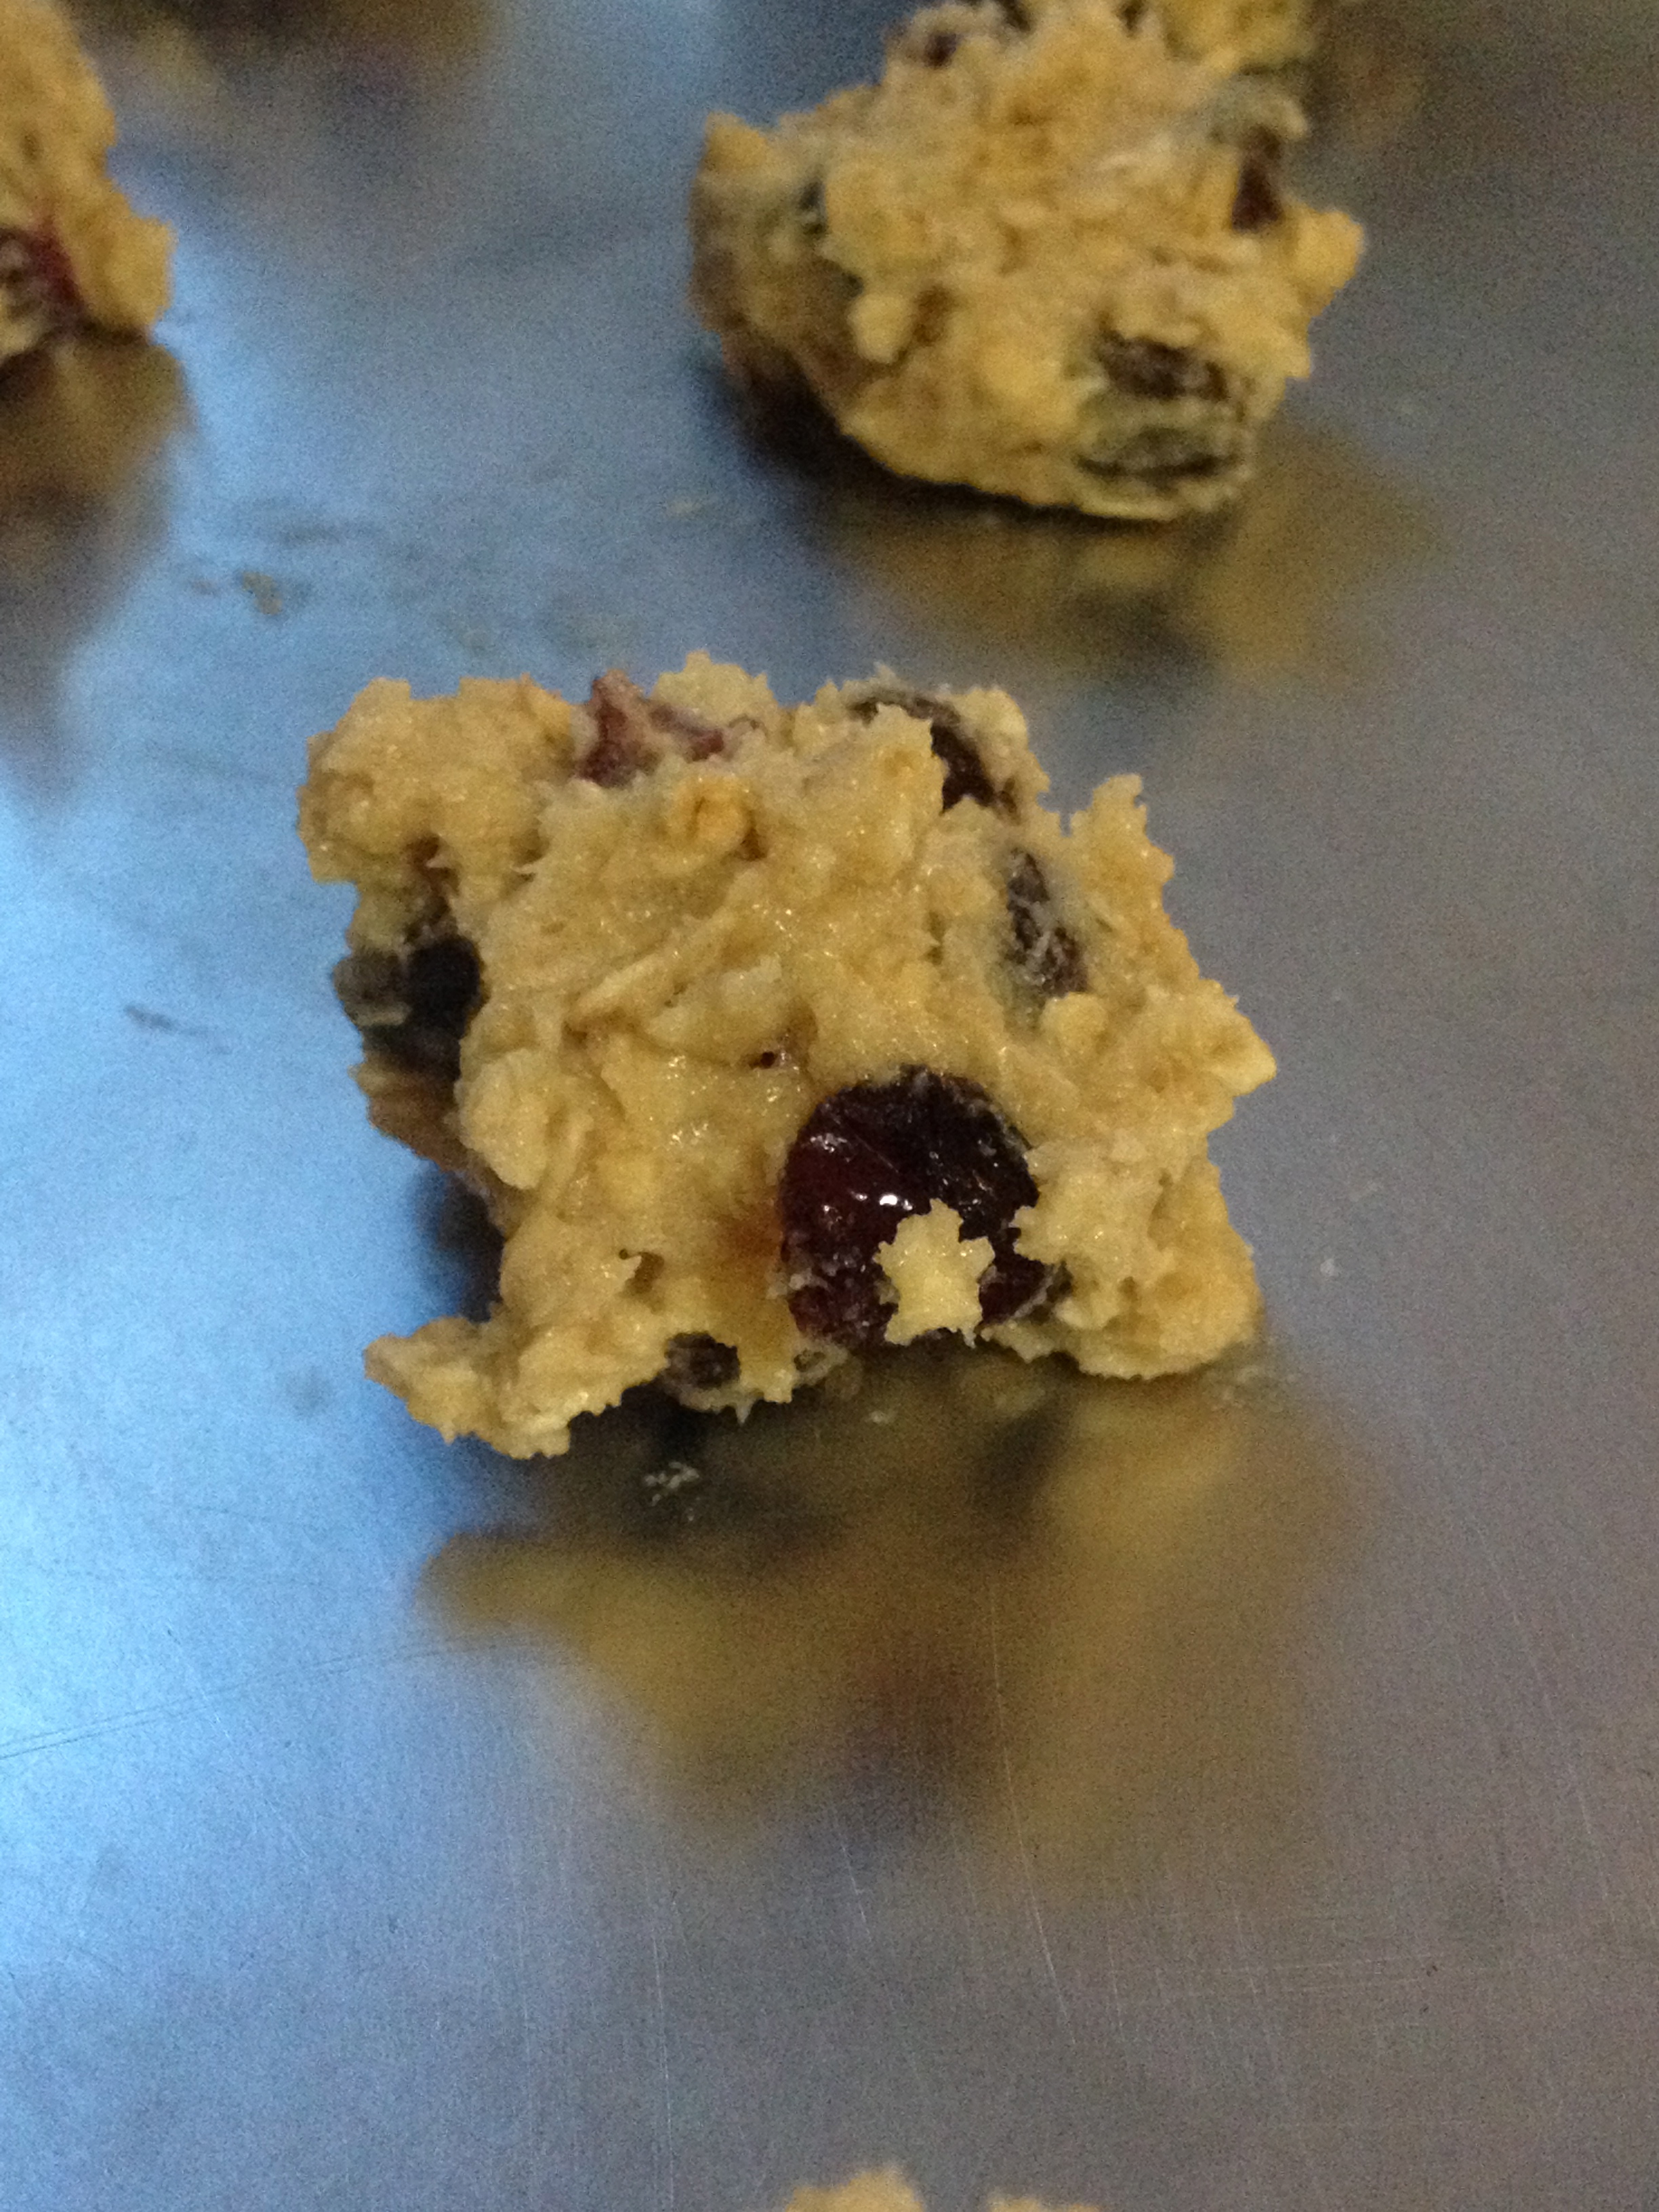
Drop heaping tablespoonfuls of the dough onto ungreased baking sheets, and bake the cookies for about 11 minutes. If you have two sheets baking at once, switch which oven rack they’re baking on halfway through the baking time.

IMG_2234

As soon as they come out of the oven, take them off the sheets and transfer them to a wire cooling rack. Otherwise, they might continue baking from the heat of the baking sheets, and get pretty crispy.

IMG_2235

Now, dig in! These cookies are spectacular when warm, because the chocolate is all melty and silky, and the cranberries are the perfect sweet and tangy bite. Add in the warm nutty oatmeal, and you have yourself a blissful moment. Happy baking- and stay warm!

Barefoot Contessa Muffins

Hi all! I hope you’re all staying healthy through the winter! I’m on the tail end of a cold, but luckily I’m still perfectly capable of baking! Today, I have a recipe for Blueberry Lemon Muffins, created by the Food Network’s own Barefoot Contessa (Ina Garten). I thought and thought about how I could change her recipe and make my own twist on it, but after quite a bit of pondering, I decided “if it ain’t broke, don’t fix it!” The only change I made was to double the recipe- pretty creative, I know. Don’t worry though, I will definitely be adding my own input about the science behind the muffins! So, true to the original recipe, here are the ingredients for these scrumptious muffins:

Ingredients: 

  • 5 cups all-purpose flour
  • 3/4 cup granulated sugar (this can be used interchangeably with the brown sugar and vice versa- whatever you have, use it!)
  • 3/4 cup light brown sugar
  • 2 tbsp baking powder
  • 1/4 tsp salt
  • 2 sticks butter, melted
  • 2 cups milk
  • 4 eggs
  • 1 tbsp lemon zest
  • 1 tsp vanilla
  • 1 pint fresh blueberries, washed and dried

First, preheat the oven to 425ºF. In a medium mixing bowl, combine the butter, milk, eggs, lemon zest, vanilla, and blueberries.

IMG_2194

Now, in a large mixing bowl, combine the flour, sugars, baking powder, and salt. Make a well in the center of the dry ingredients, into which you will pour the wet ingredients.

IMG_2202

Here comes the important part- pour the wet ingredients into the well of dry ingredients, and then stir gently, just until the ingredients are mixed and no further. Really, only 15 or so turns with the spoon should be sufficient. Just get the dry ingredients fully moistened.

Here’s the food science part of this: When water comes in contact with flour, two proteins (gliadin and glutenin) in flour combine to form the protein complex known as gluten. This gluten formation will lead to a sticky, doughy mass that makes great bread- but not great muffins. If you stir the mixture too much before baking it, the gluten formation will create chewy, hugely risen muffins with holes in them. Instead, this minimal mixing (known as the “Muffin Method”) will create soft, cakey, perfect muffins. 

IMG_2203

Now, portion the muffin mix into muffin tins. This recipe will make about 24 muffins, give or take a few. Sprinkle each portion of batter with a generous helping of raw sugar, or really whatever sugar you prefer. This will give the muffin tops a great sweetness and crunch to offset the tanginess of the lemon and blueberries.

IMG_2207IMG_2204

Put them in the oven and immediately drop the oven temperature to 375ºF. This lower oven temperature will prevent uneven browning and overbaking, but the lingering heat will still allow the muffin tops to become firm. Bake the muffins for about 25 minutes, and then remove them from the oven and let them sit in the muffin tins for about 2 minutes. Then, dump them out onto a wire cooling rack to ensure that they get full air circulation during the whole cooling process, to prevent a soggy muffin bottom.

IMG_2206

And then you’re free to eat! These are absolutely delicious served warm, but are also great as a snack the next day. The flavors are light and sweet, and the fresh fruit gives these muffins a pop of freshness and tartness that pairs perfectly with the crispy sugar on top. I hope you give these muffins a try, because they are soooo yummy! Props to Ina Garten for being a wonderful baker and chef, and I hope you enjoy her recipe as much as I did. Happy baking!

Hosting Tea!

Hi all! Well, the holidays are officially over- time to start creating special occasions and making reasons to have friends over! For my most recent get-together, it was our annual tea party. Usually, our group goes out to a tea house and the daughters treat their mothers to tea. This time, though, we decided to stay in and make the whole thing ourselves! We had a delicious strata, blueberry scones, cream puffs and éclairs, chocolate covered strawberries, chicken salad sandwiches, and different types of cheese. And of course, the teas! We each had our own teapot thanks to the contributions of teapots by all the ladies, so we could all pick our own tea to try. We even used antique teacups!

IMG_2161

IMG_2160

The recipe that I wanted to give you all is the recipe for the chicken salad sandwiches. It is such a simple recipe, but it was absolutely delicious! It’s elegant and traditional, but not so fancy that little kids wouldn’t love it as well! Here are the ingredients:

  • 1 can chopped chicken or one boiled chicken breast (The canned chicken was scary to me at first, but it’s a great shortcut and is actually really nice and moist!)
  • 1/4 cup mayonnaise, light or regular
  • Dried sweetened cranberries to taste (I used about 1/8 cup)
  • Scallions to taste (I used about 1/8 cup)
  • Wheat bread

Drain the water from the chopped chicken, and put it in a mixing bowl. Using two forks, shred the chicken further so that you have very small pieces of chicken. Hint: This will prevent your guests from taking a bite of the sandwich and having a huge chunk of chicken fall out onto their plate. Now add the rest of the ingredients and mix thoroughly. If you want to make tea sandwiches, cut the crusts off 16 pieces of the wheat bread. If you’re just making sandwiches for the family, it’s up to you about the crusts!

Spoon the chicken salad onto the bread to make about eight sandwiches. You might have some chicken salad left over, so either make more sandwiches or eat it from the bowl- it’s great either way! Cut each sandwich into two triangles and arrange them on a plate, and you’re ready to serve!

IMG_2157

I hope you all enjoy this recipe, and remember- you don’t have to be in the holiday season to spend time with friends and family! You can make the time and make the plans, and feel the joy of the holidays year round. Maybe take these sandwiches on a picnic! Whatever you choose, enjoy!