Hi, all! Happy holidays! I’m sure you’re all gearing up for a week of prepping and cooking food for Thanksgiving- and then it’s time to do Christmas shopping! This year, I decided to give some of our family members homemade food and recipes, including raspberry sauce to drizzle over their favorite desserts or ice cream. Of course, before I can give these foods as gifts, I need to try them out!
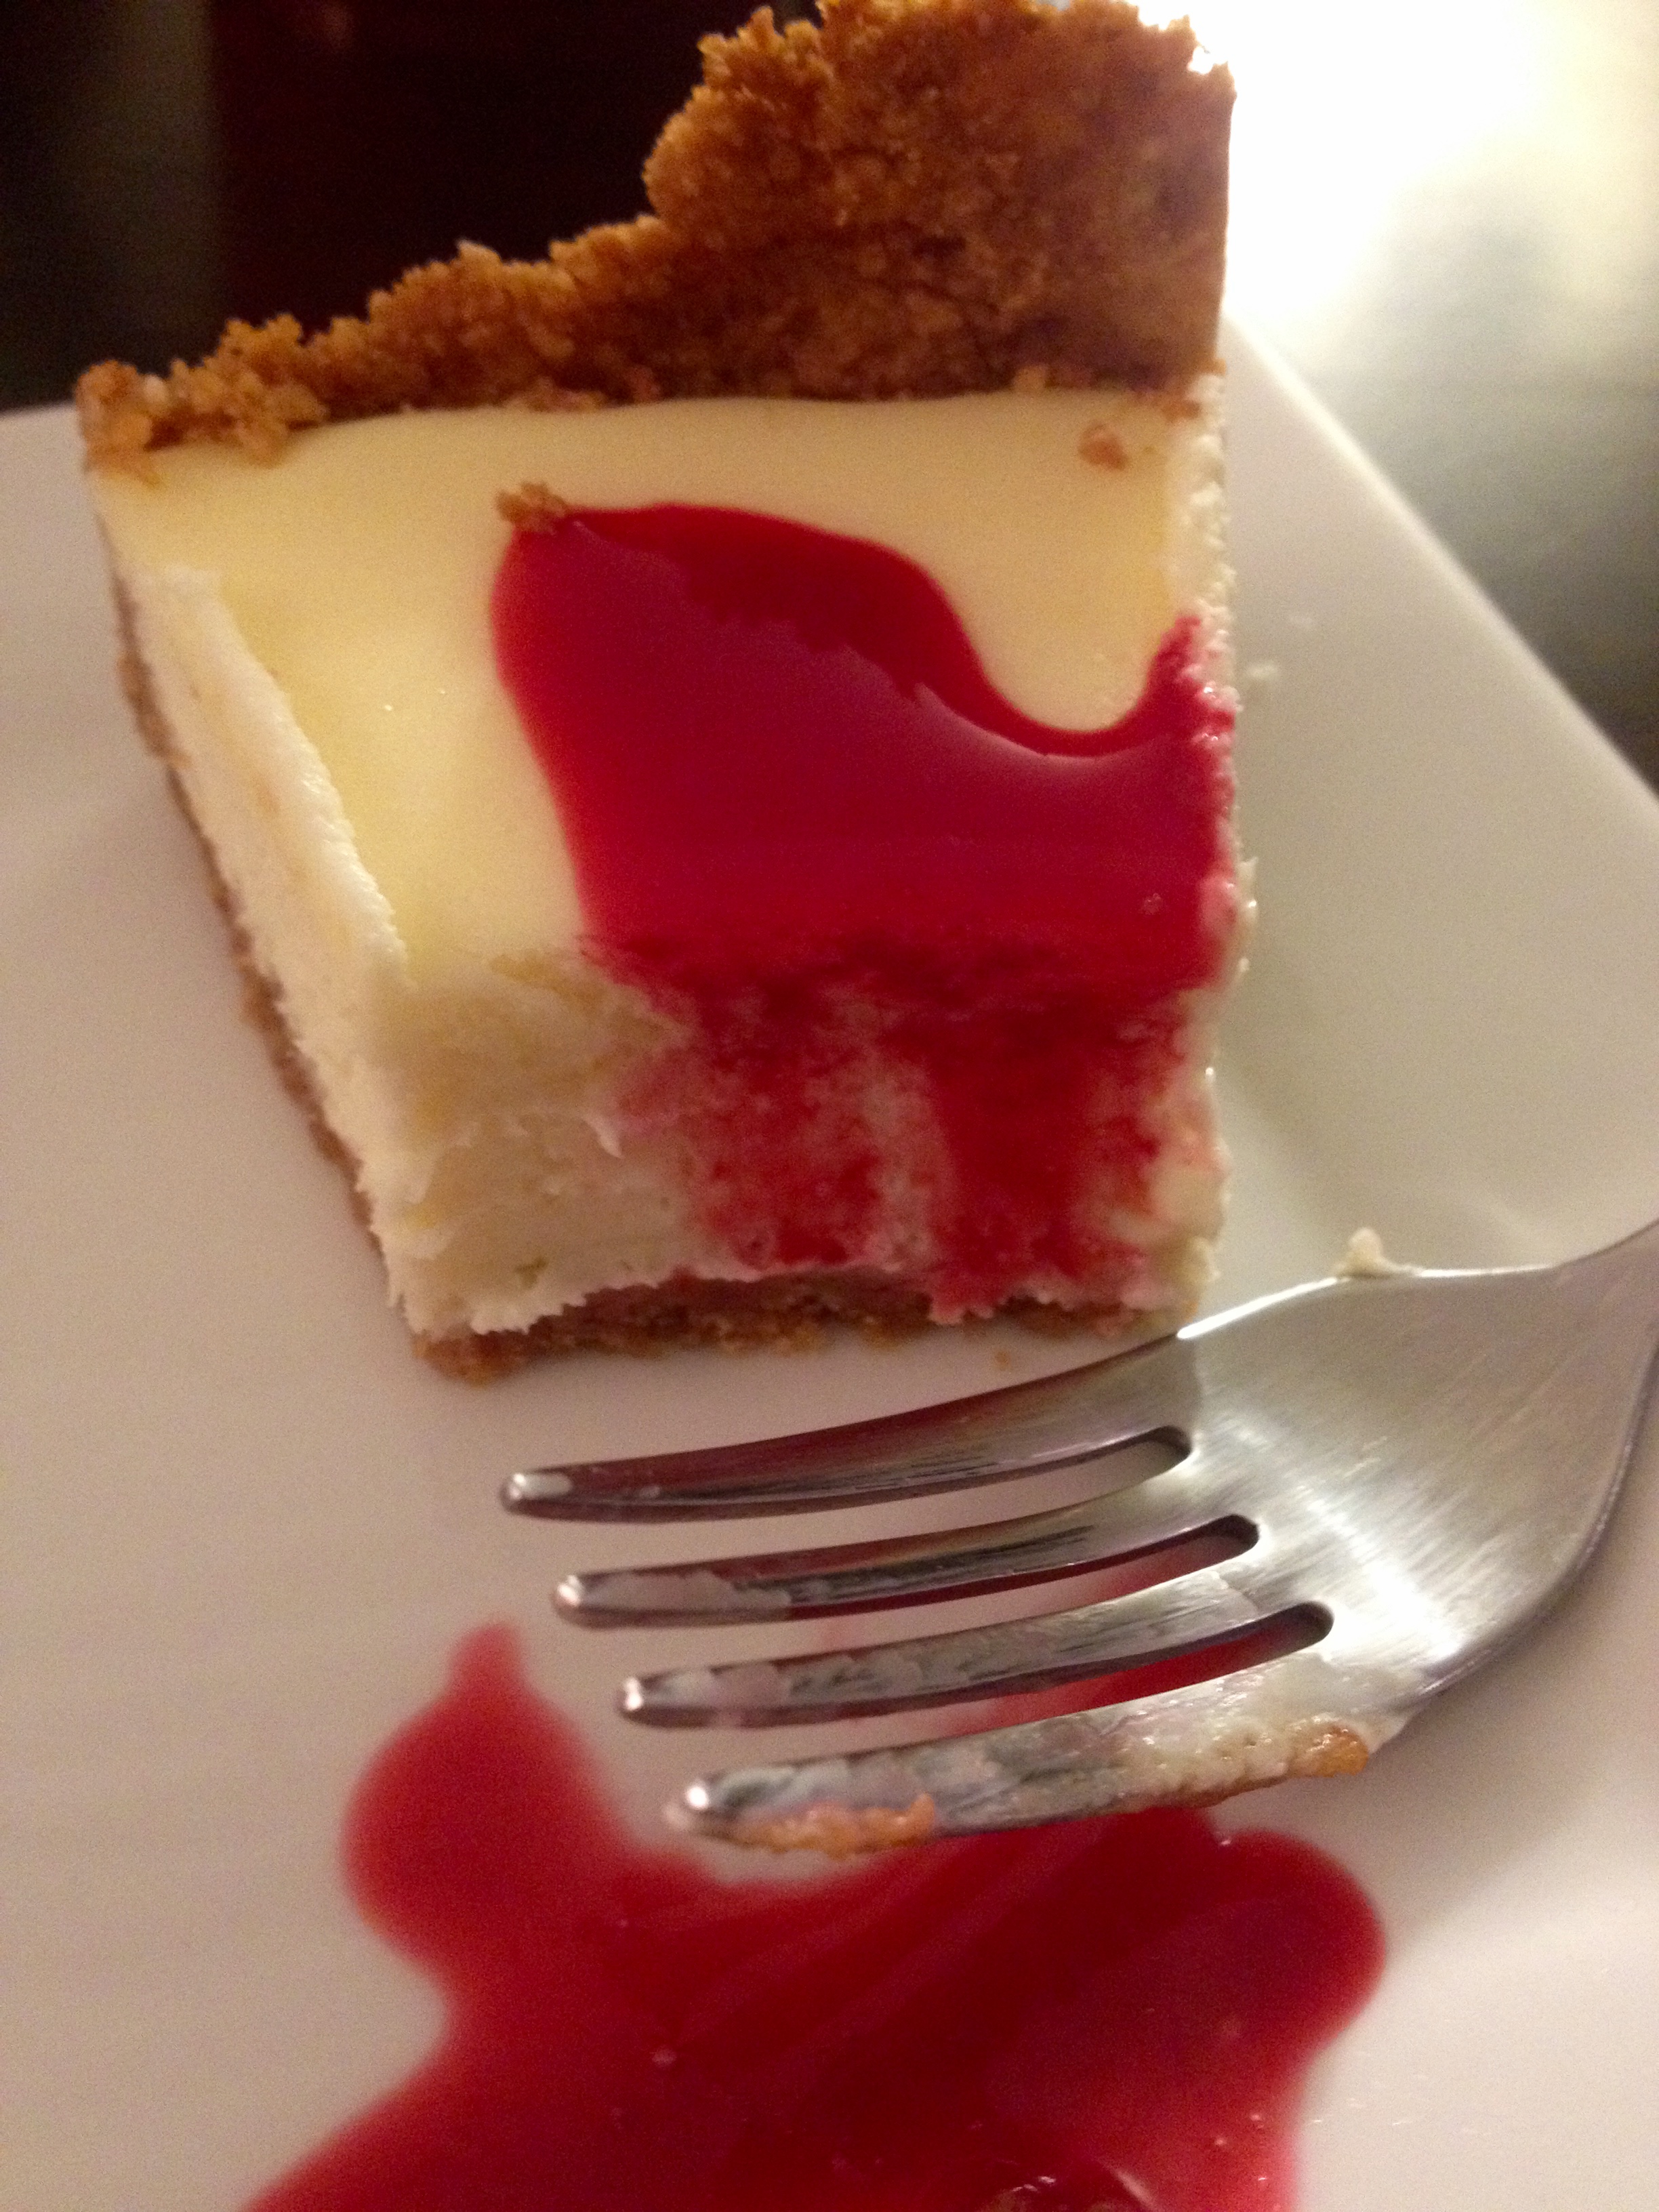
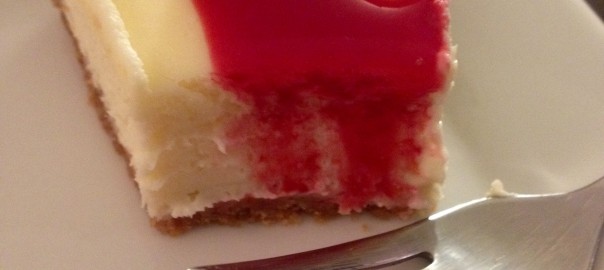
This past week presented the perfect opportunity for me to test the raspberry sauce recipe- I was invited to dinner with friends and was in charge of dessert. My sister gave me a springform pan for my birthday, so I decided to try my hand at making cheesecake with the raspberry sauce for topping.
I have to give credit to KingArthurFlour.com and Allrecipes.com for the recipes- if you’re in need of recipes, these two websites are great resources. While I don’t normally blog about food if I didn’t come up with the recipe, the cheesecake and sauce were WAY too good not to share with you all. Here are the ingredients:
Cheesecake Crust:
- 1 1/2 cups graham cracker crumbs (I ended up using 1 3/4 cups)
- 1/4 cup confectioner’s sugar
- 1/3 cup melted butter (I used an extra tablespoon)
- 1/8 tsp salt
Cheesecake Filling
- 2, 8-oz packages of cream cheese, softened at room temperature
- 2 large eggs
- 2/3 cup sugar
- 1 tsp vanilla extract
Raspberry Sauce
- 12-oz package of fresh or frozen raspberries (I used frozen and it worked great)
- 1/8 cup granulated sugar
- 1 tsp lemon juice
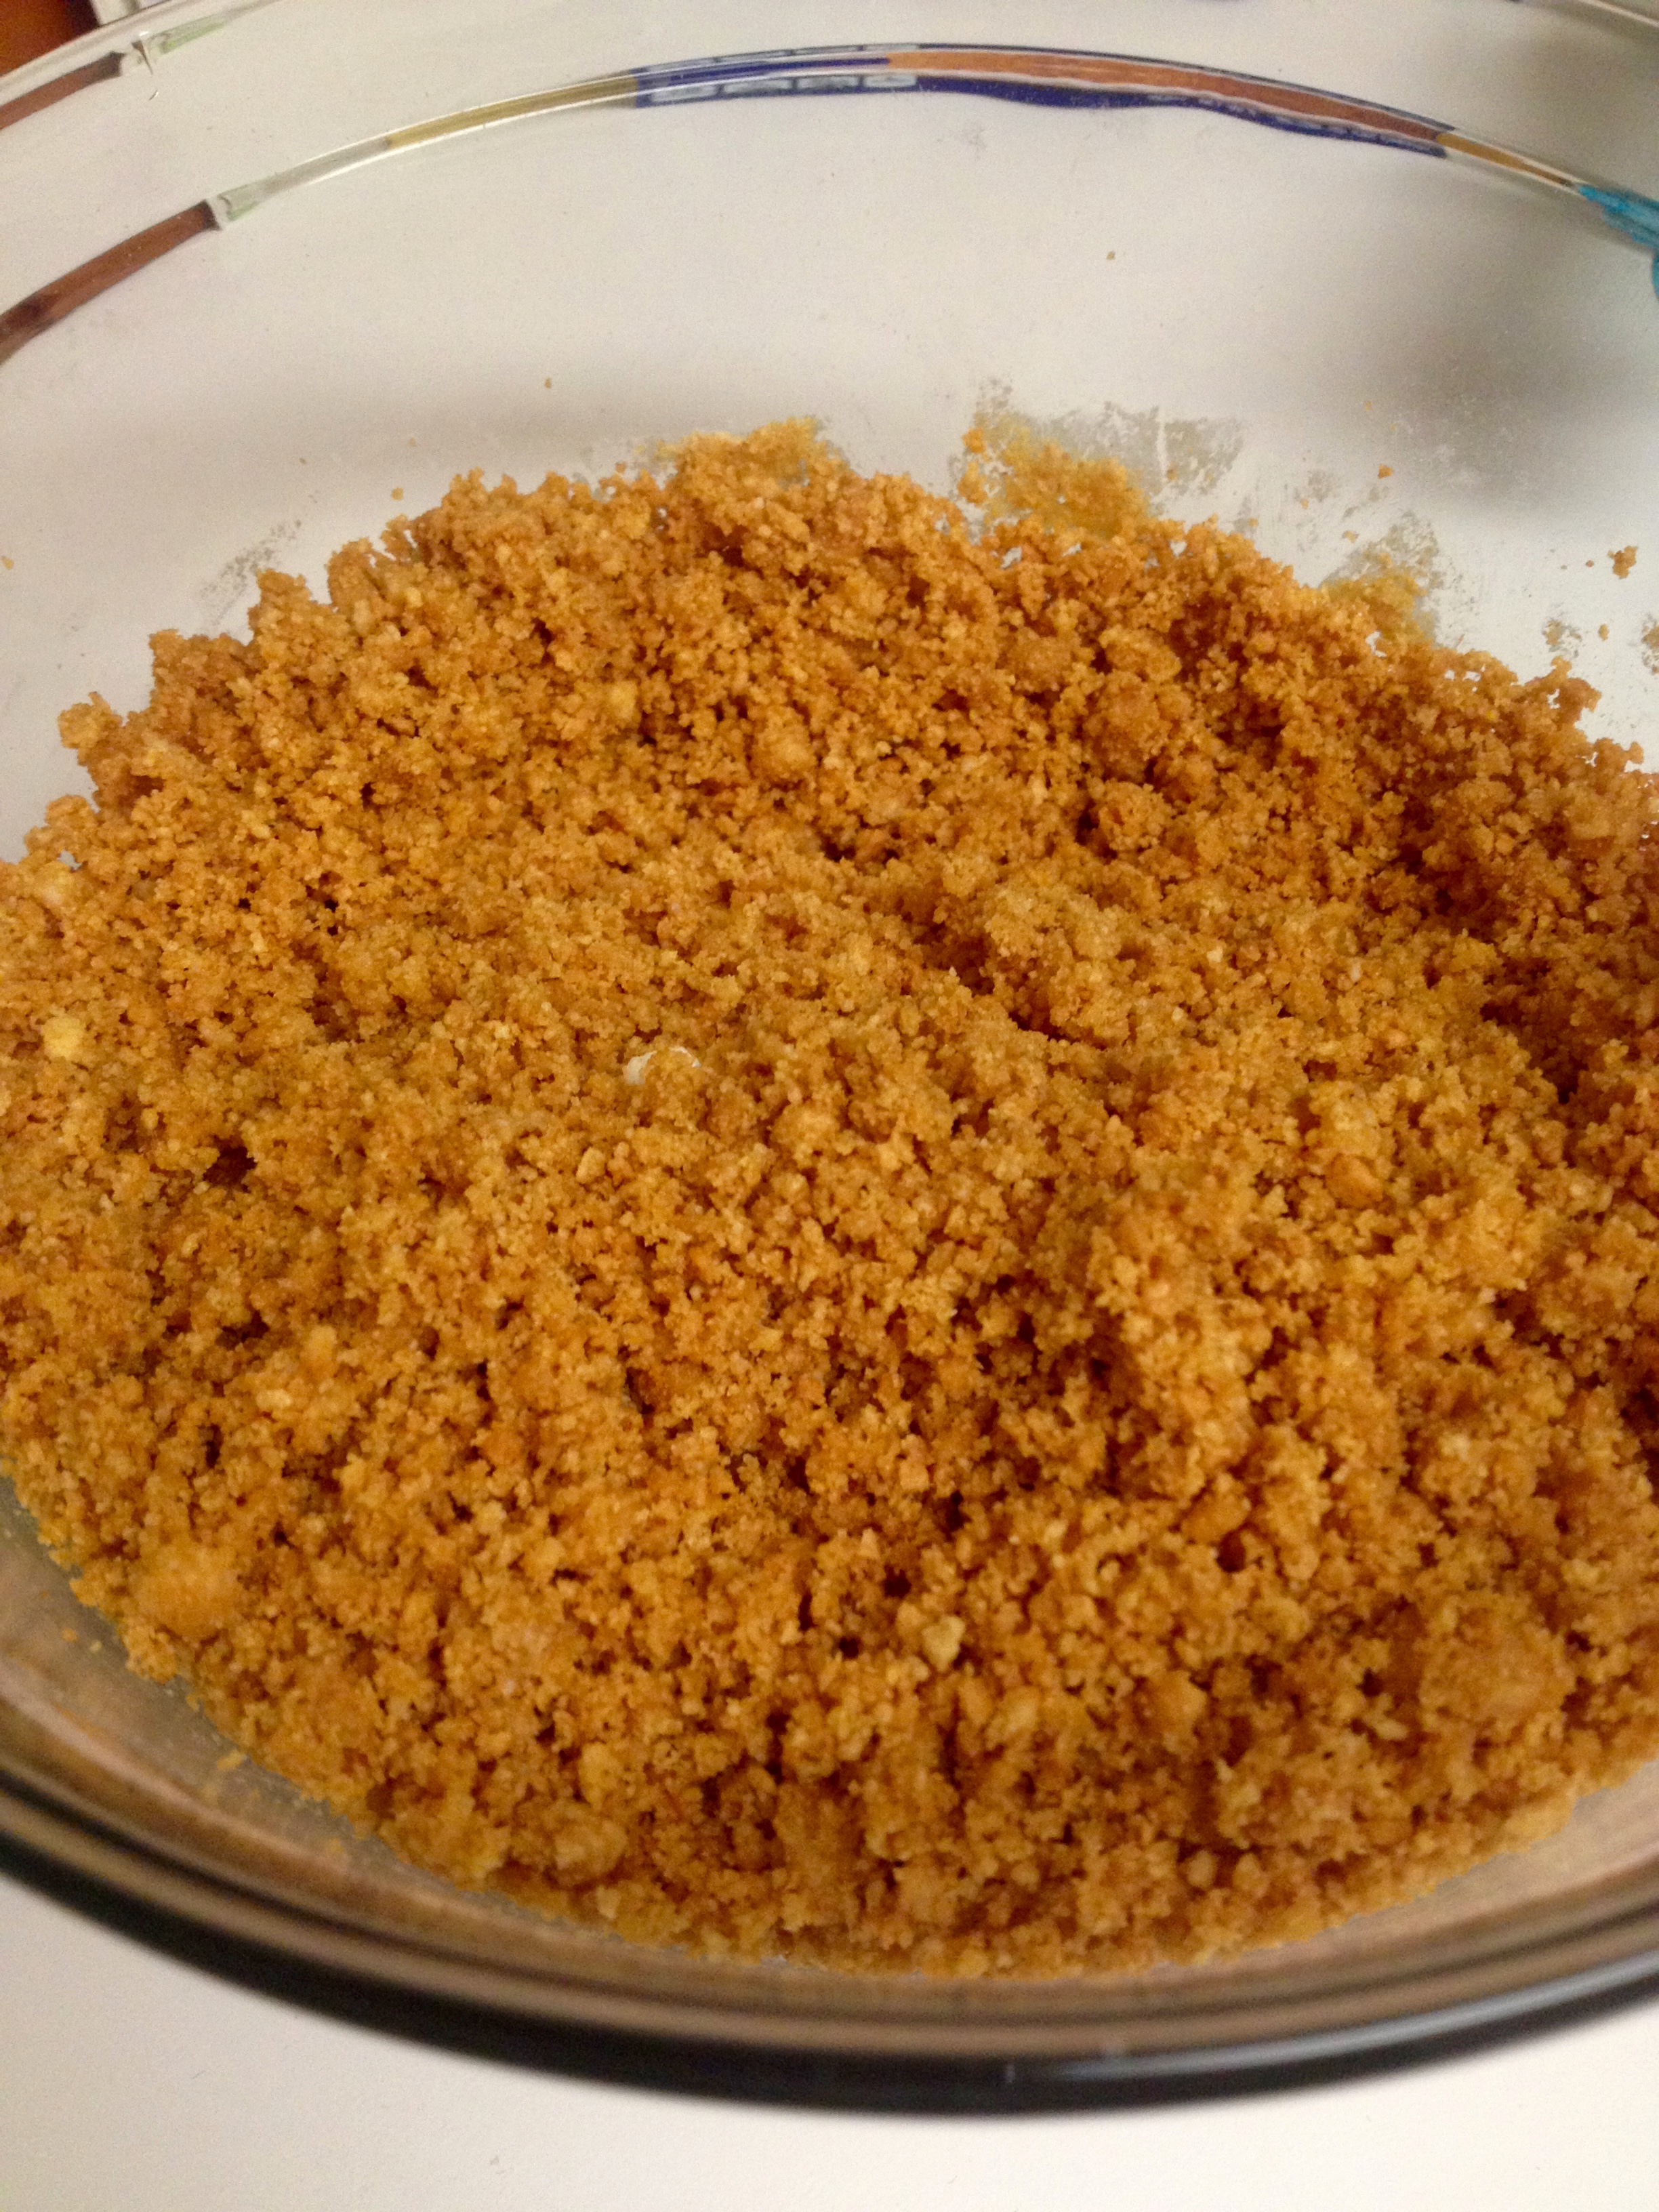
First, the cheesecake. Preheat the oven to 350°F. Mix the graham cracker crumbs, sugar, butter, and salt together until everything is well combined. Side note: Honey Maid started making boxes of graham cracker crumbs, so it saves a ton of time with crushing the graham crackers and in clean-up!!
Now, here’s the only tough part of the whole process: forming the crust. Press the crust down in a 9″ pie pan (must have sides at least 1 1/4″ high) or a springform pan, covering the bottom and sides of the pan. Try to make the crust on the bottom thicker than the crust on the sides. Shameless tip here: I spent a few minutes trying to do this and decided it wasn’t worth the trouble, so I combined another 1/4 cup graham cracker crumbs and 1 tbsp melted butter and added it to the pan for extra crust everywhere. I’ve never met anyone who gets tired of graham cracker crust, and it saved me a lot of annoyance!

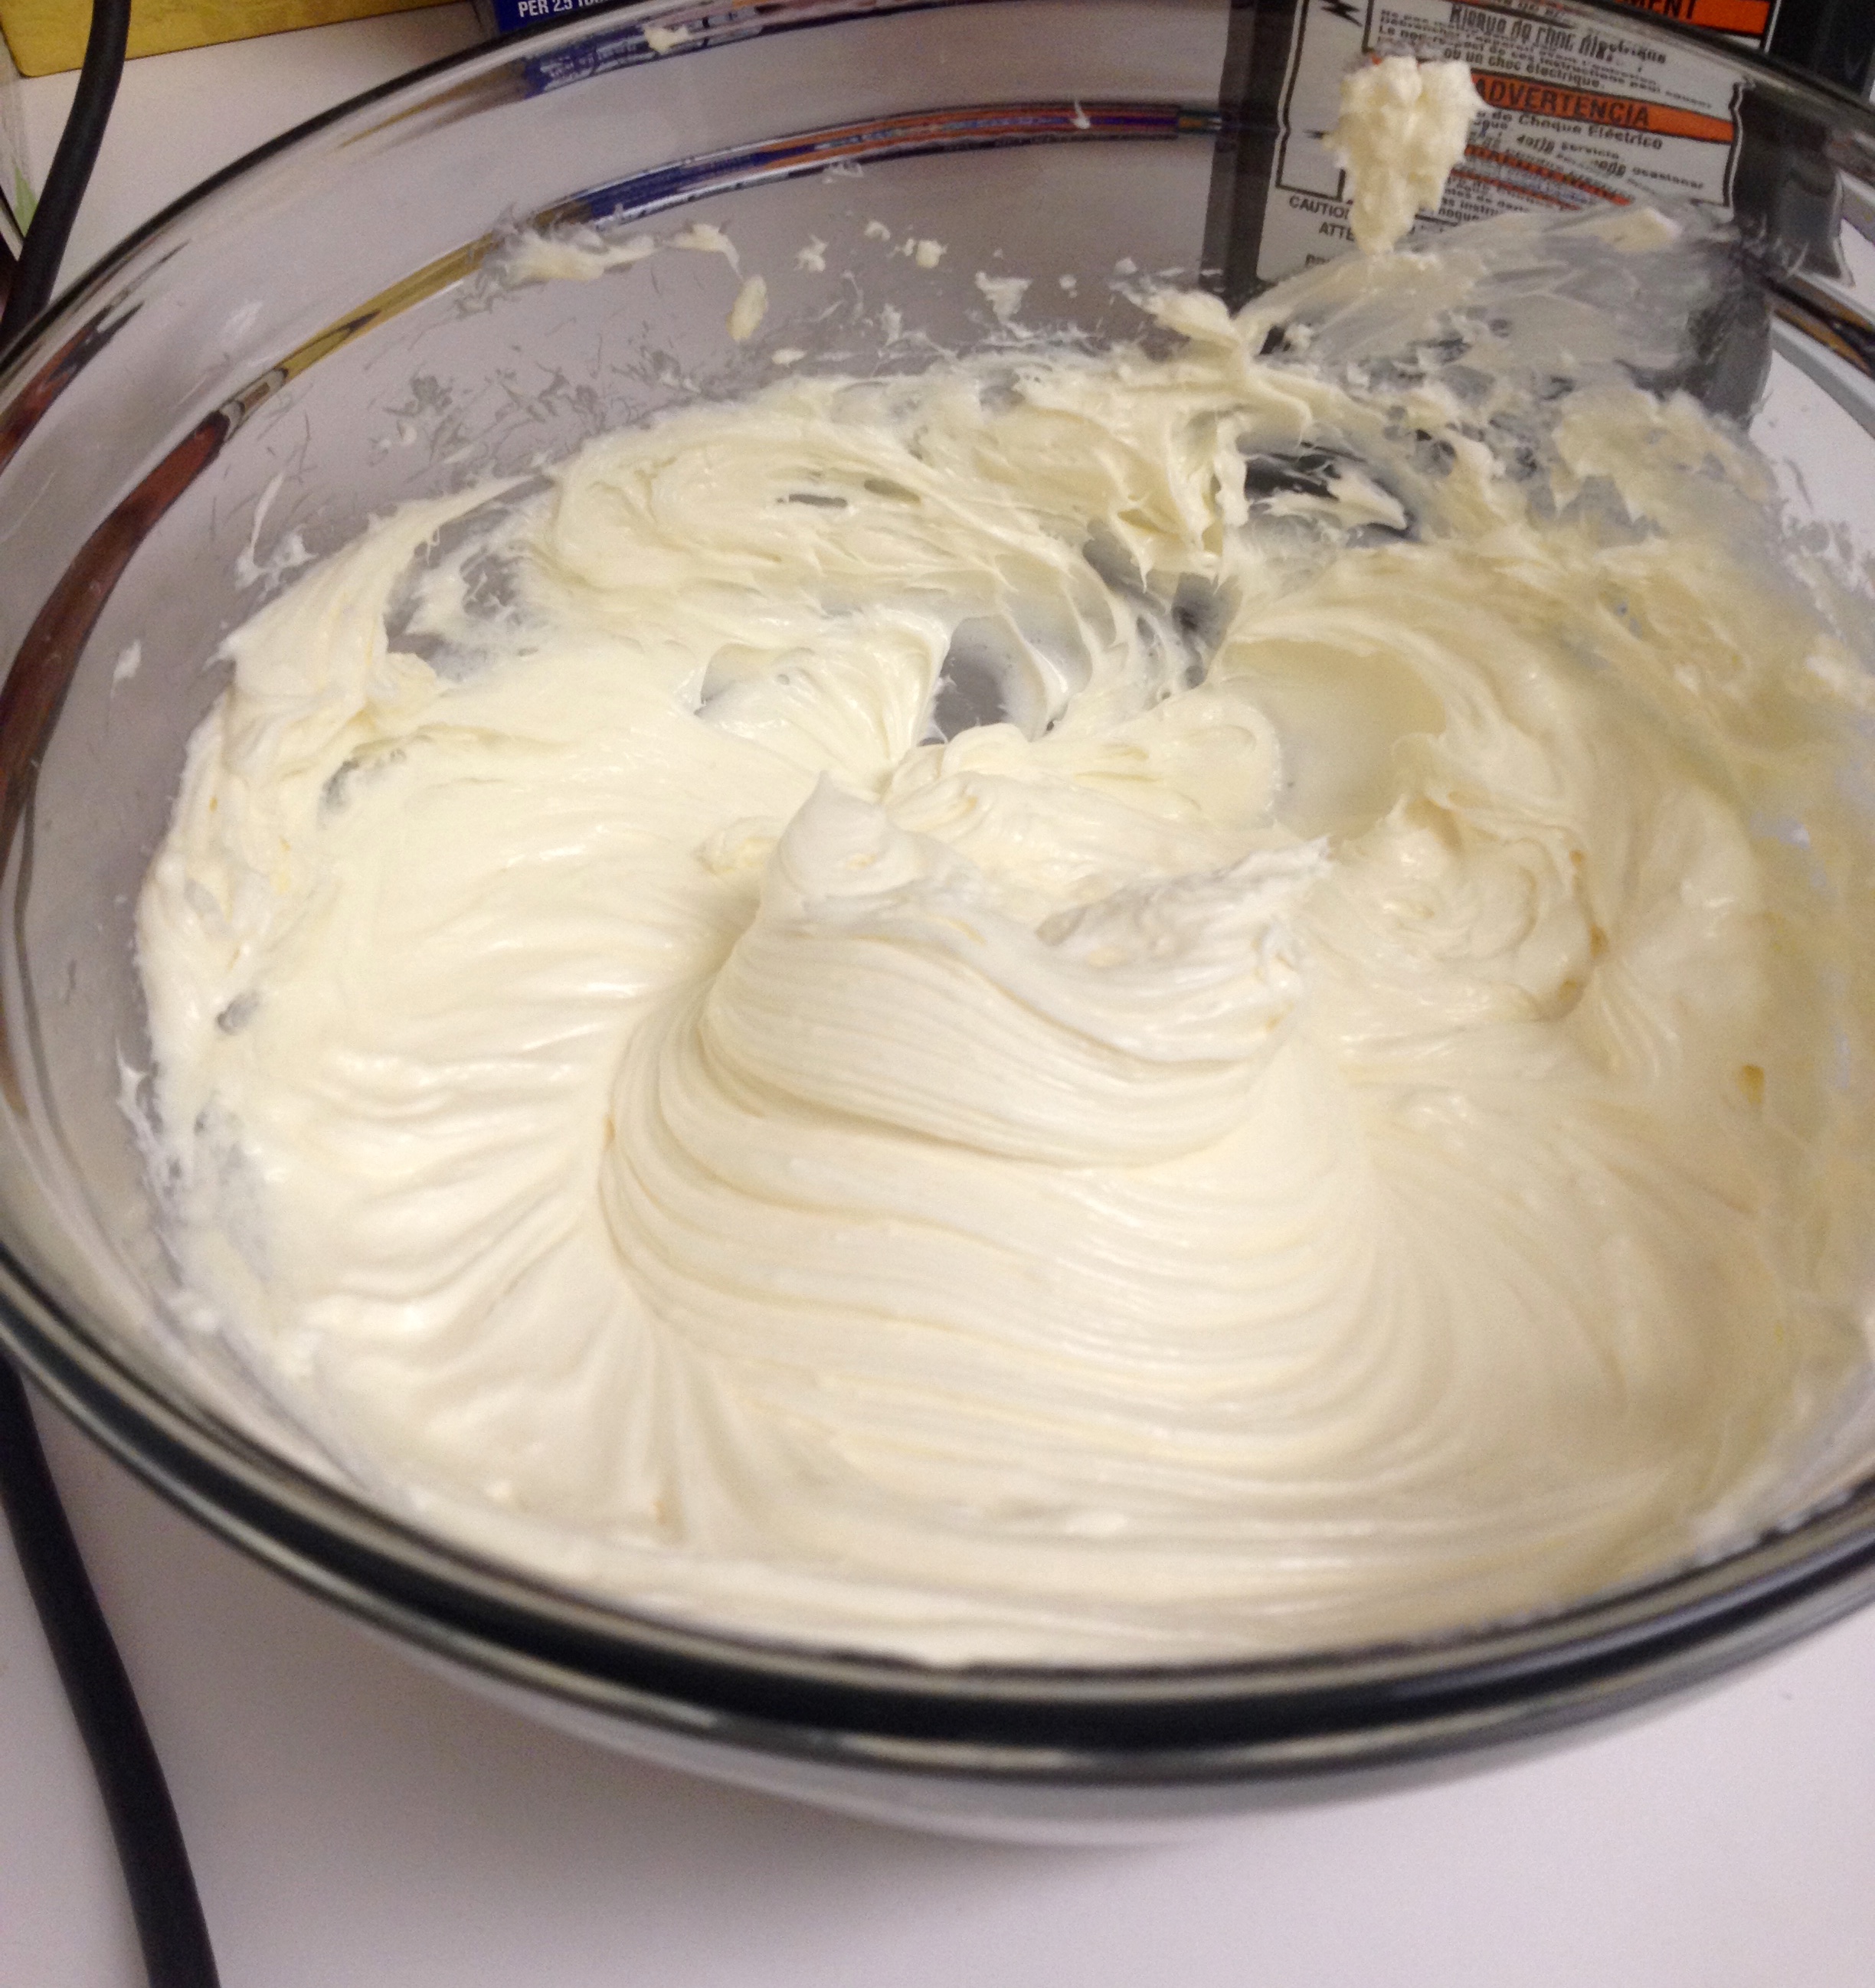
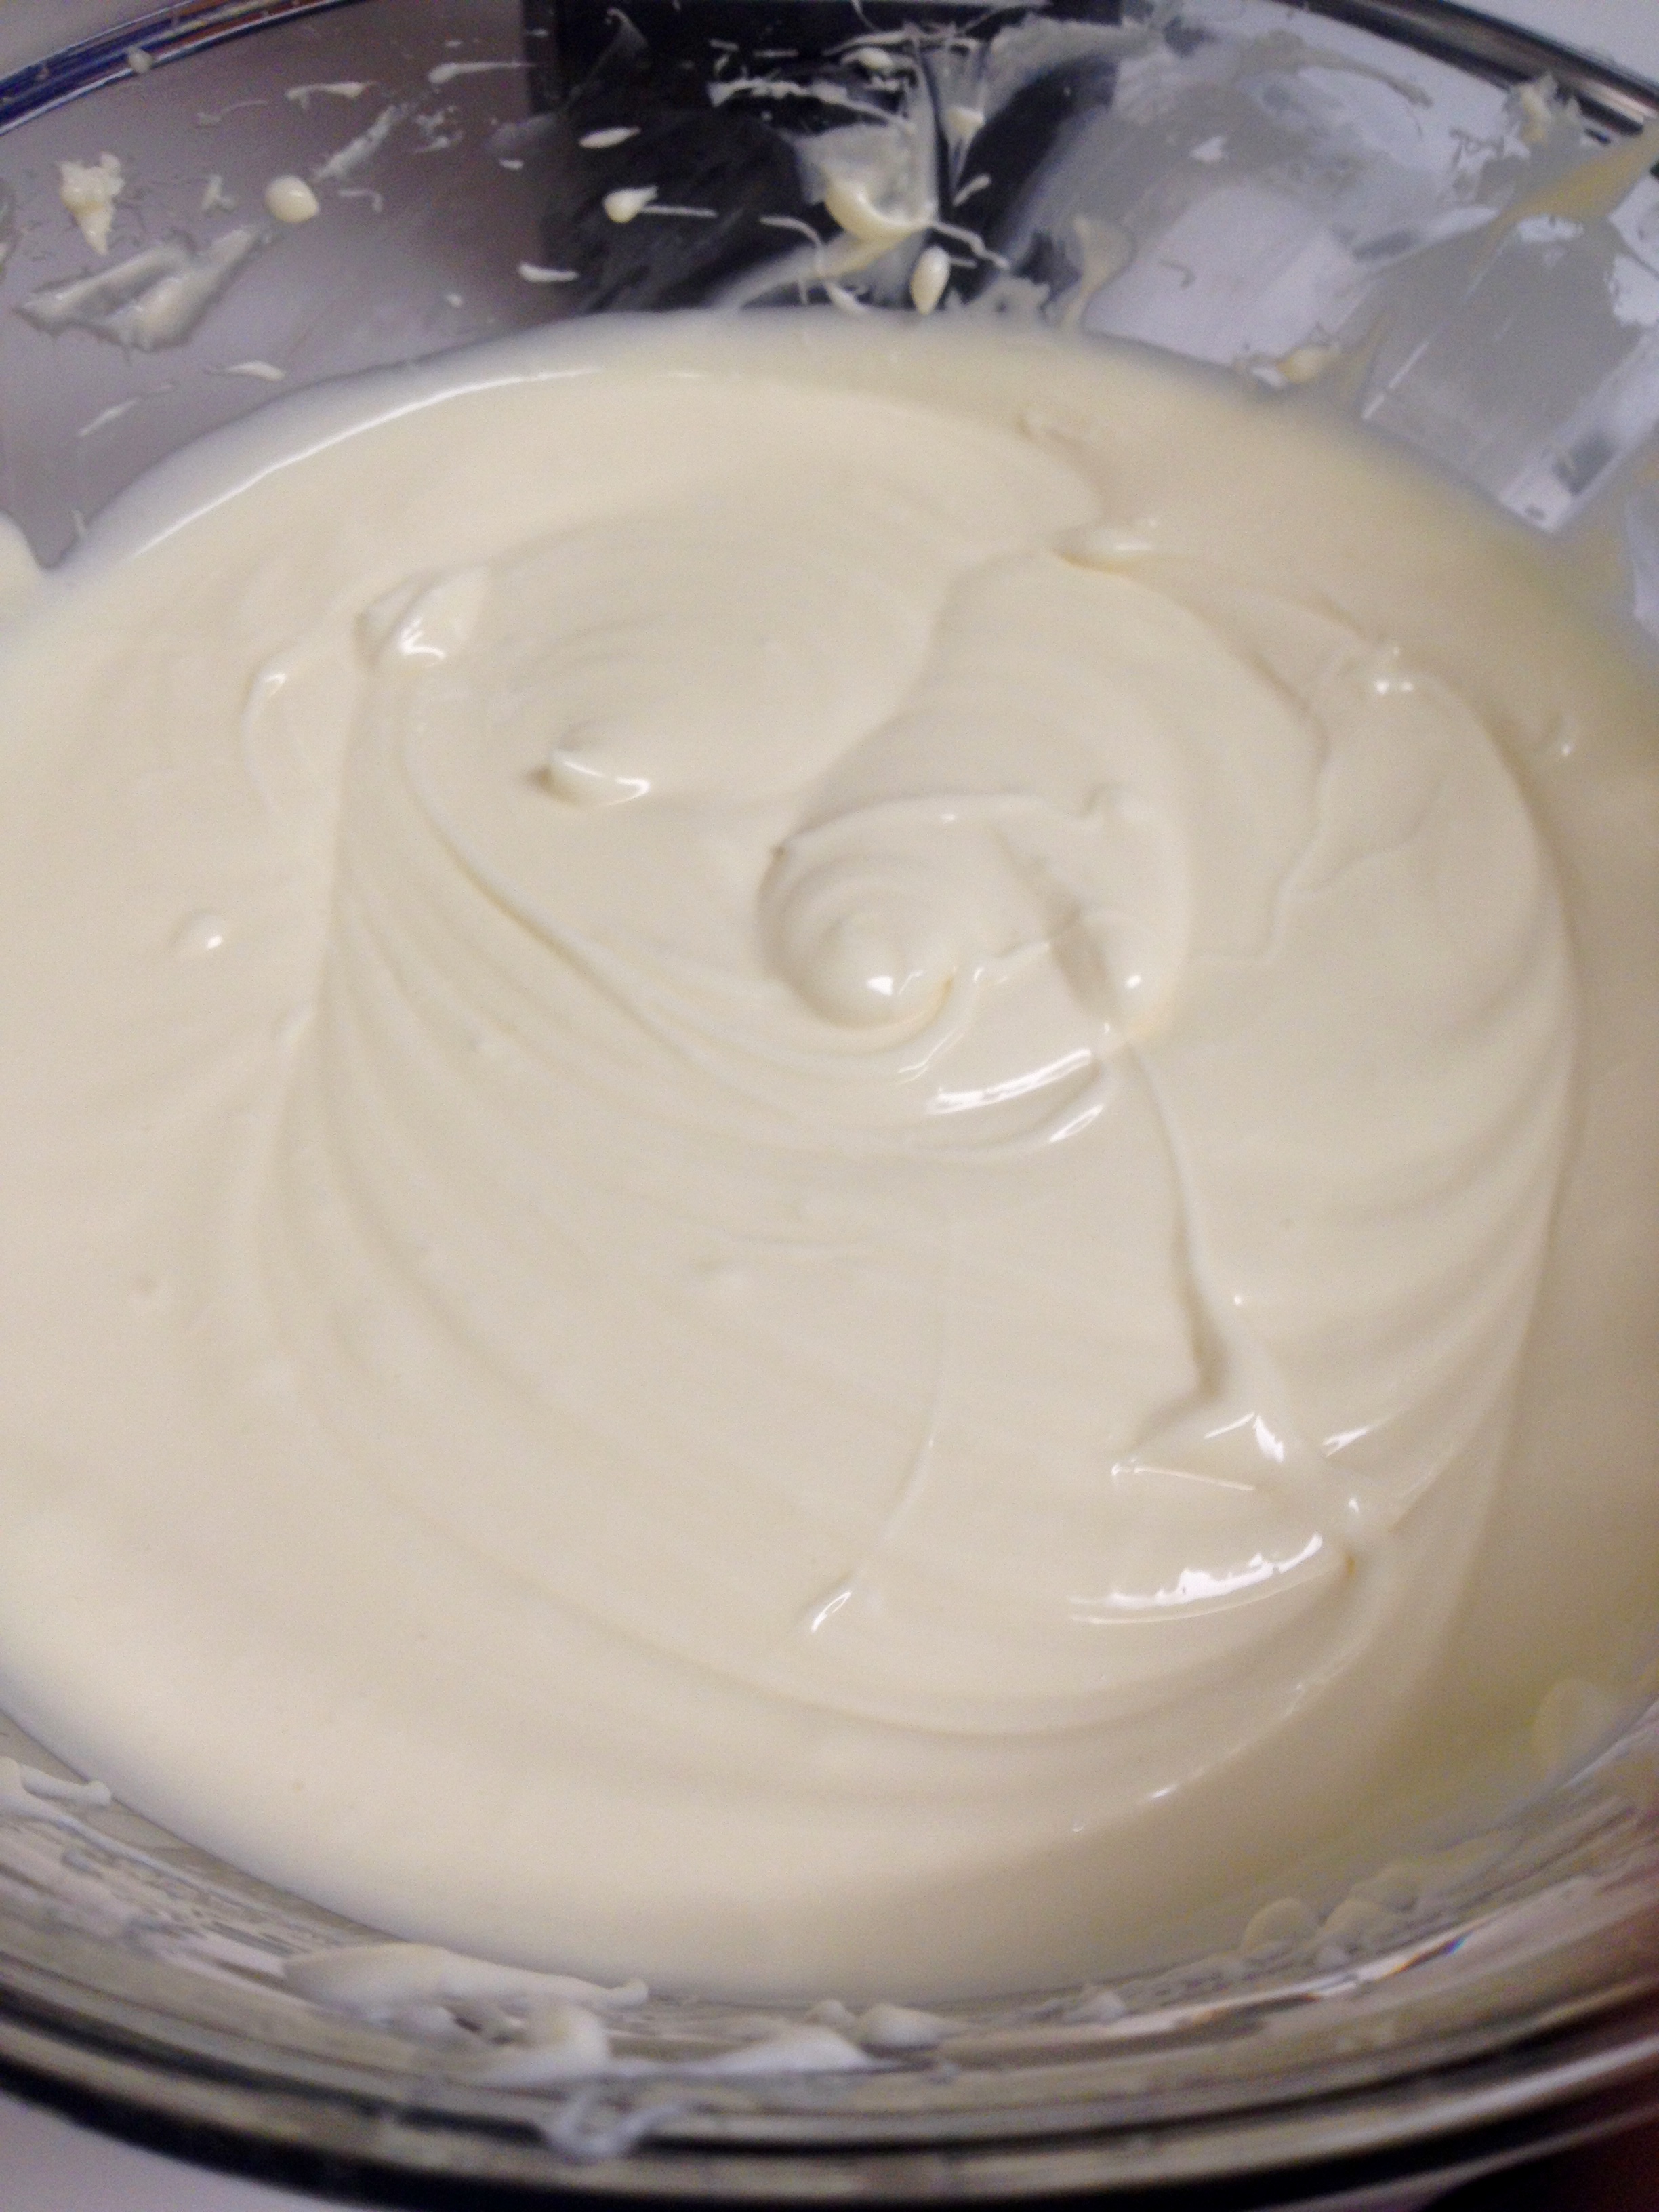
Next, combine the softened cream cheese with the granulated sugar. Mix with a hand mixer on medium speed until it is completely mixed and smooth. If you have any lumps in your mixture, it’ll make for an unpleasant texture to the cheesecake. When in doubt, mix a little longer!
When that’s fully mixed, add in the eggs and vanilla and mix on medium speed. Again, mix until it is completely smooth!!
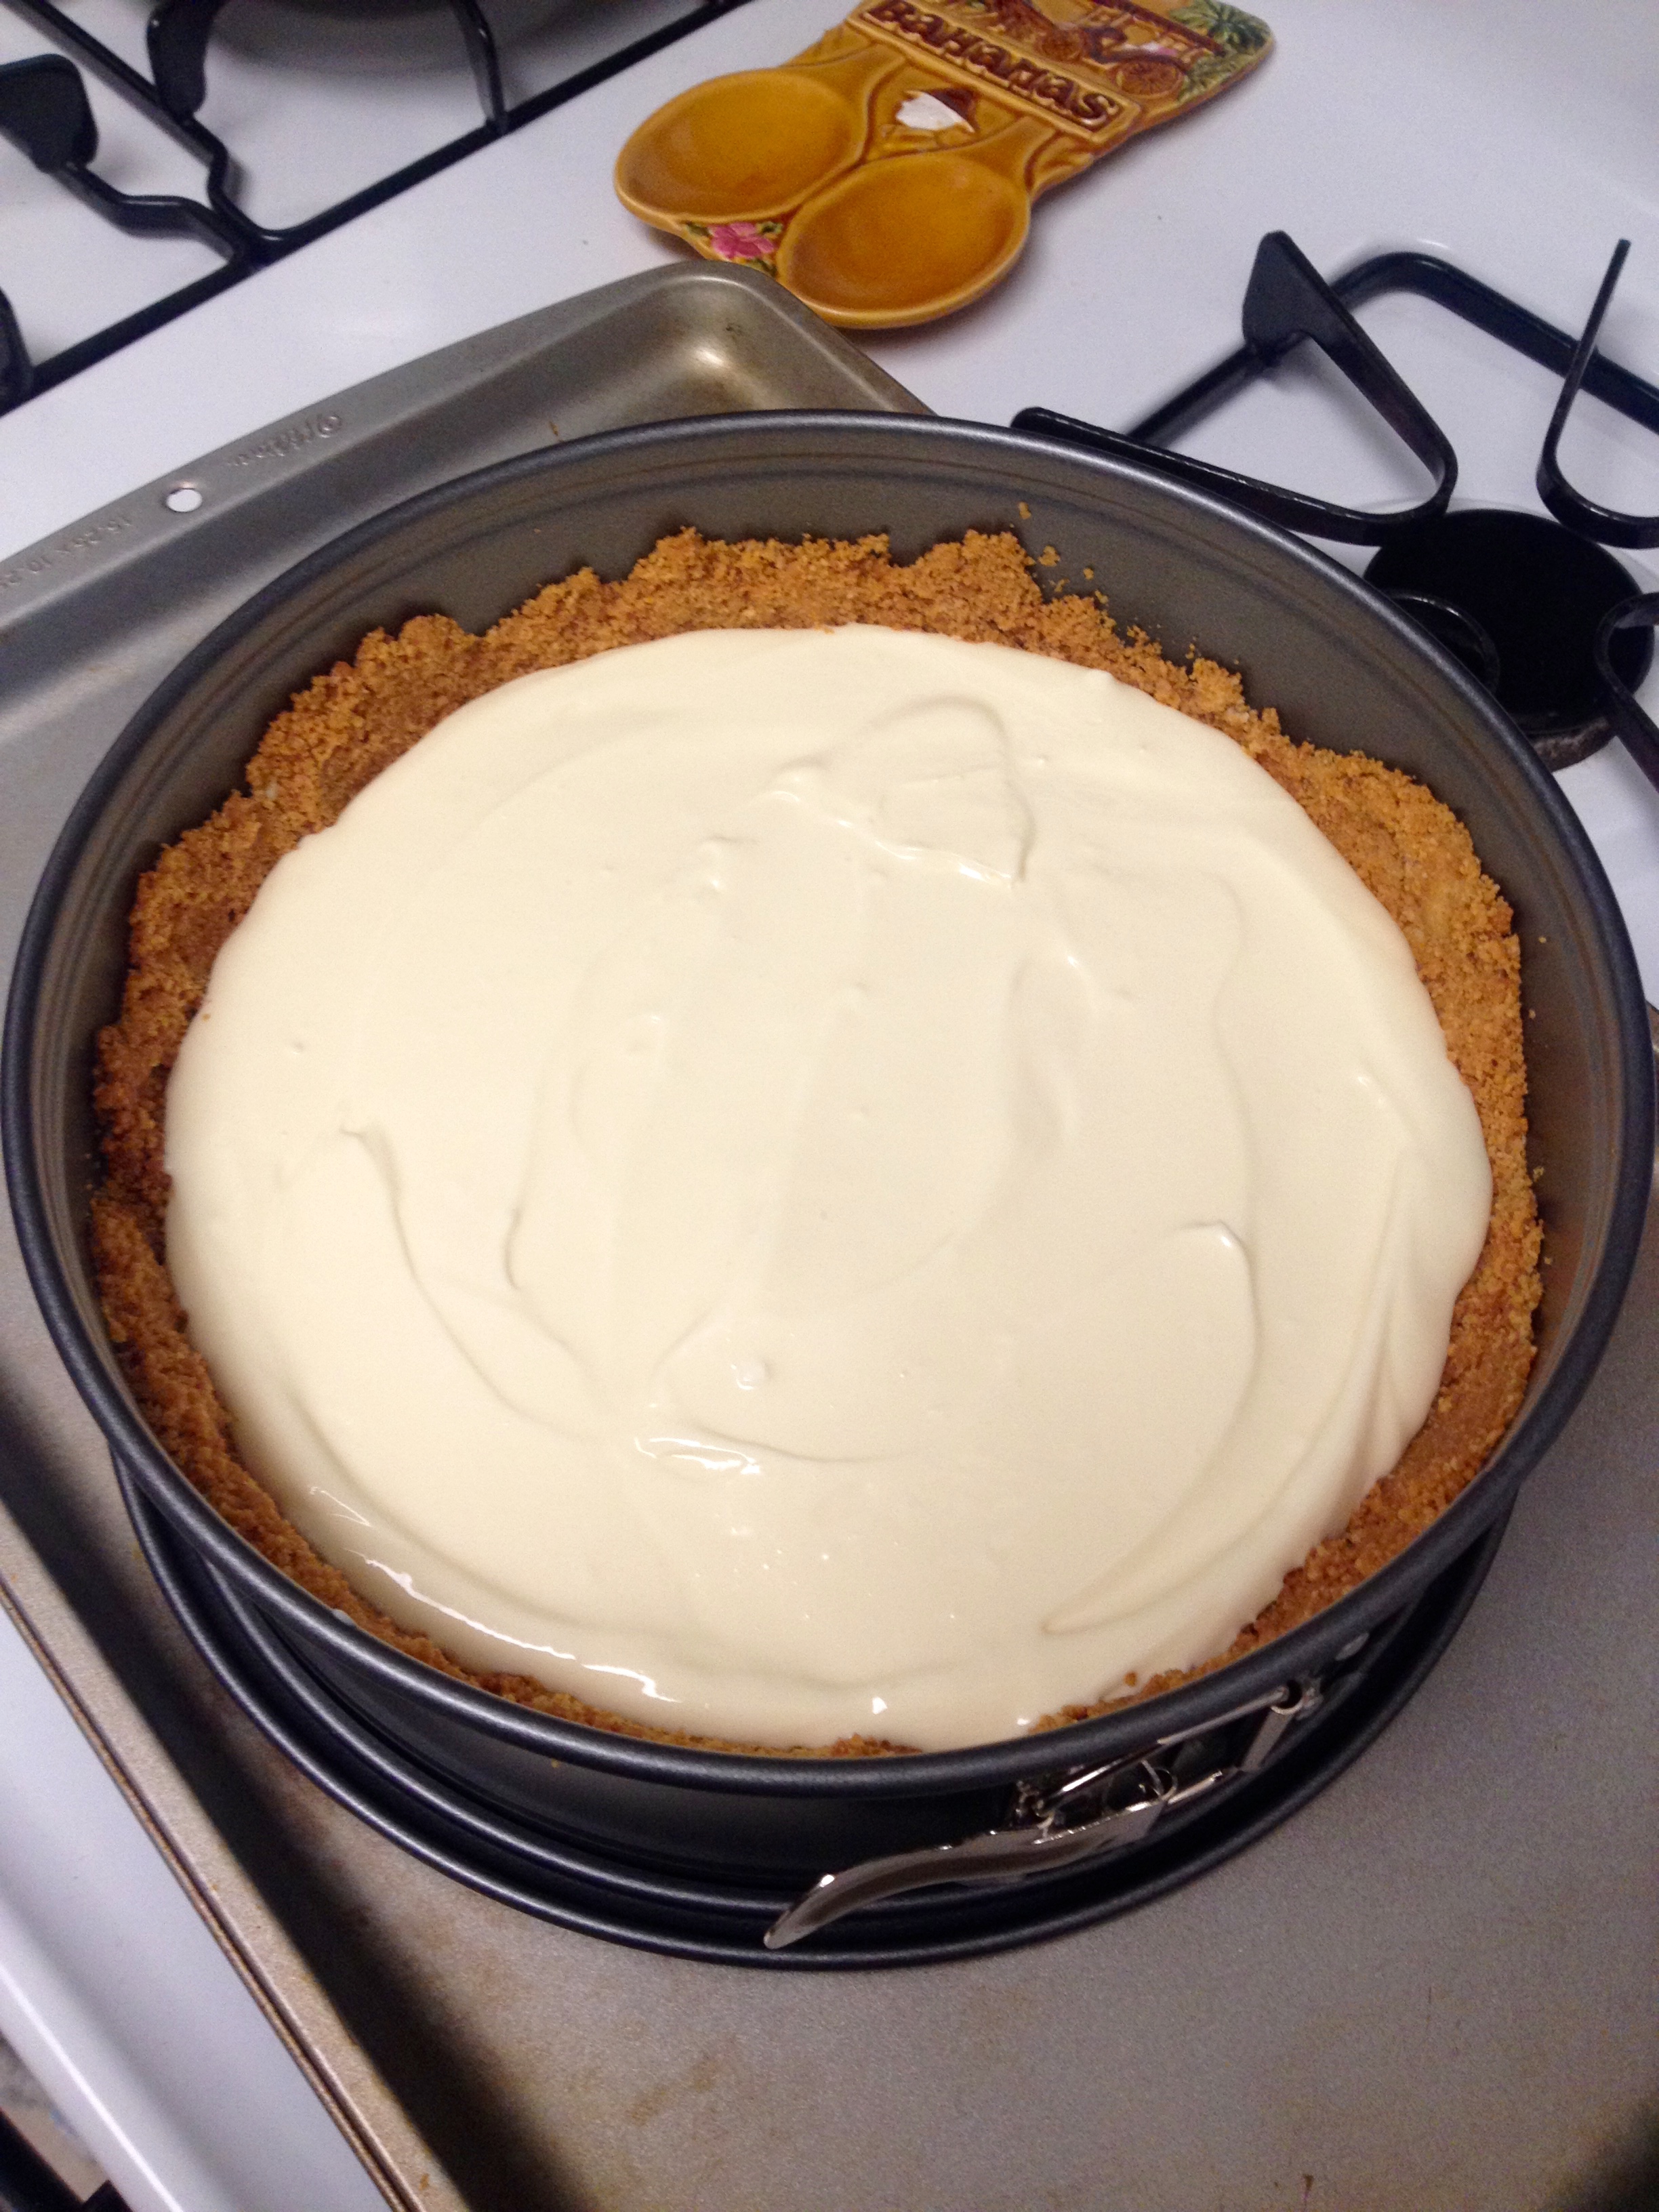
Pour the filling into the crust and bake for 20 minutes at 350°F. It’s helpful to put the pan on a baking sheet for ease of transferring in and out of the oven.
After 20 minutes, put a crust shield around the edge of the pan, or cover the edges with aluminum foil. This will prevent the crust from burning while the cheesecake continues to cook.
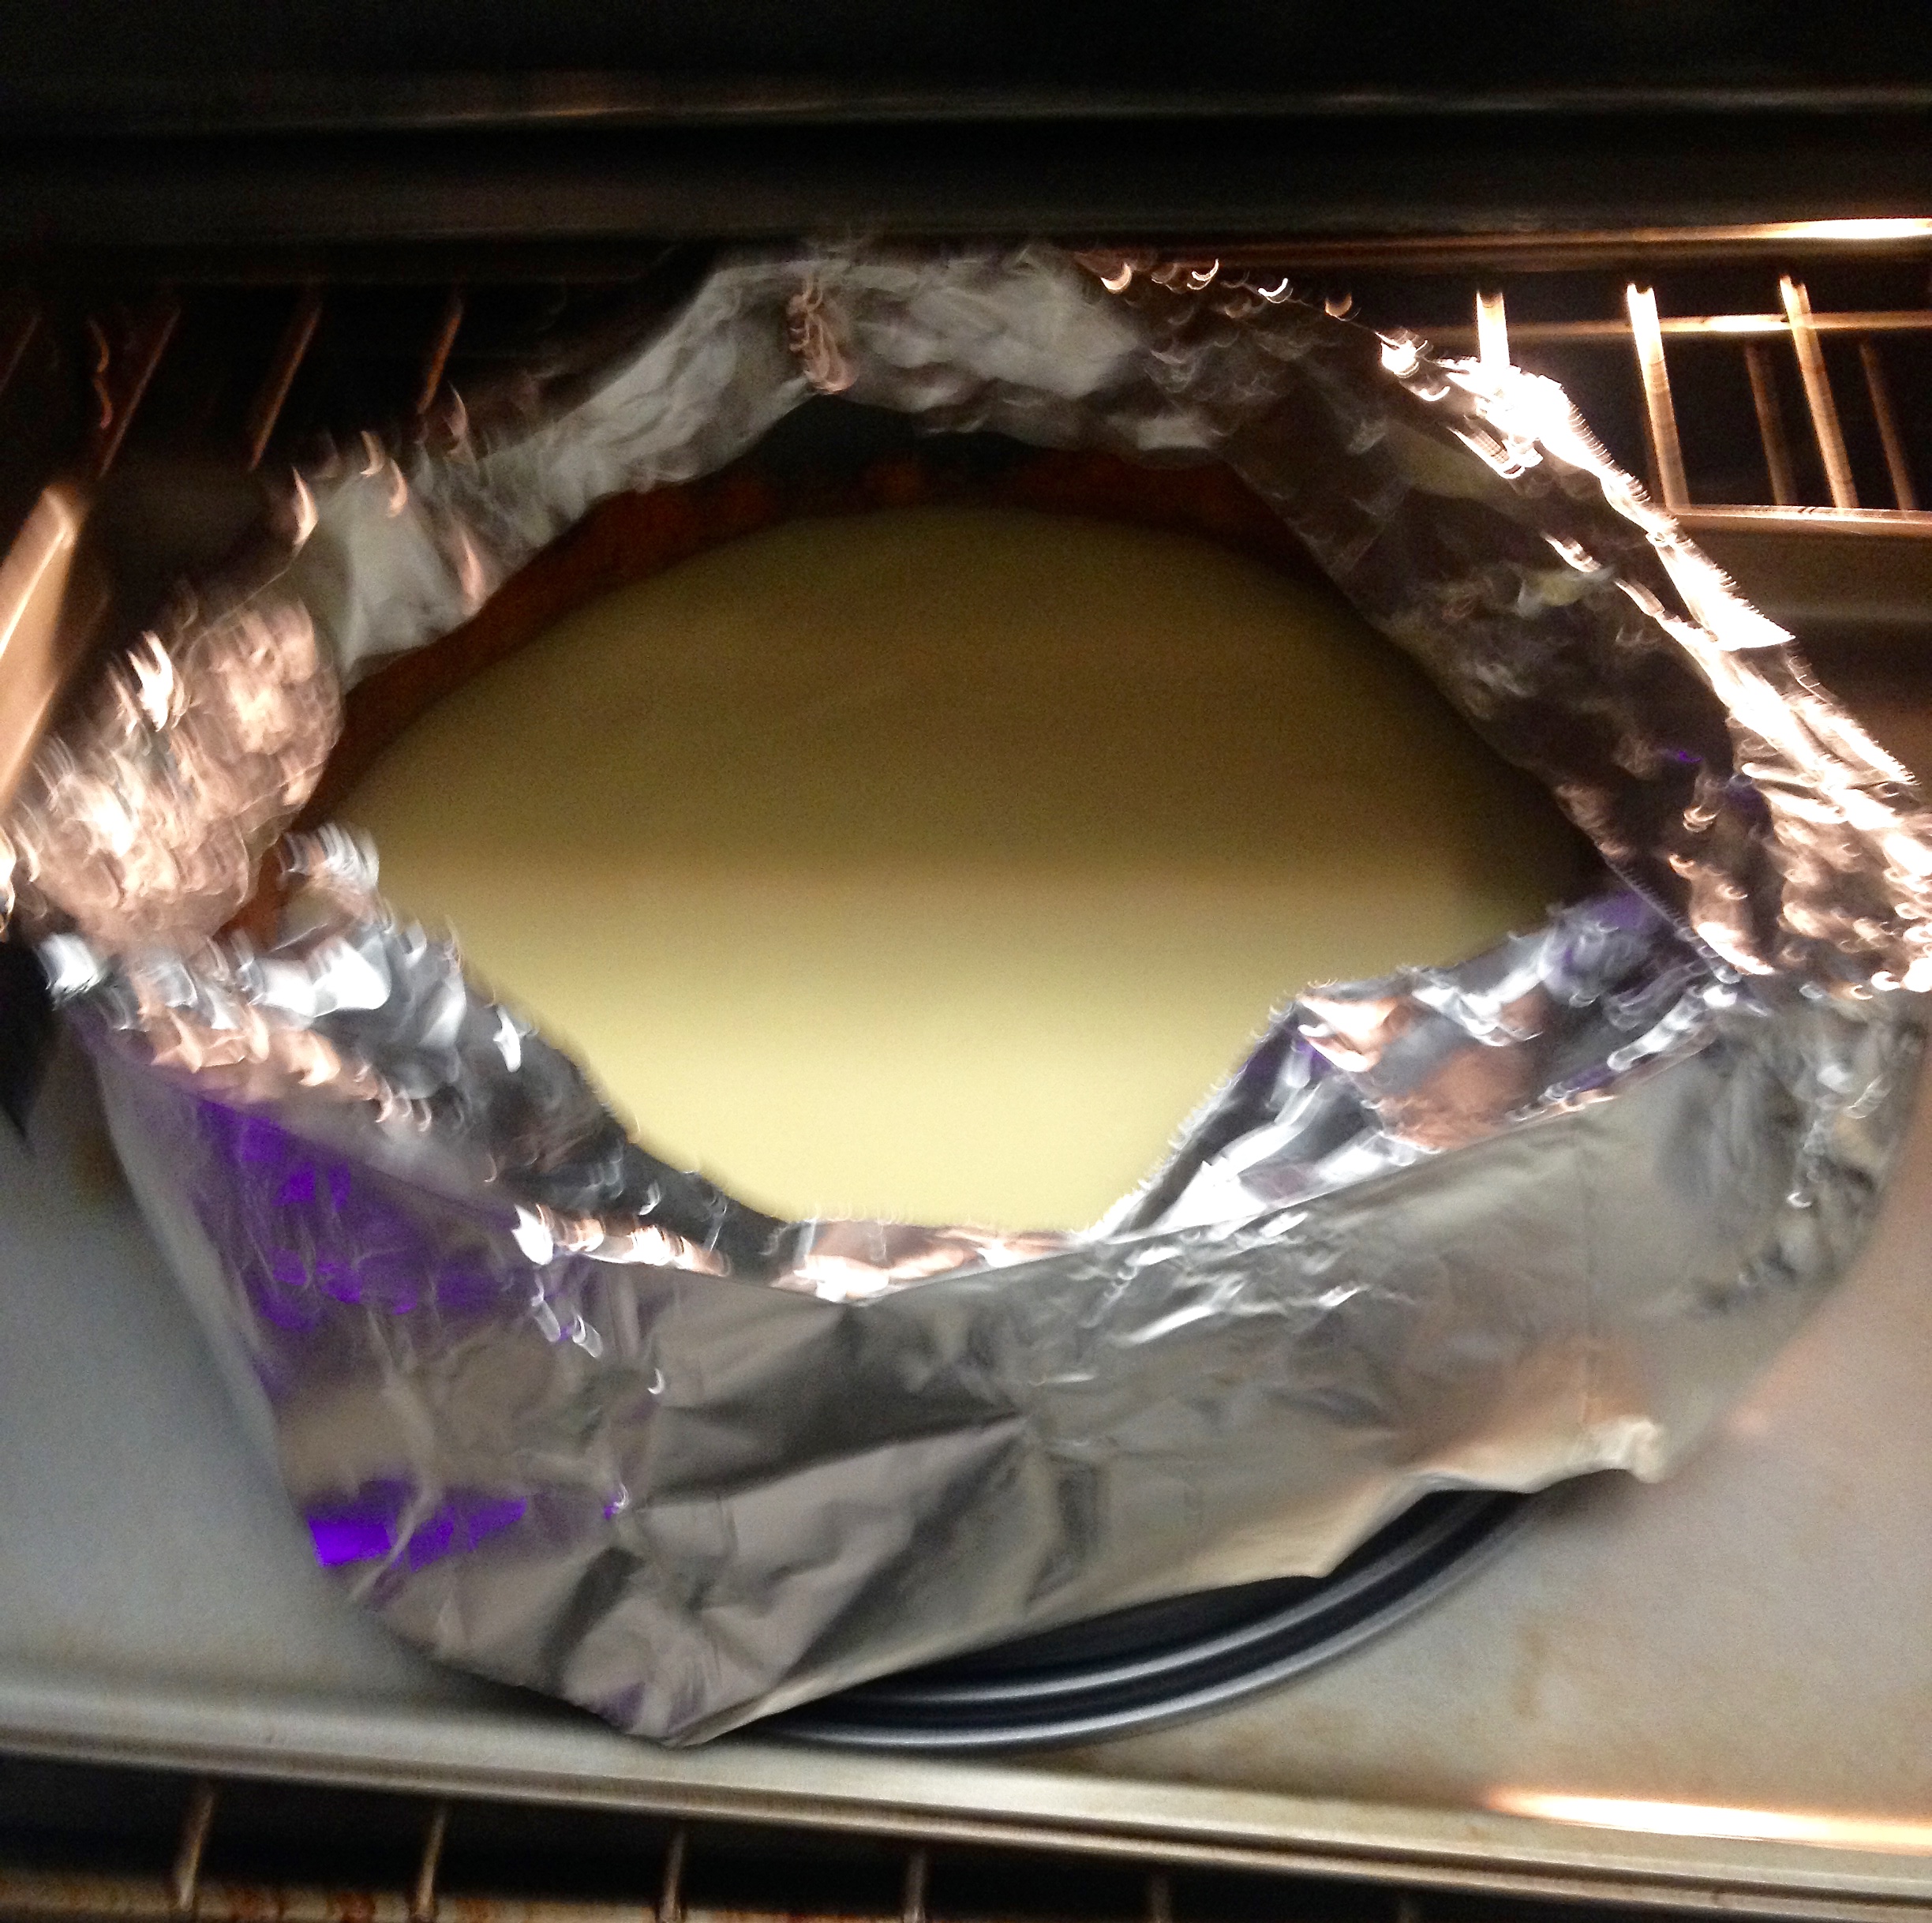
Continue baking the cheesecake for 10 more minutes. When it’s done, a thermometer inserted about 1″ from the crust should read 165-170°F. The filling won’t look totally set in the middle.
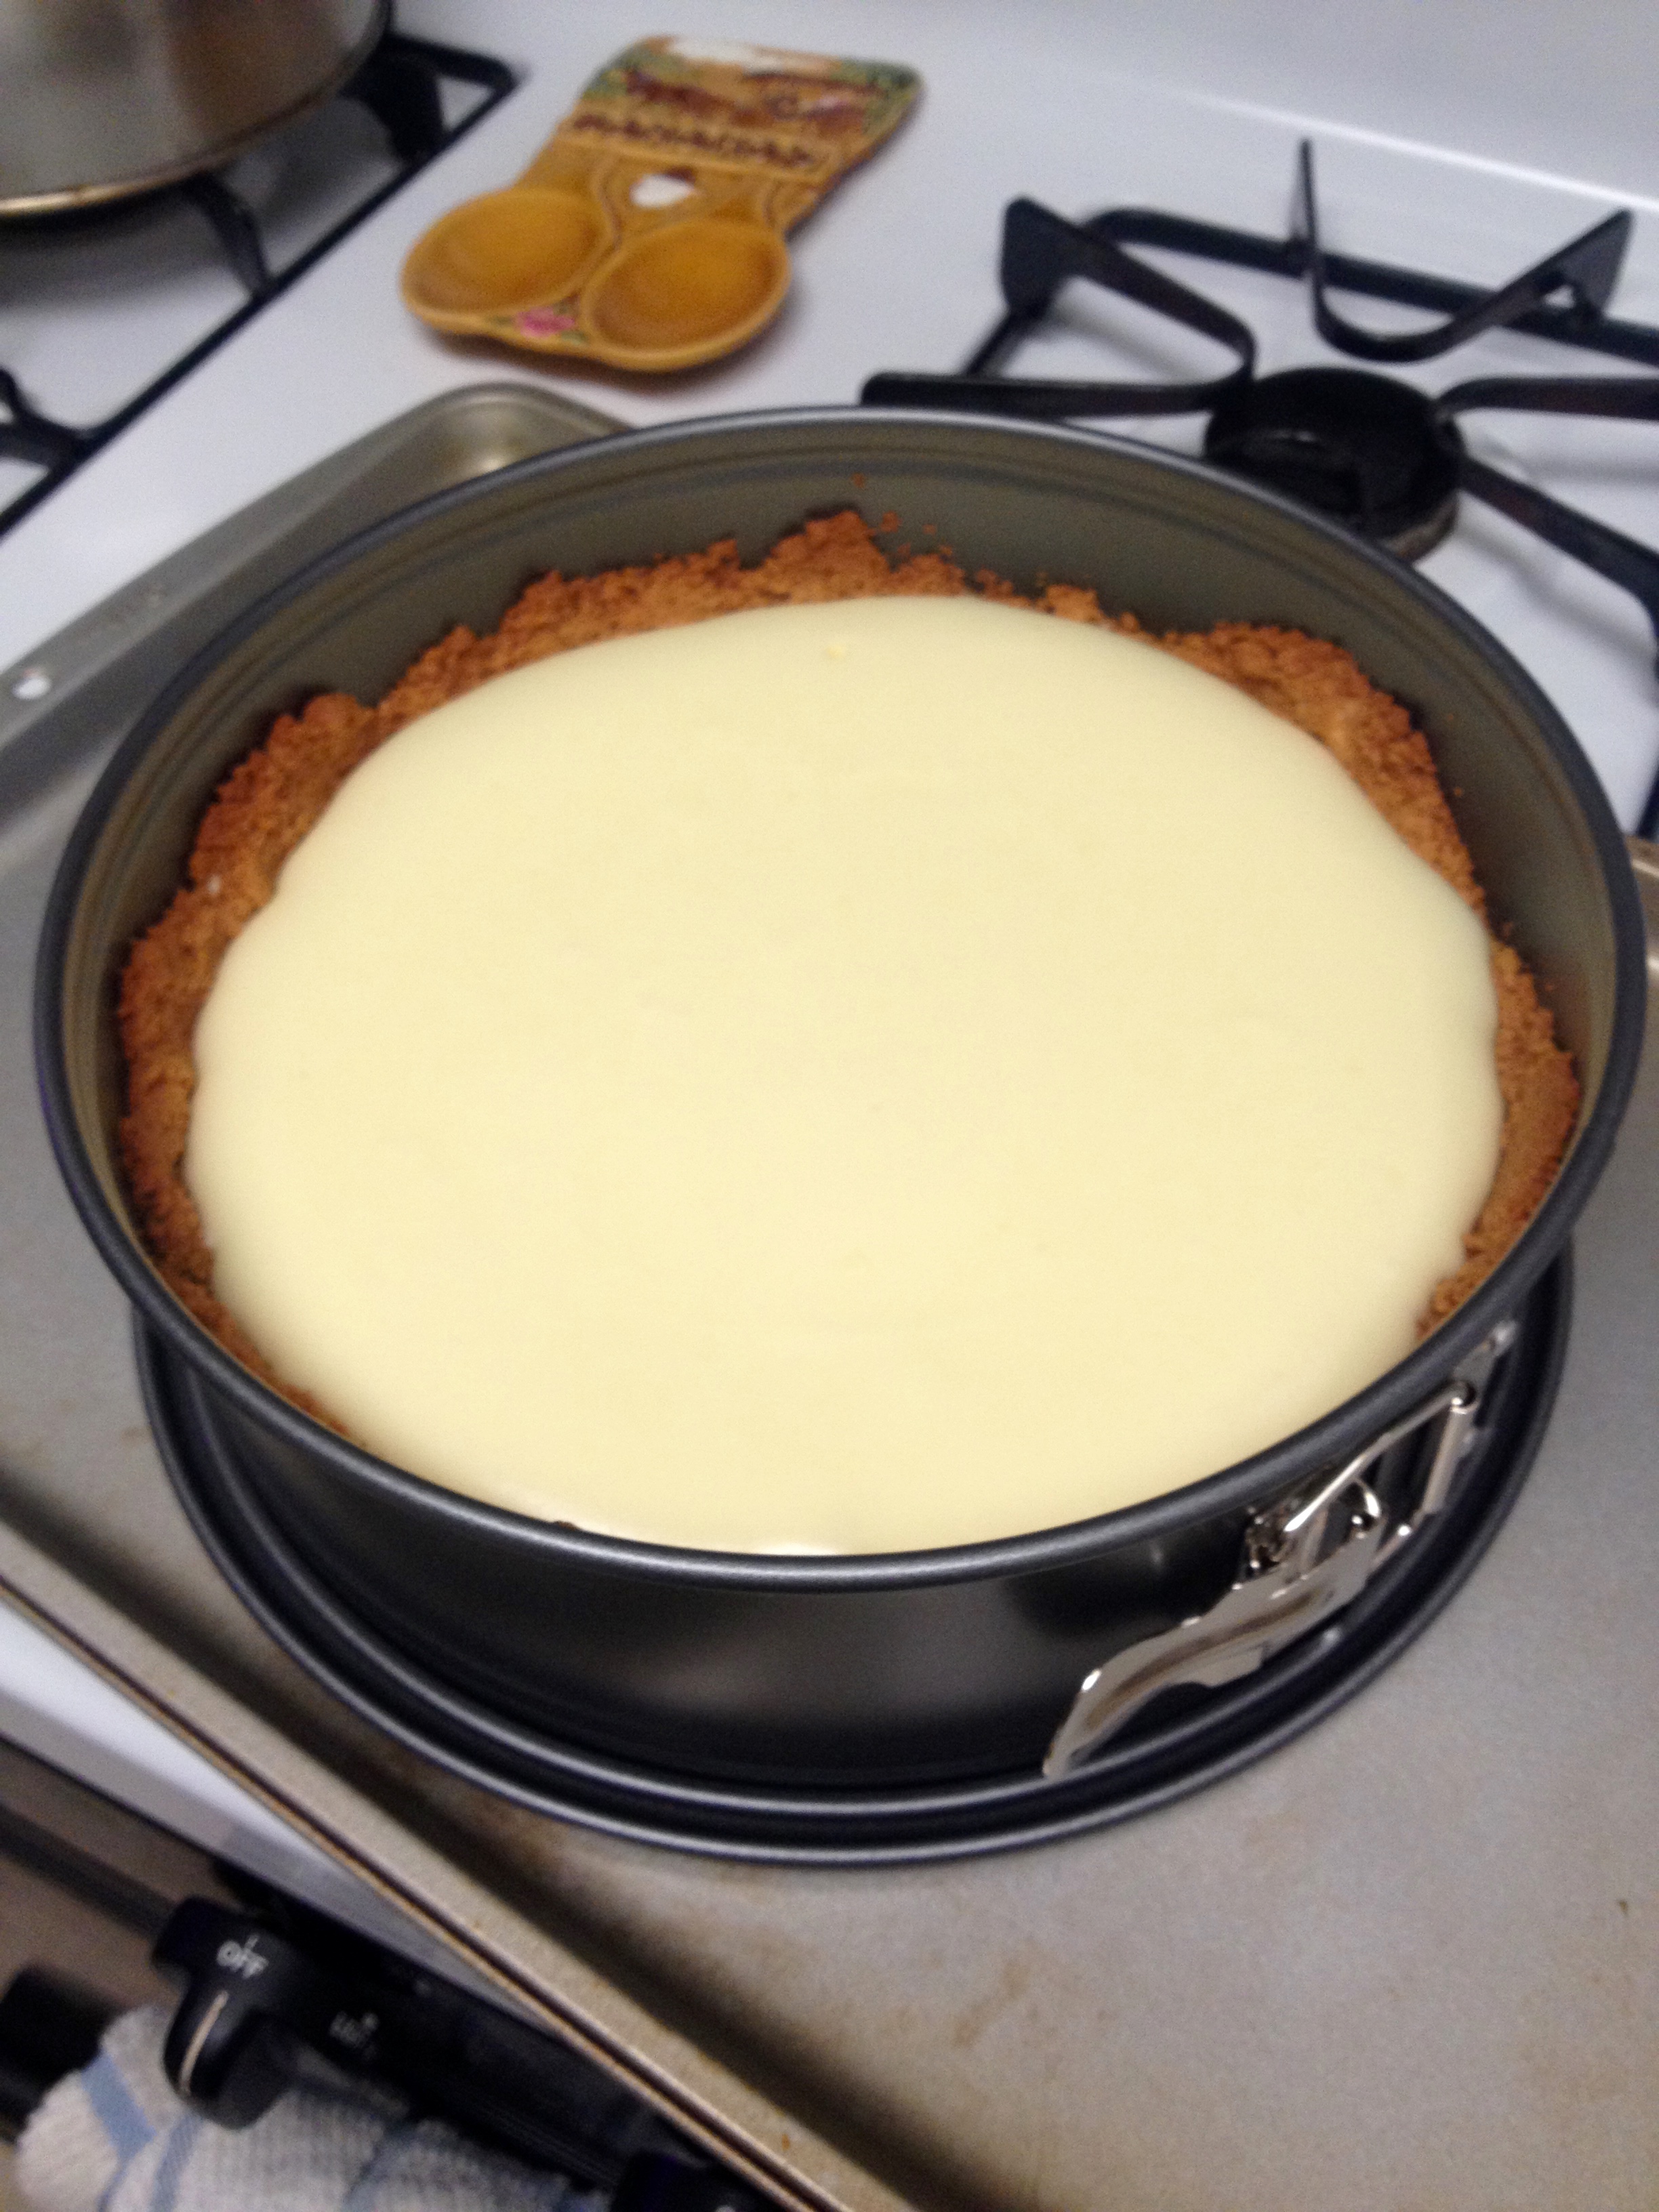
Set the pan on a cooling rack until the cheesecake is completely cooled. Then, refrigerate until you’re ready to serve it.
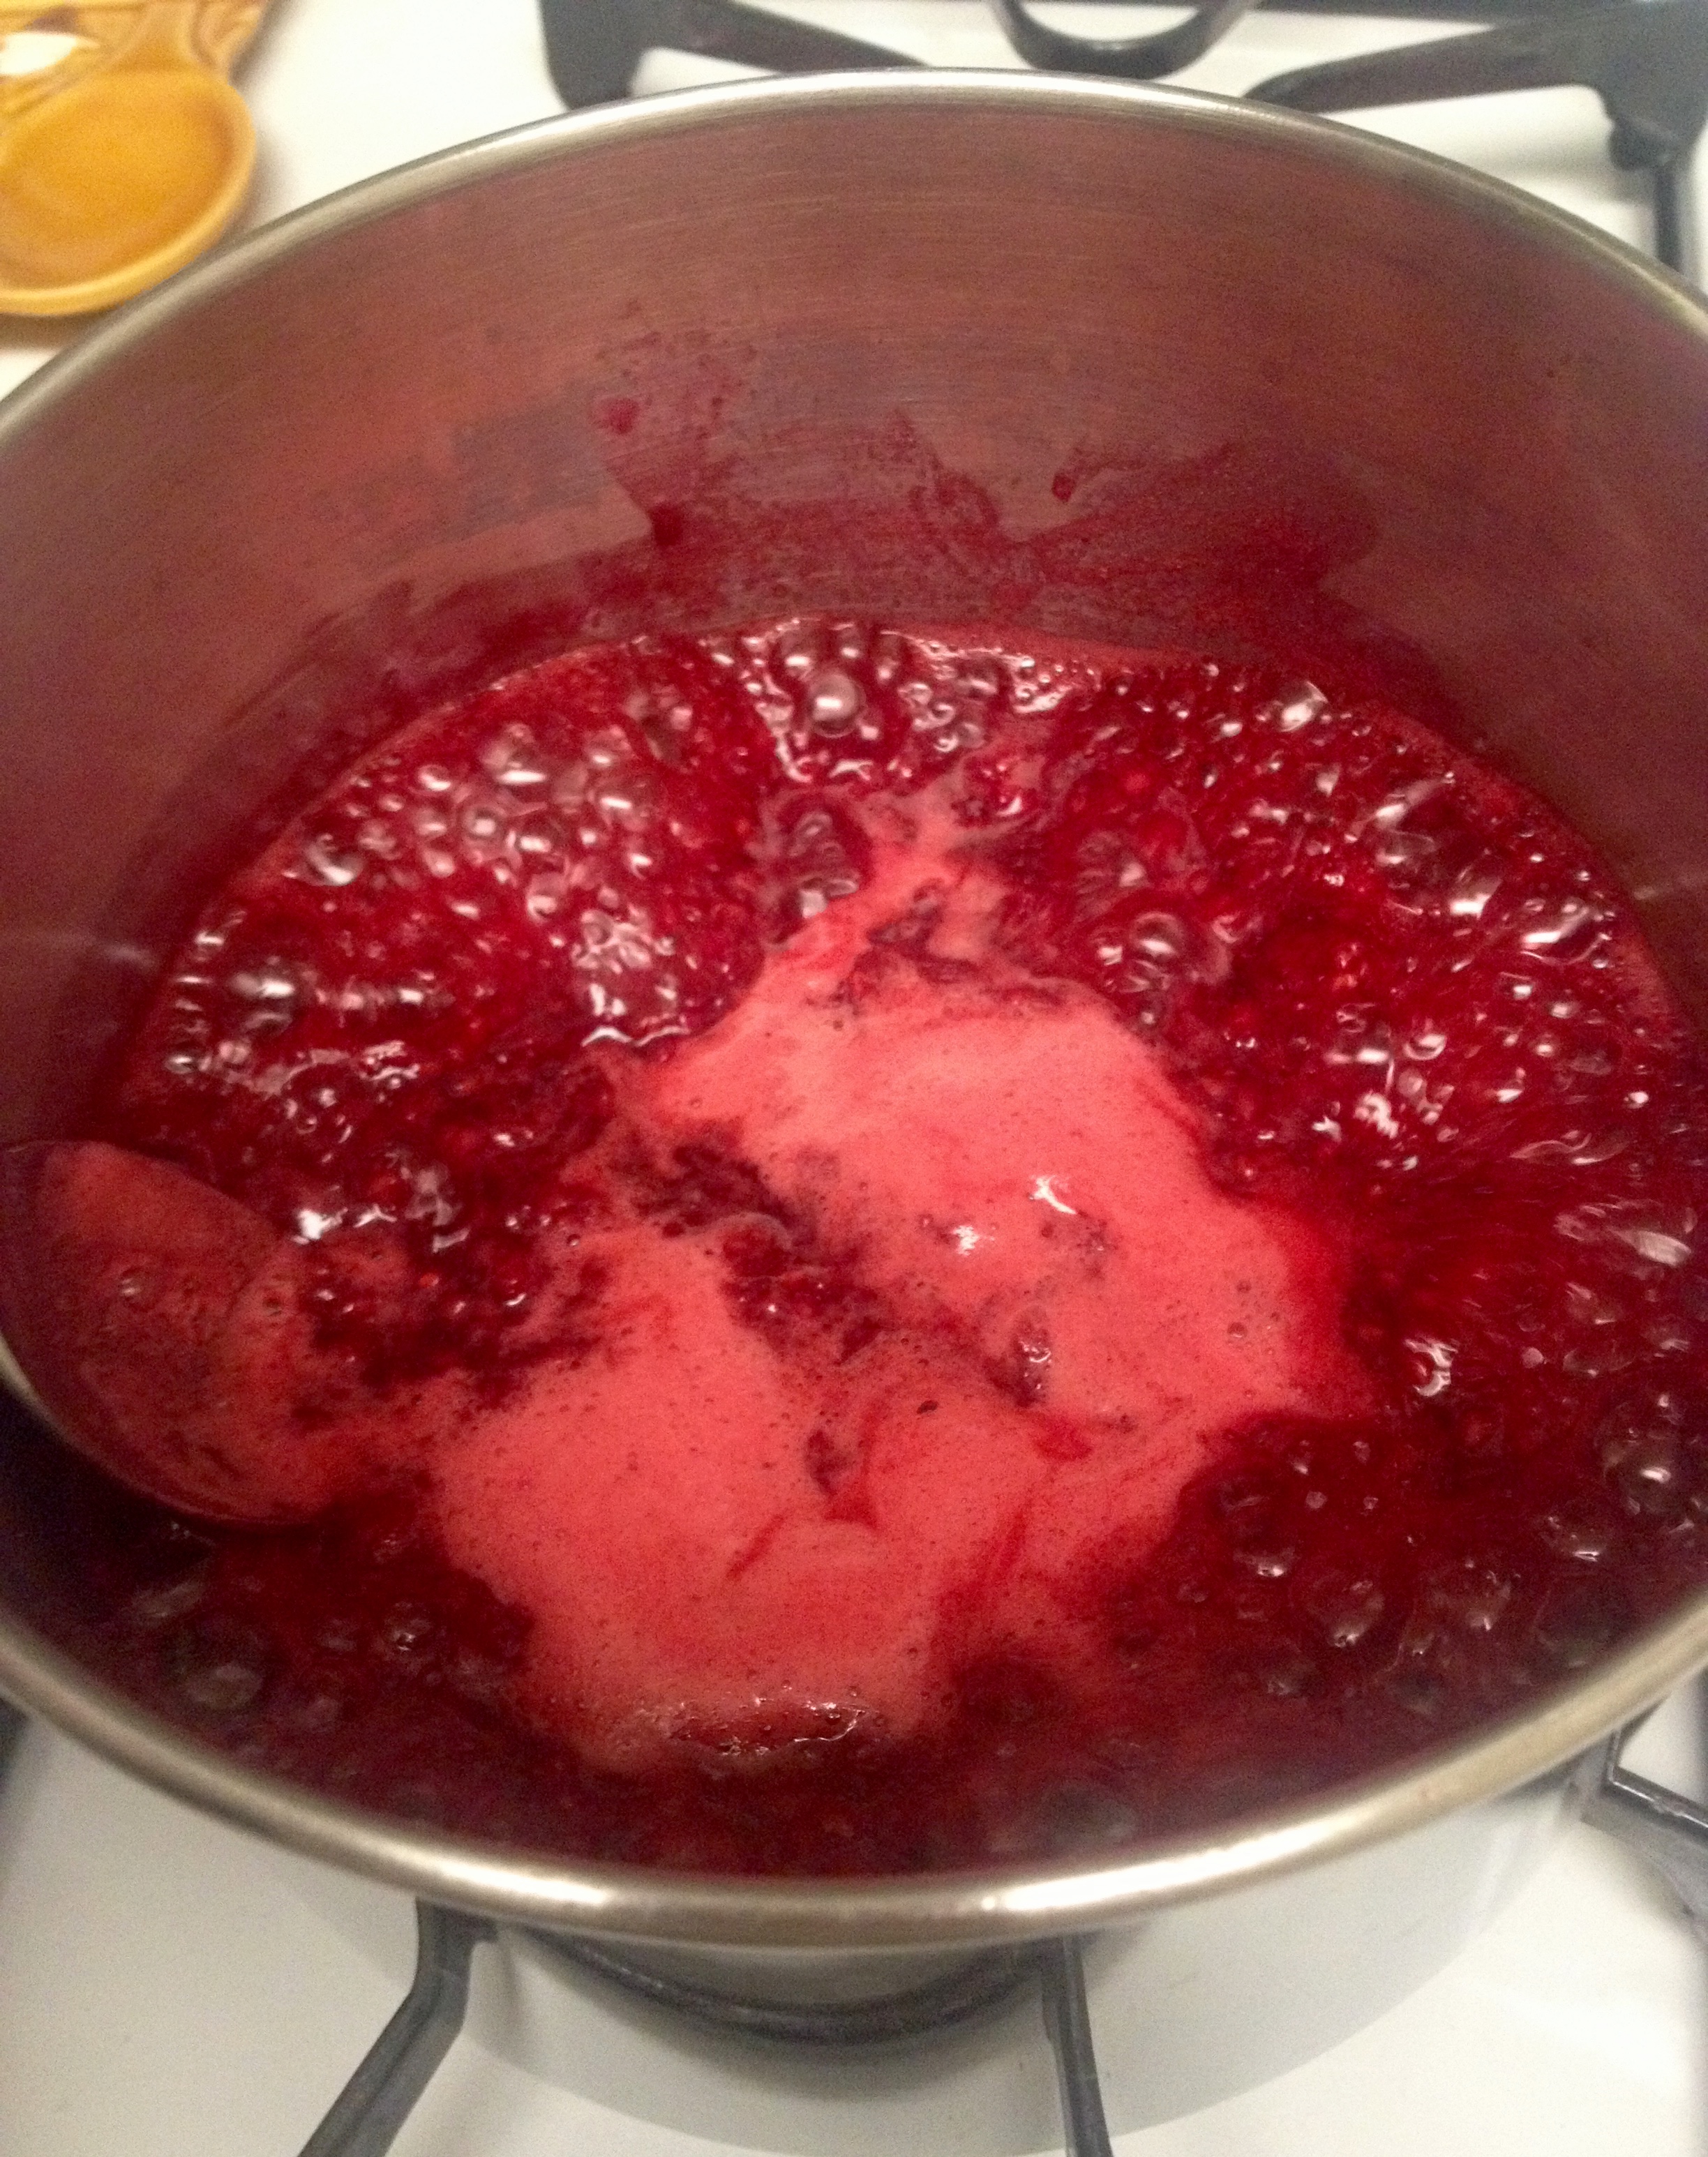
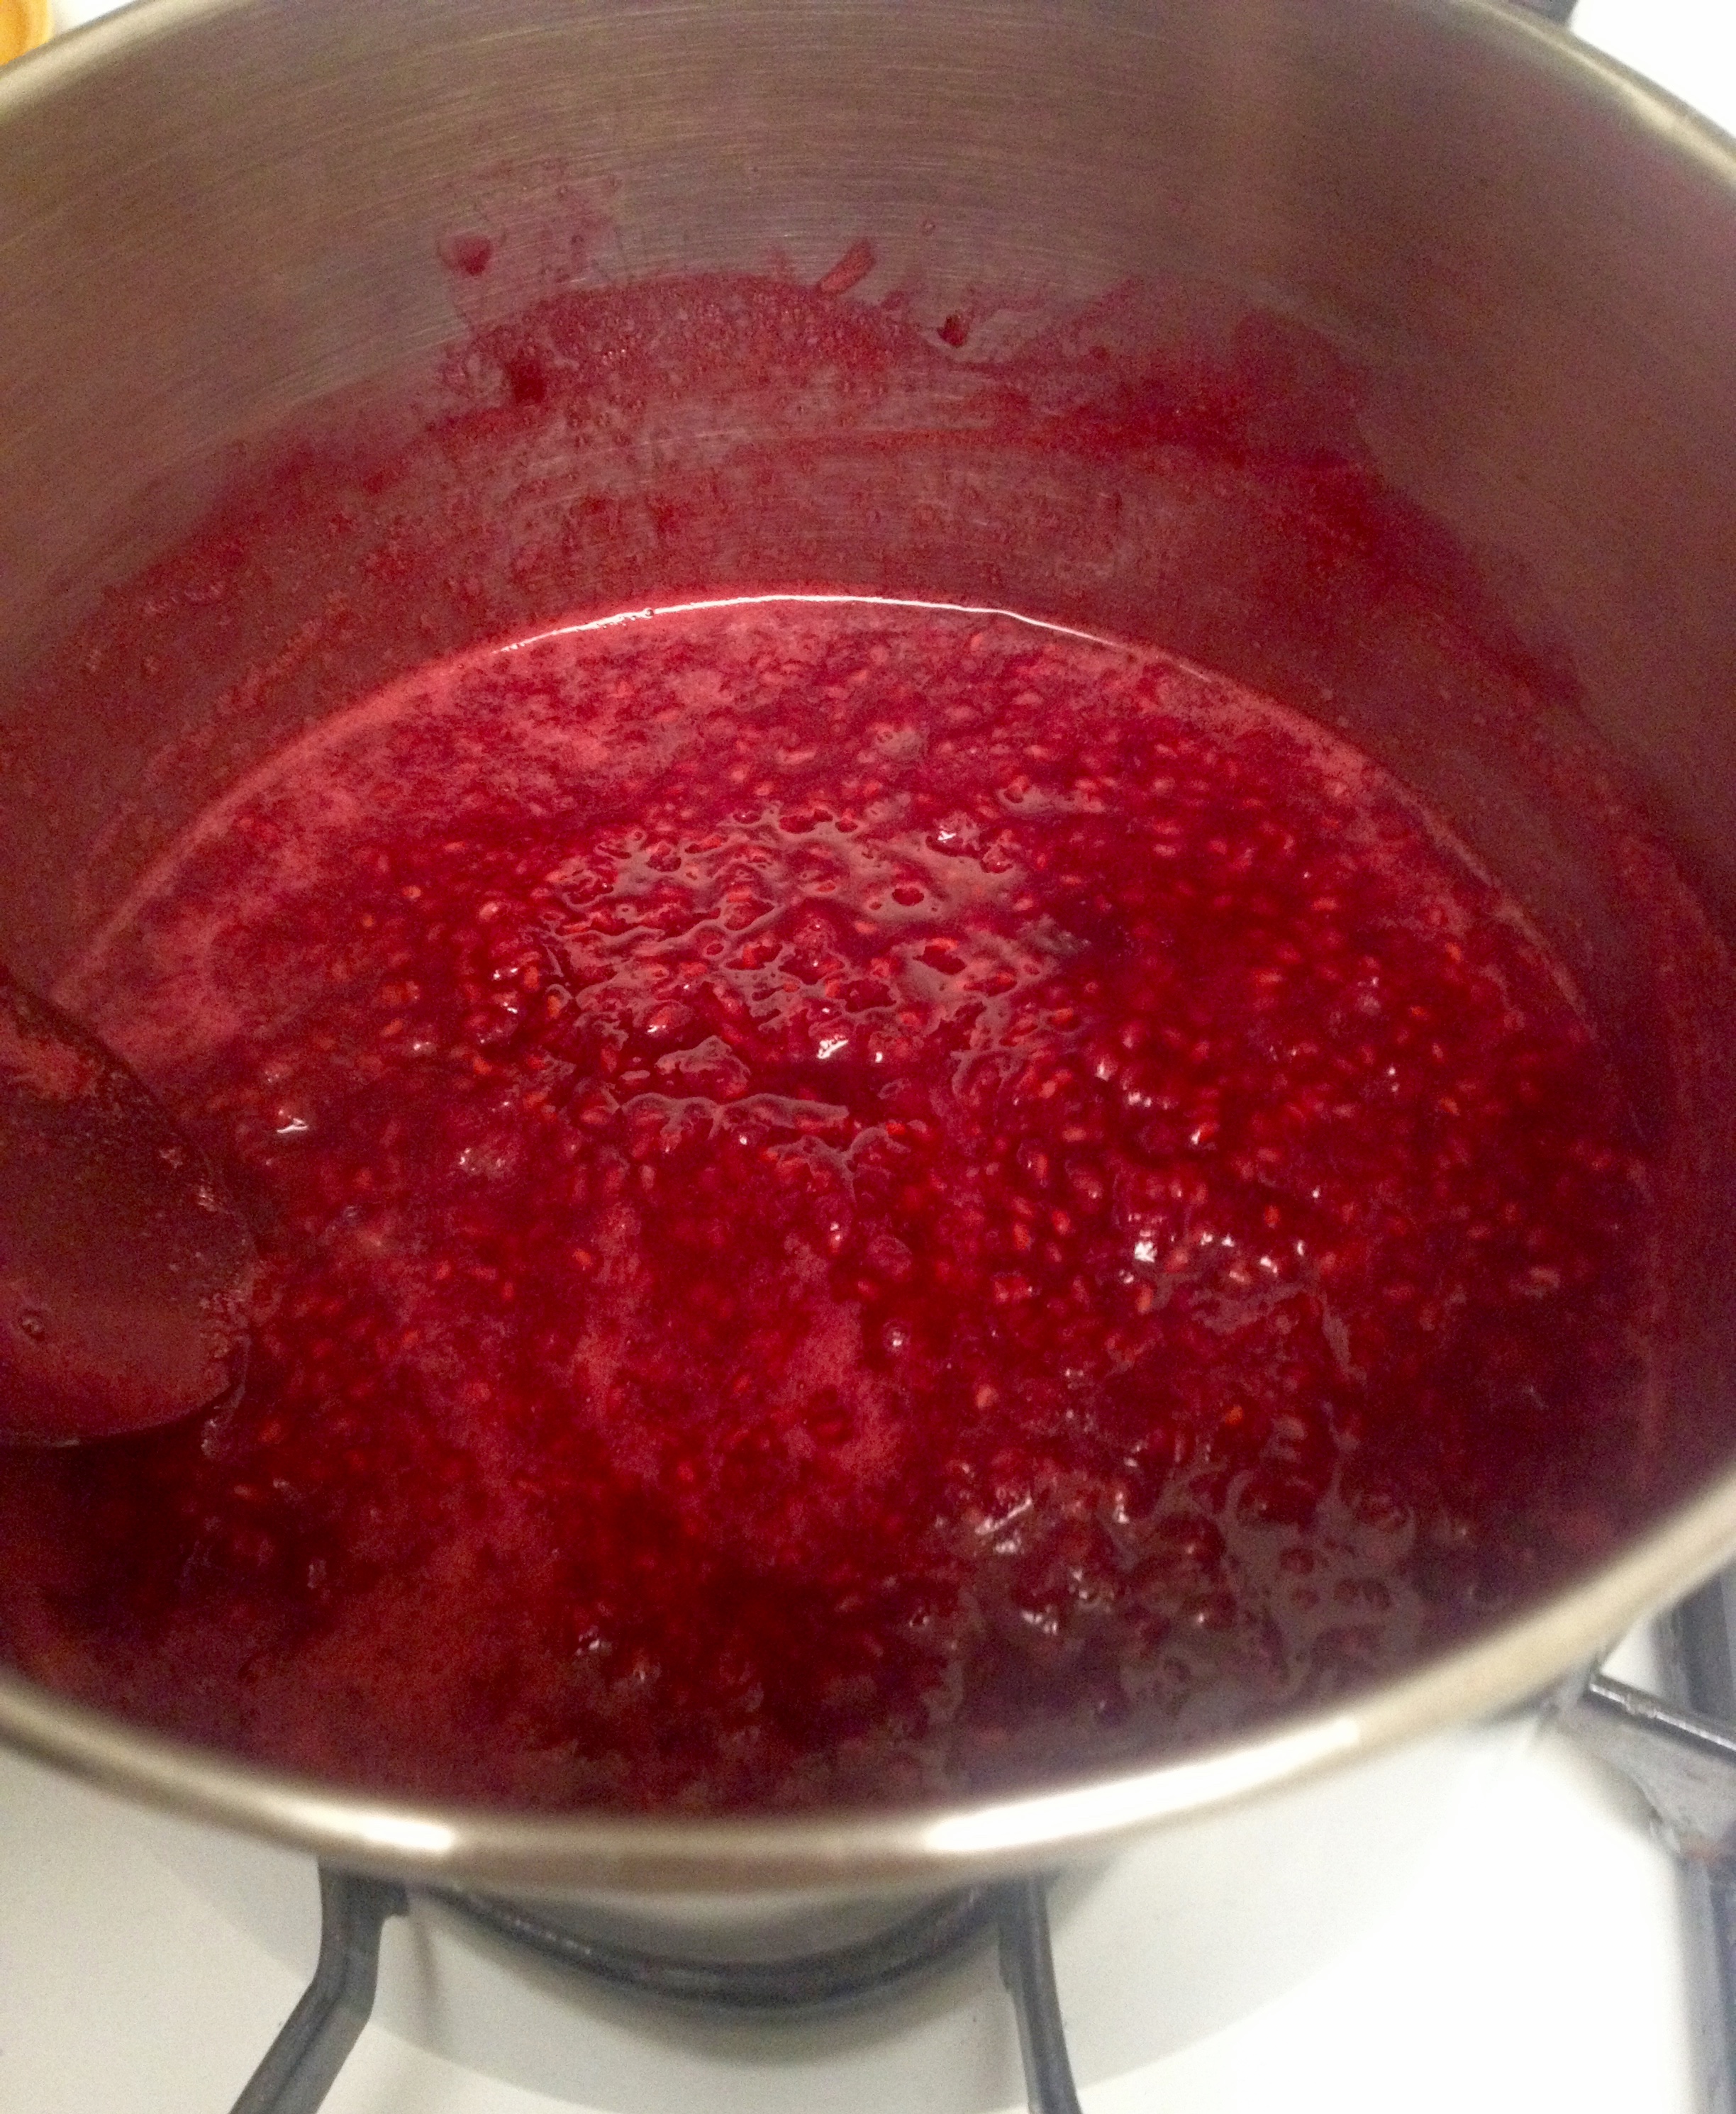
And now we’re on to the raspberry sauce! Easiest sauce ever, seriously. Put all the ingredients in a saucepan over medium heat and stir occasionally until the raspberries break down and the sugar dissolves, and the sauce thickens slightly. You can test the thickness by dipping a spoon in the sauce- if the liquid runs quickly off the spoon, it’s too thin; if it drips slowly off the spoon, you’re in business.
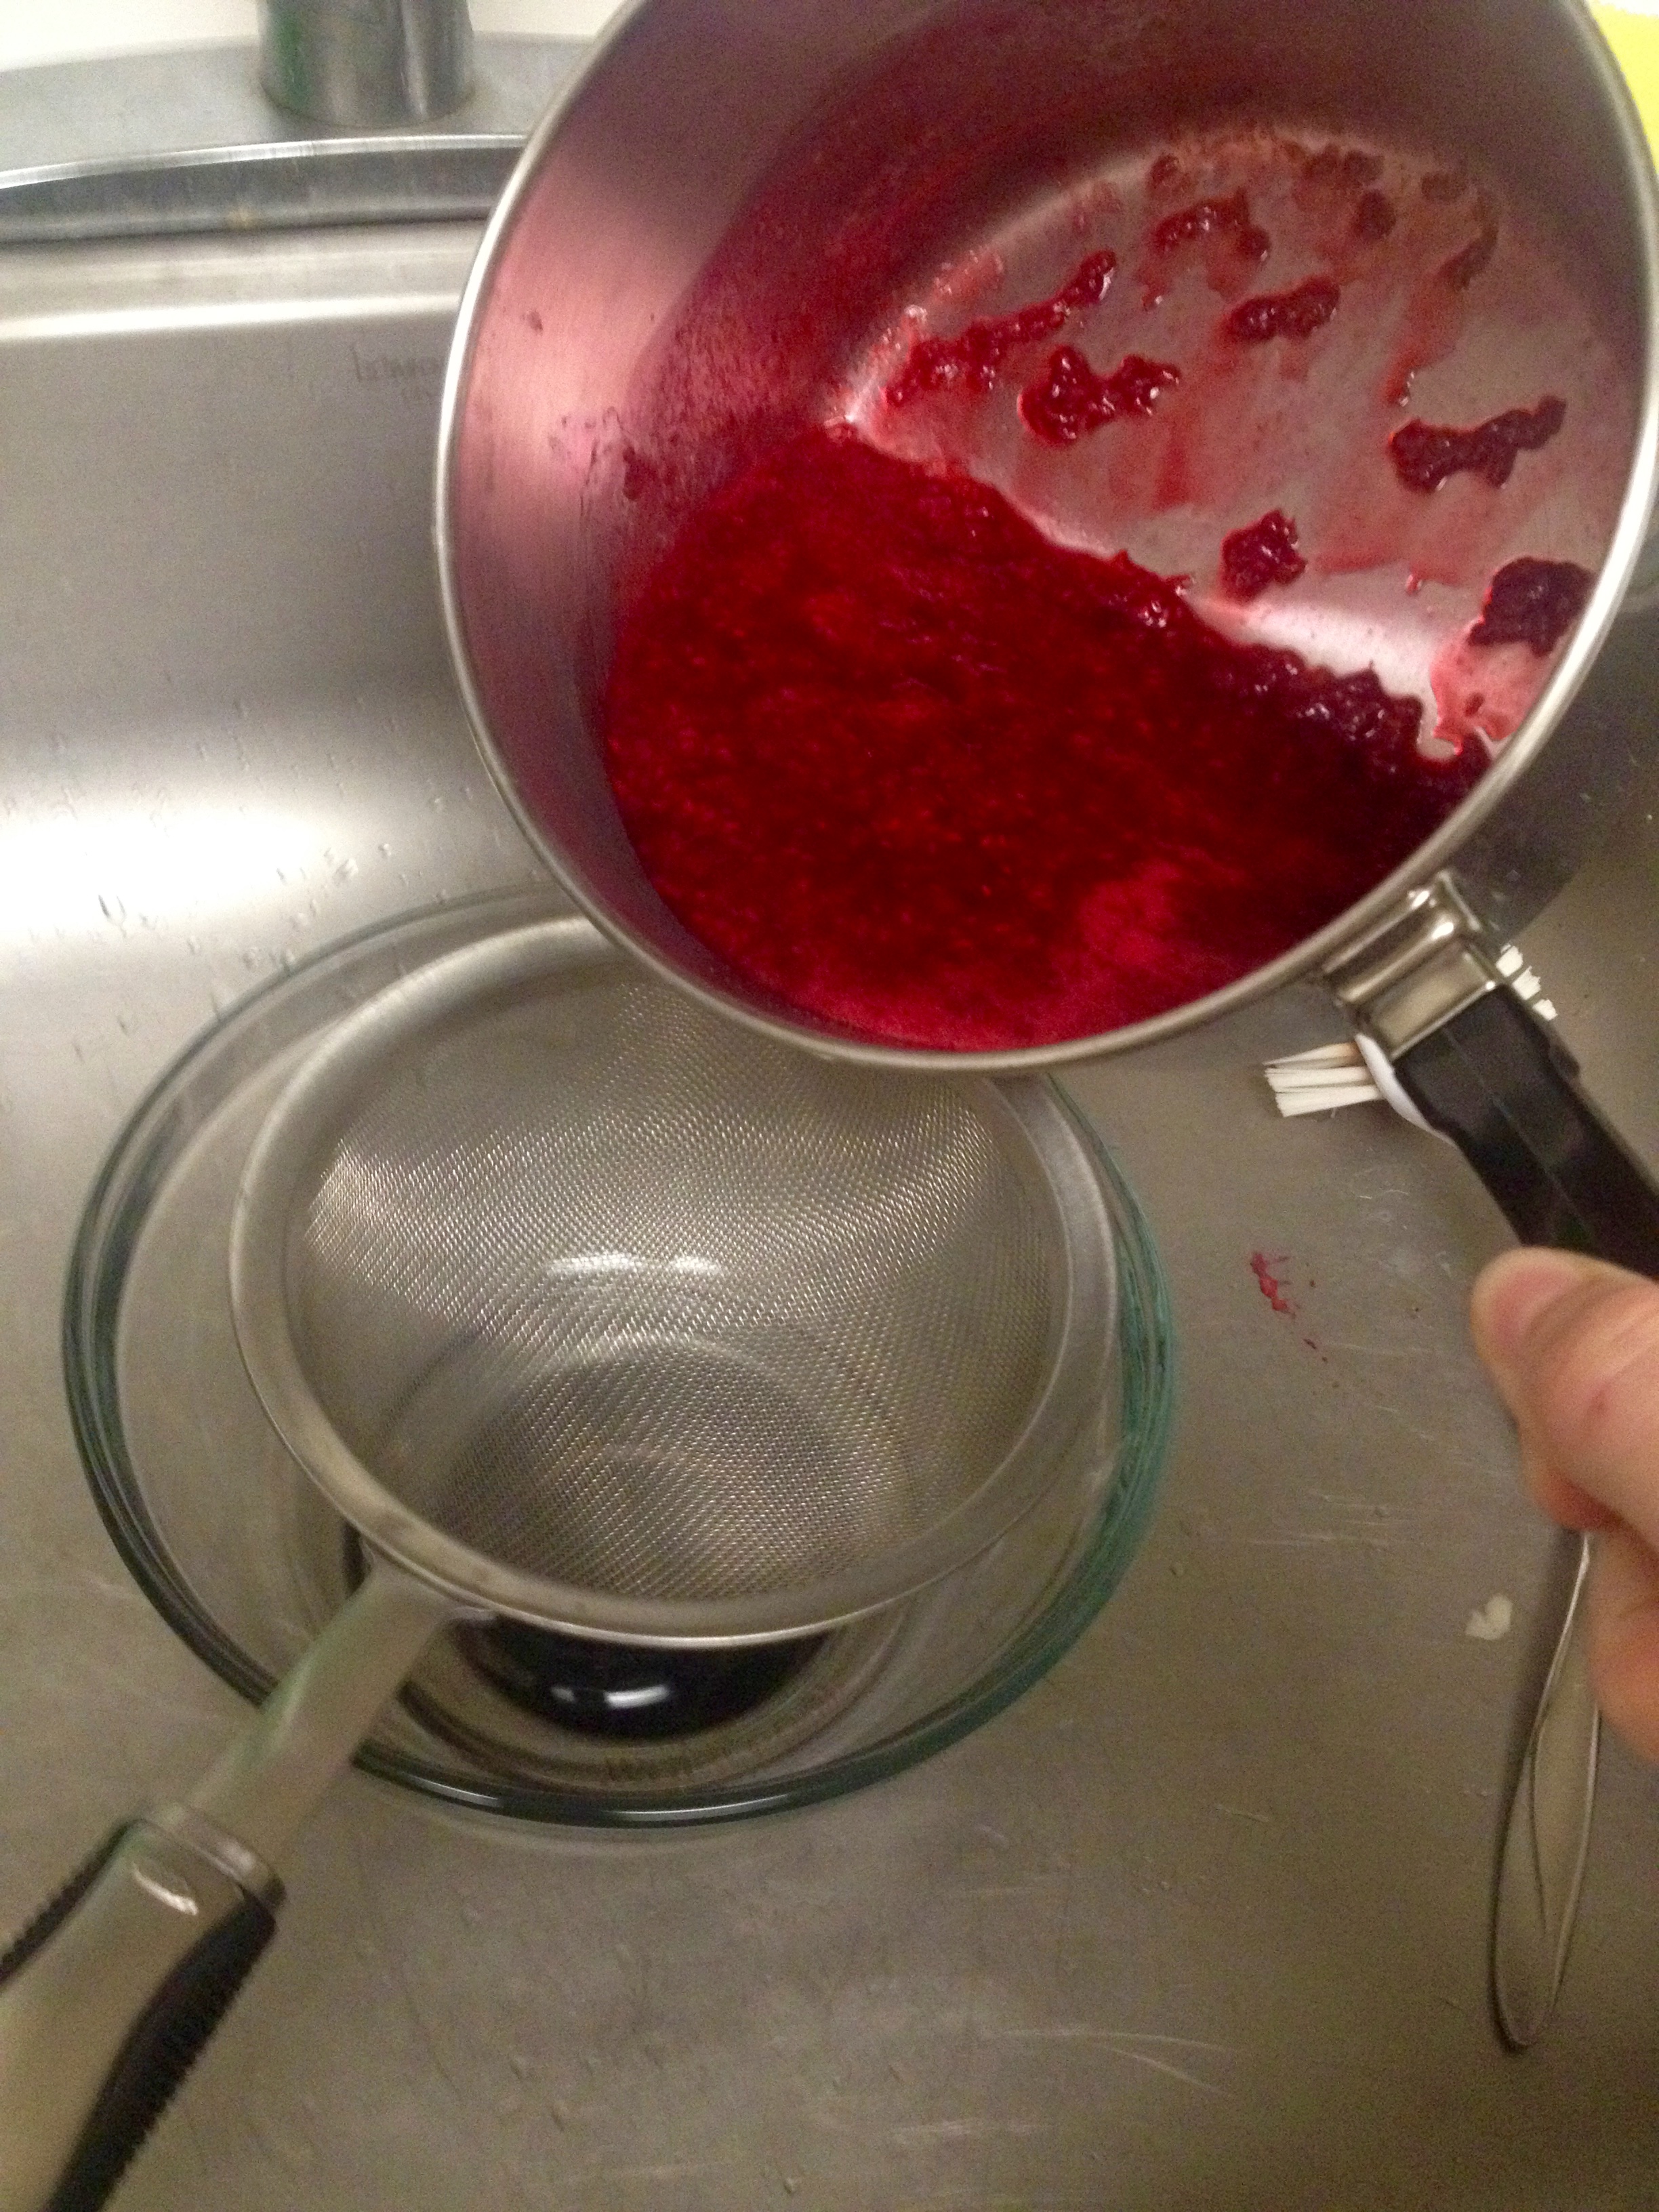
Then, pour the sauce into a bowl through a fine mesh strainer to get rid of the raspberry seeds.
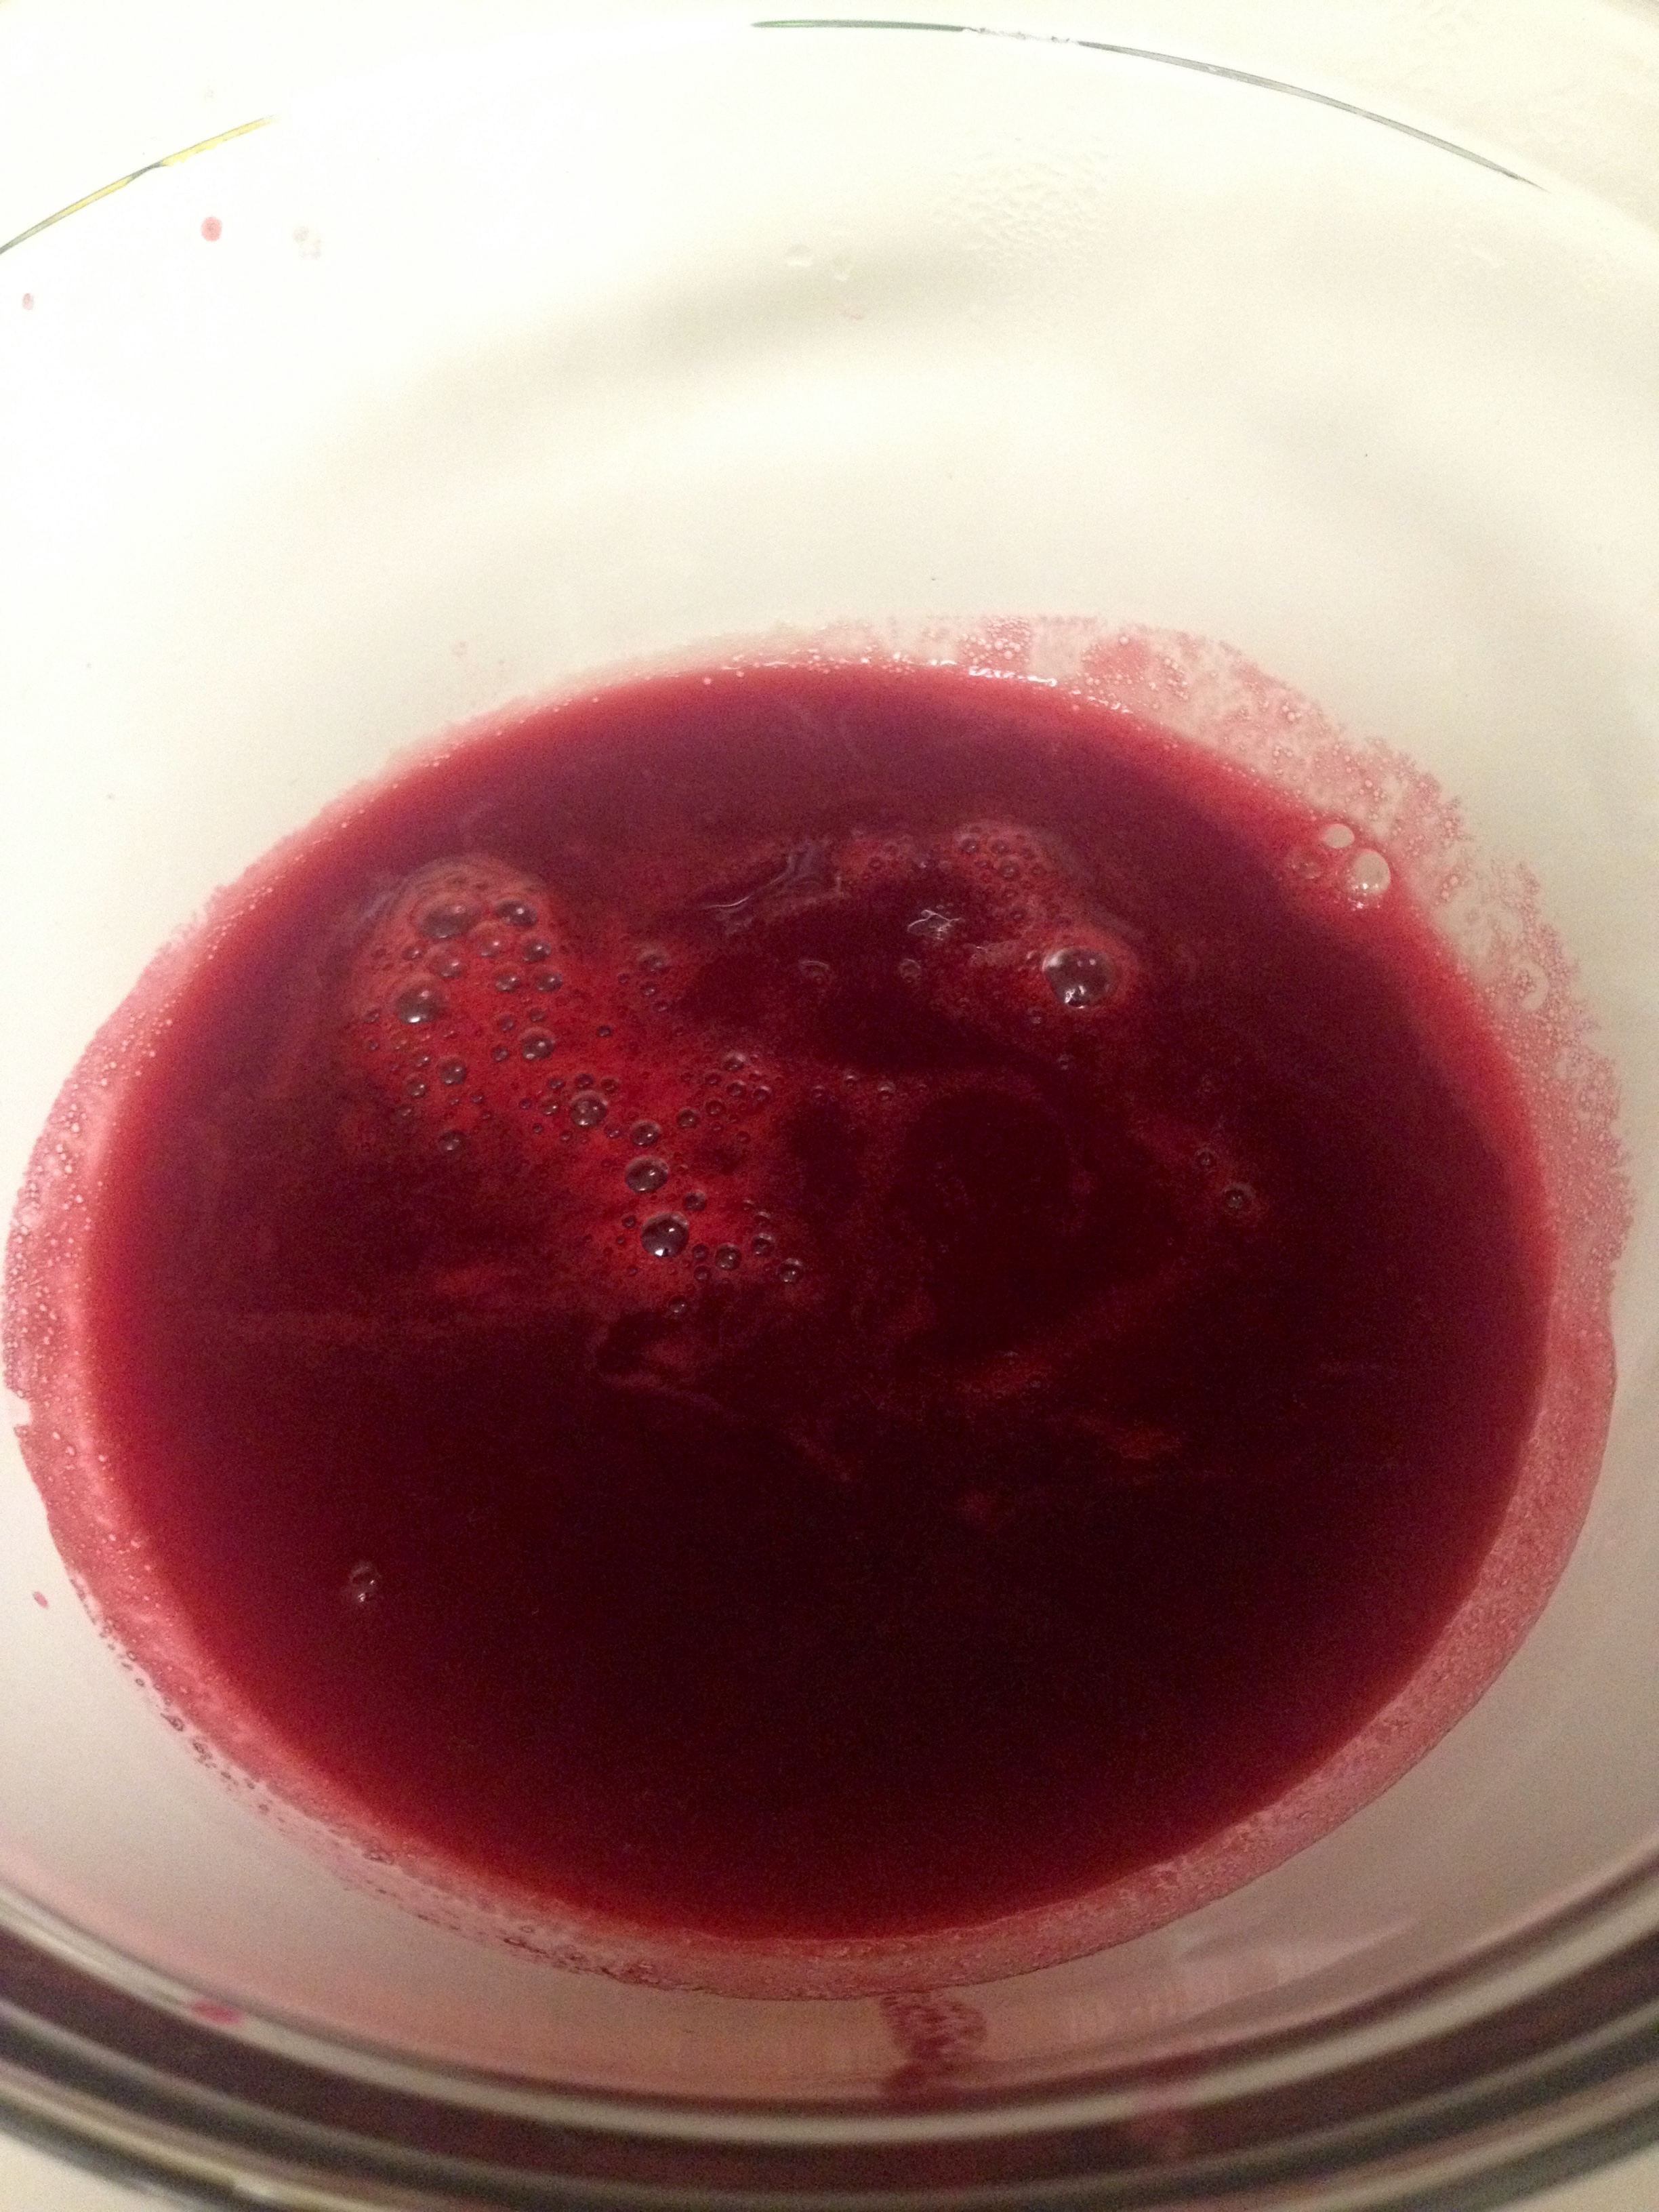
And that’s it! Now you have a wonderful raspberry sauce to top your cheesecake, and to give as gifts. Happy baking, and happy holidays!