
Two-Ingredient Cookies
Hi, all! Happy February! I don’t know about you, but I’m feeling pretty ready for Spring and warm weather. Hopefully we only have a few weeks to go of chilly temperatures! In the meantime, I have a super easy, fast, healthy and yummy recipe for you to try: two-ingredient cookies! The only two things you need to make these are bananas and oats. After those base ingredients, you can customize these cookies with mix-ins (so of course I added chocolate chips). Here’s how to make them:
Ingredients:
- 2 ripe bananas, mashed
- 1.5 cups old fashioned oats
- Mix-ins of your choice (chocolate chips, peanuts, cinnamon, raisins or other dried fruit, slivered almonds… the world is your oyster)
First, preheat the oven to 350F. While the oven is heating, mash the bananas in a bowl until they resemble baby food. Then, mix in your oats and stir until everything is combined. Finally, stir in whatever mix-ins you want.
Form the mixture into balls and place on a baking sheet. I used a baking mat for easy cleanup, but you can just put the “dough” right on the baking sheet too.
Bake at 350F for 20 minutes.
And that’s it! The cookies should be crisp on the outside but chewy and soft on the inside. It seriously tastes like banana bread when you bite into them but it’s healthier AND took way less time. Win win!
To keep these fresh for longer, I recommend storing them in the fridge (unless your family eats them all in a day, which is very possible). Happy baking!
Molasses Cookies
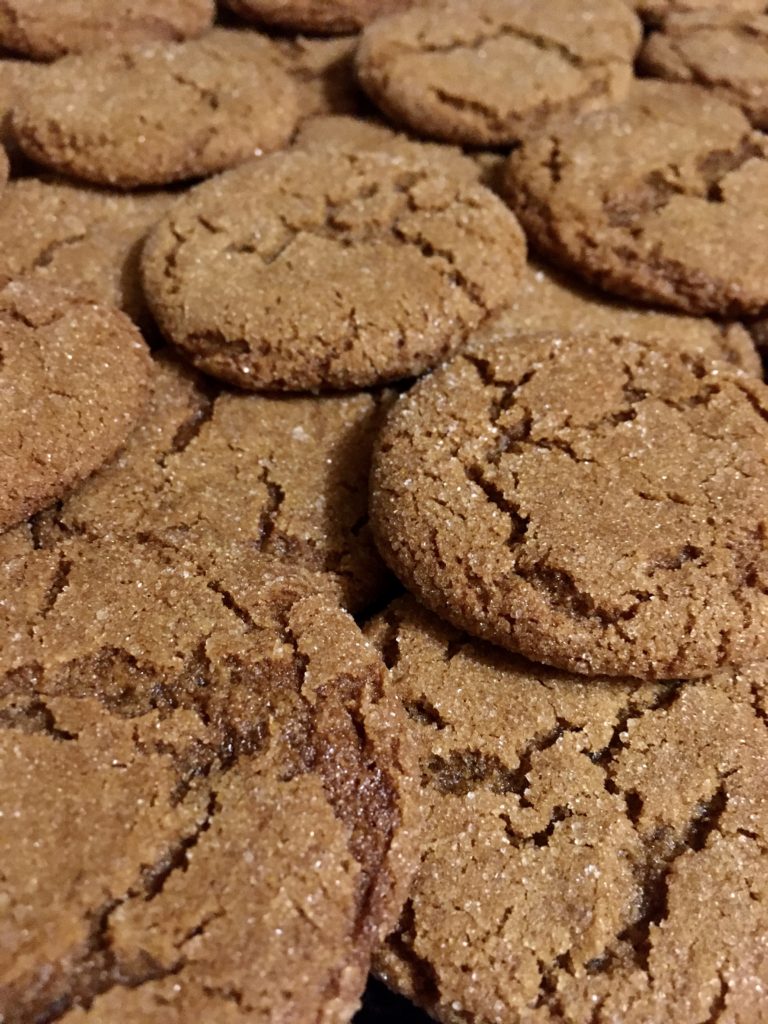
Hi, all! How are you doing? I hope you’re hanging in there during this crazy time, and finding ways to keep yourselves entertained. It seems that my city has taken to baking while they’re at home (or at least, that’s the only explanation I can find for the grocery store being sold out of flour consistently!). To that end, I figured I’d supply a recipe for you to try out: molasses cookies! Crunchy on the outside, chewy on the inside, sweet and spiced, these cookies are seriously so delicious. And, happily, the recipe makes a big batch so you’ll have enough to share with your family. Here’s the recipe:
Ingredients:
- 3/4 cup shortening, melted
- 1 cup granulated sugar, plus extra for rolling
- 1/4 cup molasses
- 1 egg
- 1/2 tsp cloves
- 1/2 tsp ginger
- 1 tsp cinnamon
- 1/2 tsp salt
- 2 cups all purpose flour
- 2 tsp baking soda
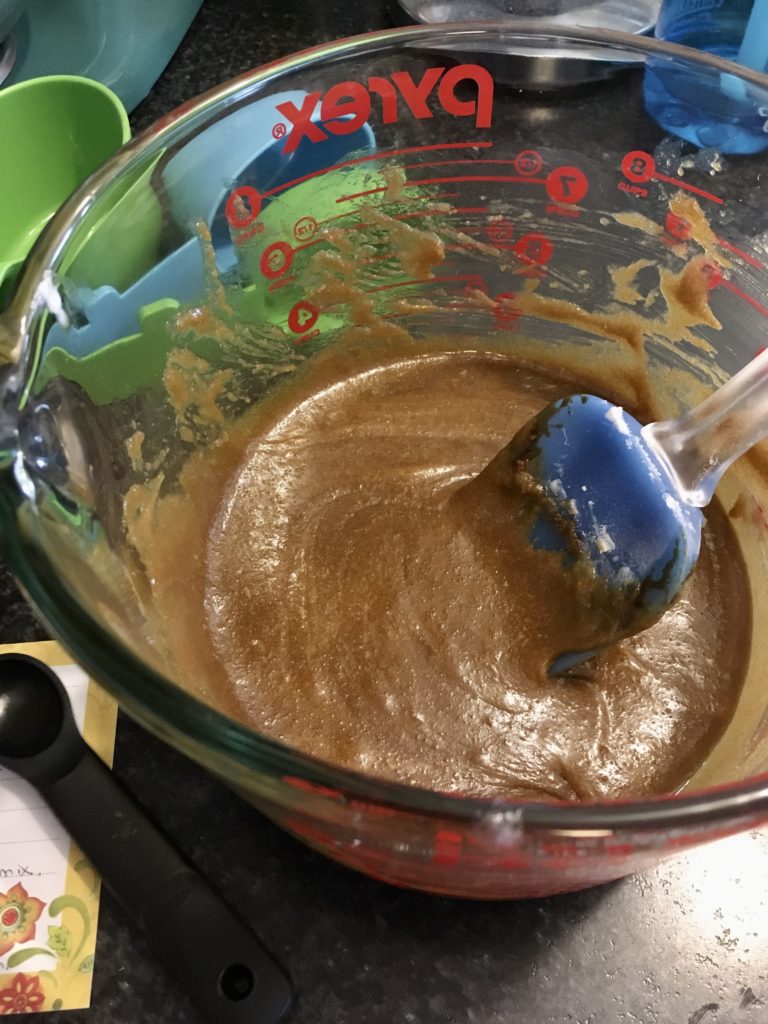
First, combine the melted shortening with the sugar and molasses. A note about the shortening- it’s necessary to use shortening to end up with the right texture and look of the cookies. I’ve tried substituting butter for the shortening, and you end up with a very different cookie (although still delicious, so if all you have is butter then go for it – just don’t expect the same result as will be shown here!)
If the shortening is still hot from being melted, let it cool down to lukewarm before mixing in the egg (otherwise, you’ll end up with cooked scrambled eggs in your batter and you’ll have to start over!). Once the mixture is cooled to lukewarm, mix in the egg and beat well. Your mixture will now look smooth and blended since the egg is binding everything together.
Mix in the spices, flour, and baking soda, and mix until fully combined.
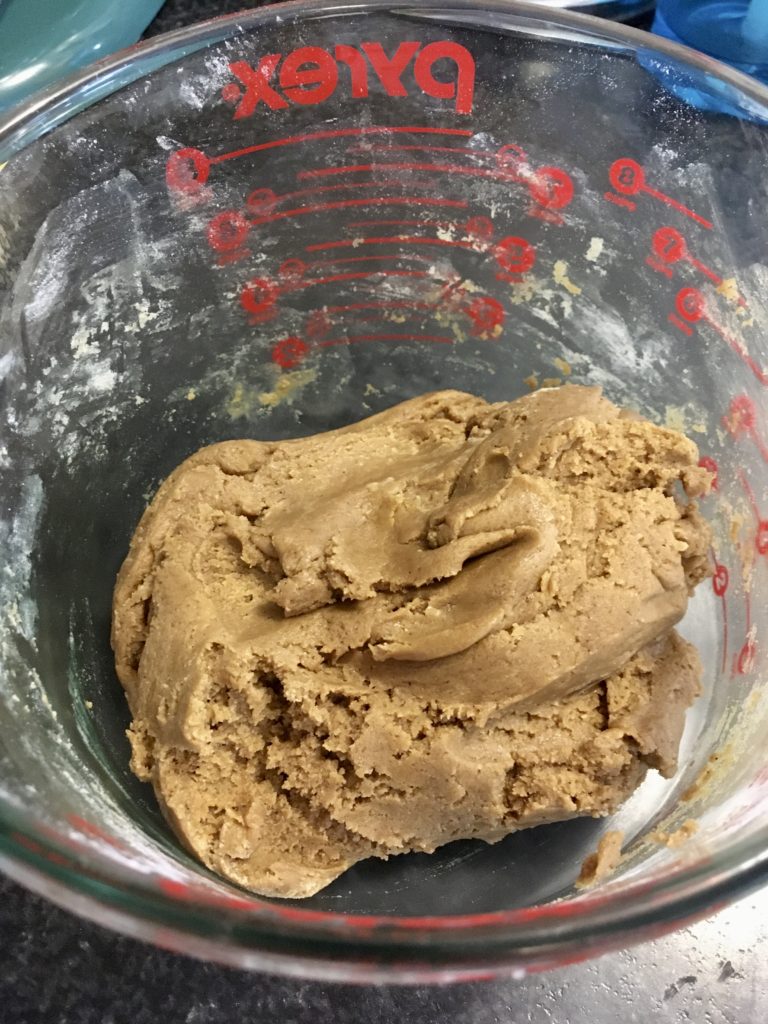
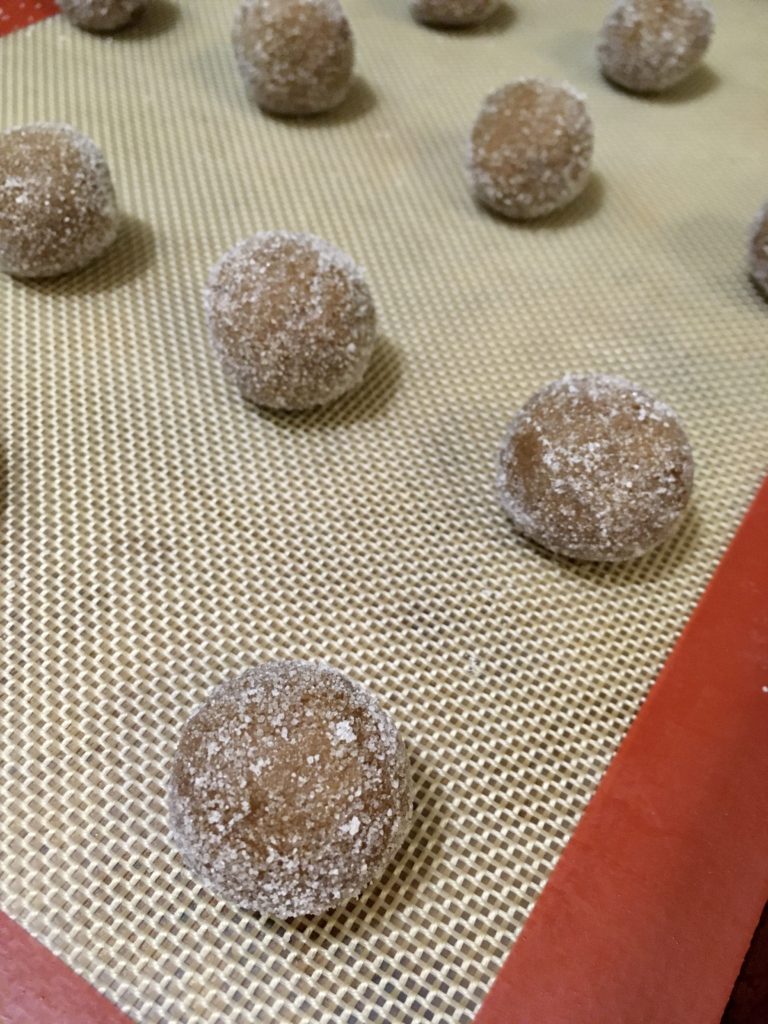
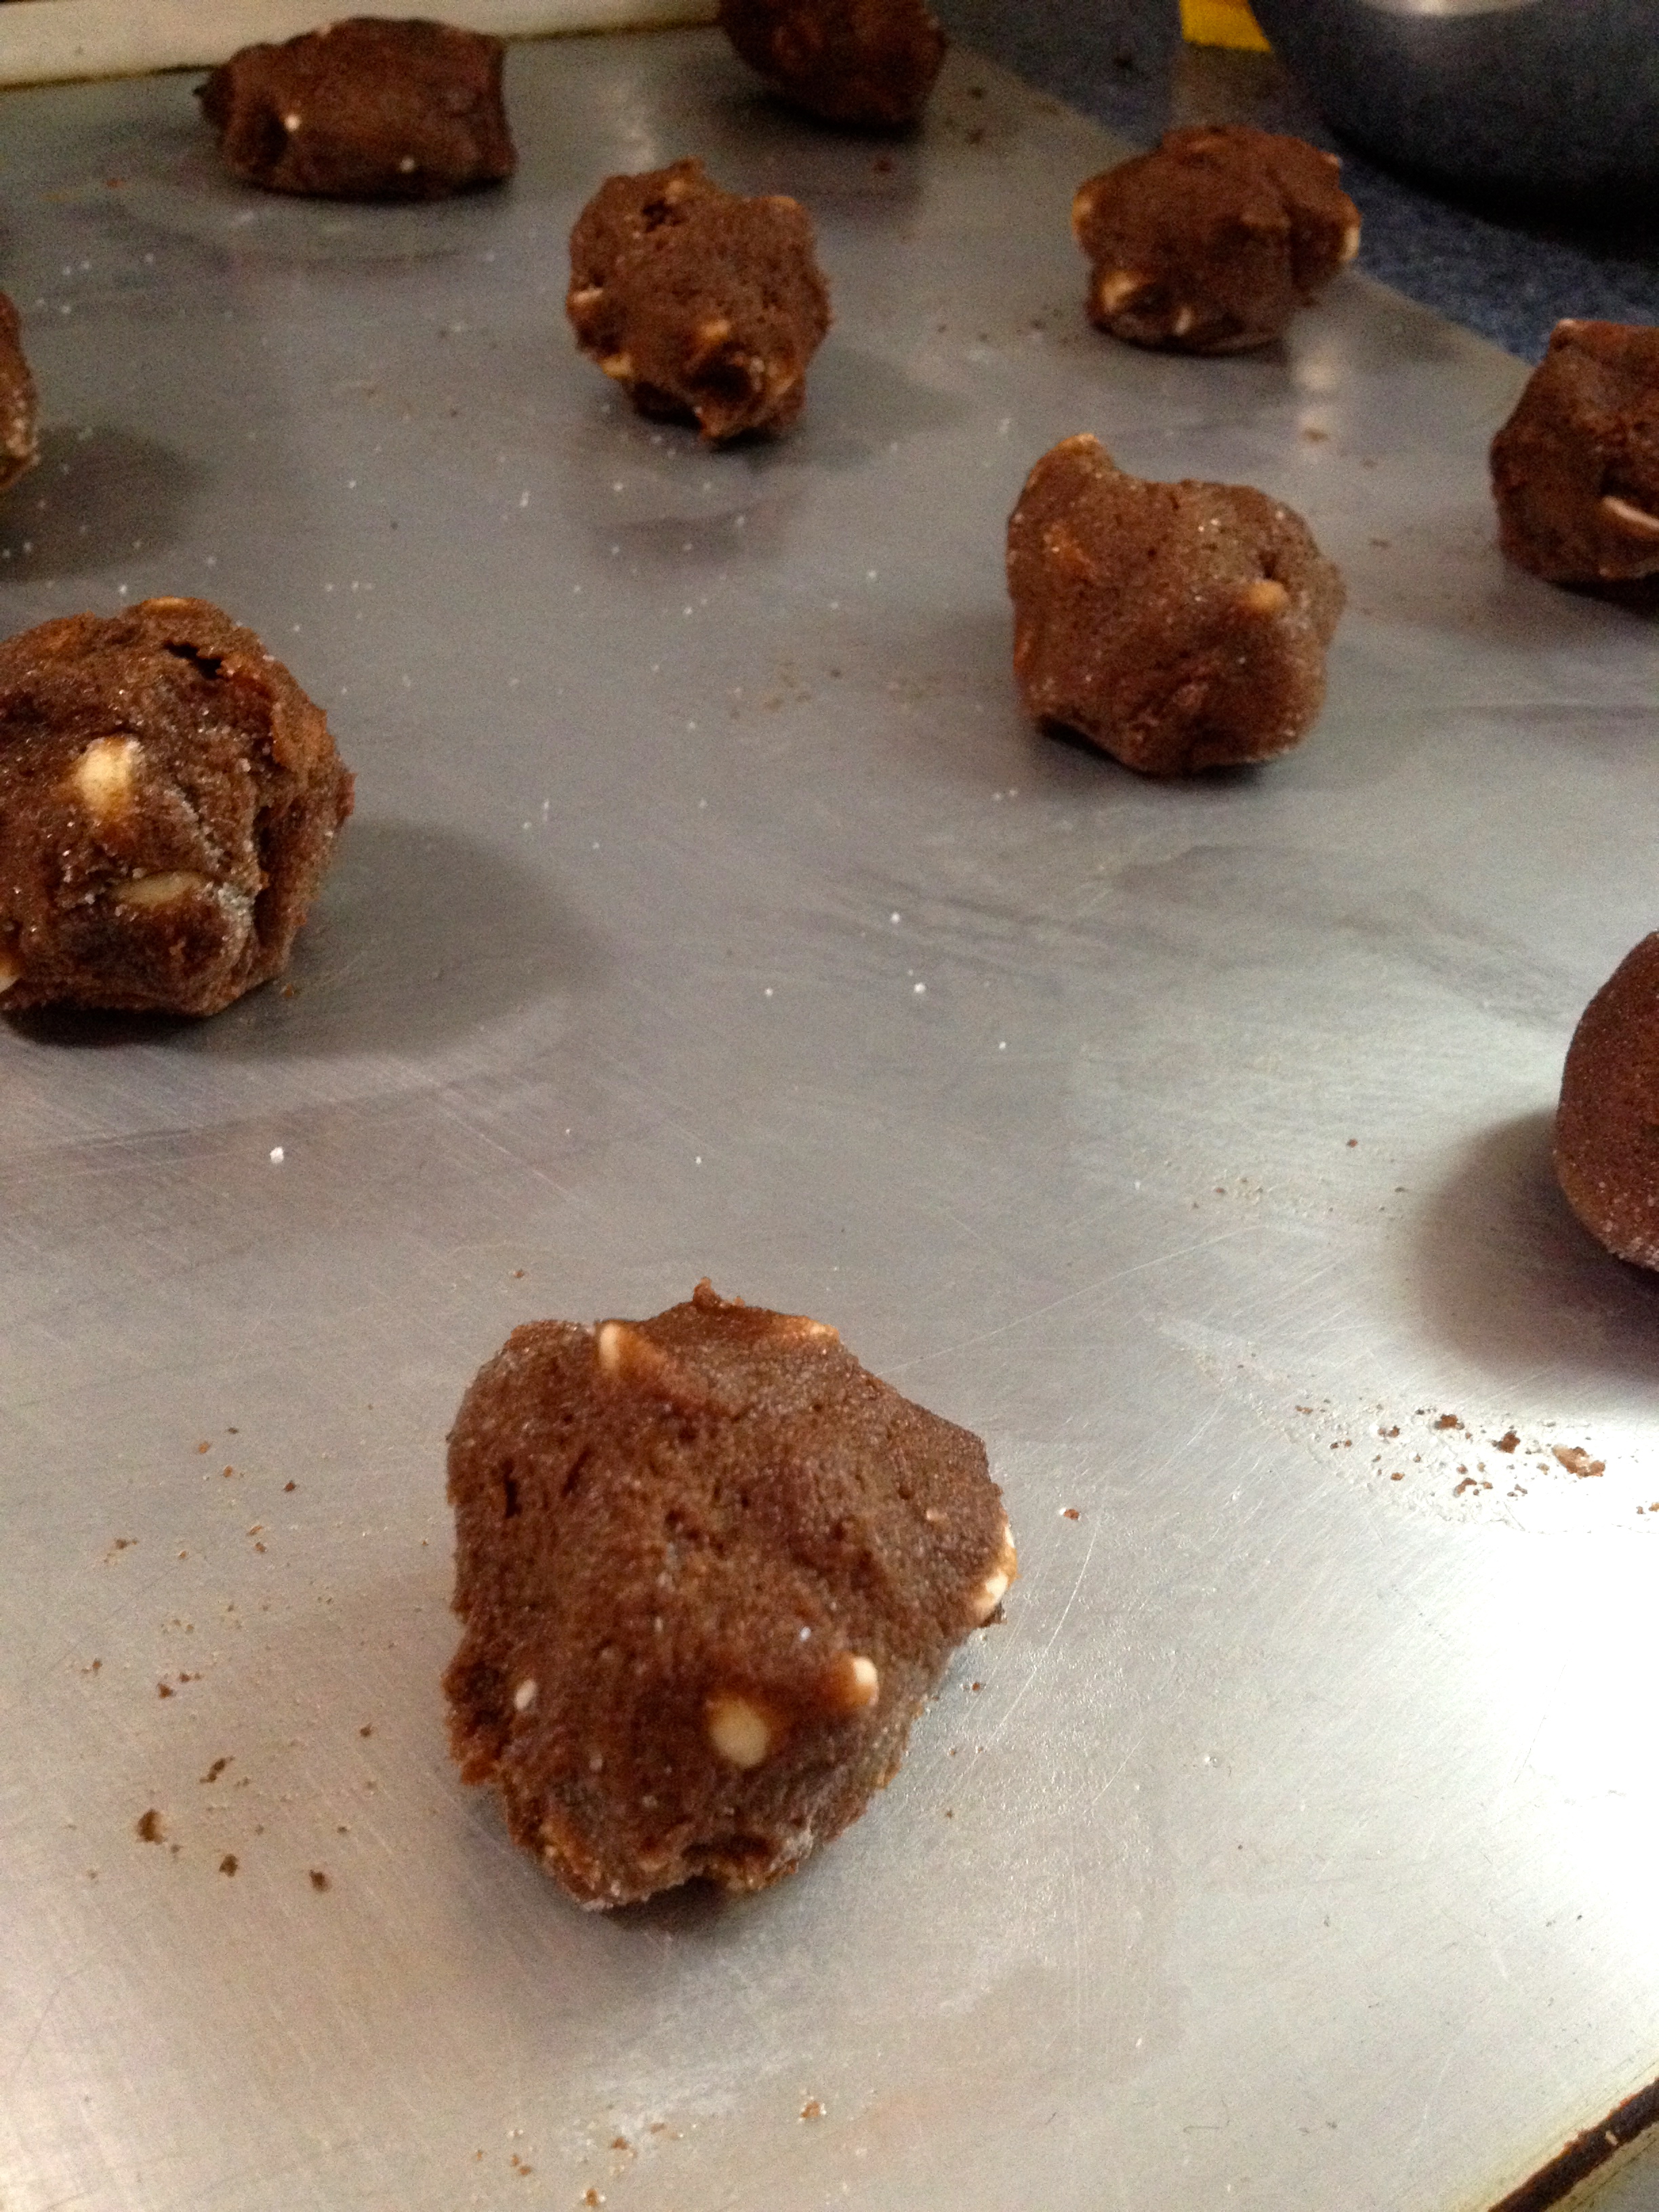
Chill the dough for at least 30 minutes. Preheat the oven to 375F. Once the dough is chilled, roll the dough into 1″ balls, roll them in the extra sugar to coat, and place them on a greased or lined baking sheet.
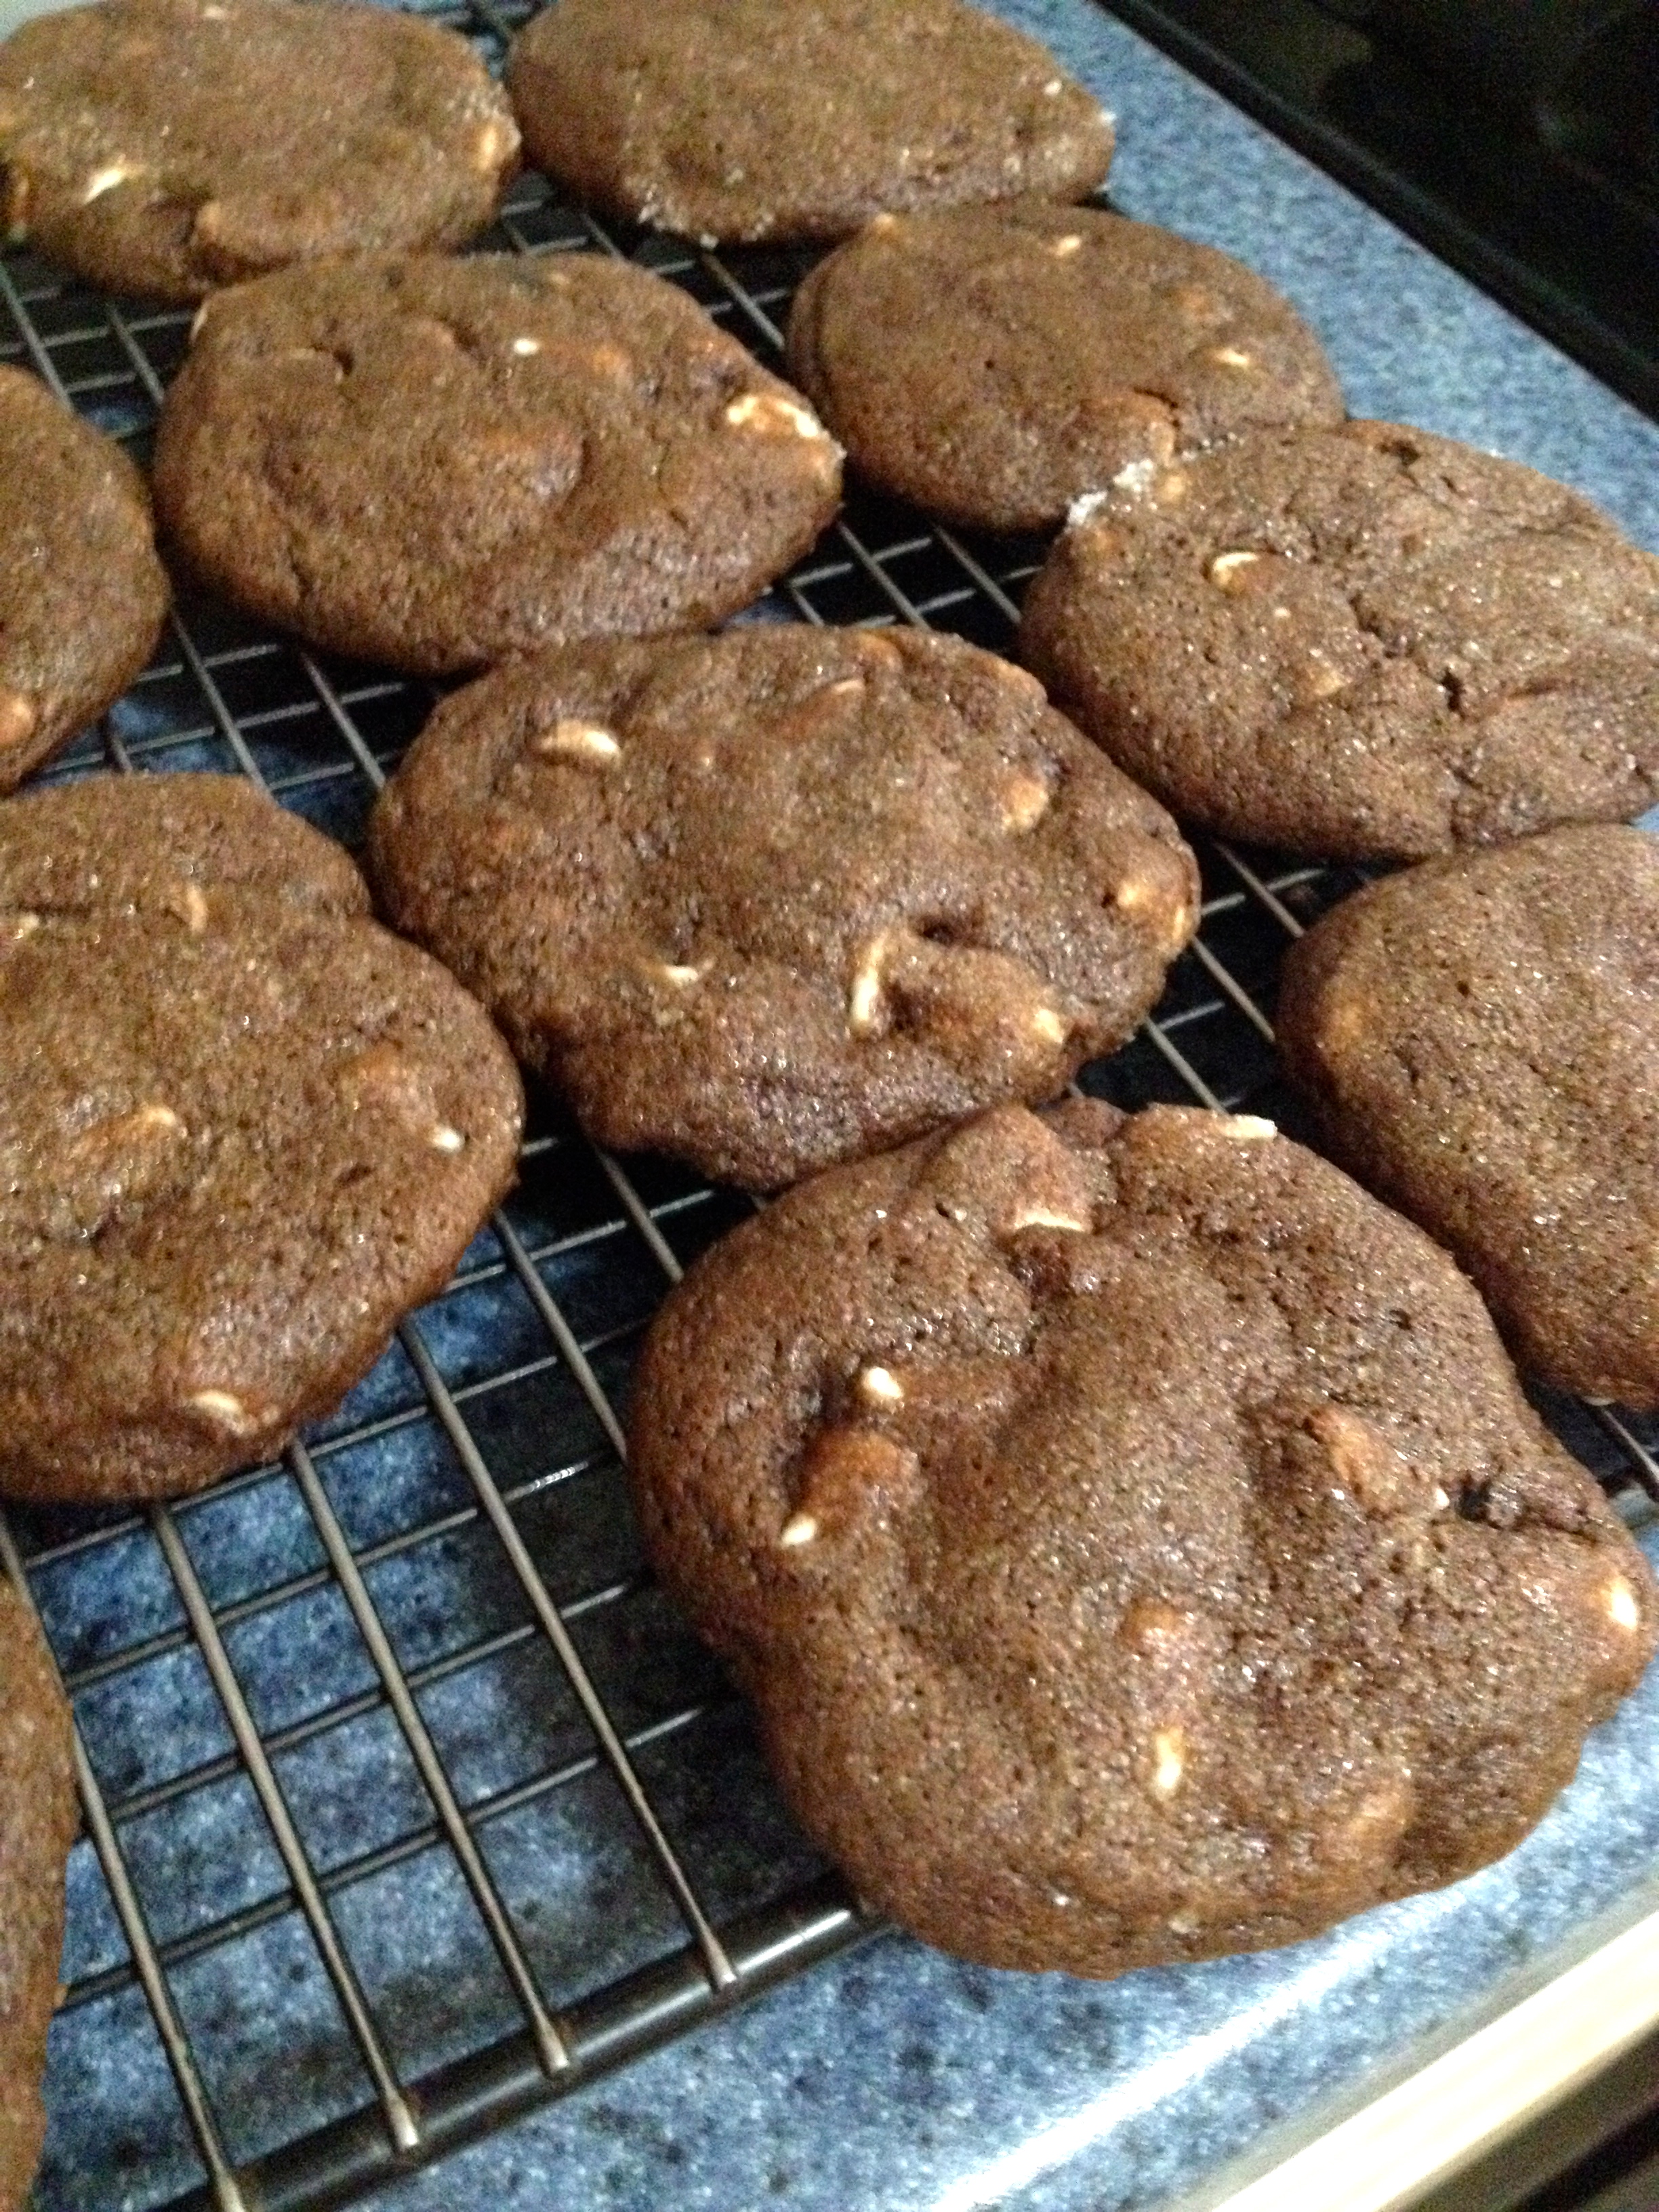
Bake for 8-10 minutes. If you have multiple cookie sheets going at once, switch their position in the oven halfway through baking to ensure even baking. You’ll know they’re done with they flatten, develop the characteristic cracking on top as pictured below, and have darkened to a nice rich brown color.
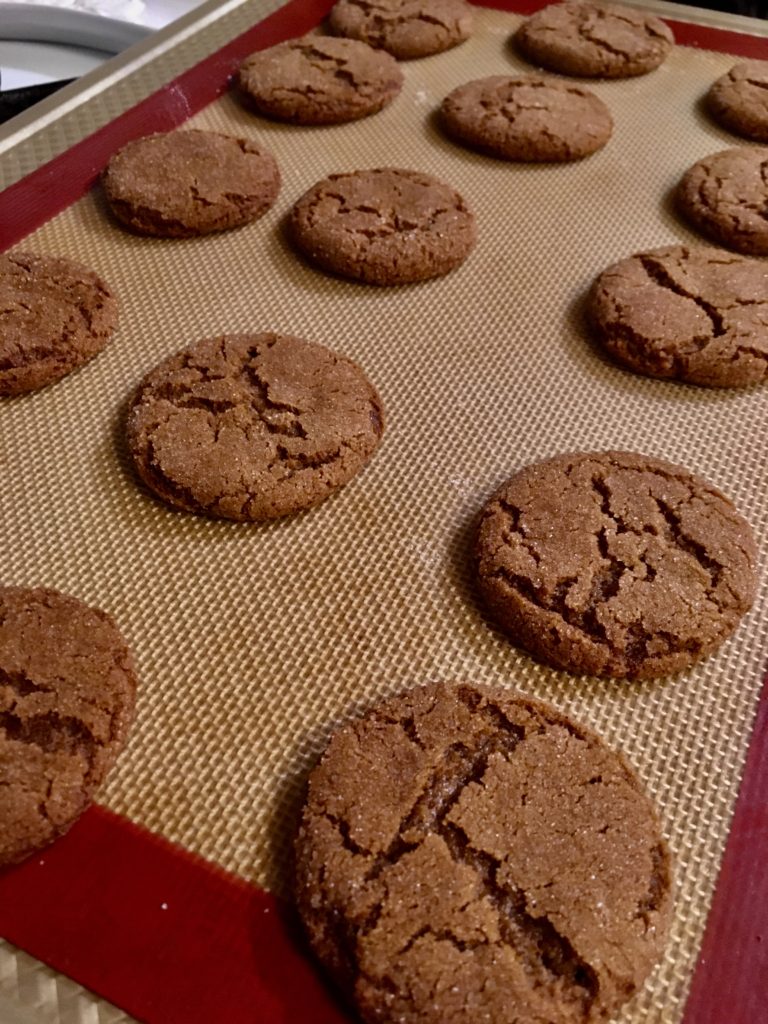
Remove to a wire cooling rack to cool. Be sure to have a few when they’re still warm, because they are absolutely amazing fresh from the oven.
And that’s it! If these last long in your house, I’ll be impressed. They’re going quick in mine, and there are only two of us here!
Keep your chins up and stay positive, everyone! We will get through this and we’ll be able to meet up and share our baked goods again before you know it.
Happy baking!
Coconut Macaroons
Hi, all! Hope you are all doing well and getting through the chaos of the Coronavirus! I figure, if we have to stay home, might as well bake some yummy treats and eat them! This recipe for Coconut Macaroons is super easy and makes a small enough batch that you can enjoy them between two people. Here are the ingredients:
- 1 1/3 cups sweetened shredded coconut
- 1/3 cup sugar
- 2 tbsp all-purpose flour
- 1/8 tsp salt
- 2 large egg whites, room temperature
- 1/2 tsp vanilla extract
- Melted semi-sweet chocolate (optional)
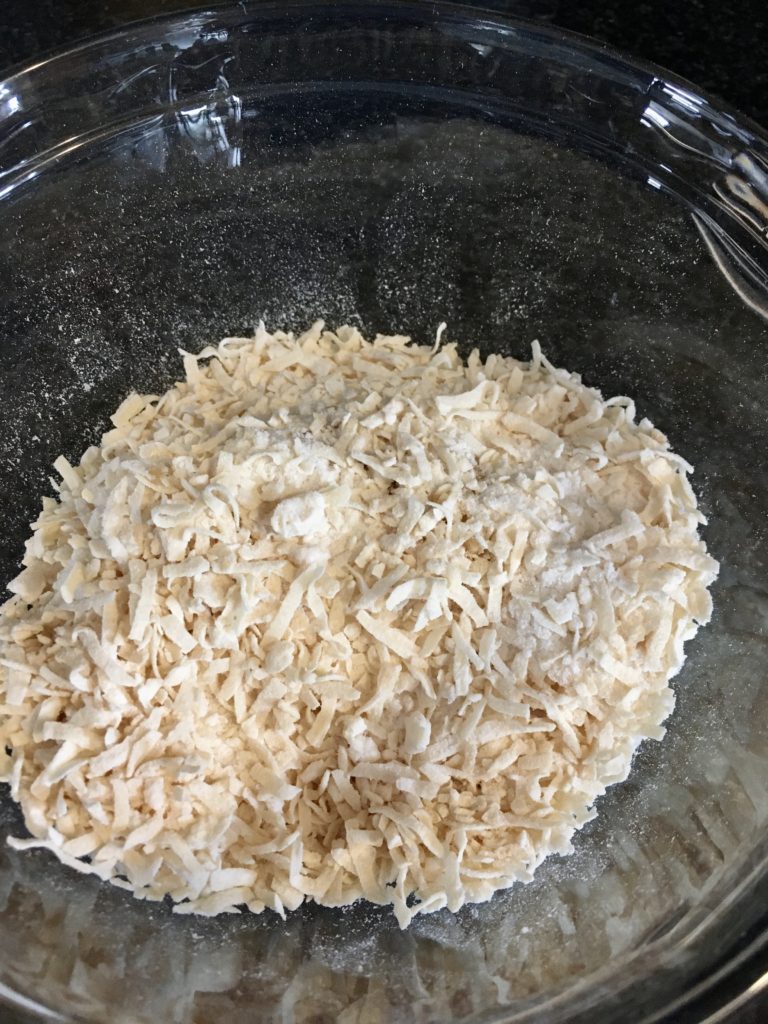
Preheat the oven to 325F. In a small bowl, mix the coconut, sugar, flour, and salt together.
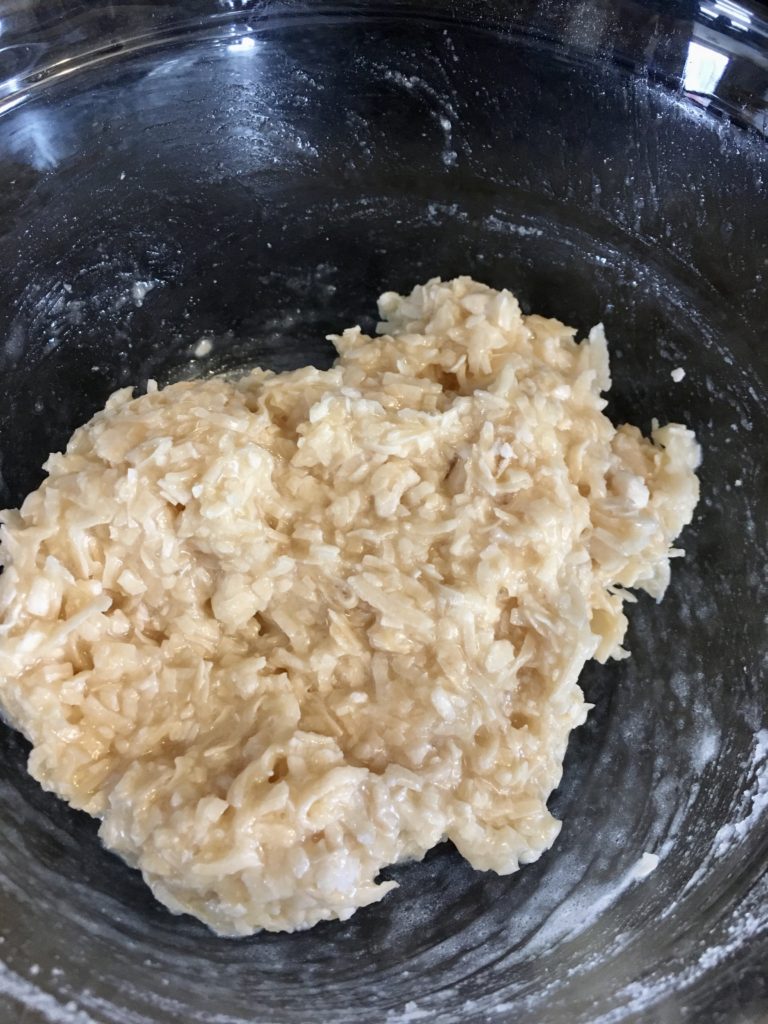
Add the egg whites and vanilla, and mix until the ingredients are thoroughly combined.
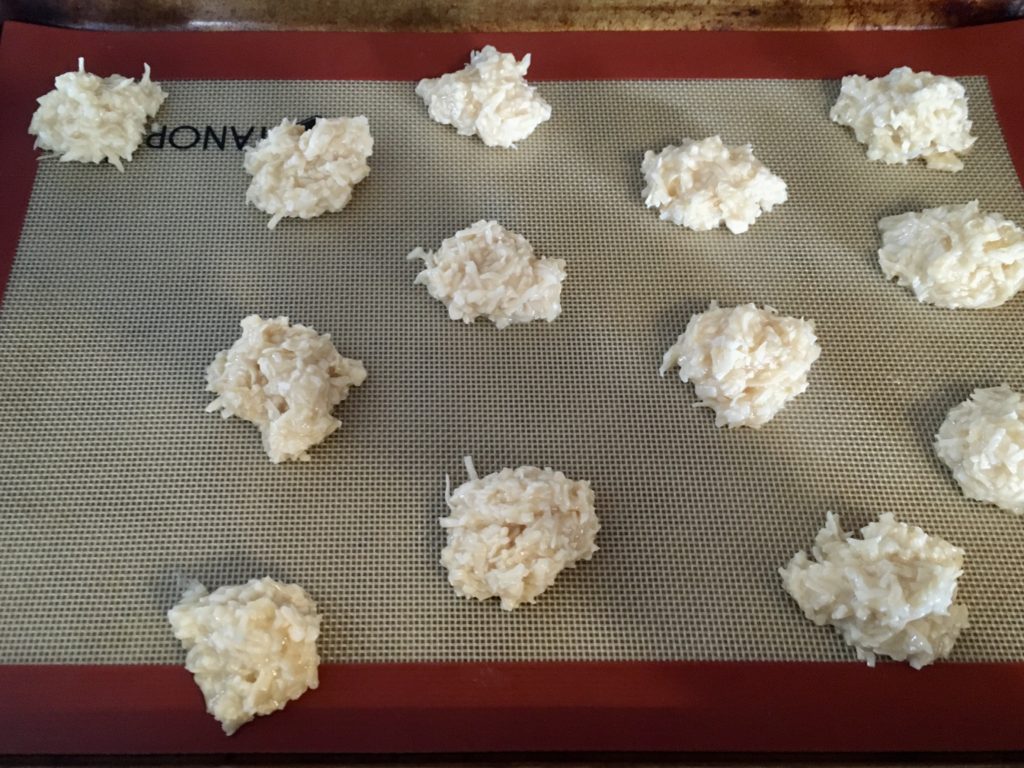
Drop tablespoon-sized balls onto a greased, or baking mat-lined, baking sheet.
Bake 18-20 minutes, or until the cookies are golden brown on top. Cool on a wire rack.

When the cookies are cool, drizzle with melted chocolate if you want!

Chocolate Meringue Cookies
Hi, all! I hope you all are having a great February and that you enjoyed your Valentine’s Day! We had a V-Day party at my work so I got to eat a ton of delicious food, but also got to try out this new recipe! I was hunting for a dairy-free recipe for my friends with dairy allergies, and realized that meringues are dairy-free (and also gluten-free) and figured I would give them a try. Meringues are known to be fairly tricky to make, but this recipe worked well for me- as always, I’ve included pictures for reference if you need it!
Ingredients:
- 1/2 cup superfine/caster sugar (100g for those using a food scale)
- 1/2 cup powdered sugar (100g)
- 3 large egg whites (100g)
- 2 tbsp cocoa powder
- pinch of salt (~1/8 tsp)
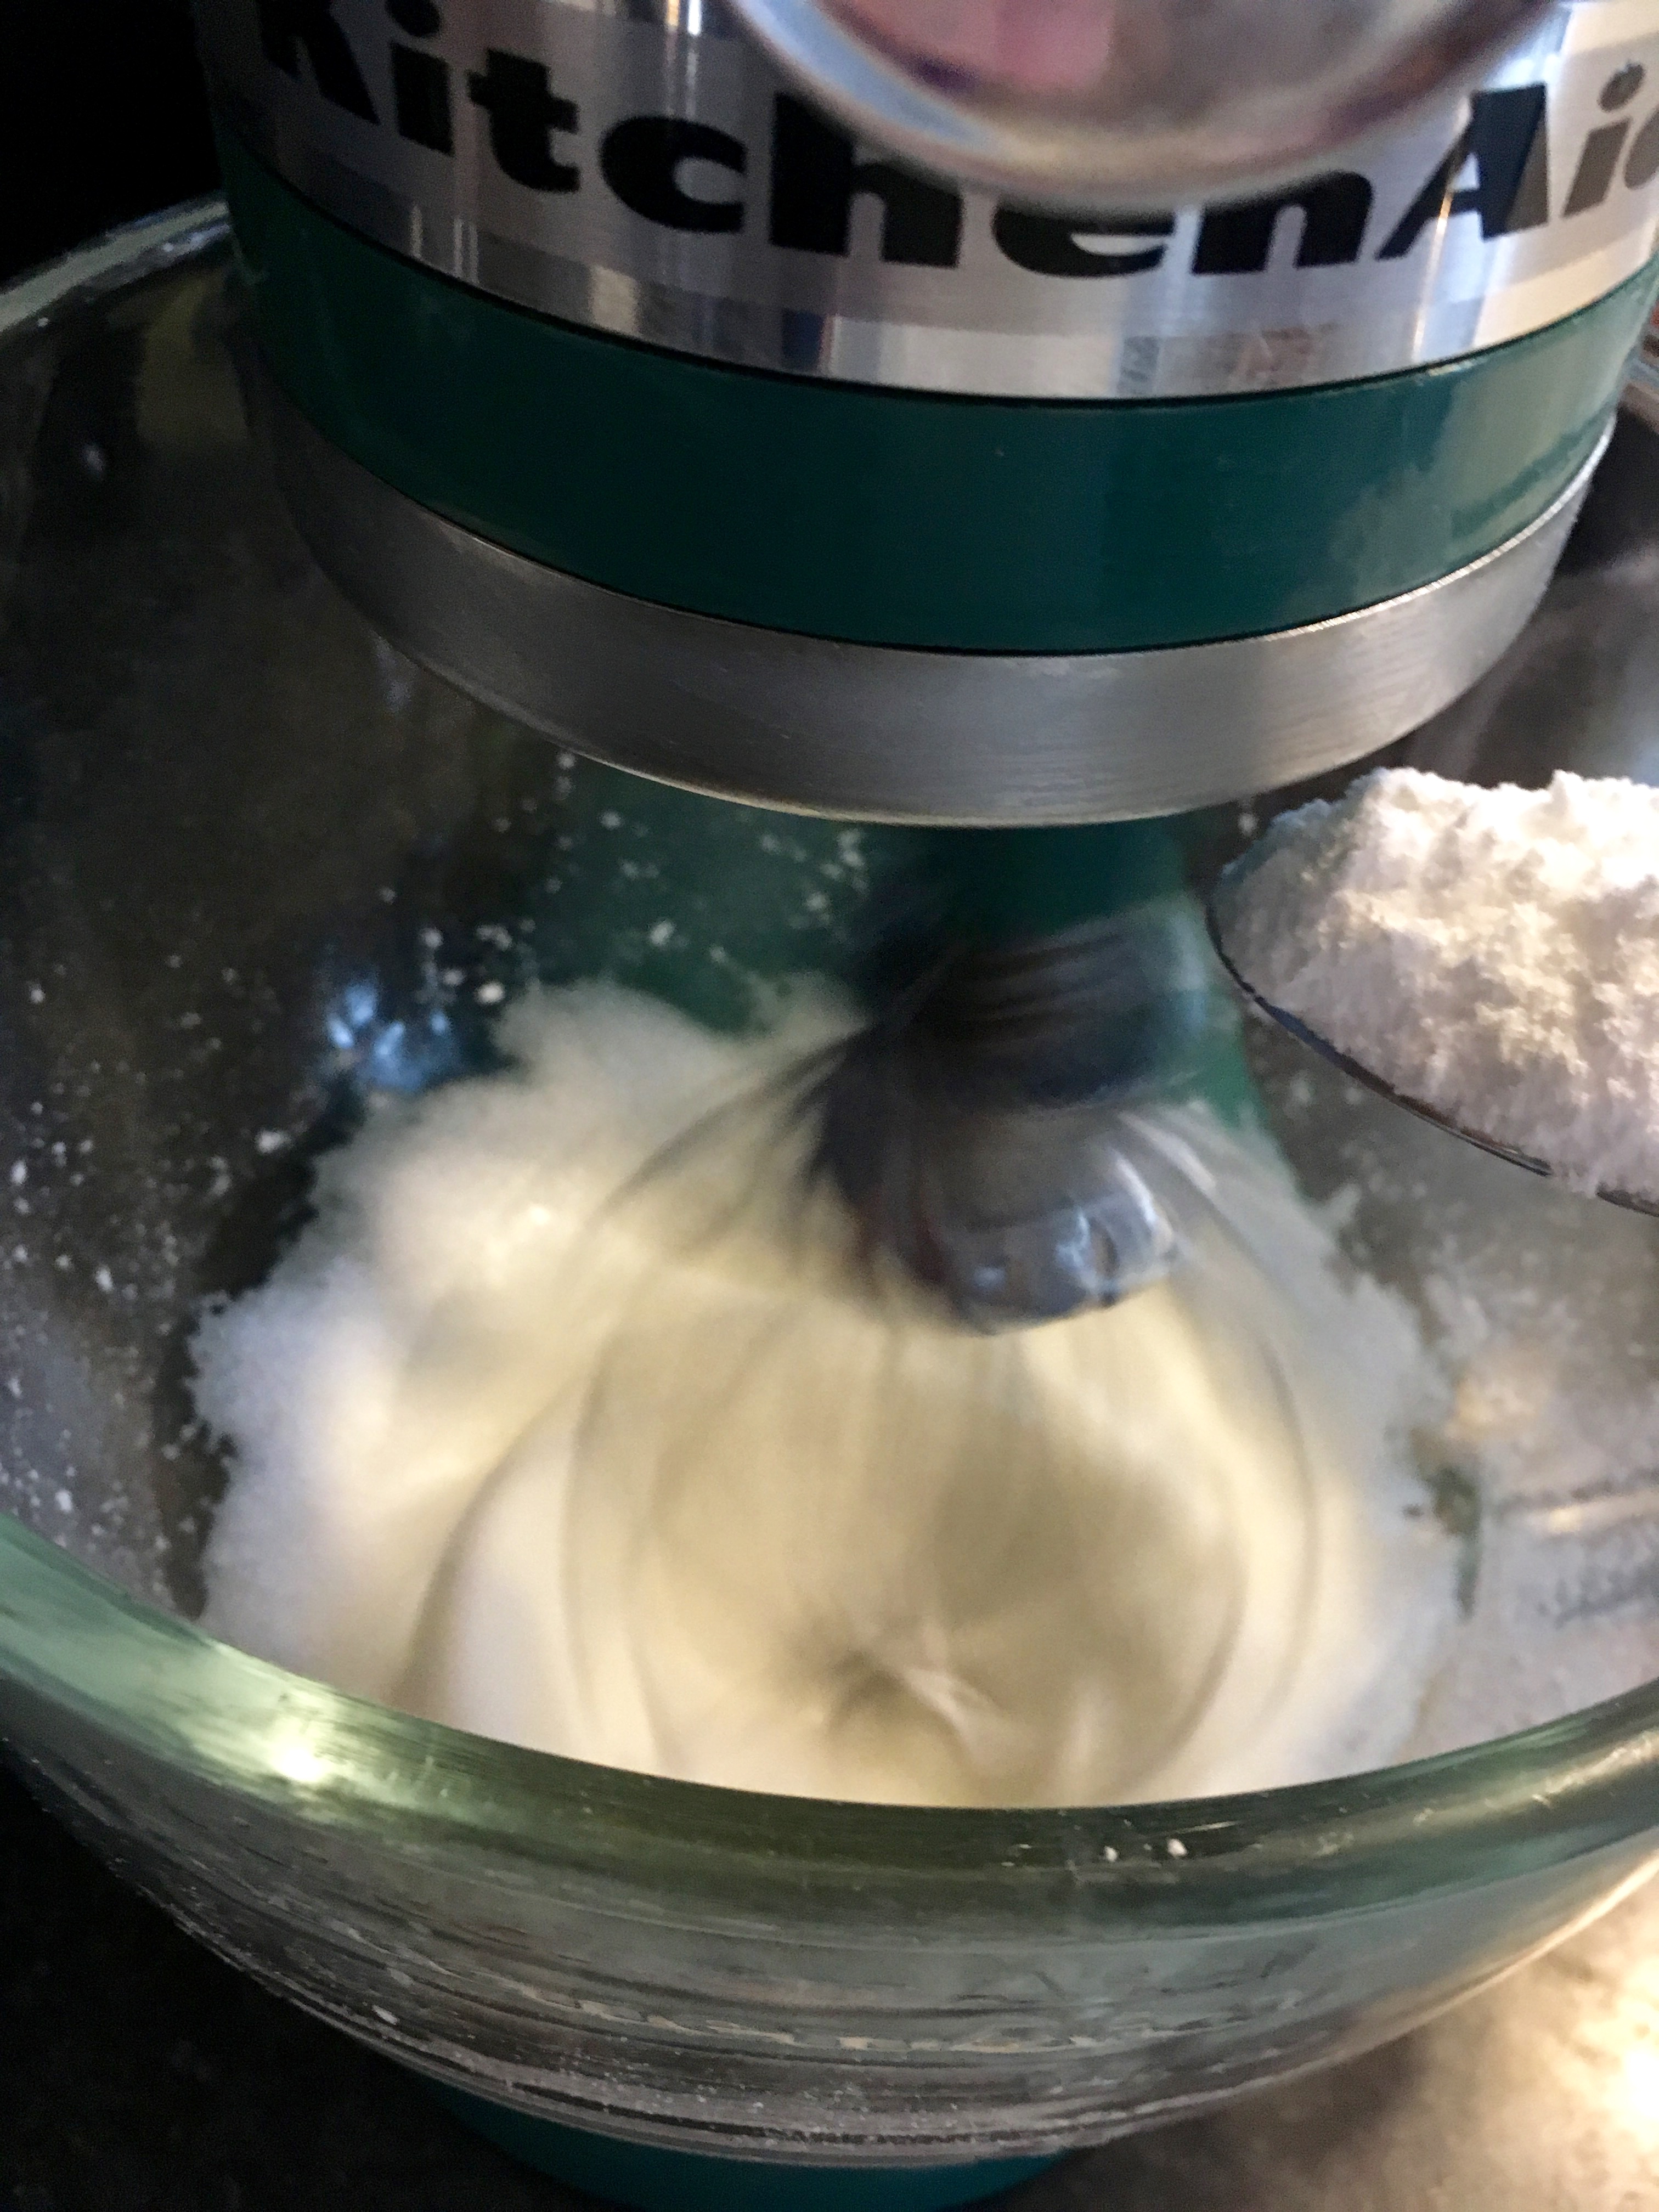
Preheat the oven to 250ºF. Mix the two sugars together in a small bowl. In a mixing bowl with the whisk attachment, beat the egg whites with a pinch of salt. When the egg whites pass begin to form peaks (instead of just being frothy), add the sugar mixture a spoonful at a time. Note- you really need to go slow with adding the sugar and make sure each spoonful is fully incorporated before adding the next, or else your meringue will become gritty. As you add sugar, your egg whites will become glossy and smooth.
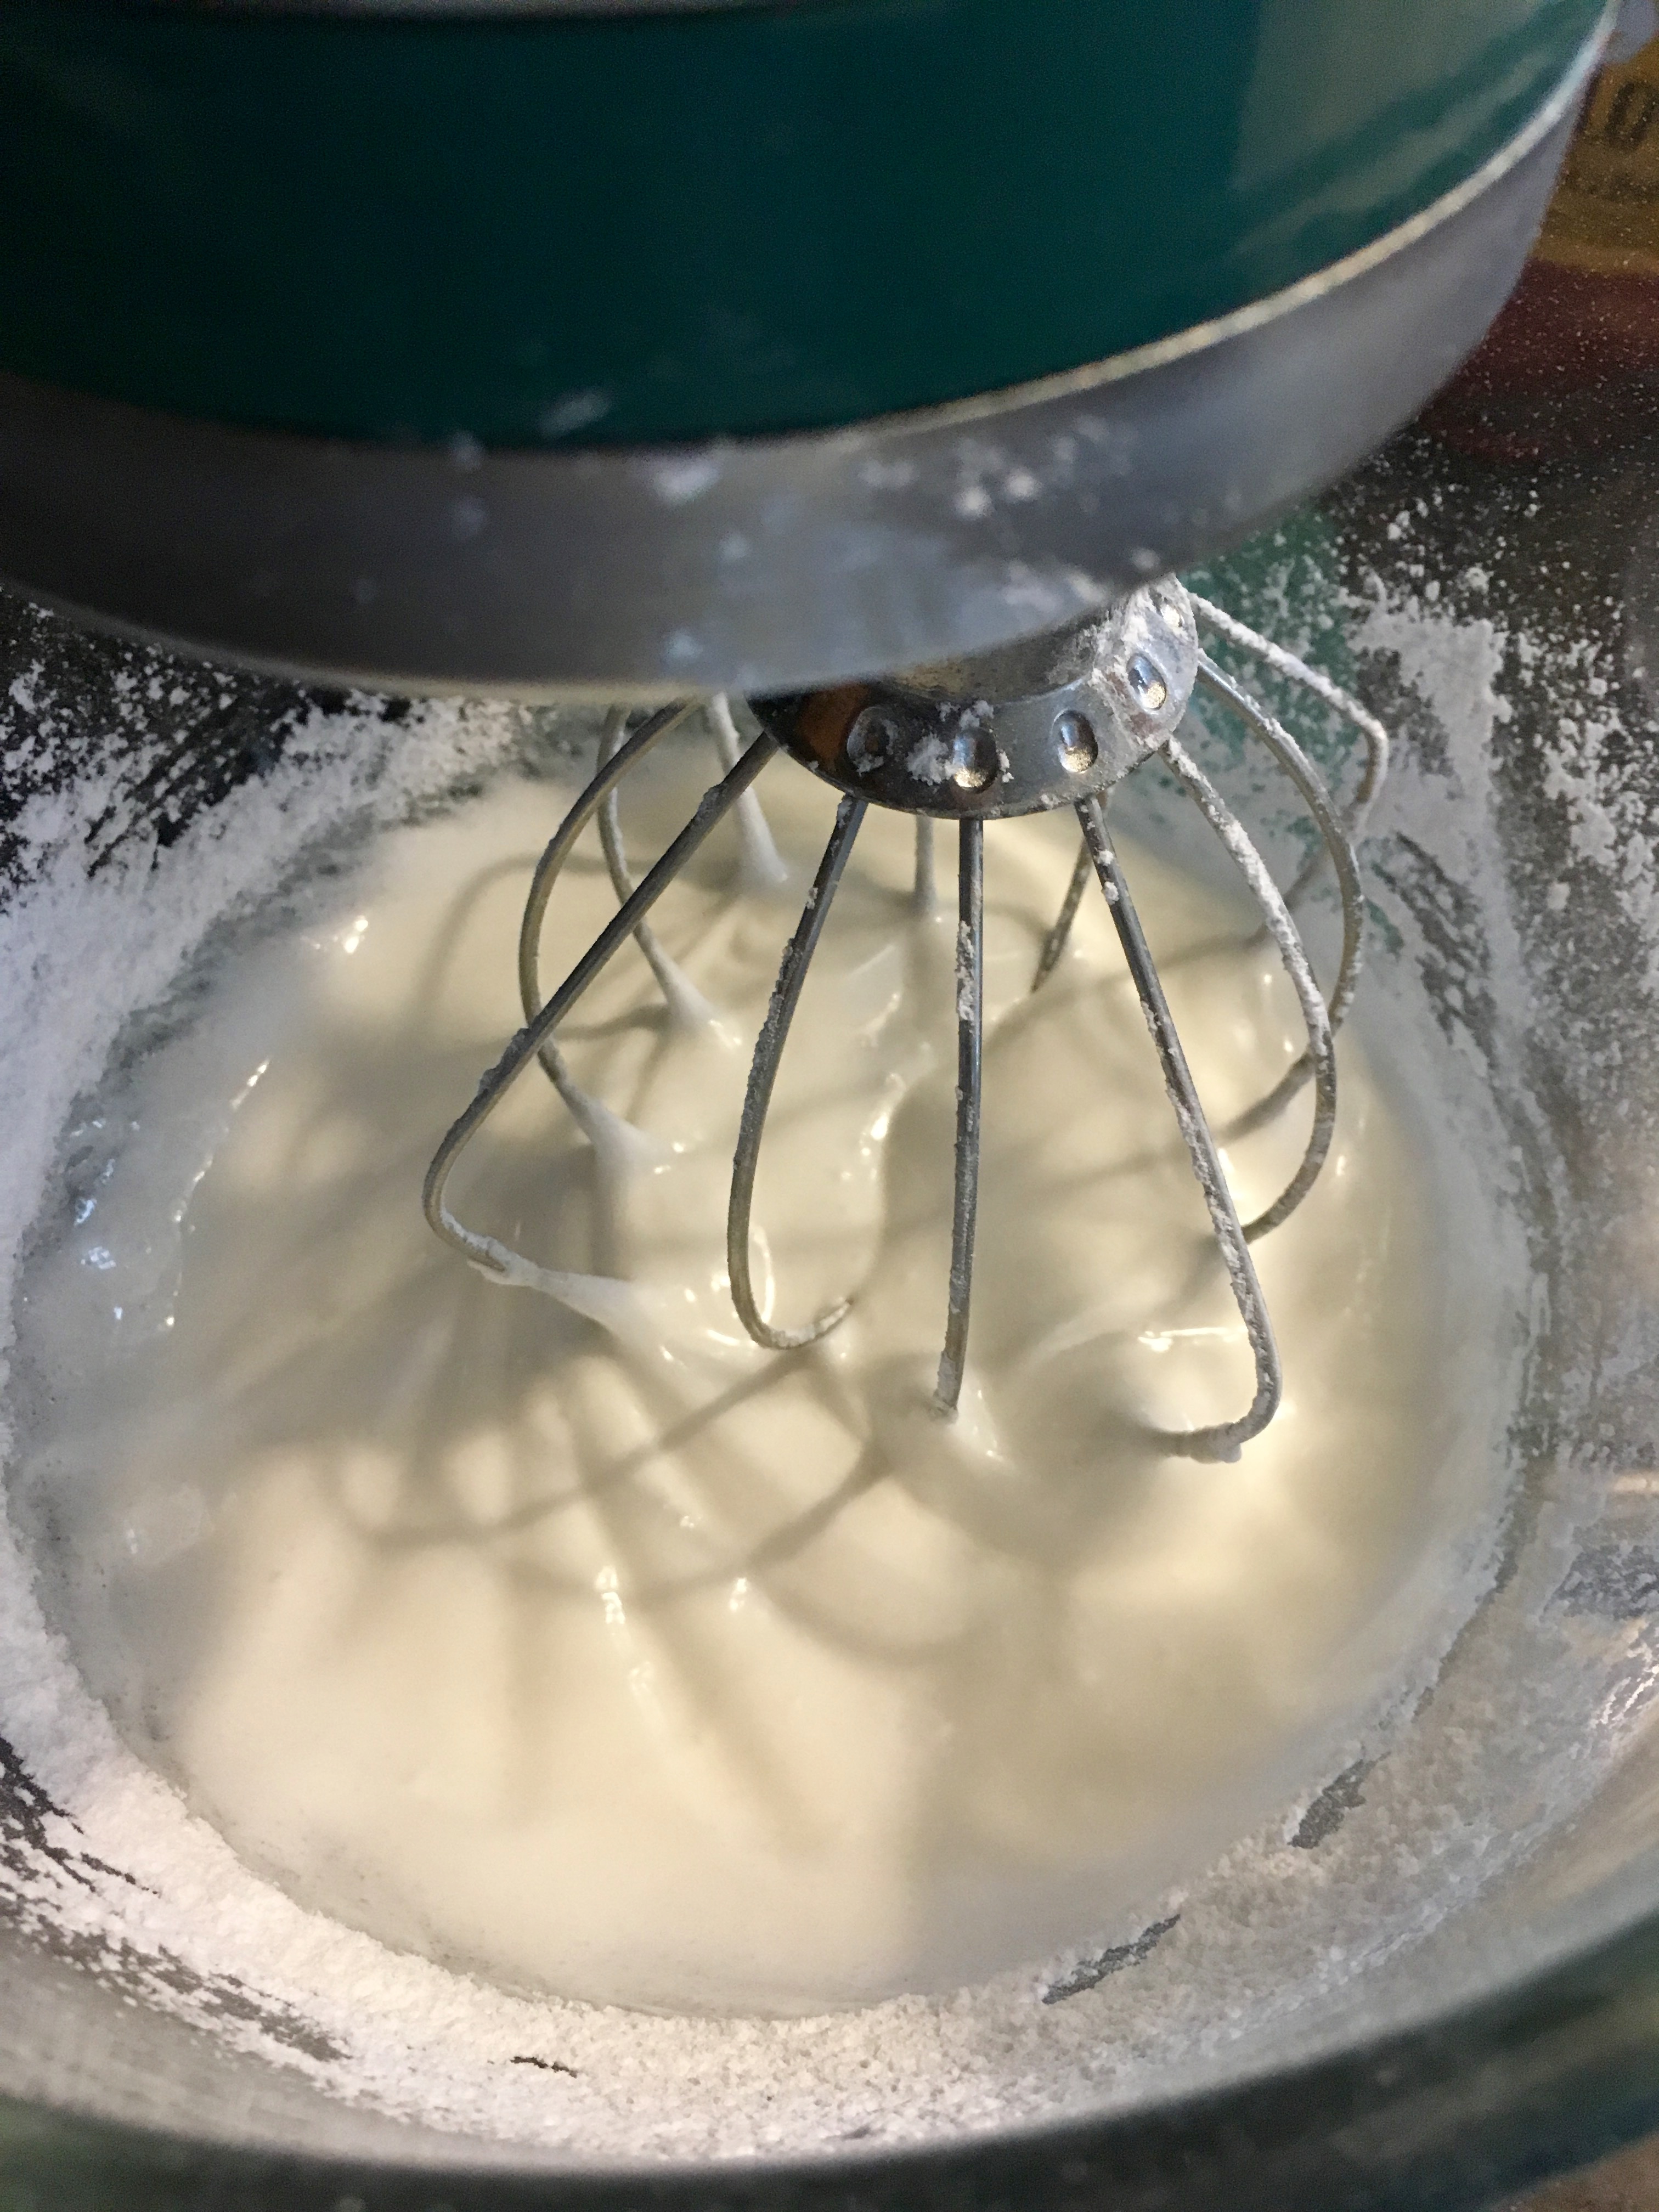
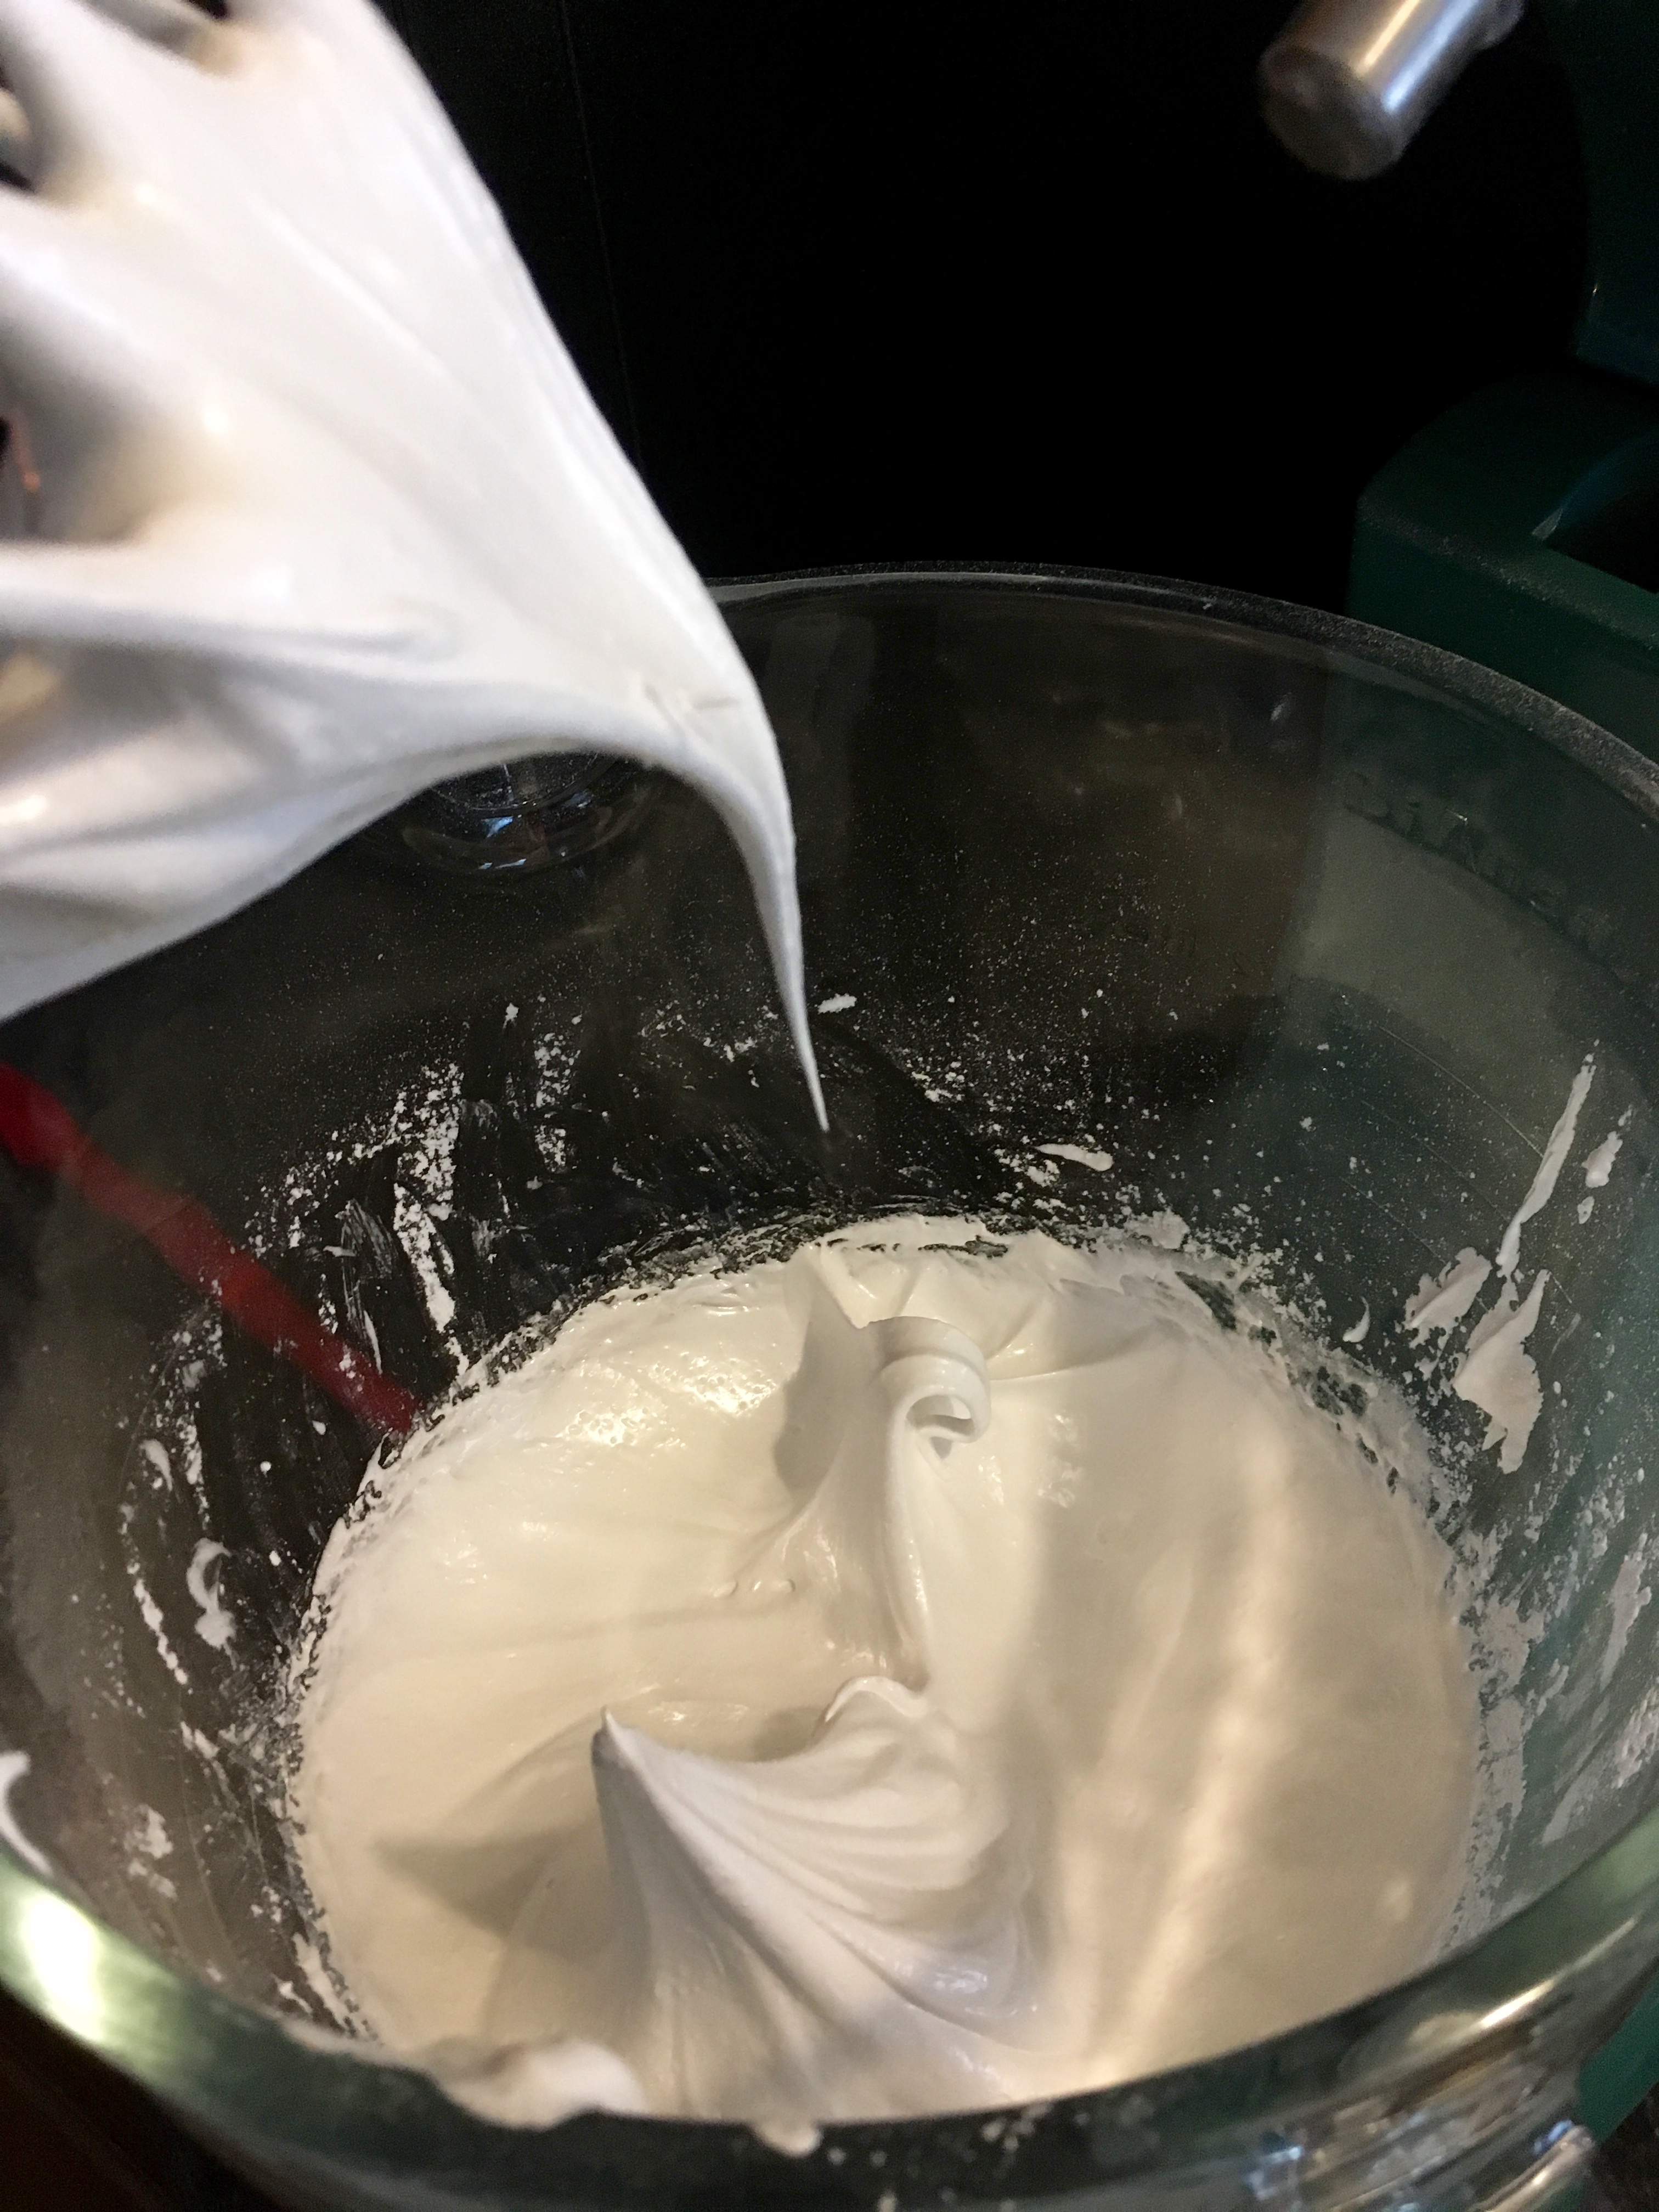
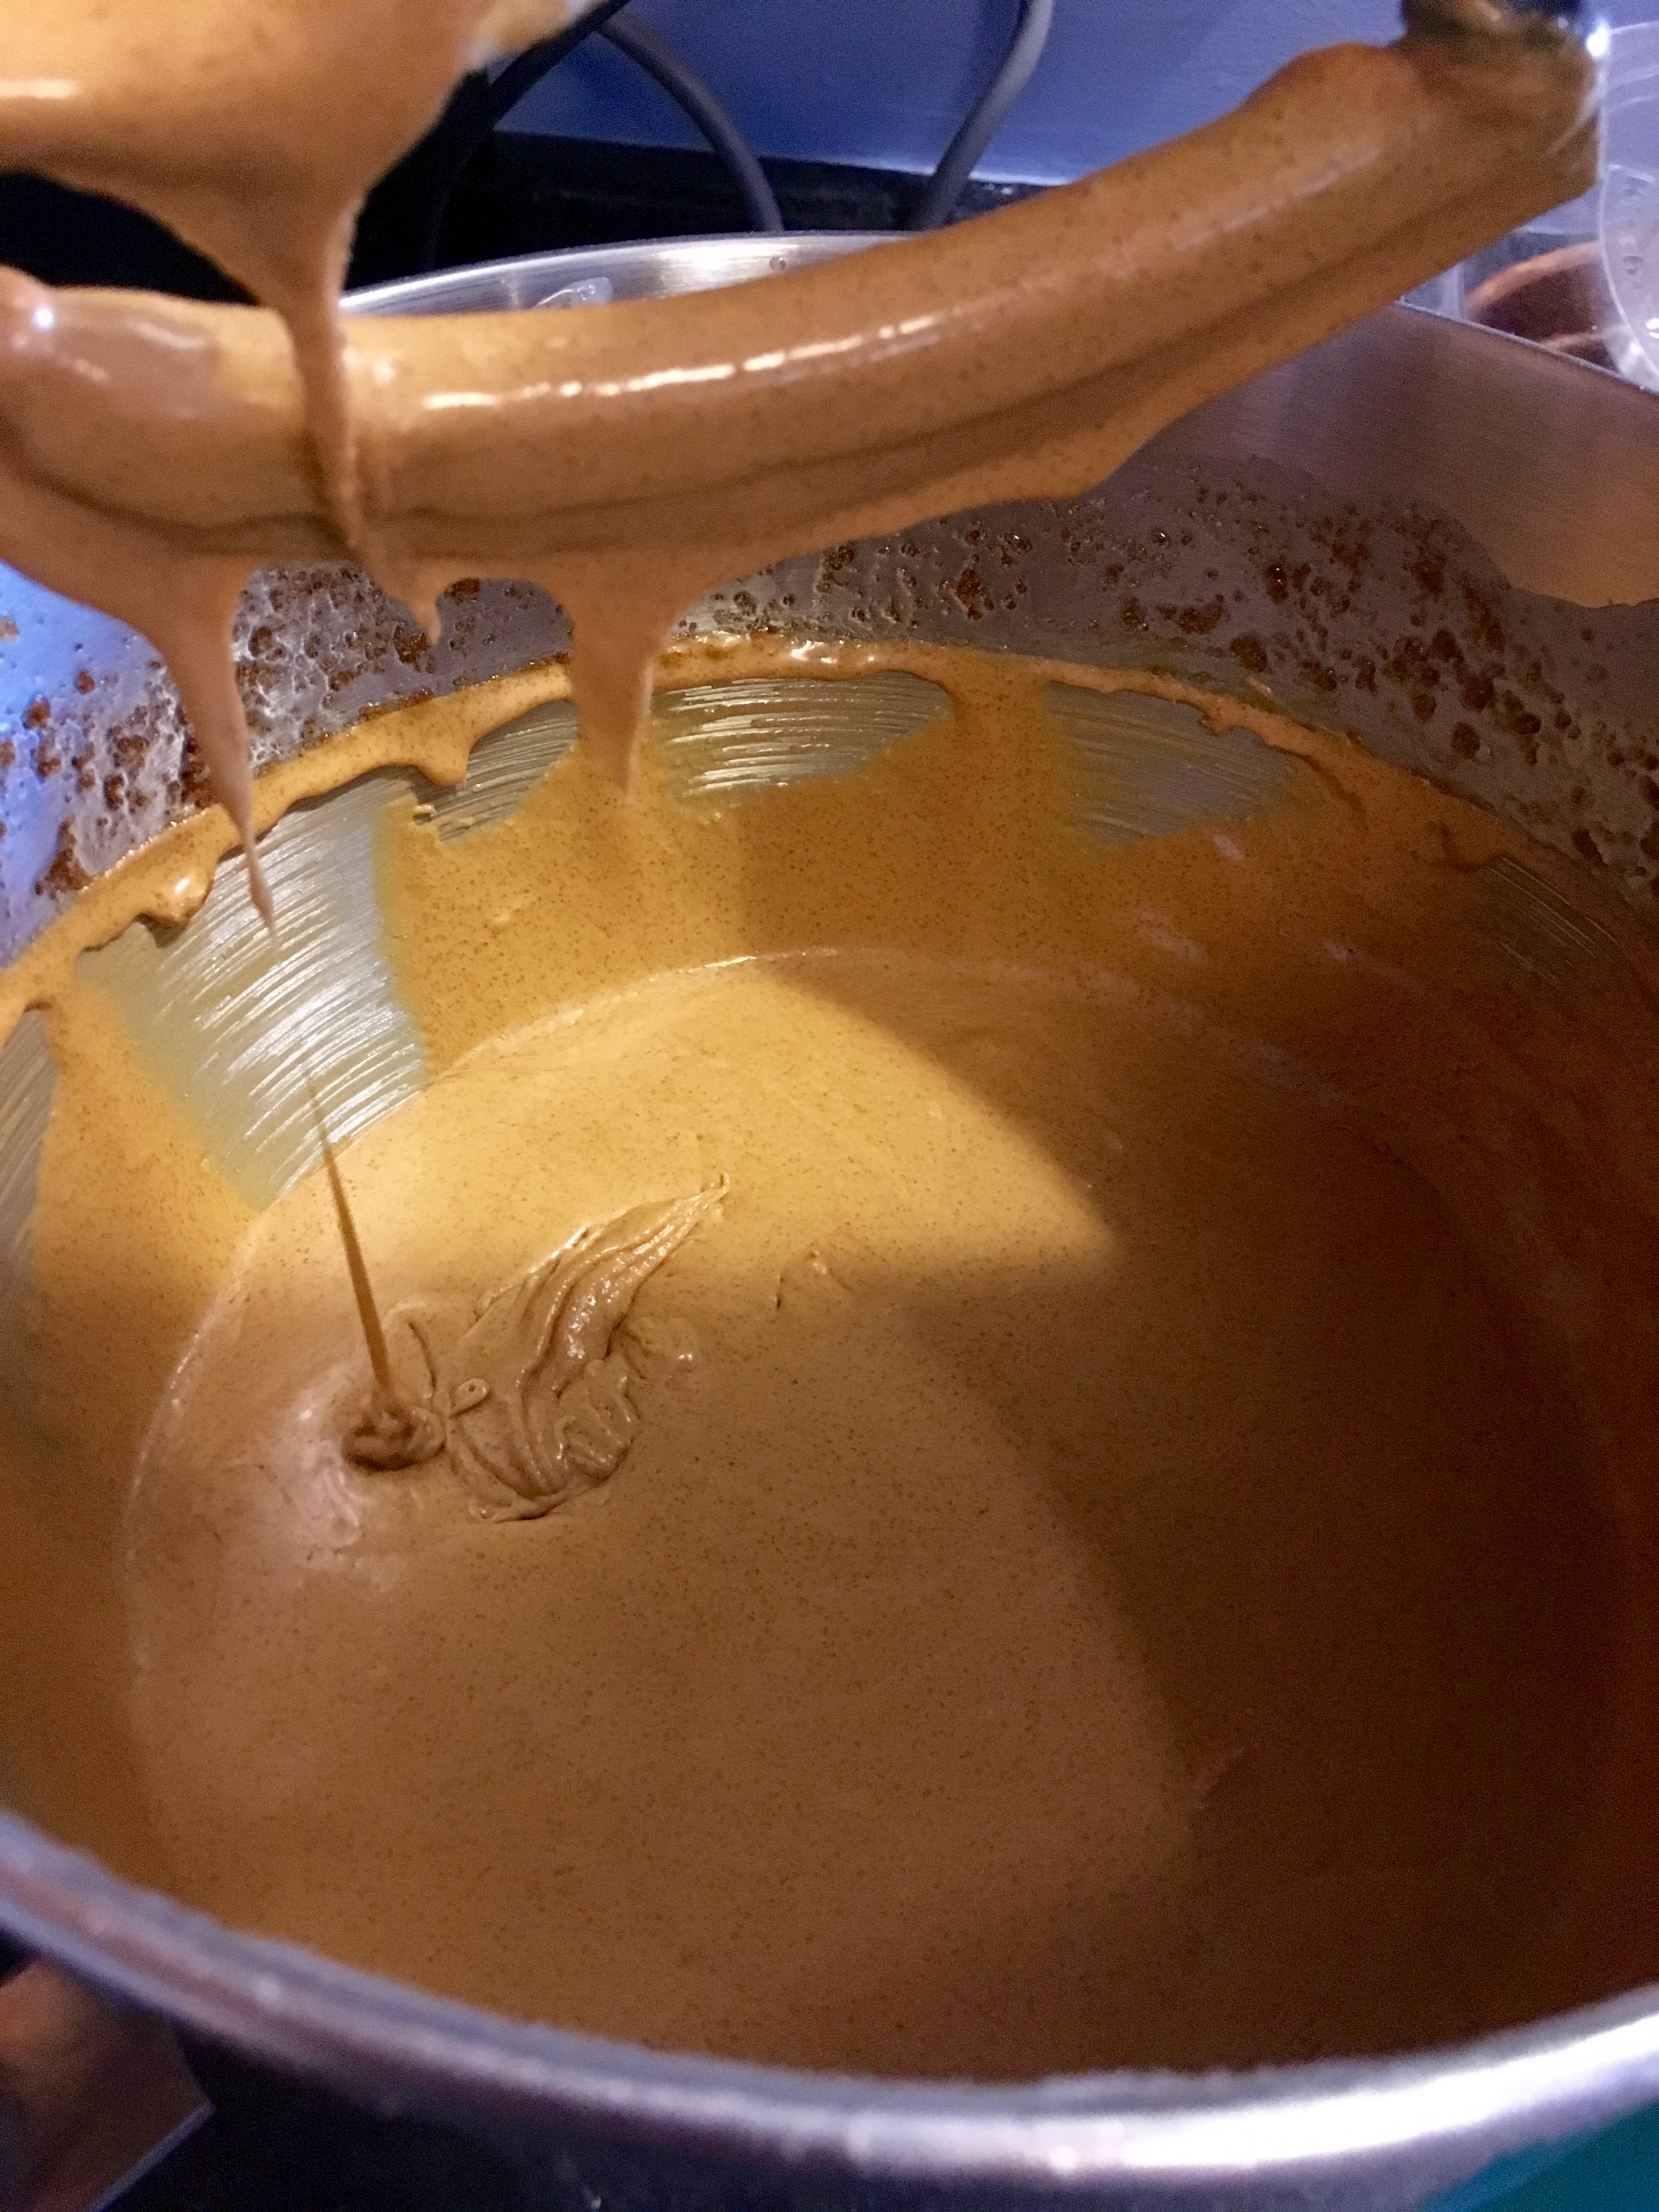
Once all the sugar is added to the eggs, continue to beat them on medium to medium-high speed until very stiff peaks form. Note: “very stiff peaks” means that when you drag the whisk through the egg whites and pull up, the mixture should stay standing straight up. If you haven’t whisked the mixture enough, your meringues will melt.
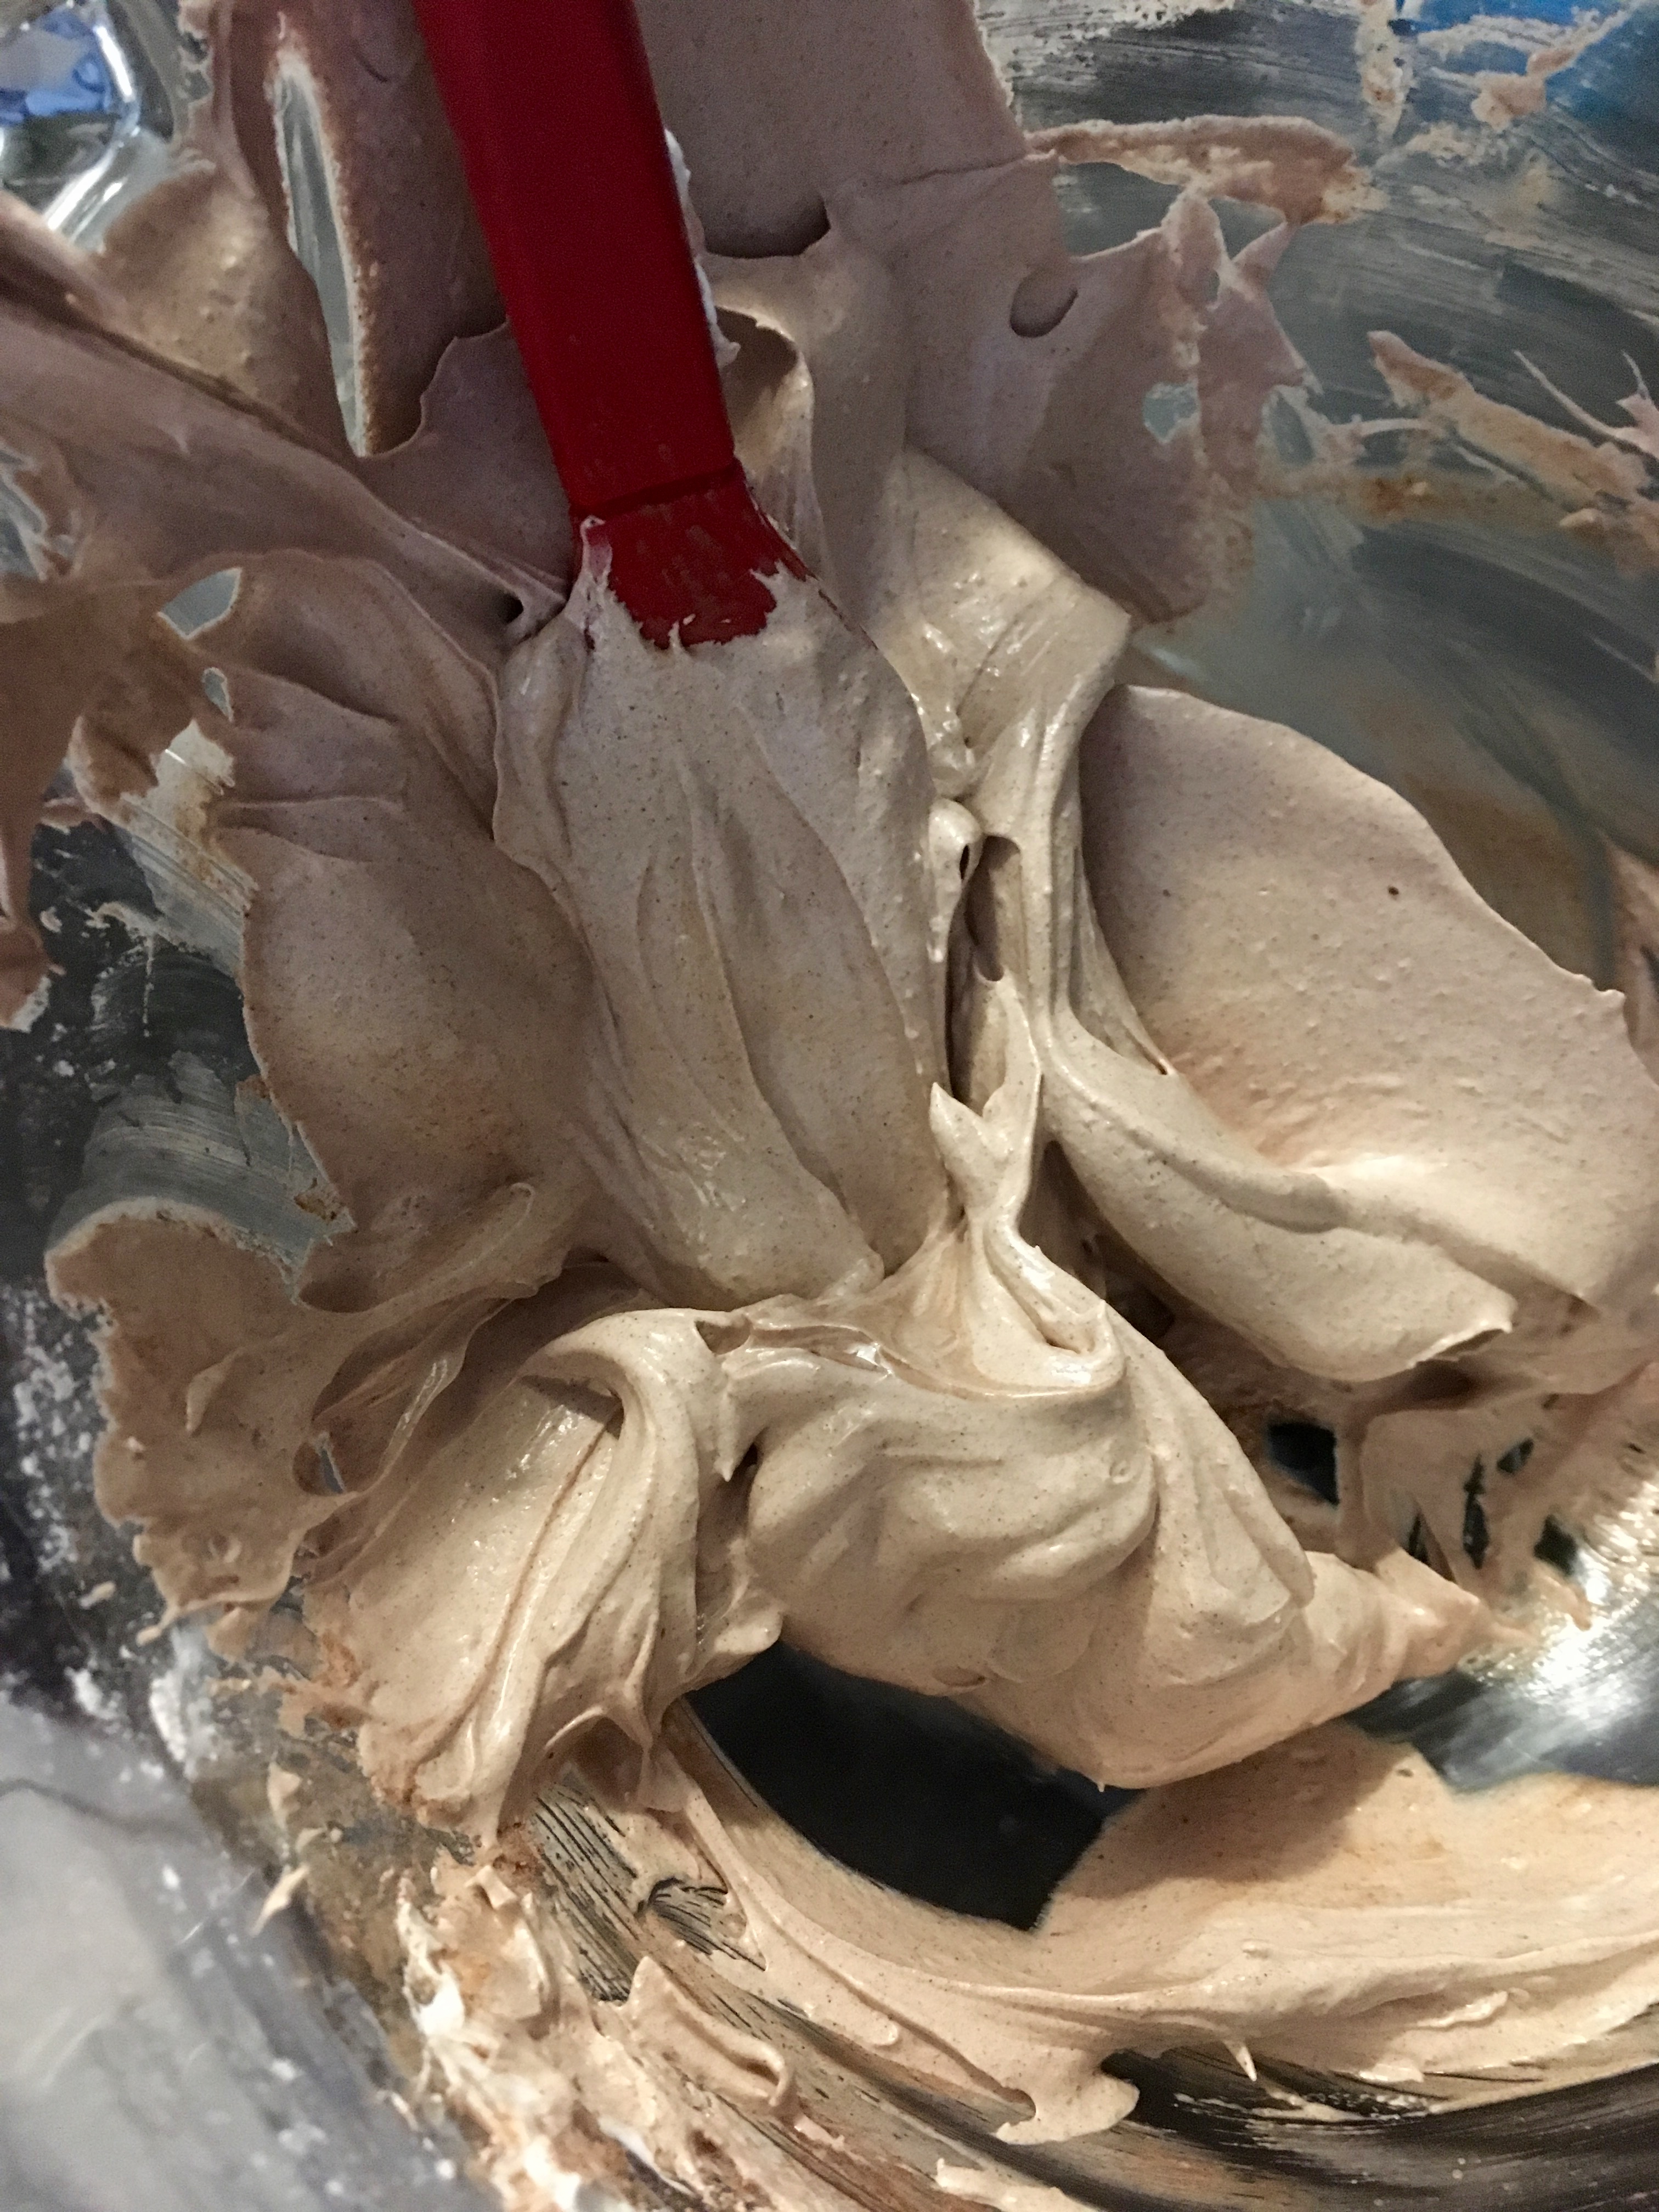
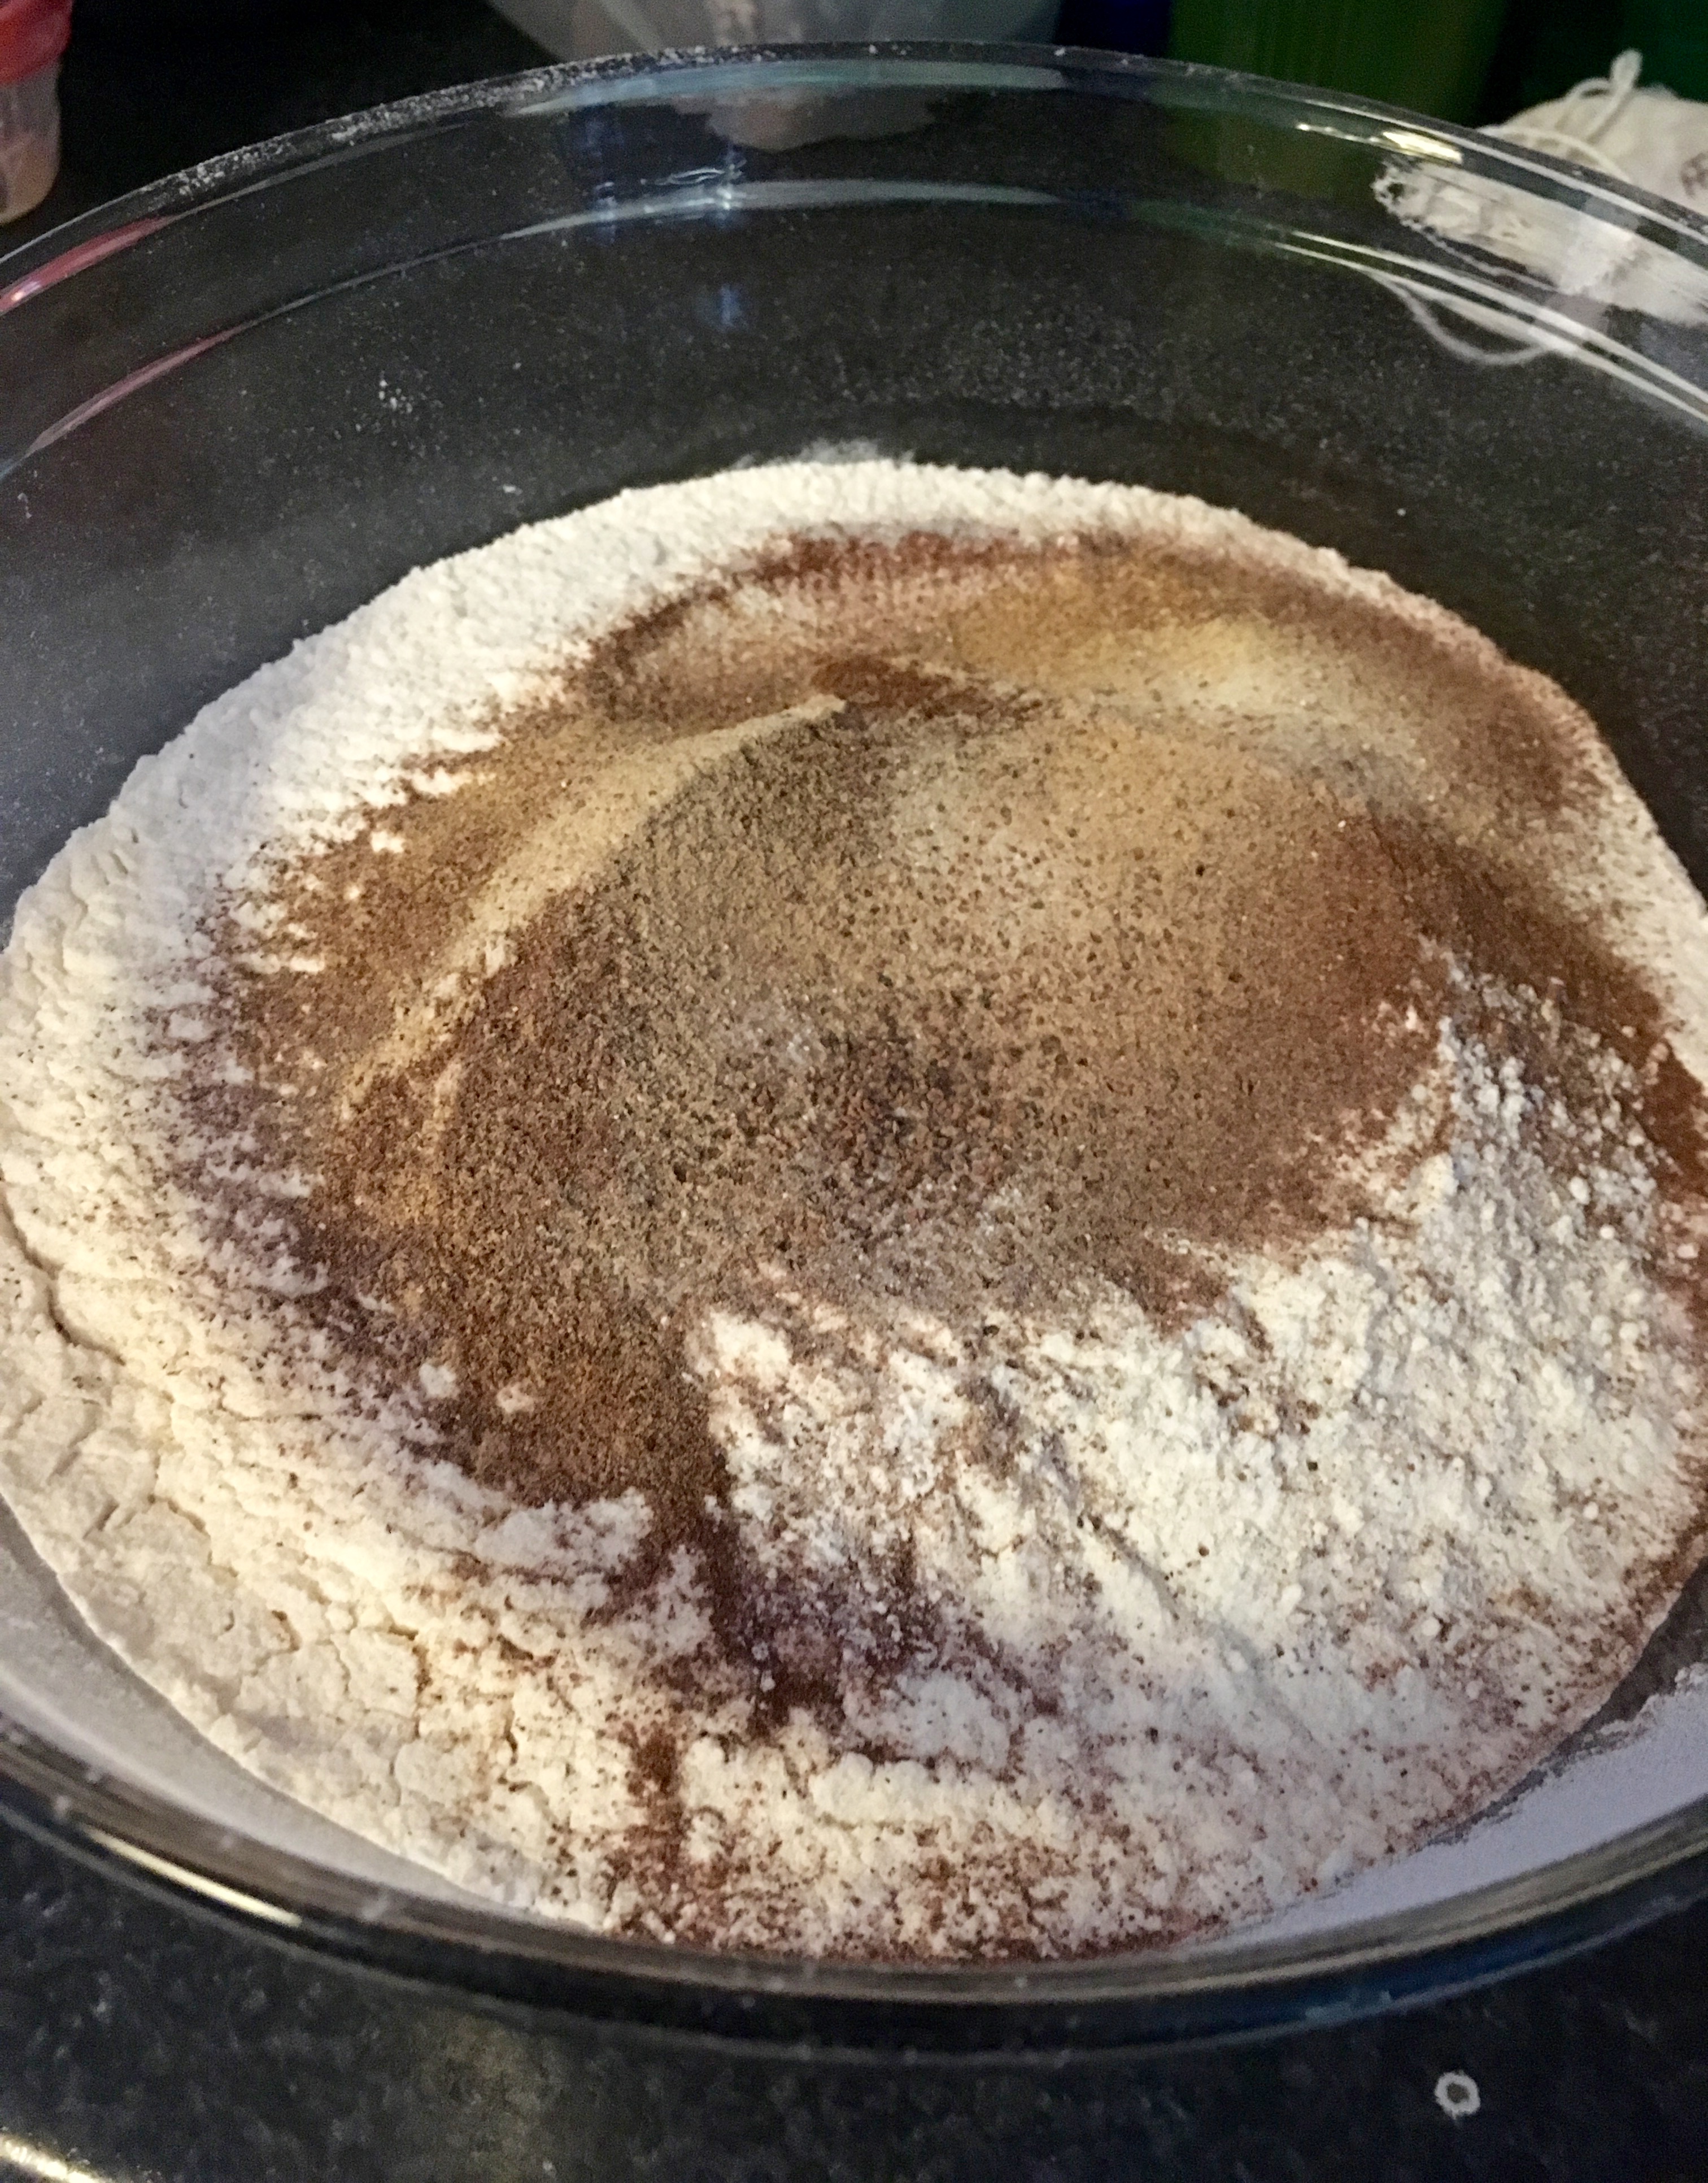
Sift and fold the cocoa powder into the meringue mix using a spatula. You want to be very gentle in this process so that you don’t knock the air out of the beaten egg whites.
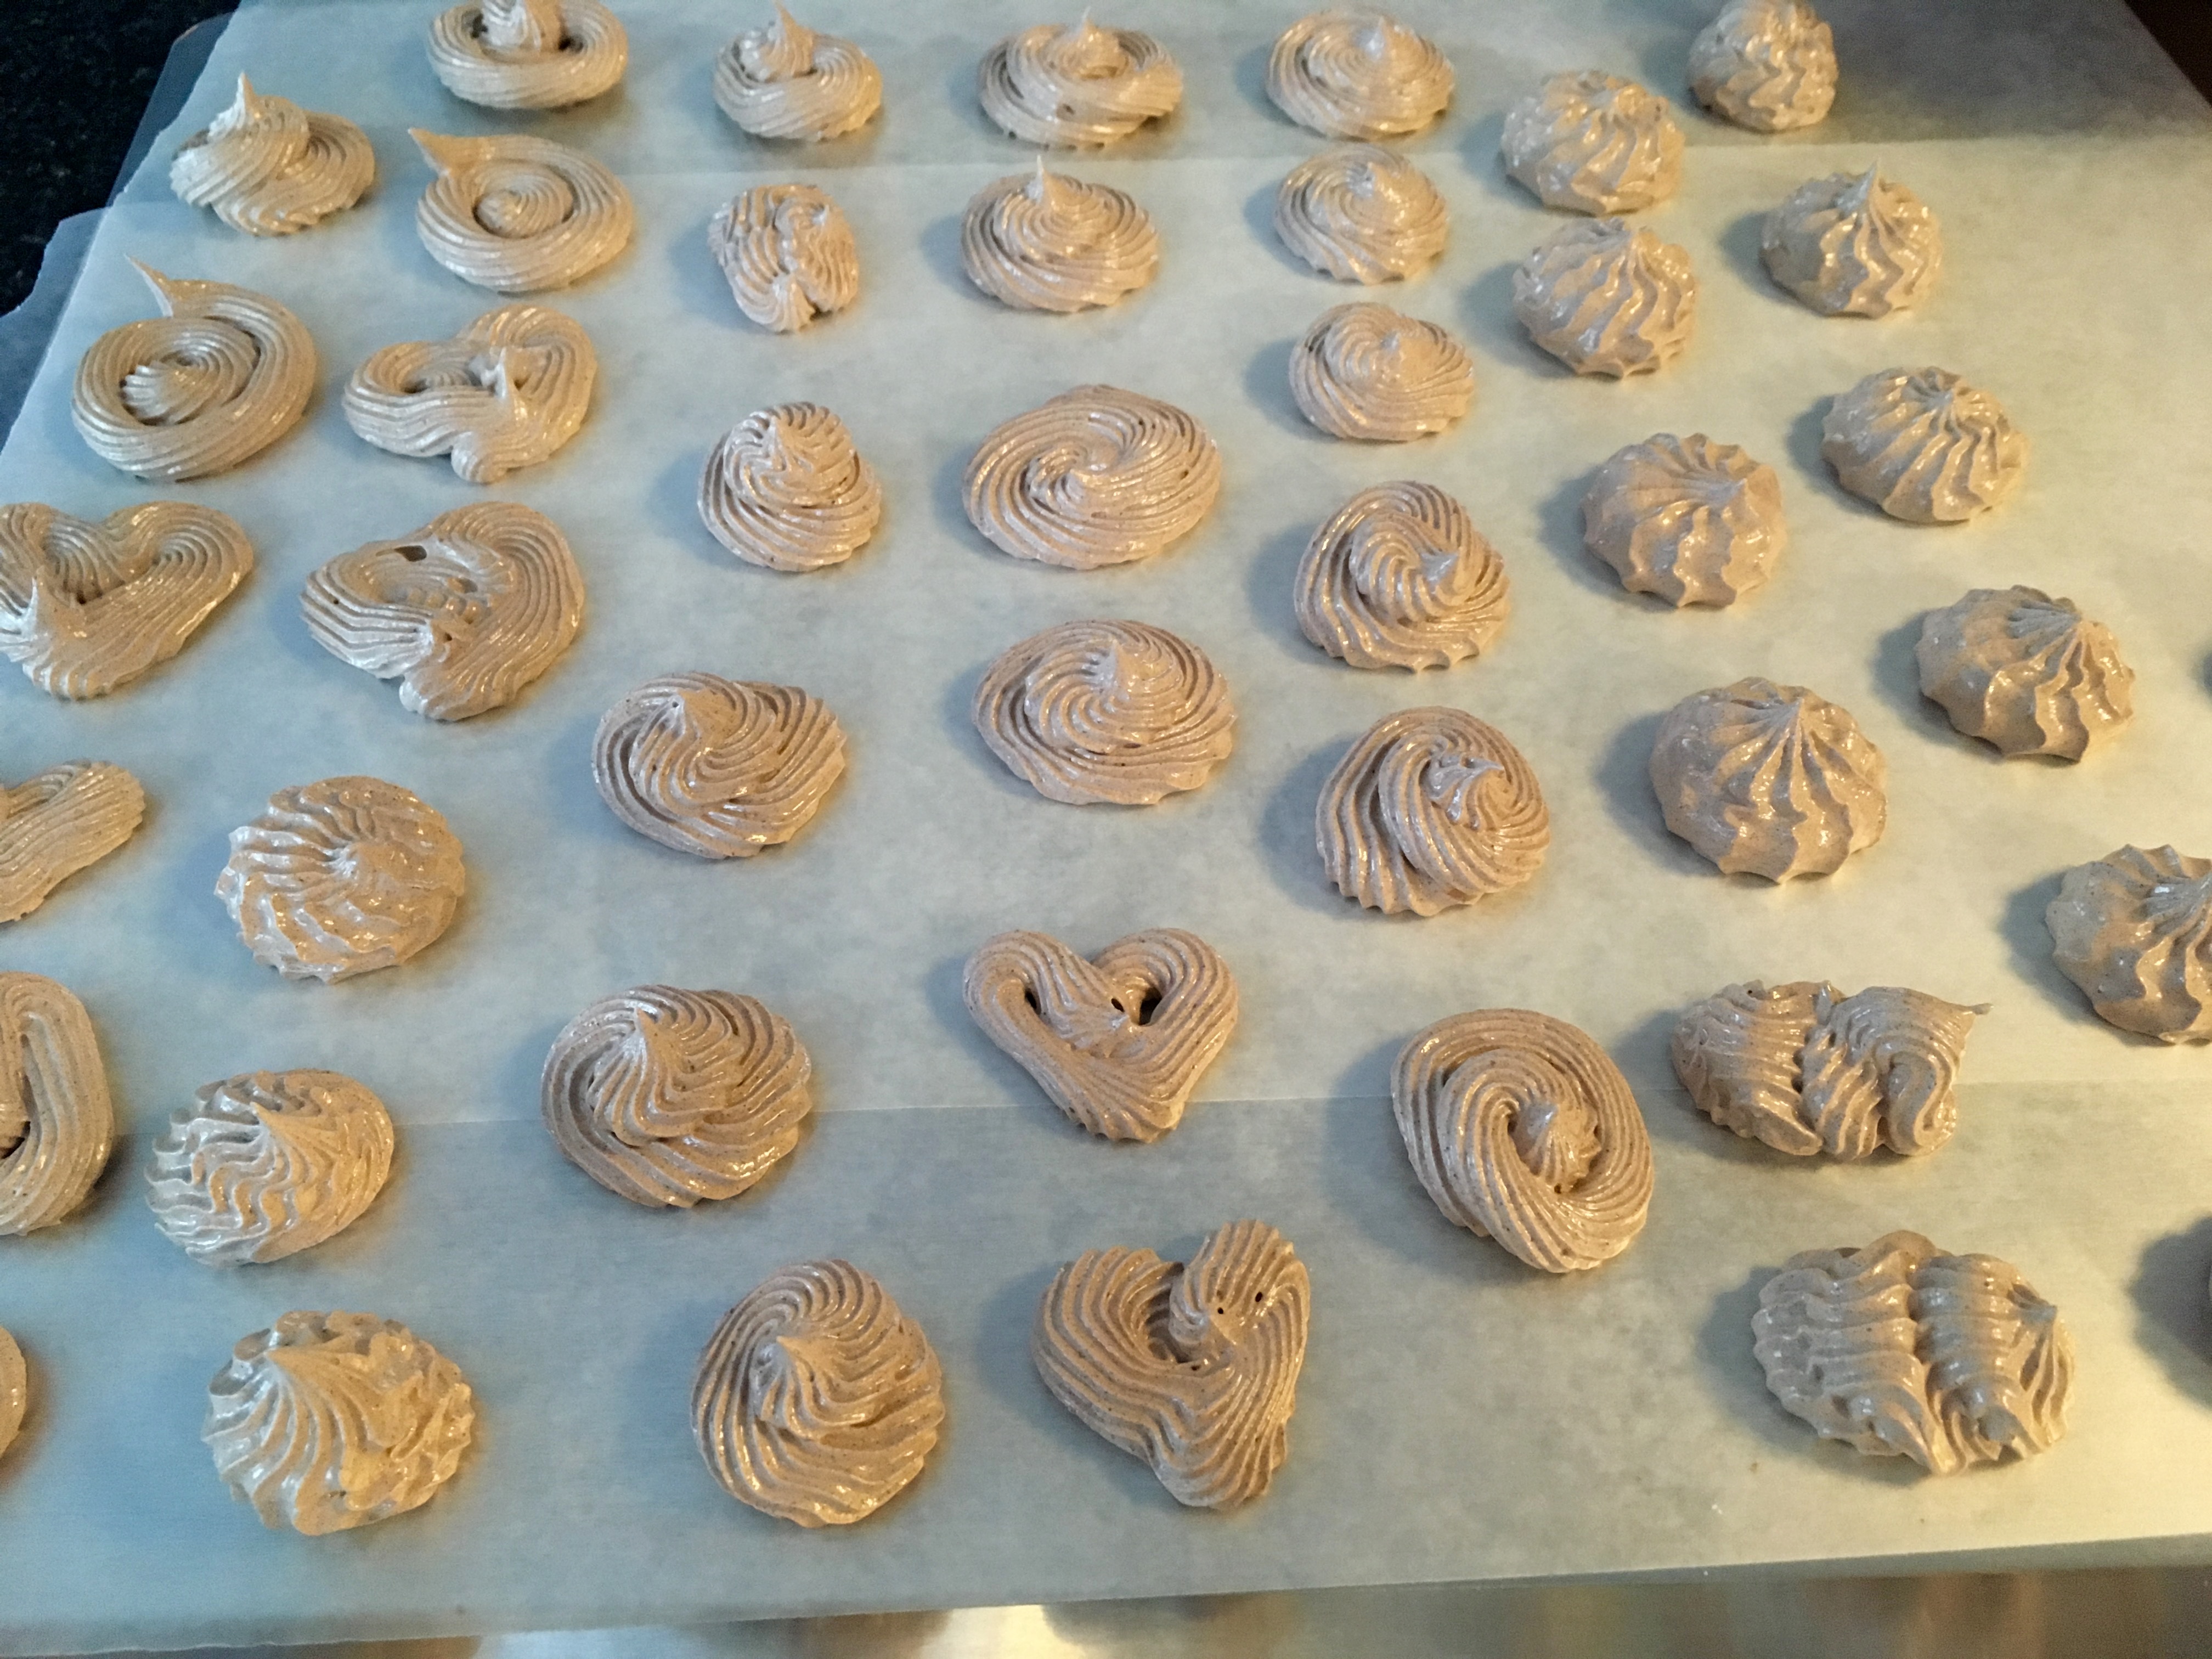
Transfer the mixture into a piping bag. Pipe into various shapes onto a baking sheet lined with wax paper. I tried making meringue hearts but quickly learned I’m not very good at piping hearts, so I ended up making a hodge podge of shapes. You can also just dollop the mixture onto the baking sheet using a spoon if you don’t have a piping bag.
Leaving the oven door cracked open so that steam can escape, bake the meringues for 90 minutes. Then, turn the oven off and leave the oven door cracked slightly, and let the meringues cool completely in the oven. They should be very dry and fragile.
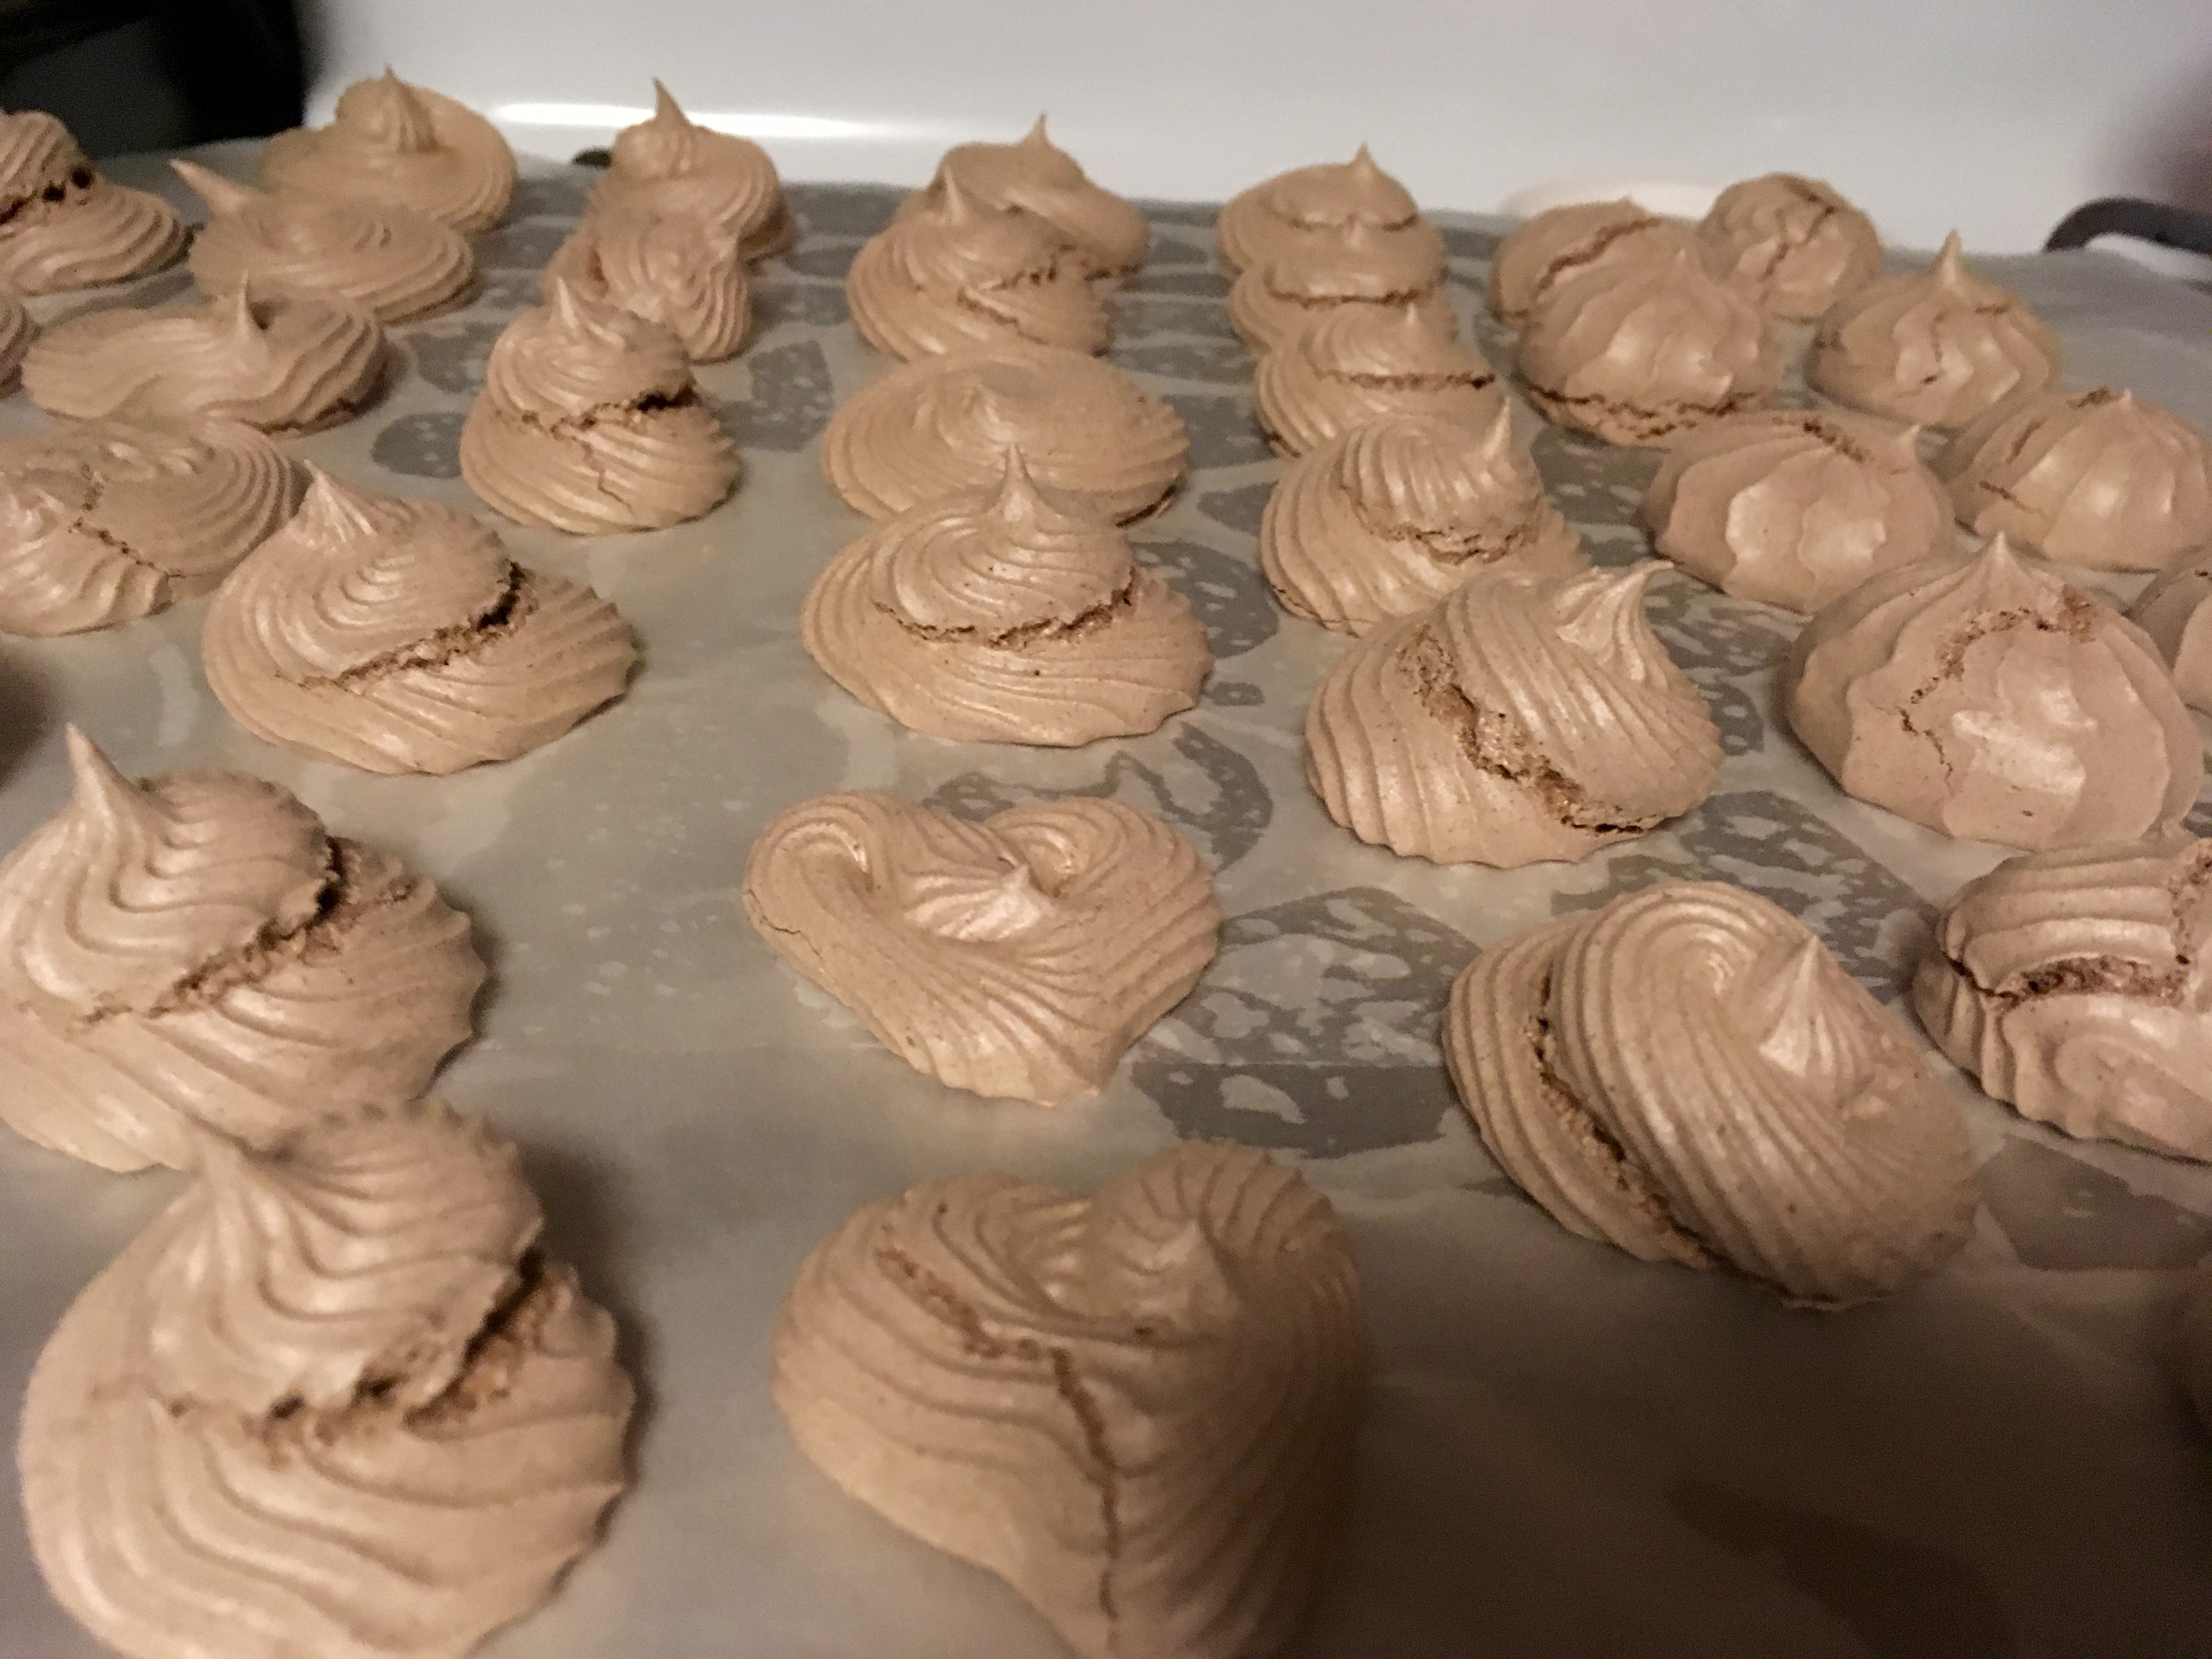
And that’s it! These cookies are so light and airy and delicious, and the chocolate flavor is so perfect in them. You can also omit the cocoa powder and add a teaspoon of vanilla extract for vanilla meringues, which are just as delicious. Enjoy, and happy baking!
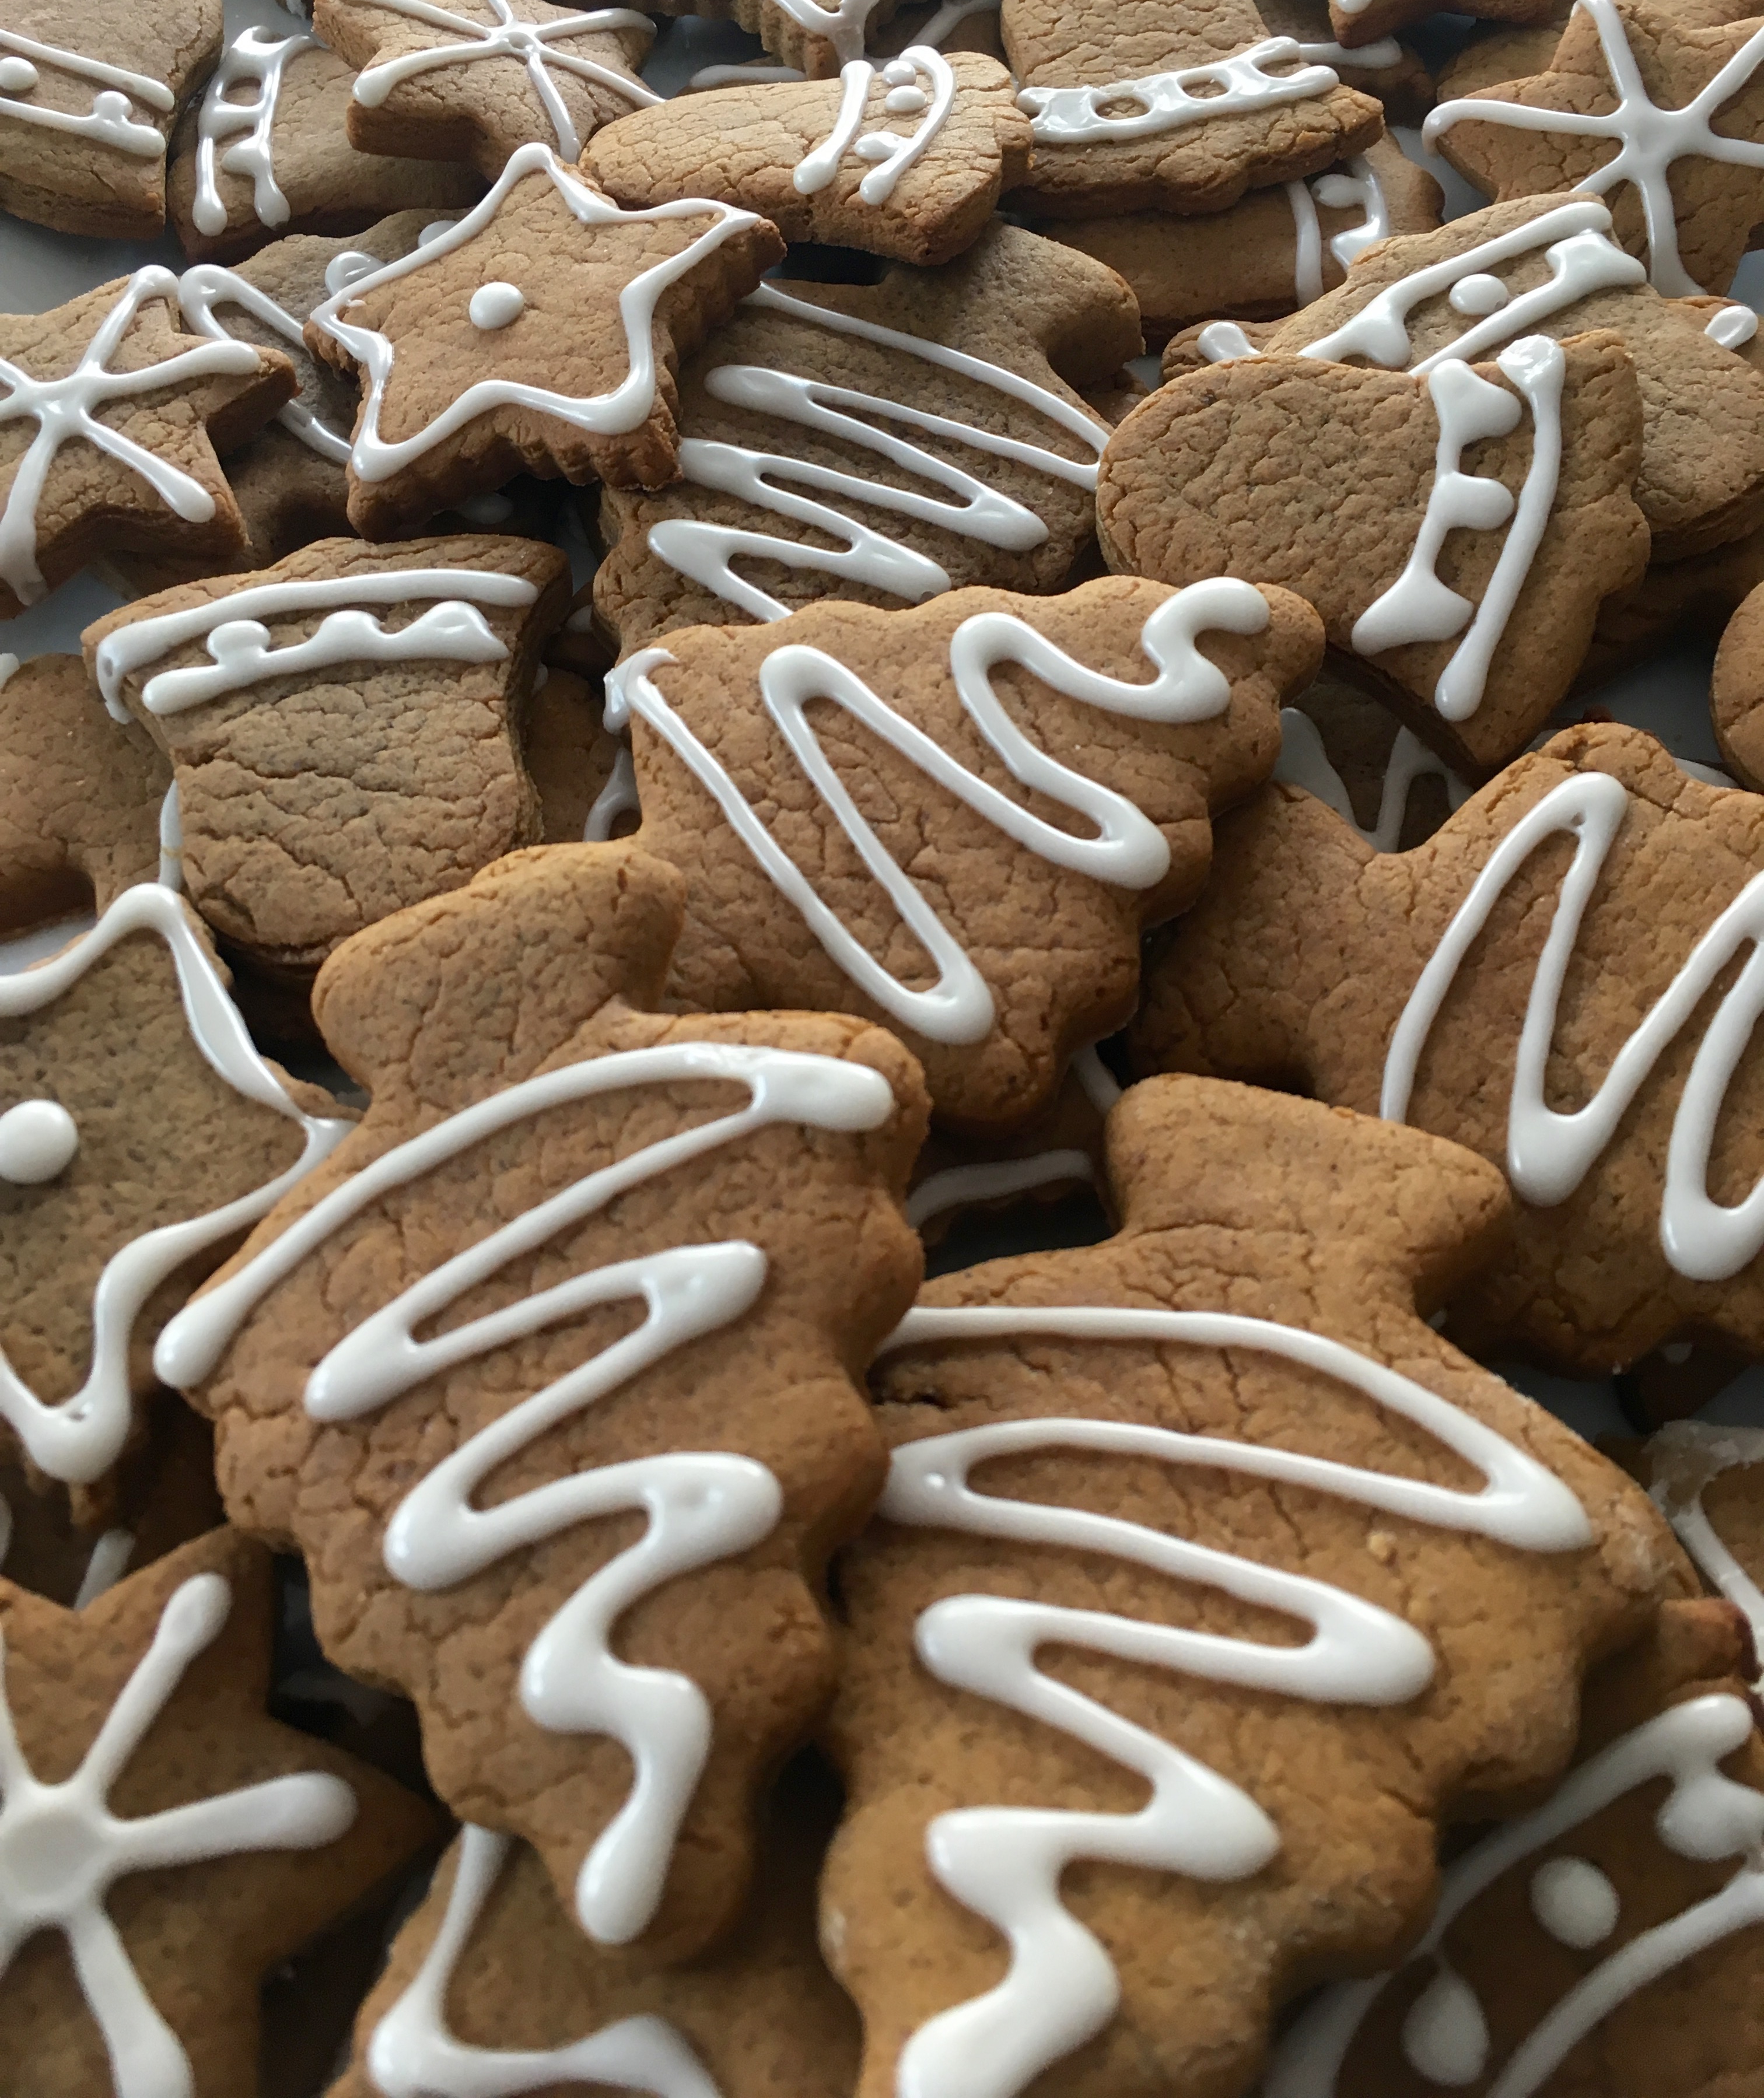
Hello, all! The countdown to Christmas is on! Hopefully you’re all getting to spend some time with family and/or friends over the next few days. I know for many people, that involves Christmas cookie baking! I personally do not enjoy making roll-out cookies, but I usually break out the cookie cutters around Christmas time for the tradition of it. As mentioned in my previous post with the chocolate truffles, I had several parties in the same week so I needed to make a huge batch of treats to feed everyone. I pulled out my mom’s old recipe for gingerbread cookies and got fantastic reviews, so I figured I would share it with you all!
Ingredients:
- 5 + 1/2 cups flour
- 2 tsp ginger
- 2 tsp cinnamon
- 1 tsp baking soda
- 1 tsp nutmeg
- 1 tsp cloves
- 1/2 tsp salt
- 1 cup vegetable shortening
- 1 cup sugar
- 1 cup molasses
- 2 eggs
Sift together flour, ginger, cinnamon, baking soda, nutmeg, cloves, and salt. Set aside.
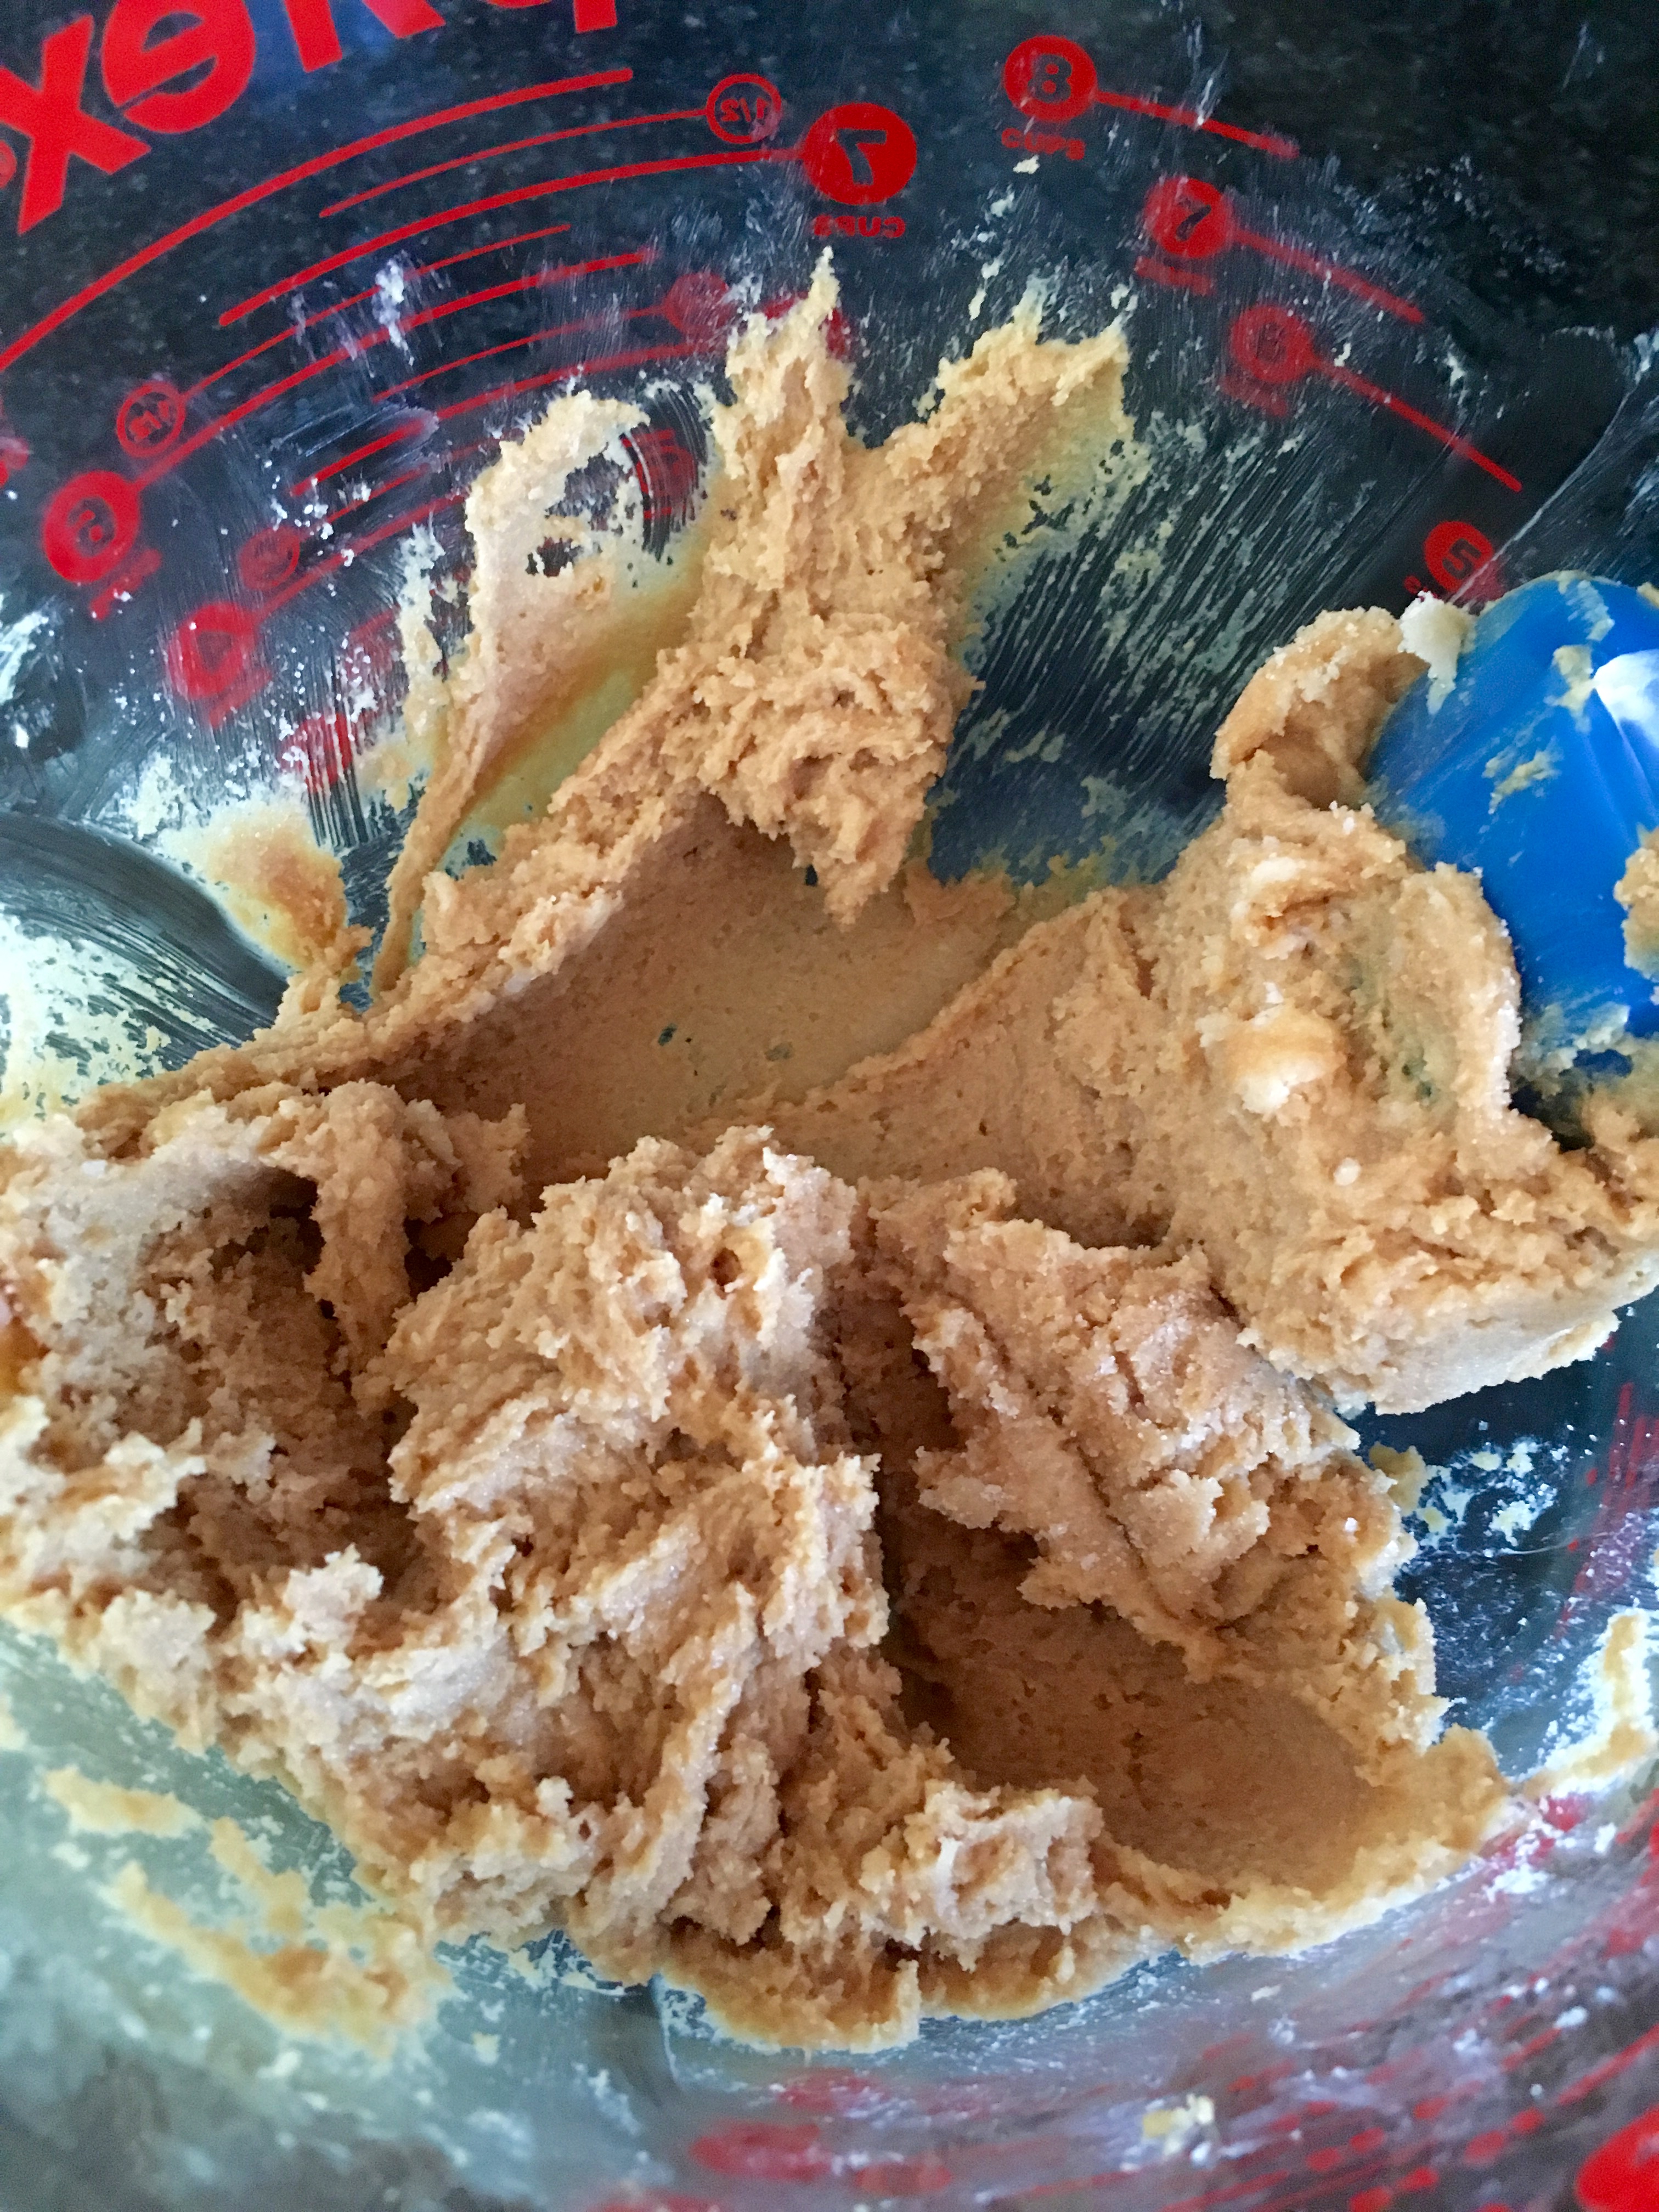
Melt shortening; stir in sugar and molasses. Stir in eggs.
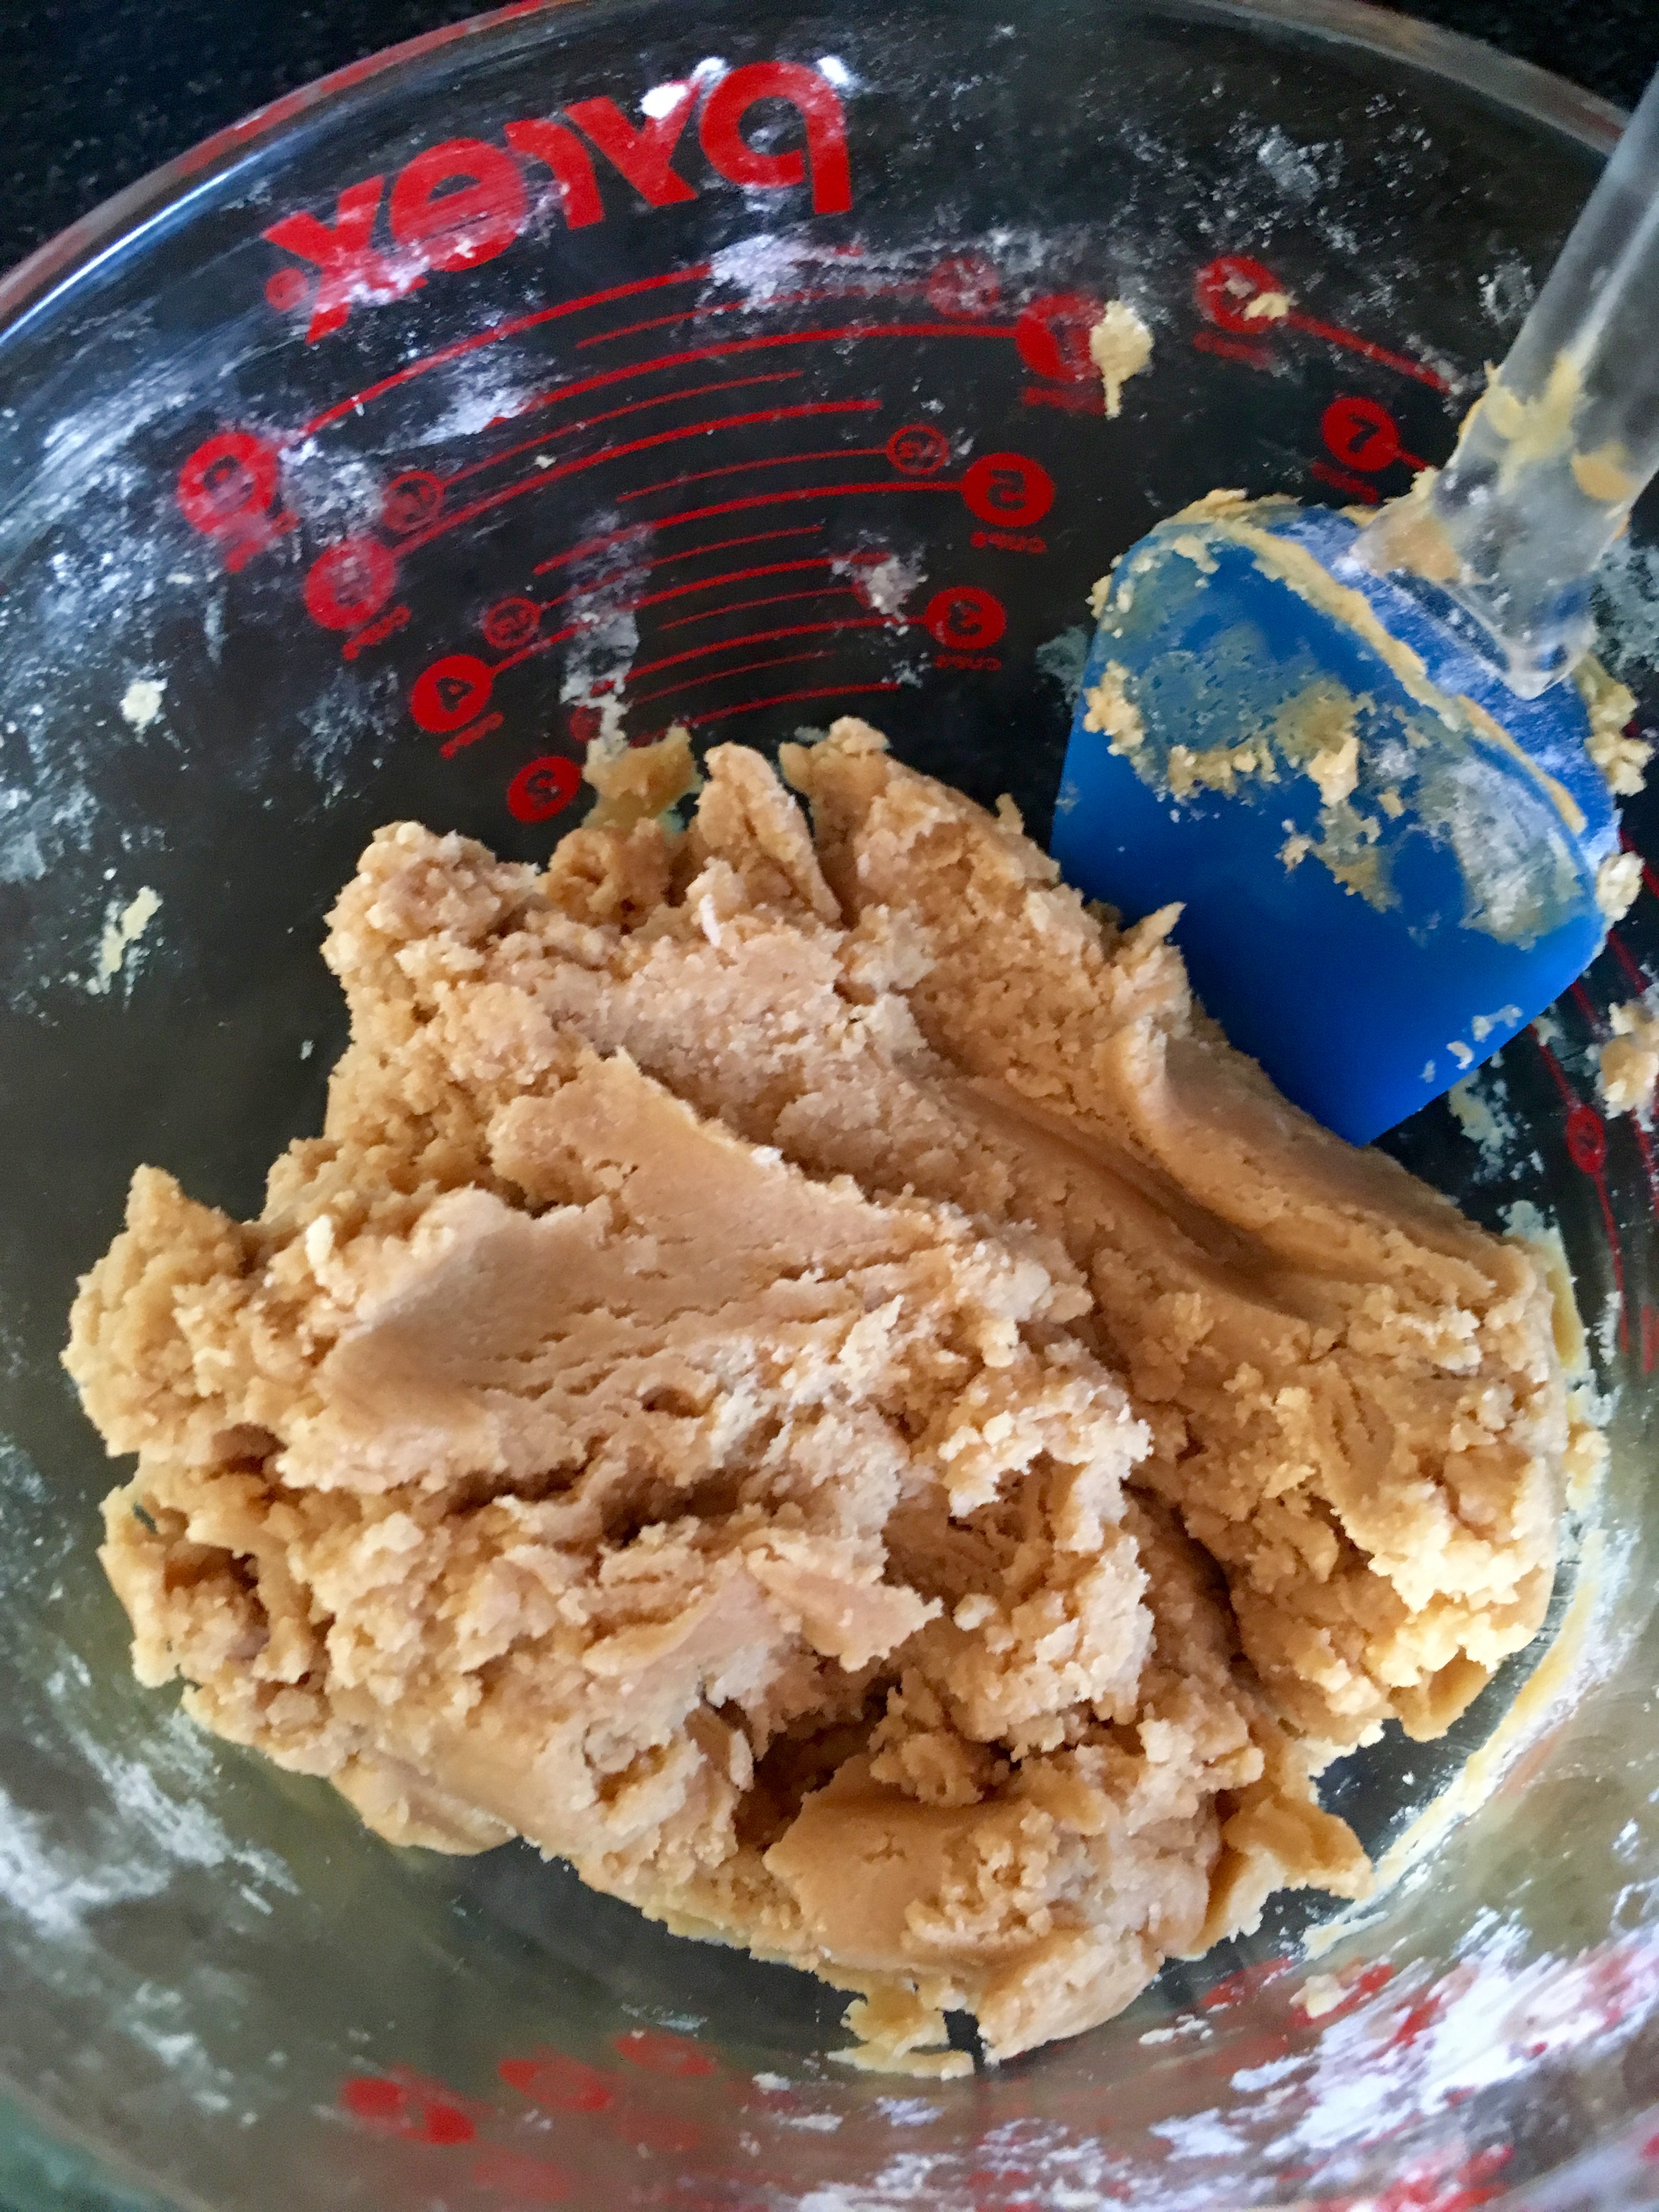
Beat in half of flour mixture, then stir/beat in remaining half. Side note- you may need to mix this by hand as the mixture gets stiffer. I actually made 1.5 times this recipe to make even more cookies and almost broke my stand mixer. Hooray for manpower!
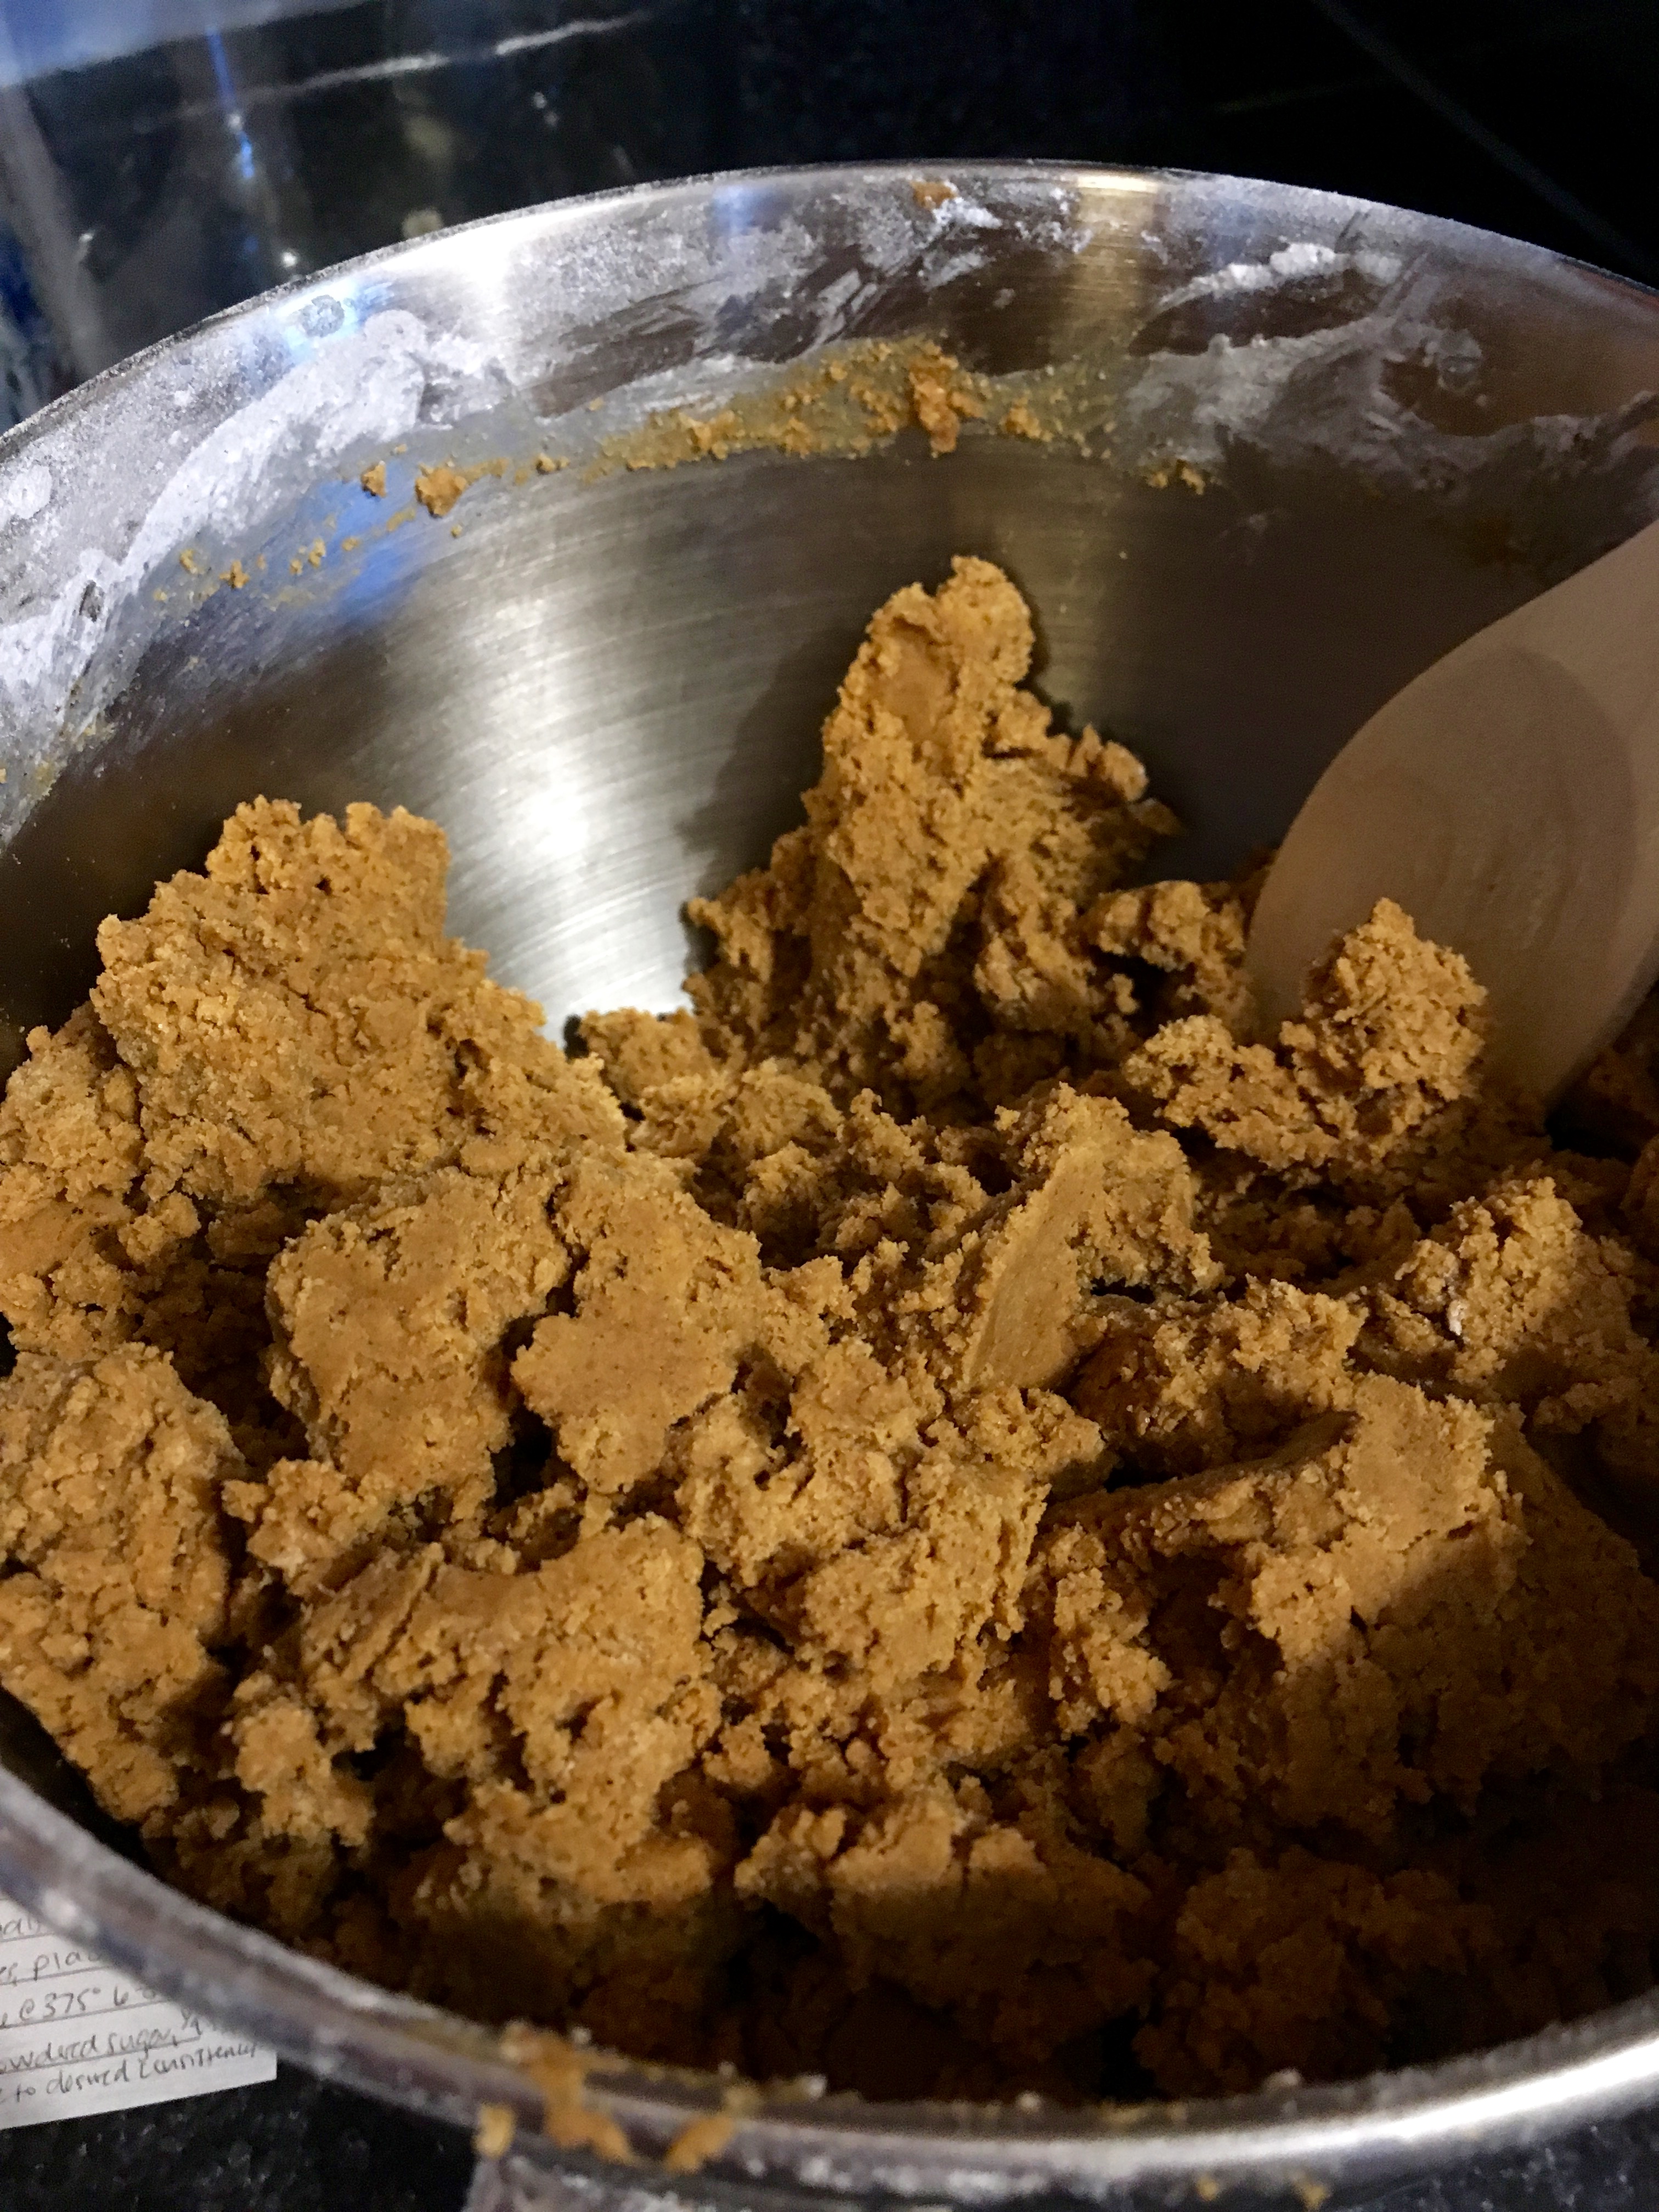
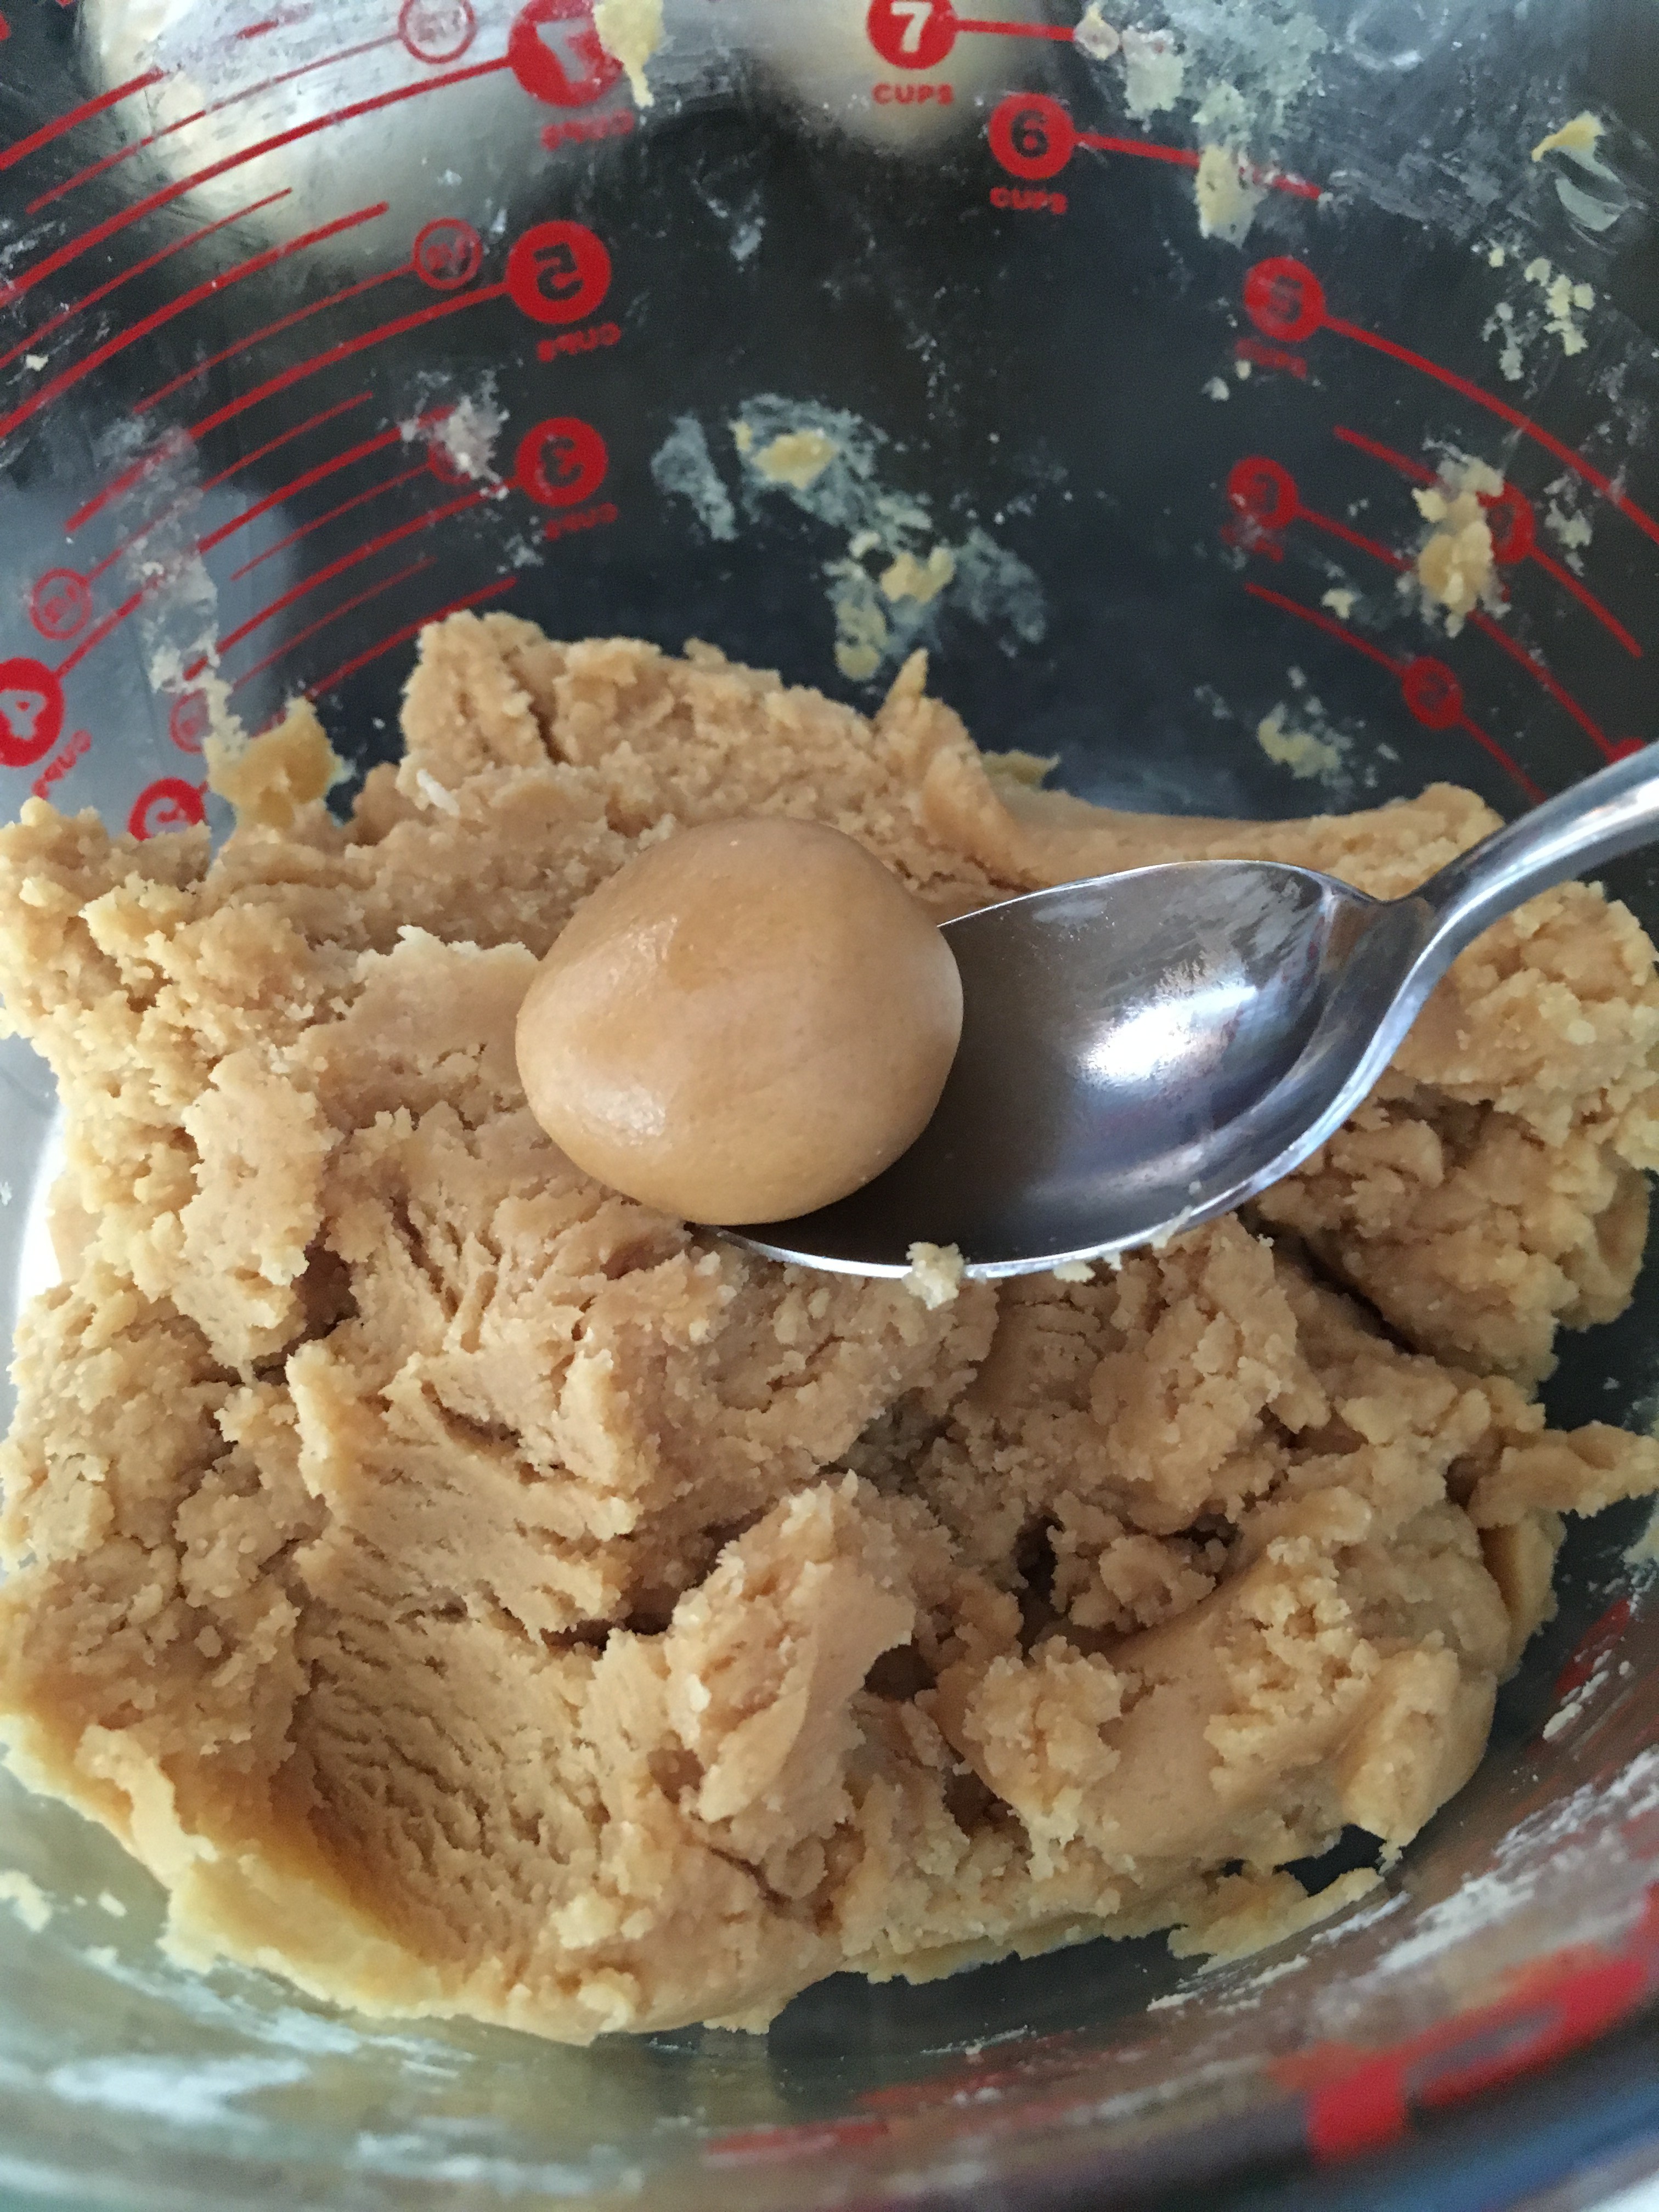
Divide dough in half, wrap in plastic wrap, and chill ~ 1 hour (as mentioned above, I made extra mix so I actually divided mine into thirds- one third for each party that week!).

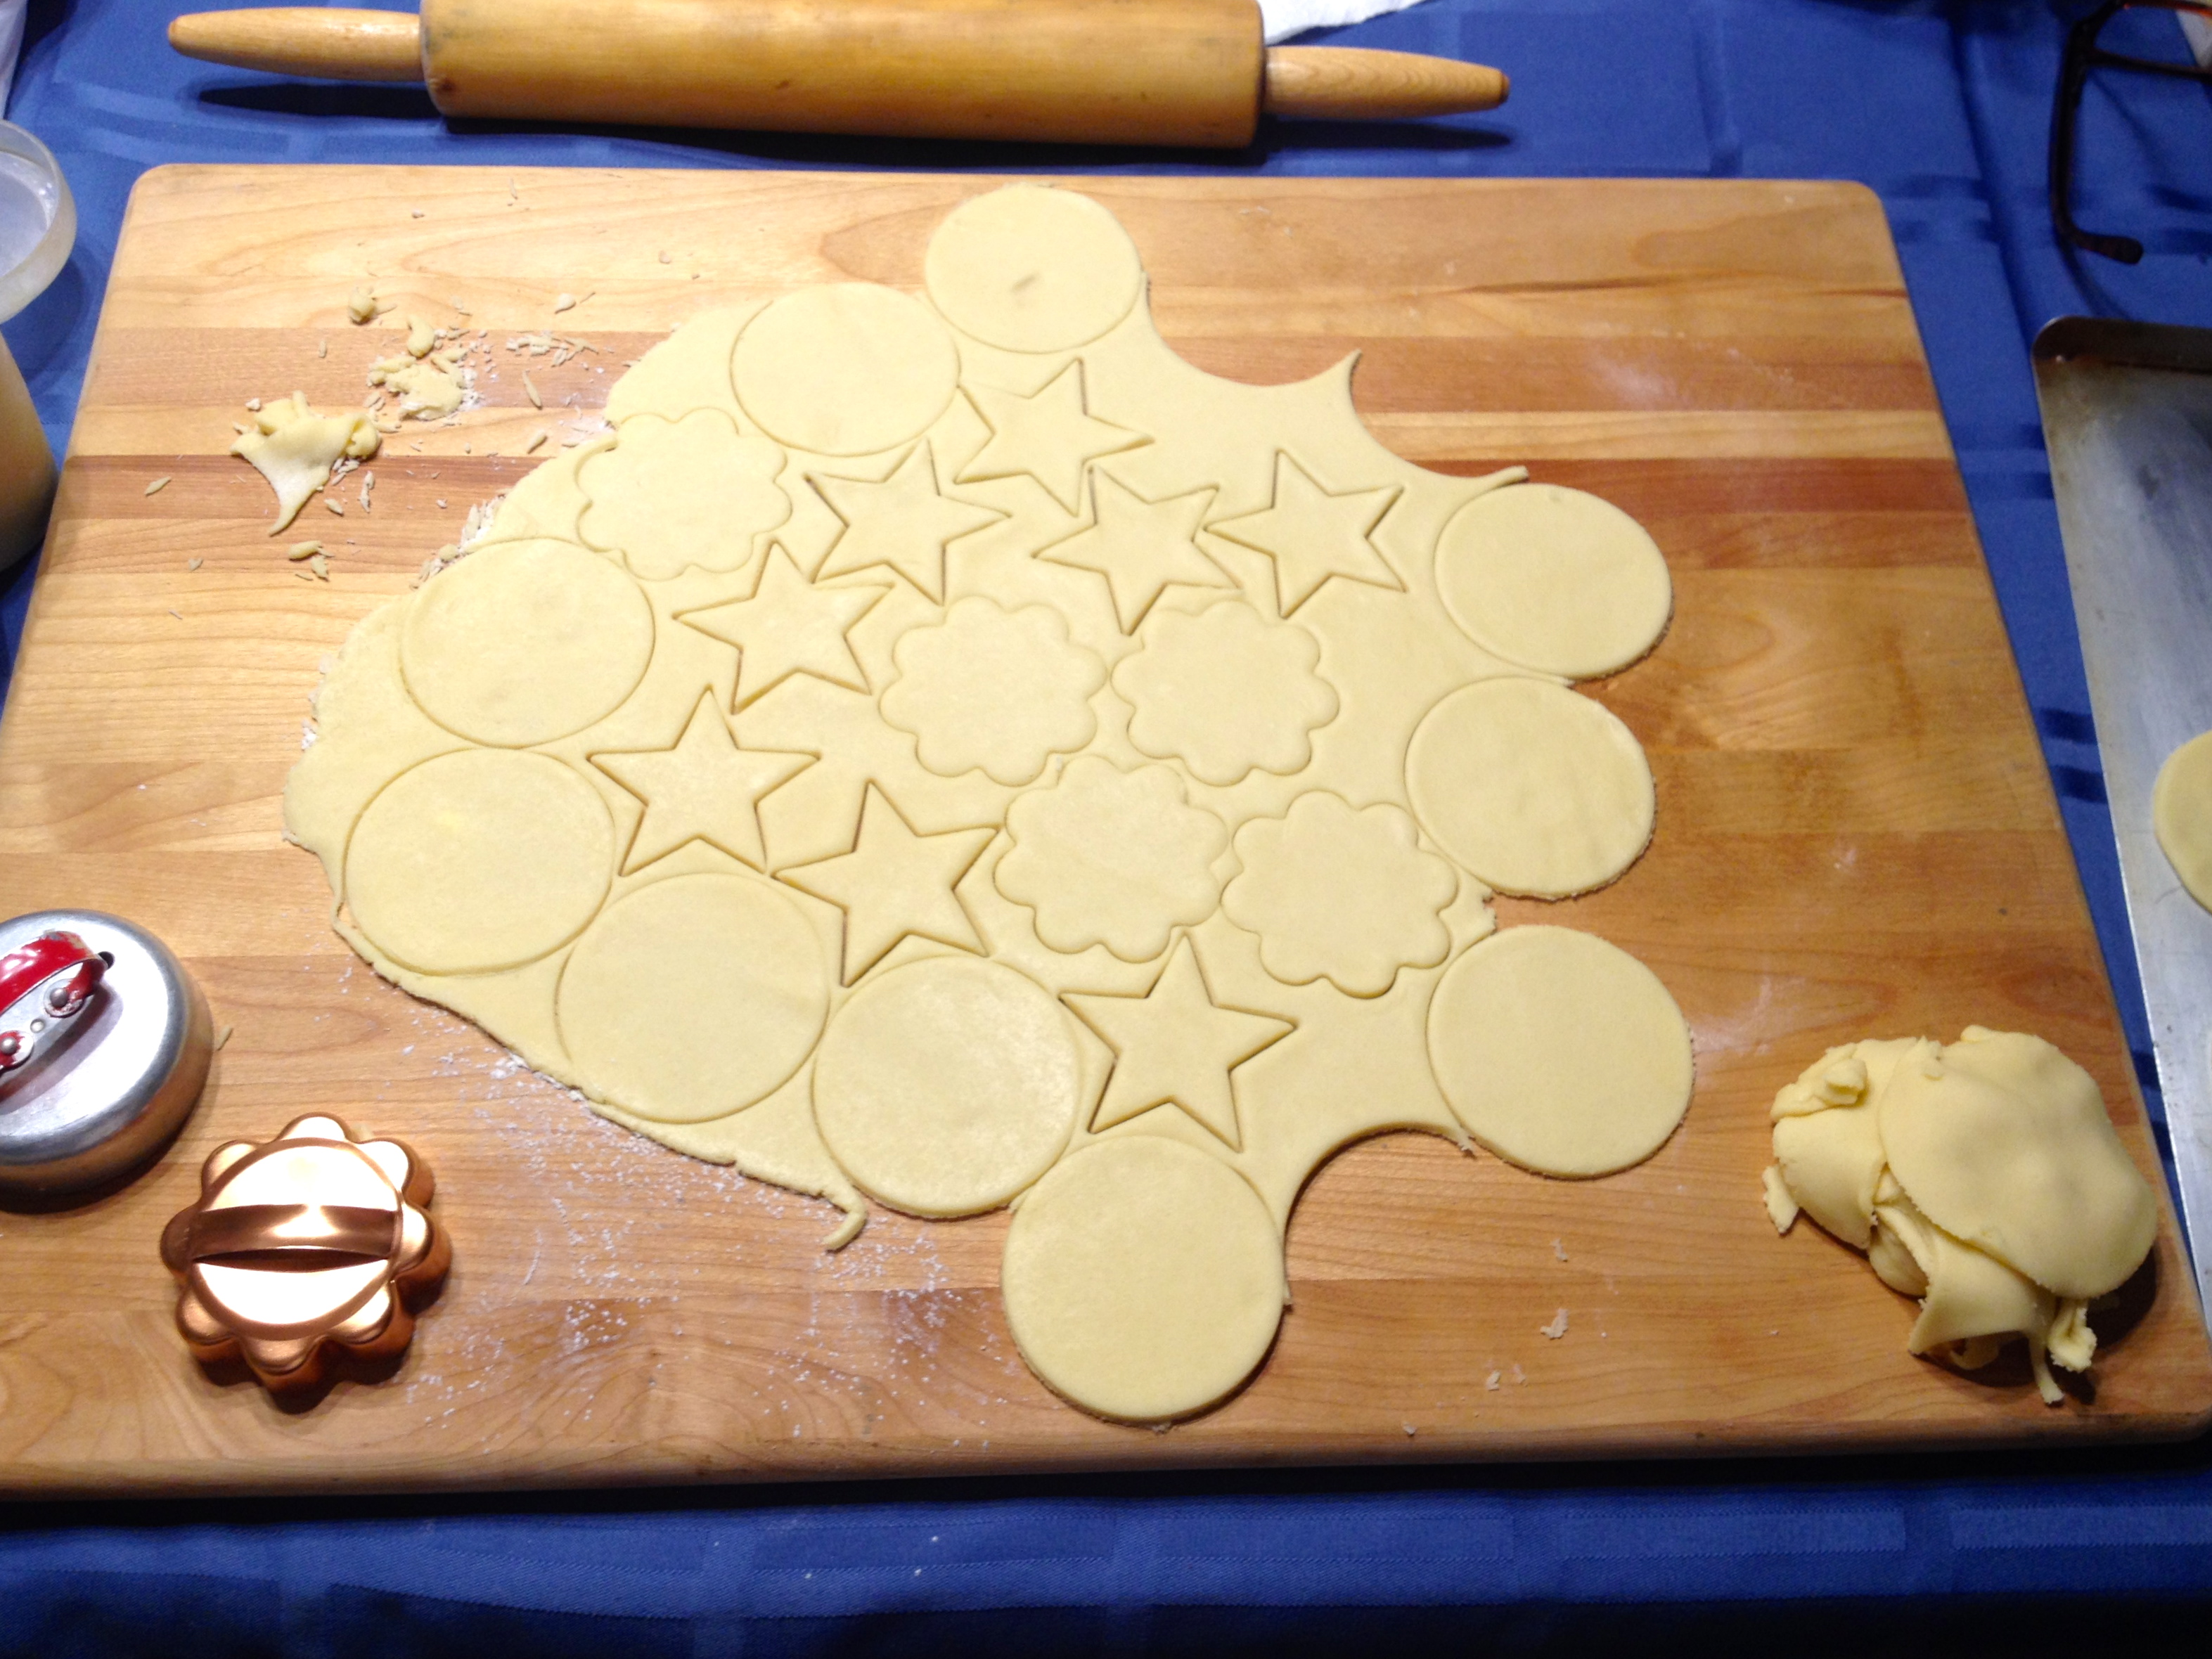
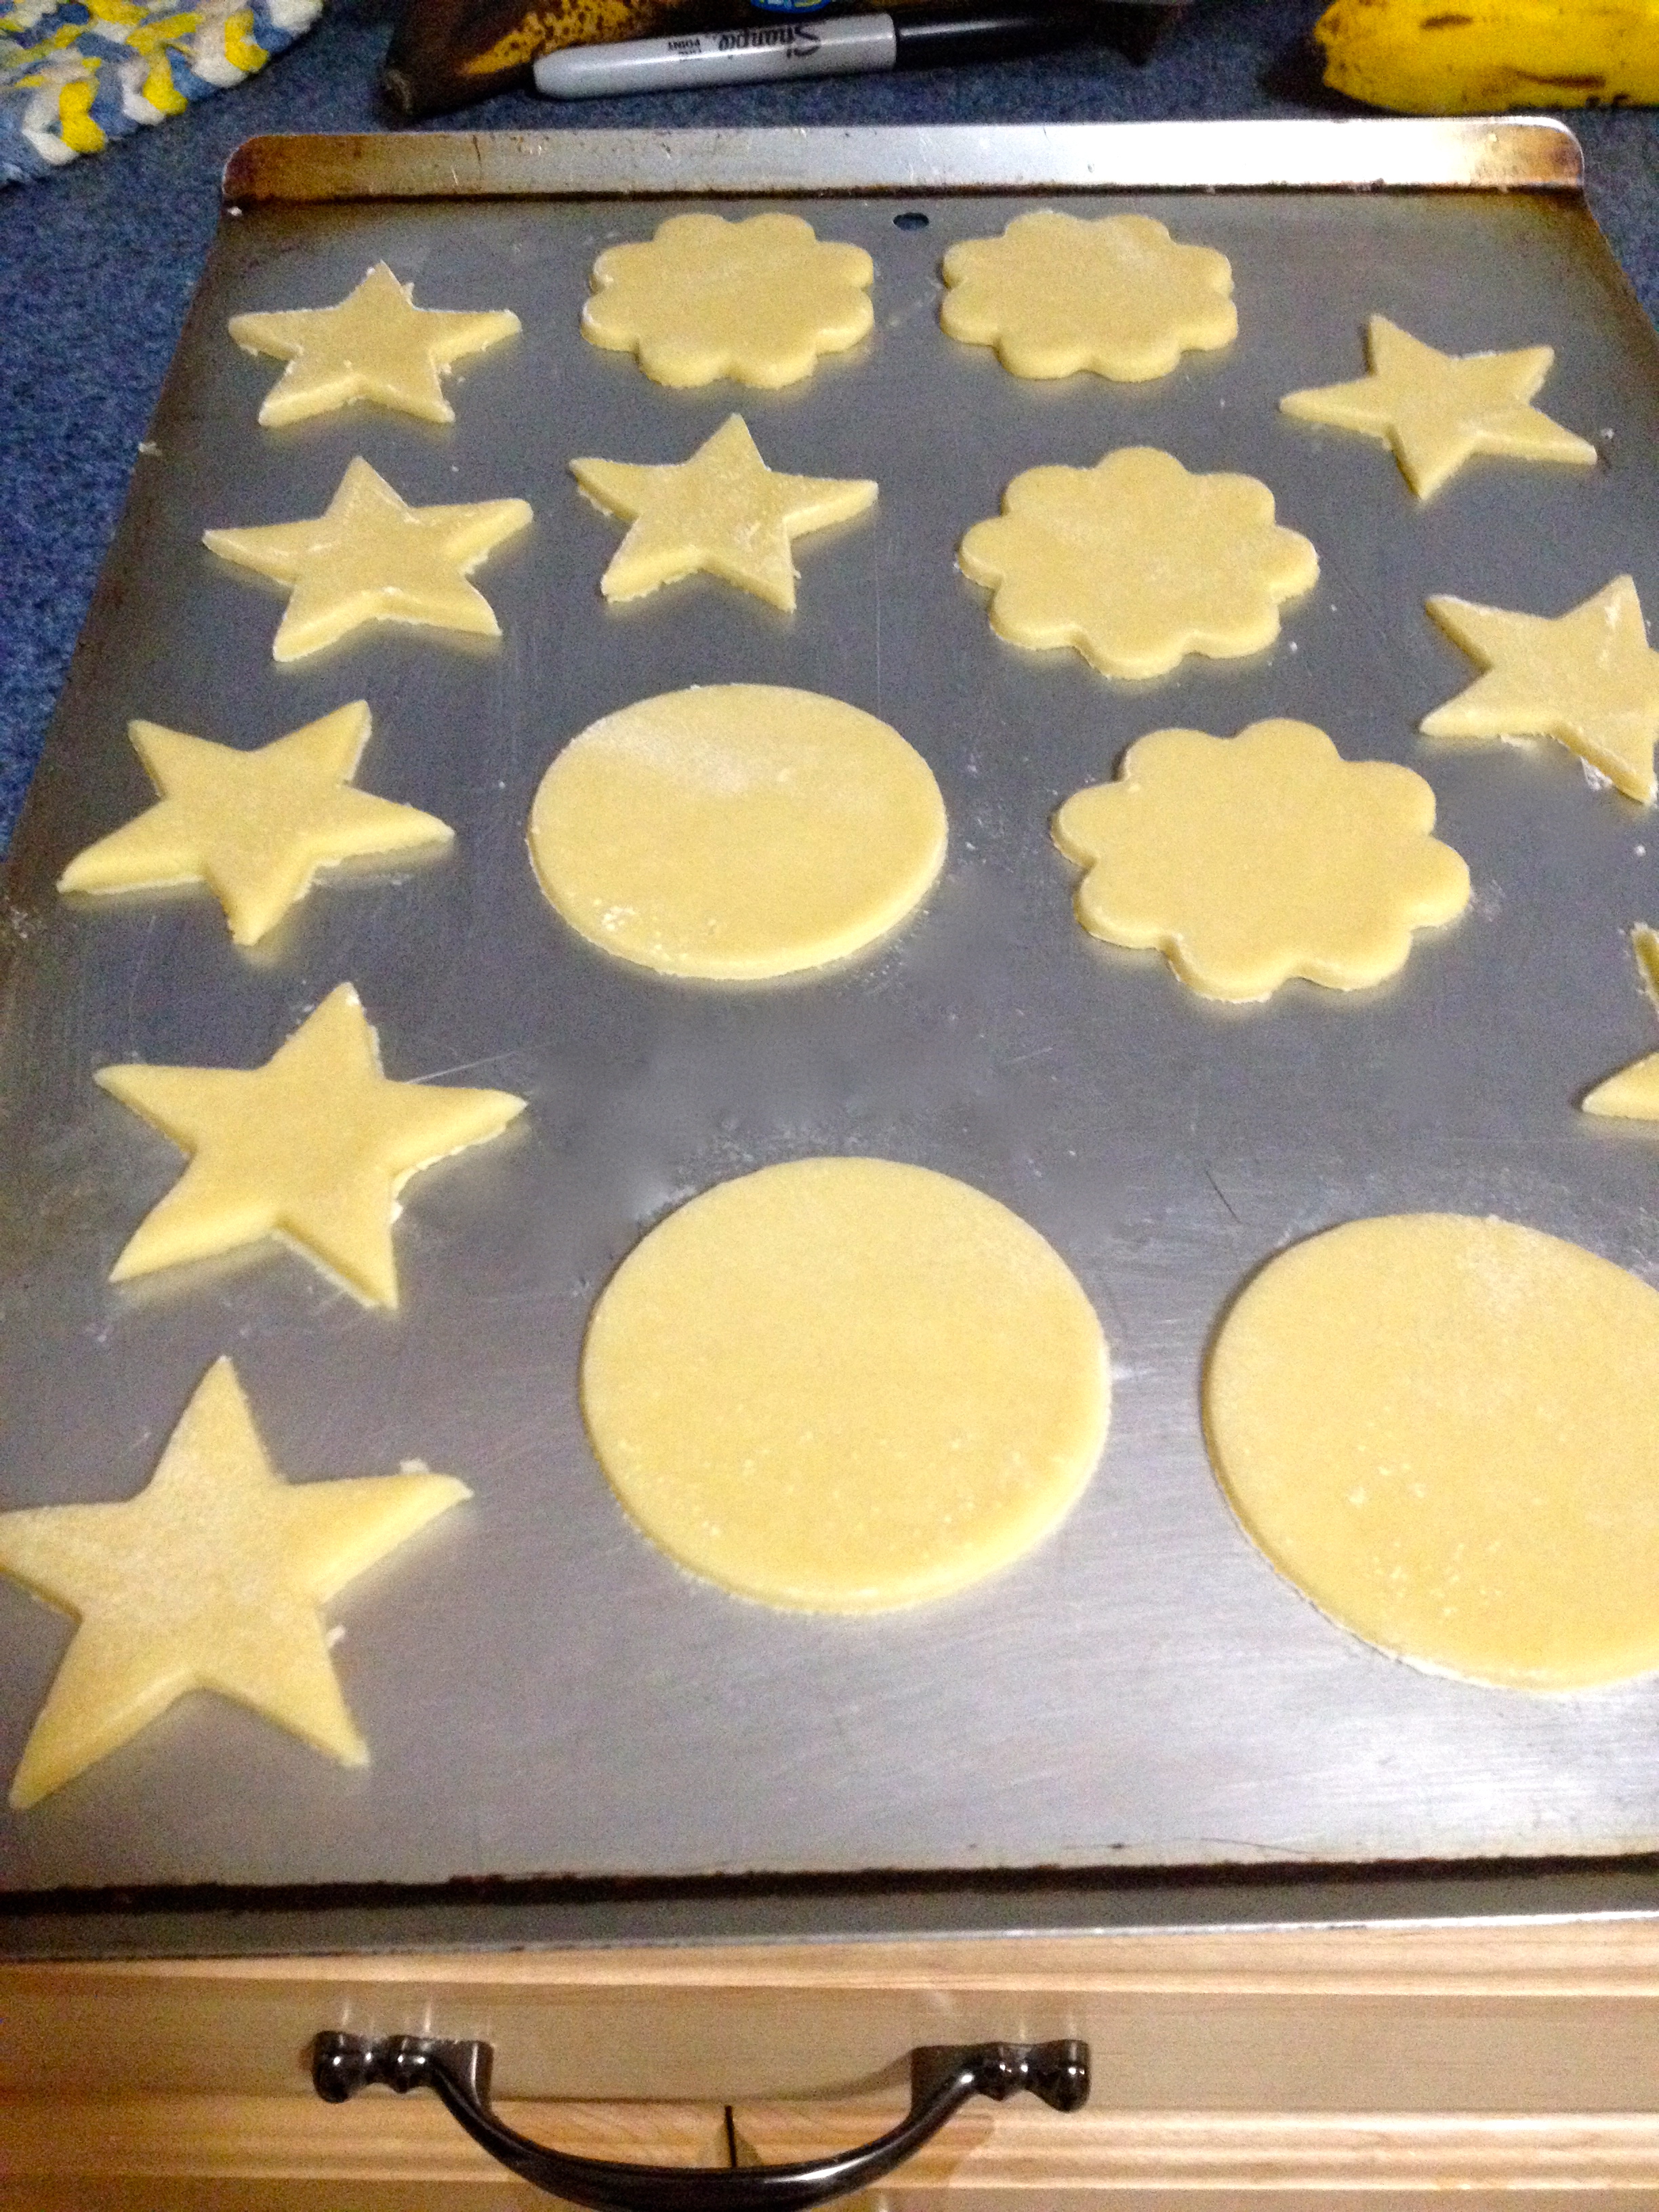
Roll dough, one chilled section at a time, onto a flour surface, to about 1/4″ thick. Cut out shapes and place on a greased baking sheet (can also use a silicone baking mat instead of greasing).
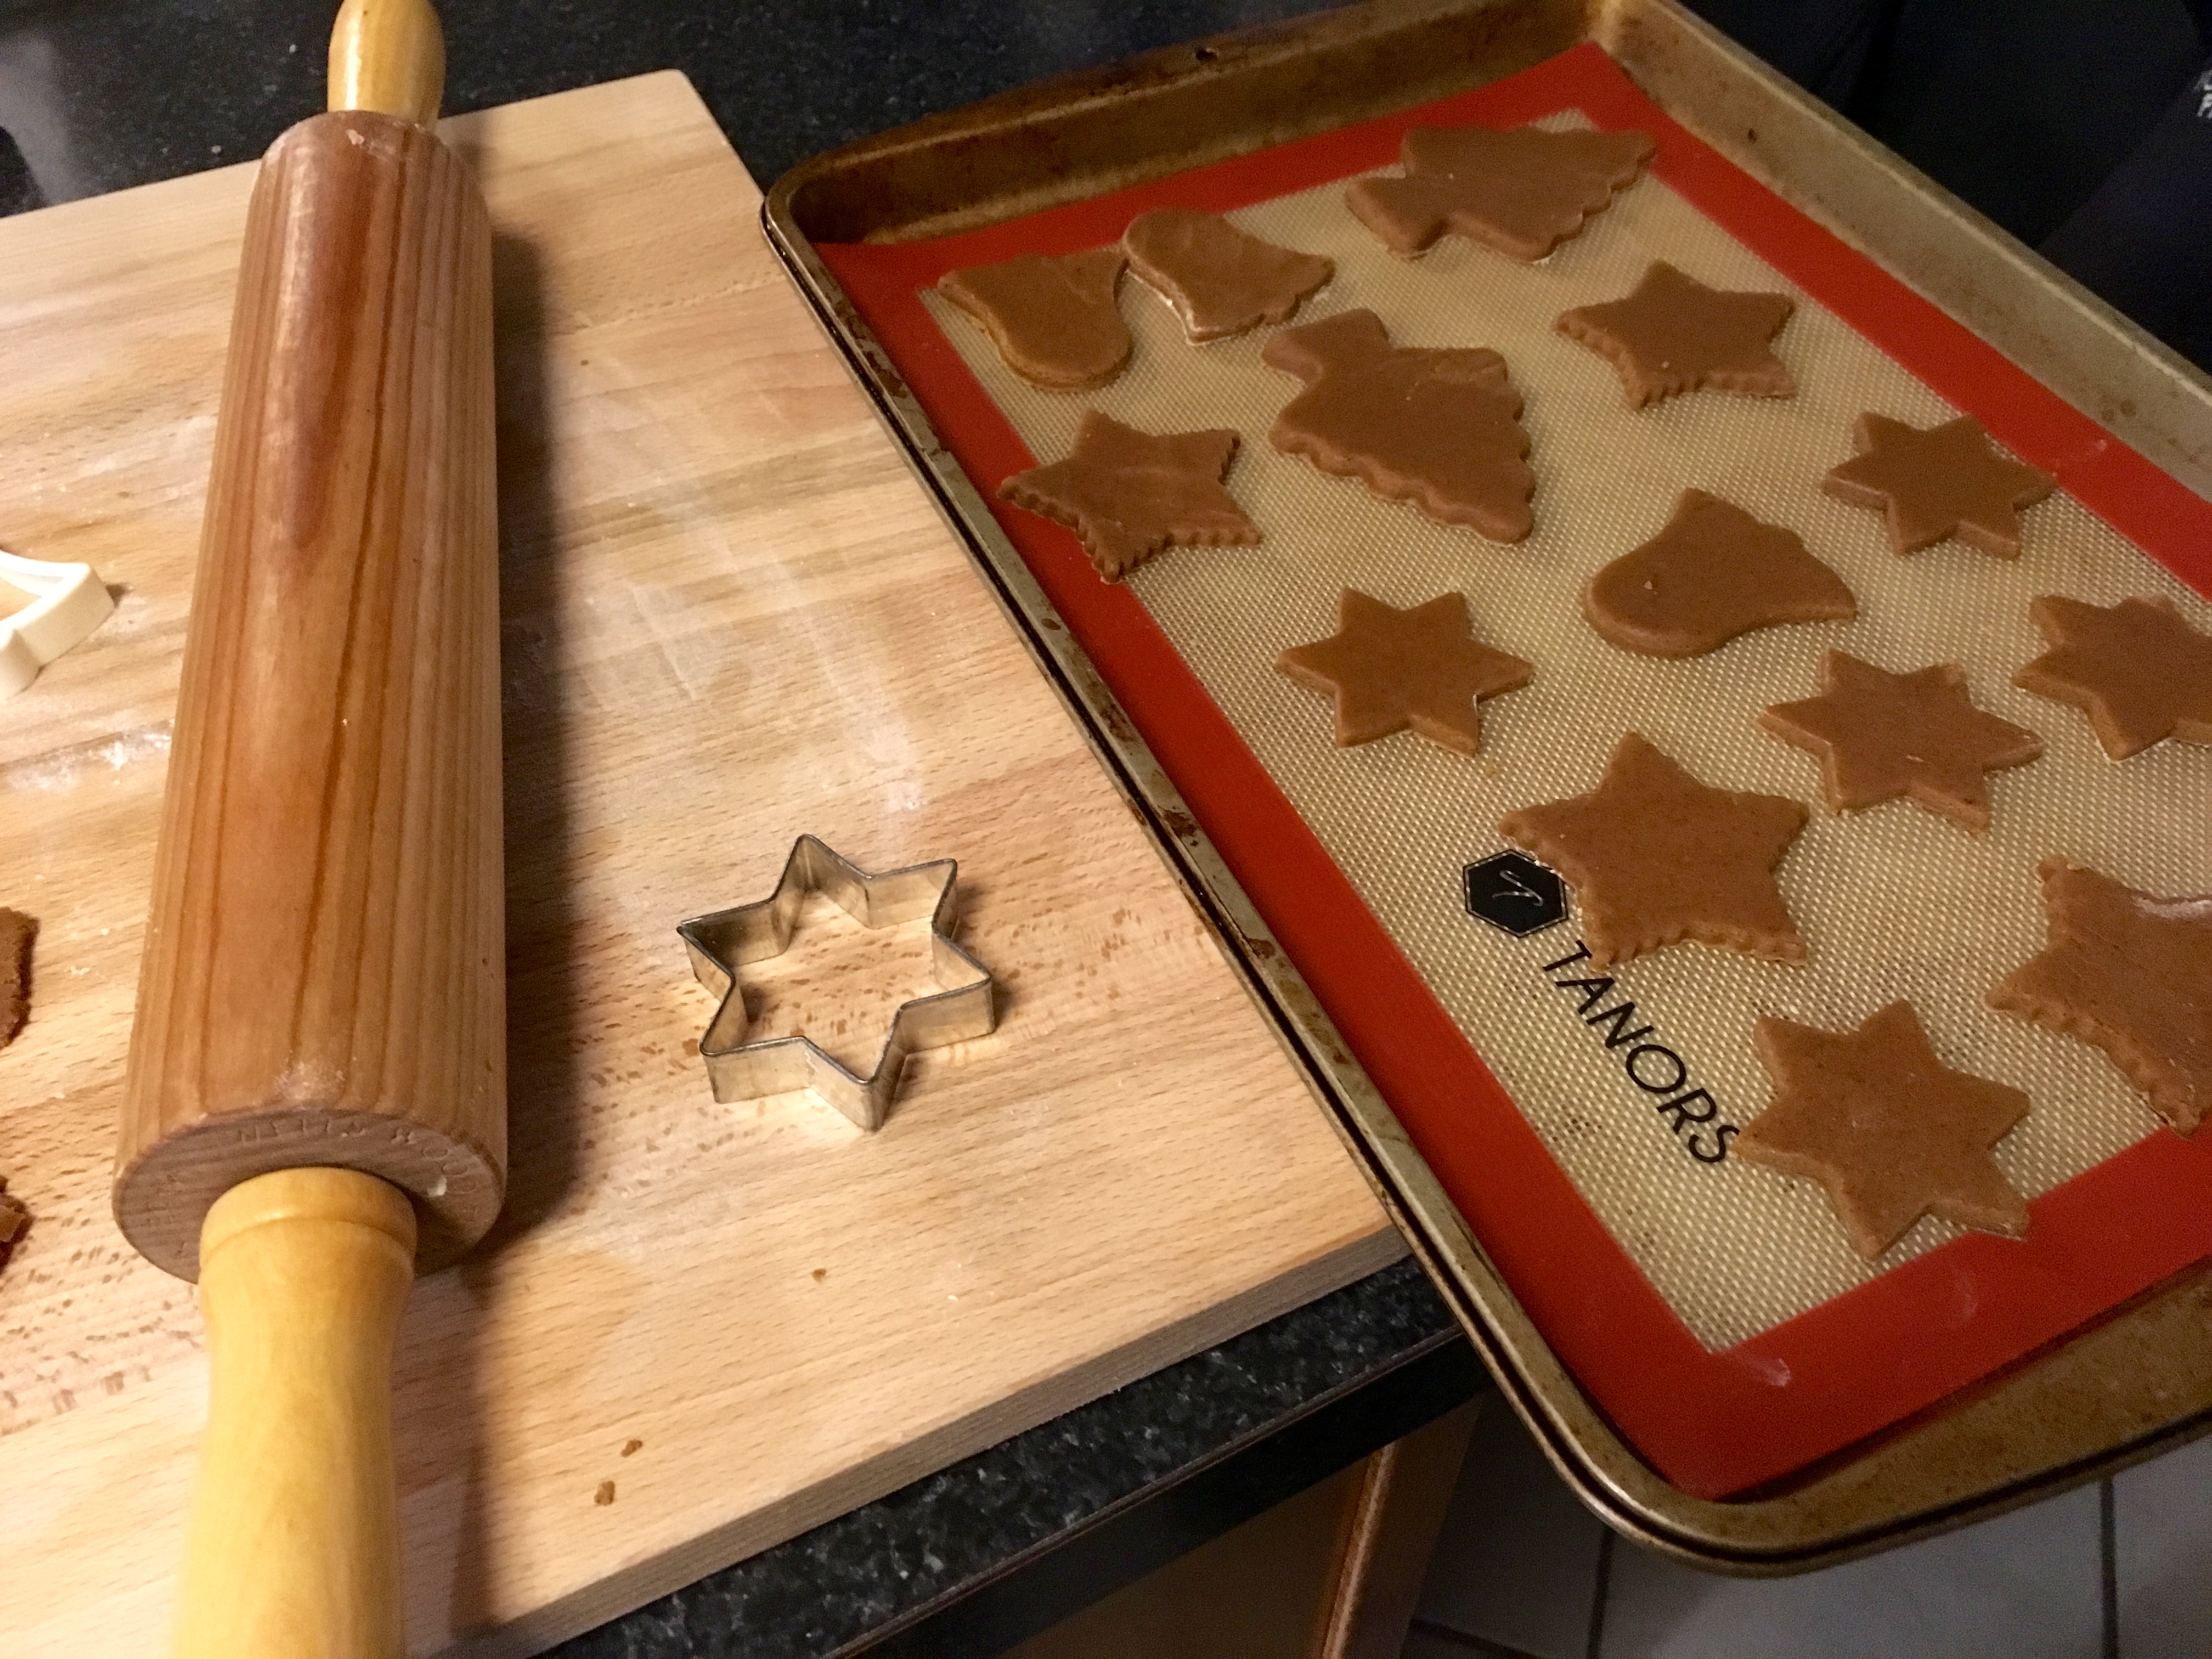
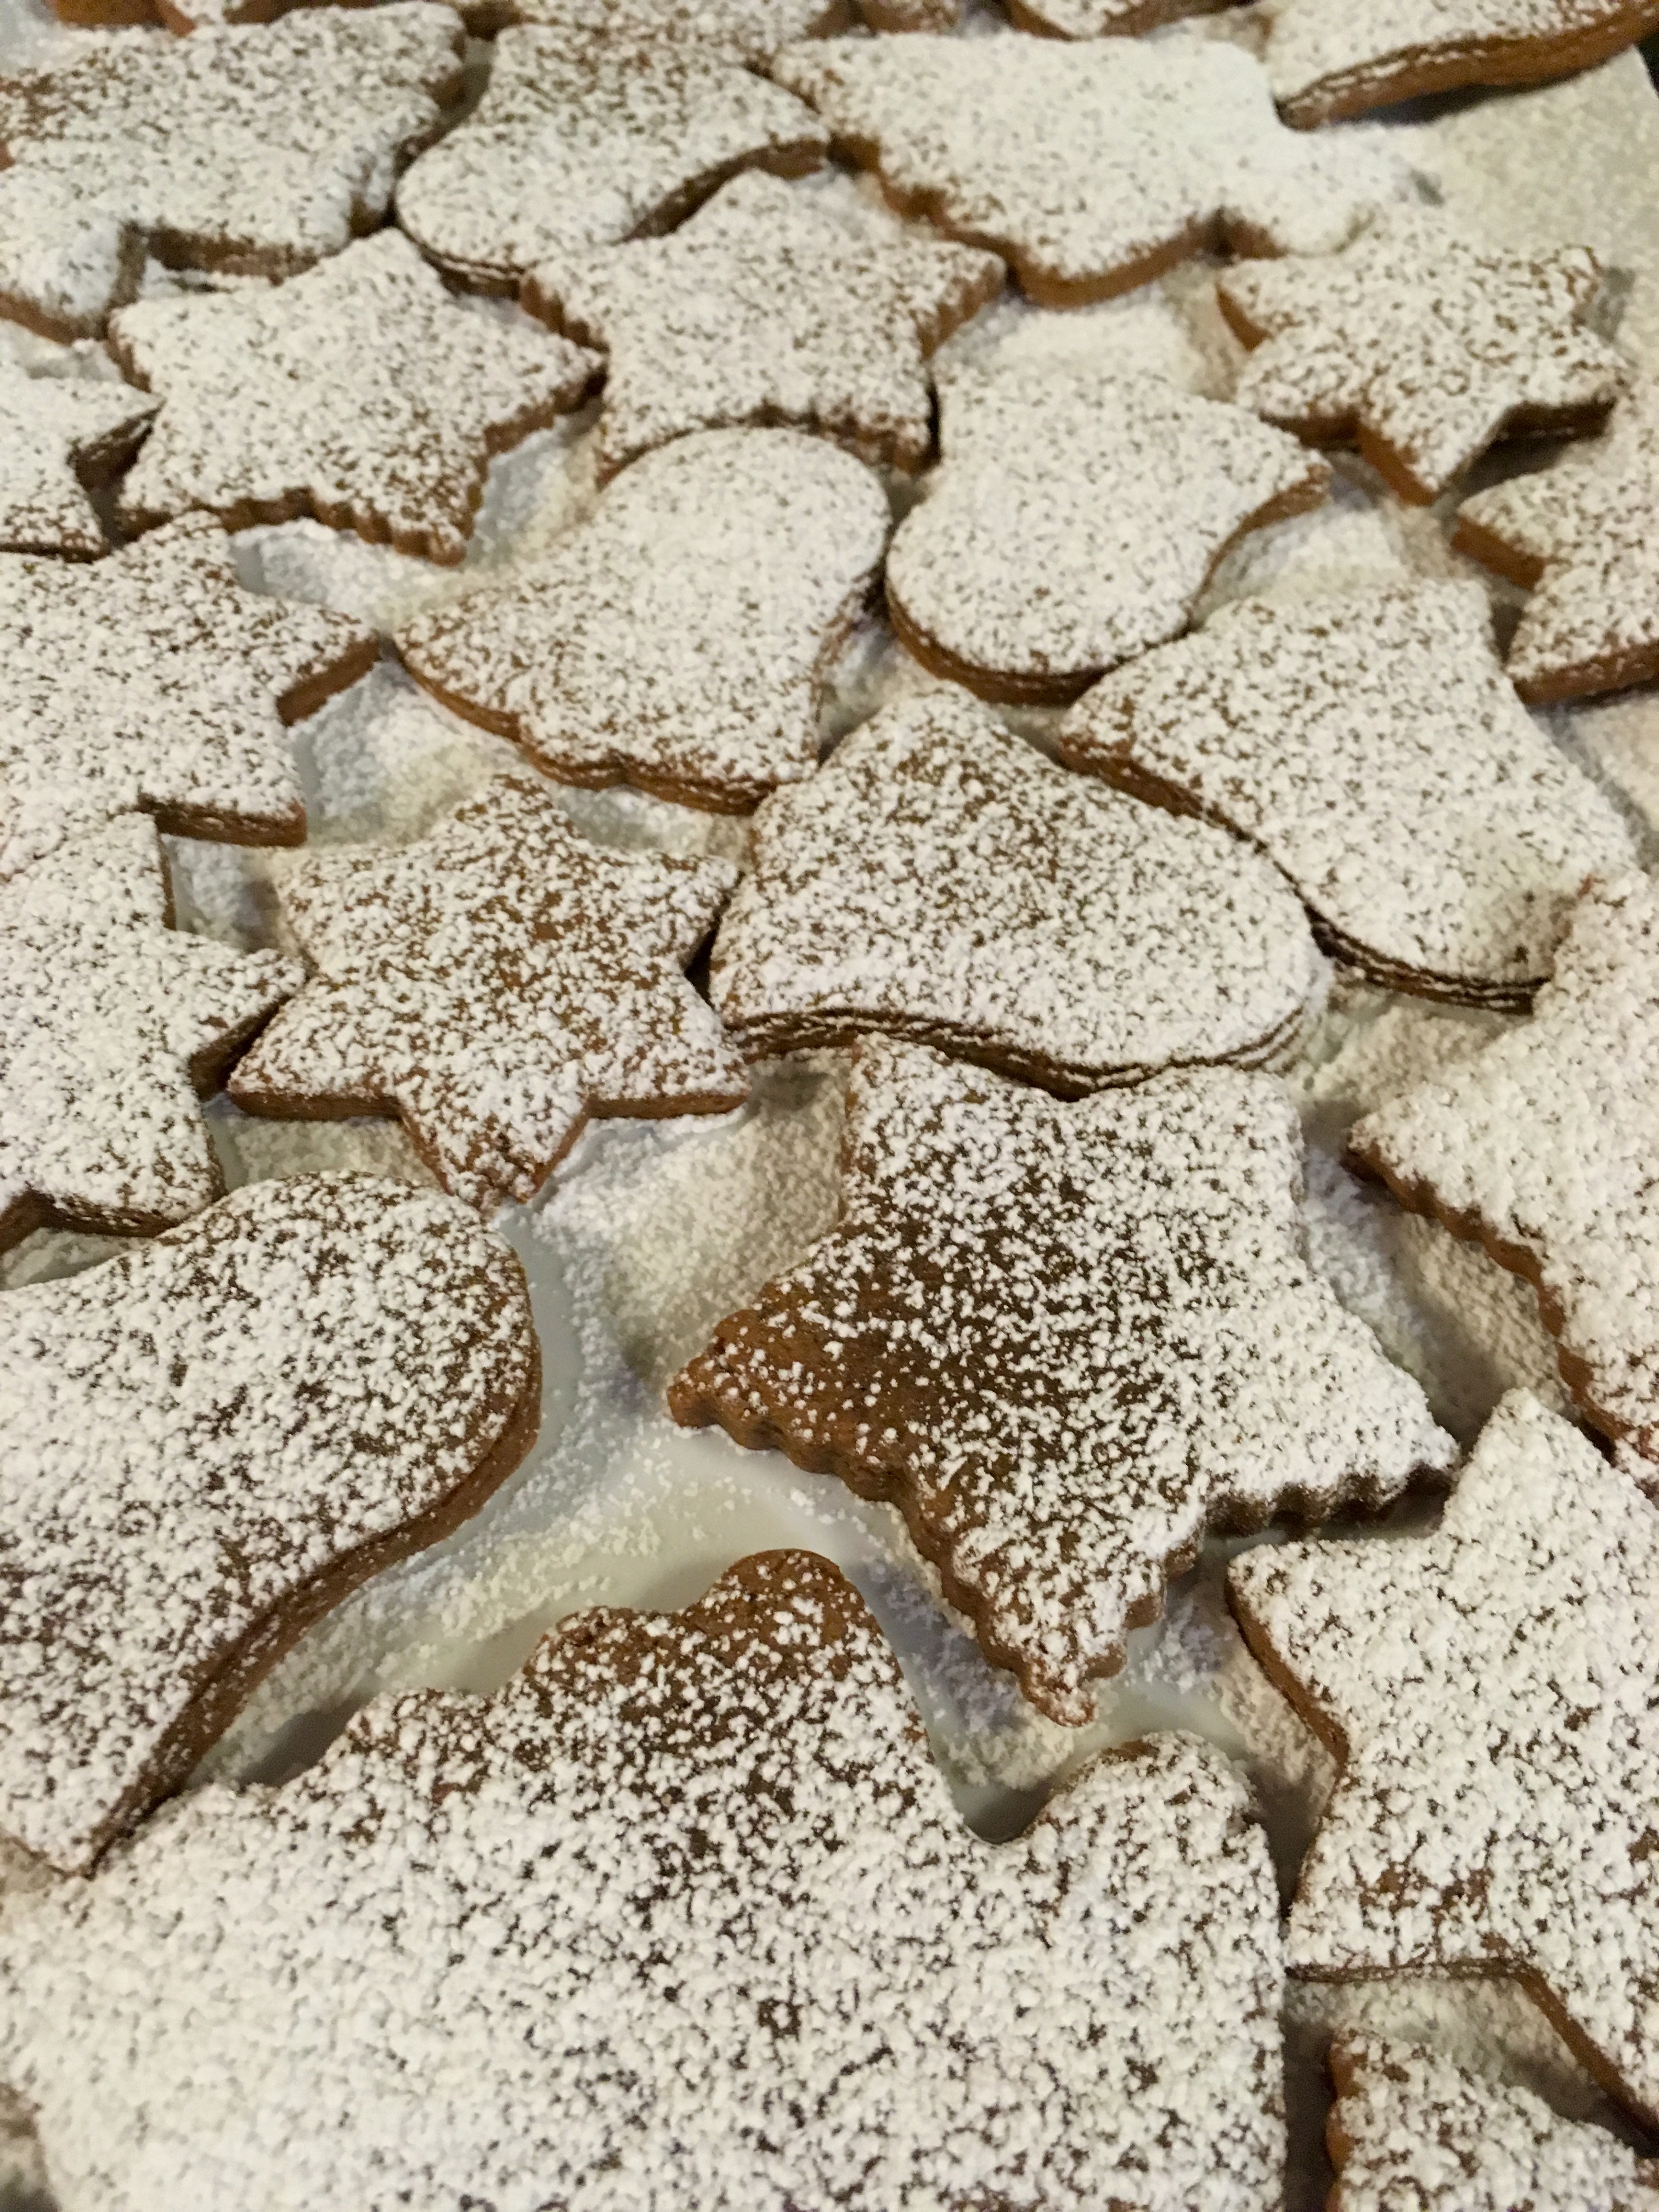
Bake at 375°F for 6-8 minutes. Let them cool on a cooling rack and then decorate. I topped some of mine with powdered sugar and some with icing (recipe below).
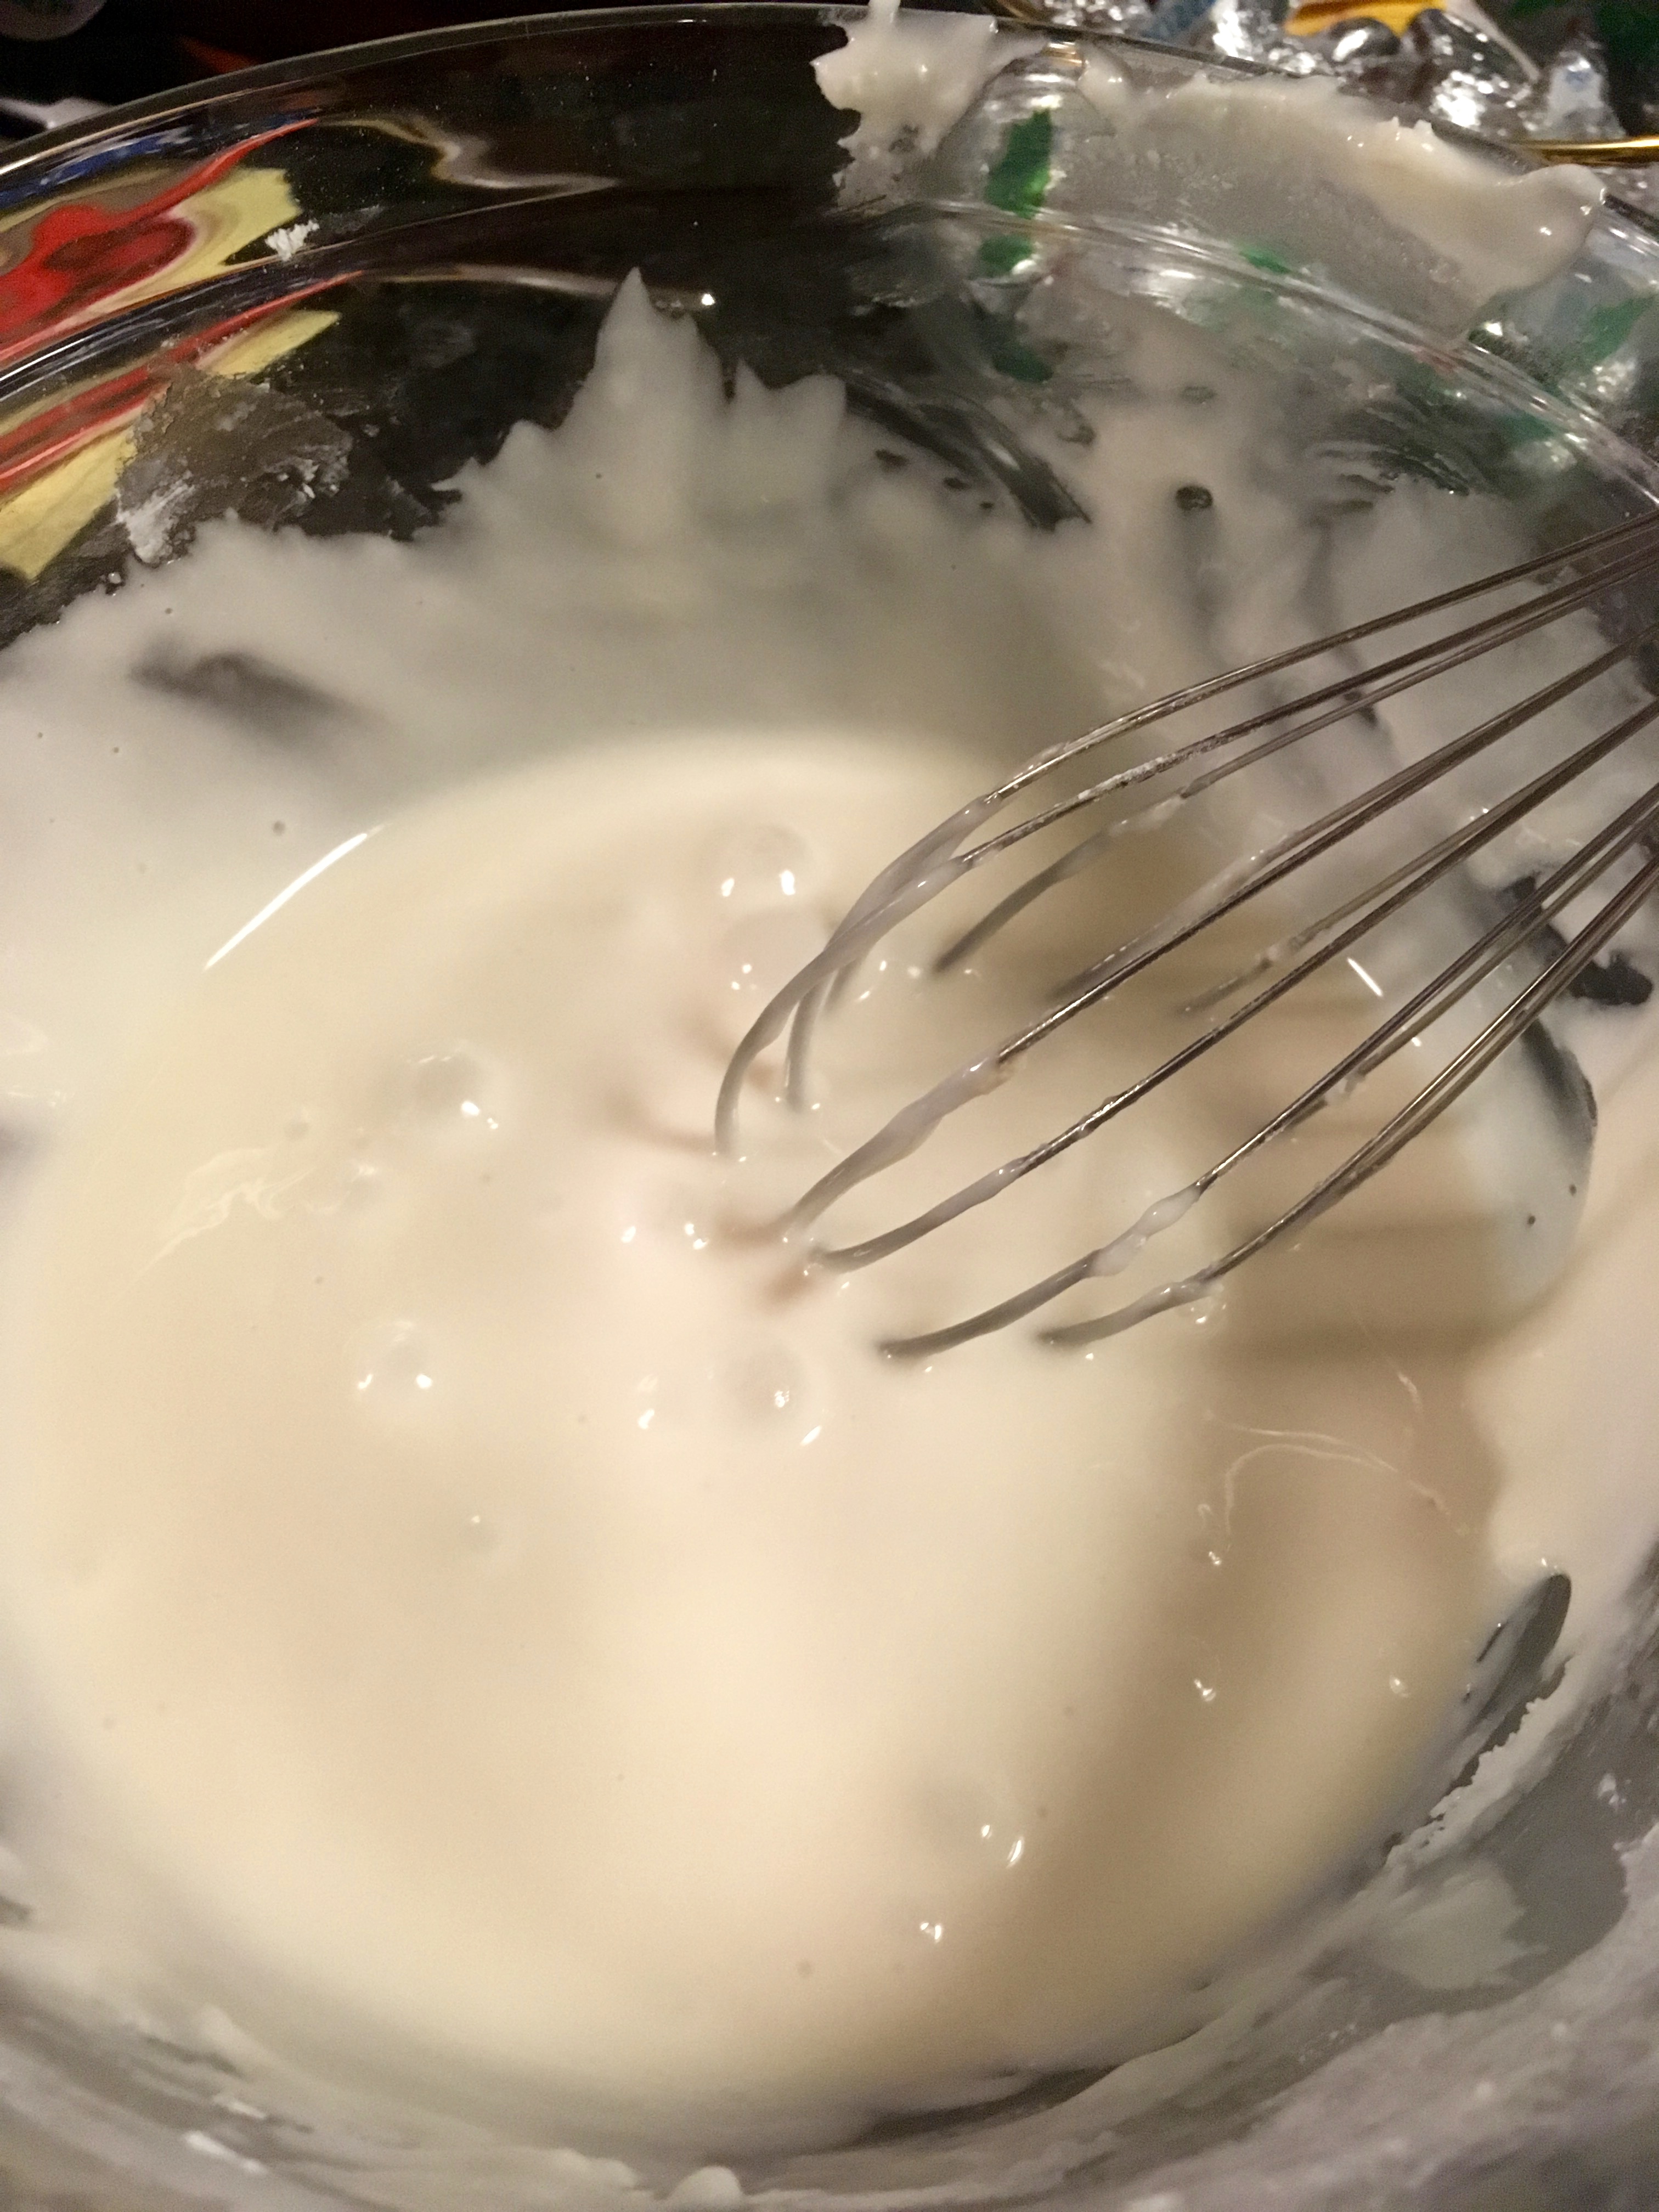
Icing Recipe: 1 cup powdered sugar, 1/4 tsp vanilla, and milk to desired consistency. Beat with hand mixer or whisk until smooth. Pipe or spread onto cookies as desired.
I hope you all enjoy this Christmas with your friends and family! Happy baking!
Peanut Butter Blossoms
Hello, all! Now that’s it’s almost the end of October, I guess we have to accept that summer is definitely over. Time for sweaters, scarves, and much more baking now that I’m inside more often! This weekend my husband and I went to our monthly Poker Night with a bunch of friends and I decided to bring an old favorite: Peanut Butter Blossoms. I have yet to meet a person who doesn’t like these. They’re soft but chewy peanut butter cookies with a Hershey kiss nestled right into the middle, and they’re seriously the best. Here’s the recipe!
Ingredients:
- 1 and 3/4 cup flour
- 1 tsp baking soda
- 1/2 tsp salt
- 1/2 cup shortening
- 2 tbsp milk
- 1/2 cup peanut butter
- 1/2 tsp vanilla
- 1/2 cup sugar (plus a few tablespoons extra for rolling)
- 1/2 cup brown sugar
- 1 large egg
- Hershey kisses (my most recent batch made 40 cookies, so you’ll need somewhere around that many kisses)
Preheat the oven to 375º. Cream the shortening, peanut butter, and the two sugars together until they’re fully mixed.
Add the egg, vanilla, and milk; mix to fully combine.

Add the flour, baking soda, and salt, and mix well until all the ingredients are fully incorporated. It’s a fairly stiff dough so make sure to really get everything mixed in!
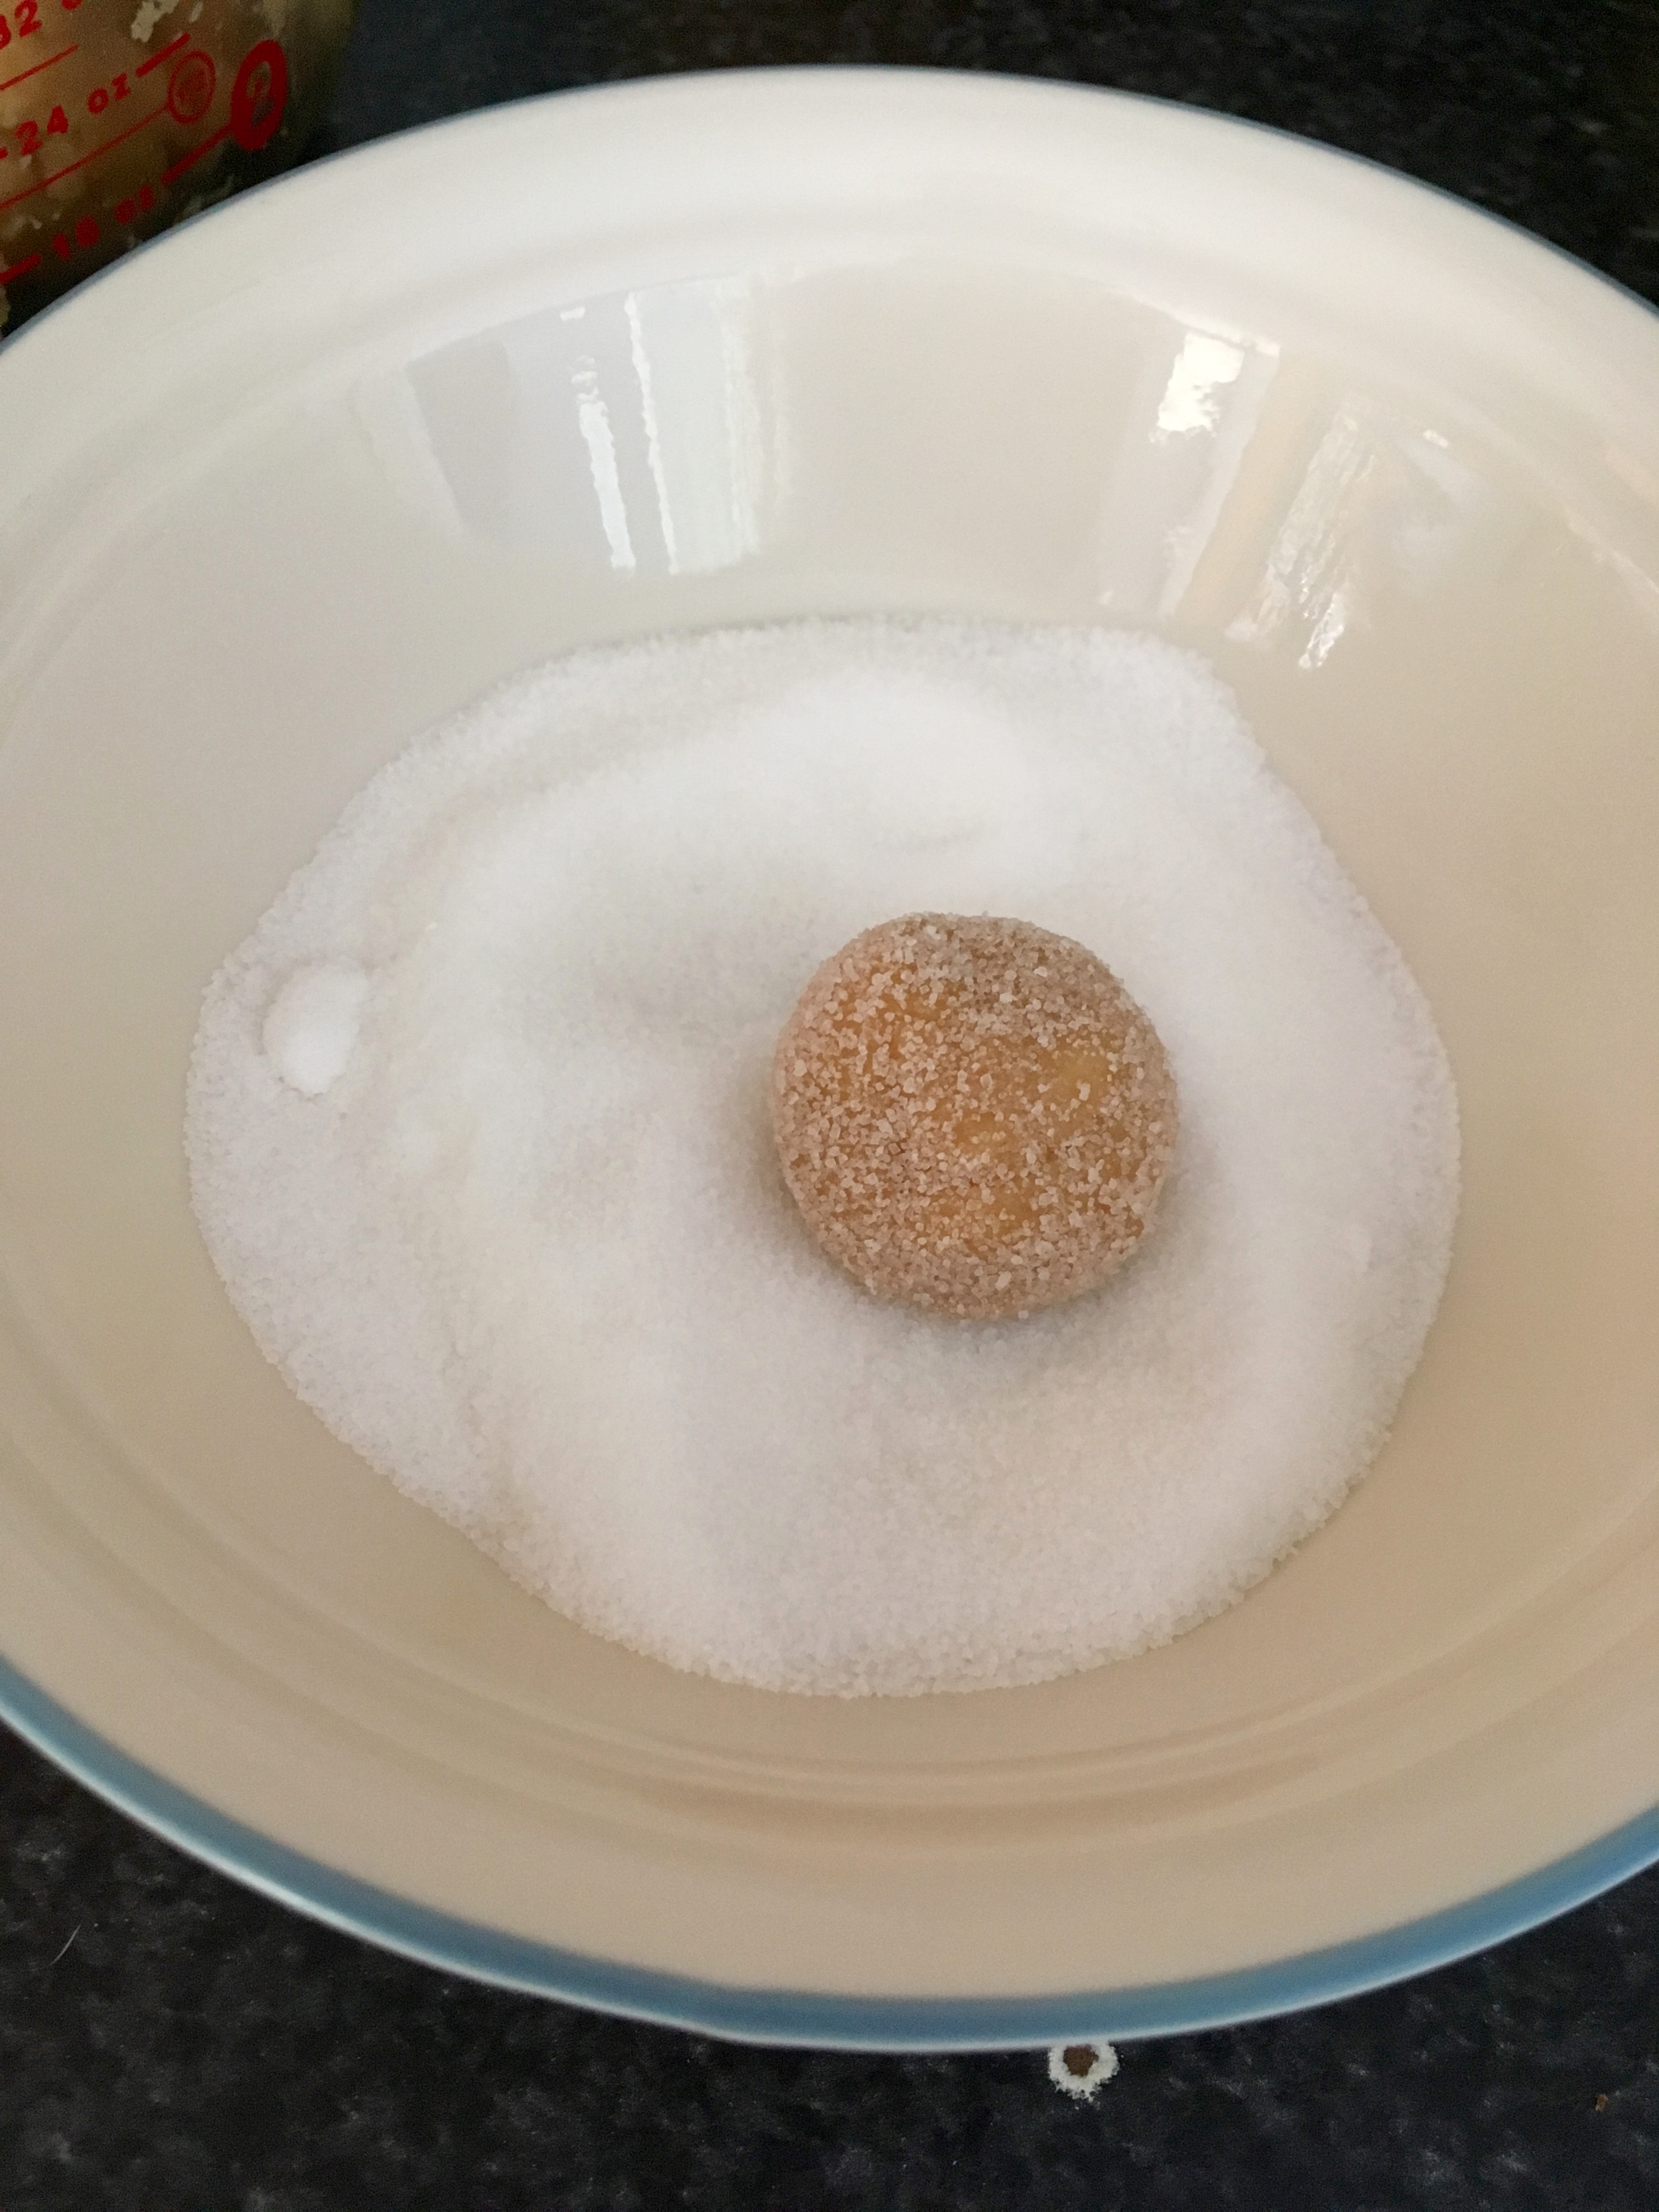
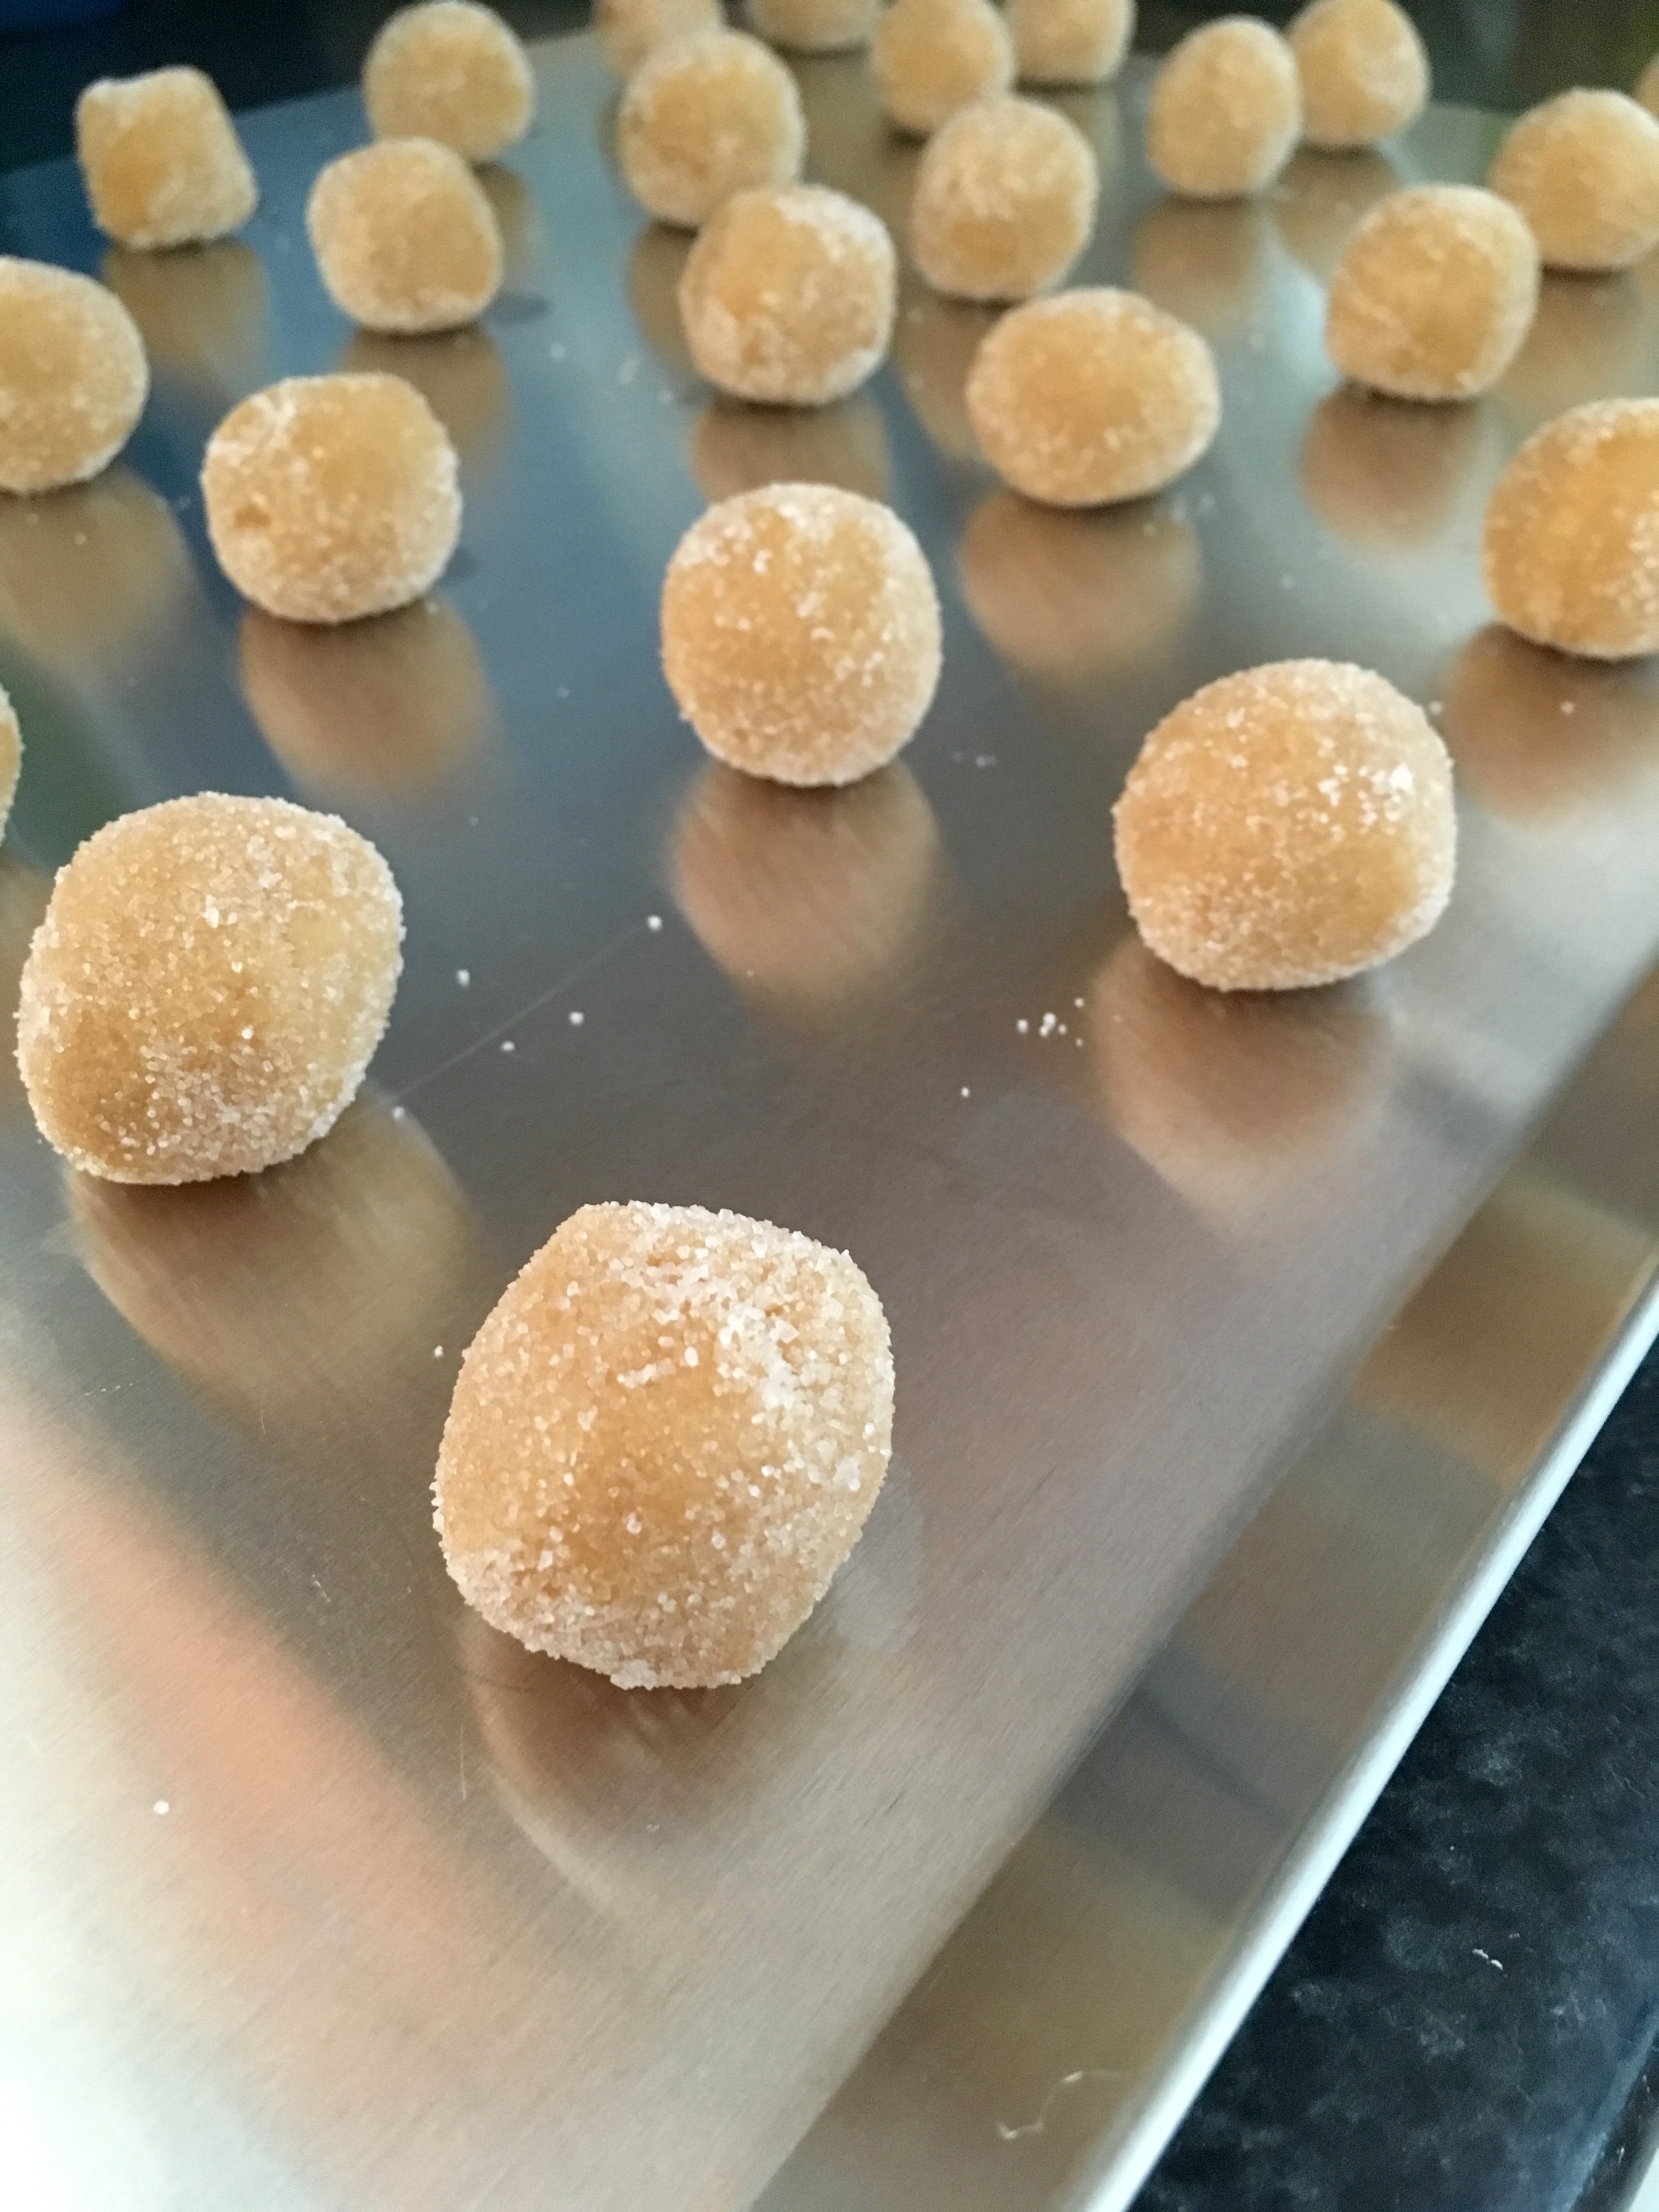
Shape the cookies into about 1″ balls, and roll them in extra sugar. Hint: it goes quicker if you shape all the cookies into balls first and then roll them all in sugar at once.
Place them on an ungreased cookie sheet about 2″ apart. (Shoutout to my hubby and my mom for getting me the largest cookie sheets on the market so that I don’t have to cool cookie sheets between batches anymore. You’re the best!)
IMPORTANT NEXT STEP: COUNT OUT HOW MANY COOKIE BALLS YOU HAVE ROLLED. During the first baking time, you’ll want to unwrap enough Hershey kisses to place one on each cookie and it’s a super drag trying to rush through unwrapping them if you didn’t count.
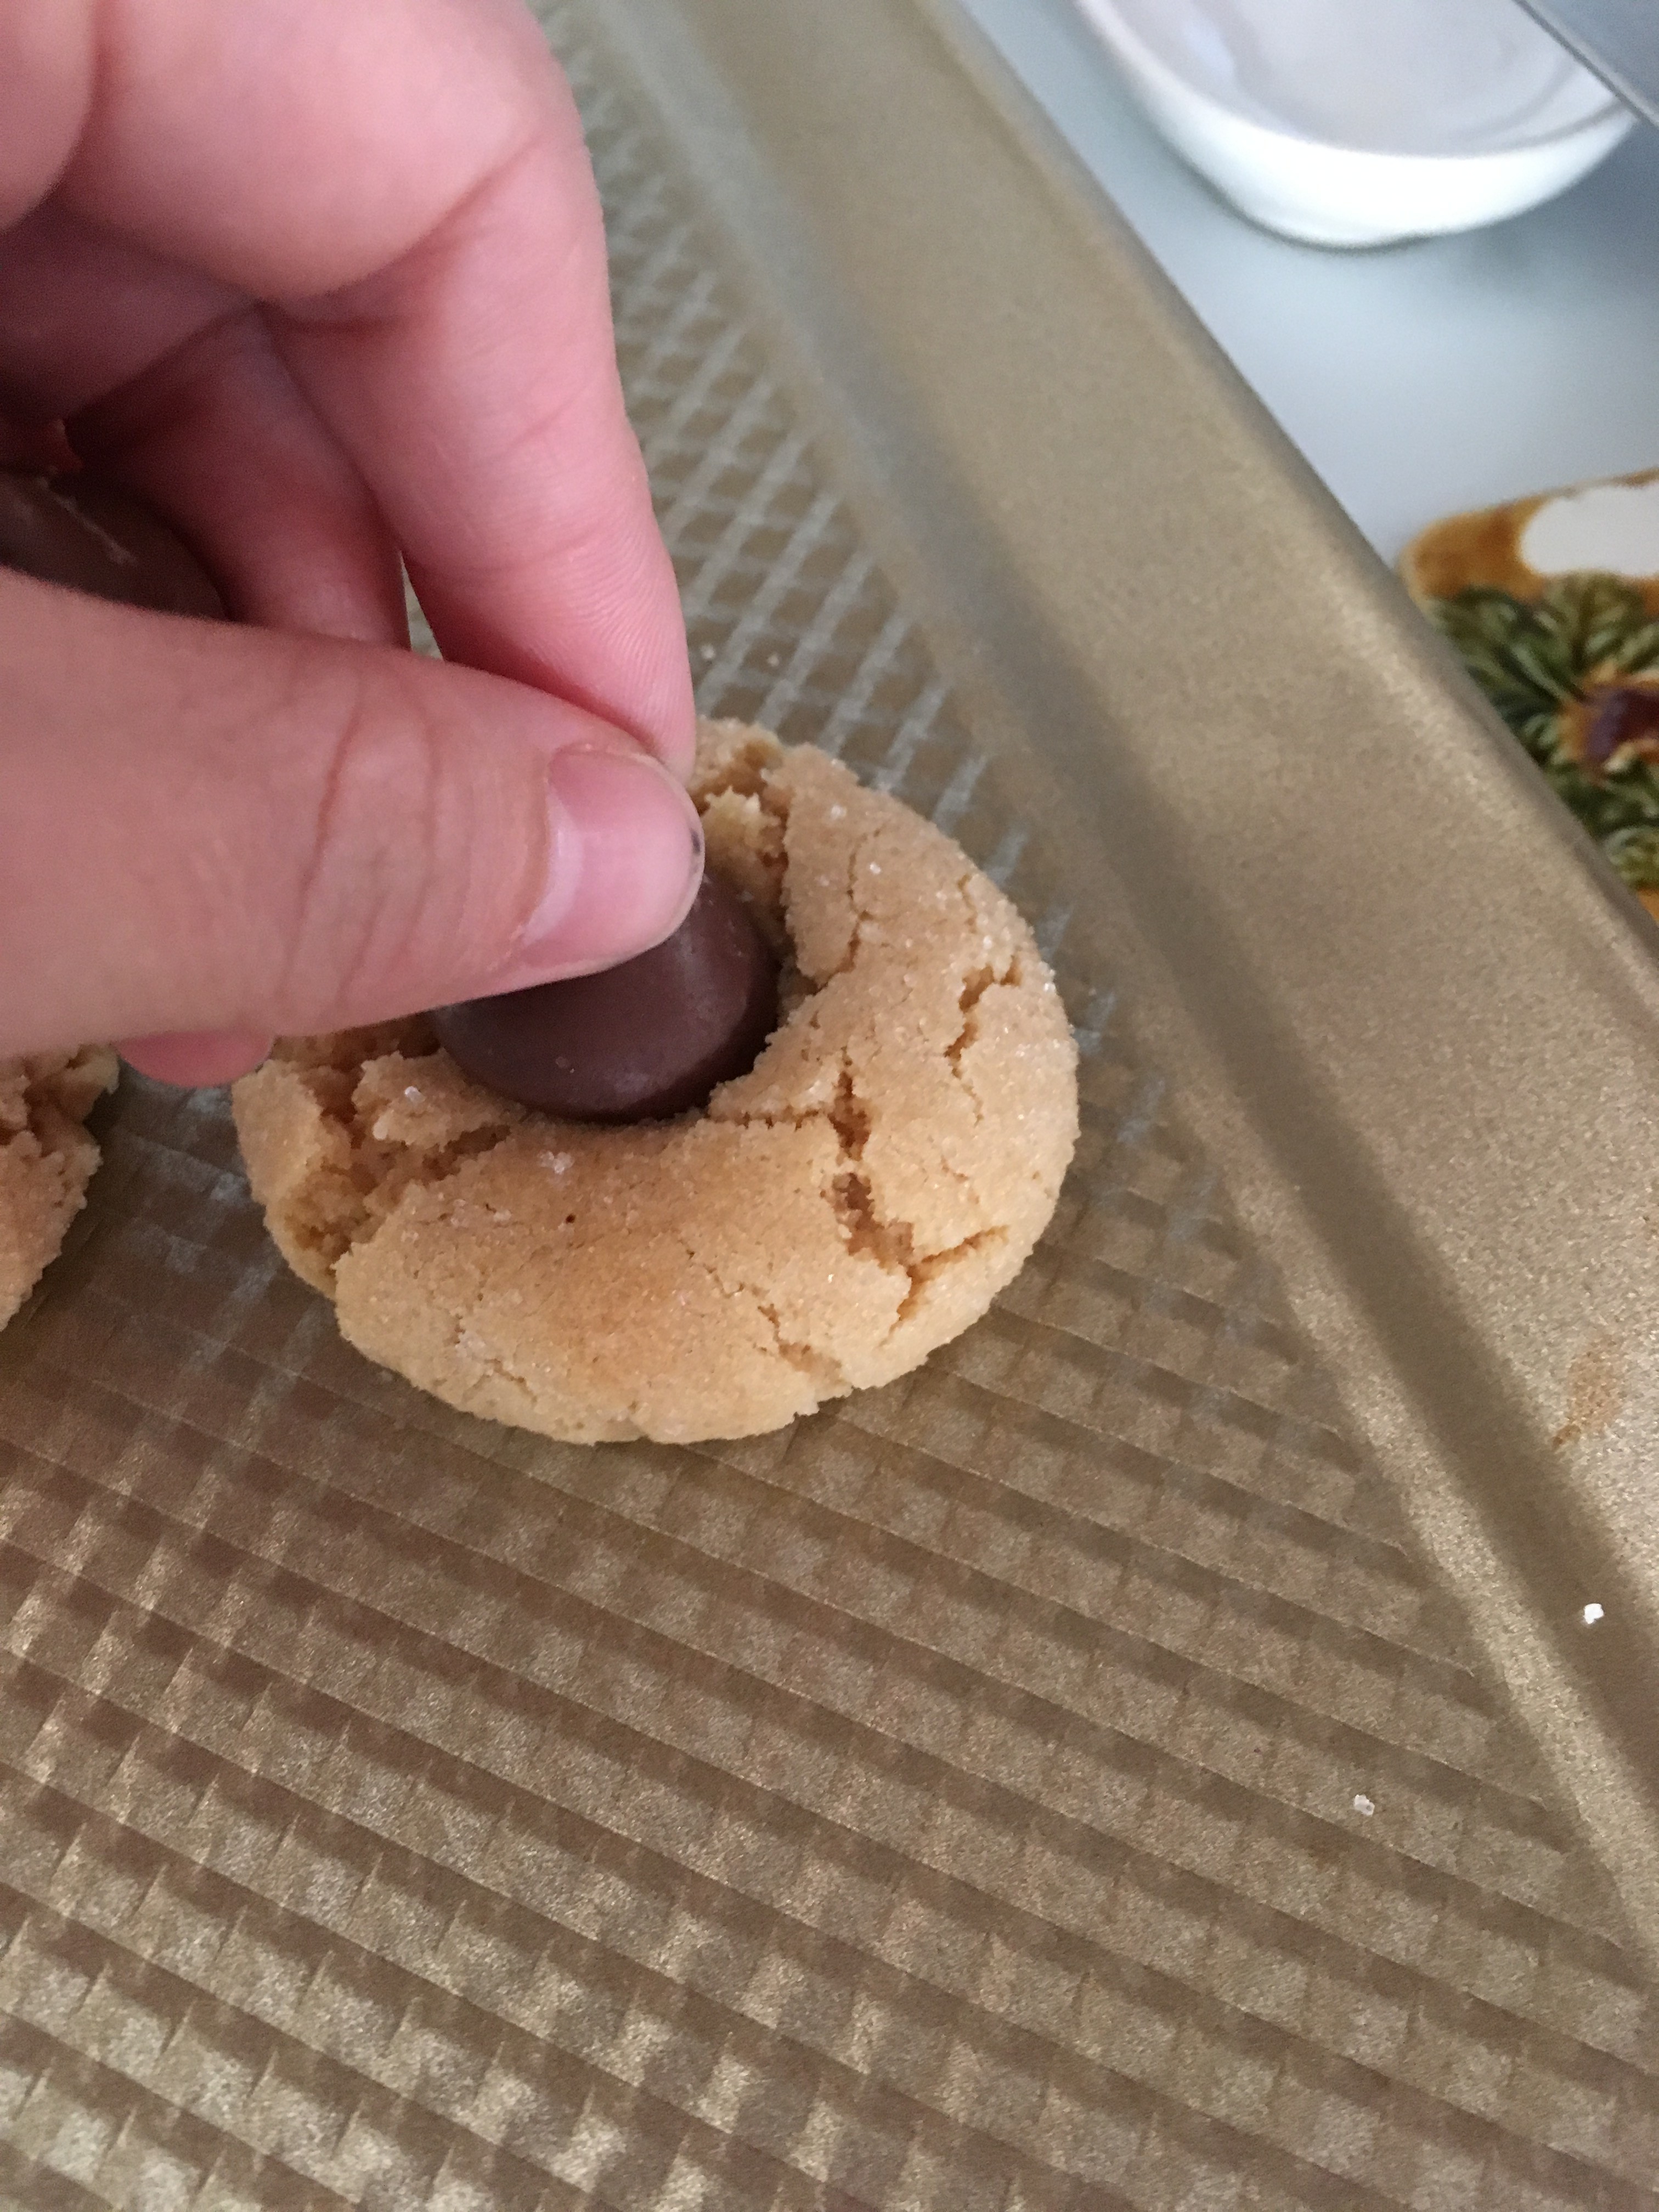
Bake for ~8 minutes. Unwrap as many Hershey kisses as needed. Remove the cookies from the oven. While the cookies are still piping hot, place a kiss in the center of the cookie and press down gently.
Put the kiss-topped cookies back in the oven for 2-3 minutes. Then, remove them from the oven and let them cool slightly on the baking sheet. They’re really fragile when hot, so it’s hard to transfer them to a cooling rack unless they’re slightly cooled.
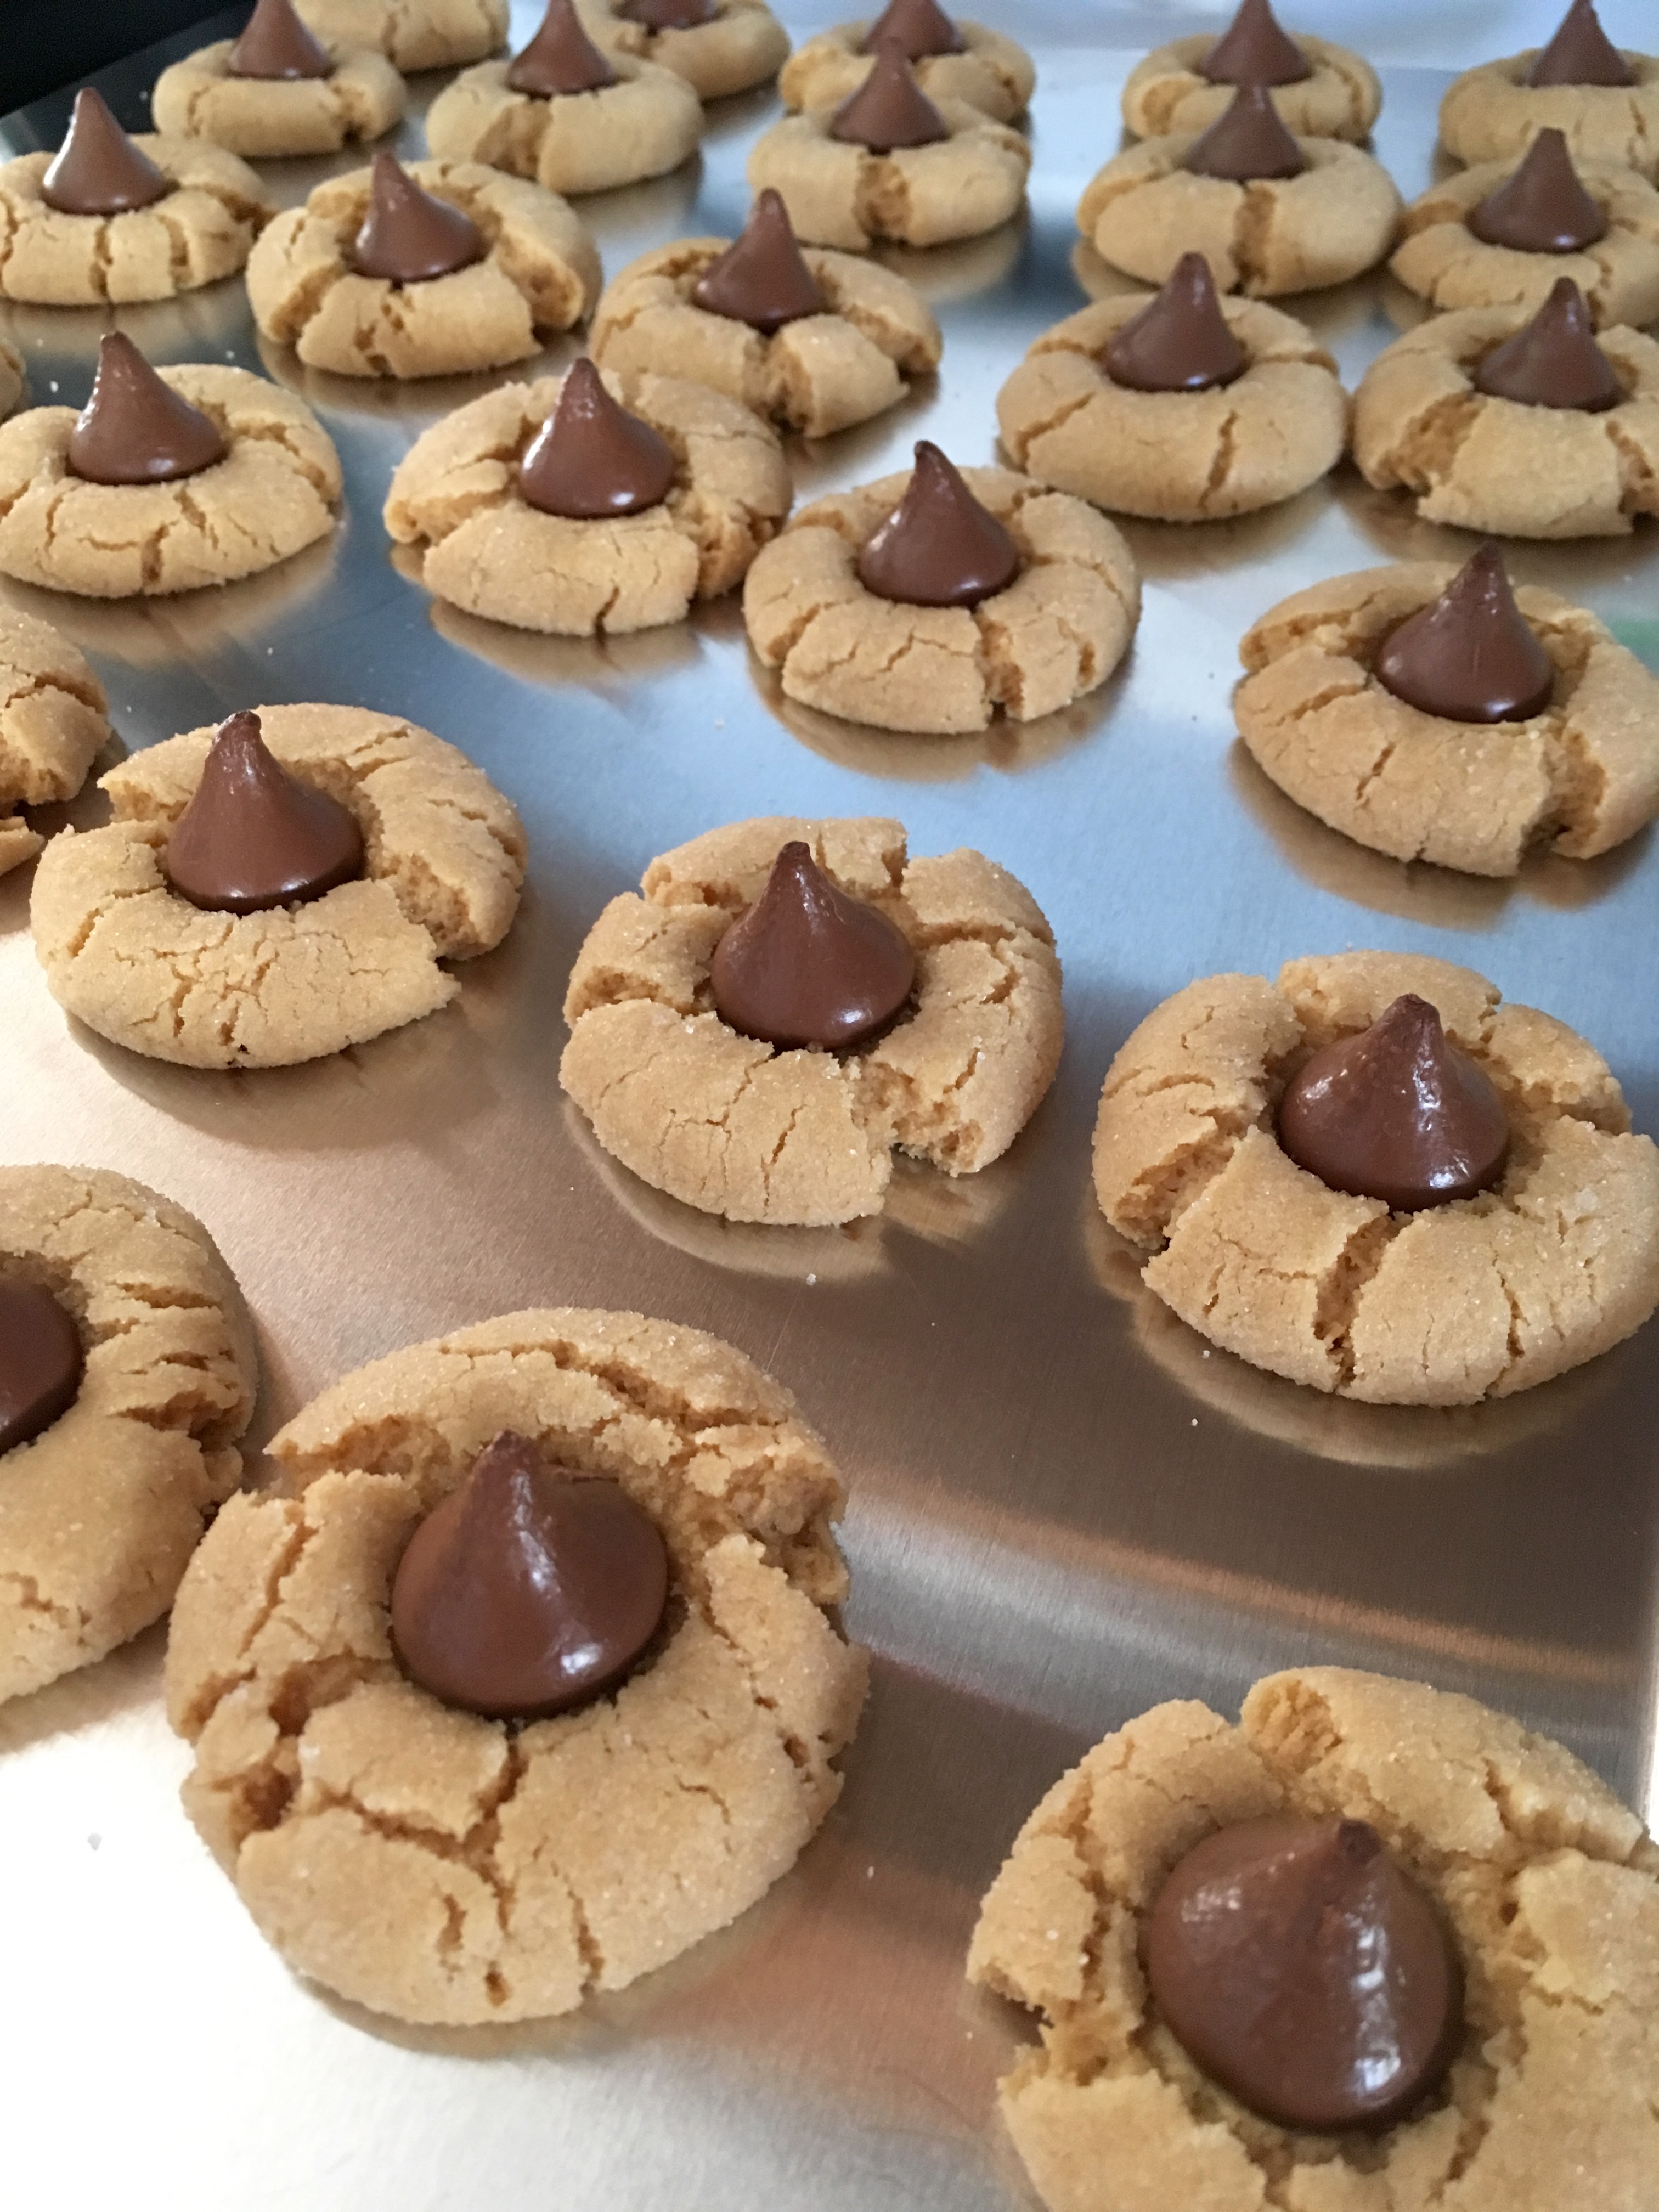
Once the cookies are move-able, transfer them to a cooling rack to finish cooling, and enjoy! Make sure you get some for yourself, because these go quick (or at least they do in my house!). Happy baking!
Homemade Girl Scout Cookies
Hello everyone! I hope you all had a wonderful Easter! I stayed off of social media for Lent this year, so the blog also had to wait until after Easter. It’s good to be back! I have a couple recipes ready to share, the first being homemade Girl Scout Cookies. My hubby’s favorite ones are the Tagalongs, those shortbread cookies with peanut butter on top and then covered in chocolate. I bought him a box a little while ago and he ate all of the cookies in about two days (I honestly don’t think that’s an exaggeration), so I decided it was time to learn how to make my own since the boxed cookies come only once a year. They turned out really well! Here’s the recipe:
Ingredients:
- 2 cups flour
- 1 cup (2 sticks) softened butter
- 1/2 cup granulated sugar
- 2 tbsp milk
- 1/2 tsp salt
- 1/2 tsp vanilla extract
- 1 1/2 cup creamy peanut butter
- 3/4 cup confectioner’s sugar
- 1 bag semisweet chocolate chips or melting chocolate
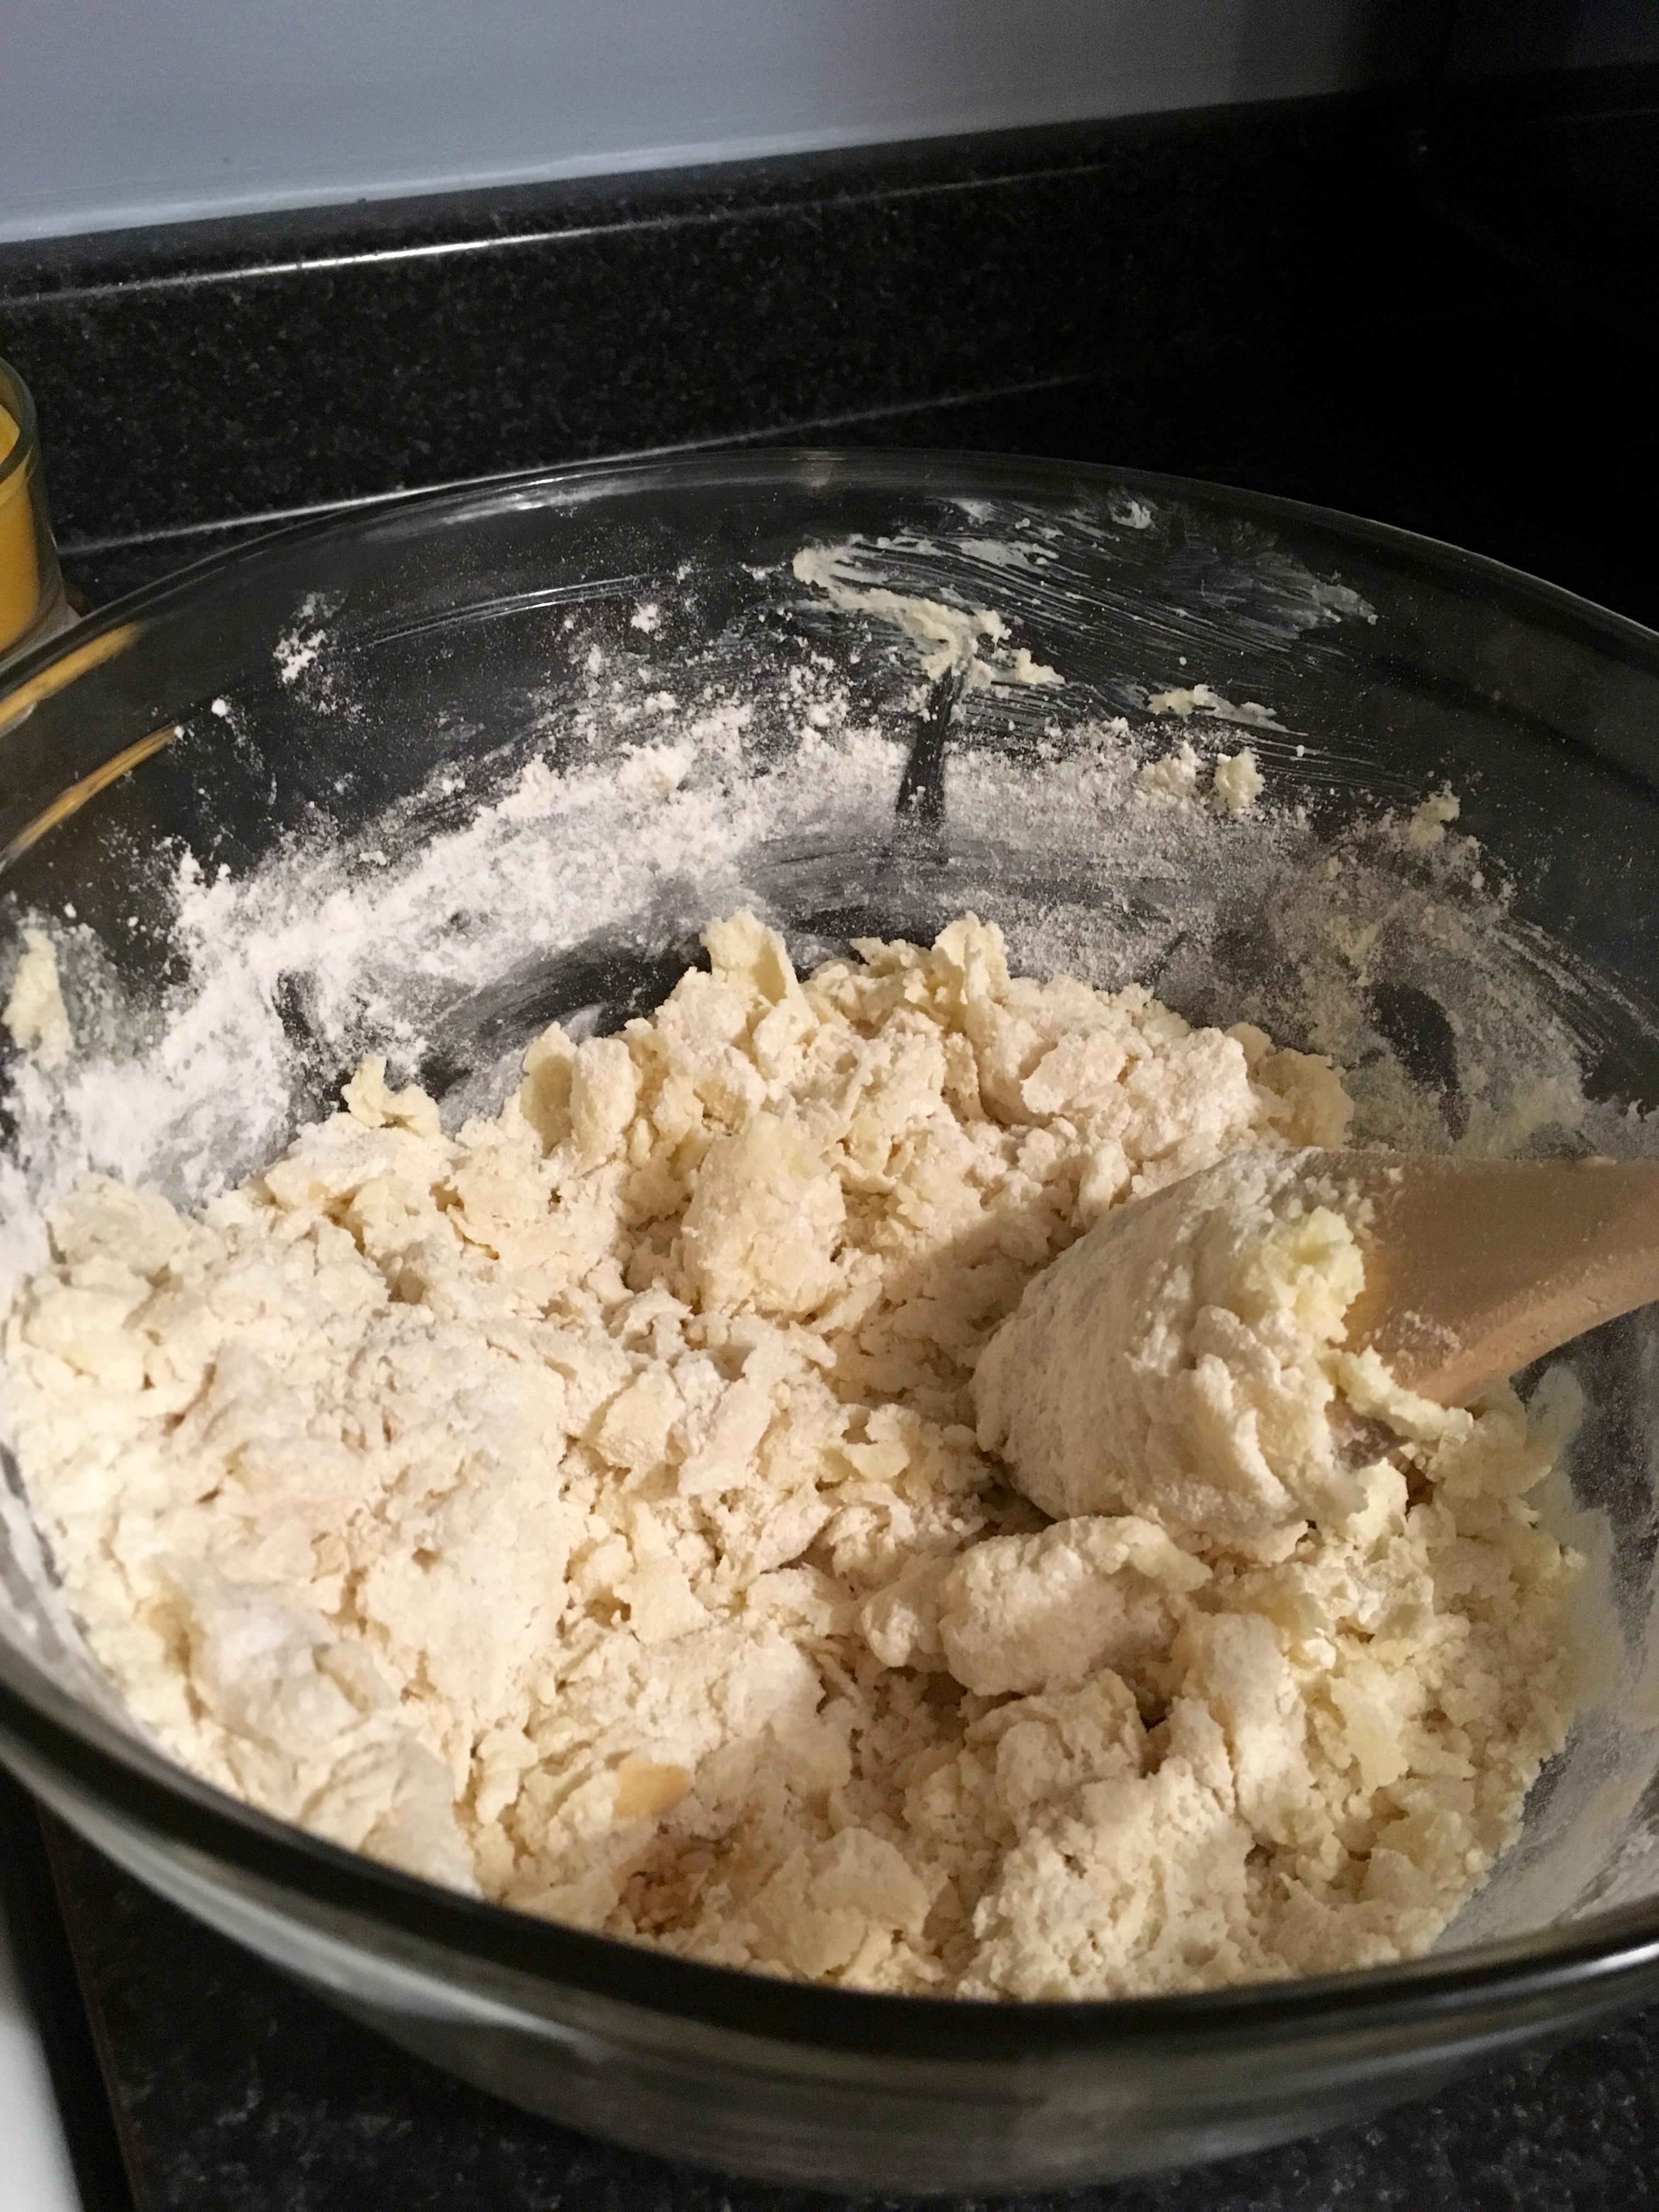
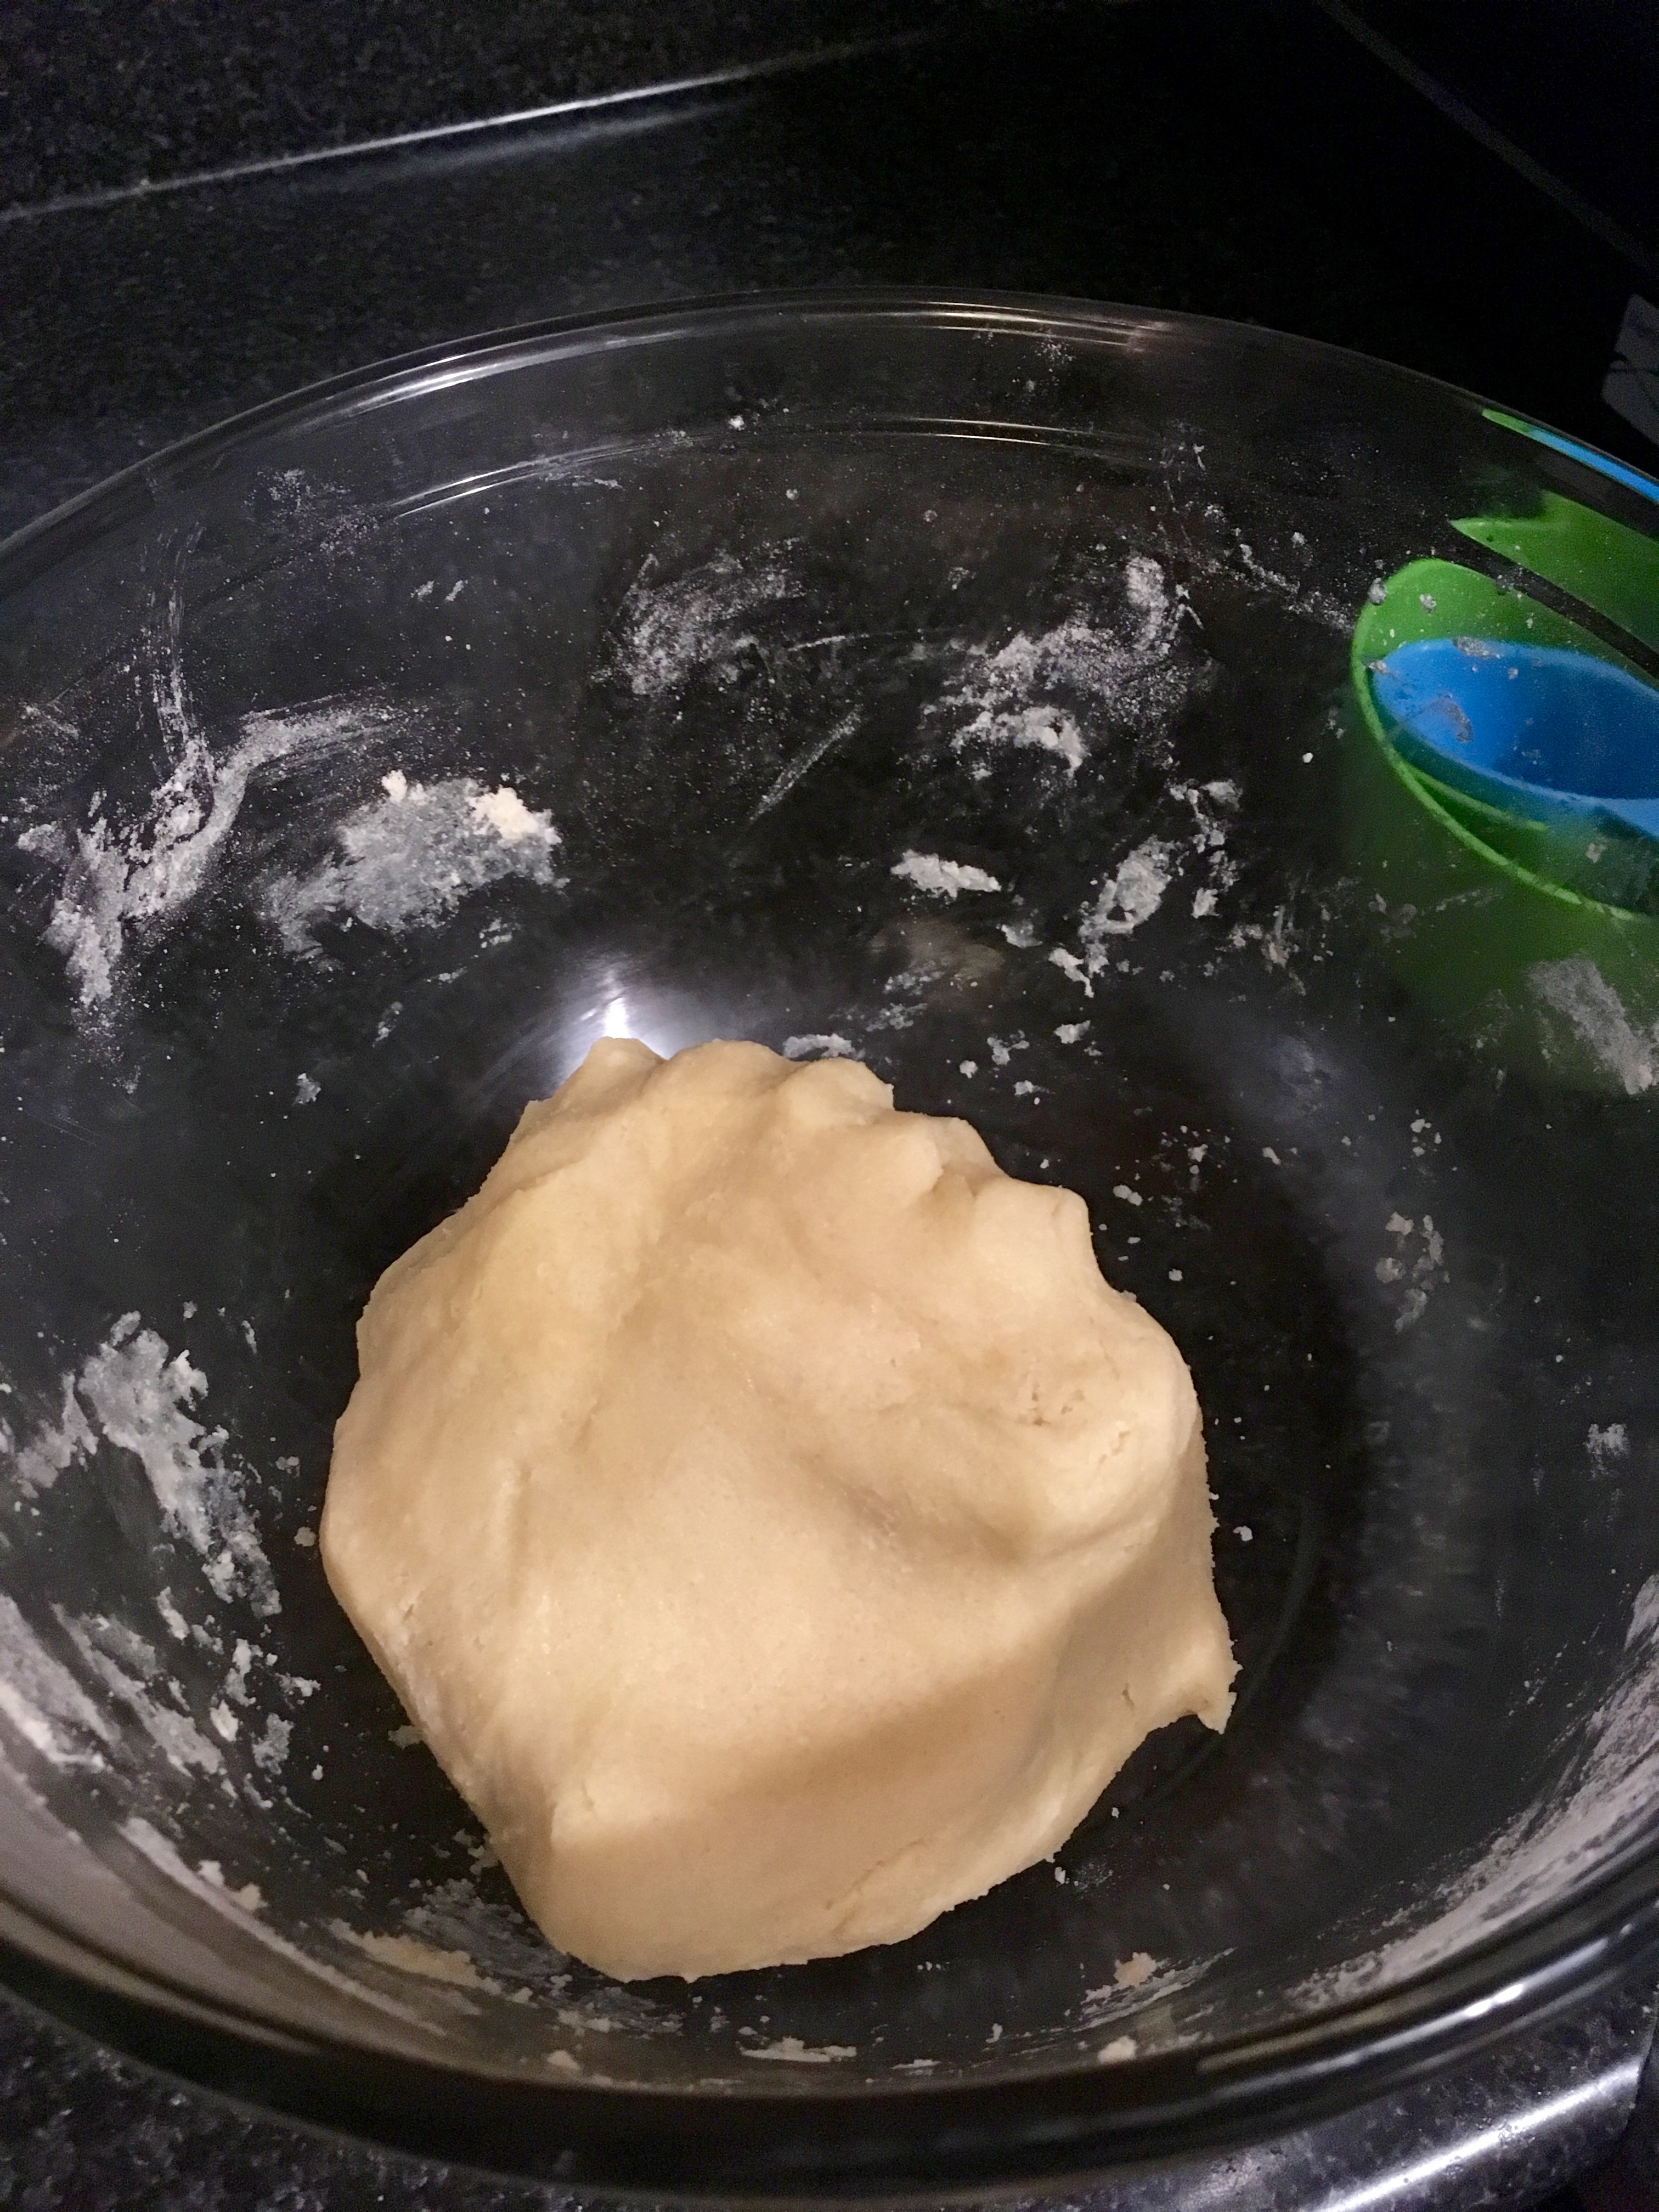
Preheat the oven to 350°F and line a baking sheet with parchment paper. Cream the butter and sugar together, and then add in the flour and salt and mix. Add the vanilla and milk and mix until thoroughly incorporated. (Hint: it helped me to mix with my hands since the dough was a bit crumbly at first).
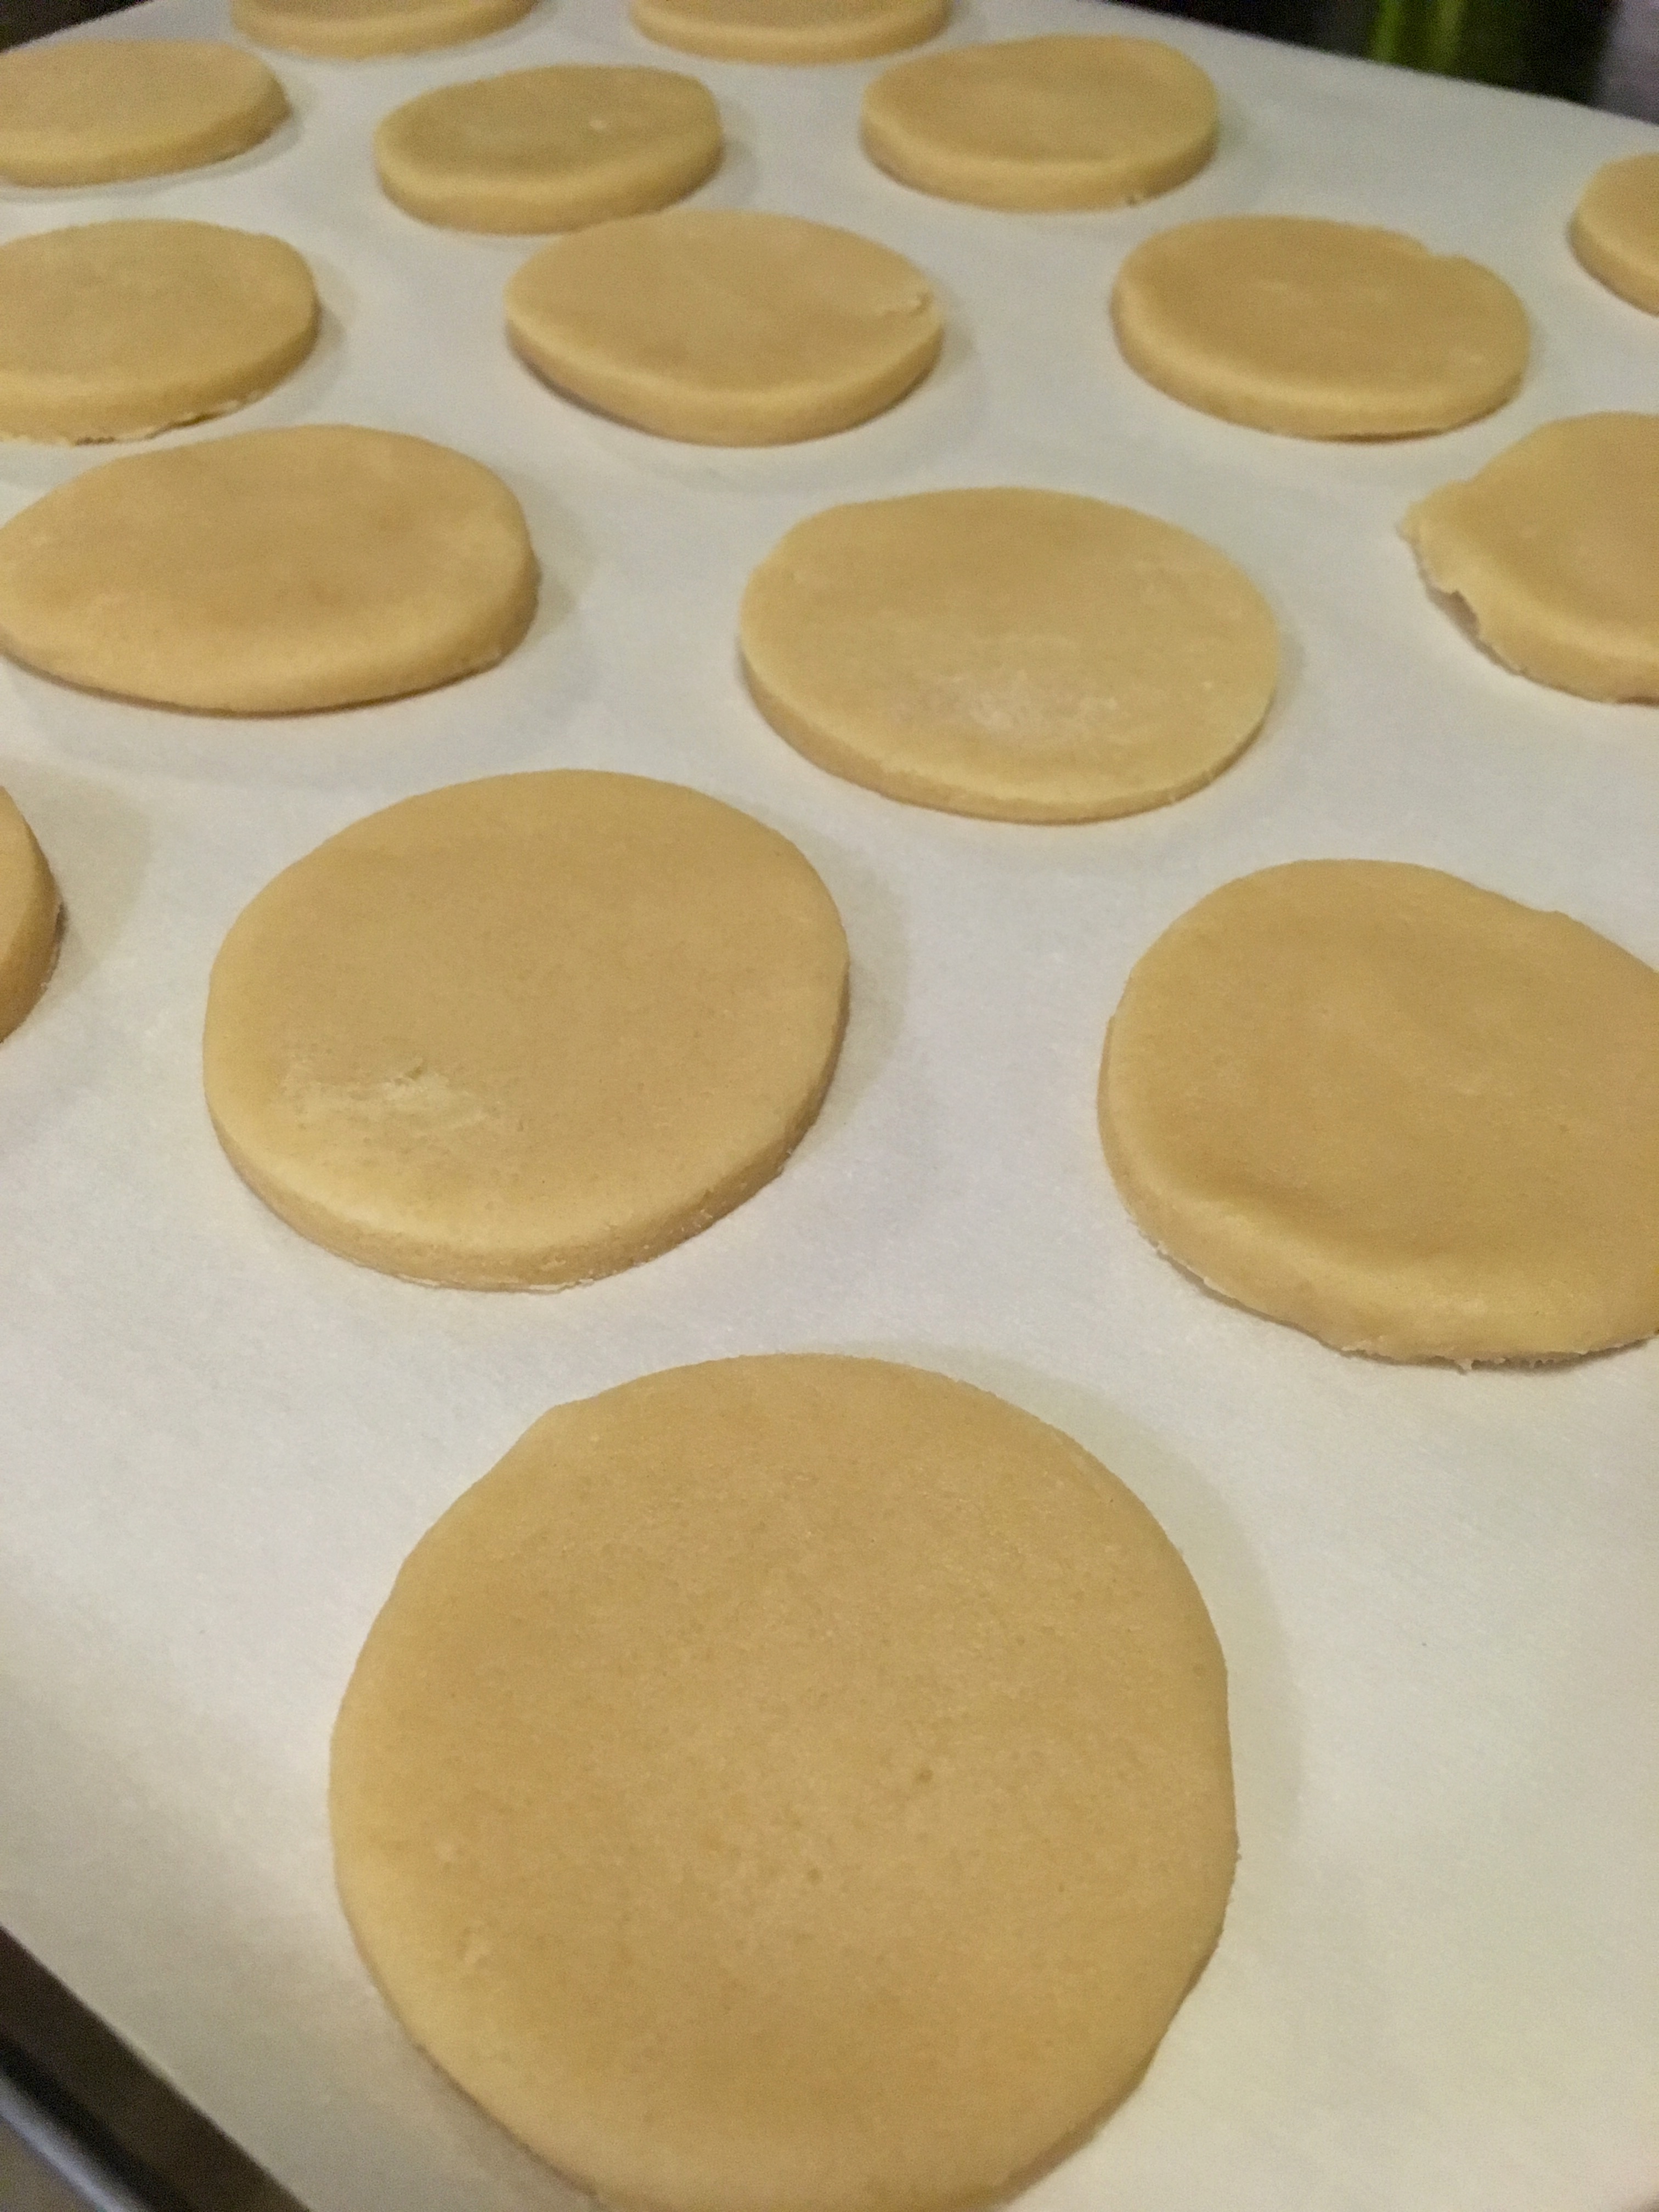
Roll out the cookie dough onto a floured surface, about 1/4″ thick. You don’t have to measure, just try and make sure that the cookies are all the same thickness so that they bake evenly! Using a small circular cookie cutter, cut out dough rounds and place them on the lined baking sheet.
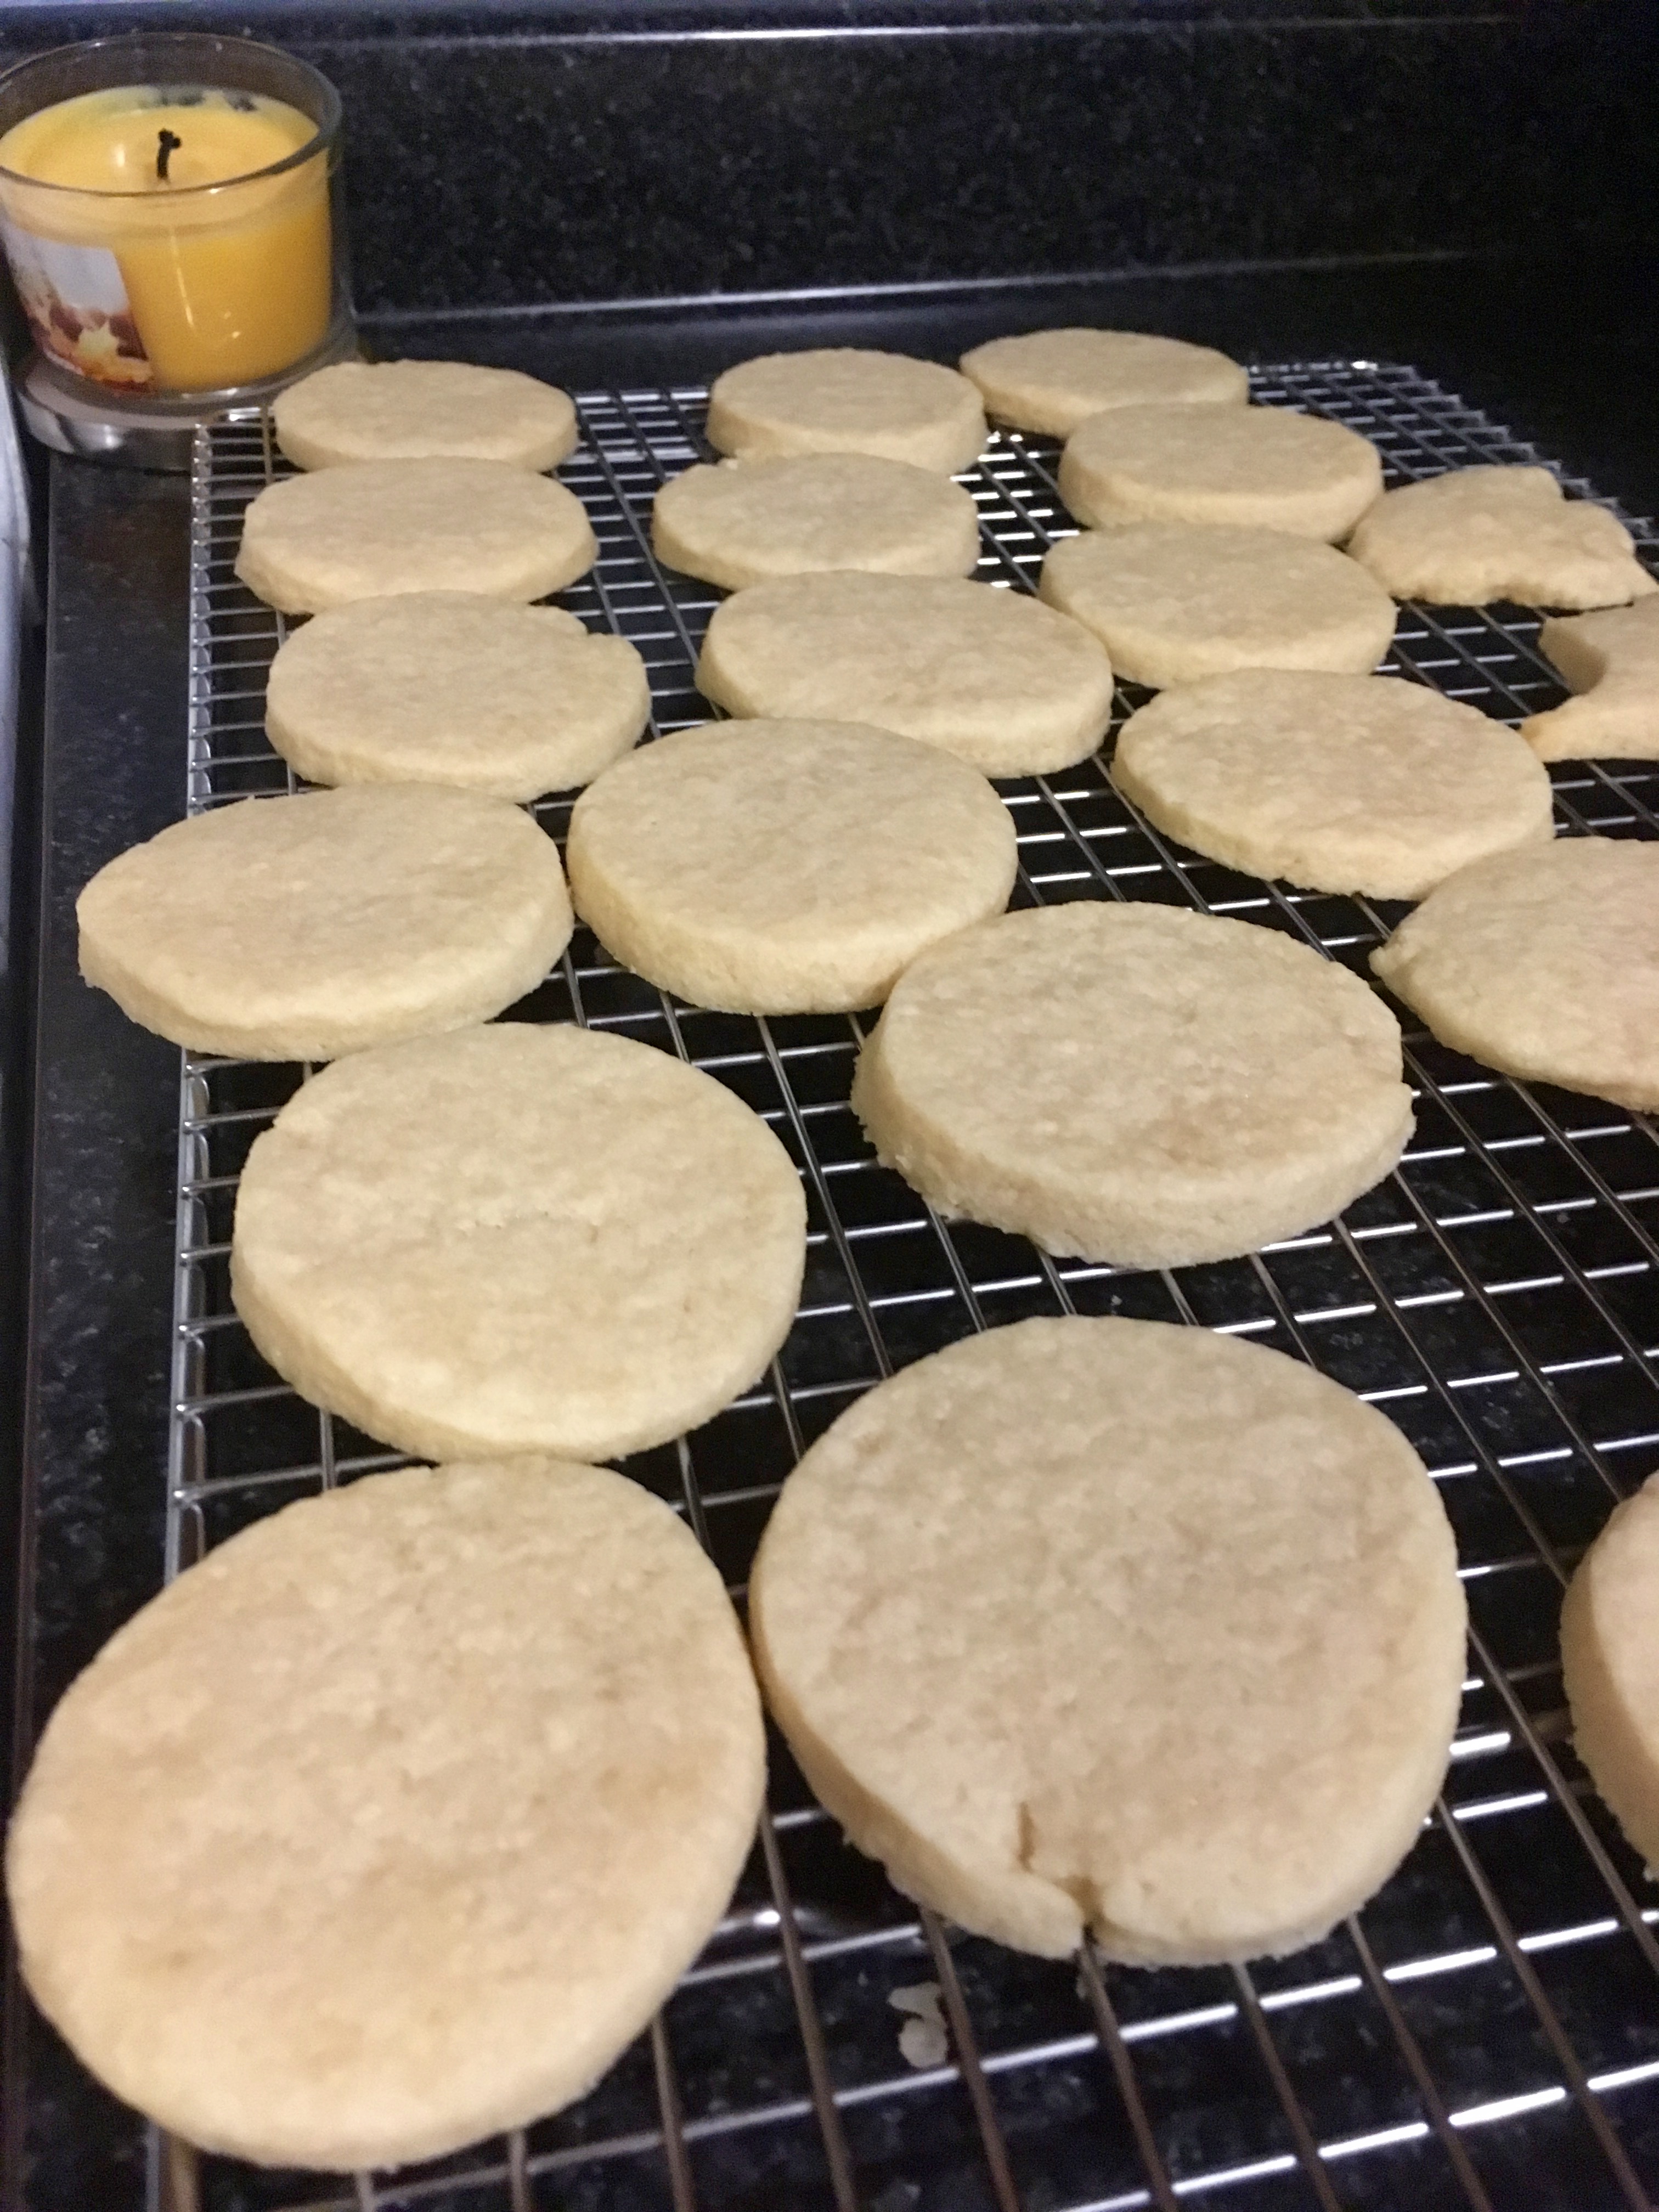
Bake for 12-15 minutes or until the cookies are light golden. Pro tip: mine stayed pretty pale, so I just went for 15 minutes and then called it a day. You could probably bake them a bit longer, but keep a close eye on them to prevent burning! Leave the cookies on the sheet for a few minutes because they’re very fragile when they’re hot. After a few minutes, remove them from the cookie sheet and transfer to a cooling rack to cool completely.
While the cookies are cooling, get started on your confectioner’s peanut butter. Mix the peanut butter and powdered sugar together, using either a hand mixer or your elbow grease. I used the hand mixer.
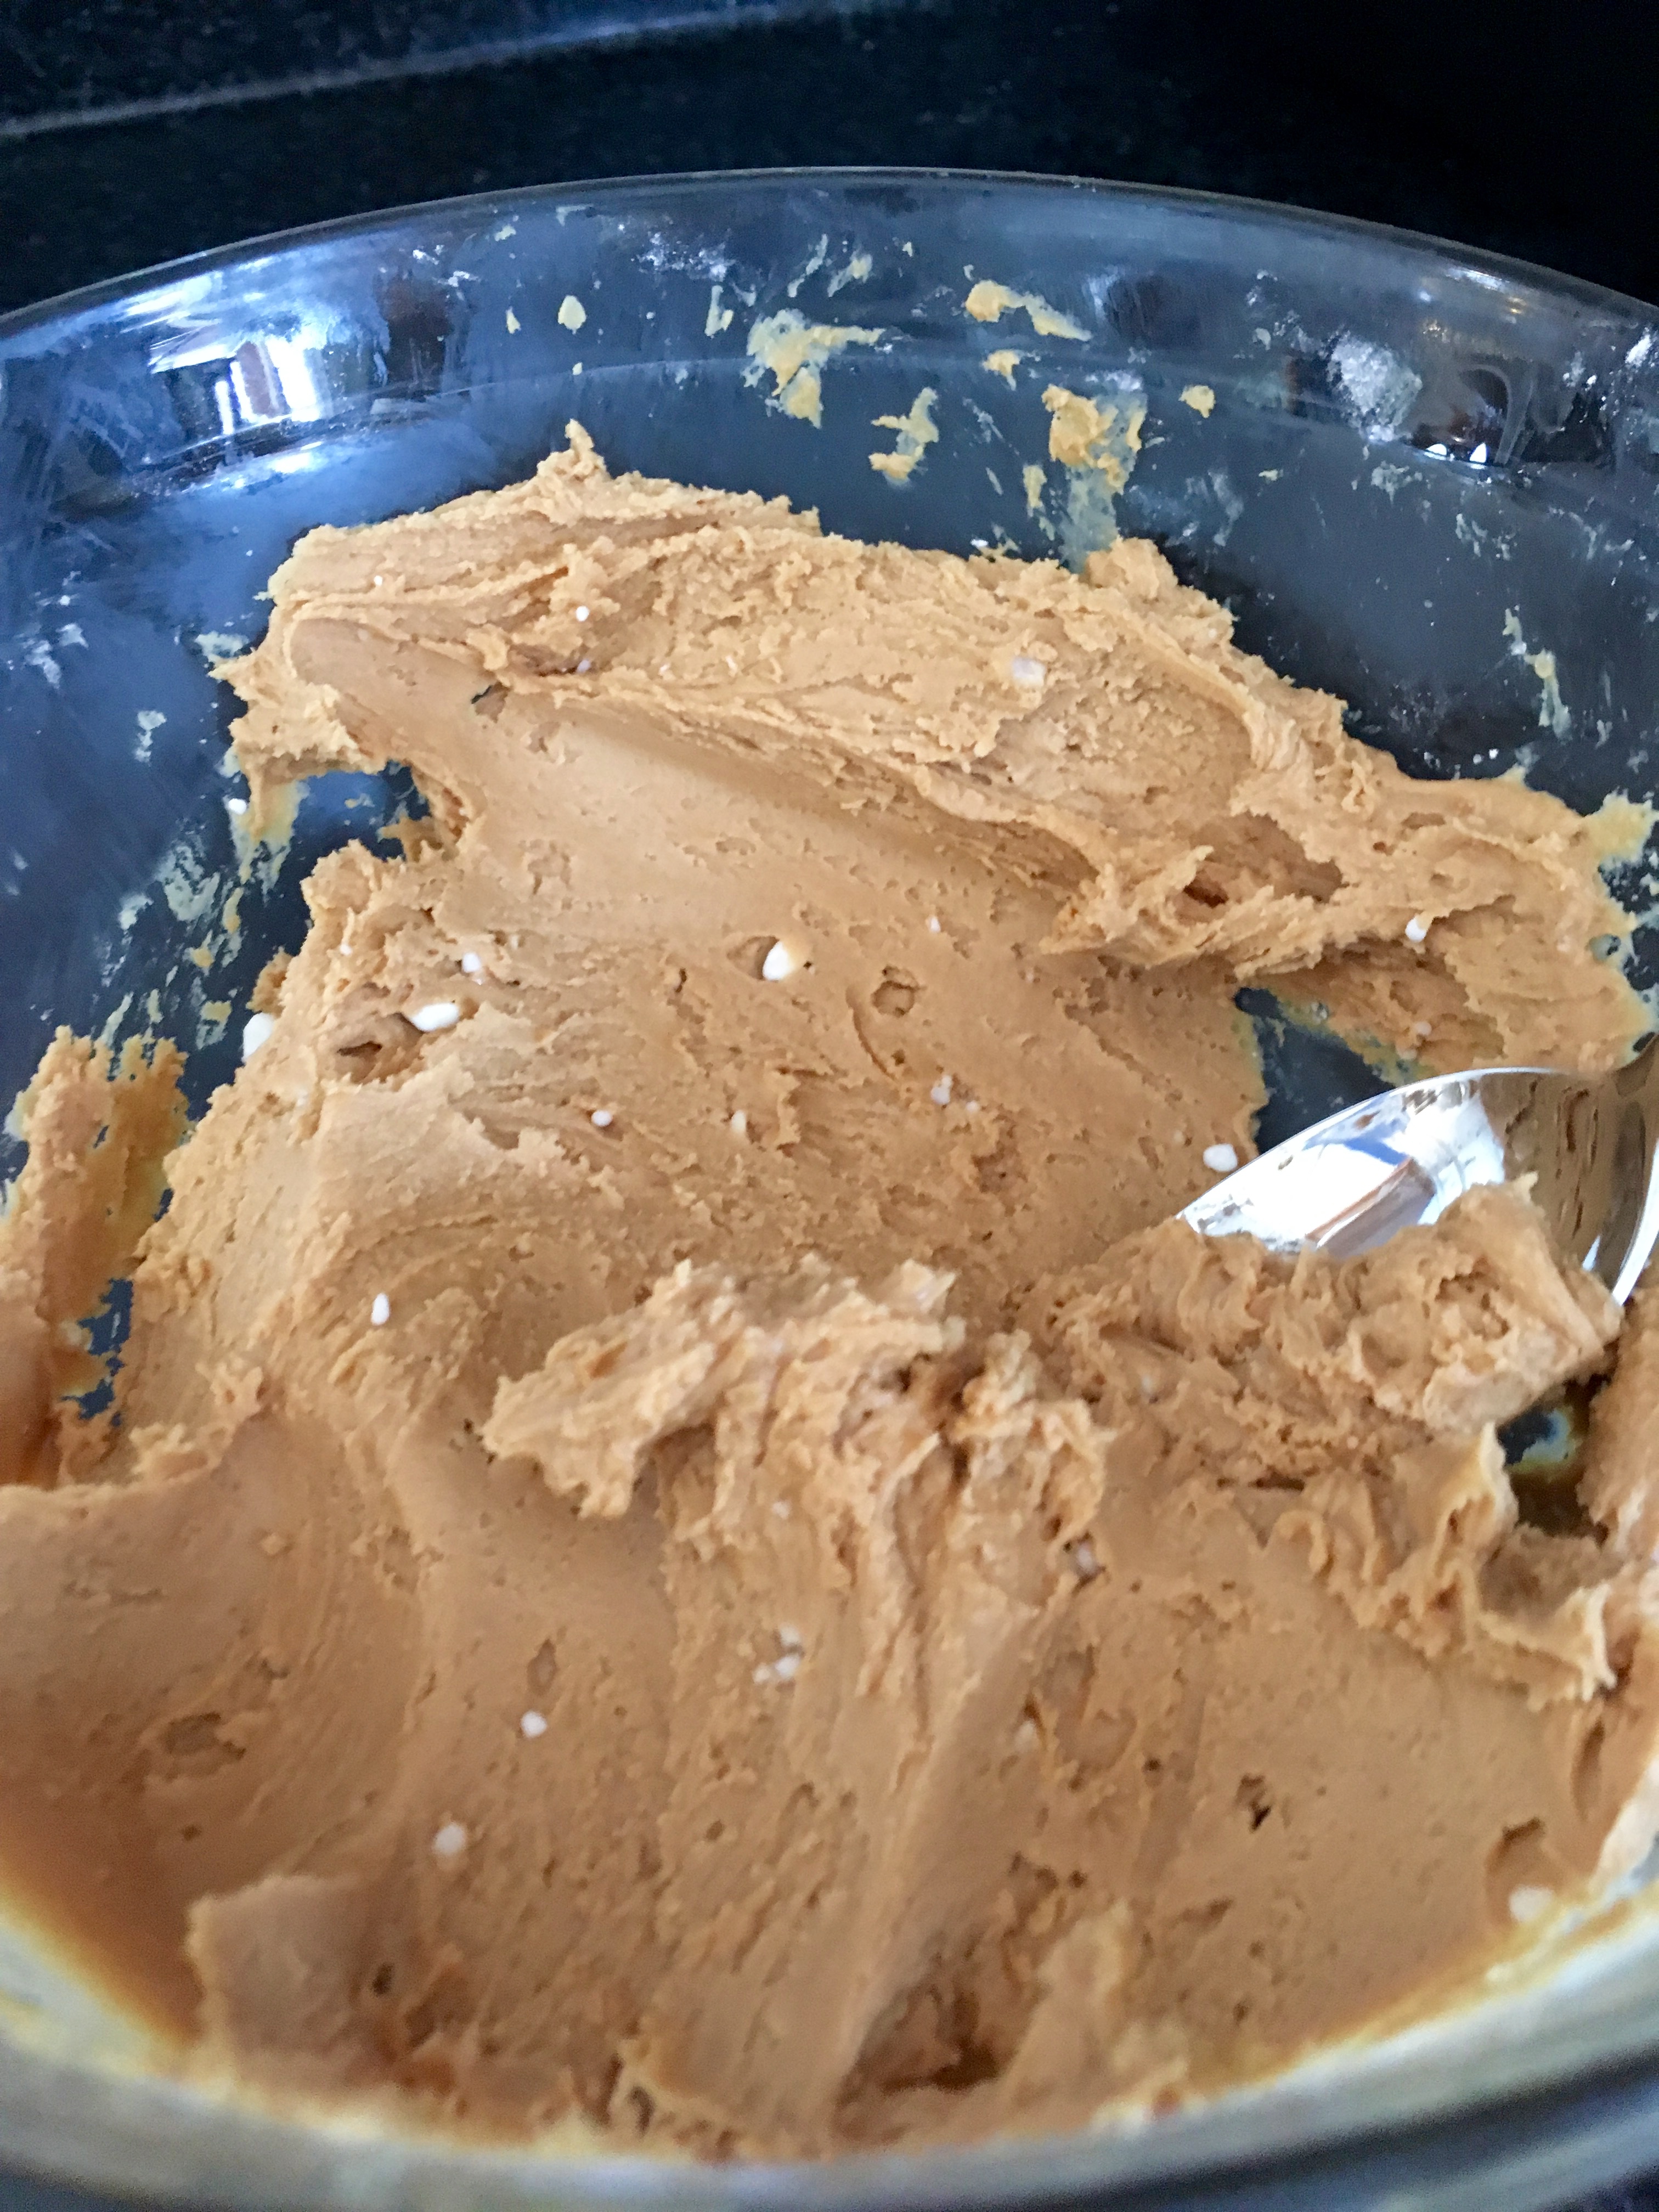
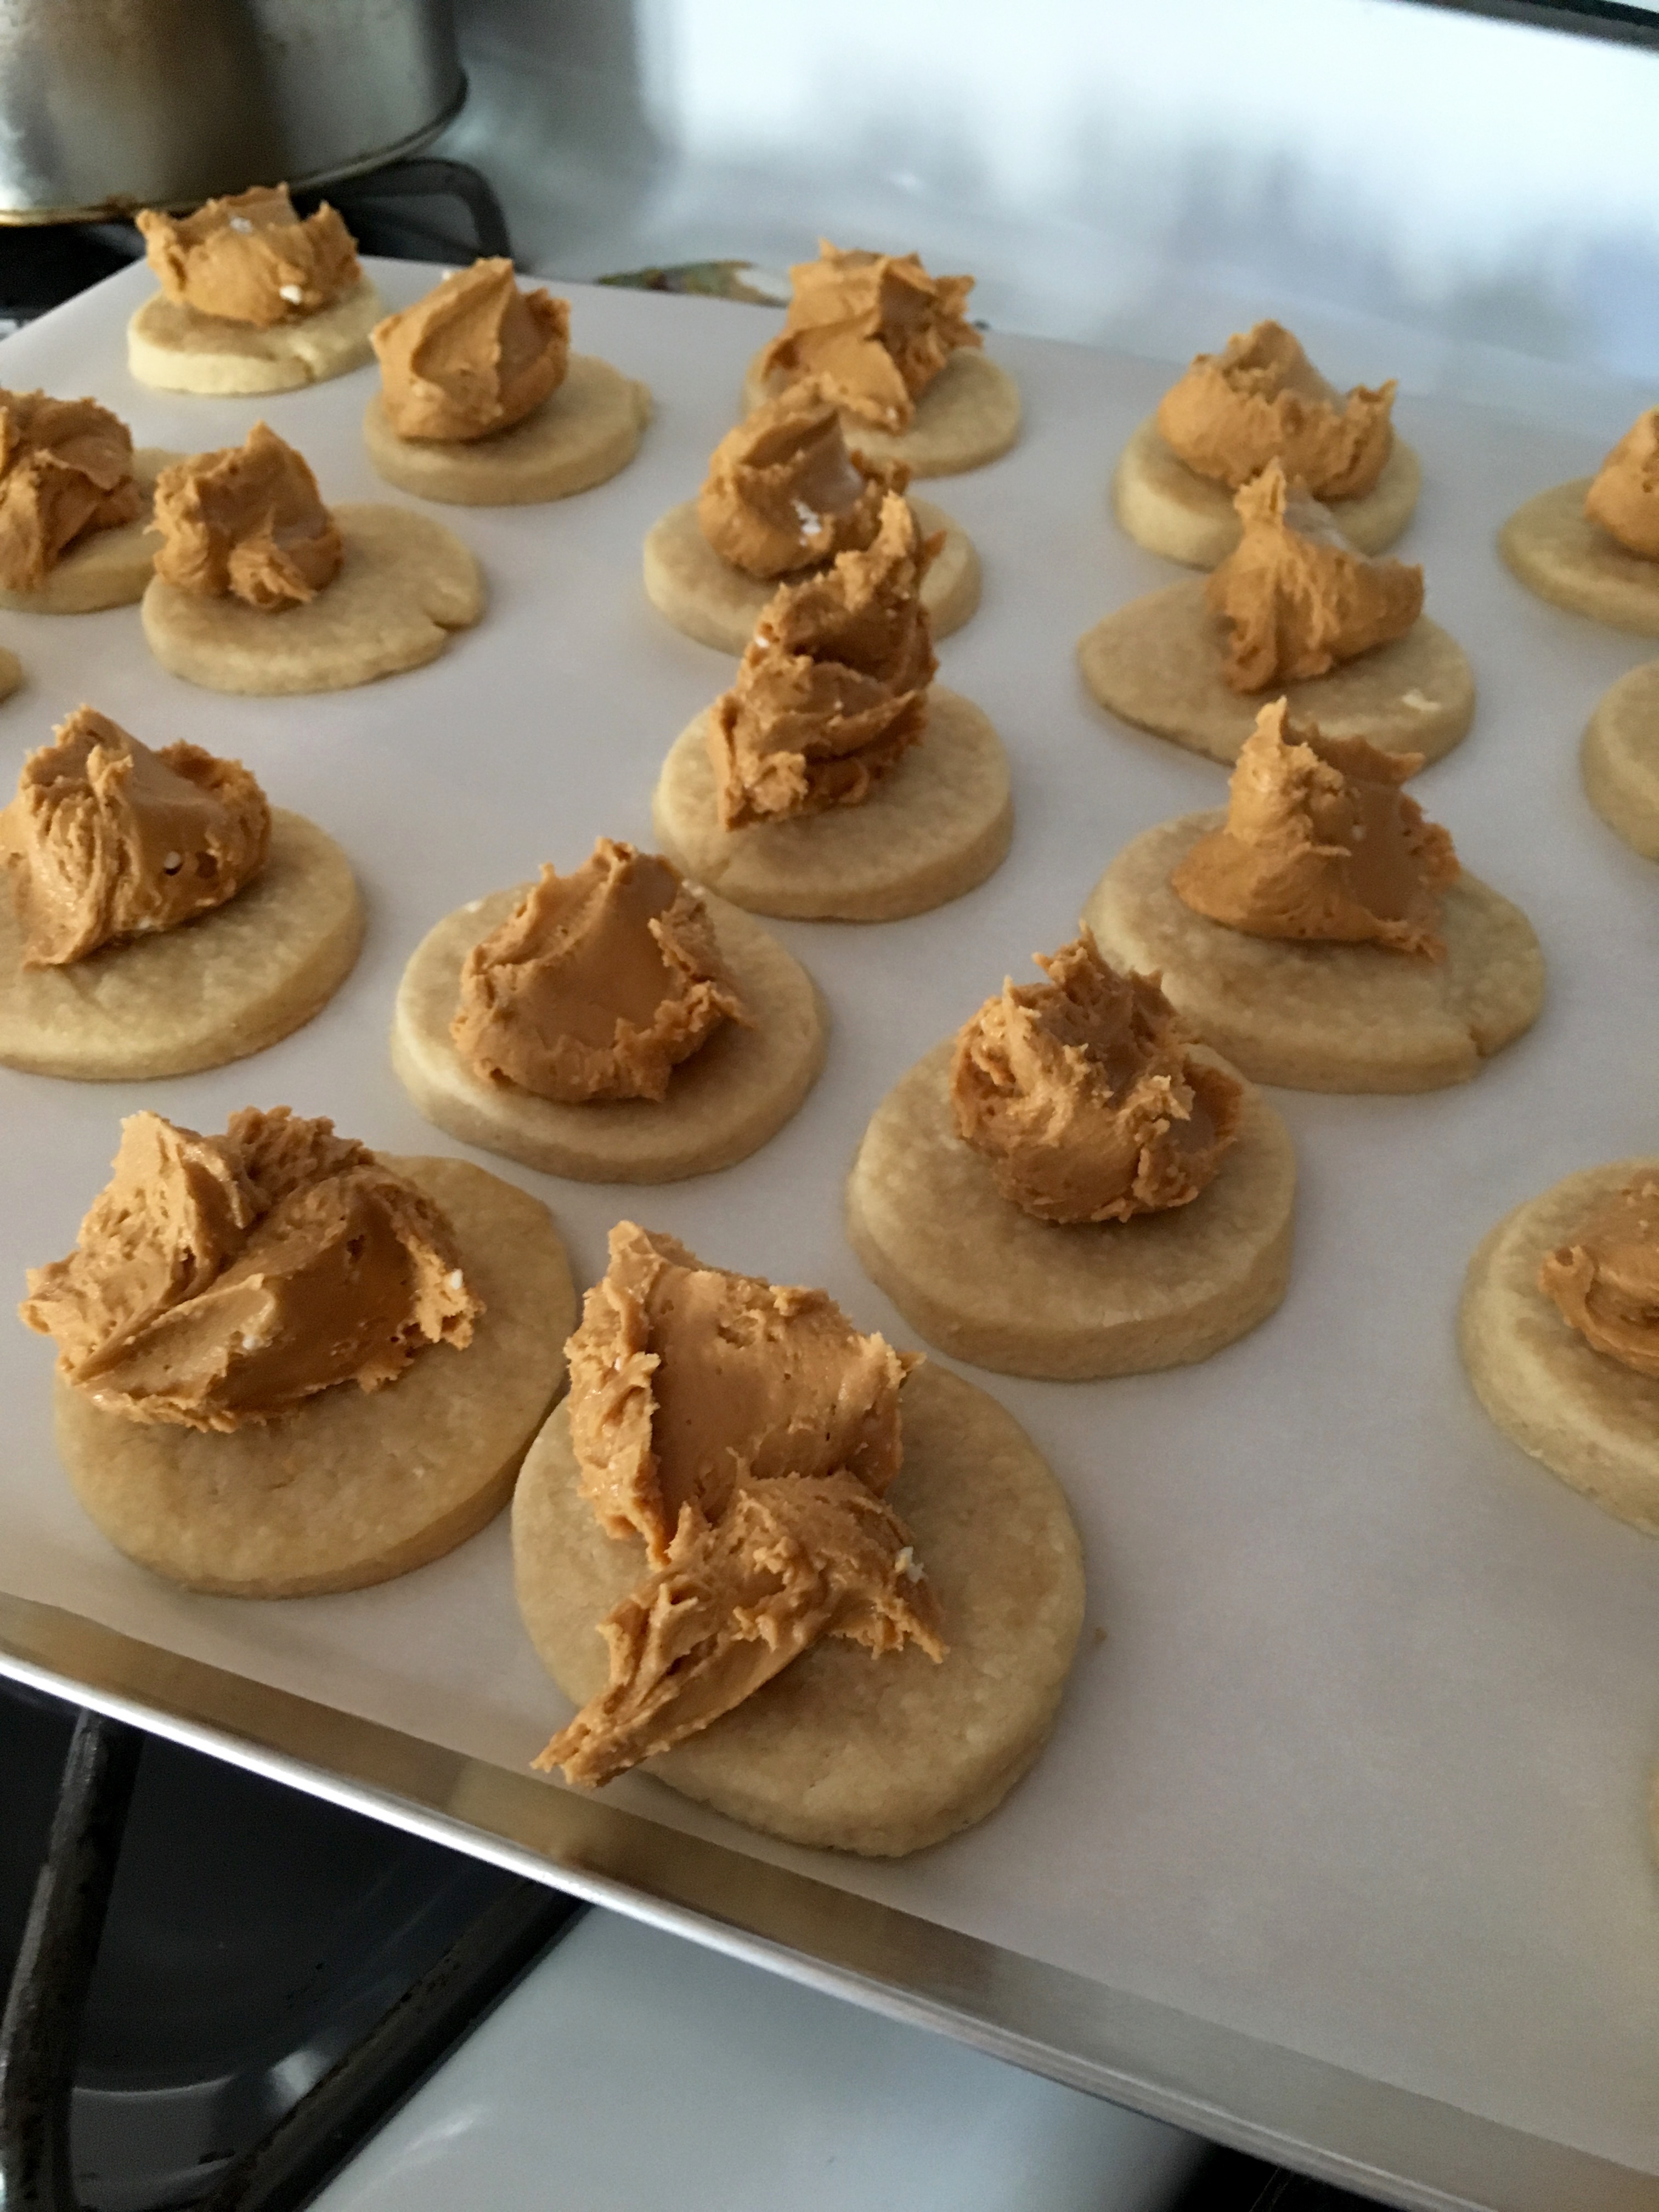
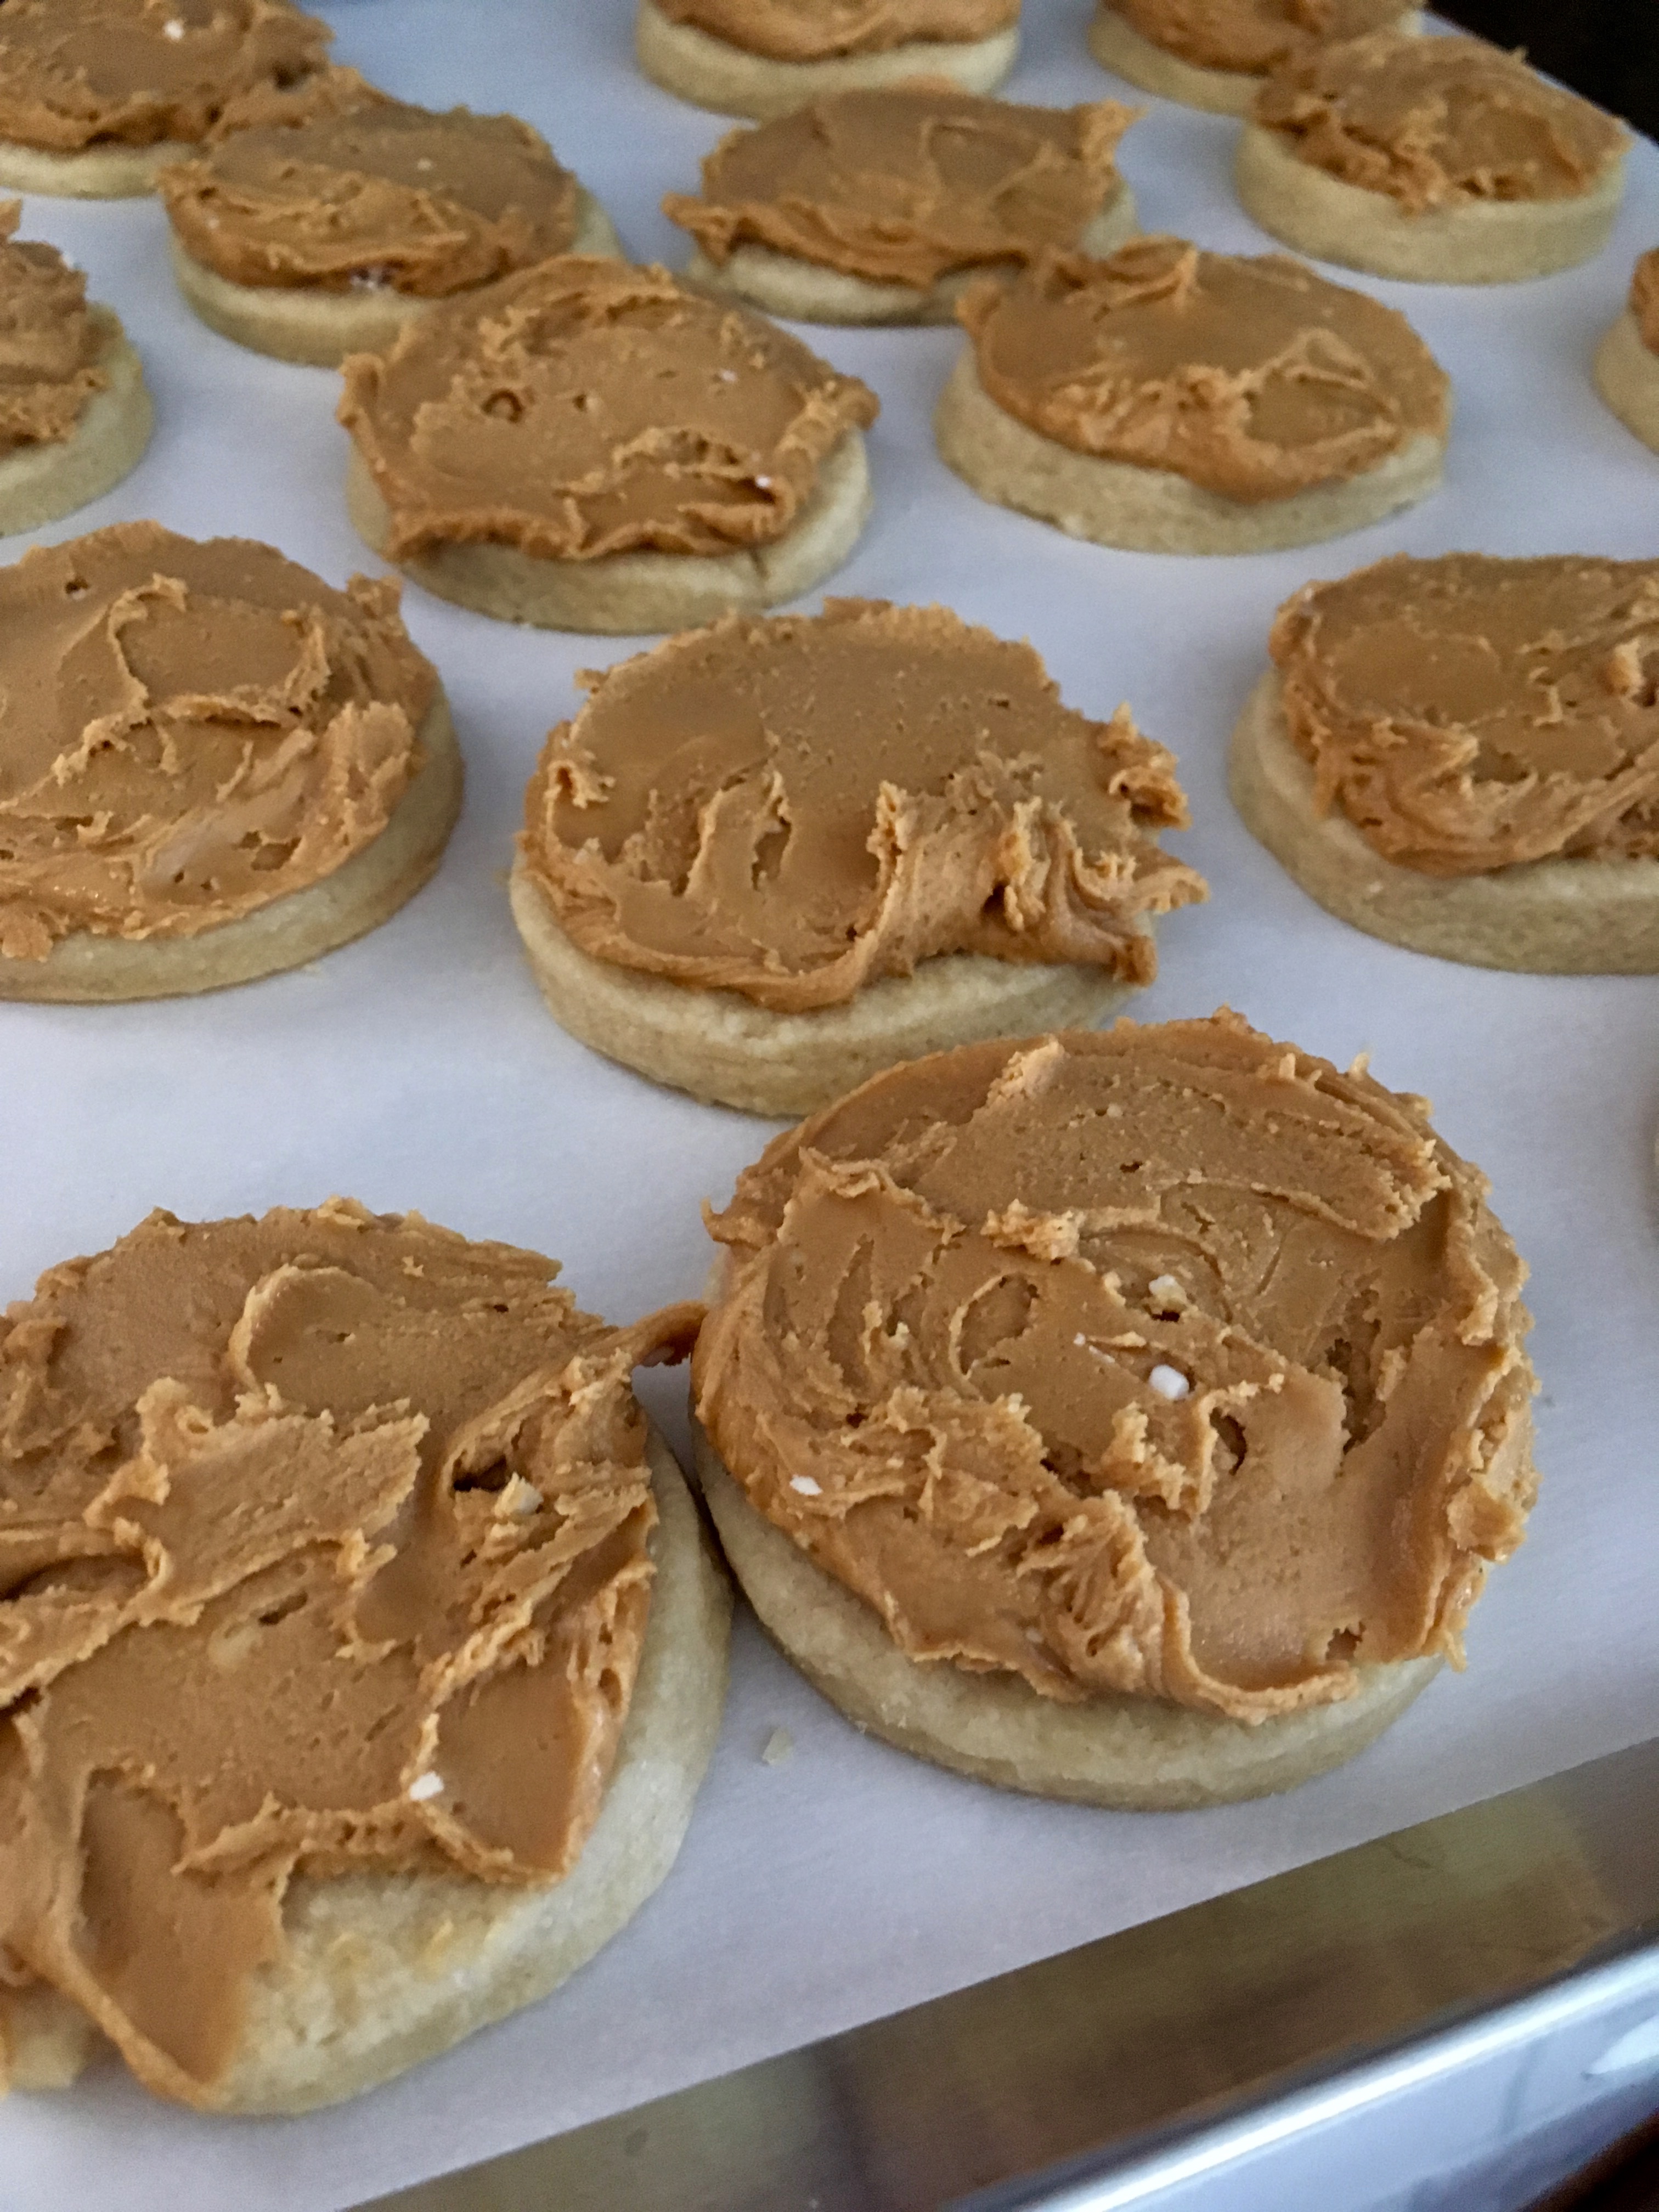
Dollop some of the peanut butter mixture onto each cookie and spread it out to form an even layer on each cookie. The peanut butter mix recipe makes a lot of mix, so there should be plenty of mixture to make a thick layer on each cookie!
Put the cookies in the freezer for about 10 minutes to set the mixture. This will ensure you don’t lose all of your peanut butter when the cookie is dipped in the chocolate! Meanwhile, line a baking sheet with parchment paper, or re-use the one you used to bake the cookies.
When the freezing time is almost done, melt the chocolate. To do so, pour the chips into a bowl and microwave on high for ~30 seconds. Remove the chips from the microwave and stir. Repeat this process until the chocolate chips are melted and smooth.
When the cookies are out of the freezer, dip them in the melted chocolate to cover. It will be messy, but so worth it!! Another technique I used when I was running out of chocolate was to scoop up the chocolate with a spoon and pour it over the top of a cookie, letting the chocolate run down the sides to cover.
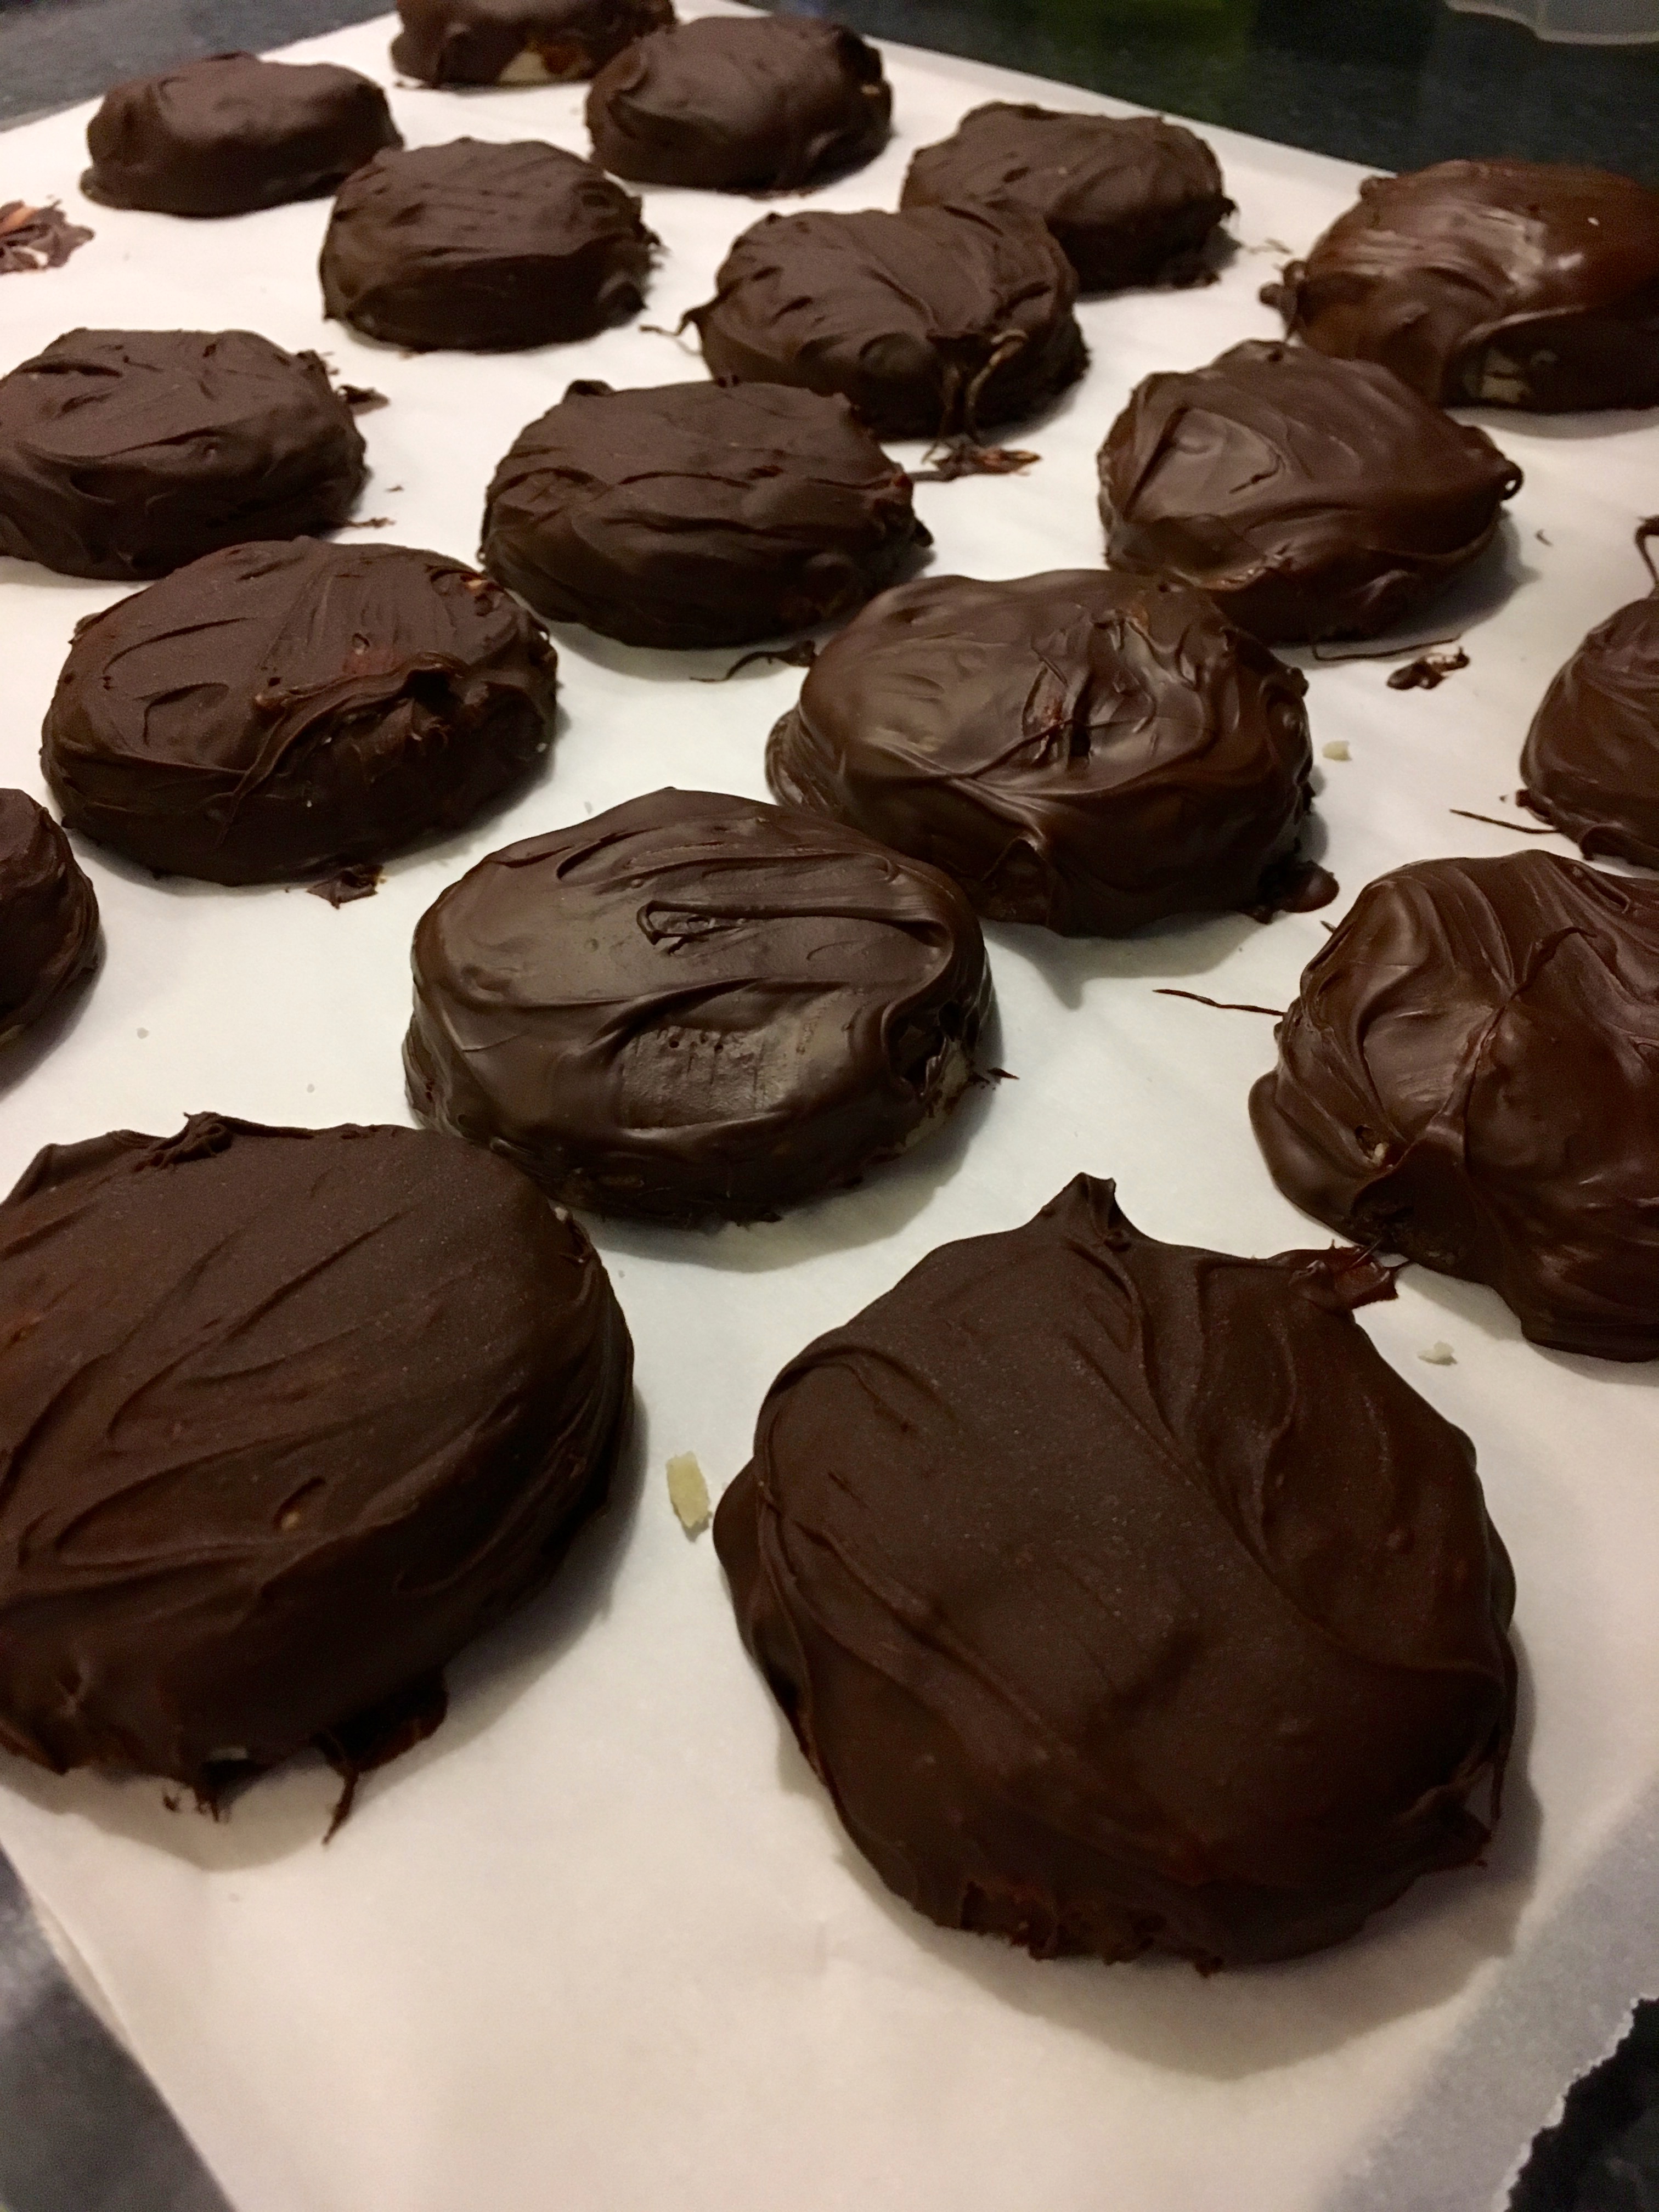
These cookies are easily good enough to take the place of store bought Girl Scout cookies. And now we don’t have to wait for Girl Scout cookie time every year-hooray! Happy baking!
Teeny Tiny Cookies
Hi, all! Happy mid-winter! It’s finally time for a new recipe to share. This recipe comes from my friend’s great-grandma. She calls them “refrigerator butter cookies”, but when I first saw these cookies I said “oh, teeny tiny cookies!” so that name stuck. These cookies are versatile and irresistible (I says as I sit next to a bag of them, munching away), and are really easy to make. Here’s the recipe, from my friend’s Great Grandma Patch:
Ingredients:
- 1 cup (2 sticks) butter, softened
- 1 1/2 cup sifted confectioner’s sugar, sifted*
- 1 egg
- 1 tsp vanilla
- 2 1/2 cups all-purpose flour
- 1 tsp baking soda
- 1 tsp cream of tartar
- 1/4 tsp salt
- Toppings/mixers as desired- I used Sugar in the Raw and chopped chocolate chips, but chopped nuts, sugar syrups, and other fun toppings would work well, too.
*Hint: If you don’t own a sifter, you can put the sugar and the other dry ingredients through a fine mesh strainer.
Cream the butter and sugar together until fluffy. Add unbeaten egg and vanilla, and mix well. Sift the dry ingredients together and blend into creamed mixture. Then, divide the dough into three sections.
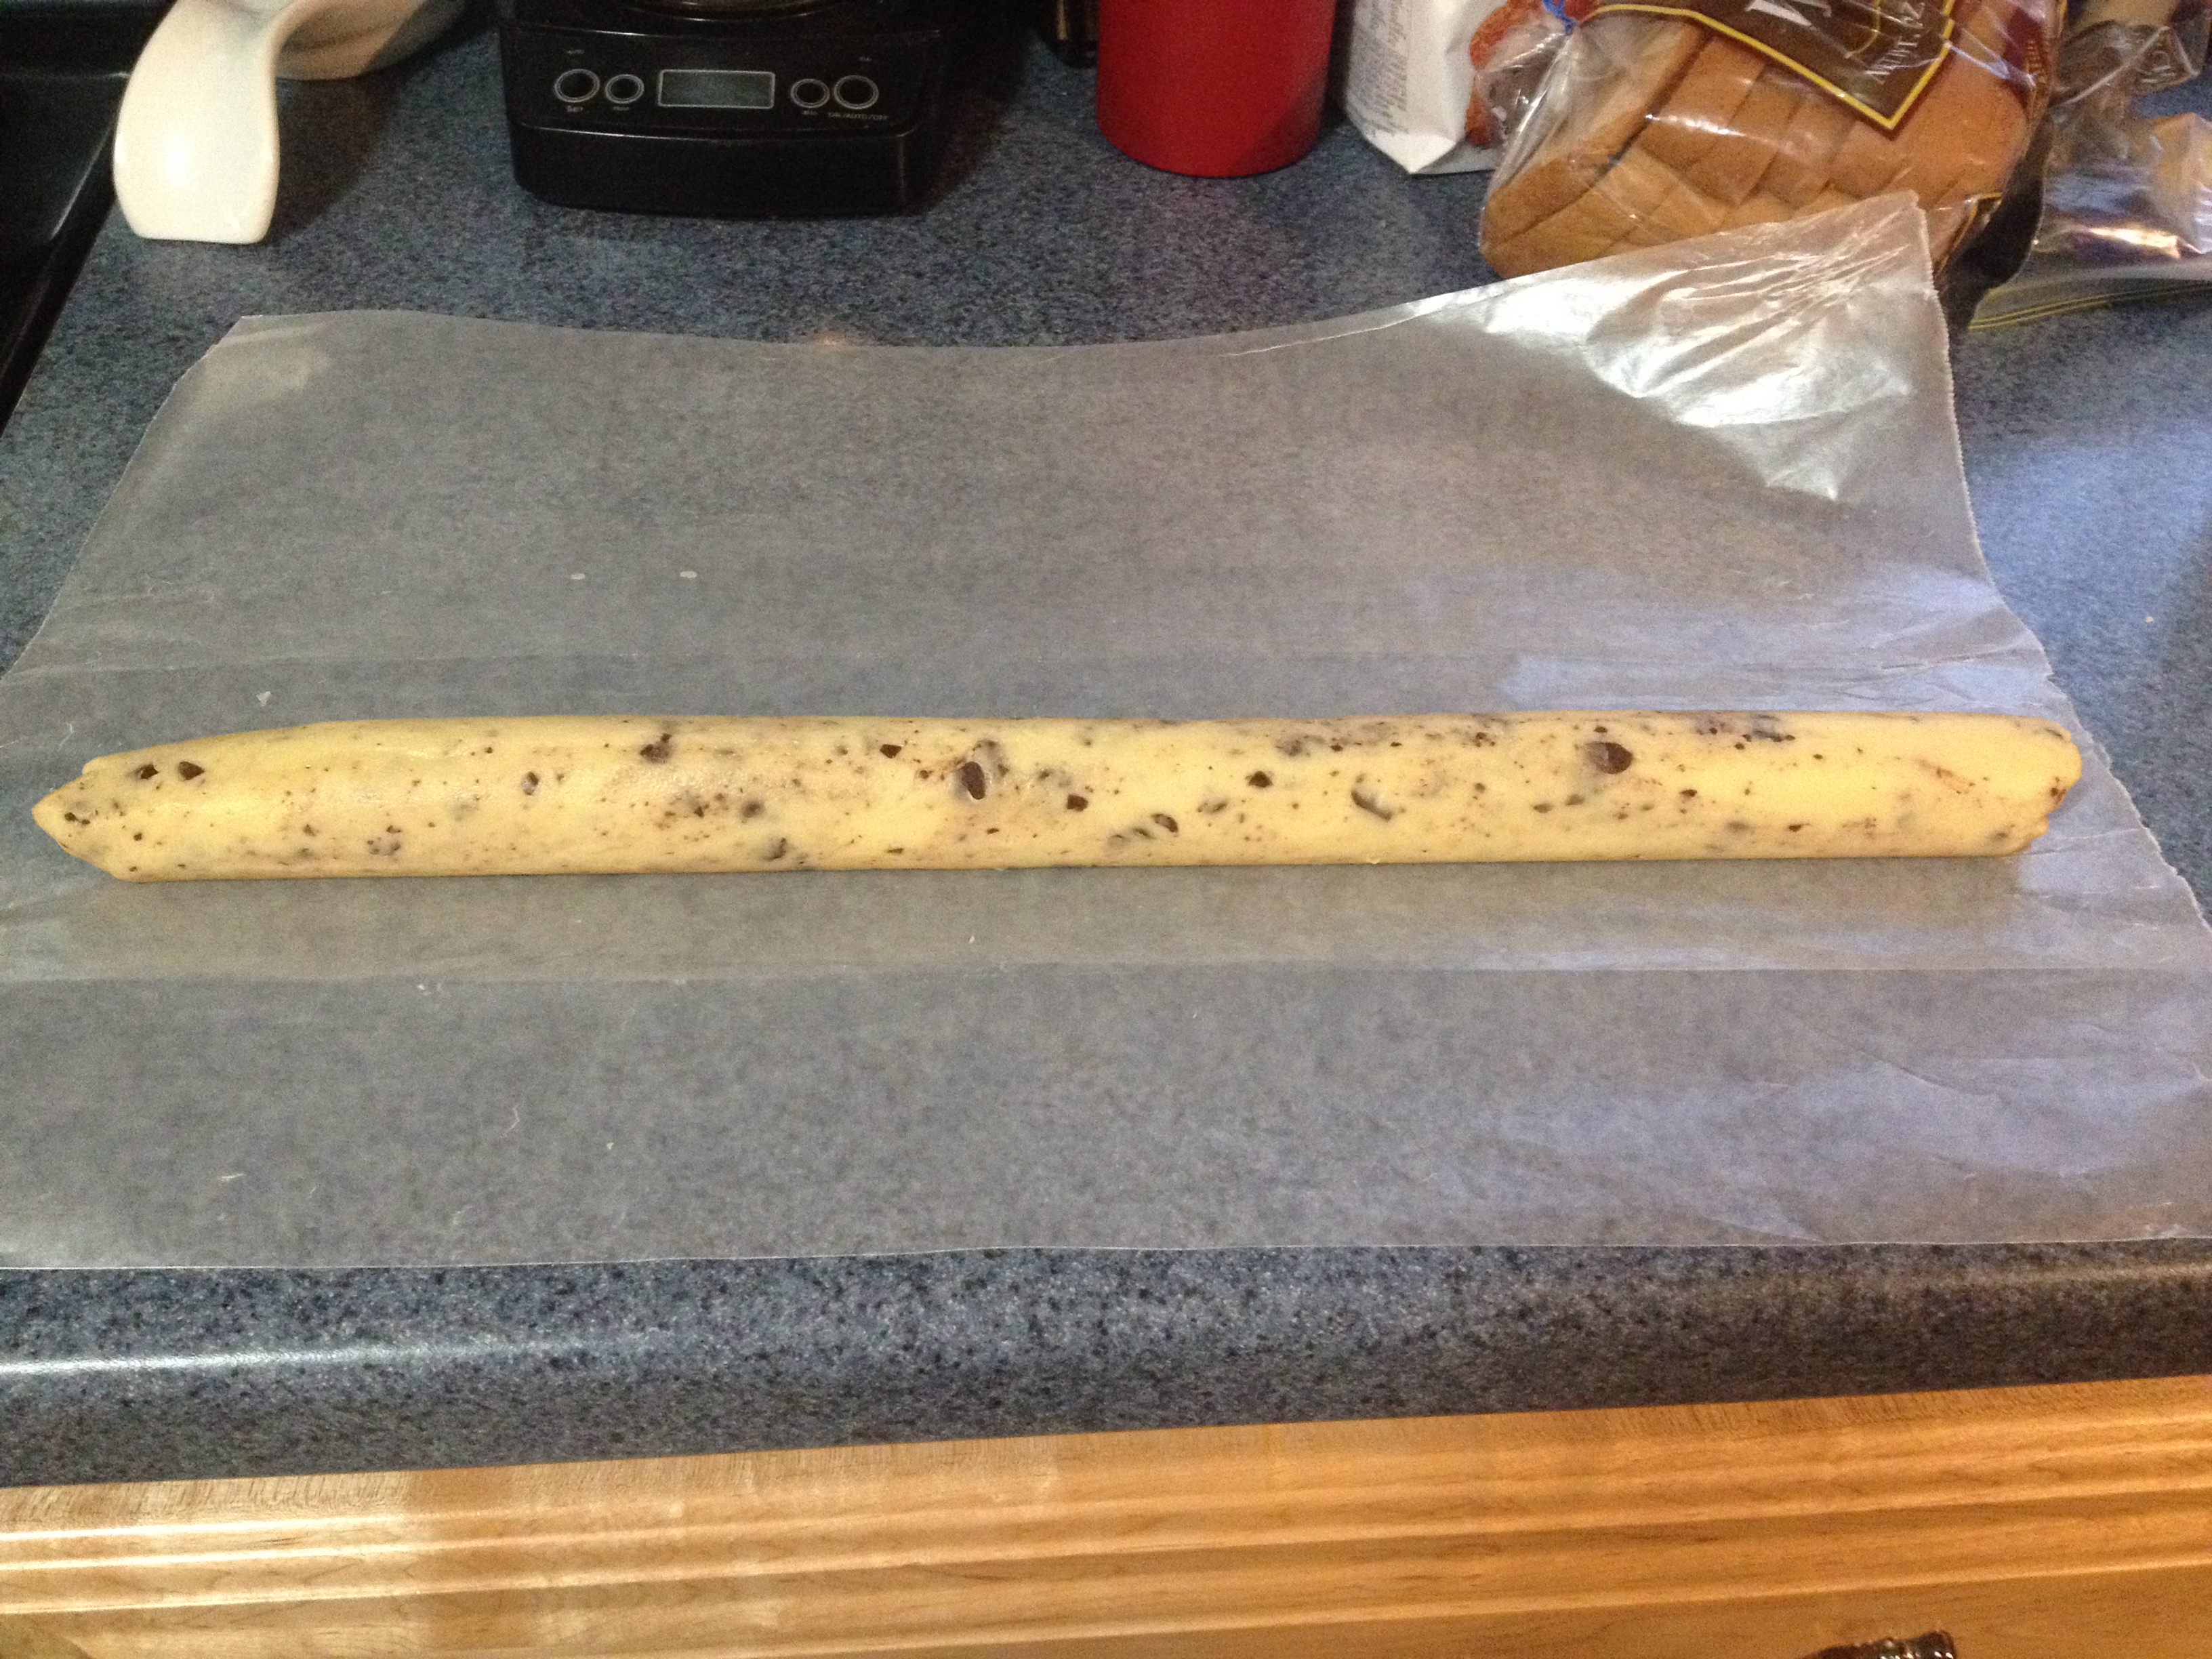
Here’s where you can get creative. The recipe calls for us to leave one section plain, to mix one section with chopped walnuts, and one section with chopped chocolate. I stuck with the recipe and used the chocolate chips and only went off the path slightly by sprinkling raw sugar over the plain ones. However, I have absolutely no doubt these cookies would go well with almost any mixer or topping. You could use chopped nuts as a mixer and brown sugar topping to get a pecan roll flavor, finely chopped dried fruit, or even a dollop of jelly over the top after baking.
After you’ve mixed whatever ingredients you wanted into your mixes, roll each section into a log, about a half-dollar size across.
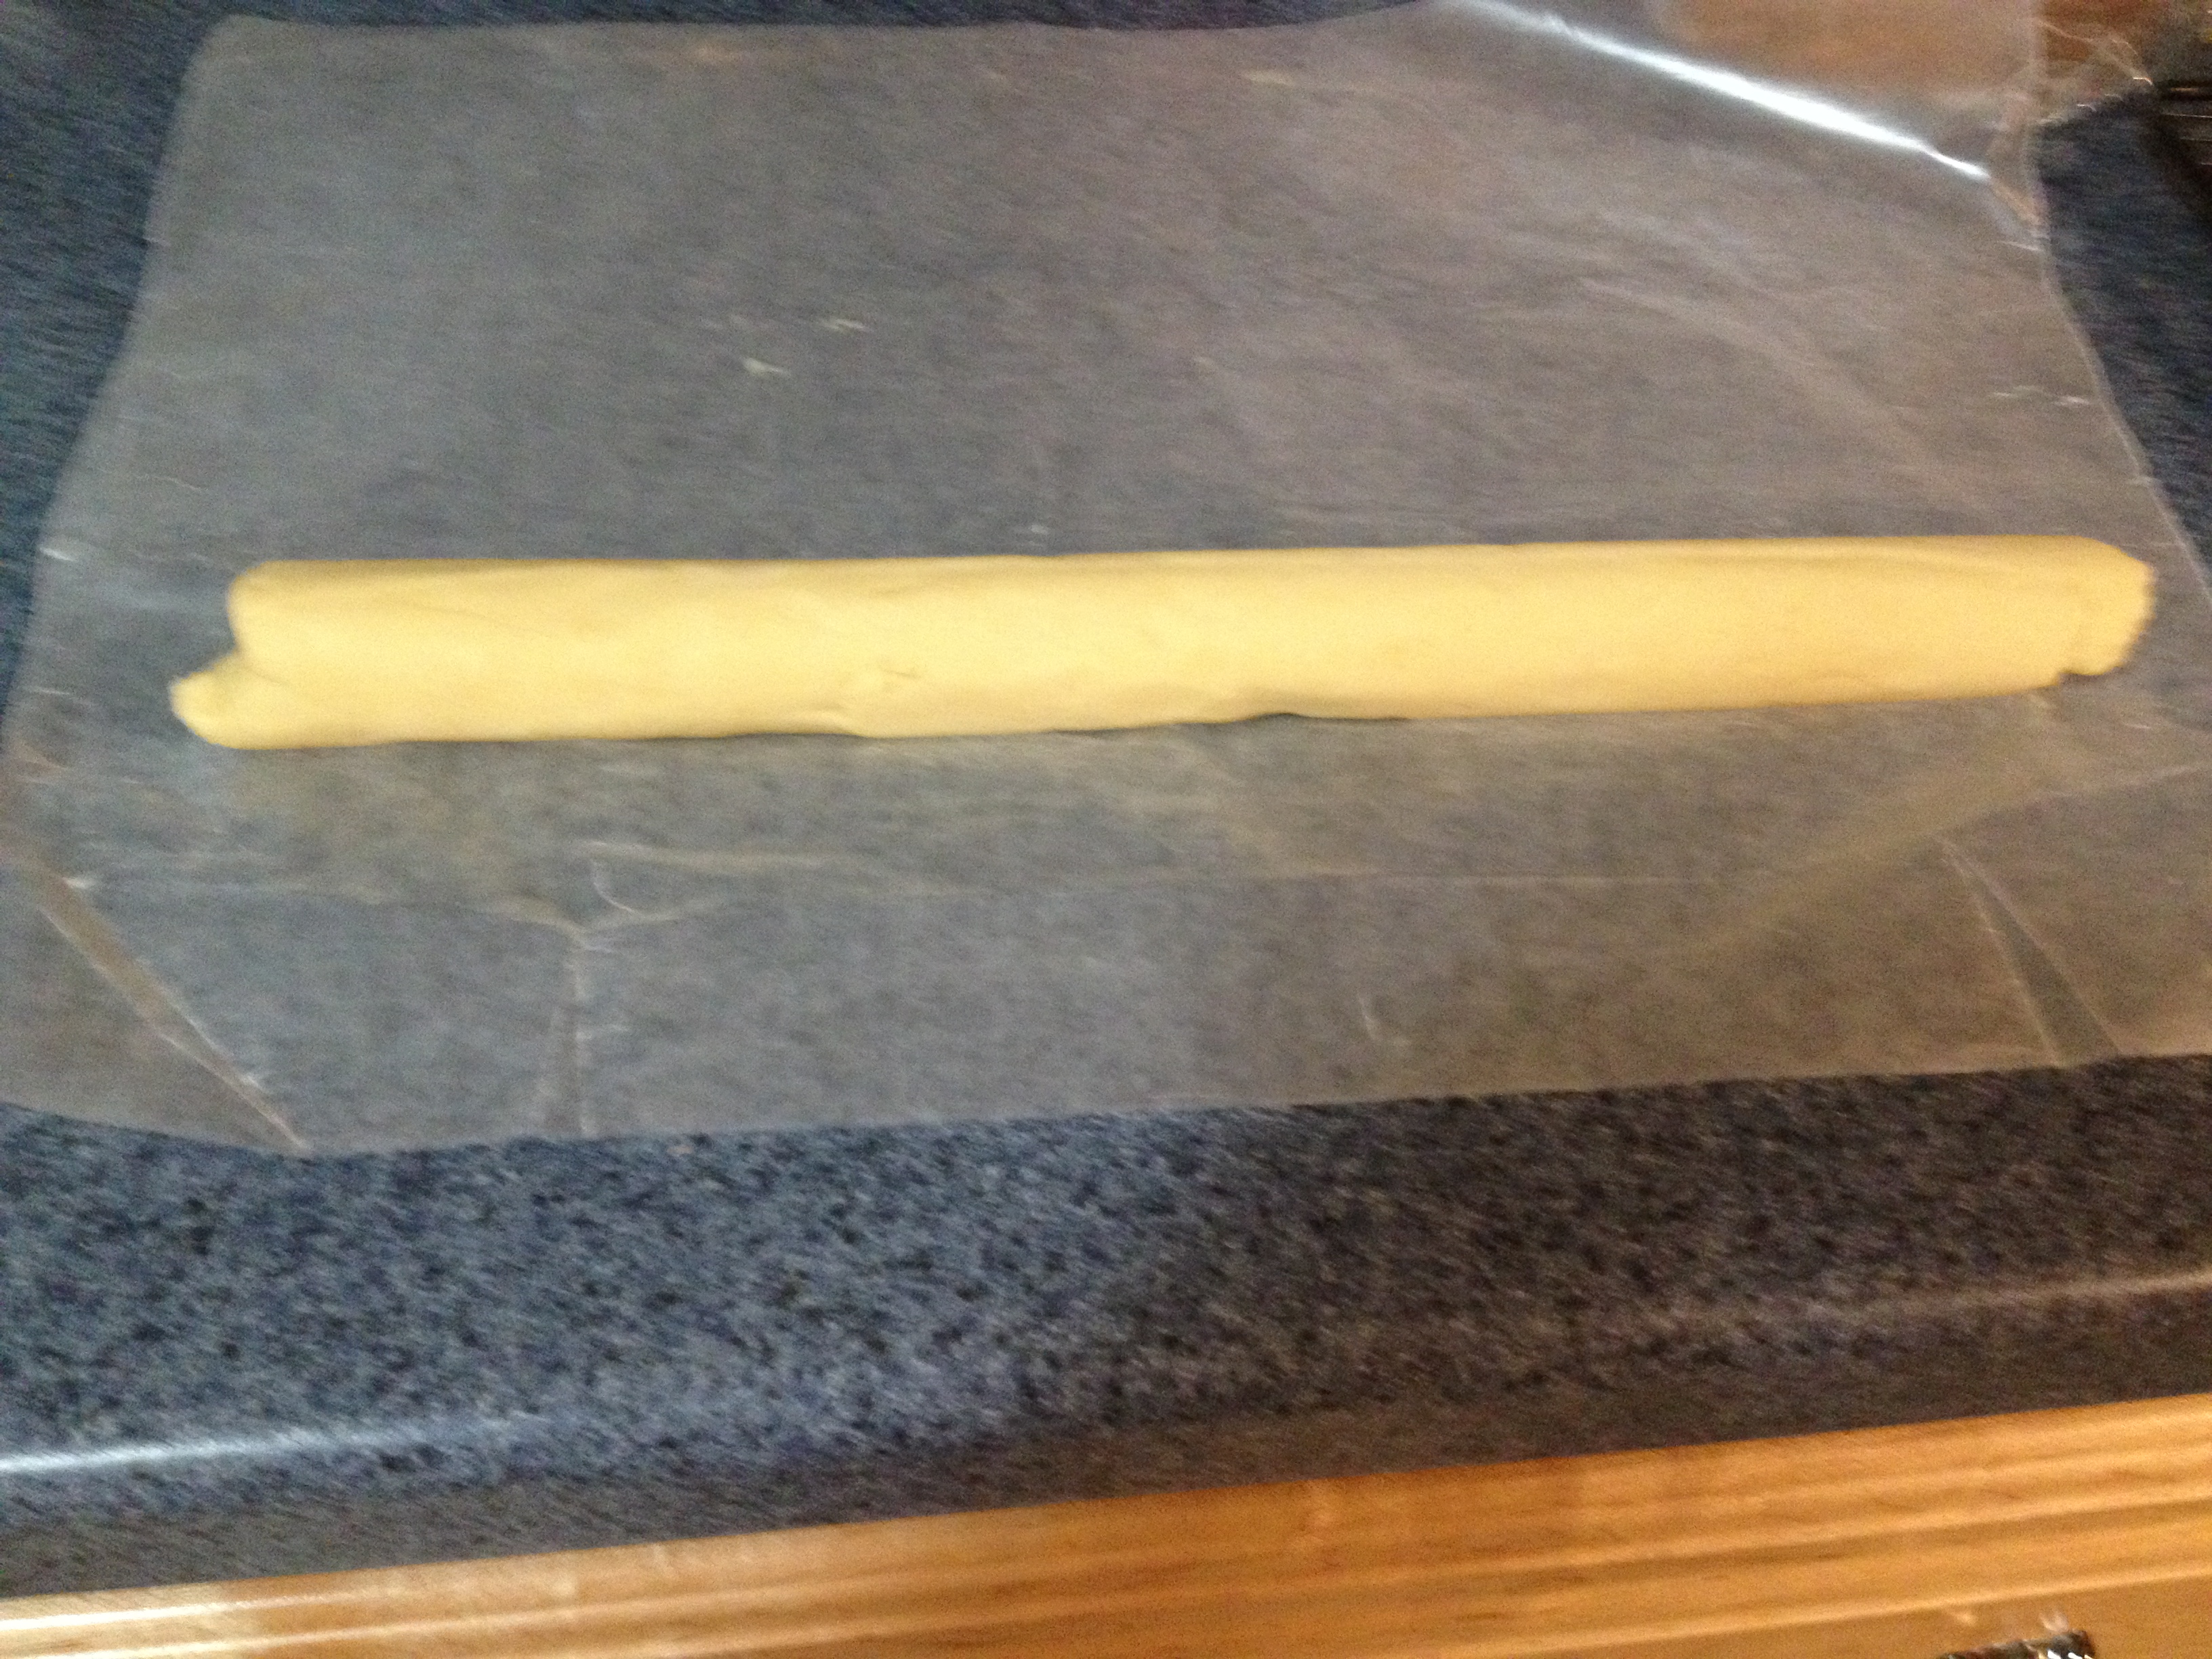
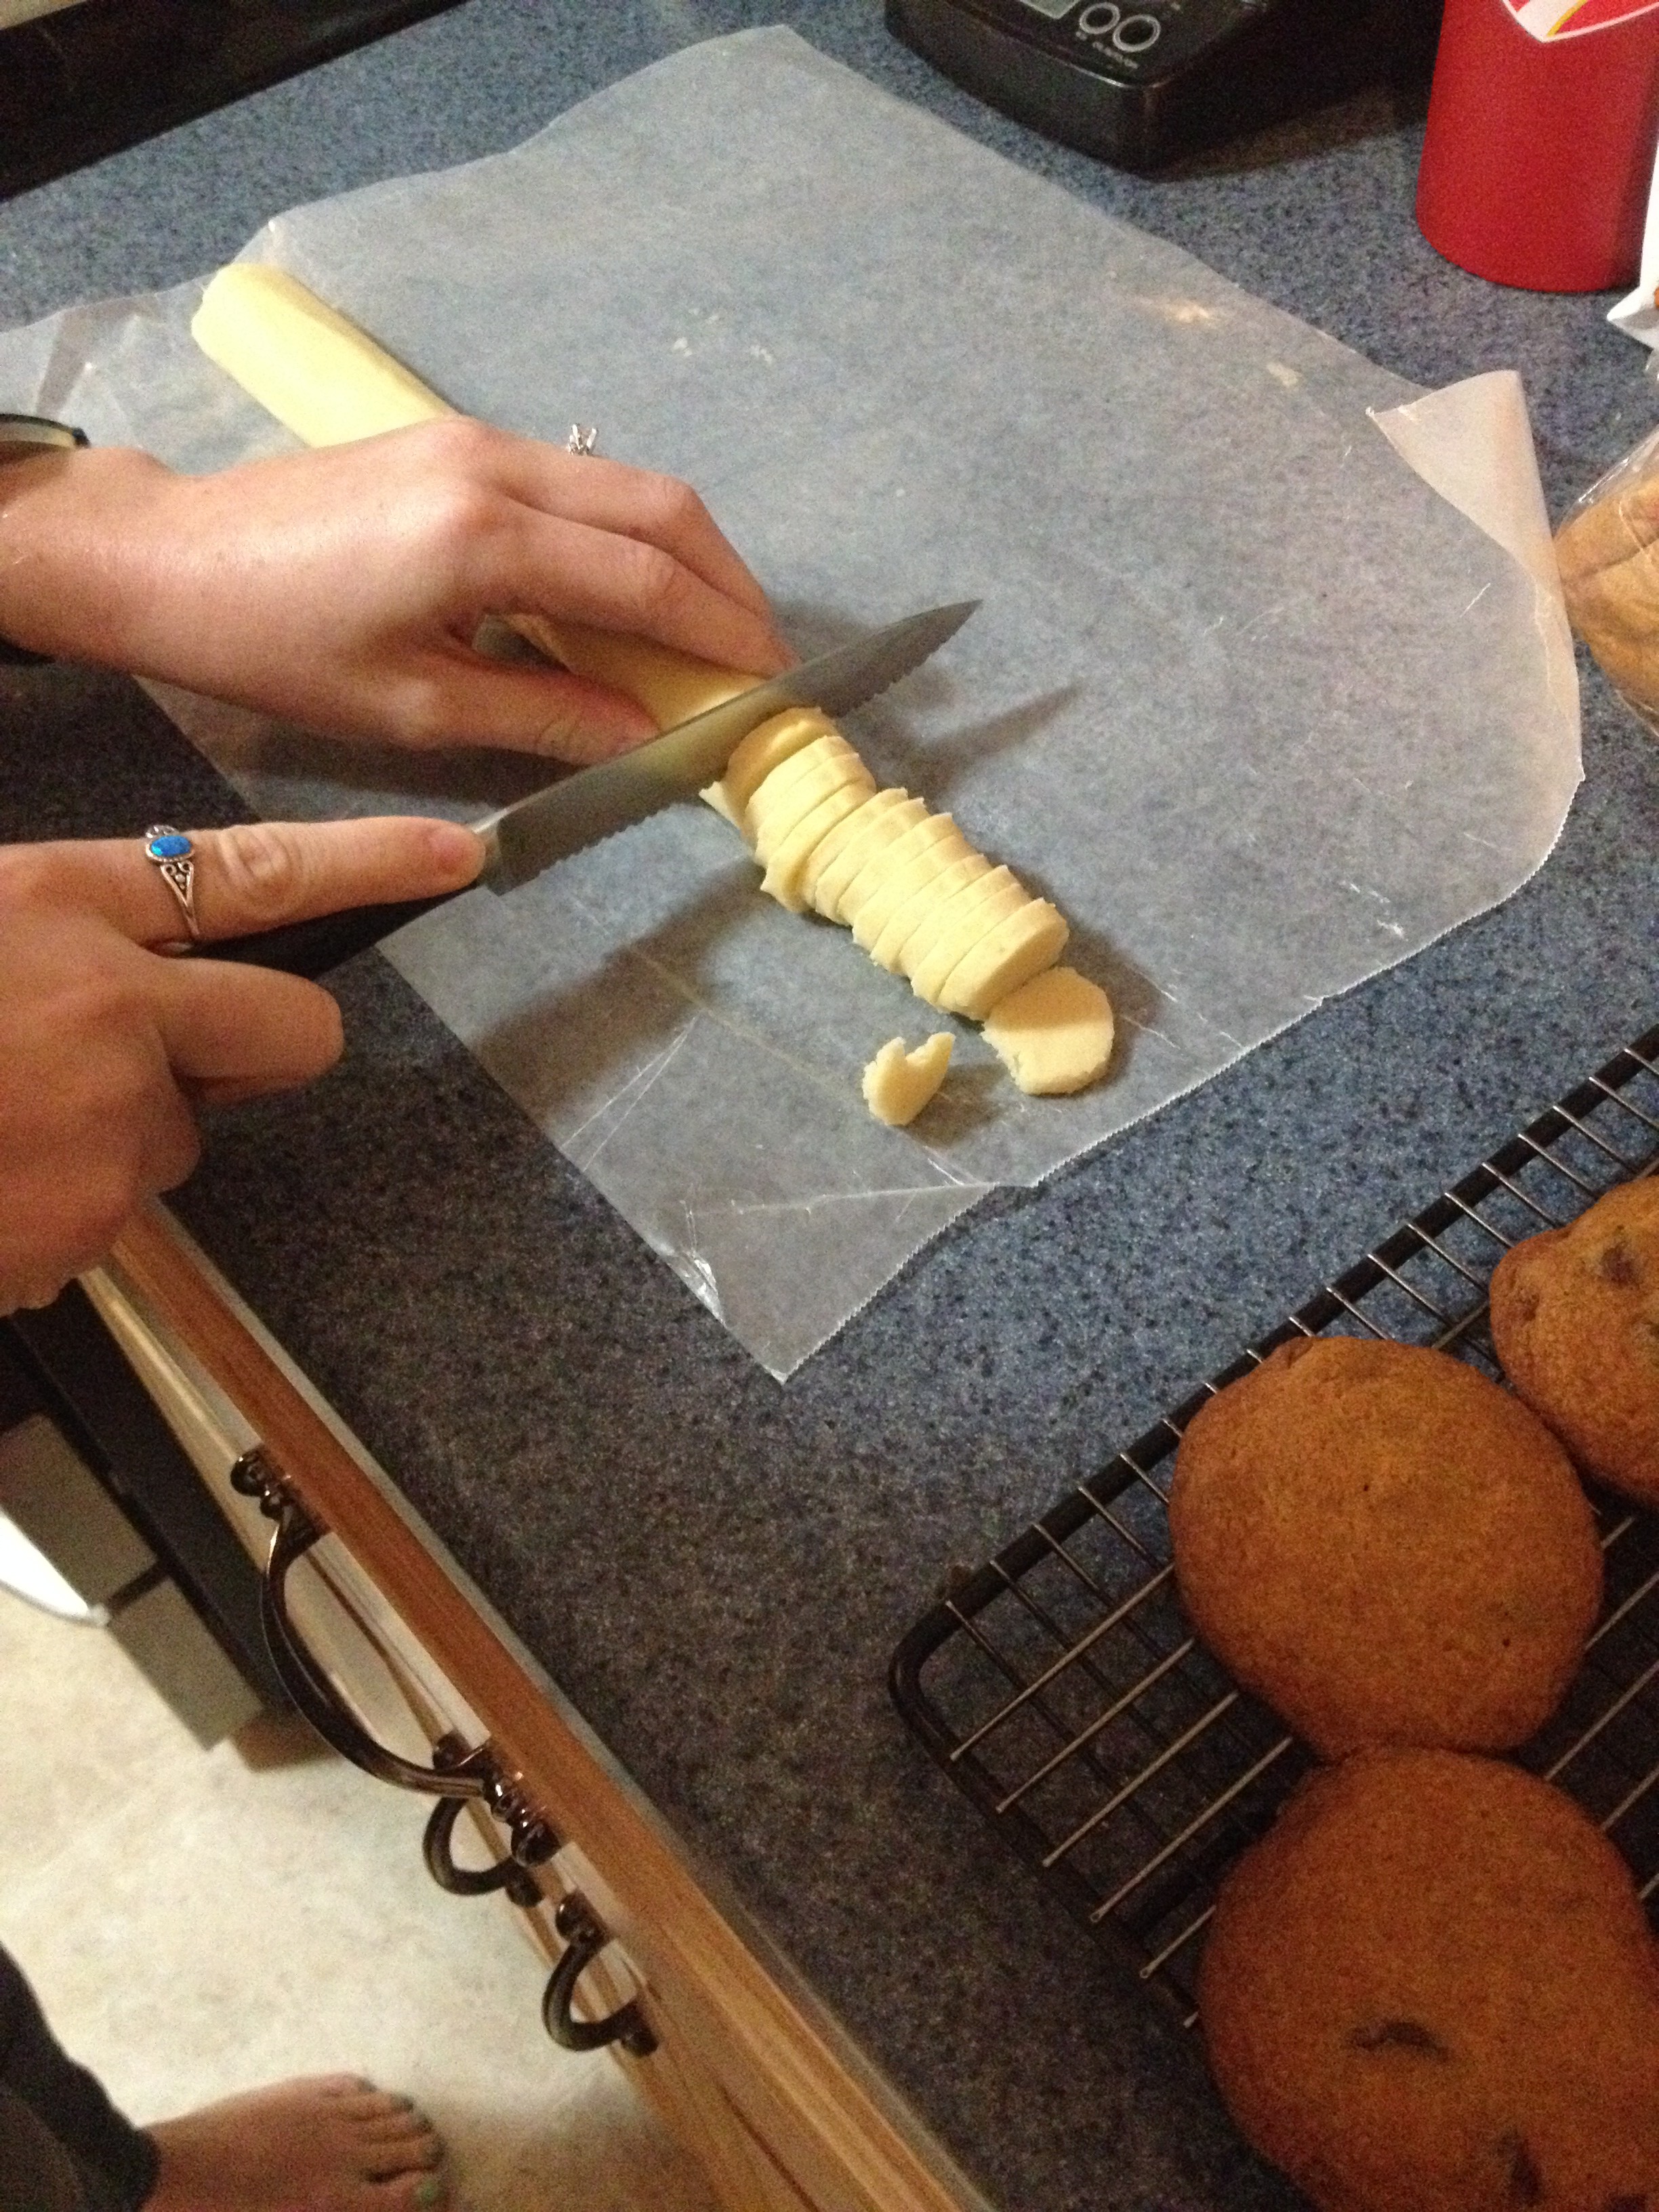
Roll each log up in wax paper, and refrigerate for at least 1 hour. (Hint: You can also freeze the dough; if you’re planning on that, make sure to wrap the dough log in aluminum foil, too.) You definitely want this dough to be cold, because you’ll need to cut it up and cold dough is a lot easier to cut!
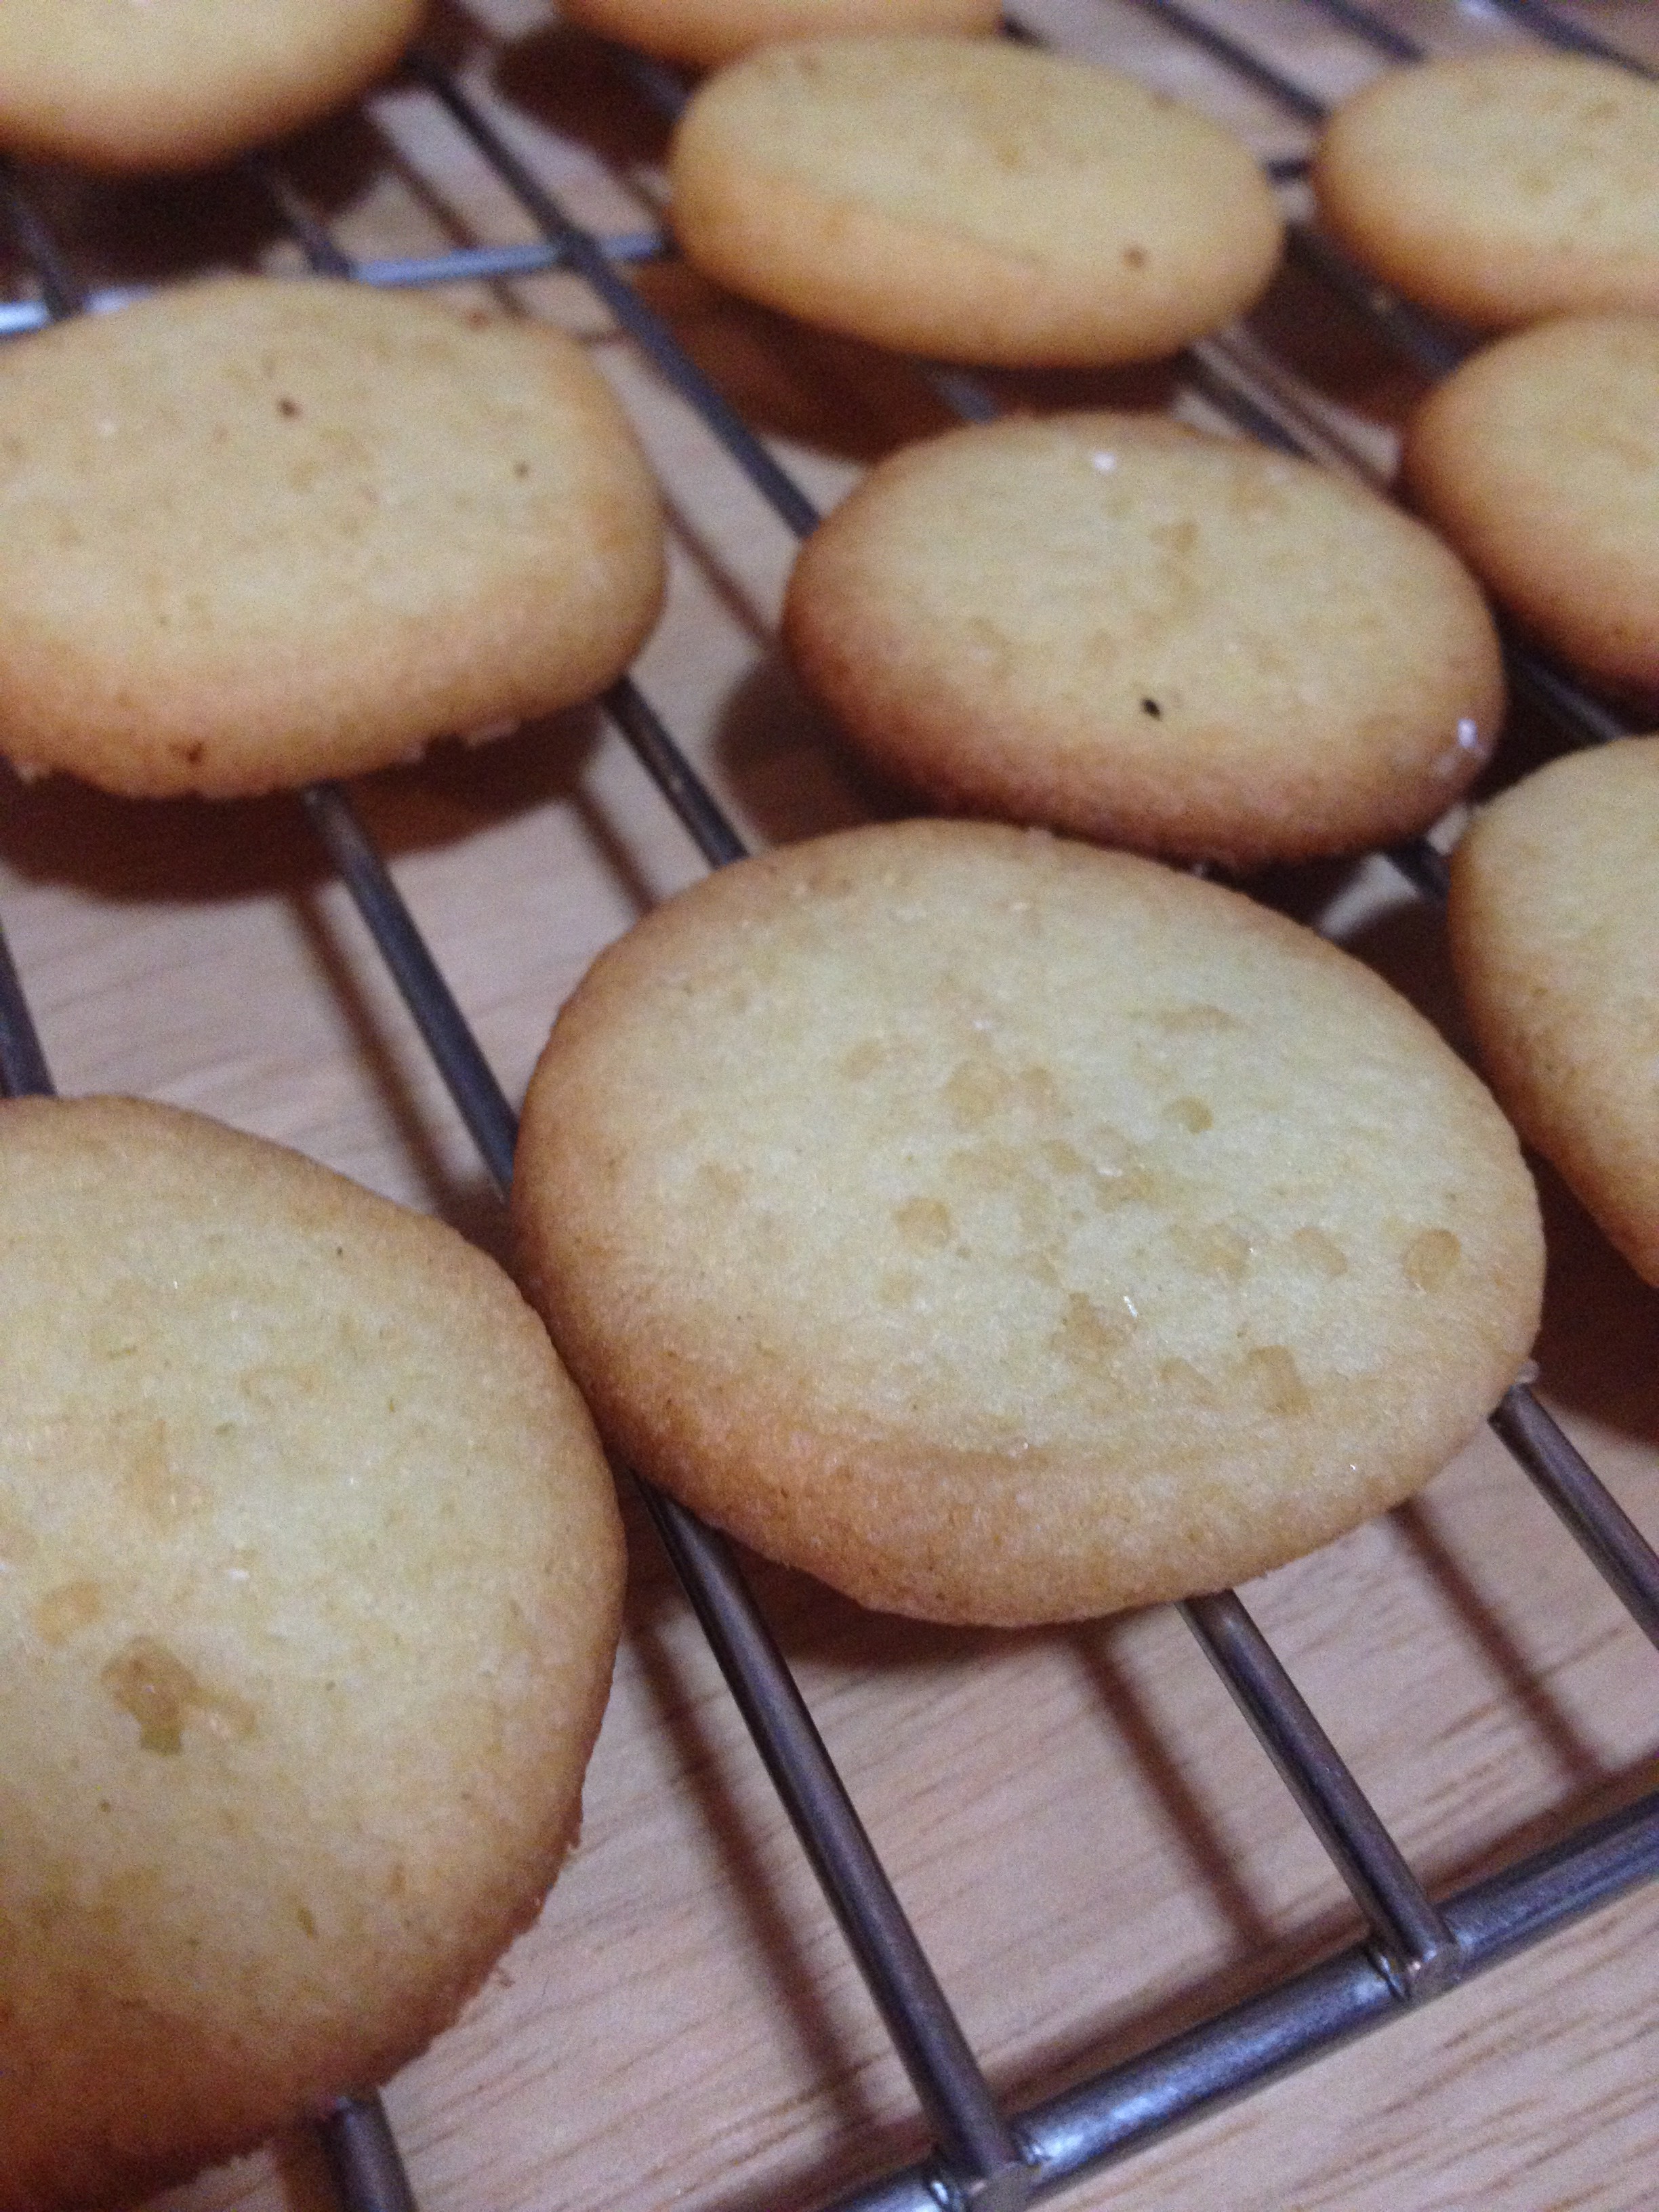
When the dough is nice and cold, cut the logs into 1/4 inch pieces. Place each dough piece on an ungreased cookie sheet. You don’t need to leave a ton of space between them because they don’t spread out much, but it’s still a good idea to leave about an inch between each cookie just in case.
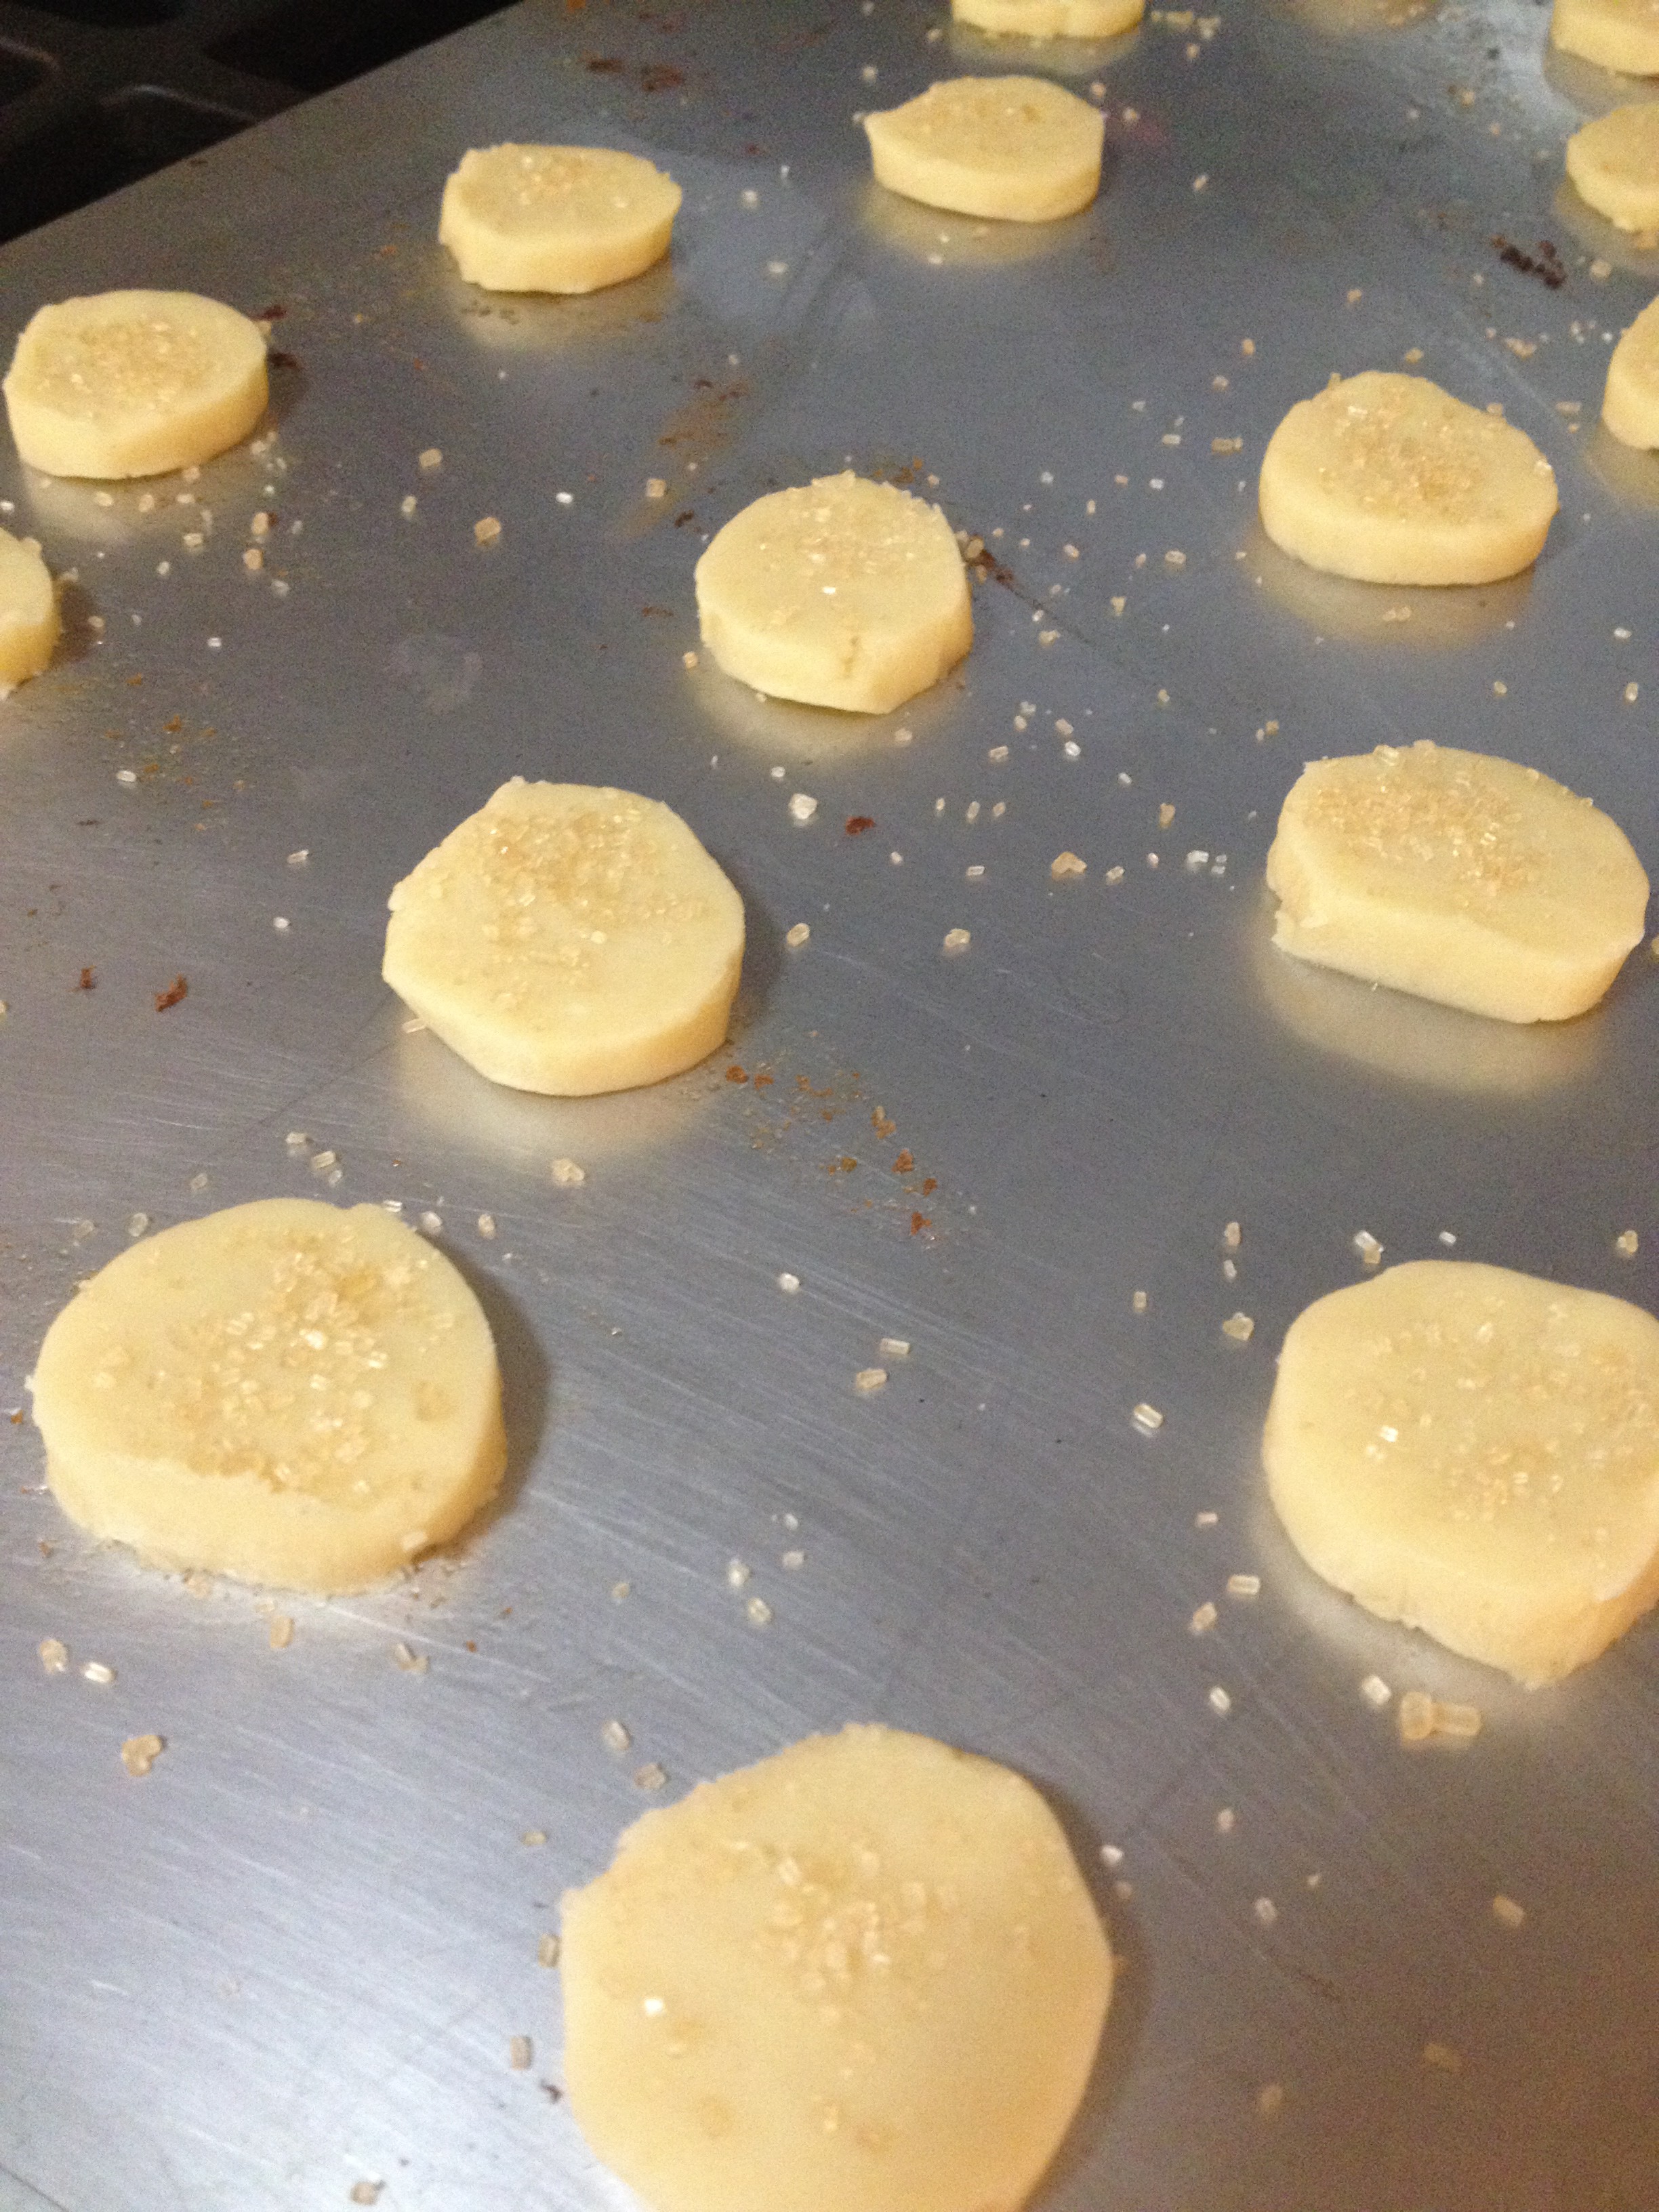
After you’re done cutting the dough and putting it on a cookie sheet, you can sprinkle toppings on the cookies if you want. As you can see, I sprinkled raw sugar over the top of the plain ones. This would also be a good time to sprinkle brown sugar over the ones with the nuts, or whatever other topping you want.
Bake the cookies for ~6 minutes at 400°F. When they’re done, transfer them to a wire cooling rack .
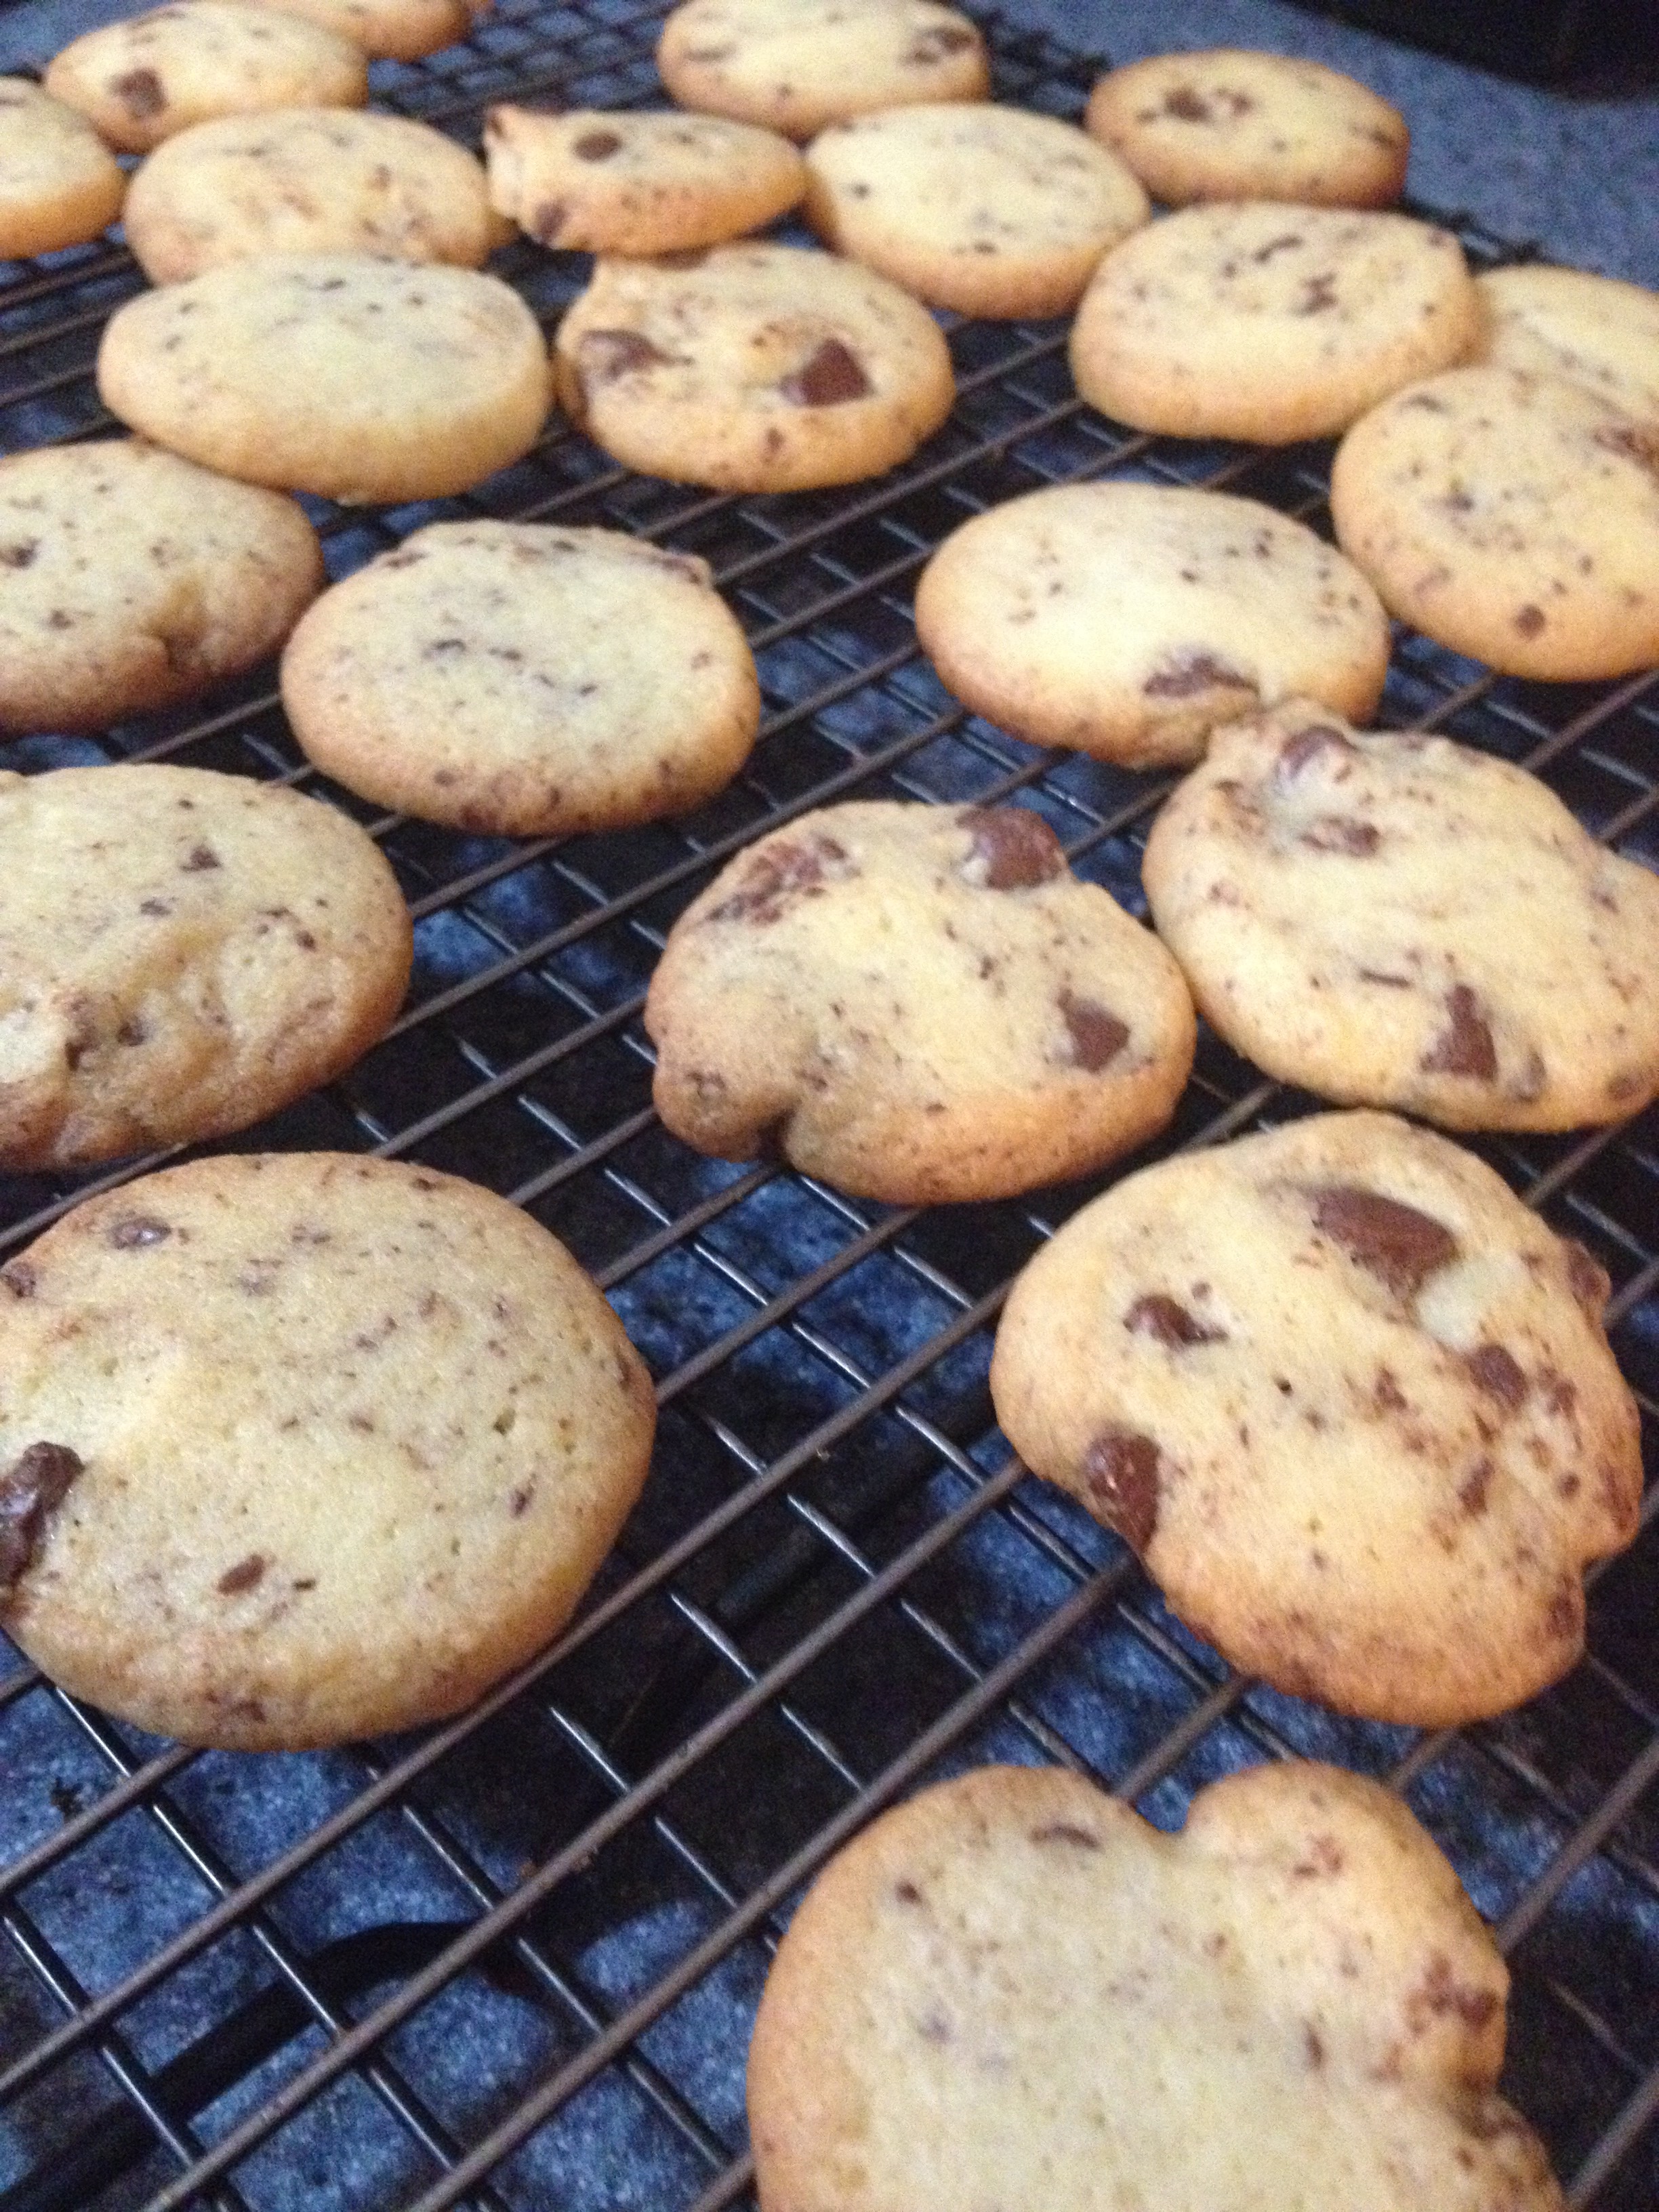
And that’s it! You now have delicious teeny tiny cookies. I thought it was interesting how the plain and the chocolate chip ones tasted so different, yet they were the exact same base. That’s what makes them fun- one recipe makes a ton of cookies, so you can mix it up with different toppings and mixers, and get totally different cookies, and everyone can have their favorite. Don’t let the amount of cookies that one recipe makes fool you, though… these disappear quickly!
PS- these cookies, especially the plain ones, go really well with tea. My 91-year old aunt was a big fan of her tea with teeny tiny cookies!
I hope you enjoy this recipe and these cookies, as I know I did! Happy baking!
Chocolate Oatmeal Cookies, No Baking Necessary!
Hey friends! Sorry it’s been so long since I last posted- my man is in town, so I’ve been a little distracted! I’ve had my blog on my mind, though, and have a super yummy recipe to share with you all today. Today’s recipe is for No-Bake Chocolate Oatmeal Cookies. That’s a long title, though, so we’ll just call them No-Bake Cookies. Here are the ingredients:
Ingredients:
- 1 1/2-2 cups granulated sugar (I ballparked the sugar and cocoa since it’s within a range)
- 1/4-1/2 cup cocoa powder
- 1/3-1/2 cup margarine (I only used 1/2 cup)
- 1/2 cup milk
- 1 tsp salt
- 3 cups oatmeal (Quick-Cooking 1-minute)
- 1 1/2 tsp vanilla
- Nuts, optional (I didn’t use nuts)
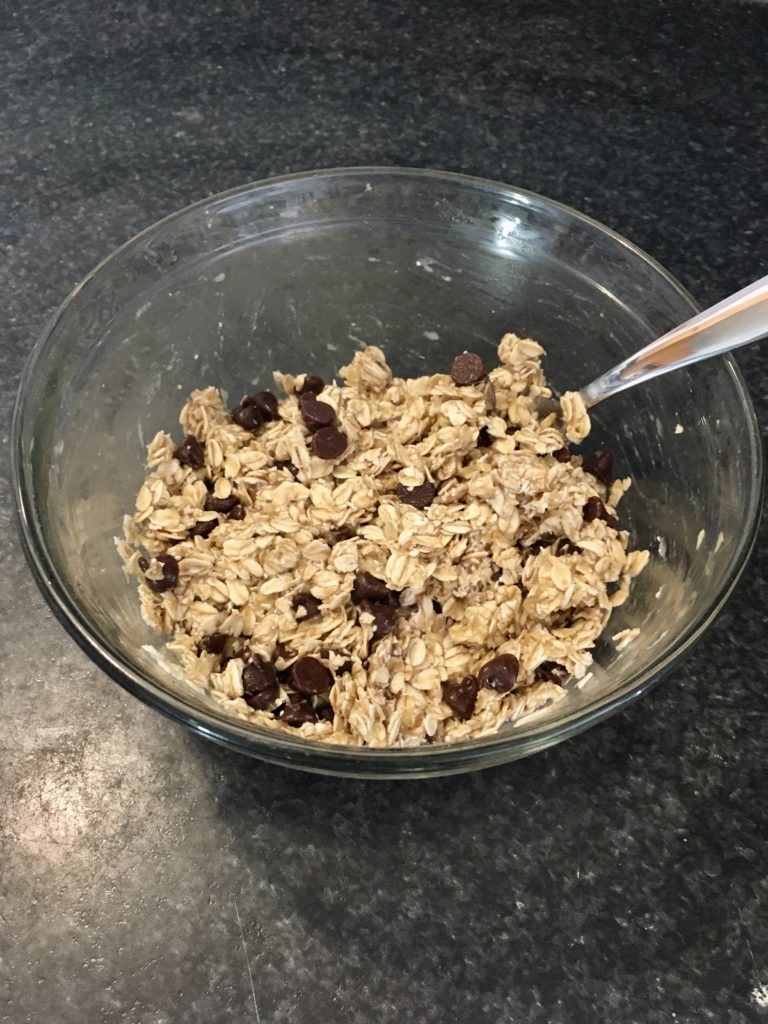
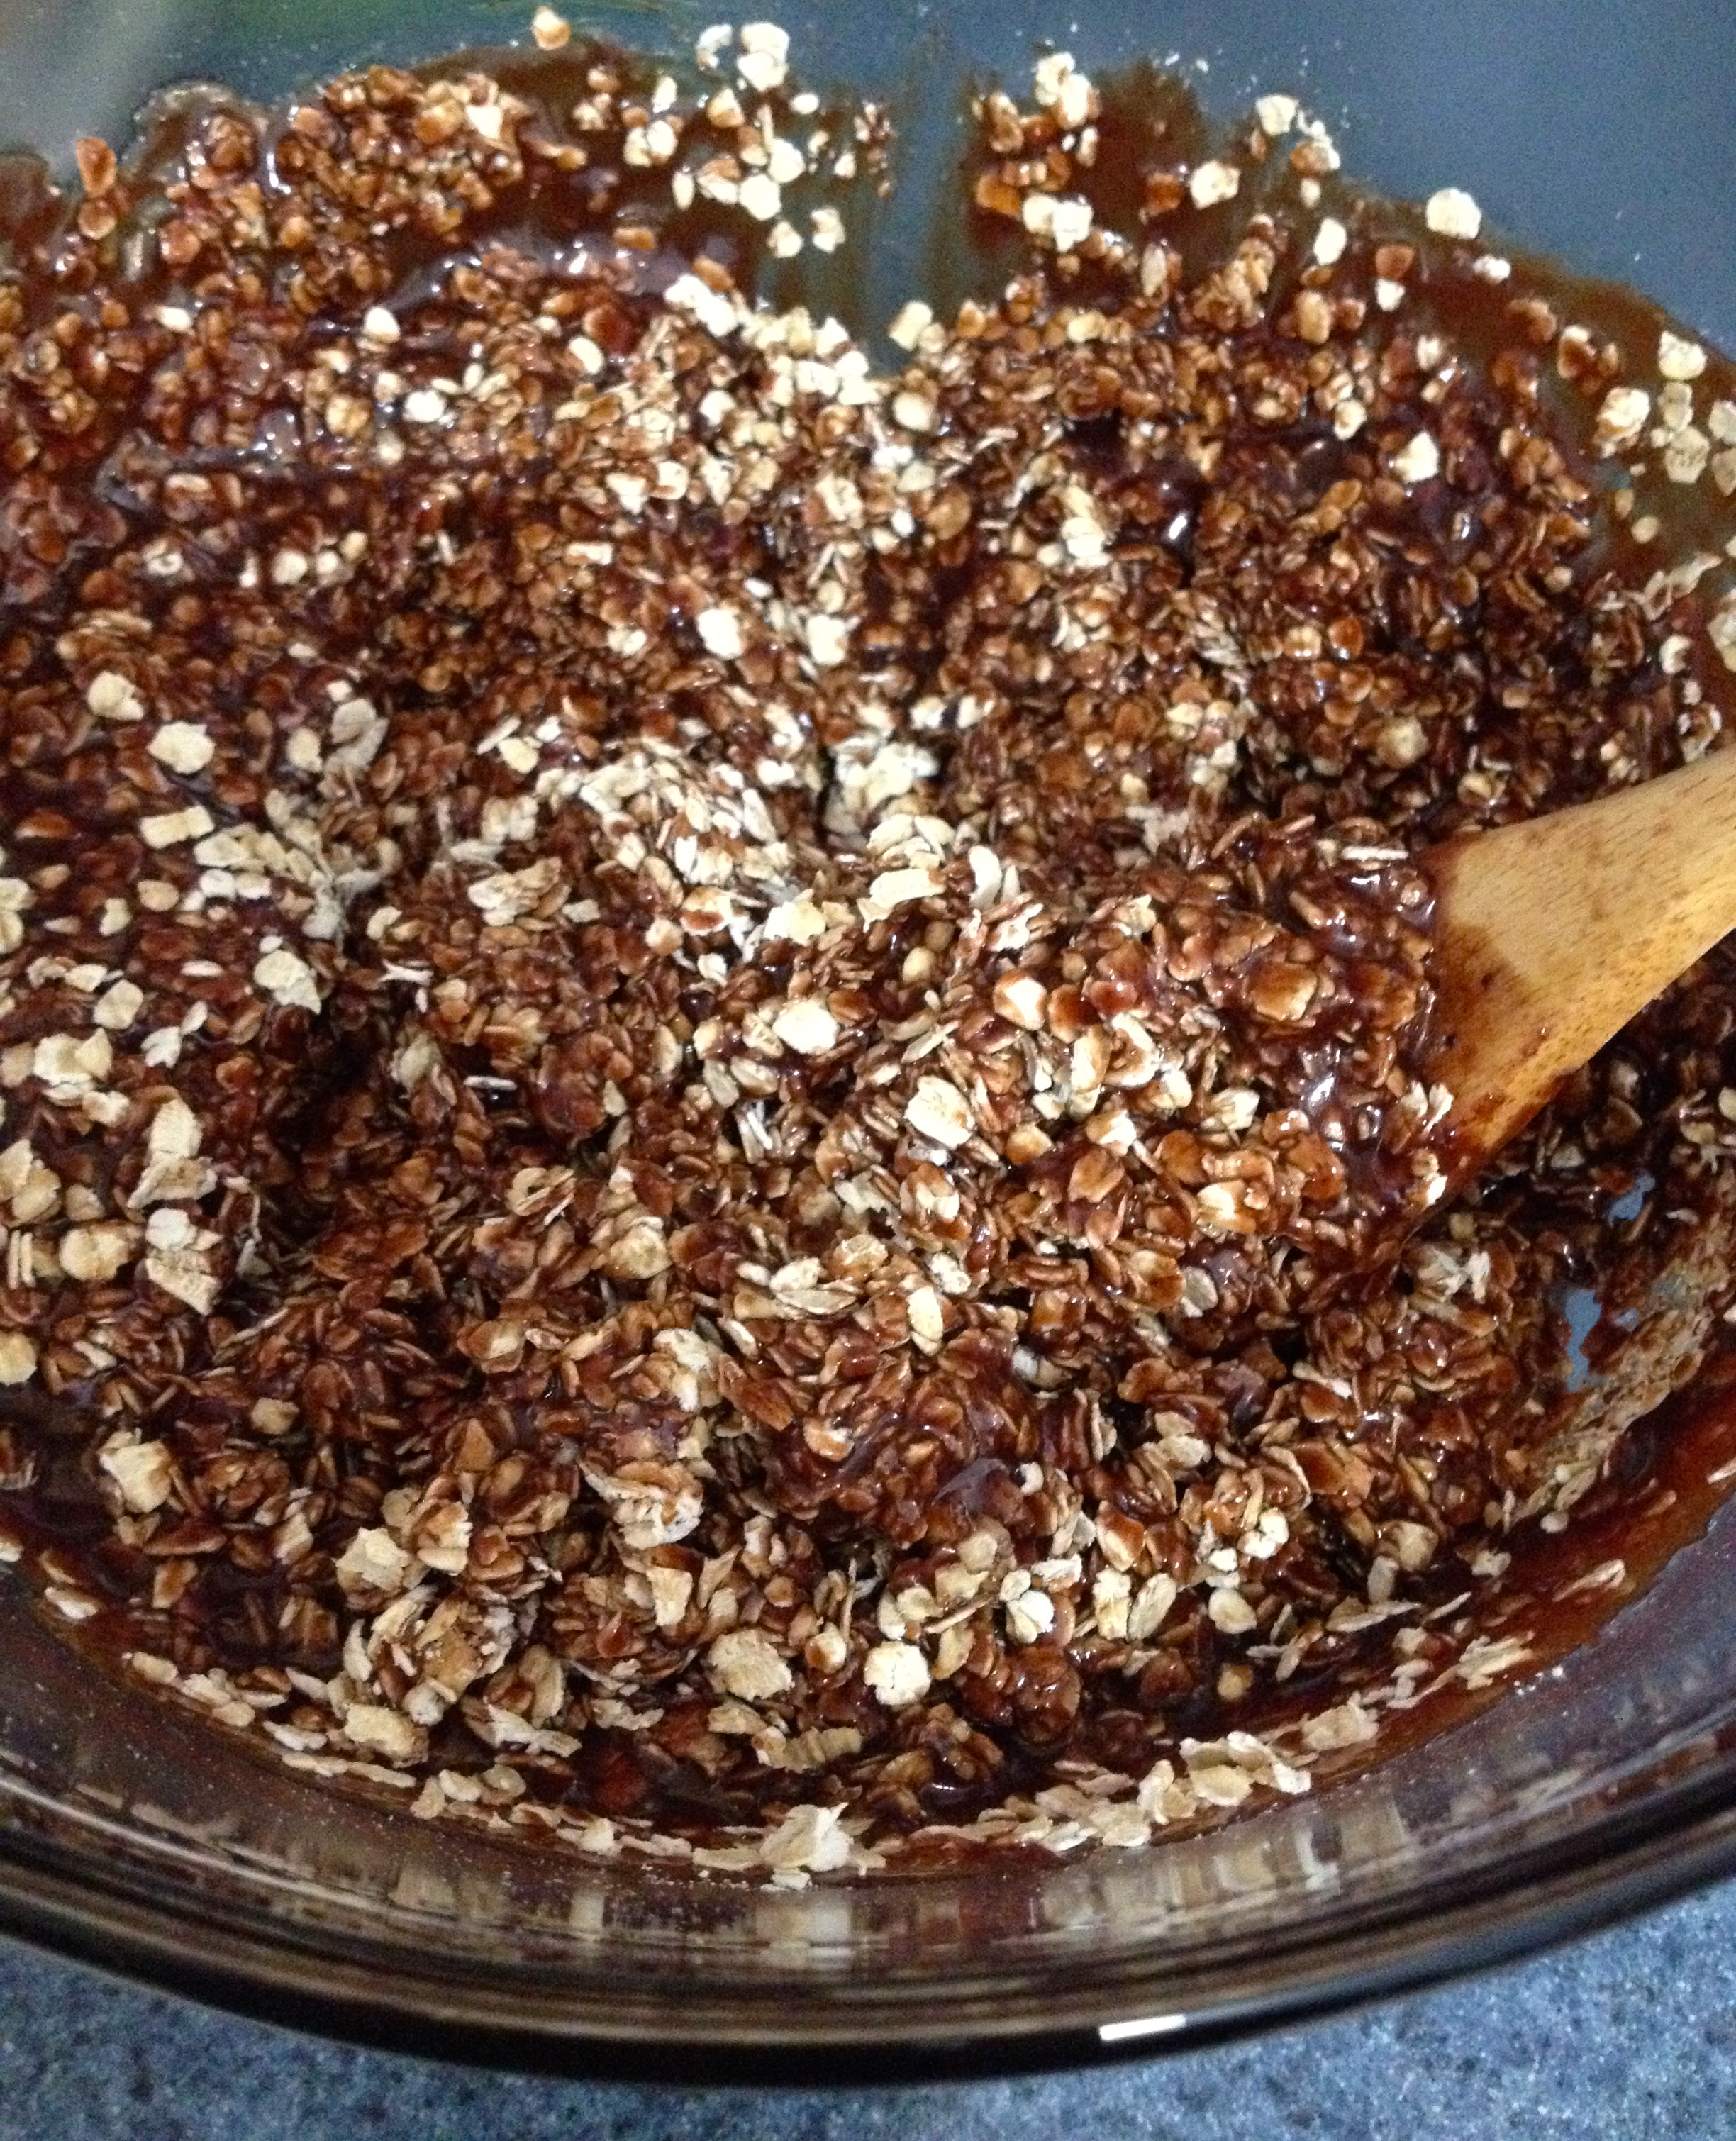
In a large bowl, mix the oats and vanilla. Set them aside.
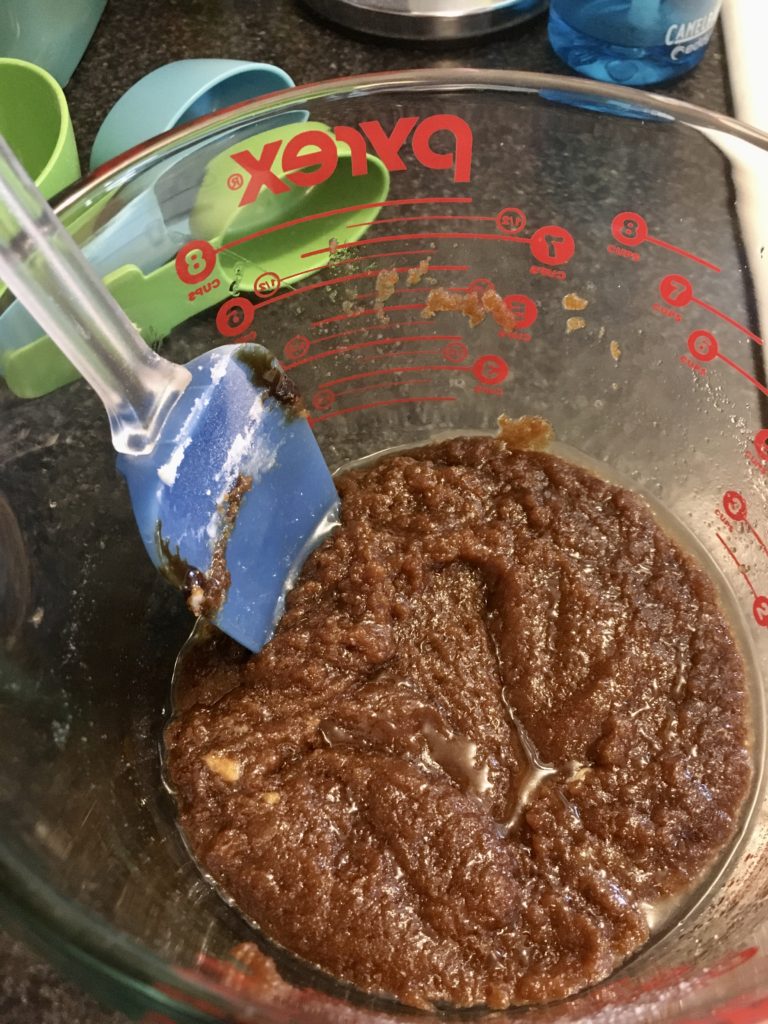
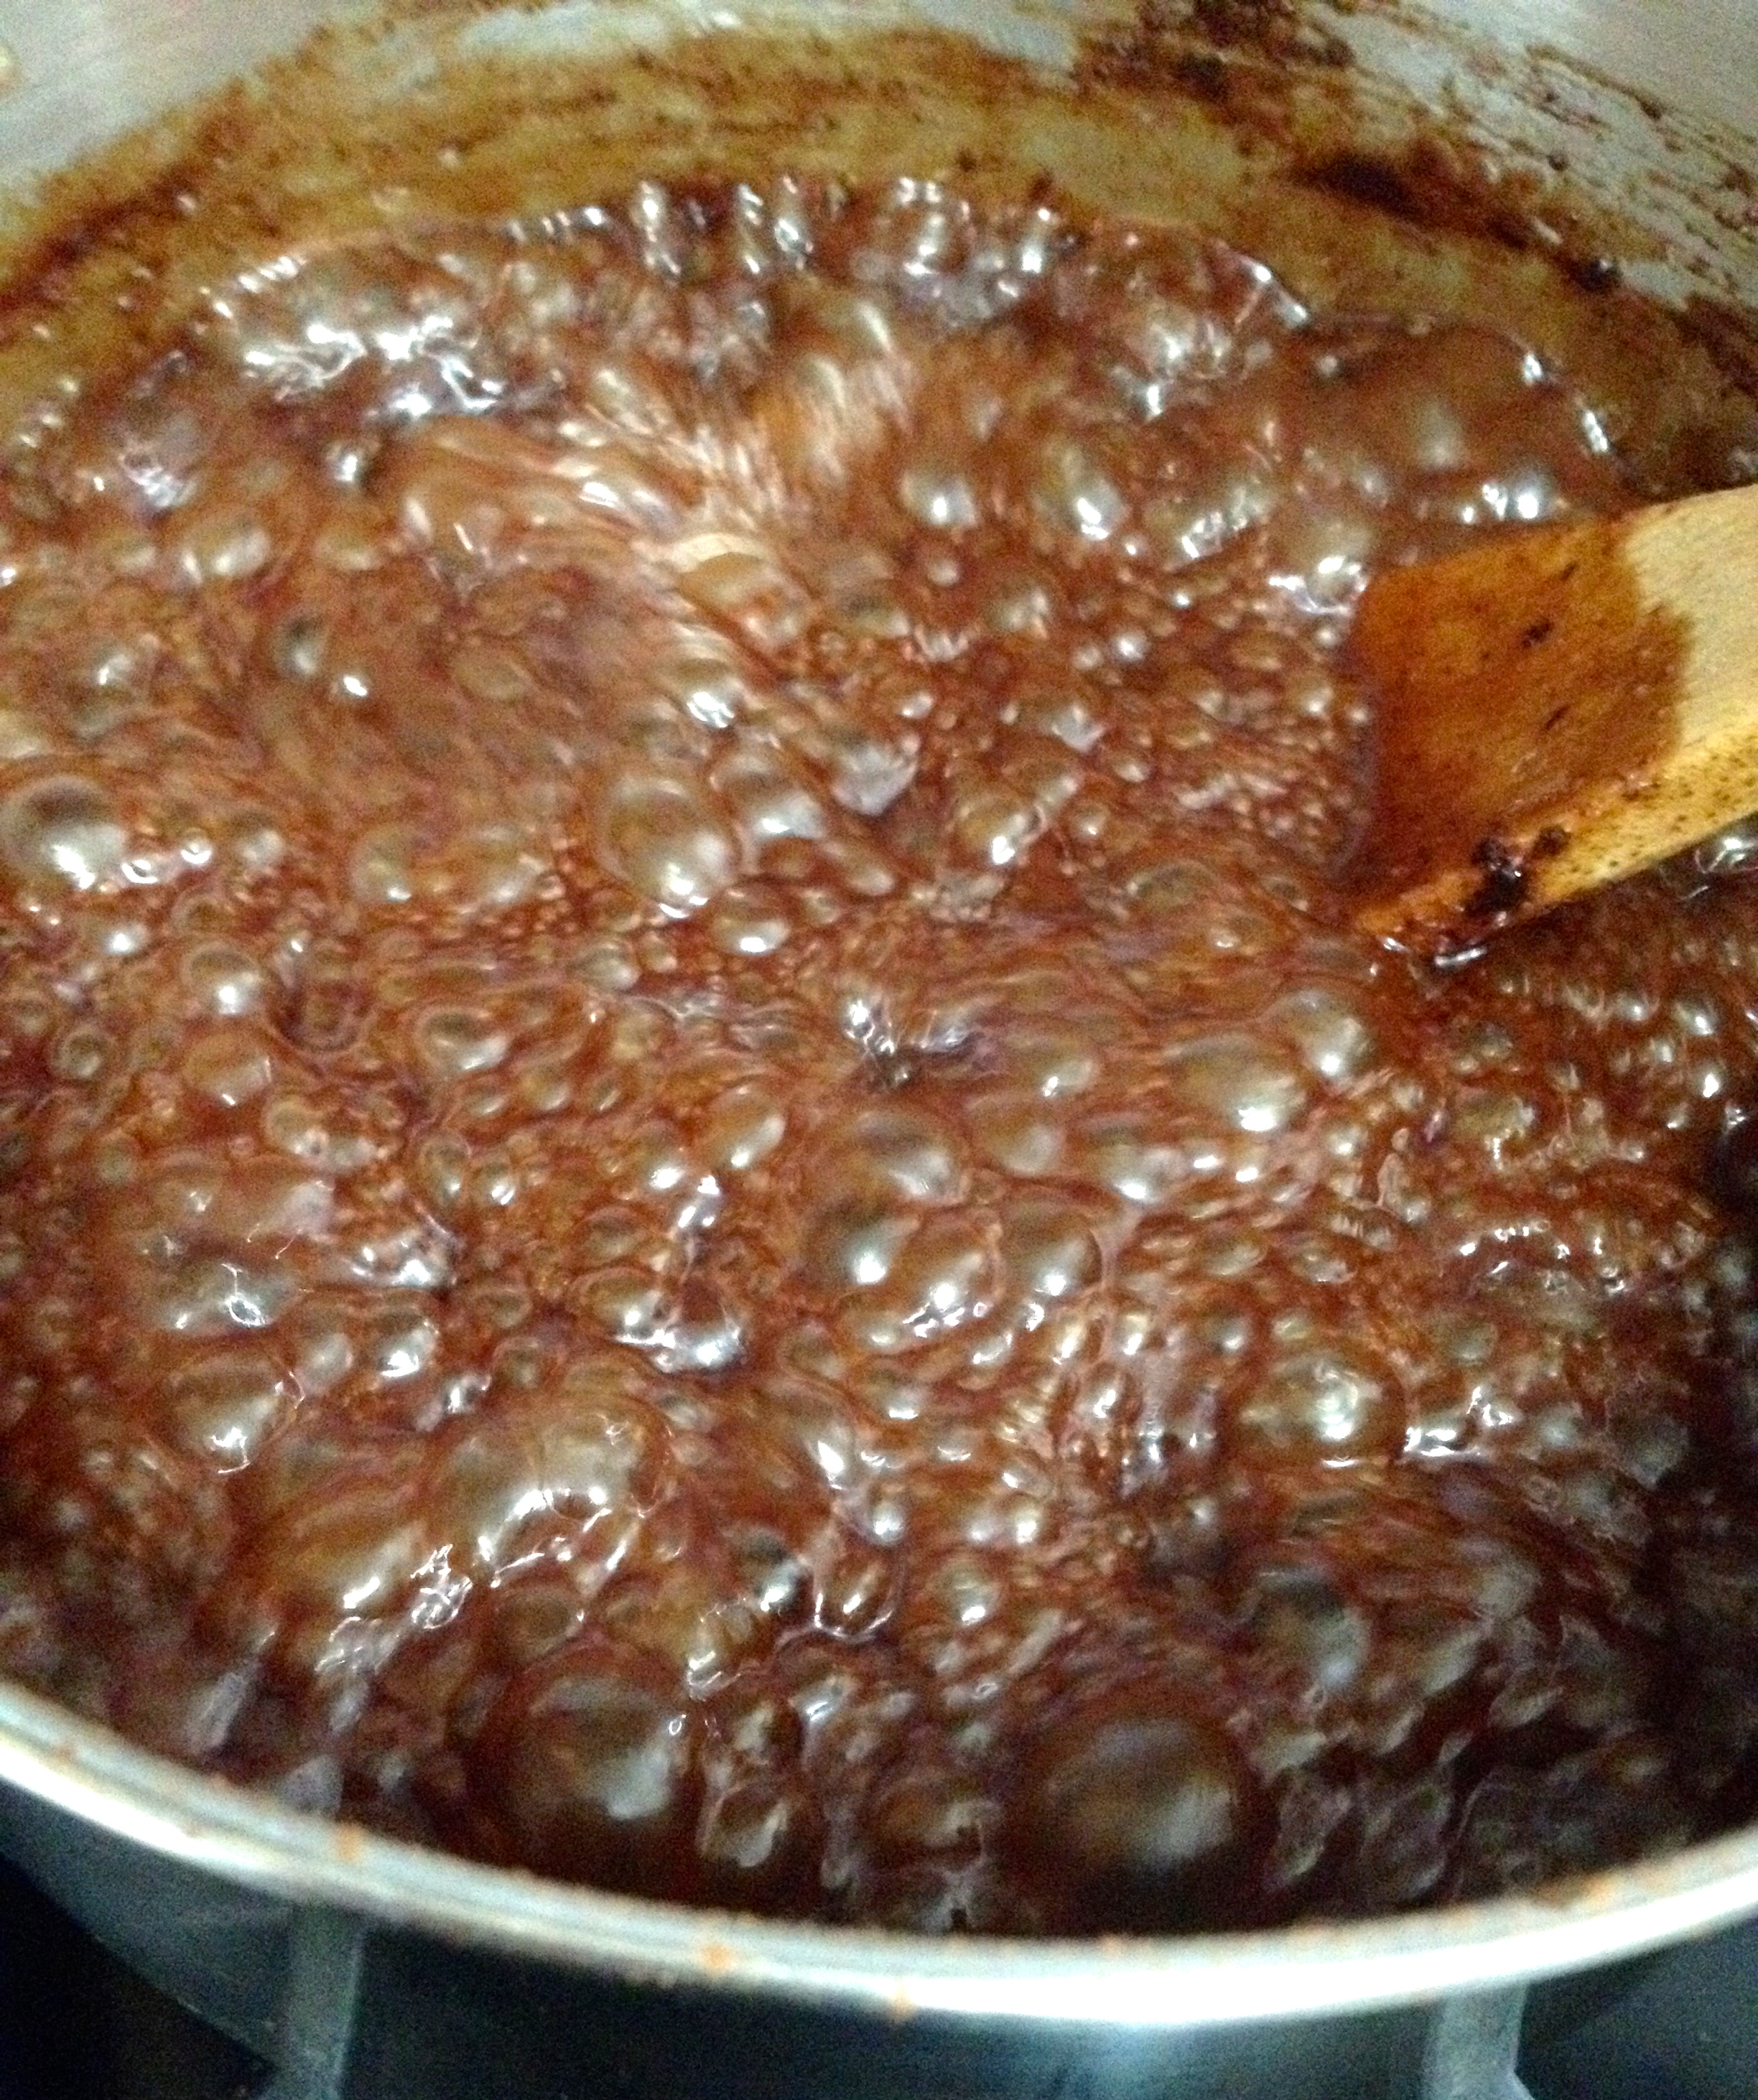
In a medium saucepan, boil the sugar, cocoa, margarine, milk, and salt together for 5 minutes. Stir this mixture constantly to prevent the milk from boiling over and the chocolate from burning. Just an FYI, I started the 5 minute timer after the mixture started boiling.
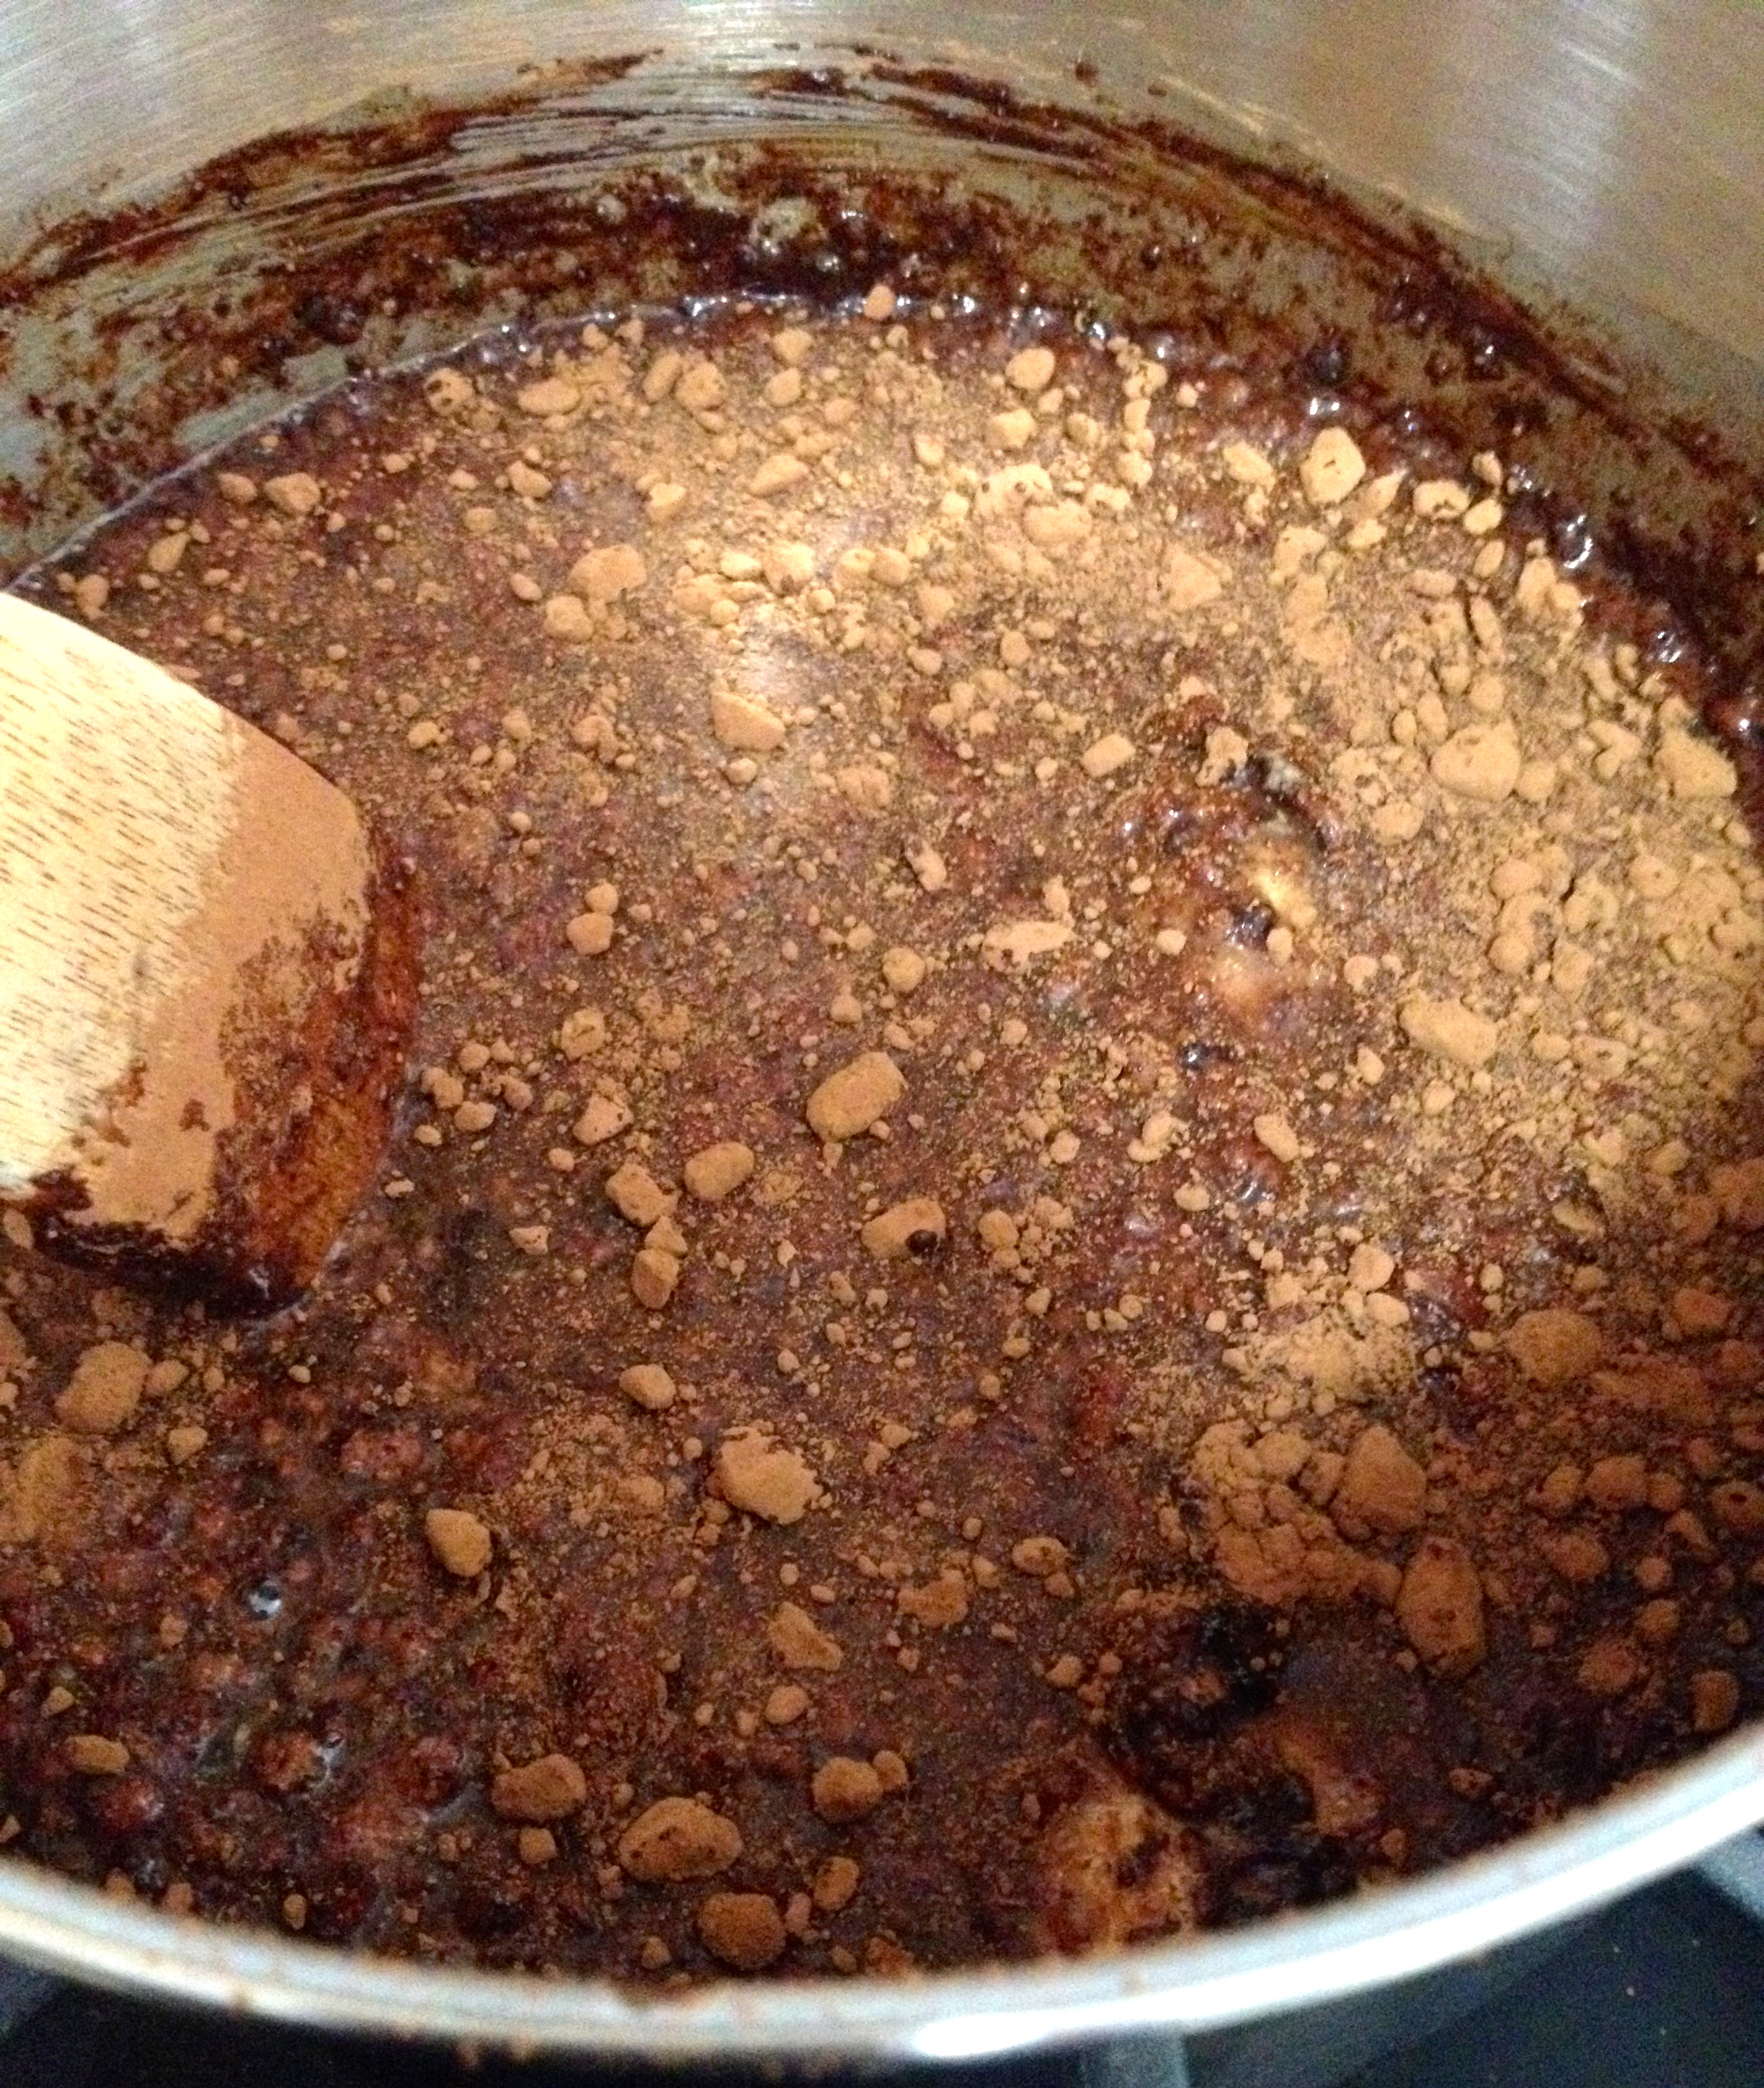
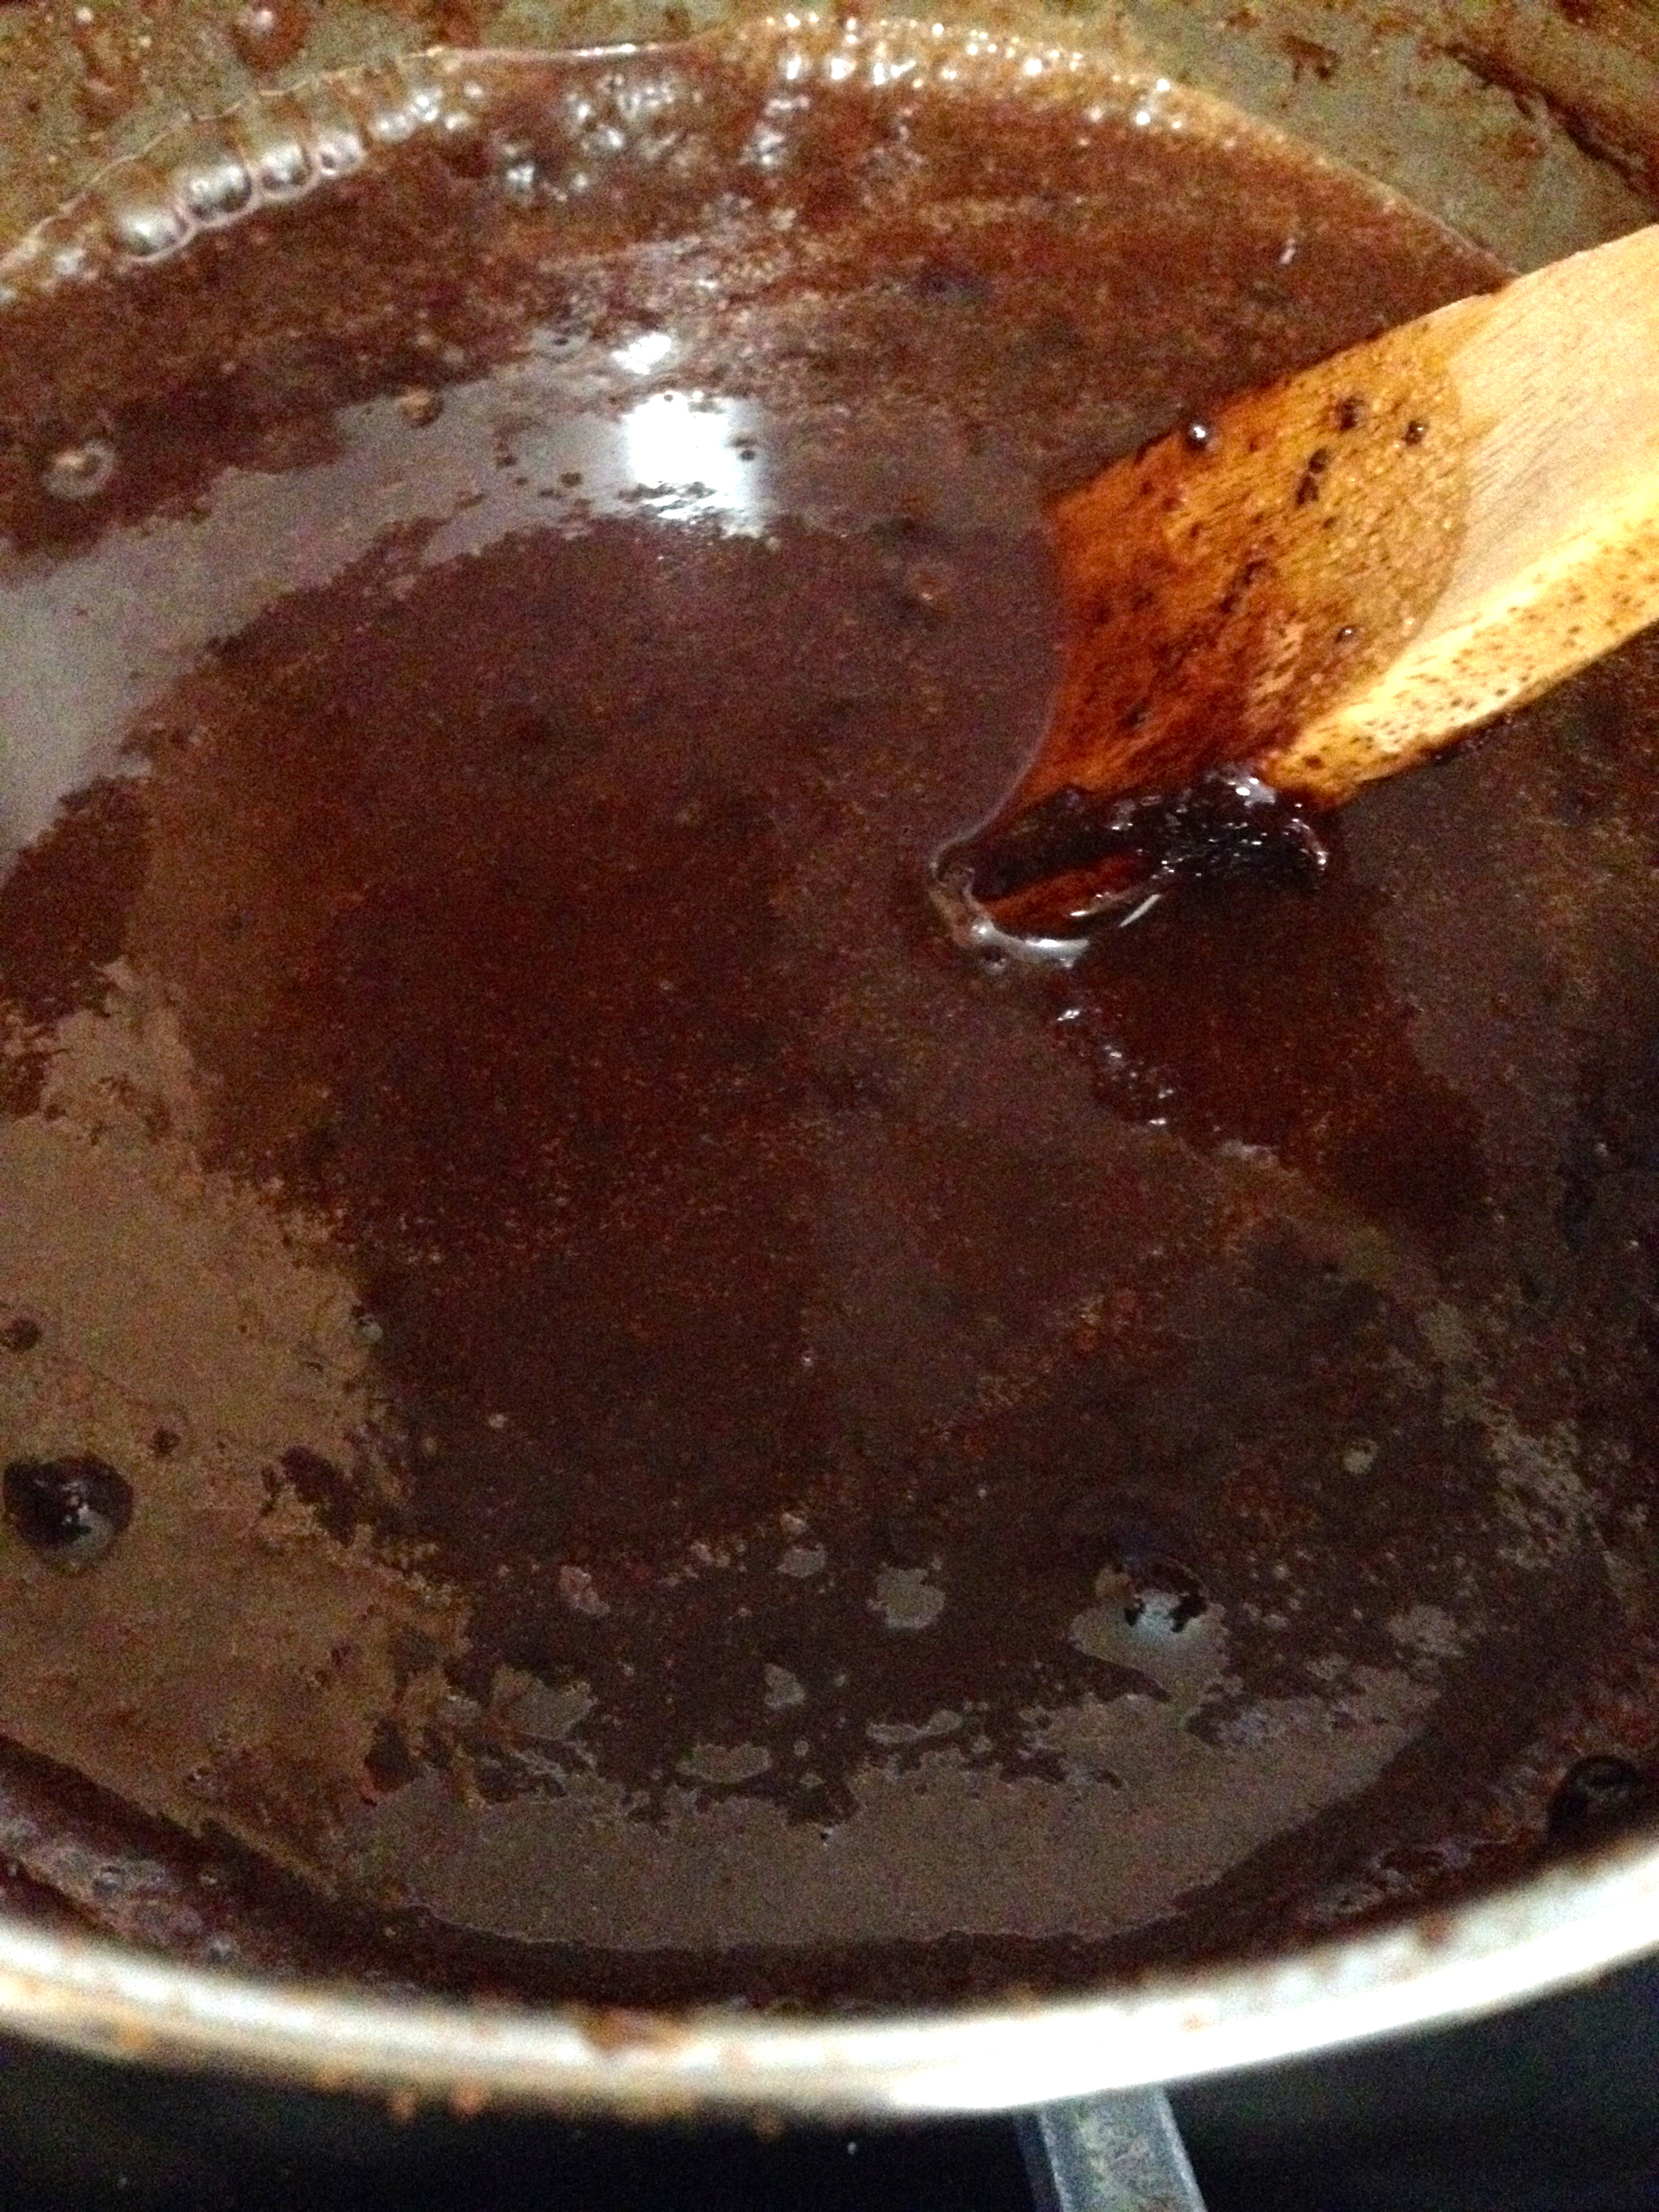
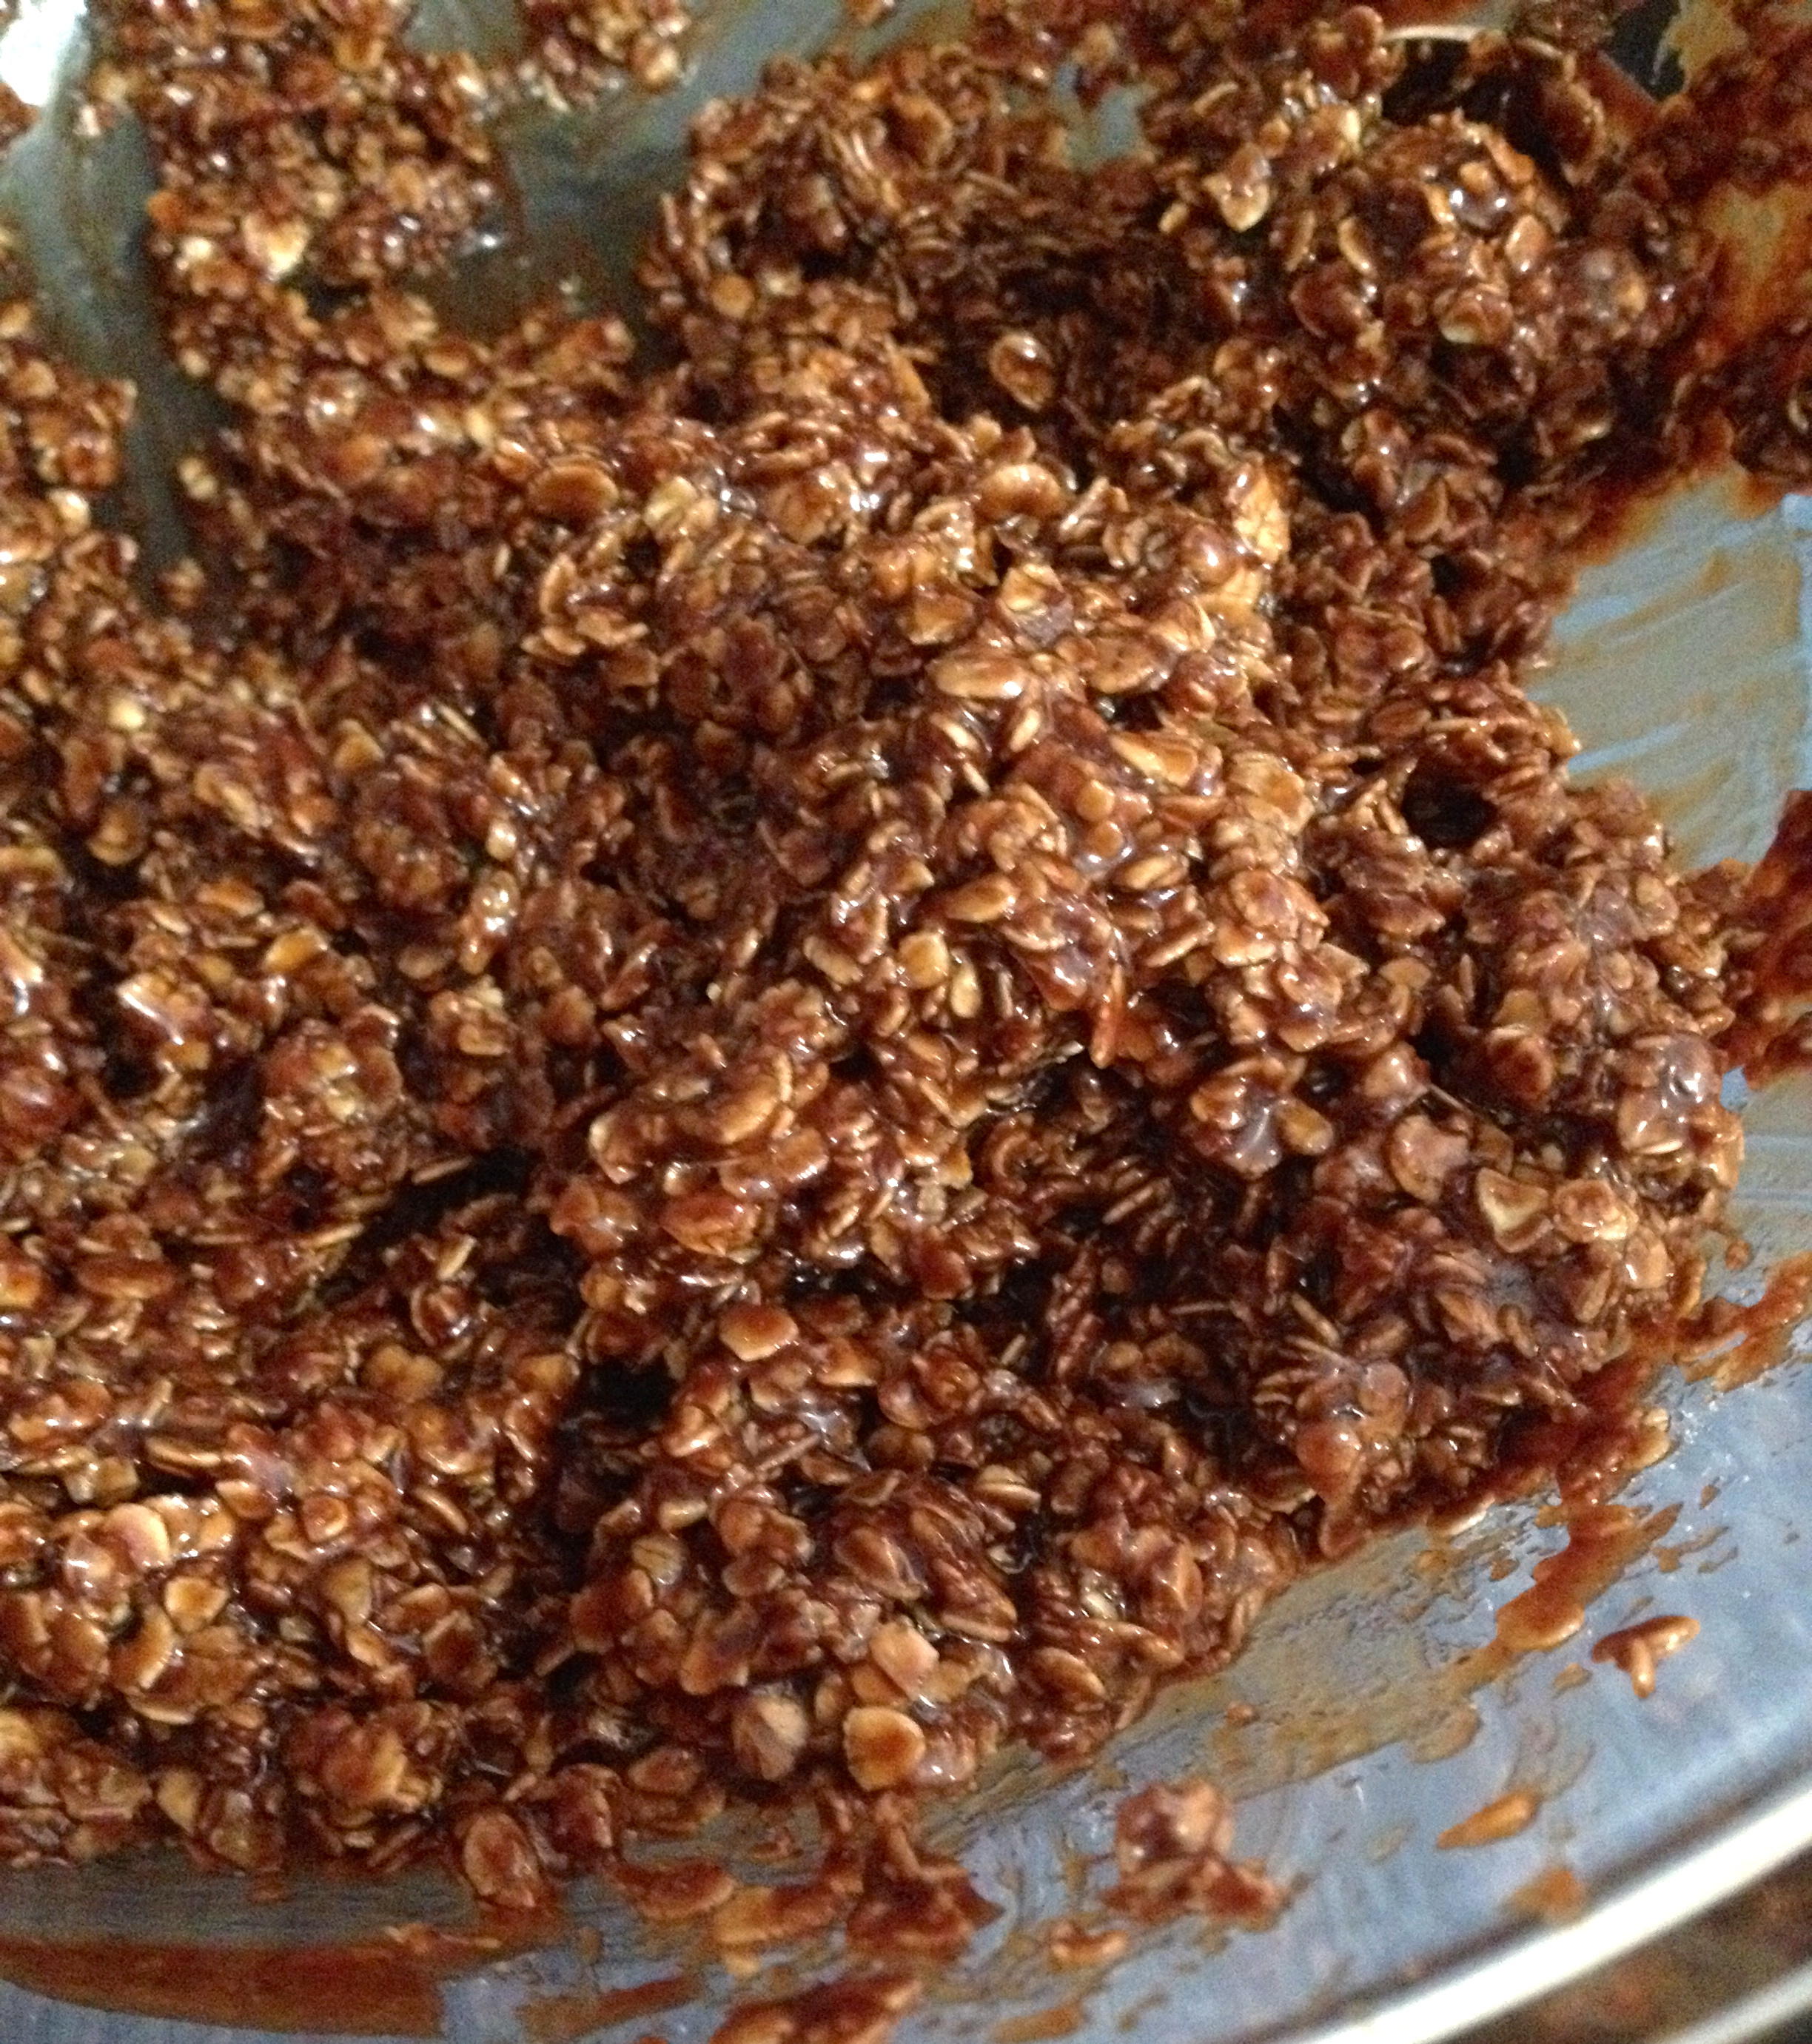
Once the 5 minutes are up, pour this cocoa mixture over the oats and stir it all together. It will be a stiff dough!
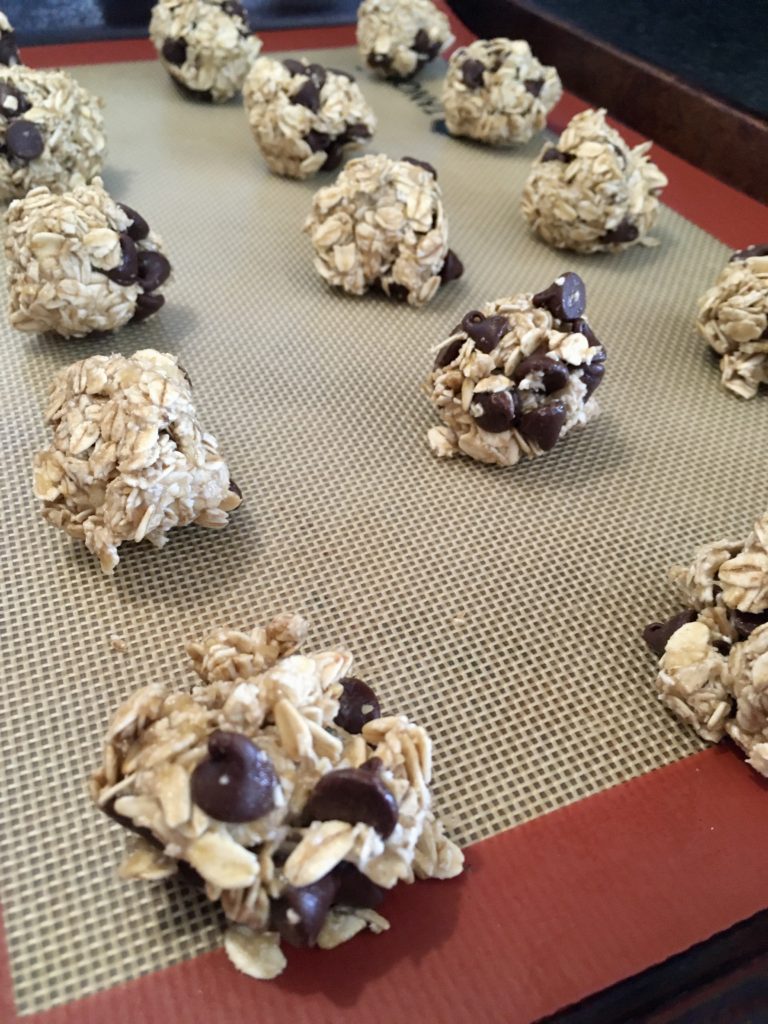
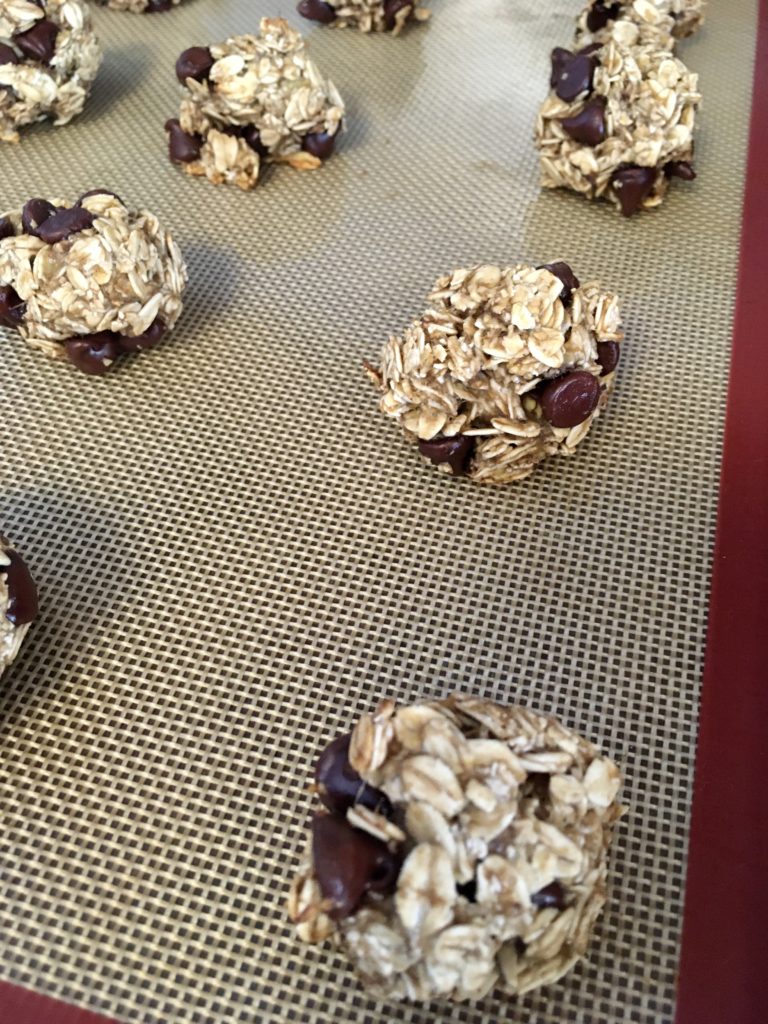
Scoop the mixture into rounded balls and place them on a baking sheet lined with wax paper or a baking mat. You can either use an ice cream scoop to scoop the dough, or roll the balls between your hands. A word of caution: this dough is super hot (it was just boiling!), so be careful not to burn your hands if you choose to roll the dough between your hands.
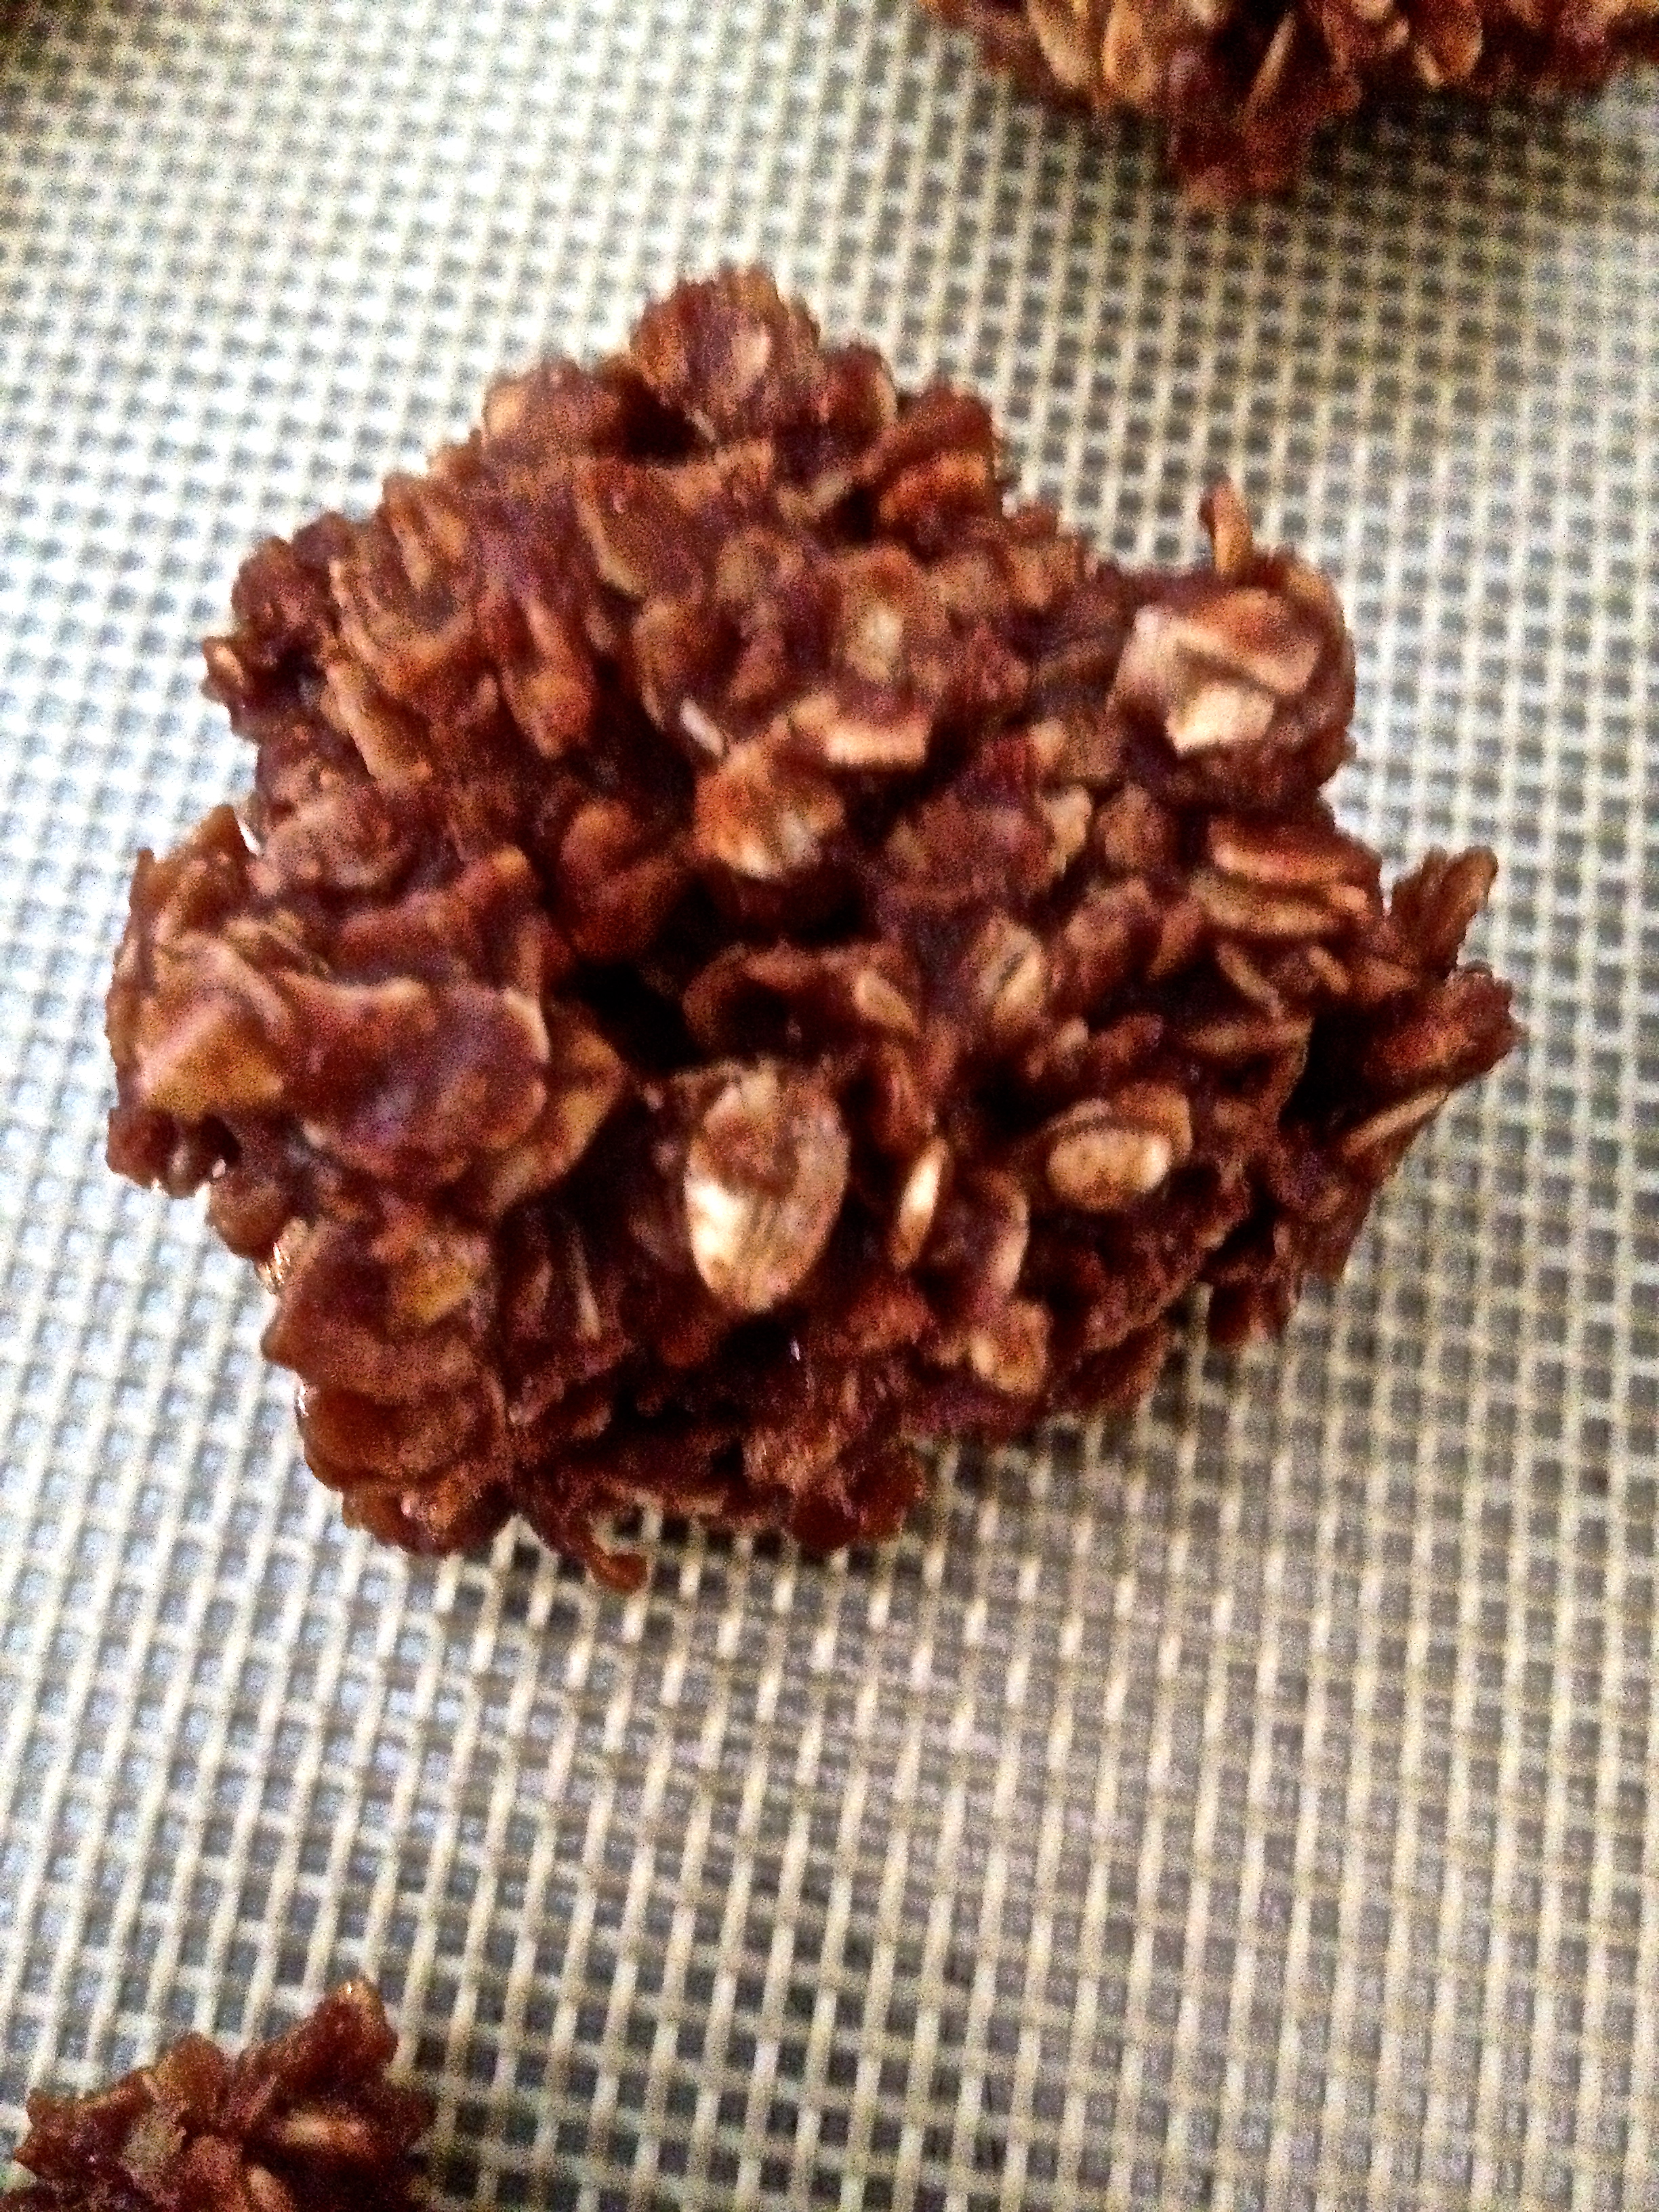
And that’s it! You just have to let the cookie dough balls cool and it’ll be ready to eat. These cookies are so yummy and they take approximately 7 minutes to make- can it get any better?? I hope you give these a try and that you enjoy them as much as we did! Happy baking!
Healthy(ish) Cookies!
Hey friends! I hope you all are holding down the fort in this impending ice age! I can say without doubt that all the grocery stores in my area are completely ransacked of their milk and bread (and maybe some peanut butter, fluff, and Nutella, too). In light of this impending chilly craziness, I thought of something for you all to do inside- BAKE! Big surprise, right? And it just so happens that I have a great new recipe to share with you!
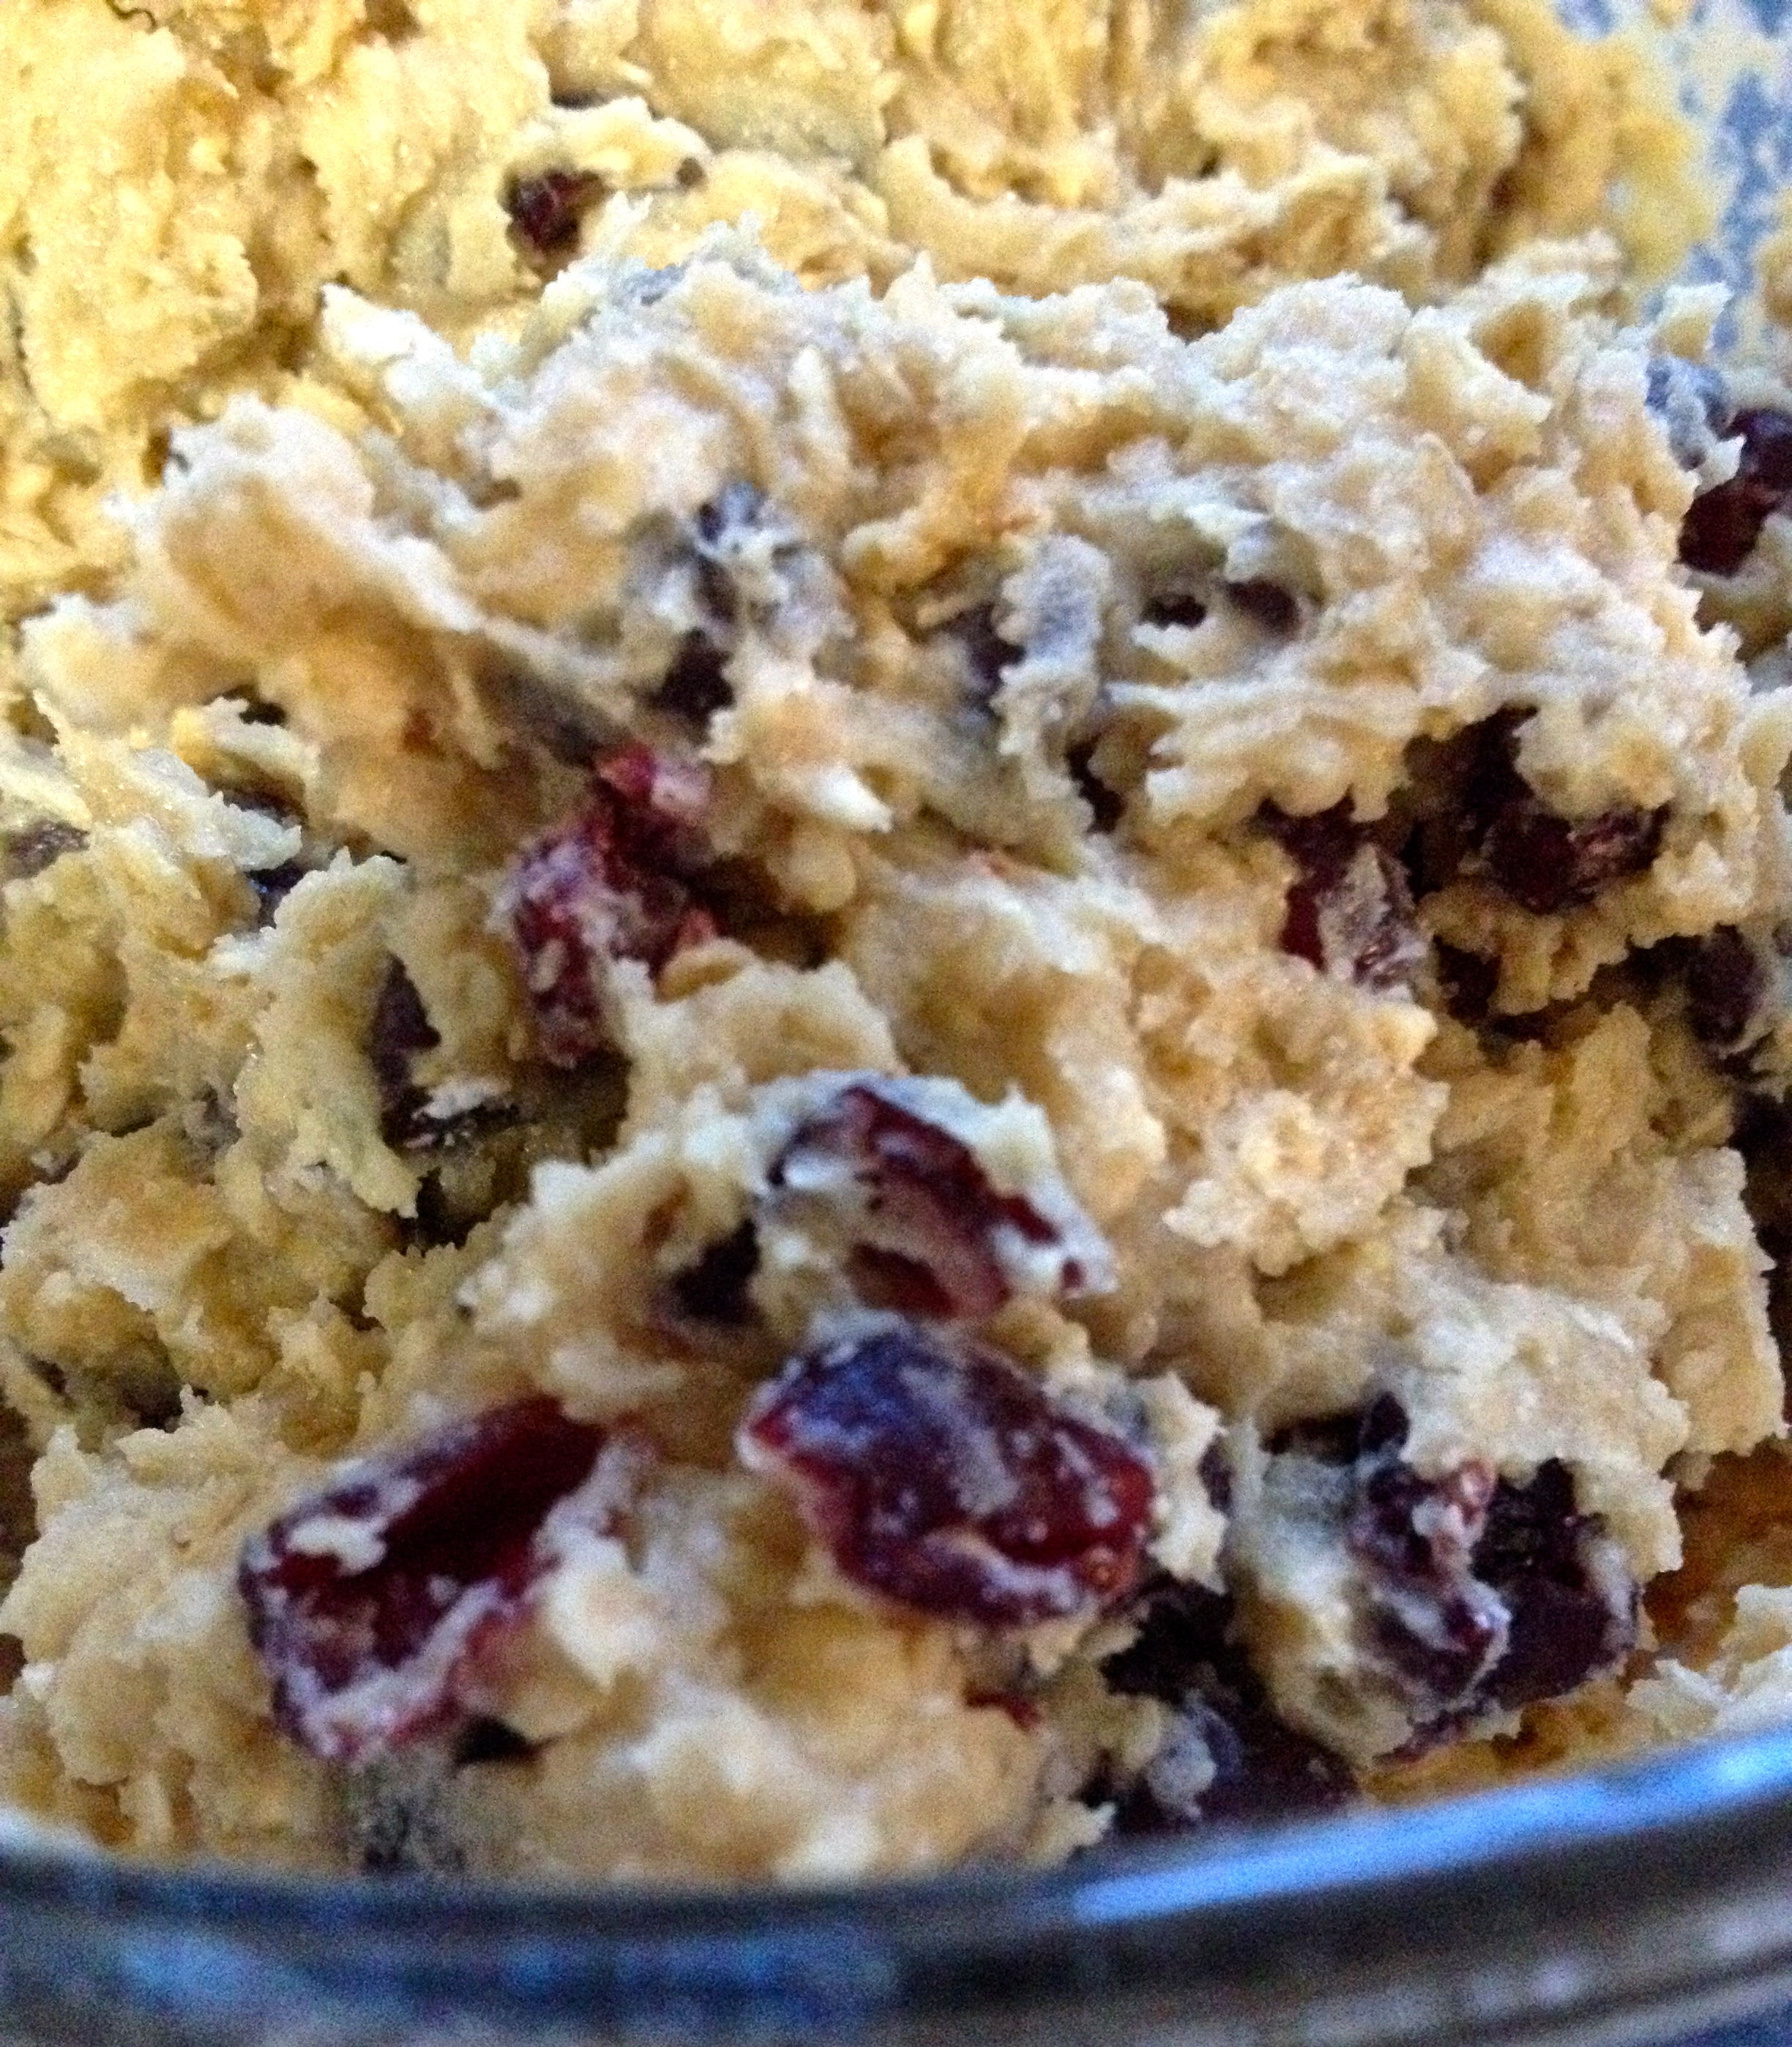
This recipe is for Oatmeal Cranberry Chocolate cookies. These are sooo yummy- the perfect combination of chewy oatmeal that provides soluble fiber to fill you up (and is heart healthy!), the sweet dried cranberries, and the dark chocolate (we’ll say this is included for the antioxidants). Here are the ingredients:
- 1 cup margarine, softened
- 1 cup granulated sugar
- 1 cup brown sugar
- 2 eggs
- 1 tbsp vanilla extract
- 2 cups flour
- 1 1/2 cup quick-cooking oats (either the 1-minute or 3-minute kind)
- 1 tsp baking soda
- 1/2 tsp salt
- 1 cup dried cranberries
- 1 bag Nestle dark chocolate morsels
First, preheat the oven to 375ºF. Cream the margarine and sugars together until they’re fully combined. Then, stir in the eggs and vanilla and mix well. Add the dry ingredients and mix until the most delicious cookie dough ever is in front of you!
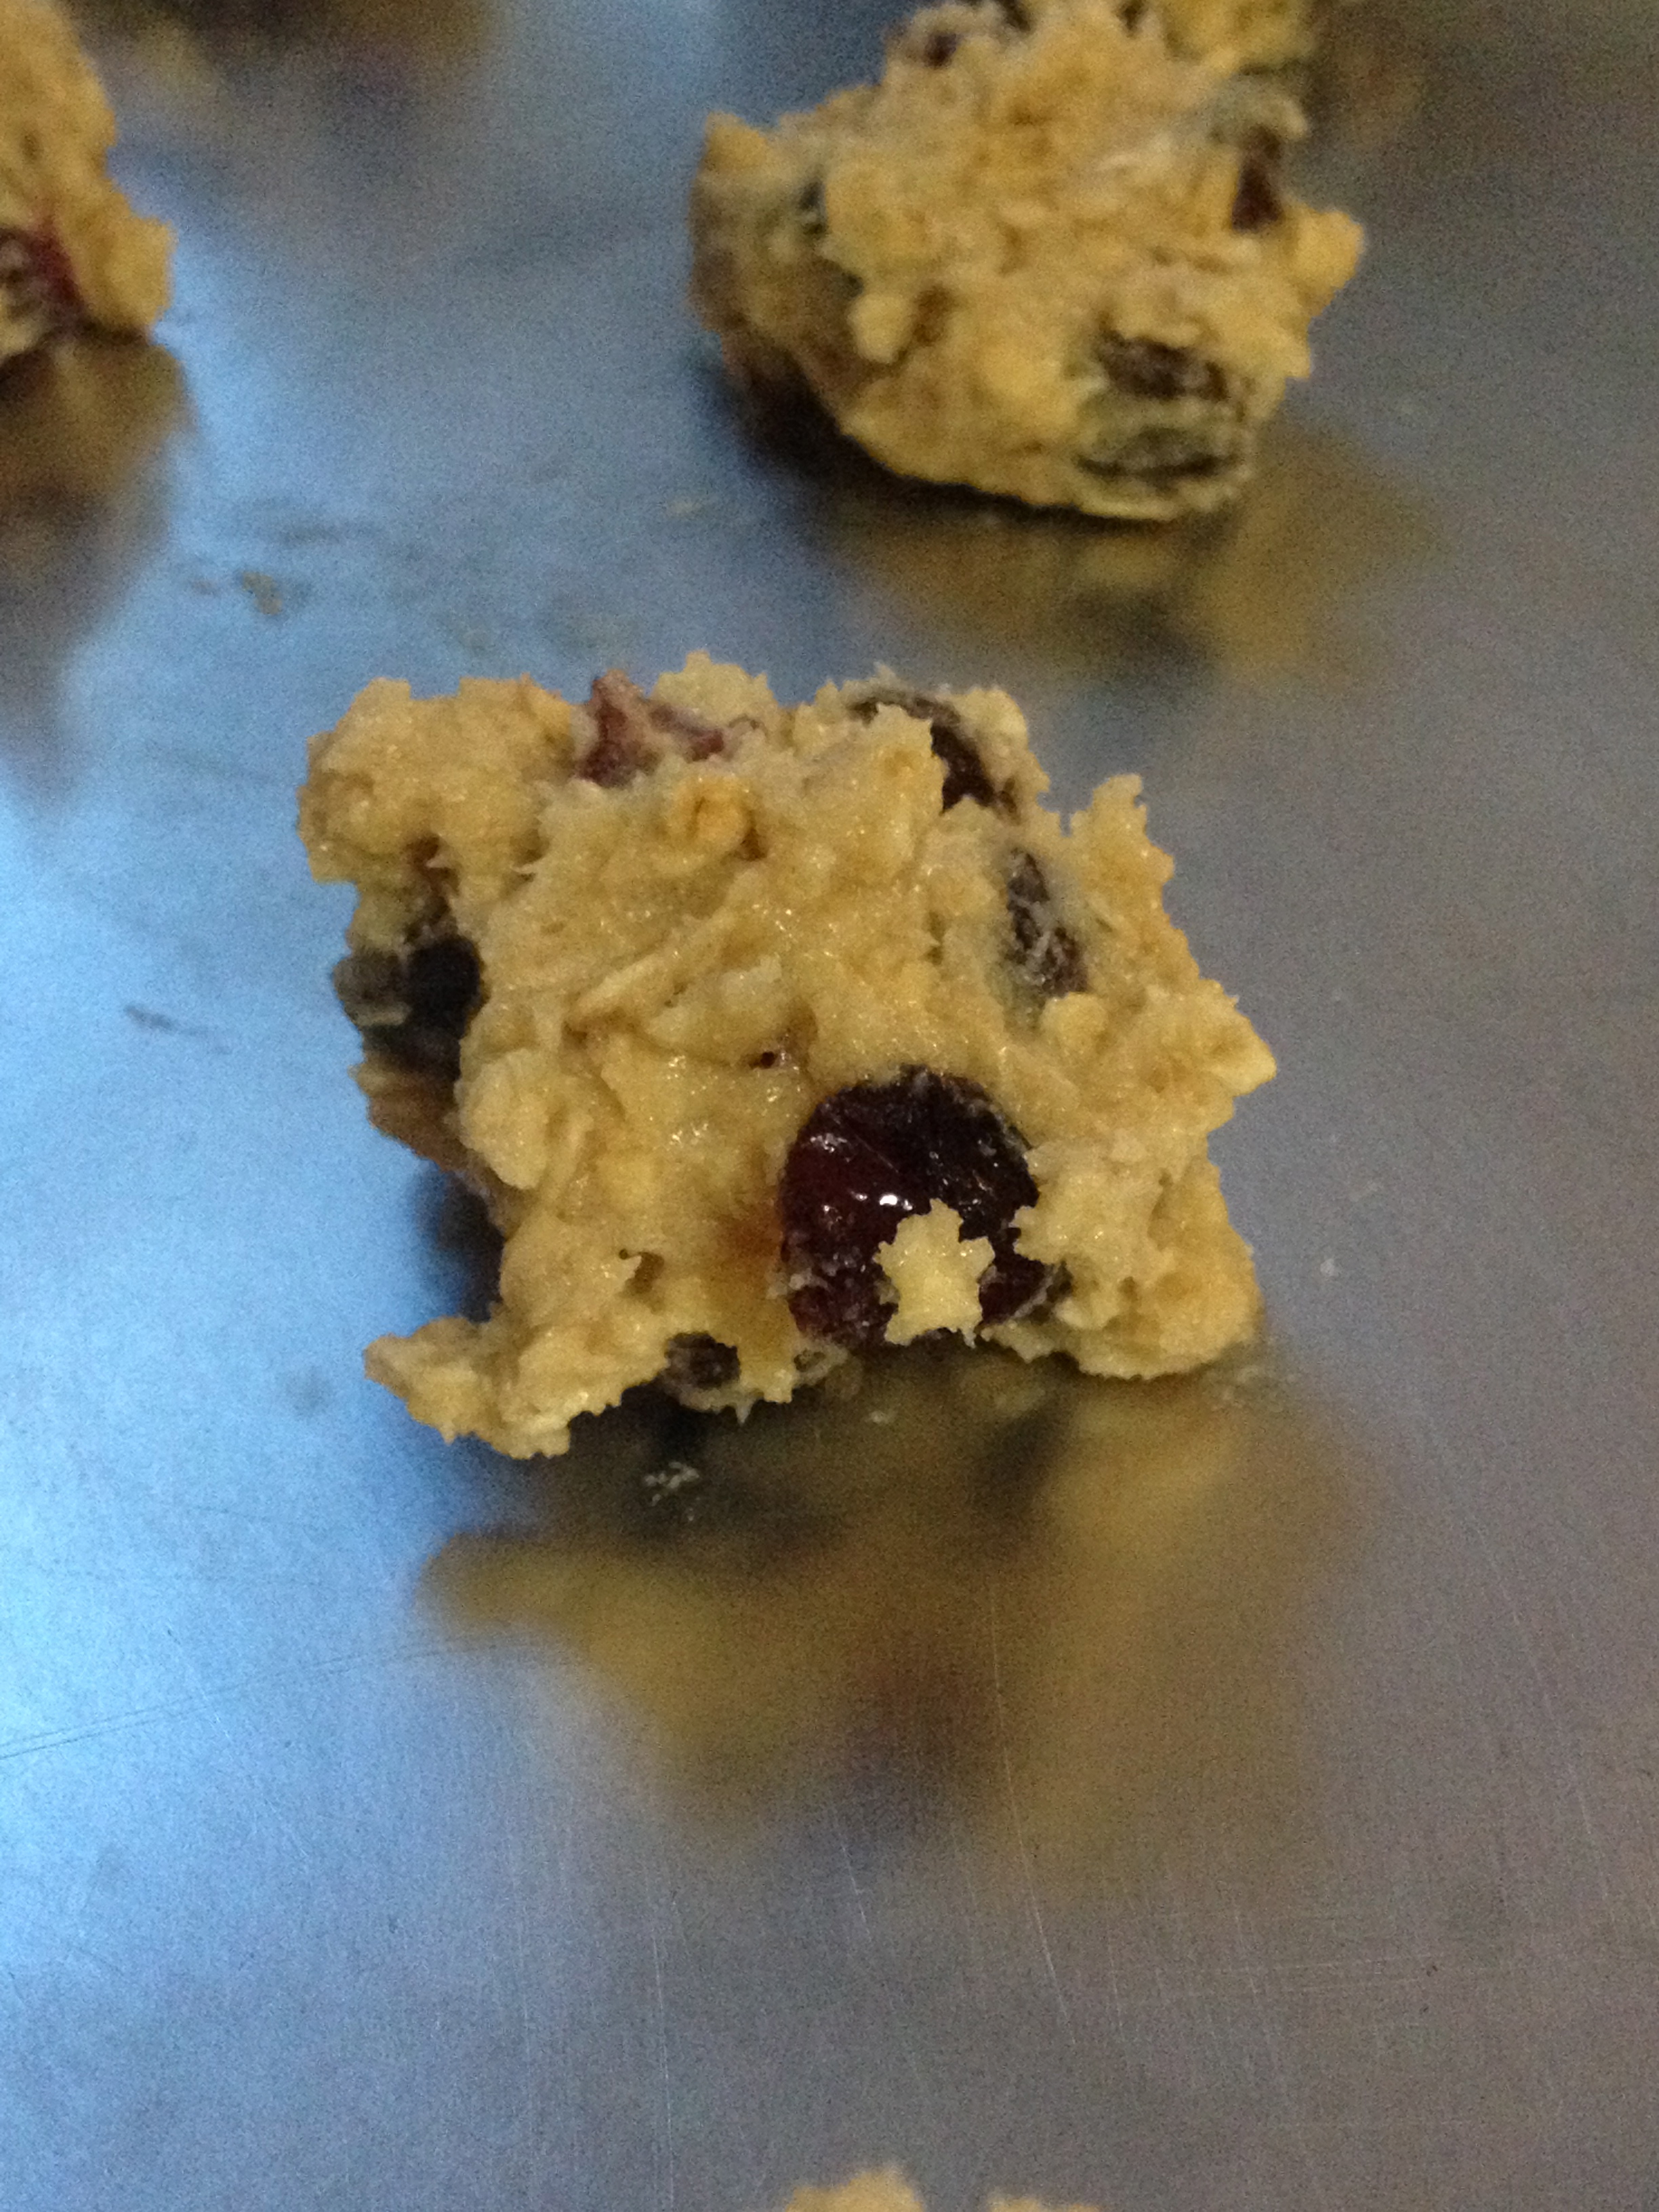
Drop heaping tablespoonfuls of the dough onto ungreased baking sheets, and bake the cookies for about 11 minutes. If you have two sheets baking at once, switch which oven rack they’re baking on halfway through the baking time.
As soon as they come out of the oven, take them off the sheets and transfer them to a wire cooling rack. Otherwise, they might continue baking from the heat of the baking sheets, and get pretty crispy.
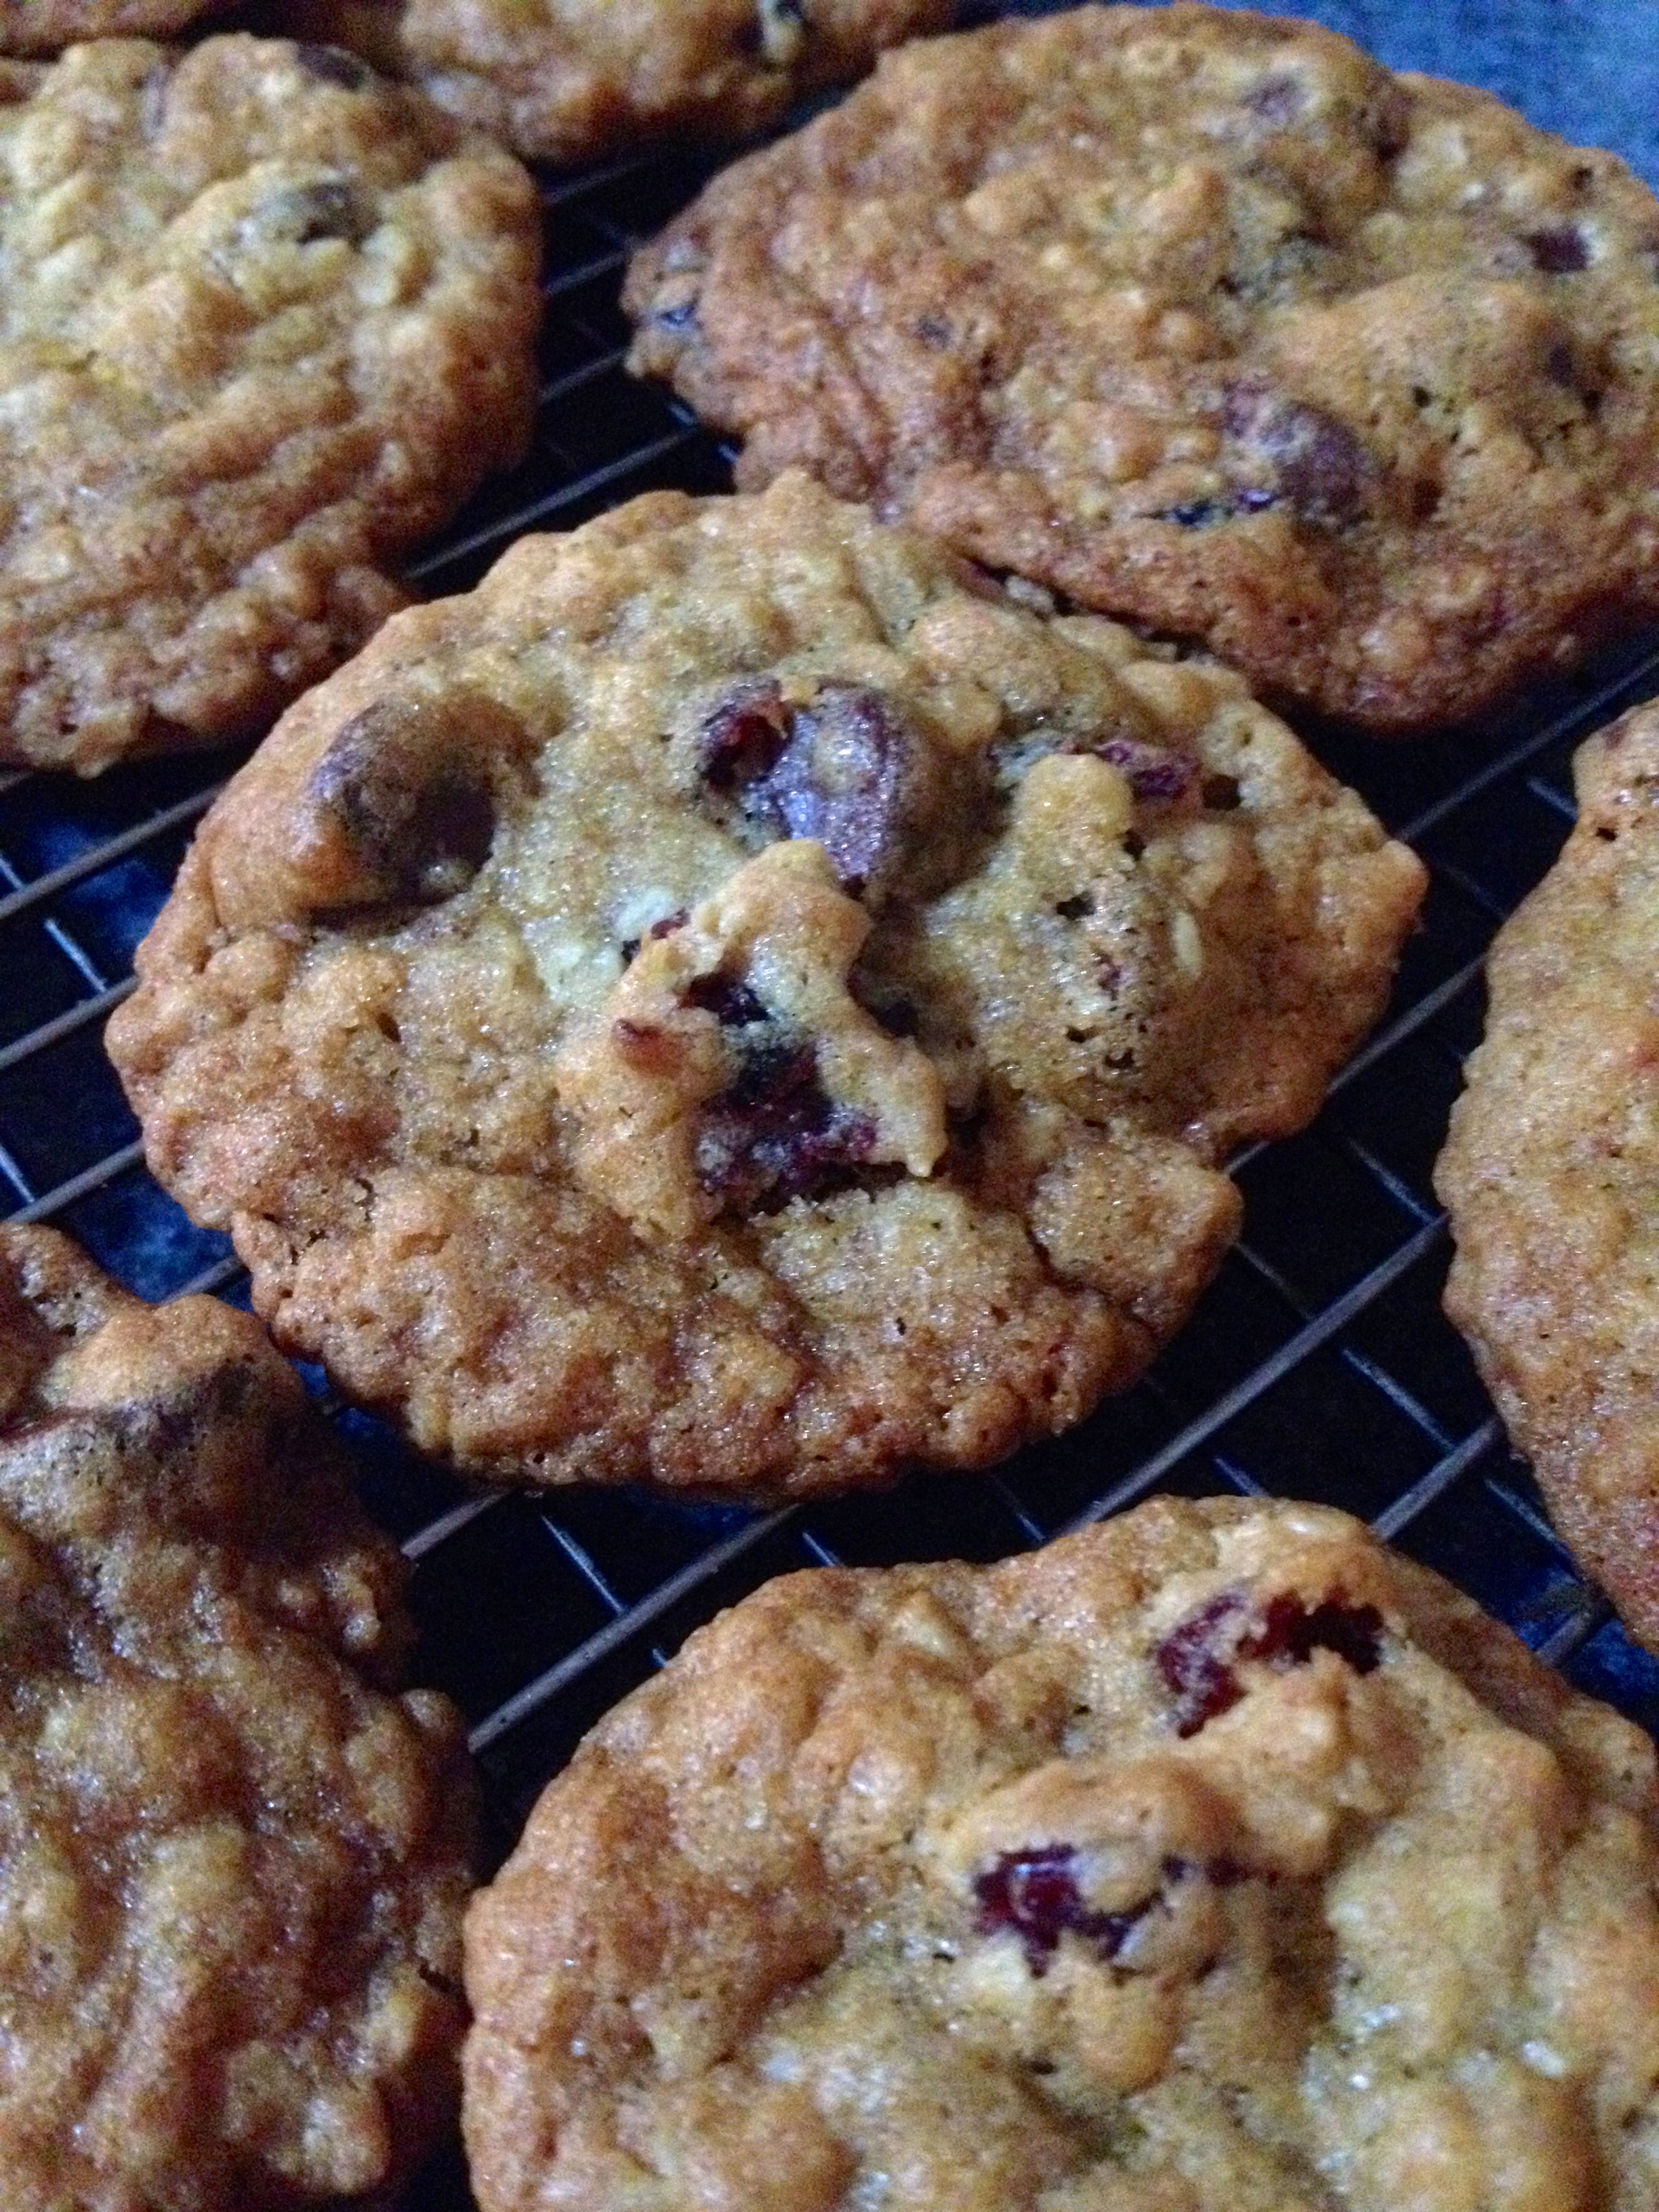
Now, dig in! These cookies are spectacular when warm, because the chocolate is all melty and silky, and the cranberries are the perfect sweet and tangy bite. Add in the warm nutty oatmeal, and you have yourself a blissful moment. Happy baking- and stay warm!
Cookie Painting
Hello all! I’m so pumped to share my new idea with you: cookie painting! Yes, with actual paintbrushes. I’m sure all of you are familiar with frosted sugar cookies, and this is just a fun twist off of that. The best part? It’s simple, and it’s a great activity for kids! I’m really excited about this, so I’m going to jump right in!
The cookie recipe itself is the same as my “Pumpkin Pie Cookies” recipe (check my old posts for that recipe, too!). Here are the ingredients:
- 3 3/4 cups all-purpose flour
- 1 tsp baking powder
- 1/2 tsp salt
- 2 sticks unsalted butter (room temp. or softened)
- 2 cups granulated sugar
- 2 eggs
- 1 tsp vanilla extract
Cream the butter and sugar together. Add the eggs and vanilla, and mix well. Gradually add the dry ingredients, mixing until the dough is absolutely delicious and it’s tempting to just eat the dough (but really until everything is thoroughly incorporated). Then wrap the dough in plastic wrap and chill it in the fridge or freezer until it’s nice and cold, which will make it easier to work with.
Roll it out on a floured pastry board or flat surface until it’s about 1/4 inch thick.
Cut out circles in the dough with a circle cookie cutter (or really any shape that you want to decorate- I just chose generic circles because I wanted the paintings to be showcased!).
Put the cookies on an ungreased baking sheet, and put in them in the oven at 350ºF for 8-10 minutes, switching racks after 5 minutes to ensure even baking. Some recipes call for a parchment-lined baking sheet, but if you take the cookies off the sheet right after they’ve come out of the oven you should be fine.
Let the cookies cool on a wire cooling rack. In the meantime, you can make up your “paint”, which is really a loose powdered sugar icing. There is no set recipe for this, so I’ll give you directions for how I make it.
- Pour 1/2 lb. (half a box) of powdered sugar into a medium mixing bowl.
- Sprinkle a pinch of cream of tartar (~1/8 tsp) in with the powdered sugar (this will help the glaze harden on your cookies).
- A very little bit at a time, add milk to the sugar until you have a runny icing, about the consistency of regular paint.
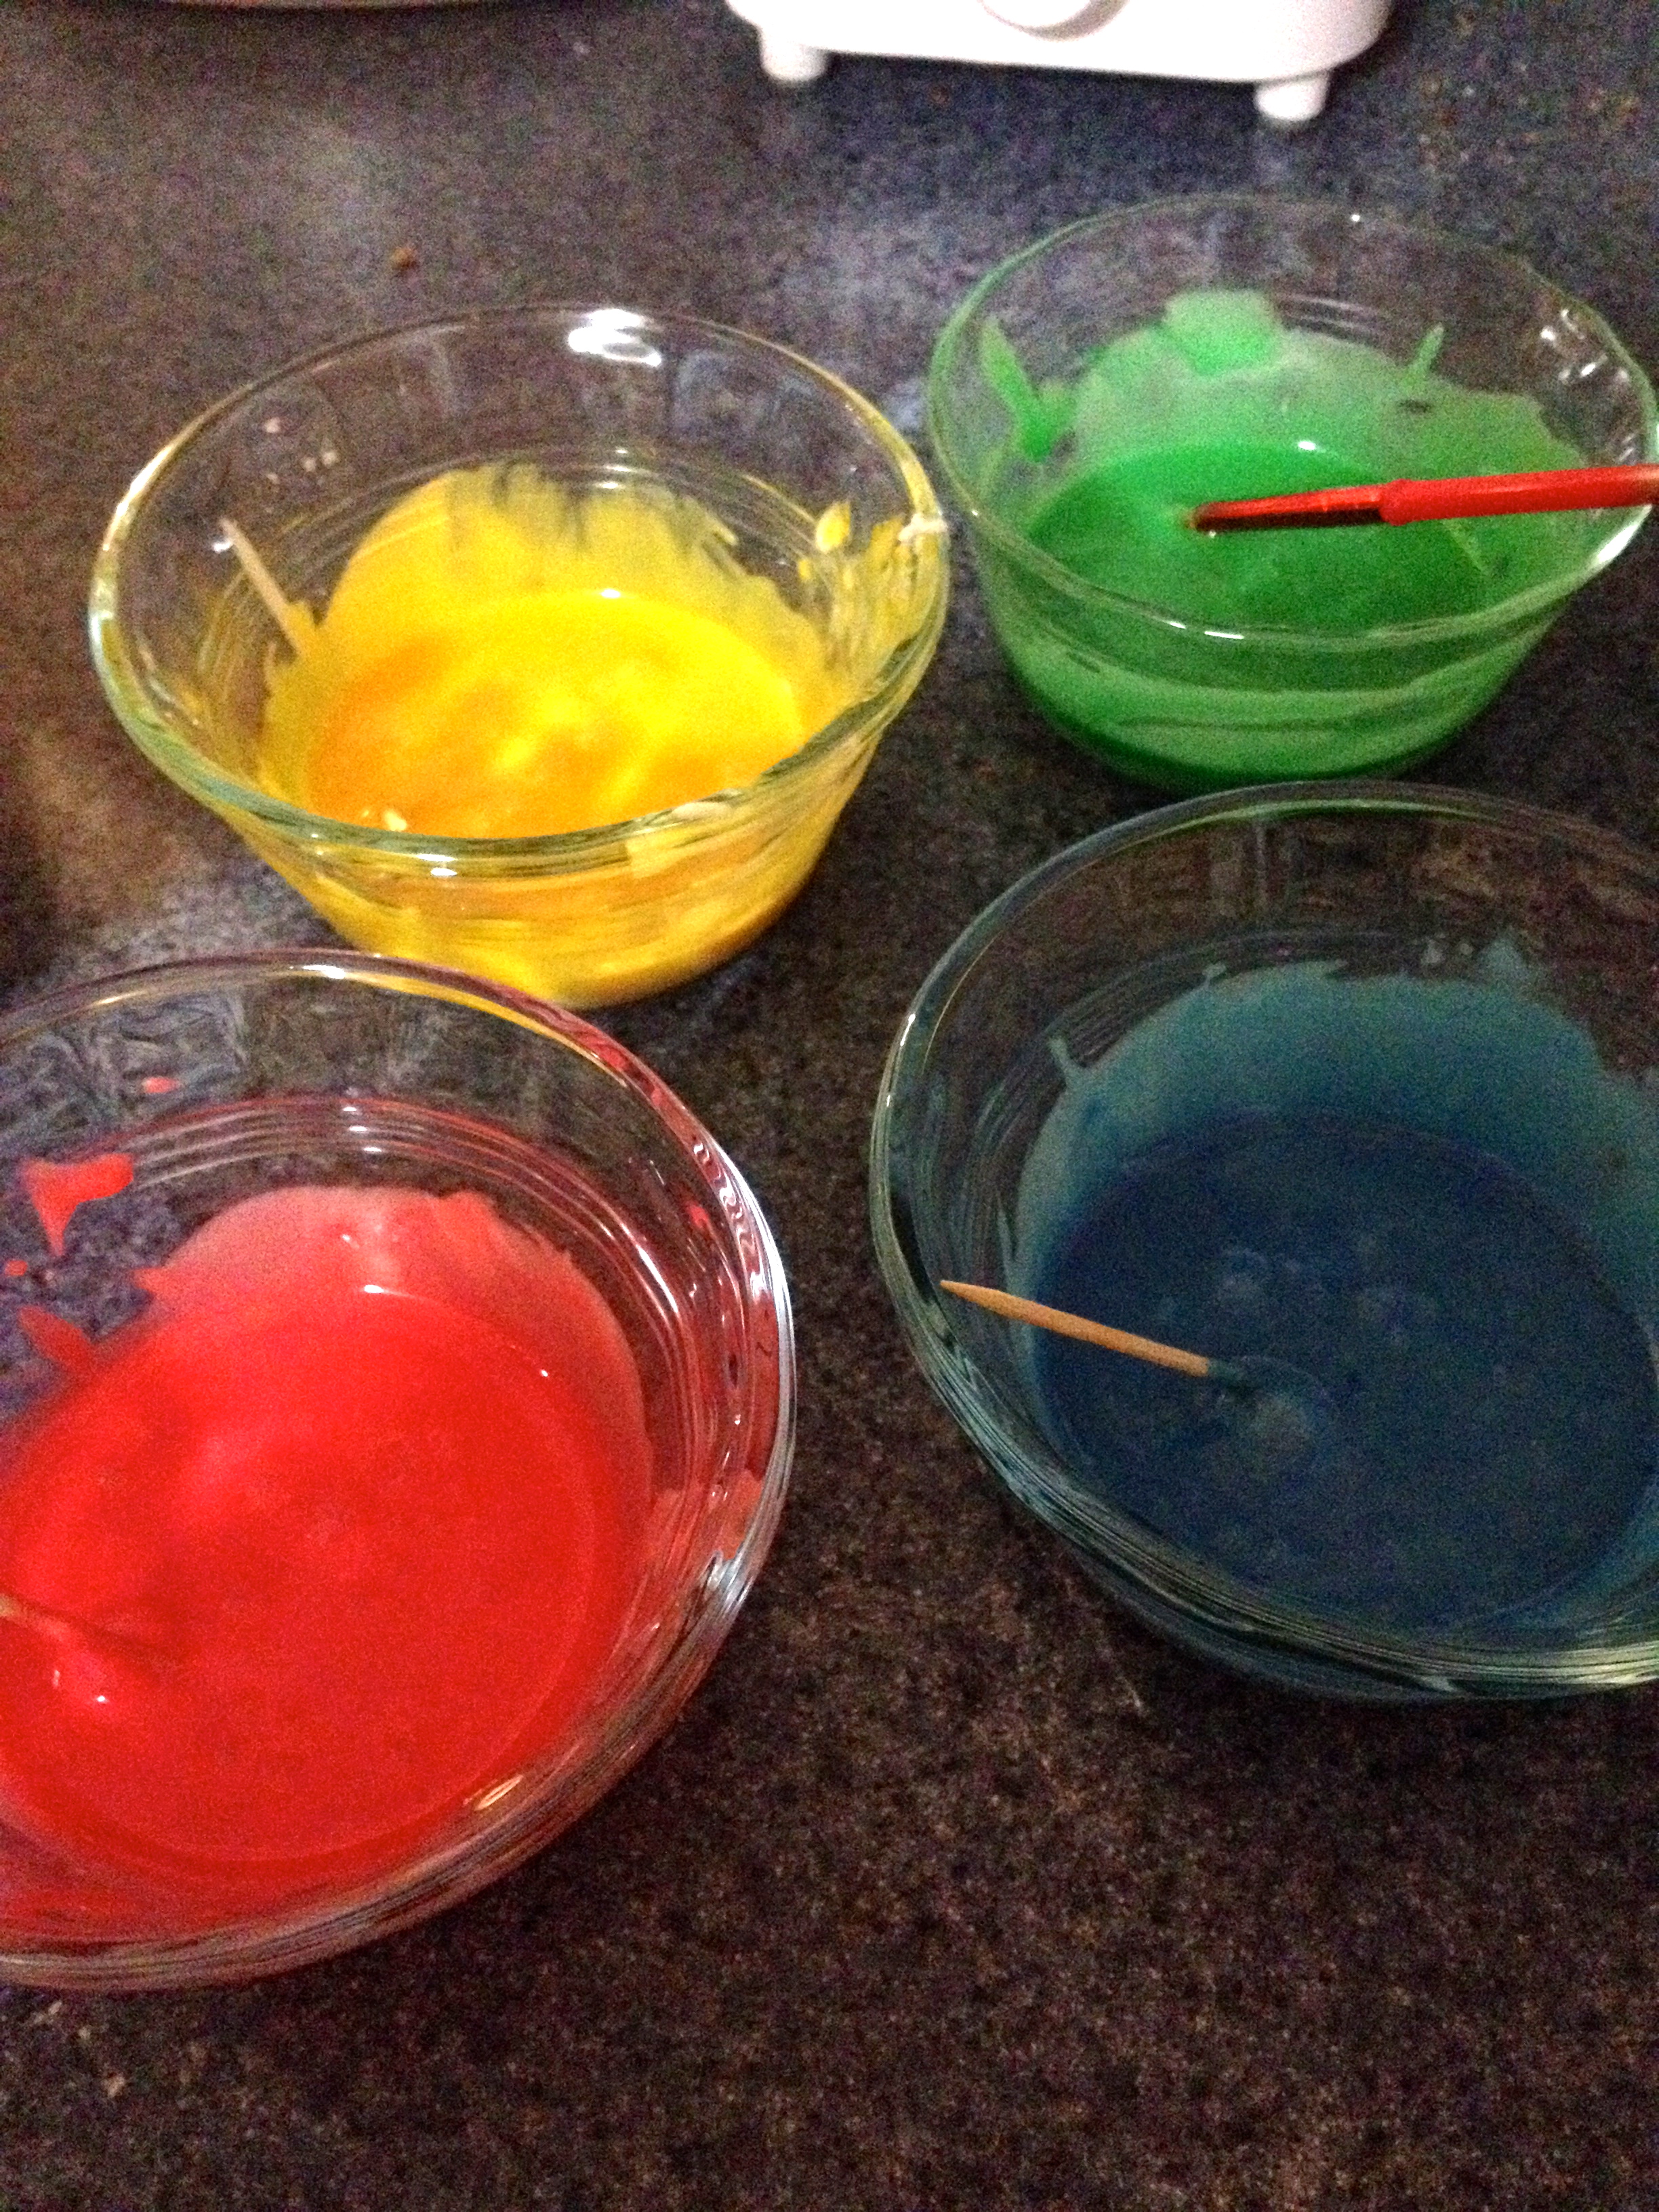
- Divide the icing into 5 separate small bowls.
- Using food coloring, make each bowl of frosting a different color (I made four colors and left the fifth portion white). I made my colors pretty vibrant by adding 4 drops of the food coloring per bowl.
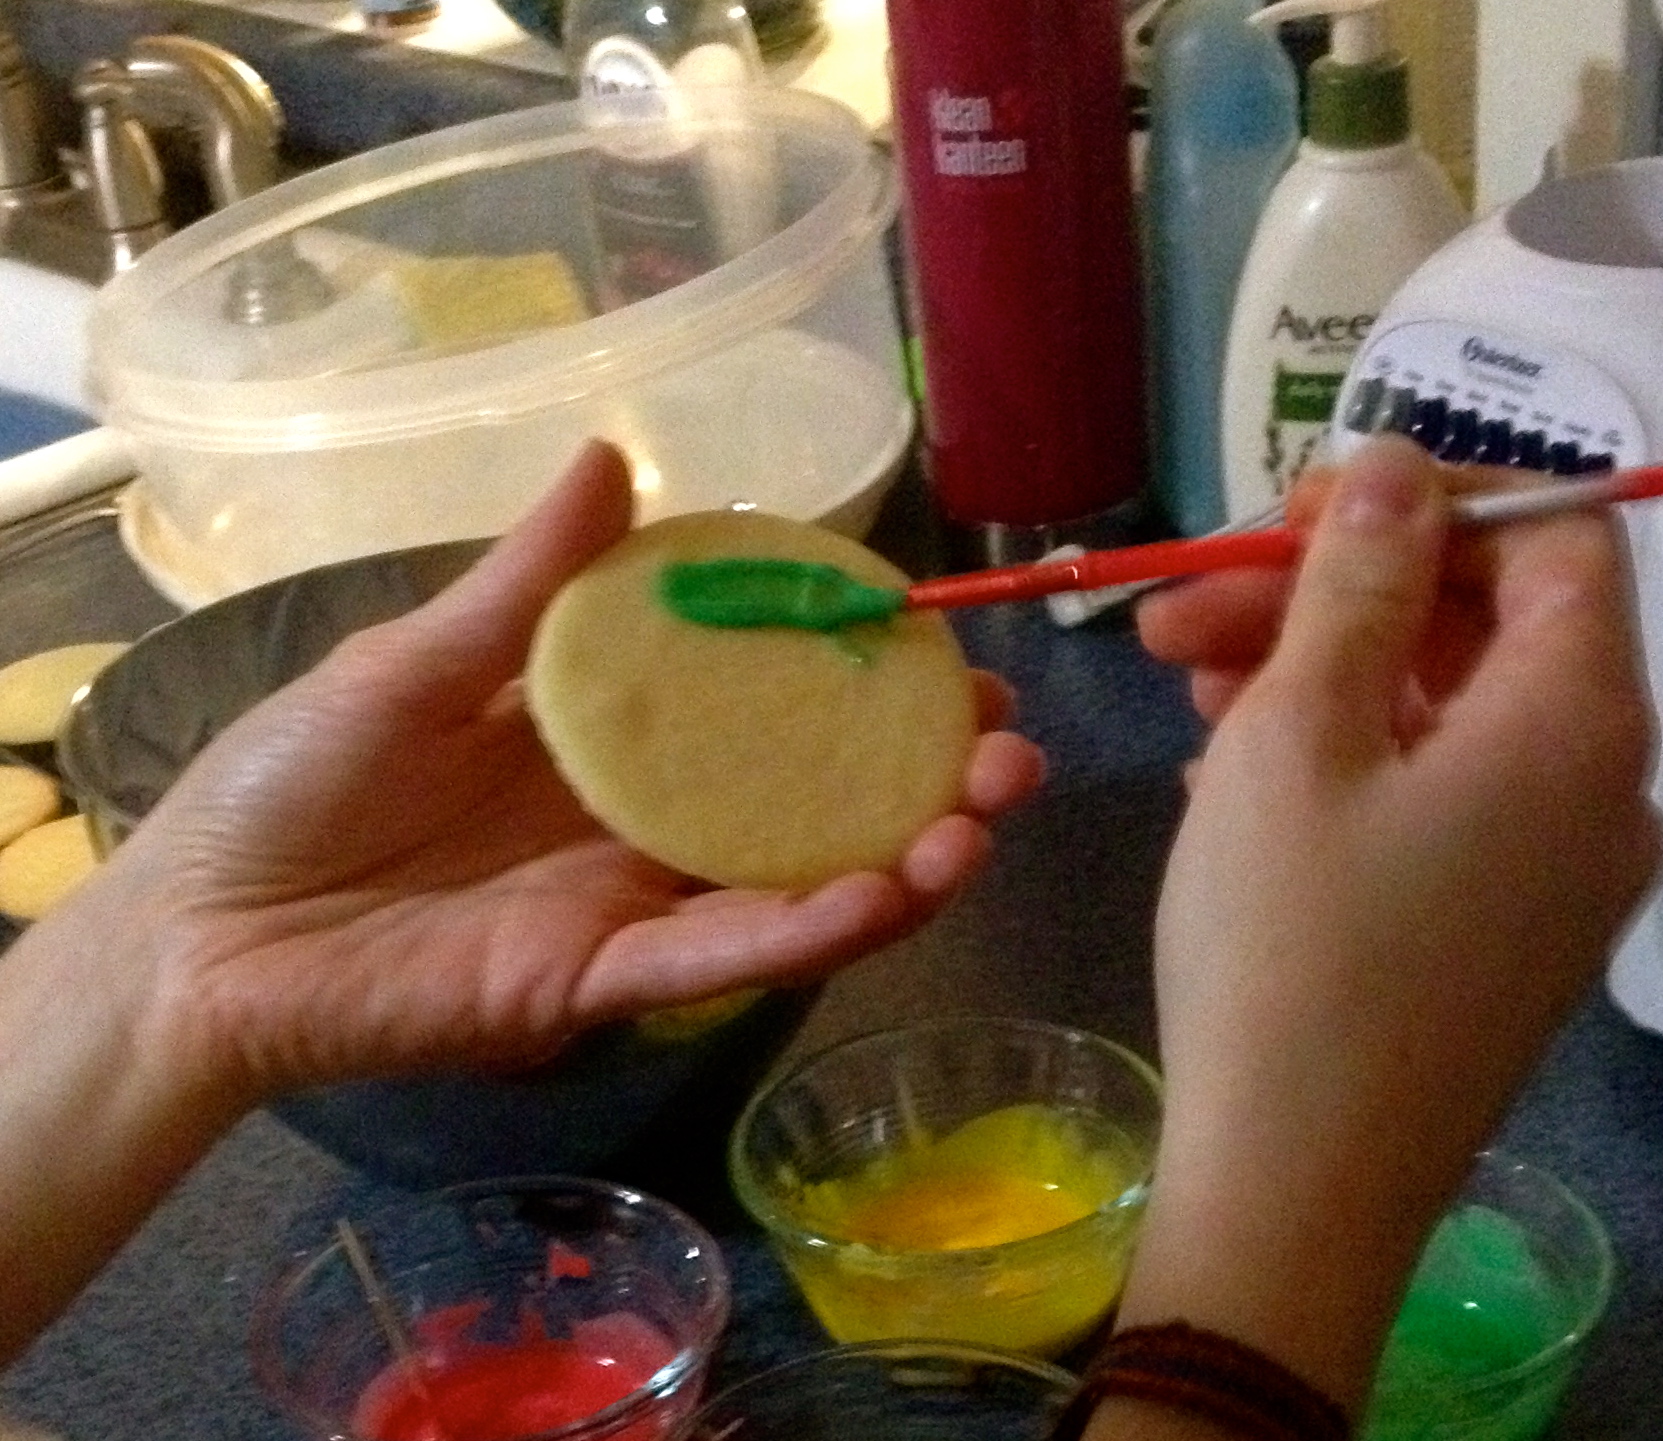
Now you’re ready to paint! This is the fun part, because you can be as creative or not as you please, and the cookies will taste great no matter what! An added perk is that if you mess up on your painting, you can just eat the mistake and start over with a new cookie! Just be sure to be gentle, because the cookies could break. I also suggest having one paintbrush per color, so that you don’t have to clean the brush between every color change.
Tip: The colors will be lighter when you first paint them on, and then will darken as the glaze hardens. The white glaze will really be an obvious white color, not the clear color that paints on.
Here are some of my designs:
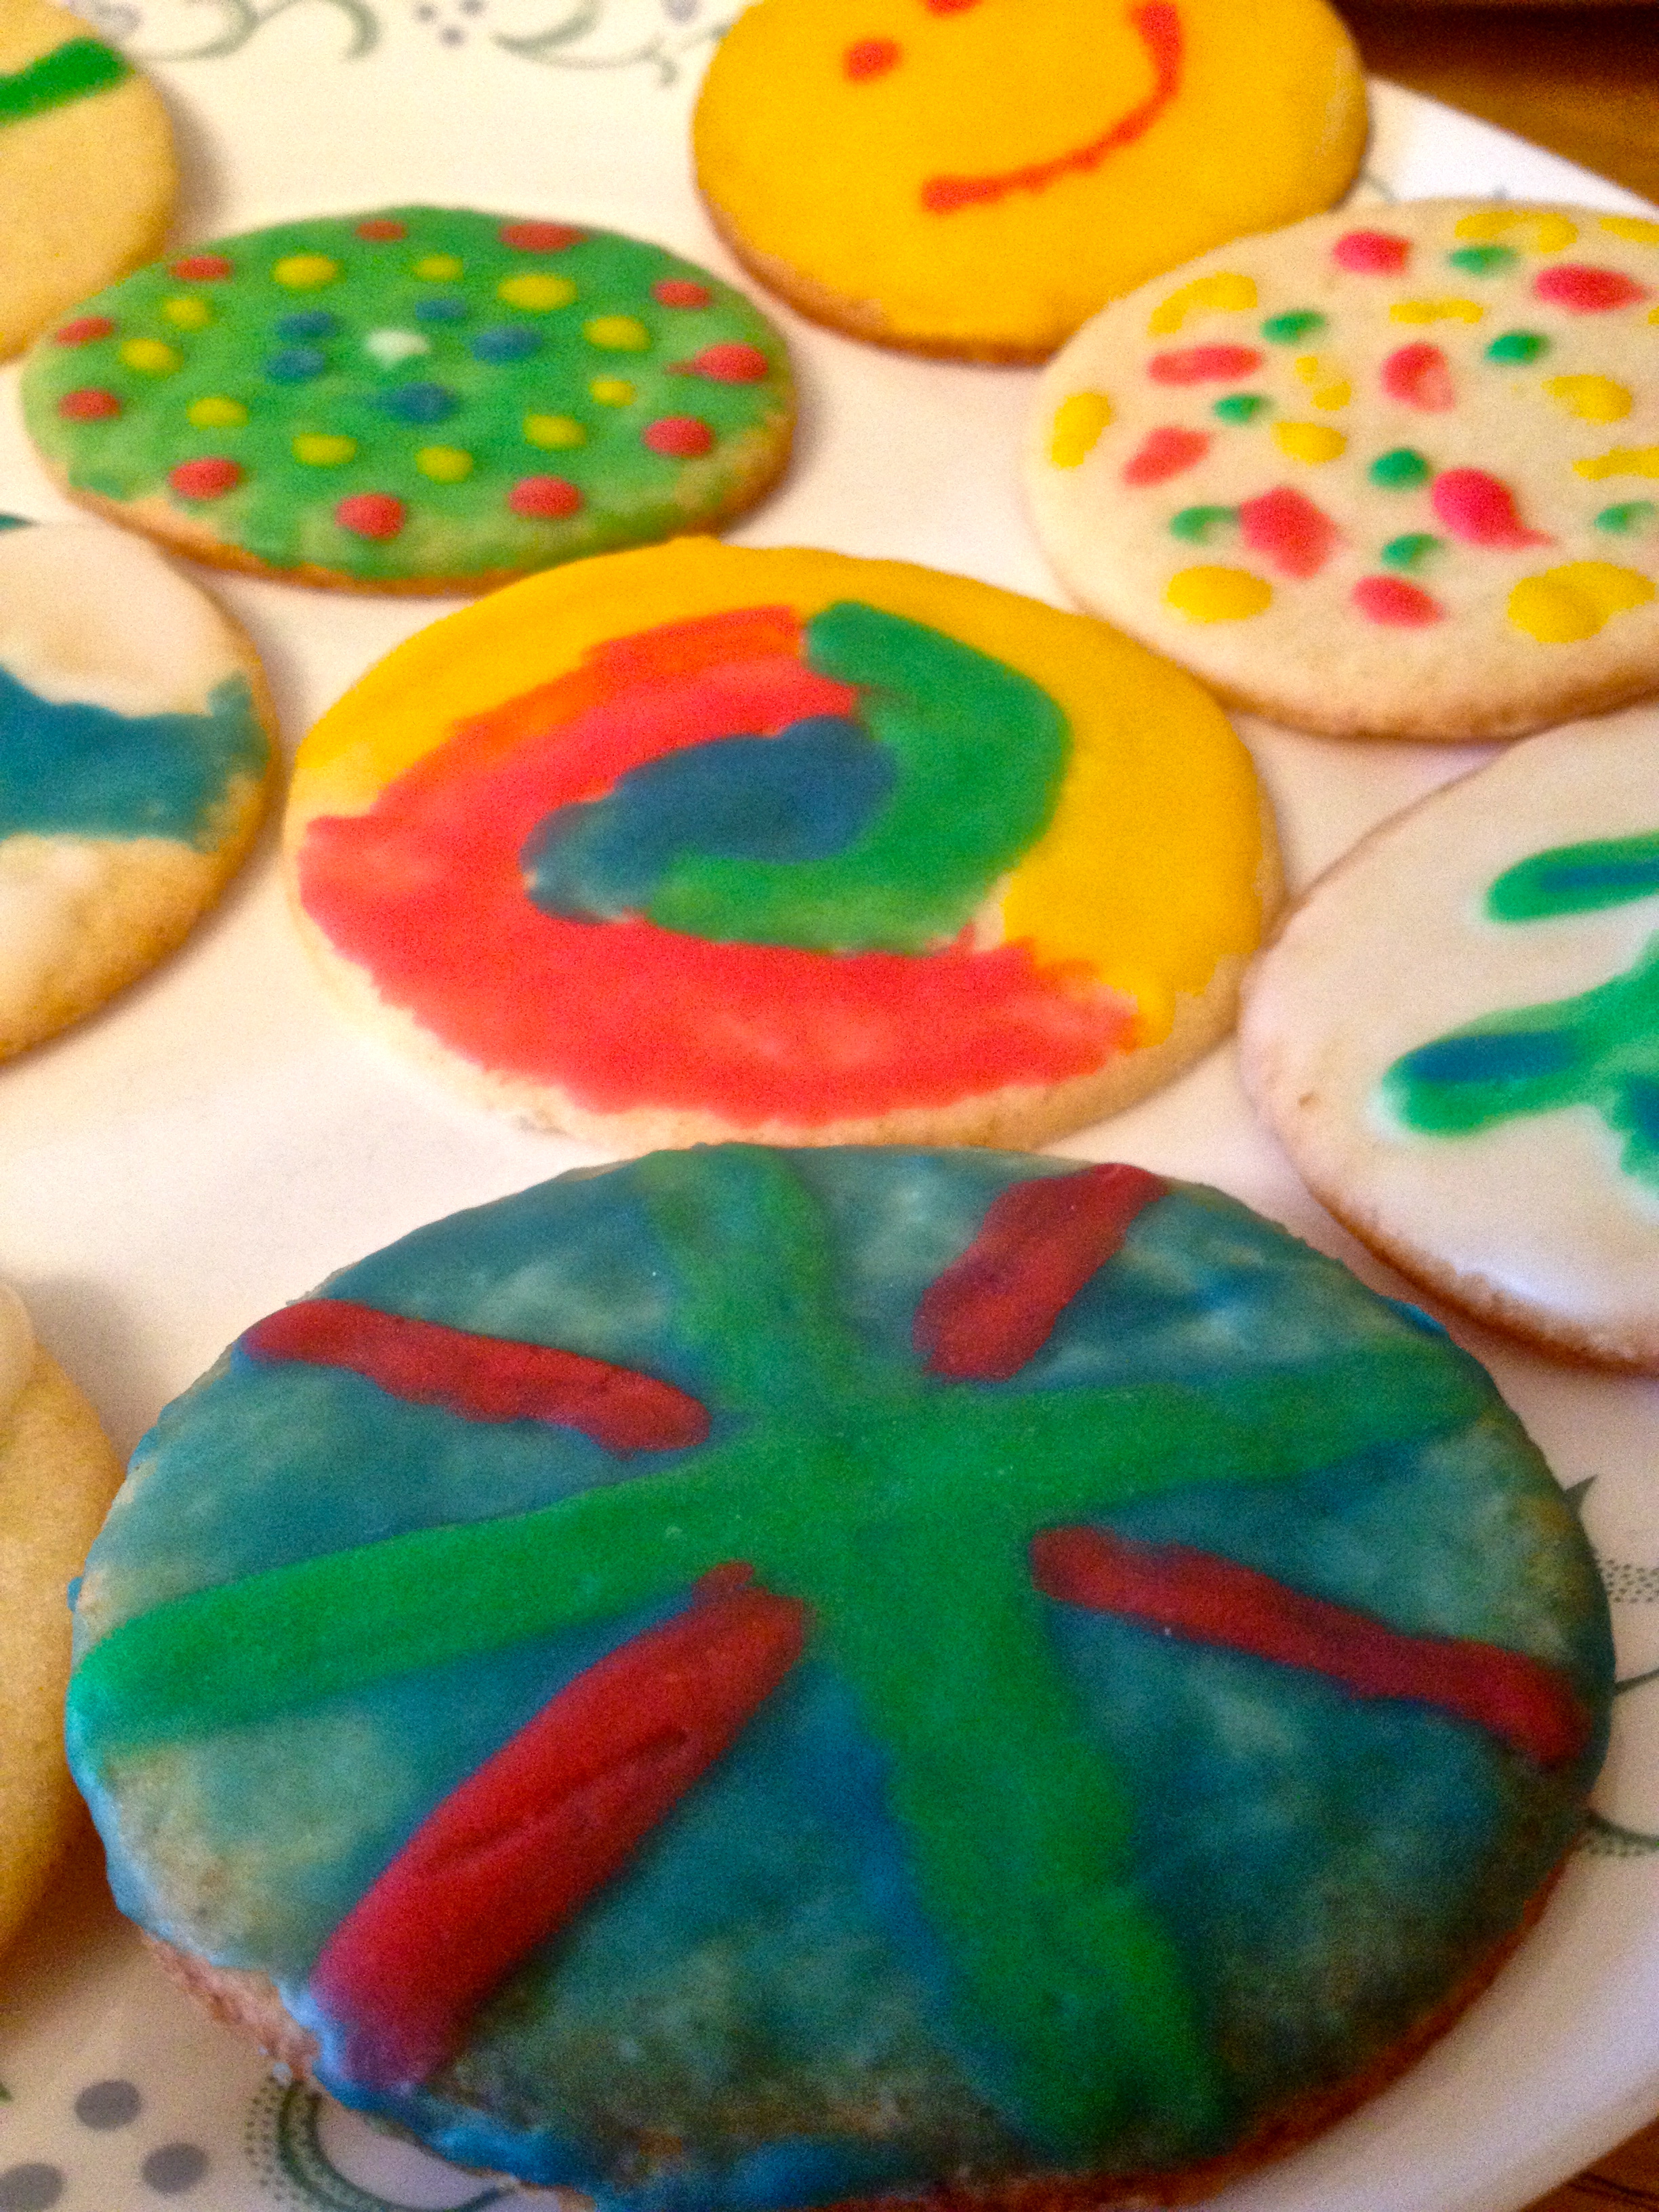
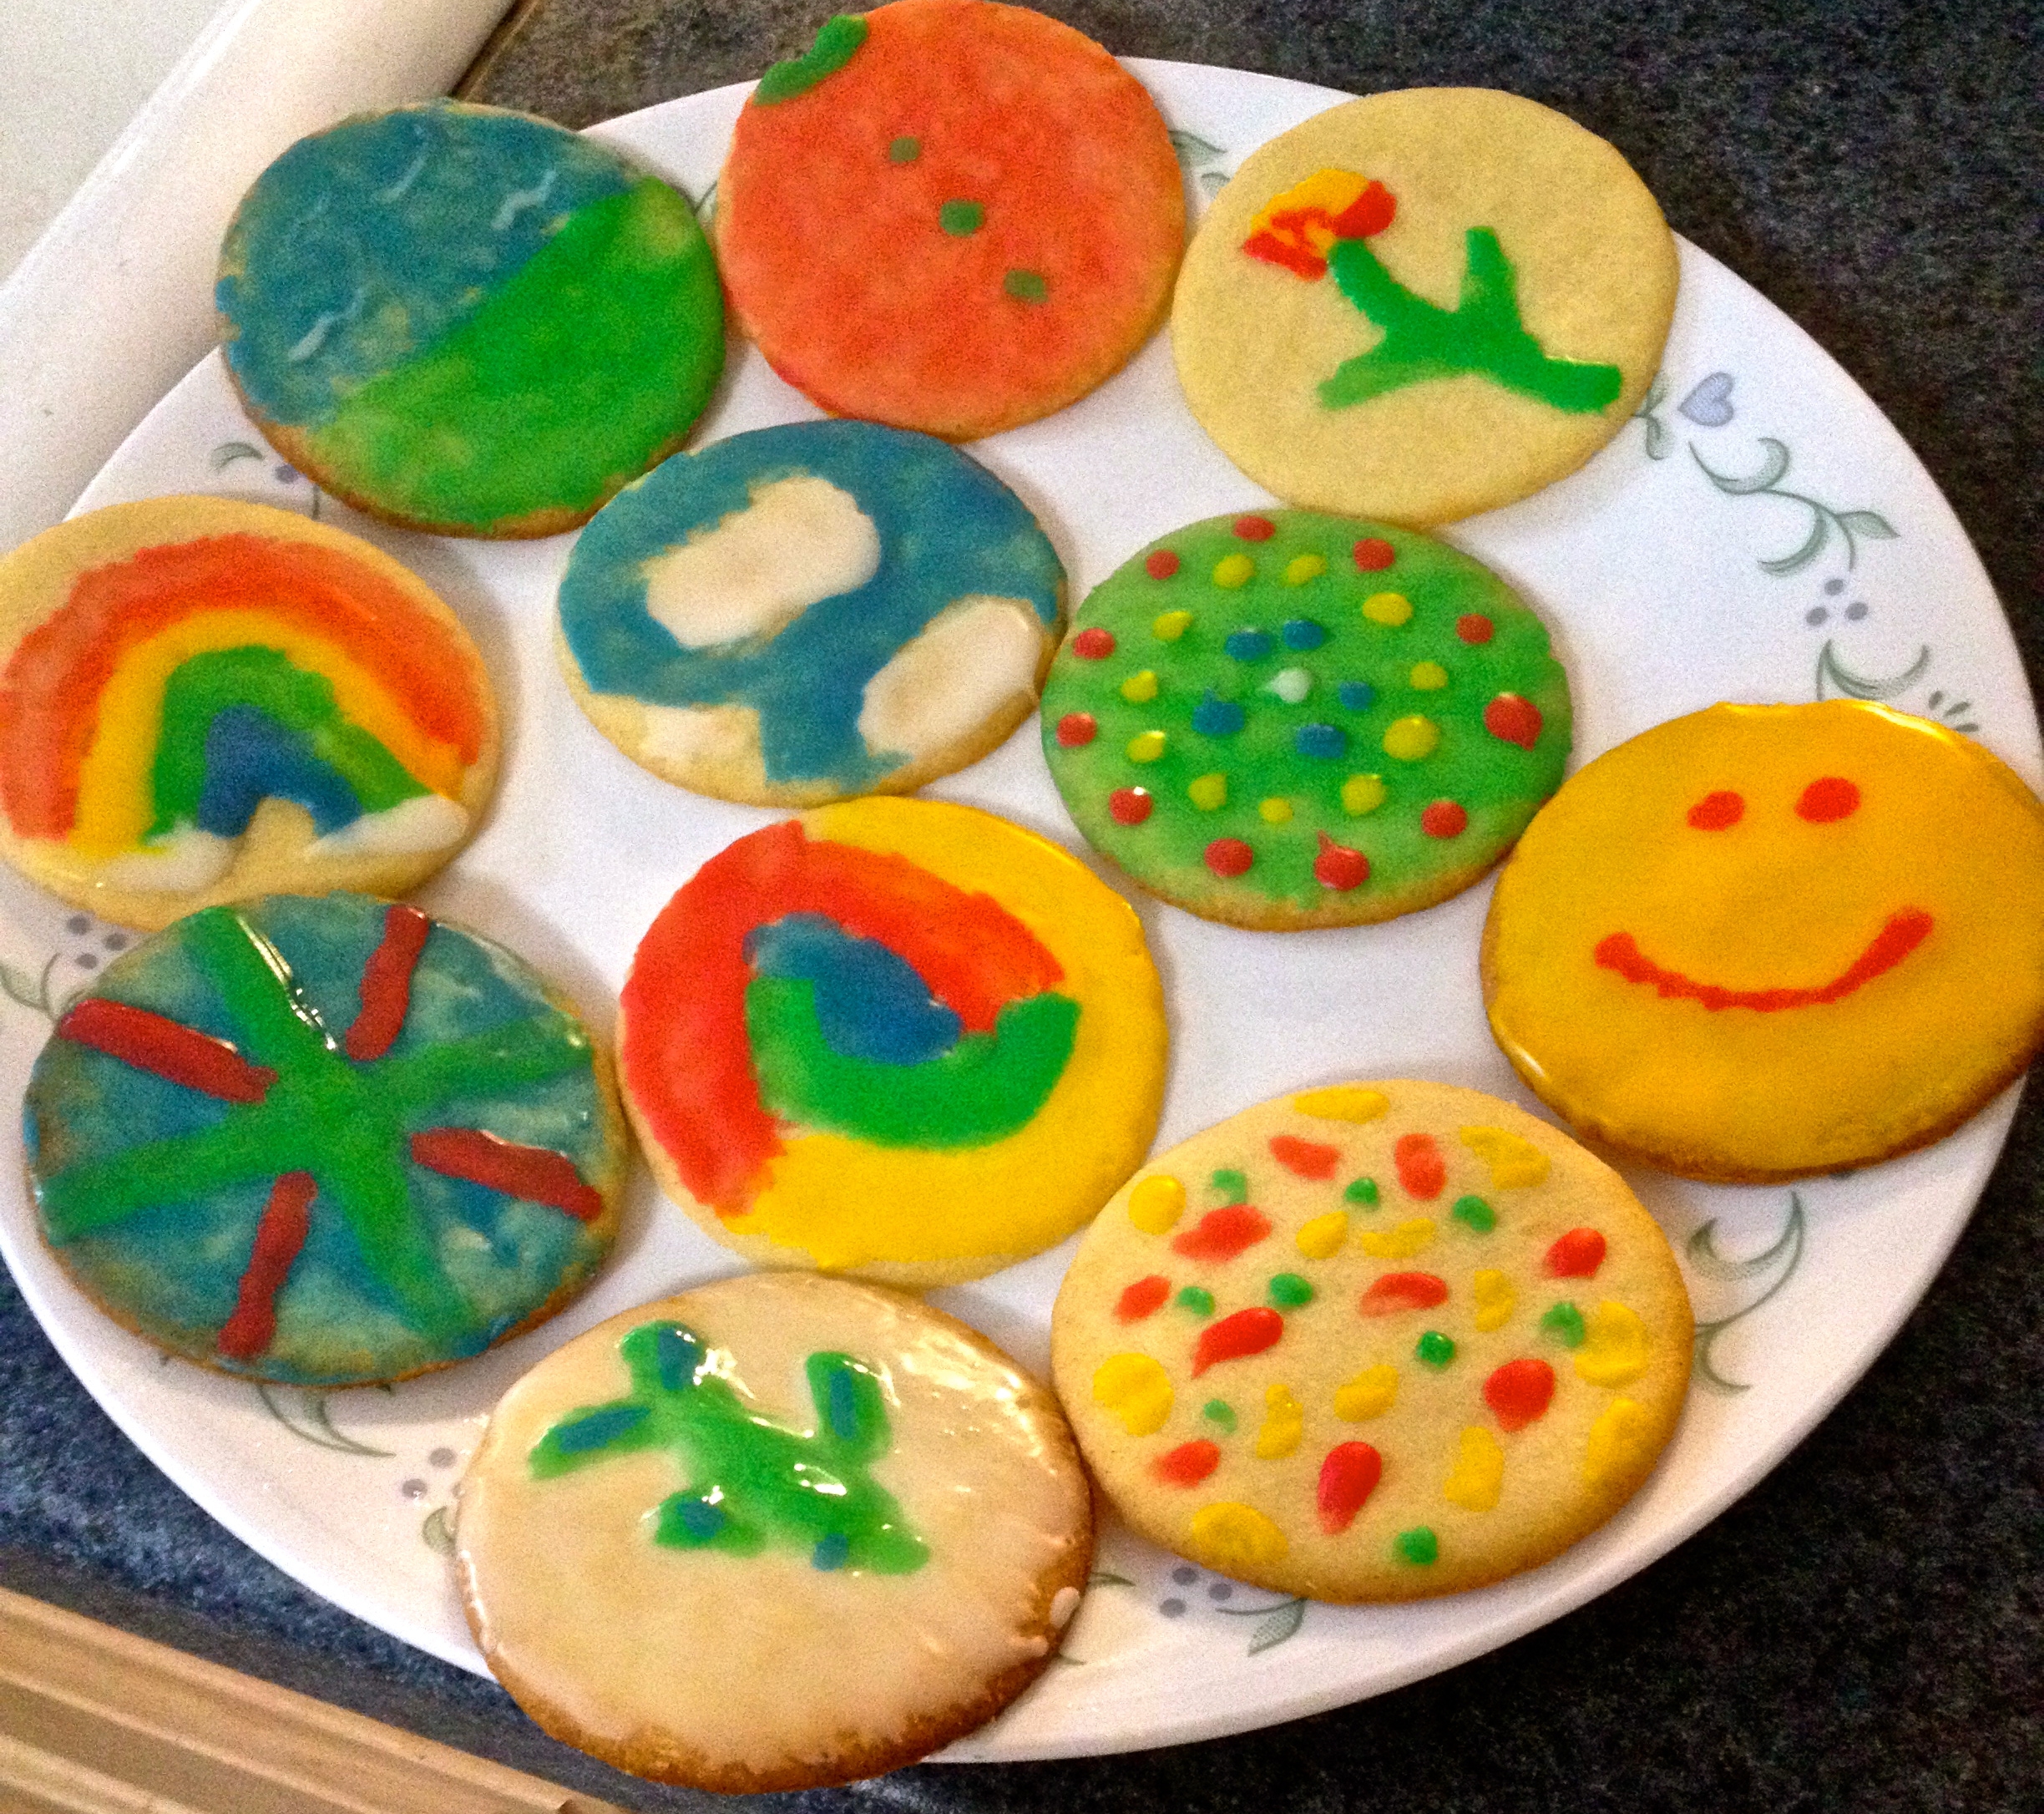
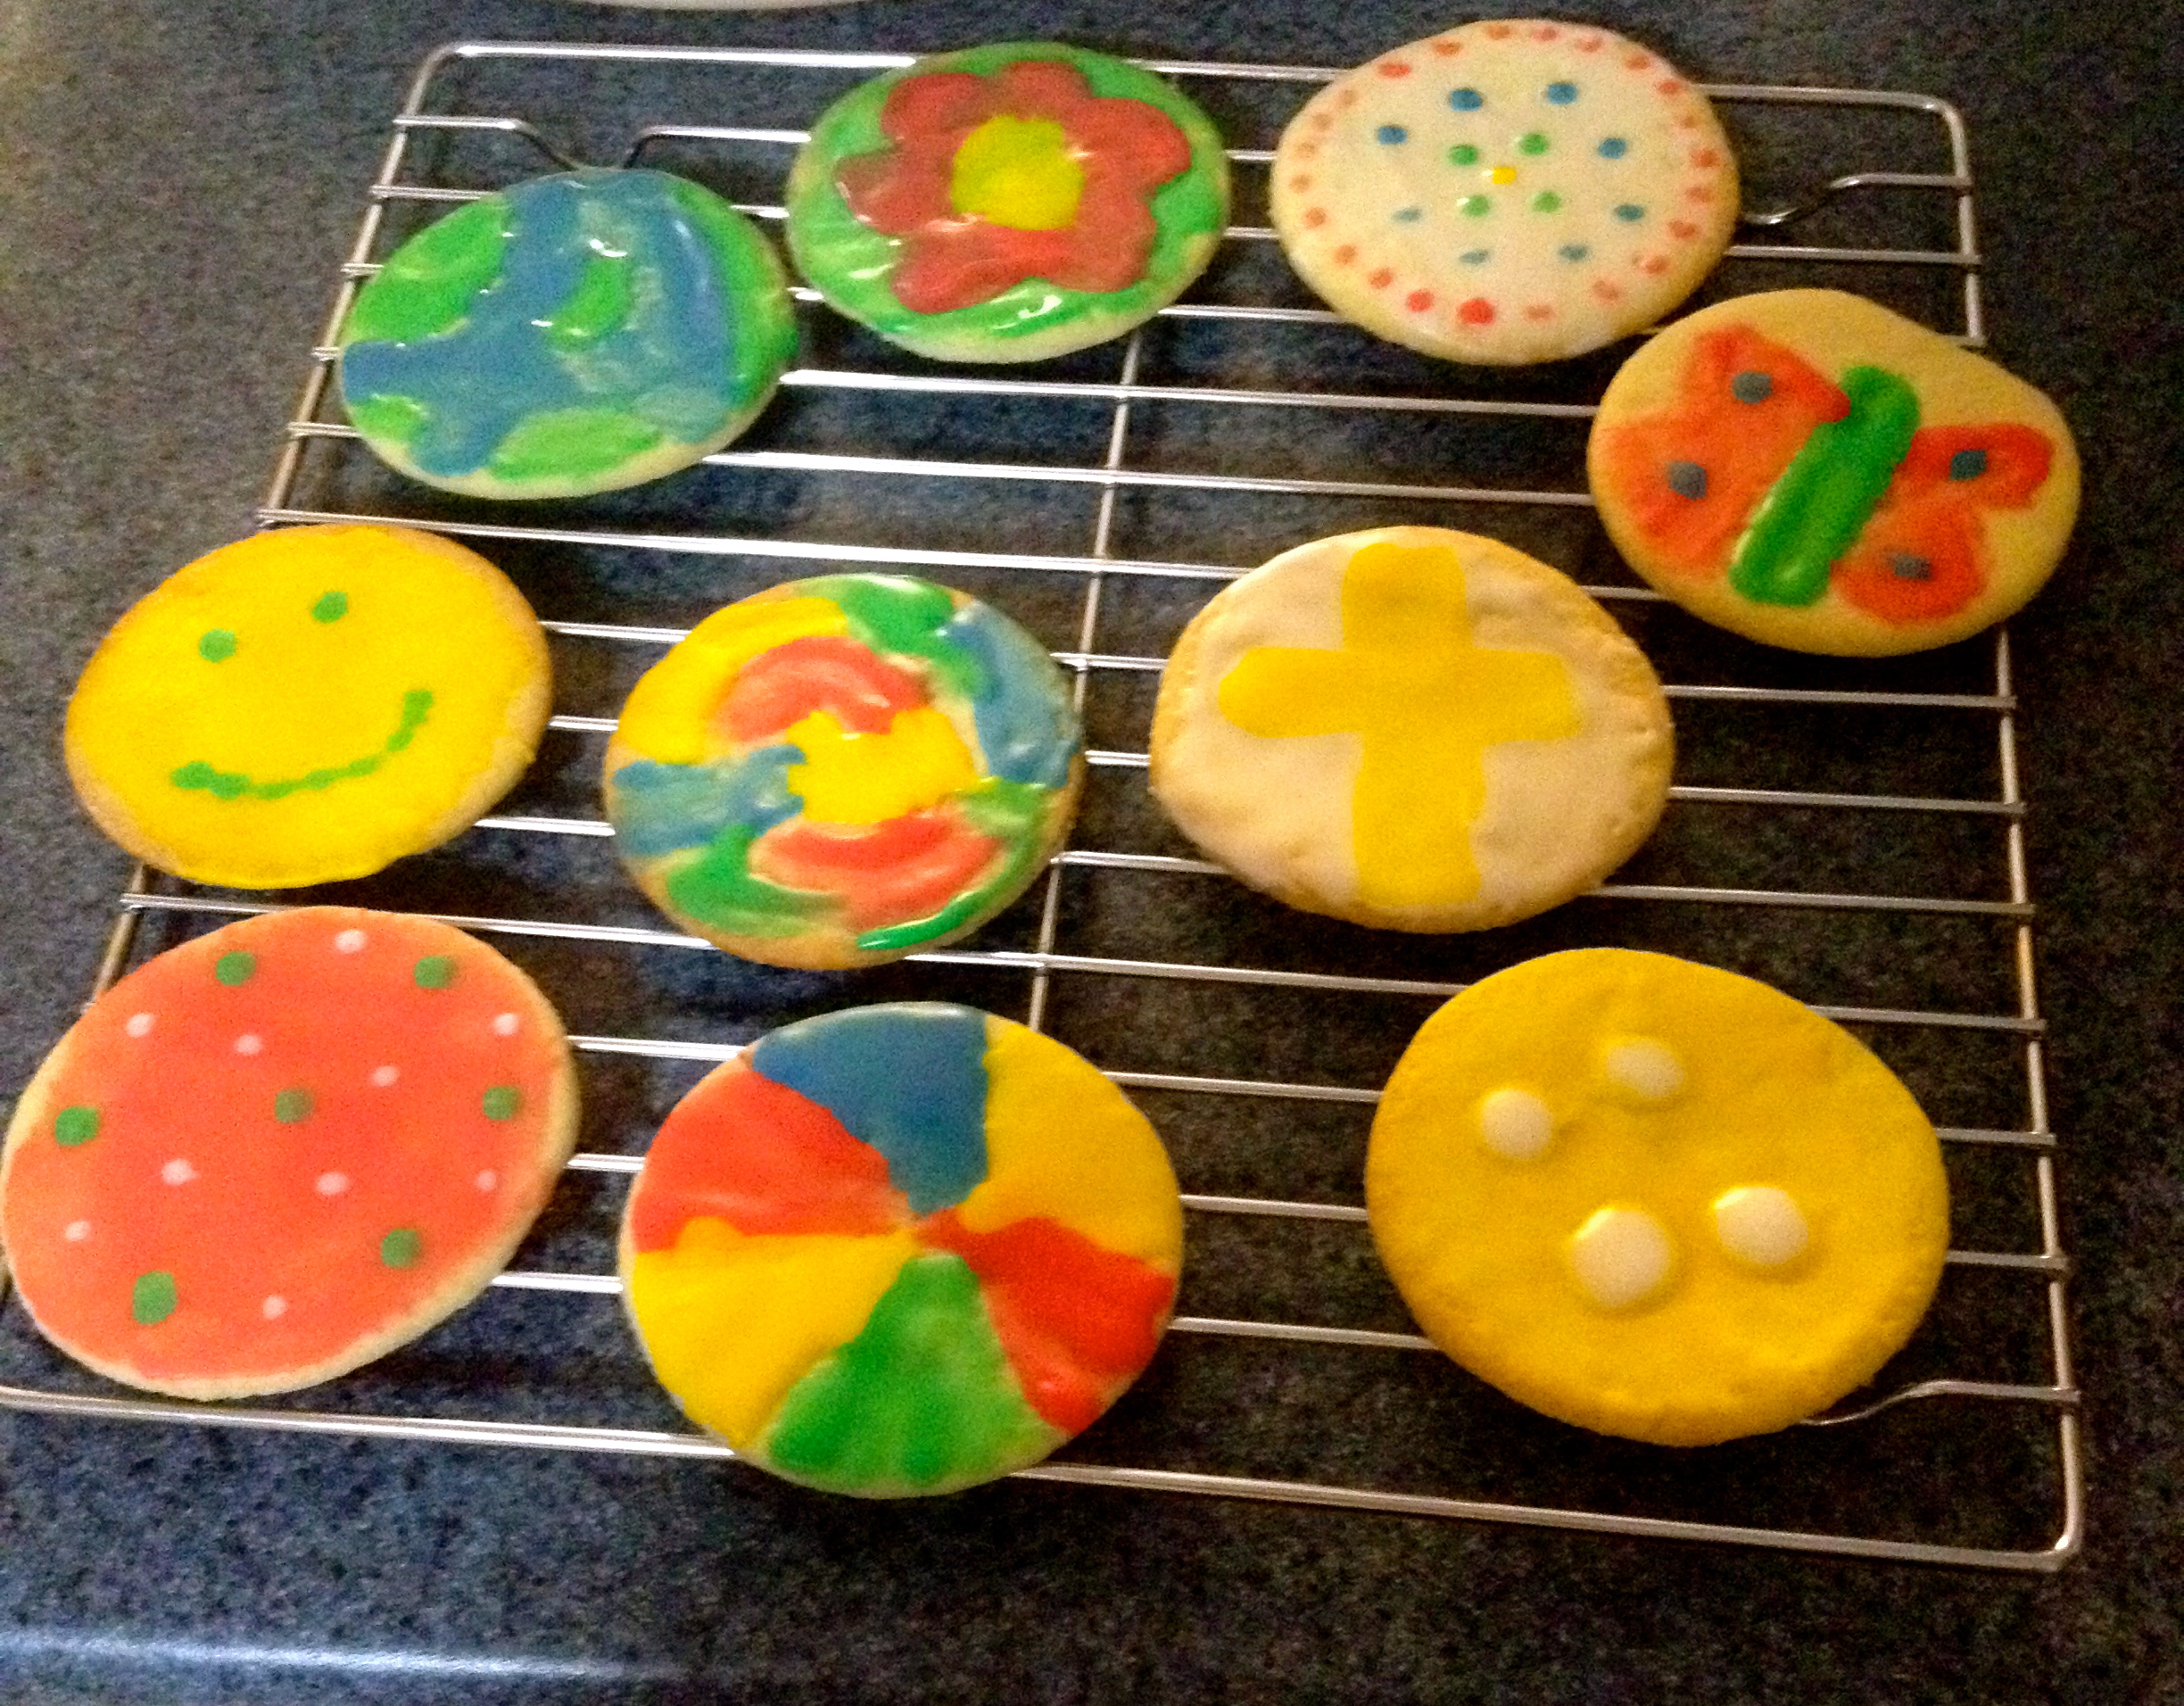
This recipe is great for kid parties, or for decorating holiday cookies! You can easily switch it up by using a specific cookie cutter, like a Santa shape or a heart. This recipe is just fun and simple! Plus, the sugar cookies are delicious! Happy baking, and happy painting!
Raspberry Thumbprints
Hello all! I know, I know, it’s been a while again since I’ve posted. College gets crazy! But once again, I’ve had my blog in mind all the while, and I have baked a delicious recipe that you will love! But first, a little background…
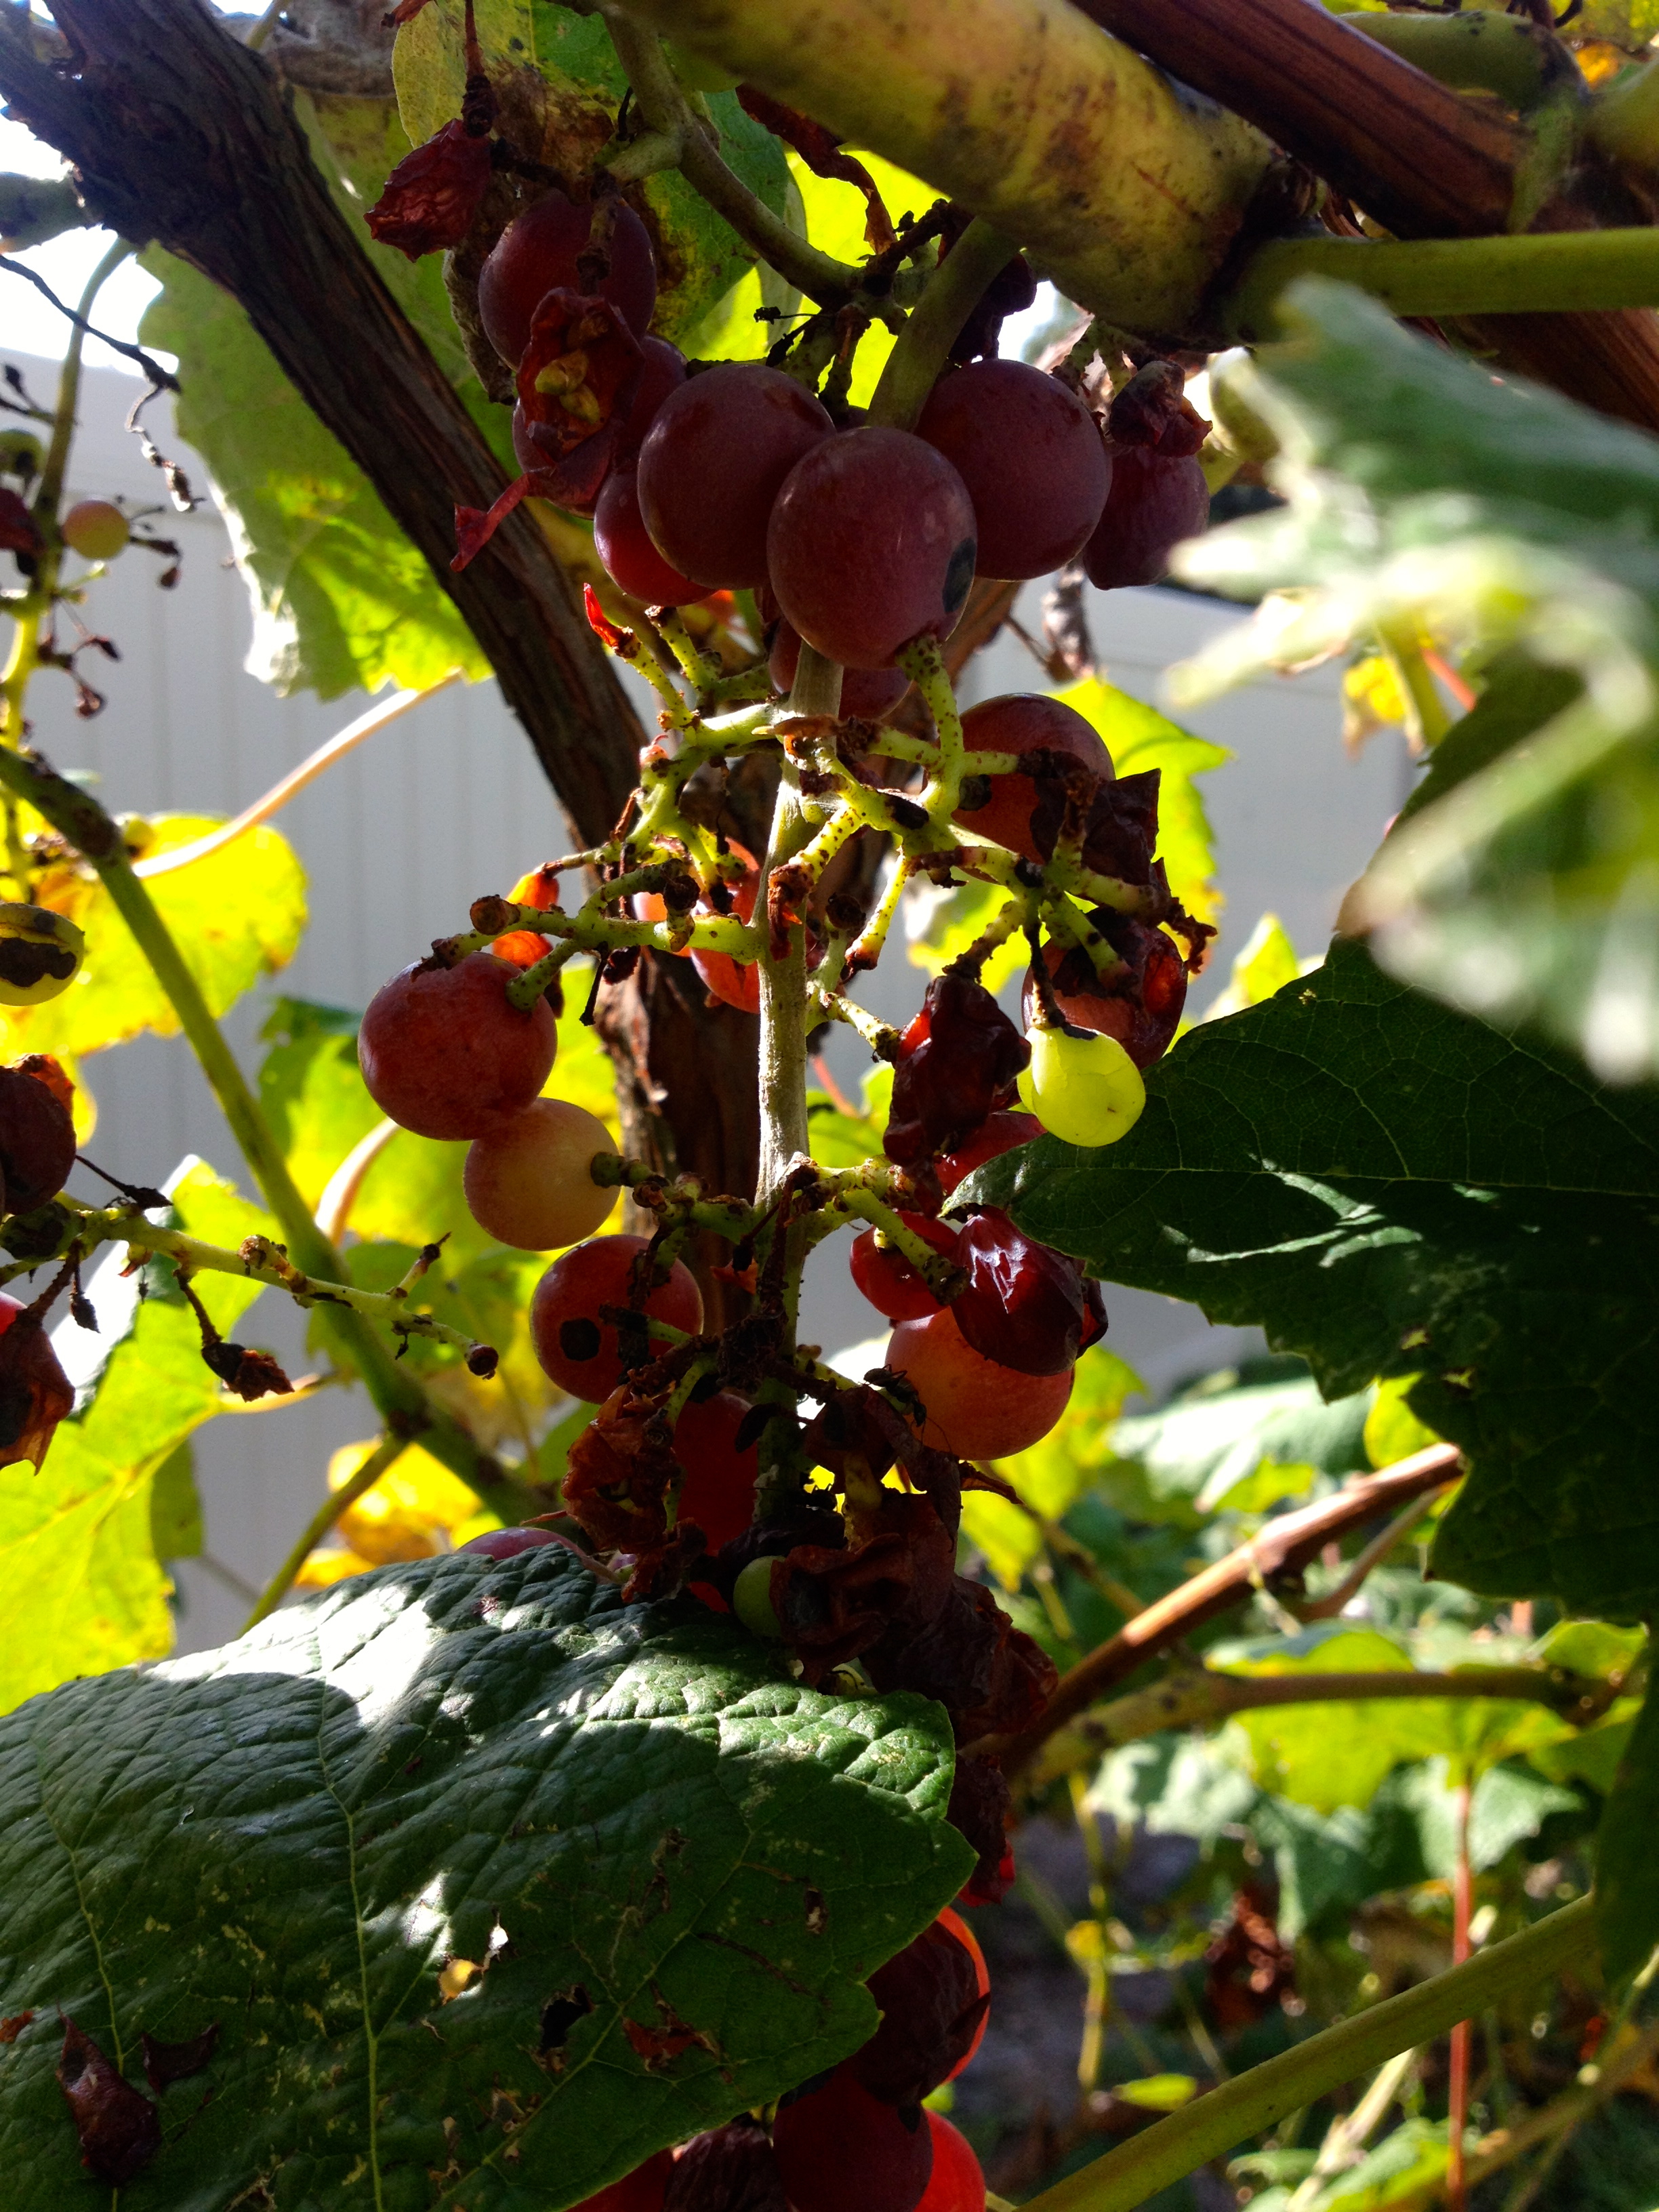
Every year, our garden provides us with more fruit than we could possibly eat. This includes Concord grapes, raspberries, strawberries, apples, and blueberries! Since we hate to waste any of our delicious fruit, we make jams and jellies out of it. It’s always an adventure making jelly, and it takes quite a while, but it’s so worth it. Let me tell you, store bought jelly can’t hold a candle to my Mom’s homemade jelly. I’ll walk you through the bare bones of her Concord grape jelly recipe:
Start with about 8-10 cups of grapes (from our backyard grape vine, of course!). De-stem them and mash them in a large pot, and cook them down just a little bit with some water to soften them.
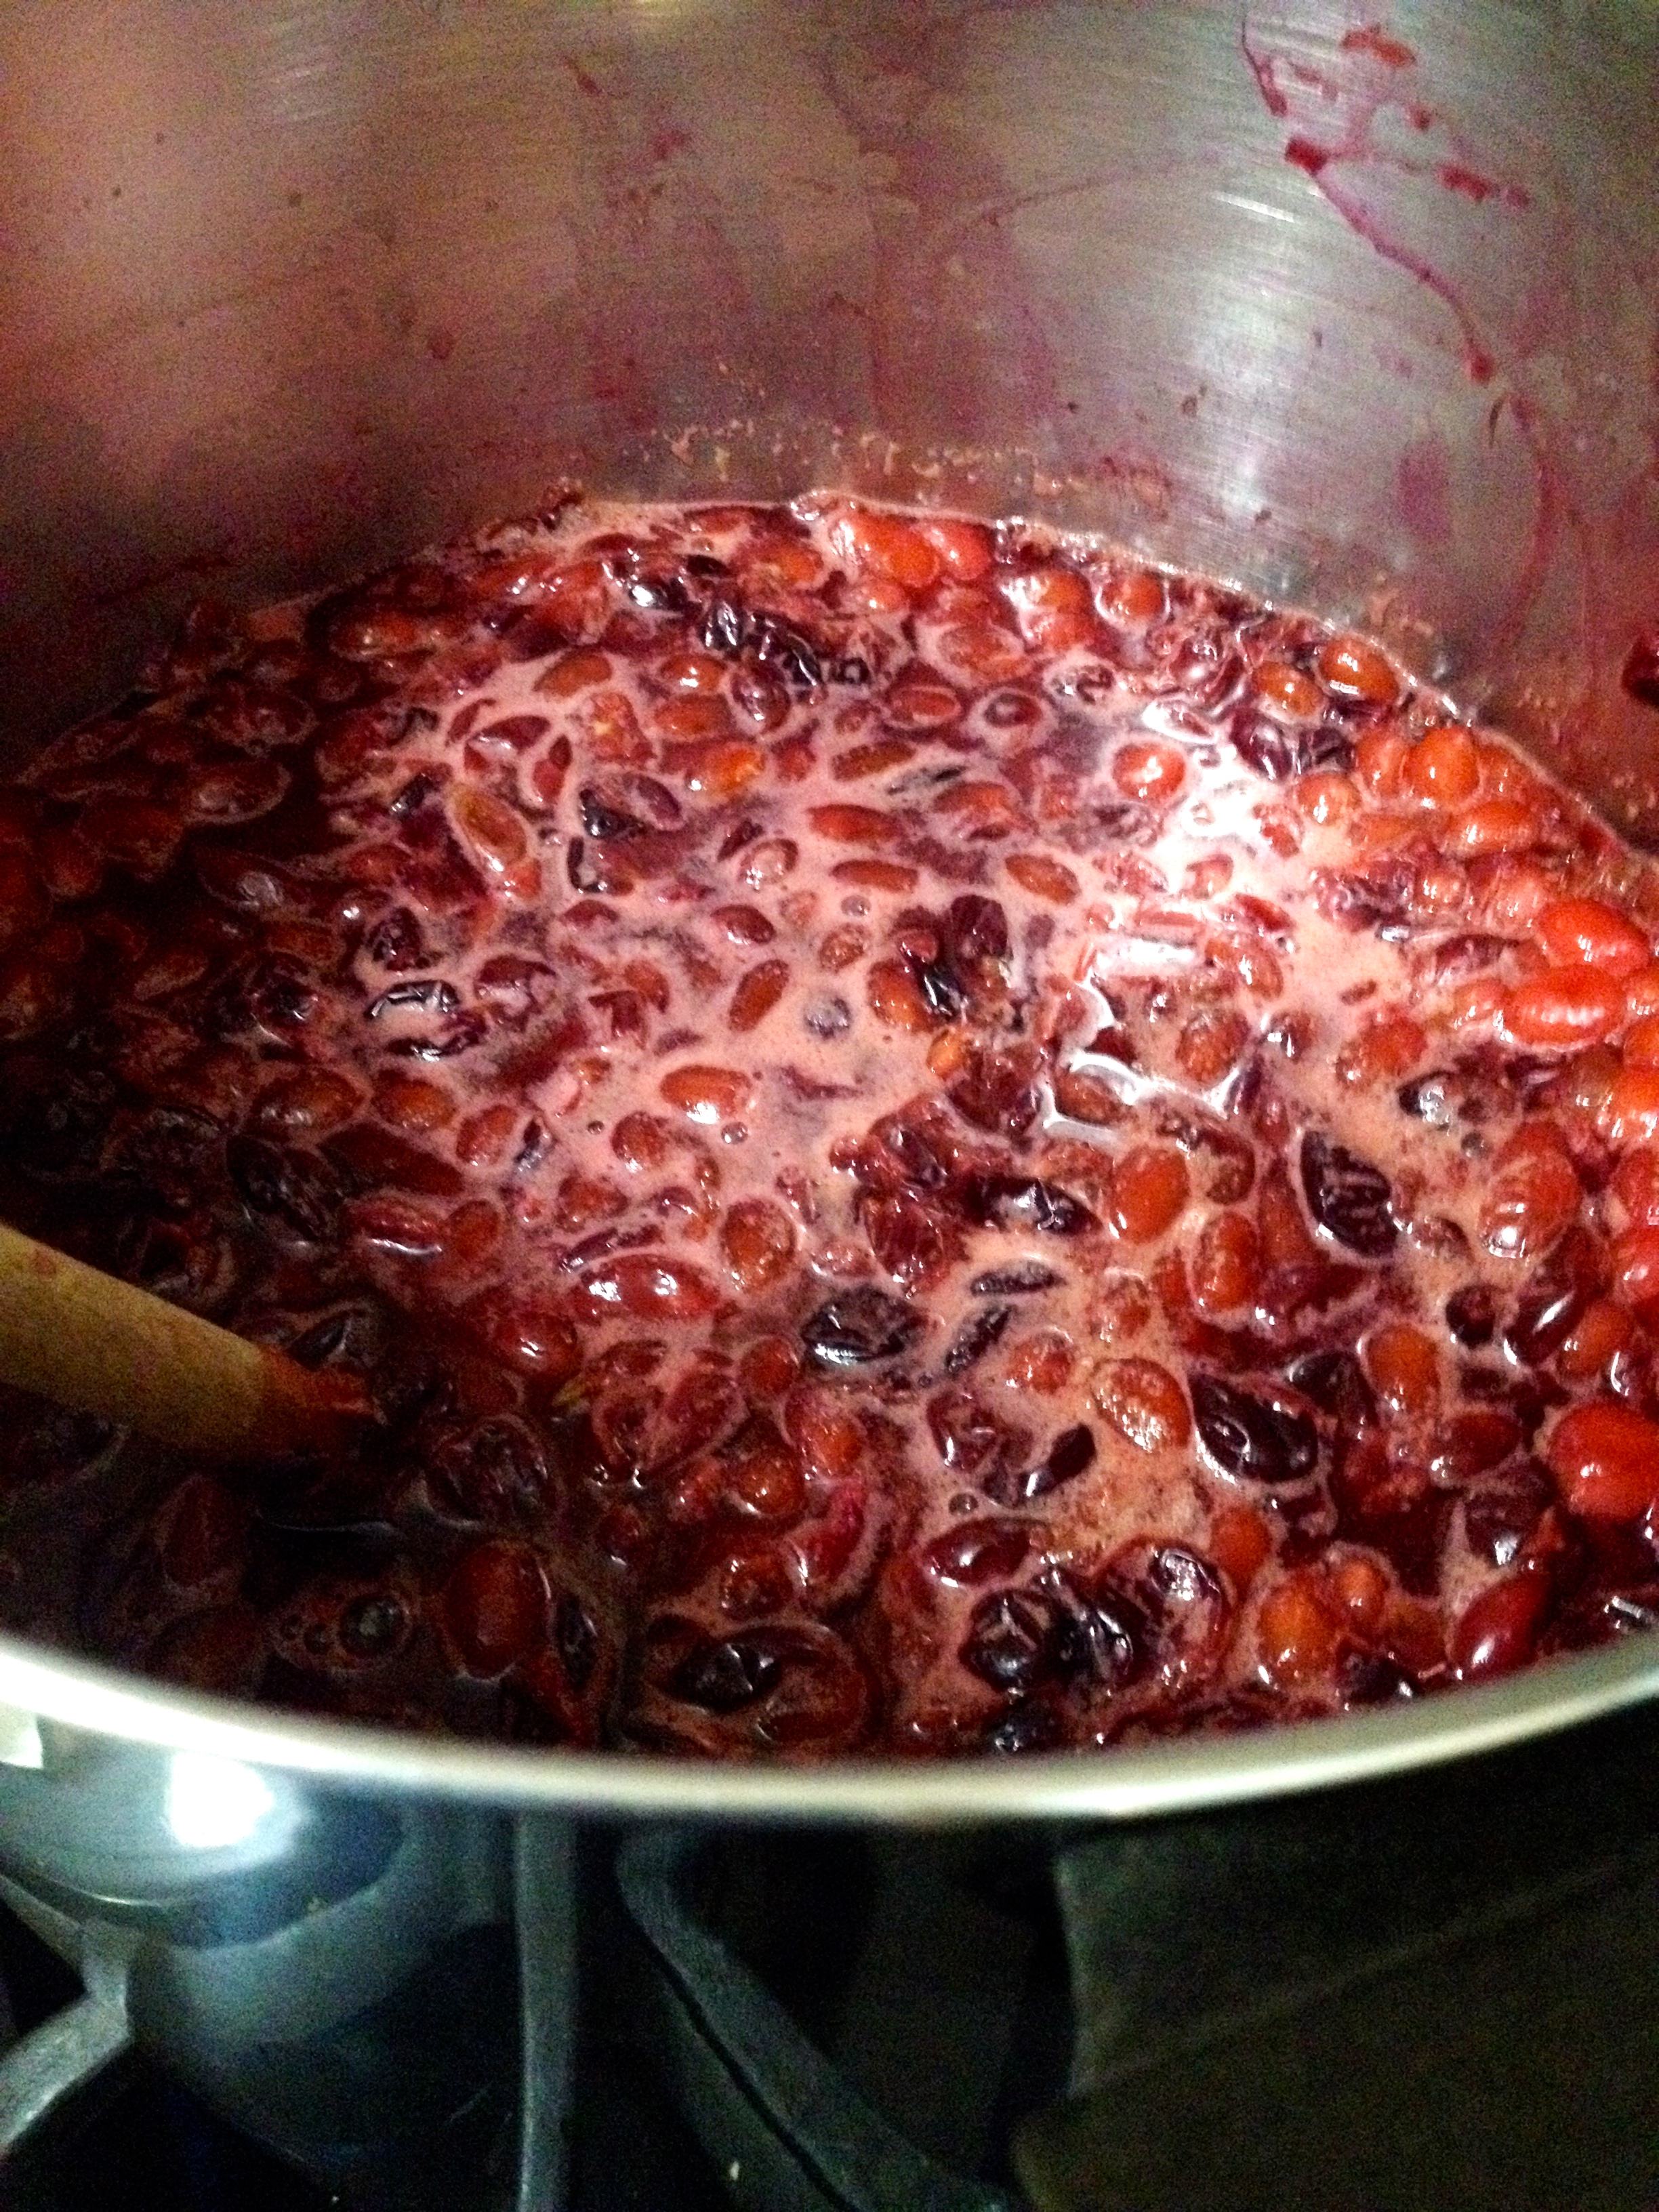
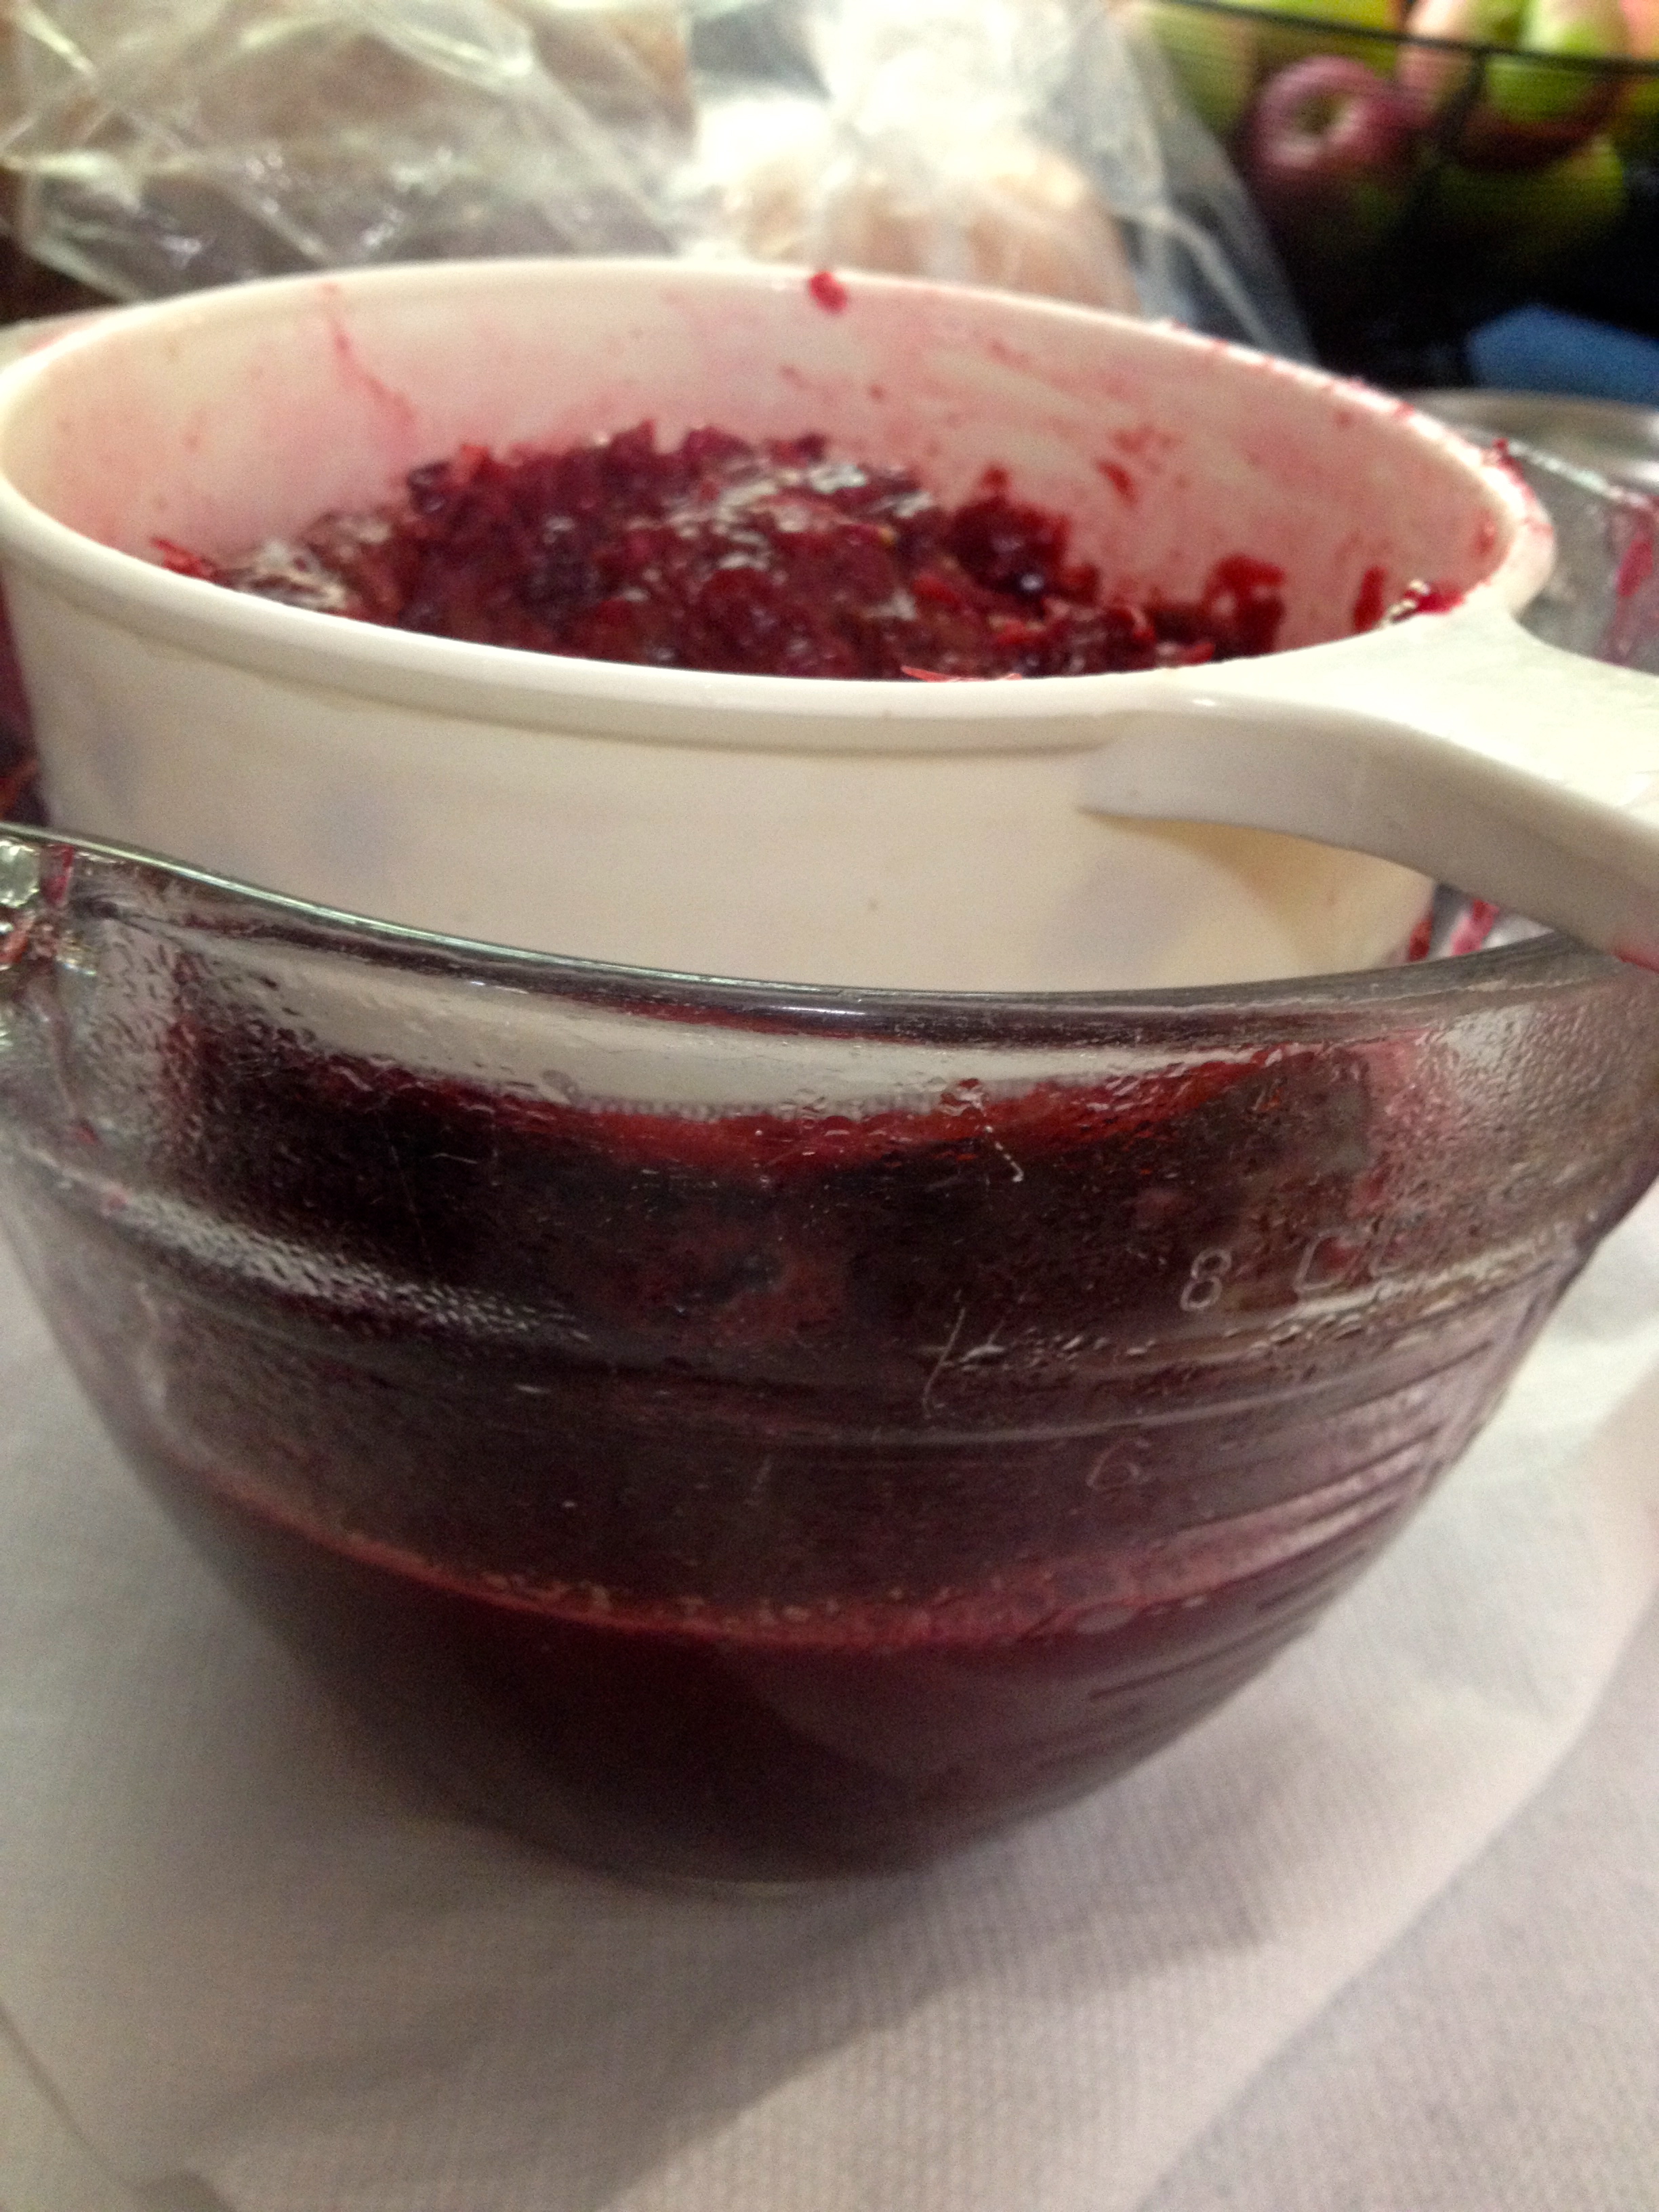
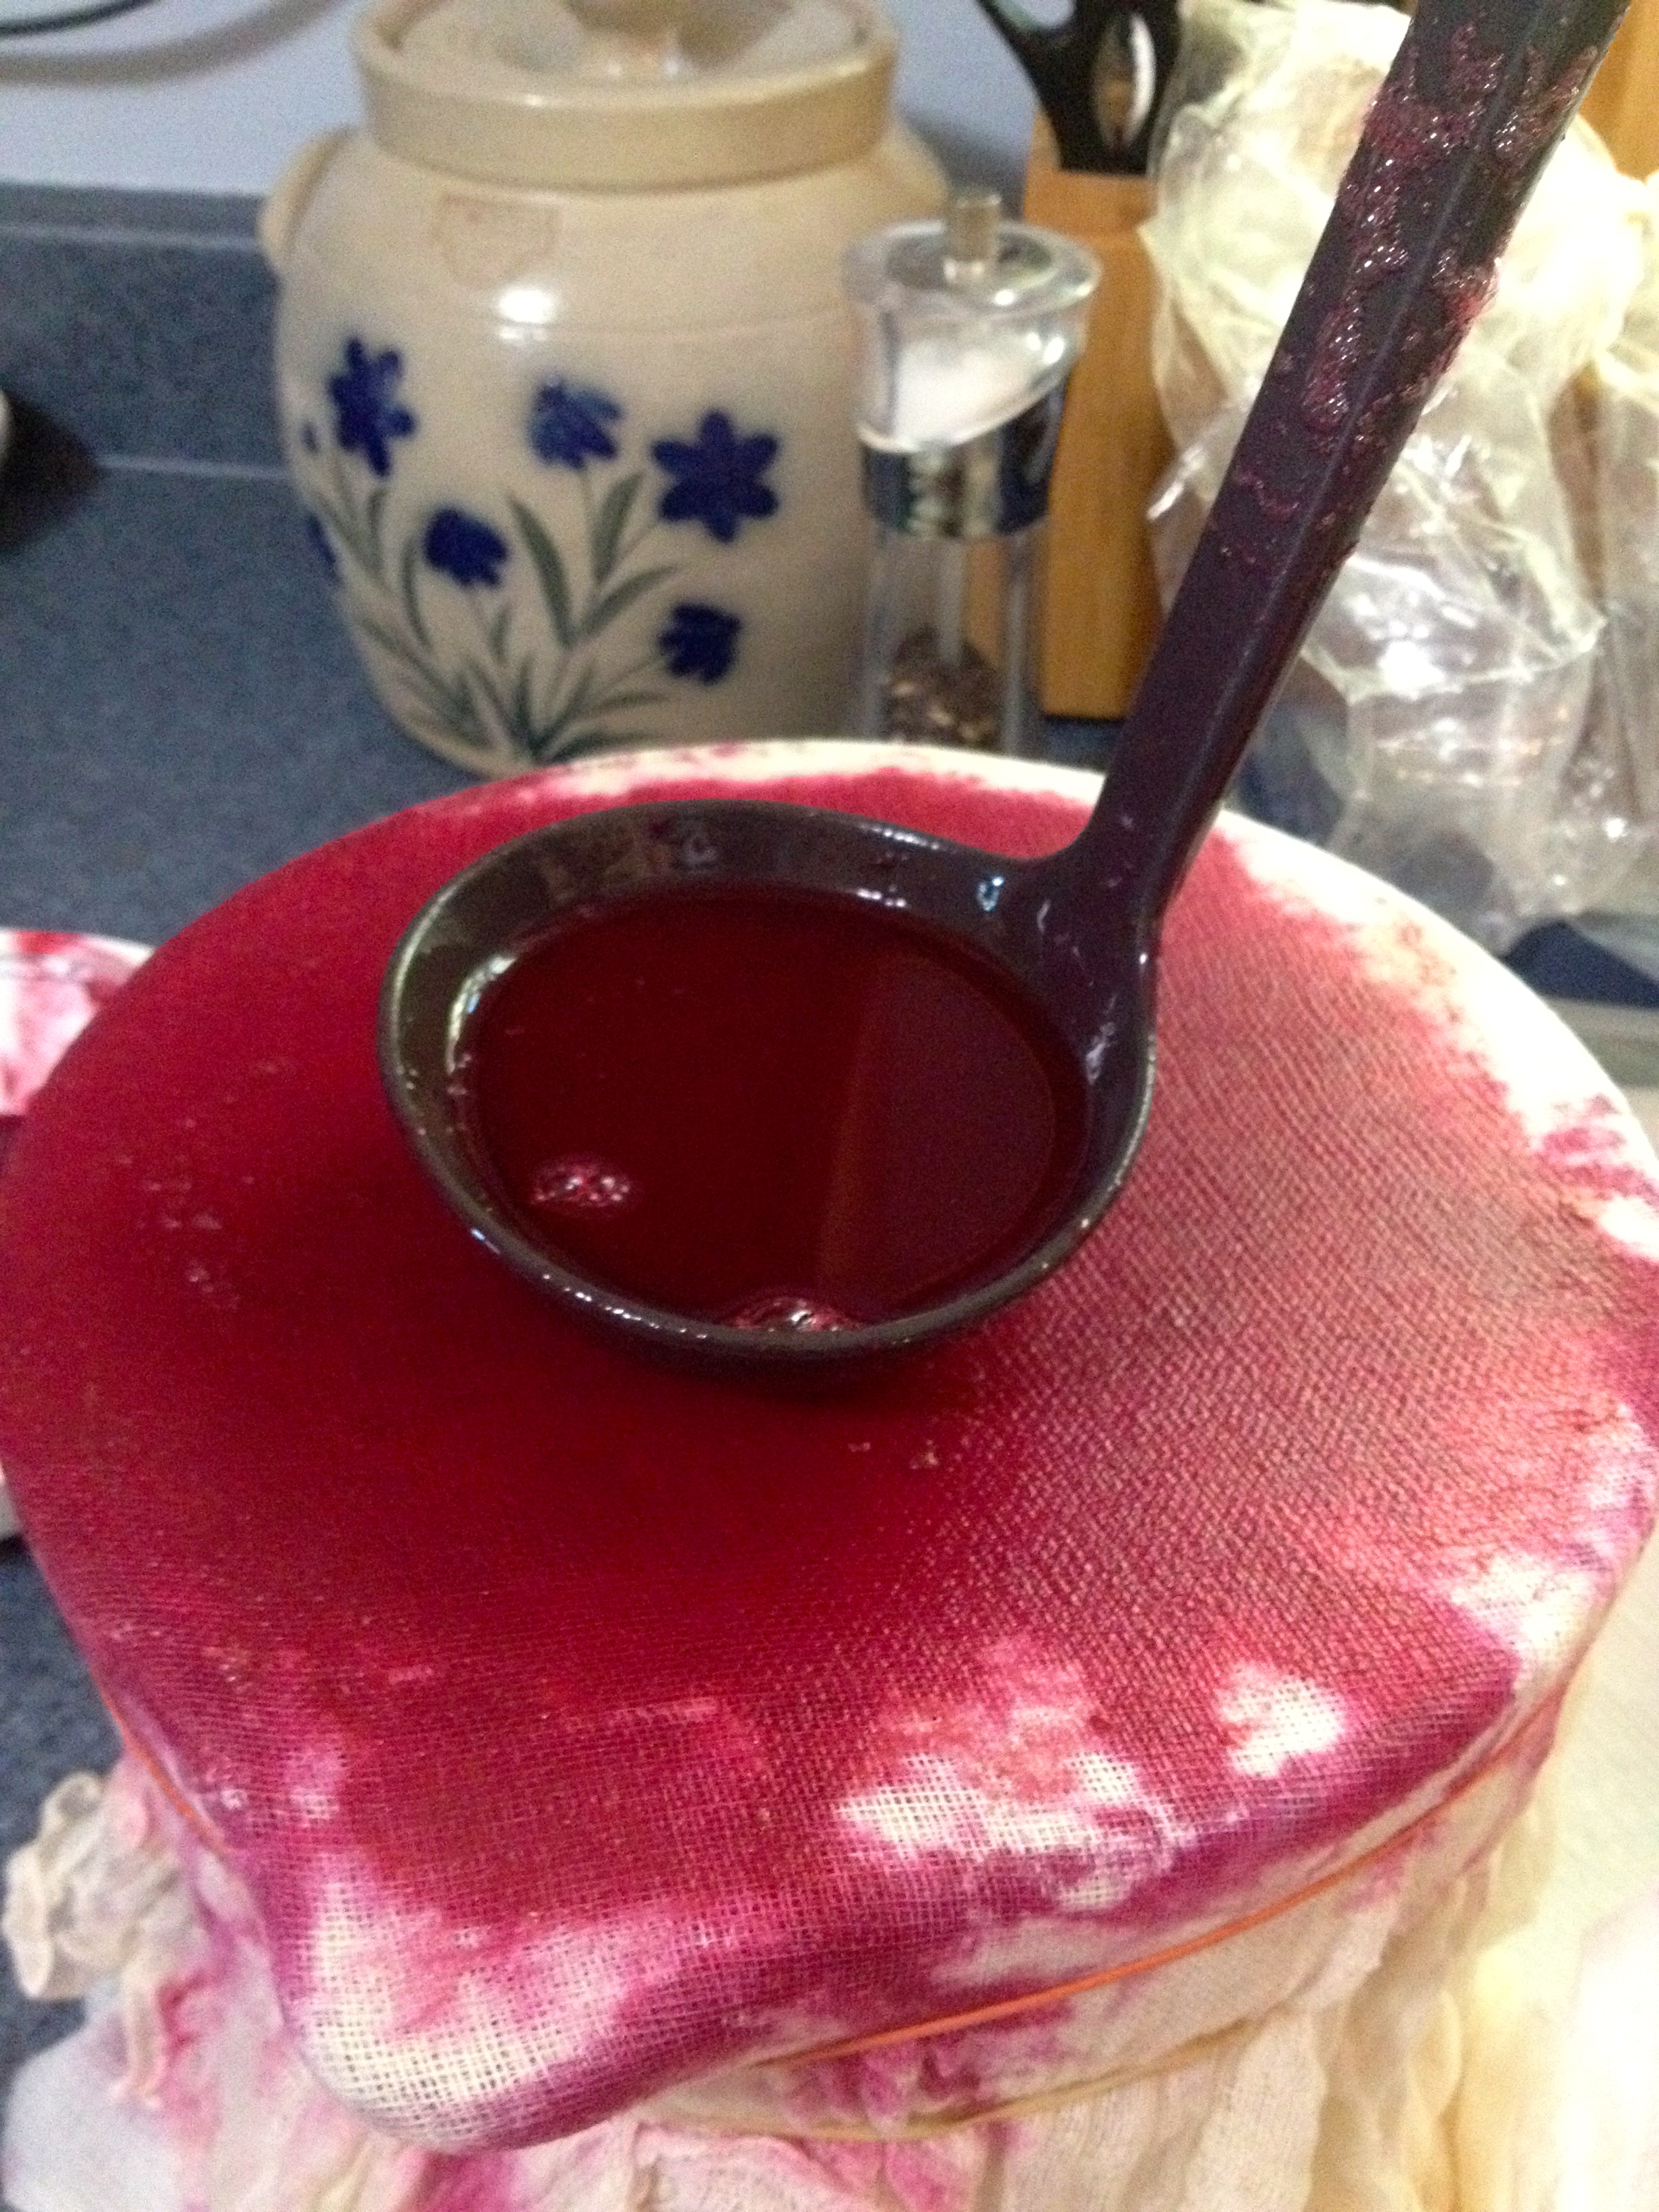
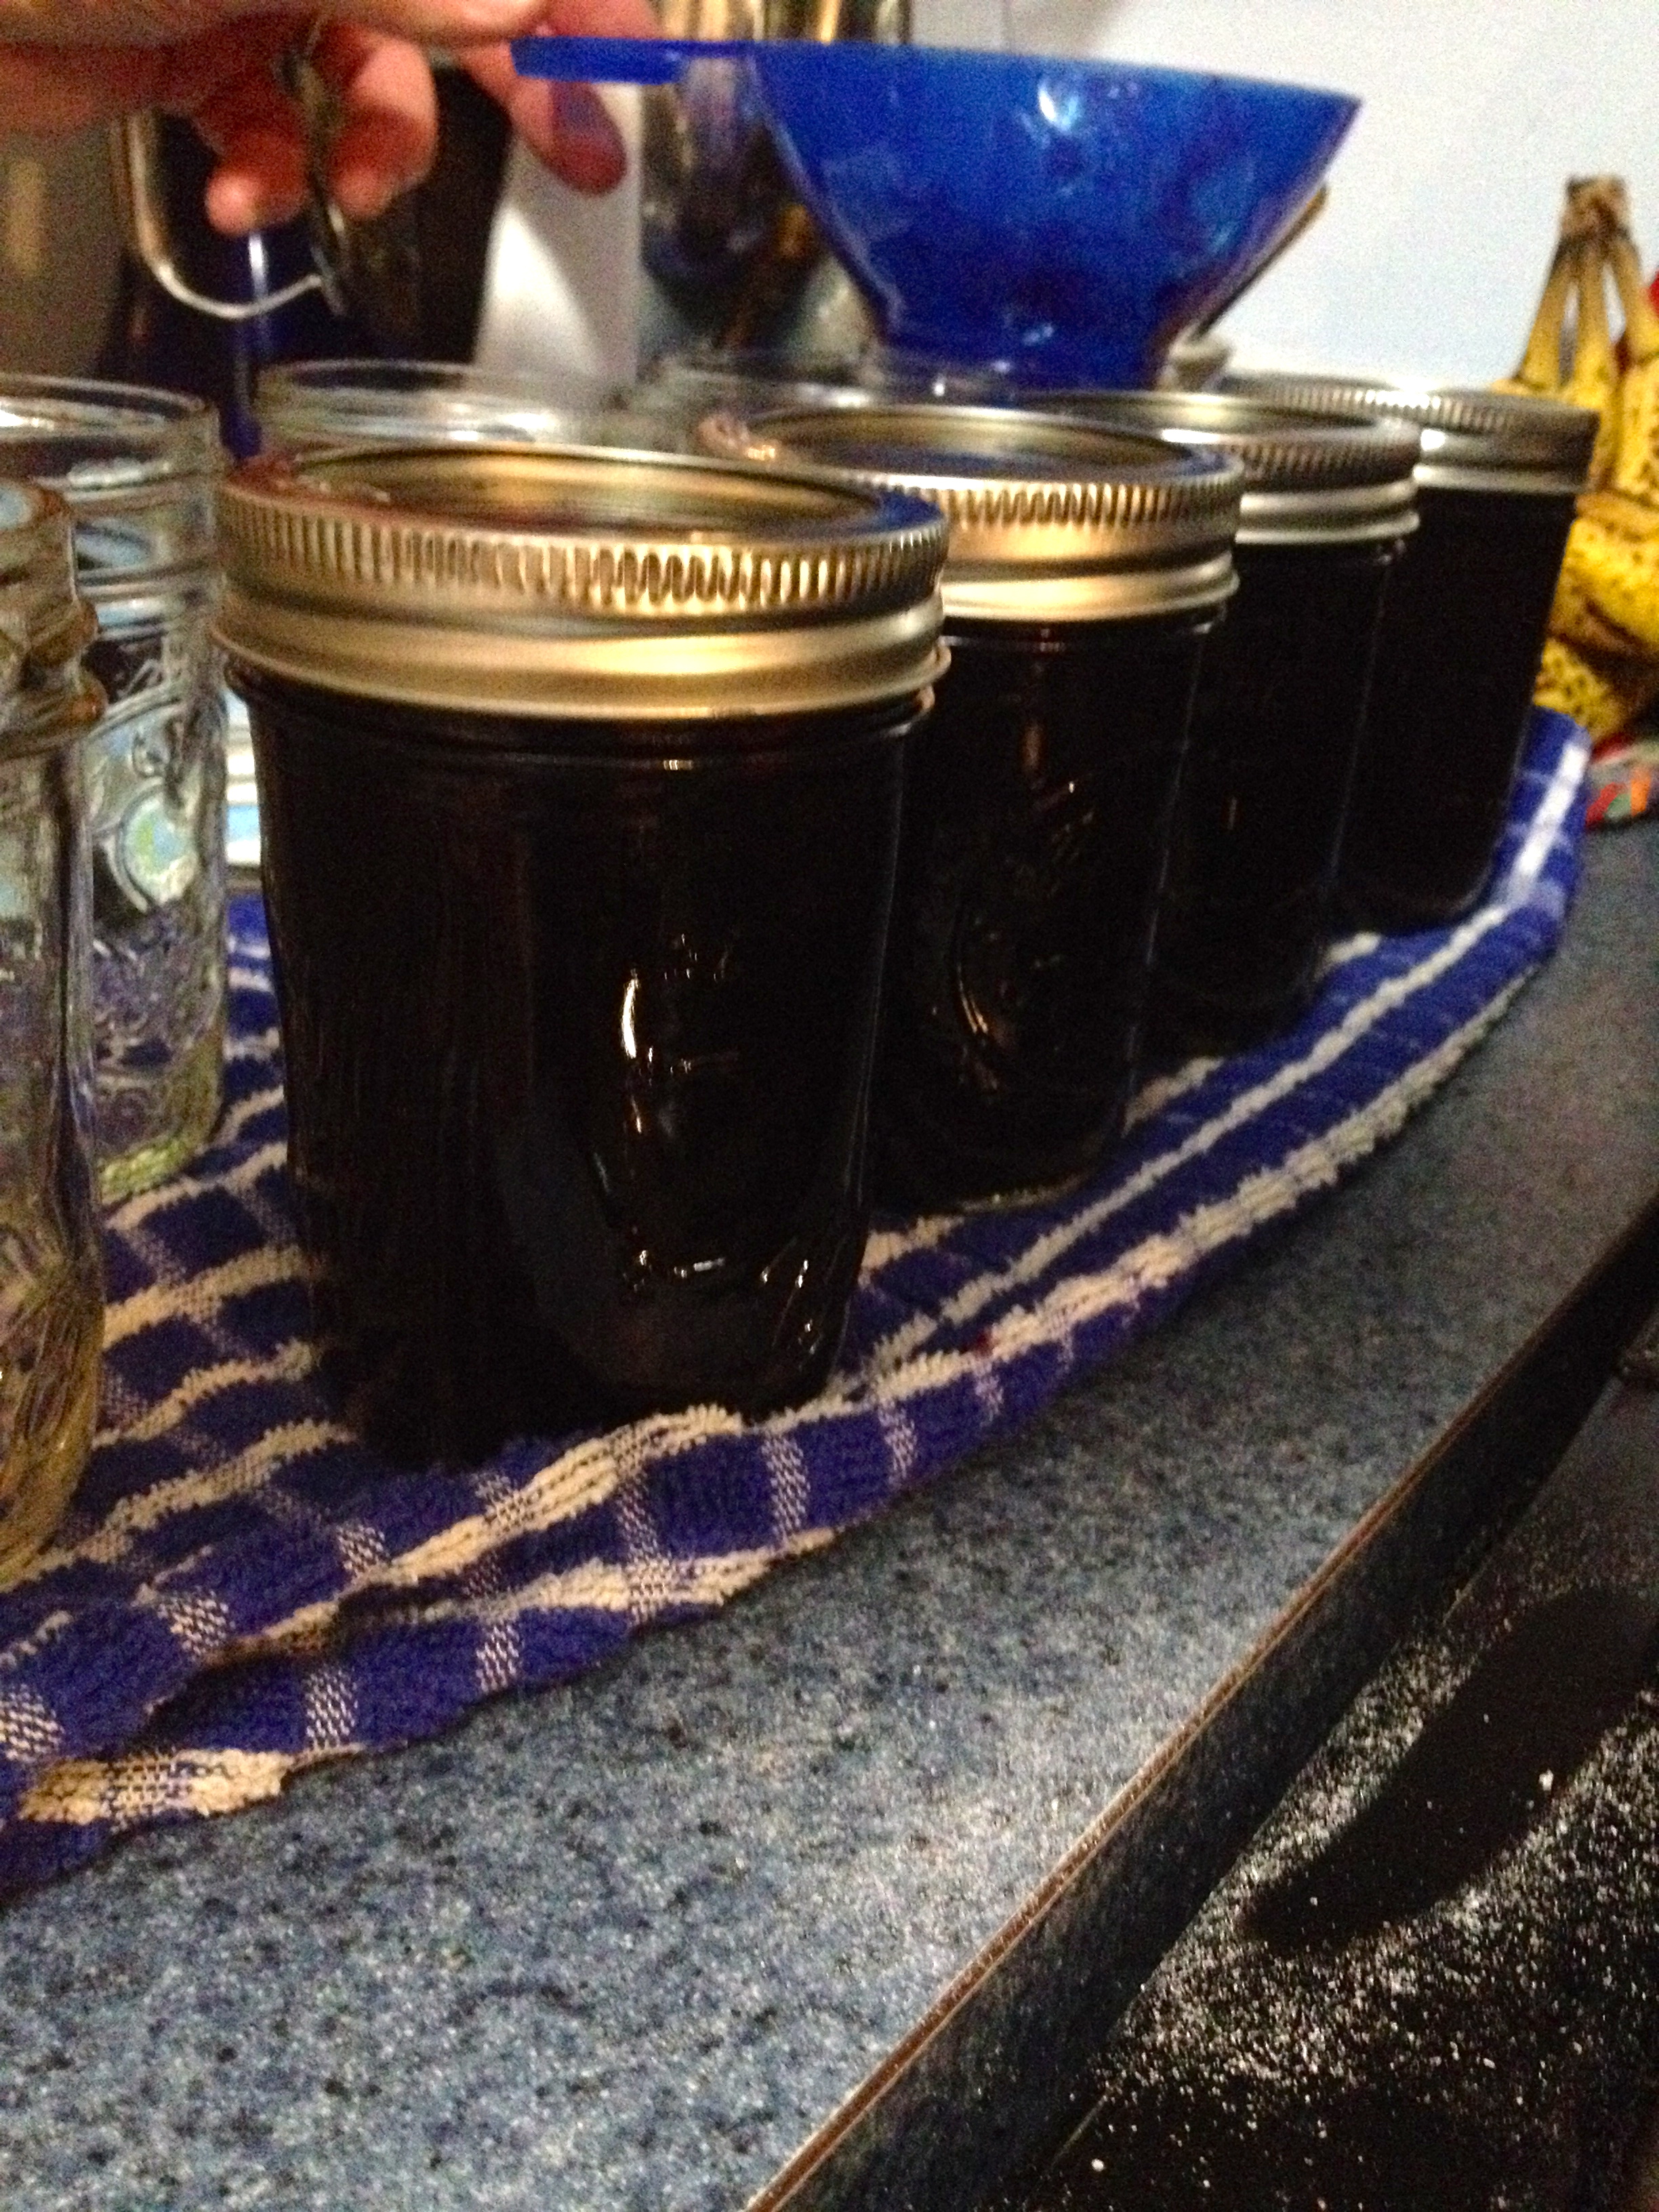
Then, pass the grapes through a fine mesh strainer over a large bowl to get rid of the skins and the thick pulp. Pour this juice through three layers of damp cheesecloth over a bowl to really refine the juice. Pour this juice back into a large pot with some pectin, bring it to a boil, and let it boil for 10 minutes. Then add your sugar and stir it constantly until the juice has thickened. Put a small bit of the jelly on a chilled plate, and if the juice gels on the plate, you’re ready to can it and eat it!
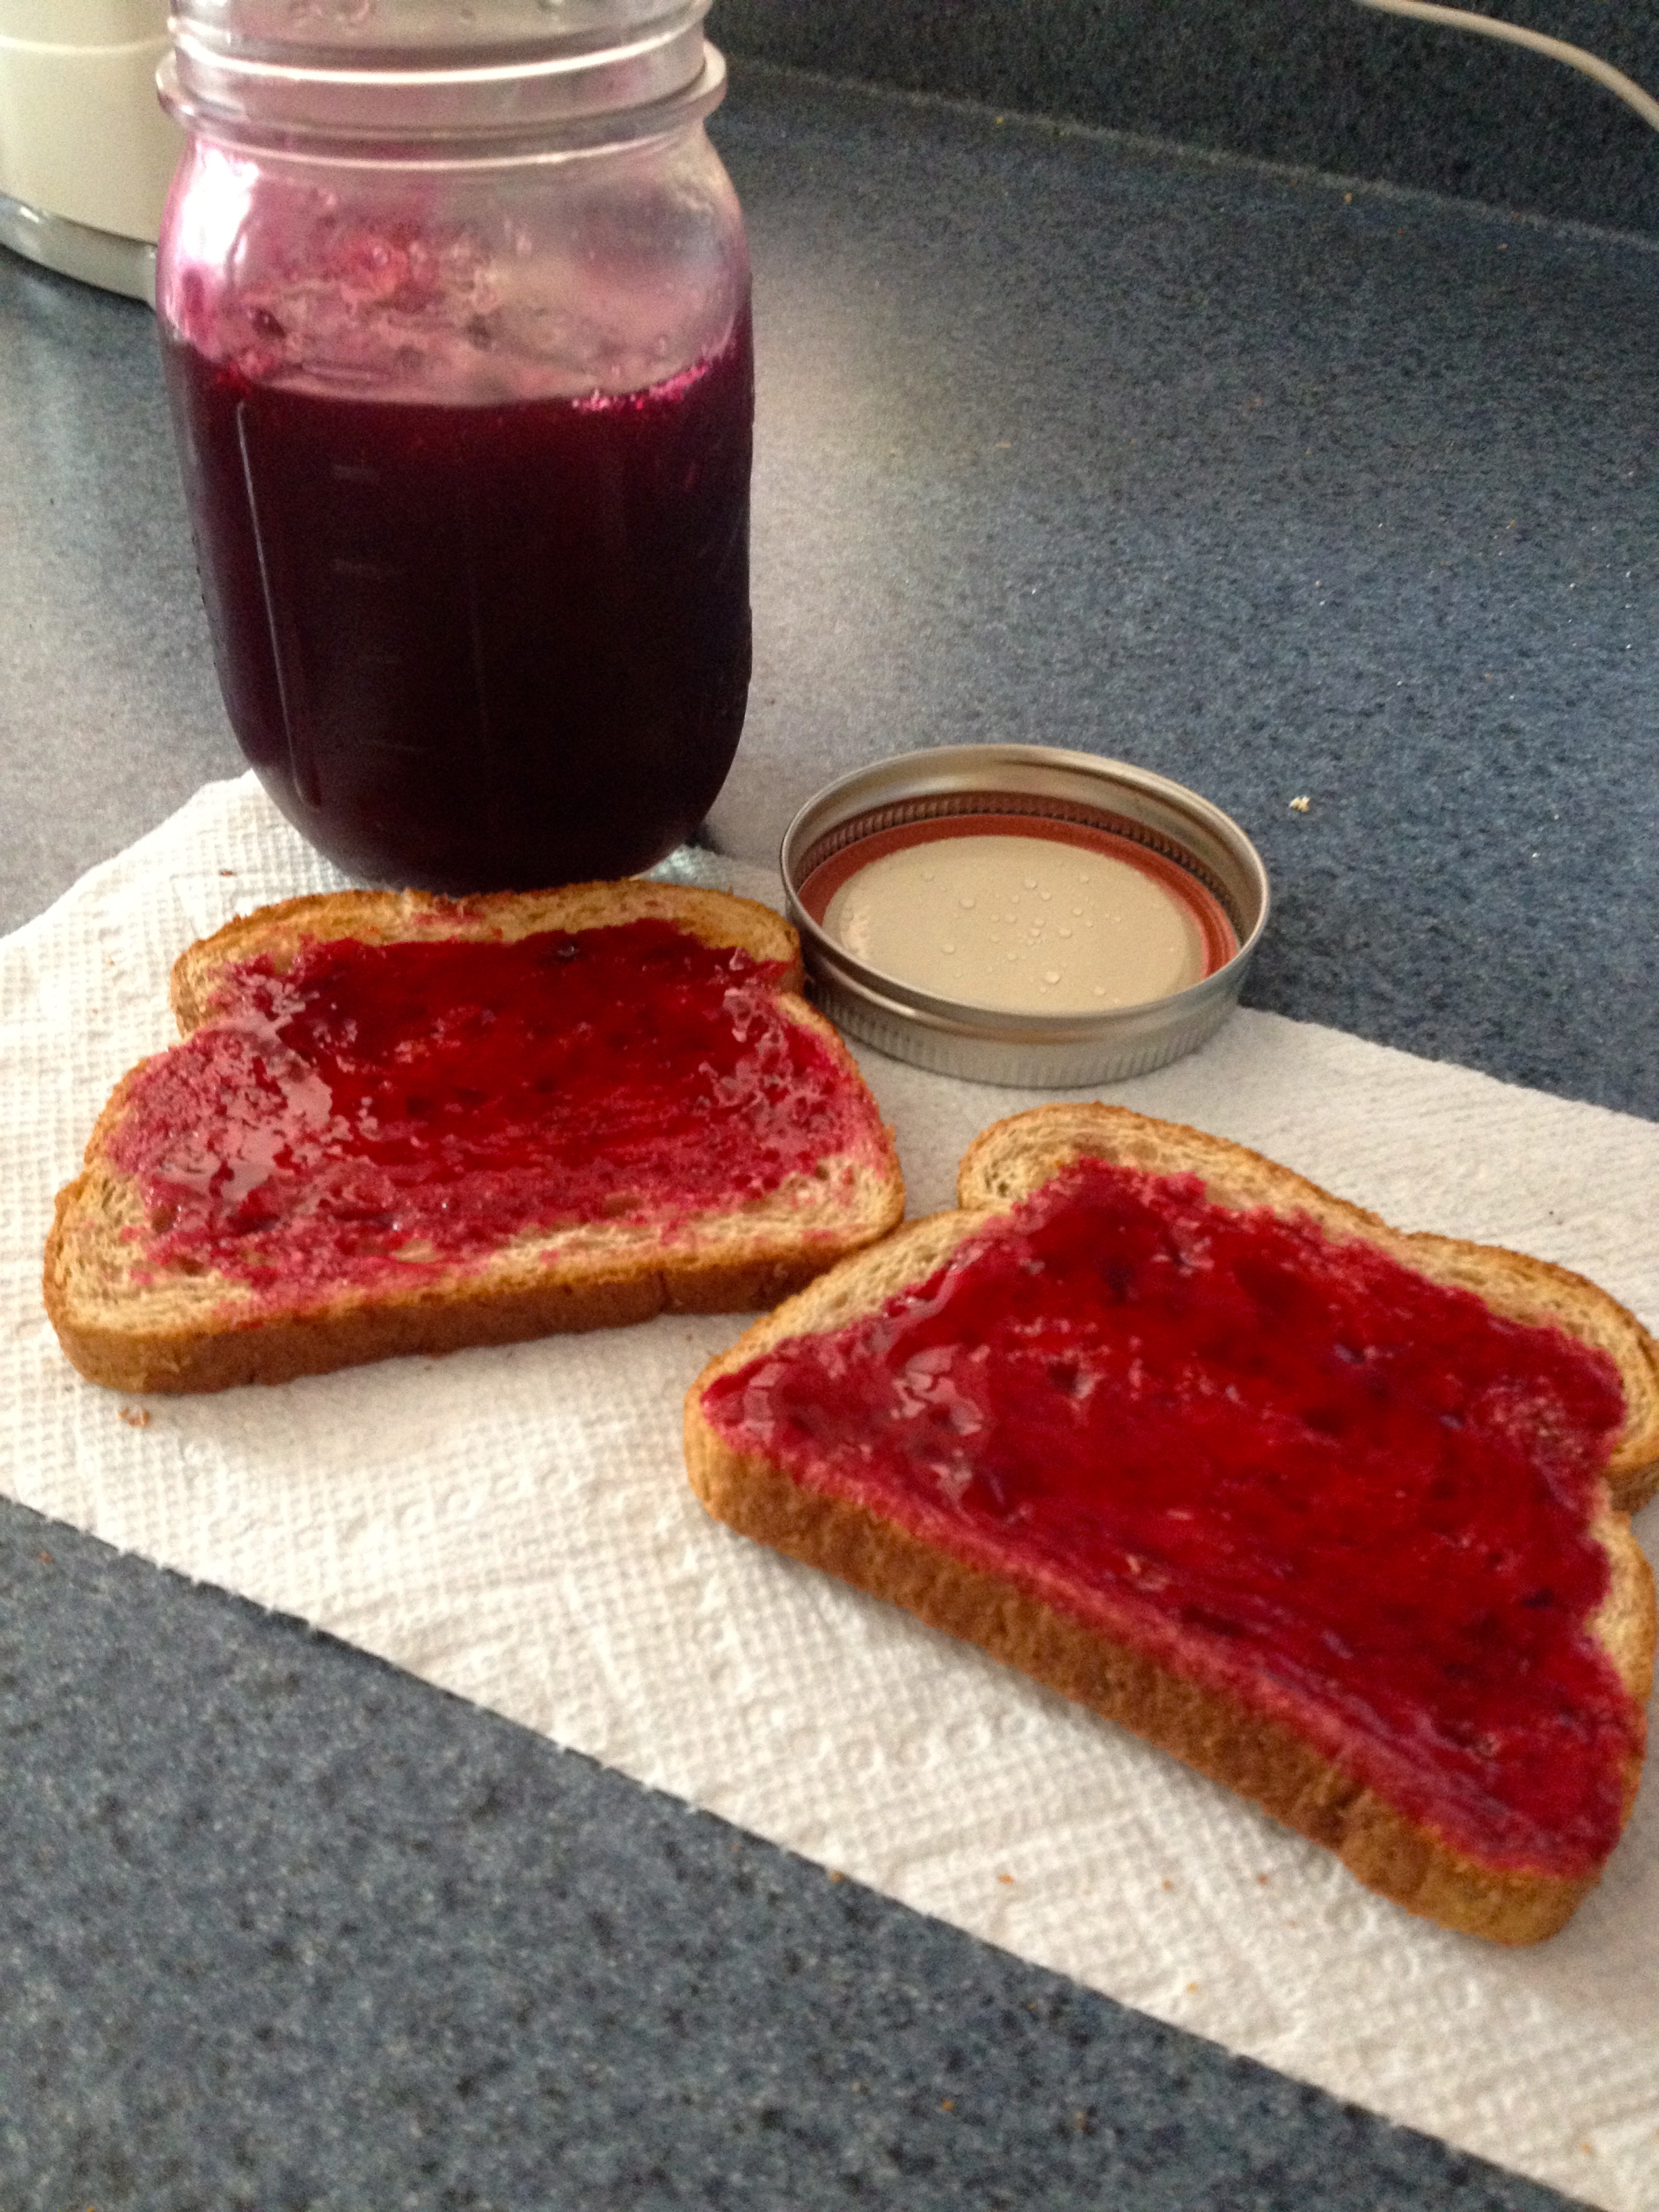
That was just a quick description of the recipe, because that’s not the star of the show. What matters most is what happens to these fruit jellies! For this next recipe, I used my Mom’s homemade raspberry jam to make a family recipe, called Raspberry Thumbprint cookies. Here are the ingredients:
- 2 sticks softened butter
- 1/2 cup granulated sugar
- 1/2 tsp vanilla
- 2 egg yolks, beaten
- 1 pinch salt (about 1/8 tsp)
- 2 cups all-purpose flour
Cream the butter and sugar together, and then add the egg yolks and vanilla. Mix these ingredients until they’re fully combined. Then, add the flour and salt and stir until the mixture is completely mixed. The dough is really that simple!
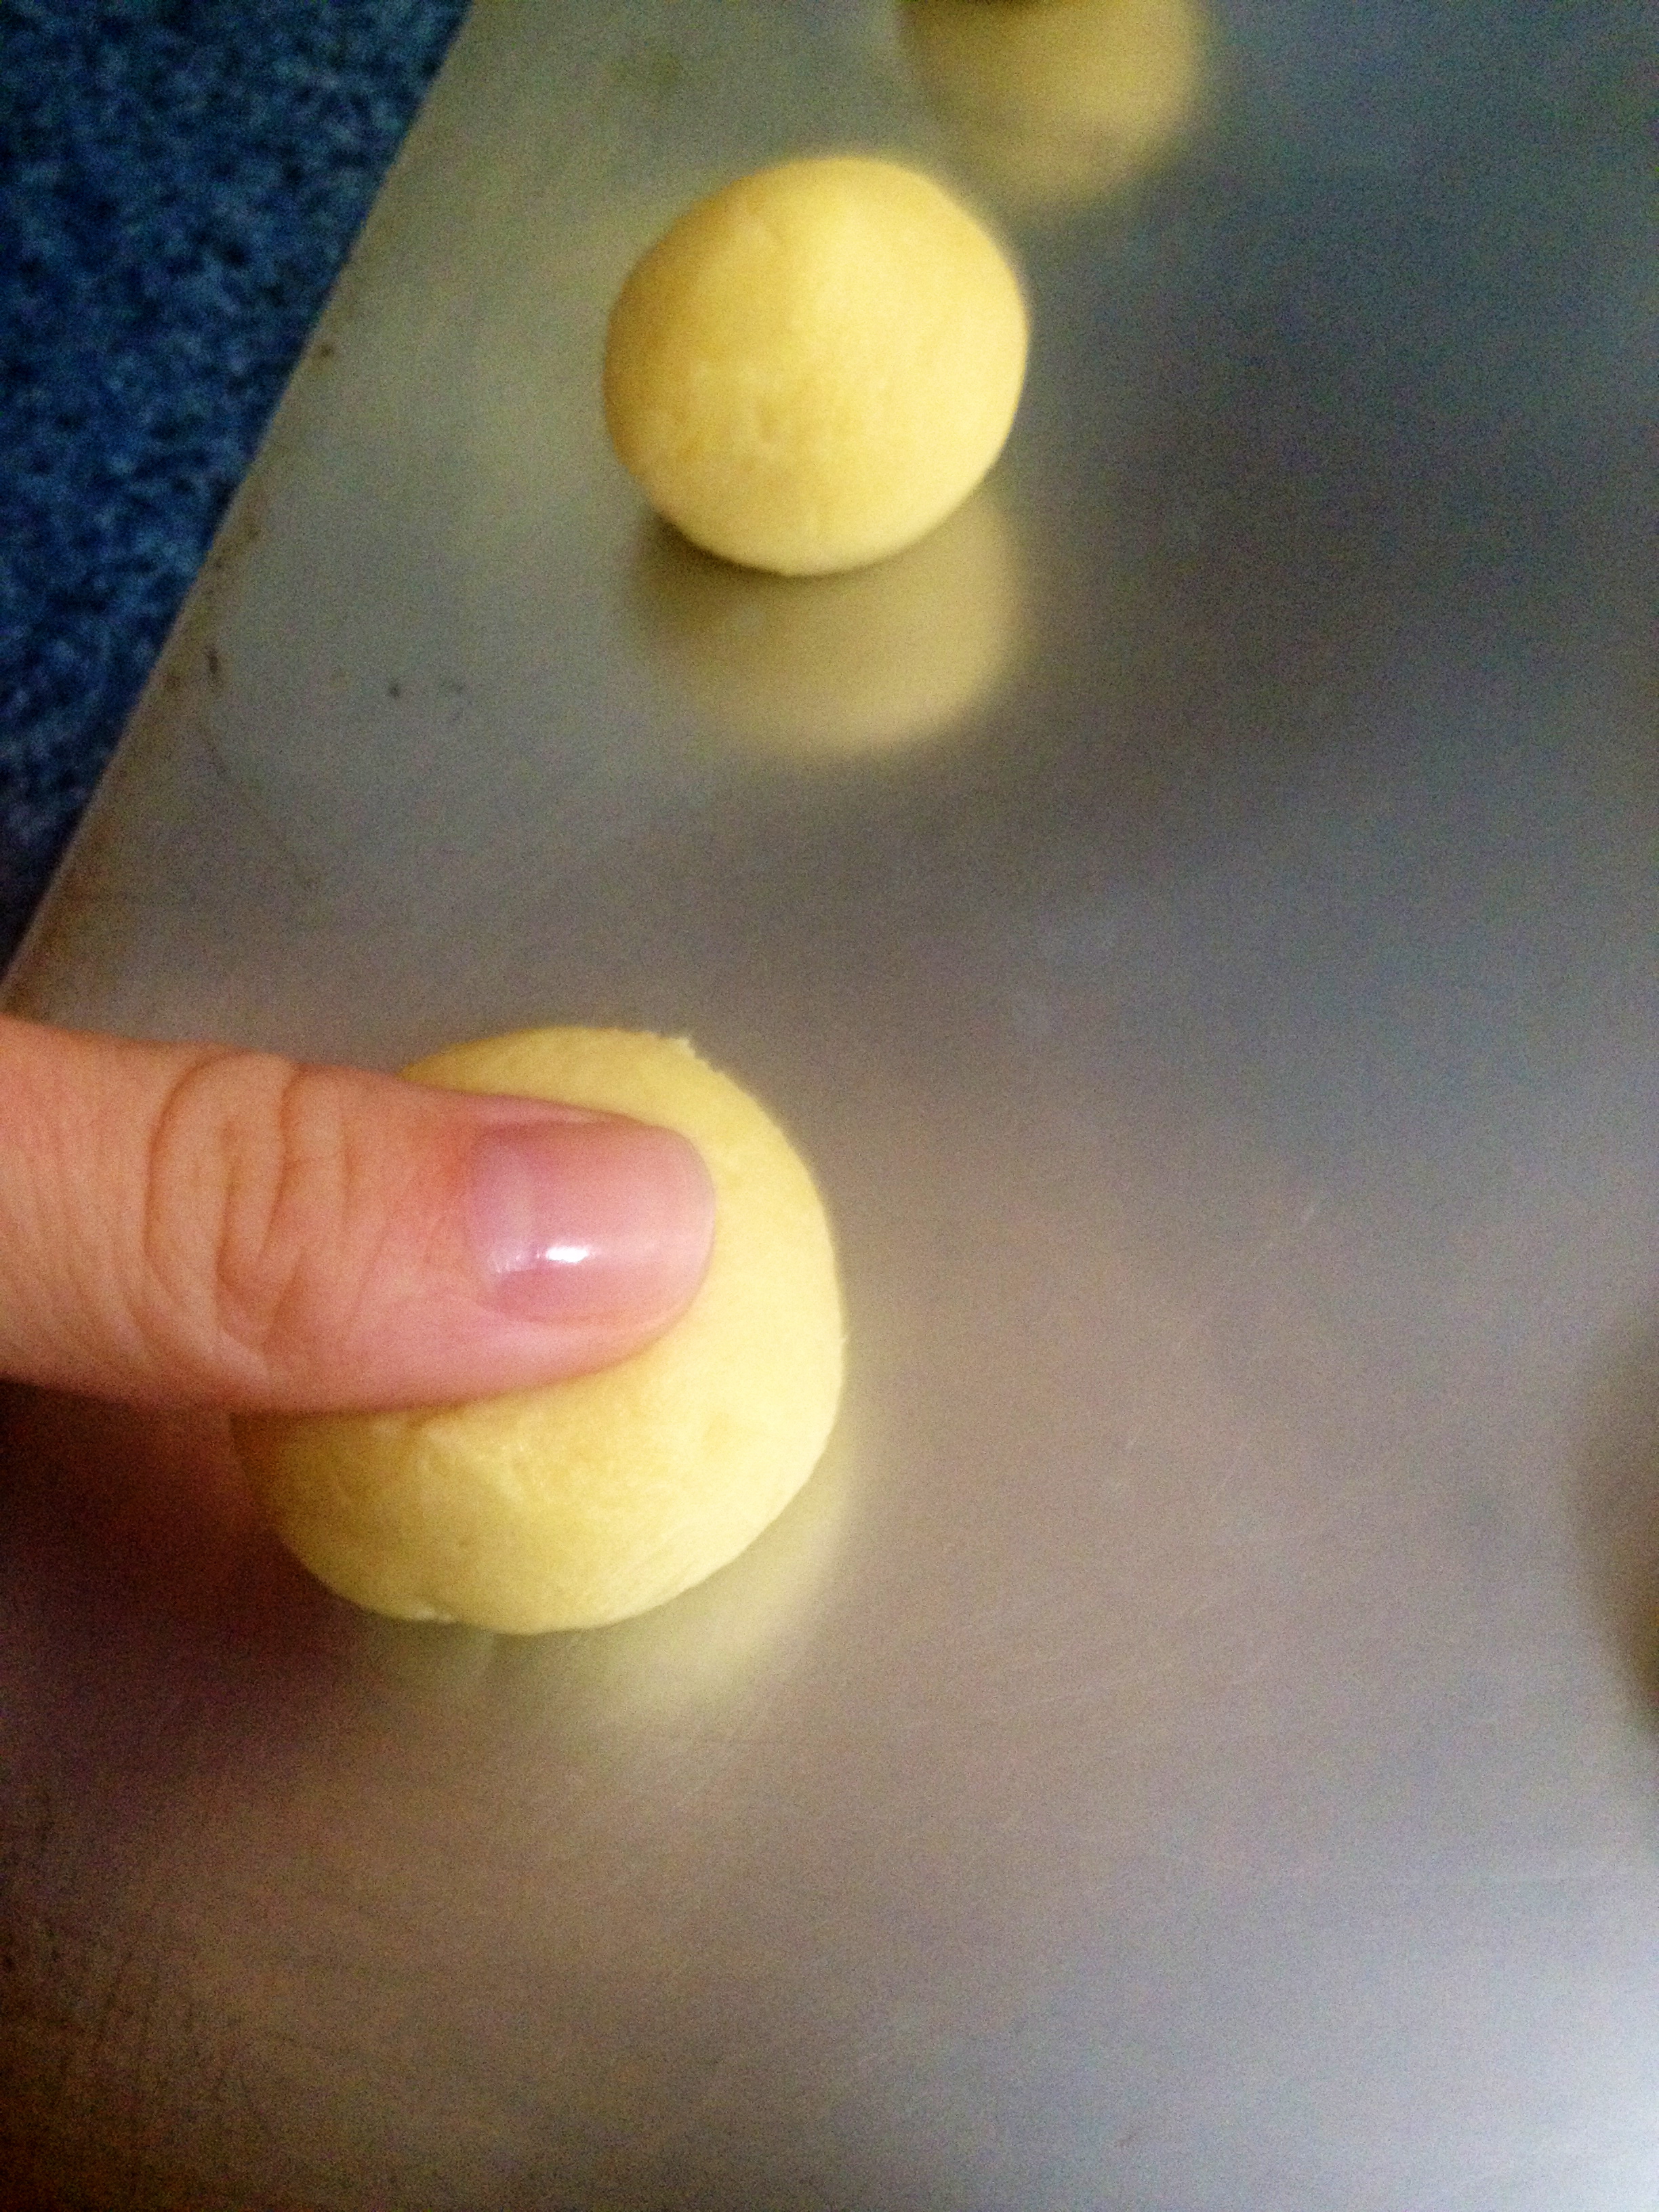
Roll the dough into small balls between your palms and lay them on a baking sheet.
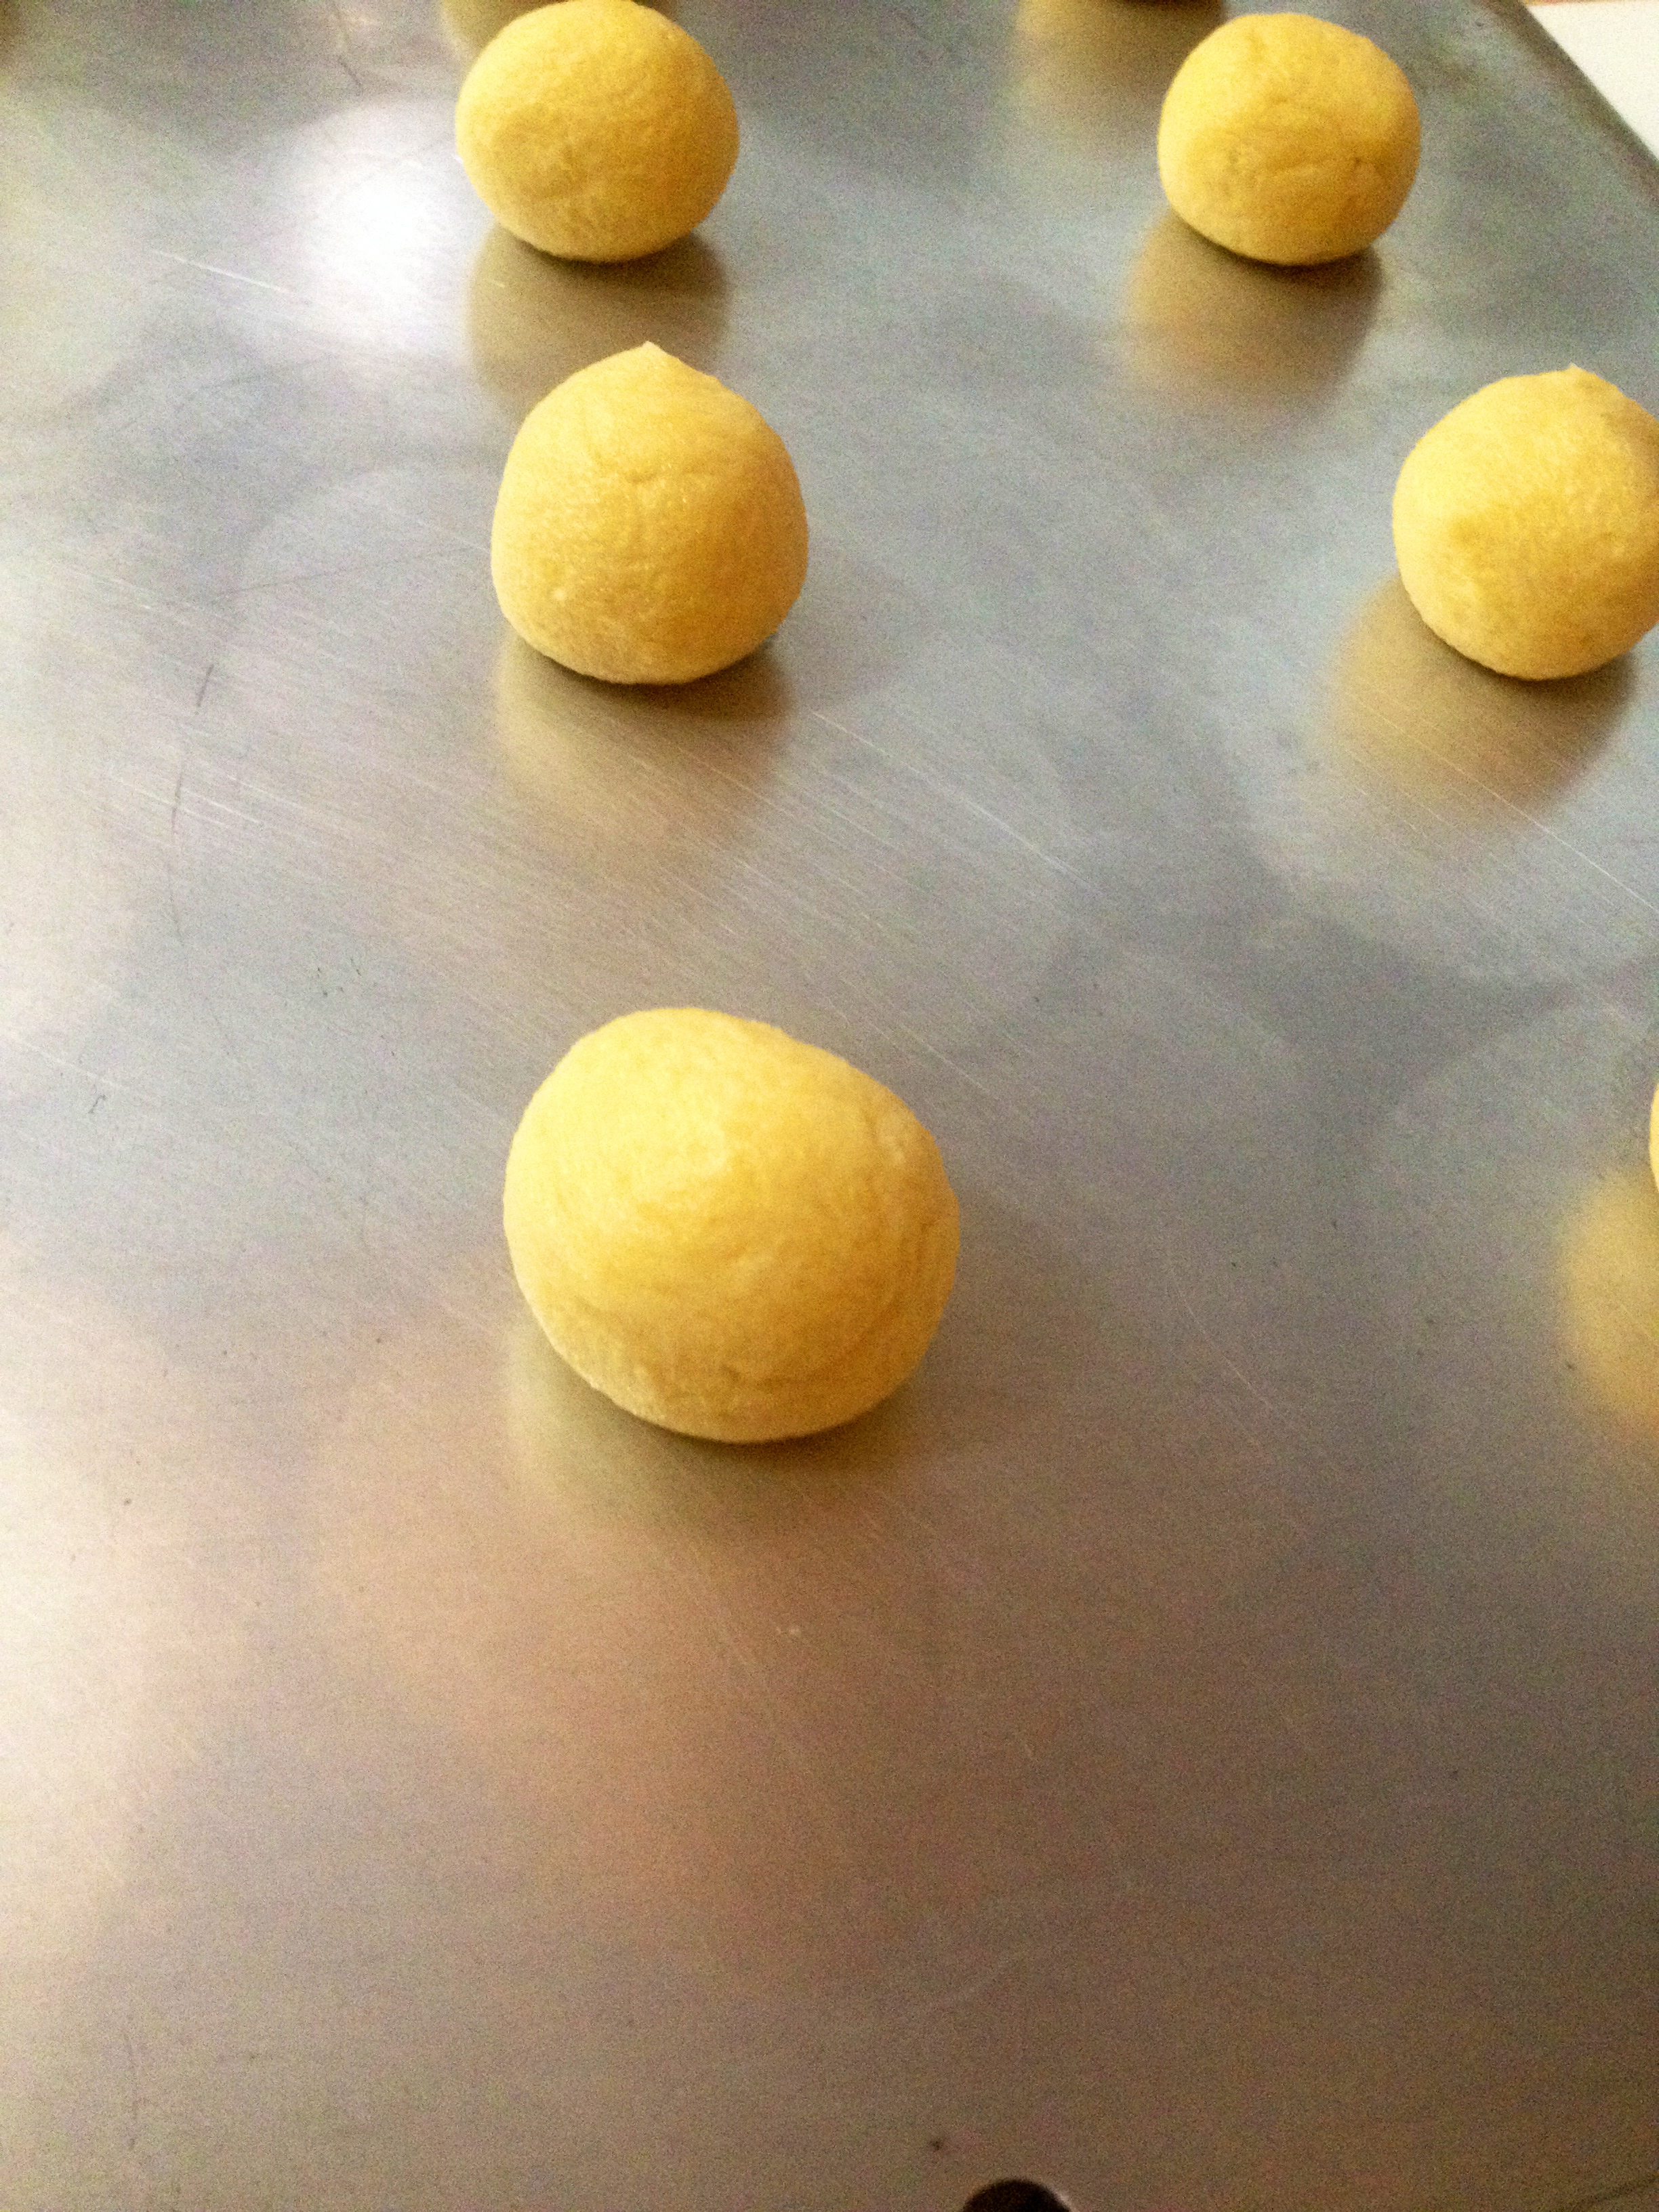
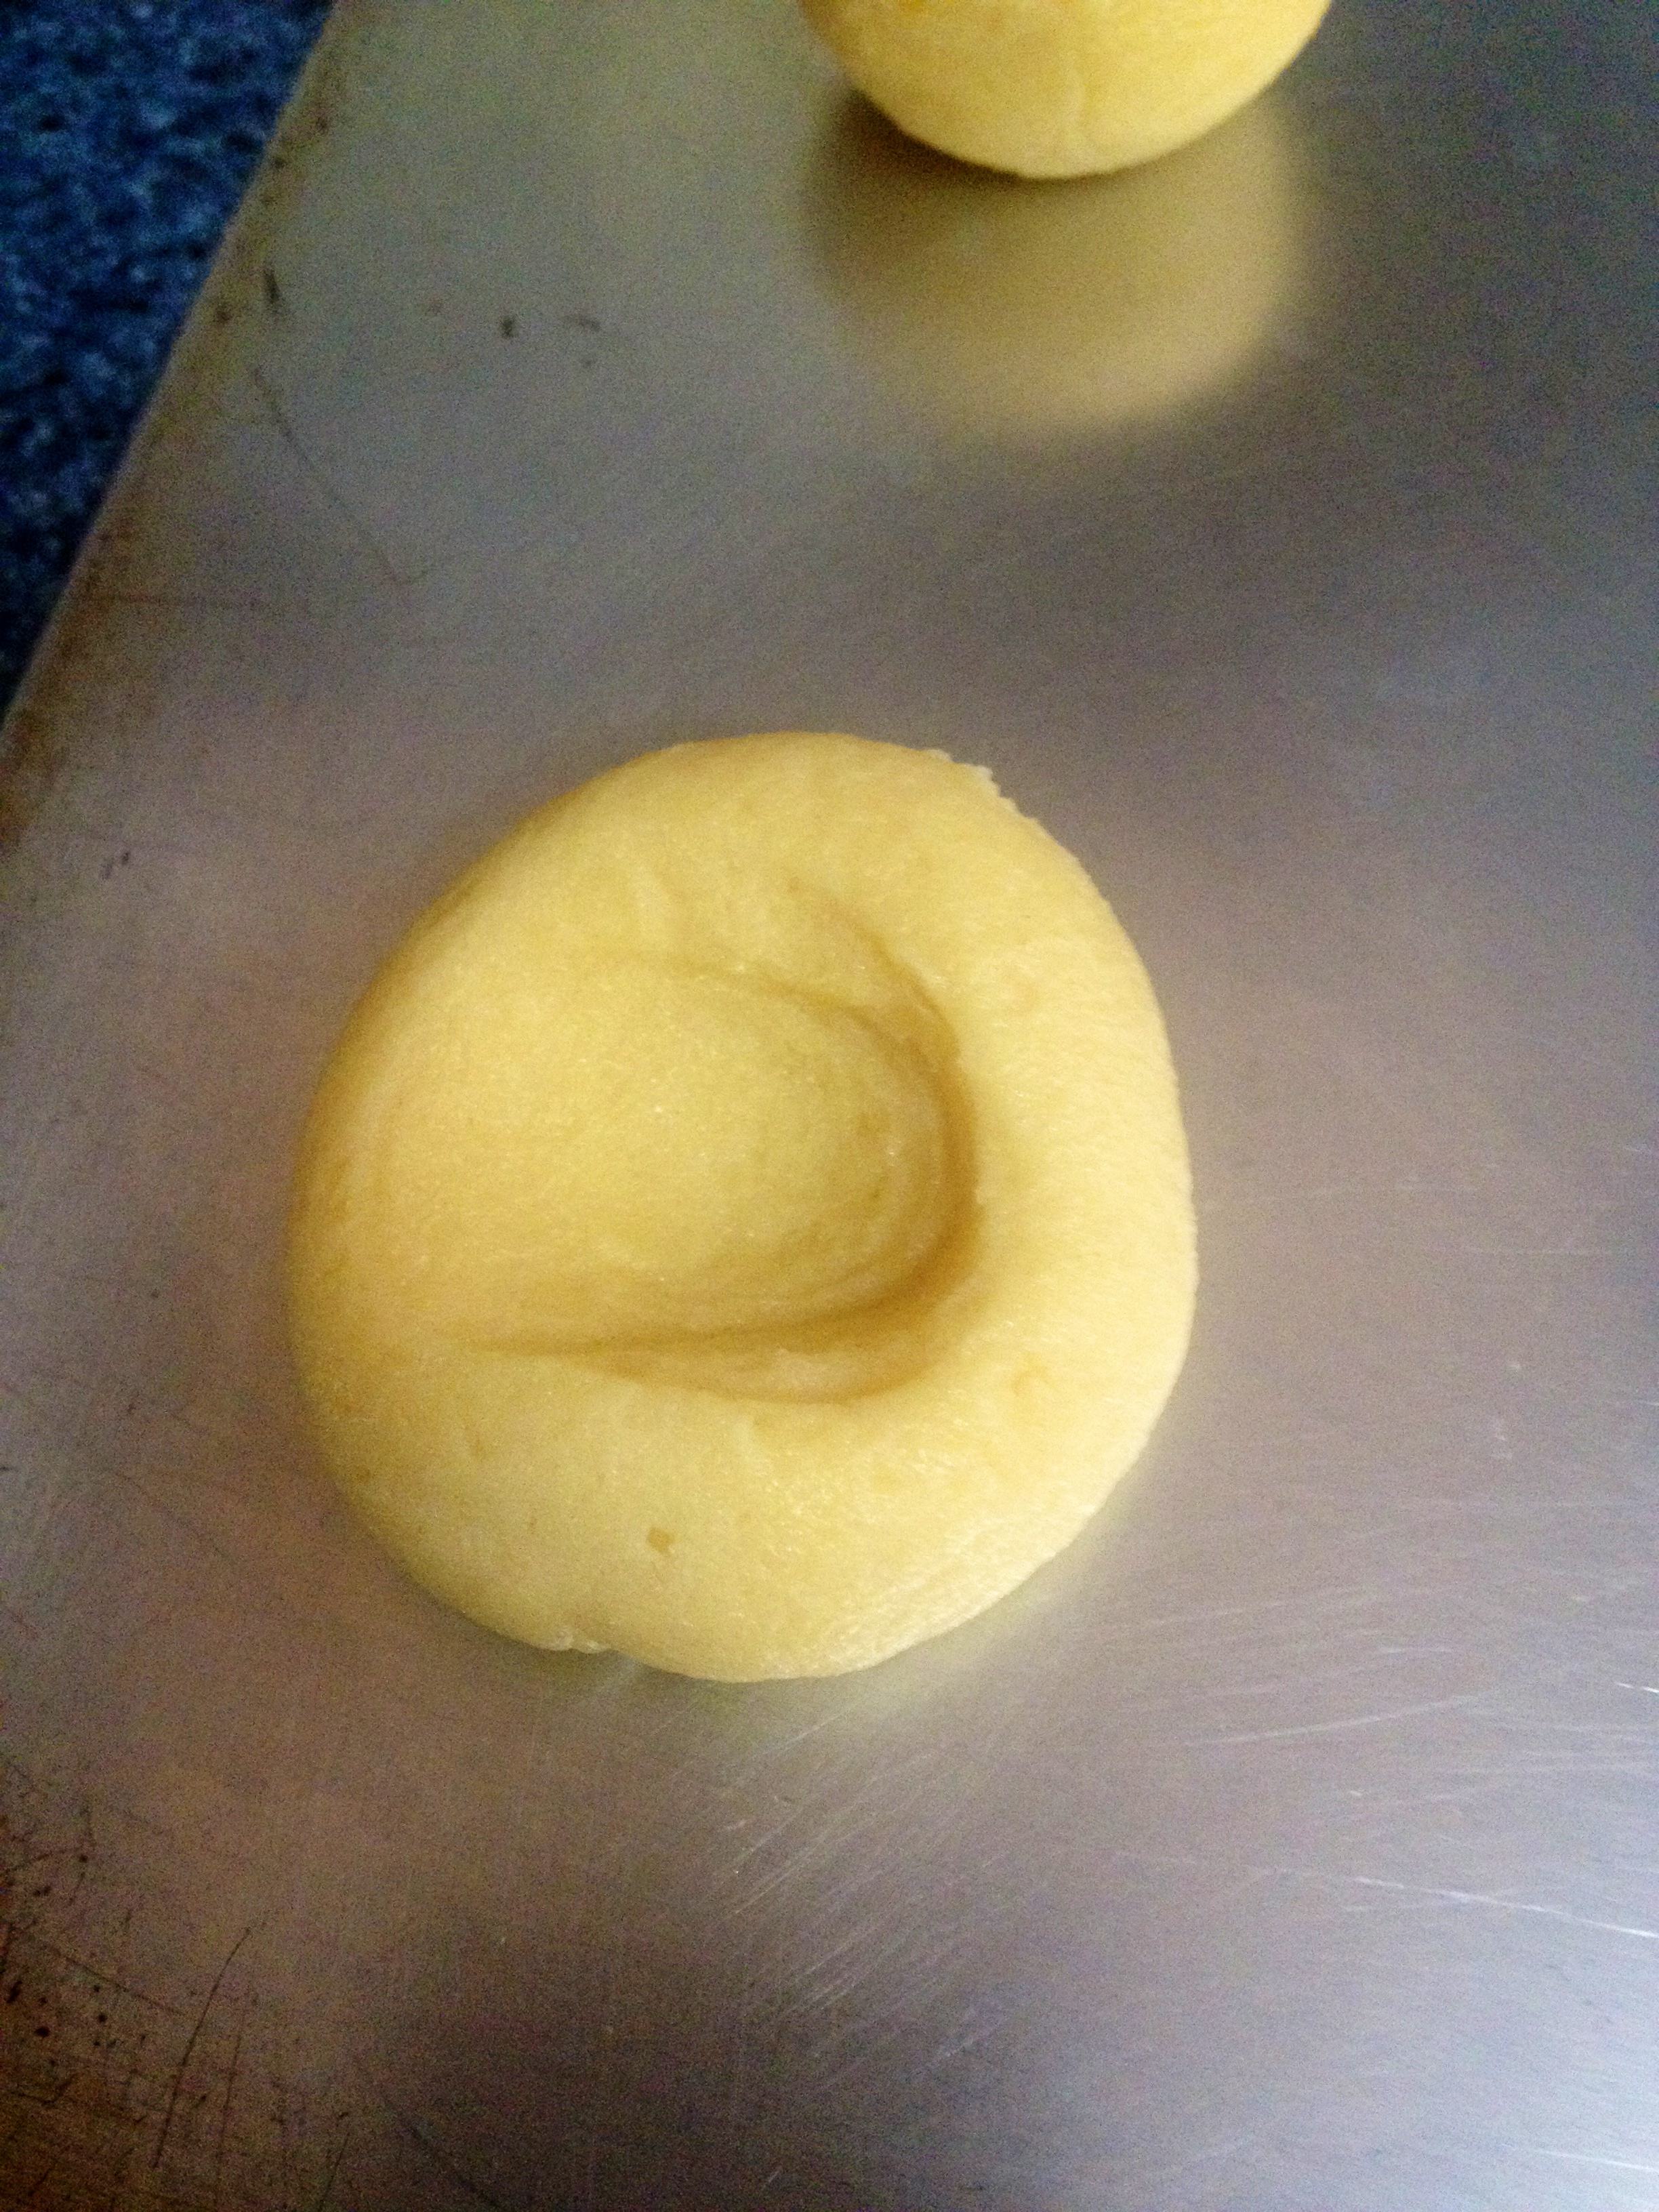
Press the center of each ball down with your thumb (hence the name Thumbprint cookies!).
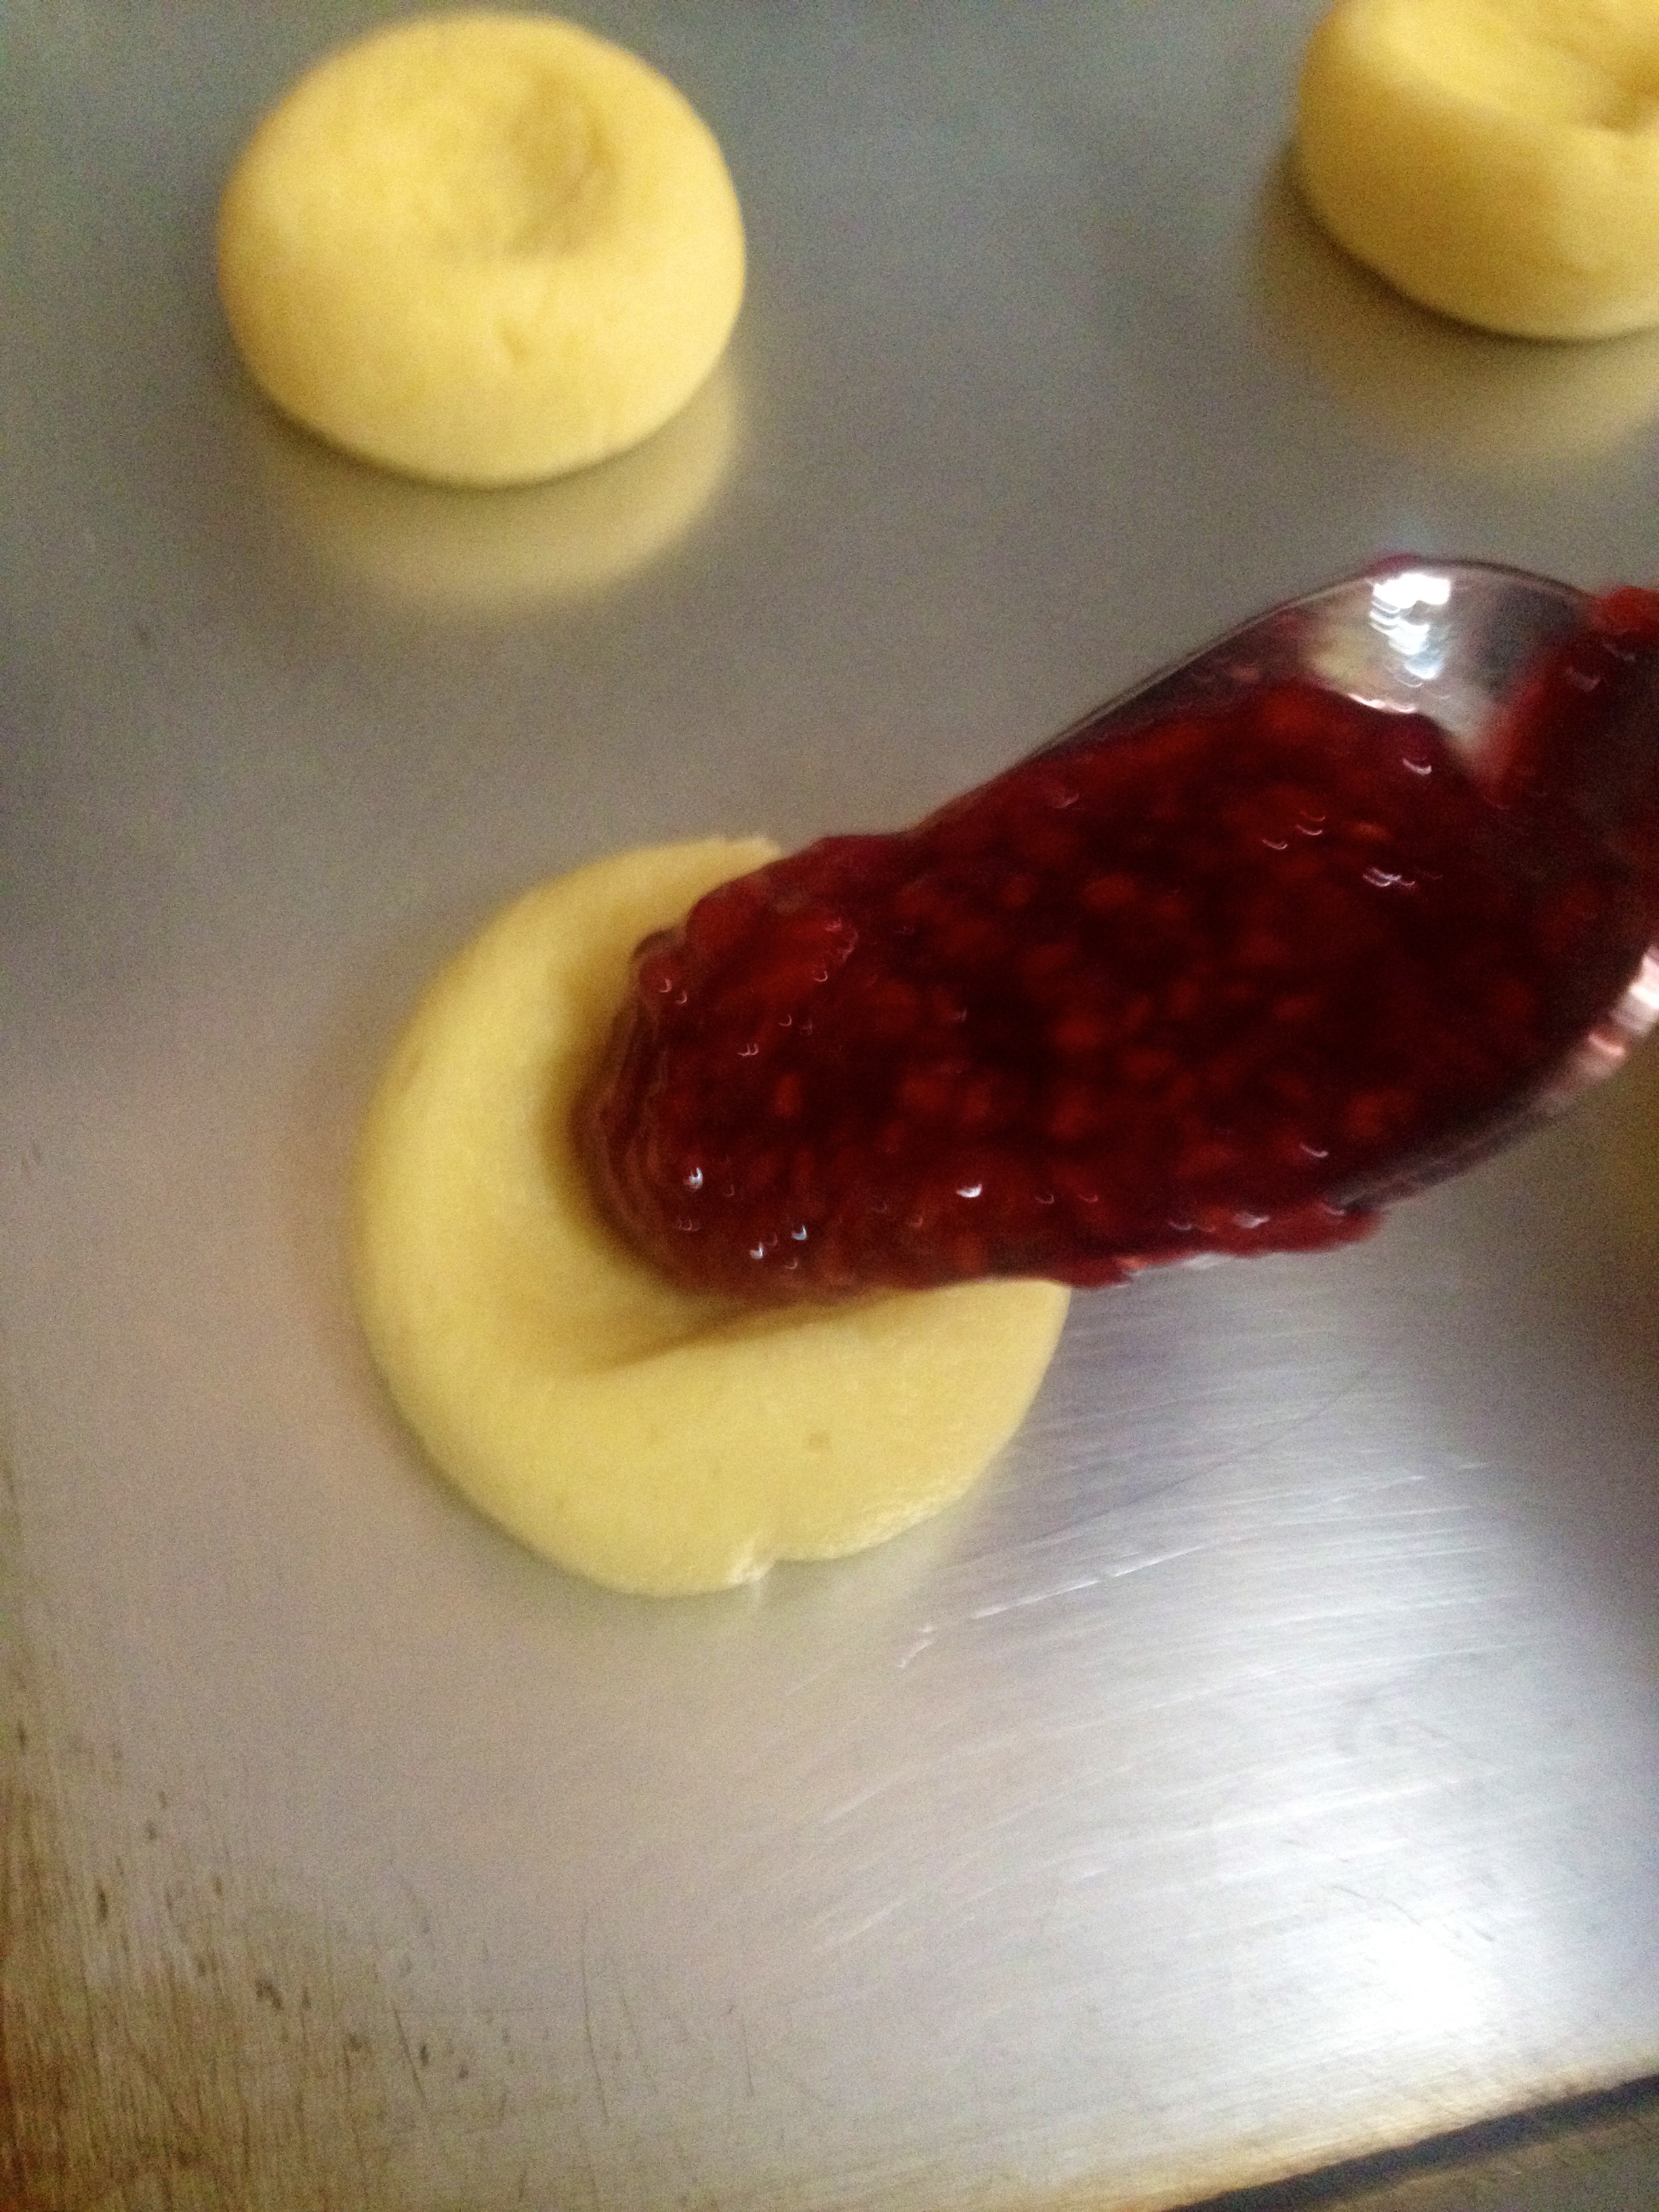
Now add your favorite flavor of jelly or jam to the center of each dough ball. My great-aunt Sadie, who gave this recipe to me, warned me: “Go easy on the jelly when you’re filling these, because when it bakes it can overflow!”
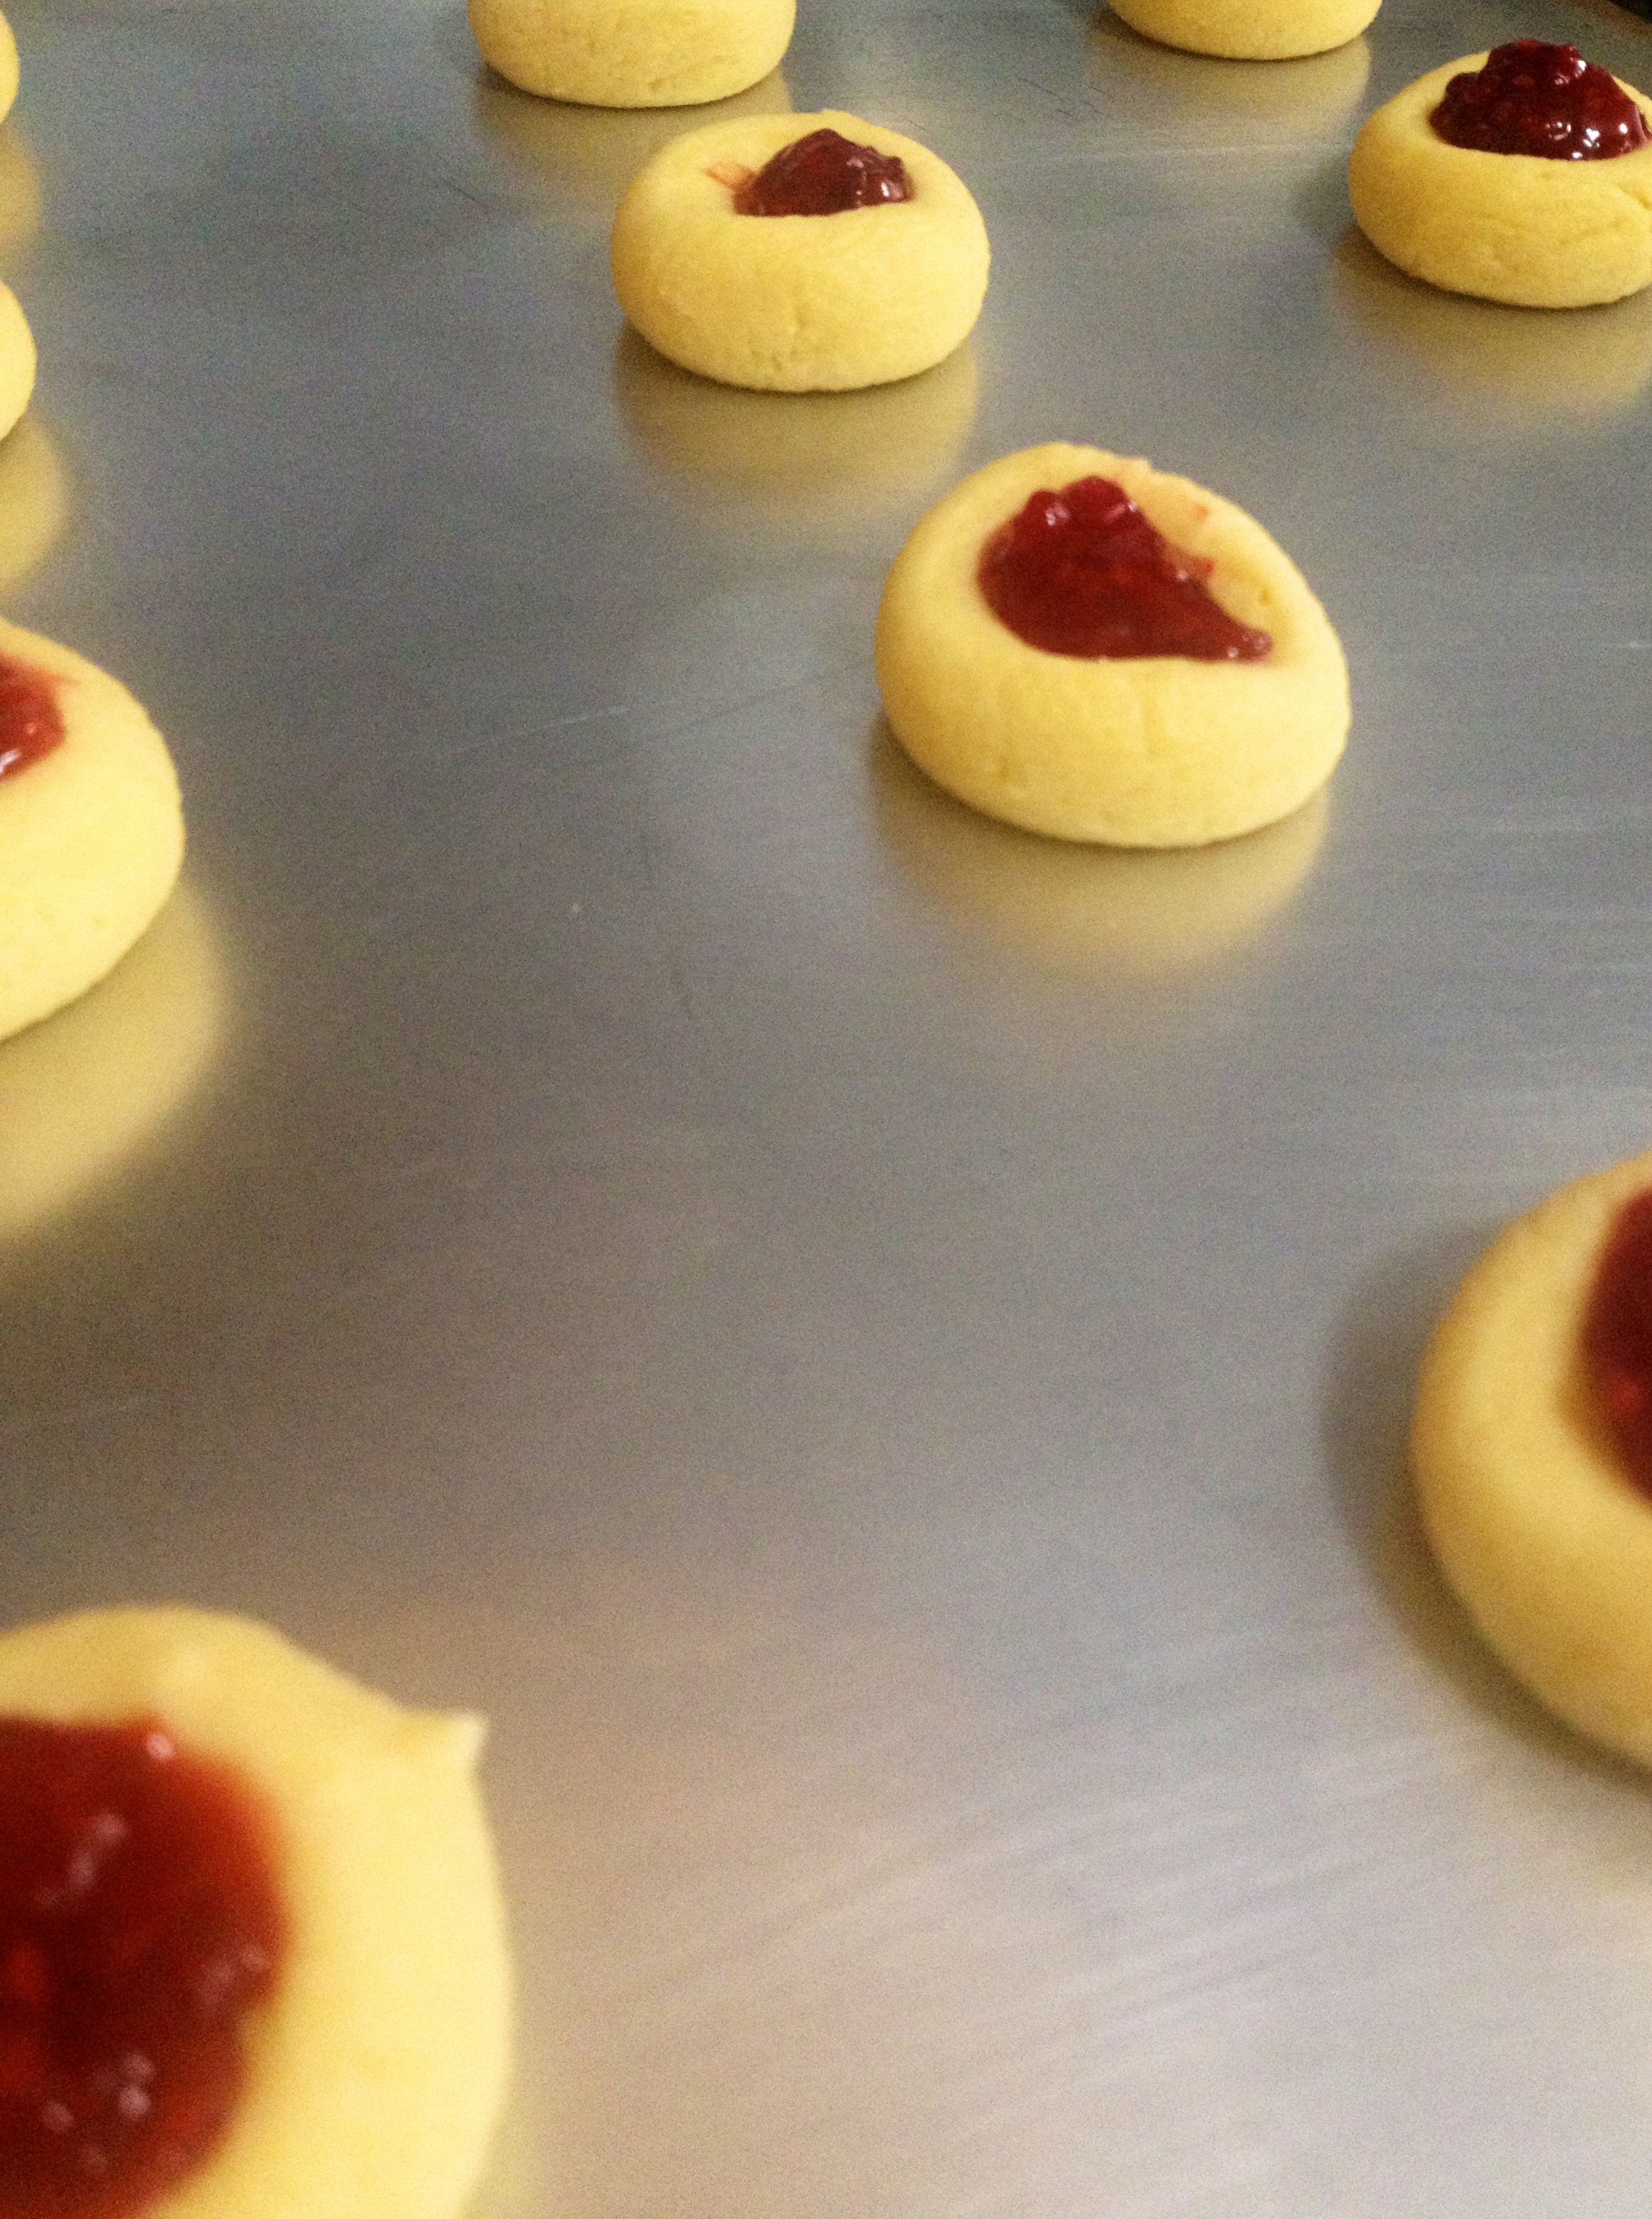
Bake the cookies in a 350ºF oven for 15-20 minutes, or until the cookies are lightly browned.
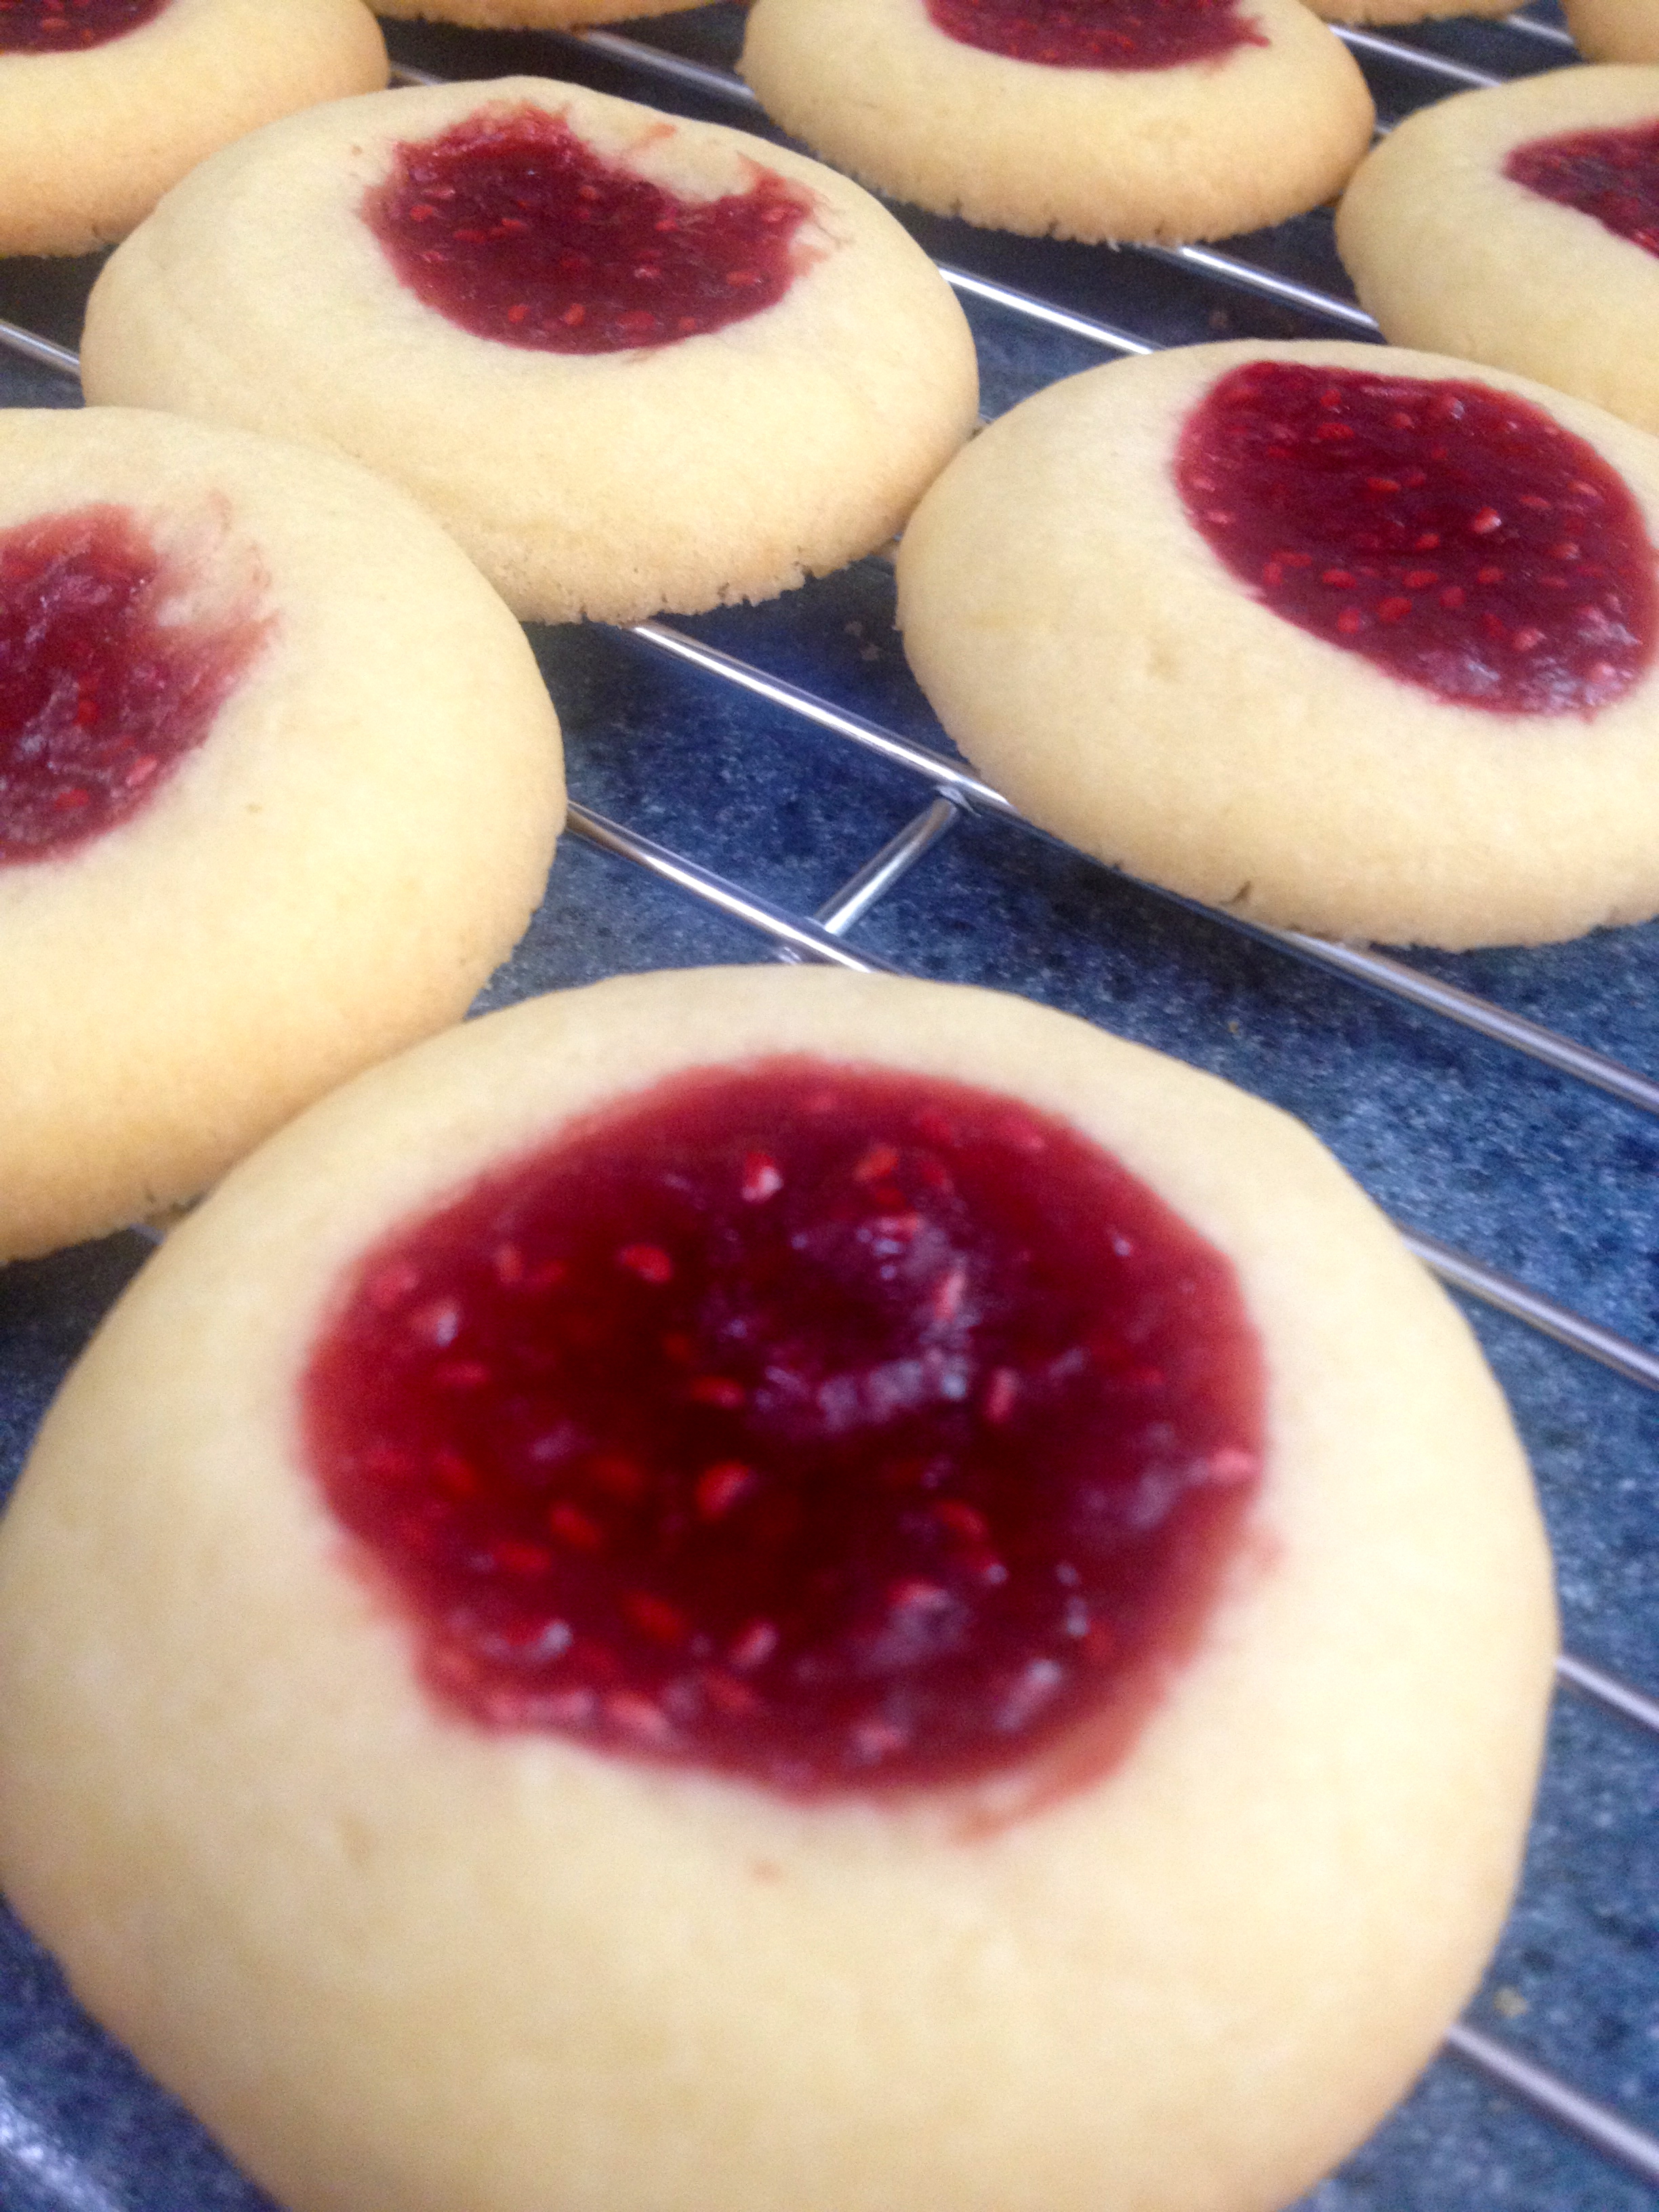
And that’s all there is to it! This recipe is so simple, but let me tell you, it’s scrumptious. And of course, the homemade raspberry jam took the flavor of these cookies to a whole new level. I really hope you get a chance to try these cookies- they take only about 30 minutes from start to finish, and you won’t regret making them! Happy baking!
Oreo Balls…in Cookies!
Hi friends! I’m back at the baking, and decided to create a new cookie! For those of you who have eaten Oreo balls before, it’s a spin off of that. For those who haven’t experienced the Oreo ball delights, imagine this: soft Oreo filling, stuffed in a chocolate cookie with white chocolate chips in just the right places!
Is your mouth watering yet? Here’s the recipe!
Ingredients:
Oreo Filling
- 1 package Reduced Fat Oreo’s
- 8 oz. reduced fat cream cheese, softened to room temperature
You can use regular Oreo’s or cream cheese, but I was trying to keep the calorie and fat count down. Plus, the less fat there is in the filling, the less likely it is to melt in the oven!
Chocolate Cookie
- 2 cups flour
- 2/3 cup cocoa powder (unsweetened)
- 1 tsp baking soda
- 1/2 tsp salt
- 1 cup margarine
- 2/3 cup granulated sugar
- 2/3 cup brown sugar
- 1 tsp vanilla extract
- 2 eggs
- 1 package white chocolate chips (optional, but definitely recommended)
First, make the Oreo filling. It’s super easy! Just crush up the whole package of Oreo’s in a plastic bag, and pour them into a mixing bowl. Then, put the cream cheese in the bowl with the crushed Oreo’s. Using a hand mixer, combine the cream cheese and Oreo’s until it’s dark brown and thoroughly mixed. Set it aside. Here’s what it should look like: 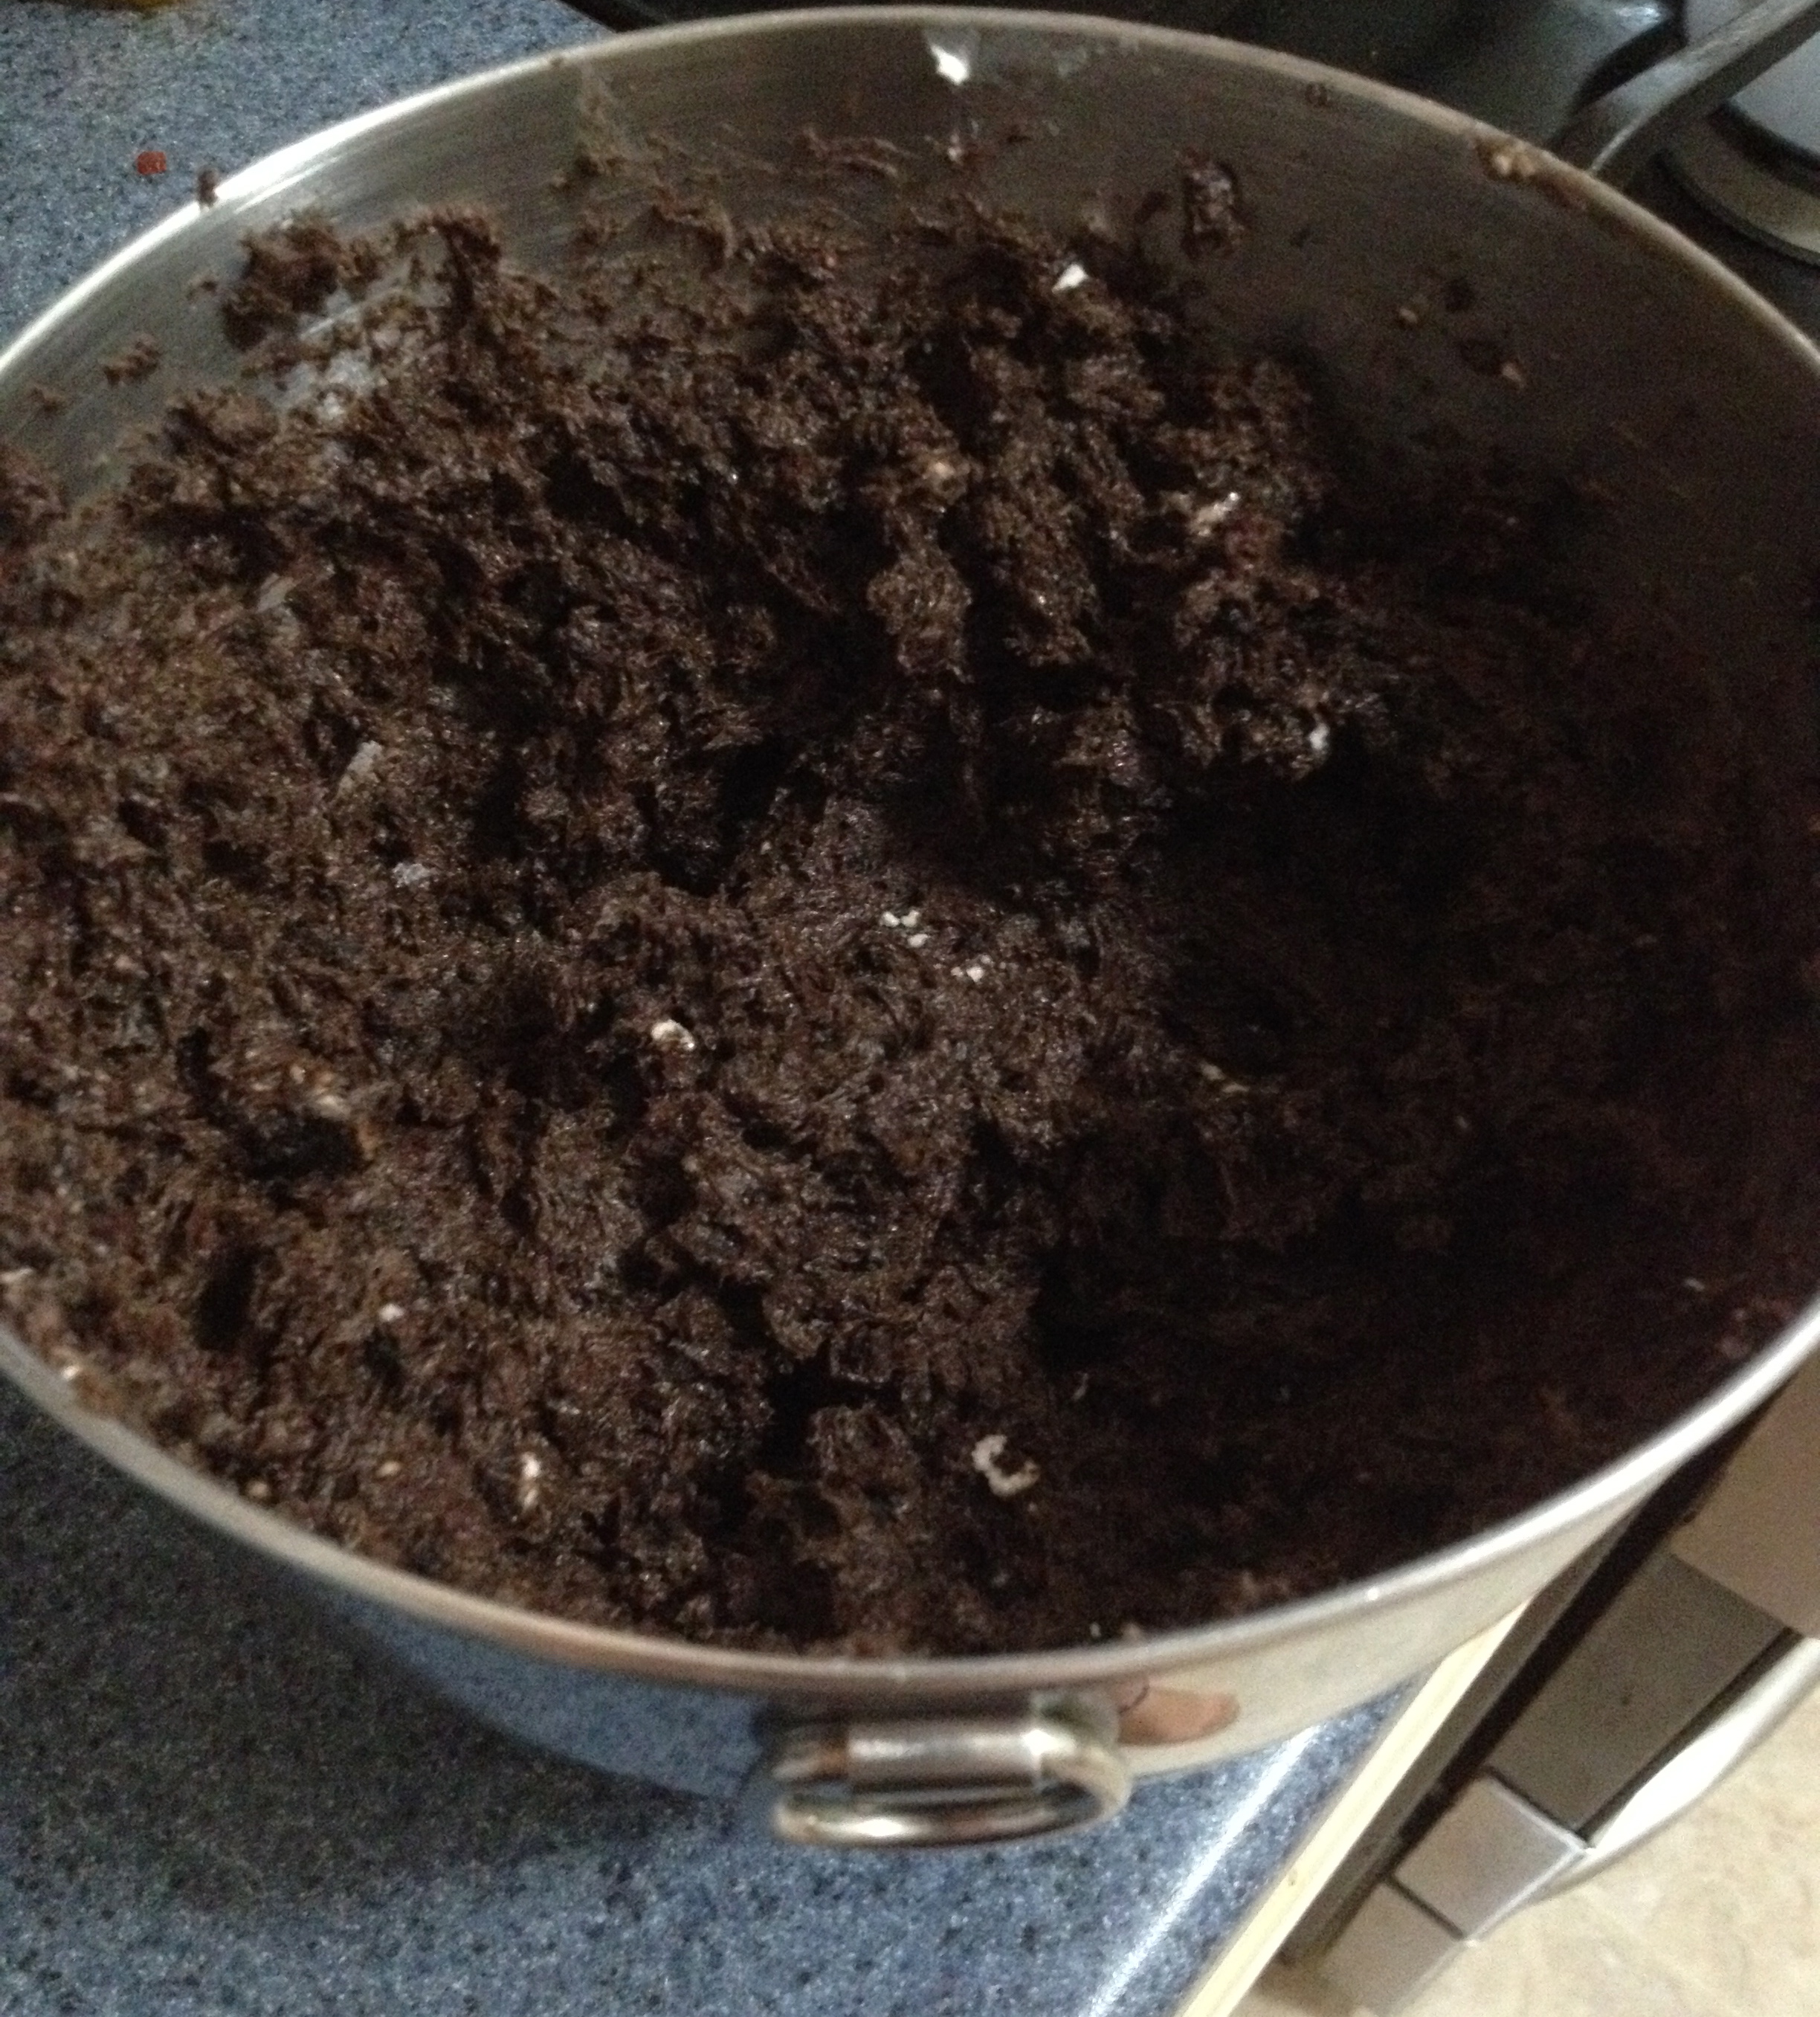
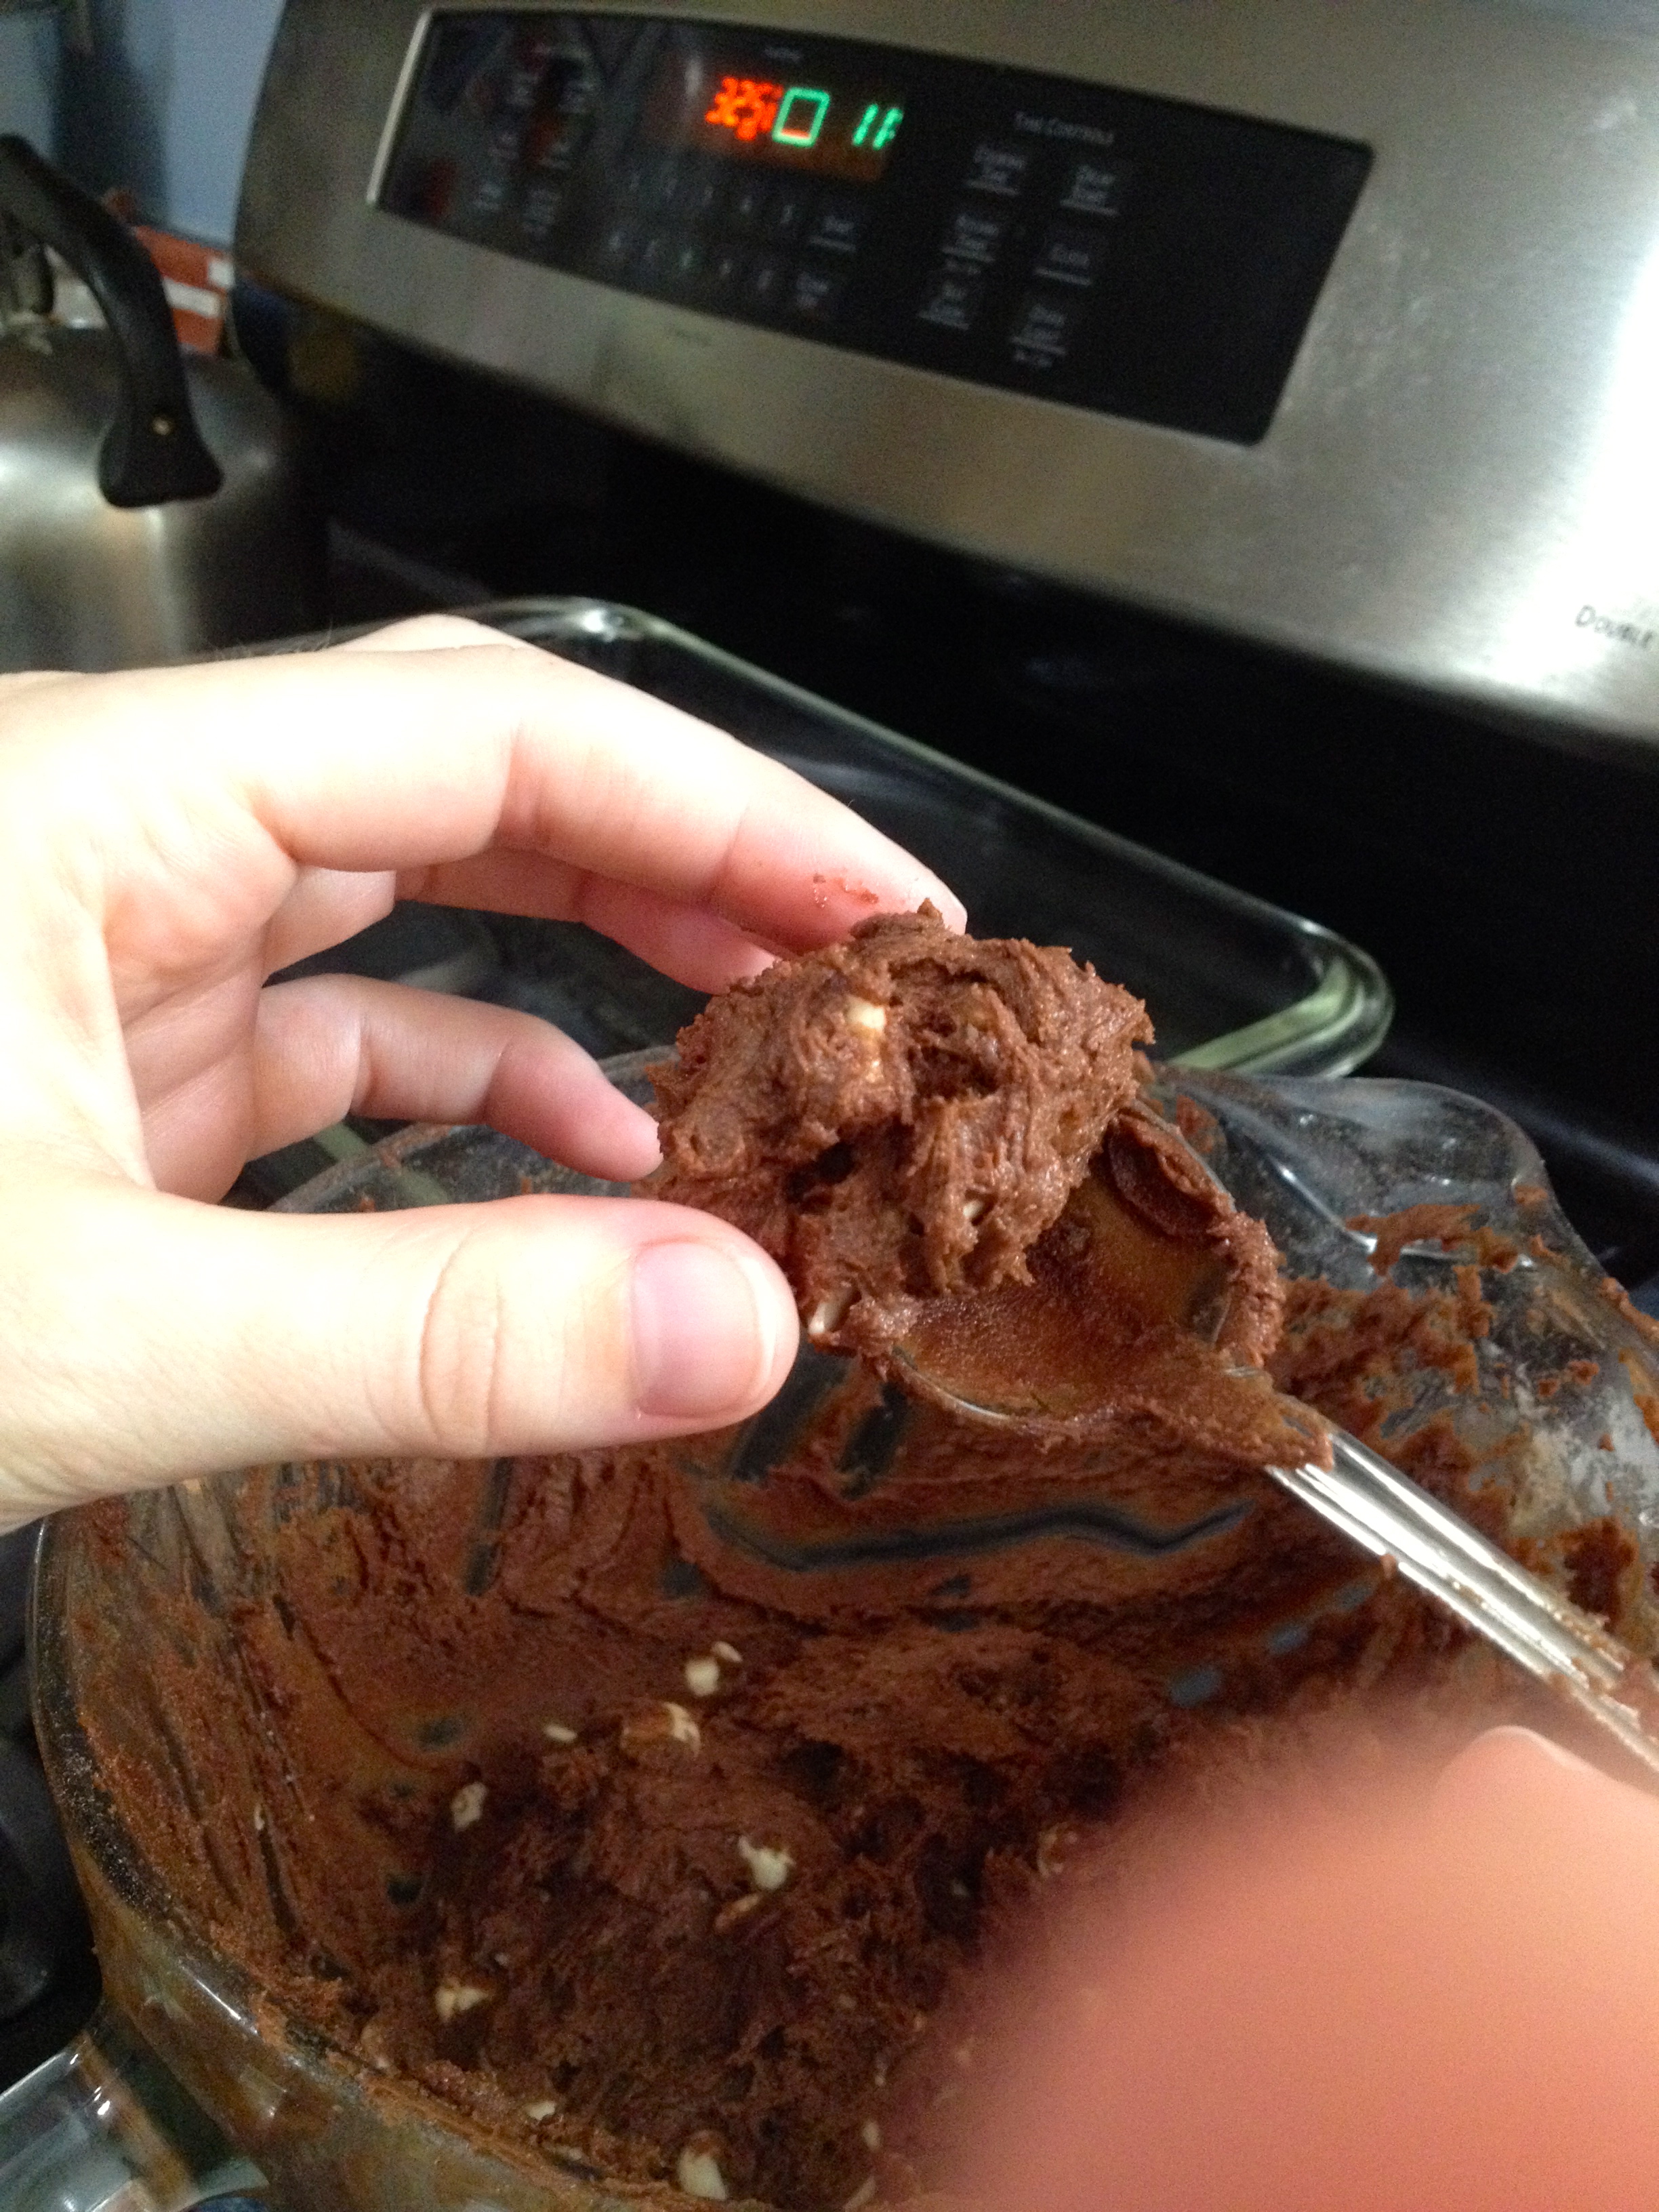
Now it’s time for the cookie dough! Start by softening the margarine. When it’s softened, add the brown sugar and the granulated sugar, and mix until the butter is creamed and fully combined with the sugar. Add the eggs and mix. Add the vanilla extract and stir to combine. Then add the flour, baking soda, cocoa, and salt and mix well until everything is completely mixed. Before adding the white chocolate, this is what it should look like.
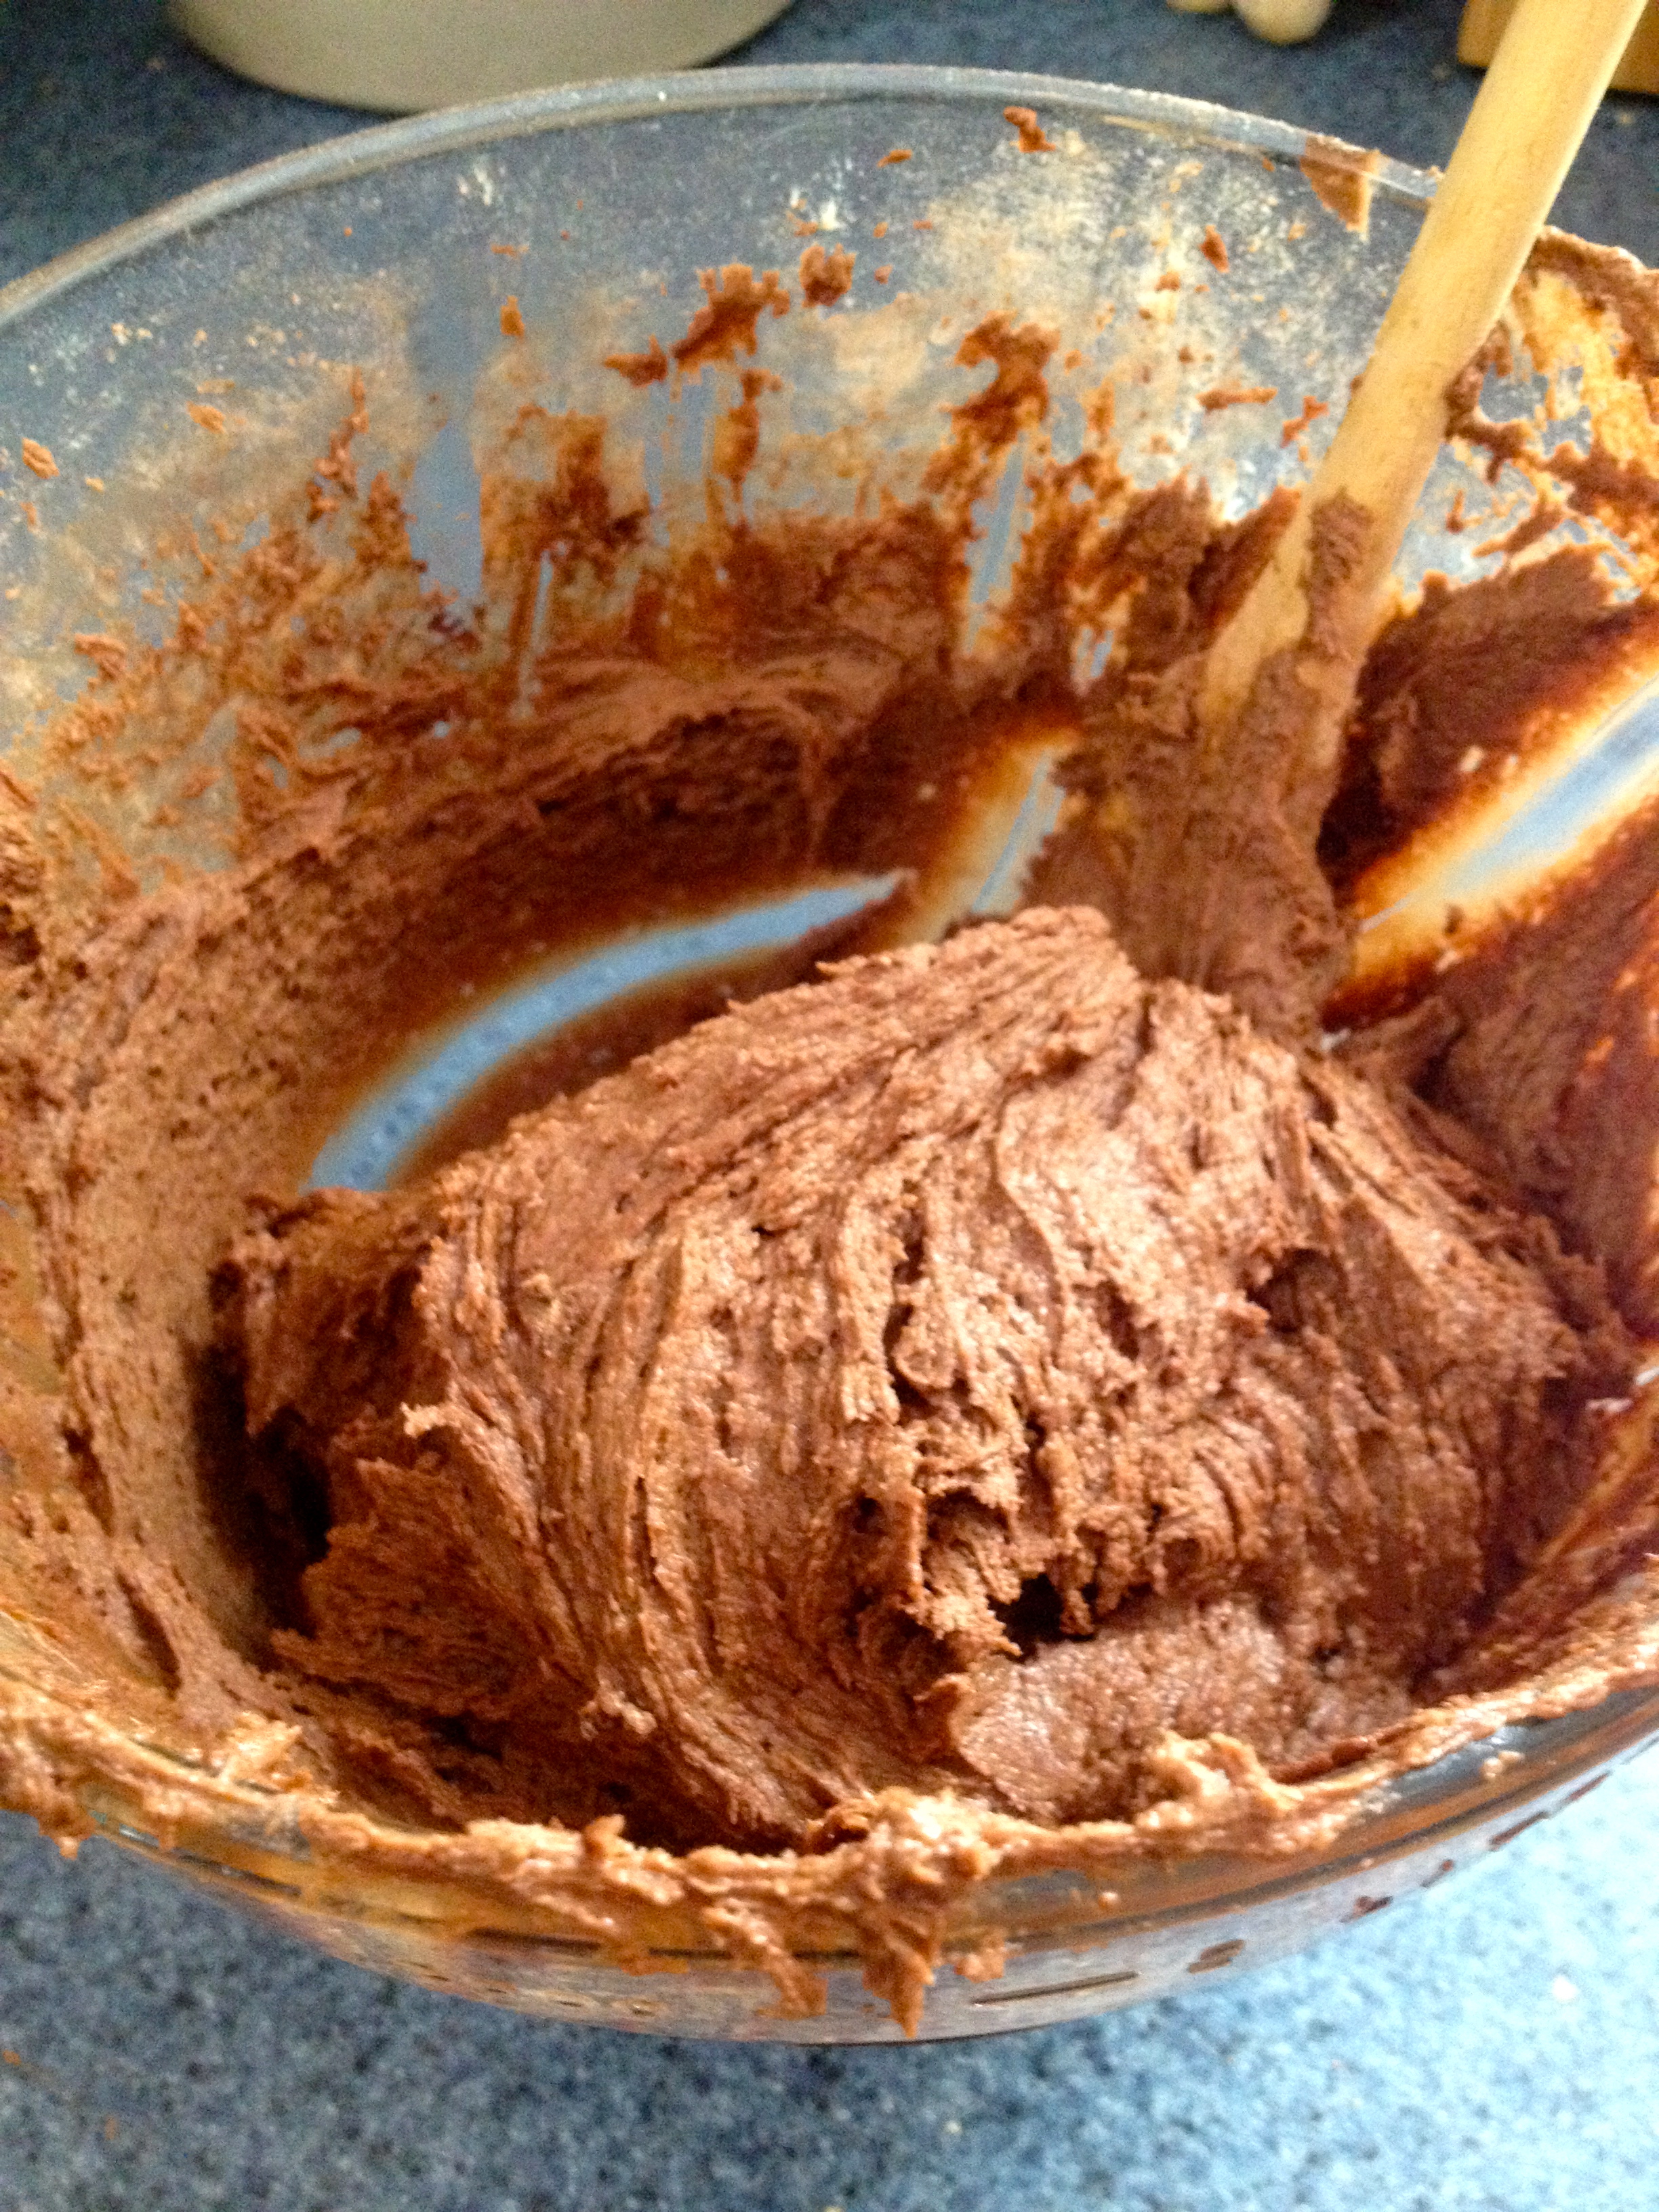
Fold in the white chocolate chips. If you feel like doing a quality check, feel free to take a spoonful of the dough and taste it! I definitely did!
Now comes the exciting part: assembling the stuffed cookies! There were three different methods I tested, and all had completely different results. I’ll list them here according to the result, and you can decide which one you’d rather use.
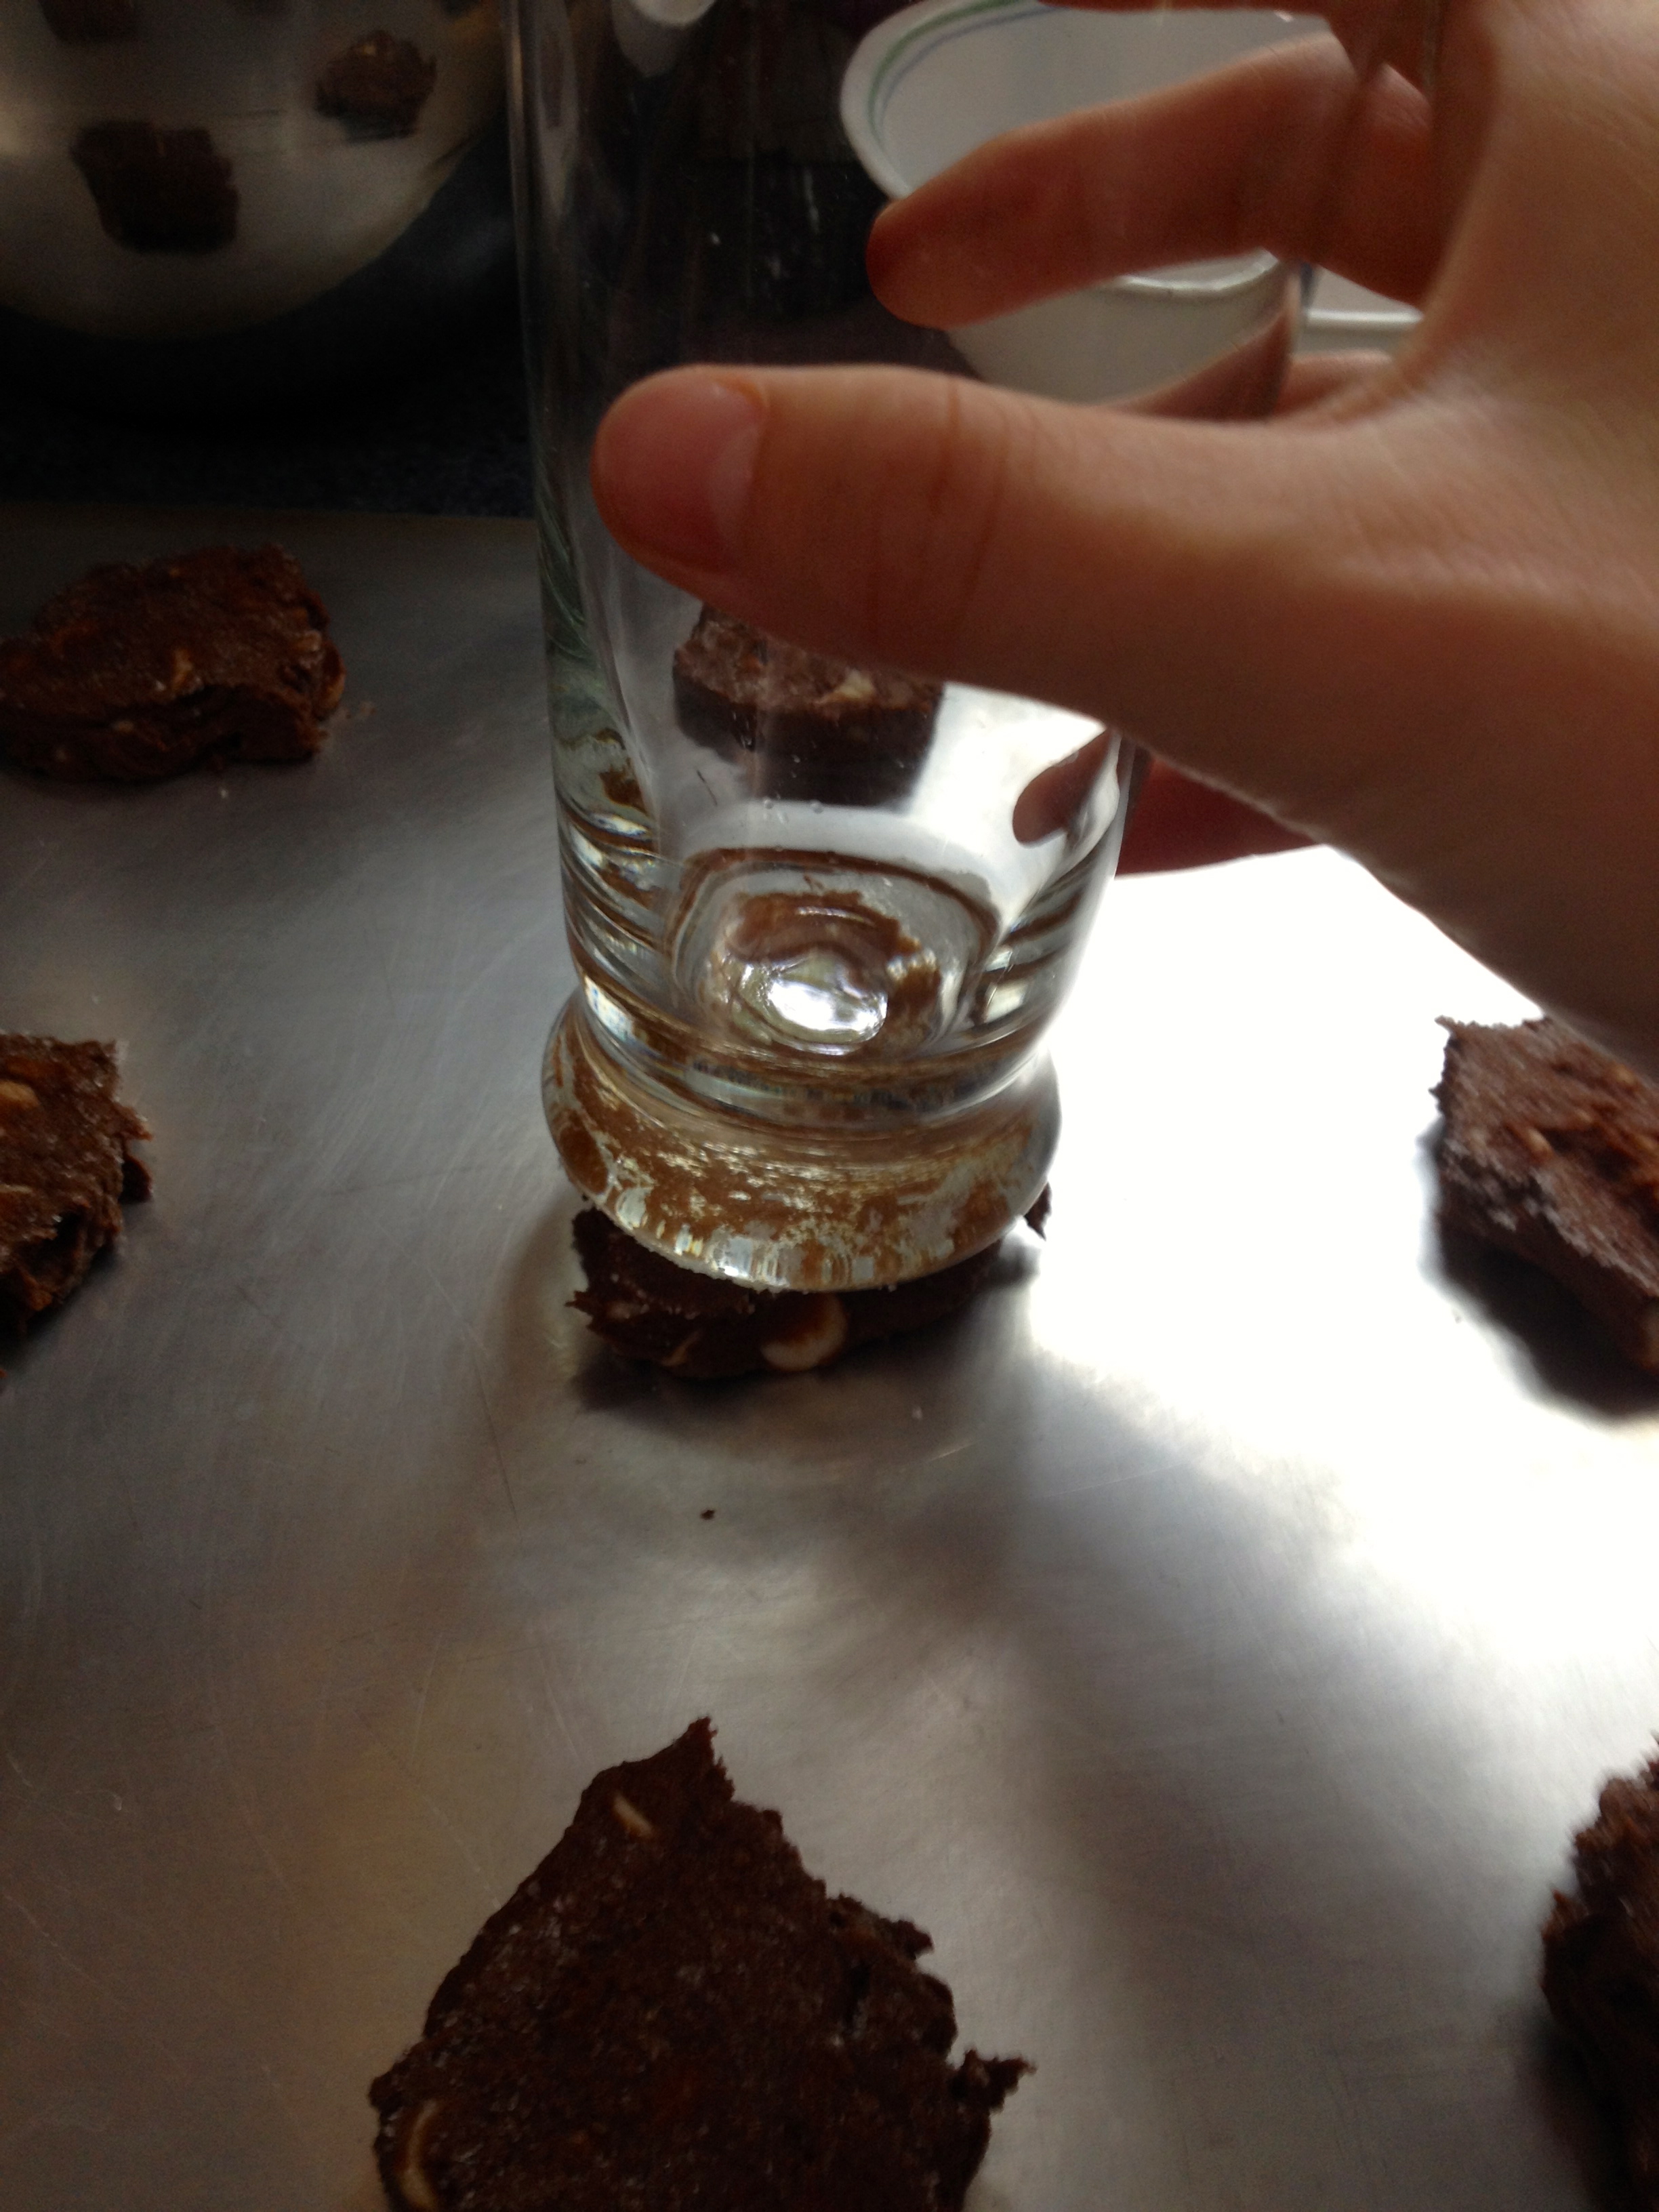
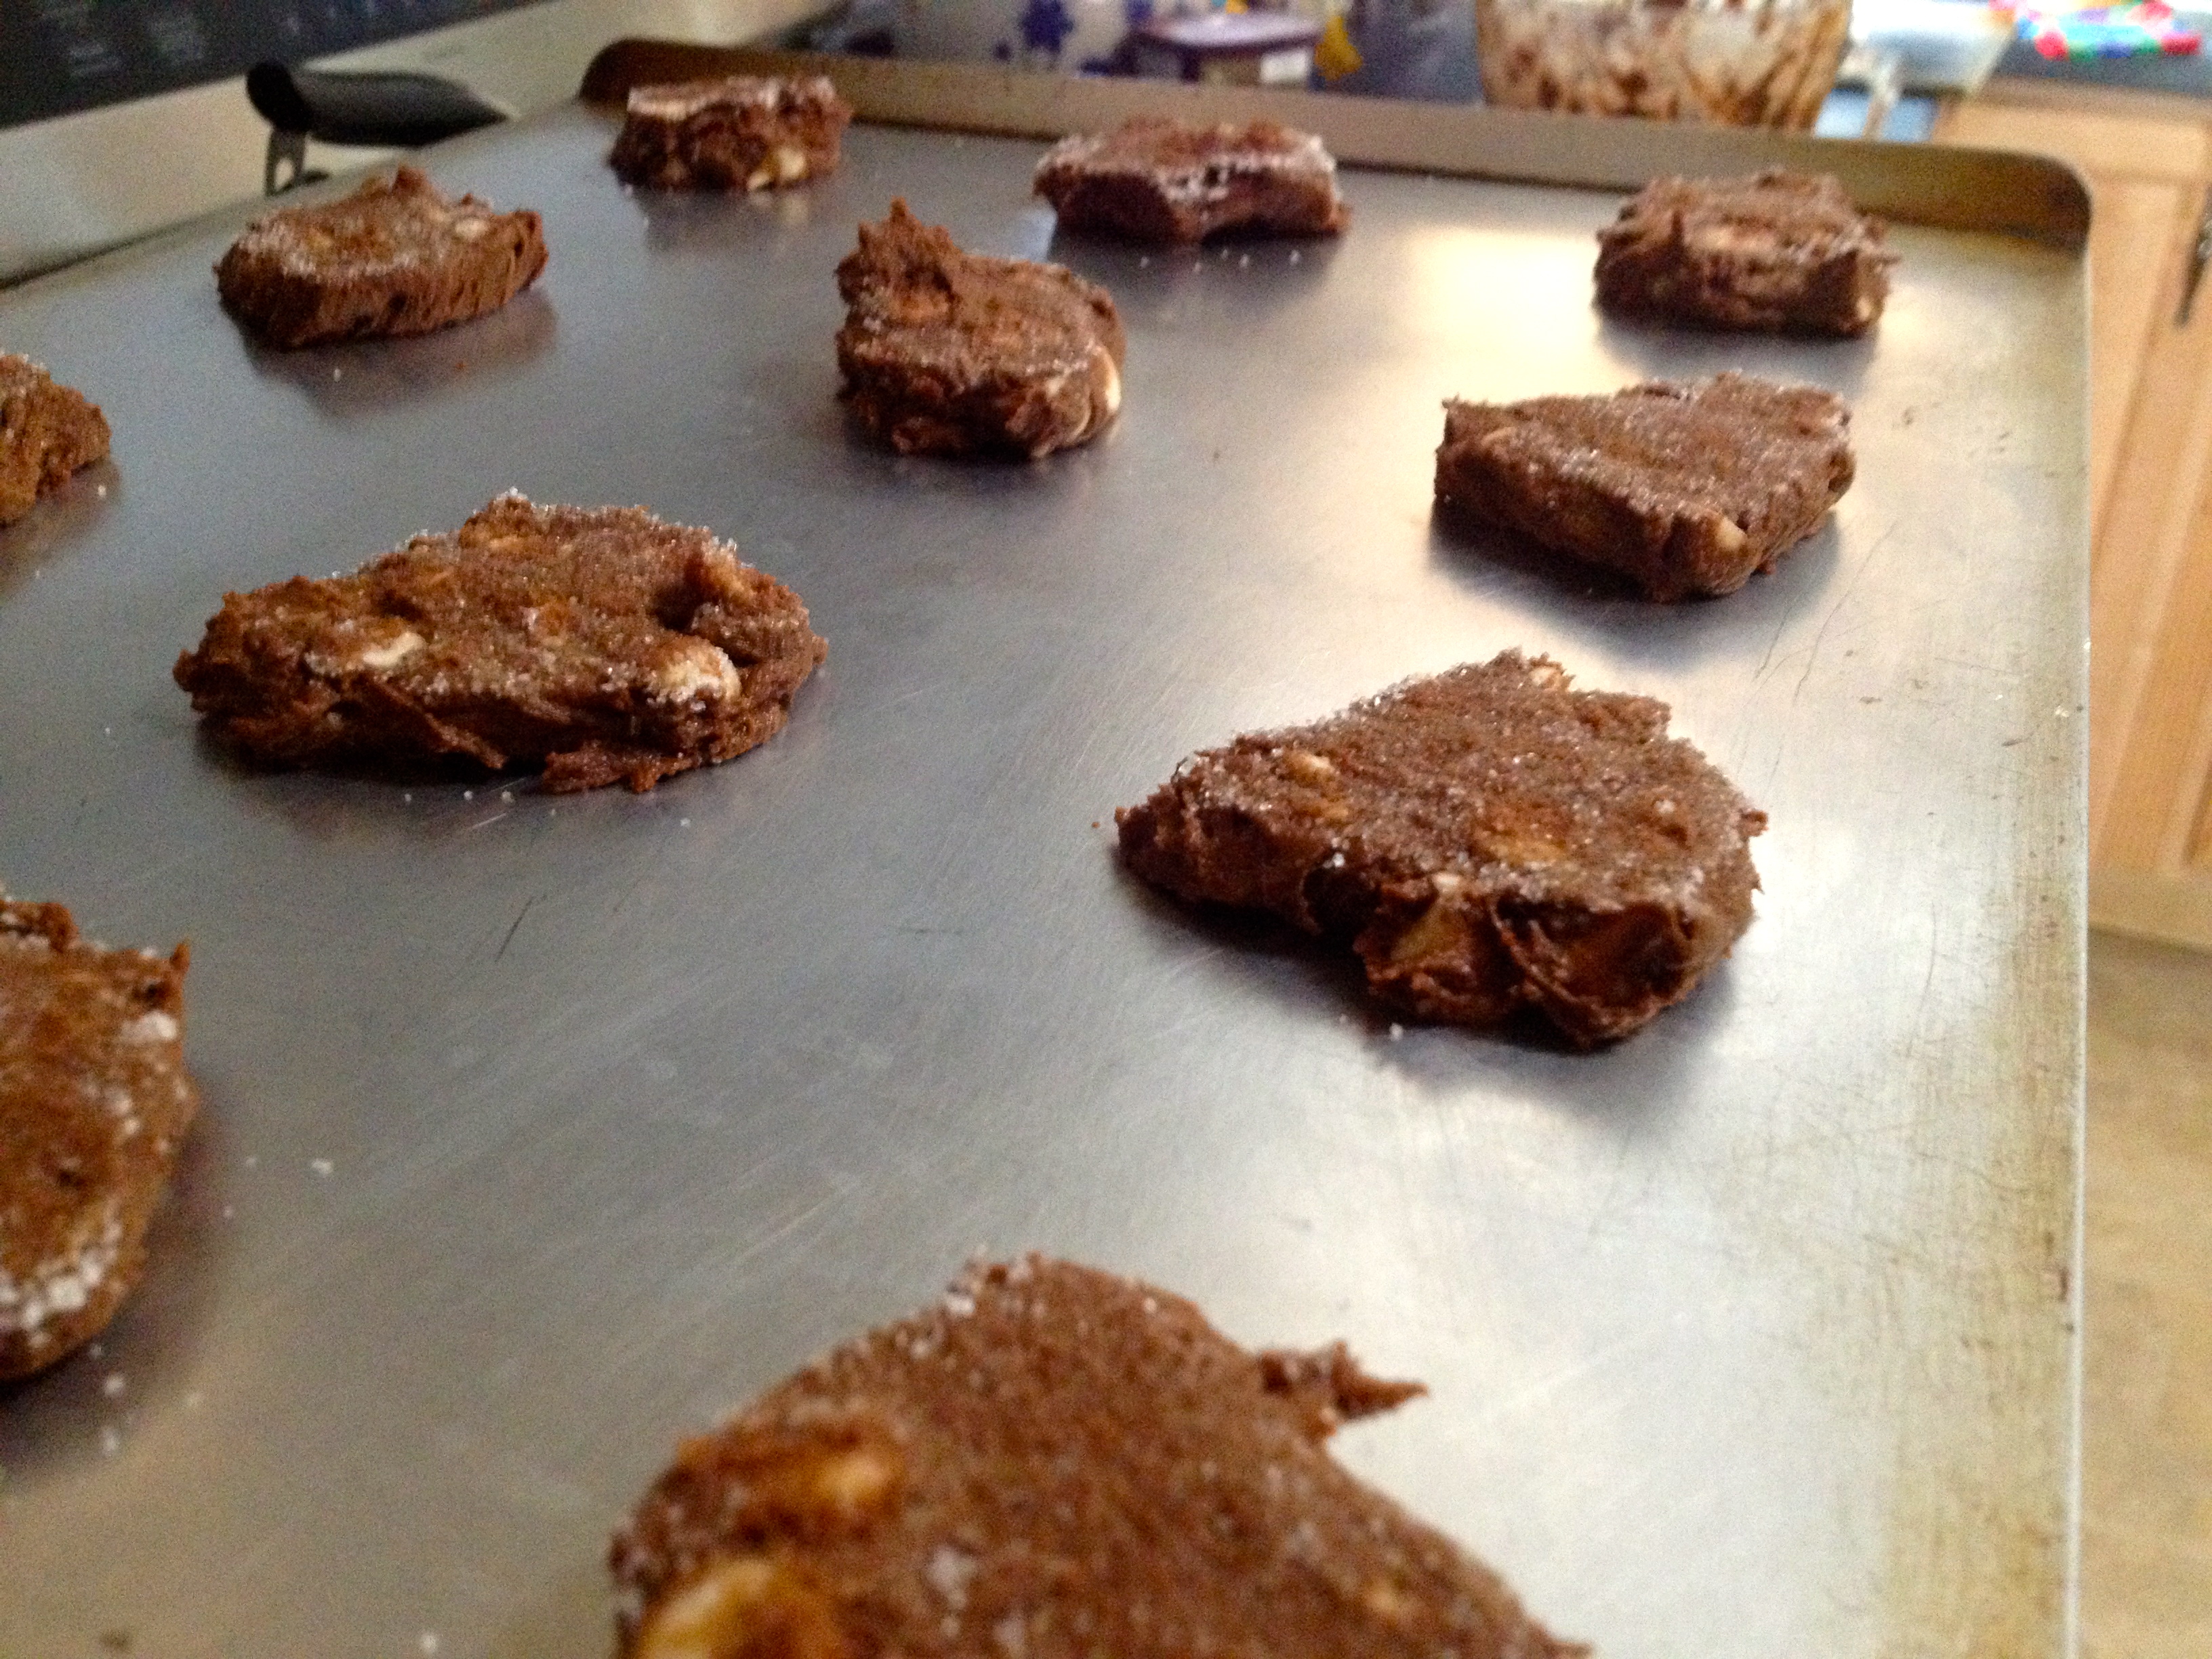
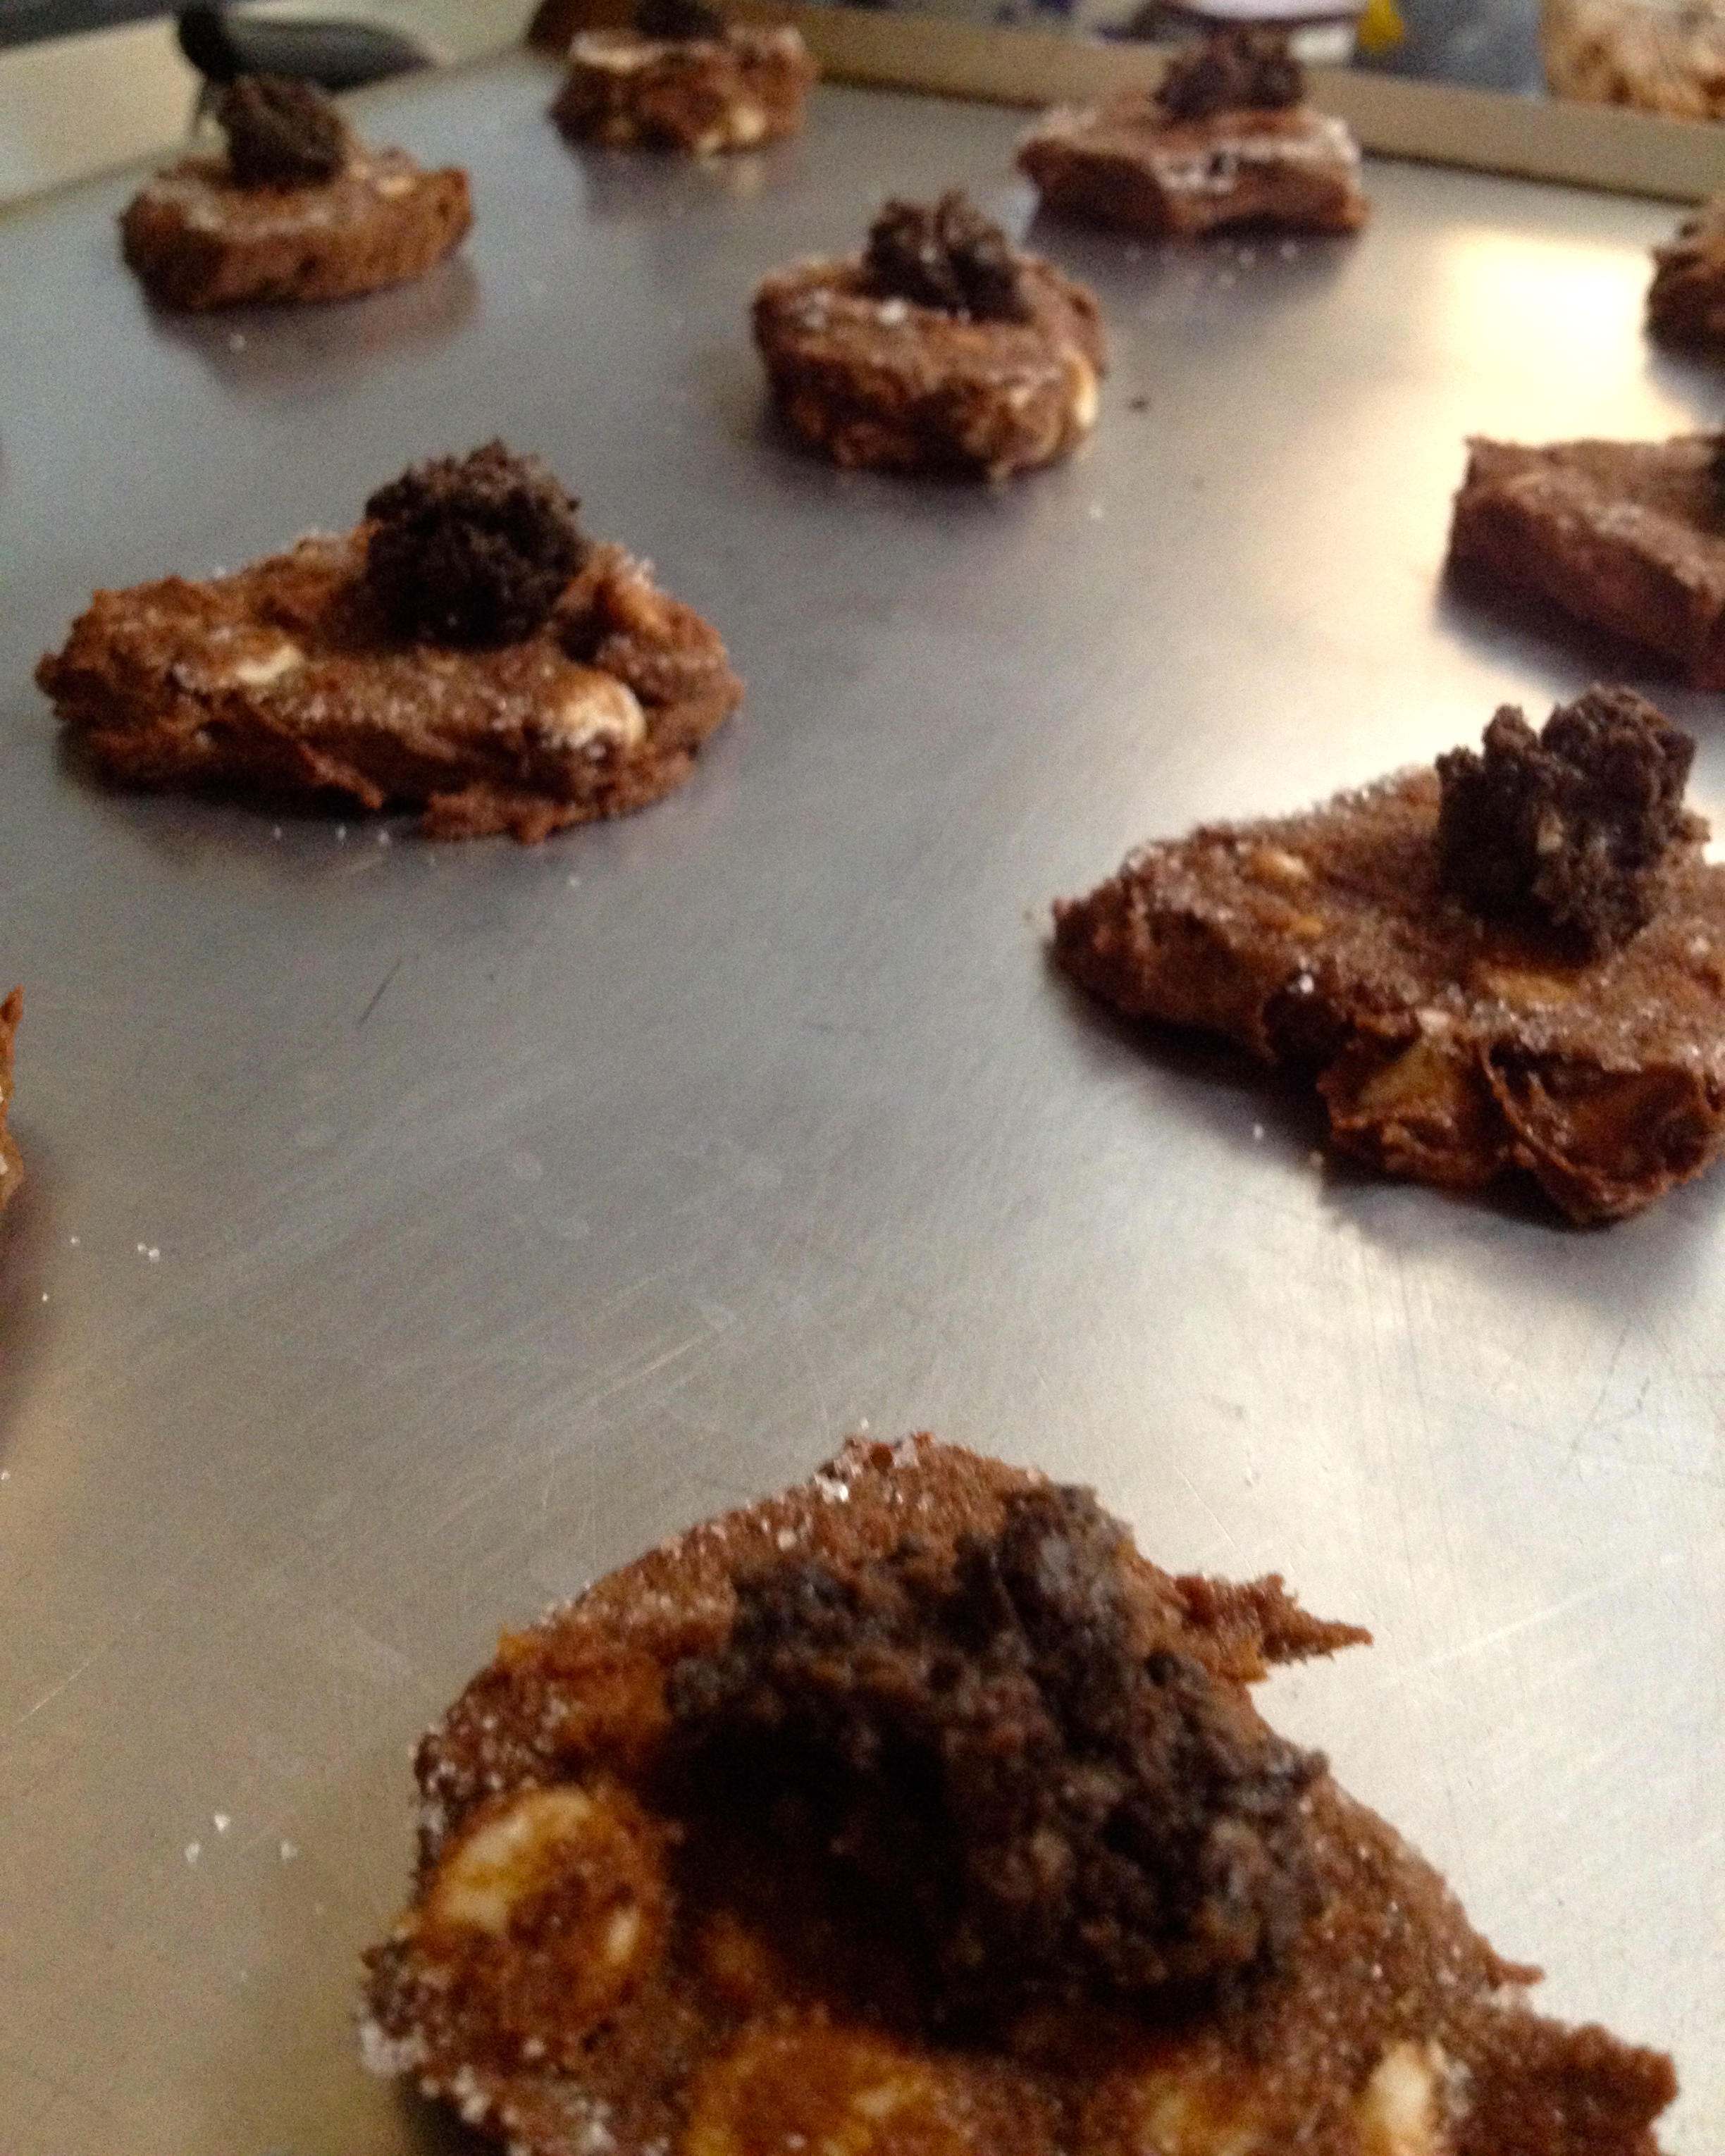
Mounded, Thick Cookies with Chunks of Oreo
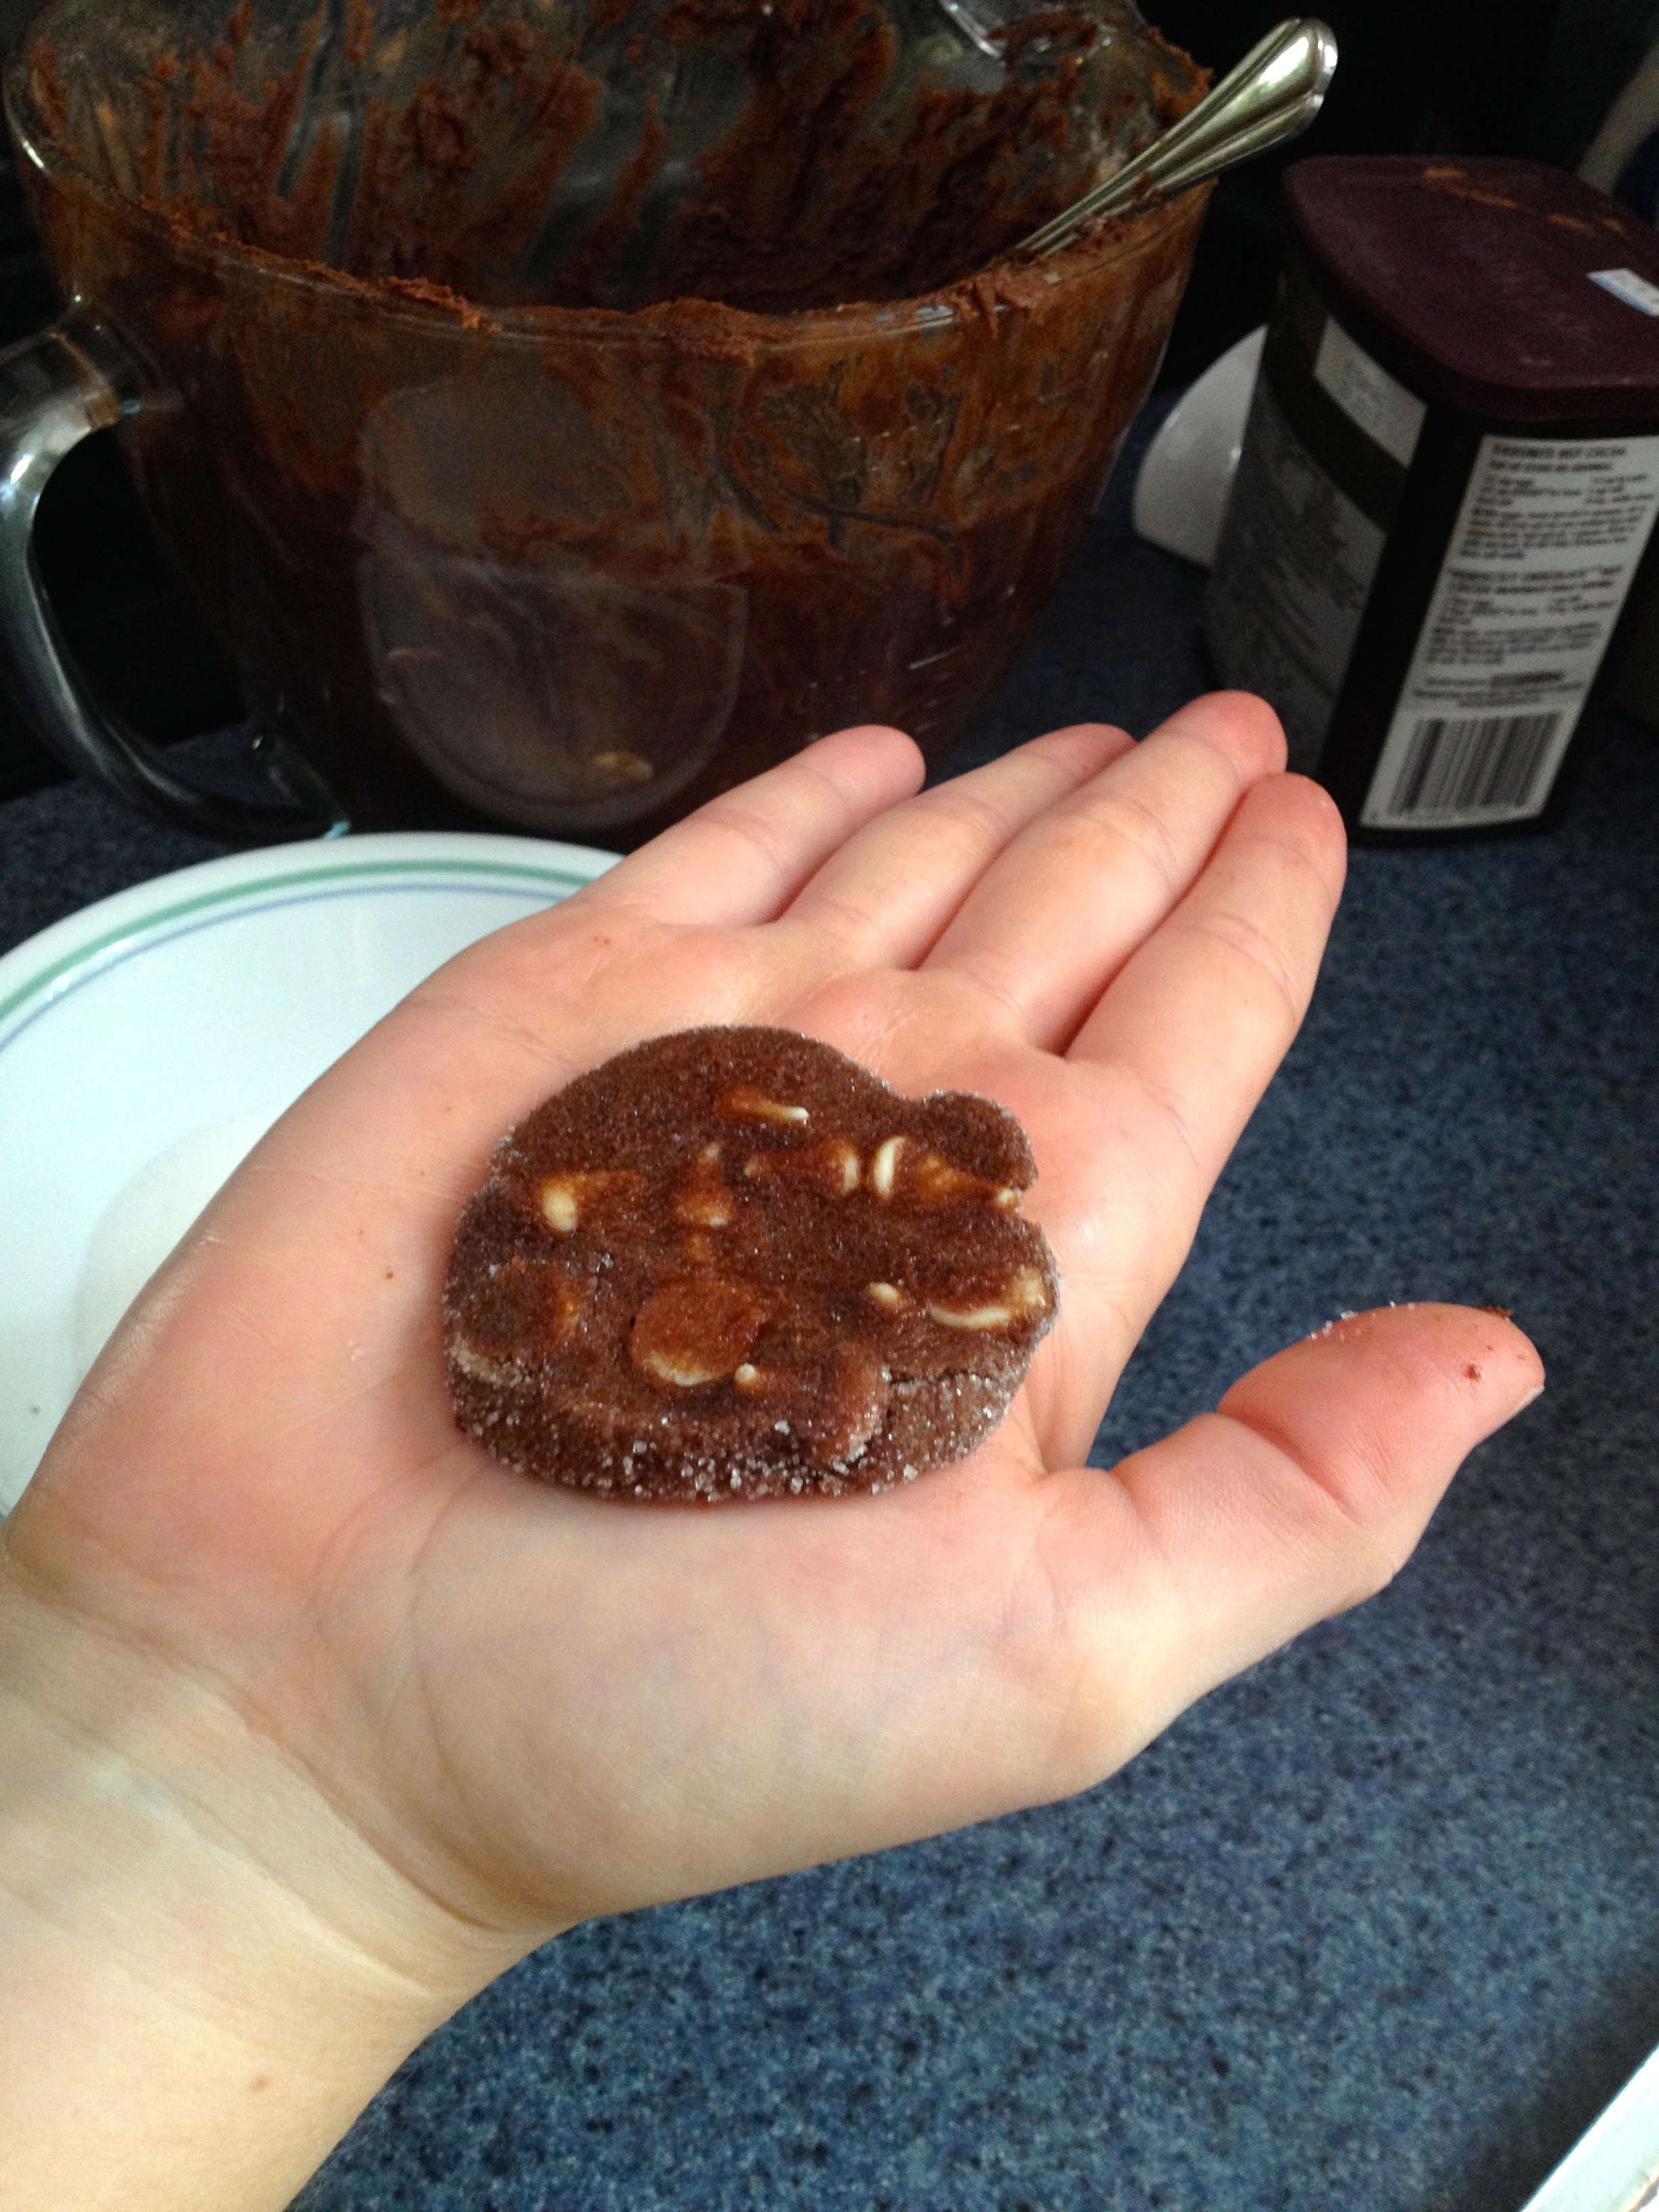
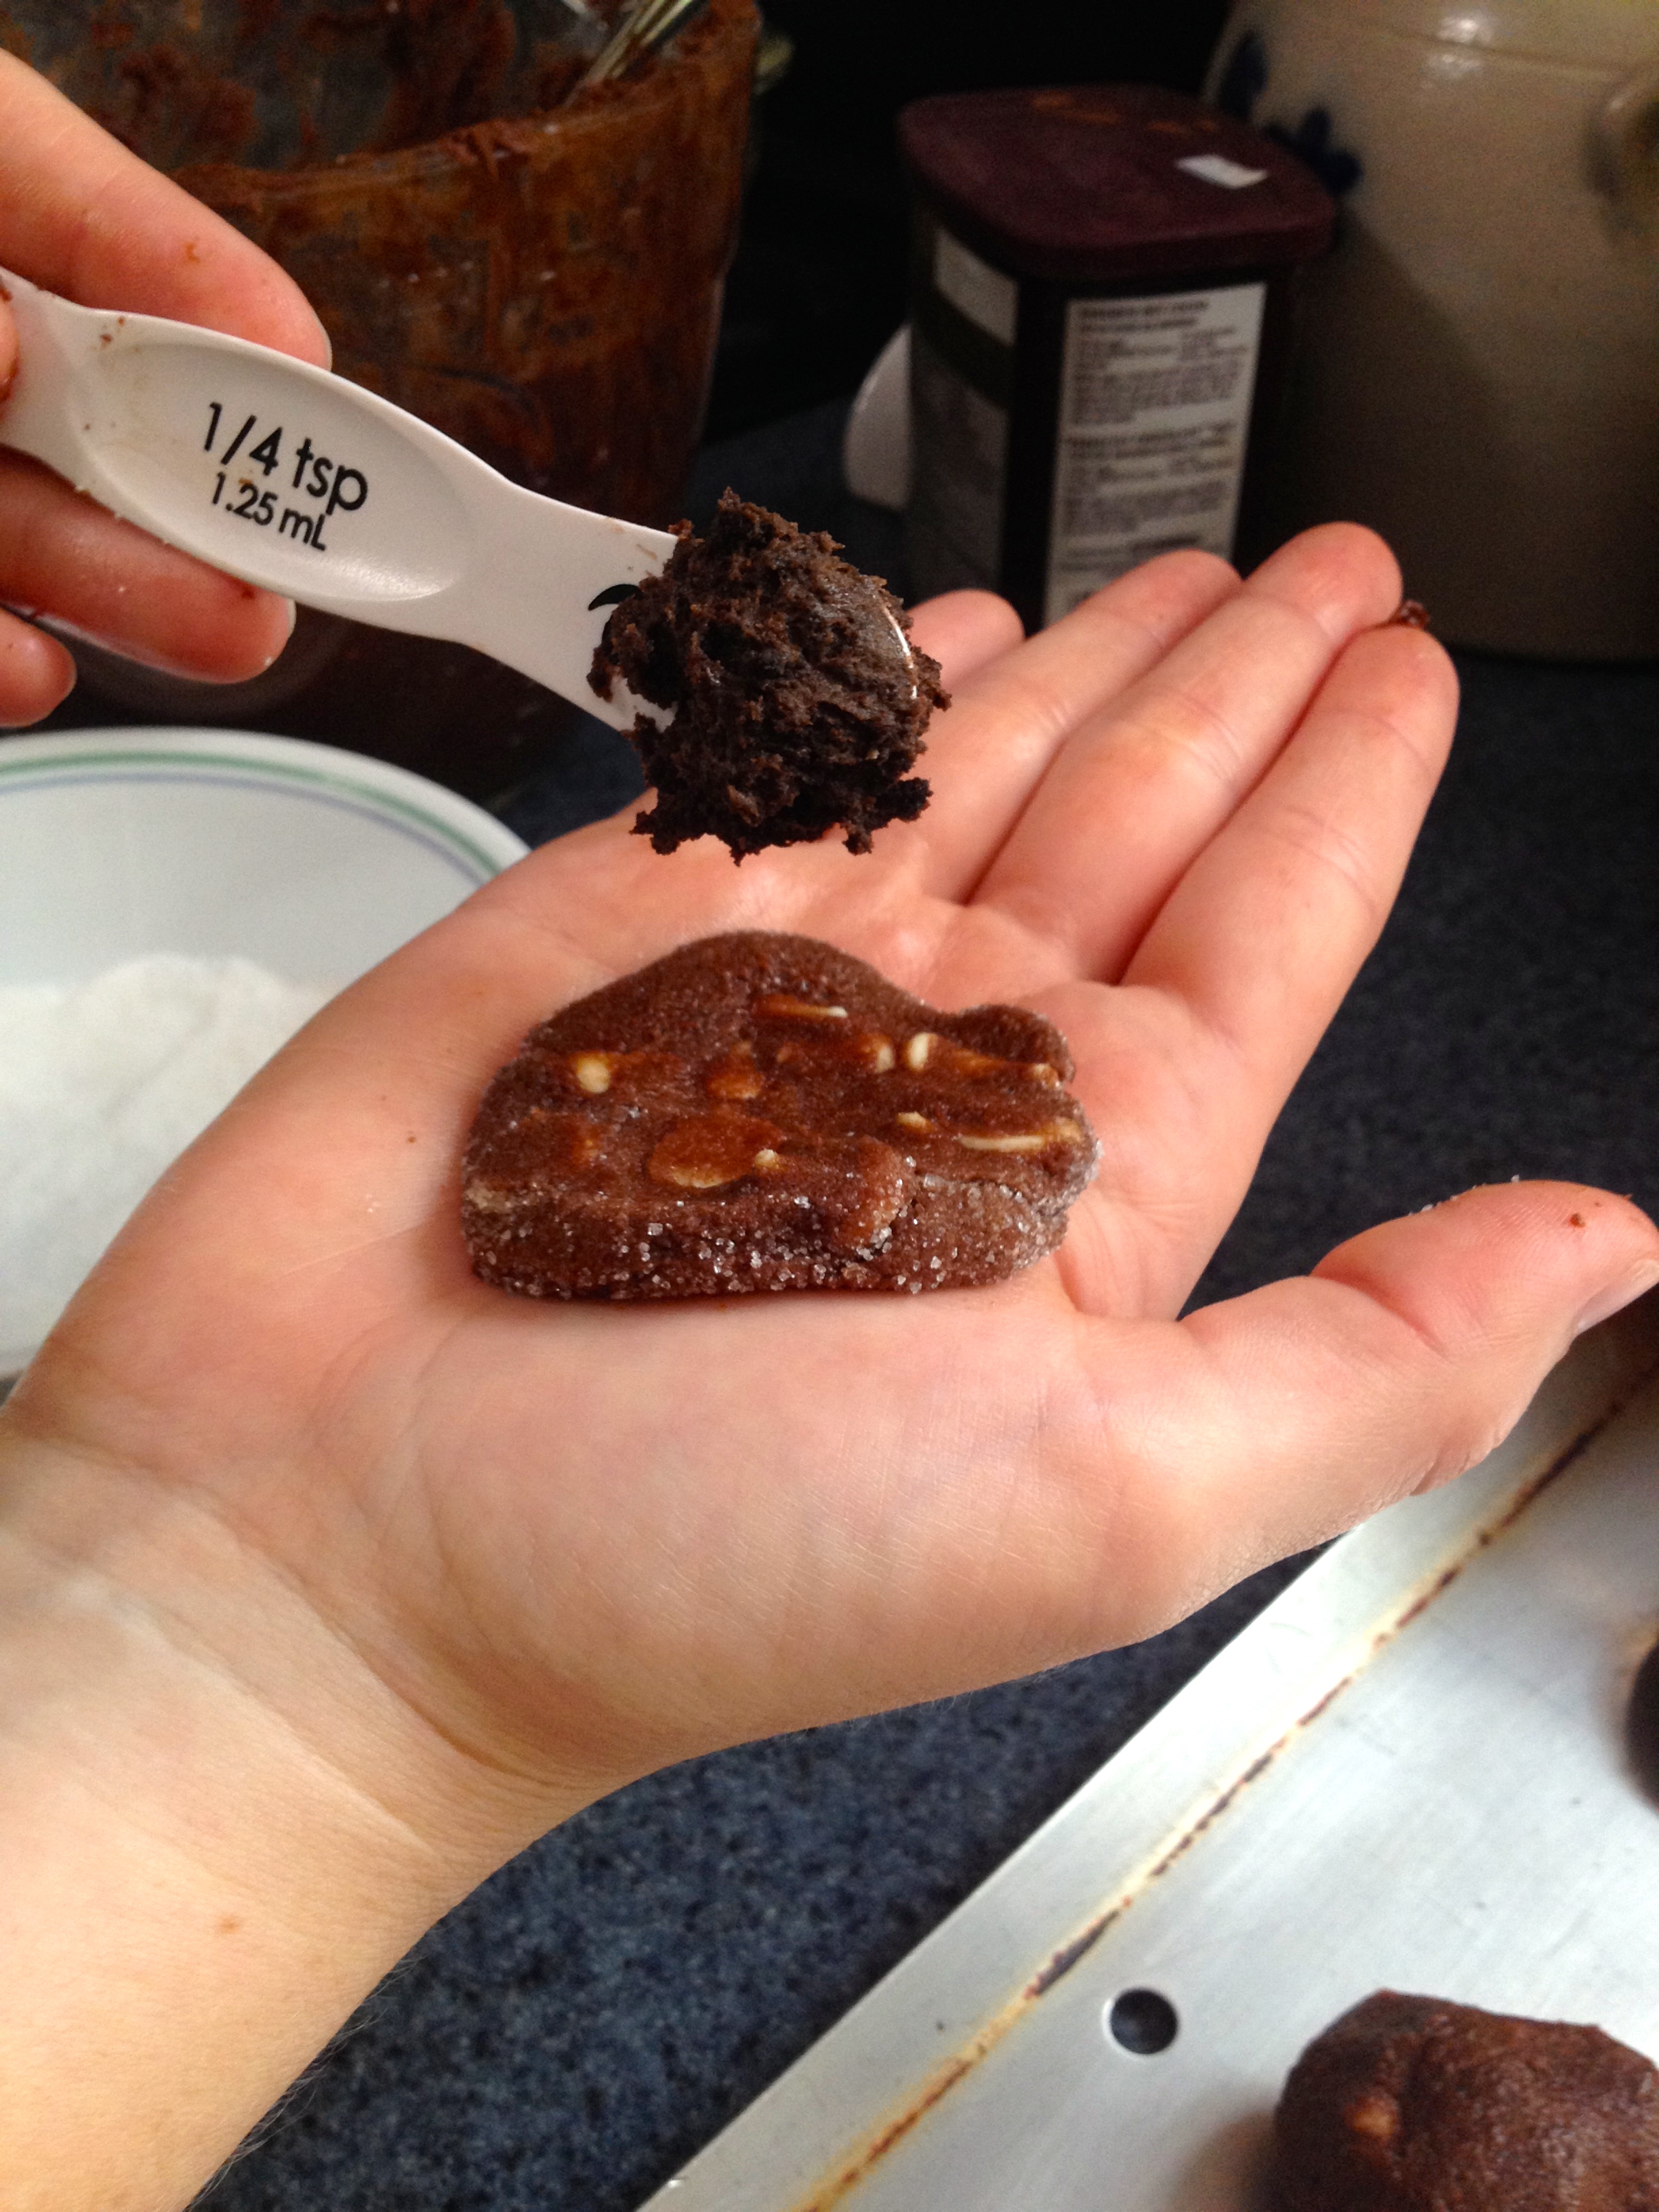
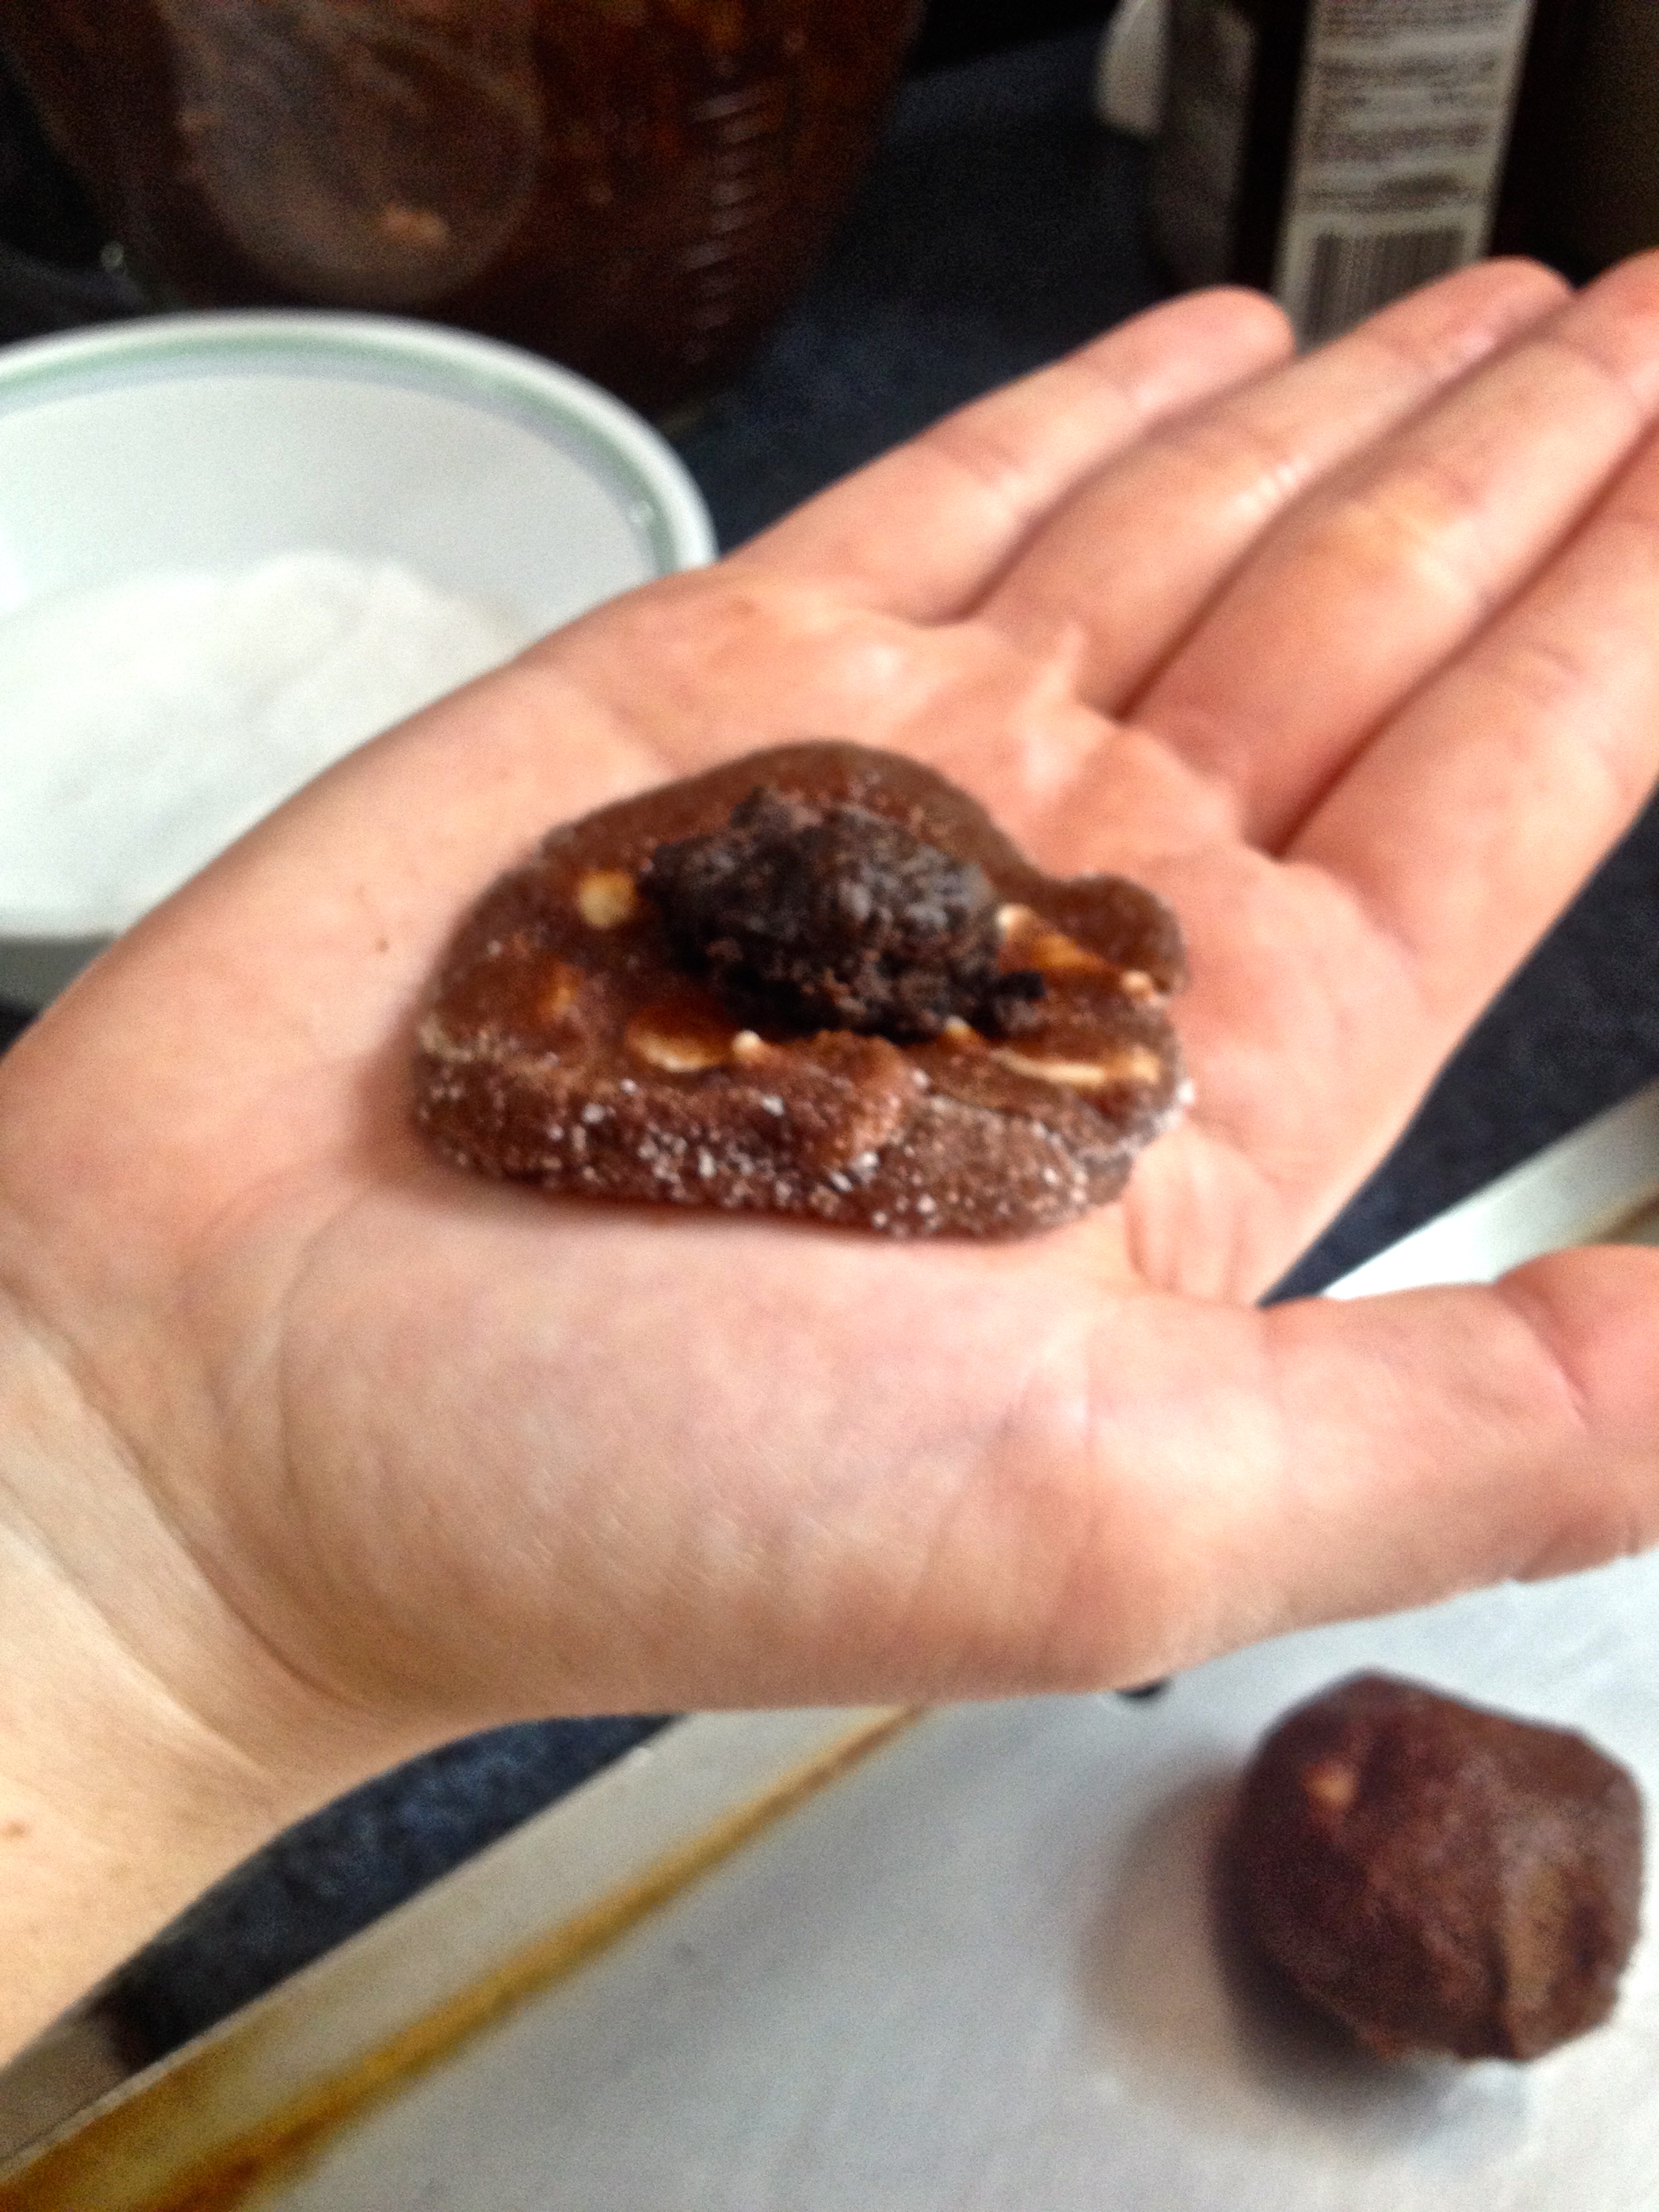
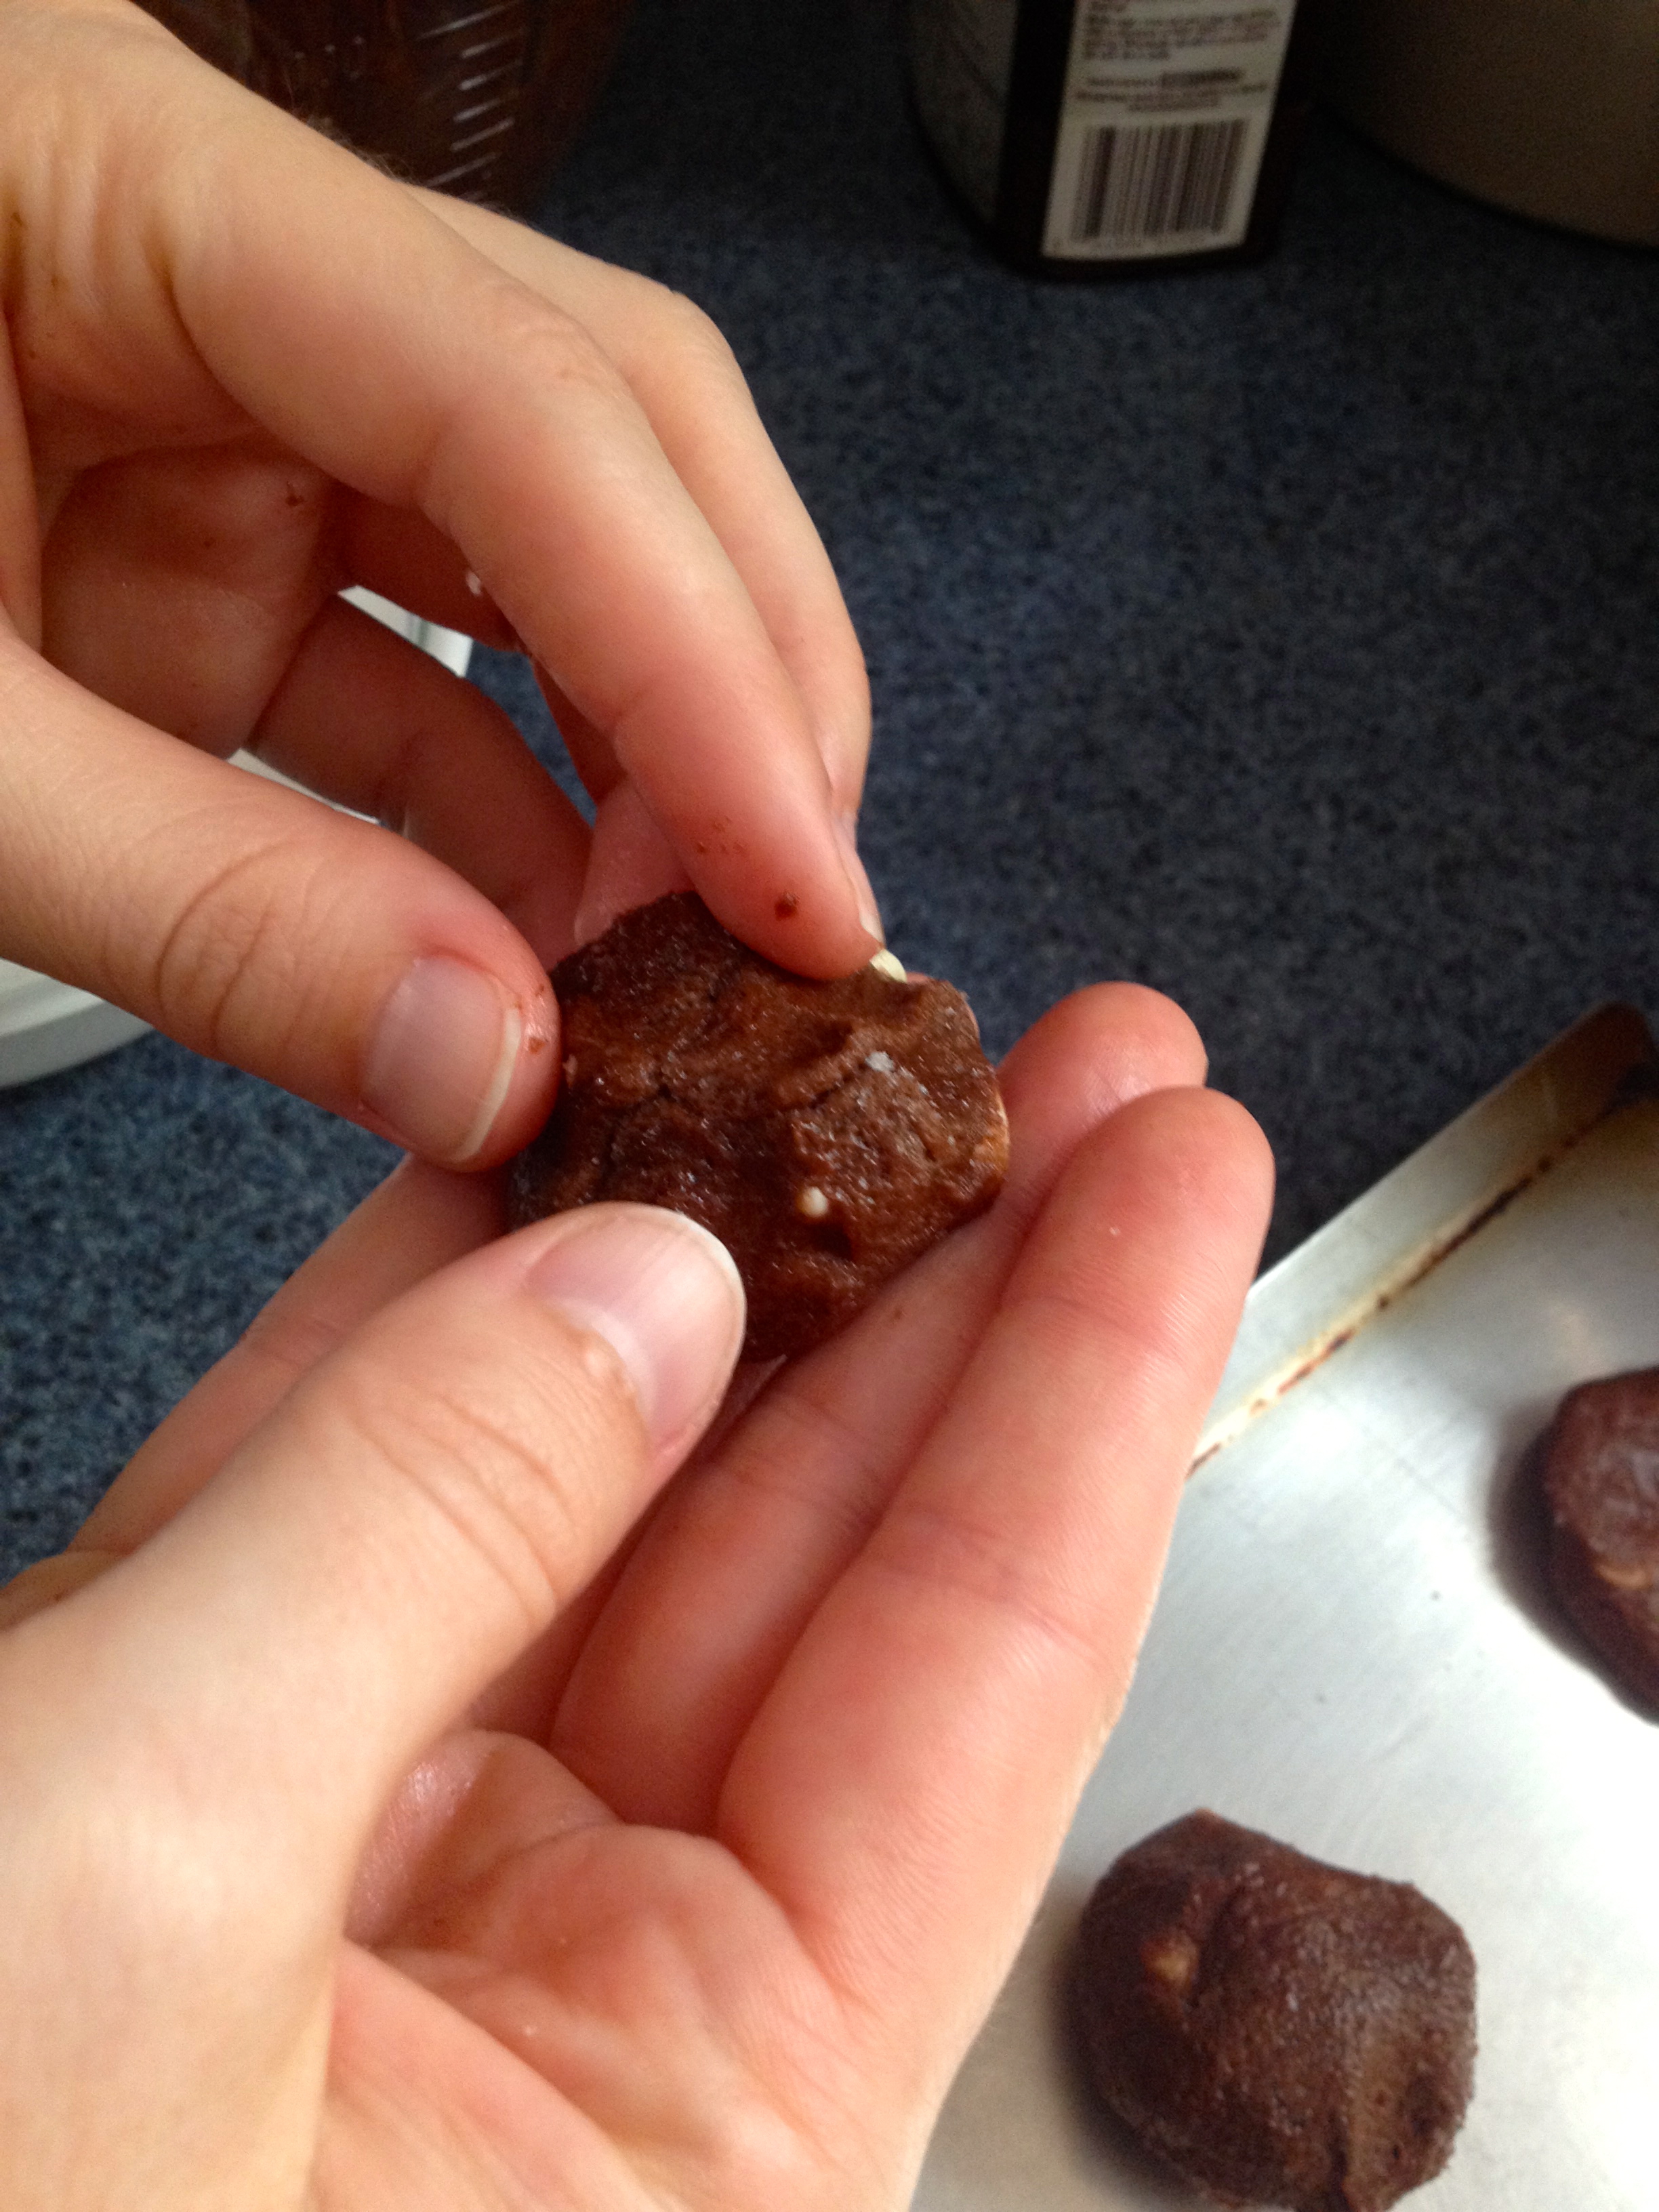
To get these types of cookies, take a spoonful of dough and lay it on a baking sheet. Then, using the bottom of a drinking glass dipped in granulated sugar, press the cookie flat. Put a 1/4 tsp of Oreo filling in the middle of the dough patty, and then pile more dough on top of the Oreo filling. Gently fold the edges of the bottom patty up so that the Oreo filling is enclosed. The process is depicted below:

Very Flat, Soft Cookies with Oreo Throughout
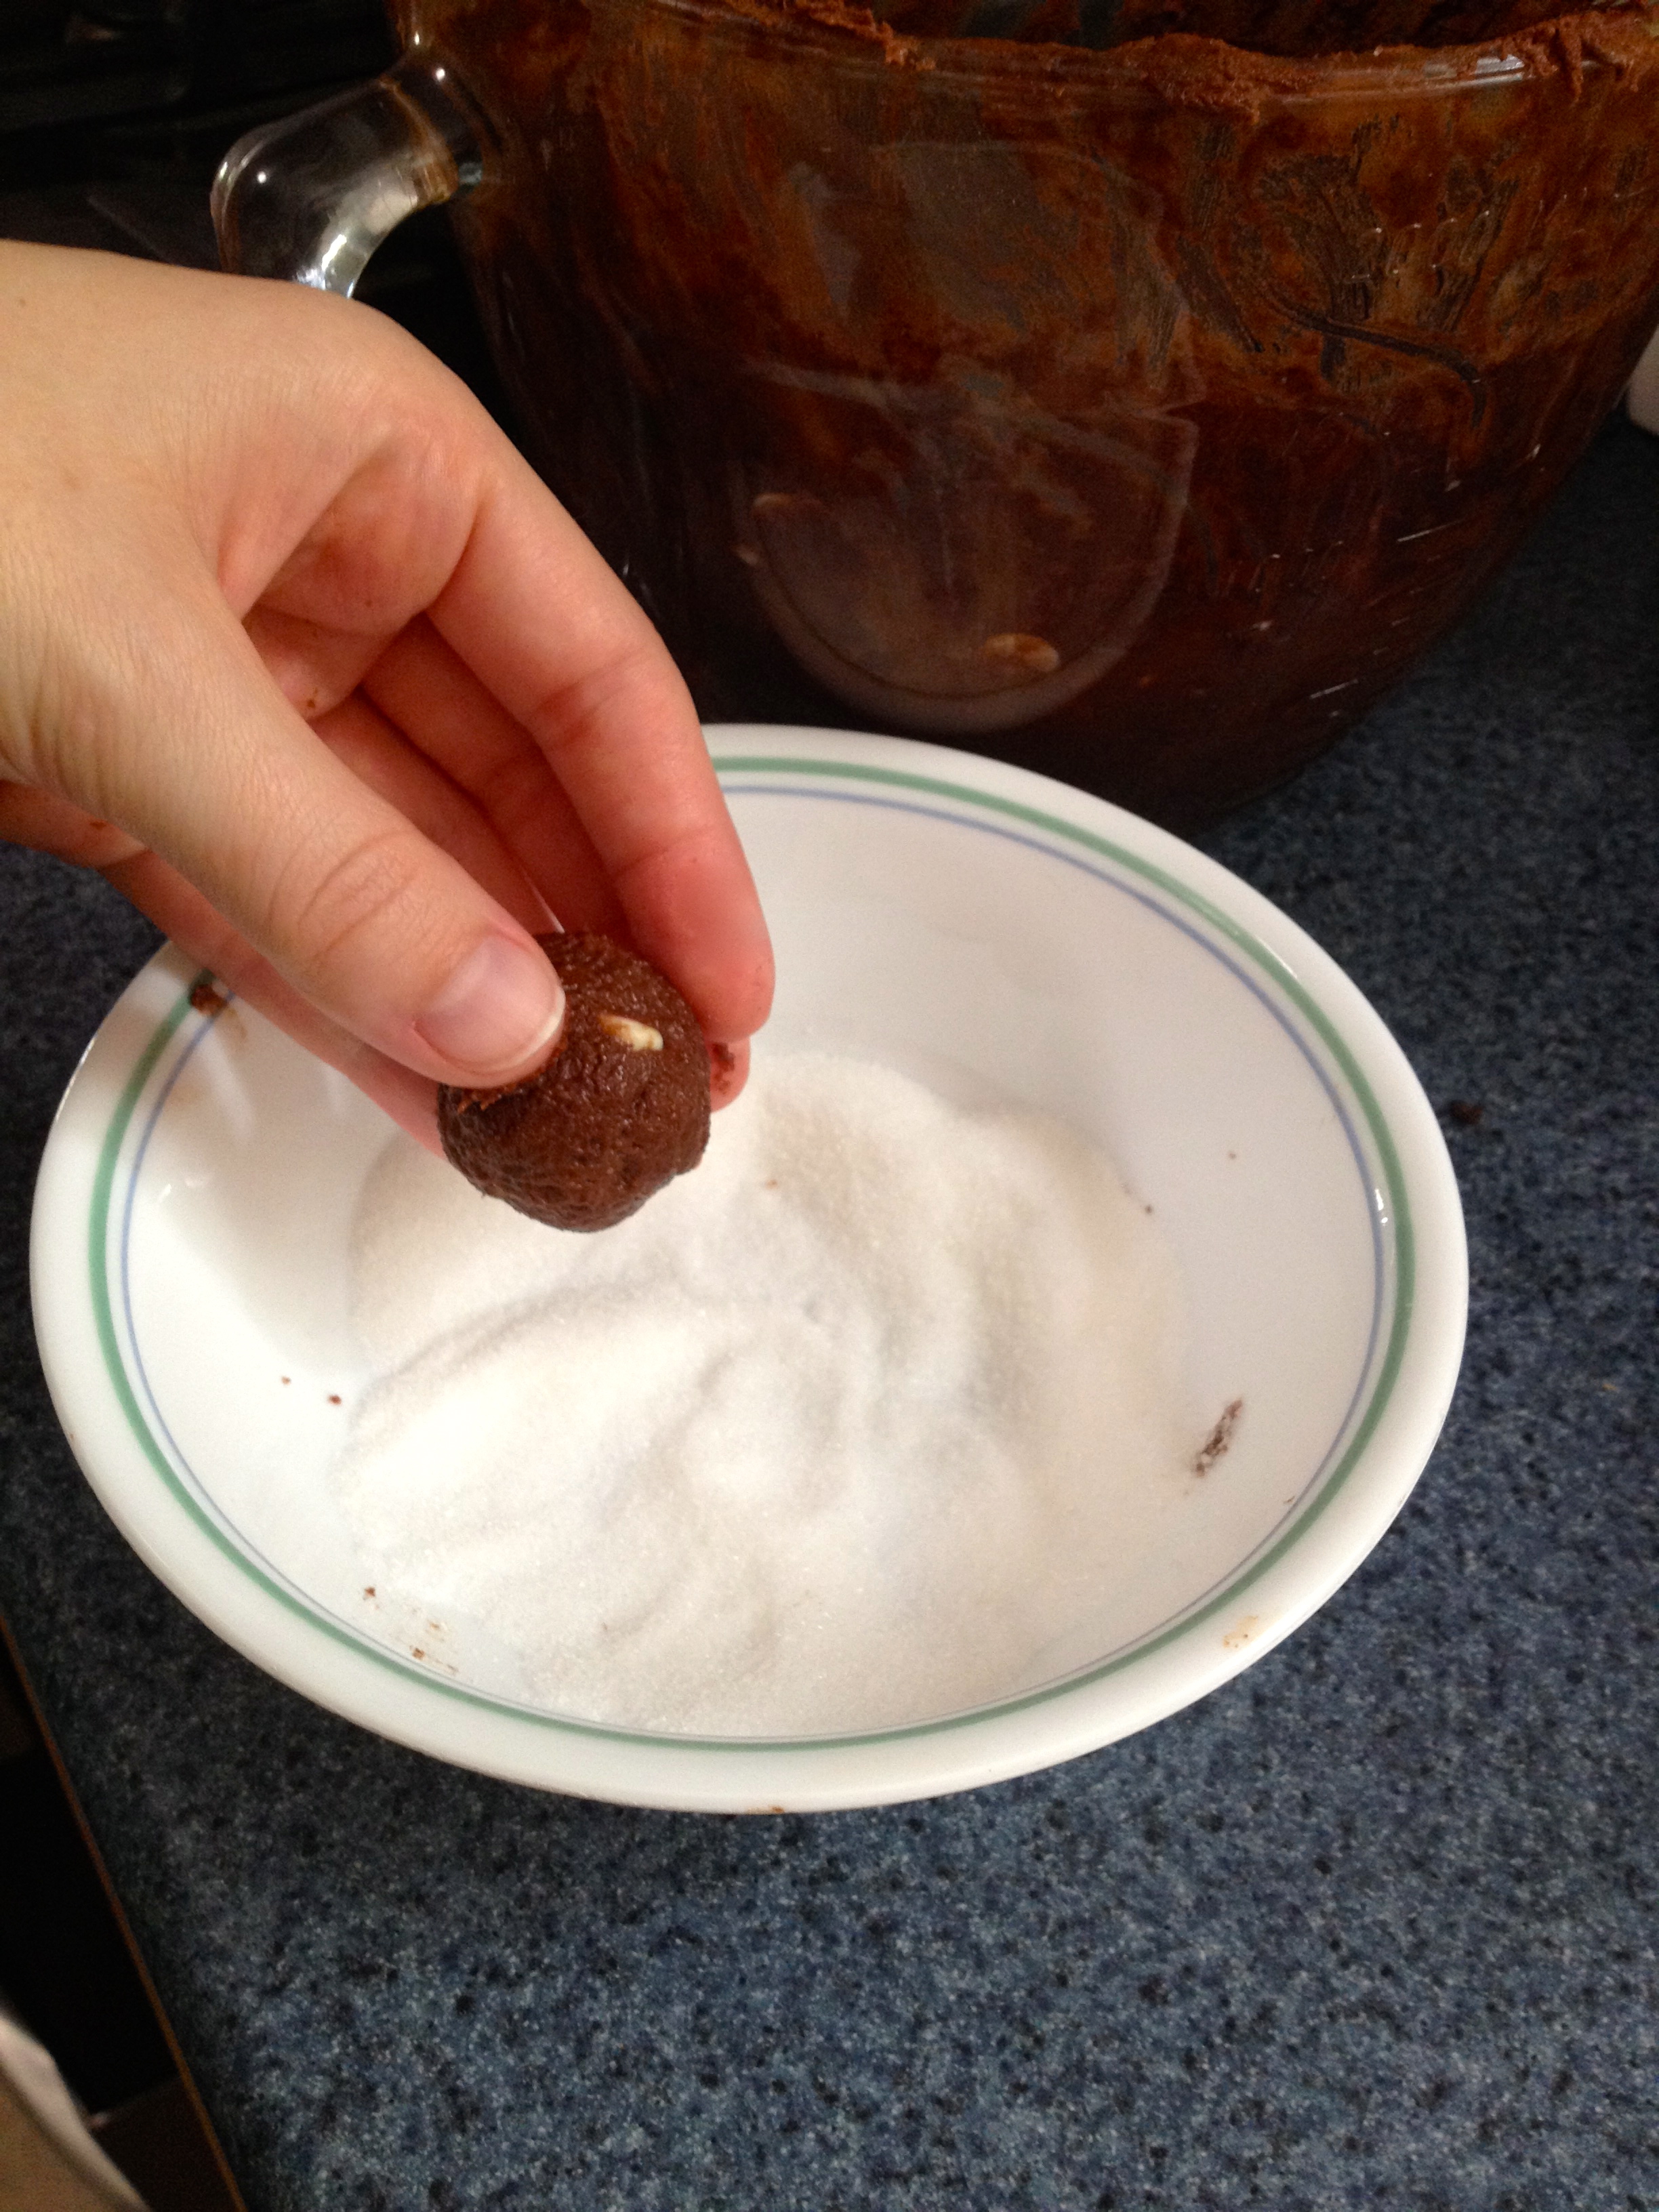
This process is almost like making stuffed sugar cookies, and it’s really simple! It’s easier than the first method, in my opinion, but you can choose what you wish! First, take a spoonful of cookie dough and roll it in a bowl of granulated sugar. Then, press it flat in your palms. Take a 1/4 tsp of Oreo filling and put it in the middle of the patty. Then, fold the dough around the Oreo filling and roll it into a ball again. Place it on the baking sheet, and with a sugared drinking glass, press it flat.
Thick, Soft Cookies with Oreo Throughout
These were my personal favorites, and also won the prize among my test subjects! This is the easiest method, and in my opinion yields the best cookie. Do the same method as listed above, but don’t press it flat with a glass; just leave it in a ball on the baking sheet. This is how they looked:
After you’ve chosen your favorite method, put the cookies in a 325ºF oven for 12 minutes (after 6 minutes, switch the baking sheets to the other rack in the oven). Make sure to enjoy some right after they come out of the oven- they’re soooo yummy warm!
Since I couldn’t eat all of these myself, I made up little plates of them and gave them away. I had extra Oreo filling left over, so I made regular Oreo balls! That’s another super easy recipe: just take a scoop of Oreo ball filling, and roll it in melted white chocolate and drizzle milk chocolate on top.

These cookies were so yummy, my friends couldn’t stop eating them! They also made a great little gift in the small plates. If you’re in the mood for chocolate, go ahead and try this recipe! You won’t be disappointed!
The Cookies That Were Worth It
So I know it’s a bit late to be posting about New Year’s Eve parties, being January 14th and all. But I figure, better late than never, plus these cookies were too yummy not to share!
Now before I start this, I’ll preface by saying I hate making roll-out cookies. That shouldn’t be a problem, because I could just avoid making them. Sadly, I apparently suffer memory loss when it comes to making roll-out cookies, because I always forget how much I hate making them until I’m past the point of no return. However, since I made the cookies, I figured I might as well make them look great as well as taste great.
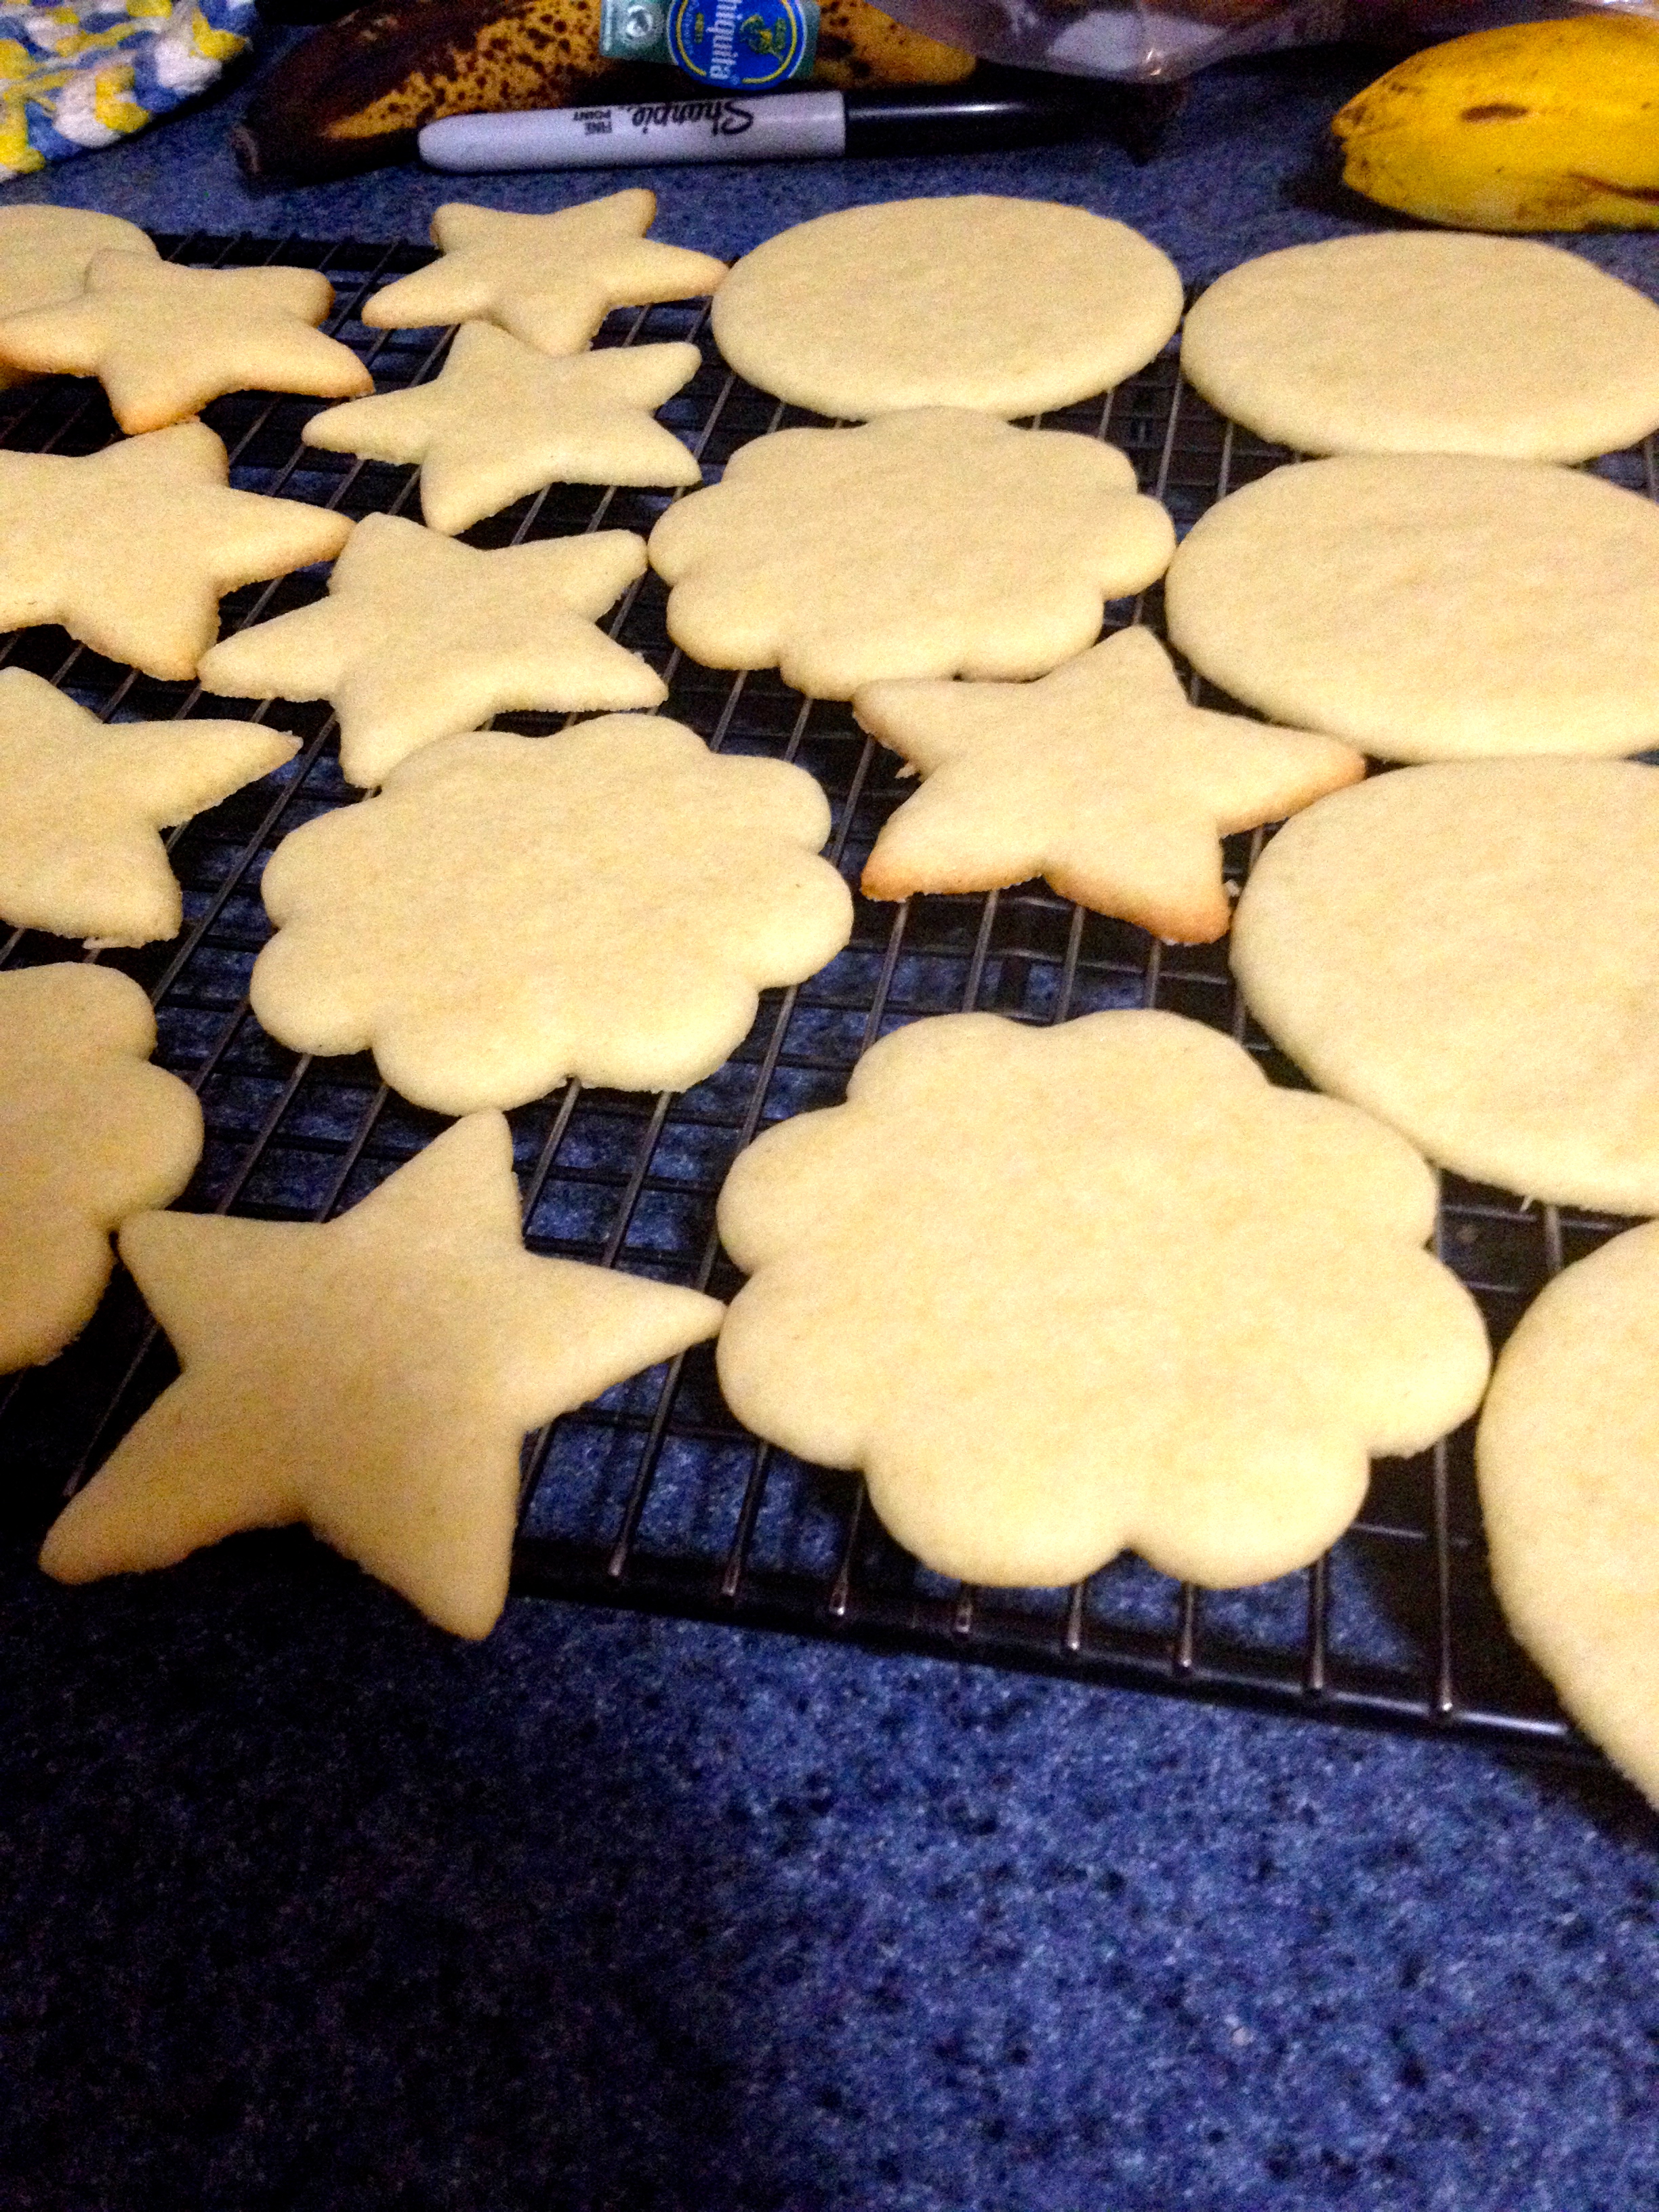
For the New Year’s Eve party, I made sugar cookies and decorated them to look like different New Year’s themes. I’m proud to say they came out looking great, even though the process was a little messy!
For the cookie recipe itself, you can use any sugar cookie recipe you have. I personally used a vanilla cookie recipe because I don’t like citrus-y sugar cookies.
Here’s my sugar cookie recipe:
- 3 3/4 cups all-purpose flour
- 1 tsp baking powder
- 1/2 tsp salt
- 2 sticks unsalted butter (room temp. or softened)
- 2 cups granulated sugar
- 2 eggs
- 1 tsp vanilla extract
Sift the flour, baking powder, and salt together and set aside in a separate bowl. Cream the butter and sugar together in a mixing bowl (or by hand), and then add the eggs one at a time and mix thoroughly. Add the vanilla extract and mix. Then gradually add the flour mixture until the dough is well mixed. Wrap the dough in plastic wrap and put it in the fridge for a couple hours to chill, or the freezer for a little while. Either way, make sure the dough is nice and cold, so that it’s easier to roll out.
When the dough is chilled, lightly flour a pastry board- or some large flat surface- and roll the dough out on it until the dough is about 1/4 inch thick.
Then, pick your favorite cookie cutters and cut out shapes, putting them on a baking sheet. Some recipes call for the sheet to be lined with parchment paper, but if you take the cookies off when they’re right out of the oven, it should be fine to leave it ungreased/unlined.
When all your shapes are cut out, make the dough scraps into a ball, and roll it out again. Andddd repeat. Over and over again. Until all the dough is used. This is the part I hate, because I’m not exactly the most patient person!
When all the cookies are rolled and put on the baking sheet, put them in the oven at 350ºF for 8-10 minutes. If you’re not using a convection oven, switch the cookie sheets to a different oven rack after 5 minutes so that they bake evenly.
Now comes the fun part- decorating!
I used royal icing to decorate my cookies, because it hardens nicely so you can stack the cookies without getting frosting everywhere, and they’re easy to hold. Here’s the recipe:
- 1 box confectioner’s sugar
- 2 large egg whites (if you’re making this recipe for anyone who can’t handle raw egg whites, use 5 tbsp meringue powder instead)
- 1/4 tsp cream of tartar (this is a back-up if your frosting isn’t getting stiff enough, it’s not entirely necessary otherwise)
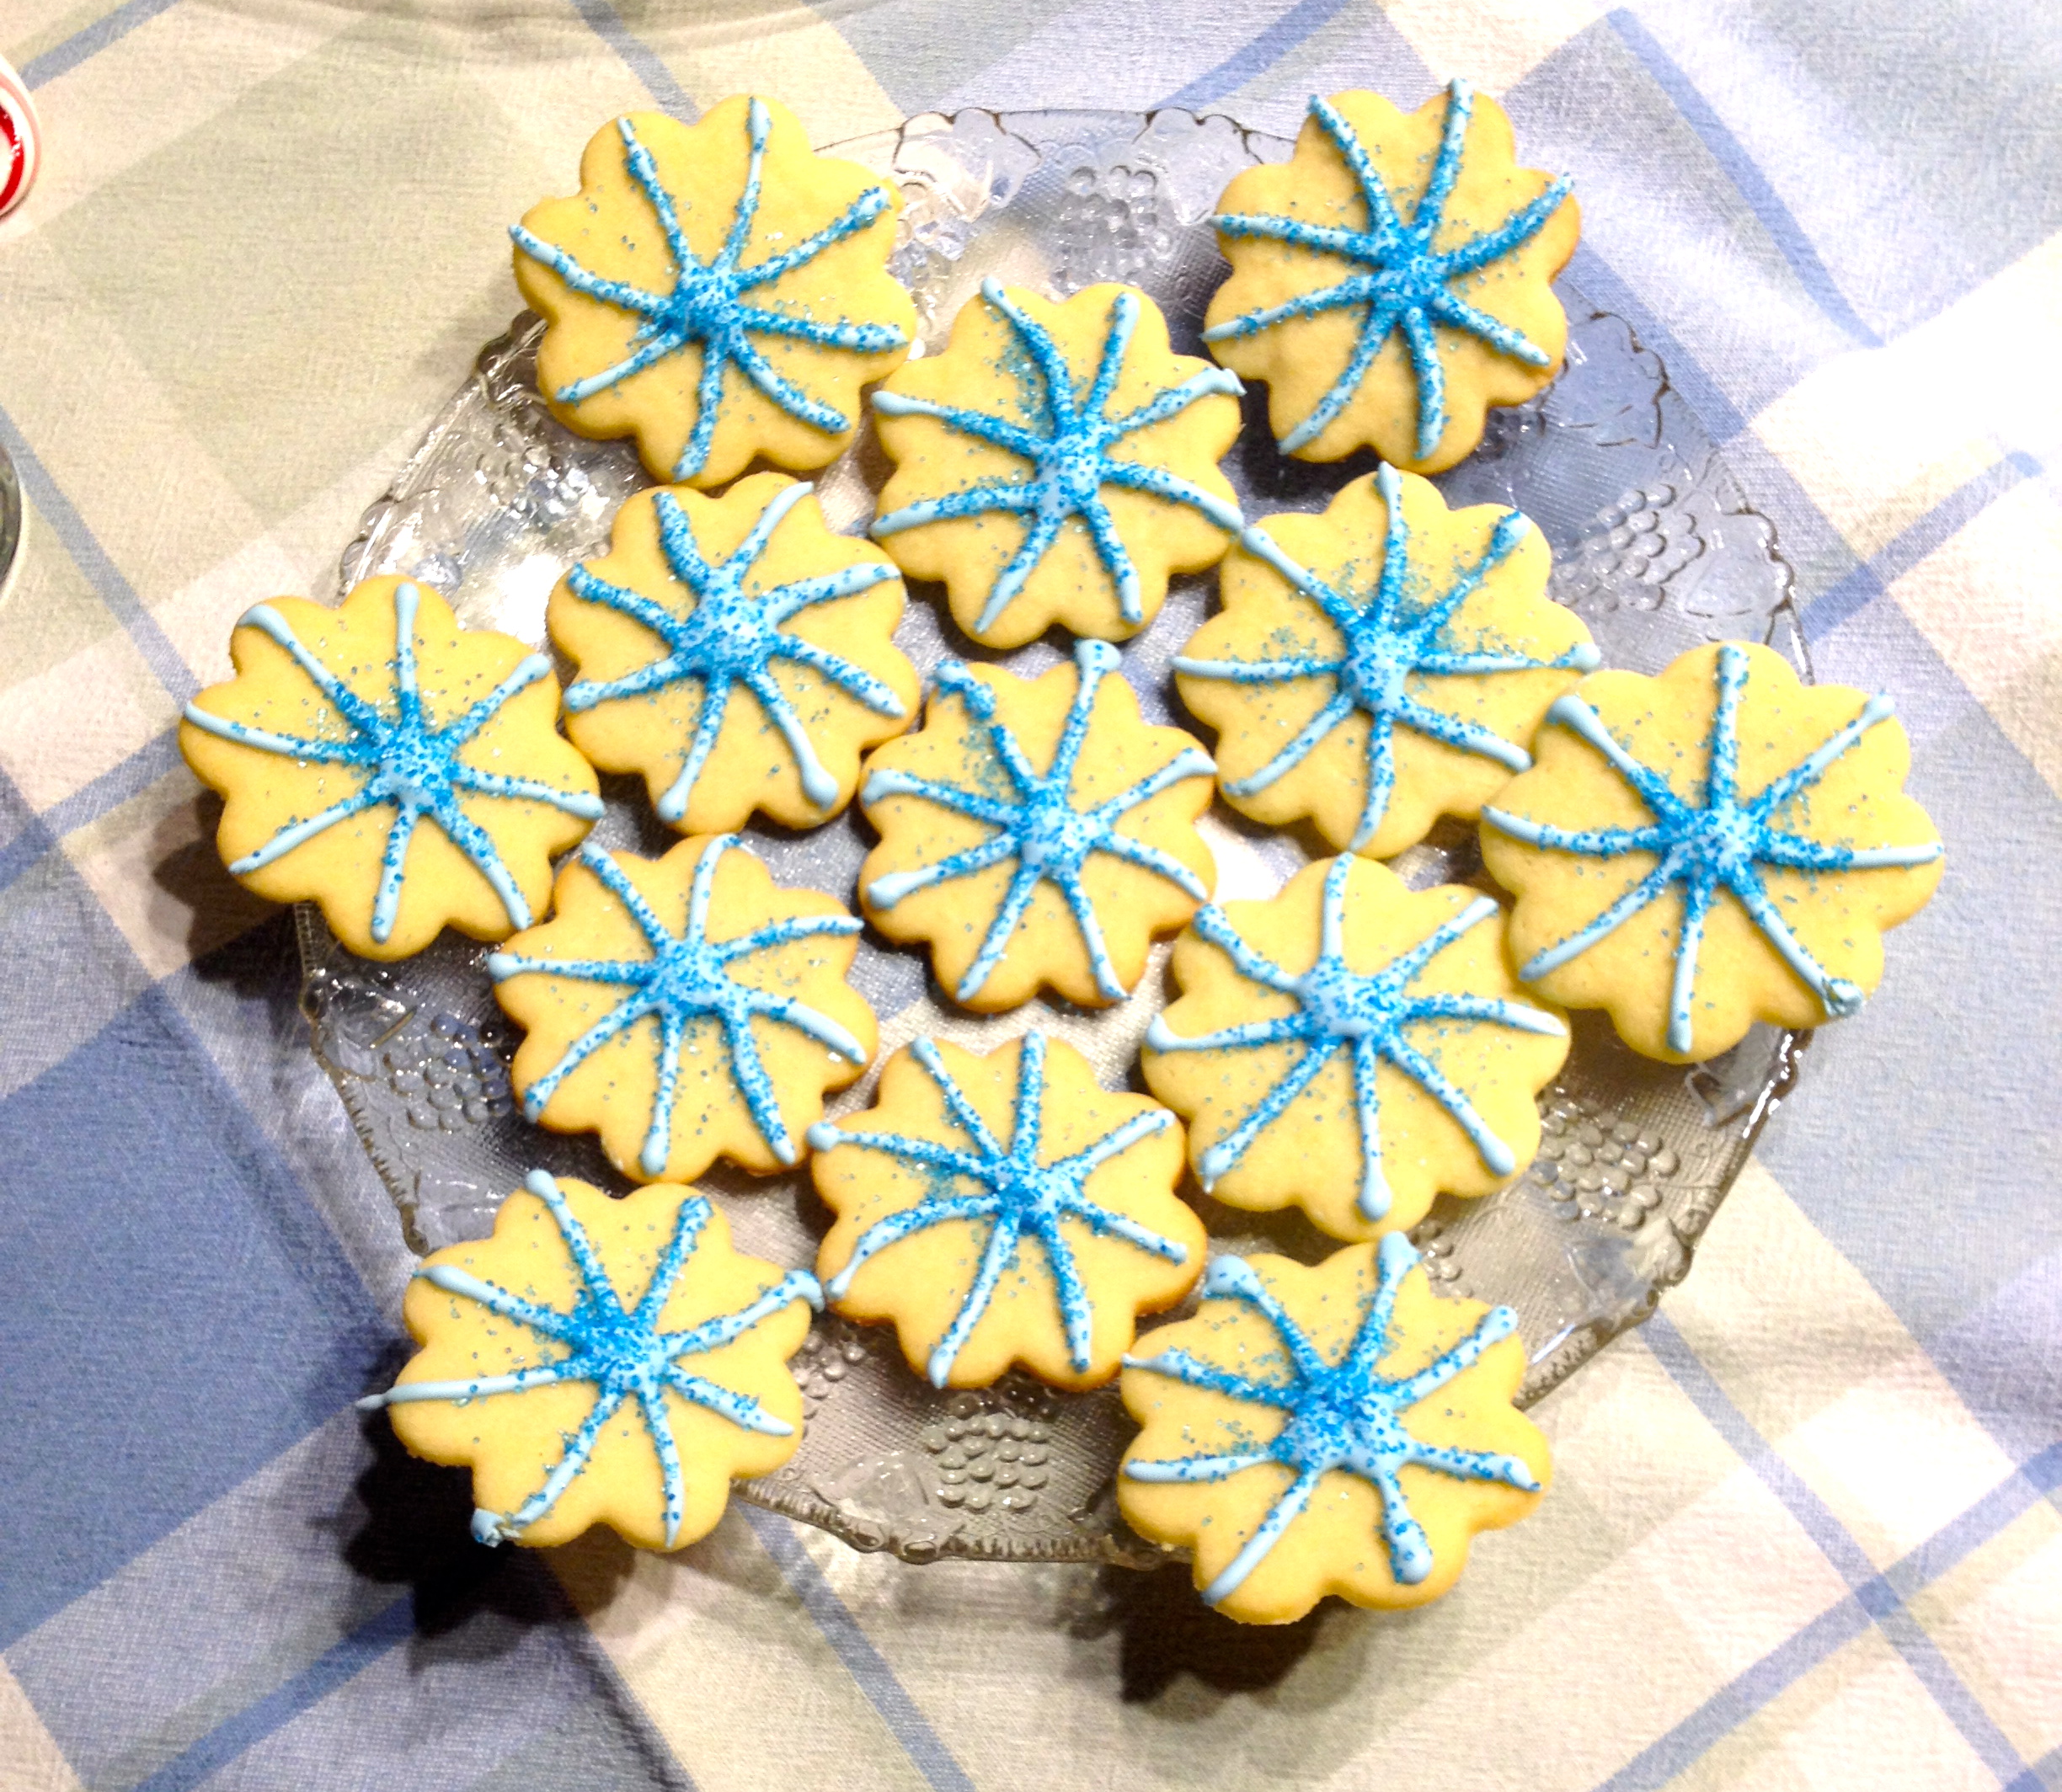
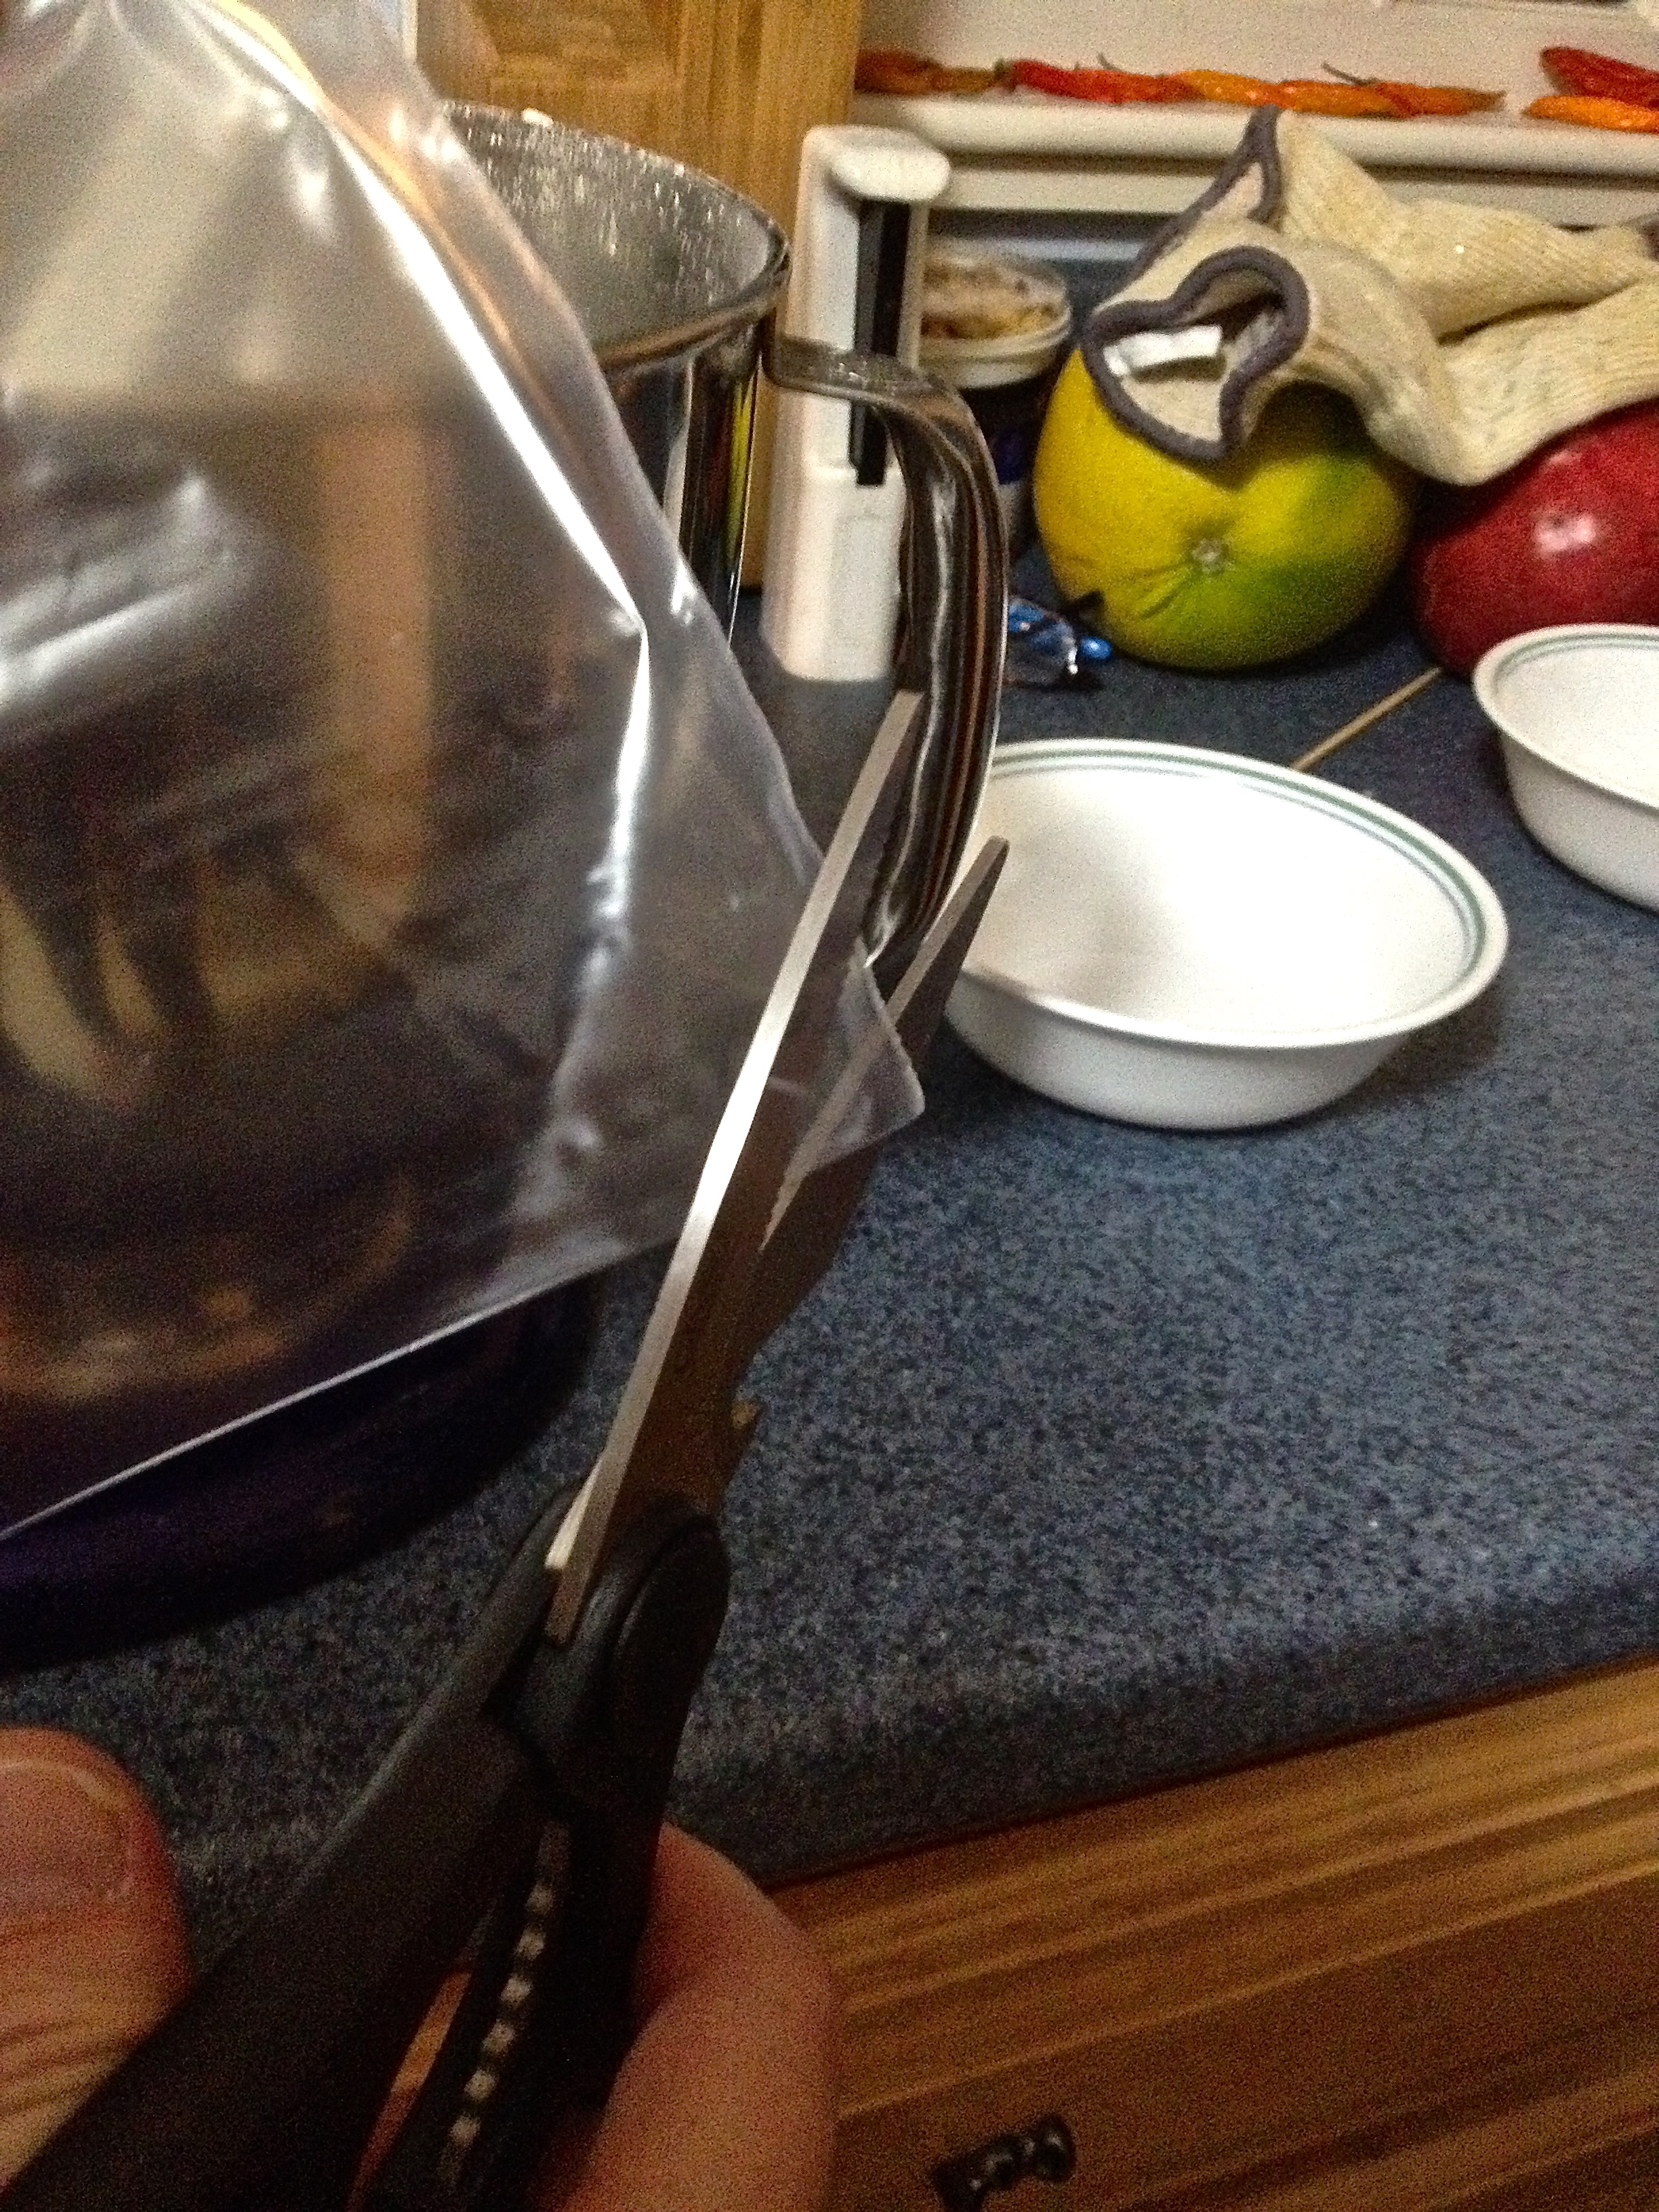
Combine all the ingredients together in a large mixing bowl. Start mixing on LOW speed, or else you’ll get powdered sugar all over you. After the sugar and eggs are combined, turn the mixer up to higher speeds and whip the heck out of it until it’s shiny and beginning to stiffen (not quite forming stiff peaks, but almost there). Then it’s ready to be put into pastry bags! If you don’t have one, you can just cut the corner off a Ziploc bag and use that as a decorating bag! And if you don’t have decorating tips, just make the hole in the bag teeny so that the frosting is controlled. I made blue, yellow, and white frosting, so I divided the batch of frosting into three bowls and colored them accordingly.
You can obviously decorate the cookies however you want, but I made some New Year’s balls, stars, and fireworks. I think they came out pretty well! Ps, the shimmer on the white balls is from “pearl dust”. I bought it at our local craft store, and it gives a nice sparkle to the frosting. Then I used blue sprinkles on the blue frosting to enhance the color.

The party was a huge success, and I’m proud to say the cookies were all gone by the end of the night! Roll-out cookies are tedious, but so yummy and worth it if you’re planning to share!
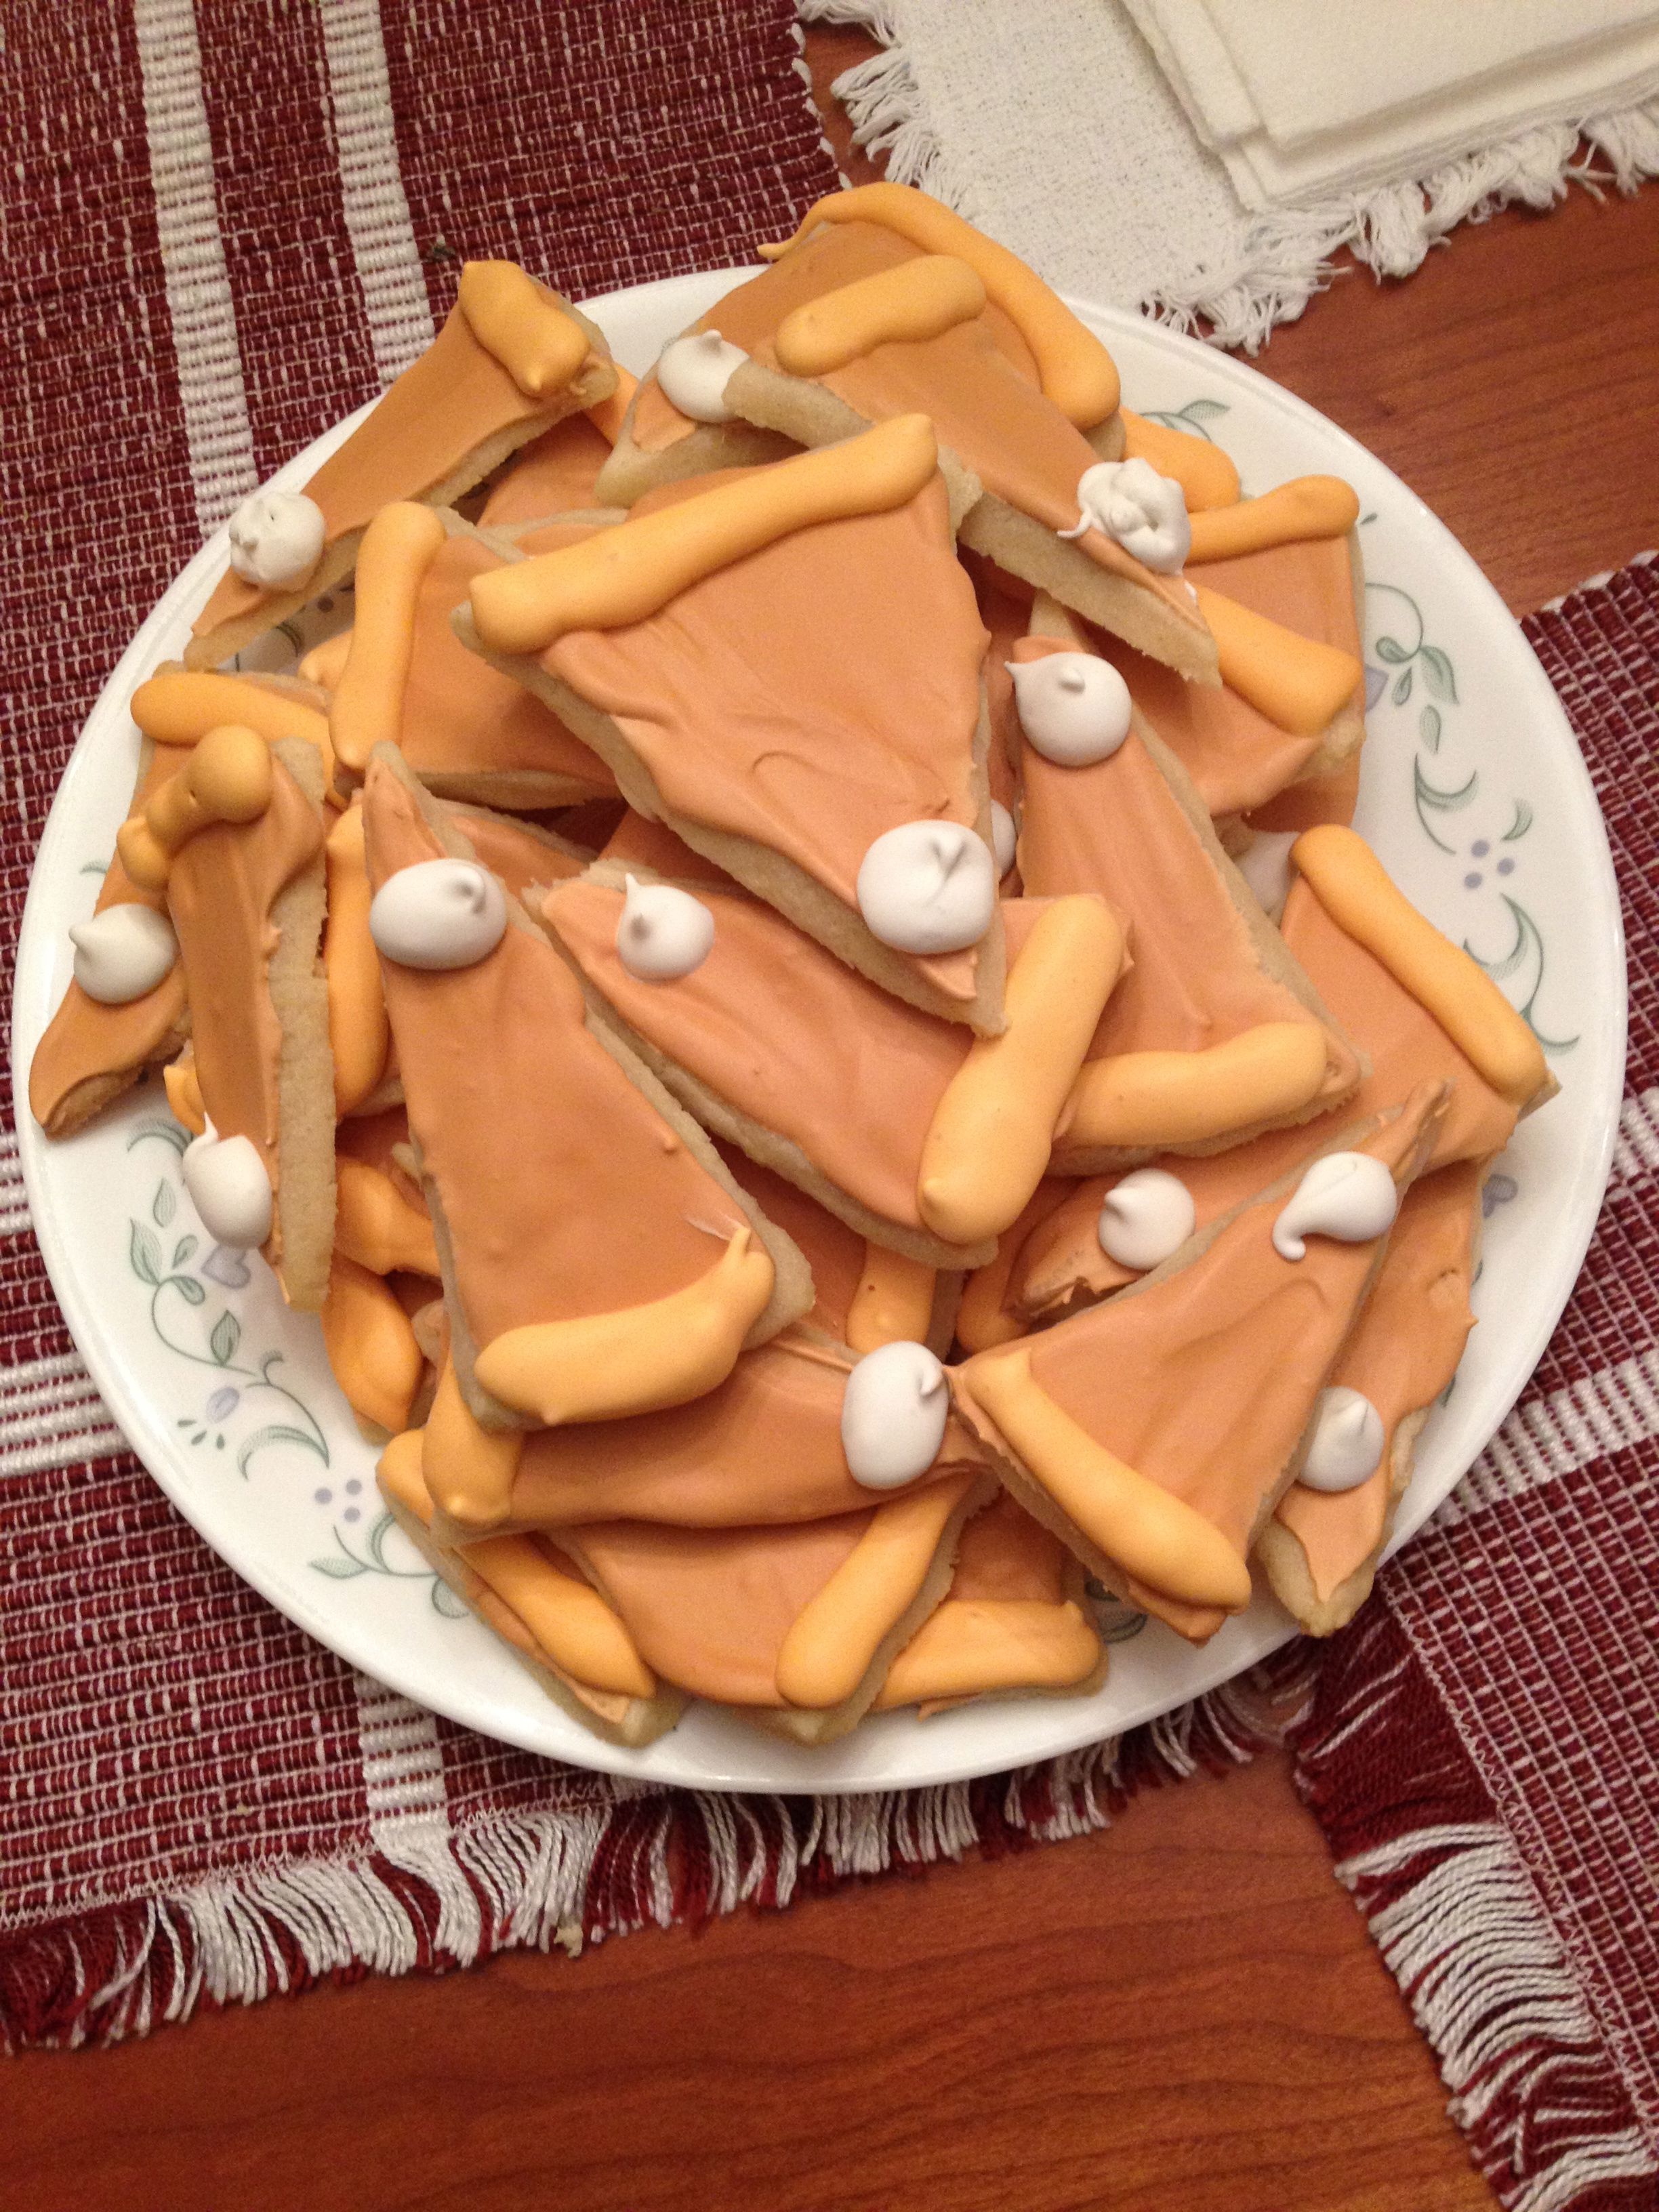
Pumpkin Pie on a Cookie
Every other week, my parents have a Bible study with some couples from our church. More often than not, I make their desserts, and the following dessert was a result of that!
This is a pretty simple recipe, with a fairly specific decoration process. It’s a “Pumpkin Pie Cookie”, which is really just a sugar cookie that has been slightly flavored to taste like the pie, and frosted to look like it. I made my cookies taste like pumpkin pie, but you can flavor it anyway you want. For example, if you want lemon meringue pie cookies, flavor it with 1/4 tsp lemon zest instead of the pumpkin pie spice.
Here’s the pumpkin cookie recipe:
- 3 3/4 cups all-purpose flour
- 1 tsp baking powder
- 1/2 tsp salt
- 2 sticks unsalted butter (room temp. or softened)
- 2 cups granulated sugar
- 2 eggs
- 1 tsp vanilla extract
- 1/4 tsp pumpkin pie spice (or 1/8 tsp nutmeg and 1/8 tsp cinnamon)
Cream the butter and sugar together. Add the eggs and vanilla, and mix well. Gradually add the dry ingredients, mixing until dough is absolutely delicious and it’s tempting to just eat the dough (but really until everything is thoroughly incorporated). Then wrap the dough in plastic wrap and chill it in the fridge or freezer until it’s nice and cold, which will make it easier to work with.
Roll it out on a floured pastry board or flat surface until it’s about 1/4 inch thick.
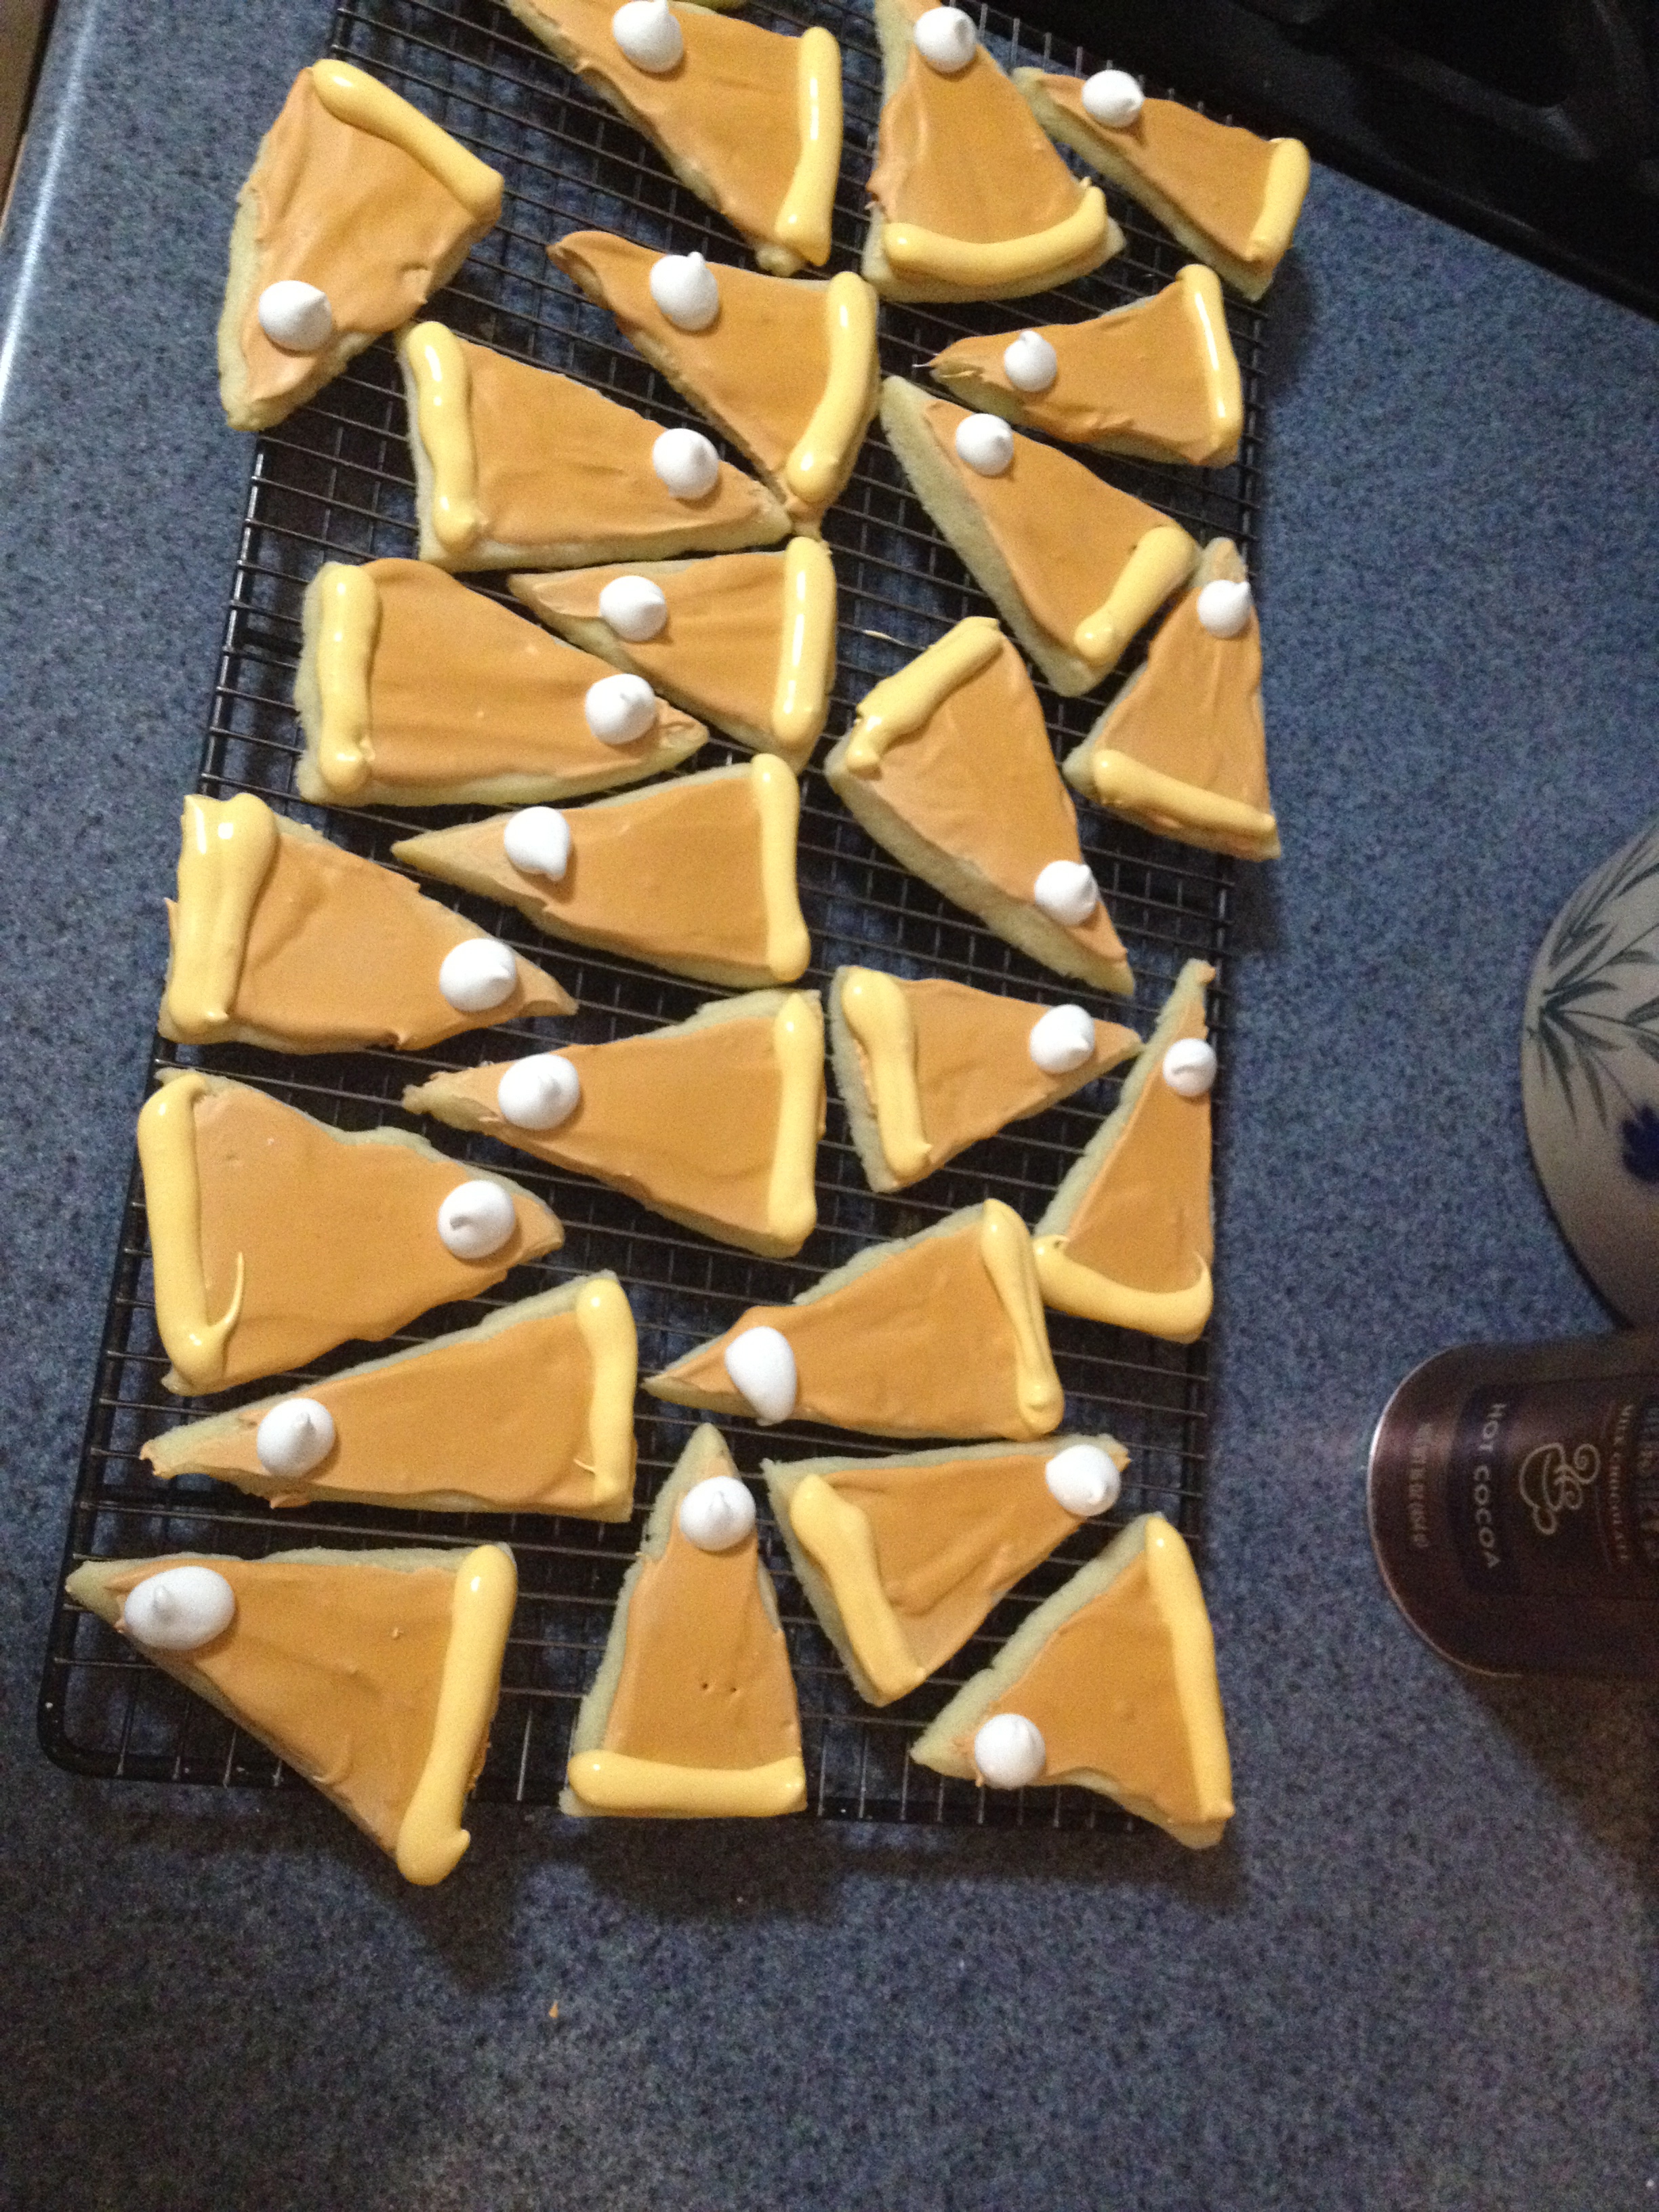
Then, if you’re lucky enough to have a triangular pie-piece-shaped cookie cutter, cut out a bunch of little triangles and lay them on a cookie sheet. For the rest of us who lack a cookie cutter like that, just free-hand the triangles. They’ll be slightly different sizes, but I figure they all taste great and look cute!
Put the cookies on an ungreased baking sheet, and put in them in the oven at 350ºF for 8-10 minutes, switching racks after 5 minutes to ensure even baking. Some recipes call for a parchment-lined baking sheet, but if you take the cookies off the sheet right after they’ve come out of the oven you should be fine.
When the cookies come out of the oven, let them cool and work on the frosting. Here’s the frosting recipe:
- 1 ¼ cup powdered sugar
- 3 tbsp milk
- ½ tsp vanilla extract
Put the ingredients into a mixing bowl, and being mixing it on LOW speed or else you’ll get powdered sugar everywhere. Once the sugar is incorporated, turn up the speed and whip it for several minutes until it begins to stiffen. Adjust the sugar and milk amount based on how it comes out; it differs depending on weather, humidity, etc.
Divide the frosting into three bowls, one with about half of the frosting and the other two with the remaining quarters of the frosting. Now it’s time for food coloring!
The bowl with half of the frosting should be colored like the “pie” that you’re going for. For example, for pumpkin pie cookies you would make orangey-tan colored frosting. For lemon meringue pie cookies, make it vibrant yellow. The coloring of this will take a little time and patience, because there’s no set guideline for how many drops of which color you need. Just keep mixing until you like the color!
One bowl with a quarter of the frosting will stay white for the “whipped cream” on the pie. The other bowl will be colored to look like pie “crust”. This is a pretty simple color to make. The goal is to make it yellow-tan, so add a little bit of yellow, a little red, and a little blue (but of course you can decide what shade looks the best).
After you’ve colored the frosting to your liking, put the crust color and whipped cream color into separate pastry bags. If you don’t have a pastry bag, just cut off the corner of a Ziploc bag and put the frosting in that.
Now for decorating! Using a knife or a frosting spreader, take the “pie filling” colored frosting and spread it over the top of the cookies. Then, using your “crust” colored frosting, make a thick line across the short end of the triangle to look like the crust. If you want to get really fancy, you can make the crust frosting wavy so that it looks like a scalloped edge. Finally, finish it with a dollop of “whipped cream” frosting. When you’re finished decorating them, let them dry on a wire rack to let the frosting harden.
Then, put them on a plate and eat them all!
Having the Bible study group over is always fun because they’re great people and fun to have around, and they’re great guinea pigs for my desserts! It’s so fun sharing my ideas with them and seeing what works and what doesn’t. Give these cookies a try, because I got good reviews on them from the group!
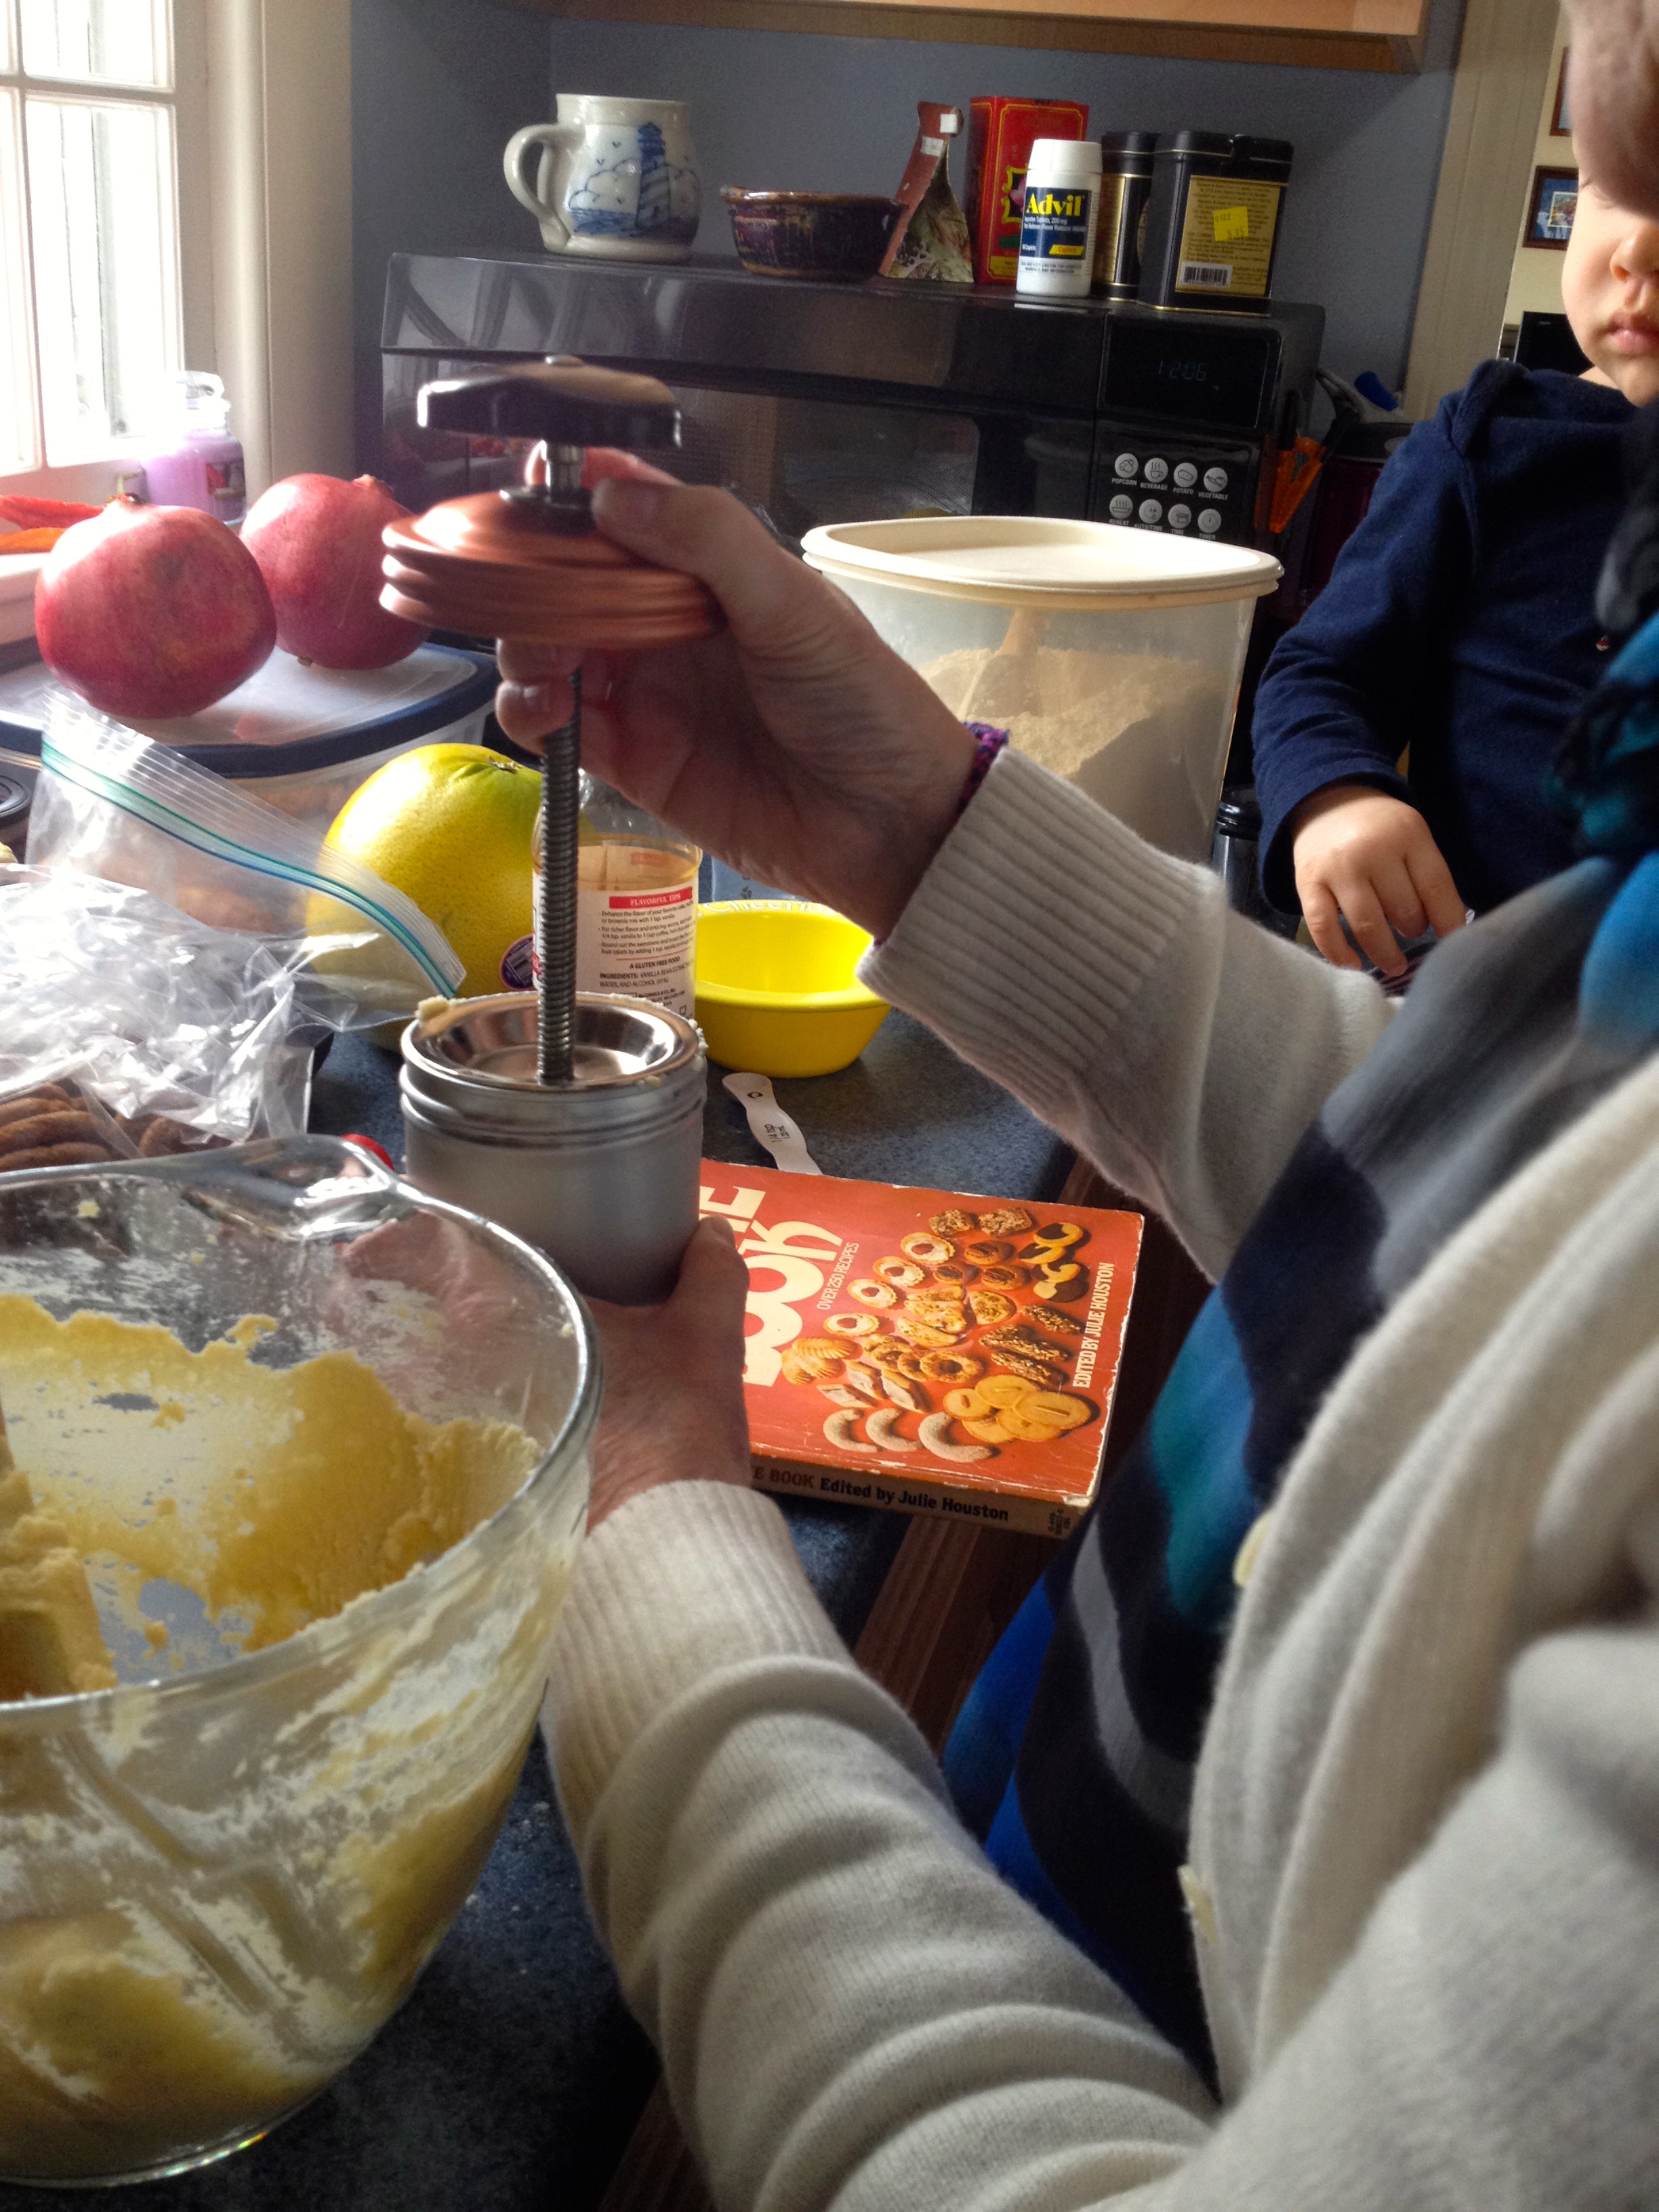
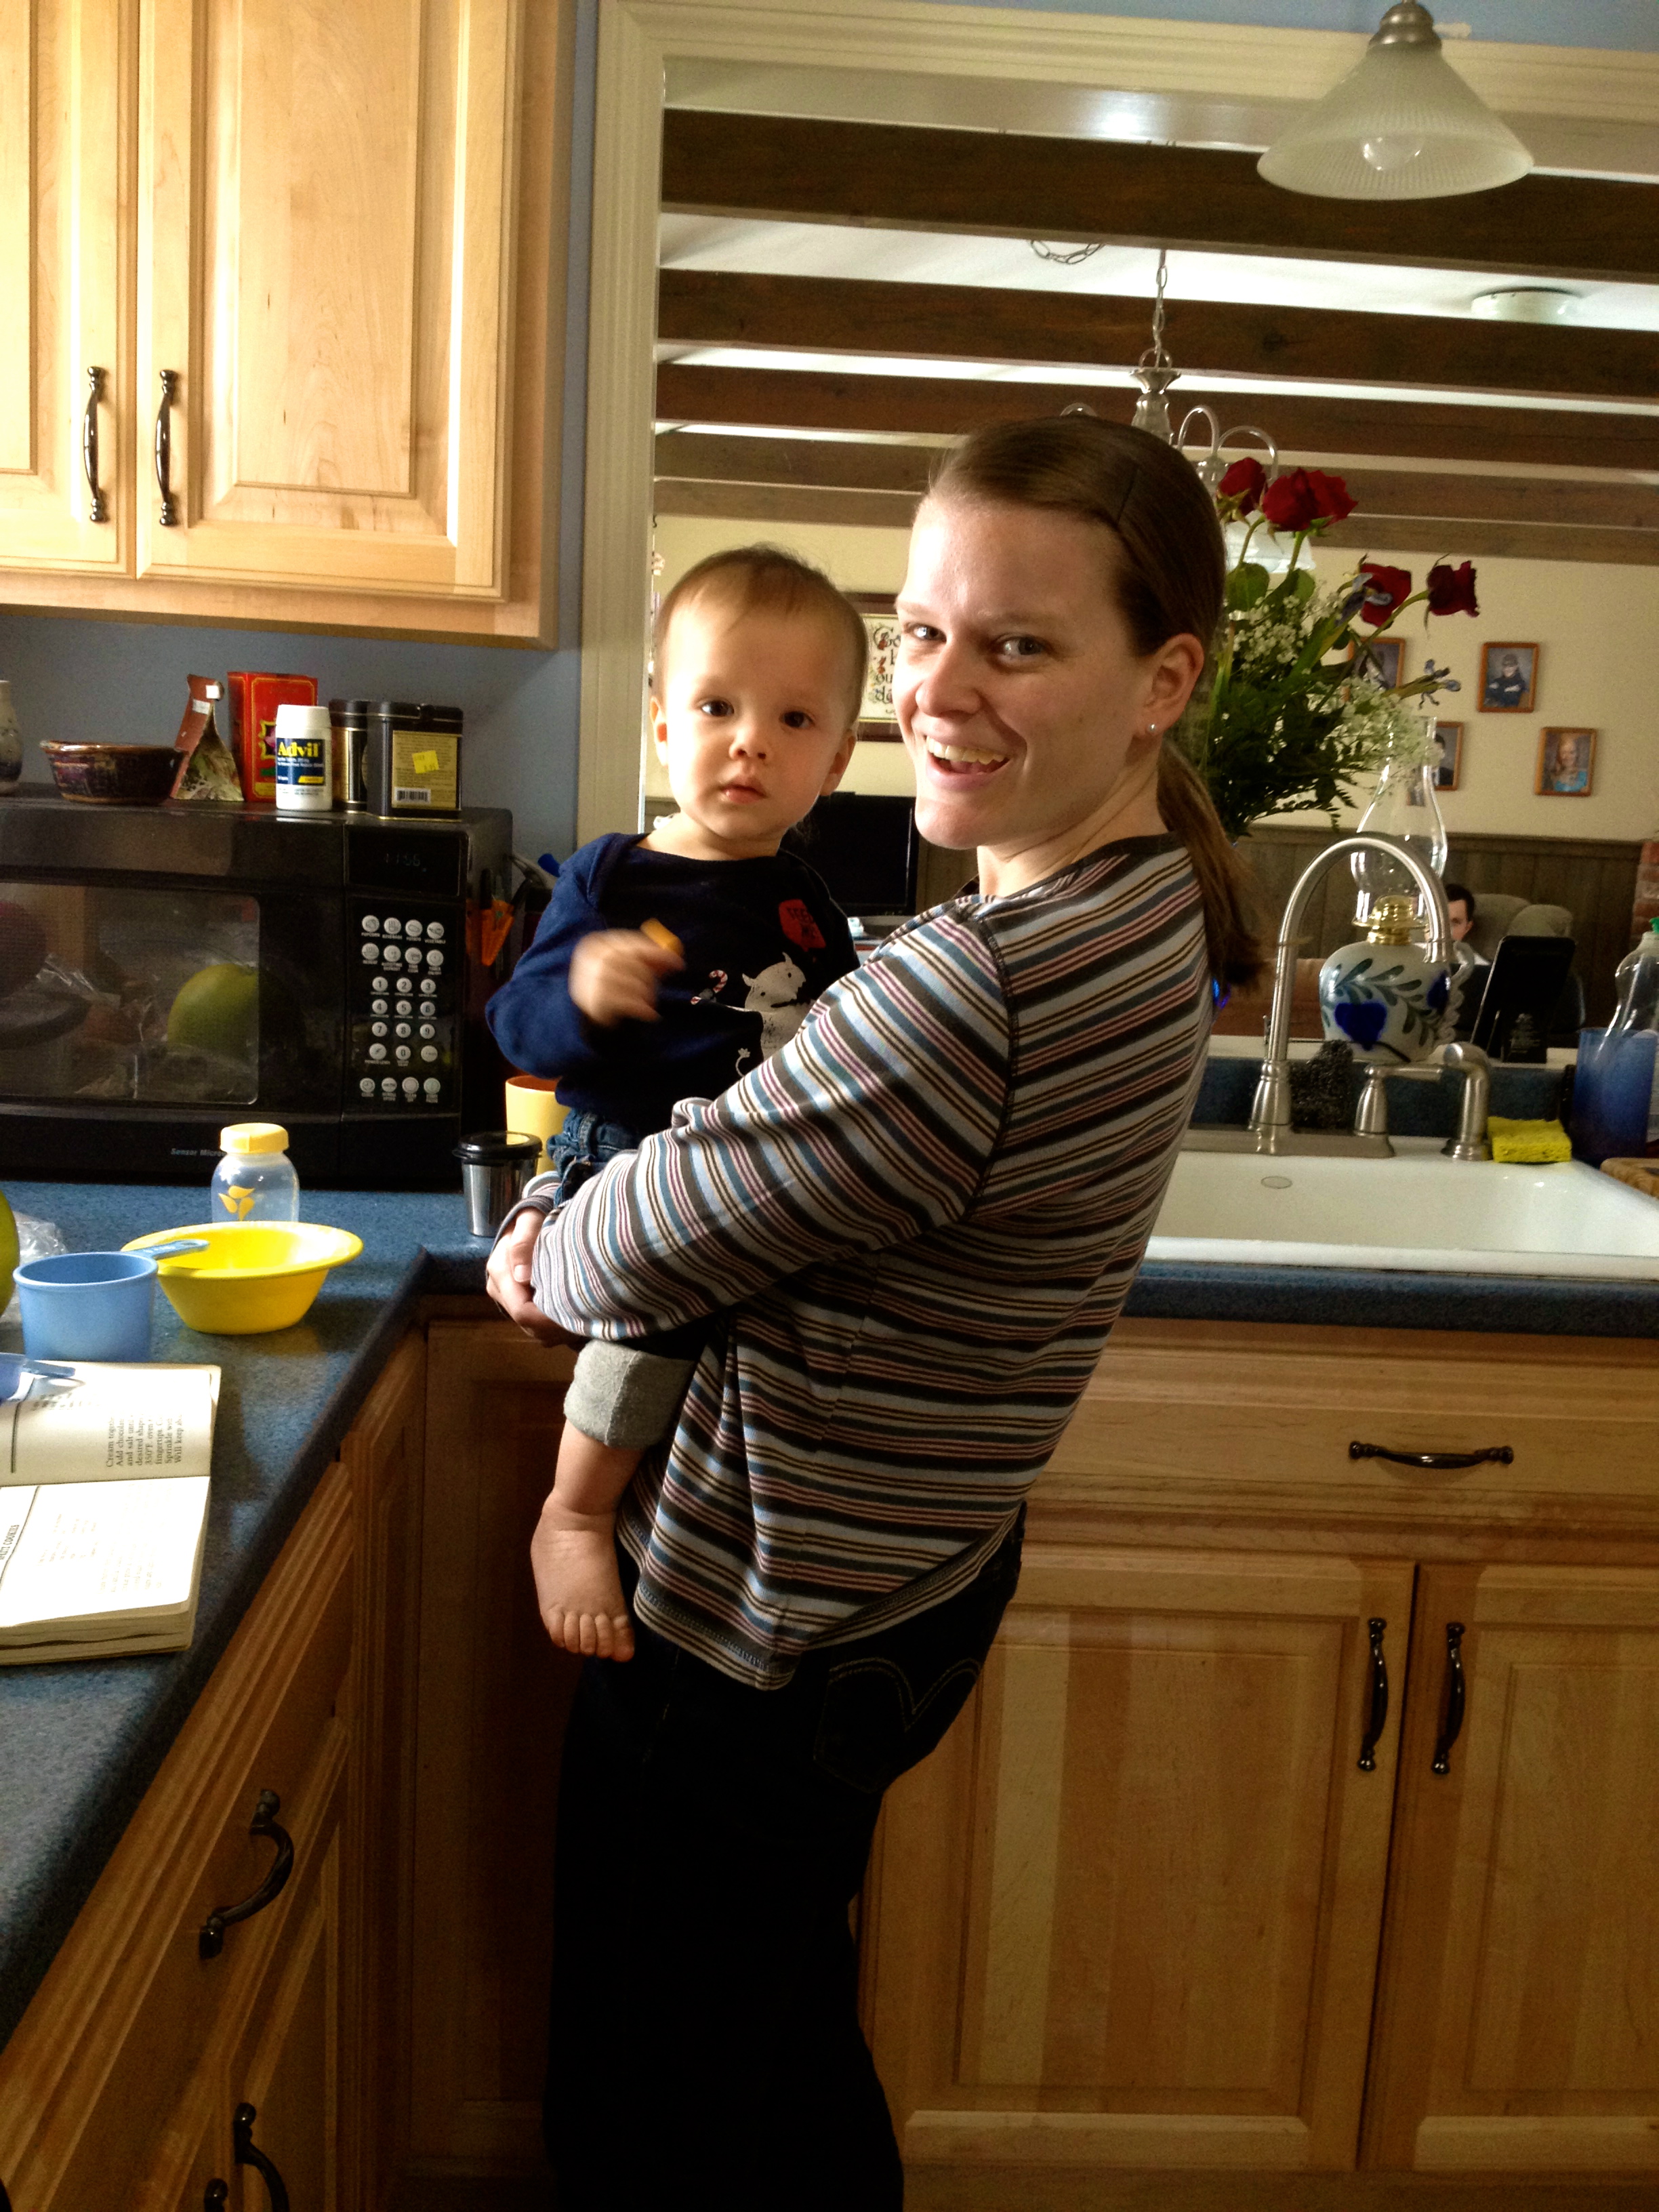
Spritz with Grandma
Today, my nephew is visiting, and my mom decided that it’s a Grandma-Grandson-cookie-making kind of day. The cookie of choice is a spritz, which can be flavored a few different ways depending on your choice of “extract of ___”. Our favorite flavor is almond, but since that’s a fairly strong flavor for a little guy, we decided to make vanilla spritz with my nephew today.
Here’s the recipe:
- 1 cup butter or margarine, softened
- 3/4 cup granulated sugar
- 1 egg
- 1 tsp vanilla
- 2 1/4 cups all-purpose flour
- 1/4 tsp salt
- Sprinkles
Cream the butter and granulated sugar together. Beat in the egg and vanilla. Gradually stir in flour and salt. Using a cookie press, press dough into various shapes onto cold ungreased cookie sheets.
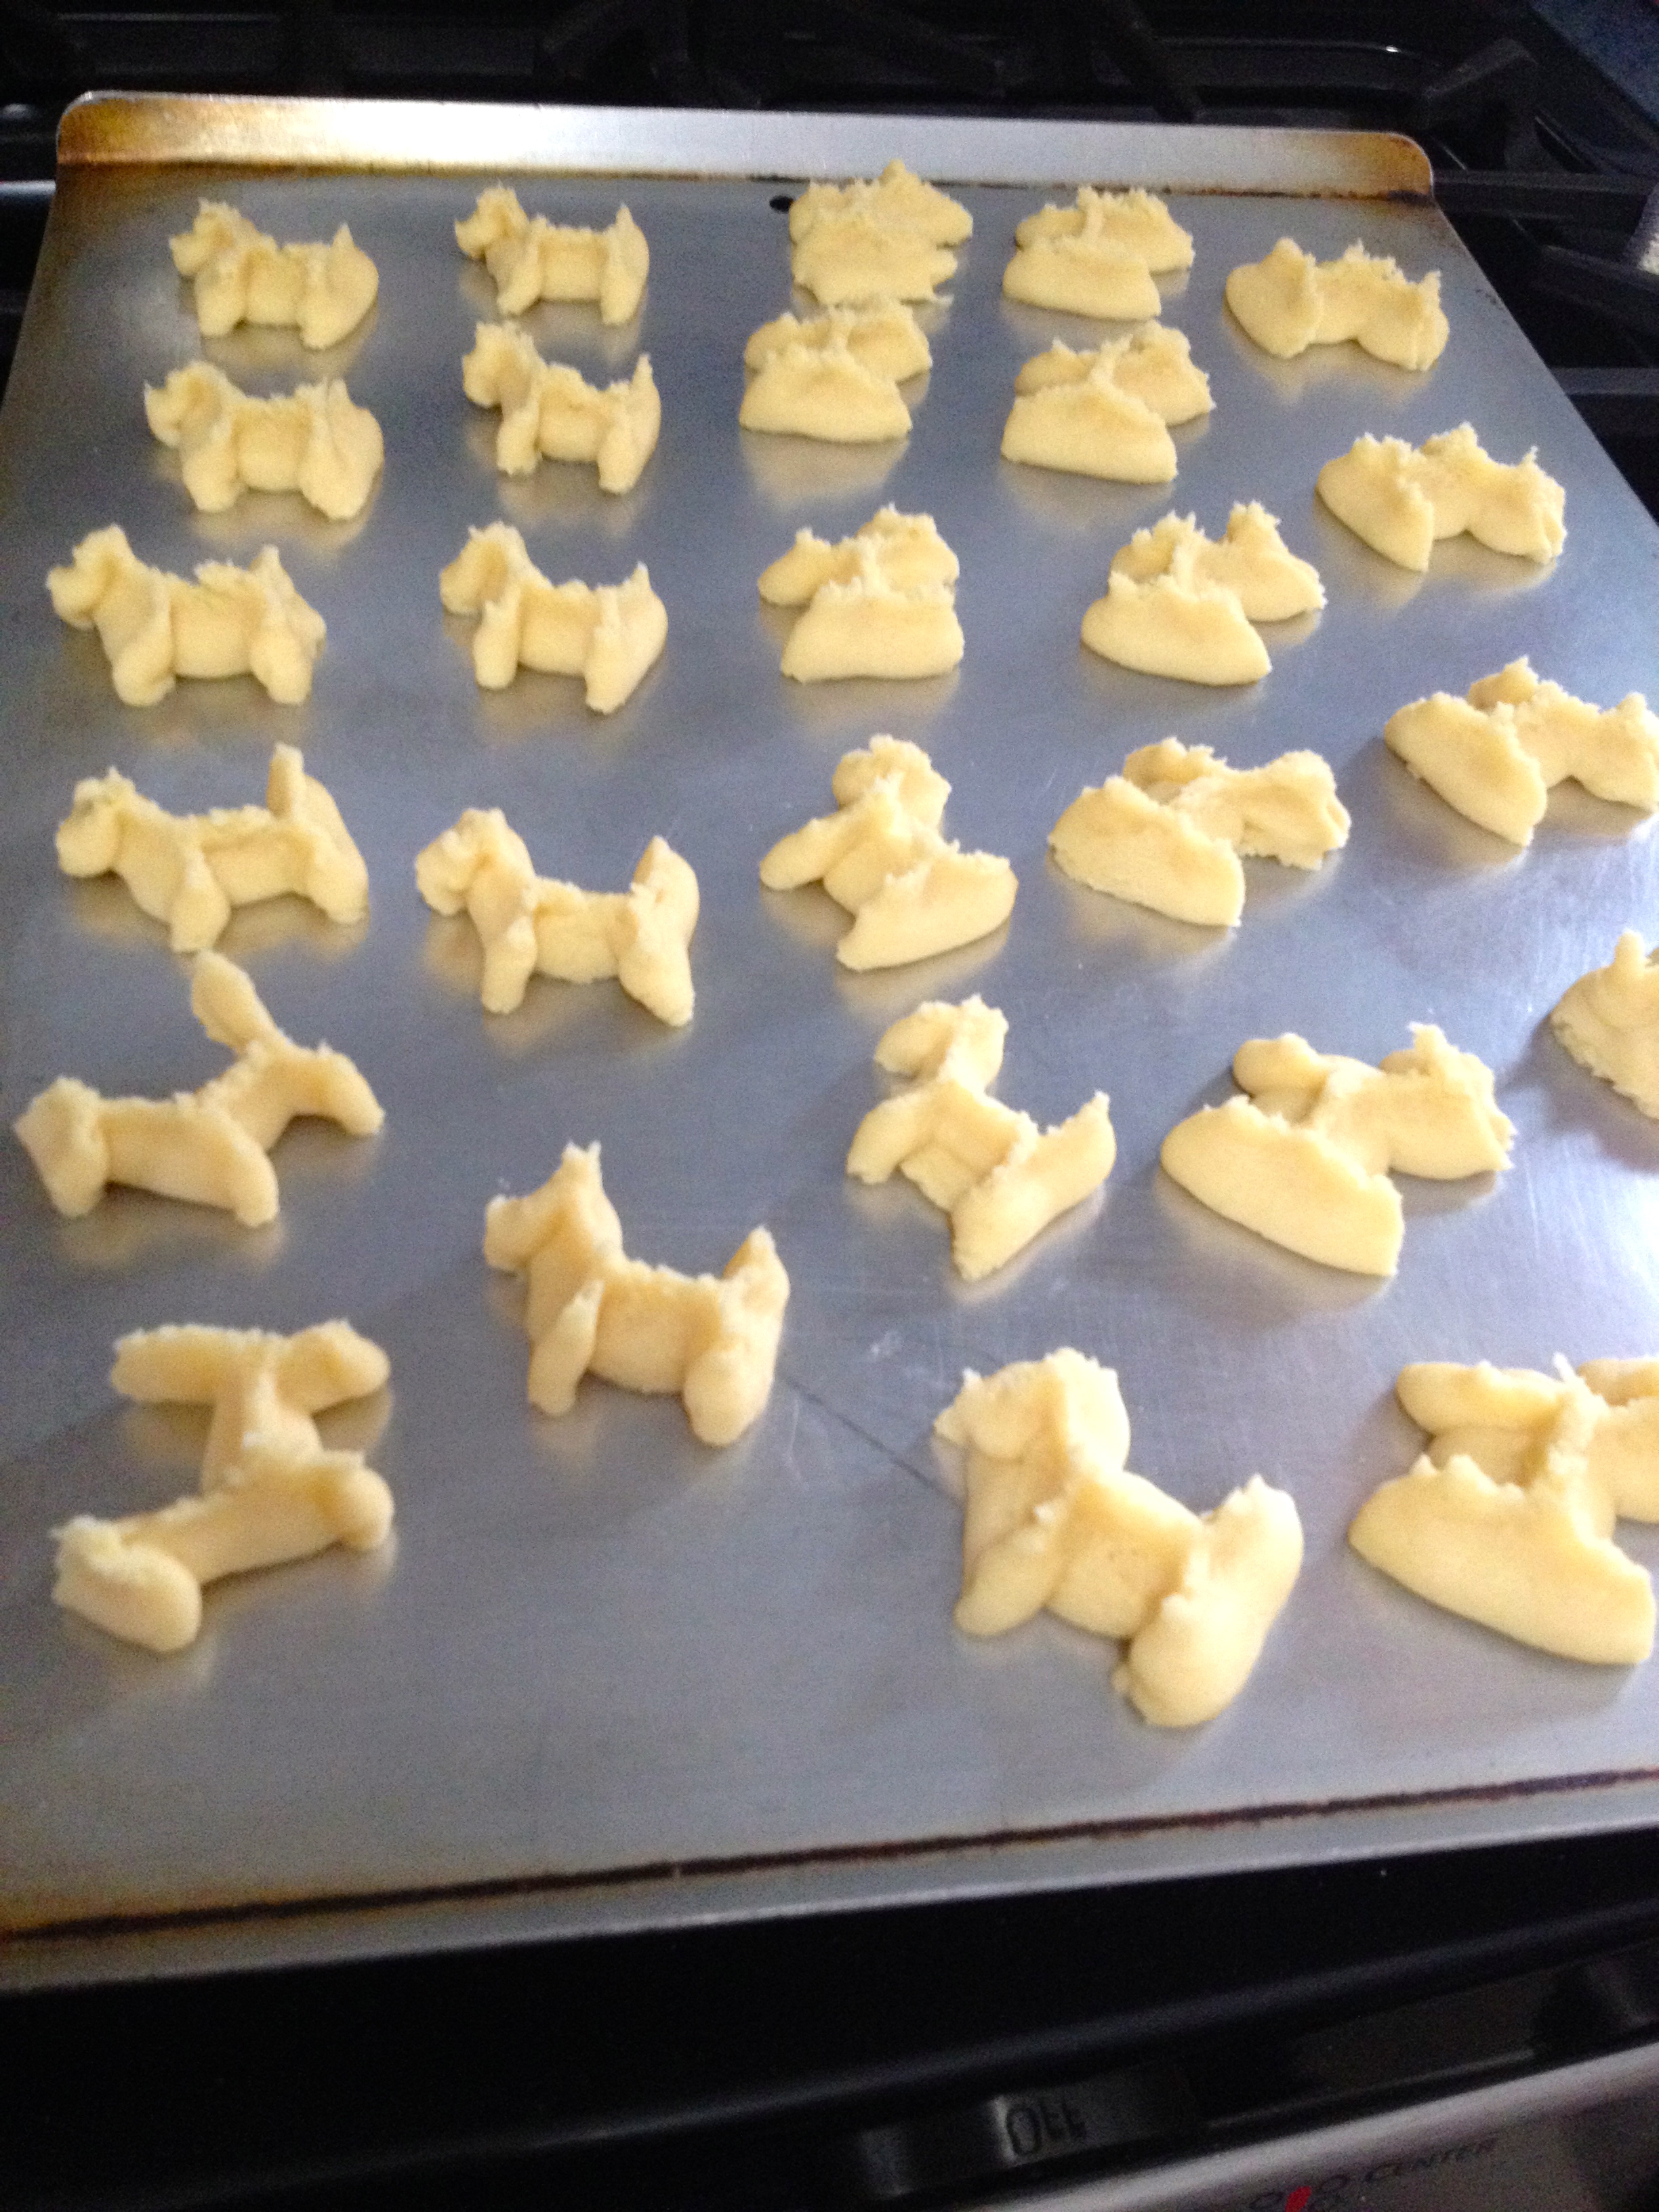
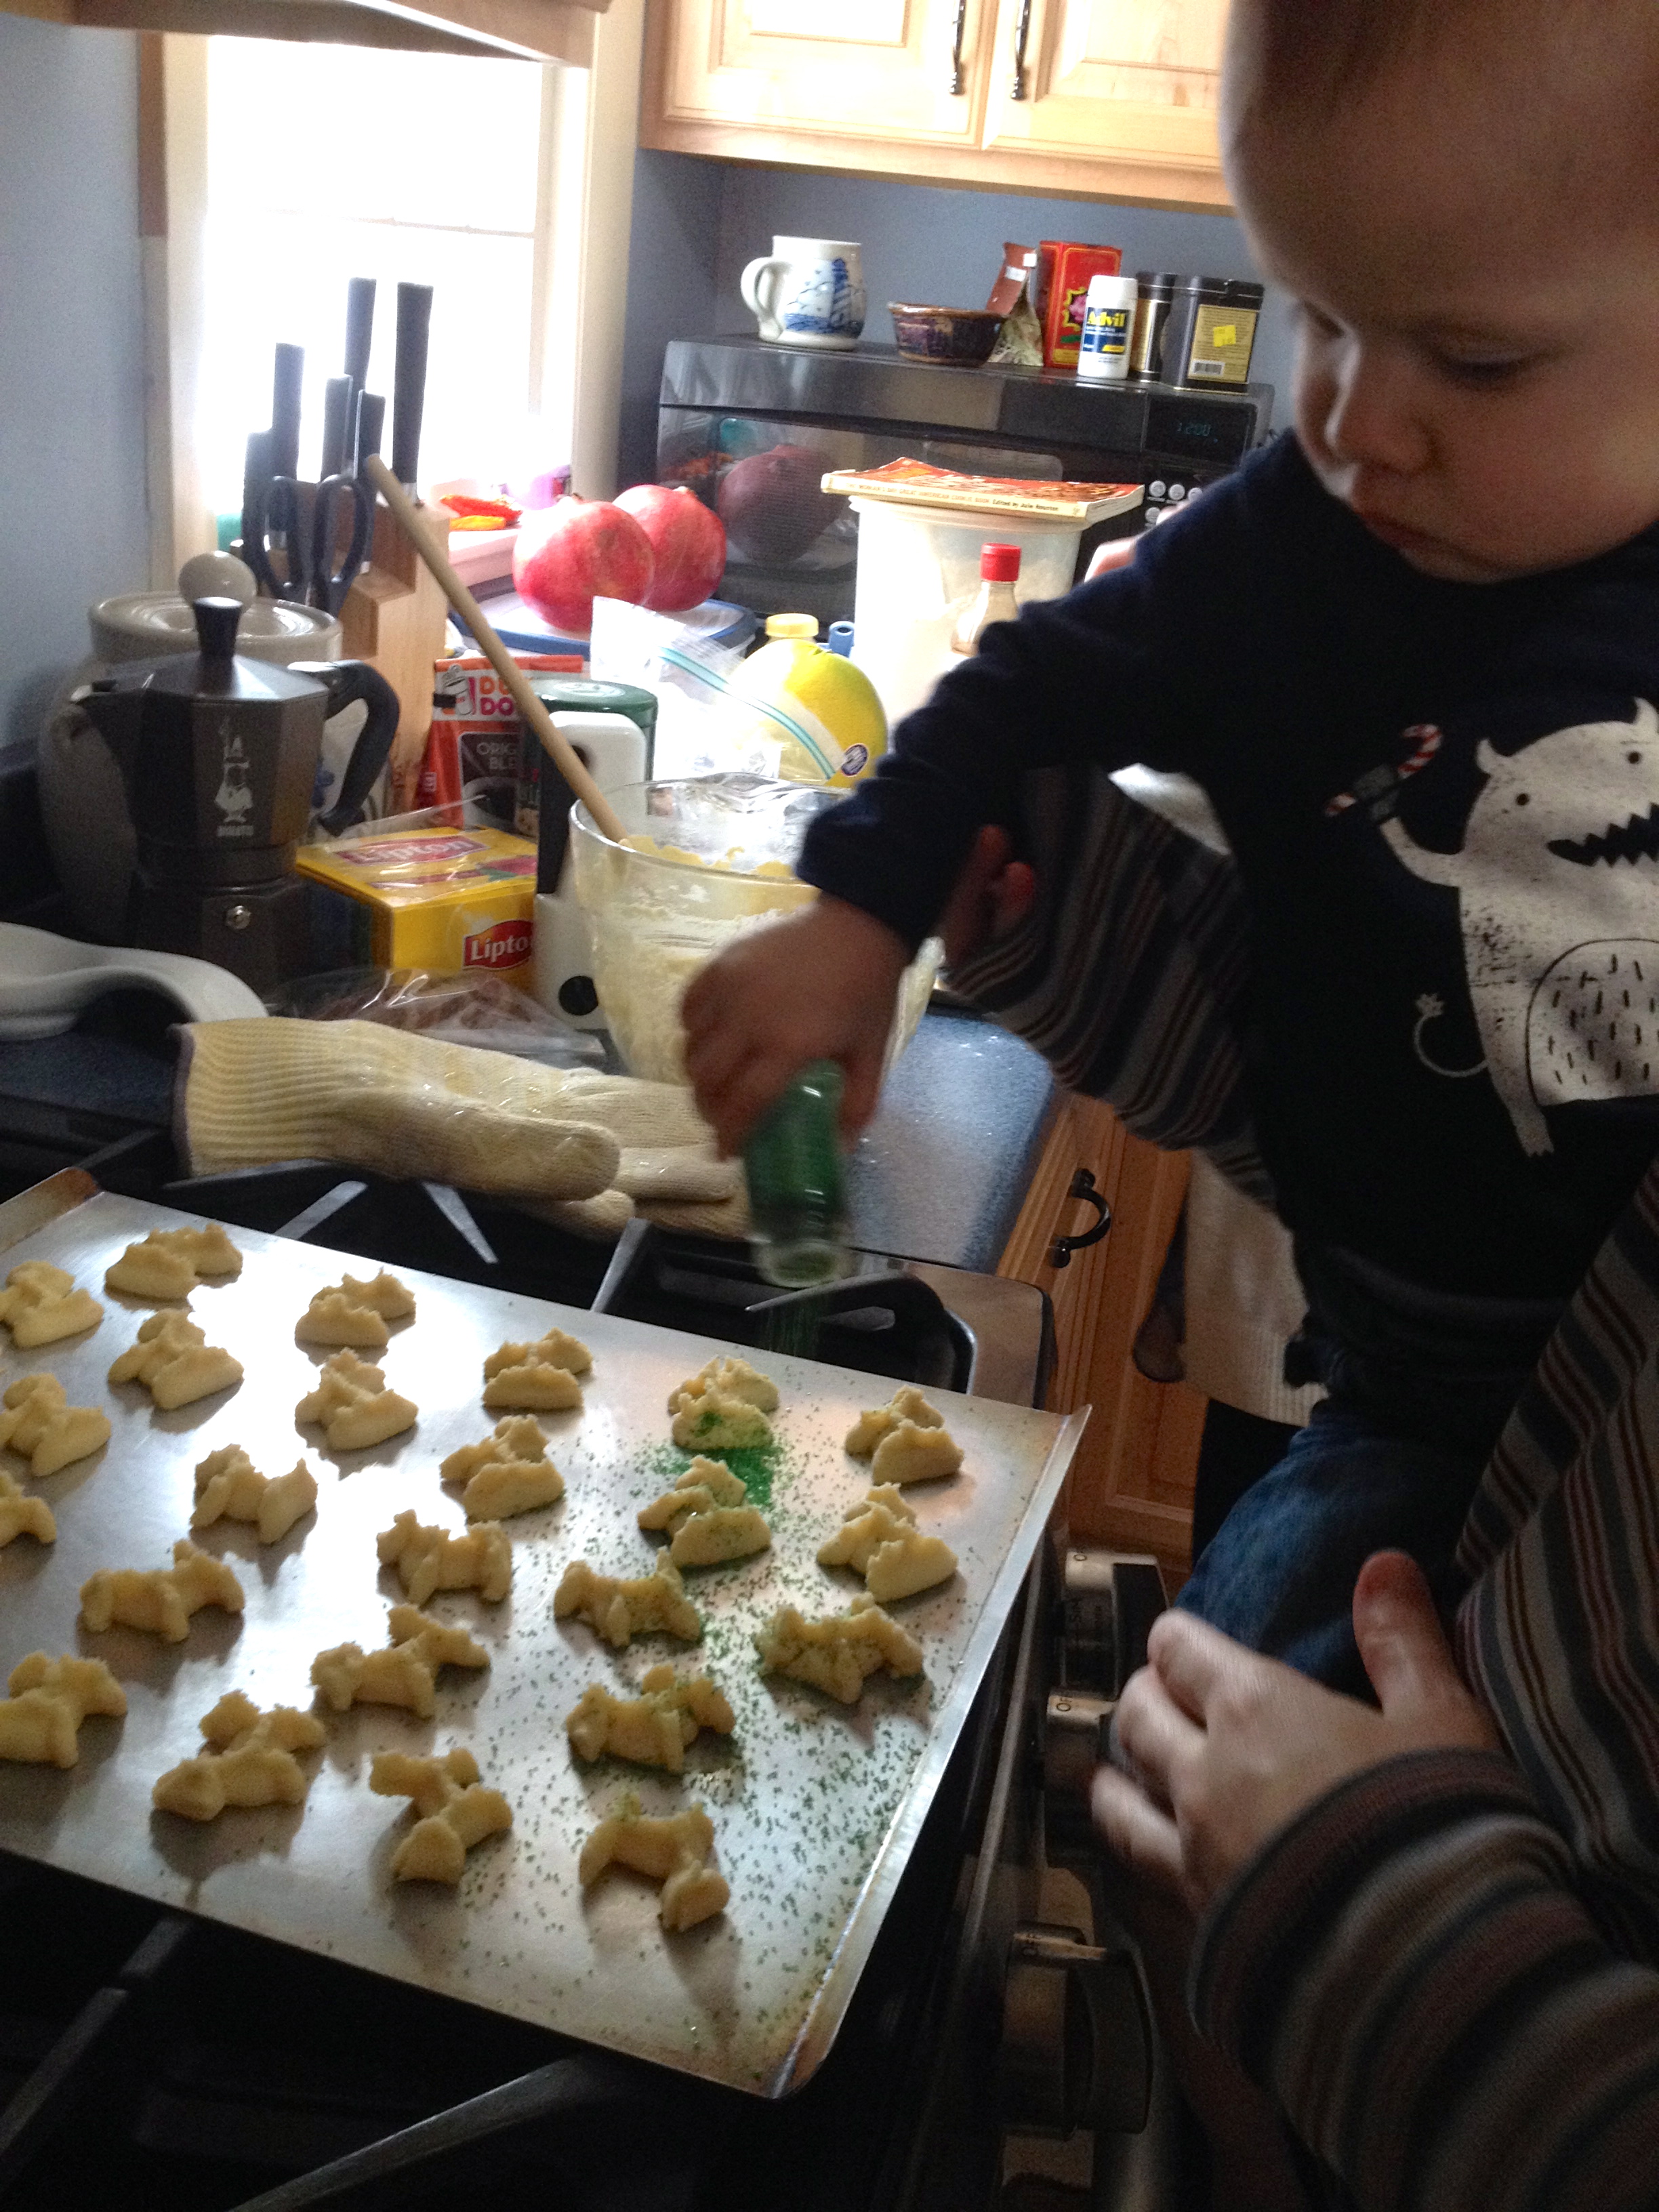
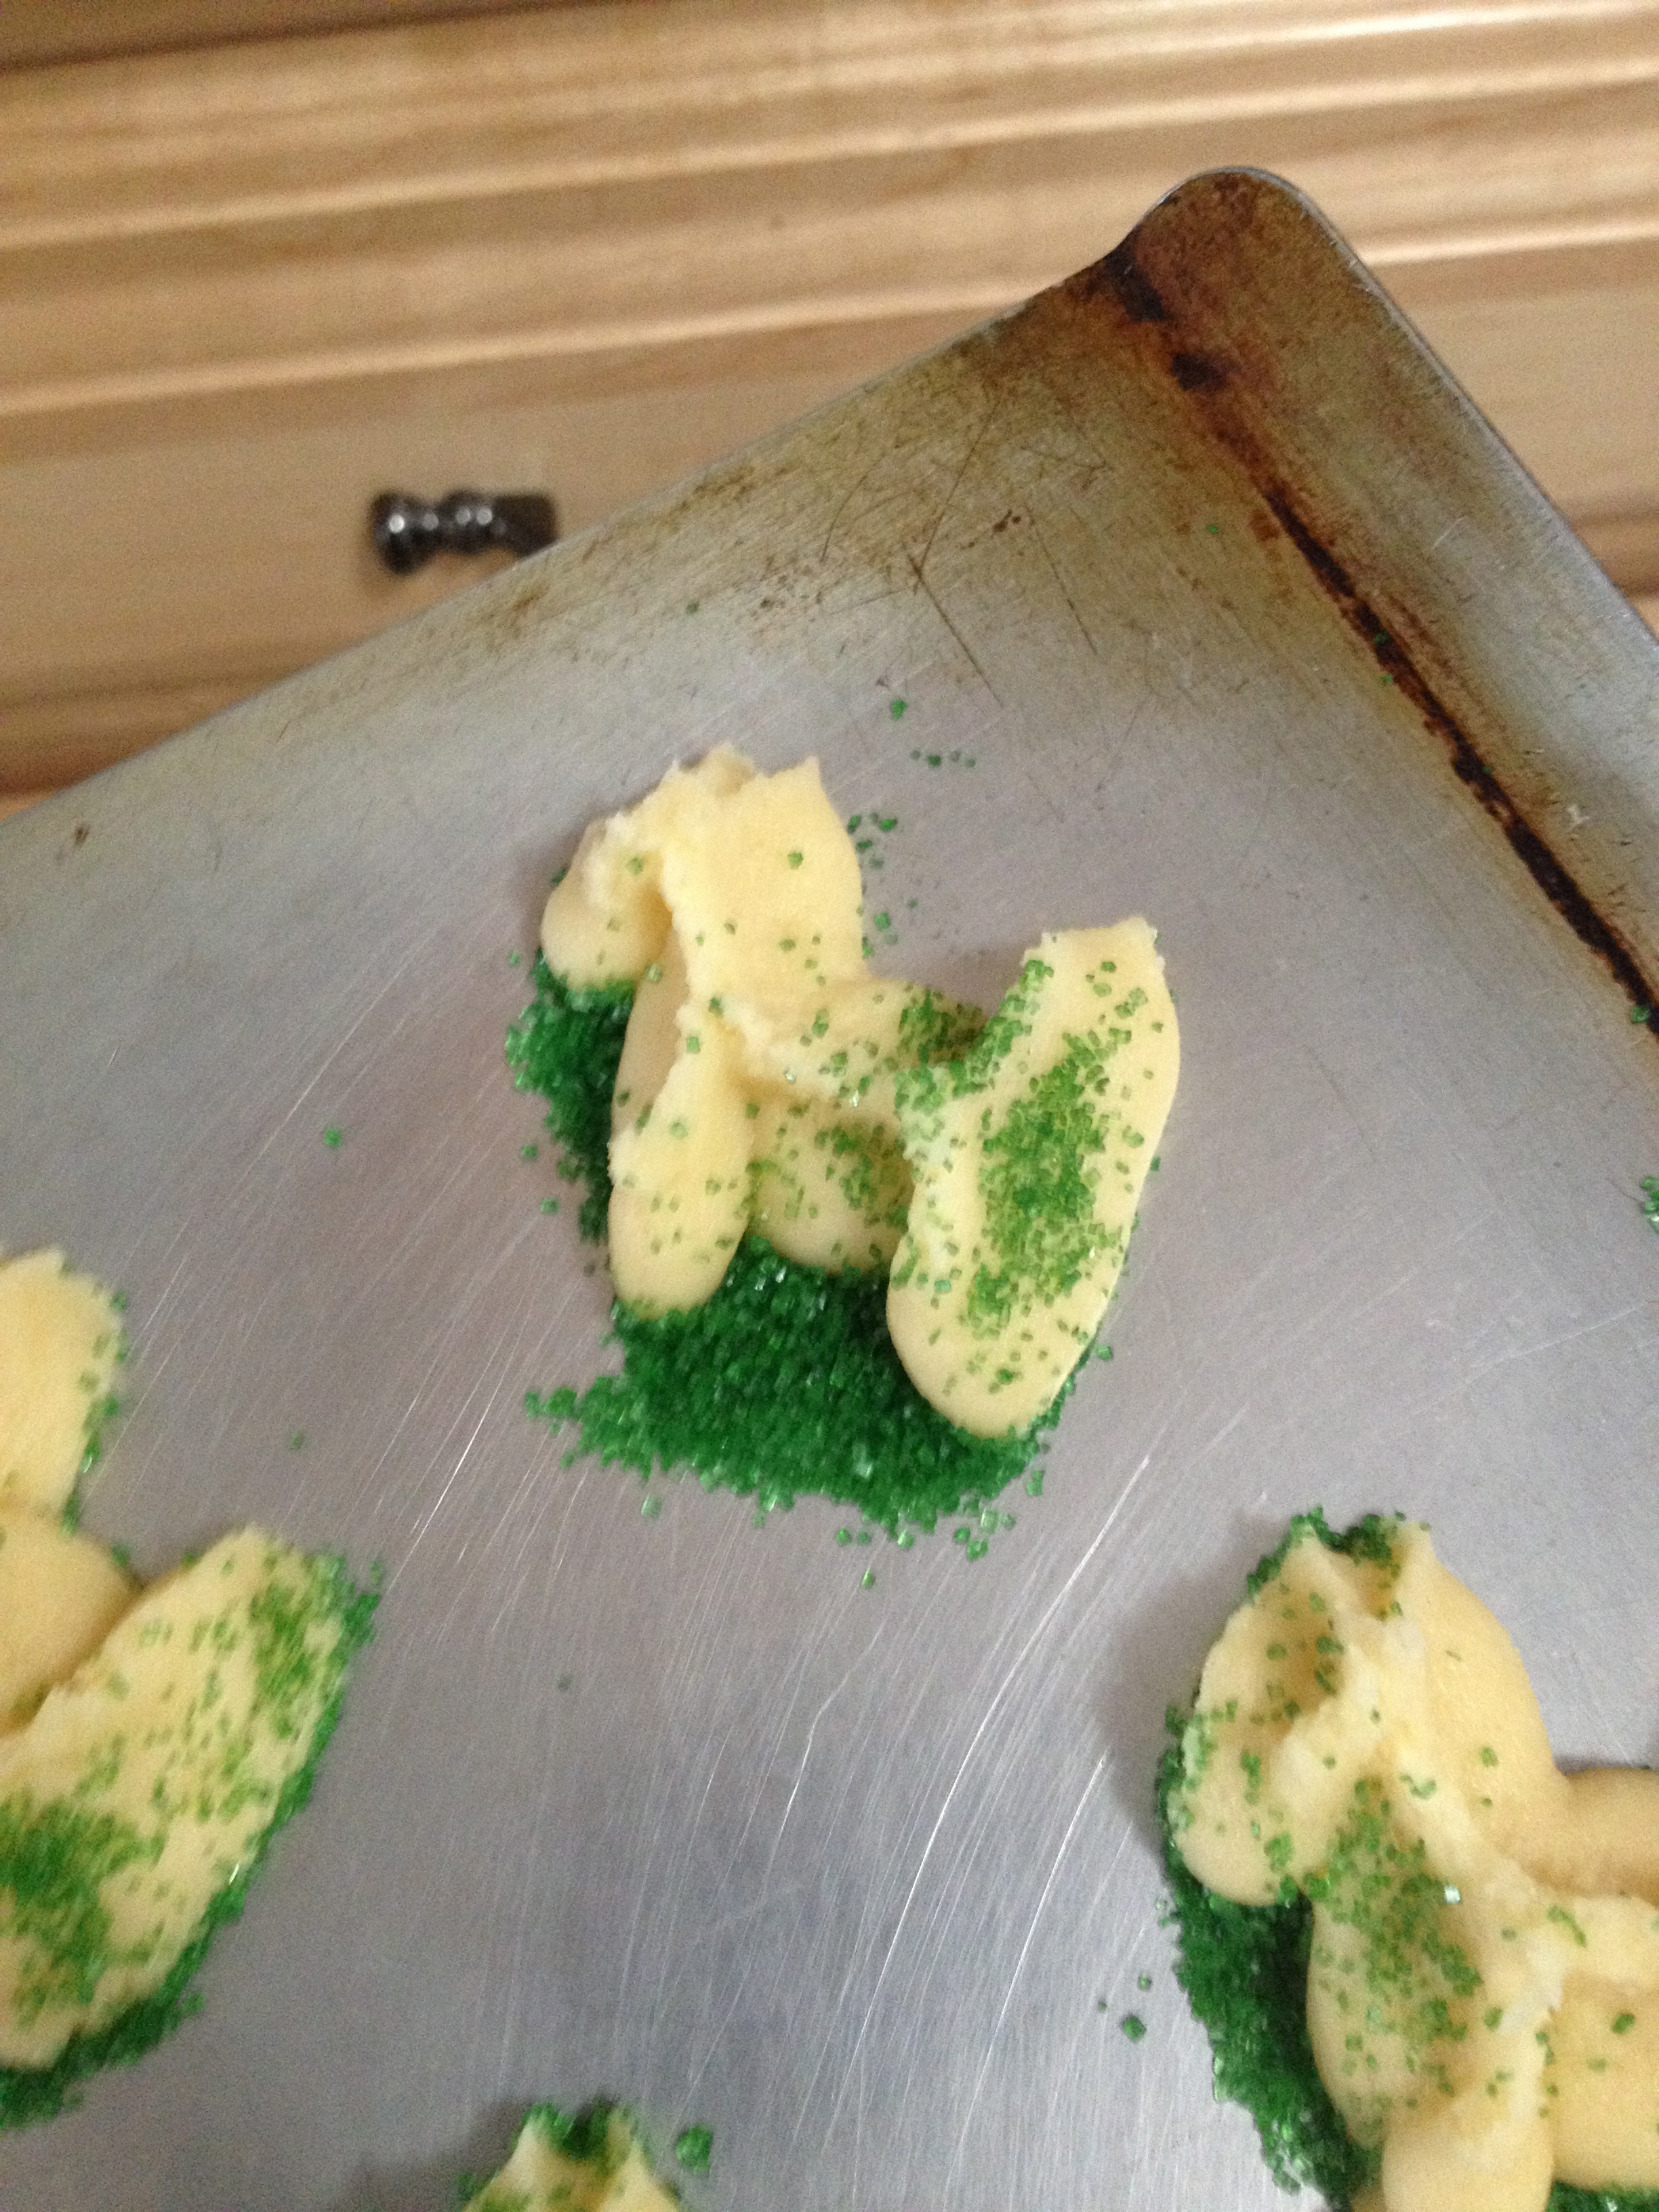
Sprinkle with, well, sprinkles…
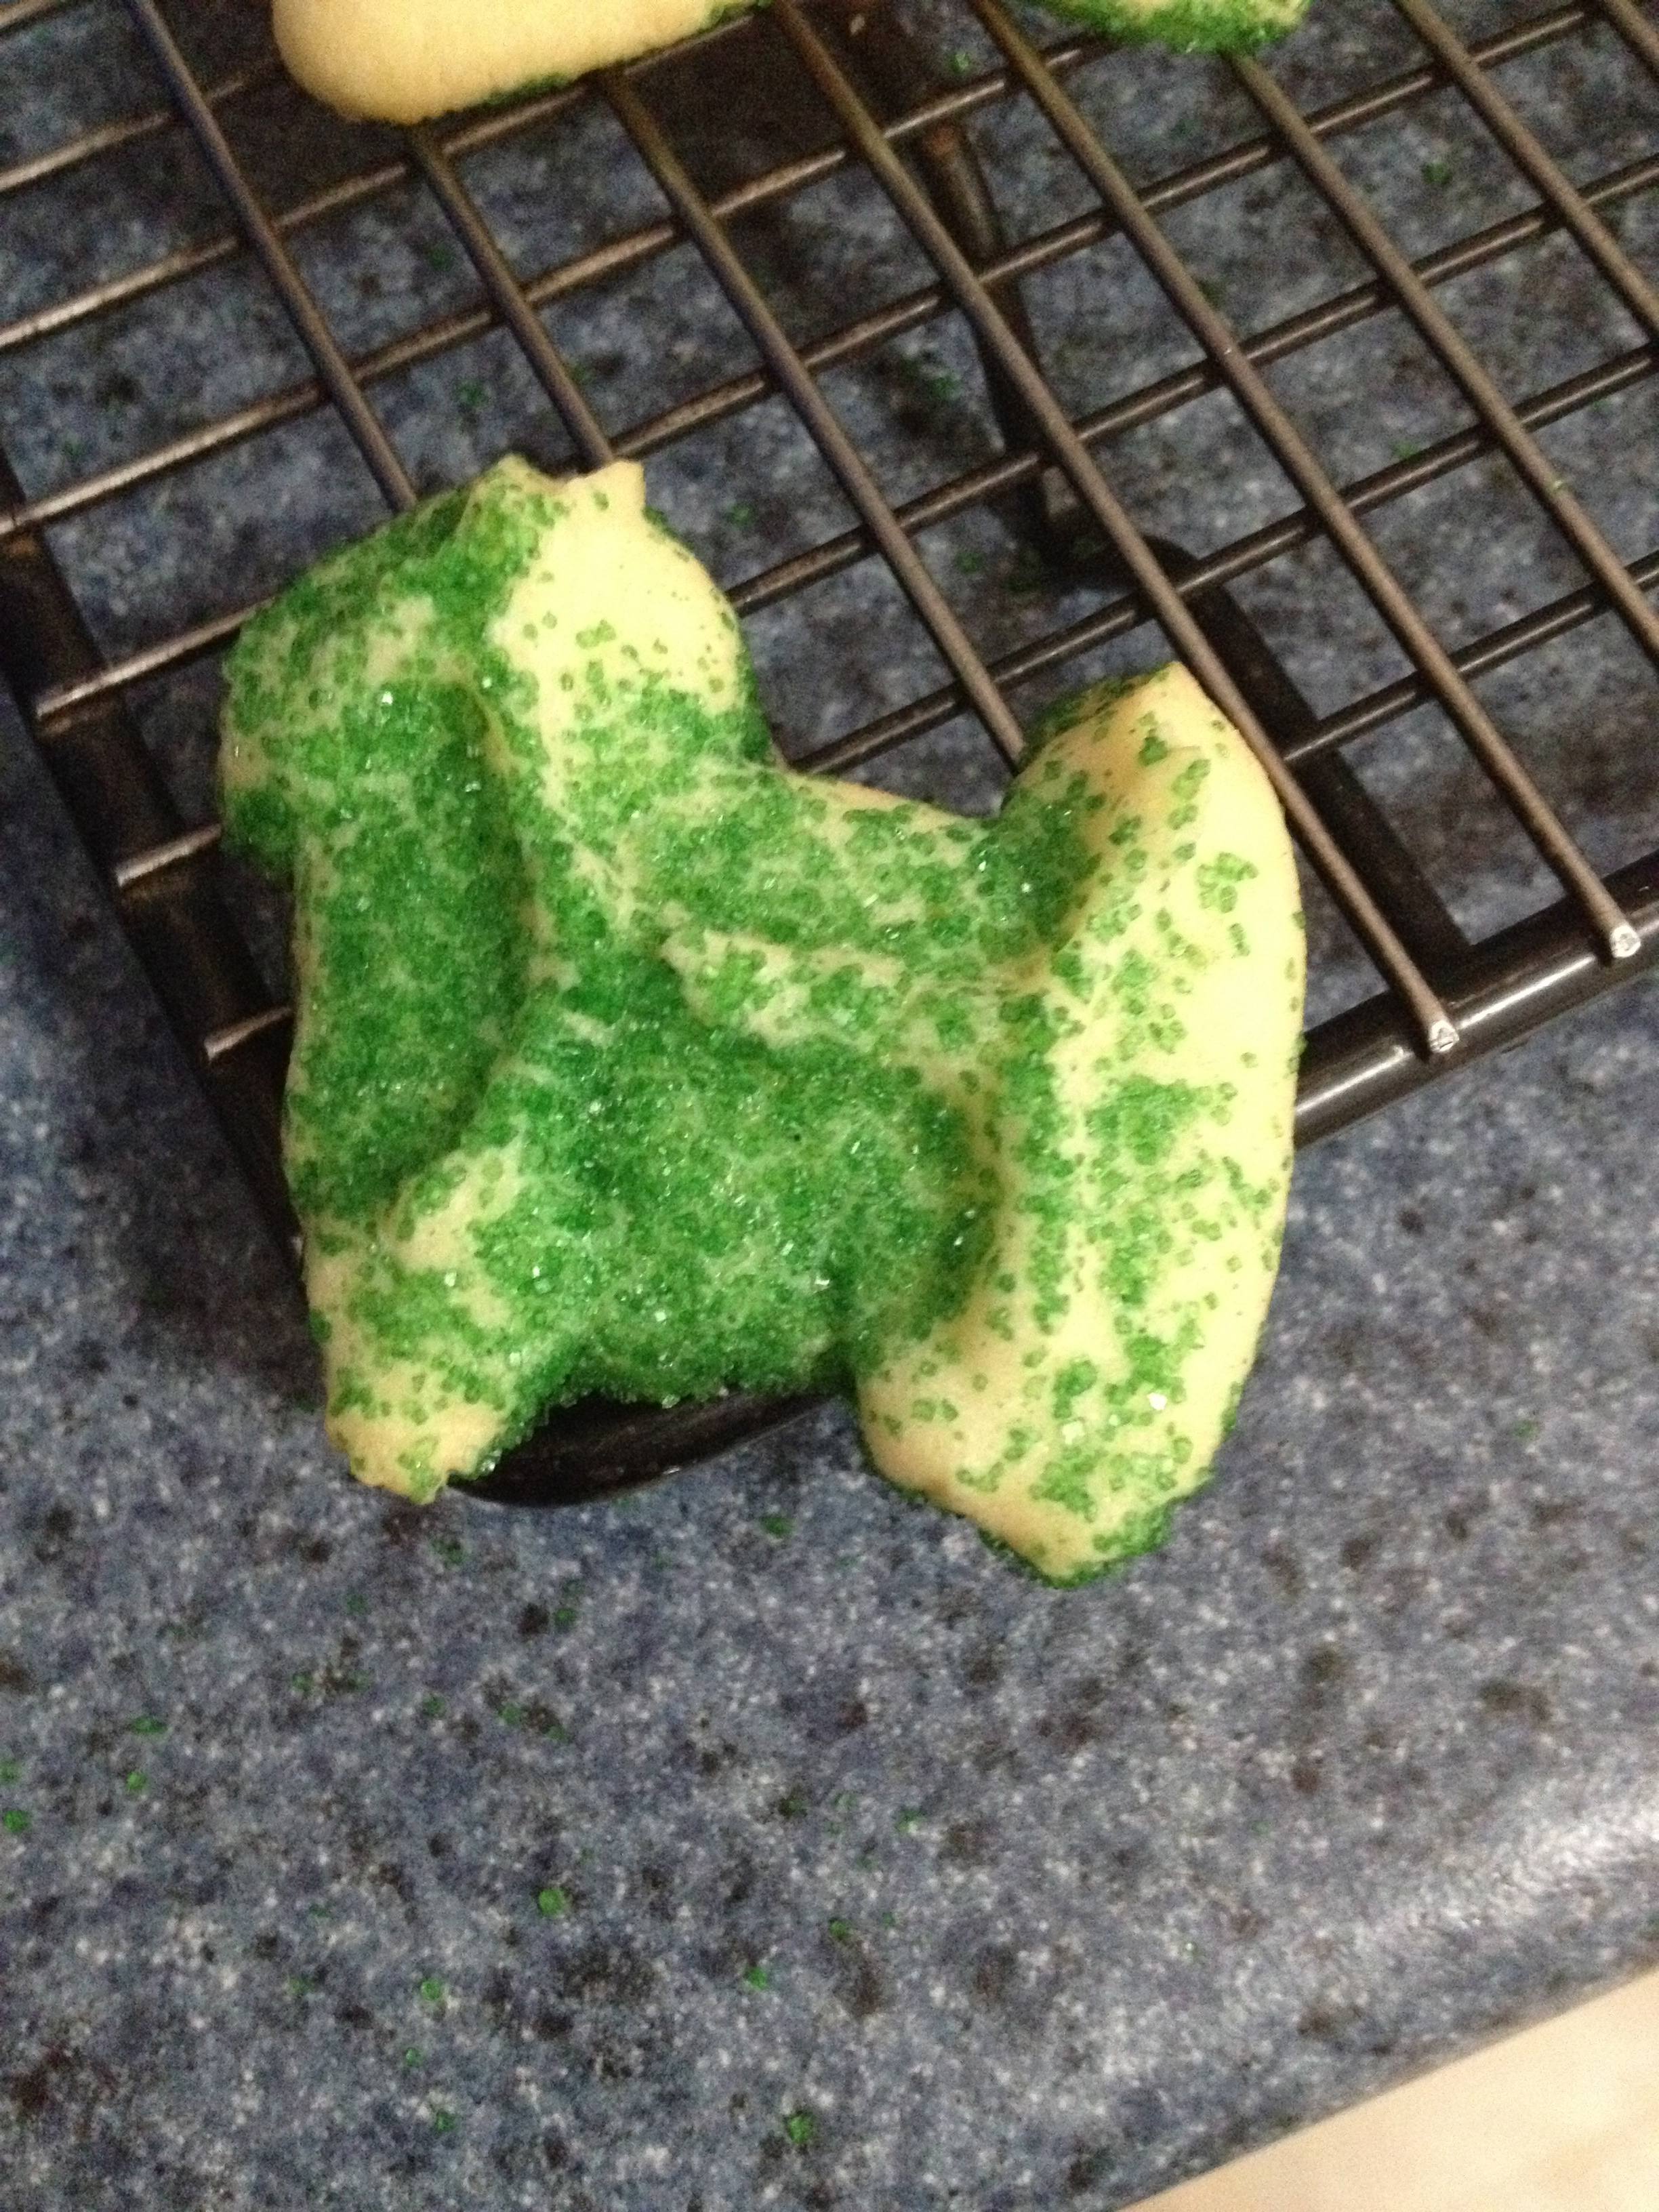
Bake in a preheated 400°F oven for 8 minutes until the edges are lightly browned. Then, cool on racks.
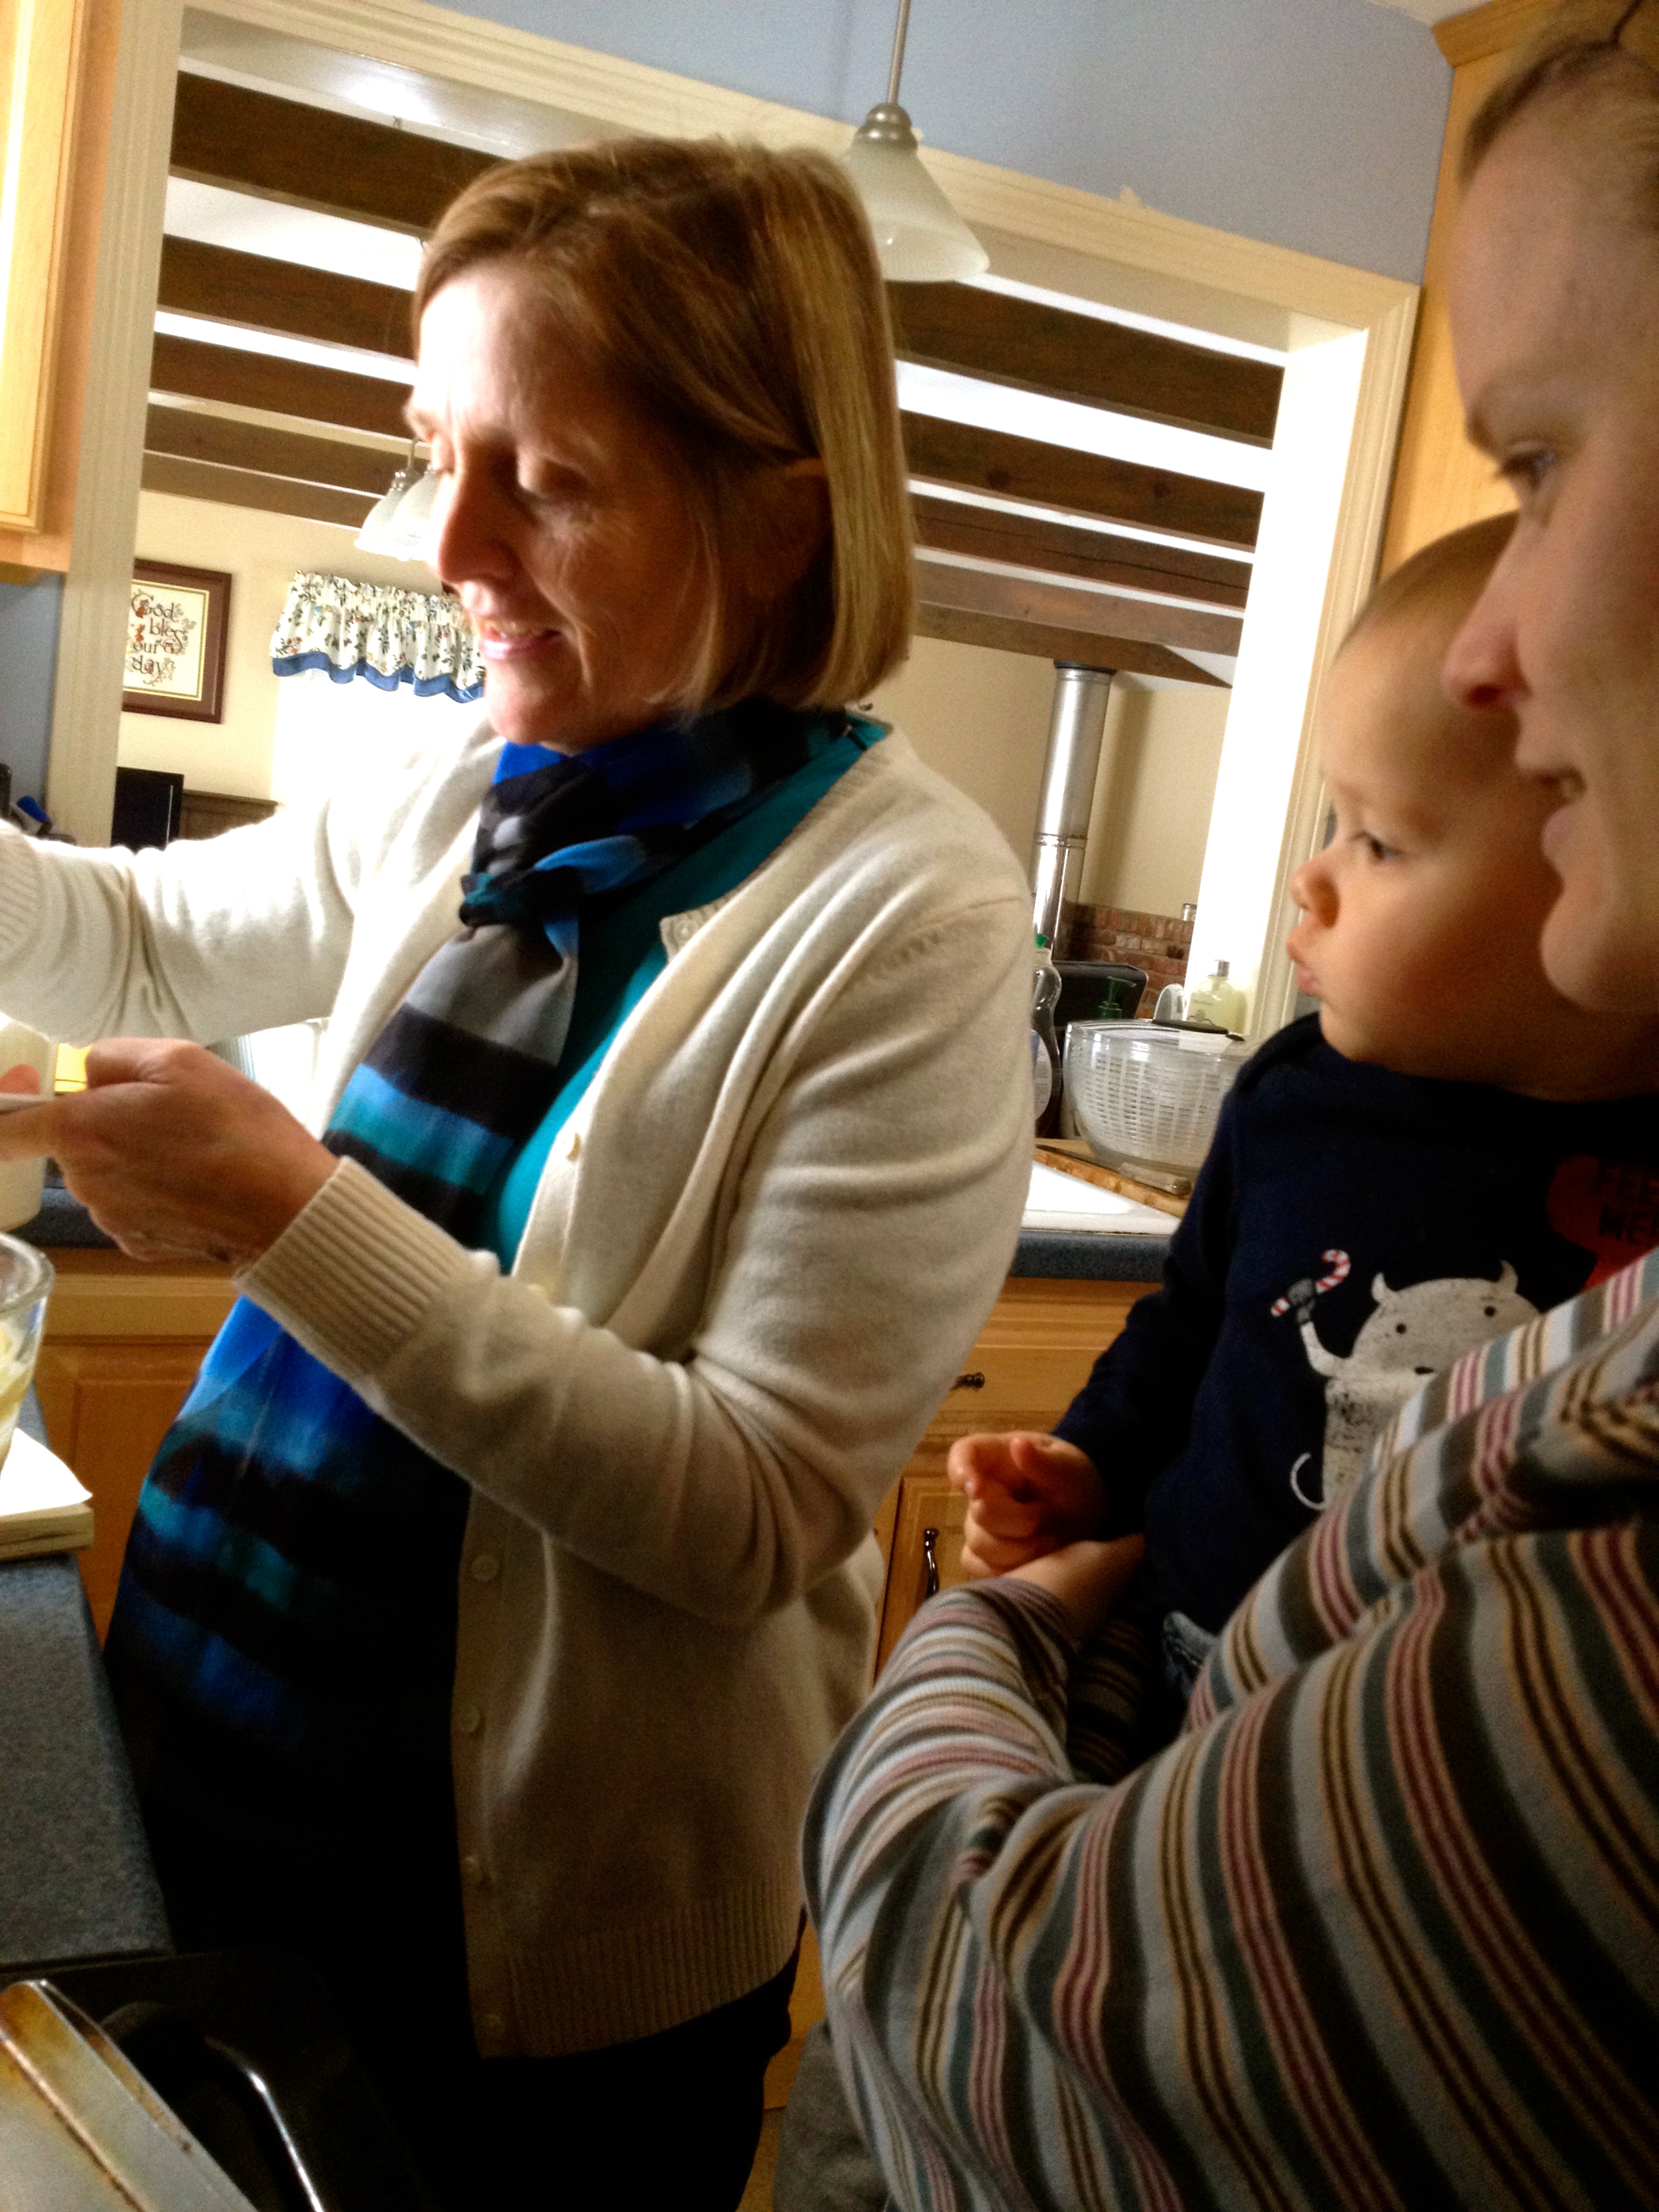
Of course, if your little nephew is over, you may not be able to see the edges of the cookie…
And of course, we couldn’t wait to see him take his first bite of a spritz!

The first bite…

“DELICIOUS!”
All in all, a successful day with Grandma! Hooray for family!
And that’s it! Super simple, super quick, and super tasty. Happy baking, and stay safe!
Howdy! Do you use Twitter? I’d like to follow you if that would be ok.
I’m undoubtedly enjoying your blog and look forward to new posts.