Hello, all you fantastic bakers out there! Sorry I haven’t posted in a few weeks, but college classes have unfortunately been in full swing. Not to worry, because I’ve been baking away in my spare time! This post will be a shout-out to my brother because he gave me brand new cupcake equipment, as well as a review of a cupcake cookbook that my boyfriend gave me for my birthday, called The Cupcake Bible. It has over 150 recipes in it, but I’ll only take you through three of their recipes (with my adaptations included). Here we go!
Peanut Butter and Jelly Cupcakes
This recipe is super simple and so fun! Not to mention the cupcakes are absolutely delicious. I don’t like PB&J sandwiches, but I went out on a limb and made these cupcakes, and loved them. It’s the perfect combination of sweet cake, tangy jelly, and creamy, nutty frosting.
Ingredients:
- 1 package yellow cake mix (plus ingredients to prepare the mix)
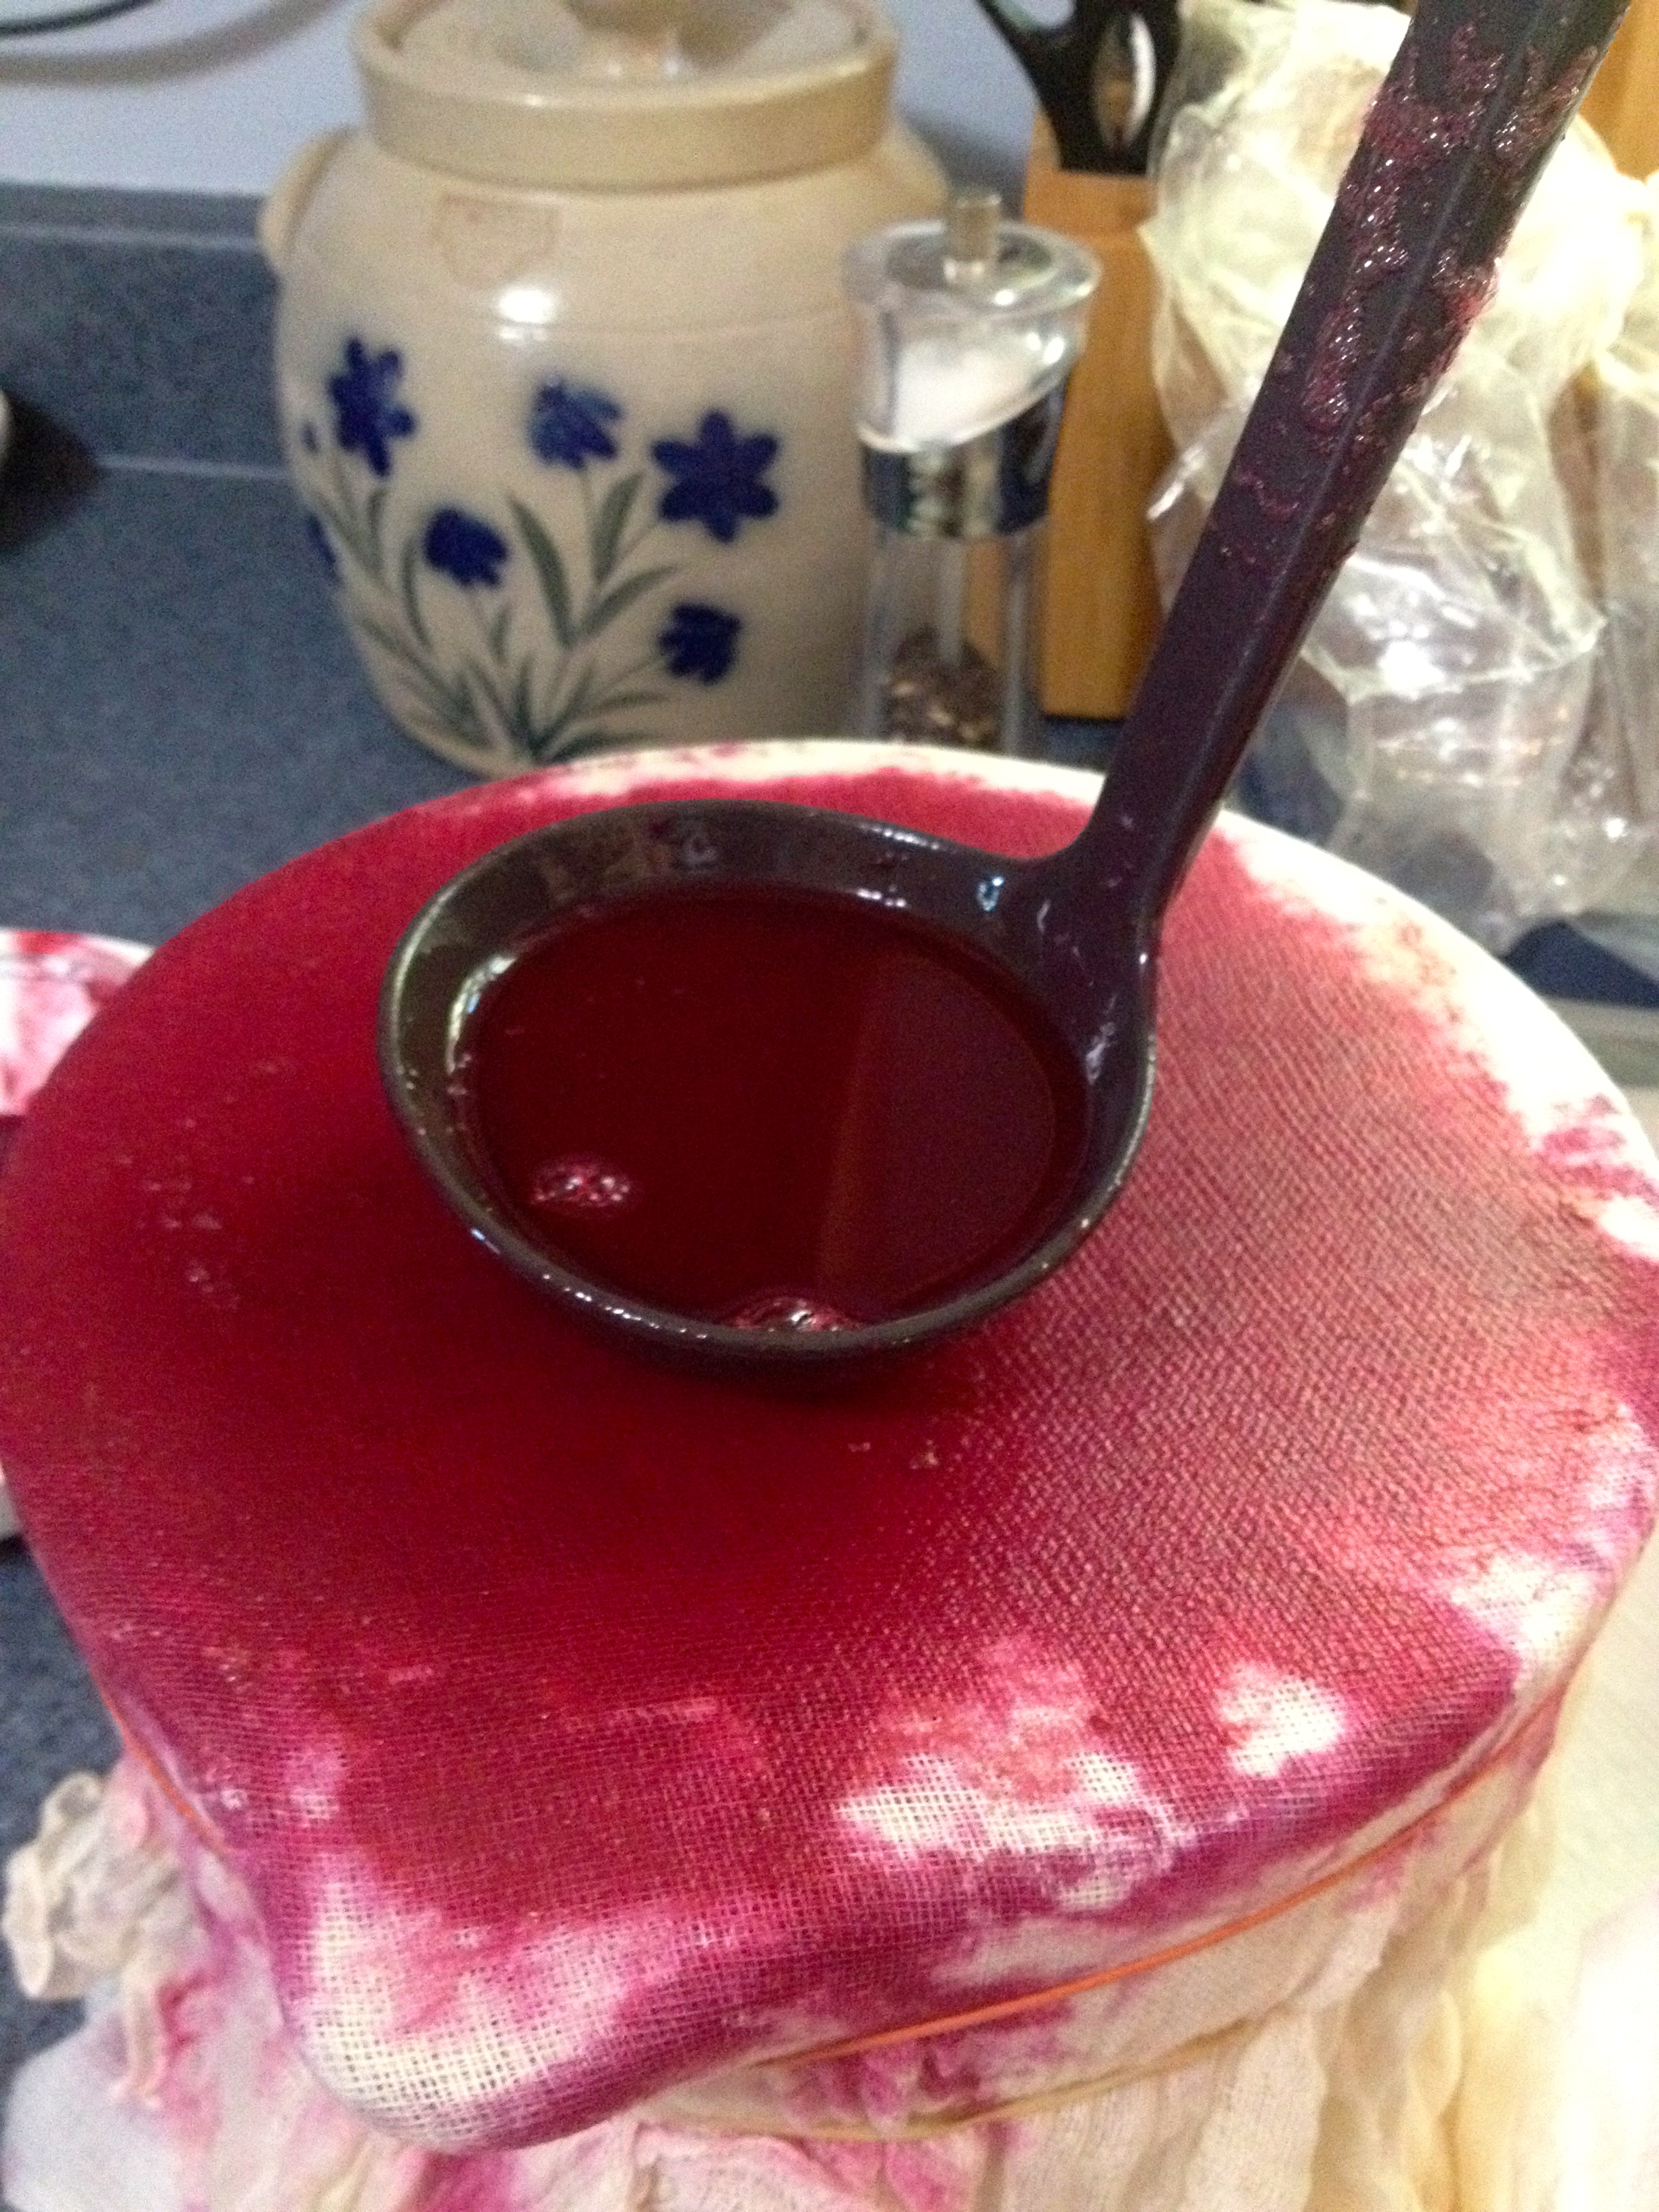
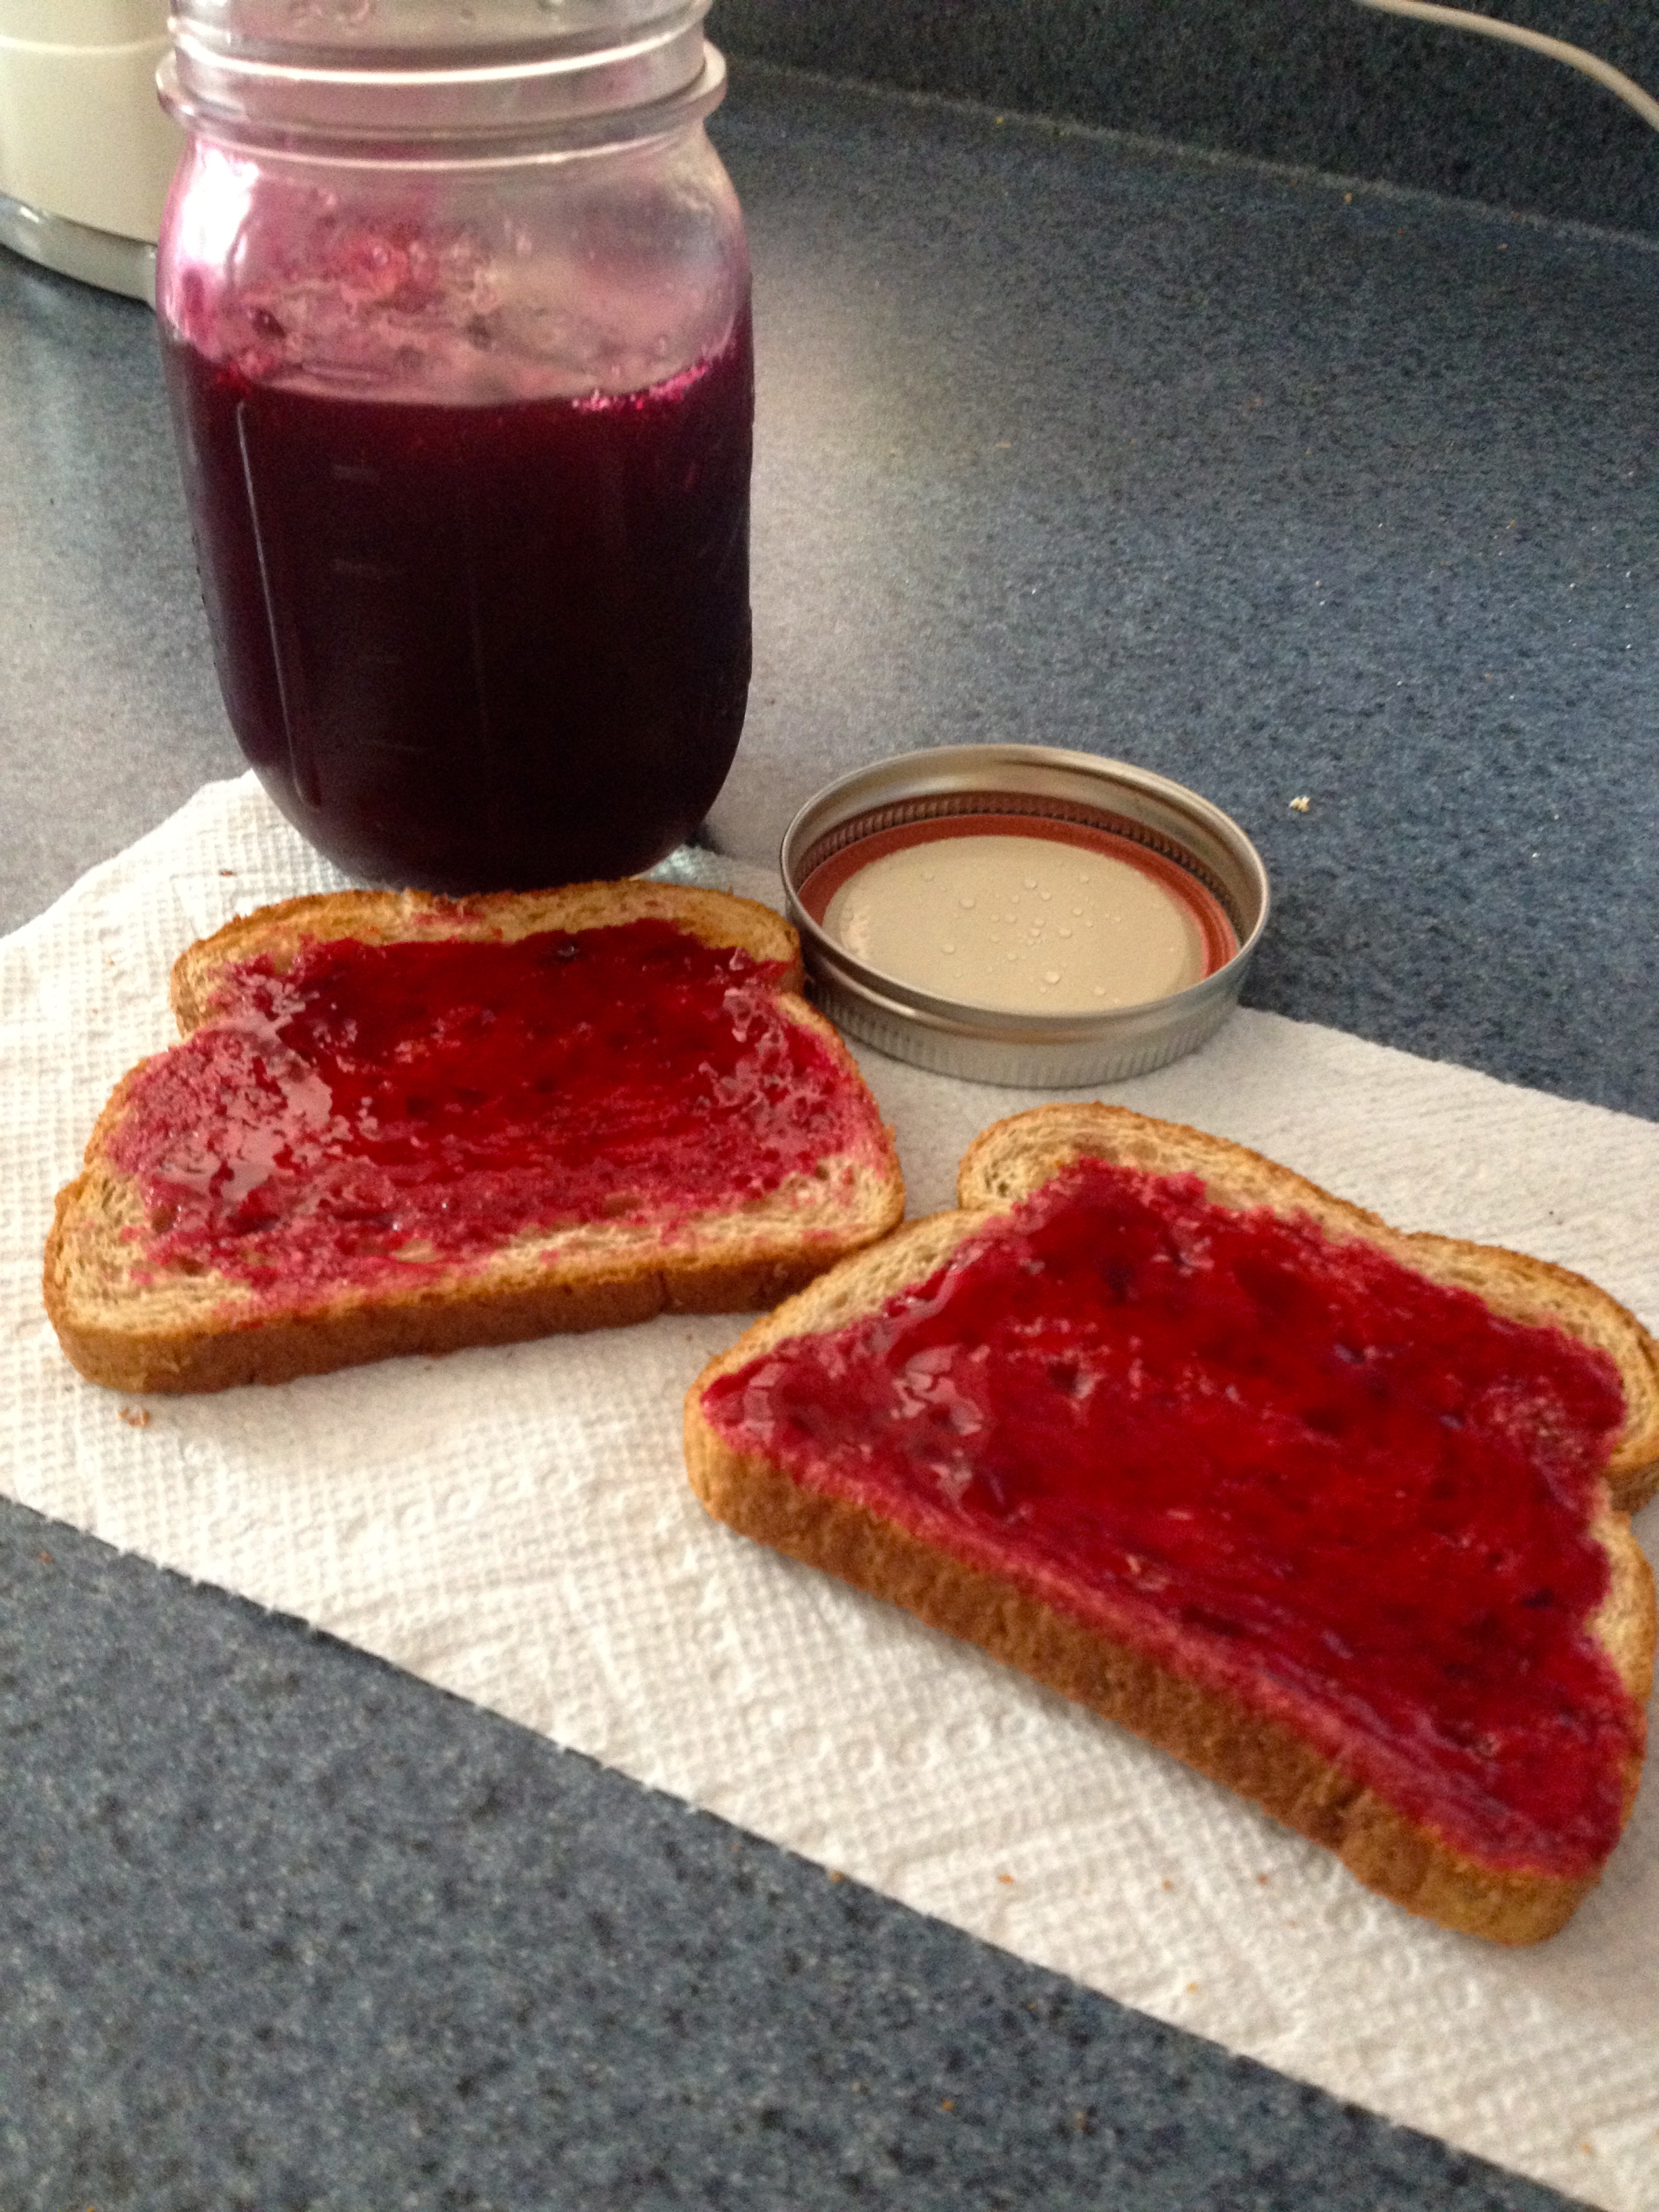
- ~ 2 cups strawberry jelly
- 3/4 cup creamy peanut butter
- 1 stick softened butter or margarine
- 2 cups powdered sugar (aka confectioner’s sugar)
- 1/2 tsp vanilla
- 1/4 low-fat milk
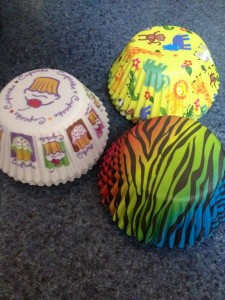
Preheat the oven to 350ºF, and line 24 cupcake/muffin cups with cupcake papers. Speaking of which, check out these adorable new cupcake papers my brother got me! What a guy!
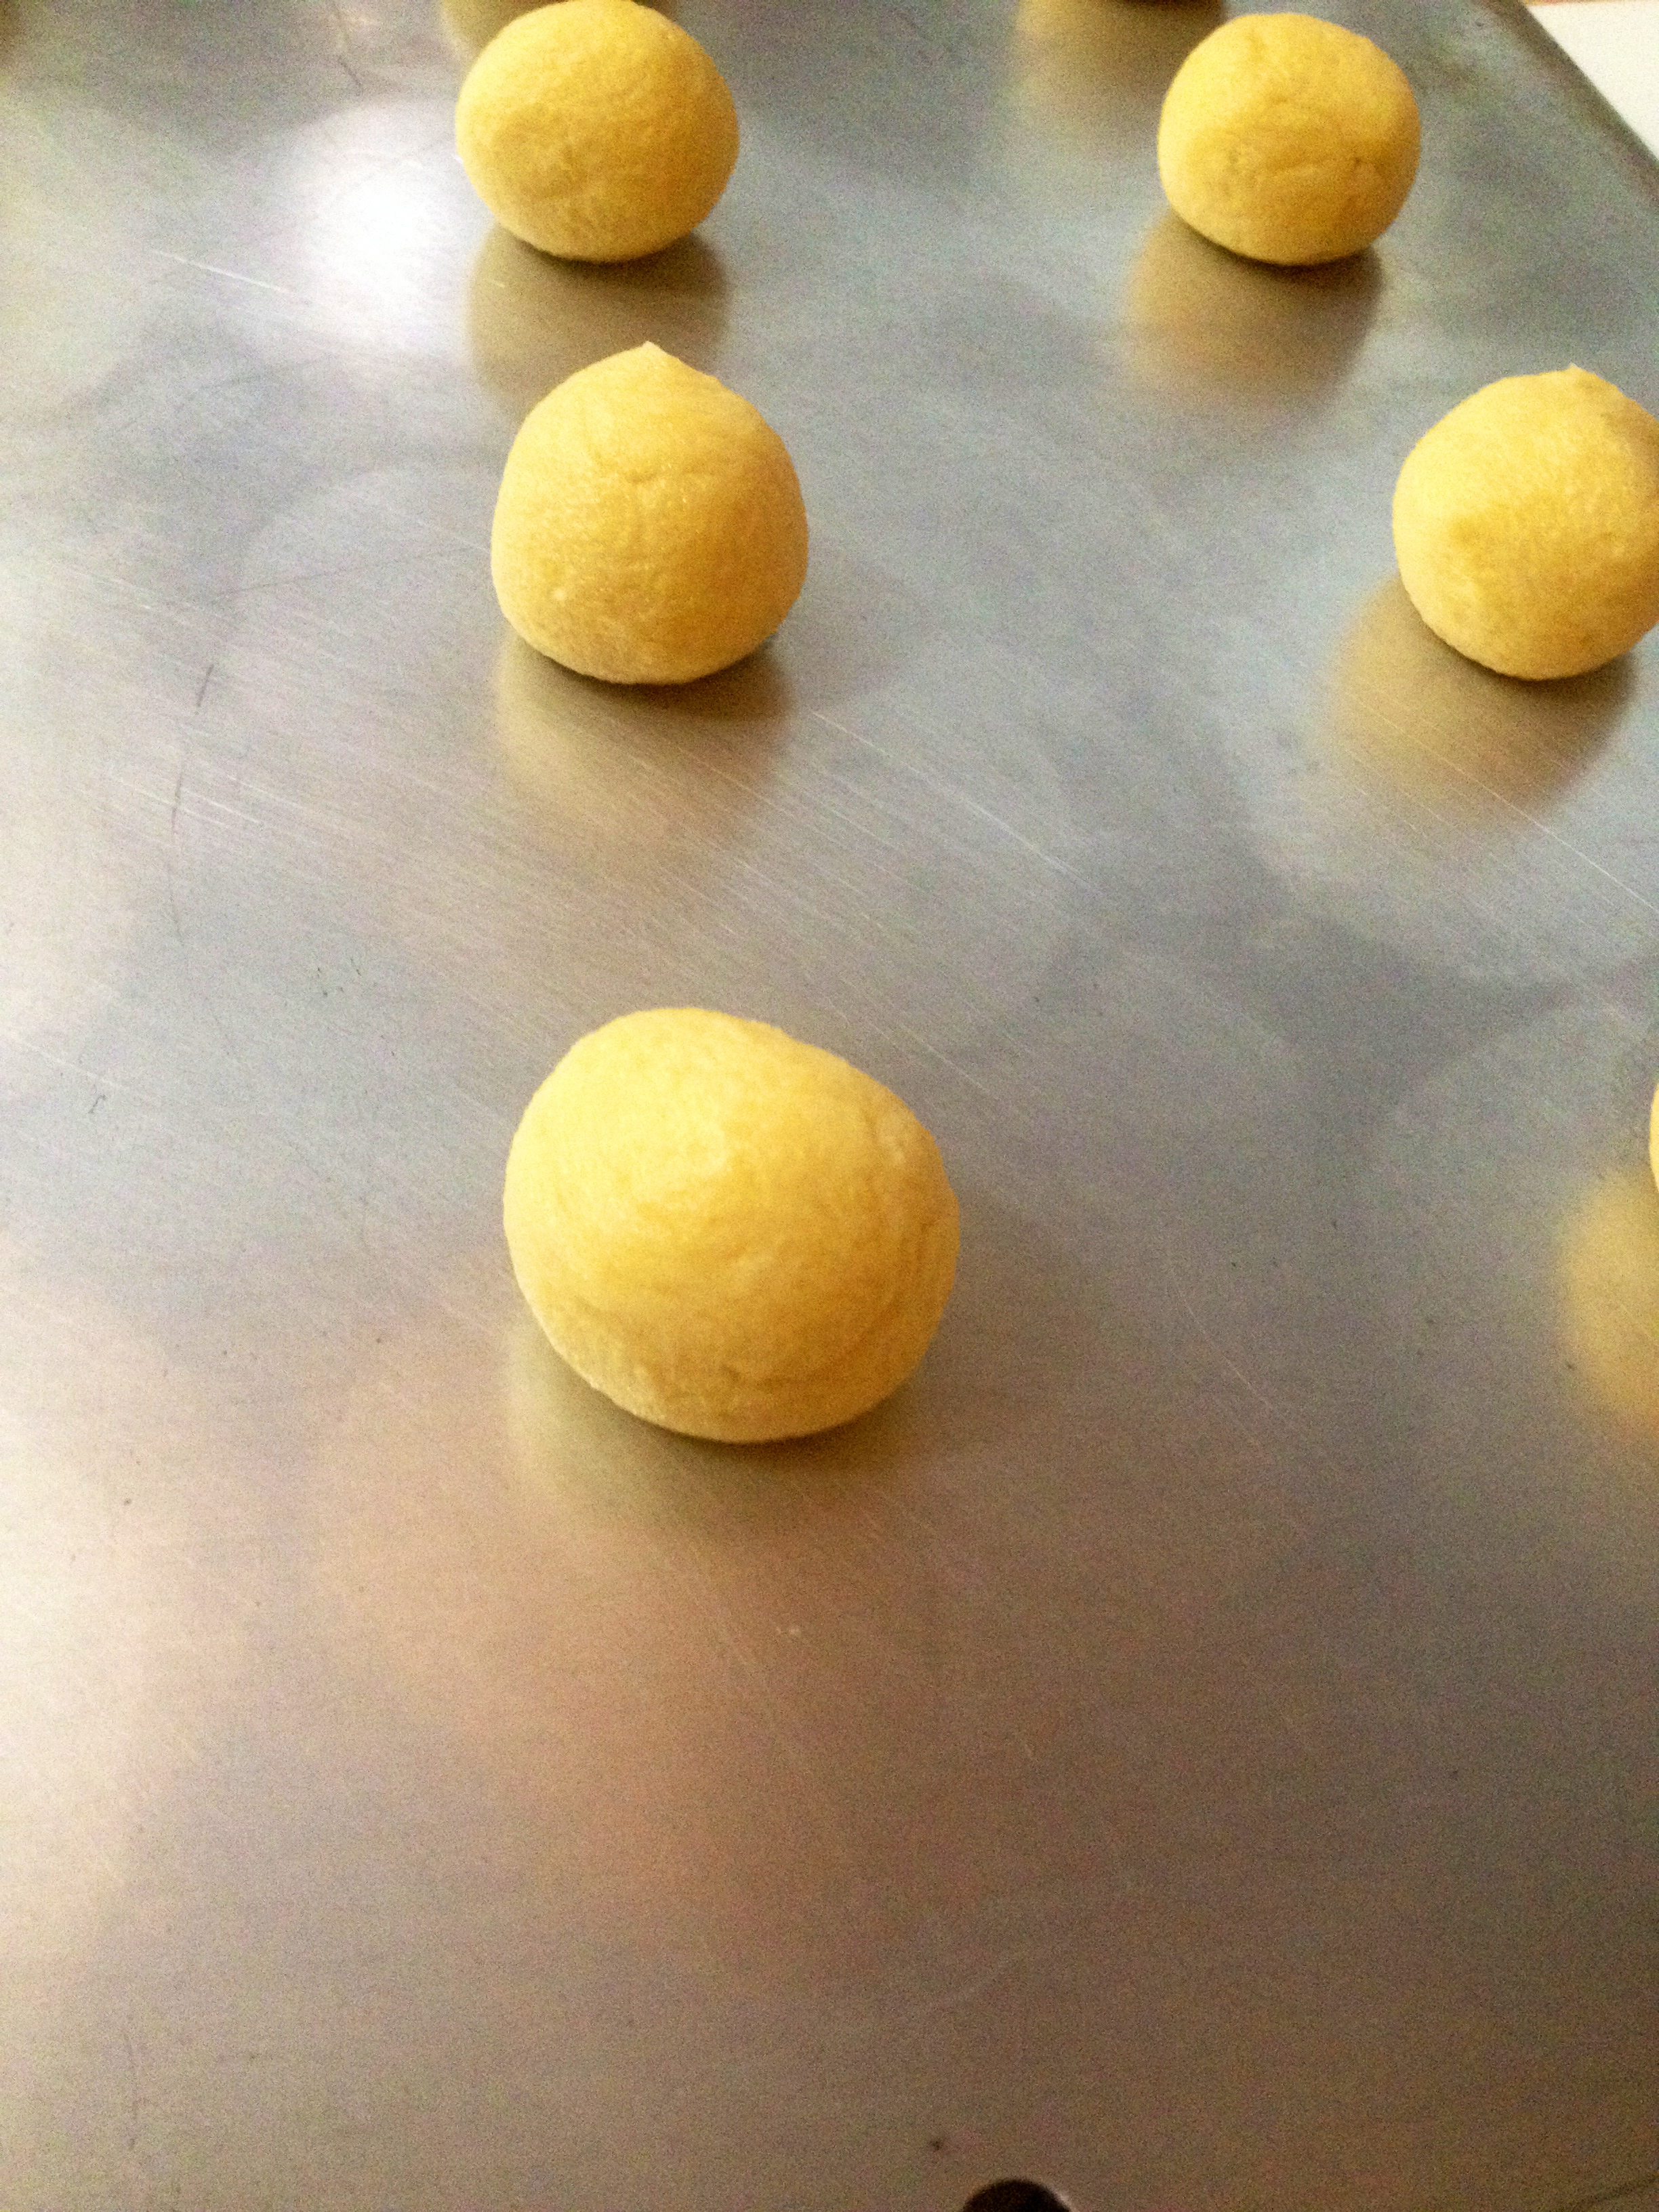
Make the cake mix as instructed on the box, and then spoon the batter into the cupcake papers, filling them about 2/3 full. (Hint: use a ladle to get all the papers filled about the same.) Bake according to the directions on the box, or until a toothpick inserted in the middle comes out clean. Cool the cupcakes in the pan for 5 minutes, and then transfer them to a cooling rack until they’re completely cool.
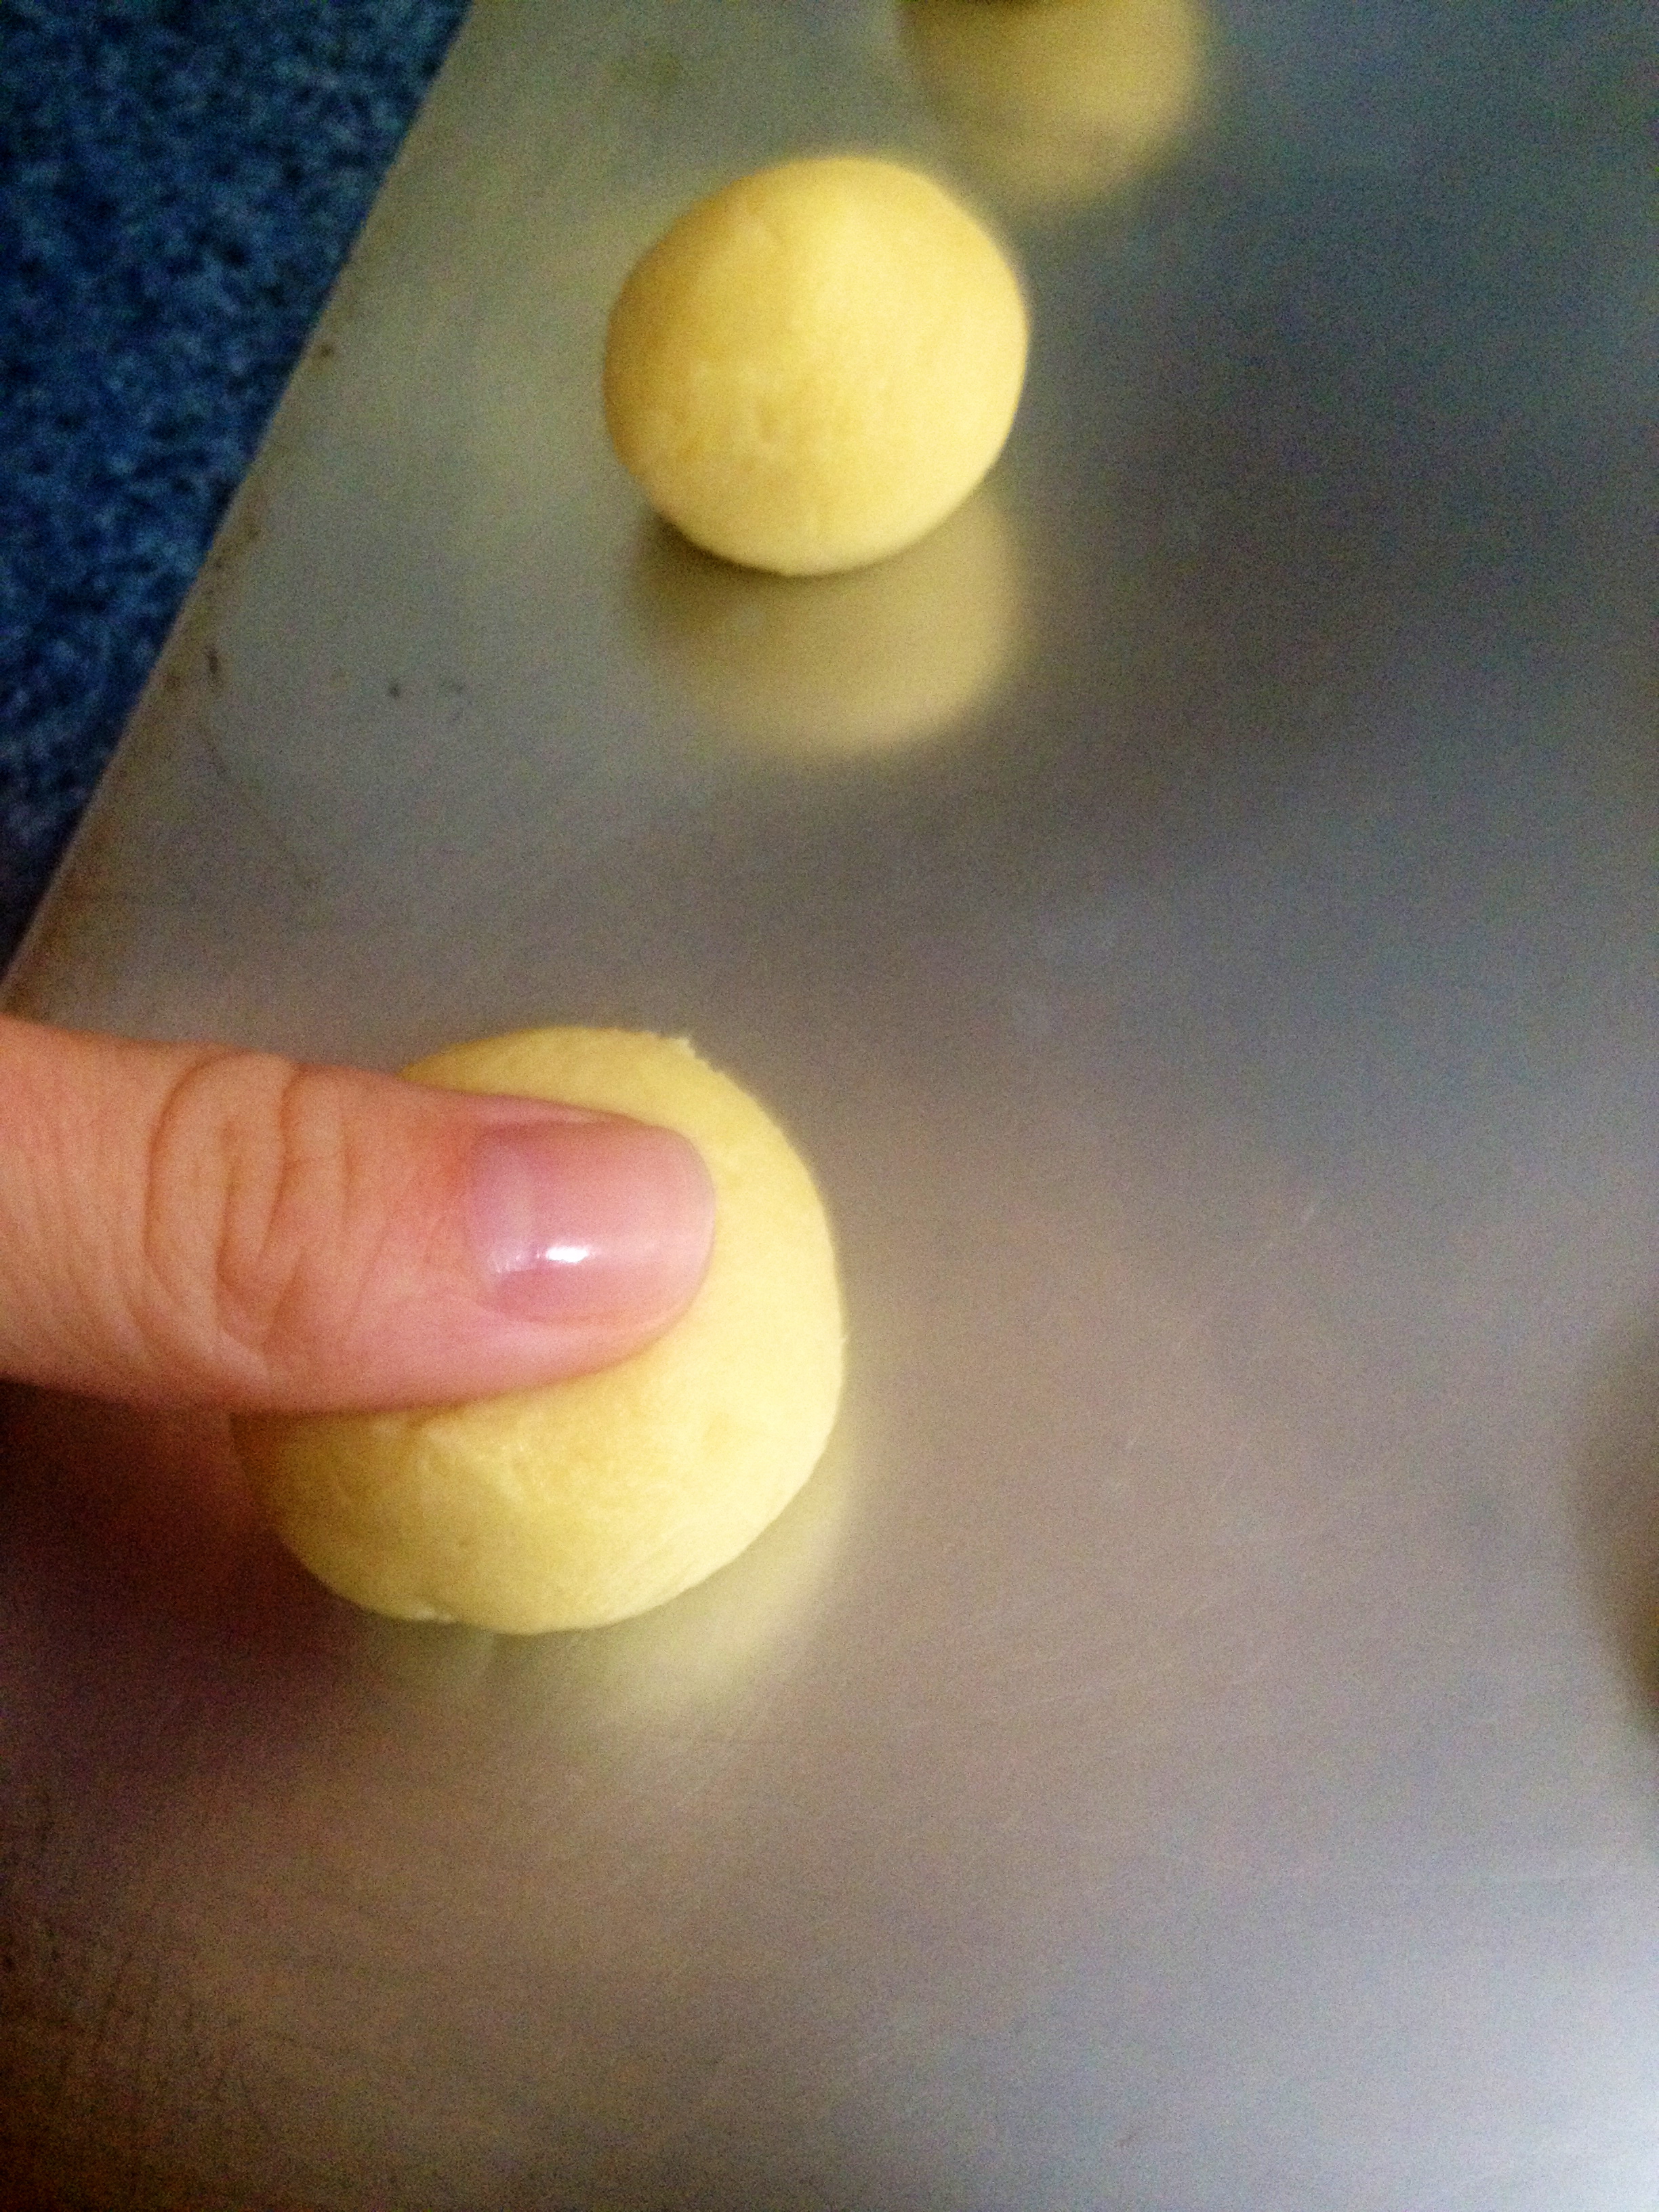
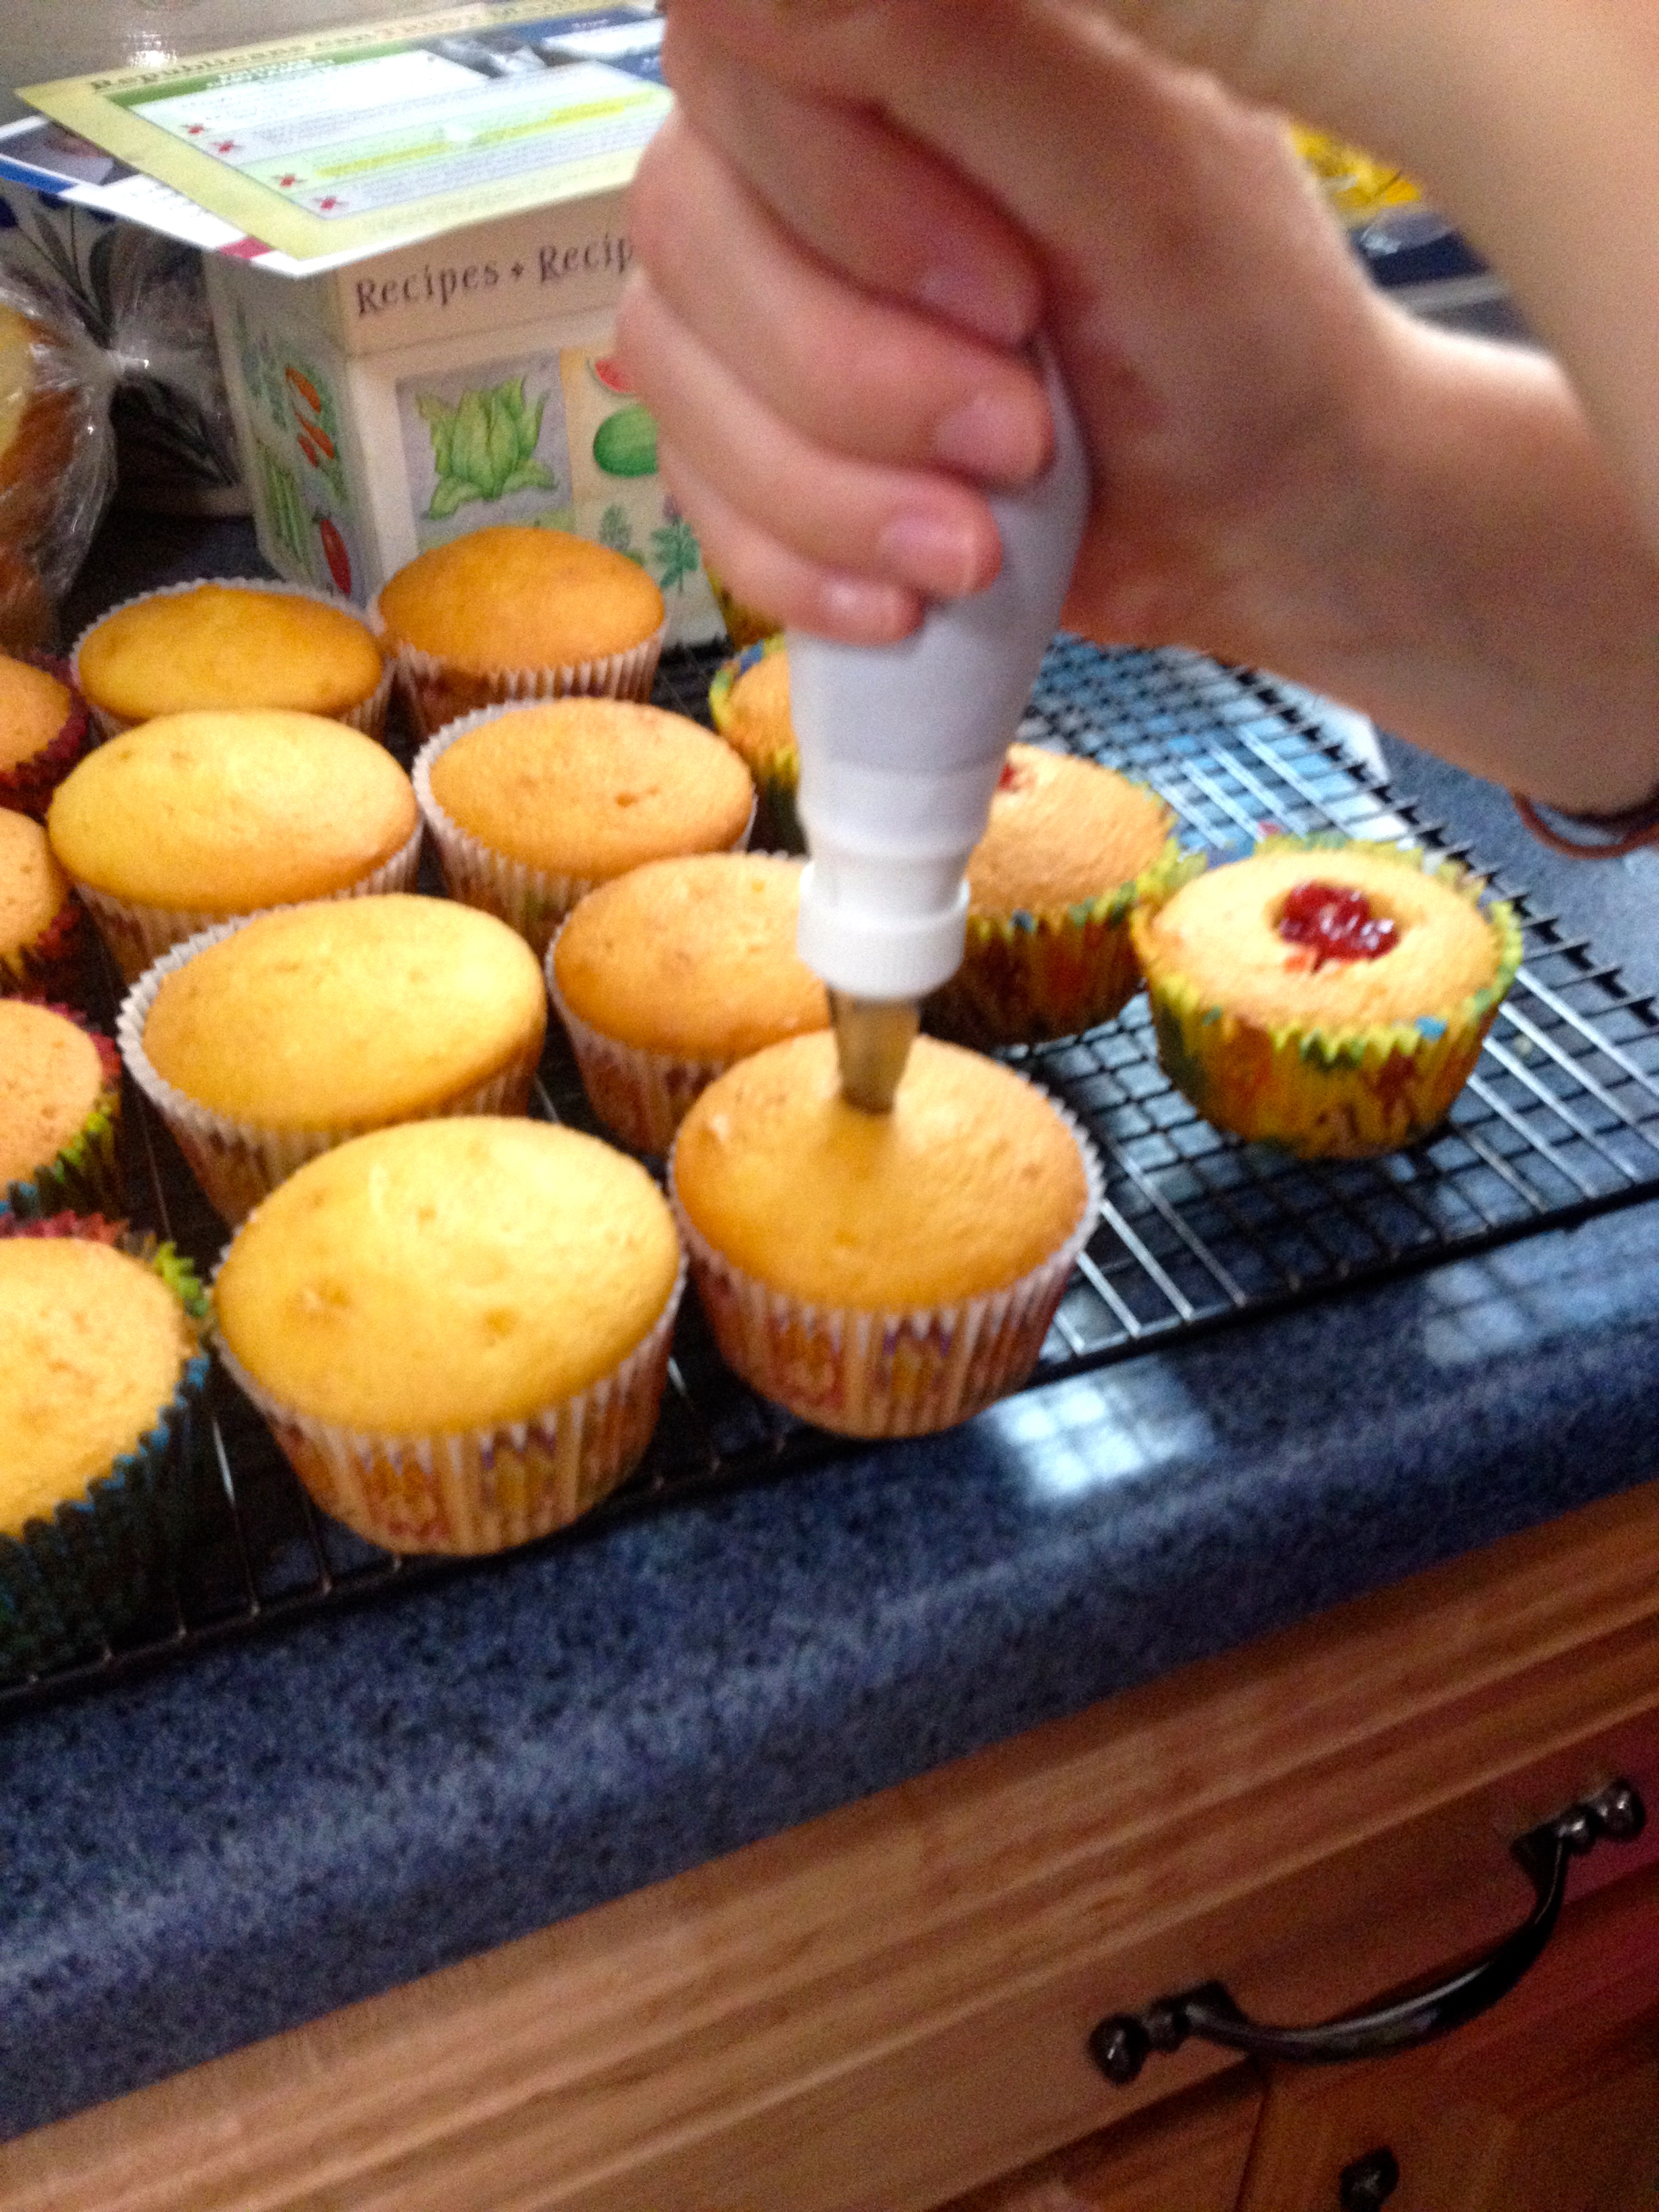
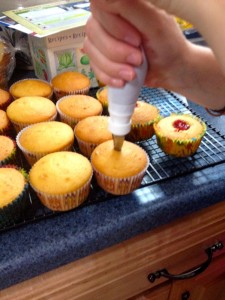
Here’s the awesome part: filling the cupcakes with jelly! You can do this two ways. If you have a pastry bag set (like I now do, because my brother rocks!), go ahead and fill a pastry bag with the strawberry jelly and attach a small circular tip. If you don’t, no worries! Cut a small hole in the center of the cupcake either using a knife, or a nifty cupcake corer- like the one my brother got me!
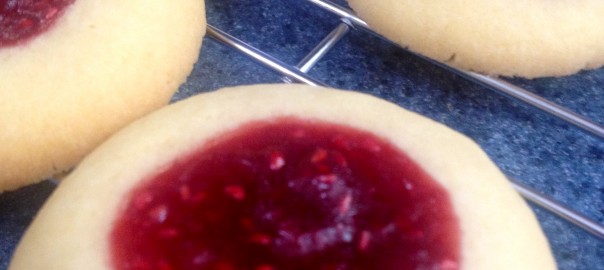
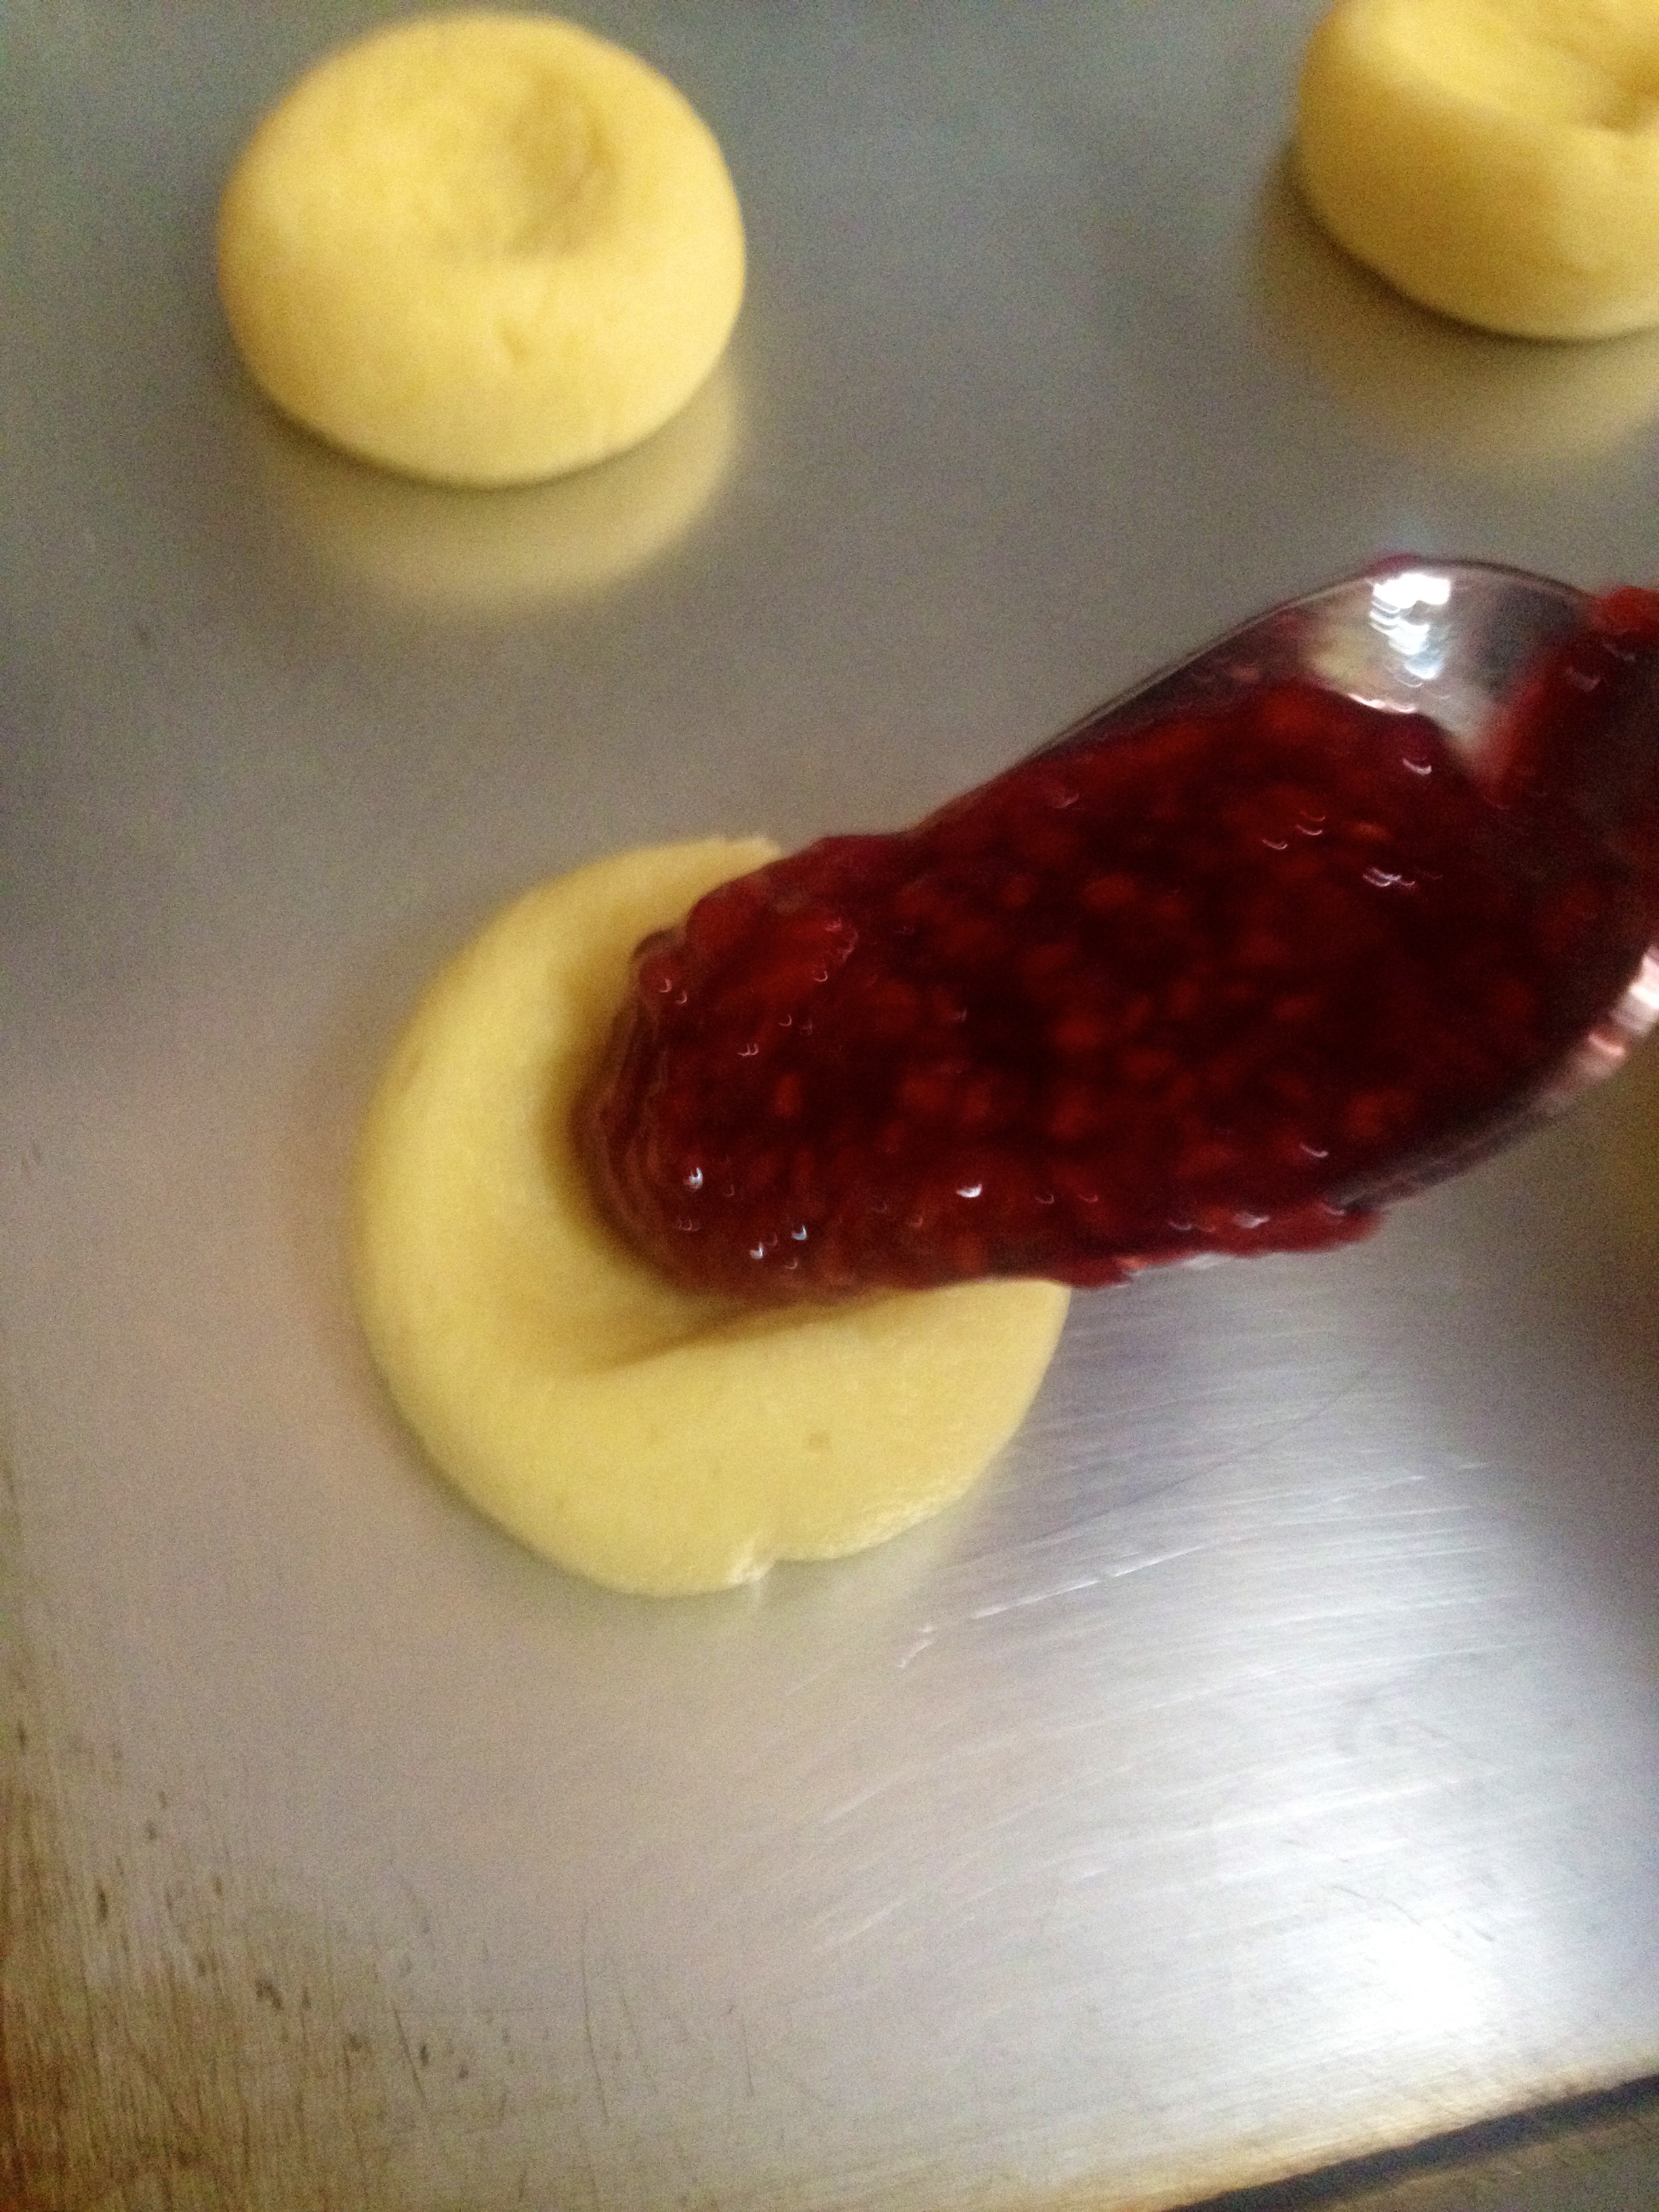
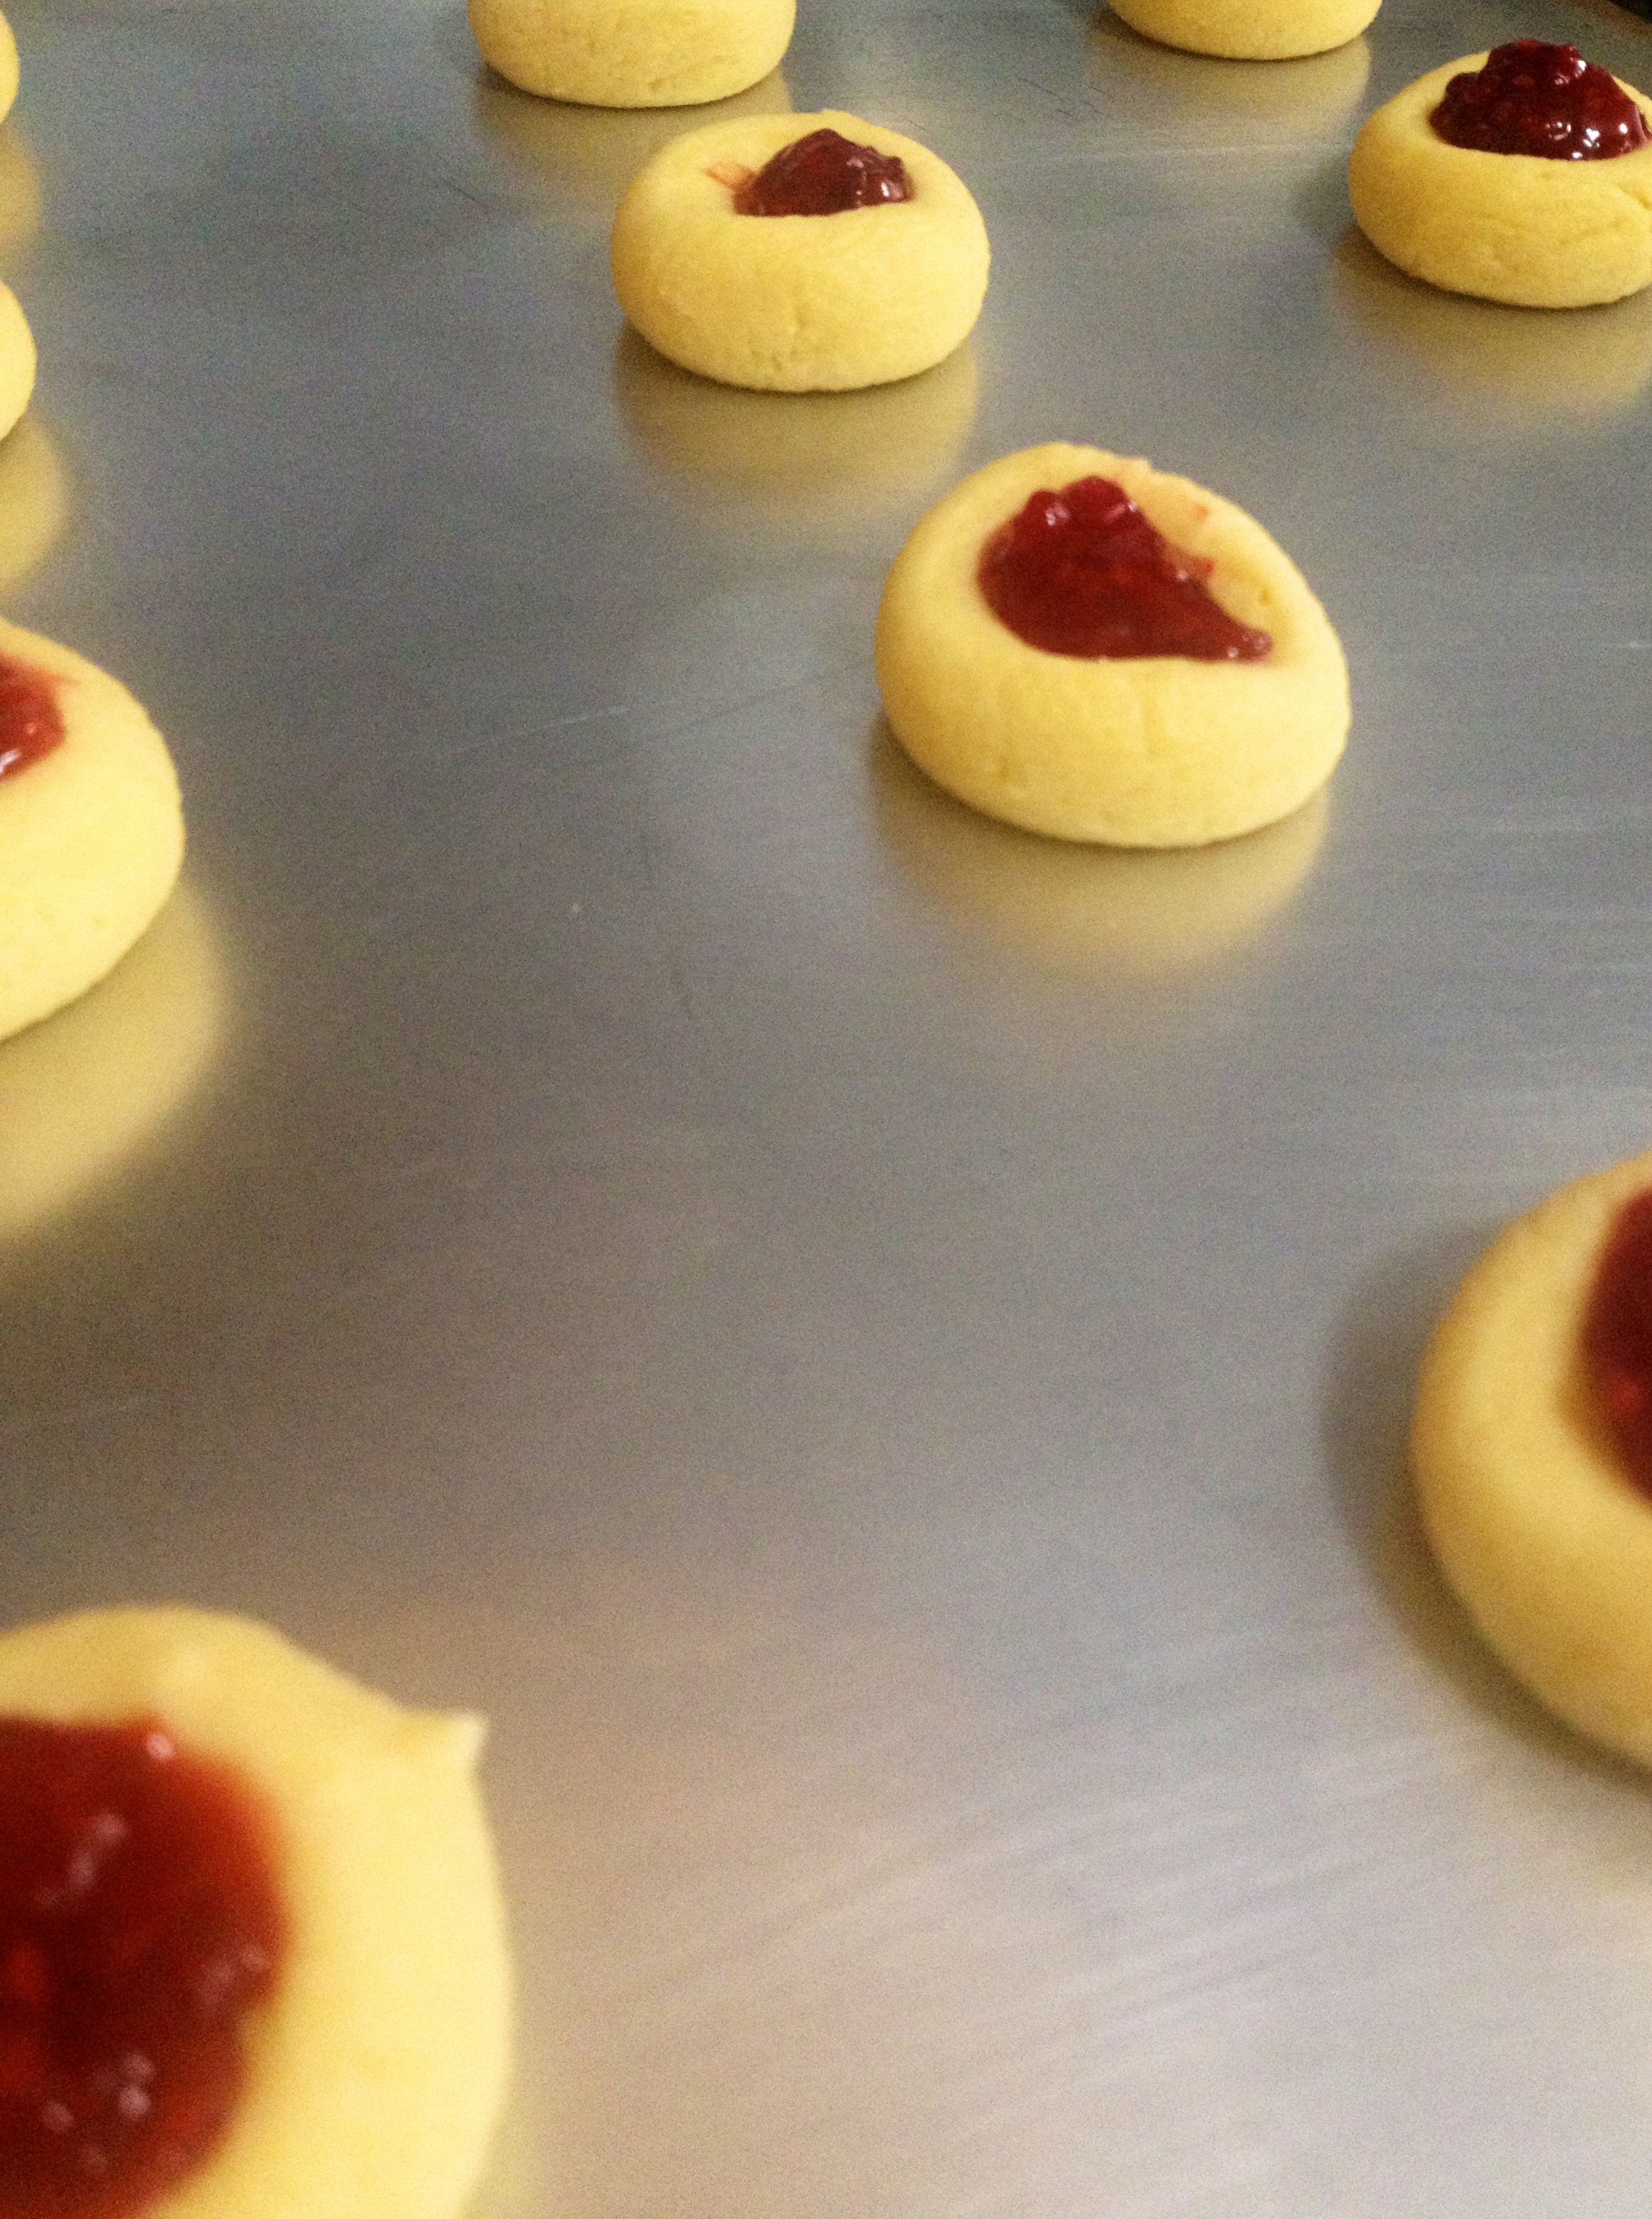
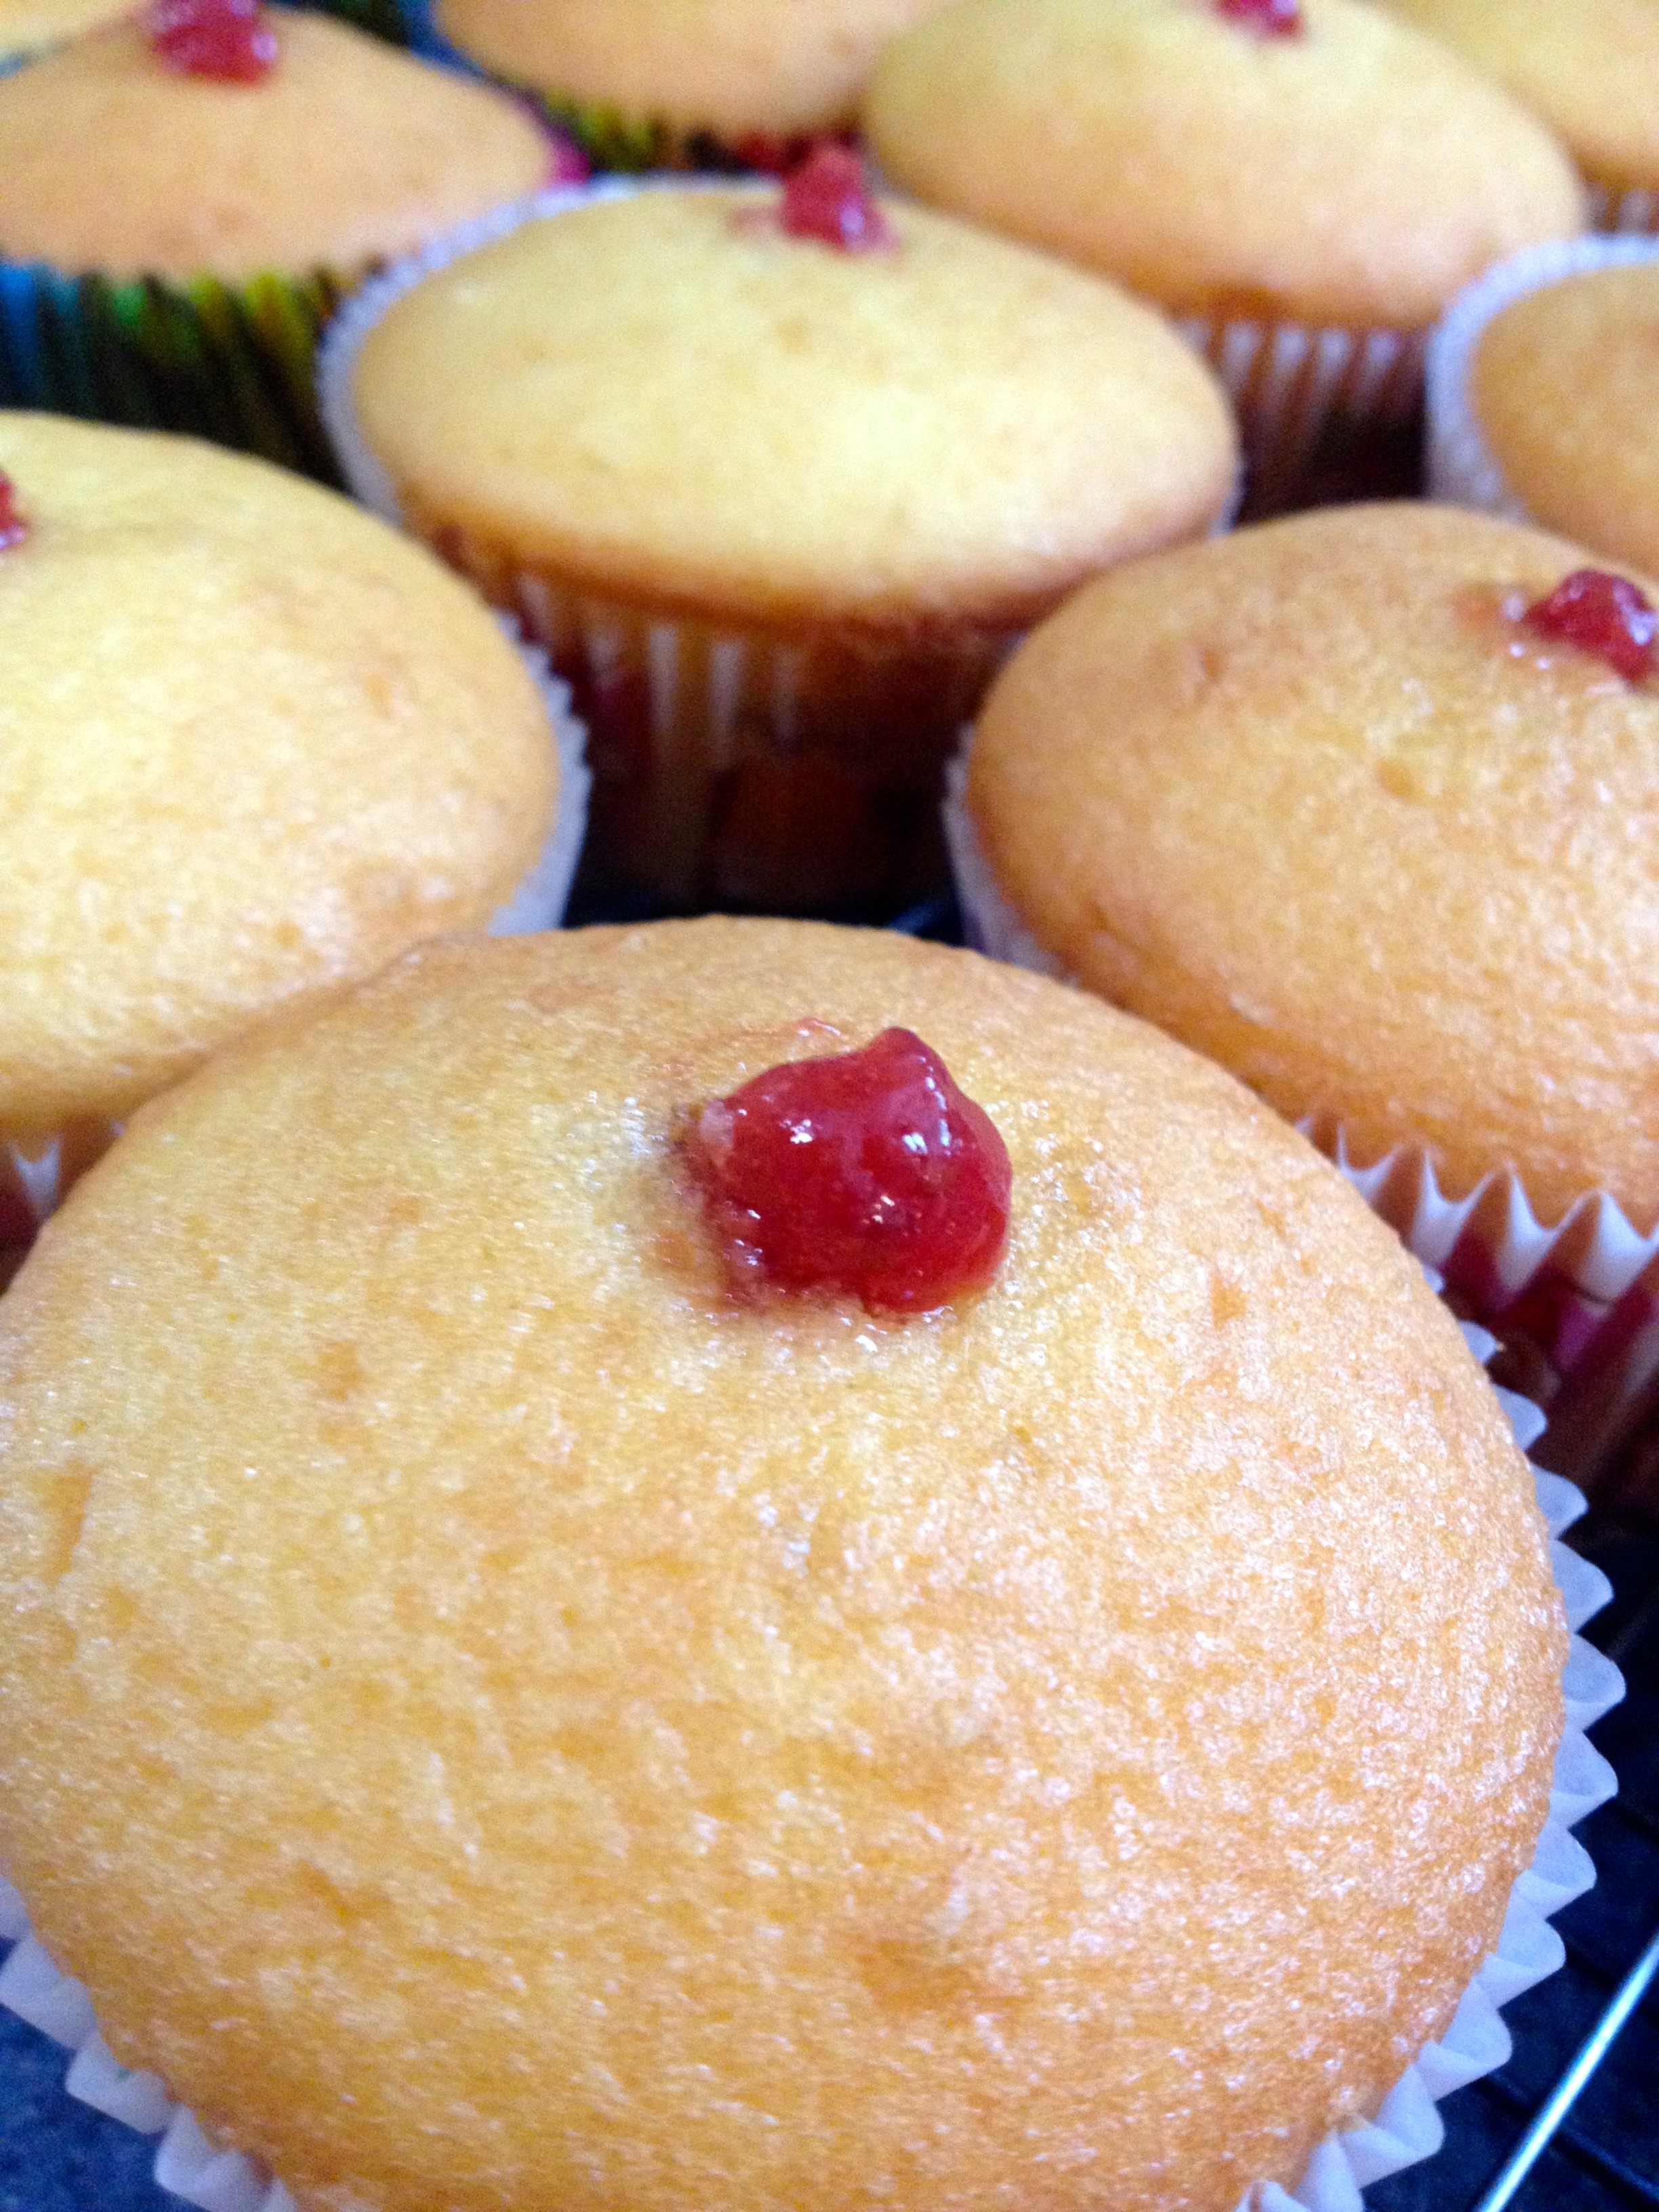
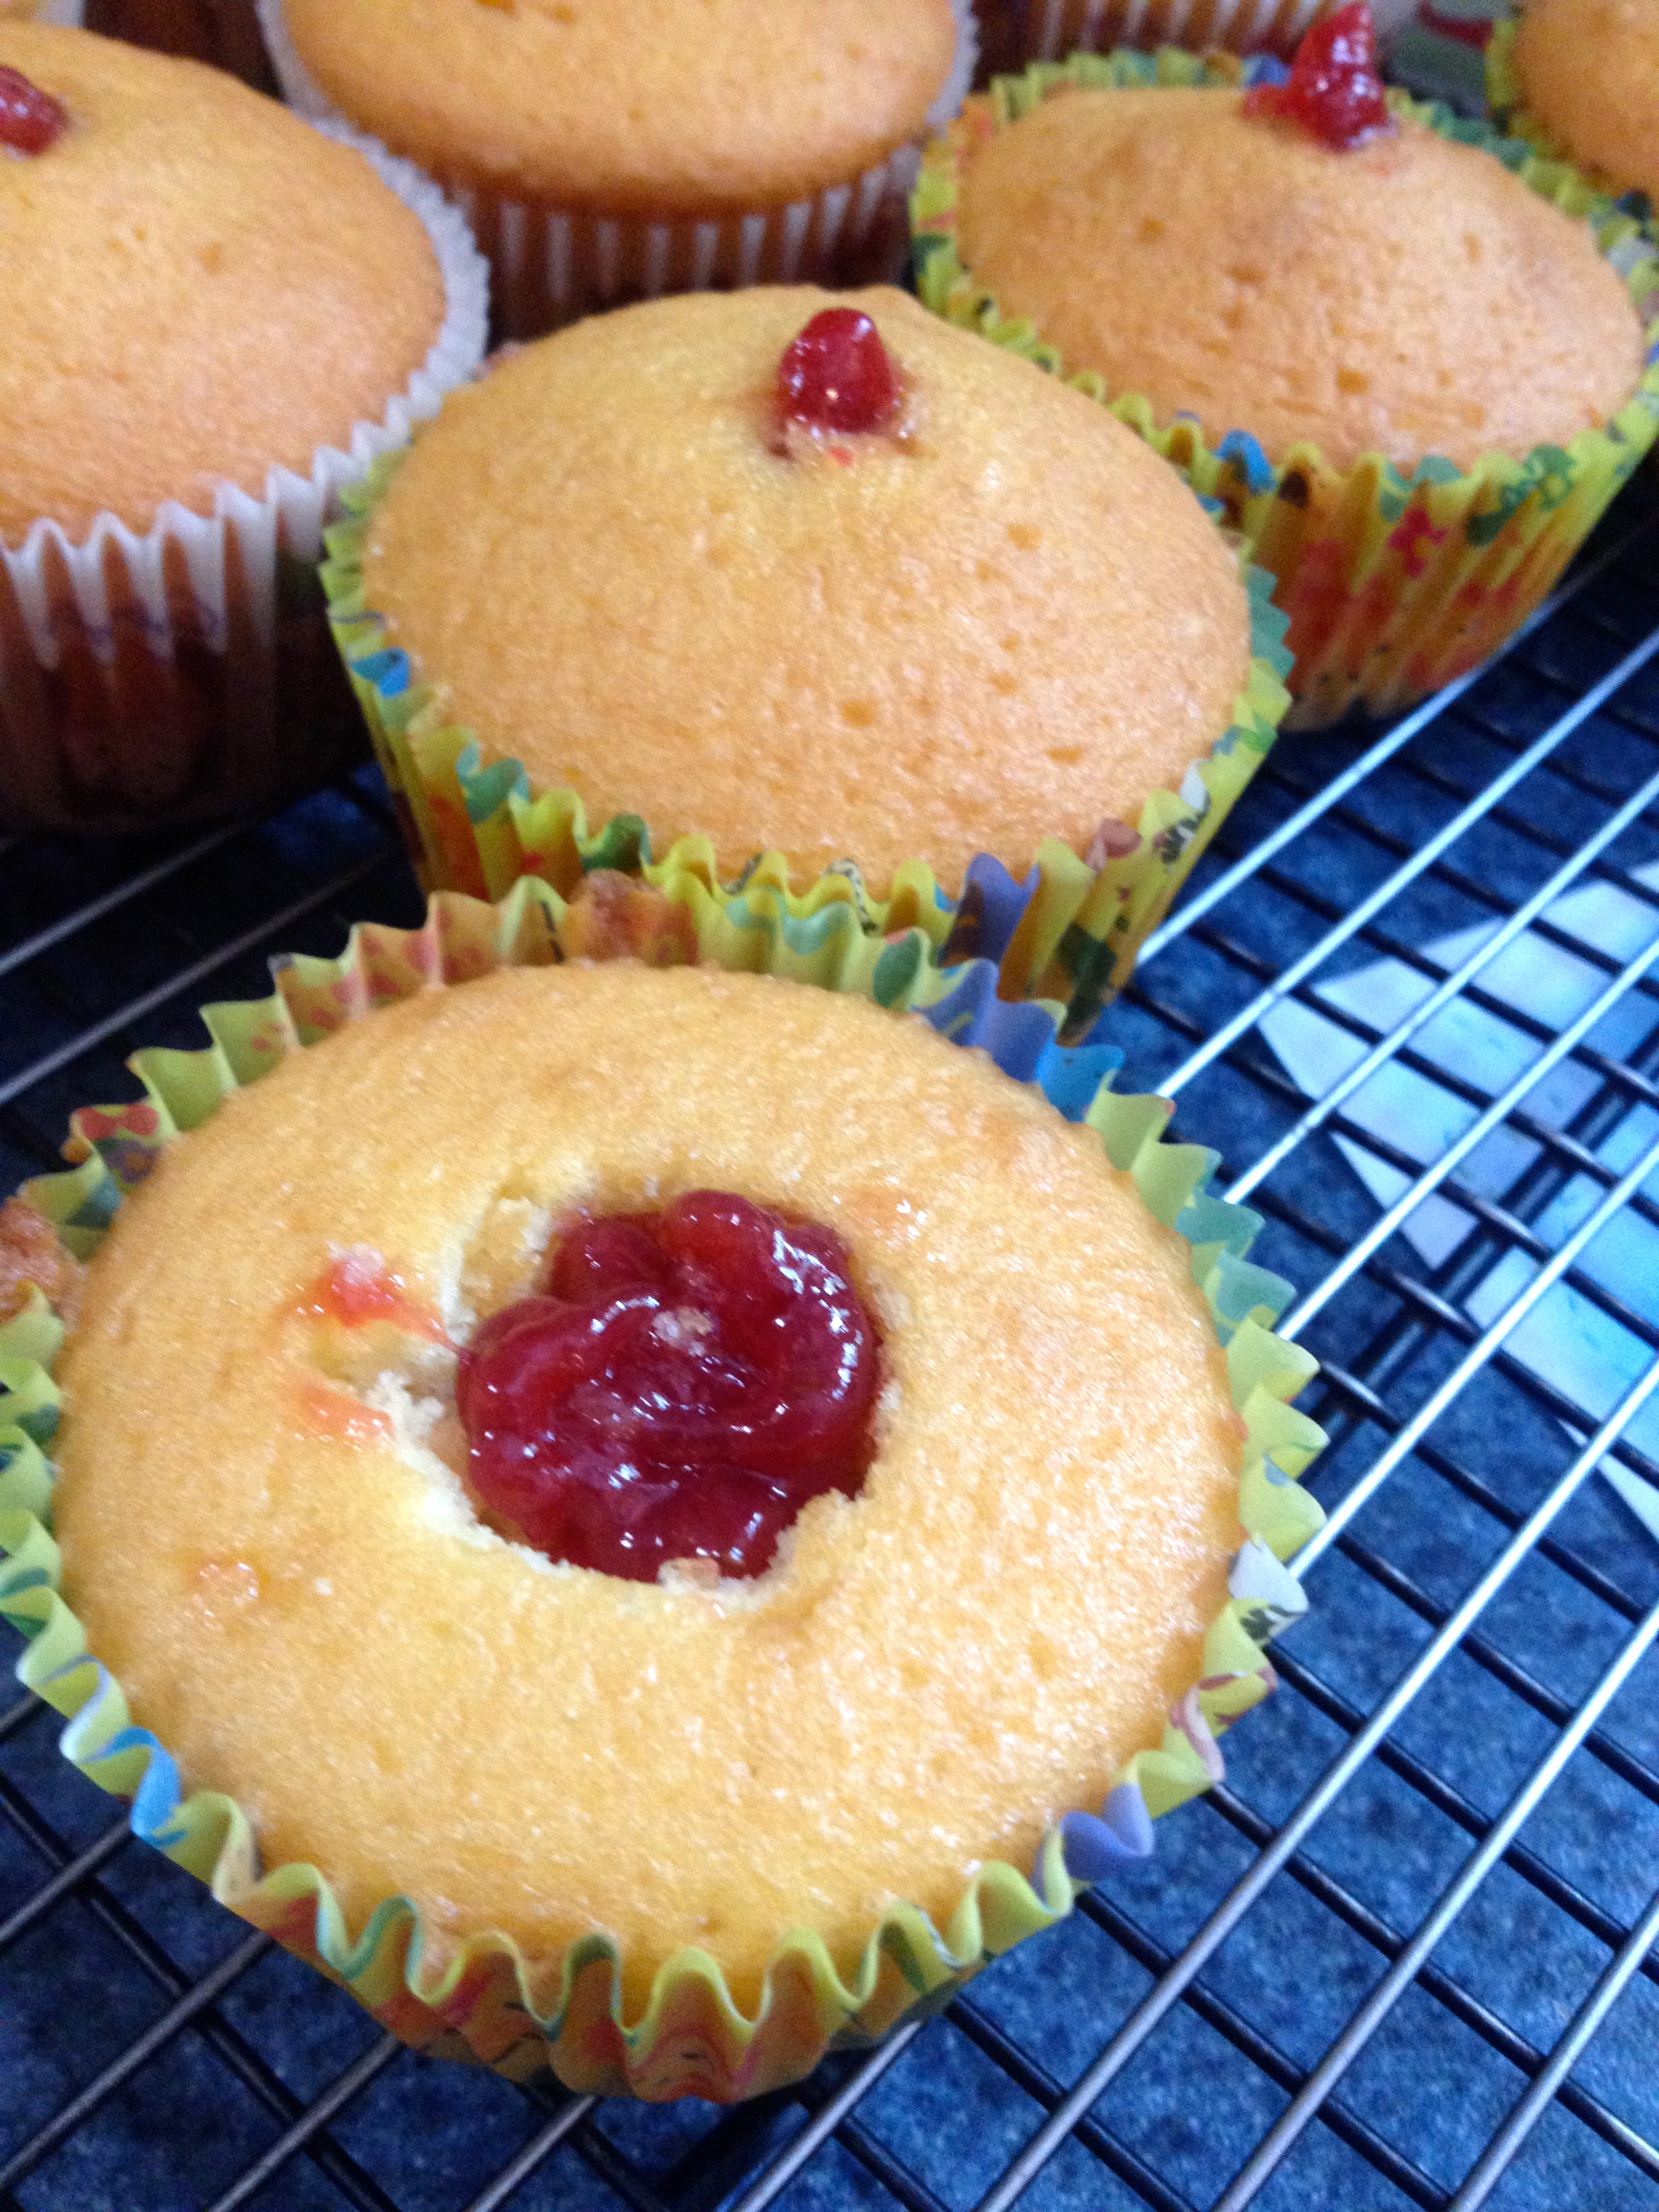
If you cut holes in the center of the cupcakes, spoon a little jelly into the holes. If you’re using a pastry bag, insert the tip into the center of the cupcake and squeeze out jelly until the jelly just starts coming out the top of the cupcake. It should look like this:

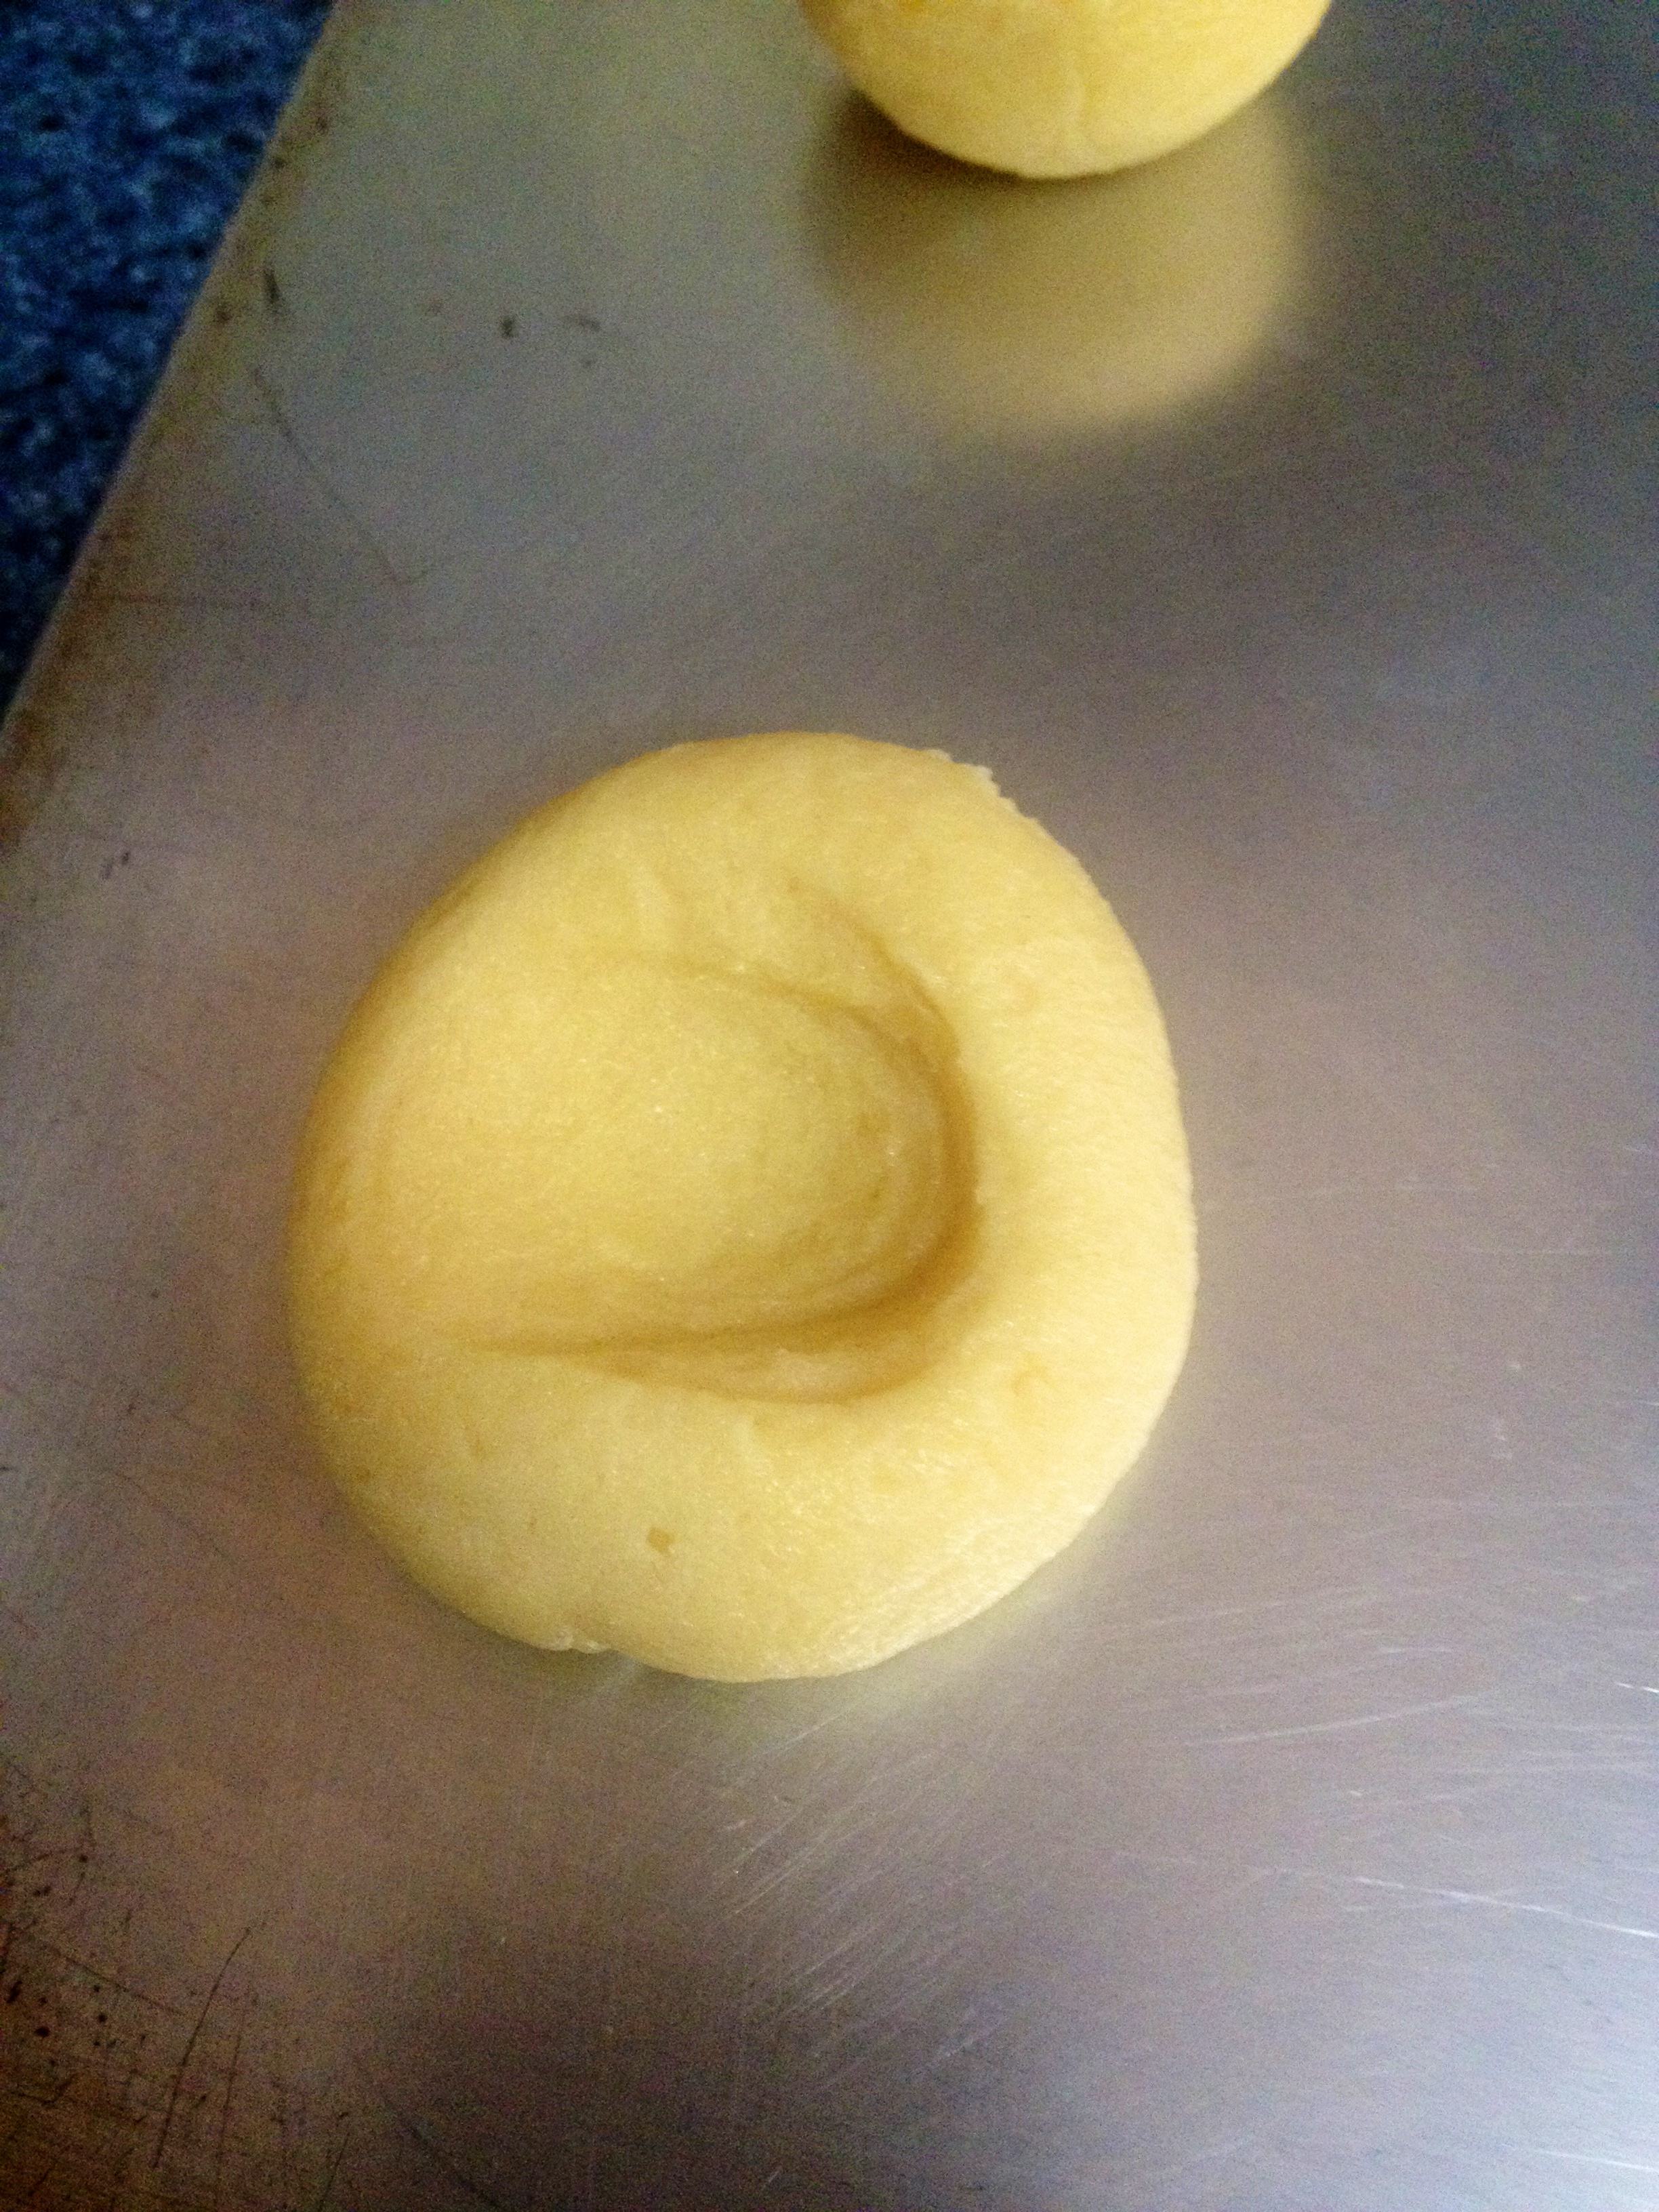
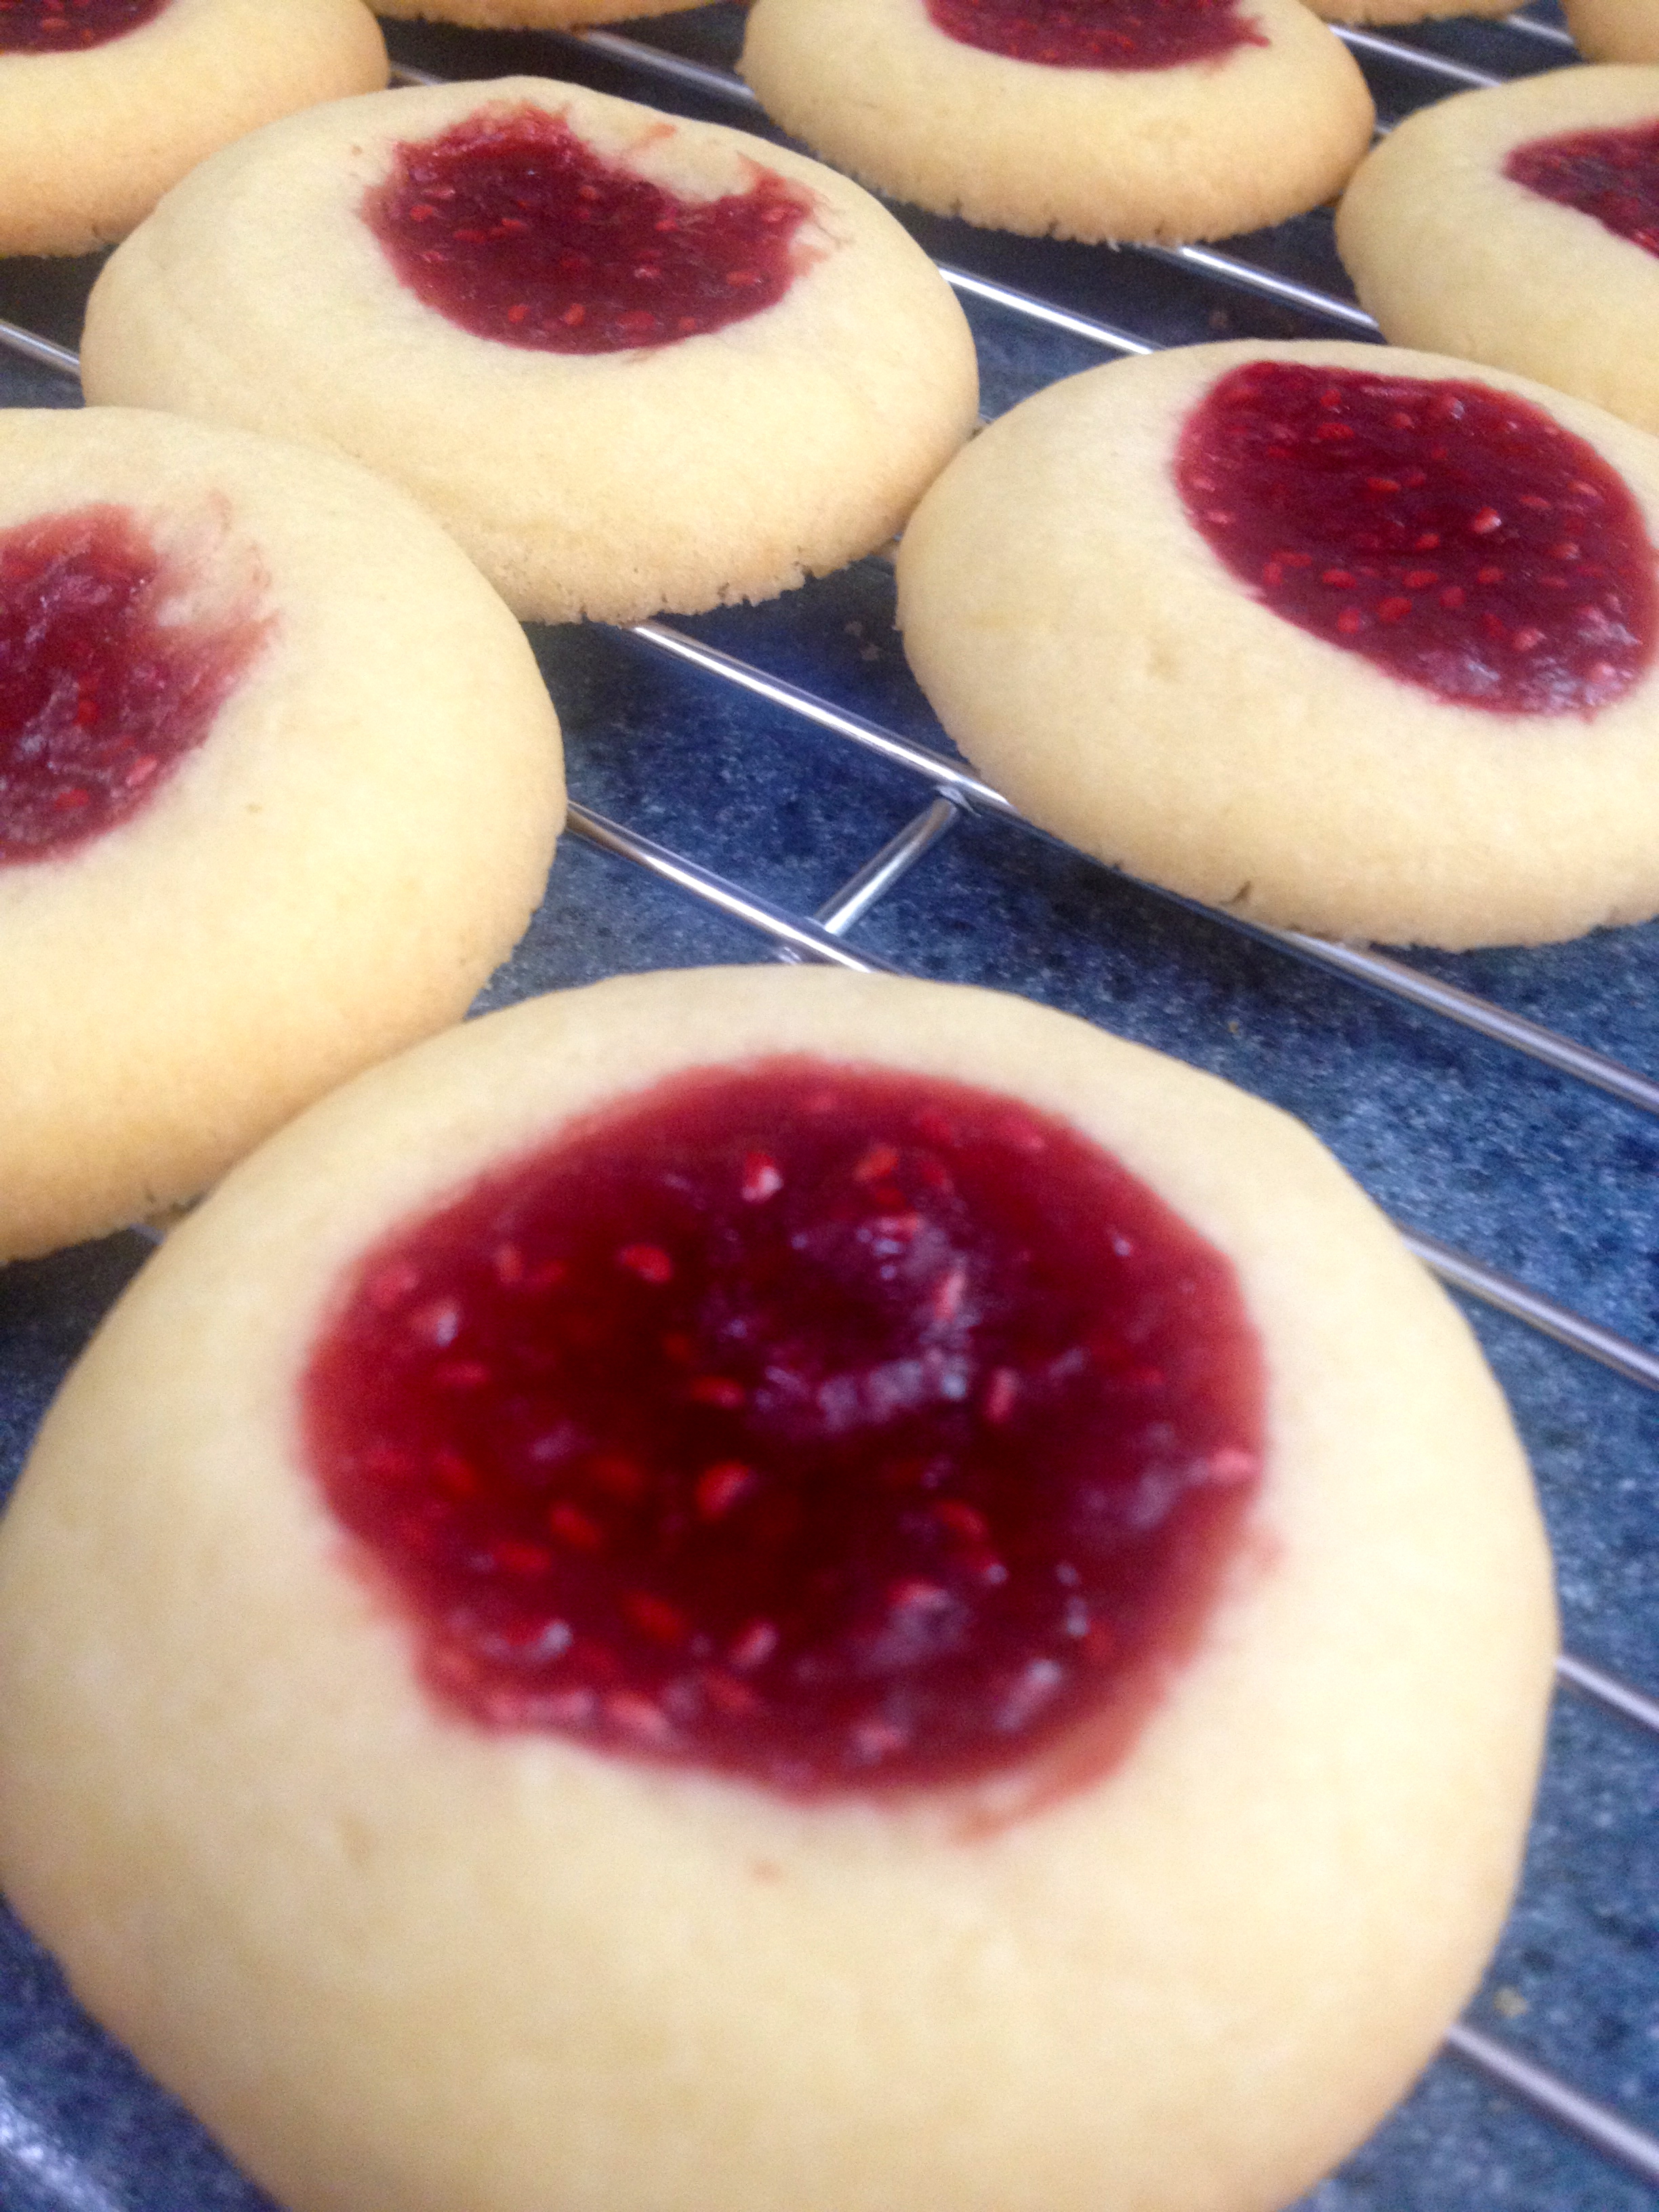
If you cored your cupcake, it should look like this:

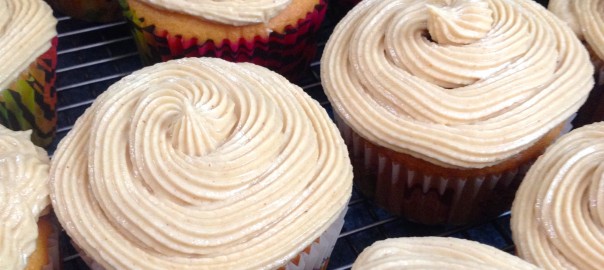
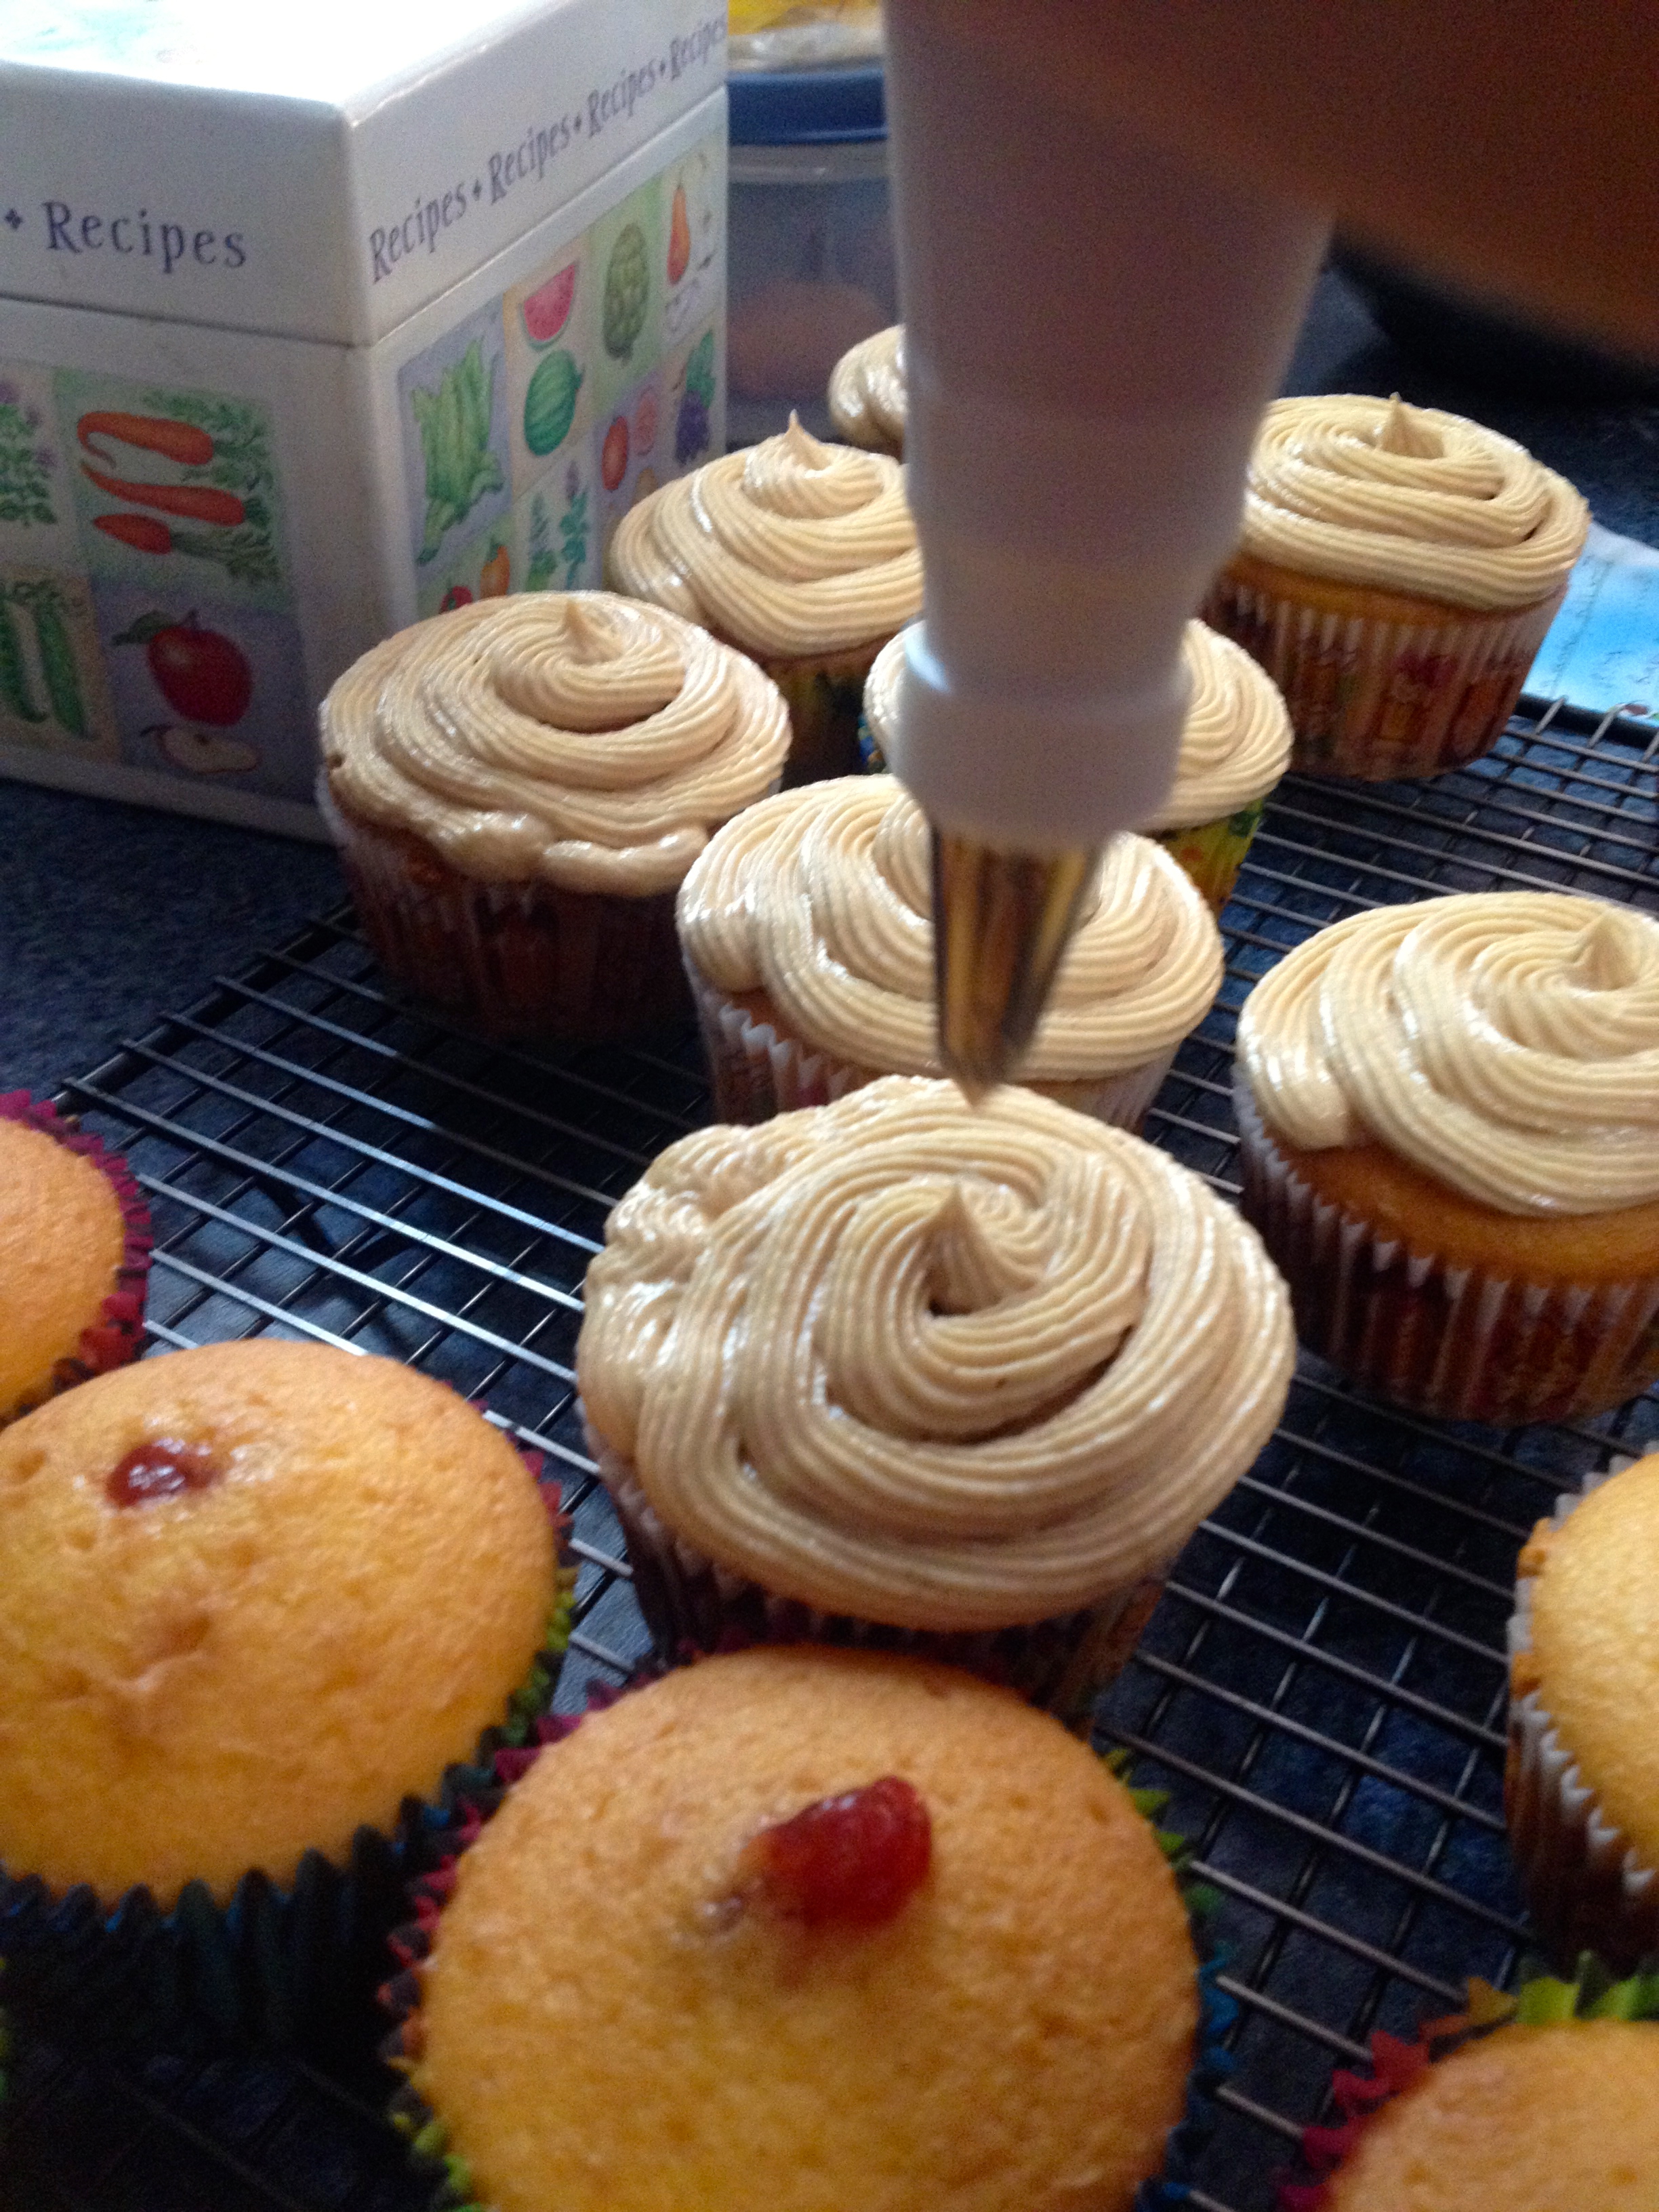
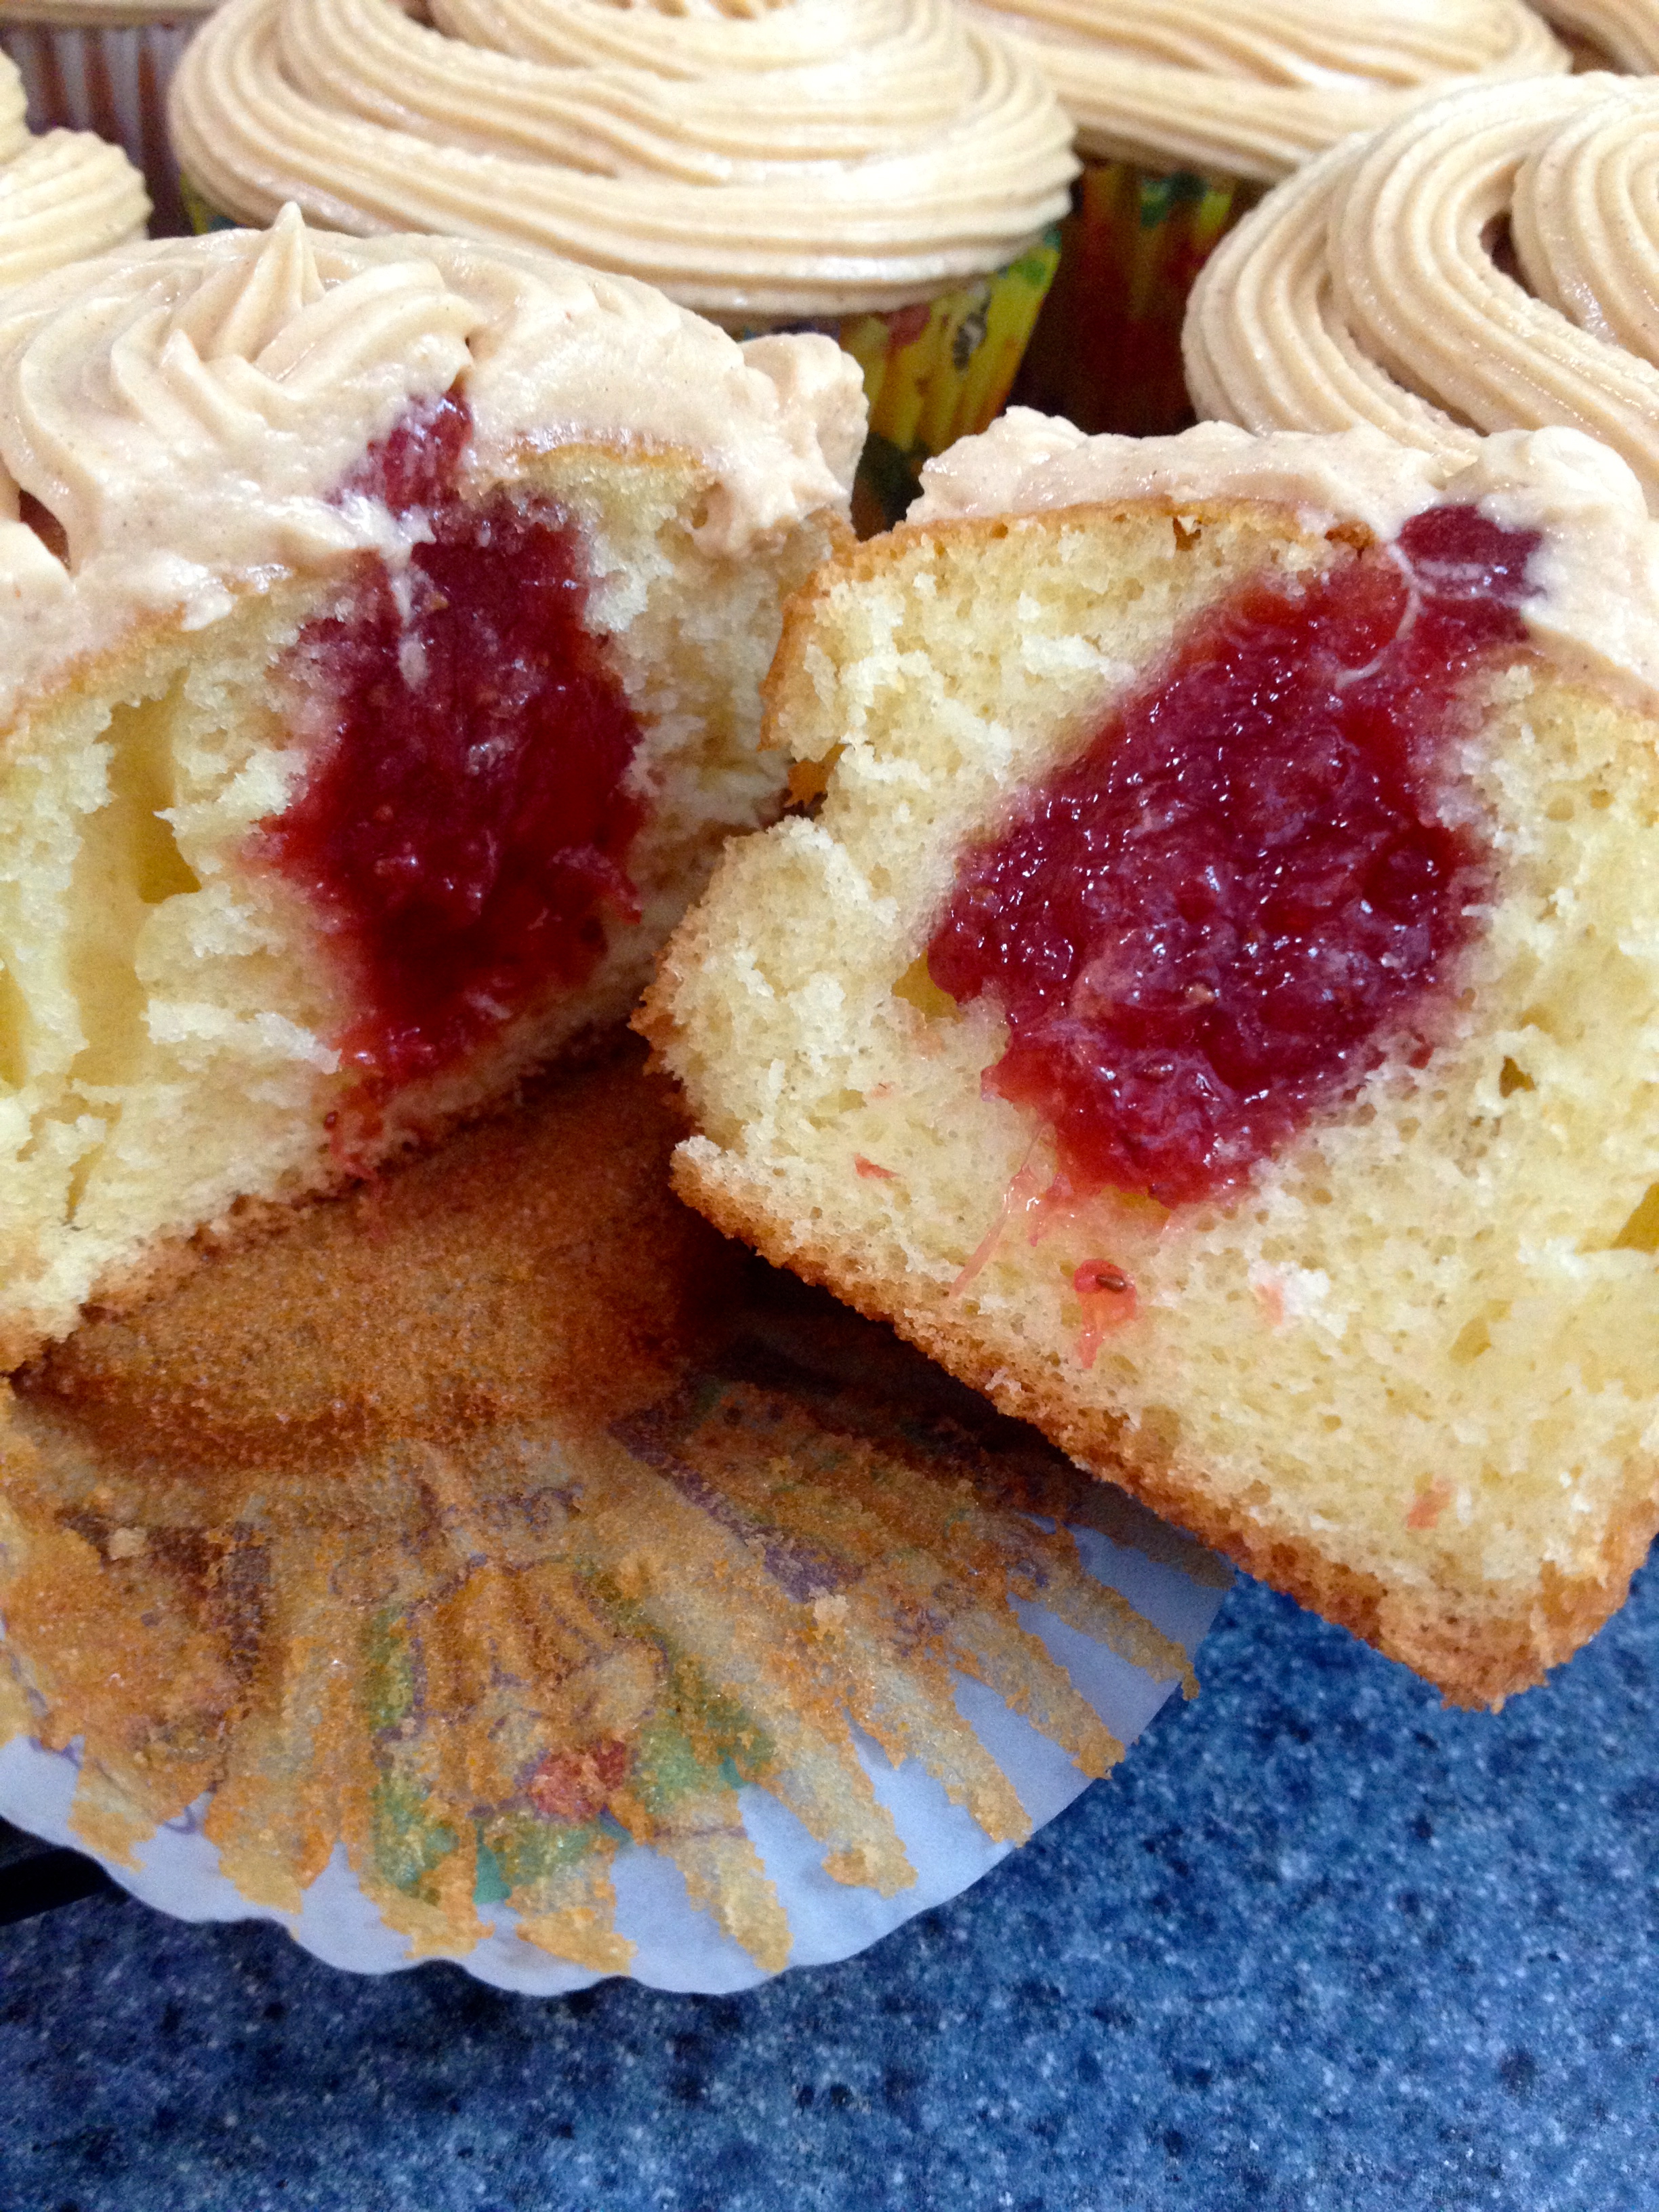
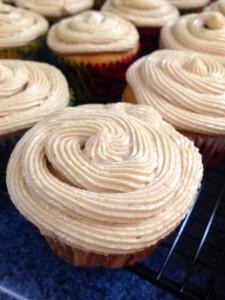
Now on to frosting! Beat the peanut butter and margarine together with a hand held mixer for 2 minutes on medium speed. Add the powdered sugar and vanilla, and mix on low speed for 1 minute. At this point, it’ll be really thick. Then, gradually add the milk and mix the frosting until it’s really smooth and creamy. To frost, you can either use a knife and spread the frosting onto the cupcakes, or use a pastry bag and pipe the frosting on. Since I wanted to play with my new pastry bags, I piped my frosting. Here’s the final product!


I’m telling you, that’s the perfect cupcake. Peanut butter and jelly really is a match made in Heaven. So, this recipe is a total winner. On to the next one!
Taffy Apple Cupcakes (renamed by me to Caramel Apple Cupcakes)
These mini cupcakes are the perfect little bite: the warm spiced applesauce cake, with a smooth and smoky caramel, rolled in just the right amount of toffee crunch. This was a huge hit with my roommates, and I know it will be for you!
Ingredients:
- 1 & 3/4 cups all-purpose flour
- 1 tsp baking soda
- 1 tsp ground cinnamon
- 1/2 tsp salt
- 1 cup unsweetened applesauce
- 3/4 cup granulated sugar
- 1/2 vegetable oil
- 1 egg
- 1 package caramels (~14 oz)
- 3 tbsp low-fat milk
- 30 wooden craft sticks
- 1 bag toffee bits (optional- you can use whatever topping you prefer, or none at all)
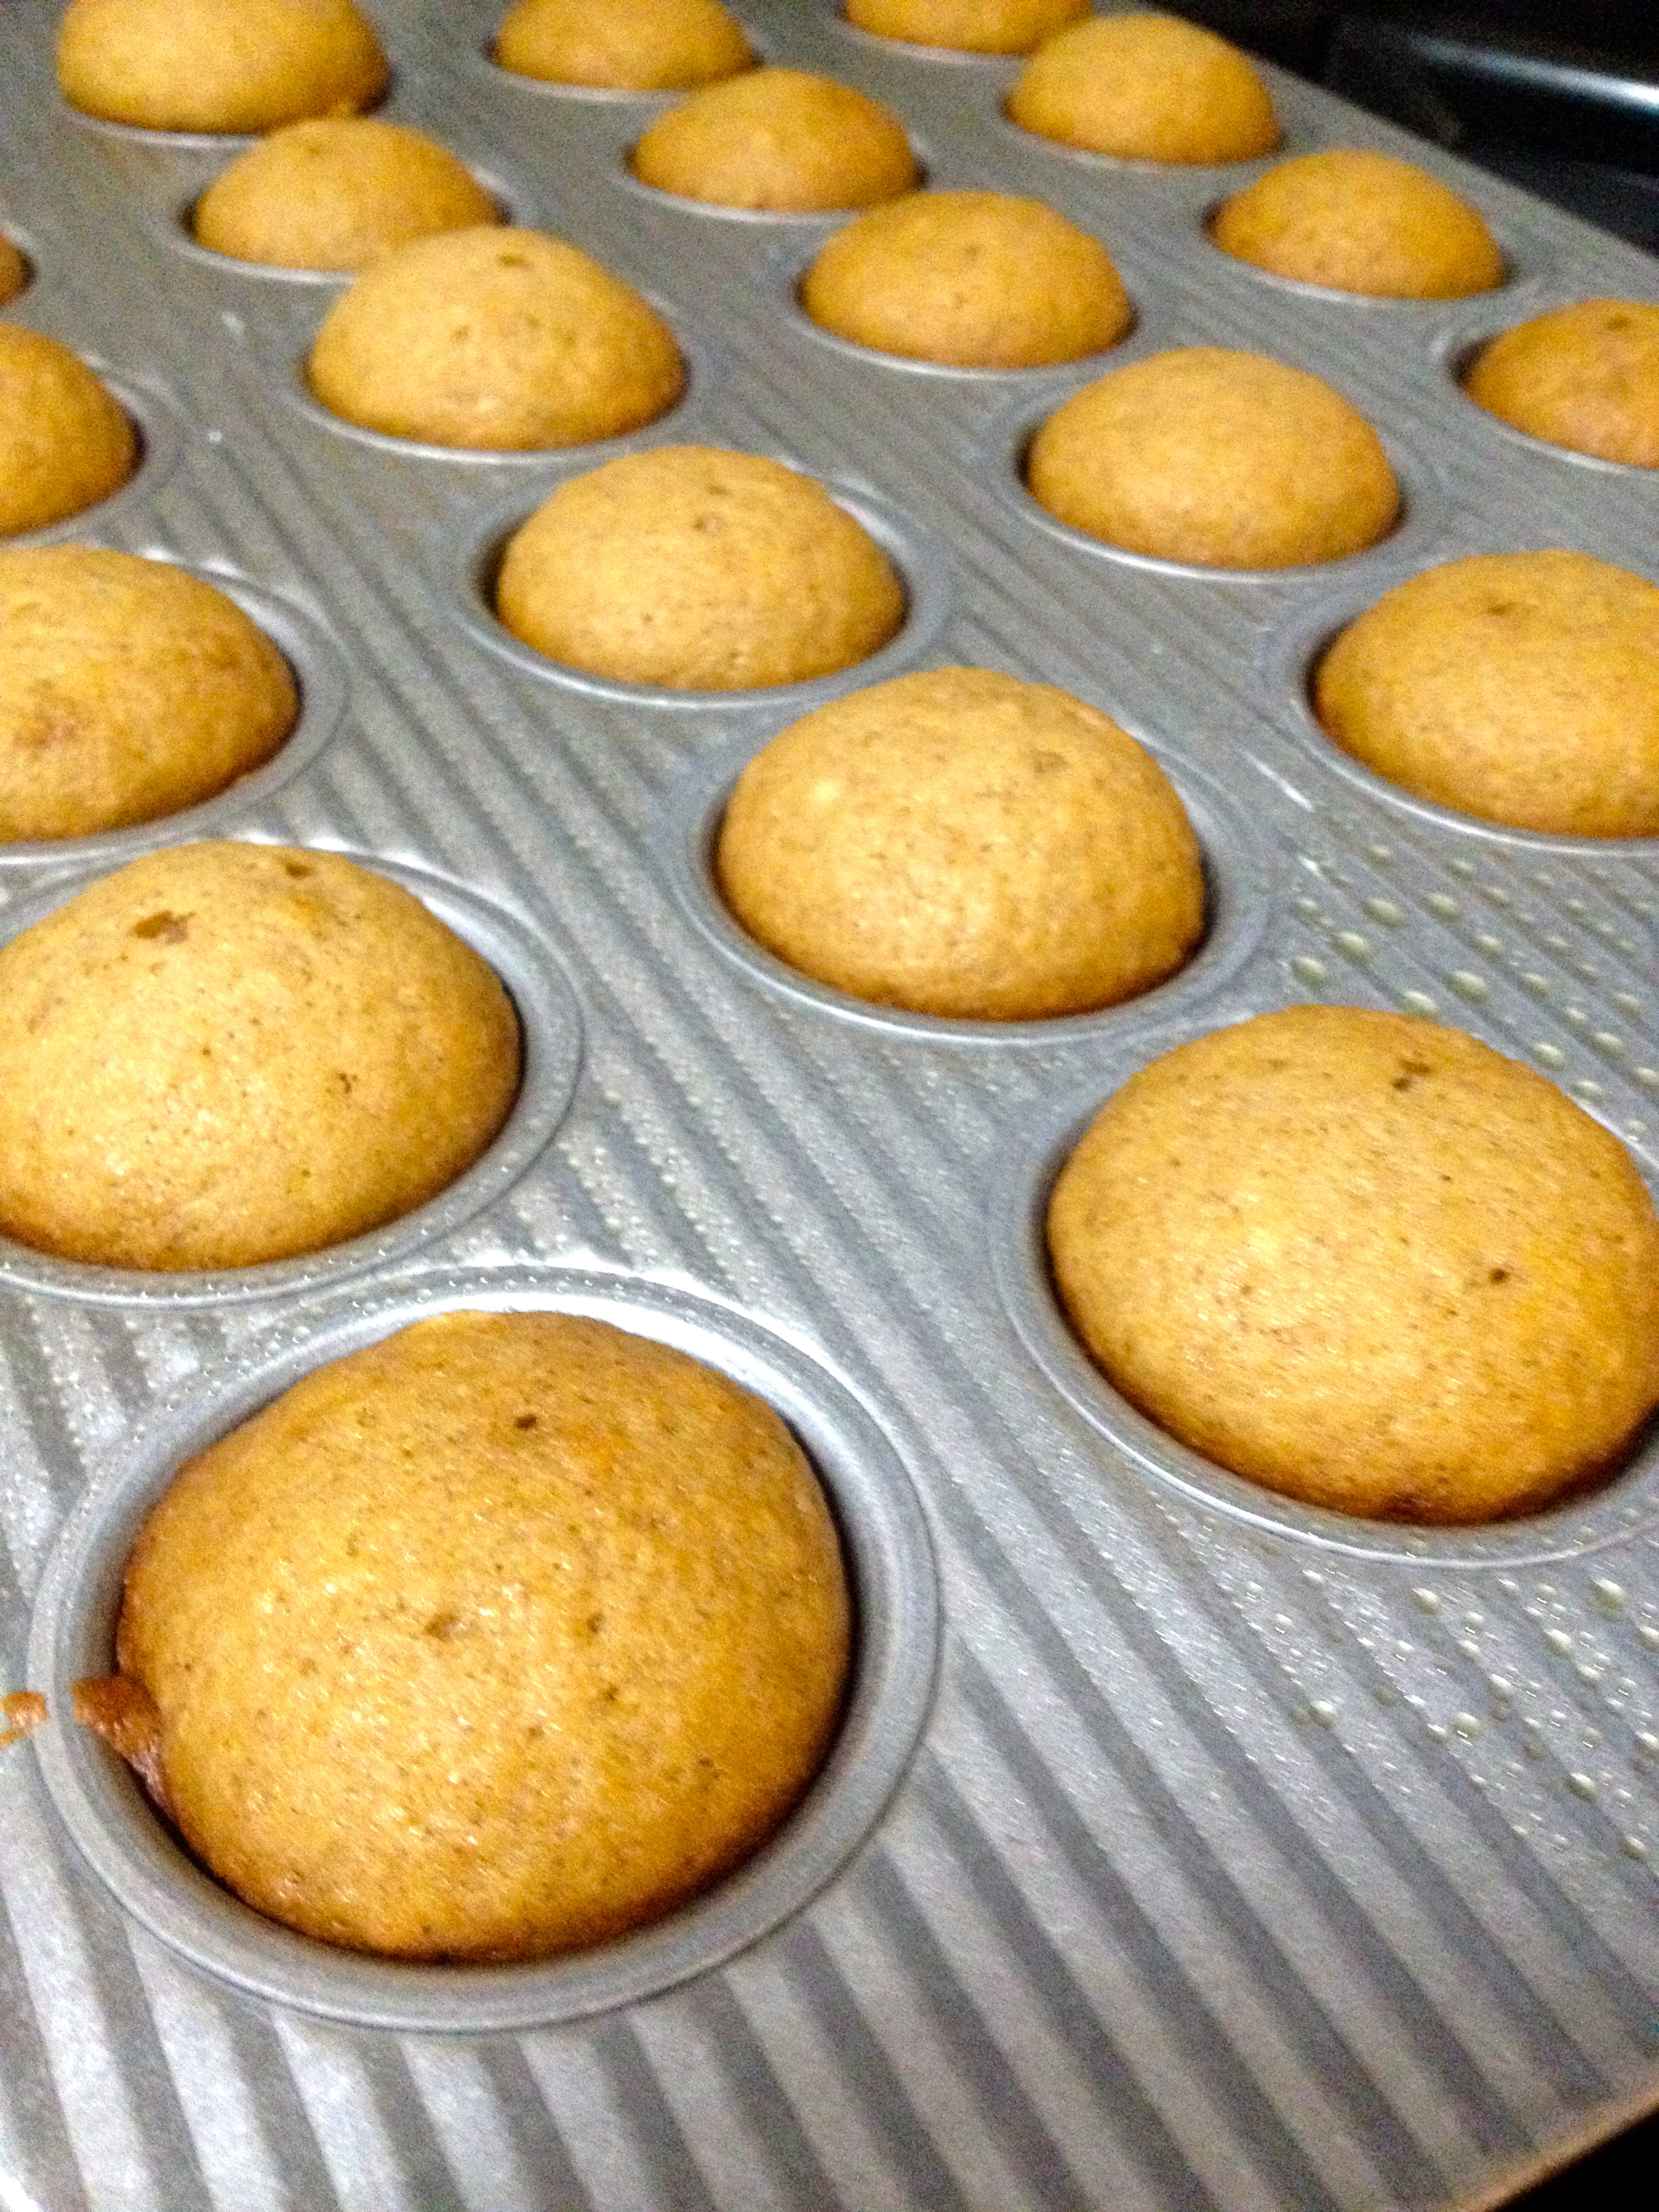
Preheat the oven to 350ºF, and spray 30 mini muffin cups with nonstick cooking spray. Combine the applesauce, sugar, oil, and egg in a large bowl. Add the flour, baking soda, cinnamon, and salt, and mix well until thoroughly combined. Fill the cups about 3/4 full. (Tip: These mini muffin cups are a lot smaller than you might think- I overflowed my first few, so go easy at first.) Bake 15 minutes, or until a toothpick comes out clean. Cool in the pans for 5 minutes, and then transfer them to a cooling rack to cool completely.

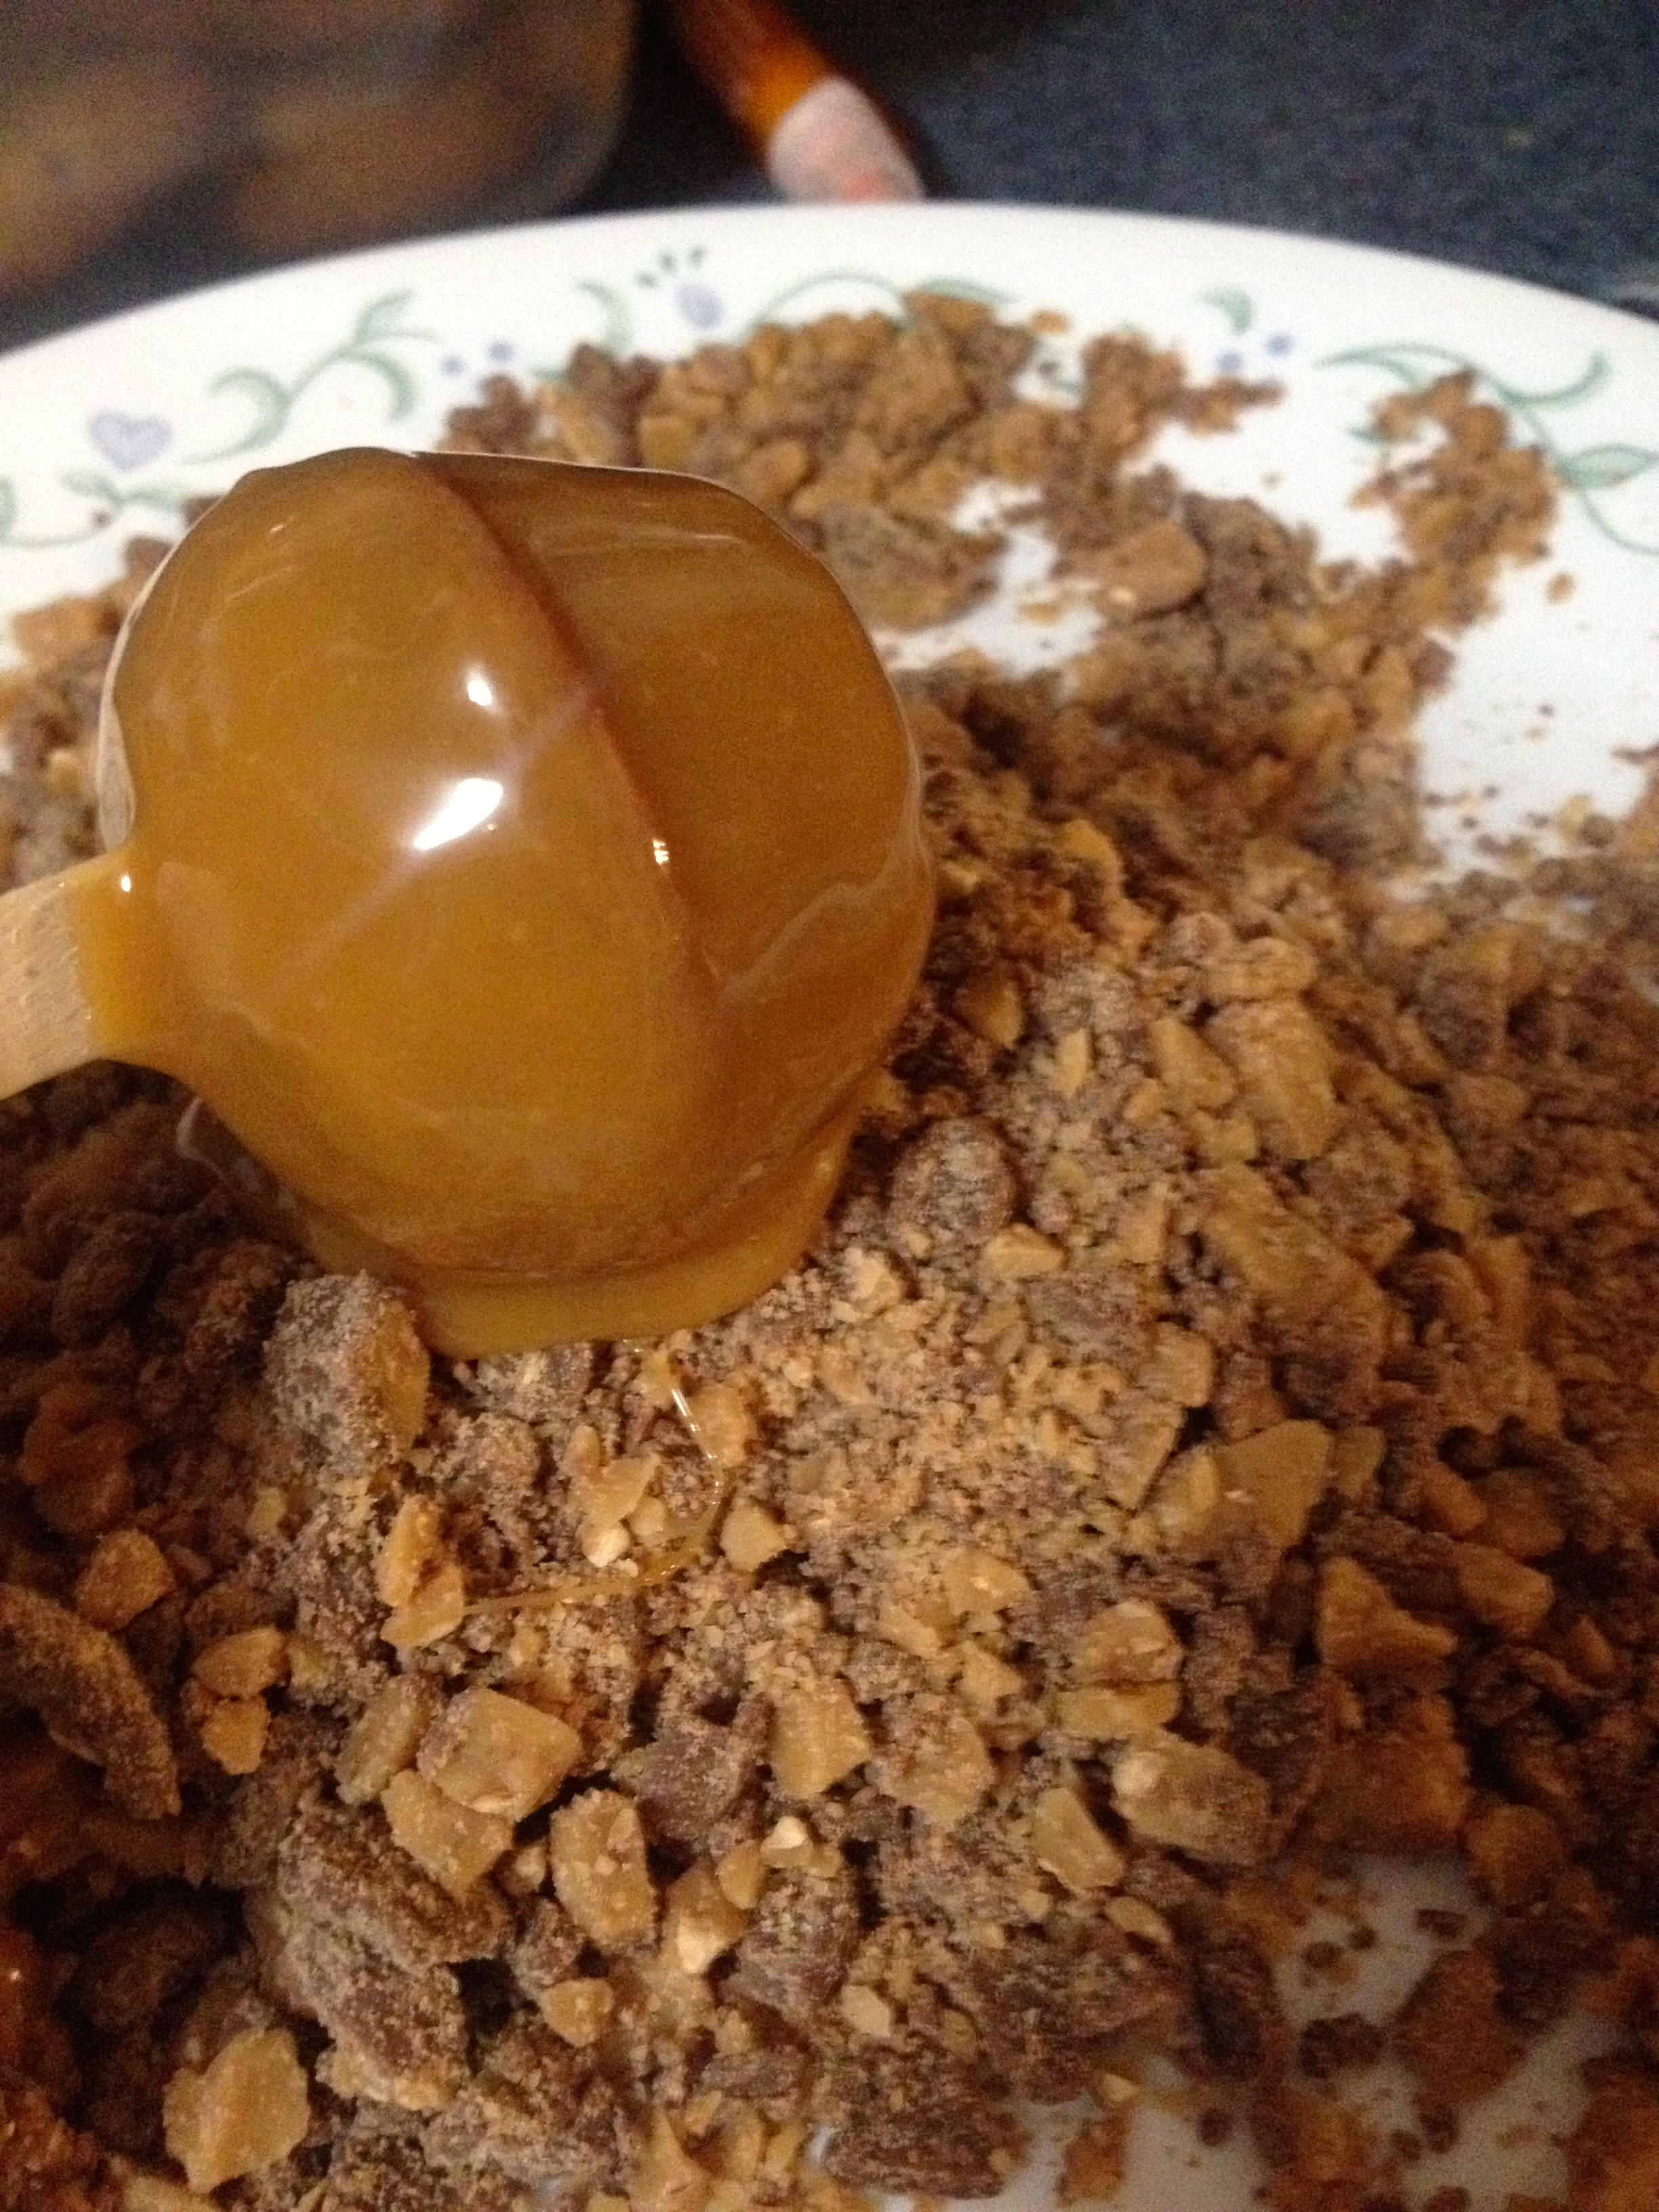
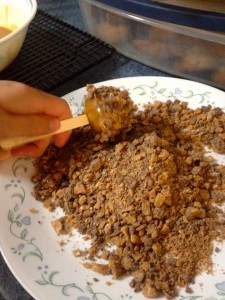
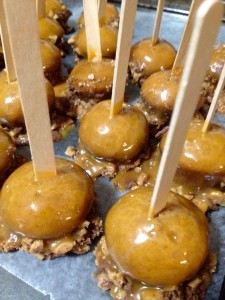
Line a baking sheet with wax paper, and spray the paper with nonstick cooking spray. Also, pour your toffee bits out onto a plate. Then, insert the craft sticks into the tops of the cupcakes. Make sure it’s the tops of the cupcakes, because otherwise the cupcakes won’t be able to stand up. Next, put the package of caramels with the milk in a large, microwave-safe bowl and put them in the microwave for 2-3 minutes on high, stirring each minute. They might bubble up pretty high, but that’s totally normal! It’ll go down when it comes out of the microwave. Here comes the fun part!
Dip each cupcake into the melted caramel sauce, rolling the cupcake around to fully cover it. Quickly, roll the cupcake in the toffee bits and set it, stick up, on the baking sheet.

Just a heads-up, the toffee does tend to slide down the cake and pool at the bottom. Although the toffee was yummy with the cupcakes, I wouldn’t use it again. I would go without a topping, because the caramel soaks into the cake and makes it perfectly moist and delicious on its own, and I thought the toffee just got in the way of the caramel. However, if you want to use it, go right ahead!
This recipe was fantastic! The size of the cupcakes is great, because they’re just a little bite for when you get a sweets craving, instead of having to commit to a large cupcake. The cake recipe on its own is also perfect for an applesauce cake! I made mini applesauce cake muffins with this recipe, and ate them as snacks and breakfasts. Delicious!
And last but not least…
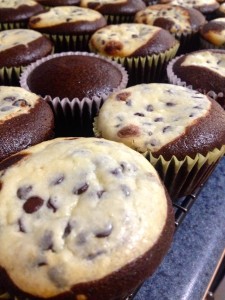
Filled Rich Chocolate Cupcakes (Chocolate Cheesecake Cupcakes)
Ingredients:
- 3 cups all-purpose flour
- 2 cups sugar
- 2/3 cup cocoa powder
- 2 tsp baking soda
- 1 tsp salt
- 2 cups water
- 2/3 cup vegetable oil
- 2 tbsp white vinegar
- 2 tsp vanilla extract
Filling:
- 8 oz cream cheese, softened
- 1/3 cup granulated sugar
- 1 egg
- 1/8 tsp salt
- 1 cup semi-sweet mini chips (I used more, and no one was complaining!)
A note about the vinegar, before any questions arise: this is the coolest recipe ever, because the cake part has no eggs! It uses a reaction between the baking soda and the vinegar to foam the cake and make it lighter, so no eggs are needed! I promise you can’t taste the vinegar.
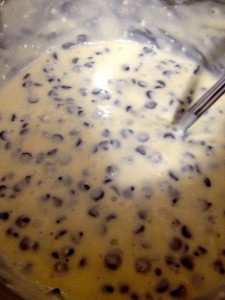
Preheat oven to 350ºF, and line 24 cupcake cups with cupcake papers. Prepare the filling by beating the cream cheese, sugar, egg, and salt in a small bowl with a hand held mixer. Then, stir in the chocolate chips.
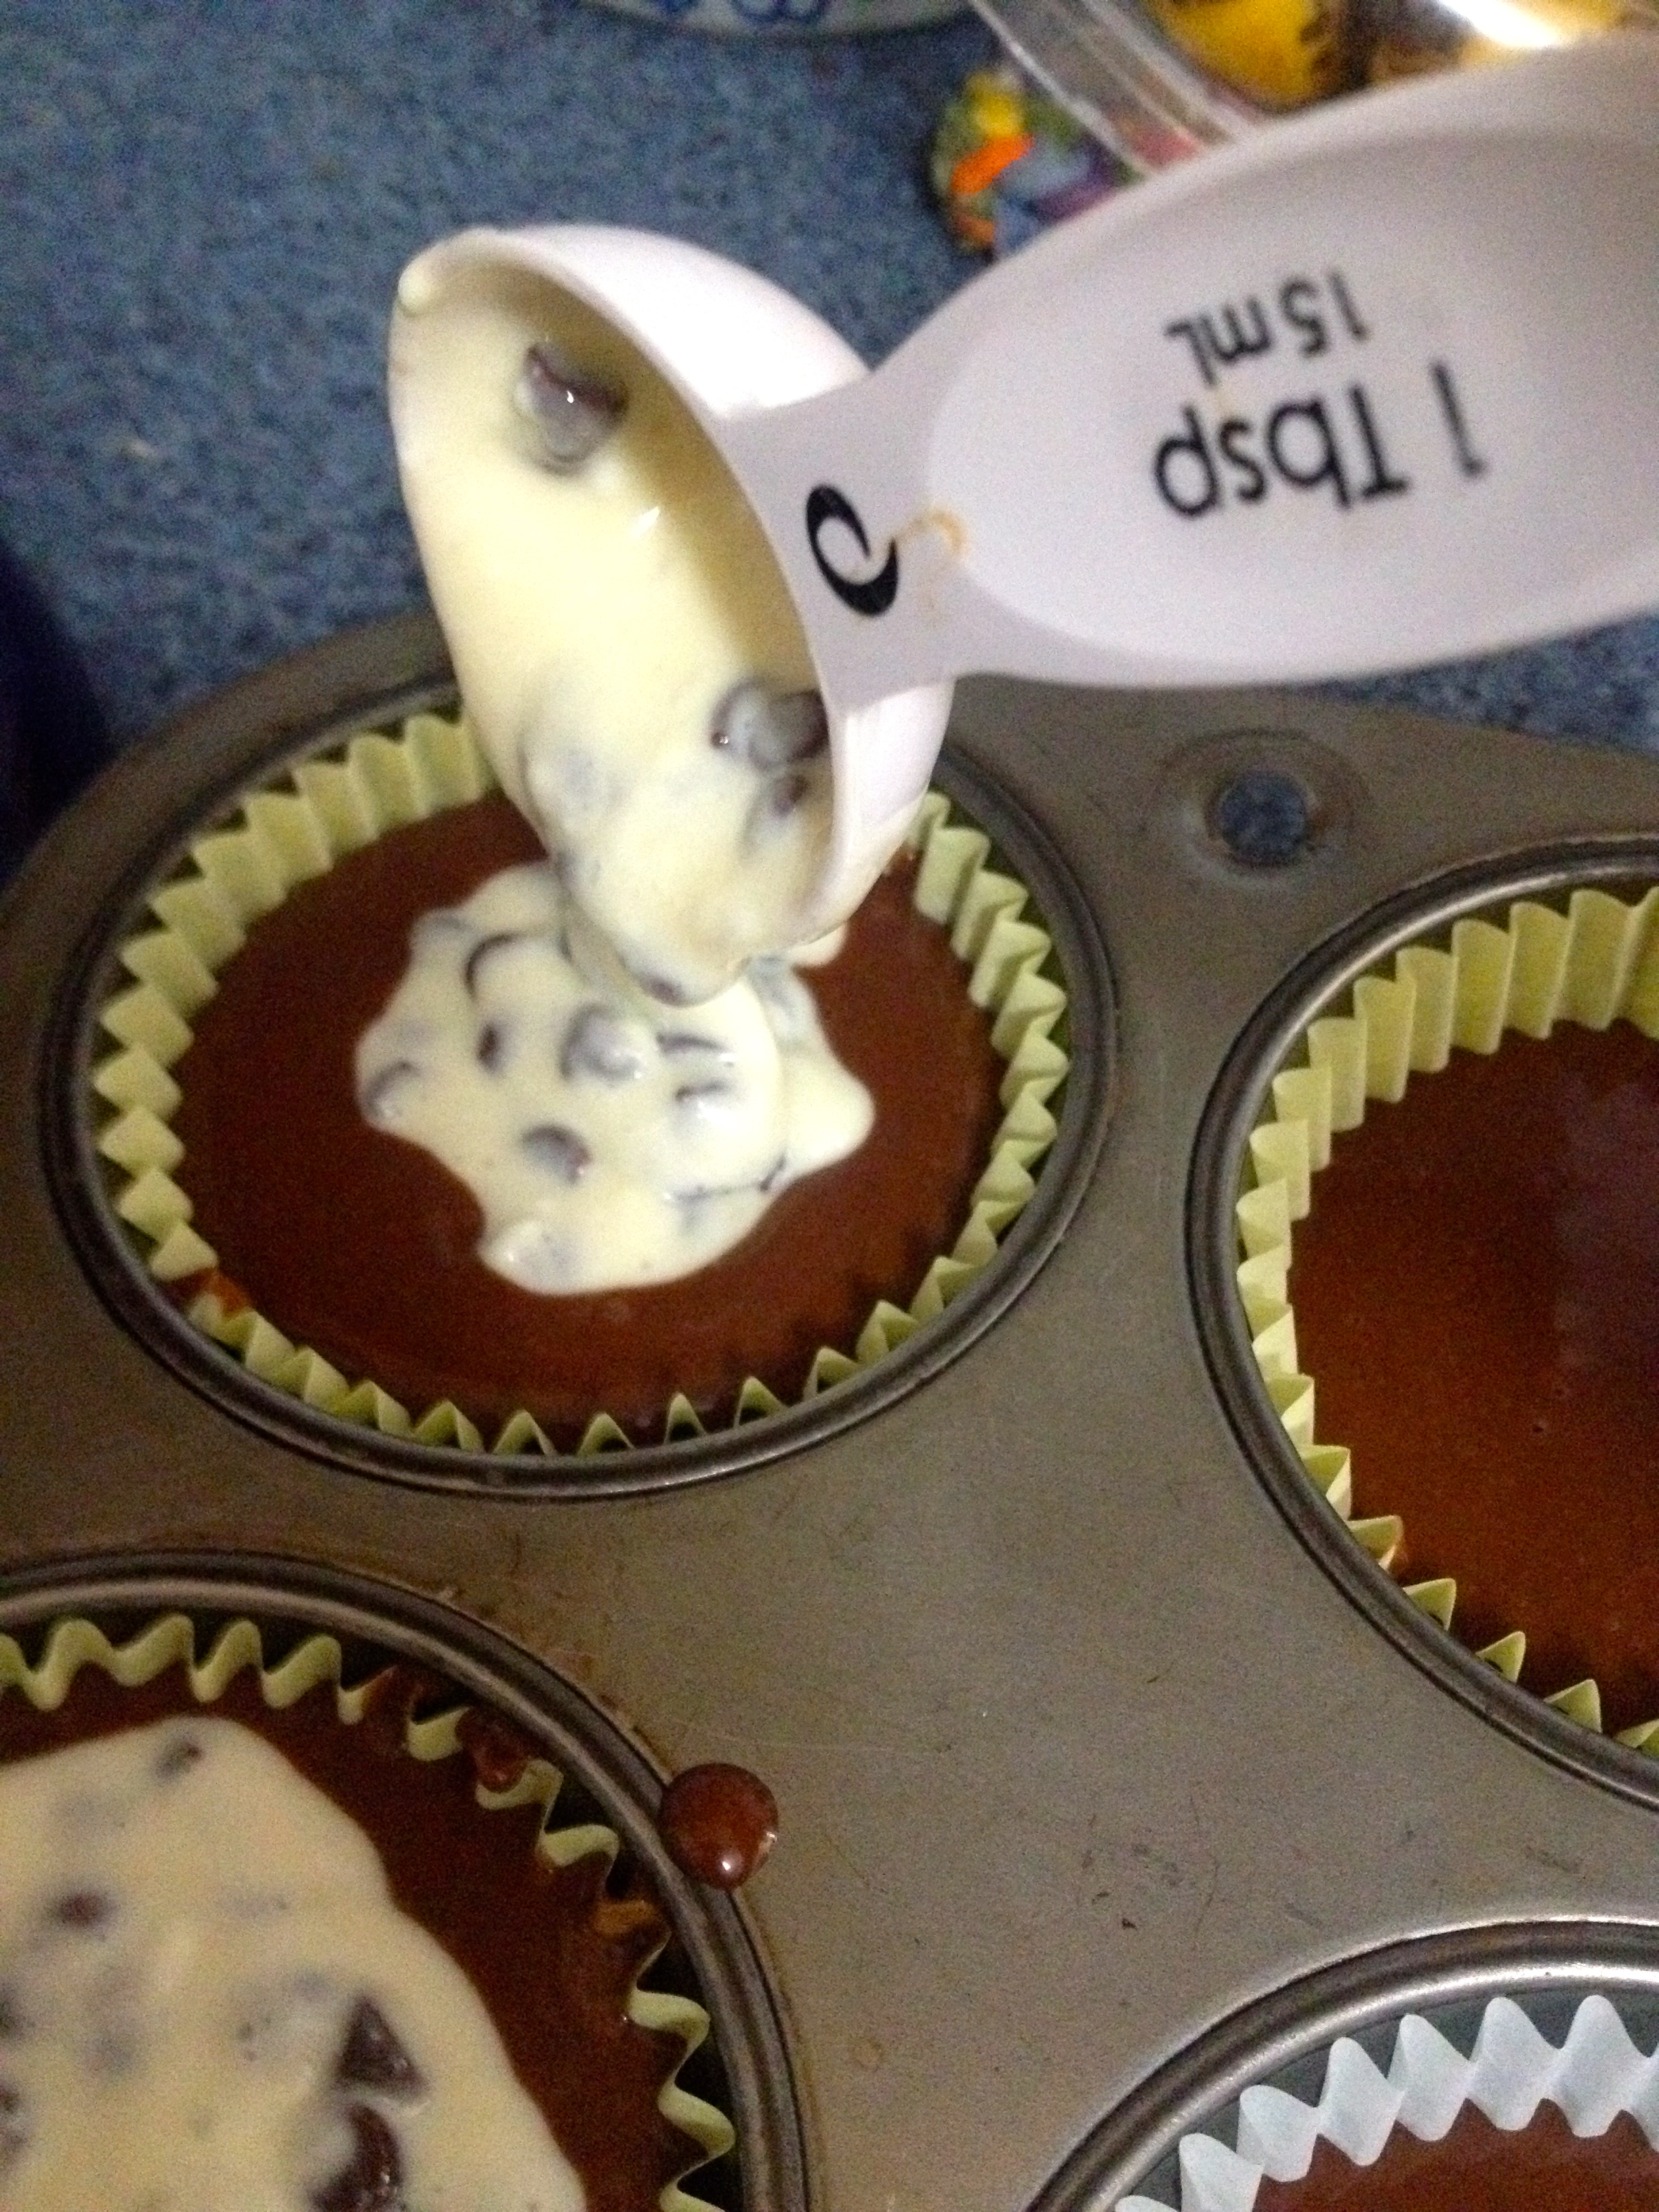
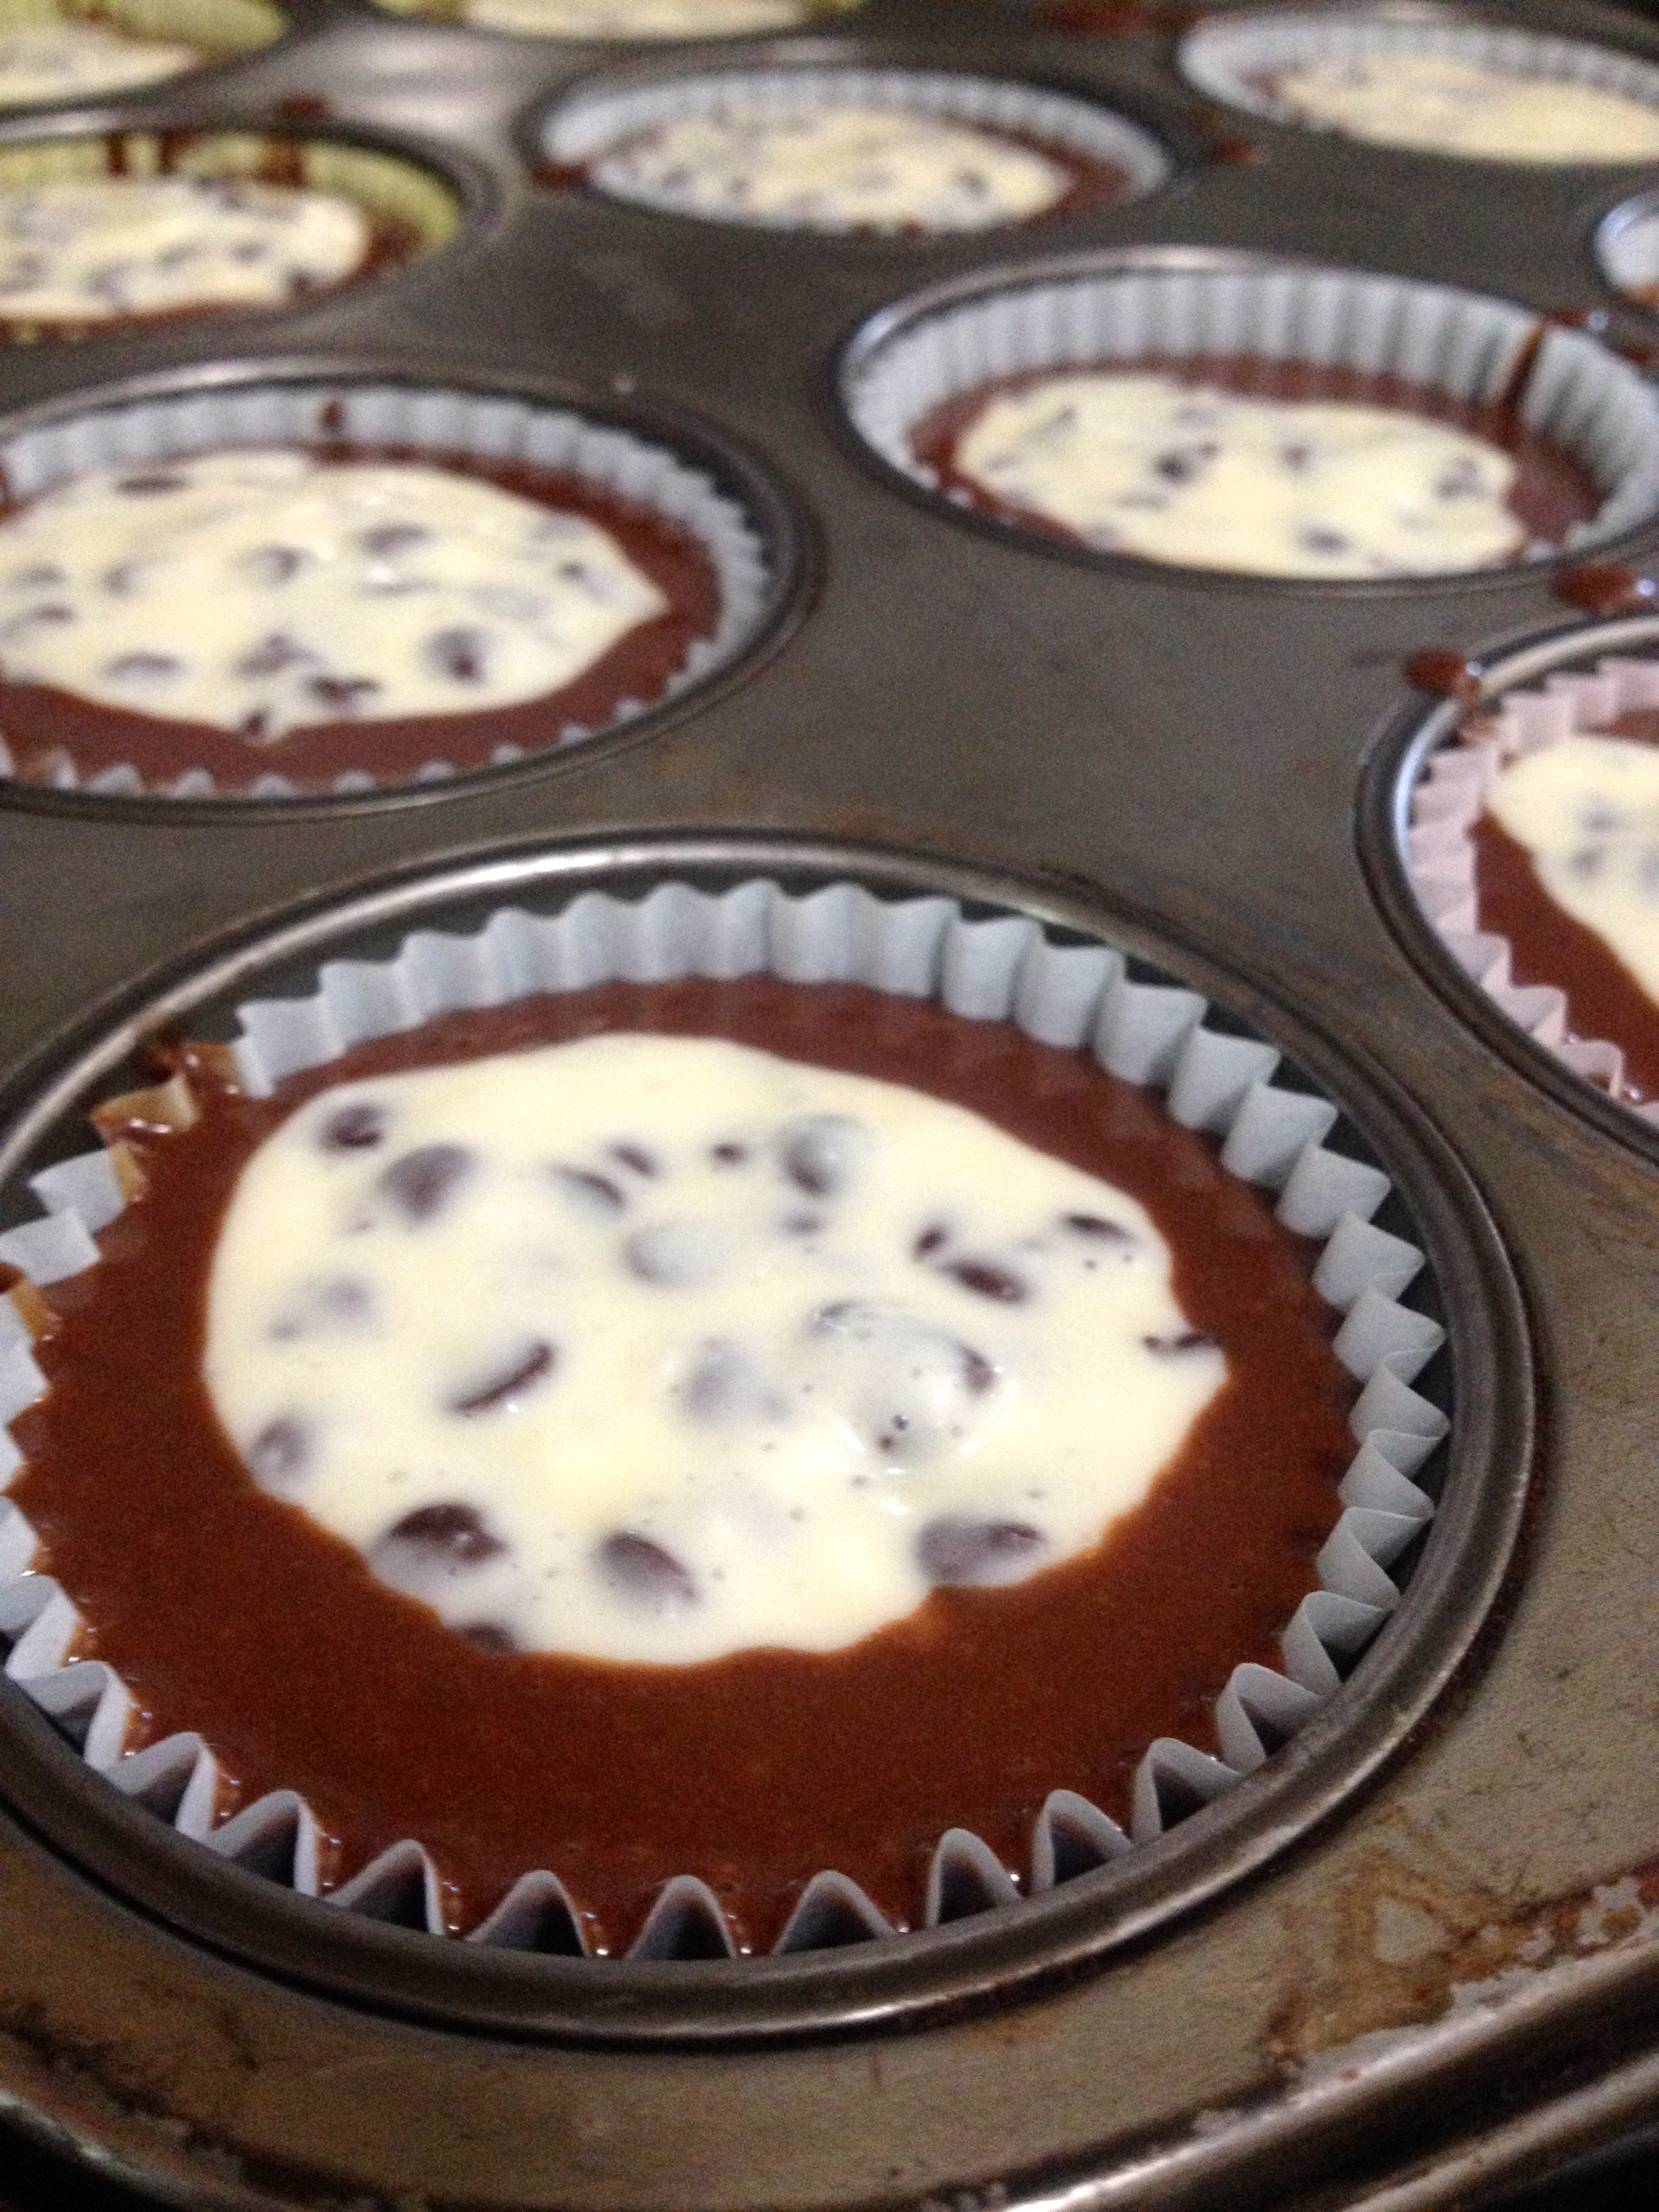
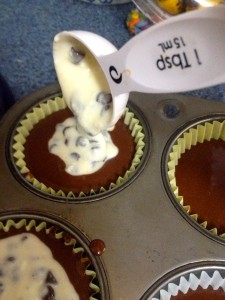
Stir the flour, sugar, cocoa, baking soda, and salt in a mixing bowl. Add the water, oil, vinegar, and vanilla, and beat the mixture on medium speed for 3 minutes. Fill the cupcake papers 2/3 full with the batter. Then, spoon about 3/4 tbsp of the filling into the center of each cupcake.

Bake the cupcakes for 20-25 minutes, or until a toothpick inserted in the middle comes out clean. Transfer the cupcakes to a cooling rack, and cool completely.
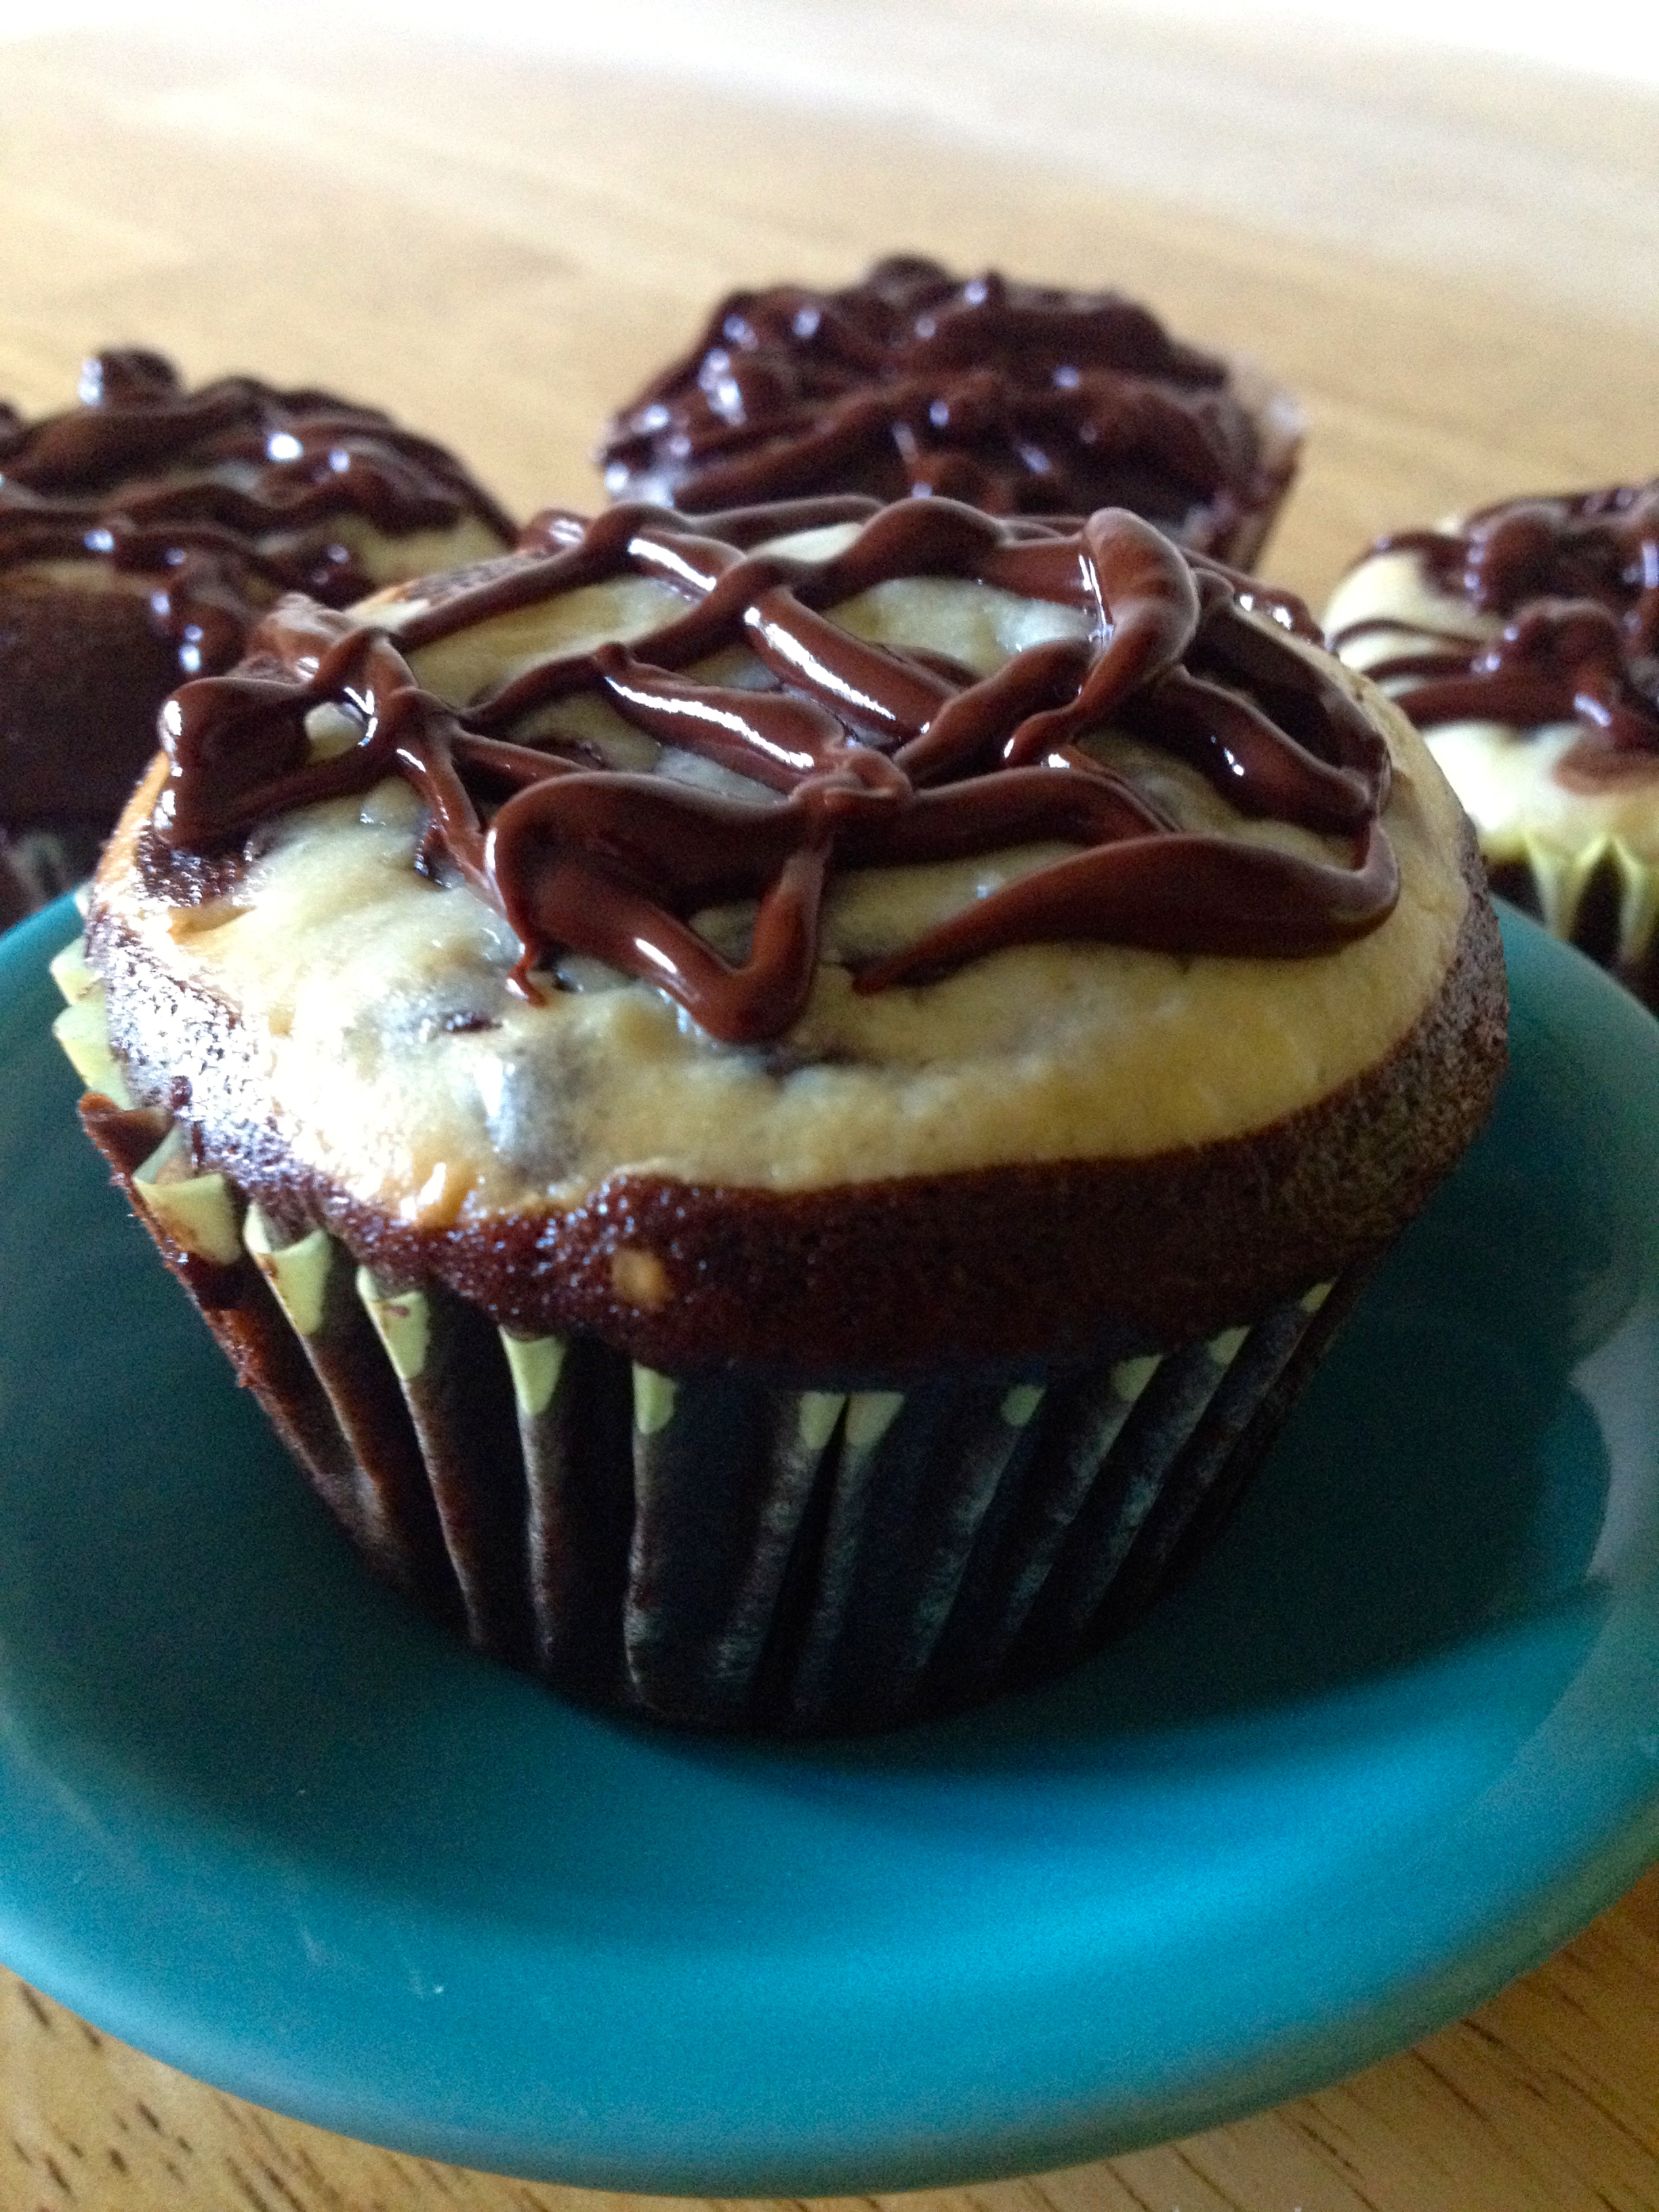
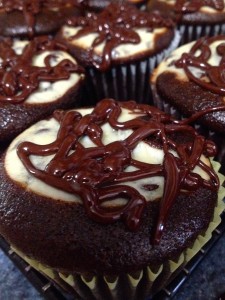
This is where the official recipe ends, but really, what’s a cupcake without some sort of frosting?? So, I made a chocolate glaze to go on top. Here’s the recipe:
Ingredients:
- 1 cup chocolate chips
- 3 tbsp butter
- 1 tbsp corn syrup
- 1/4 tsp vanilla
Melt all these ingredients together and stir well, and then drizzle the glaze over the cupcakes. It really gave the cakes a finishing touch, and added another dimension of chocolate heaven.
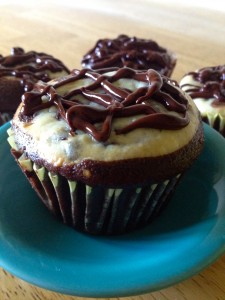
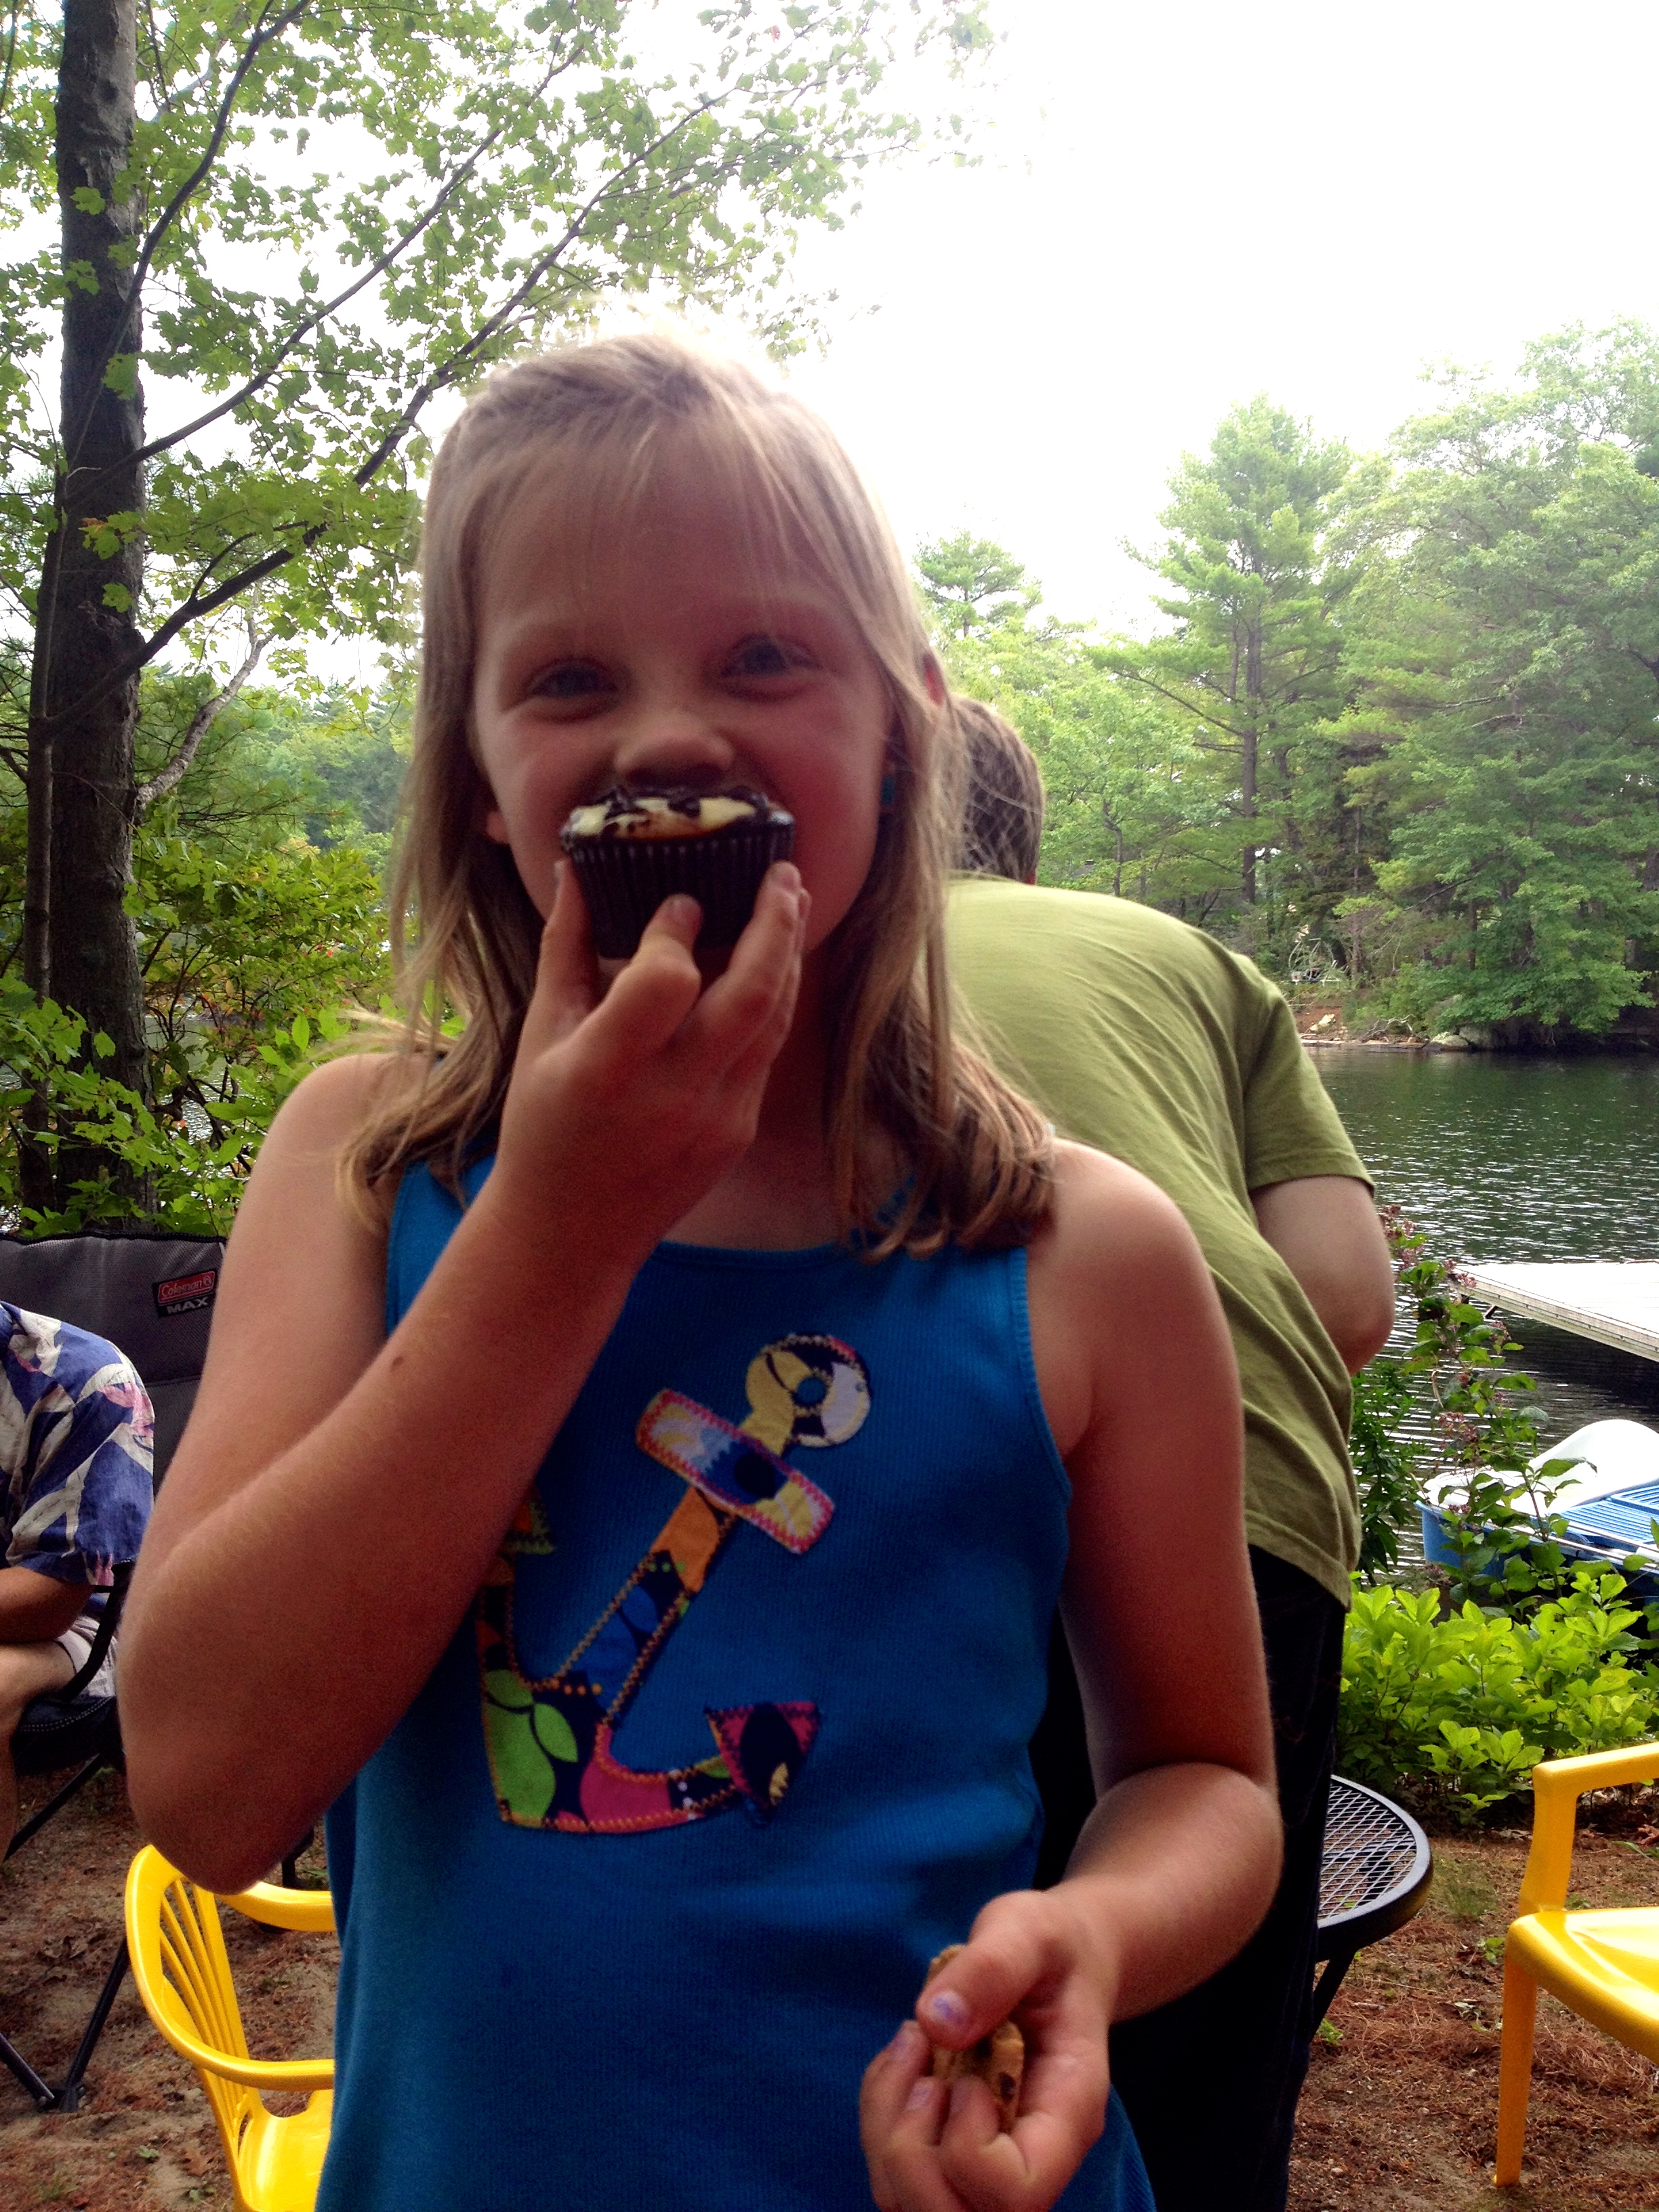
This recipe was a huge hit! I took the cupcakes to a family party, and they were well-loved by all. Even my dog kept barking at the cupcakes because he wanted to try them so badly.

I hope you’ve enjoyed reading this post as much as I’ve enjoyed writing it, and I hope you’ll try these recipes, and maybe even buy The Cupcake Bible. I will use this cookbook for years, and can’t wait to try all of its recipes! Happy baking!