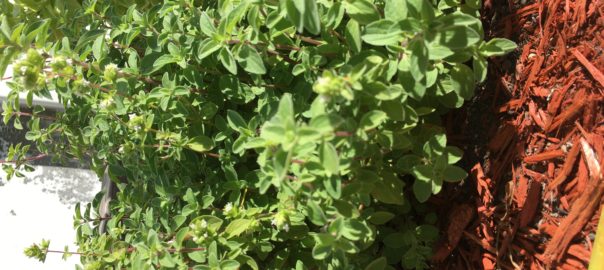
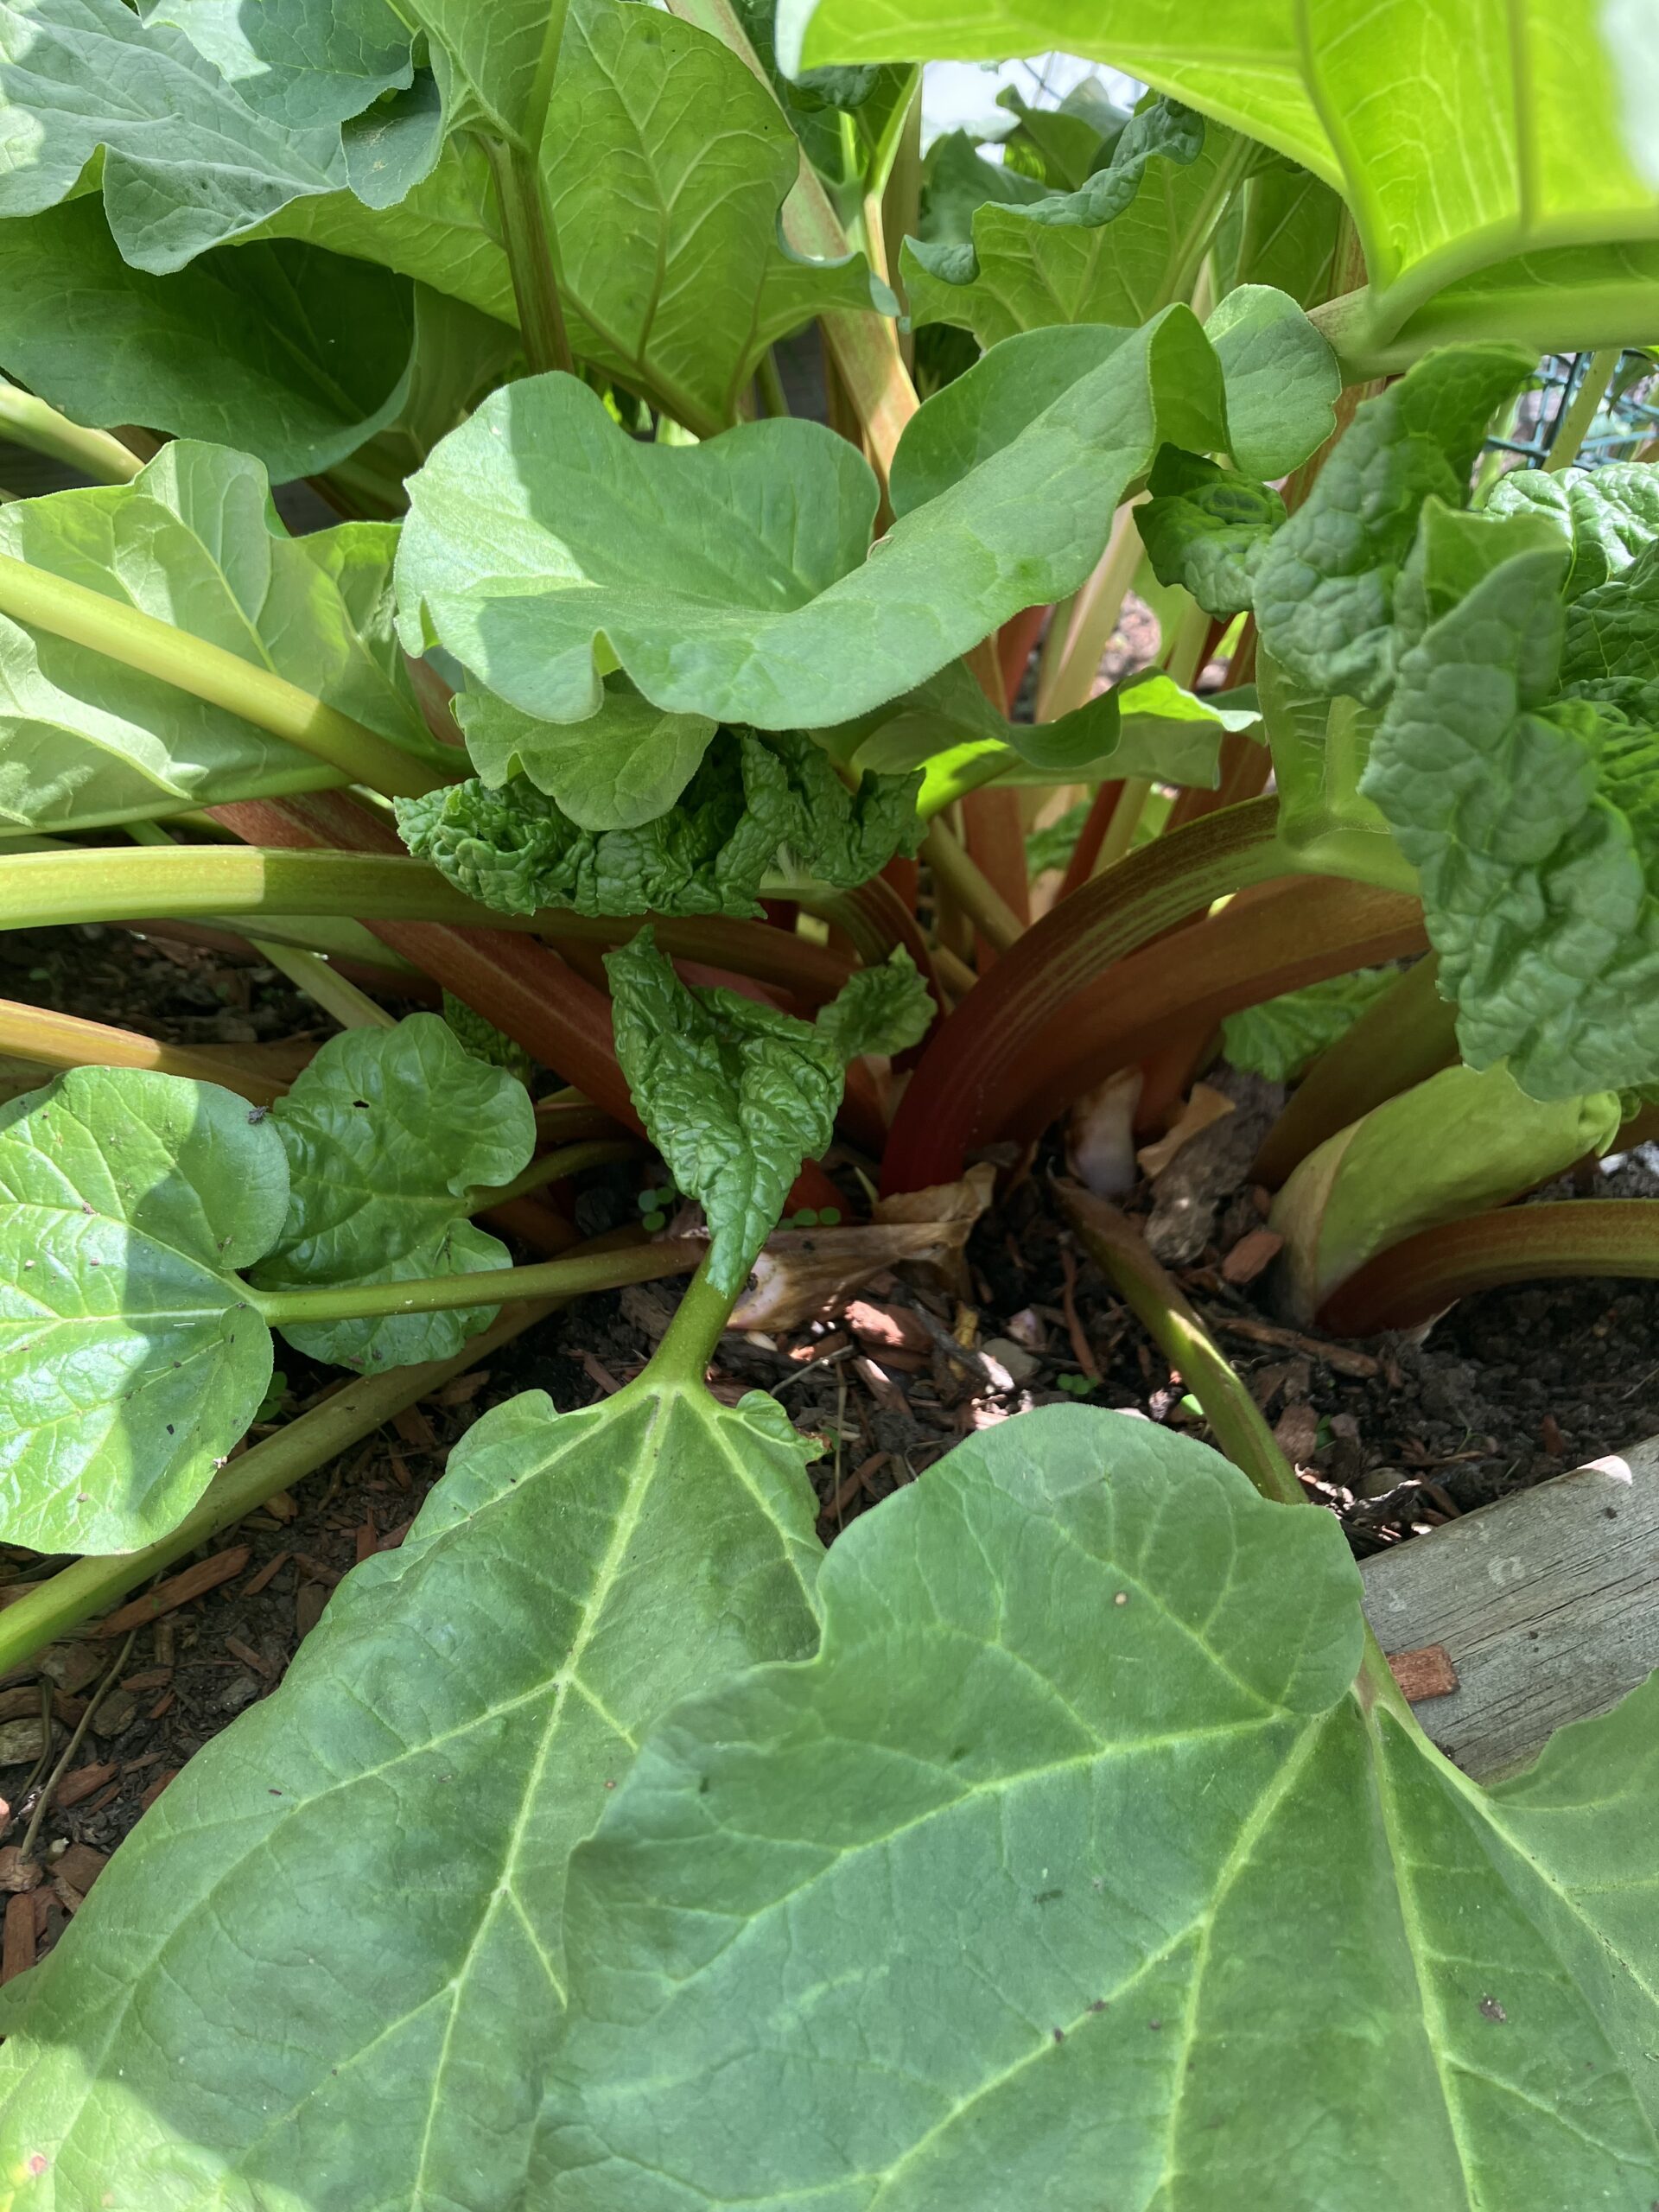
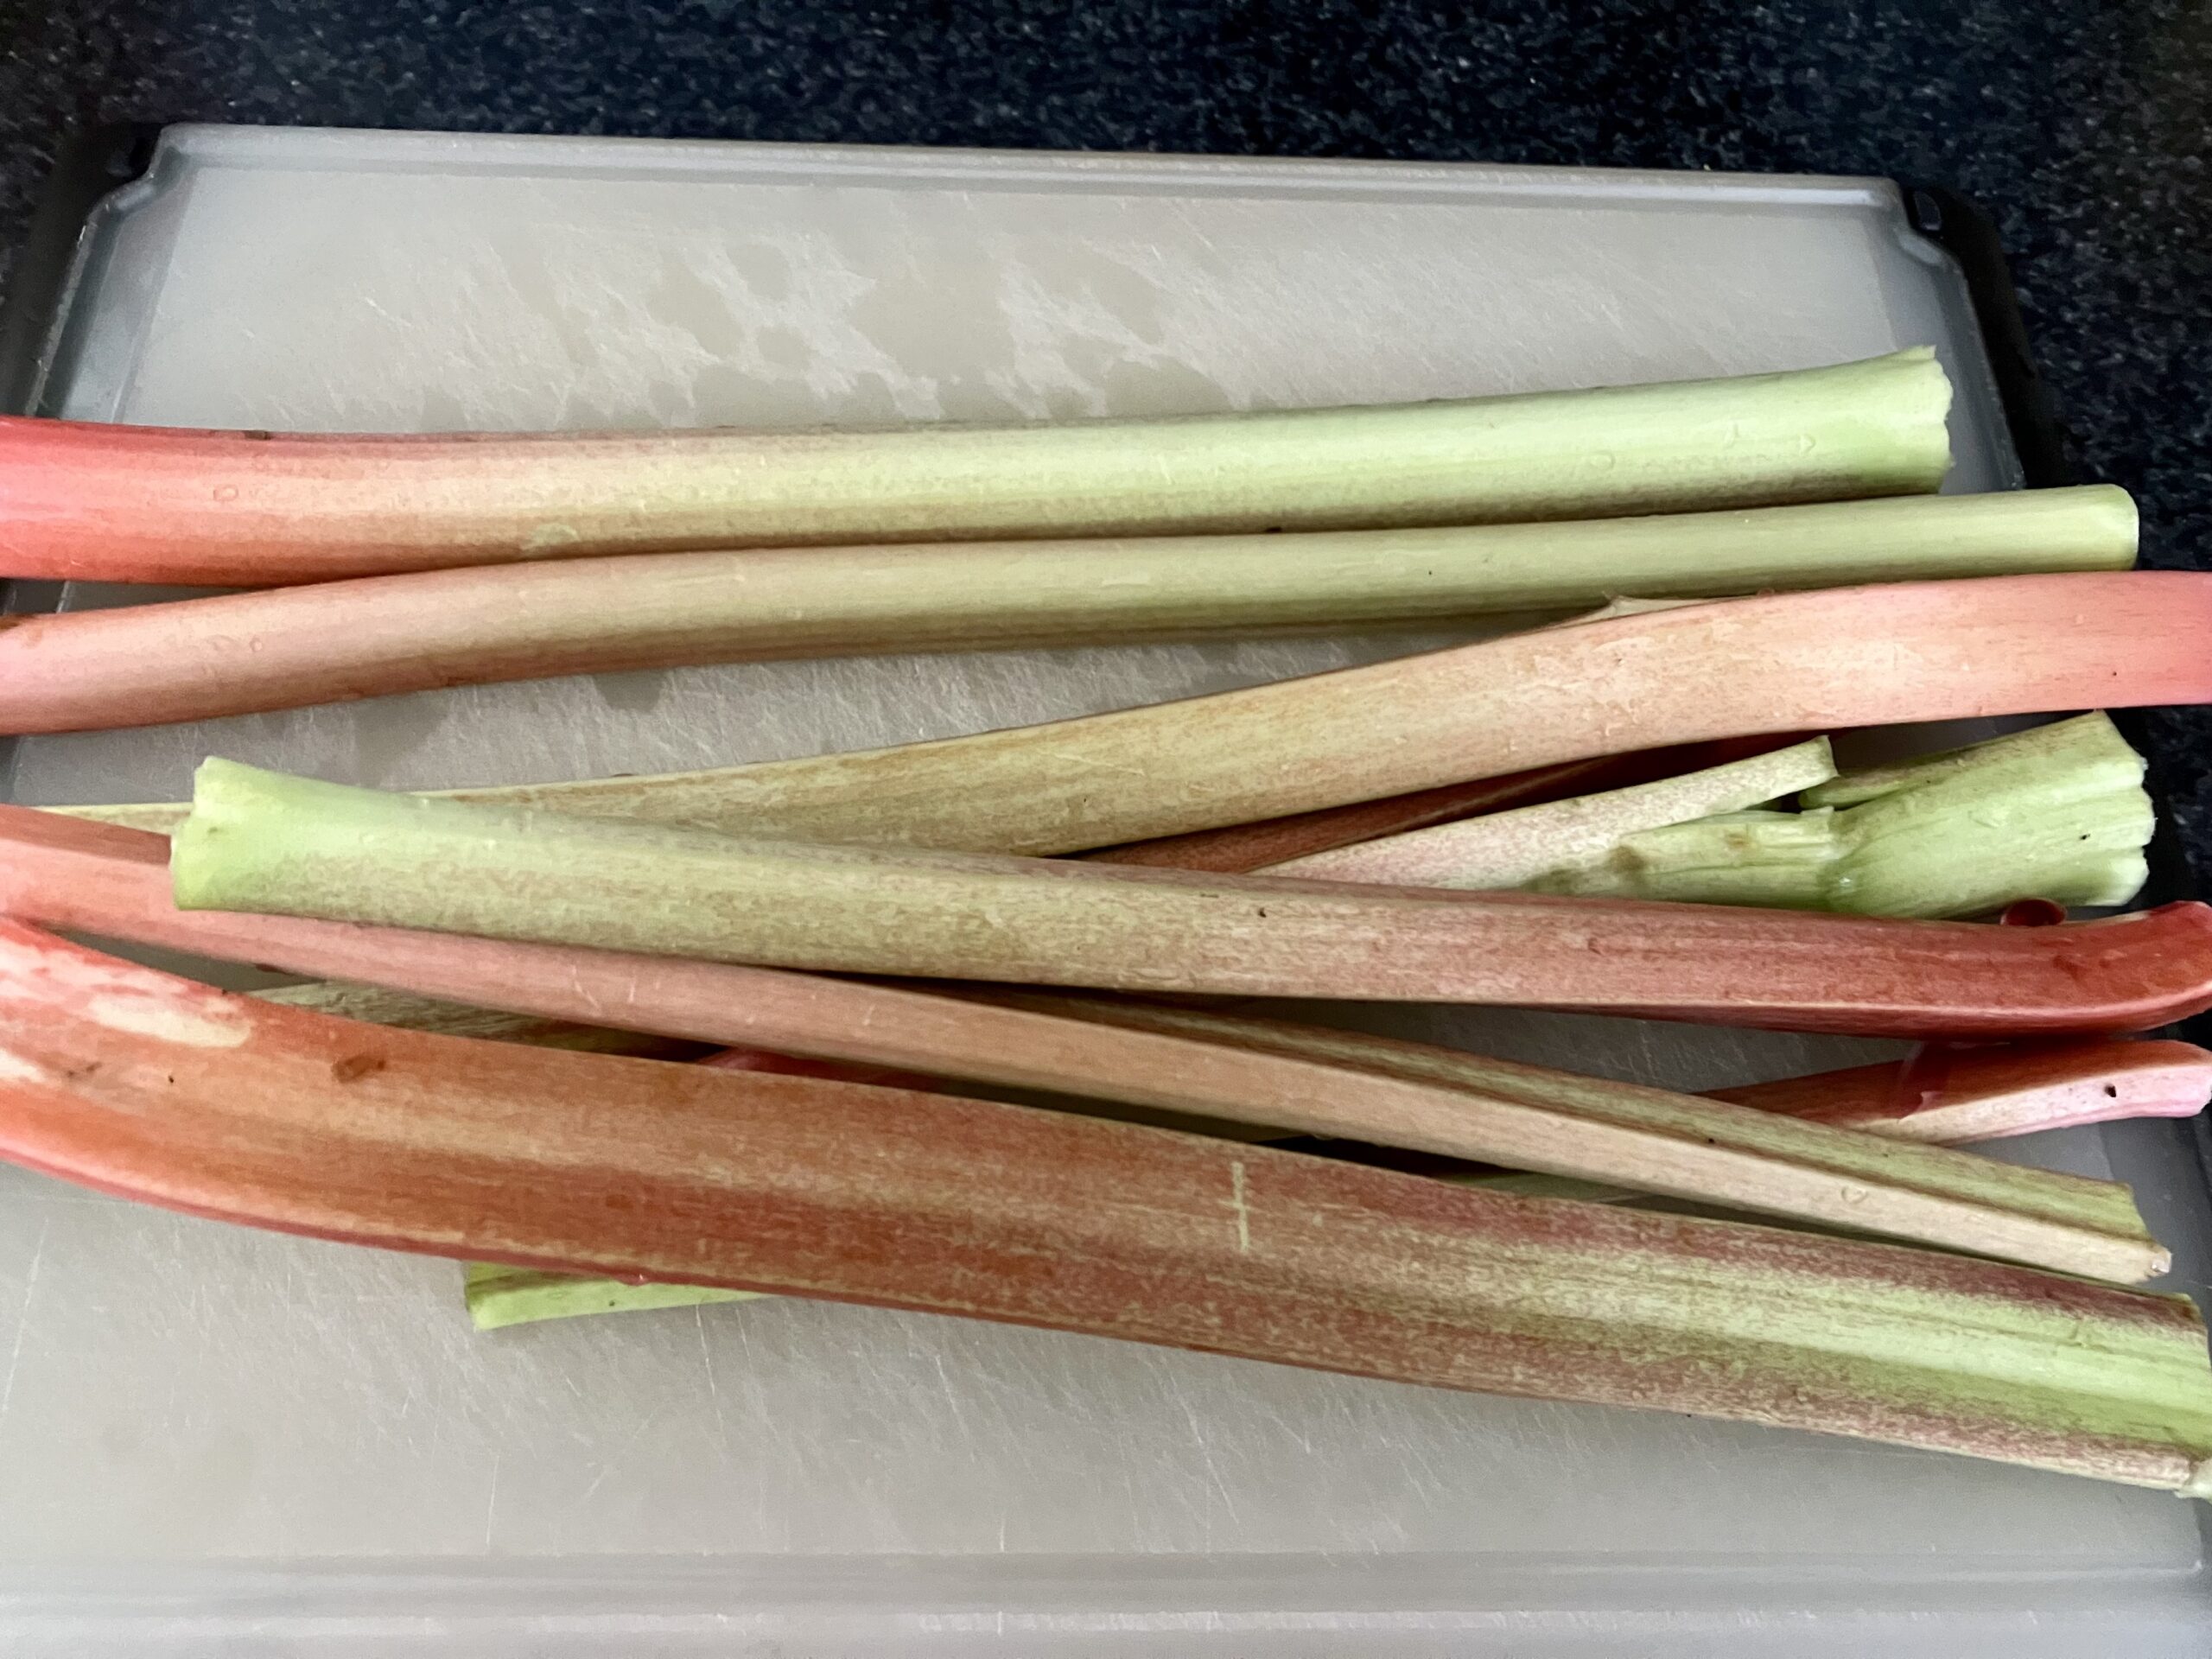
Hi, all! Happy spring! We’ve finally arrived at the time of year when plants start growing again and I can get back to cooking from the garden. The first thing that’s always ready in my garden is my rhubarb, and I took the opportunity to make a rhubarb dessert this weekend. If you’re not familiar with rhubarb, it is a plant with huge leaves (that are poisonous!) and delicious red and green stems which are edible! The stems are tart and fruity and, to me, taste a bit like a Granny Smith apple. It’s definitely worth a try.
Since rhubarb tastes like apple to me, I love pairing it with sweet apples in desserts. Strawberries compliment the tartness of rhubarb well, so I decided to try putting all three flavors together in a rhubarb, strawberry, and apple crisp. This recipe is adapted from a rhubarb crisp recipe on another blog I love: loveandlemons.com. Here are my ingredients:
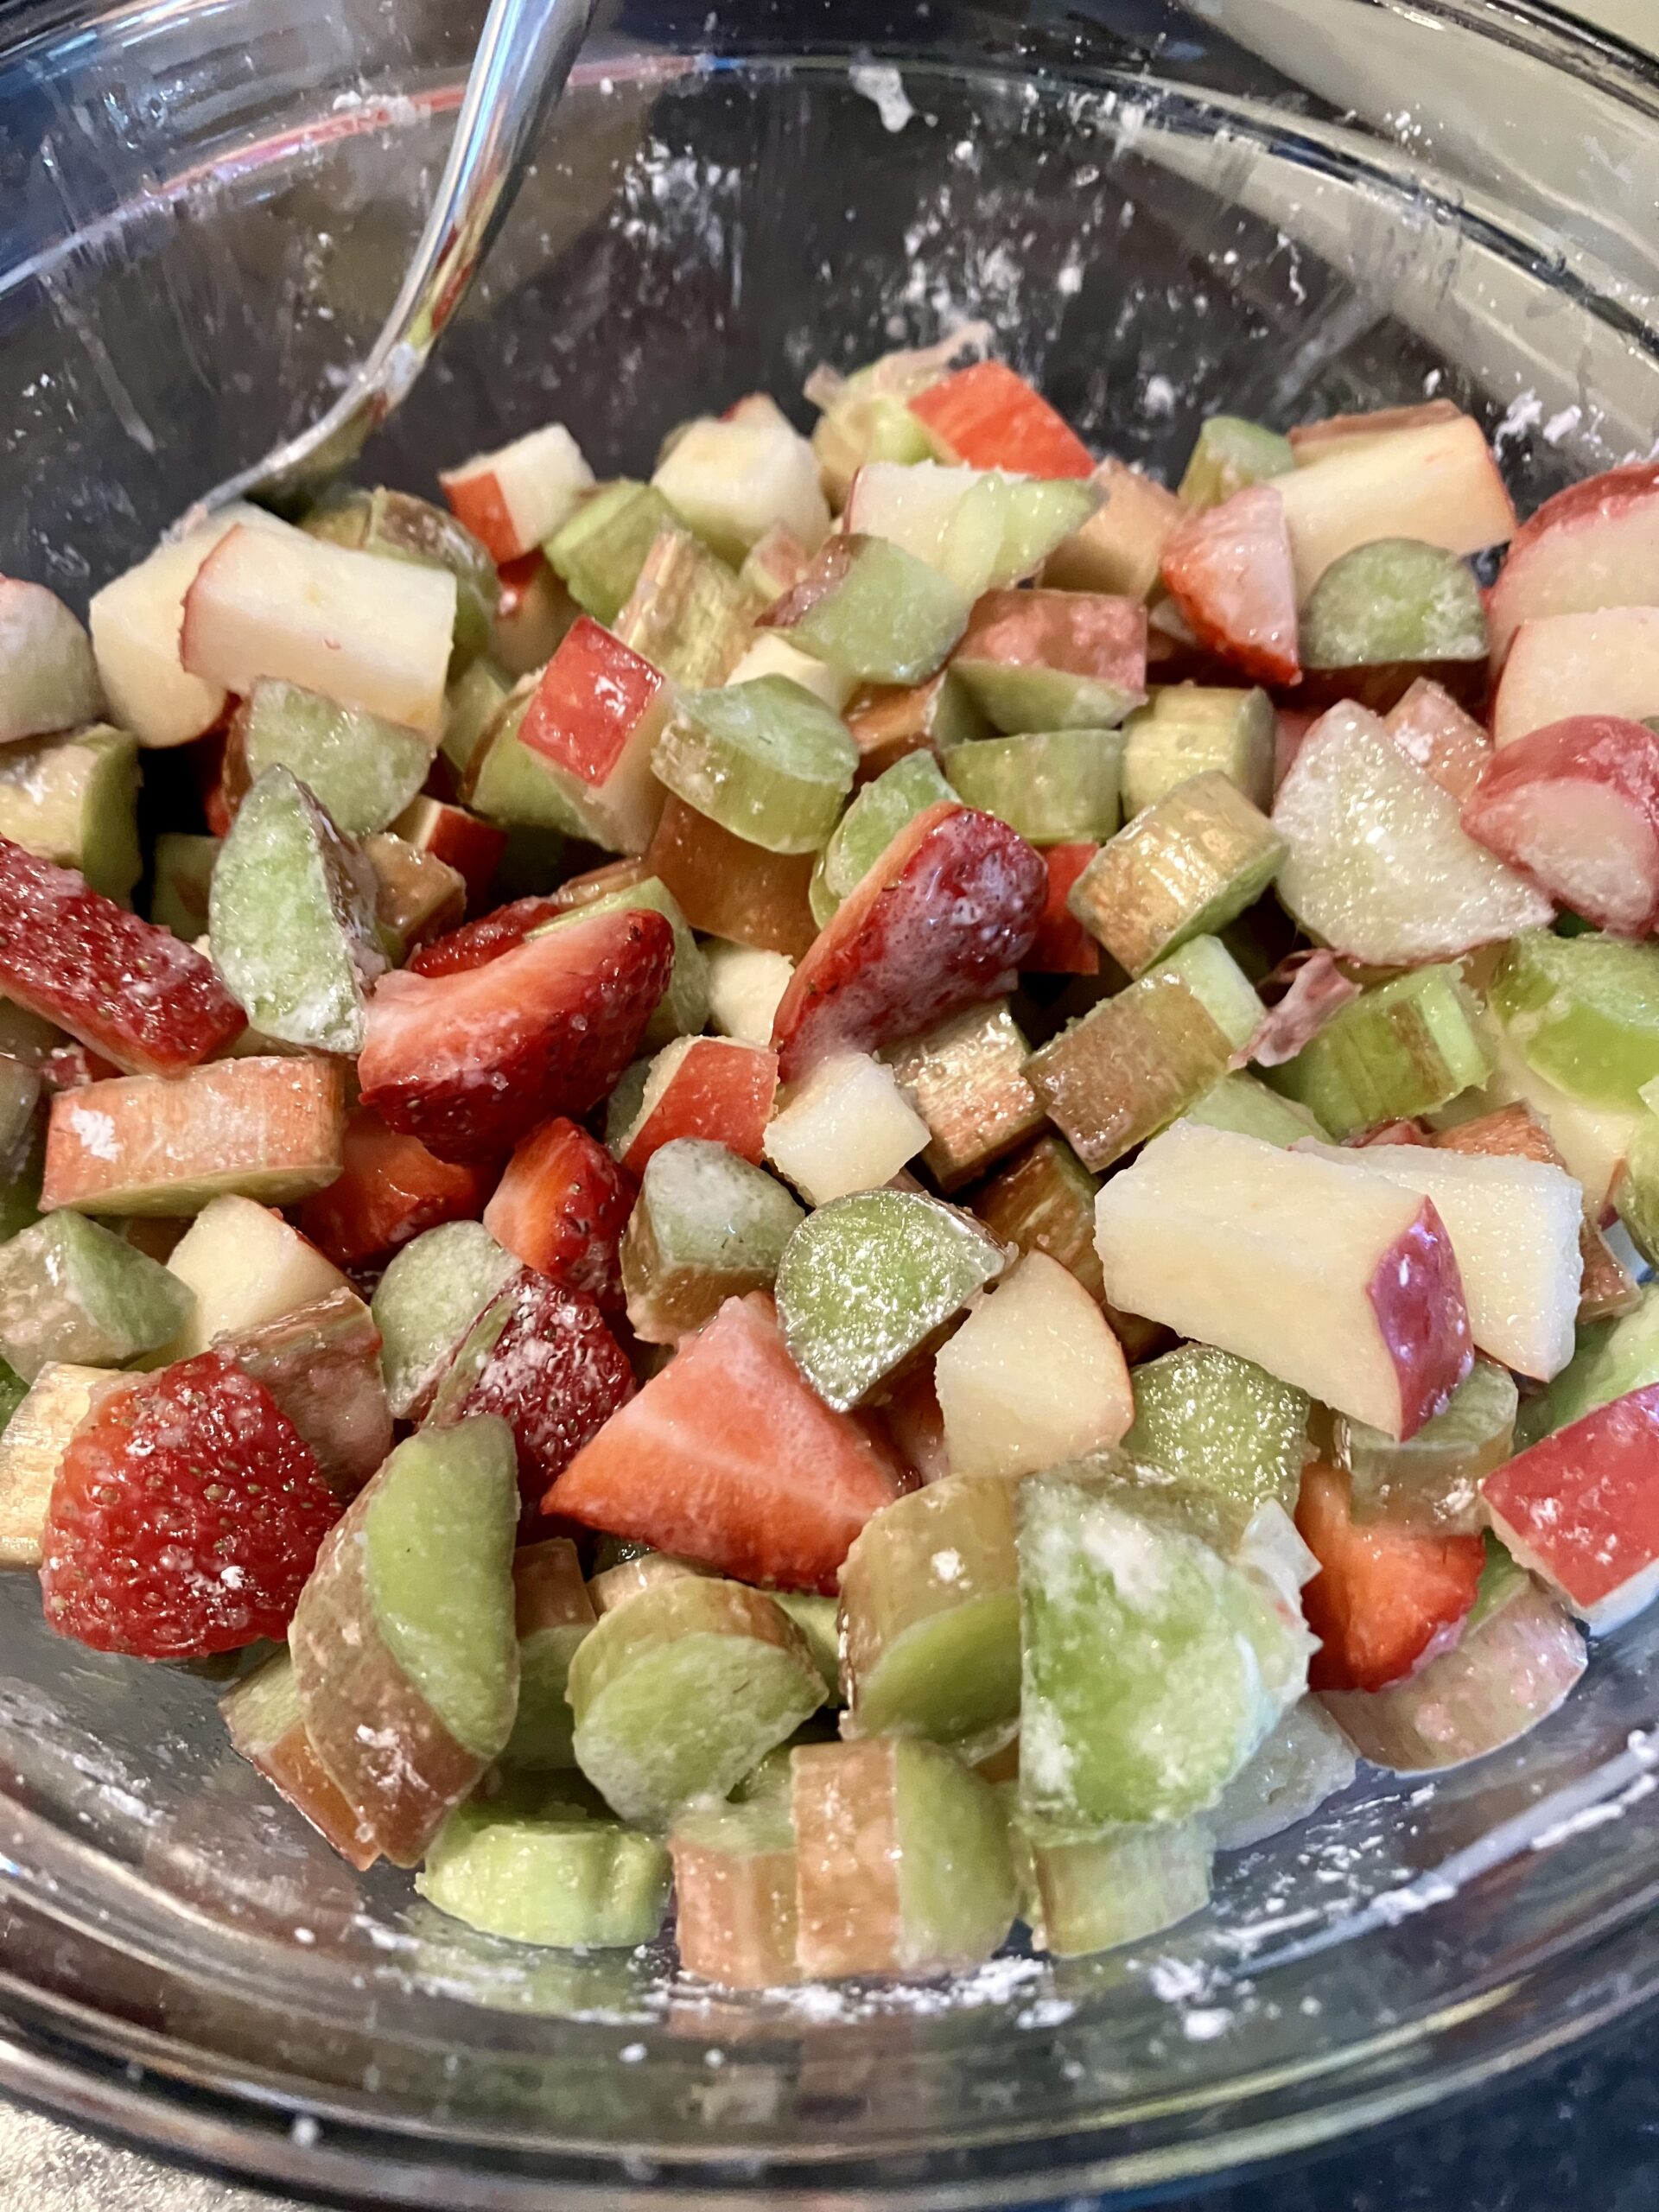
- 8 stalks rhubarb, chopped
- 1/2 cup strawberries, quartered and hulled (about 7-8 strawberries)
- 1 Pink Lady apple or another sweet apple, cored and chopped
- 1/4 cup granulated sugar
- 2 1/2 tablespoons cornstarch
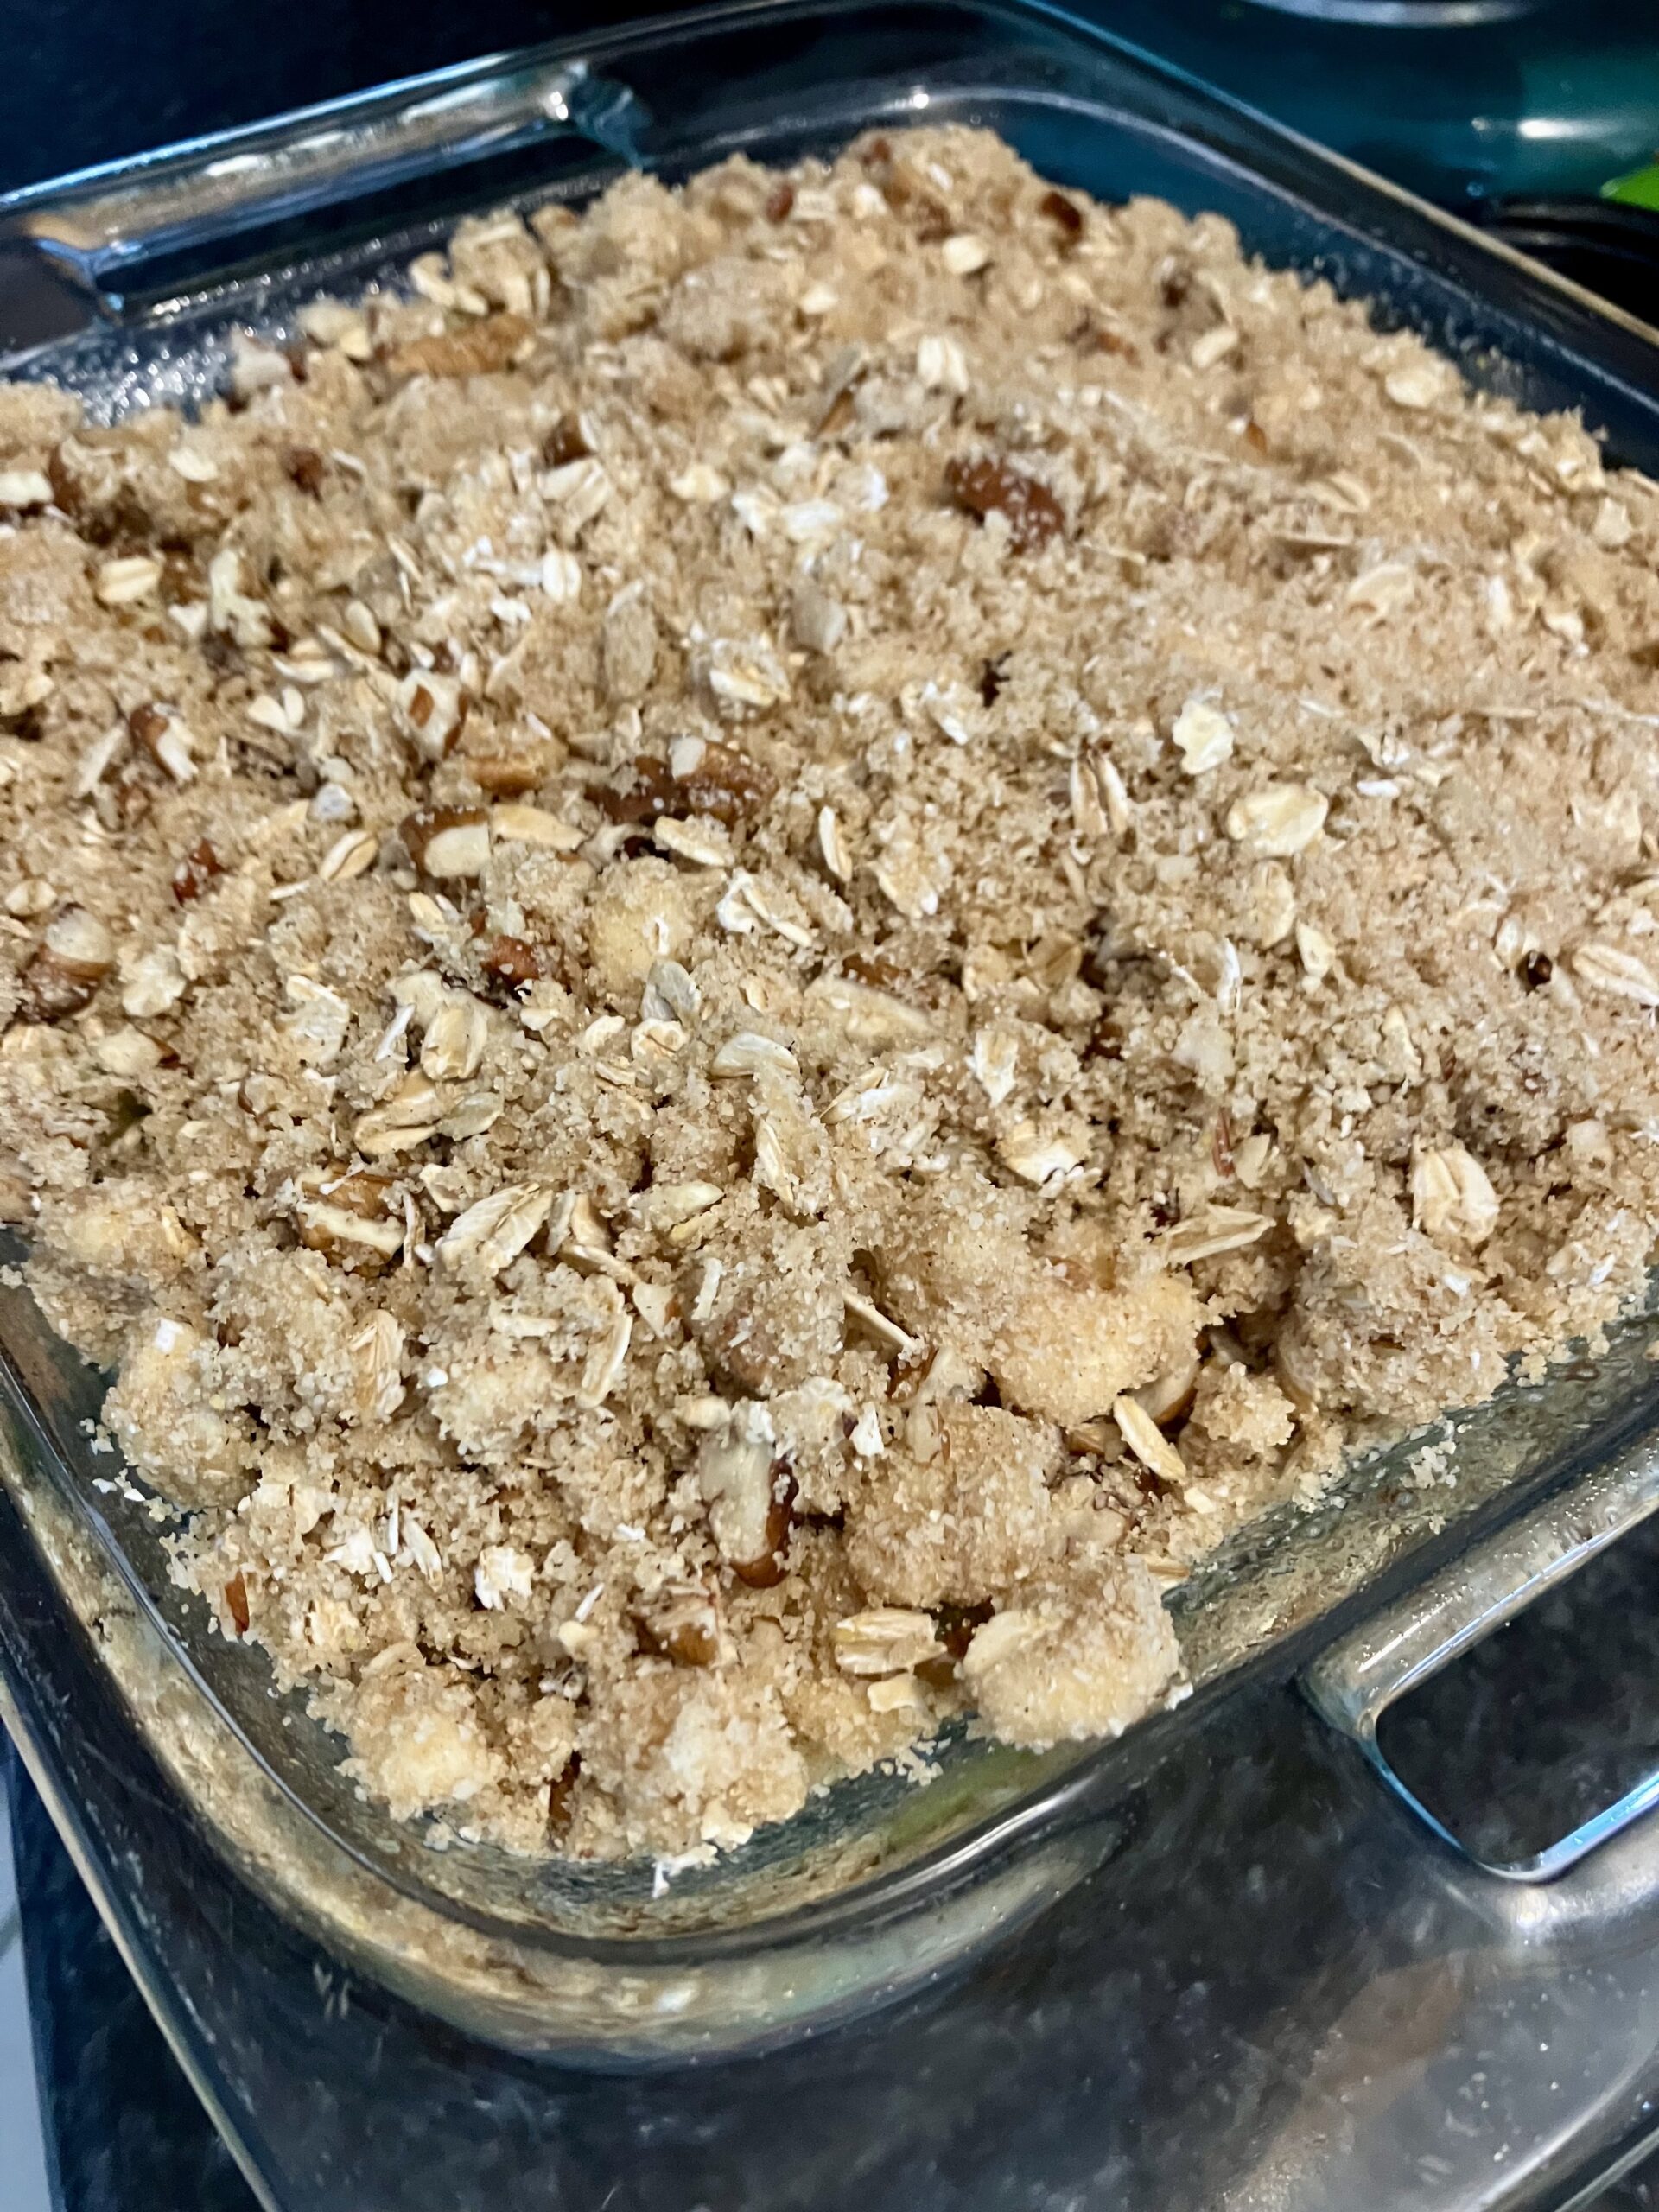
- 1/2 cup almond meal
- 1/2 cup oats
- 1/2 cup brown sugar
- 1/2 cup chopped pecans
- 1/2 tsp cinnamon
- 1/4 cup (4 tablespoons) unsalted butter
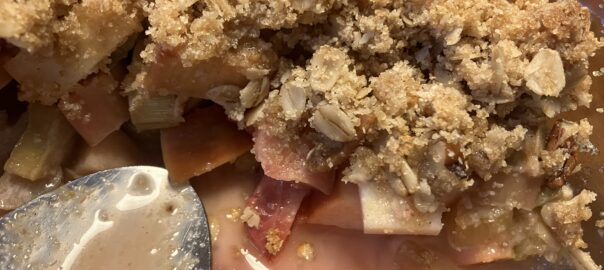
Preheat oven to 375F and spray 8×8 baking dish with cooking spray. Combine rhubarb, strawberries, and apple in a mixing bowl with 1/4 cup sugar and cornstarch and arrange in an even layer in the baking dish.
Combine almond meal, oats, brown sugar, pecans, and cinnamon in a mixing bowl. Using either your hands or a pastry cutter, cut in the butter so that it is in small chunks evenly throughout the topping mixture.

Sprinkle the topping over the fruit so that it’s in an even layer.
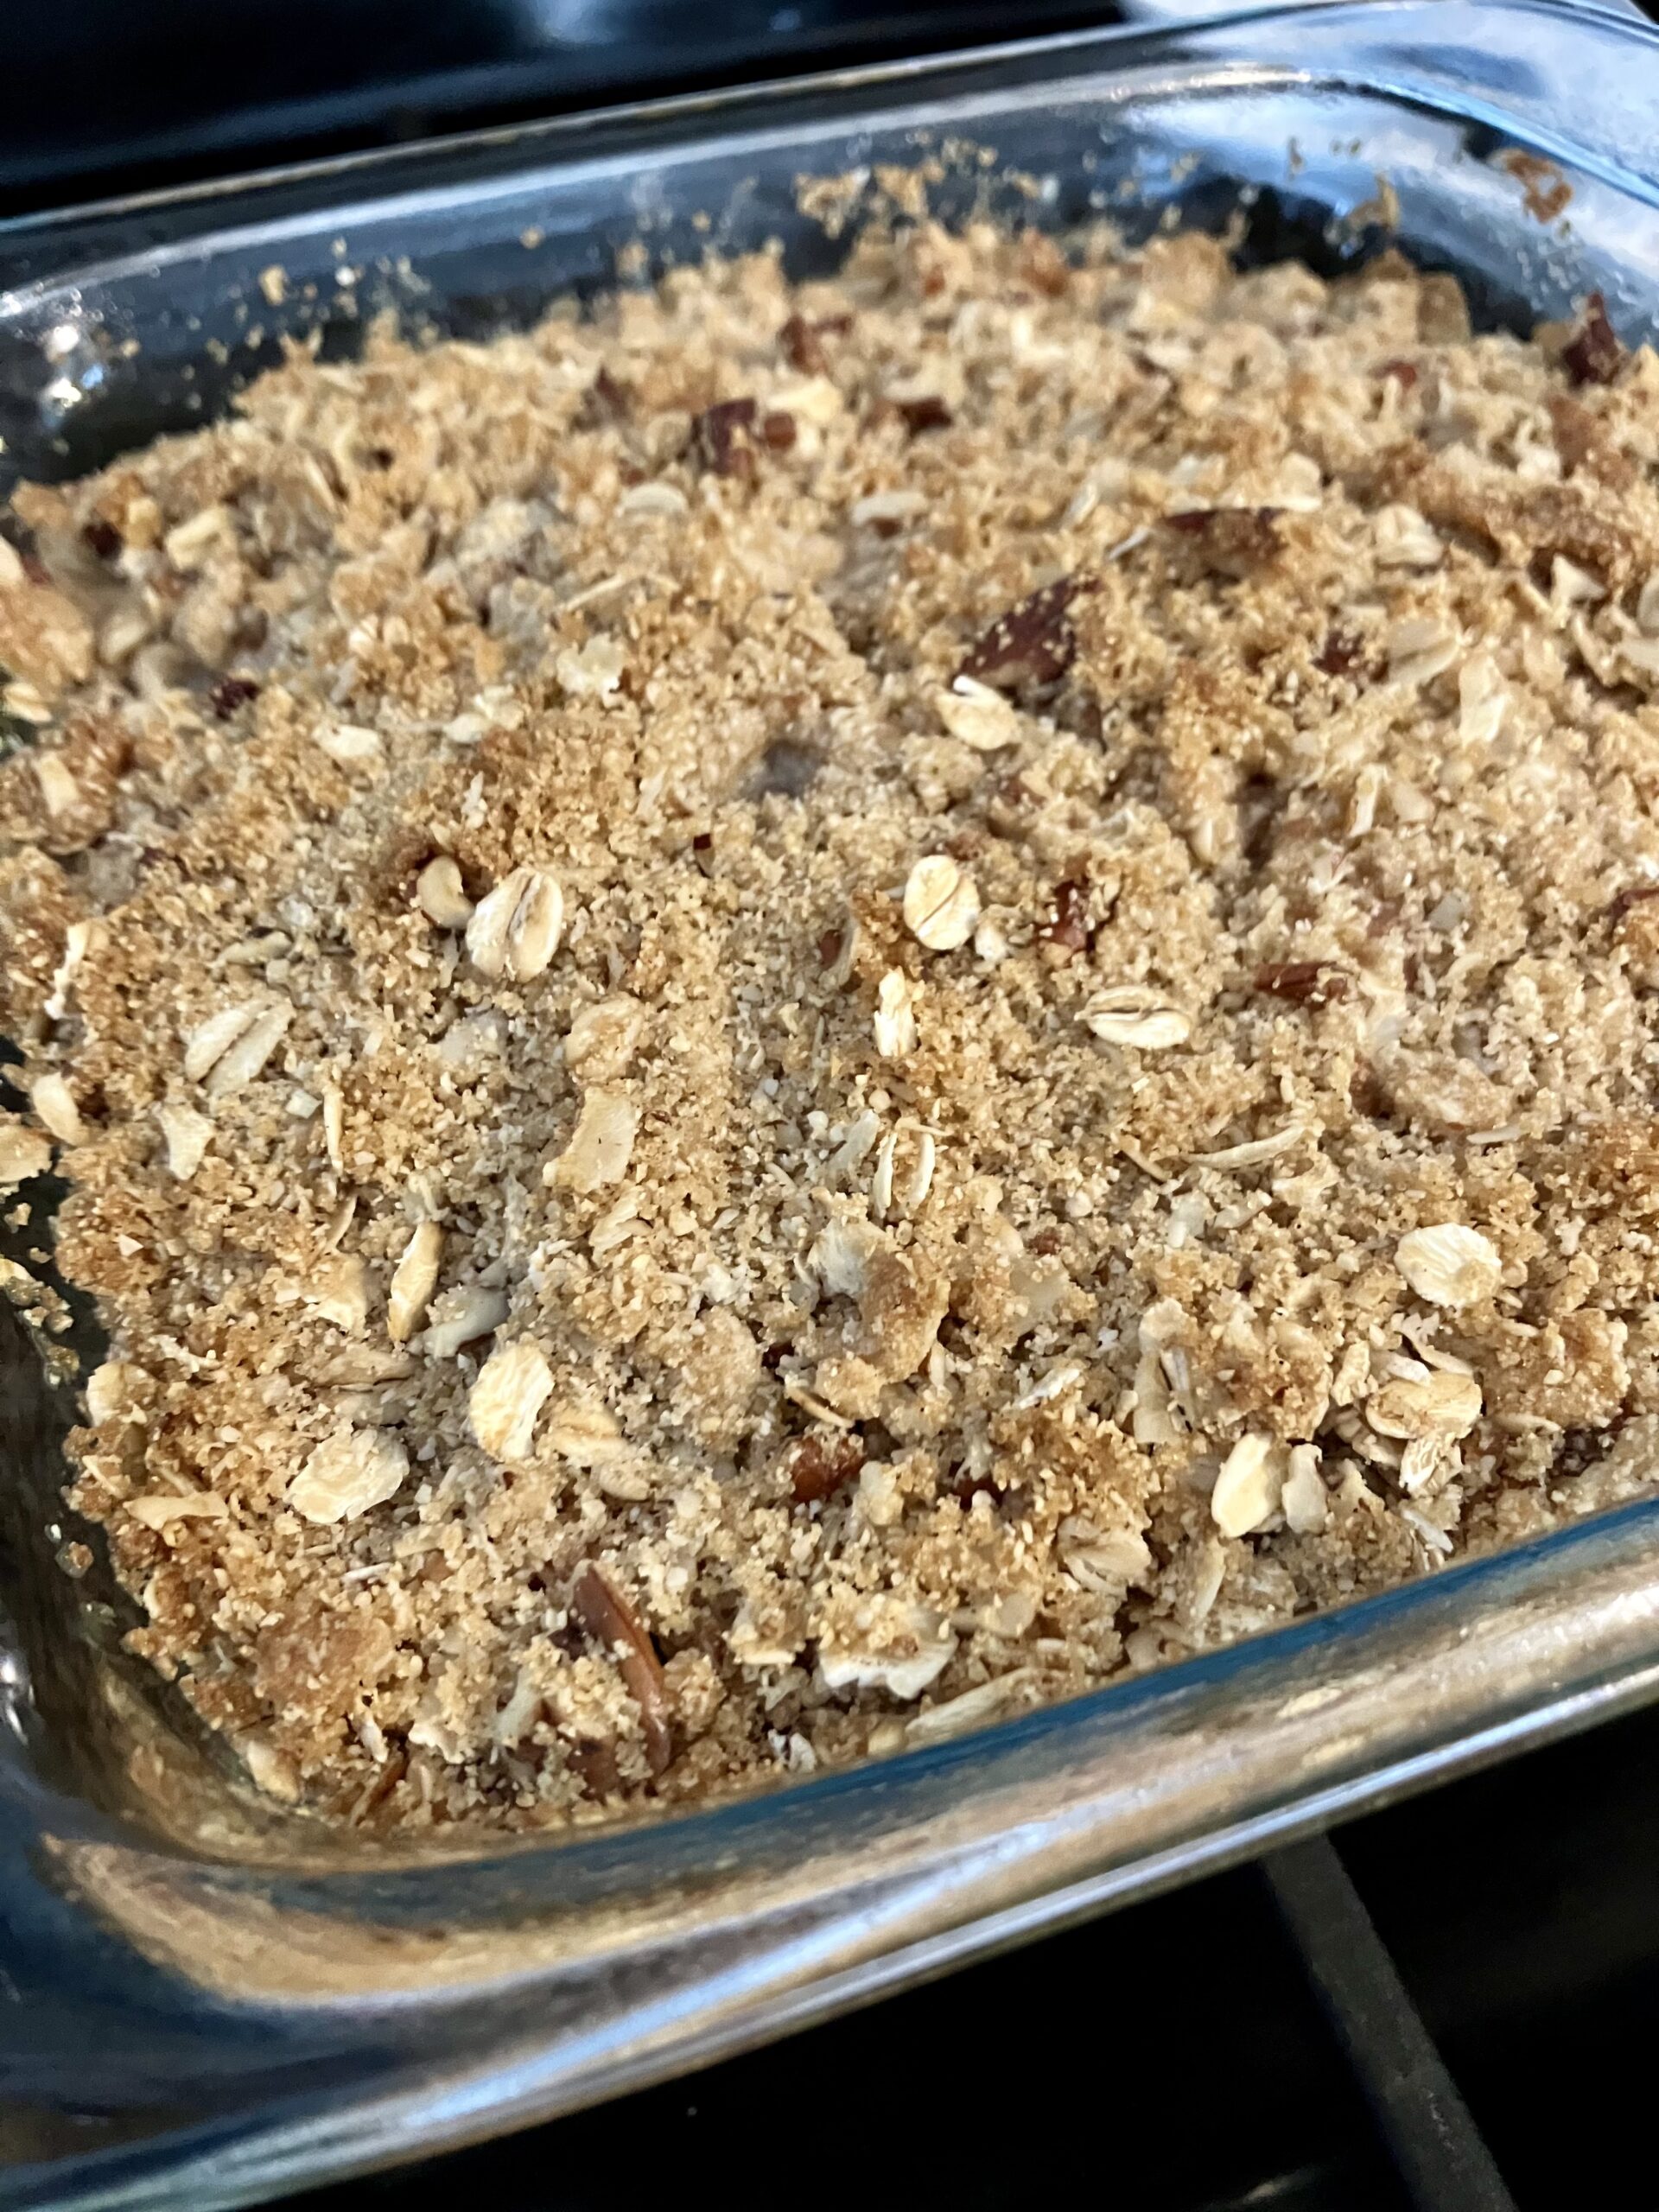
Bake for 25-30 minutes or until the topping is golden brown and the rhubarb is bubbling.
Let the crisp cool for at least 5 minutes. Not only does this help save you from burning your mouth, but it also helps the juices from the fruit to thicken slightly. Then serve and enjoy!
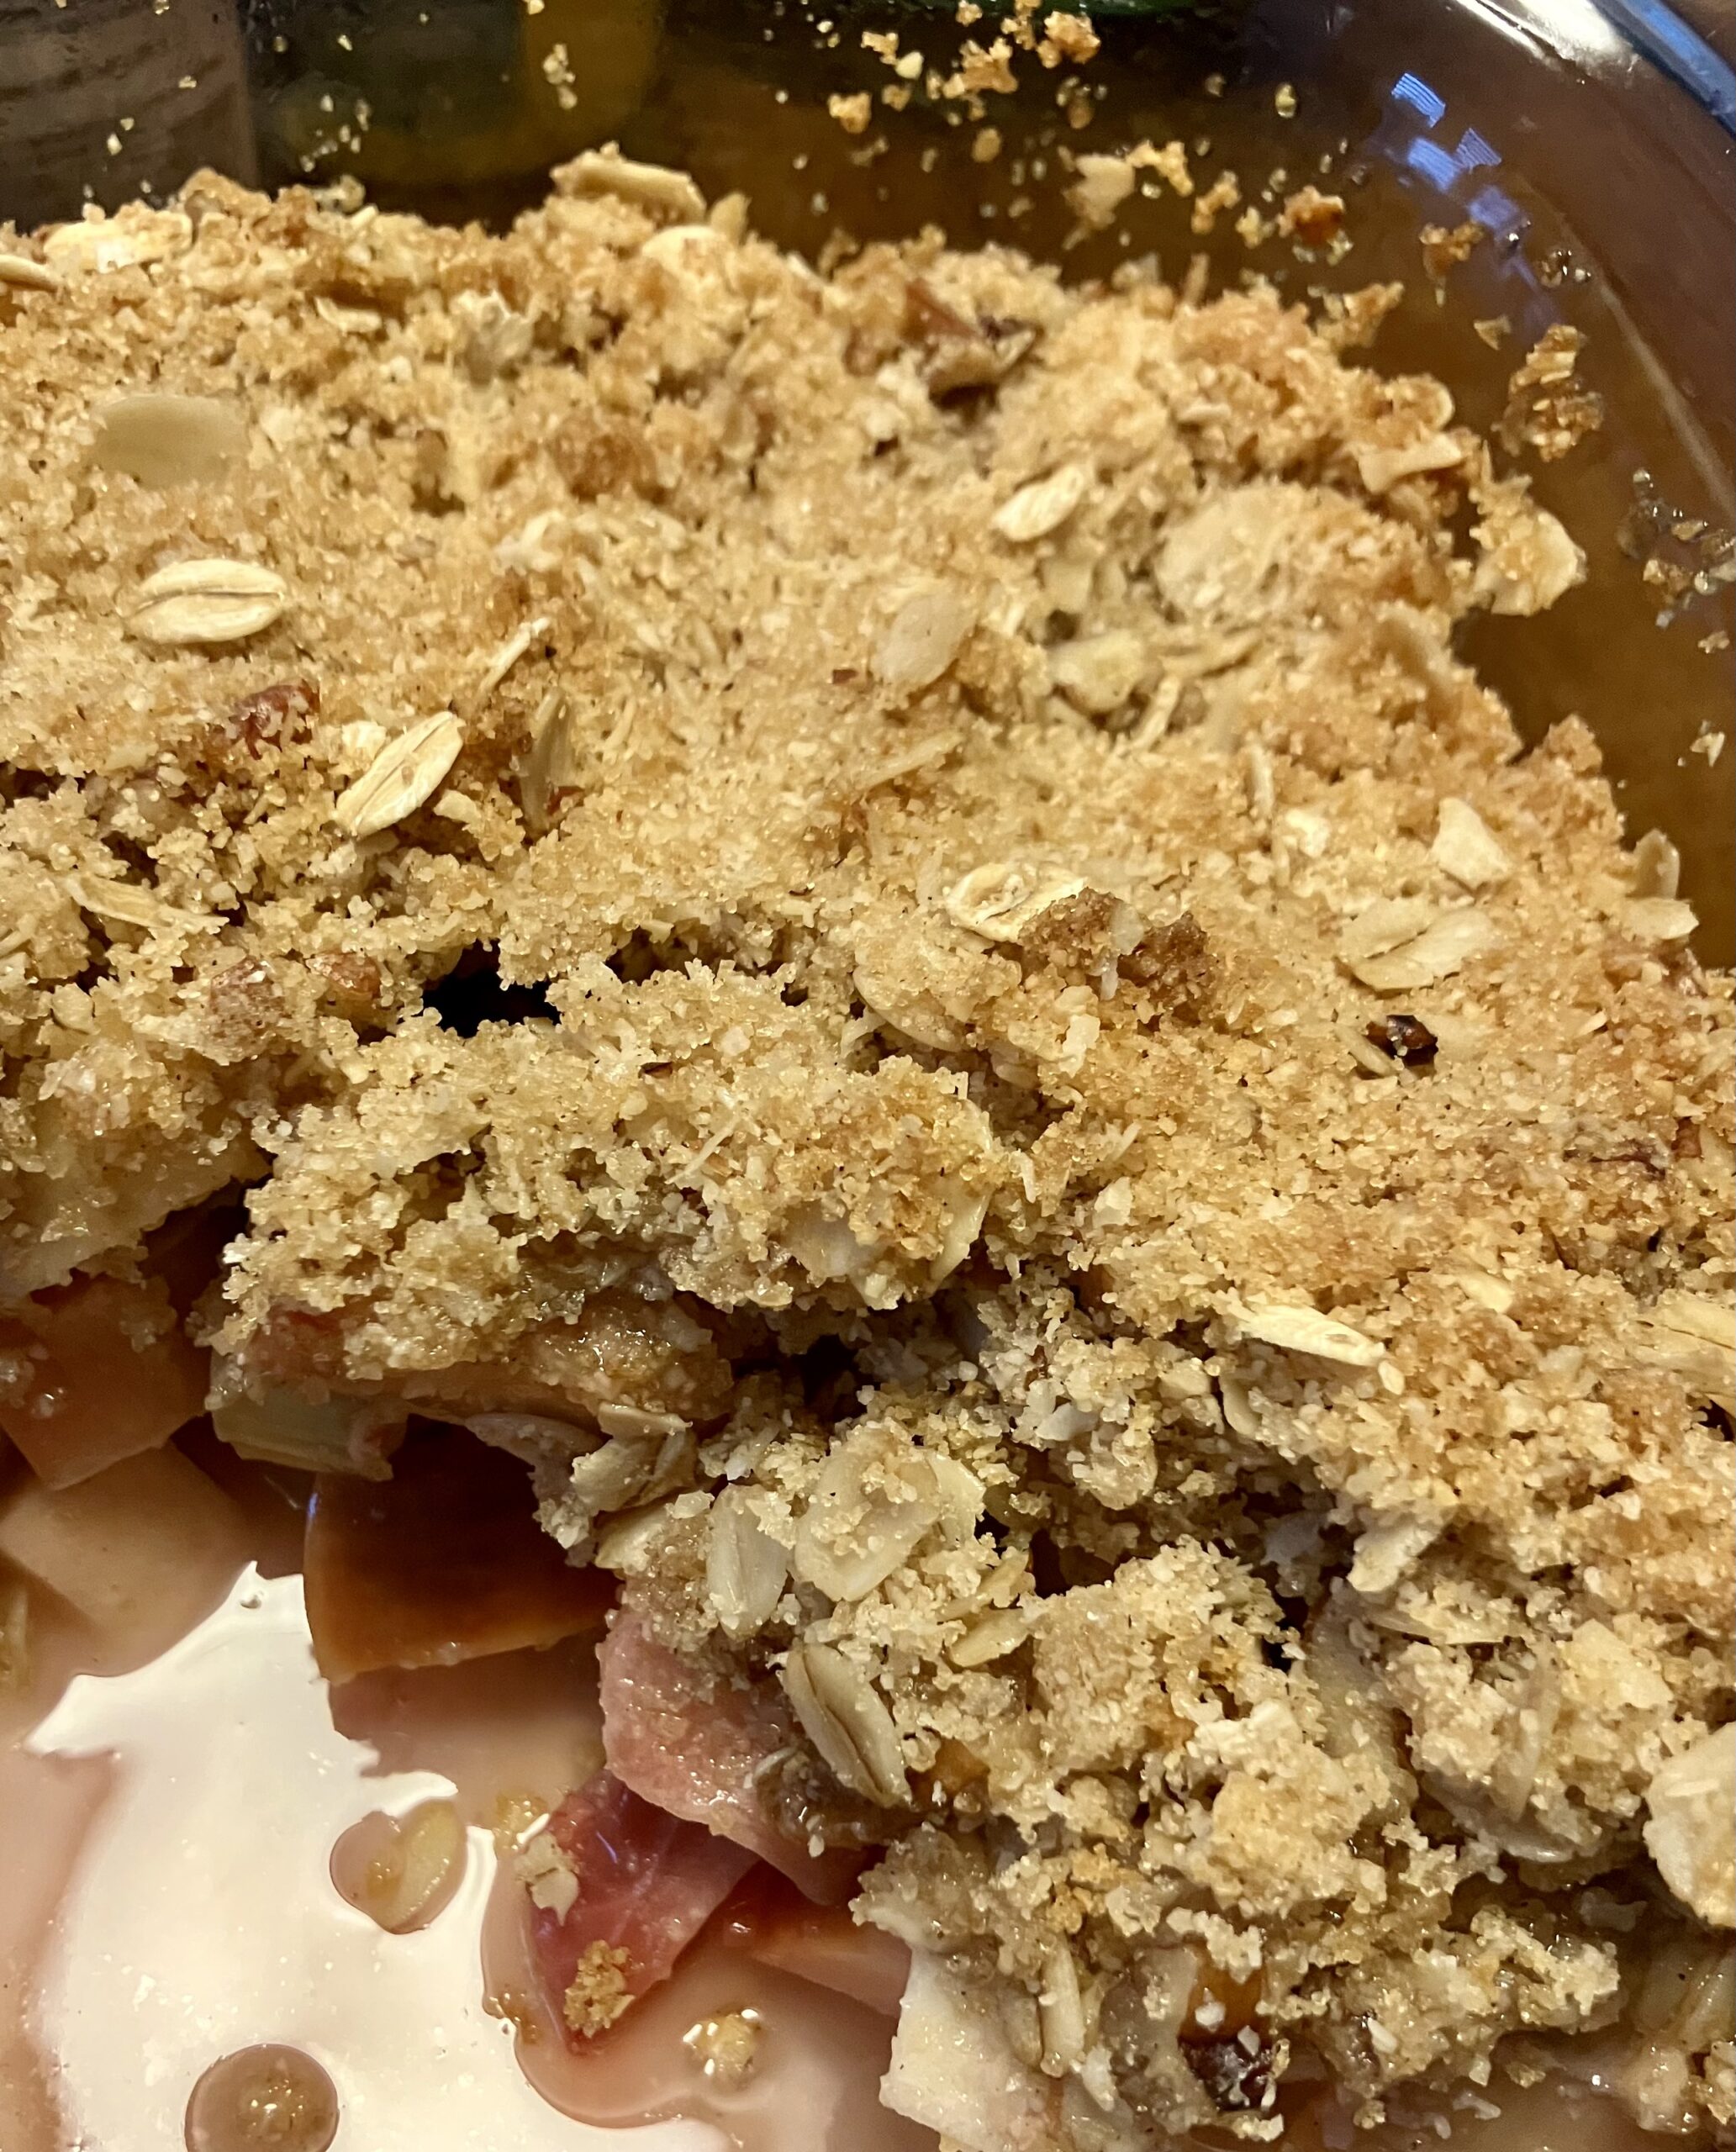
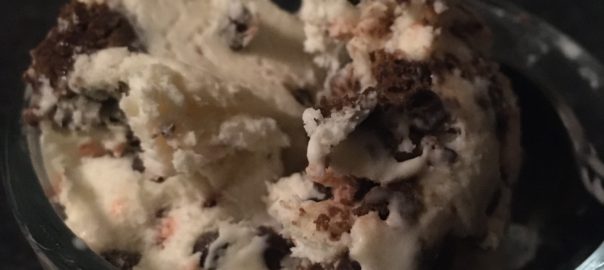
This was a lovely spring dessert with sweet and tart flavors and sweet and crispy topping. Happy baking!