Hello all! I know, I know, it’s been a while again since I’ve posted. College gets crazy! But once again, I’ve had my blog in mind all the while, and I have baked a delicious recipe that you will love! But first, a little background…
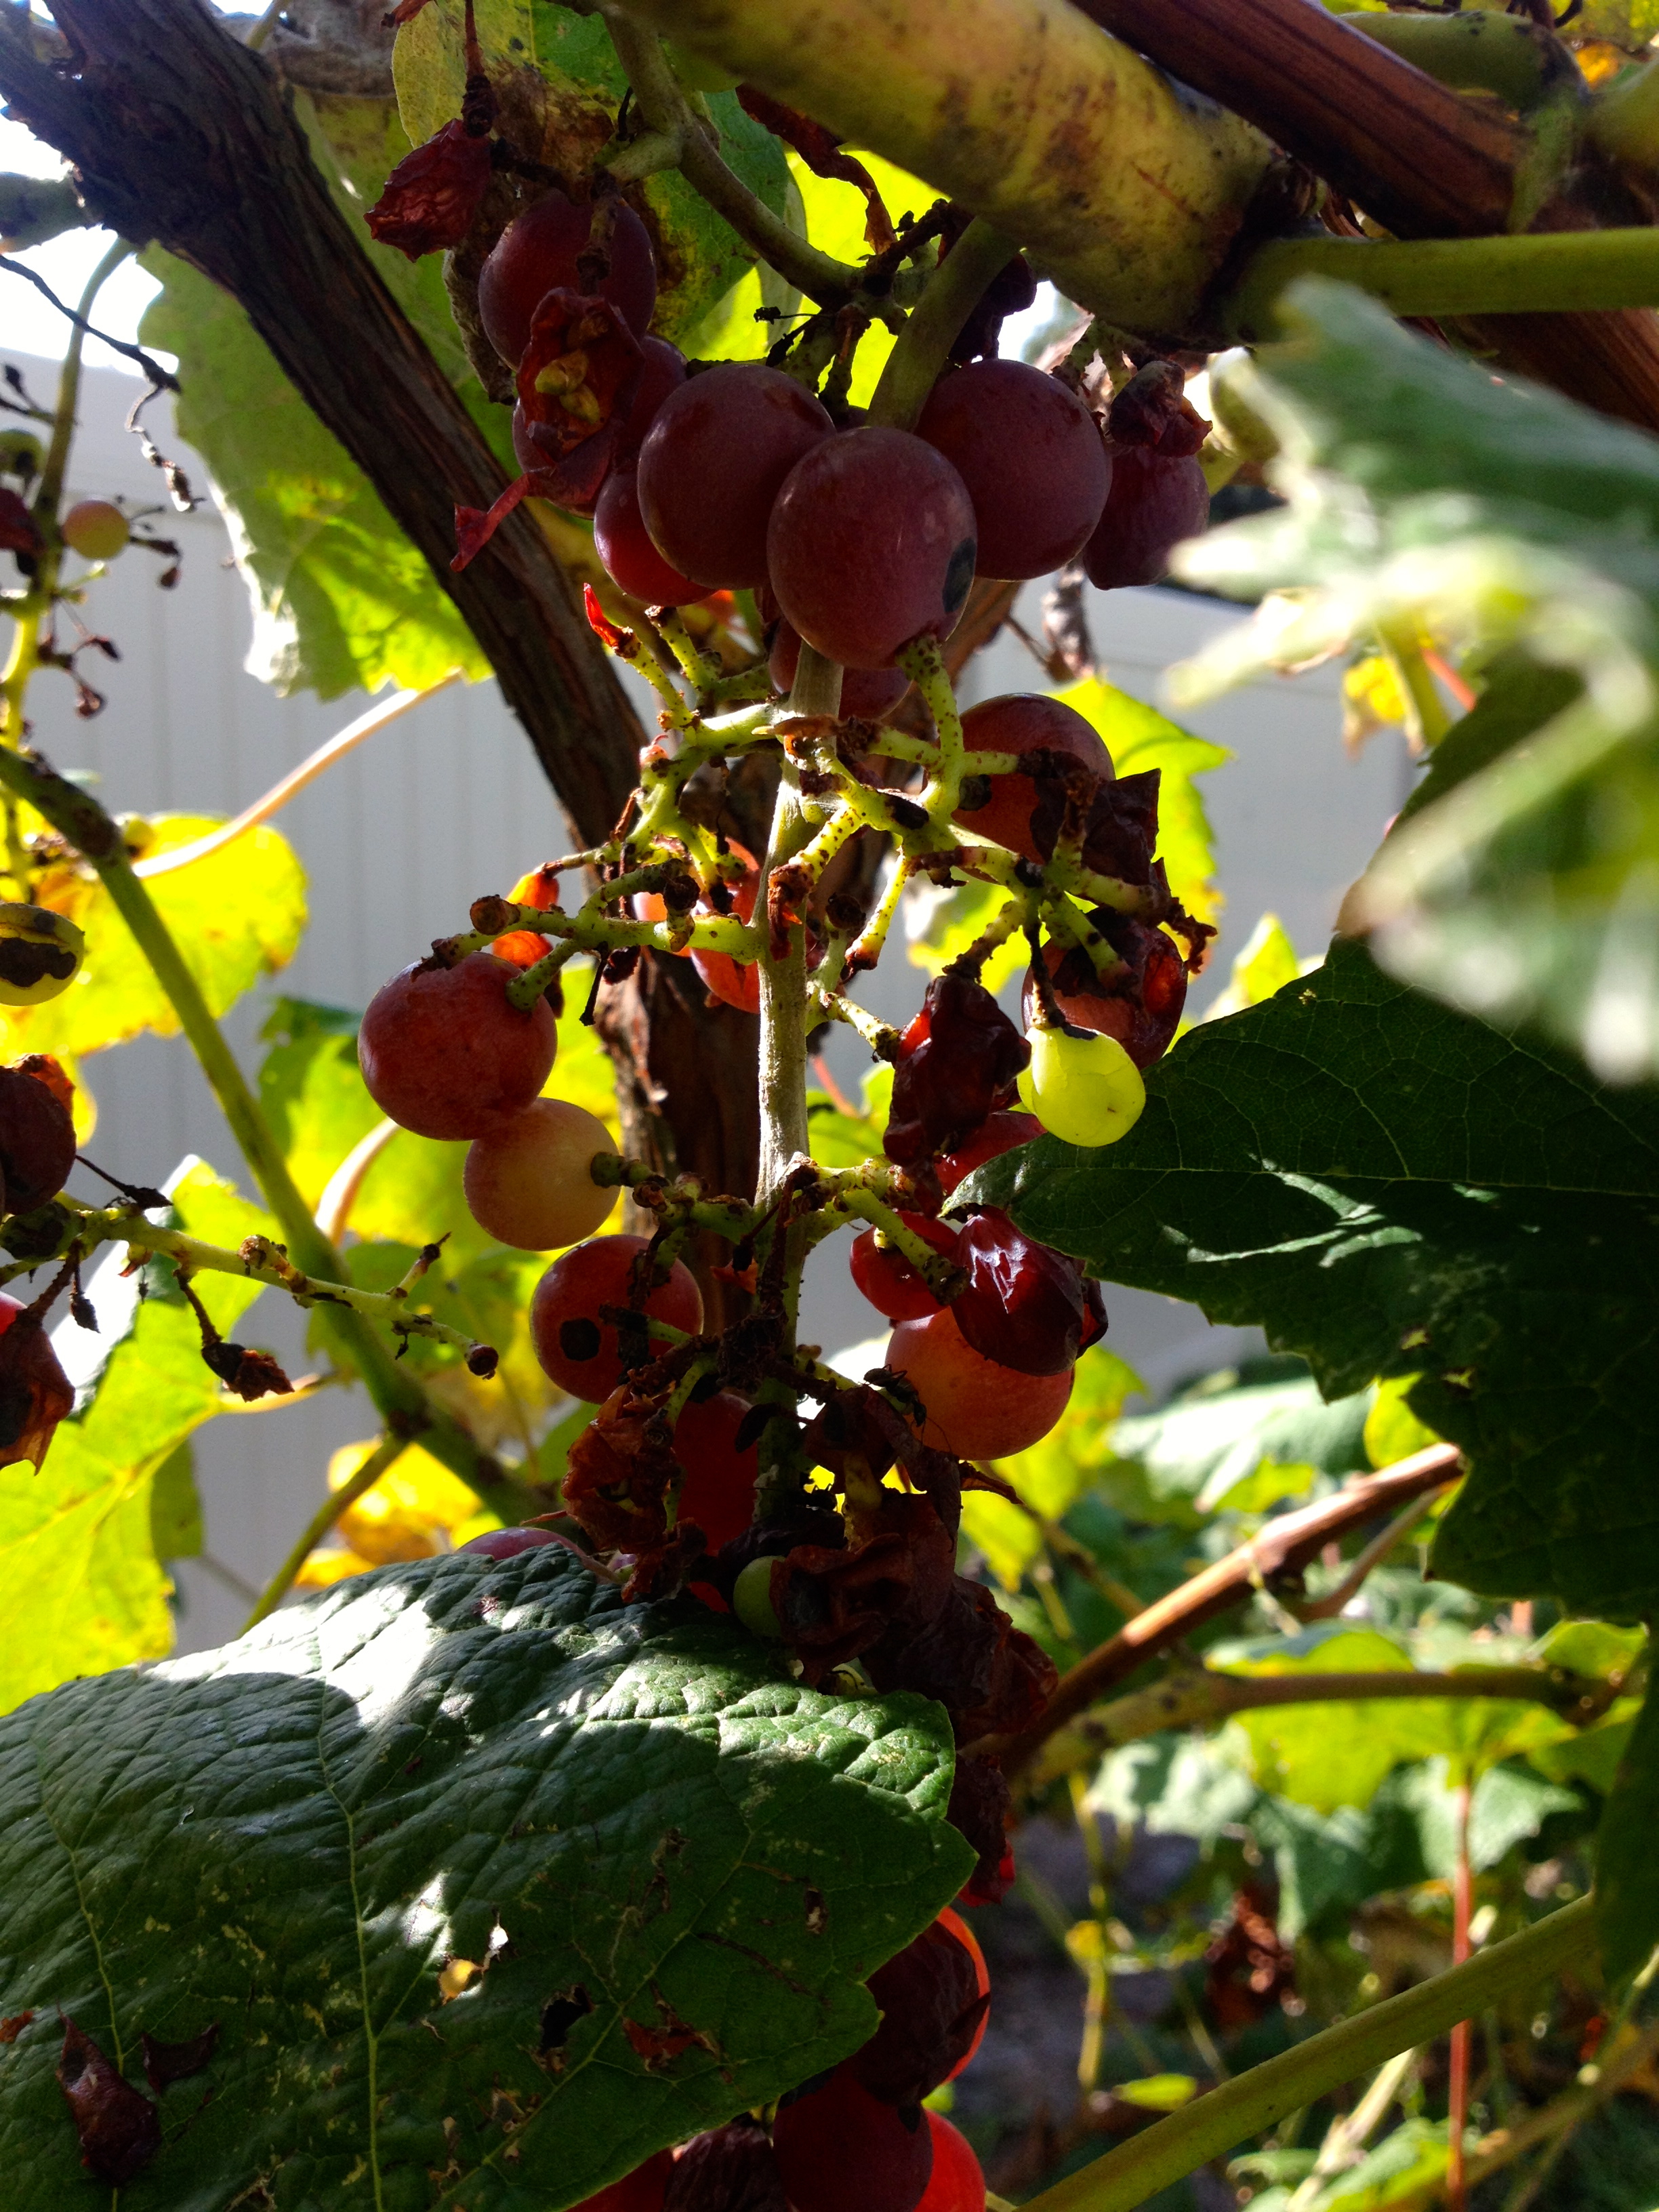
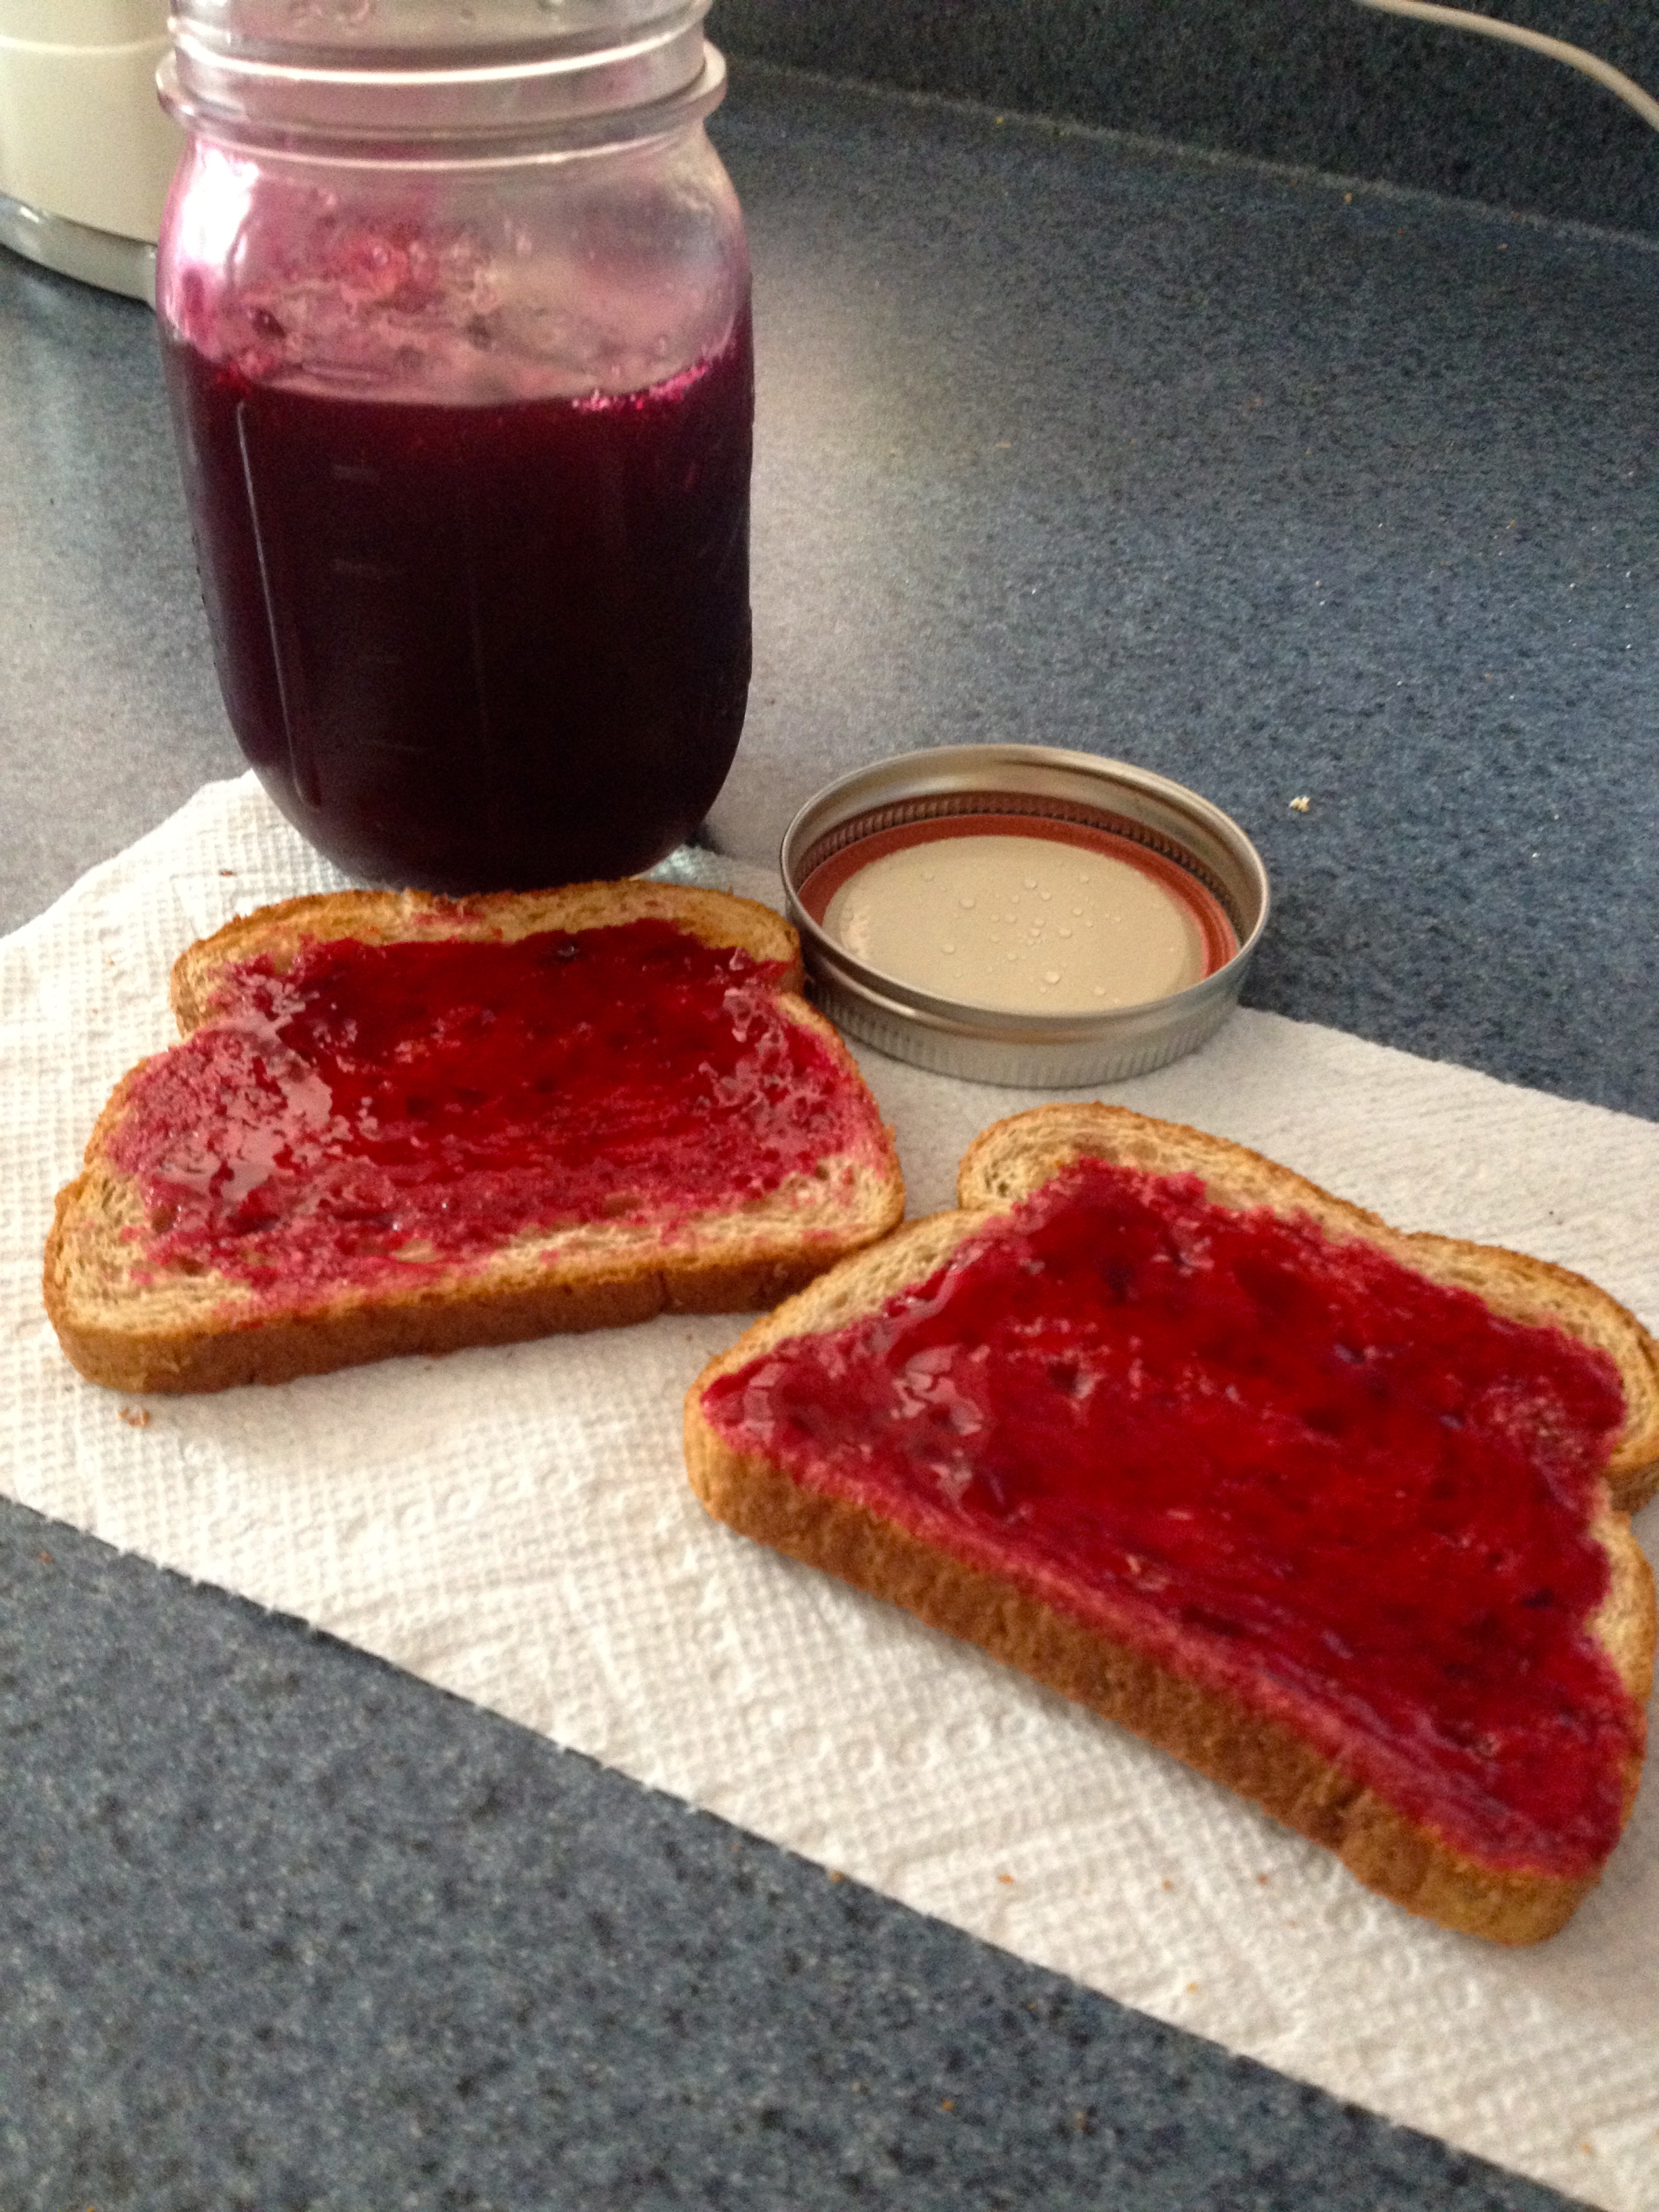
Every year, our garden provides us with more fruit than we could possibly eat. This includes Concord grapes, raspberries, strawberries, apples, and blueberries! Since we hate to waste any of our delicious fruit, we make jams and jellies out of it. It’s always an adventure making jelly, and it takes quite a while, but it’s so worth it. Let me tell you, store bought jelly can’t hold a candle to my Mom’s homemade jelly. I’ll walk you through the bare bones of her Concord grape jelly recipe:
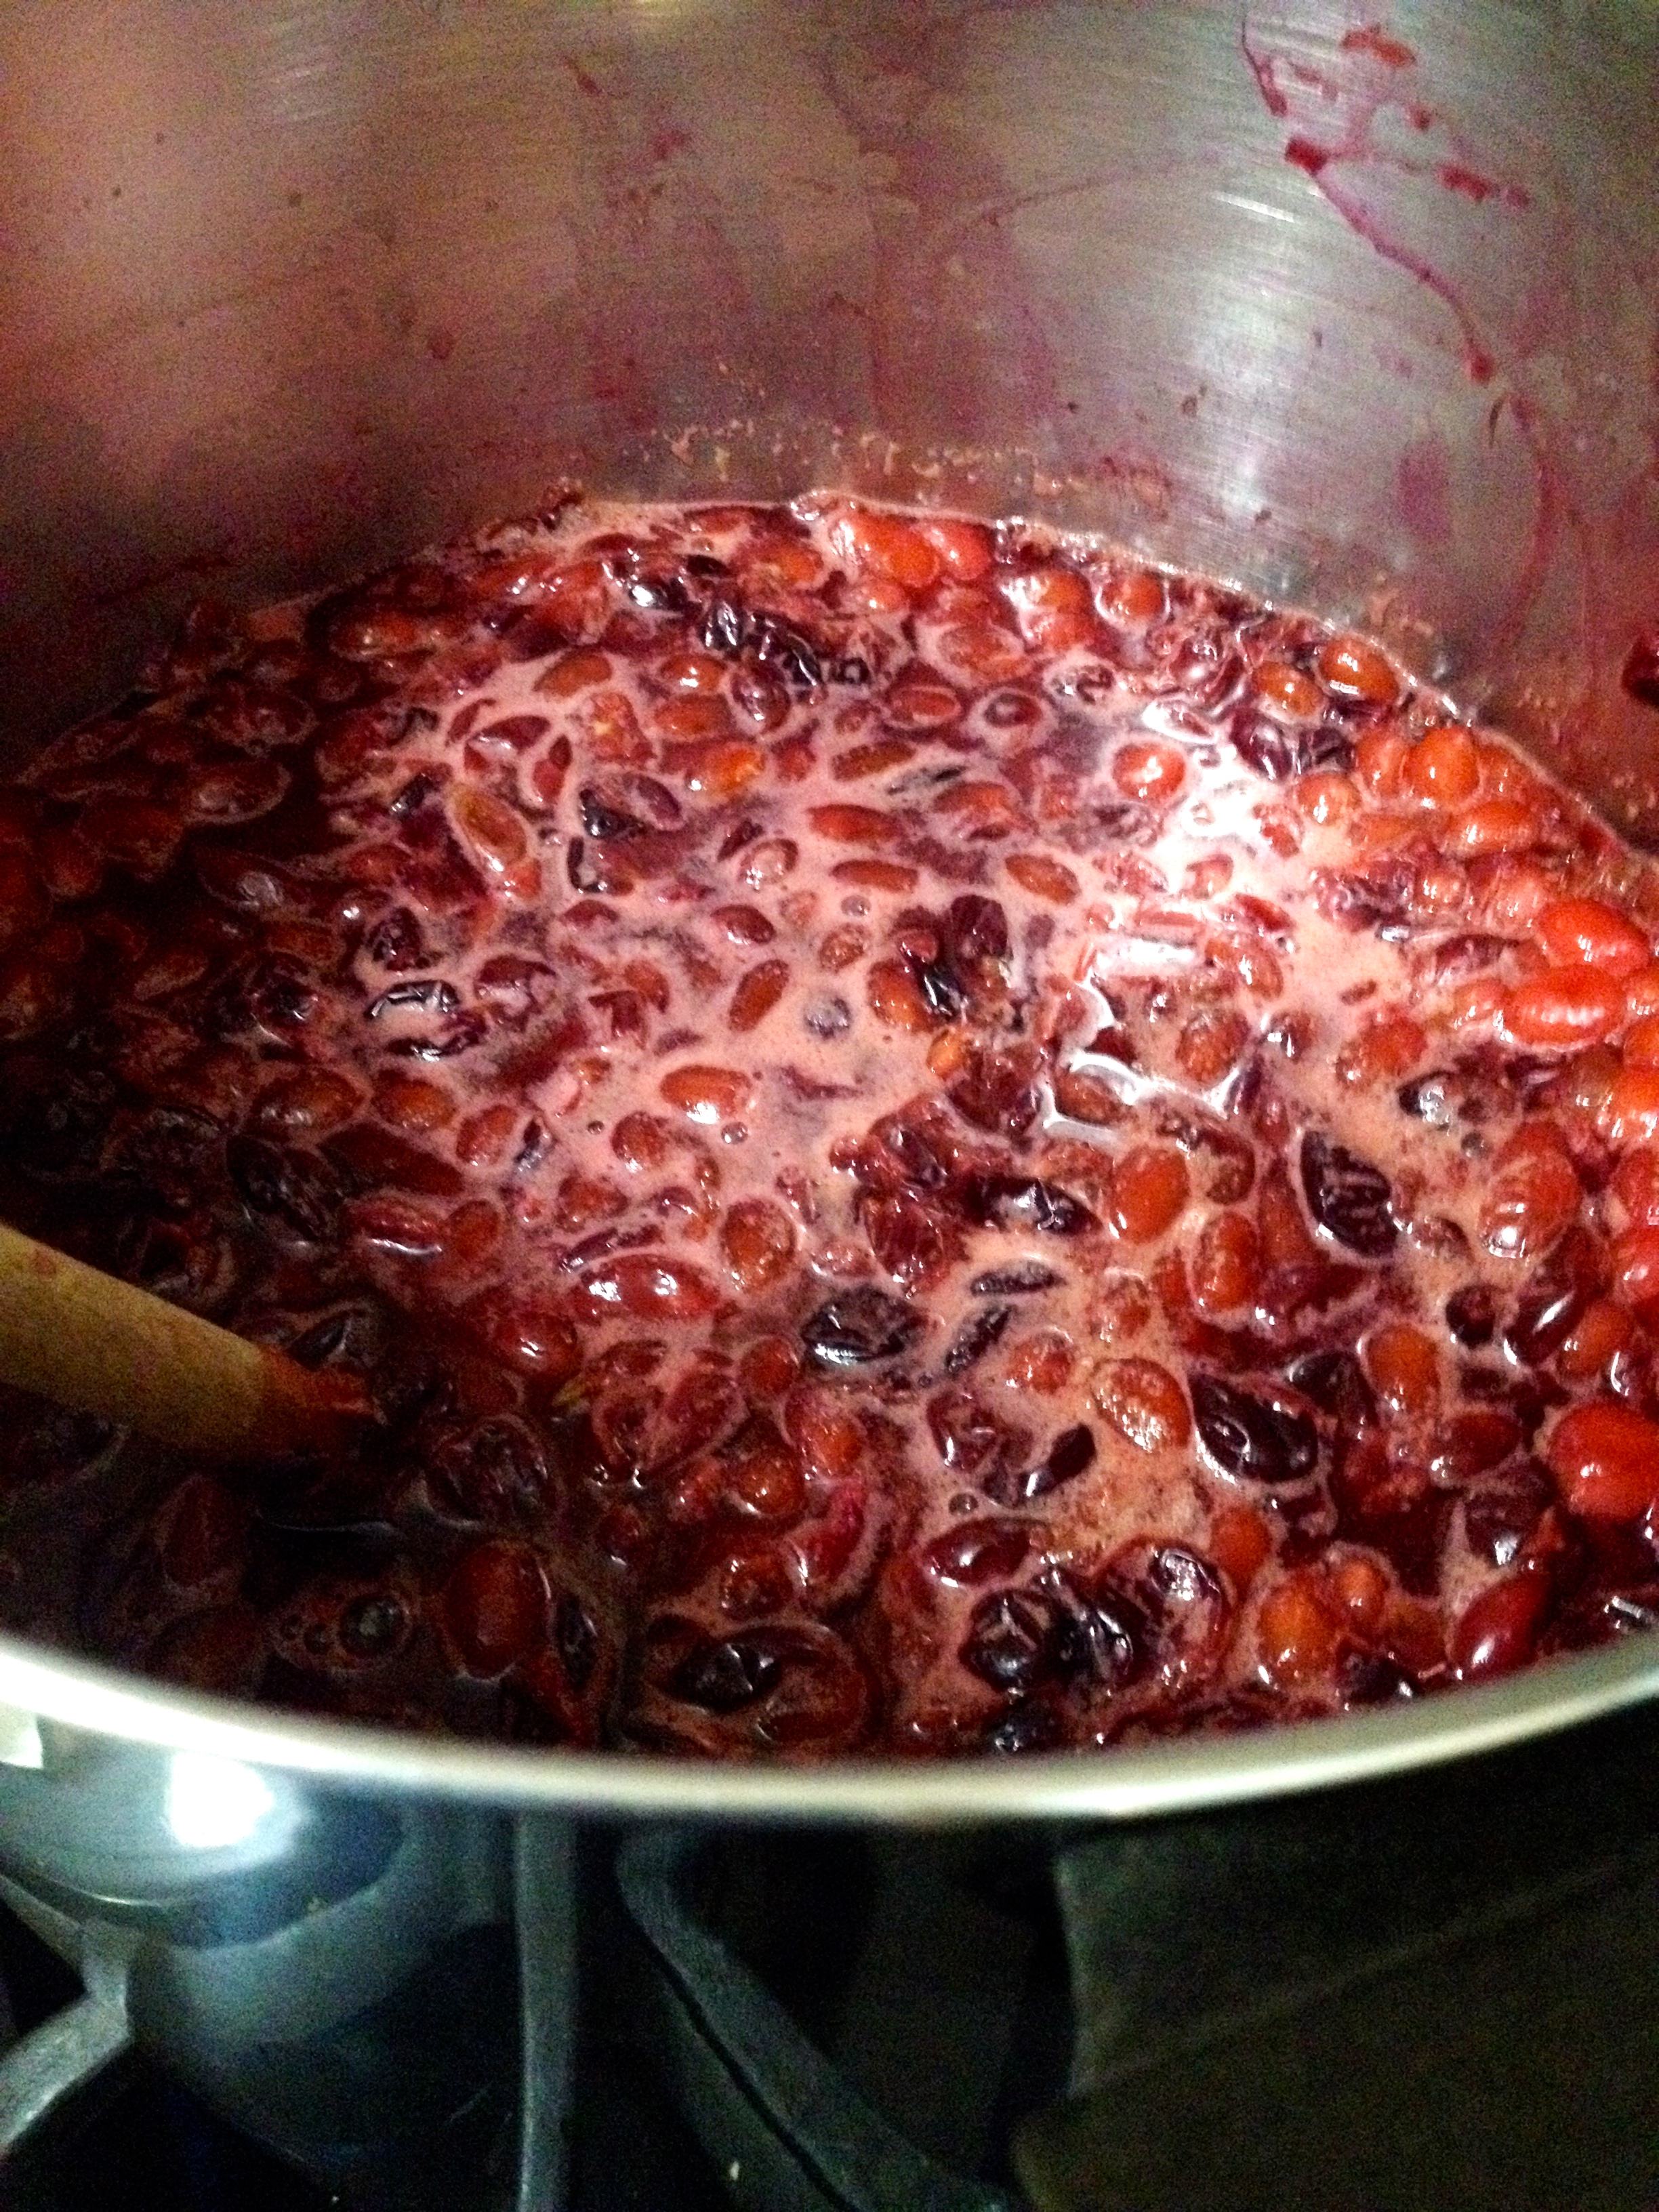
Start with about 8-10 cups of grapes (from our backyard grape vine, of course!). De-stem them and mash them in a large pot, and cook them down just a little bit with some water to soften them.
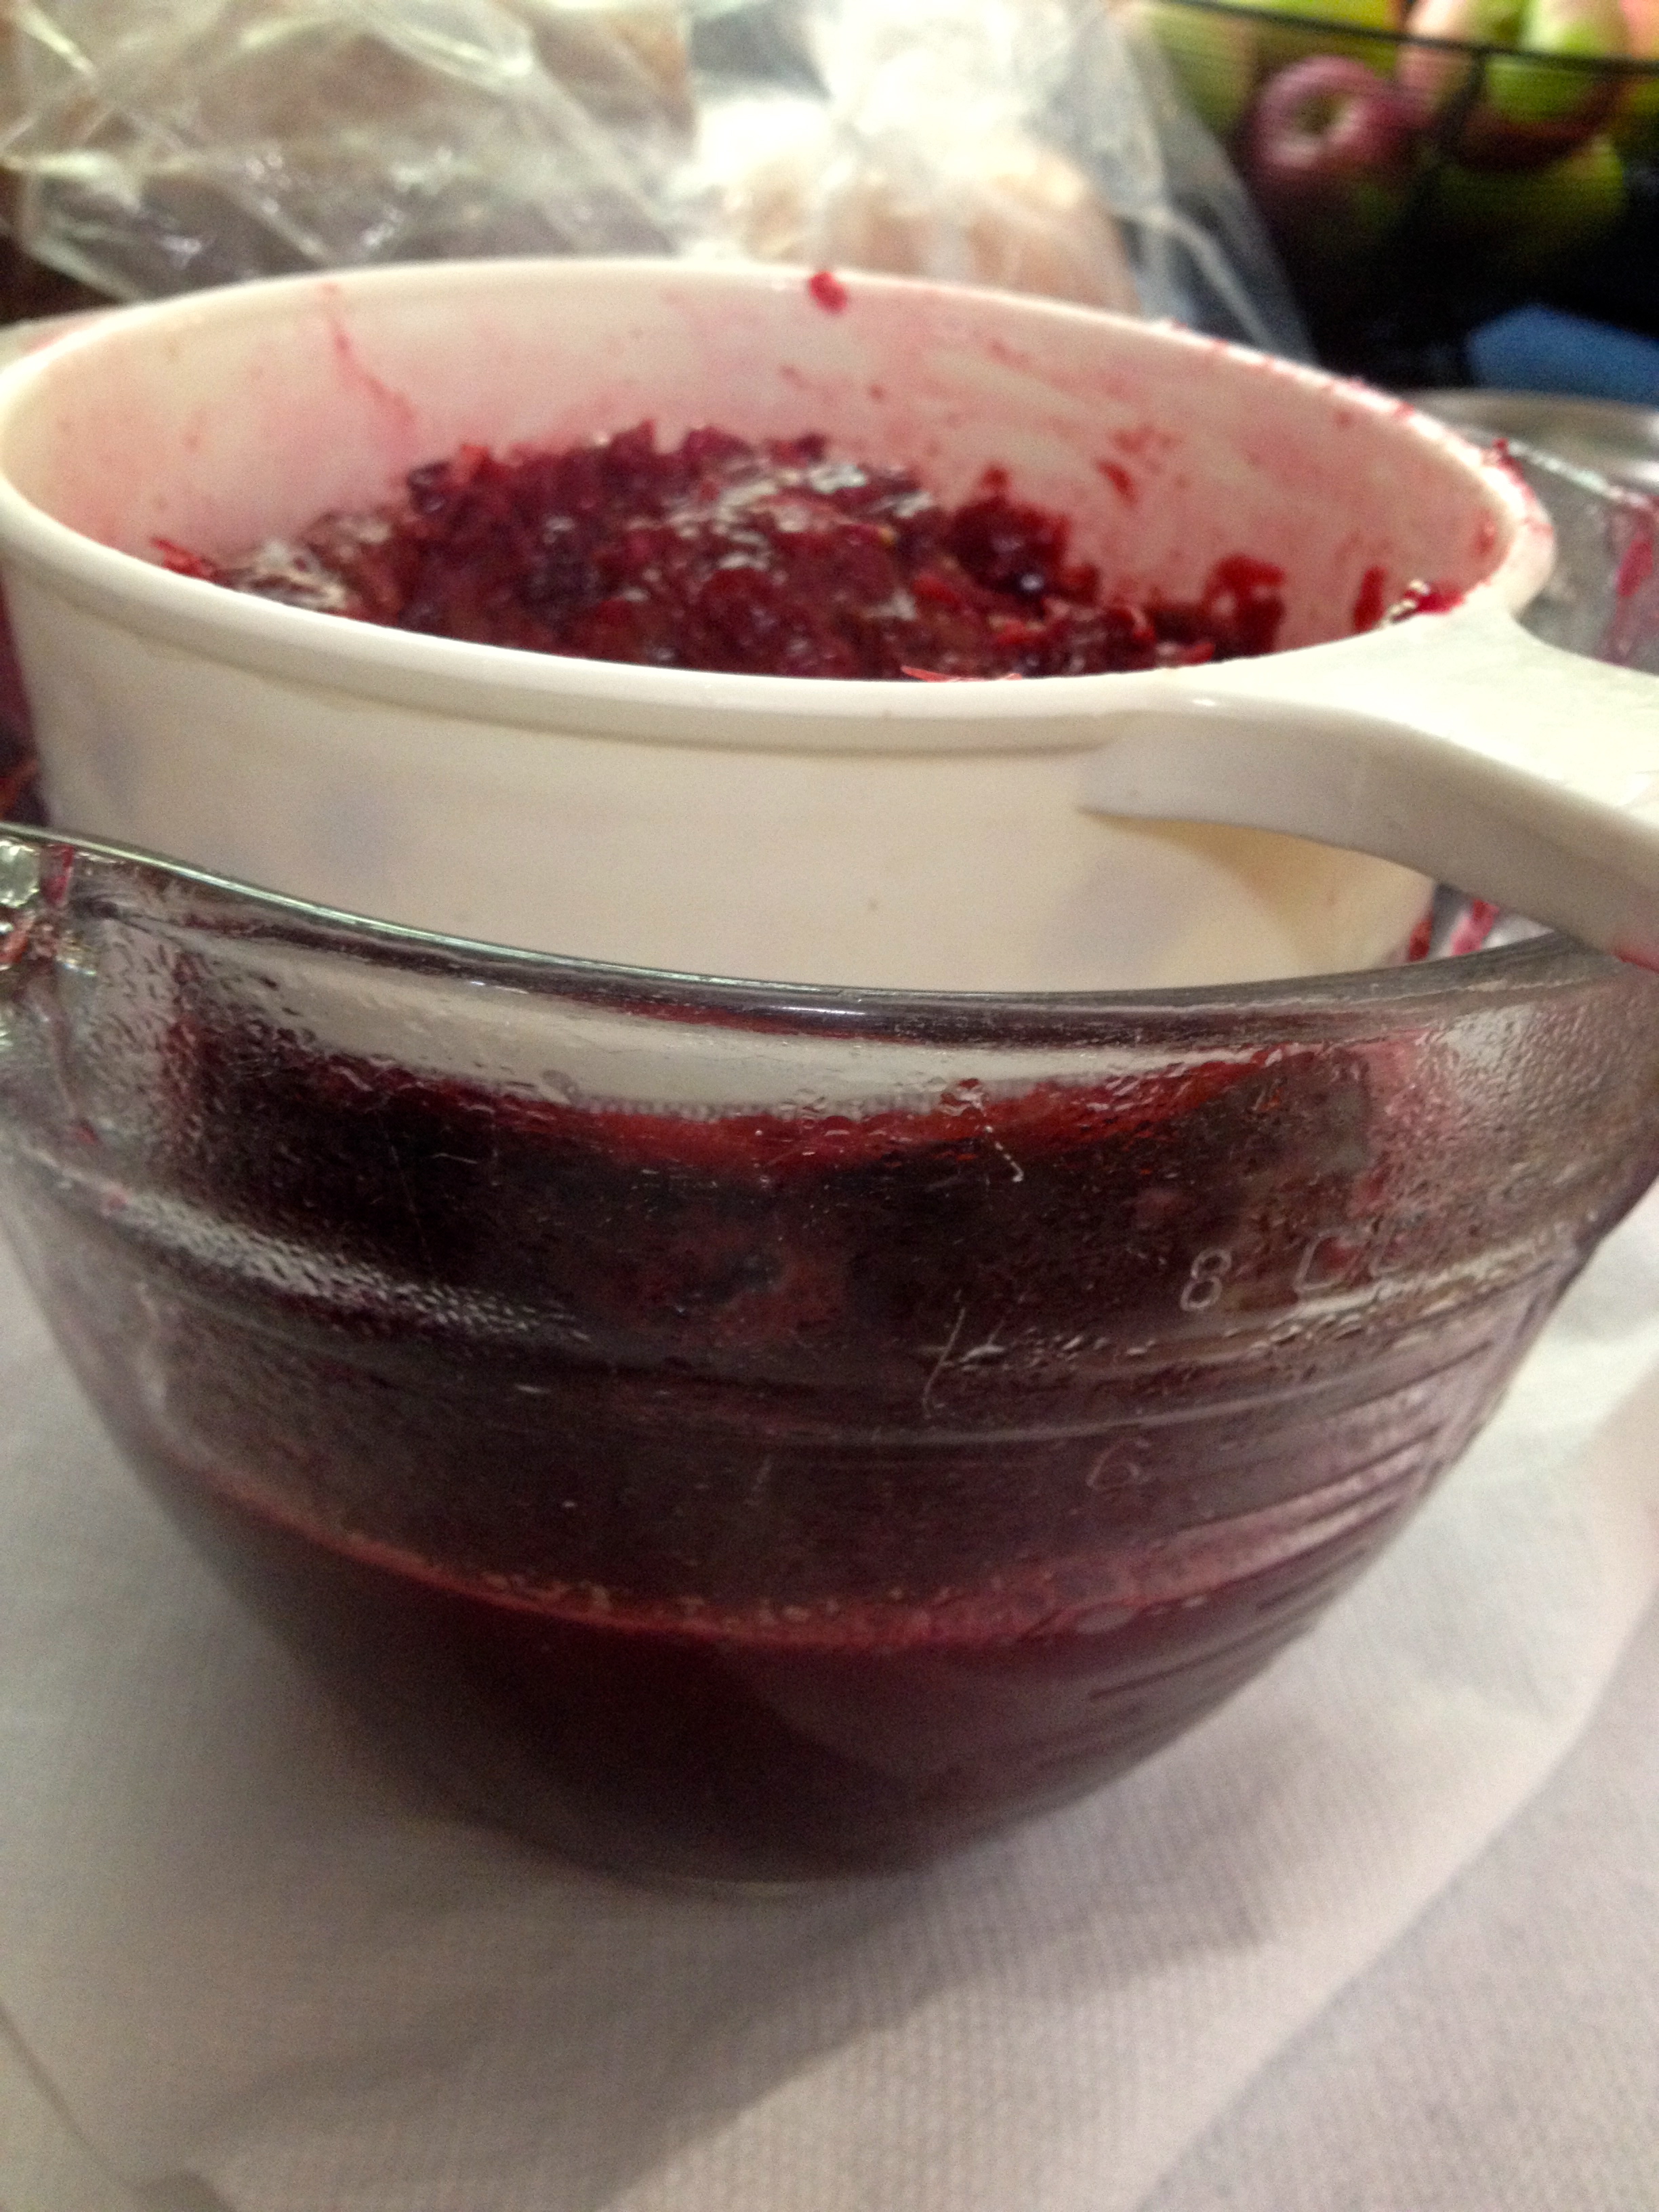
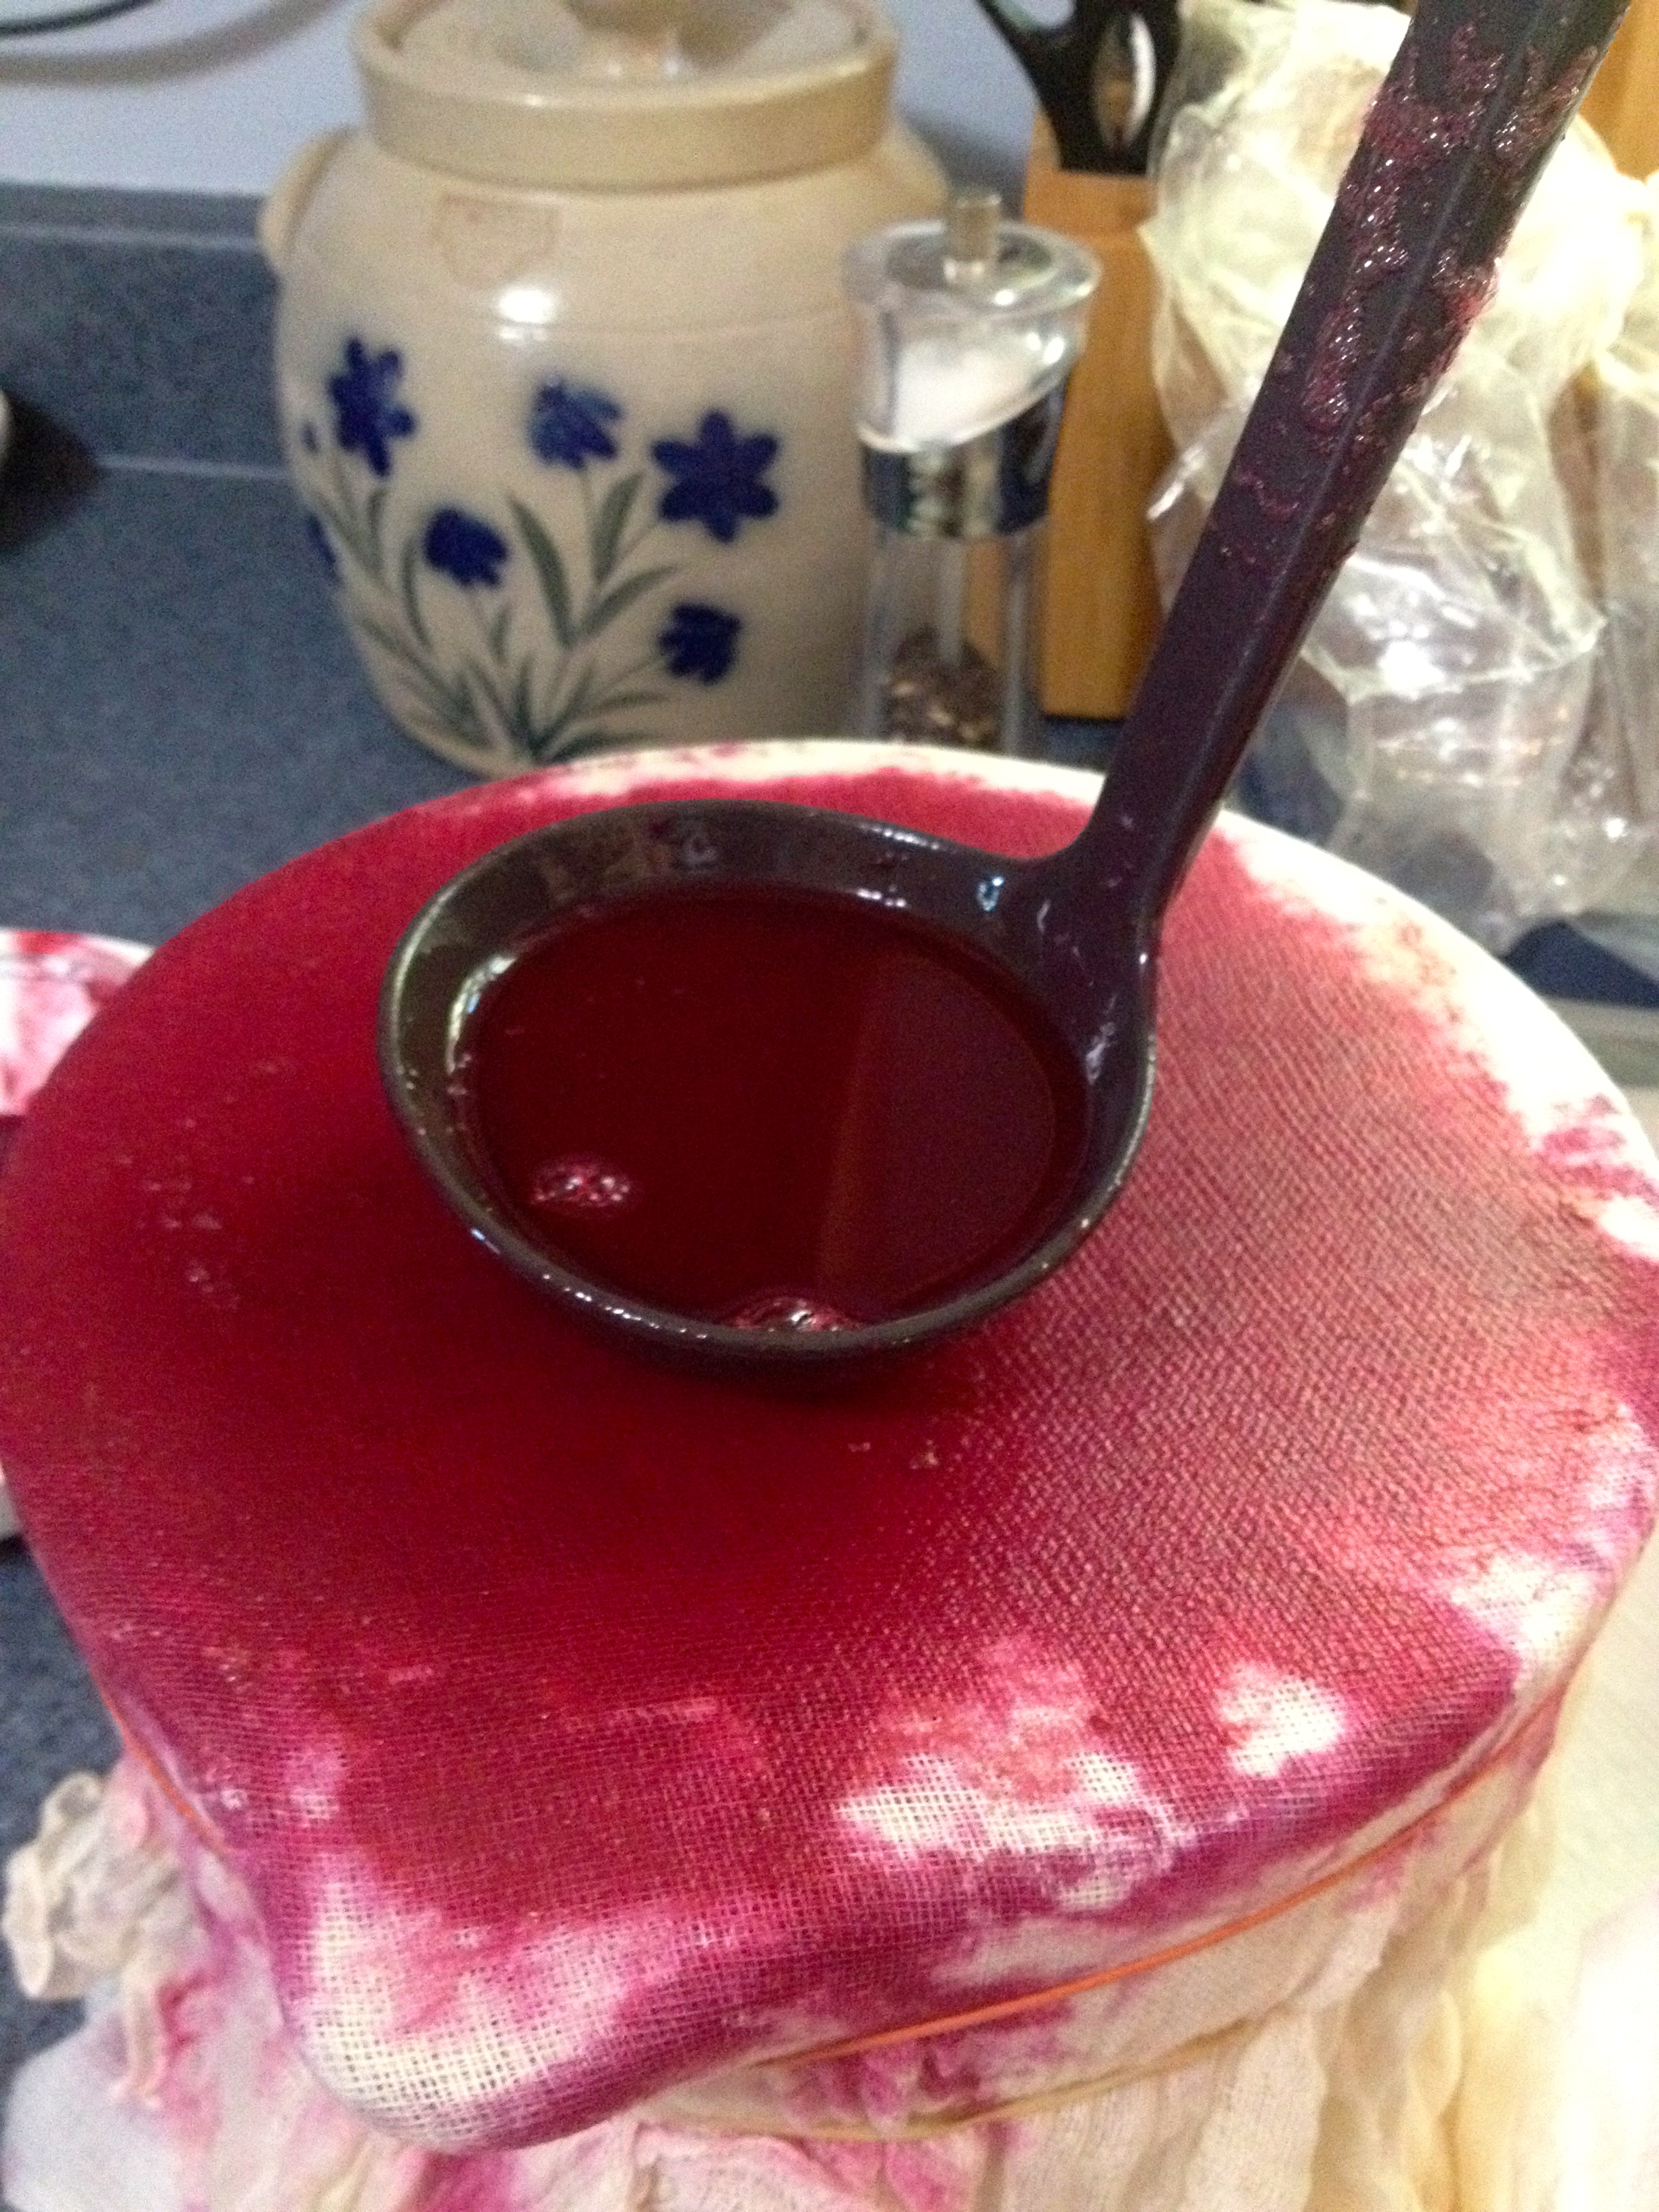
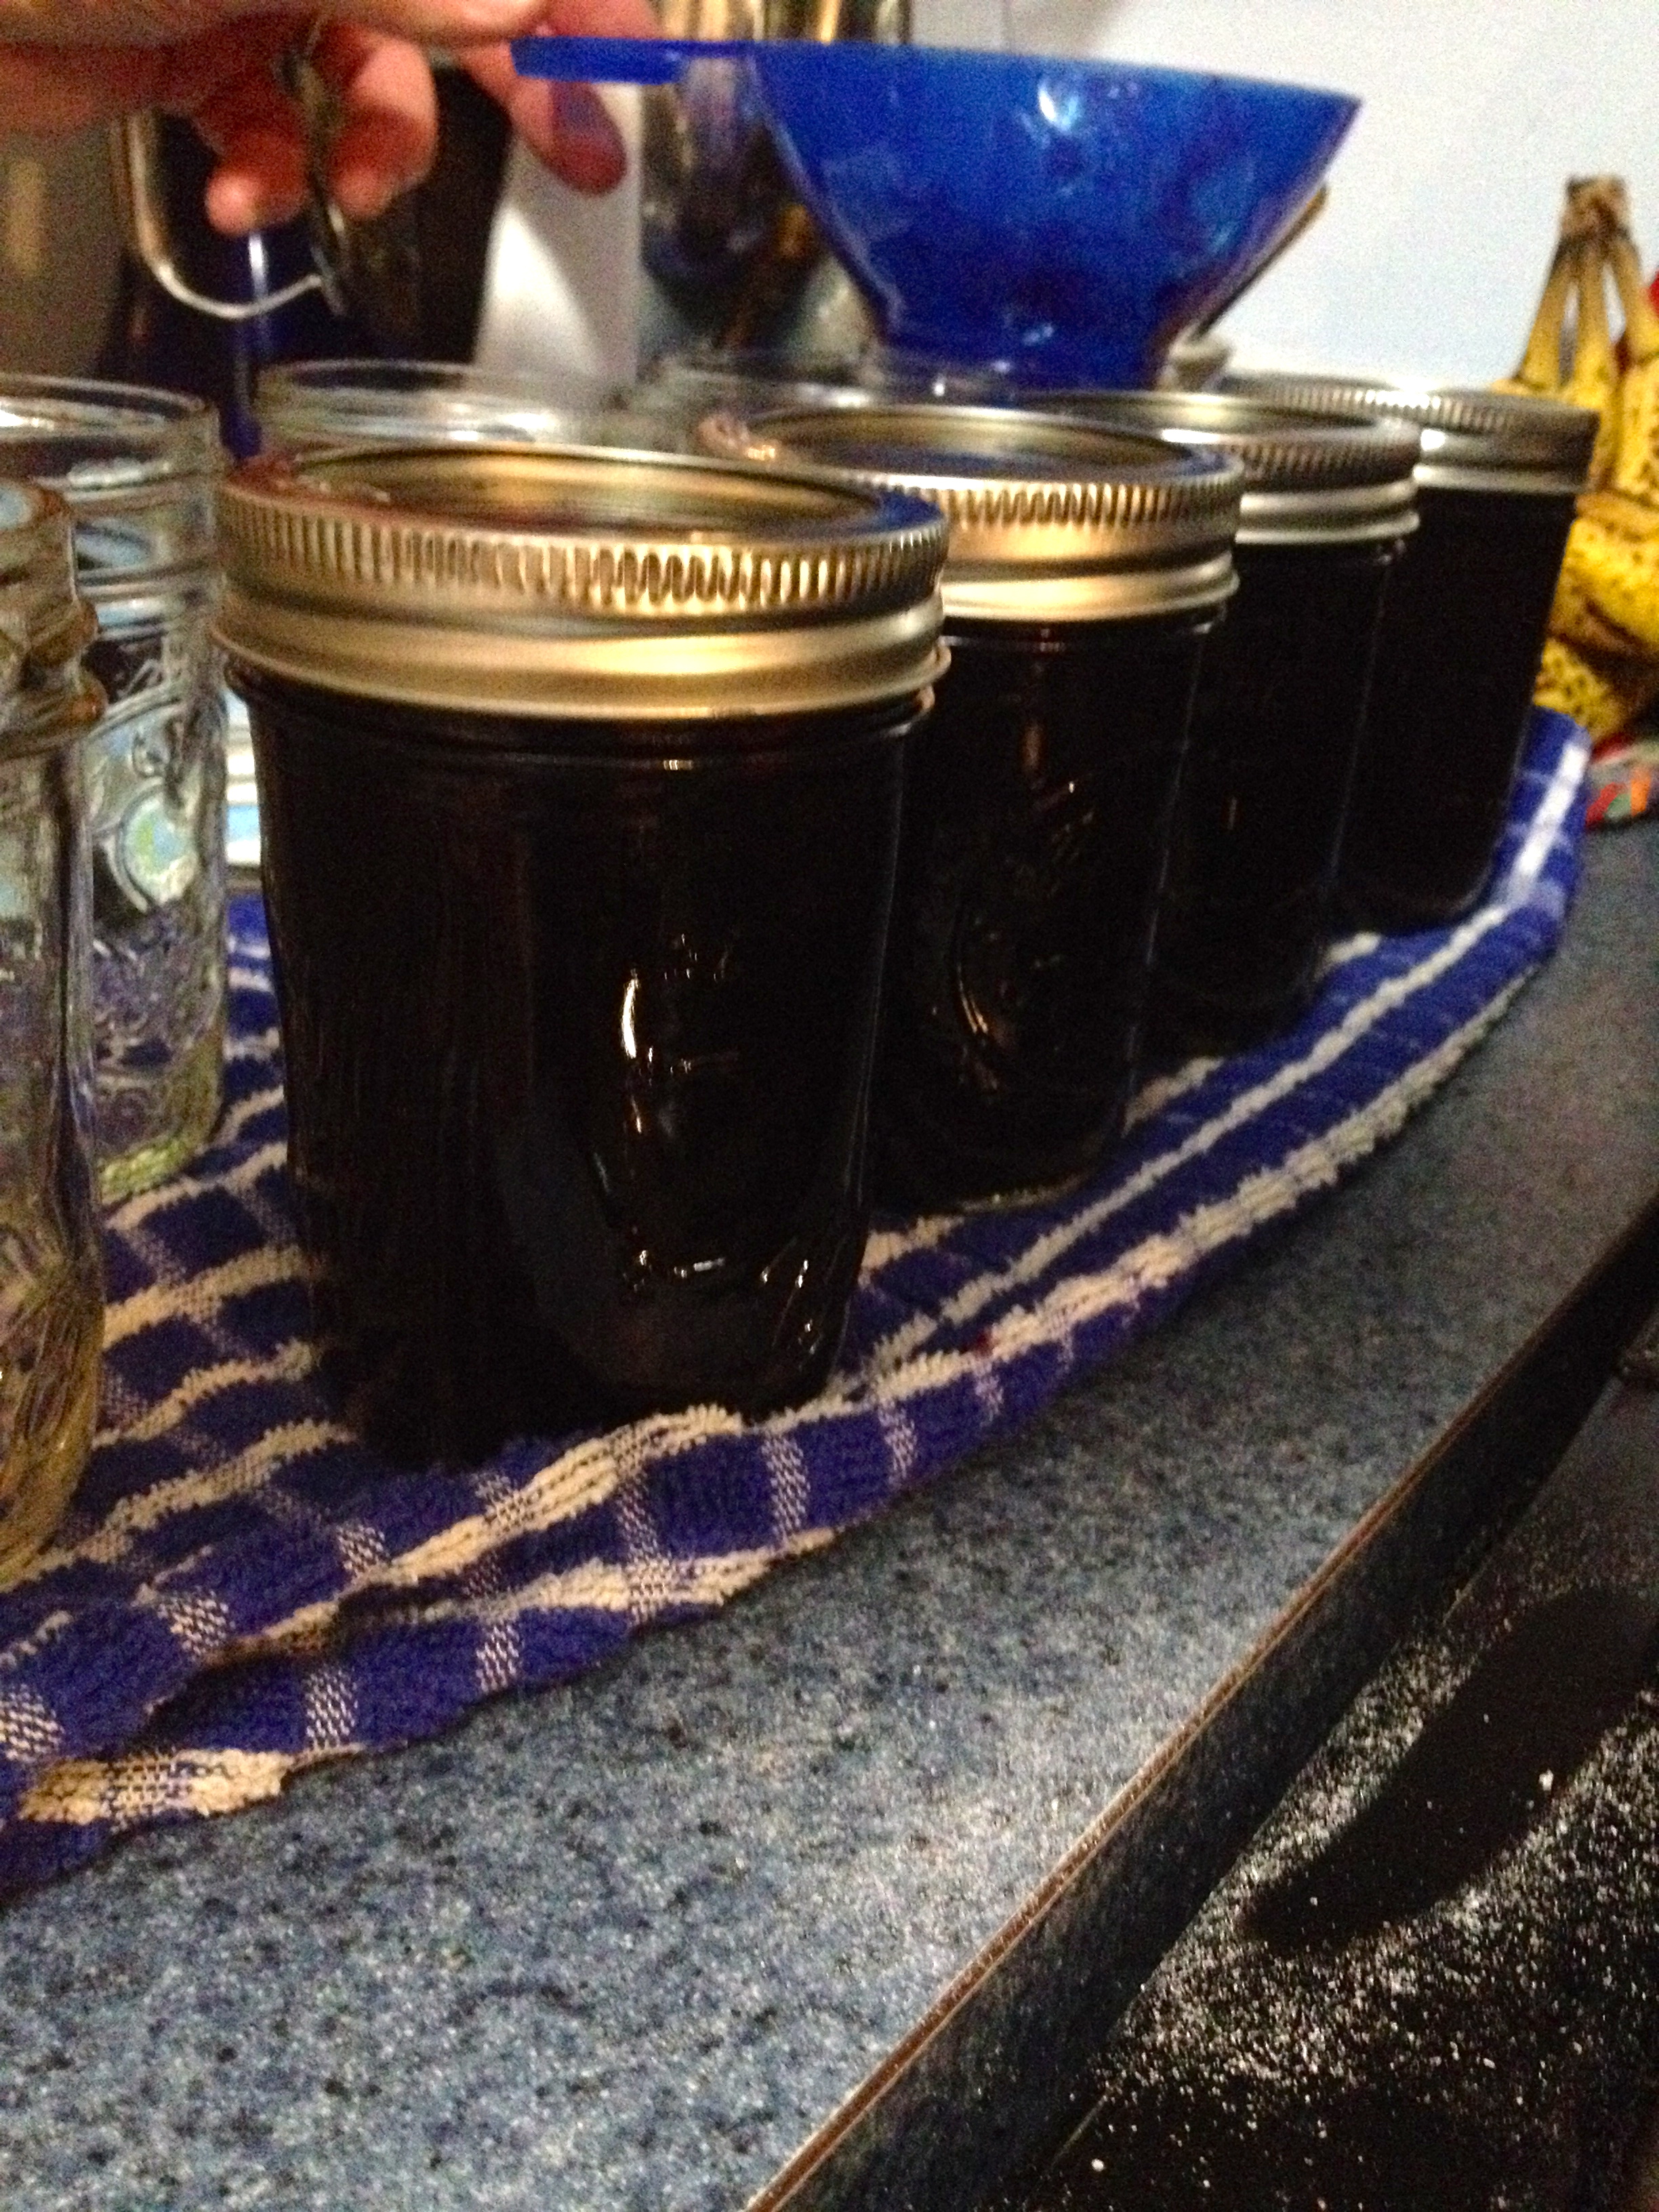
Then, pass the grapes through a fine mesh strainer over a large bowl to get rid of the skins and the thick pulp. Pour this juice through three layers of damp cheesecloth over a bowl to really refine the juice. Pour this juice back into a large pot with some pectin, bring it to a boil, and let it boil for 10 minutes. Then add your sugar and stir it constantly until the juice has thickened. Put a small bit of the jelly on a chilled plate, and if the juice gels on the plate, you’re ready to can it and eat it!
That was just a quick description of the recipe, because that’s not the star of the show. What matters most is what happens to these fruit jellies! For this next recipe, I used my Mom’s homemade raspberry jam to make a family recipe, called Raspberry Thumbprint cookies. Here are the ingredients:
- 2 sticks softened butter
- 1/2 cup granulated sugar
- 1/2 tsp vanilla
- 2 egg yolks, beaten
- 1 pinch salt (about 1/8 tsp)
- 2 cups all-purpose flour
Cream the butter and sugar together, and then add the egg yolks and vanilla. Mix these ingredients until they’re fully combined. Then, add the flour and salt and stir until the mixture is completely mixed. The dough is really that simple!
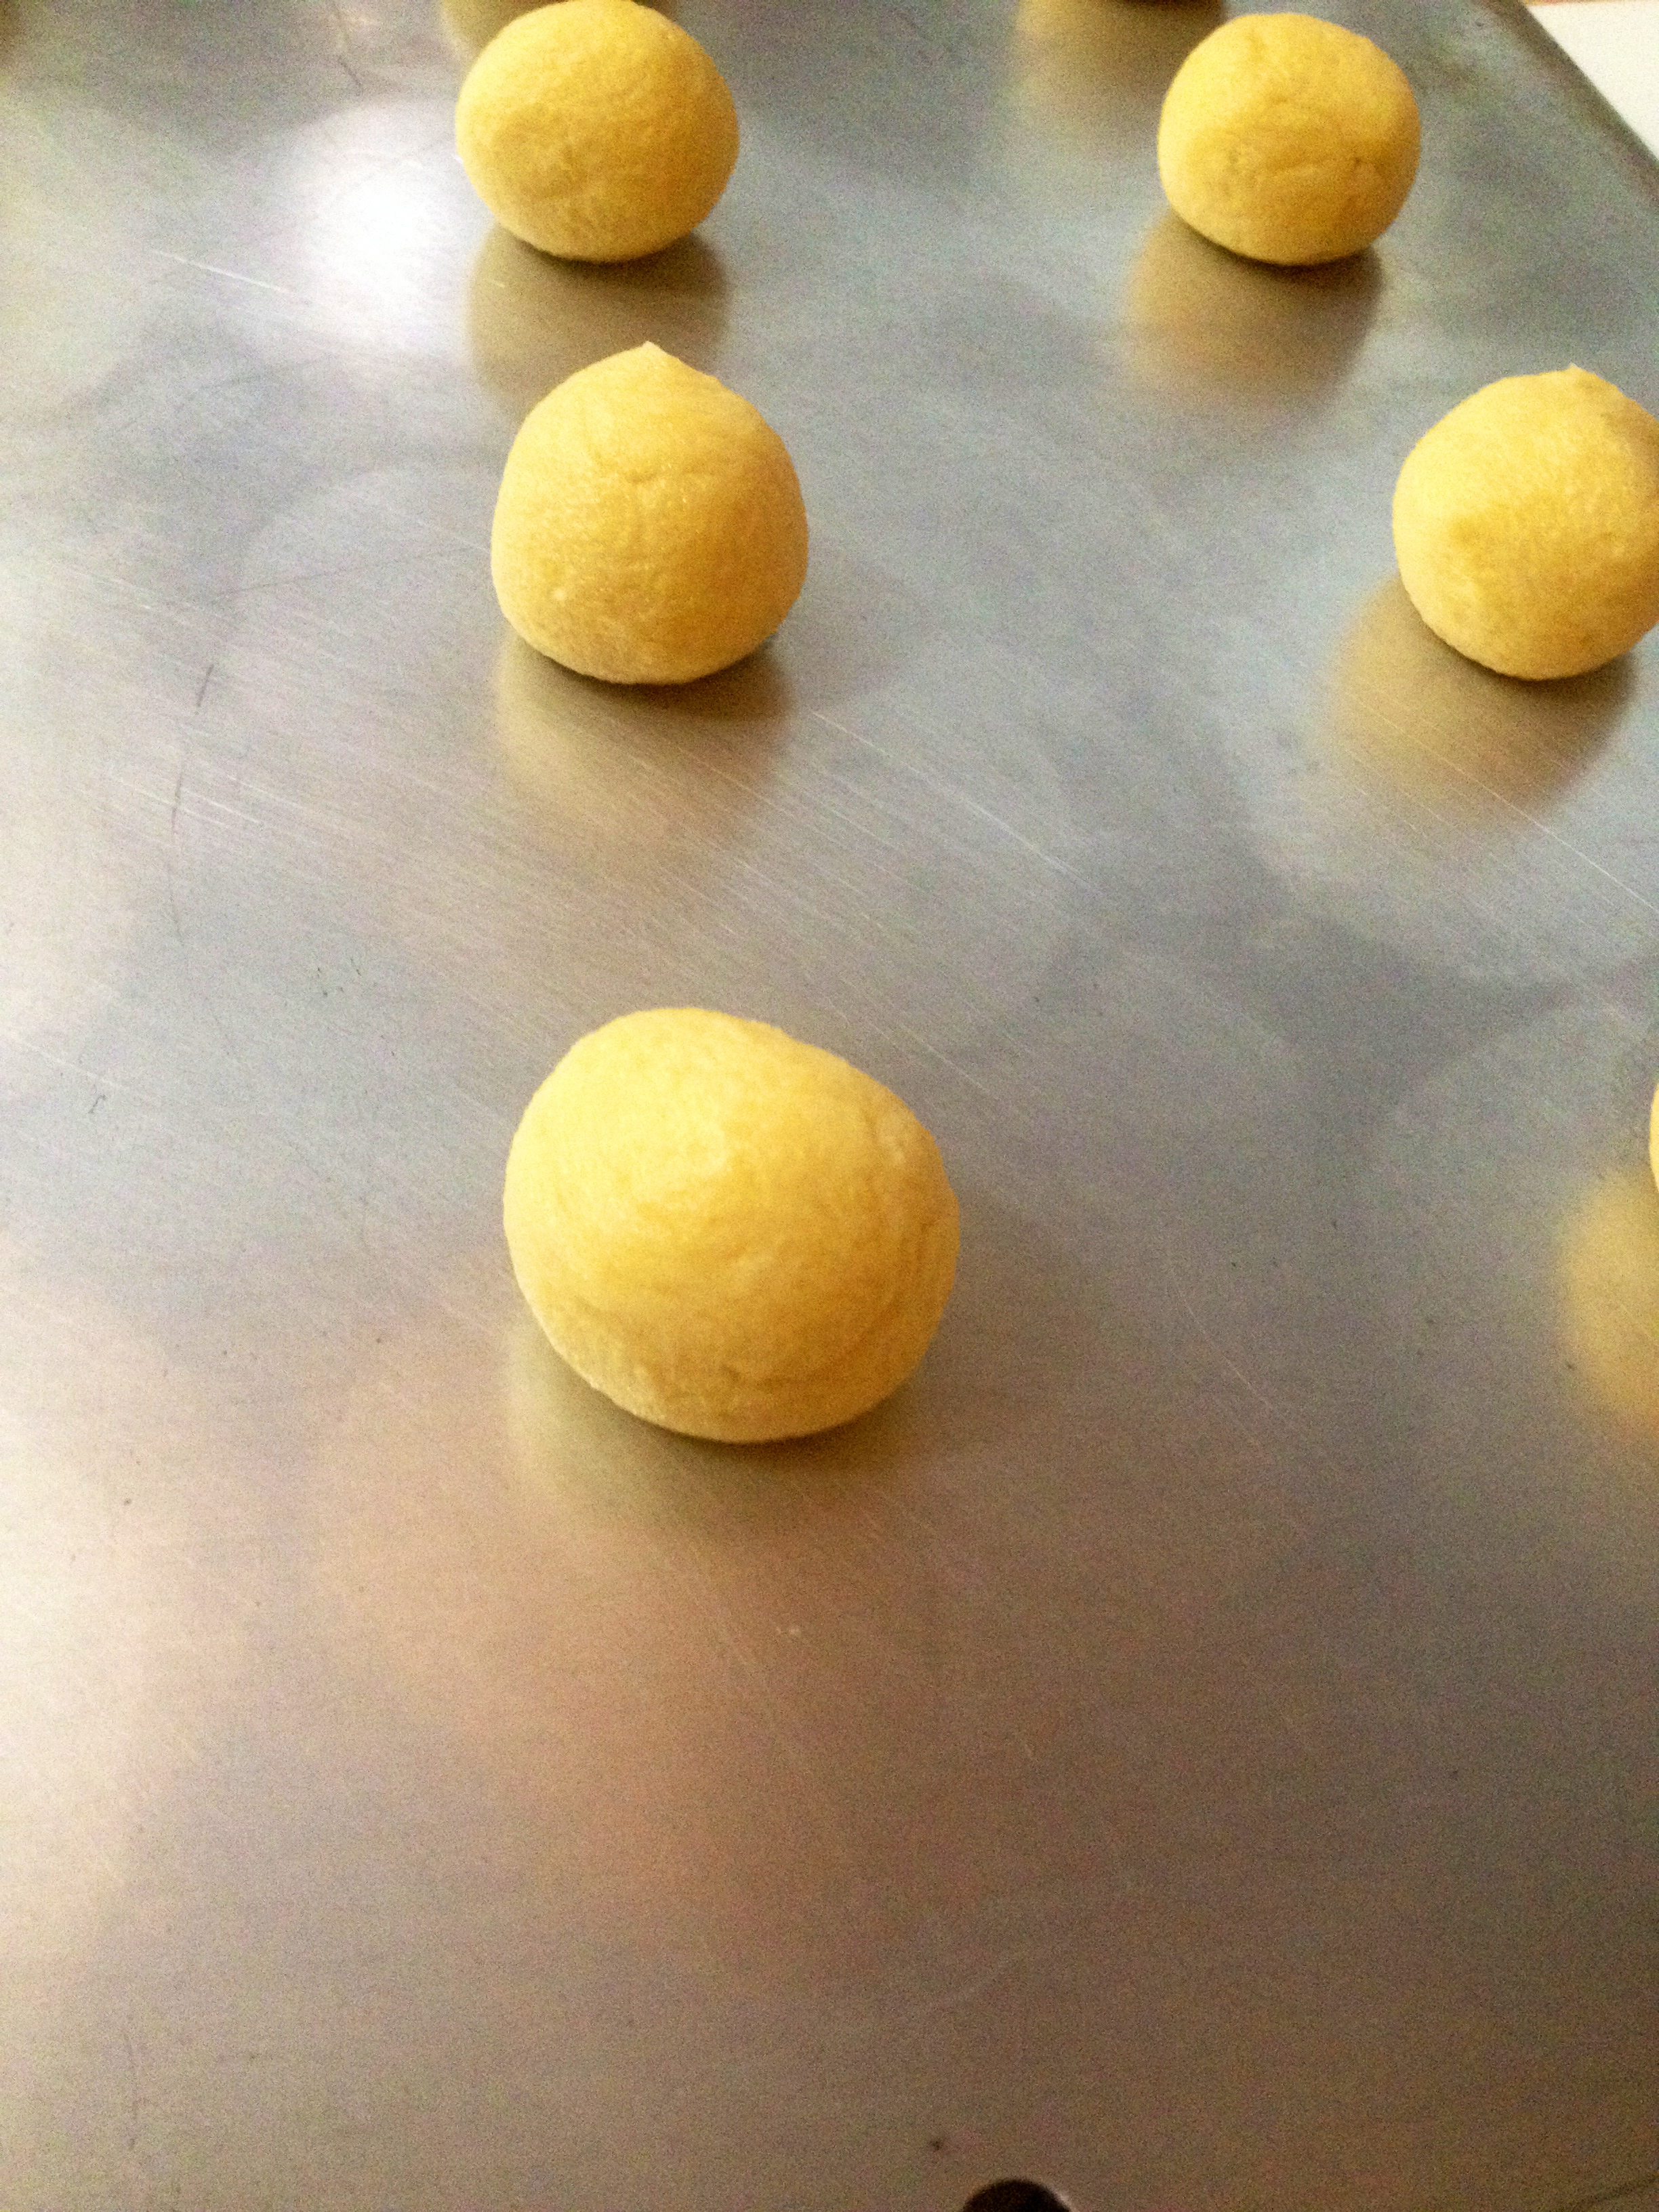
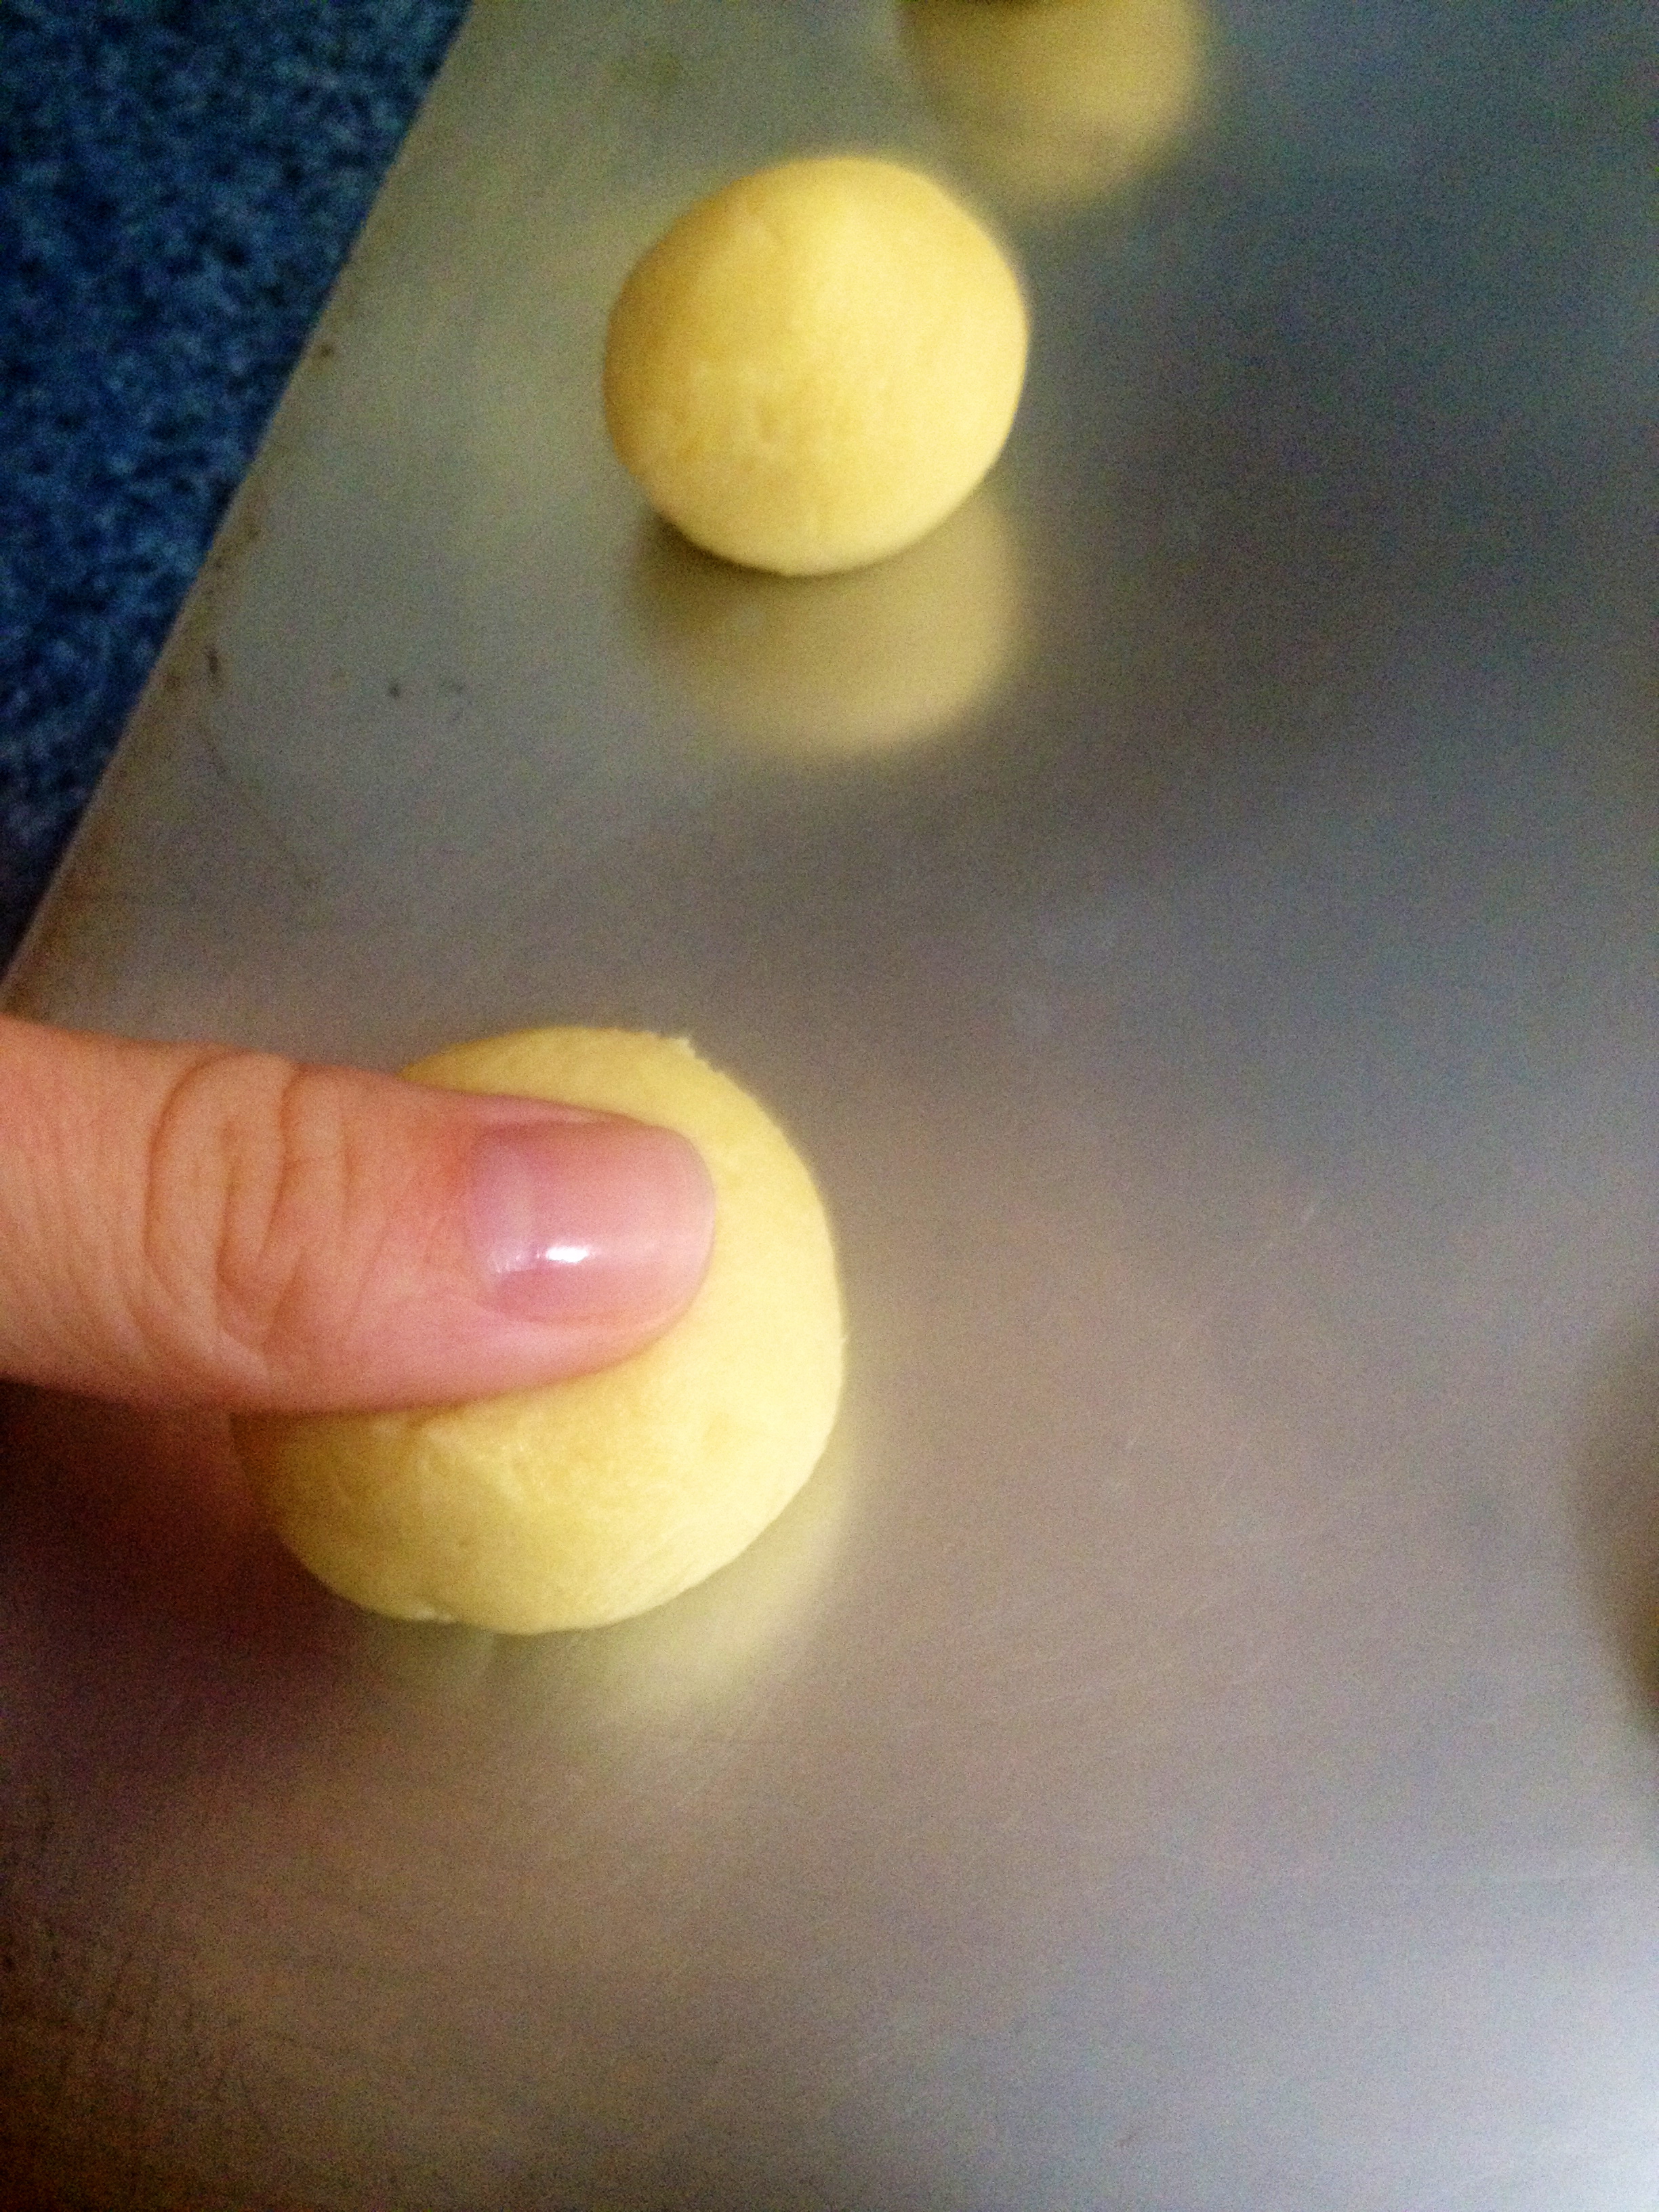
Roll the dough into small balls between your palms and lay them on a baking sheet.
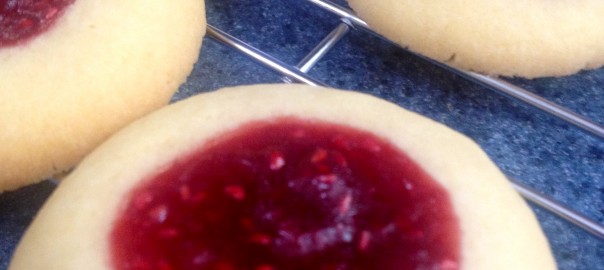
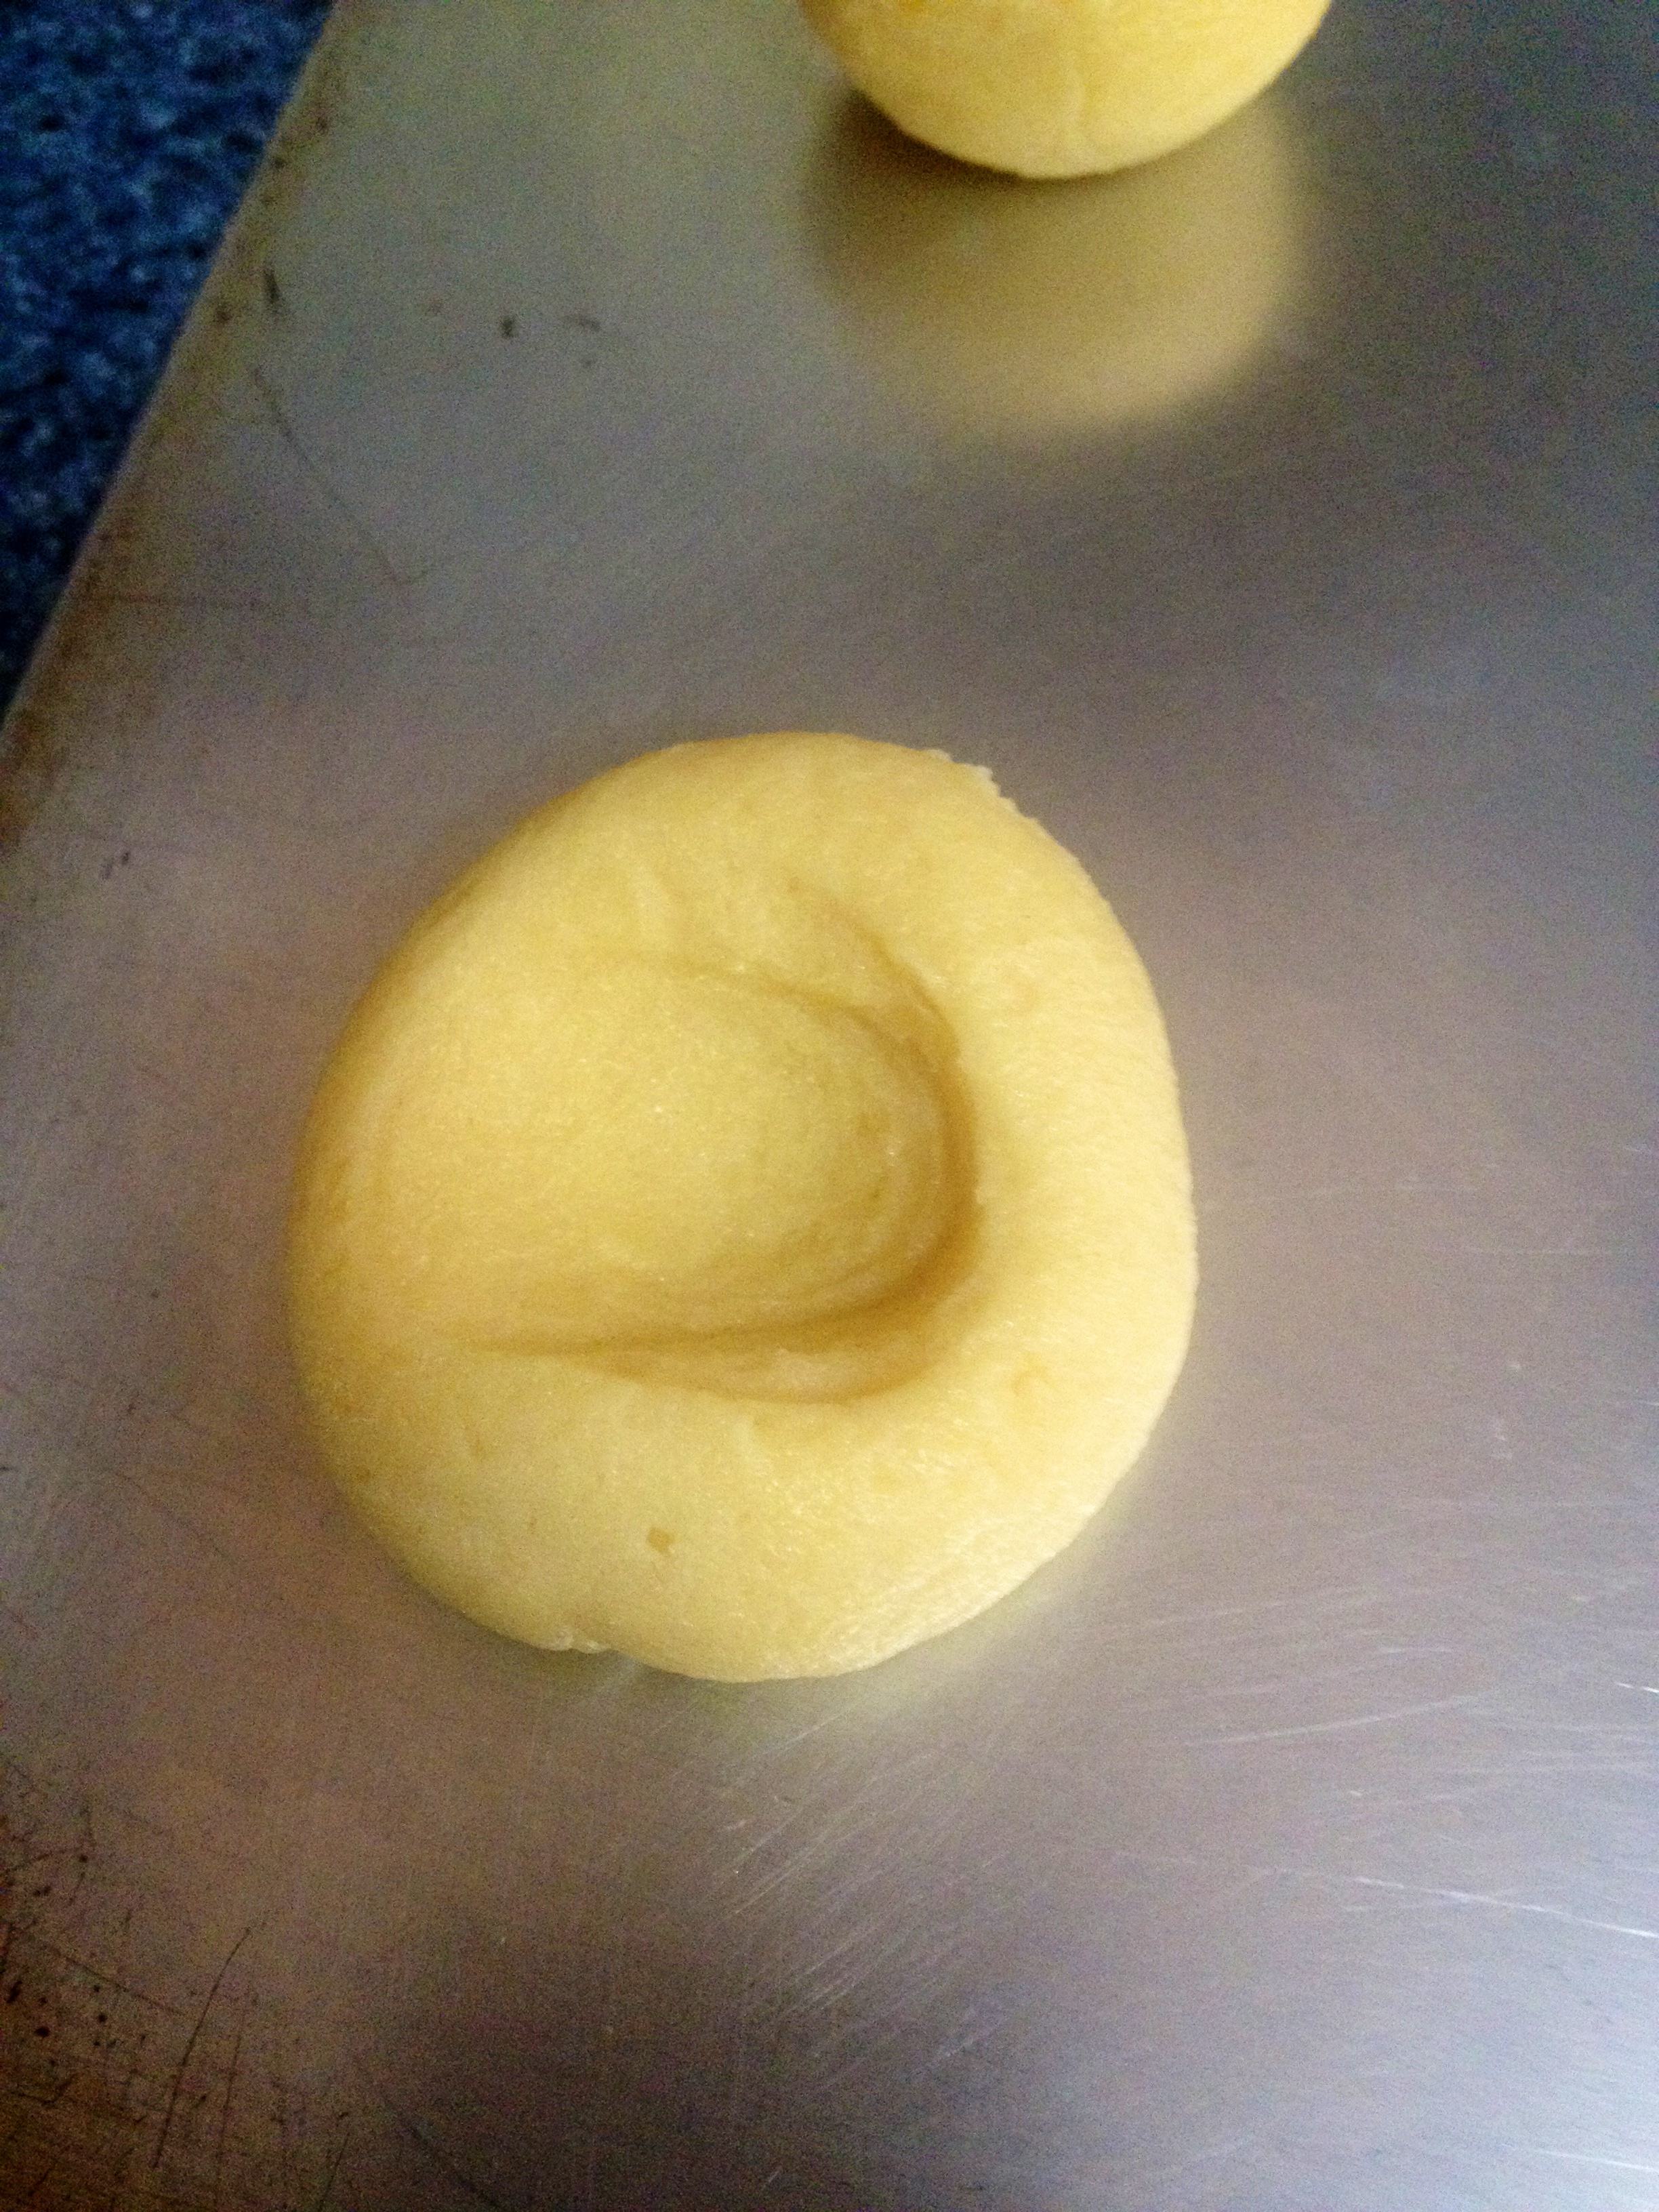
Press the center of each ball down with your thumb (hence the name Thumbprint cookies!).
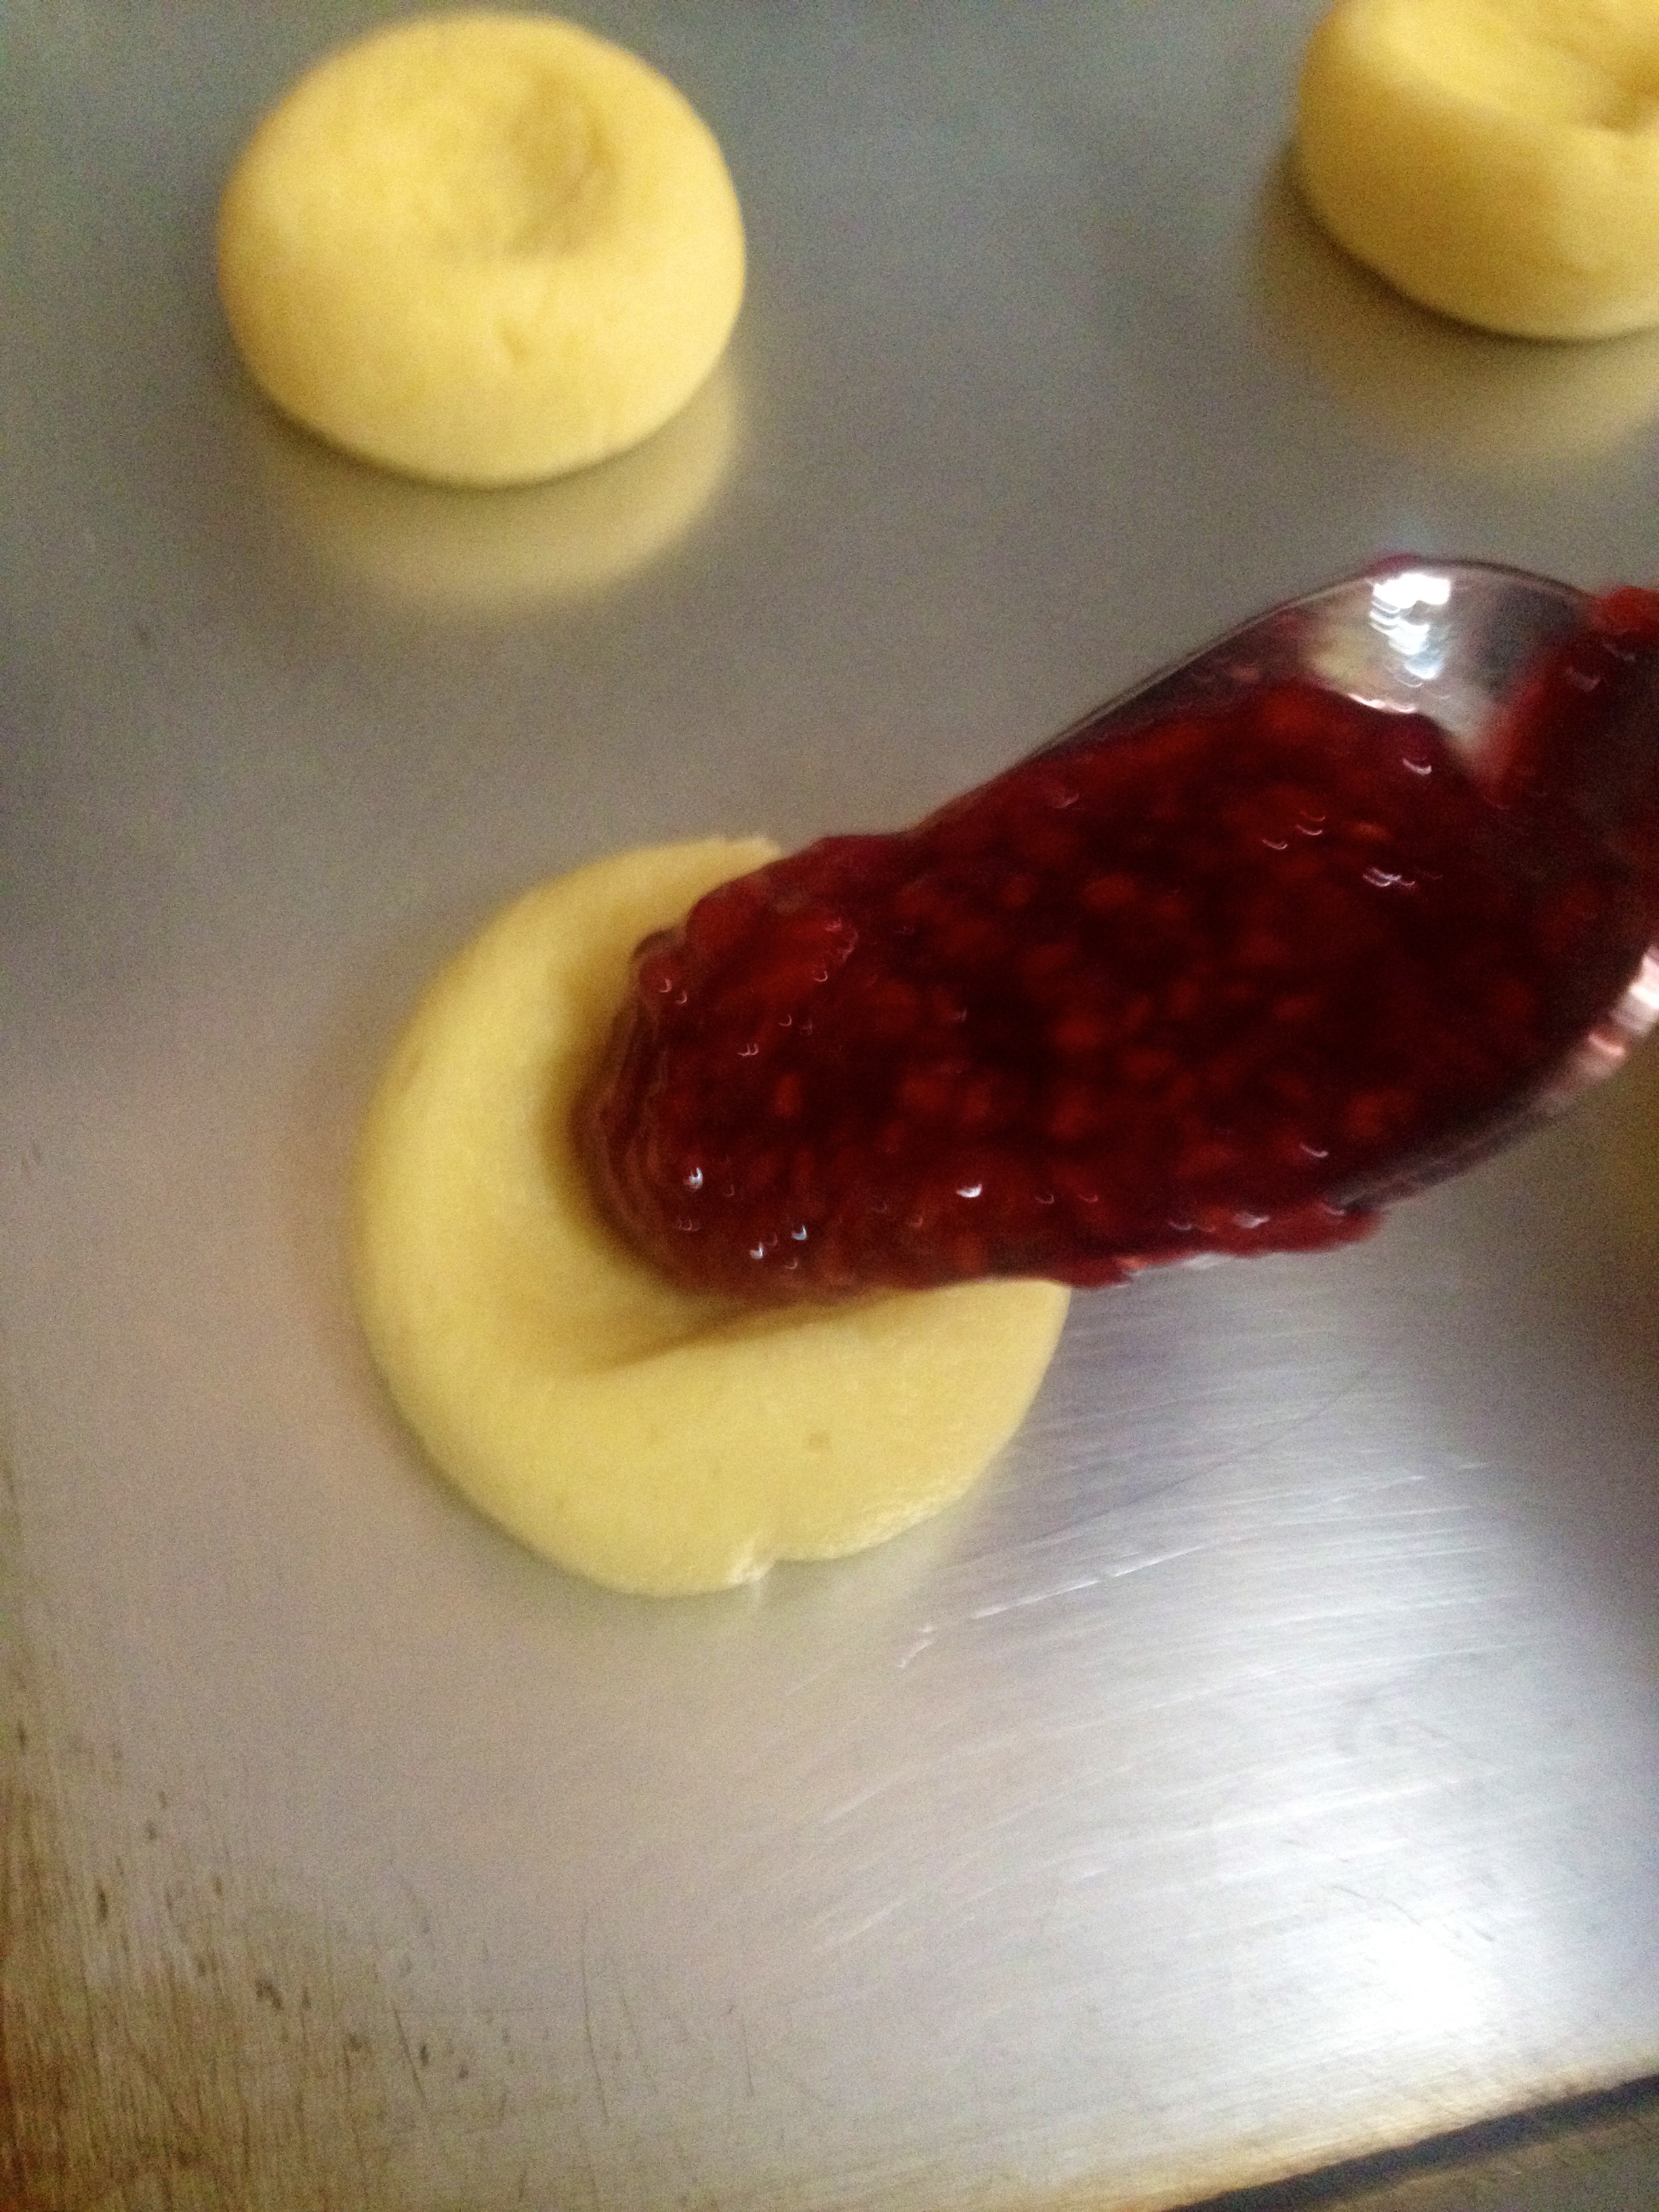
Now add your favorite flavor of jelly or jam to the center of each dough ball. My great-aunt Sadie, who gave this recipe to me, warned me: “Go easy on the jelly when you’re filling these, because when it bakes it can overflow!”
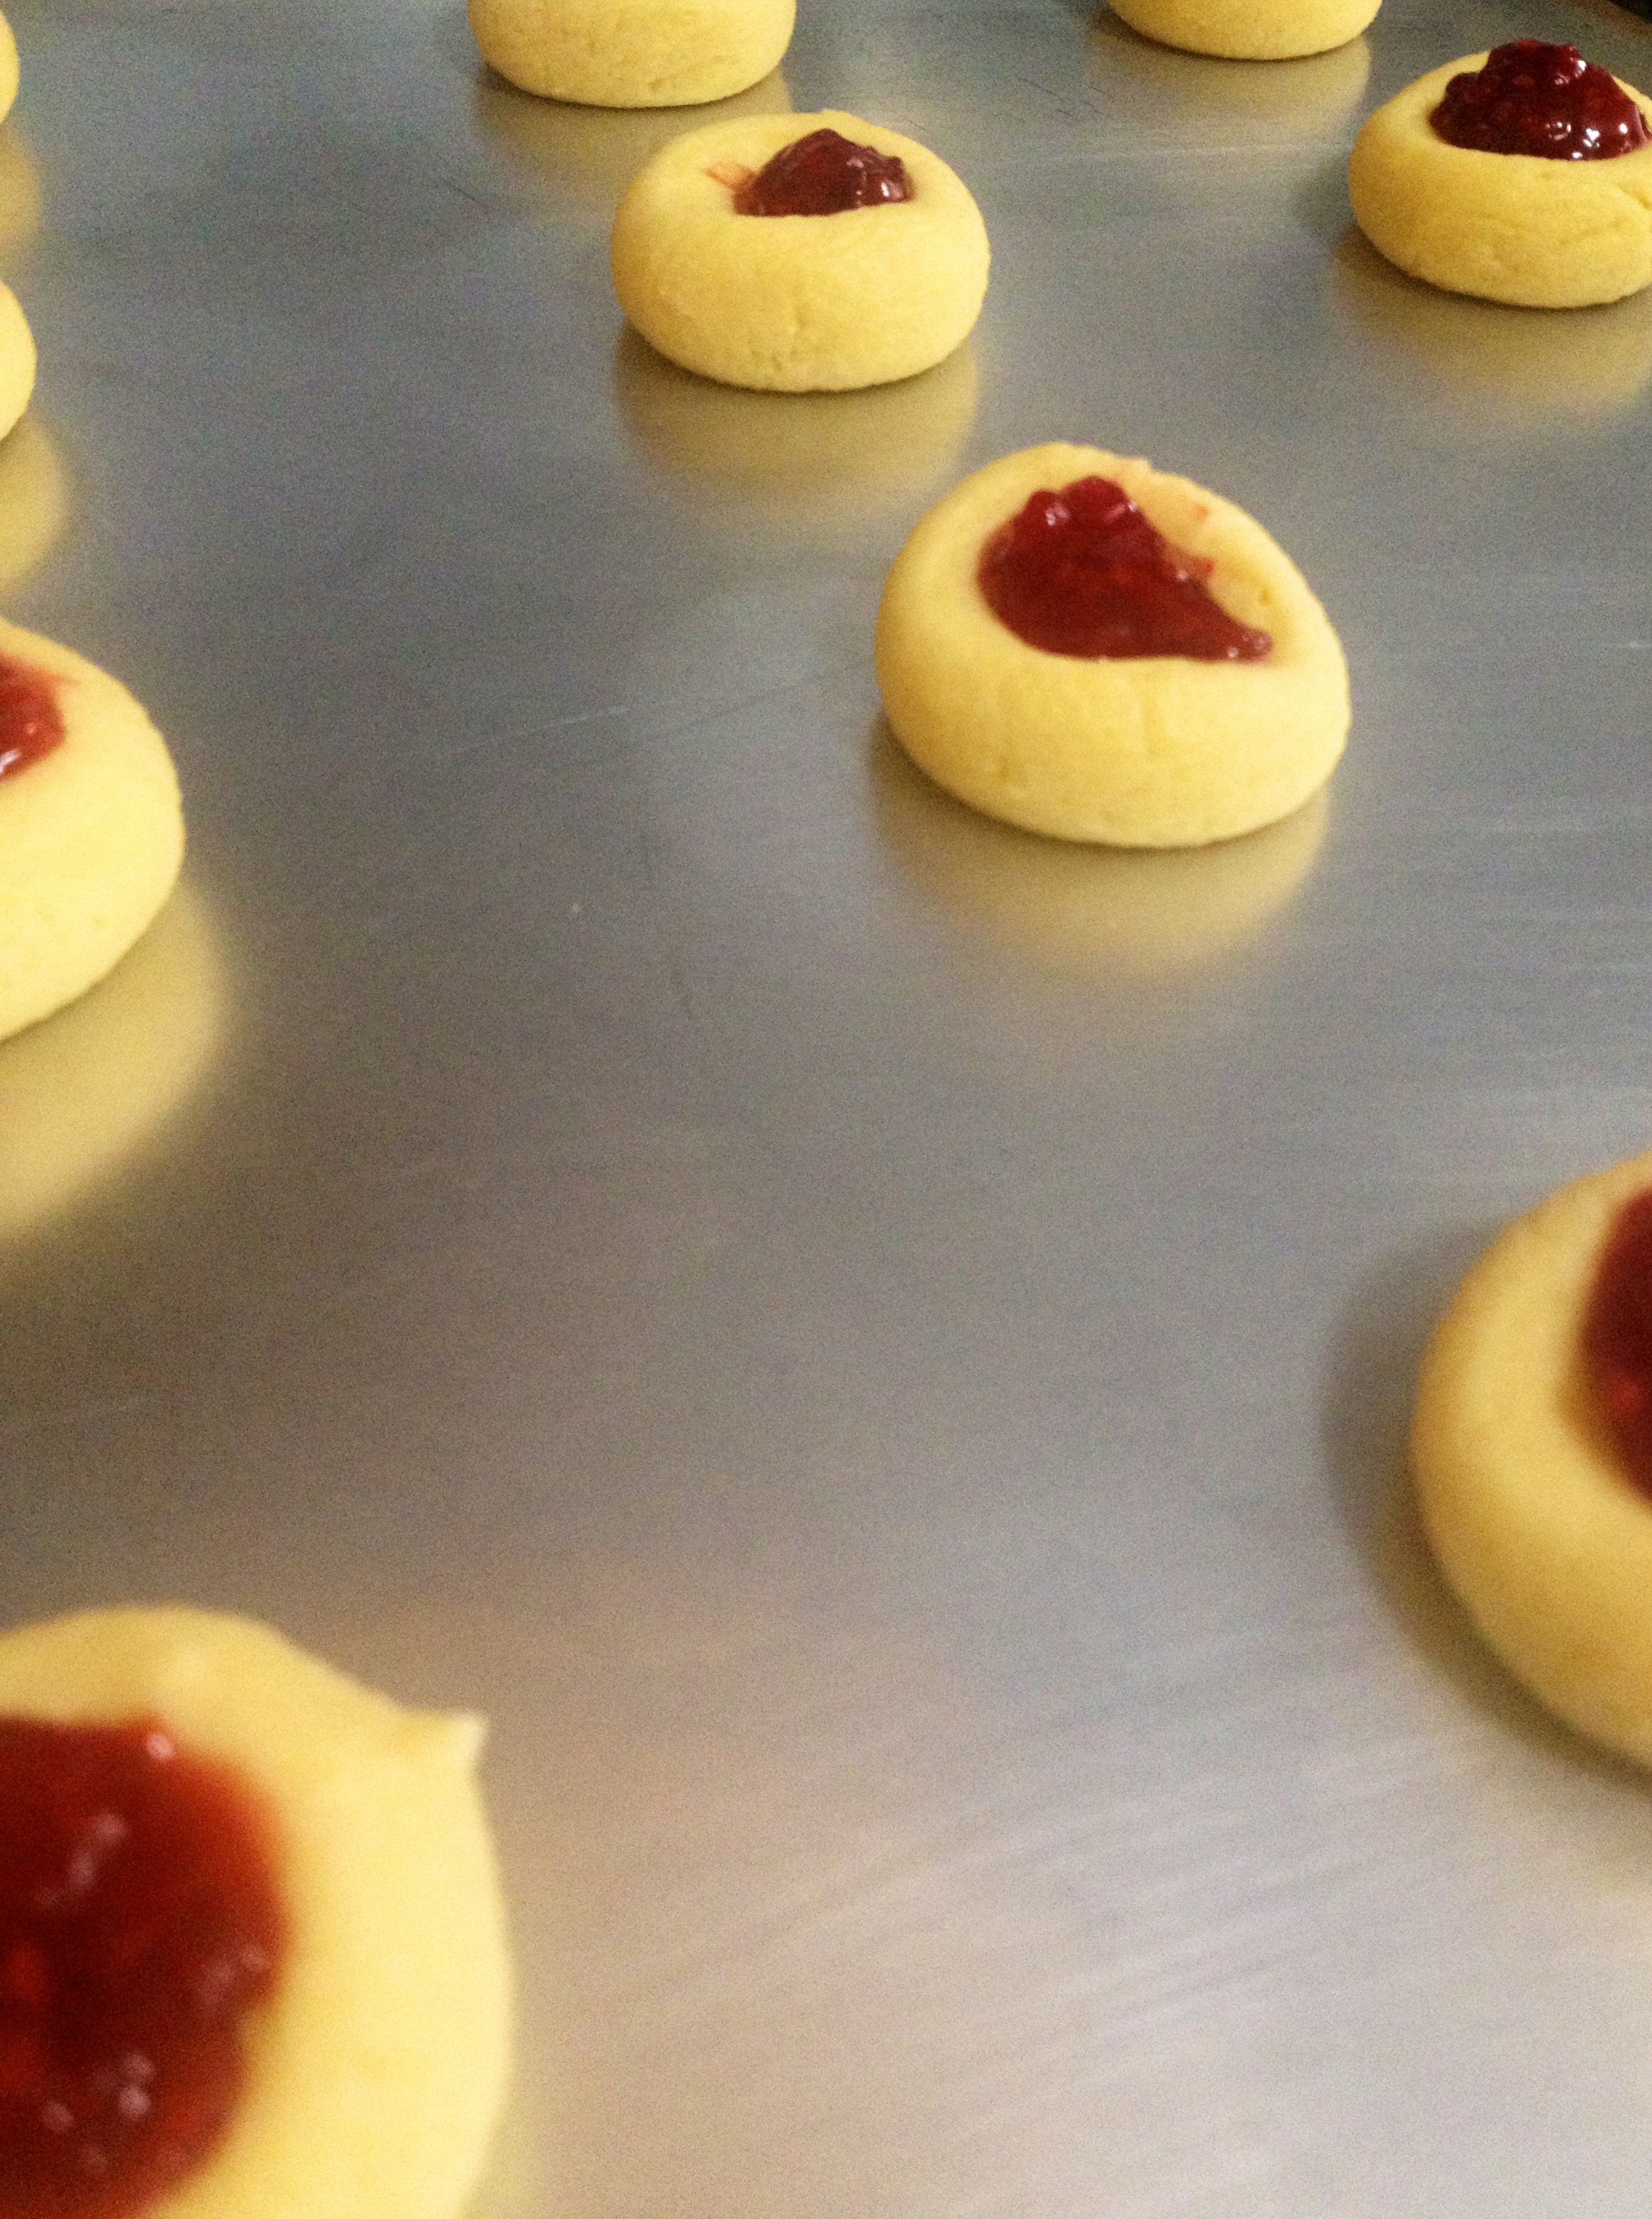
Bake the cookies in a 350ºF oven for 15-20 minutes, or until the cookies are lightly browned.
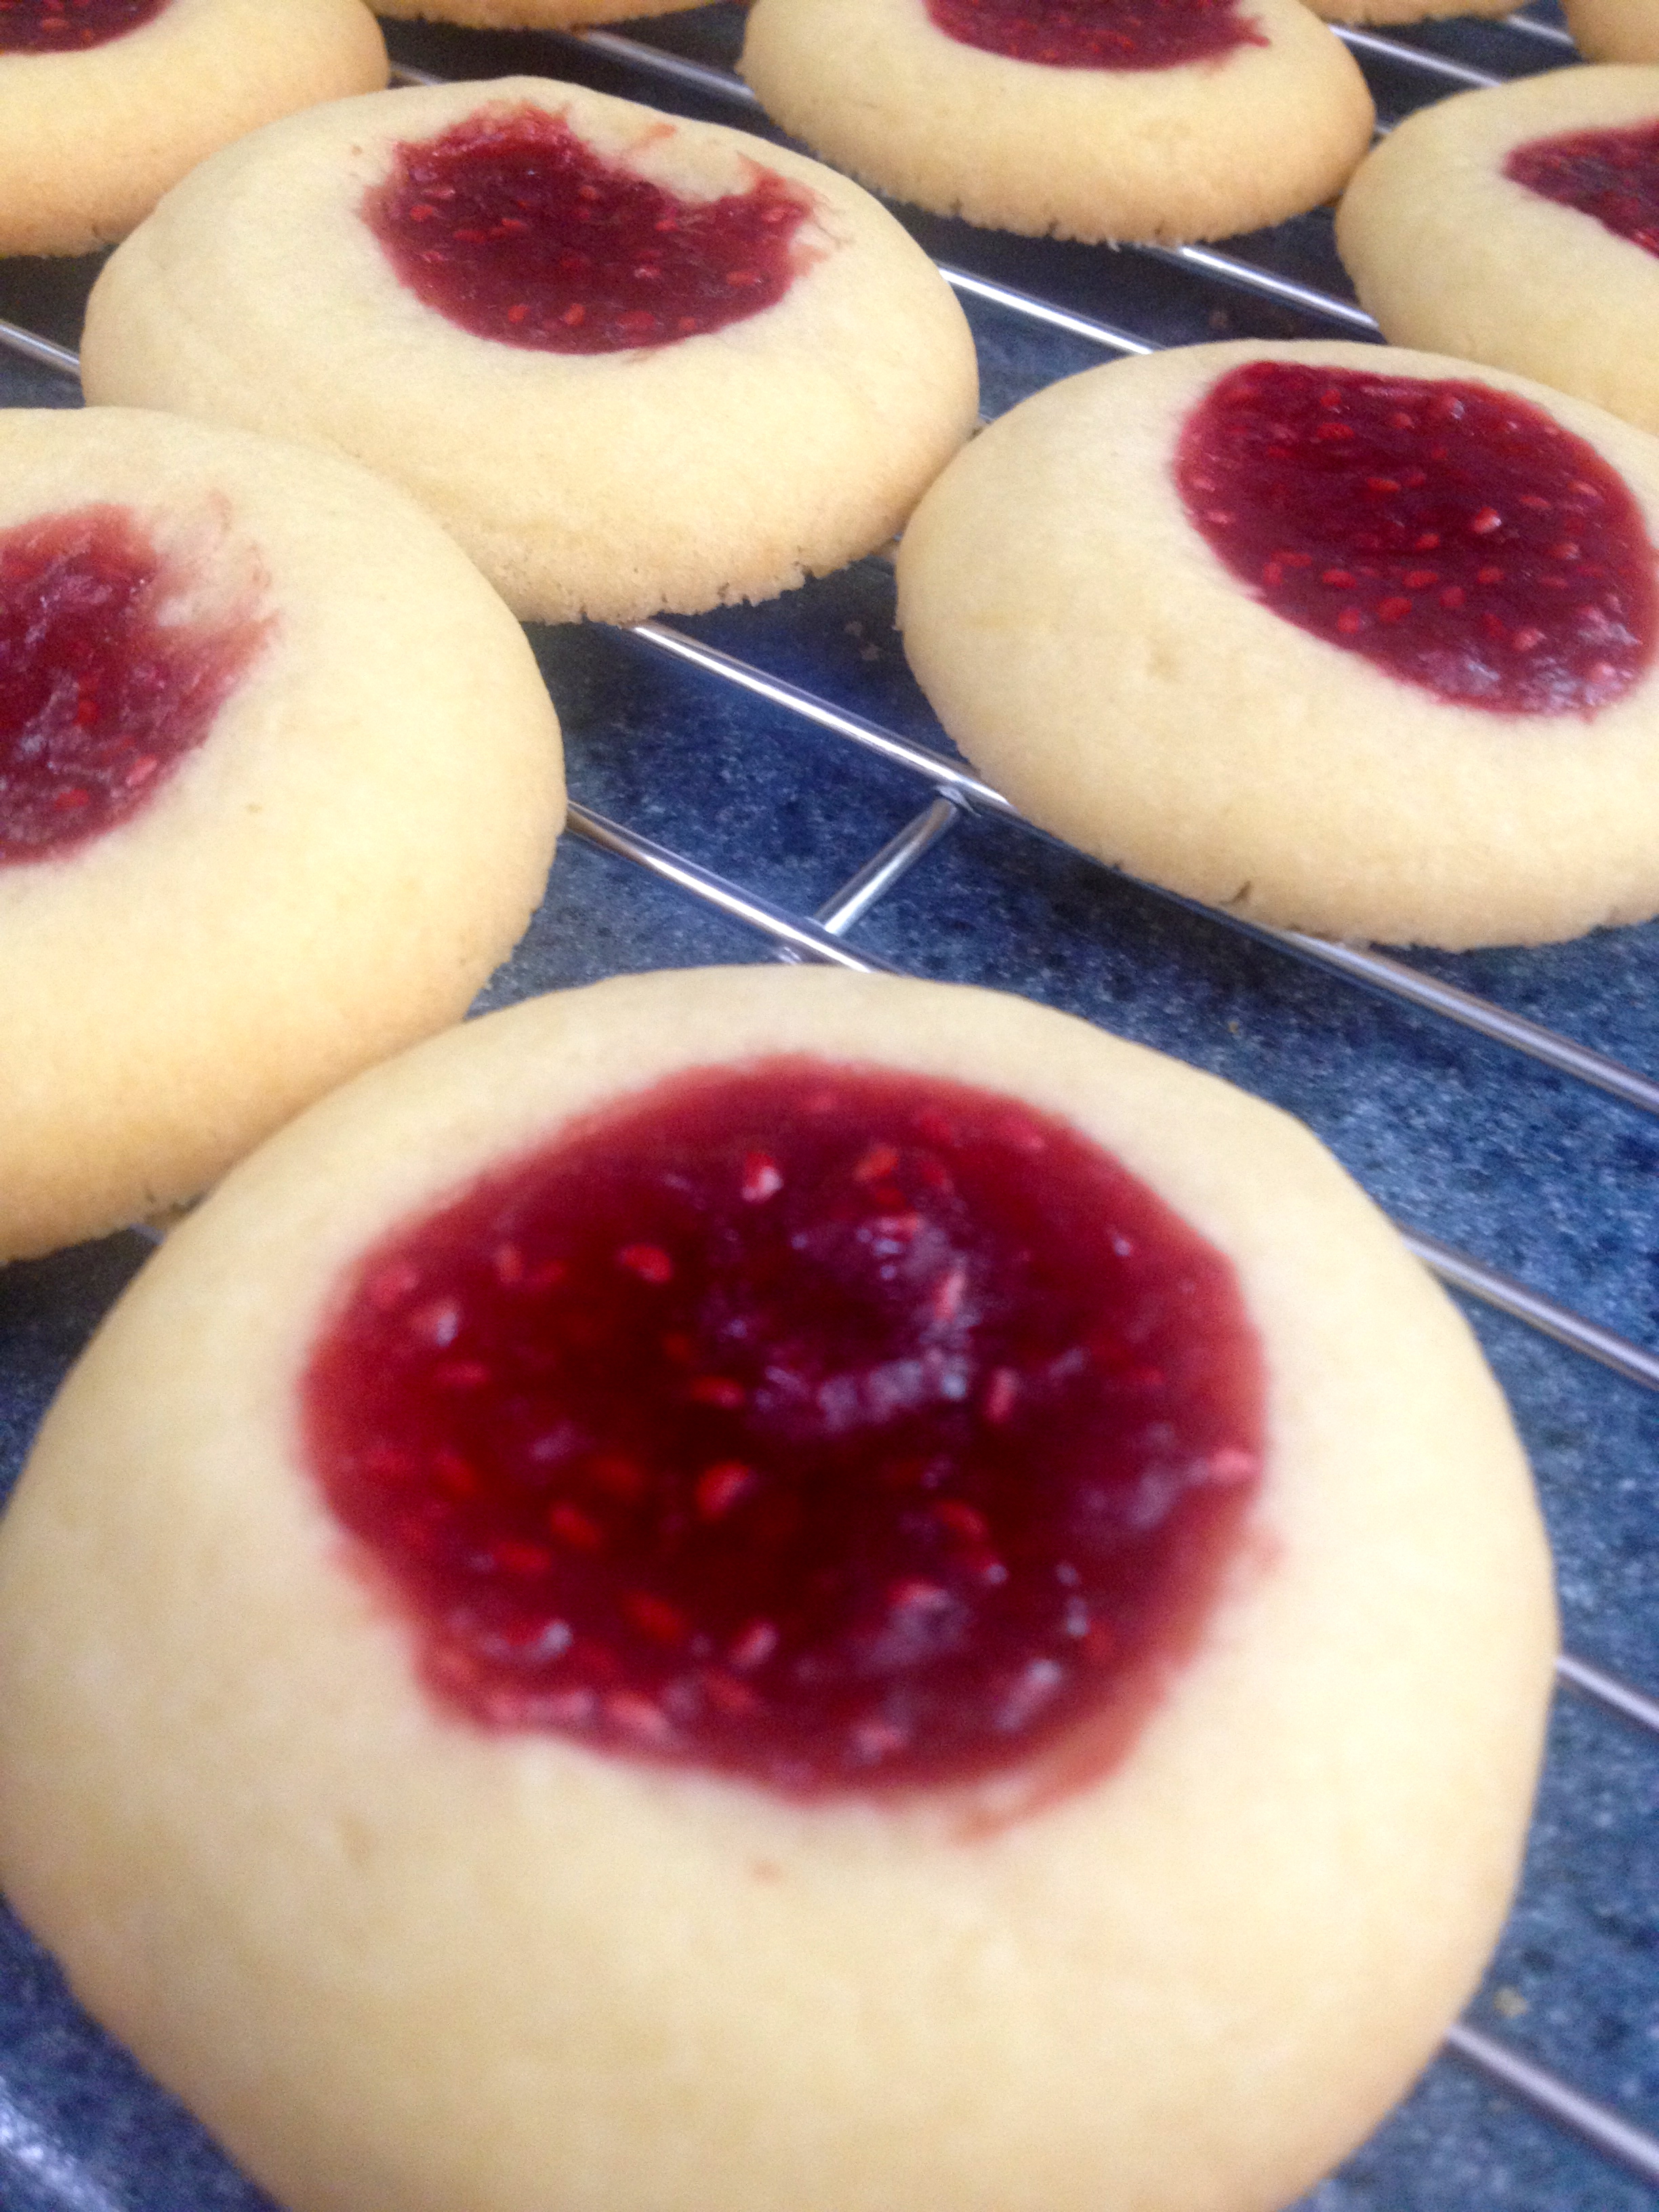
And that’s all there is to it! This recipe is so simple, but let me tell you, it’s scrumptious. And of course, the homemade raspberry jam took the flavor of these cookies to a whole new level. I really hope you get a chance to try these cookies- they take only about 30 minutes from start to finish, and you won’t regret making them! Happy baking!
I like to make the cookies really tiny so the jelly to cookie ratio is higher. 🙂
Ruth, these sound so yummy. And I love your family stories. I just want to know, how many cookies does this recipe make?
This recipe makes about 40 cookies, give or take a few depending on how large you make the dough balls!
See, I like it so that it’s an equal ratio, because I like the cookie part a lot too!