Hi friends! I hope you’re all having a stellar June, and congratulations to all the high school graduates! Today, the recipe is a remake of a favorite summer dessert- s’mores! I’ve been seeing this recipe pop up all over Facebook, and I knew I had to give it a try and share it with my non-Facebook readers. This is seriously one of the simplest recipes you’ll find. Let’s dig in!
Ingredients:
- 10 oz bag of marshmallows (the medium/large marshmallows work well)
- 1 cup semi-sweet chocolate chips
- 3 bars Hershey milk chocolate
- Any other chocolate you have on hand and want to use
- 1 package Graham crackers
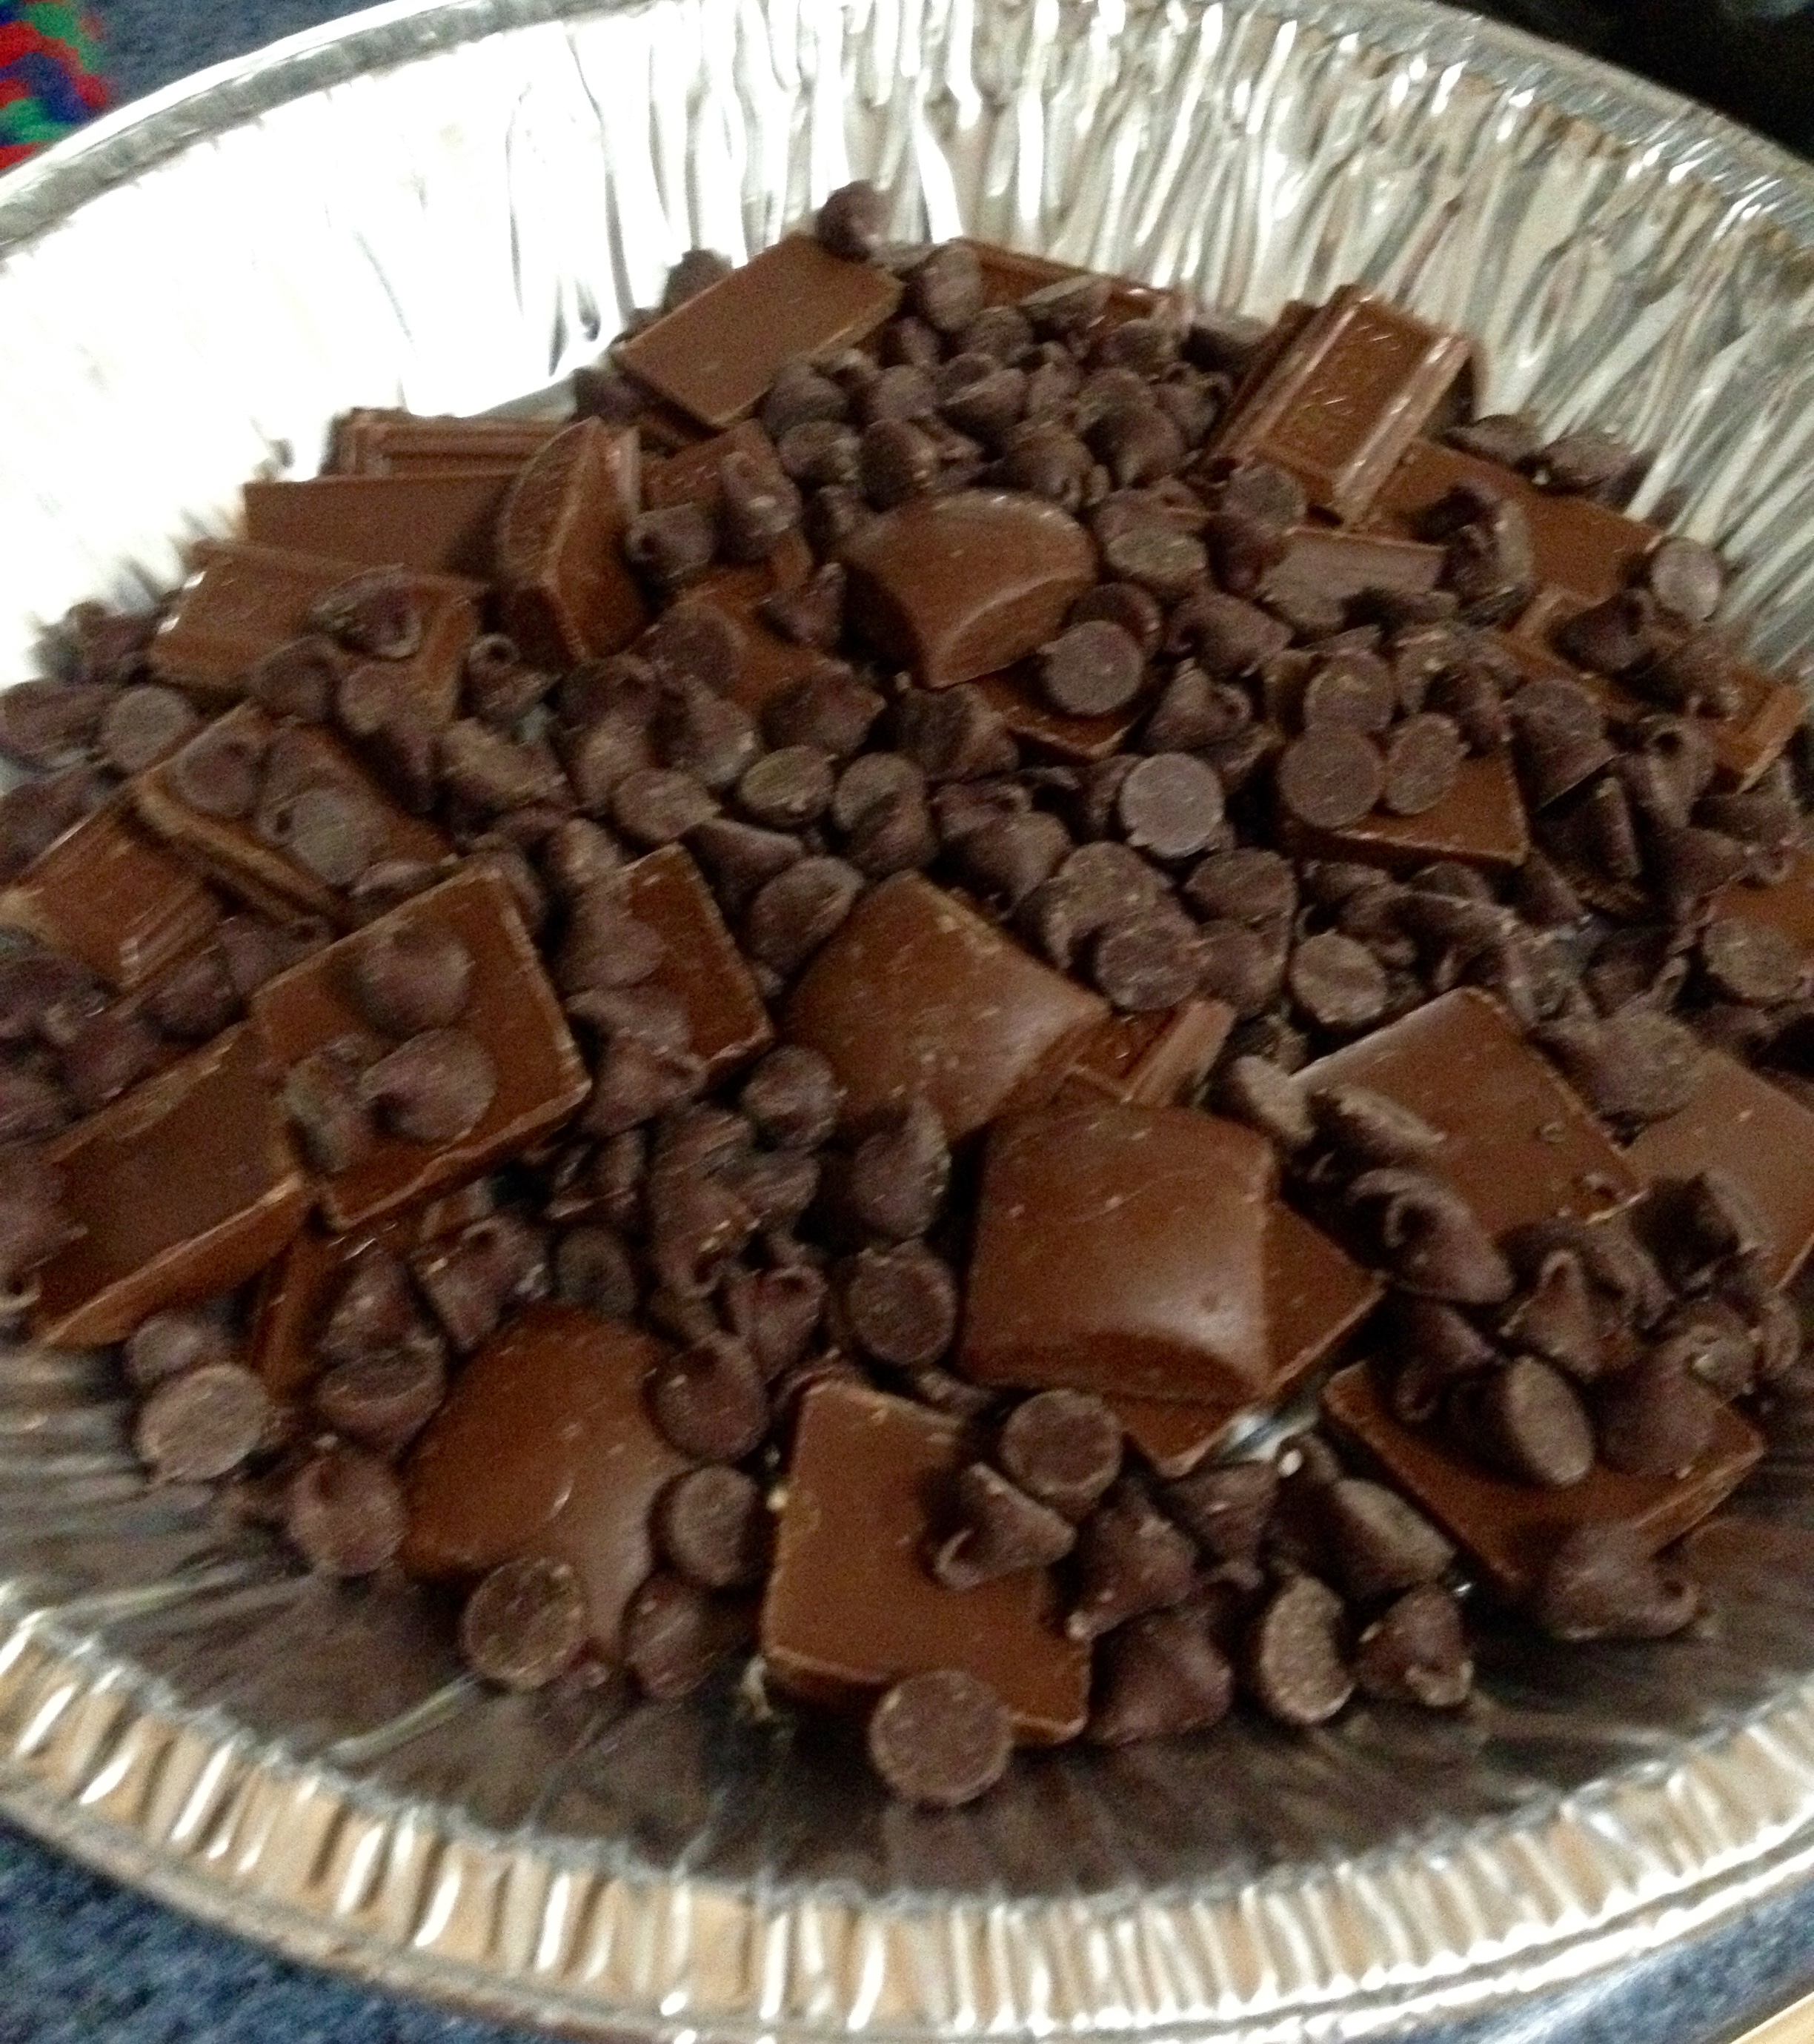
A note about the chocolate- it really doesn’t matter what type you use. I used a mixture of three different chocolates (Hershey milk chocolate, Hershey Bliss milk chocolate, and semisweet chips), and it was delicious because the flavors mixed into a really yummy deep chocolate. If you only have chocolate chips on hand, that will work well too! This is a flexible recipe.
Pour the chocolate into the bottom of an aluminum pie dish, or another pie dish that you may have on hand. Arrange the chocolate into a single layer so that it evenly melts.
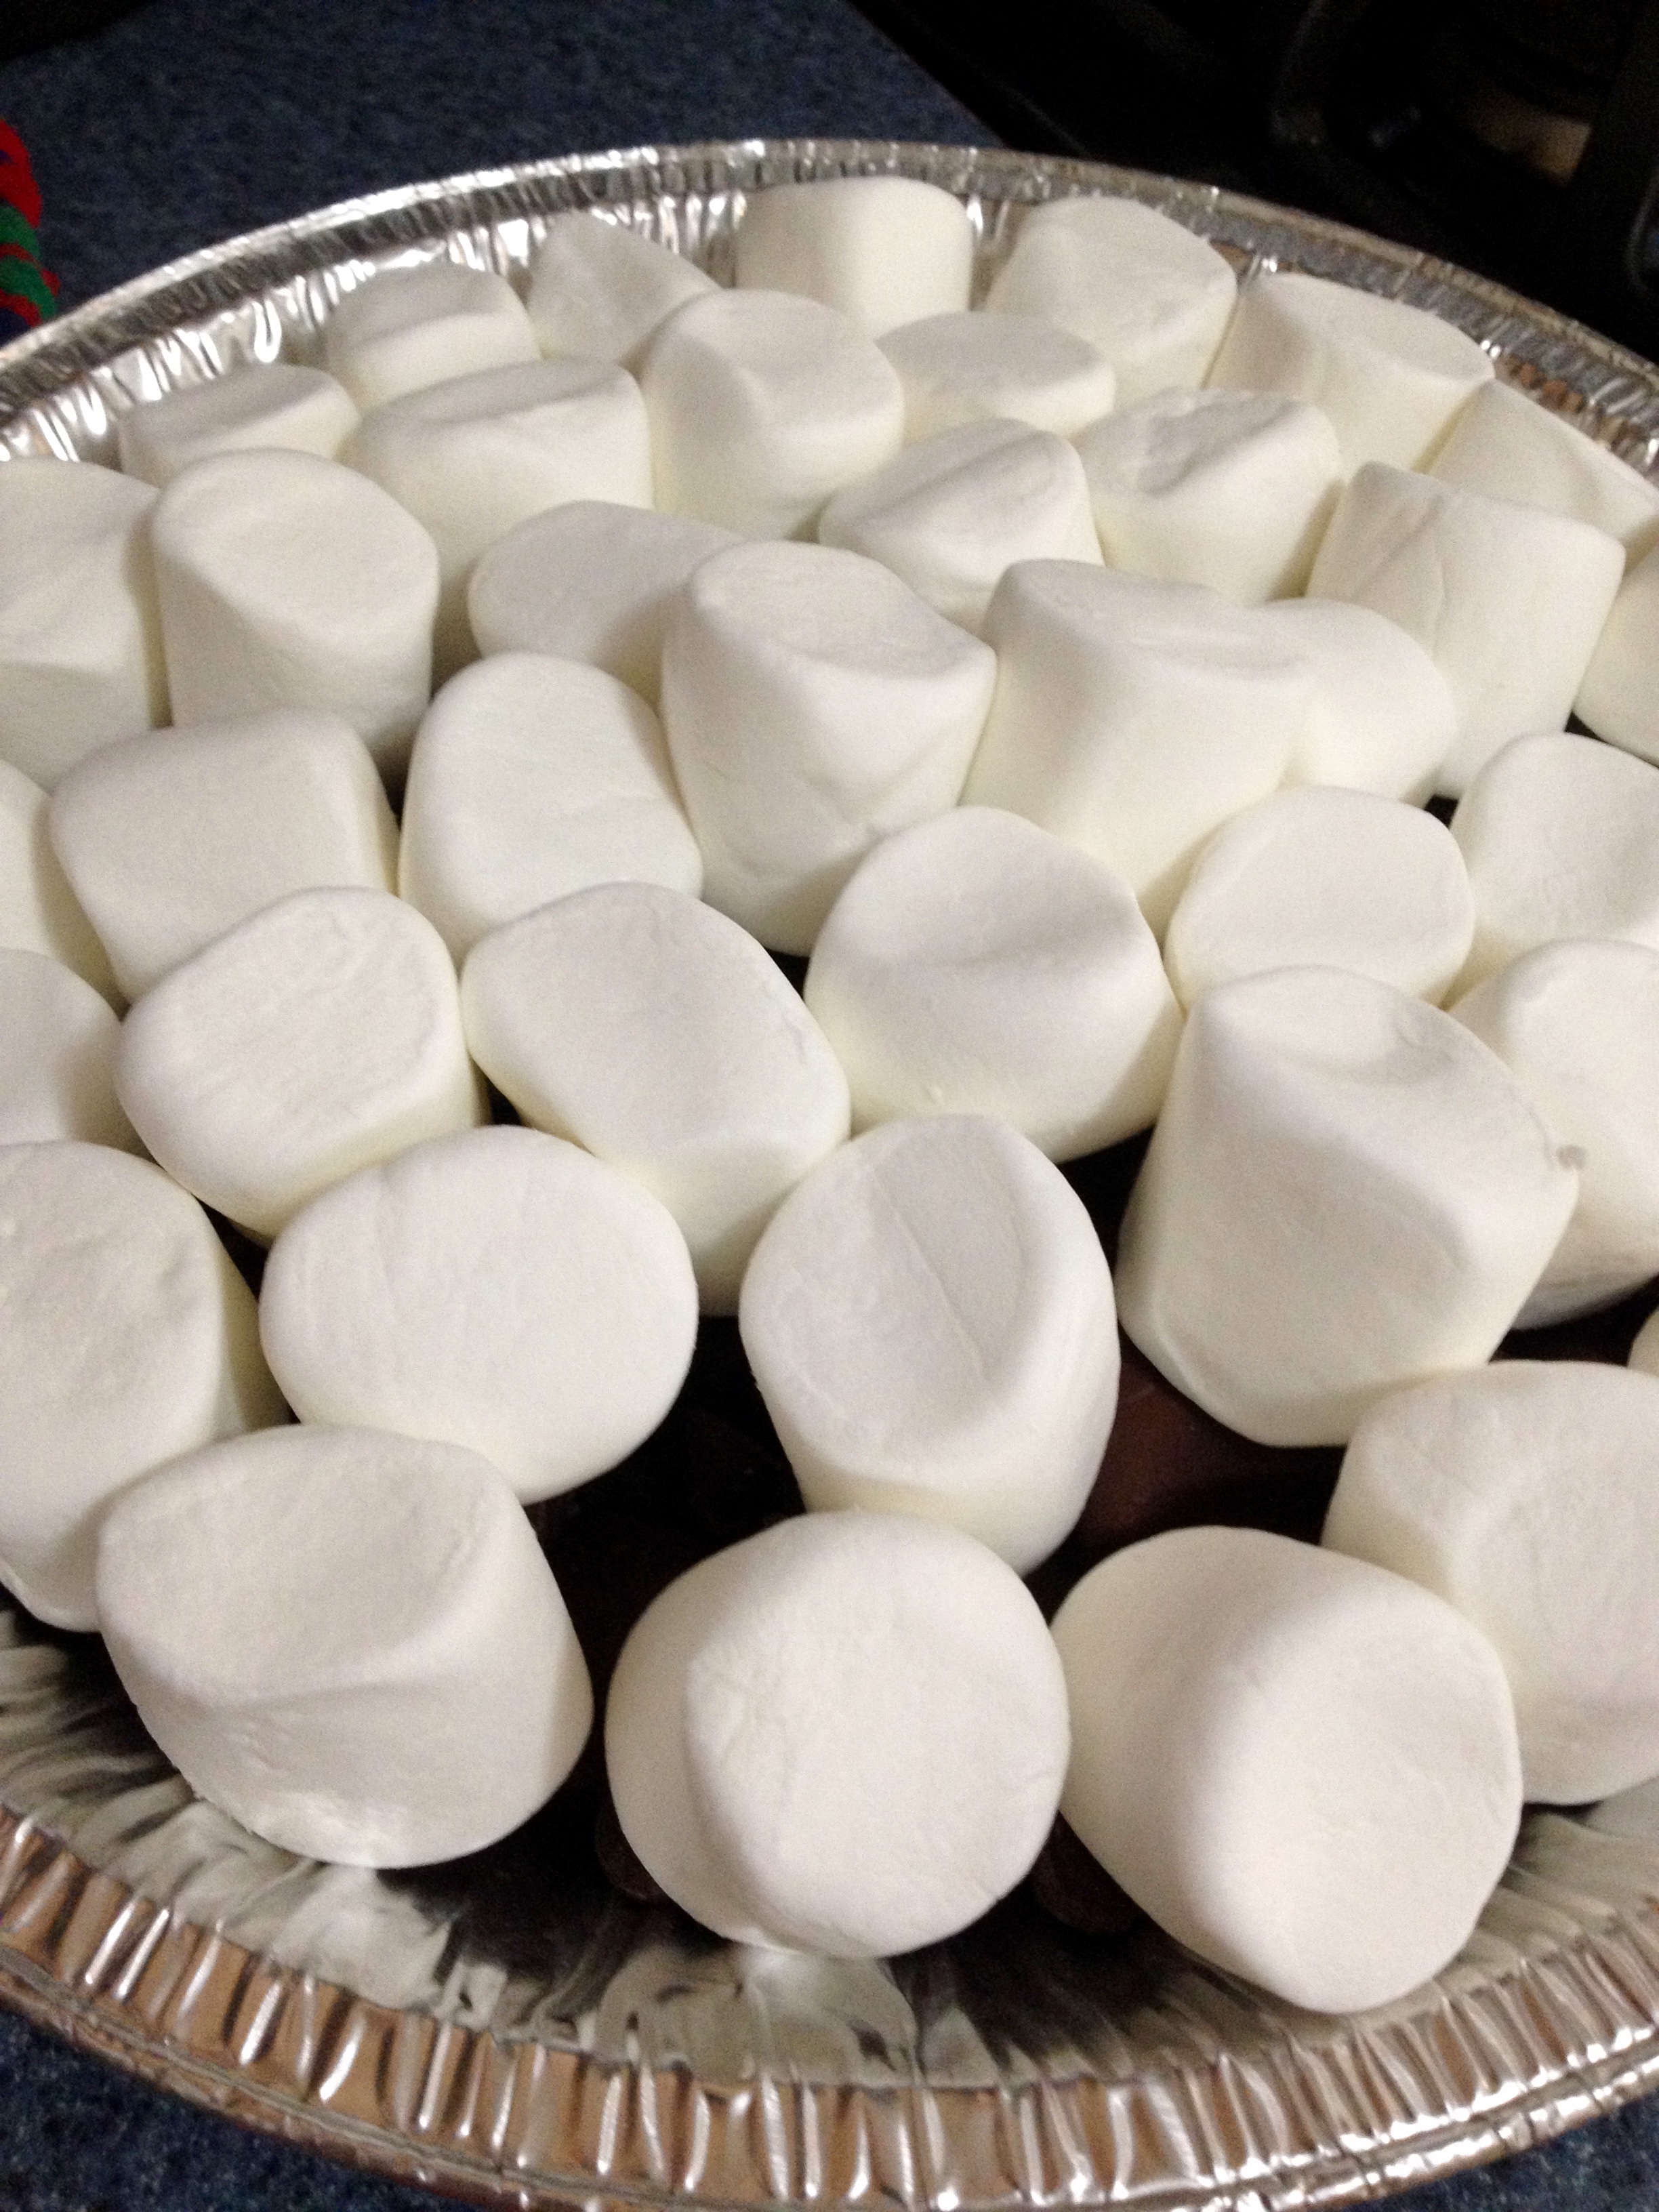
Arrange the marshmallows in concentric circles on top of the chocolate.
Now, put the dish in the oven to broil. I used a low broil setting to simulate slow toasting over a fire! After the marshmallows are toasted nicely, turn the oven onto 350°F and leave the dish in just until the chocolate is melt-y. You’ll be able to see if it’s melted through the marshmallows, so no worries about that! When you’re satisfied with the condition of your chocolate and marshmallows, take it out of the oven and… voilà!
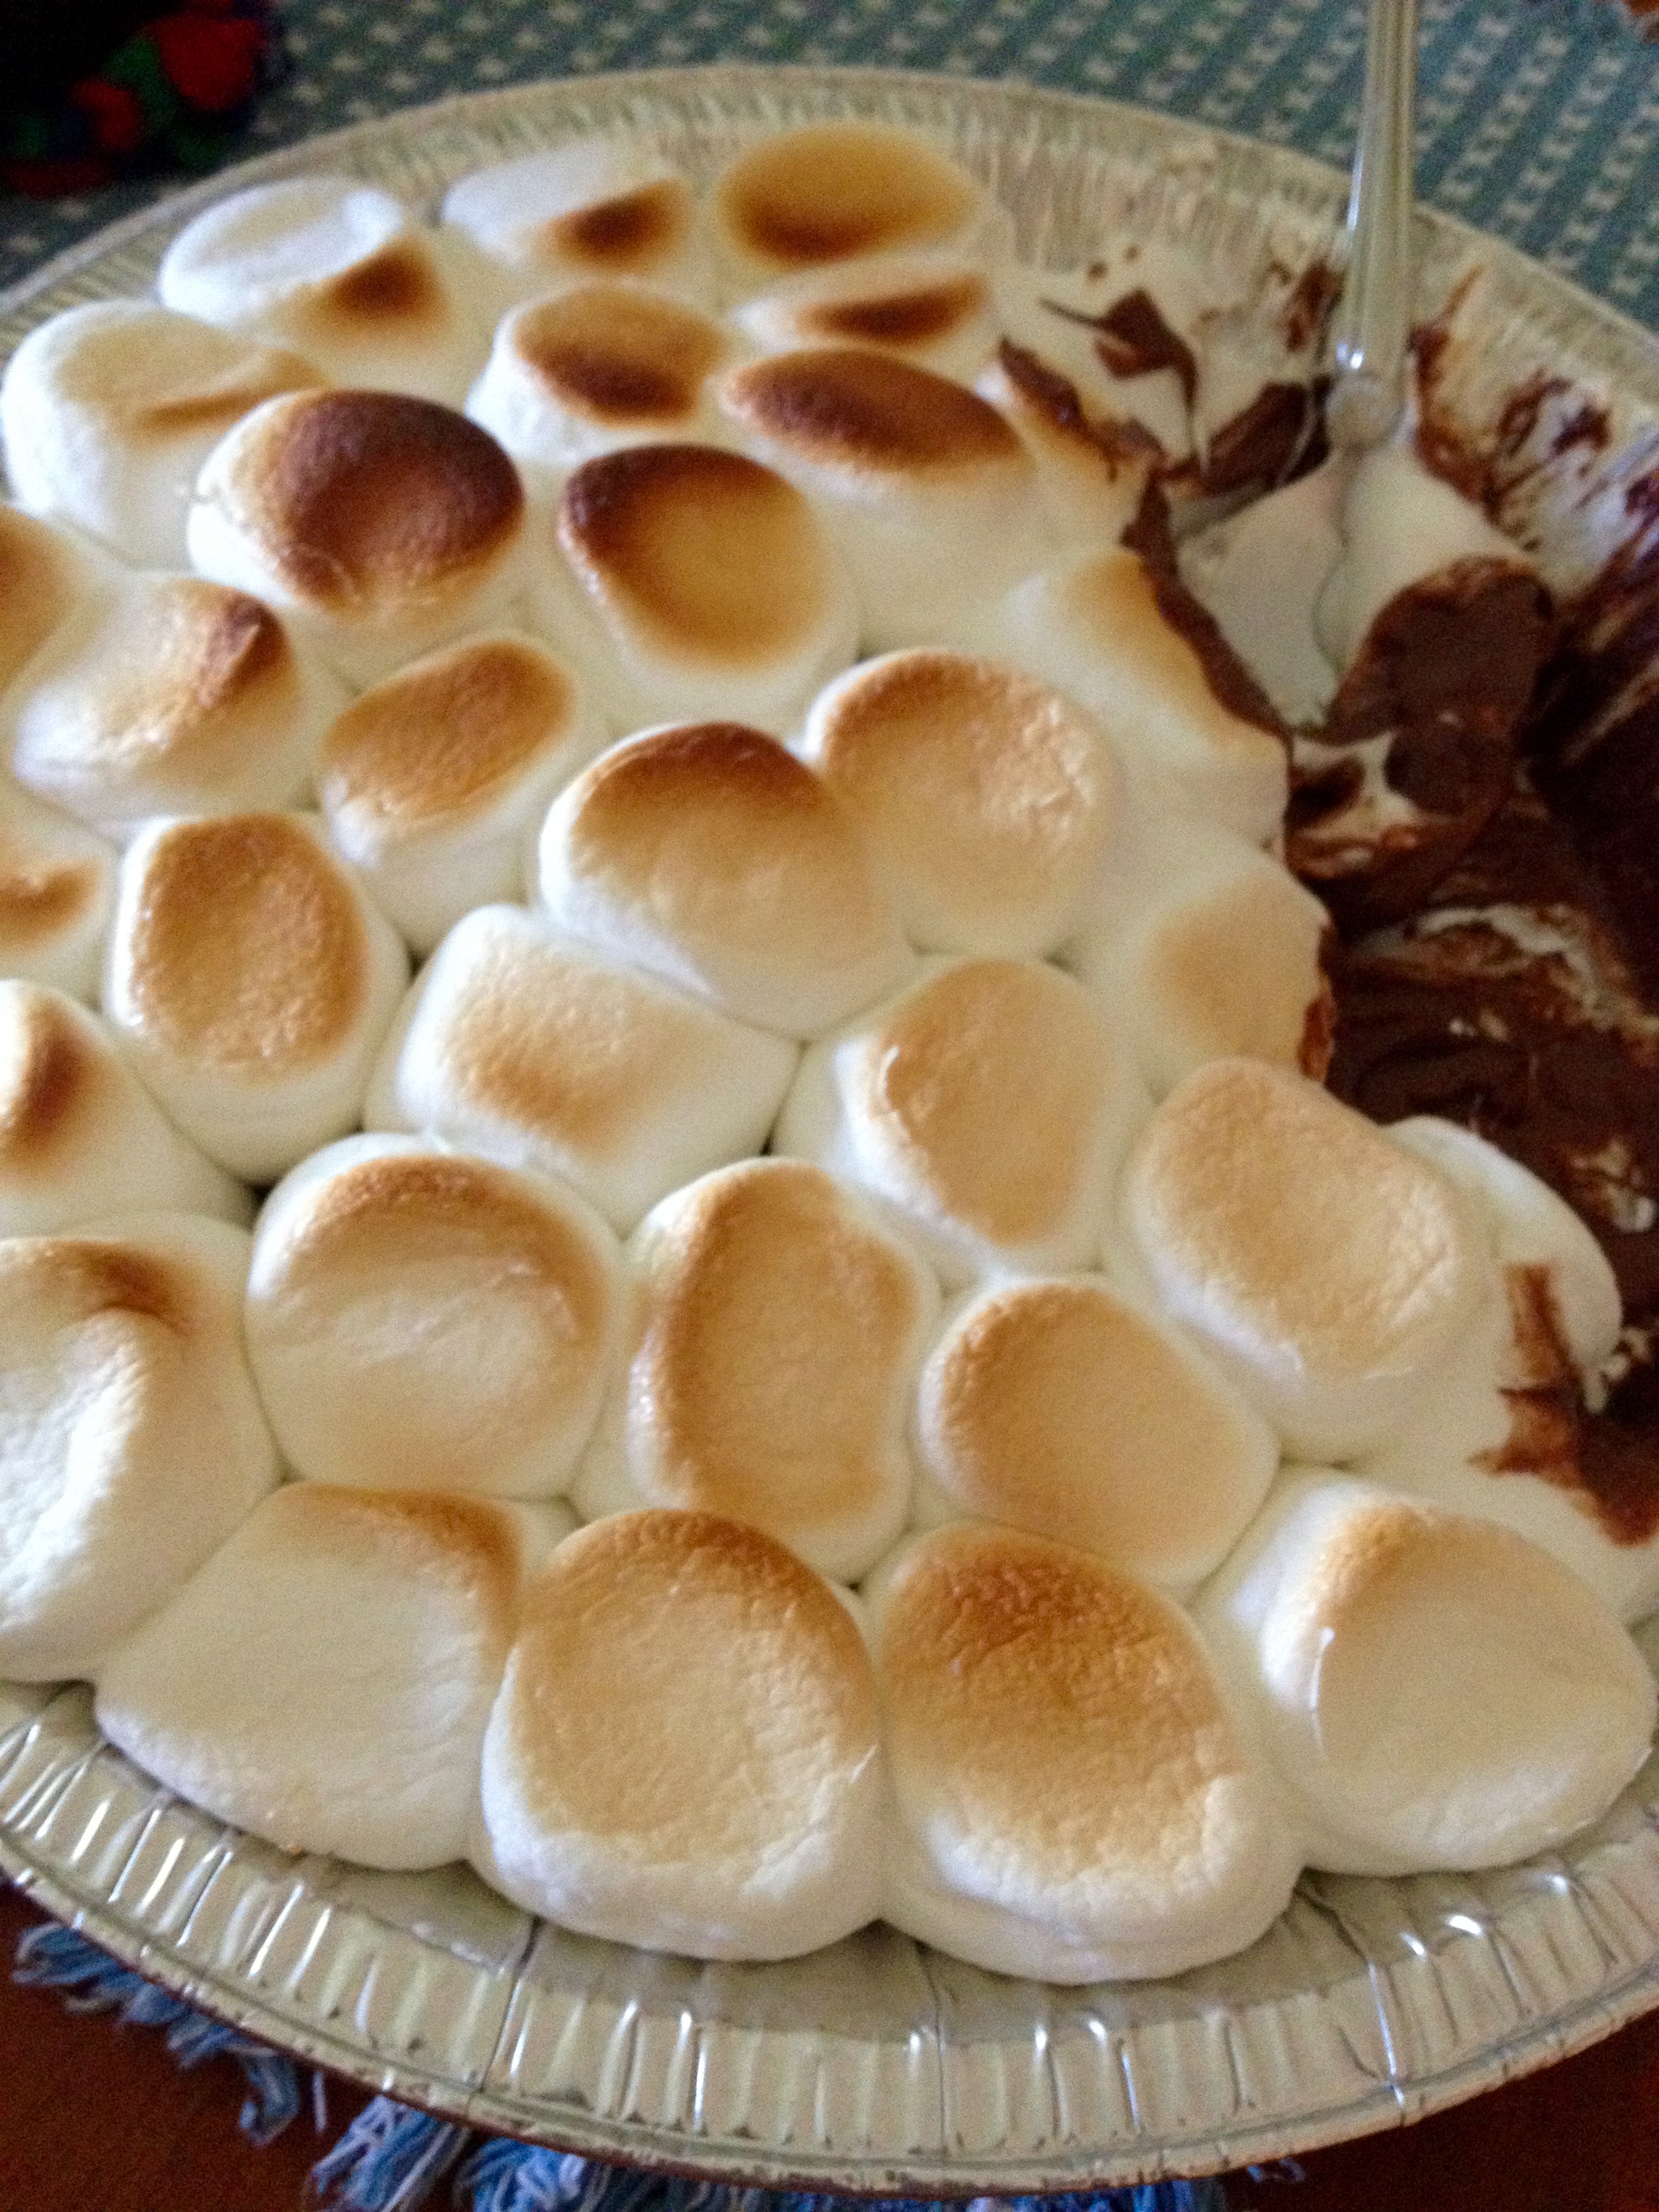
Use your Graham crackers (or a spoon, whatever!) to scoop the yummy dip, and enjoy! This serves a ton of people, so this is a great dish for a summer party! Just a note, this dip also keeps well for a few days. The chocolate does re-harden, but you can melt it again or just eat it with hardened chocolate. I did both, and it was delicious! I hope you give this summer fun recipe a try. Happy baking!