Hello, all! Happy Thanksgiving week! We have officially entered holiday season, which is the best time of year to get some baking in, and a time that is full of friends and family. I was lucky enough to herald in the holiday season with a few of my closest friends for our first “Friendsgiving”. We all contributed to the meal, and my job was (of course) the dessert. I made pumpkin pie, but not the traditional way. In my family, we call this recipe “PNG Pumpkin Pie” because it’s the recipe my Mom used when we lived in Papua New Guinea. It’s less sweet and firmer than traditional pumpkin pie, and I much prefer it to regular pumpkin pie. I decided to take it up a notch by roasting my own pumpkin instead of using canned pumpkin. Here’s the recipe:
Pie Filling Ingredients:
- 15 oz pureed pumpkin (you can use canned pumpkin)
- 3 eggs, beaten
- 1 1/2 cup evaporated milk
- 1 1/2 tsp ground cinnamon
- 1/2 tsp salt
- 3/4 cup sugar
Pie Crust Ingredients:
- 1 1/3 cup all-purpose flour
- 1/2 tsp salt
- 1/2 cup shortening
- 3 Tbsp water
Let’s start with how to roast the pumpkin. Like I mentioned above, it’s not necessary to roast your own pumpkin, but I think it’s a great way to use up your sugar pumpkins that you used for fall decorations!
First, preheat the oven to 350ºF. Line a baking sheet with foil, and place your pumpkin (a small sugar pumpkin) on the foil. Pierce the top of the pumpkin around the stem about eight times so that while the pumpkin is roasting, the steam can leave the pumpkin instead of building up and exploding the pumpkin.
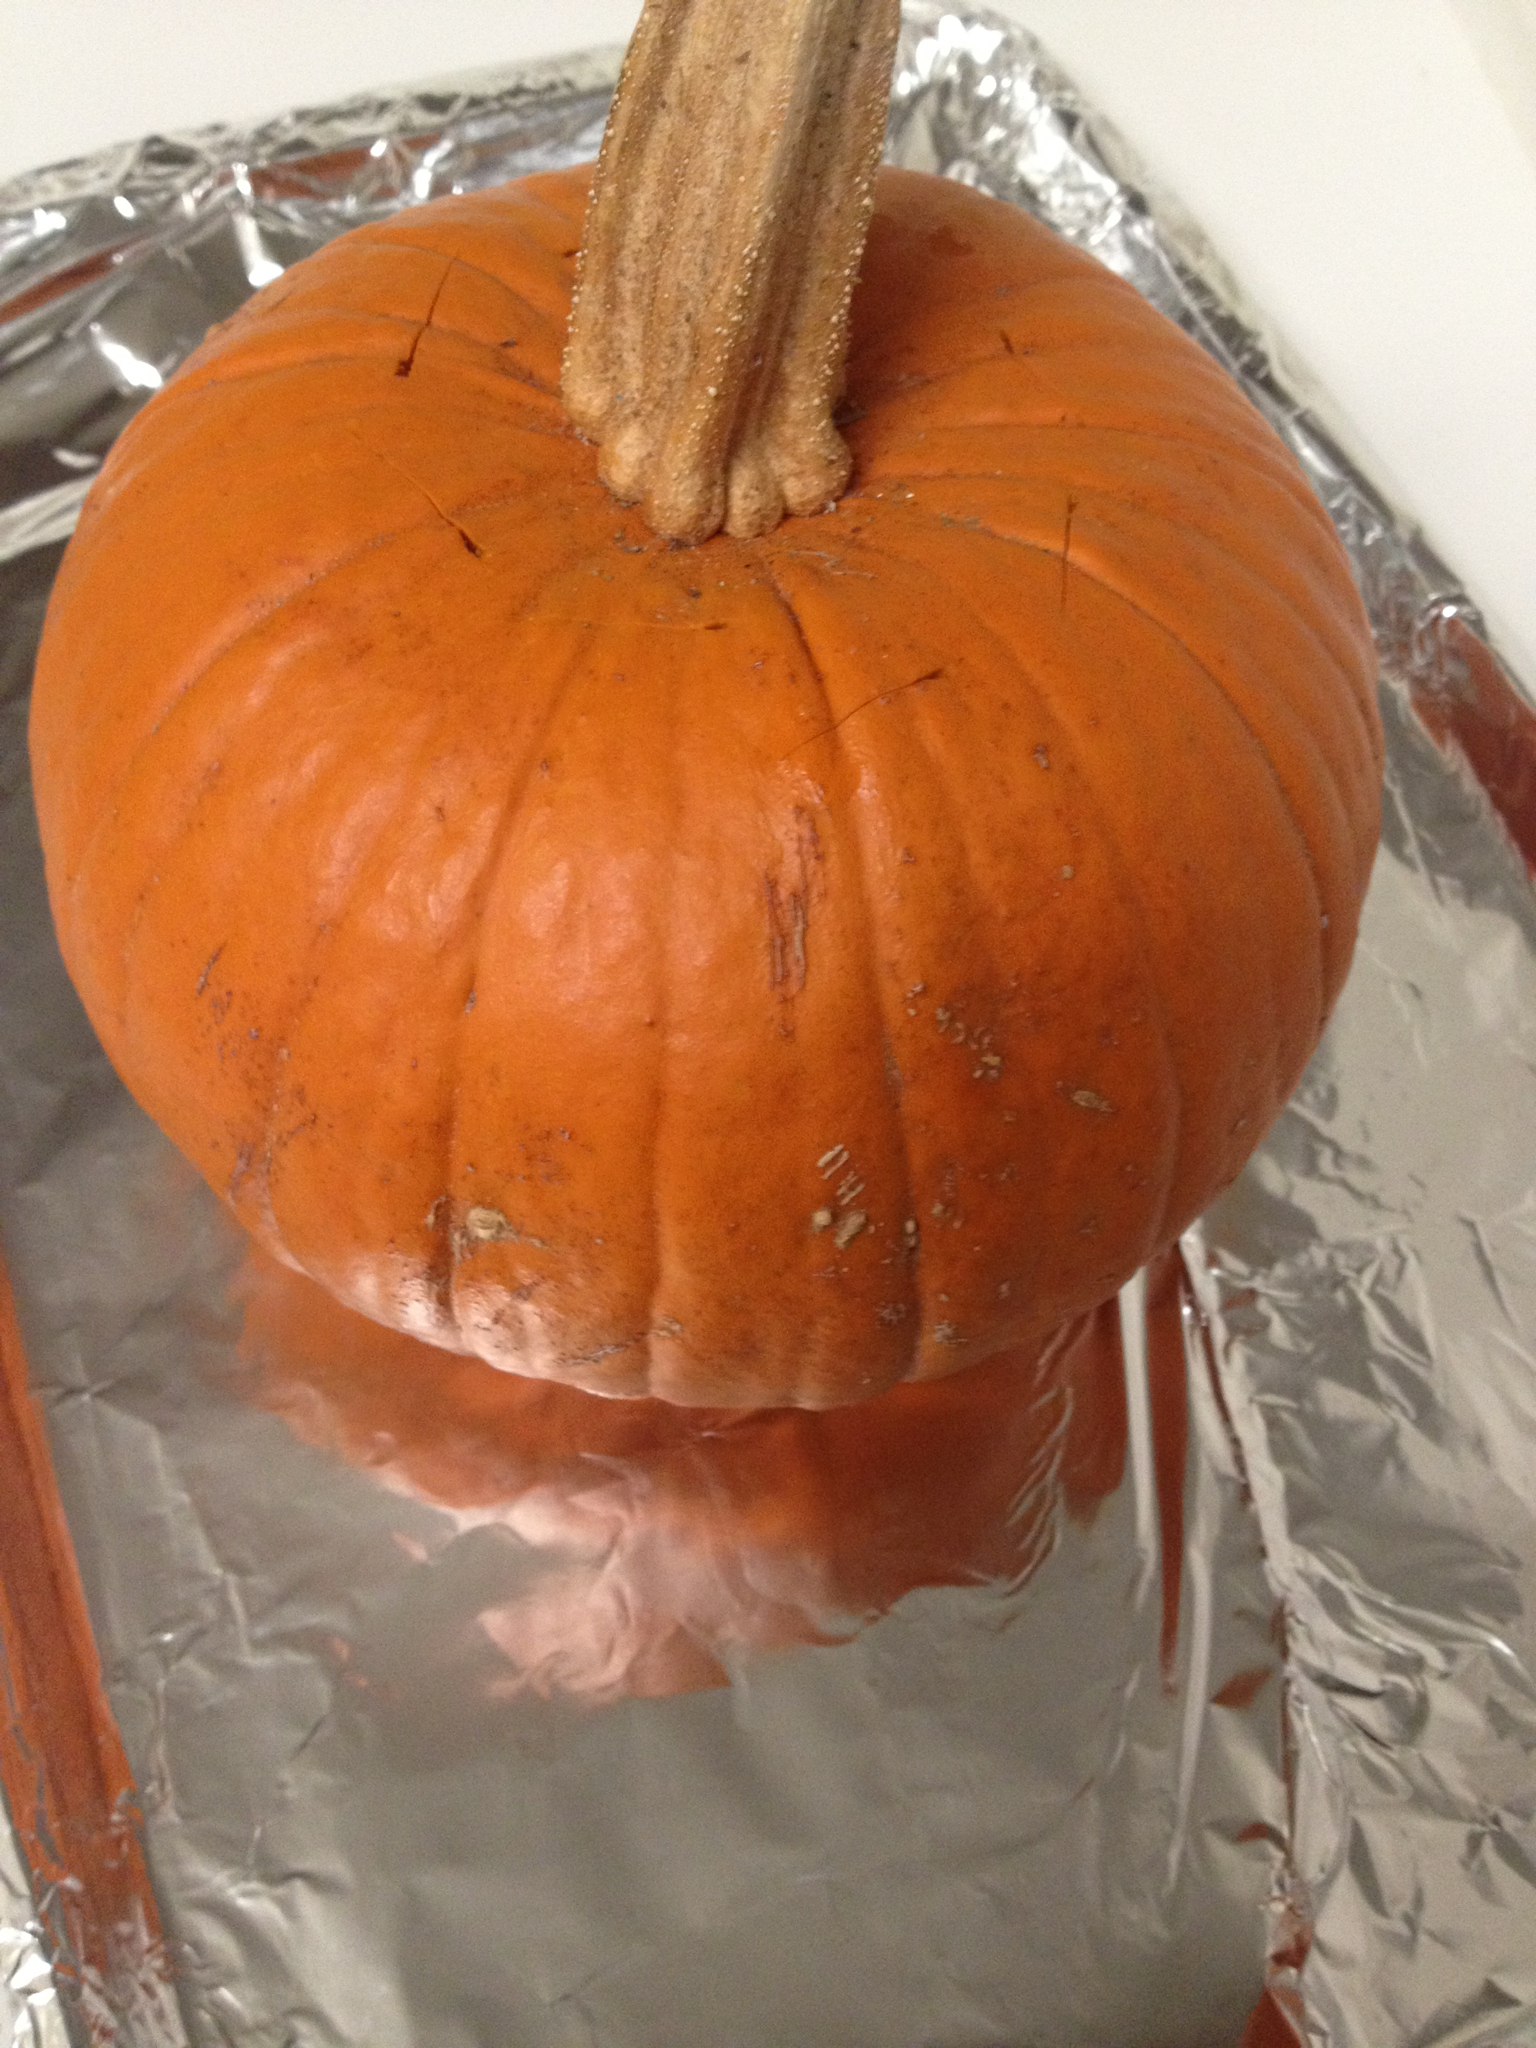
Roast the pumpkin at 350ºF for 2 hours until the pumpkin is brown and slumped. The skin will separate from the flesh of the pumpkin. Let it cool so that you can peel off the skin without burning your fingers.

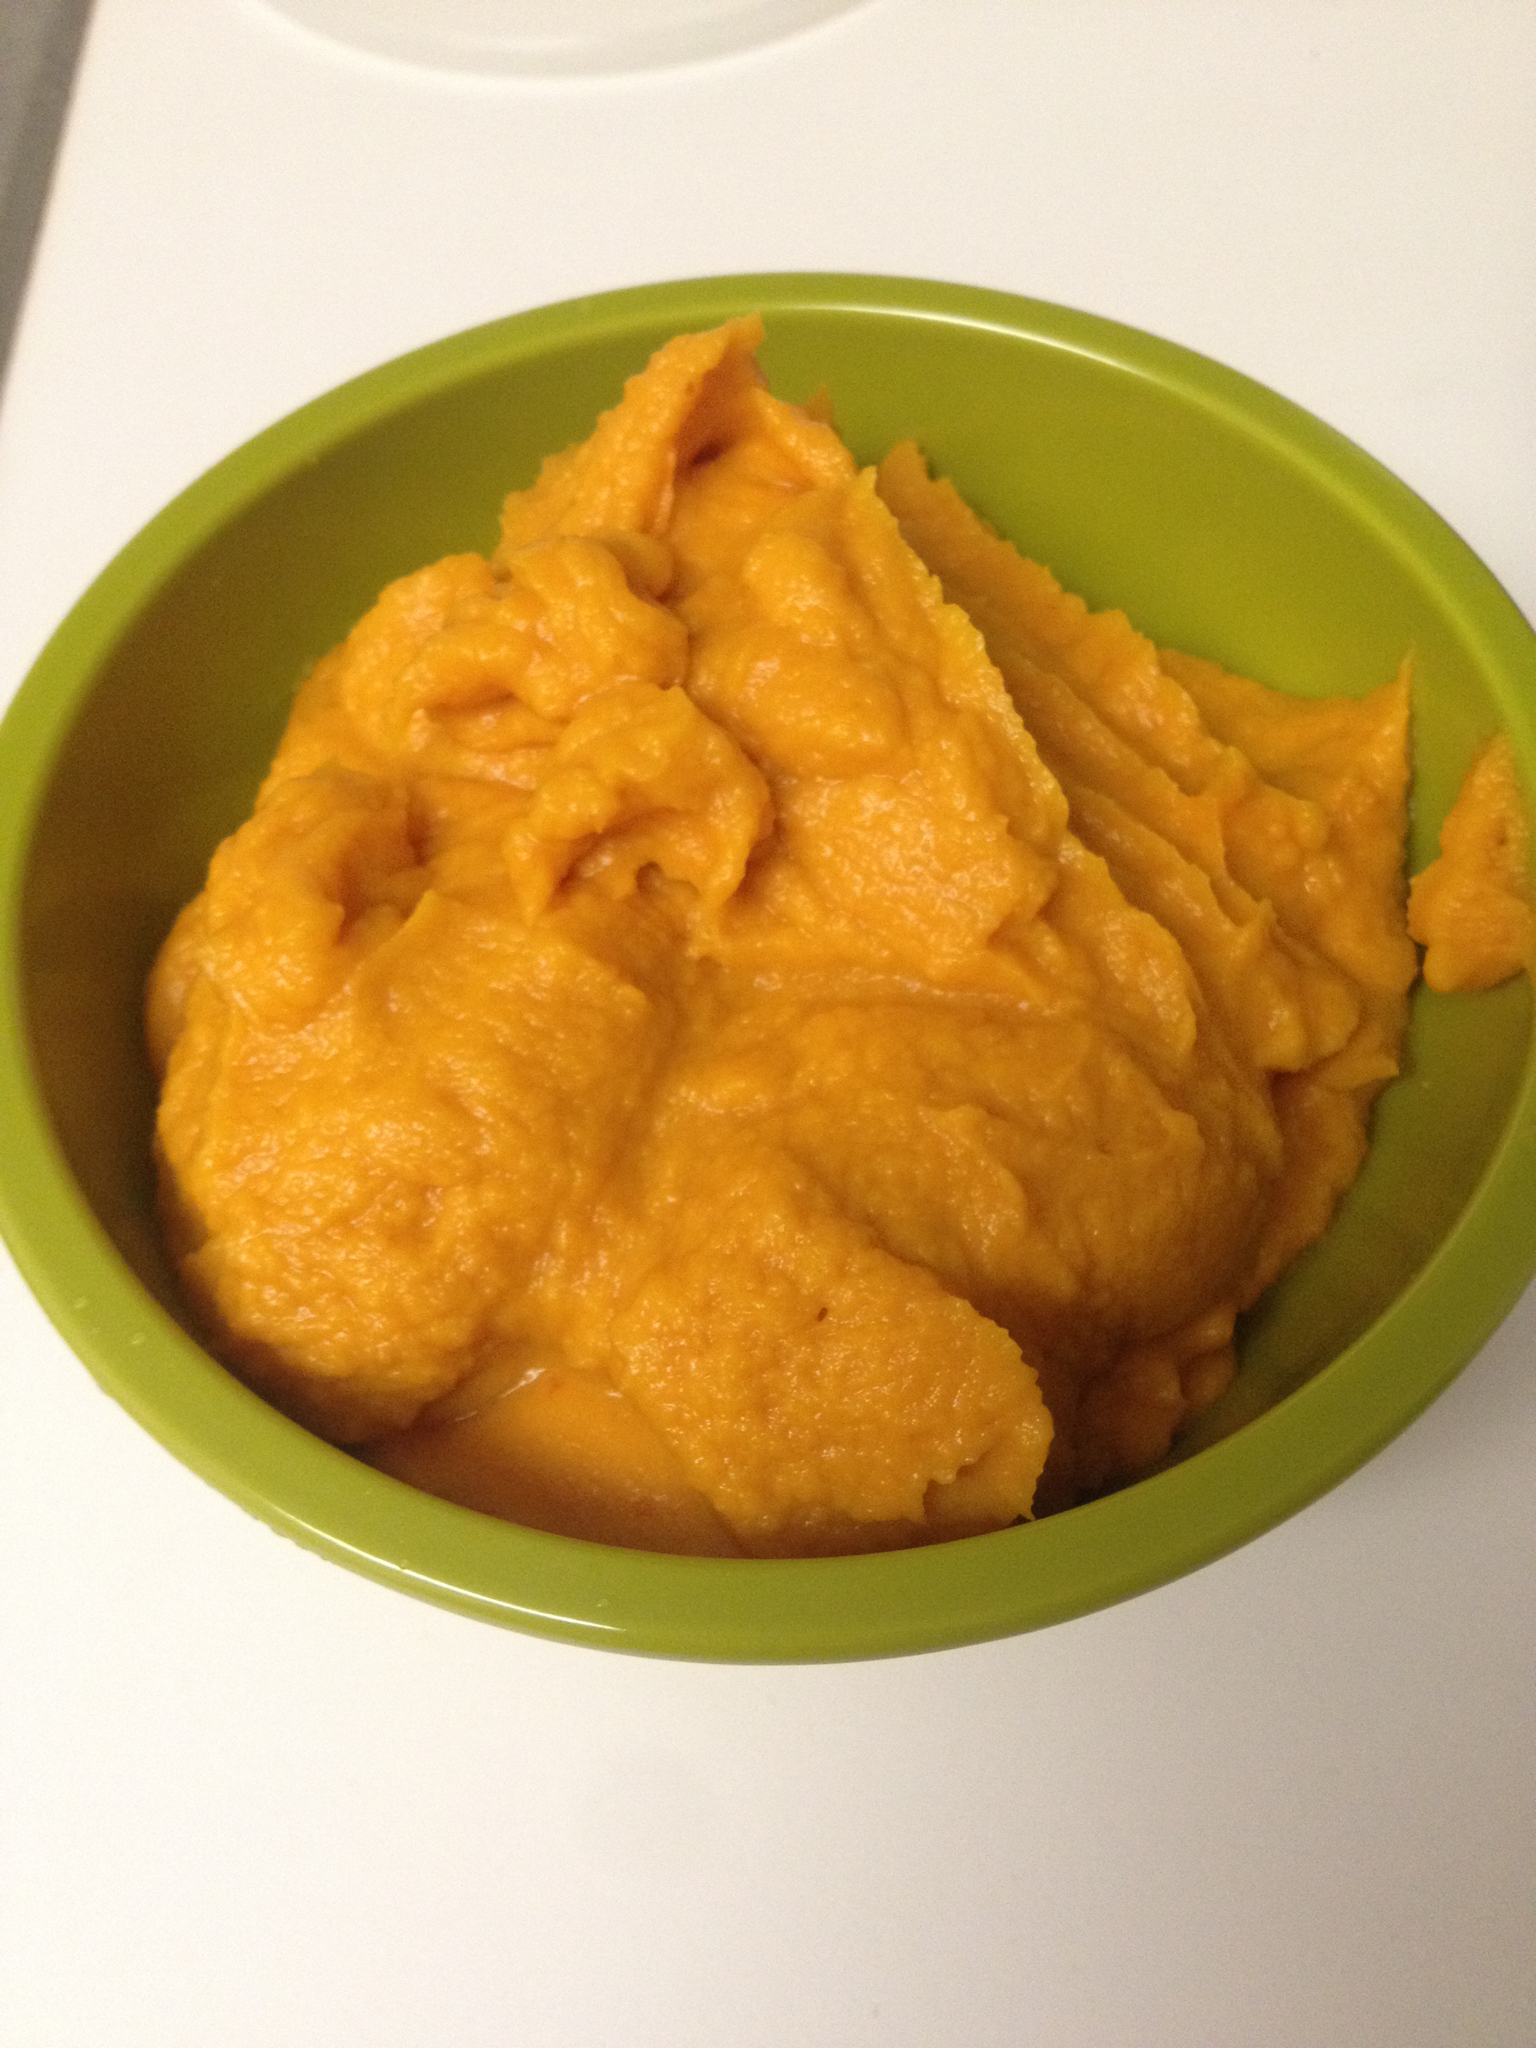
Next, peel off the skin, cut the flesh open, and scoop out the seeds and membranes. Put the flesh of the pumpkin in a food processor and puree it for about 2 minutes, or until it’s smooth. It will look something like this:
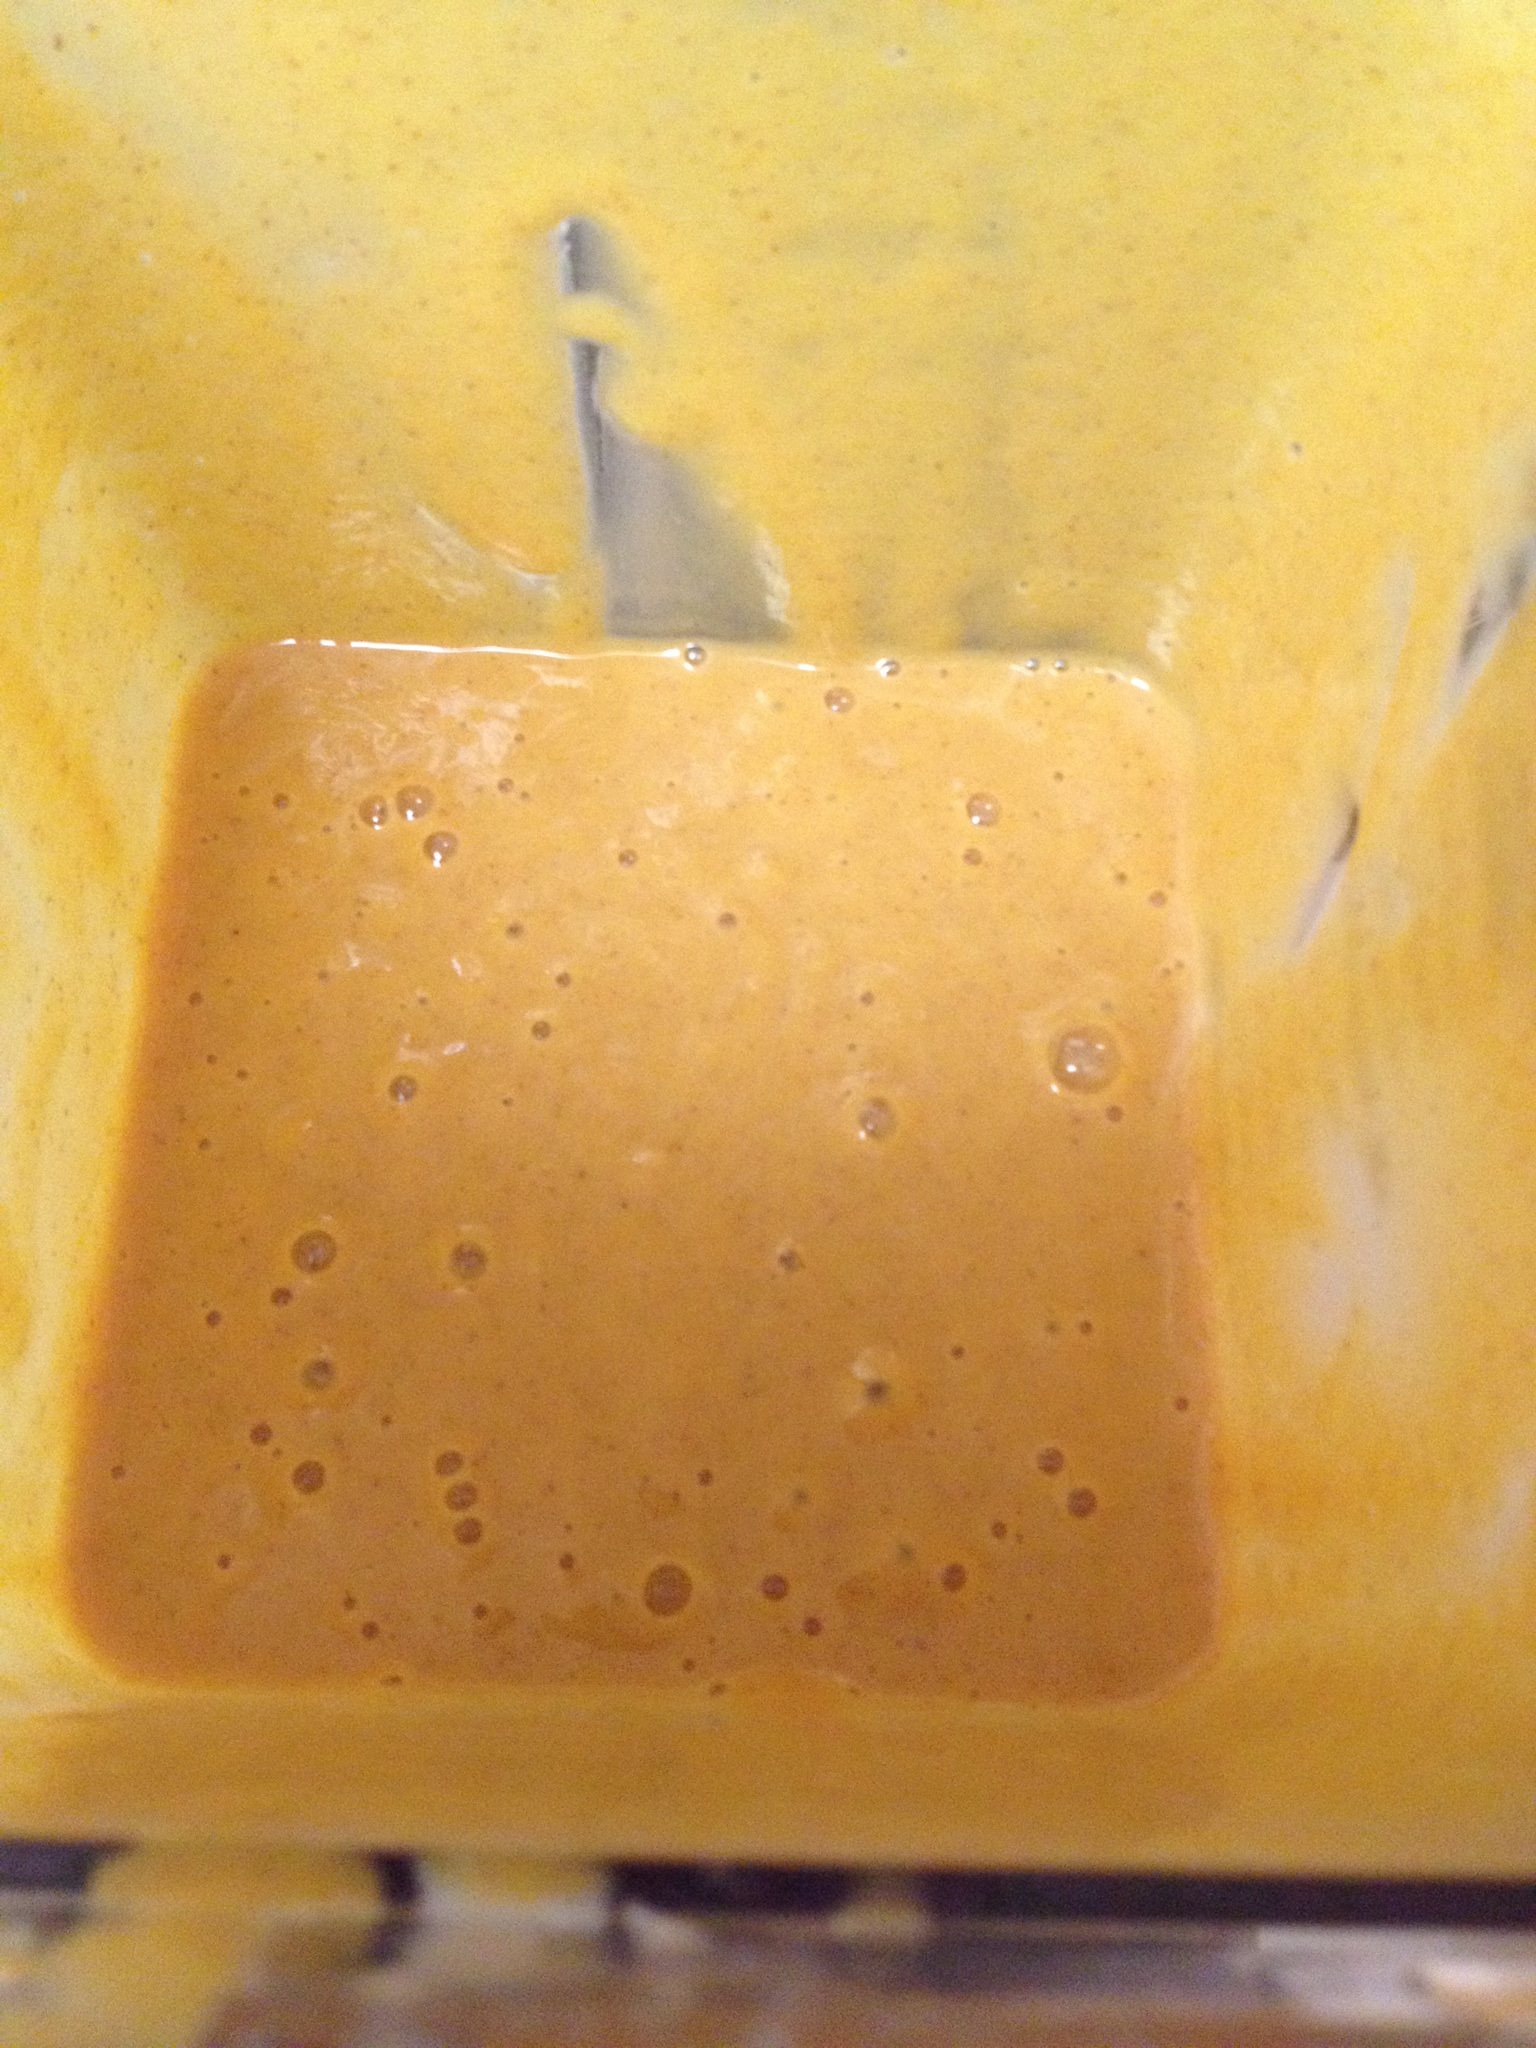
Now that you’ve roasted your pumpkin, it’s time to make the filling for the pie. In a blender, combine your pumpkin puree, evaporated milk, cinnamon, salt, eggs, and sugar. Blend it together until it’s completely mixed. It’ll look like this:
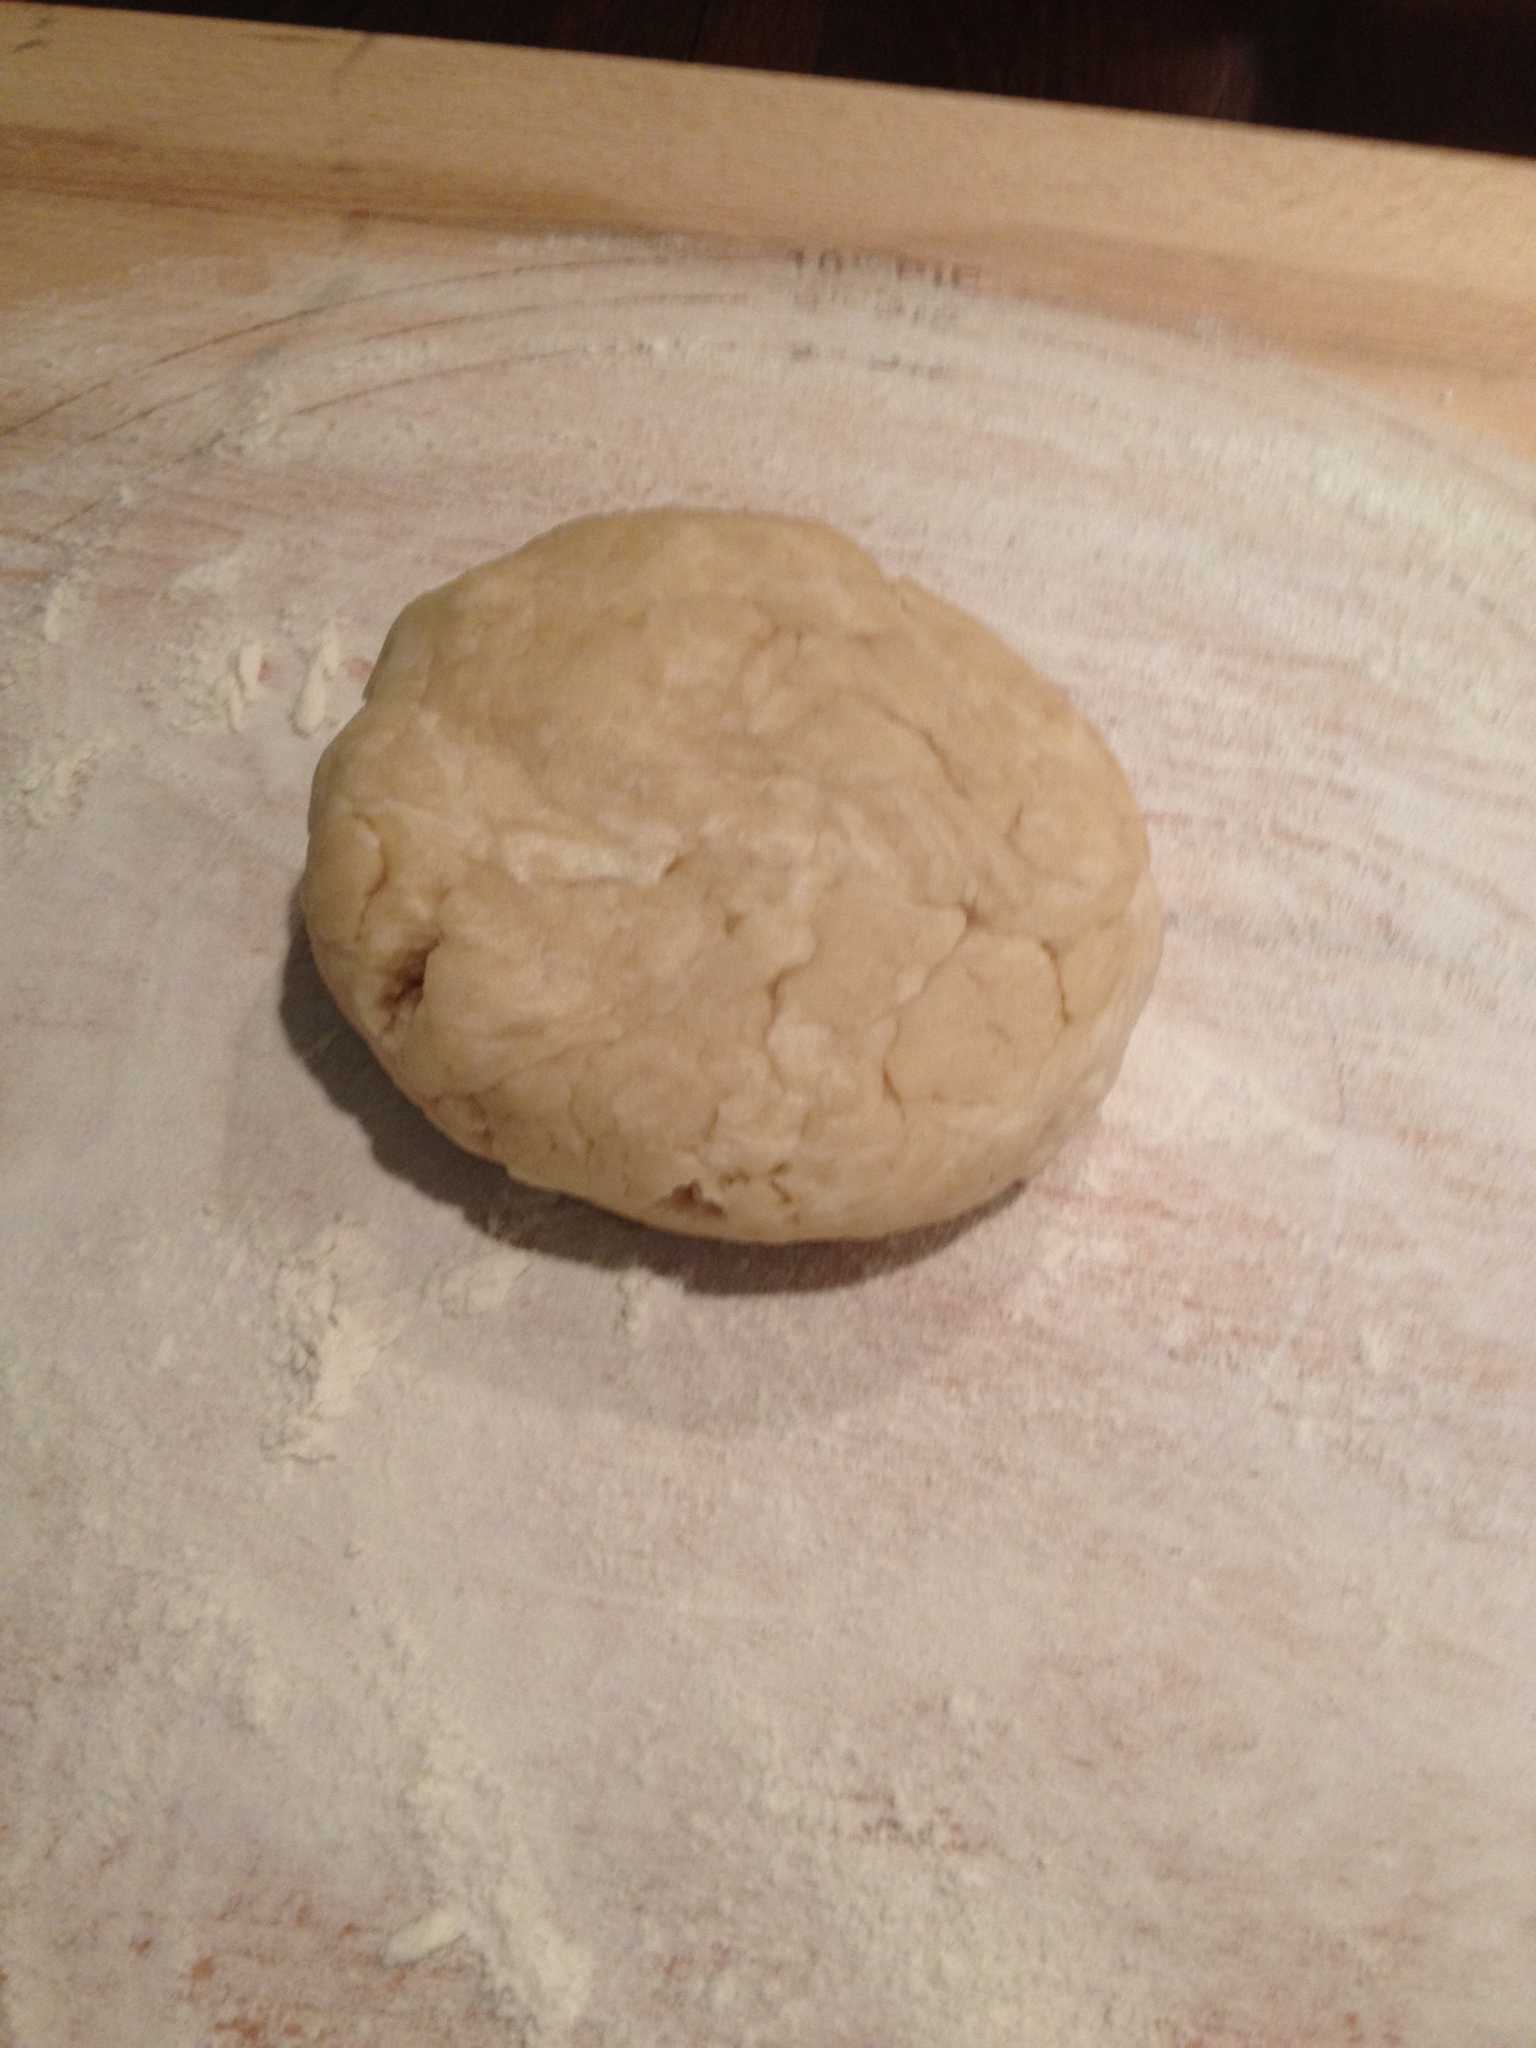
Okay, now set that aside. Now it’s time to make the crust. In a separate bowl, combine the flour and salt. Cut in the shortening until you have pea-sized chunks (or something like that).

Add the water, one tablespoon at a time. Mix the dough after each addition. By the time you’ve added all the water and have kneaded the dough a bit, it will hold together like this:
Now, using a floured surface and a floured rolling pin, roll the dough out until it’s about 10″ across to fit your 9″ pie pan. Here’s a tip: to transfer your pie dough to your pie pan, roll the crust up loosely around your rolling pin and then unroll the crust from the rolling pin over the pie pan. Fold the edges of the crust over and flute them so that you have a pretty edge around your pie pan.
When you have your crust done and in the pie pan, pour the filling into the unbaked crust.
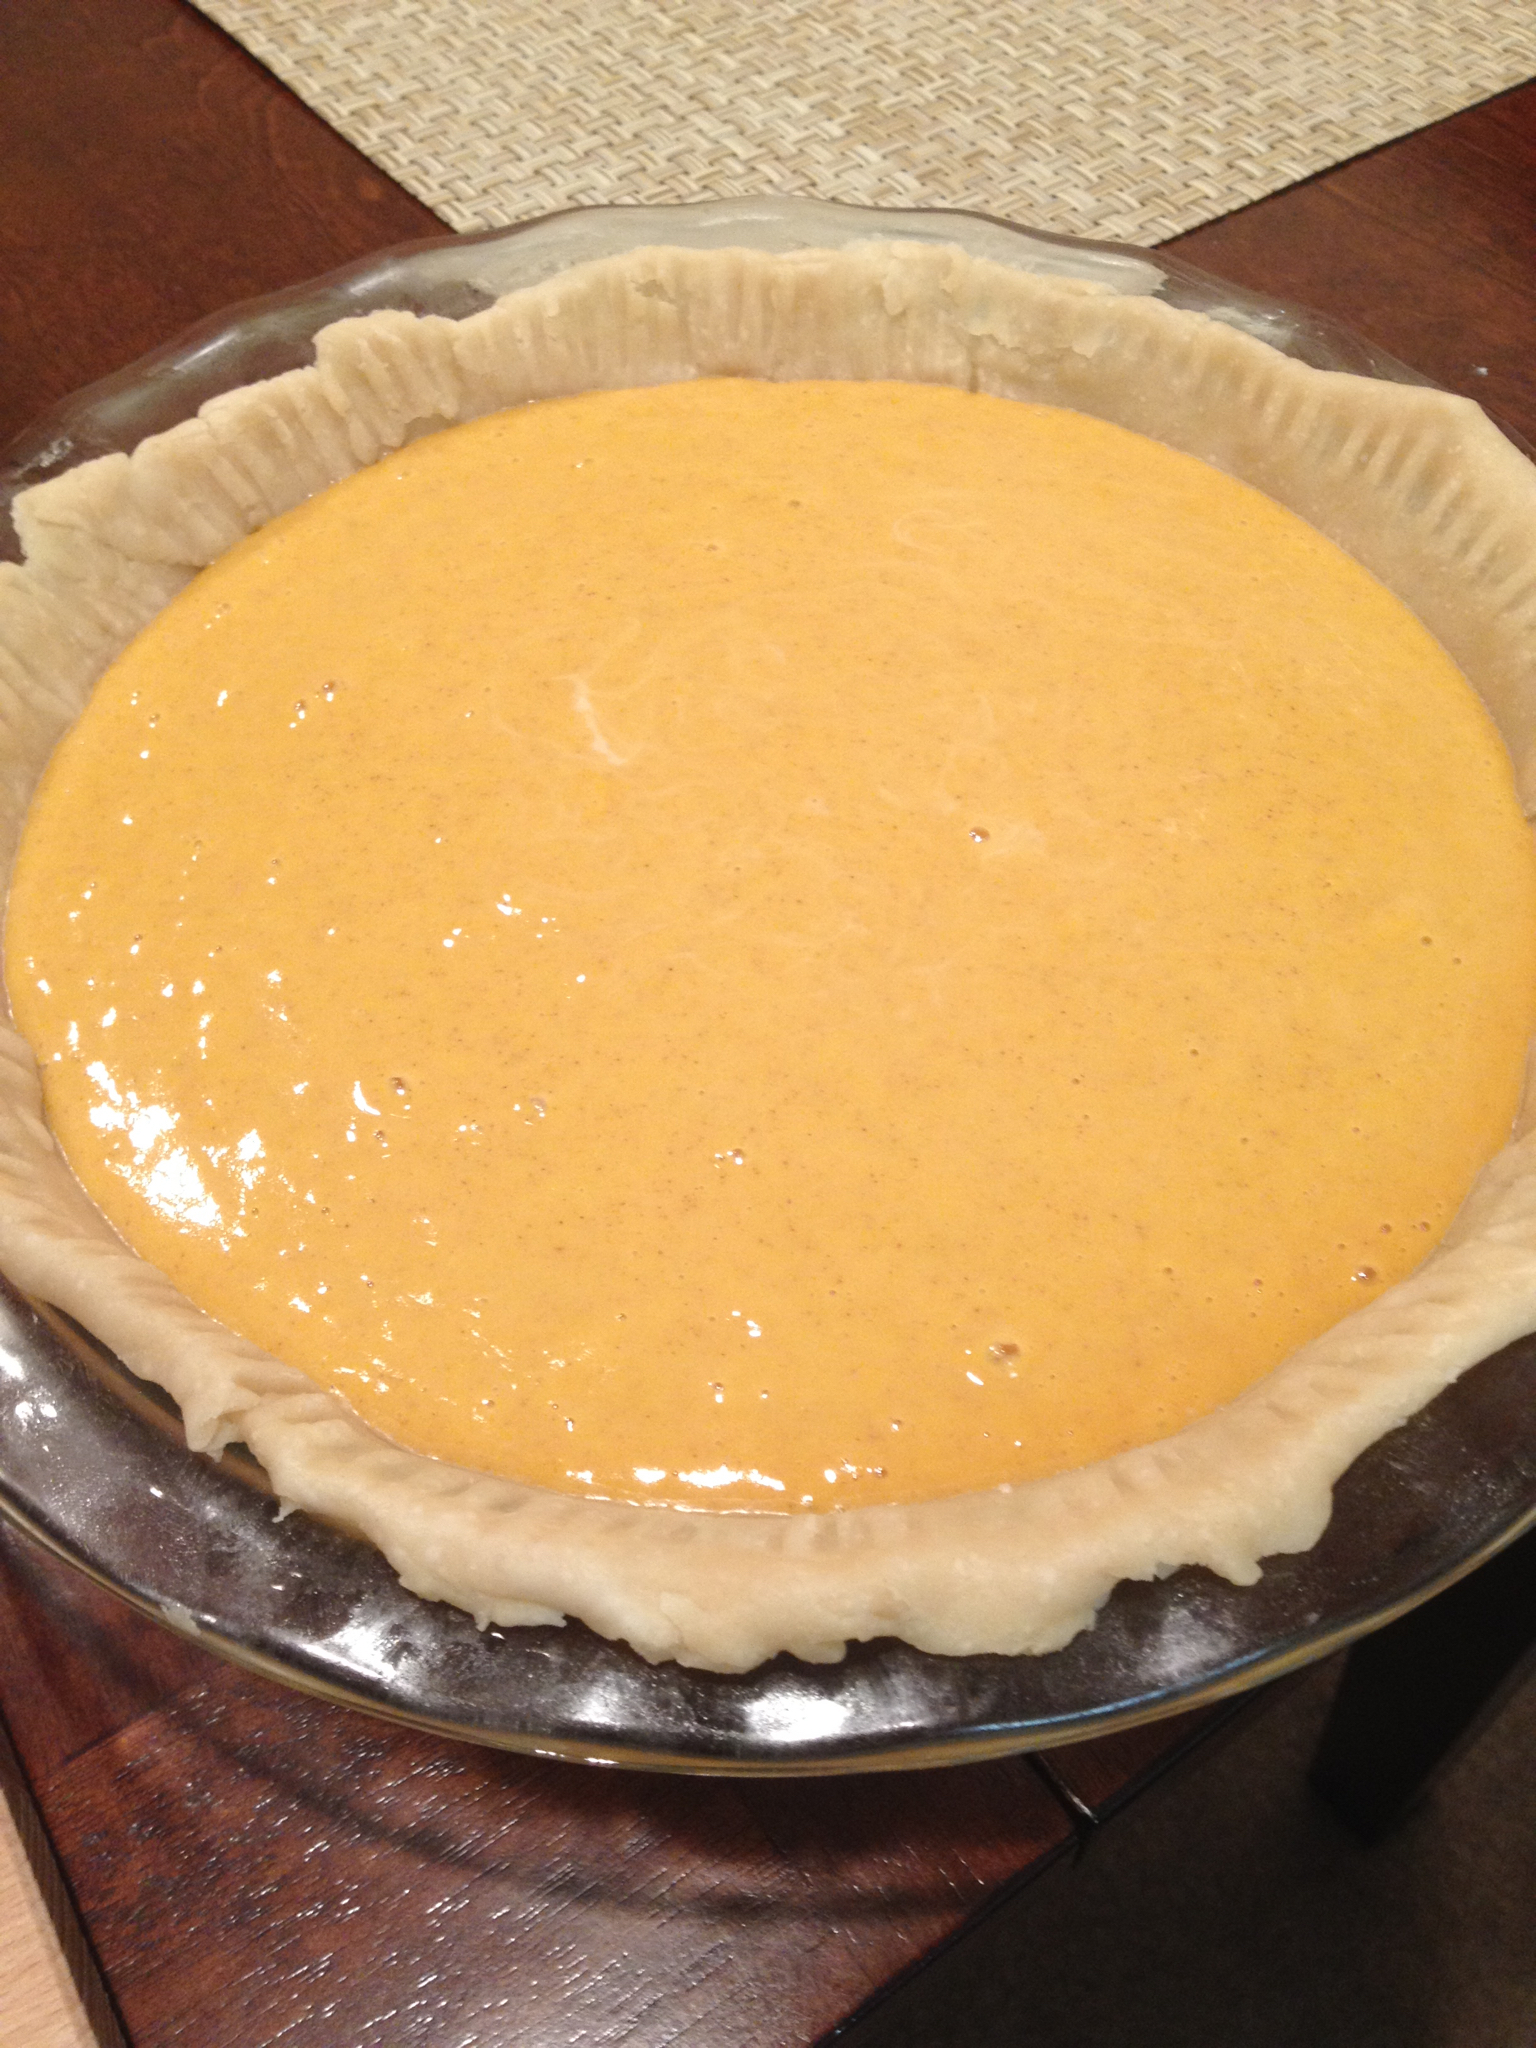
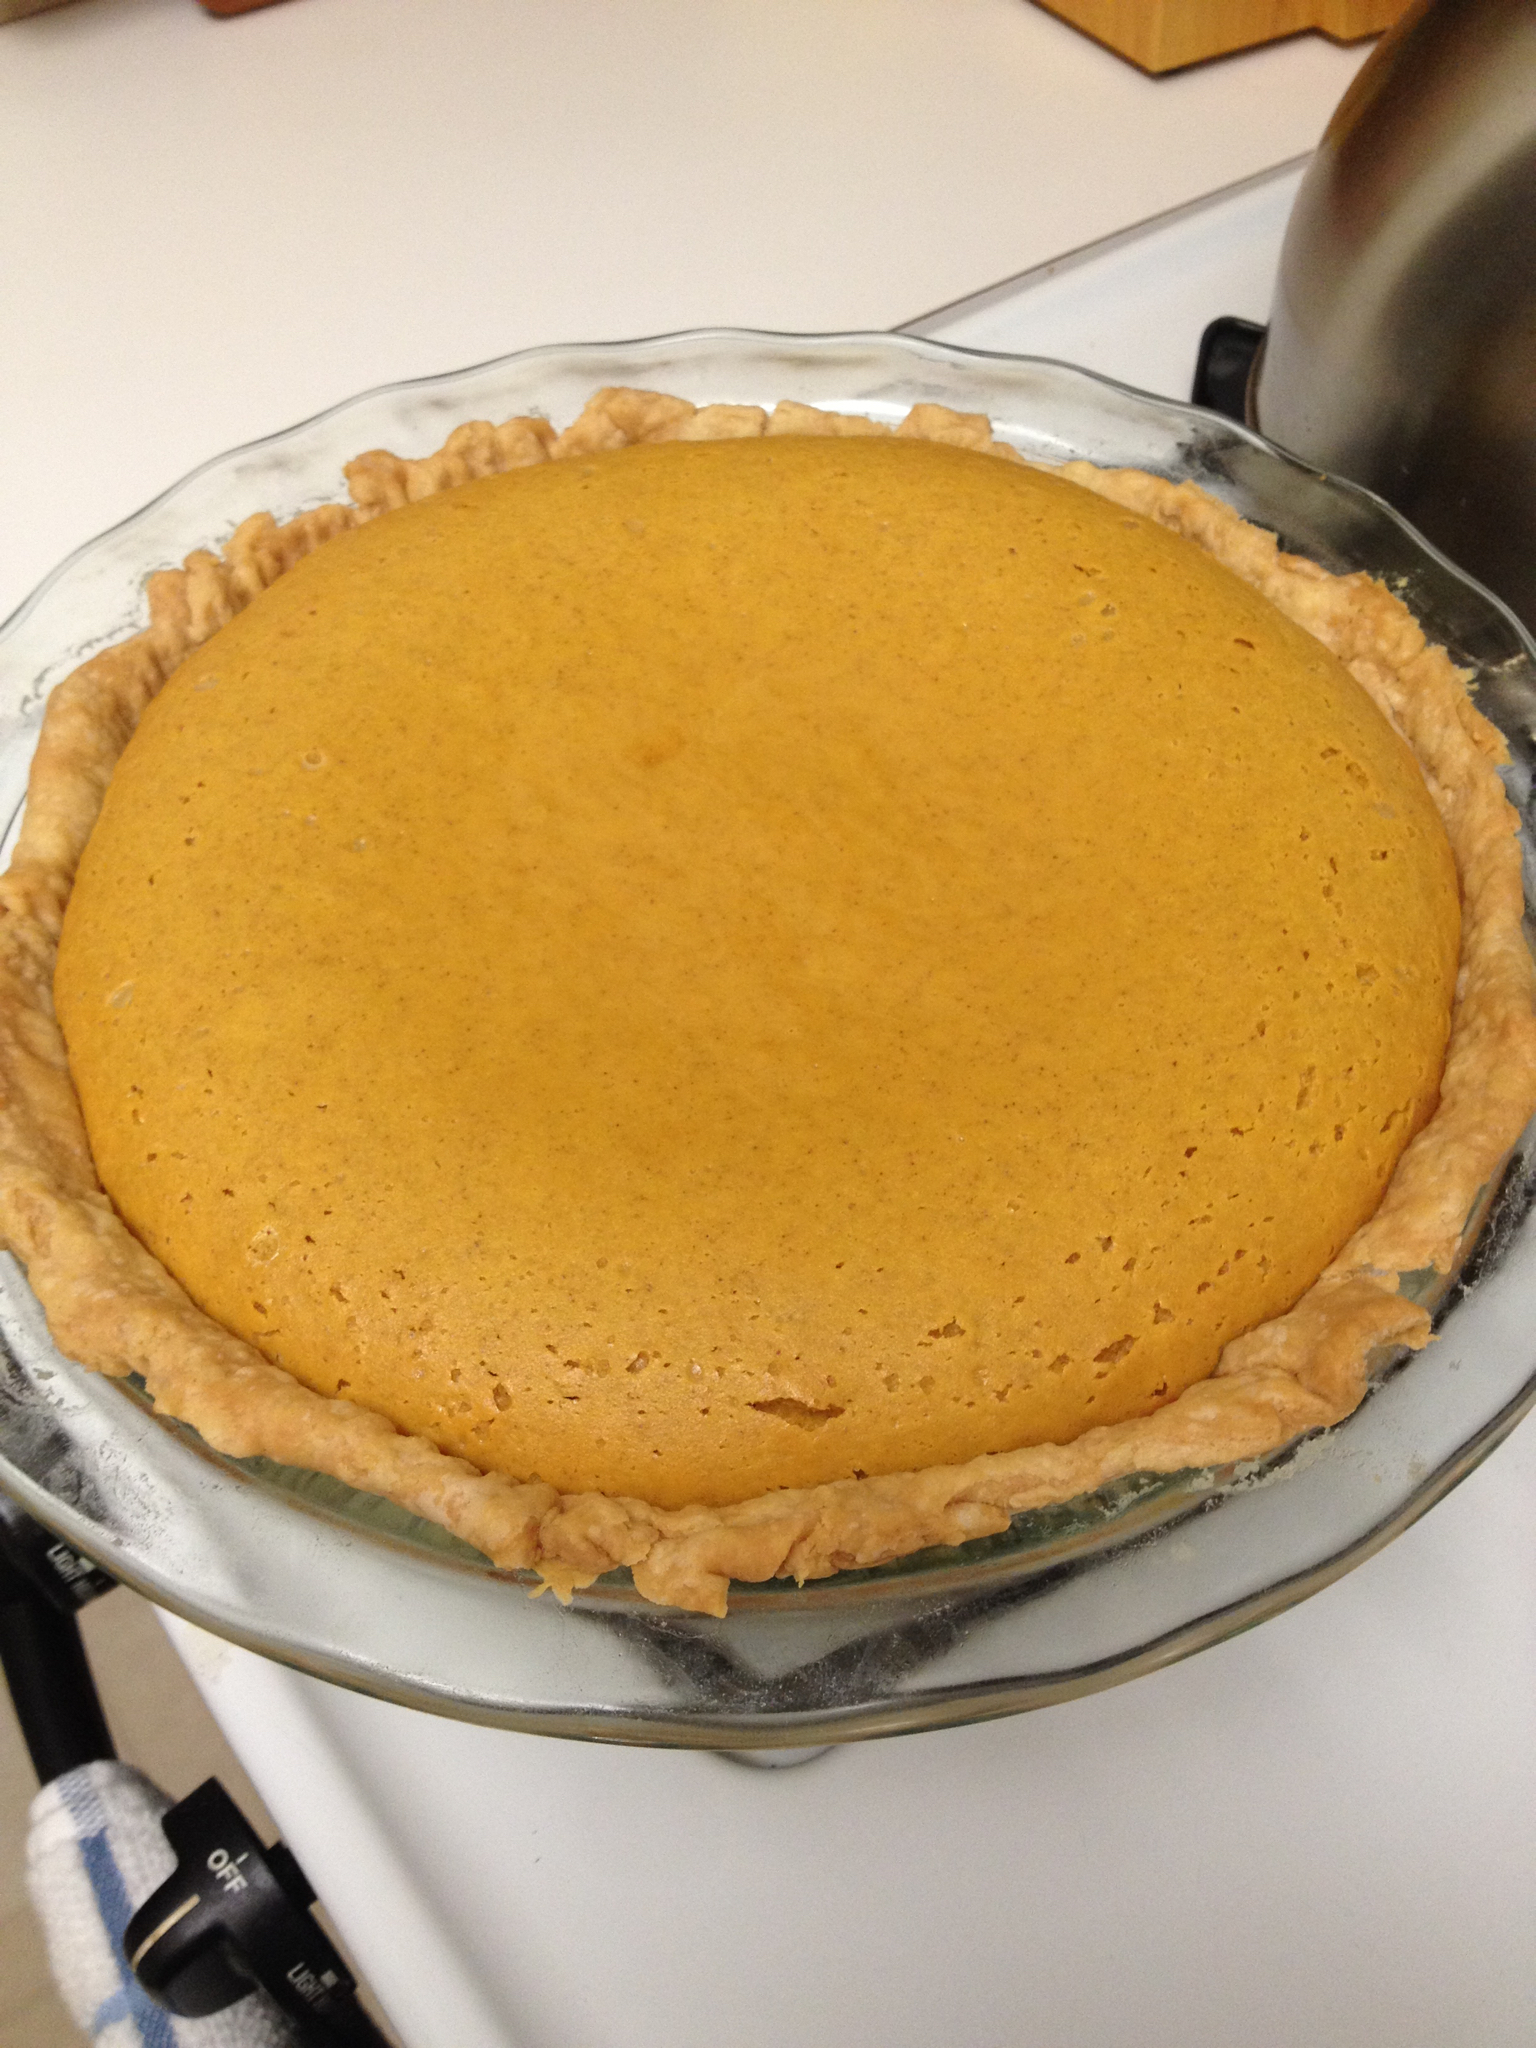
Bake the pie at 350ºF for one hour, or until a knife comes out clean when inserted in the center. When you first take it out of the oven, the filling will be puffed up. As it cools, the filling will deflate a bit (the cooled pie is shown in the picture on the right).
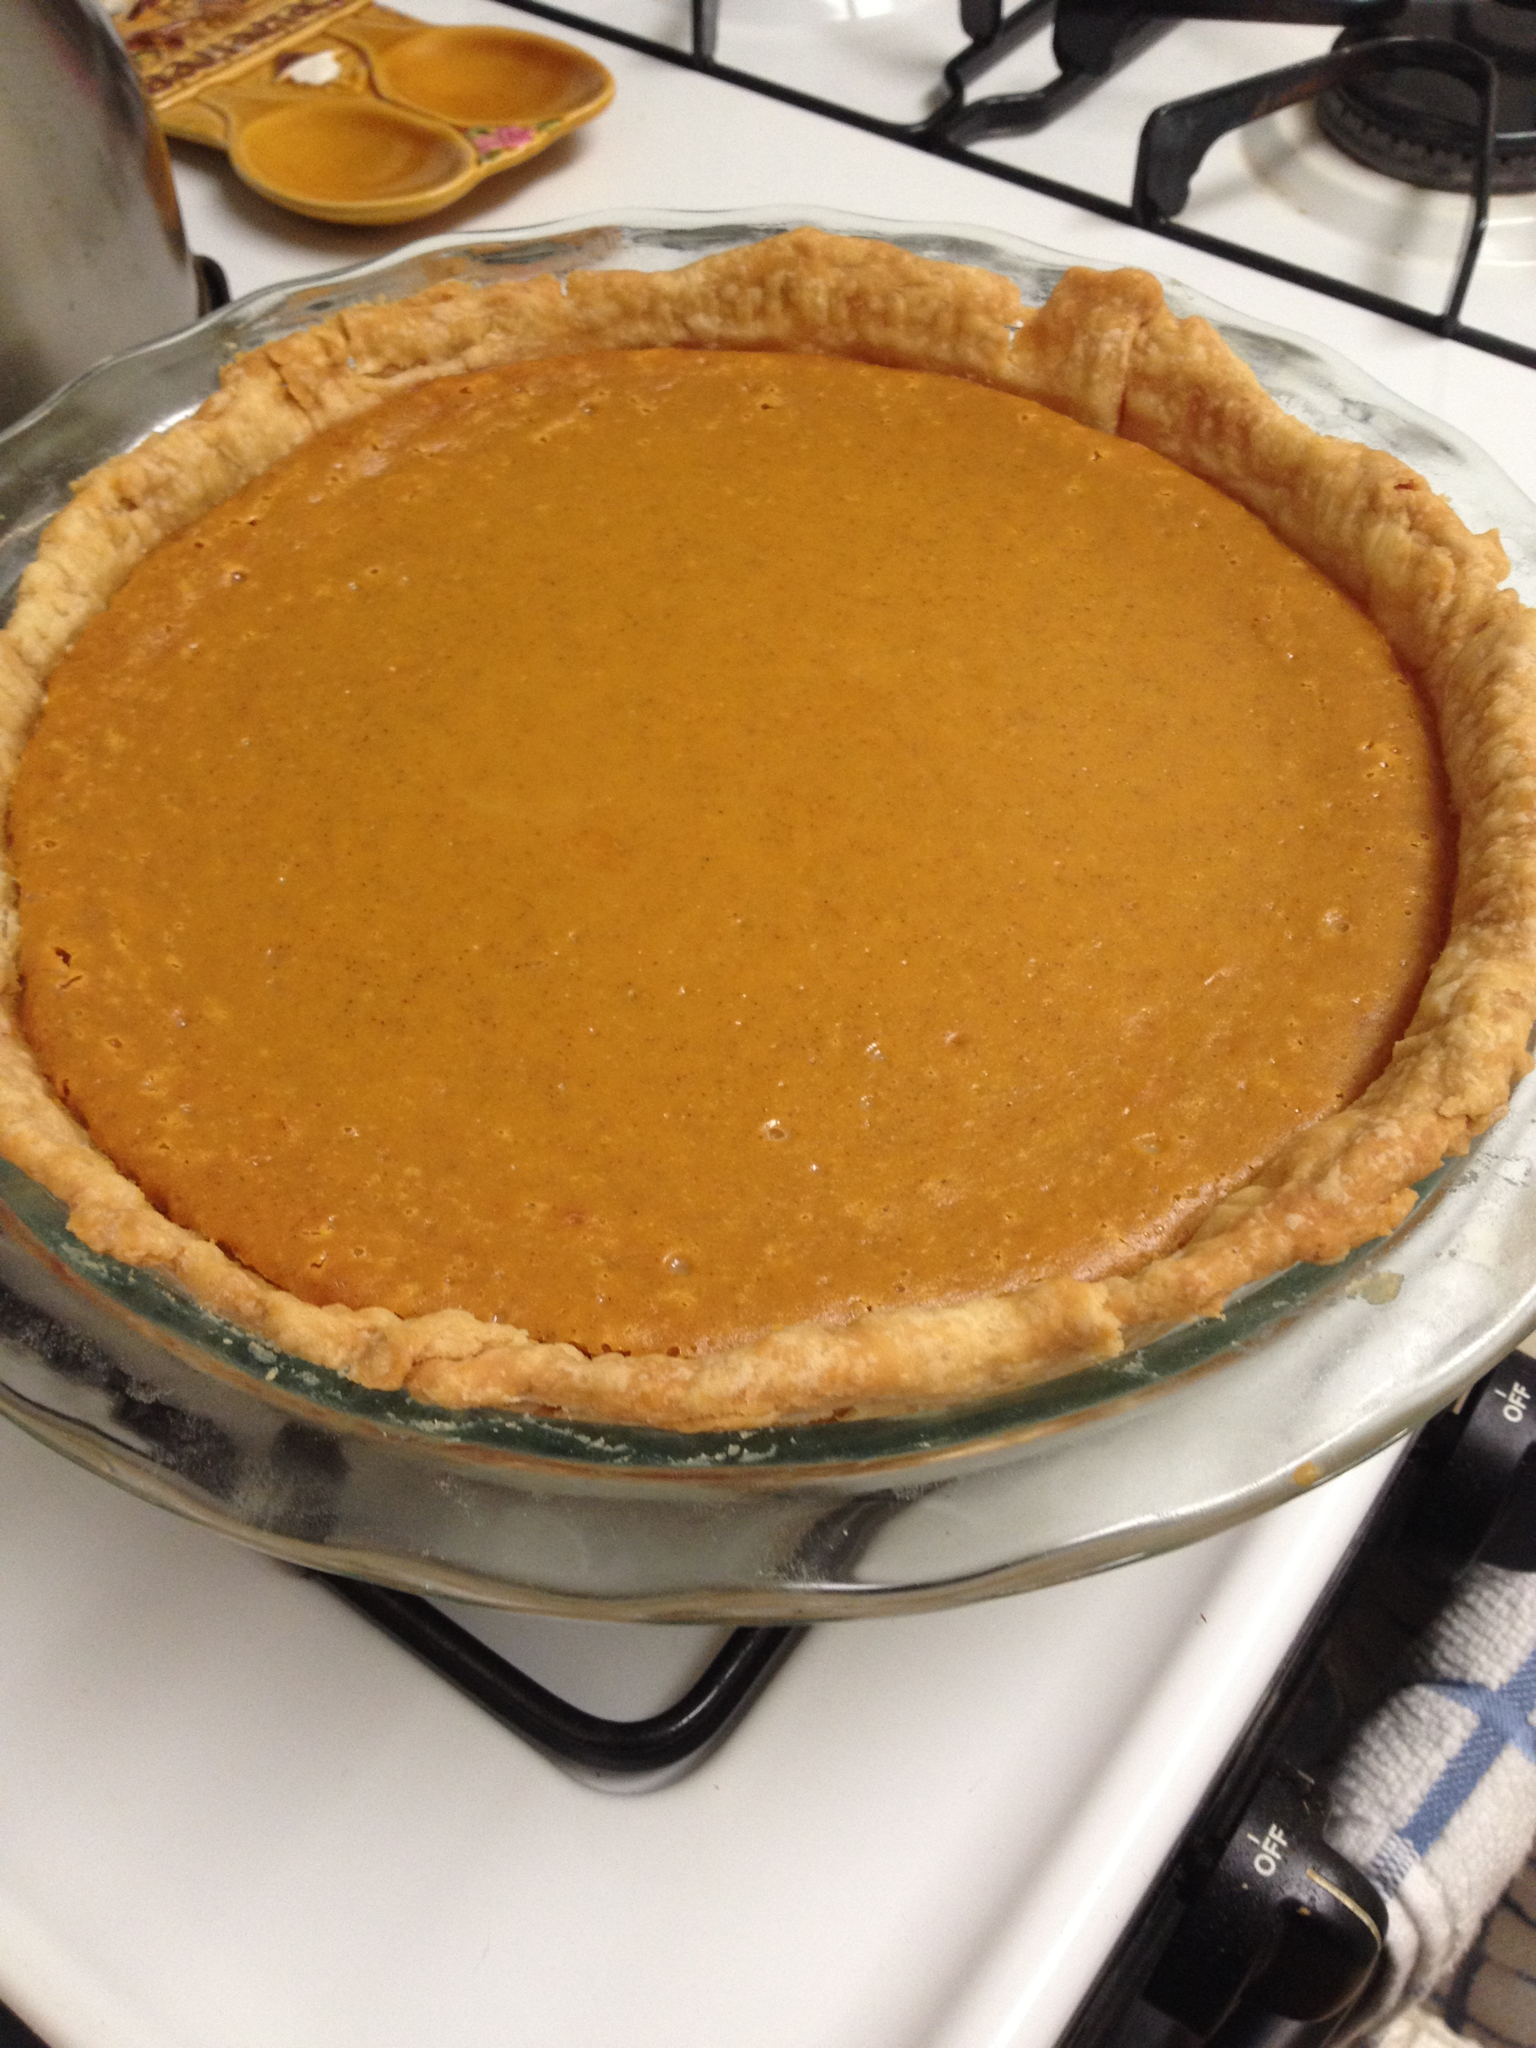
And there you have it! Let the pie cool and then dig in!
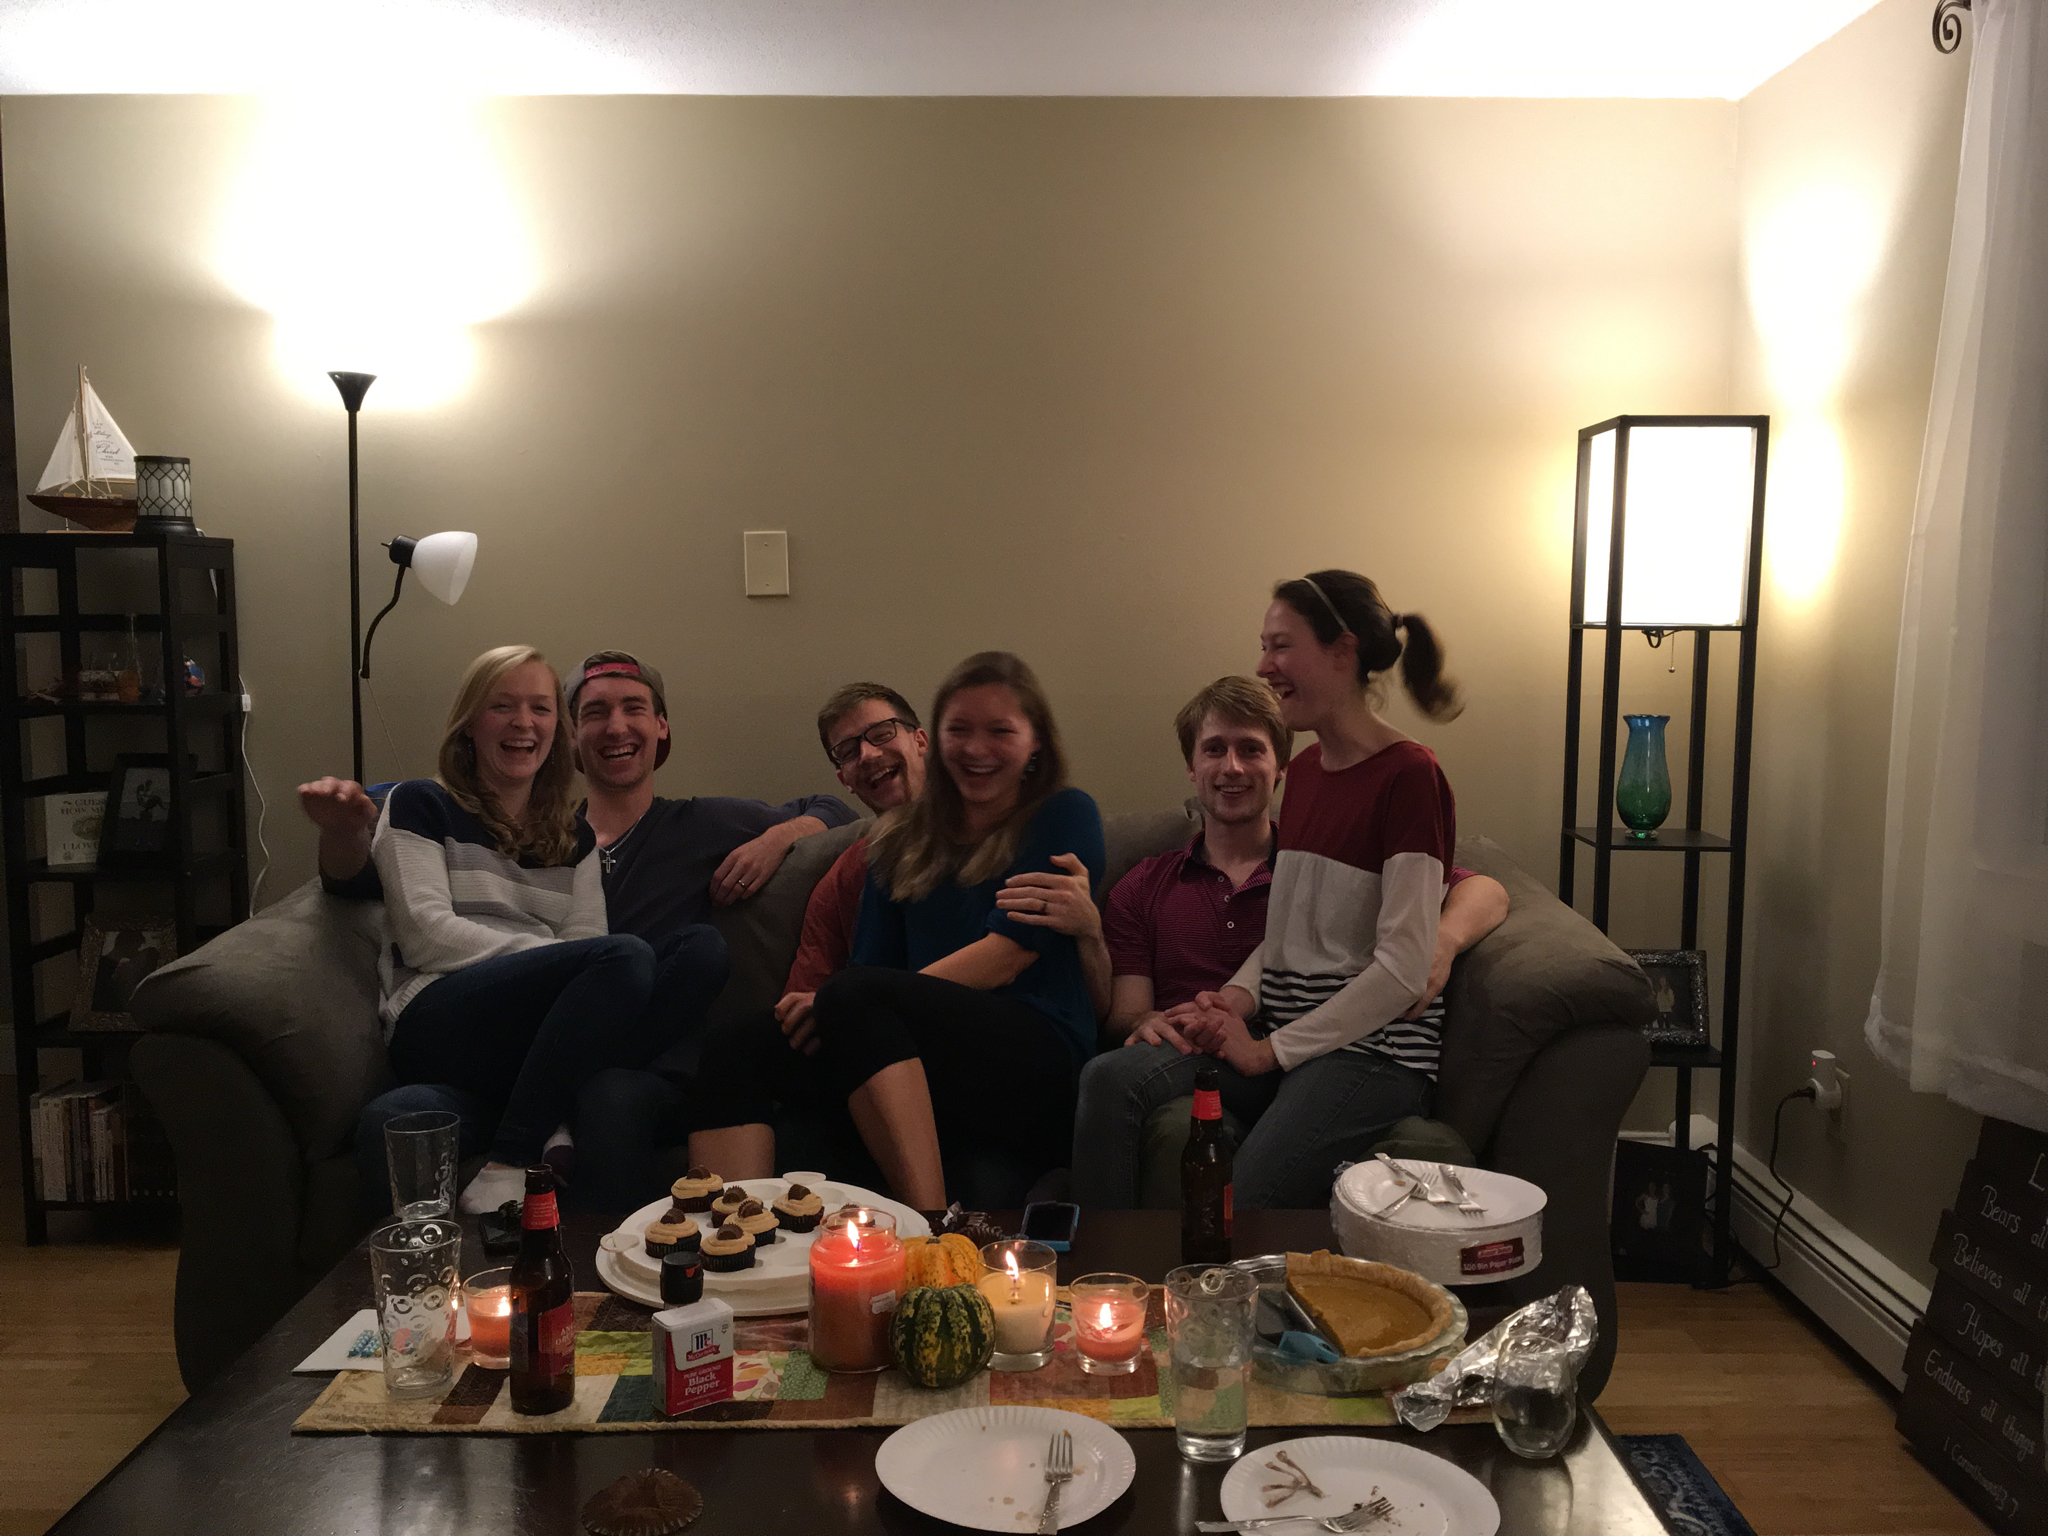
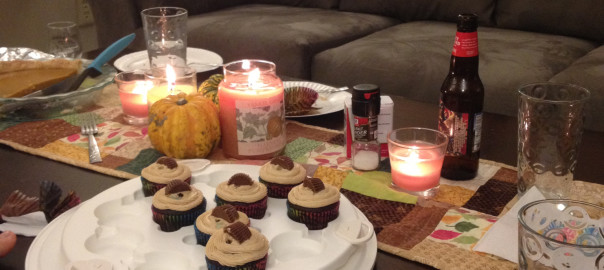
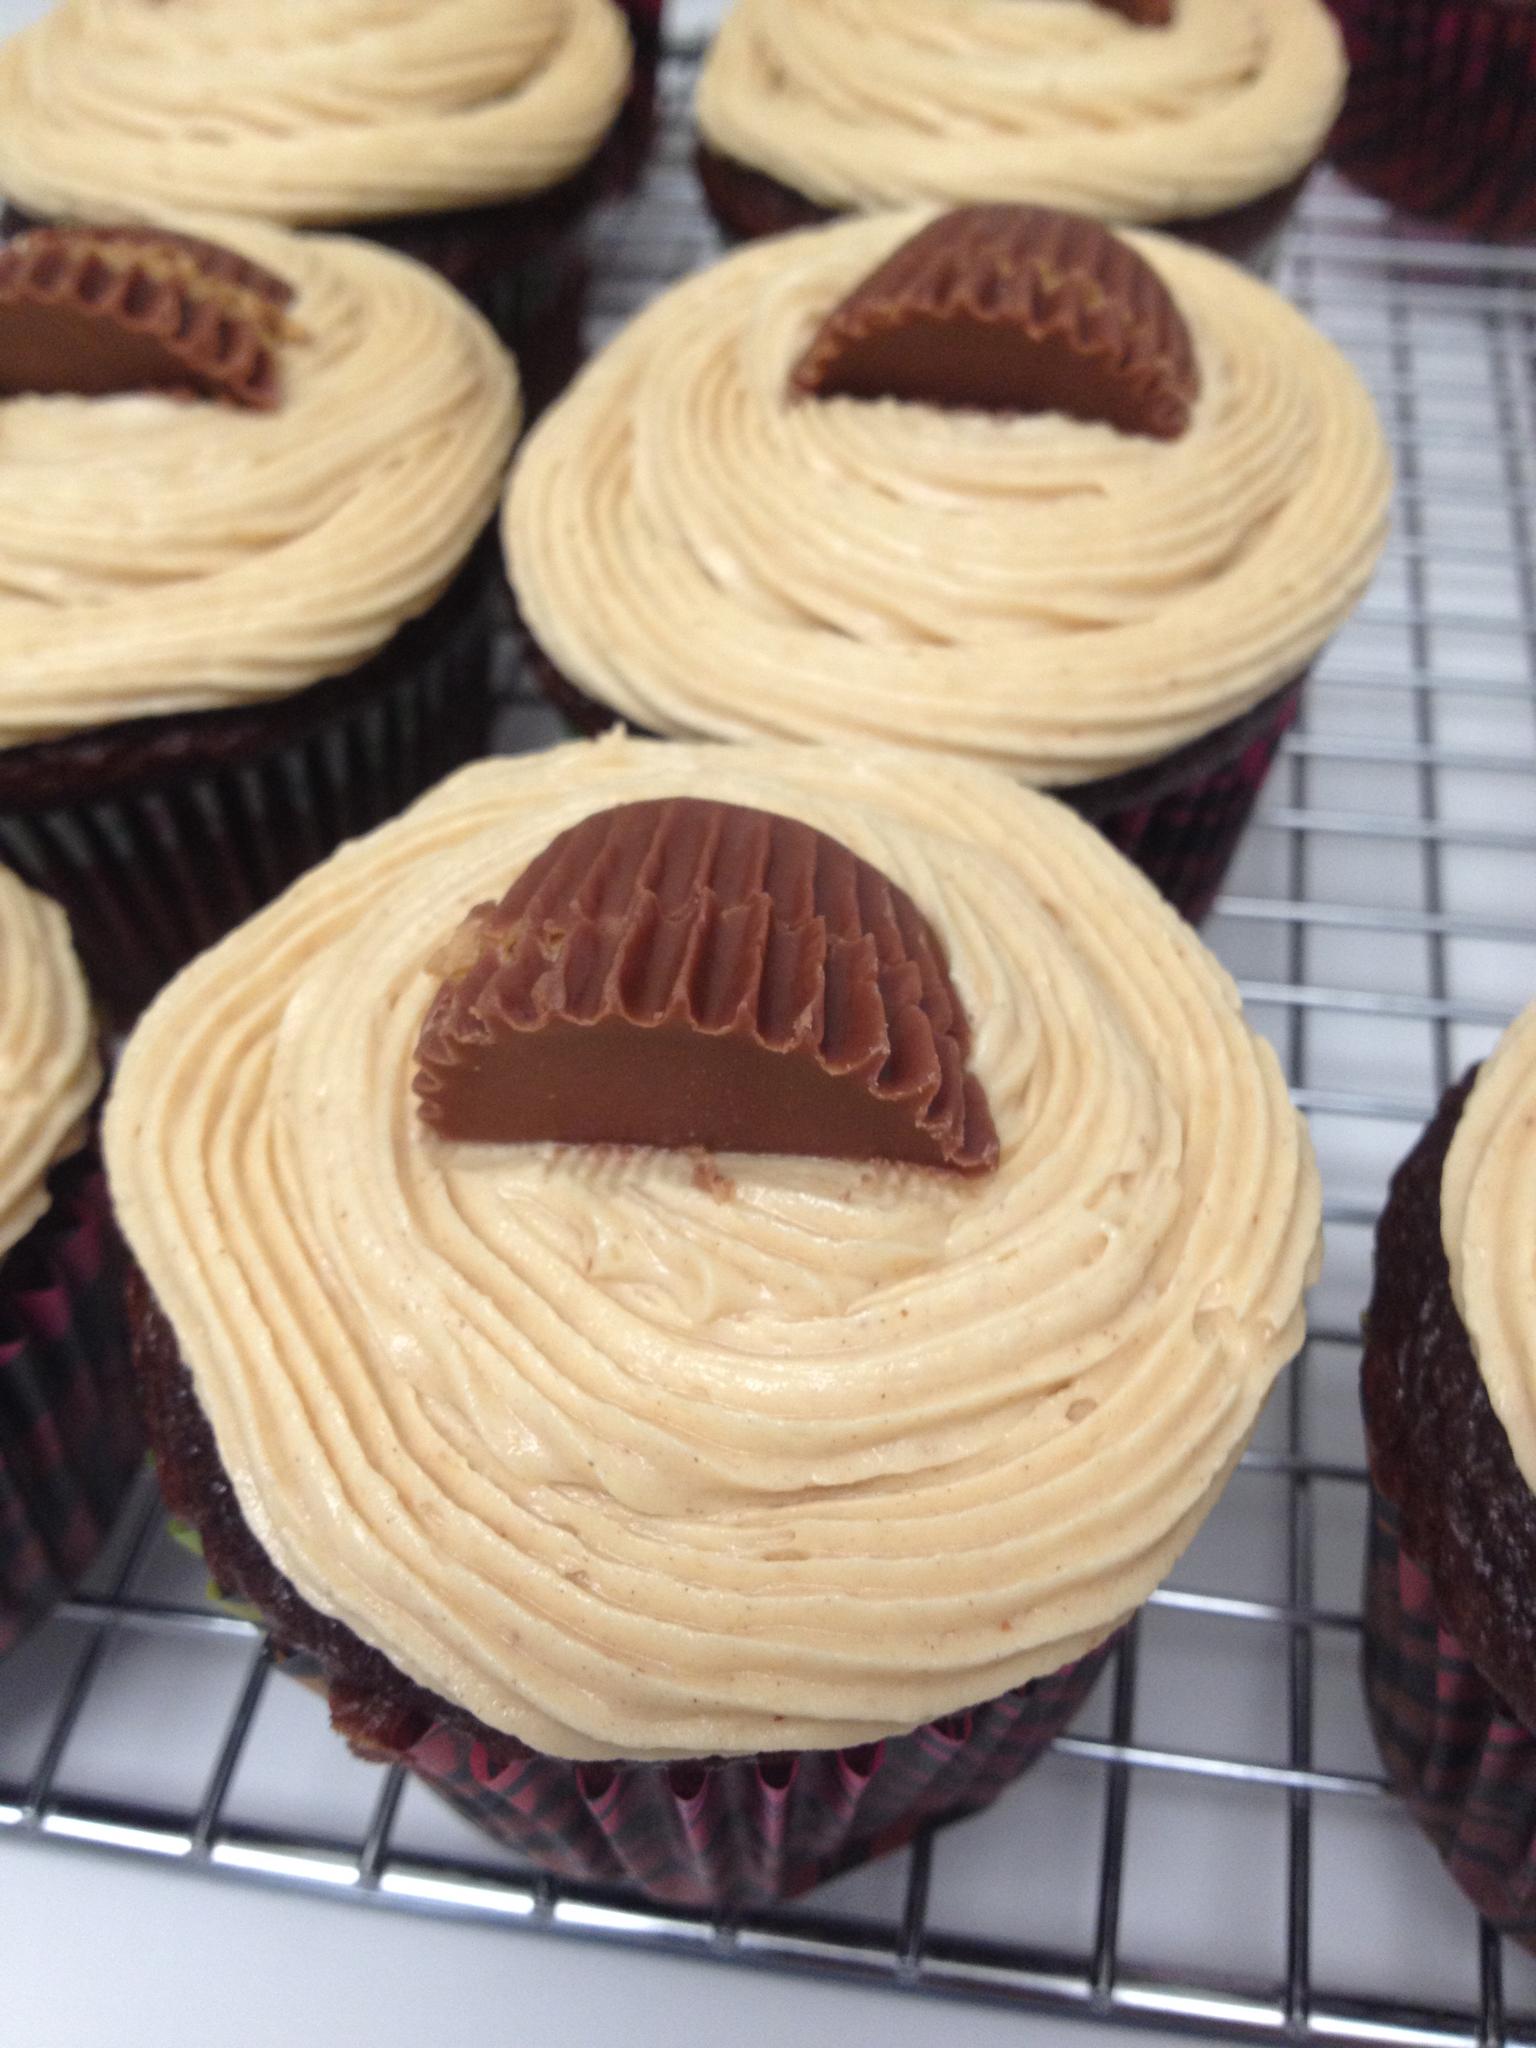
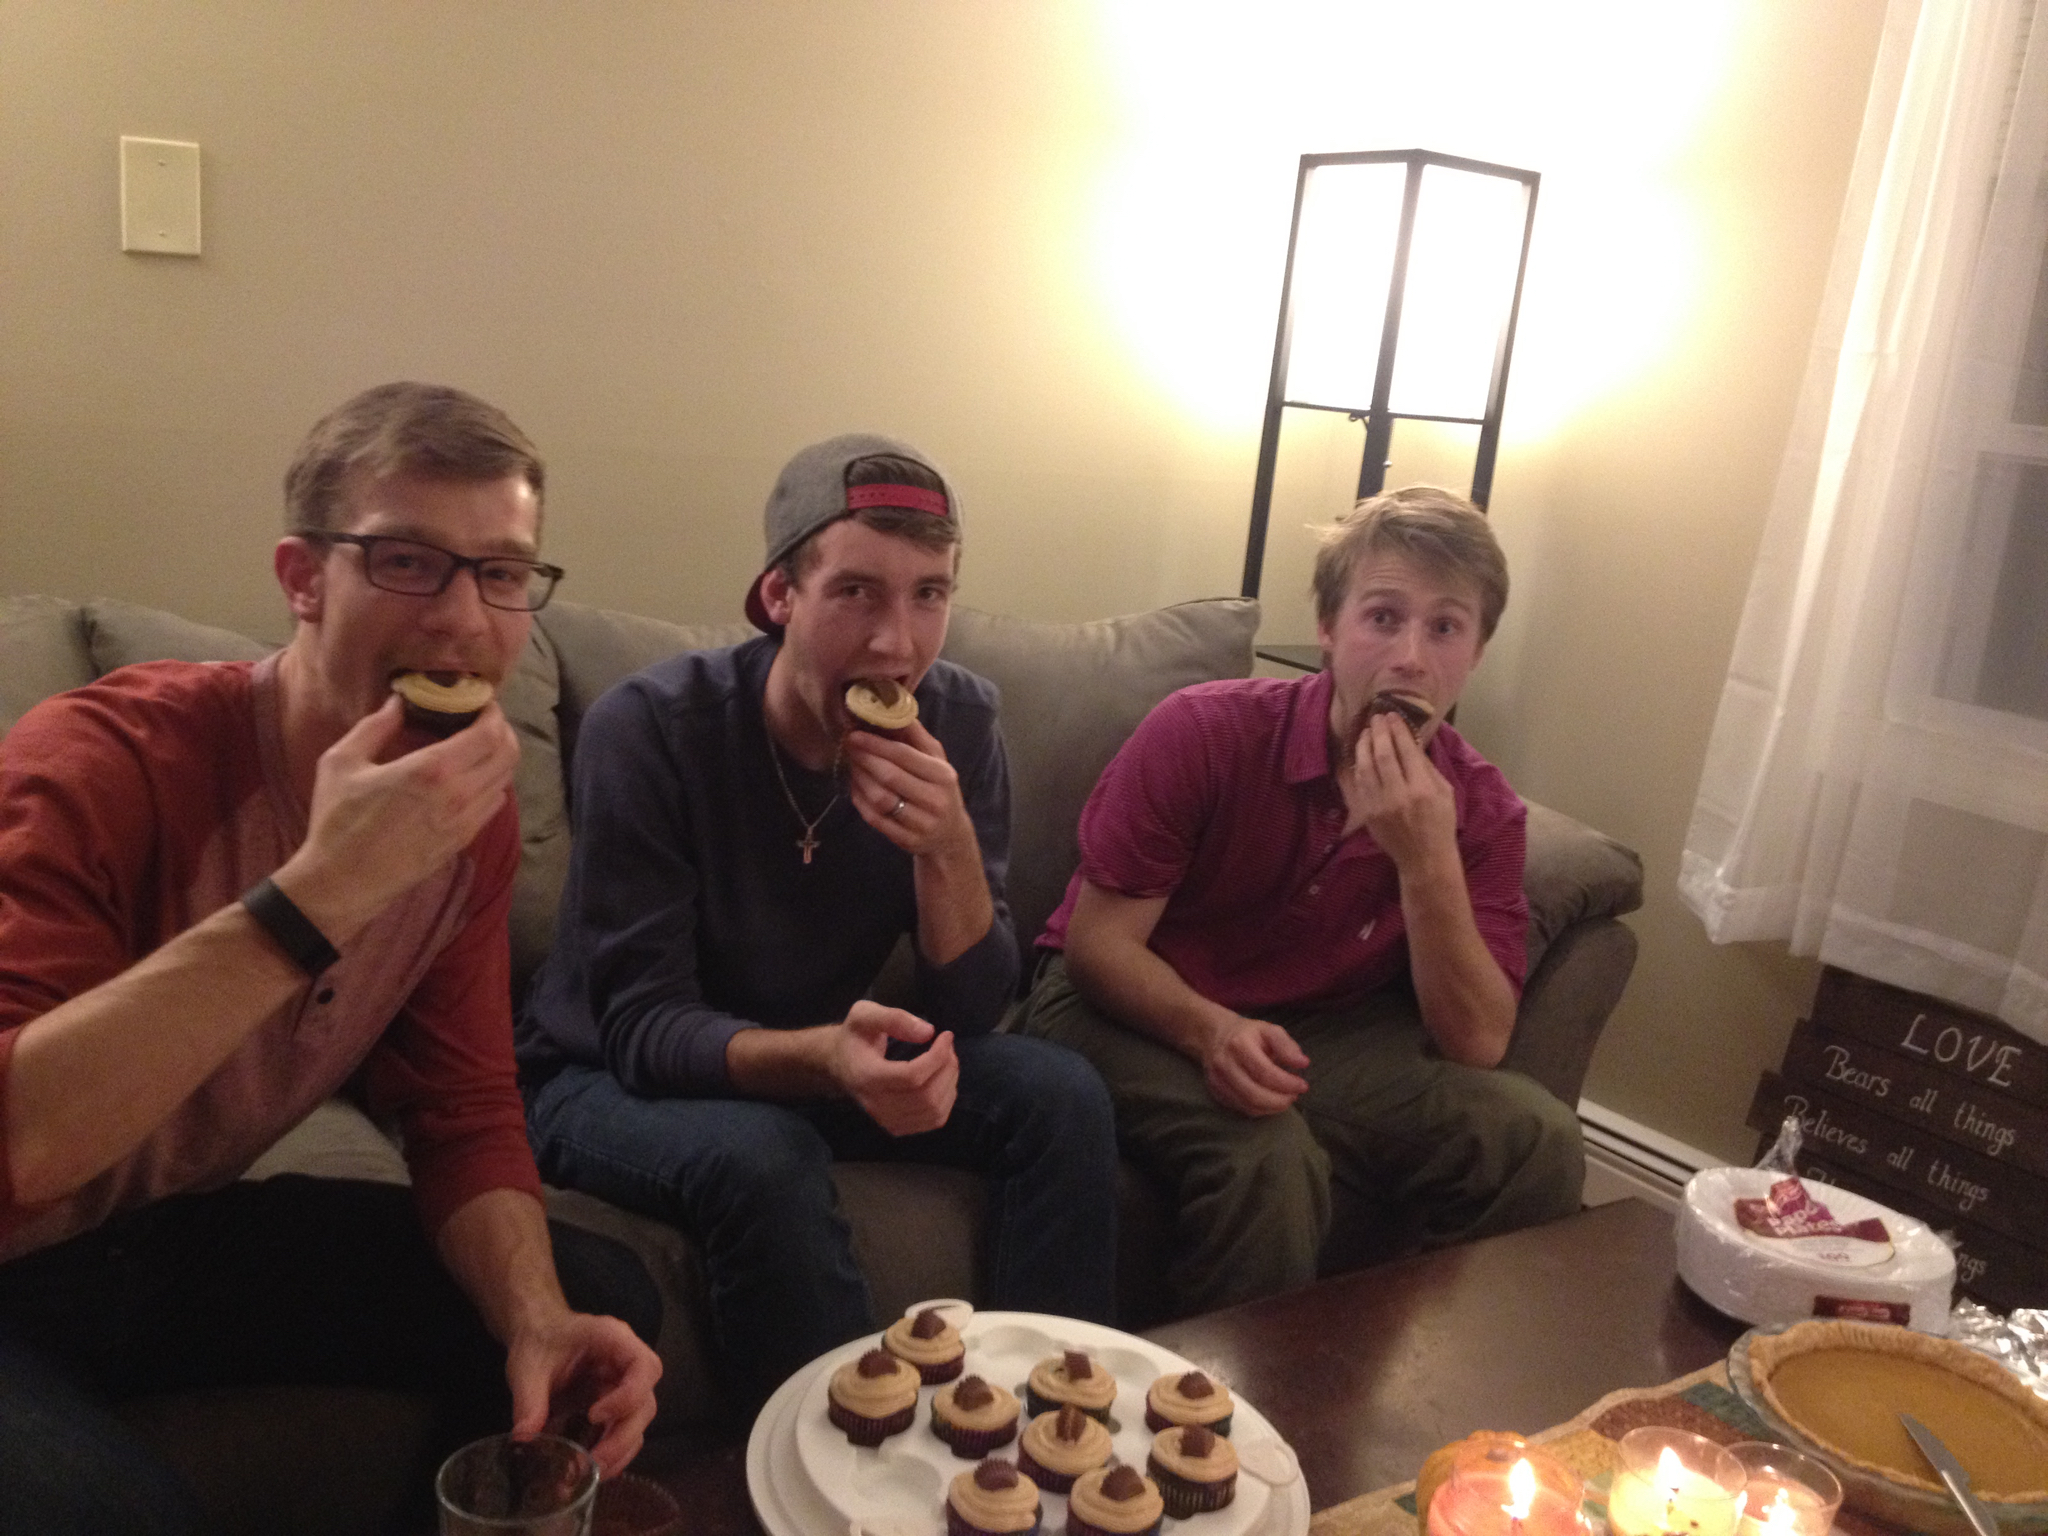
For our Friendsgiving, my friends and I also surprised our men with a birthday party since their birthdays are all close together. I made some chocolate cupcakes with peanut butter frosting- you can find the recipe for the frosting in my post about The Cupcake Bible under PB&J cupcakes.
Friendsgiving was so much fun, and definitely a new tradition for us! This holiday season, be thankful, and always make sure to share good food! Happy holidays!