Monthly Archives: March 2015

A Day on Pinterest

Hi friends! Happy almost-April, and almost-Palm Sunday! I was so pleased that so many people enjoyed my last recipe for No Bake Cookies, and I knew I needed to find a recipe to top it. I was perusing Pinterest the other day when I happened upon a recipe for Cookie Dough Truffles. I couldn’t help myself- I had to give them a try! These turned out so spectacularly that I had to share them, even though it’s not my original recipe. So here is the recipe for Chocolate Chip Cookie Dough Truffles, originally Pinterested by BruCrew Life.

PS- if you’re currently worrying about Salmonella, don’t. They’re egg-free!

  • 1 stick butter, softened
  • 3/4 cup packed brown sugar
  • 14 oz. sweetened condensed milk
  • 1 tsp vanilla extract
  • 2 1/4 cup flour
  • 1 large bag mini semi-sweet chocolate chips
  • 1 tbsp shortening

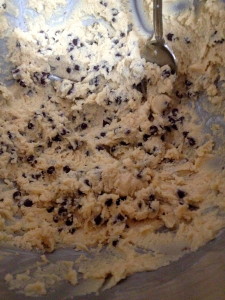
In a large bowl mixer, cream the butter and brown sugar until they’re fully combined and fluffy. Add the condensed milk and vanilla, and beat until combined. While the mixer is on low, slowly add in the flour and mix well. Finally, add in 1/2 cup chocolate chips and mix.

IMG_2361

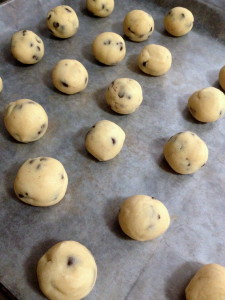
Put the whole bowl of cookie dough in the freezer for 15 minutes to stiffen the dough. After the 15 minutes are up, line a cookie sheet with wax paper, roll the cookie dough into 1-inch balls, and place the balls on the cookie sheet. Put the cookie sheets back in the freezer for 15 minutes (so that they will be easier to dunk in chocolate later!).

IMG_2362

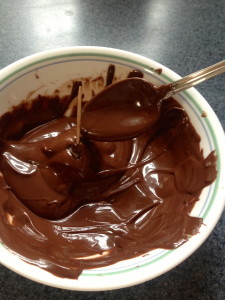
Just before it’s time for the dough balls to come out of the freezer, melt the shortening in a small bowl. Put the rest of the mini chocolate chips into a separate larger microwave-safe bowl, and pour the melted shortening over them. Melt the chocolate chips in the microwave in 30 second increments, stirring in between.

Here’s where you get to decide your technique- you can either fully roll the truffles in chocolate, or just dip them partially. I did both methods, and I found the simple dipping method to be much easier. You can also taste the cookie dough better with the simple dipping method. I’ll explain both methods, though.

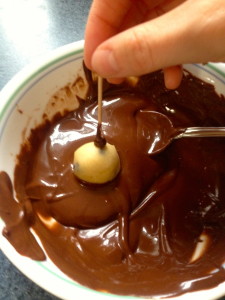
For the complete rolling method: spear a dough ball with a toothpick, and dip the ball into the melted chocolate. Spoon more chocolate over the top, and then wipe the excess chocolate away. Put the truffle back on the cookie sheet, and twist the toothpick out.

IMG_2363 IMG_2364 IMG_2365 IMG_2366

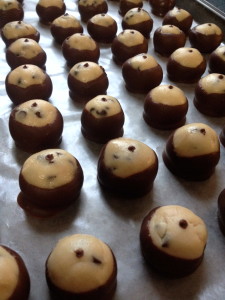
The dip method: spear the truffle with a toothpick, and just simply dip the truffle into the melted chocolate, without spooning more chocolate over the top. Place the truffle back on the baking sheet, and twist the toothpick out. If you’re feeling fancy, you can fill in the hole made by the toothpick with more melted chocolate.

IMG_2367 IMG_2369

Stick the truffles back in the freezer to harden the chocolate, and then enjoy! These do taste really good when cold, so I would recommend keeping them in the fridge or freezer. We’re going to freeze ours and save them for Easter treats! I hope you guys get a chance to try these- let me know what you think! Happy baking!



Chocolate Oatmeal Cookies, No Baking Necessary!

Hey friends! Sorry it’s been so long since I last posted- my man is in town, so I’ve been a little distracted! I’ve had my blog on my mind, though, and have a super yummy recipe to share with you all today. Today’s recipe is for No-Bake Chocolate Oatmeal Cookies. That’s a long title, though, so we’ll just call them No-Bake Cookies. Here are the ingredients:

Ingredients:

  • 1 1/2-2 cups granulated sugar (I ballparked the sugar and cocoa since it’s within a range)
  • 1/4-1/2 cup cocoa powder
  • 1/3-1/2 cup margarine (I only used 1/2 cup)
  • 1/2 cup milk
  • 1 tsp salt
  • 3 cups oatmeal (Quick-Cooking 1-minute)
  • 1 1/2 tsp vanilla
  • Nuts, optional (I didn’t use nuts)

In a large bowl, mix the oats and vanilla. Set them aside.

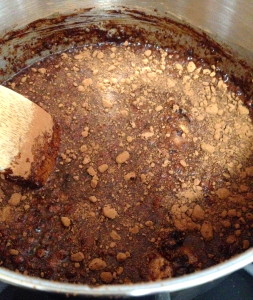
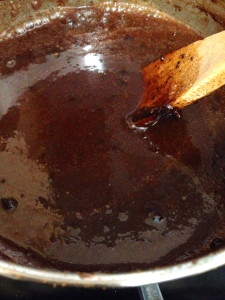
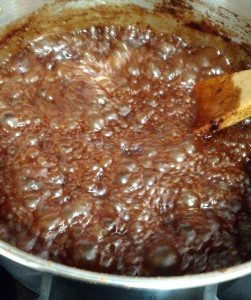
In a medium saucepan, boil the sugar, cocoa, margarine, milk, and salt together for 5 minutes. Stir this mixture constantly to prevent the milk from boiling over and the chocolate from burning. Just an FYI, I started the 5 minute timer after the mixture started boiling.

IMG_2314

IMG_2315

IMG_2316

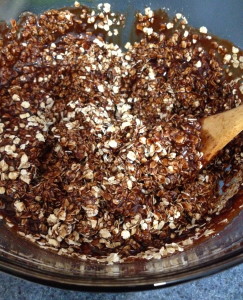
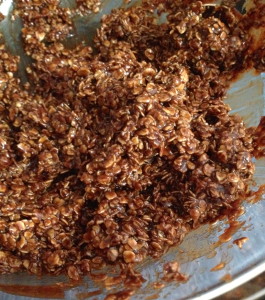
Once the 5 minutes are up, pour this cocoa mixture over the oats and stir it all together. It will be a stiff dough!

IMG_2317

IMG_2318

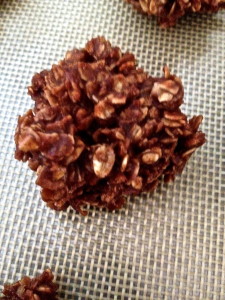
Scoop the mixture into rounded balls and place them on a baking sheet lined with wax paper or a baking mat. You can either use an ice cream scoop to scoop the dough, or roll the balls between your hands. A word of caution: this dough is super hot (it was just boiling!), so be careful not to burn your hands if you choose to roll the dough between your hands.

IMG_2319

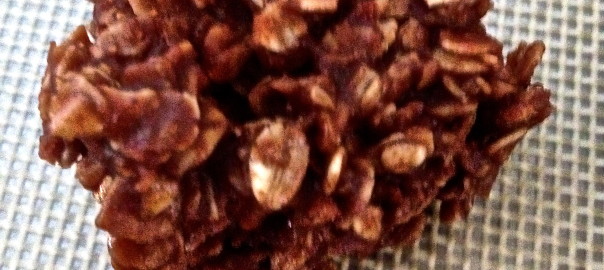
And that’s it! You just have to let the cookie dough balls cool and it’ll be ready to eat. These cookies are so yummy and they take approximately 7 minutes to make- can it get any better?? I hope you give these a try and that you enjoy them as much as we did! Happy baking!
Cookies ‘n Cream Cupcakes

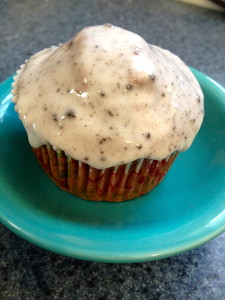
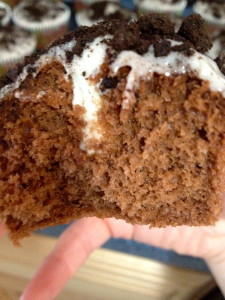
Hey friends! Happy end of February- Spring is officially coming! To celebrate, I made a great new recipe for Cookies ‘n Cream cupcakes! They’re light and sweet chocolate cupcakes, with that perfect Oreo crunch and the thick Oreo cream in a sweet glaze! Here’s the recipe:

  • 1 chocolate cake mix, plus ingredients for the mix (I  used a milk chocolate mix, but I also think a dark chocolate mix would give the cake a perfect bittersweet taste.)
  • 1/2 package Mega-Stuf Oreo’s
  • 2 cups confectioner’s sugar
  • 3 tbsp and 1/2 tsp milk
  • 1/8 tsp cream of tartar

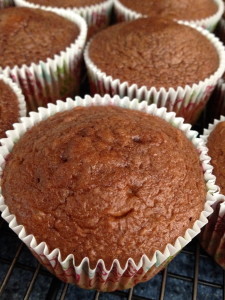
First, preheat the oven to 375ºF (or whatever the mix instructs) and line 2 cupcake sheets with cupcake papers (this recipe makes about 24 cupcakes). Make the cake mix according to the directions on the box, and portion the batter evenly among the cupcakes. Bake for however long the box directs, or about 15 minutes. When the cupcakes come out of the oven, cool them in the sheets for 5 minutes and then transfer them to a cooling rack to cool thoroughly

IMG_2297

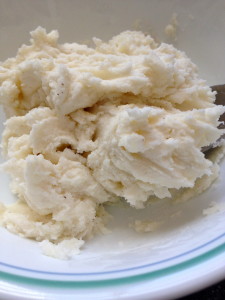
While the cupcakes are baking, separate the Oreo’s into the cookies and the cream. I did this by twisting the Oreo’s until one cookie came off, and then ran a knife under the cream to separate it from the other cookie. With a fork, fluff up the cream. Put the cream in a pastry bag or a plastic food storage bag with the corner cut off (you’re going to pipe the cream into the cupcakes).

IMG_2296

Put the chocolate cookies in a plastic storage bag, and pound the bag with either a rolling pin or a meat tenderizer until you’ve successfully smashed the cookies to smithereens. Set the cookie crumbs aside.

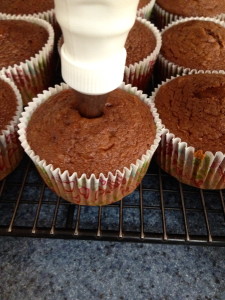
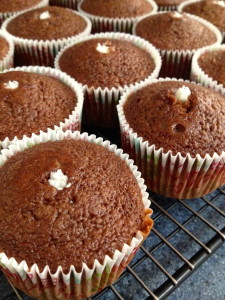
When the cupcakes are fully cooled, begin piping the cream into the center of the cupcakes. To do this, insert the tip of the pastry bag into the cupcake and squeeze the bag as hard as you can! The cream is reeealllllyyyy thick, so it took some muscle to get it out of the bag. Totally worth it, though! You can also do this by hollowing out a little area in the cupcake and just squeezing some of the cream into the little hollowed area.

IMG_2299 IMG_2300

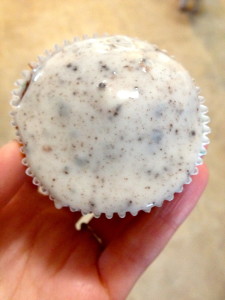
Now, time to make the glaze for the cupcakes! Take the confectioner’s sugar, milk, and cream of tartar and mix them in a small bowl until they form a glaze consistency. It should be slightly runny, but not so thin that it can’t be controlled when being spread over a cupcake. Take as many of the Oreo cookie crumbs as you want and sprinkle them into the glaze- but be sure to save some to top the cupcakes with!

Spread glaze over each cupcake to taste. Don’t worry, there is plenty for each, so you don’t have to skimp!

IMG_2301 IMG_2307

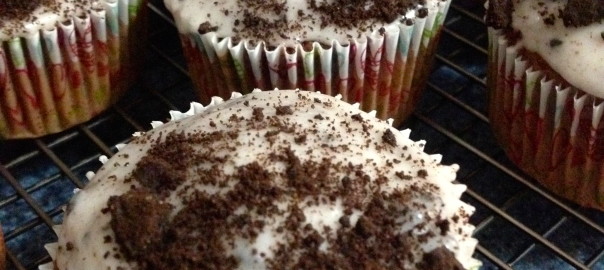
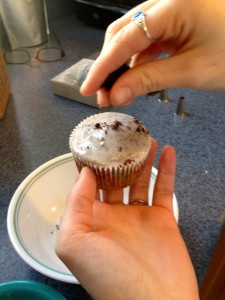
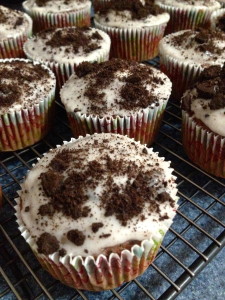
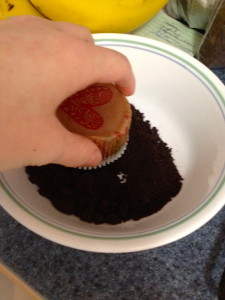
Finally, top the cupcakes with the Oreo cookie crumbs. You can do this either by sprinkling the crumbs on top, or by putting the crumbs in a bowl and rolling the cupcake in the crumbs. Both methods worked well!

IMG_2304 IMG_2308

And finally, enjoy! These cupcakes are super yummy and so fun and easy to make! Feel free to give them a try, and treat yourself! Happy baking, and happy March!

IMG_2309

IMG_2310