Category Archives: Uncategorized

Bakewell Tarts

Hi all! British Baking Show recipe number two coming at you now! If you read my last post about the Millionaire Shortbreads, you probably understand by now that you should just go watch the show, but just in case- go watch it, it’s worth it!

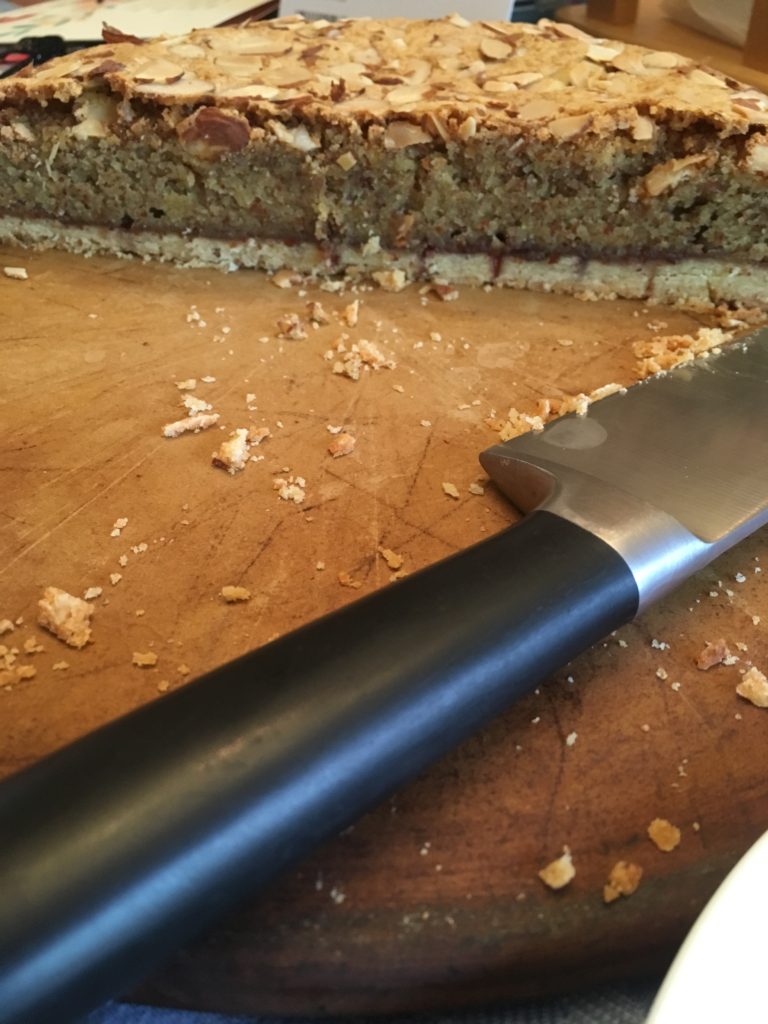
This recipe was actually a surprise to me. I really don’t enjoy many almond flavored things, so when my sister suggested that we make a Bakewell Tart (traditionally almond and raspberry flavored) I agreed for the fun of making it, totally anticipating not liking it. So, when I dipped my finger in the batter, I was very pleasantly surprised that the almond flavor was much more natural and sweet than a usual almond extract-flavored dessert would be. It ended up being a light and sweet treat that I legitimately enjoyed, much to my sister’s satisfaction. Side note: we used a food scale because everything was in grams and we wanted to have fun with a food scale. I’ve included the approximate conversions for easier baking without a scale! Here’s the recipe:

Pastry Ingredients:

  • 280g all purpose flour (1 1/4 cups)
  • 1 large egg, beaten
  • 1 large egg yolk
  • 165g unsalted butter (3/4 cup)
  • 65g caster/superfine sugar (1/4 cup plus 2 tbsp)
  • pinch salt
  • 30g ground almonds (2 tbsp)

Filling Ingredients:

  • 300g ground almonds (1 1/4 cup plus 2 tbsp)
  • 130g caster sugar (a little more than 1/2 cup)
  • 6 eggs, beaten
  • 2 splashes almond extract
  • 6 tbsp raspberry jam (the recipe called for 3 but we decided it would be better with more)
  • 2 tbsp flaked almonds

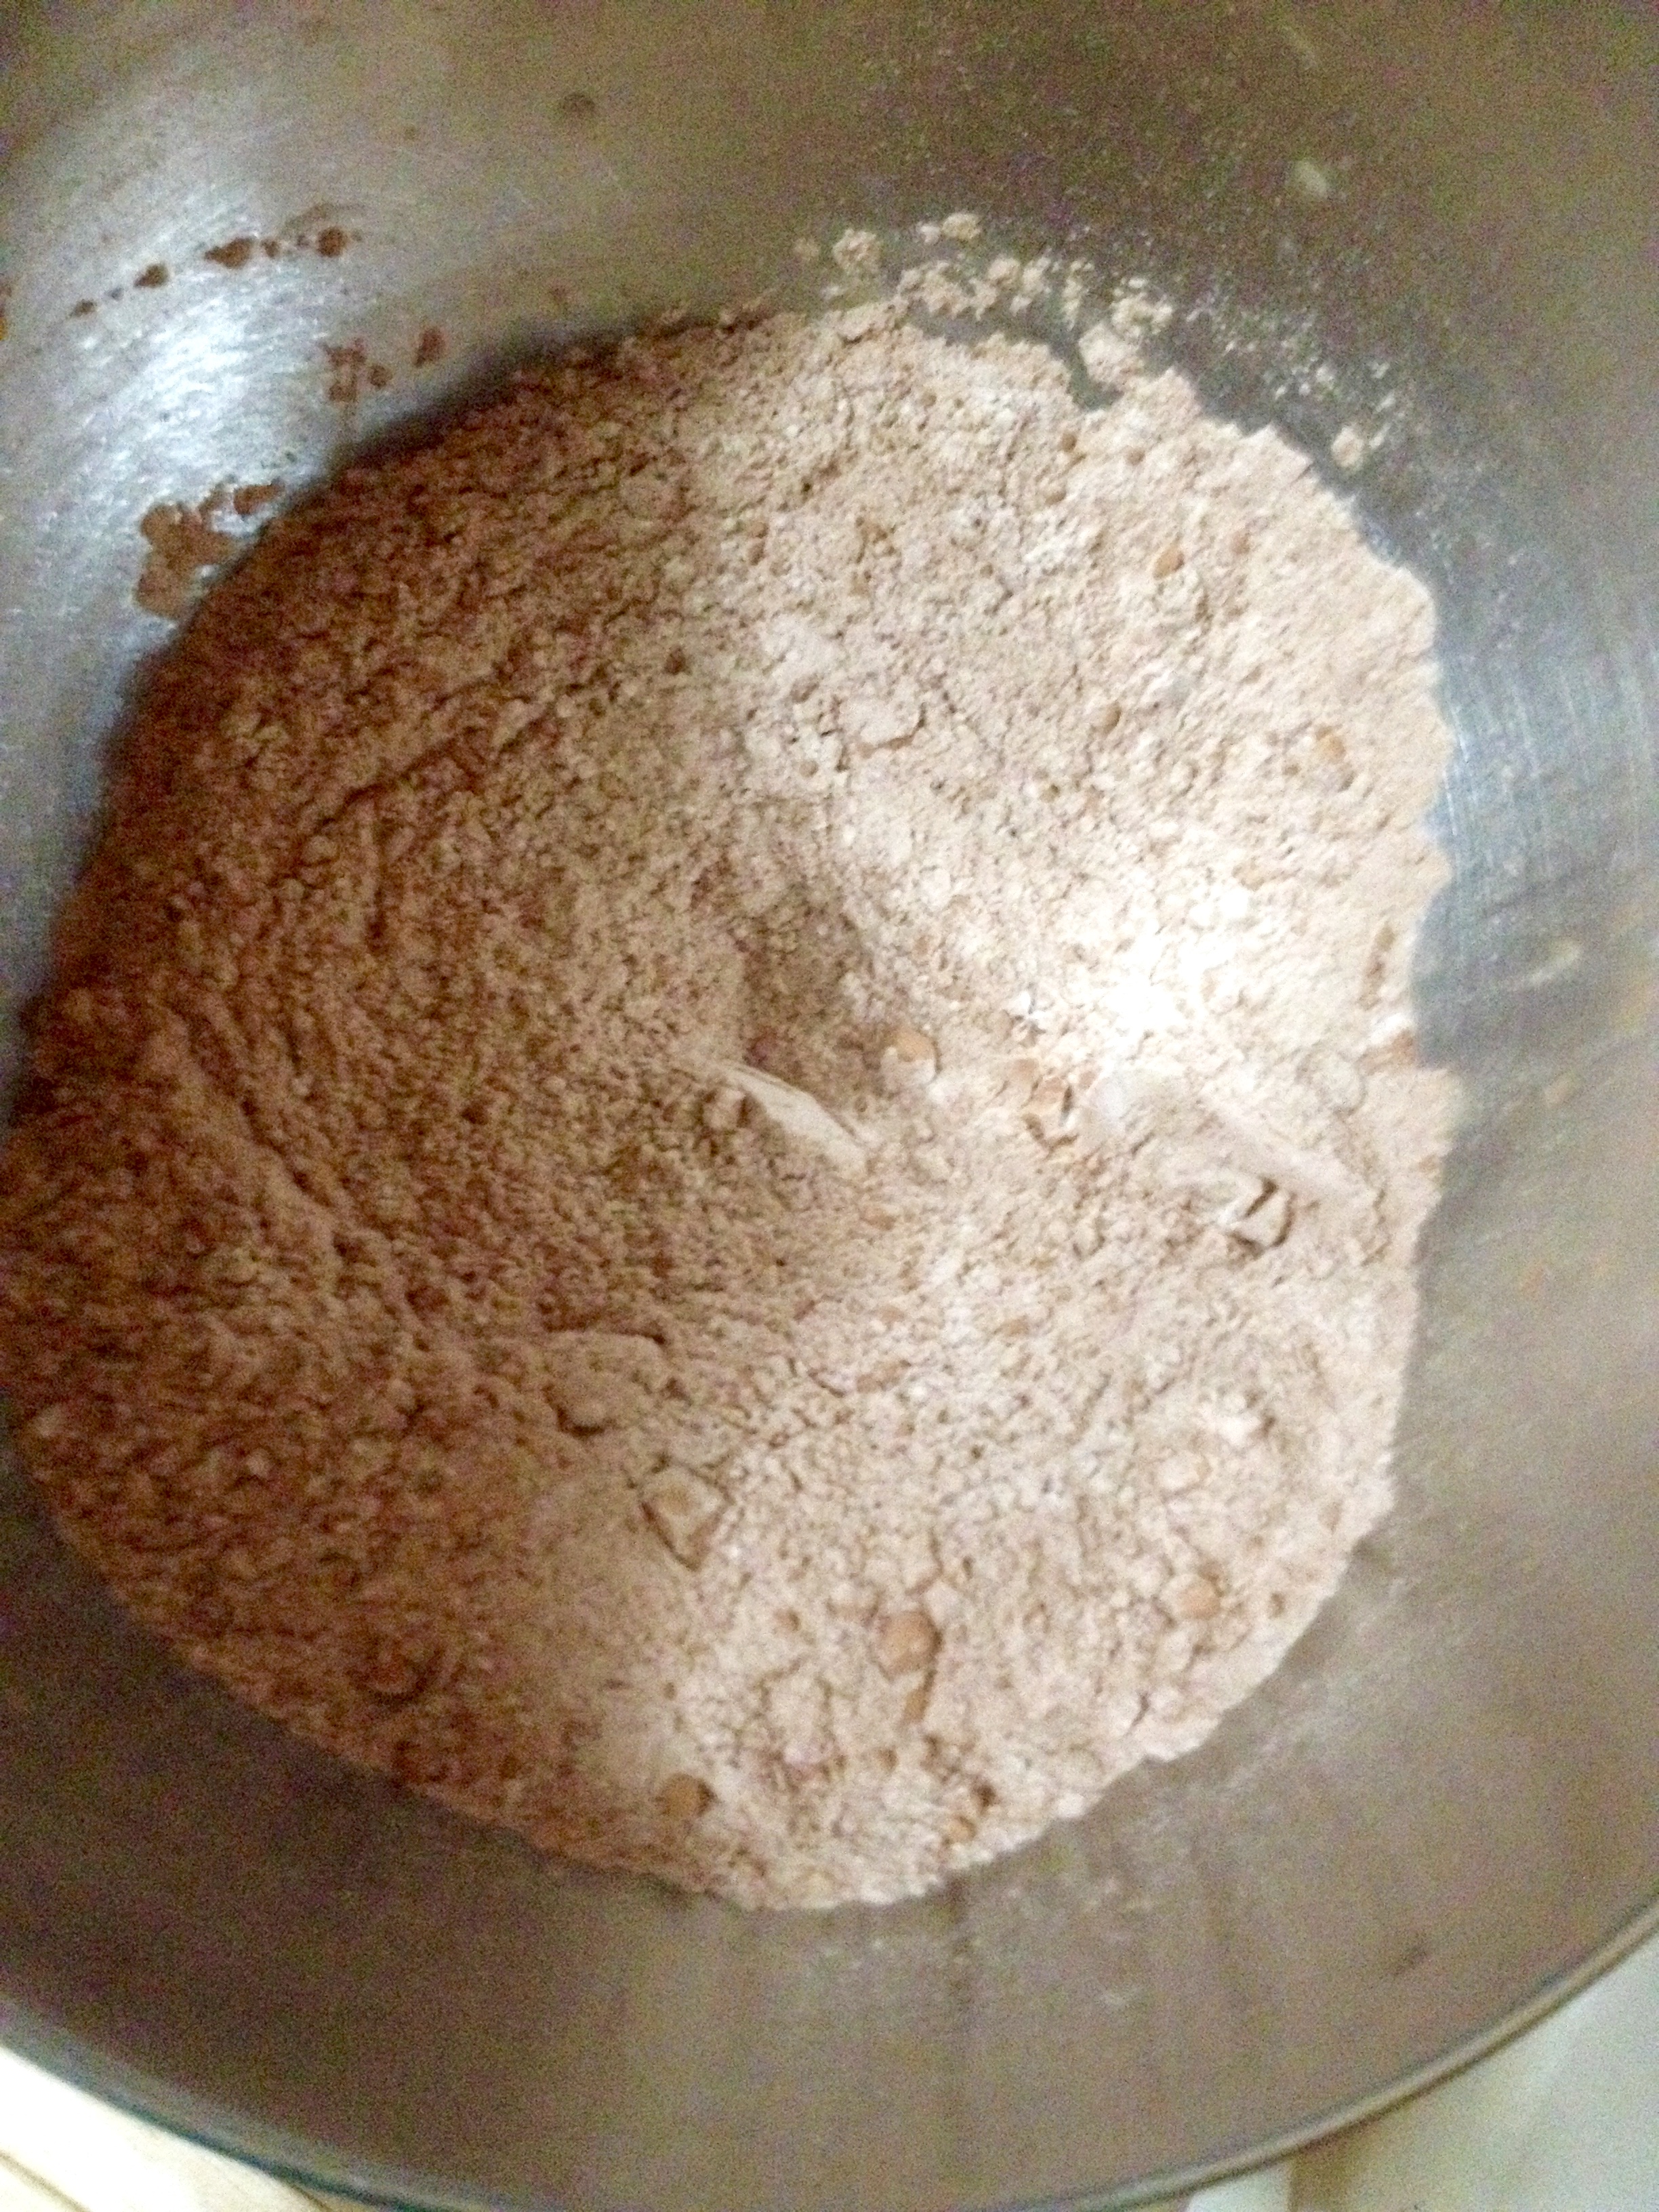
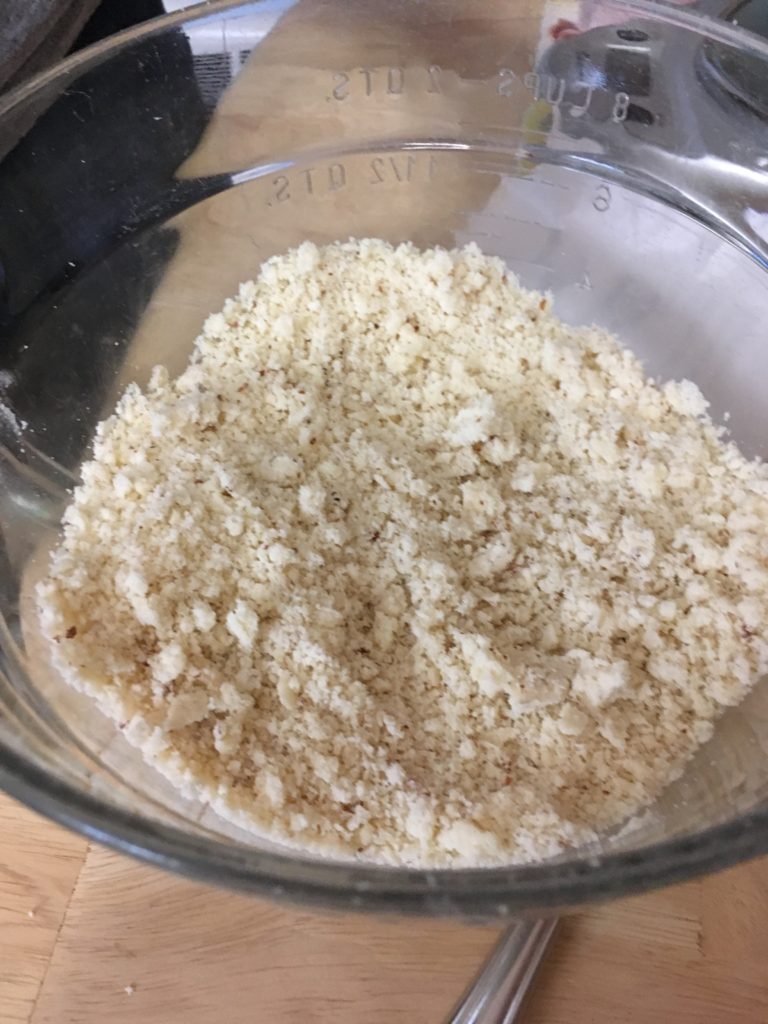
Pastry: In a large bowl, rub together flour, salt, sugar, butter, and ground almonds with your fingers until they come together to look like breadcrumbs.

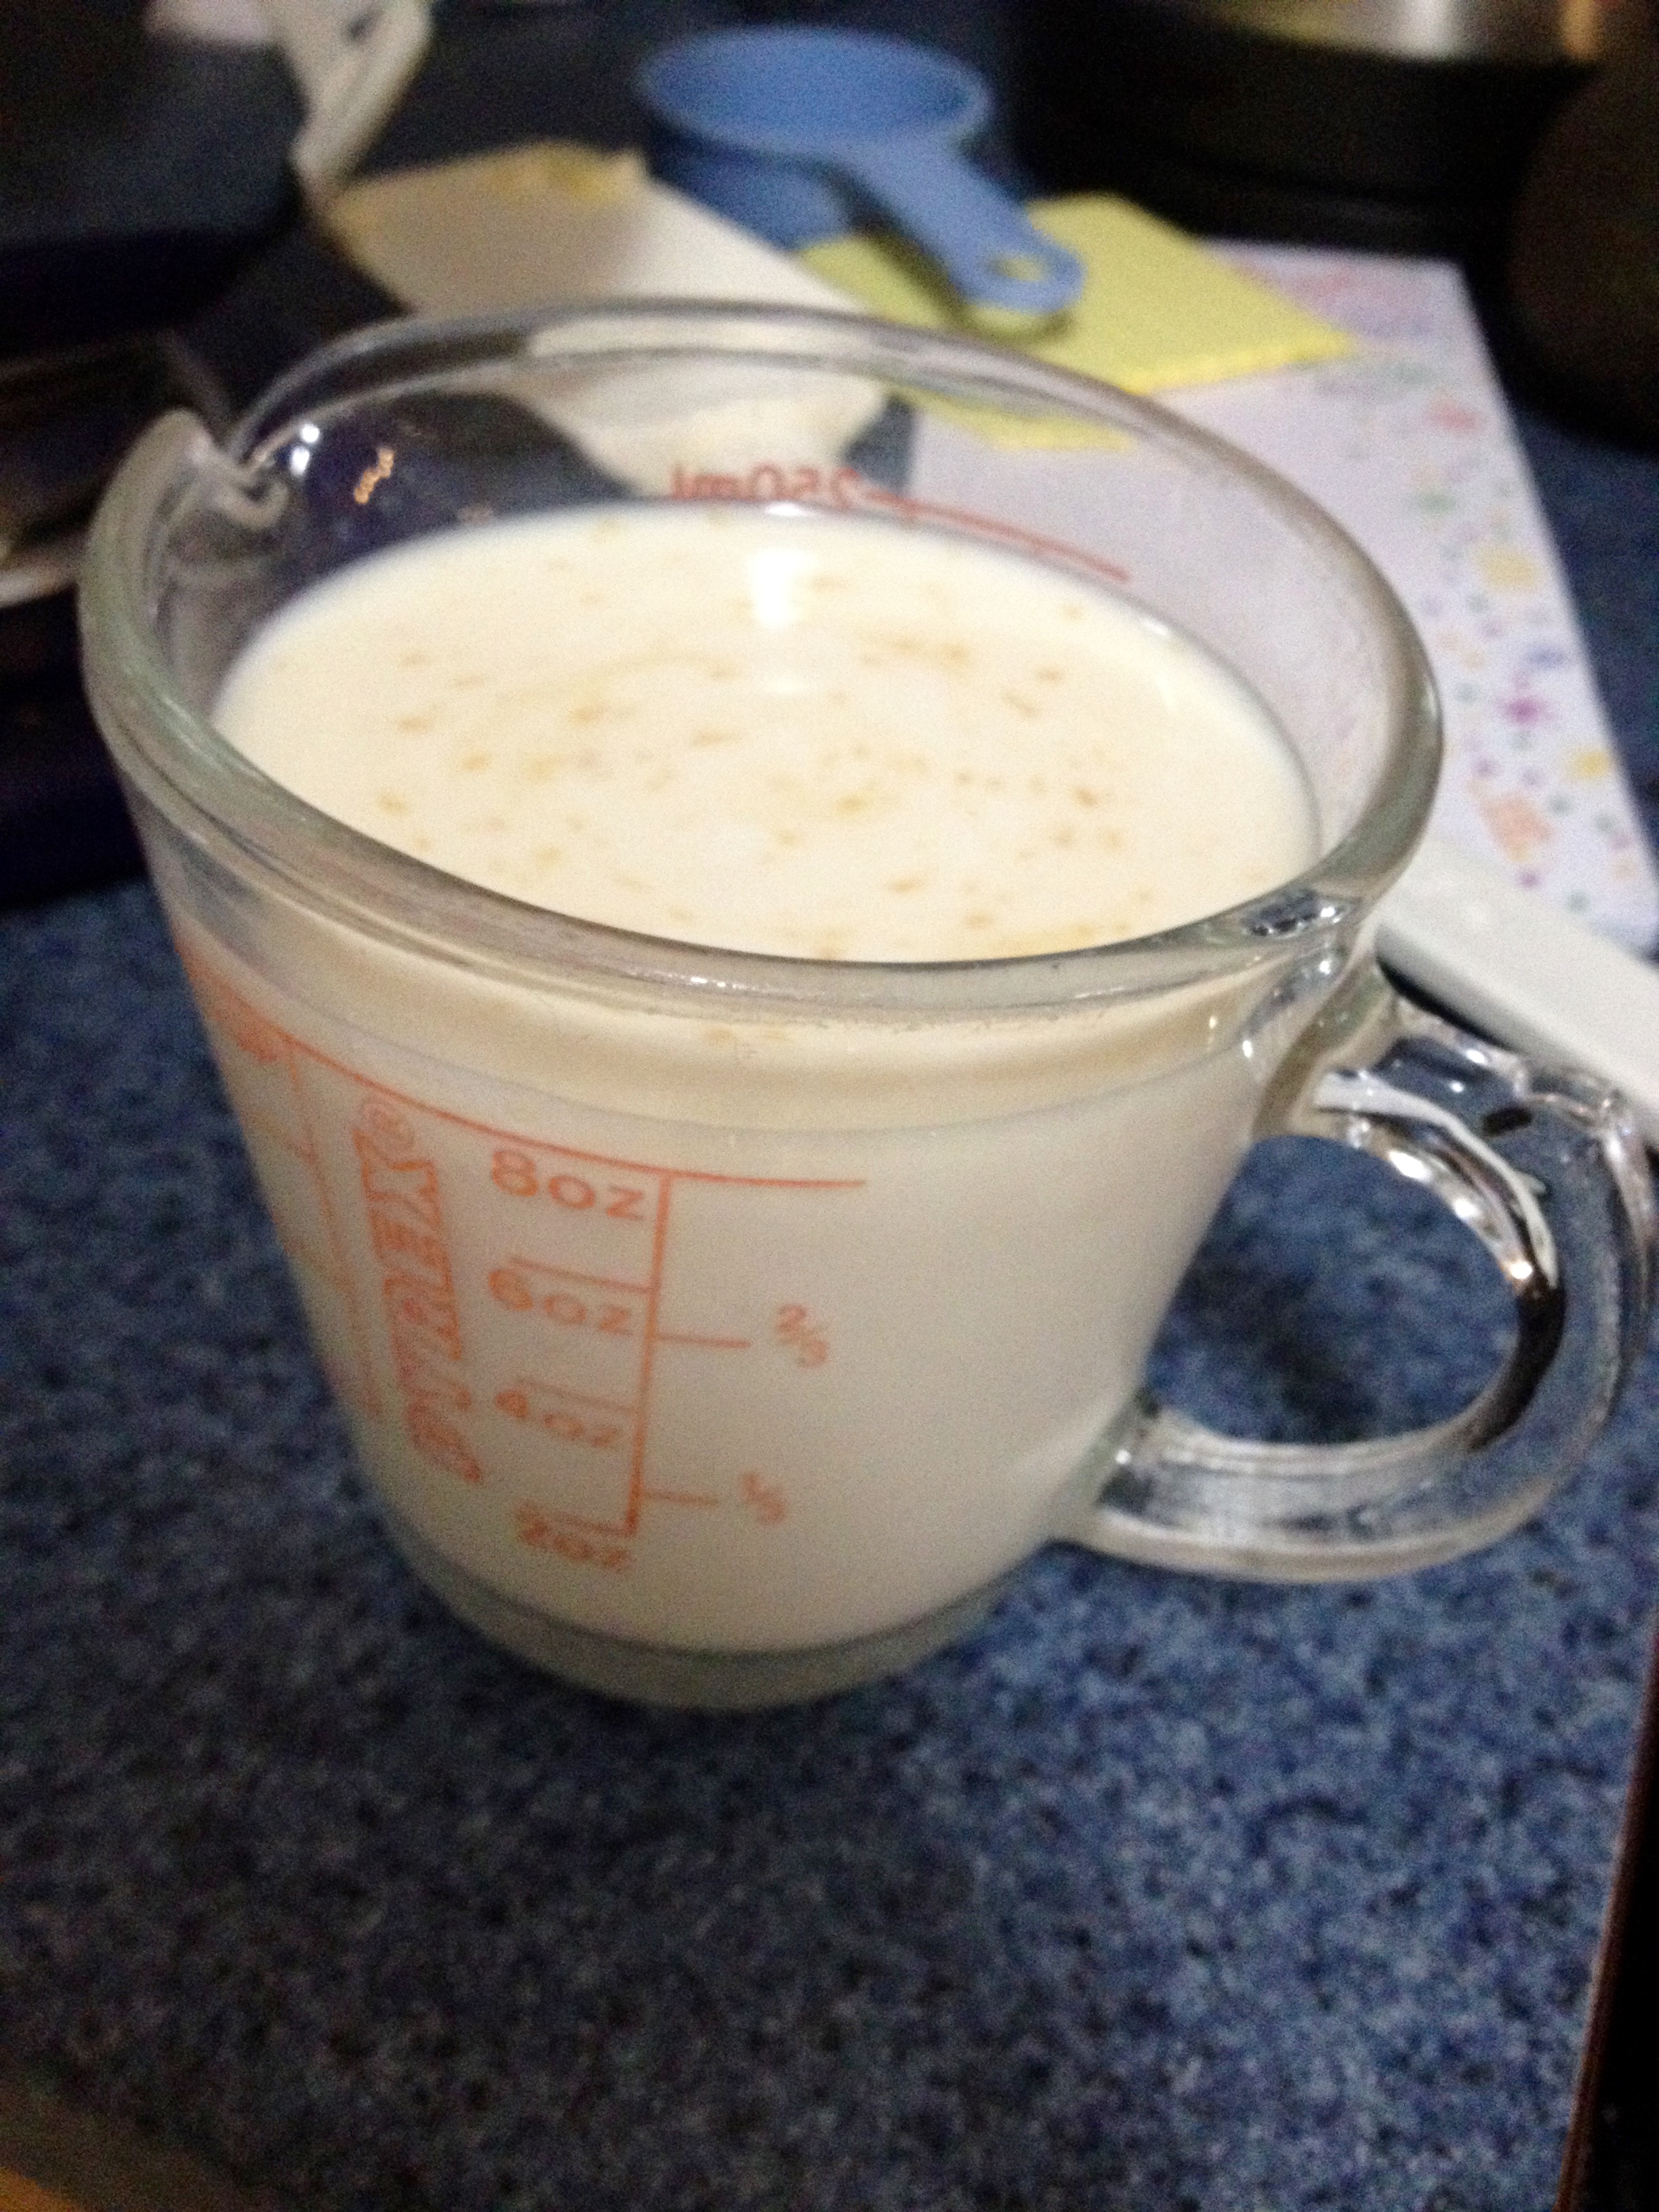
Add the egg and egg yolk one at a time and mix until a smooth dough is formed.

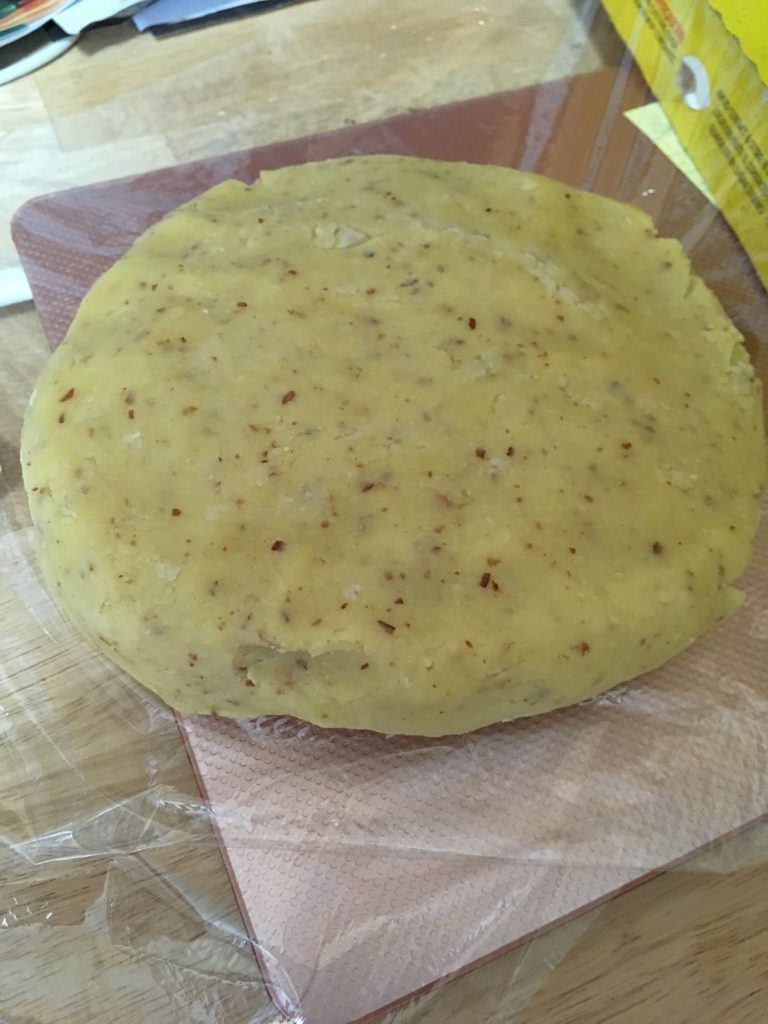
Wrap the dough in plastic wrap and refrigerate for 30 minutes. Meanwhile, preheat the oven to 350F and grease and flour a 9″ loose-bottomed tart tin.

Unwrap the cold pastry and roll onto a floured surface. The dough is crumbly so don’t be discouraged if it’s hard to work with at first!

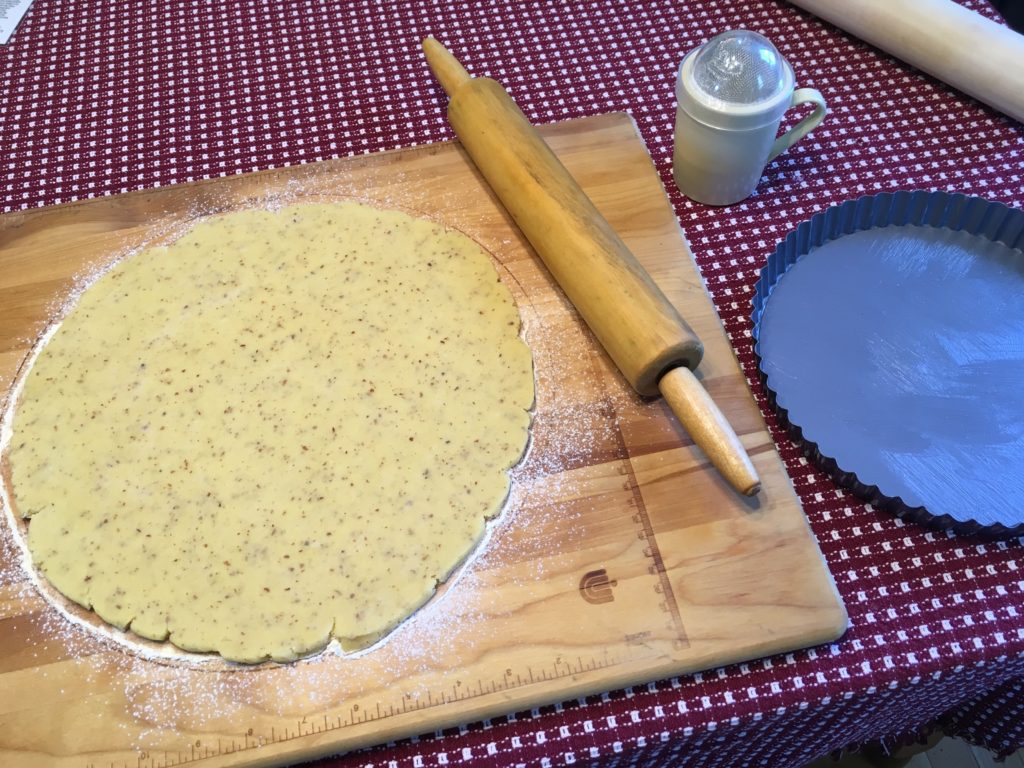
Line the tart tin with the pastry and trim off any excess from the sides. Prick the base with a fork and place parchment over the pastry. Put baking beans/uncooked rice over the parchment to “blind” bake the pastry (aka pre-cook it) for 15 minutes.

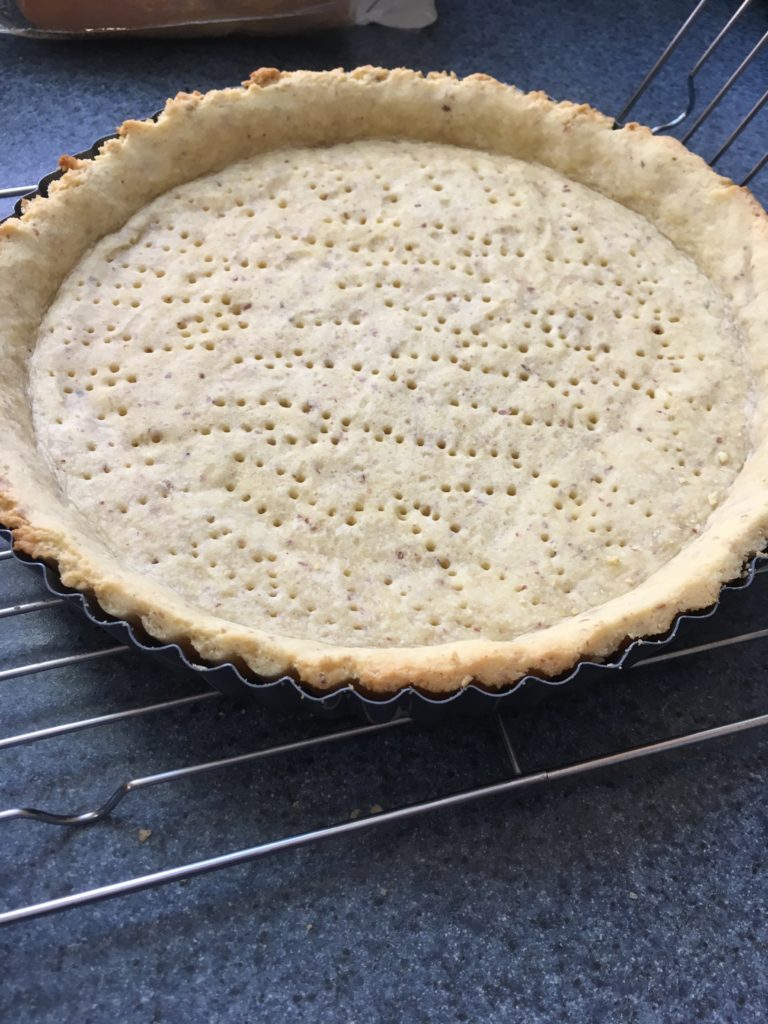
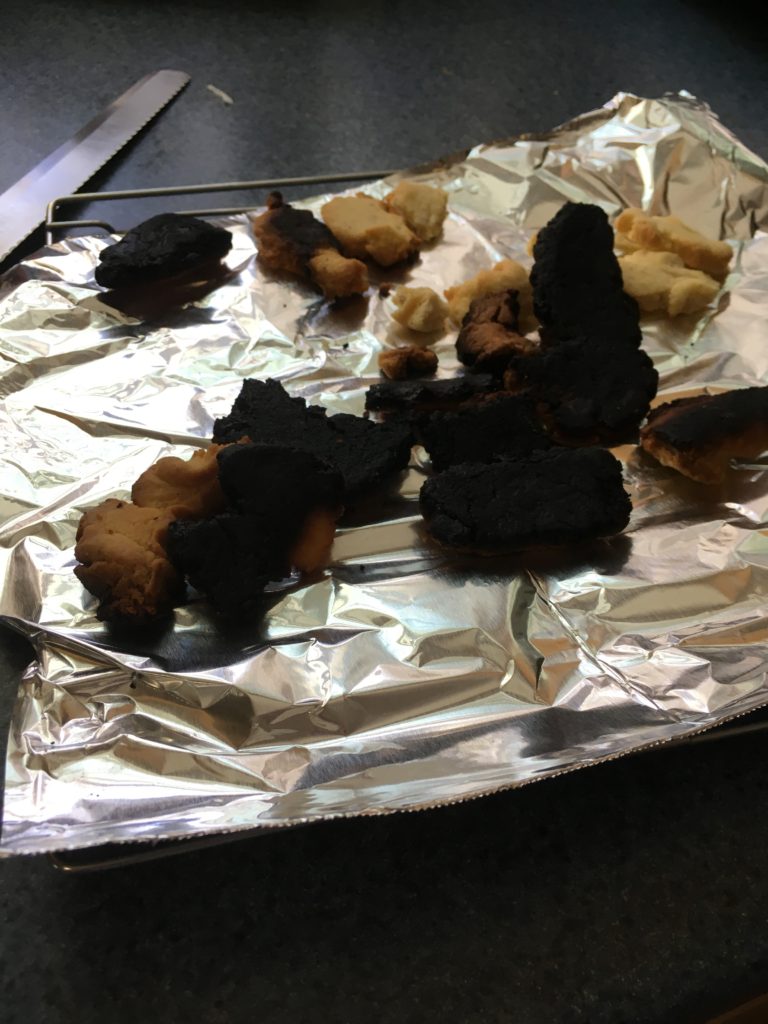
Side note: you definitely want to trim off excess pastry. We didn’t because we thought trimming it afterward would give us a cleaner edge. Turns out the pastry falls off the sides anyway and burns on your oven floor, leading to multiple smoke detectors going off. Whoops.

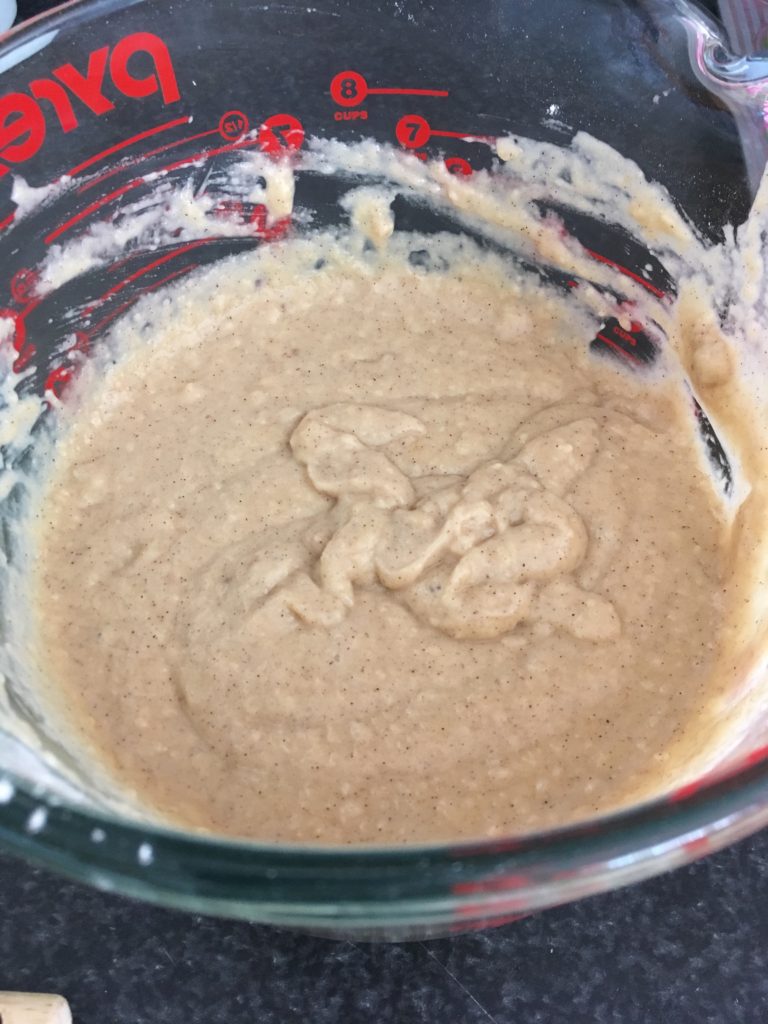
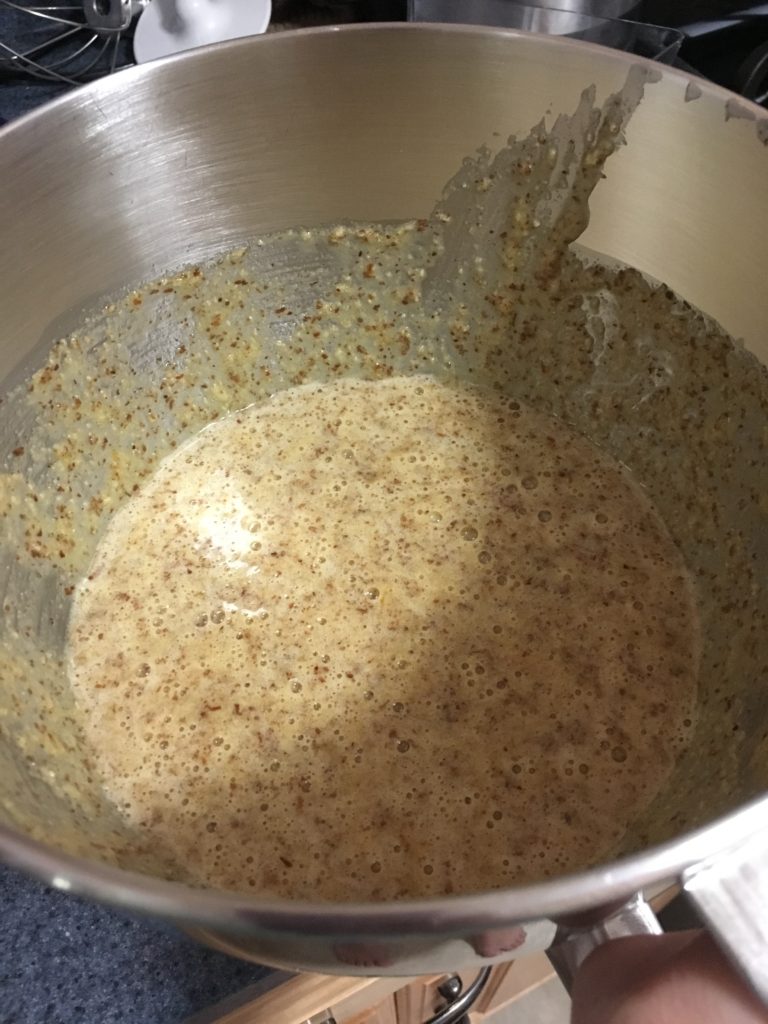
Reduce the oven temperature to 330F. While the pastry cools, mix the ground almonds and caster sugar together until well combined. Add the beaten eggs and almond extract and mix well.

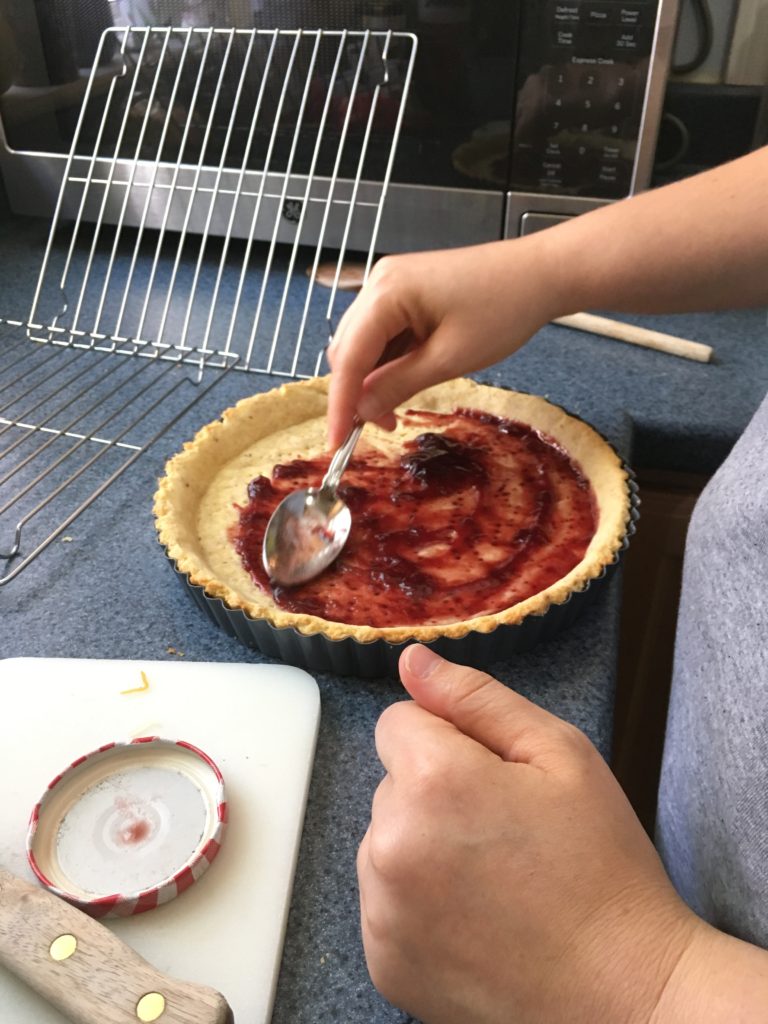
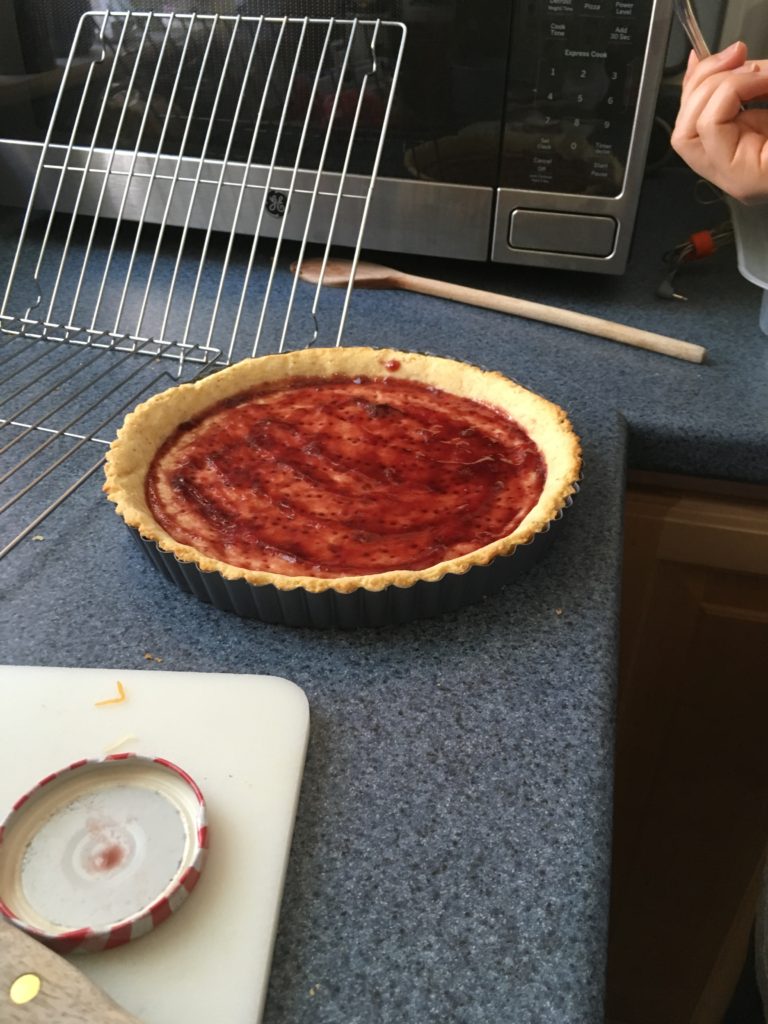
When the pastry is cool, spread an even layer of raspberry jam over the base.

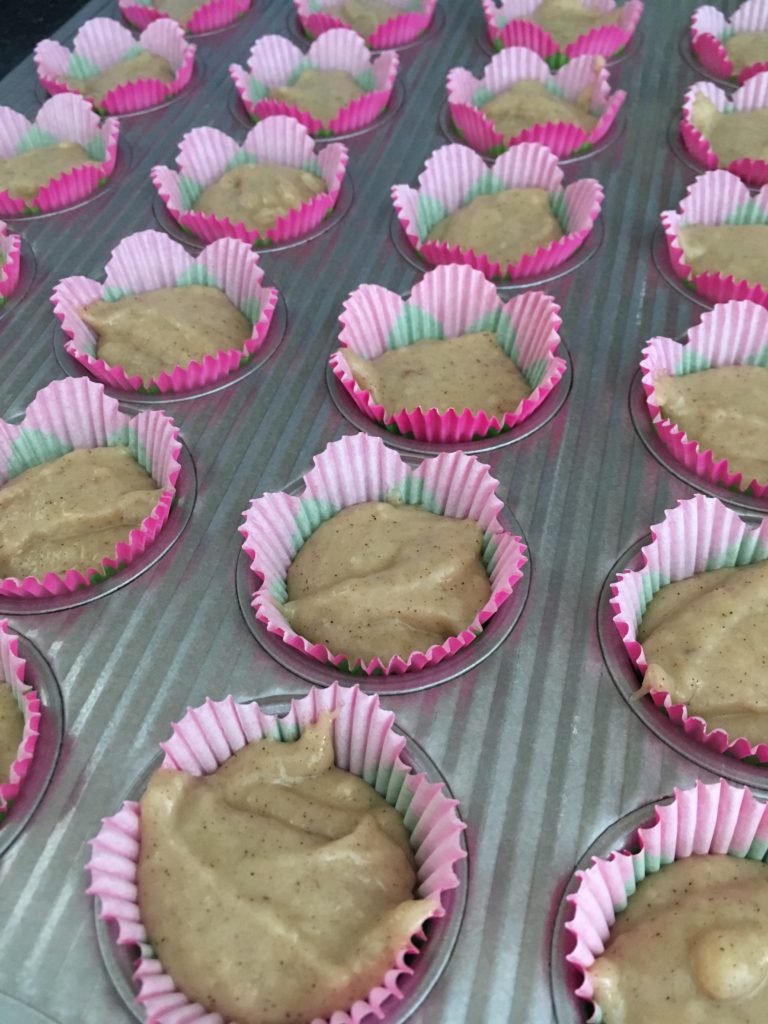
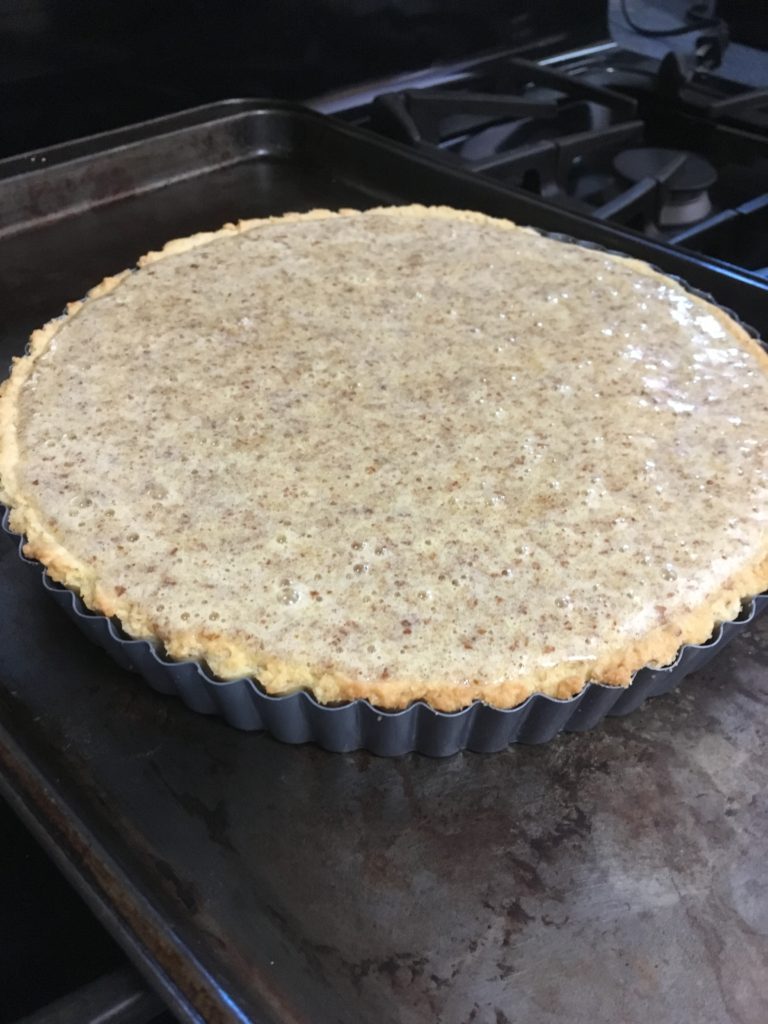
Pour the filling over the raspberry jam and fill the remainder of the pastry.

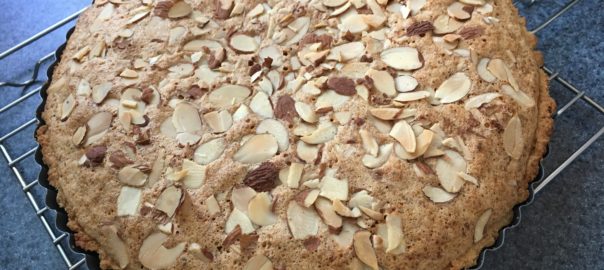
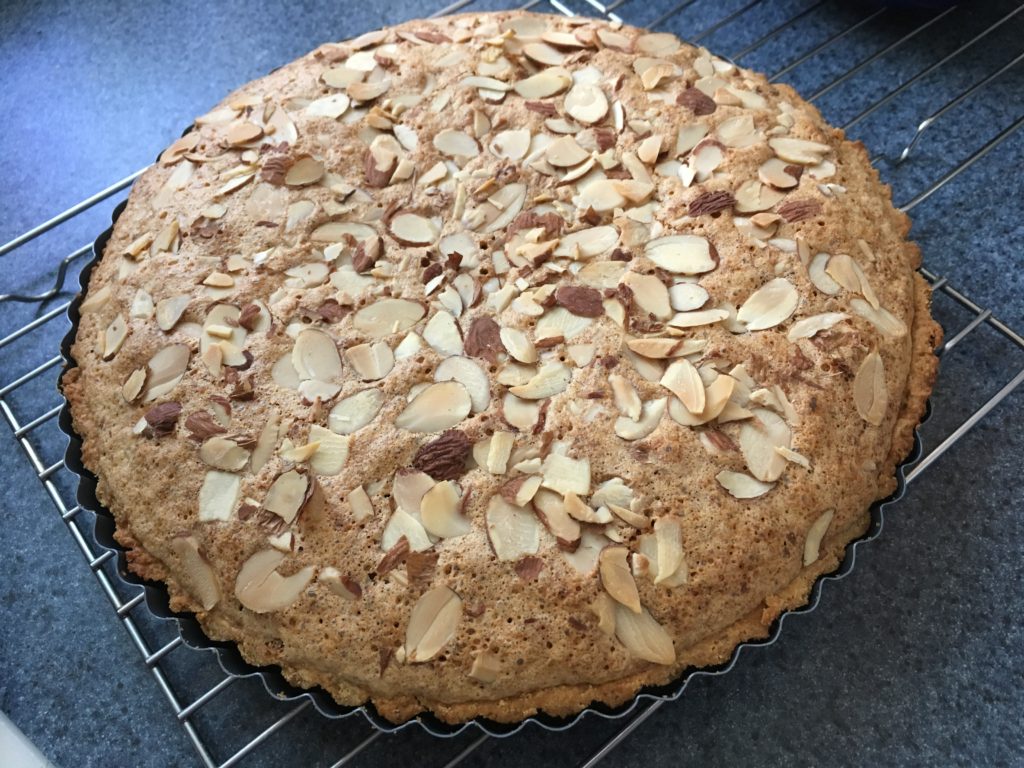
Top with flaked almonds and bake 25-30 minutes or until the filling is baked through (a toothpick inserted in the middle should come out clean) and golden brown.

And now go ahead and dig in! Happy baking!

Mini Apple Cupcakes

Hi, all! It’s my first post since being off social media for Lent and it’s good to be back with you all! I hope you all had a wonderful Easter and enjoyed some time over the past couple months with friends and family.

My mom and I recently went to a spring tea party with my cousins and we were asked to make a mini dessert to share. We decided to make mini apple cupcakes with a cream cheese frosting. I made the cupcakes, she made the frosting, and they tasted sooo good- so good that I was asked for the recipe and was asked to make them again for Easter! I figure if they were that good, they’re worth sharing to the blog. Here’s the recipe:

Ingredients:

  • 1+3/4 cups all purpose flour
  • 1 tsp baking soda
  • 1 tsp cinnamon
  • 1/2 tsp salt
  • 1 cup unsweetened applesauce
  • 3/4 cup granulated sugar
  • 1/2 cup vegetable oil
  • 1 egg

Preheat oven to 350. Line mini muffin cups with baking papers or spray with nonstick cooking spray. Whisk flour, baking soda, cinnamon, and salt together in a bowl. In a large separate mixing bowl, mix applesauce, sugar, oil, and egg together. Sift flour mixture into egg mixture and mix well.

Spoon batter into muffin cups, filling 3/4 full. Bake 15 minutes or until toothpick inserted in the middle comes out clean.

Cool on wire rack before frosting.

Frosting Ingredients:

  • 4 oz unsalted butter, softened
  • 4 oz cream cheese, softened
  • 2 cups powdered sugar
  • 1 tsp vanilla extract

Using an electric hand mixer, combine butter and powdered sugar until well mixed. Add powdered sugar in, one cup at a time, until fully mixed. Add vanilla and mix well (I usually turn the mixer speed to high for several seconds so that the mixture gets really whipped and airy). Pipe or spread the frosting onto the cupcakes.

I also bought some caramel sauce at the store and drizzled it over the top, just because I love caramel and it goes so well with apple things! You can of course make your own caramel sauce (I have a simple recipe here) but I was pinched for time so I went with the store-bought stuff.

And that’s it! These don’t take very long at all to make, but they are SO yummy, and since they’re mini you don’t feel bad having more than one! Happy baking!

Fried Okra

Hello, all! I can’t believe it’s September already- the summer absolutely flew by! Obviously now that it’s getting to be Fall, it’s time for me to start making my trips to the farmstand for apples, apple  cider, apple cider donuts… really everything apple. And lots and lots of pumpkins. But this time as I was browsing through their produce, I found some okra! I’ve never had it before, but my husband grew up eating fried okra and loves it. I decided to try making it for him (a little skeptically, I’ll admit) and was very pleasantly surprised. The slimy-when-raw odd little vegetable transforms into really crispy crunchy yummy goodness! So- for those who are wondering what the heck okra looks like, it looks like this:

okra

Now, onto the recipe!

Ingredients:

  • 7-10 okra pods, cut into thin slices (about 1/4″ thick)
  • 1 cup cornmeal
  • 1/4 tsp salt
  • 1/4 tsp pepper
  • 1/4-1/2 tsp garlic powder (to taste)
  • 1/4-1/2 tsp onion powder (to taste)
  • 1 egg, beaten
  • vegetable oil for frying
  • garlic salt and dried parsley for garnish

First, soak your okra slices in the beaten egg for 5-10 minutes. Warning: this part is really slimy/sticky, so use a fork to toss the okra or be prepared to get your hands dirty!

IMG_4489

While the okra soaks, mix the cornmeal and the spices together. I prefer to put them on a plate instead of in a bowl so that I have more room to work with when I’m tossing things in the dredge.

IMG_4490

At this point, you can also get your oil heating. Put 1-2″ of vegetable oil in a Dutch oven or a heavy bottomed frying pan. I prefer the Dutch oven because it has really high sides so I get less splattered with oil! Heat the oil to about 350°F. When you put a piece of the dredged okra in, it should immediately start bubbling and frying- if it just sits in the oil, the oil isn’t hot enough yet (and you should remove that piece of okra and try again when the oil is hotter).

Once your oil is hot and the okra has soaked in the egg, toss the okra in the cornmeal dredge.

IMG_4491

Fry the pieces in the oil in batches- the most you want at once is enough to form a single layer in the pan. If there are too many, they won’t fry properly.

IMG_4492

Once the okra are dark golden brown, take them out of the oil using a slotted spoon and lay them on a paper towel-lined plate to drain. While they’re still hot, sprinkle them with garlic salt and parsley to taste.

IMG_4494

And then, enjoy! These are surprisingly delicious and flavorful- if you get a chance, give these funky veggies a try! Happy cooking!

Campfire Cupcakes

Hi friends! Happy 4th of July weekend! I was flipping through my Cupcake Bible this past week and came across a great recipe for S’mores Cupcakes. Since my last S’mores Dip recipe was so popular, I decided to go round two for the s’mores! This recipe is really simple and cute, and was a huge favorite among my family and my dad’s coworkers. Here’s the recipe:

Ingredients:

  • 1 and 1/4 cups all-purpose flour
  • 1/2 cup unsweetened cocoa powder
  • 3/4 tsp baking soda
  • 1/2 tsp salt
  • 1 stick softened butter or margarine
  • 1 and 1/4 cups granulated sugar
  • 2 eggs
  • 1 cup milk
  • 1 tsp vanilla
  • 7 whole graham crackers (14 squares)
  • 1 and 1/2 cup marshmallow fluff
  • Chocolate candies of your choosing (I chose Kit-Kats, but Hershey milk chocolate bars are more traditional. You’ll need as much as you want to top each cupcake.)

Preheat the oven to 350ºF, and line 14 cupcake cups with the paper baking cups. Combine the flour, cocoa, baking soda, and salt in a mixing bowl, and set it aside.

IMG_2566

Combine the milk and vanilla, and set those aside.

IMG_2567

Beat the butter in a large bowl with a stand mixer at medium speed until the butter is creamed. Add the sugar, and beat for three minutes. Add the eggs one at a time, beating well after each addition. Now, put the mixer to medium speed and add the milk mixture and flour mixture alternately, starting and ending with the flour mix.

Pour the batter into the cupcake cups, so that they’re about 3/4 full. I got 14 out of the mix, but you may get more or less. According to the book, I was only supposed to get 12. It happens!

IMG_2570

Bake the cupcakes for about 20 minutes, or until a toothpick inserted in the middle of a cupcake comes out clean. Cool them in the pan for 10 minutes, and then take them out and finish cooling them on a cooling rack.

IMG_2571IMG_2572

When the cupcakes are completely cooled, put a small dollop of fluff on the top of each one. This will act as the glue for the graham crackers.

IMG_2573

Now, break each graham cracker in half so that you have about 14 squares. Put one square on each cupcake.

IMG_2574

Now, put a larger dollop of fluff on each graham cracker.

IMG_2575

And now, put the candy on top of the fluff like you would on a s’more!

IMG_2576

You can either eat the cupcakes like this, or take it up a notch by toasting the fluff. If you want to do that, put all the cupcakes on a baking sheet. Put them in the freezer for about 15 minutes (this prevents the cupcakes from cooking more when they’re under the broiler). When they come out of the freezer, broil them on high heat just until the fluff gets toasted. The chocolate may melt and the cracker may toast- added bonuses!

IMG_2577 IMG_2578 IMG_2579

These cupcakes are seriously so good. I hope you’ll give them a try for your 4th of July party! Have fun on the 4th, and happy baking!

Welcome!

My name is Ruth. I’m the girl who goes for the breads and desserts at parties, and can’t-stop-won’t-stop baking yummy treats. I don’t just bake for myself, though; I share my food with others, because there’s nothing so satisfying as eating delicious food with friends and family. The whole idea of this website is to not only share my food, but also my recipes and ideas so that others can enjoy their own communities as much as I enjoy mine.