Hi everyone! I’ve got a great veggie recipe for you today- a yummy breaded and baked eggplant! I’ve recently started a subscription to Misfits Market, a company devoted to reducing food waste. They take surplus or “ugly” organic produce that grocery stores won’t sell and send it right to your door for cheaper than grocery store prices. This has led to a super fun time trying new vegetables and trying out different recipes that I would never make otherwise, like the one I’m about to share with you!
Ingredients:
1 medium to large eggplant (peeling optional)
6 tbsp melted unsalted butter
1 cup Italian breadcrumbs
1/4 cup Parmesan cheese
Paprika to taste
Garlic powder to taste
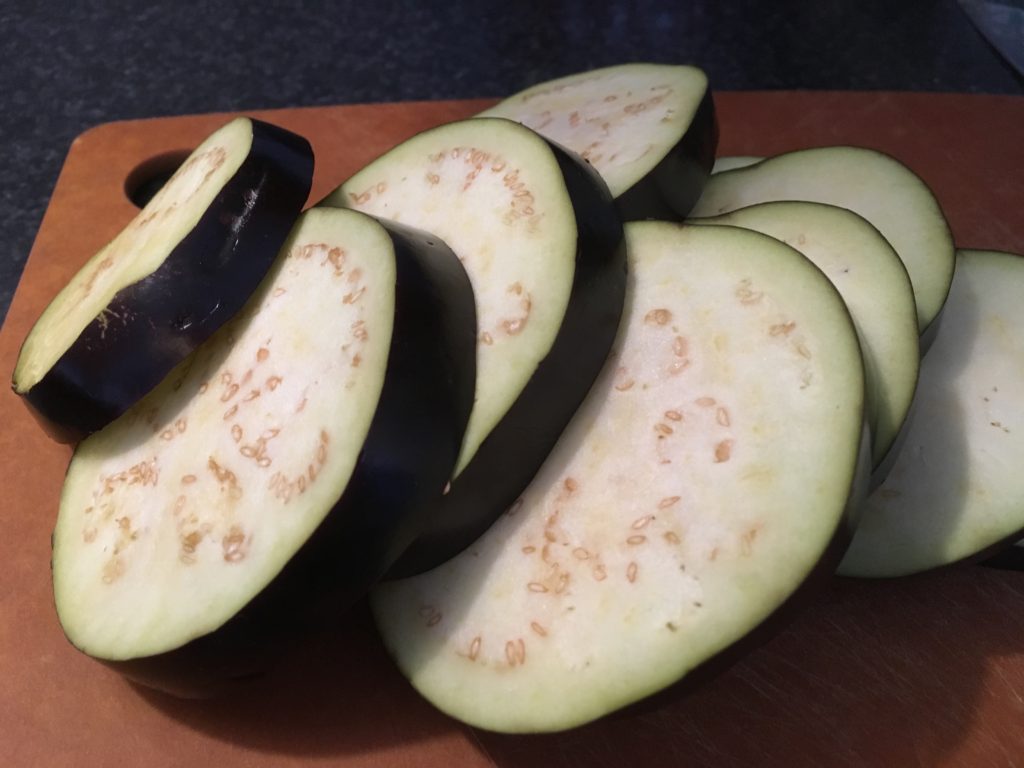
First, wash the eggplant and cut off the stem. If you want to peel the eggplant, do that now. I chose not to peel mine so that it held together better. Slice the eggplant into 1/2″ slices.
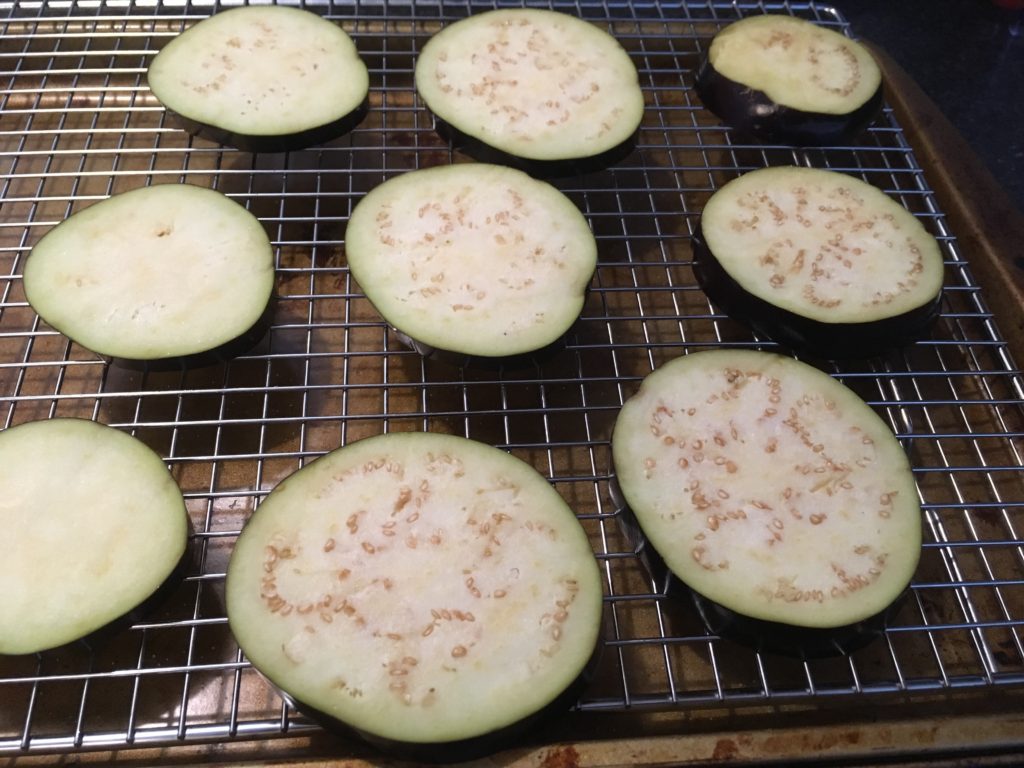
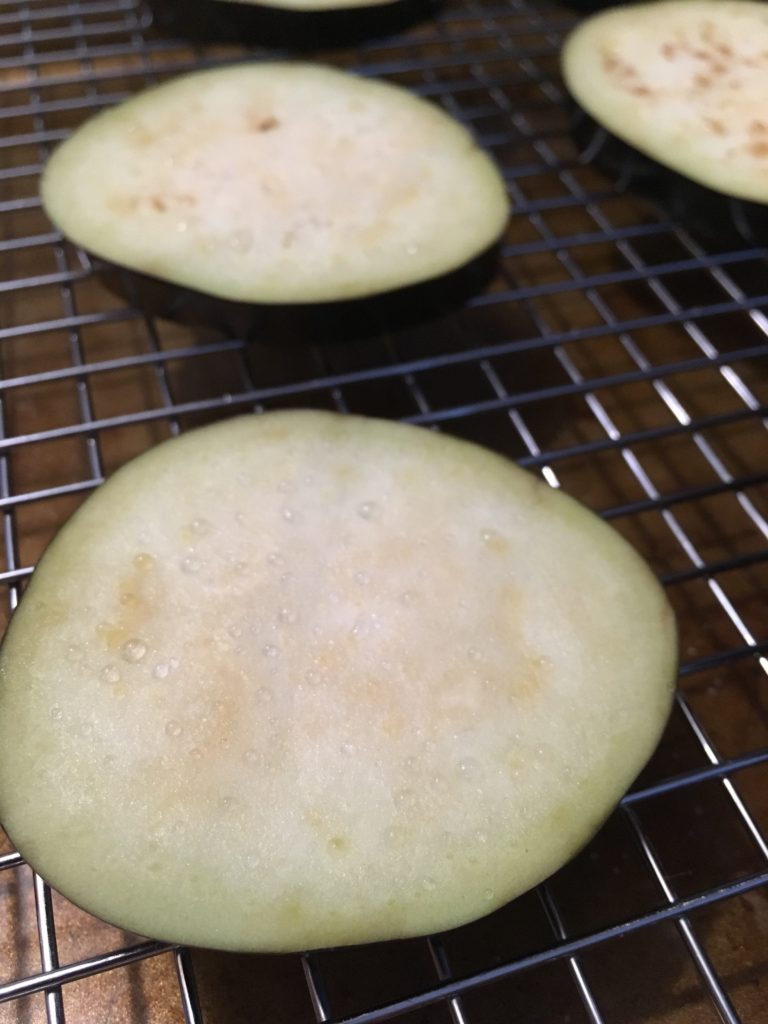
Place them on a cooling rack over a baking sheet and sprinkle them with salt, and leave them for about 30 minutes. This will help to draw out excess water which you can then wipe away to prevent your breading from getting soggy.
You can see the beads of water coming out of the eggplant after it has rested for 30 minutes.
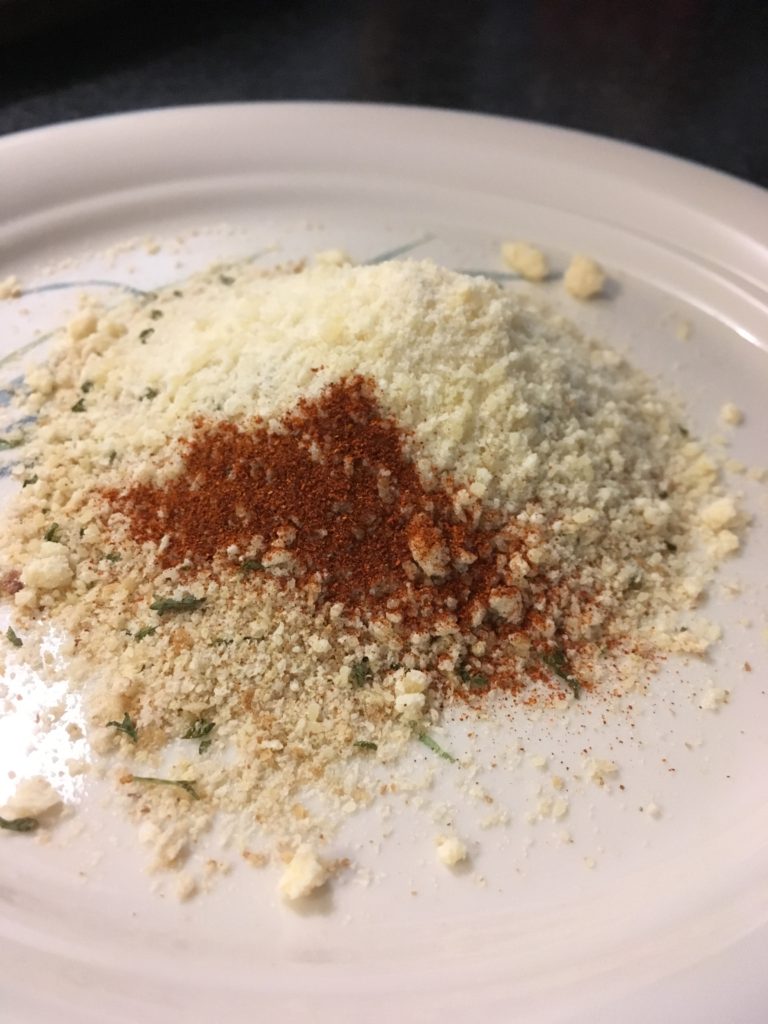
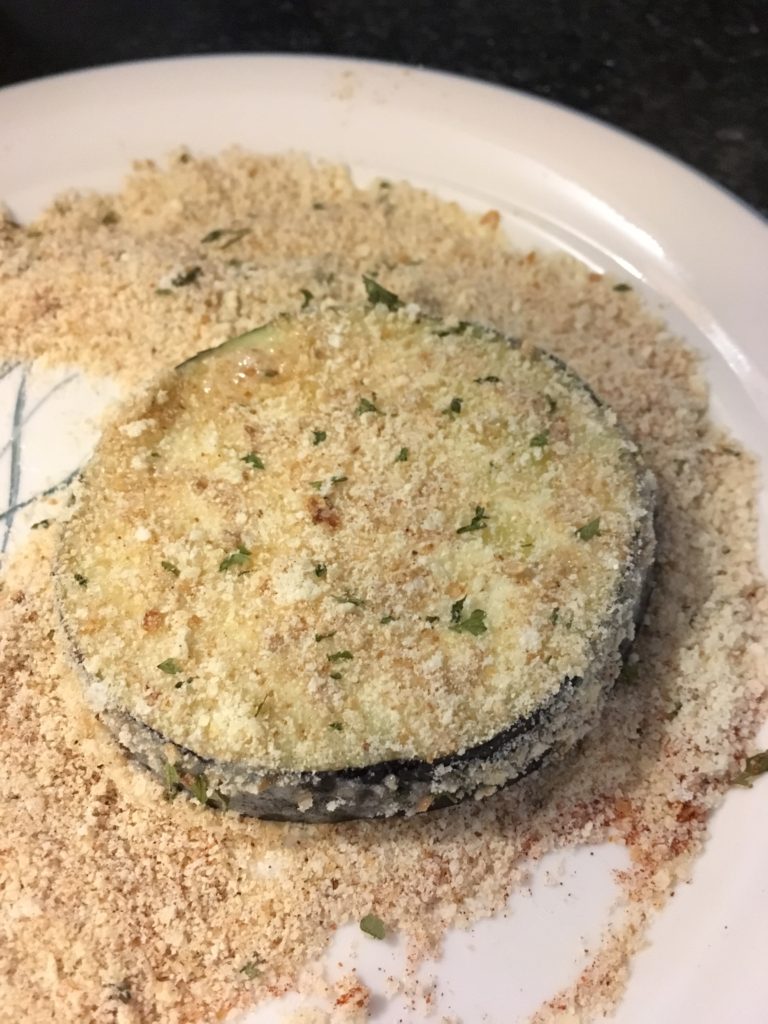
Preheat the oven to 400F. Using a paper towel, blot away the water that has come out of the eggplant slices. Next, mix the breadcrumbs with the cheese, paprika, and garlic powder.
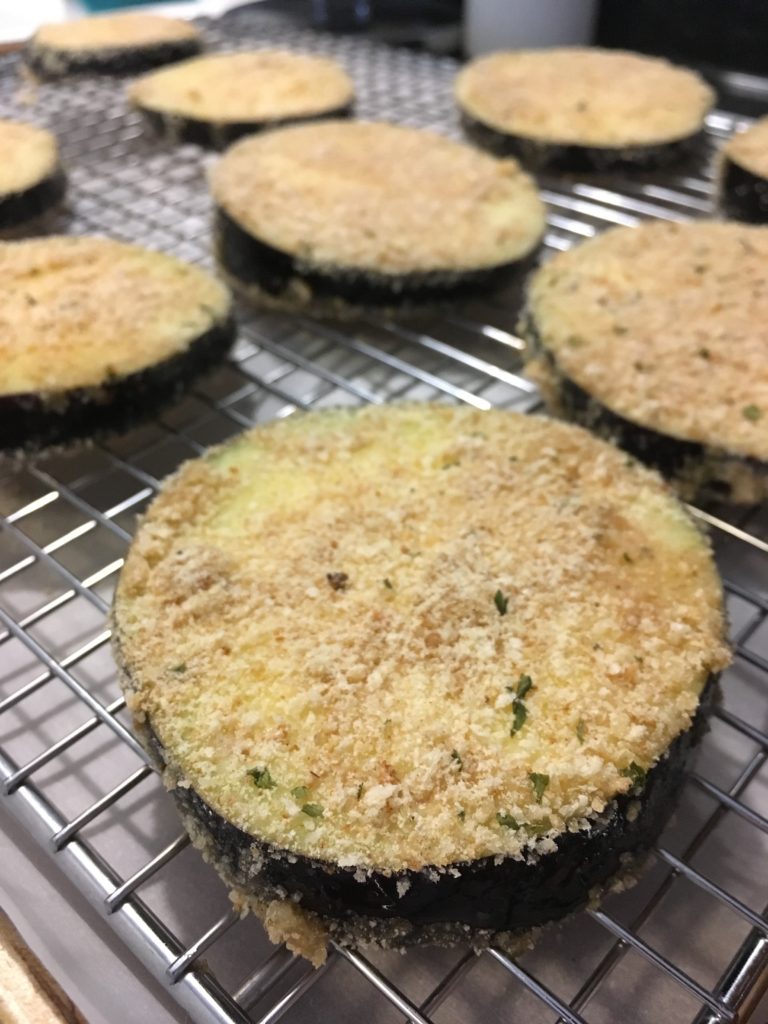
Dip the eggplant slices in the melted butter and then coat in the breadcrumb mixture. Place on the baking sheet.
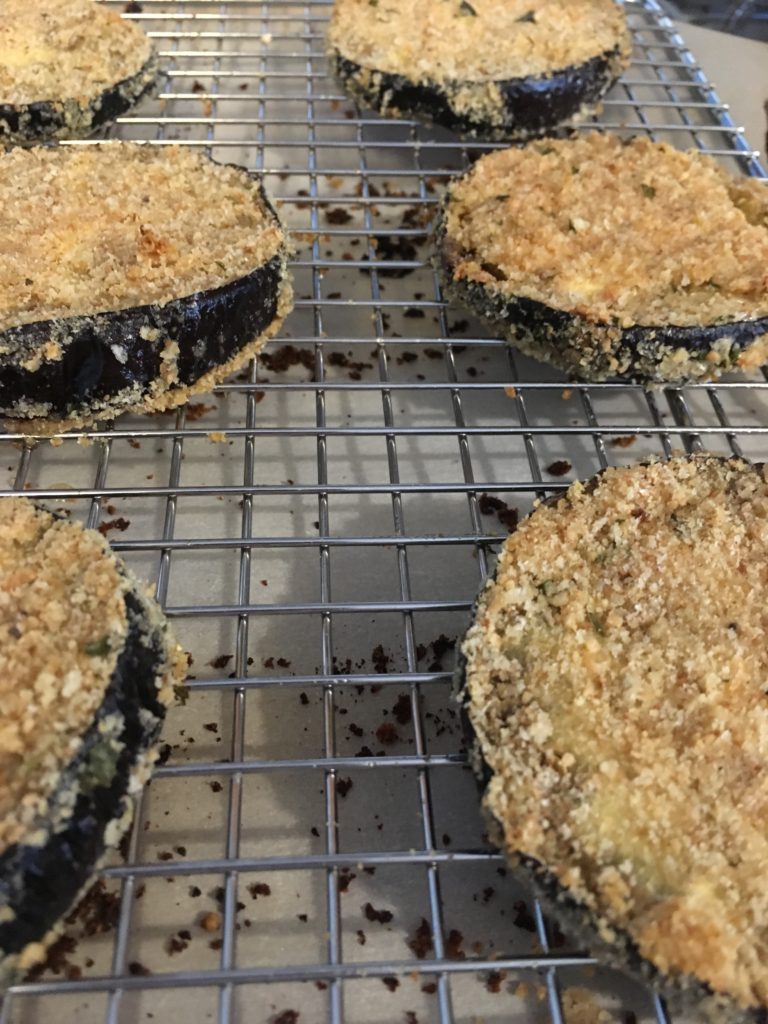
Bake for 15 minutes or until golden brown.
And now you have deliciously crispy eggplant to enjoy on its own, as a side dish, or as the star of a yummy eggplant parm! Happy cooking!
Hi all! British Baking Show recipe number two coming at you now! If you read my last post about the Millionaire Shortbreads, you probably understand by now that you should just go watch the show, but just in case- go watch it, it’s worth it!
This recipe was actually a surprise to me. I really don’t enjoy many almond flavored things, so when my sister suggested that we make a Bakewell Tart (traditionally almond and raspberry flavored) I agreed for the fun of making it, totally anticipating not liking it. So, when I dipped my finger in the batter, I was very pleasantly surprised that the almond flavor was much more natural and sweet than a usual almond extract-flavored dessert would be. It ended up being a light and sweet treat that I legitimately enjoyed, much to my sister’s satisfaction. Side note: we used a food scale because everything was in grams and we wanted to have fun with a food scale. I’ve included the approximate conversions for easier baking without a scale! Here’s the recipe:
Pastry Ingredients:
280g all purpose flour (1 1/4 cups)
1 large egg, beaten
1 large egg yolk
165g unsalted butter (3/4 cup)
65g caster/superfine sugar (1/4 cup plus 2 tbsp)
pinch salt
30g ground almonds (2 tbsp)
Filling Ingredients:
300g ground almonds (1 1/4 cup plus 2 tbsp)
130g caster sugar (a little more than 1/2 cup)
6 eggs, beaten
2 splashes almond extract
6 tbsp raspberry jam (the recipe called for 3 but we decided it would be better with more)
2 tbsp flaked almonds
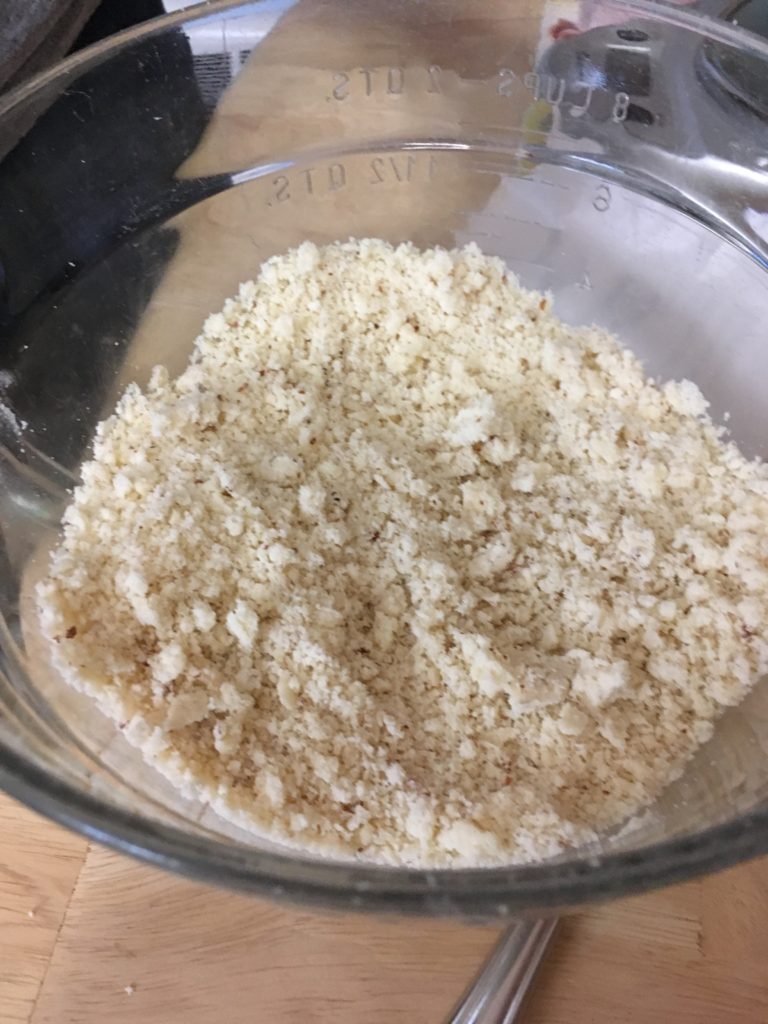
Pastry: In a large bowl, rub together flour, salt, sugar, butter, and ground almonds with your fingers until they come together to look like breadcrumbs.
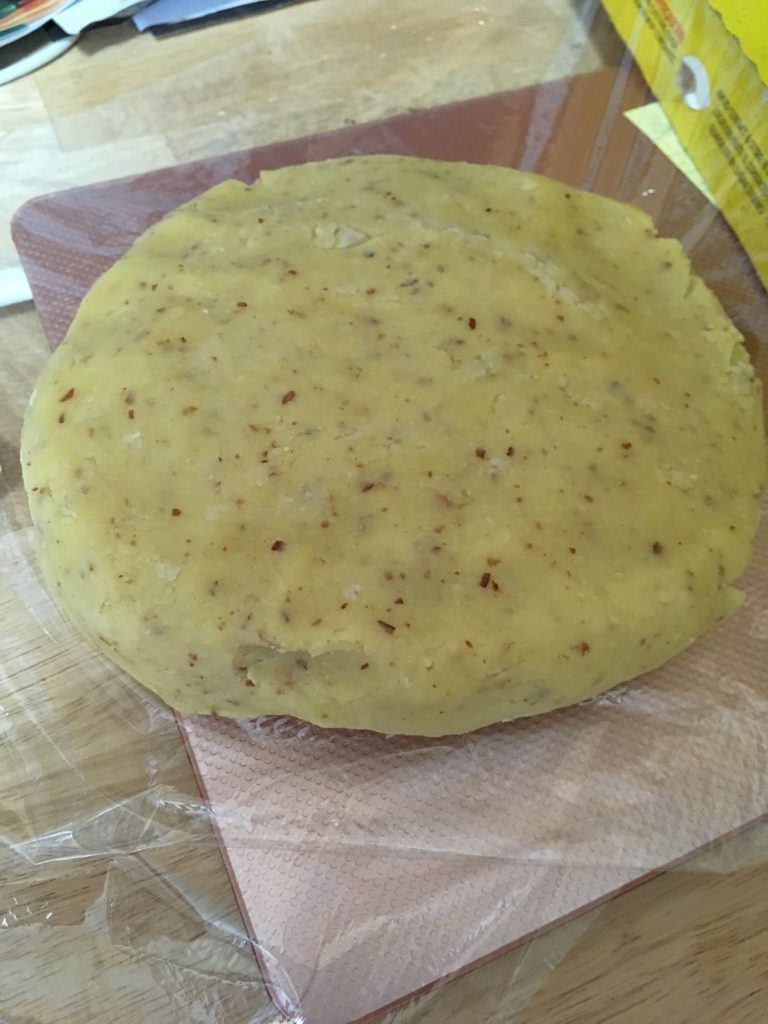
Add the egg and egg yolk one at a time and mix until a smooth dough is formed.
Wrap the dough in plastic wrap and refrigerate for 30 minutes. Meanwhile, preheat the oven to 350F and grease and flour a 9″ loose-bottomed tart tin.
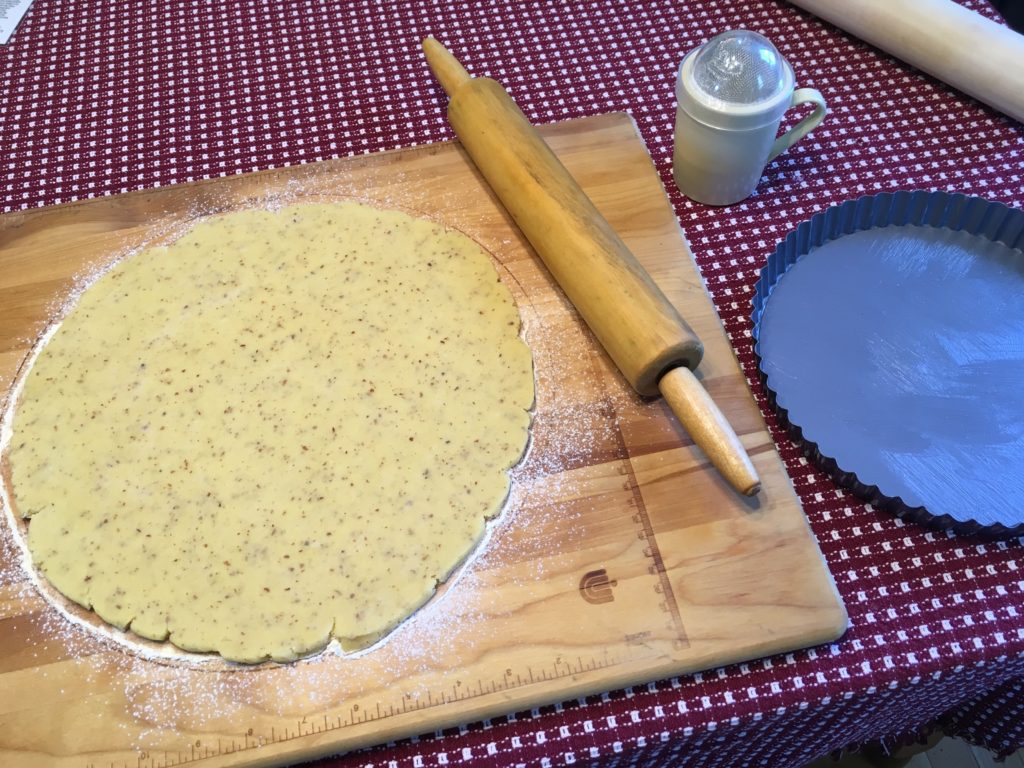
Unwrap the cold pastry and roll onto a floured surface. The dough is crumbly so don’t be discouraged if it’s hard to work with at first!
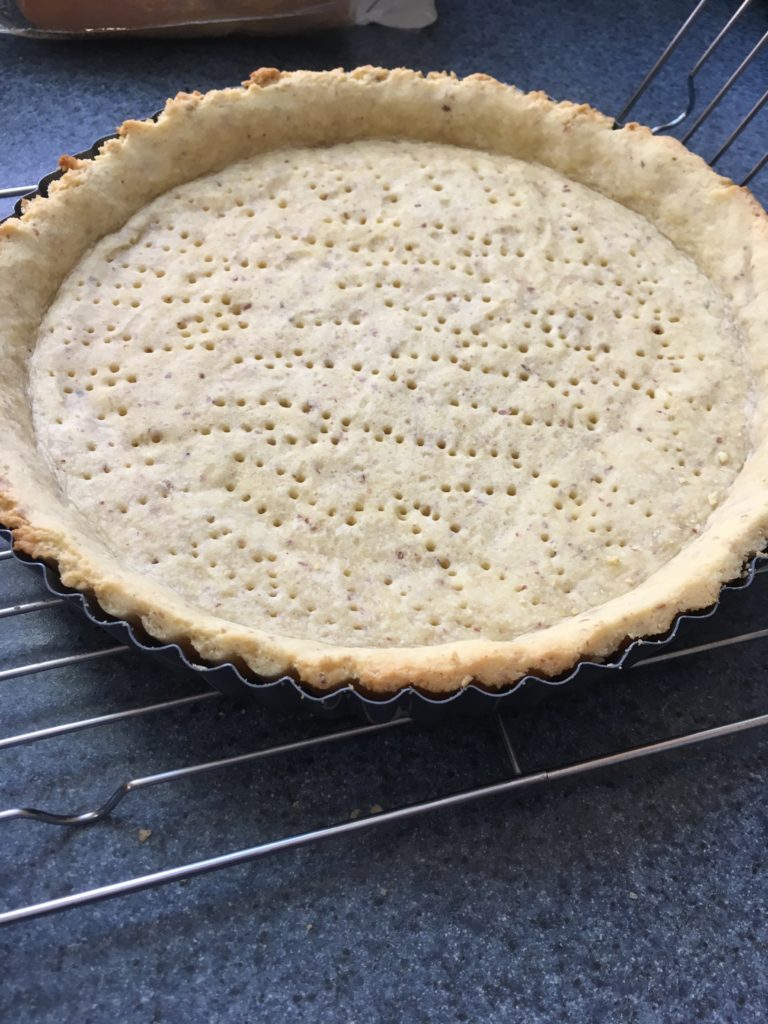
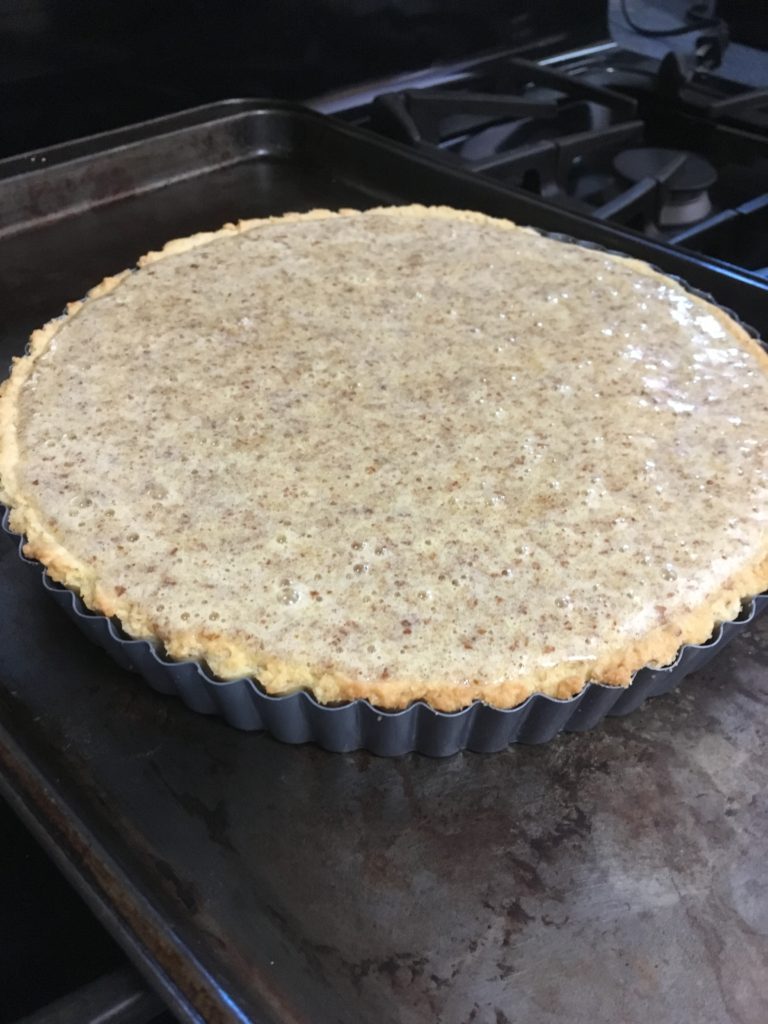
Line the tart tin with the pastry and trim off any excess from the sides. Prick the base with a fork and place parchment over the pastry. Put baking beans/uncooked rice over the parchment to “blind” bake the pastry (aka pre-cook it) for 15 minutes.
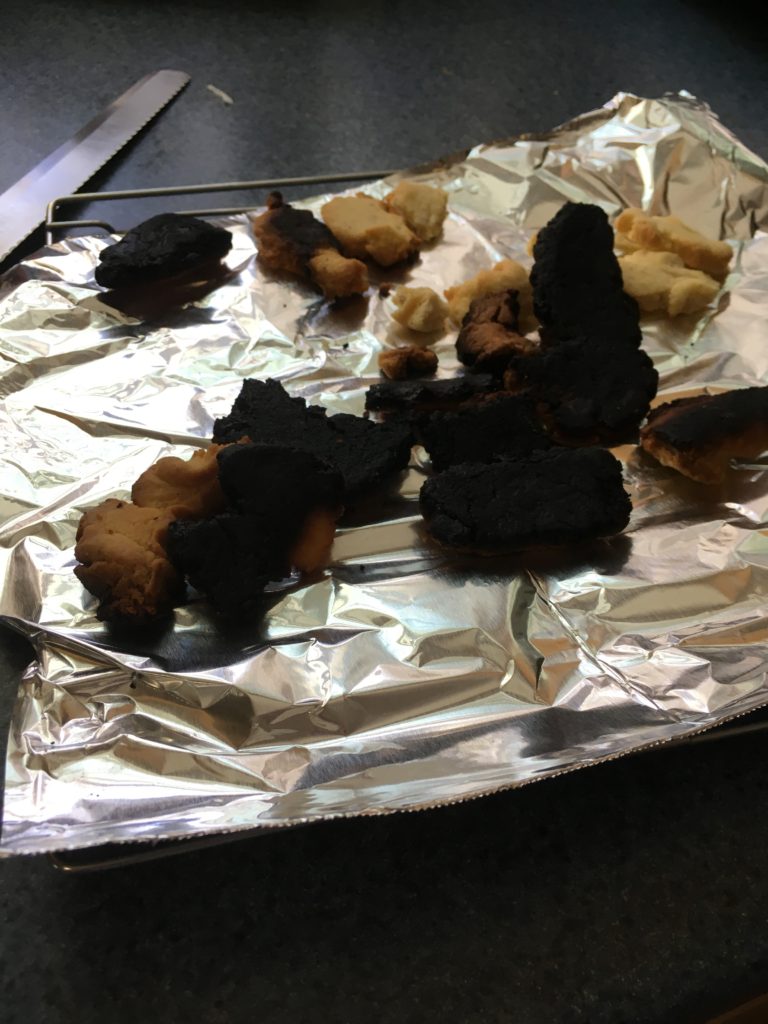
Side note: you definitely want to trim off excess pastry. We didn’t because we thought trimming it afterward would give us a cleaner edge. Turns out the pastry falls off the sides anyway and burns on your oven floor, leading to multiple smoke detectors going off. Whoops.
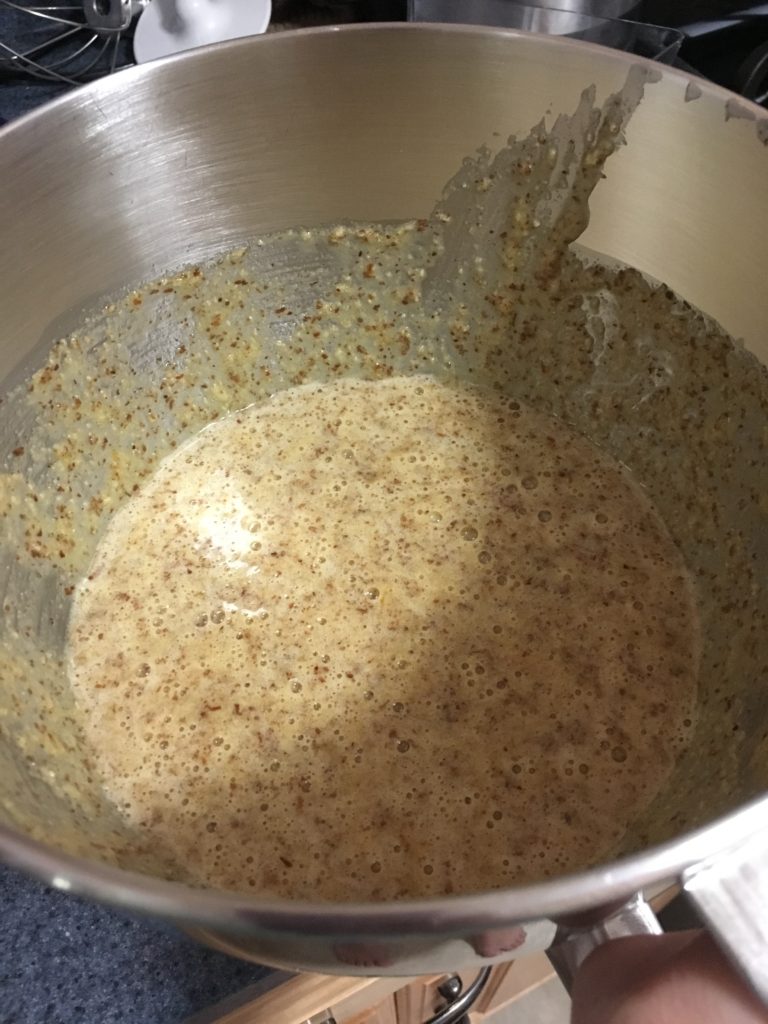
Reduce the oven temperature to 330F. While the pastry cools, mix the ground almonds and caster sugar together until well combined. Add the beaten eggs and almond extract and mix well.
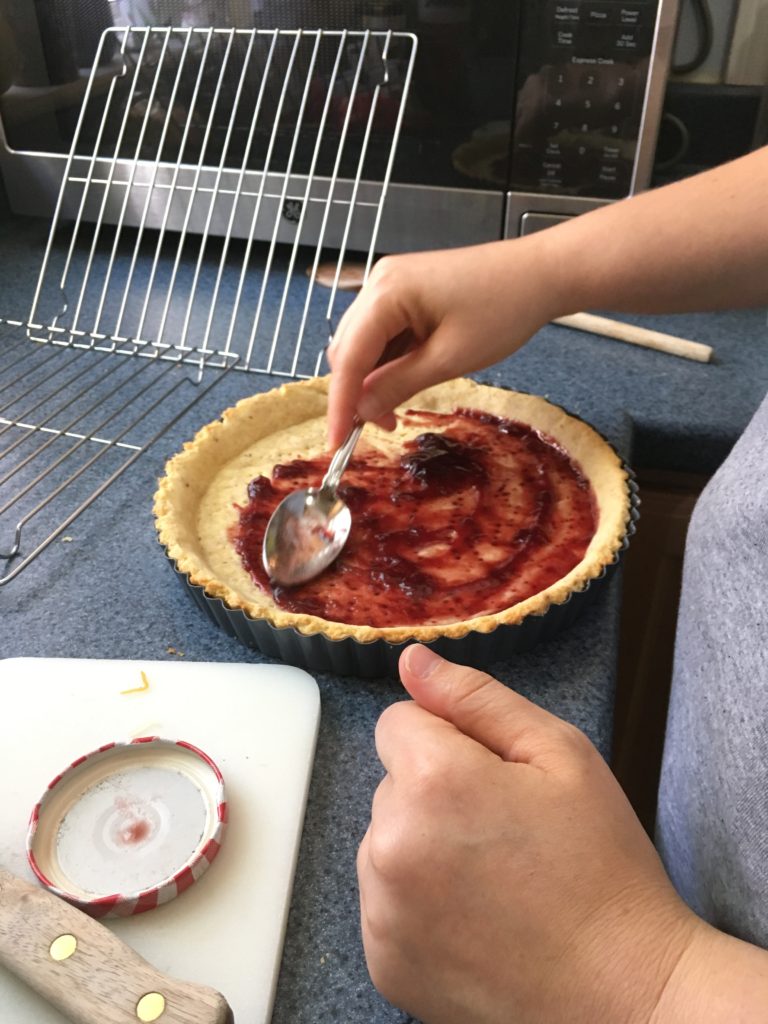
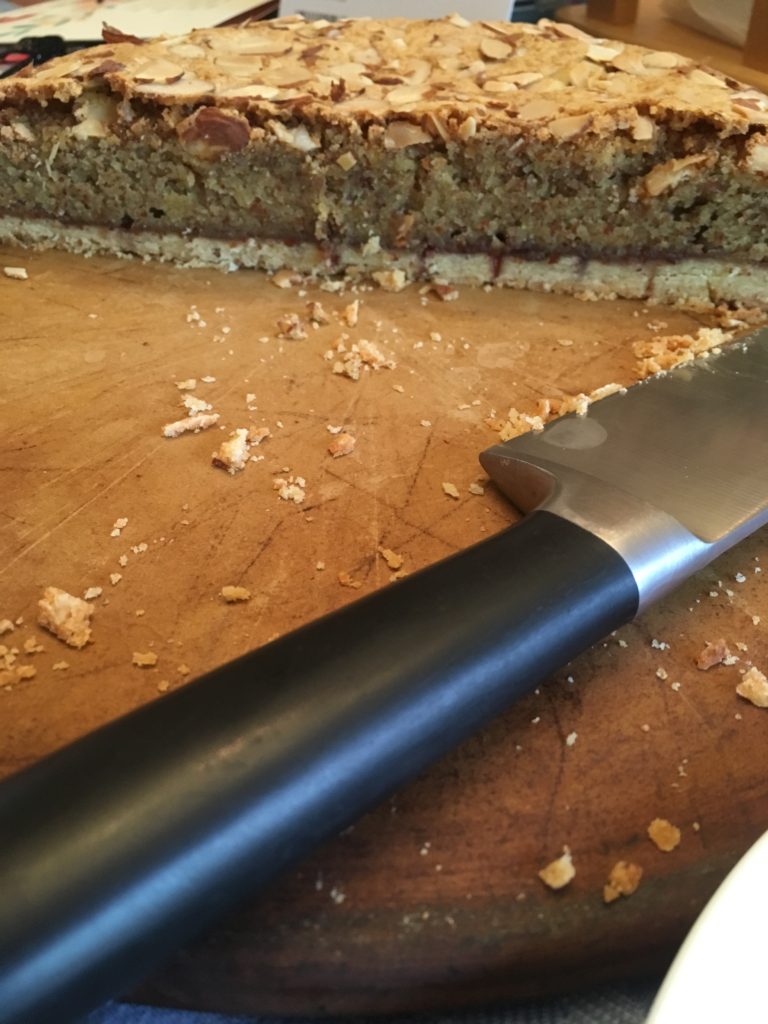
When the pastry is cool, spread an even layer of raspberry jam over the base.
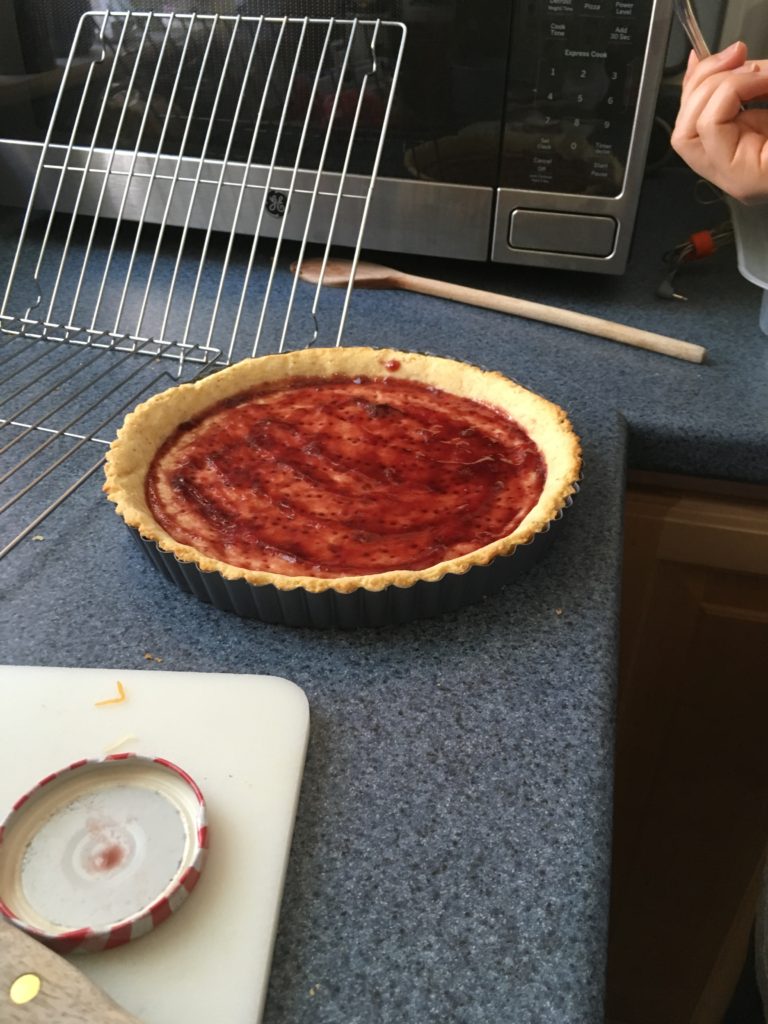
Pour the filling over the raspberry jam and fill the remainder of the pastry.
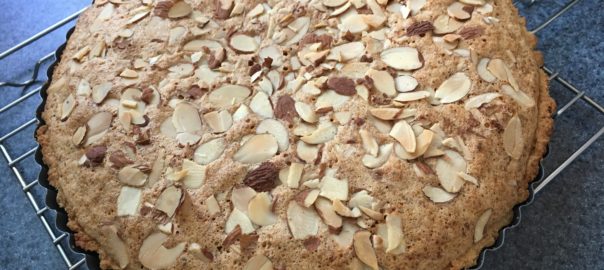
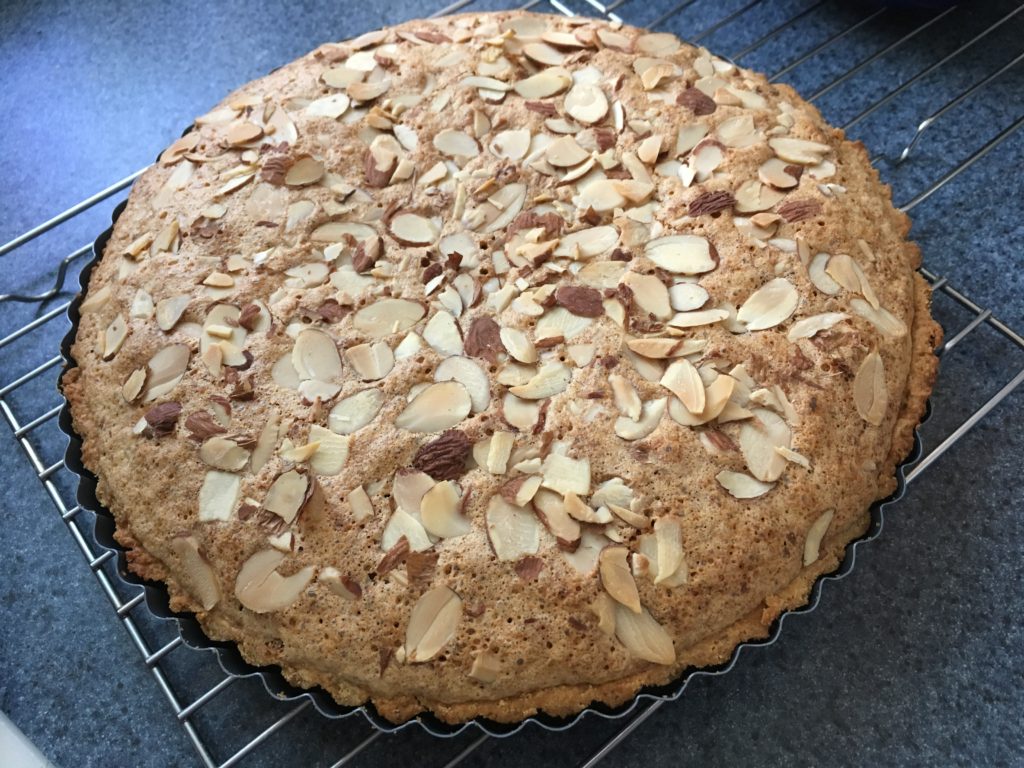
Top with flaked almonds and bake 25-30 minutes or until the filling is baked through (a toothpick inserted in the middle should come out clean) and golden brown.
Hi all! Hope you’re enjoying the warm weather after all that cold rain we got! It’s actually looking like summer could come after all!
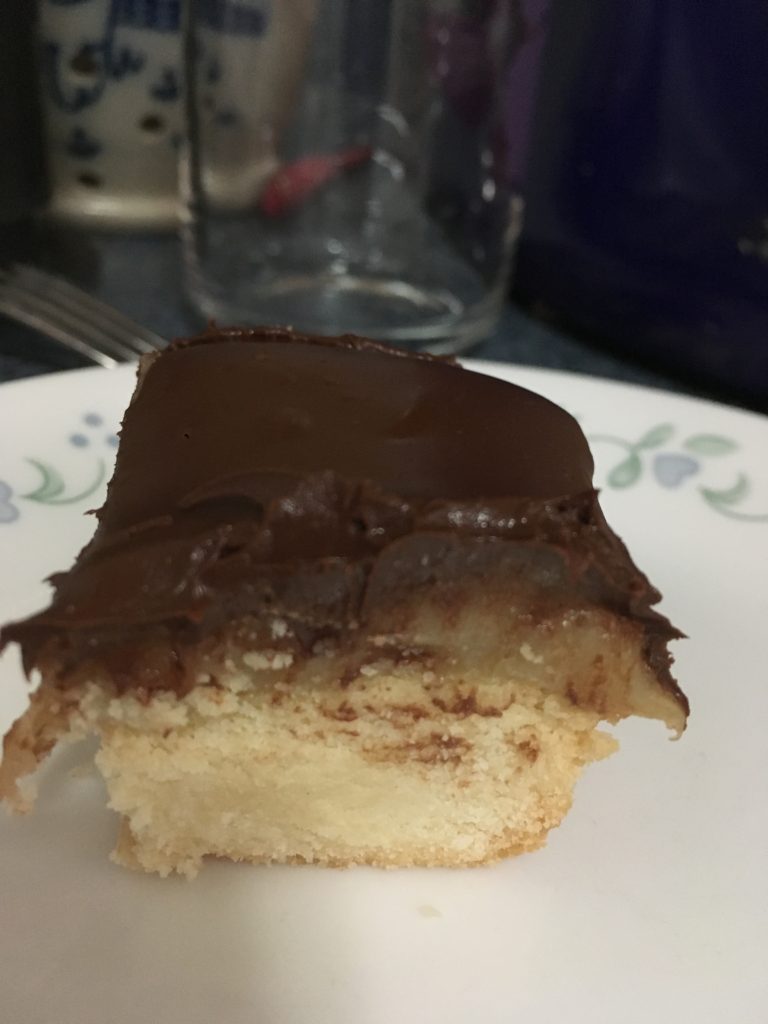
Last week, my sister was in town for Mother’s Day and we decided to have our own “British Baking Show” time (if you haven’t watched the show, go watch it. Seriously.) We made a couple different desserts that are popular on the show including a classic Bakewell Tart and this recipe for Millionaire Shortbread, a really rich and tasty dessert made from a shortbread covered with a layer of caramel, all topped with chocolate. The pan was empty within a couple days, which should tell you how good these things are. Keep in mind, the recipes were written by folks in the UK so I’ve converted the recipe over from grams to cups, so it’s not quite exact. Here’s the recipe:
Ingredients:
1 cup softened butter (for shortbread)
1/2 cup granulated sugar
2 cups all purpose flour
5oz butter (10 tbsp)
5oz dark brown sugar (a little over 1/2 cup)
1, 14oz can sweetened condensed milk
2 cups semisweet chocolate chips
To make the shortbread, preheat the oven to 300F. With an electric mixer, cream the butter and sugar together until fluffy. Gradually mix in the flour until everything is well combined.
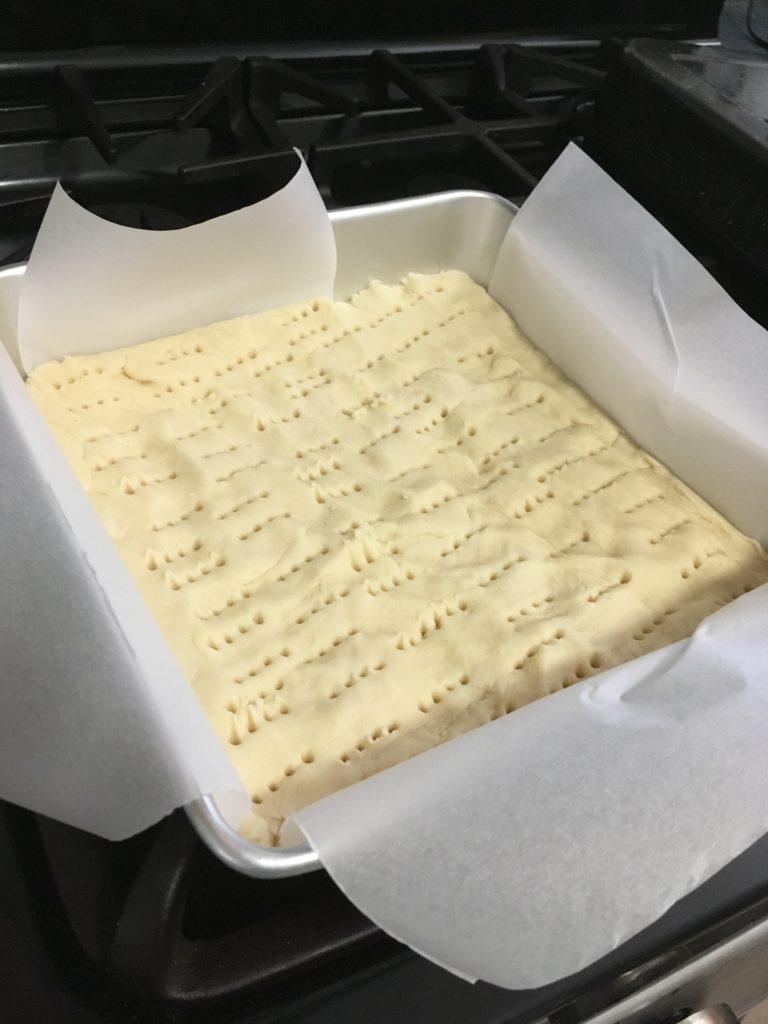
Pat the dough down into a parchment paper-lined 9″ square baking dish and prick the dough all over with a fork. (You can also just use an ungreased baking dish but we thought it would be fun to line the dish like they do in the British Baking Show.)
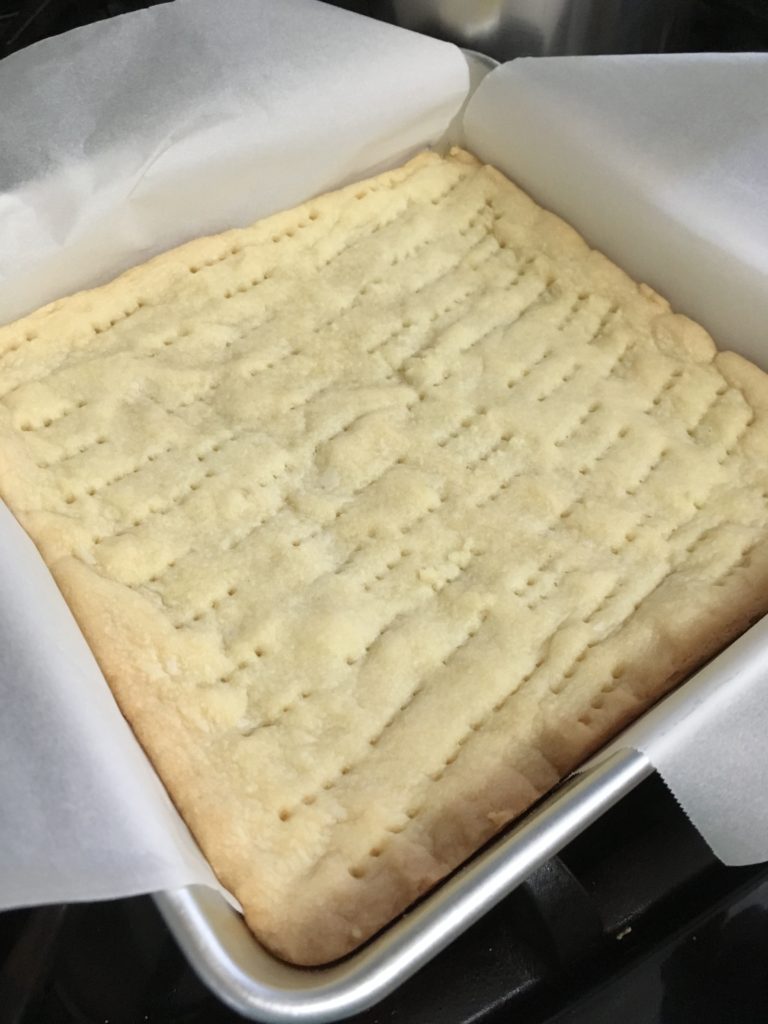
Bake for 40 minutes or until light golden brown. Let the shortbread cool completely on a cooling rack.
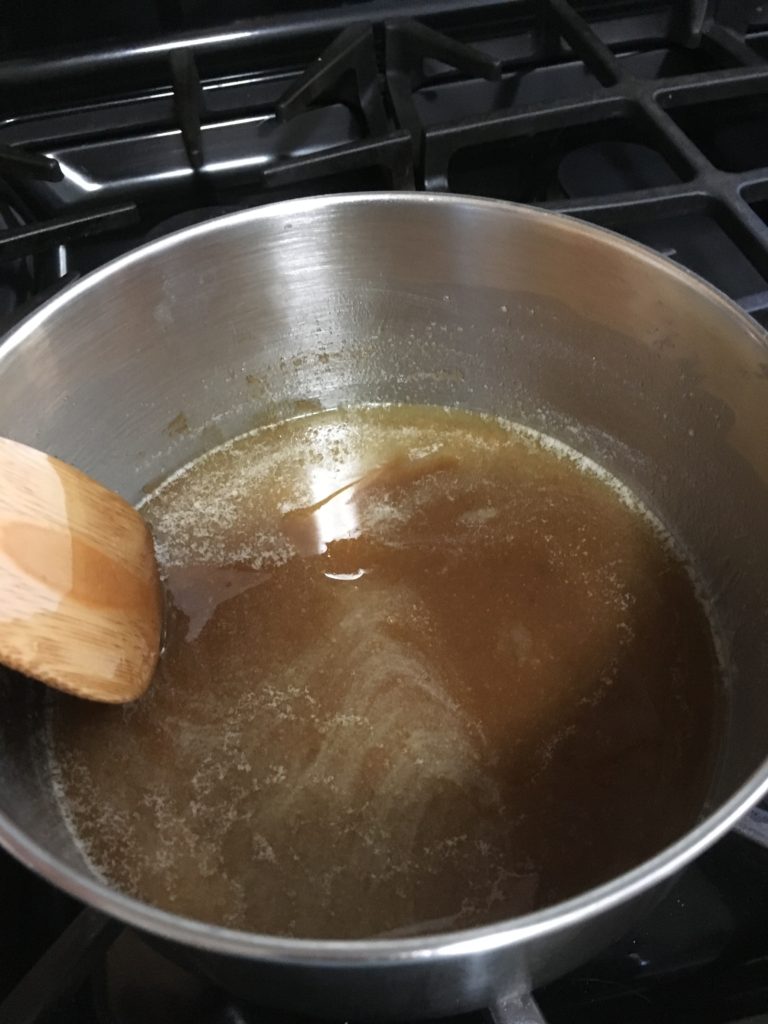
Now for the caramel! In a medium saucepan, melt the butter and brown sugar together until very smooth and the sugar is completely dissolved. It definitely helps to use a nonstick pan, and I’ll explain why below!
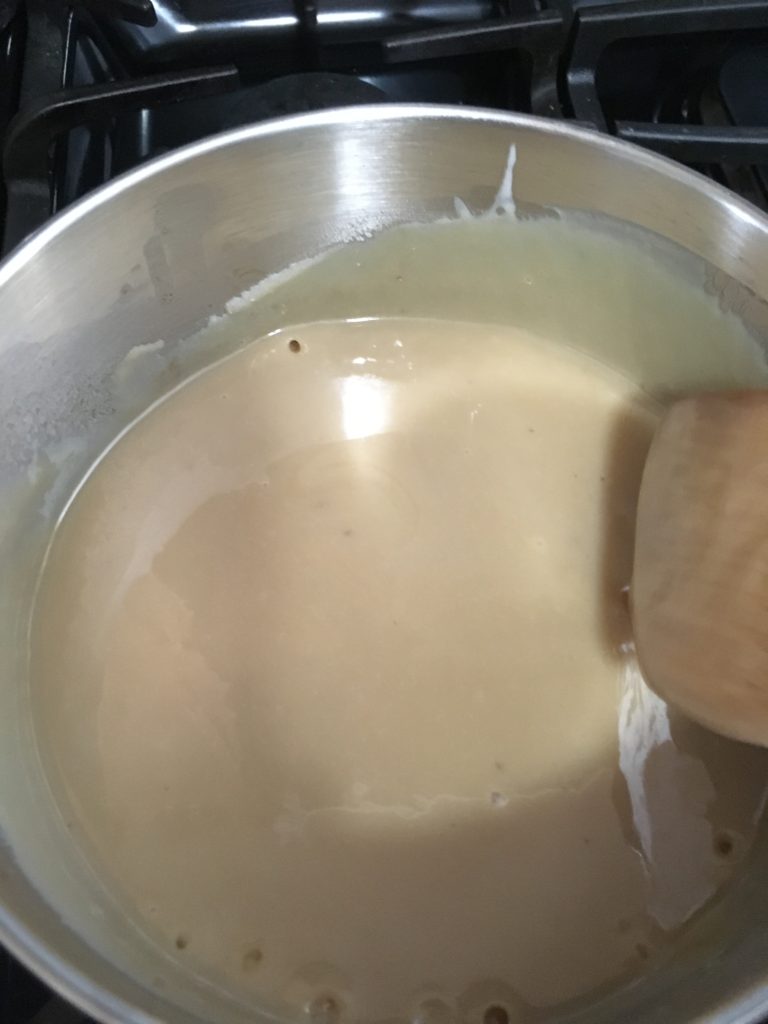
After the sugar is dissolved, add the condensed milk and bring the caramel to a rapid boil, stirring continuously. Cook the caramel for another minute or so until it thickens and then turn off the heat to let it cool.
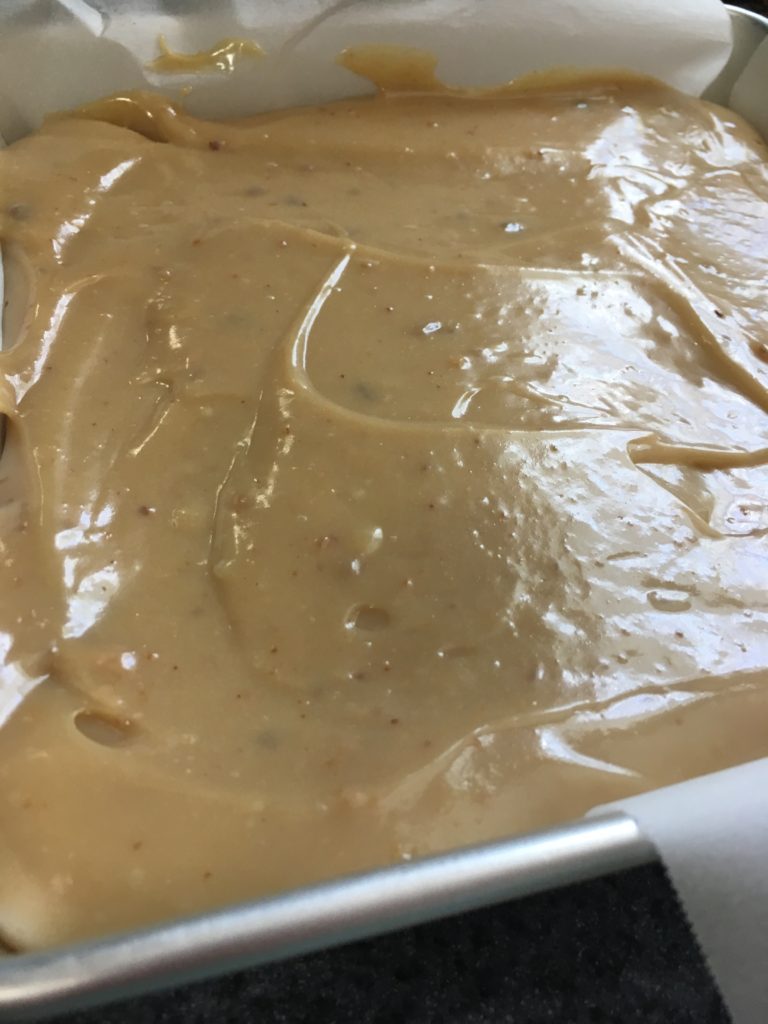
Pour the caramel over the shortbread and chill until set.
Ok, so the reason you want to use a nonstick pan is because the heated sugar crystals will latch onto any sticky surface they can find to form new and bigger crystals (like when someone makes rock candy). A nonstick pan helps prevent these crystals from forming, which helps give you a smoother caramel. I didn’t use a nonstick saucepan because I don’t have one, so I ended up with some sugar crystal flecks in my caramel (see the picture below). It totally didn’t affect the taste one bit, but if you’re going for the British Baking Show caliber of this treat, you should probably use a nonstick pan.
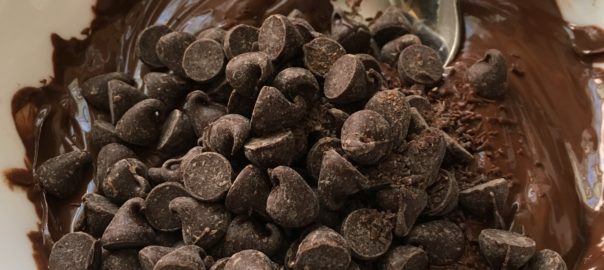
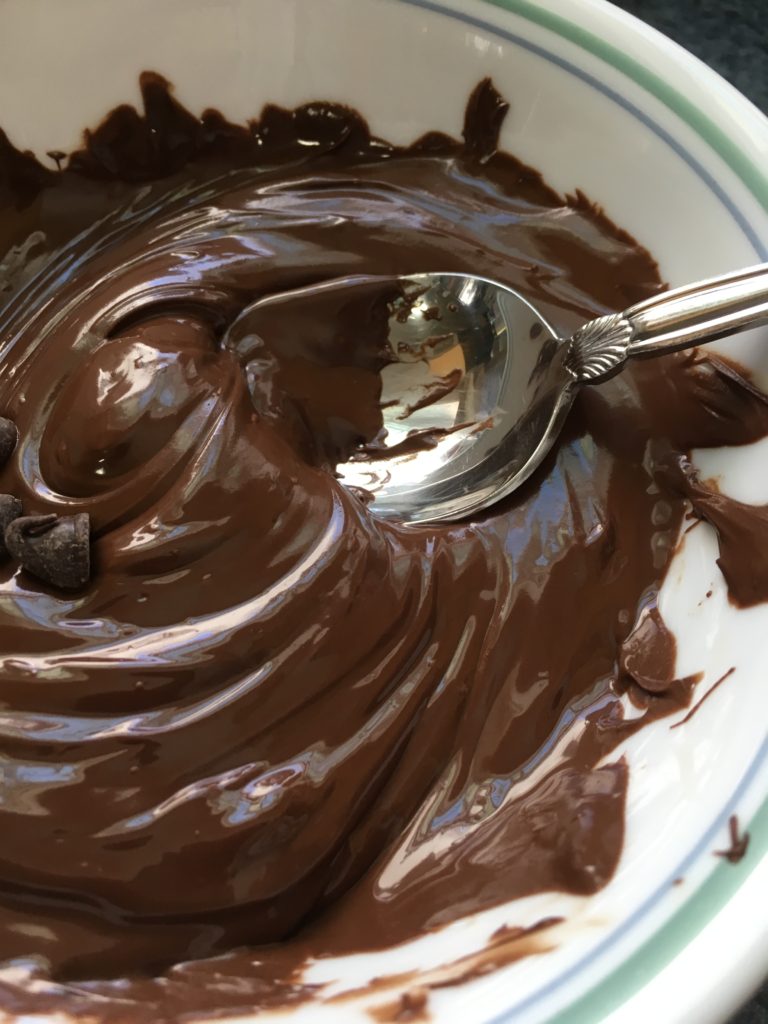
Once the caramel has set, it’s time to melt the chocolate and pour it over the top! We went one step extra with this chocolate and tempered it, which gives it a nice shine when the chocolate has hardened. Here’s how you do it:
Melt the majority of your chocolate in the microwave (or over a double boiler if you’re feeling fancy) by microwaving it for 30 seconds, stirring, and repeating until it’s melted.
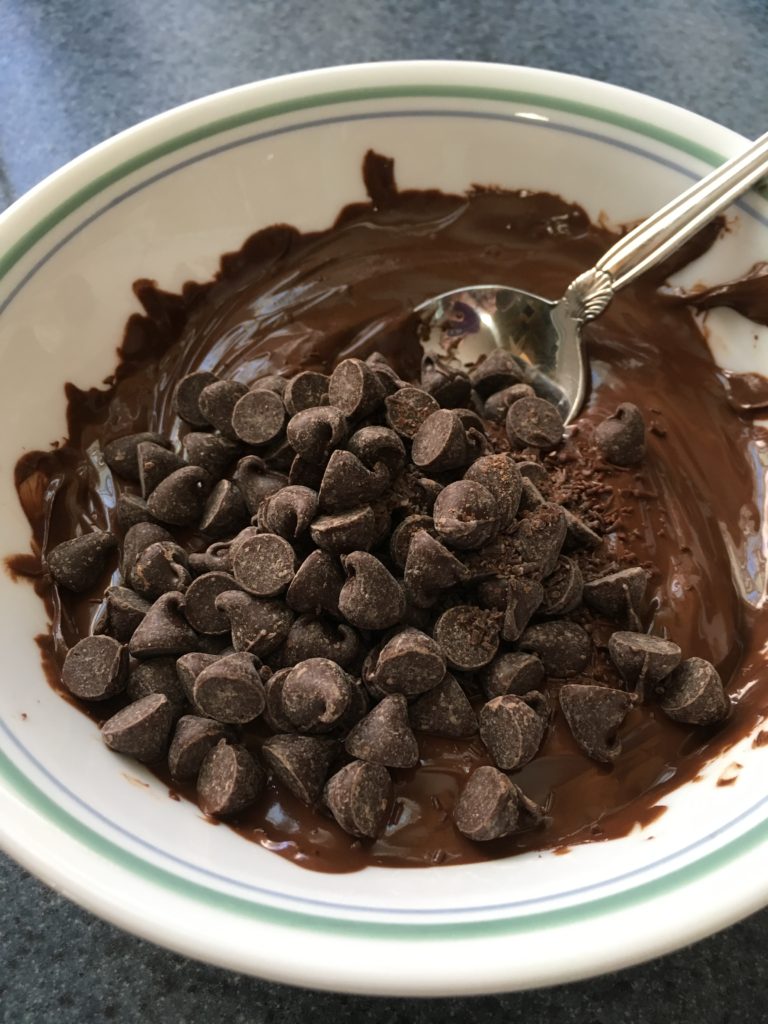
Add unmelted chocolate chips into the melted chocolate and stir until all the chocolate is melted.
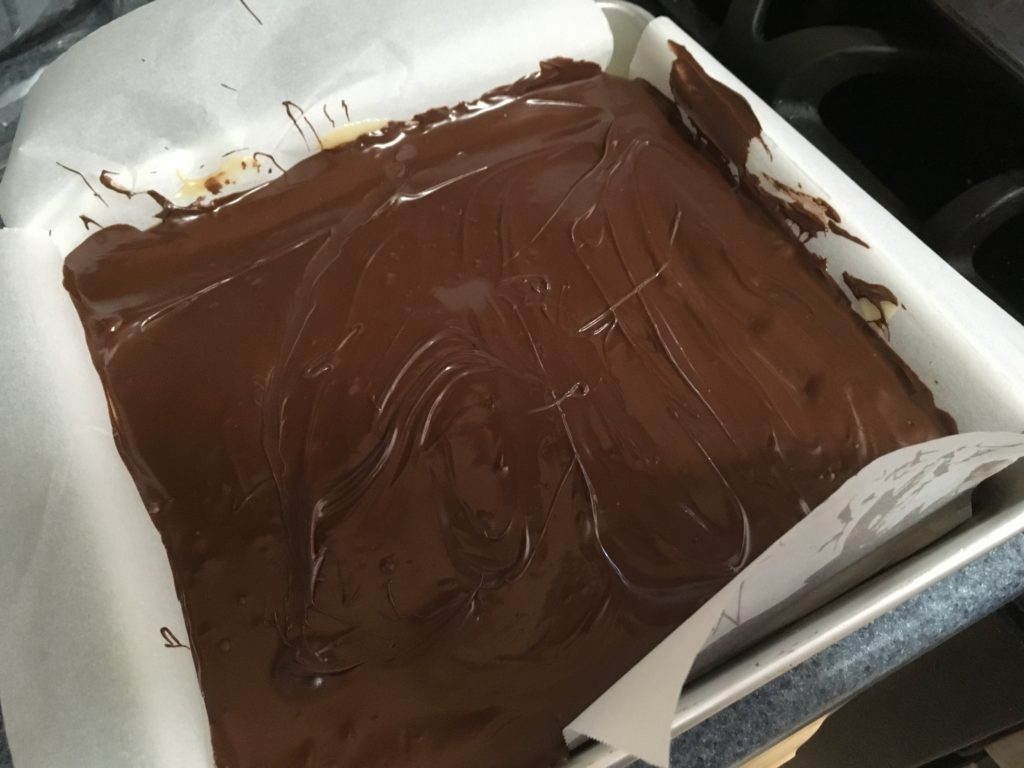
When all the chocolate is melted, pour it over the caramel and spread into an even layer.
Once the chocolate sets a bit, go ahead and cut the shortbread and dig in!
I hope you enjoy this recipe as much as we did- and seriously, go watch the British Baking Show if you haven’t yet! Happy baking!