Category Archives: Chocolates

Chocolate Truffles

Hi, everyone! Happy holidays! I hope you’re all enjoying this holiday season and getting to spend time with lots of friends and family! Per usual, our calendar is filling up quickly with Christmas parties and work potlucks galore, and I find myself baking more and more treats to bring to each event! This week, I have three different events that require treats- so I knew I needed a good recipe that made a ton of whatever I chose so that I could just make one batch and get it over with for all the parties! I found this recipe for chocolate truffles and decided to give it a try, and was pleasantly surprised with the results! Be warned, it makes about 100 truffles, so I would recommend recruiting help for all the rolling (fun family activity, anyone?).

Ingredients:

  • 8oz cream cheese, softened
  • 3 cups powdered sugar, sifted- DO NOT SKIP THE SIFTING!!
  • 3 cups melted semisweet chocolate chips
  • 1 1/2 tsp vanilla
  • Toppings of choice- cocoa powder, powdered sugar, graham cracker crumbs, melted chocolate of all varieties, Oreo crumbs, sprinkles….

First, beat the cream cheese with a hand mixer just to get some air into it. Then, gradually add in the powdered sugar and beat with a hand mixer until fully combined. I usually turn the speed up on the mixer for a few seconds to get the mixture a bit more aerated and light.

IMG_4623

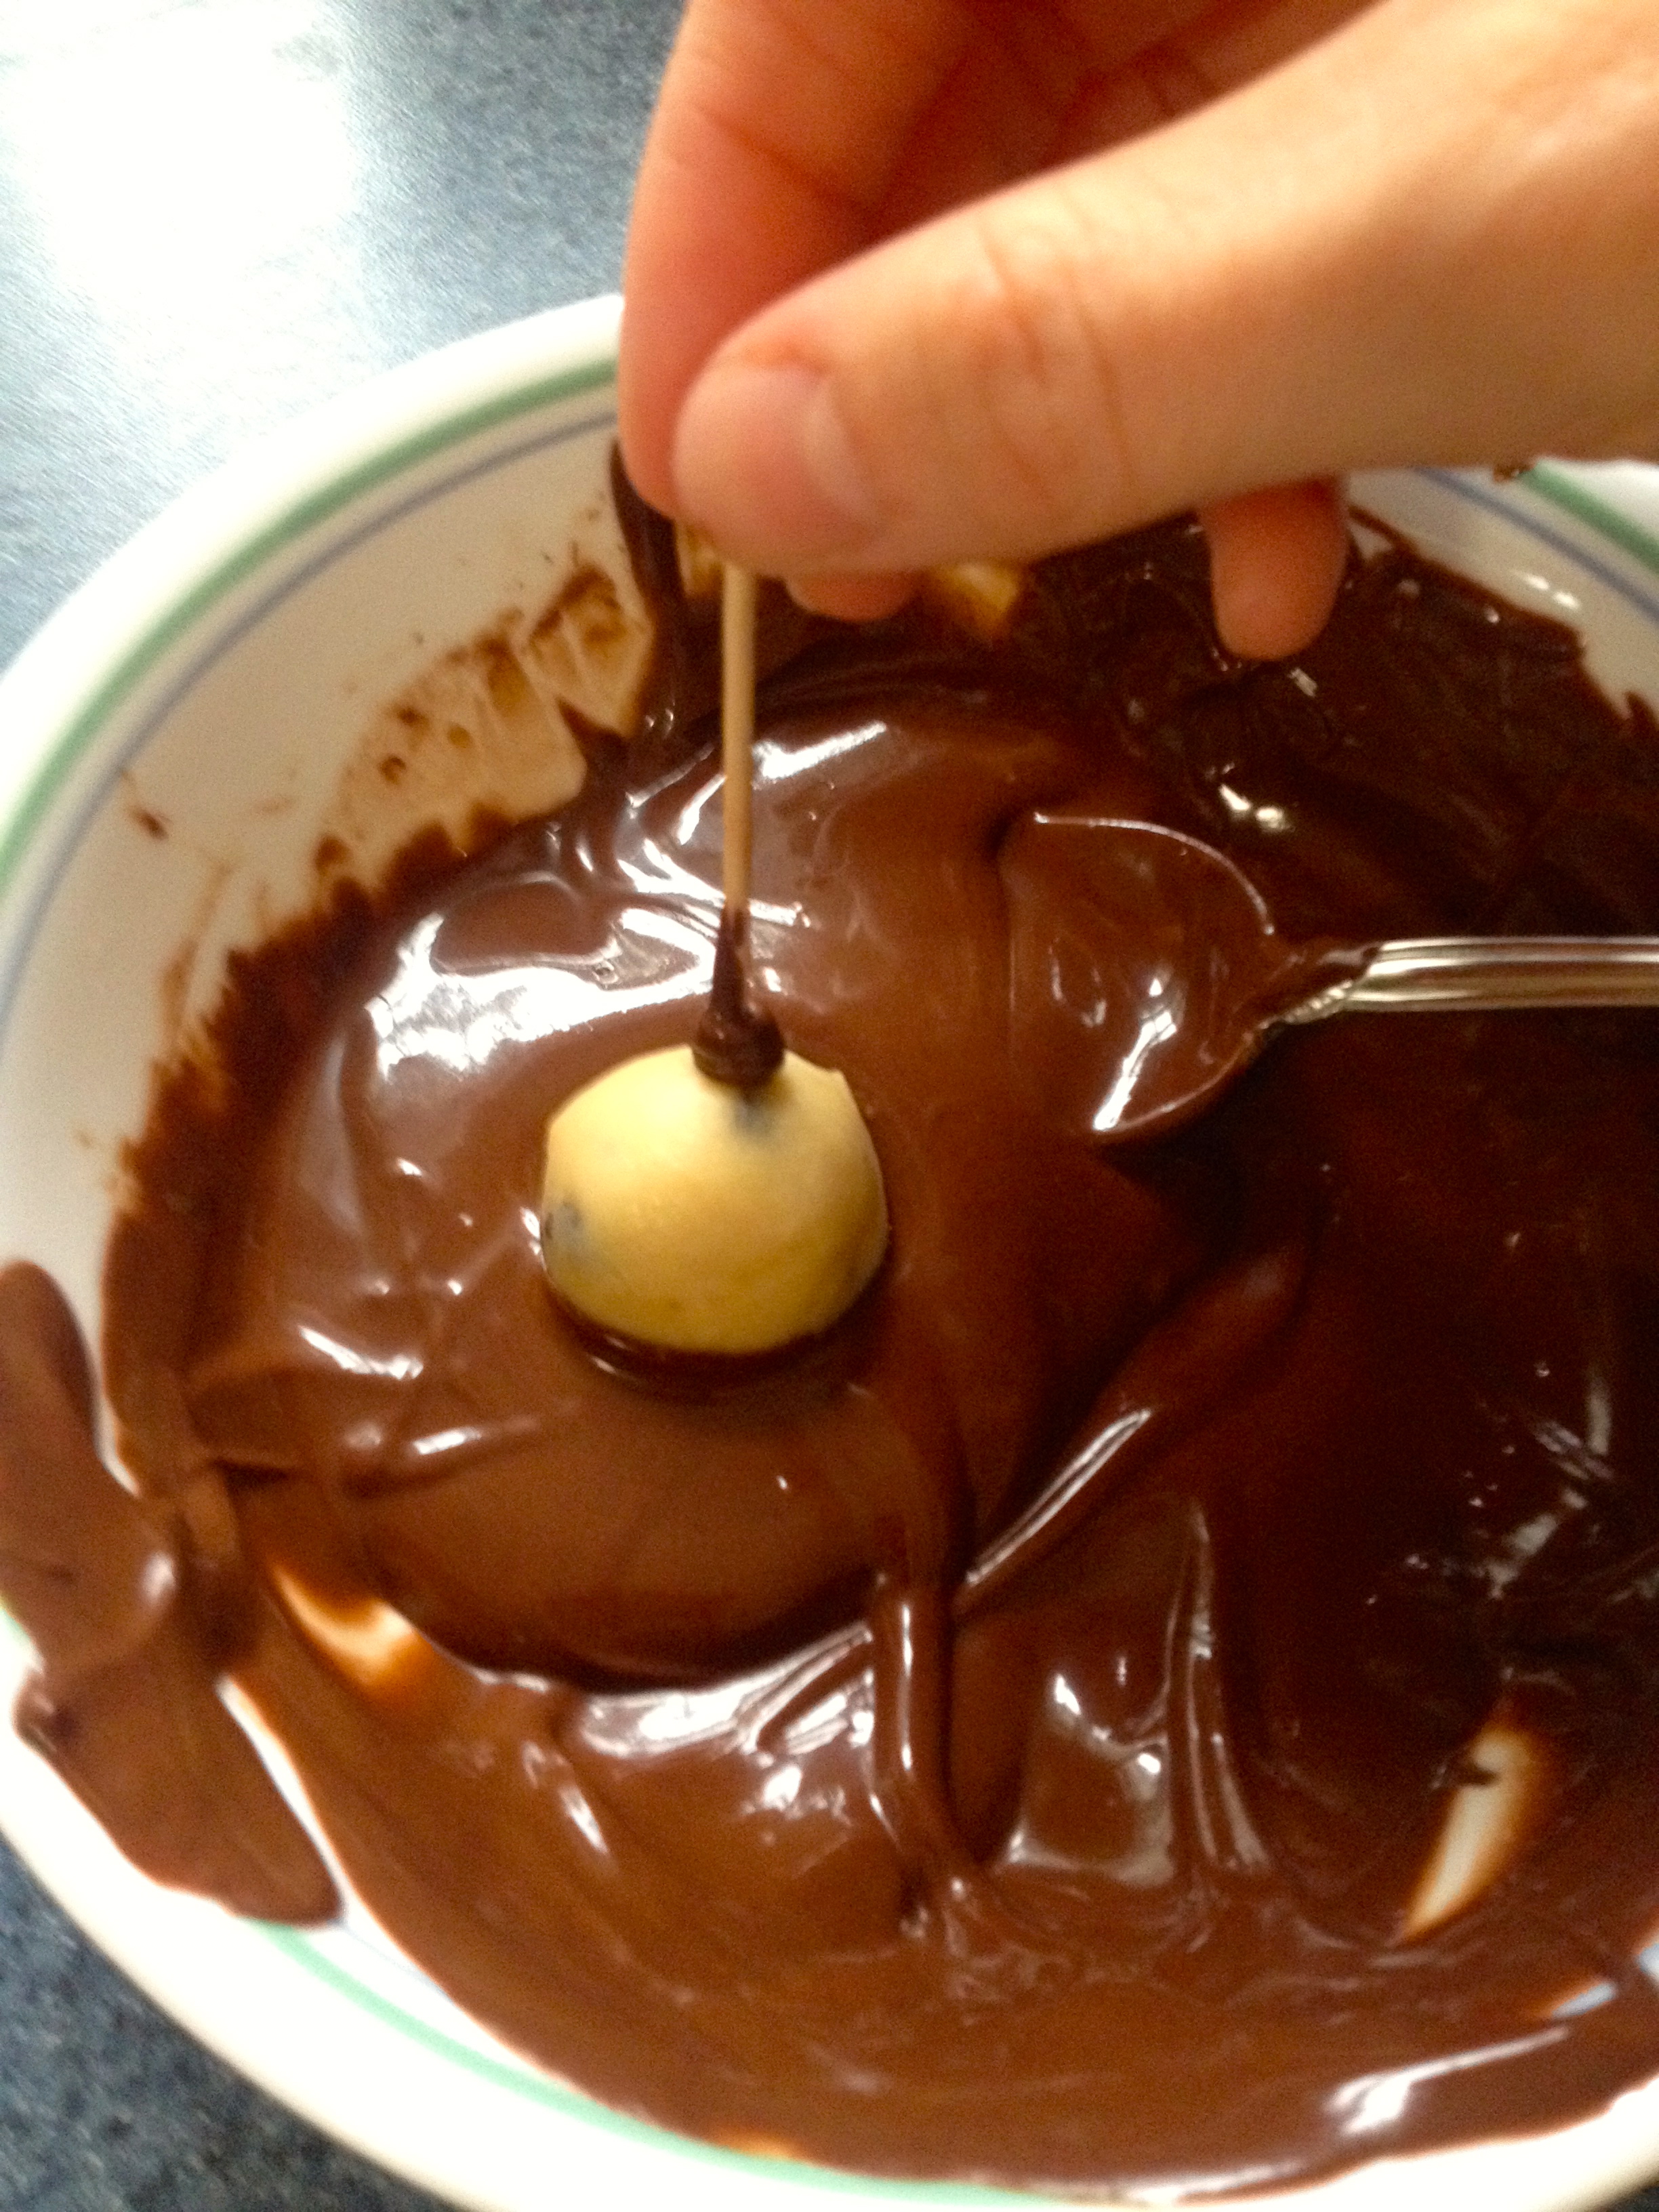
Next, melt the chocolate. I always put the chocolate chips in a microwave-safe bowl and microwave for 30 seconds, stir, and repeat until the chocolate is fully melted and smooth. Pour the melted chocolate and the vanilla into the cream cheese mixture and beat with the mixer until fully mixed. The mixture does tend to stiffen up quite a bit, so if needed, feel free to stir by hand if the mixer isn’t strong enough.

IMG_4625

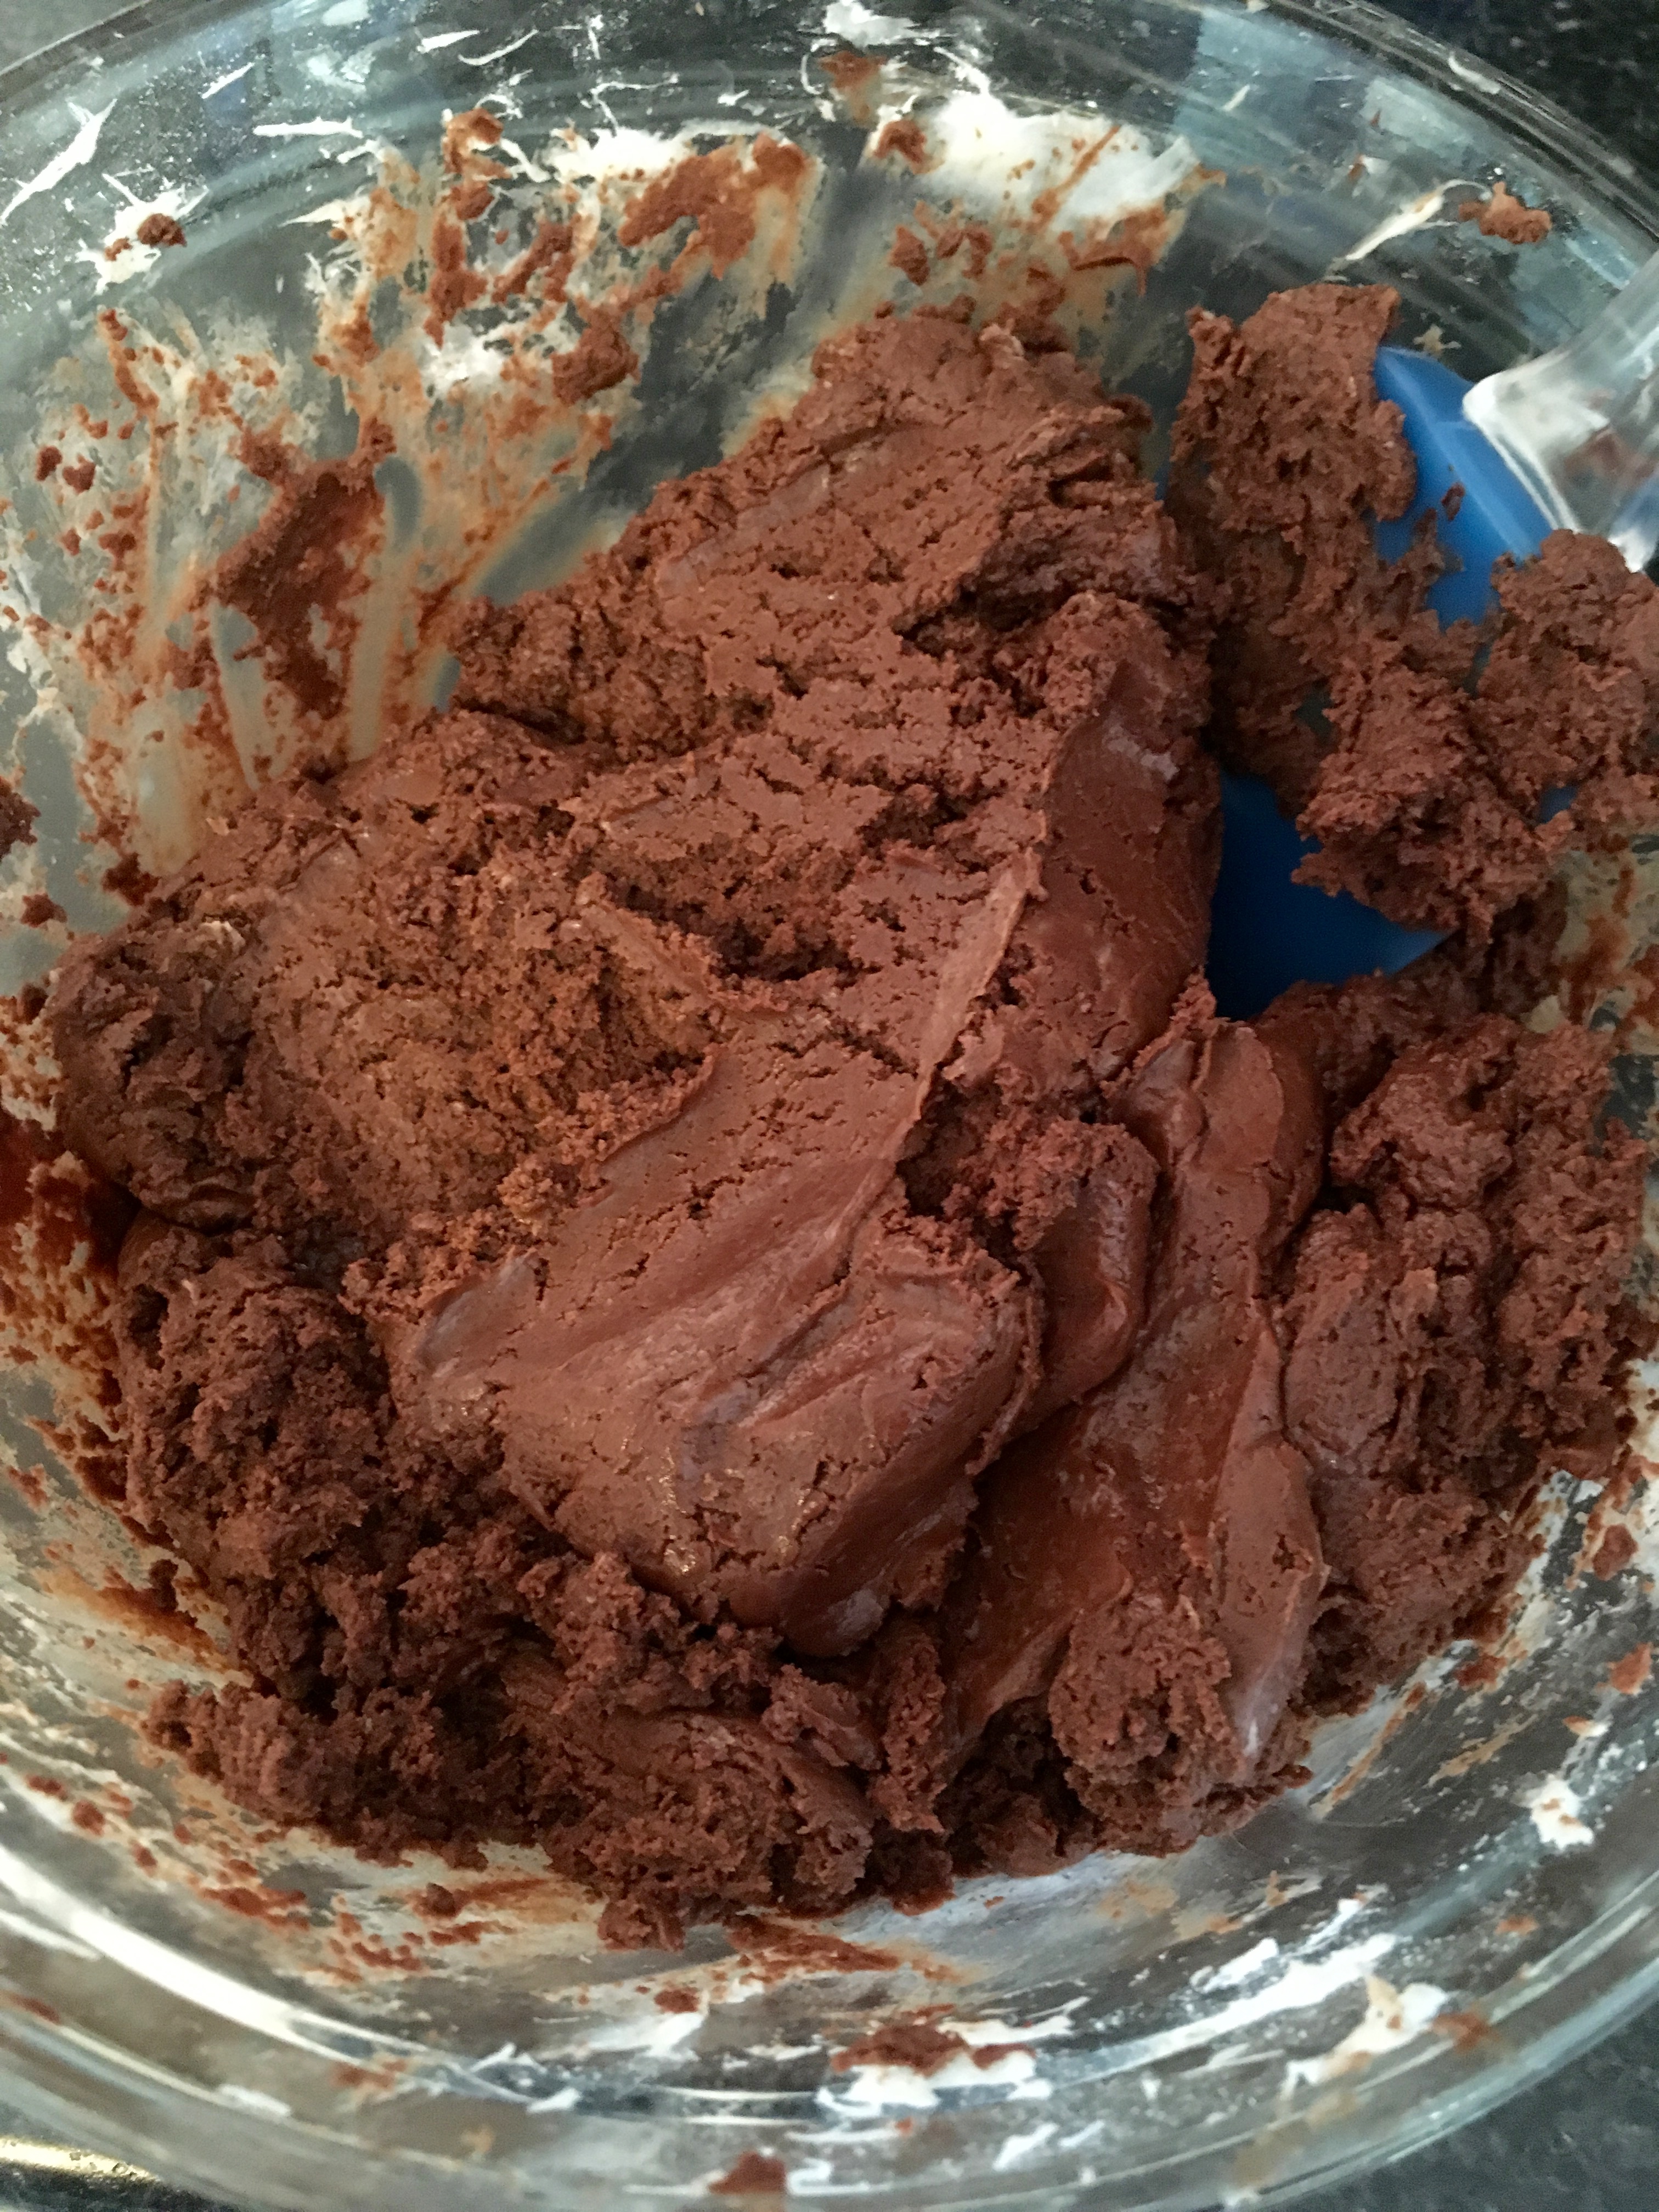
Chill the mixture for a maximum of 1 hour. Definitely set a timer or something- I lost track of time watching The Great British Baking Show and left the mix in for more like an hour and a half, and I had to then wait for the mix to soften so that I could roll the truffles! The goal is to get the mixture firm enough to roll into balls without it sticking to your hands.

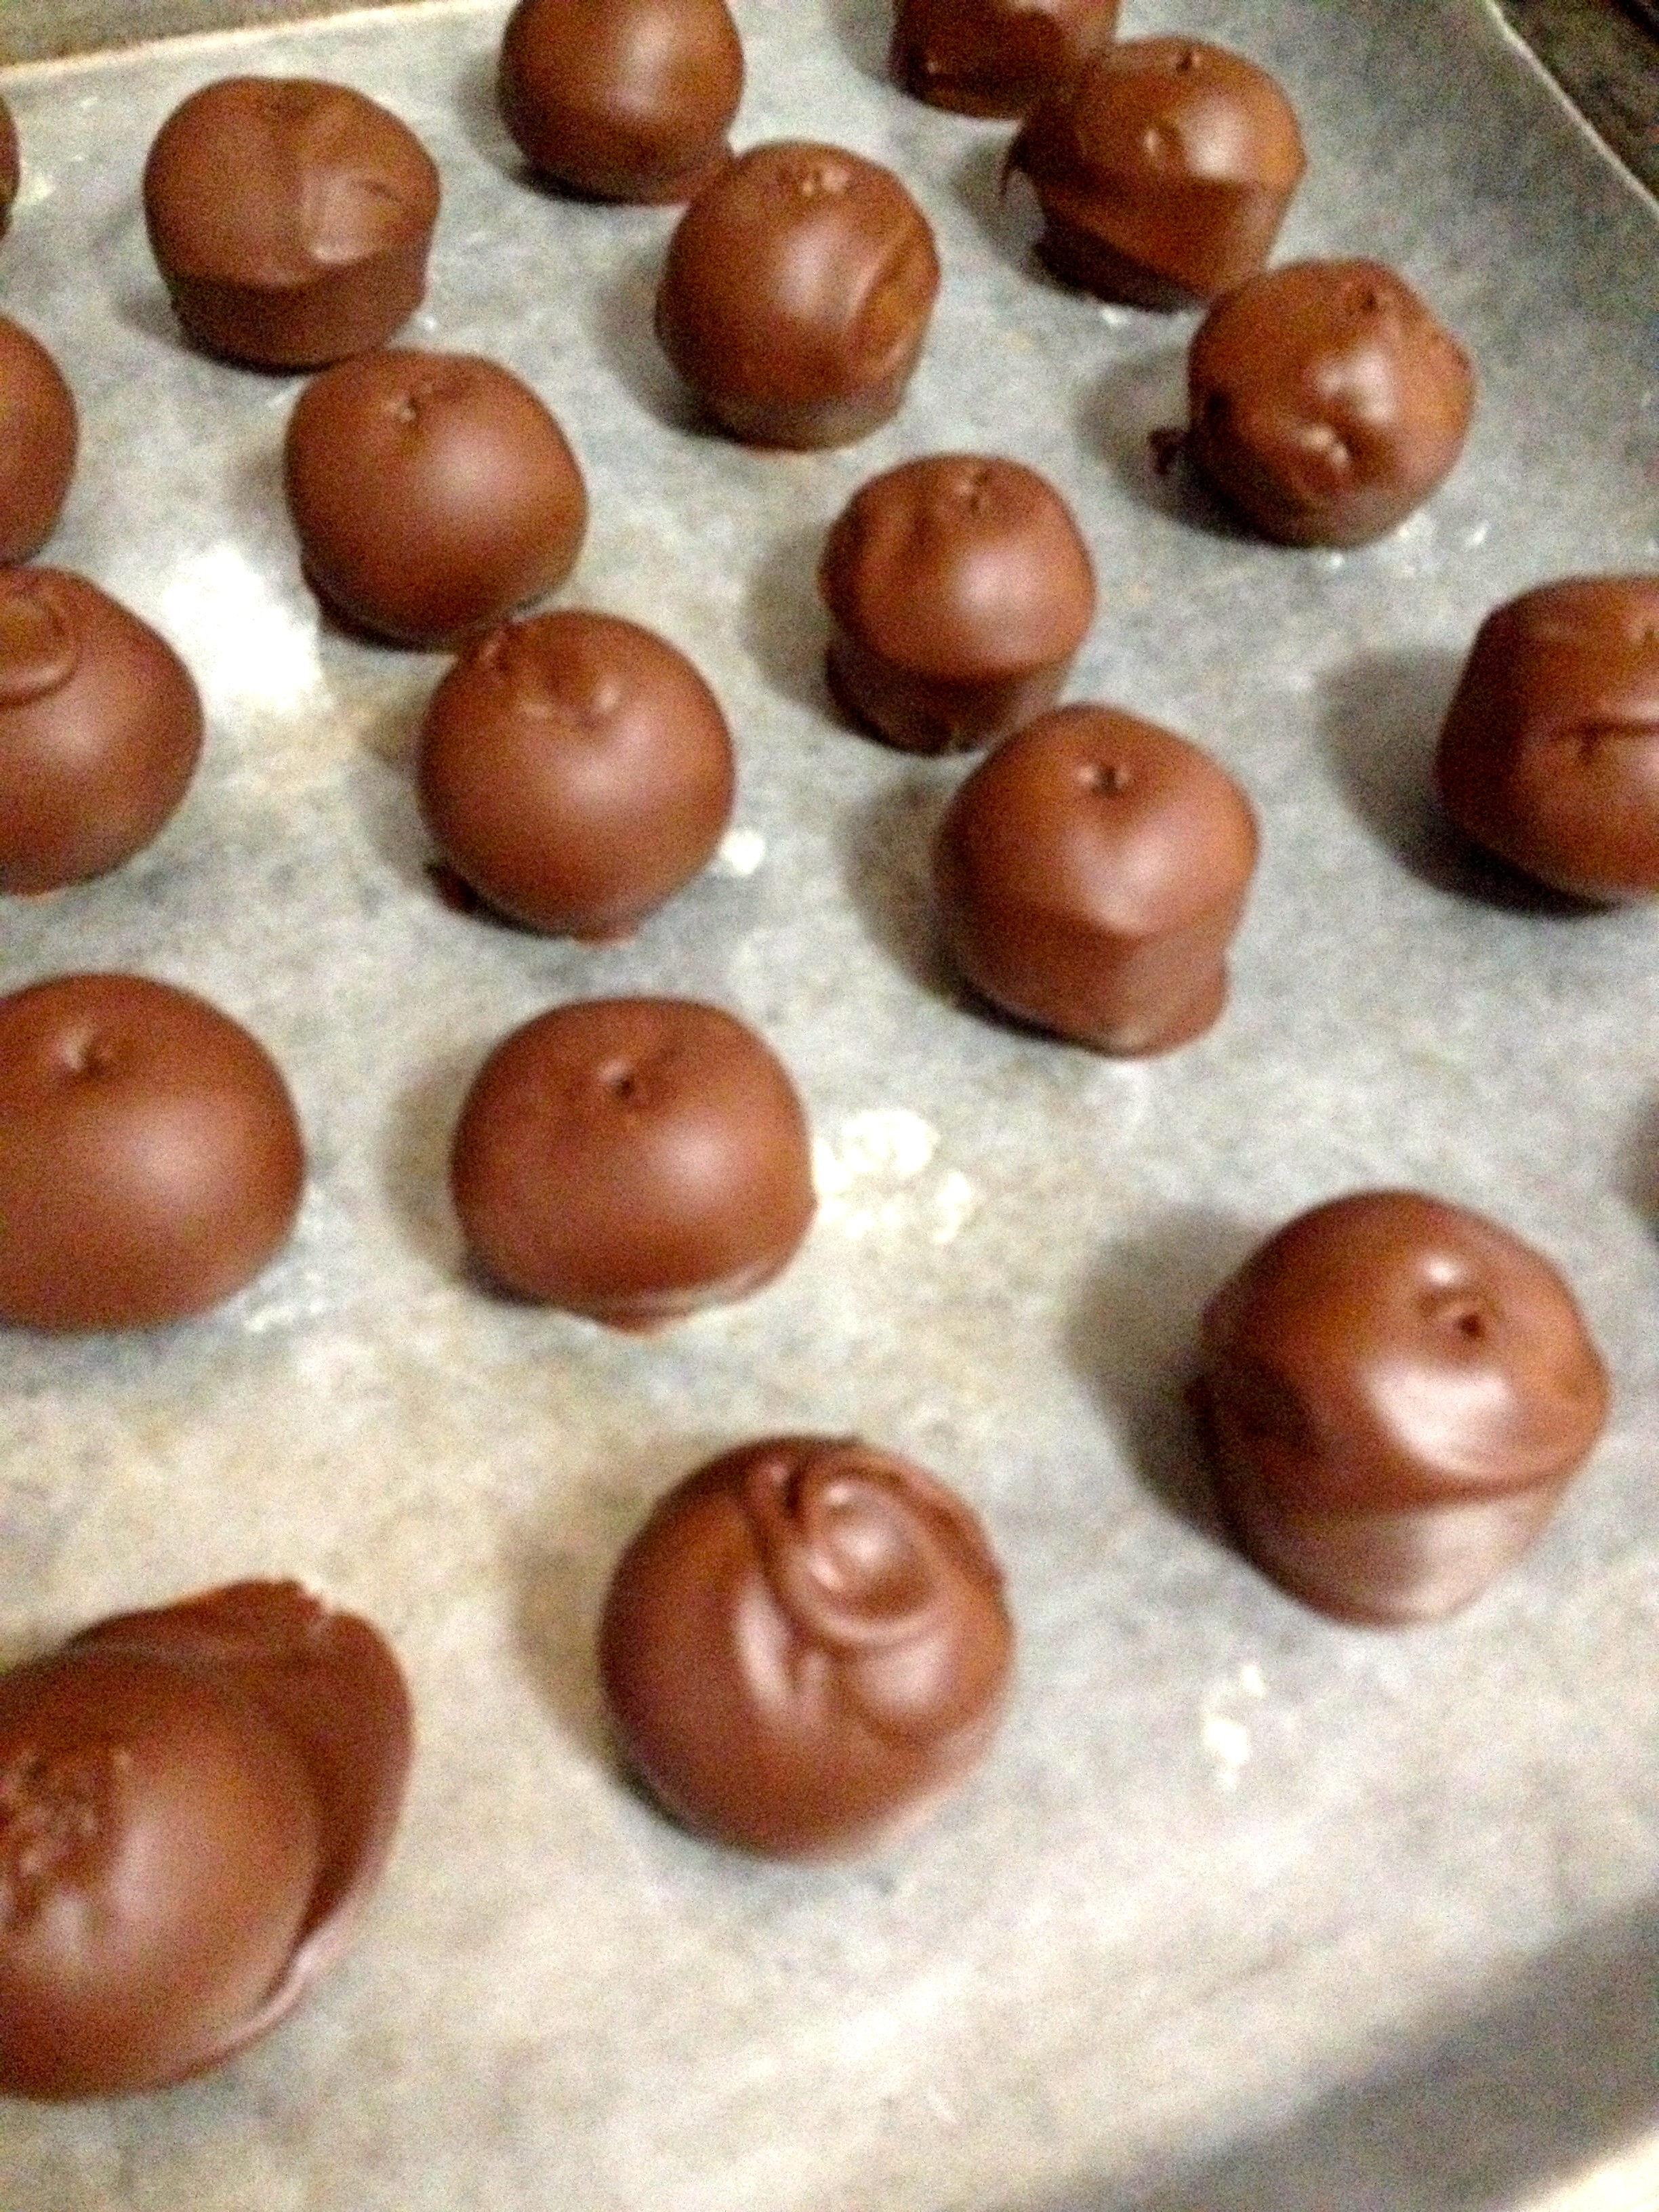
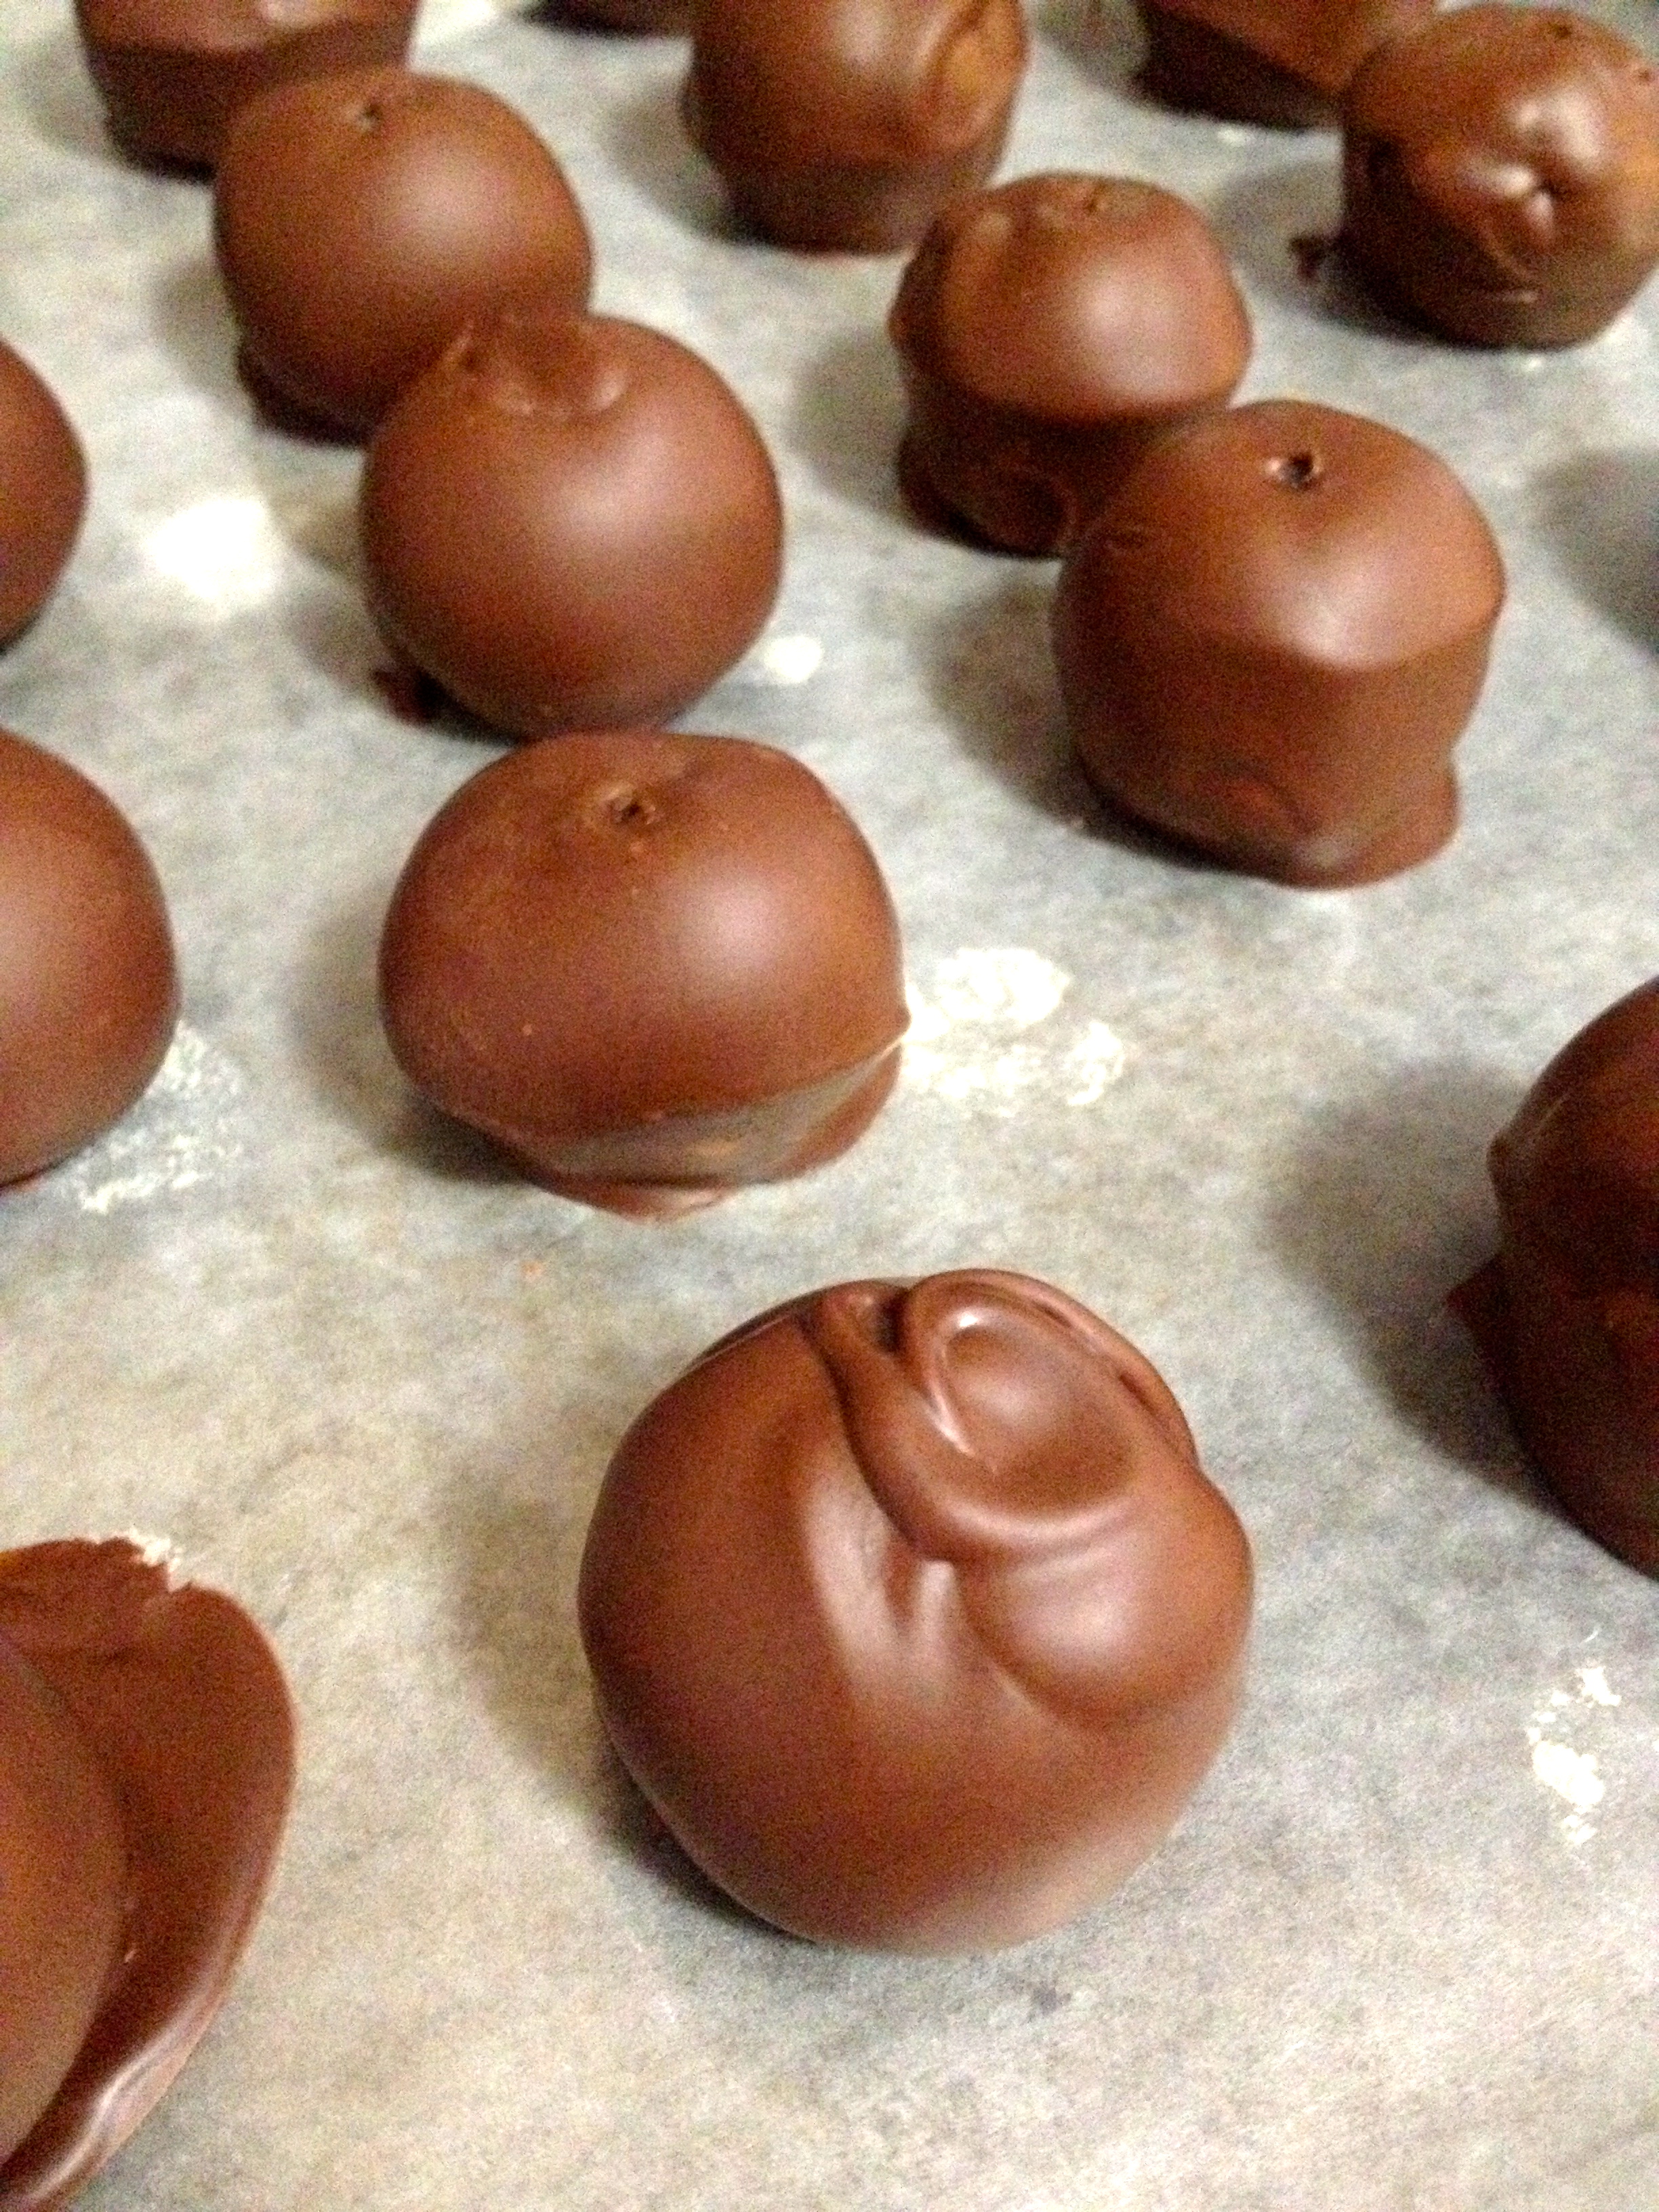
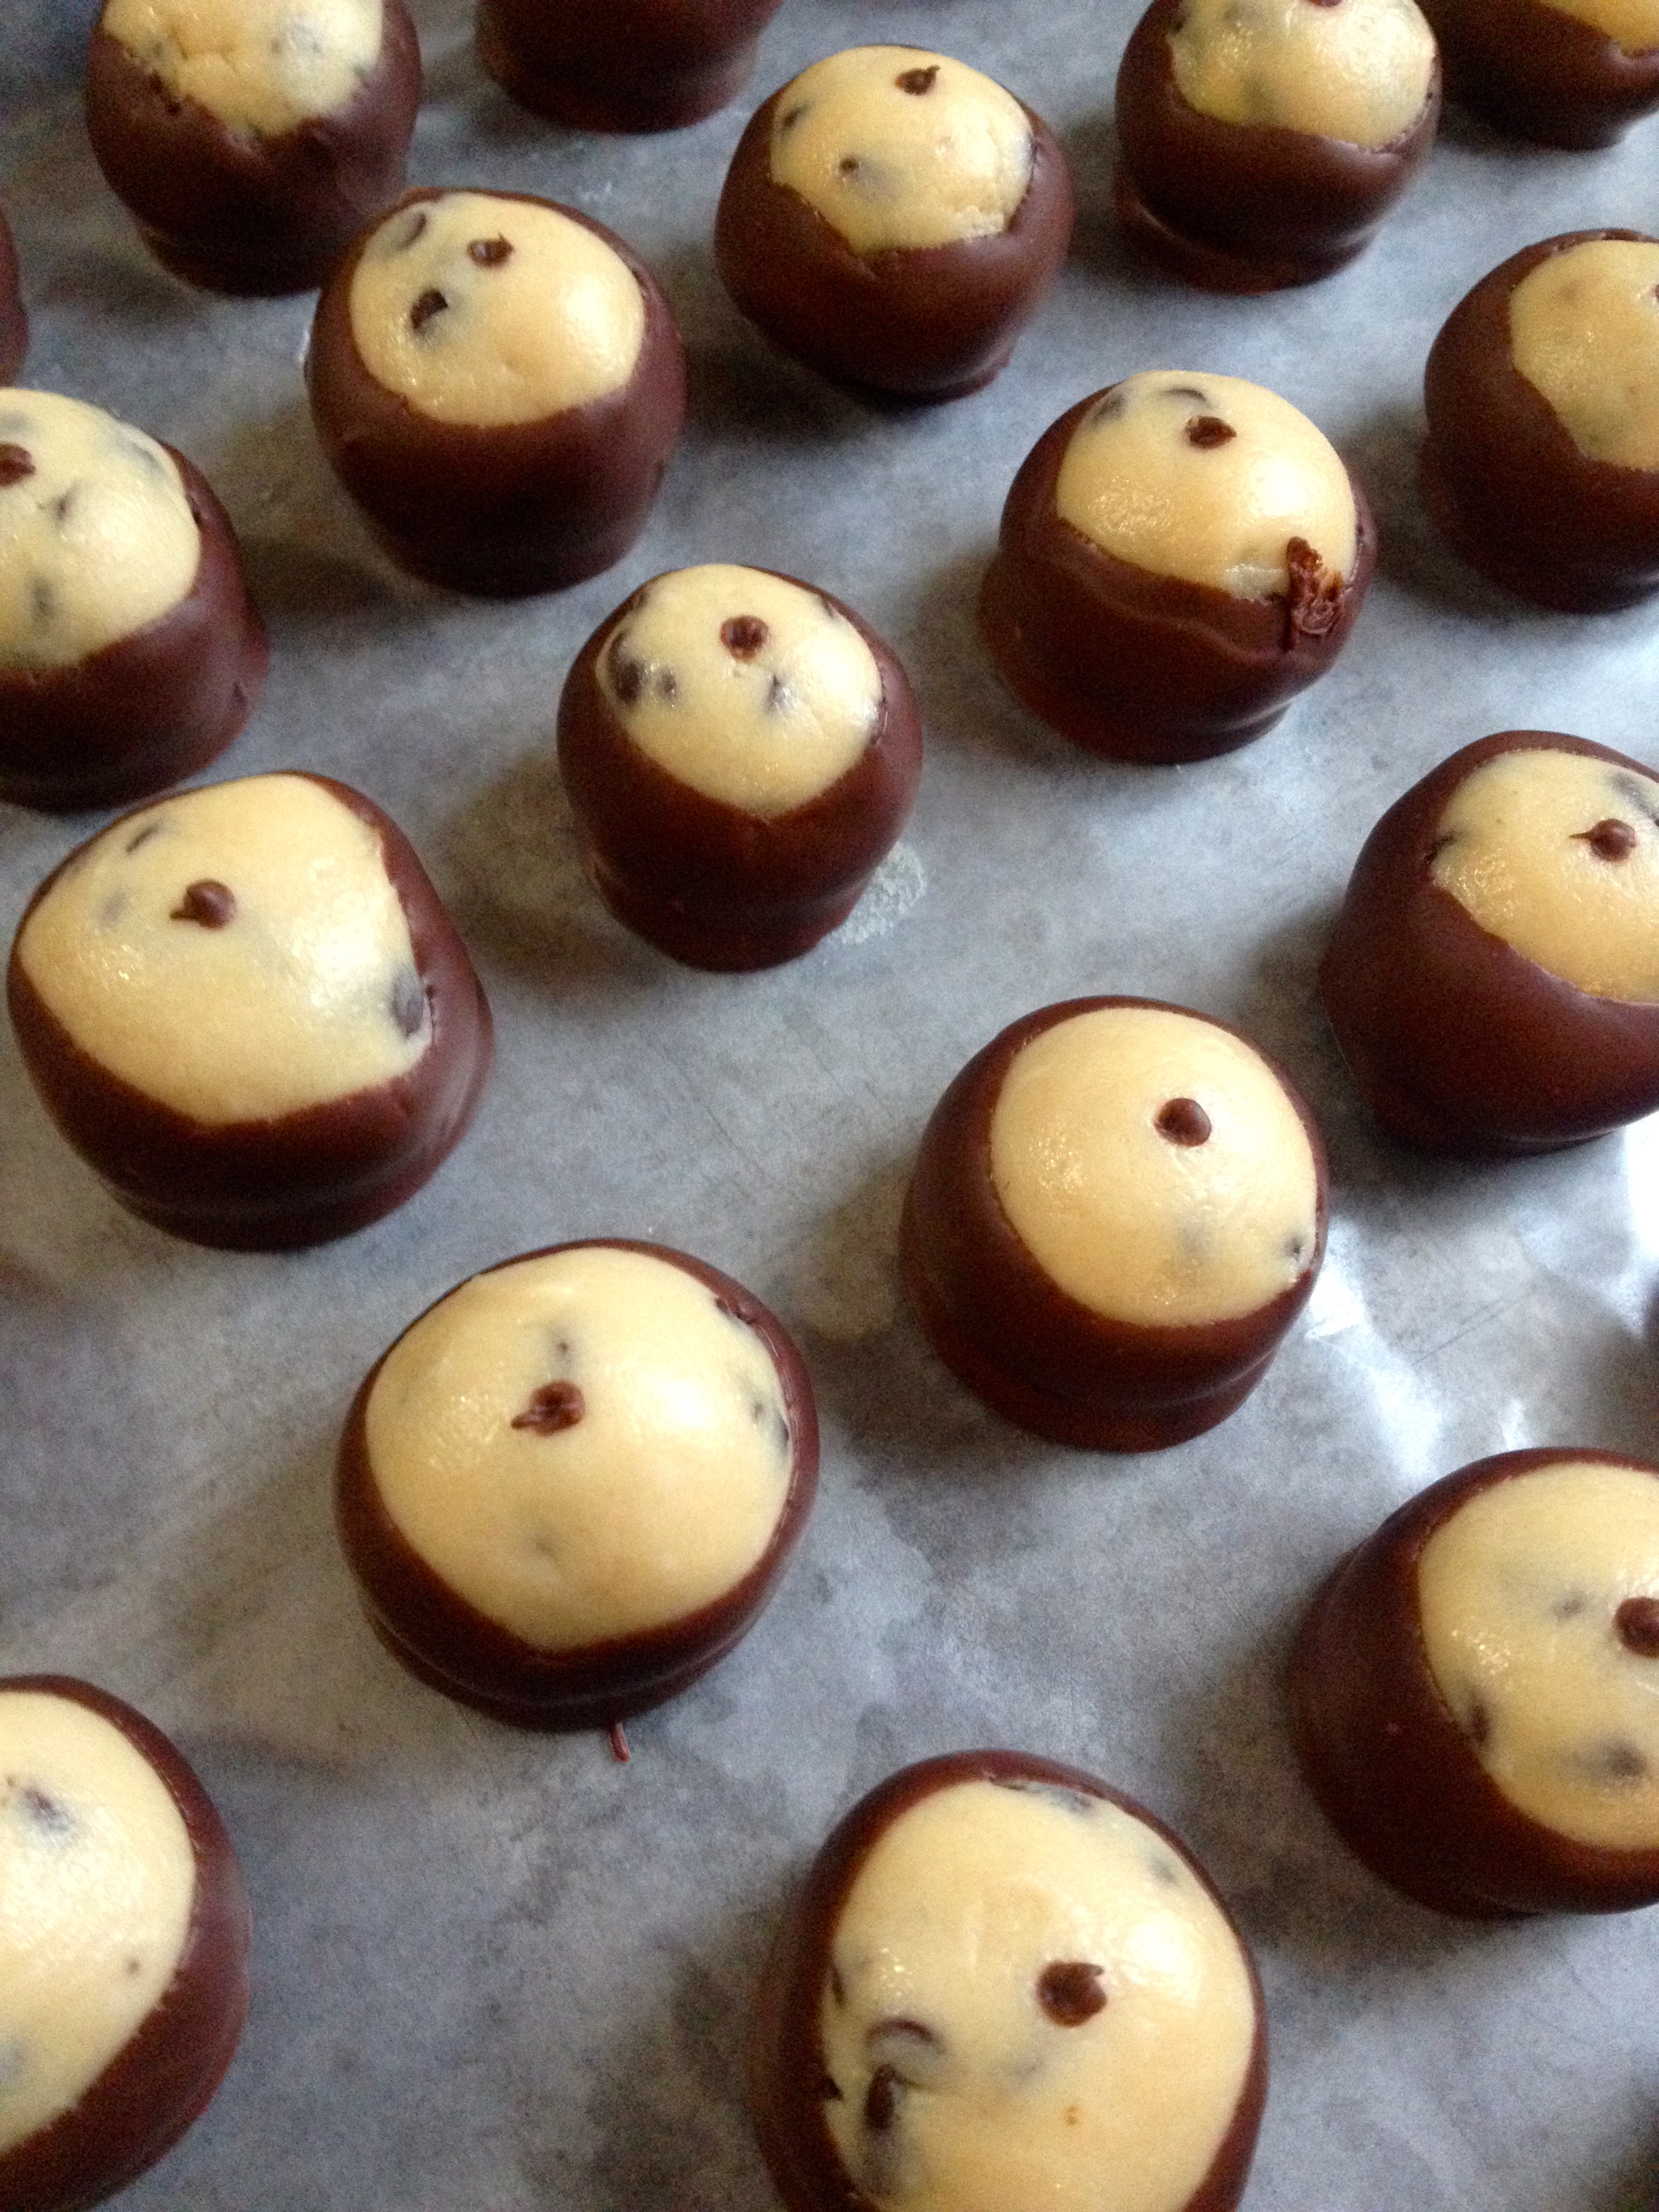
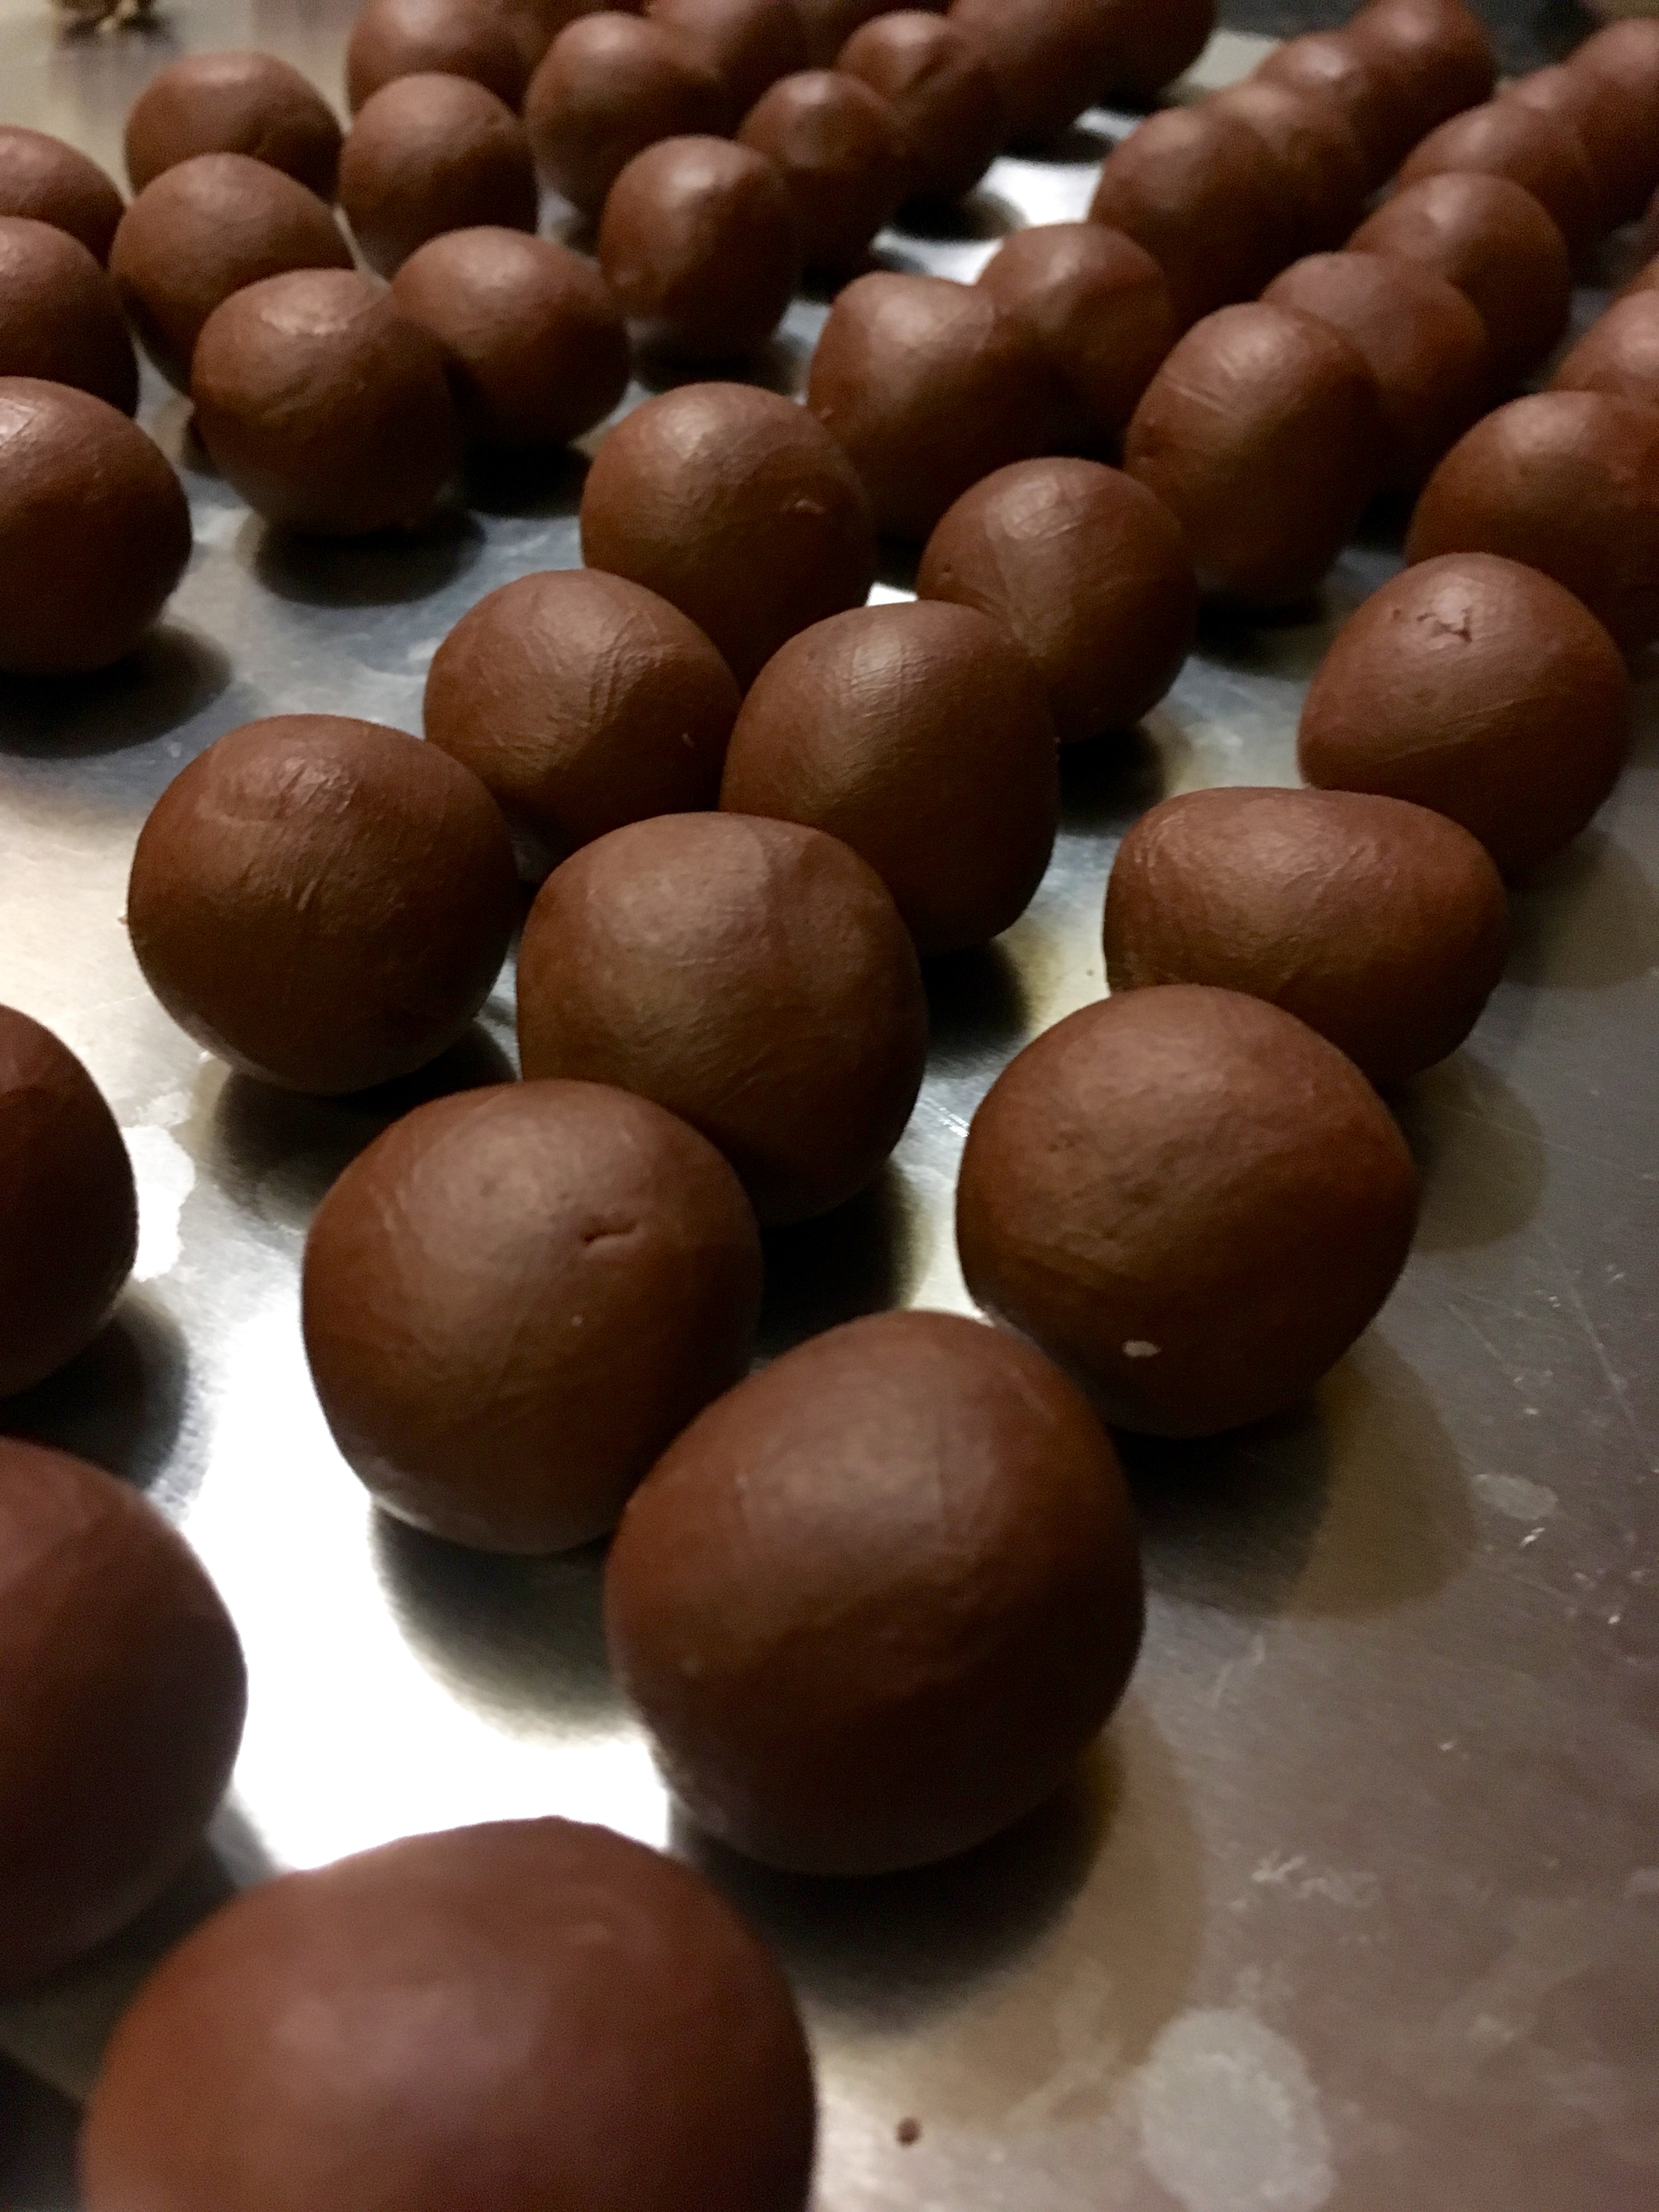
Next, roll out truffle after truffle! I used a 1/2 tbsp measure to scoop the mixture so that I had fairly uniform truffles. I then rolled them into balls and put them on a cookie sheet to await toppings. All told, I ended up with 103 truffles.

IMG_4628

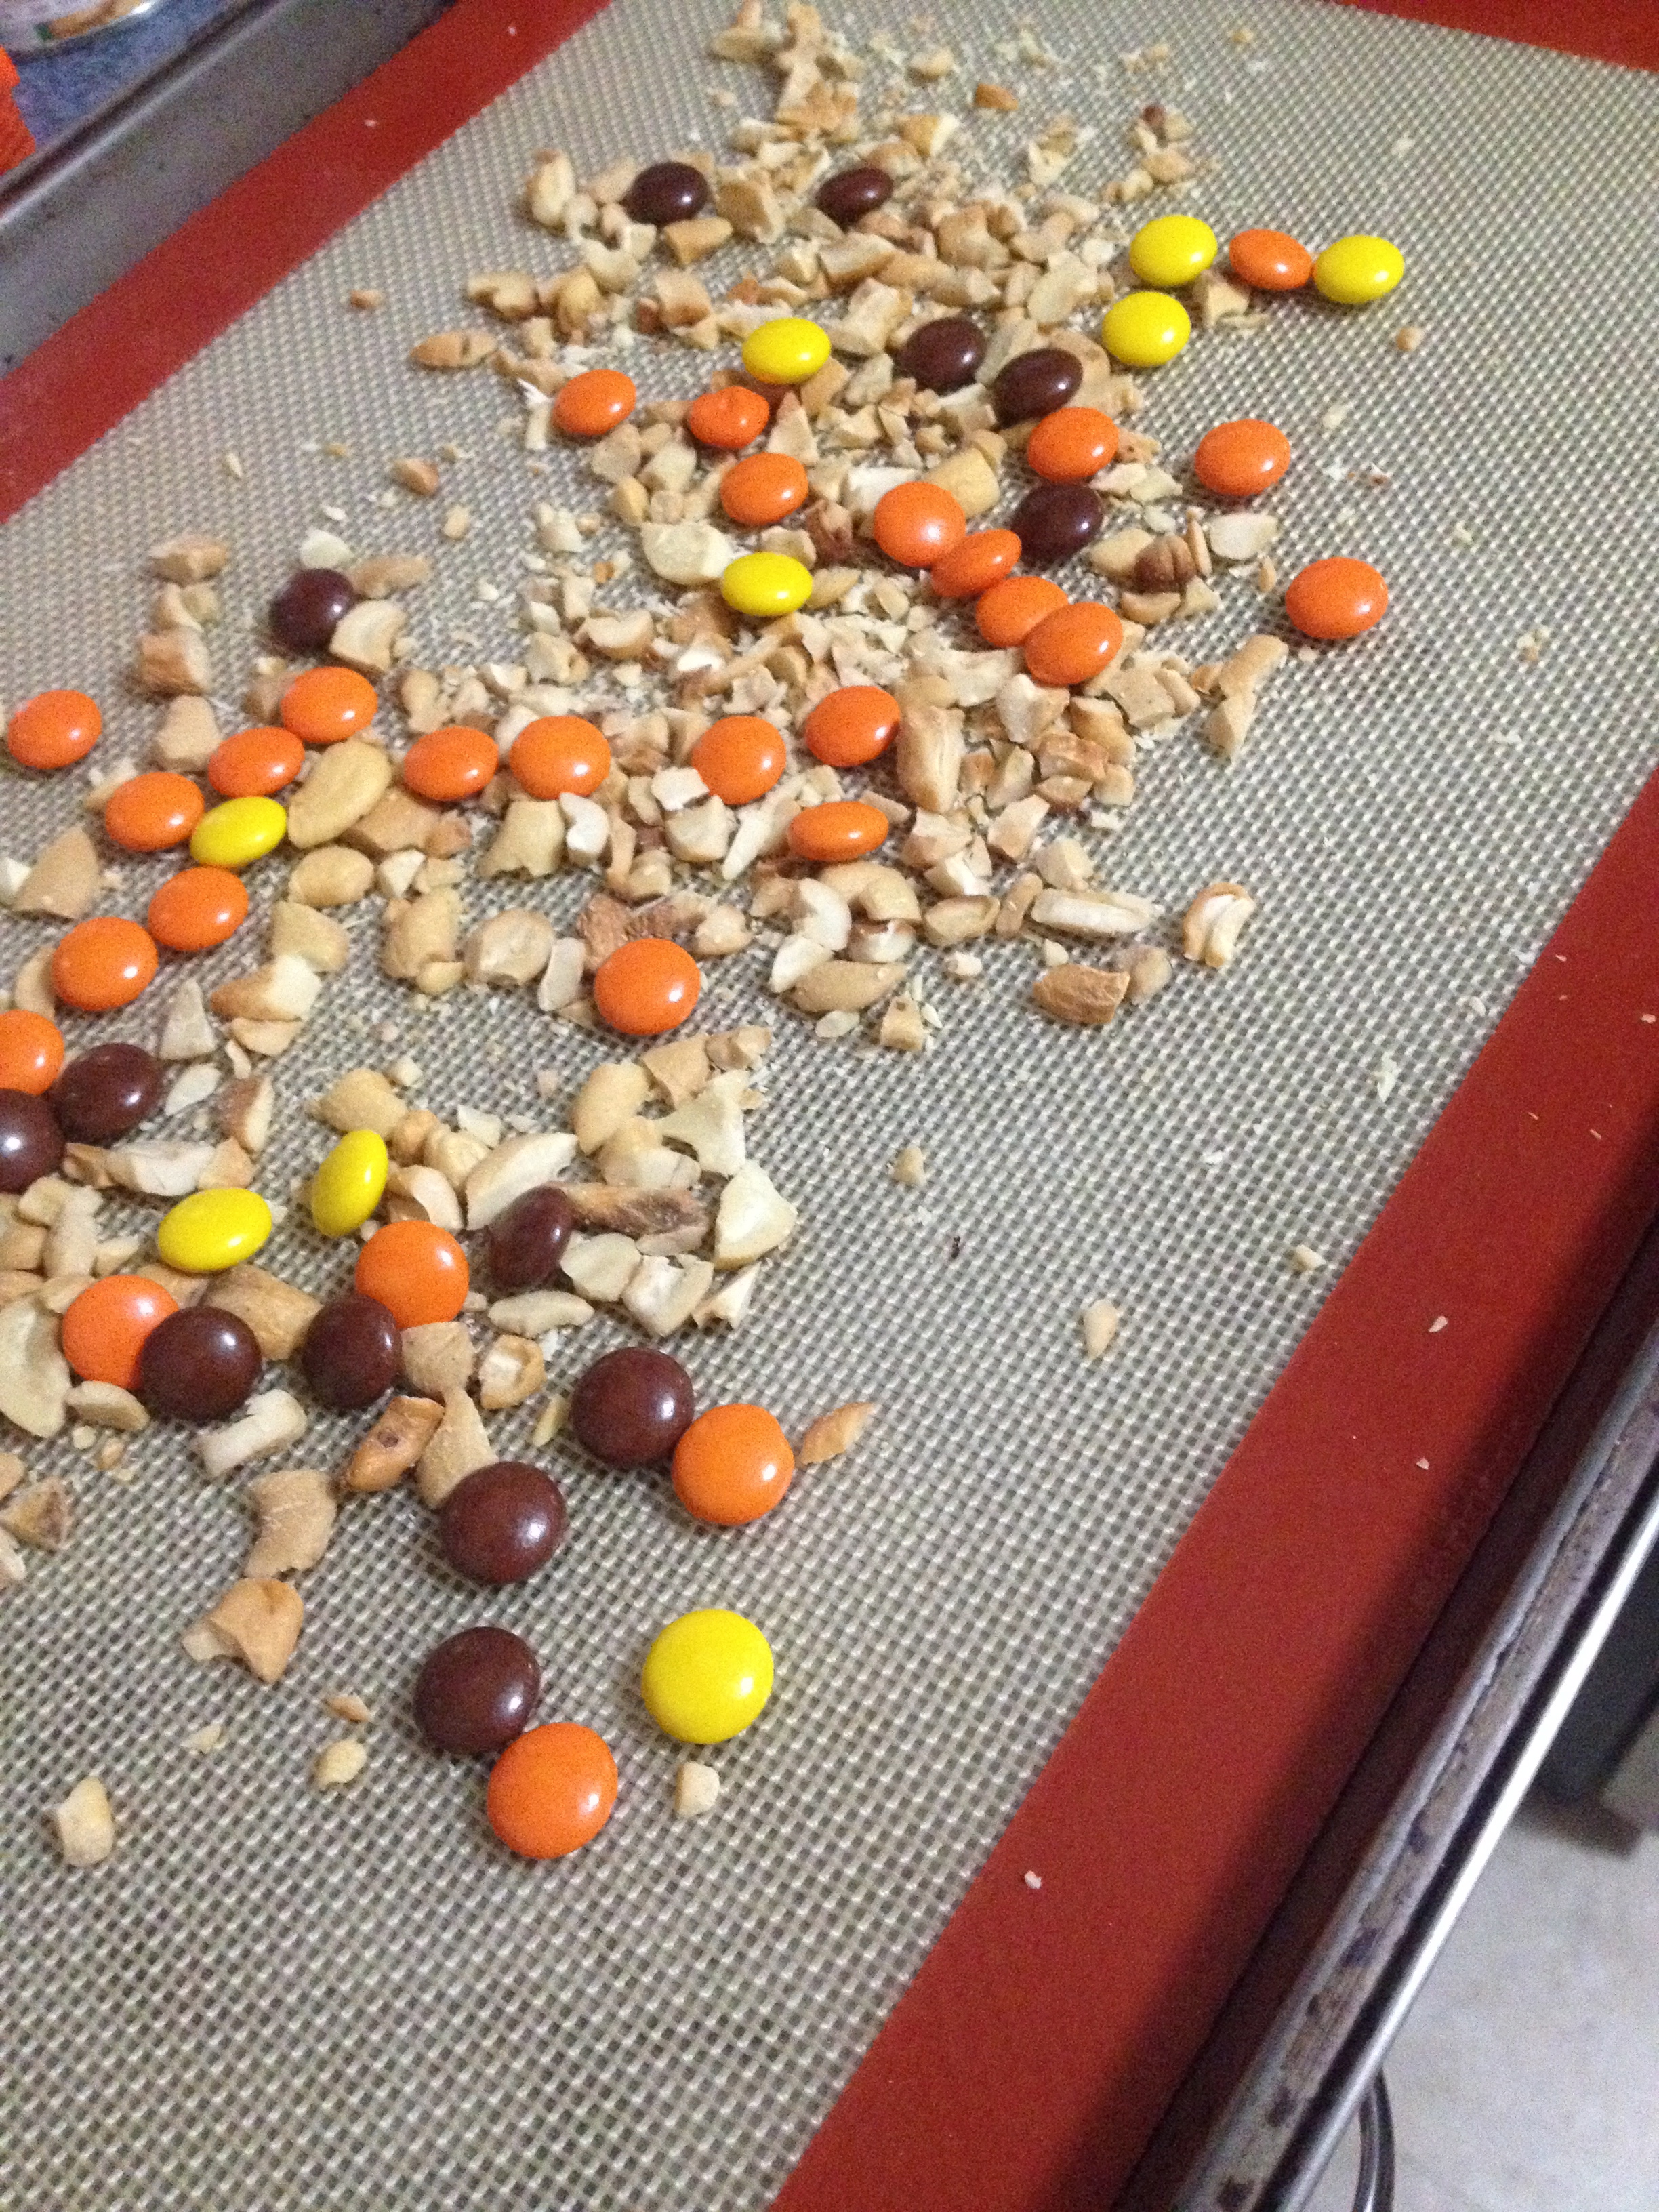
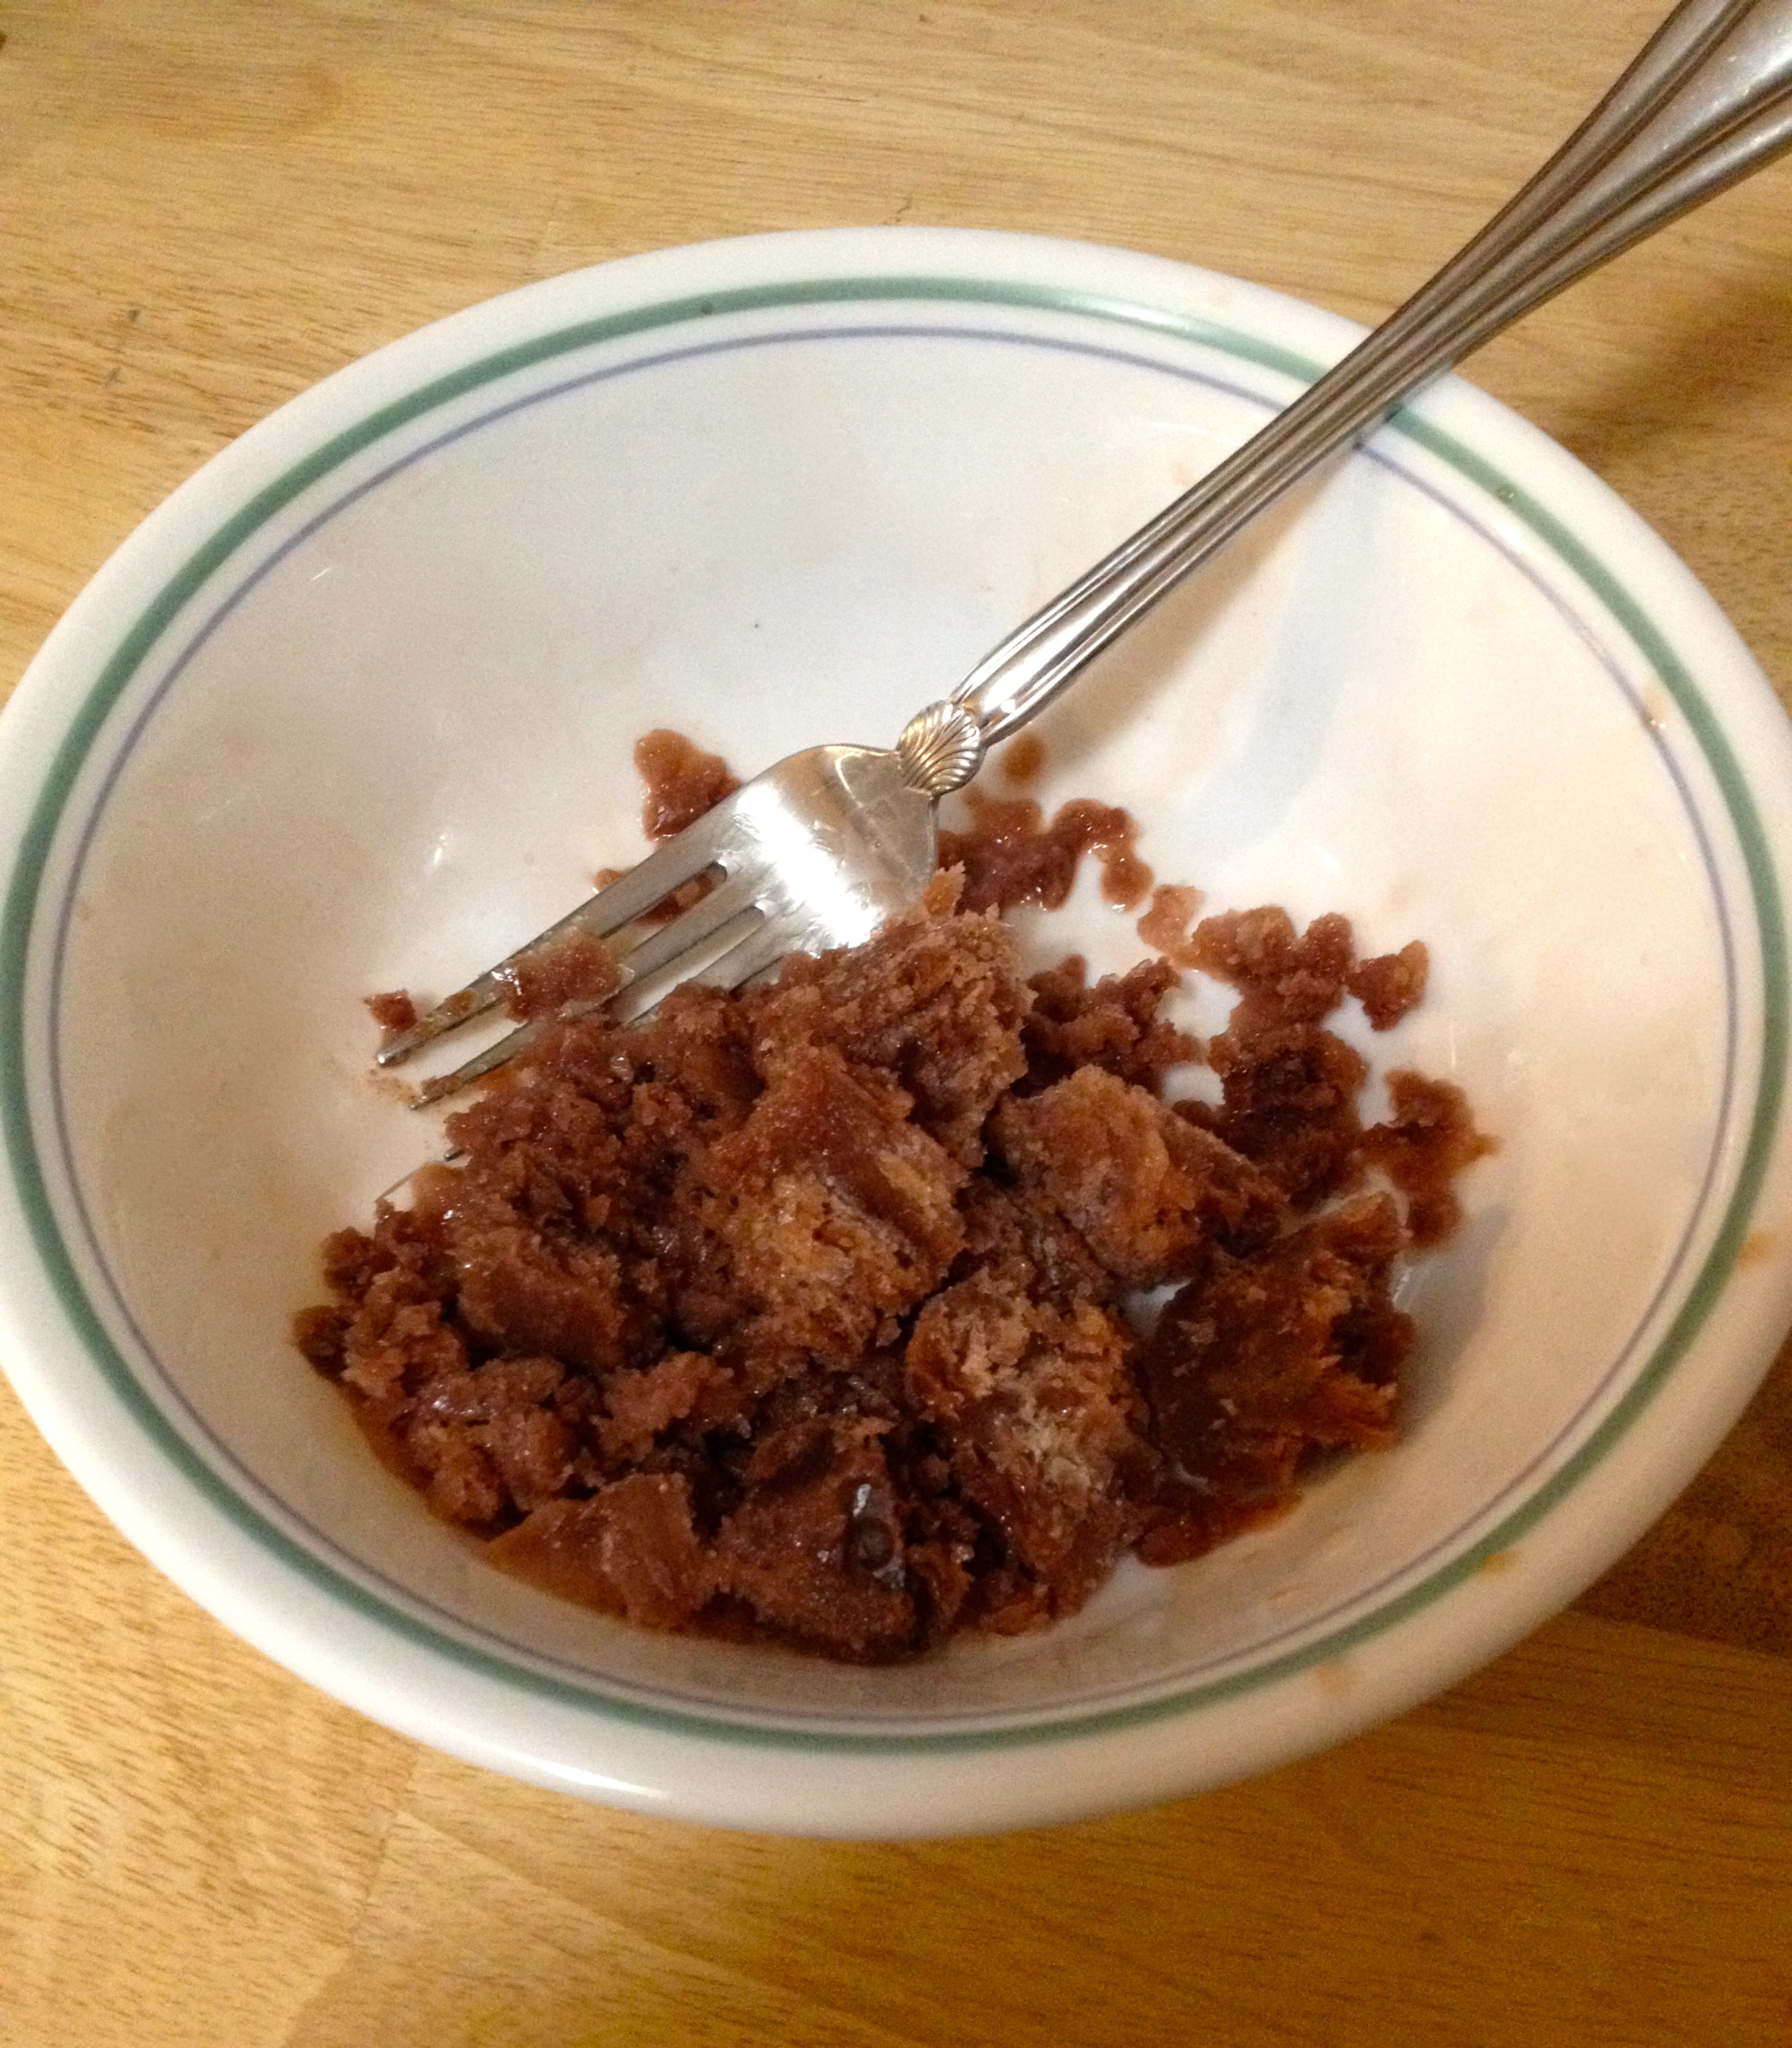
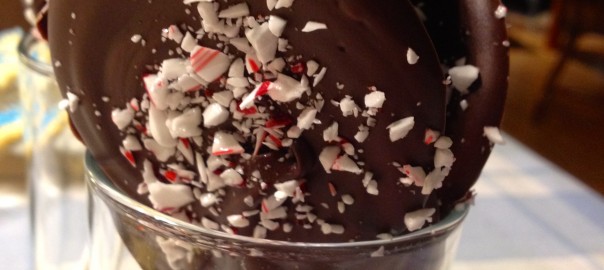
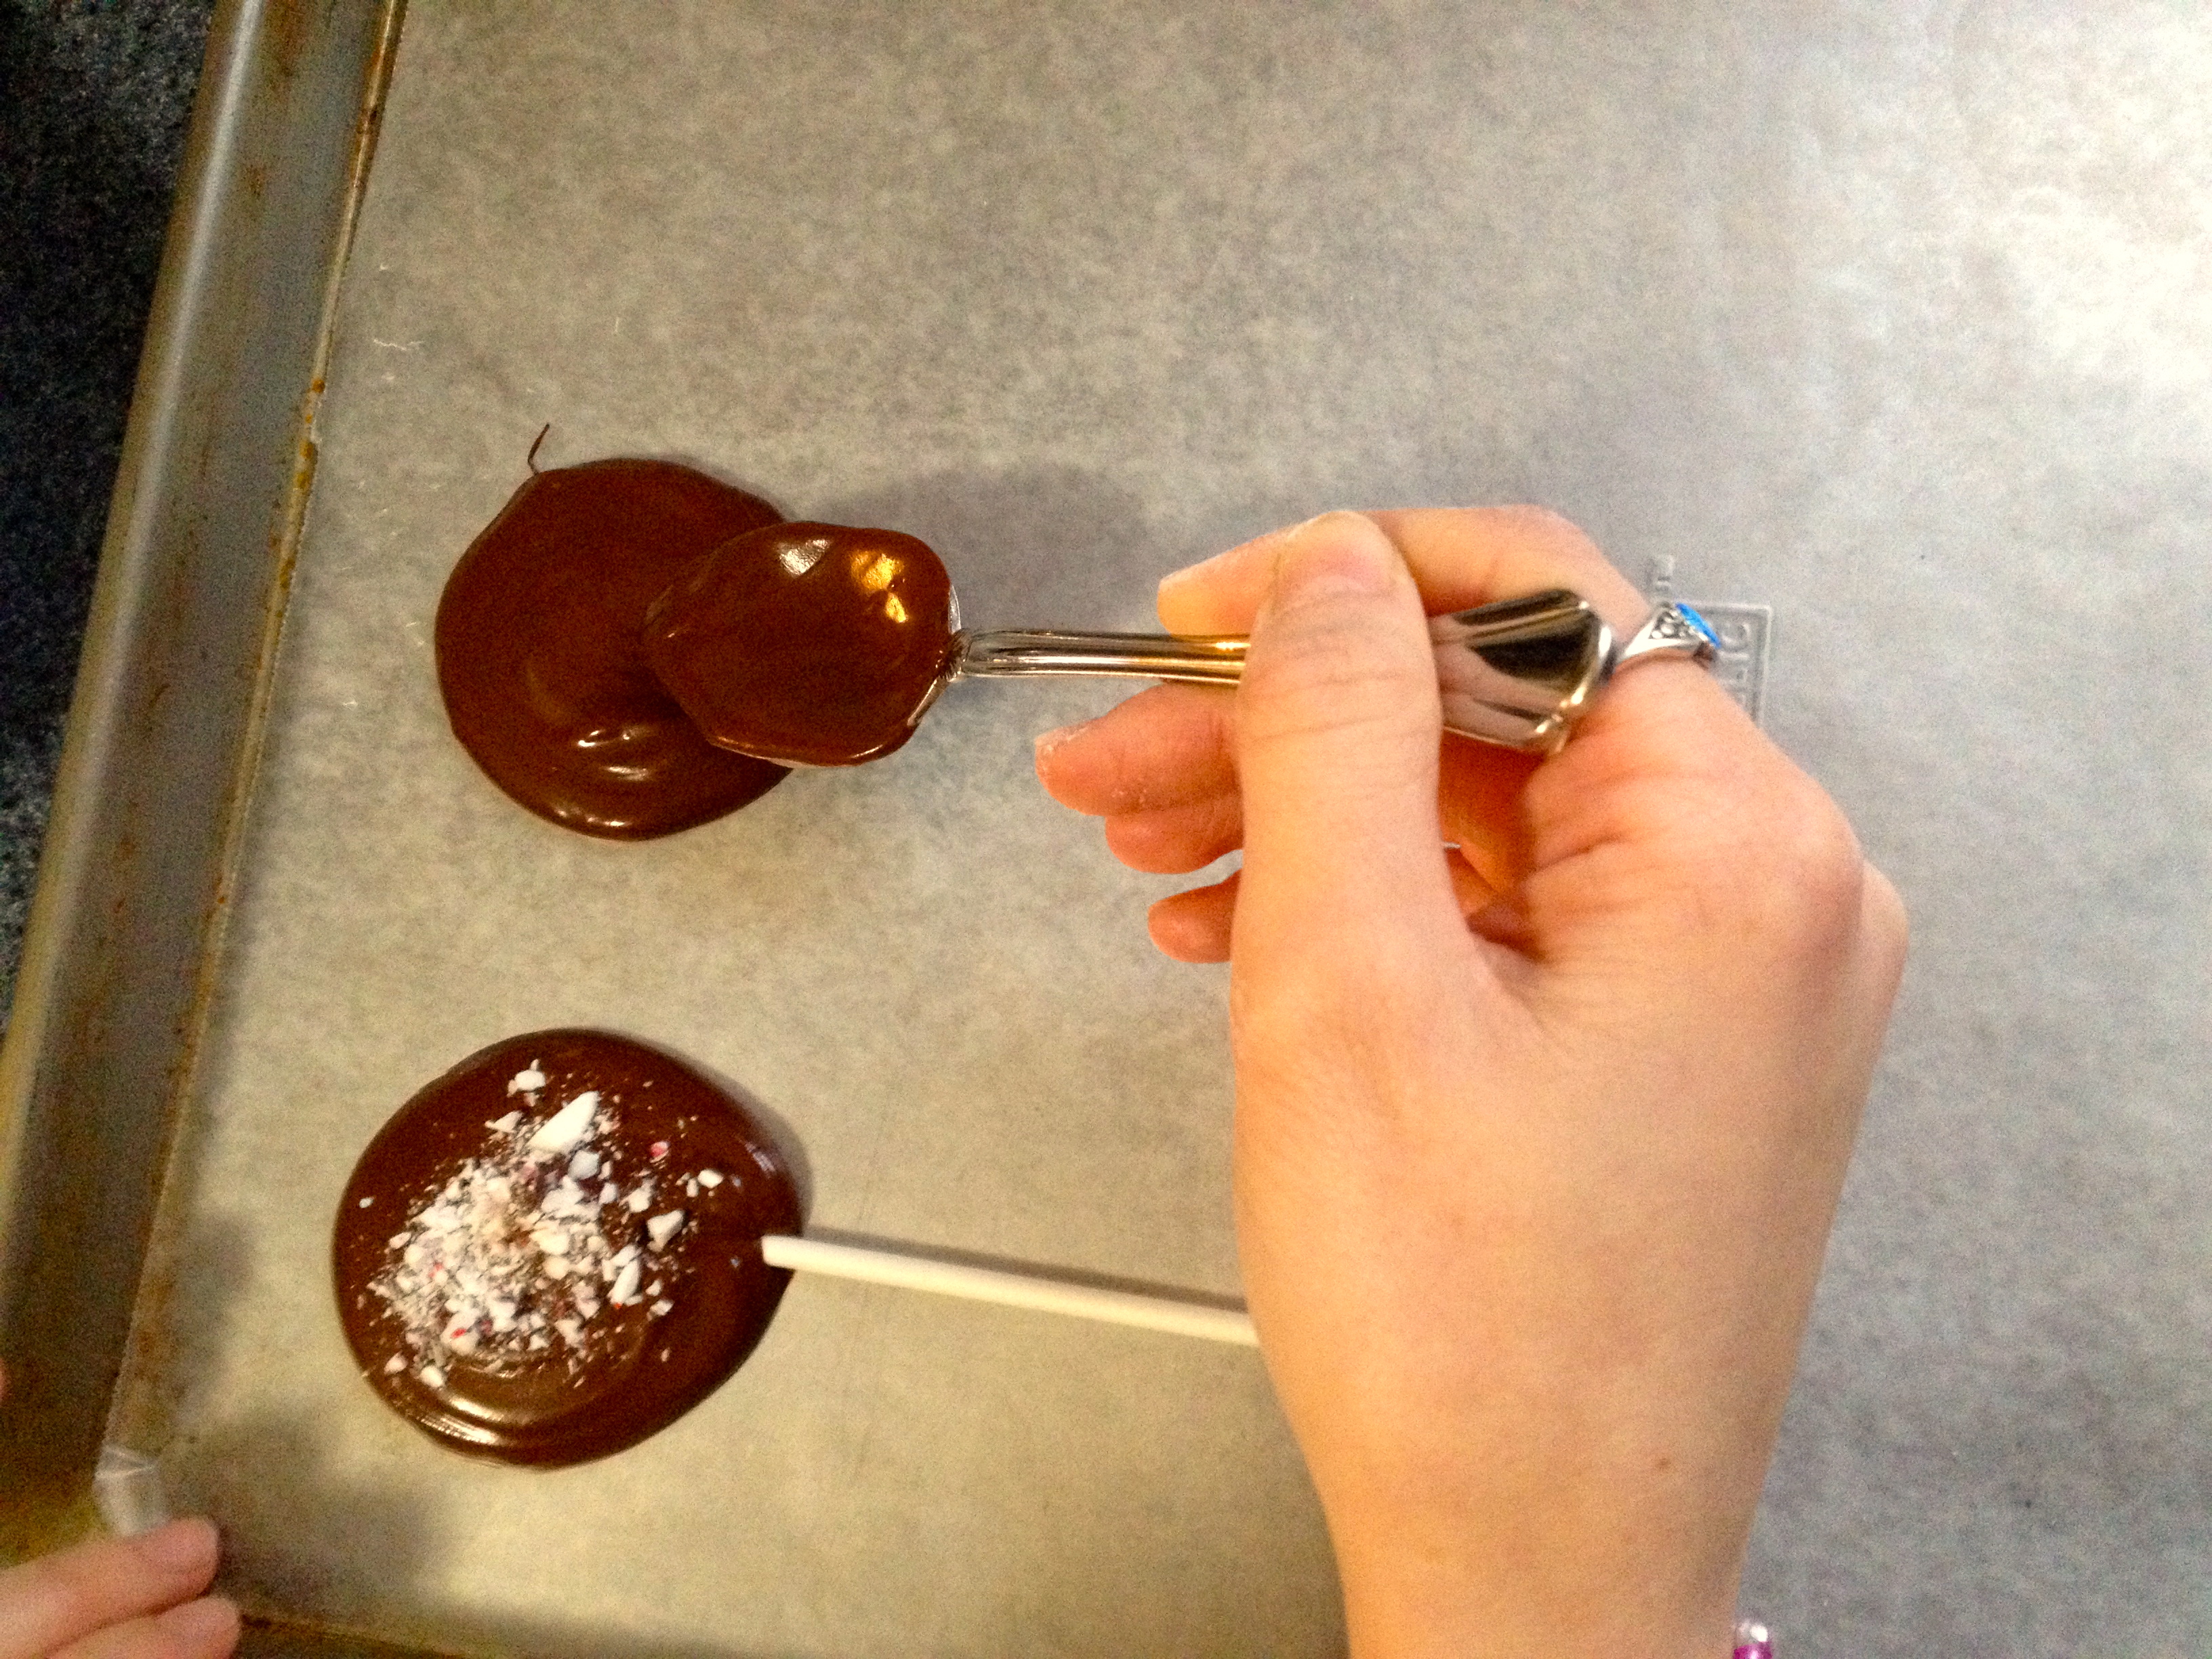
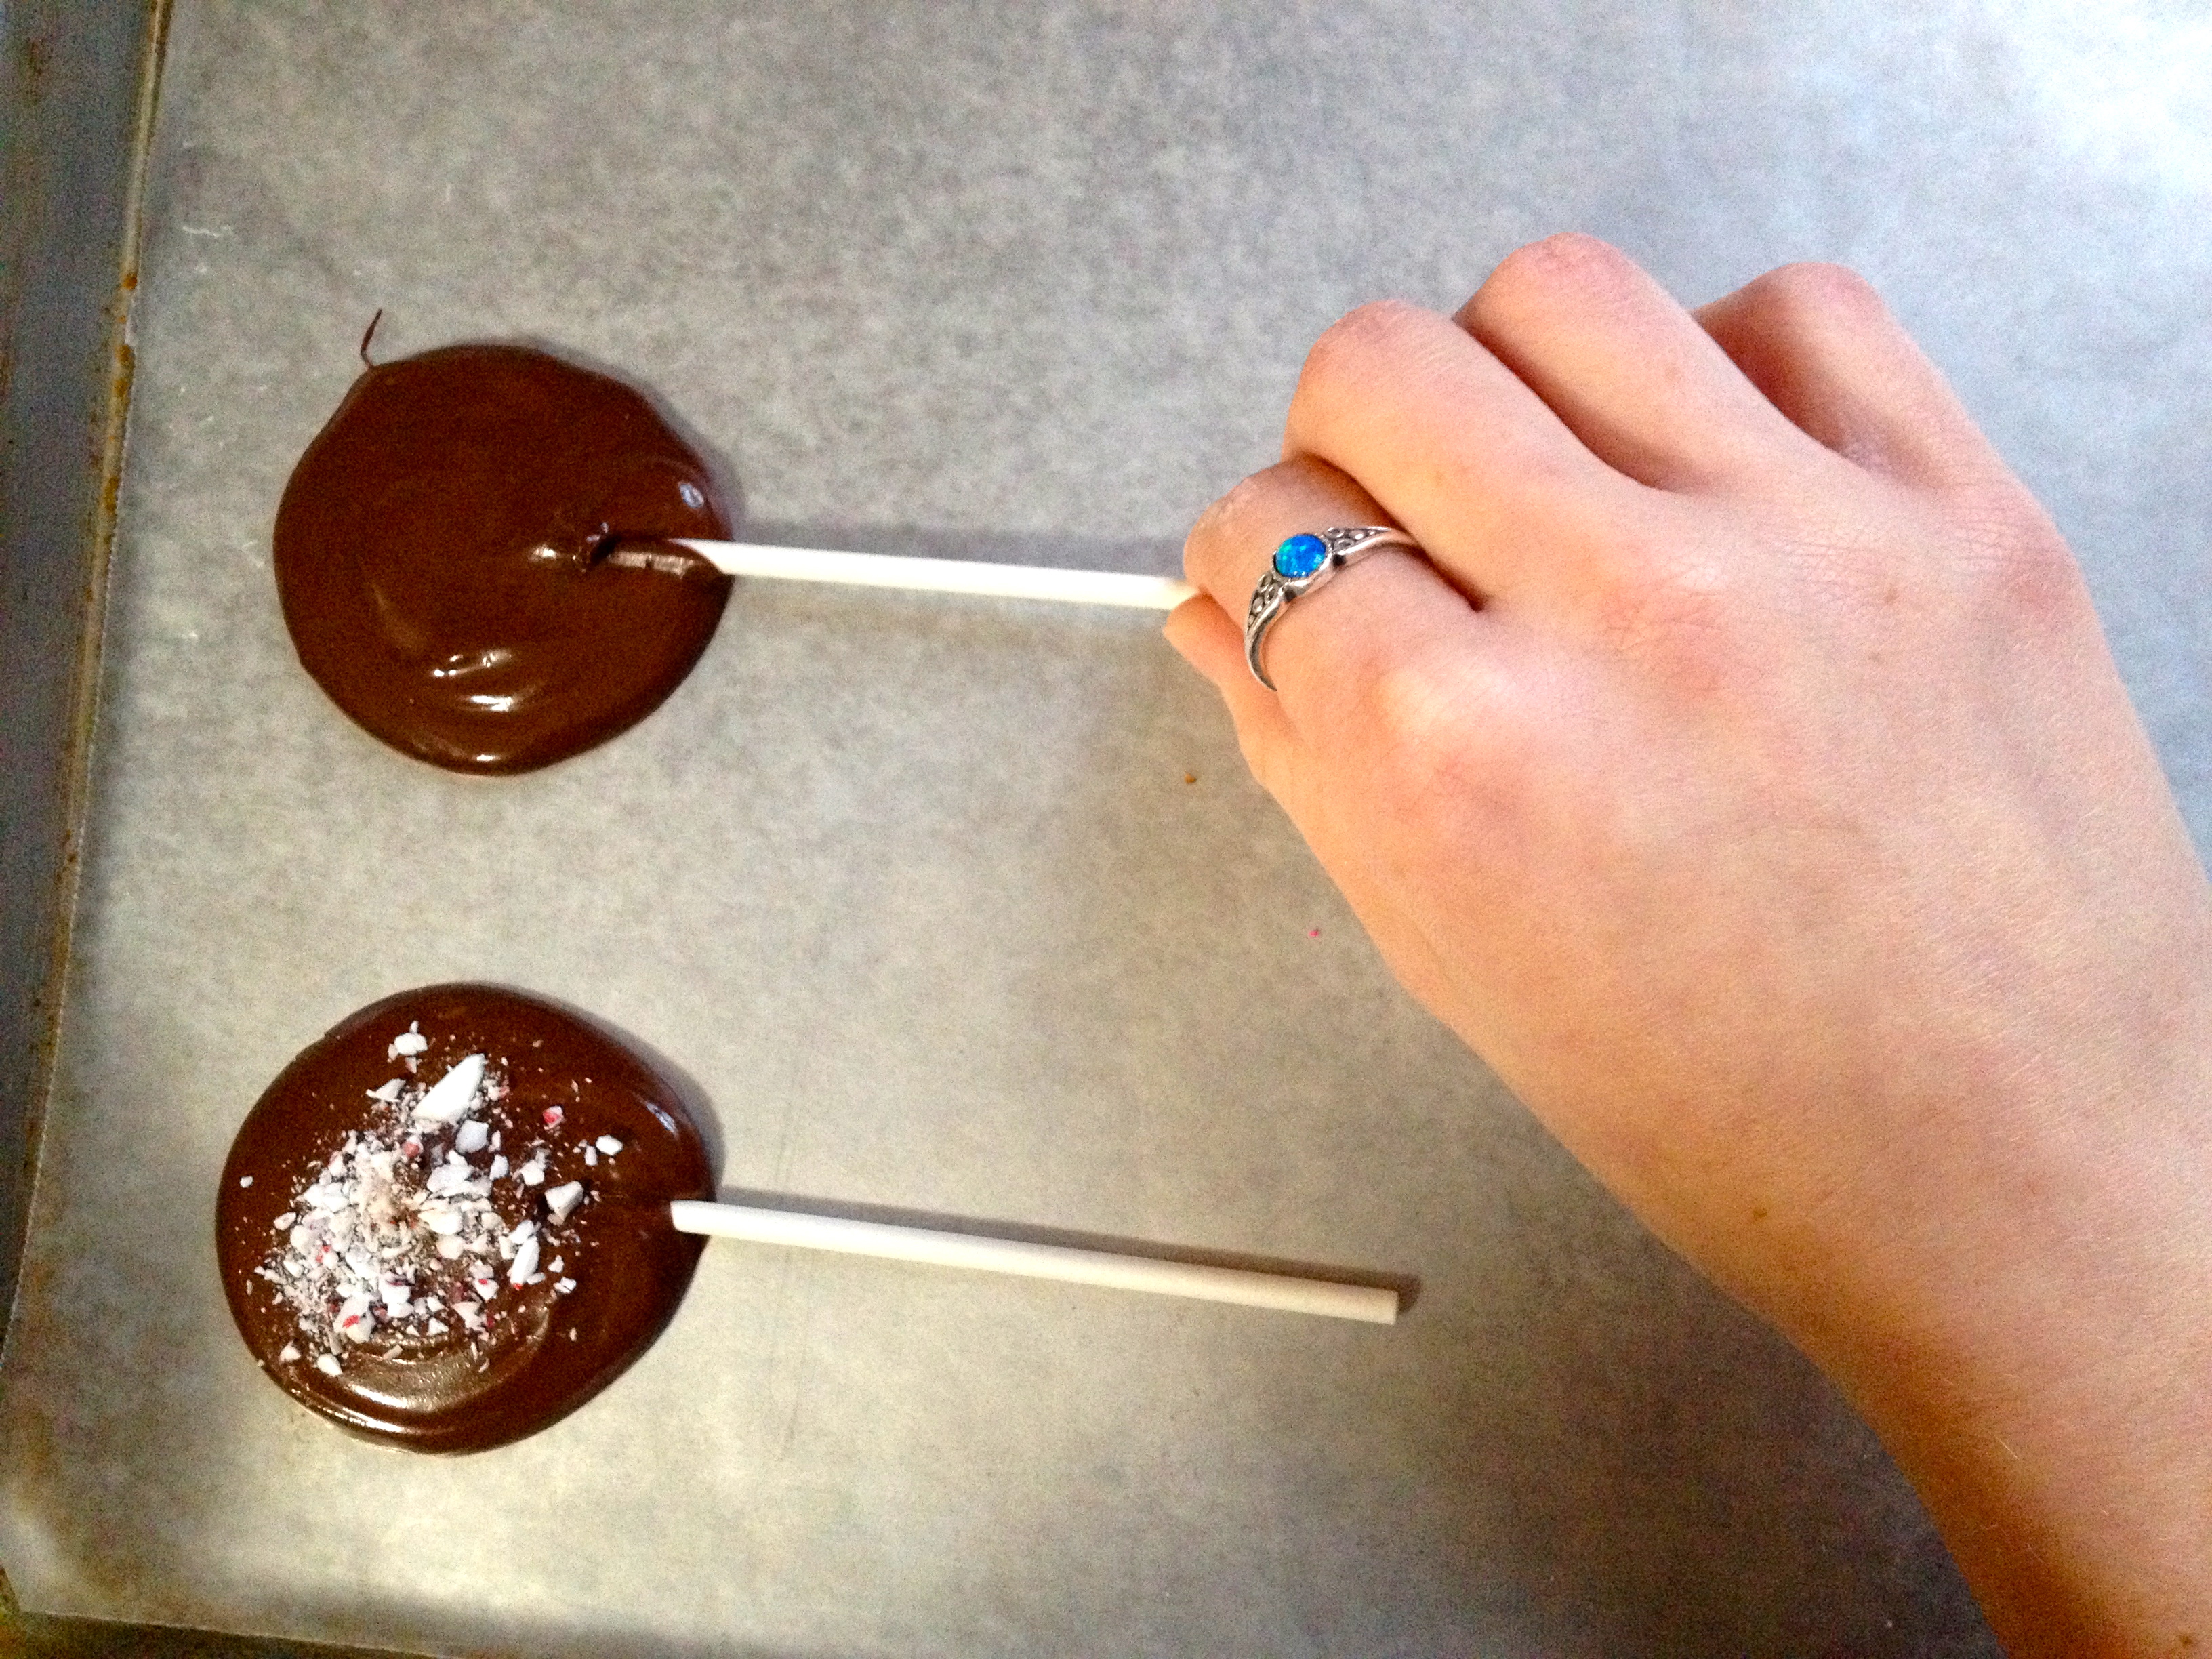
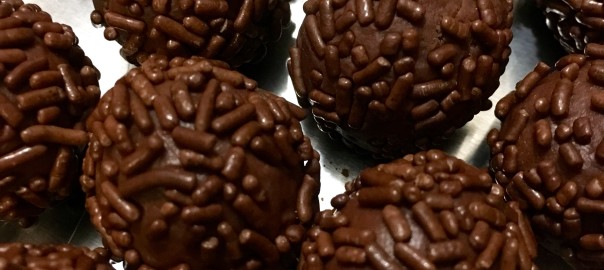
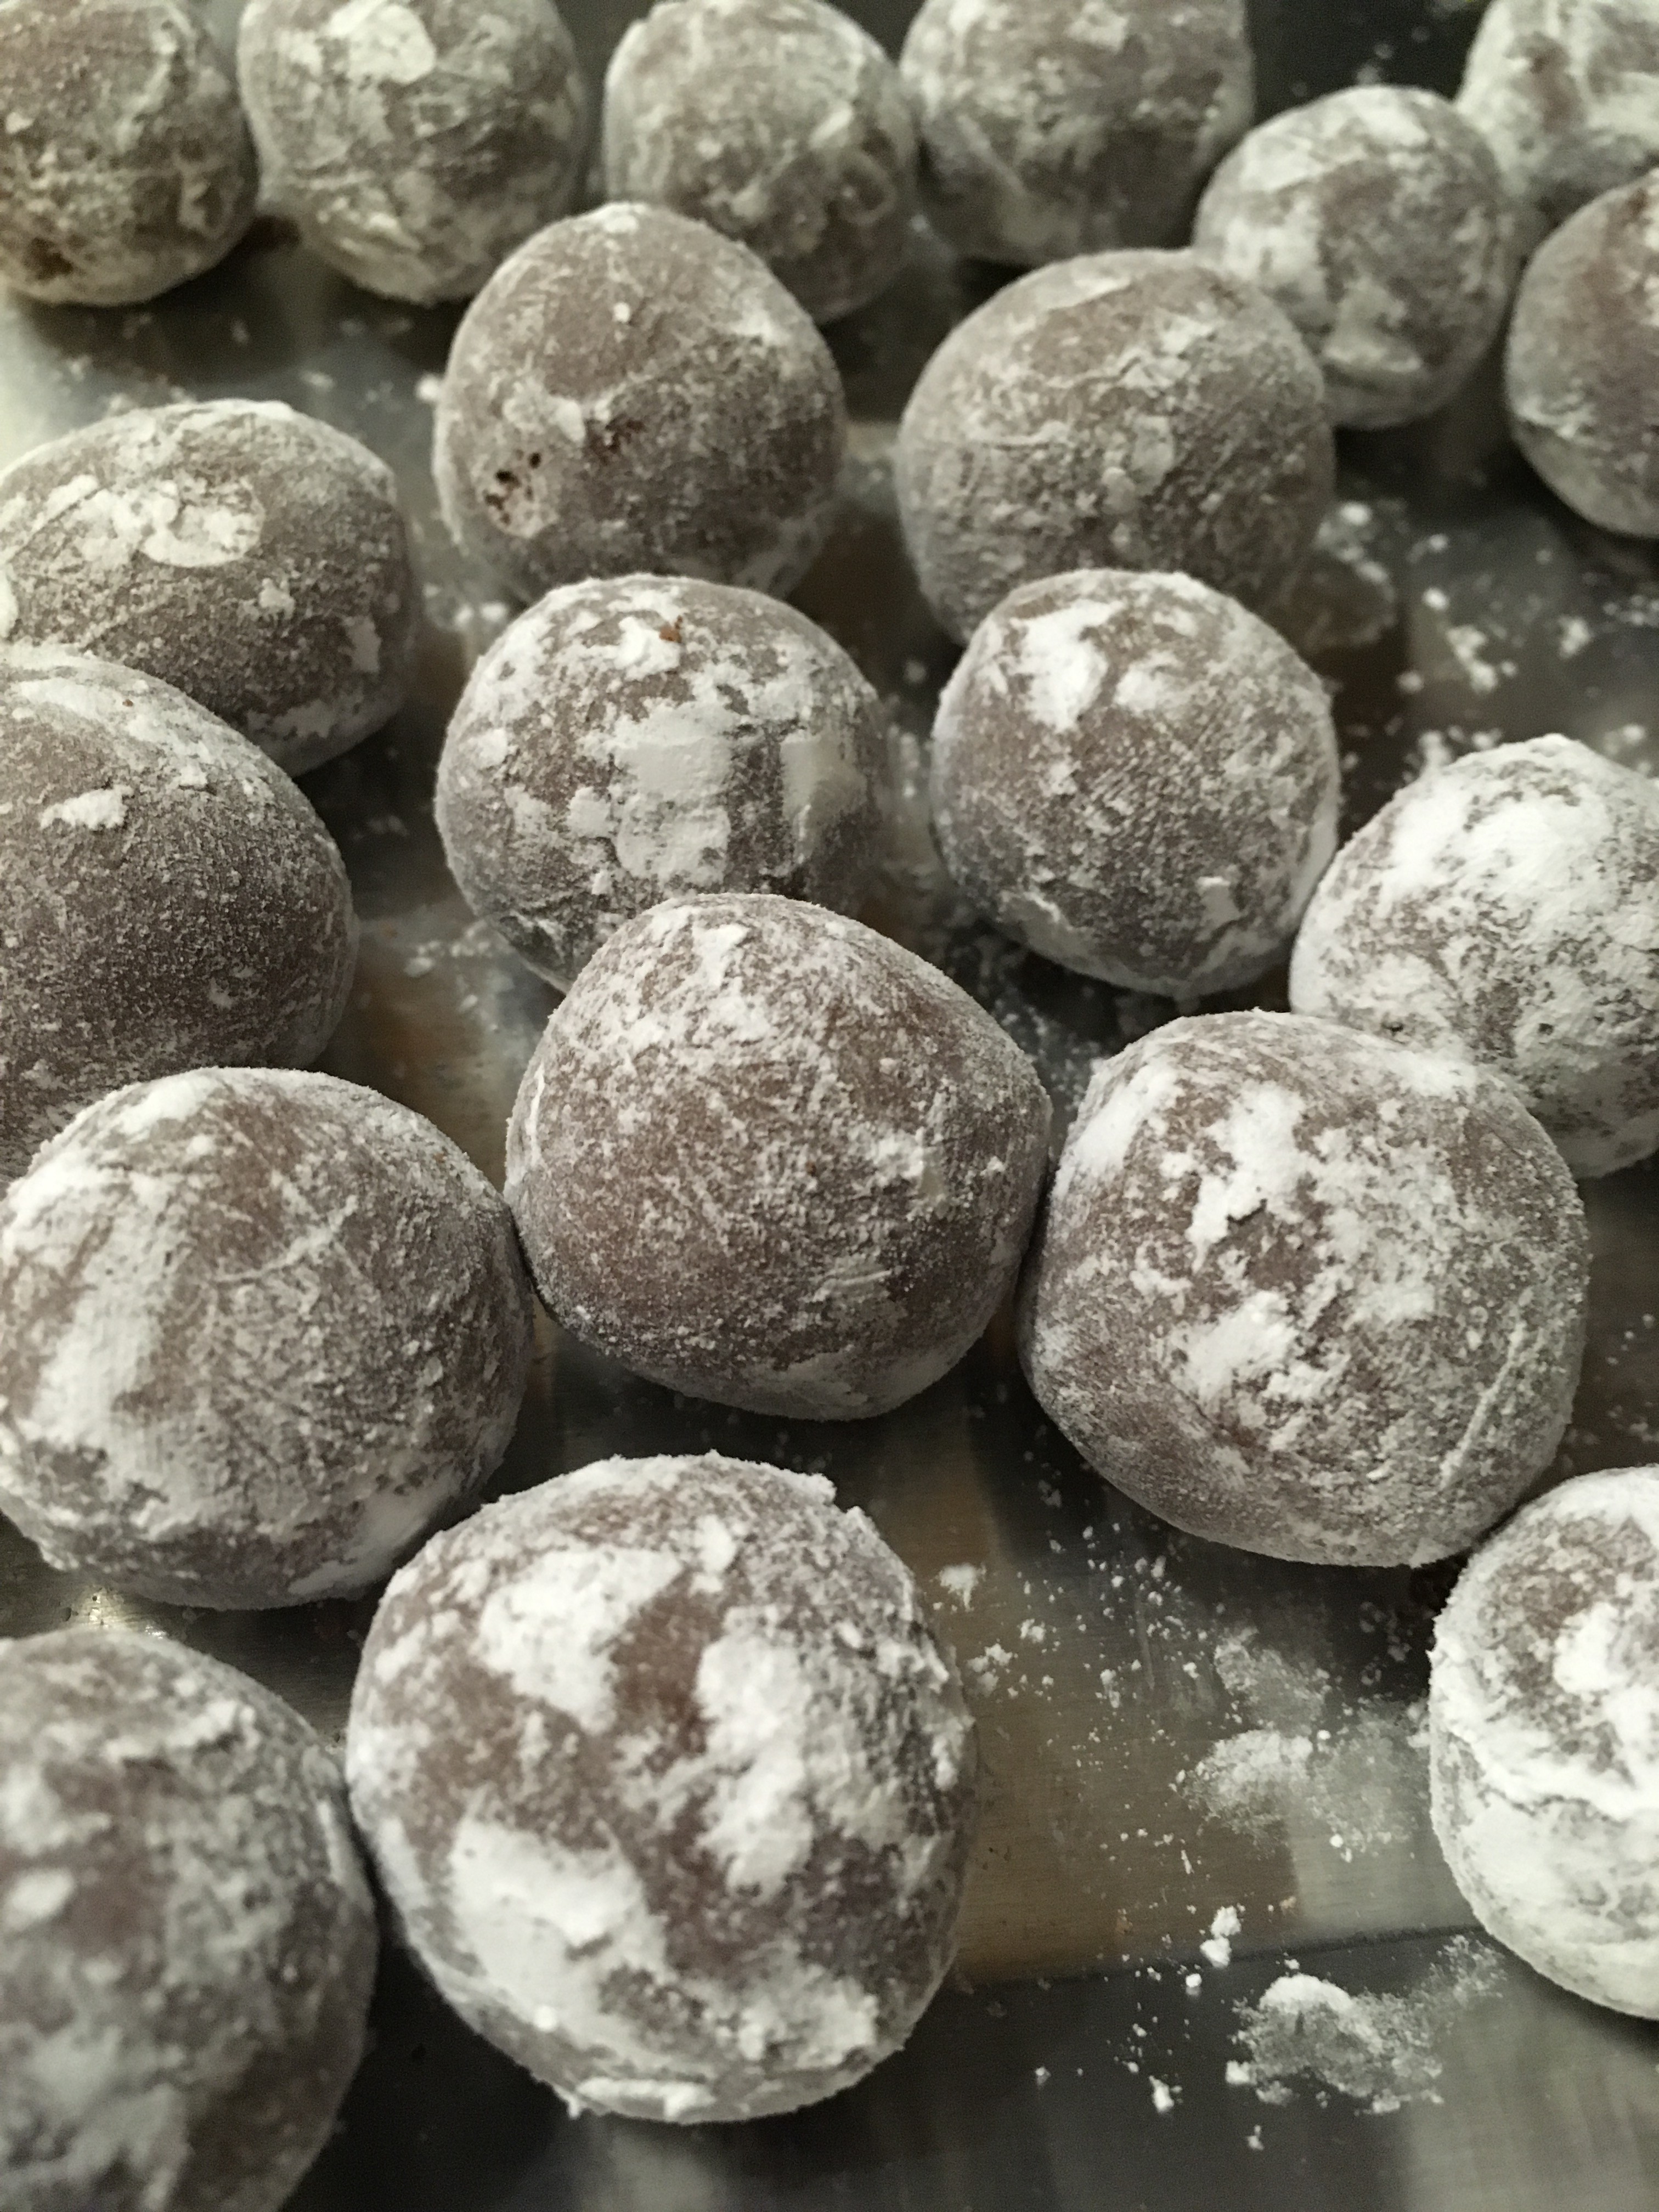
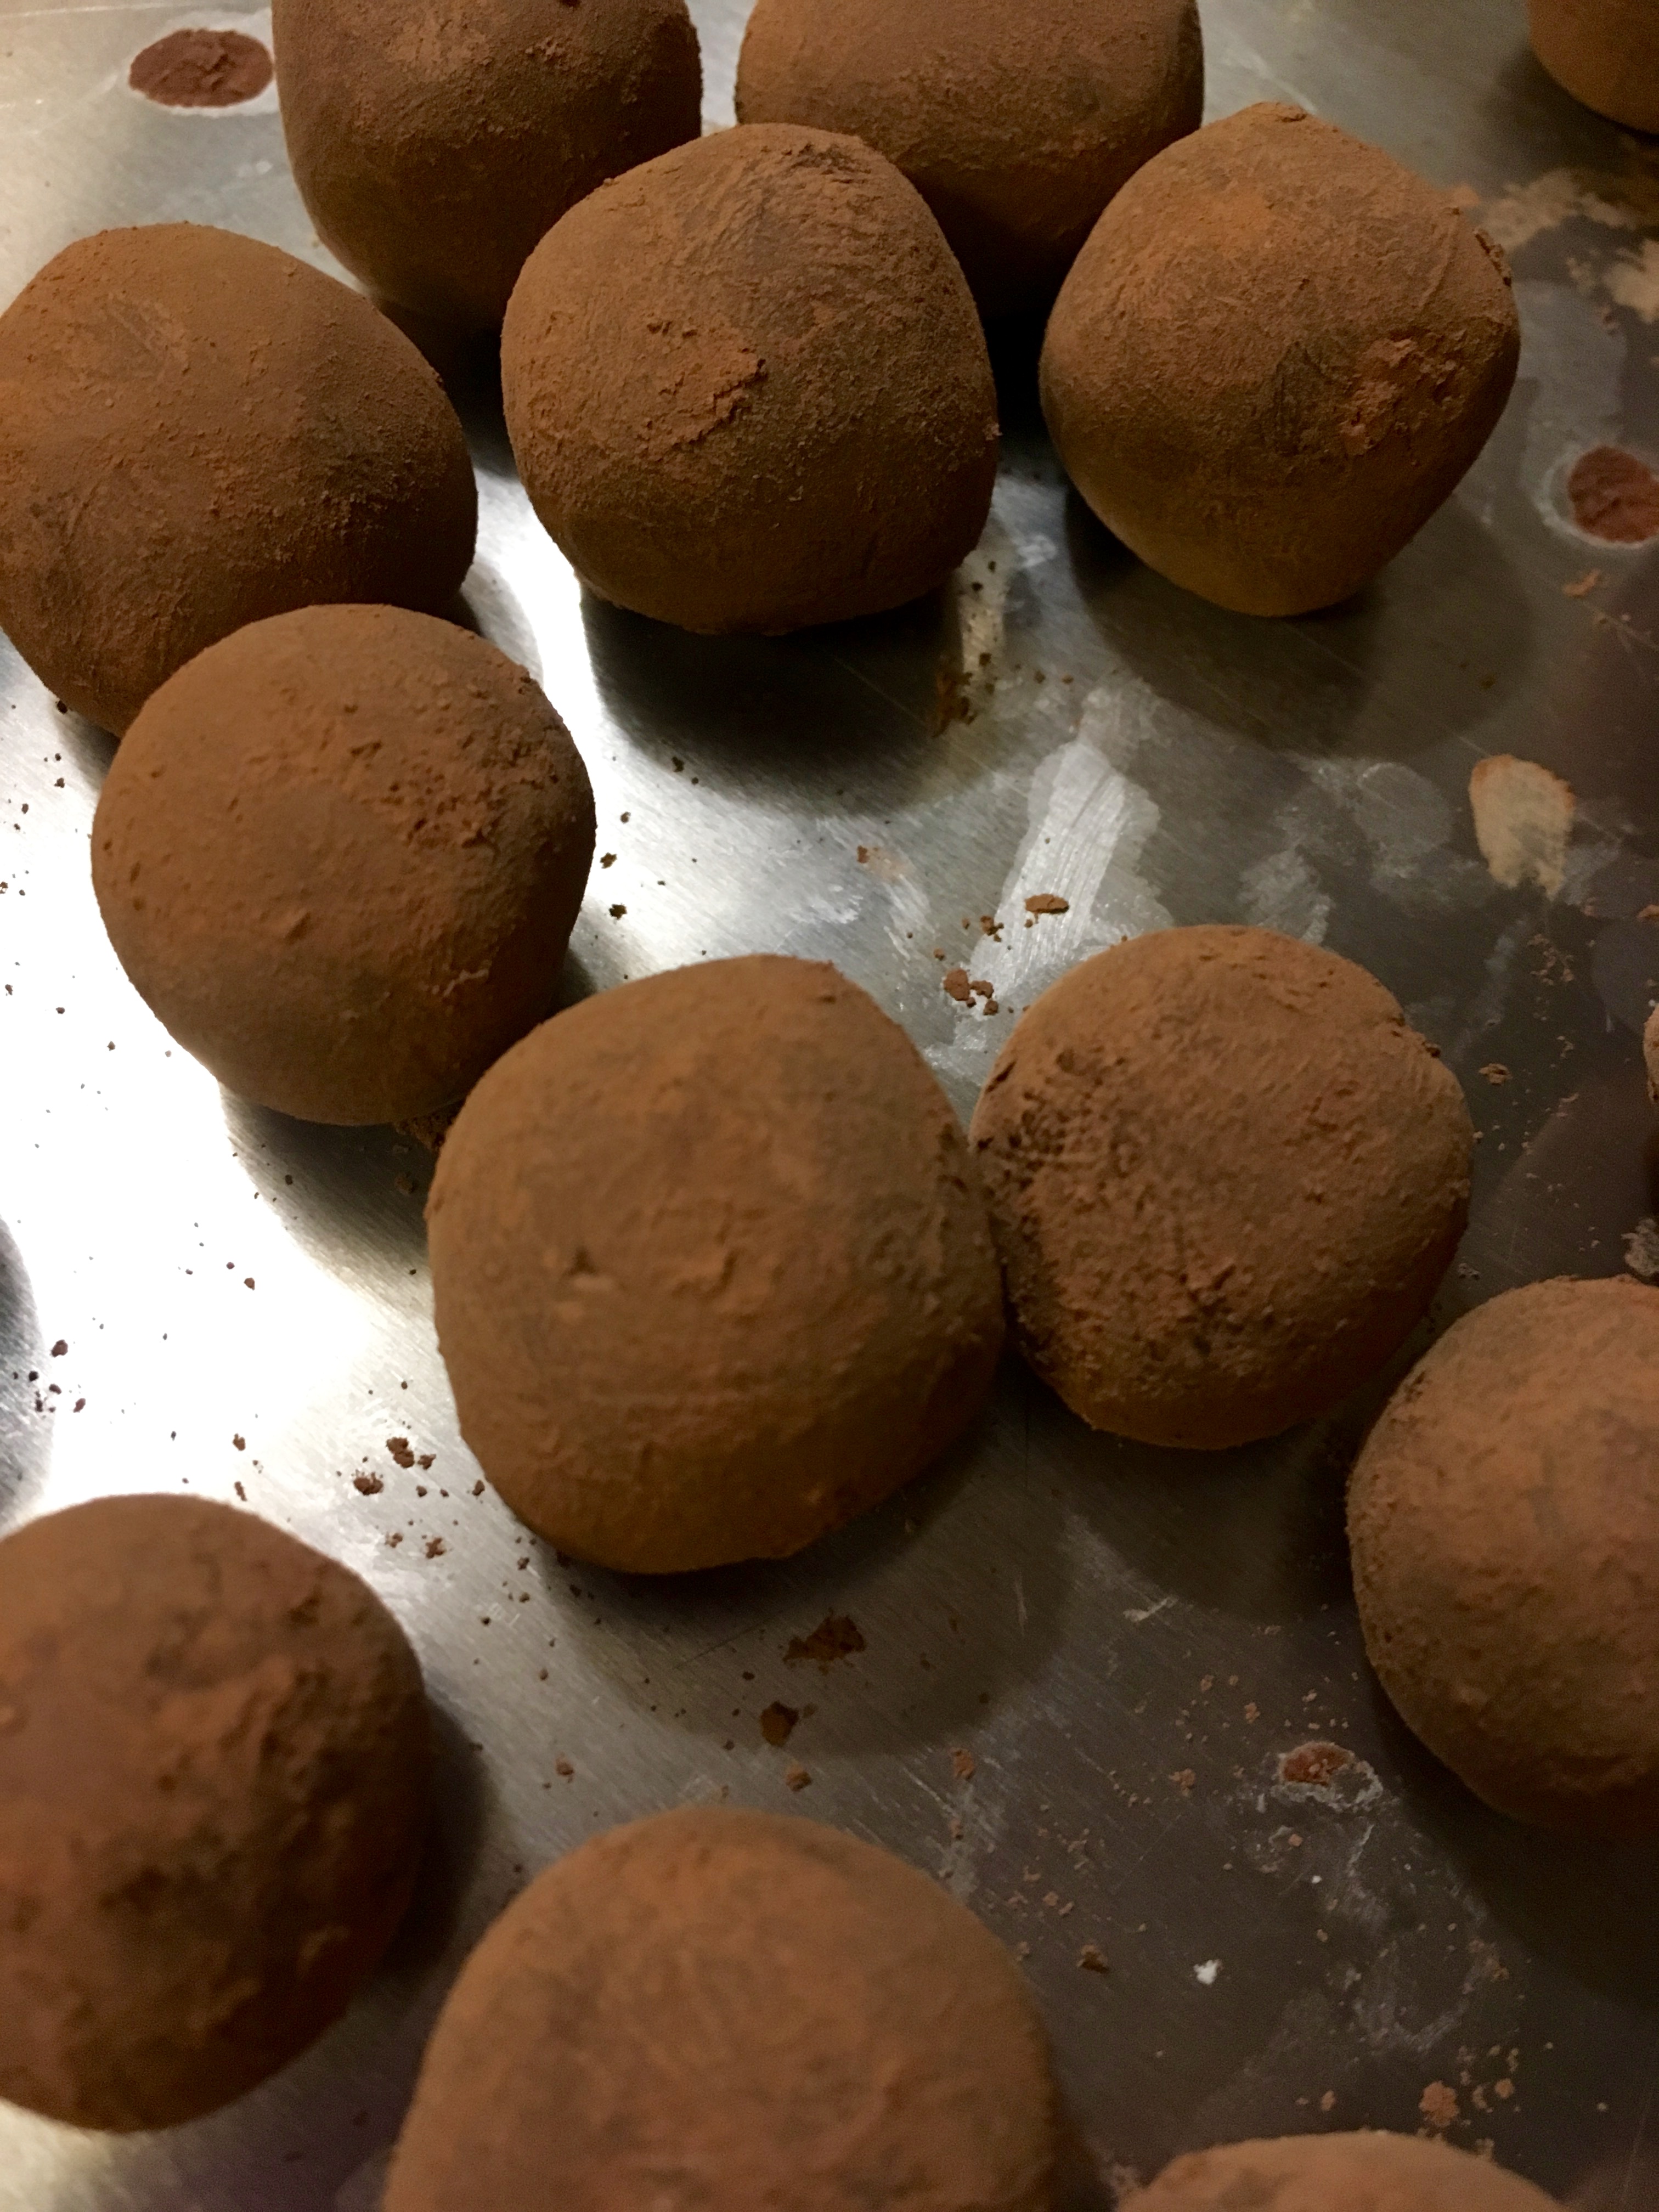
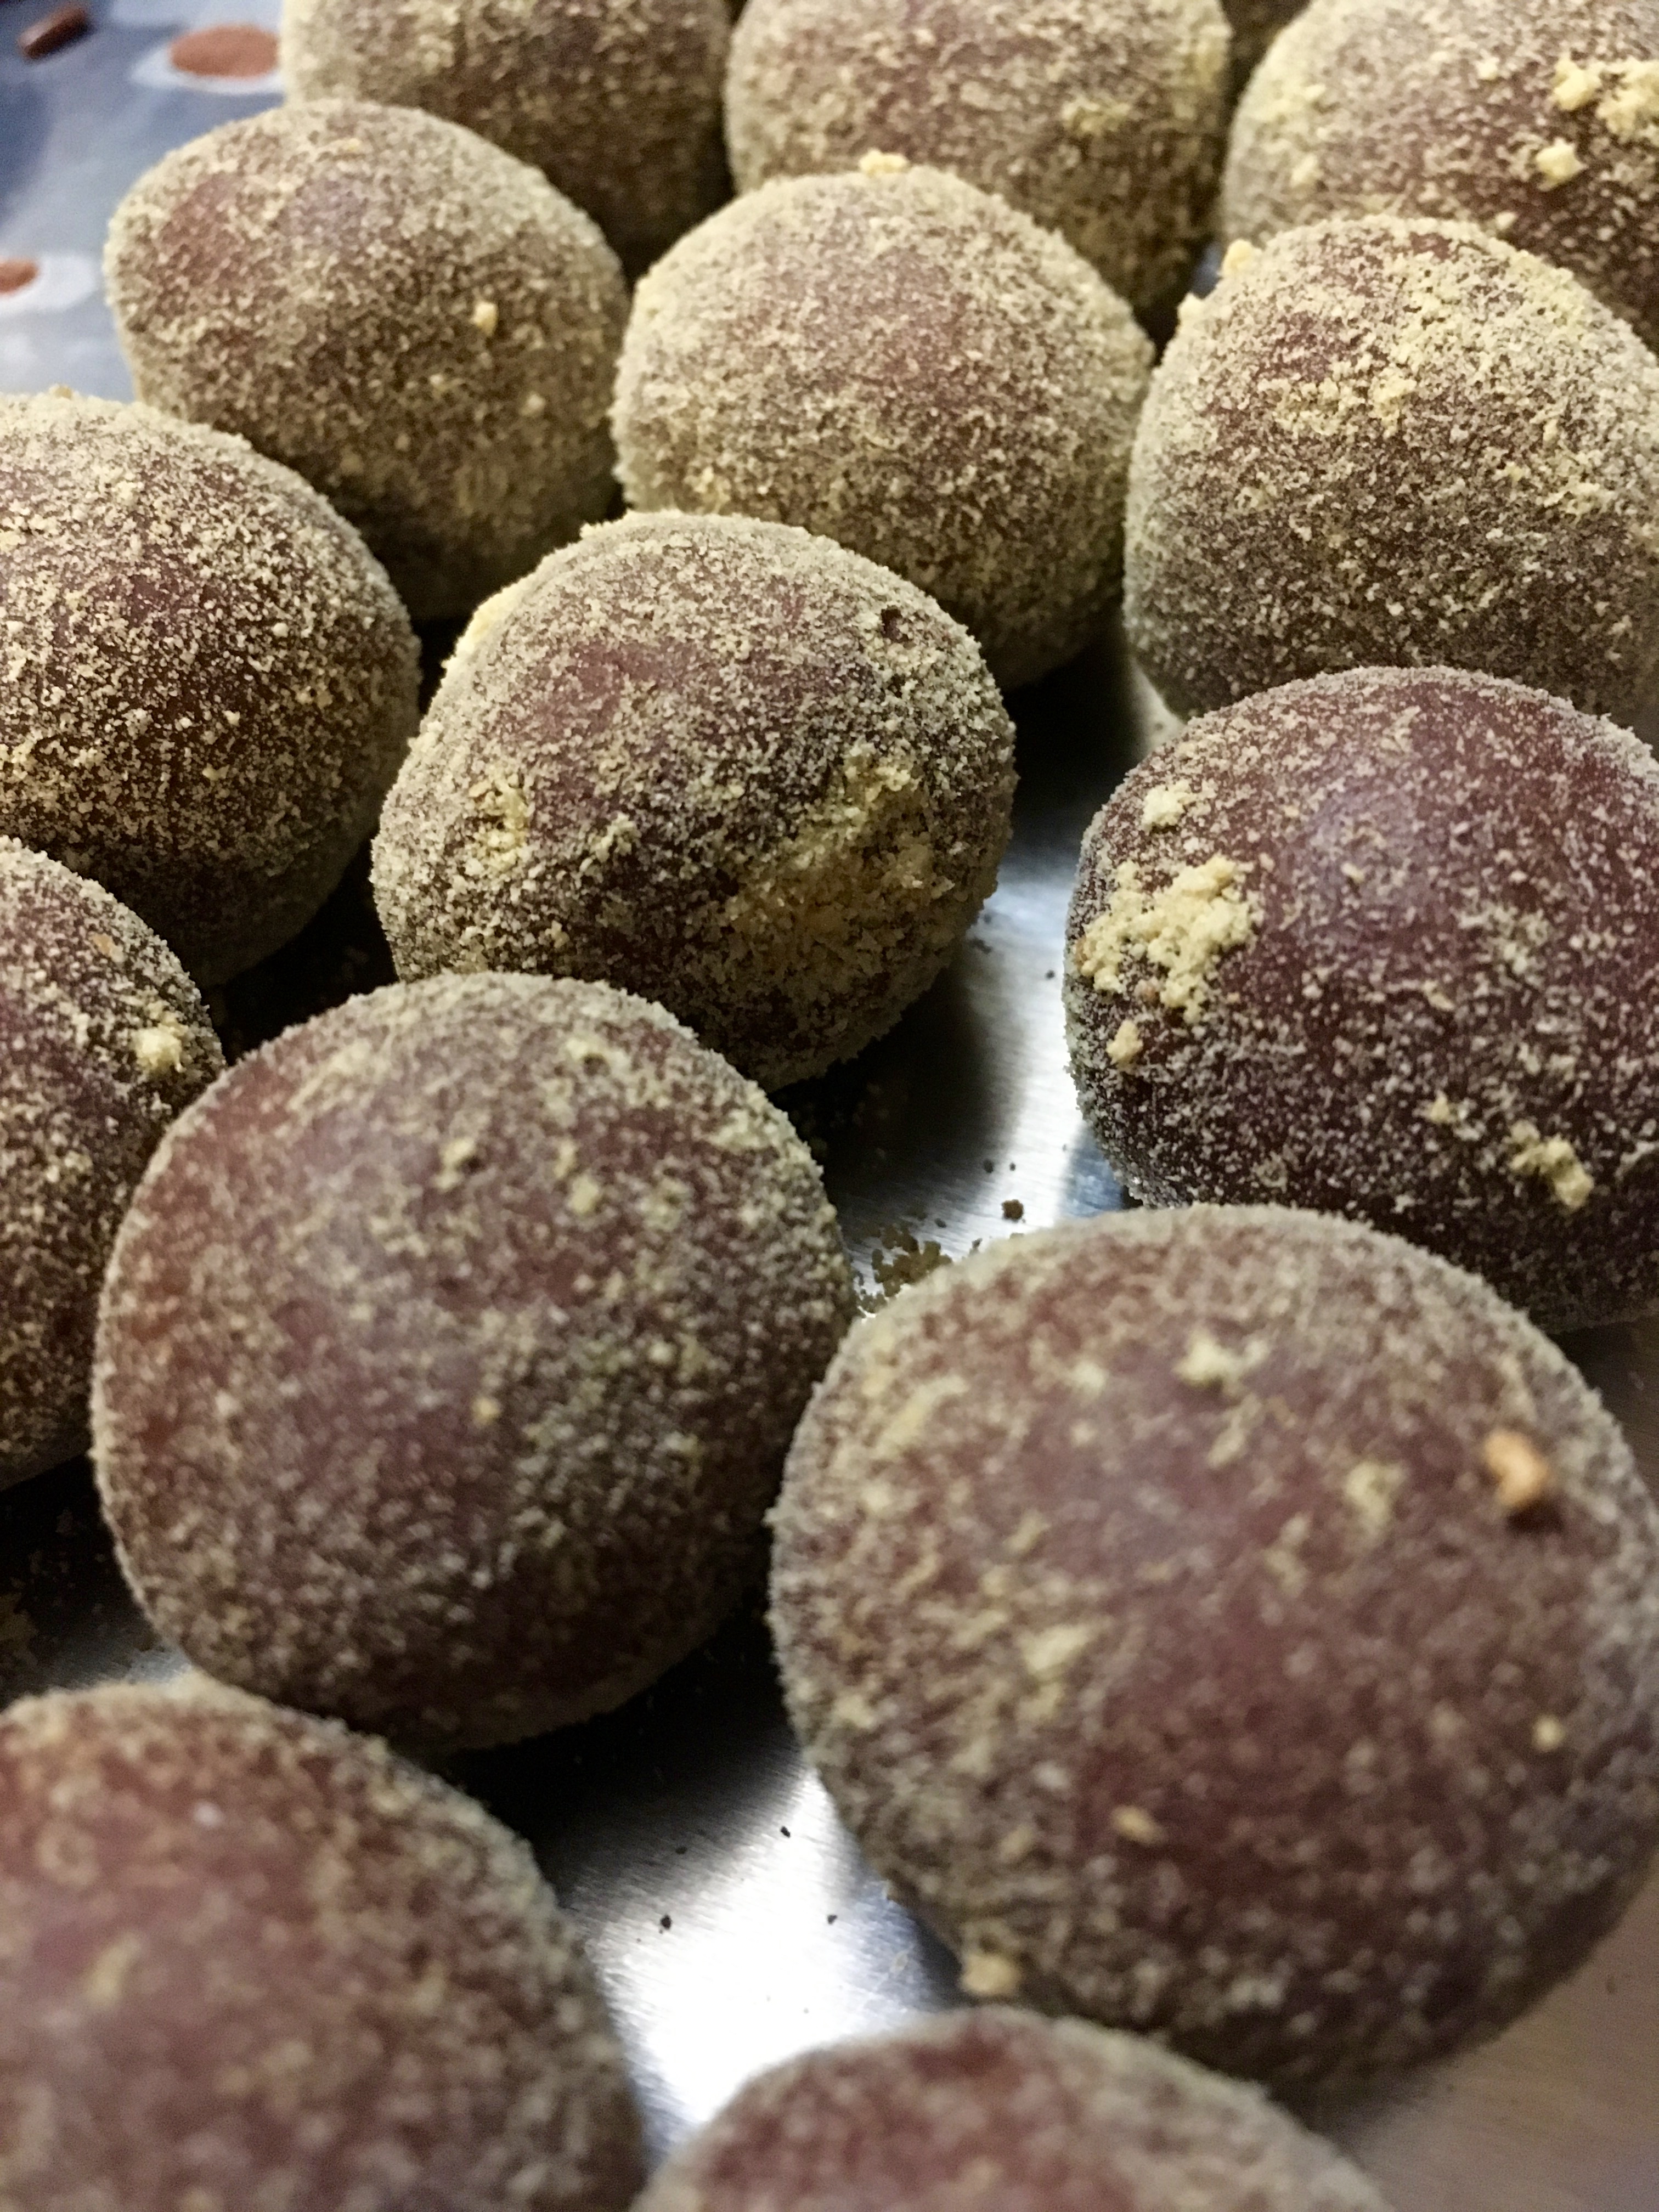
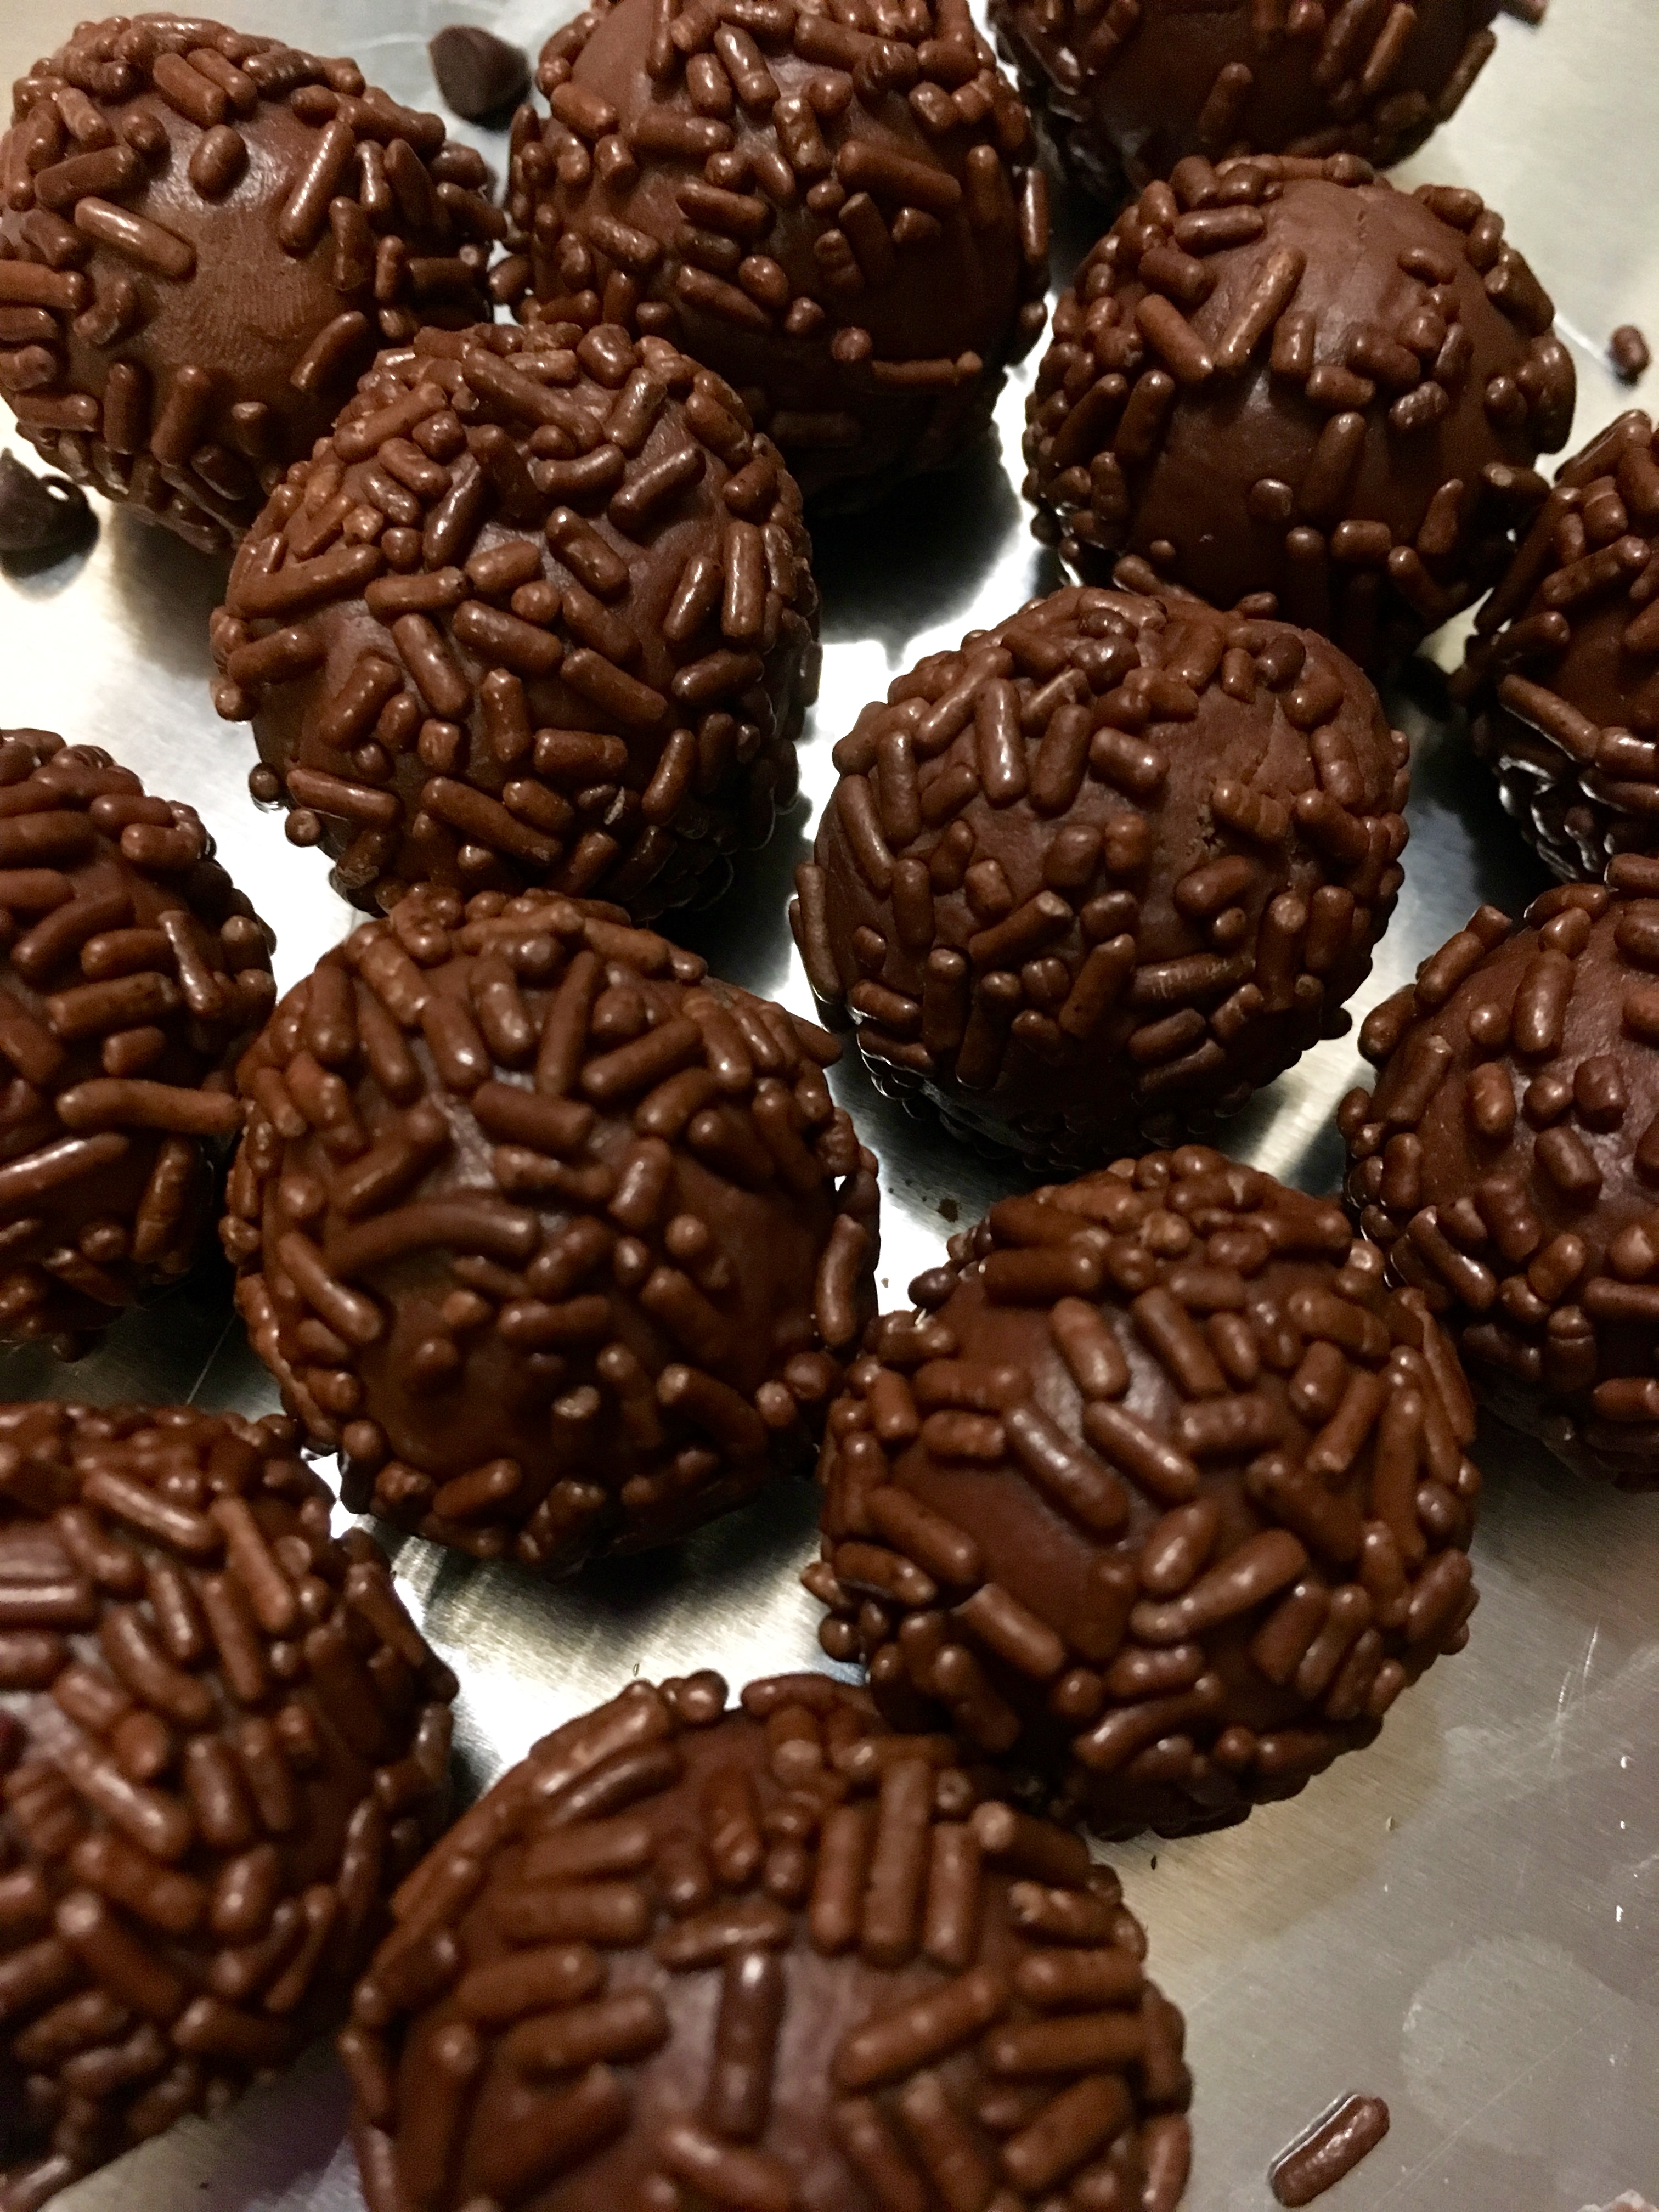
Now for toppings! I tried toffee bits, sweetened shredded coconut, mini chocolate chips, cocoa powder, powdered sugar, graham cracker crumbs, and chocolate sprinkles. The toffee, coconut, and chocolate chips didn’t stick very well, so I went with the other four ingredients and had much better luck. You could definitely also try melted chocolate or Oreo crumbs.

IMG_4630 IMG_4631 IMG_4633 IMG_4634

Now all that’s left is to package them up for each holiday party, and eat the few that I saved for me! Happy holidays, and happy baking!

Food for the Fourth

Happy Fourth of July, everyone! I hope you got to spend some time with friends and family over some cookout food, s’mores, and fireworks- I know I sure did! My family enjoyed two days at our lake house this weekend, so I made some food to share. For the first day, I brought dessert: toffee saltine bars (I give credit to Pinterest for this recipe). For the second day, I made my Aunt Sadie’s baked beans. They’re a famous recipe among the family, and even though she couldn’t celebrate the Fourth with us, it didn’t seem right not to have her beans there. Here are the recipes for both dishes.

Toffee Saltine Bars

Ingredients:

  • saltine crackers (about 1 sleeve)
  • 1 cup light brown sugar
  • 1 cup butter
  • 1 package (~2 cups) chocolate chips

Preheat the oven to 350°F. Line a large baking sheet (~15×10″) with foil and spray with baking spray. Lay the saltines over the foil in a single layer.

IMG_3807

In a pot, melt the butter and sugar together over medium heat until the mixture comes to a boil.

IMG_3809

Turn the heat down to a simmer, and continue to stir the mixture for 5 minutes until the mixture thickens.

IMG_3810

Turn off the heat. Pour the mixture over the saltines and spread into a thin layer.

IMG_3812

Bake for 8-10 minutes. Let it rest for 3-5 minutes after baking, until the toffee begins to set. Then, sprinkle the chocolate chips over the top. The toffee will still be hot enough that the chocolate will melt and become spreadable. When it melts, spread chocolate into a thin layer, covering all the toffee.

IMG_3813IMG_3814

Refrigerate until the chocolate is hardened. Finally, break the toffee bars into small pieces and refrigerate until you are ready to eat them! These were a huge hit at the family party, and I will definitely be making them again. On to the beans, now!

Aunt Sadie’s Baked Beans:

Ingredients:

  • Two 15oz cans of pork and beans
  • 3/4 cup light brown sugar
  • 1 tbsp yellow mustard (the recipe calls for 1 tsp dry mustard, but Aunt Sadie wrote “I use regular mustard” next to this line- so regular mustard it is!)
  • 6 slices bacon, chopped (I used 8)
  • 1/2 cup ketchup

I will start by saying this was a bit of a trial run on the beans. I had never made them before, and Aunt Sadie’s recipe has a few edits that made the dish a little difficult to be specific with. They came out well, though, so all’s well that ends well! I suppose the easiest way for me to write this is to write her exact wording, and then put in my personal touches. Here goes:

“Preheat the oven to 325°F. Empty 1 can of the beans into a 1.5qt casserole dish. Combine brown sugar and mustard and sprinkle half over beans…”

Okay, first personal note. It is not easy to combine brown sugar and yellow mustard into a mixture that is easily sprinkled. It would make sense to use dry mustard as the original recipe called for to make a dry mixture, but Aunt Sadie says yellow mustard, so yellow mustard it shall be!

I tried it two different ways, one where I added the sugar and mustard separately, and one where I combined them and then added them. The combined sugar and mustard ended up being difficult to sprinkle, so I put the mixture in the dish with the beans and then just stirred it around. For sprinkling purposes, I am definitely an advocate for adding them separately! Here’s what it looked like separately:

IMG_3824IMG_3825

I clearly wasn’t too worried about adding the exactly correct amount of mustard. I figure a good swirl did just fine. On to the next part of the recipe!

“Top with other can of beans and sprinkle with remaining brown sugar mixture, the chopped bacon, and ketchup.”

Again, highly recommend adding ingredients separately. With the bacon, Aunt Sadie writes that she only used about 4 slices. But c’mon, it’s bacon!! I doubled it and used 8 slices, chopped fine, and I have no regrets.

IMG_3822

To finish off the dish, I swirled the ketchup over the top (again, not too concerned with the exact amount) and sprinkled the bacon over the top.

IMG_3829

“Bake uncovered in slow oven (325 degrees) 2 1/2 hours.”

Easy enough!

IMG_3831

I was really happy with how these turned out. As always, they were eaten up in no time, so I guess everyone else liked them, too! Thank goodness for old family recipes!

I hope you enjoy these recipes and that you get to use them at your next cookout! Happy baking!

A Day on Pinterest

Hi friends! Happy almost-April, and almost-Palm Sunday! I was so pleased that so many people enjoyed my last recipe for No Bake Cookies, and I knew I needed to find a recipe to top it. I was perusing Pinterest the other day when I happened upon a recipe for Cookie Dough Truffles. I couldn’t help myself- I had to give them a try! These turned out so spectacularly that I had to share them, even though it’s not my original recipe. So here is the recipe for Chocolate Chip Cookie Dough Truffles, originally Pinterested by BruCrew Life.

PS- if you’re currently worrying about Salmonella, don’t. They’re egg-free!

  • 1 stick butter, softened
  • 3/4 cup packed brown sugar
  • 14 oz. sweetened condensed milk
  • 1 tsp vanilla extract
  • 2 1/4 cup flour
  • 1 large bag mini semi-sweet chocolate chips
  • 1 tbsp shortening

In a large bowl mixer, cream the butter and brown sugar until they’re fully combined and fluffy. Add the condensed milk and vanilla, and beat until combined. While the mixer is on low, slowly add in the flour and mix well. Finally, add in 1/2 cup chocolate chips and mix.

IMG_2361

Put the whole bowl of cookie dough in the freezer for 15 minutes to stiffen the dough. After the 15 minutes are up, line a cookie sheet with wax paper, roll the cookie dough into 1-inch balls, and place the balls on the cookie sheet. Put the cookie sheets back in the freezer for 15 minutes (so that they will be easier to dunk in chocolate later!).

IMG_2362

Just before it’s time for the dough balls to come out of the freezer, melt the shortening in a small bowl. Put the rest of the mini chocolate chips into a separate larger microwave-safe bowl, and pour the melted shortening over them. Melt the chocolate chips in the microwave in 30 second increments, stirring in between.

Here’s where you get to decide your technique- you can either fully roll the truffles in chocolate, or just dip them partially. I did both methods, and I found the simple dipping method to be much easier. You can also taste the cookie dough better with the simple dipping method. I’ll explain both methods, though.

For the complete rolling method: spear a dough ball with a toothpick, and dip the ball into the melted chocolate. Spoon more chocolate over the top, and then wipe the excess chocolate away. Put the truffle back on the cookie sheet, and twist the toothpick out.

IMG_2363 IMG_2364 IMG_2365 IMG_2366

The dip method: spear the truffle with a toothpick, and just simply dip the truffle into the melted chocolate, without spooning more chocolate over the top. Place the truffle back on the baking sheet, and twist the toothpick out. If you’re feeling fancy, you can fill in the hole made by the toothpick with more melted chocolate.

IMG_2367 IMG_2369

Stick the truffles back in the freezer to harden the chocolate, and then enjoy! These do taste really good when cold, so I would recommend keeping them in the fridge or freezer. We’re going to freeze ours and save them for Easter treats! I hope you guys get a chance to try these- let me know what you think! Happy baking!


The Chocolate I Dream About

Hey friends! Happy almost-Valentine’s Day! I’m sure some of you are making plans with your sweeties to celebrate, and I wish you a very happy holiday with your loved one! My fiancé will not be around for Valentine’s Day, sadly, so I decided to treat myself to some yummy chocolate. That decision morphed into a new creation, namely a chocolate that I just made up that I’m calling Nutty Bark. It is so simple to make this chocolate bark, and it’s heavenly! Here are the ingredients:

  • 2, 4-ounce boxes of Baker’s semi-sweet chocolate bars
  • 1/2 cup chopped cashews (or peanuts, or really any nut)
  • 1/2 cup Reese’s Pieces

First, chop the cashews if they’re not pre-chopped. Sprinkle the cashews and Reese’s Pieces on a non-stick baking mat or on wax paper in a baking sheet.

IMG_2259

Next, in a microwave safe bowl, melt the semi-sweet chocolate. Hint: Heat it for 30 seconds, then stir. Heat for another 30 seconds and stir again. Continue heating in 10-second increments after that until it’s fully melted. This chocolate melts perfectly into a silky smooth liquid. Pour the chocolate over the chopped nuts and candies and, using a rubber spatula, spread the melted chocolate out so there is one uniform layer.

IMG_2261

Put the pan in the fridge for about 1 hour or until the chocolate has completely hardened. You should be able to pull it off the wax paper or baking mat in one heavenly chocolate brick.

IMG_2265

Now, break the chocolate slab up! I suppose you could also just eat it all right then, and that would be perfectly acceptable too. I plan on sharing this bark with my family, so I had to break it into smaller pieces. You can break it up with your hands, a knife, or however you prefer.

IMG_2267 IMG_2268

Now, dig in! This chocolate bark is the perfect balance of a sweet chocolate (but not too sweet!) and a creamy salty-sweet peanut bite, and it’s delightfully crunchy but melts smoothly on the tongue. If that doesn’t say “Happy Valentine’s Day”, I don’t know what does! Happy eating!

Mexican Hot Chocolate Fudgesicles

Well, I’m stuck inside during a snowstorm again, and not very excited about it. Since it’s so cold out, I was craving hot chocolate…but I’m also wishing for summer, so I decided to make a fudgesicle (aka a chocolate popsicle). Then I figured, why not combine the two?

This recipe is super simple- it’s based on Mexican hot chocolate, which is just good old hot chocolate with a little flair of cinnamon. It takes about 5 minutes to prepare. It also is gluten free, and can be made dairy free with a few modifications.

Here are the ingredients:

  • Hot chocolate powder (I used Hershey’s powder, but you can use any mix. You could also buy a dairy free hot chocolate mix.)
  • Boiling water
  • 1/8 tsp cinnamon per mug of hot chocolate (optional, you can just make plain hot chocolate)
  • Tall, thin plastic container (I have a little popsicle holder, but any tall thin container will work)
  • Popsicle sticks
  • Milk and whipped cream (optional, and you can use dairy free varieties)

Here’s how you make it:

Boil hot water in a kettle or however you usually boil water. While the water is boiling, put about 4 tbsp of hot chocolate mix and 1/8 tsp cinnamon in your favorite mug. It’s a lot of mix, but it’ll be super yummy and chocolatey. Then, pour the boiling water into the mug and stir until the mix and cinnamon are fully dissolved. Pour a little bit of low-fat milk into the mug. Finally, top it with whipped cream and stir the cream in to make the hot chocolate wonderful and smooth.

Pour the hot chocolate from the mug into your popsicle containers (do this over the sink- mine spilled a bit!). For me, each mug’s worth made about 6 fudgesicles. Put a popsicle stick in the middle of each plastic container. My popsicle holder has these little plastic sticks that fit right in, but popsicle sticks work just fine too!

IMG_0848

Next, carefully put the containers in the freezer for about 6 hours. I know it’s a long time, but it’s definitely worth the wait! When they’re done, hold the plastic container sideways under warm water. Make sure the warm water is only hitting the plastic and not the popsicle, or else it’ll melt too much. After about 30 seconds, the popsicle should slide out of the container with a little bit of pulling.

IMG_0849

Now enjoy! This recipe is so simple, but SO yummy. Its the perfect blend of creamy chocolate and a refreshing cool fudgesicle.

Possible Variations:

1. You can skip the popsicle sticks and just pour the hot chocolate into a regular glass pan. Then, put it in the freezer for 6 hours; but every 45 minutes or so, take the pan out and shave the ice with a fork. This will create a fantastic granular texture, more like an Italian ice or a granita. It’s also easier than trying to balance popsicle sticks! It’ll come out looking like this:

IMG_0851

2. Leave out the cinnamon, and make it regular American hot chocolate. That’s equally delicious!

Peppermint Bark Lollipops

Well, I think I’ve finally caught up on my sleep from the New Year’s Eve party we held. We had quite a few families at our house, and stayed up until about 2 am. That may not seem late for a New Year’s Eve party, but I’m not exactly a night owl.

It was totally worth it, though. I made a few desserts, including some yummy peppermint bark lollipops. They’re super easy to make!

Ingredients:

  • 1 bag semi-sweet chocolate chips
  • 2 crushed candy canes
  • Lollipop sticks (you can find them at most craft stores)

Instructions:

Melt the chocolate chips in a bowl in the microwave. My trick is to put all the chips in the bowl, and microwave the bowl for 30 seconds at a time, and stir after each microwaving. That ensures that you won’t burn the bottom chips while the top ones aren’t even melted yet.

Next, take spoonfuls of chocolate and swirl them onto a baking sheet lined with wax paper, so that little chocolate circles are formed.

IMG_0754

Then, take a lollipop stick and put it on the bottom part of the circle. Spin the stick around so that the entire stick is covered in chocolate.

IMG_0755

Sprinkle the lollipop with crushed candy cane. You can crush the candy cane by putting it in a plastic bag on a cutting board and hammering it with a meat tenderizer or a rolling pin. Repeat until the baking sheet(s) are filled with lollipops, and then put the baking sheets into the freezer until the lollipops are hard.

When the lollipops are done, gently take them off the baking sheet (they should come right off if they’re hard enough) and put them in any glass or platter you want. I used a clear drinking glass, and it looked really pretty!

IMG_0762

We all had a great time at the party! We played ping pong, poker, board games, and watched the ball drop together. It was great having so many friends and family together. Now we just have to make it through the winter! Stay warm, everyone!