Hi, all! It’s been a while (again) since I last wrote, but I hope that this recipe makes up for my long absence! I have my go-to breakfast buffet (or breakfast for dinner) recipe to share today: ham and veggie egg bake. It is so versatile and so easy to adjust the veggies to whatever you have on hand, and you can make one big dish of it or make individual muffin cup bakes. It is rich in protein and lots of great vegetables and is perfect for meal prepping and freezing! Here’s the recipe:
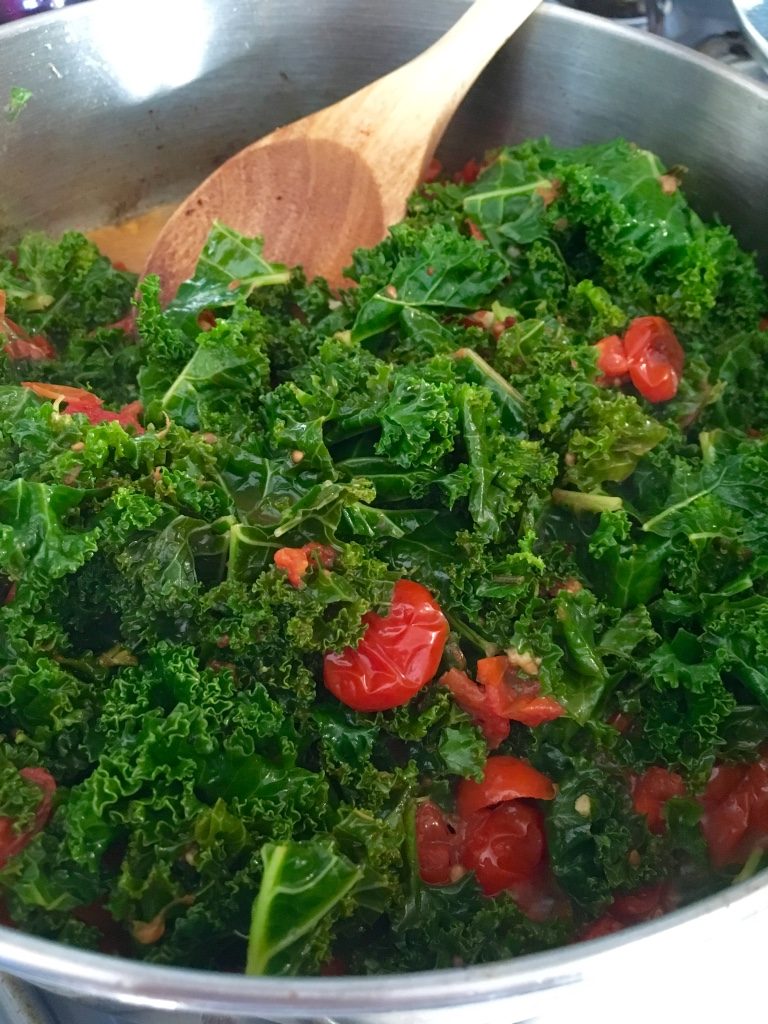
- 1 bunch kale, stemmed and chopped fine
- 1 yellow onion, diced
- 8oz ham steak, diced
- 1 bell pepper (color of choice), diced
- 4 cloves garlic, minced
- 6 eggs
- 1/4 cup low-fat milk
- 1 tsp Dijon mustard
- 1 tsp dried thyme leaves
- Salt and pepper to taste
- 1/2 cup Cheddar cheese, shredded
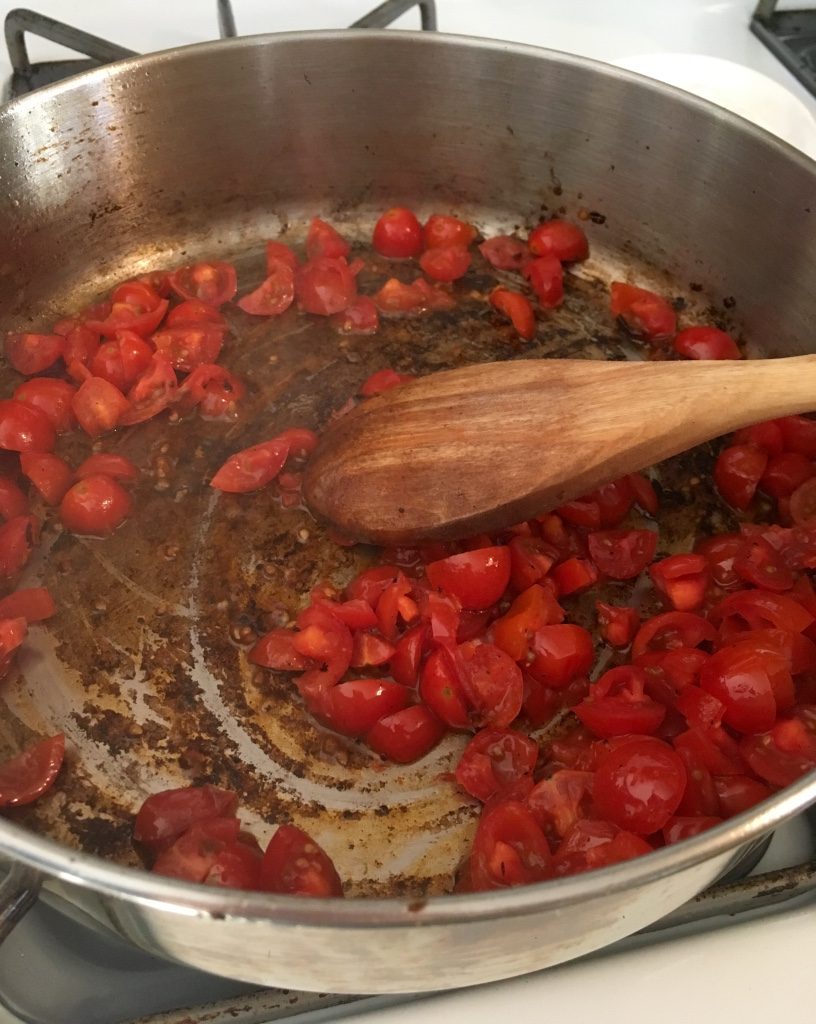
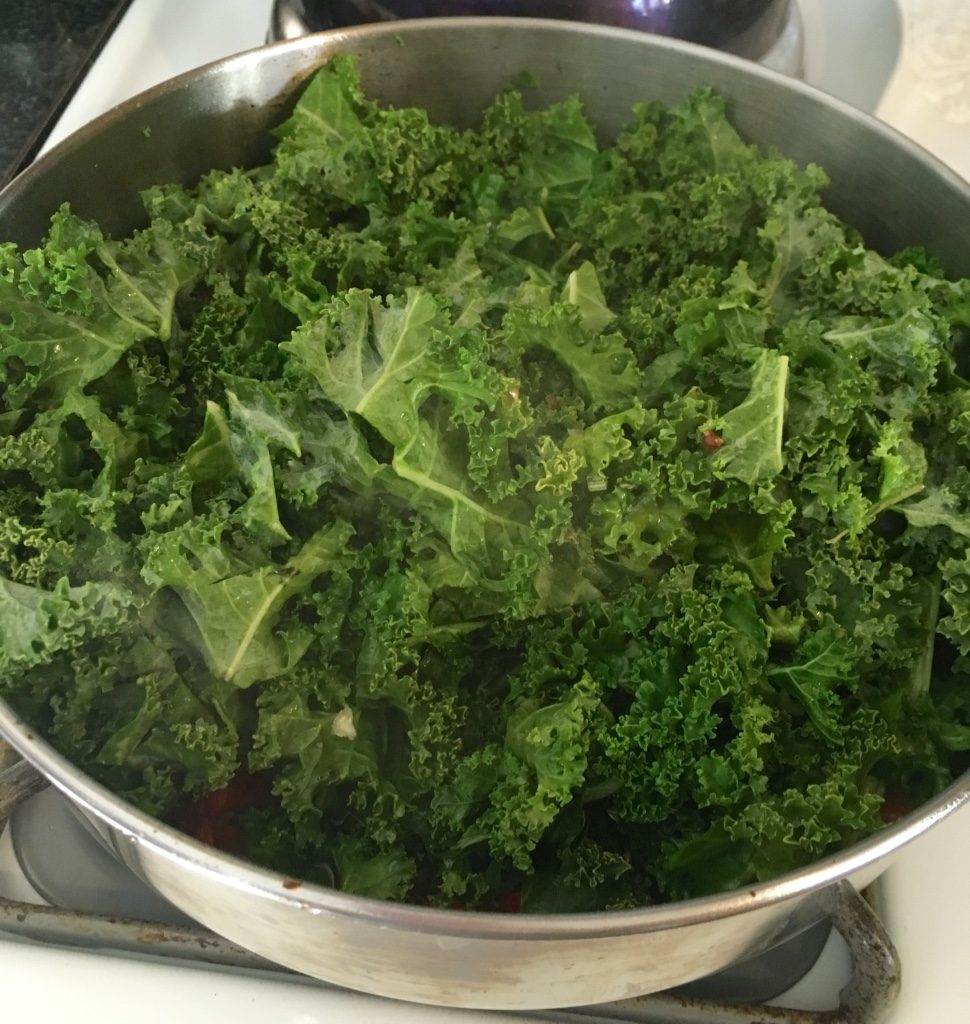
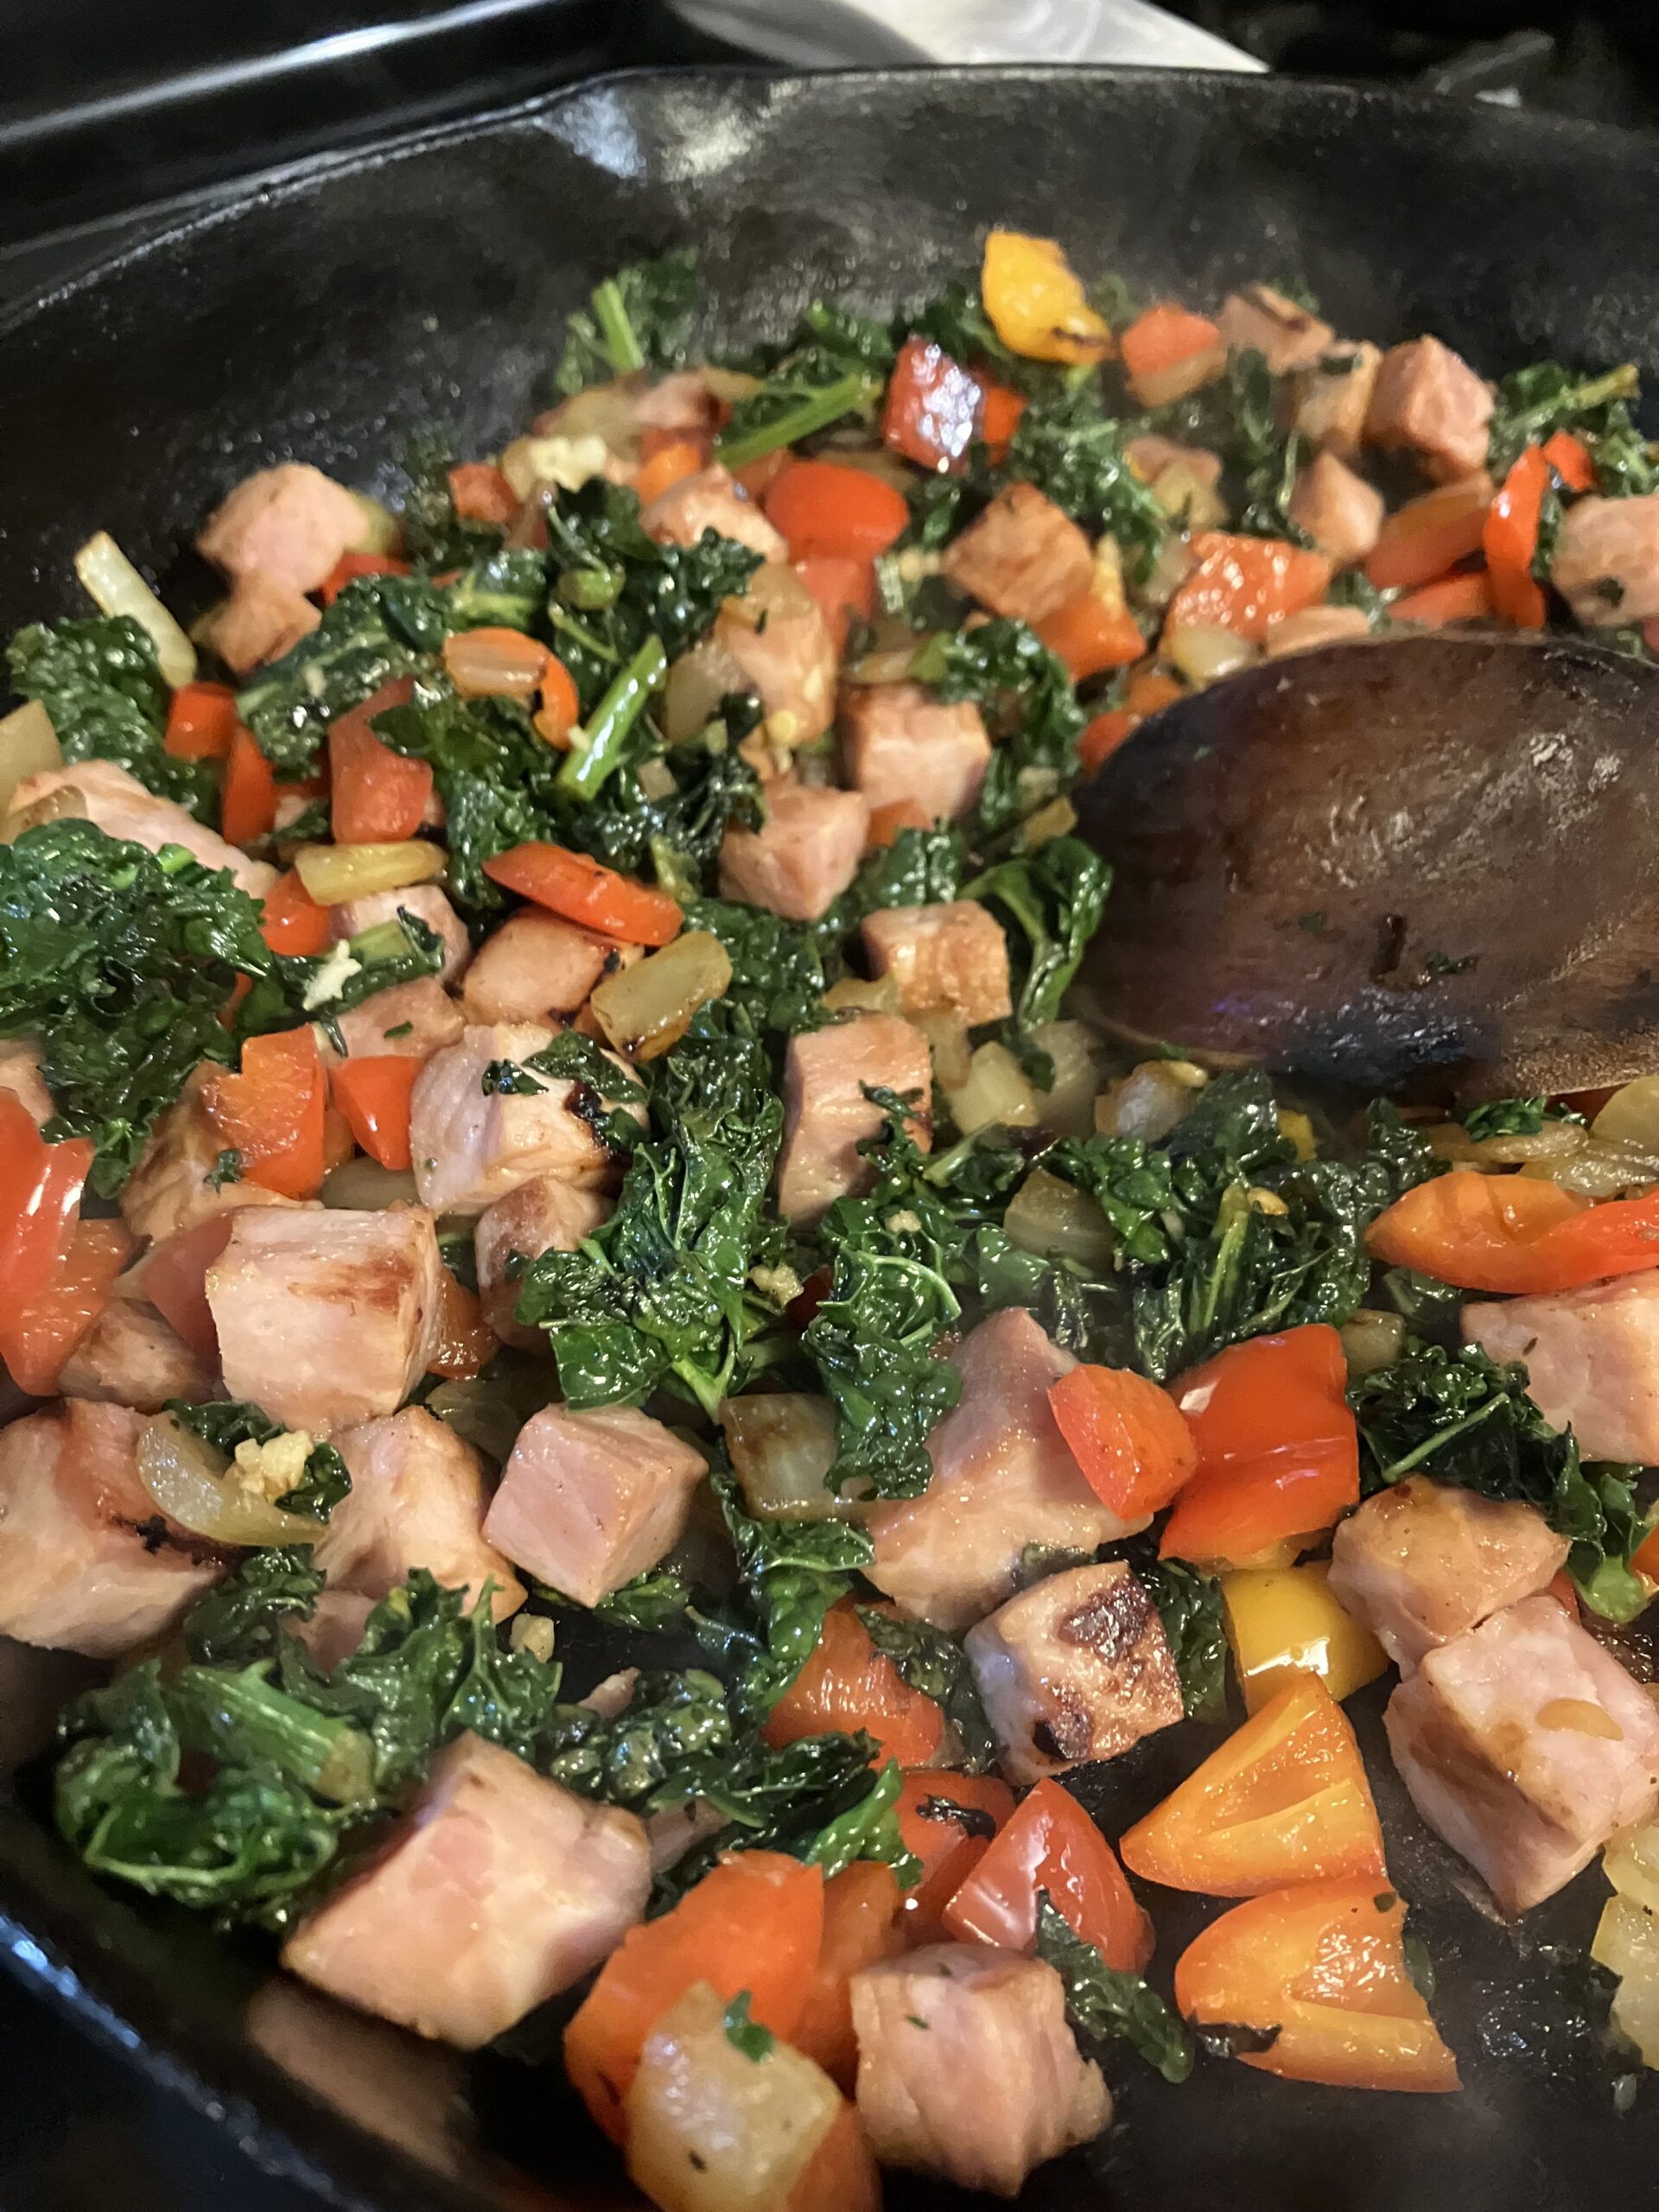
First, preheat the oven to 350F and get all your veggies and your ham chopped. Tip: In my opinion, it is super important to chop your kale (or any other leafy green) very small- no one likes a big clump of kale, spinach, chard, or any other leafy green in their meal! I also prefer kale or chard to spinach because it has more flavor and is less watery. Saute your ham and onion together until ham is starting to brown and onion is translucent. Add the other vegetables (except the garlic) and saute until the kale is very wilted. Turn off the heat and add the minced garlic and toss, so that the garlic is mixed in but not burnt.
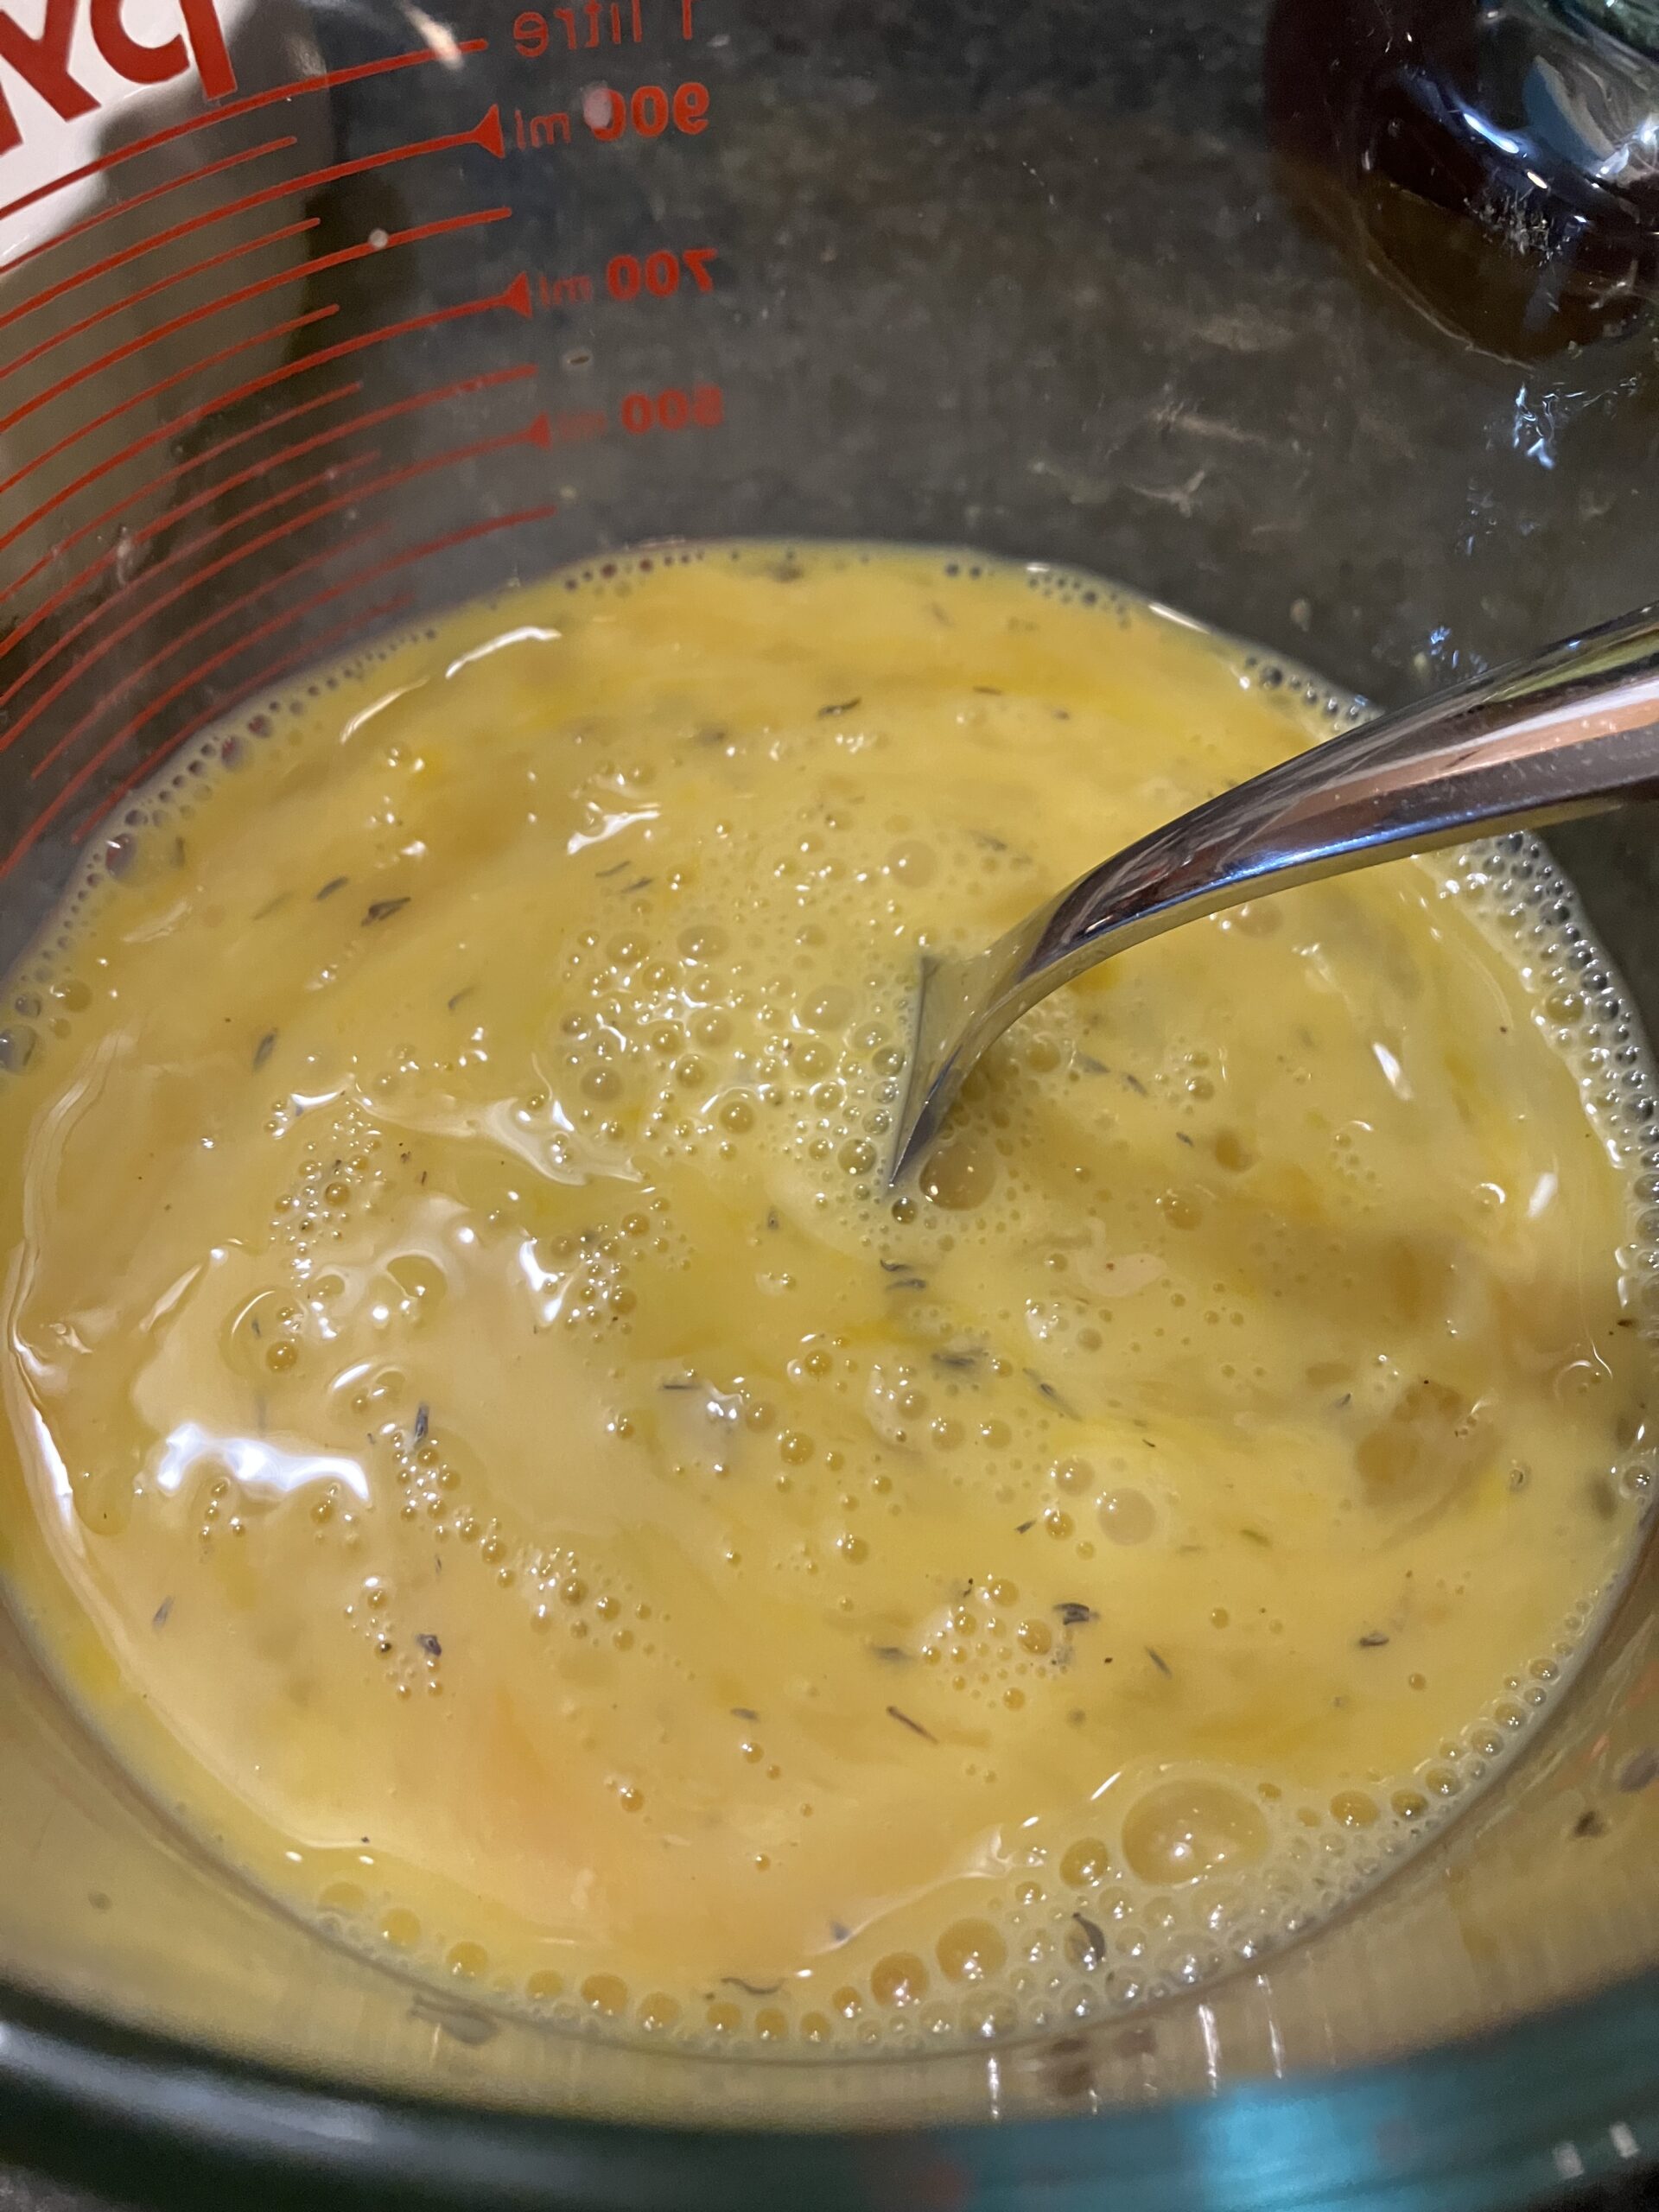
In a separate bowl, combine the eggs, milk, mustard, thyme, salt and pepper.
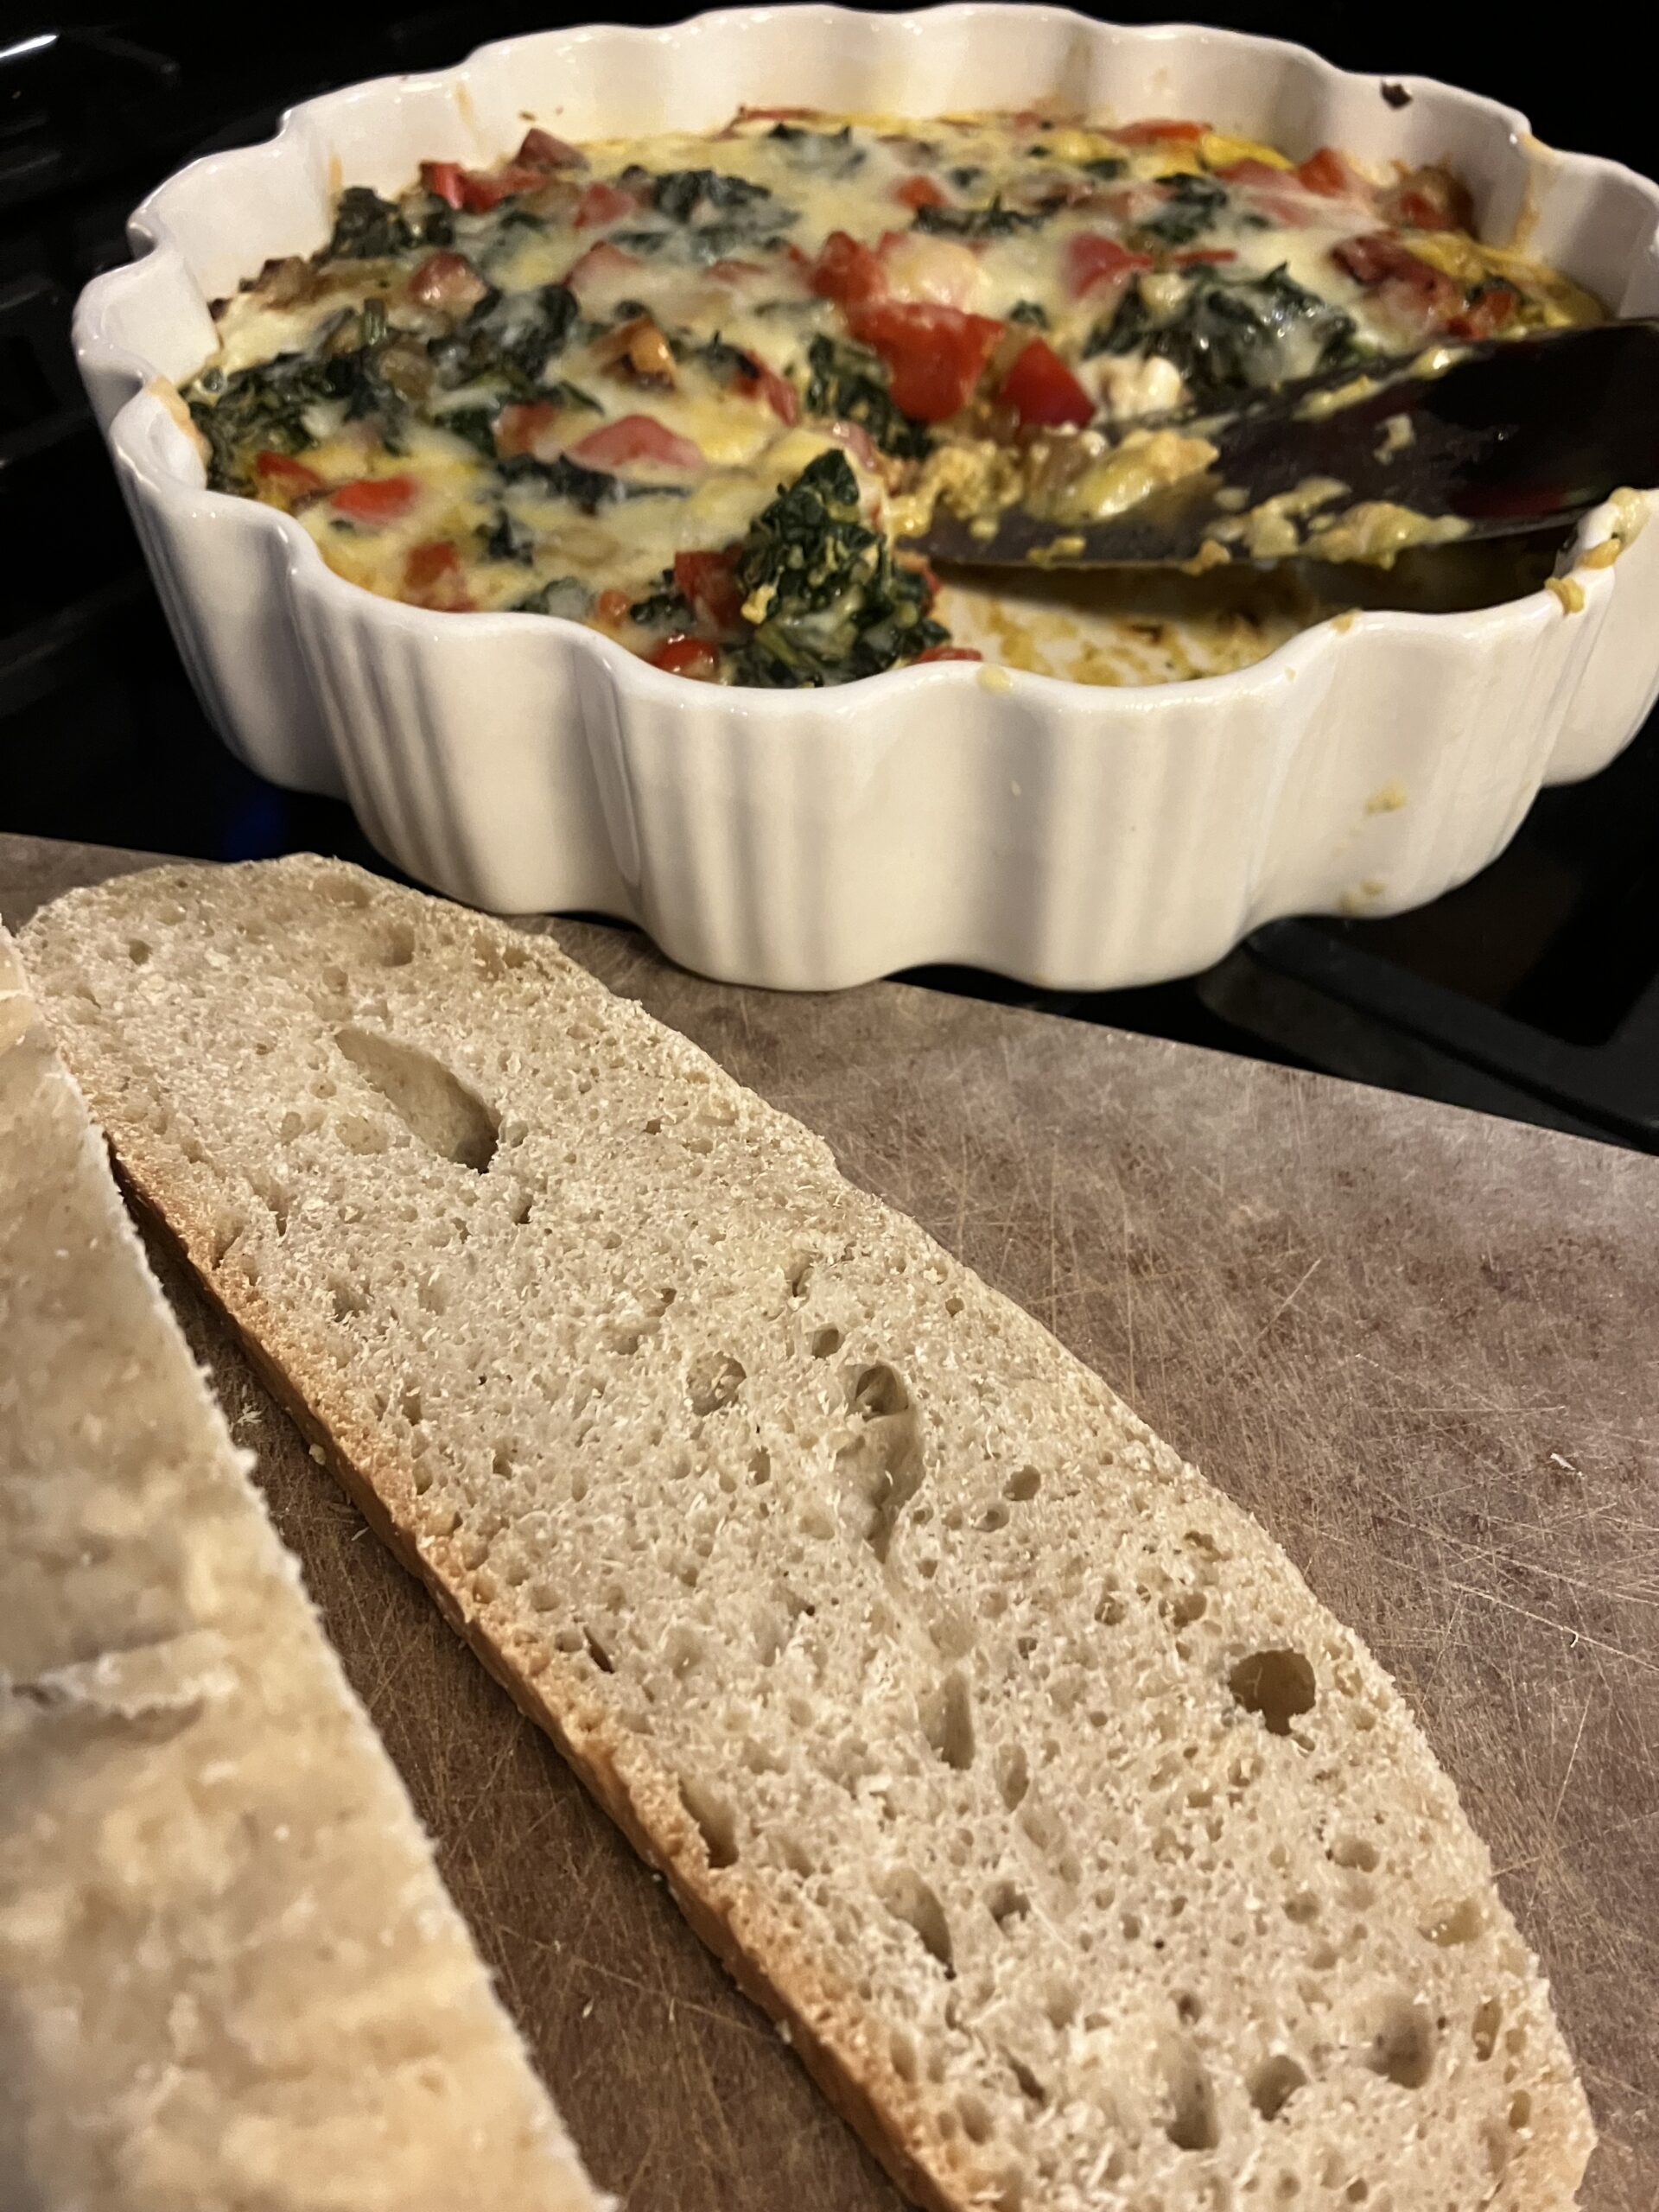
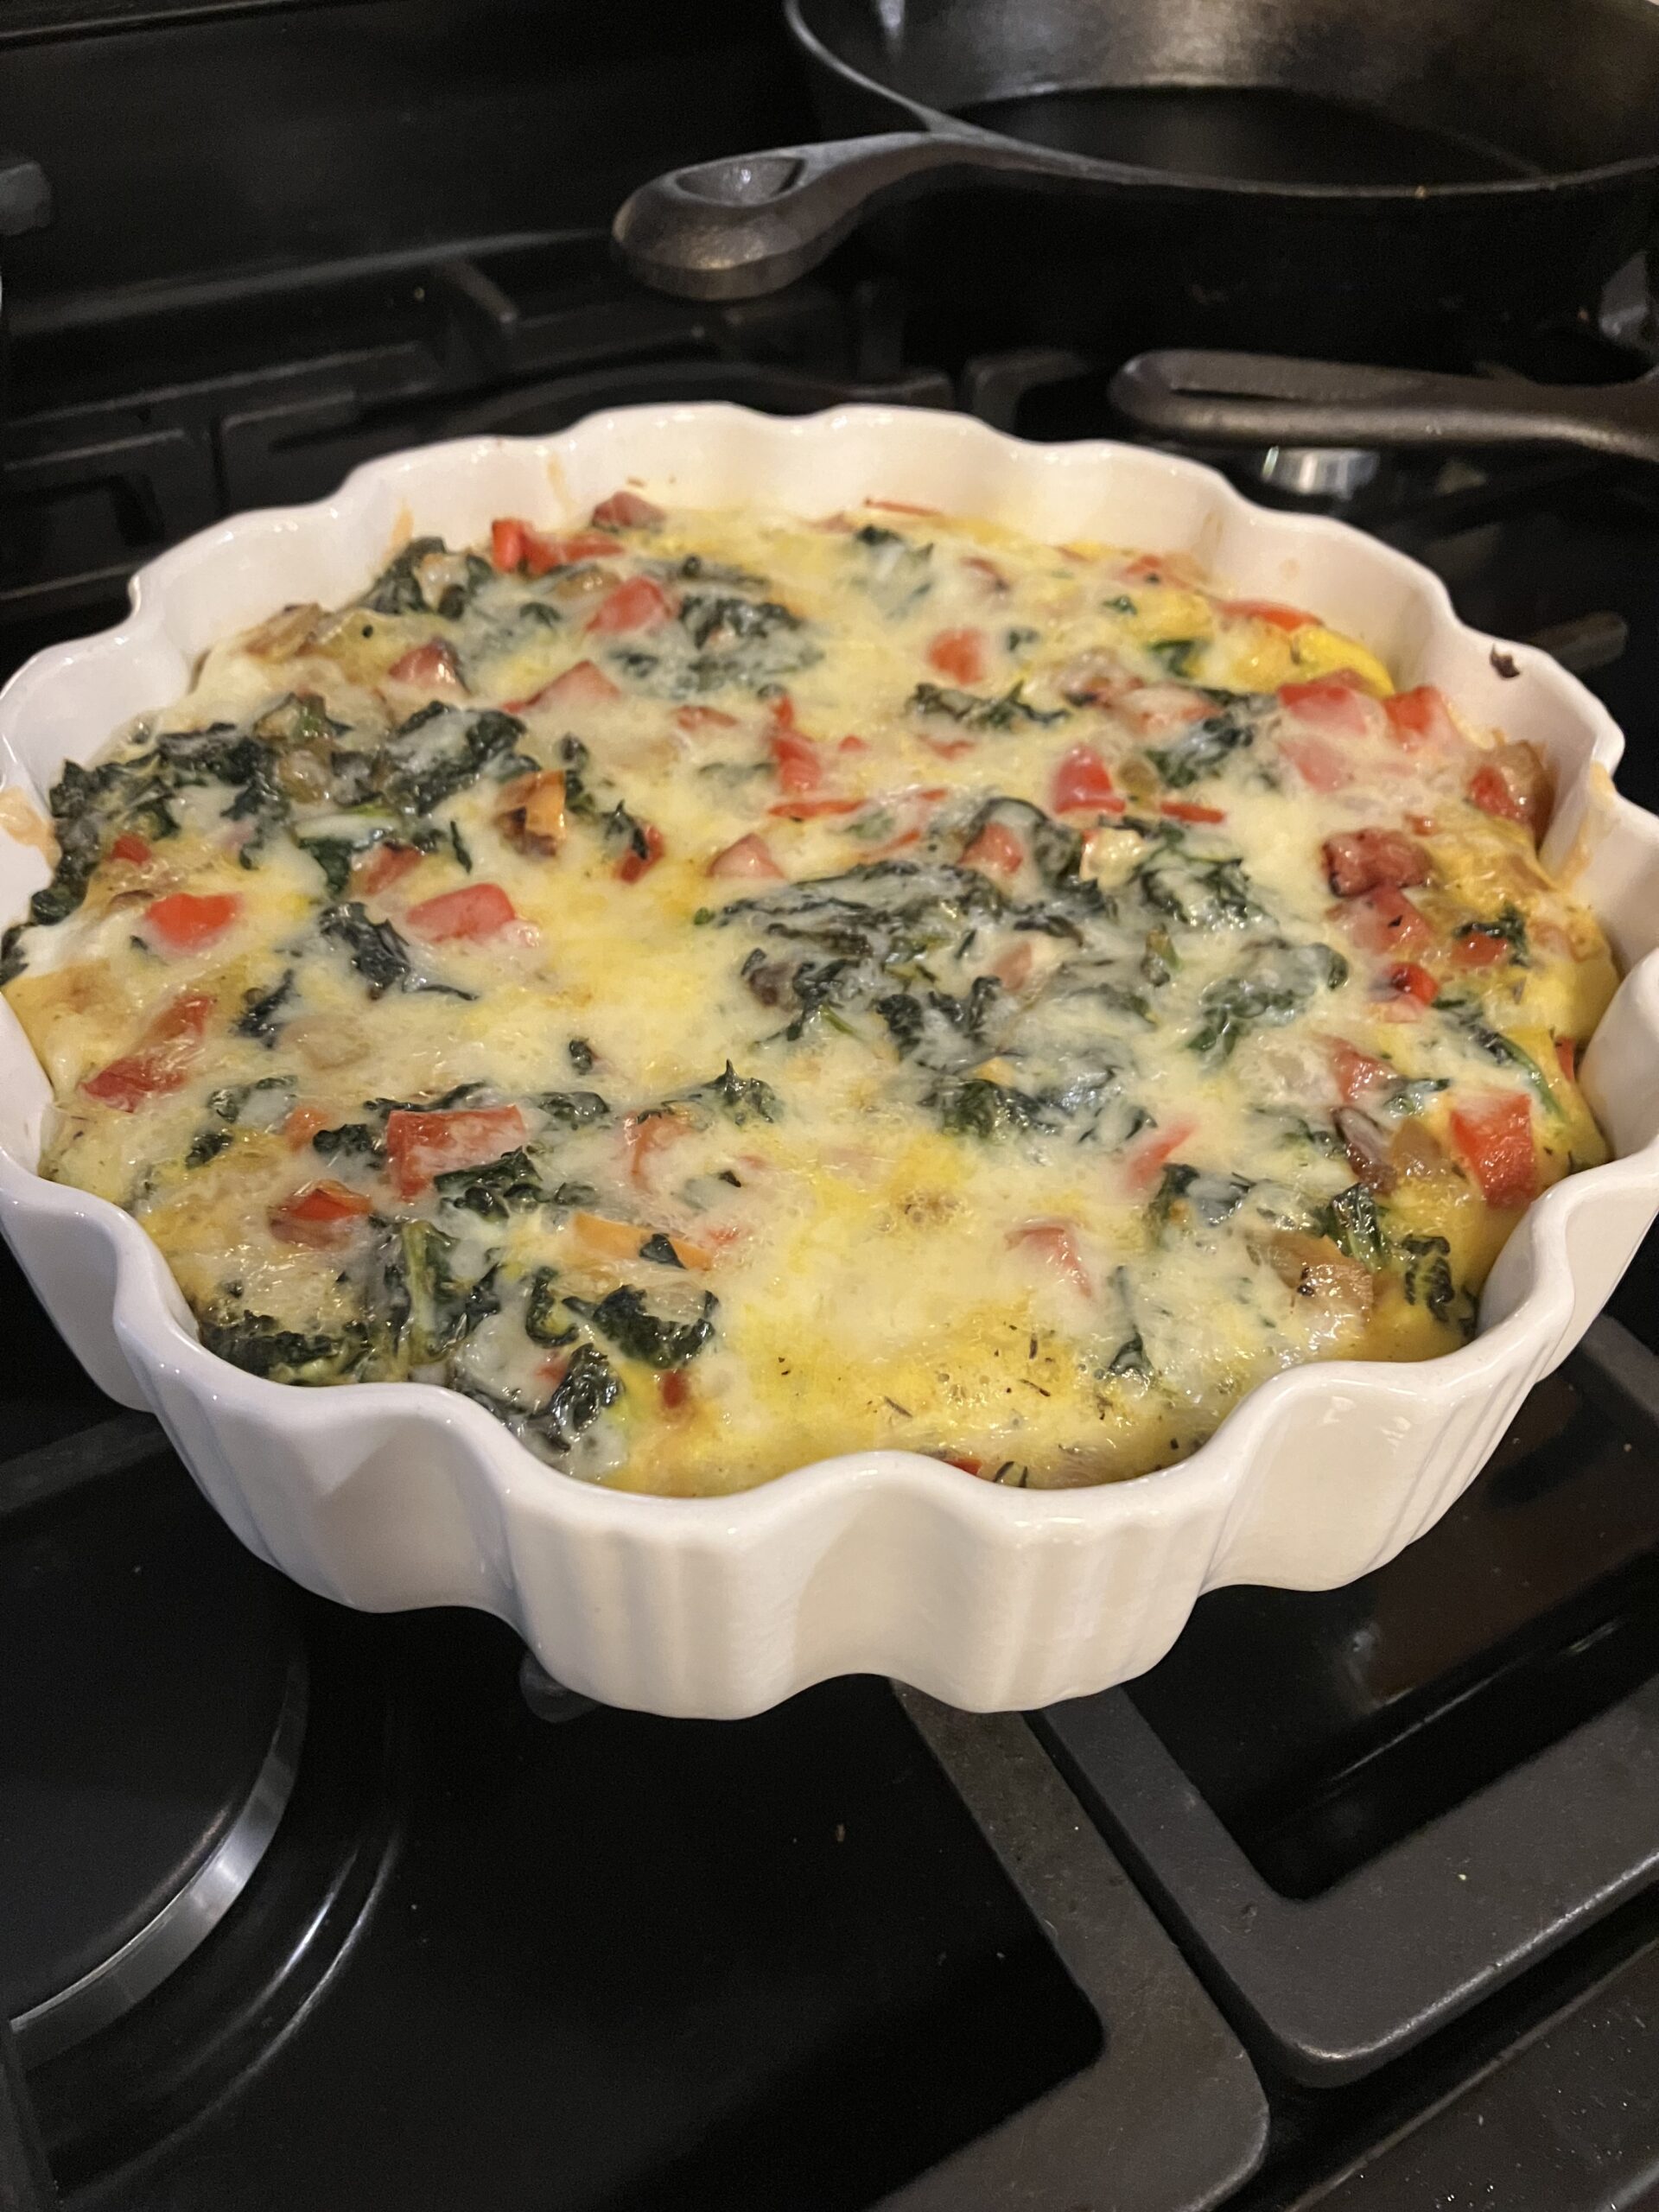
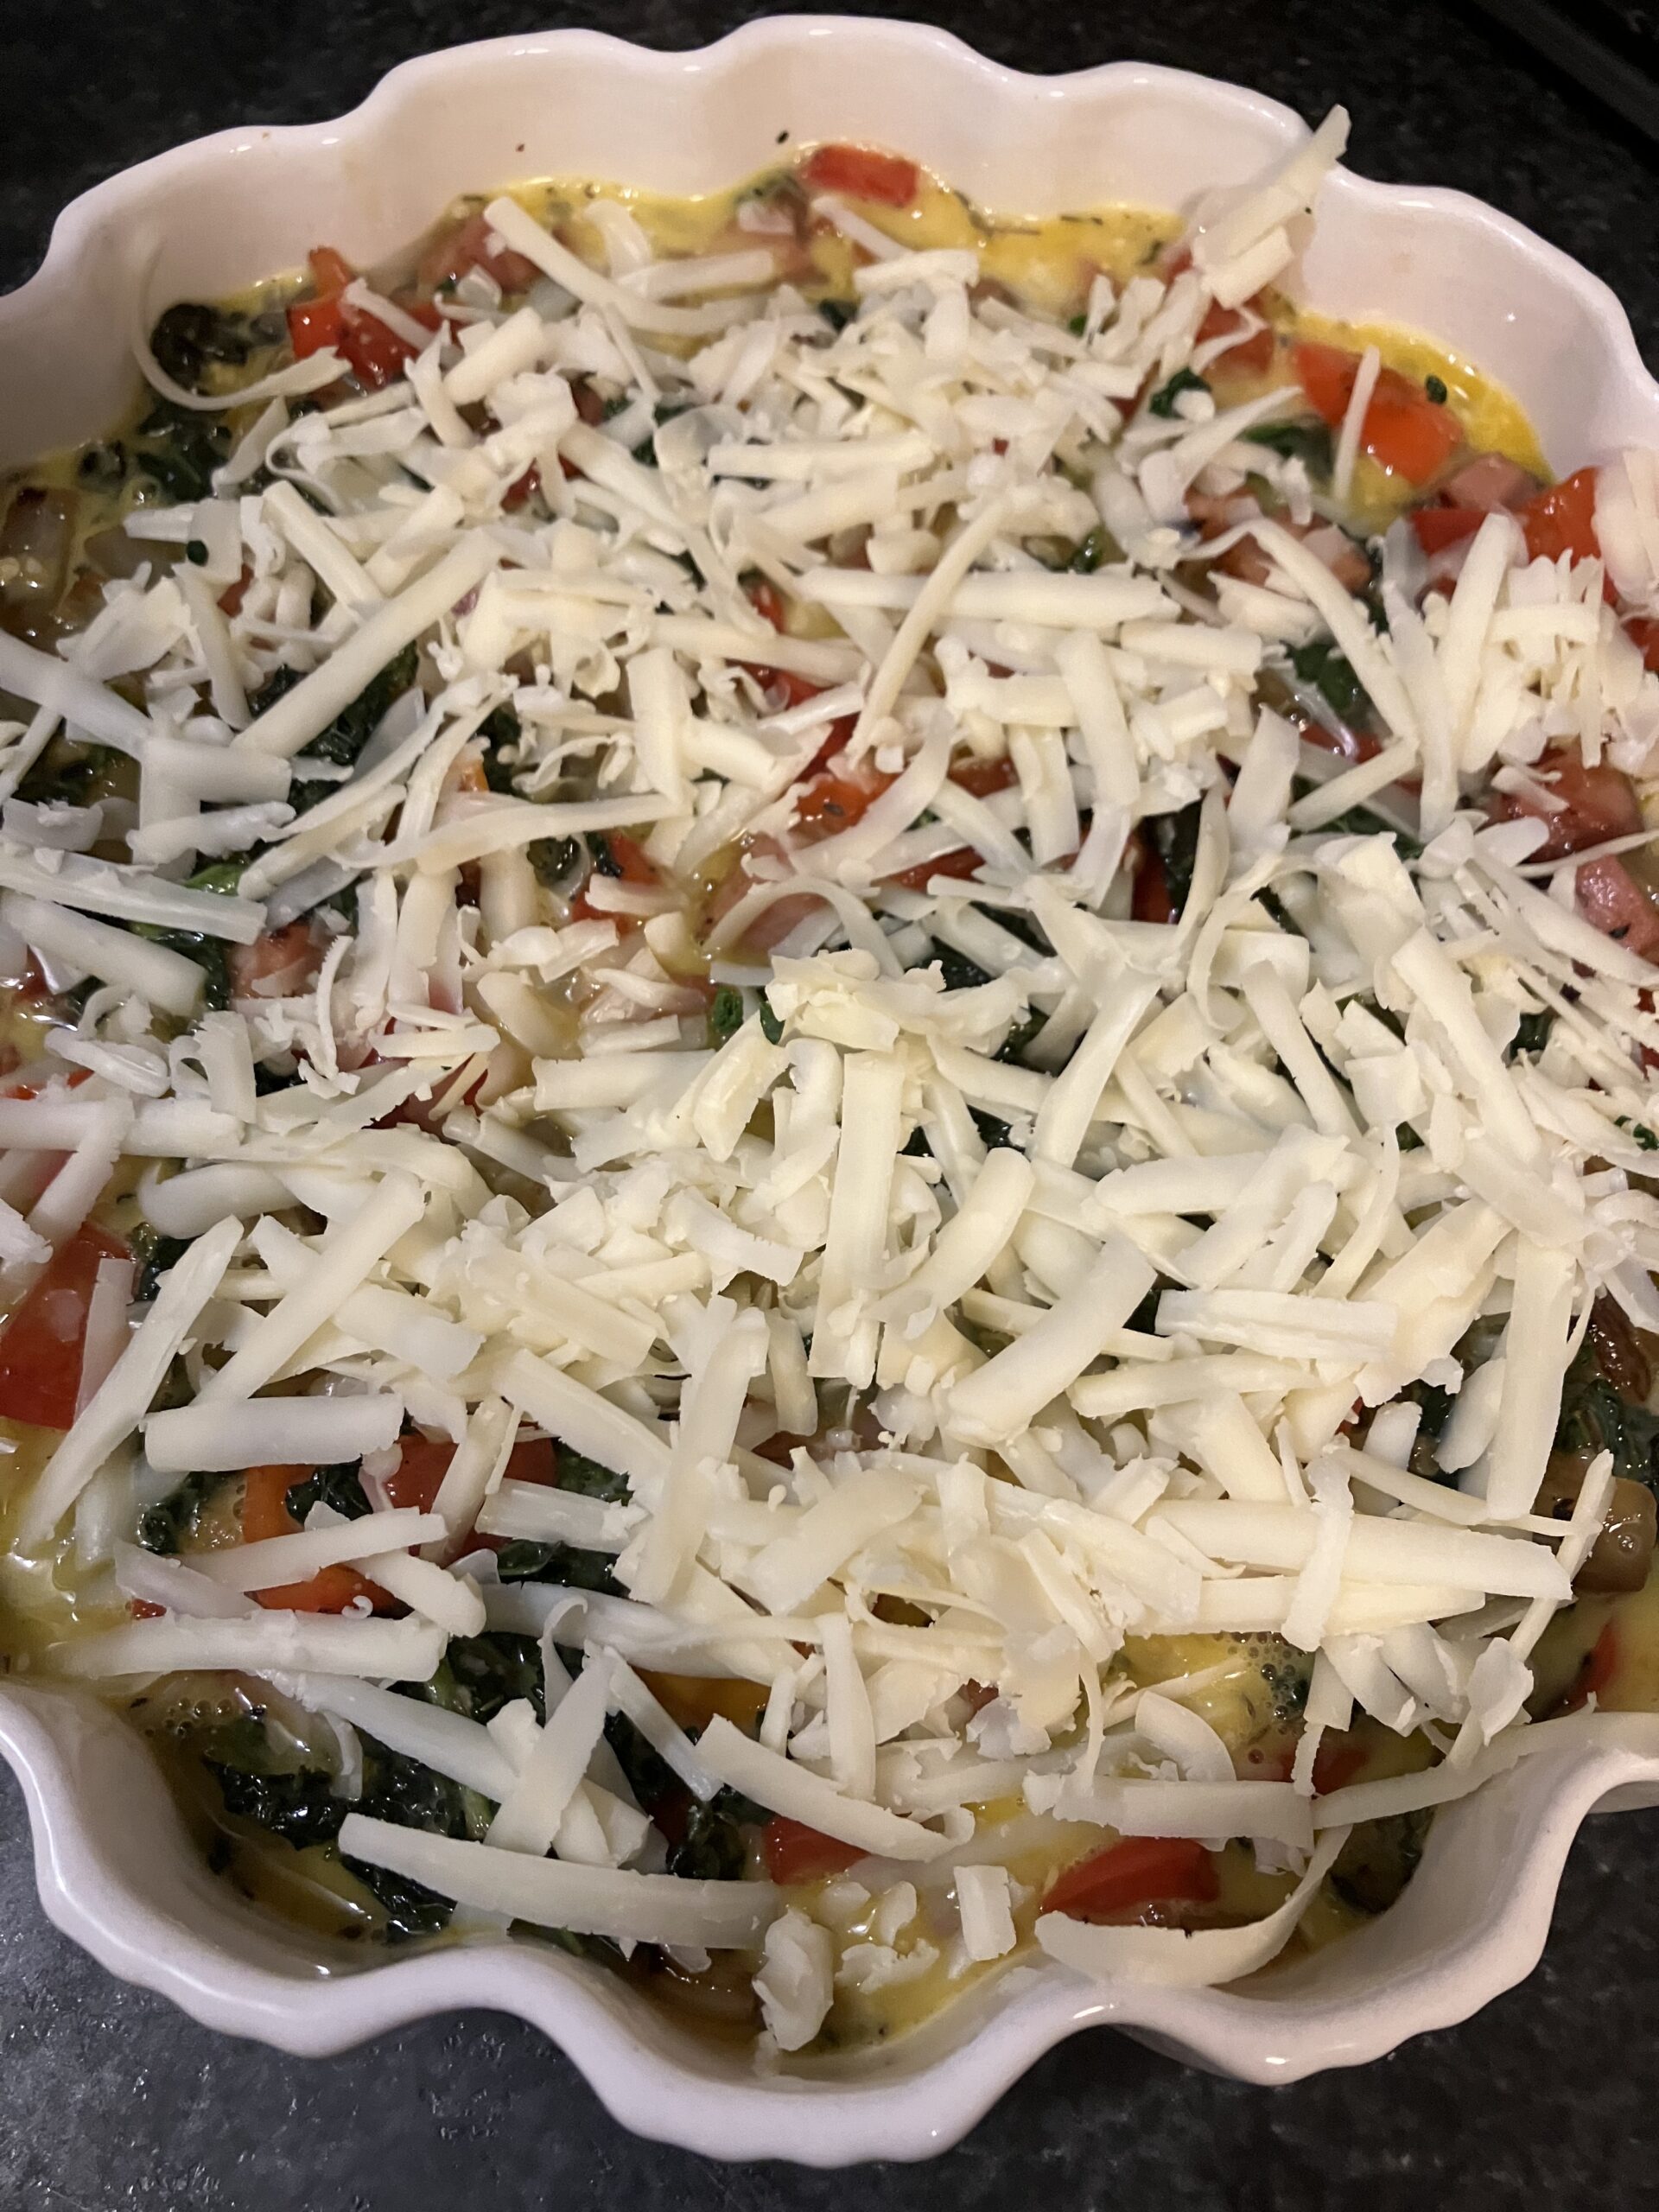
Pour the vegetables into a 3 quart baking dish, a quiche dish, or into individual muffin cups (a quiche dish is pictured here). Pour the egg mixture over the top and spread everything out so that the egg is evenly dispersed through the mixture. Sprinkle the cheddar cheese over the top.

Bake at 350F for about 20 minutes, or until the mixture is set in the middle. If you are using individual muffin cups, bake for 10 minutes and then check every couple minutes until mixture is set.

And that’s it! This dish is so easy to make but so delicious. We had it for dinner, so I served it with some crusty homemade sourdough bread. Hope you enjoy it! Happy cooking!