Category Archives: Lunch and Dinner

Enchilada Verde Sauce

Hi, all! Happy June! I hope this summer is off to a good start for you all! Today I’ve got a fun recipe for a homemade enchilada verde sauce that I made using veggies from my Misfits Market box- and also the recipe for the enchiladas themselves! Enjoy!

  • 12 medium tomatillos
  • 1 large onion, roughly chopped
  • 2 garlic cloves, ends cut off
  • 1 bunch cilantro leaves
  • 2 jalapeño peppers, ribs and seeds removed if you prefer milder heat
  • 1 tsp salt
  • 2 tbsp oil

First, cook the tomatillos in boiling water for a couple minutes to soften them and help remove the sticky papery skin. After 2-3 minutes, remove them from the boiling water and remove the skin. Add the tomatillos and all other ingredients except the oil to a blender/food processor.

Blend the ingredients together until they are completely mixed and there are no large chunks left in the sauce.

Heat the oil in a medium saucepan (you can just re-use the one you boiled the tomatillos in to save dishes). Pour in the tomatillo mixture and cook for 3-4 minutes or until the mixture is slightly thickened.

And that’s it! This is a super easy but flavorful and fresh sauce.

Here’s my recipe for enchiladas verdes:

  • ~2 cups homemade enchilada sauce
  • Corn tortillas
  • 4oz Monterey Jack cheese, shredded
  • 4oz cheddar cheese, shredded
  • Scallions for topping, if desired

Pour some of the enchilada sauce in the bottom of a 9×13″ casserole dish. Dip each tortilla into the enchilada sauce in the dish, coating each side. Sprinkle a small amount of cheese in the middle of each tortilla. Roll the tortilla up and place seam-side down in the casserole dish.

Repeat until your dish is filled with rolled tortillas. Then, pour the remaining sauce over the top of the rolled tortillas. Sprinkle with cheese and scallions.

Bake at 350F for 20-25 minutes.

And then serve the enchiladas hot with some rice and beans and guacamole on the side! Super easy, but super delicious! Happy cooking!

Basil Flower Pesto

Hi all! Hard to believe that we’re already about half way through summer! My garden is in full bloom and my plants are growing like crazy in the summer sun. I have a bunch of flowers and a few vegetable plants, and lots of herbs. My basil plant has started to go to seed, so I had to prune it back to keep it producing basil leaves. I ended up with a whole bunch of basil flower cuttings, and wondered if they were usable as more than just a pretty centerpiece. Turns out, they are!

IMG_4376IMG_4375

Usually the flowers of herbs/vegetables have a milder taste than the adult version of the plant, but still have a yummy hint of the traditional flavor. I decided to try making a pesto out of the basil flowers, and it worked amazingly well! But don’t worry, if you don’t have basil flowers, you can just use basil leaves and will have a wonderful traditional pesto. Here’s the recipe:

Ingredients: 

  • 3/4 cup pine nuts
  • 3 1/2 cups basil flowers (off the stem)
  • 4 cloves garlic, peeled and roughly chopped
  • 1/2 tsp salt
  • 1/2 cup extra virgin olive oil
  • 1/4 cup Parmesan cheese

First, toast the pine nuts by placing them on a paper-lined baking sheet in a single layer and roasting them in a 350° oven for 5-8 minutes, or until they’re golden brown and smelling good.

IMG_4374

IMG_4377

Add the pine nuts, garlic, basil, and salt to a food processor.

IMG_4378

Pulse them in the processor until they become well chopped and mixed. Then, turn the processor to low and pour in olive oil and Parmesan cheese while the processor is running. Continue to process until all ingredients are mixed.

IMG_4379

And now, eat it! This recipe goes well with a lot of things- bruschetta, flatbreads, pasta, pizza… the list goes on! I used it to make a pesto pasta and loved it.

To make the pasta recipe, cook 12 oz pasta of your choosing according to the box instructions. While the pasta cooks, sautée 1/2 chopped onion in 2 tbsp olive oil until onions are soft. Mix in 2 tbsp pesto and salt and pepper to taste. Stir and cook until heated through. Stir in the pasta and top with Parmesan cheese. I sprinkled some extra basil flowers on the top as a garnish!

IMG_4385

I hope you enjoy this summer recipe! Happy cooking!

The Best Chicken and Waffles

Hi all! I have SUCH a good recipe to share today. It’s the ultimate comfort food that my husband and I crave: chicken and waffles. The mixture of crunchy, spicy chicken with the sweet and fluffy waffles is to die for. There’s this popular waffle house near our house that makes awesome chicken and waffles. The downside is that the wait is usually about 30-40 minutes and the food is fairly expensive for what it is. After a couple trips to the waffle house, I decided to try my hand at making this delicious meal, and was very pleasantly surprised. Here’s the recipe:

Ingredients:

  • 1-2 lbs chicken tenders (depending on how many people you want to feed)
  • 2 cups buttermilk, divided (you can also use 1 cup regular milk and add 2 tsp lemon juice or vinegar)
  • 1 tsp salt, divided
  • 1 tsp black pepper, divided
  • hot sauce to taste
  • 1 1/4 cup all purpose flour
  • 1/2 cup yellow cornmeal
  • 1 tsp paprika
  • cayenne pepper to taste (I used ~1/4 tsp)
  • chili powder to taste (~1/8 tsp)
  • canola oil for frying
  • Belgian waffle mix, prepared according to box directions

First, get started on the marinade. Mix up 1 cup of buttermilk, 1/2 tsp salt, 1/2 tsp pepper, and hot sauce. Pour into a food storage bag with the chicken. Let the air out before sealing the bag, and massage the bag to get the marinade all over the chicken. Refrigerate the marinating chicken for at least 4 hours.

IMG_4284

After the chicken is done marinating, it’s time to prep. Preheat the oven to 250°F. Whisk together the flour, cornmeal, chili powder, cayenne, 1/2 tsp salt, and 1/2 tsp pepper on a plate or in a large shallow bowl. Pour remaining 1 cup buttermilk into a separate bowl.

IMG_4285

Now, get your frying station ready. Have the oil heated to about 350°F, with the marinated chicken, dry mixture, and buttermilk close by. This is also a good time to get started on making waffles (it does involve some multitasking).

IMG_4286

Dip the chicken into the buttermilk, then into the dry mix- then back into the buttermilk, and back into the dry mixture. This double dipping ensures a good thick crust around the chicken for perfect crunch.

IMG_4288IMG_4289IMG_4290IMG_4291

Fry the chicken in the hot oil, turning a few times, until a food thermometer inserted into the thickest part of the tender reads 165°. Tip: put only a few tenders in the fryer at the same time to prevent cooling down the oil and making the crust soggy.

IMG_4292

When the tenders are done, transfer to a paper towel lined baking sheet and keep warm in the preheated oven.

IMG_4293

Once all your tenders are done, pop a few on top of a golden brown waffle and drizzle with syrup! You could definitely mix your syrup with some red pepper flakes or cayenne for an extra kick of spice, or you could keep it traditional (my personal favorite).

IMG_4296

Shout out to the waffle making king, my husband!
IMG_4294

Enjoy making, and eating, this awesome comfort food!


Dinner with Foodie Dice

Hi, all! Happy Labor Day! I hope you all enjoyed your long weekend. My husband and I spent ours in Pennsylvania, visiting my sister. She lives in this great foodie/artsy town, so we went for a “First Friday” weekend, where we saw a lot of local art as well as enjoyed some awesome food! My sister loves to cook as much as I do, so we wanted to do something fun for dinner while we were there. My husband’s aunt had recently bought me “Foodie Dice” for my birthday, so we decided that we would use the dice to decide our meal! With the dice, you roll for a seasonal vegetable, protein, starch, herbs/spices, and type of cooking- then you have to combine all those ingredients into one delicious dish! We rolled lamb, potatoes, thyme, green beans, onions, and something in the dish had to be roasted.

IMG_3903

We decided to get all our ingredients from Central Market, which is the longest continuously run indoor farmers’ market in the USA. Here are some pictures of the market:

IMG_3904 IMG_3910 IMG_3909 IMG_3907 IMG_3906 IMG_3905

We got some thick bone-in lamb chops and multi colored potatoes, along with some fresh green beans. Here’s what we did with them:

Roasted Multicolor Potatoes

  • 3-4 large potatoes of varying colors (we used purple, red, and yellow- don’t use sweet potatoes unless you want a very different flavor!).
  • chopped rosemary to taste
  • chopped yellow onion to taste
  • powdered garlic to taste
  • extra virgin olive oil
  • salt and pepper

Toss all the ingredients together and arrange in a single layer on a baking sheet.

IMG_3915 IMG_3916

If you’re making these only, you can roast them at 425°F for about 30 minutes or until they’re fork tender. We roasted them so that they would be done at the same time as the lamb, so we put them in at 425°F for 10 minutes, then lowered the oven to 325°F for 20 minutes while the lamb cooked, and then raised the temperature to 475°F for 10-15 minutes until they were done.

IMG_3928 IMG_3929

Herb Rubbed Lamb Chops:

  • 3 tbsp chopped rosemary (or to taste)
  • 3 tbsp chopped thyme (or to taste)
  • bone-in lamb chops
  • 2 tbsp brown mustard (or Dijon mustard)
  • salt and pepper
  • 3 tbsp minced onions

Combine the herbs, minced onion, and mustard together until it forms a paste. Rub on each side of lamb chops.

IMG_3918

Heat 1-2 tbsp olive oil in a cast iron skillet over high heat. Sear the lamb on one side in the skillet until it is browned. Flip the chops over and put them in the oven at 325°F for about 20 minutes.

IMG_3920

When the chops are cooked (must be between 145-160°F to be medium rare to medium well), remove them from the oven. Put aluminum foil loosely over skillet, and let the chops rest for 10 minutes. Then, serve warm.

IMG_3923

We also steamed some green beans and just dusted them with salt and pepper for our vegetable. All in all, it was a delicious meal!

IMG_3927 IMG_3926

I would definitely recommend giving these recipes a try. The food was seriously so good. Happy cooking!

Food for the Fourth

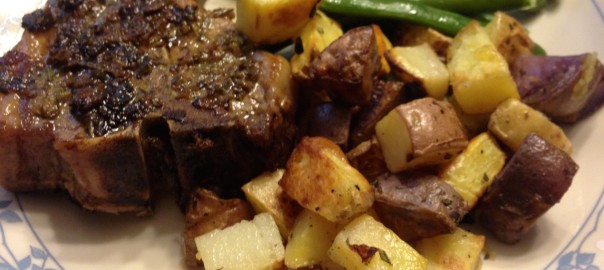
Happy Fourth of July, everyone! I hope you got to spend some time with friends and family over some cookout food, s’mores, and fireworks- I know I sure did! My family enjoyed two days at our lake house this weekend, so I made some food to share. For the first day, I brought dessert: toffee saltine bars (I give credit to Pinterest for this recipe). For the second day, I made my Aunt Sadie’s baked beans. They’re a famous recipe among the family, and even though she couldn’t celebrate the Fourth with us, it didn’t seem right not to have her beans there. Here are the recipes for both dishes.

Toffee Saltine Bars

Ingredients:

  • saltine crackers (about 1 sleeve)
  • 1 cup light brown sugar
  • 1 cup butter
  • 1 package (~2 cups) chocolate chips

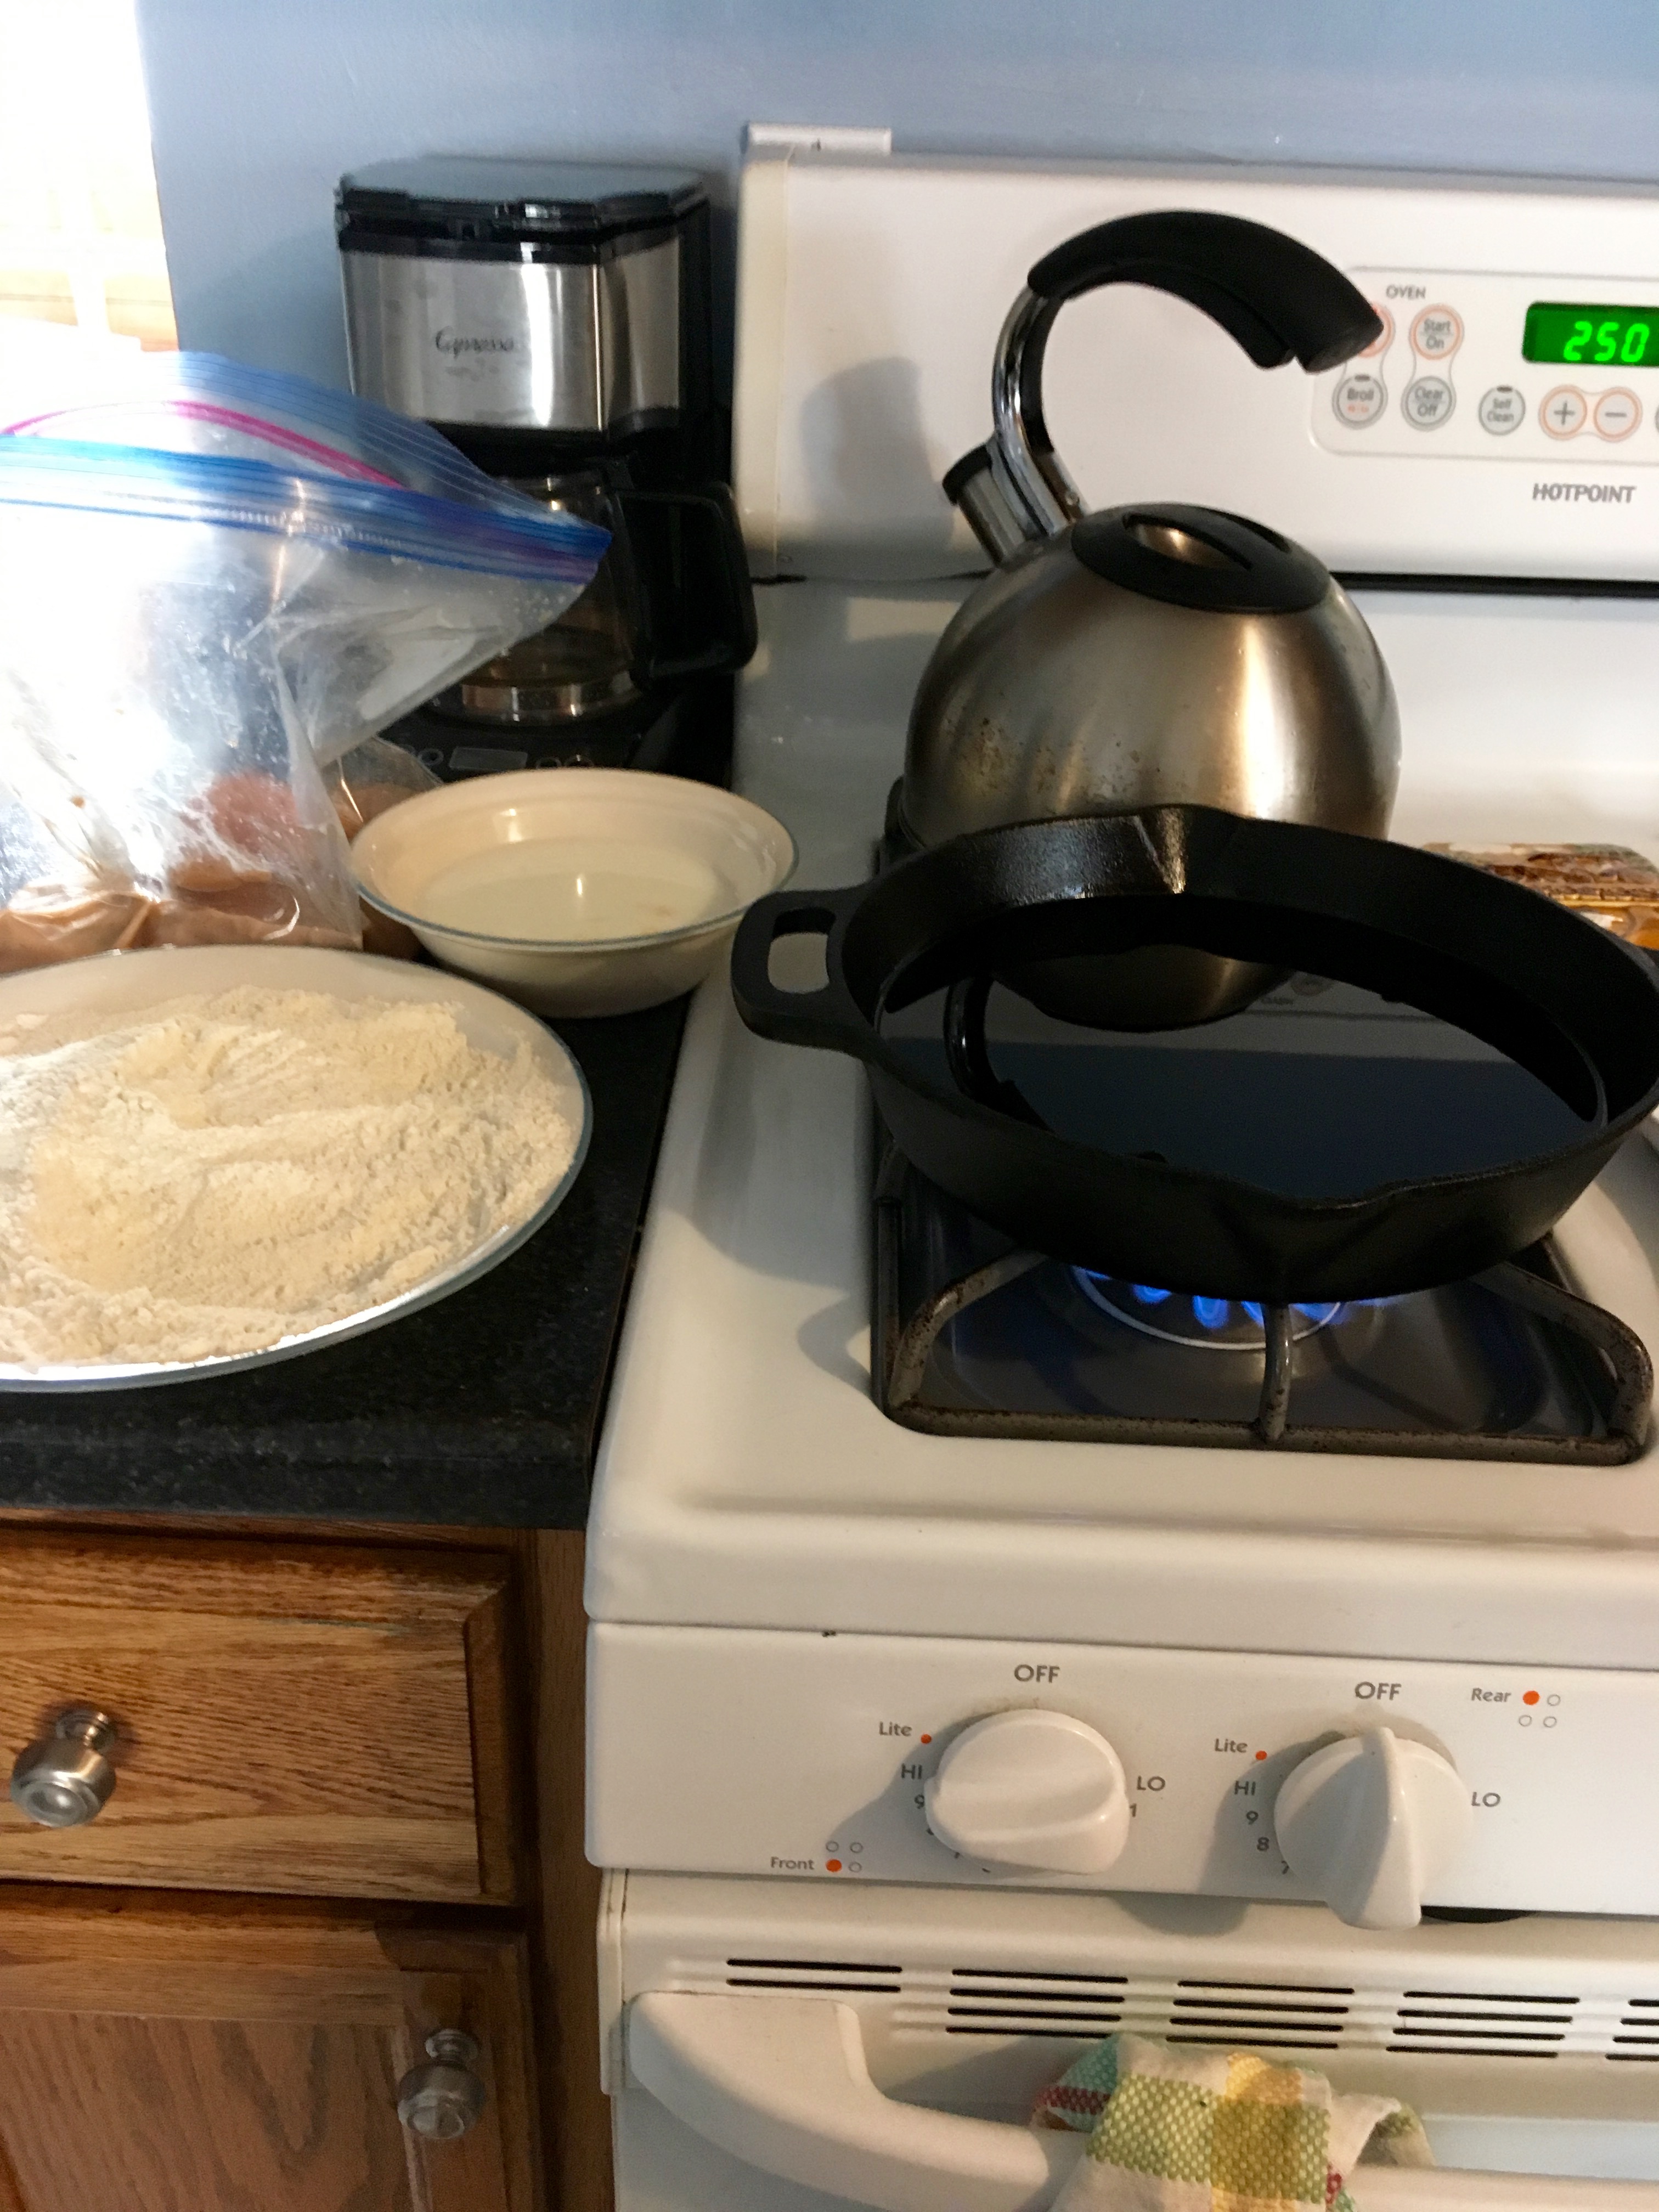
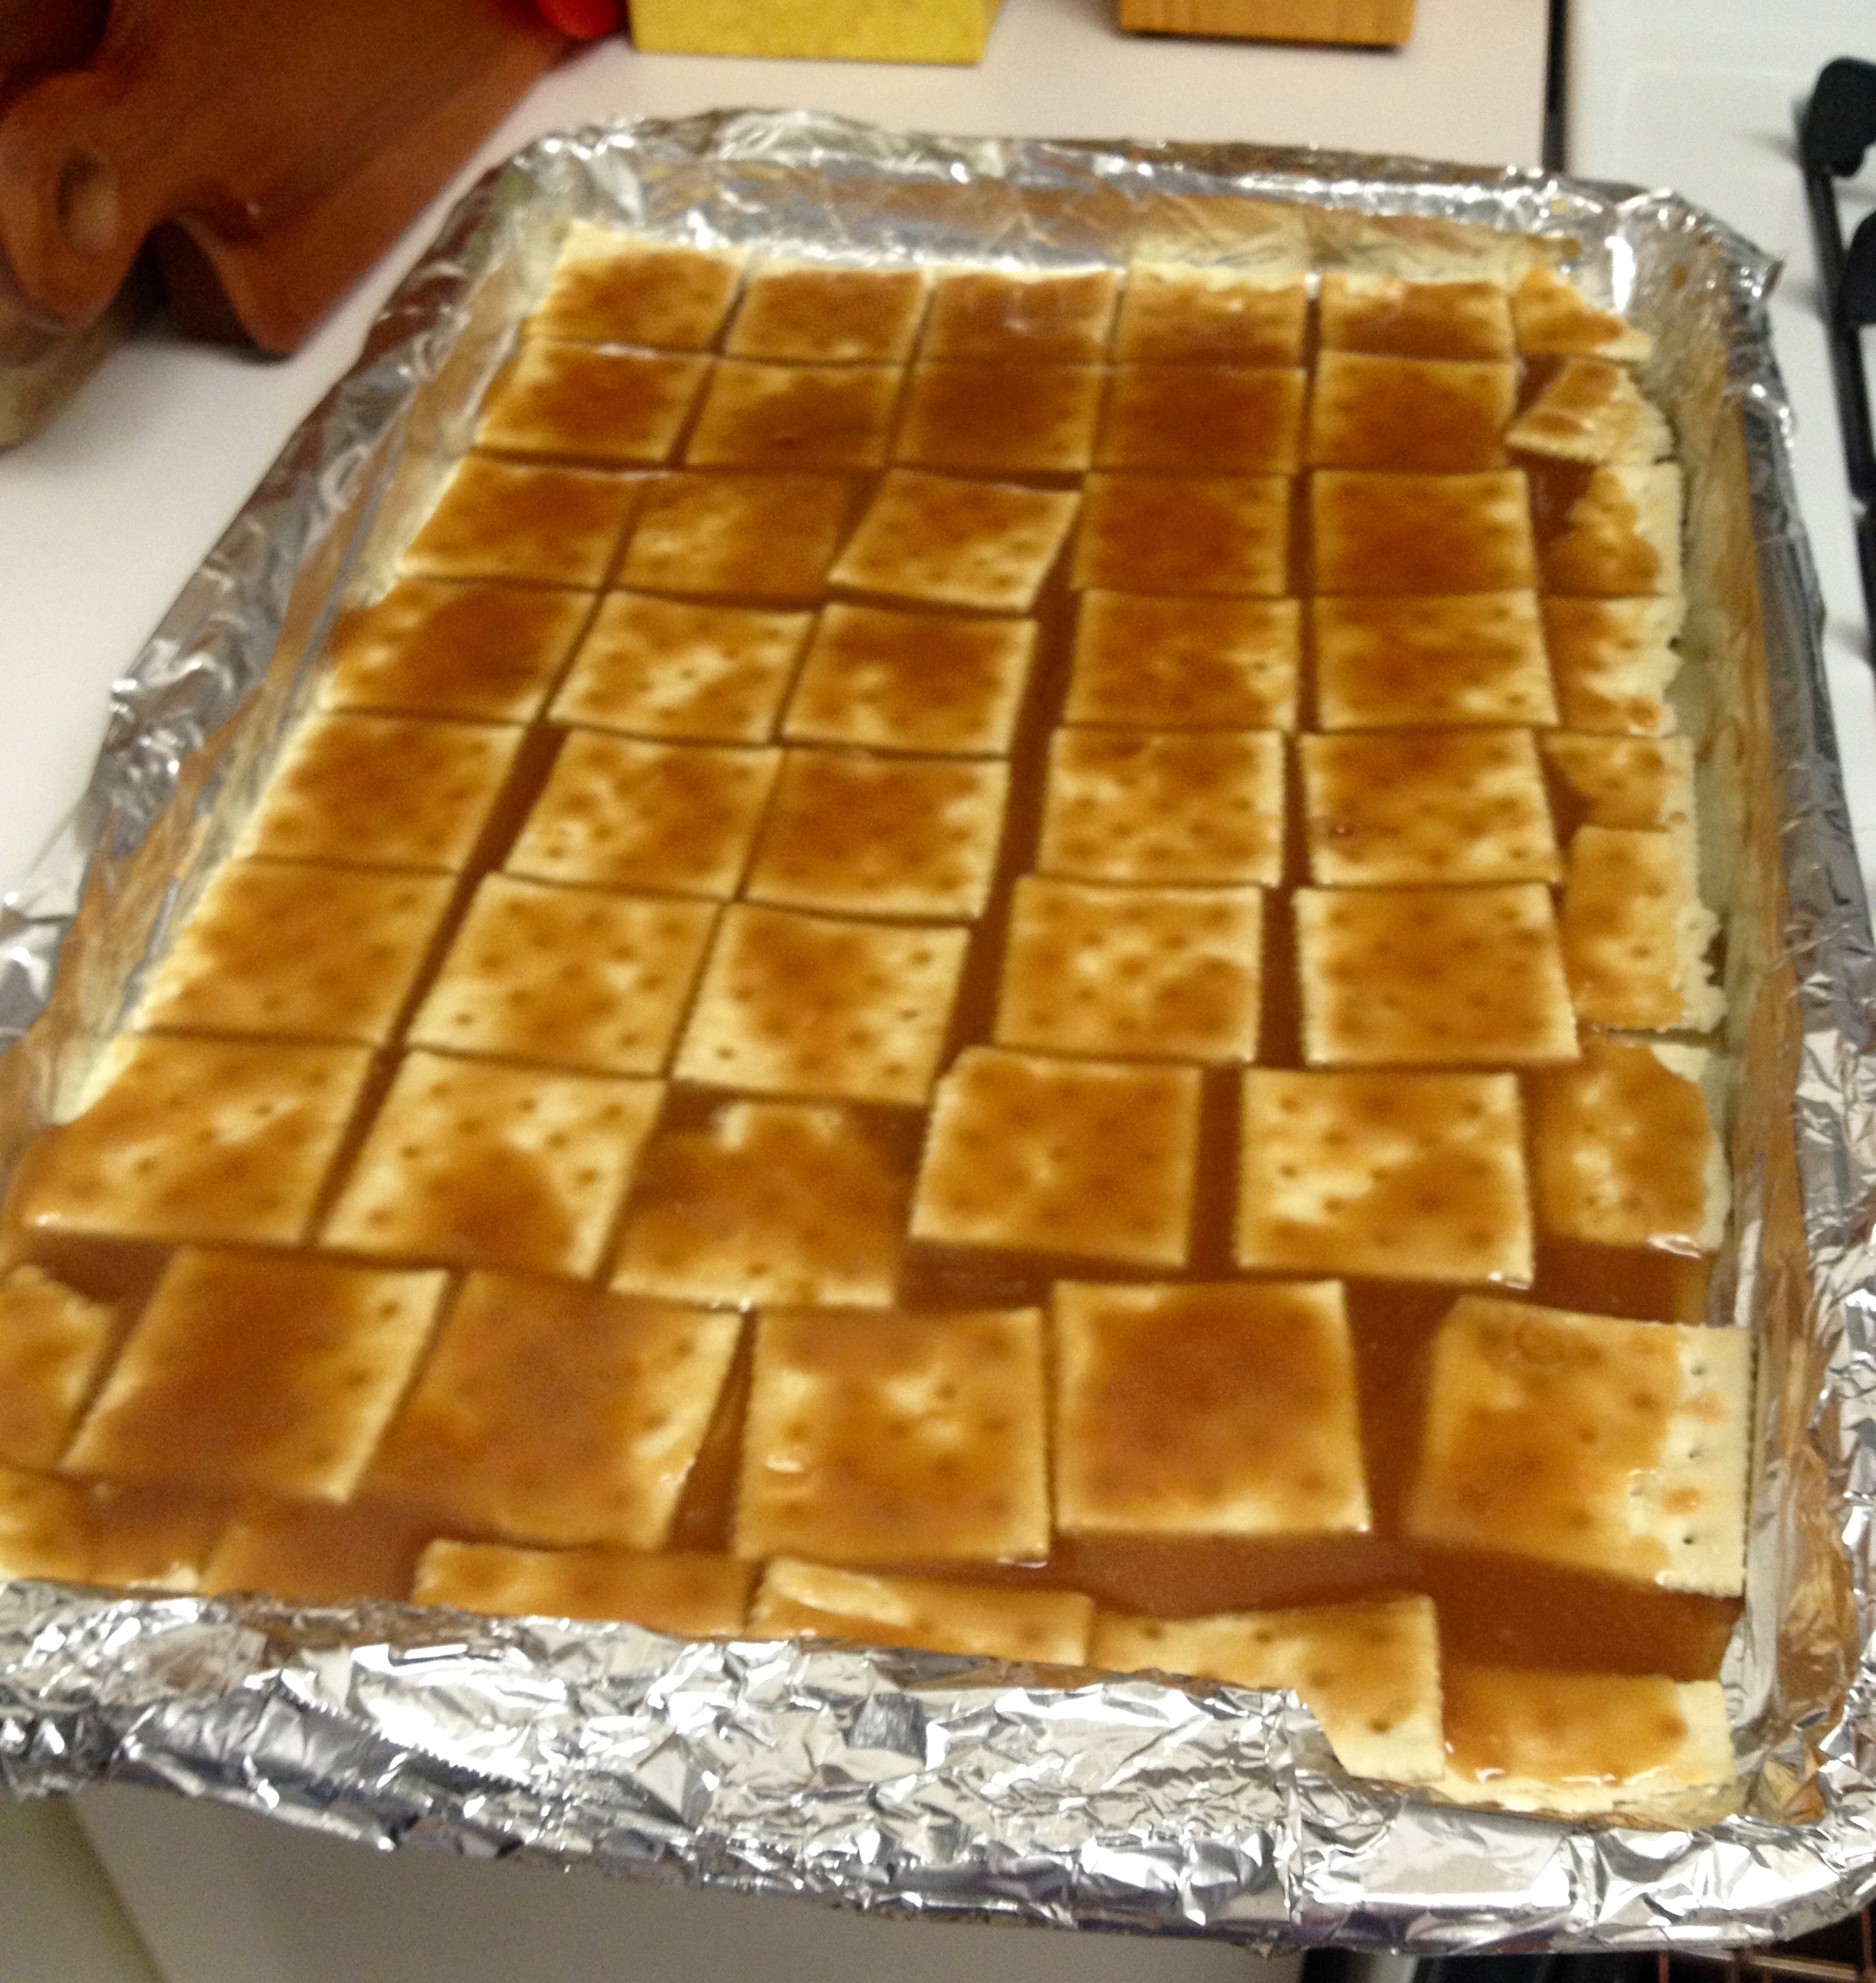
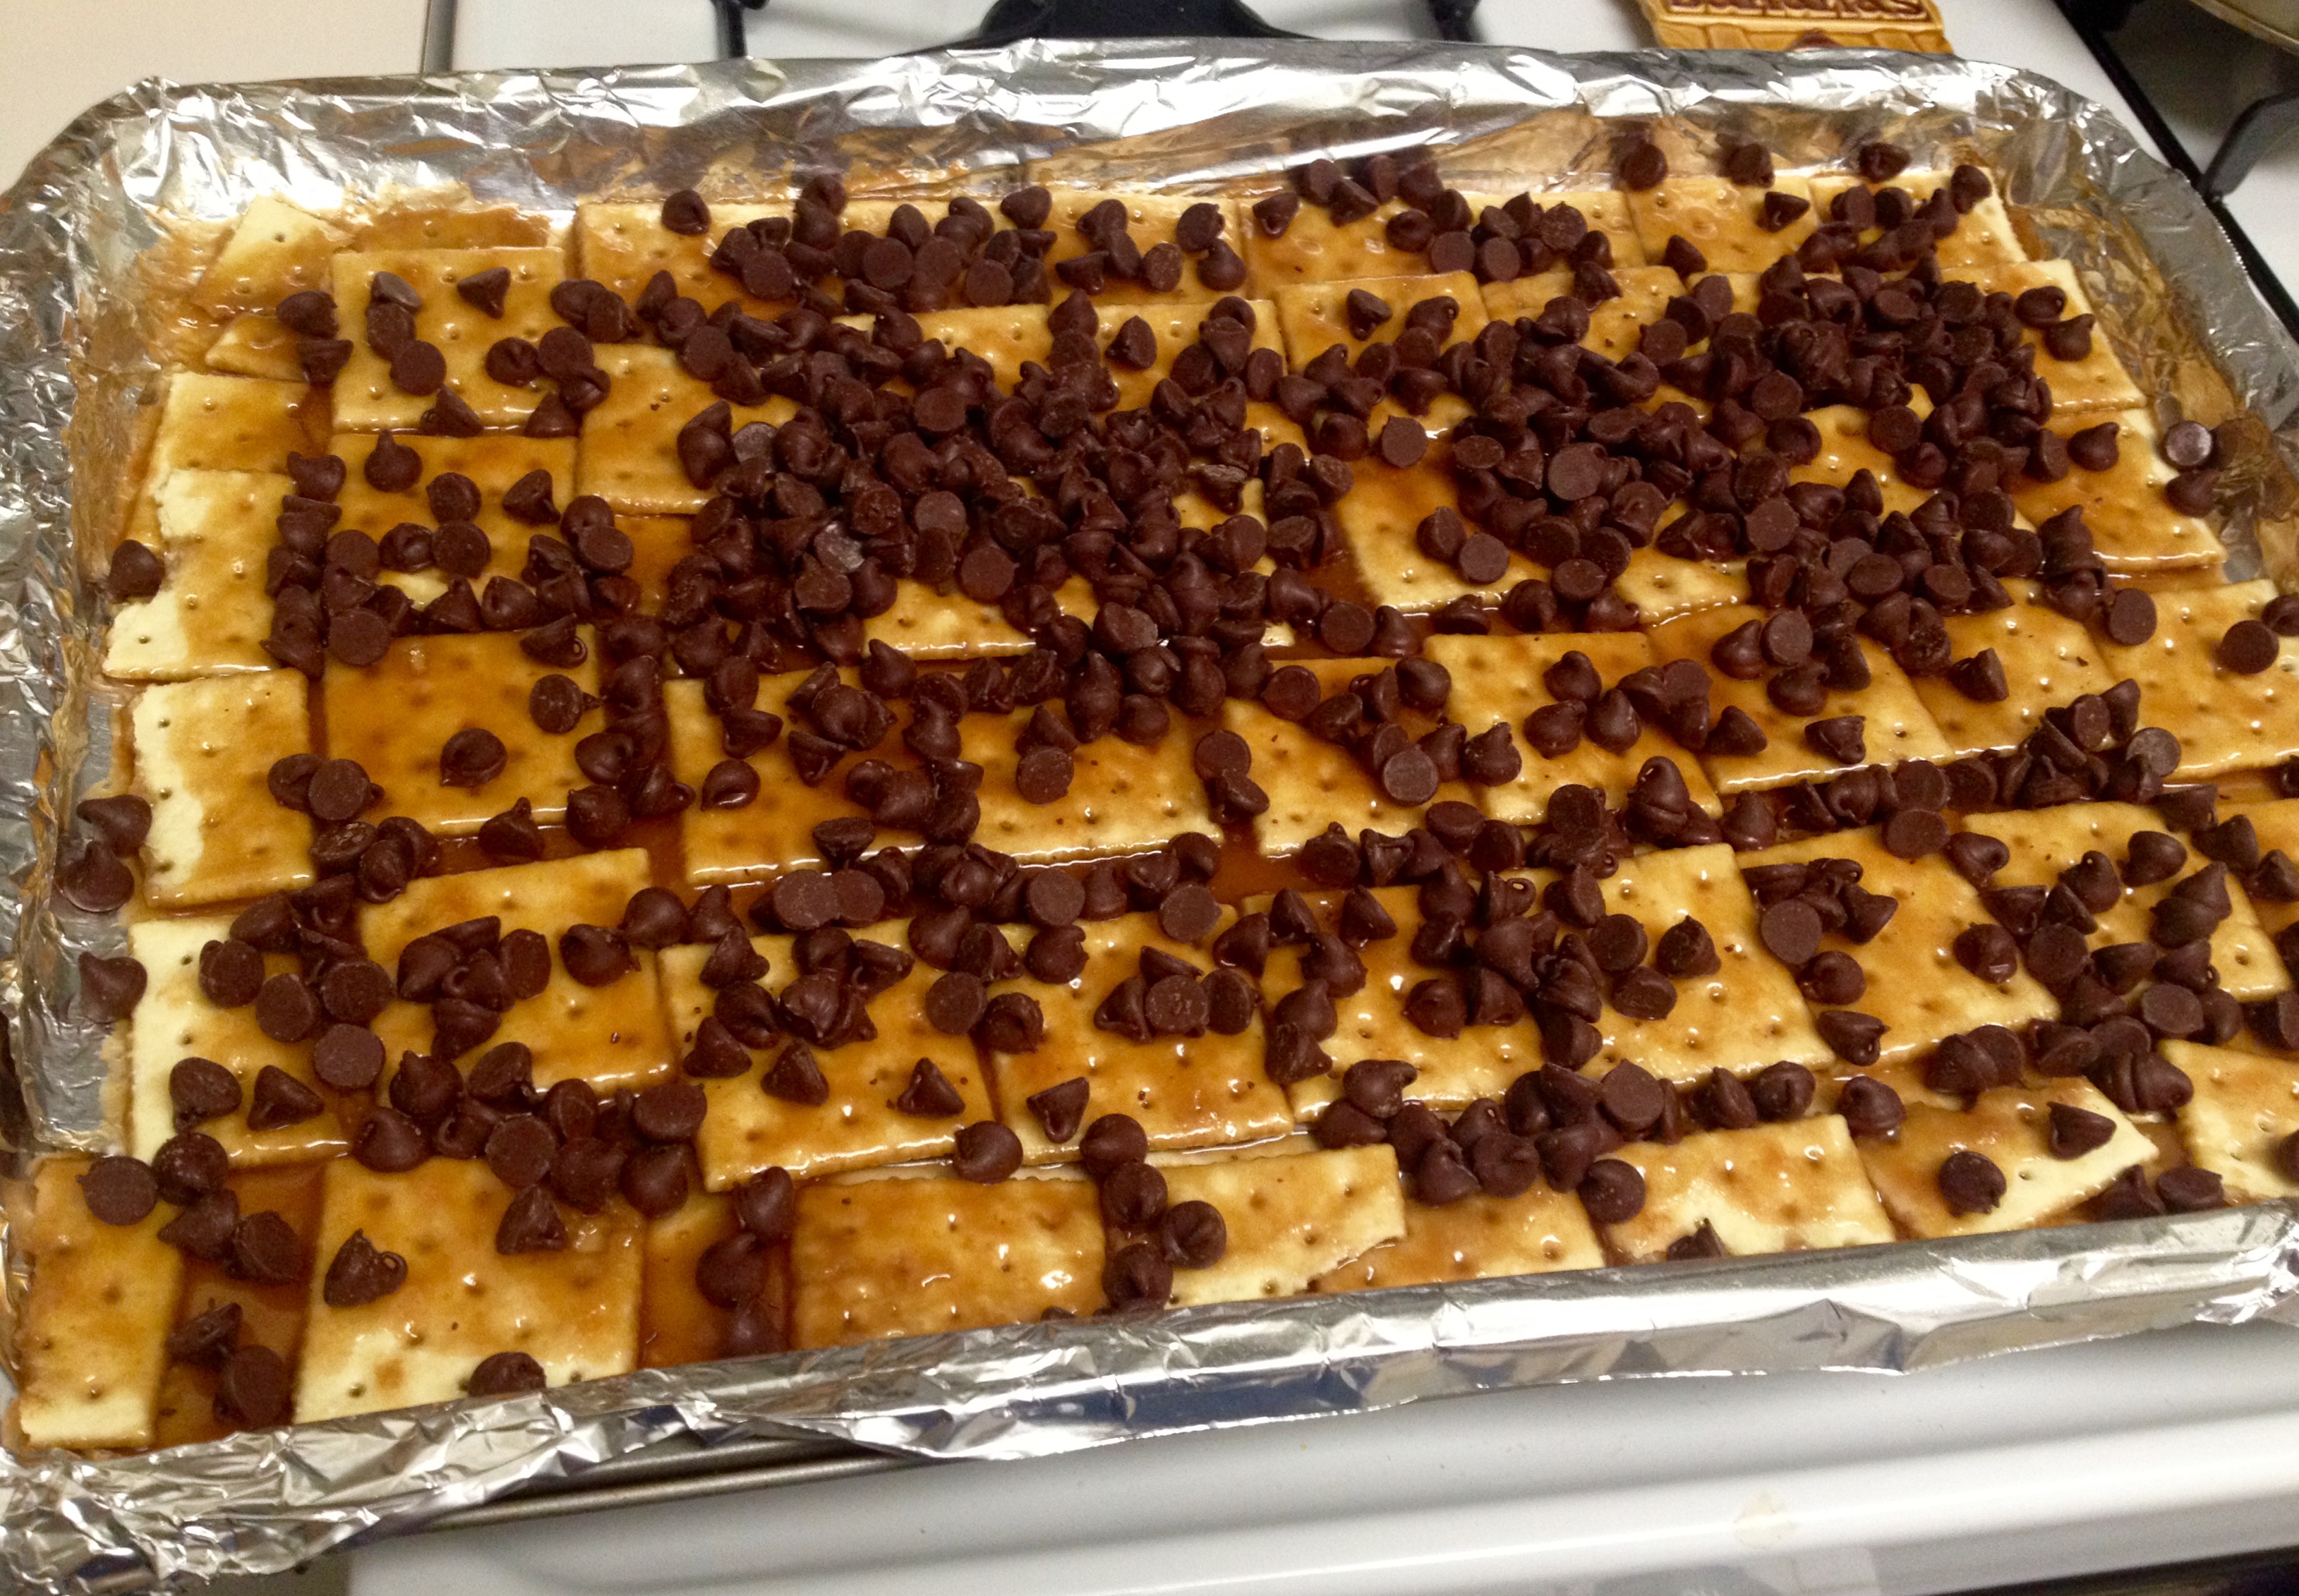
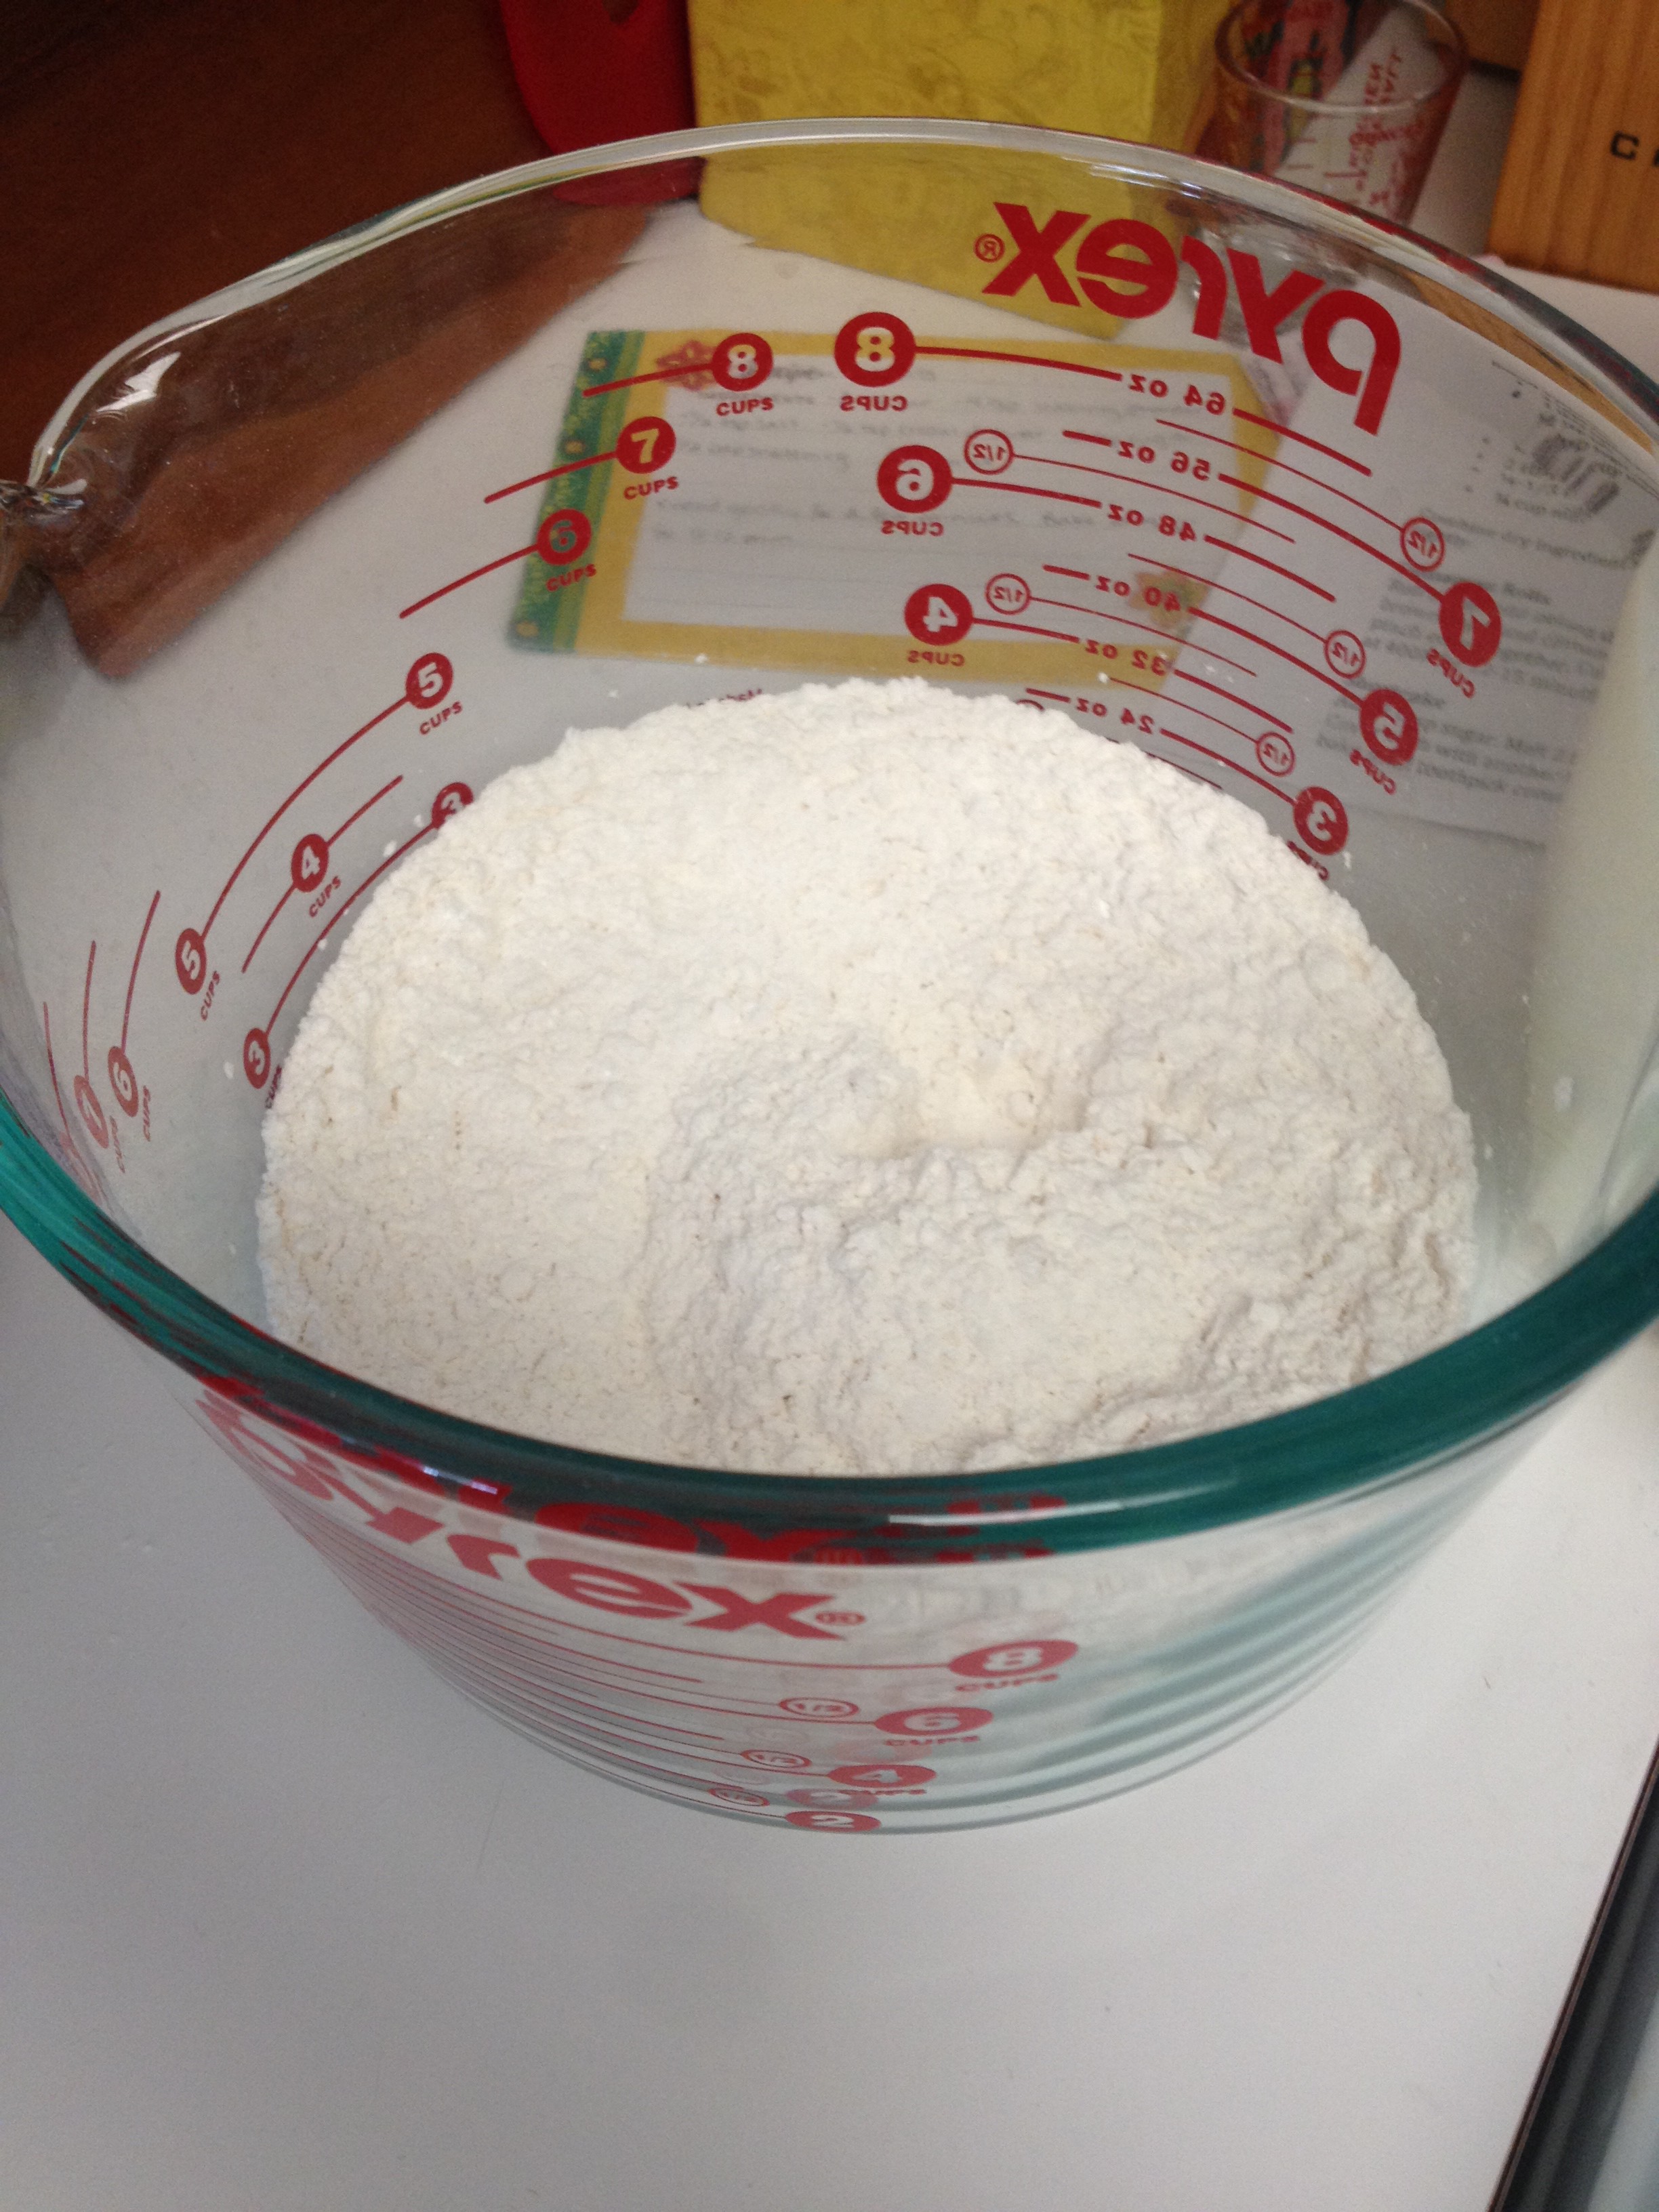
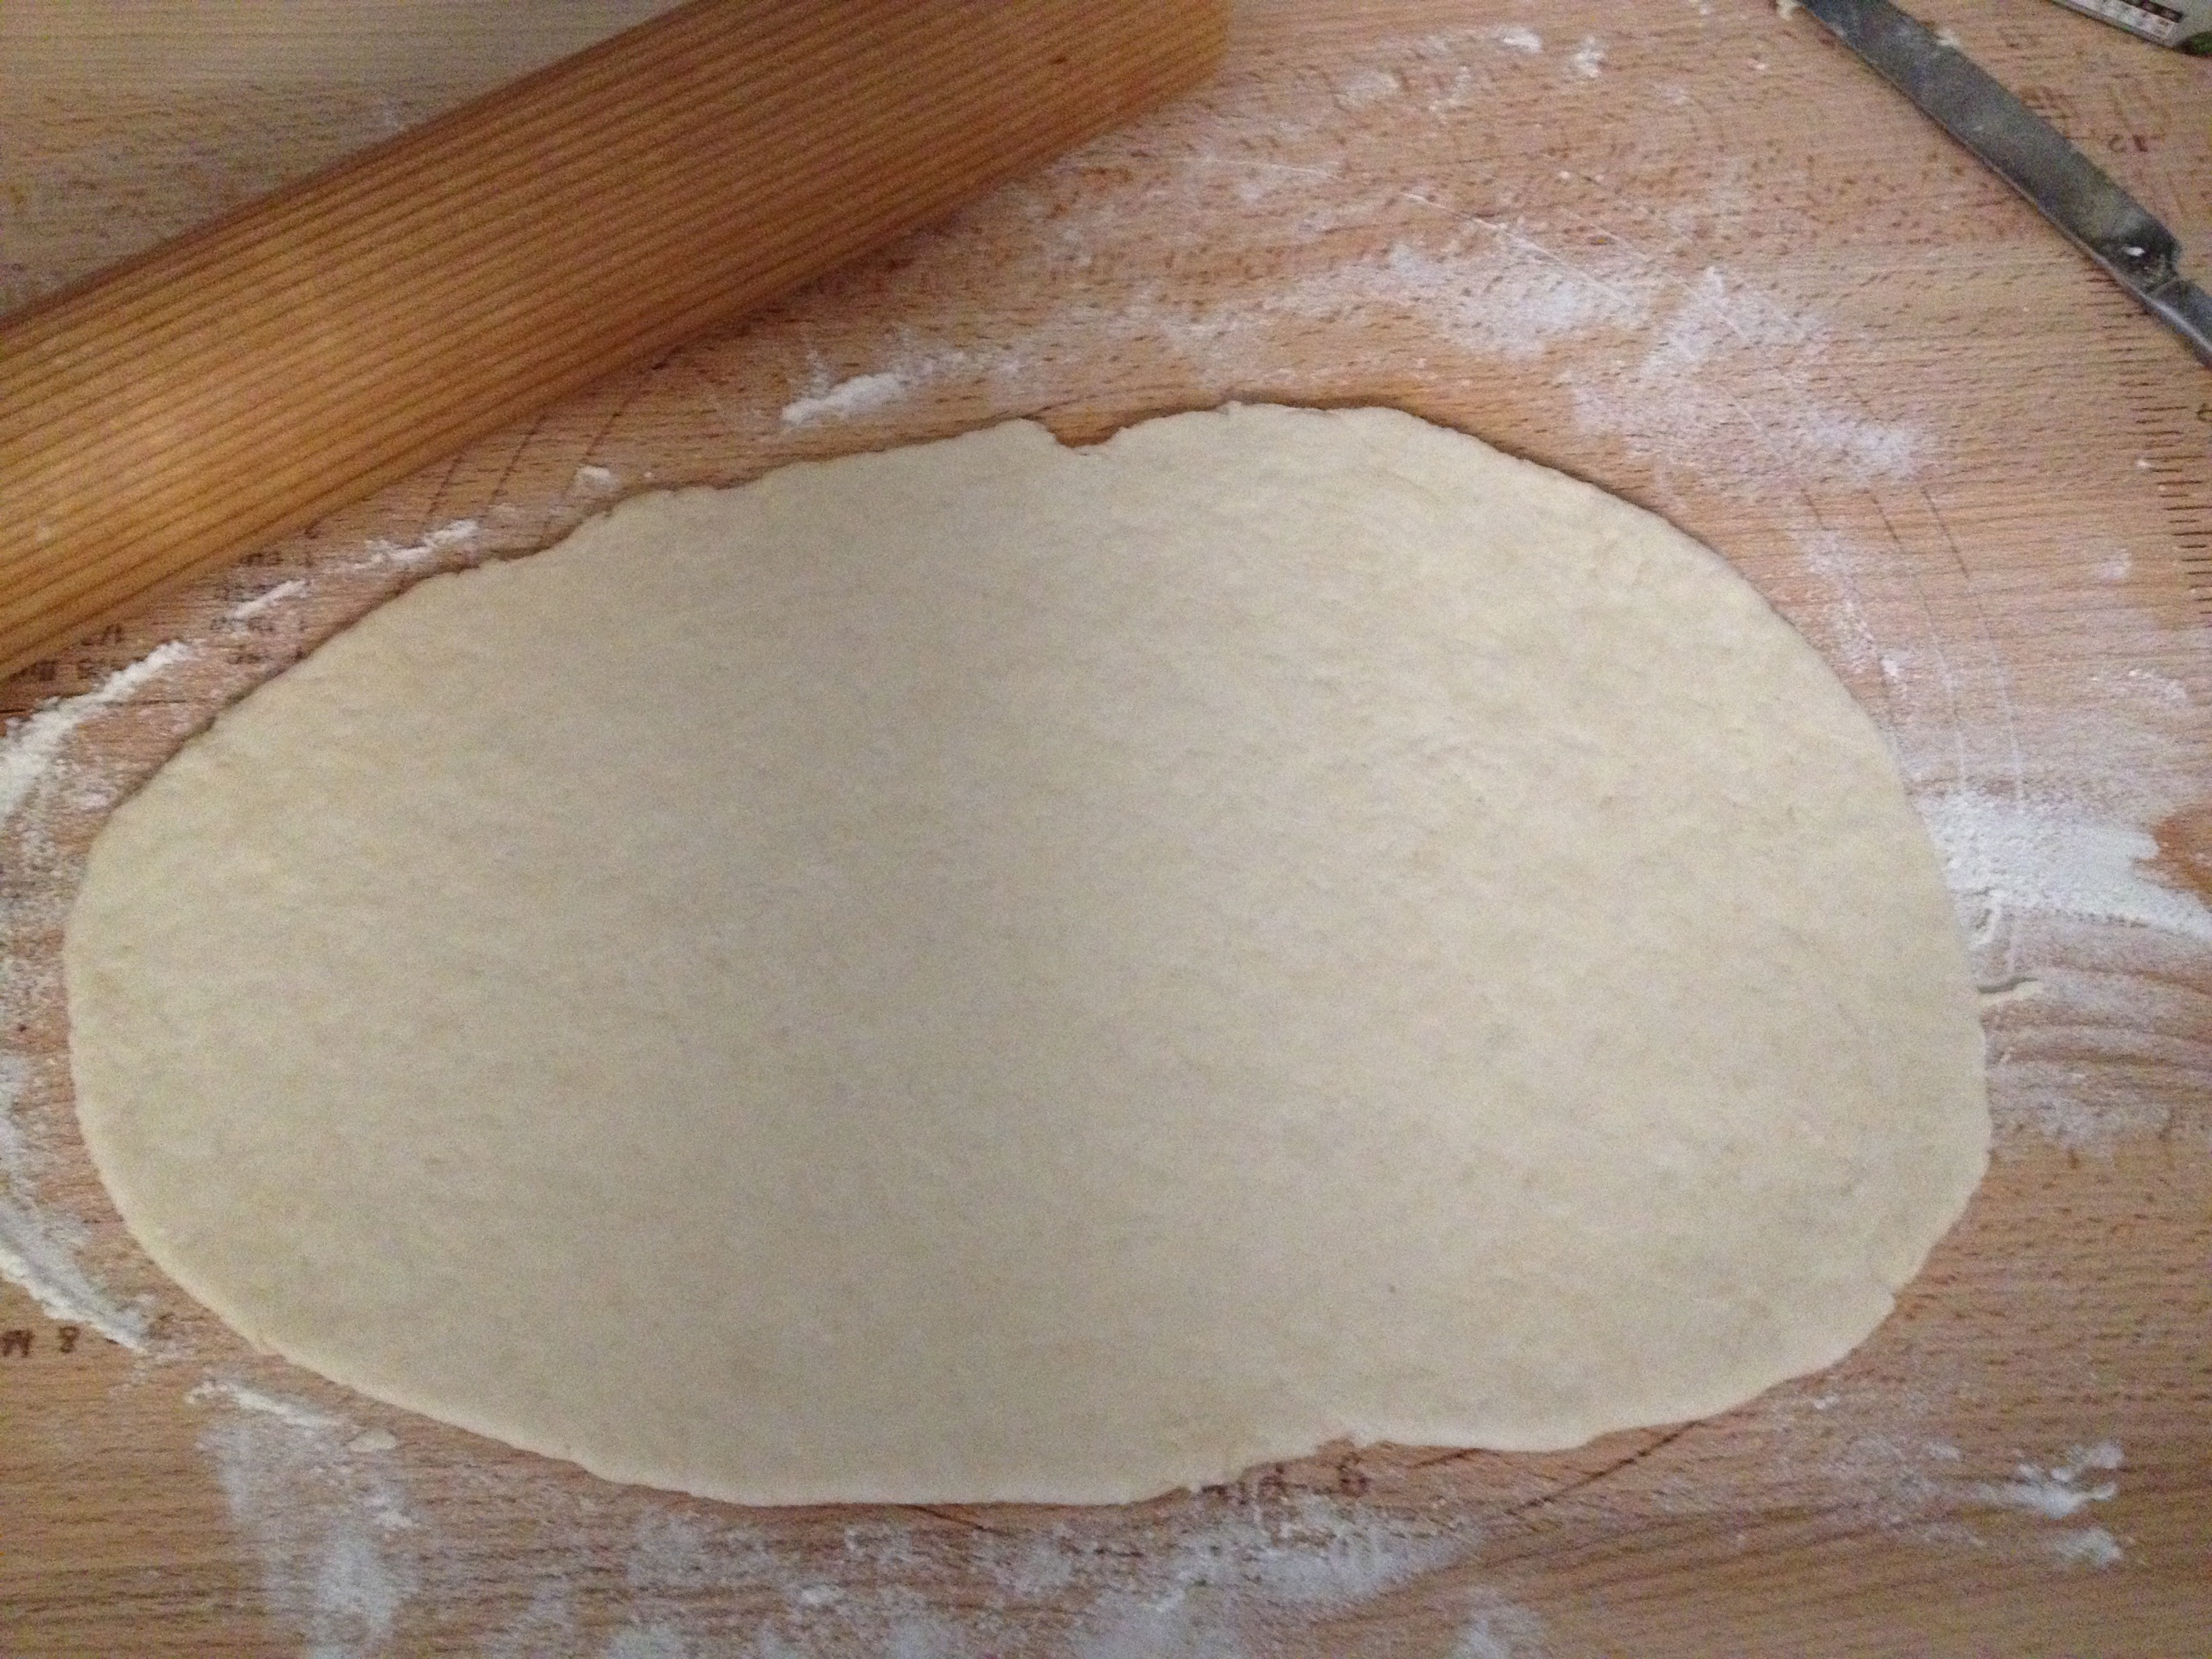
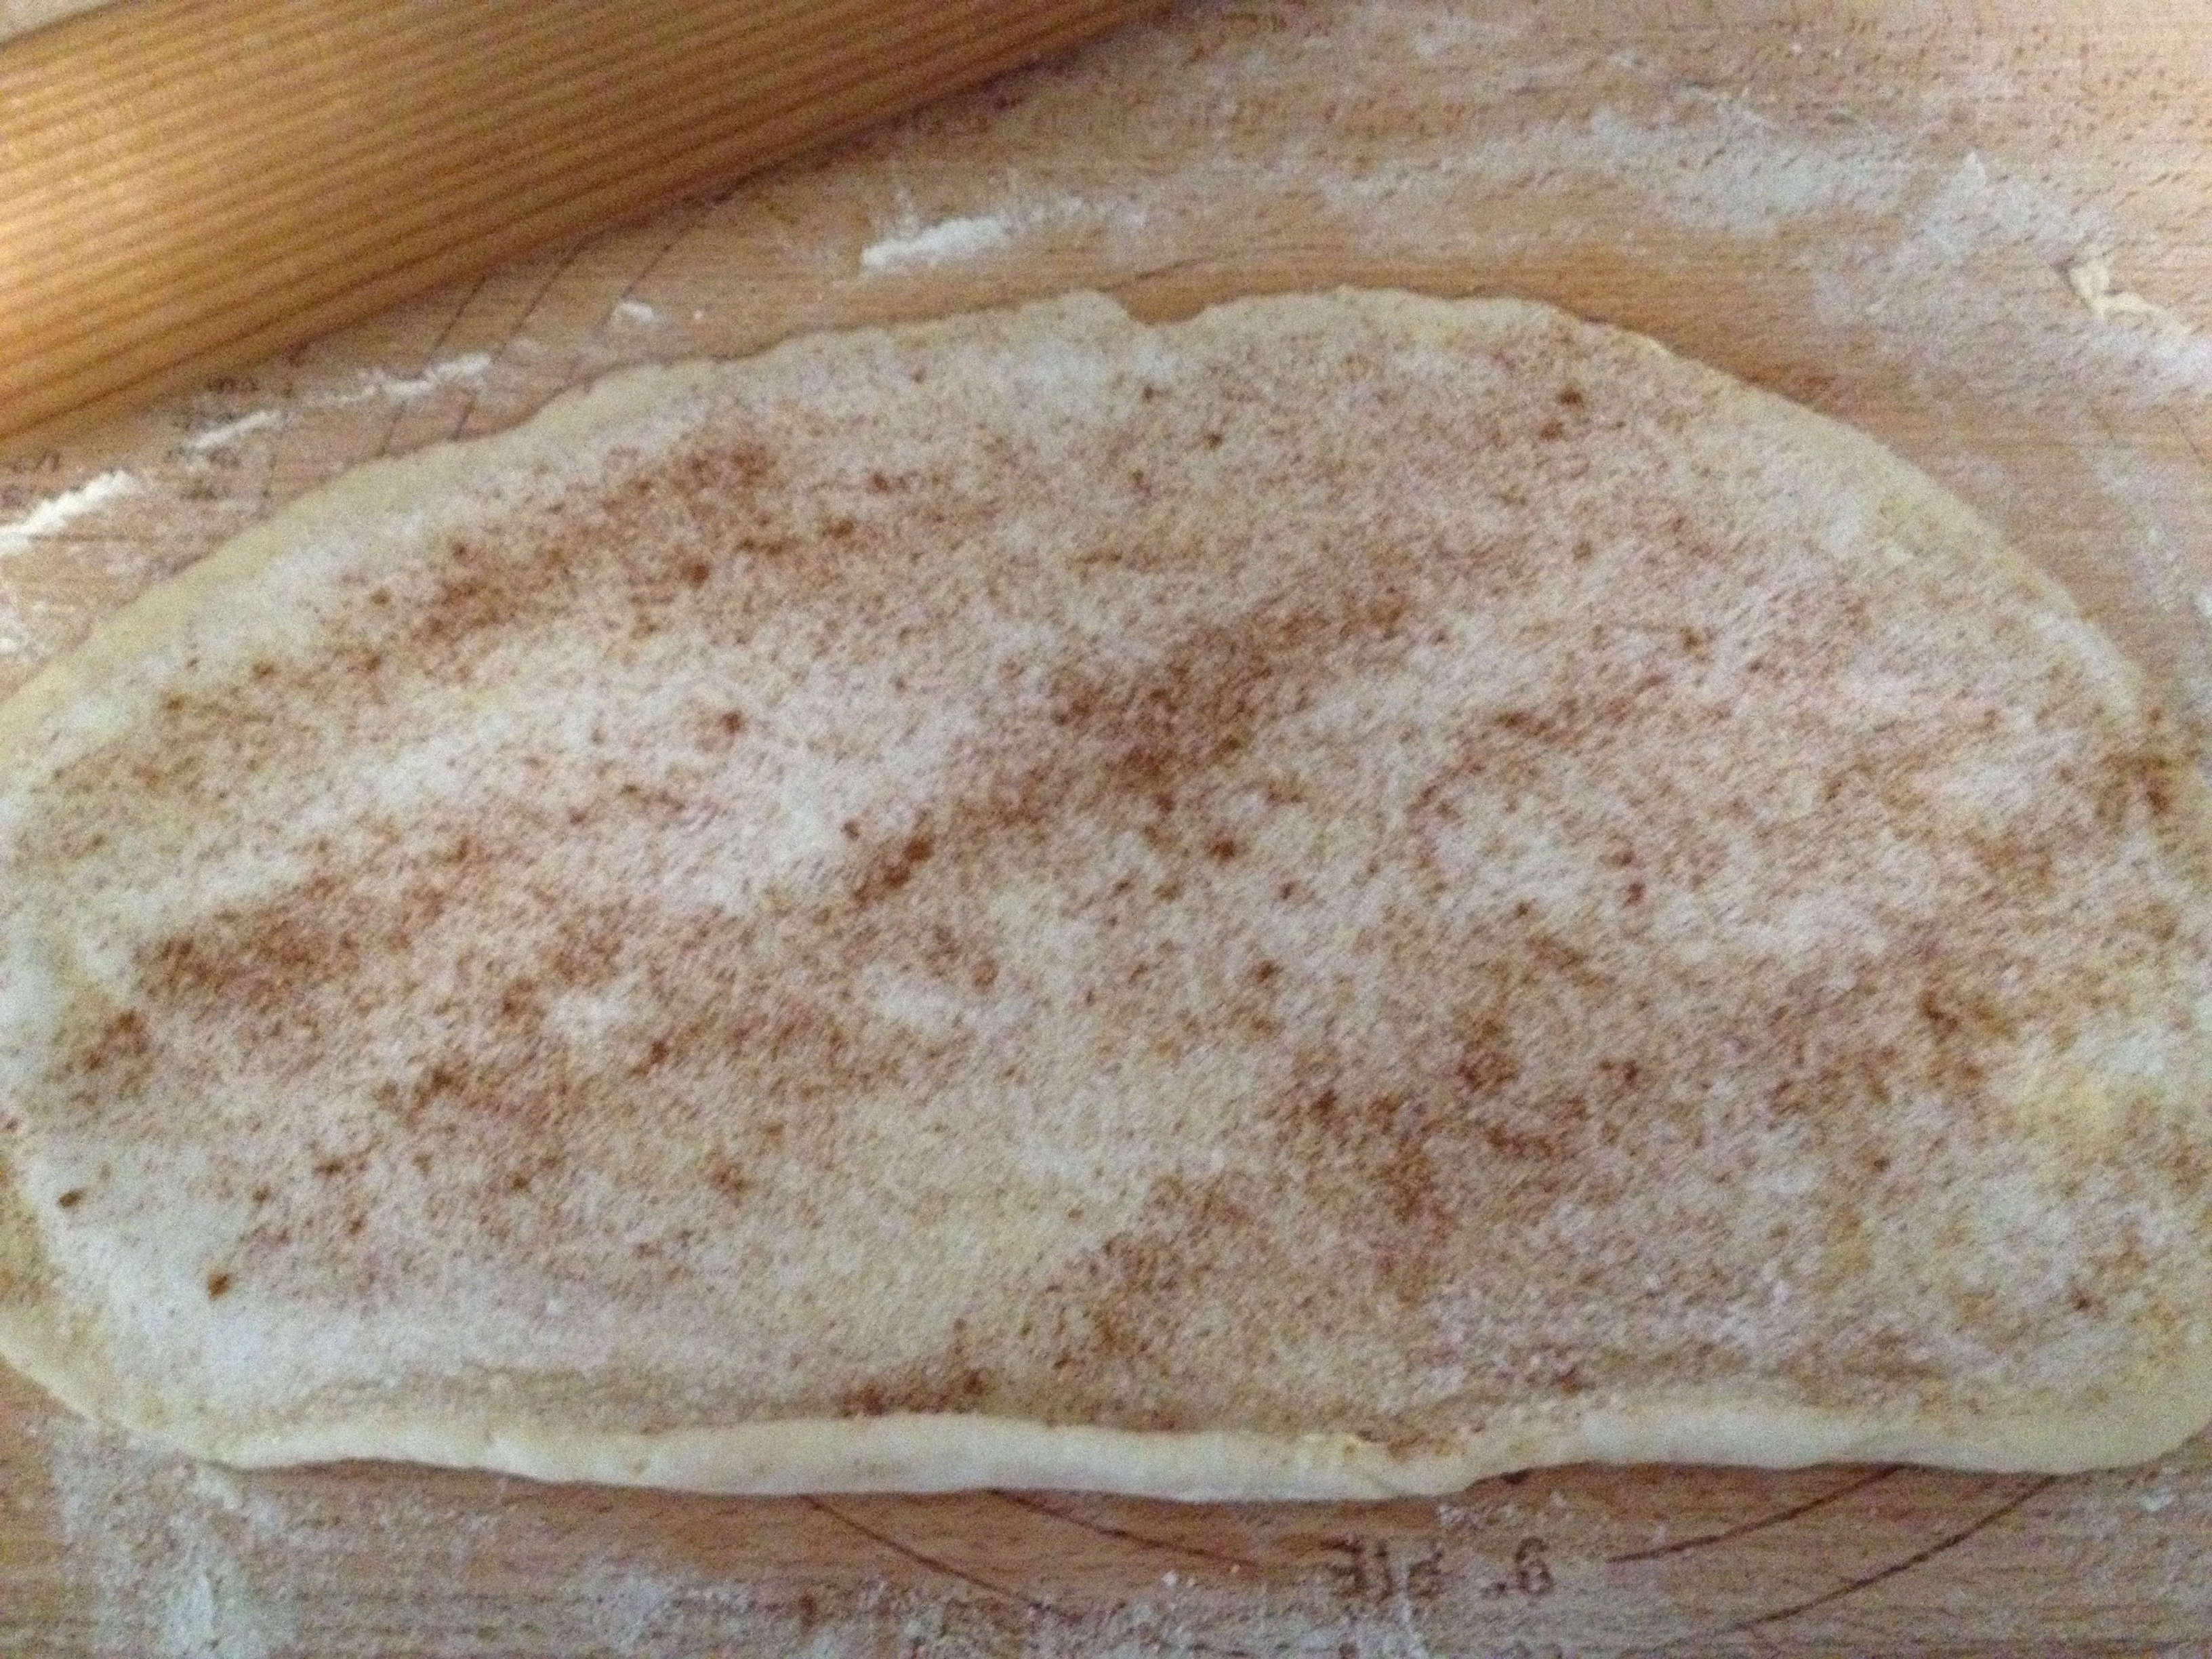
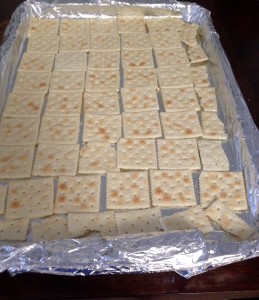
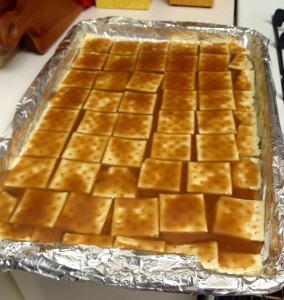
Preheat the oven to 350°F. Line a large baking sheet (~15×10″) with foil and spray with baking spray. Lay the saltines over the foil in a single layer.

IMG_3807

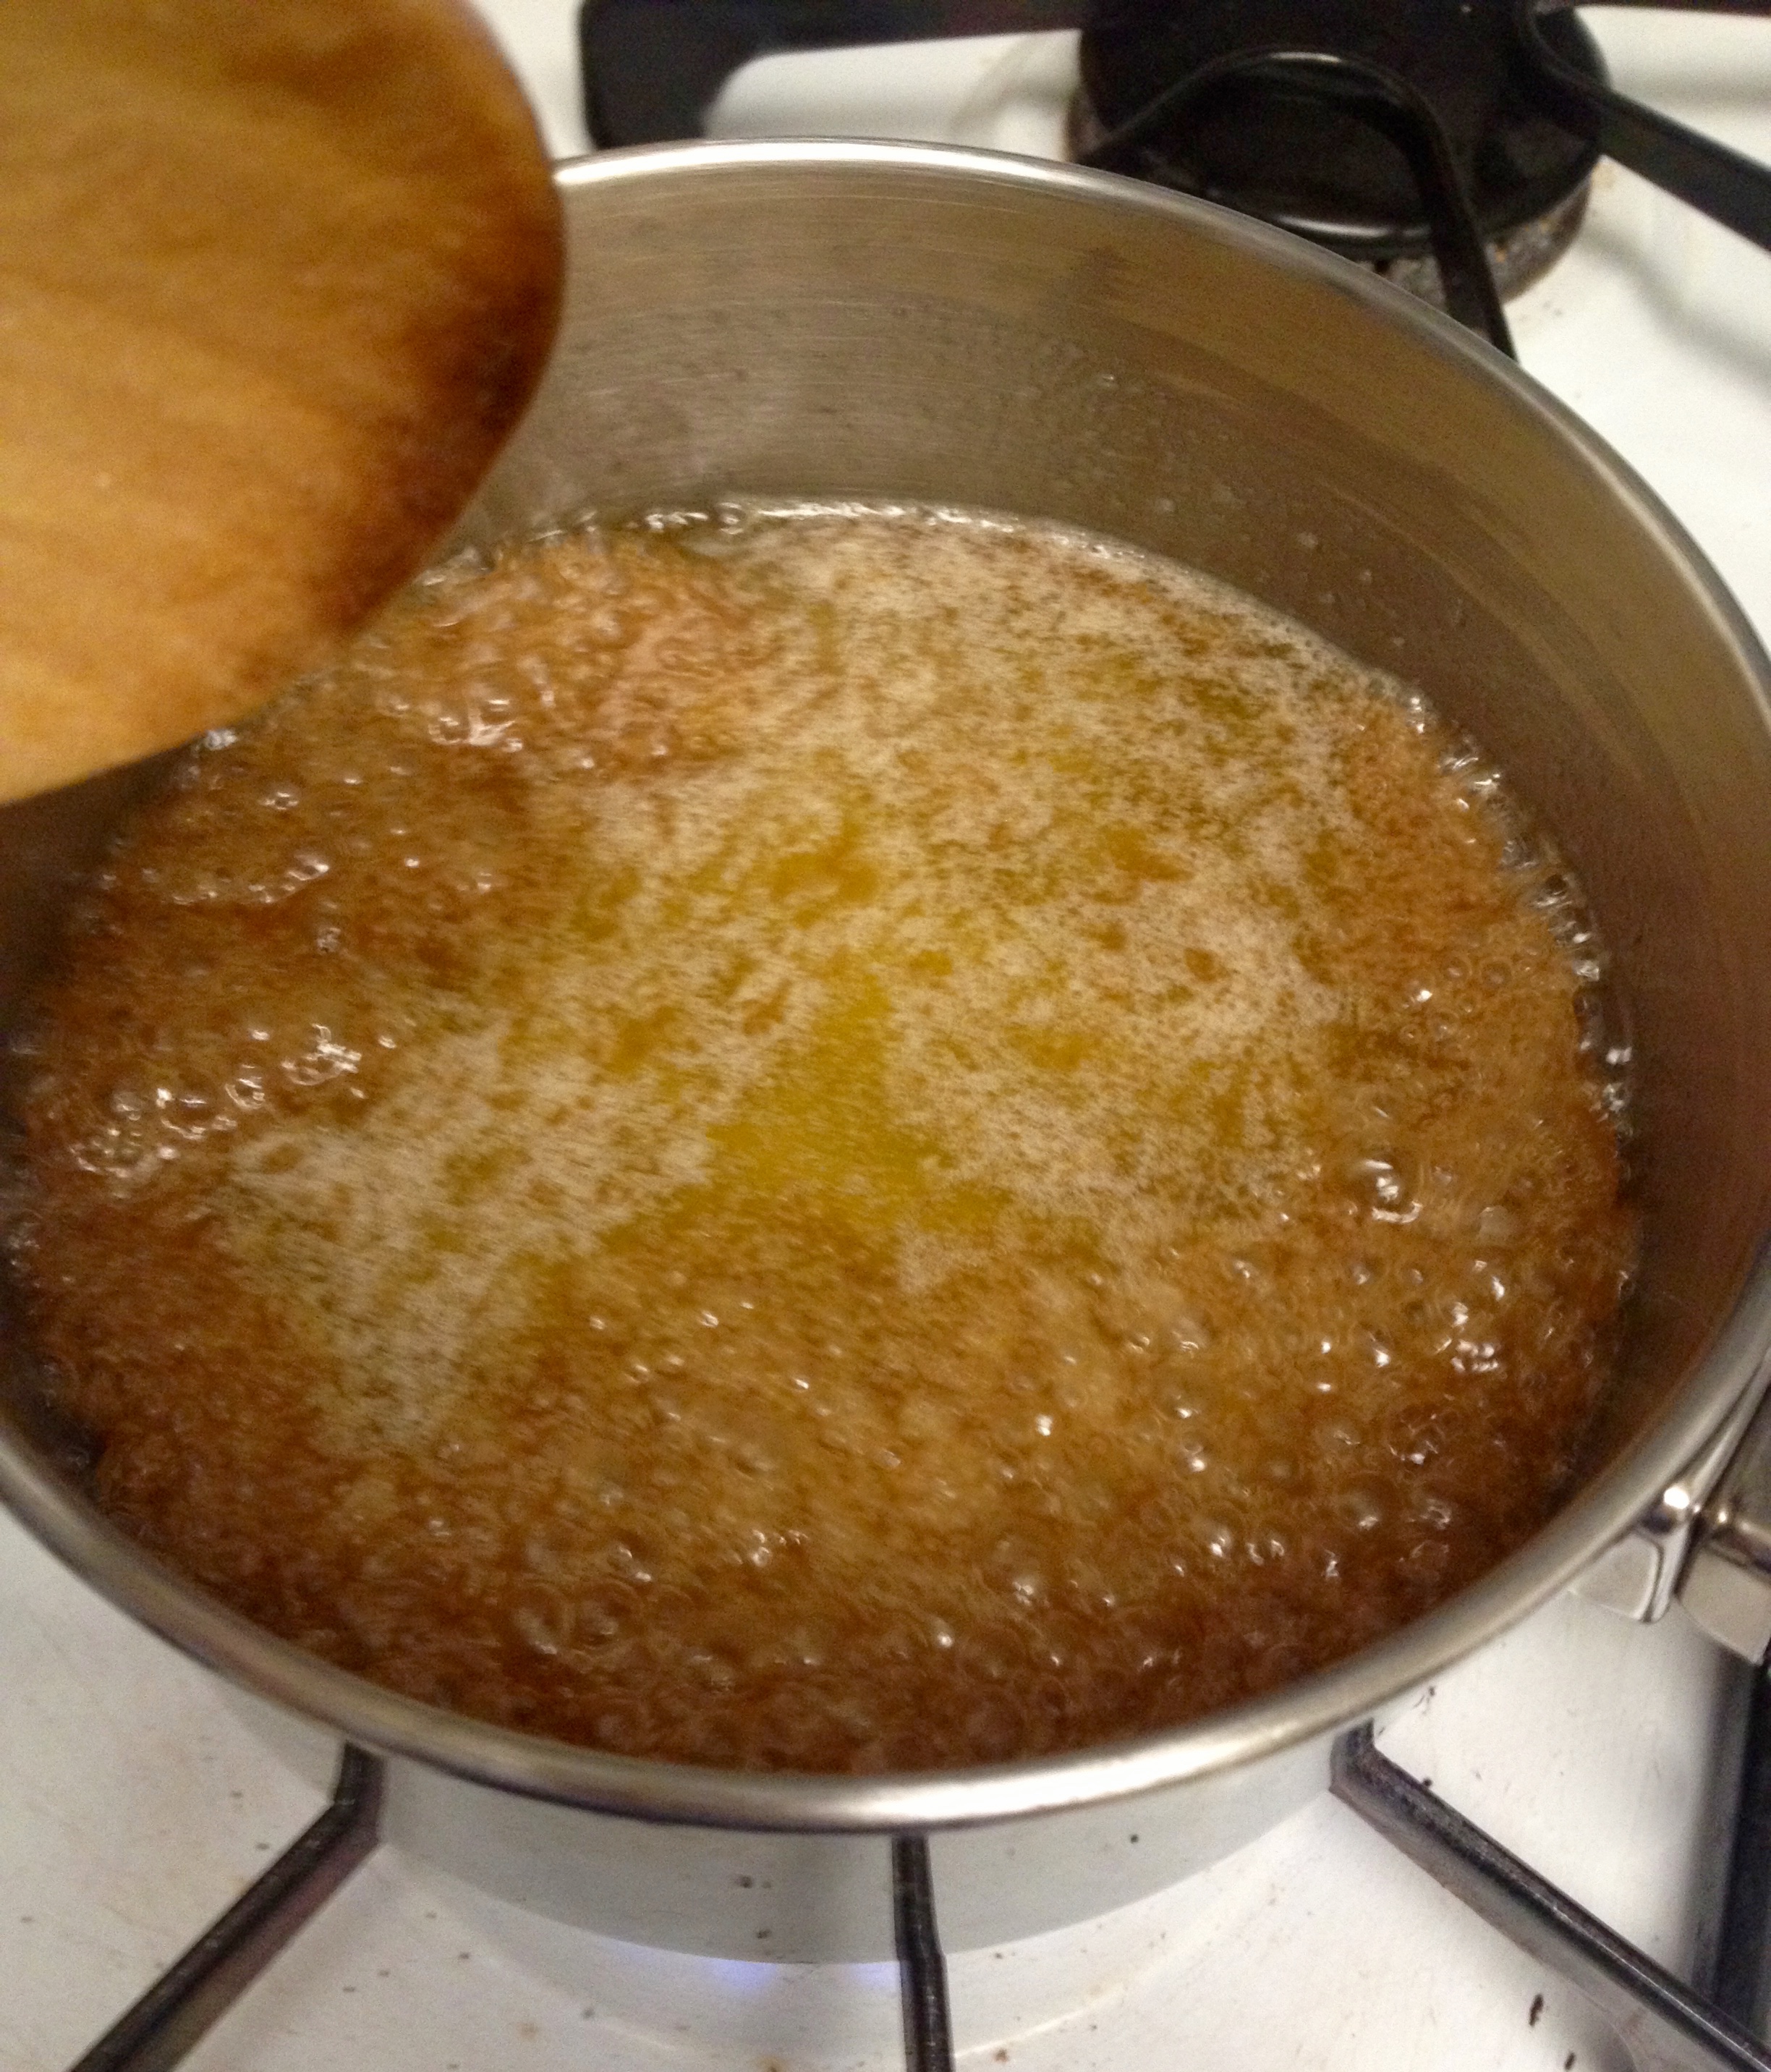
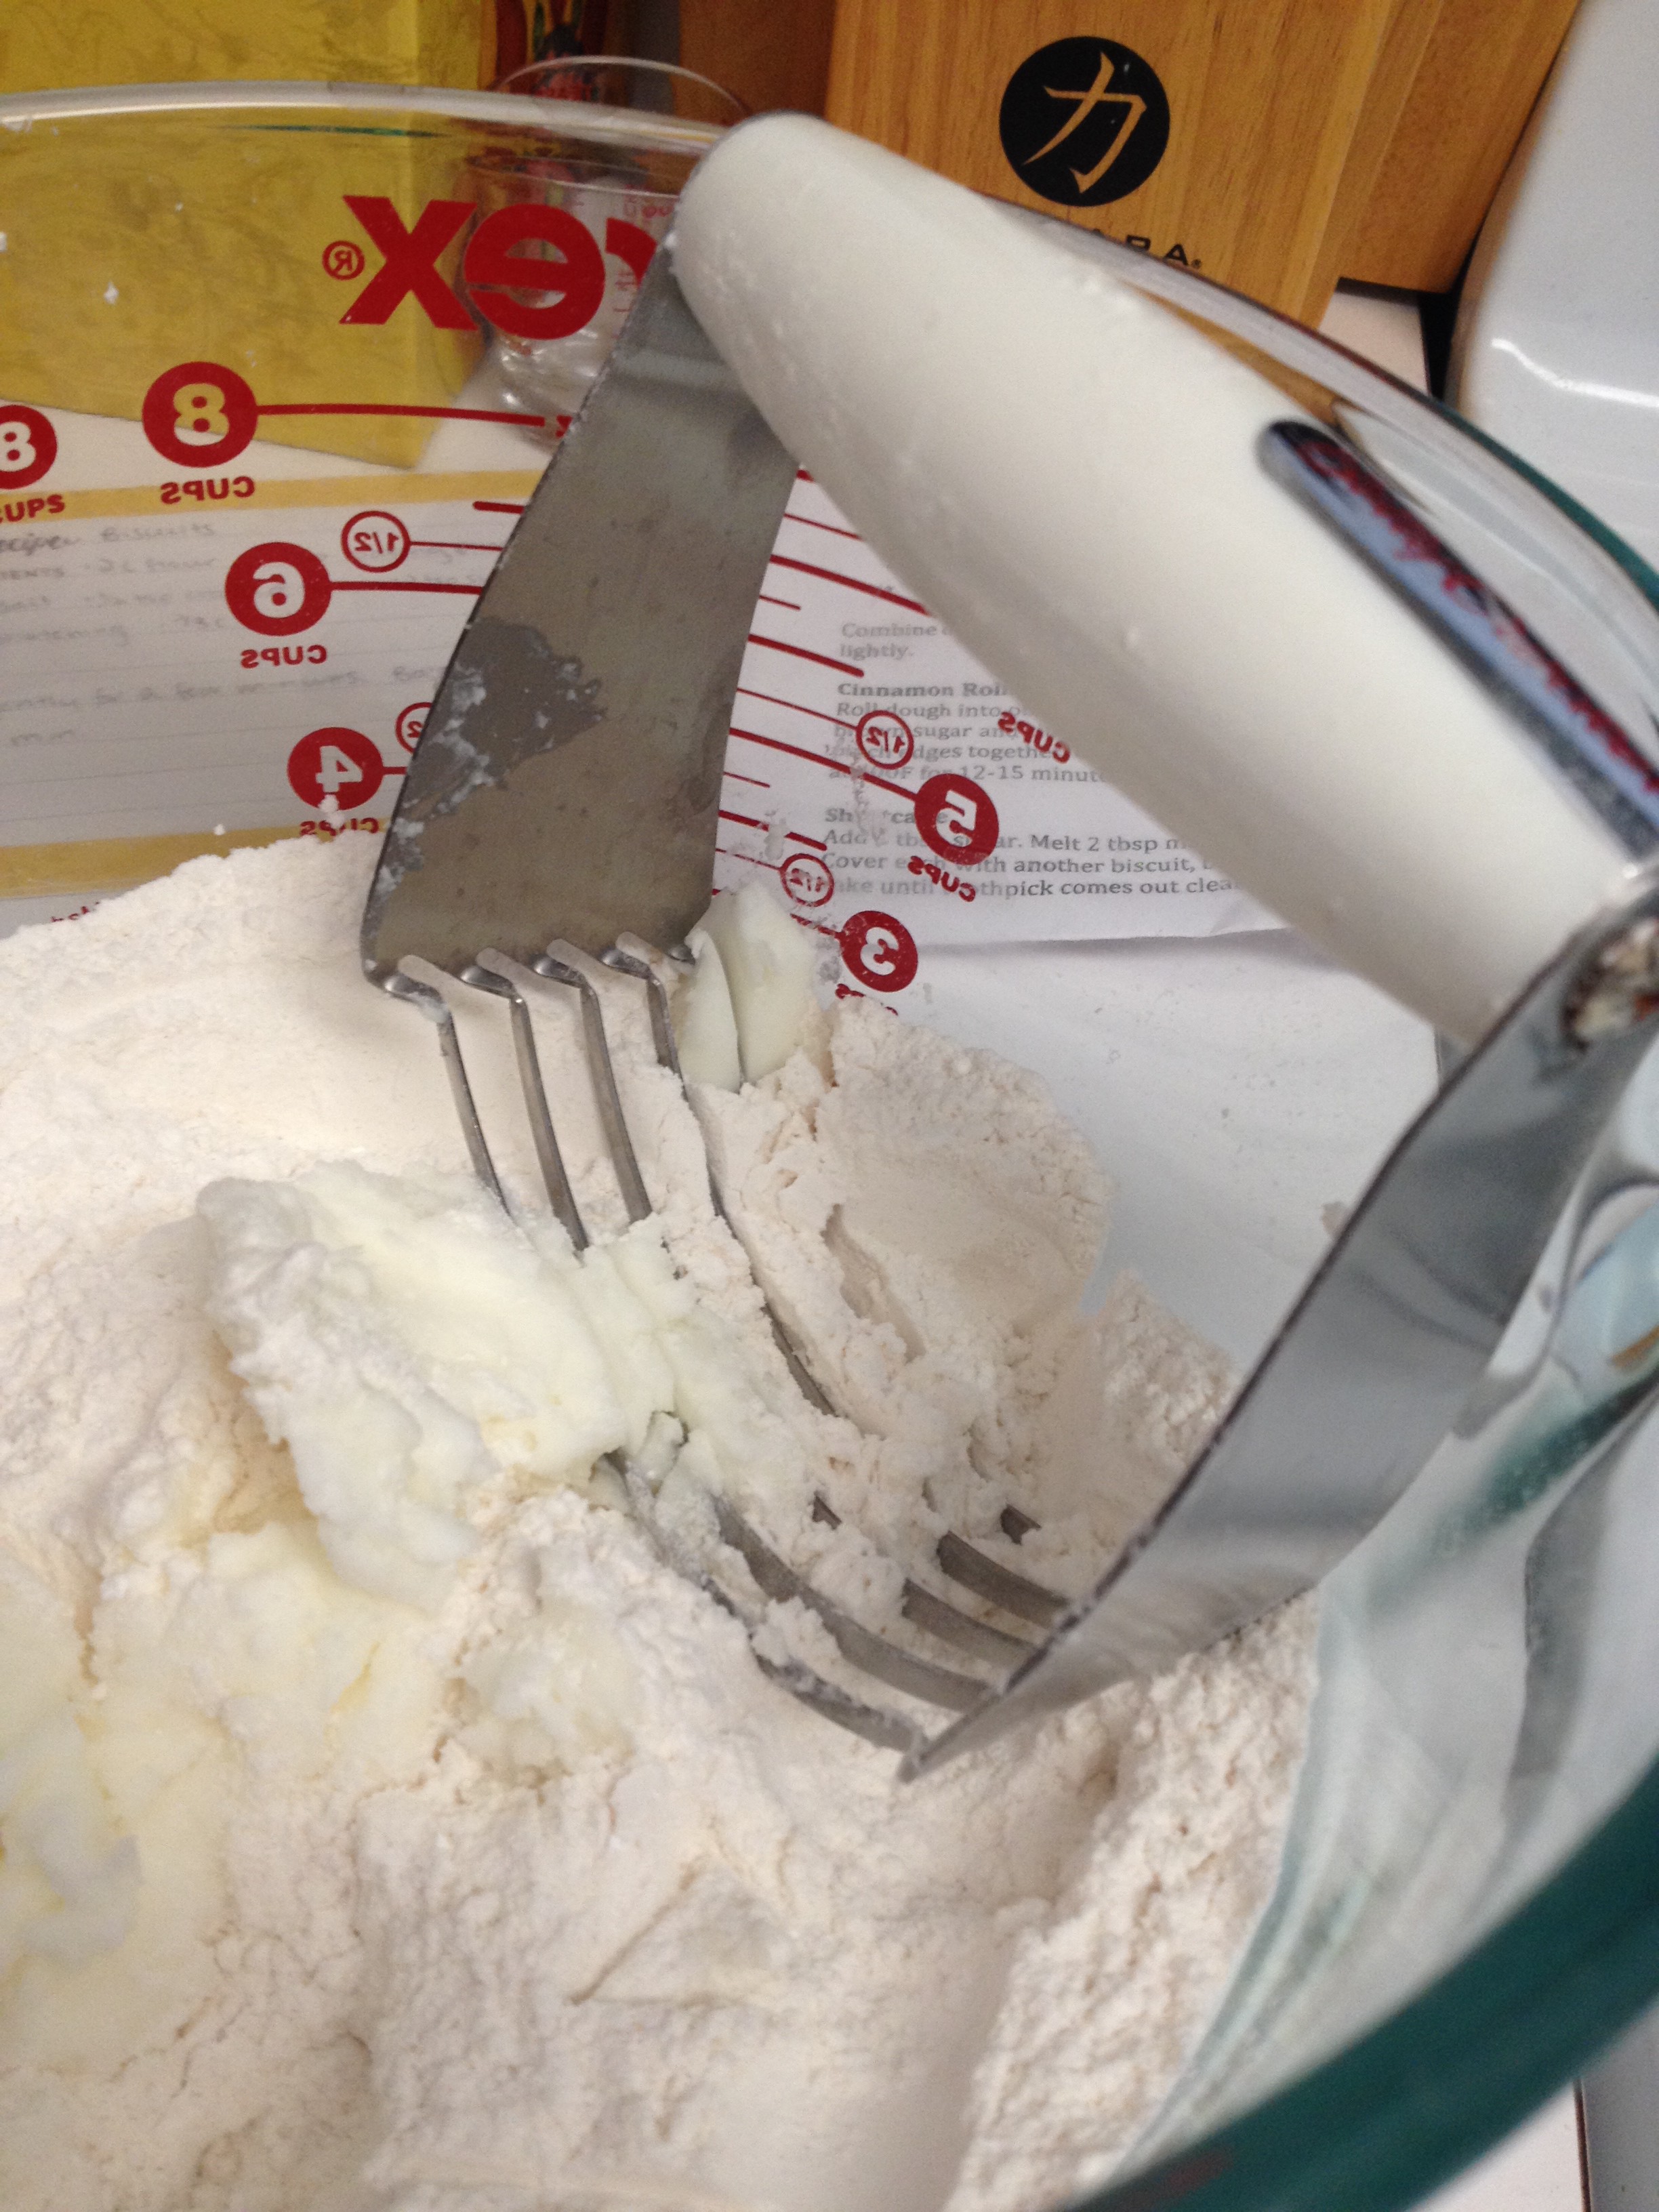
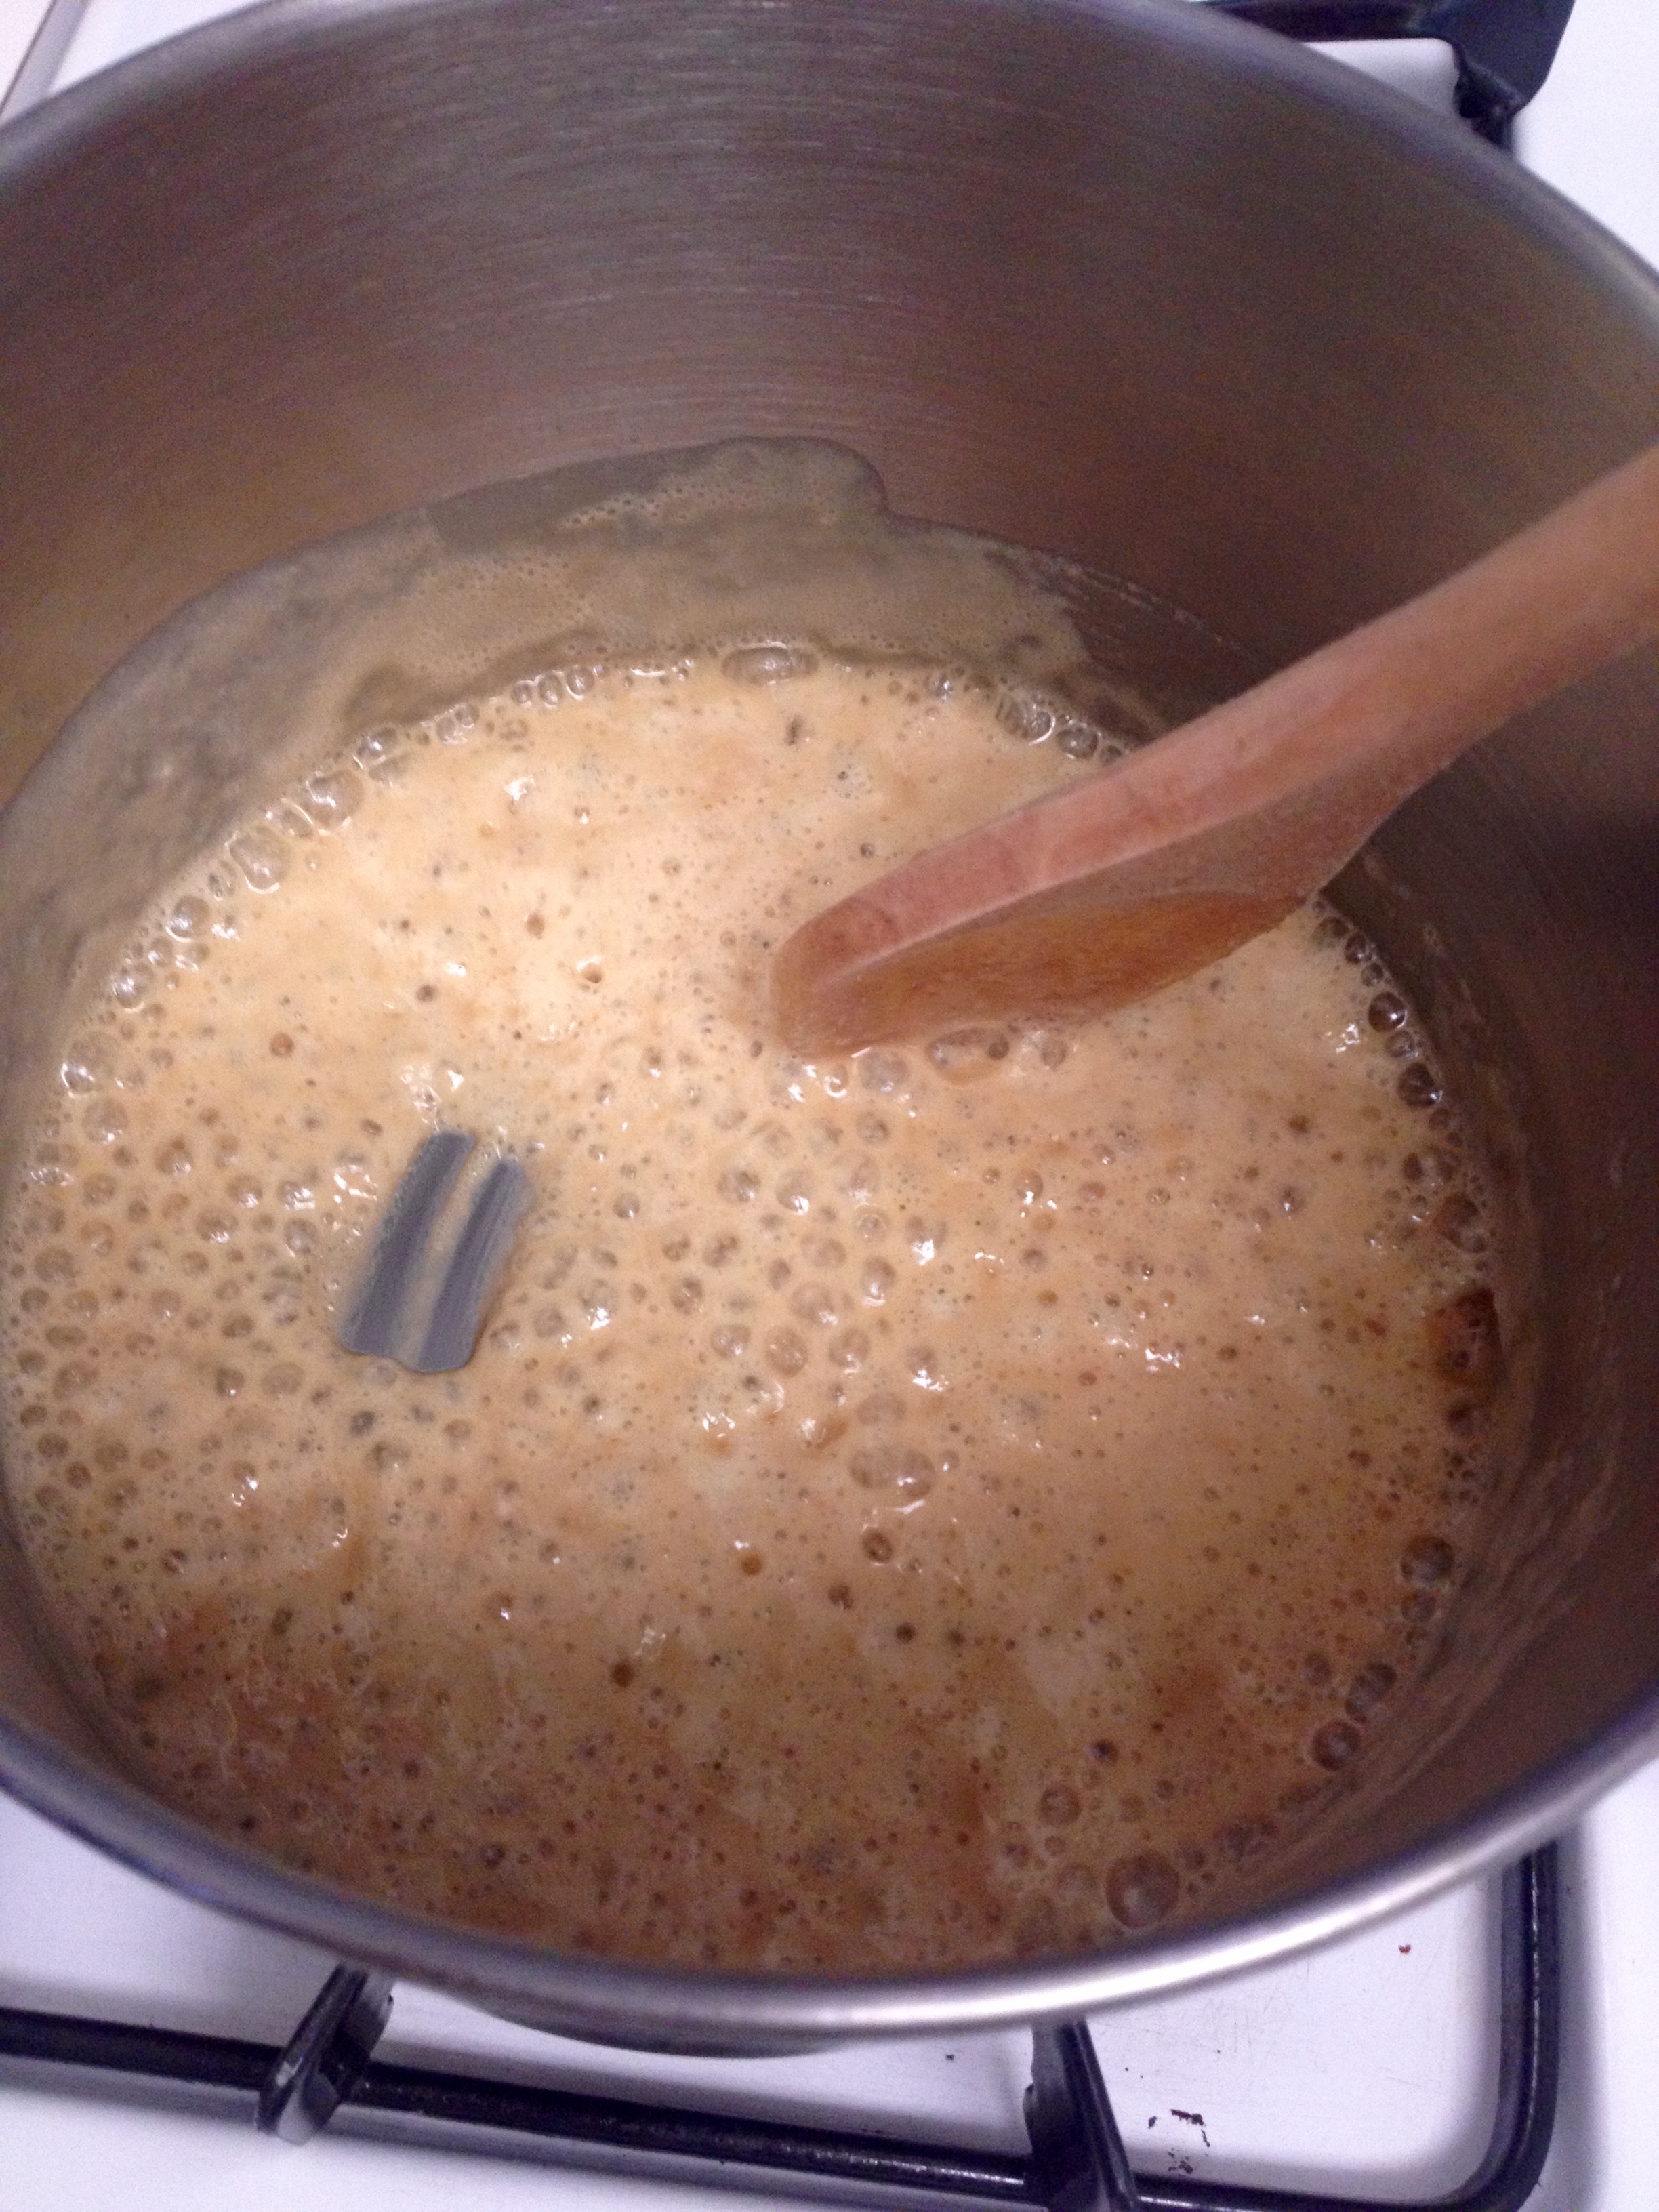
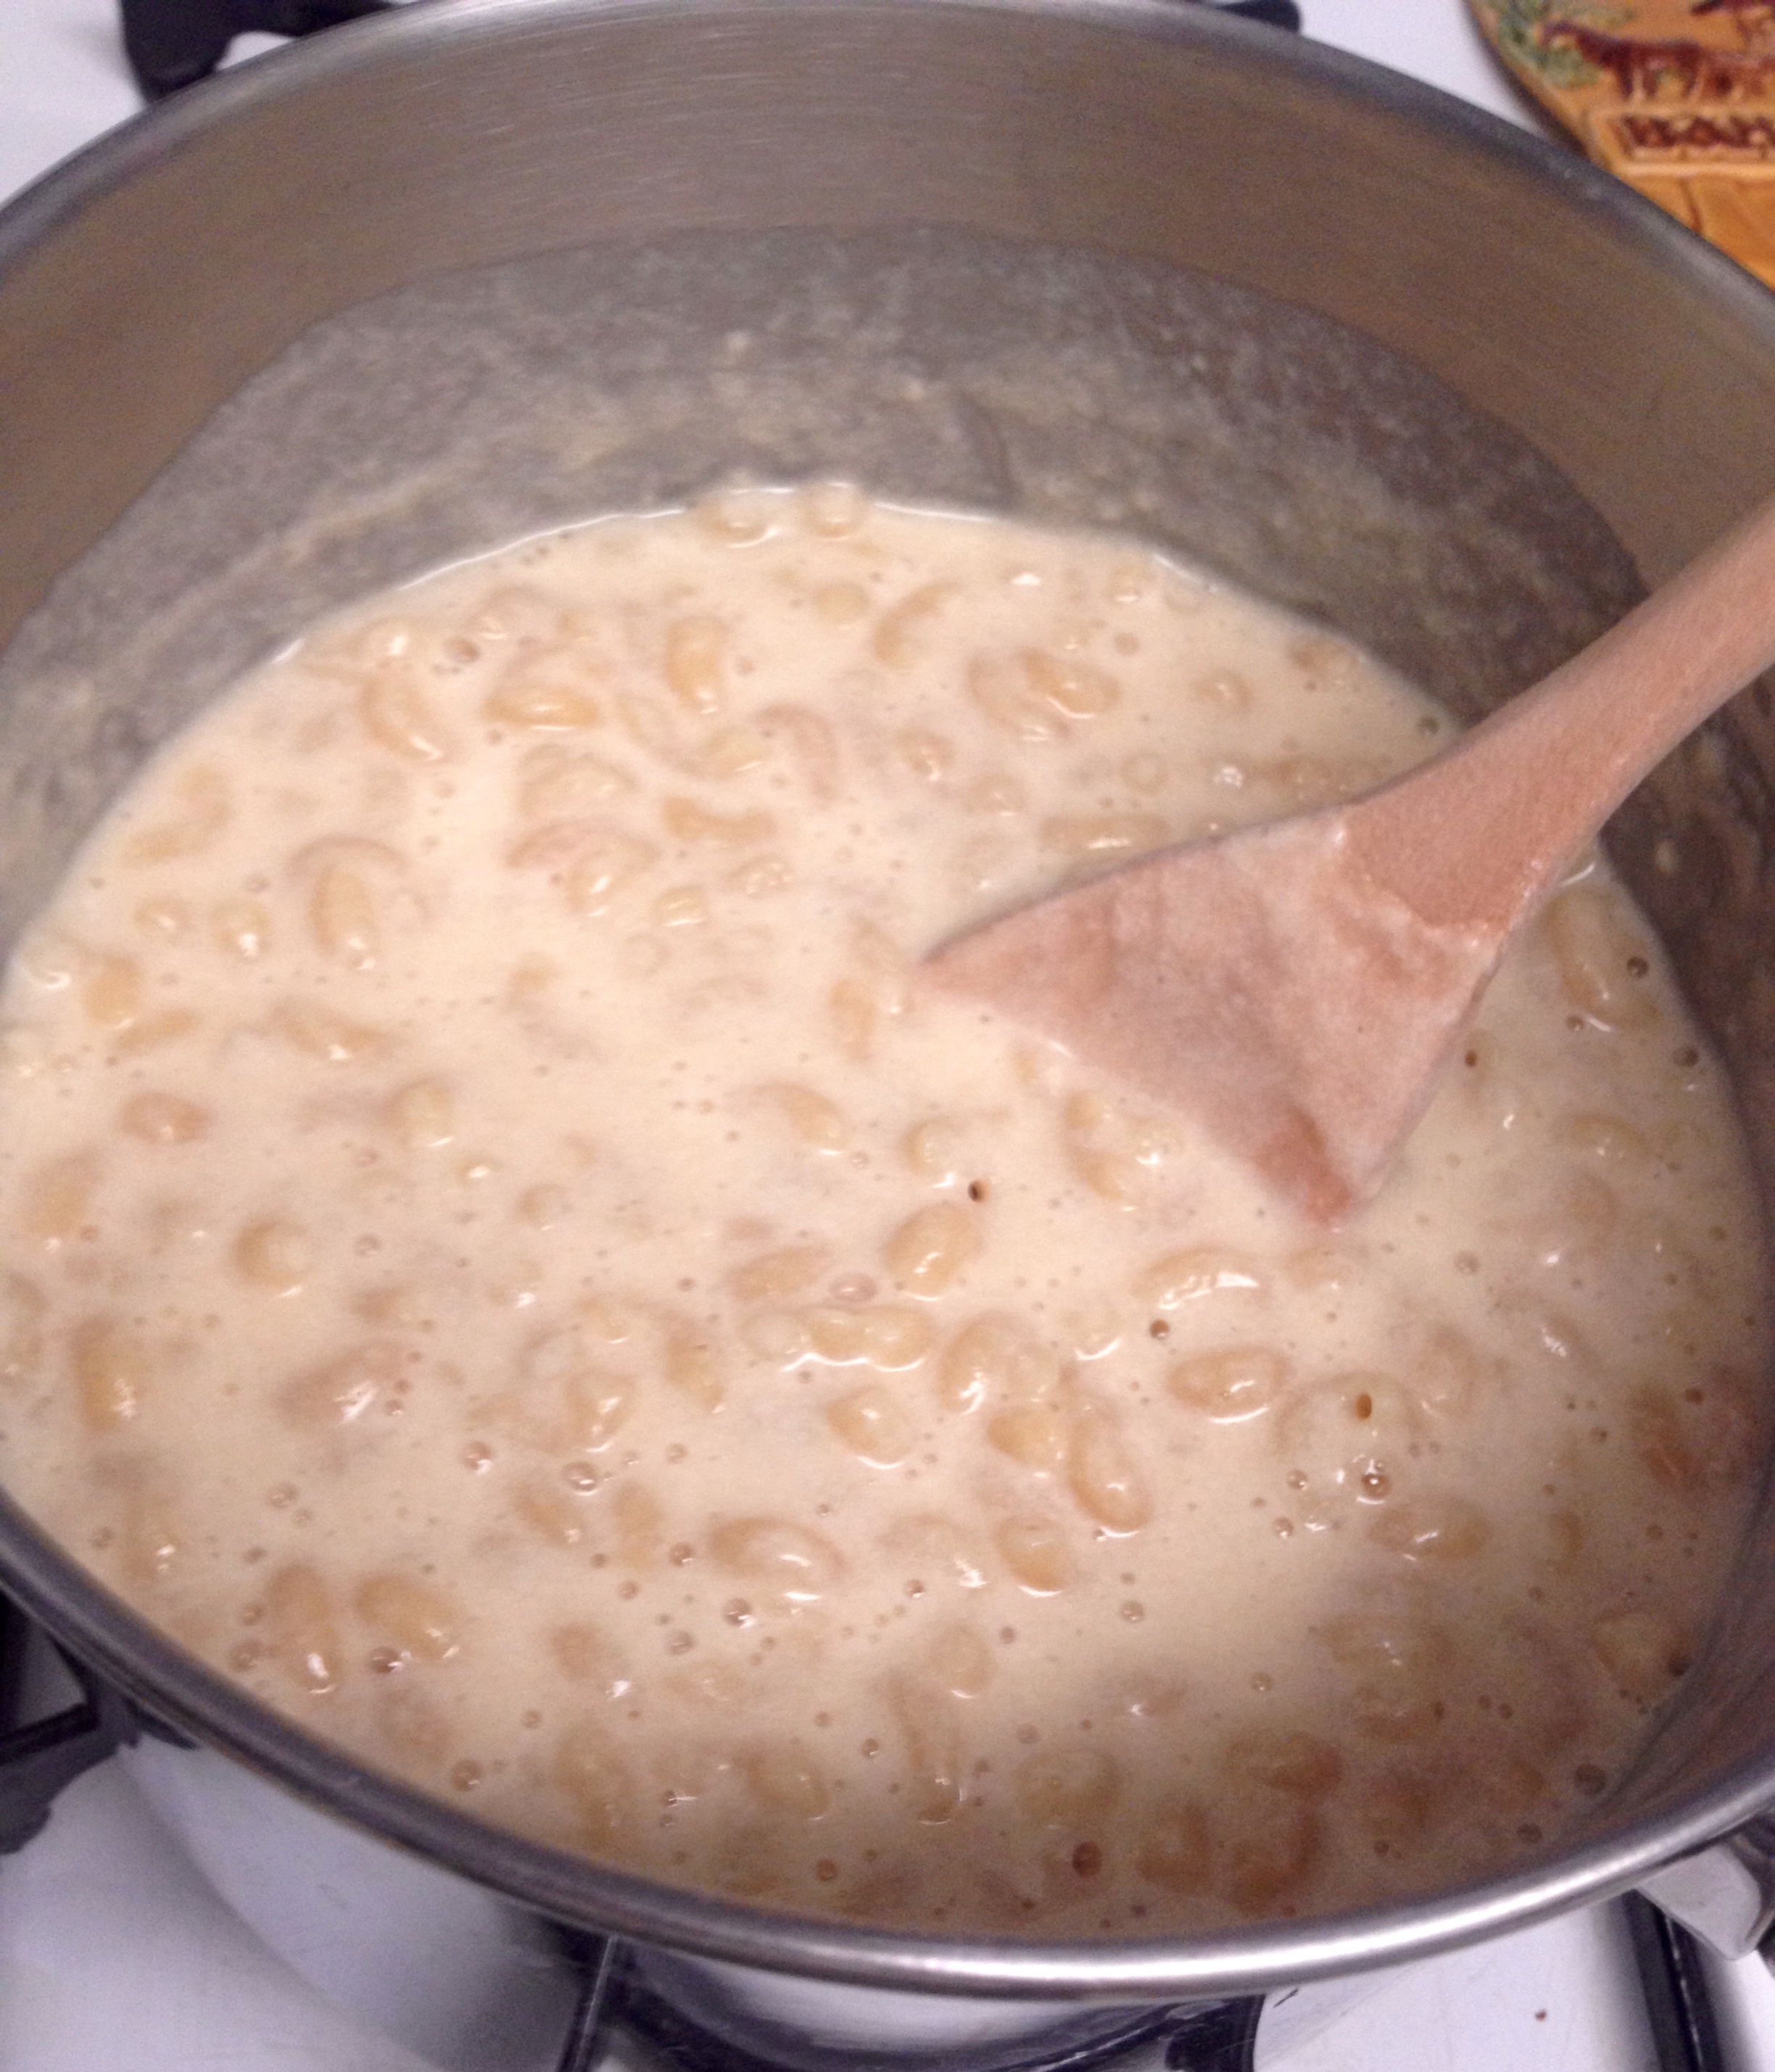
In a pot, melt the butter and sugar together over medium heat until the mixture comes to a boil.

IMG_3809

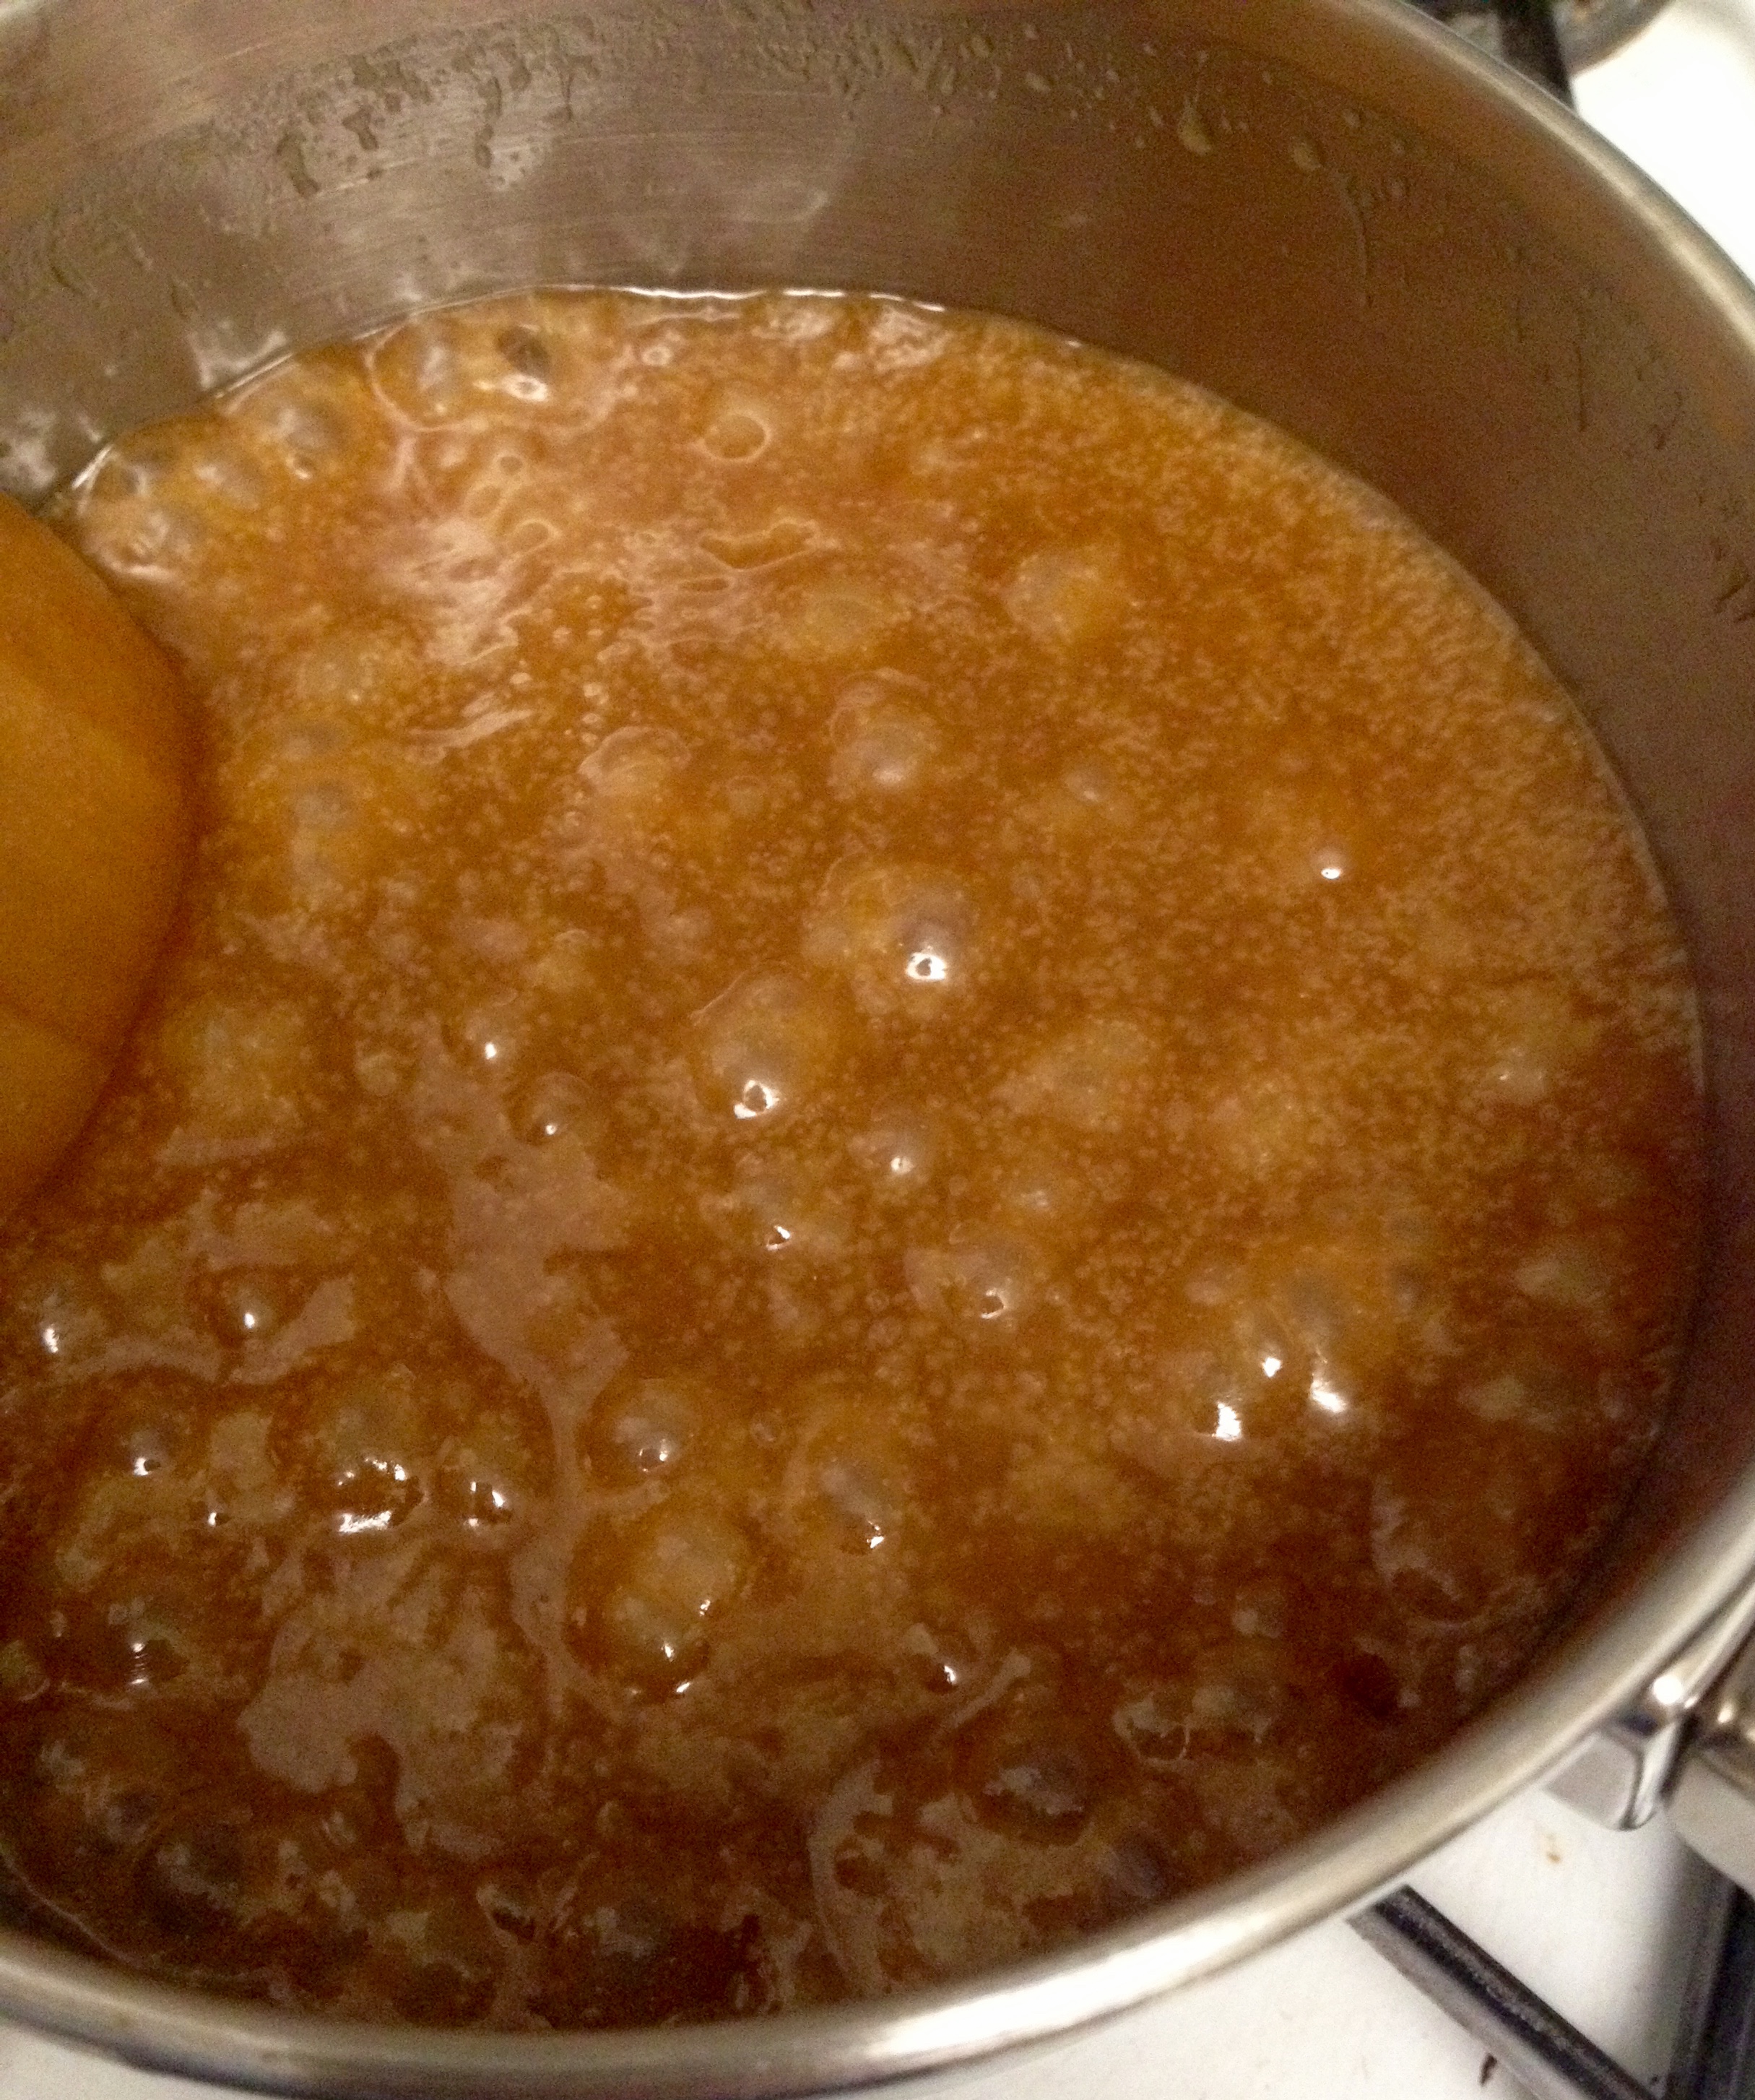
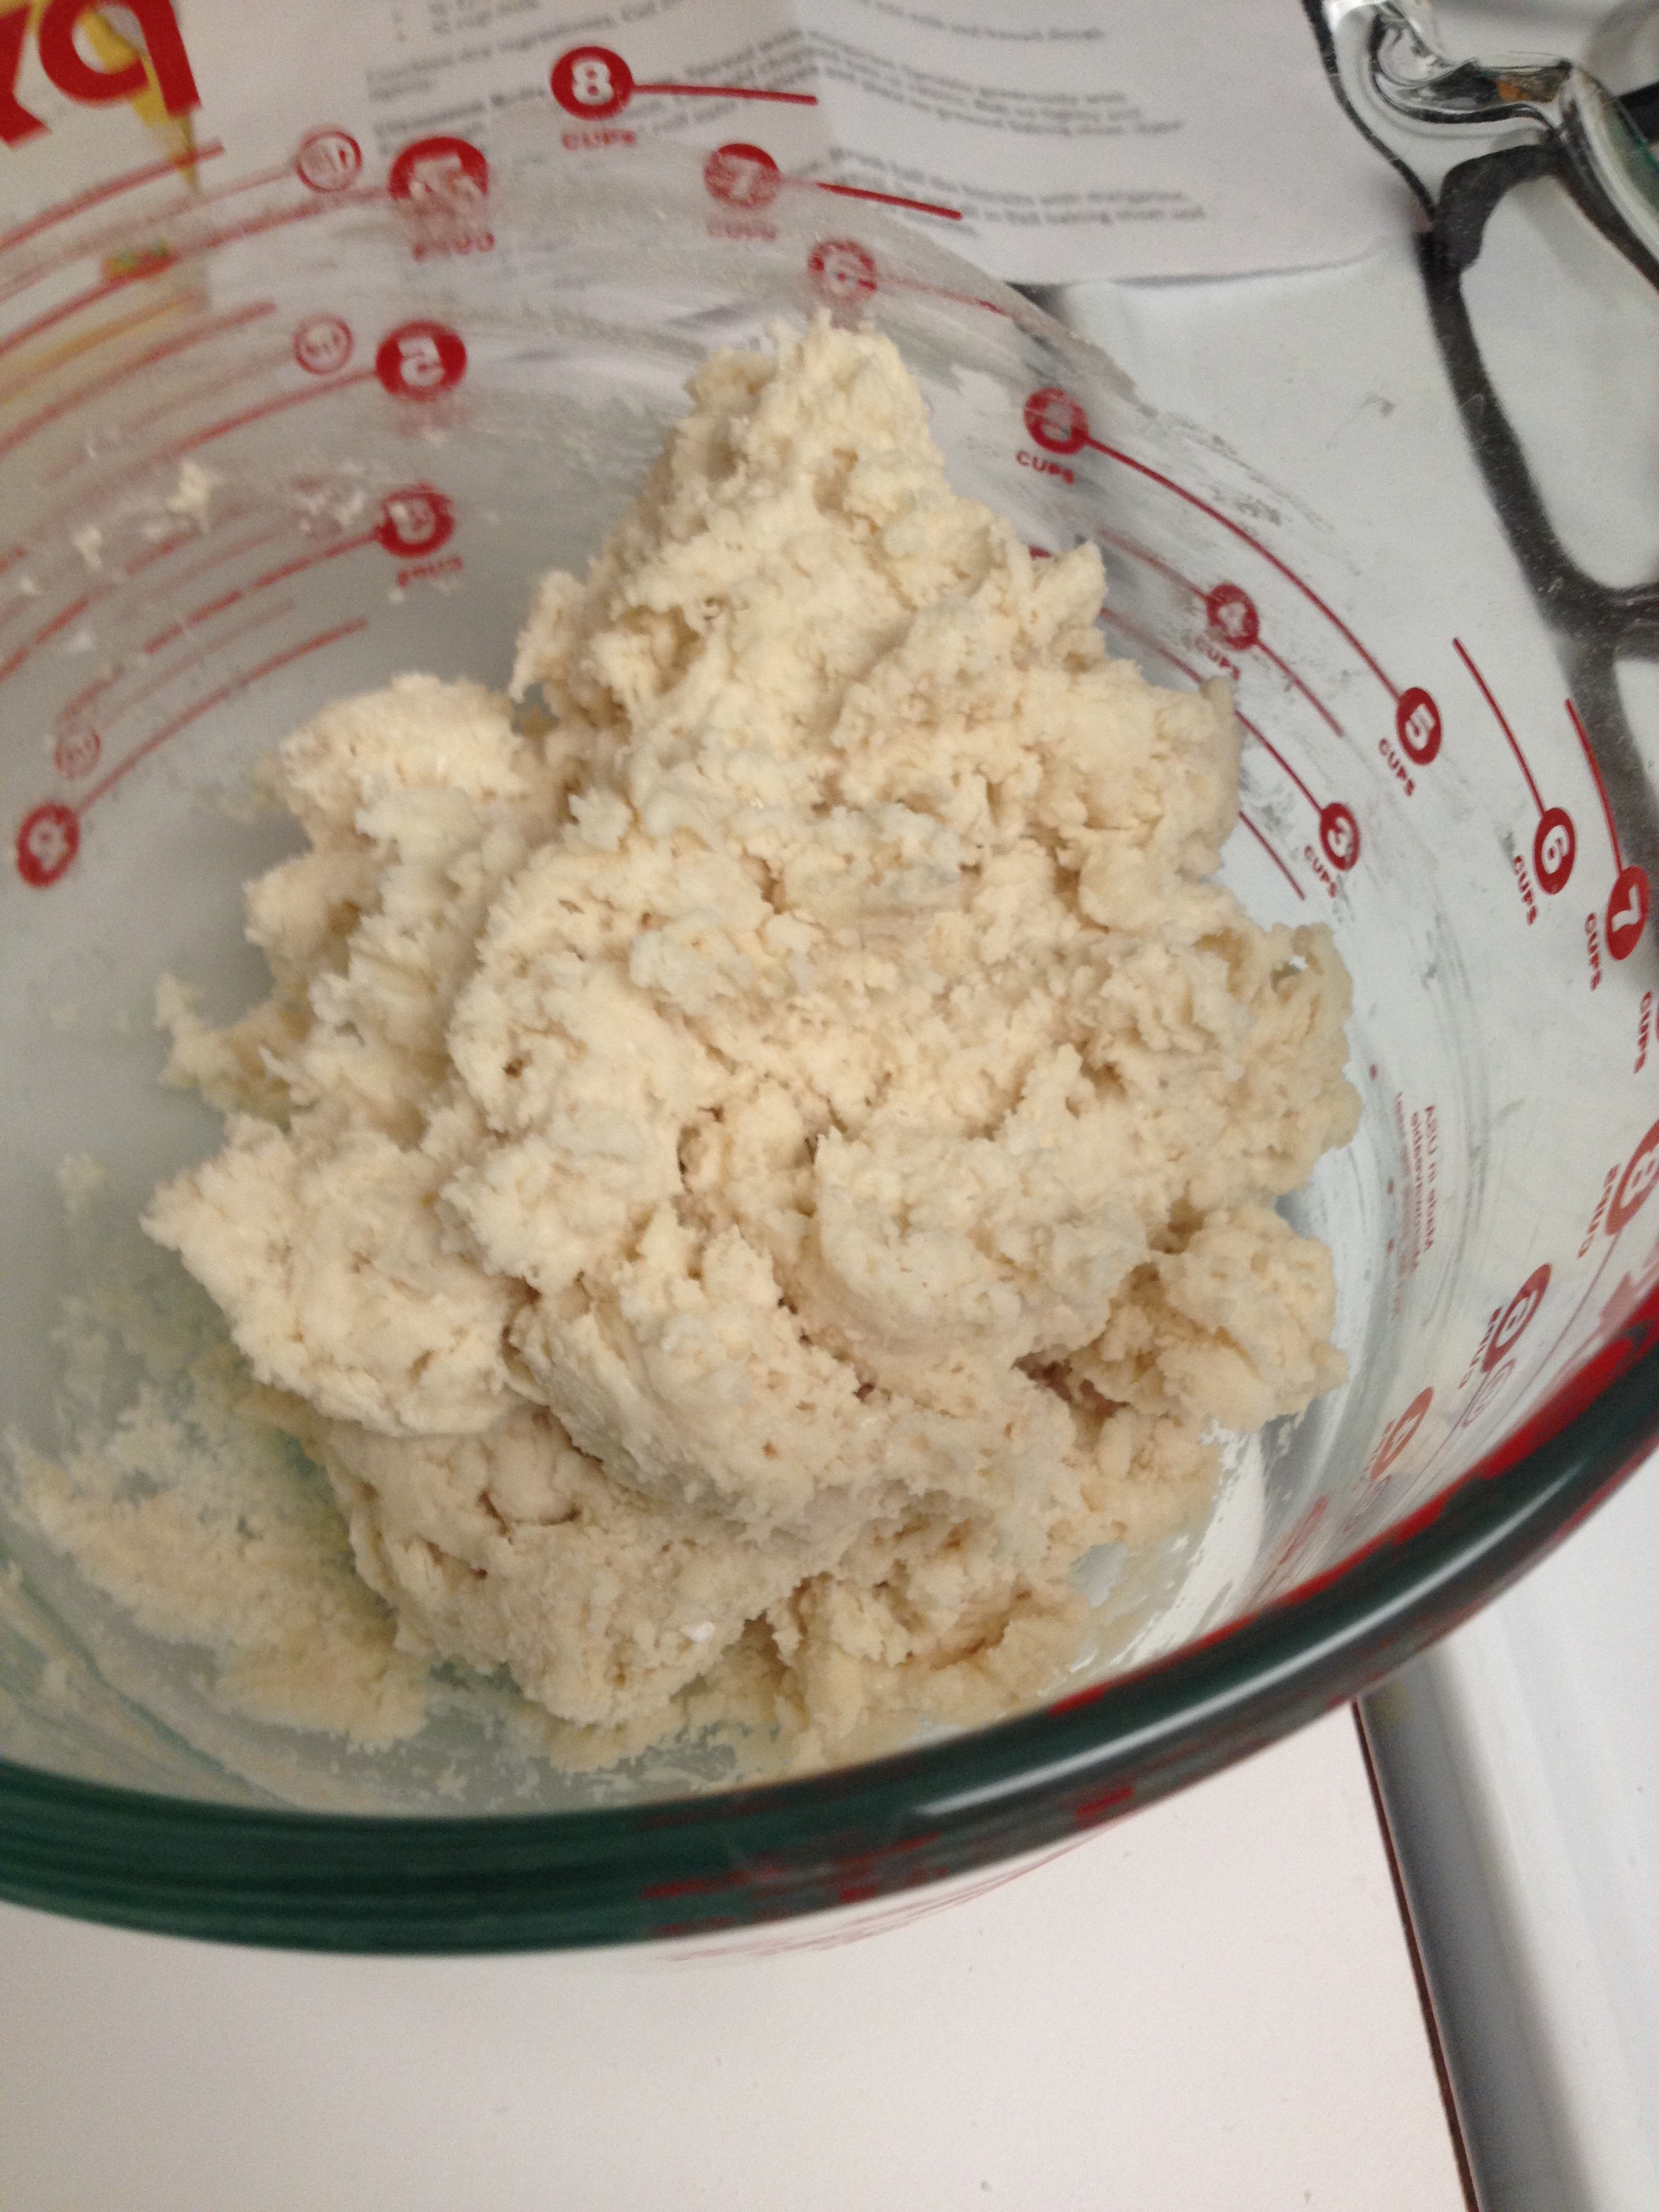
Turn the heat down to a simmer, and continue to stir the mixture for 5 minutes until the mixture thickens.

IMG_3810

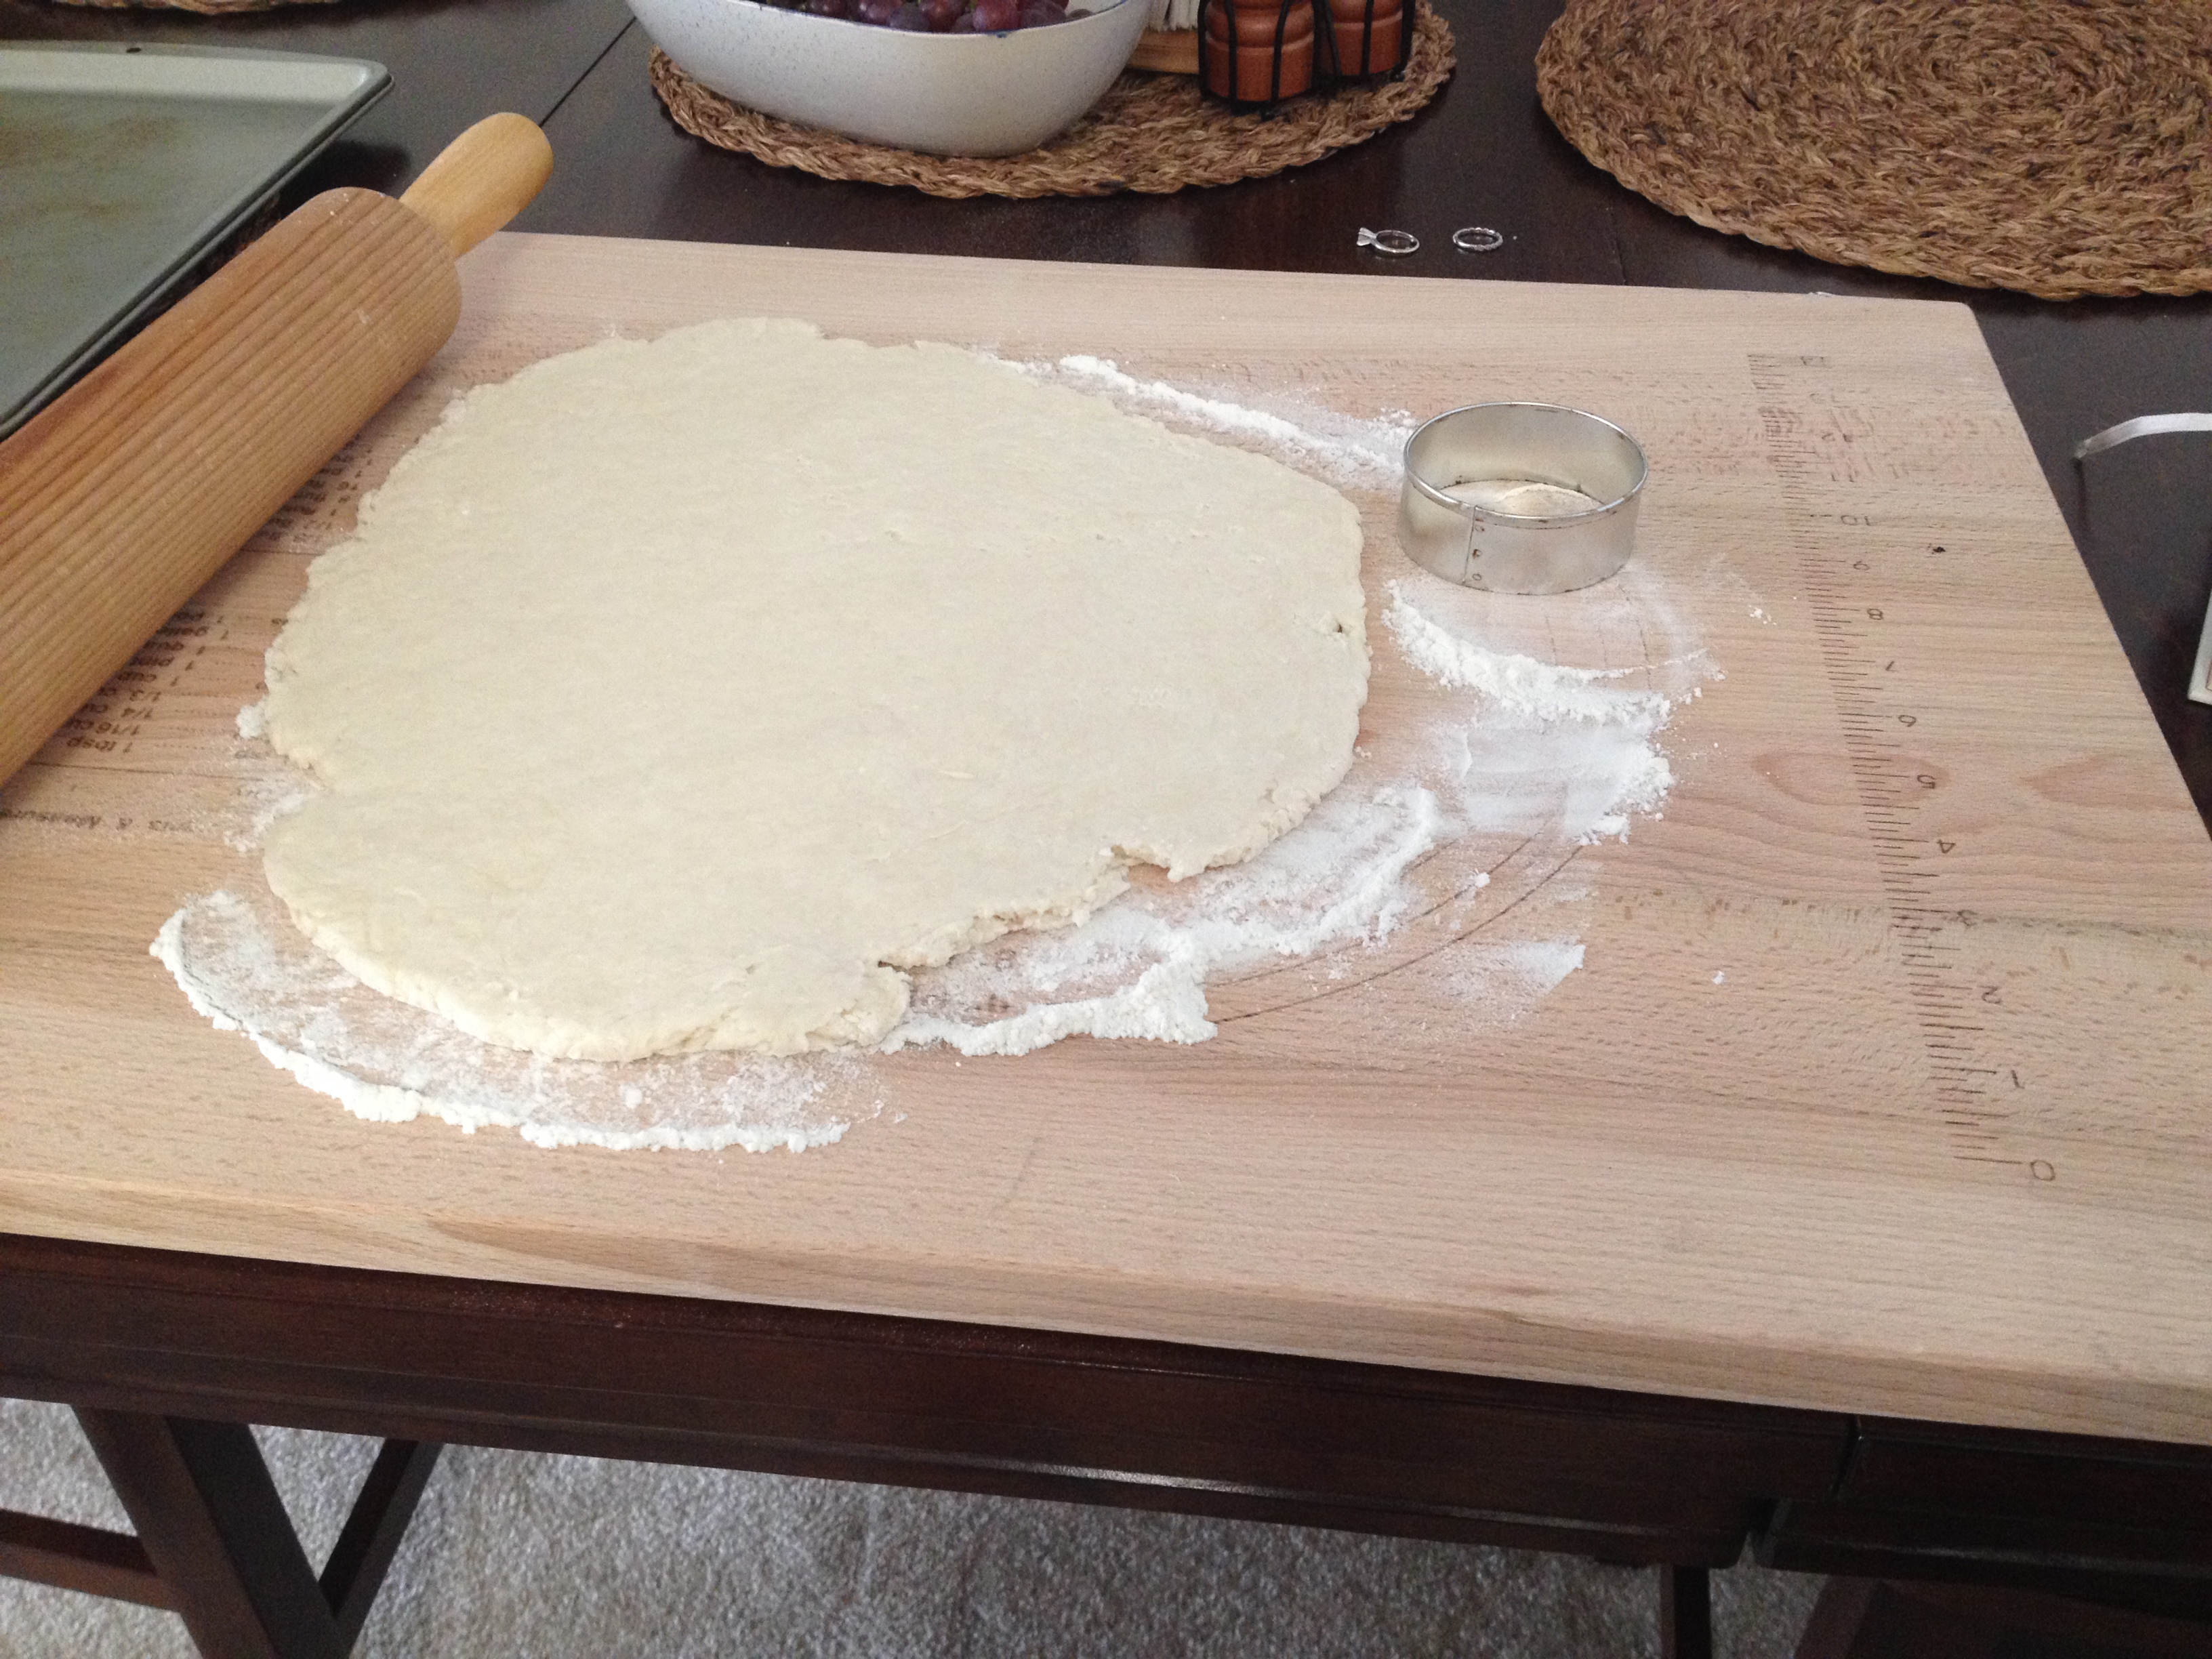
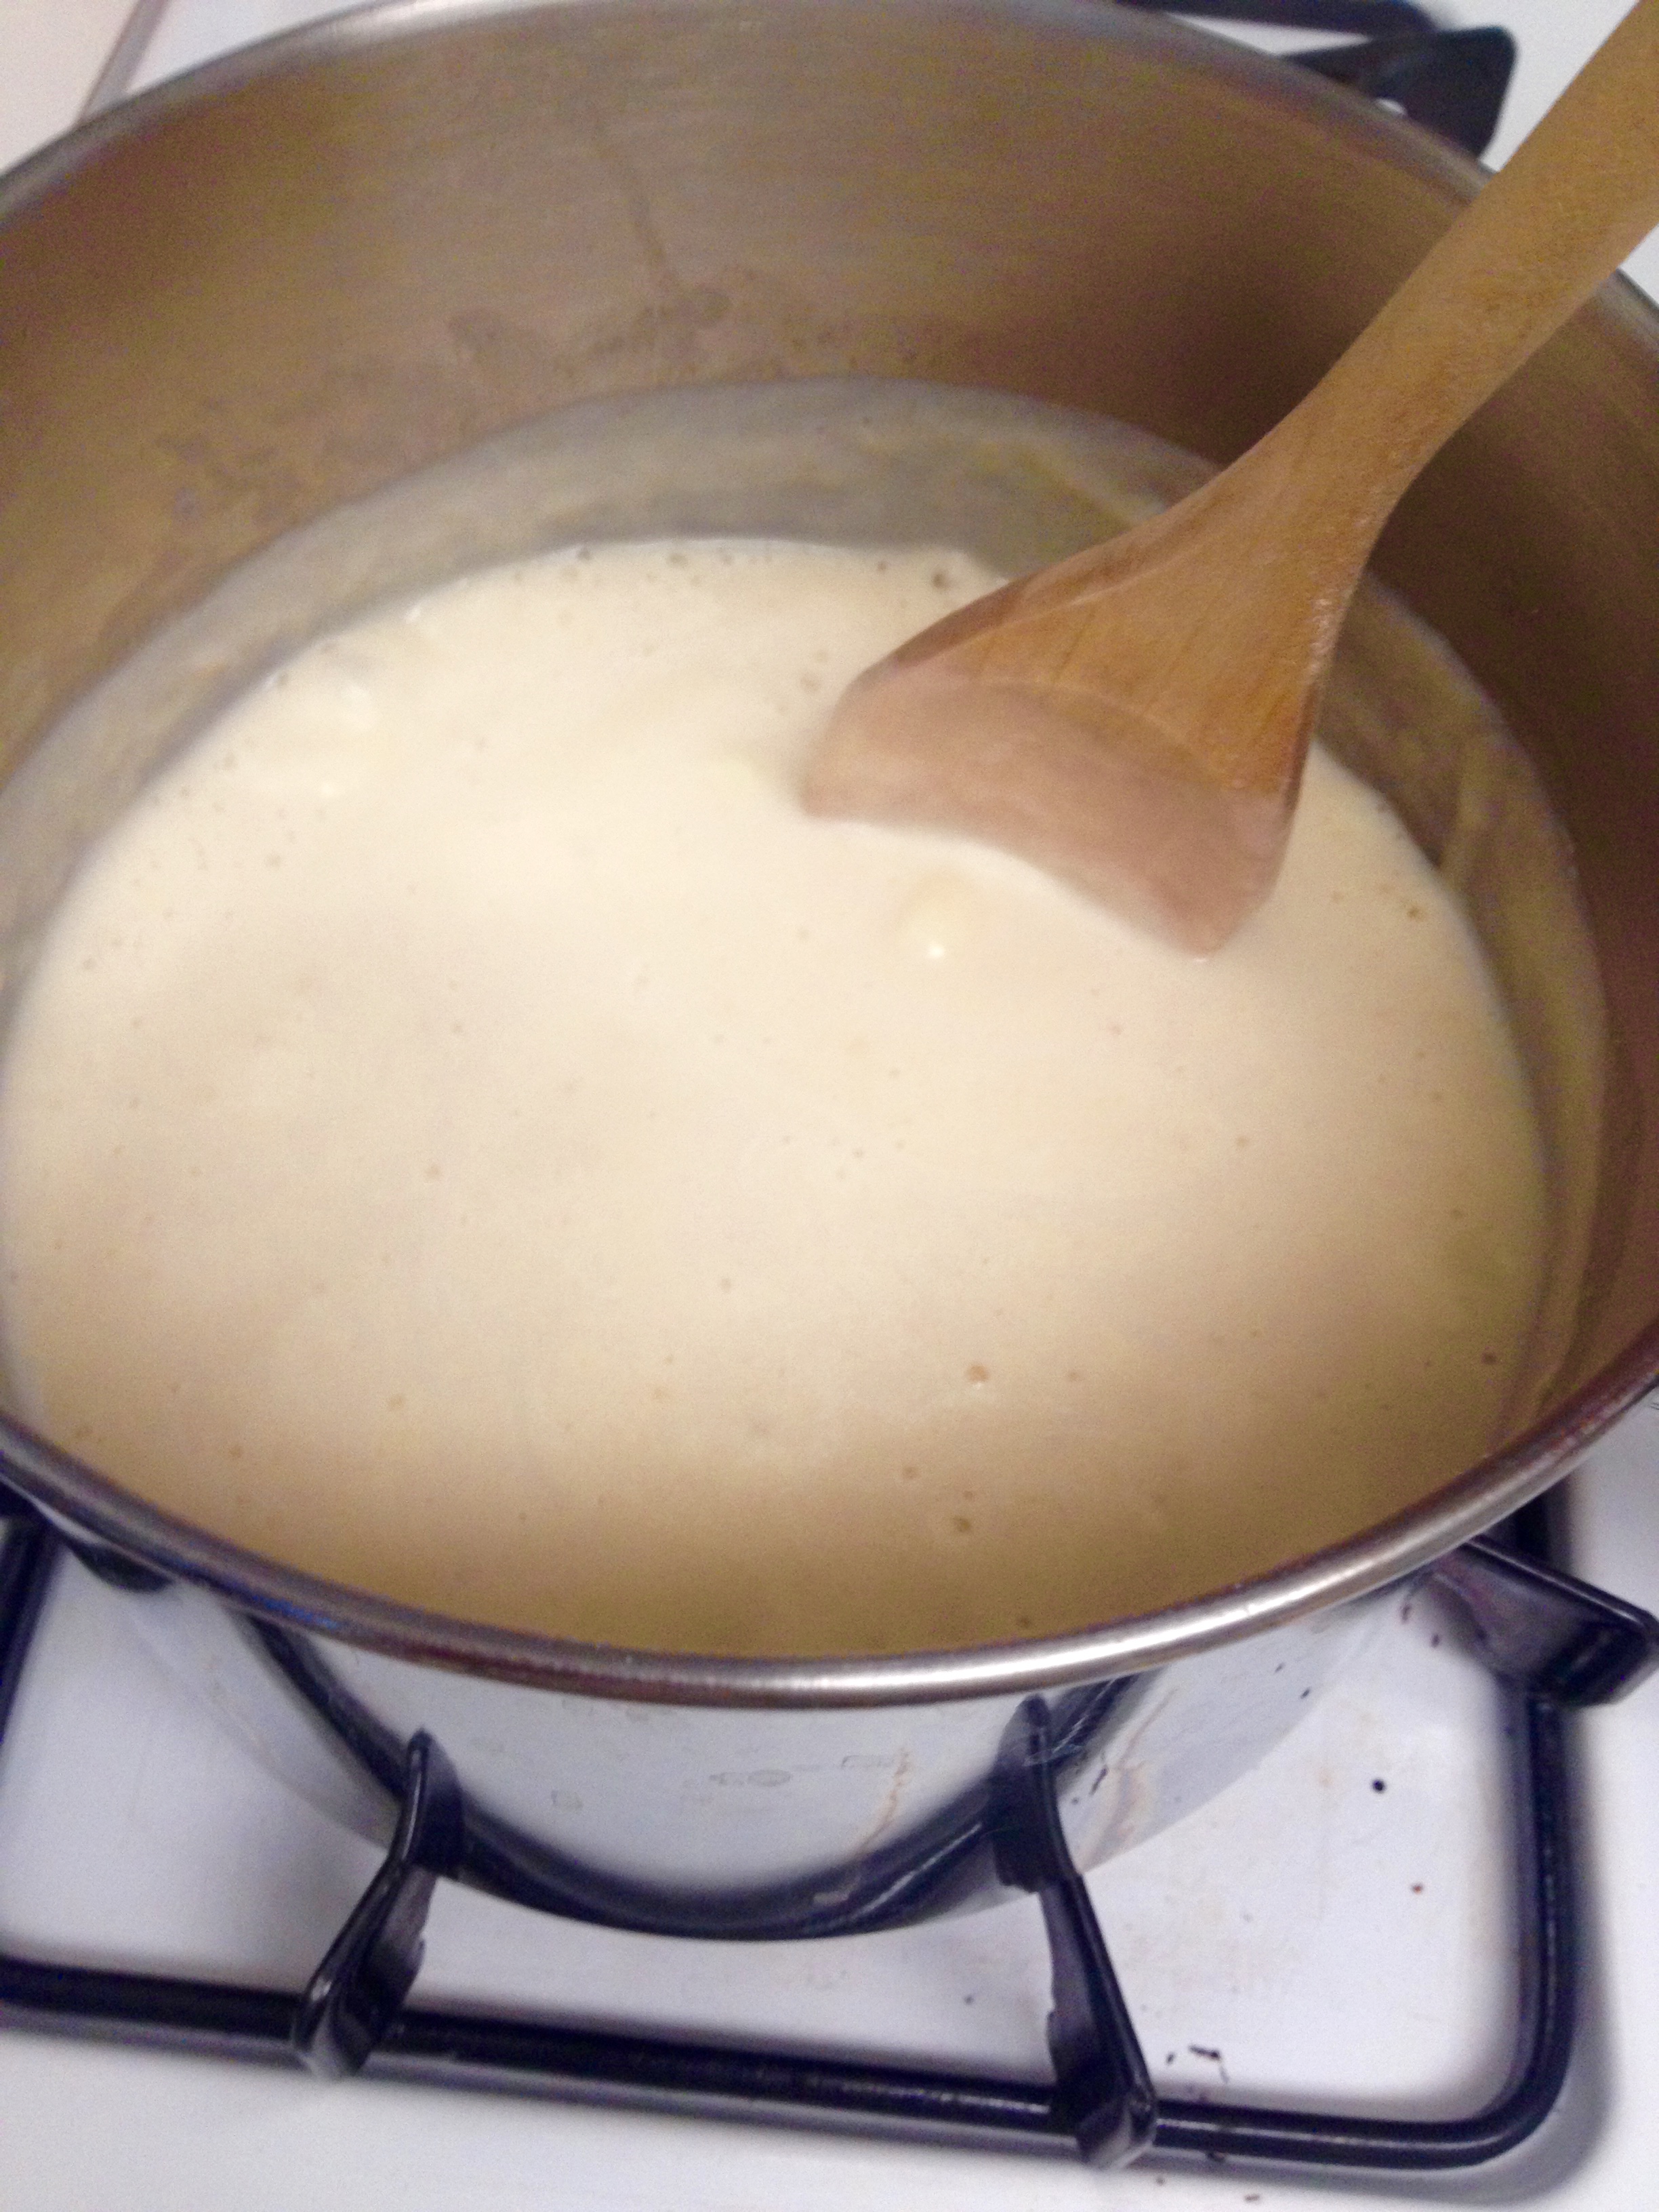
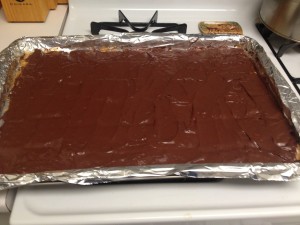
Turn off the heat. Pour the mixture over the saltines and spread into a thin layer.

IMG_3812

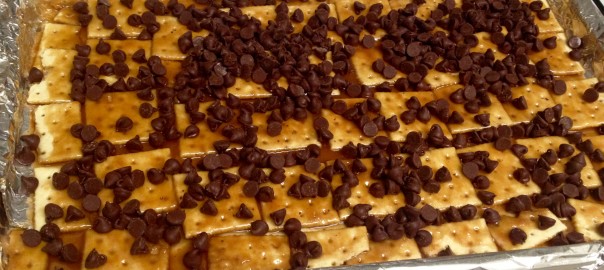
Bake for 8-10 minutes. Let it rest for 3-5 minutes after baking, until the toffee begins to set. Then, sprinkle the chocolate chips over the top. The toffee will still be hot enough that the chocolate will melt and become spreadable. When it melts, spread chocolate into a thin layer, covering all the toffee.

IMG_3813IMG_3814

Refrigerate until the chocolate is hardened. Finally, break the toffee bars into small pieces and refrigerate until you are ready to eat them! These were a huge hit at the family party, and I will definitely be making them again. On to the beans, now!

Aunt Sadie’s Baked Beans:

Ingredients:

  • Two 15oz cans of pork and beans
  • 3/4 cup light brown sugar
  • 1 tbsp yellow mustard (the recipe calls for 1 tsp dry mustard, but Aunt Sadie wrote “I use regular mustard” next to this line- so regular mustard it is!)
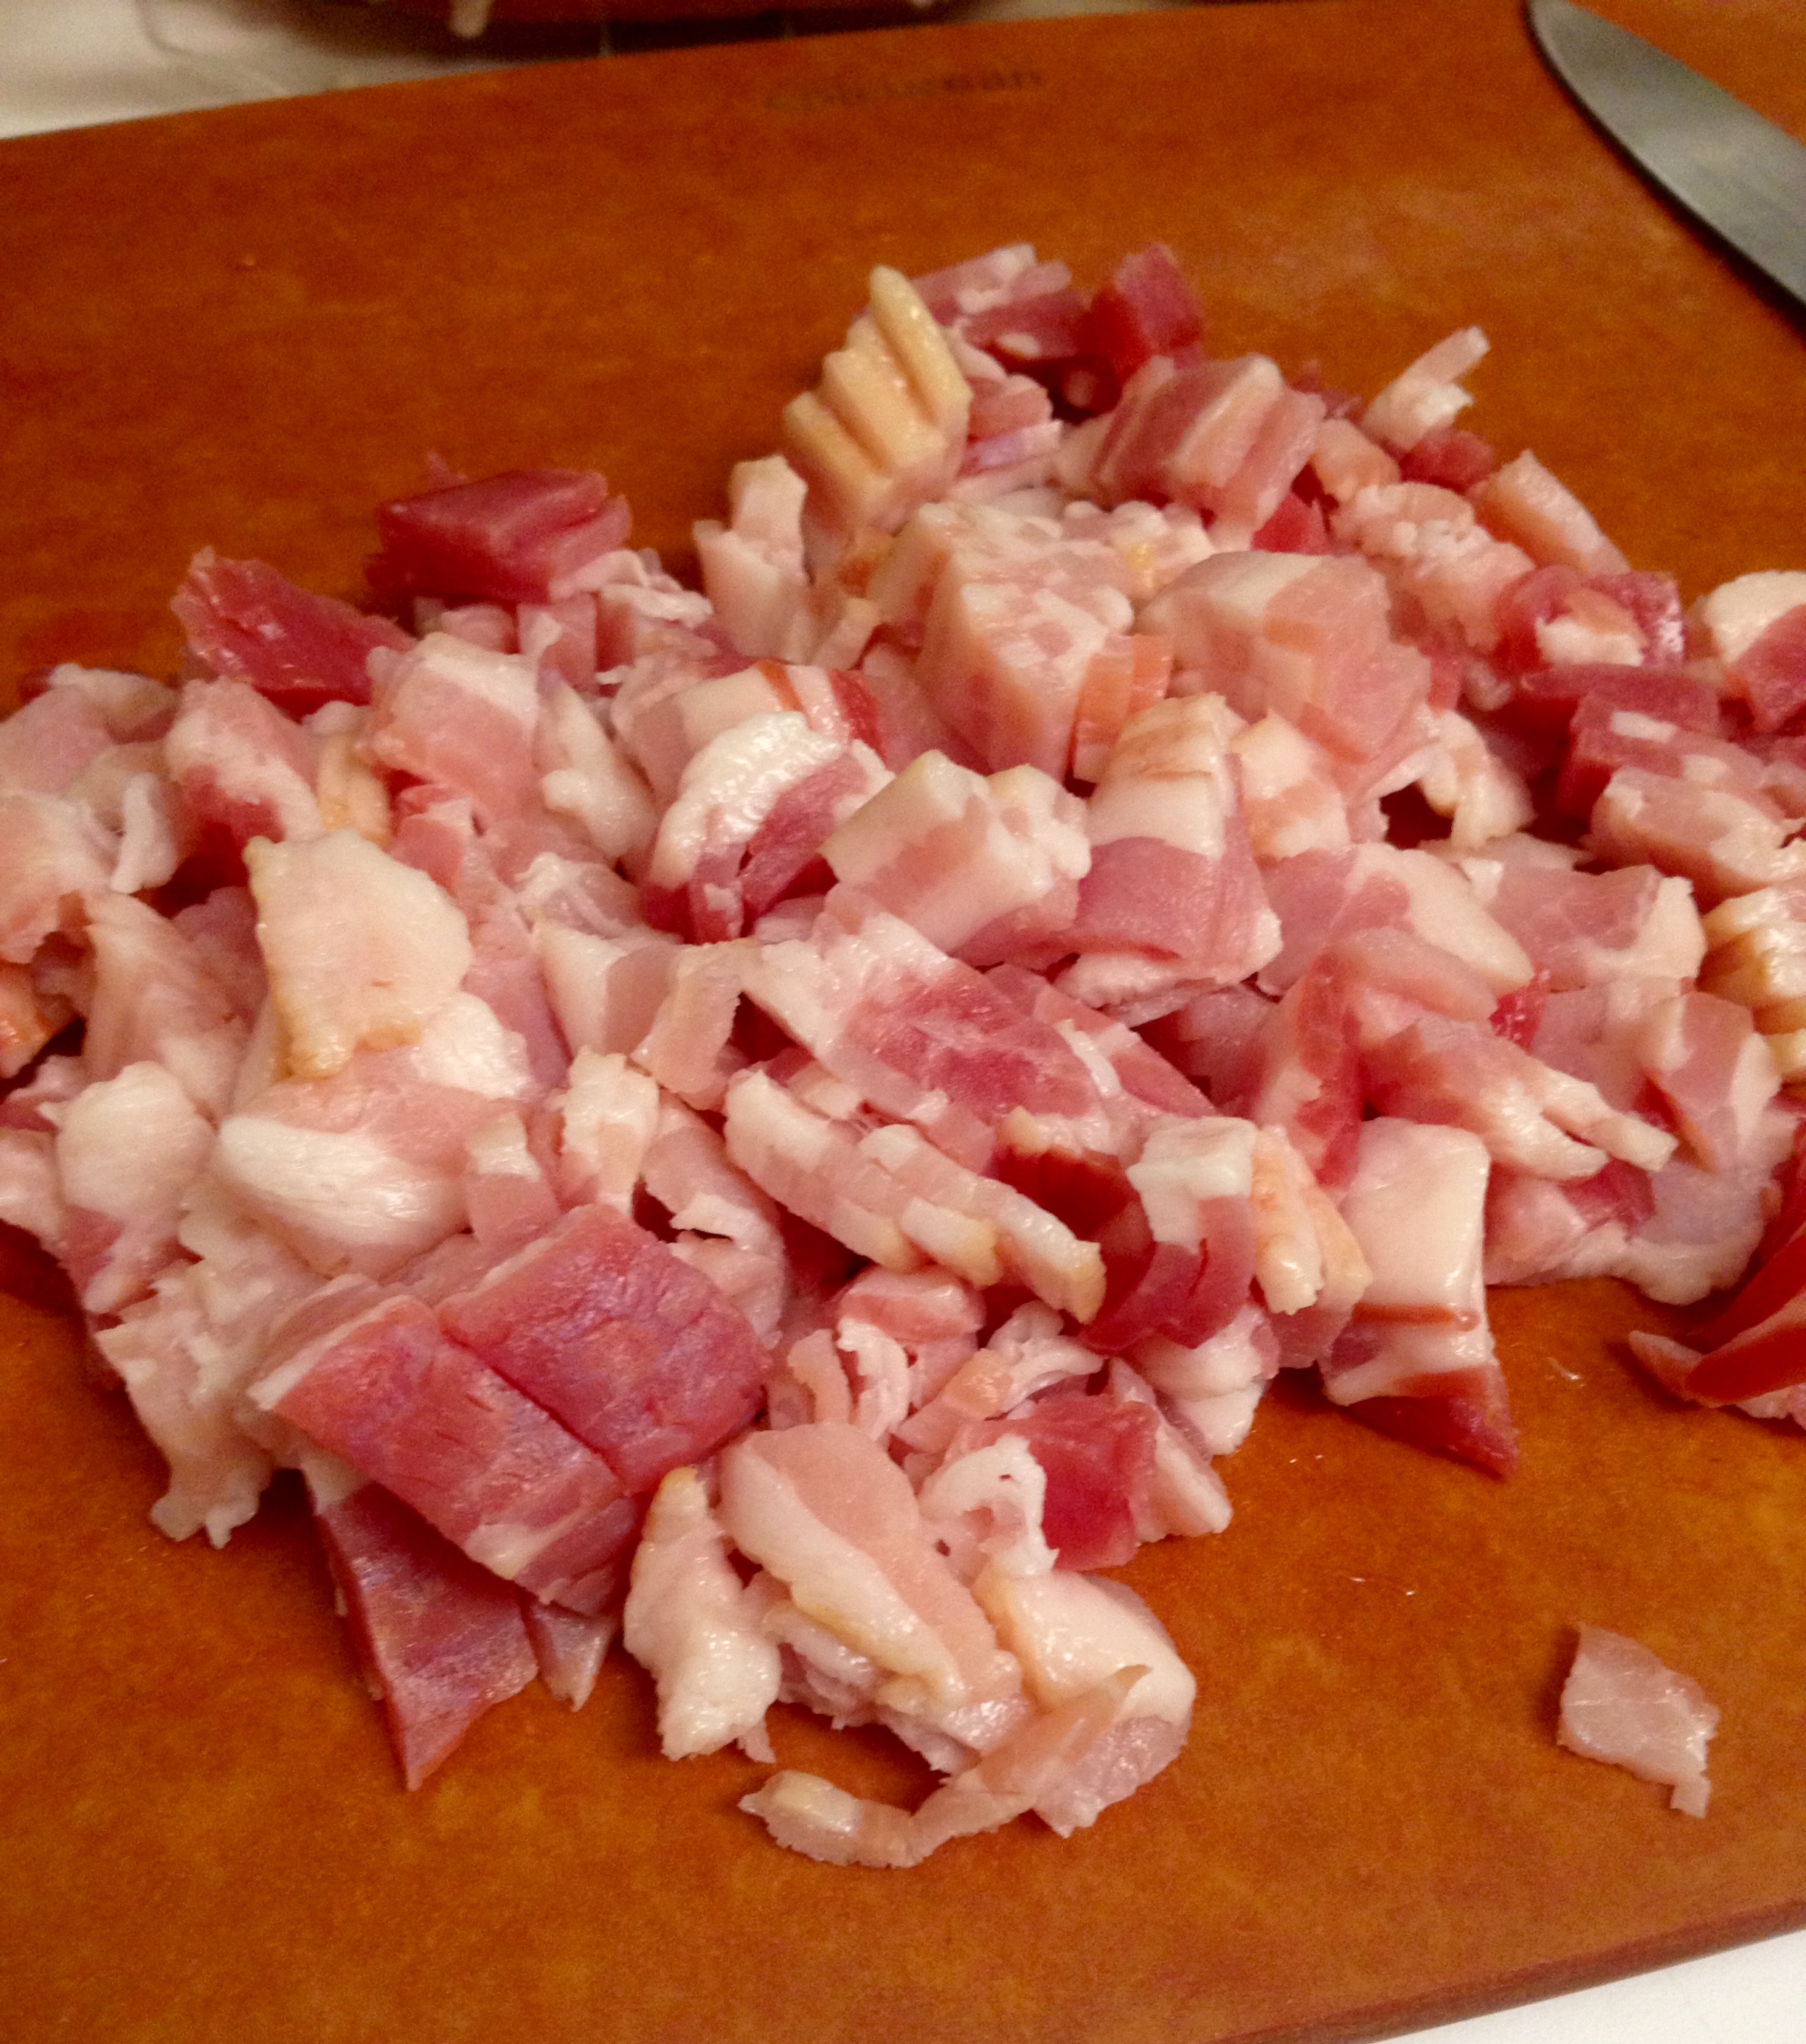
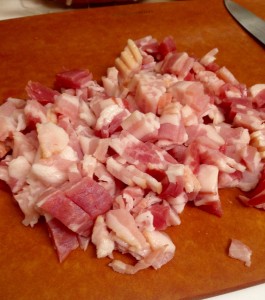
  • 6 slices bacon, chopped (I used 8)
  • 1/2 cup ketchup

I will start by saying this was a bit of a trial run on the beans. I had never made them before, and Aunt Sadie’s recipe has a few edits that made the dish a little difficult to be specific with. They came out well, though, so all’s well that ends well! I suppose the easiest way for me to write this is to write her exact wording, and then put in my personal touches. Here goes:

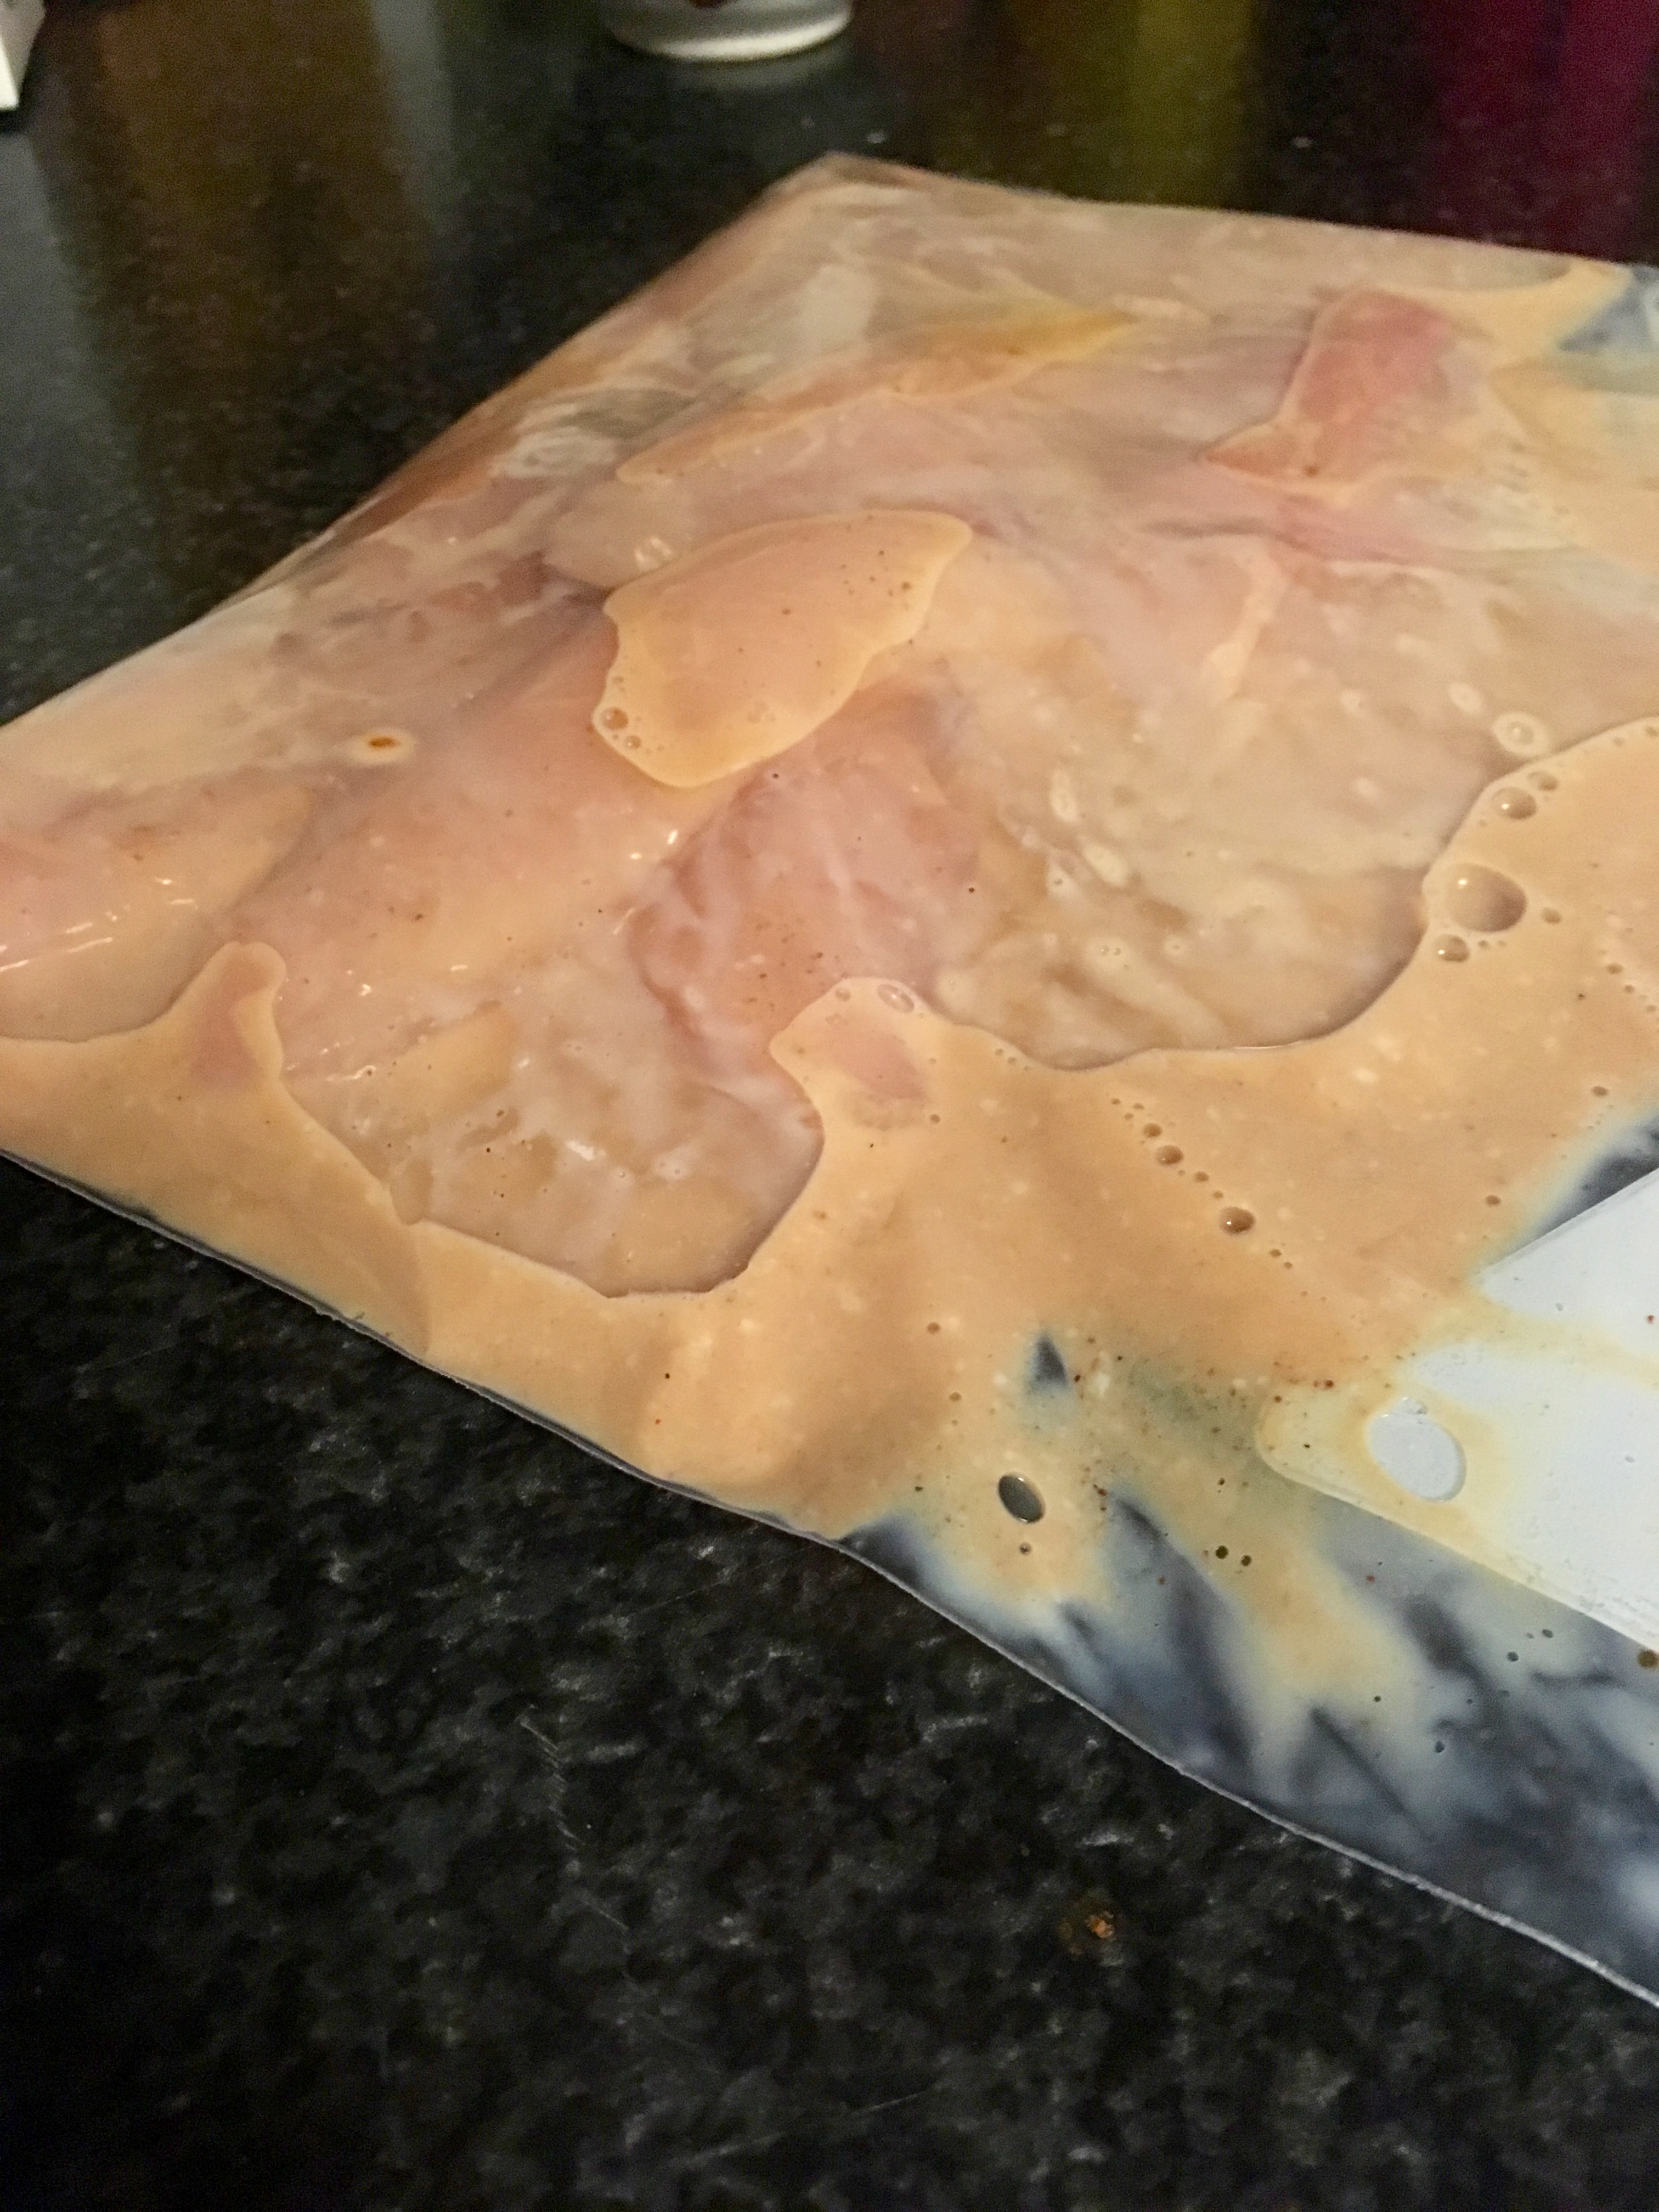
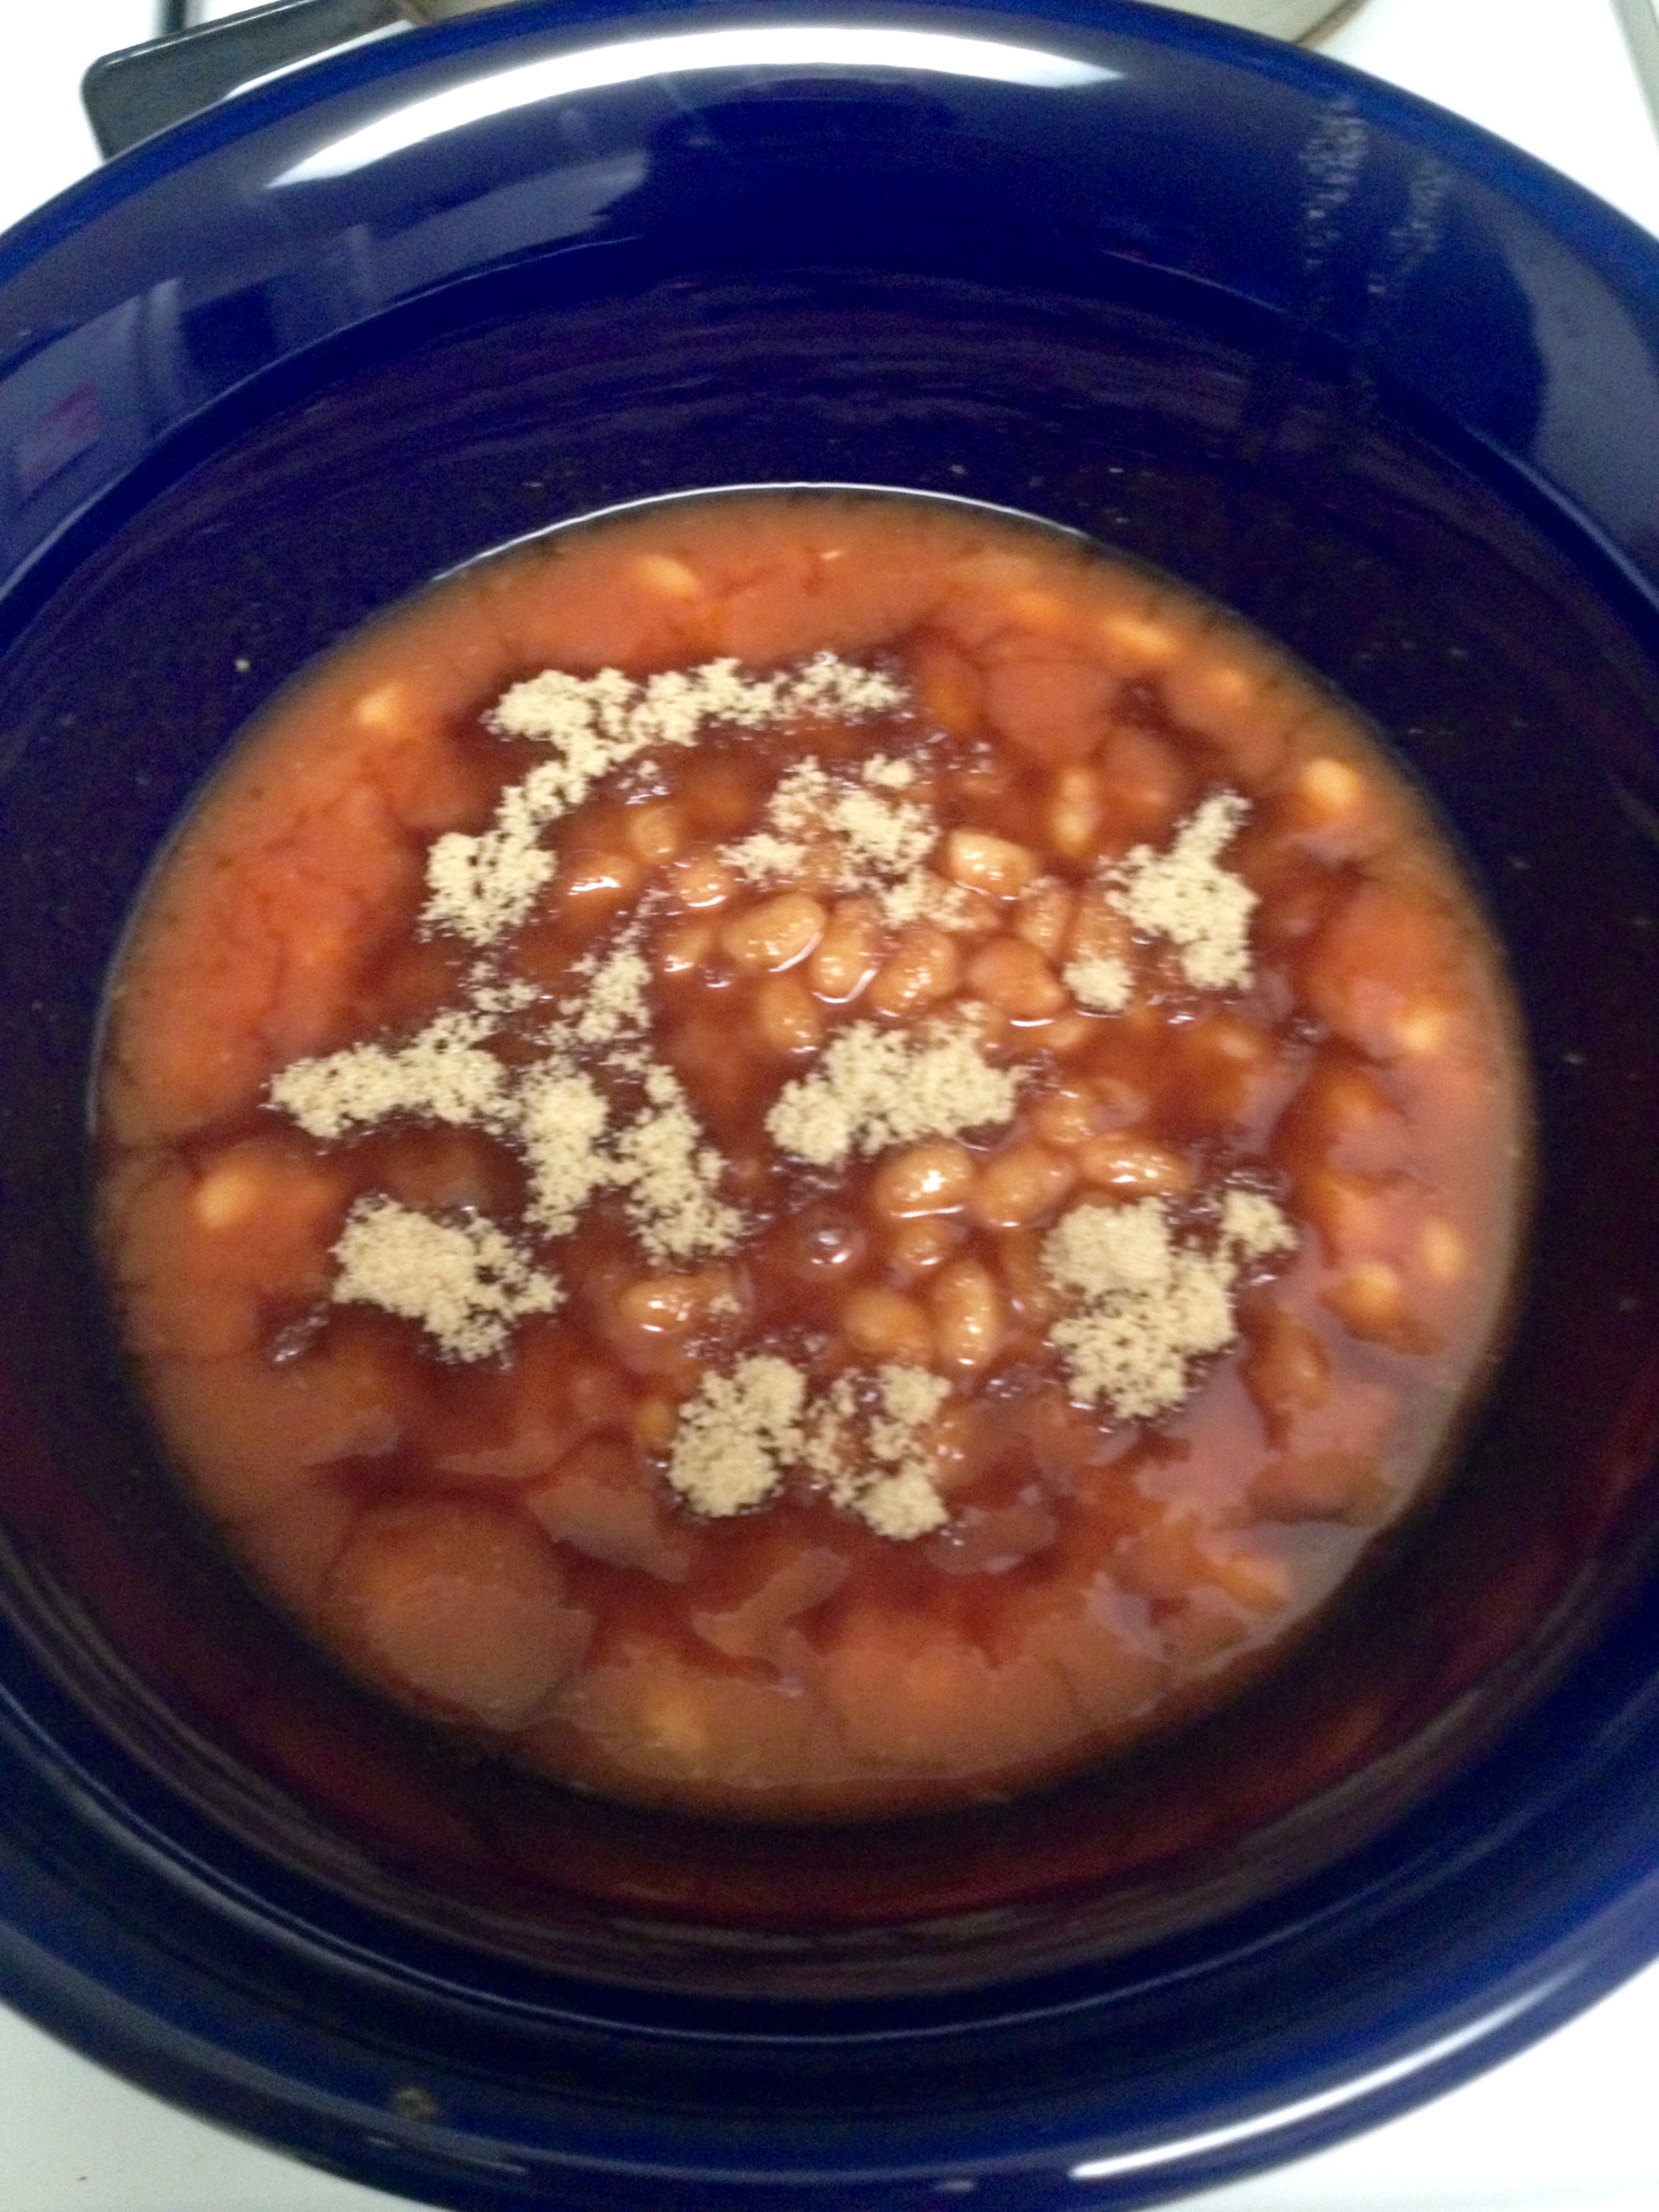
“Preheat the oven to 325°F. Empty 1 can of the beans into a 1.5qt casserole dish. Combine brown sugar and mustard and sprinkle half over beans…”

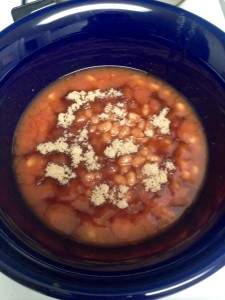
Okay, first personal note. It is not easy to combine brown sugar and yellow mustard into a mixture that is easily sprinkled. It would make sense to use dry mustard as the original recipe called for to make a dry mixture, but Aunt Sadie says yellow mustard, so yellow mustard it shall be!

I tried it two different ways, one where I added the sugar and mustard separately, and one where I combined them and then added them. The combined sugar and mustard ended up being difficult to sprinkle, so I put the mixture in the dish with the beans and then just stirred it around. For sprinkling purposes, I am definitely an advocate for adding them separately! Here’s what it looked like separately:

IMG_3824IMG_3825

I clearly wasn’t too worried about adding the exactly correct amount of mustard. I figure a good swirl did just fine. On to the next part of the recipe!

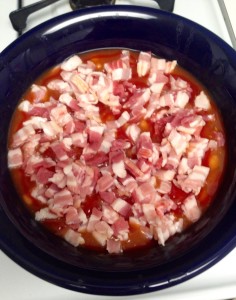
“Top with other can of beans and sprinkle with remaining brown sugar mixture, the chopped bacon, and ketchup.”

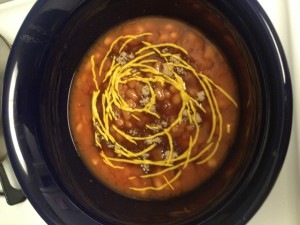
Again, highly recommend adding ingredients separately. With the bacon, Aunt Sadie writes that she only used about 4 slices. But c’mon, it’s bacon!! I doubled it and used 8 slices, chopped fine, and I have no regrets.

IMG_3822

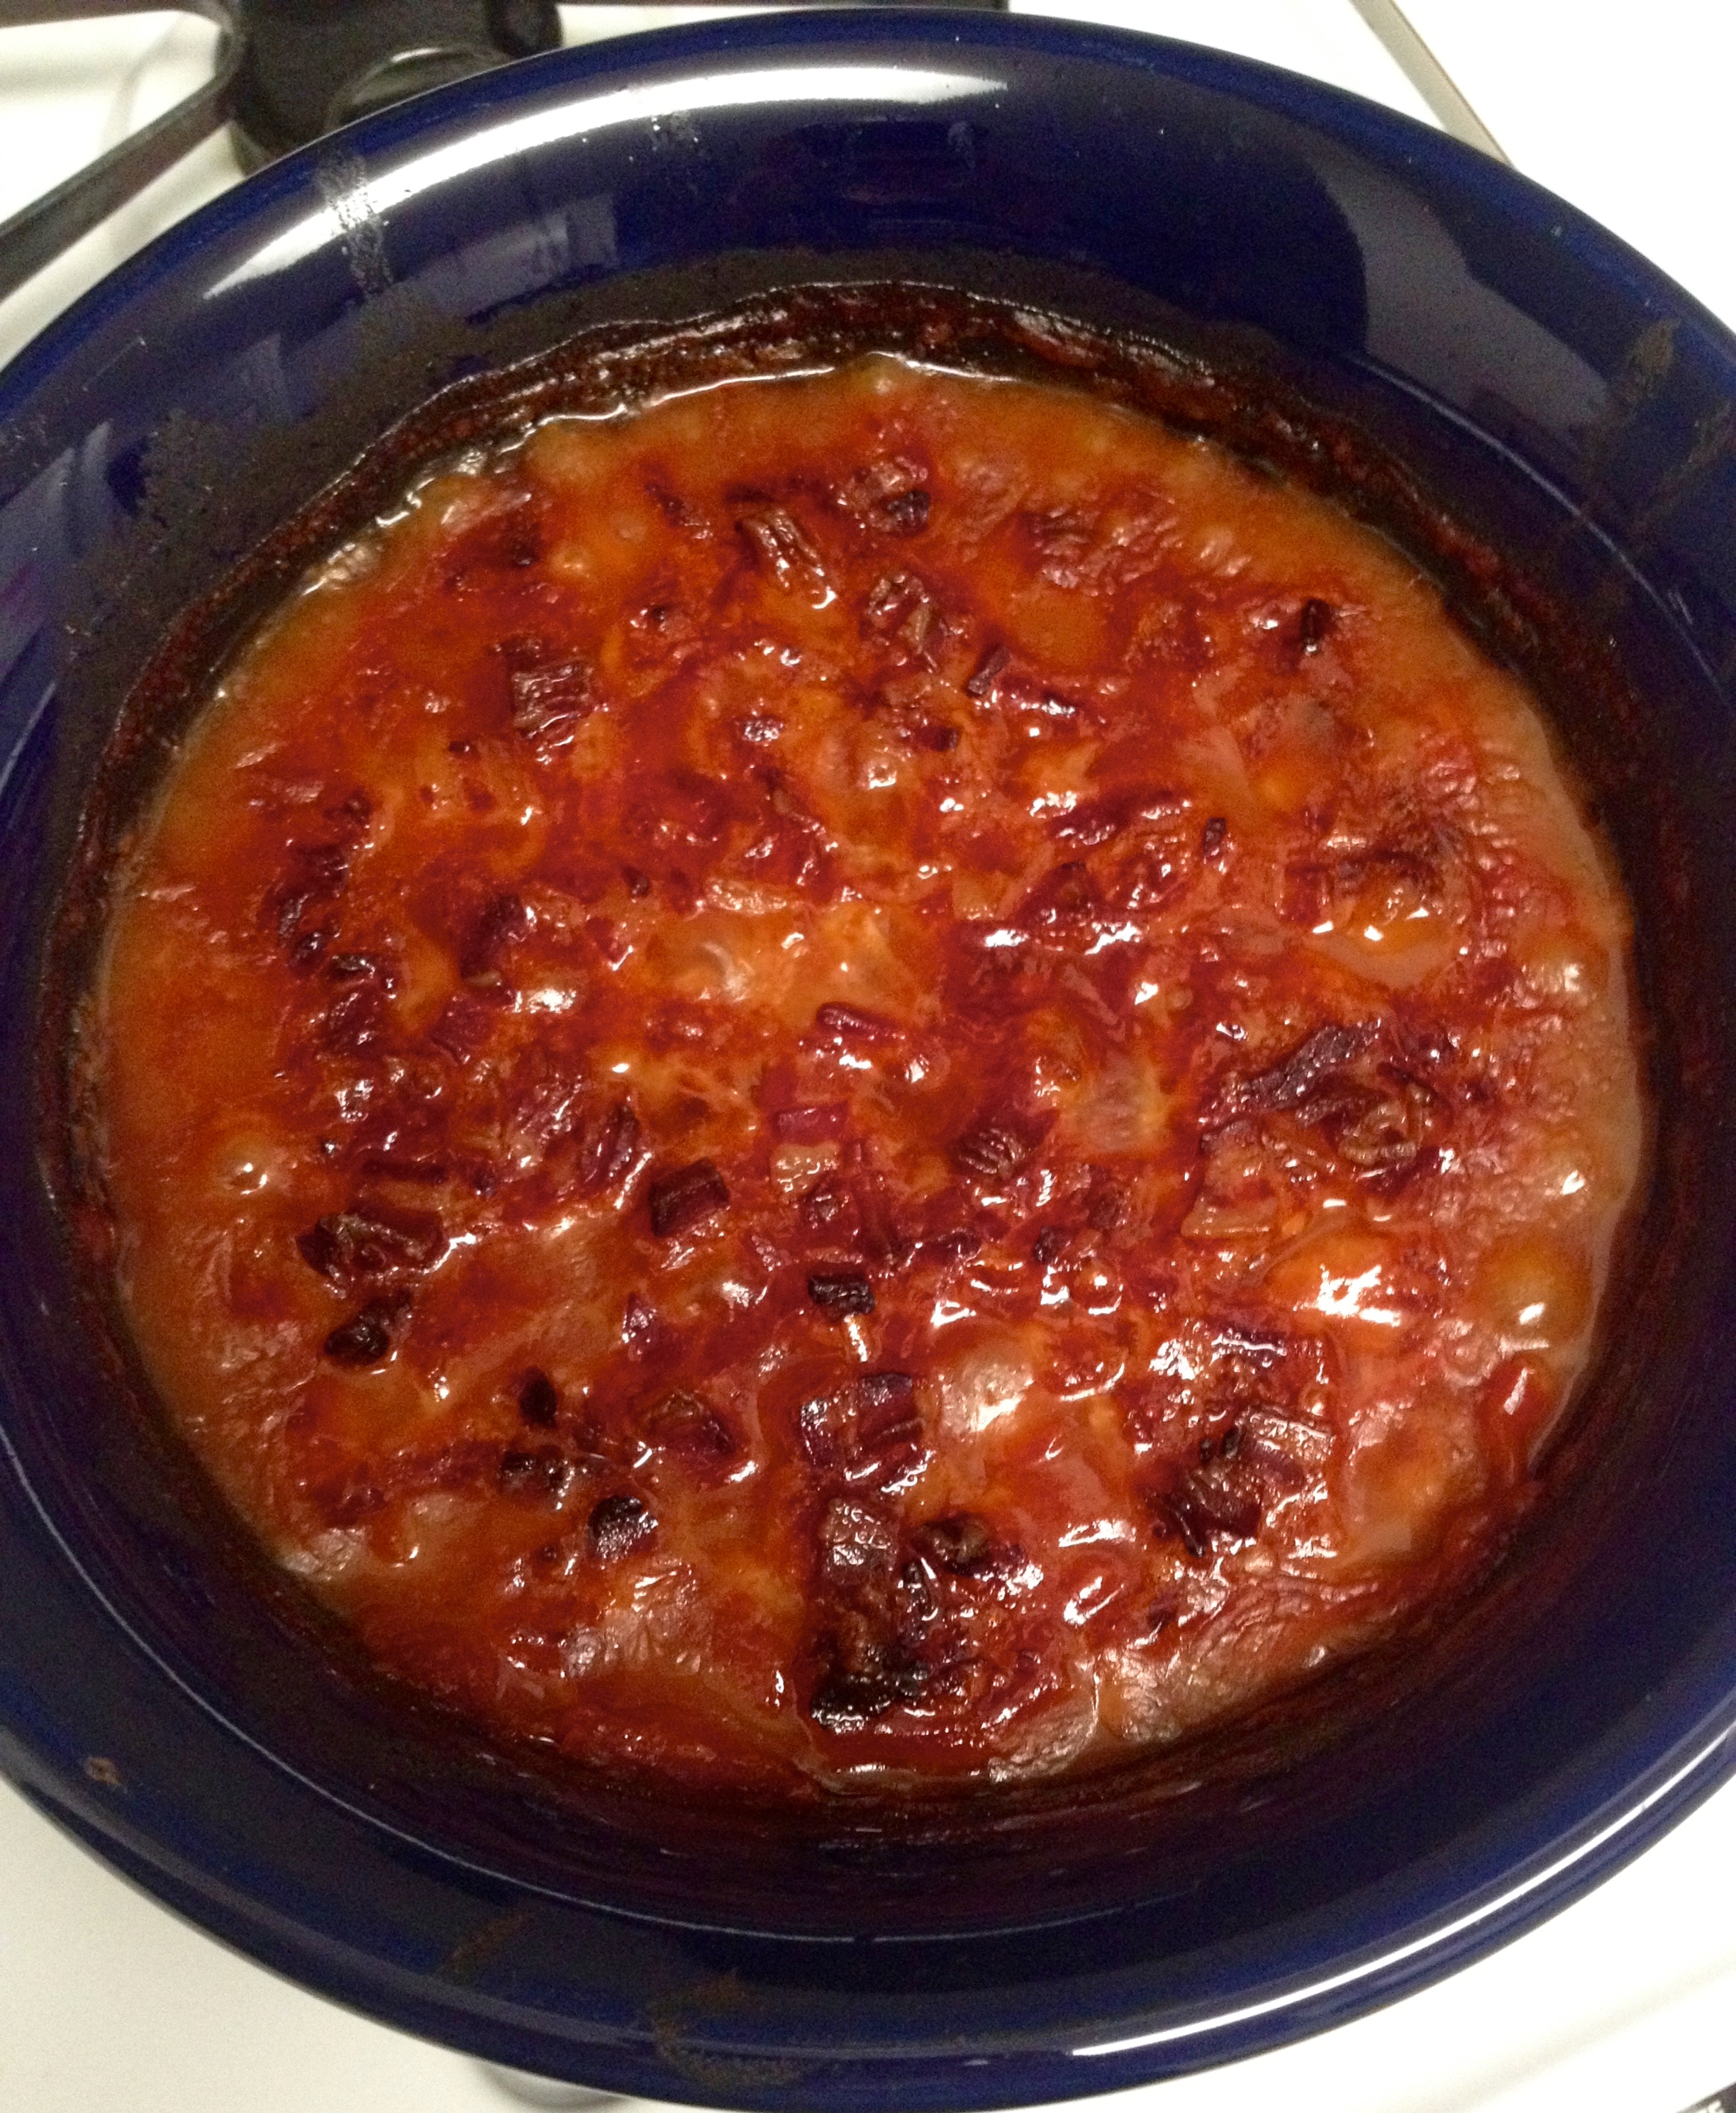
To finish off the dish, I swirled the ketchup over the top (again, not too concerned with the exact amount) and sprinkled the bacon over the top.

IMG_3829

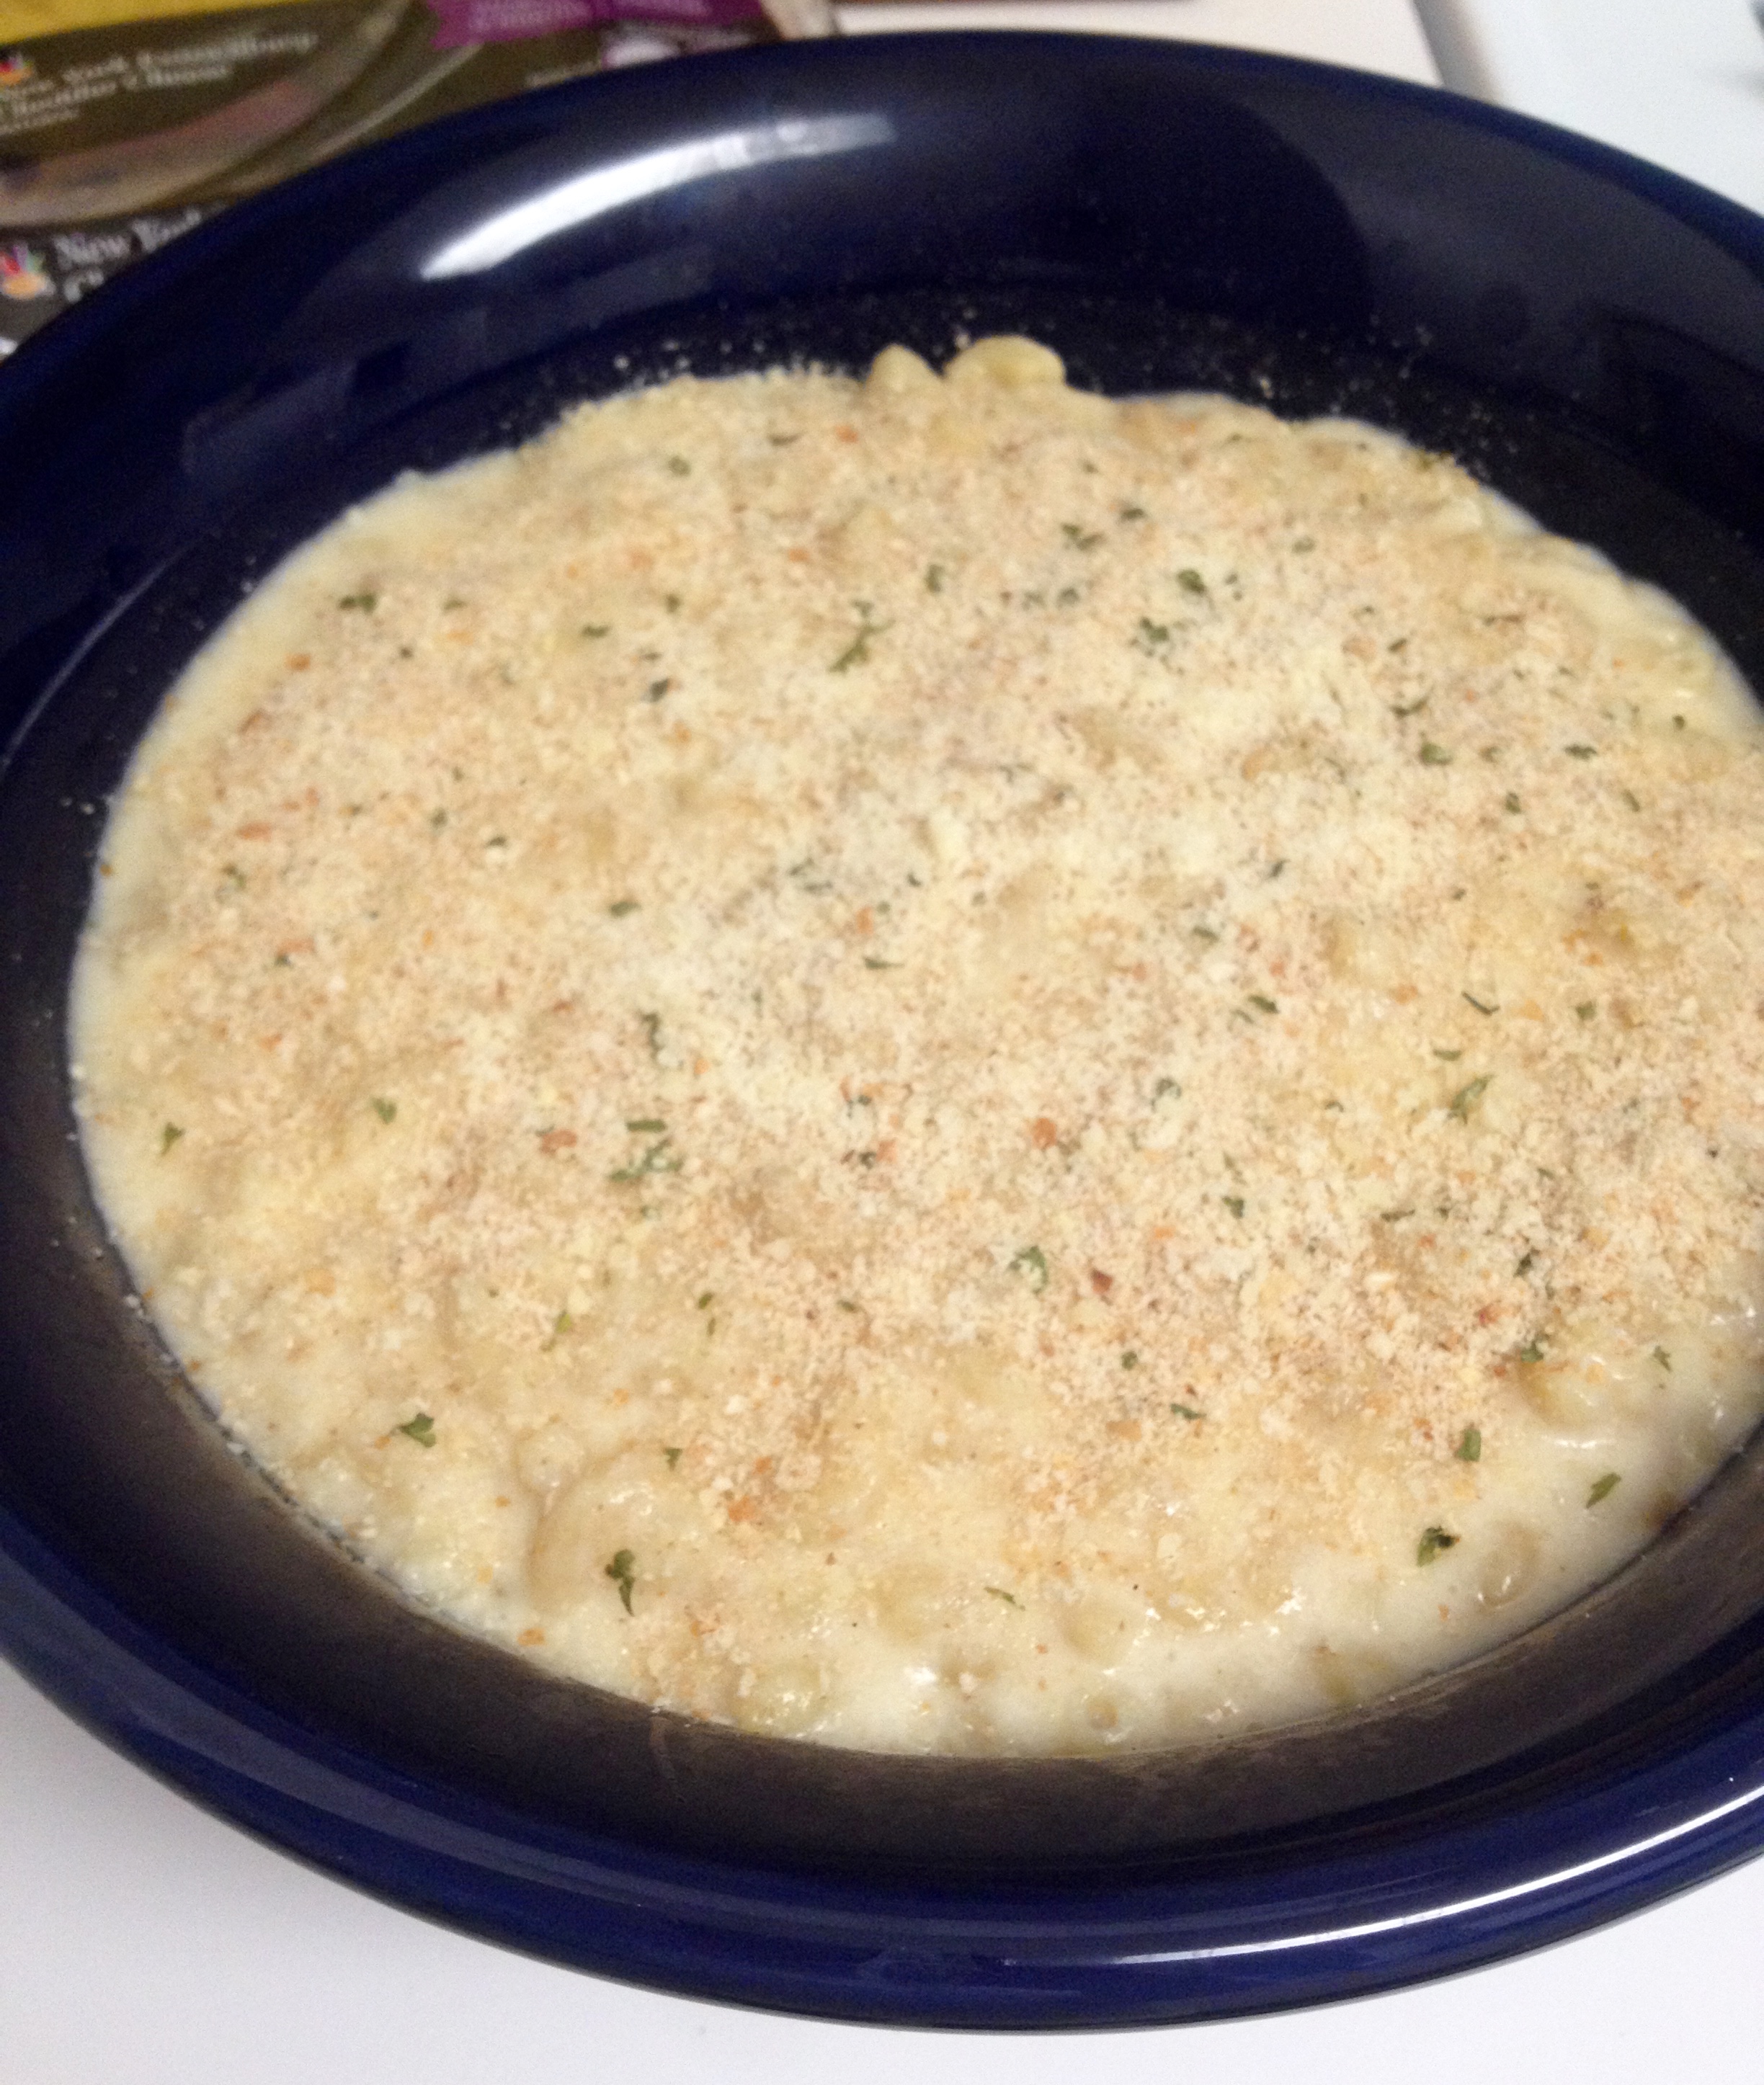
“Bake uncovered in slow oven (325 degrees) 2 1/2 hours.”

Easy enough!

IMG_3831

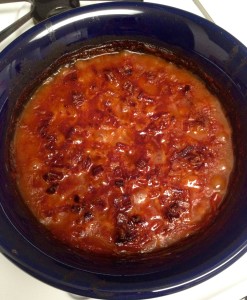
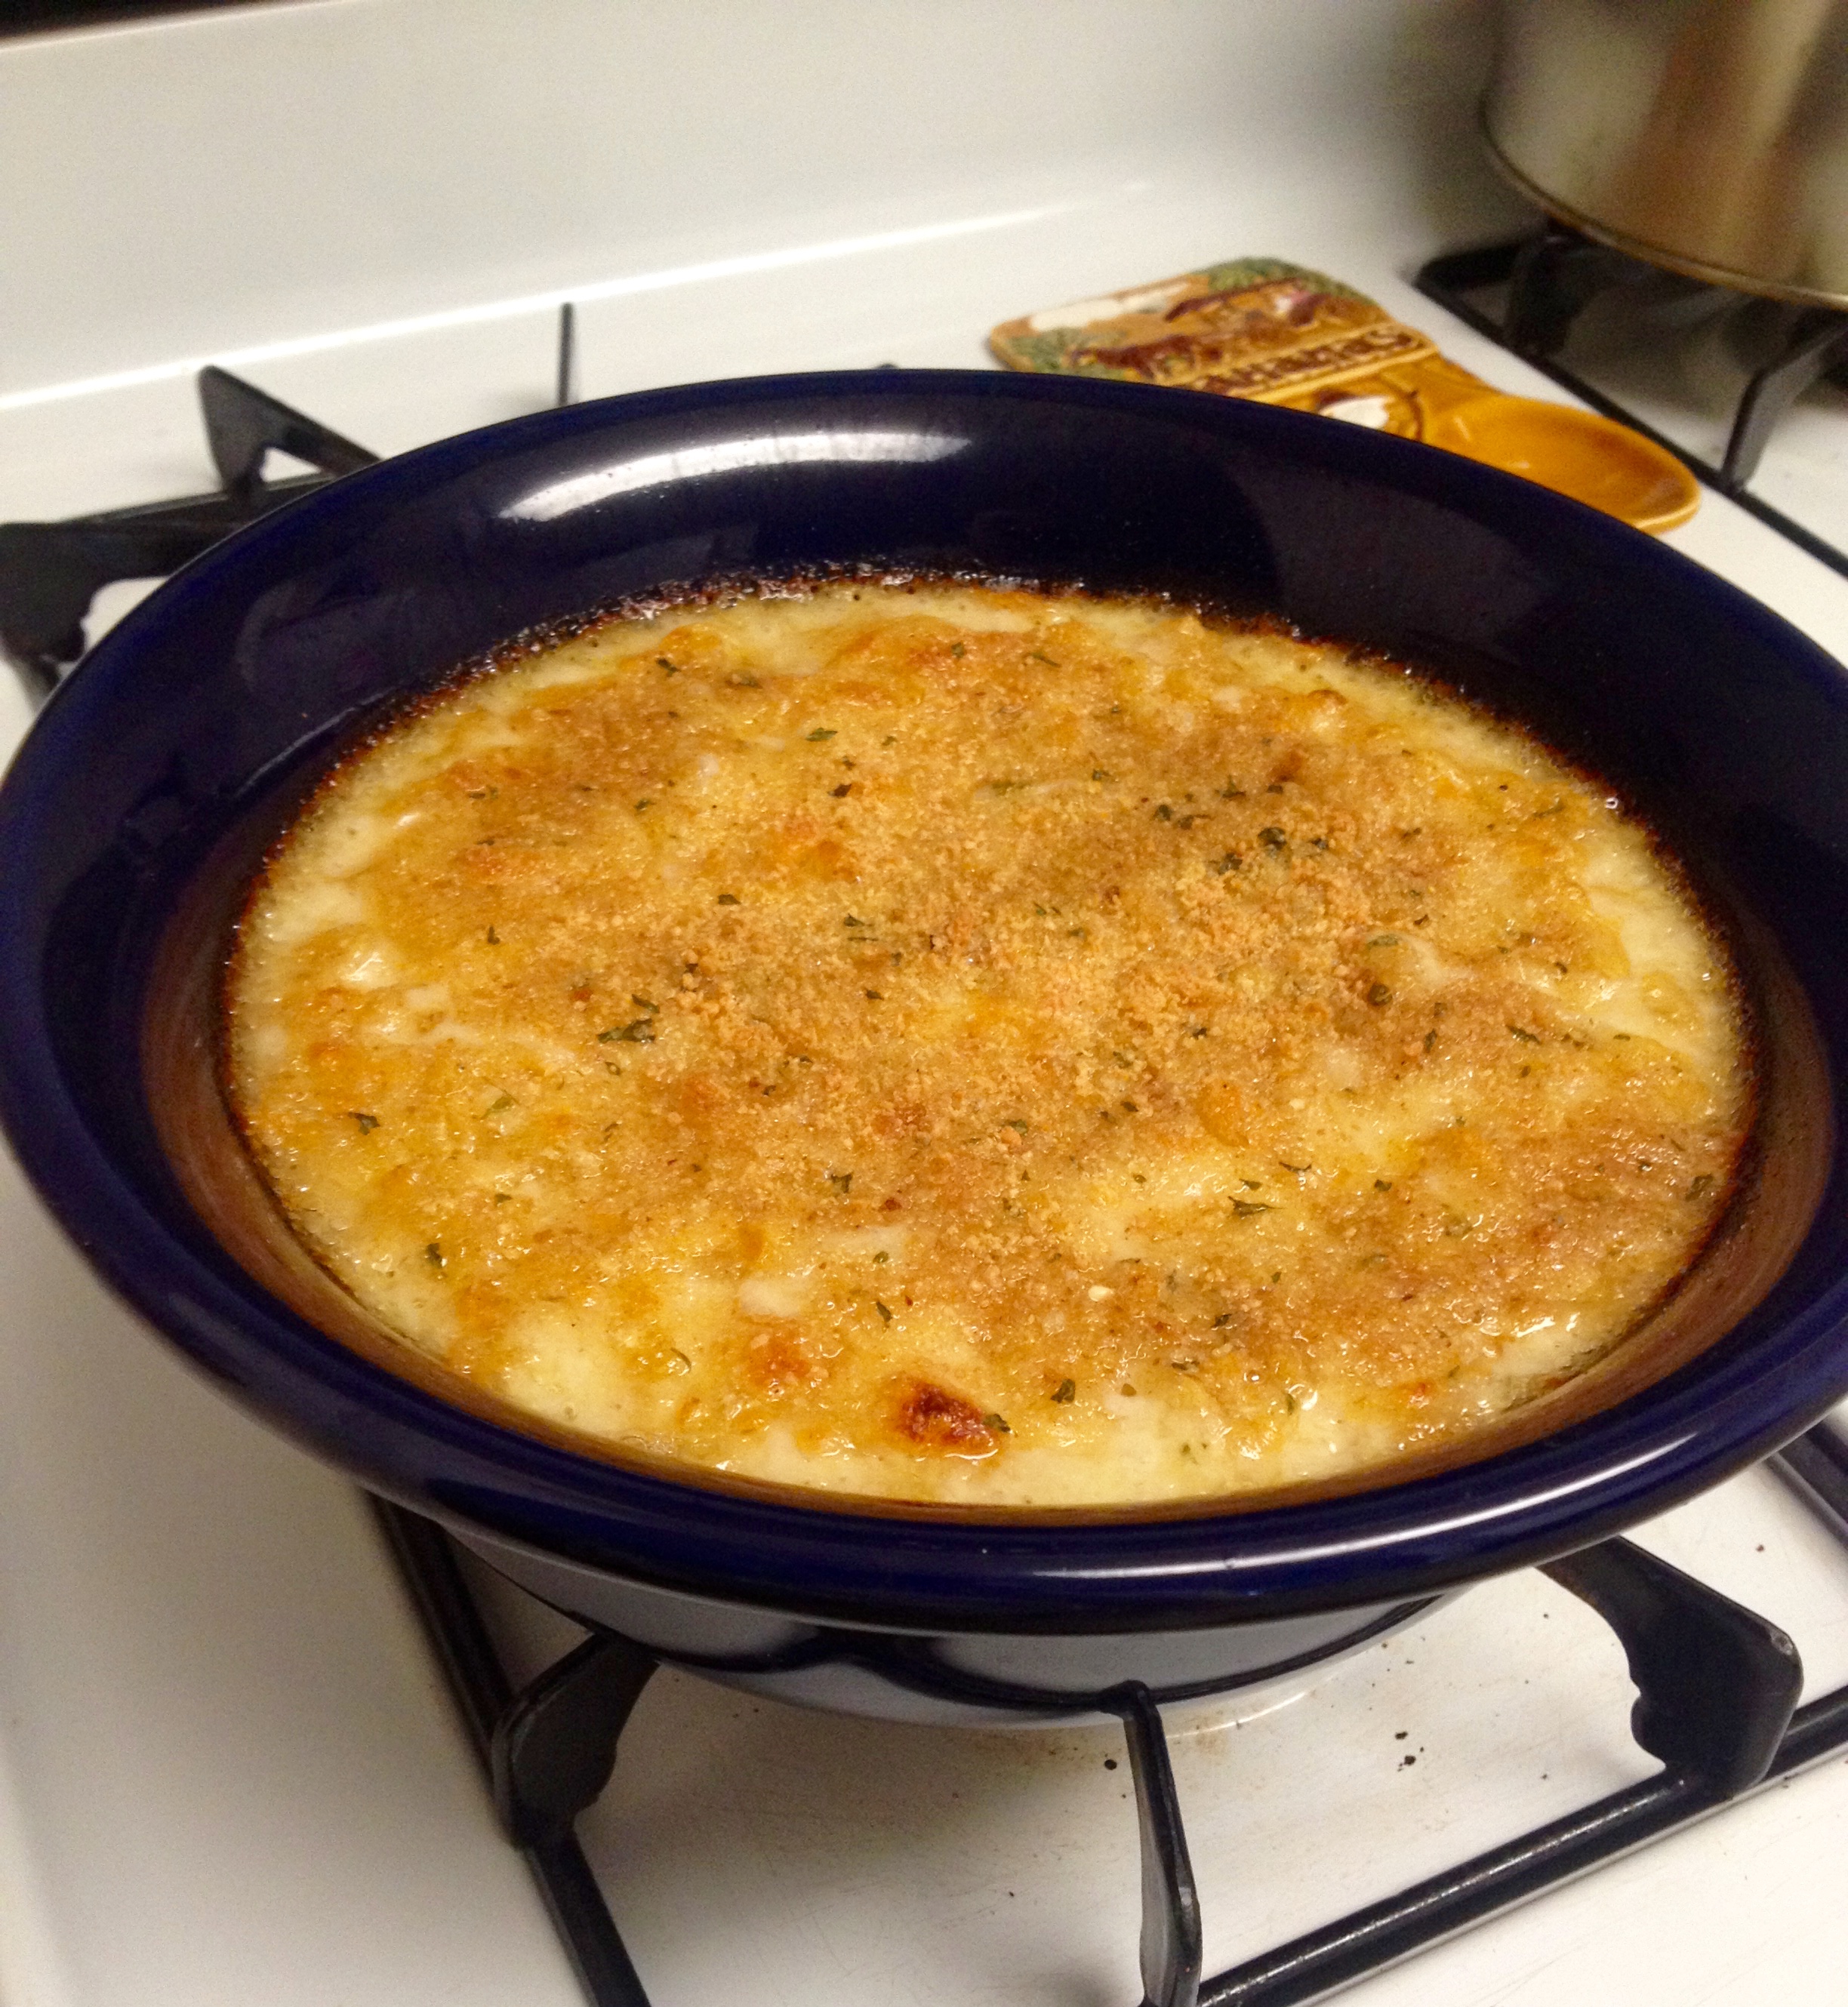
I was really happy with how these turned out. As always, they were eaten up in no time, so I guess everyone else liked them, too! Thank goodness for old family recipes!

I hope you enjoy these recipes and that you get to use them at your next cookout! Happy baking!

Crock Pot Chicken Pot Pie Filling

Hi all! Here is a super yummy recipe that I adapted from my Mom’s chicken pot pie recipe into a crock pot recipe. There’s no crust, so I made biscuits to put over the top for some crunch. SO yummy! Here’s the recipe:

Sauce Ingredients:

  • 1/3 cup margarine
  • 1/3 cup flour
  • 2/3 cup milk
  • 1 1/2 cup chicken broth

Chicken Ingredients:

  • 3 boneless, skinless chicken breasts
  • 1/2 cup chopped onion
  • 1/2 cup chicken broth
  • 2 cups frozen veggies

Arrange chicken, 1/2 cup broth, veggies, and onion in crockpot. Cook on high for four hours until chicken is fully cooked. Using two forks, shred chicken.

IMG_3795

Now, we make the sauce to add to this. Combine the margarine and flour over heat and stir until they form a paste (called a roux). Add the milk, and stir until the sauce is thickened. Finally, add the 1 1/2 chicken broth, and salt and pepper to taste. You can also add some cheddar cheese if you want! Stir until fully combined.

IMG_3796

Pour the sauce into the crockpot and stir.

IMG_3798

And now, eat your chicken pot pie filling with biscuits on top and be happy. Enjoy!

Two Treats, One Dough

Hi, all! I’m back with another great recipe. This time, we’re making biscuits, but it’s really better than that. We get two baked treats out of this: flaky, buttery, crispy biscuits, and sweet, soft, cinnamon rolls.

It all starts with a basic dough recipe. Here are the ingredients:

Ingredients:

  • 2 cups flour
  • 4 tsp baking powder
  • 1/2 tsp salt
  • 1/2 tsp cream of tartar
  • 2 tsp sugar
  • 1/2 cup shortening
  • 2/3 cup milk

First, mix the dry ingredients together.

IMG_3781

Then, cut in your shortening with a pastry cutter. What is a pastry cutter, you ask? It is a super handy tool that allows you to cut fat, like butter or shortening, into dry ingredients so that you end up with pea-sized bits of fat in your mixture (that’s what we’re going for here).

IMG_3782

Now, gradually add your milk (I add it in about 3 doses), stirring with a fork after each addition until just mixed. It should look something like this:

IMG_3787

Knead the dough with your hands very briefly, until the dough is mixed. You don’t want to over-knead it, or else you’ll activate the gluten in the flour, which will create a chewy, dense biscuit instead of a flaky, crisp biscuit. When you’ve finished kneading, lightly flour a pastry board and roll out the dough until it’s about 1/2″ thick.

IMG_3789

Using a biscuit cutter (or circular cookie cutter), cut out biscuits and lay them on a baking sheet. Since it was just my husband and I for dinner, I only cut out 6 biscuits and used the rest of the dough to make the cinnamon rolls.

Bake at 450°F for 10-12 minutes or until the biscuits are golden brown.

IMG_3793

Since I only made 6 biscuits, I had quite a bit of leftover dough to make cinnamon rolls with! The only additional ingredients you need for these are butter, cinnamon, and granulated sugar. Tip: ADJUST YOUR OVEN TEMPERATURE! The cinnamon rolls require a 400°F oven, not 450°F like the plain biscuits. Nobody likes burnt cinnamon rolls.

To start, re-roll the leftover dough into a rectangular shape (or as close as you can get it).

IMG_3790

Next, butter the up-facing side of the dough. This helps the cinnamon and sugar stick. Sprinkle the buttered dough with cinnamon and sugar to taste. You can also put things like nuts or raisins in these rolls.

IMG_3791

Roll the dough up into a tube, and cut into approximately 1″ slices. Arrange on a baking sheet.

IMG_3792

IMG_3794

Bake at 400°F for 12-15 minutes.

IMG_3799

And then finally, because we had to have something to go with our biscuits, here is the recipe for crock pot chicken pot pie filling that I made up!

Sauce Ingredients:

  • 1/3 cup margarine
  • 1/3 cup flour
  • 2/3 cup milk
  • 1 1/2 cup chicken broth

Chicken Ingredients:

  • 3 boneless, skinless chicken breasts
  • 1/2 cup chopped onion
  • 1/2 cup chicken broth
  • 2 cups frozen veggies

Arrange chicken, 1/2 cup broth, veggies, and onion in crockpot. Cook on high for four hours until chicken is fully cooked. Using two forks, shred chicken.

IMG_3795

Now, we make the sauce to add to this. Combine the margarine and flour over heat and stir until they form a paste (called a roux). Add the milk, and stir until the sauce is thickened. Finally, add the 1 1/2 chicken broth, and salt and pepper to taste. Stir until fully combined. Pour the sauce into the crockpot and stir.

IMG_3798

And now, eat your chicken pot pie filling with biscuits on top and be happy. And then have cinnamon rolls for dessert and be even happier! Enjoy!


Homemade Mac ‘n Cheese (Extra Cheesy!)

Hi, all! I’m back with yet another edition of great food (although this time not very healthy)! Today I wanted to share the recipe for my husband’s all-time favorite meal ever… Homemade Baked Mac ‘n Cheese. Before trying this dish, he had only tried the boxed stuff and had long since written off macaroni and cheese as unappealing. Little did he know that a whole world of cheesiness was waiting for him! That is, until my Mom made this recipe for dinner, and he ate it to be polite, and a new love for mac ‘n cheese was awakened. It’s really only fair that you all have the recipe, so that you can share in this mac ‘n cheese goodness. Here’s the recipe:

Ingredients;

  • 1/2 box elbow macaroni (or large elbows)
  • 3 tbsp butter or margarine
  • 3 tbsp all-purpose flour
  • 2 cups milk
  • 1- 8oz block of sharp cheddar cheese
  • Parmesan cheese to taste
  • Italian breadcrumbs to taste

First, cube a whole 8 oz block of cheese. This is the step that takes a couple minutes, and once this recipe gets going you have to be ready to add the cheese right away. I tend to cut the cheese length-wise into quarters, and then width-wise into about 1″ cubes. This makes the cubes small enough to melt quickly.

IMG_3709

Now, bring a medium saucepan of water to boil. Boil the macaroni in the water for 5 minutes. Drain the pasta in a colander and set it aside.

Now starts the part of the recipe that is super simple, but makes you feel like a restaurant quality chef. We’re going to make a basic French white sauce known as a bechamel. It starts with a roux (which is a fancy way of saying cook flour and butter together until they start bubbling and form a starchy paste).

To make the roux, melt the 3 tbsp of butter in a saucepan over medium-high heat (you can use the same one you used for the pasta). Once it’s melted, add the 3 tbsp flour and stir with a wooden spoon or spatula. The flour will eventually dissolve and combine with the flour to form a bubbly paste. For this recipe, you want to have what is known as a “blonde roux”, so you only want it to be golden brown in color before adding the next ingredients.

IMG_3710

Once you have your roux, add the 2 cups milk and stir continuously. At first, the roux will be clumpy in the milk, but after a few minutes the ingredients will combine and start to thicken into a great white sauce (aka the bechamel). Once it starts to bubble slightly and really thicken, it’s time to add the cheese.

IMG_3713

Add the cubed cheese to the sauce and stir until it melts. After several trials of different cheeses, my husband and I have decided we like either New York Extra-Sharp Cheddar or “Seriously Sharp” cheese by Cabot. I also like to add 1/8 cup Parmesan cheese to this, with some in the sauce and some sprinkled over the top.

When the cheese is melted, turn off the heat and add the macaroni to the saucepan, stirring until all the macaroni is drenched in sauce.

IMG_3715

Pour the mixture into a casserole dish (~1 qt or so). Sprinkle the top with Italian breadcrumbs and Parmesan cheese to taste.

IMG_3716

Bake it for 30 minutes at 375°F. Serve it immediately.

IMG_3717

A fair warning: there are rarely leftovers of this dish. My husband can put away an entire casserole dish worth of this stuff, so make sure you get a big spoonful of it before it’s gone! Enjoy!

A Family Get-Together (With Yummy Food!)

Hi all! It’s been a long time since I’ve posted here, and quite a bit has happened since my last post. I became a Registered Dietitian, began working at a long-term care center, got married, and lots of other things! After all the excitement and change, it’s finally time to get back to posting recipes and sharing food with others. For my first post in a while, I thought it was appropriate to share an old family recipe that I made for a family dinner. The recipe is for stuffed shells, but this is a healthier recipe than traditional ricotta-stuffed shells. It’s made with cottage cheese, which saves quite a few calories (about 300 calories per cup), has  a comparable amount of protein as ricotta, and tastes absolutely delicious! Here’s the recipe:

Ingredients:

  • 1 box giant pasta shells
  • 1/4 tsp salt
  • 1 1/2 lb (24 oz) low-fat cottage cheese
  • 1/4 cup Italian bread crumbs
  • 1/2 cup Parmesan cheese, shredded or powdered
  • 2 Tbsp chopped fresh parsley or 1 Tbsp dry parsley
  • 1 egg, beaten
  • 1 jar of your favorite pasta sauce

Preheat your oven to 375ºF. Pour 1/2 of the pasta sauce into the bottom of a large casserole dish and set aside. Cook the giant pasta shells according to the instructions on the box and drain the pasta. While the pasta is cooking, mix up the cottage cheese, salt, bread crumbs, Parmesan cheese, parsley, and the egg. It should look like this:

img_3524

When the pasta is cooked and drained, you can start assembling the shells. Scoop a rounded tablespoon or so into each shell. Basically, scoop enough into the shell to fill it.

img_3525

As you fill each shell, lay it seam-side down in the casserole dish like this:

img_3526img_3527

The number of shells that you’ll be able to make varies with the size and shape of your casserole dish, and it’s likely that you’ll have some plain shells left over. Those are actually my favorite part, because as I was growing up my Mom always saved those plain shells for me to eat with Parmesan cheese! We still snack on the plain shells together when we make this recipe.

After you’ve arranged the shells in the casserole dish, pour the other half of the pasta sauce over the top of the shells.

img_3529

Cover the dish with foil and bake it for 30 minutes. Then, take the dish out of the oven, remove the foil, and sprinkle Parmesan cheese over the top. Return the uncovered dish to the oven and bake it for another 15 minutes. When it’s done, it should look like this:

img_3531

Now, go ahead and dig in! These shells are so good, and your family and friends will love them. When my family came over, there were absolutely no leftovers. It was great! I hope you give these a try and enjoy them as much as my family does! Have a great rest of your week!

Breakfast Burrito Hors d’oeuvres

Hi, friends! Sorry that it’s been a while since my last post. I just started working as a dietetic intern, and it takes up quite a bit of my time! Luckily, as a dietetic intern, I get to focus on food during the day- so this next recipe is actually an invention from work that happens to be delicious and super wicked easy to make!

This recipe is for egg and guacamole pinwheels, which are wonderful for breakfast because they’re packed with protein, low in carbs, and contain healthy fats. They’re also great for party platters, and happen to go hand in hand with a great salsa. What could be better???

Ingredients:

  • 1 egg, scrambled
  • 3 tbsp guacamole (I’ll include the recipe for my guacamole at the bottom of this post)
  • 1 soft taco tortilla (you can use a regular white tortilla, or you can use Olé Xtreme Wellness, Joseph’s, or FlatOut brands for higher fiber/protein and lower carb options)

Spread the guacamole in a thin layer over the tortilla. Then, arrange the scrambled egg in a line along the side of the tortilla.

IMG_2710

Roll the edge of the tortilla nearest the egg up and over the egg, and then continue rolling. This will ensure that the egg is in the center of the wrap, and that the guacamole holds the tortilla roll together (kind of like sushi- you have your protein in the middle, and then the stuff on the outside holds it all together).

IMG_2711

Gently cut the roll into 1-inch pieces using a serrated knife. You can either eat them now, or arrange the pieces on a plate with some salsa and serve them at a party!

IMG_2712

IMG_2716

And there you have it! Super easy and absolutely delicious! Now, for those who want to make their own guacamole and don’t have a great recipe…

Ruth’s Guacamole:

  • 1 avocado, mashed
  • 1 tsp lime juice
  • Garlic salt to taste
  • Chili powder to taste
  • Cracked black pepper to taste

Mix all of the ingredients together, and you have a great guacamole! Happy cooking!