Monthly Archives: October 2014

Cupcakes: The Fall Edition

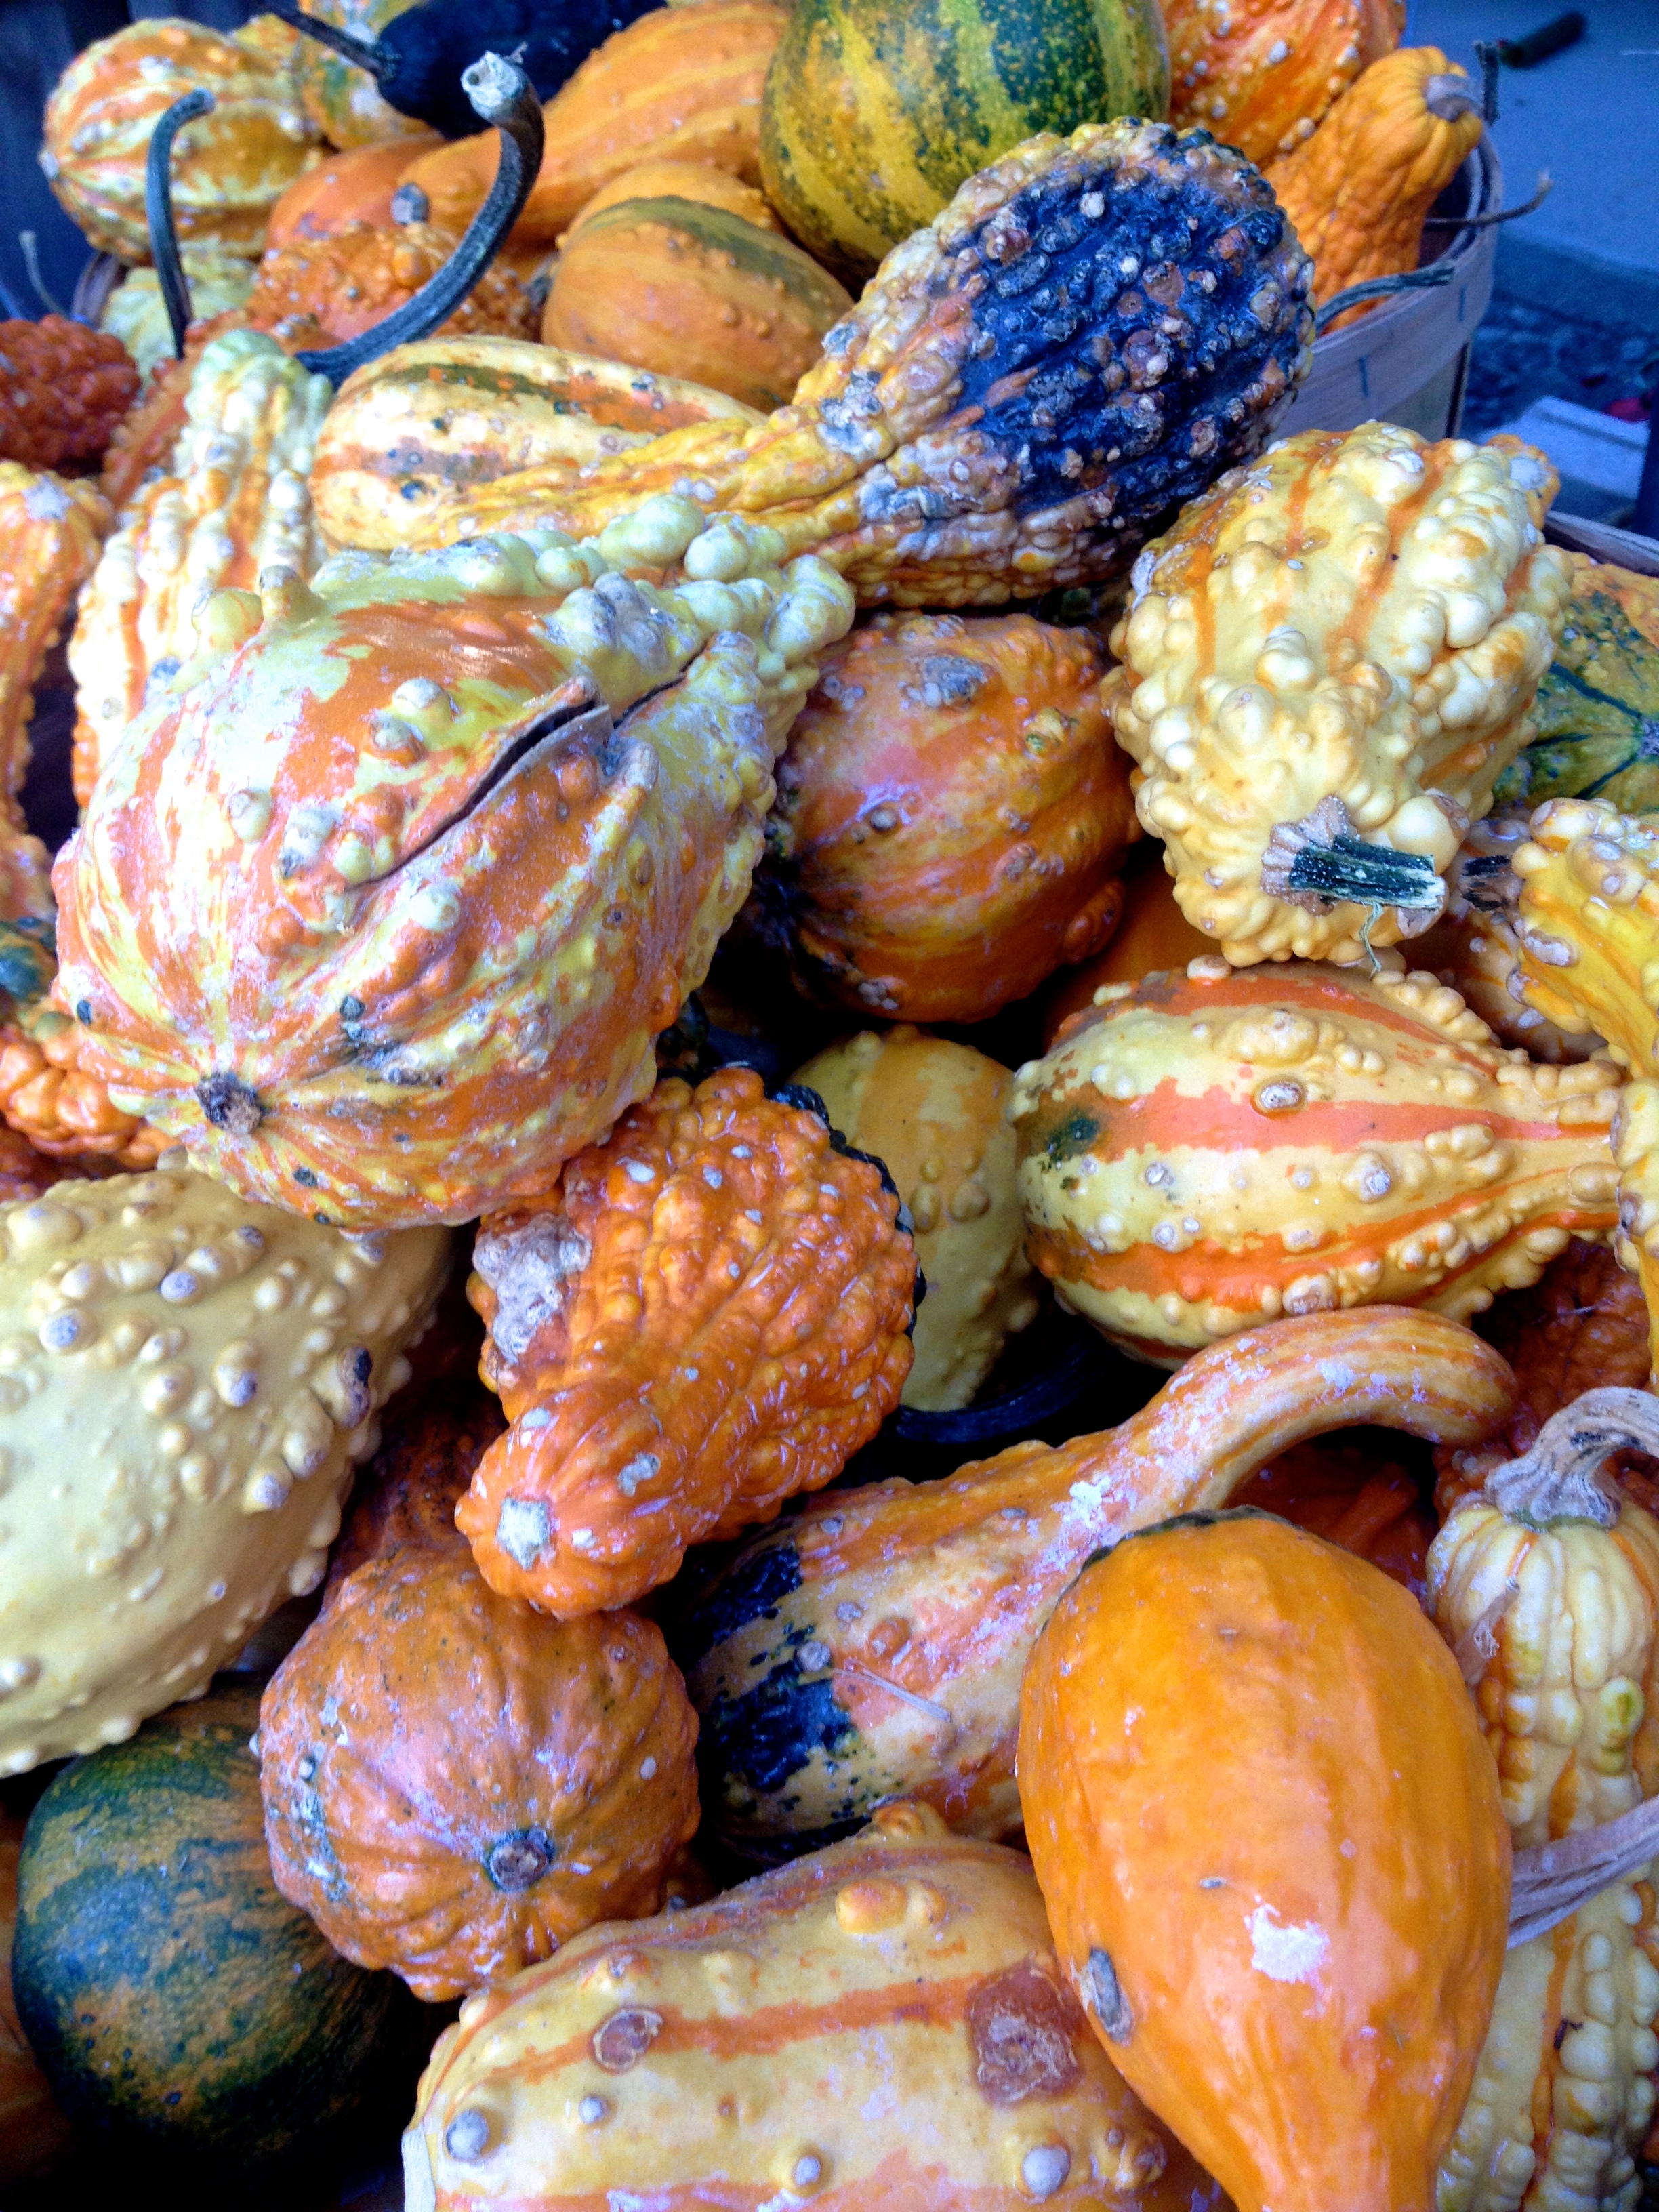
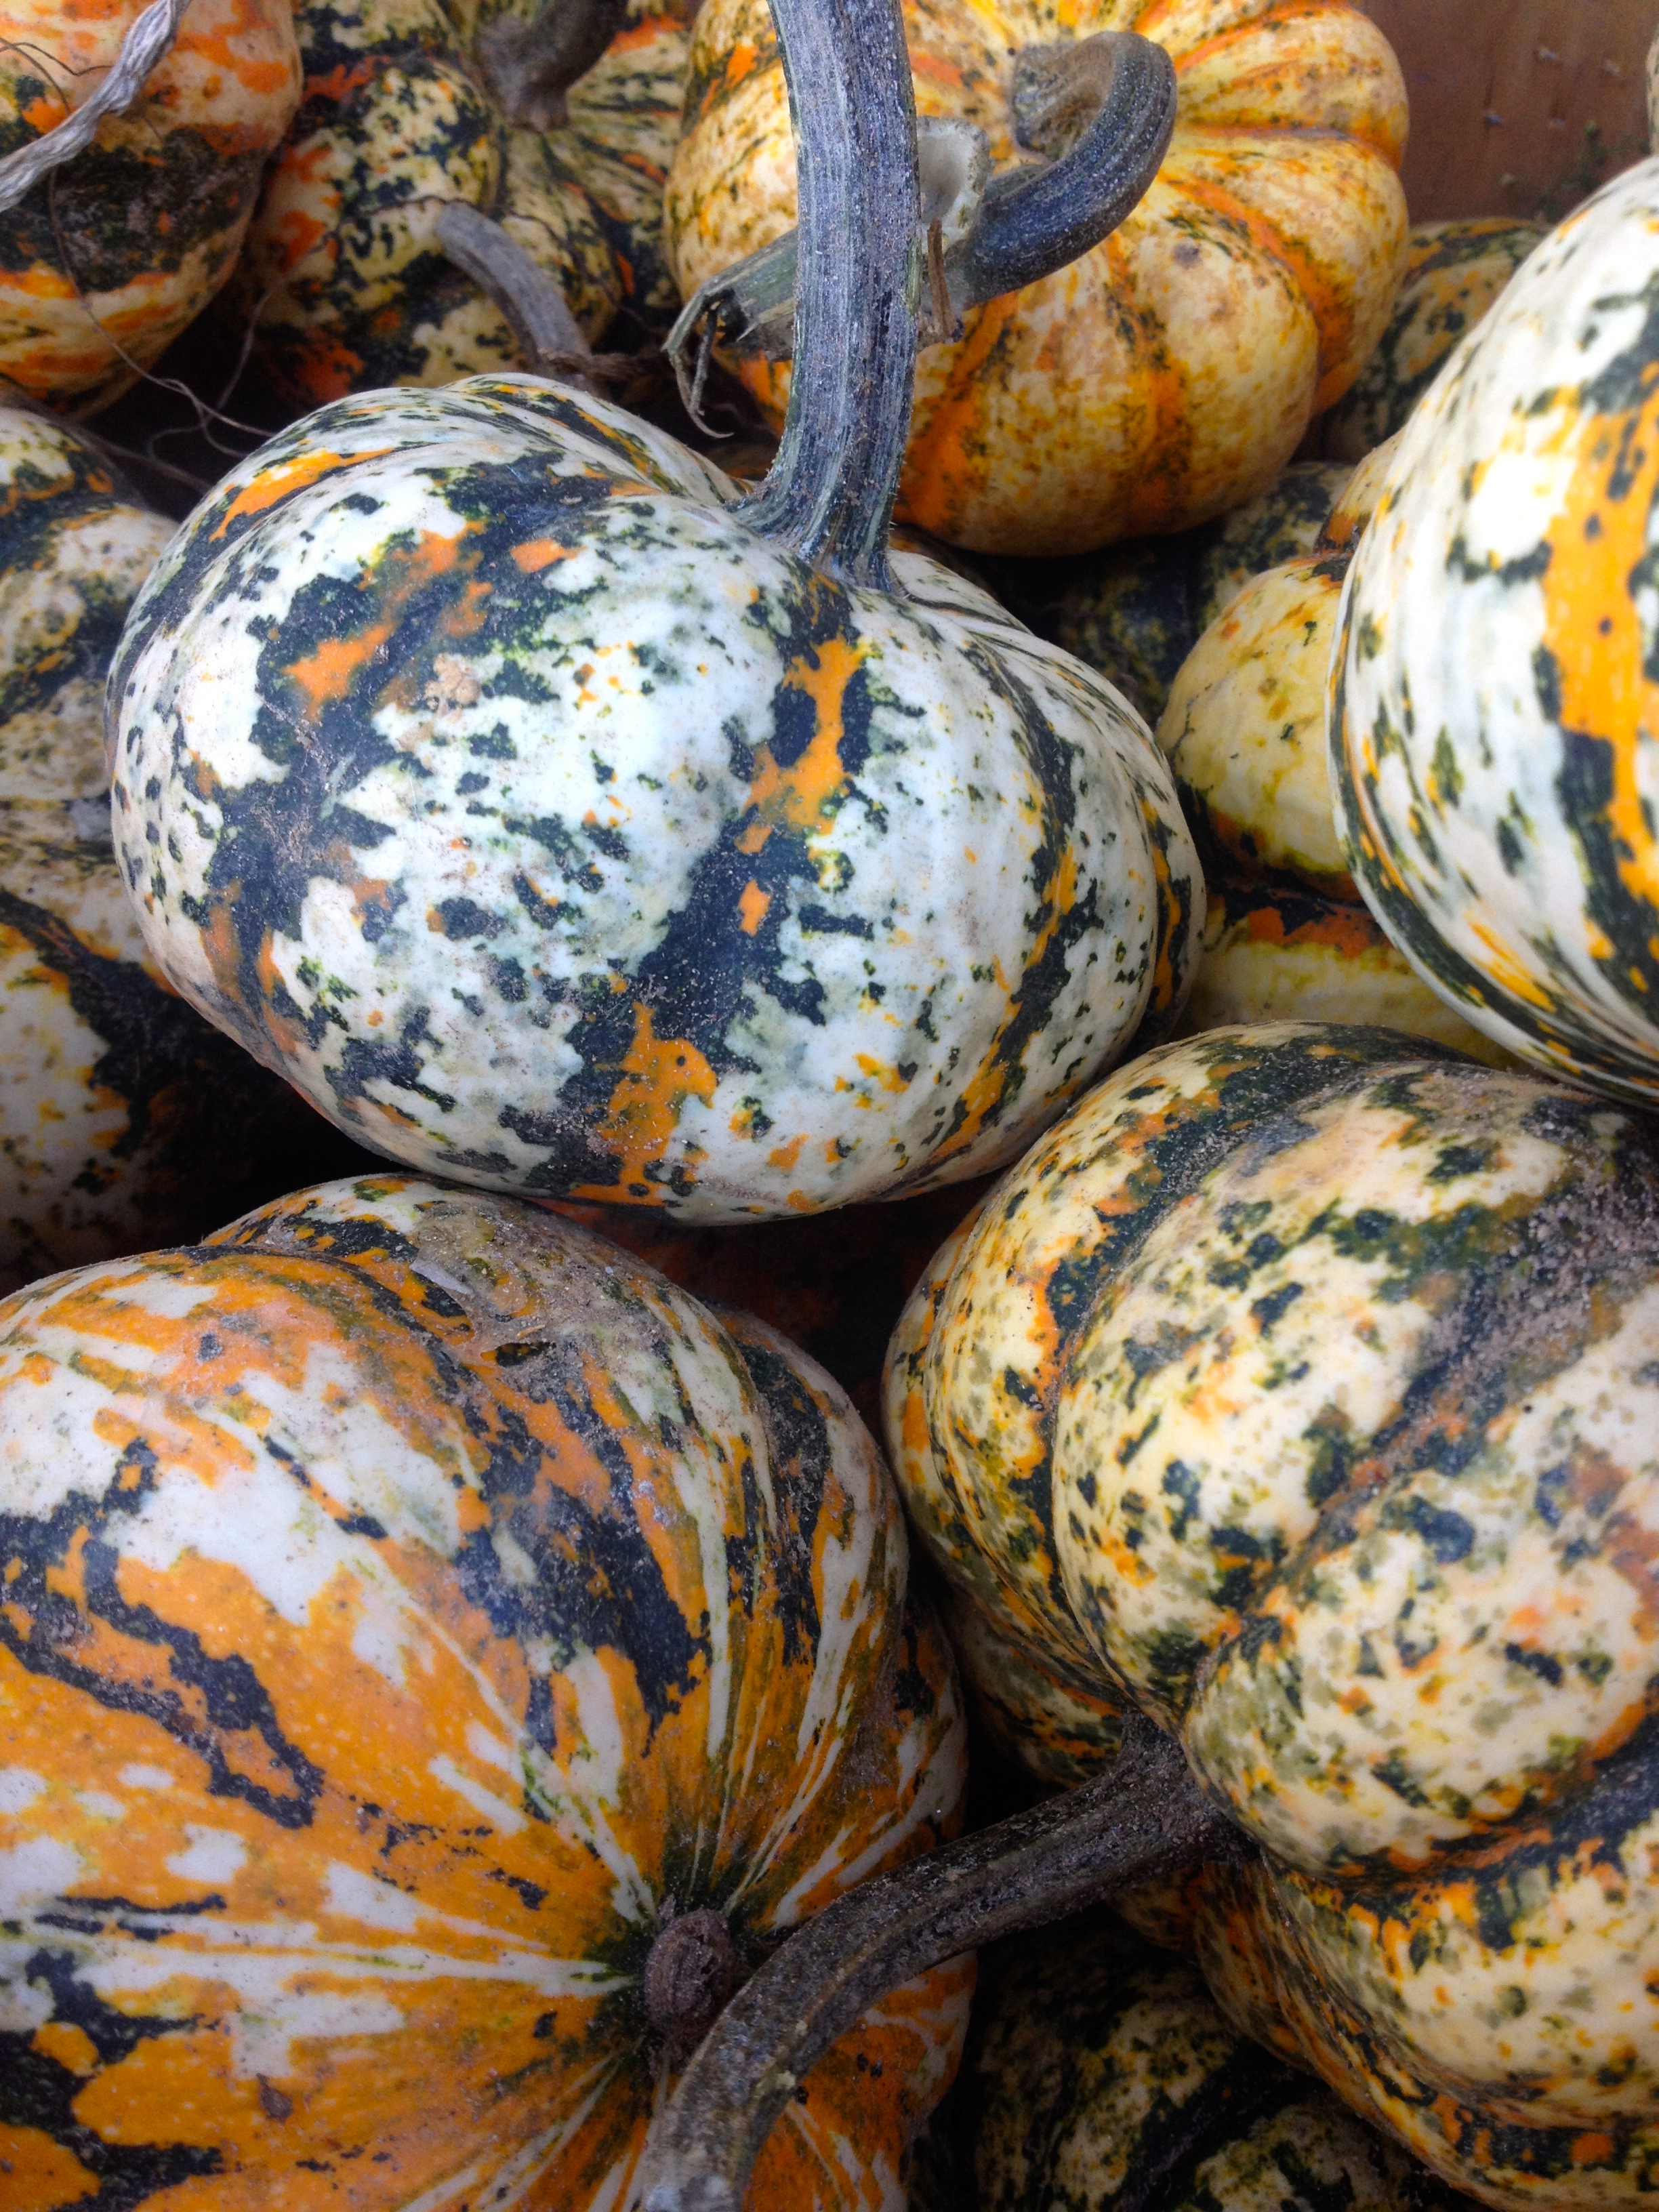
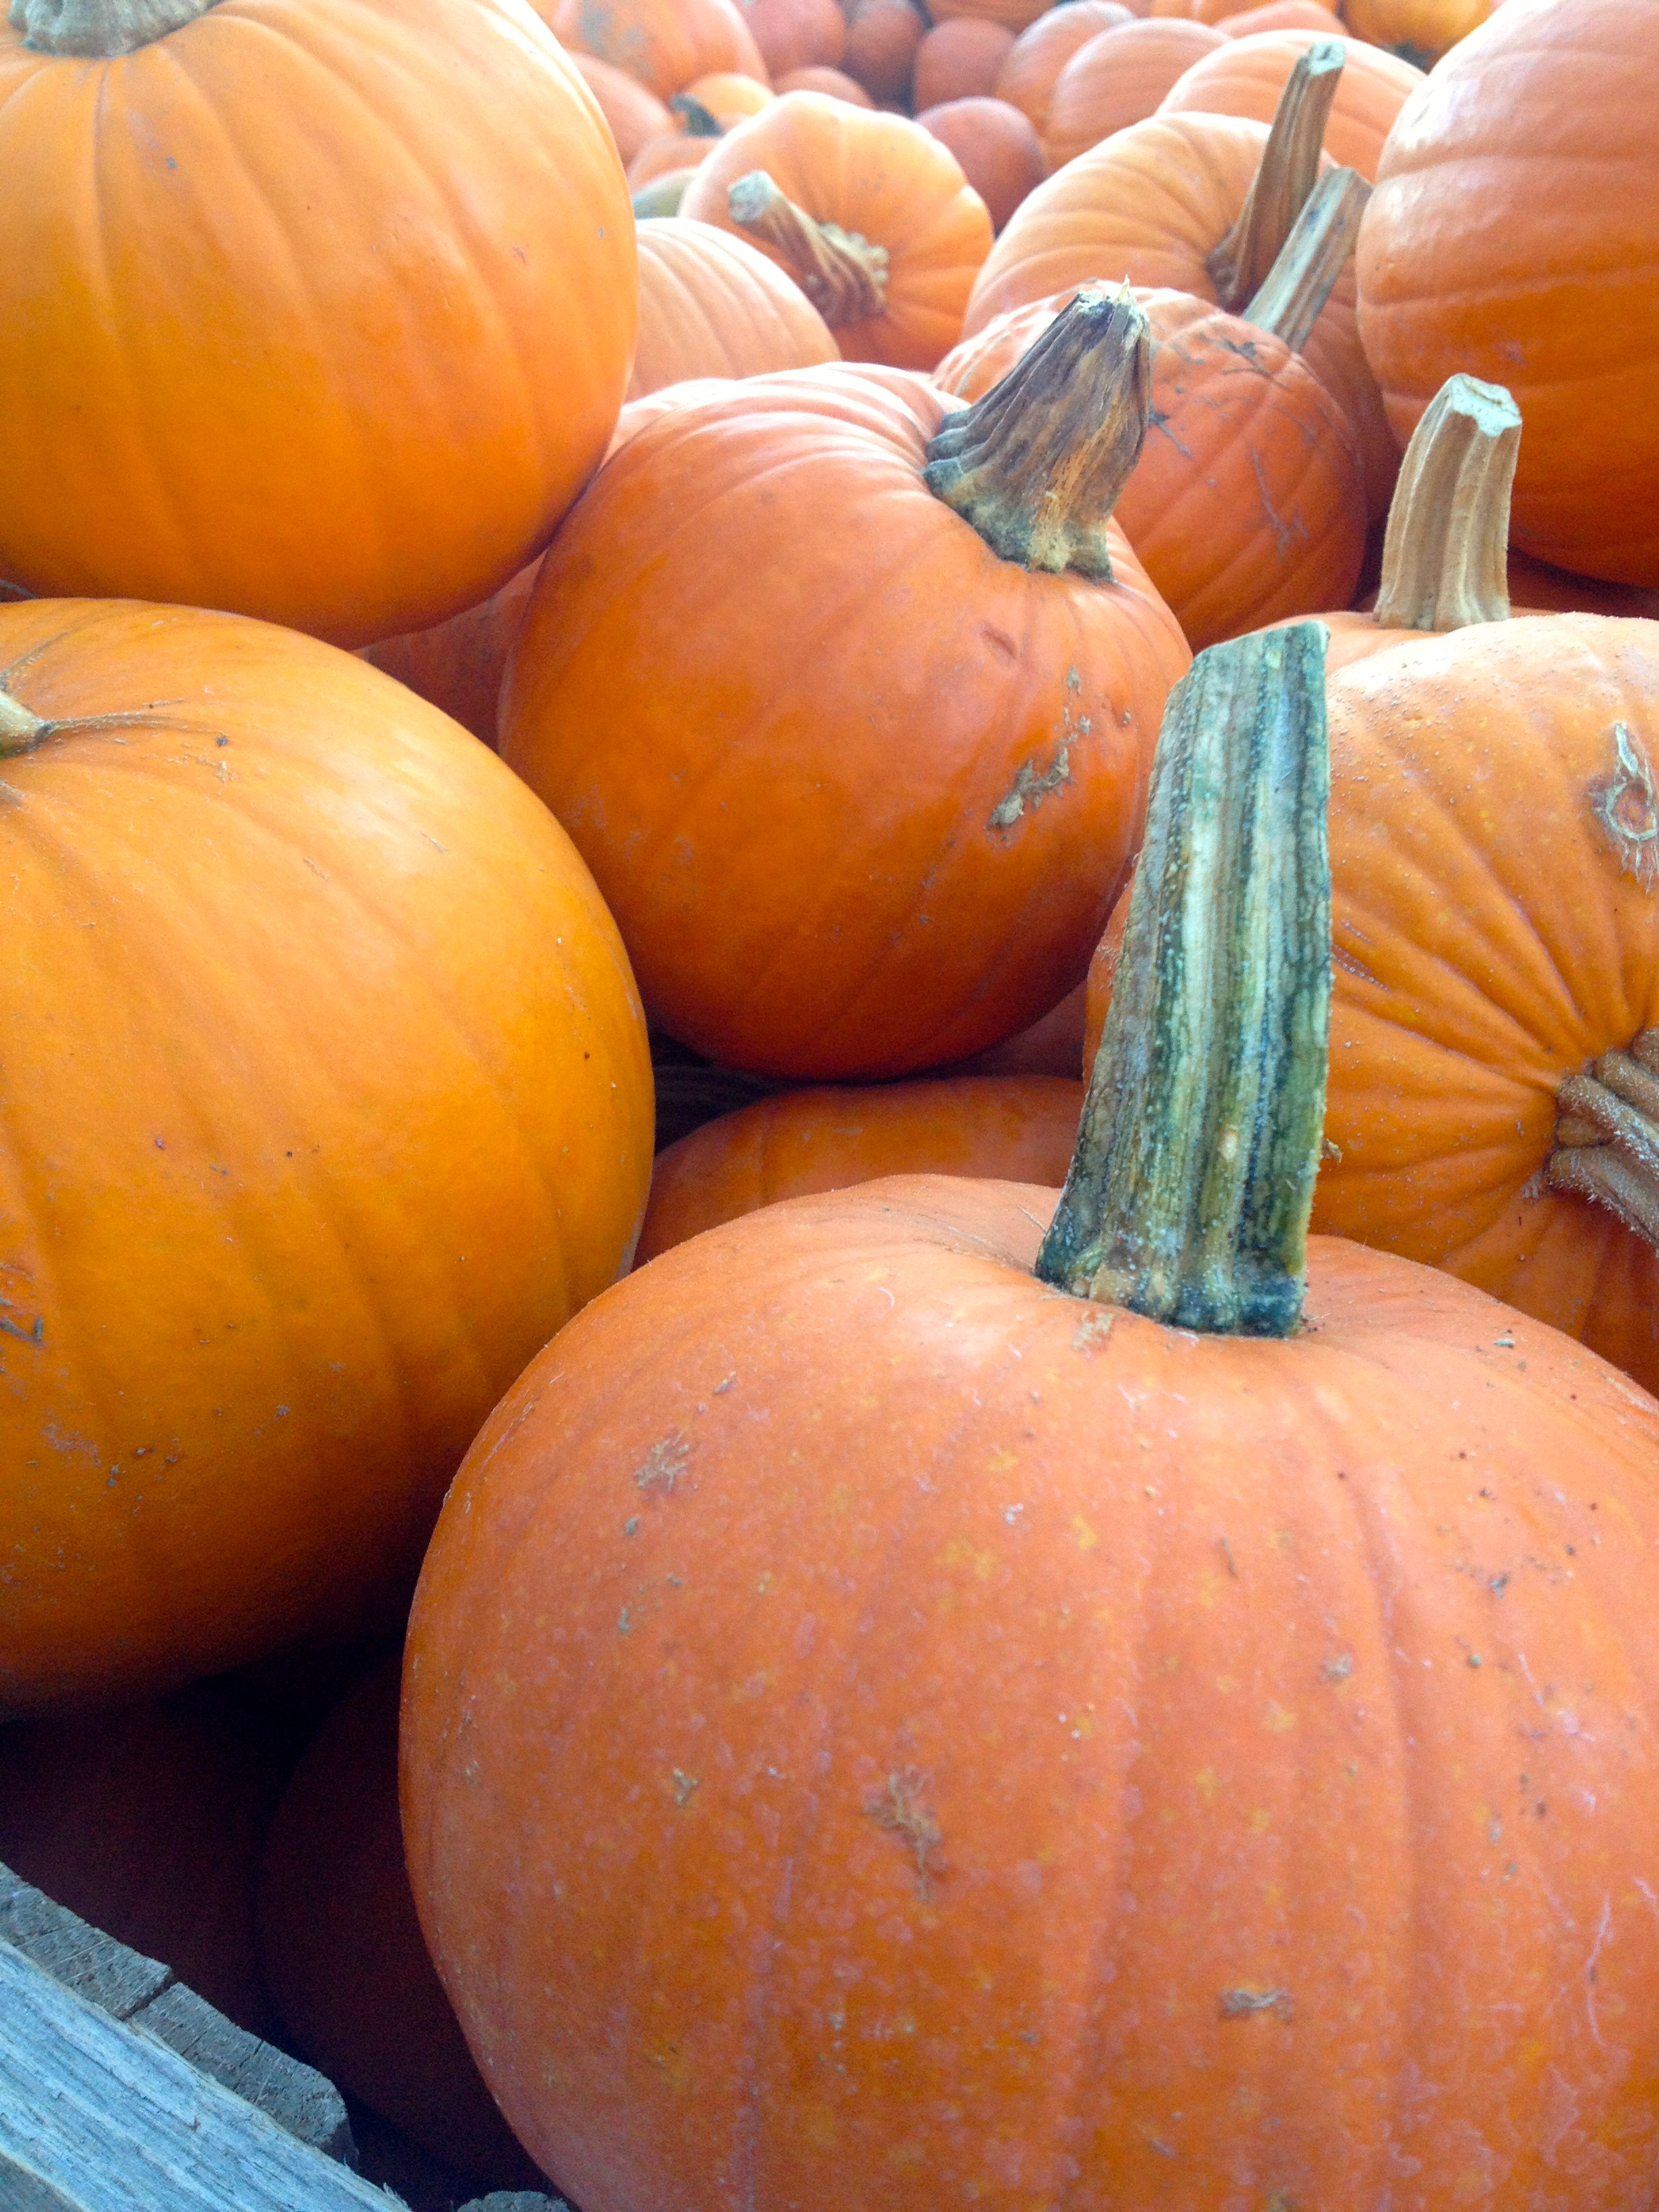
Hello friends! I’m proud to announce a new recipe (a Ruth semi-original) that is the epitome of fall: pumpkin cupcakes with cream cheese frosting and a caramel drizzle. Yeah, you read it right. And they’re every bit as good as they sound! Imagine a light, fluffy pumpkin cake with a soft, creamy, tangy frosting, drizzled with a warm, smoky, smooth caramel. And now that your mouth is watering, I’ll tell you how to make them!

Ingredients:

  • 1 package (16 oz) pound cake mix
  • 1 cup canned pumpkin
  • 1/3 cup water
  • 2 large eggs
  • 2 tsp pumpkin pie spice (or 1/2 tsp cinnamon, 1/4 tsp ginger, 1/4 tsp allspice, and 1/8 tsp nutmeg if you don’t have pumpkin pie spice)
  • 1 tsp baking soda

Frosting:

  • 8 oz light cream cheese
  • 1/4 cup softened butter
  • 1 tsp vanilla extract
  • 1 lb powdered sugar

Caramel Drizzle

  • 1 package soft caramels
  • 3 Tbsp milk (any type)

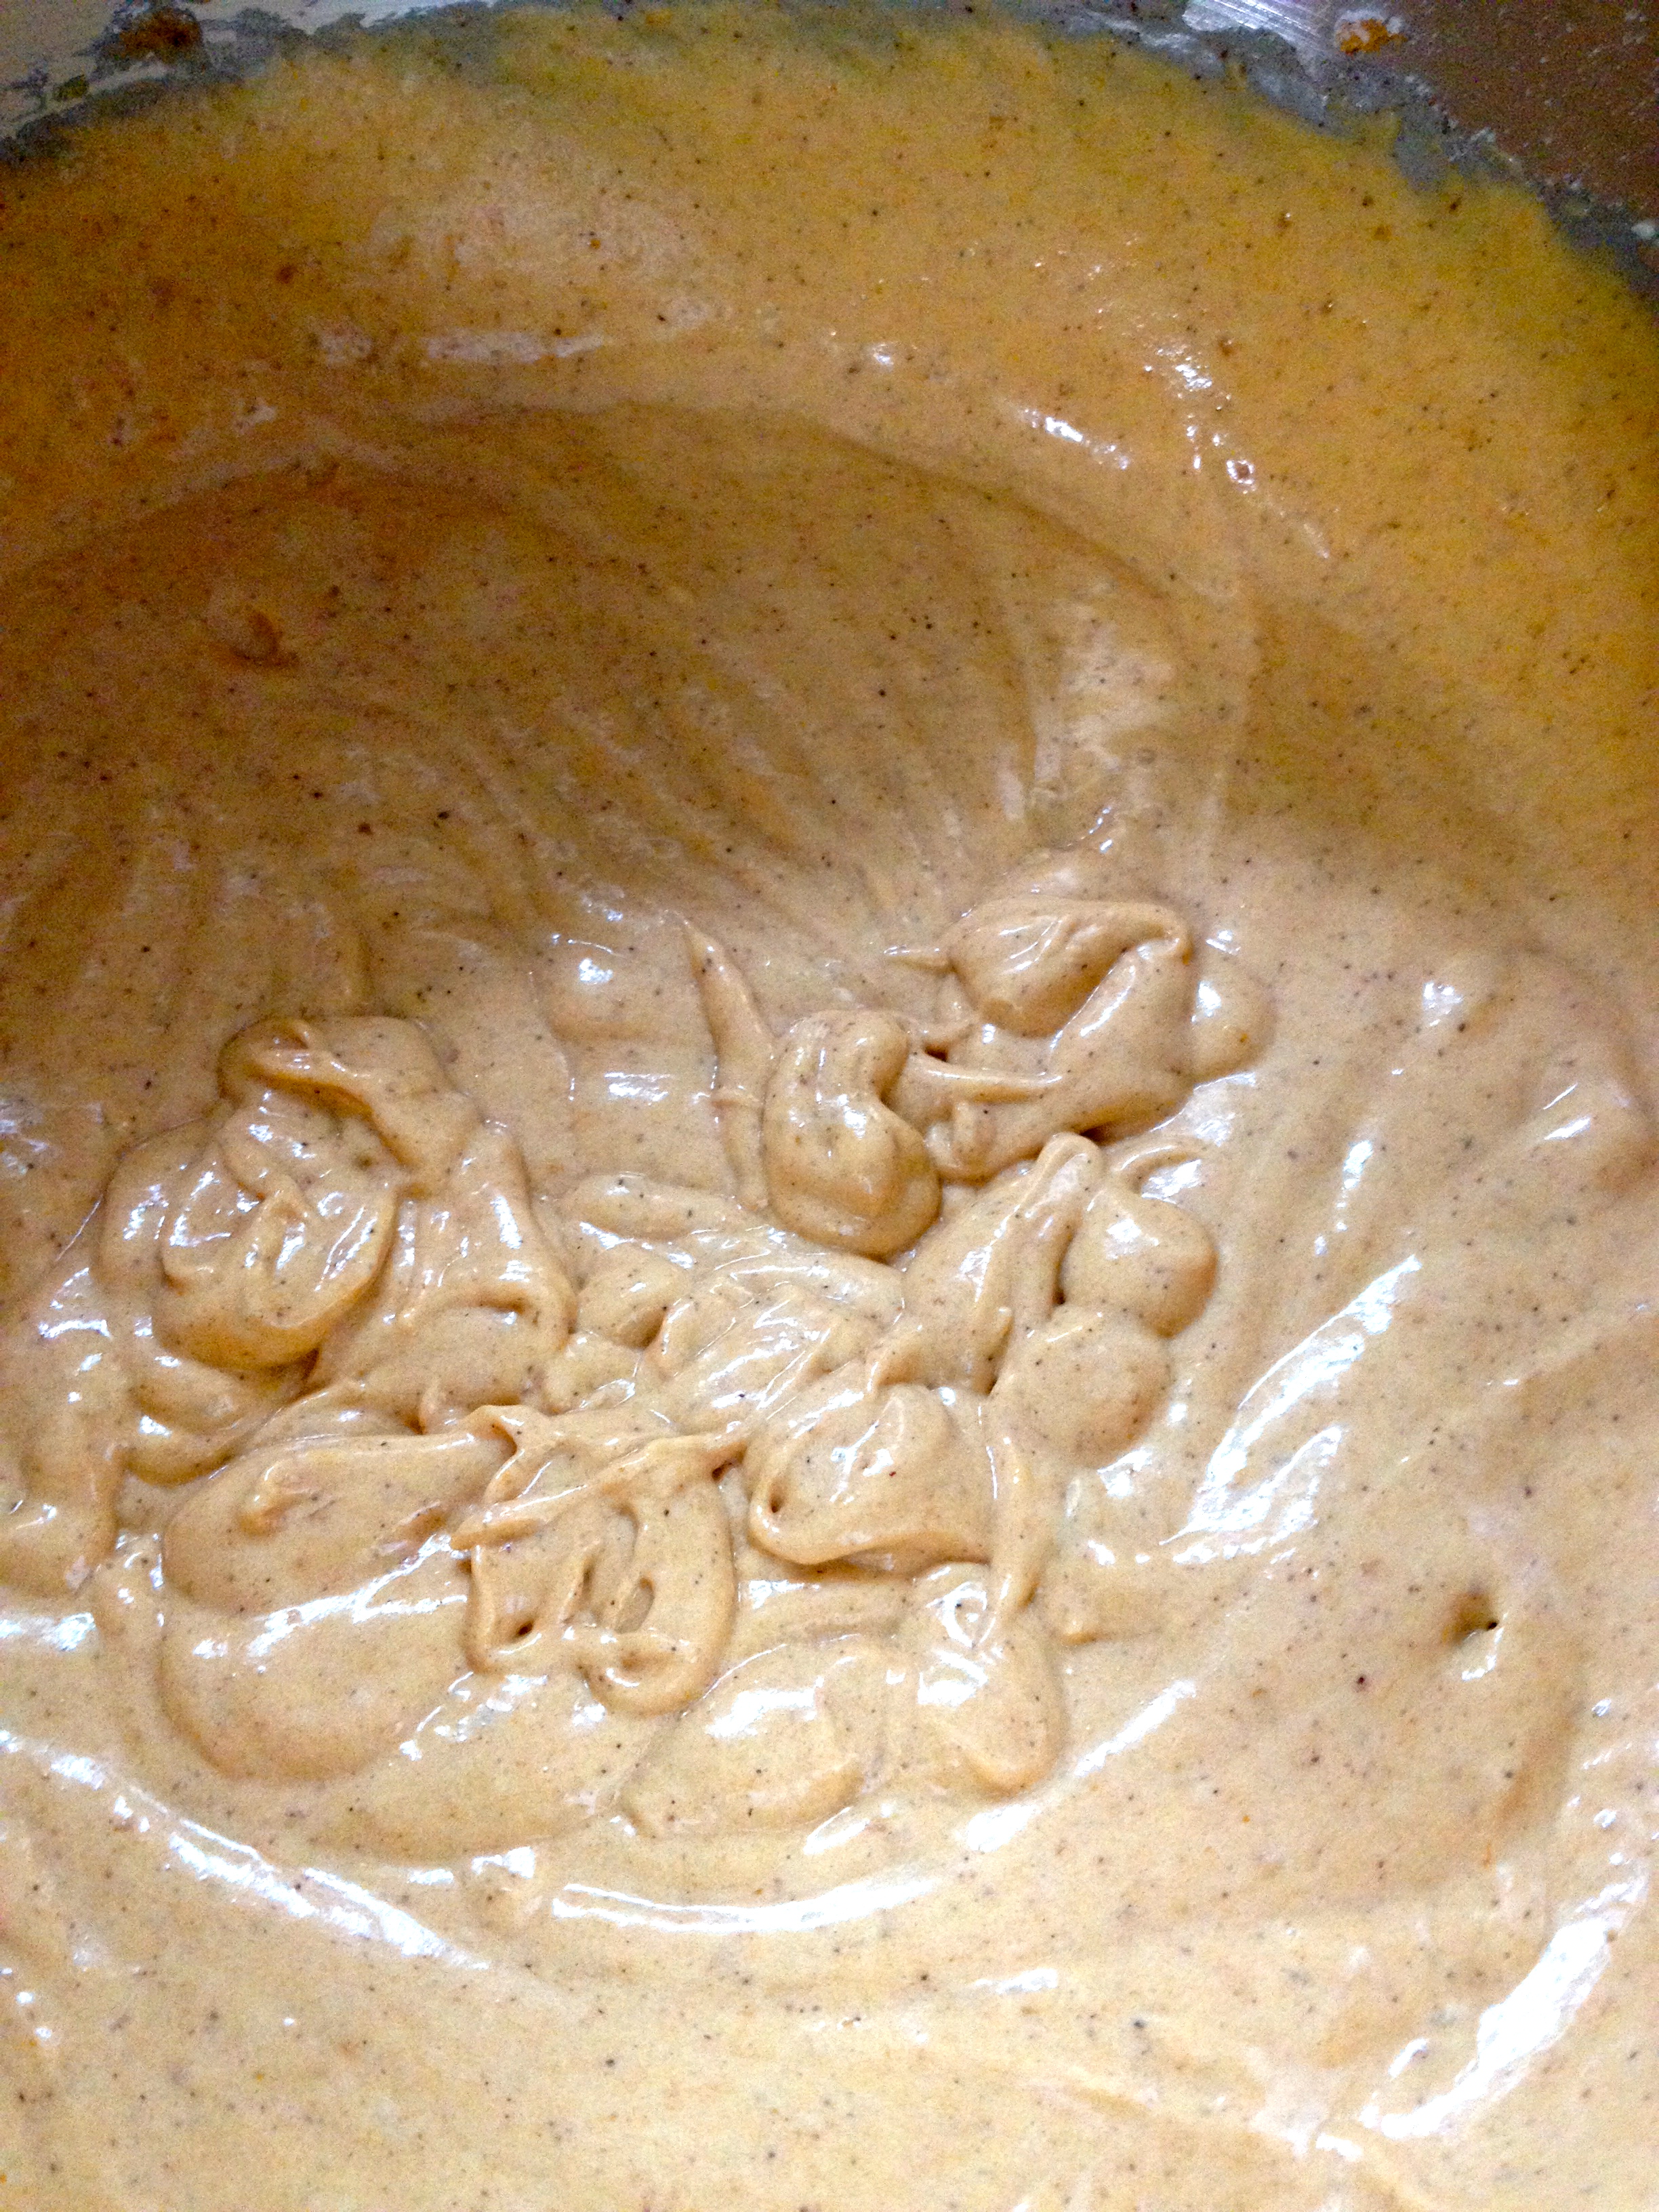
First, mix the cake mix with the water, eggs, and vanilla until it is fully combined. Then, add the pumpkin, spices, and baking soda. Stir until the ingredients are combined, and then beat the mixture on medium speed for 3 minutes. It will be a lovely light pumpkin-orange color.

IMG_1839

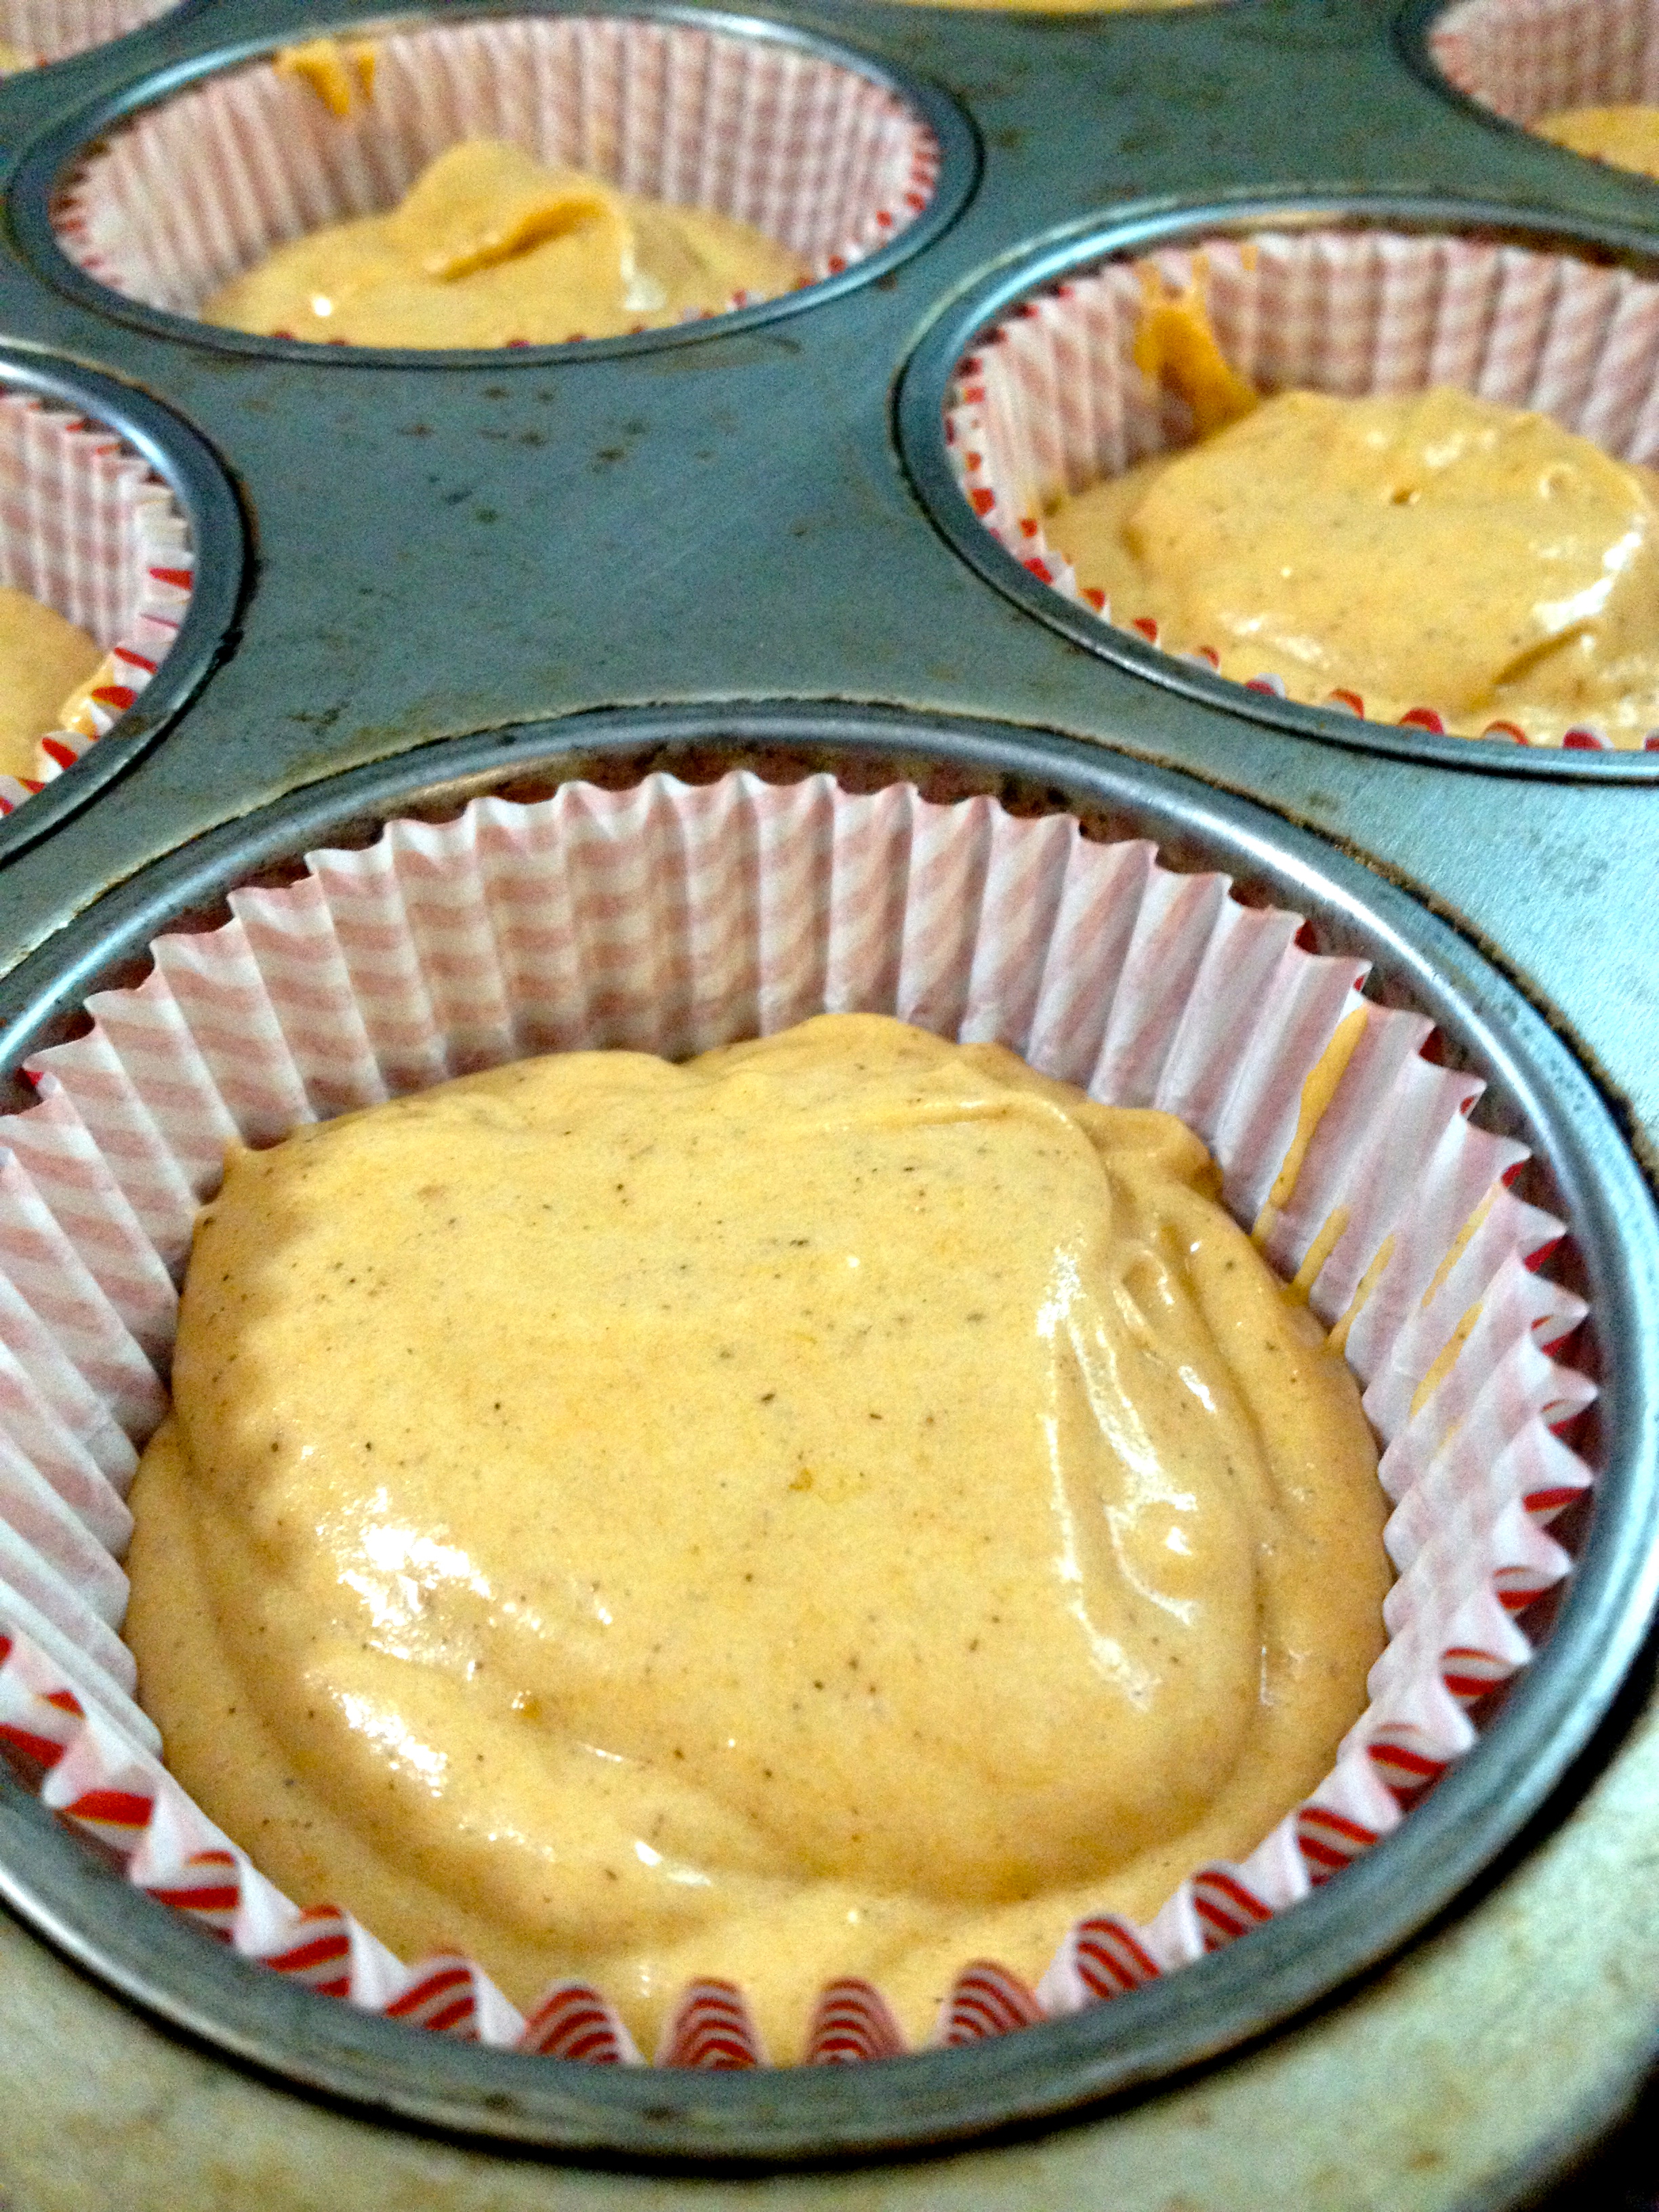
Pour the batter into prepared cupcake pans, filling each cupcake paper about 3/4 full. It should fill about 24 cupcake papers.

IMG_1841

Bake at 325ºF for 25-30 minutes, until a toothpick inserted in the center of the cakes comes out clean.

IMG_1843

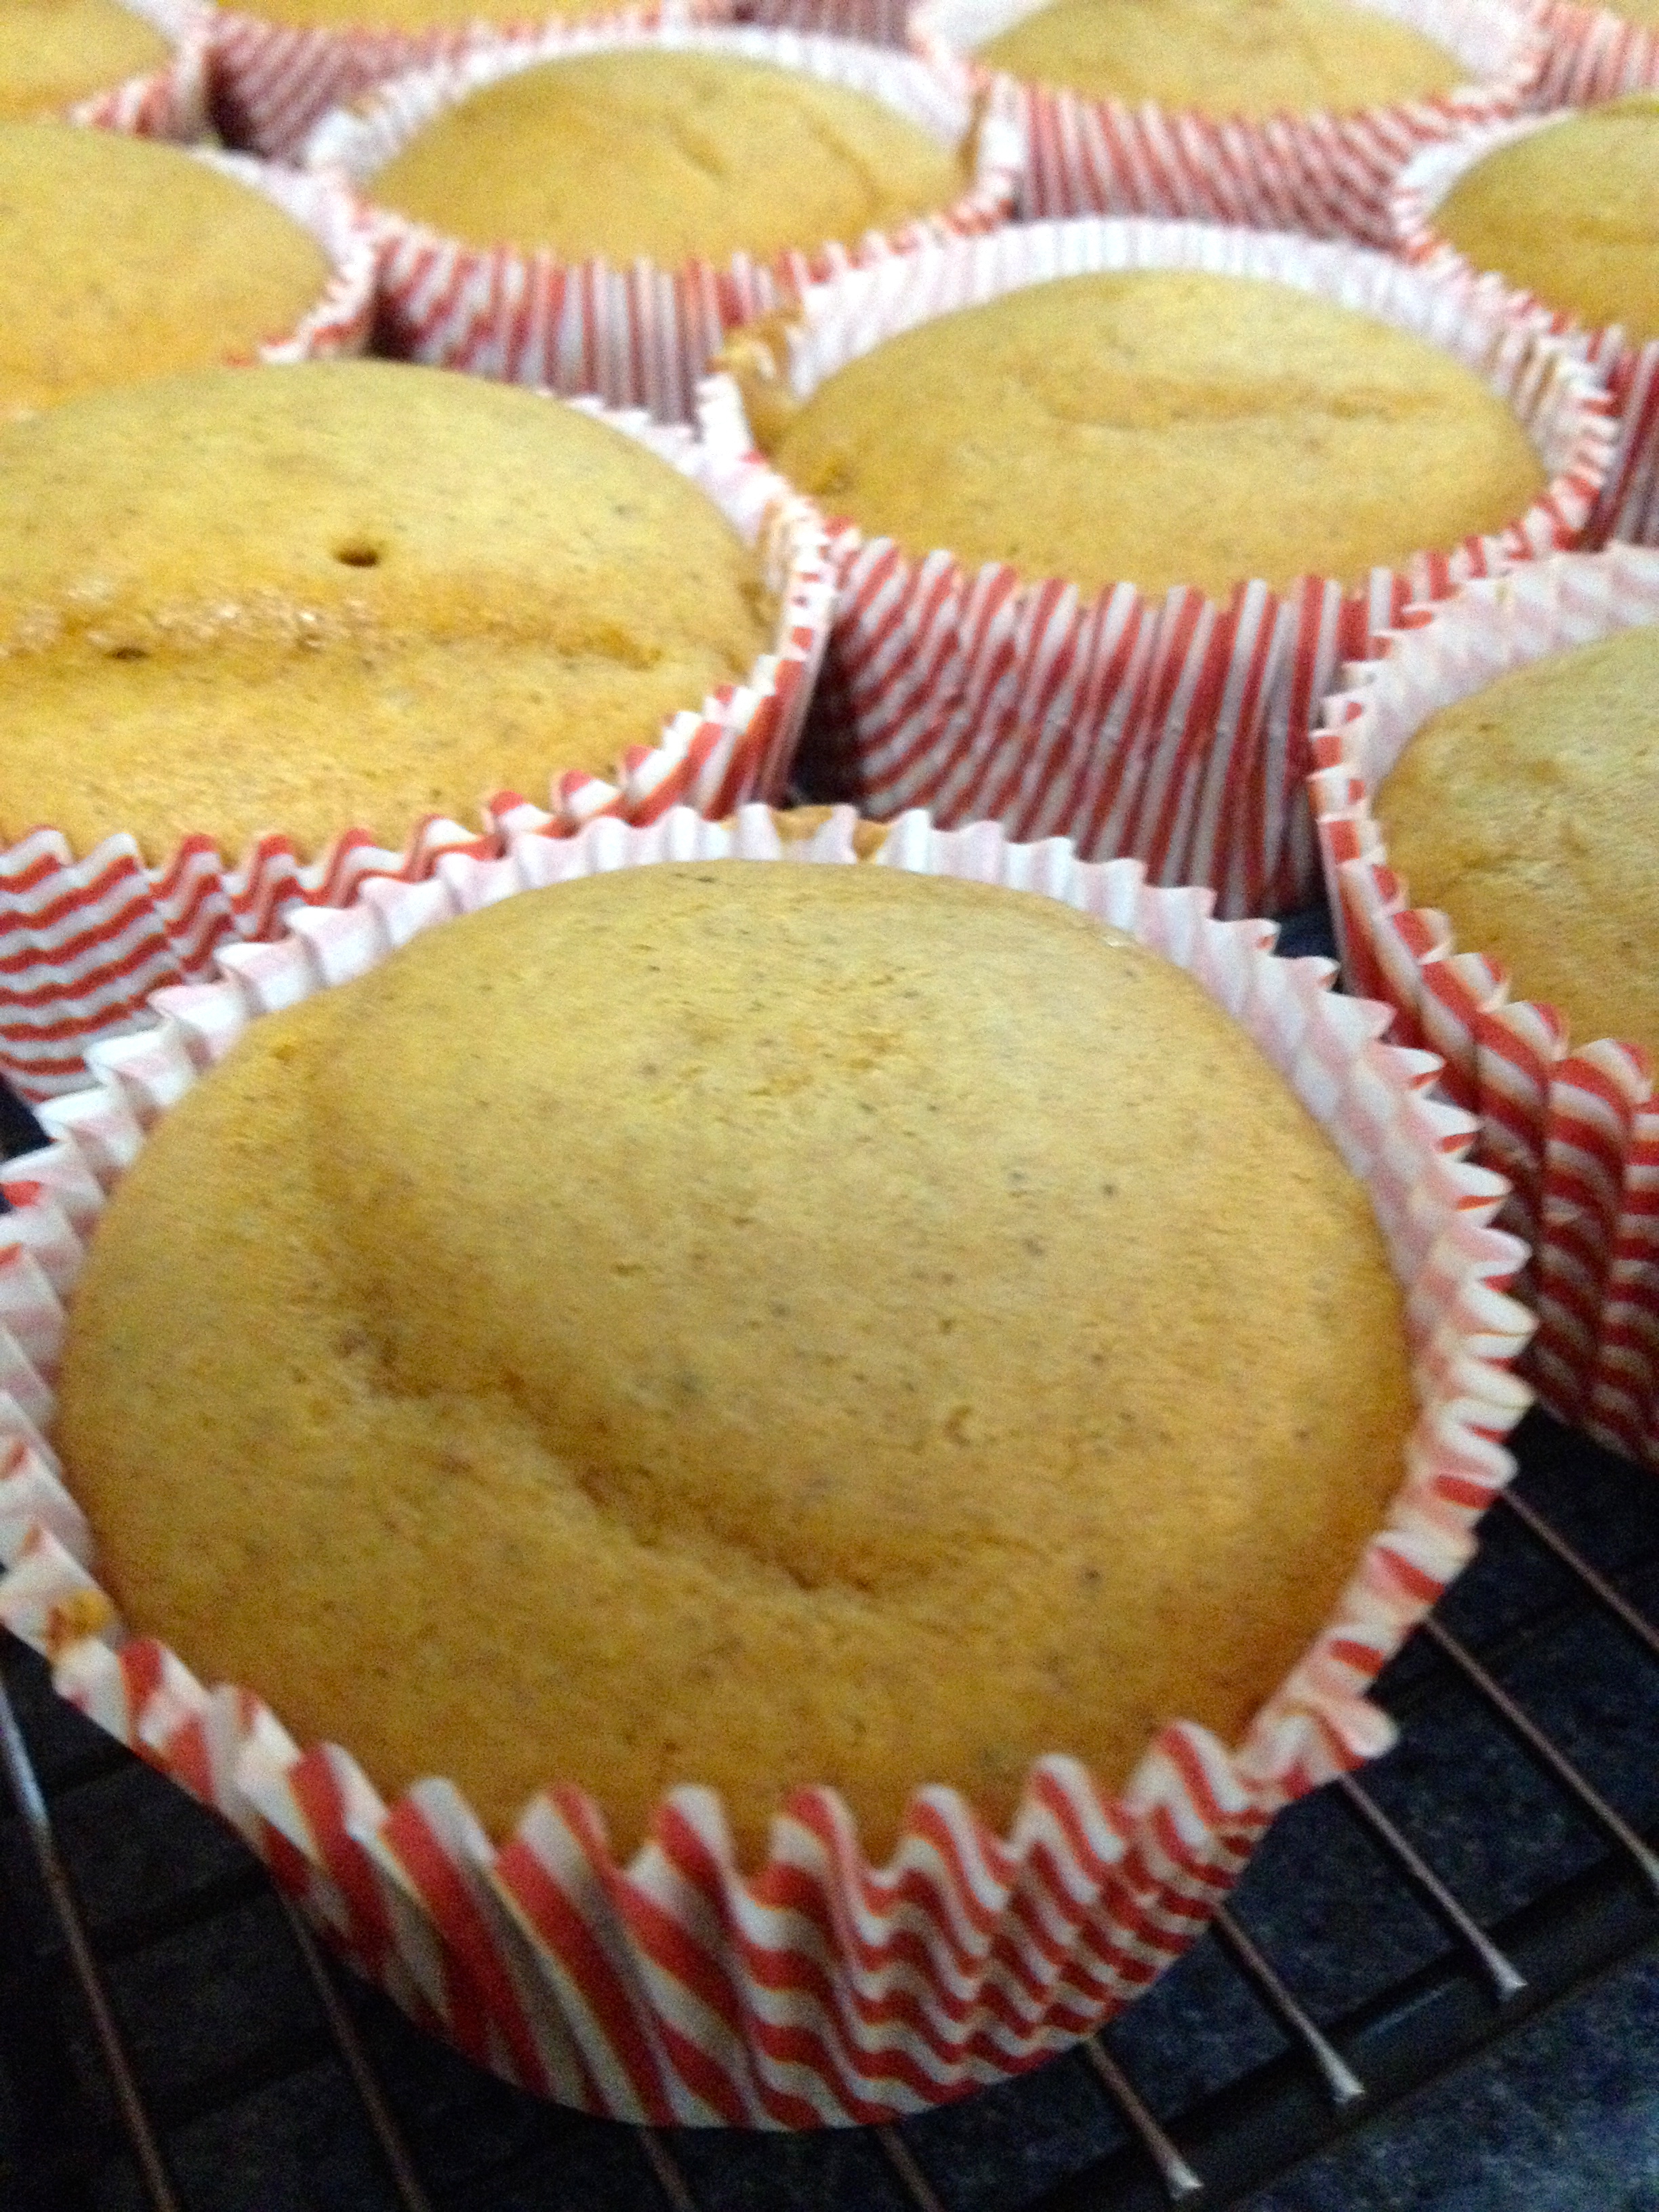
Let the cupcakes cool completely before even thinking about frosting them! Nothing is worse than melted frosting!

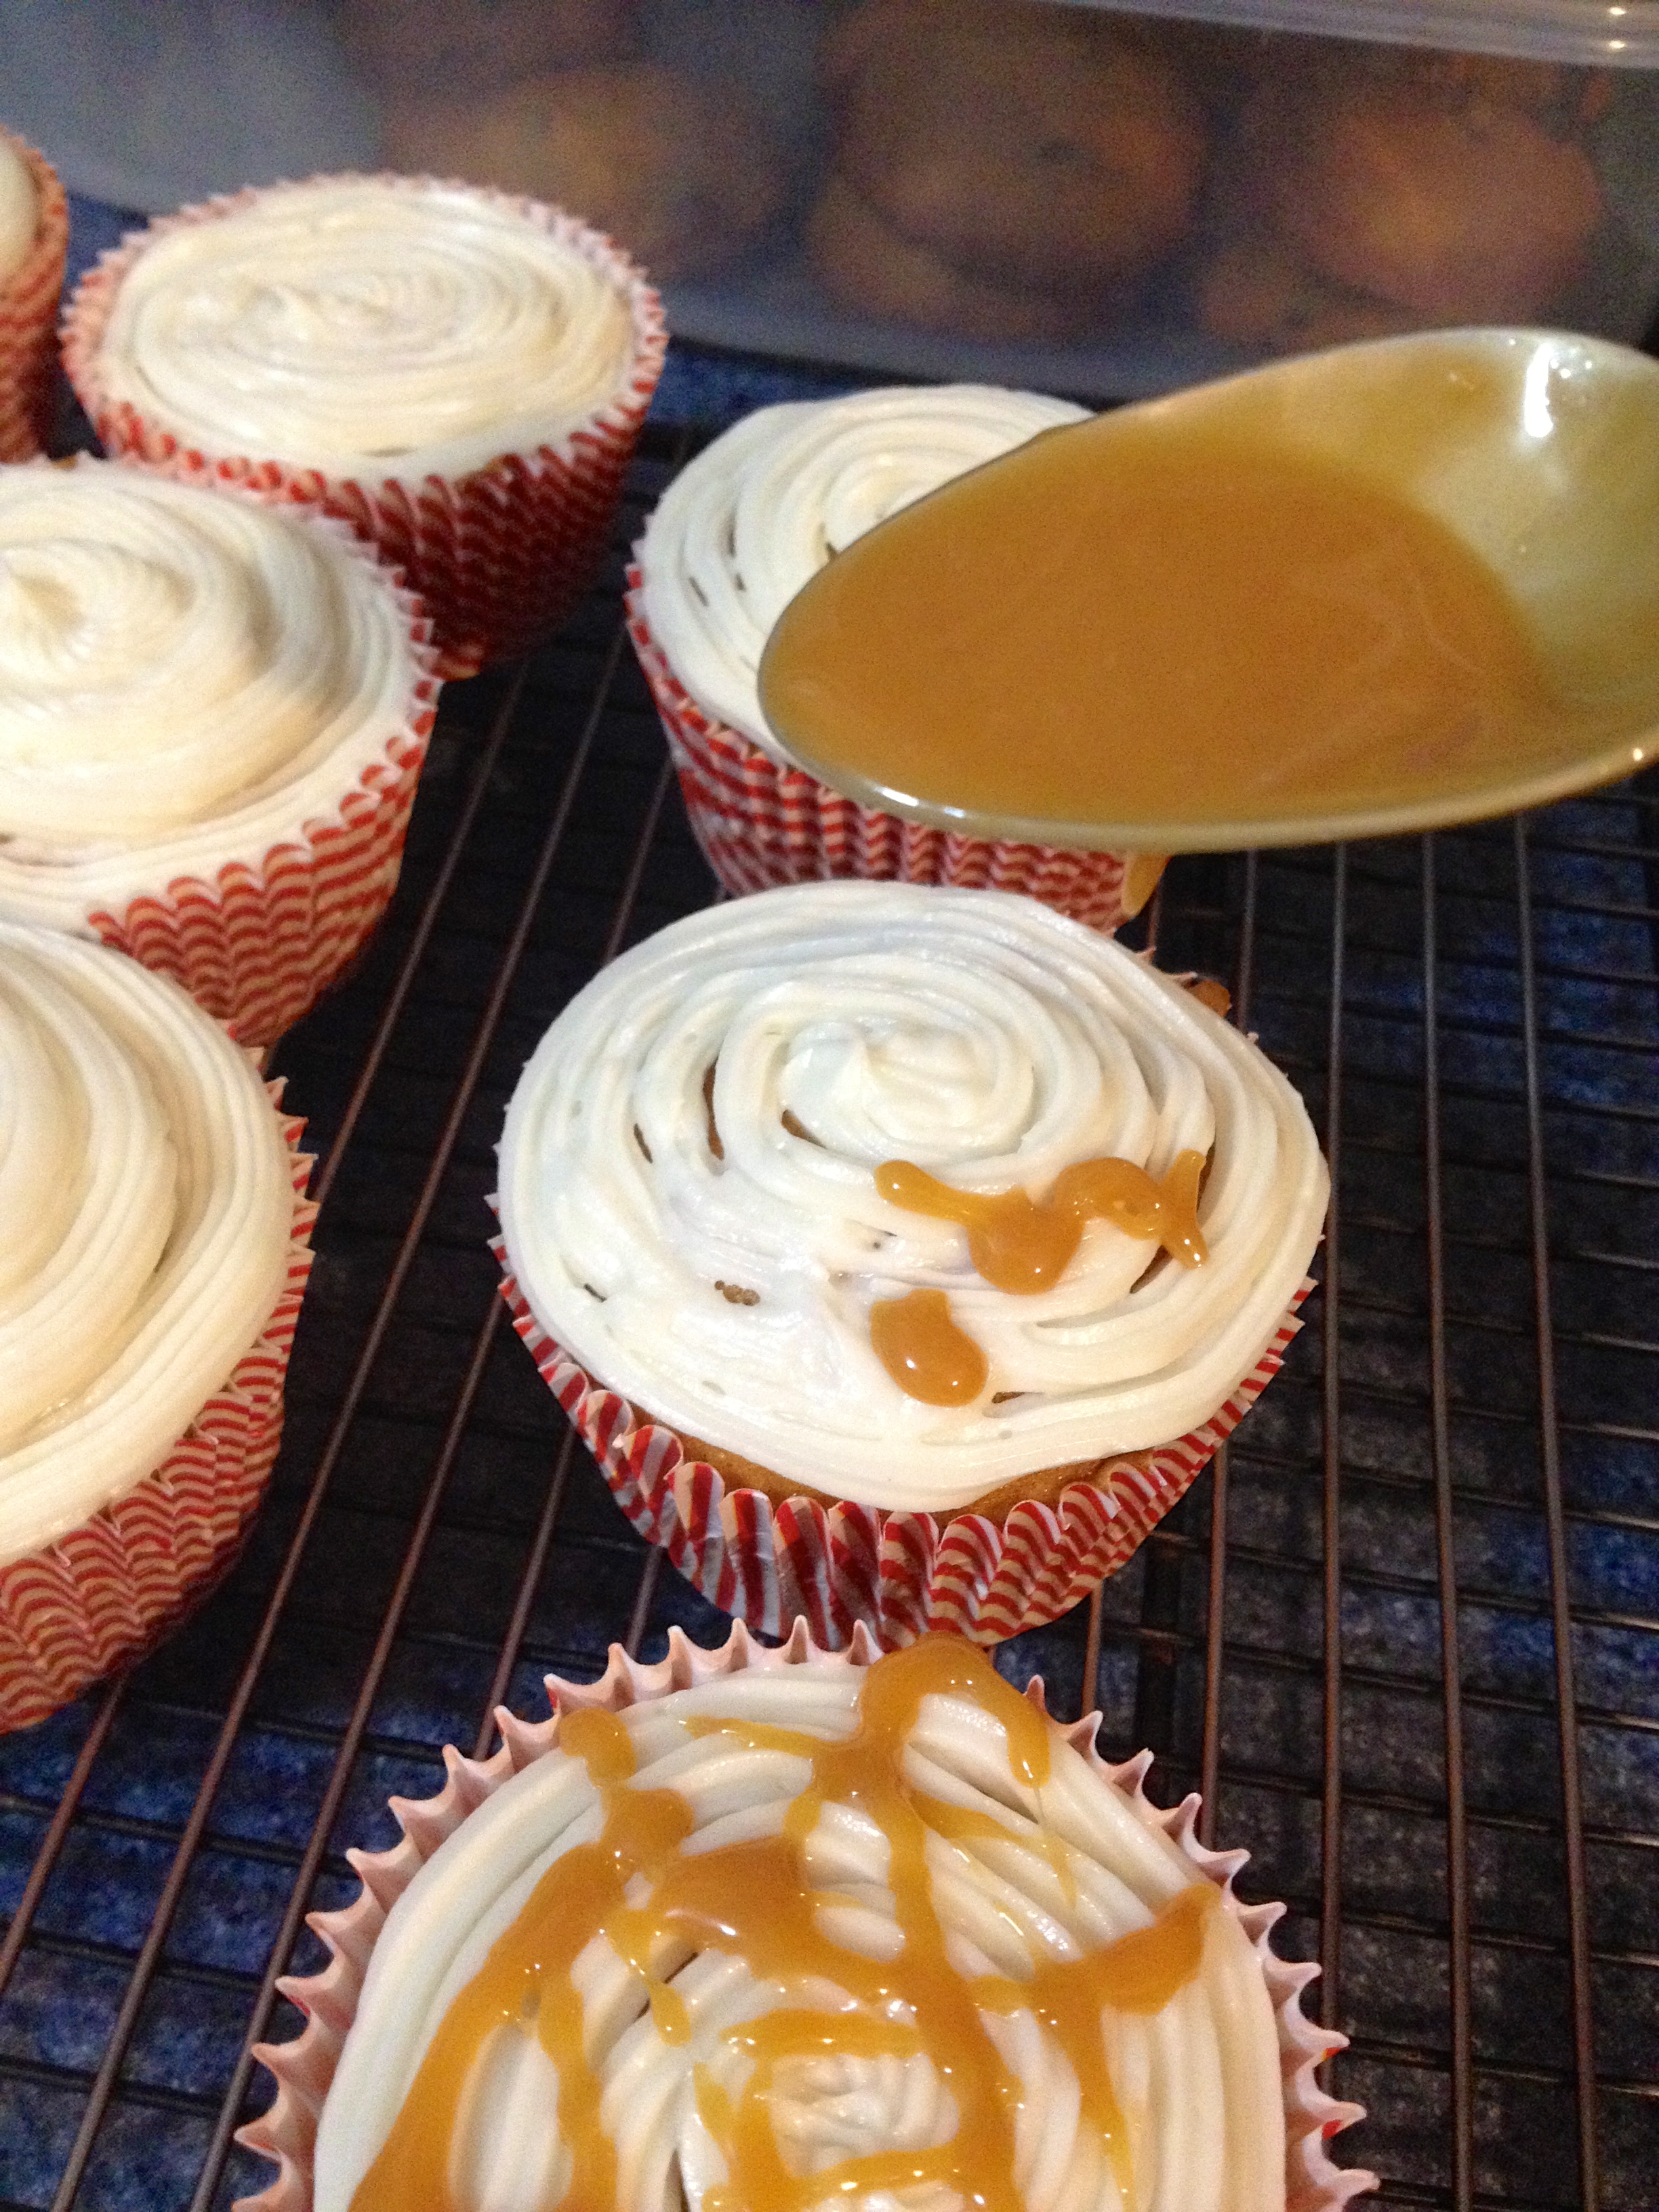
Once the cupcakes are completely cool, cream the cream cheese, vanilla, and butter together. Slowly add the powdered sugar while beating the mixture on low speed until you have reached your desired thickness. Then, turn the mixer up to medium speed and whip the frosting for about 30 seconds, just to give it some lightness. Just a note- the frosting recipe will make more frosting than is needed for these cupcakes, but I would rather have more than enough frosting than not enough!

IMG_1845

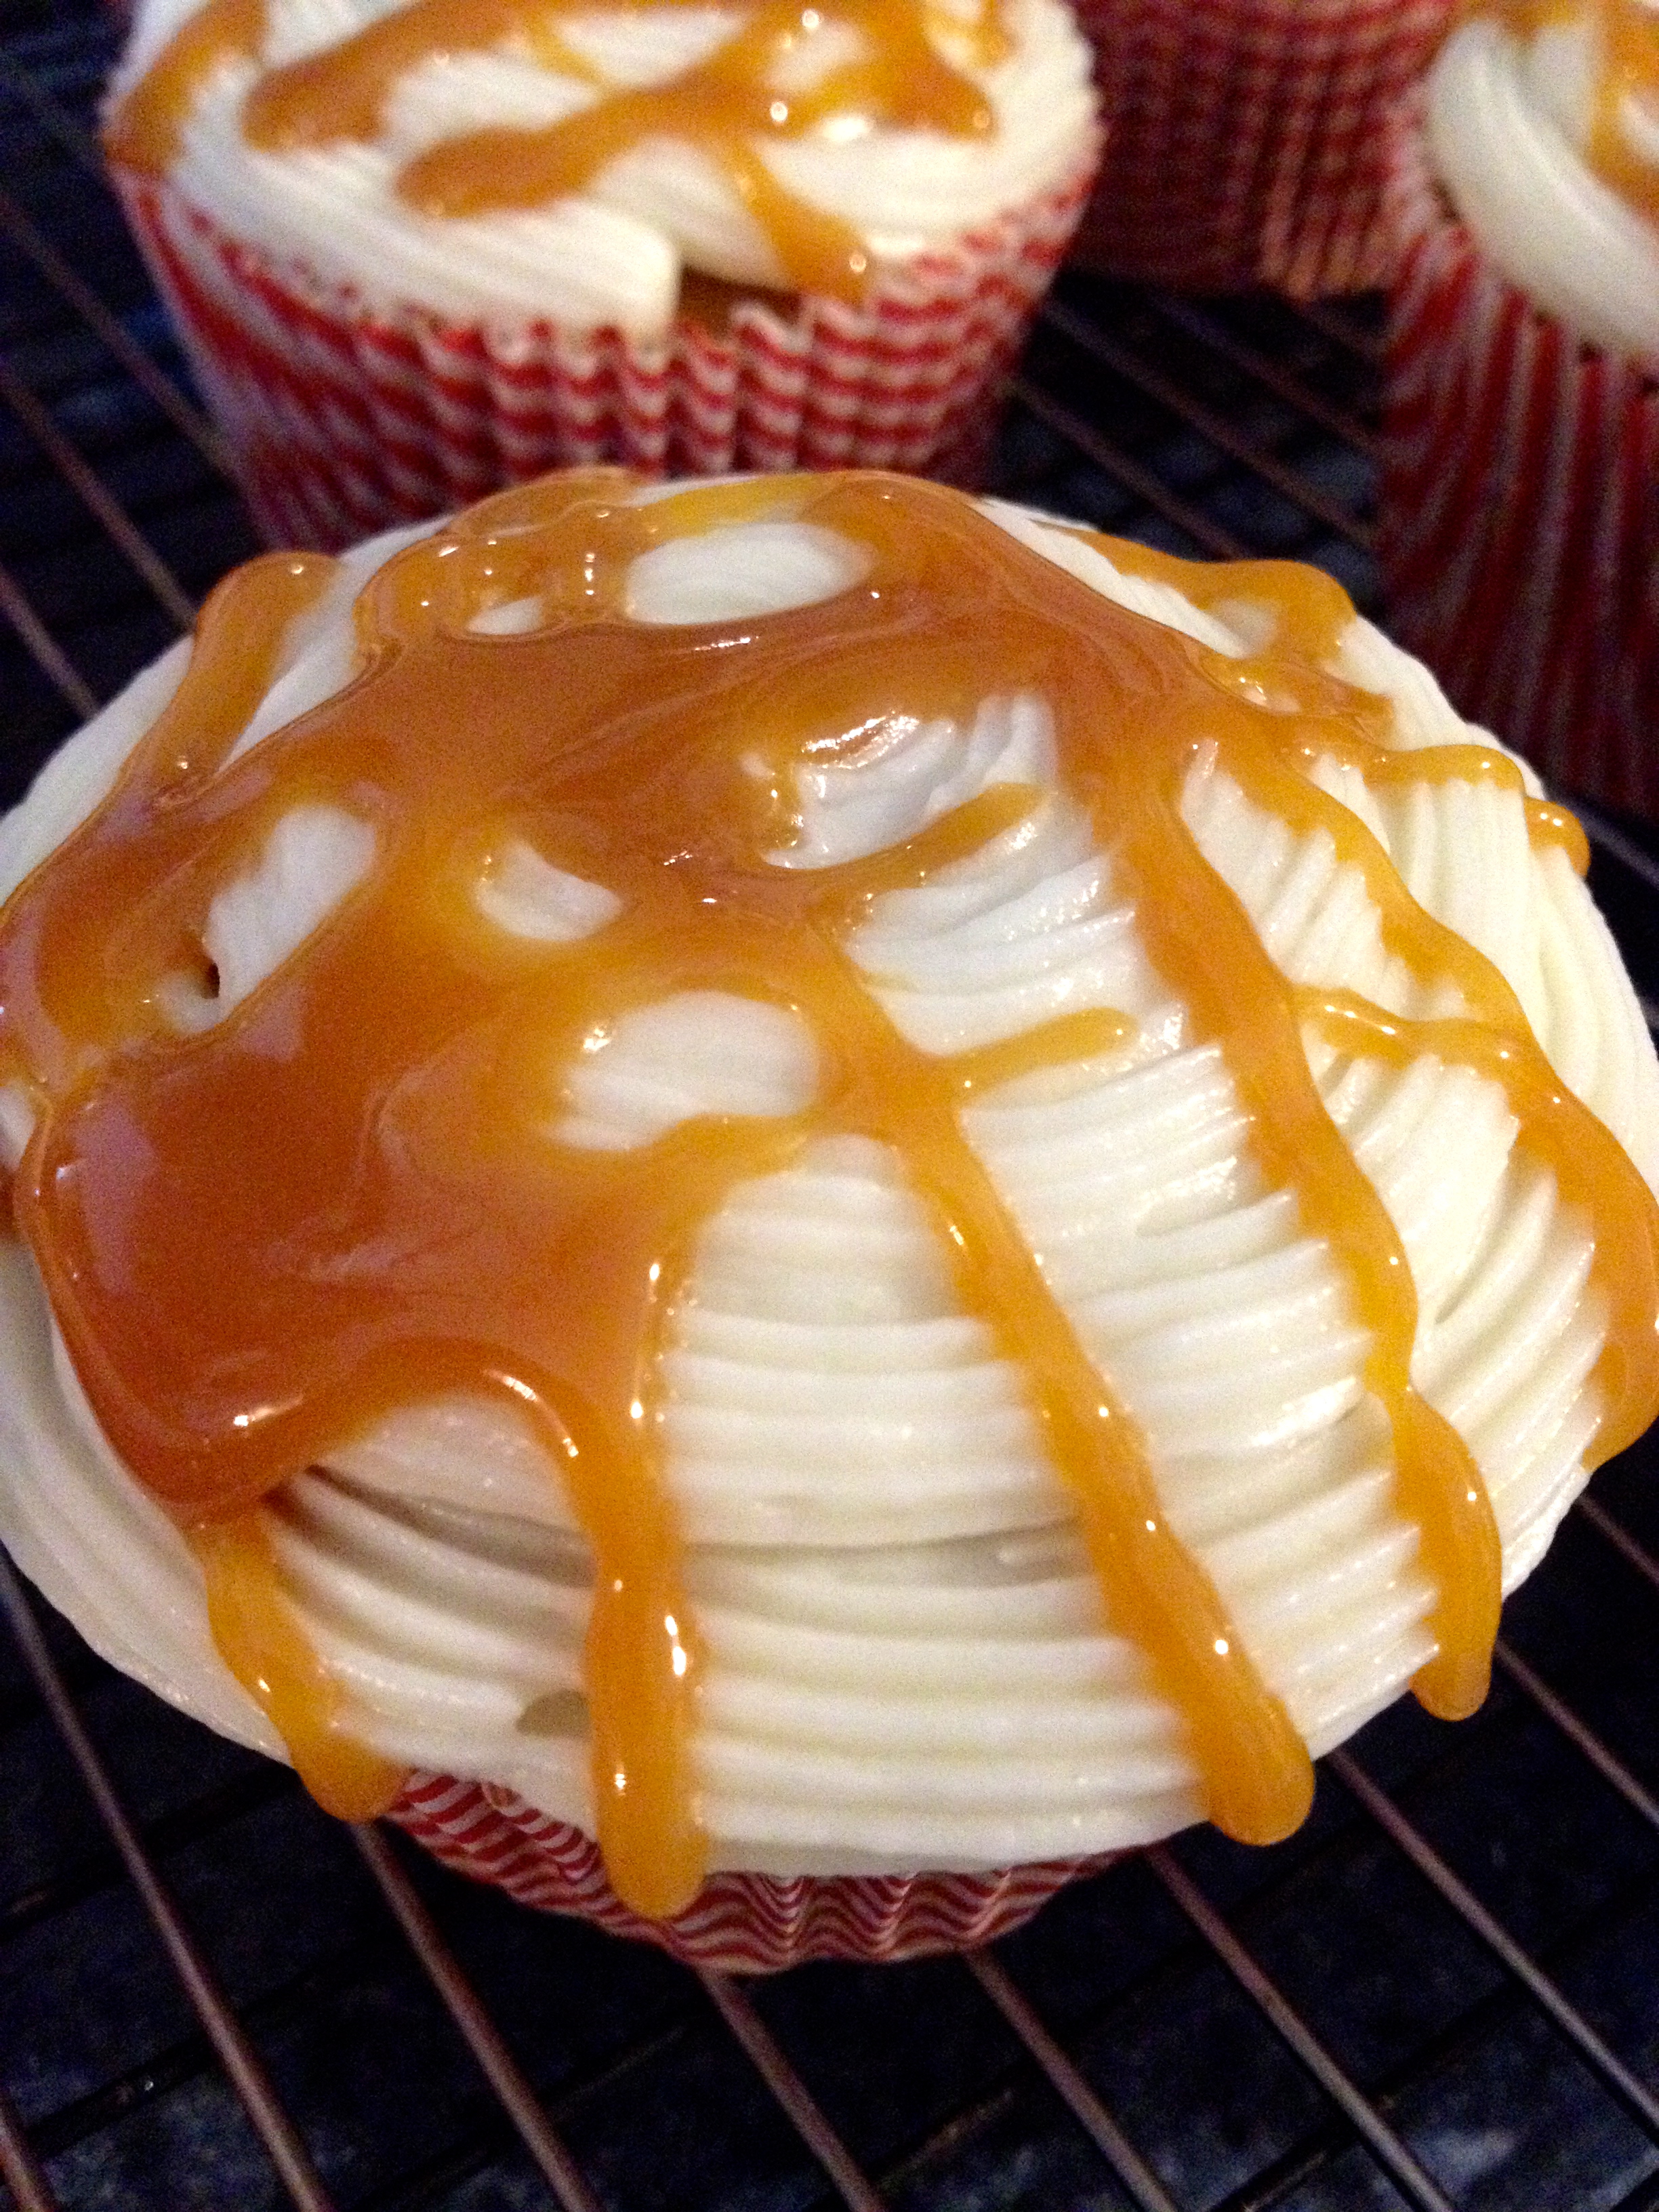
Using either a cake decorating set or a knife, frost the cupcakes. Now it’s time for the caramel drizzle!

Put all the unwrapped caramels in a microwave safe bowl with the milk. Microwave them for 30 seconds, and then stir them. Put them in for another 30 seconds, and then stir them again. Repeat this process until they are fully melted and smooth. Tip: the reason you have to continue heating them for 30 seconds is so that nothing burns, and the milk doesn’t cook. Also, don’t be worried if the caramel foams- that’s normal! 

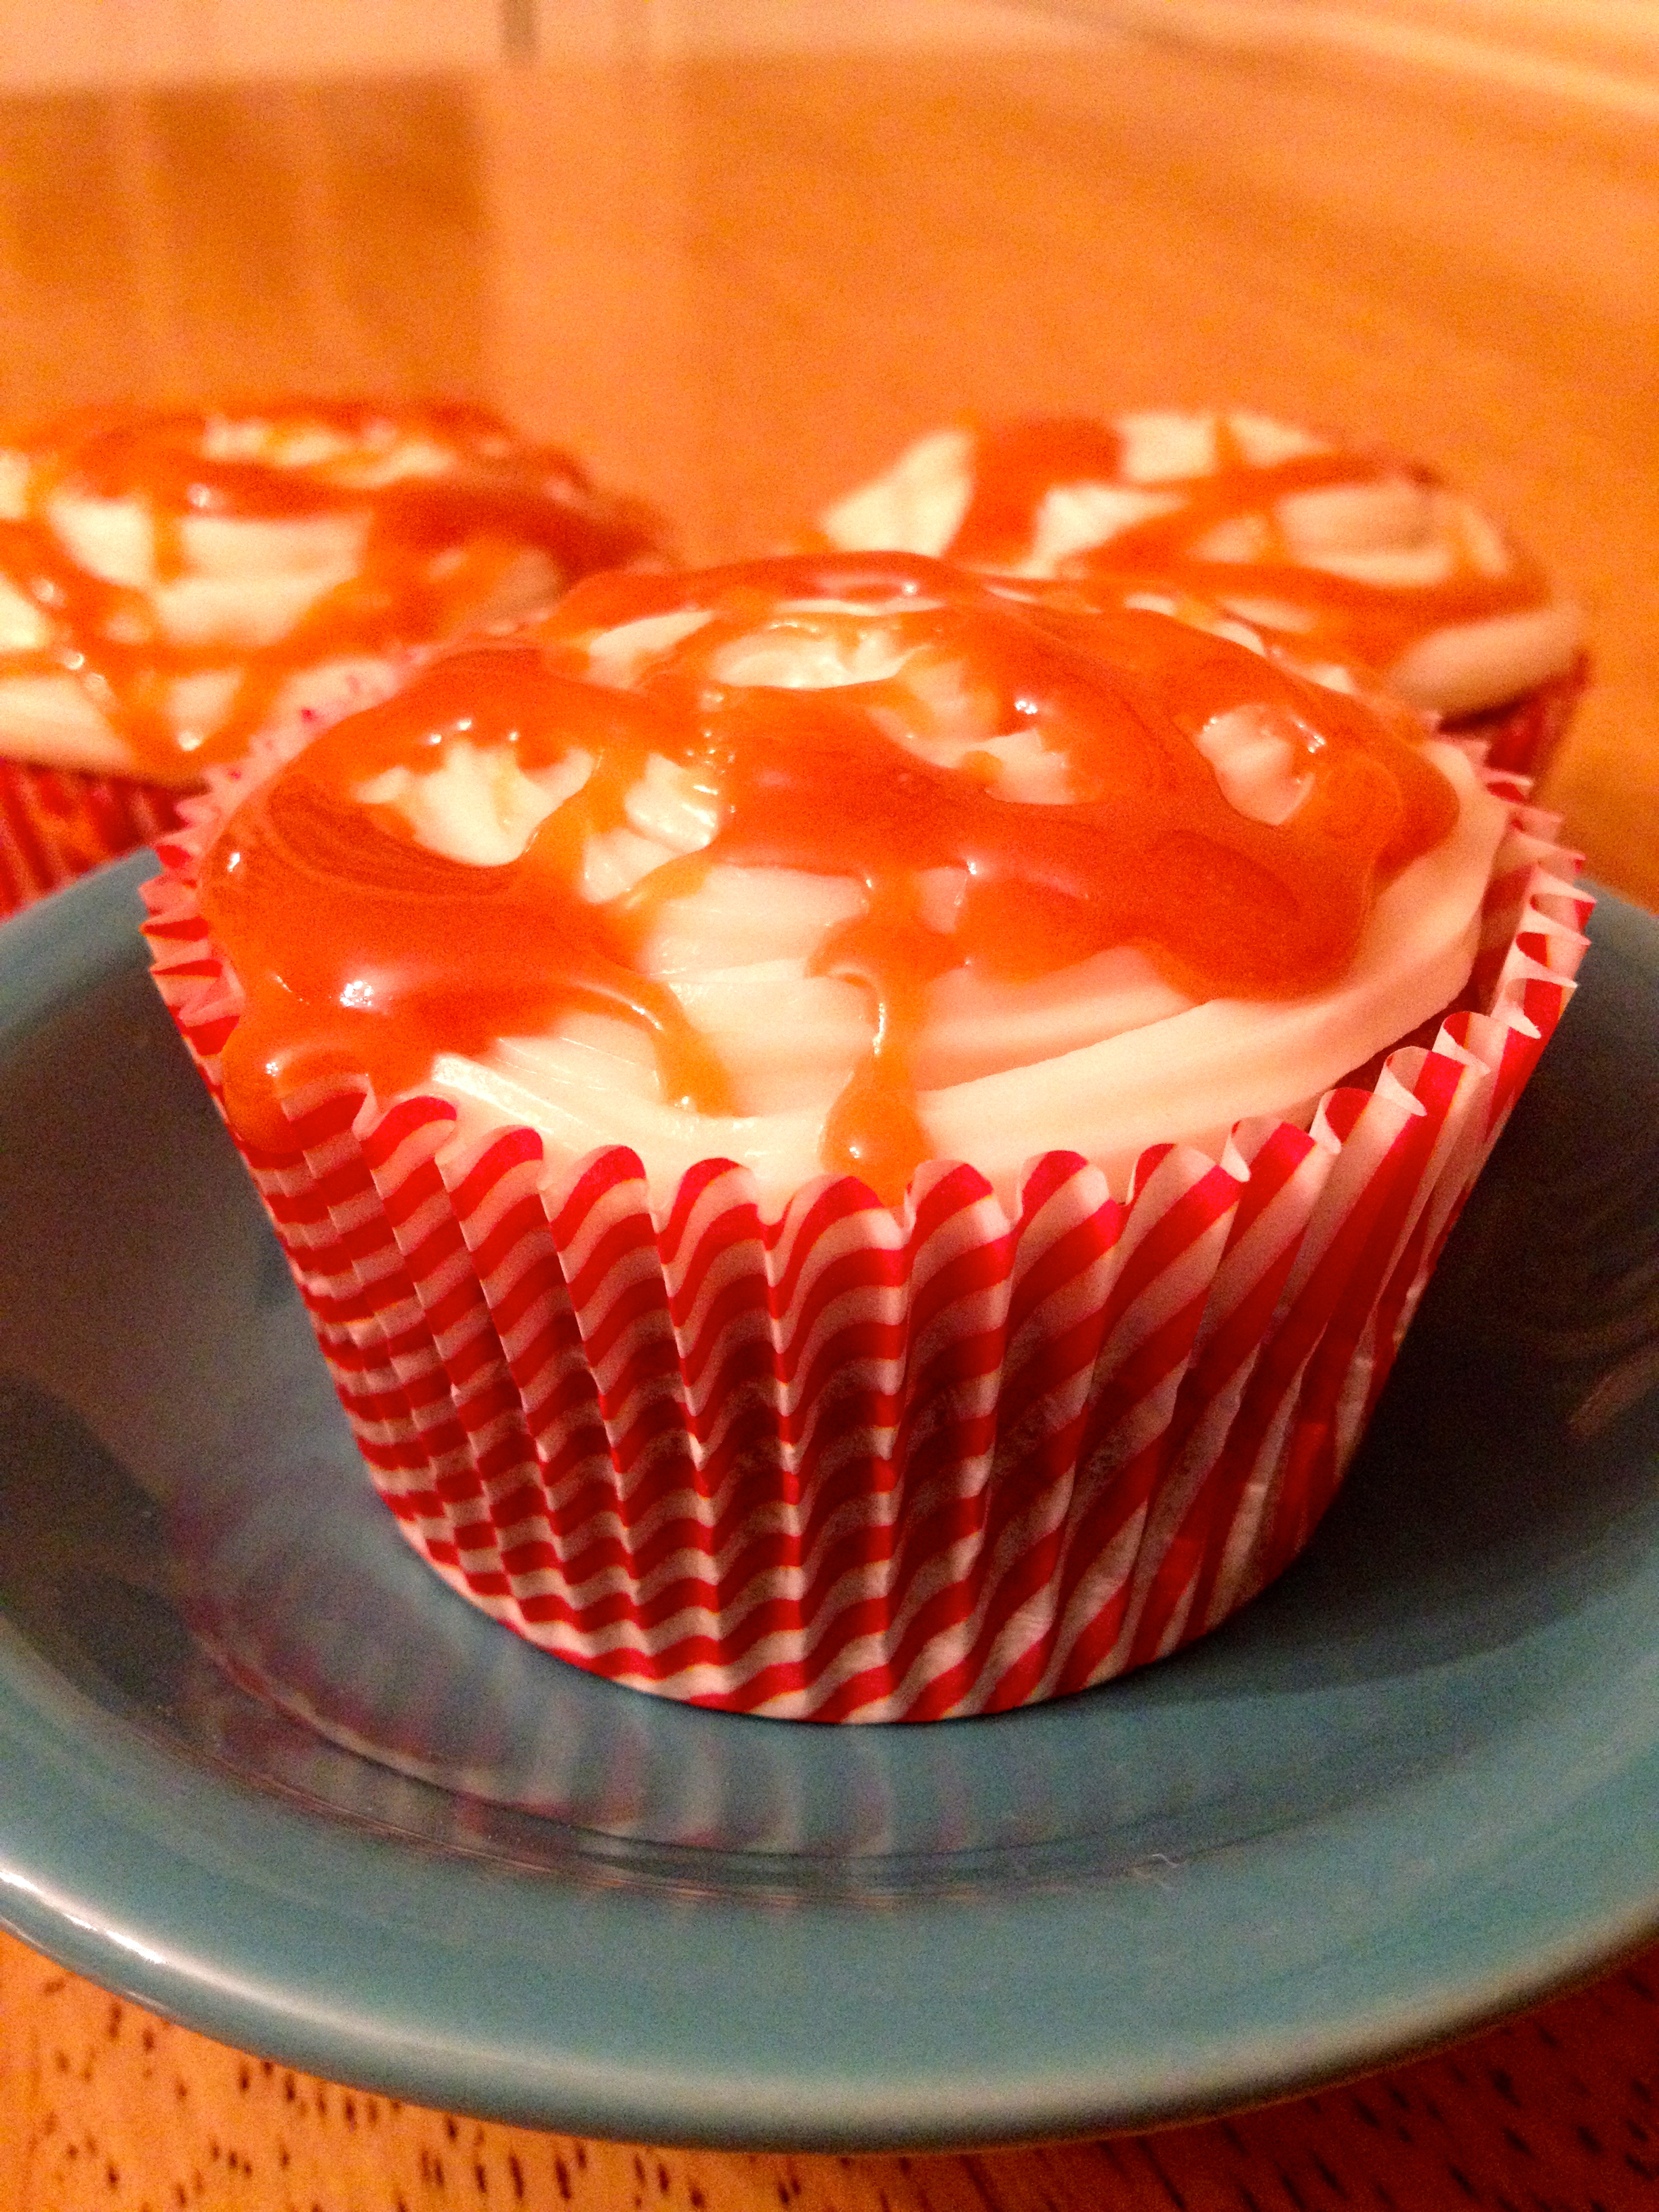
Using a spoon or a knife, drizzle the caramel sauce over the cupcakes. Be warned: caramel is ridiculously hot and sticky! Try your best not to get it on your fingers, and if you do, run them under cold water- don’t put your fingers in your mouth or else you’ll also burn your mouth!

IMG_1846 IMG_1847

These cupcakes are so good, and surprisingly easy to make. They look beautiful and make your friends think you worked for hours to make them, but we know better than to make a difficult recipe!

IMG_1849

I hope you all try this recipe and enjoy the tastes of fall as much as I do. Happy baking!

It’s All in the Apples!

Hello everyone! Happy autumn! Today’s post is all about the joys of fall and the delicious food that can be made- particularly baked apples! I went apple picking with my family this past weekend, and decided to make my own recipe for baked apples, so I seriously just winged it and threw a bunch of ingredients together. The results were nothing short of awesome, I have to say. True to my style, this recipe is ridiculously simple but so scrumptious. Here’s the recipe:

Ingredients:

  • 4 fresh apples (I used Macintosh, but I think any variety would work fairly well)
  • 1/2 cup old-fashioned oats
  • 1/2 cup brown sugar
  • 1/3 cup granulated sugar
  • 1/2 tsp vanilla
  • 1/4 tsp ground cinnamon
  • 1/8 tsp ground cloves (for aromatics, not really taste)
  • 1/4 tsp lemon juice
  • 1 tbsp cold butter, cubed
  • Pinch salt (a little less than 1/8 tsp)

You will also need an 8×8″ baking dish and 1 cup of water for later.

First, core the apples, but DO NOT core them all the way through. You’ll need the bottom of the apple to remain intact or else your filling will fall out. Partial coring is a process, but once you get the hang of it, you can whip through those apples! Here’s how I did it:

First, take a paring knife and run it in a wide circle around the stem part of the core. Then, take a spoon and, using the cut circle, scoop out the top part of the core. This will require some force, but when you hear the core cracking, you’ll know it’s ready to be removed.

IMG_1907 IMG_1908


Once you have that top part of the core cut out, you can either use a knife for the next layer of the apple, or an apple corer. Remember, only cut down part of the way! After you’ve made another guideline circle with your knife or corer, go back in with the spoon and scoop out the rest of the core.

IMG_1910 IMG_1912


Your finished product should look something like this (by they way, it’s very rewarding when you finish coring those apples!):

IMG_1898


Now it’s time to make the filling! Combine all of the listed ingredients in a mixing bowl, and mix them with a pastry cutter (a spoon works too, but I wanted to crumble the cold butter so that it would delicious and melty in every apple, instead of clumping and being stuck in just one apple). If you use a spoon, make sure that your butter becomes crumbly- this is why having cold butter is so crucial! It’s much easier to break up cold butter than room temperature butter. Your hands are a pretty fail-safe tool, too! When your filling is done, it should look like this:

IMG_1899


Now it’s time to stuff the apples! At this point, just put the filling in and smush it down with a spoon, packing as much of the filling in as possible. Here’s why: the filling tastes like the topping on apple crisp, a.k.a. the best part of the apple crisp. So, why wouldn’t you want to get as much of that goodness into each apple as possible? You will probably have a little topping left over, depending on the size of your apples, so feel free to either make more apples or sprinkle the leftovers over your baked apples!

IMG_1904 IMG_1905


Place the stuffed apples in the baking dish and pour 1 cup of water around the base of the apples. This will help the apples to steam and bake, instead of roasting and drying out.

IMG_1920


Bake the apples in a 375ºF oven for about 45 minutes, until the filling is a beautiful dark brown and the apples are starting to split. The apples’ color will have paled into a more pink color, and the skins will be wrinkled.

IMG_1921


And now, dig in! These are absolutely delicious with vanilla ice cream (what isn’t?), or by themselves. This recipe just screams “autumn” to me, and I love it! I certainly hope you’ll give it a try. And just so you can see what a Northeast fall looks like, and why I’m so crazy about it, here are a few pictures from our excursion to the farm for apple picking!

IMG_1946 IMG_1945 IMG_1944 IMG_1939 IMG_1938 IMG_1937 IMG_1936 IMG_1934 IMG_1931IMG_1941


As you can see, I’ve got it pretty good living in the Northeast! No fall season is prettier than in my area. I hope that this recipe gives a little of that autumn joy to you, and makes your day brighter. Happy baking!