Monthly Archives: February 2014

O-o-o-oklahoma!

Occasionally, my wanderings take me to Oklahoma to visit my boyfriend at college. This past winter break, I went out to visit him and came back with quite a few new food experiences (and some old favorites, too!). Although I must admit I did no baking on this trip, I wanted to share some of the foods I tried and loved.

First, let me preface this by saying my boyfriend’s aunt is a foodie like me, and deserves credit because she was the one who showed me all sorts of new foods this winter. What would I do without her?

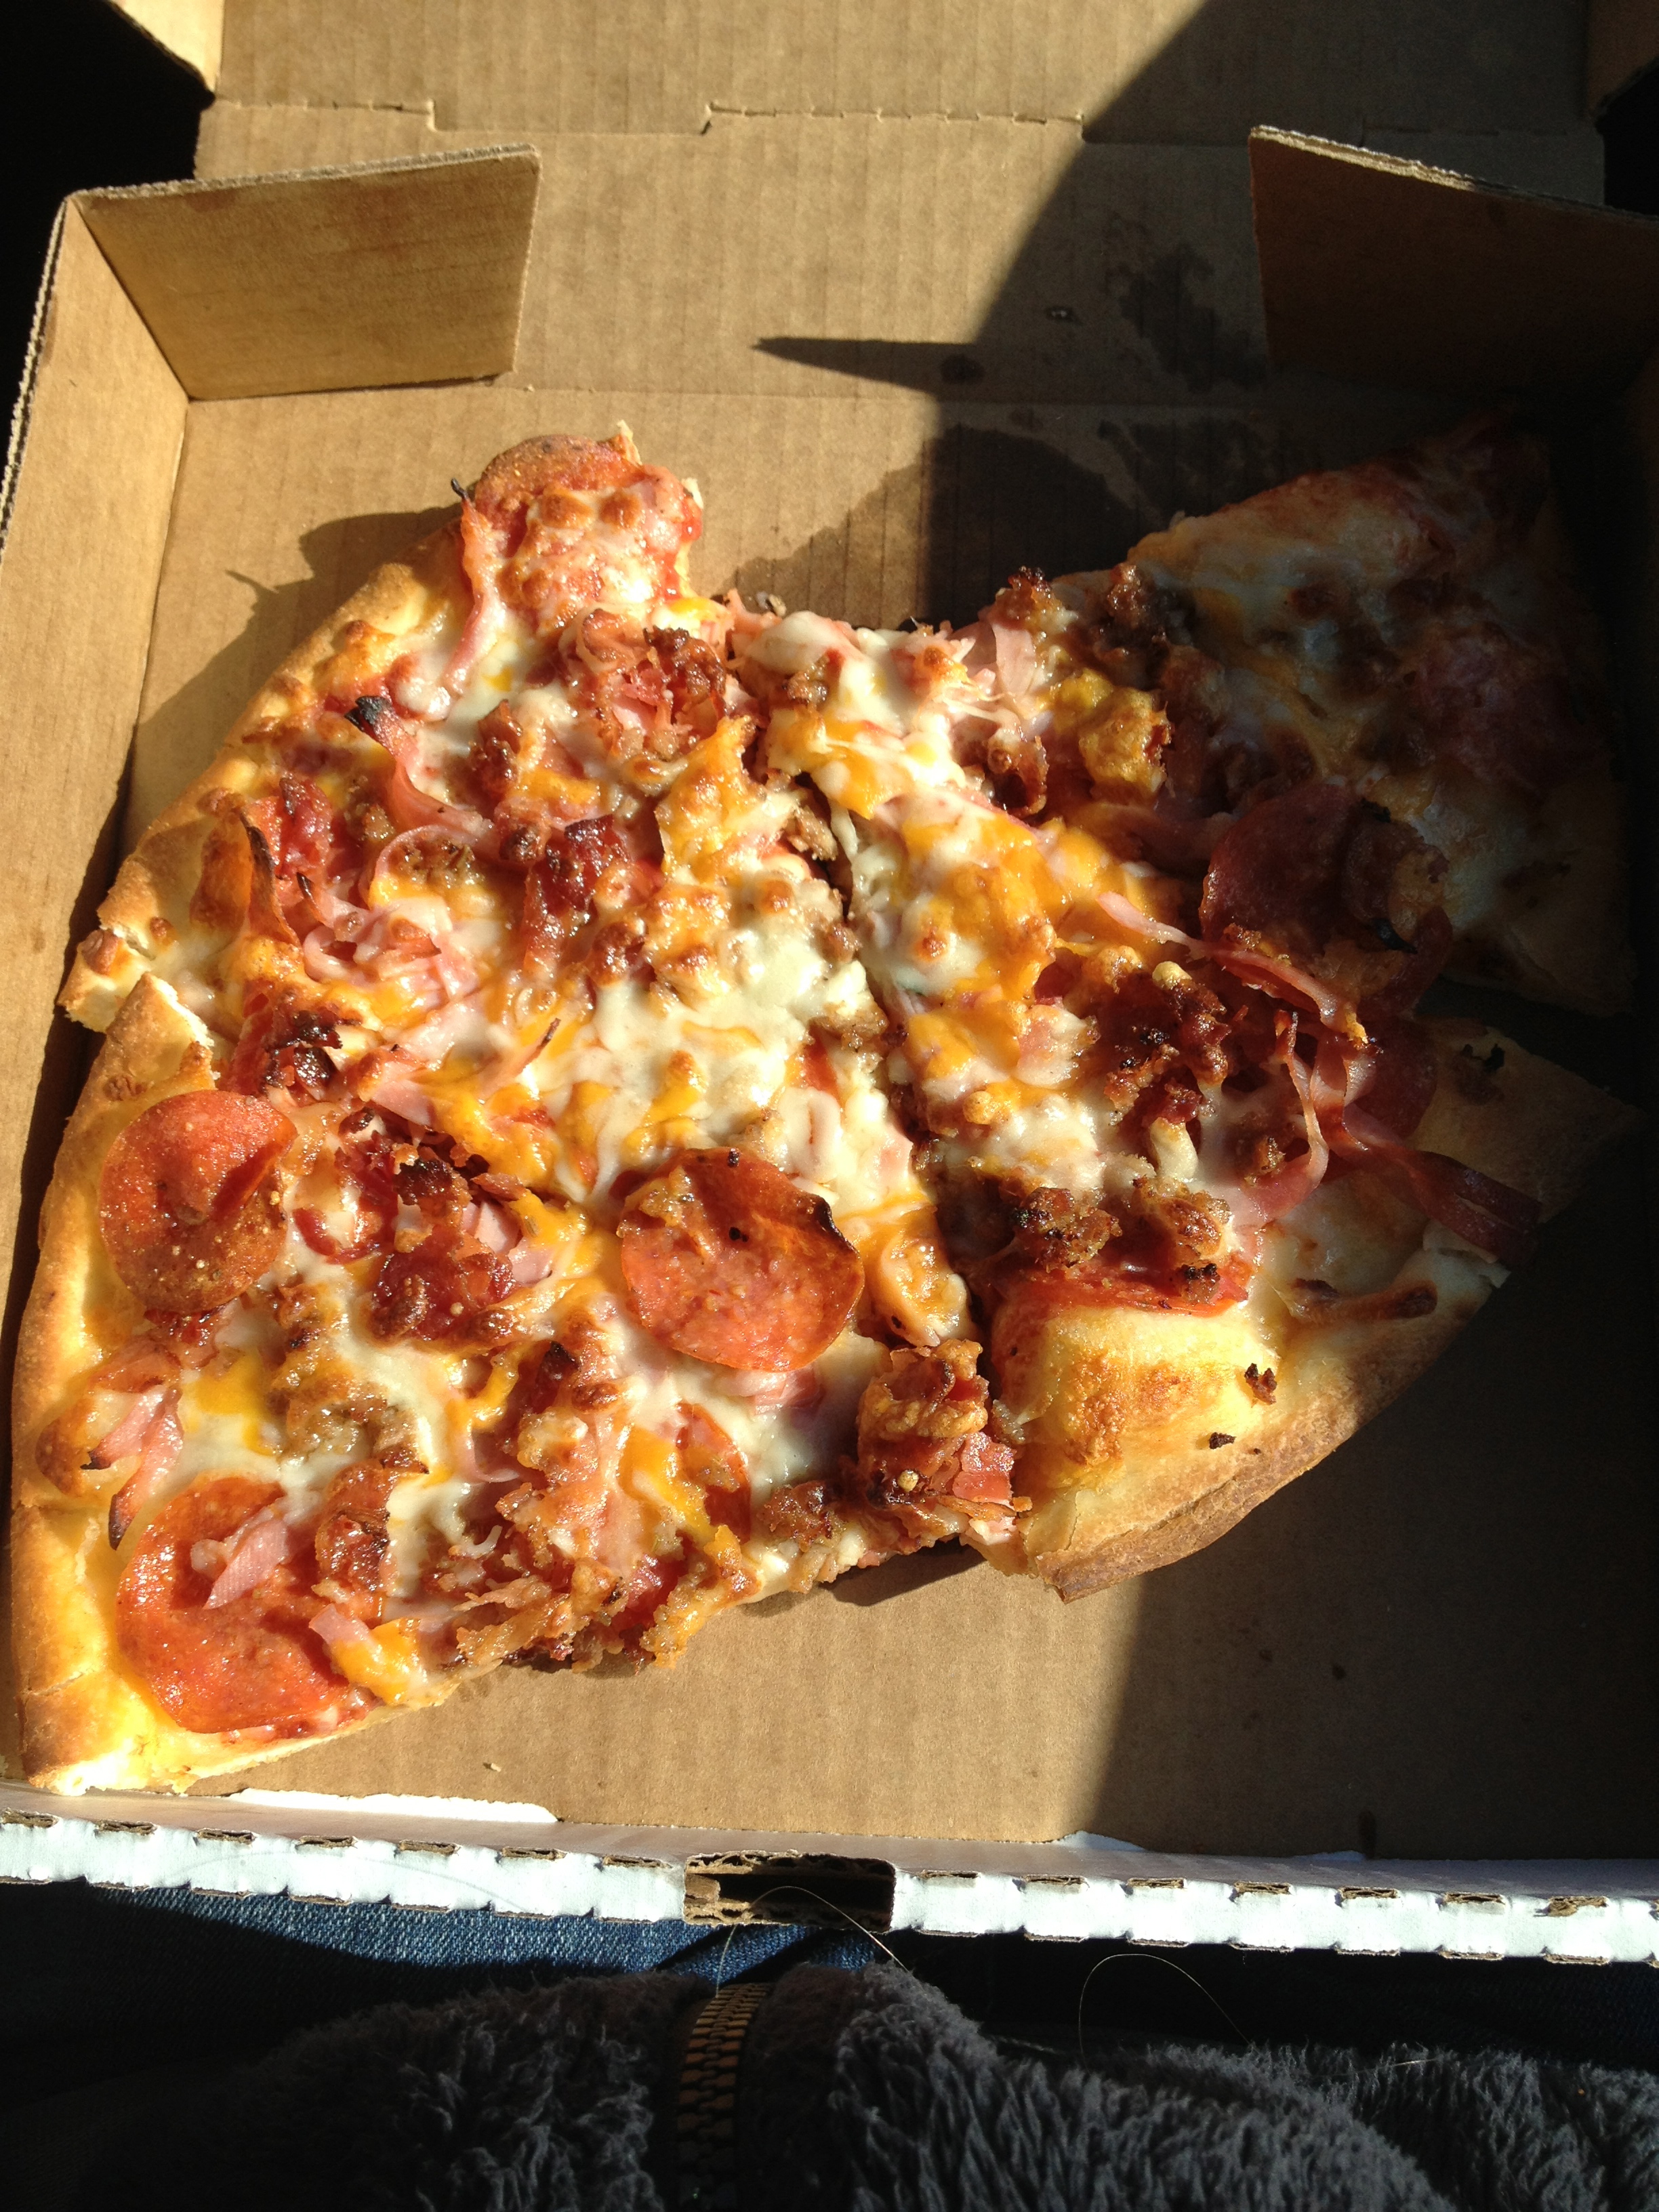
To start the list, let’s talk about The Hideaway. This in itself is a good enough reason to buy a ticket to Oklahoma. Their pizza is so good. Normally I’m not a fan of anything but cheese pizza, but when you go to Hideaway, it’s meat lovers, hands down. The crust was perfectly crisp and chewy at the same time, the cheese isn’t overpowering, and they put a lot of the meats under the cheese, so they’re not falling off when you’re eating! Here’s a picture of the “Big Country”, aka the meat lovers pizza. Seriously, their pizza is to die for.

IMG_0145 IMG_0146

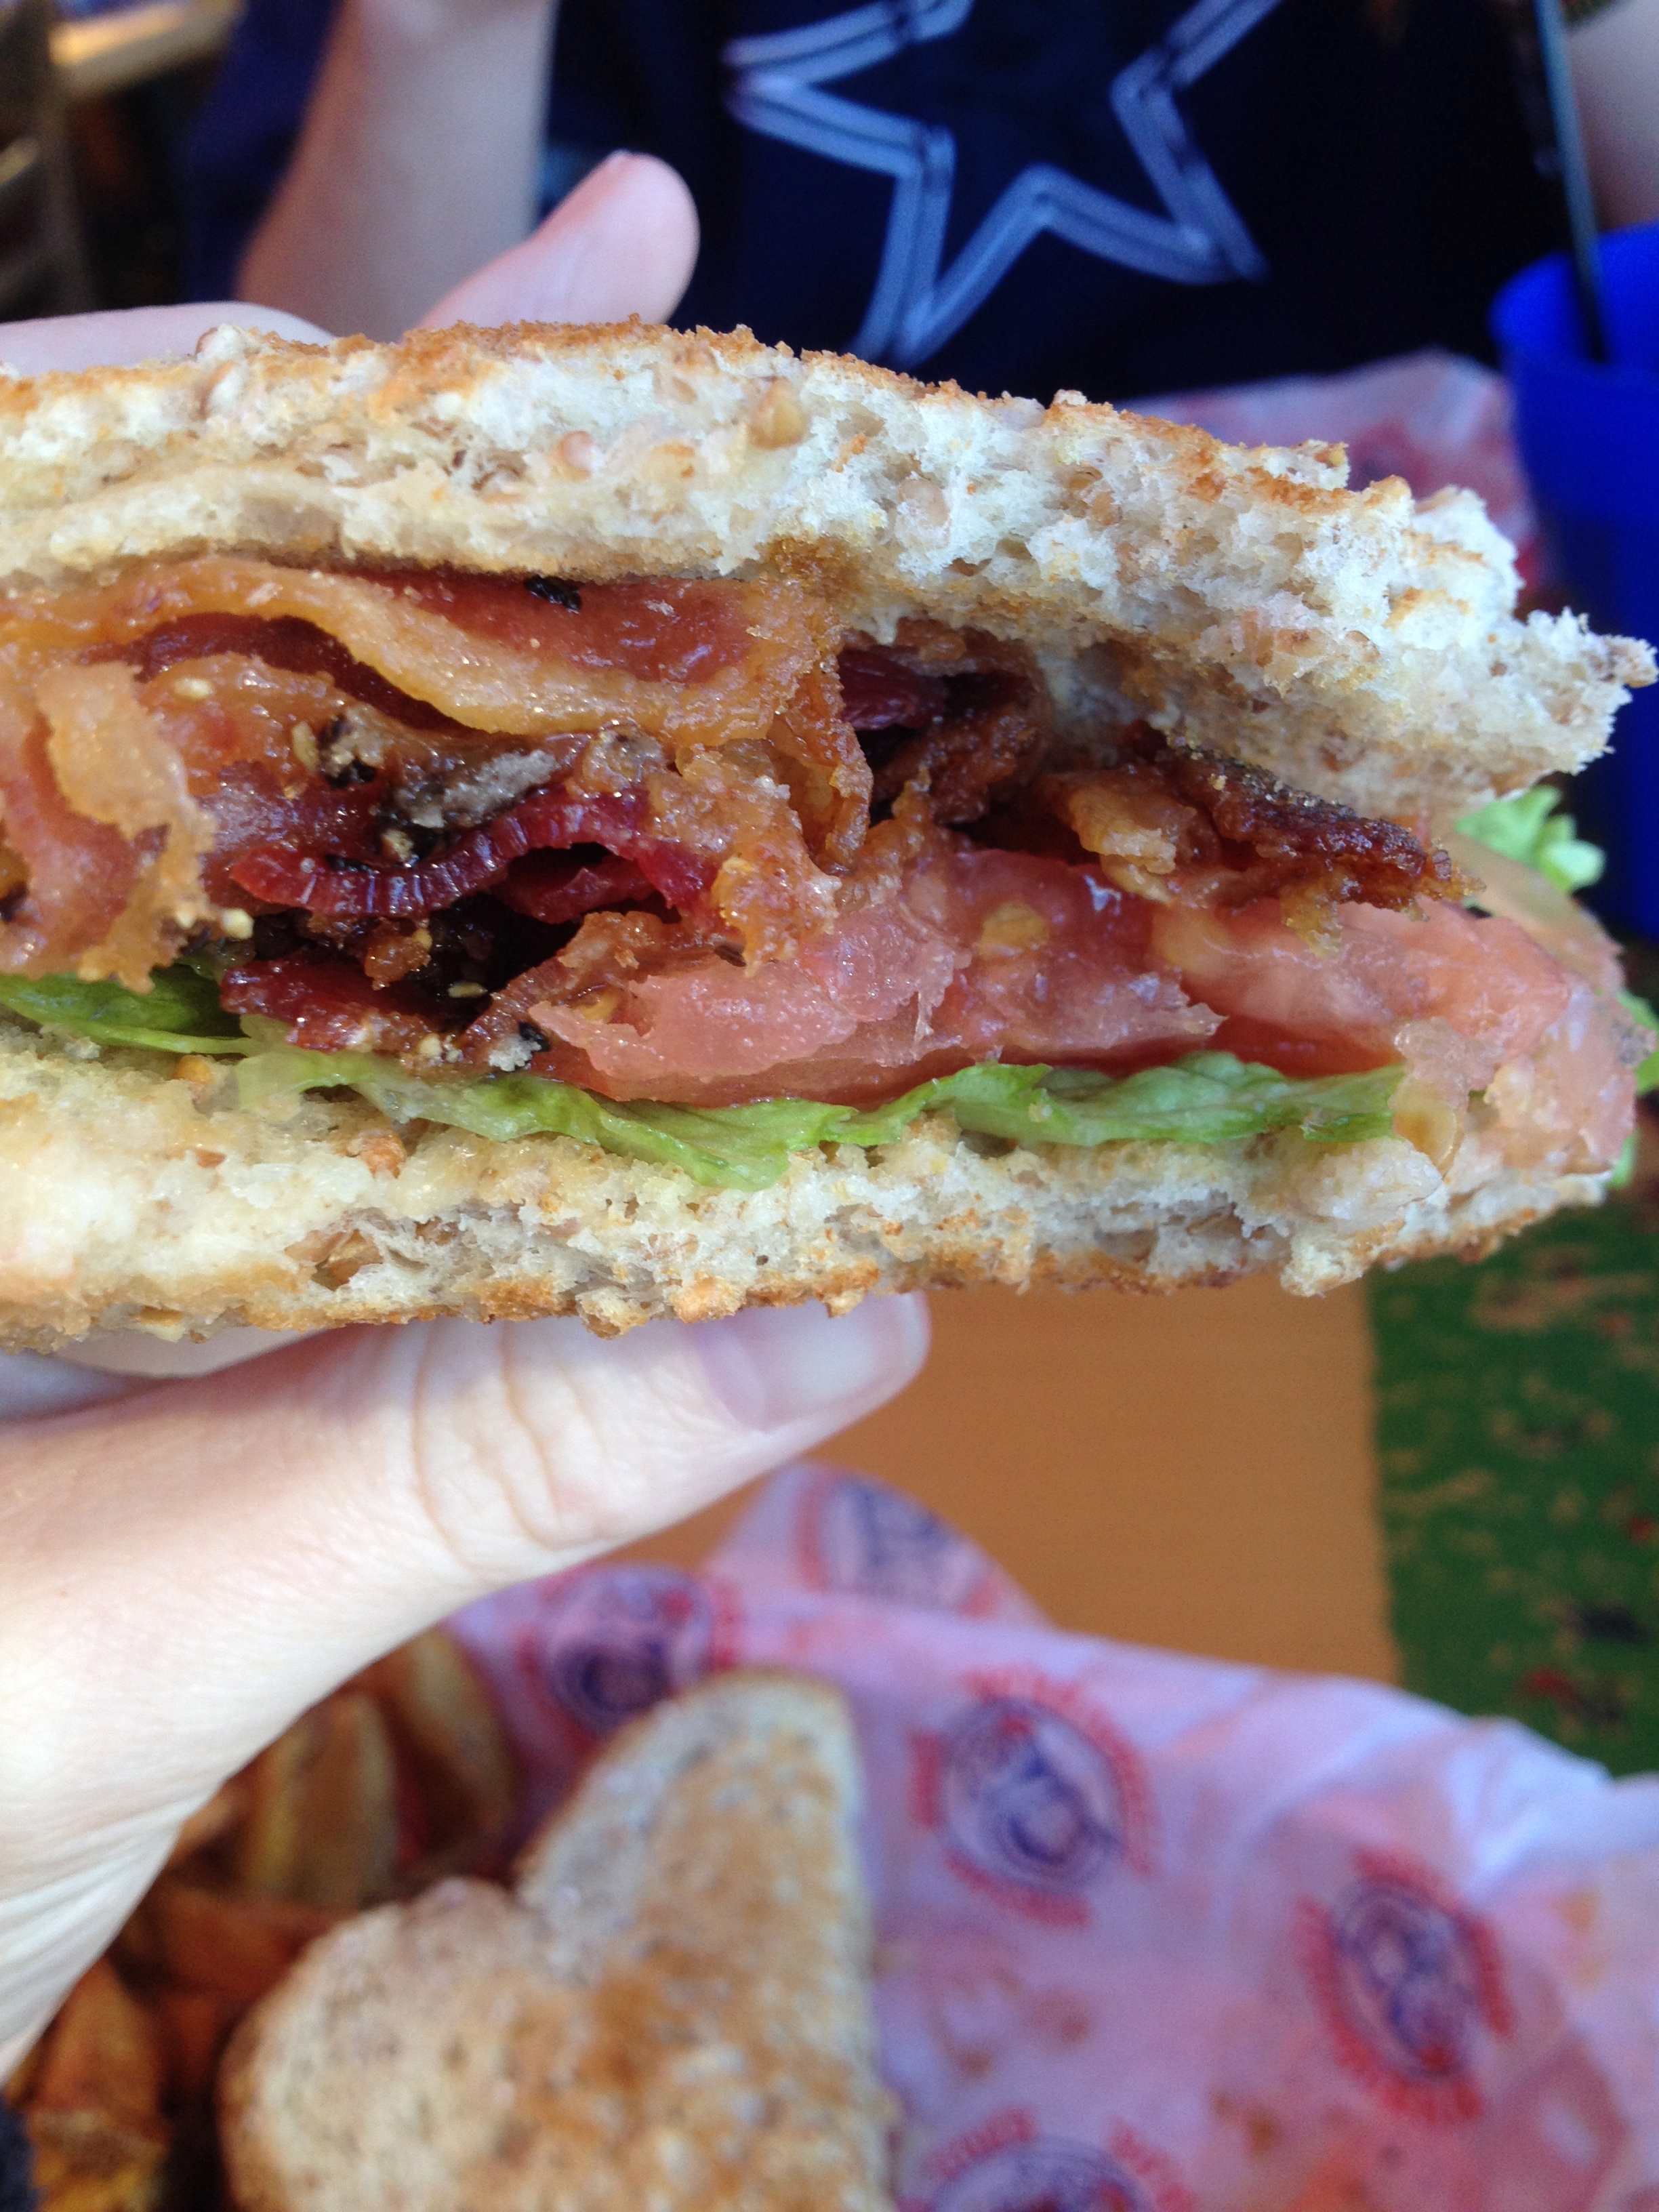
Next on the list is a huge hit in Stillwater, Oklahoma: Eskimo Joe’s. This place has everything you can think of for a fun place to eat. It has great food, great waitstaff, TV’s everywhere for the big games, and fantastic merchandise. They have their own store attached to the restaurant! But before I get into that, I’ll talk about one thing in particular: sweet pepper bacon. I’ll say that again… sweet. pepper. bacon.

They put that heavenly stuff on top of just about anything, including cheese fries, cheeseburgers, and BLT’s. I personally had the BLT, and loved every bite. The bacon is so unexpected to my taste buds, because where I come from, bacon is smoky and salty and that’s it. This bacon is sugary and molasses-y, a little spicy from the pepper, and gave me a completely new perspective on the world of bacon. Who knew?

IMG_0805

And you can’t forget about the Joe’s merchandise! With every drink you buy, you get a Joe’s cup to take home with you (a perfect opportunity to order sweet tea, which I tried and now love!). This isn’t an ordinary to-go cup. These cups come in all different colors, some change colors, some are sparkly, and I actually have one that glows in the dark. Joe’s isn’t just a restaurant, it’s an attraction. And it rocks.

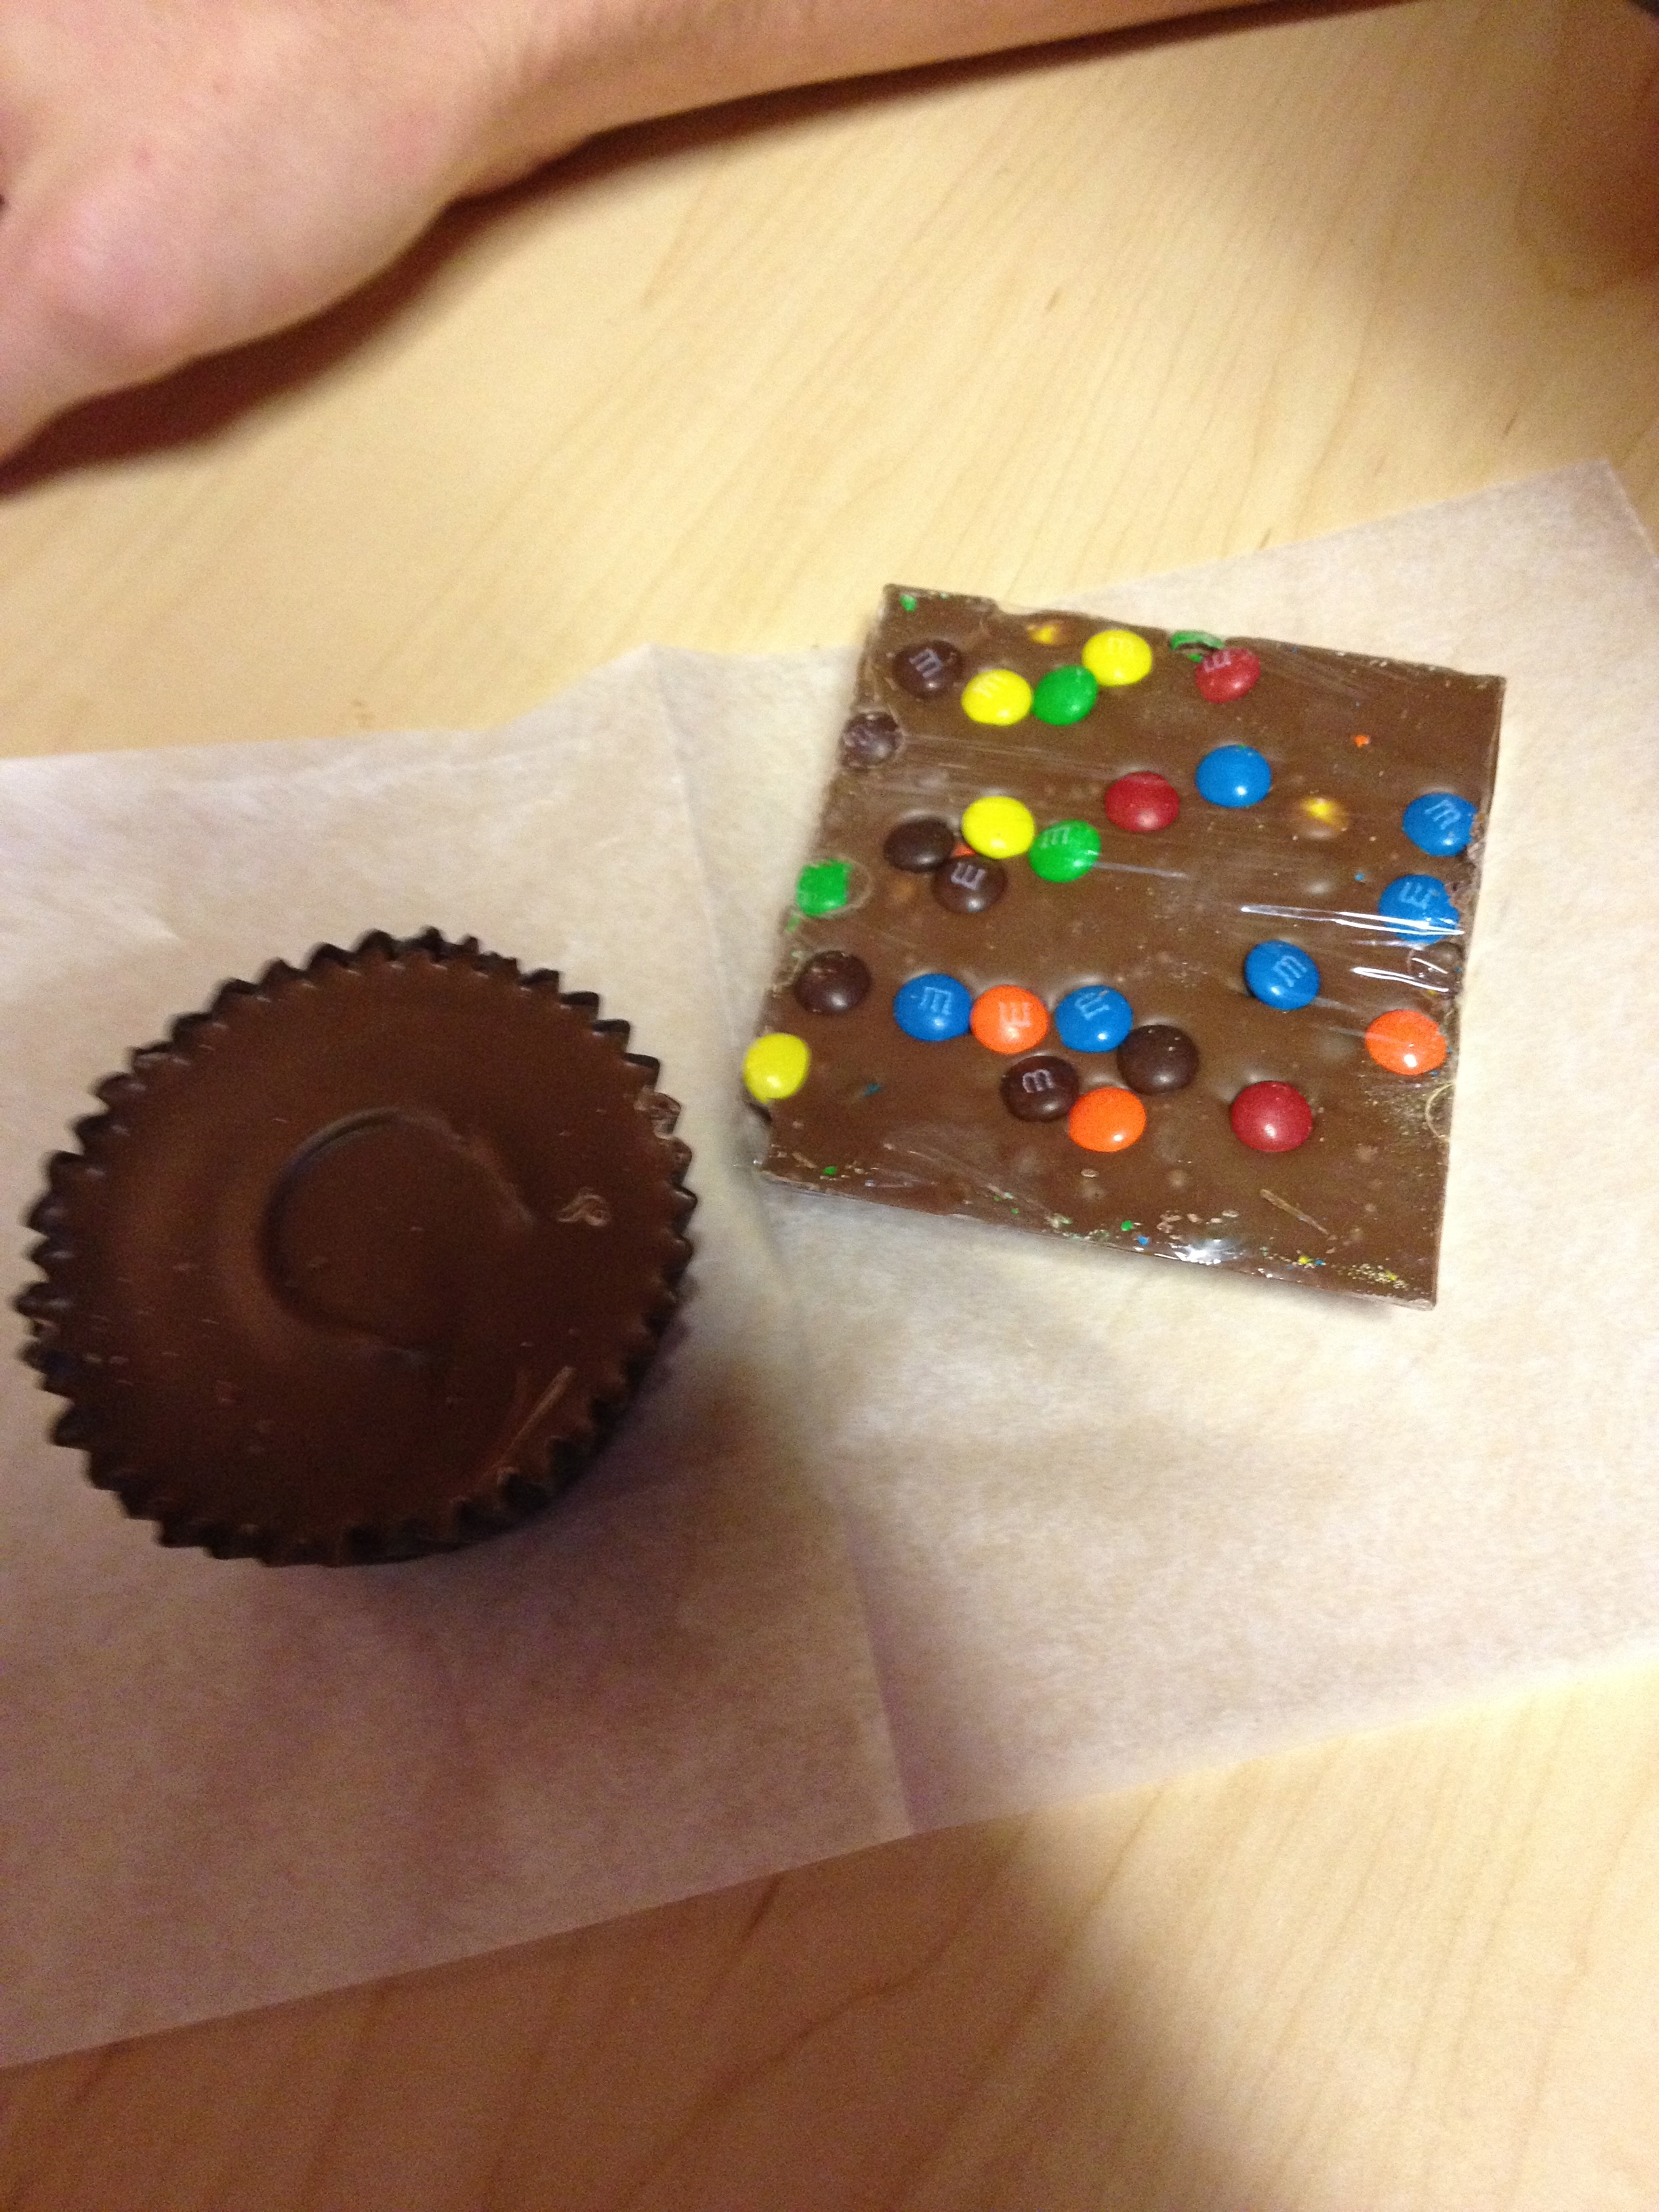
Next stop, Rocky Mountain Chocolate Factory. This could be considered an ordinary chocolate shop if it weren’t for the fact that you can sit there and watch them make the chocolate fresh behind the counter for you! They even have chocolate covered wine bottles for weddings. I’m telling you, this place is awesome. I’ve been there a couple of times now, and tried a lot of chocolates, and my favorite is still the M&M bark. Their homemade peanut butter cups are a close second, though. Or their Mint Oreo bark. Or their Chocolate Caramel Pretzel bark. Or really any chocolate.

IMG_0142

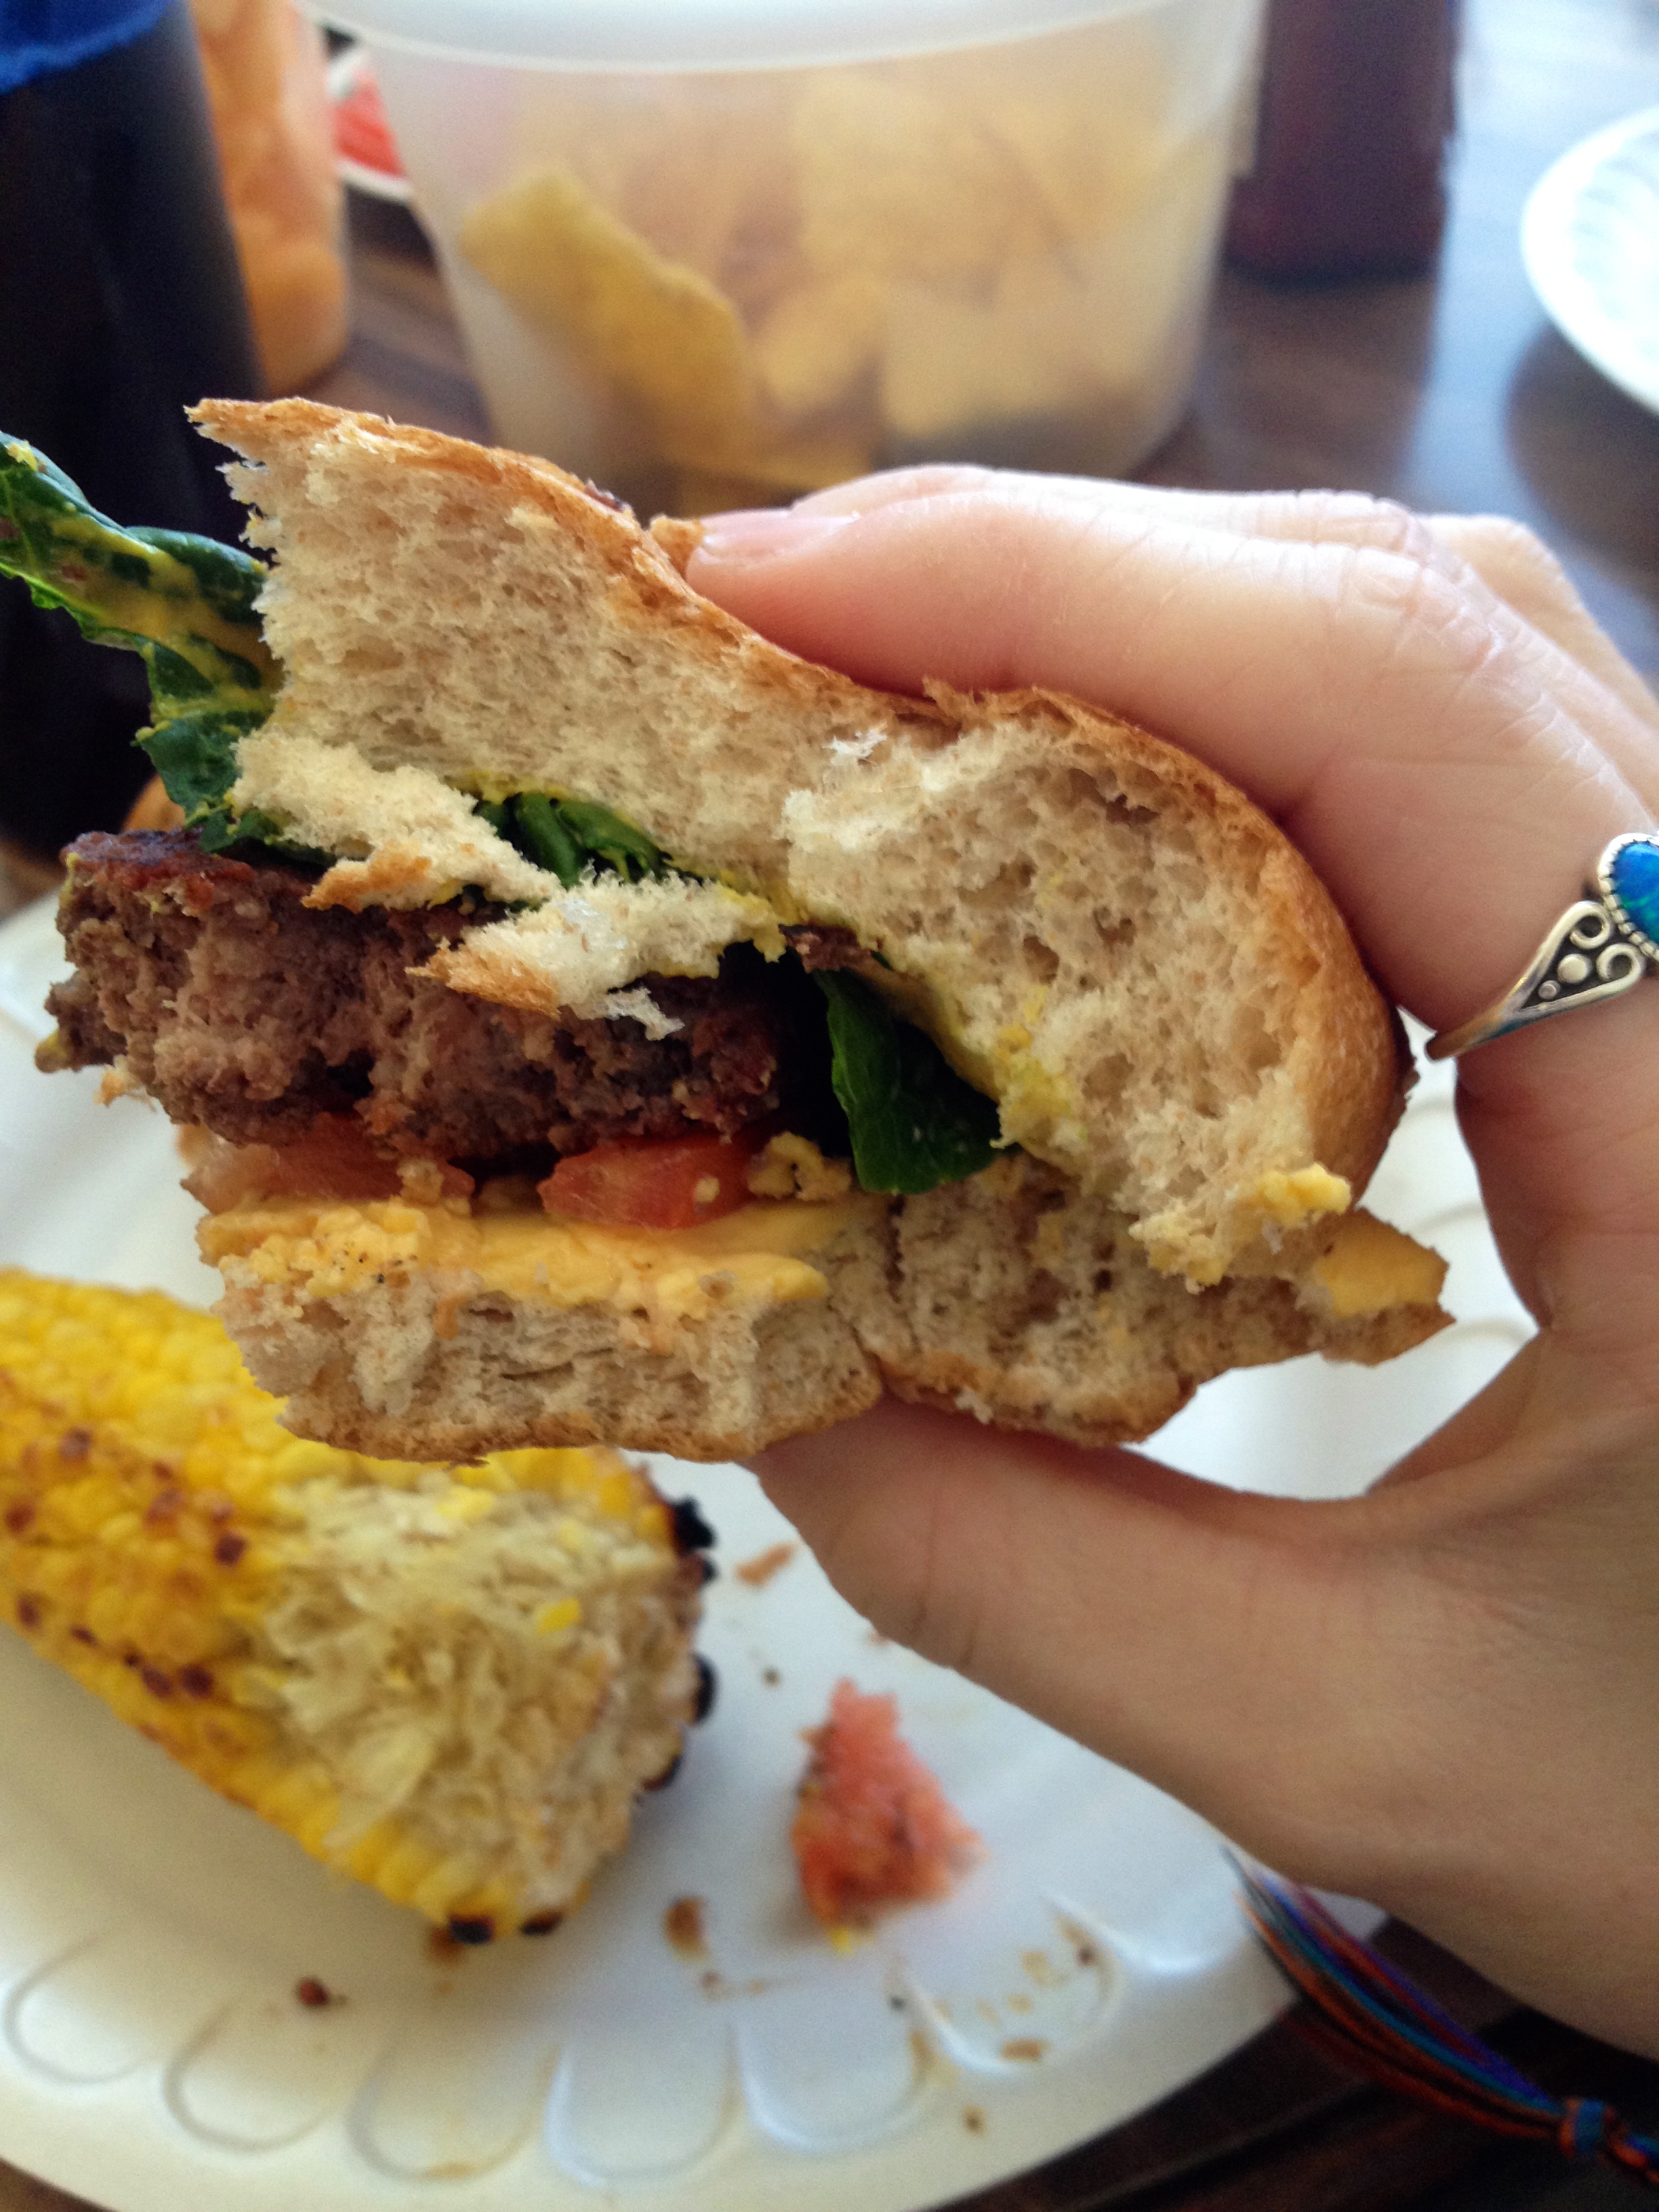
And finally, a little something that we made on our own! My boyfriend’s aunt took me to Whole Foods (where I tried the salad bar and ate tons of veggies I had never heard of), and a more local grocery store called Sprouts. During our explorations, we came across bison burger patties. We definitely don’t have those in our grocery stores up where I’m from, so we got some and grilled them. They were so incredibly tender and juicy and flavorful! After I had one, though, I was so full I could hardly move!

IMG_0793

It’s always so much fun to go to Oklahoma and visit everyone. They’re welcoming and warm, and feel like family. And of course, when your boyfriend’s aunt loves food too, there’s always a few food adventures  together! I can’t wait for my next trip out there, and to see what my next Joe’s cup is!

Chocolate PB Rice Krispie Treats

“All, everything that I understand, I understand only because I love.”- Leo Tolstoy

Happy Valentine’s Day, one day late! I had to wait to post about these treats until my boyfriend received them in the mail, because otherwise he’d know what his present was! After two weeks of waiting, he finally got the package, and I can finally spill the beans on this yummy dessert. It’s Chocolate Peanut Butter Cocoa Krispie Treats!

This recipe is super simple, and is gluten free (if you make sure the peanut butter is gluten free). It can also be dairy free, if you exclude the Reese’s cups. It’s also a very light dessert, so you can enjoy it completely guilt-free! And it’s OH so good.

Here are the ingredients:

  • 3 tbsp margarine
  • 6 cups Cocoa Krispies cereal
  • 4 cups marshmallows (or 10 oz., which is usually a whole bag)
  • 1/3 cup creamy peanut butter
  • Reese’s miniature cups to taste

Here’s how you make them!

First, unwrap as many Reese’s cups as you want to include in the treats. This is definitely the most tedious part of the recipe- it feels like you unwrapped about 4,000 candies. It’s totally worth it! Then, using a butter knife, cut the Reese’s into small bits on a cutting board.

IMG_0827


Now get all your other ingredients prepped, because this recipe goes pretty fast. Grease a 9×13″ pan to put the treats in. Have your marshmallow bag already cut open, and have your 6 cups of Cocoa Krispies all set. Mix the Reese’s cups with the Cocoa Krispies, so that you can stir it all in together. Also, have your peanut butter out and a wooden spoon or spatula ready.

In a medium saucepan, melt the margarine. Then, add the marshmallows and stir until the marshmallows are fully melted. Add the peanut butter and mix until it’s all fully incorporated. You can add more or less peanut butter depending on how much you like it. I just went for a good healthy dollop.

IMG_0828

After the marshmallow peanut butter mixture is done, turn off the heat. Quickly add all of the Cocoa Krispies and Reese’s and fold the cereal and marshmallow mixture together. It’ll be pretty stiff and sticky, so make sure that you really scoop the mixture from bottom to top, or else all the marshmallow goo will stay at the bottom of the saucepan (never a good thing).

IMG_0829


Scrape all the yummy gooey goodness into your greased pan, and press it down with wax paper to create a flat, even layer of Cocoa Krispie treats.

IMG_0830


When the treats are set, cut them using a dull knife in short, sawing motions. Then, if you’re like me, wrap them in a plastic bag and a cardboard box and ship them off to your loved ones! Or, you can eat them all and be one happy camper.

I know Valentine’s Day isn’t everyone’s favorite holiday (it’s not even my favorite holiday!), but there are ways to make any holiday, no matter how you celebrate it, special. Even from across the country, I’m happy that I was able to help my boyfriend have a great day. These treats are a great way to show a loved one that you’re thinking about them on any day, not just Valentine’s Day. Enjoy!


Mexican Hot Chocolate Fudgesicles

Well, I’m stuck inside during a snowstorm again, and not very excited about it. Since it’s so cold out, I was craving hot chocolate…but I’m also wishing for summer, so I decided to make a fudgesicle (aka a chocolate popsicle). Then I figured, why not combine the two?

This recipe is super simple- it’s based on Mexican hot chocolate, which is just good old hot chocolate with a little flair of cinnamon. It takes about 5 minutes to prepare. It also is gluten free, and can be made dairy free with a few modifications.

Here are the ingredients:

  • Hot chocolate powder (I used Hershey’s powder, but you can use any mix. You could also buy a dairy free hot chocolate mix.)
  • Boiling water
  • 1/8 tsp cinnamon per mug of hot chocolate (optional, you can just make plain hot chocolate)
  • Tall, thin plastic container (I have a little popsicle holder, but any tall thin container will work)
  • Popsicle sticks
  • Milk and whipped cream (optional, and you can use dairy free varieties)

Here’s how you make it:

Boil hot water in a kettle or however you usually boil water. While the water is boiling, put about 4 tbsp of hot chocolate mix and 1/8 tsp cinnamon in your favorite mug. It’s a lot of mix, but it’ll be super yummy and chocolatey. Then, pour the boiling water into the mug and stir until the mix and cinnamon are fully dissolved. Pour a little bit of low-fat milk into the mug. Finally, top it with whipped cream and stir the cream in to make the hot chocolate wonderful and smooth.

Pour the hot chocolate from the mug into your popsicle containers (do this over the sink- mine spilled a bit!). For me, each mug’s worth made about 6 fudgesicles. Put a popsicle stick in the middle of each plastic container. My popsicle holder has these little plastic sticks that fit right in, but popsicle sticks work just fine too!

IMG_0848

Next, carefully put the containers in the freezer for about 6 hours. I know it’s a long time, but it’s definitely worth the wait! When they’re done, hold the plastic container sideways under warm water. Make sure the warm water is only hitting the plastic and not the popsicle, or else it’ll melt too much. After about 30 seconds, the popsicle should slide out of the container with a little bit of pulling.

IMG_0849

Now enjoy! This recipe is so simple, but SO yummy. Its the perfect blend of creamy chocolate and a refreshing cool fudgesicle.

Possible Variations:

1. You can skip the popsicle sticks and just pour the hot chocolate into a regular glass pan. Then, put it in the freezer for 6 hours; but every 45 minutes or so, take the pan out and shave the ice with a fork. This will create a fantastic granular texture, more like an Italian ice or a granita. It’s also easier than trying to balance popsicle sticks! It’ll come out looking like this:

IMG_0851

2. Leave out the cinnamon, and make it regular American hot chocolate. That’s equally delicious!

Pumpkin Pie on a Cookie

Every other week, my parents have a Bible study with some couples from our church. More often than not, I make their desserts, and the following dessert was a result of that!

This is a pretty simple recipe, with a fairly specific decoration process. It’s a “Pumpkin Pie Cookie”, which is really just a sugar cookie that has been slightly flavored to taste like the pie, and frosted to look like it. I made my cookies taste like pumpkin pie, but you can flavor it anyway you want. For example, if you want lemon meringue pie cookies, flavor it with 1/4 tsp lemon zest instead of the pumpkin pie spice.

Here’s the pumpkin cookie recipe:

  • 3 3/4 cups all-purpose flour
  • 1 tsp baking powder
  • 1/2 tsp salt
  • 2 sticks unsalted butter (room temp. or softened)
  • 2 cups granulated sugar
  • 2 eggs
  • 1 tsp vanilla extract
  • 1/4 tsp pumpkin pie spice (or 1/8 tsp nutmeg and 1/8 tsp cinnamon)

Cream the butter and sugar together. Add the eggs and vanilla, and mix well. Gradually add the dry ingredients, mixing until dough is absolutely delicious and it’s tempting to just eat the dough (but really until everything is thoroughly incorporated). Then wrap the dough in plastic wrap and chill it in the fridge or freezer until it’s nice and cold, which will make it easier to work with.

Roll it out on a floured pastry board or flat surface until it’s about 1/4 inch thick.

IMG_0746

Then, if you’re lucky enough to have a triangular pie-piece-shaped cookie cutter, cut out a bunch of little triangles and lay them on a cookie sheet.  For the rest of us who lack a cookie cutter like that, just free-hand the triangles. They’ll be slightly different sizes, but I figure they all taste great and look cute!

Put the cookies on an ungreased baking sheet, and put in them in the oven at 350ºF for 8-10 minutes, switching racks after 5 minutes to ensure even baking. Some recipes call for a parchment-lined baking sheet, but if you take the cookies off the sheet right after they’ve come out of the oven you should be fine.

When the cookies come out of the oven, let them cool and work on the frosting. Here’s the frosting recipe:

  • 1 ¼ cup powdered sugar
  • 3 tbsp milk
  • ½ tsp vanilla extract

Put the ingredients into a mixing bowl, and being mixing it on LOW speed or else you’ll get powdered sugar everywhere. Once the sugar is incorporated, turn up the speed and whip it for several minutes until it begins to stiffen. Adjust the sugar and milk amount based on how it comes out; it differs depending on weather, humidity, etc.

Divide the frosting into three bowls, one with about half of the frosting and the other two with the remaining quarters of the frosting. Now it’s time for food coloring!

The bowl with half of the frosting should be colored like the “pie” that you’re going for. For example, for pumpkin pie cookies you would make orangey-tan colored frosting. For lemon meringue pie cookies, make it vibrant yellow. The coloring of this will take a little time and patience, because there’s no set guideline for how many drops of which color you need. Just keep mixing until you like the color!

One bowl with a quarter of the frosting will stay white for the “whipped cream” on the pie. The other bowl will be colored to look like pie “crust”. This is a pretty simple color to make. The goal is to make it yellow-tan, so add a little bit of yellow, a little red, and a little blue (but of course you can decide what shade looks the best).

After you’ve colored the frosting to your liking, put the crust color and whipped cream color into separate pastry bags. If you don’t have a pastry bag, just cut off the corner of a Ziploc bag and put the frosting in that.

IMG_0756

Now for decorating! Using a knife or a frosting spreader, take the “pie filling” colored frosting and spread it over the top of the cookies. Then, using your “crust” colored frosting, make a thick line across the short end of the triangle to look like the crust. If you want to get really fancy, you can make the crust frosting wavy so that it looks like a scalloped edge. Finally, finish it with a dollop of “whipped cream” frosting. When you’re finished decorating them, let them dry on a wire rack to let the frosting harden.

IMG_0599


Then, put them on a plate and eat them all!

IMG_0603

Having the Bible study group over is always fun because they’re great people and fun to have around, and they’re great guinea pigs for my desserts! It’s so fun sharing my ideas with them and seeing what works and what doesn’t. Give these cookies a try, because I got good reviews on them from the group!