Every other week, my parents have a Bible study with some couples from our church. More often than not, I make their desserts, and the following dessert was a result of that!
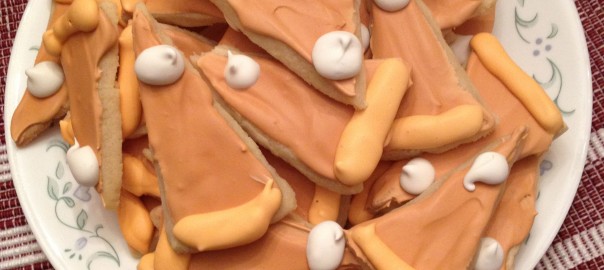
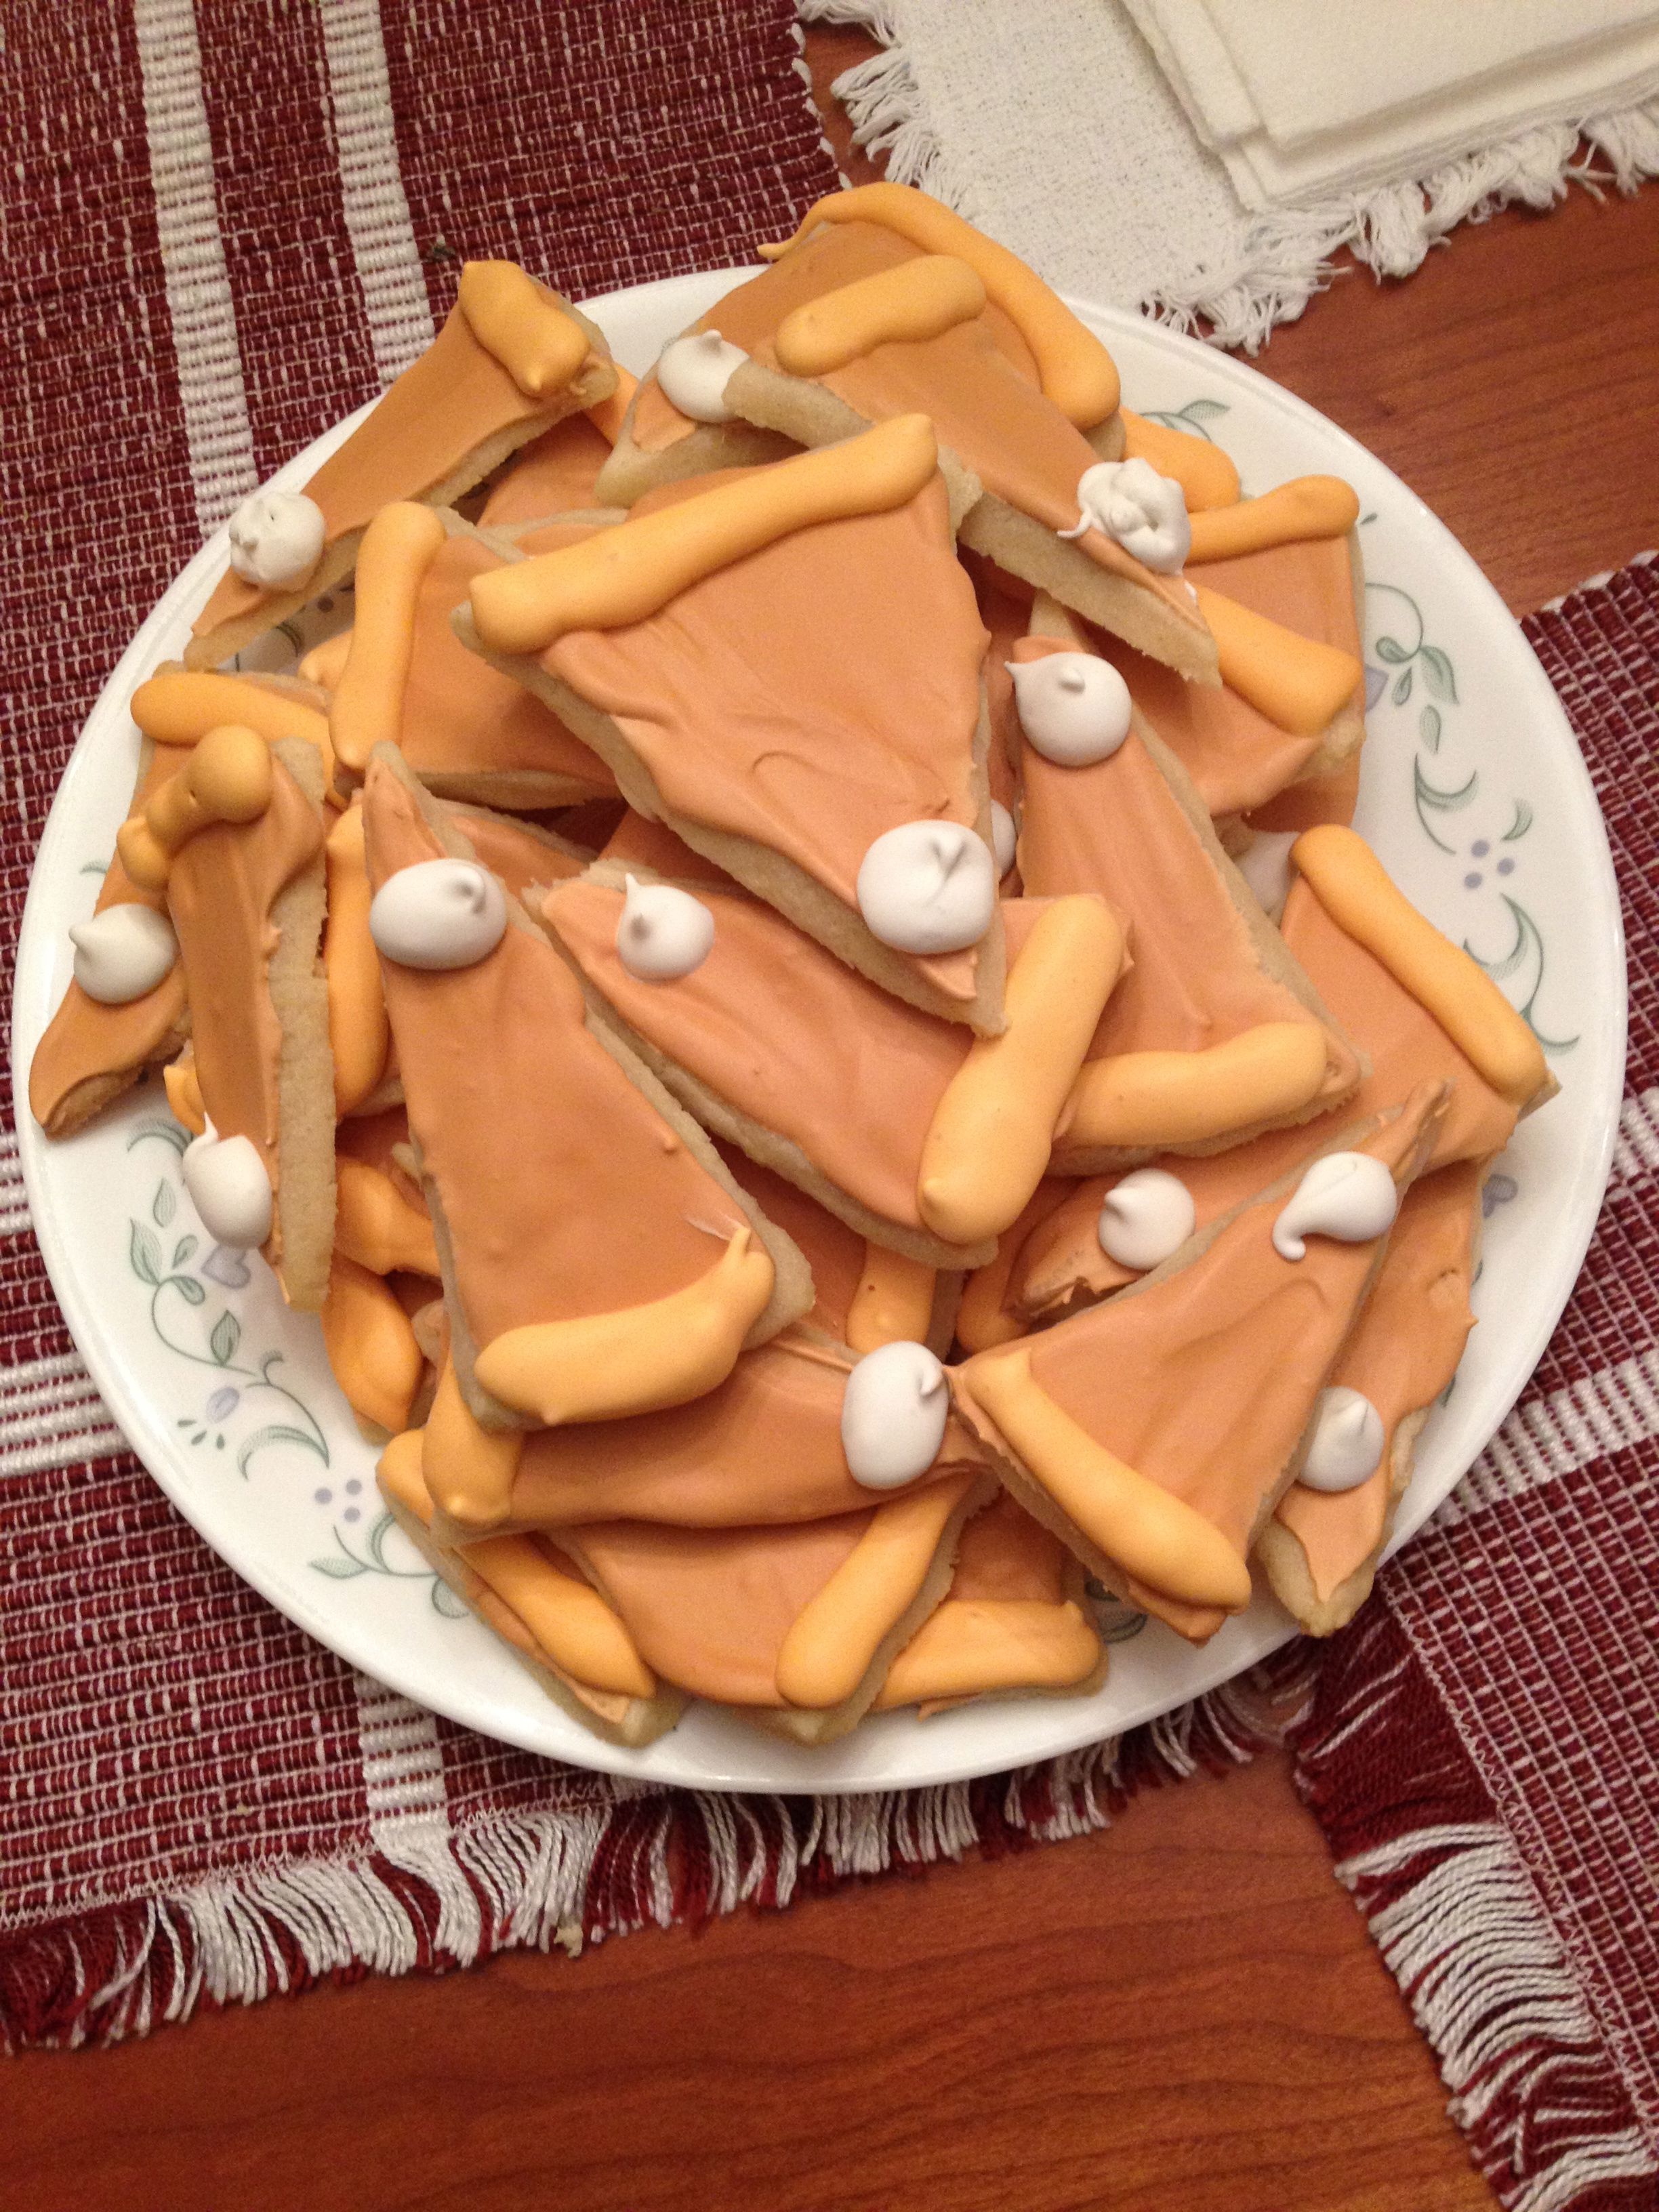
This is a pretty simple recipe, with a fairly specific decoration process. It’s a “Pumpkin Pie Cookie”, which is really just a sugar cookie that has been slightly flavored to taste like the pie, and frosted to look like it. I made my cookies taste like pumpkin pie, but you can flavor it anyway you want. For example, if you want lemon meringue pie cookies, flavor it with 1/4 tsp lemon zest instead of the pumpkin pie spice.
Here’s the pumpkin cookie recipe:
- 3 3/4 cups all-purpose flour
- 1 tsp baking powder
- 1/2 tsp salt
- 2 sticks unsalted butter (room temp. or softened)
- 2 cups granulated sugar
- 2 eggs
- 1 tsp vanilla extract
- 1/4 tsp pumpkin pie spice (or 1/8 tsp nutmeg and 1/8 tsp cinnamon)
Cream the butter and sugar together. Add the eggs and vanilla, and mix well. Gradually add the dry ingredients, mixing until dough is absolutely delicious and it’s tempting to just eat the dough (but really until everything is thoroughly incorporated). Then wrap the dough in plastic wrap and chill it in the fridge or freezer until it’s nice and cold, which will make it easier to work with.
Roll it out on a floured pastry board or flat surface until it’s about 1/4 inch thick.
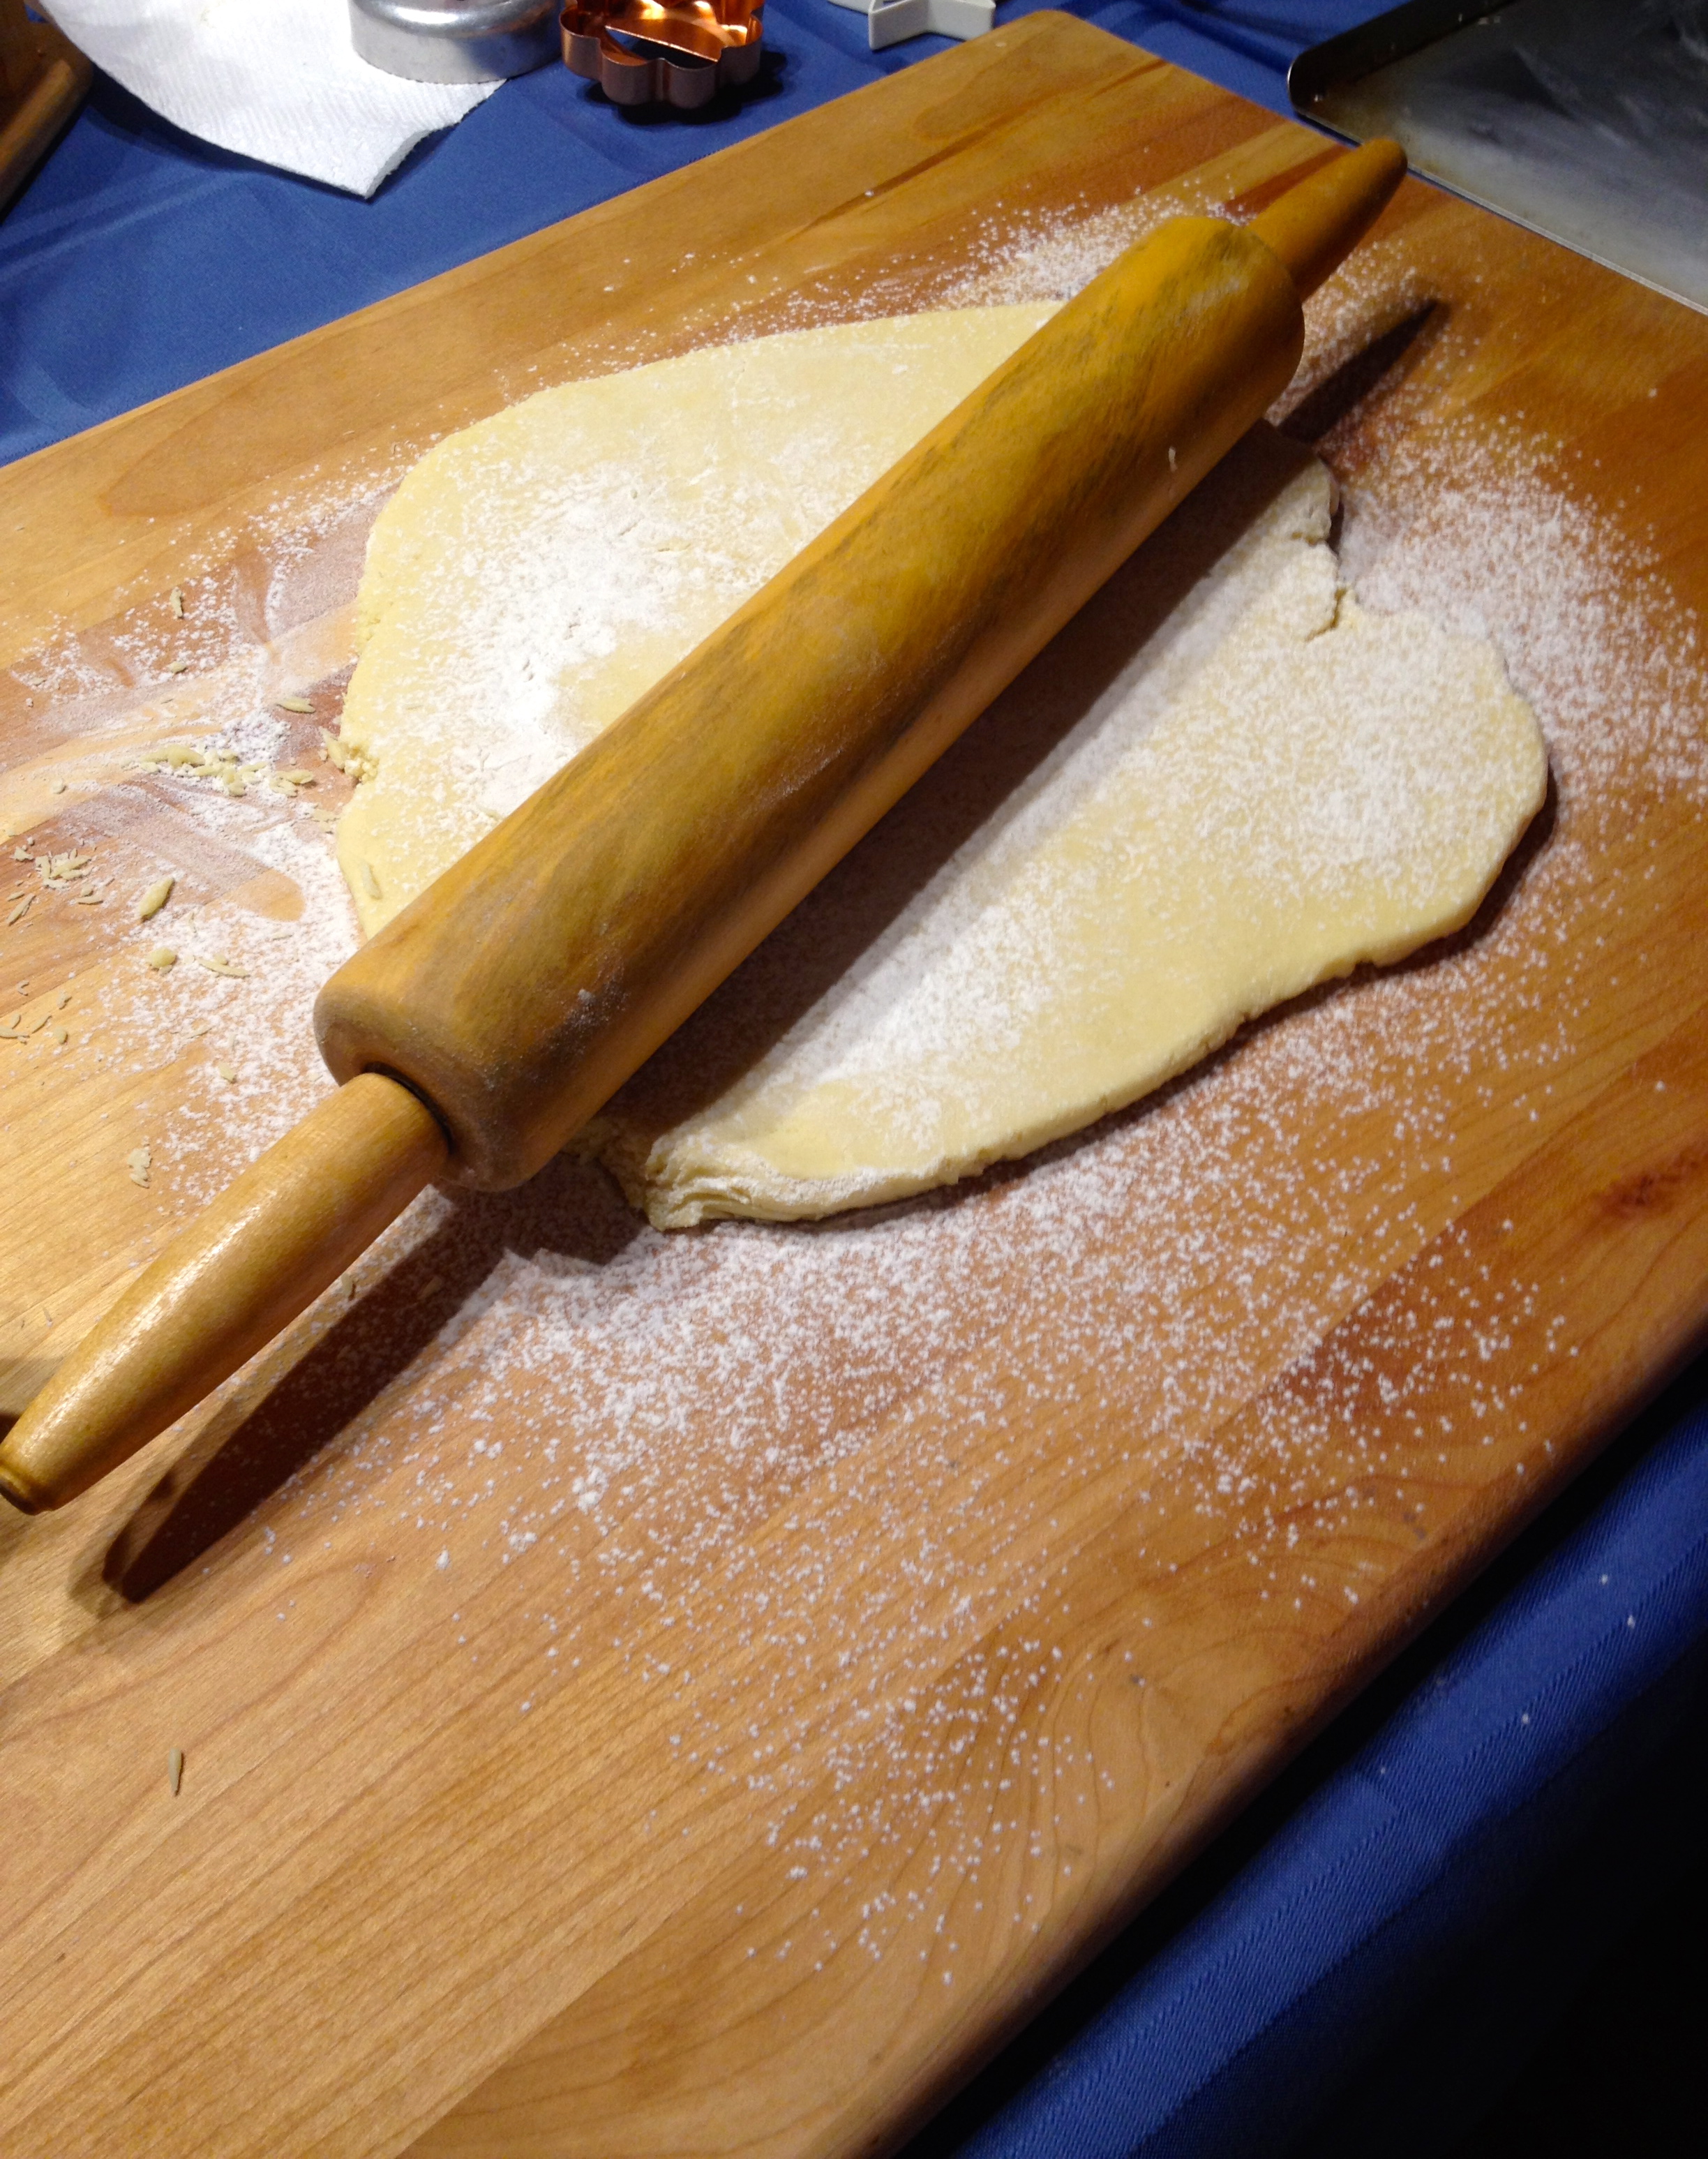
Then, if you’re lucky enough to have a triangular pie-piece-shaped cookie cutter, cut out a bunch of little triangles and lay them on a cookie sheet. For the rest of us who lack a cookie cutter like that, just free-hand the triangles. They’ll be slightly different sizes, but I figure they all taste great and look cute!
Put the cookies on an ungreased baking sheet, and put in them in the oven at 350ºF for 8-10 minutes, switching racks after 5 minutes to ensure even baking. Some recipes call for a parchment-lined baking sheet, but if you take the cookies off the sheet right after they’ve come out of the oven you should be fine.
When the cookies come out of the oven, let them cool and work on the frosting. Here’s the frosting recipe:
- 1 ¼ cup powdered sugar
- 3 tbsp milk
- ½ tsp vanilla extract
Put the ingredients into a mixing bowl, and being mixing it on LOW speed or else you’ll get powdered sugar everywhere. Once the sugar is incorporated, turn up the speed and whip it for several minutes until it begins to stiffen. Adjust the sugar and milk amount based on how it comes out; it differs depending on weather, humidity, etc.
Divide the frosting into three bowls, one with about half of the frosting and the other two with the remaining quarters of the frosting. Now it’s time for food coloring!
The bowl with half of the frosting should be colored like the “pie” that you’re going for. For example, for pumpkin pie cookies you would make orangey-tan colored frosting. For lemon meringue pie cookies, make it vibrant yellow. The coloring of this will take a little time and patience, because there’s no set guideline for how many drops of which color you need. Just keep mixing until you like the color!
One bowl with a quarter of the frosting will stay white for the “whipped cream” on the pie. The other bowl will be colored to look like pie “crust”. This is a pretty simple color to make. The goal is to make it yellow-tan, so add a little bit of yellow, a little red, and a little blue (but of course you can decide what shade looks the best).
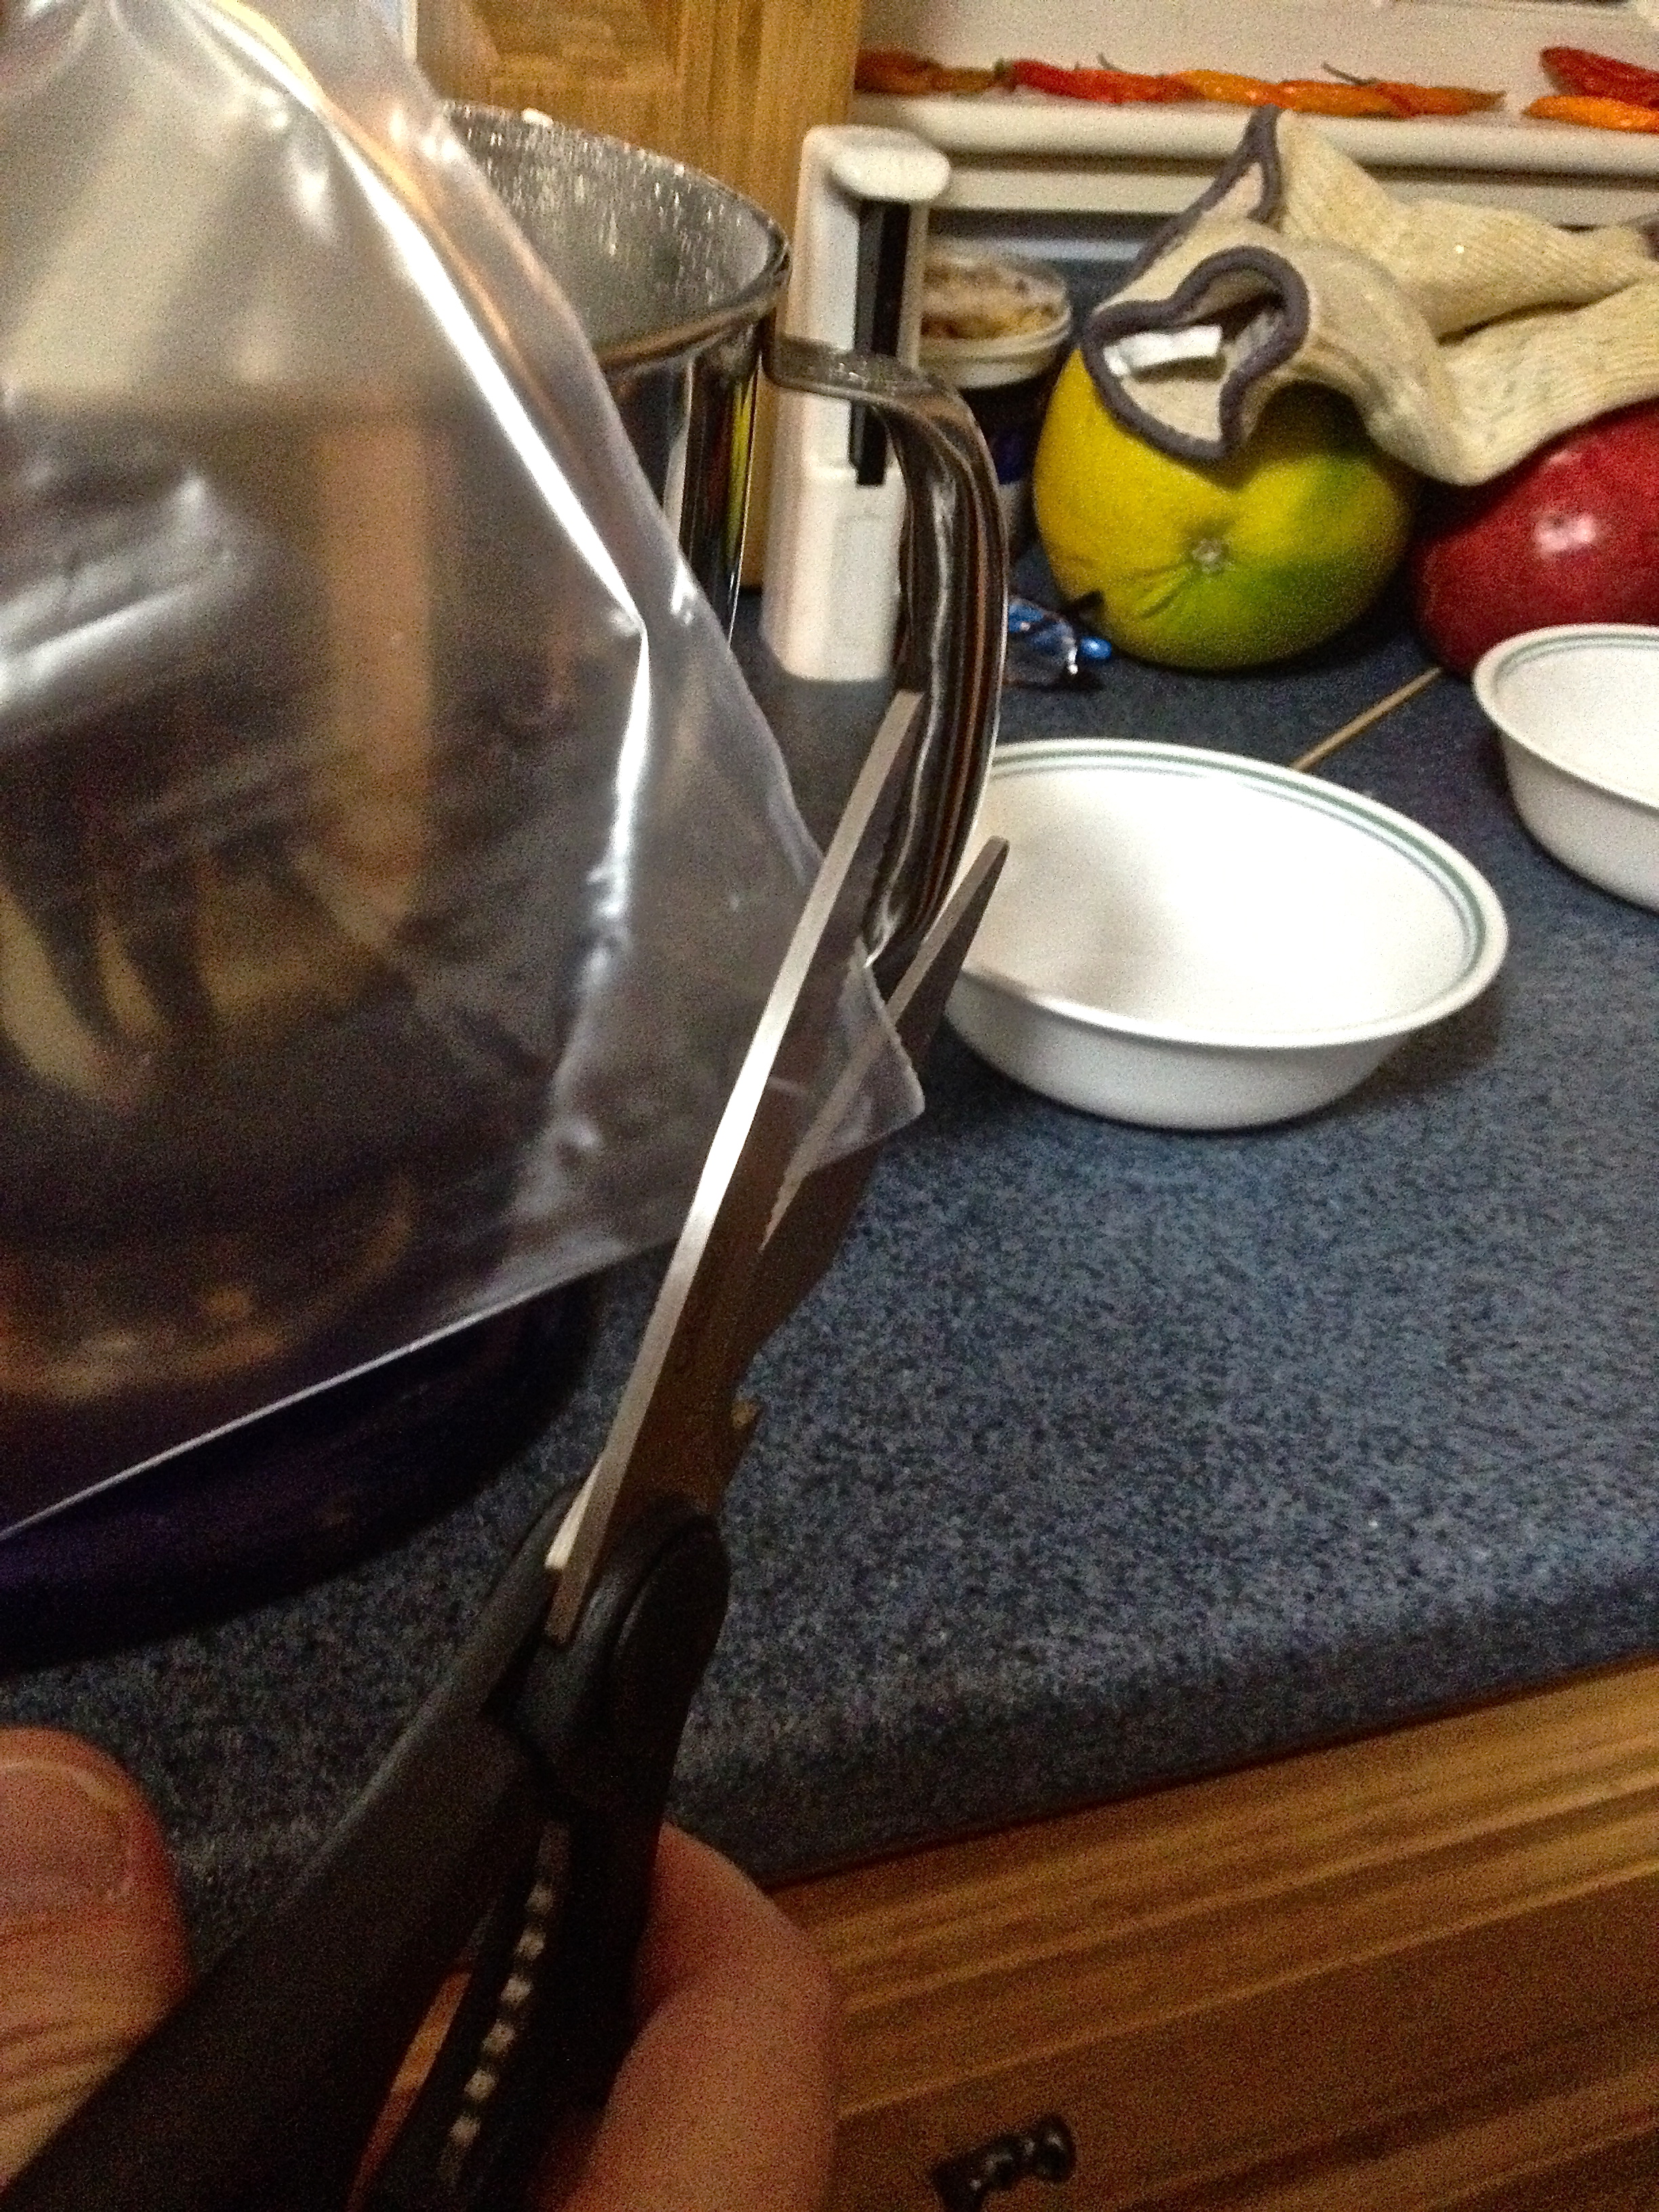
After you’ve colored the frosting to your liking, put the crust color and whipped cream color into separate pastry bags. If you don’t have a pastry bag, just cut off the corner of a Ziploc bag and put the frosting in that.
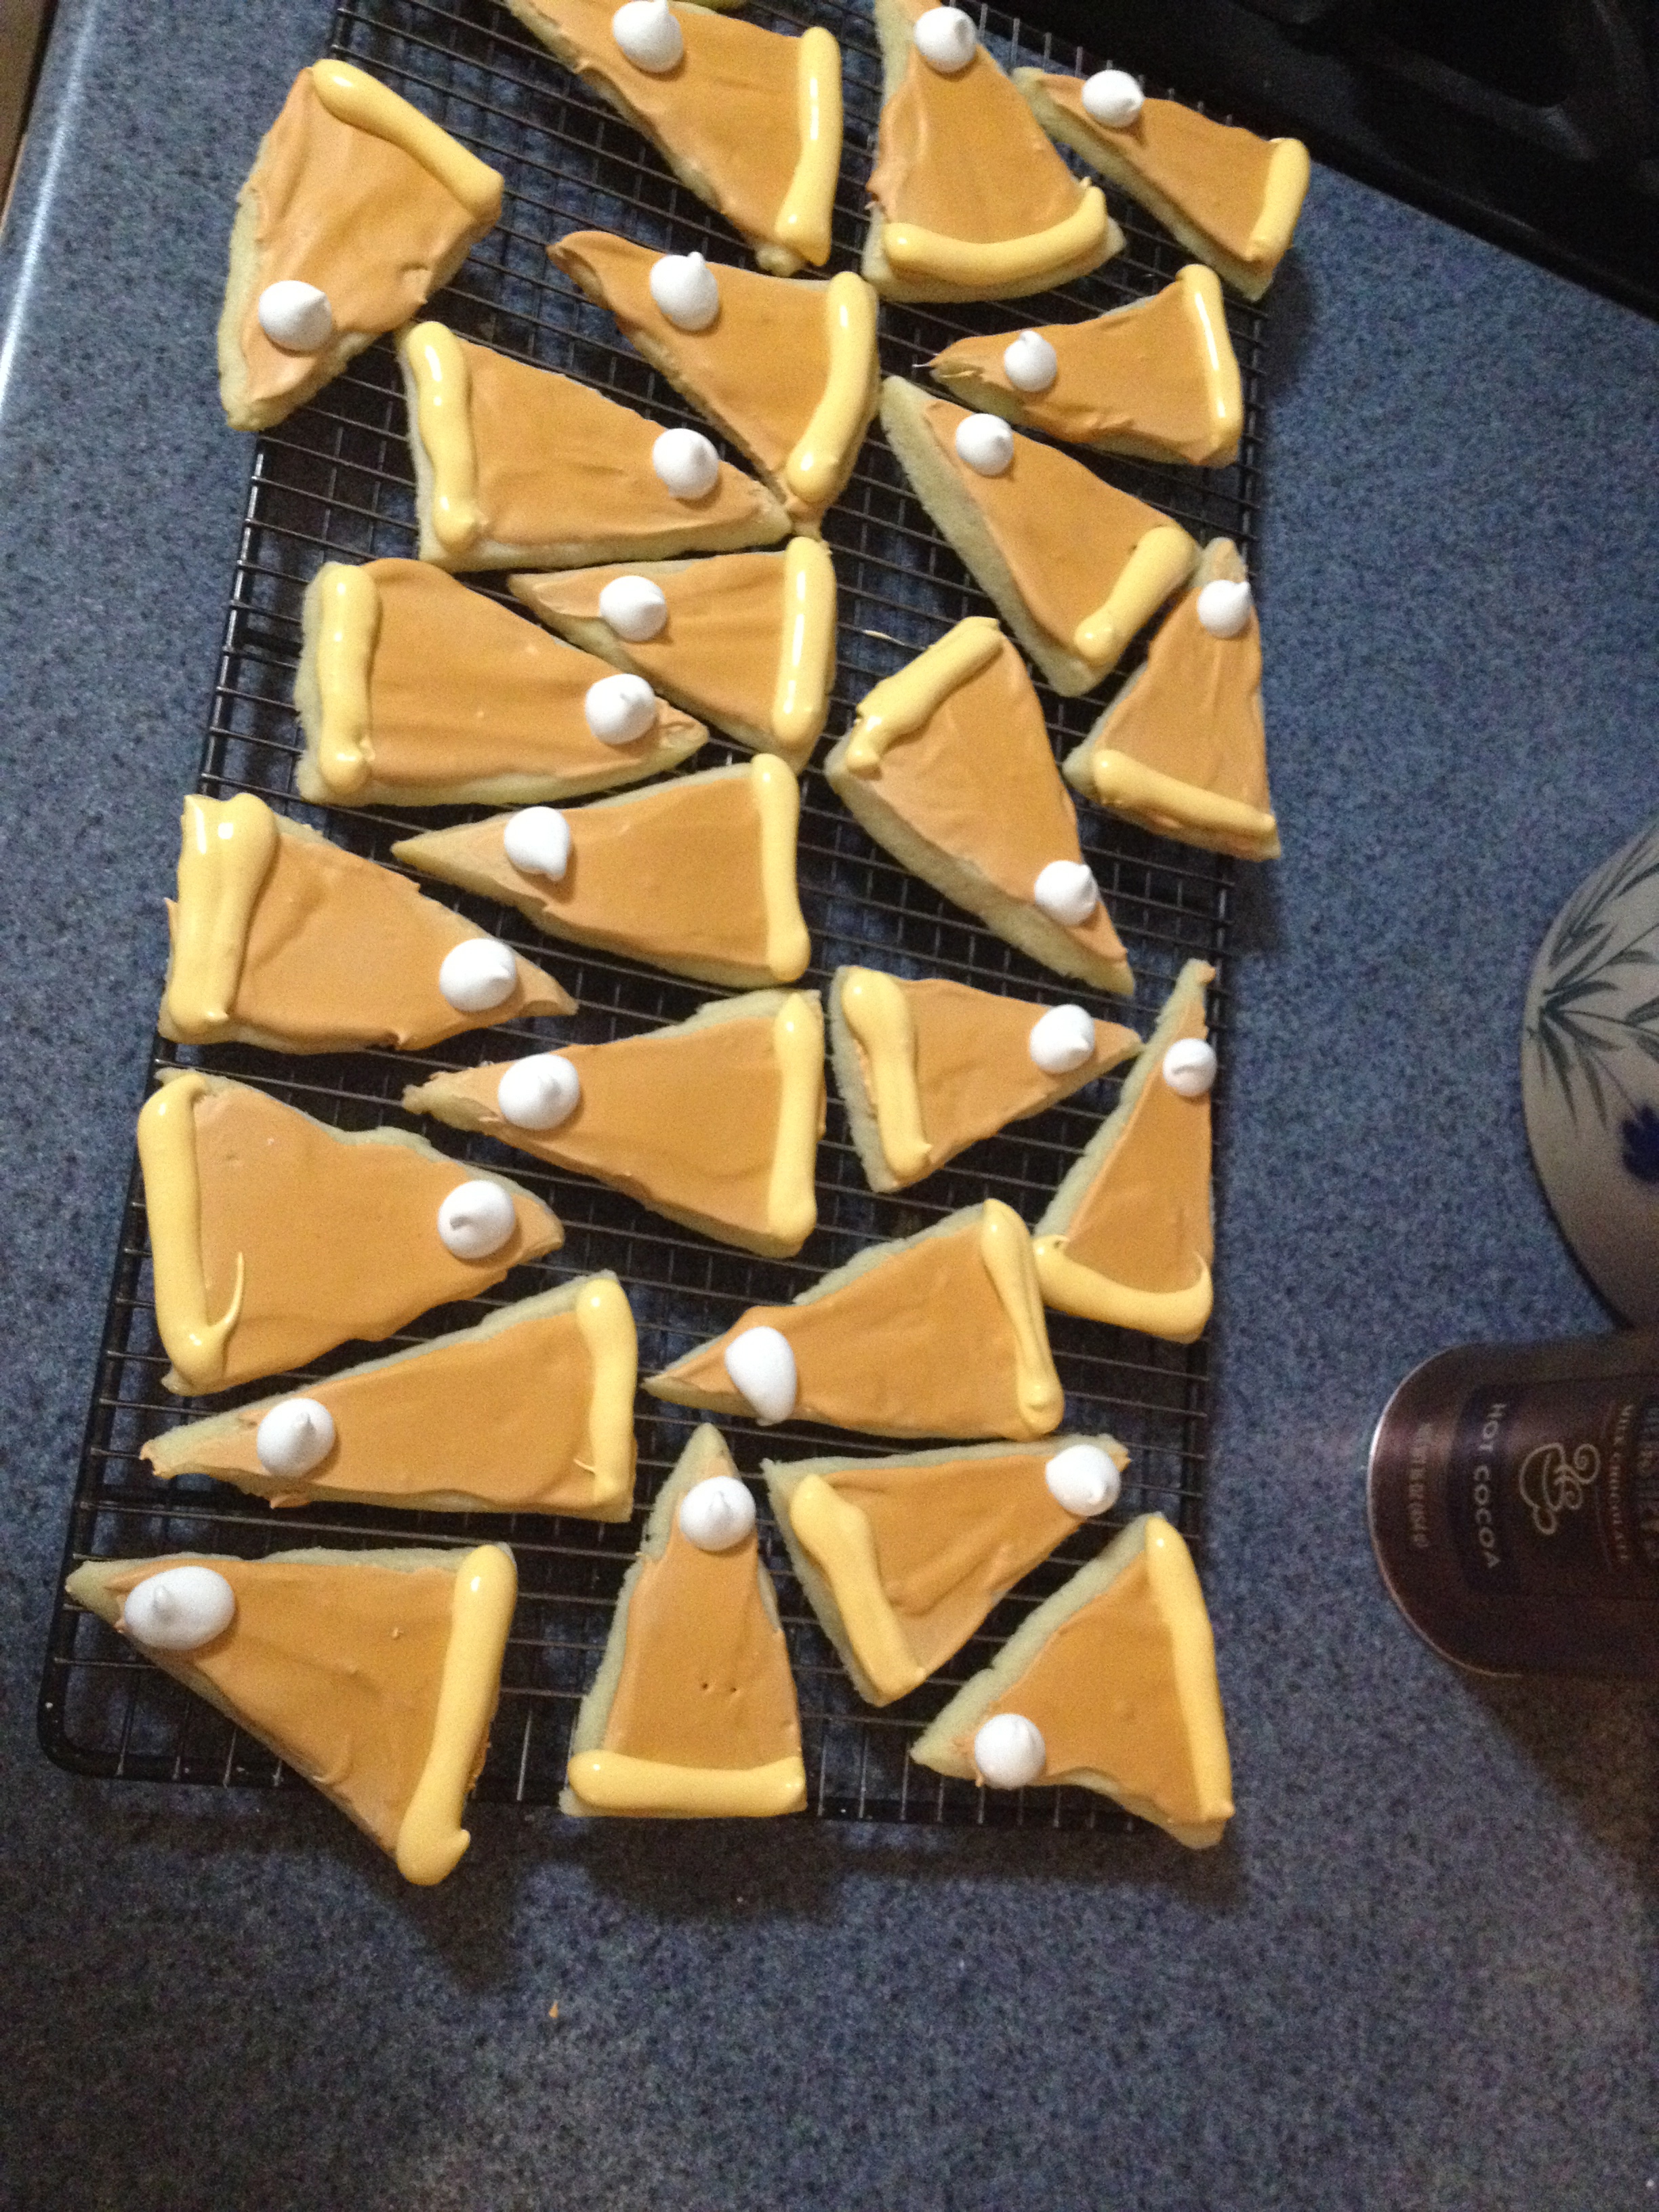
Now for decorating! Using a knife or a frosting spreader, take the “pie filling” colored frosting and spread it over the top of the cookies. Then, using your “crust” colored frosting, make a thick line across the short end of the triangle to look like the crust. If you want to get really fancy, you can make the crust frosting wavy so that it looks like a scalloped edge. Finally, finish it with a dollop of “whipped cream” frosting. When you’re finished decorating them, let them dry on a wire rack to let the frosting harden.
Then, put them on a plate and eat them all!
Having the Bible study group over is always fun because they’re great people and fun to have around, and they’re great guinea pigs for my desserts! It’s so fun sharing my ideas with them and seeing what works and what doesn’t. Give these cookies a try, because I got good reviews on them from the group!
Yum! Were they delicious?
They were! Very yummy! We LOVE being your test kitchen! 🙂
I missed the wrong small group!!! I’m pretty sure that someone should have brought one of those home for me. Maybe there weren’t any left!