Category Archives: Cookies and Brownies

Two-Ingredient Cookies

Hi, all! Happy February! I don’t know about you, but I’m feeling pretty ready for Spring and warm weather. Hopefully we only have a few weeks to go of chilly temperatures! In the meantime, I have a super easy, fast, healthy and yummy recipe for you to try: two-ingredient cookies! The only two things you need to make these are bananas and oats. After those base ingredients, you can customize these cookies with mix-ins (so of course I added chocolate chips). Here’s how to make them:

Ingredients:

  • 2 ripe bananas, mashed
  • 1.5 cups old fashioned oats
  • Mix-ins of your choice (chocolate chips, peanuts, cinnamon, raisins or other dried fruit, slivered almonds… the world is your oyster)

First, preheat the oven to 350F. While the oven is heating, mash the bananas in a bowl until they resemble baby food. Then, mix in your oats and stir until everything is combined. Finally, stir in whatever mix-ins you want.

Form the mixture into balls and place on a baking sheet. I used a baking mat for easy cleanup, but you can just put the “dough” right on the baking sheet too.

Bake at 350F for 20 minutes.

And that’s it! The cookies should be crisp on the outside but chewy and soft on the inside. It seriously tastes like banana bread when you bite into them but it’s healthier AND took way less time. Win win!

To keep these fresh for longer, I recommend storing them in the fridge (unless your family eats them all in a day, which is very possible). Happy baking!

Molasses Cookies

Hi, all! How are you doing? I hope you’re hanging in there during this crazy time, and finding ways to keep yourselves entertained. It seems that my city has taken to baking while they’re at home (or at least, that’s the only explanation I can find for the grocery store being sold out of flour consistently!). To that end, I figured I’d supply a recipe for you to try out: molasses cookies! Crunchy on the outside, chewy on the inside, sweet and spiced, these cookies are seriously so delicious. And, happily, the recipe makes a big batch so you’ll have enough to share with your family. Here’s the recipe:

Ingredients:

  • 3/4 cup shortening, melted
  • 1 cup granulated sugar, plus extra for rolling
  • 1/4 cup molasses
  • 1 egg
  • 1/2 tsp cloves
  • 1/2 tsp ginger
  • 1 tsp cinnamon
  • 1/2 tsp salt
  • 2 cups all purpose flour
  • 2 tsp baking soda

First, combine the melted shortening with the sugar and molasses. A note about the shortening- it’s necessary to use shortening to end up with the right texture and look of the cookies. I’ve tried substituting butter for the shortening, and you end up with a very different cookie (although still delicious, so if all you have is butter then go for it – just don’t expect the same result as will be shown here!)

If the shortening is still hot from being melted, let it cool down to lukewarm before mixing in the egg (otherwise, you’ll end up with cooked scrambled eggs in your batter and you’ll have to start over!). Once the mixture is cooled to lukewarm, mix in the egg and beat well. Your mixture will now look smooth and blended since the egg is binding everything together.

Mix in the spices, flour, and baking soda, and mix until fully combined.

Chill the dough for at least 30 minutes. Preheat the oven to 375F. Once the dough is chilled, roll the dough into 1″ balls, roll them in the extra sugar to coat, and place them on a greased or lined baking sheet.

Bake for 8-10 minutes. If you have multiple cookie sheets going at once, switch their position in the oven halfway through baking to ensure even baking. You’ll know they’re done with they flatten, develop the characteristic cracking on top as pictured below, and have darkened to a nice rich brown color.

Remove to a wire cooling rack to cool. Be sure to have a few when they’re still warm, because they are absolutely amazing fresh from the oven.

And that’s it! If these last long in your house, I’ll be impressed. They’re going quick in mine, and there are only two of us here!

Keep your chins up and stay positive, everyone! We will get through this and we’ll be able to meet up and share our baked goods again before you know it.

Happy baking!

Coconut Macaroons

Hi, all! Hope you are all doing well and getting through the chaos of the Coronavirus! I figure, if we have to stay home, might as well bake some yummy treats and eat them! This recipe for Coconut Macaroons is super easy and makes a small enough batch that you can enjoy them between two people. Here are the ingredients:

  • 1 1/3 cups sweetened shredded coconut
  • 1/3 cup sugar
  • 2 tbsp all-purpose flour
  • 1/8 tsp salt
  • 2 large egg whites, room temperature
  • 1/2 tsp vanilla extract
  • Melted semi-sweet chocolate (optional)

Preheat the oven to 325F. In a small bowl, mix the coconut, sugar, flour, and salt together.

Add the egg whites and vanilla, and mix until the ingredients are thoroughly combined.

Drop tablespoon-sized balls onto a greased, or baking mat-lined, baking sheet.

Bake 18-20 minutes, or until the cookies are golden brown on top. Cool on a wire rack.

When the cookies are cool, drizzle with melted chocolate if you want!

And that’s it! Super simple, super quick, and super tasty. Happy baking, and stay safe!

Millionaire Shortbreads

Hi all! Hope you’re enjoying the warm weather after all that cold rain we got! It’s actually looking like summer could come after all!

Last week, my sister was in town for Mother’s Day and we decided to have our own “British Baking Show” time (if you haven’t watched the show, go watch it. Seriously.) We made a couple different desserts that are popular on the show including a classic Bakewell Tart and this recipe for Millionaire Shortbread, a really rich and tasty dessert made from a shortbread covered with a layer of caramel, all topped with chocolate. The pan was empty within a couple days, which should tell you how good these things are. Keep in mind, the recipes were written by folks in the UK so I’ve converted the recipe over from grams to cups, so it’s not quite exact. Here’s the recipe:

Ingredients:

  • 1 cup softened butter (for shortbread)
  • 1/2 cup granulated sugar
  • 2 cups all purpose flour
  • 5oz butter (10 tbsp)
  • 5oz dark brown sugar (a little over 1/2 cup)
  • 1, 14oz can sweetened condensed milk
  • 2 cups semisweet chocolate chips

To make the shortbread, preheat the oven to 300F. With an electric mixer, cream the butter and sugar together until fluffy. Gradually mix in the flour until everything is well combined.

Pat the dough down into a parchment paper-lined 9″ square baking dish and prick the dough all over with a fork. (You can also just use an ungreased baking dish but we thought it would be fun to line the dish like they do in the British Baking Show.)

Bake for 40 minutes or until light golden brown. Let the shortbread cool completely on a cooling rack.

Now for the caramel! In a medium saucepan, melt the butter and brown sugar together until very smooth and the sugar is completely dissolved. It definitely helps to use a nonstick pan, and I’ll explain why below!

After the sugar is dissolved, add the condensed milk and bring the caramel to a rapid boil, stirring continuously. Cook the caramel for another minute or so until it thickens and then turn off the heat to let it cool.

Pour the caramel over the shortbread and chill until set.

Ok, so the reason you want to use a nonstick pan is because the heated sugar crystals will latch onto any sticky surface they can find to form new and bigger crystals (like when someone makes rock candy). A nonstick pan helps prevent these crystals from forming, which helps give you a smoother caramel. I didn’t use a nonstick saucepan because I don’t have one, so I ended up with some sugar crystal flecks in my caramel (see the picture below). It totally didn’t affect the taste one bit, but if you’re going for the British Baking Show caliber of this treat, you should probably use a nonstick pan.

Once the caramel has set, it’s time to melt the chocolate and pour it over the top! We went one step extra with this chocolate and tempered it, which gives it a nice shine when the chocolate has hardened. Here’s how you do it:

  1. Melt the majority of your chocolate in the microwave (or over a double boiler if you’re feeling fancy) by microwaving it for 30 seconds, stirring, and repeating until it’s melted.
  2. Add unmelted chocolate chips into the melted chocolate and stir until all the chocolate is melted.

When all the chocolate is melted, pour it over the caramel and spread into an even layer.

Once the chocolate sets a bit, go ahead and cut the shortbread and dig in!

I hope you enjoy this recipe as much as we did- and seriously, go watch the British Baking Show if you haven’t yet! Happy baking!

Chocolate Meringue Cookies

Hi, all! I hope you all are having a great February and that you enjoyed your Valentine’s Day! We had a V-Day party at my work so I got to eat a ton of delicious food, but also got to try out this new recipe! I was hunting for a dairy-free recipe for my friends with dairy allergies, and realized that meringues are dairy-free (and also gluten-free) and figured I would give them a try. Meringues are known to be fairly tricky to make, but this recipe worked well for me- as always, I’ve included pictures for reference if you need it!

Ingredients:

  • 1/2 cup superfine/caster sugar (100g for those using a food scale)
  • 1/2 cup powdered sugar (100g)
  • 3 large egg whites (100g)
  • 2 tbsp cocoa powder
  • pinch of salt (~1/8 tsp)

Preheat the oven to 250ºF. Mix the two sugars together in a small bowl. In a mixing bowl with the whisk attachment, beat the egg whites with a pinch of salt. When the egg whites begin to form peaks (instead of just being frothy), add the sugar mixture a spoonful at a time. Note- you really need to go slow with adding the sugar and make sure each spoonful is fully incorporated before adding the next, or else your meringue will become gritty. As you add sugar, your egg whites will become glossy and smooth.

IMG_4731IMG_4732

Once all the sugar is added to the eggs, continue to beat them on medium to medium-high speed until very stiff peaks form. Note: “very stiff peaks” means that when you drag the whisk through the egg whites and pull up, the mixture should stay standing straight up. If you haven’t whisked the mixture enough, your meringues will melt. 

IMG_4733

Sift and fold the cocoa powder into the meringue mix using a spatula. You want to be very gentle in this process so that you don’t knock the air out of the beaten egg whites.

IMG_4734

Transfer the mixture into a piping bag. Pipe into various shapes onto a baking sheet lined with wax paper. I tried making meringue hearts but quickly learned I’m not very good at piping hearts, so I ended up making a hodge podge of shapes. You can also just dollop the mixture onto the baking sheet using a spoon if you don’t have a piping bag.

IMG_4736

Leaving the oven door cracked open so that steam can escape, bake the meringues for 90 minutes. Then, turn the oven off and leave the oven door cracked slightly, and let the meringues cool completely in the oven. They should be very dry and fragile.

IMG_4737

And that’s it! These cookies are so light and airy and delicious, and the chocolate flavor is so perfect in them. You can also omit the cocoa powder and add a teaspoon of vanilla extract for vanilla meringues, which are just as delicious. Enjoy, and happy baking!


Gingerbread Cookies

Hello, all! The countdown to Christmas is on! Hopefully you’re all getting to spend some time with family and/or friends over the next few days. I know for many people, that involves Christmas cookie baking! I personally do not enjoy making roll-out cookies, but I usually break out the cookie cutters around Christmas time for the tradition of it. As mentioned in my previous post with the chocolate truffles, I had several parties in the same week so I needed to make a huge batch of treats to feed everyone. I pulled out my mom’s old recipe for gingerbread cookies and got fantastic reviews, so I figured I would share it with you all!

Ingredients:

  • 5 + 1/2 cups flour
  • 2 tsp ginger
  • 2 tsp cinnamon
  • 1 tsp baking soda
  • 1 tsp nutmeg
  • 1 tsp cloves
  • 1/2 tsp salt
  • 1 cup vegetable shortening
  • 1 cup sugar
  • 1 cup molasses
  • 2 eggs

Sift together flour, ginger, cinnamon, baking soda, nutmeg, cloves, and salt. Set aside.

IMG_4635

Melt shortening; stir in sugar and molasses. Stir in eggs.

IMG_4636

Beat in half of flour mixture, then stir/beat in remaining half. Side note- you may need to mix this by hand as the mixture gets stiffer. I actually made 1.5 times this recipe to make even more cookies and almost broke my stand mixer. Hooray for manpower!

IMG_4637

Divide dough in half, wrap in plastic wrap, and chill ~ 1 hour (as mentioned above, I made extra mix so I actually divided mine into thirds- one third for each party that week!).

IMG_4638

Roll dough, one chilled section at a time, onto a flour surface, to about 1/4″ thick. Cut out shapes and place on a greased baking sheet (can also use a silicone baking mat instead of greasing).

IMG_4640

Bake at 375°F for 6-8 minutes. Let them cool on a cooling rack and then decorate. I topped some of mine with powdered sugar and some with icing (recipe below).

Icing Recipe: 1 cup powdered sugar, 1/4 tsp vanilla, and milk to desired consistency. Beat with hand mixer or whisk until smooth. Pipe or spread onto cookies as desired.

IMG_4642

IMG_4641 IMG_4649

I hope you all enjoy this Christmas with your friends and family! Happy baking!


Peanut Butter Blossoms

Hello, all! Now that’s it’s almost the end of October, I guess we have to accept that summer is definitely over. Time for sweaters, scarves, and much more baking now that I’m inside more often! This weekend my husband and I went to our monthly Poker Night with a bunch of friends and I decided to bring an old favorite: Peanut Butter Blossoms. I have yet to meet a person who doesn’t like these. They’re soft but chewy peanut butter cookies with a Hershey kiss nestled right into the middle, and they’re seriously the best. Here’s the recipe!

Ingredients:

  • 1 and 3/4 cup flour
  • 1 tsp baking soda
  • 1/2 tsp salt
  • 1/2 cup shortening
  • 2 tbsp milk
  • 1/2 cup peanut butter
  • 1/2 tsp vanilla
  • 1/2 cup sugar (plus a few tablespoons extra for rolling)
  • 1/2 cup brown sugar
  • 1 large egg
  • Hershey kisses (my most recent batch made 40 cookies, so you’ll need somewhere around that many kisses)

Preheat the oven to 375º. Cream the shortening, peanut butter, and the two sugars together until they’re fully mixed.

IMG_4565

Add the egg, vanilla, and milk; mix to fully combine.

IMG_4566

Add the flour, baking soda, and salt, and mix well until all the ingredients are fully incorporated. It’s a fairly stiff dough so make sure to really get everything mixed in!

IMG_4567

Shape the cookies into about 1″ balls, and roll them in extra sugar. Hint: it goes quicker if you shape all the cookies into balls first and then roll them all in sugar at once.

IMG_4569IMG_4568

Place them on an ungreased cookie sheet about 2″ apart. (Shoutout to my hubby and my mom for getting me the largest cookie sheets on the market so that I don’t have to cool cookie sheets between batches anymore. You’re the best!)

IMG_4570

IMPORTANT NEXT STEP: COUNT OUT HOW MANY COOKIE BALLS YOU HAVE ROLLED. During the first baking time, you’ll want to unwrap enough Hershey kisses to place one on each cookie and it’s a super drag trying to rush through unwrapping them if you didn’t count.

Bake for ~8 minutes. Unwrap as many Hershey kisses as needed. Remove the cookies from the oven. While the cookies are still piping hot, place a kiss in the center of the cookie and press down gently.

IMG_4571

Put the kiss-topped cookies back in the oven for 2-3 minutes. Then, remove them from the oven and let them cool slightly on the baking sheet. They’re really fragile when hot, so it’s hard to transfer them to a cooling rack unless they’re slightly cooled.

IMG_4572

Once the cookies are move-able, transfer them to a cooling rack to finish cooling, and enjoy! Make sure you get some for yourself, because these go quick (or at least they do in my house!). Happy baking!

Homemade Girl Scout Cookies

Hello everyone! I hope you all had a wonderful Easter! I stayed off of social media for Lent this year, so the blog also had to wait until after Easter. It’s good to be back! I have a couple recipes ready to share, the first being homemade Girl Scout Cookies. My hubby’s favorite ones are the Tagalongs, those shortbread cookies with peanut butter on top and then covered in chocolate. I bought him a box a little while ago and he ate all of the cookies in about two days (I honestly don’t think that’s an exaggeration), so I decided it was time to learn how to make my own since the boxed cookies come only once a year. They turned out really well! Here’s the recipe:

Ingredients:

  • 2 cups flour
  • 1 cup (2 sticks) softened butter
  • 1/2 cup granulated sugar
  • 2 tbsp milk
  • 1/2 tsp salt
  • 1/2 tsp vanilla extract
  • 1 1/2 cup creamy peanut butter
  • 3/4 cup confectioner’s sugar
  • 1 bag semisweet chocolate chips or melting chocolate

Preheat the oven to 350°F and line a baking sheet with parchment paper. Cream the butter and sugar together, and then add in the flour and salt and mix. Add the vanilla and milk and mix until thoroughly incorporated. (Hint: it helped me to mix with my hands since the dough was a bit crumbly at first).

IMG_4225IMG_4226

Roll out the cookie dough onto a floured surface, about 1/4″ thick. You don’t have to measure, just try and make sure that the cookies are all the same thickness so that they bake evenly! Using a small circular cookie cutter, cut out dough rounds and place them on the lined baking sheet.

IMG_4227

Bake for 12-15 minutes or until the cookies are light golden. Pro tip: mine stayed pretty pale, so I just went for 15 minutes and then called it a day. You could probably bake them a bit longer, but keep a close eye on them to prevent burning! Leave the cookies on the sheet for a few minutes because they’re very fragile when they’re hot. After a few minutes, remove them from the cookie sheet and transfer to a cooling rack to cool completely.

IMG_4228

While the cookies are cooling, get started on your confectioner’s peanut butter. Mix the peanut butter and powdered sugar together, using either a hand mixer or your elbow grease. I used the hand mixer.

IMG_4229

Dollop some of the peanut butter mixture onto each cookie and spread it out to form an even layer on each cookie. The peanut butter mix recipe makes a lot of mix, so there should be plenty of mixture to make a thick layer on each cookie!

IMG_4231IMG_4234

Put the cookies in the freezer for about 10 minutes to set the mixture. This will ensure you don’t lose all of your peanut butter when the cookie is dipped in the chocolate! Meanwhile, line a baking sheet with parchment paper, or re-use the one you used to bake the cookies.

When the freezing time is almost done, melt the chocolate. To do so, pour the chips into a bowl and microwave on high for ~30 seconds. Remove the chips from the microwave and stir. Repeat this process until the chocolate chips are melted and smooth.

When the cookies are out of the freezer, dip them in the melted chocolate to cover. It will be messy, but so worth it!! Another technique I used when I was running out of chocolate was to scoop up the chocolate with a spoon and pour it over the top of a cookie, letting the chocolate run down the sides to cover.

IMG_4235

These cookies are easily good enough to take the place of store bought Girl Scout cookies. And now we don’t have to wait for Girl Scout cookie time every year-hooray! Happy baking!


Teeny Tiny Cookies

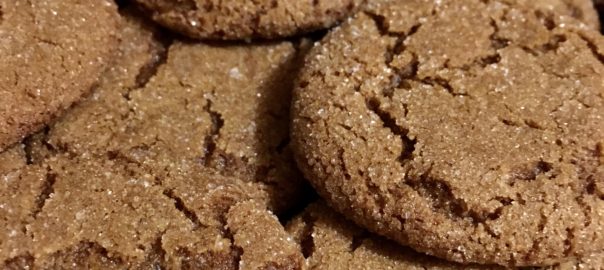
Hi, all! Happy mid-winter! It’s finally time for a new recipe to share. This recipe comes from my friend’s great-grandma. She calls them “refrigerator butter cookies”, but when I first saw these cookies I said “oh, teeny tiny cookies!” so that name stuck. These cookies are versatile and irresistible (I says as I sit next to a bag of them, munching away), and are really easy to make.  Here’s the recipe, from my friend’s Great Grandma Patch:

Ingredients:

  • 1 cup (2 sticks) butter, softened
  • 1 1/2 cup sifted confectioner’s sugar, sifted*
  • 1 egg
  • 1 tsp vanilla
  • 2 1/2 cups all-purpose flour
  • 1 tsp baking soda
  • 1 tsp cream of tartar
  • 1/4 tsp salt
  • Toppings/mixers as desired- I used Sugar in the Raw and chopped chocolate chips, but chopped nuts, sugar syrups, and other fun toppings would work well, too.

*Hint: If you don’t own a sifter, you can put the sugar and the other dry ingredients through a fine mesh strainer.

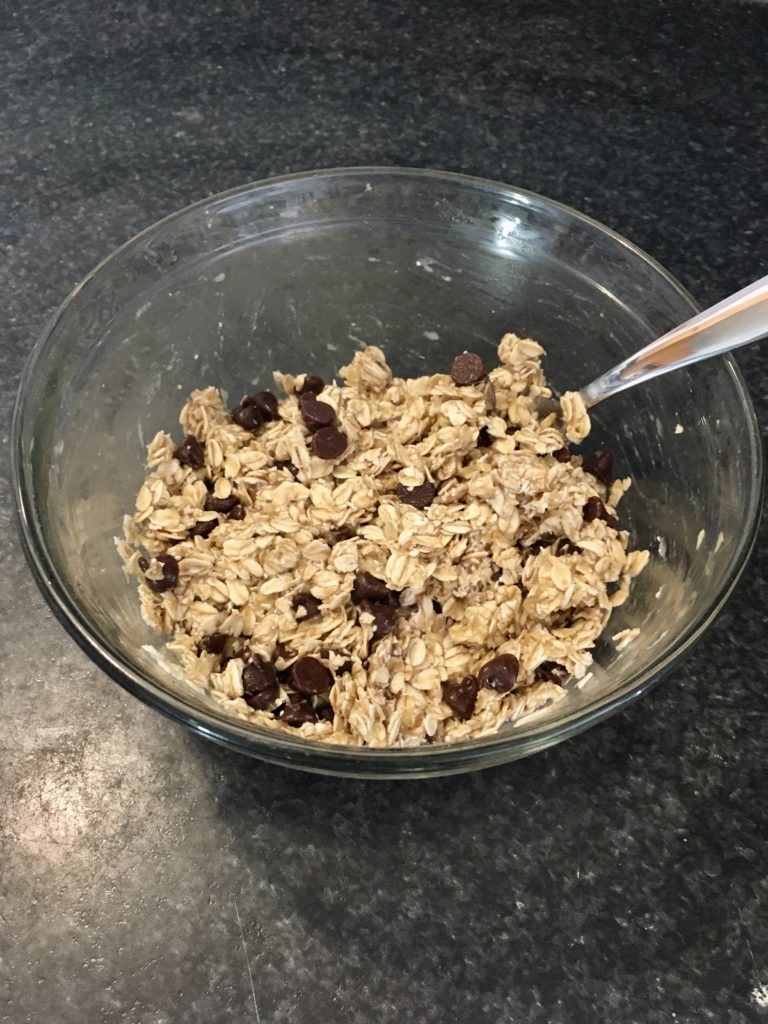
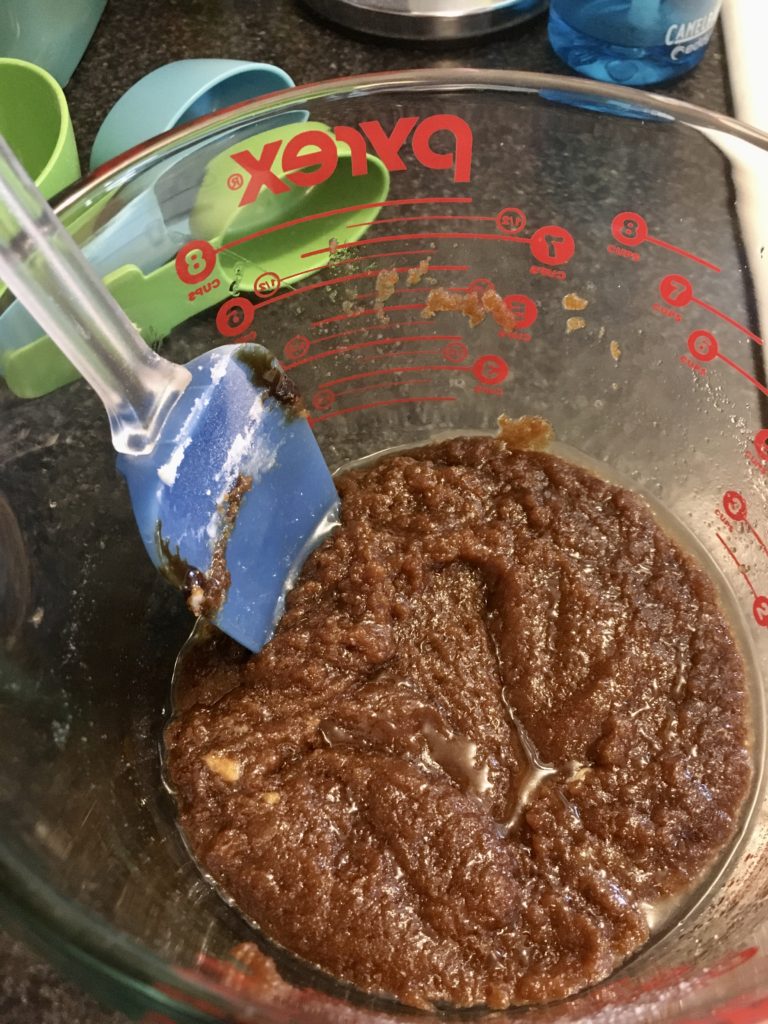
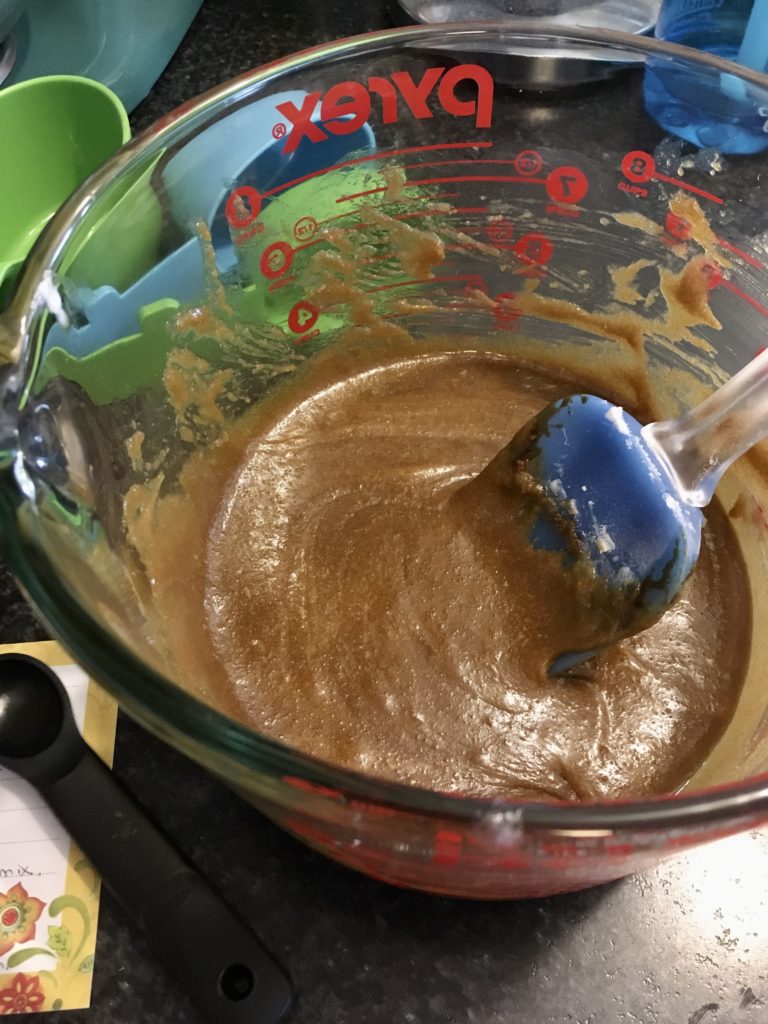
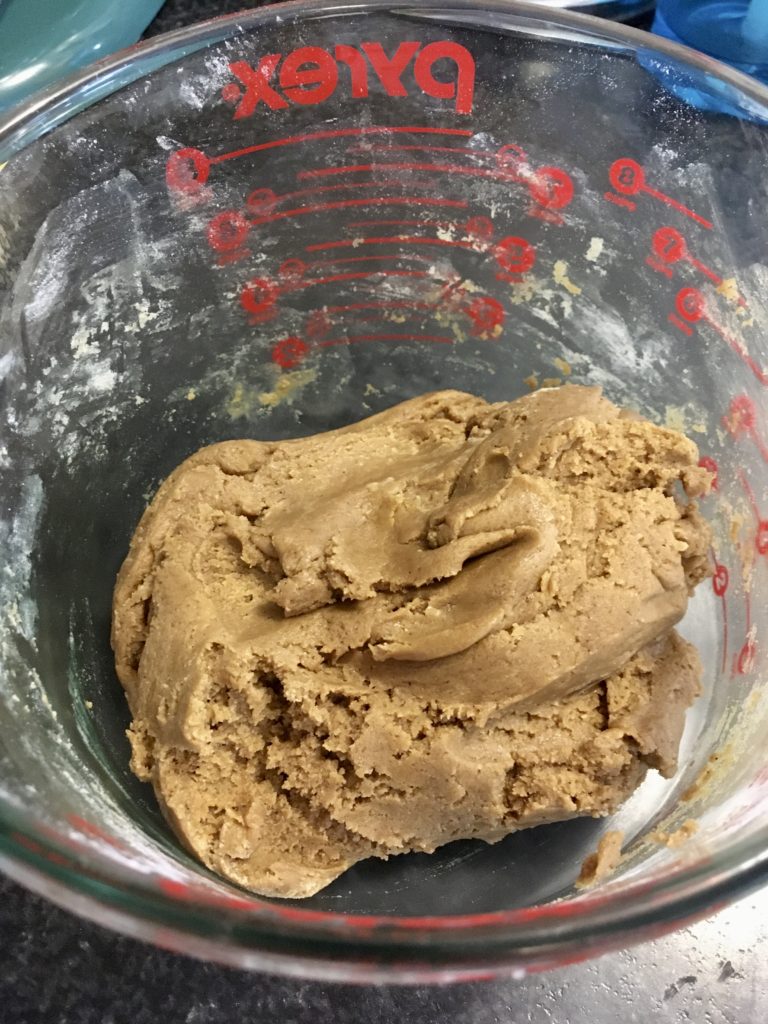
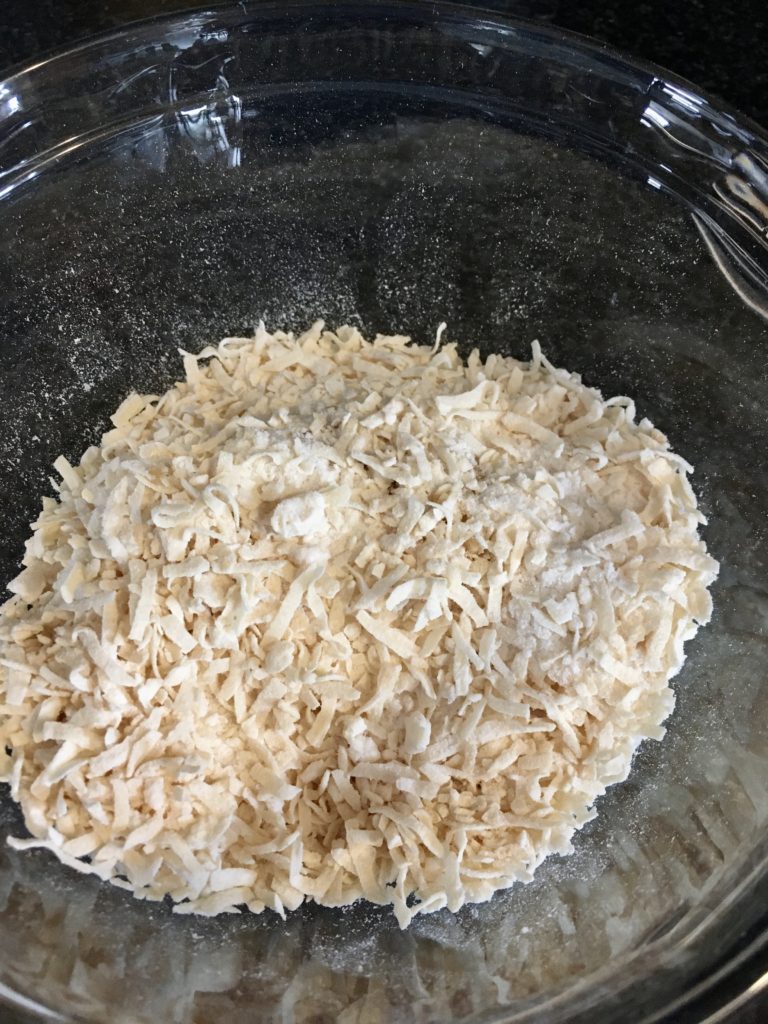
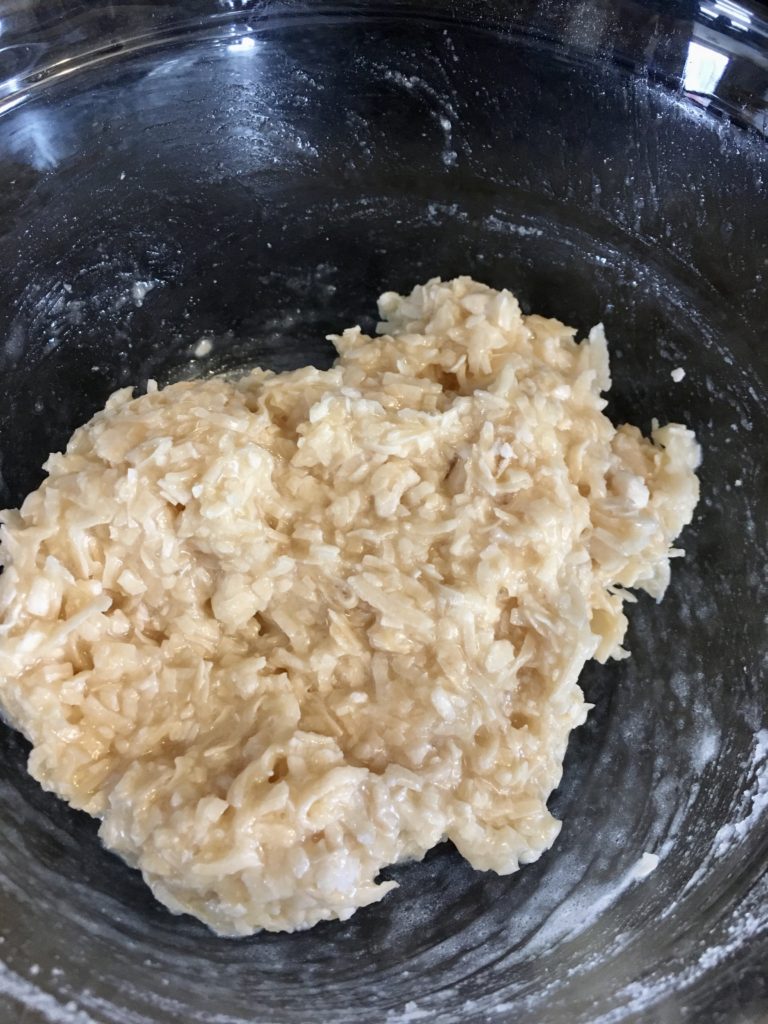
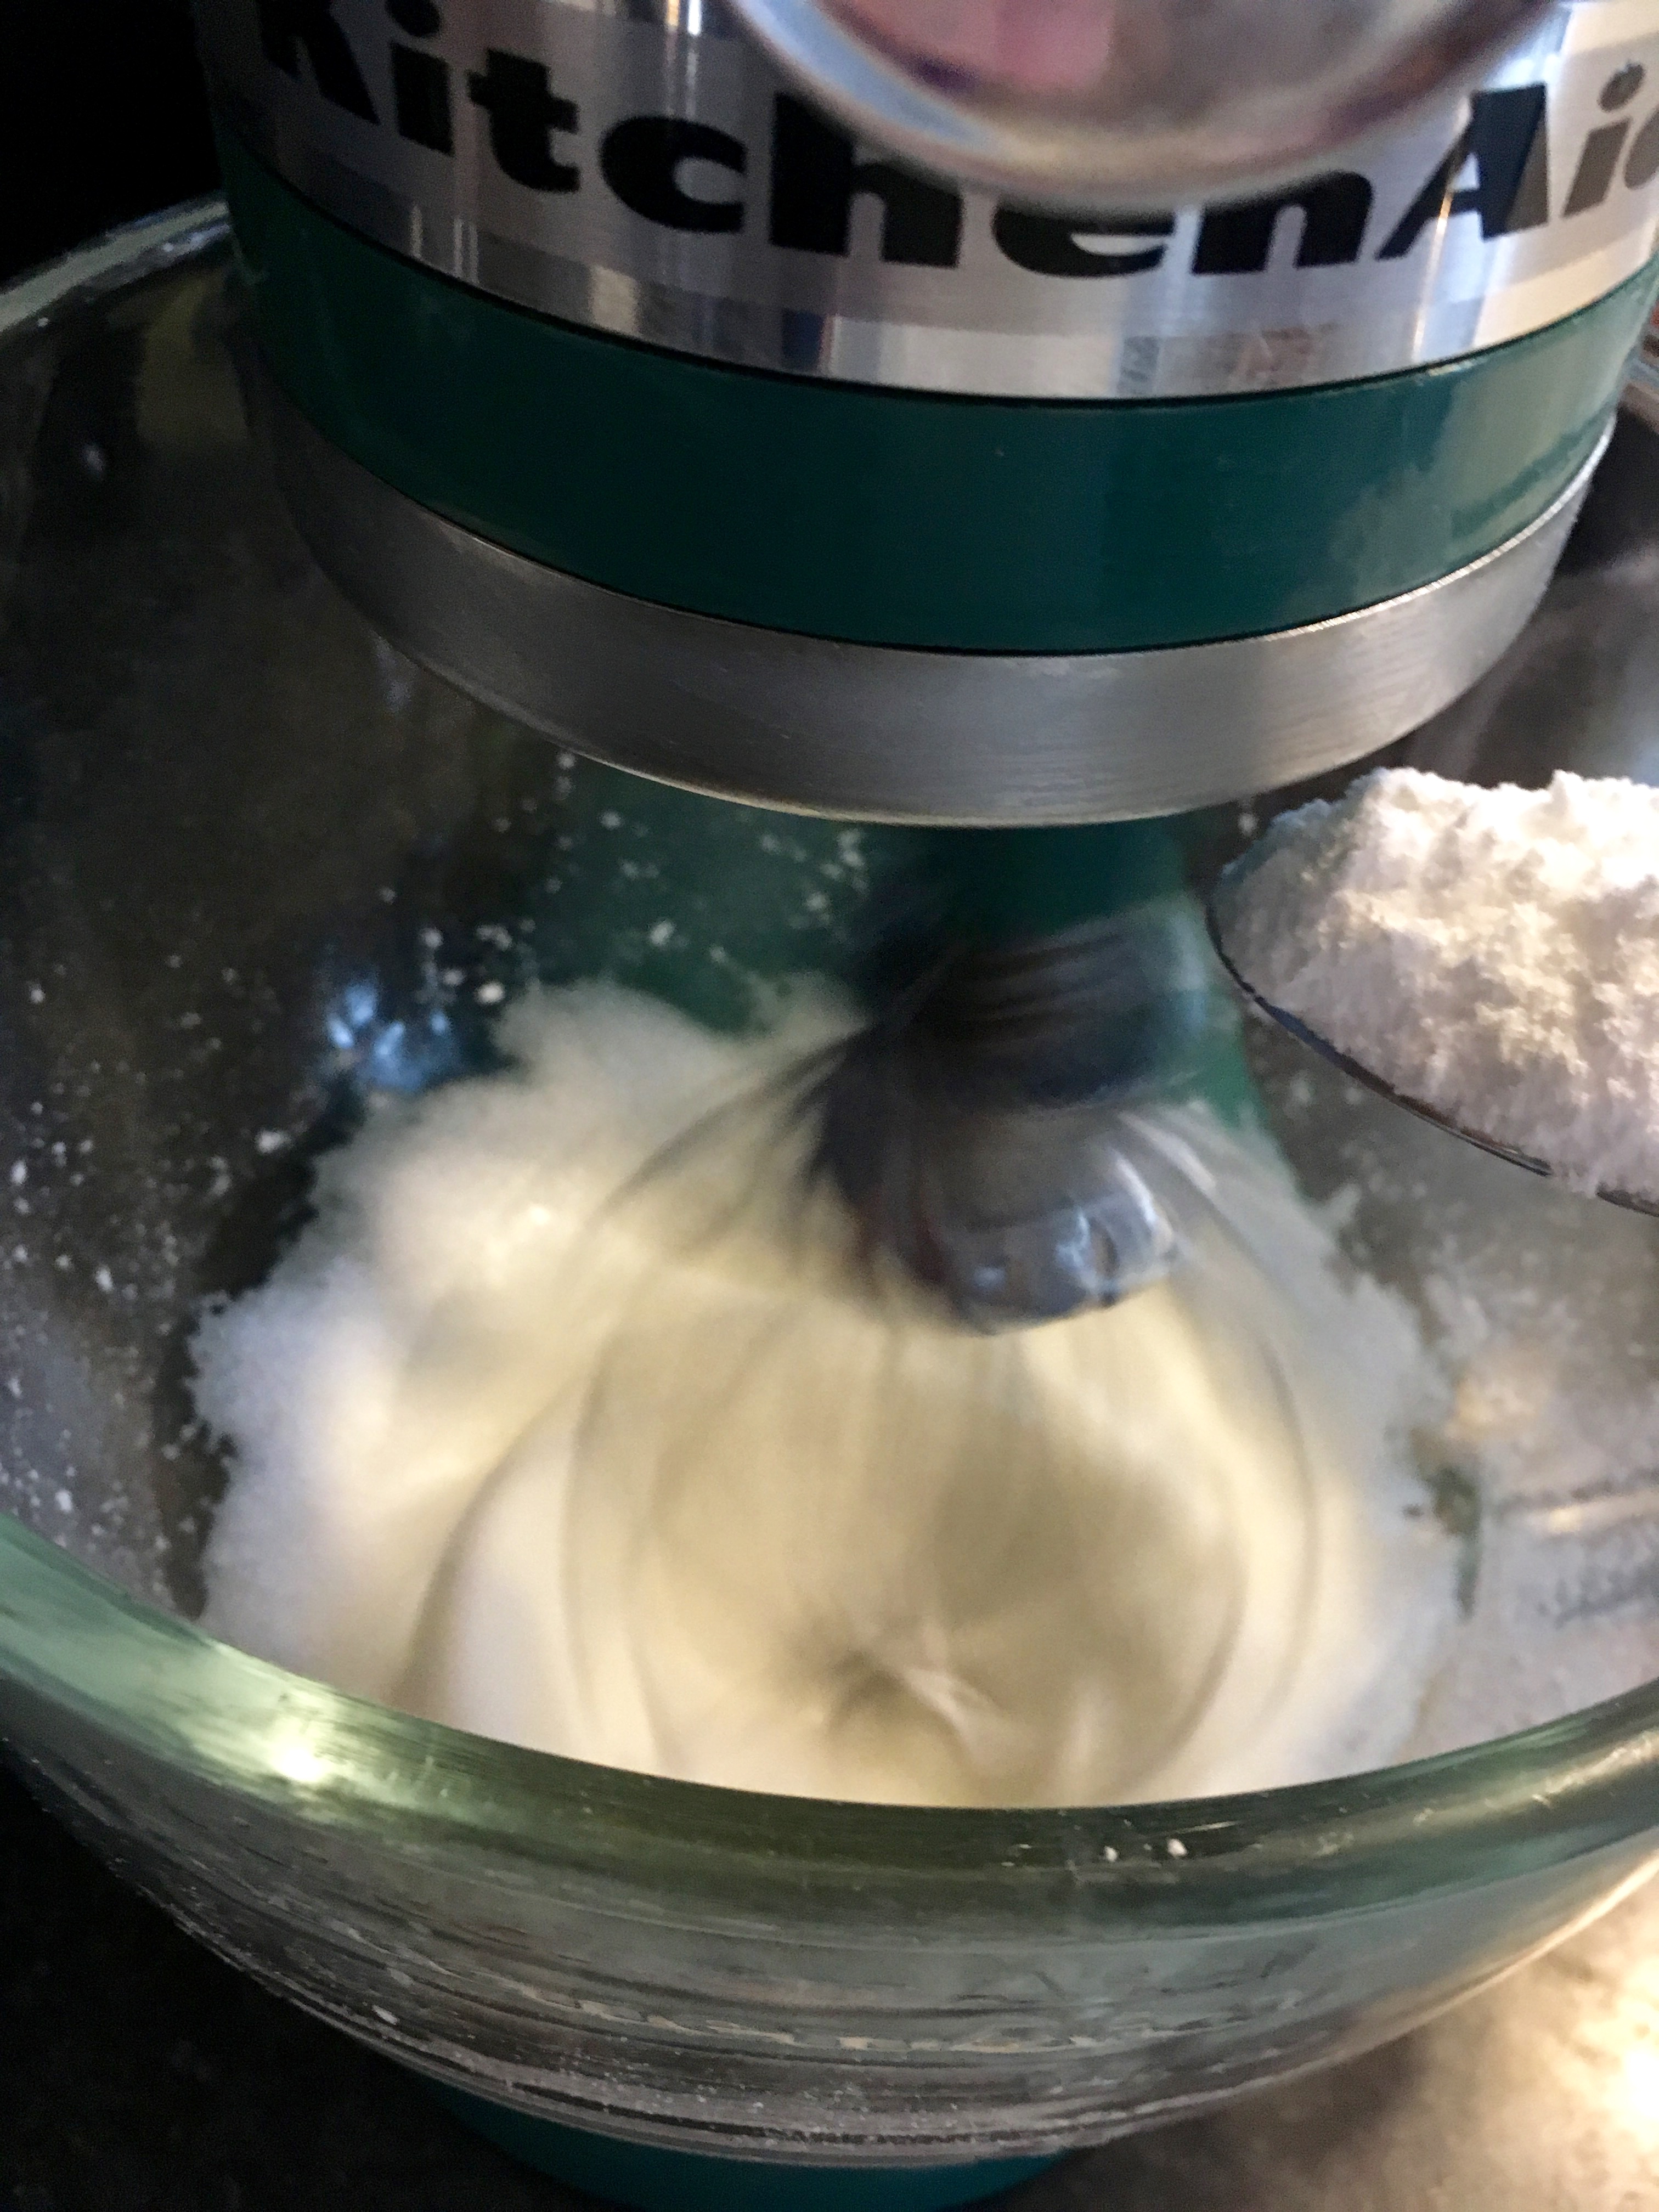
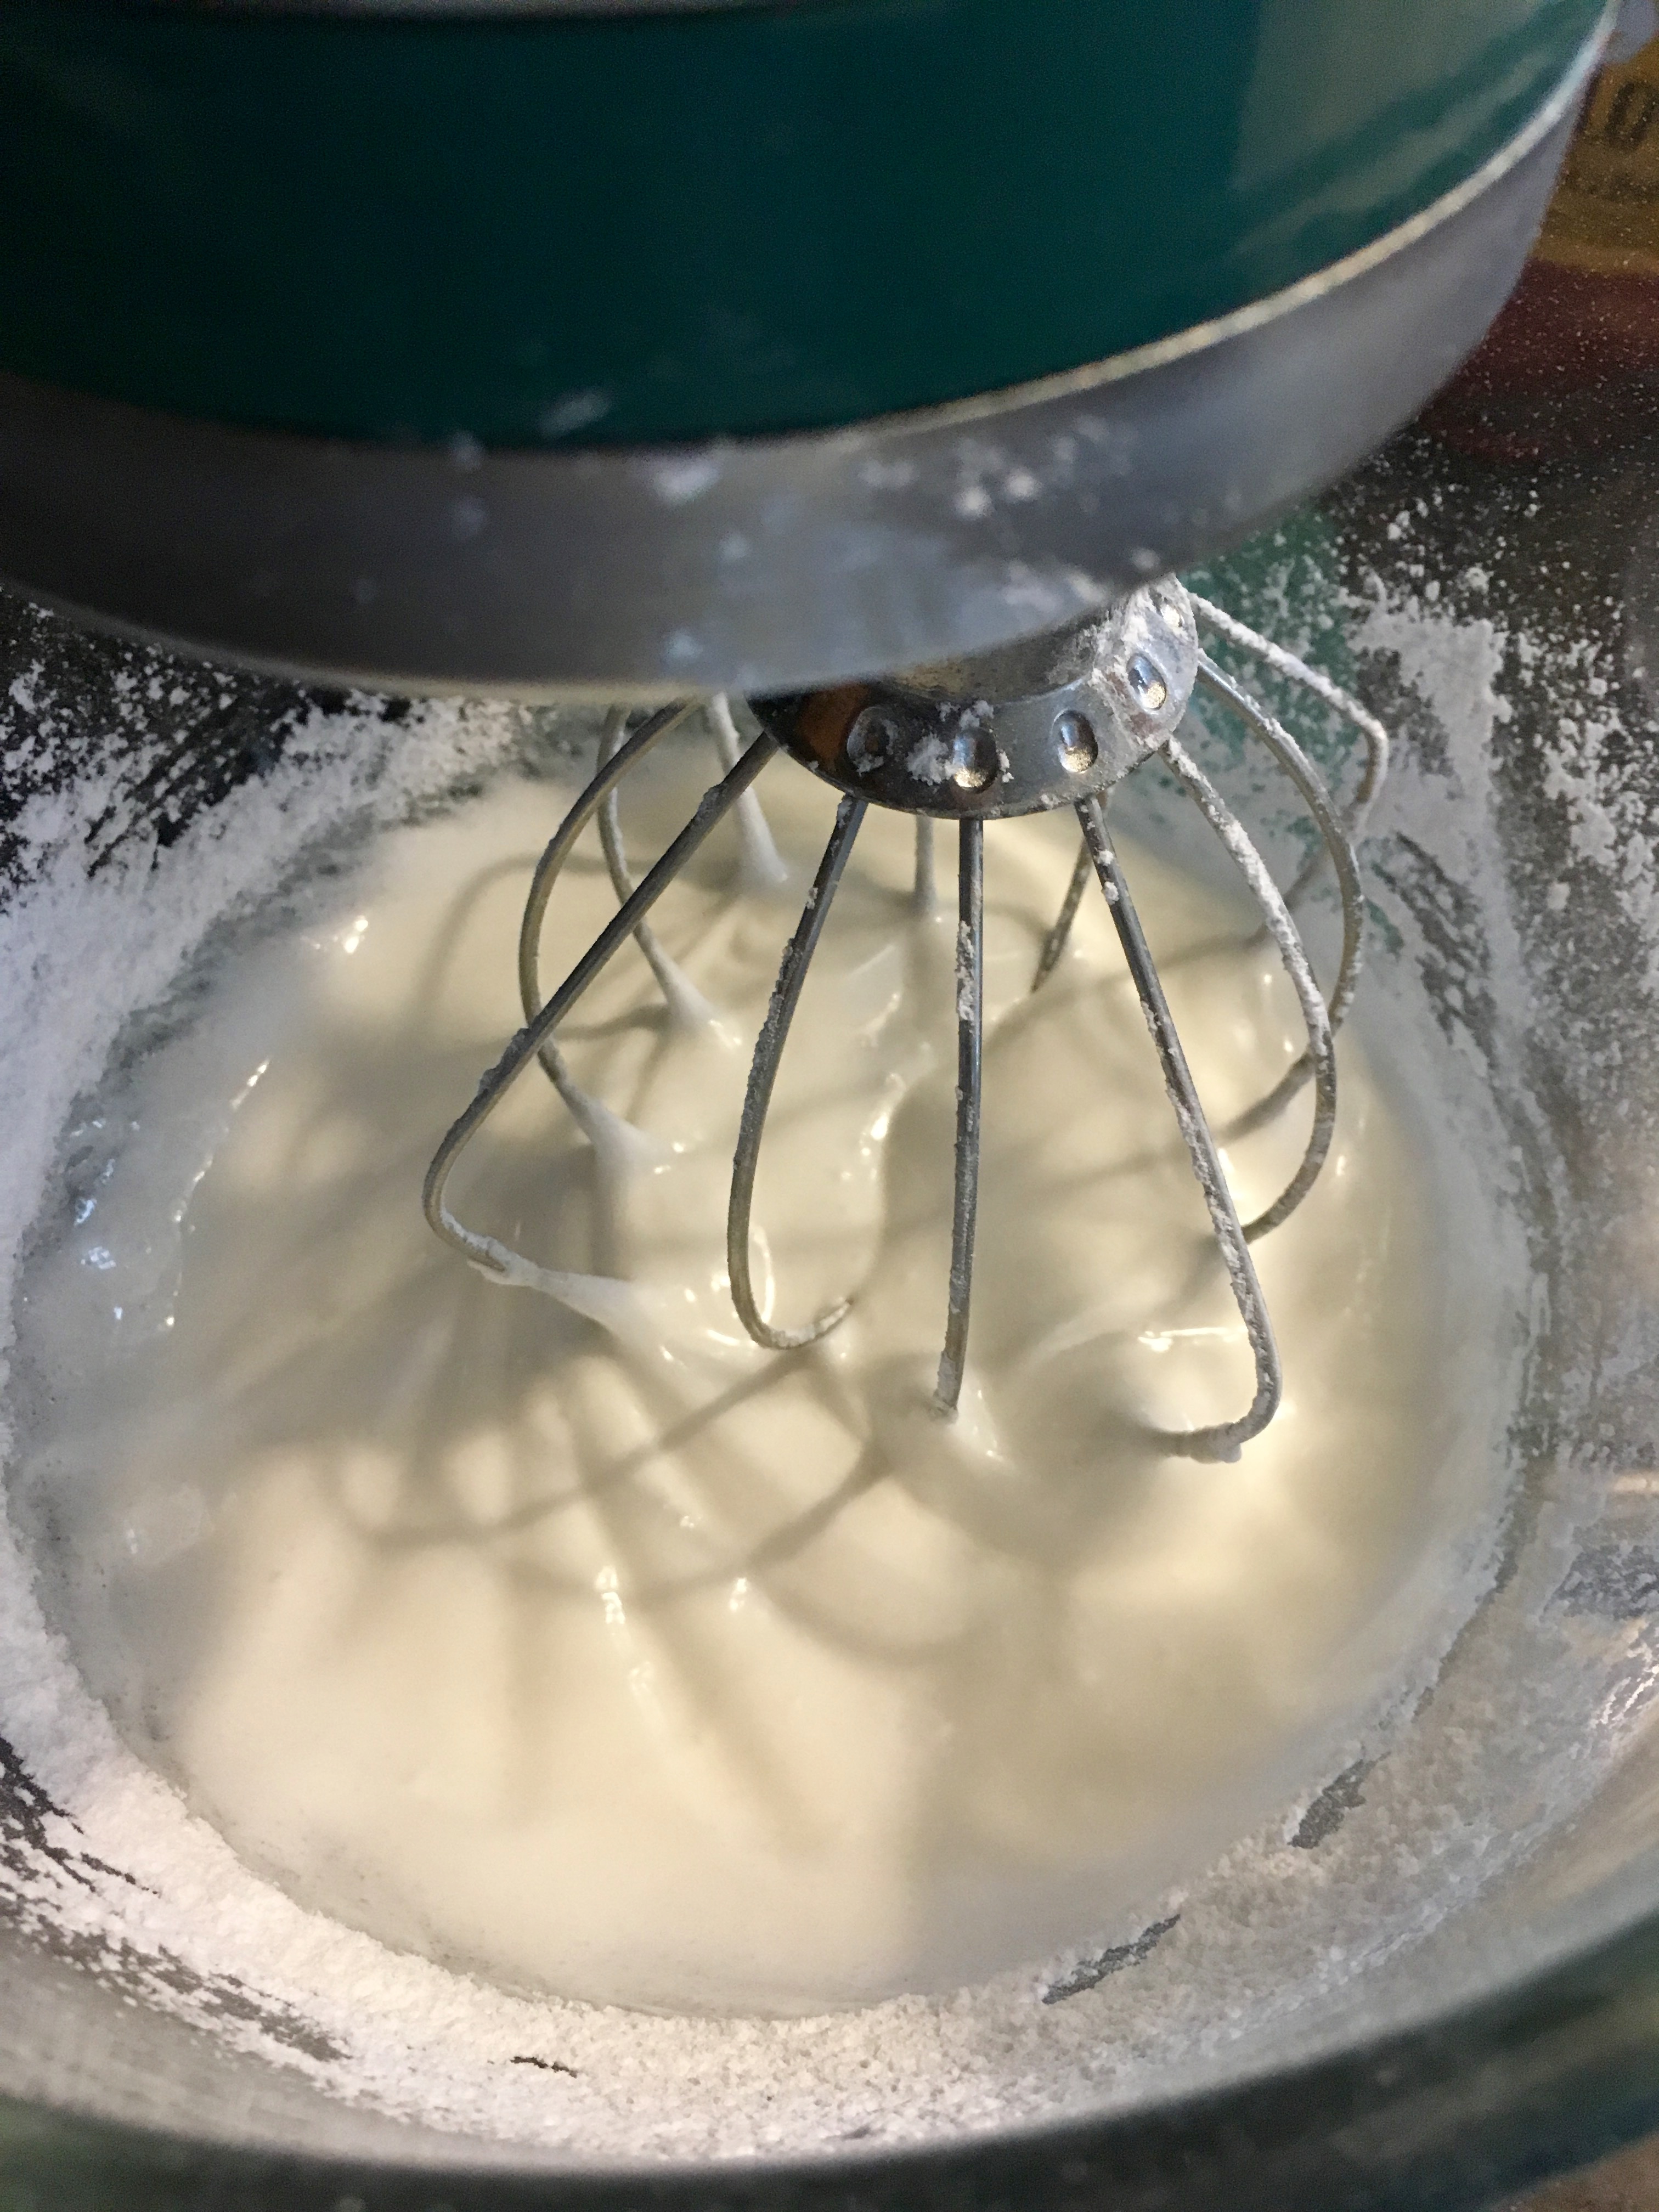
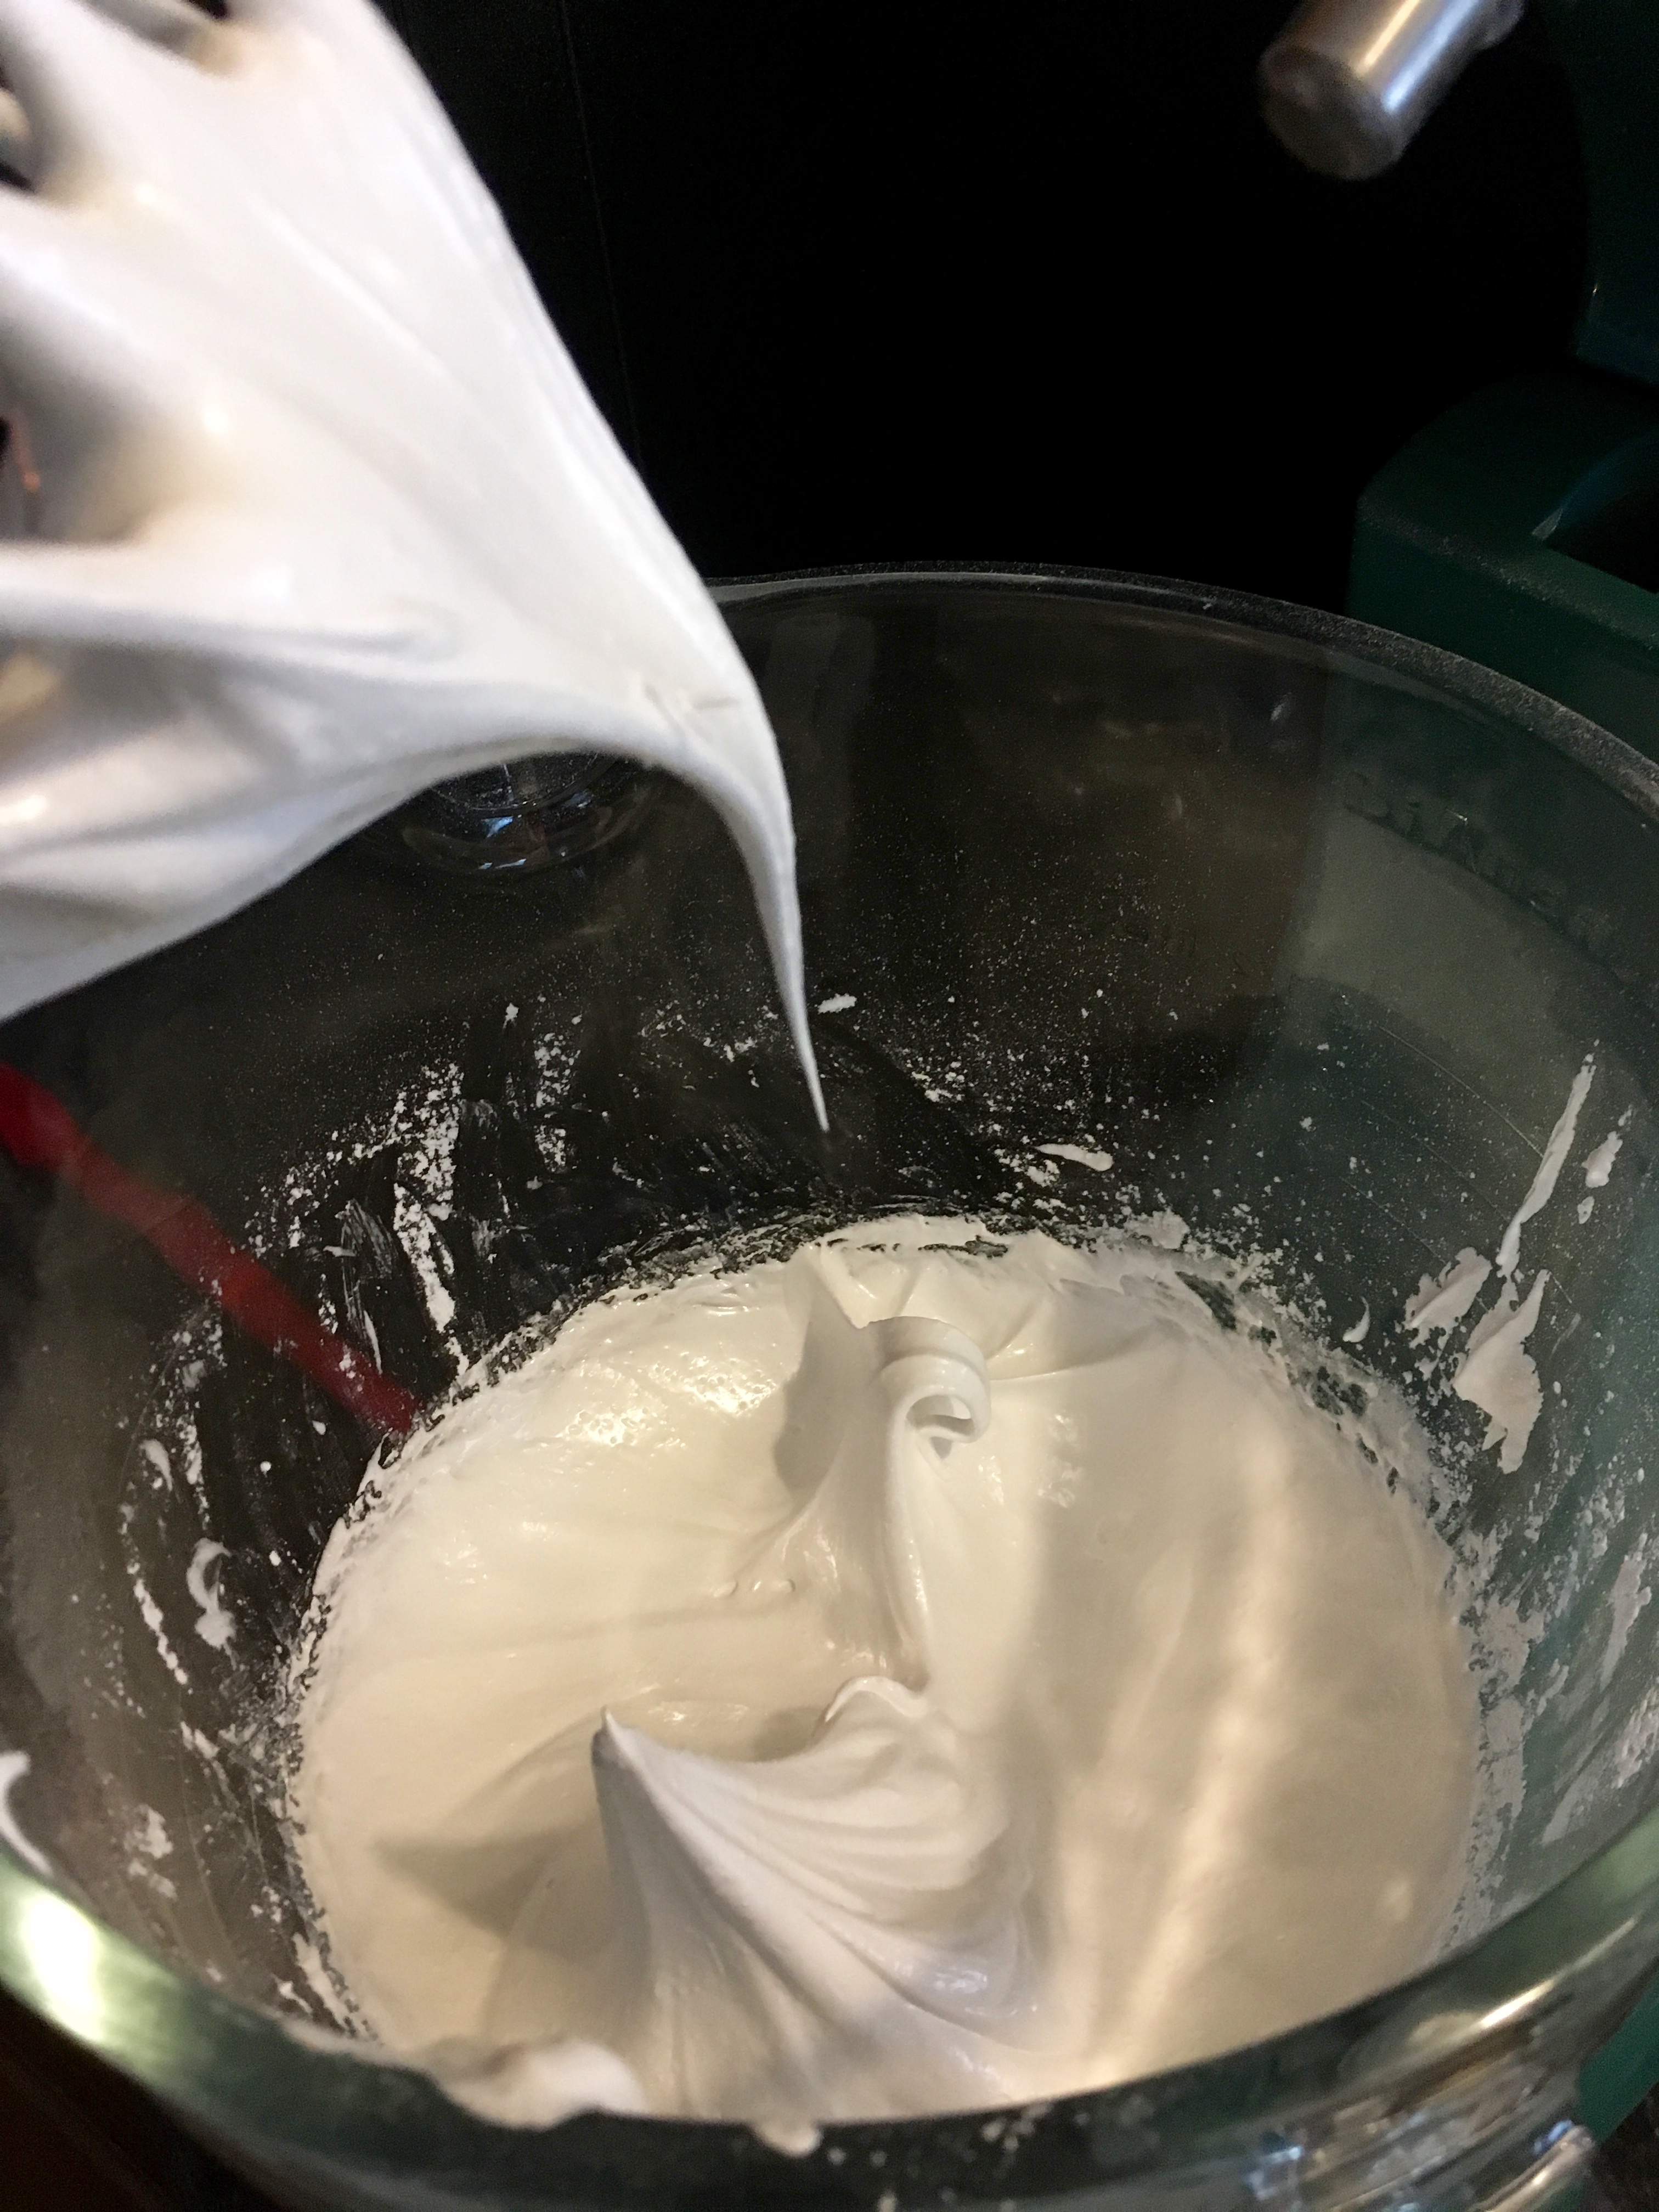
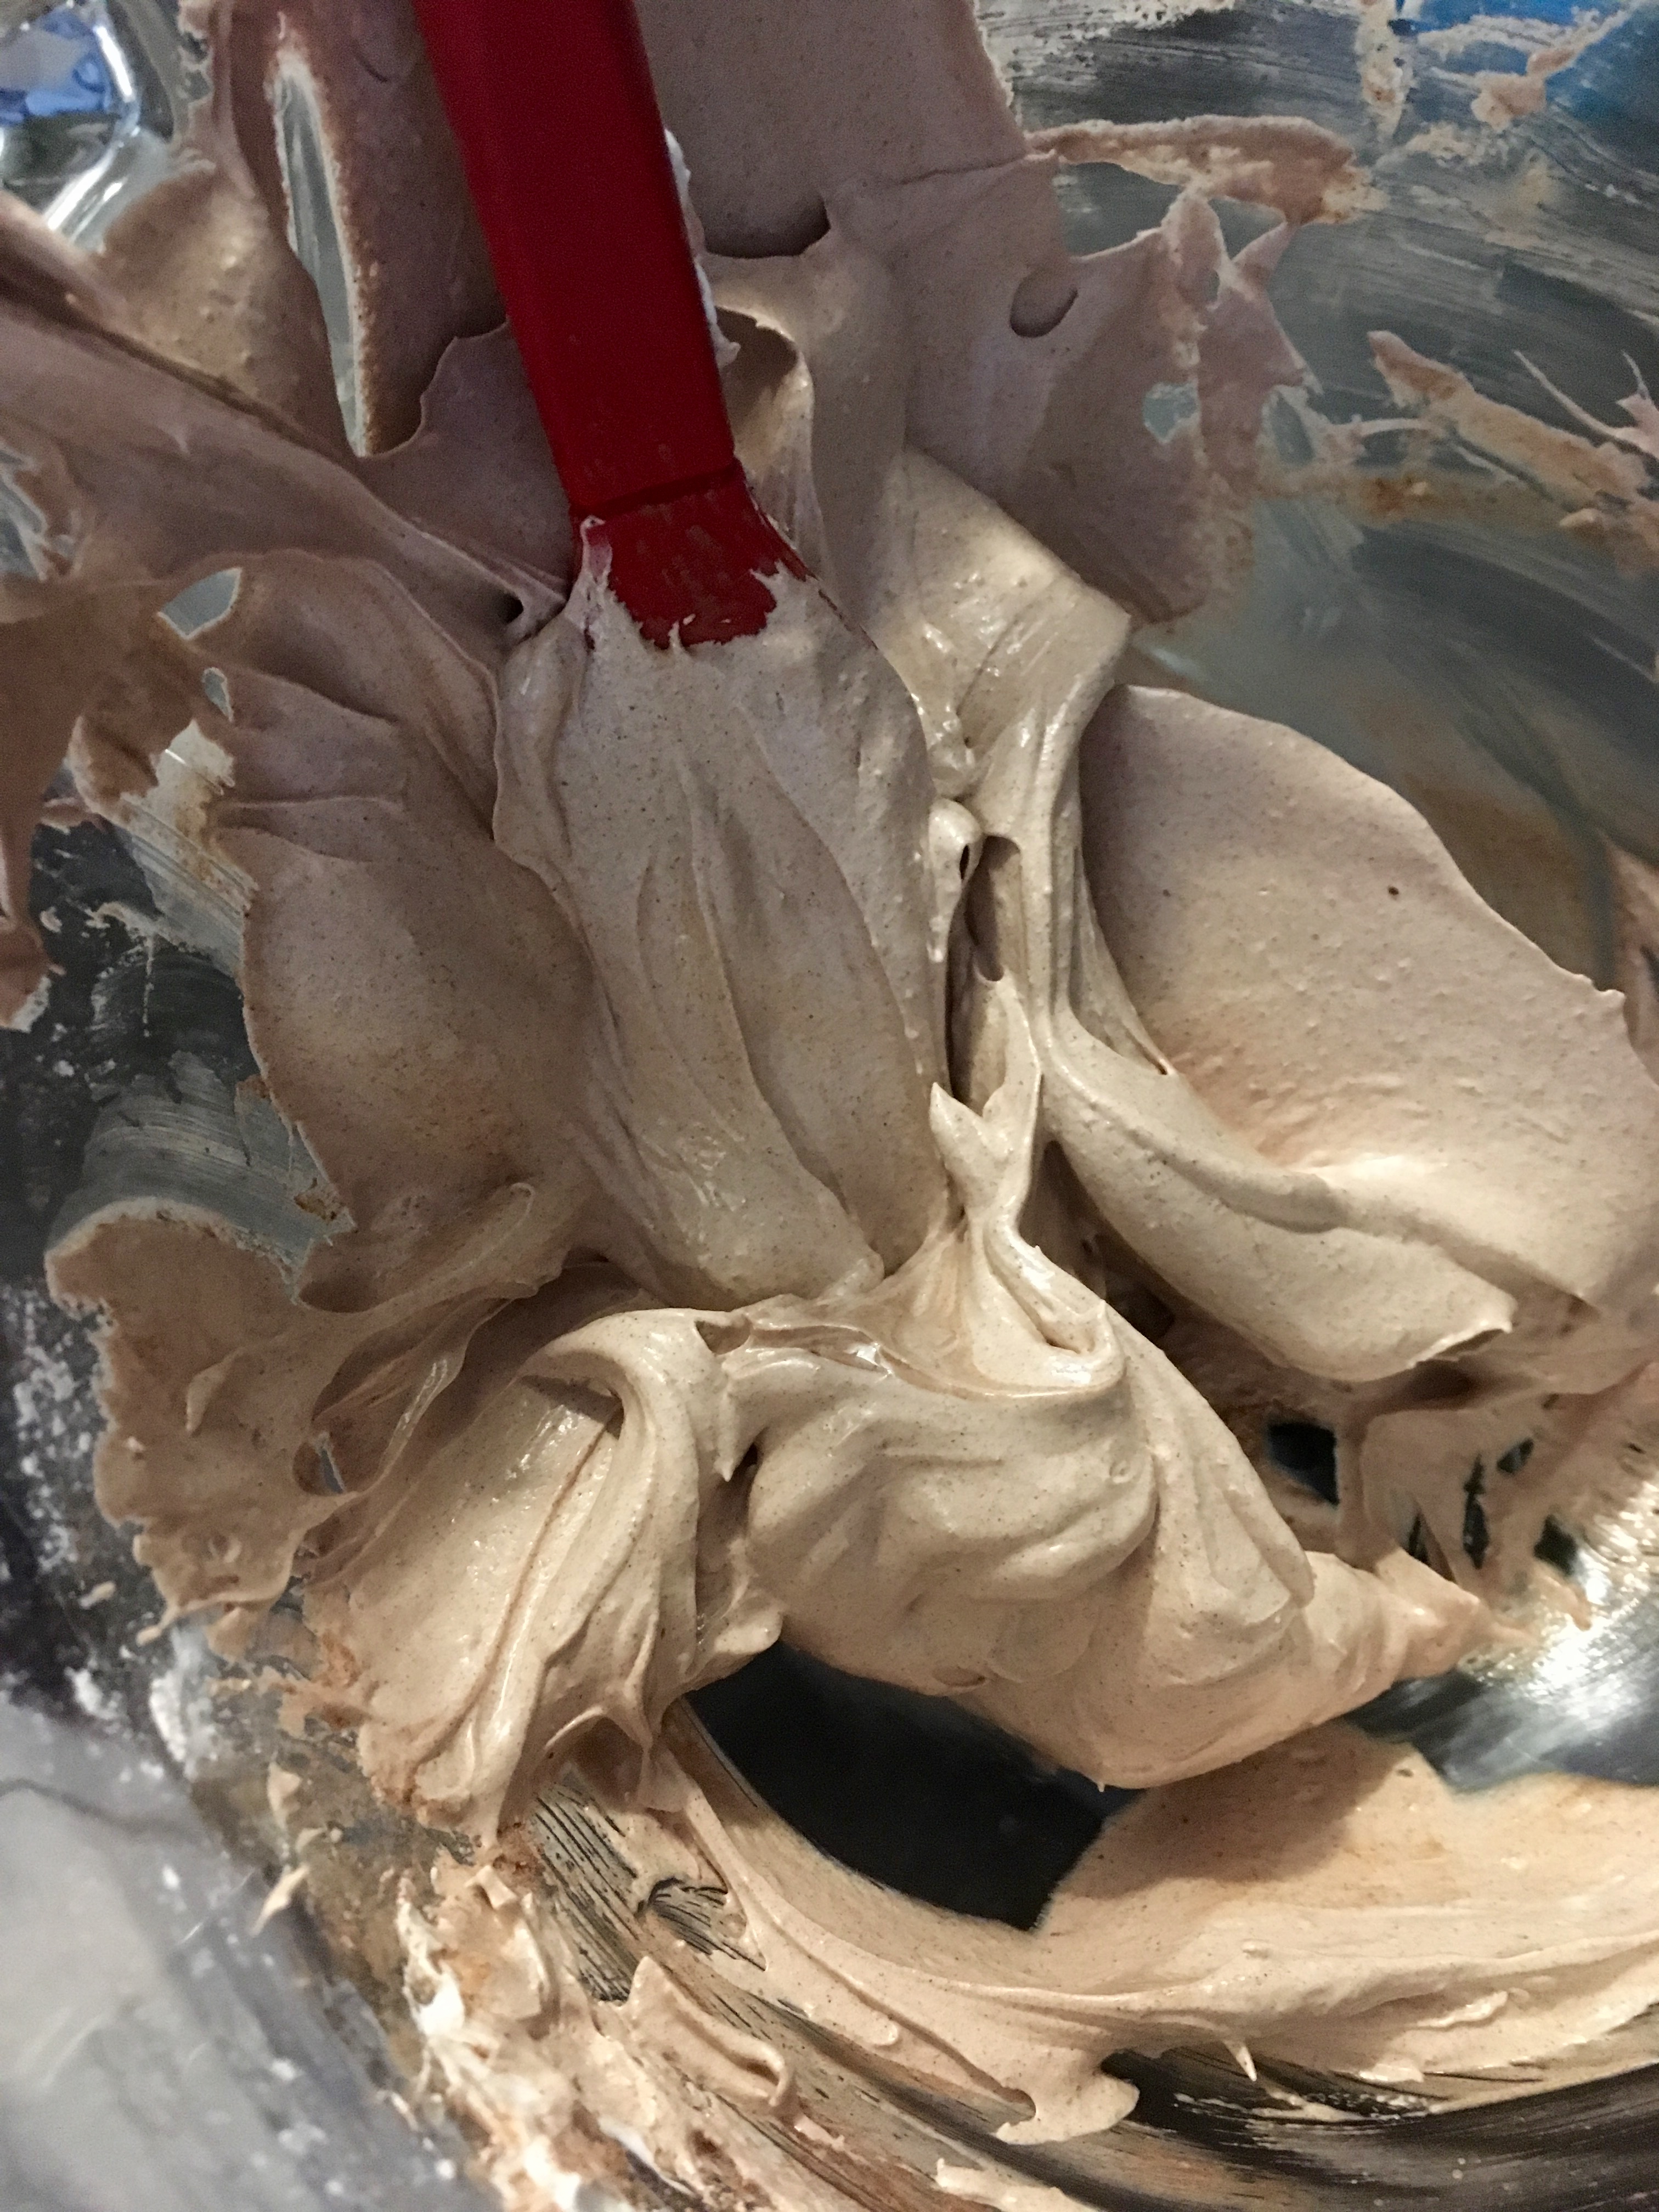
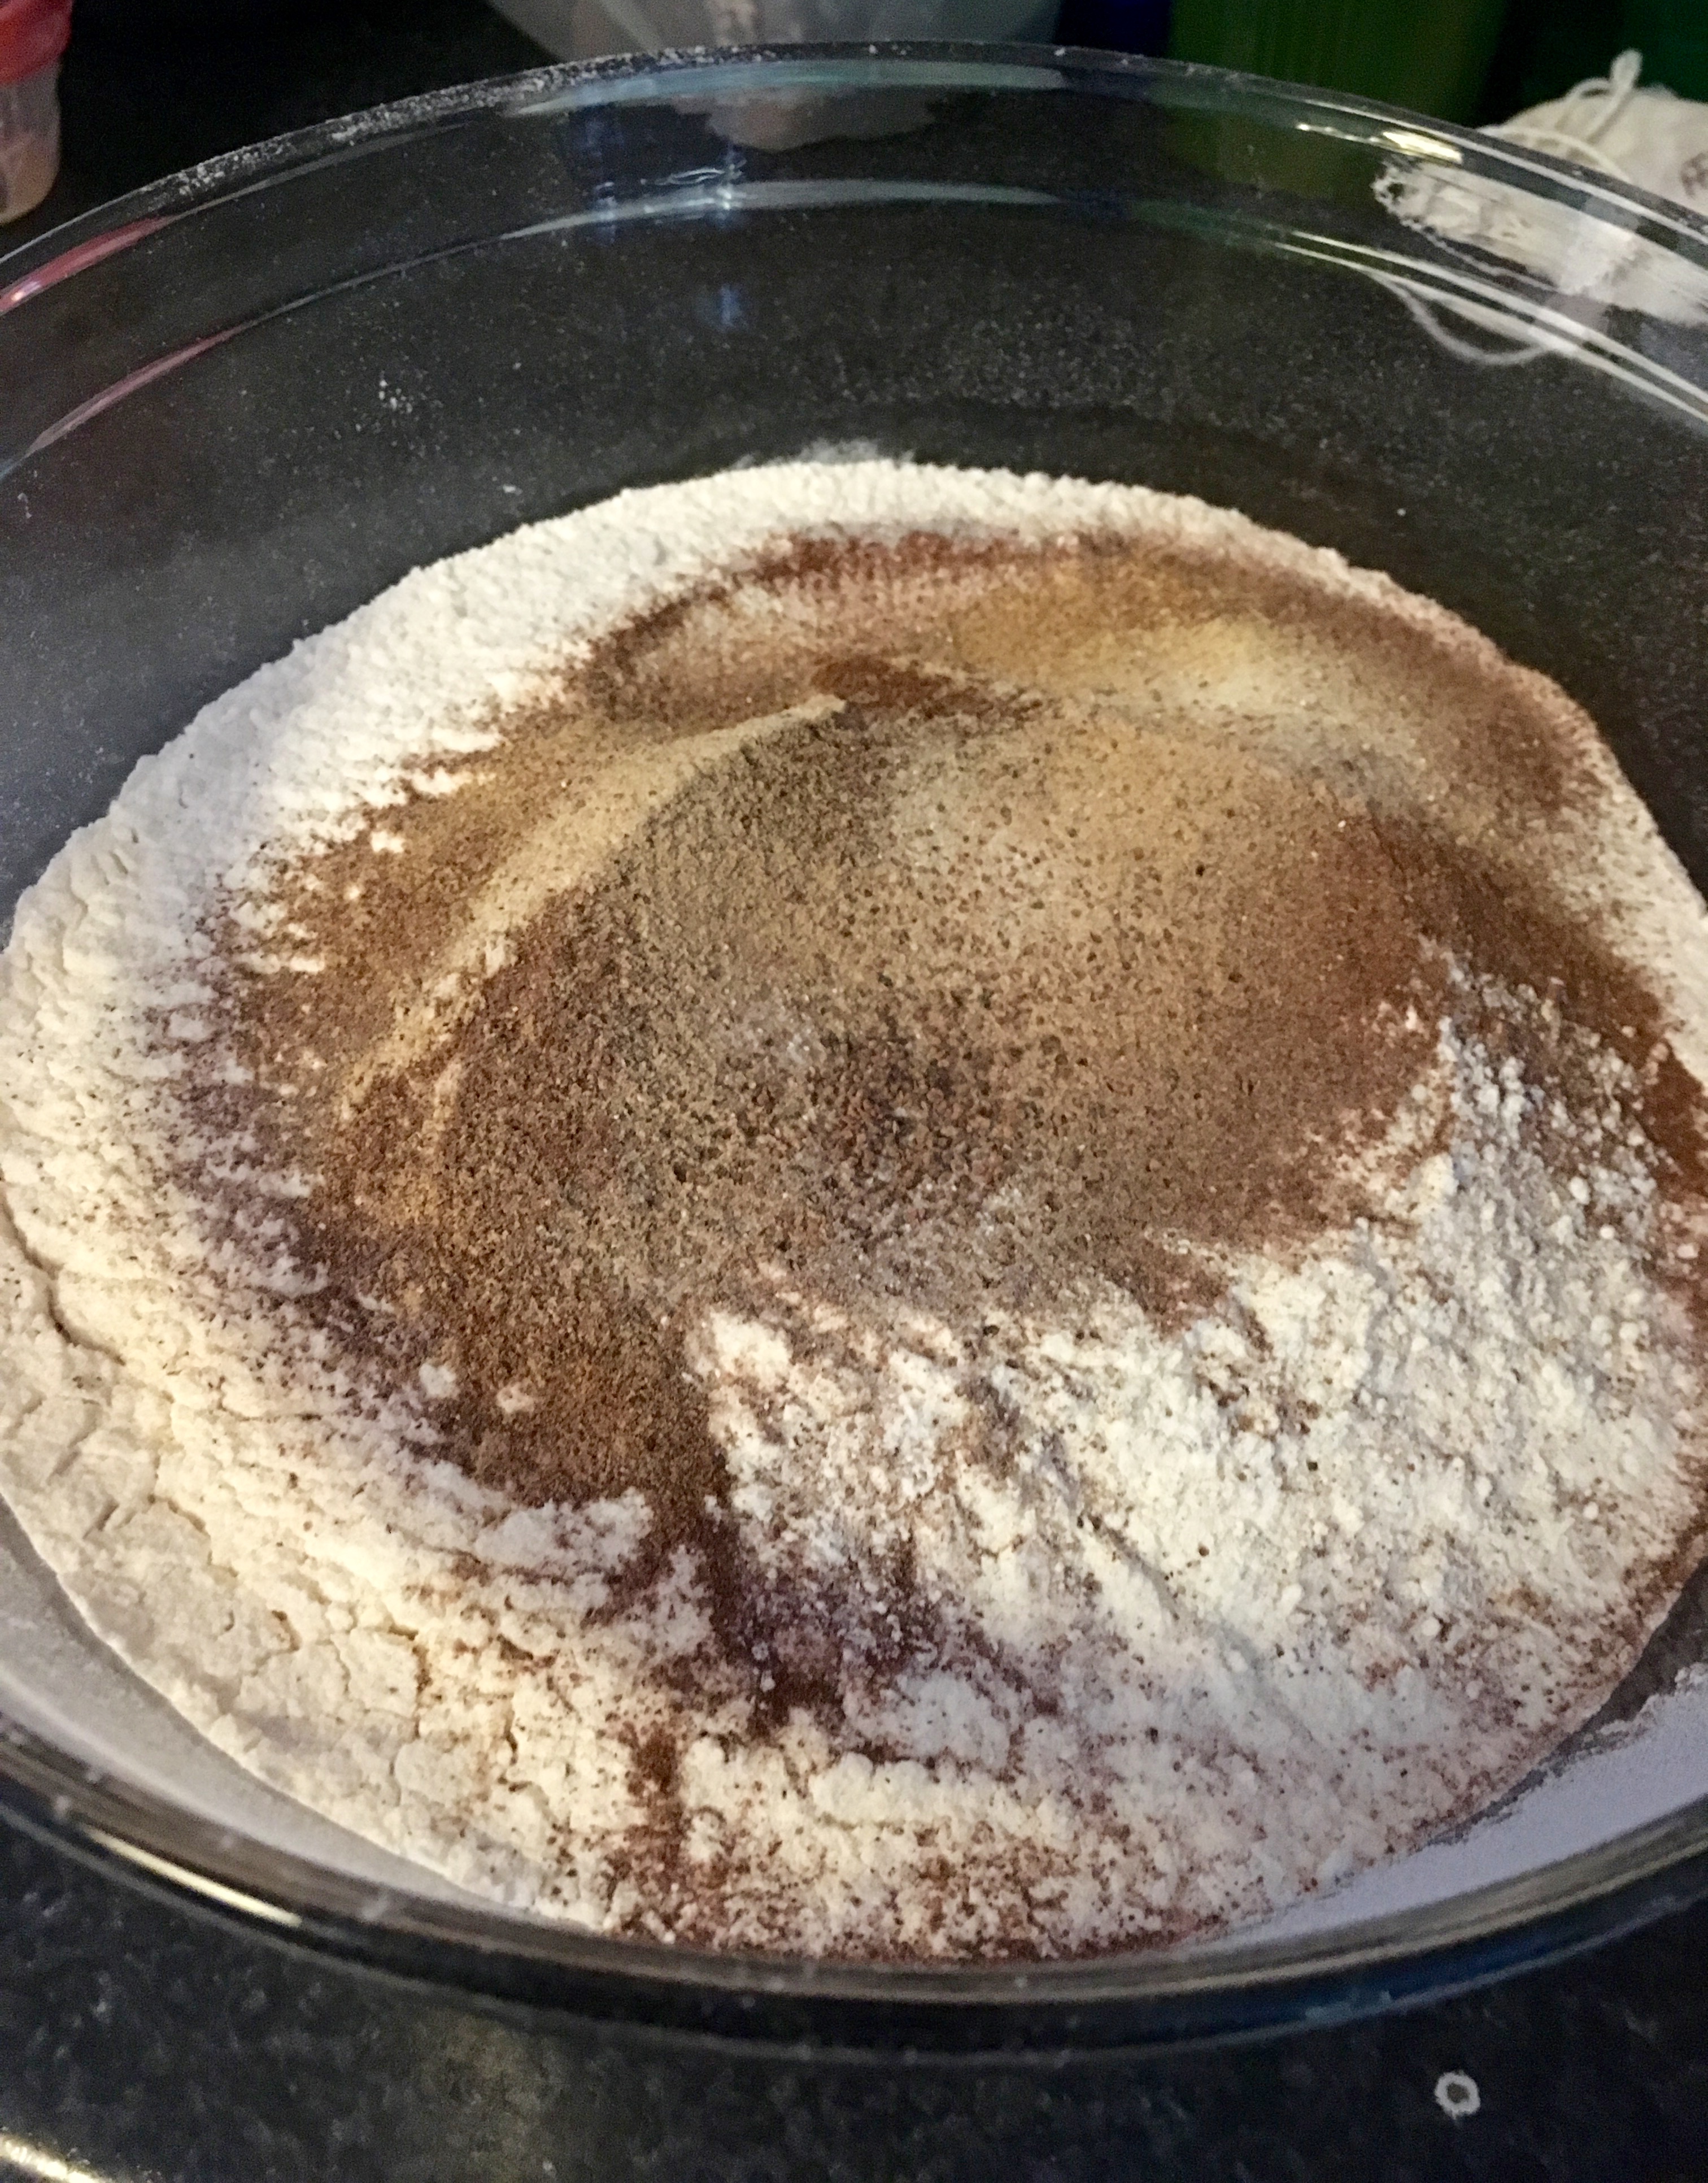
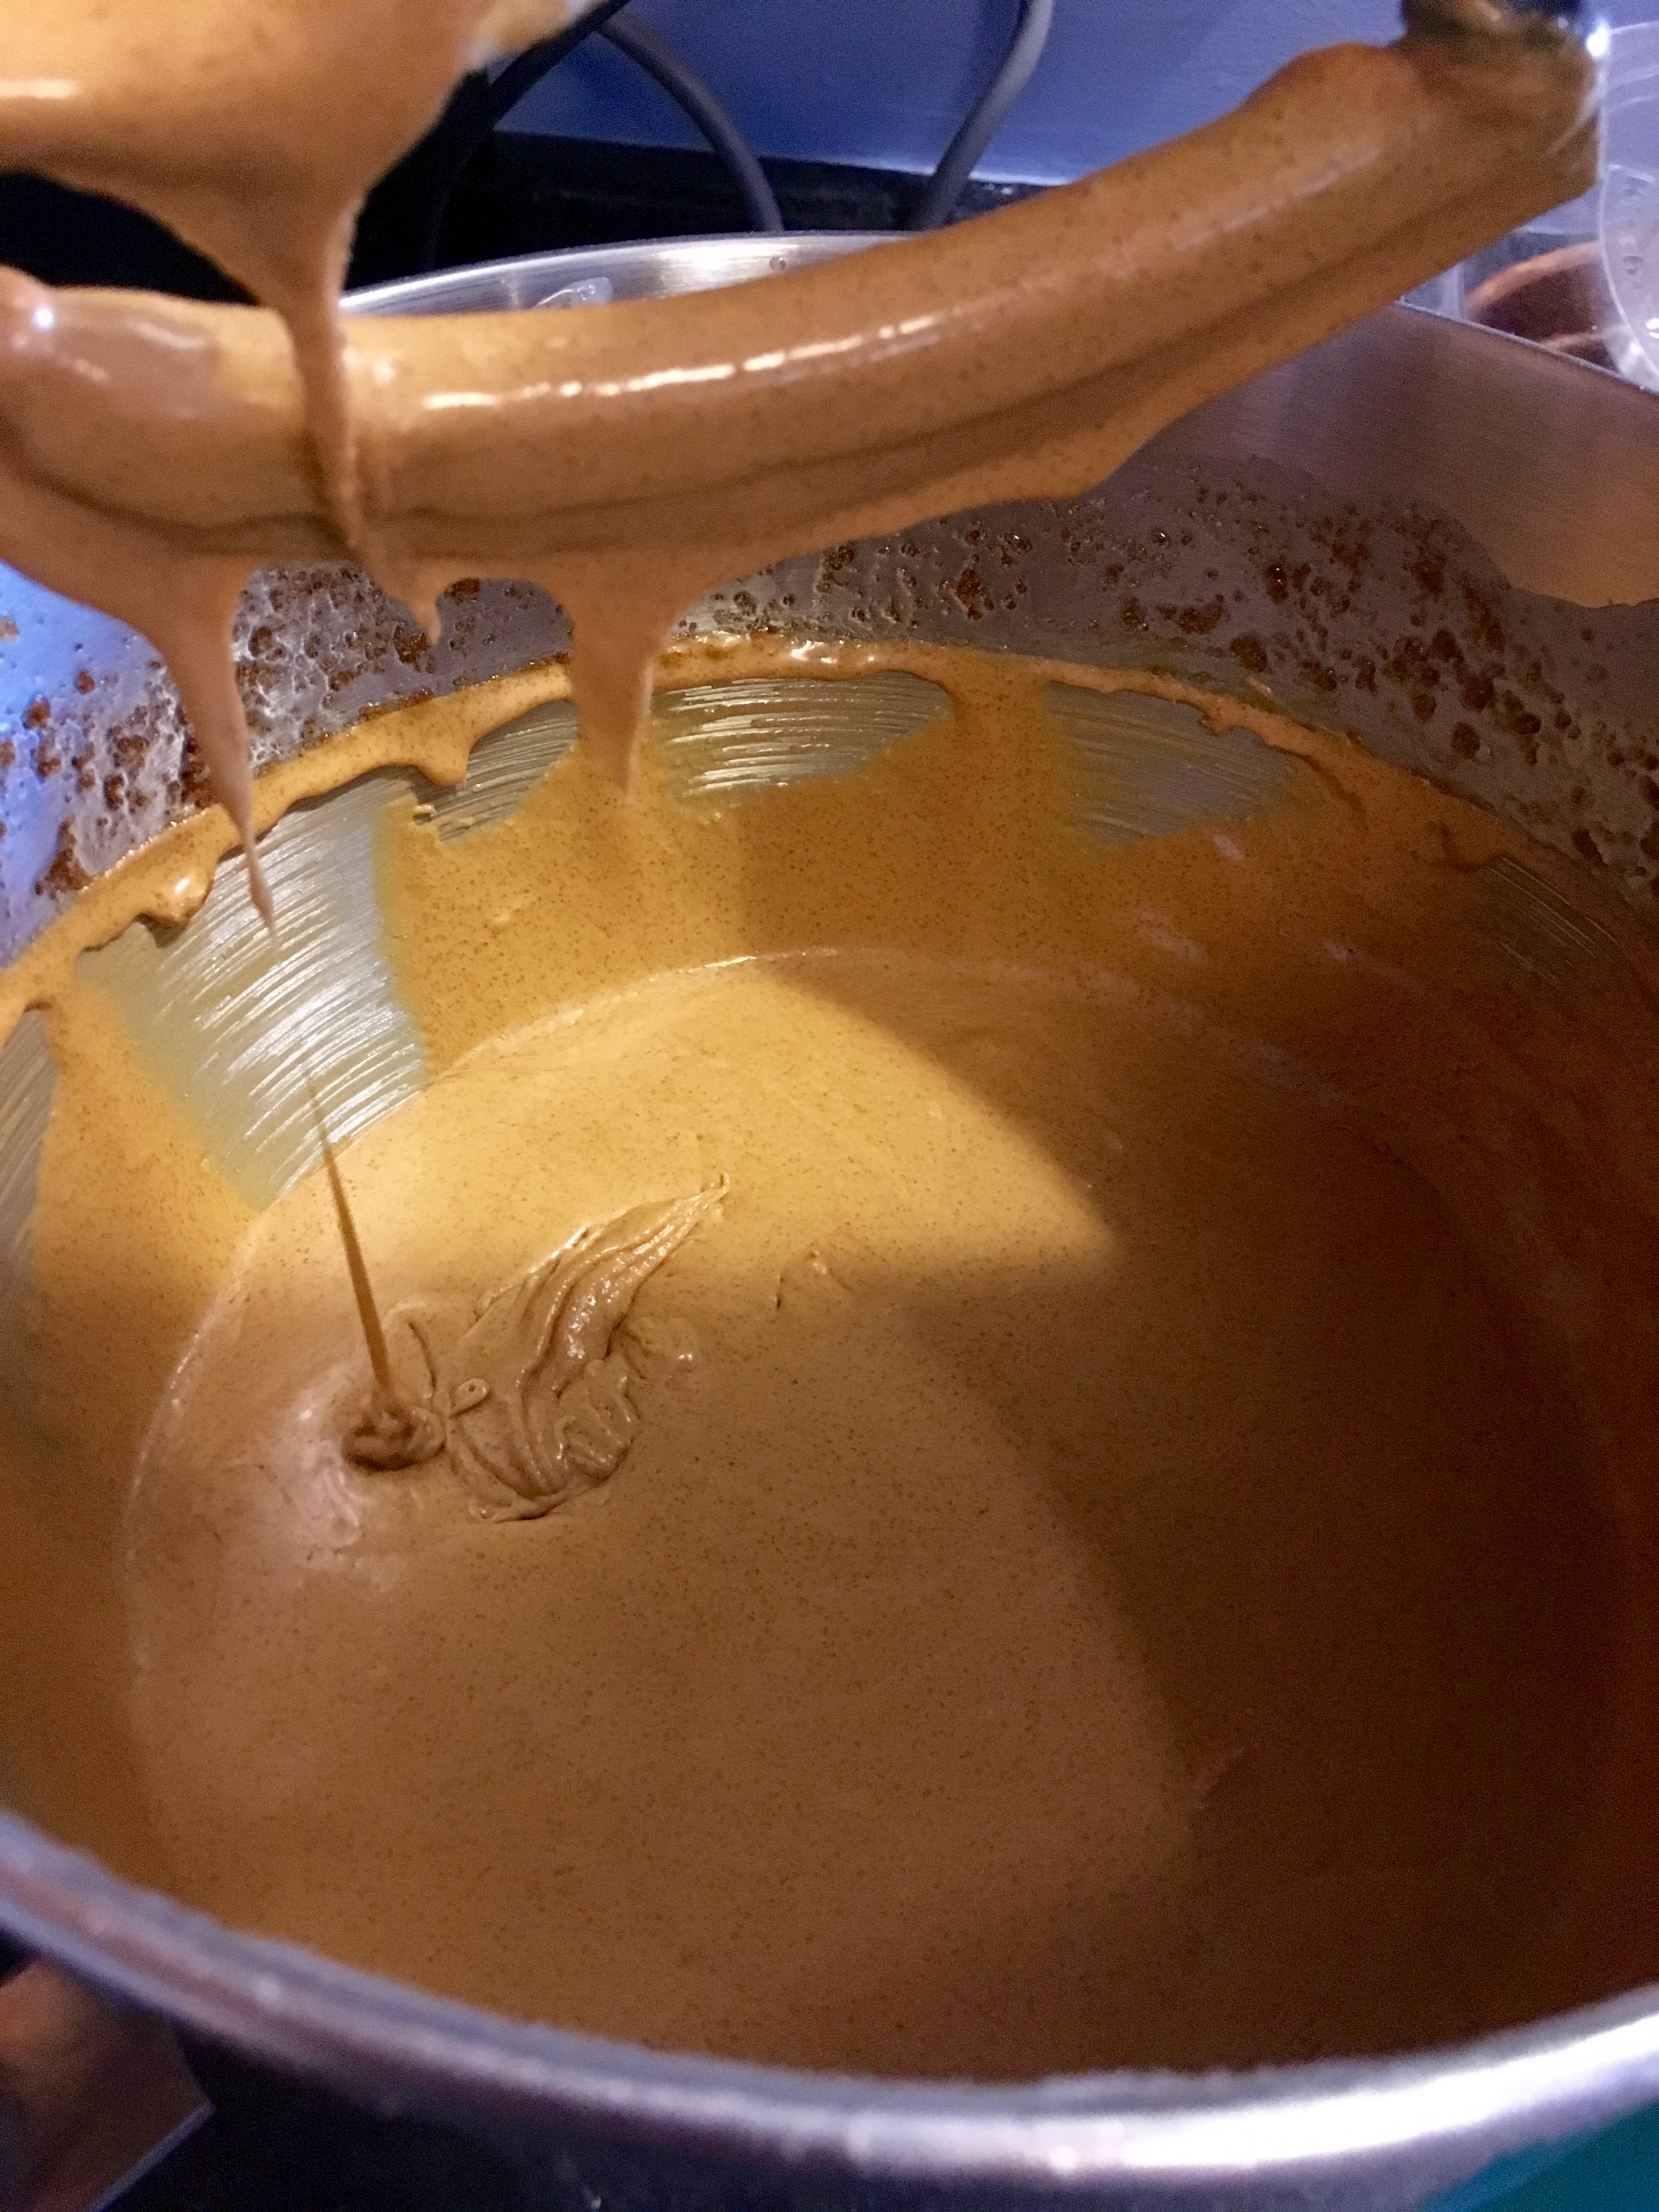
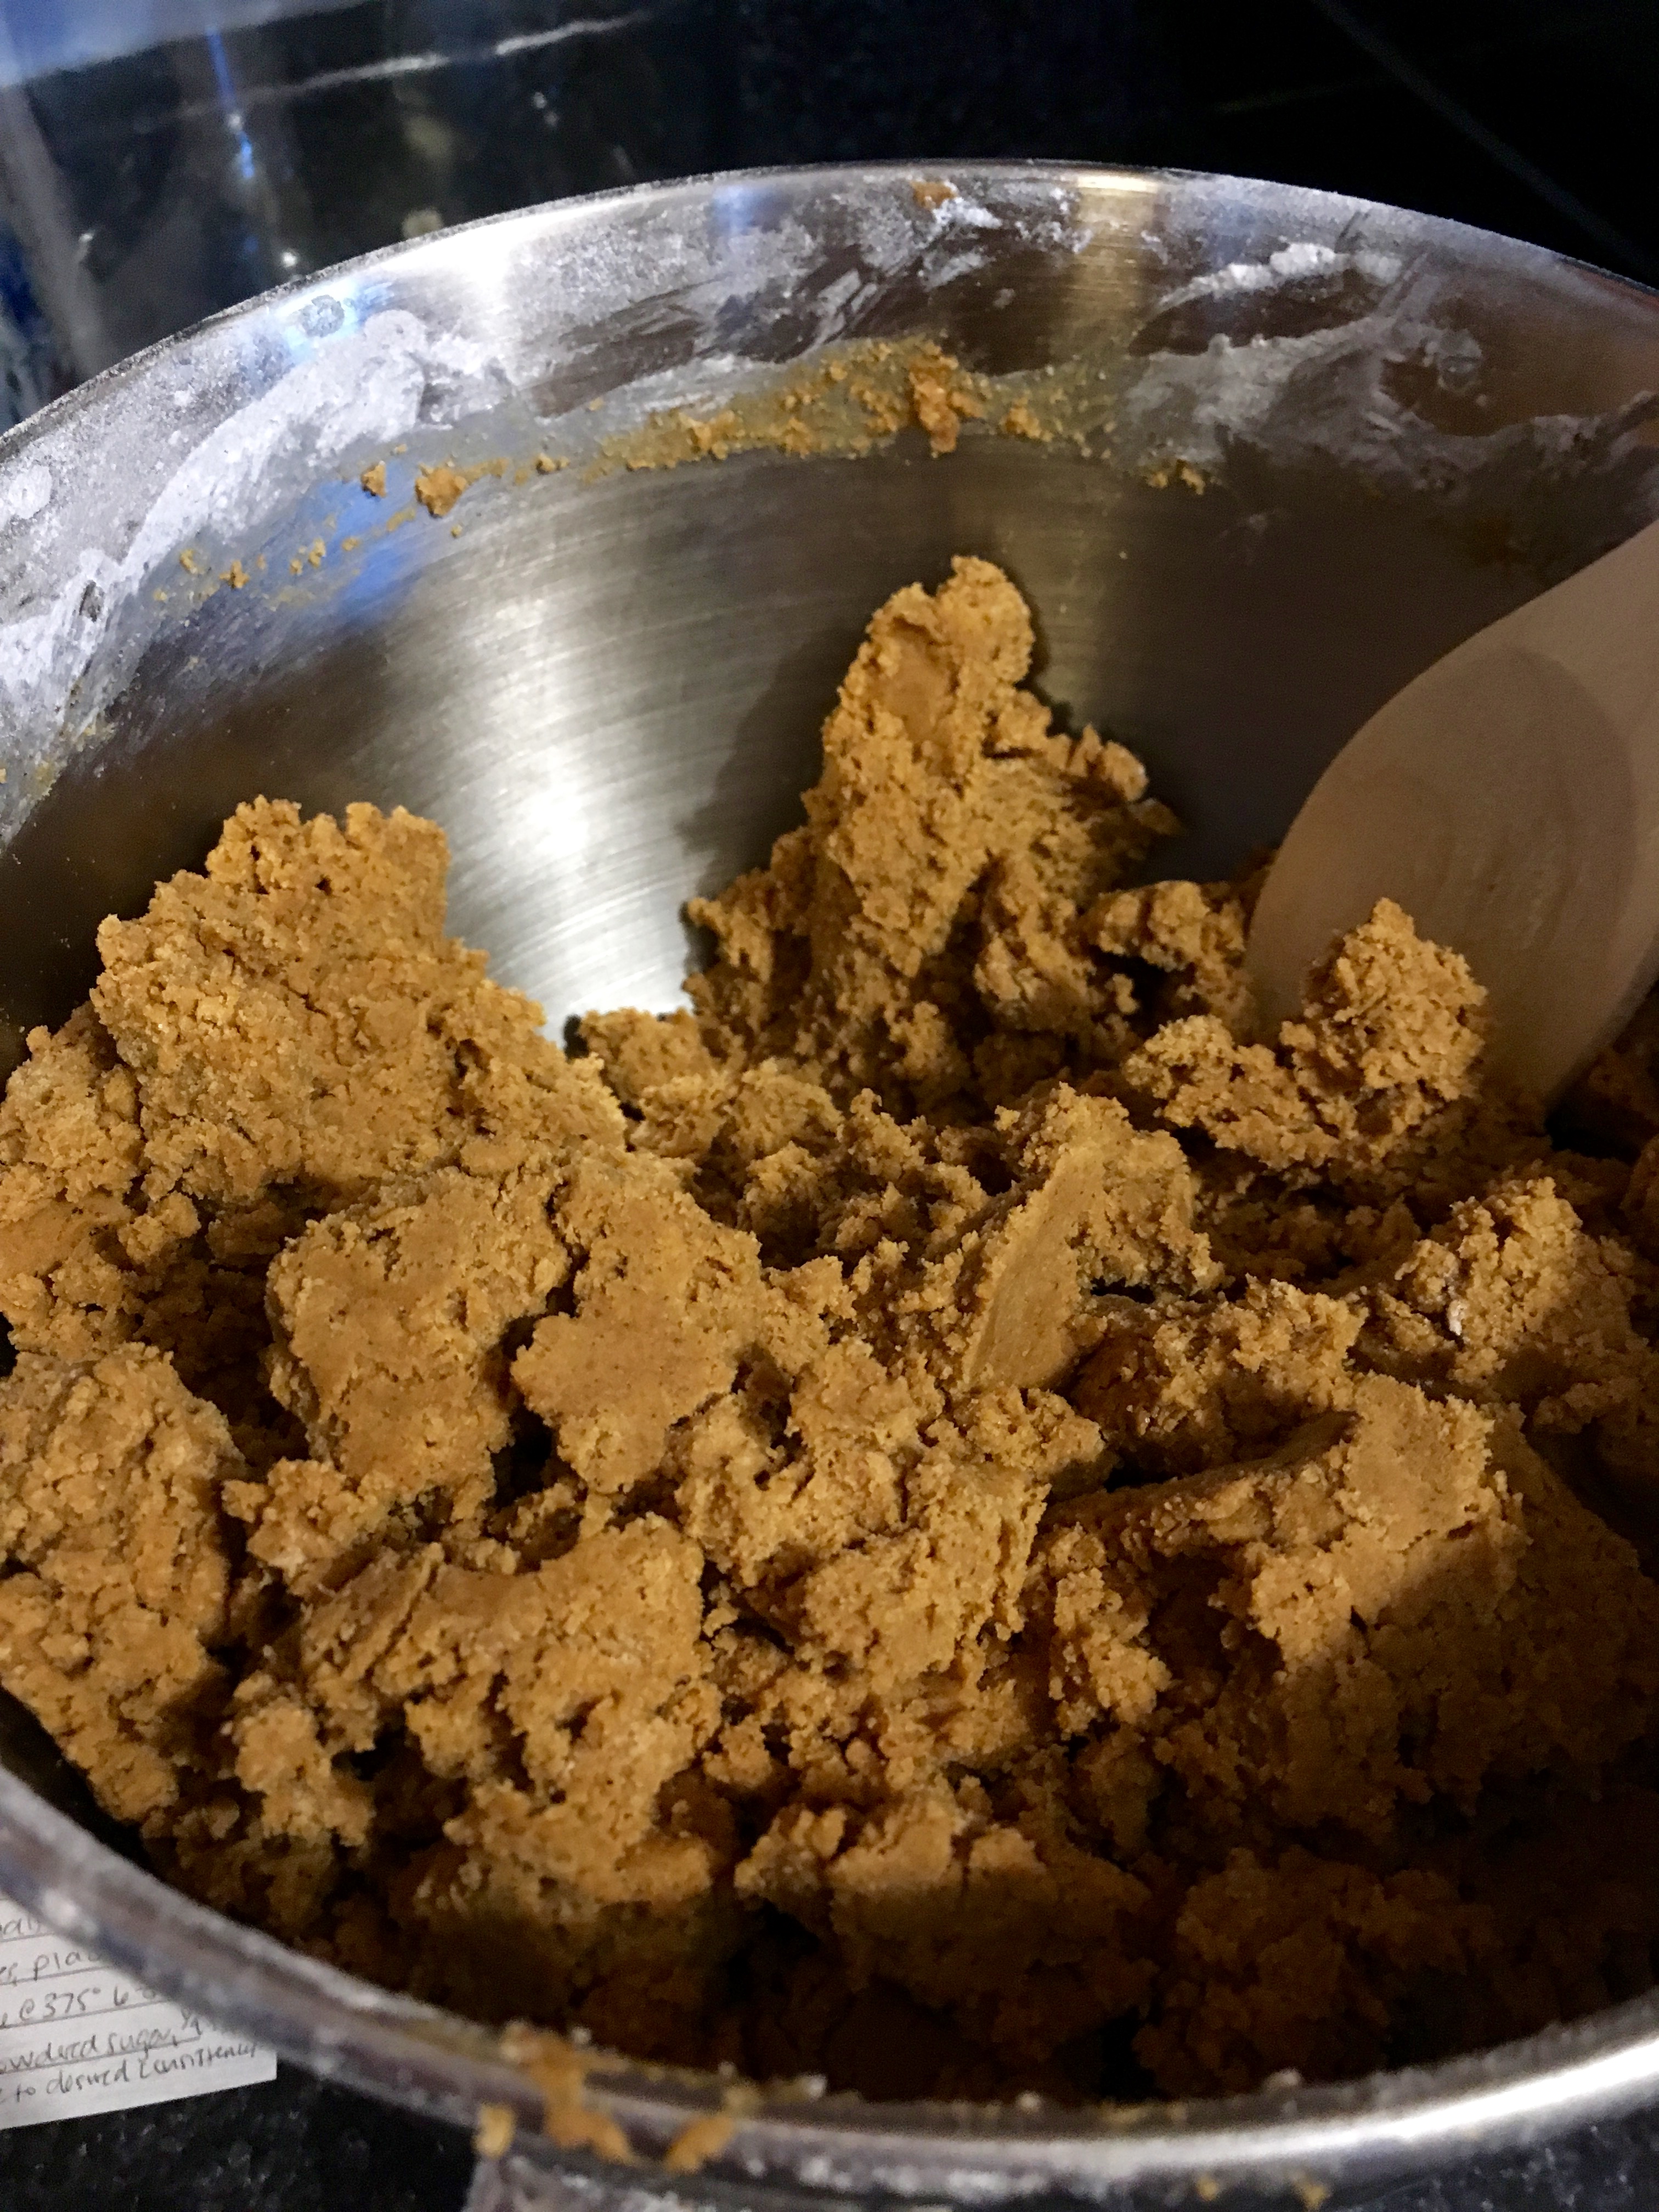
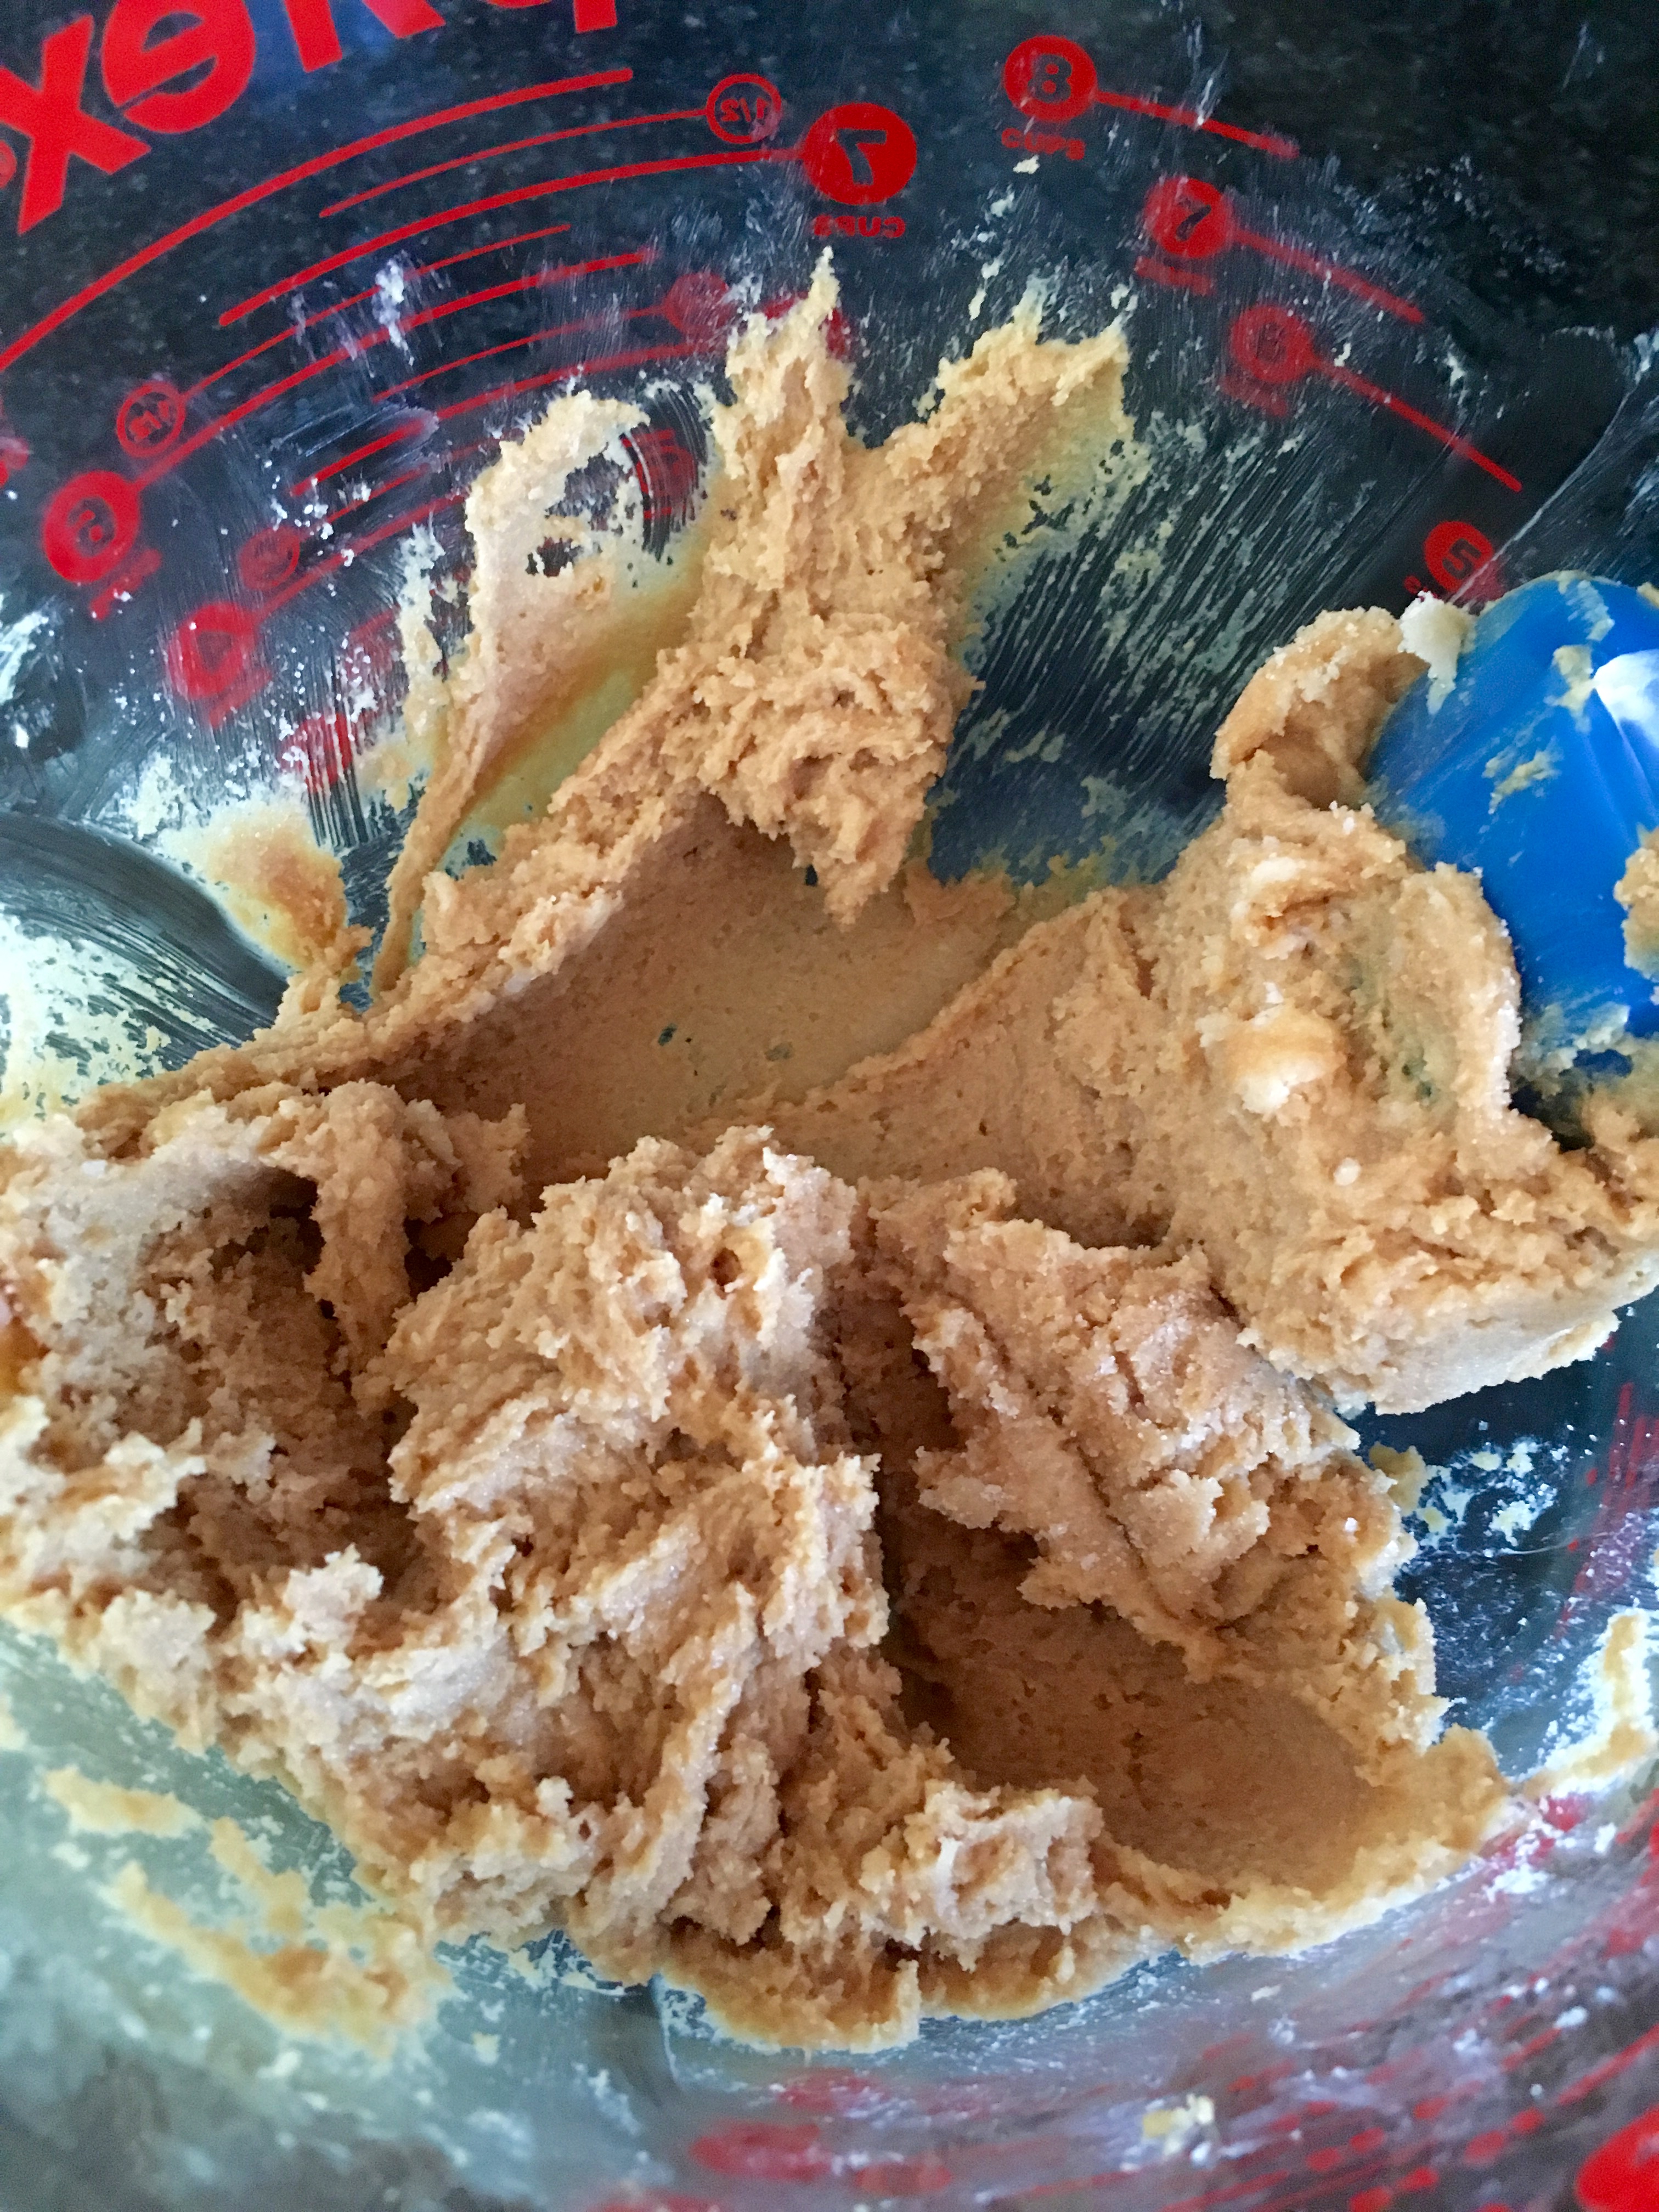
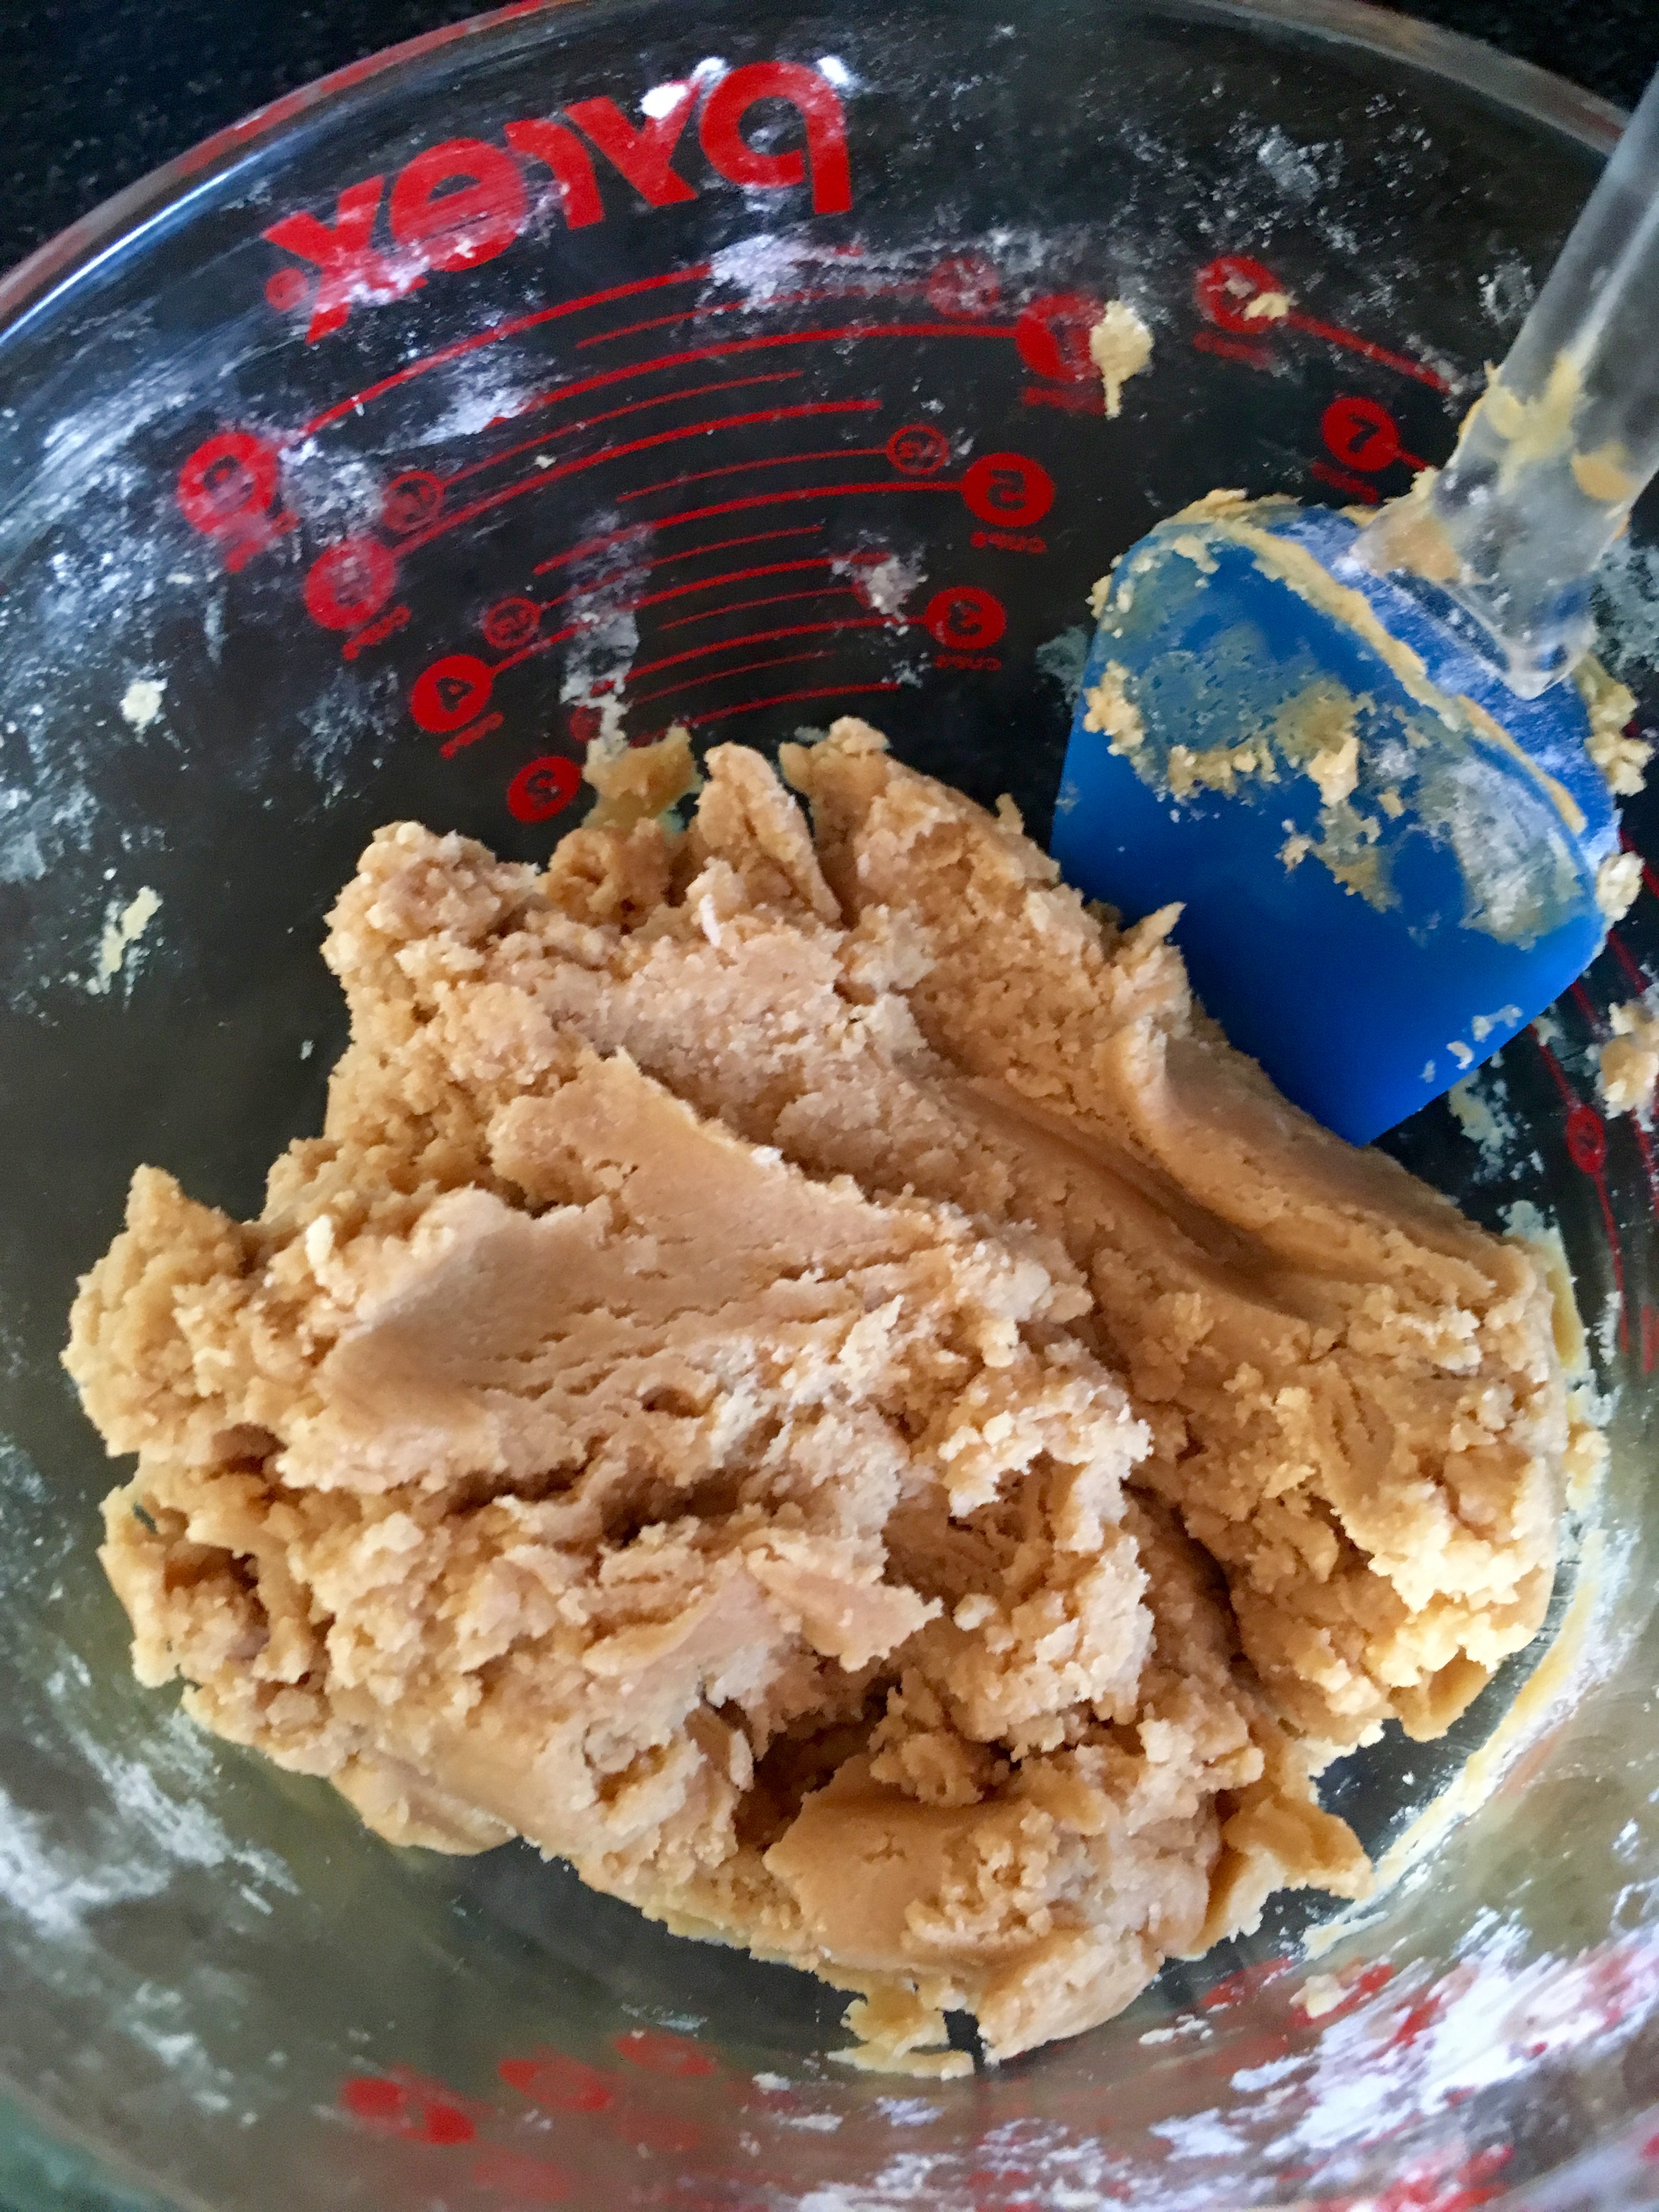
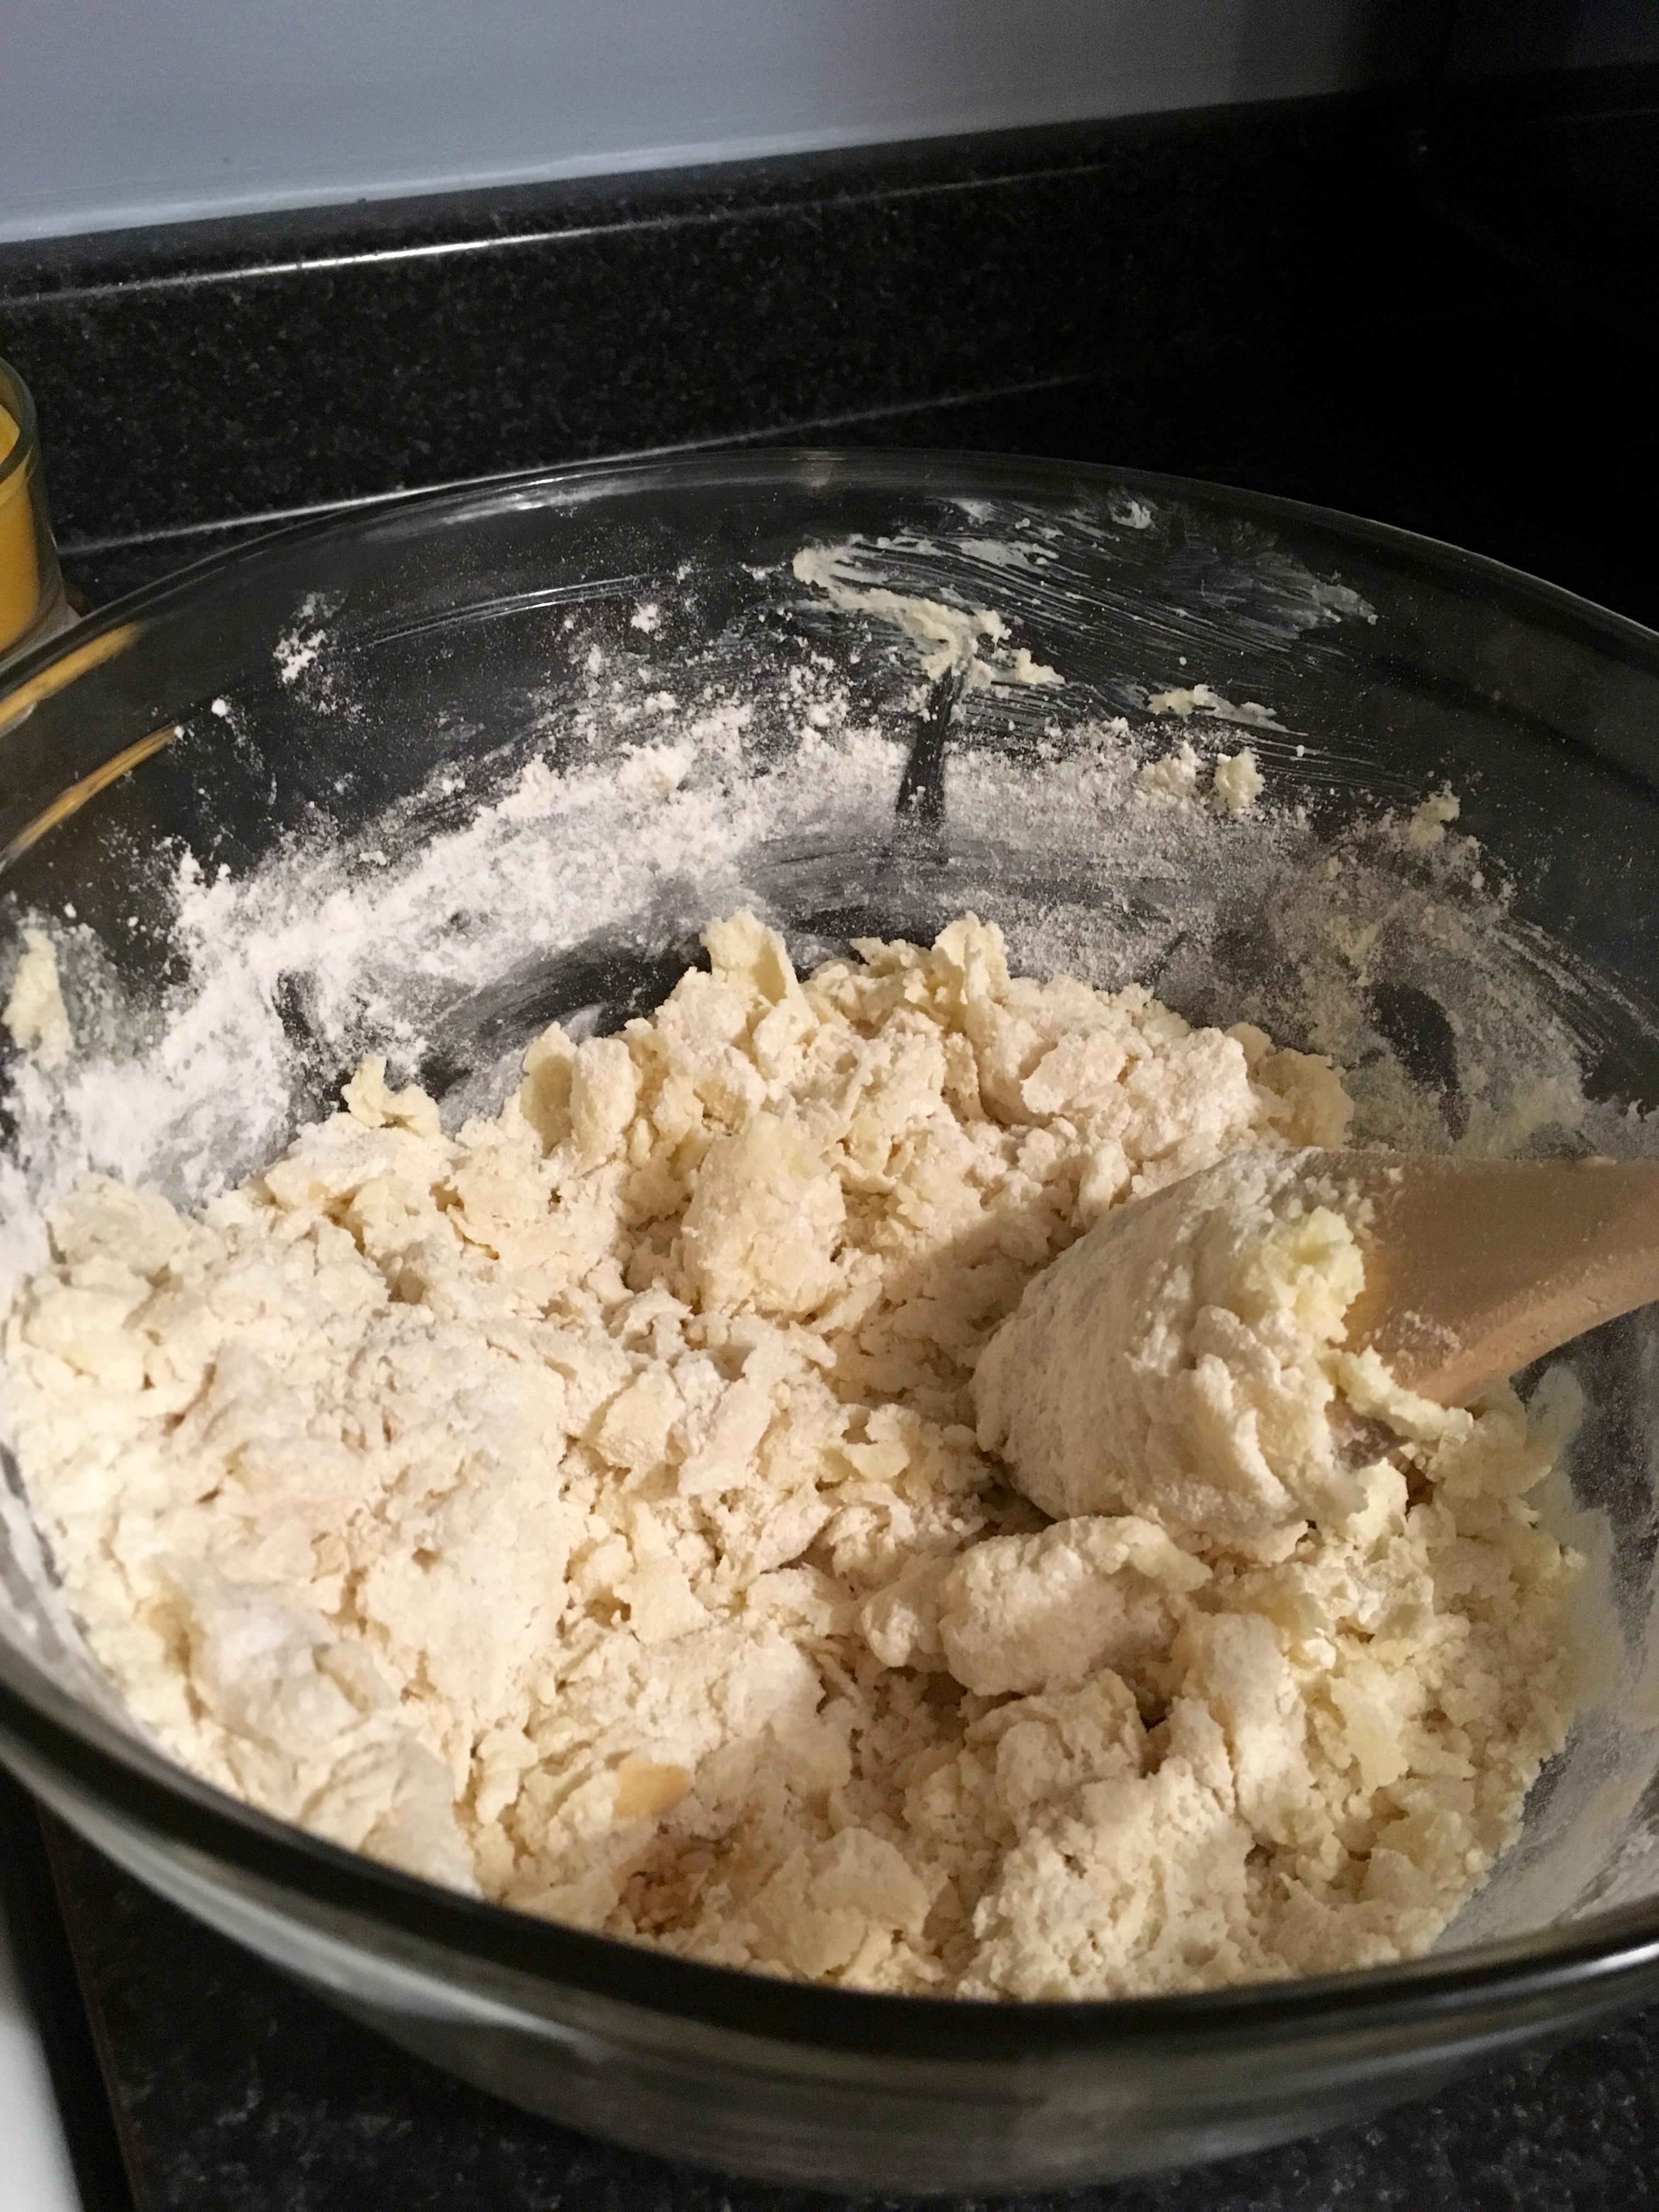
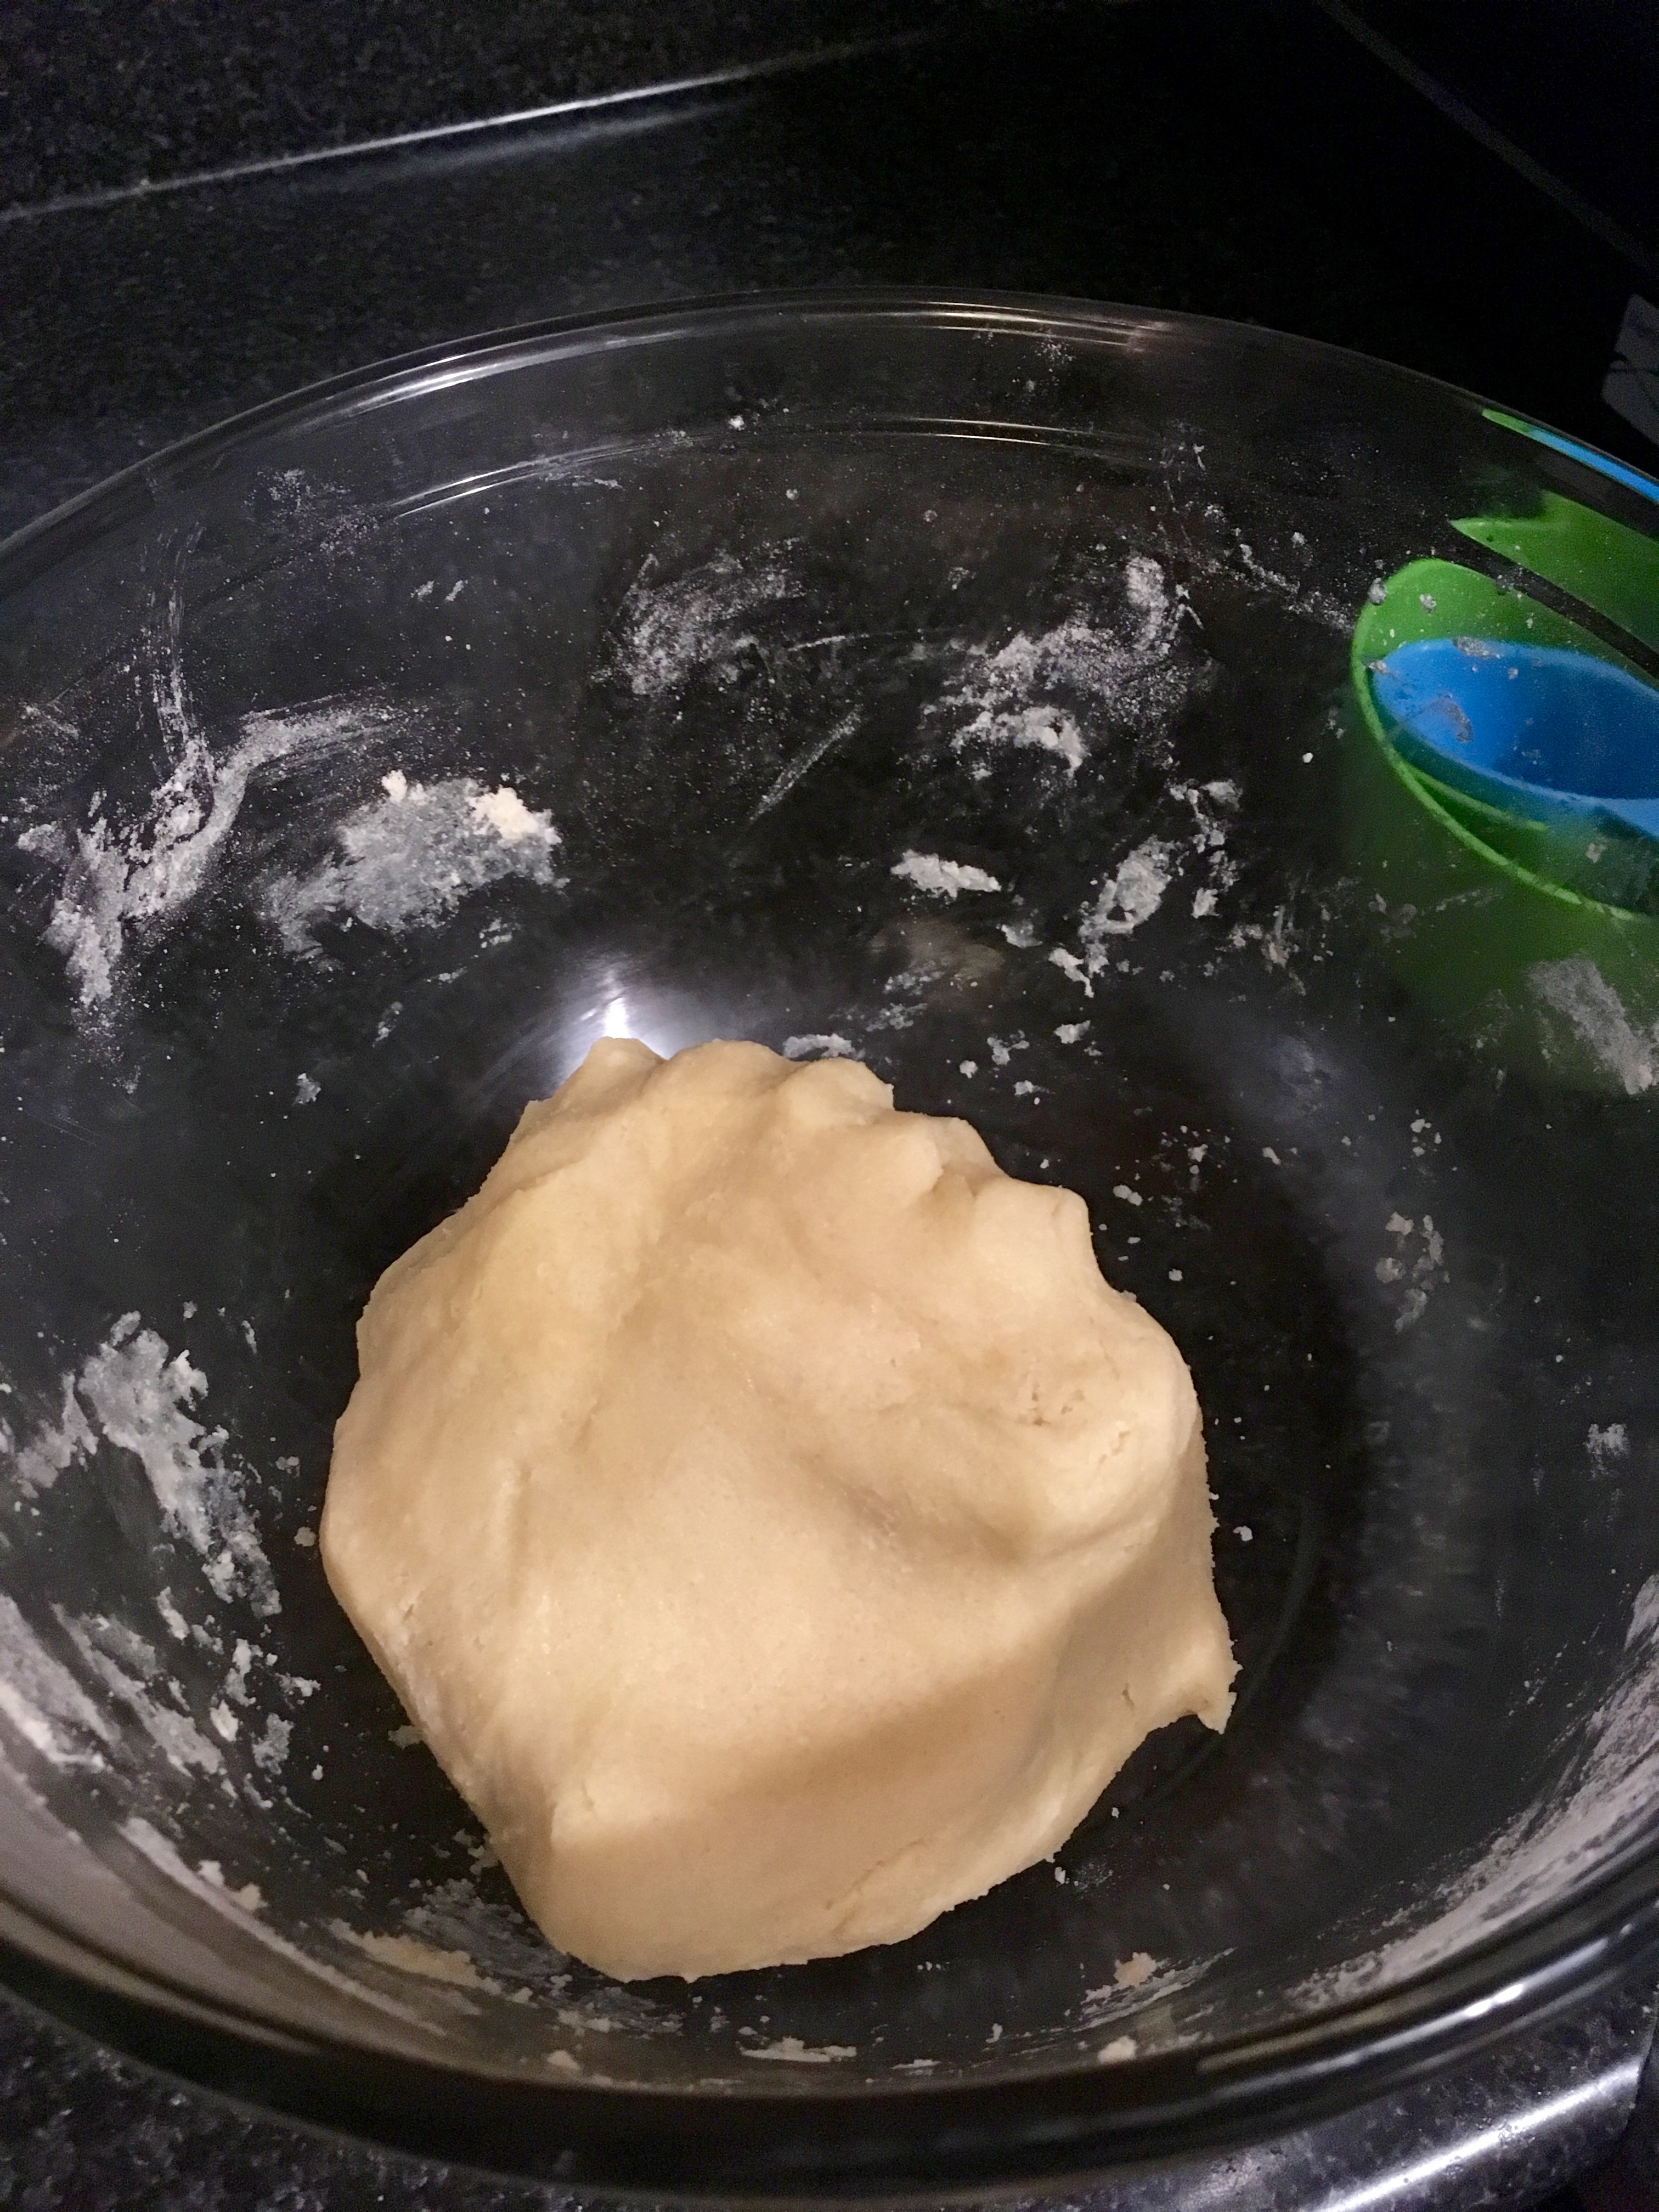
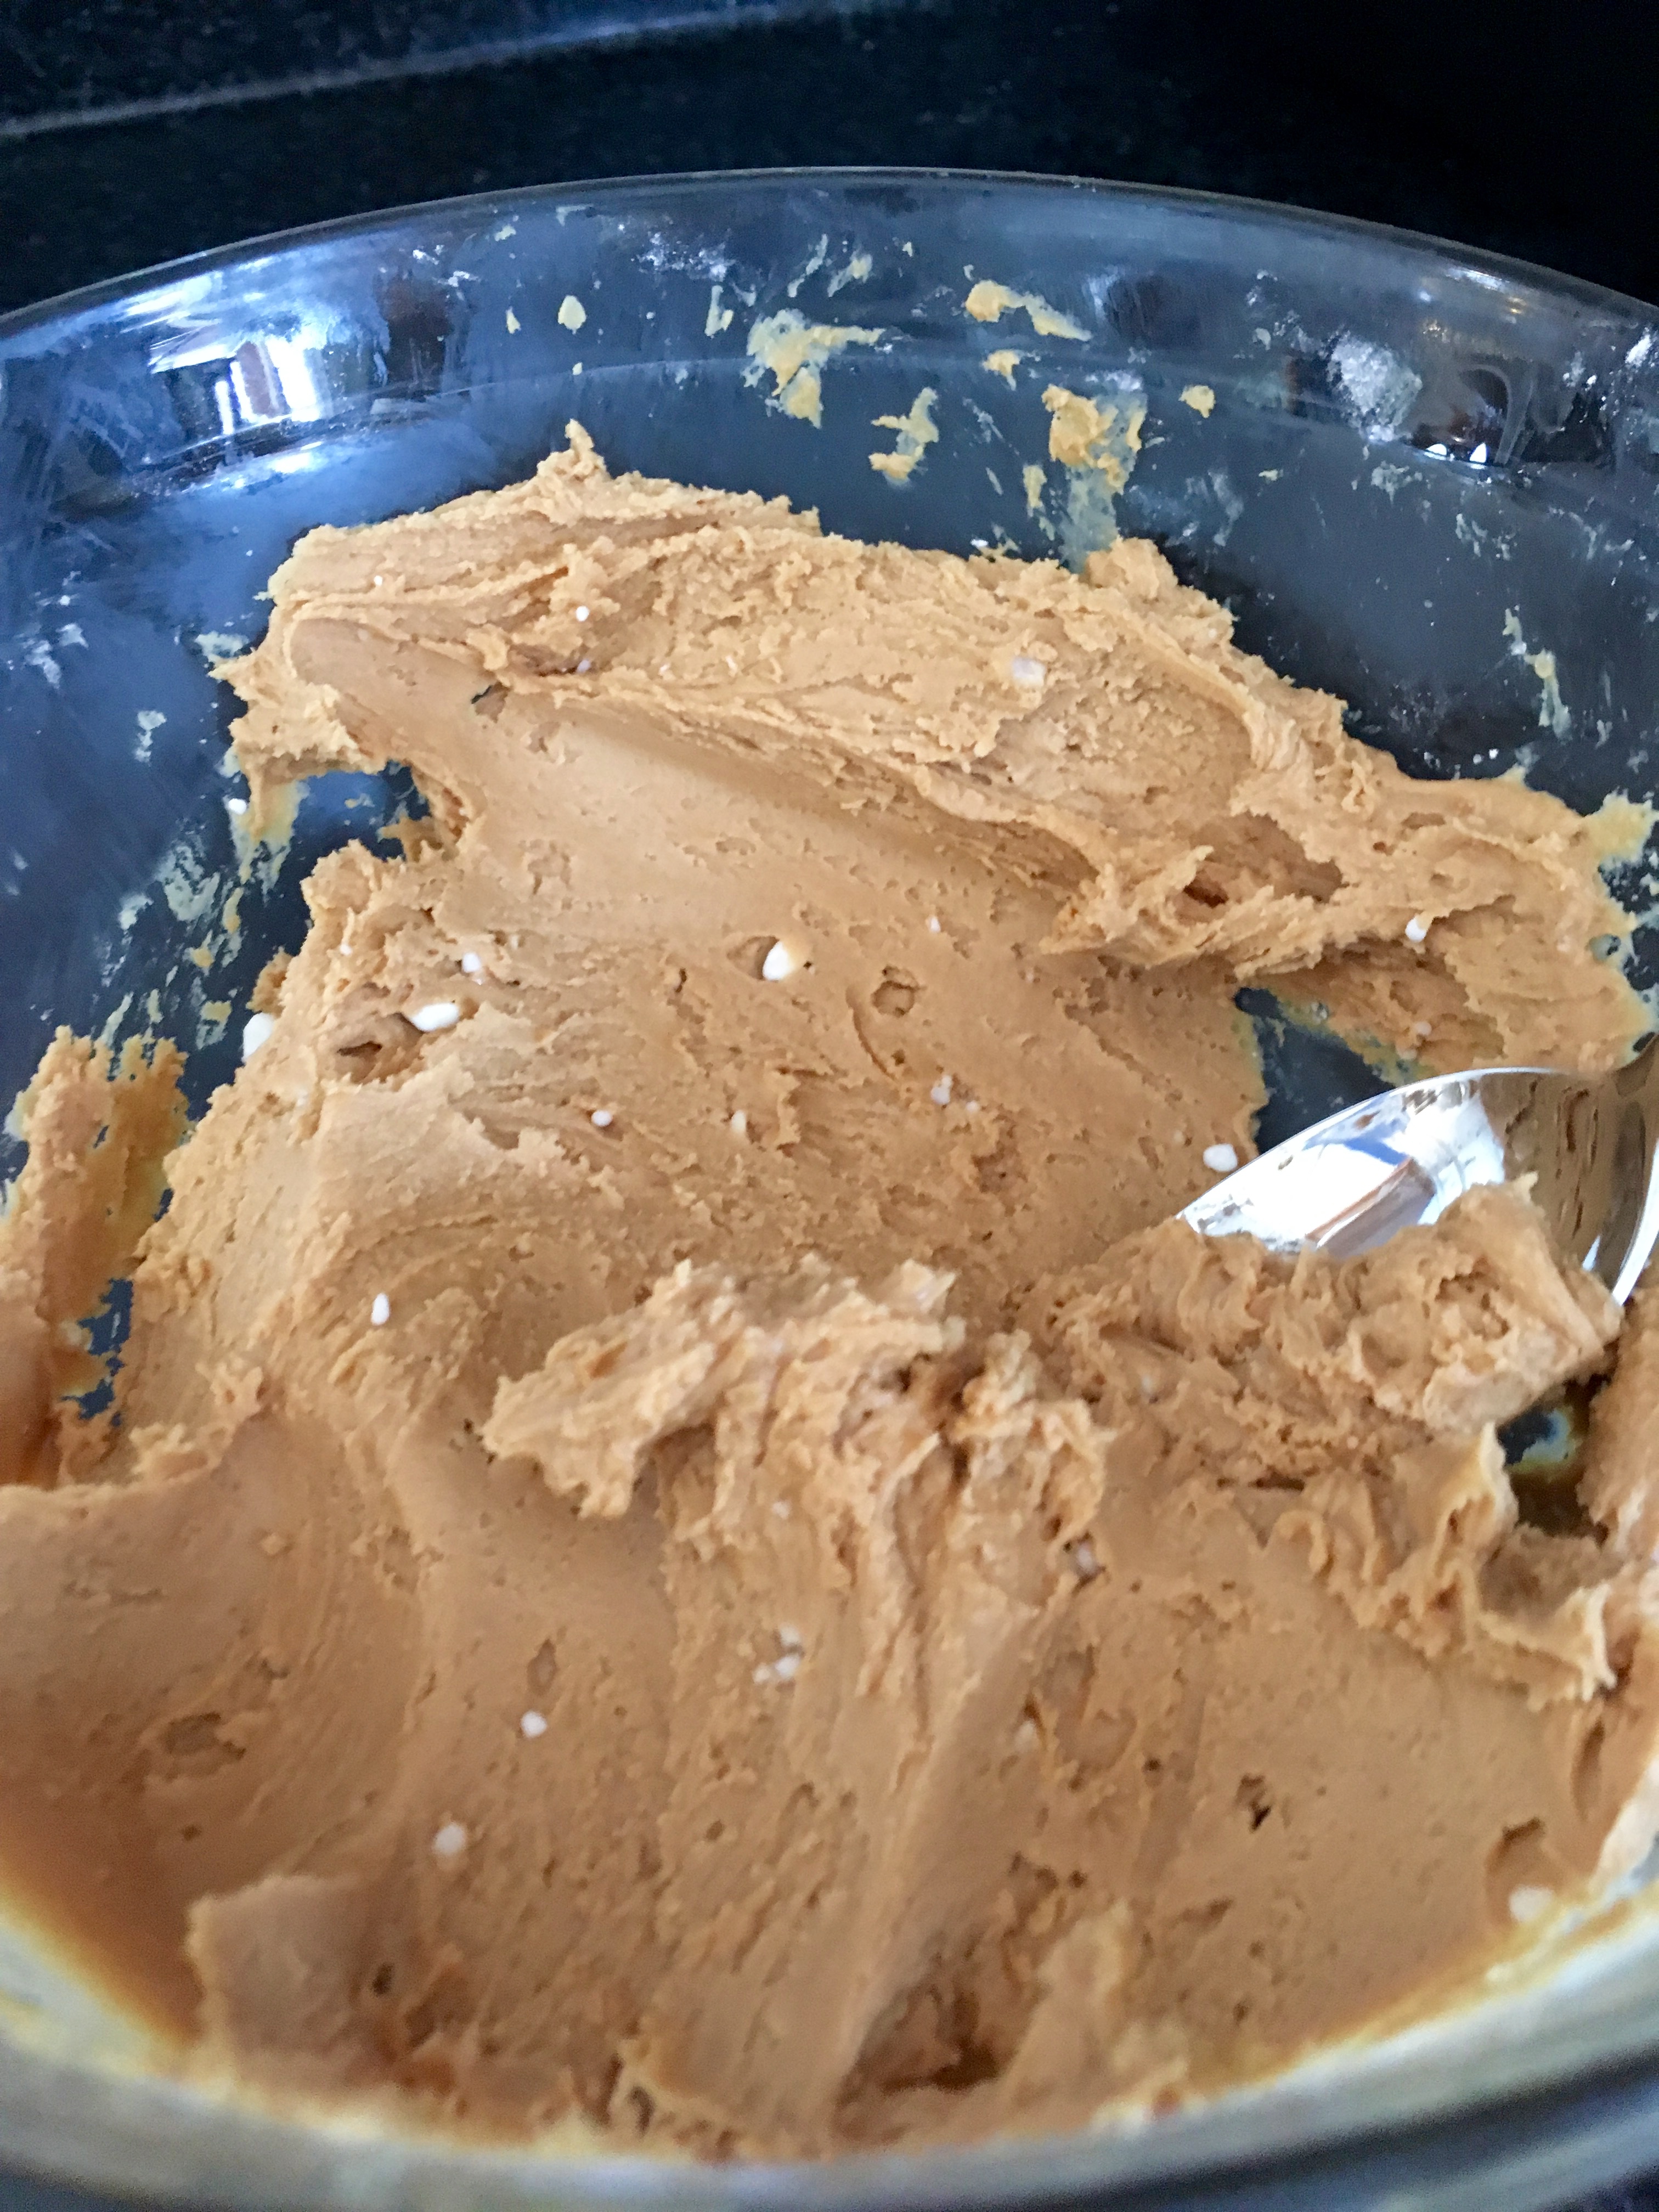
Cream the butter and sugar together until fluffy. Add unbeaten egg and vanilla, and mix well. Sift the dry ingredients together and blend into creamed mixture. Then, divide the dough into three sections.

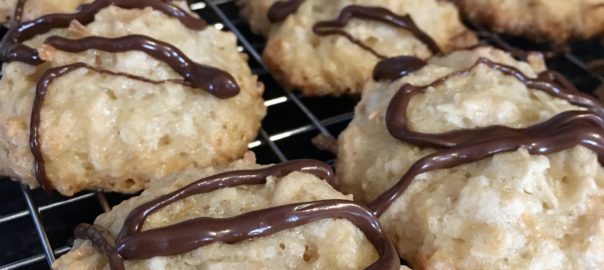
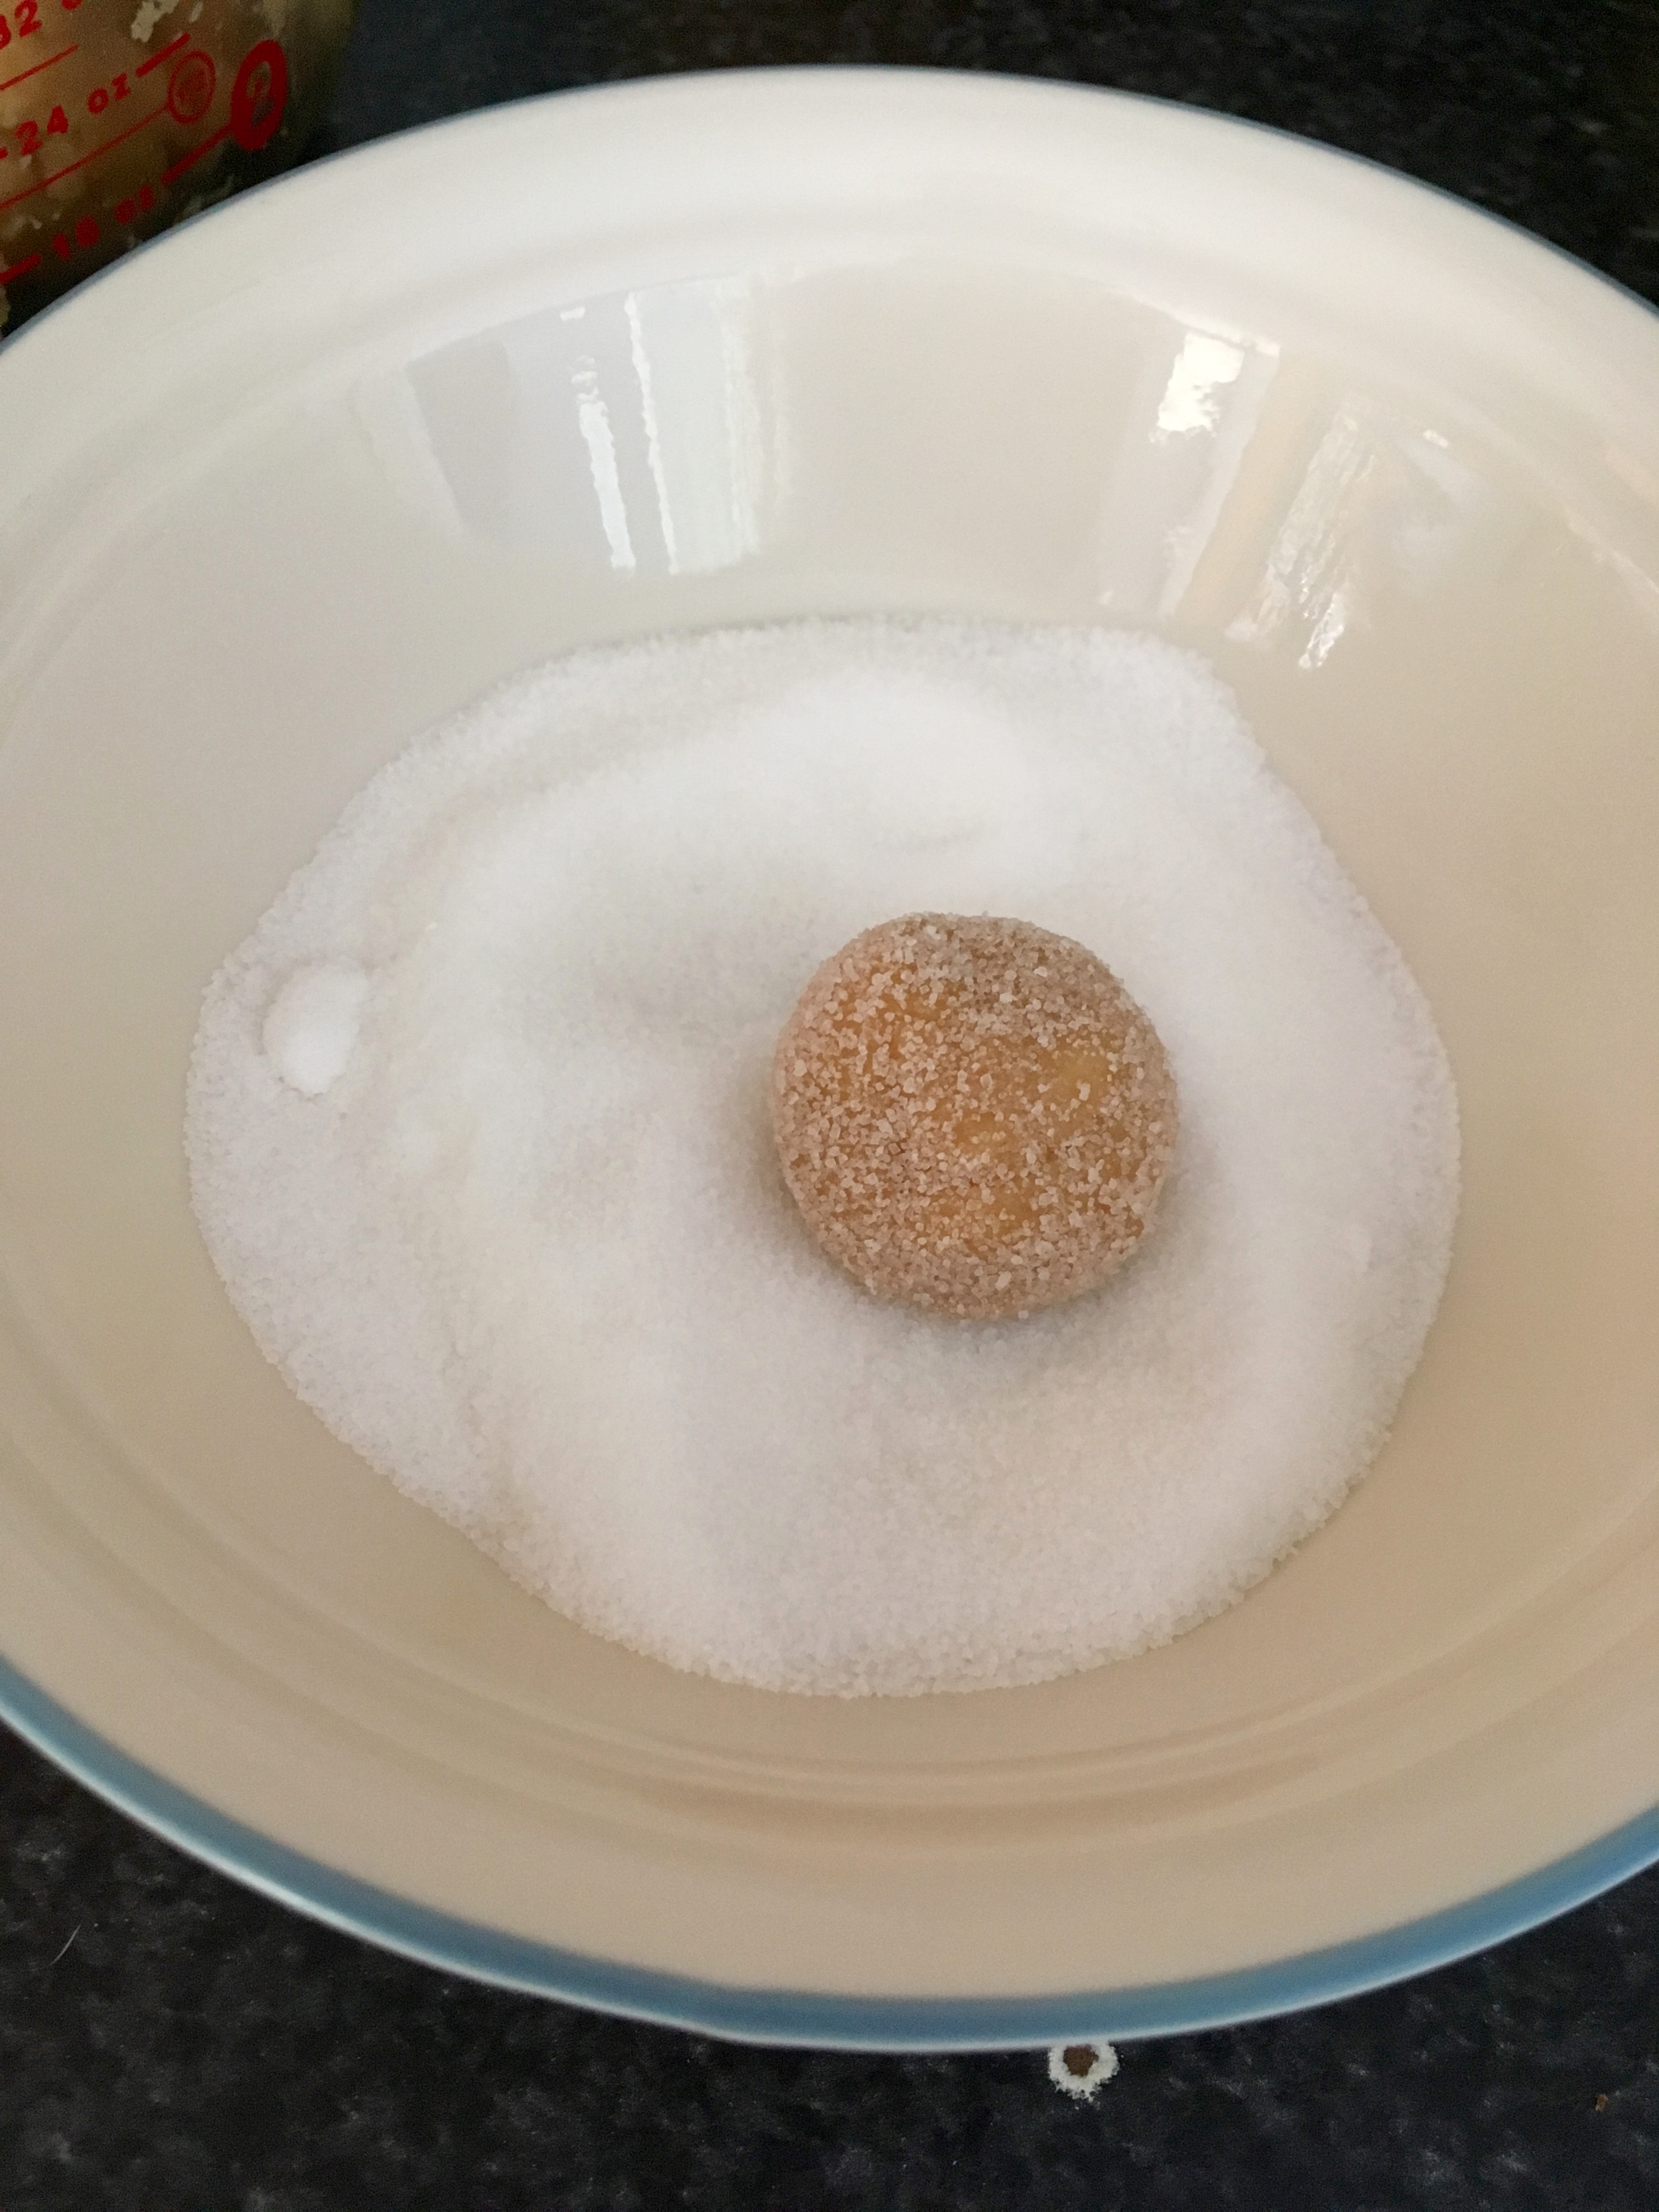
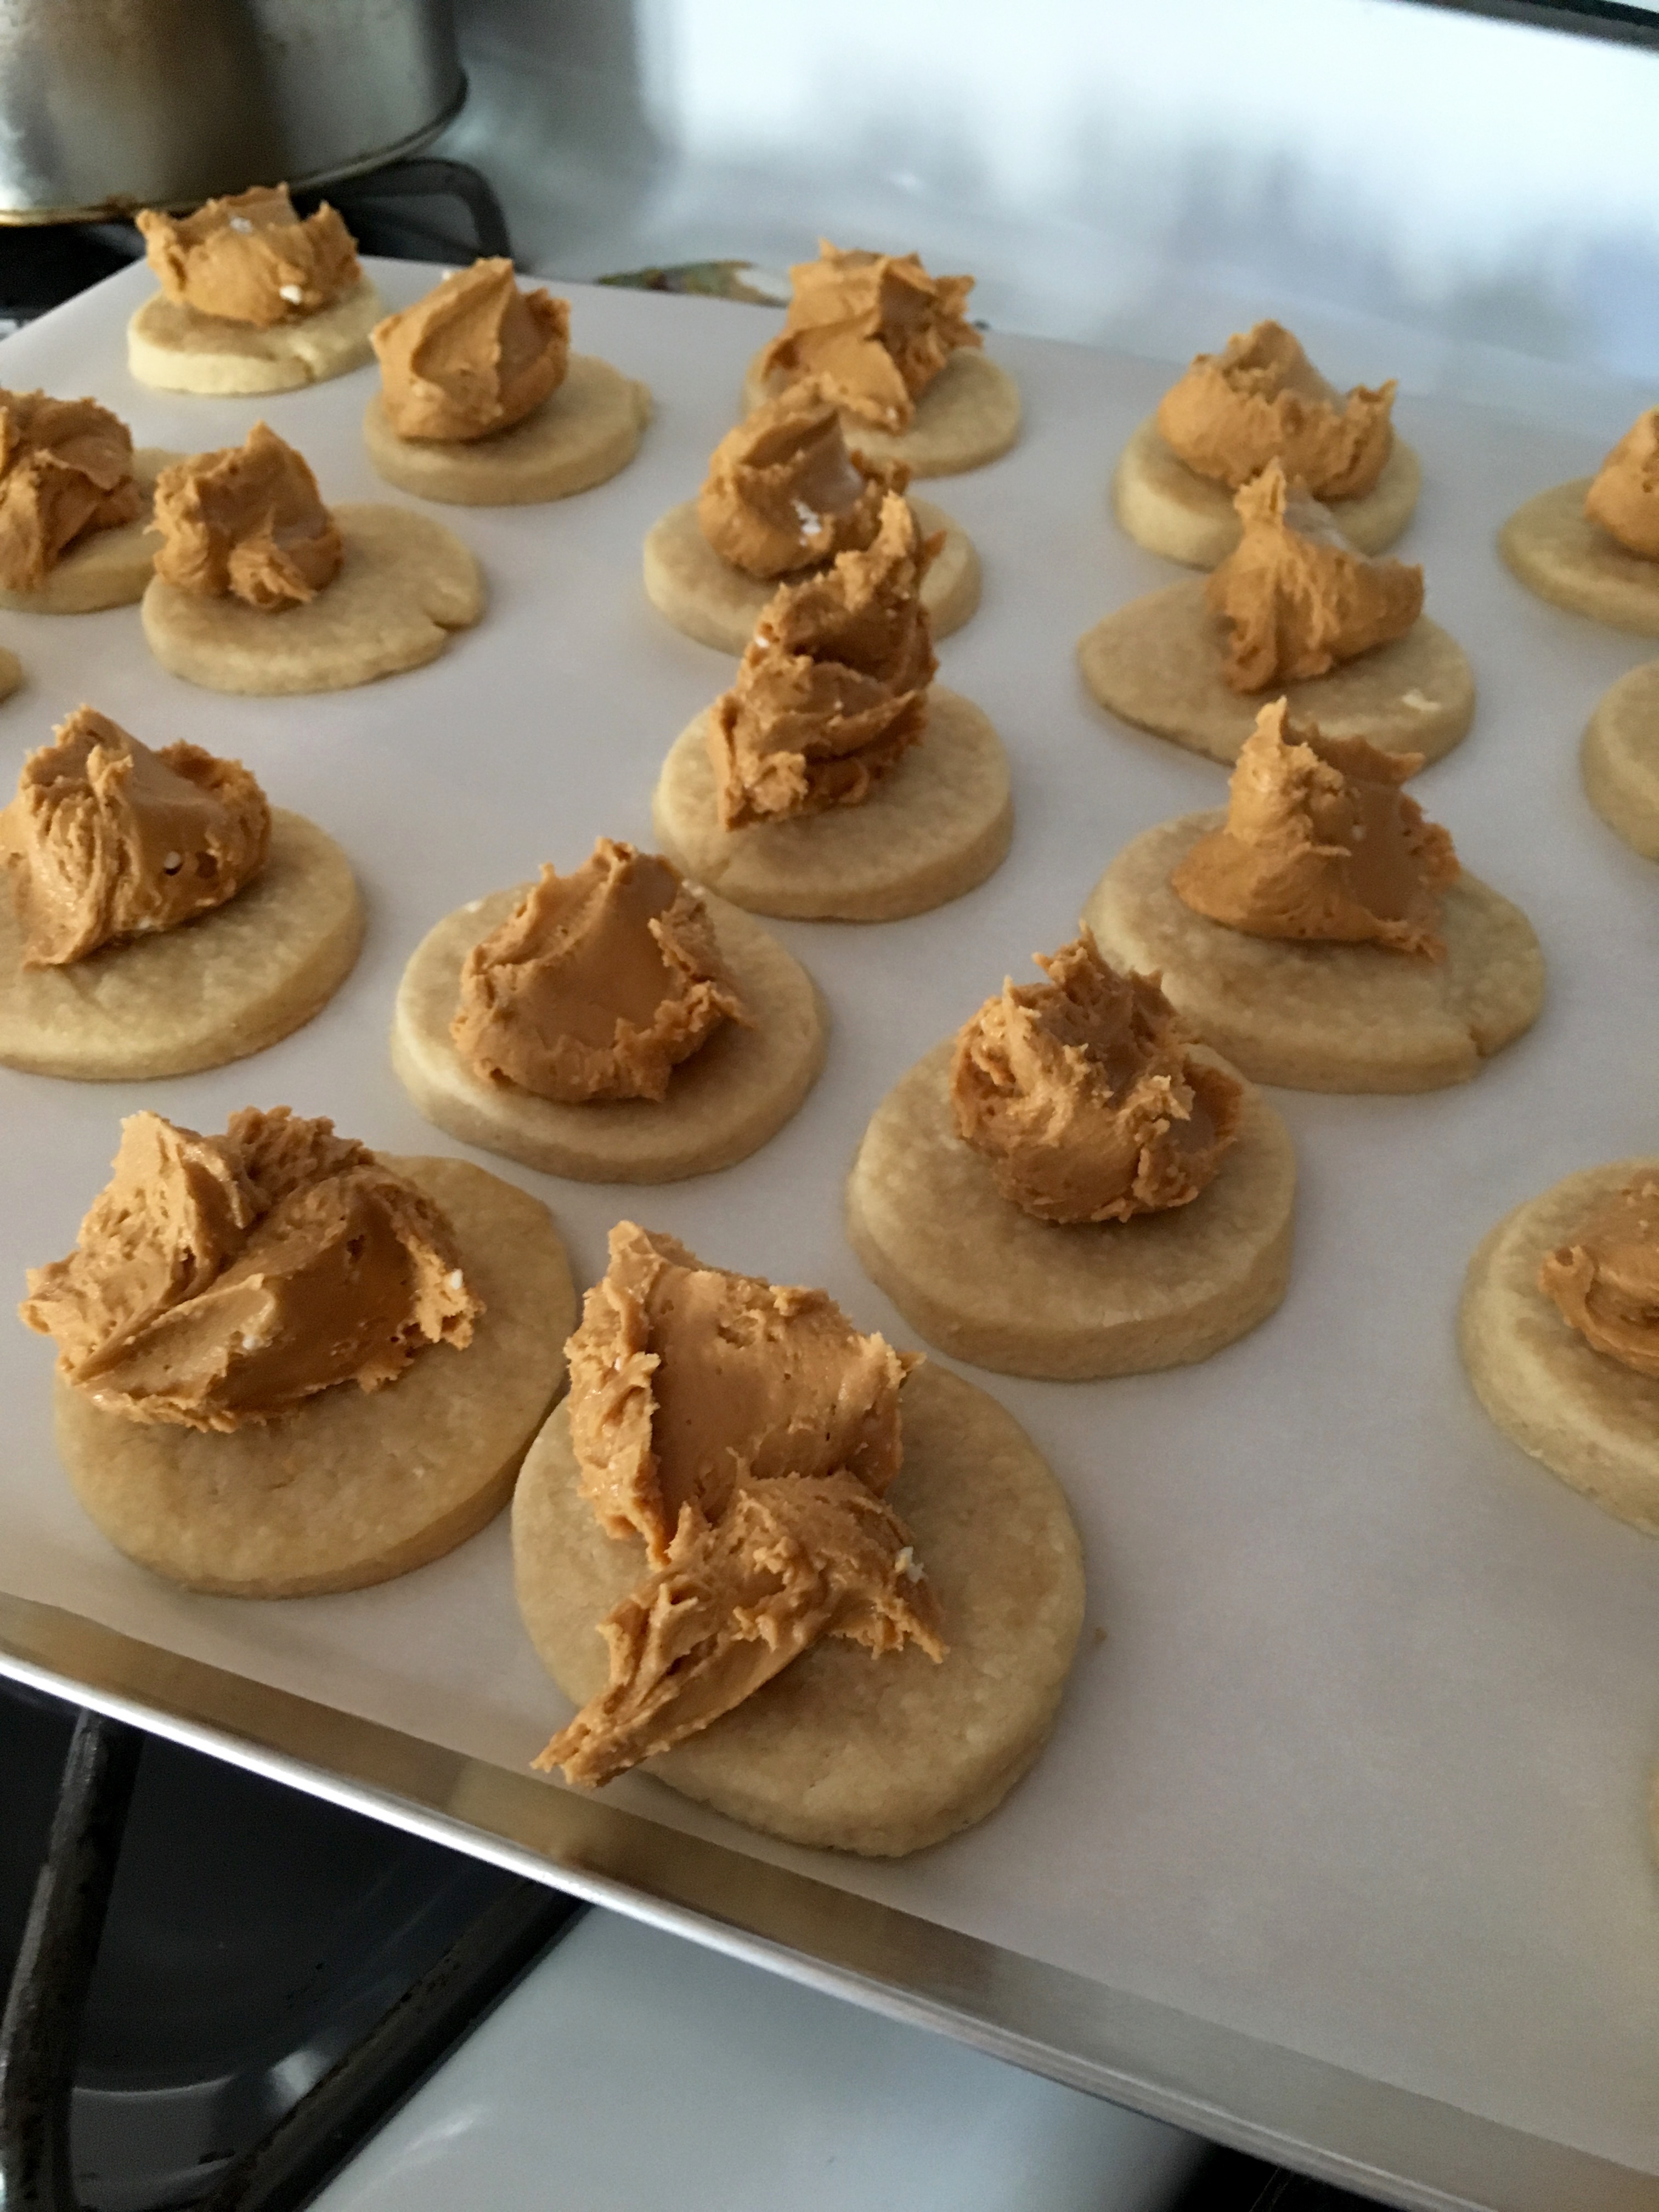
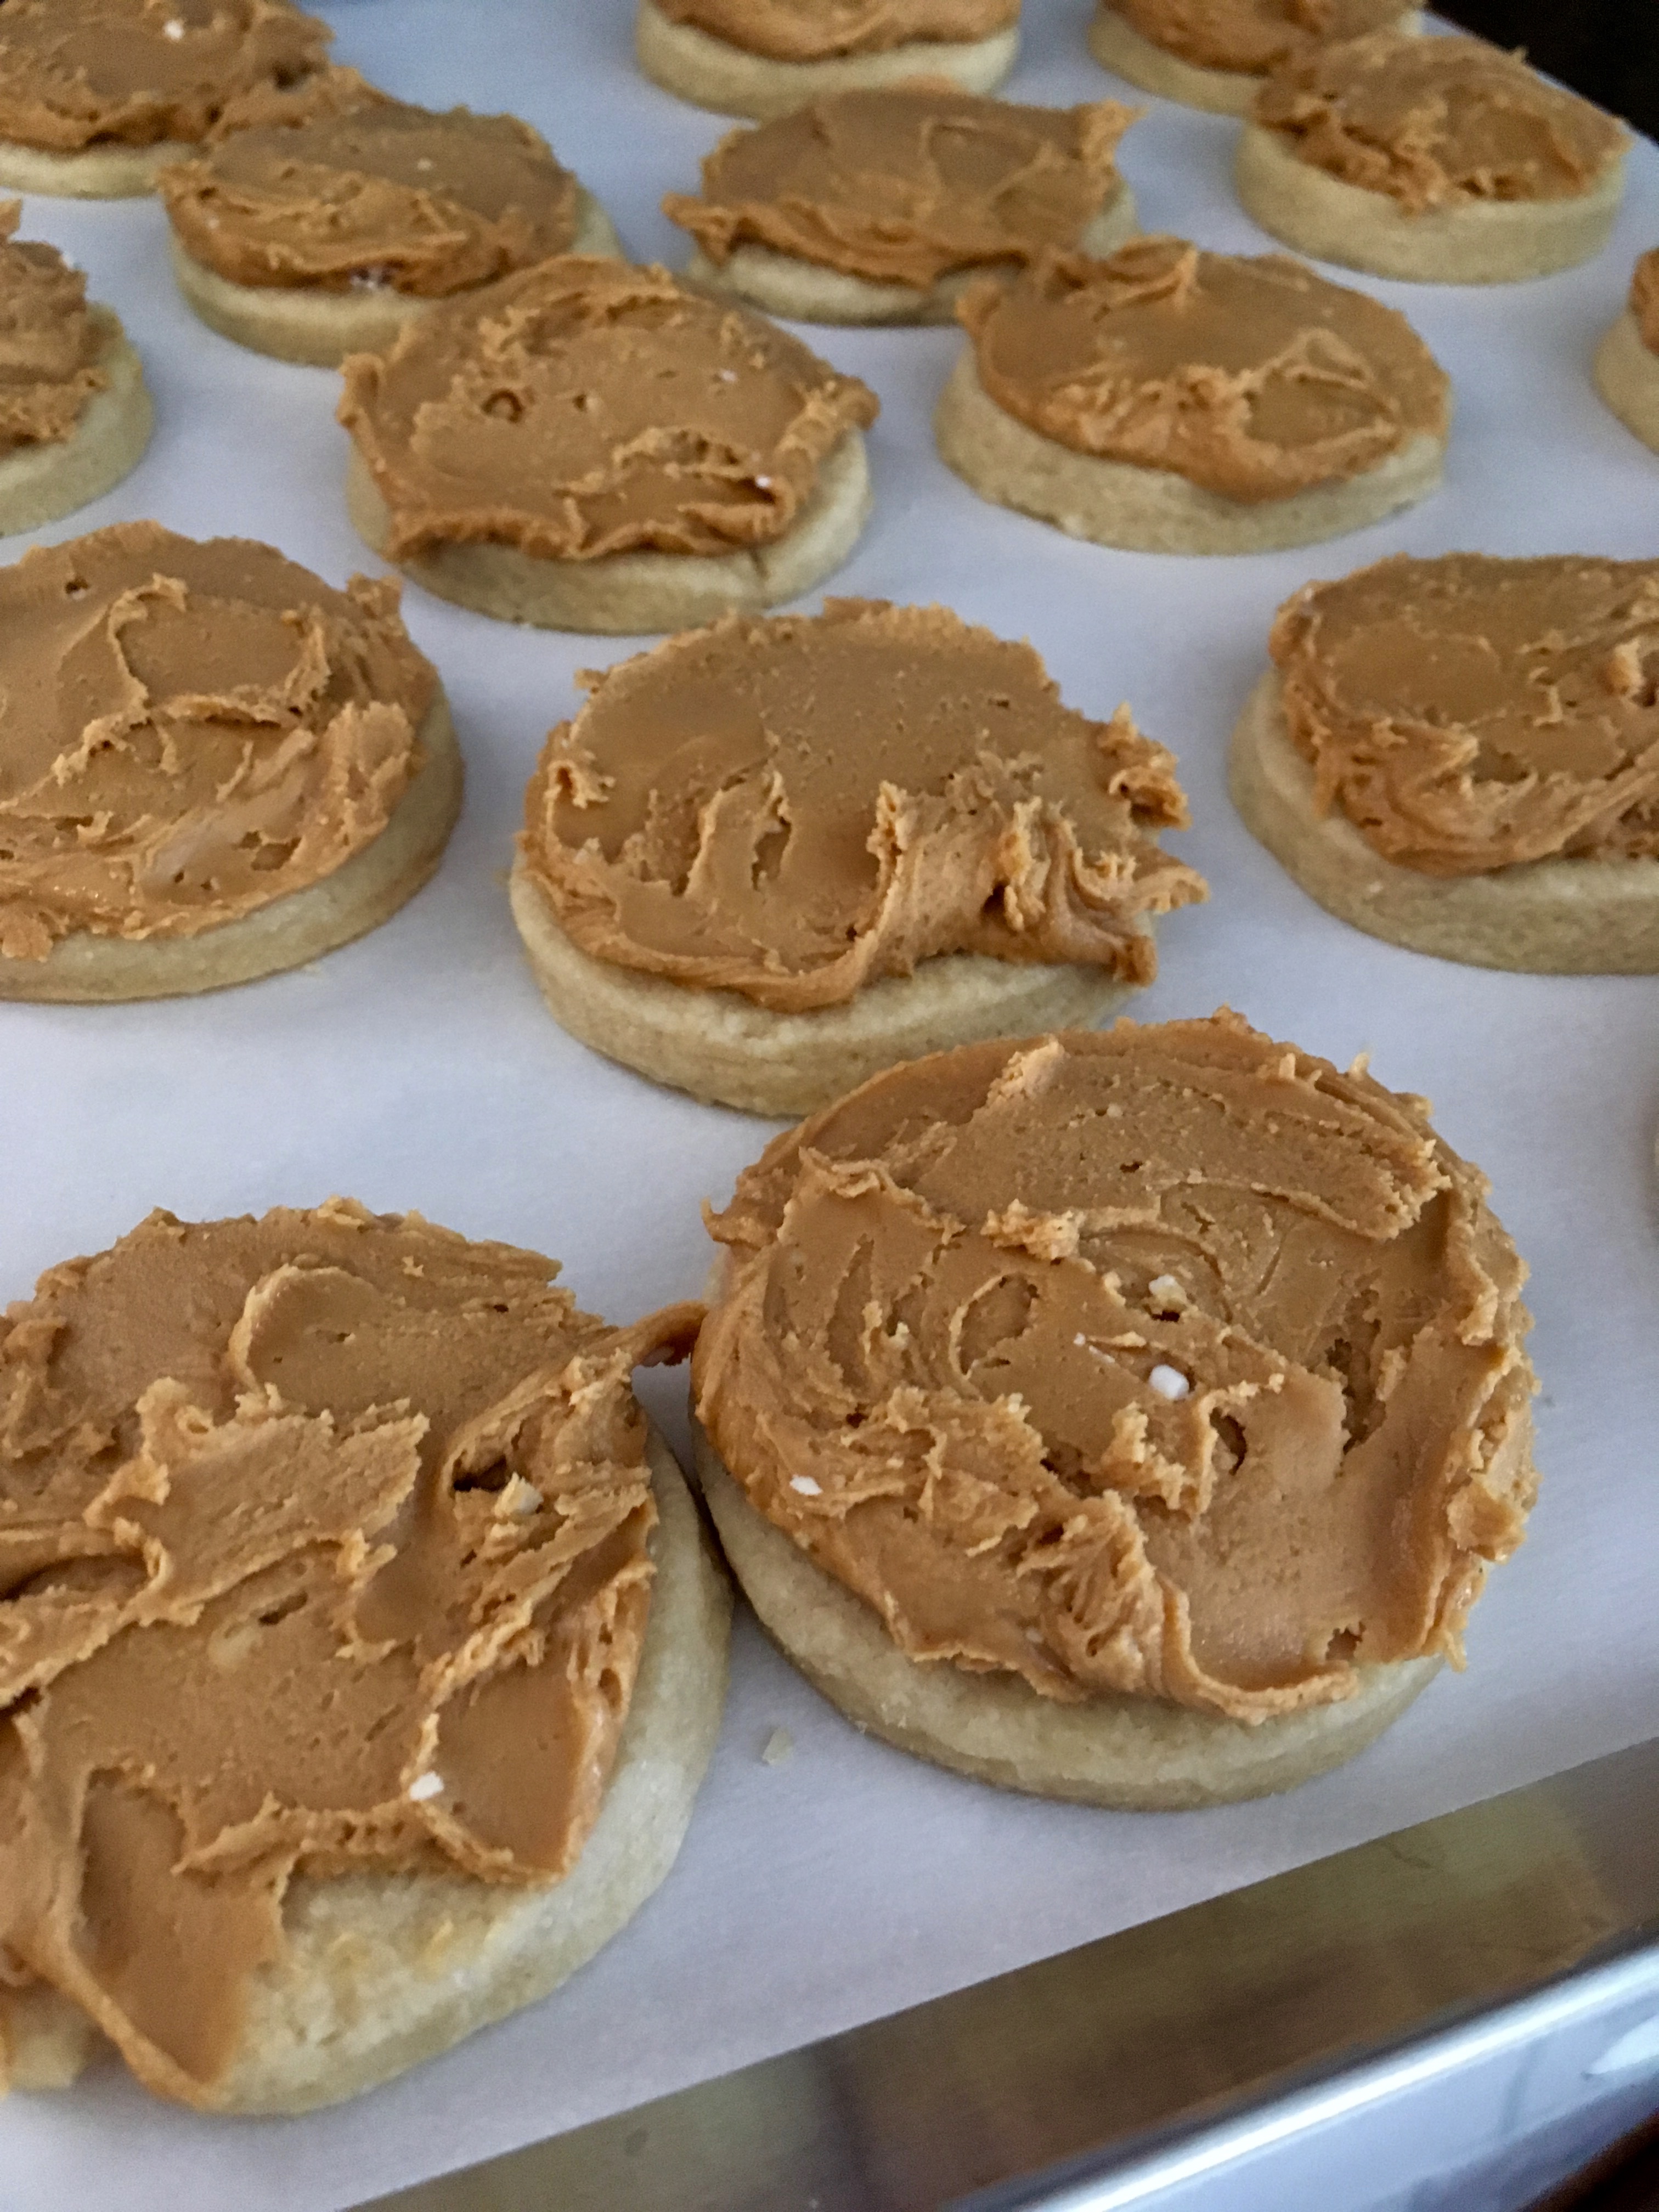
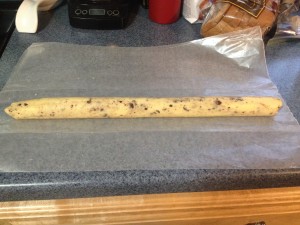
Here’s where you can get creative. The recipe calls for us to leave one section plain, to mix one section with chopped walnuts, and one section with chopped chocolate. I stuck with the recipe and used the chocolate chips and only went off the path slightly by sprinkling raw sugar over the plain ones. However, I have absolutely no doubt these cookies would go well with almost any mixer or topping. You could use chopped nuts as a mixer and brown sugar topping to get a pecan roll flavor, finely chopped dried fruit, or even a dollop of jelly over the top after baking.

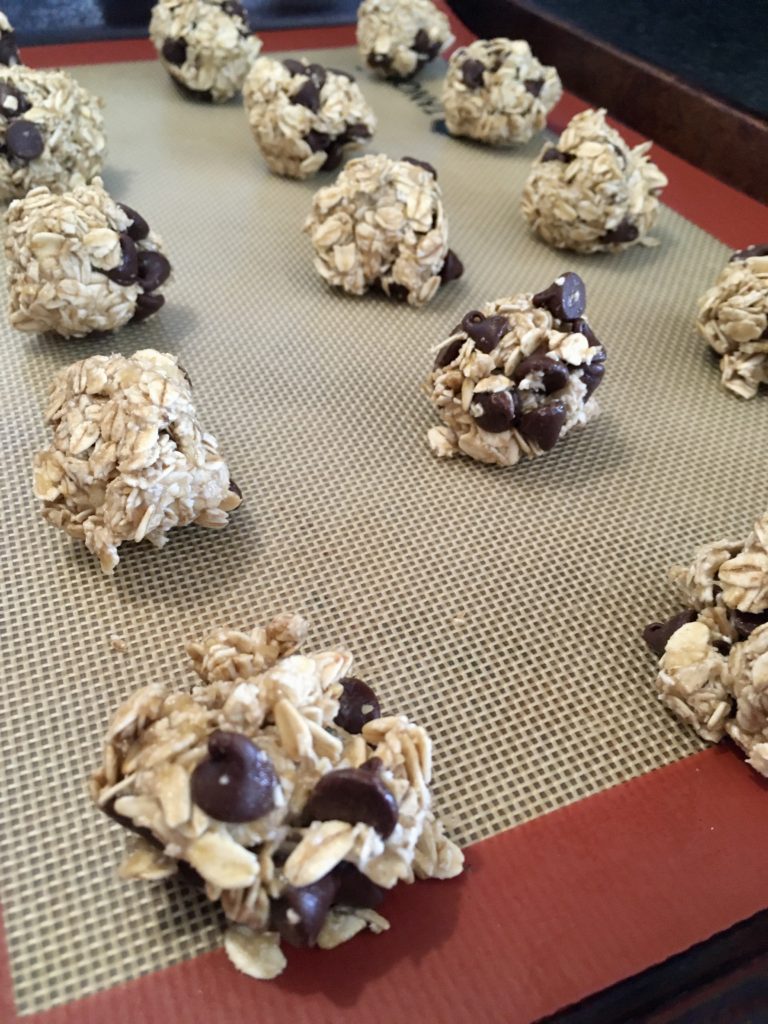
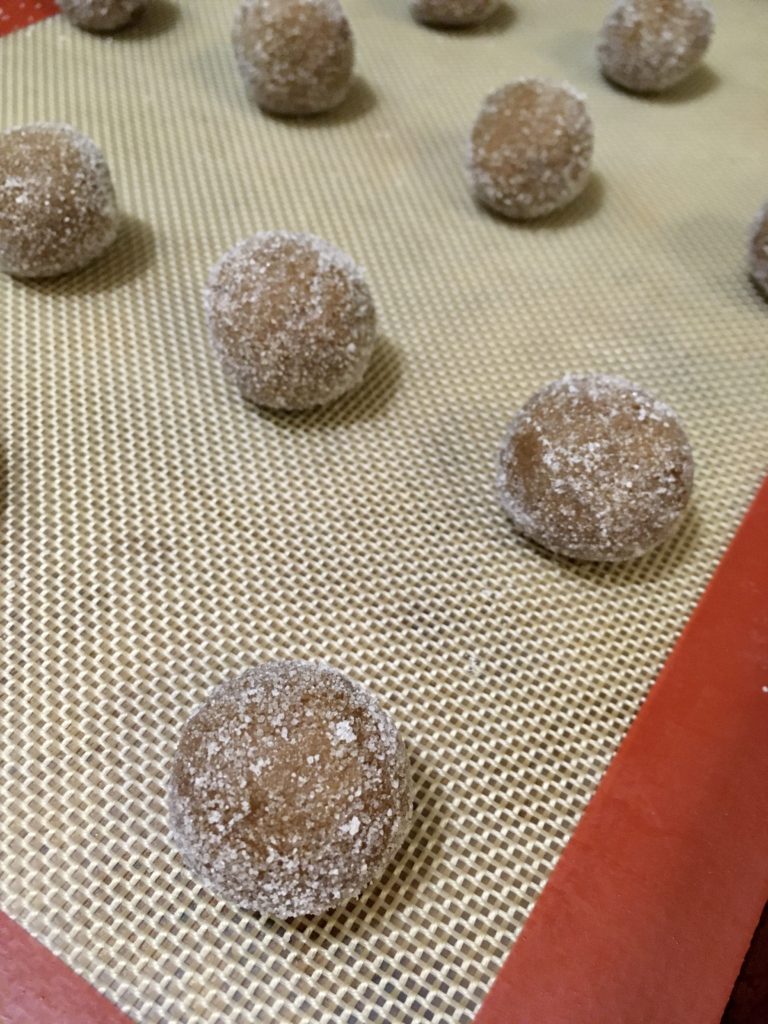
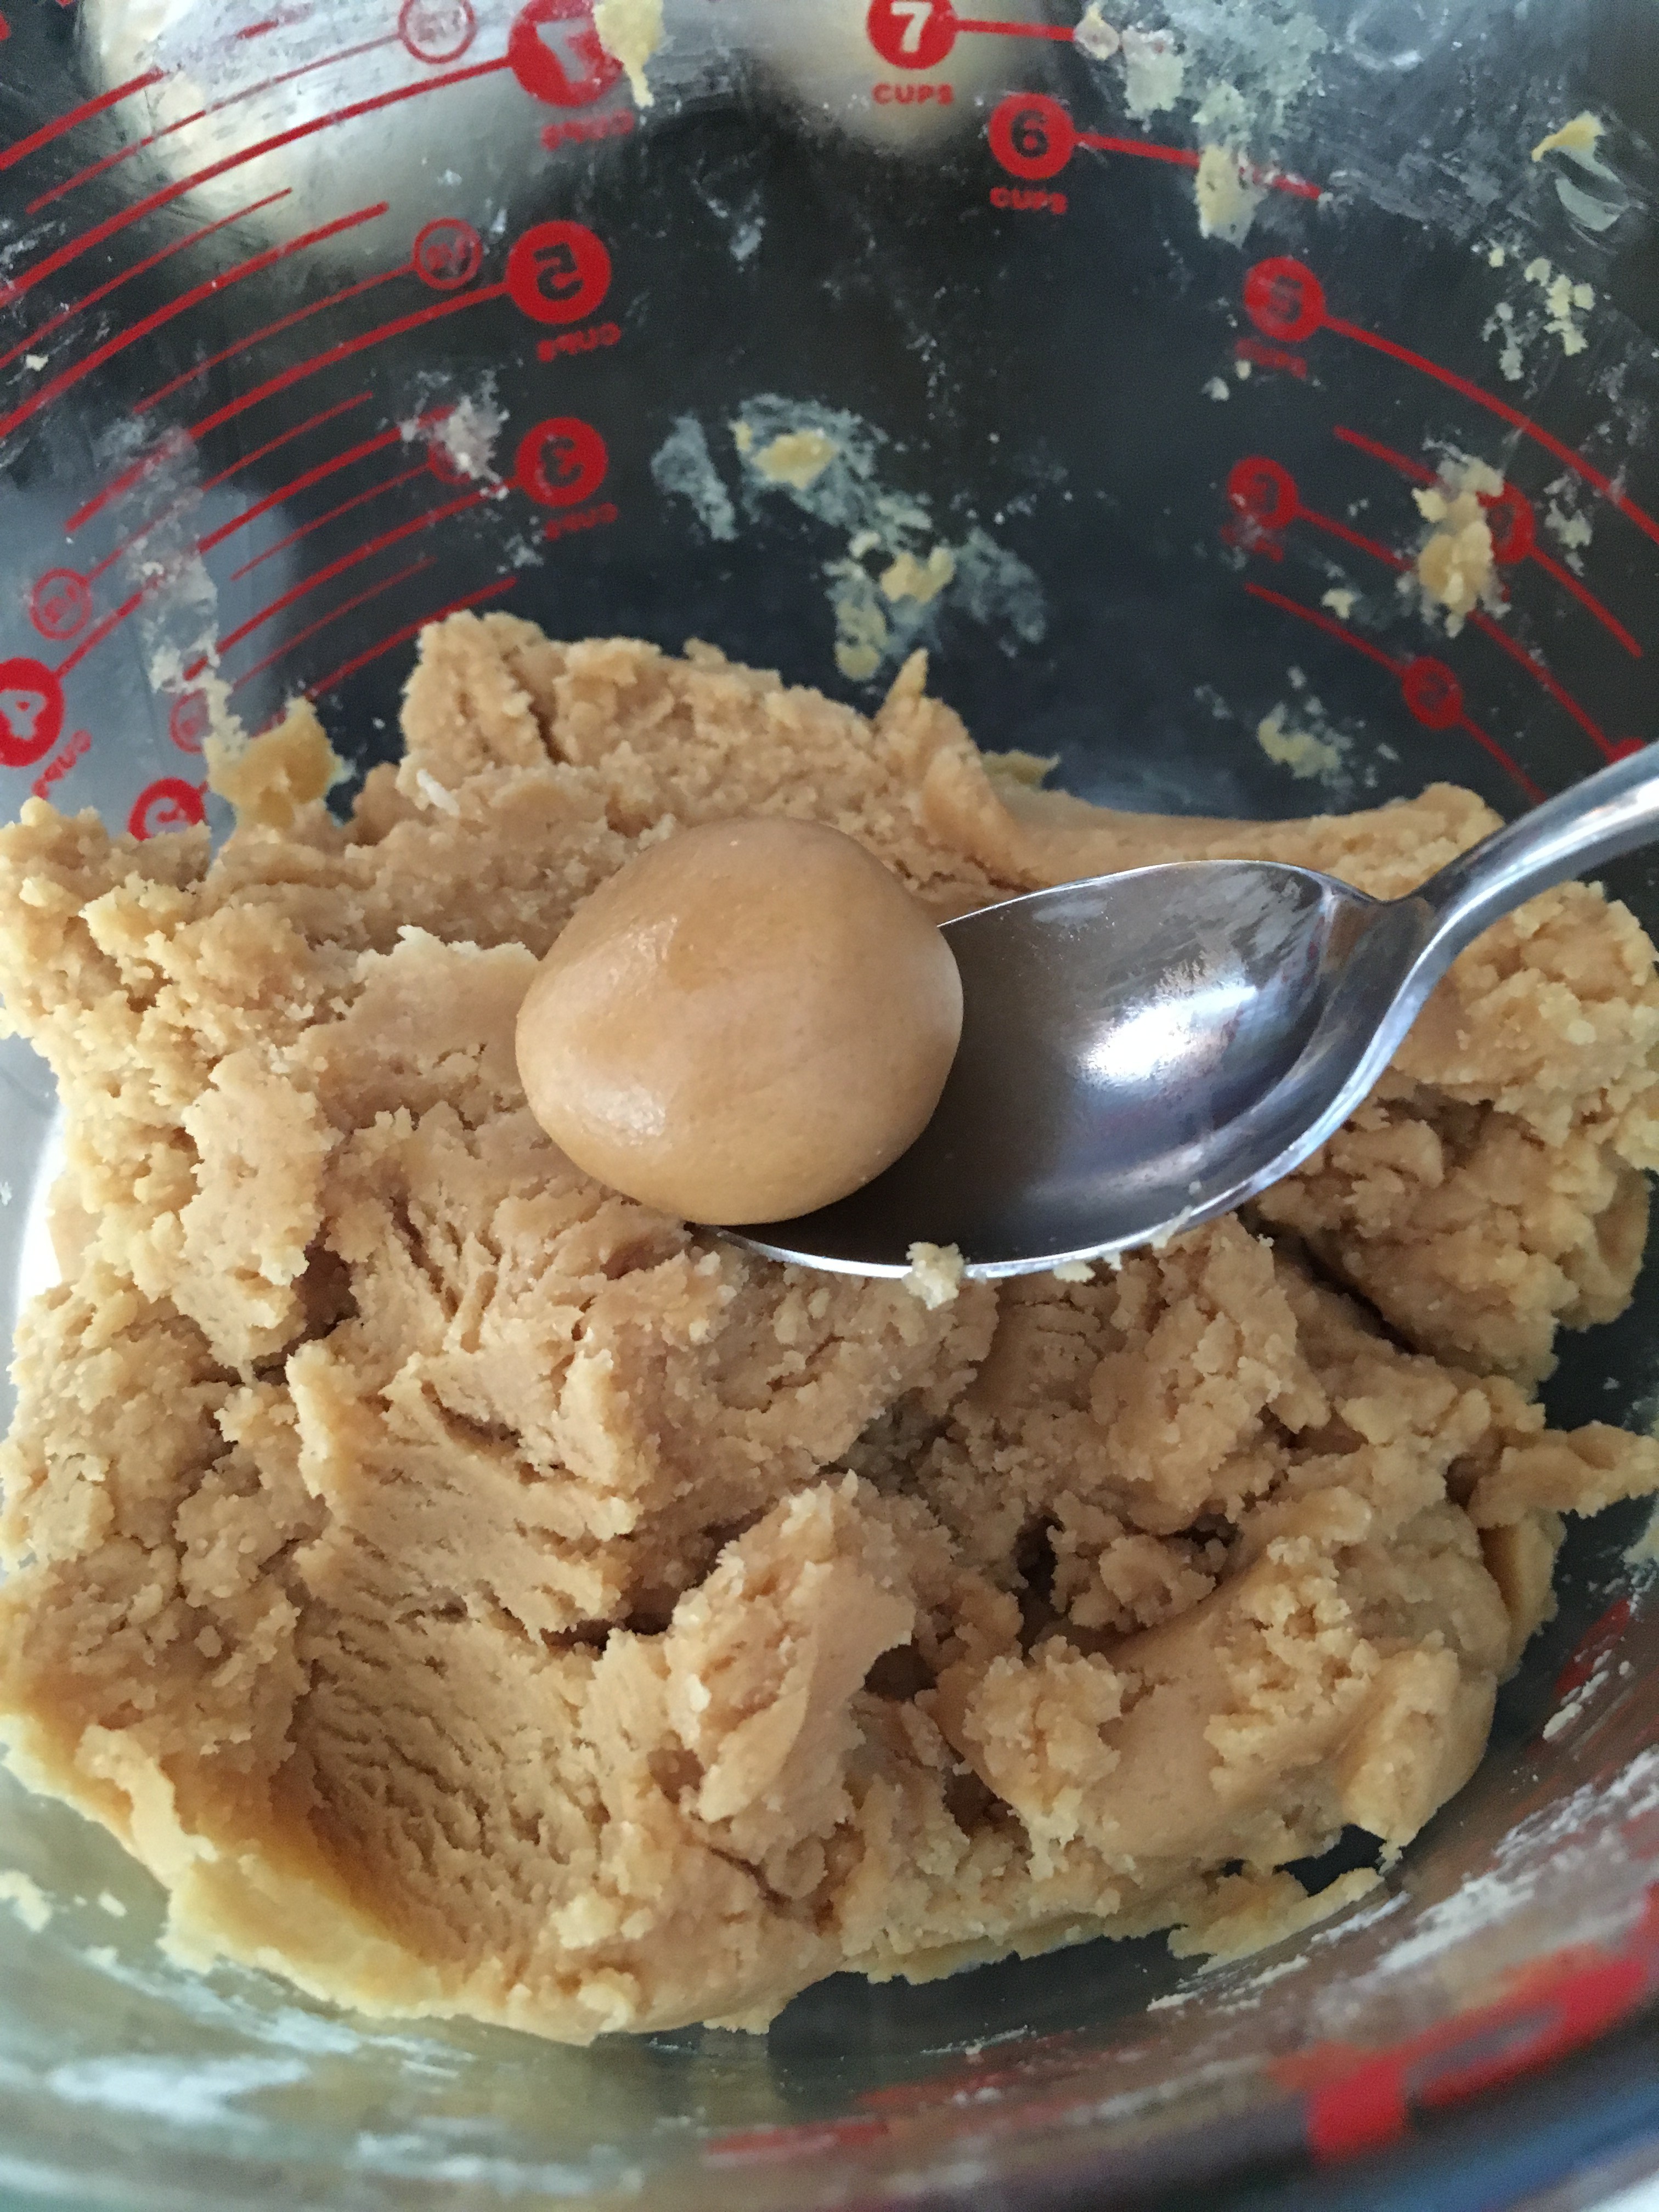
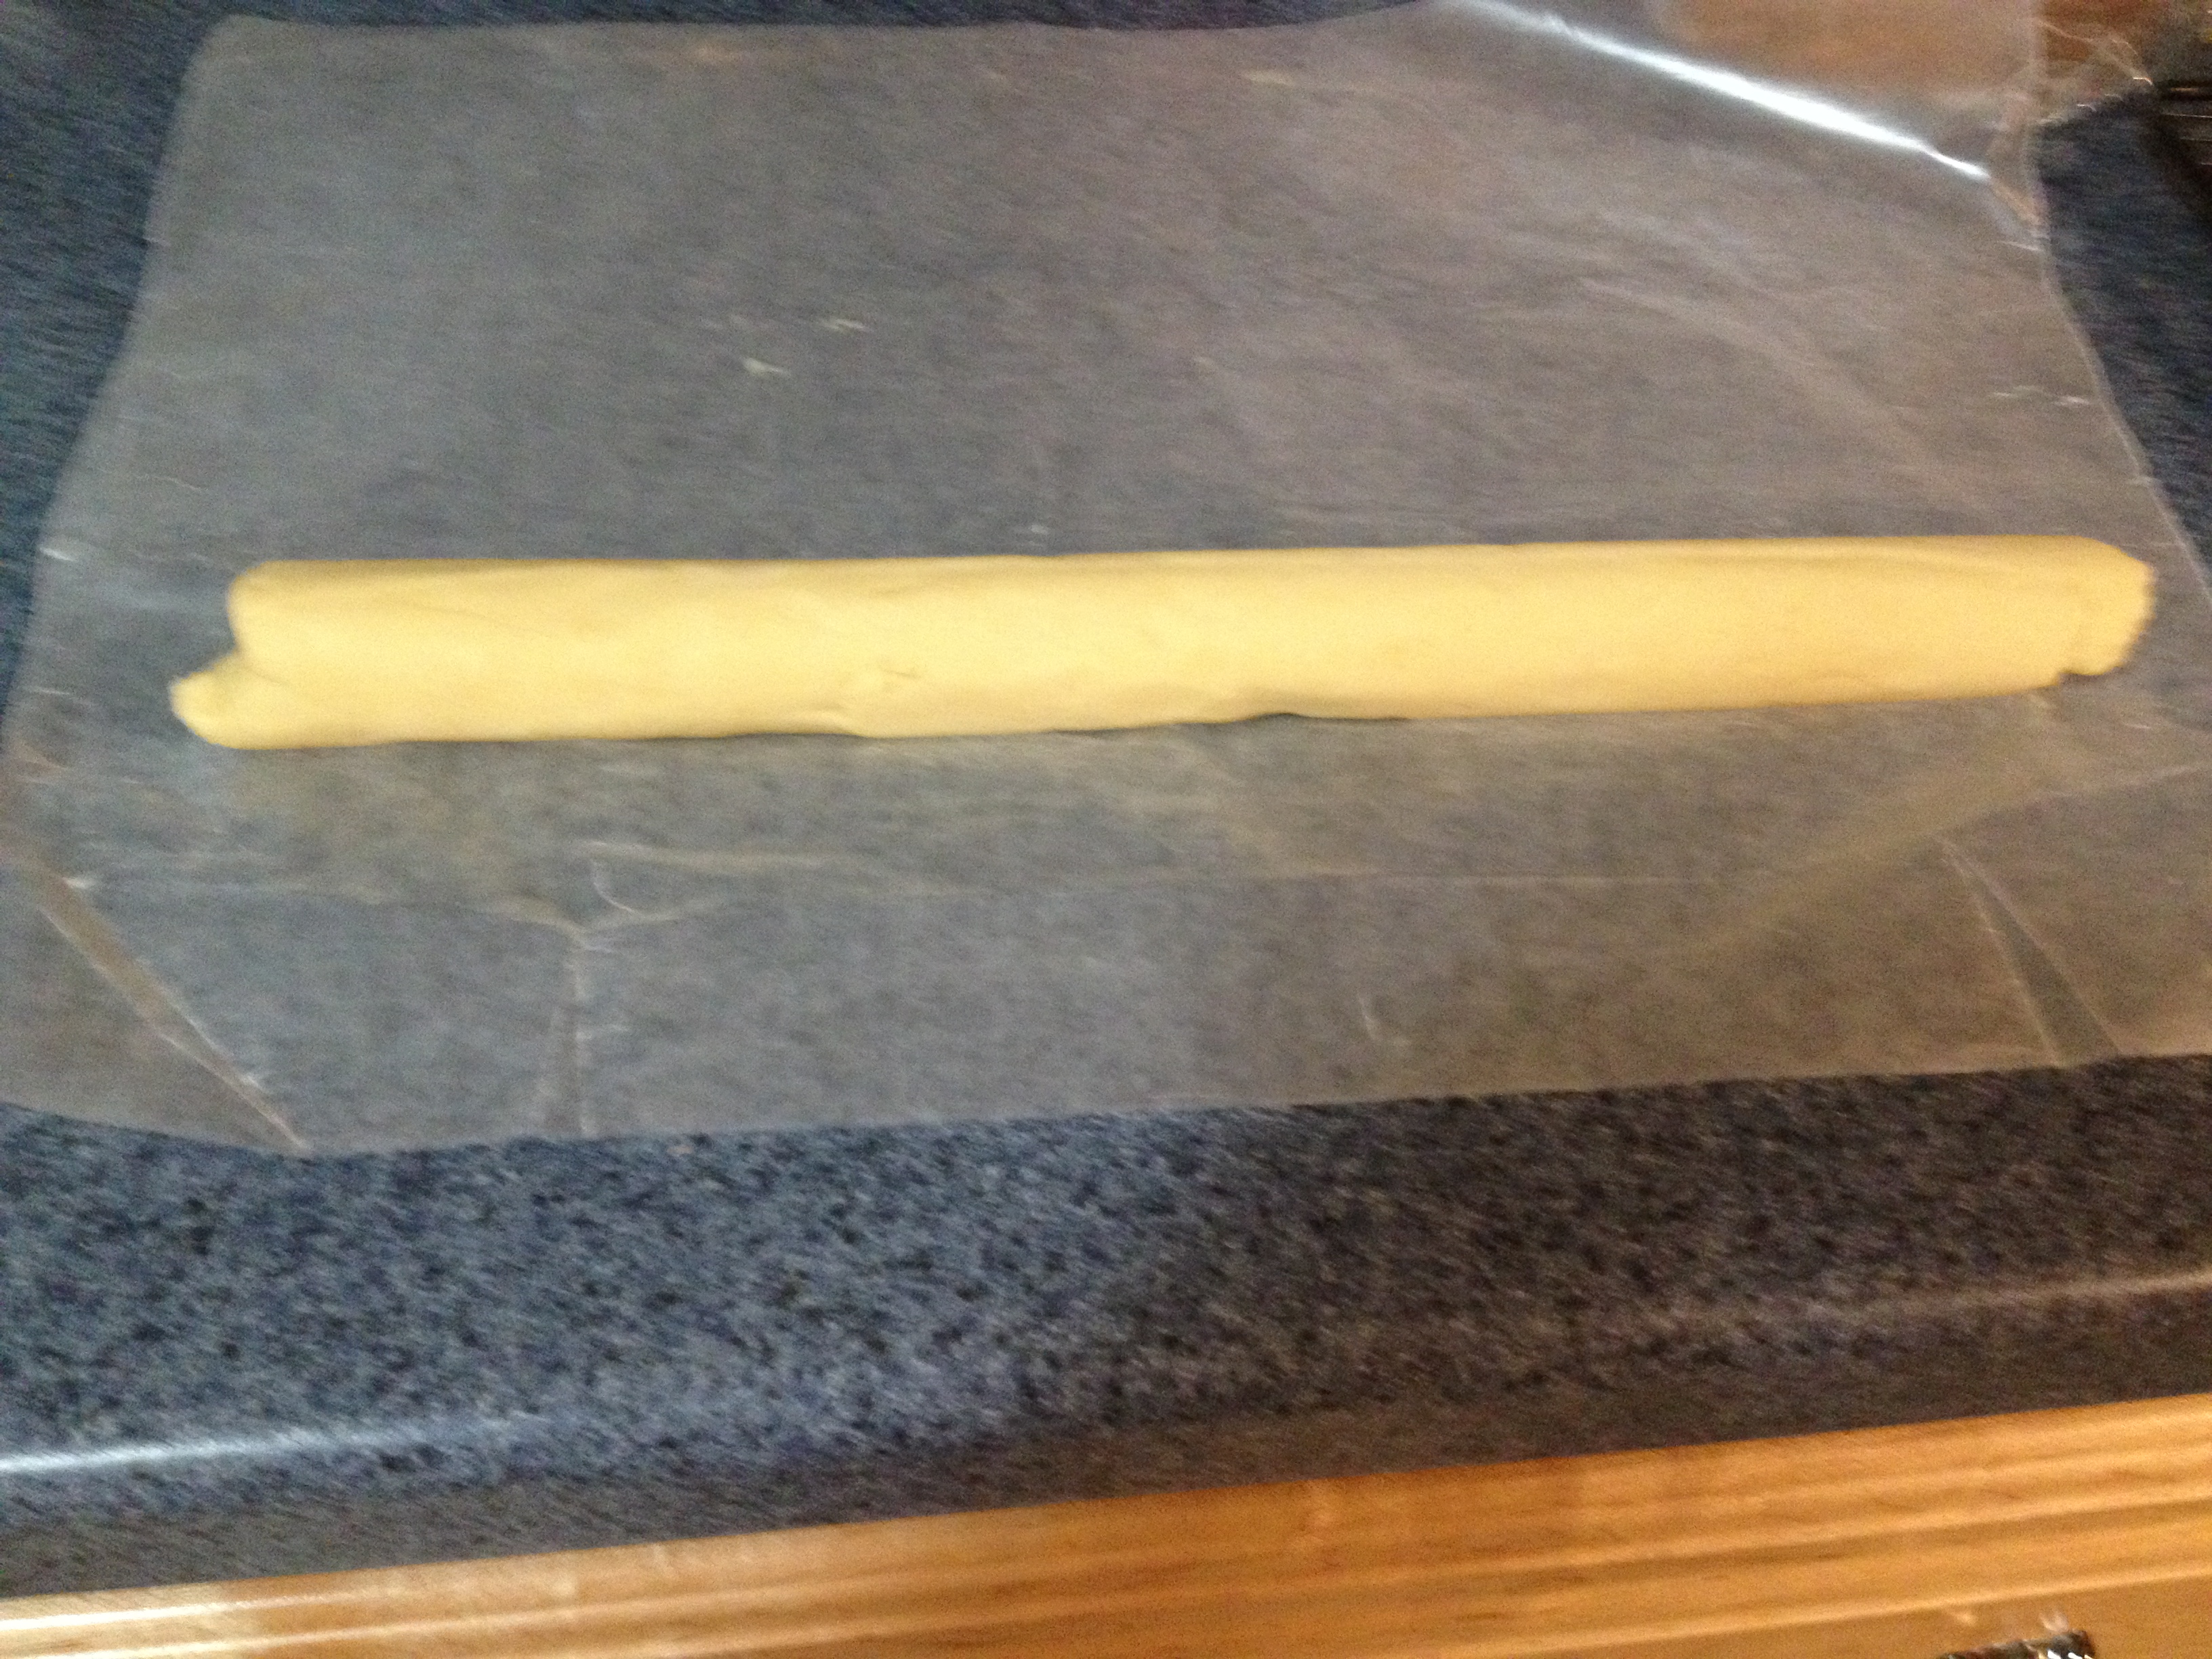
After you’ve mixed whatever ingredients you wanted into your mixes, roll each section into a log, about a half-dollar size across.

IMG_3635IMG_3633

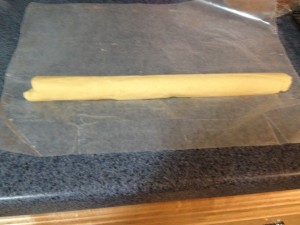
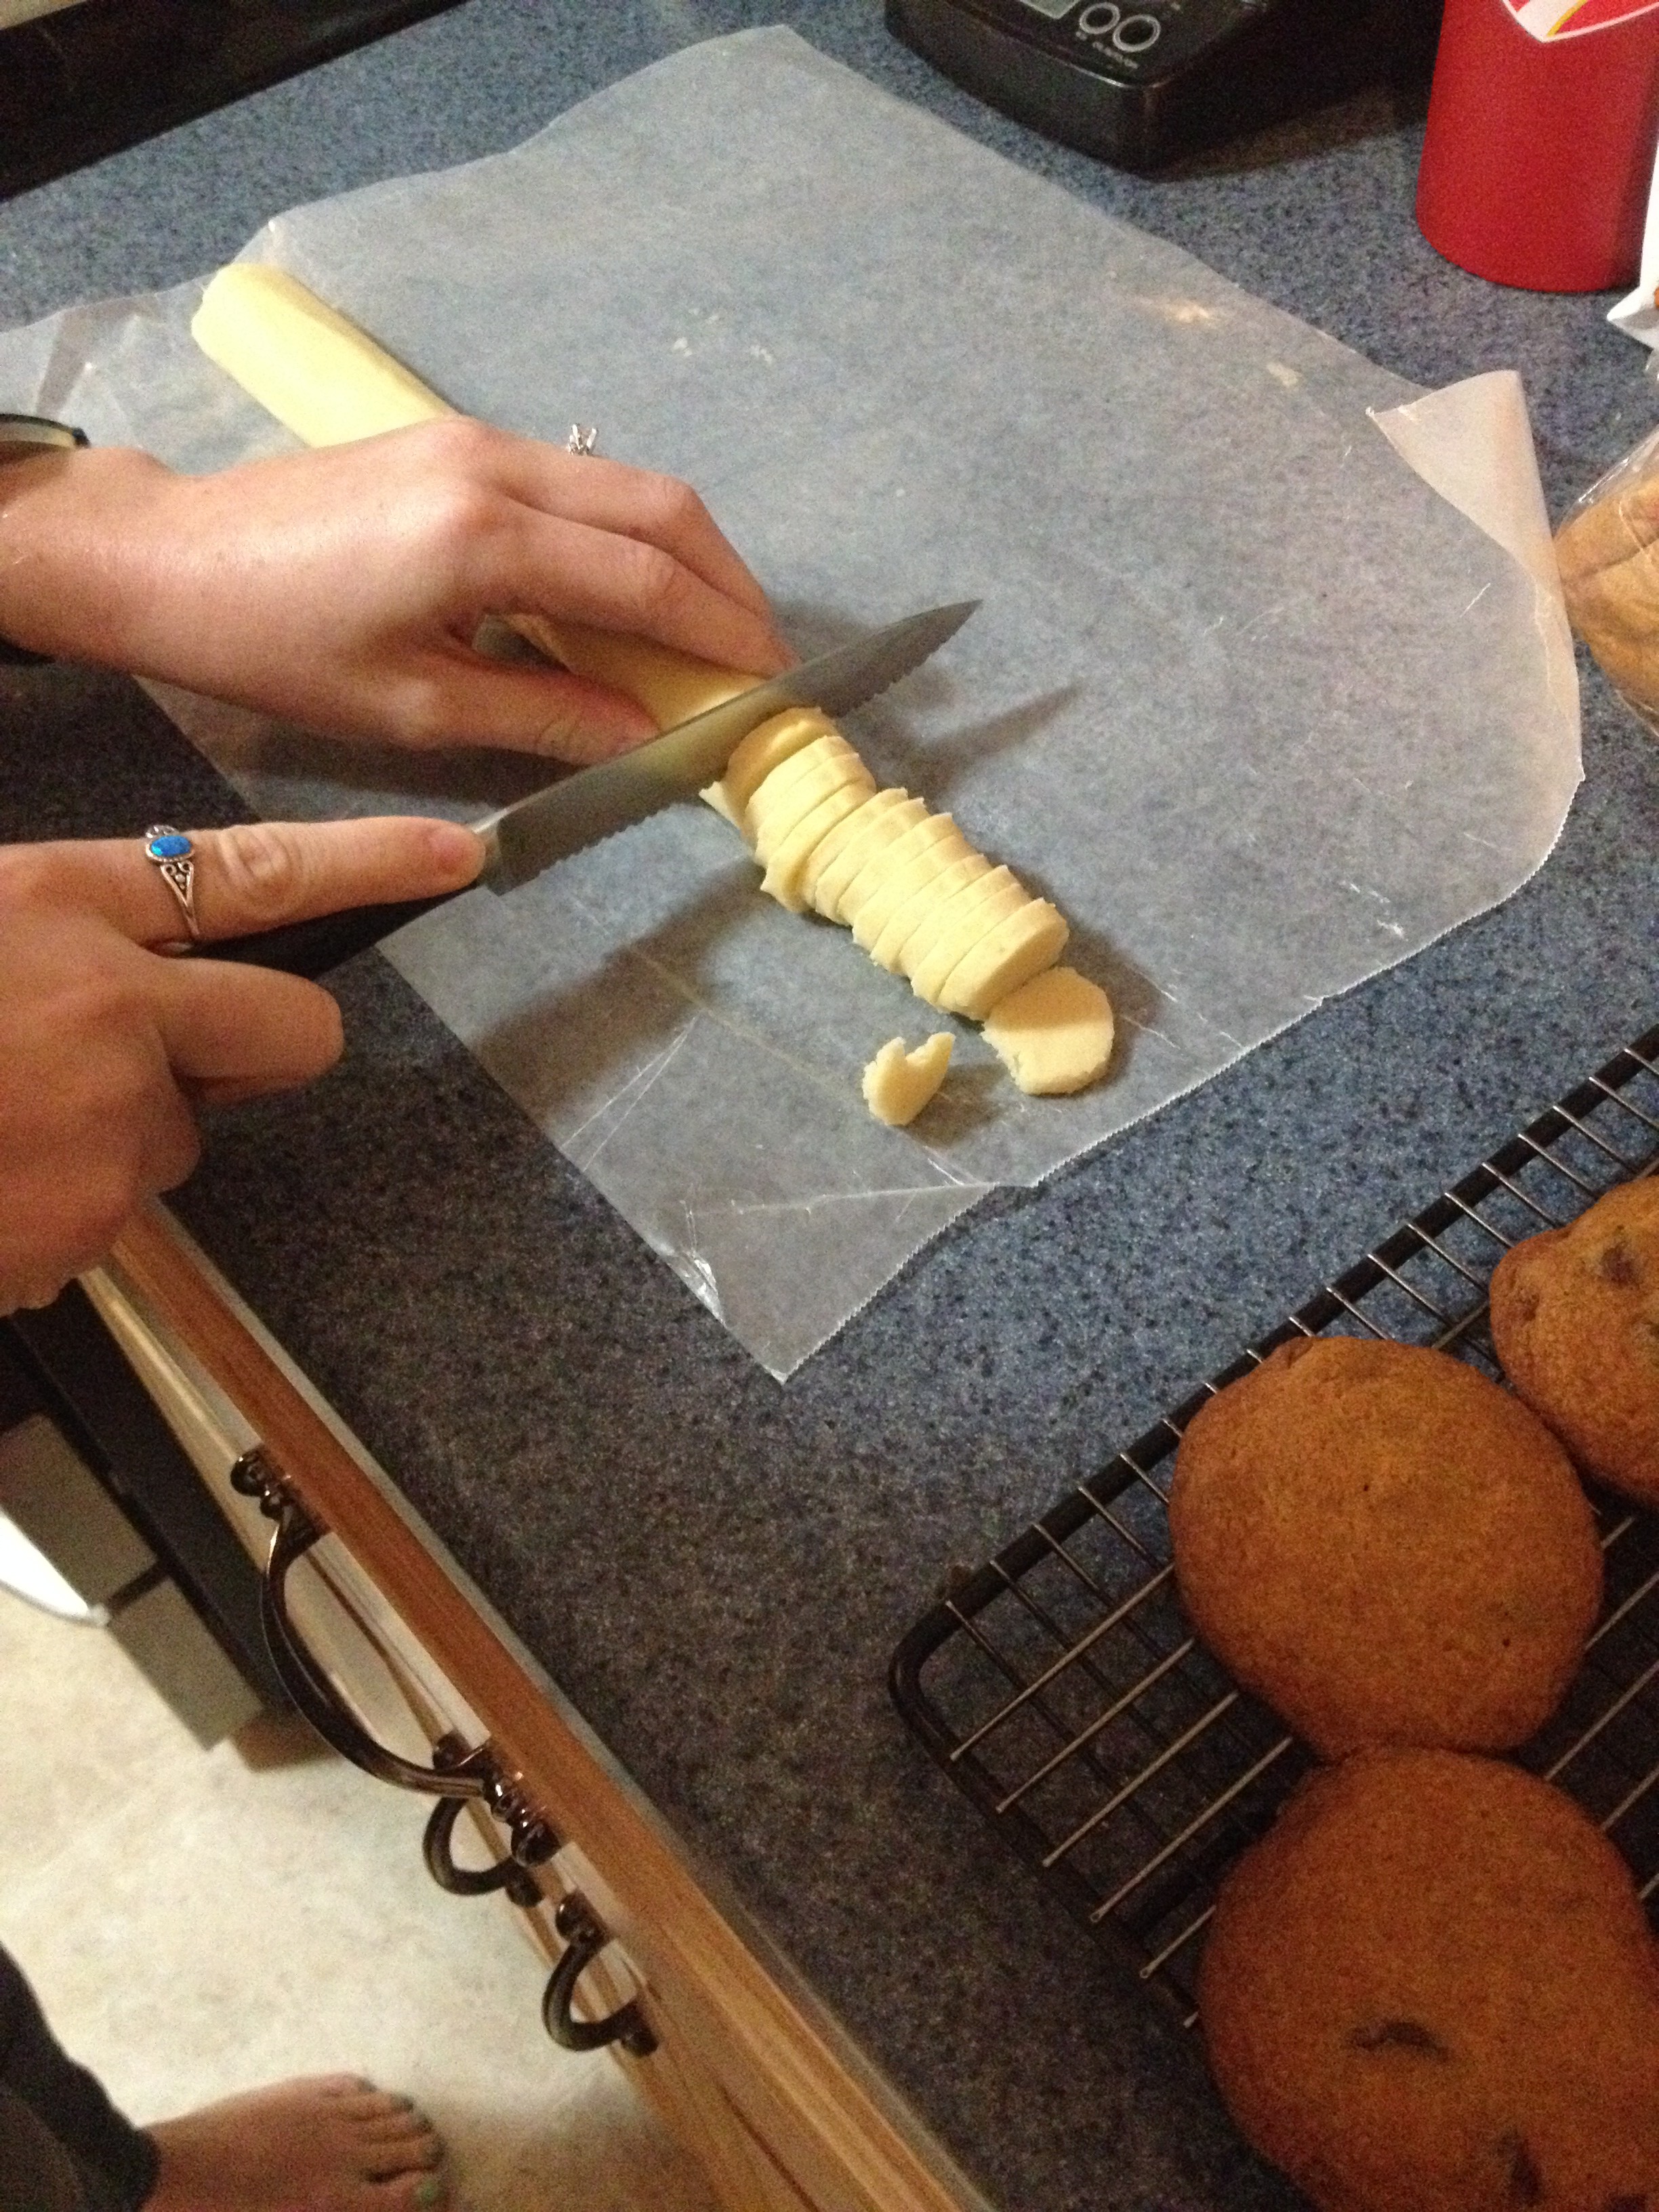
Roll each log up in wax paper, and refrigerate for at least 1 hour. (Hint: You can also freeze the dough; if you’re planning on that, make sure to wrap the dough log in aluminum foil, too.) You definitely want this dough to be cold, because you’ll need to cut it up and cold dough is a lot easier to cut!

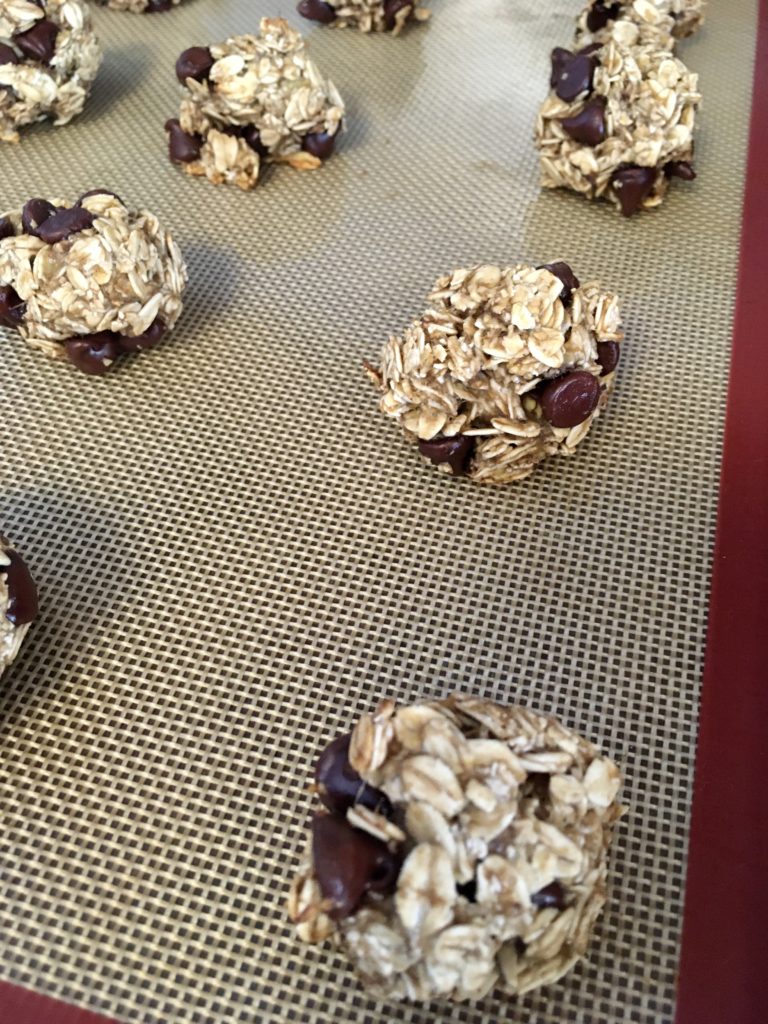
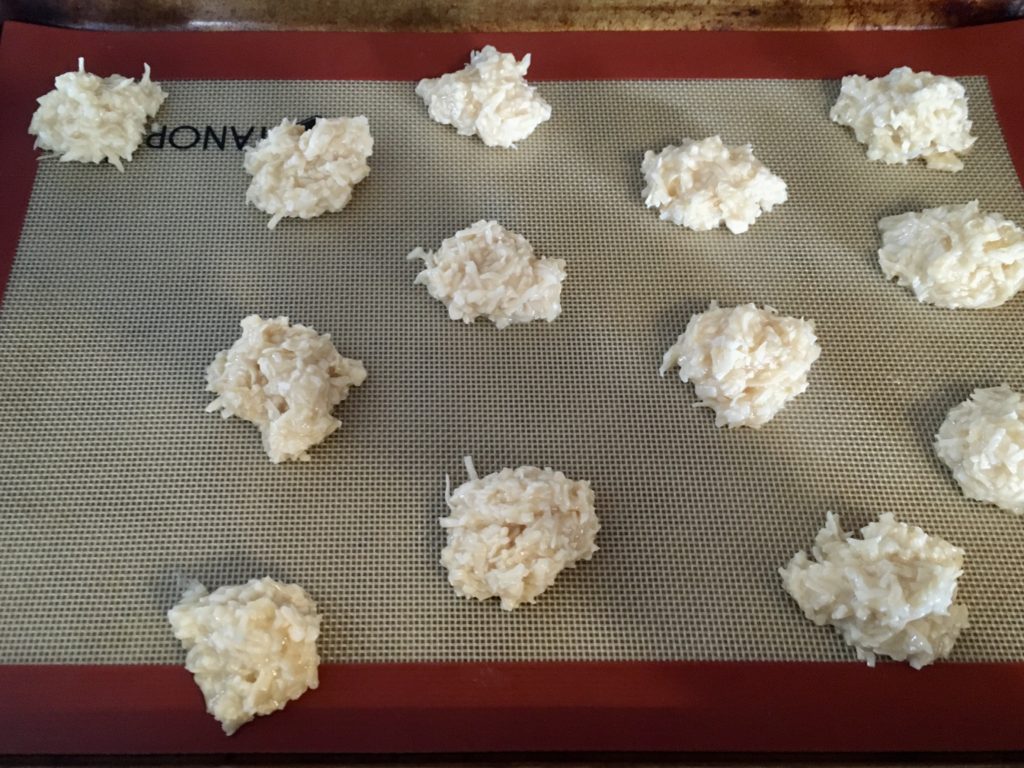
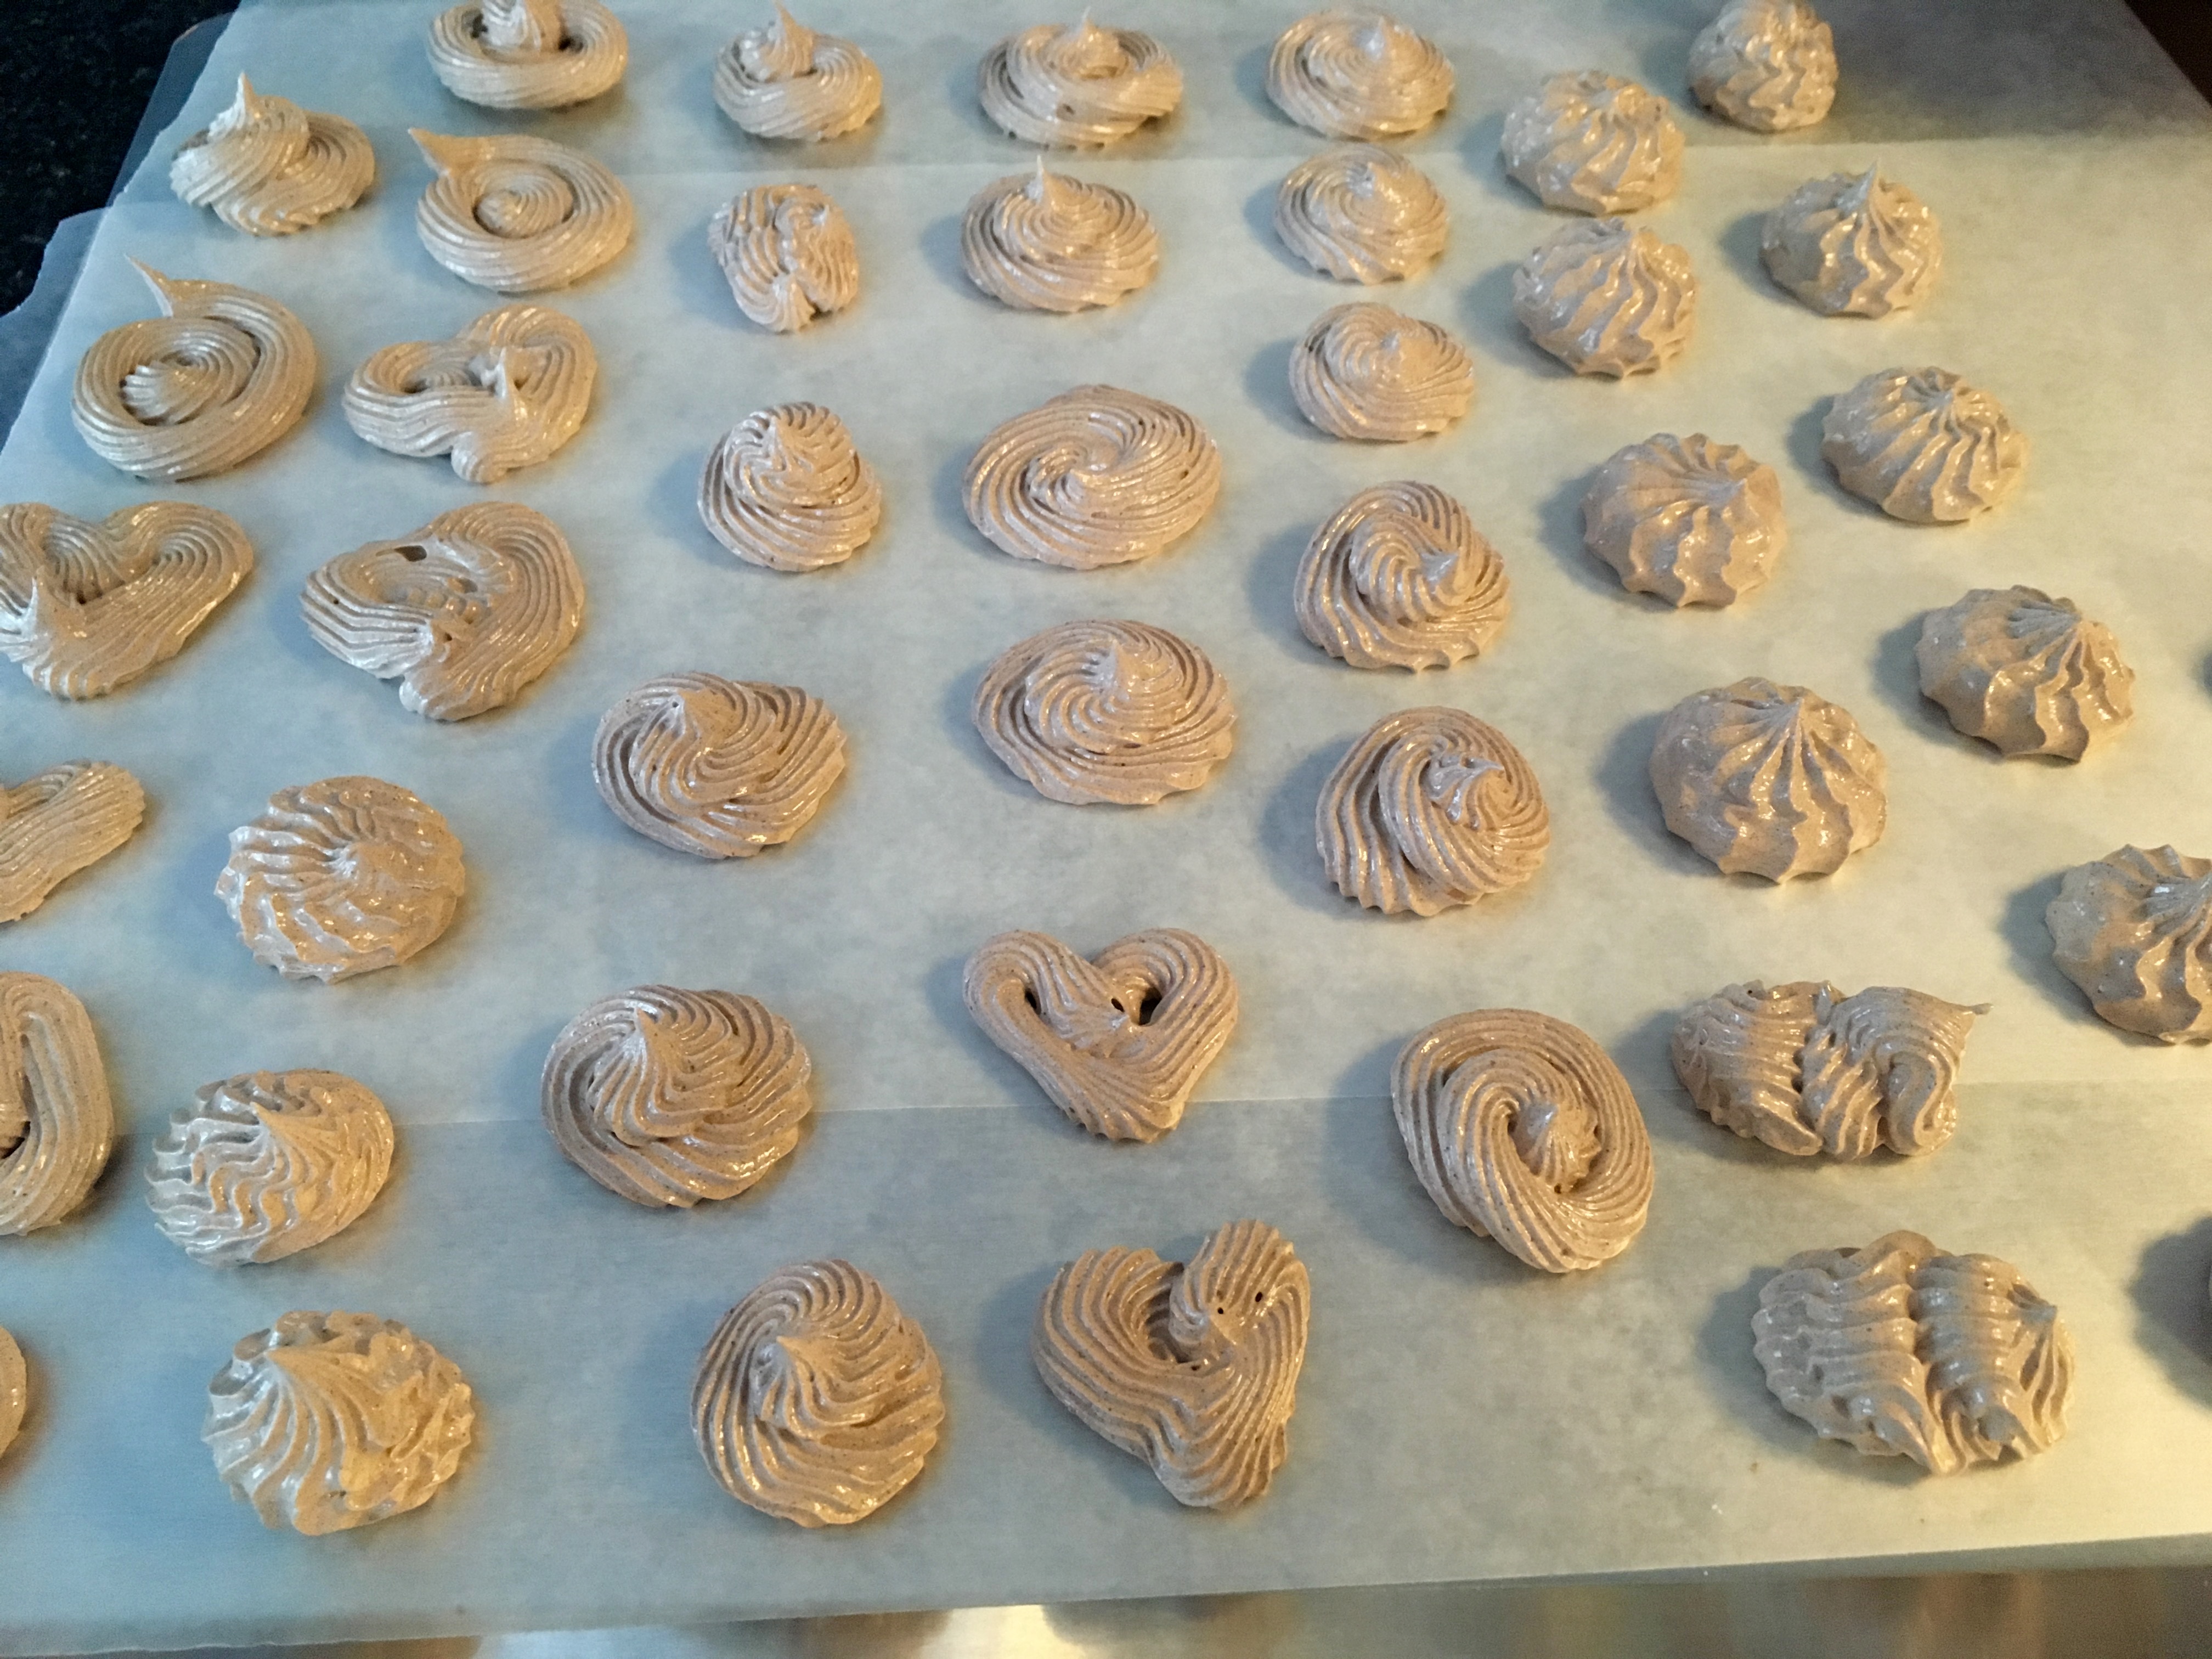
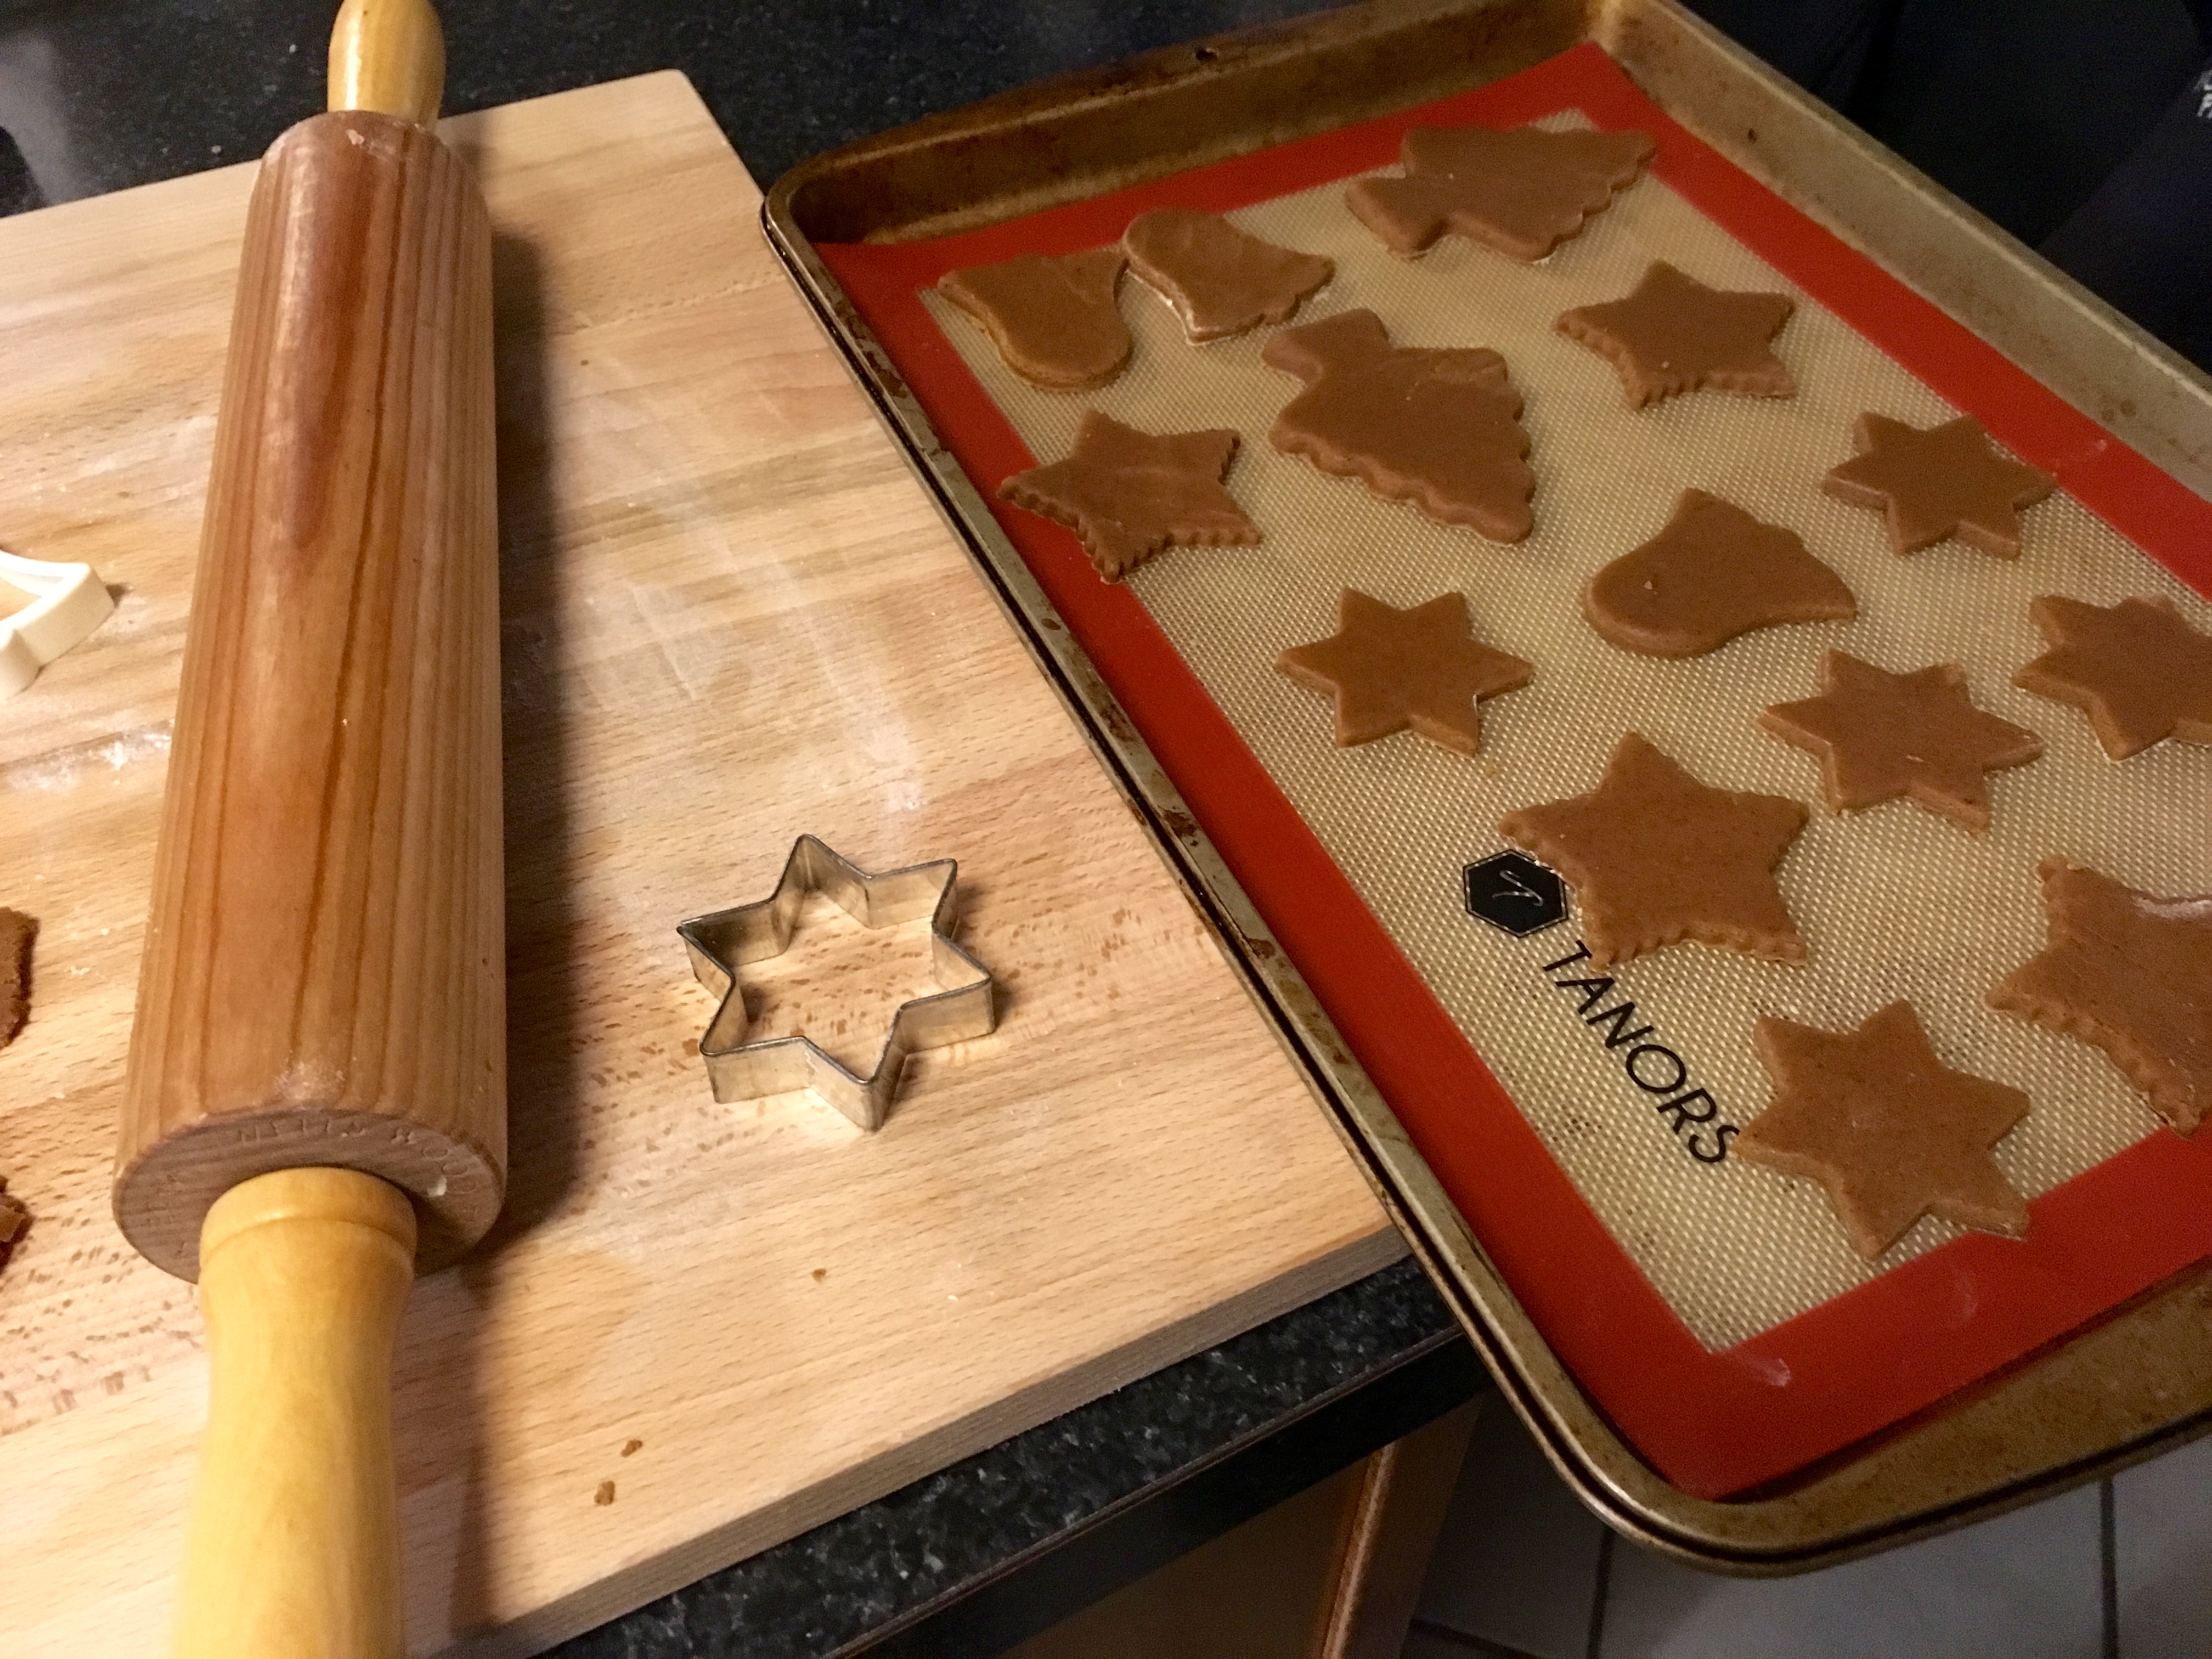
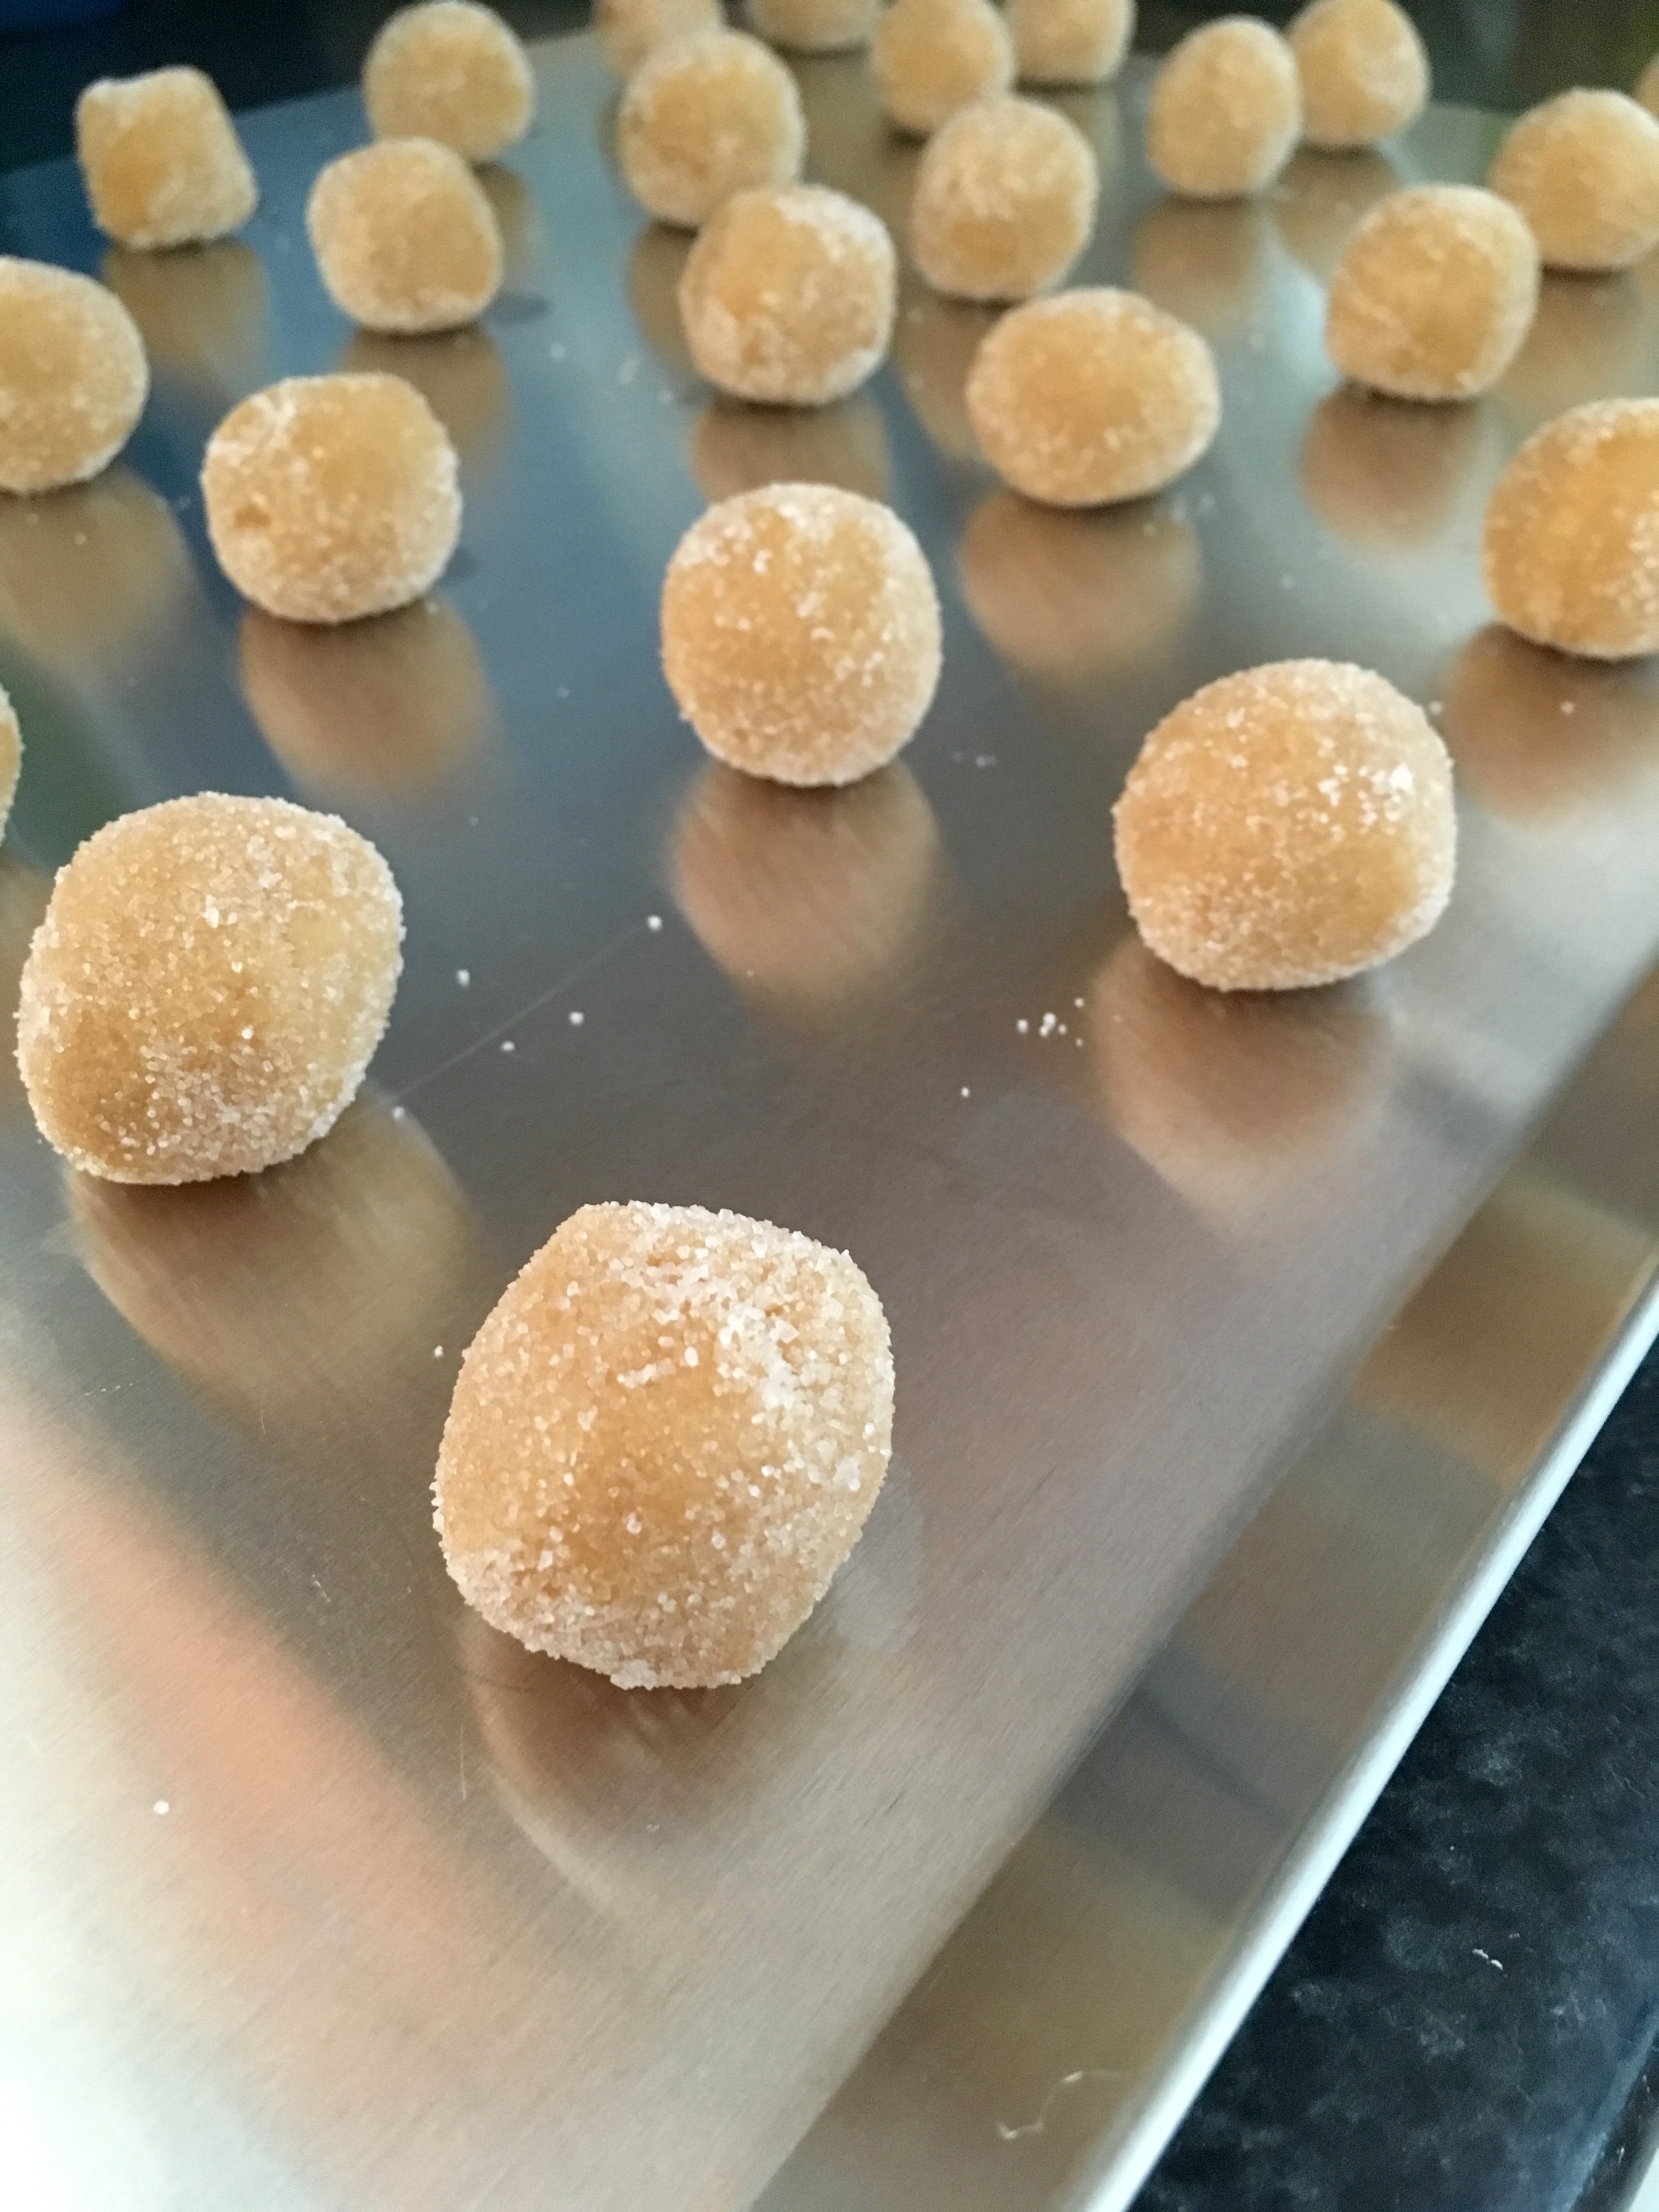
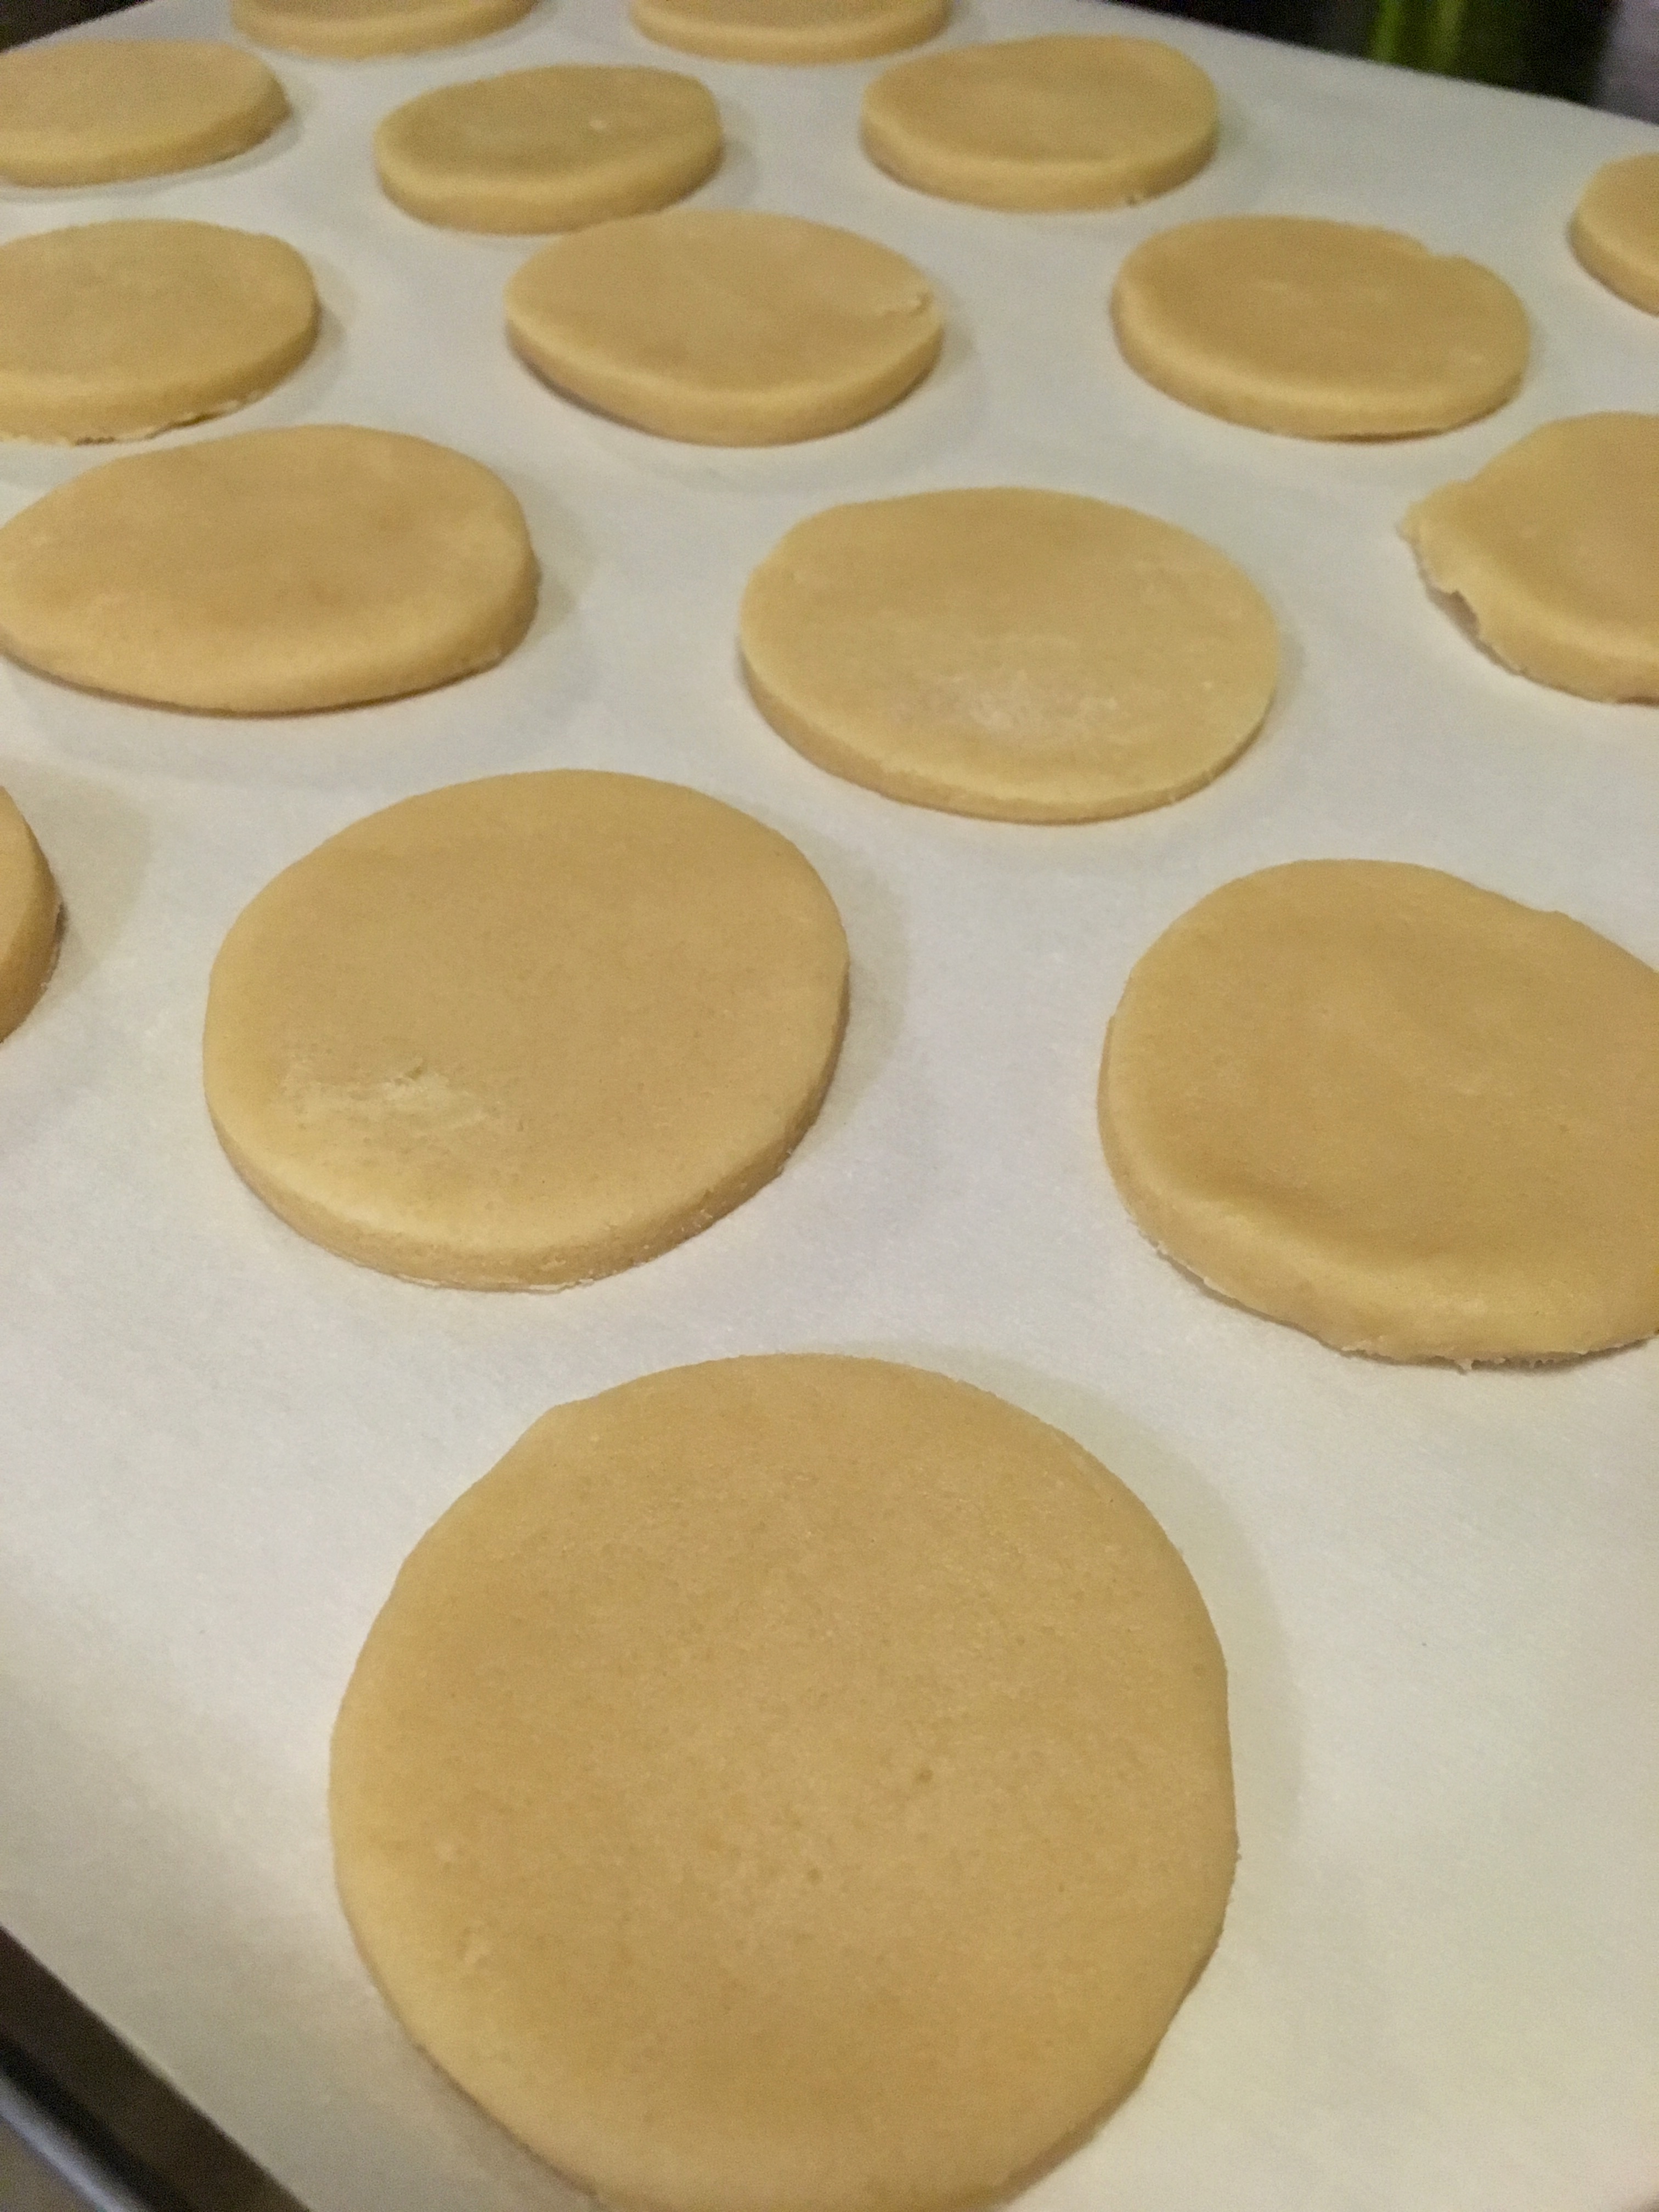
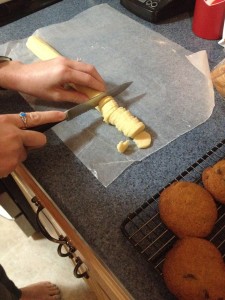
When the dough is nice and cold, cut the logs into 1/4 inch pieces. Place each dough piece on an ungreased cookie sheet. You don’t need to leave a ton of space between them because they don’t spread out much, but it’s still a good idea to leave about an inch between each cookie just in case.

IMG_3637IMG_3642

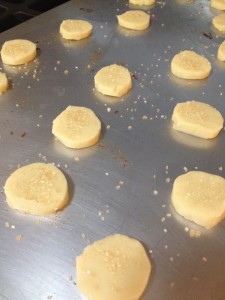
After you’re done cutting the dough and putting it on a cookie sheet, you can sprinkle toppings on the cookies if you want. As you can see, I sprinkled raw sugar over the top of the plain ones. This would also be a good time to sprinkle brown sugar over the ones with the nuts, or whatever other topping you want.

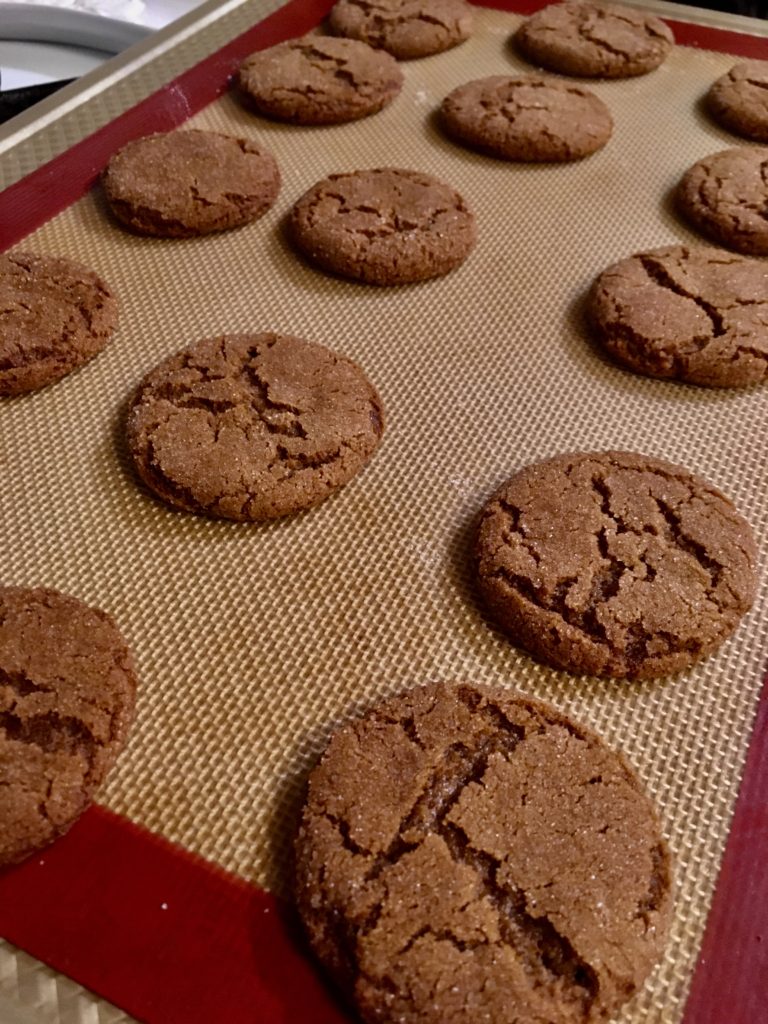
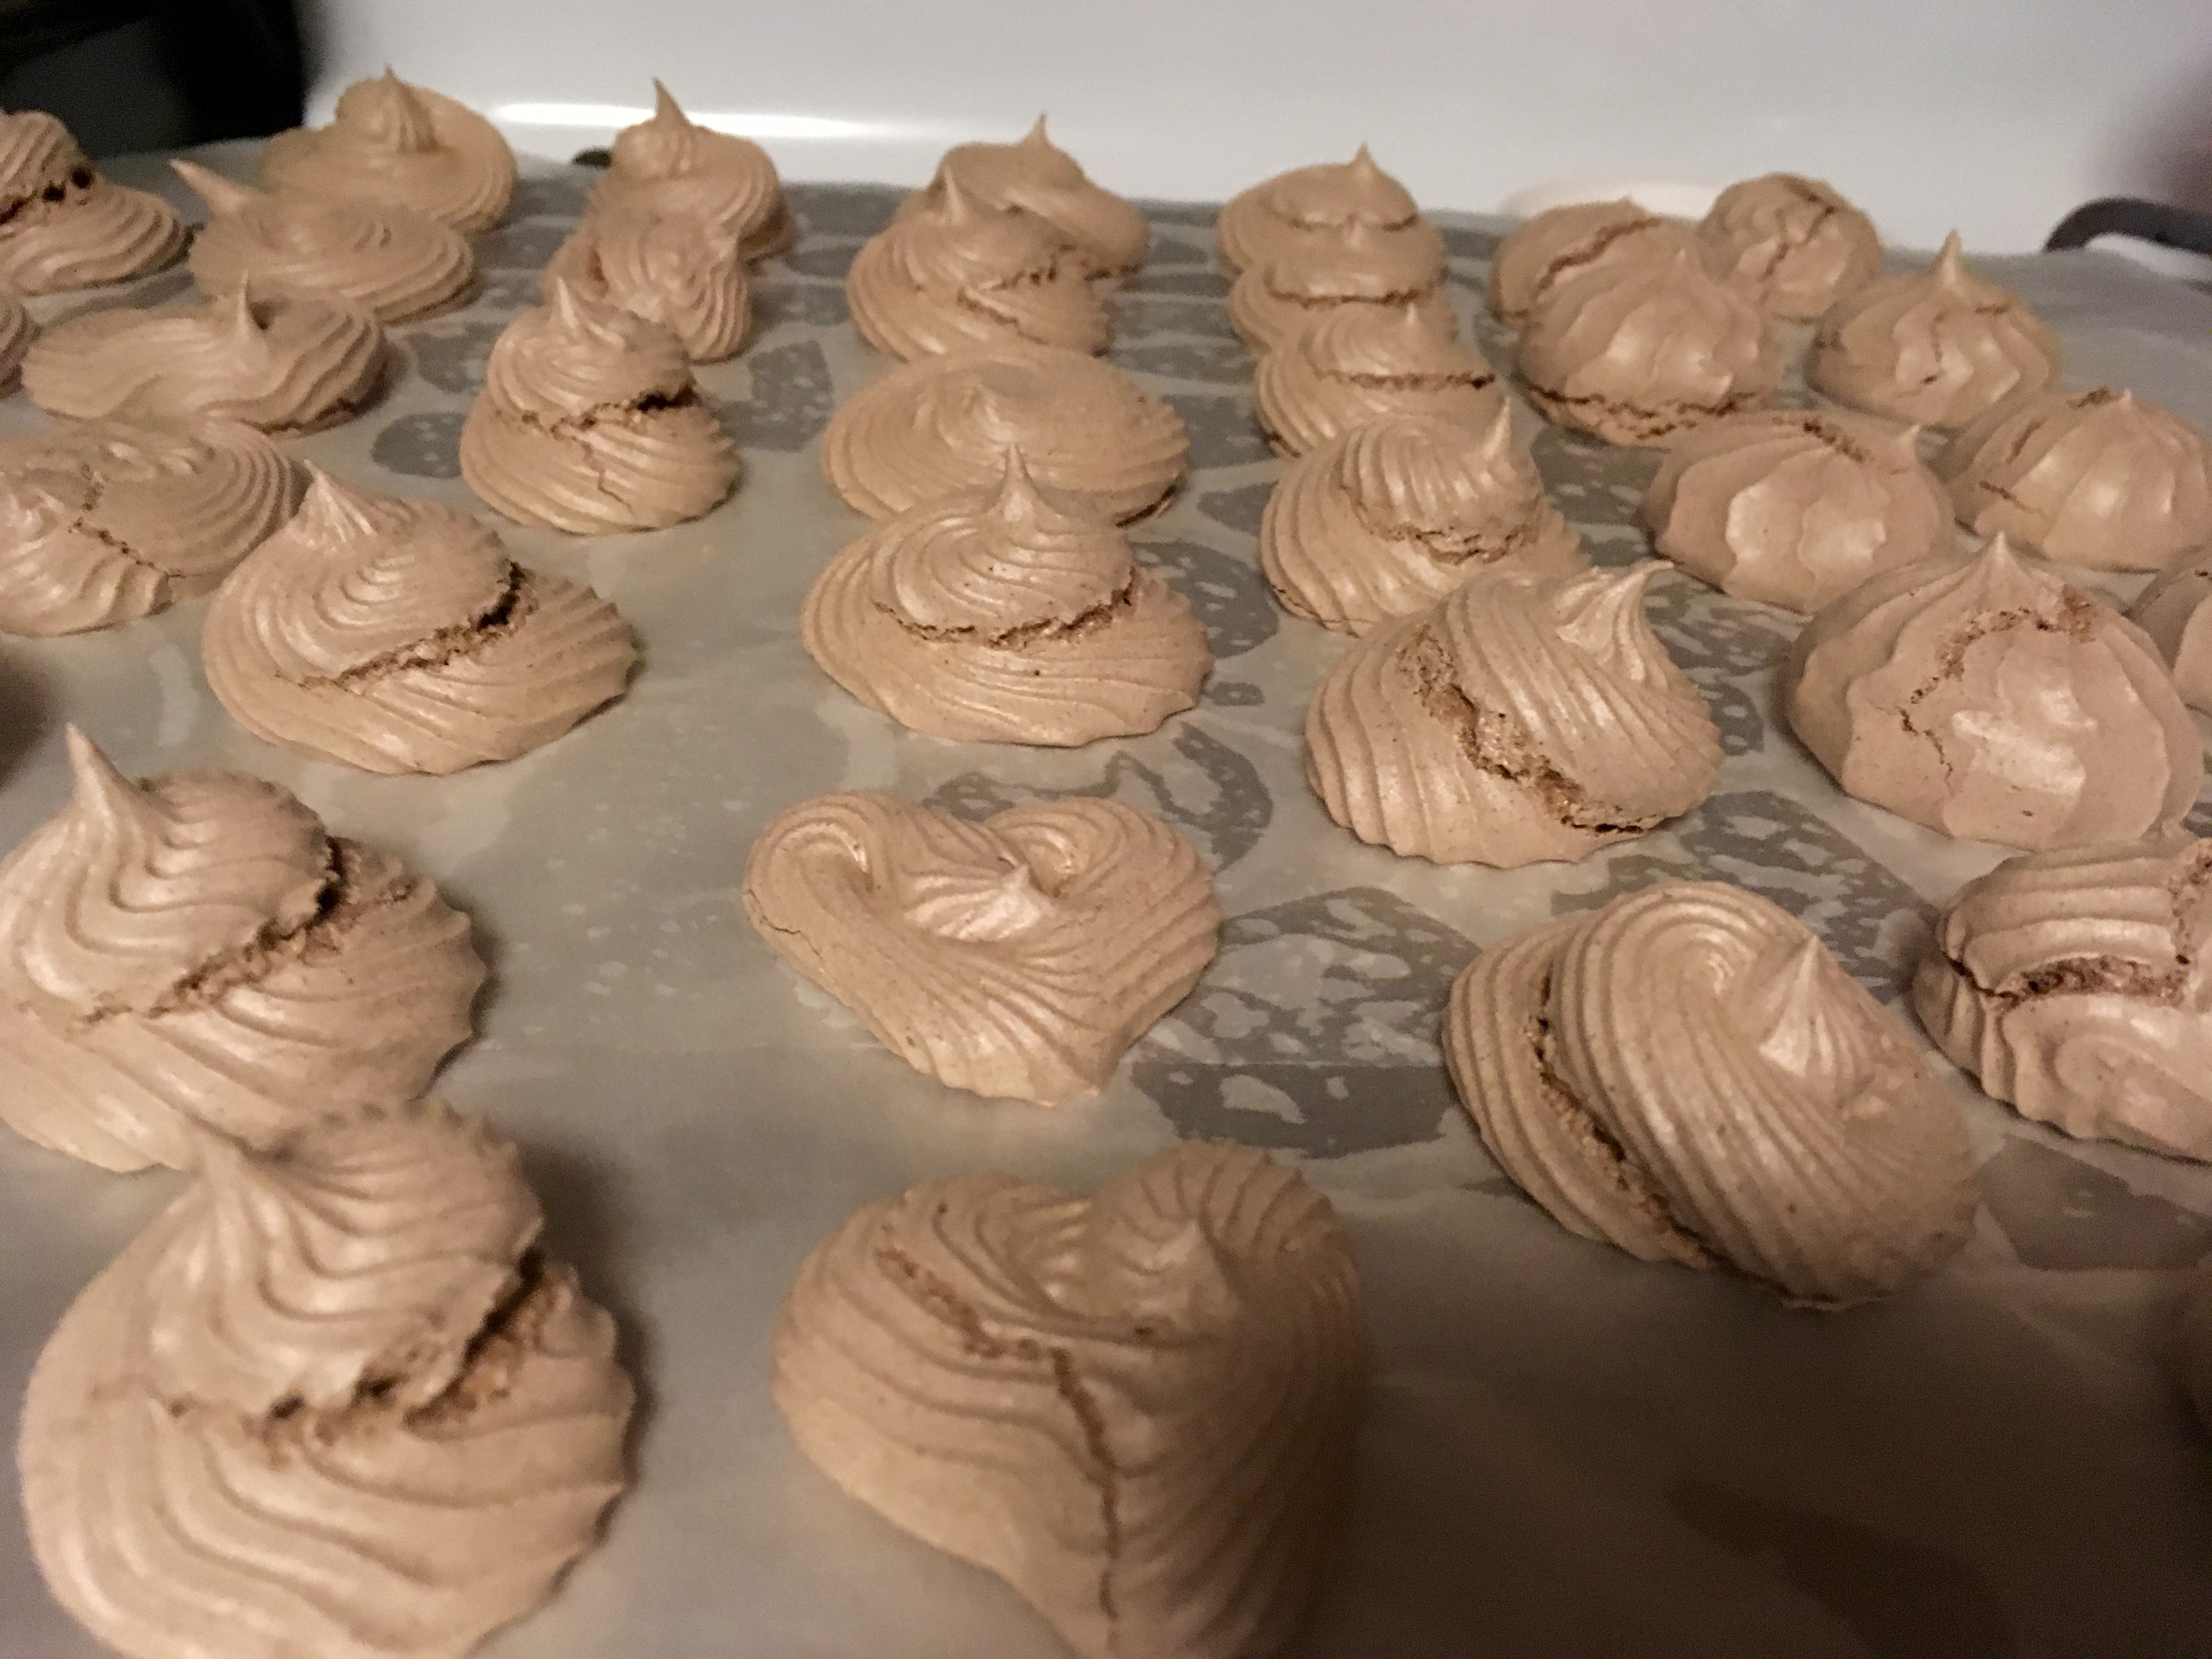
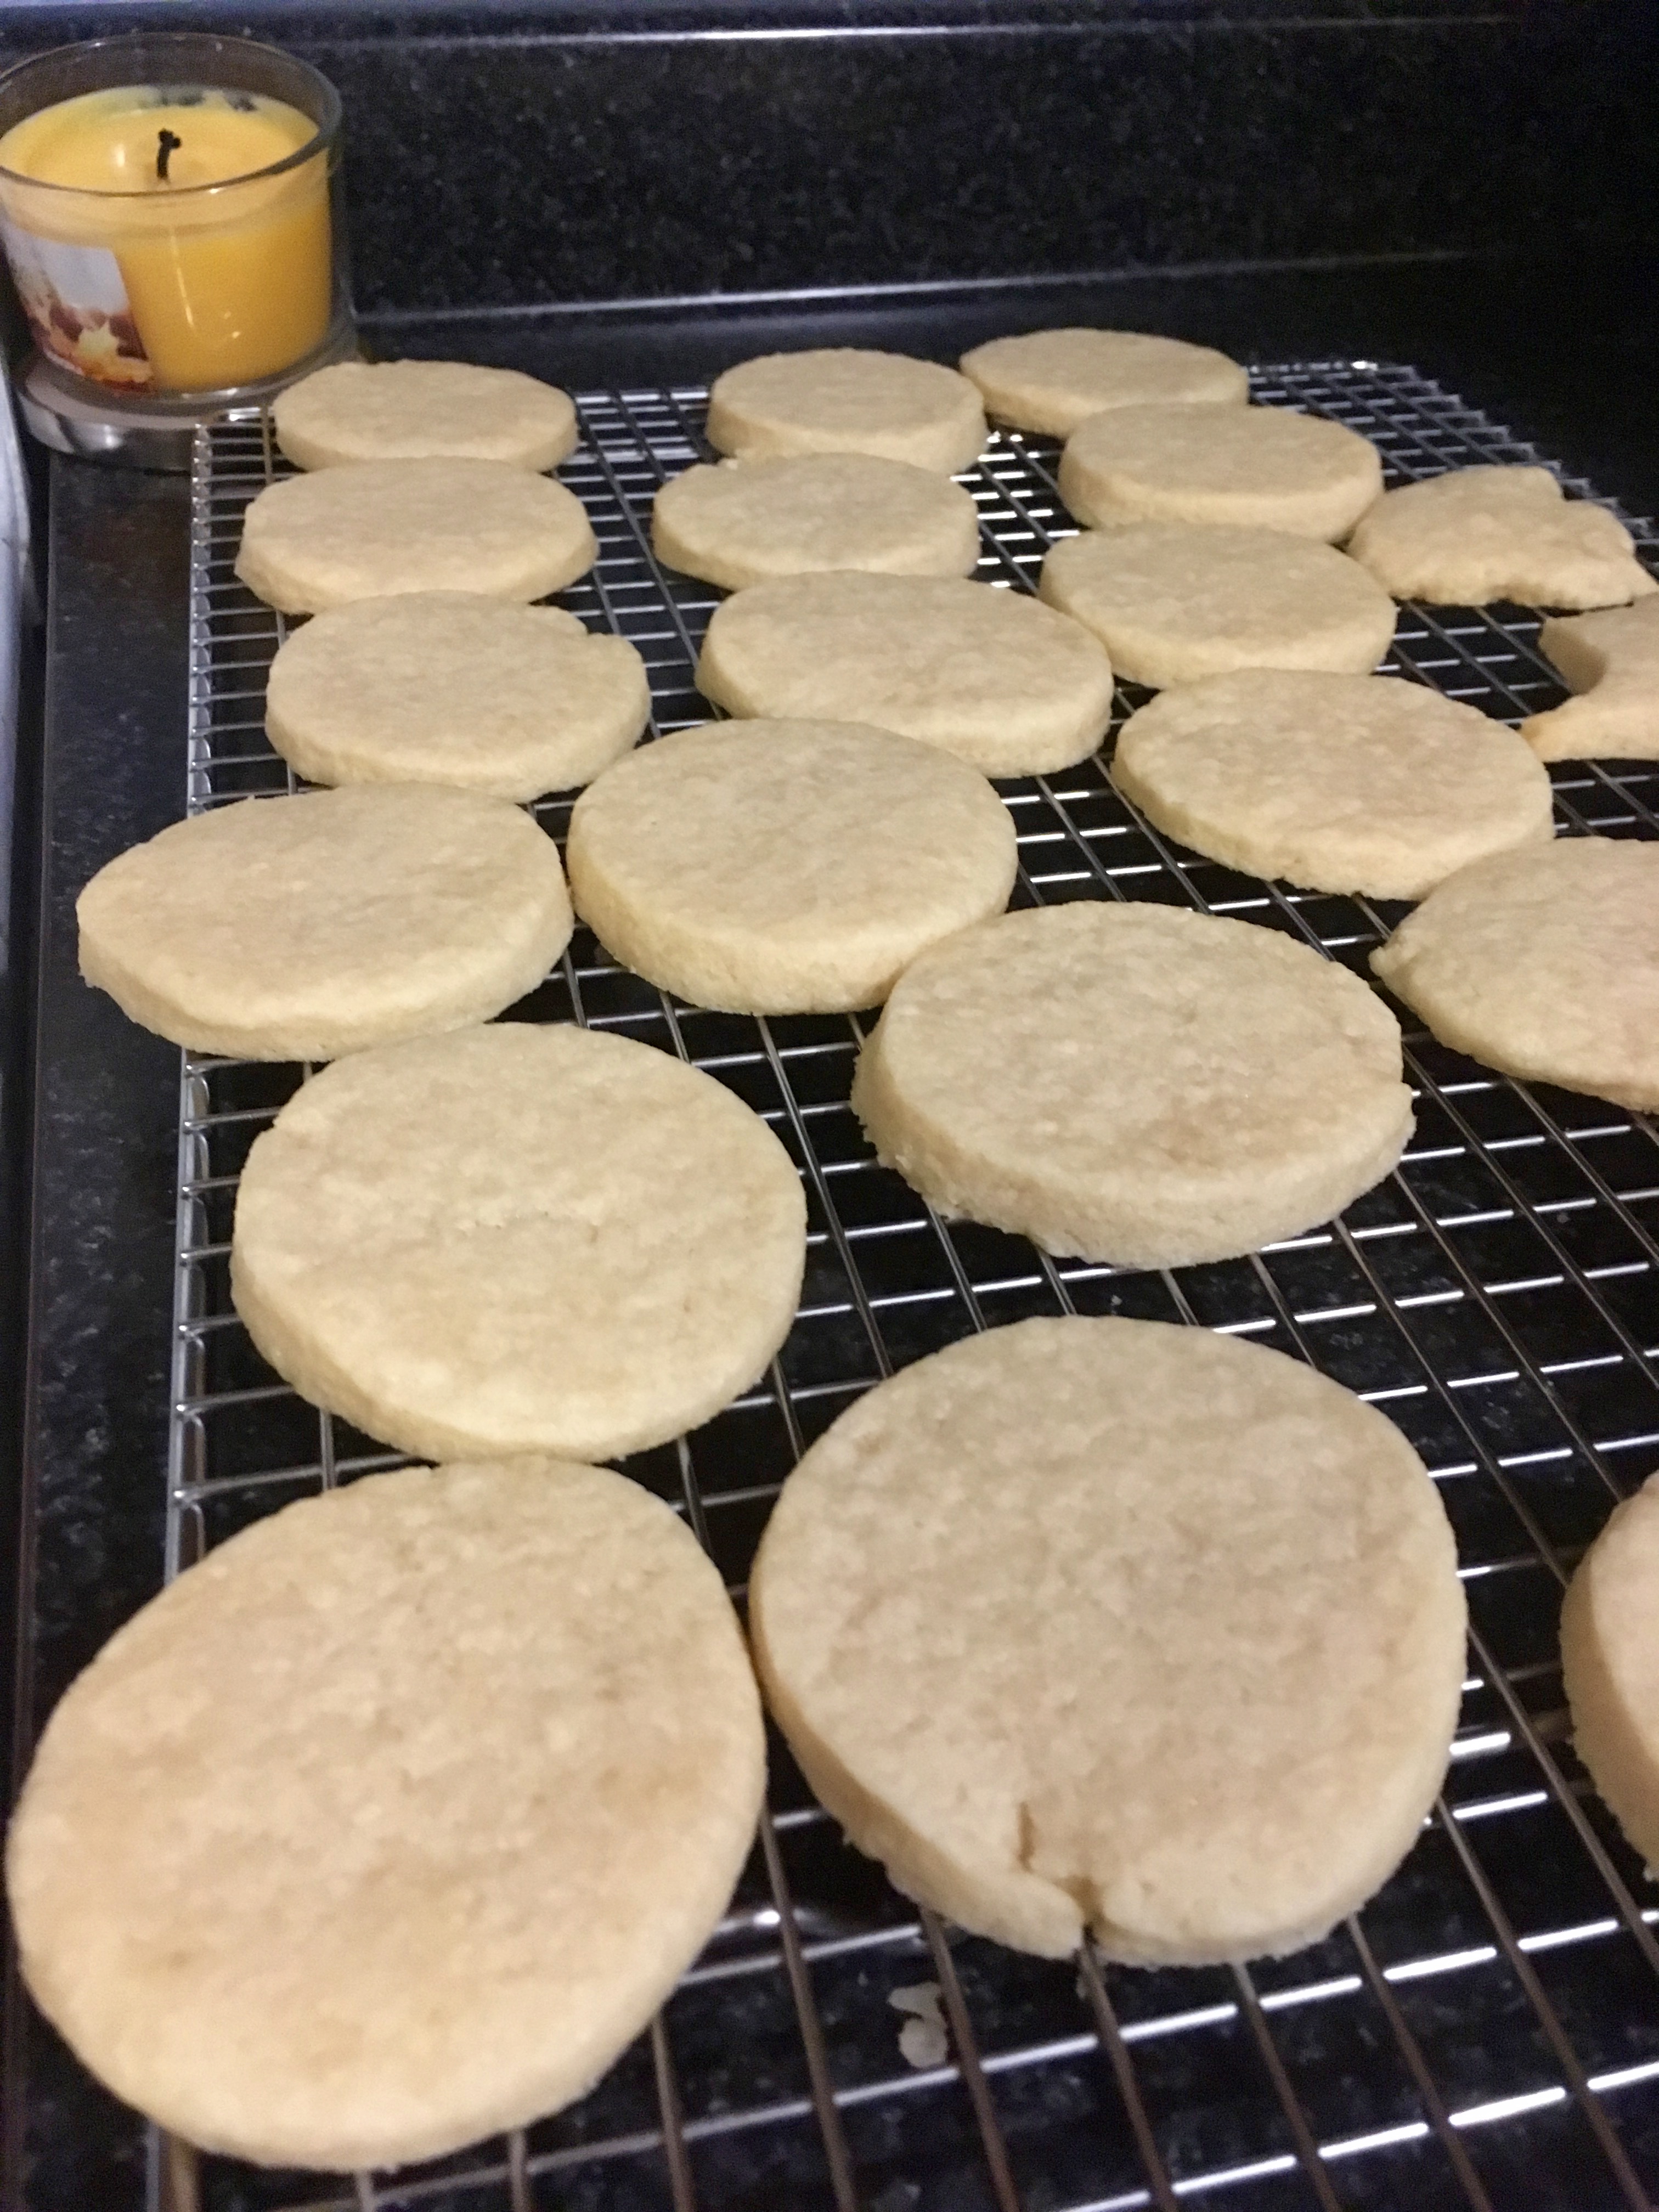
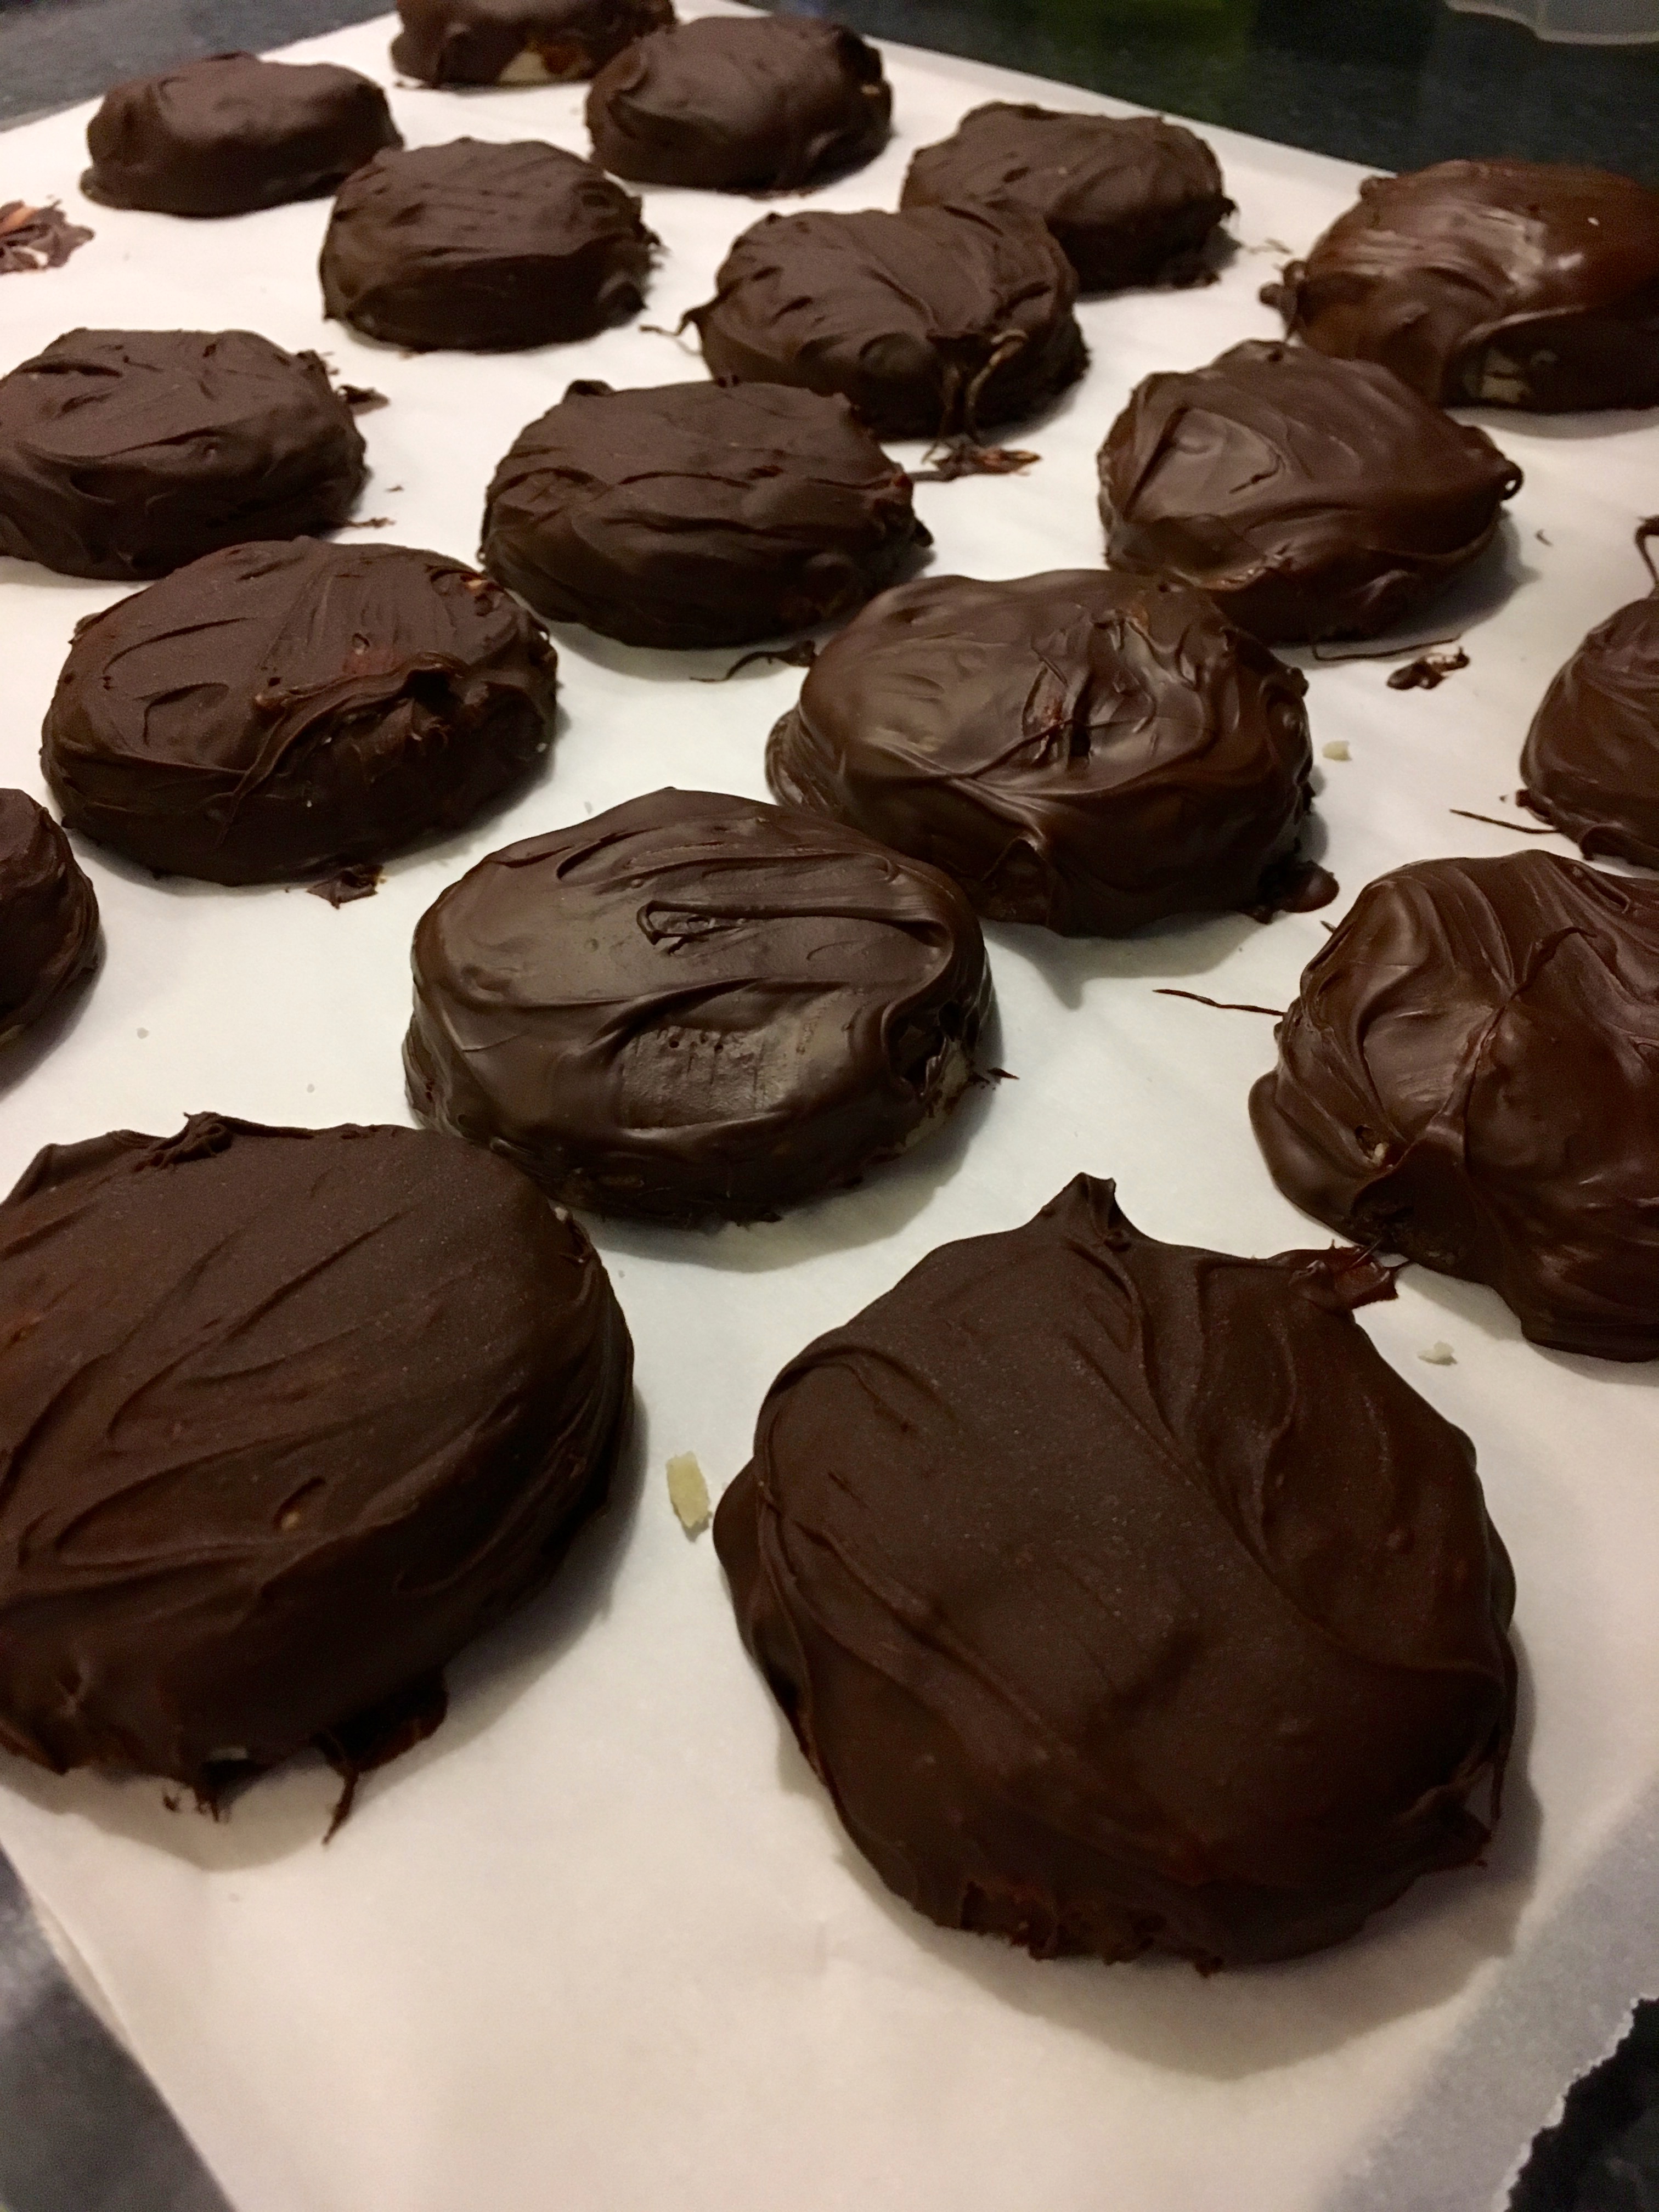
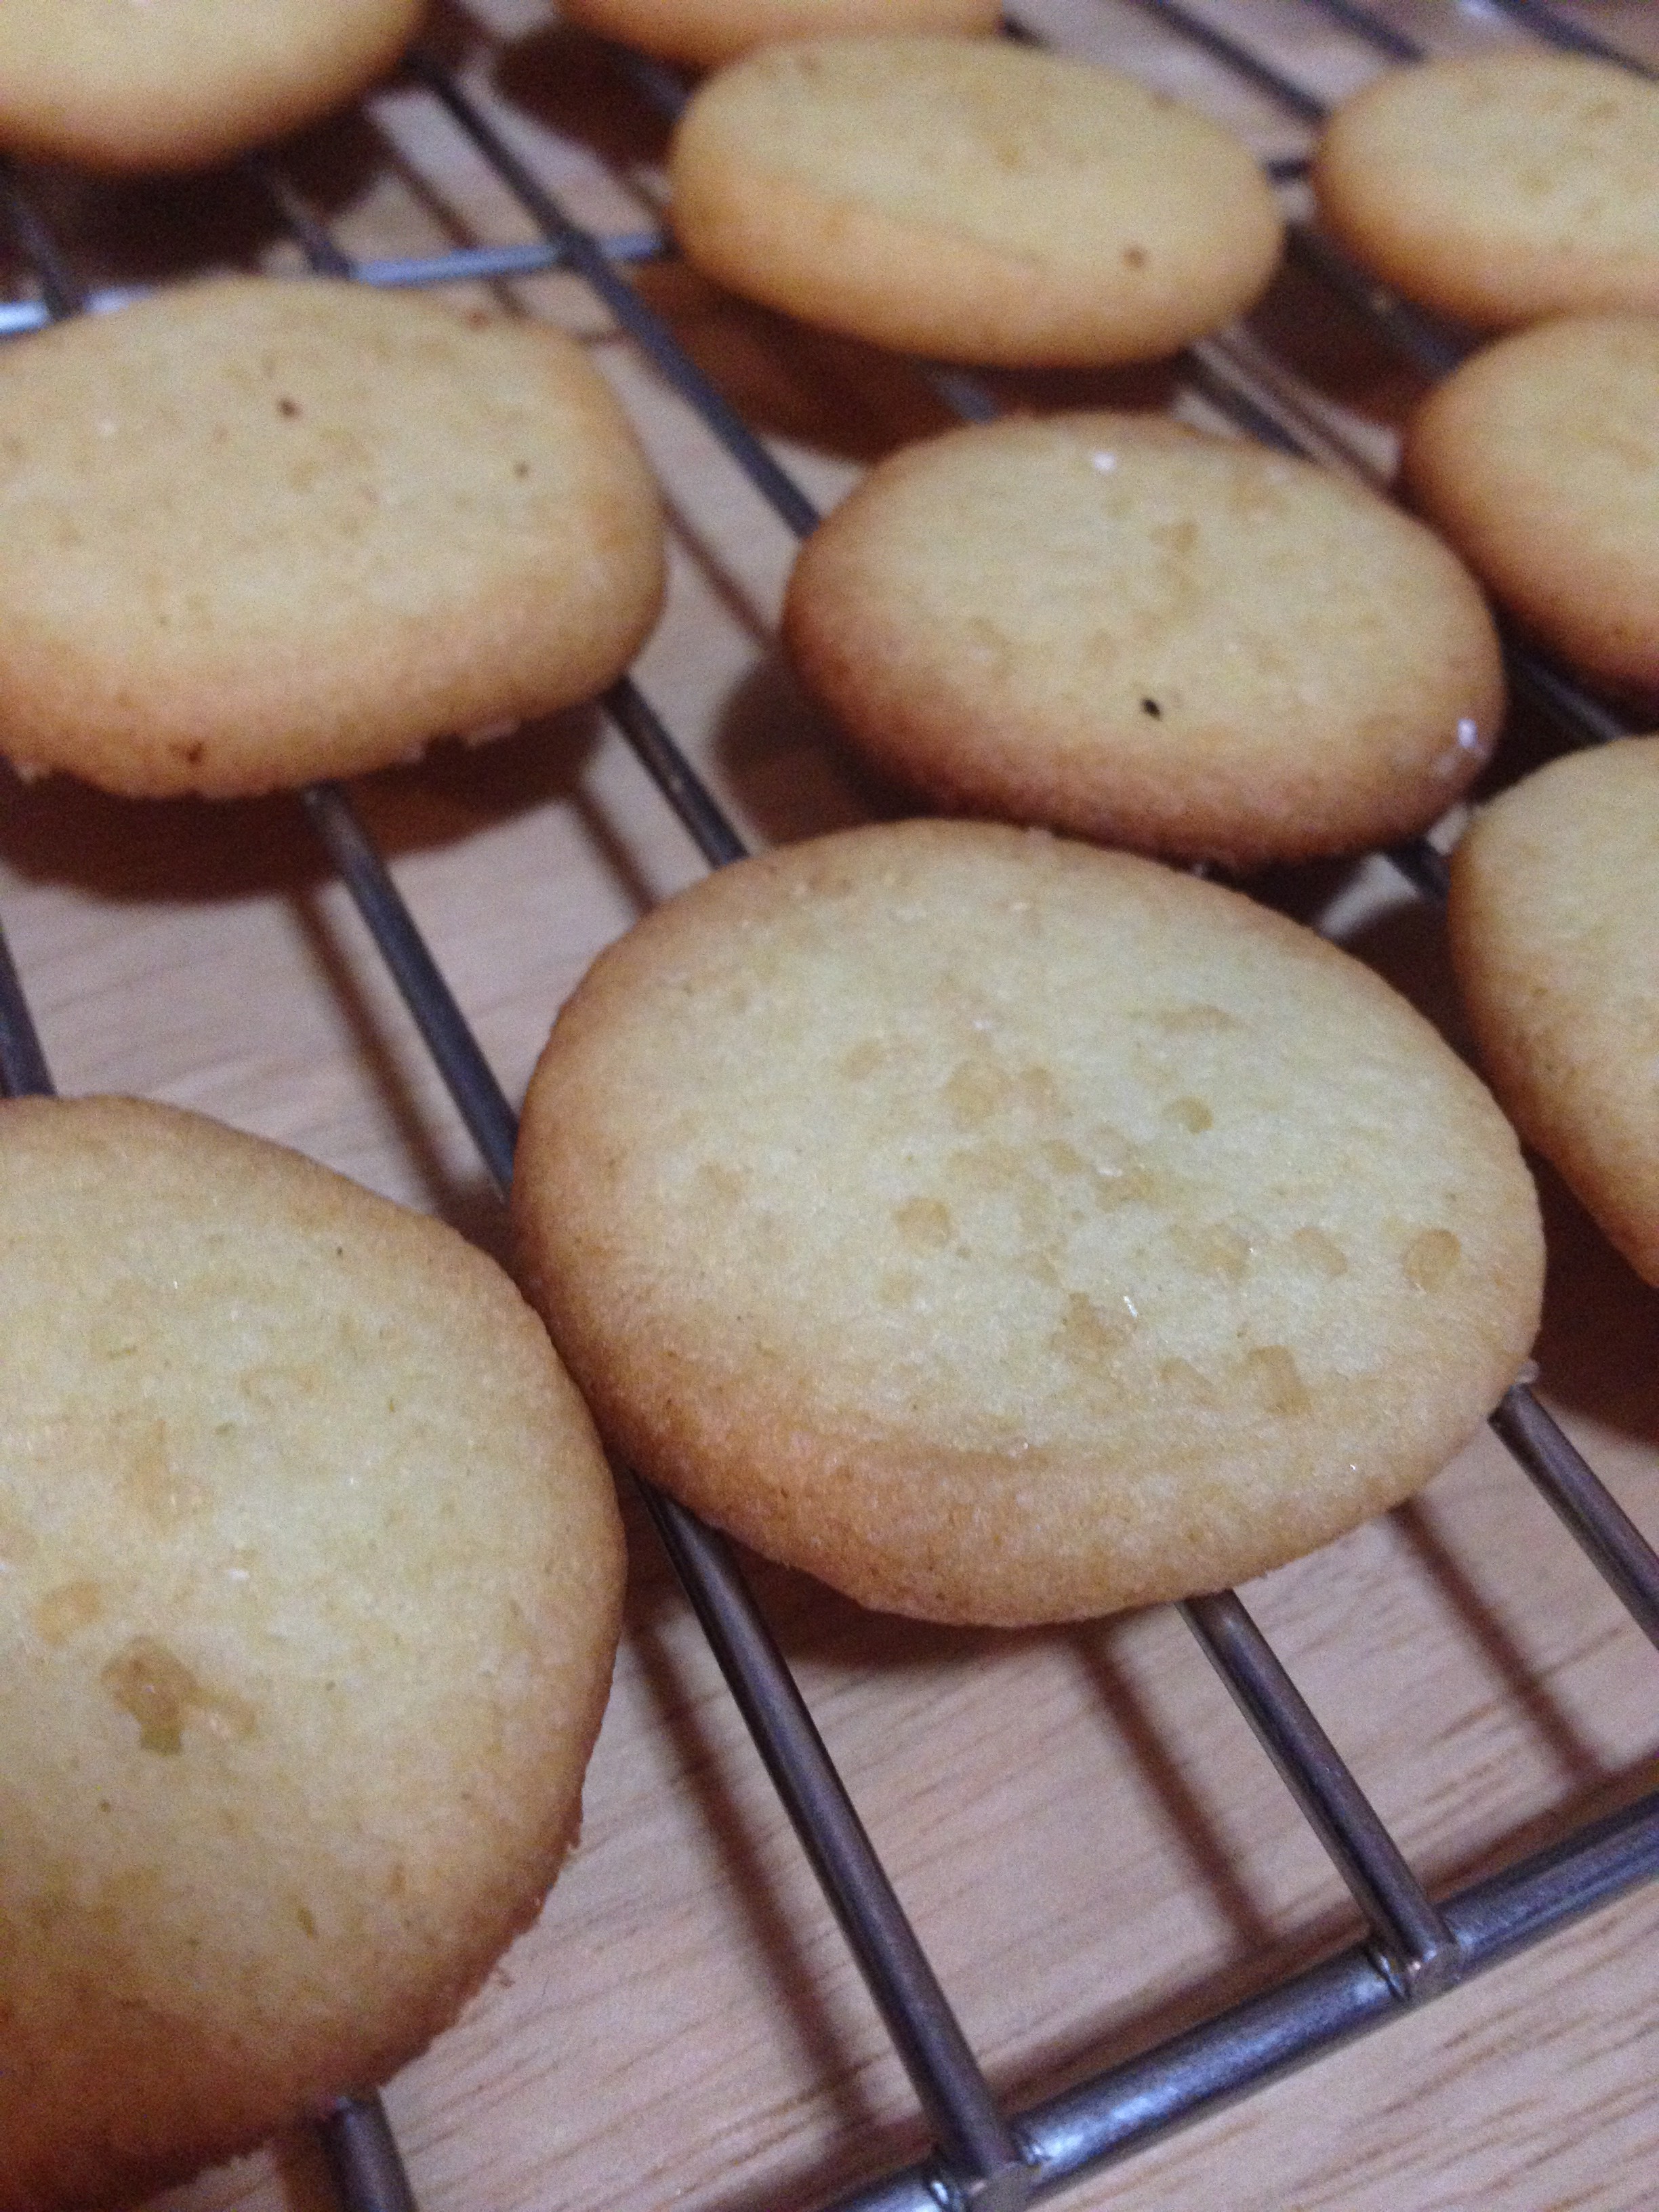
Bake the cookies for ~6 minutes at 400°F. When they’re done, transfer them to a wire cooling rack .

IMG_3643IMG_3644

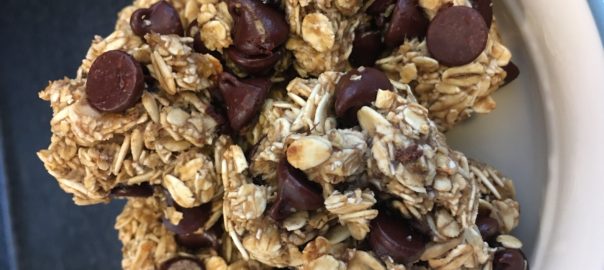
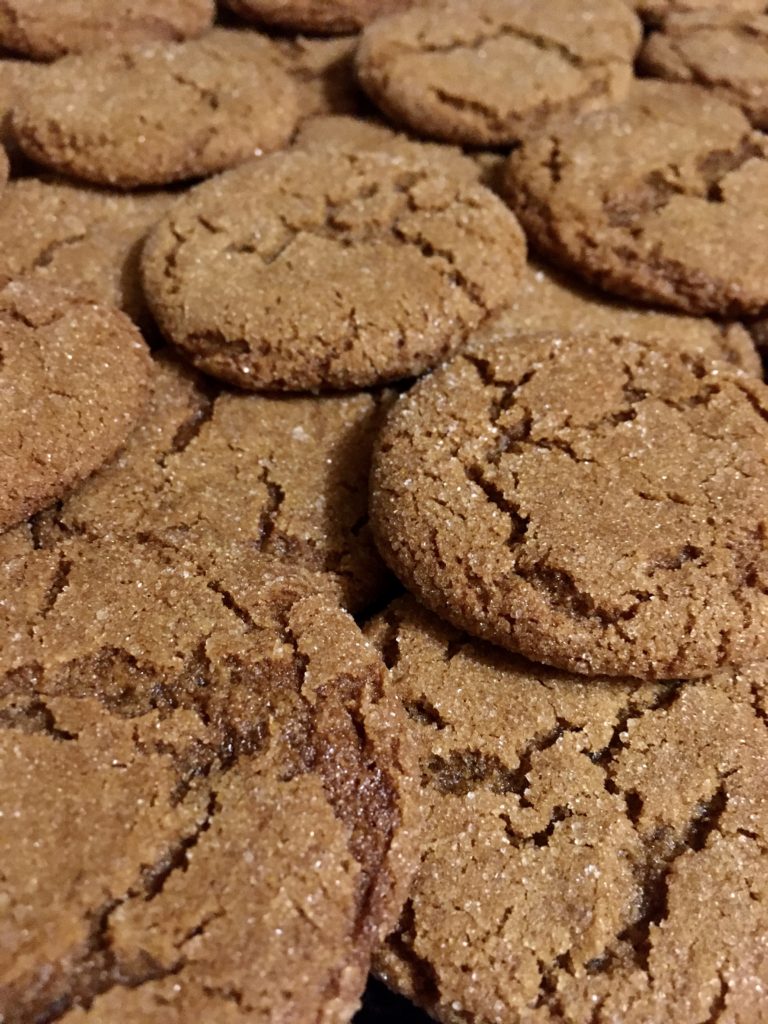
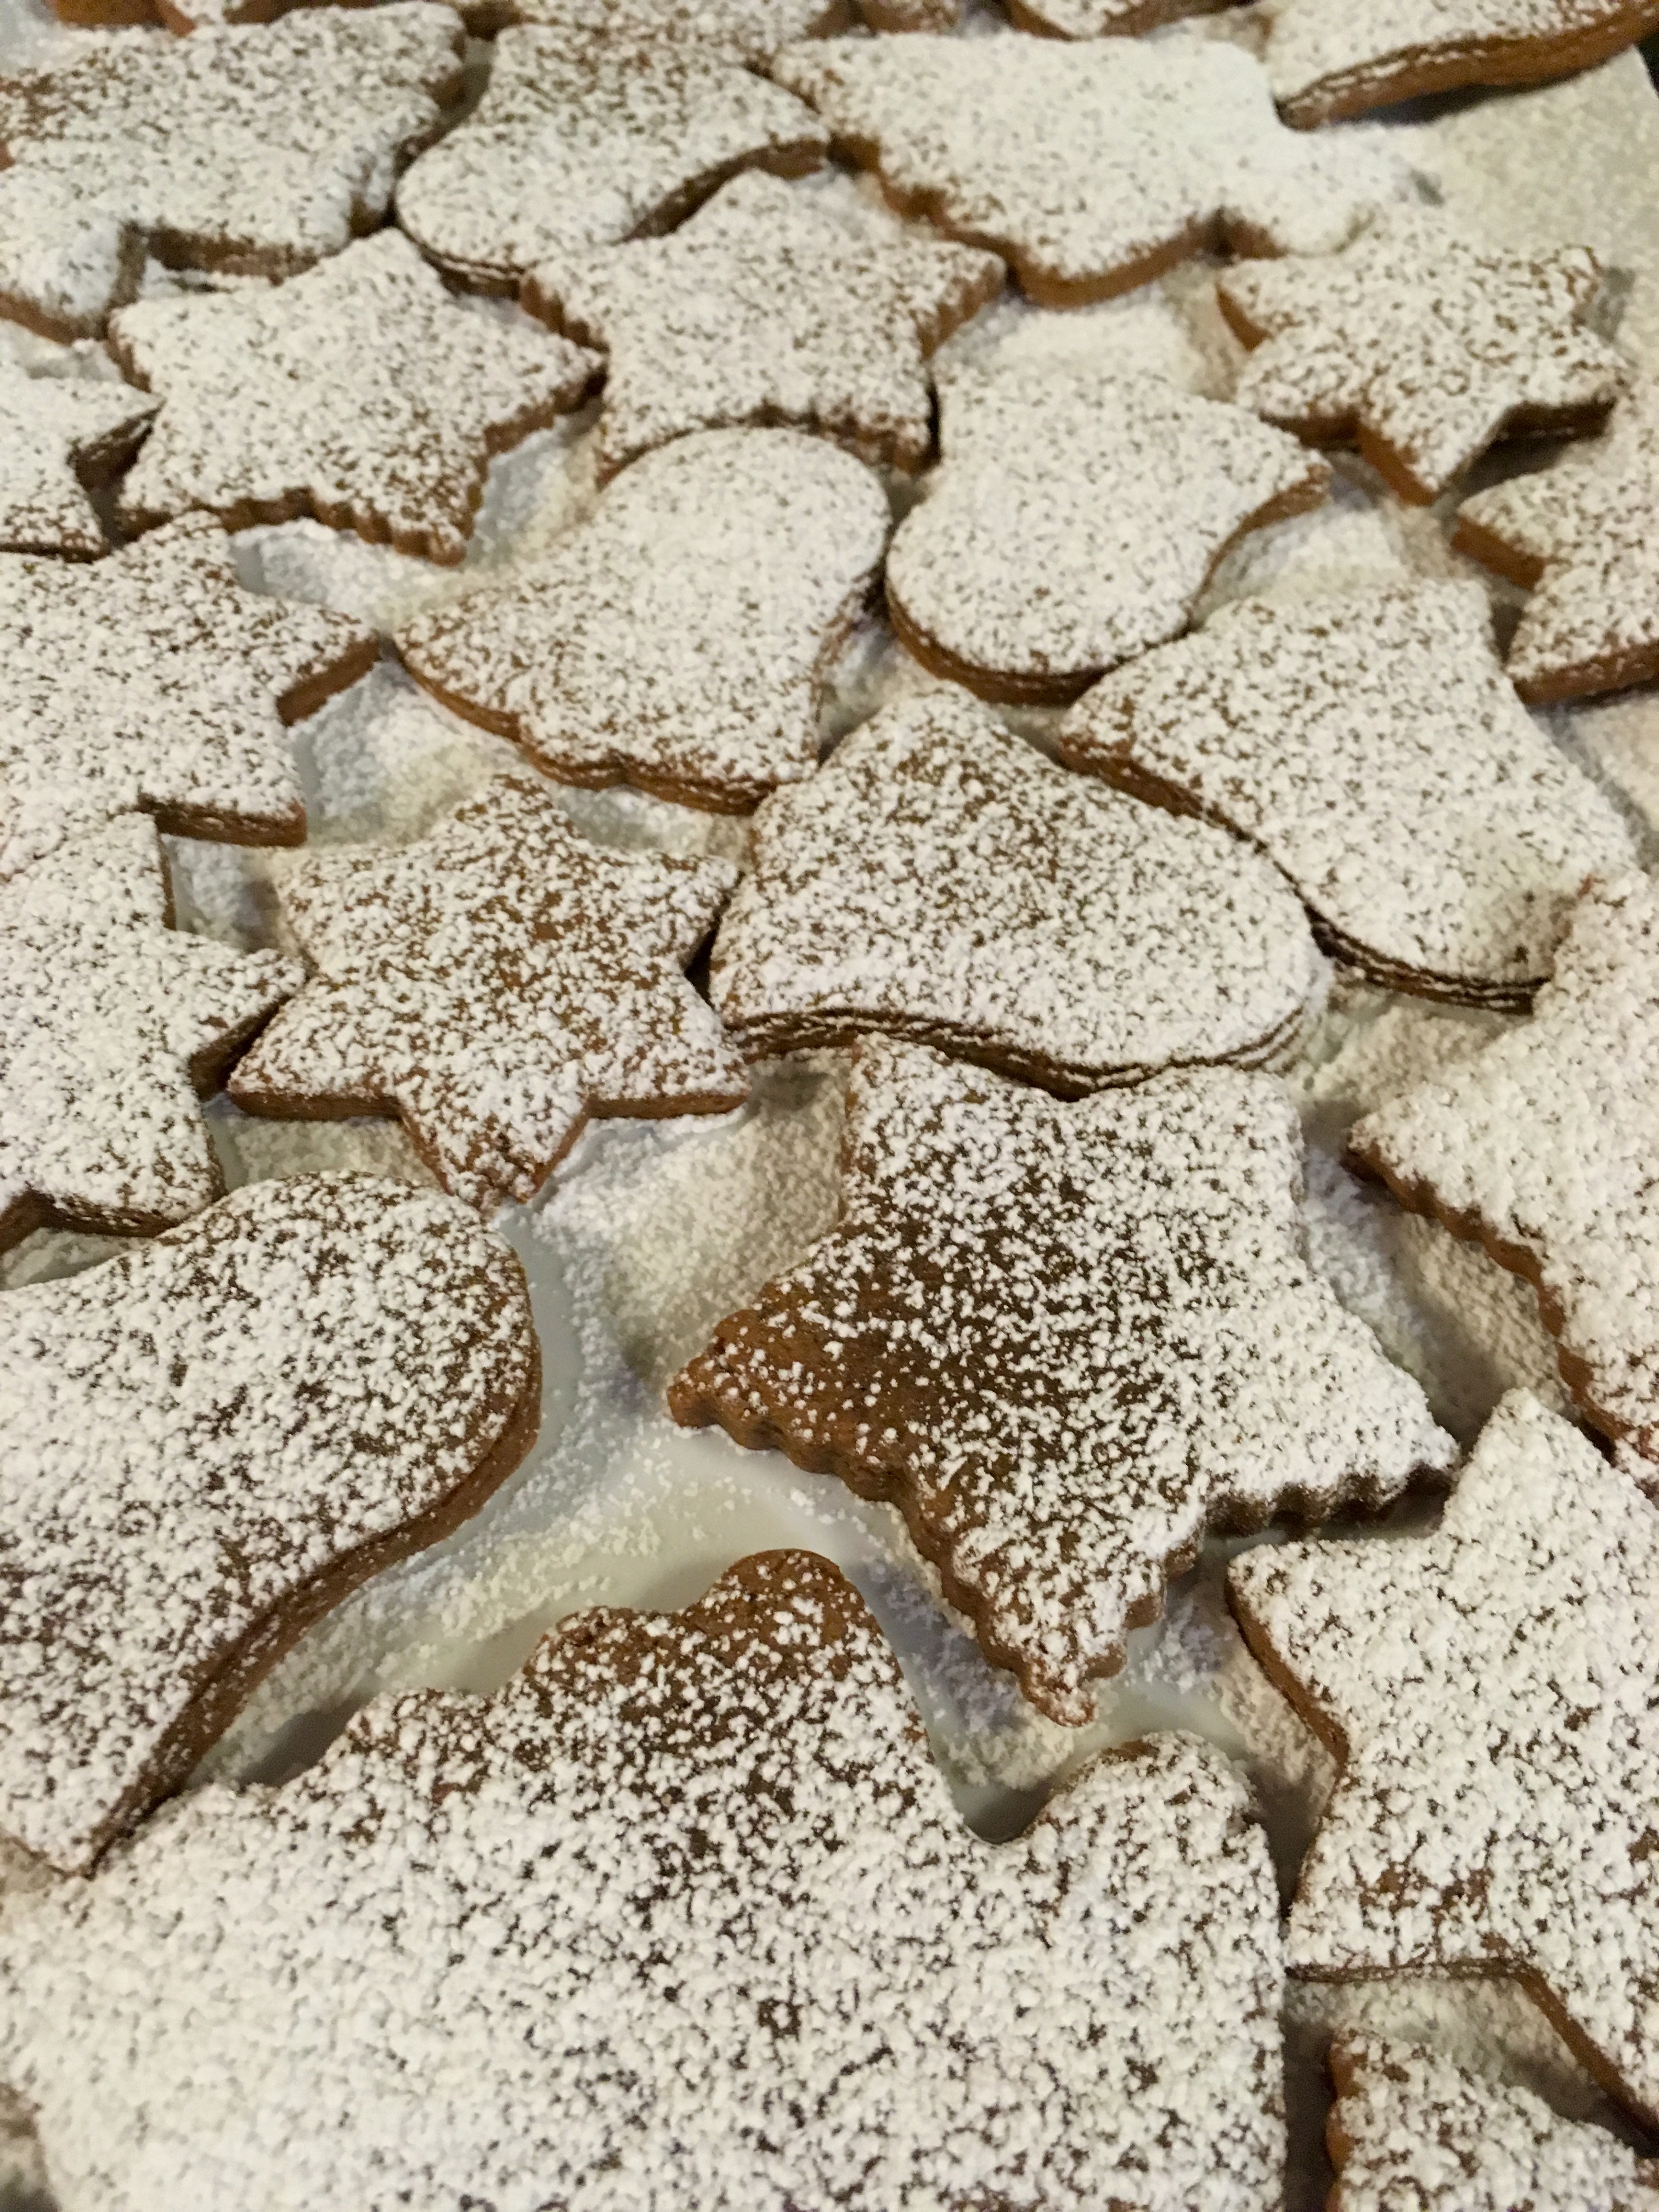
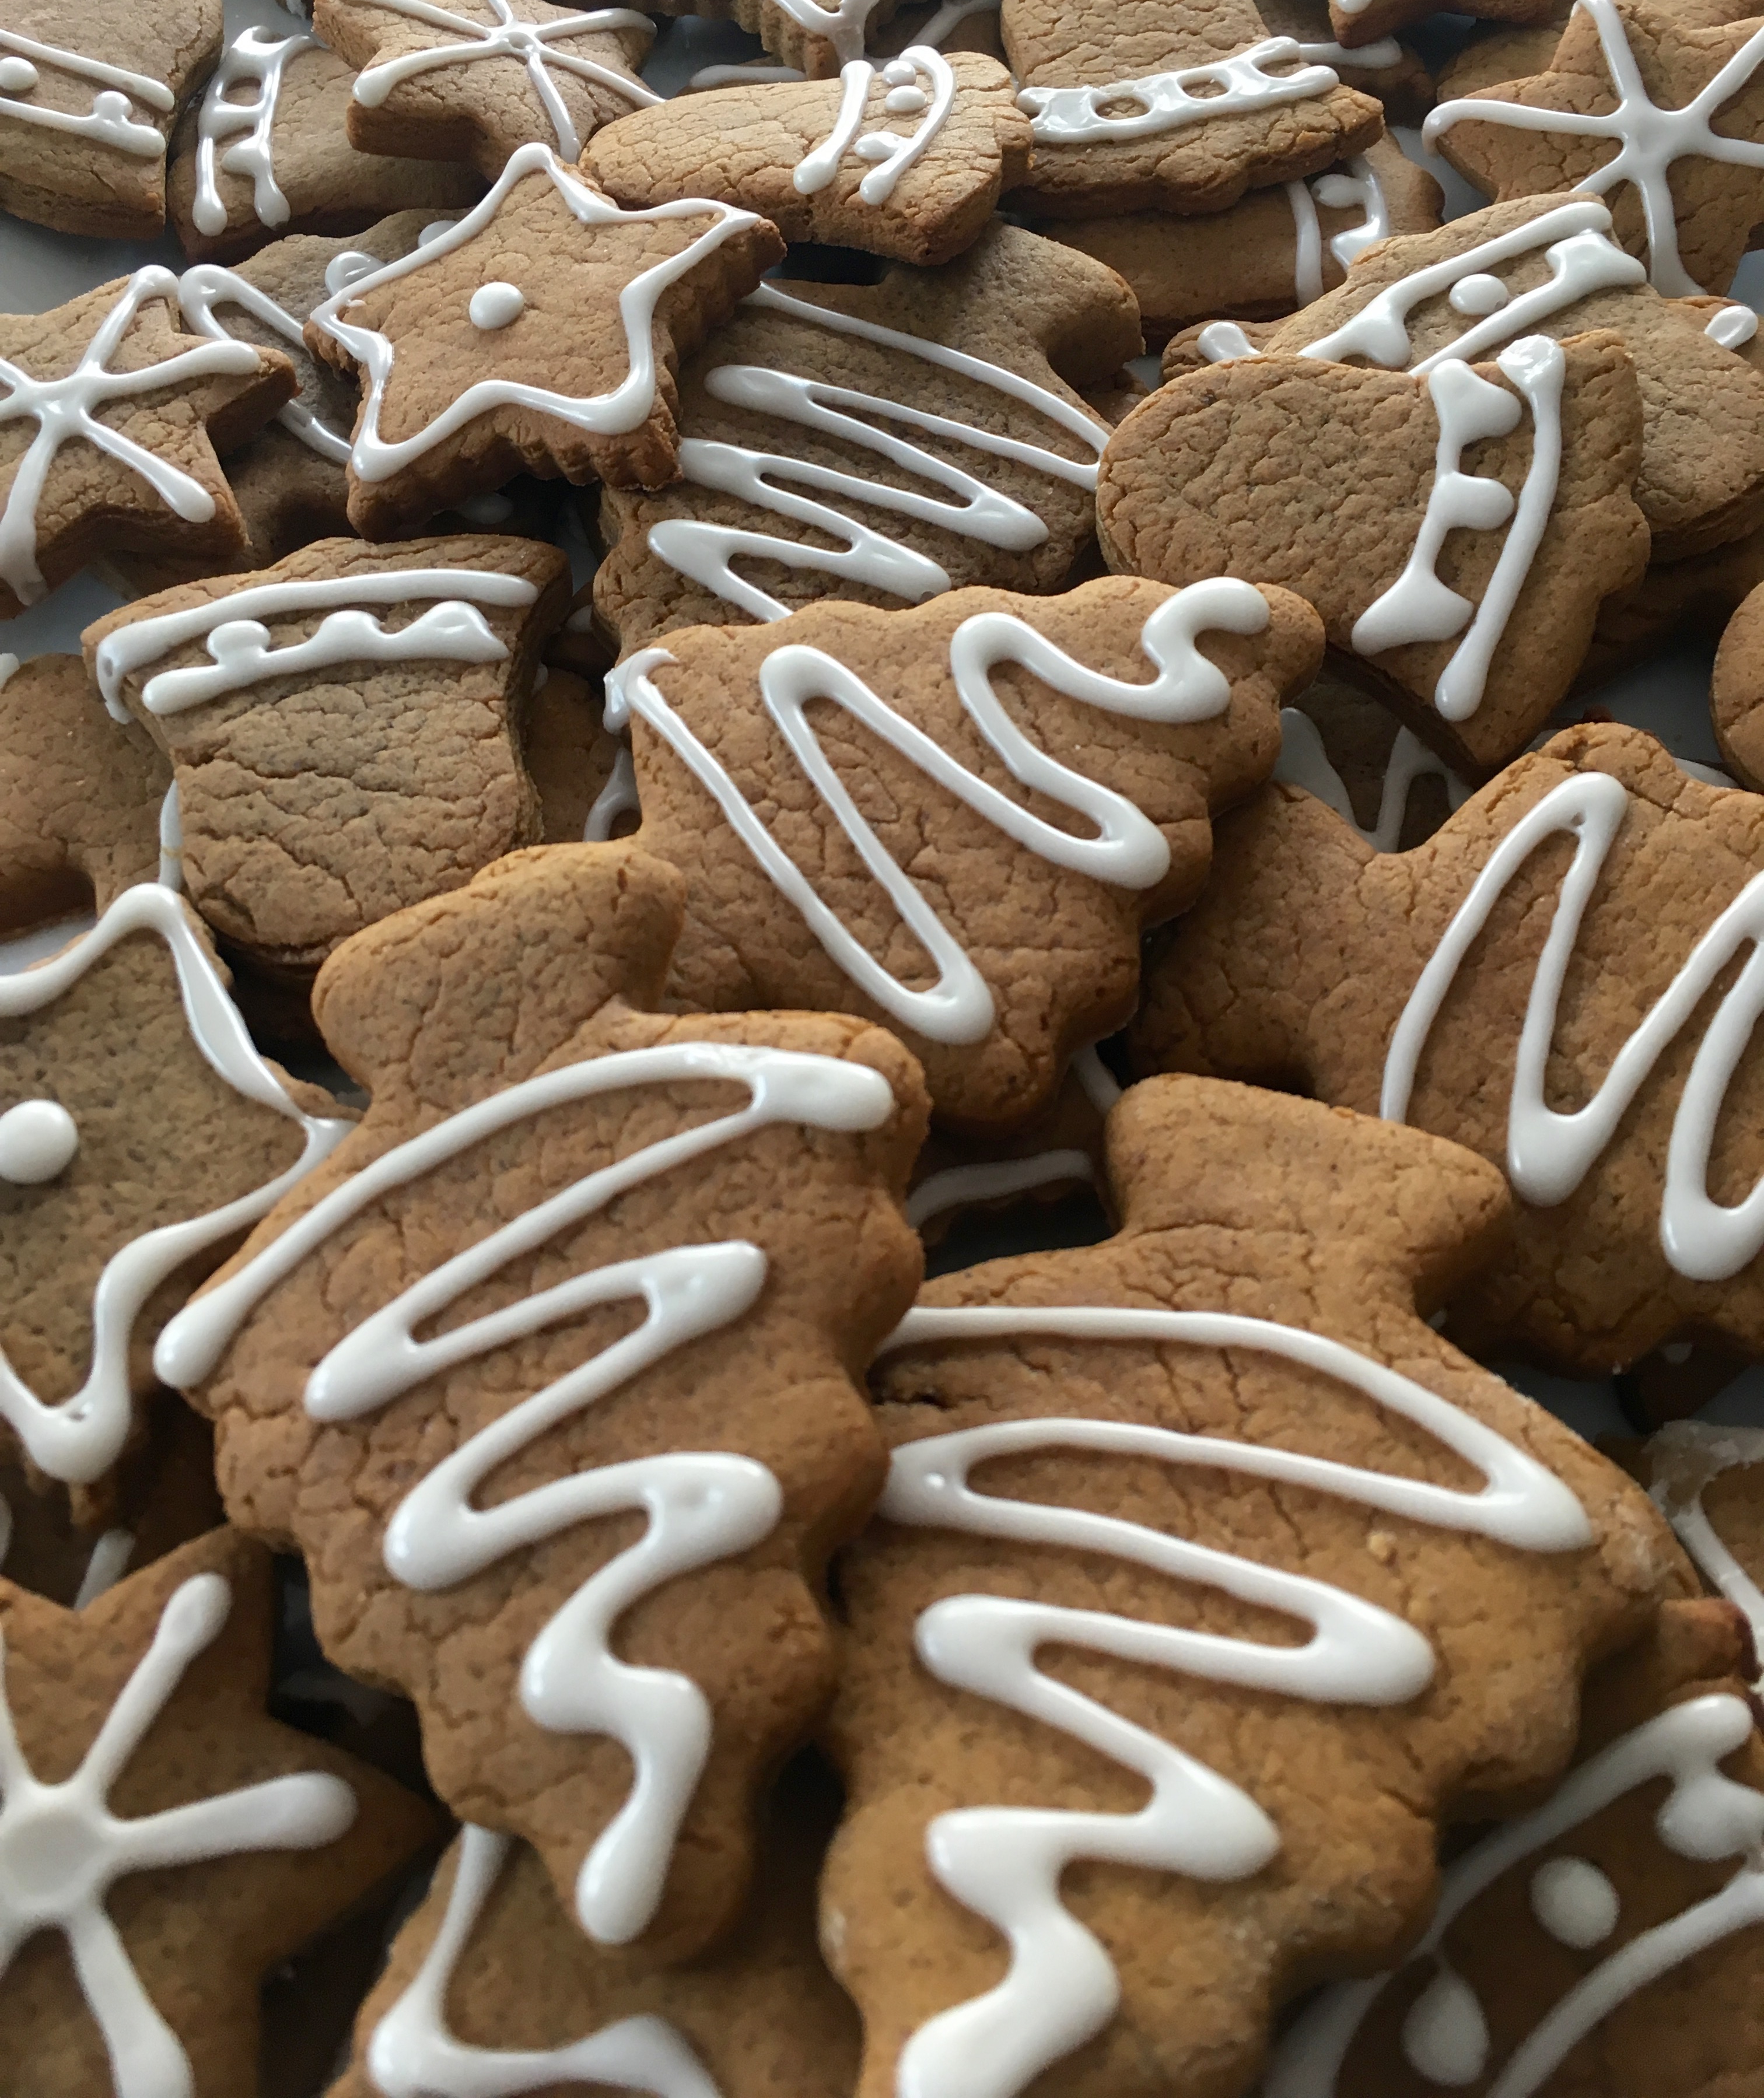
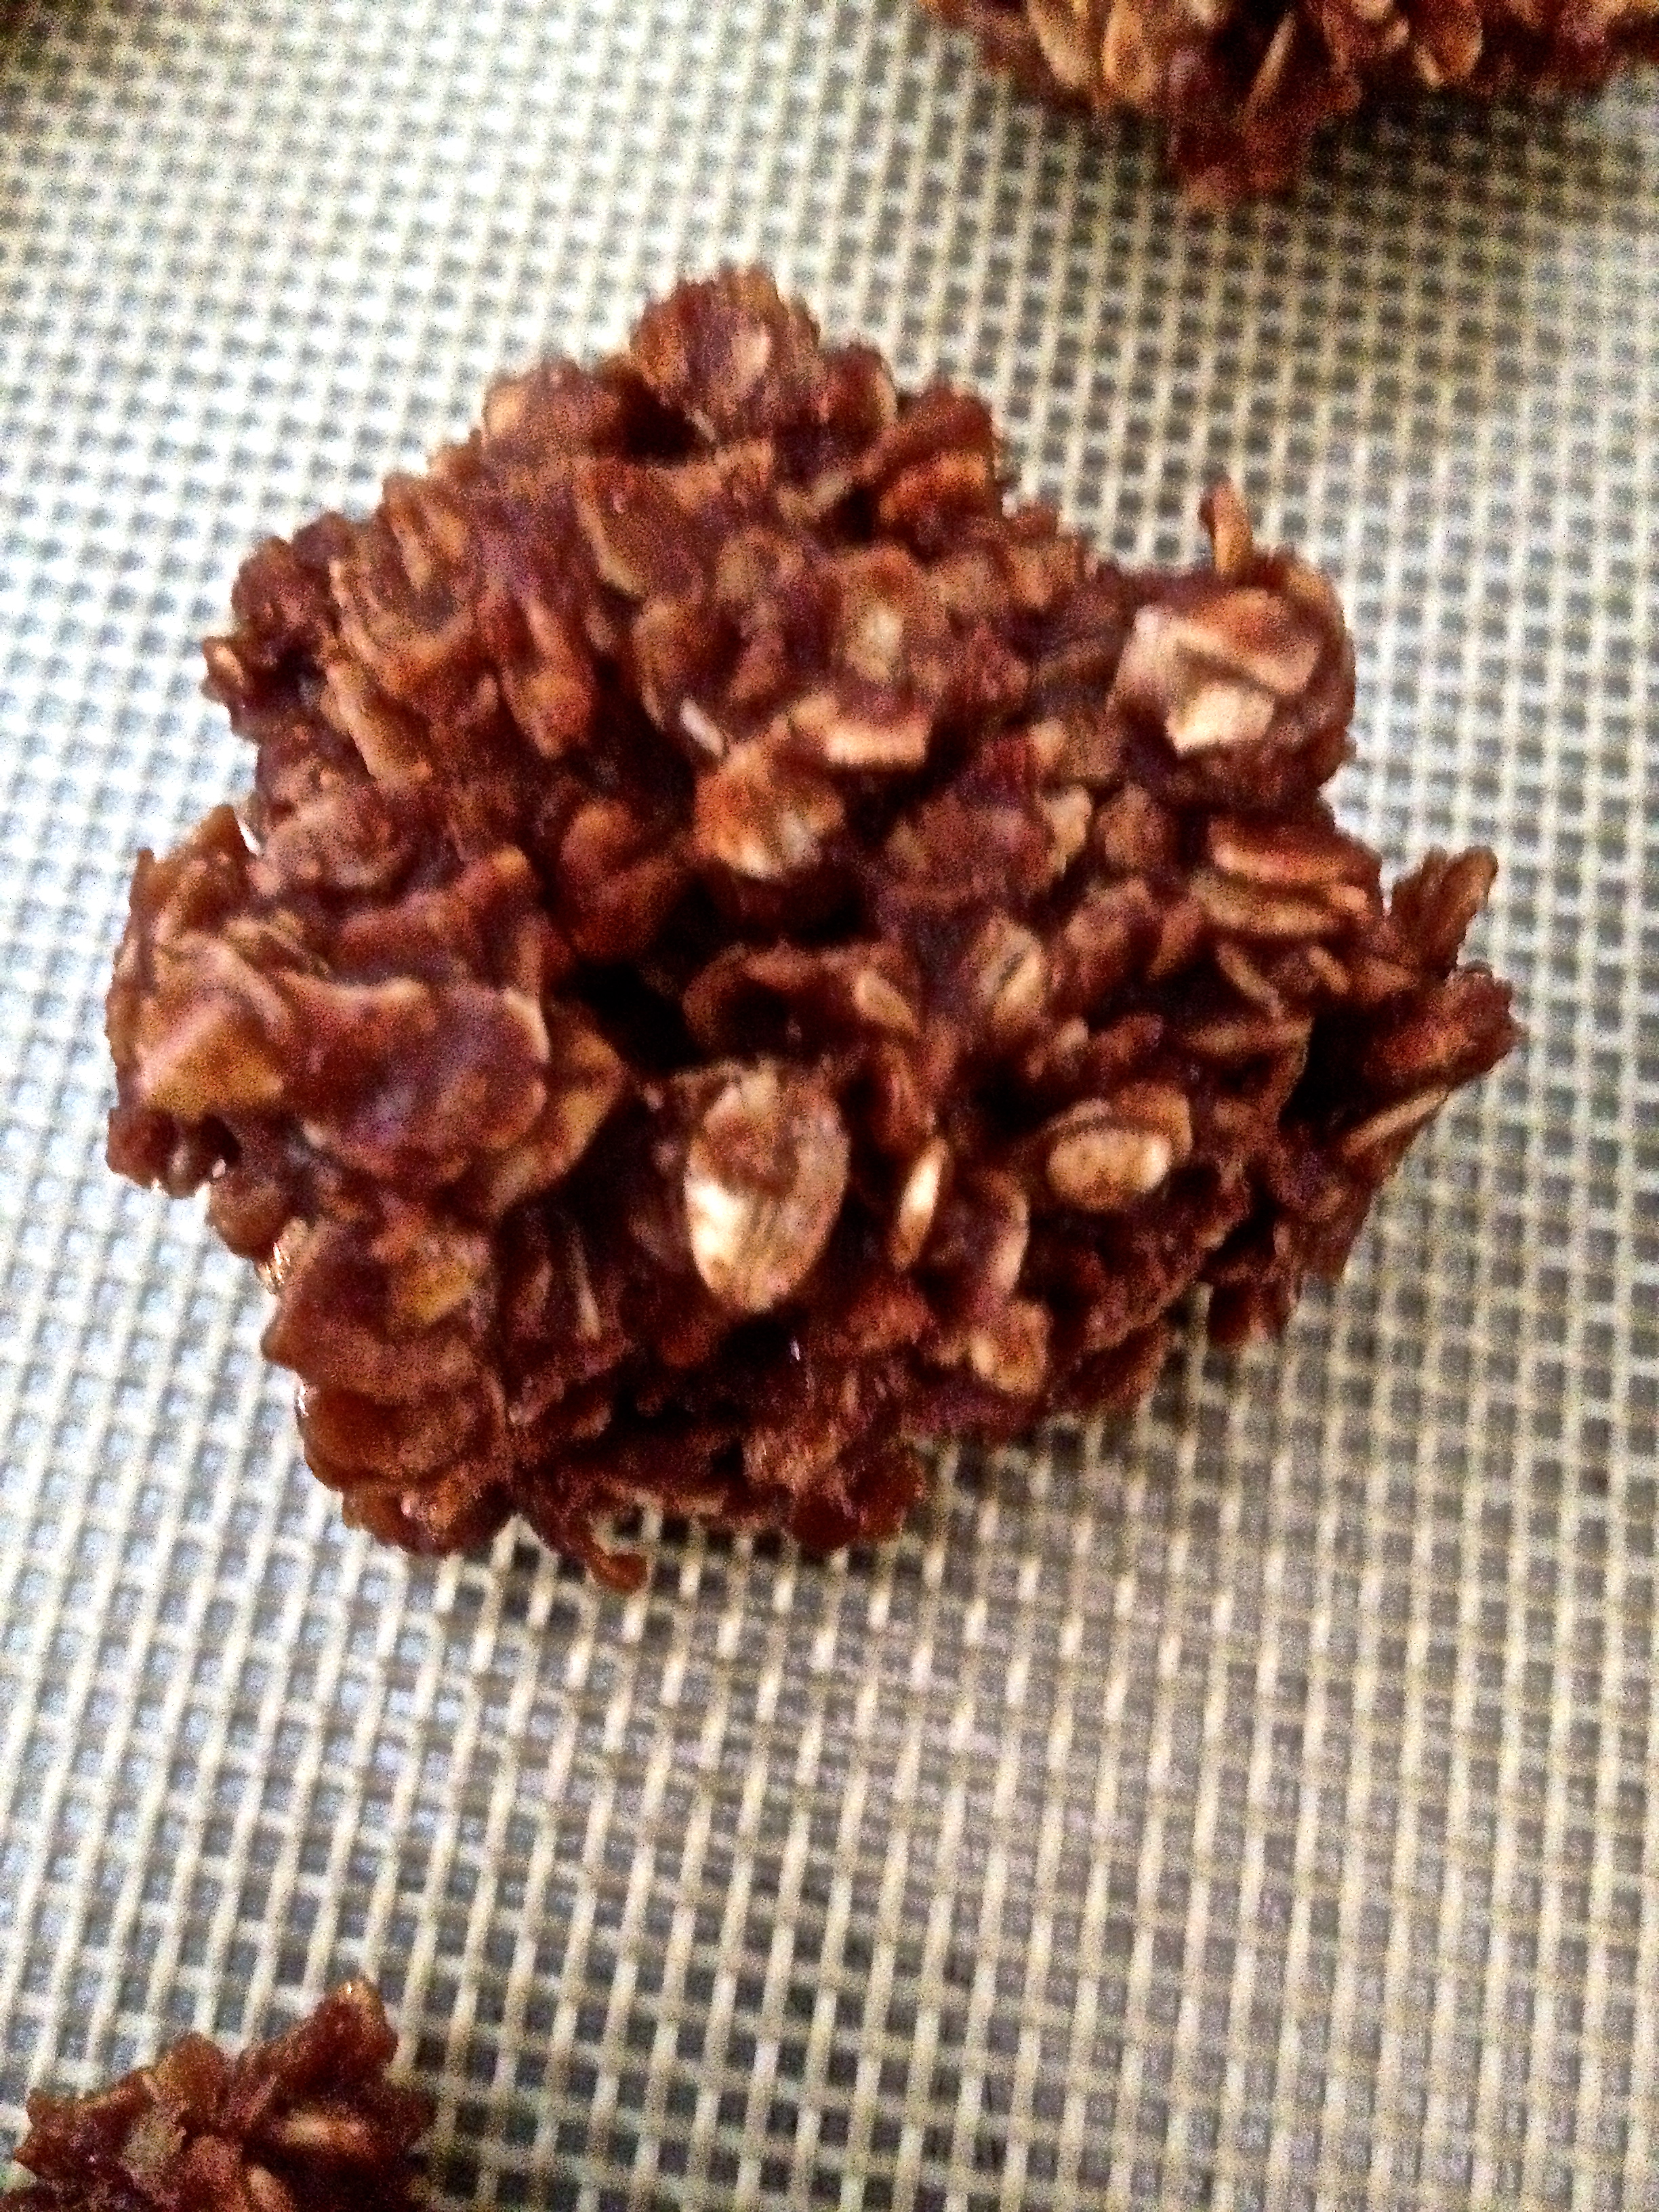
And that’s it! You now have delicious teeny tiny cookies. I thought it was interesting how the plain and the chocolate chip ones tasted so different, yet they were the exact same base. That’s what makes them fun- one recipe makes a ton of cookies, so you can mix it up with different toppings and mixers, and get totally different cookies, and everyone can have their favorite. Don’t let the amount of cookies that one recipe makes fool you, though… these disappear quickly!

PS- these cookies, especially the plain ones, go really well with tea. My 91-year old aunt was a big fan of her tea with teeny tiny cookies!

I hope you enjoy this recipe and these cookies, as I know I did! Happy baking!


Chocolate Oatmeal Cookies, No Baking Necessary!

Hey friends! Sorry it’s been so long since I last posted- my man is in town, so I’ve been a little distracted! I’ve had my blog on my mind, though, and have a super yummy recipe to share with you all today. Today’s recipe is for No-Bake Chocolate Oatmeal Cookies. That’s a long title, though, so we’ll just call them No-Bake Cookies. Here are the ingredients:

Ingredients:

  • 1 1/2-2 cups granulated sugar (I ballparked the sugar and cocoa since it’s within a range)
  • 1/4-1/2 cup cocoa powder
  • 1/3-1/2 cup margarine (I only used 1/2 cup)
  • 1/2 cup milk
  • 1 tsp salt
  • 3 cups oatmeal (Quick-Cooking 1-minute)
  • 1 1/2 tsp vanilla
  • Nuts, optional (I didn’t use nuts)

In a large bowl, mix the oats and vanilla. Set them aside.

In a medium saucepan, boil the sugar, cocoa, margarine, milk, and salt together for 5 minutes. Stir this mixture constantly to prevent the milk from boiling over and the chocolate from burning. Just an FYI, I started the 5 minute timer after the mixture started boiling.

IMG_2314

IMG_2315

IMG_2316

Once the 5 minutes are up, pour this cocoa mixture over the oats and stir it all together. It will be a stiff dough!

IMG_2317

IMG_2318

Scoop the mixture into rounded balls and place them on a baking sheet lined with wax paper or a baking mat. You can either use an ice cream scoop to scoop the dough, or roll the balls between your hands. A word of caution: this dough is super hot (it was just boiling!), so be careful not to burn your hands if you choose to roll the dough between your hands.

IMG_2319

And that’s it! You just have to let the cookie dough balls cool and it’ll be ready to eat. These cookies are so yummy and they take approximately 7 minutes to make- can it get any better?? I hope you give these a try and that you enjoy them as much as we did! Happy baking!