Tag Archives: chocolate

Chocolate Meringue Cookies

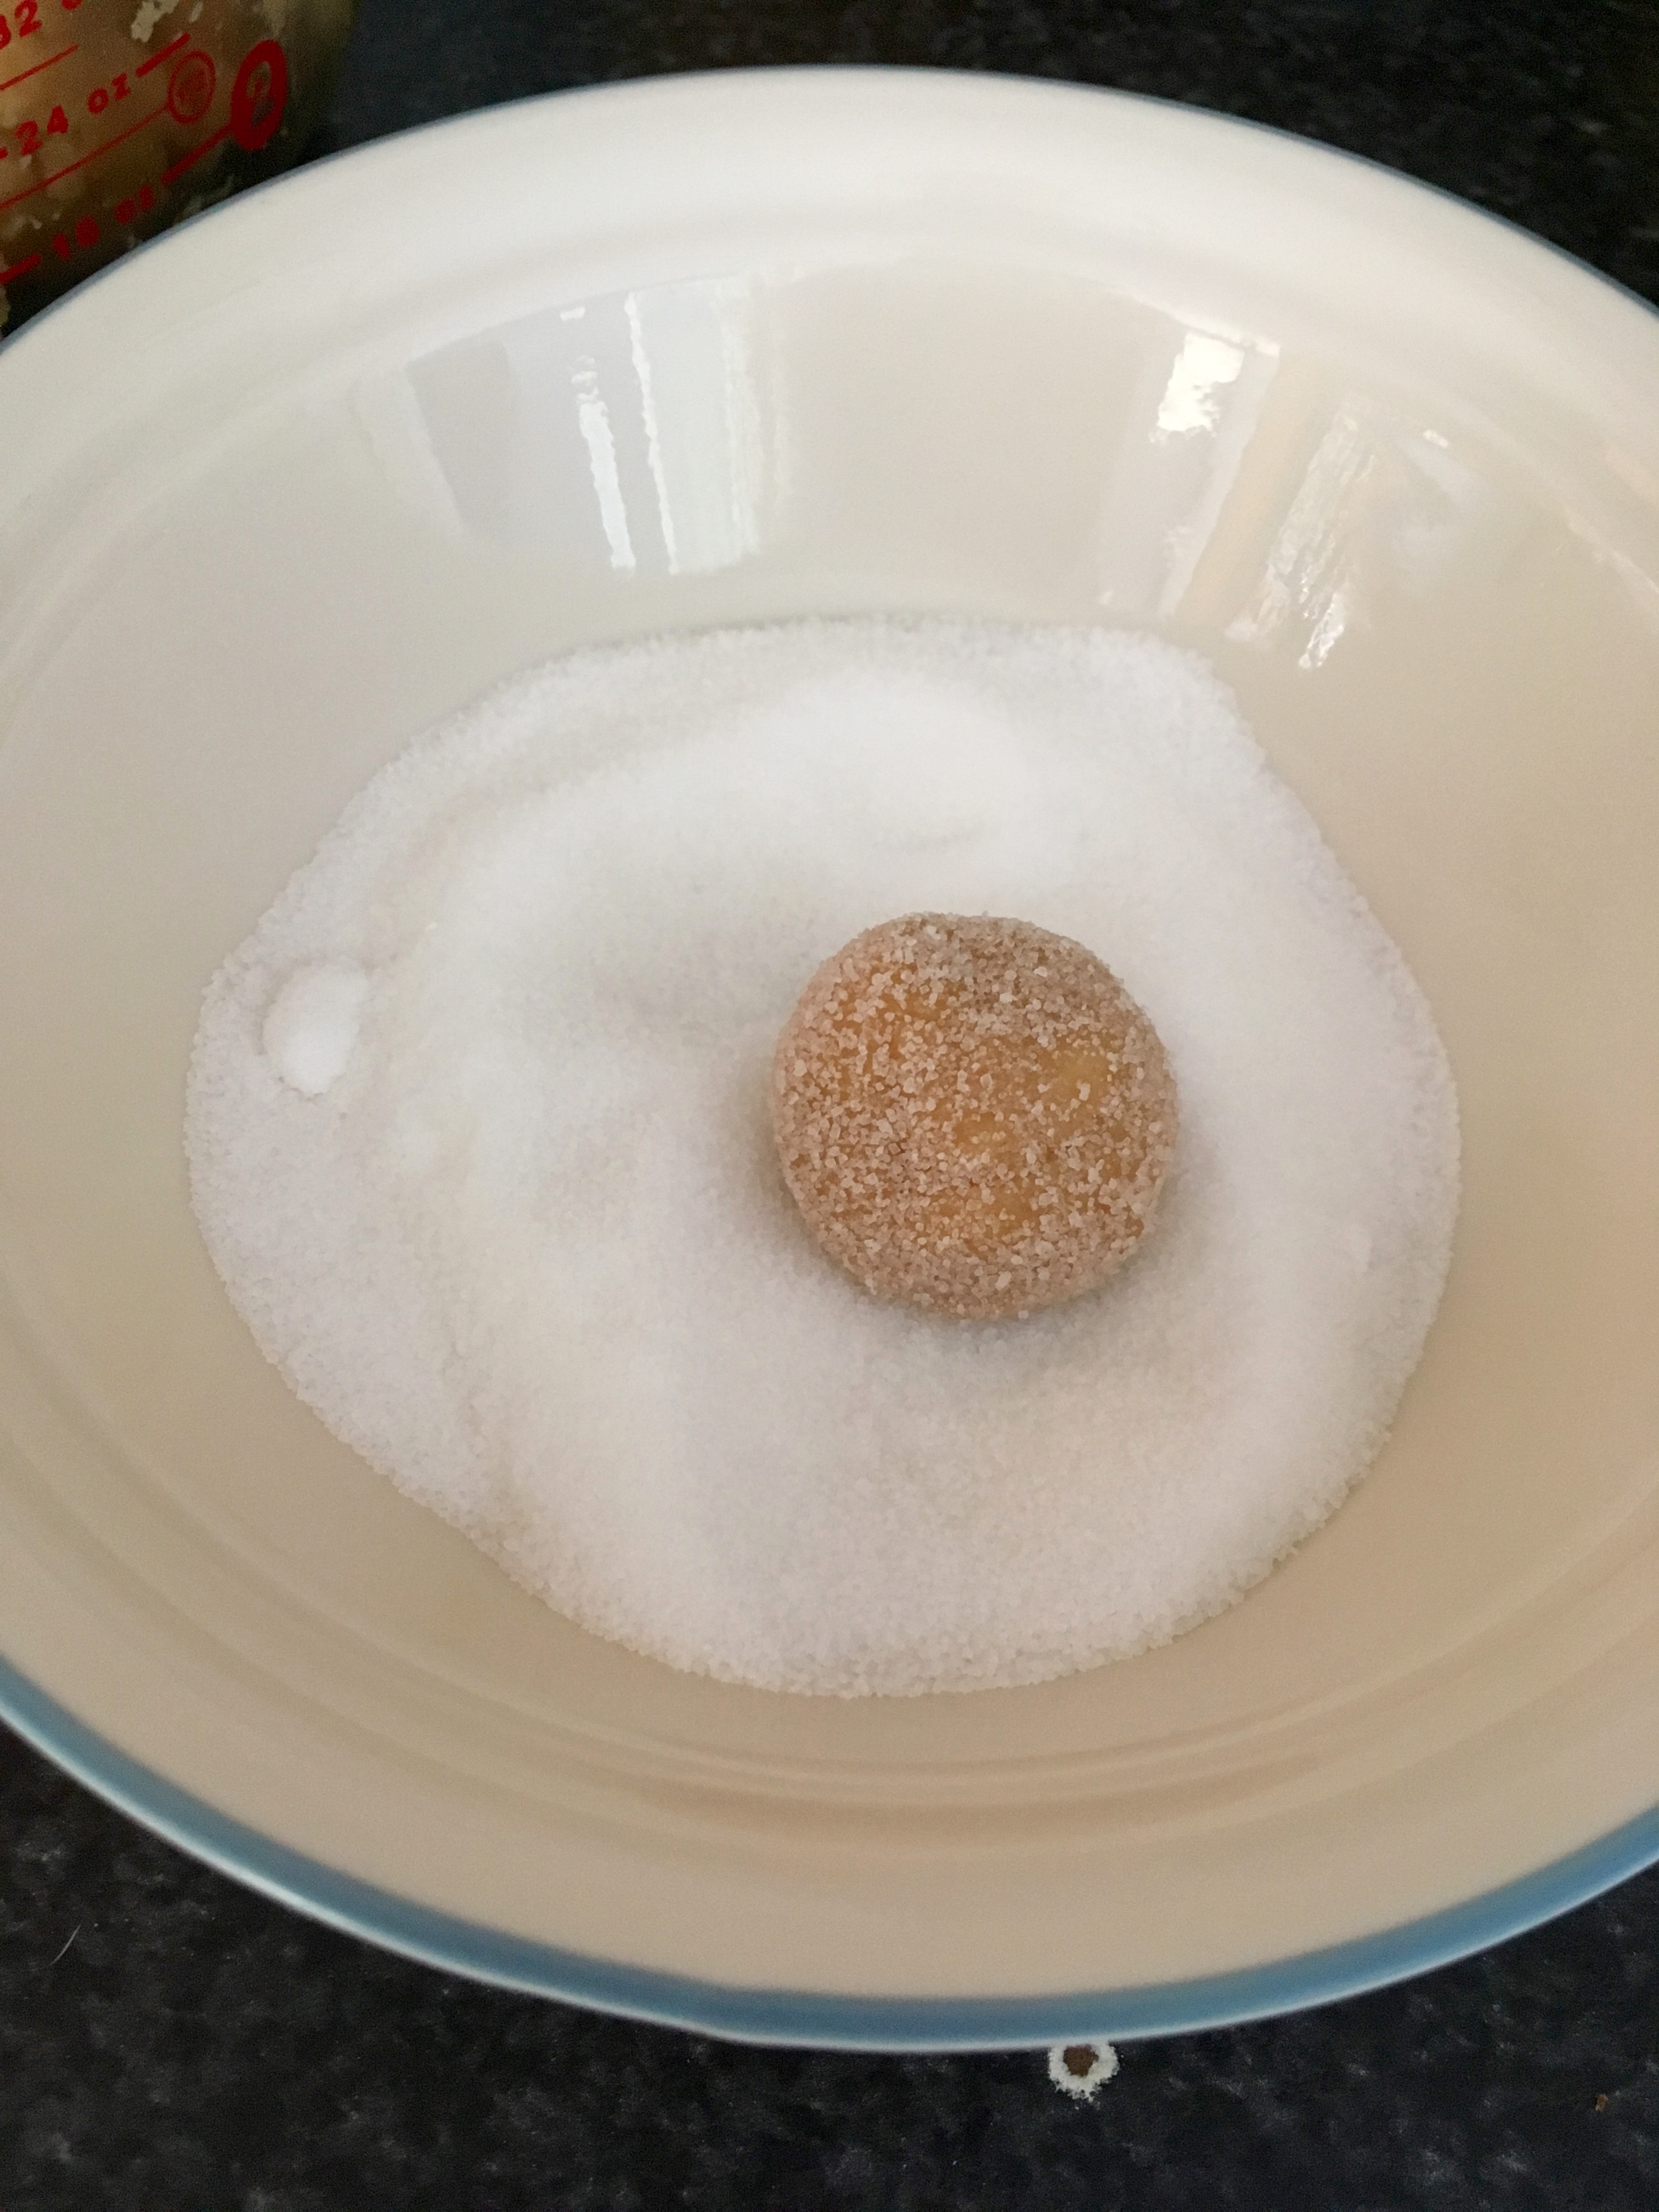
Hi, all! I hope you all are having a great February and that you enjoyed your Valentine’s Day! We had a V-Day party at my work so I got to eat a ton of delicious food, but also got to try out this new recipe! I was hunting for a dairy-free recipe for my friends with dairy allergies, and realized that meringues are dairy-free (and also gluten-free) and figured I would give them a try. Meringues are known to be fairly tricky to make, but this recipe worked well for me- as always, I’ve included pictures for reference if you need it!

Ingredients:

  • 1/2 cup superfine/caster sugar (100g for those using a food scale)
  • 1/2 cup powdered sugar (100g)
  • 3 large egg whites (100g)
  • 2 tbsp cocoa powder
  • pinch of salt (~1/8 tsp)

Preheat the oven to 250ºF. Mix the two sugars together in a small bowl. In a mixing bowl with the whisk attachment, beat the egg whites with a pinch of salt. When the egg whites begin to form peaks (instead of just being frothy), add the sugar mixture a spoonful at a time. Note- you really need to go slow with adding the sugar and make sure each spoonful is fully incorporated before adding the next, or else your meringue will become gritty. As you add sugar, your egg whites will become glossy and smooth.

IMG_4731IMG_4732

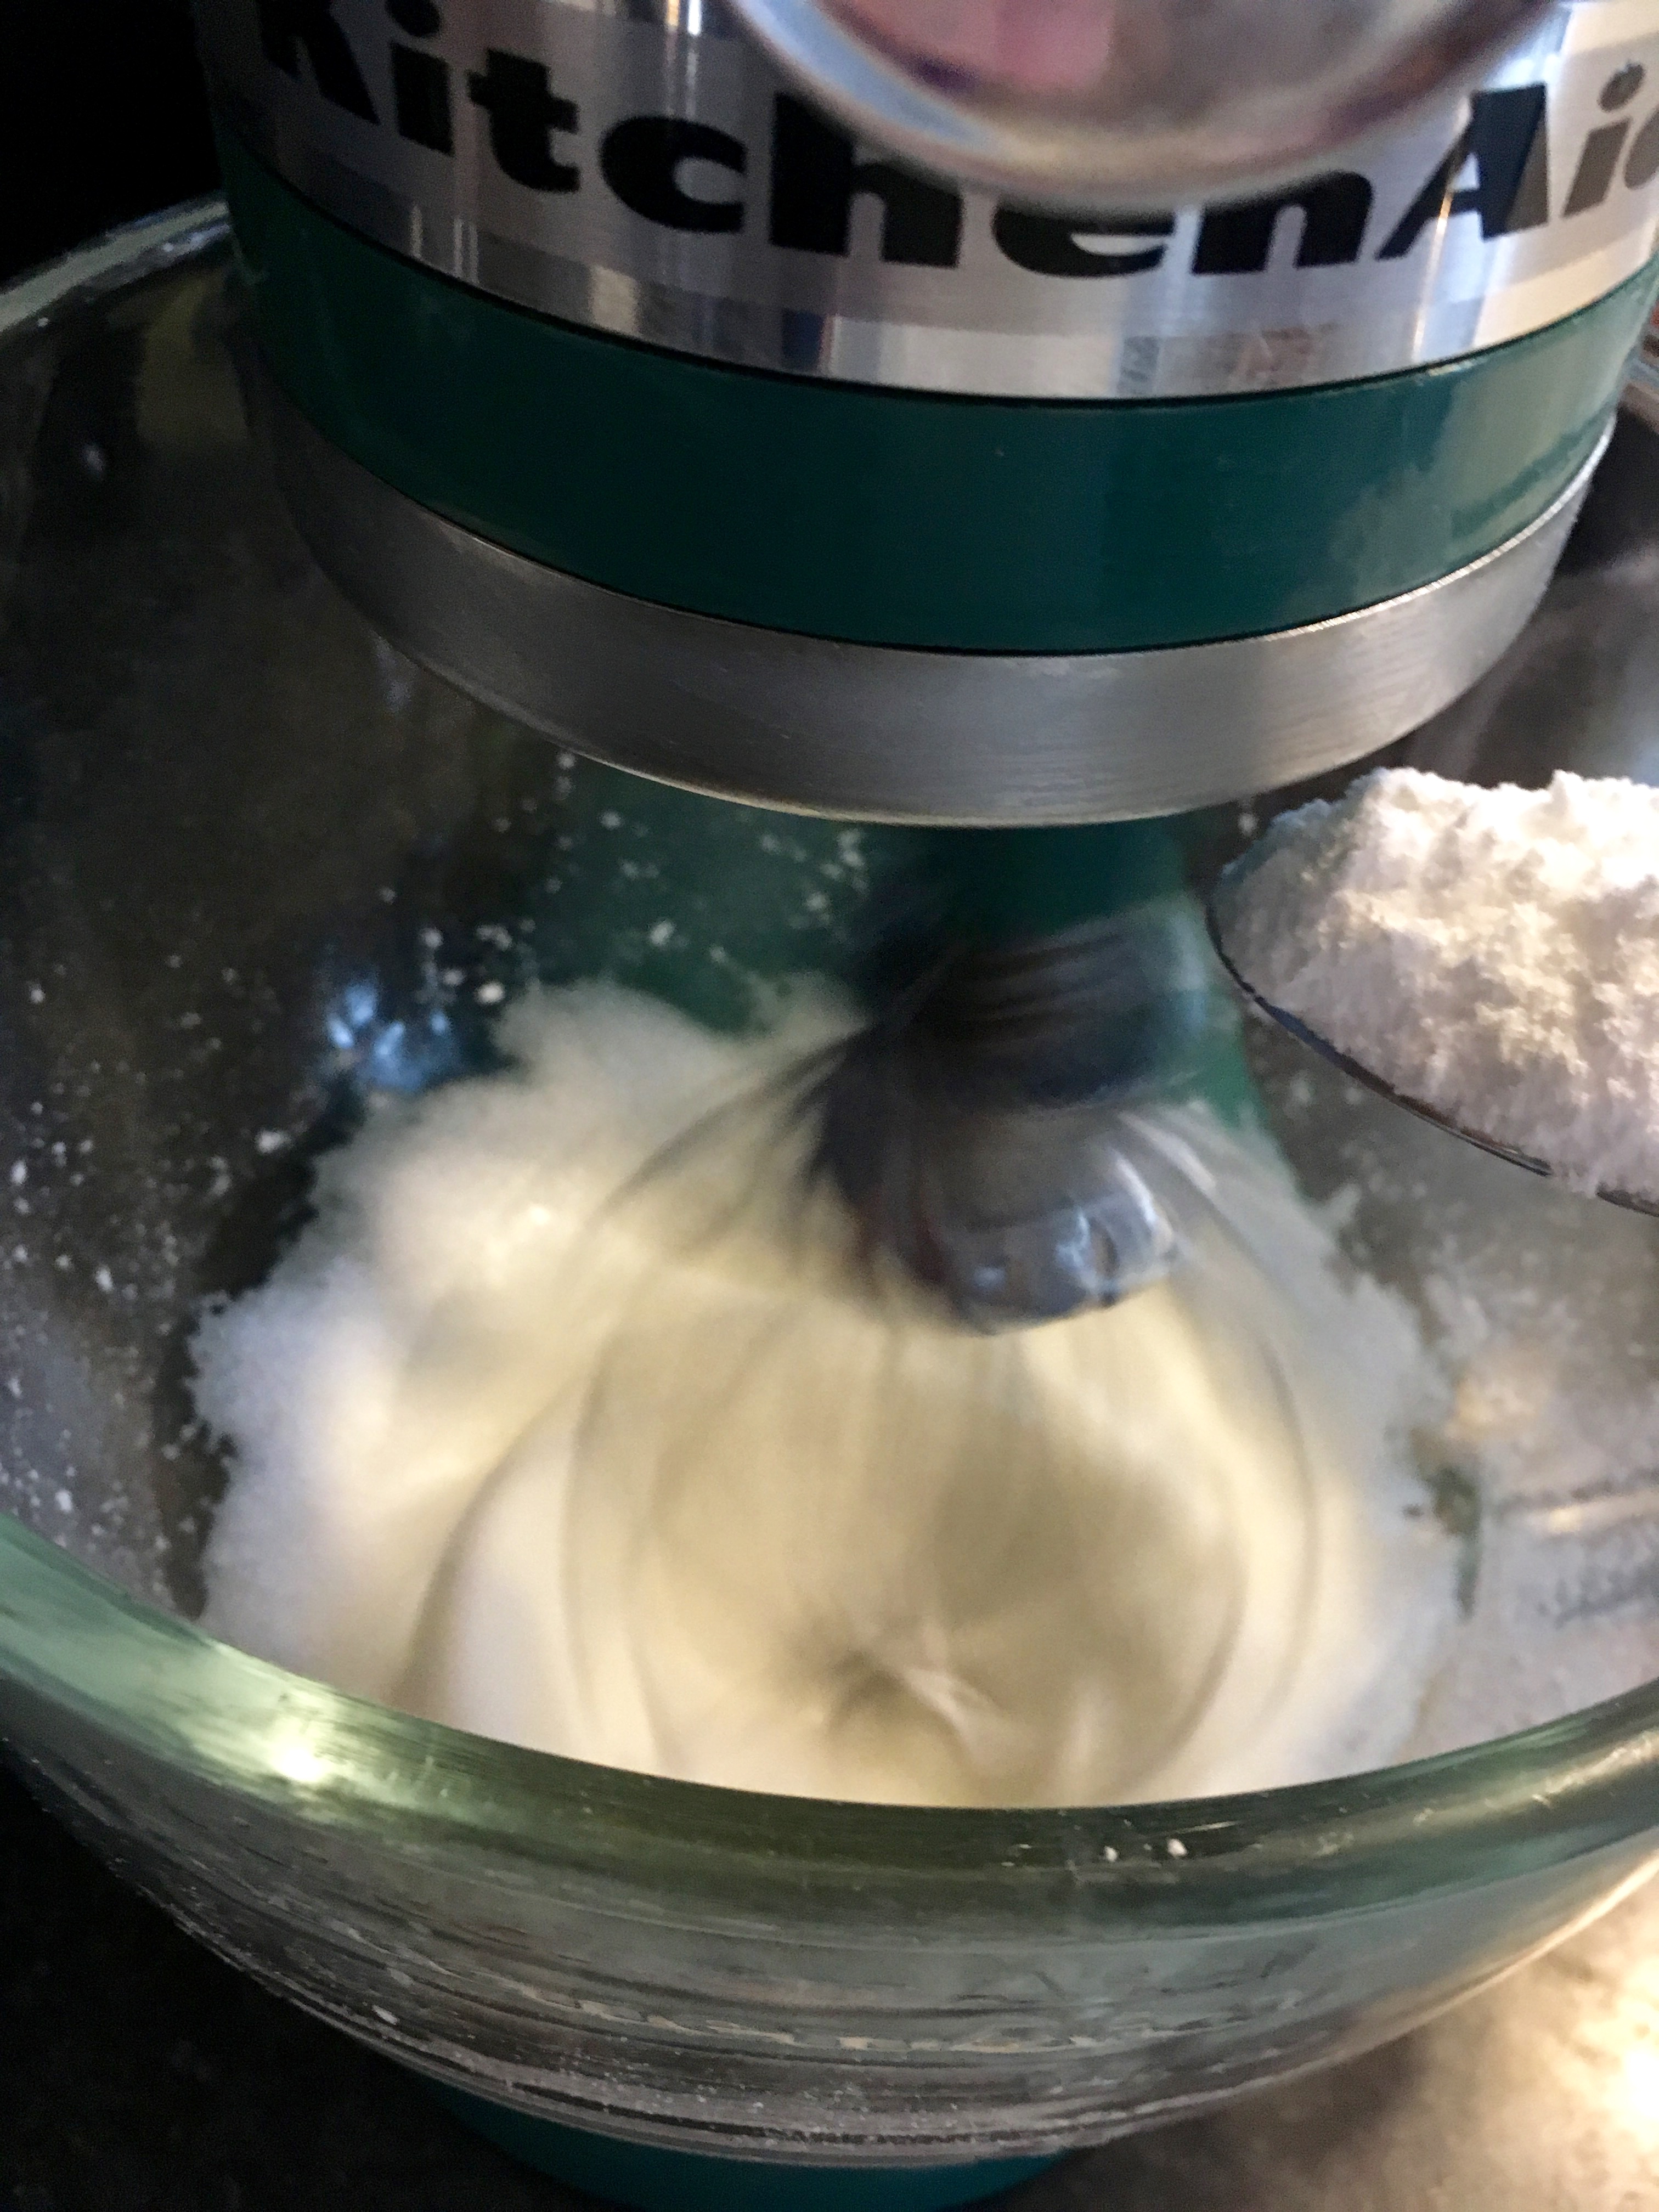
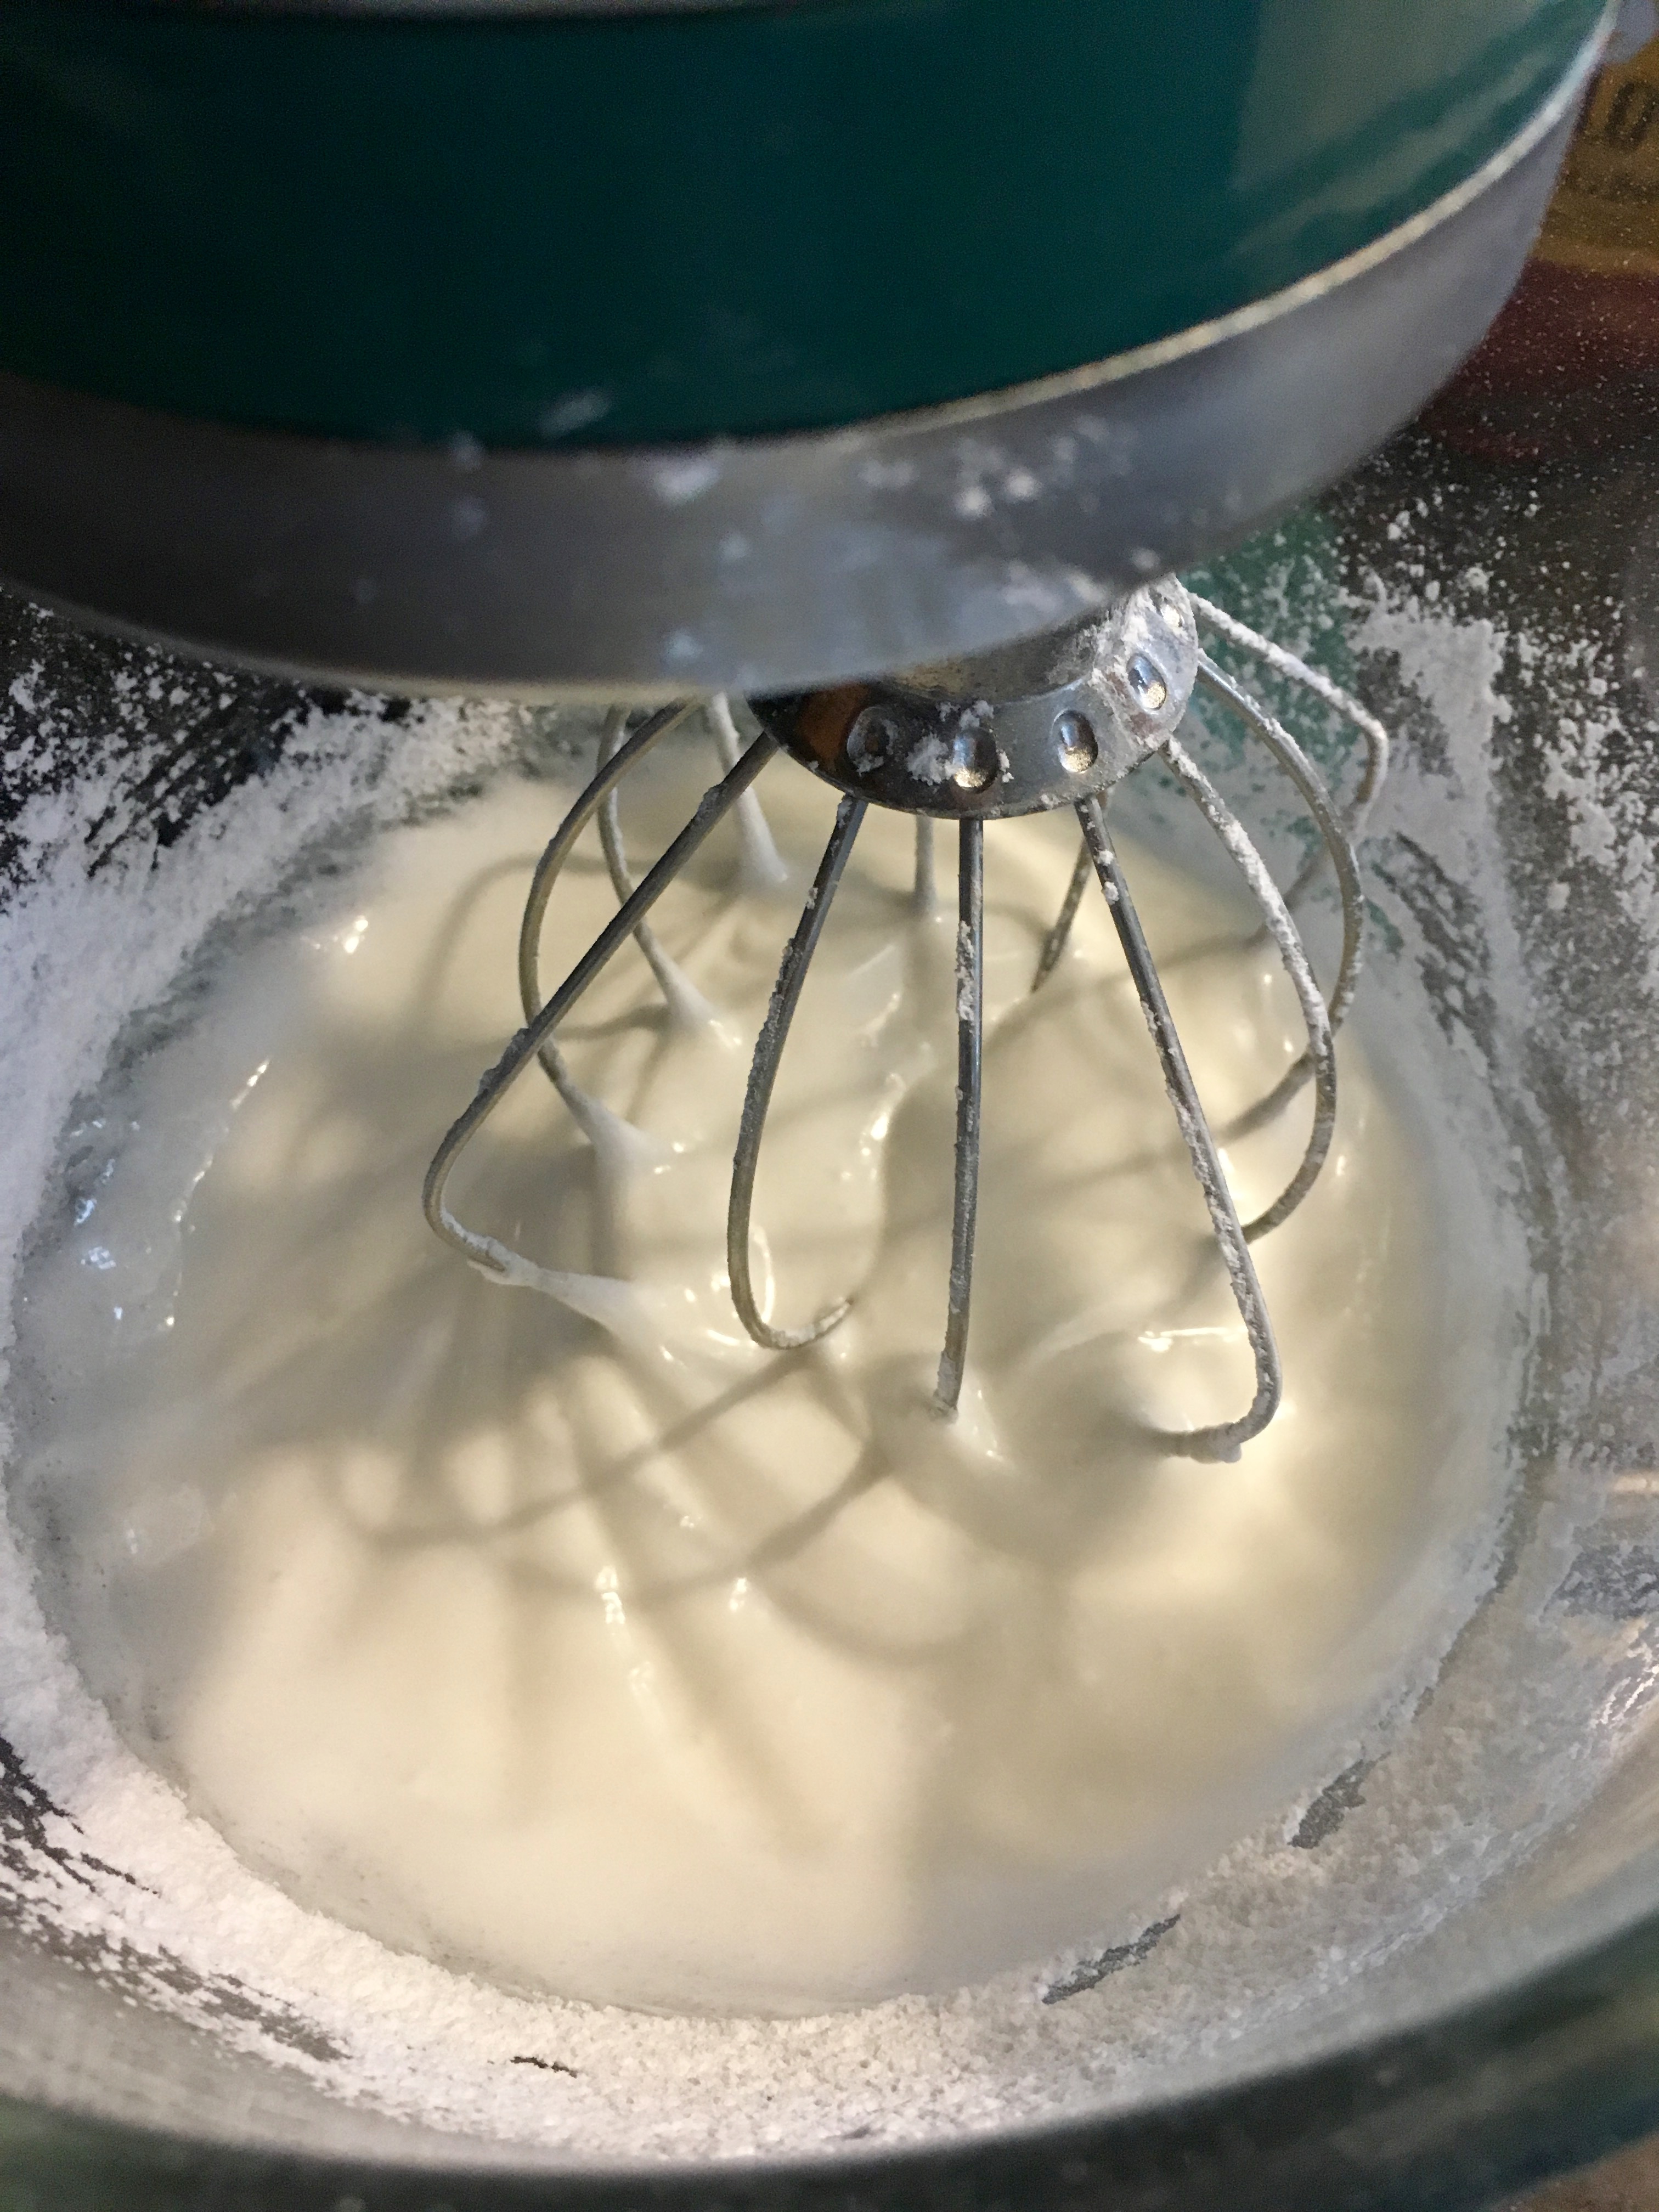
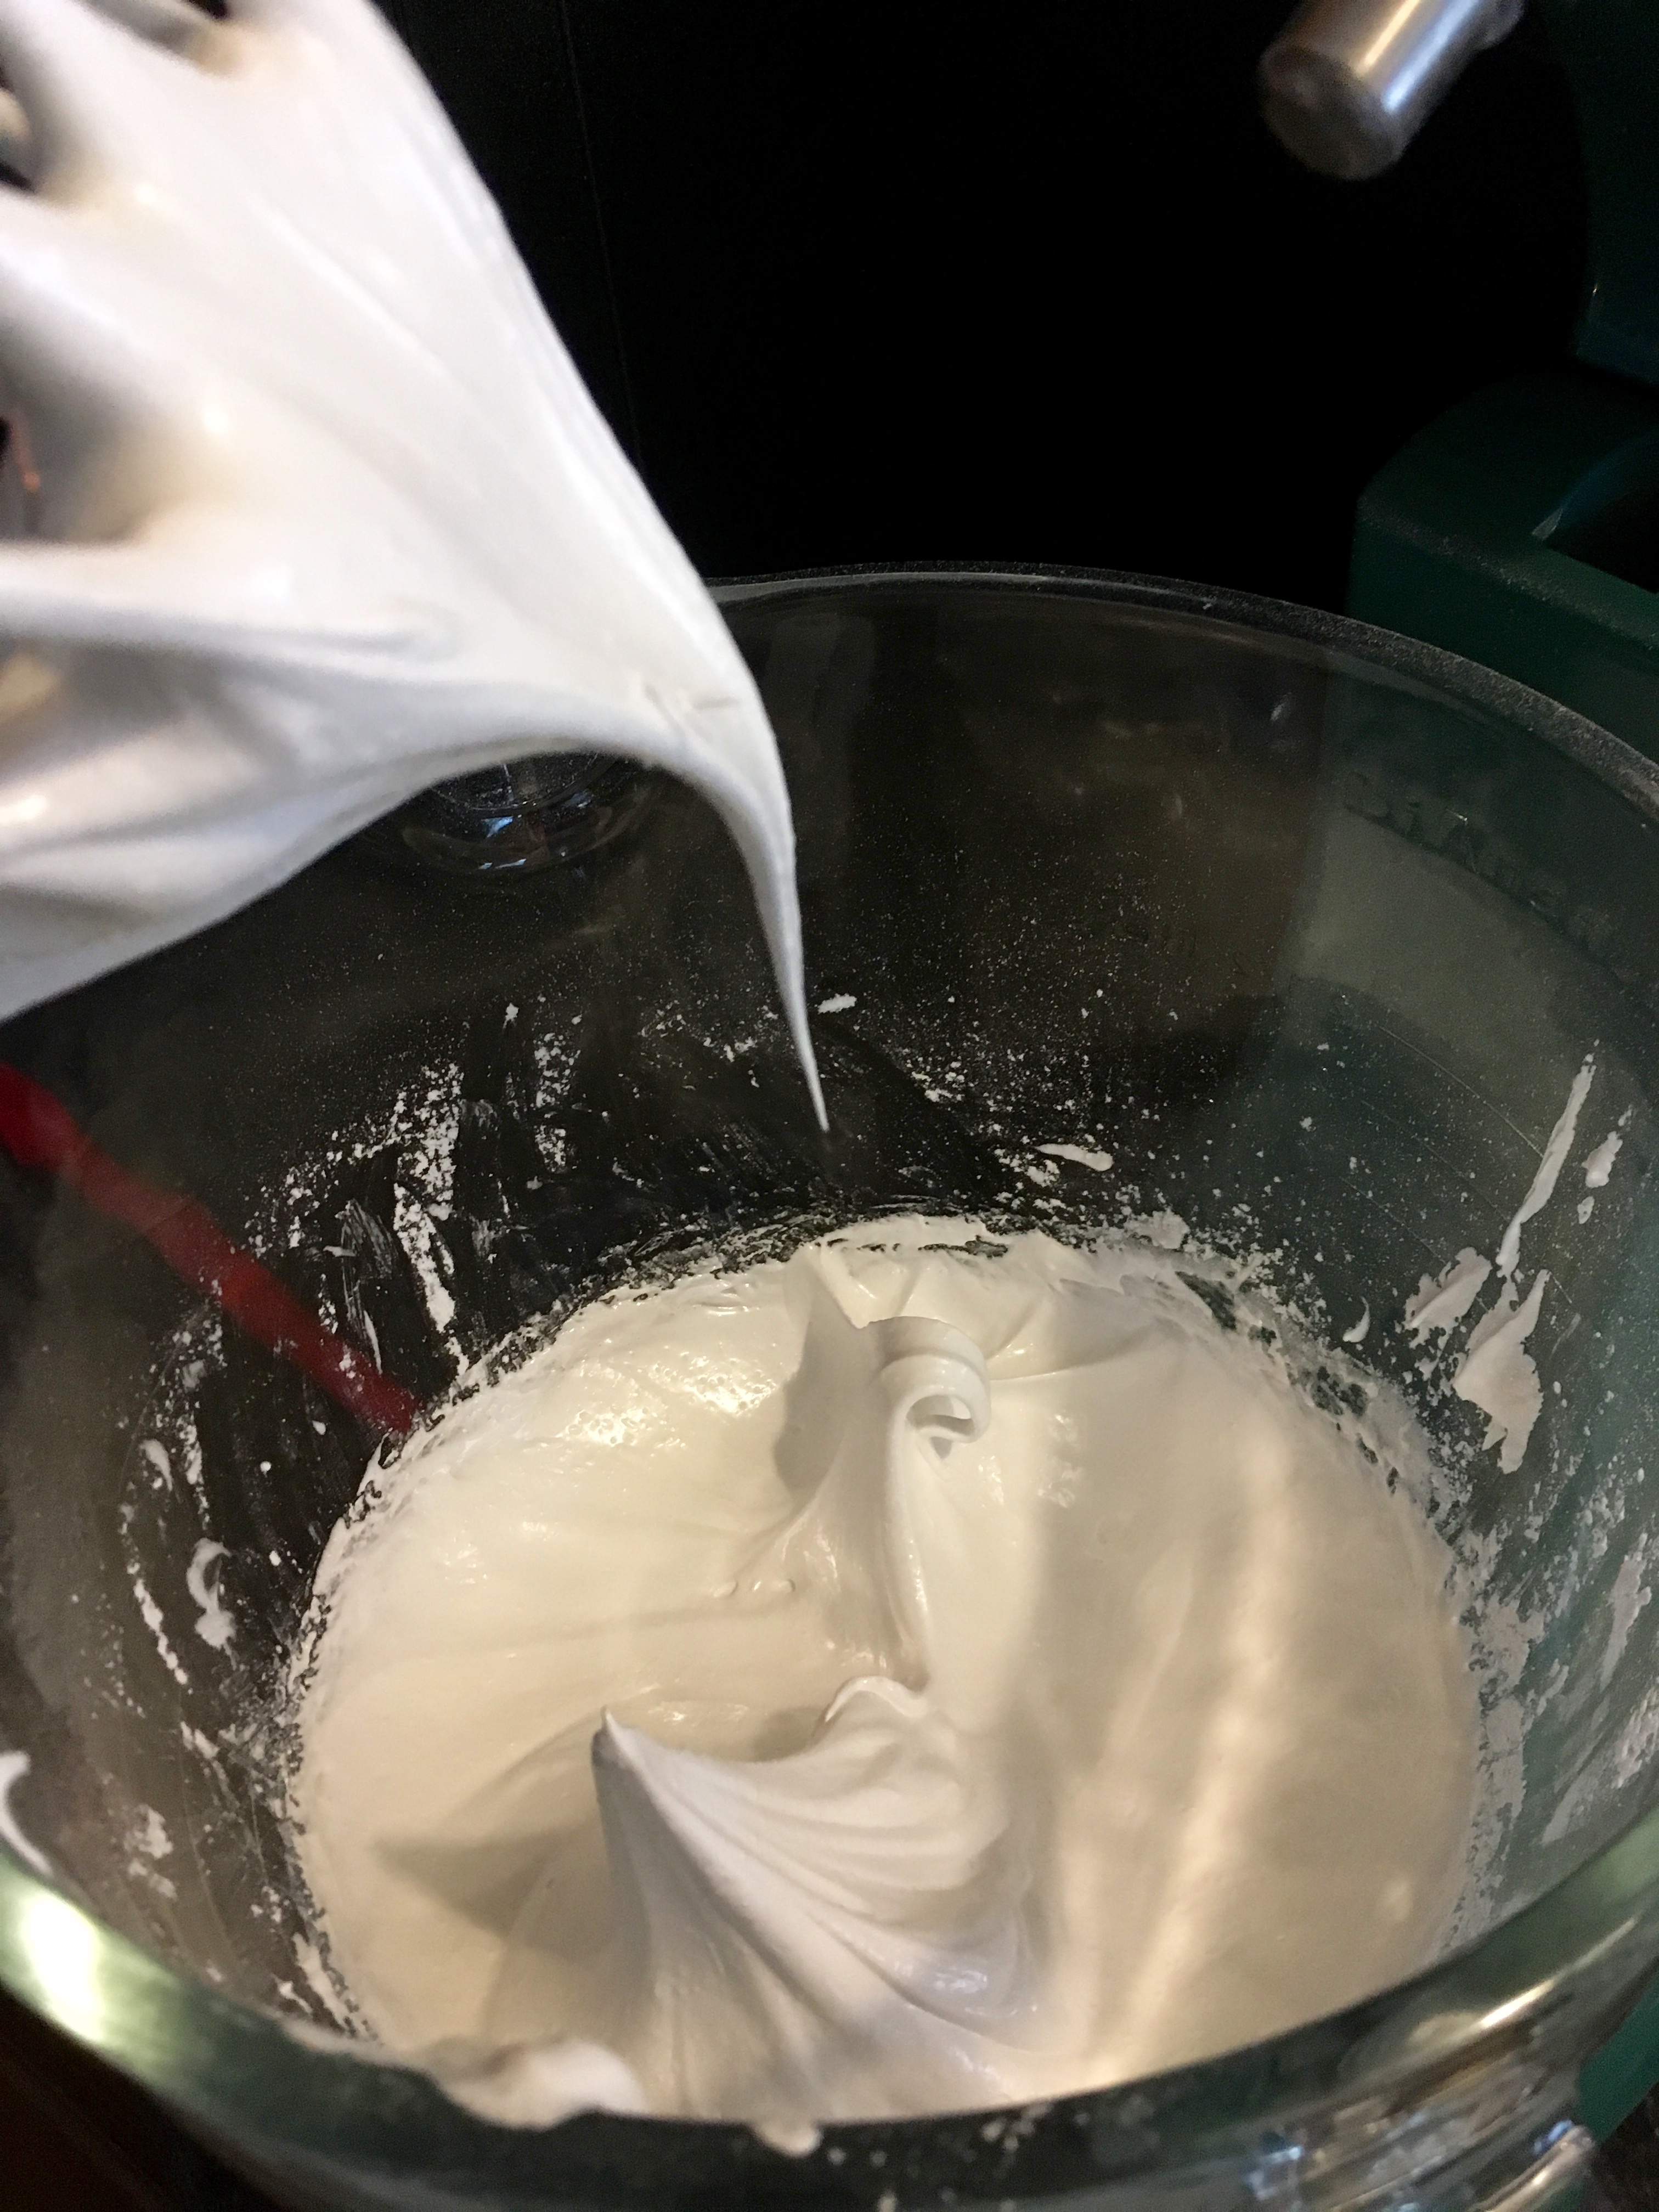
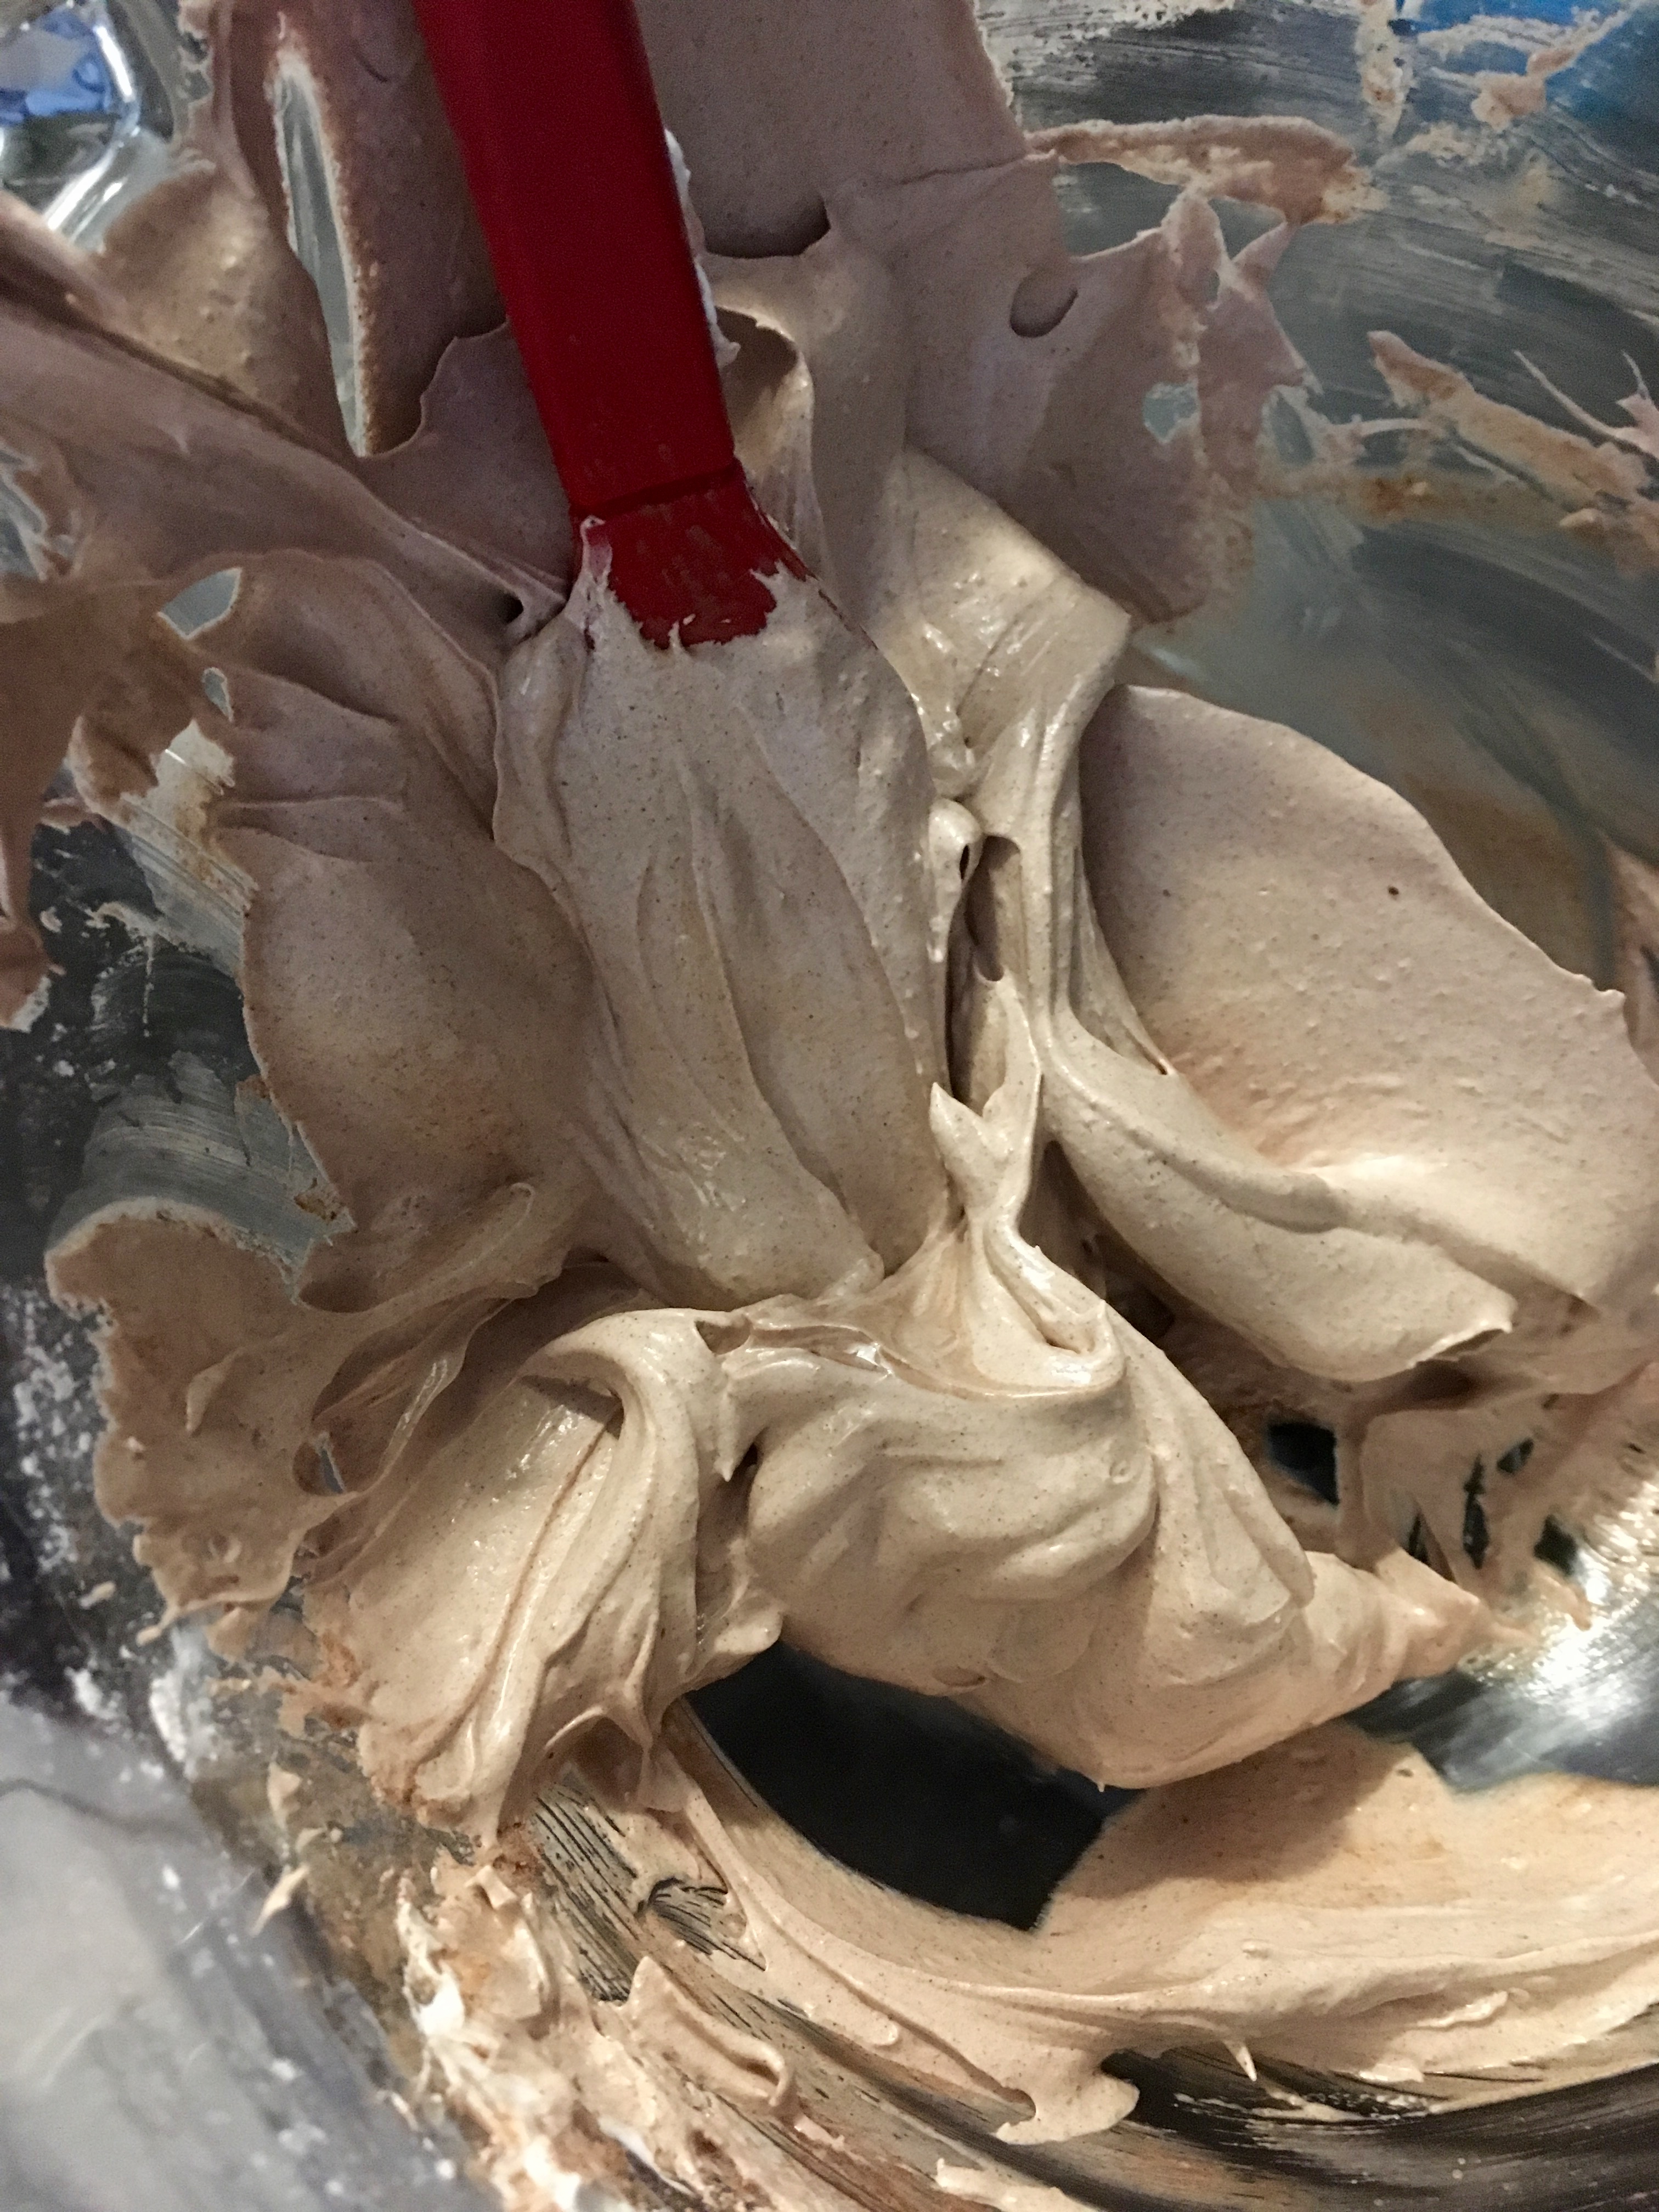
Once all the sugar is added to the eggs, continue to beat them on medium to medium-high speed until very stiff peaks form. Note: “very stiff peaks” means that when you drag the whisk through the egg whites and pull up, the mixture should stay standing straight up. If you haven’t whisked the mixture enough, your meringues will melt. 

IMG_4733

Sift and fold the cocoa powder into the meringue mix using a spatula. You want to be very gentle in this process so that you don’t knock the air out of the beaten egg whites.

IMG_4734

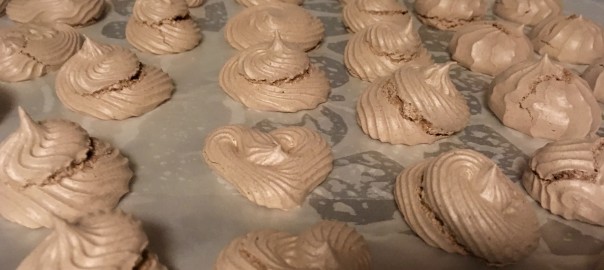
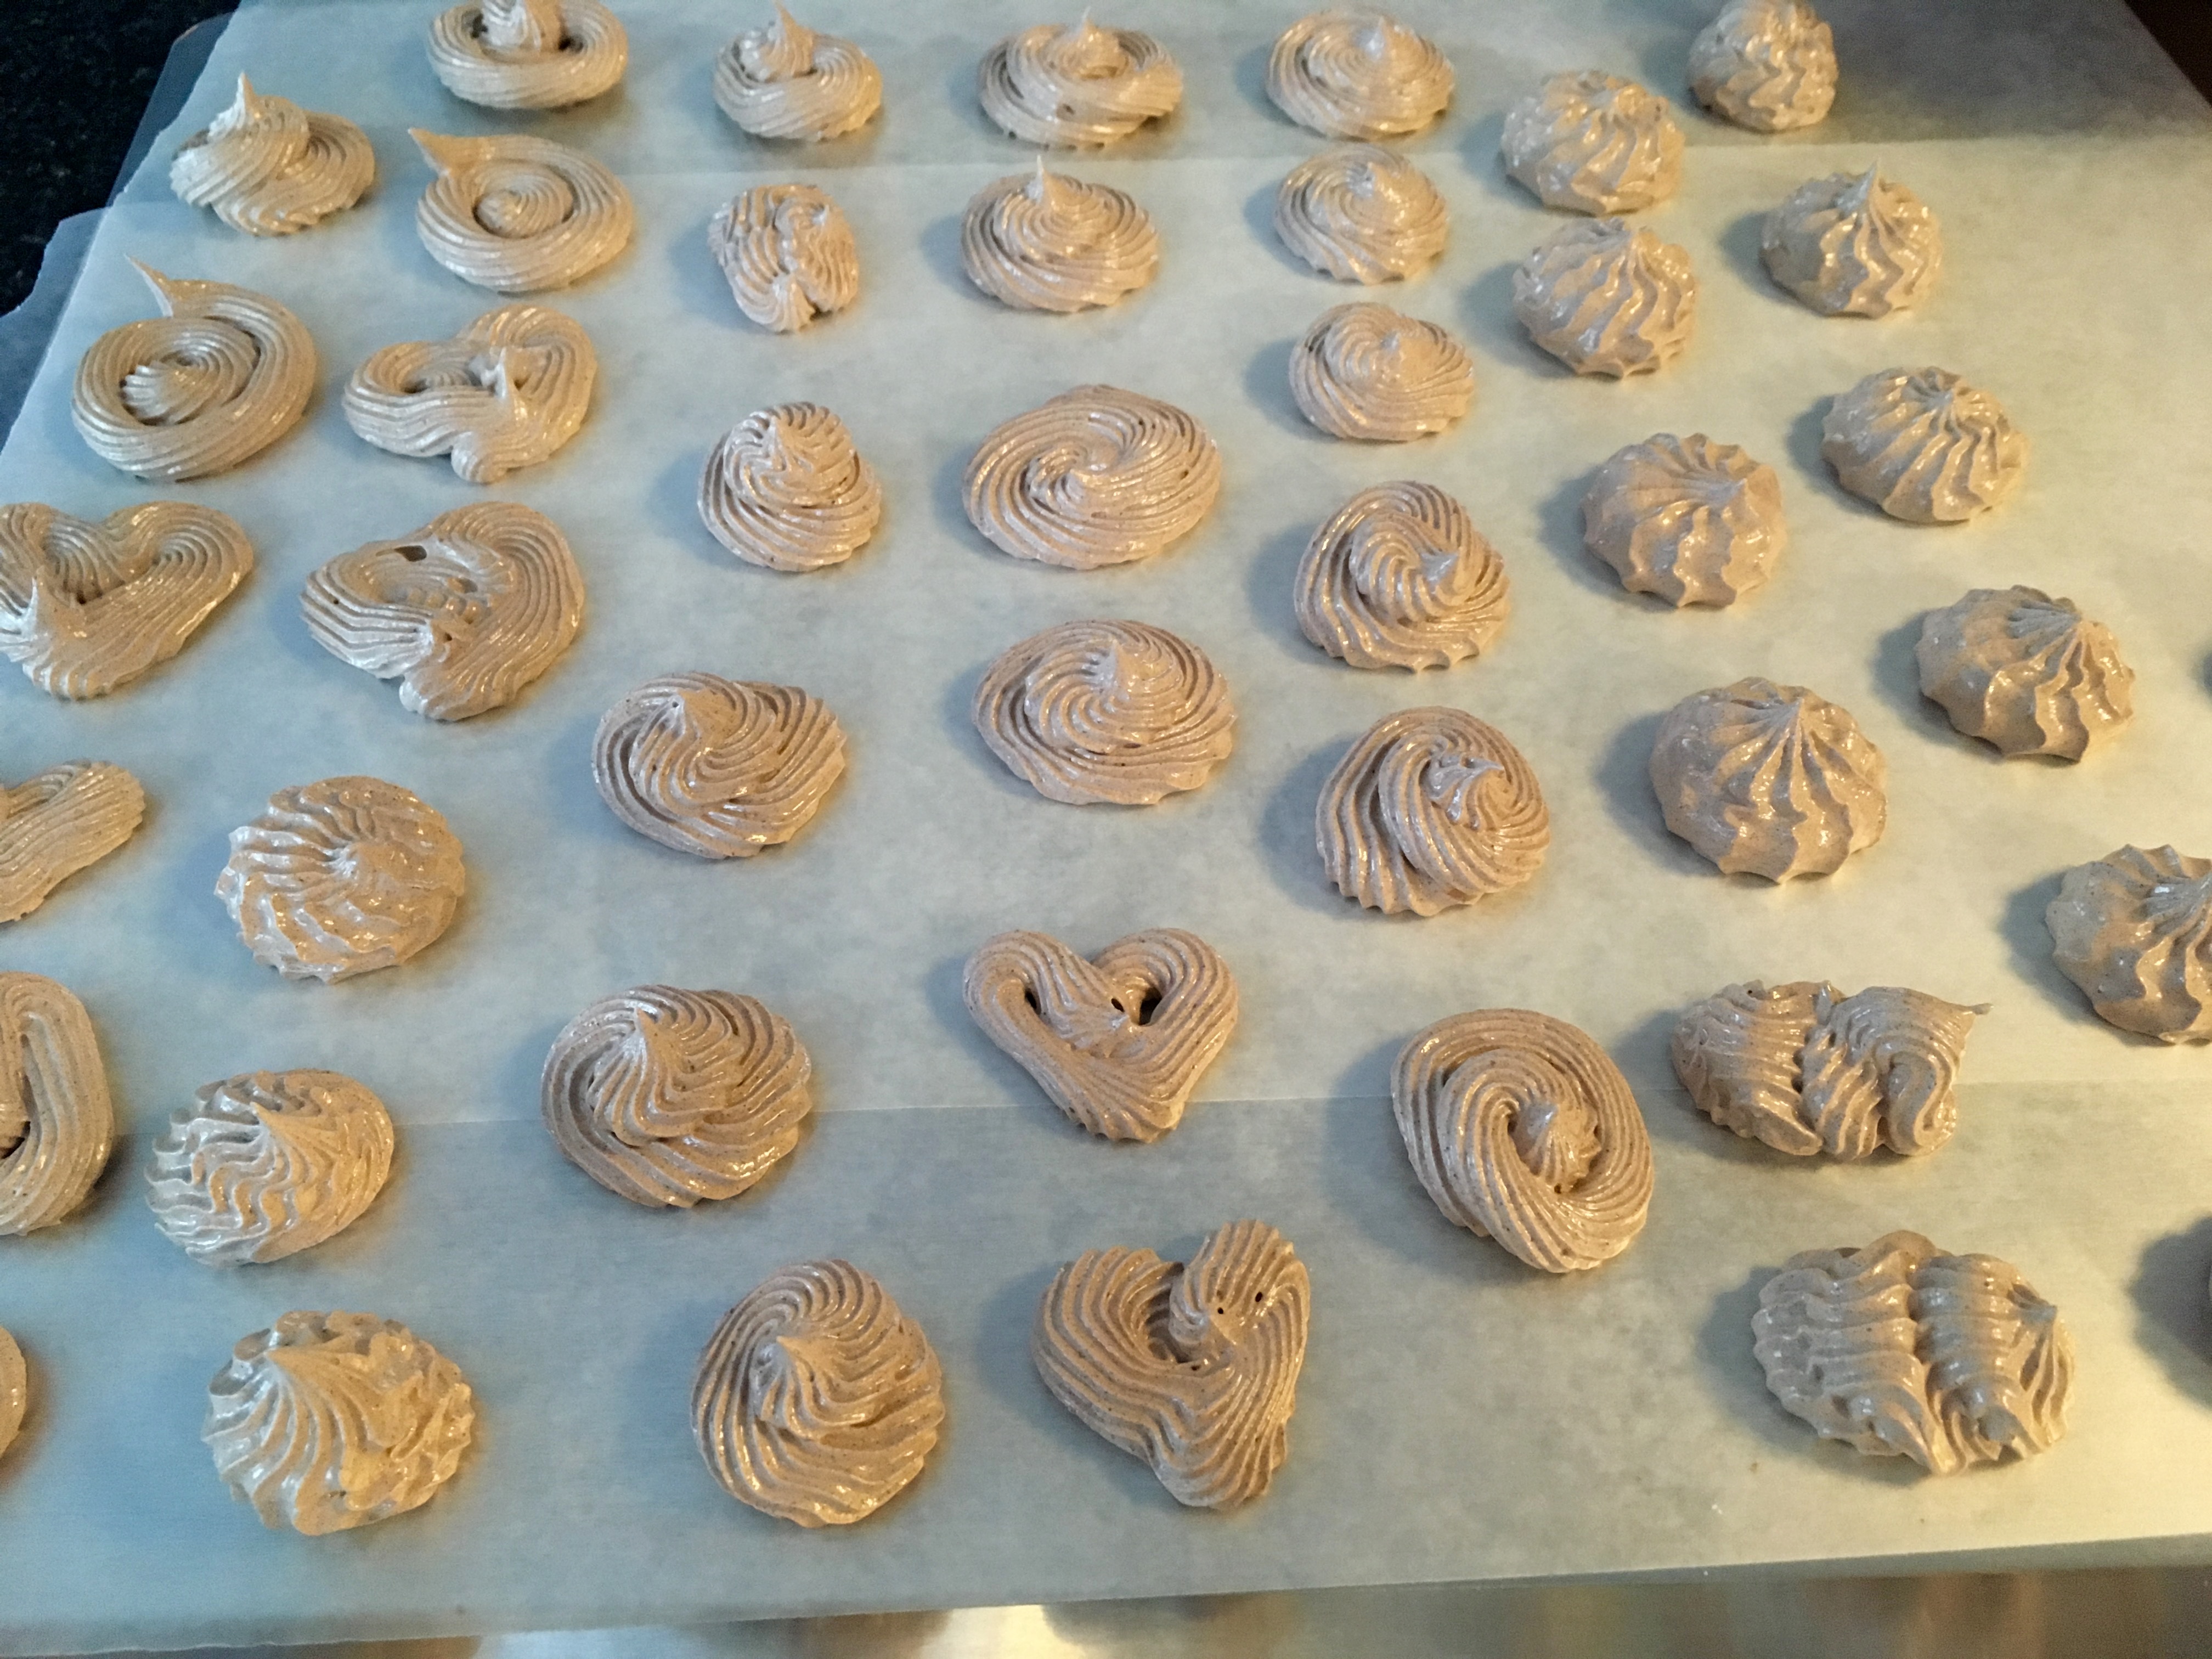
Transfer the mixture into a piping bag. Pipe into various shapes onto a baking sheet lined with wax paper. I tried making meringue hearts but quickly learned I’m not very good at piping hearts, so I ended up making a hodge podge of shapes. You can also just dollop the mixture onto the baking sheet using a spoon if you don’t have a piping bag.

IMG_4736

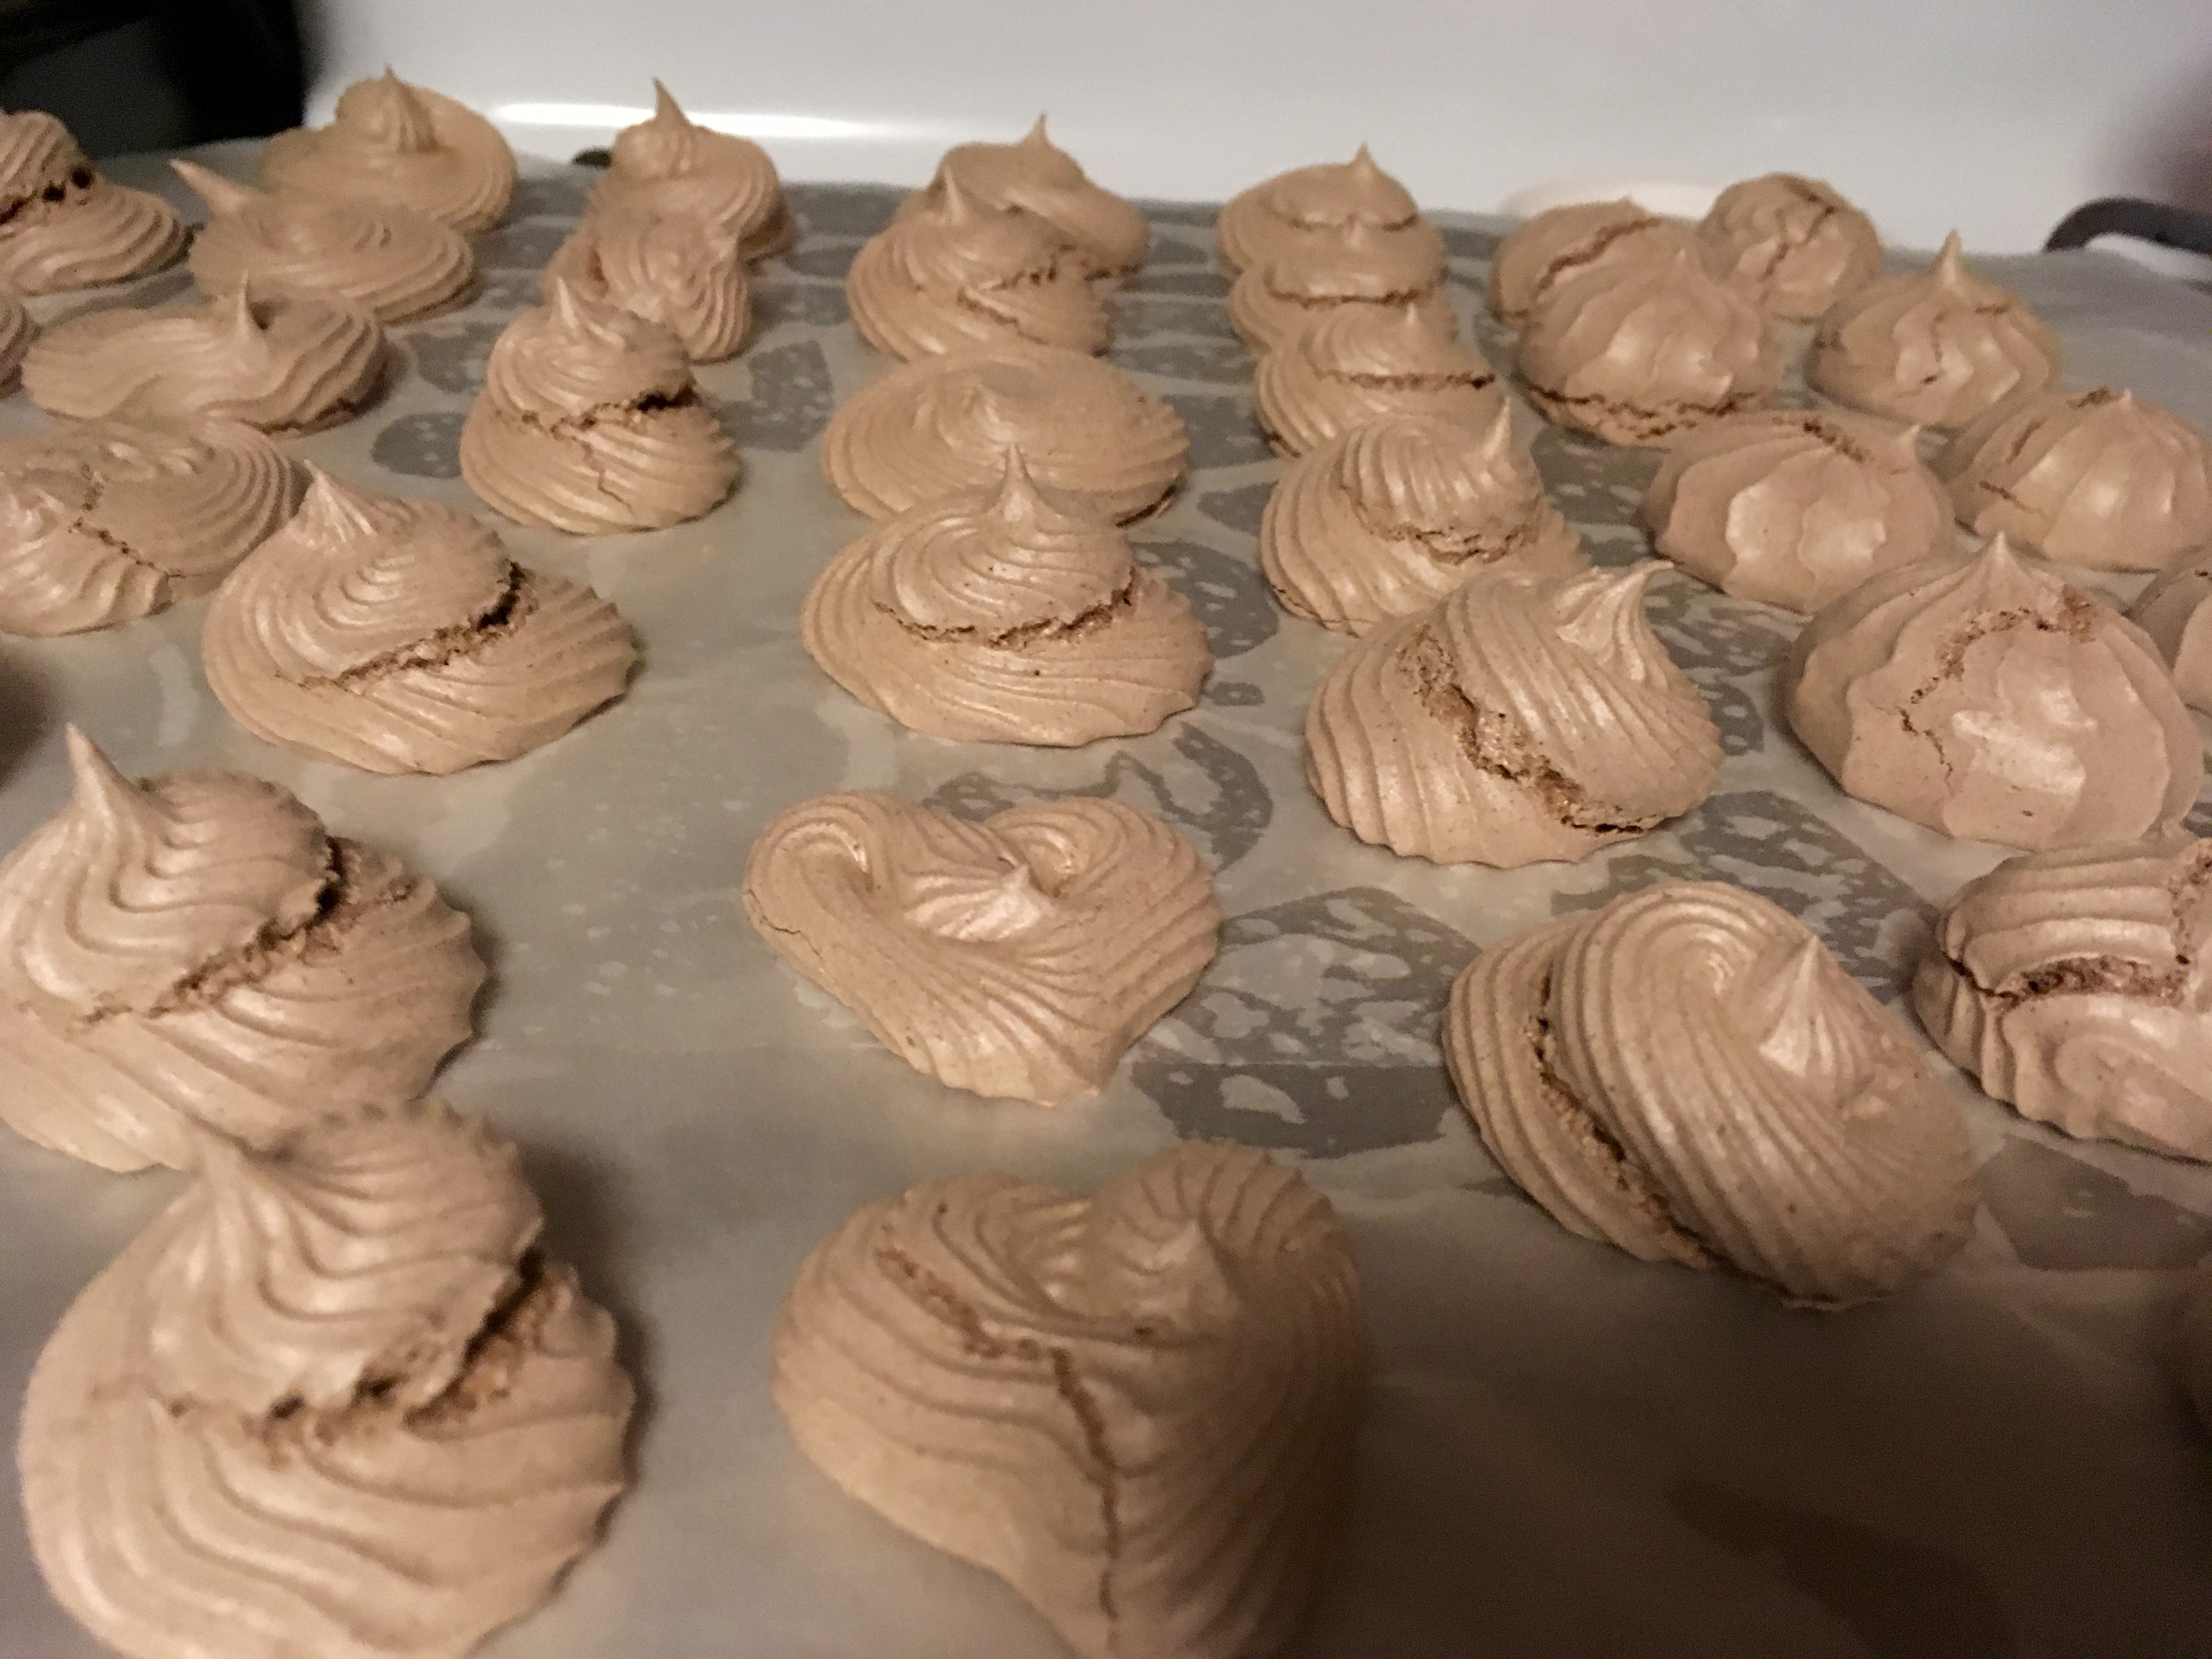
Leaving the oven door cracked open so that steam can escape, bake the meringues for 90 minutes. Then, turn the oven off and leave the oven door cracked slightly, and let the meringues cool completely in the oven. They should be very dry and fragile.

IMG_4737

And that’s it! These cookies are so light and airy and delicious, and the chocolate flavor is so perfect in them. You can also omit the cocoa powder and add a teaspoon of vanilla extract for vanilla meringues, which are just as delicious. Enjoy, and happy baking!


Peanut Butter Blossoms

Hello, all! Now that’s it’s almost the end of October, I guess we have to accept that summer is definitely over. Time for sweaters, scarves, and much more baking now that I’m inside more often! This weekend my husband and I went to our monthly Poker Night with a bunch of friends and I decided to bring an old favorite: Peanut Butter Blossoms. I have yet to meet a person who doesn’t like these. They’re soft but chewy peanut butter cookies with a Hershey kiss nestled right into the middle, and they’re seriously the best. Here’s the recipe!

Ingredients:

  • 1 and 3/4 cup flour
  • 1 tsp baking soda
  • 1/2 tsp salt
  • 1/2 cup shortening
  • 2 tbsp milk
  • 1/2 cup peanut butter
  • 1/2 tsp vanilla
  • 1/2 cup sugar (plus a few tablespoons extra for rolling)
  • 1/2 cup brown sugar
  • 1 large egg
  • Hershey kisses (my most recent batch made 40 cookies, so you’ll need somewhere around that many kisses)

Preheat the oven to 375º. Cream the shortening, peanut butter, and the two sugars together until they’re fully mixed.

IMG_4565

Add the egg, vanilla, and milk; mix to fully combine.

IMG_4566

Add the flour, baking soda, and salt, and mix well until all the ingredients are fully incorporated. It’s a fairly stiff dough so make sure to really get everything mixed in!

IMG_4567

Shape the cookies into about 1″ balls, and roll them in extra sugar. Hint: it goes quicker if you shape all the cookies into balls first and then roll them all in sugar at once.

IMG_4569IMG_4568

Place them on an ungreased cookie sheet about 2″ apart. (Shoutout to my hubby and my mom for getting me the largest cookie sheets on the market so that I don’t have to cool cookie sheets between batches anymore. You’re the best!)

IMG_4570

IMPORTANT NEXT STEP: COUNT OUT HOW MANY COOKIE BALLS YOU HAVE ROLLED. During the first baking time, you’ll want to unwrap enough Hershey kisses to place one on each cookie and it’s a super drag trying to rush through unwrapping them if you didn’t count.

Bake for ~8 minutes. Unwrap as many Hershey kisses as needed. Remove the cookies from the oven. While the cookies are still piping hot, place a kiss in the center of the cookie and press down gently.

IMG_4571

Put the kiss-topped cookies back in the oven for 2-3 minutes. Then, remove them from the oven and let them cool slightly on the baking sheet. They’re really fragile when hot, so it’s hard to transfer them to a cooling rack unless they’re slightly cooled.

IMG_4572

Once the cookies are move-able, transfer them to a cooling rack to finish cooling, and enjoy! Make sure you get some for yourself, because these go quick (or at least they do in my house!). Happy baking!