Tag Archives: peanut butter

Peanut Butter Blossoms

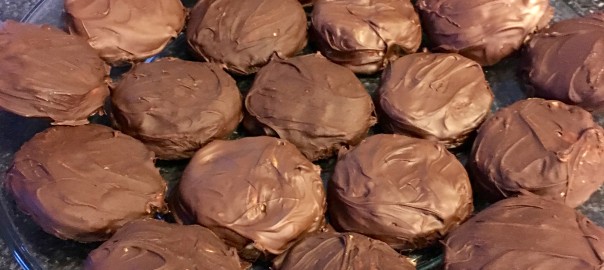
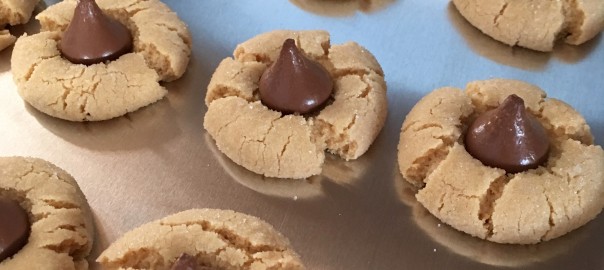
Hello, all! Now that’s it’s almost the end of October, I guess we have to accept that summer is definitely over. Time for sweaters, scarves, and much more baking now that I’m inside more often! This weekend my husband and I went to our monthly Poker Night with a bunch of friends and I decided to bring an old favorite: Peanut Butter Blossoms. I have yet to meet a person who doesn’t like these. They’re soft but chewy peanut butter cookies with a Hershey kiss nestled right into the middle, and they’re seriously the best. Here’s the recipe!

Ingredients:

  • 1 and 3/4 cup flour
  • 1 tsp baking soda
  • 1/2 tsp salt
  • 1/2 cup shortening
  • 2 tbsp milk
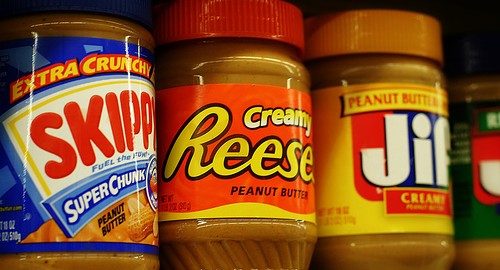
  • 1/2 cup peanut butter
  • 1/2 tsp vanilla
  • 1/2 cup sugar (plus a few tablespoons extra for rolling)
  • 1/2 cup brown sugar
  • 1 large egg
  • Hershey kisses (my most recent batch made 40 cookies, so you’ll need somewhere around that many kisses)

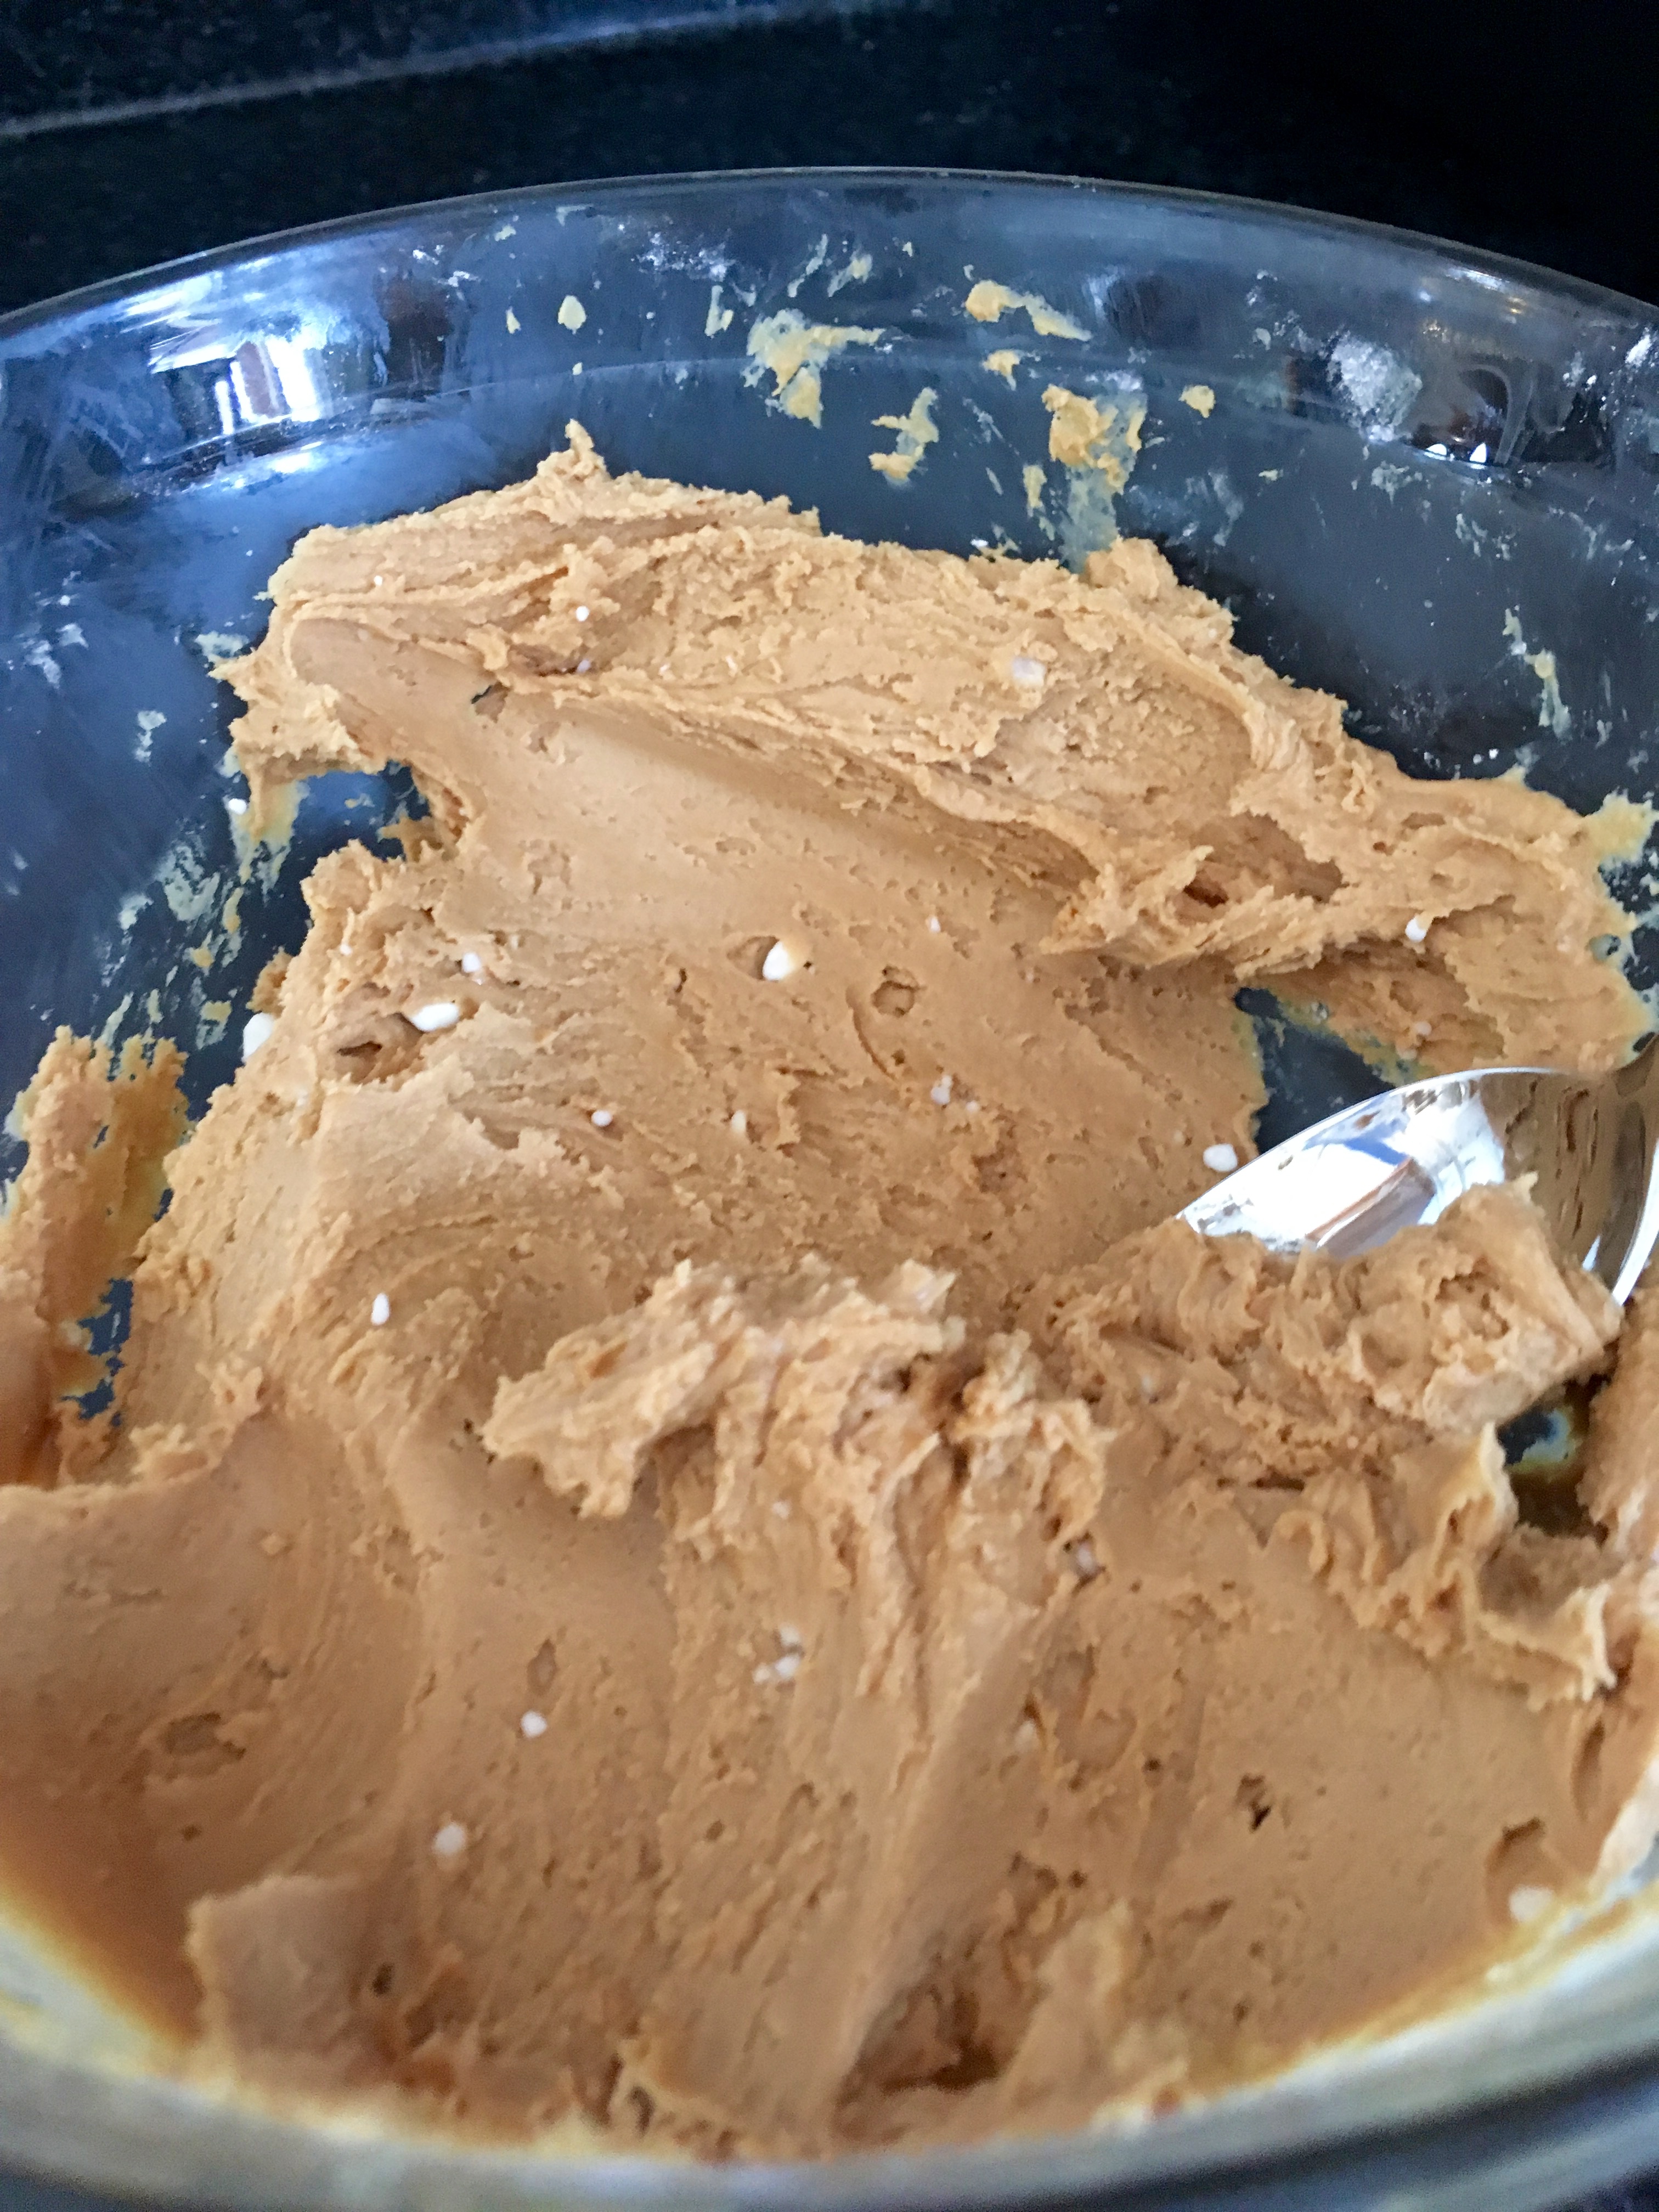
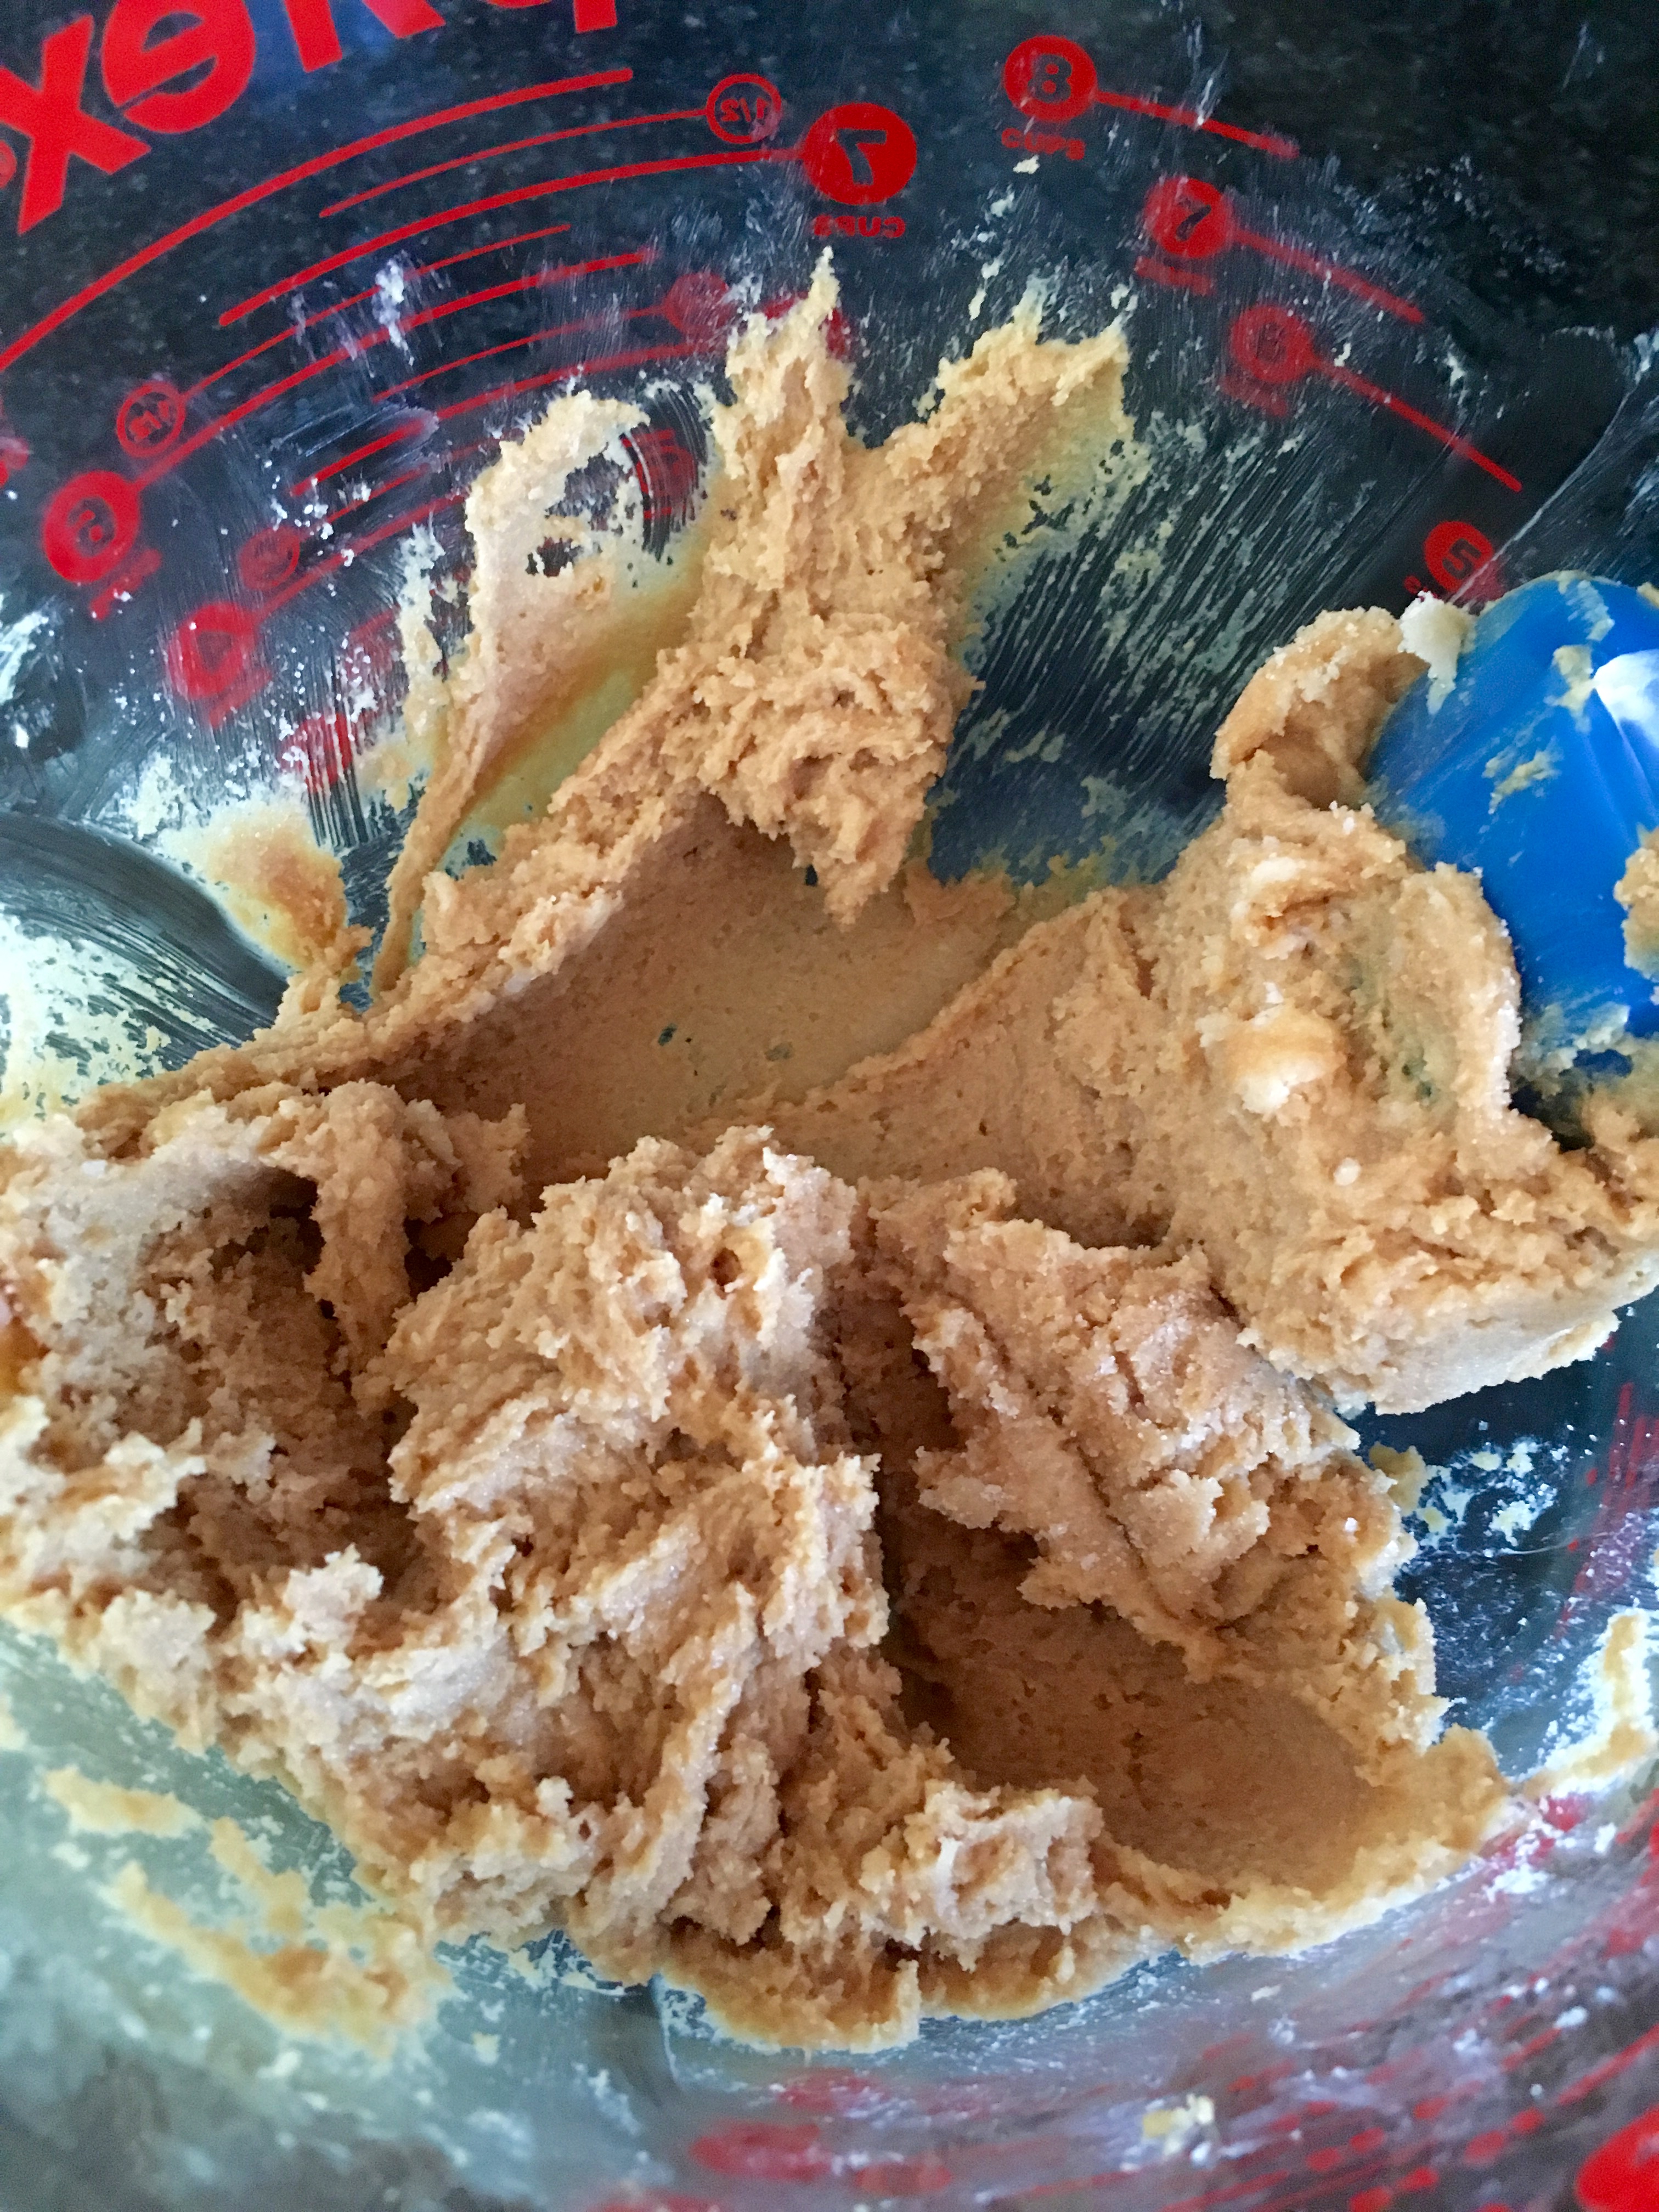
Preheat the oven to 375º. Cream the shortening, peanut butter, and the two sugars together until they’re fully mixed.

IMG_4565

Add the egg, vanilla, and milk; mix to fully combine.

IMG_4566

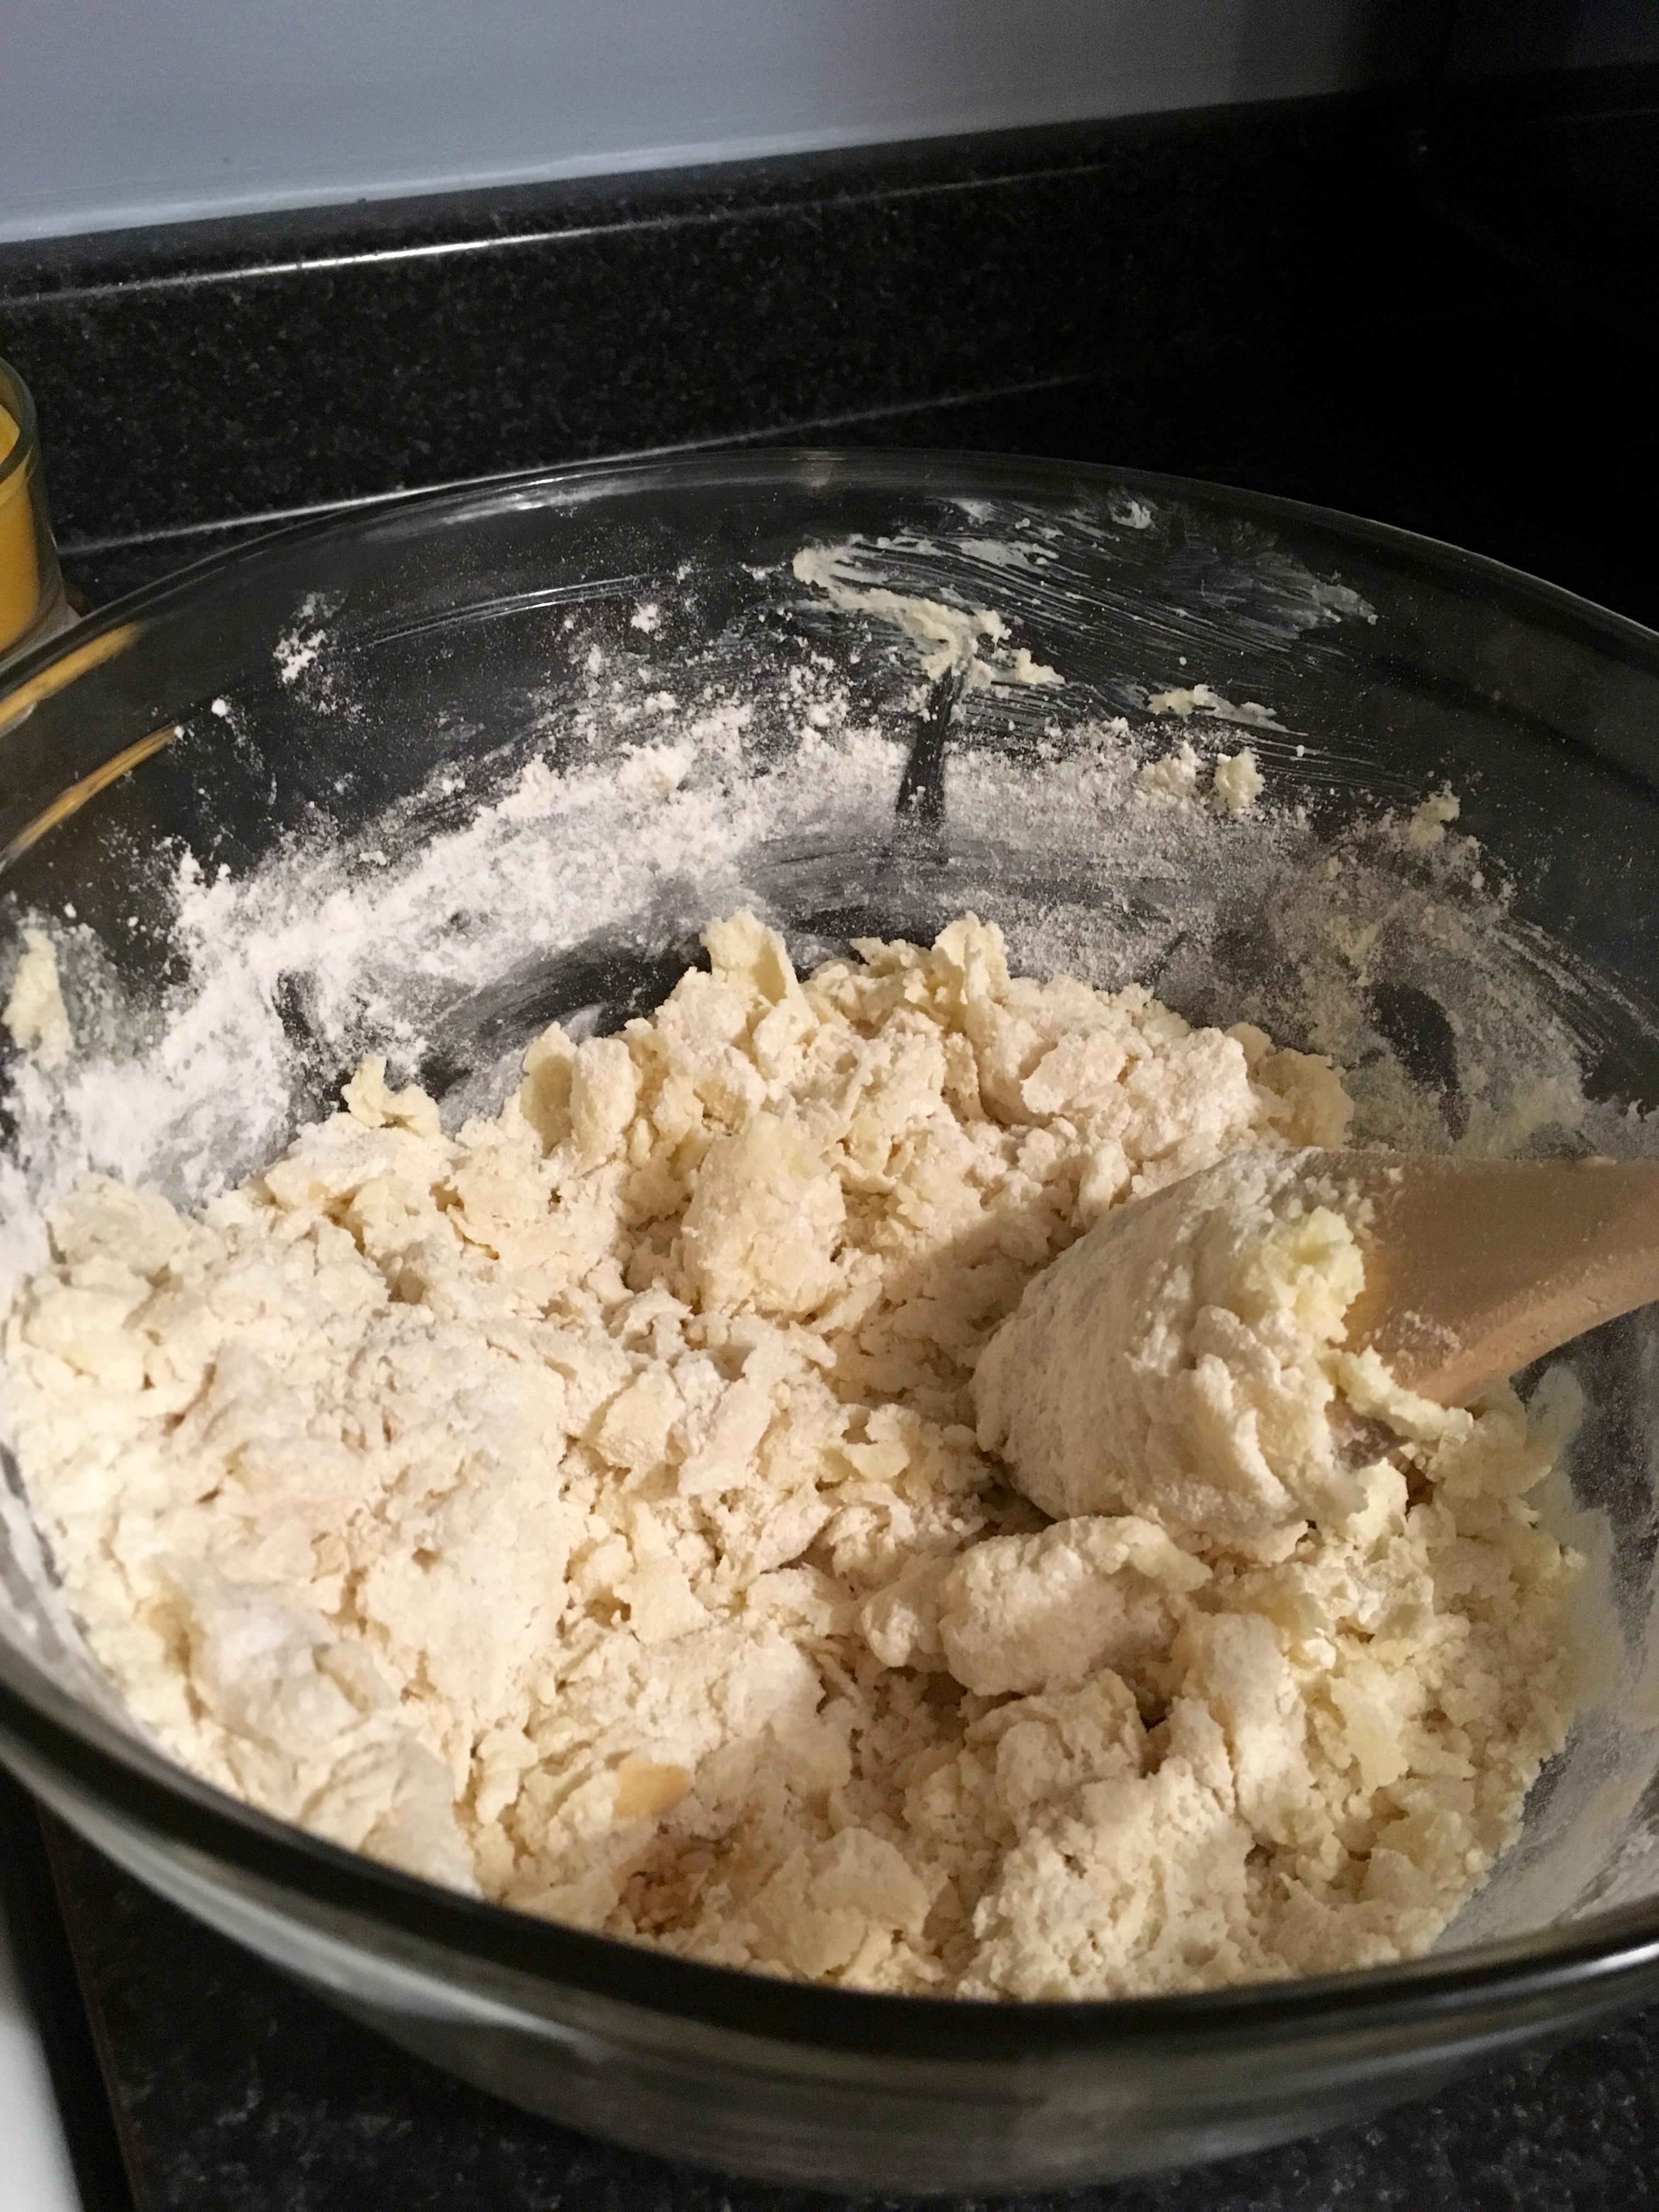
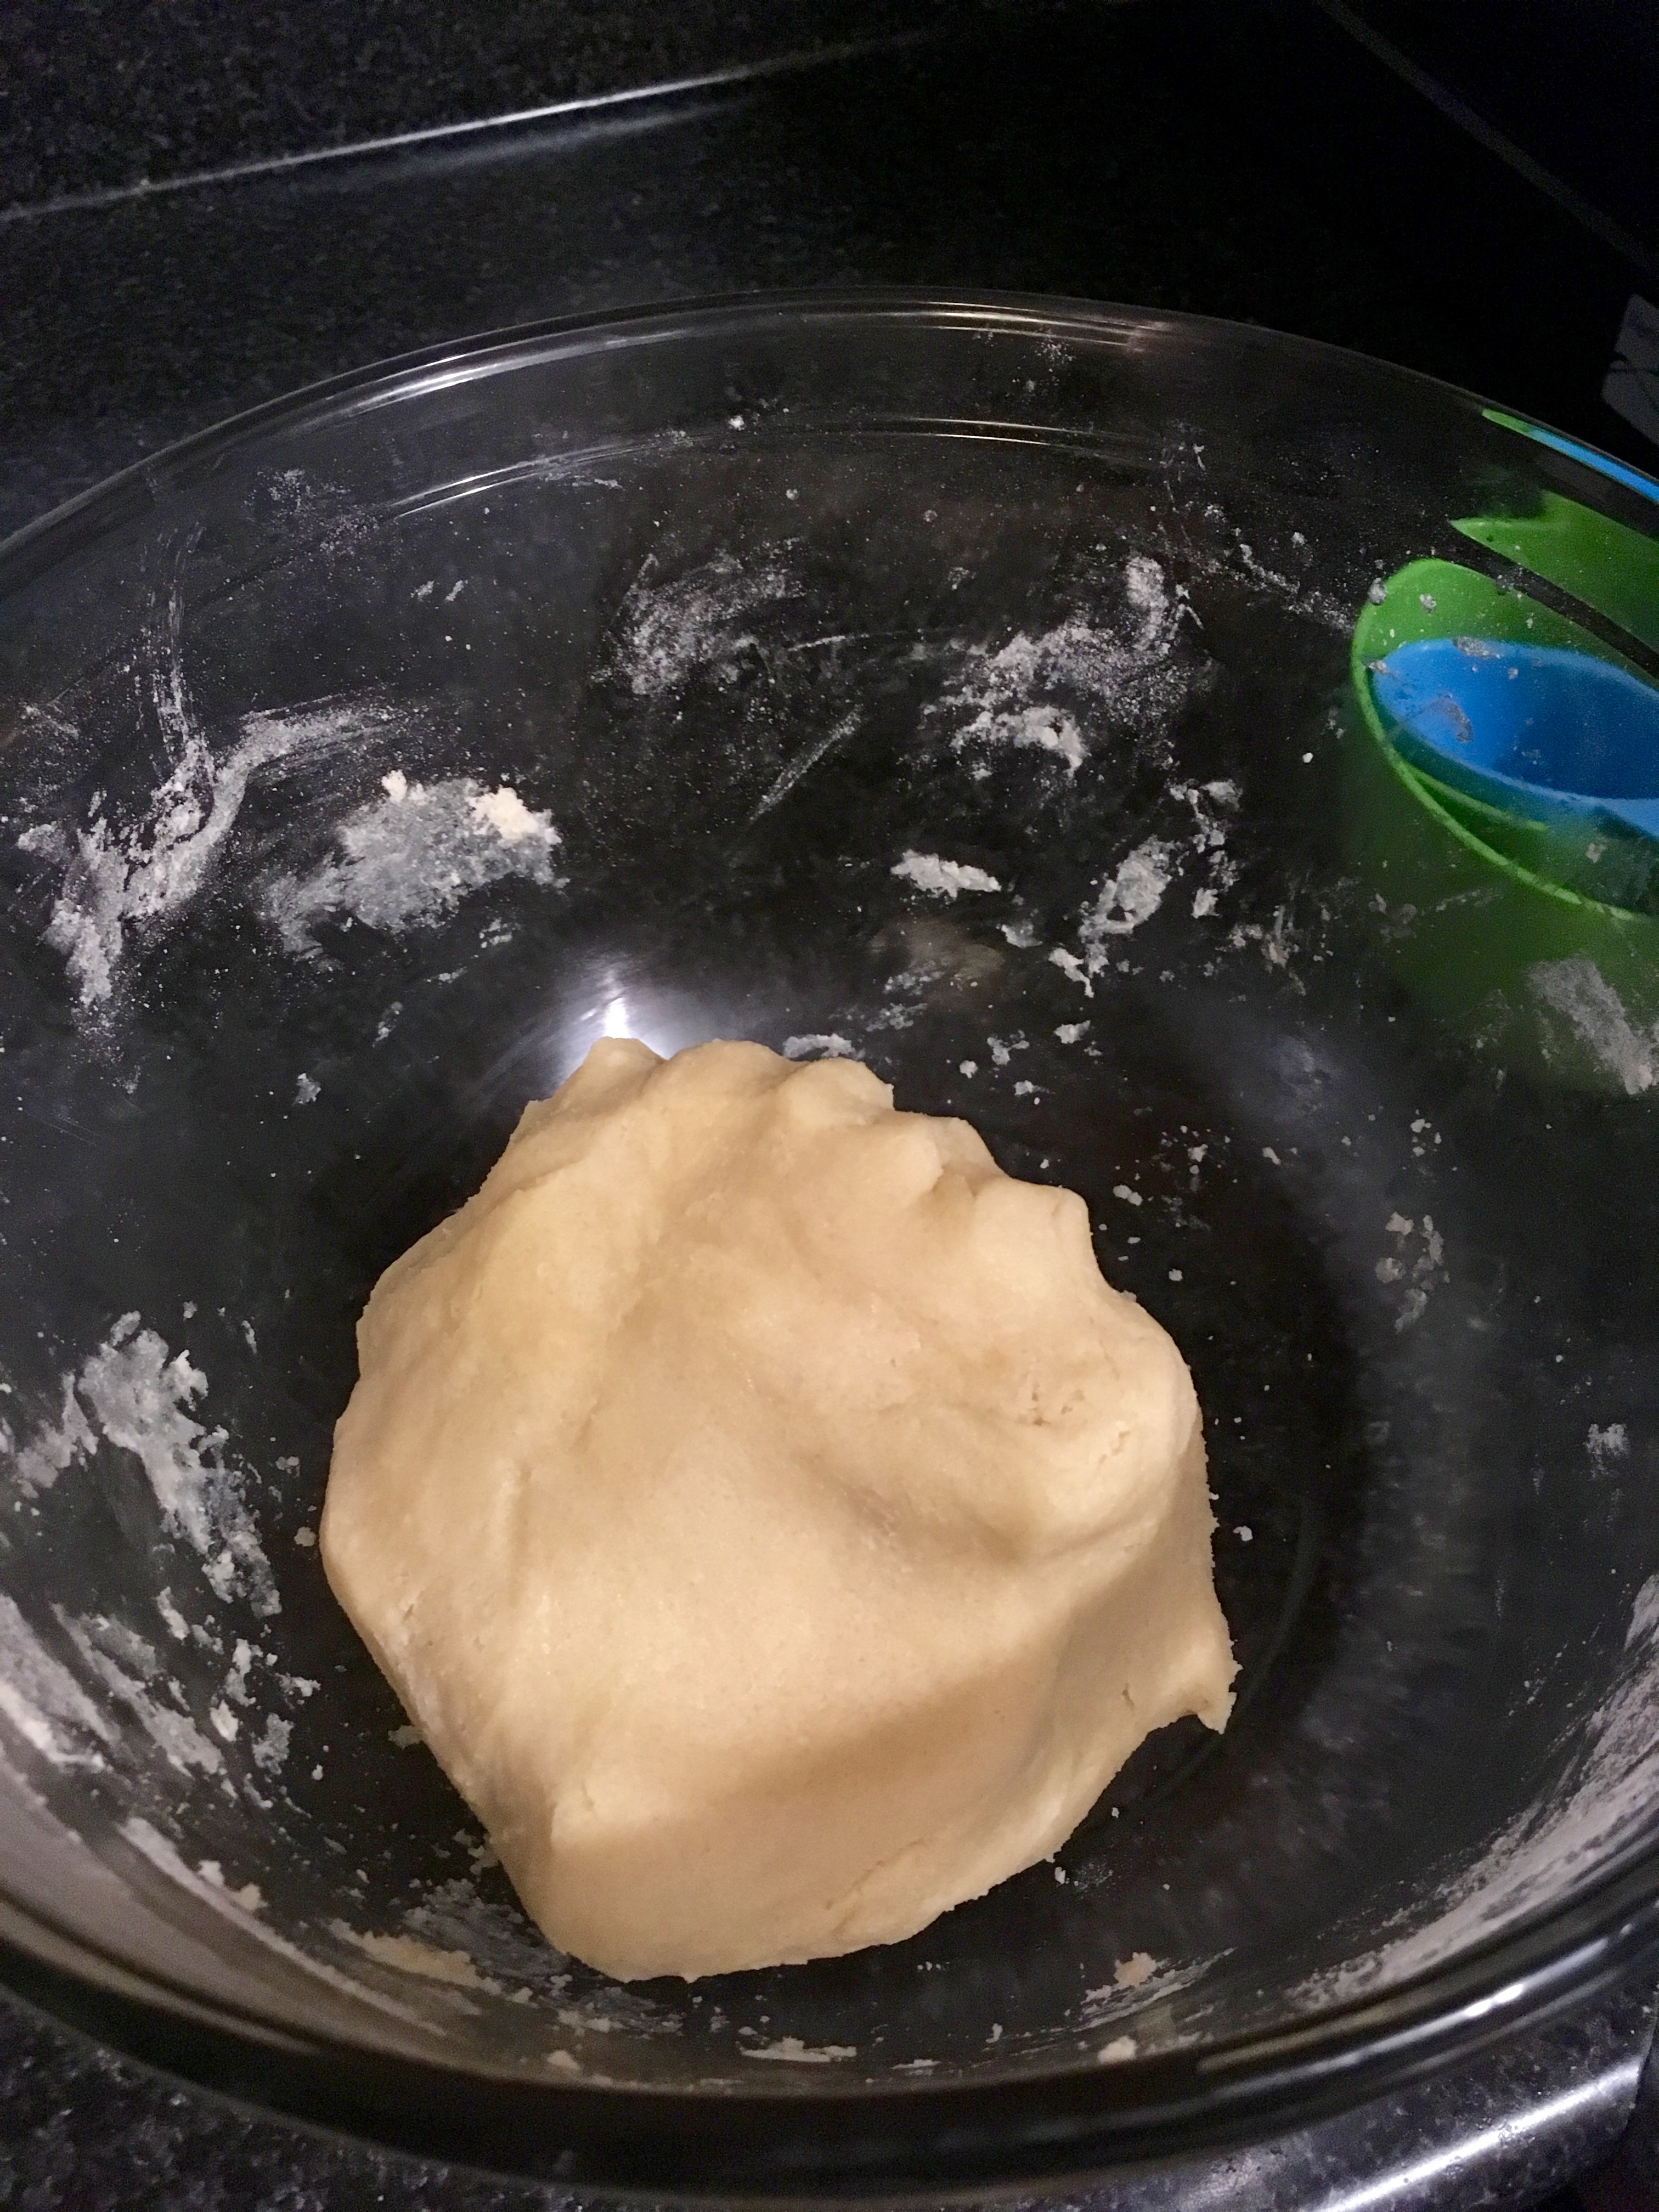
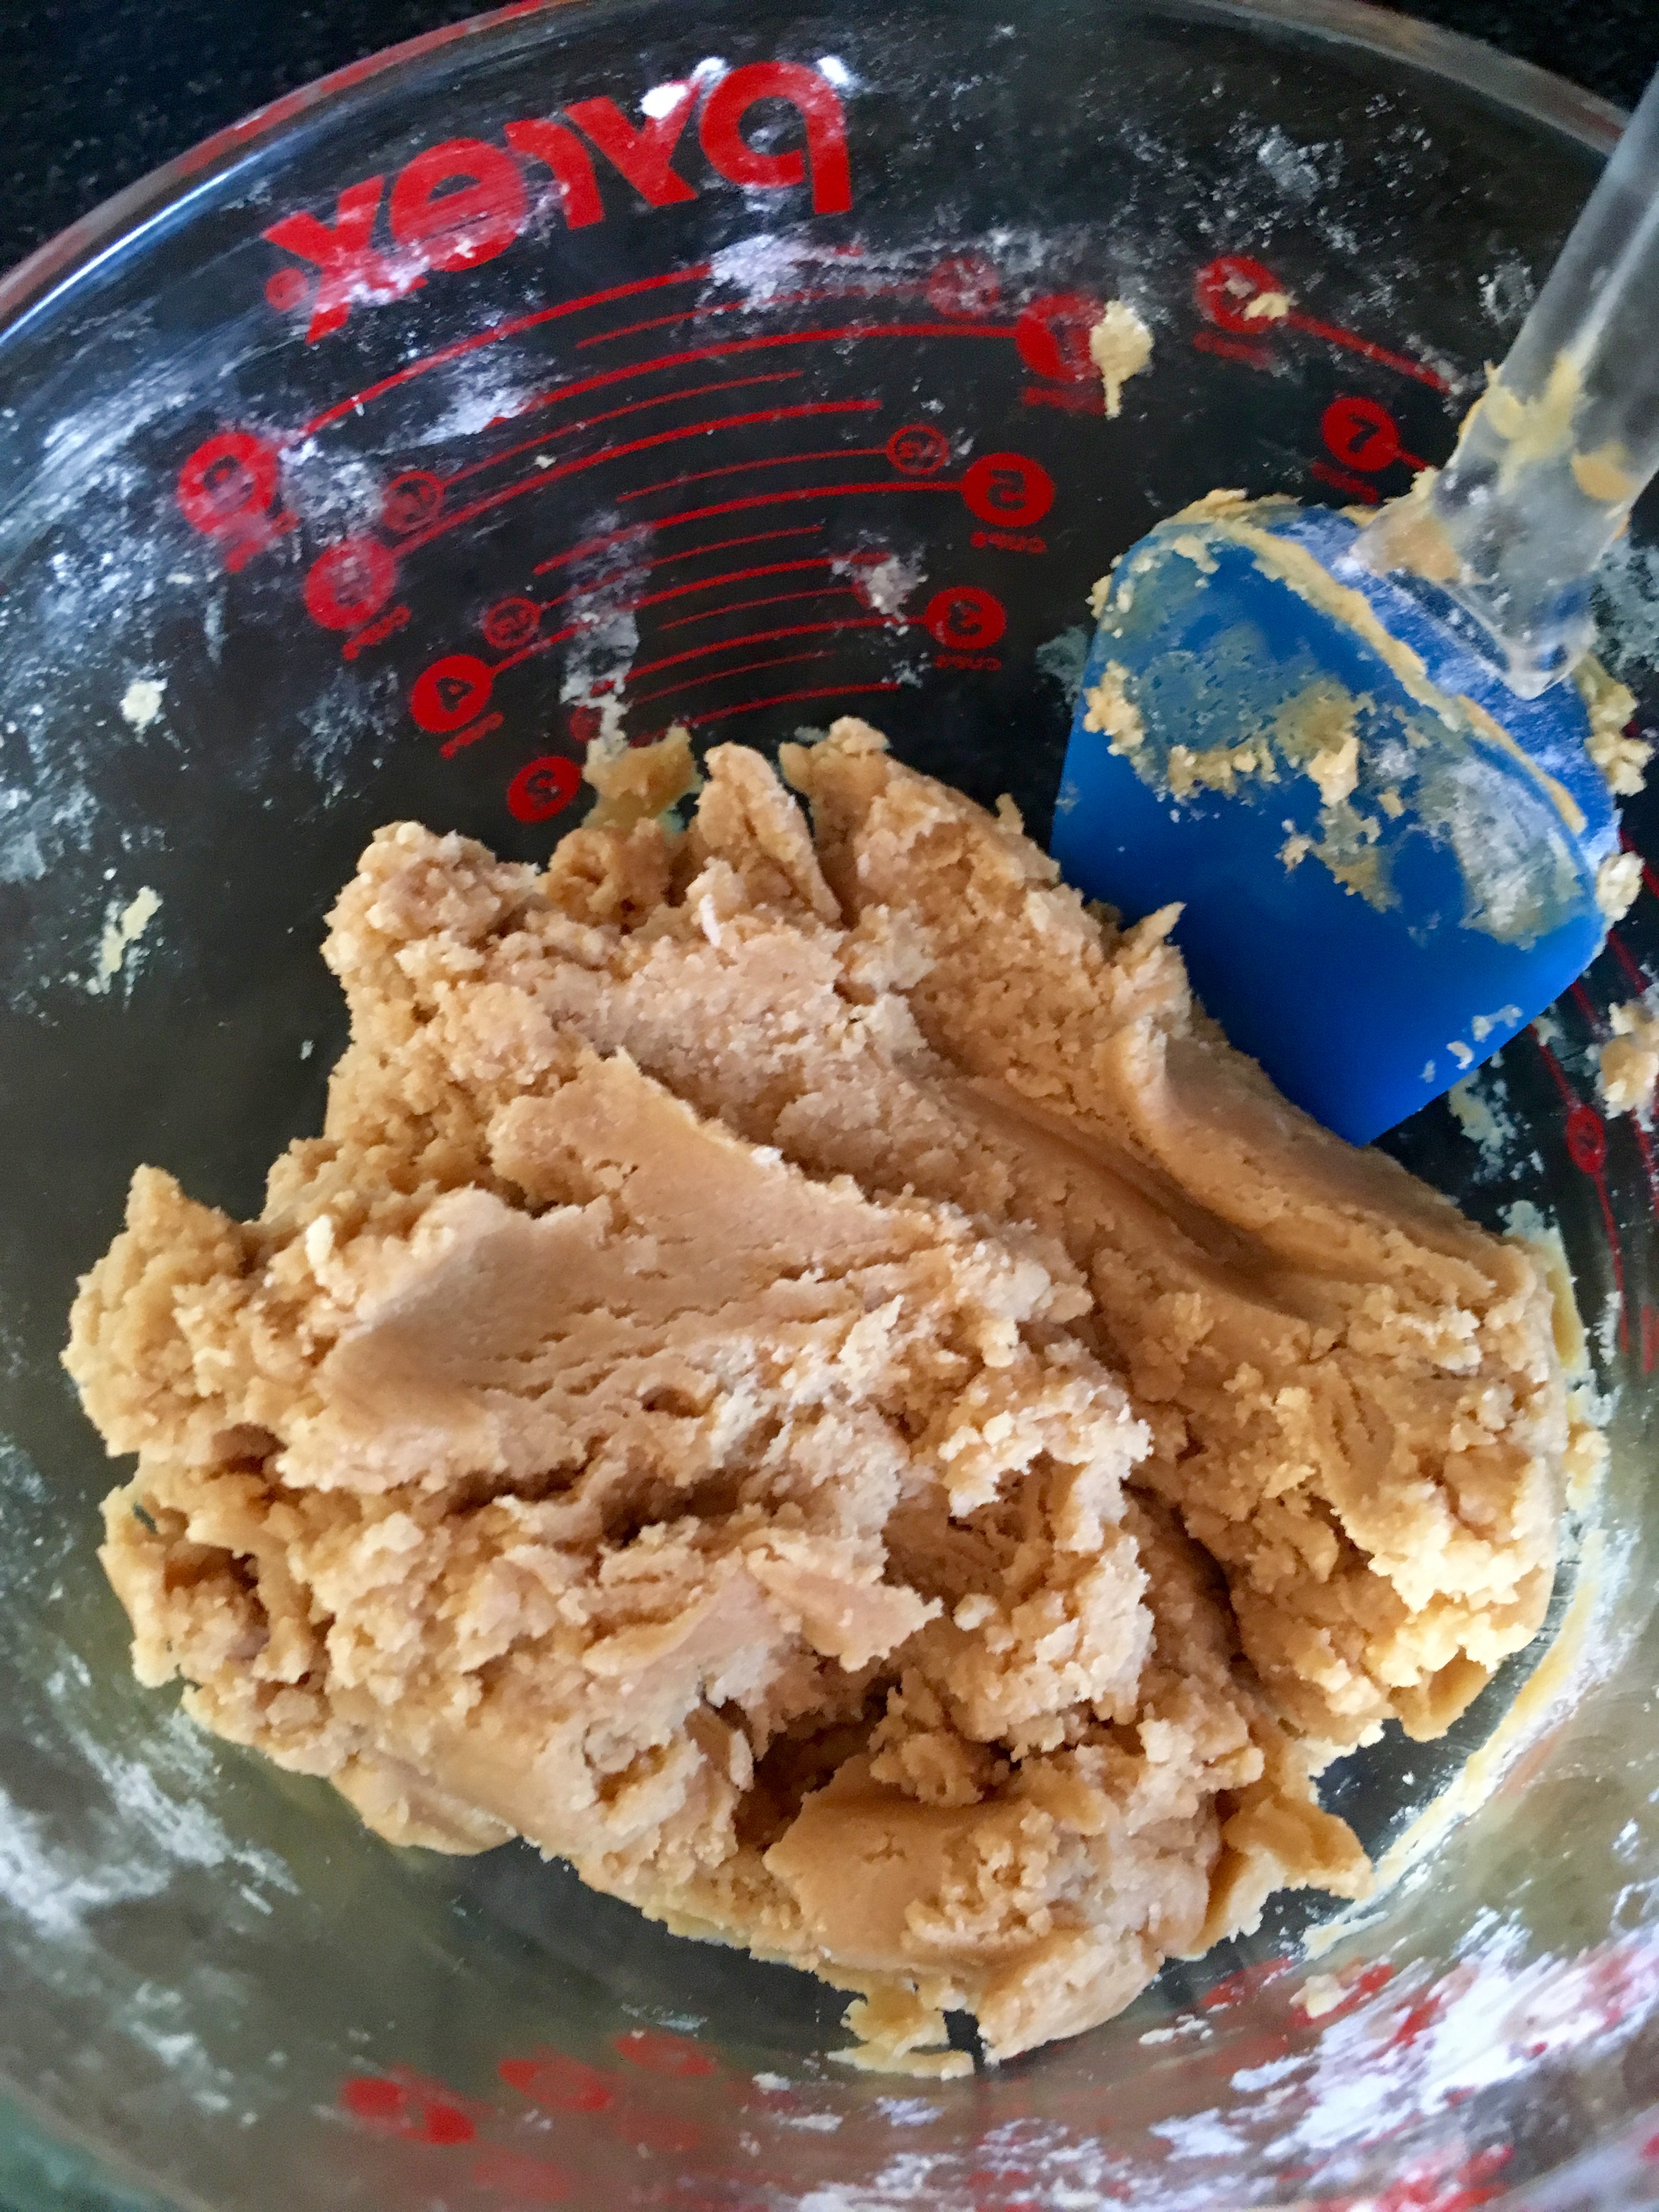
Add the flour, baking soda, and salt, and mix well until all the ingredients are fully incorporated. It’s a fairly stiff dough so make sure to really get everything mixed in!

IMG_4567

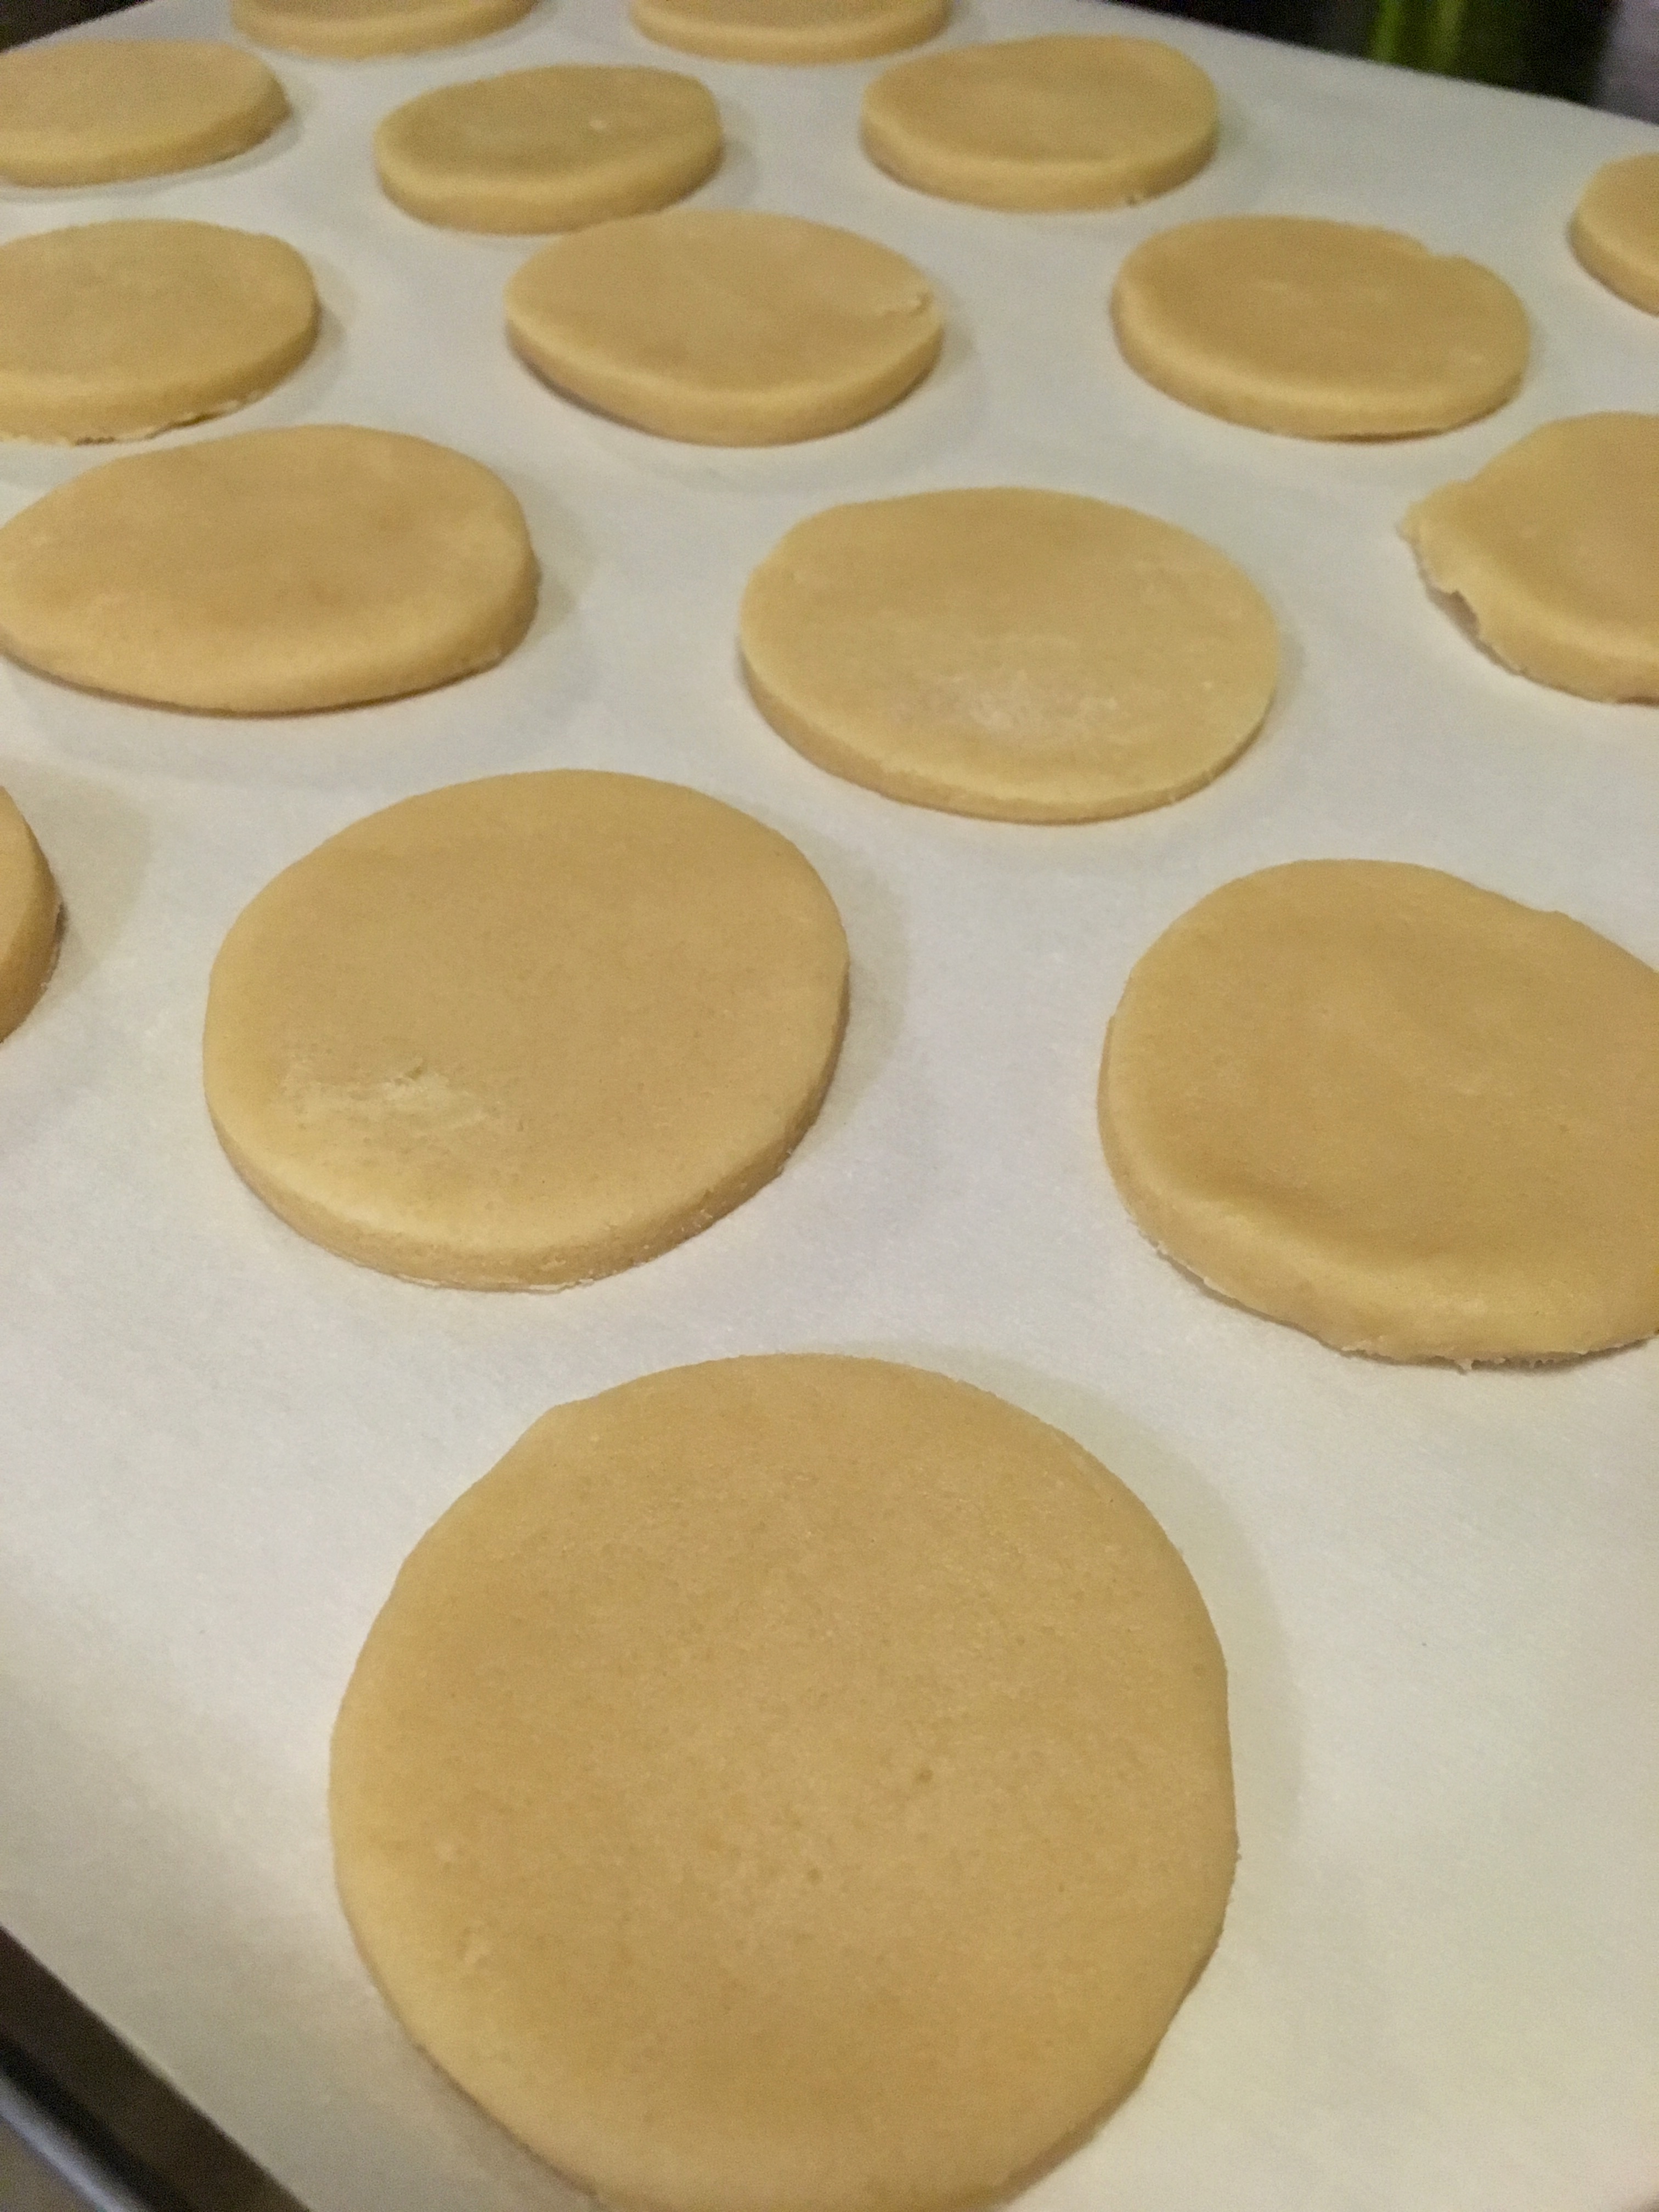
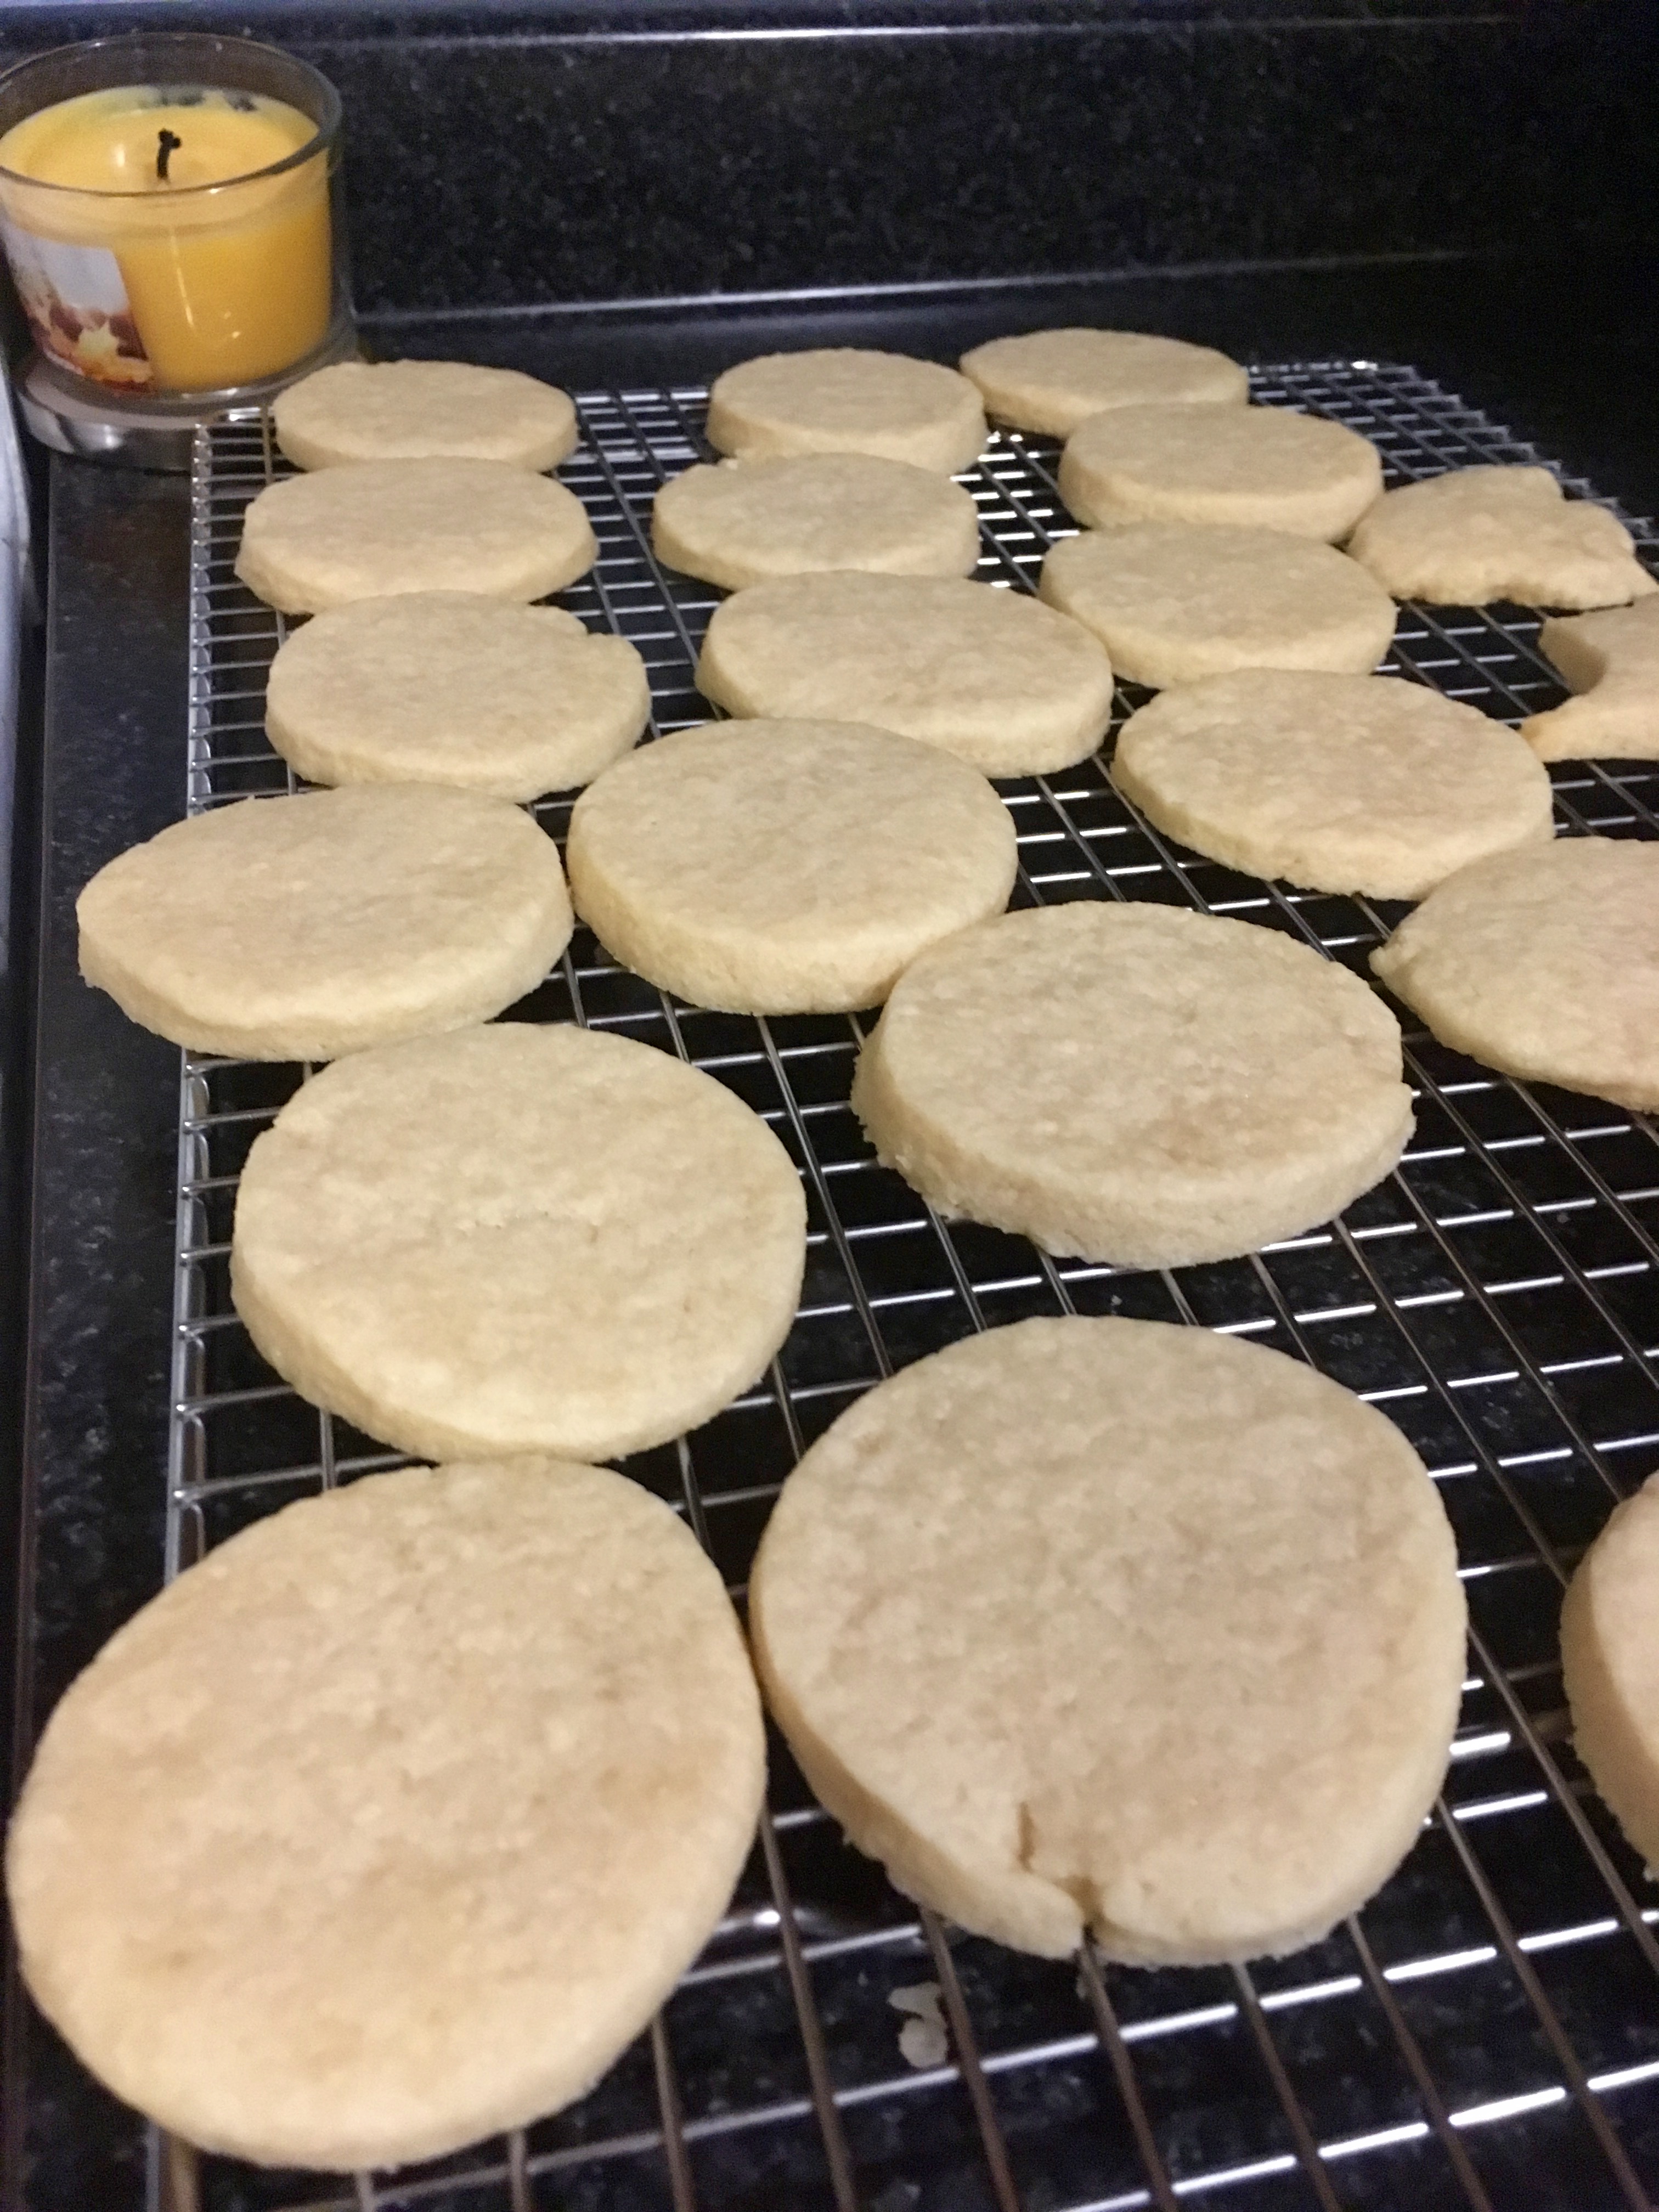
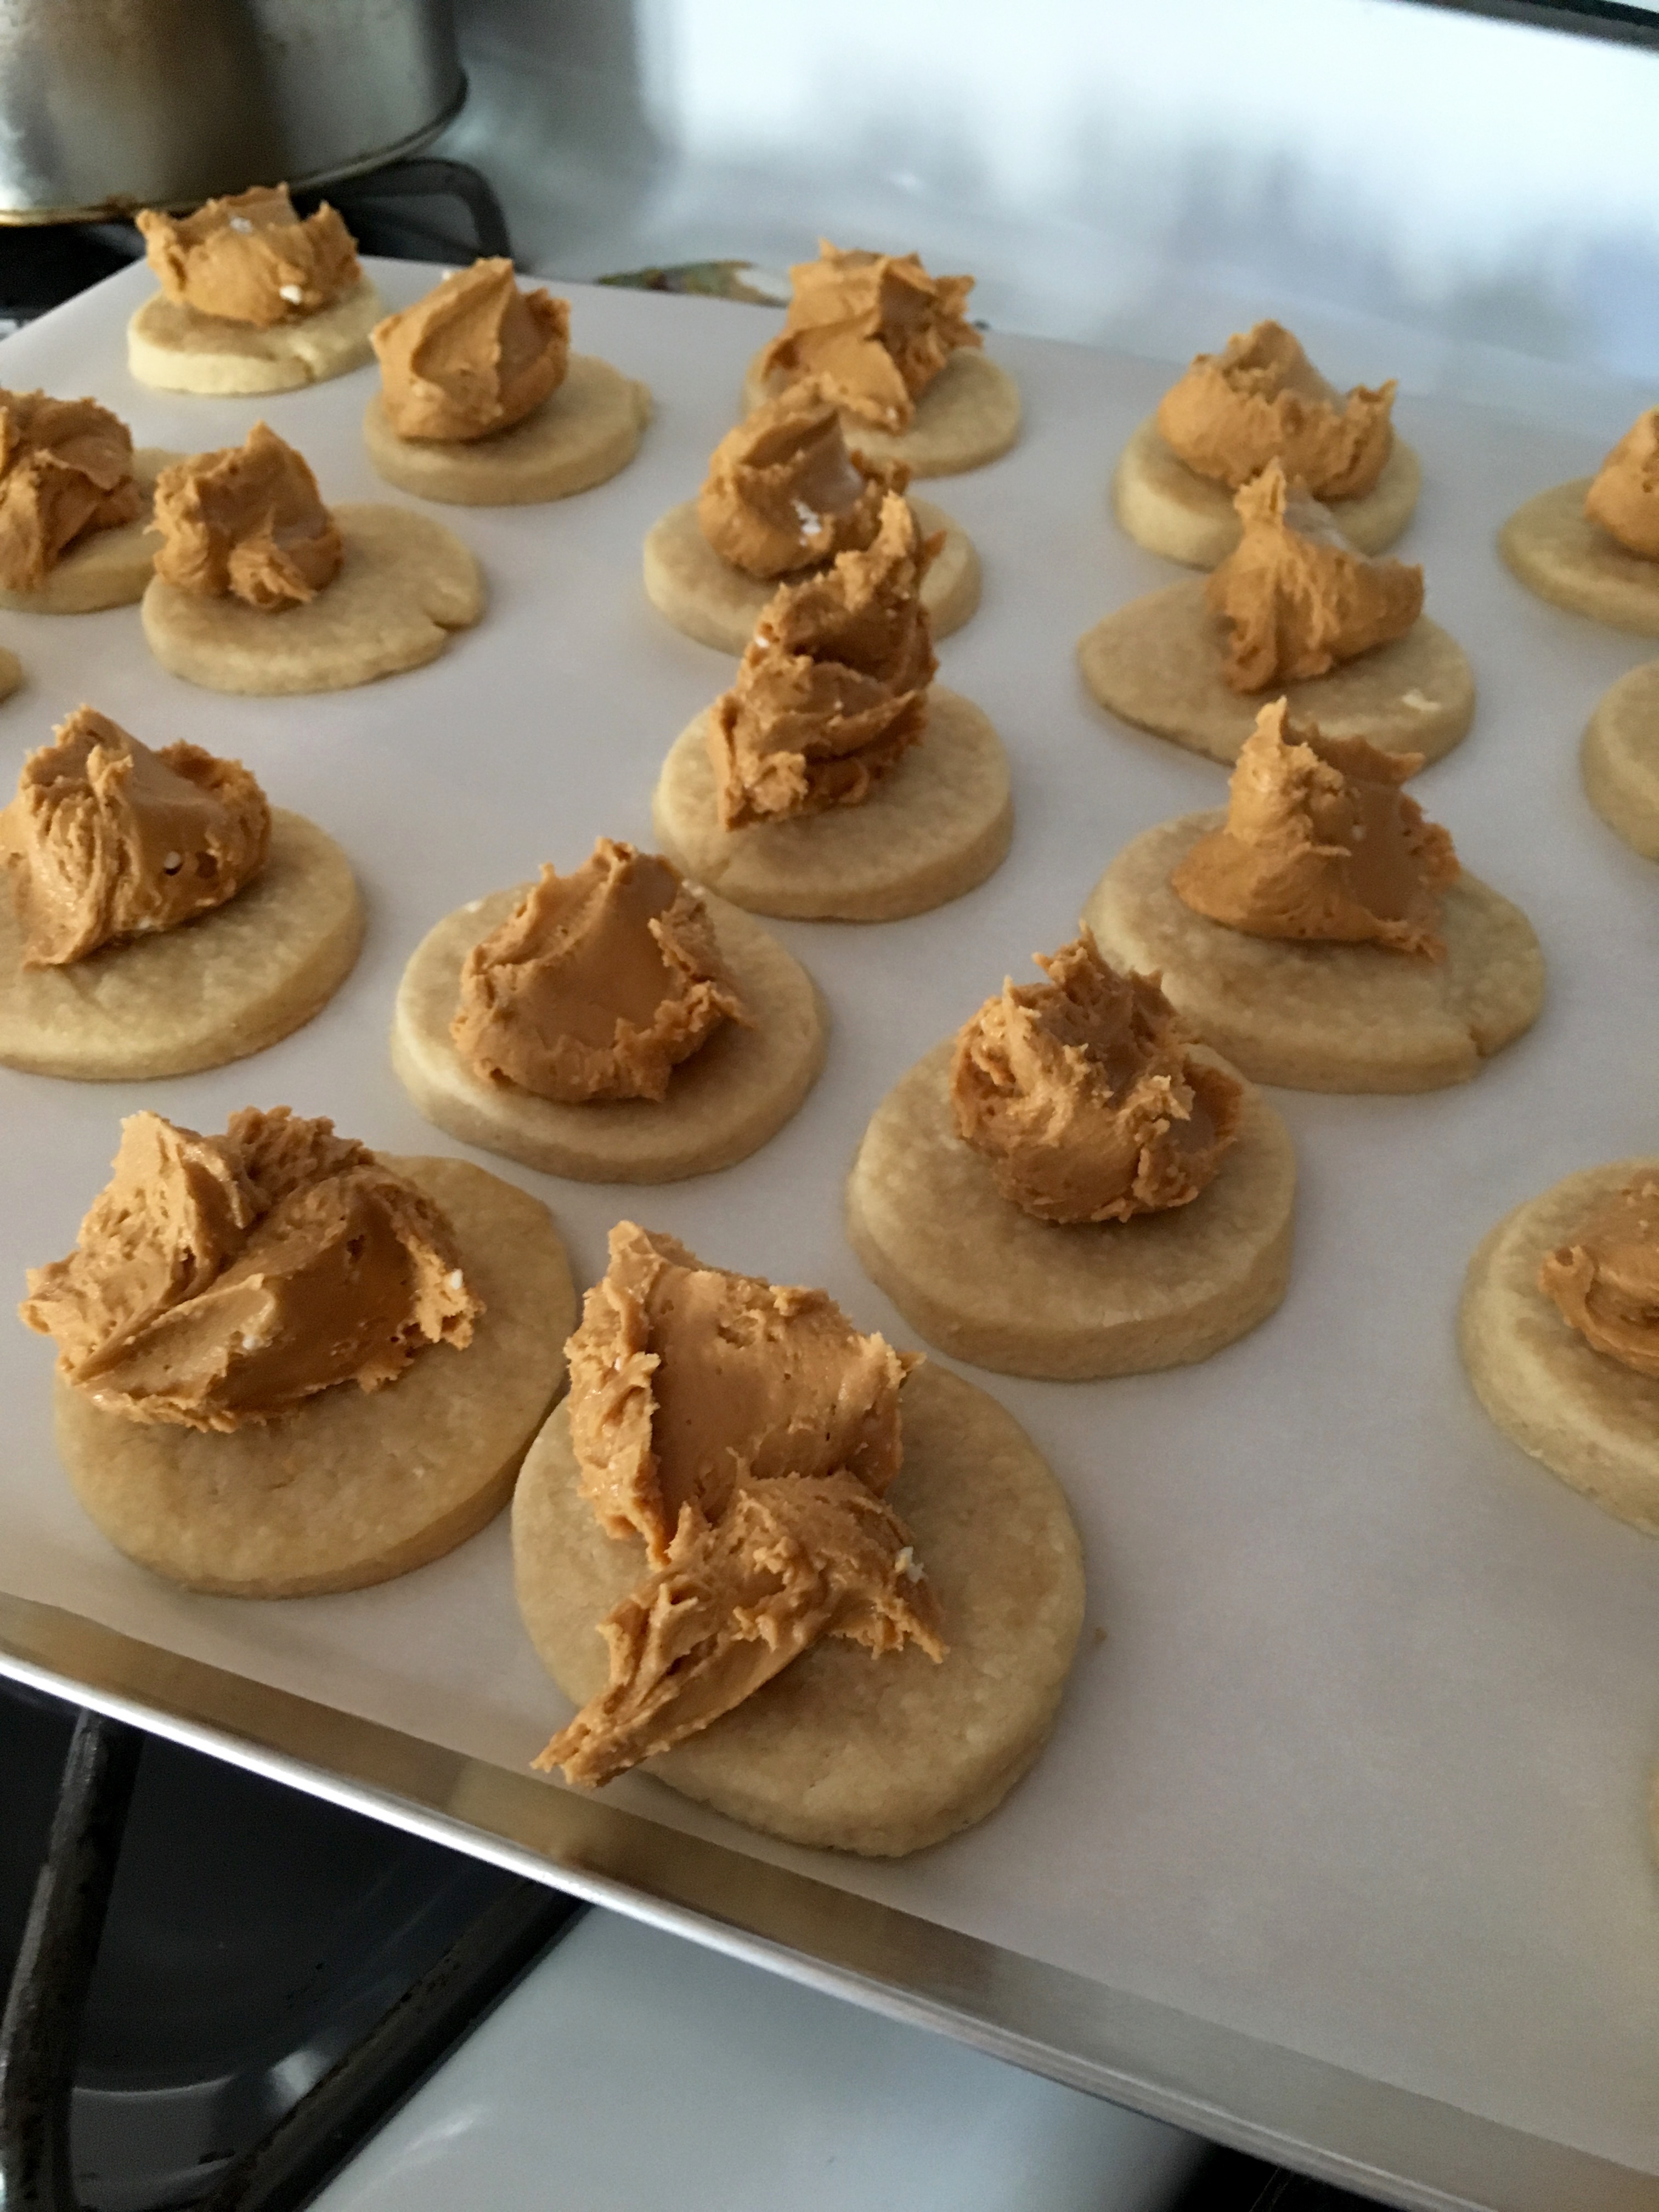
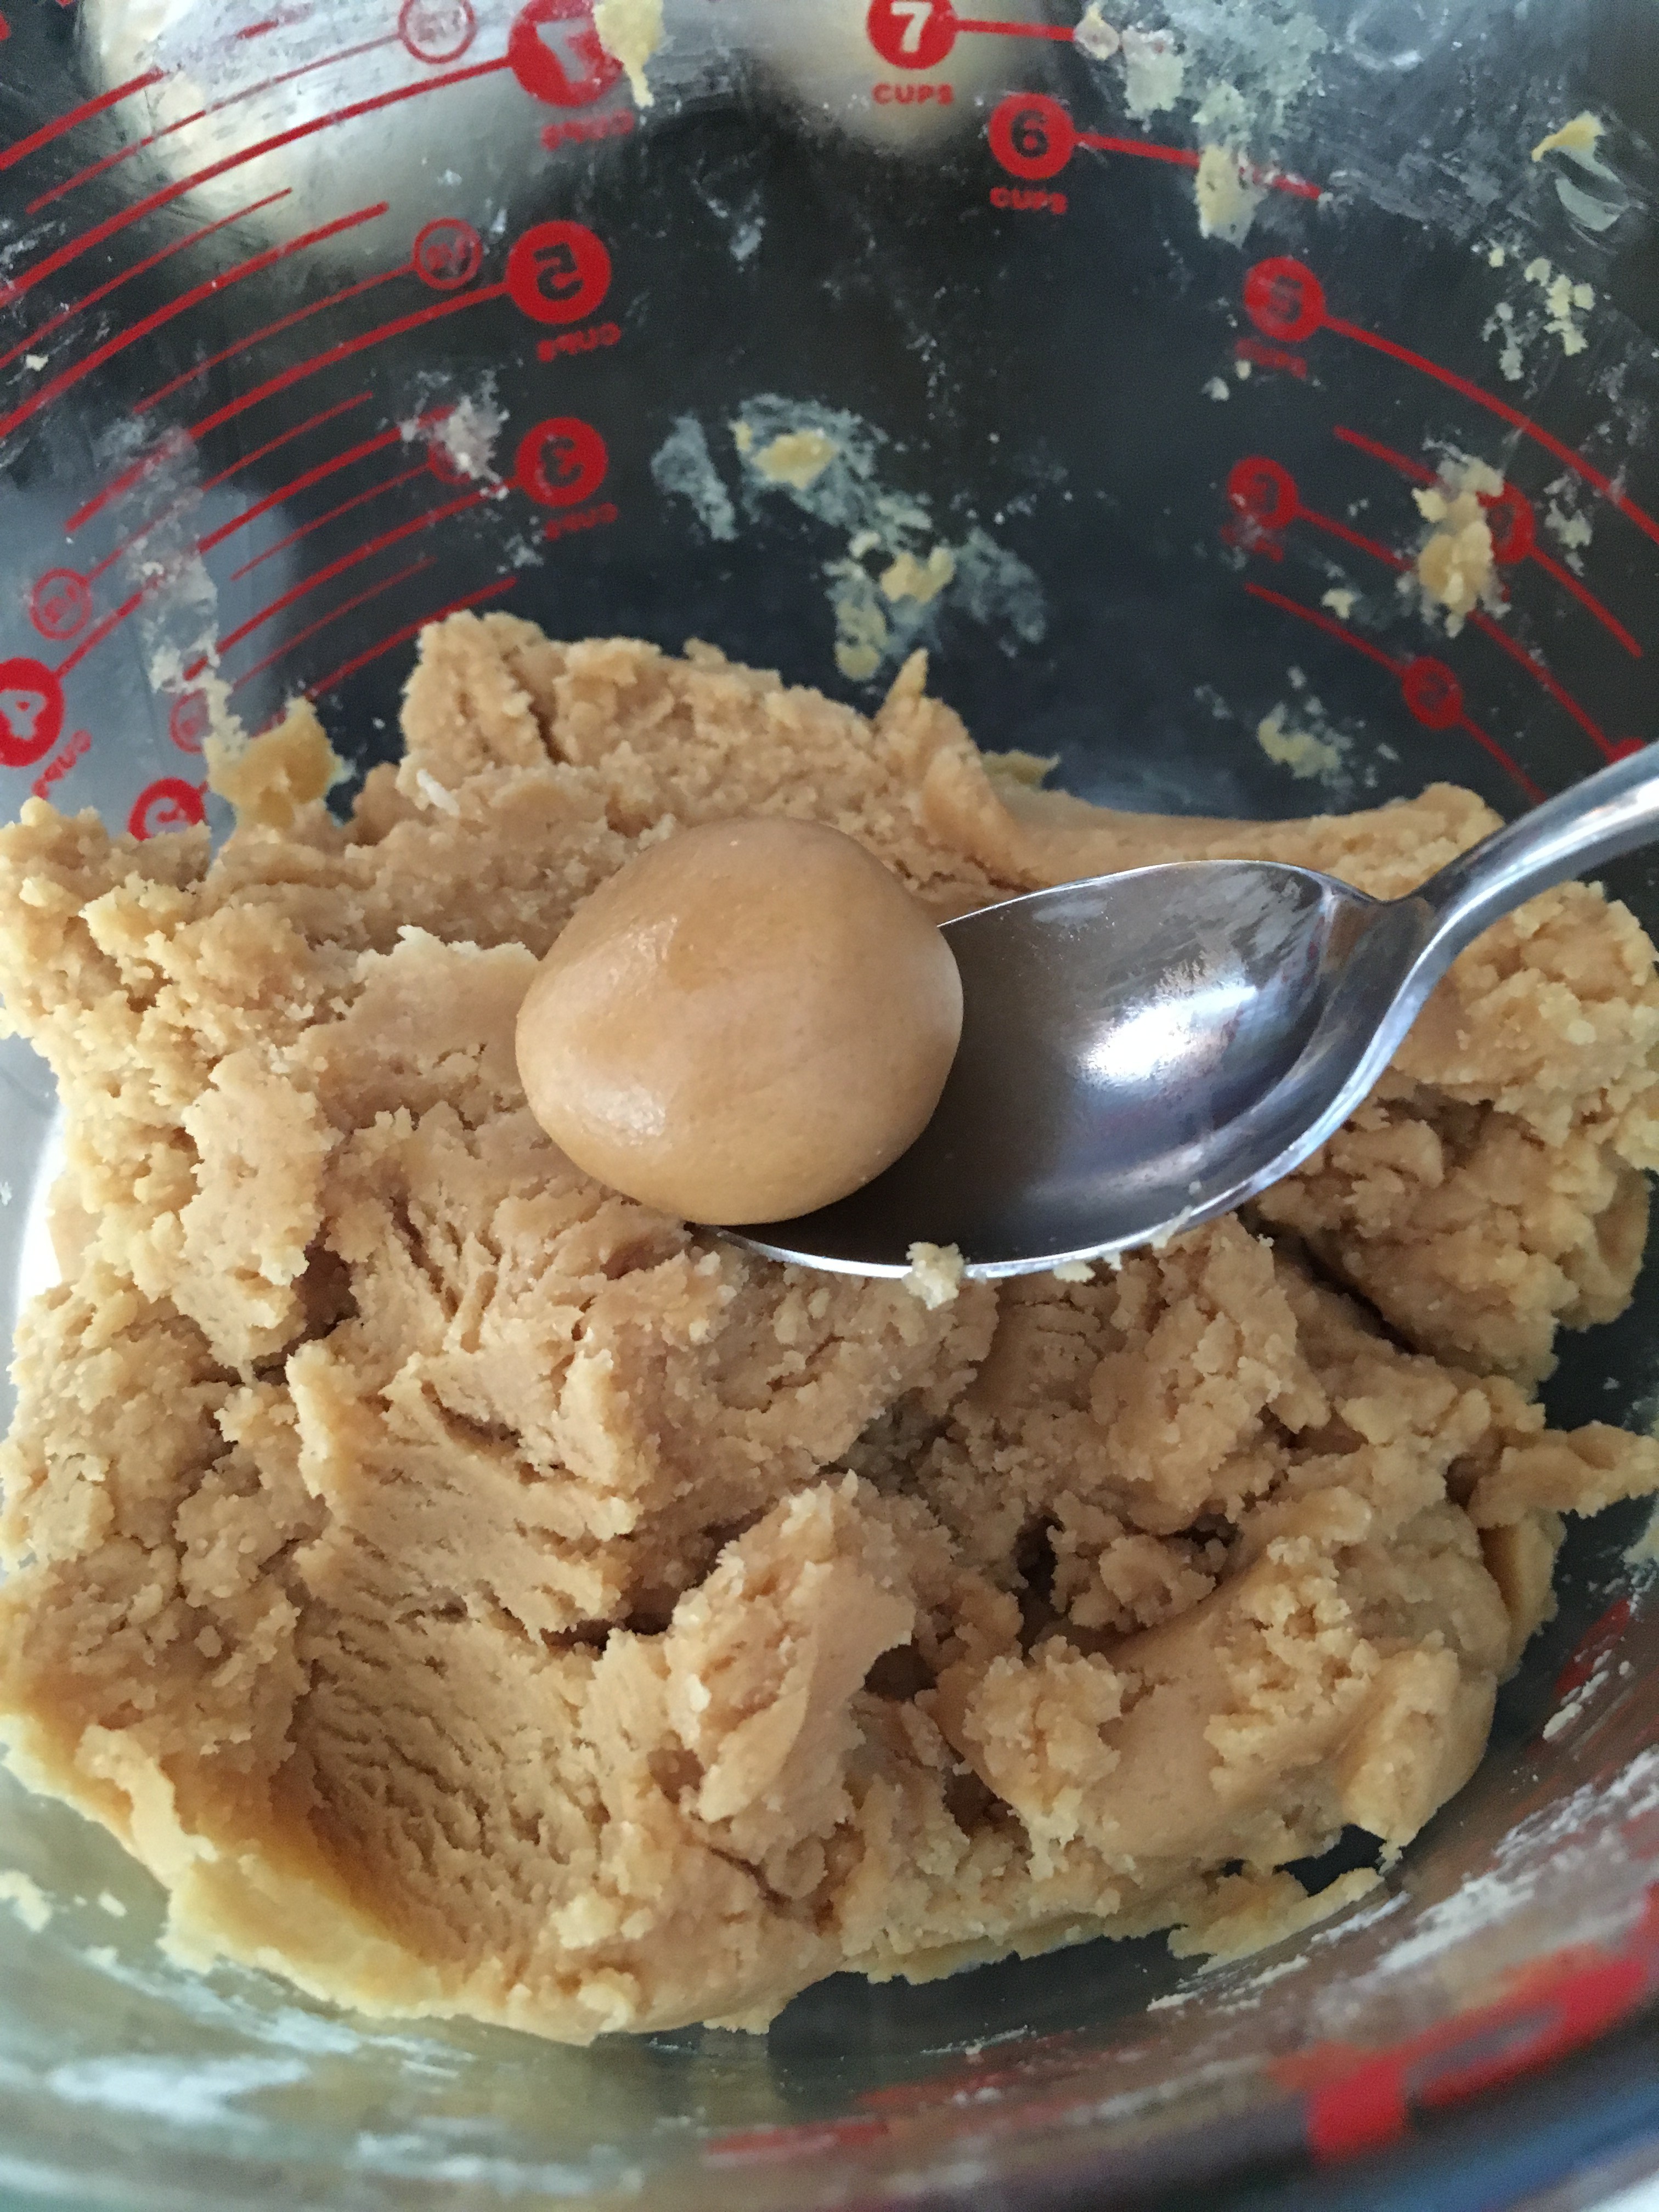
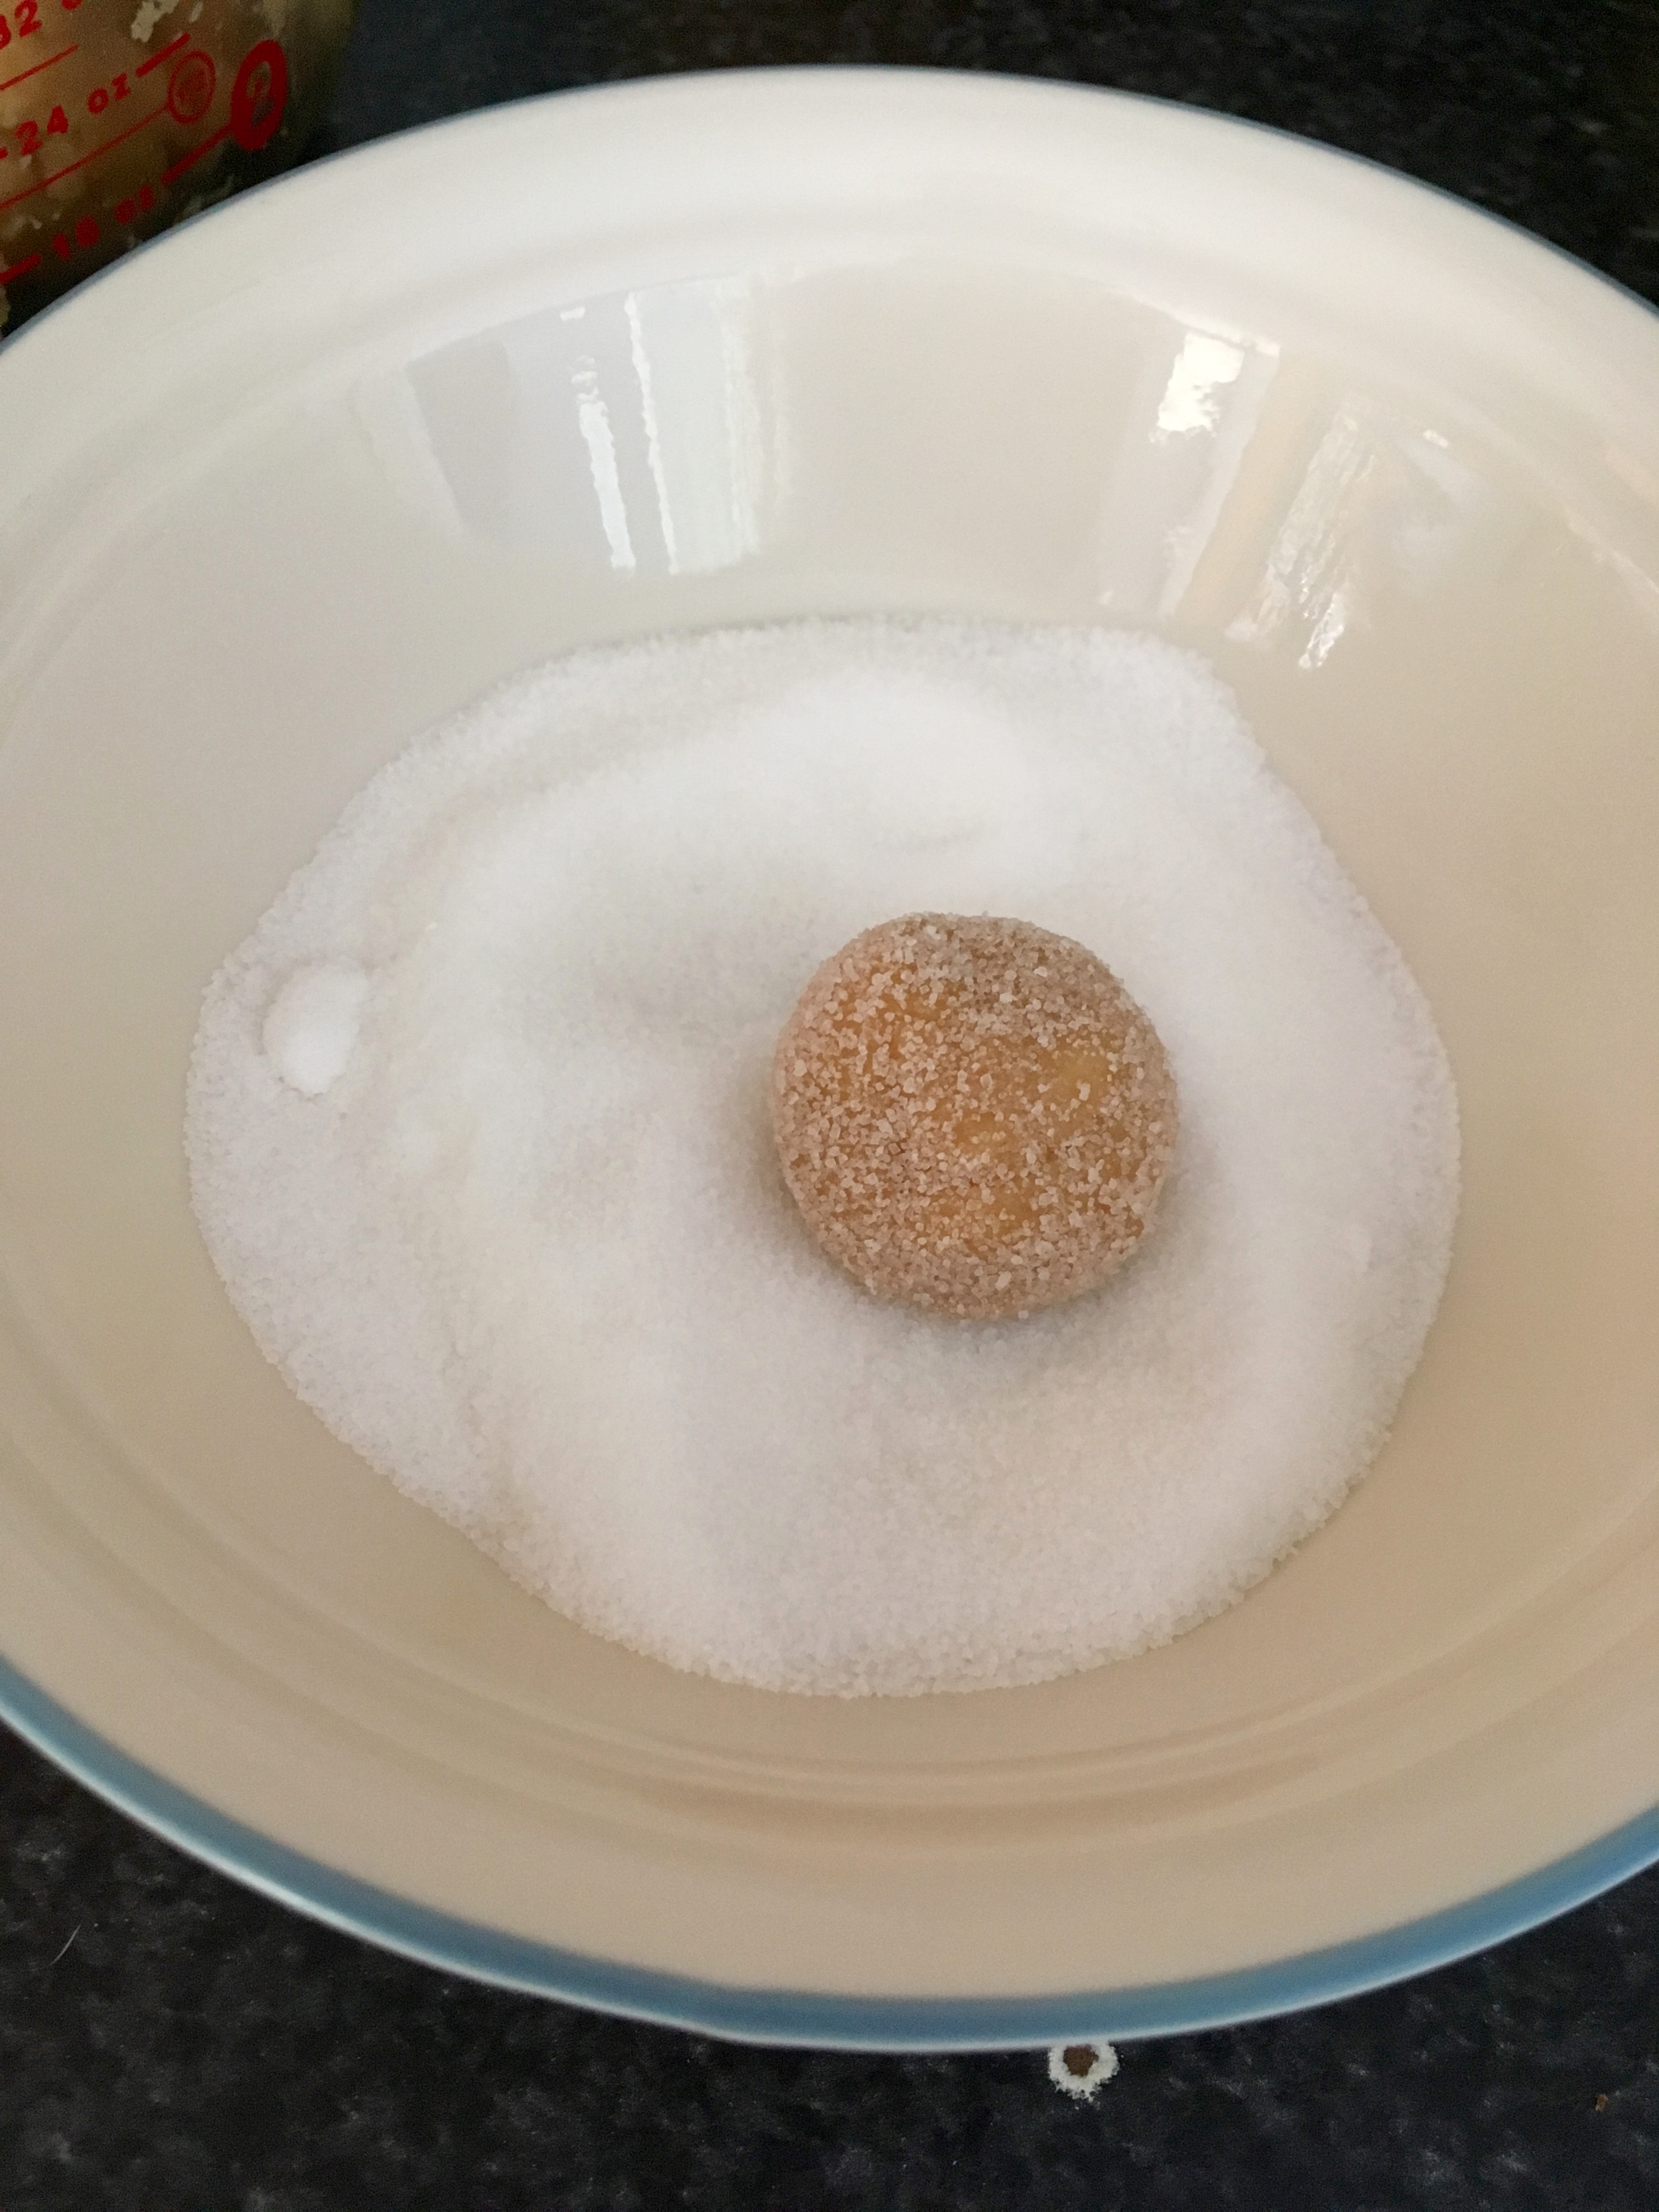
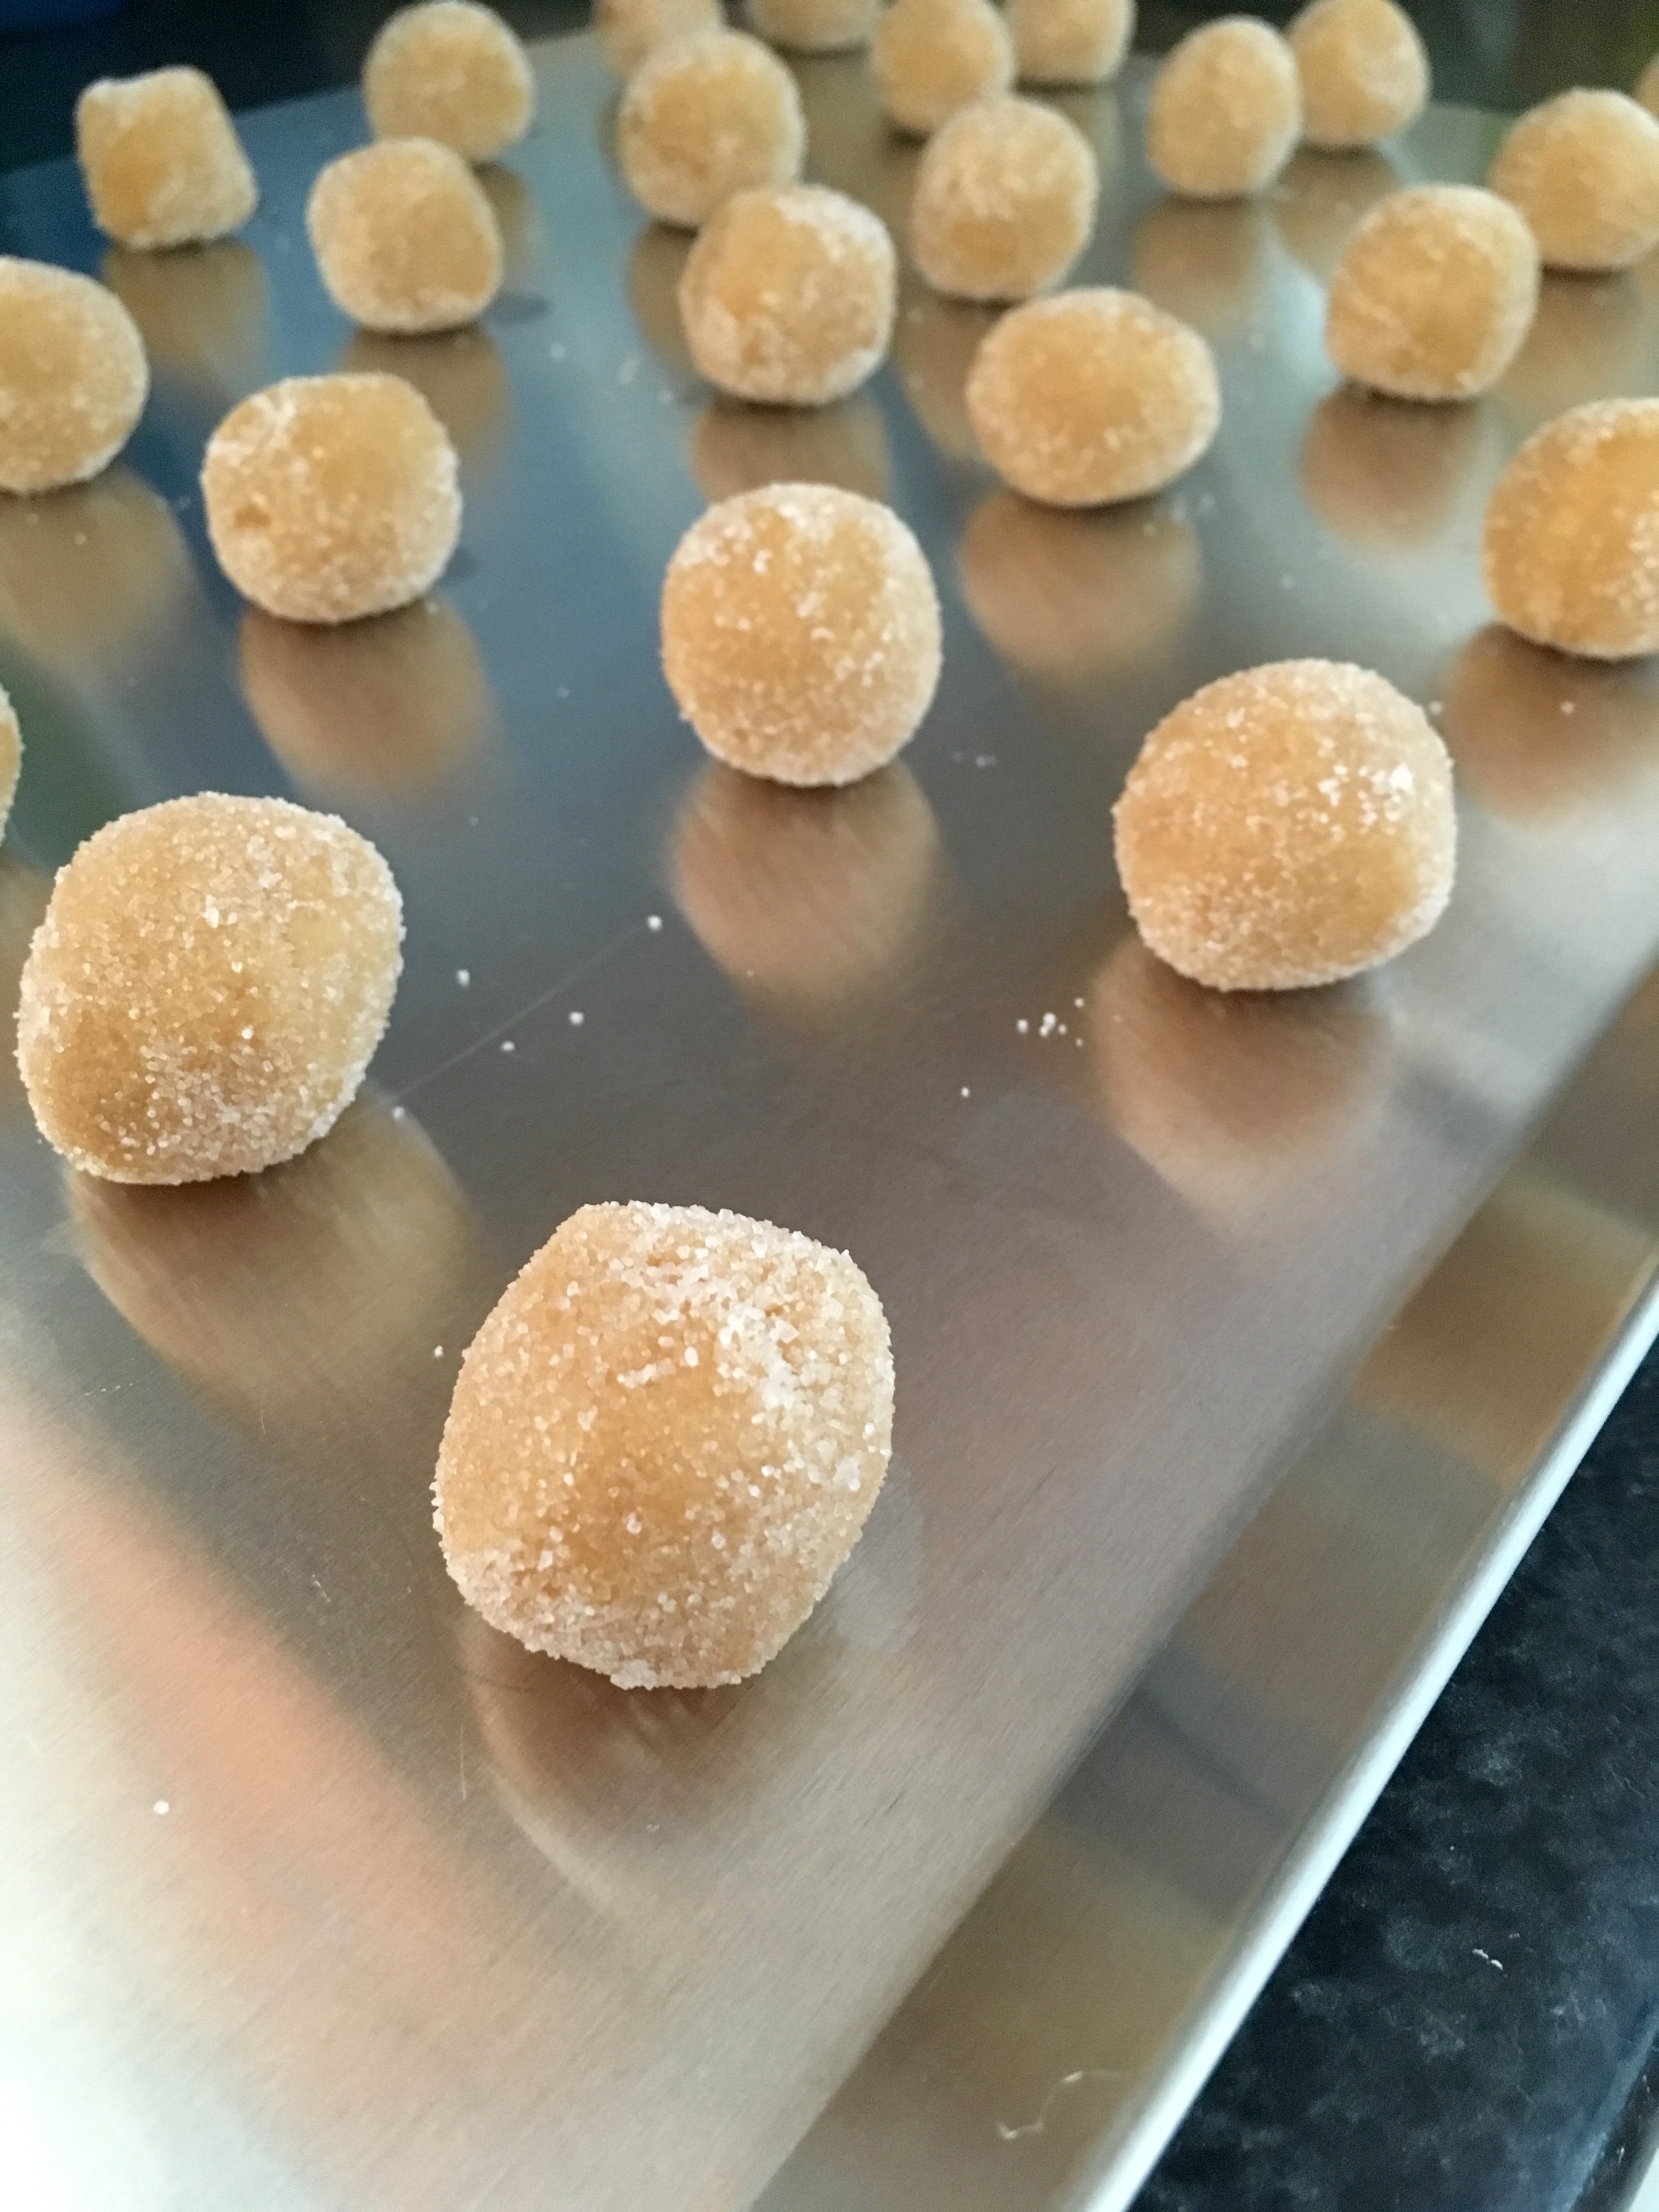
Shape the cookies into about 1″ balls, and roll them in extra sugar. Hint: it goes quicker if you shape all the cookies into balls first and then roll them all in sugar at once.

IMG_4569IMG_4568

Place them on an ungreased cookie sheet about 2″ apart. (Shoutout to my hubby and my mom for getting me the largest cookie sheets on the market so that I don’t have to cool cookie sheets between batches anymore. You’re the best!)

IMG_4570

IMPORTANT NEXT STEP: COUNT OUT HOW MANY COOKIE BALLS YOU HAVE ROLLED. During the first baking time, you’ll want to unwrap enough Hershey kisses to place one on each cookie and it’s a super drag trying to rush through unwrapping them if you didn’t count.

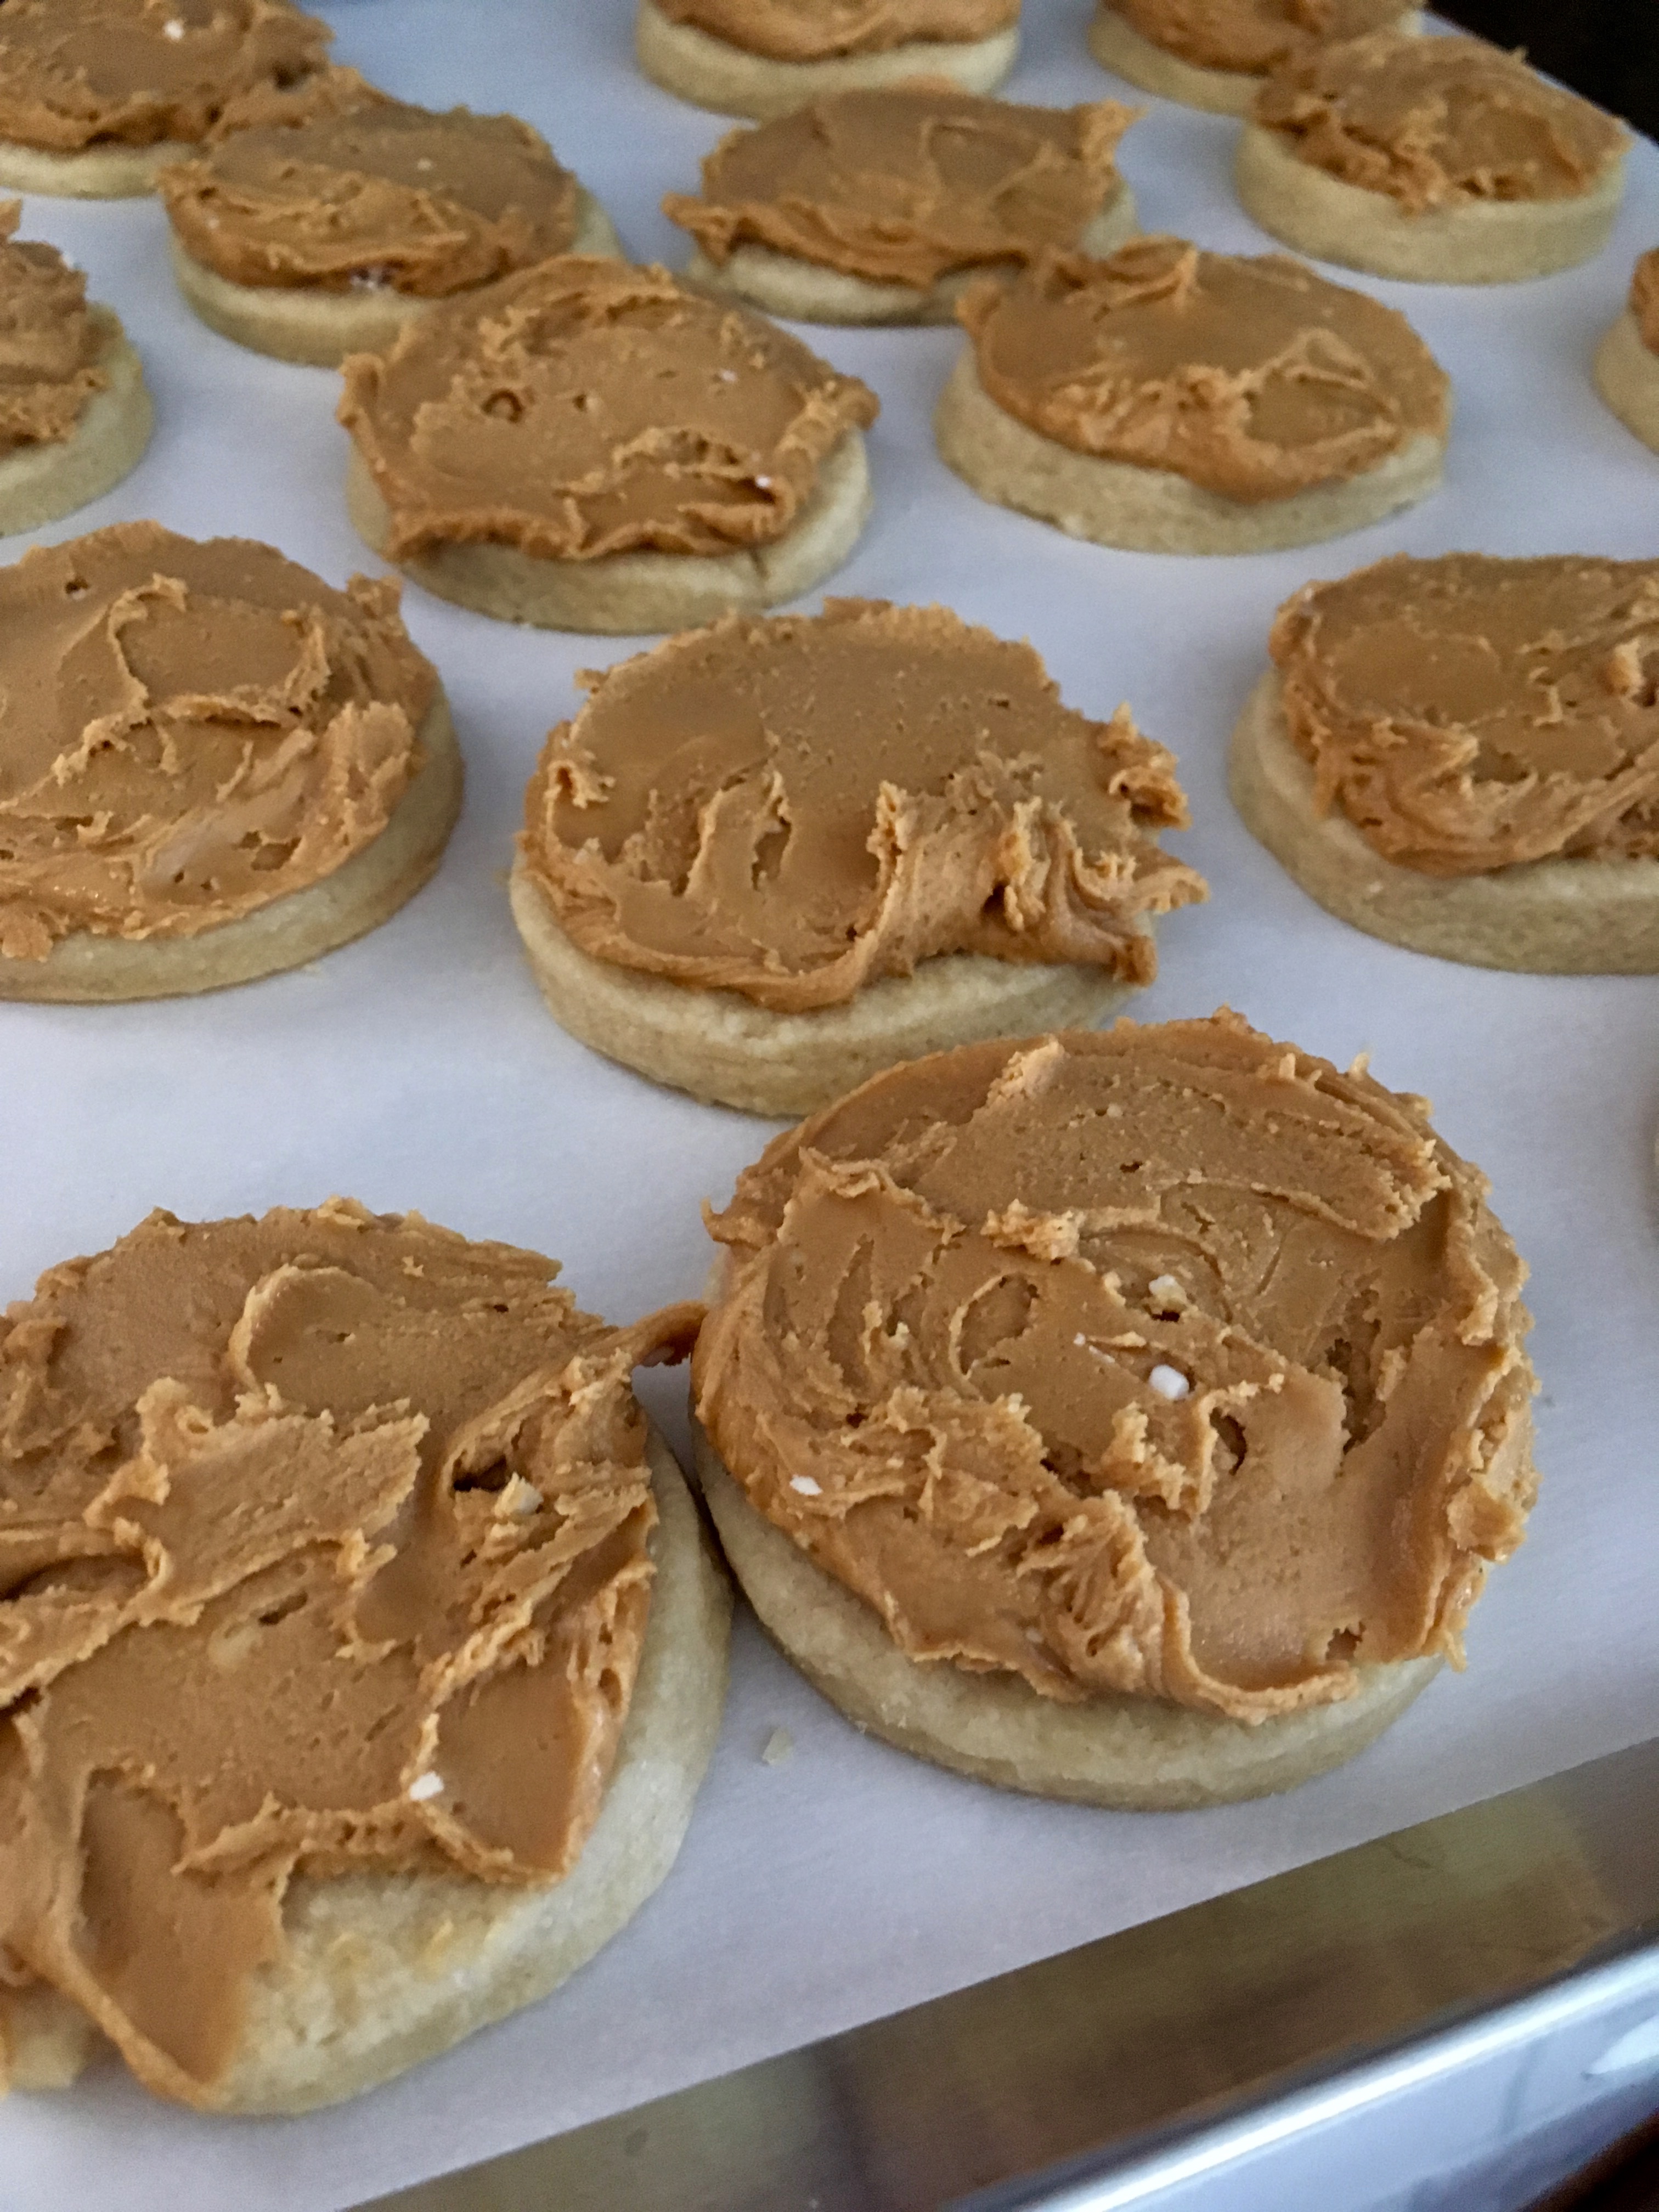
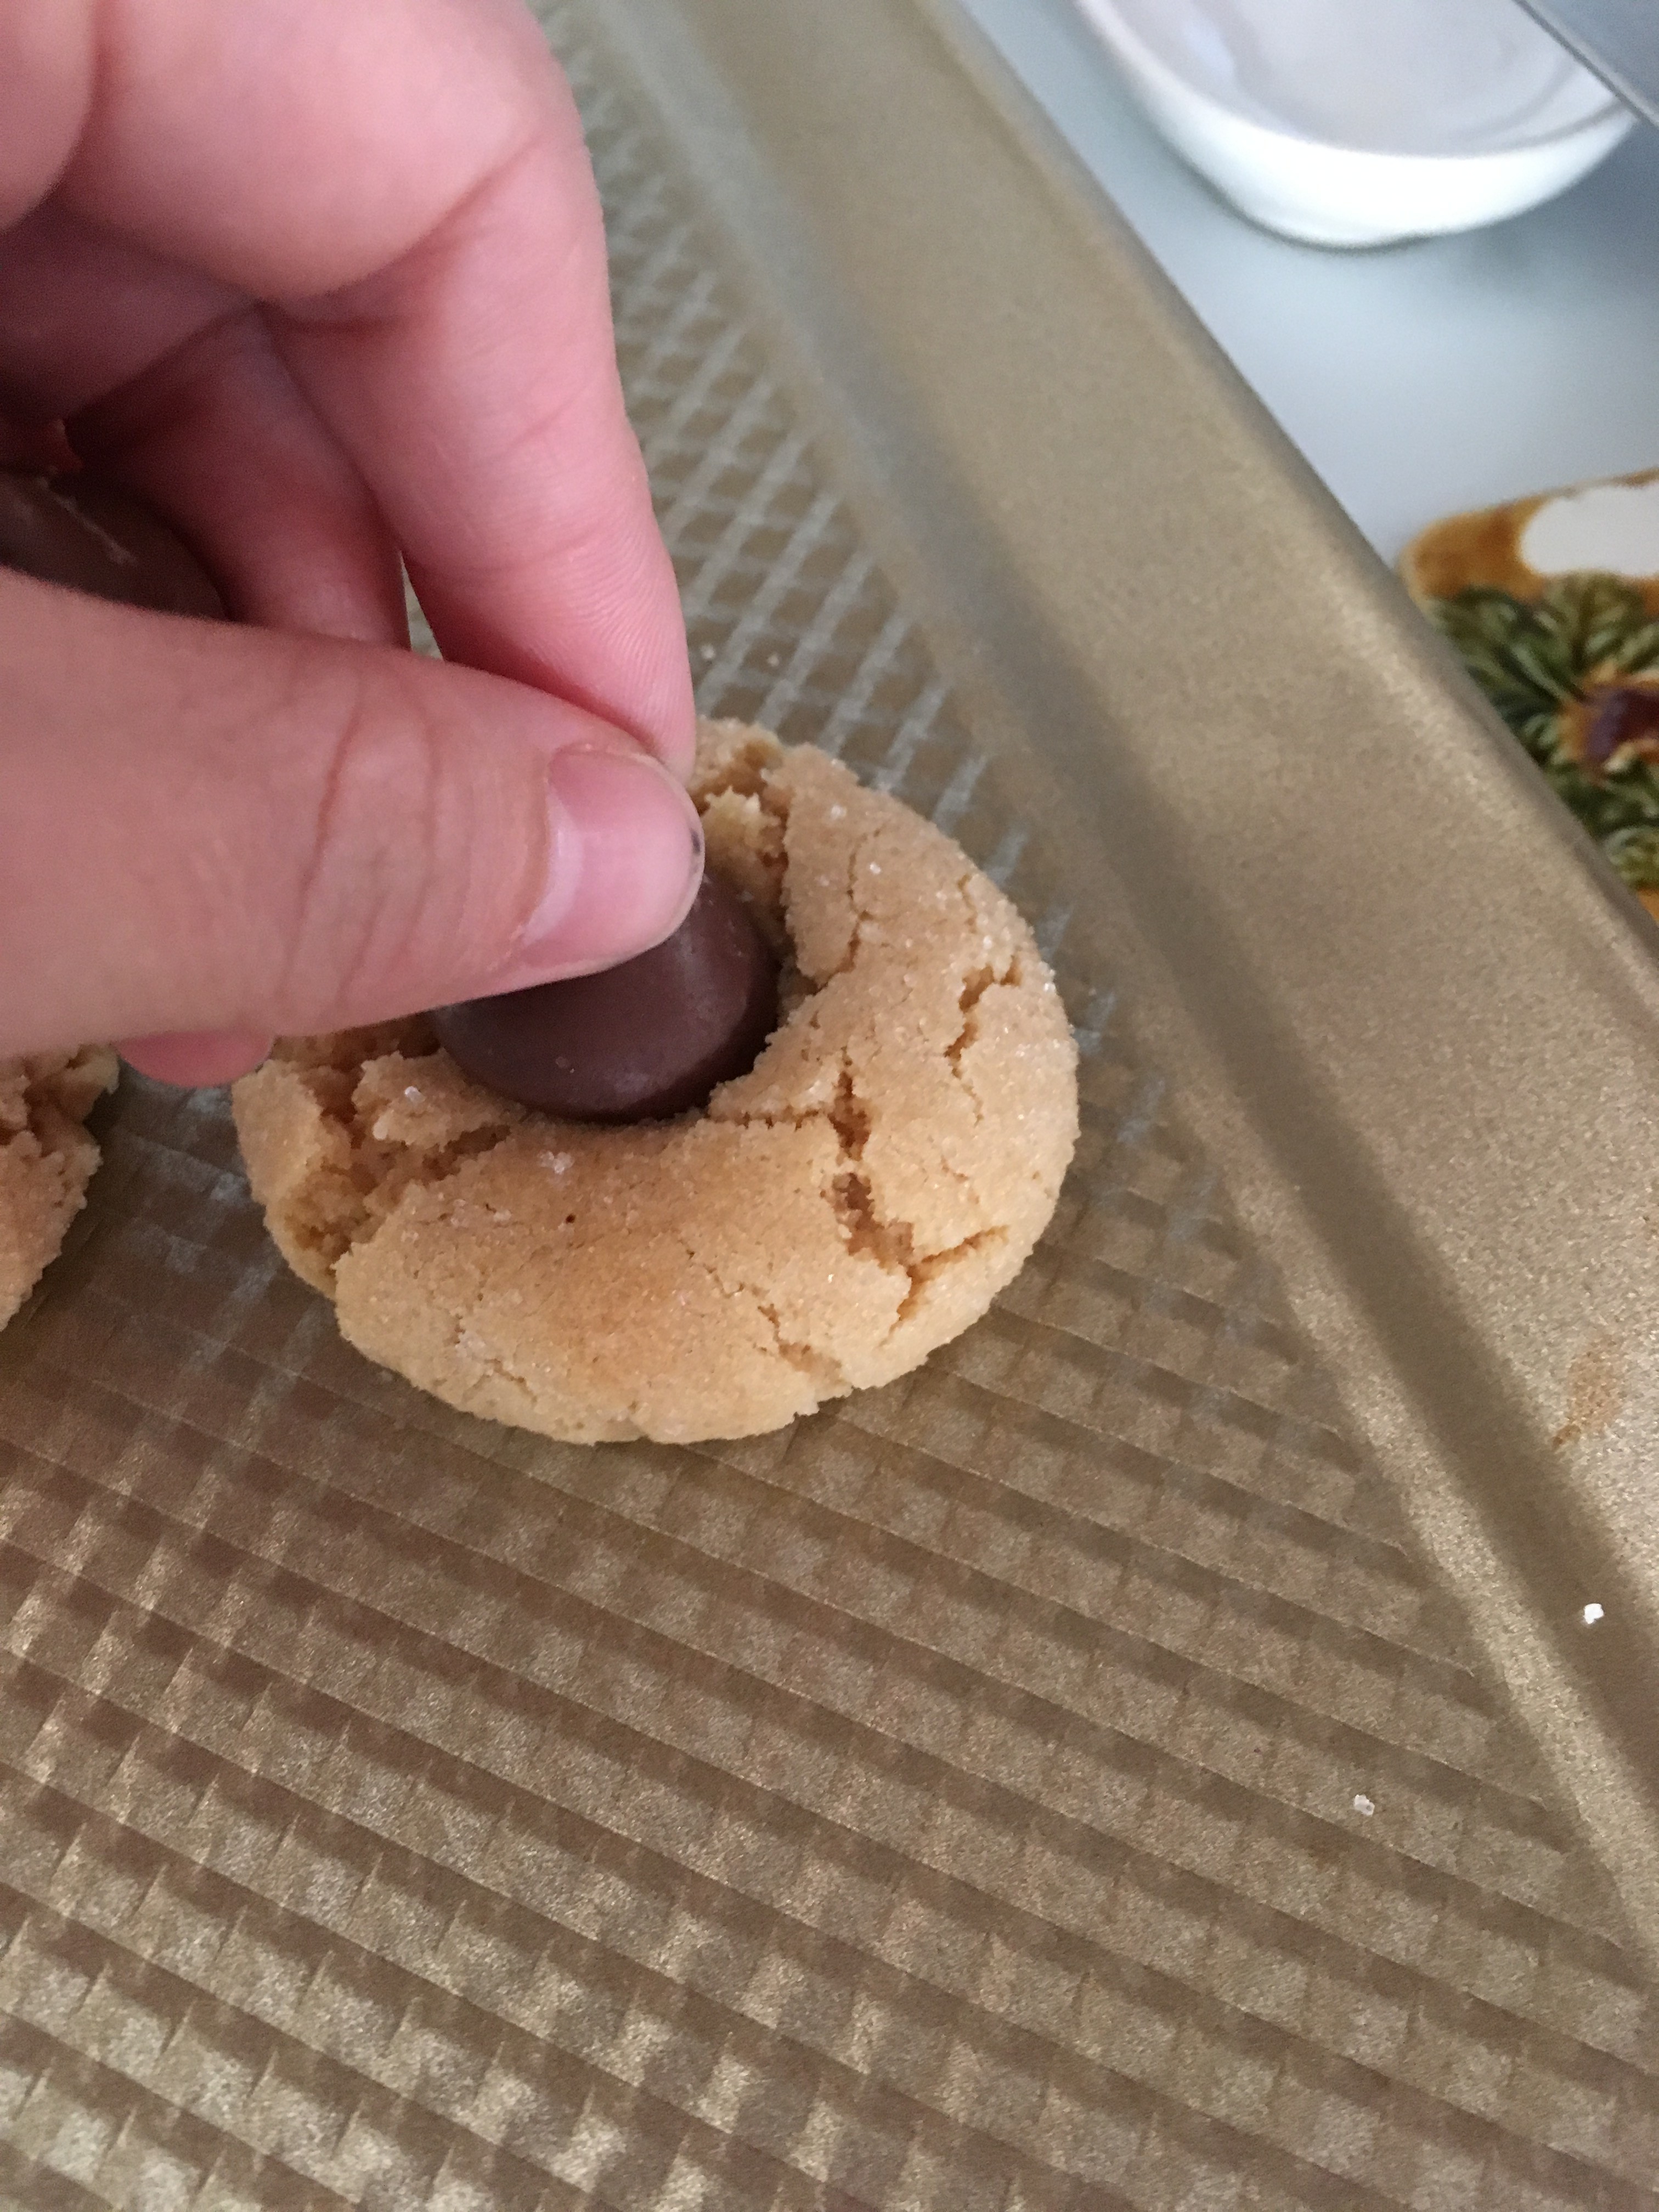
Bake for ~8 minutes. Unwrap as many Hershey kisses as needed. Remove the cookies from the oven. While the cookies are still piping hot, place a kiss in the center of the cookie and press down gently.

IMG_4571

Put the kiss-topped cookies back in the oven for 2-3 minutes. Then, remove them from the oven and let them cool slightly on the baking sheet. They’re really fragile when hot, so it’s hard to transfer them to a cooling rack unless they’re slightly cooled.

IMG_4572

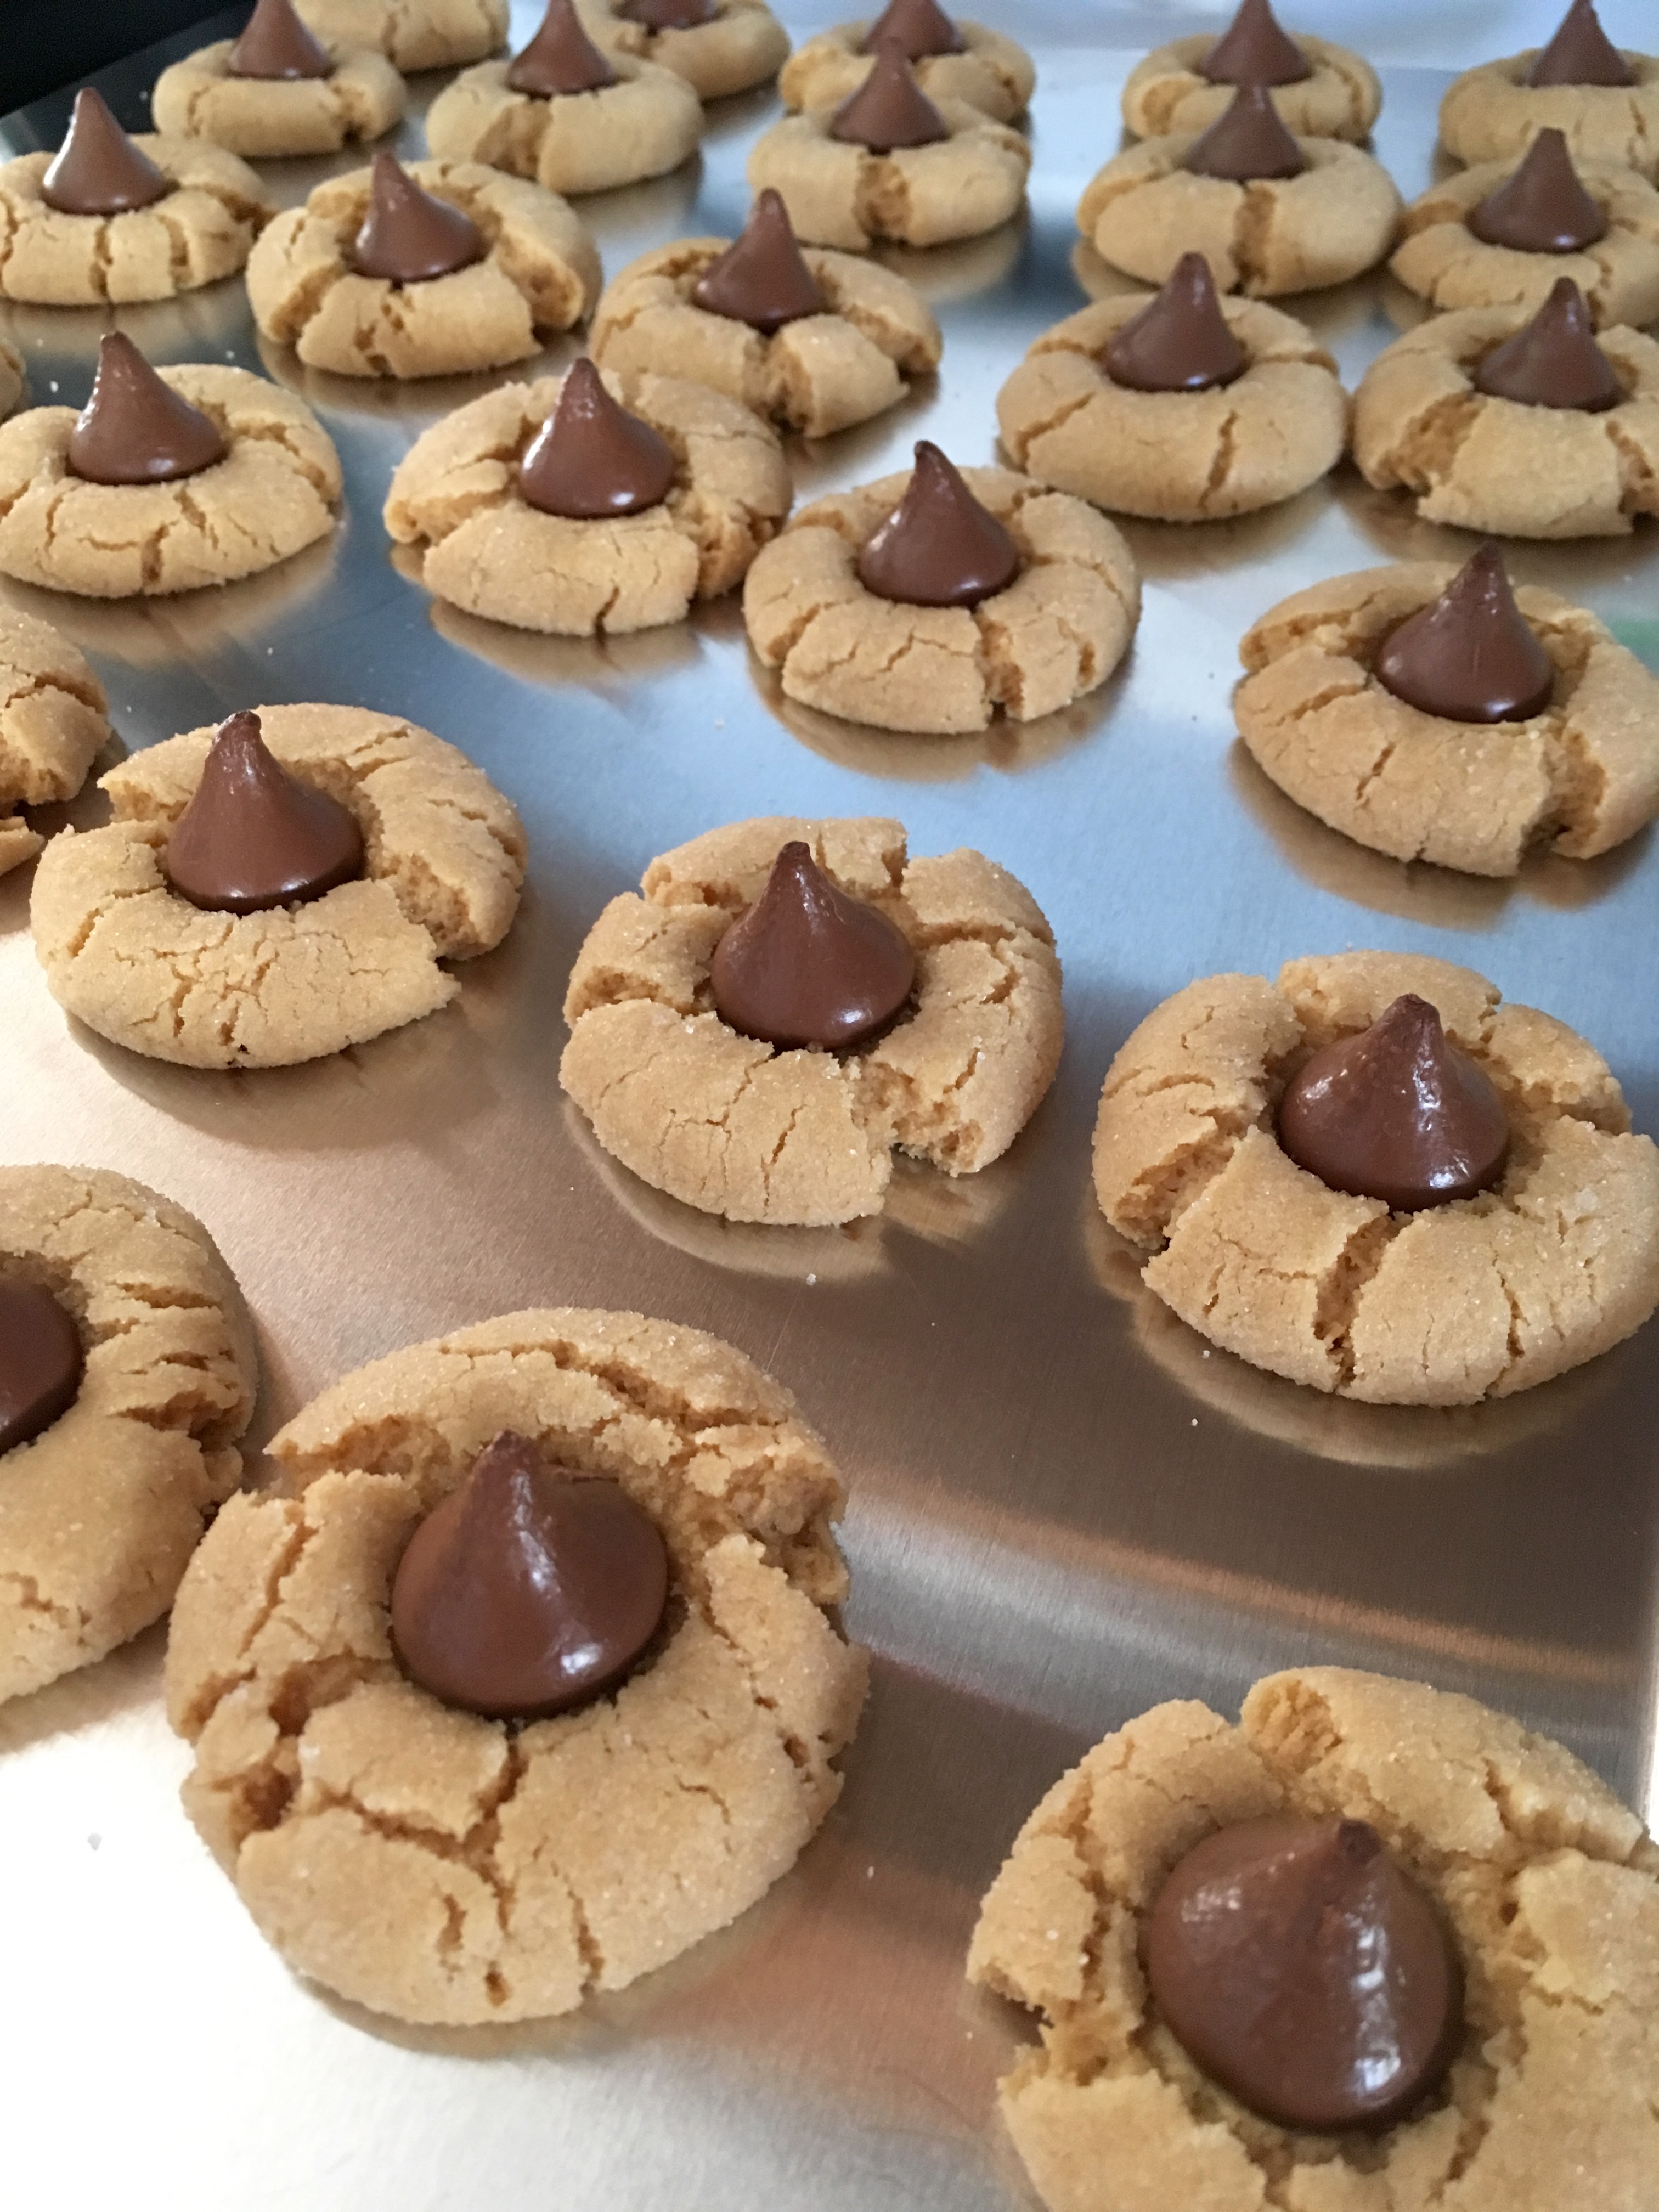
Once the cookies are move-able, transfer them to a cooling rack to finish cooling, and enjoy! Make sure you get some for yourself, because these go quick (or at least they do in my house!). Happy baking!

Homemade Girl Scout Cookies

Hello everyone! I hope you all had a wonderful Easter! I stayed off of social media for Lent this year, so the blog also had to wait until after Easter. It’s good to be back! I have a couple recipes ready to share, the first being homemade Girl Scout Cookies. My hubby’s favorite ones are the Tagalongs, those shortbread cookies with peanut butter on top and then covered in chocolate. I bought him a box a little while ago and he ate all of the cookies in about two days (I honestly don’t think that’s an exaggeration), so I decided it was time to learn how to make my own since the boxed cookies come only once a year. They turned out really well! Here’s the recipe:

Ingredients:

  • 2 cups flour
  • 1 cup (2 sticks) softened butter
  • 1/2 cup granulated sugar
  • 2 tbsp milk
  • 1/2 tsp salt
  • 1/2 tsp vanilla extract
  • 1 1/2 cup creamy peanut butter
  • 3/4 cup confectioner’s sugar
  • 1 bag semisweet chocolate chips or melting chocolate

Preheat the oven to 350°F and line a baking sheet with parchment paper. Cream the butter and sugar together, and then add in the flour and salt and mix. Add the vanilla and milk and mix until thoroughly incorporated. (Hint: it helped me to mix with my hands since the dough was a bit crumbly at first).

IMG_4225IMG_4226

Roll out the cookie dough onto a floured surface, about 1/4″ thick. You don’t have to measure, just try and make sure that the cookies are all the same thickness so that they bake evenly! Using a small circular cookie cutter, cut out dough rounds and place them on the lined baking sheet.

IMG_4227

Bake for 12-15 minutes or until the cookies are light golden. Pro tip: mine stayed pretty pale, so I just went for 15 minutes and then called it a day. You could probably bake them a bit longer, but keep a close eye on them to prevent burning! Leave the cookies on the sheet for a few minutes because they’re very fragile when they’re hot. After a few minutes, remove them from the cookie sheet and transfer to a cooling rack to cool completely.

IMG_4228

While the cookies are cooling, get started on your confectioner’s peanut butter. Mix the peanut butter and powdered sugar together, using either a hand mixer or your elbow grease. I used the hand mixer.

IMG_4229

Dollop some of the peanut butter mixture onto each cookie and spread it out to form an even layer on each cookie. The peanut butter mix recipe makes a lot of mix, so there should be plenty of mixture to make a thick layer on each cookie!

IMG_4231IMG_4234

Put the cookies in the freezer for about 10 minutes to set the mixture. This will ensure you don’t lose all of your peanut butter when the cookie is dipped in the chocolate! Meanwhile, line a baking sheet with parchment paper, or re-use the one you used to bake the cookies.

When the freezing time is almost done, melt the chocolate. To do so, pour the chips into a bowl and microwave on high for ~30 seconds. Remove the chips from the microwave and stir. Repeat this process until the chocolate chips are melted and smooth.

When the cookies are out of the freezer, dip them in the melted chocolate to cover. It will be messy, but so worth it!! Another technique I used when I was running out of chocolate was to scoop up the chocolate with a spoon and pour it over the top of a cookie, letting the chocolate run down the sides to cover.

IMG_4235

These cookies are easily good enough to take the place of store bought Girl Scout cookies. And now we don’t have to wait for Girl Scout cookie time every year-hooray! Happy baking!


Peanut Butter, the Natural Way!

So how many people like PB&J’s? Actually, I really don’t. But my roommate is a peanut butter fanatic! Recently I went to the Mennonite Relief Sale in Pennsylvania,  where there was a stand selling homemade peanut butter, and I bought some for her to try. It was delicious! I figured I would try my hand at it, and came up with this recipe. It’s seriously the easiest thing ever, and takes a grand total of 5 minutes. It’s also gluten-free, dairy-free, low-sodium, and FULL of omega-6 fatty acids, as well as super inexpensive (like $1.99 for the whole recipe kind of inexpensive).

Ingredients:

  • Peanuts- I’ve left this open-ended, because they can be roasted or raw, flavored or not, salted or unsalted, and it all ends up tasting great. I used a 12 oz. bag of unshelled, roasted, unsalted peanuts.
  • ~1 tsp oil, unflavored or with a complementing flavor. I used vegetable oil, but you can use coconut, peanut, sunflower, etc.
  • ~1 tsp honey, to taste
  • 1/4 cup sugar, more or less to taste
  • 1/3-1/2 tsp salt, to taste

First, if you bought unshelled peanuts, you’ll have to shell them by cracking open the skins and pulling out the peanuts. This part can be slightly tedious, but I turned on Frozen while I was doing it and that made any potential frustration go away!

One shelling technique that I’ve read is from Food Network Chef Alton Brown: get out a salad spinner and rub the peanuts between your hands over the spinner until the shells come loose and break. Once all the shells and peanuts are separated, close the spinner and just spin it until all the shell fragments are on the outside and the peanuts are still on the inside!

When you’re shelling the peanuts, it’s ok if the little red skins stay on the peanuts, but I took most of them off. If you bought raw peanuts and want to roast them, you can roast them in the shell at 350ºF for 30 minutes, and then shell them.

IMG_1069

Then, after the peanuts are shelled and ready to go, put them in a food processor or blender (preferably food processor, though) and grind them up. At first they’ll turn into peanut dust, and then get clumpy (this is after about 2 minutes of processing). At this point, you can add the oil to loosen it up a bit, as well as any other flavorings such as honey, cayenne, cinnamon, black pepper, etc.

Keep grinding the peanuts for a couple minutes, until they become loose and look like peanut butter. Add in the sugar and salt and give it one final spin for just a few seconds to combine everything.

Now you’re ready to eat it or store it! Just a heads-up: the peanut butter will be warm, so don’t be surprised by that! It can be a bit disconcerting if you’re used to room temperature peanut butter. It’s also a little looser than store-bought peanut butter, but you can make it thicker by not processing it as much and leaving it chunkier. Also, if you still like whole peanut fragments in your peanut butter, you can reserve some peanuts for the very end and stir them in by hand.

IMG_1070


Maybe this is the peanut butter that will make me enjoy PB&J’s! This peanut butter can be used in any recipe, from peanut butter cookies to a Thai peanut sauce. You can also jazz it up however you want by adding different spices and oils. And finally, you can make it using other nuts or adding cocoa powder to it (can you say homemade Nutella?!). The sky is the limit here, so be creative and enjoy!