So how many people like PB&J’s? Actually, I really don’t. But my roommate is a peanut butter fanatic! Recently I went to the Mennonite Relief Sale in Pennsylvania, where there was a stand selling homemade peanut butter, and I bought some for her to try. It was delicious! I figured I would try my hand at it, and came up with this recipe. It’s seriously the easiest thing ever, and takes a grand total of 5 minutes. It’s also gluten-free, dairy-free, low-sodium, and FULL of omega-6 fatty acids, as well as super inexpensive (like $1.99 for the whole recipe kind of inexpensive).
Ingredients:
- Peanuts- I’ve left this open-ended, because they can be roasted or raw, flavored or not, salted or unsalted, and it all ends up tasting great. I used a 12 oz. bag of unshelled, roasted, unsalted peanuts.
- ~1 tsp oil, unflavored or with a complementing flavor. I used vegetable oil, but you can use coconut, peanut, sunflower, etc.
- ~1 tsp honey, to taste
- 1/4 cup sugar, more or less to taste
- 1/3-1/2 tsp salt, to taste
First, if you bought unshelled peanuts, you’ll have to shell them by cracking open the skins and pulling out the peanuts. This part can be slightly tedious, but I turned on Frozen while I was doing it and that made any potential frustration go away!
One shelling technique that I’ve read is from Food Network Chef Alton Brown: get out a salad spinner and rub the peanuts between your hands over the spinner until the shells come loose and break. Once all the shells and peanuts are separated, close the spinner and just spin it until all the shell fragments are on the outside and the peanuts are still on the inside!
When you’re shelling the peanuts, it’s ok if the little red skins stay on the peanuts, but I took most of them off. If you bought raw peanuts and want to roast them, you can roast them in the shell at 350ºF for 30 minutes, and then shell them.

Then, after the peanuts are shelled and ready to go, put them in a food processor or blender (preferably food processor, though) and grind them up. At first they’ll turn into peanut dust, and then get clumpy (this is after about 2 minutes of processing). At this point, you can add the oil to loosen it up a bit, as well as any other flavorings such as honey, cayenne, cinnamon, black pepper, etc.
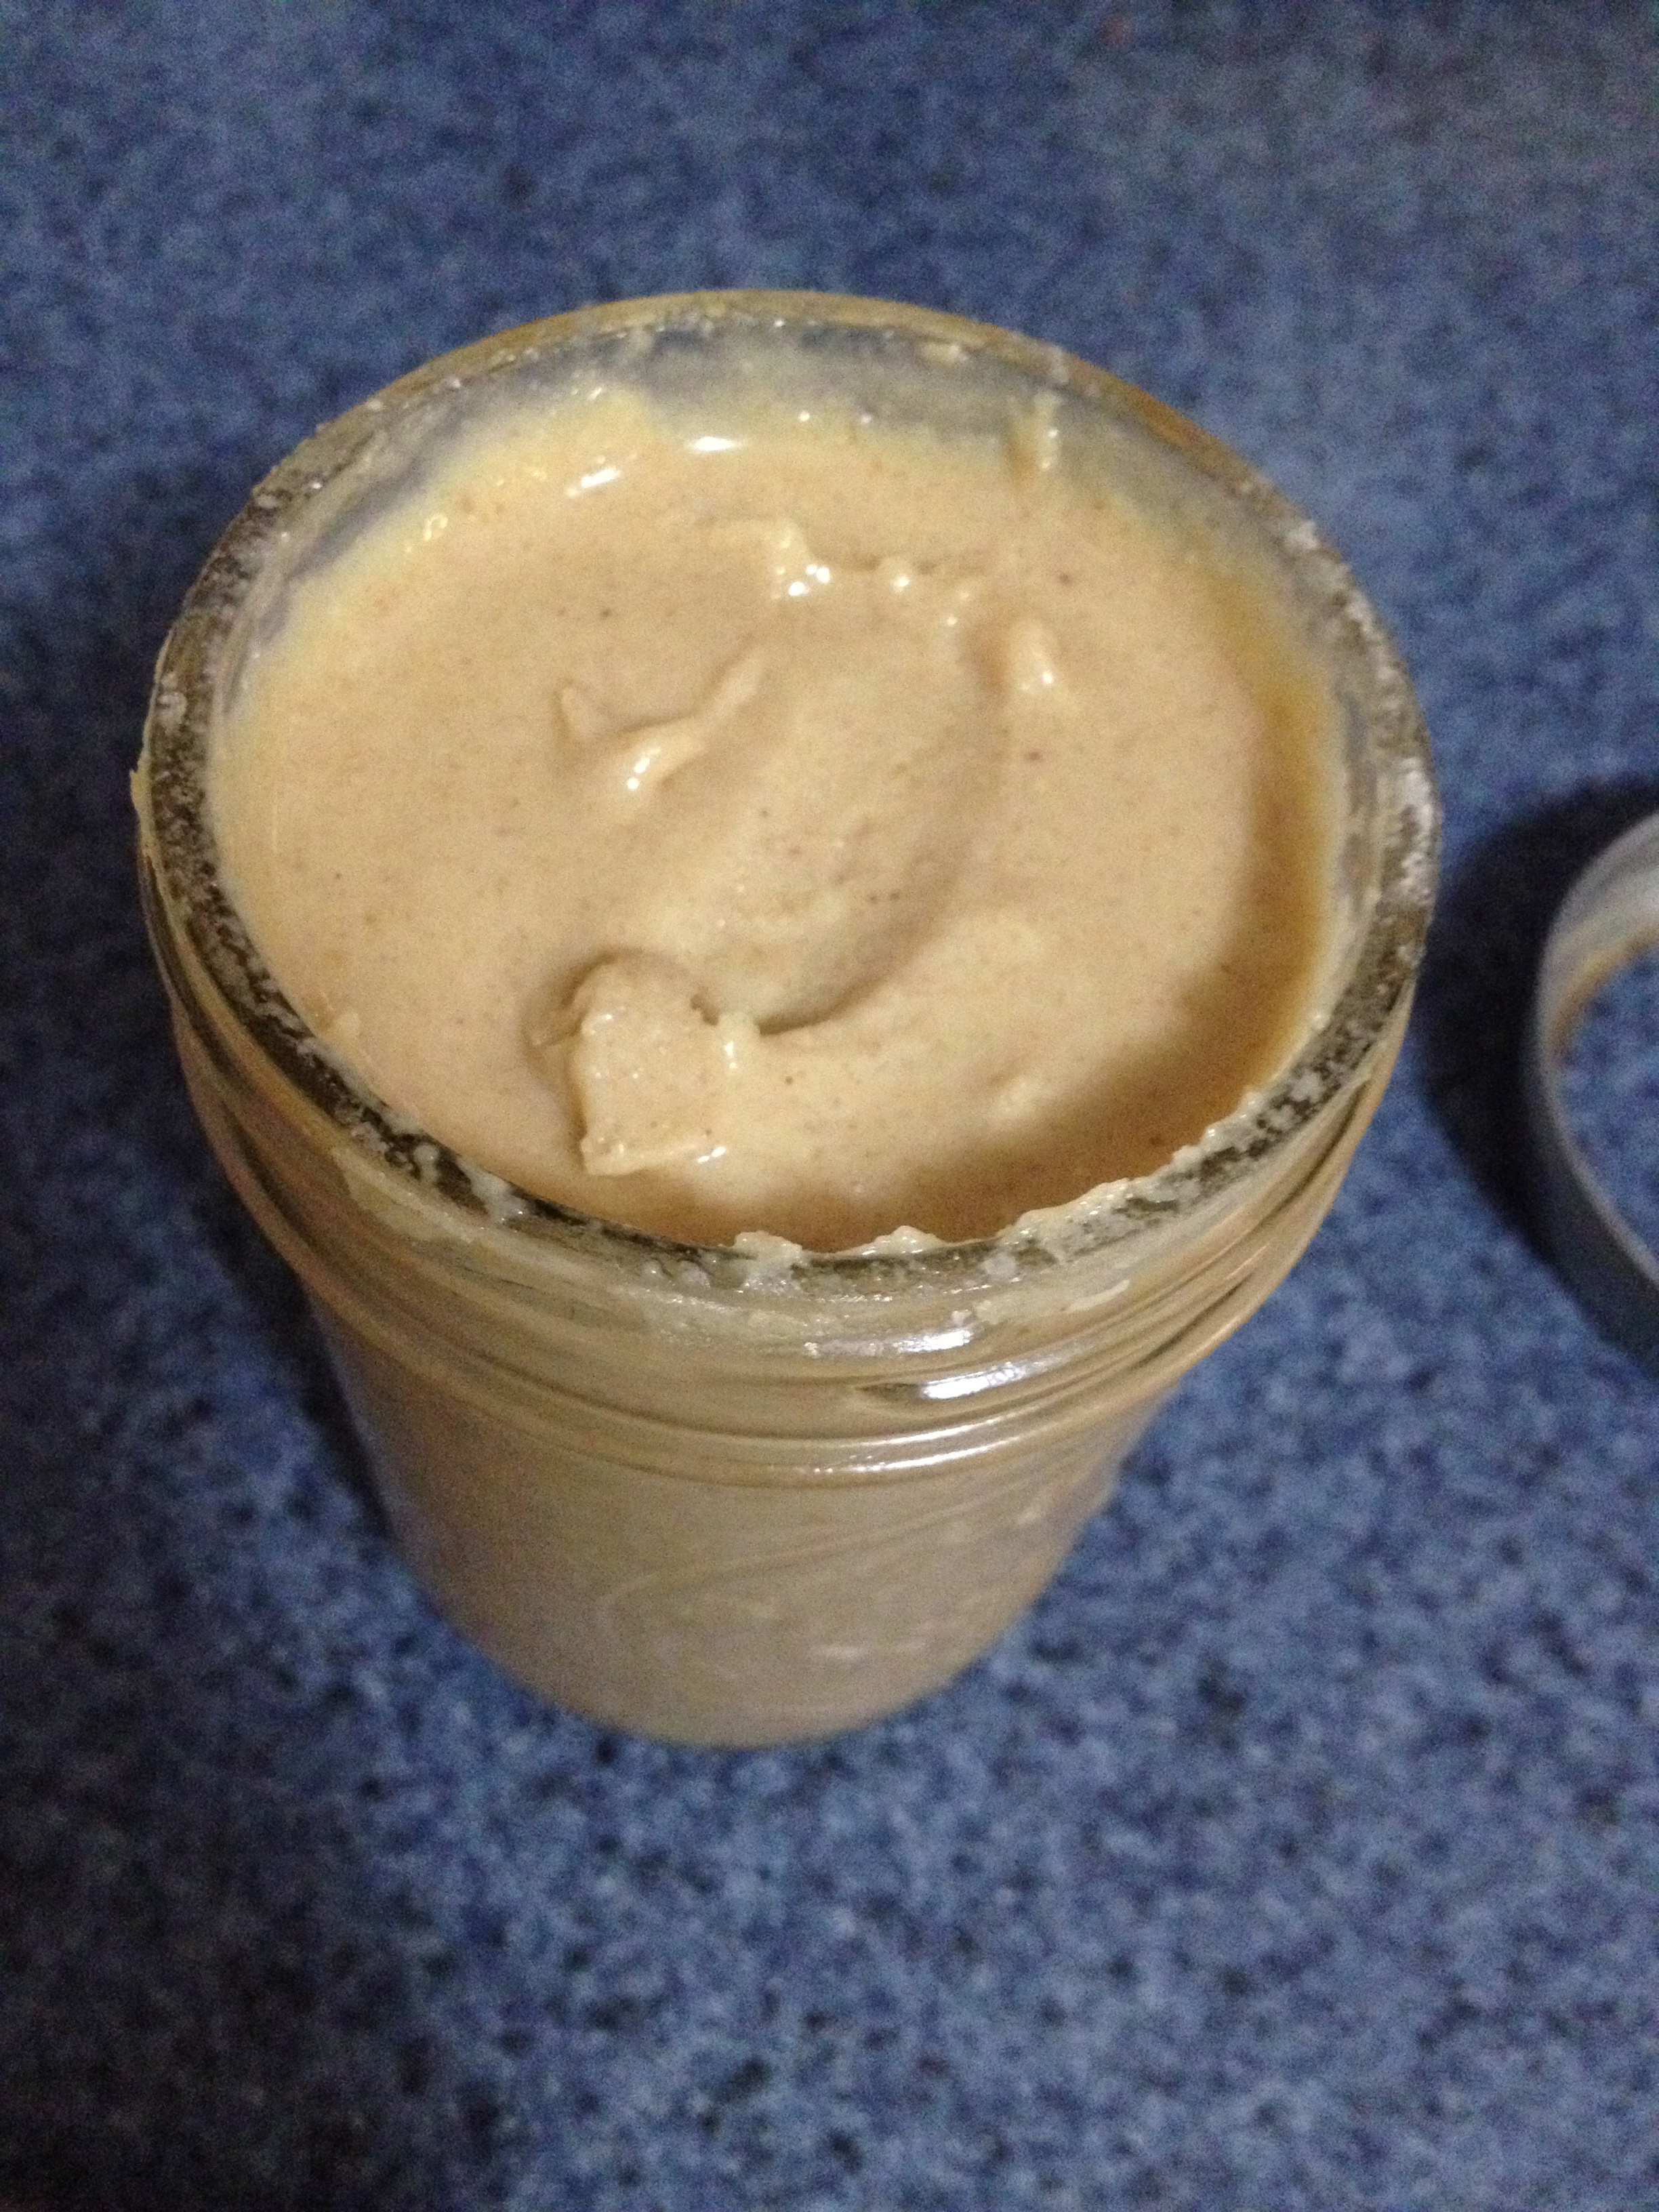
Keep grinding the peanuts for a couple minutes, until they become loose and look like peanut butter. Add in the sugar and salt and give it one final spin for just a few seconds to combine everything.
Now you’re ready to eat it or store it! Just a heads-up: the peanut butter will be warm, so don’t be surprised by that! It can be a bit disconcerting if you’re used to room temperature peanut butter. It’s also a little looser than store-bought peanut butter, but you can make it thicker by not processing it as much and leaving it chunkier. Also, if you still like whole peanut fragments in your peanut butter, you can reserve some peanuts for the very end and stir them in by hand.
Maybe this is the peanut butter that will make me enjoy PB&J’s! This peanut butter can be used in any recipe, from peanut butter cookies to a Thai peanut sauce. You can also jazz it up however you want by adding different spices and oils. And finally, you can make it using other nuts or adding cocoa powder to it (can you say homemade Nutella?!). The sky is the limit here, so be creative and enjoy!
Save some so I can try it when I come home!