
Ham and Veggie Egg Bake
Hi, all! It’s been a while (again) since I last wrote, but I hope that this recipe makes up for my long absence! I have my go-to breakfast buffet (or breakfast for dinner) recipe to share today: ham and veggie egg bake. It is so versatile and so easy to adjust the veggies to whatever you have on hand, and you can make one big dish of it or make individual muffin cup bakes. It is rich in protein and lots of great vegetables and is perfect for meal prepping and freezing! Here’s the recipe:
- 1 bunch kale, stemmed and chopped fine
- 1 yellow onion, diced
- 8oz ham steak, diced
- 1 bell pepper (color of choice), diced
- 4 cloves garlic, minced
- 6 eggs
- 1/4 cup low-fat milk
- 1 tsp Dijon mustard
- 1 tsp dried thyme leaves
- Salt and pepper to taste
- 1/2 cup Cheddar cheese, shredded
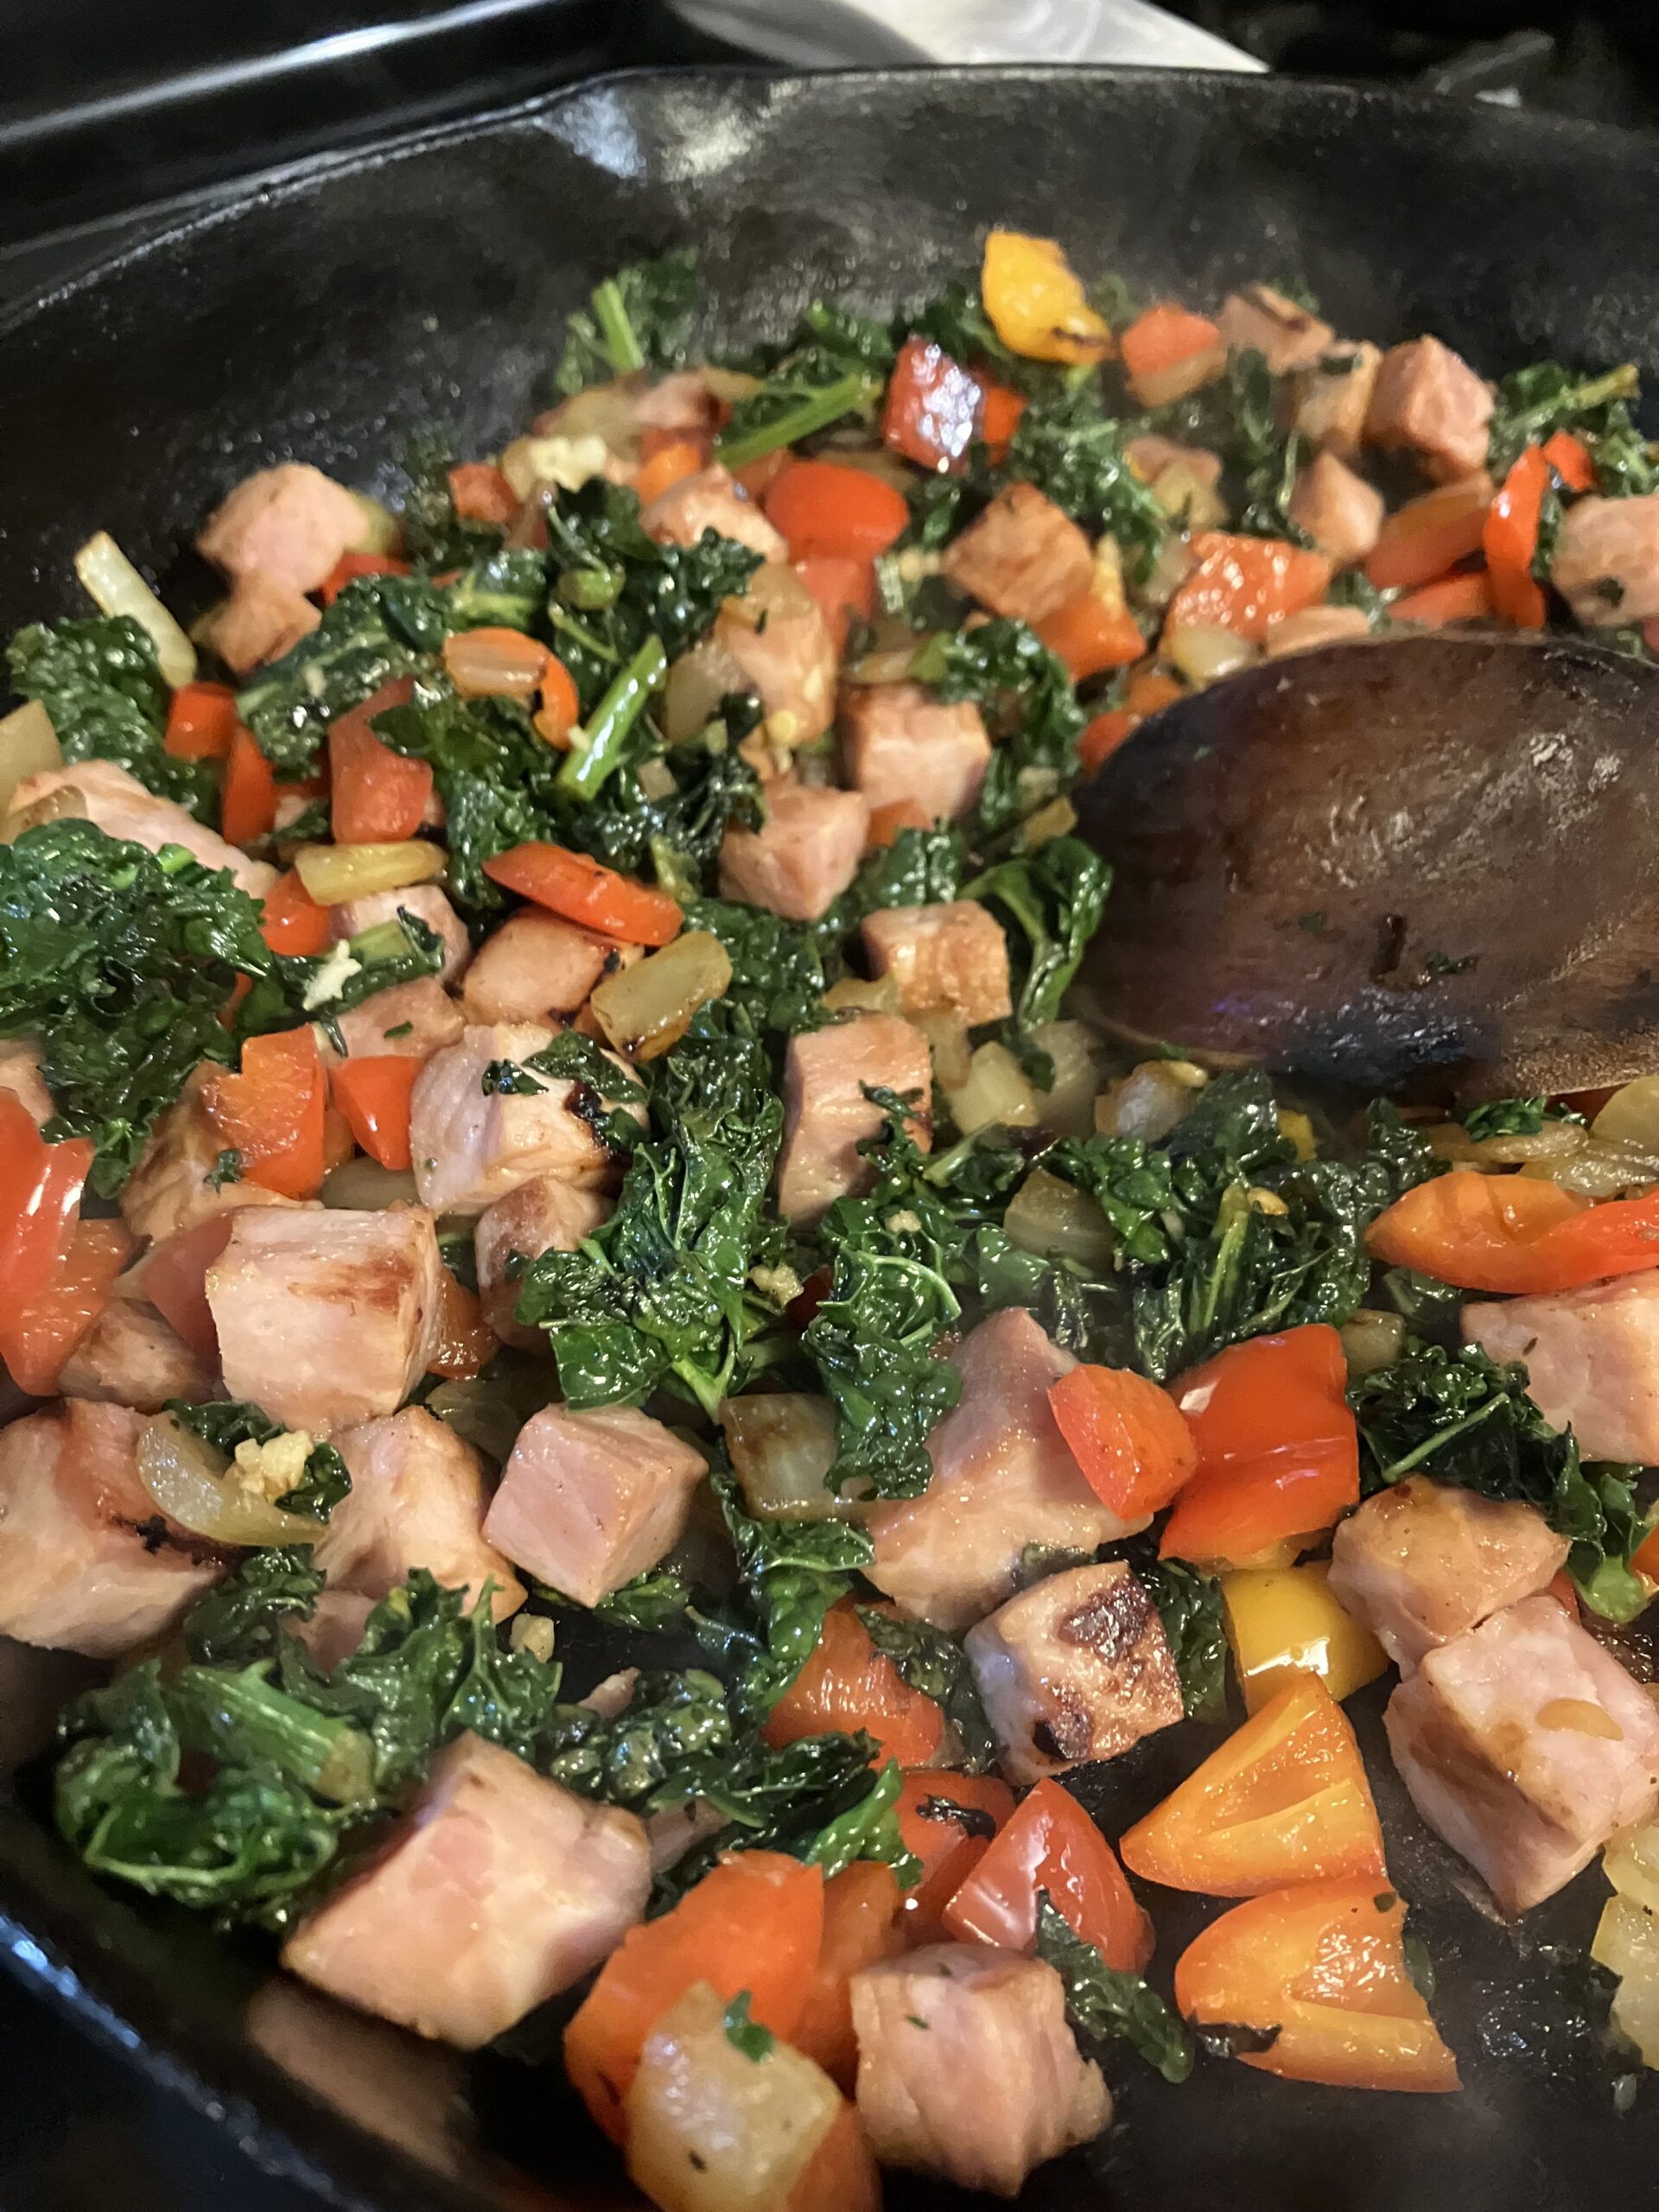
First, preheat the oven to 350F and get all your veggies and your ham chopped. Tip: In my opinion, it is super important to chop your kale (or any other leafy green) very small- no one likes a big clump of kale, spinach, chard, or any other leafy green in their meal! I also prefer kale or chard to spinach because it has more flavor and is less watery. Saute your ham and onion together until ham is starting to brown and onion is translucent. Add the other vegetables (except the garlic) and saute until the kale is very wilted. Turn off the heat and add the minced garlic and toss, so that the garlic is mixed in but not burnt.
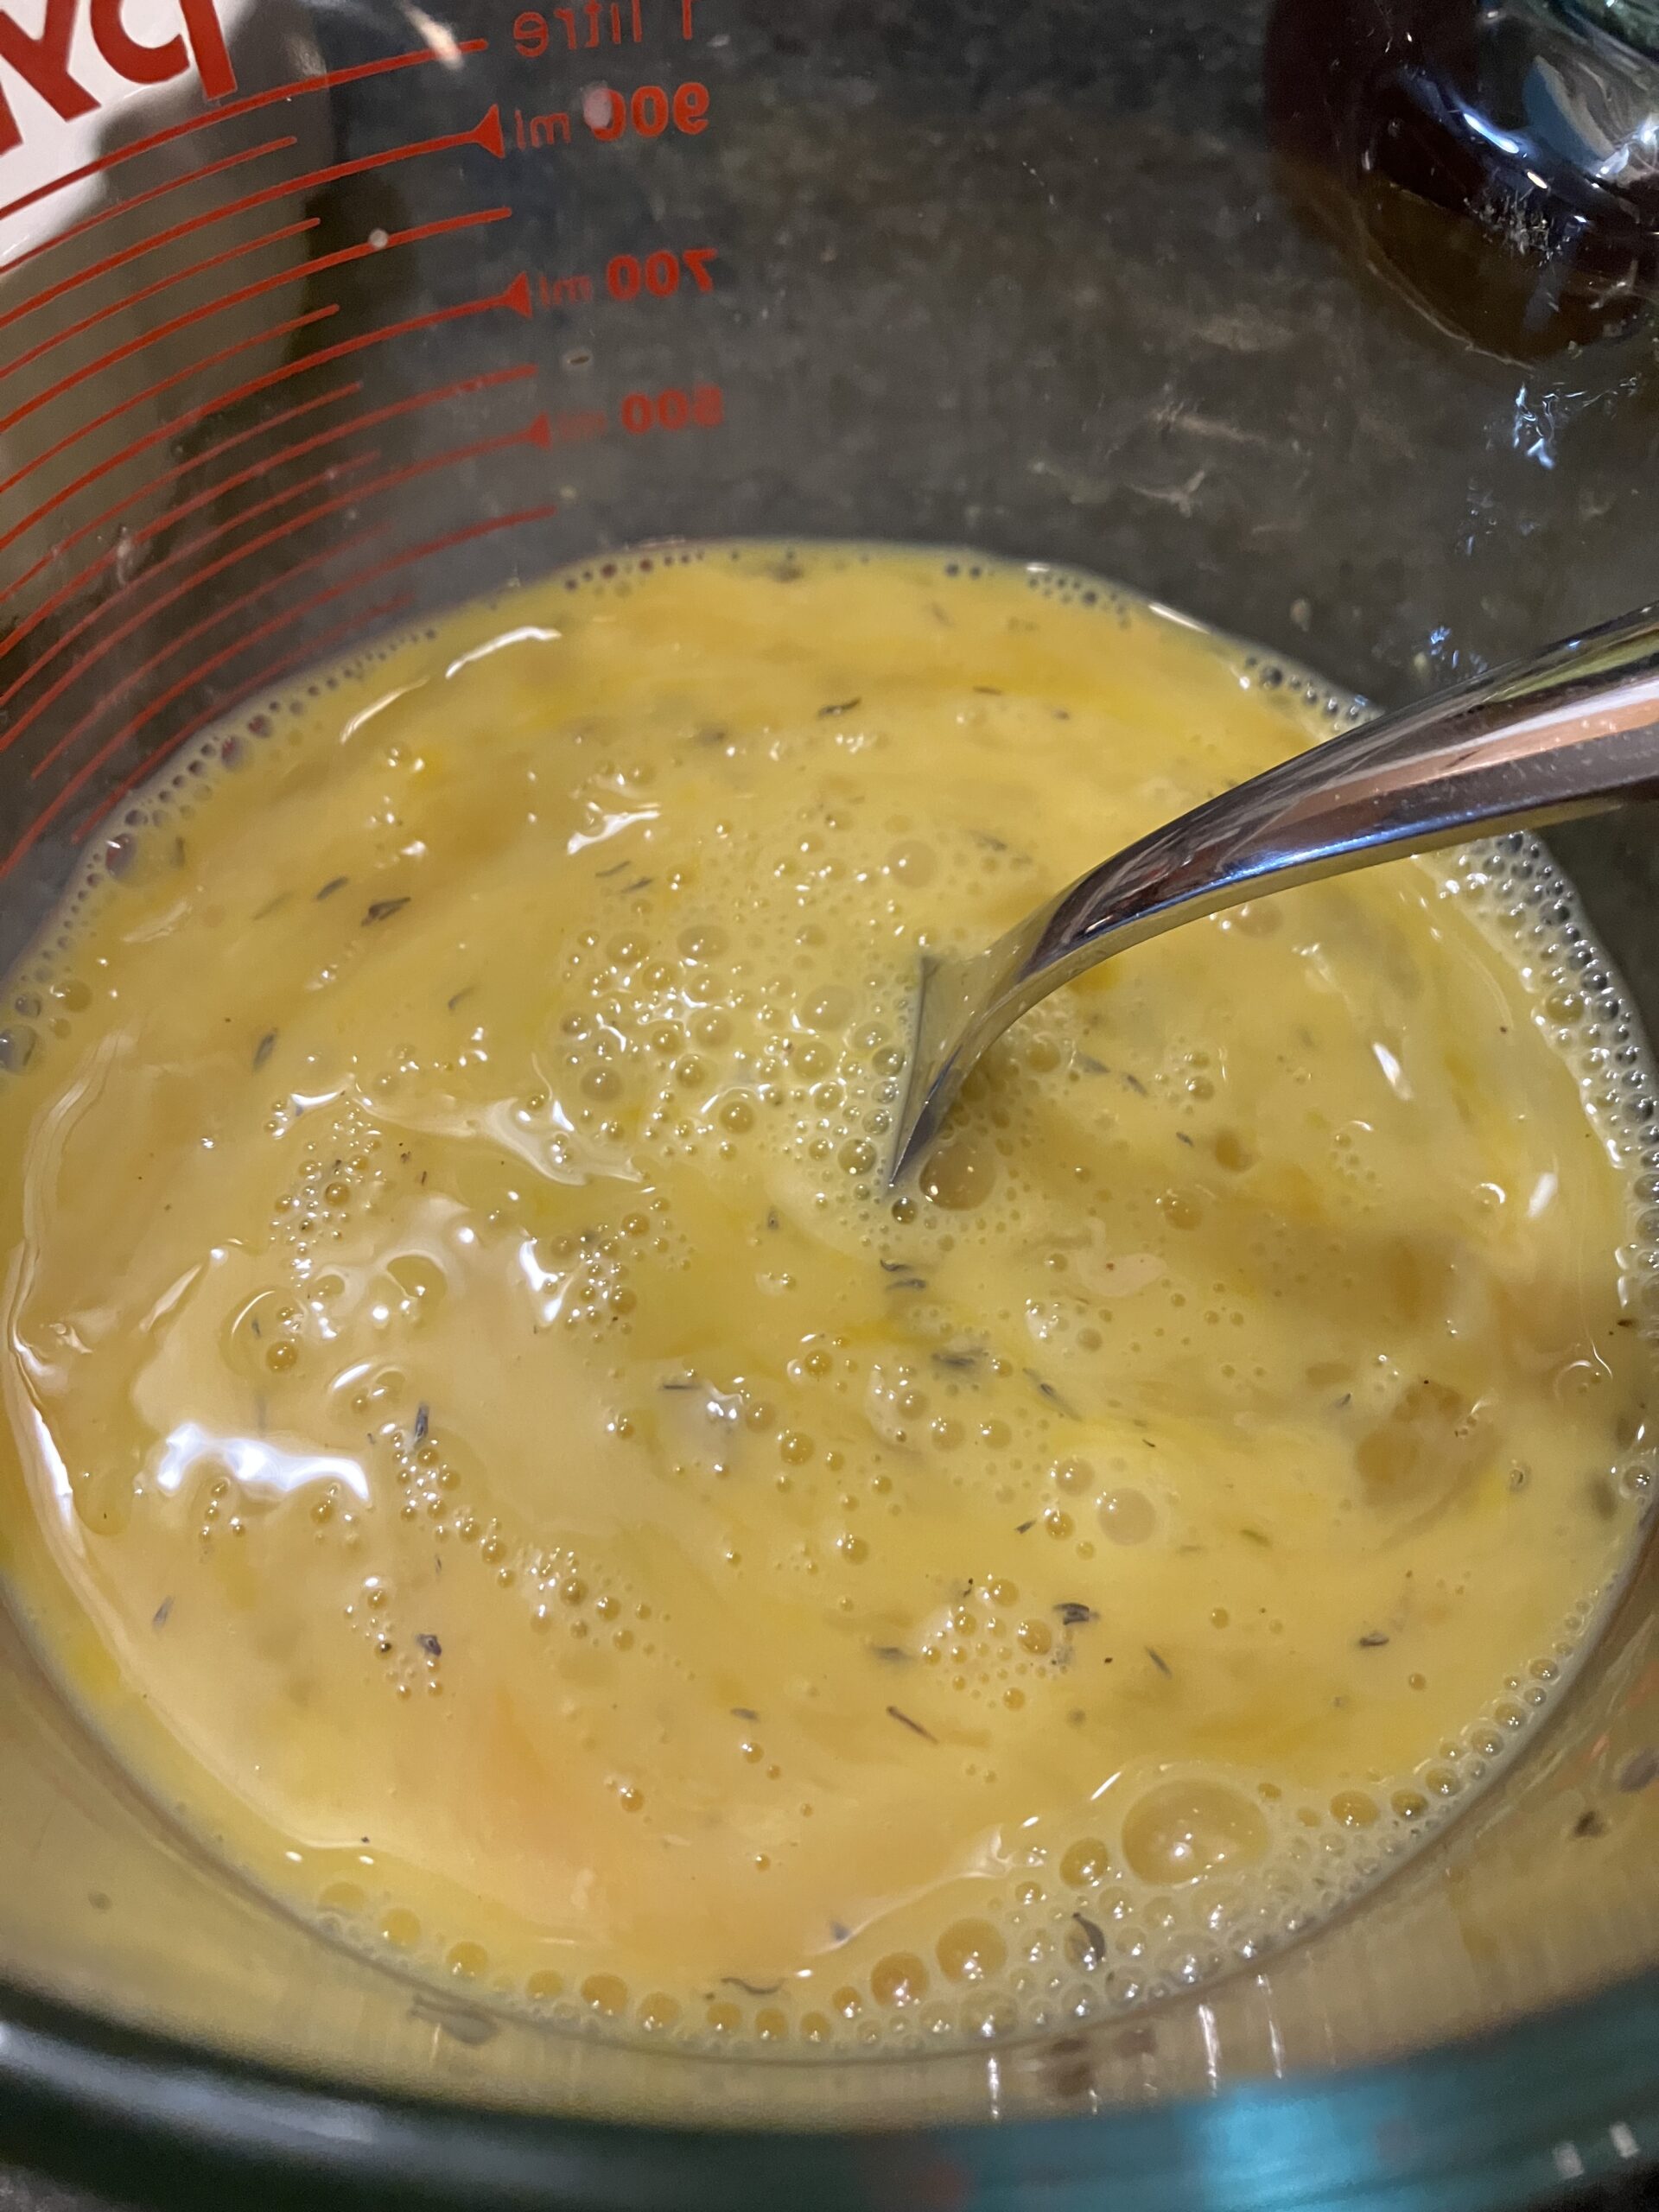
In a separate bowl, combine the eggs, milk, mustard, thyme, salt and pepper.
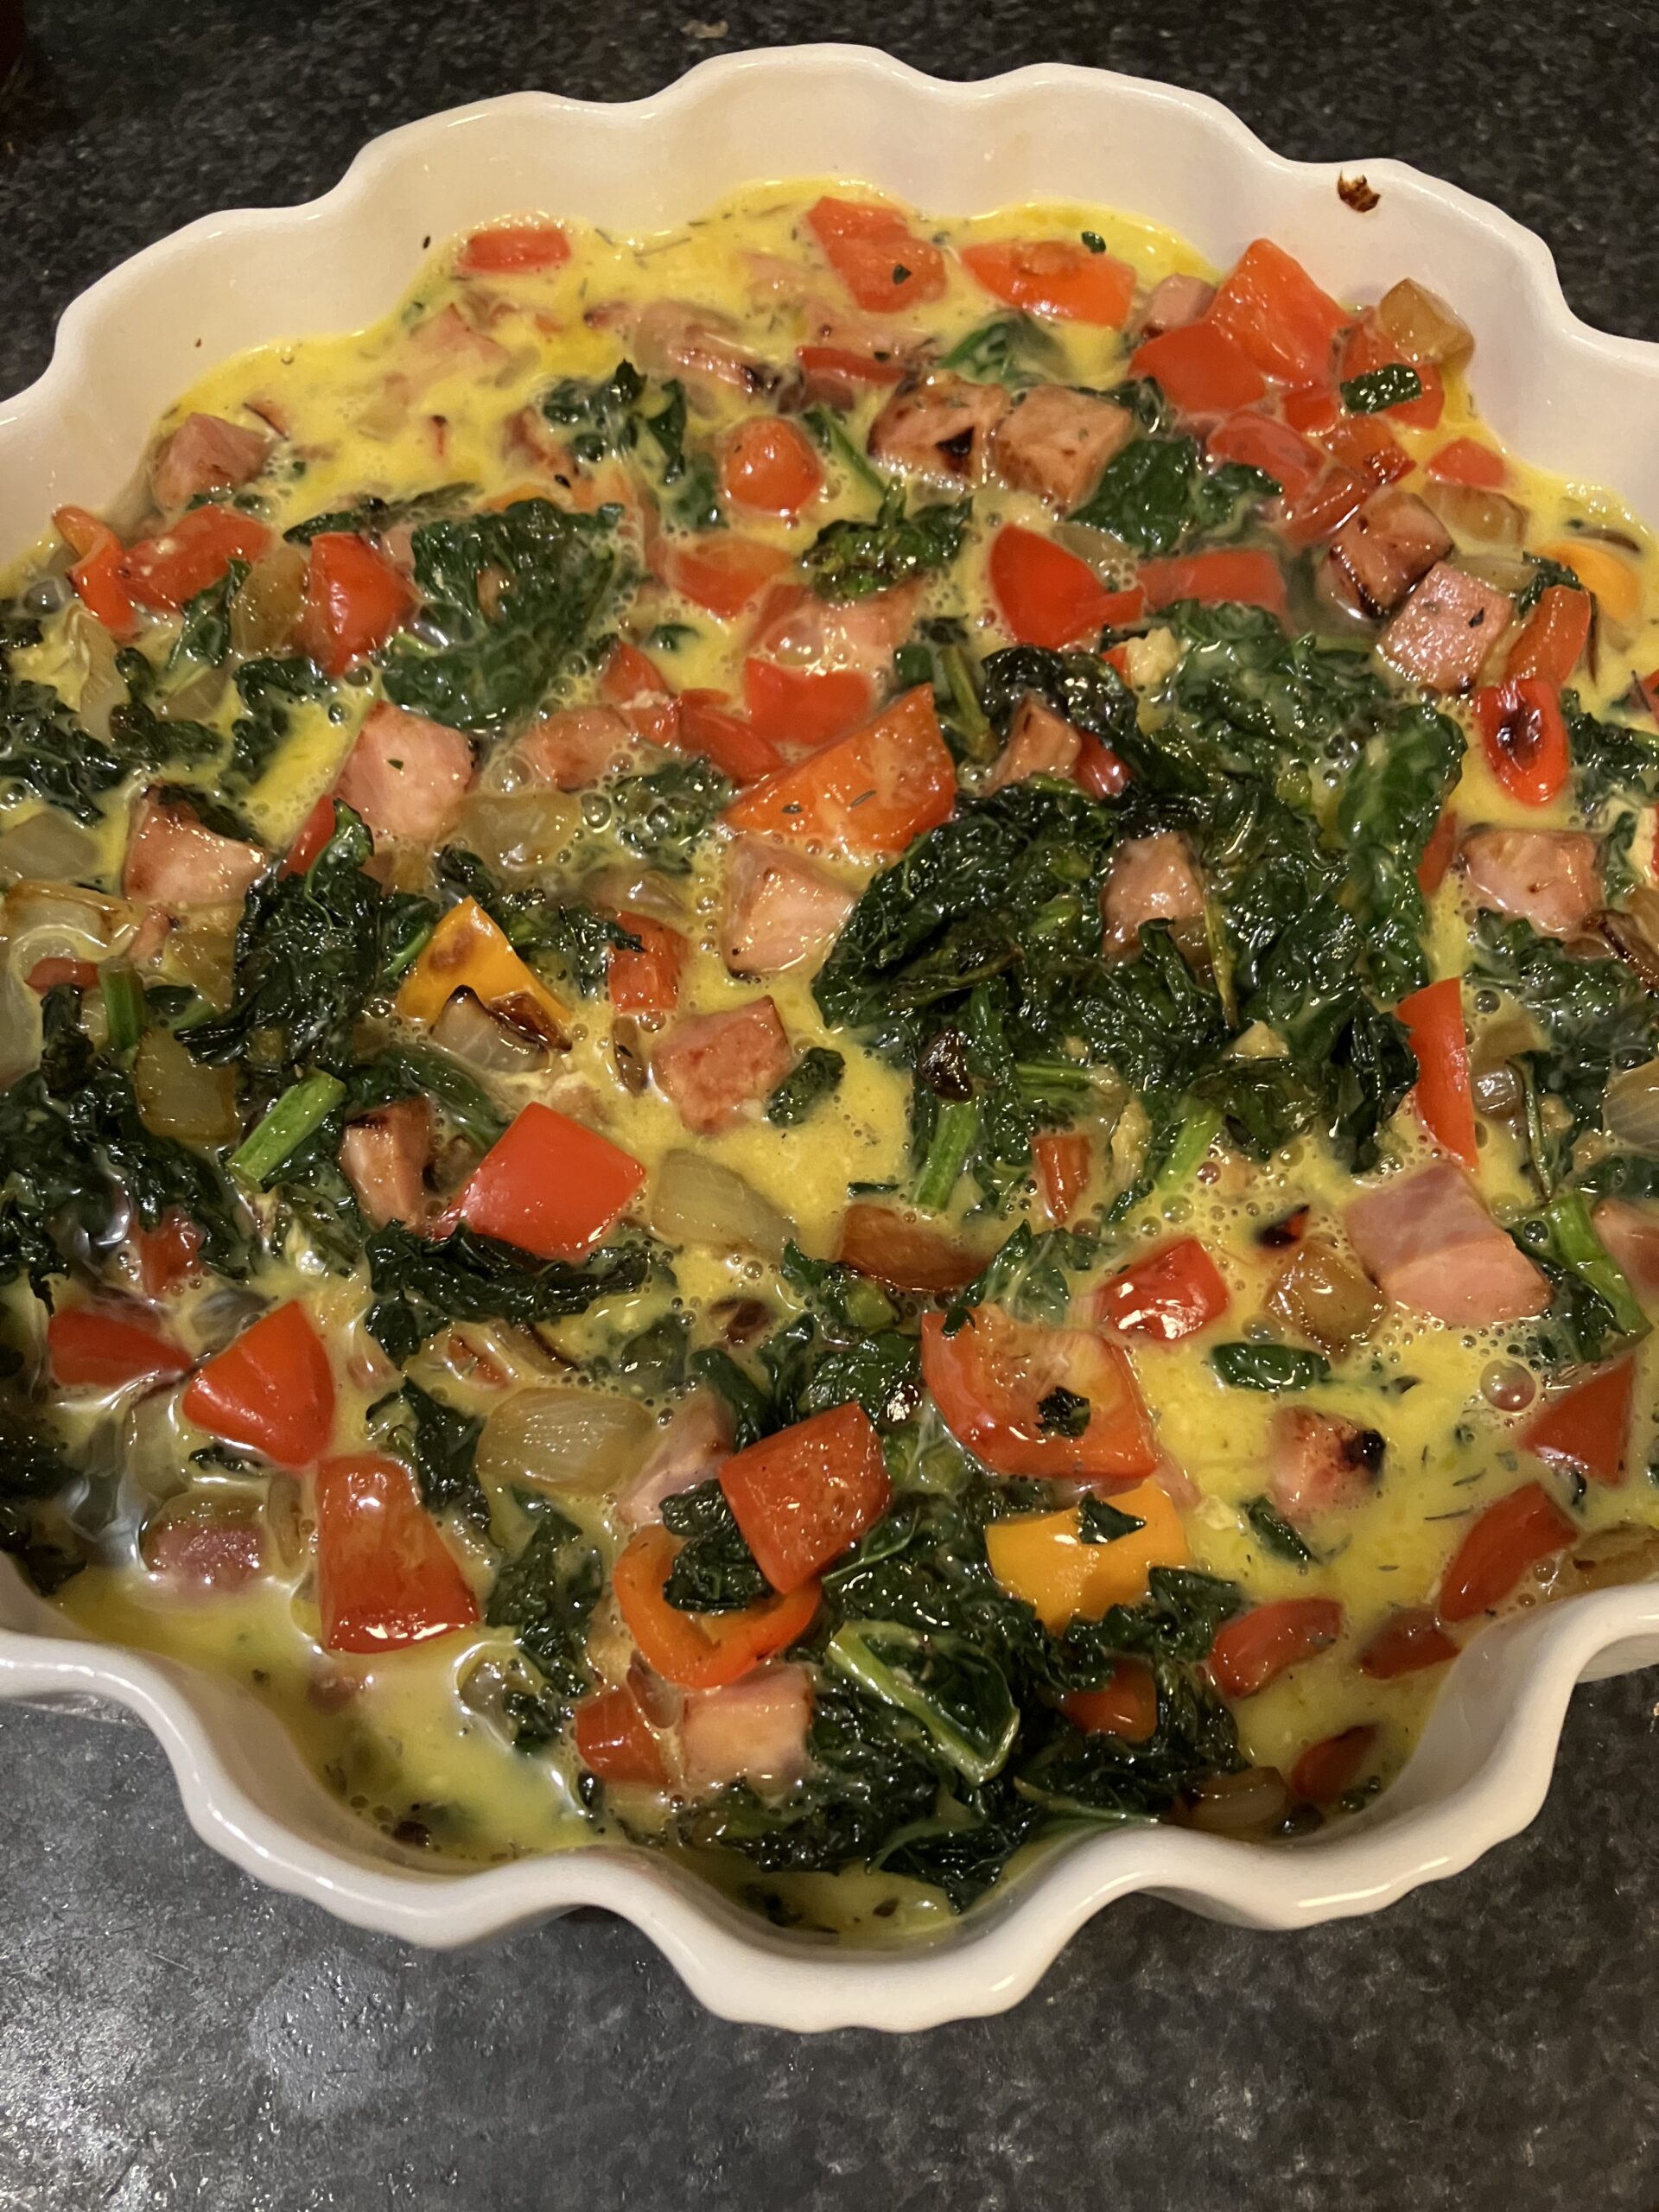
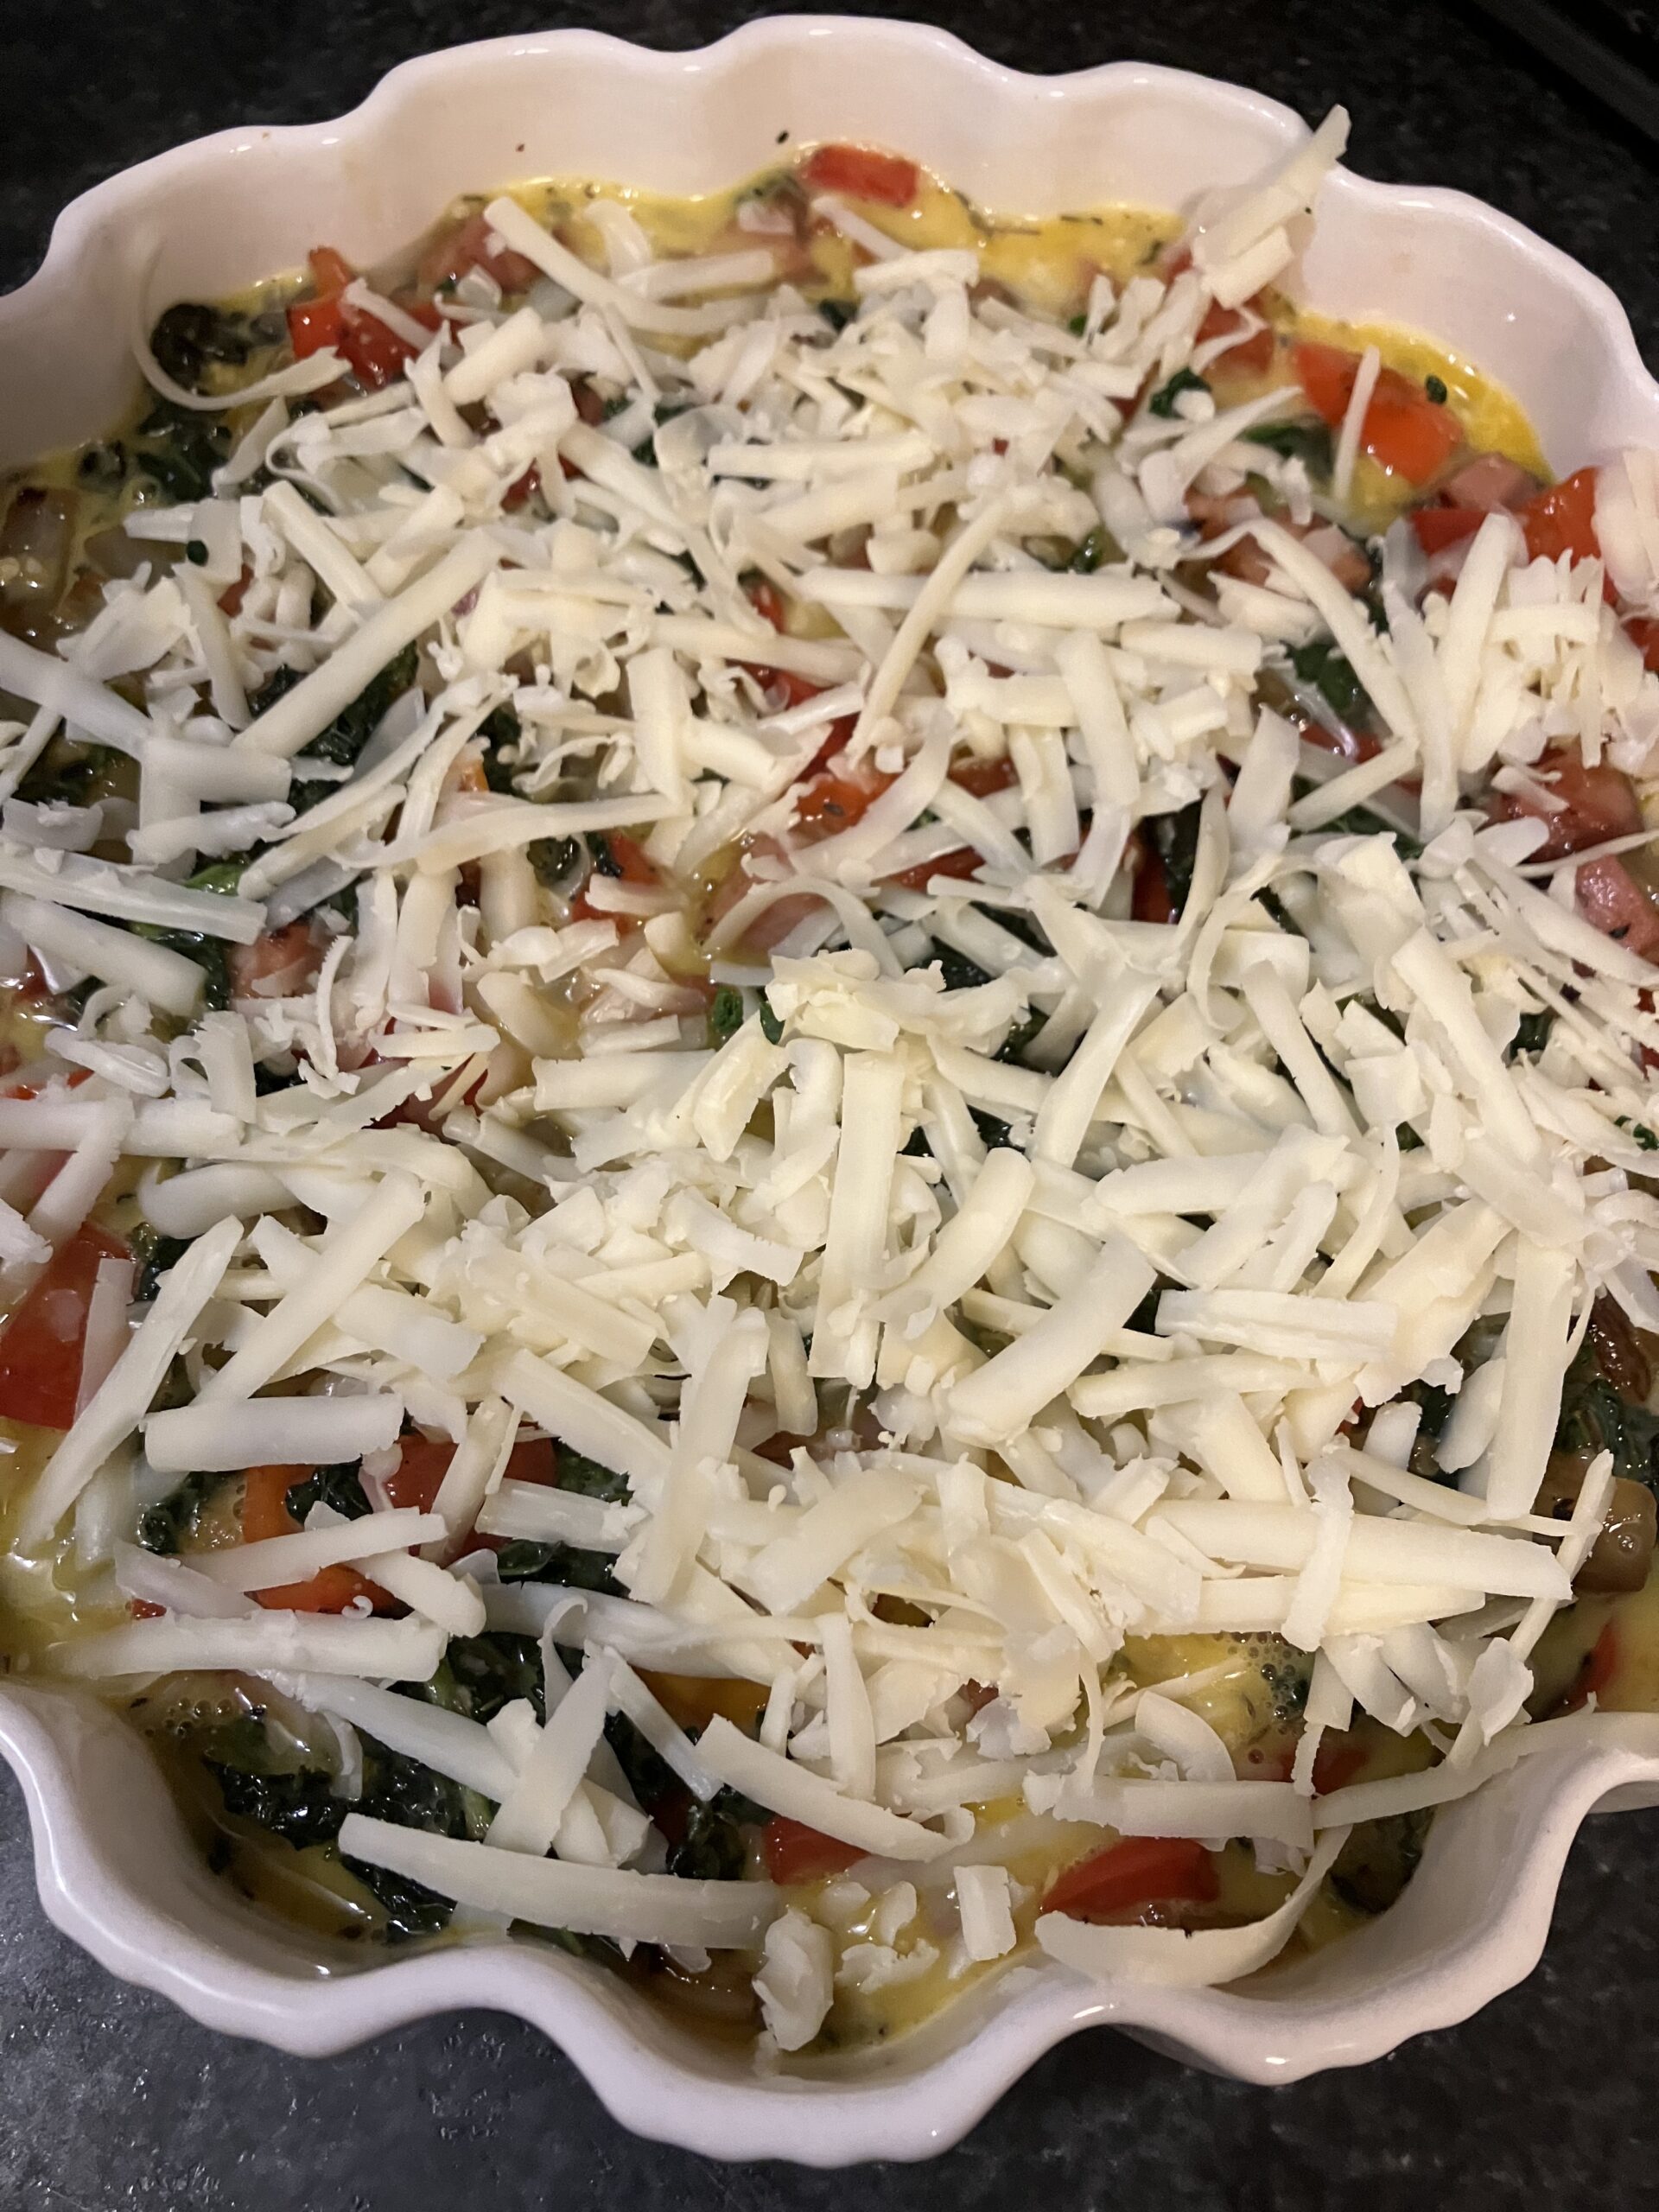
Pour the vegetables into a 3 quart baking dish, a quiche dish, or into individual muffin cups (a quiche dish is pictured here). Pour the egg mixture over the top and spread everything out so that the egg is evenly dispersed through the mixture. Sprinkle the cheddar cheese over the top.
Bake at 350F for about 20 minutes, or until the mixture is set in the middle. If you are using individual muffin cups, bake for 10 minutes and then check every couple minutes until mixture is set.
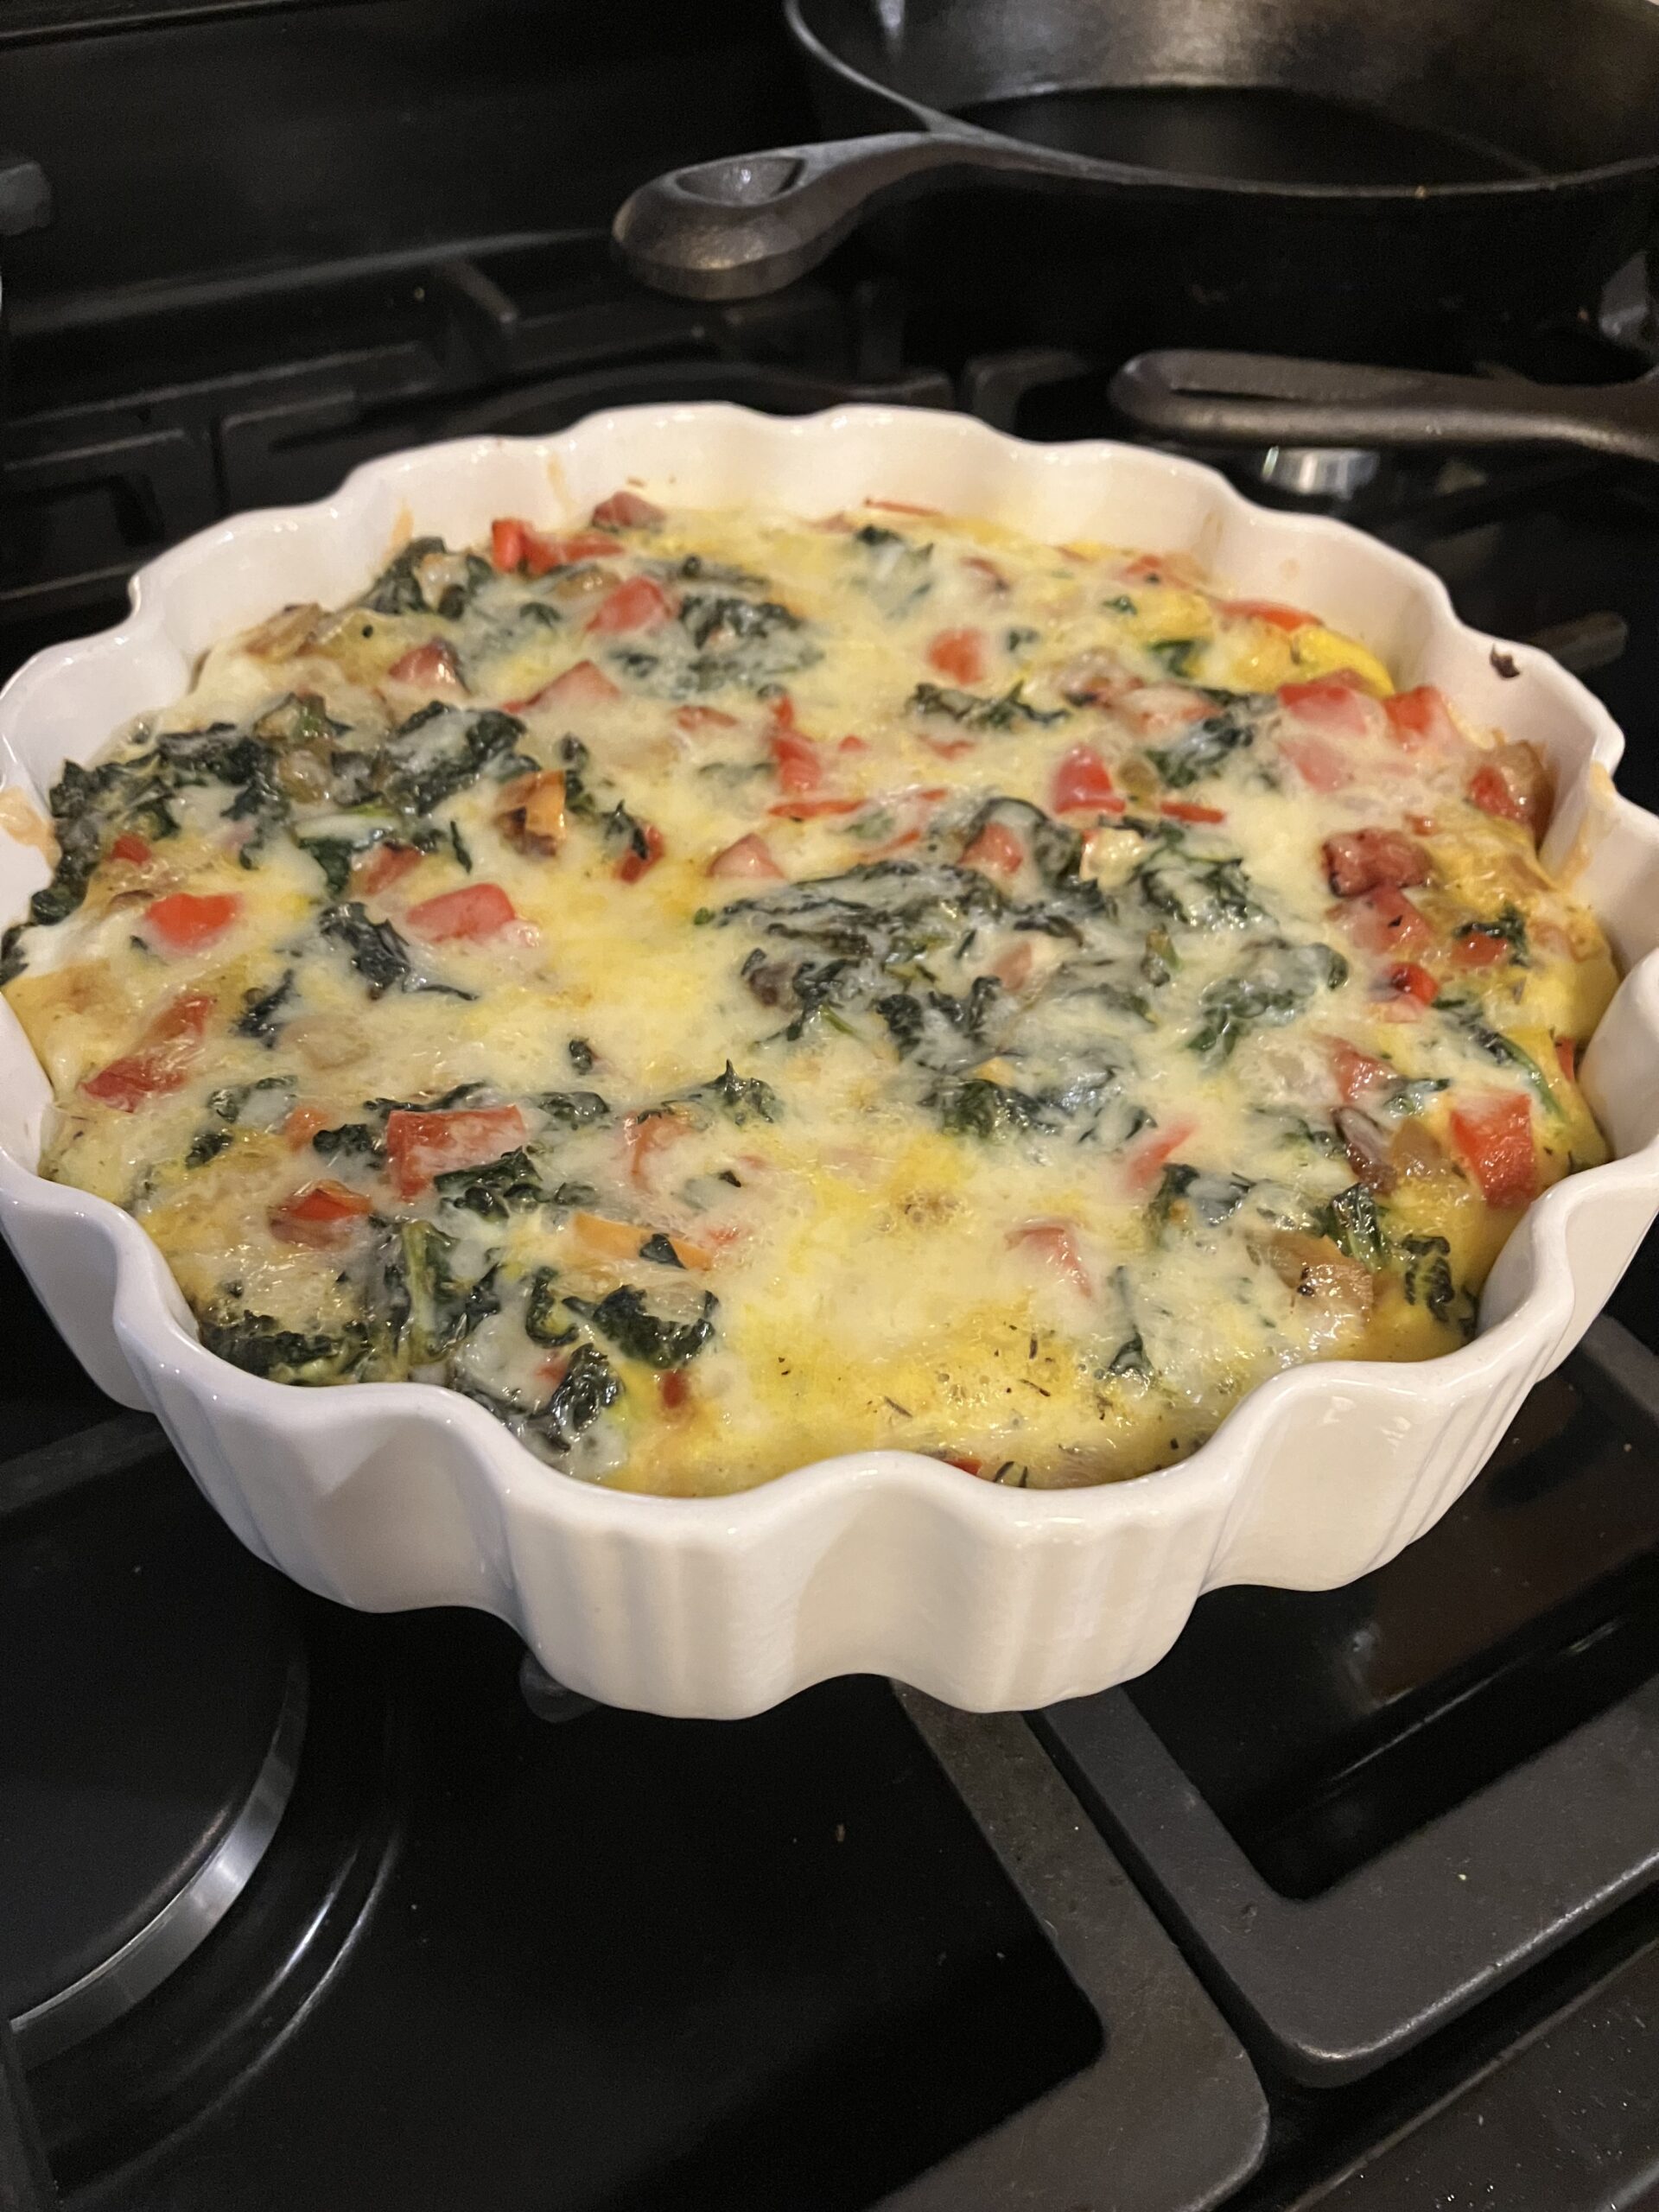
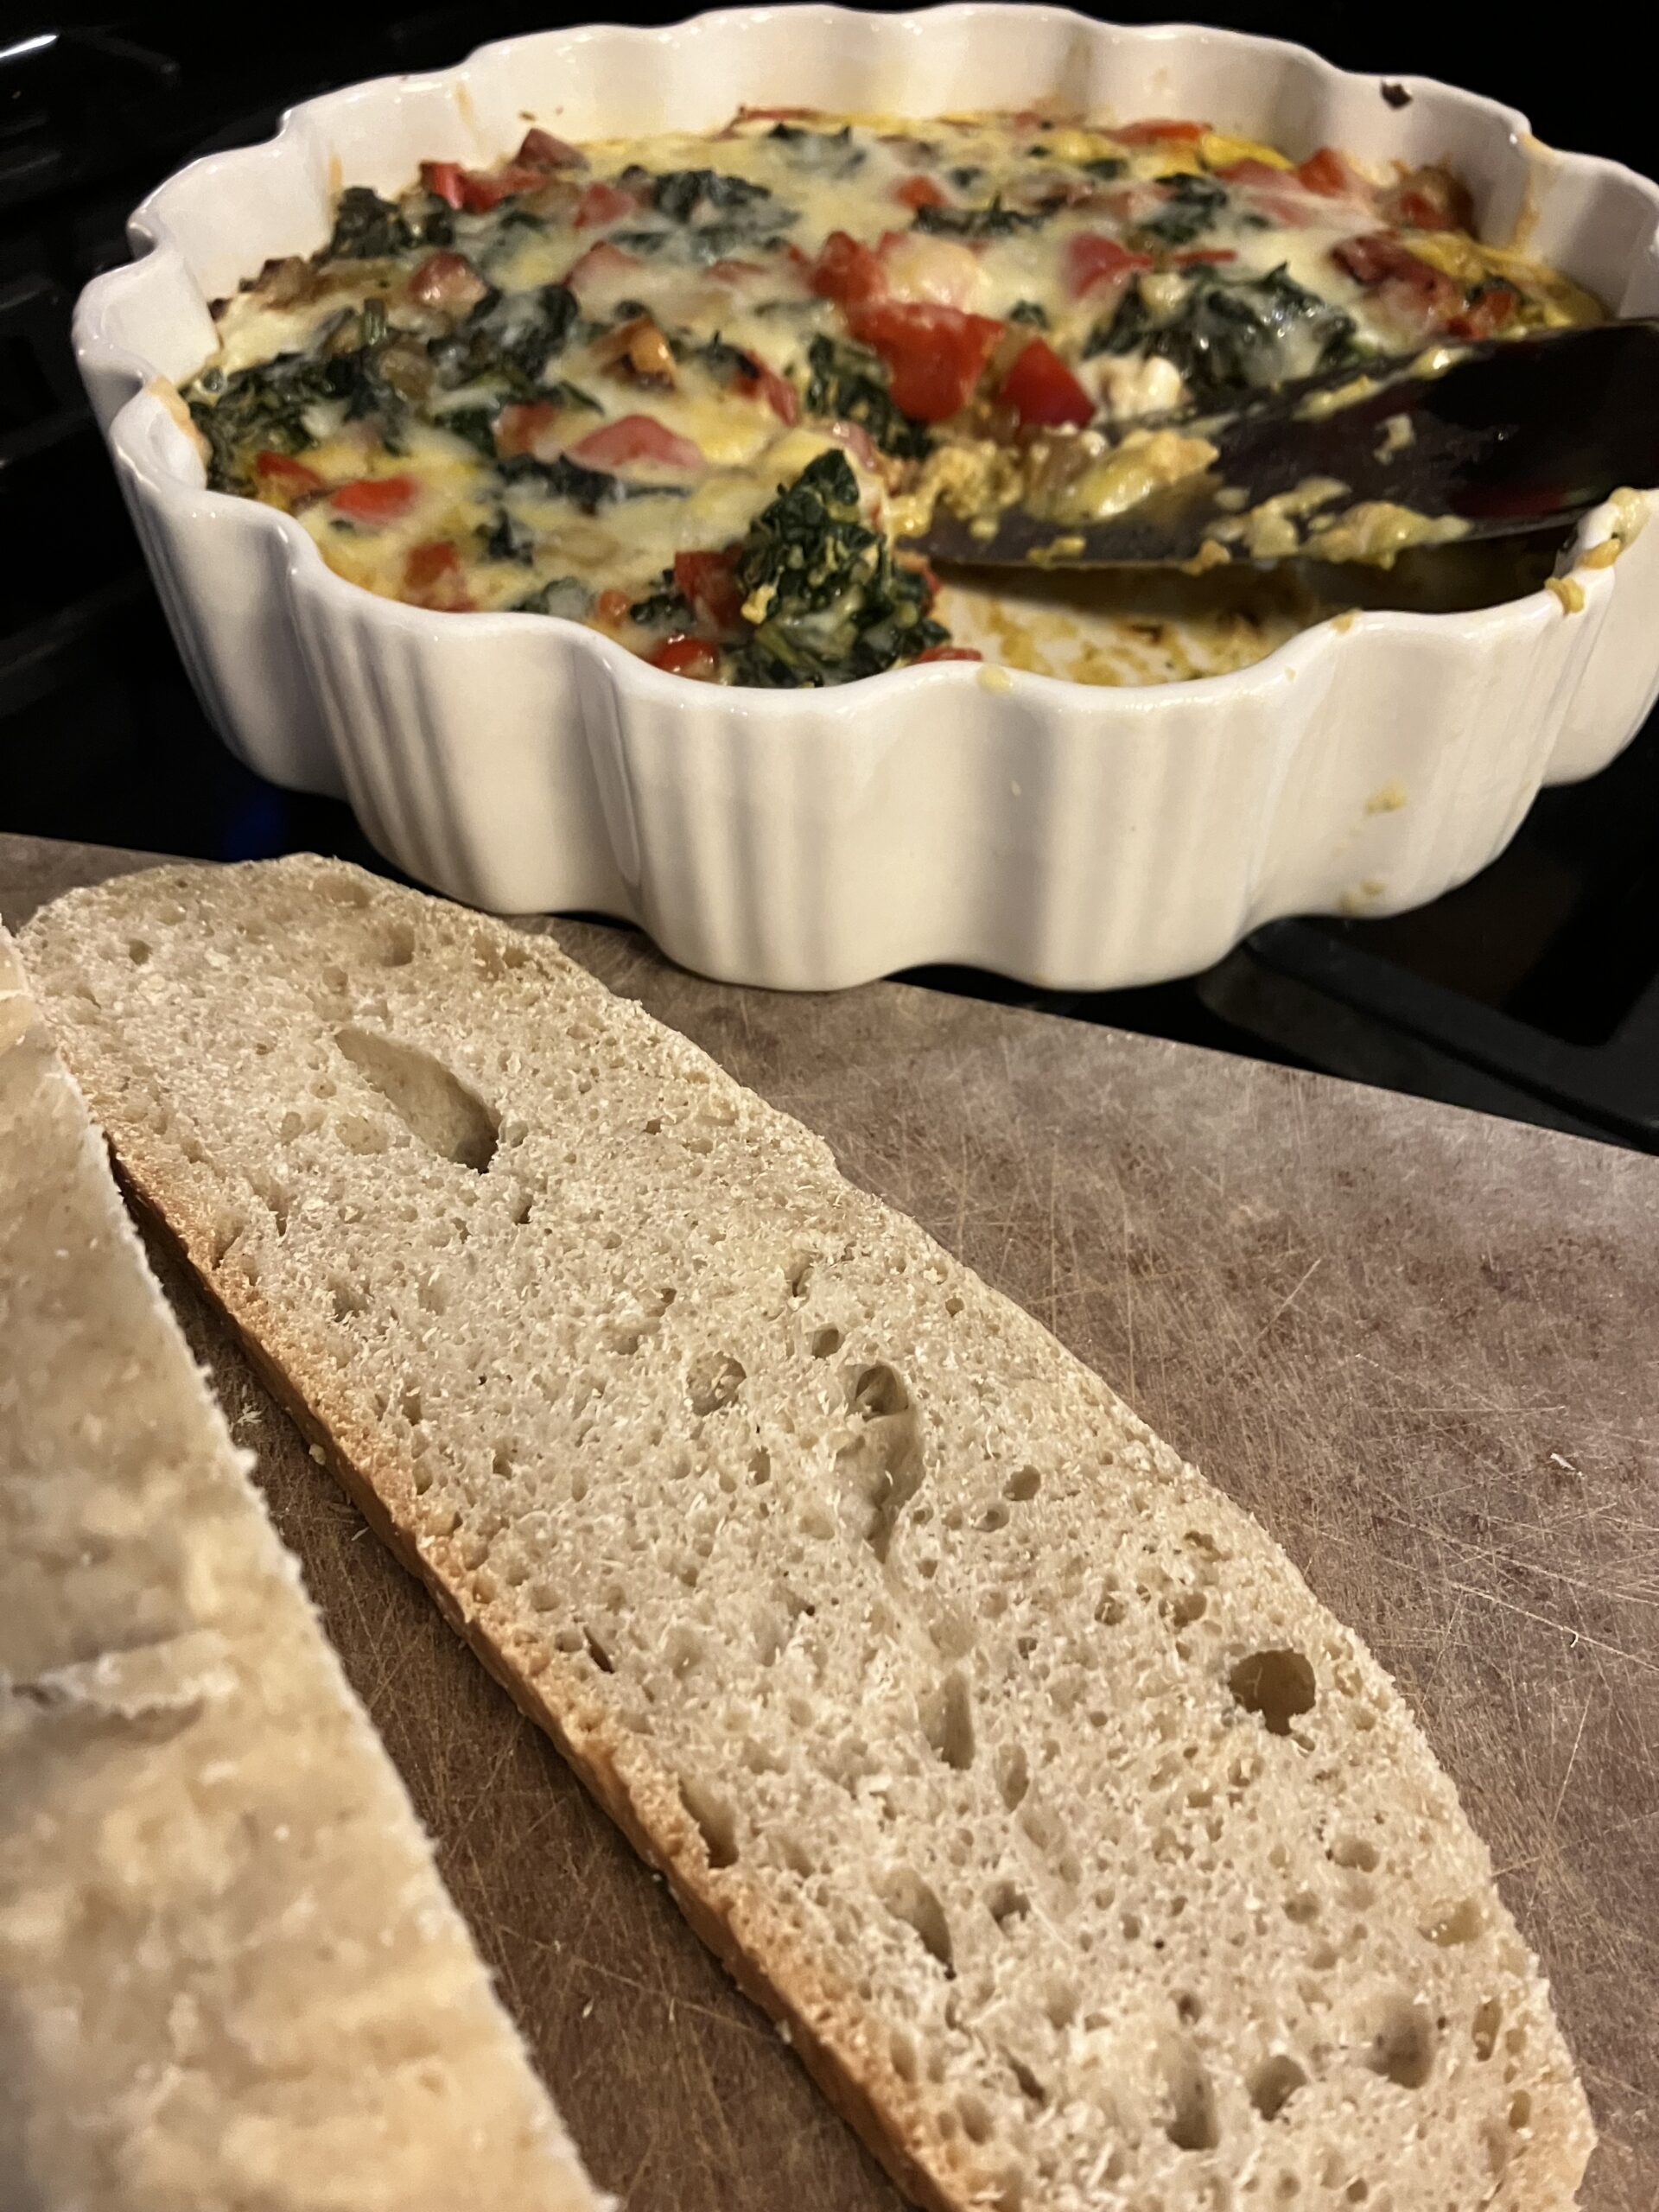
And that’s it! This dish is so easy to make but so delicious. We had it for dinner, so I served it with some crusty homemade sourdough bread (recipe soon to come). Hope you enjoy it! Happy cooking!
Power Bowl Building Blocks
Hi all! It’s been a while since I’ve posted (kids take up a lot of time!) but I’ve come back to share a great recipe with you. I’ve recently been asked to consider allergen-friendly recipes and this came to mind as a super versatile and very healthy recipe: power bowls! They are modifiable to accommodate almost any allergy or diet, and with just a change of spices you can change the flavor profile significantly to keep it interesting. Another huge bonus- they often end up being sheet-pan meals that come together in 30 minutes! Here are the building blocks:
- 1 cup instant brown rice or quinoa (or 2 cups cooked brown rice, wild rice, quinoa, or any other whole grain you prefer) – you can cook this in water or stock and can add spices as desired
- Veggies of choice: I like using sweet potatoes, red onion wedges, broccoli, and cauliflower for roasting, and frozen peas, carrots, edamame, broccoli, and green beans for sauteing. You can also include kale or another hearty green for extra texture.
- Protein: I love using chickpeas, edamame, or black beans, but I have used chicken and salmon as well (much to my husband’s happiness and relief) with great results.
- Healthy fat: Avocado is my go-to here, but you could also include nuts for added crunch, or a drizzle of olive oil. Using a fatty fish like salmon is also a great way to get healthy fats into the dish.
- Sauce: Greek yogurt-based, soy-sauce based, chili-based, lime juice-based… this is a great opportunity for rounding out the flavors and bringing the dish together.
Here are a couple of my favorite examples:
- Sweet chili salmon bowl: Saute frozen veggies (listed above) with salmon fillets until cooked through; mix with brown rice and top with jarred sweet chili sauce, sesame seeds, and peanuts (as desired)
- Turmeric chickpea bowl: Roast veggies (listed above) tossed with olive oil, salt and pepper at 375 degrees for 30 minutes; toss chickpeas in olive oil, turmeric, cumin, and a dash of salt and roast alongside other veggies. Combine with quinoa, massaged kale, and avocado. Mix plain yogurt with garlic powder, a dash of salt, and a splash of milk to loosen the texture; drizzle sauce over the top.
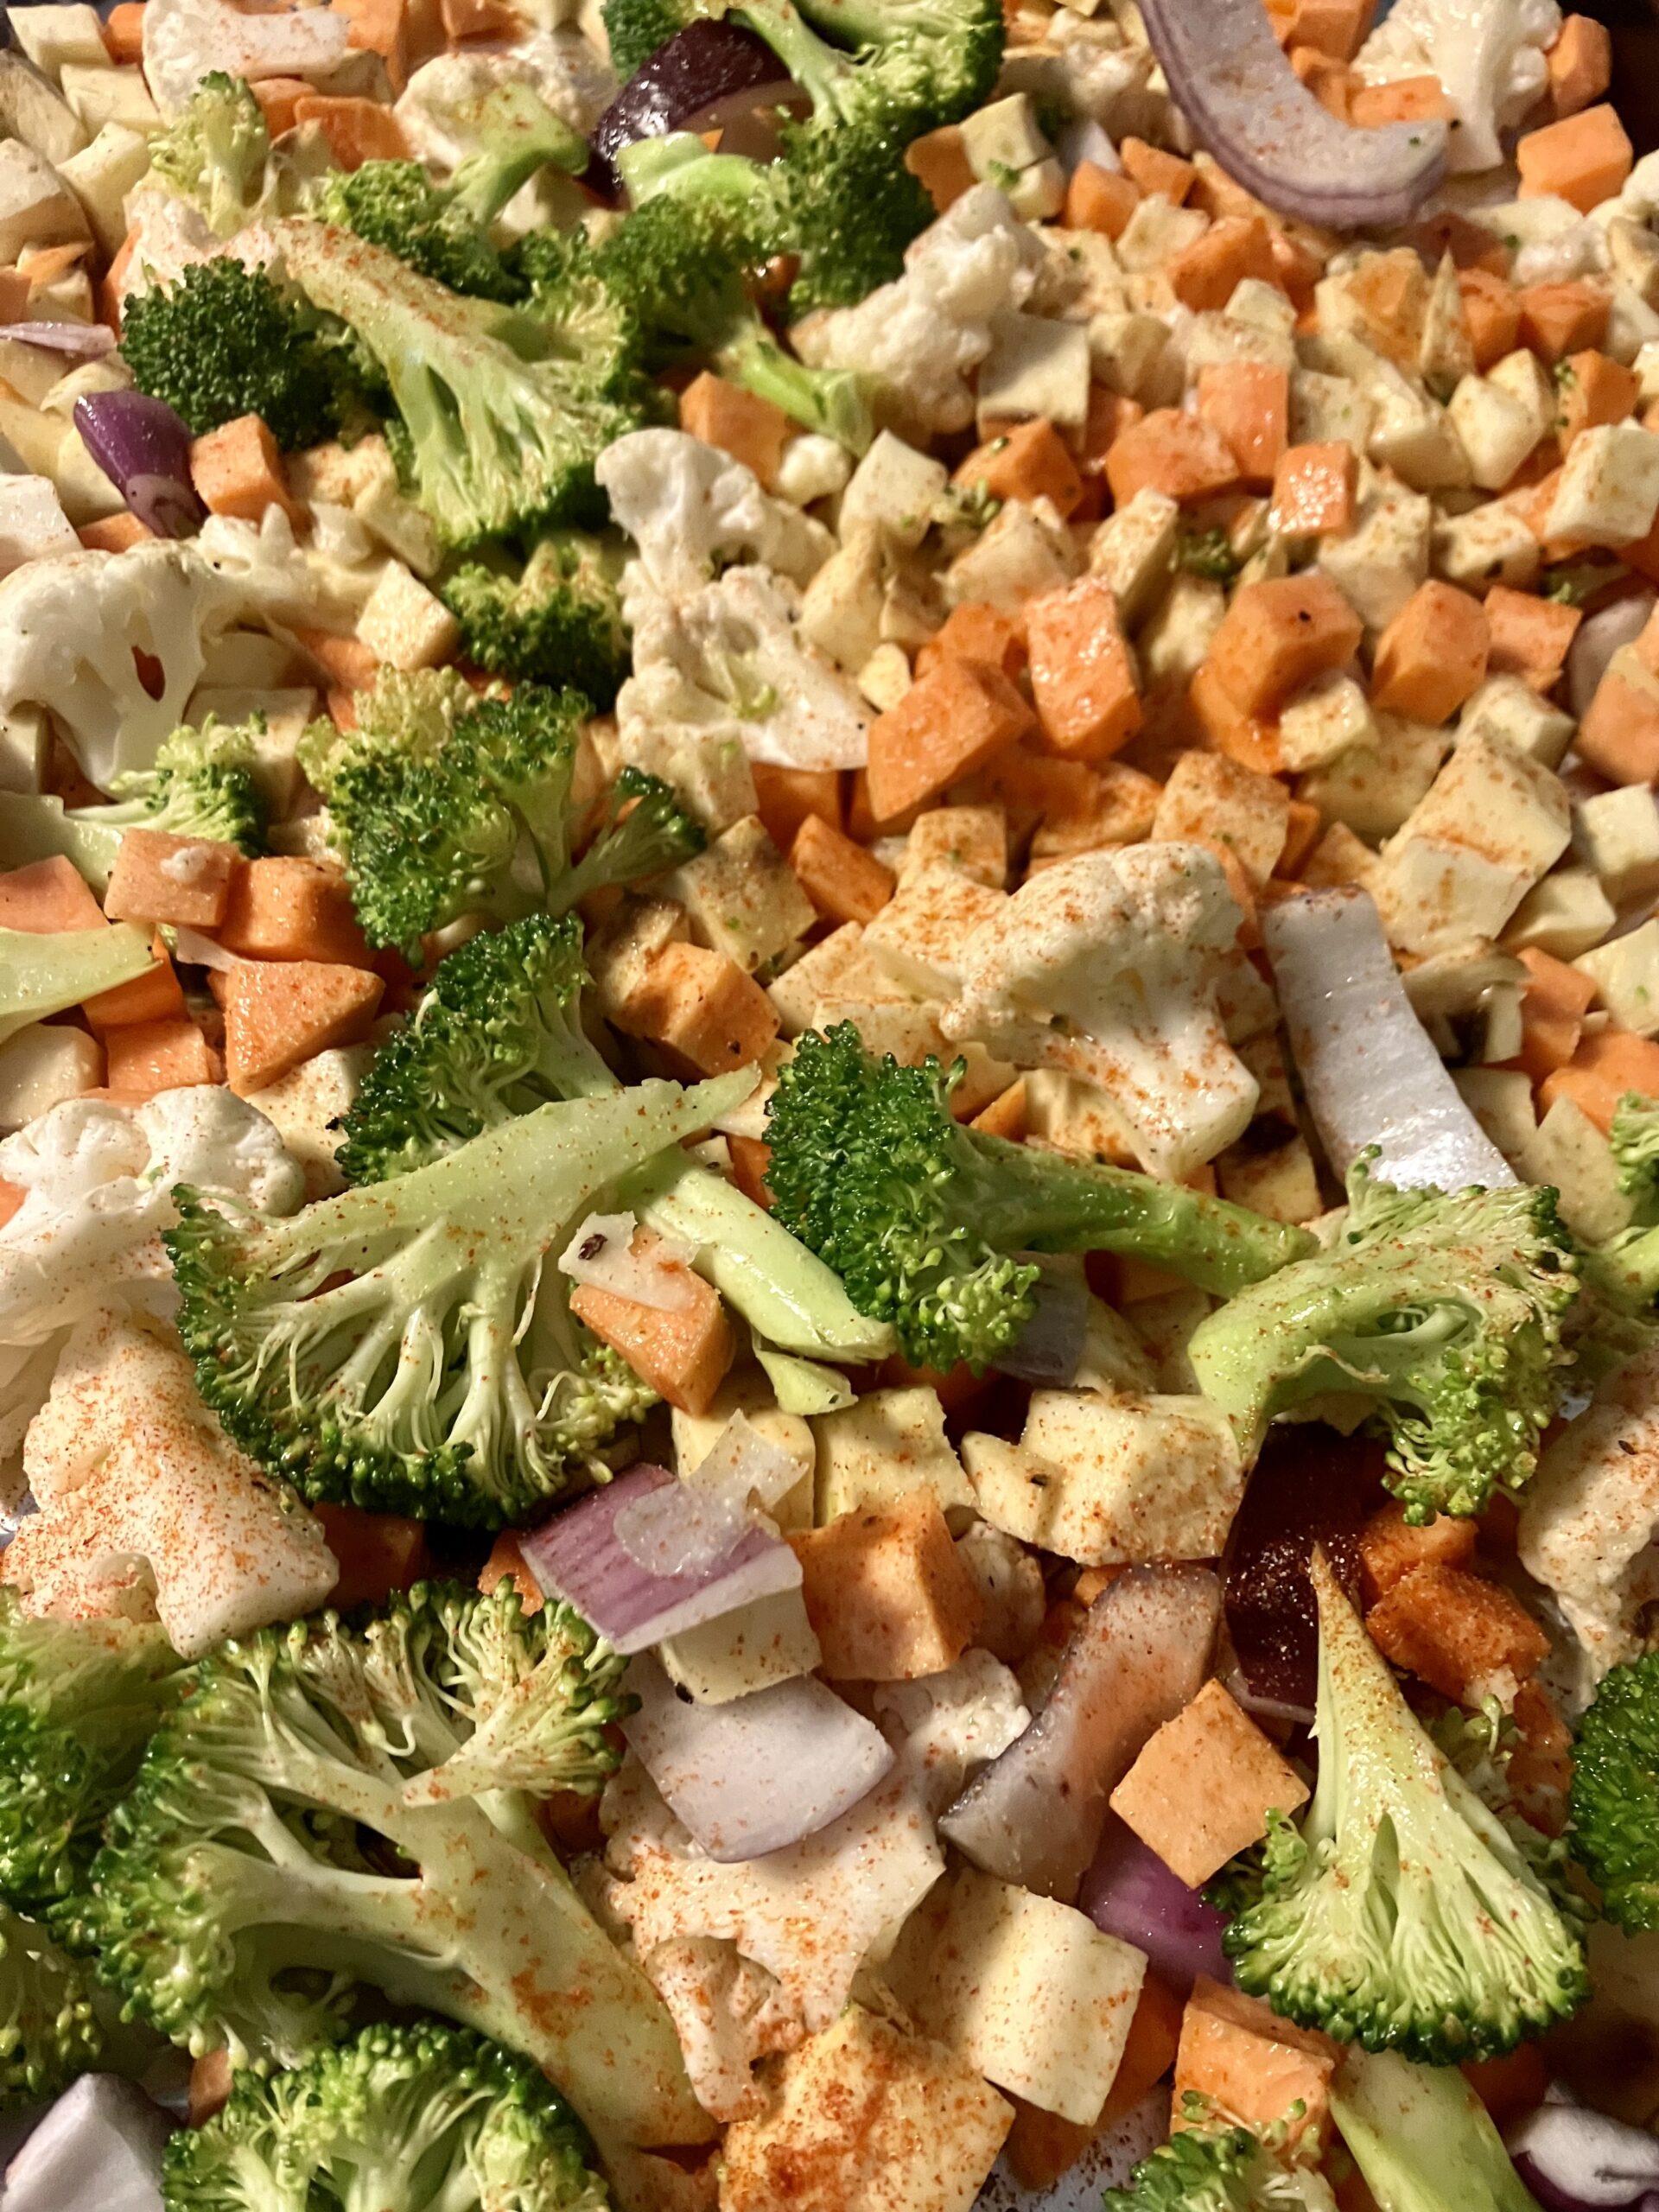
- Taco bowl (pictured below): Roast veggies tossed with salt, pepper, paprika, garlic powder, and olive oil at 375 degrees for 30 minutes; meanwhile, sprinkle thin-cut chicken breast with taco seasoning and bake or grill until cooked through. Layer quinoa or brown rice with roasted veggies, avocado, and thinly sliced chicken breast. Mix plain Greek yogurt with lime juice, garlic powder, cumin, and salt and drizzle over the top.
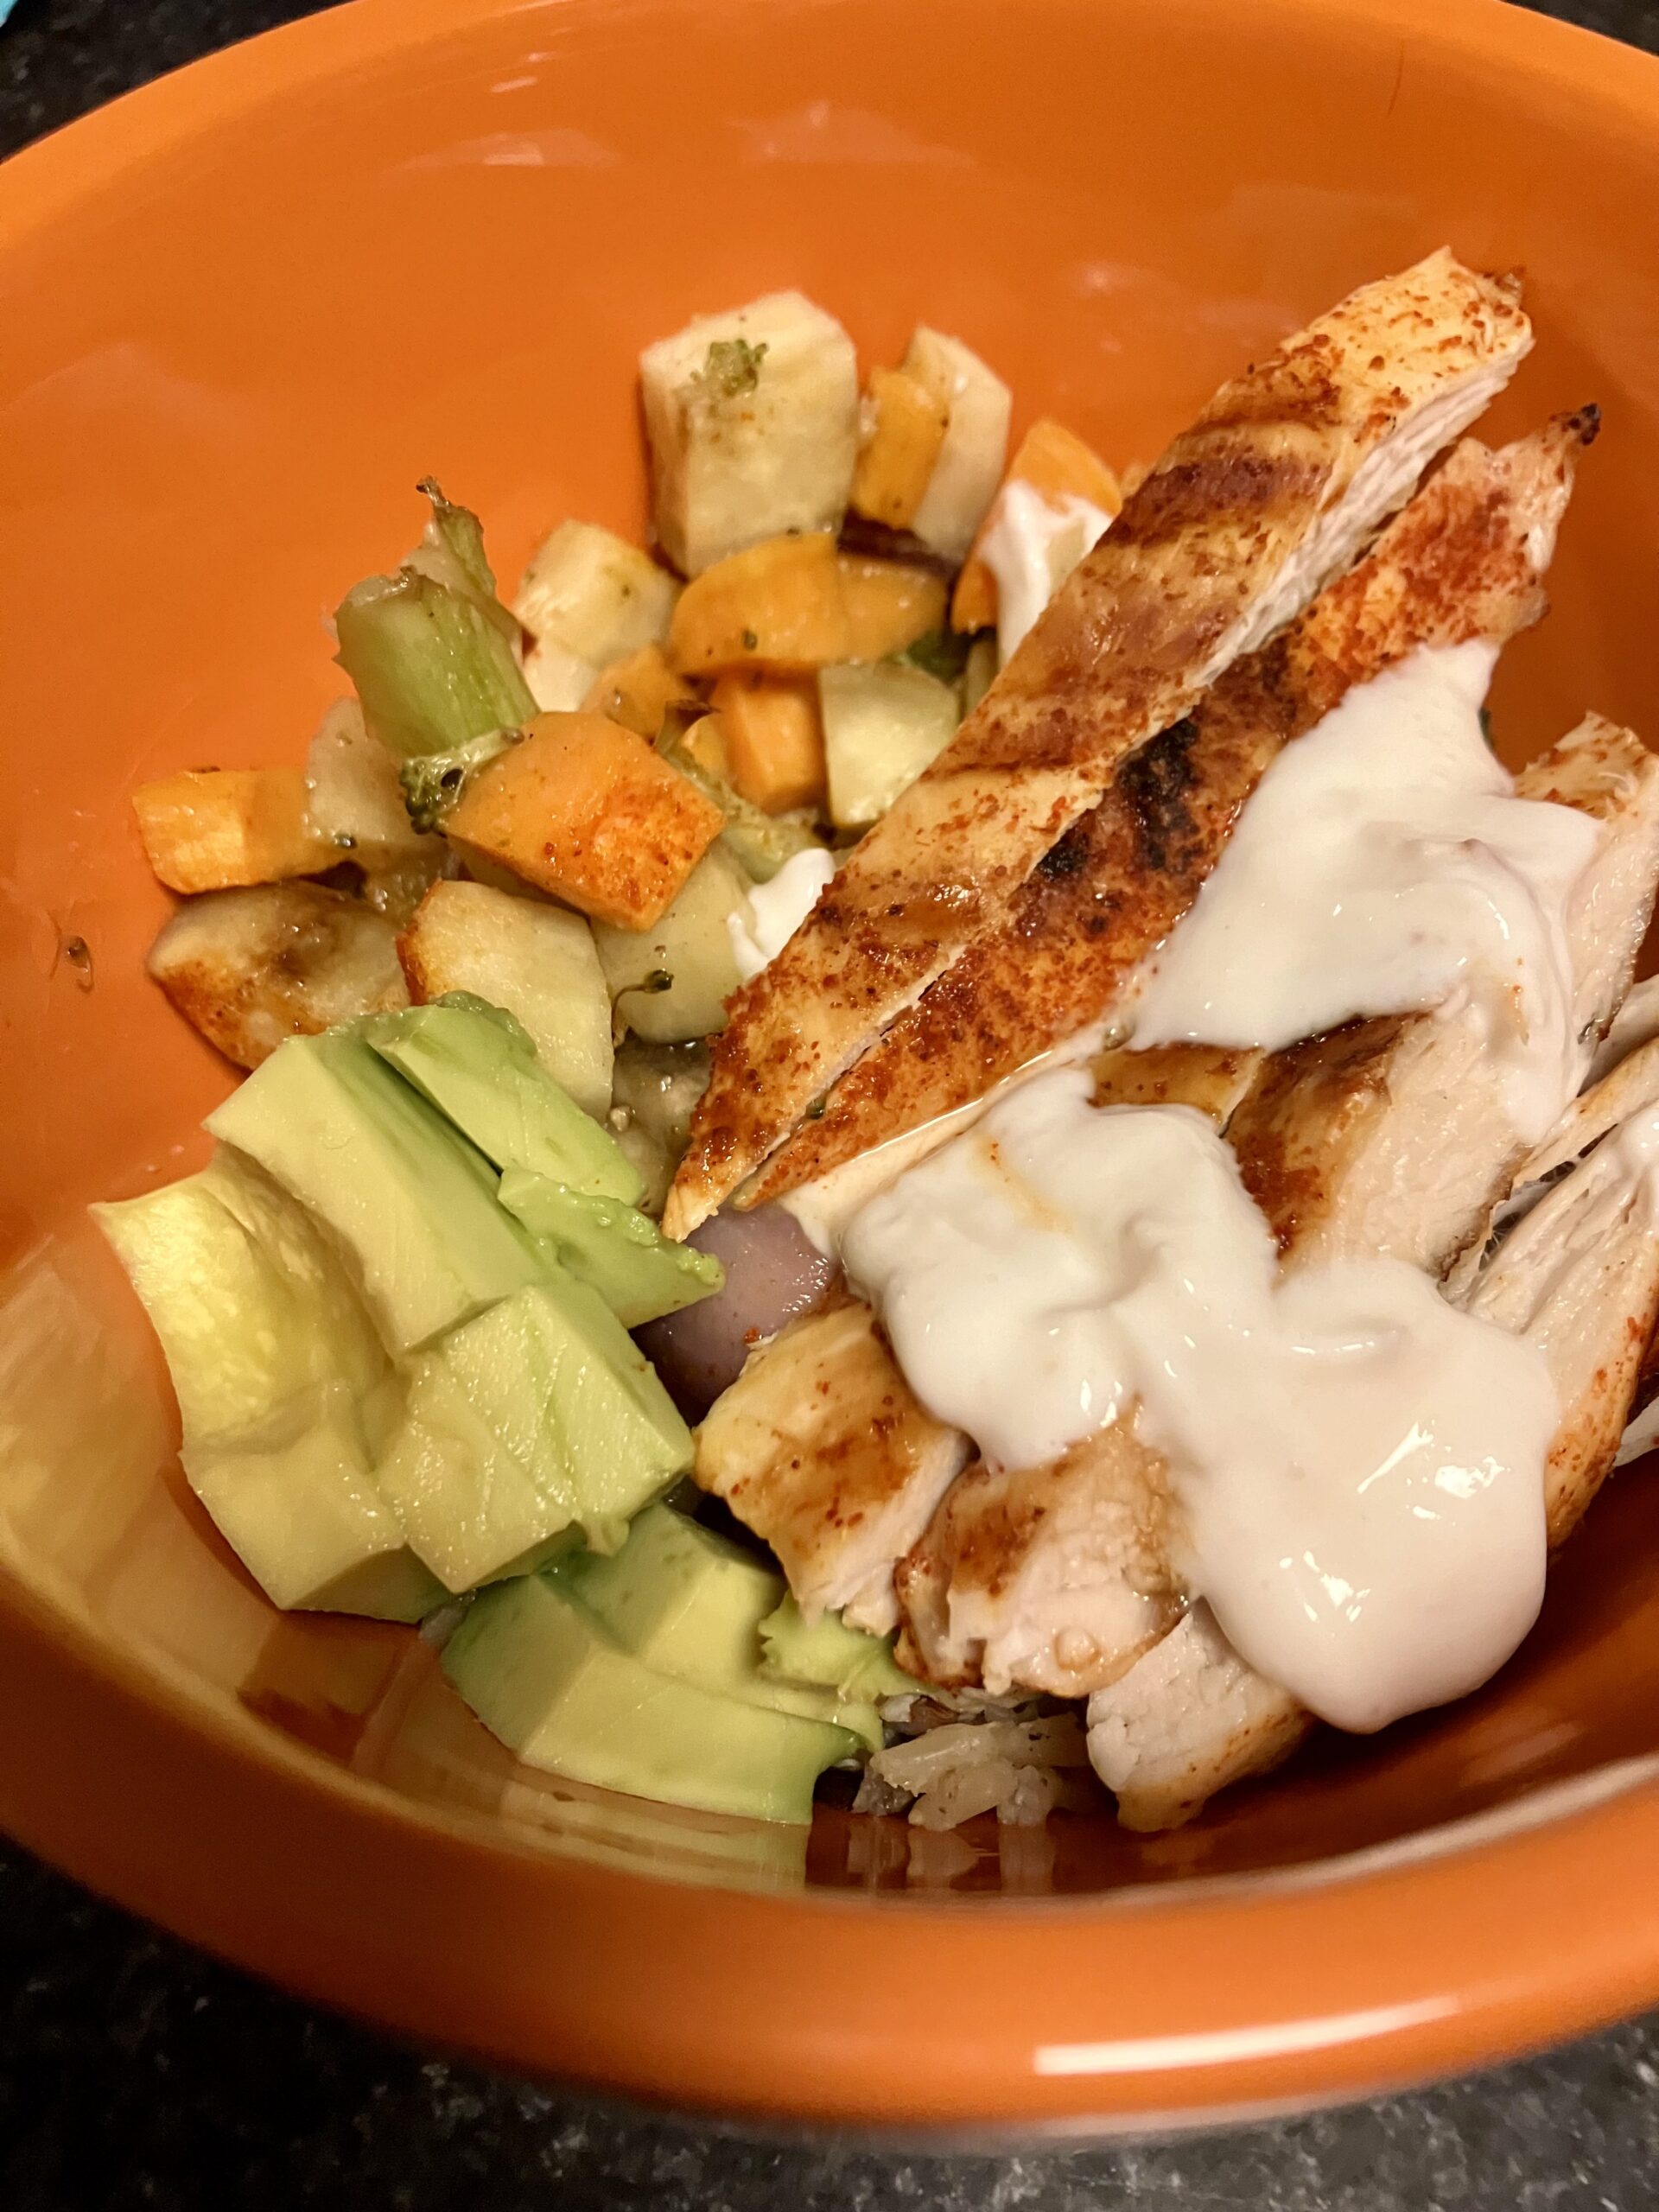
Power bowls are a great option for pleasing any palate and are very easy and user-friendly. Try it with your favorite grains, veggies, protein and spices, and see what you can come up with! Happy cooking!
Buffalo Spaghetti Squash Dip
Hello, all! Happy fall! It has been a very long time since I last wrote- but this recipe makes up for the wait! For anyone who loves buffalo chicken dip, this is a great option. It is a delicious vegetarian dish, but also flexes well to include chicken if you prefer. The added bonus of this recipe is that it uses up some of our local fall produce: spaghetti squash! I ran across a similar recipe a few years ago and have been making my version ever since. Here’s the recipe:
Ingredients:
- 1 medium spaghetti squash, halved and seeds removed
- 1 tbsp olive oil
- Salt and pepper to taste
- 1 cup shredded Cheddar or Monterey Jack cheese
- 1/2 cup shredded Mozzarella cheese
- 1/2 cup plain Greek yogurt
- 1/2 tsp garlic powder
- 1/2 tsp onion powder
- 1/3 cup buffalo sauce
- 2 cups shredded chicken (if desired)
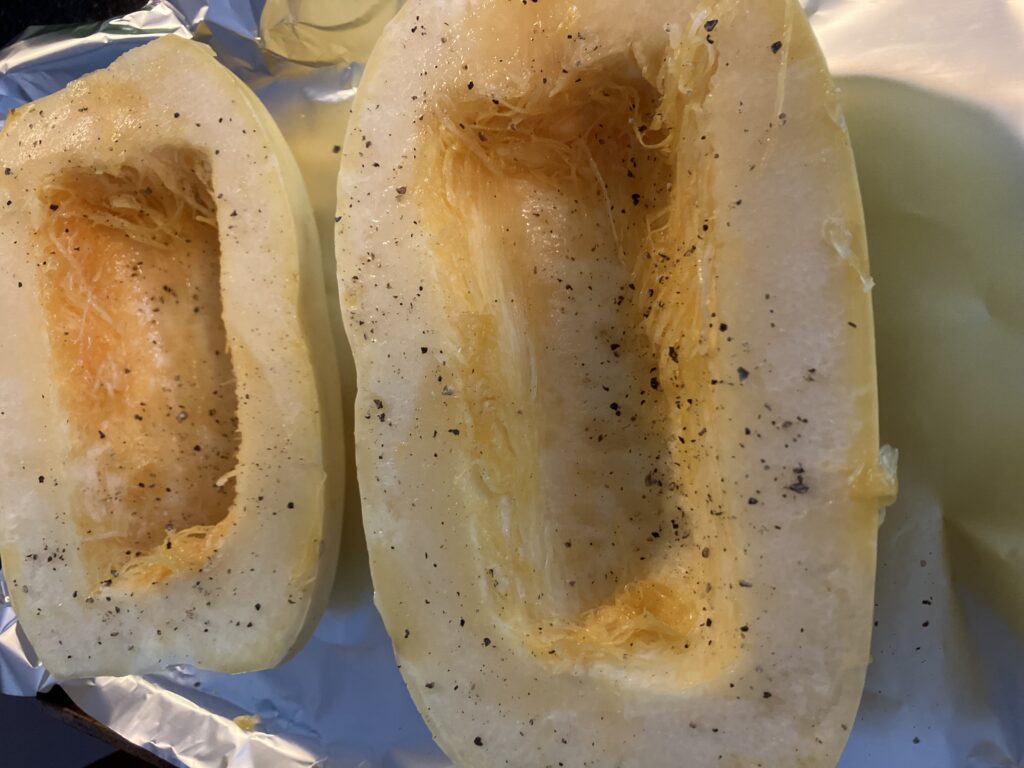
Preheat the oven to 400F and cover a small baking sheet in aluminum foil. Rub the cut sides of the spaghetti squash with the olive oil and sprinkle with salt and pepper to taste.
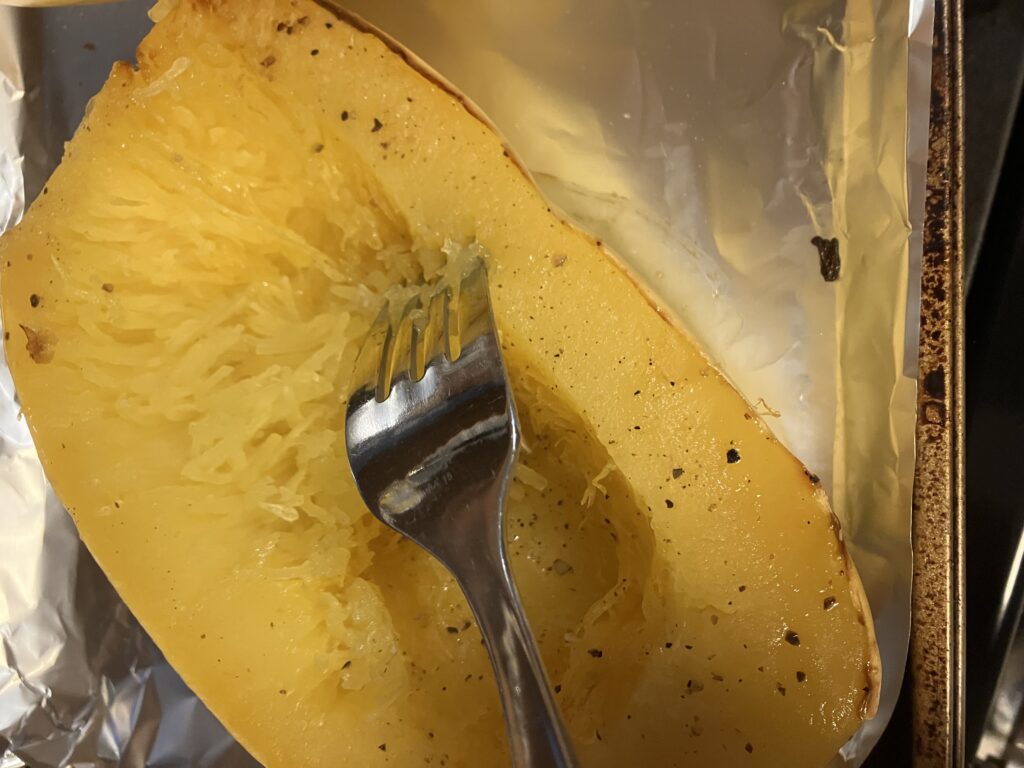
Place the squash cut side down on the baking sheet and bake for 40 minutes.
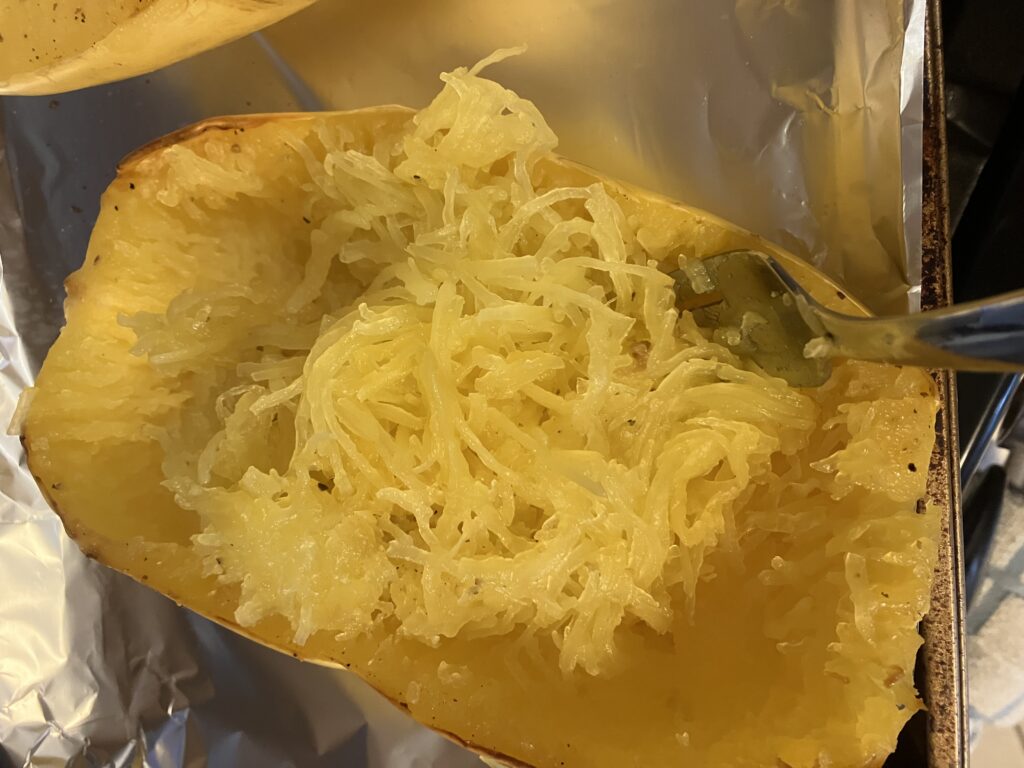
Allow the squash to cool slightly so that you can handle it (or you can use oven mitts, like I do. I’m impatient.) Using a fork, scrape the squash into strands until all the flesh is in strands.
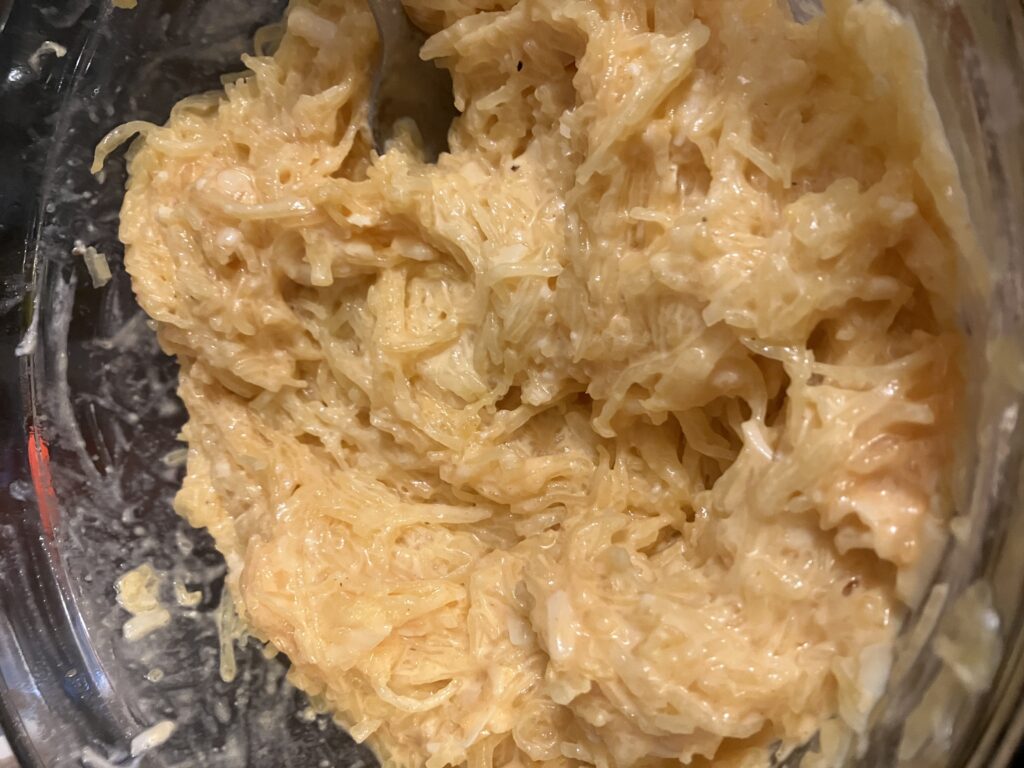
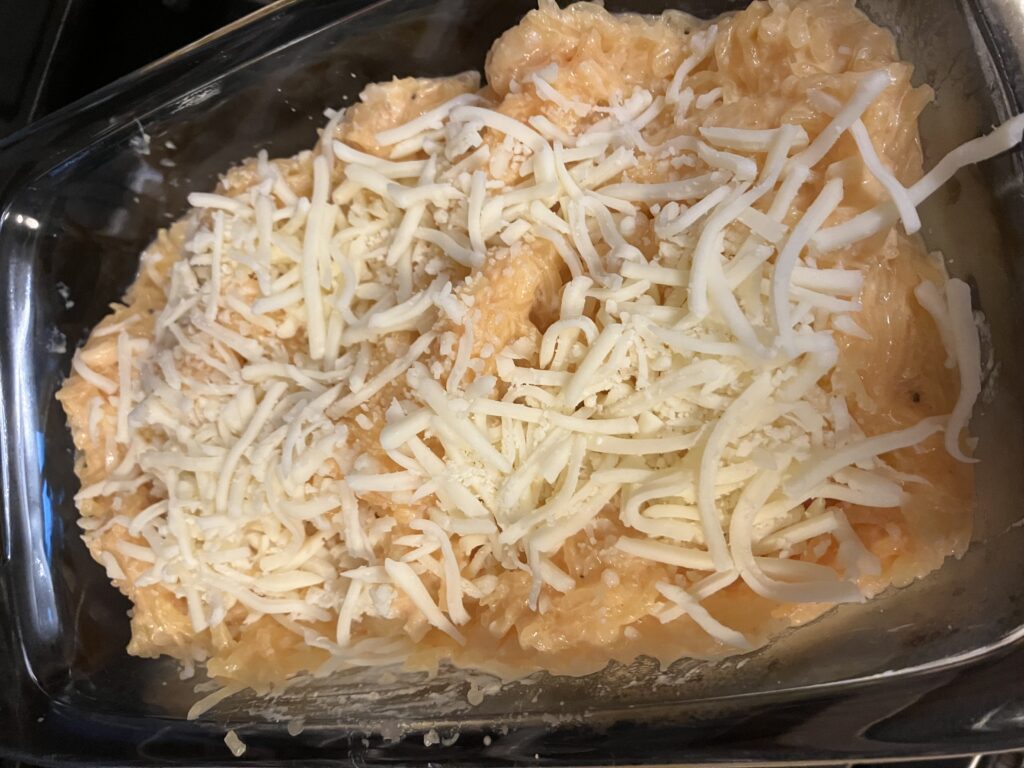
In a medium bowl, combine the squash with all remaining ingredients except the mozzarella.
Place mixture in an 8″x4″ baking dish and sprinkle with mozzarella.
Bake for an additional 25 minutes.
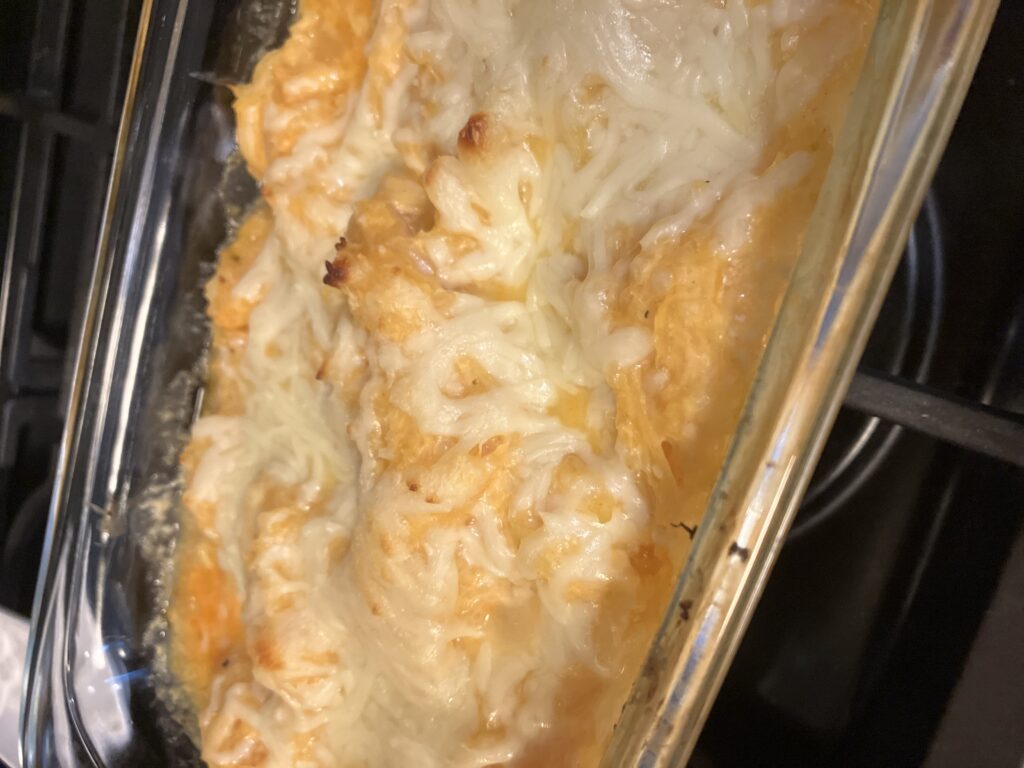
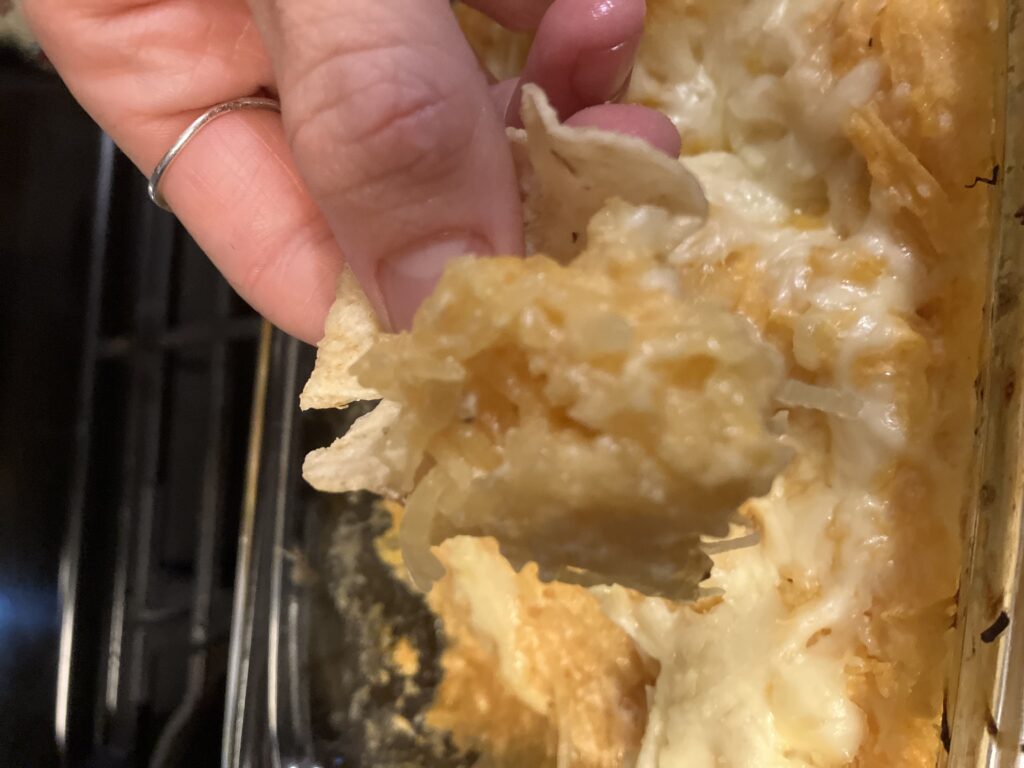
And that’s it! This dip goes really well with tortilla chips or veggie sticks. It’s really savory, has great texture, and as a bonus, it’s veggies!
Happy cooking!
Butternut Squash Soup
Hi, all! Happy February! I have a great recipe to share with you today- butternut squash soup! It’s super easy to make, is packed full of vegetables, and is deliciously sweet, savory, and spiced. It also goes very well with grilled cheese! You can make it in a stockpot or in the crockpot (my preferred option), and I’ll share both methods. Here’s the recipe:
Ingredients:
- 1 tbsp olive oil (for stockpot option)
- 2 cups vegetable stock
- 4 cloves garlic, minced
- 1 carrot, peeled and diced
- 1 Granny Smith apple, peeled and diced
- 1 yellow onion, diced
- 1 3-4 pound butternut squash, peeled and diced
- 1/2 tsp salt
- 1/4 tsp pepper
- 1/8 tsp cayenne pepper
- 1/8 tsp cinnamon
- 1/8 tsp nutmeg
- 1/2 cup unsweetened light coconut milk
Stockpot Option:
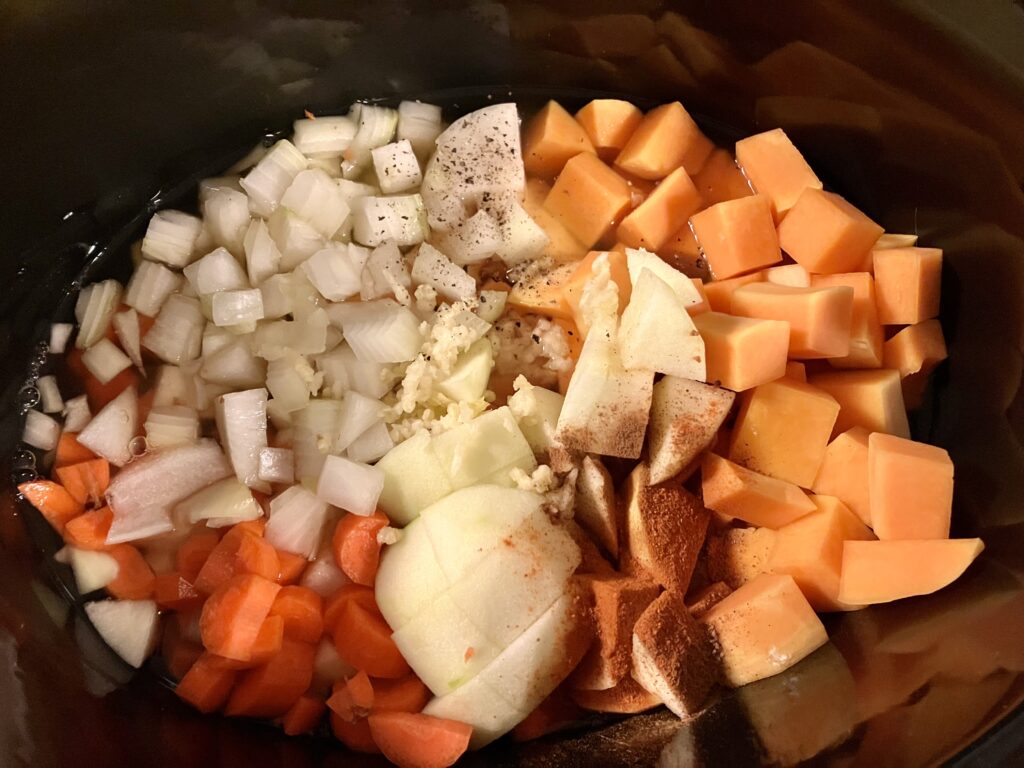
Heat 1 tbsp olive oil in a large stockpot. Add the garlic and onion and sautee until onions are translucent. Add all other ingredients except the coconut milk; stir to combine. Cook over medium heat until the mixture starts to simmer. Cover and reduce the temperature to medium-low and cook for 20-30 minutes or until the vegetables are easily mashed with a fork. Add in the coconut milk and blend using an immersion blender (if you don’t have an immersion blender, carefully pour the mixture into a blender or food processor and blend).
Crockpot Option:
Add all ingredients except coconut milk to a crockpot. Cook on low for 6-8 hours or on high for 3-4 hours. Add coconut milk just before serving and blend with an immersion blender or pour into blender and blend.

And that’s it! Either option is easy and equally delicious, and perfect for a chilly February day. Happy cooking!
Slow Cooker Tomato Sauce
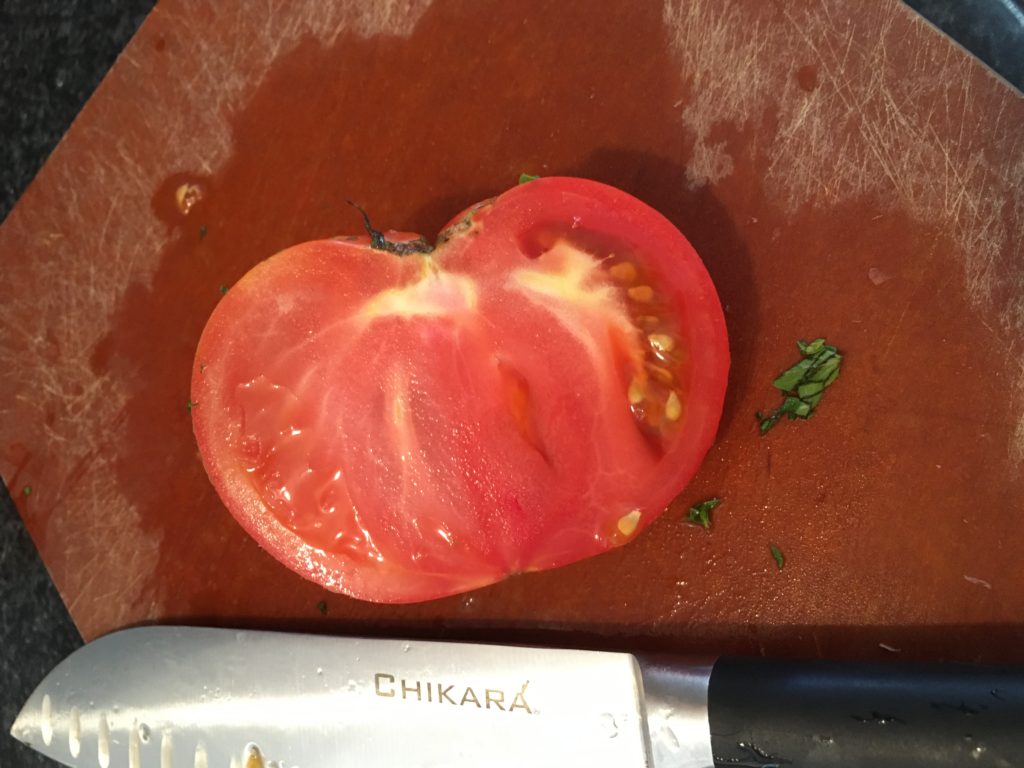
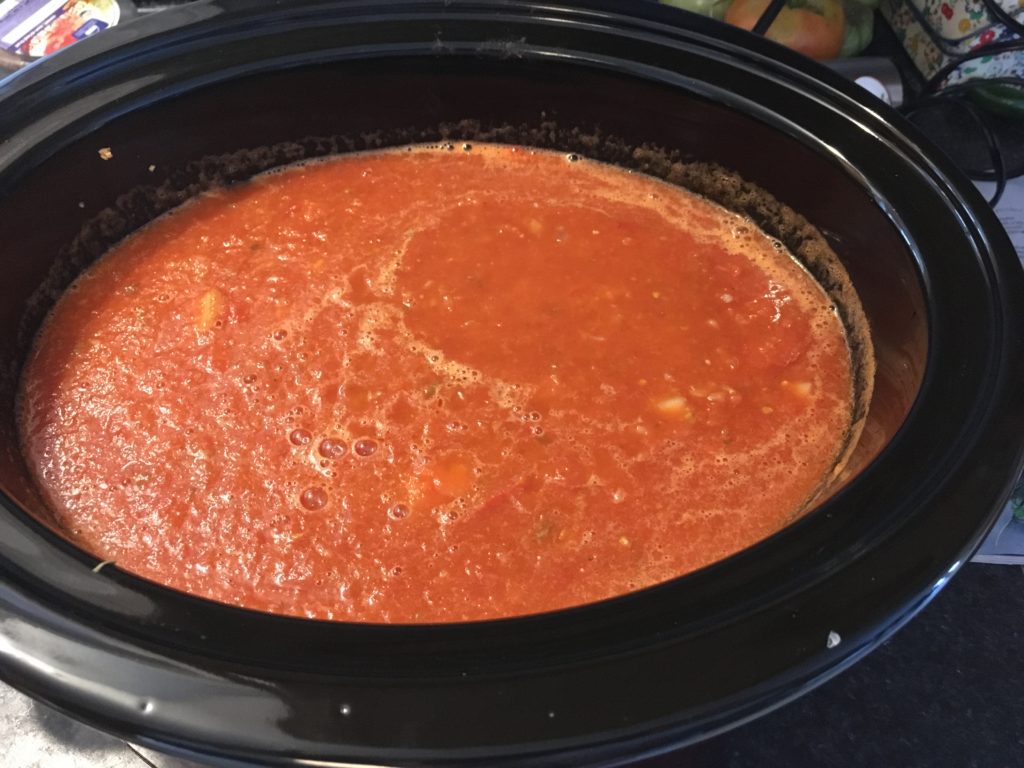
Hi, all! It’s been a while since I wrote last, and I hope you’ve been well since then! Hard to believe it’s already October, when all the good fall harvests happen. I’ve been hard at work tending my own little garden, and have suddenly been overwhelmed by a ton of tomatoes ripening all at once! I was wondering what to do with all my tomatoes until I saw a recipe in my favorite magazine, EatingWell, for a slow cooker tomato sauce. You don’t even have to peel the tomatoes! It fit the bill perfectly and the result is so good that I wanted to share it with you! This recipe works best when you use a fleshy, rather than a seedy, tomato, such as a Roma or Brandywine (which happens to be what I’ve been growing). Here are the ingredients:
- 6 pounds tomatoes
- 2 cups chopped white or yellow onion
- 1/4 cup extra-virgin olive oil
- 1, 6oz can tomato paste
- 3 tbsp minced fresh garlic
- 2 tbsp finely chopped fresh oregano
- 2 tbsp balsamic vinegar
- 4 tsp granulated sugar
- 1 1/2 tsp salt, divided
- crushed red pepper to taste
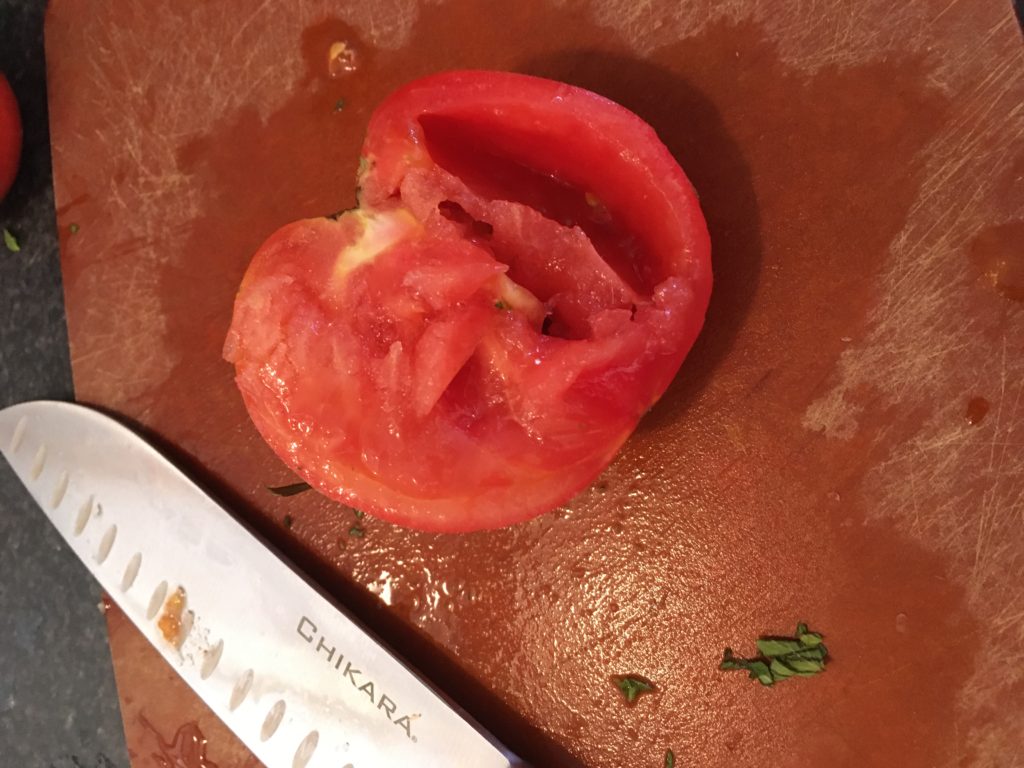
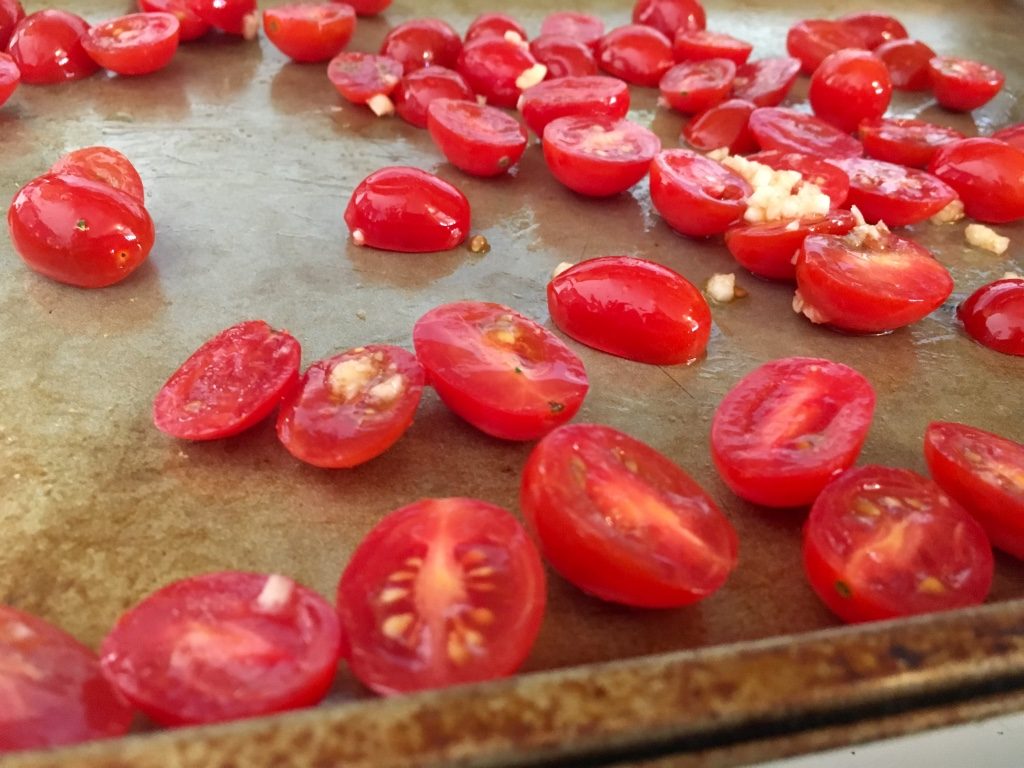
Cut tomatoes in half lengthwise. Gently squeeze out the seeds and discard them.
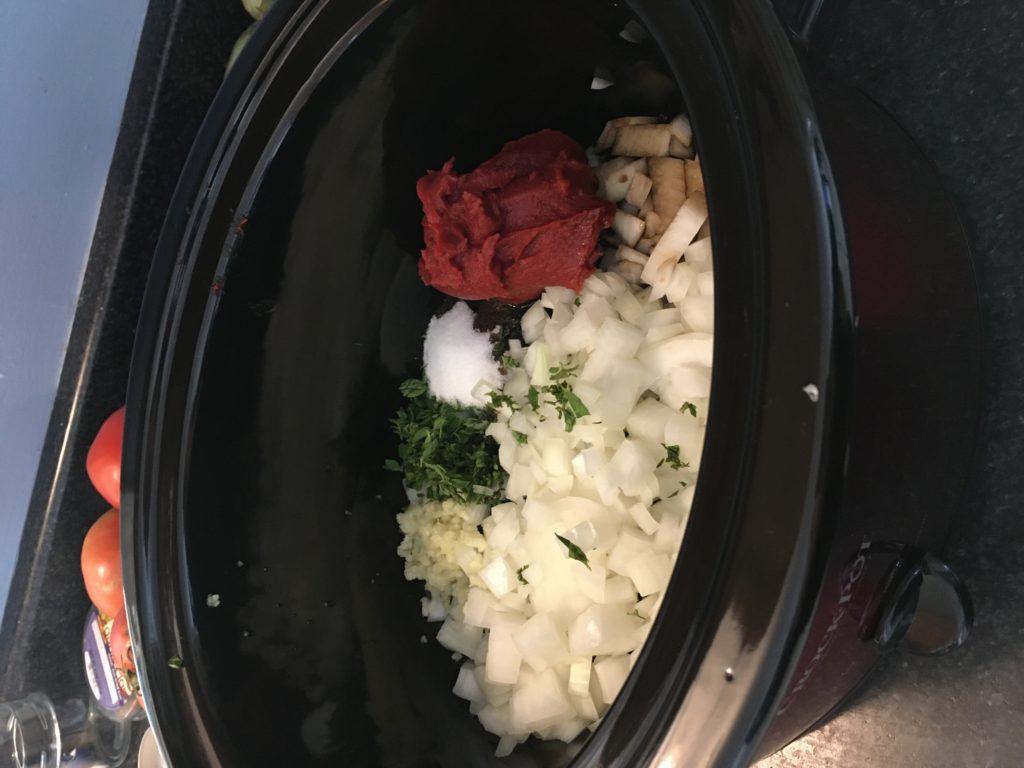
Mix onions, oil, garlic, vinegar, sugar, tomato paste, oregano, and 1 tsp salt in the bottom of a 6 quart (or bigger) slow cooker.
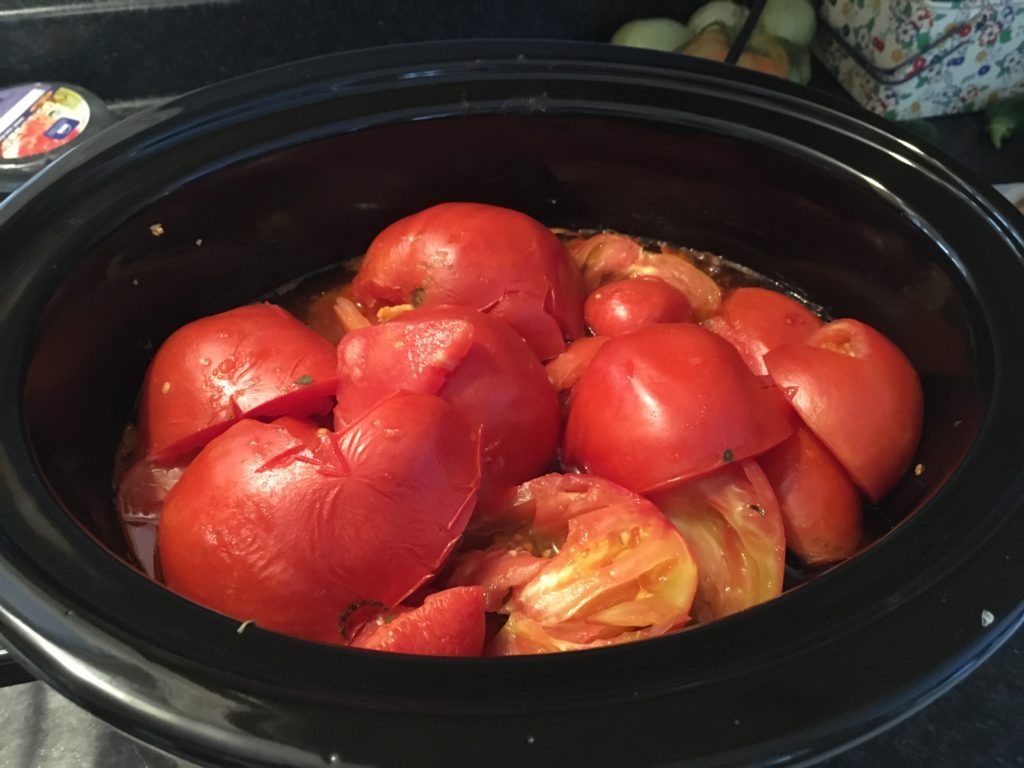
Layer the cut tomatoes on top of the onion mixture.

Cover the slow cooker and cook on Low for 4 hours or High for 2 hours (I’ve used High both times I’ve made this). After the cooking time is over, uncover the slow cooker.
Puree the mixture until chunky using either an immersion blender, or a regular blender in batches.
Set the lid of the slow cooker slightly askew on the cooker and cook until the sauce has thickened, an additional 3 hours on High or 6 hours on Low.
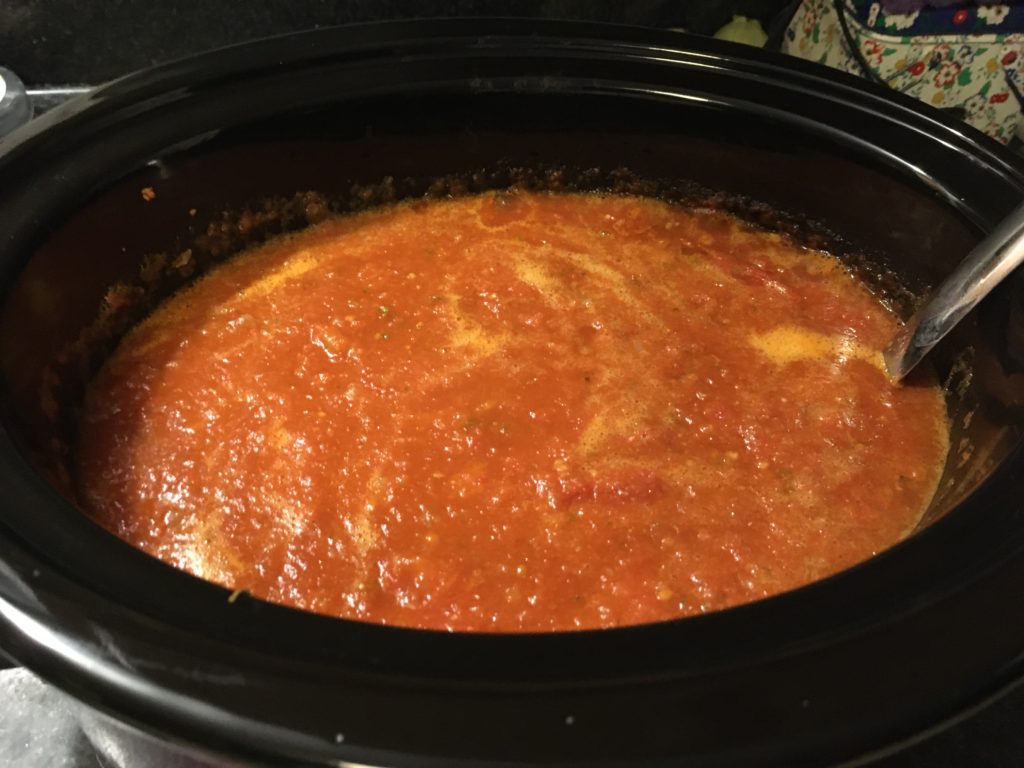
Season with the remaining salt and crushed red pepper to taste. You can either use it now, or you can portion it into quart-size freezer bags and freeze it for up to 6 months.
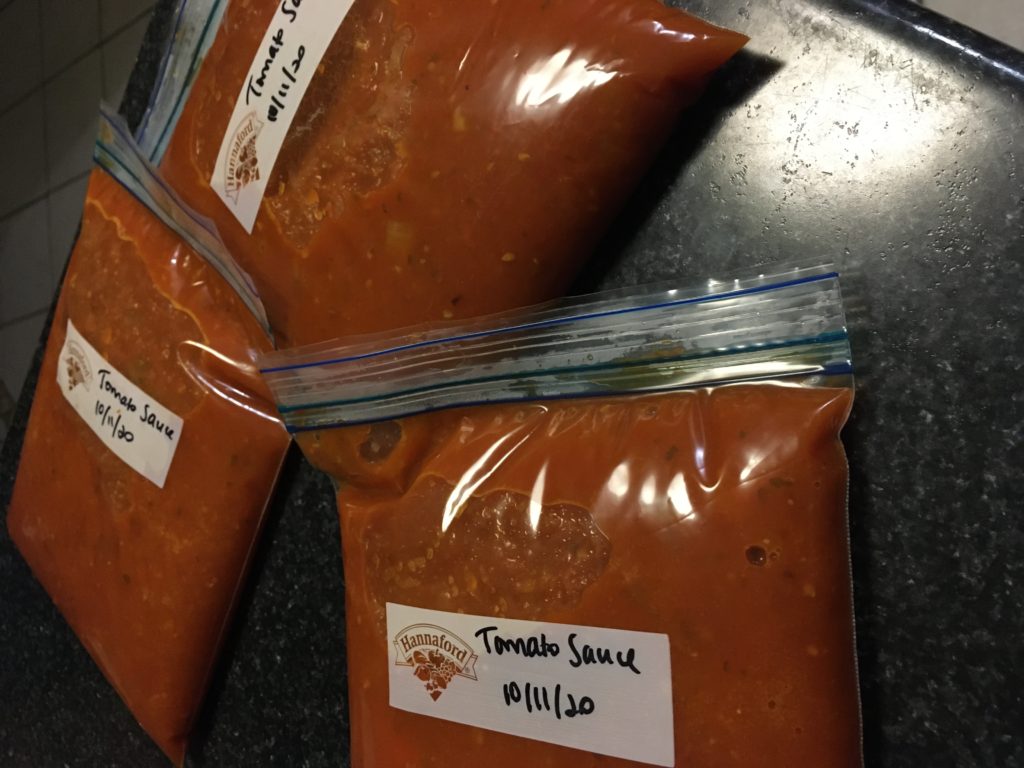
Ta-dah! No more tomatoes left on my counter (well, until the next day when I went back out to check my tomato plant) and I have sauce to last me for several spaghetti nights! I highly recommend this recipe (and EatingWell magazine!) and hope you enjoy it! Happy cooking!
Foodie Dice Chicken and Rice
Hi, all! It’s been a while since I’ve posted- I hope you all had a wonderful end to your summers and have been having a great fall! As is tradition for late summer/early fall, my sister and I ran our annual inflatable 5k race last weekend and also made a delicious dinner from my foodie dice. Our six ingredients/cooking methods that we rolled were: rice, chicken, oregano, brussels sprouts, bacon, and broiling. We decided to make a delicious one-pot dish of chicken and rice that we basically made up as we went along, and we roasted (and of course, broiled) up some Brussels sprouts with bacon for the side dish (recipe posted here)! Here’s the recipe for the chicken and rice:
Ingredients:
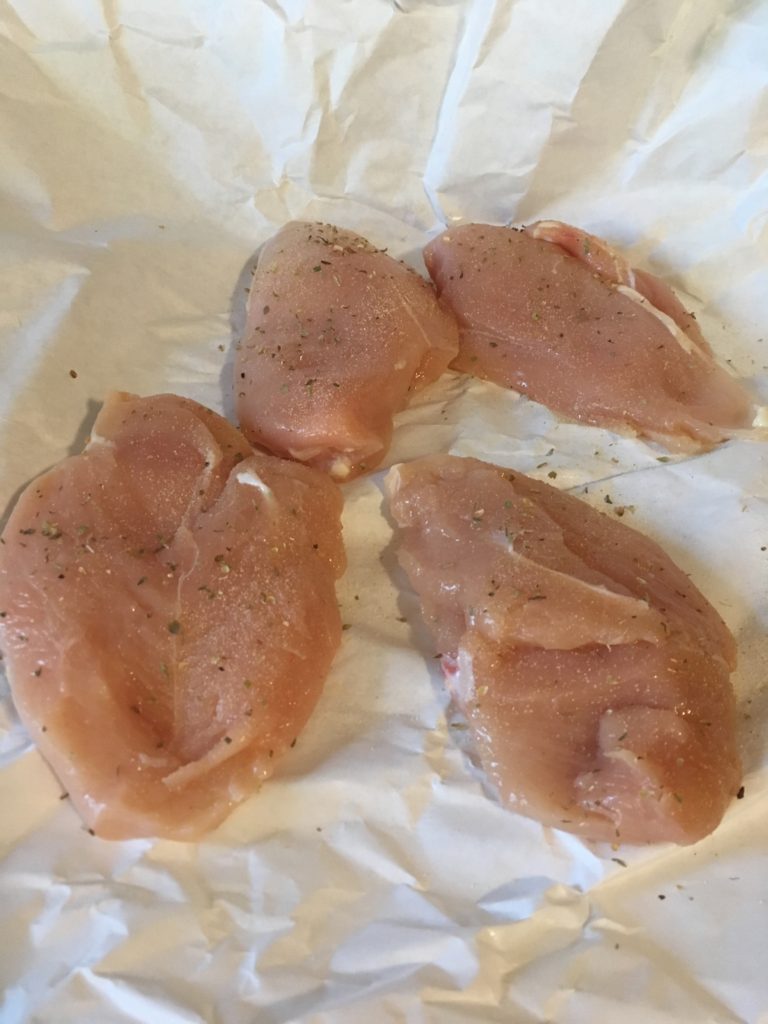
- 4 chicken breasts
- 1 tbsp canola or vegetable oil
- salt and pepper to taste
- 1 tsp oregano
- 2 cups uncooked rice
- 1/2-1 cup chopped yellow onion (to taste)
- 1/2-1 cup chopped celery (to taste)
- 1 quart low sodium chicken stock
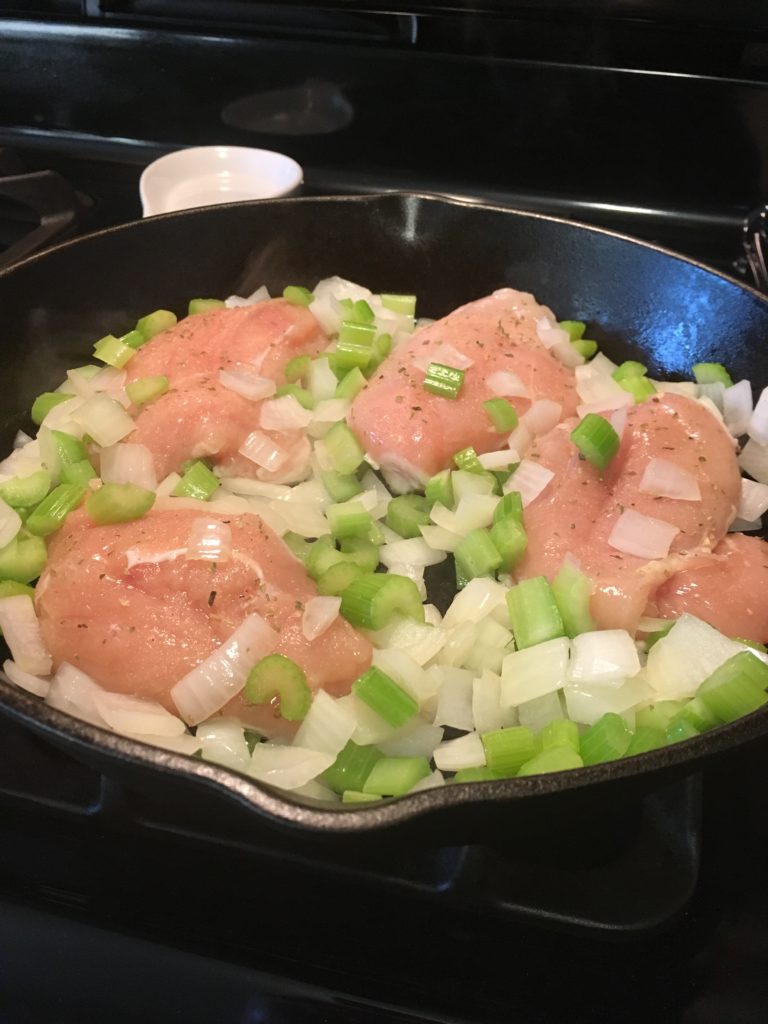
Season the chicken breasts with salt, pepper, and oregano.
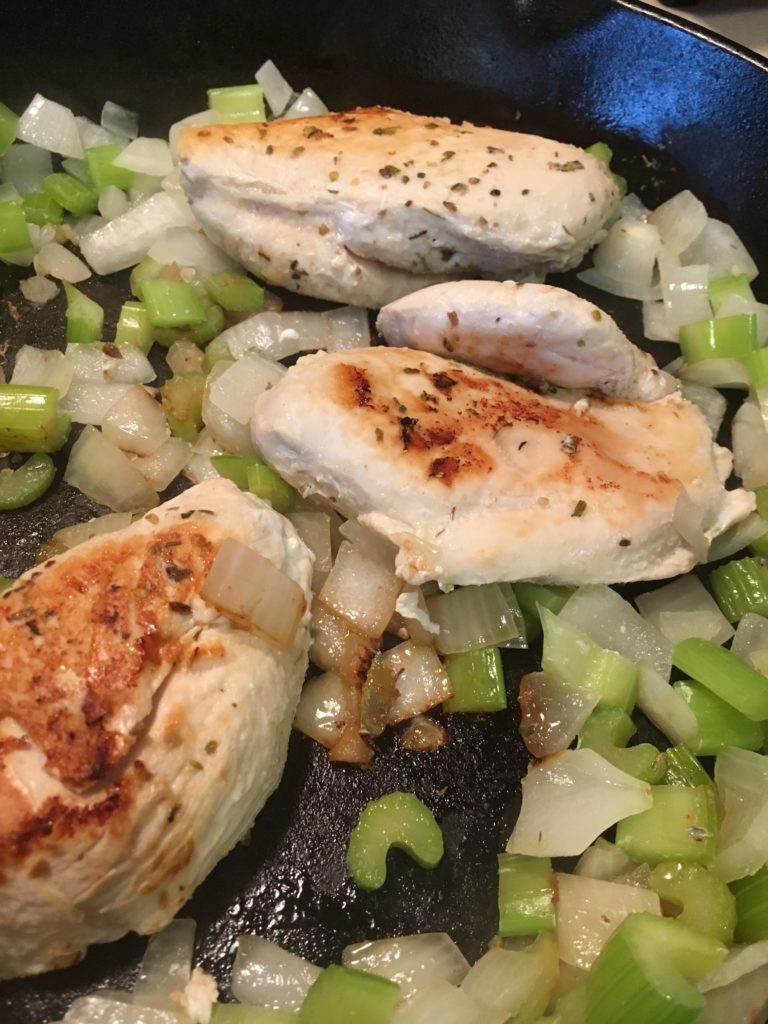
Heat oil in a large wok or deep saucepot over medium-high heat. Add chopped celery and onion to skillet and stir; cook until starting to soften, 2-3 minutes. Add chicken to pan, nestling among the onion and celery, and cook until chicken is seared on both sides (doesn’t need to be fully cooked through since it will continue cooking with the rice).
Pour uncooked rice into pot and then cover with chicken stock. Cover pot with lid.
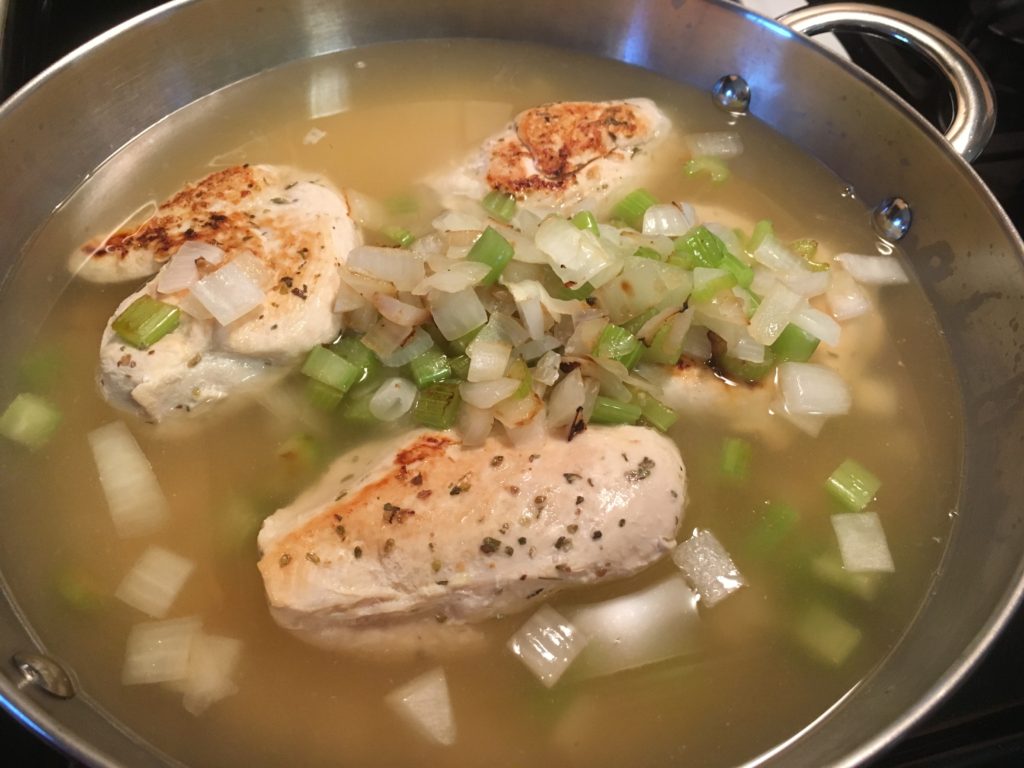
Cook according to rice directions (cooking time will vary based on type of rice you use- we used white, so it took about 15-20 minutes).
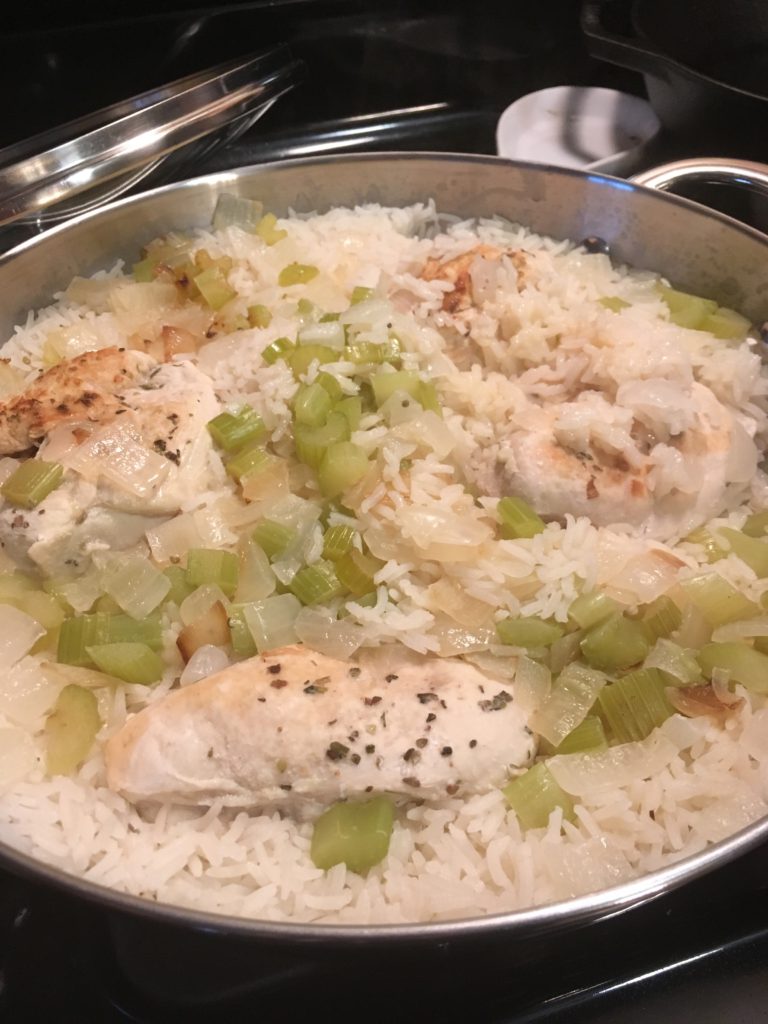
And that’s it! Super easy and quick, and it ended up delicious. The rice was really nicely flavored from cooking it in chicken stock, and the chicken was very tender and moist. Definitely a win for the foodie dice! Happy cooking!
Kale & Roasted Tomato Pasta
Hi, all! Hard to believe how fast the summer is flying by! I’m trying to hold on to summer as long as I can and savor all the good summer dishes that I’ve been able to make with my veggies from Misfits Market. This past week I received a nice bunch of kale and some cherry tomatoes (along with a bunch of other goodies, of course) and figured there must be a good way to put them together other than a typical kale salad. I found a few good ideas for how to combine the two, riffed a bit on all of them, and made this delicious pasta dish from it! Here’s the recipe:
- 8oz pasta (can be whole grain)
- 1 pint cherry tomatoes, divided
- Olive oil
- 3 slices low-sodium bacon, chopped
- 1 bunch kale, stems removed
- 3 cloves garlic
- dash salt
- 1 tsp rosemary, finely chopped
- 2 tbsp pine nuts
First, preheat the oven to 375F. Slice half of the cherry tomatoes in half lengthwise. Toss in a bowl with a drizzle of olive oil and 1 clove minced garlic.
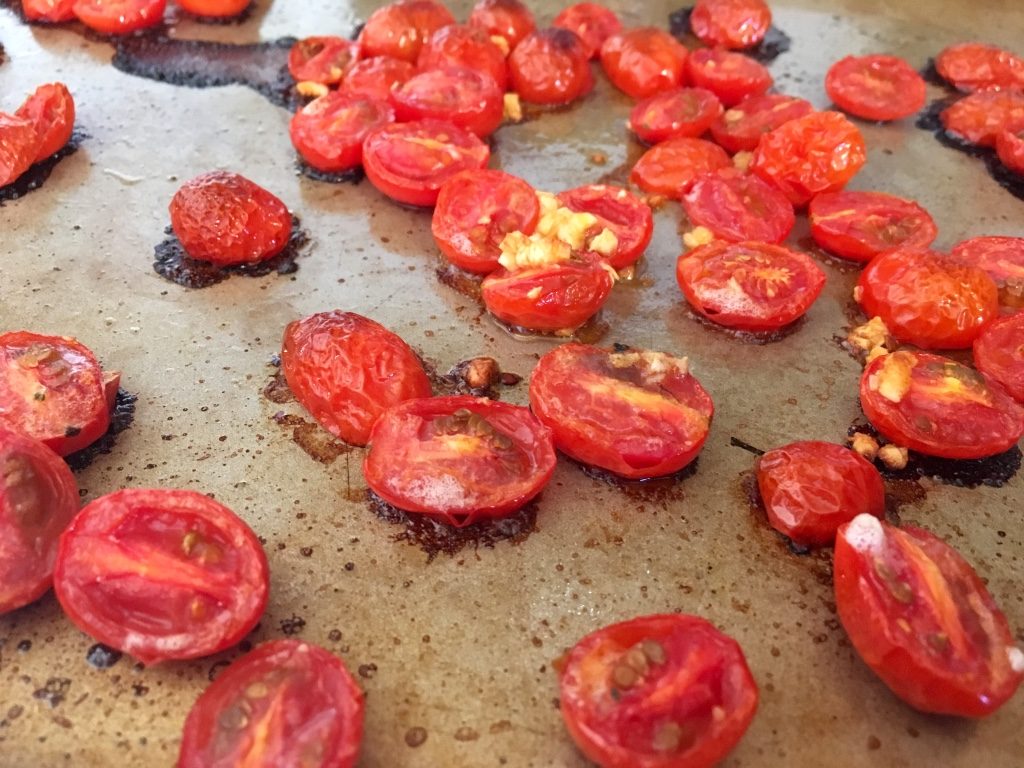
Arrange in a single layer on a baking sheet and roast in the oven for about 20 minutes. Set aside.
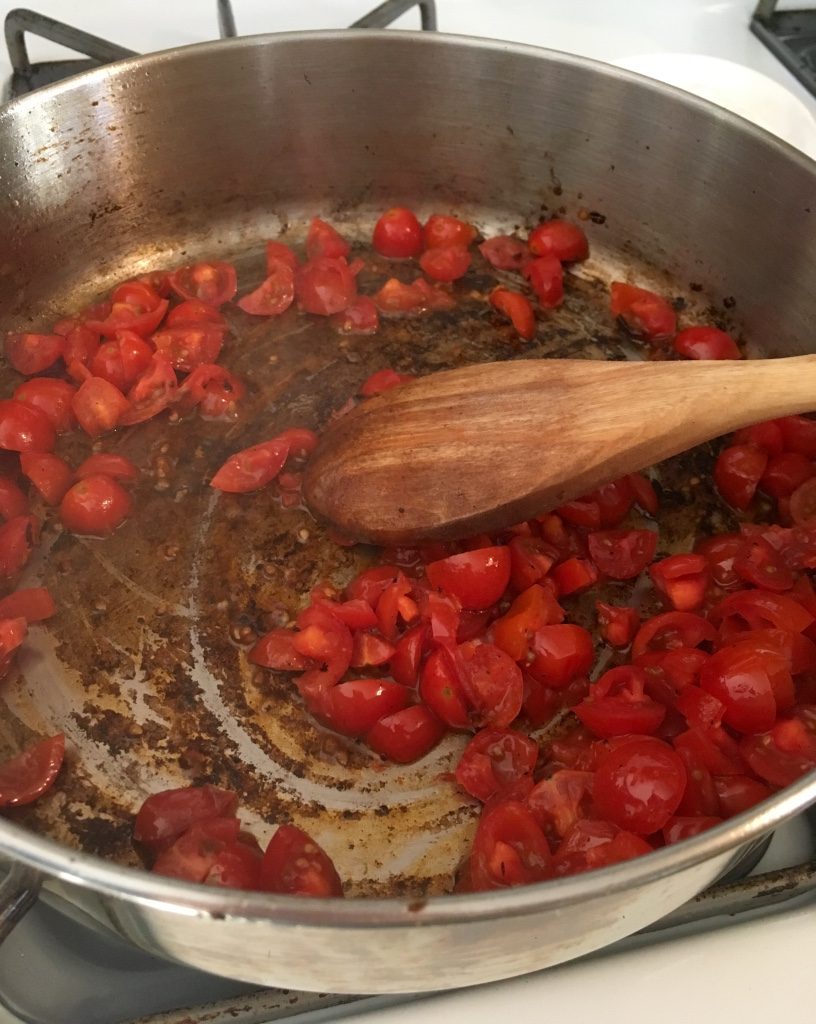
While the tomatoes are roasting, cook the pasta according to the box directions until al dente. Drain, reserving 1 cup of the cooking liquid. Meanwhile, cook bacon pieces in a skillet over medium-high heat until crispy. Remove from pan using slotted spoon and set aside. Chop the remaining cherry tomatoes into quarters and add to the rendered bacon fat in the skillet. Cook over medium heat, stirring often, until the tomatoes soften and release their juices.
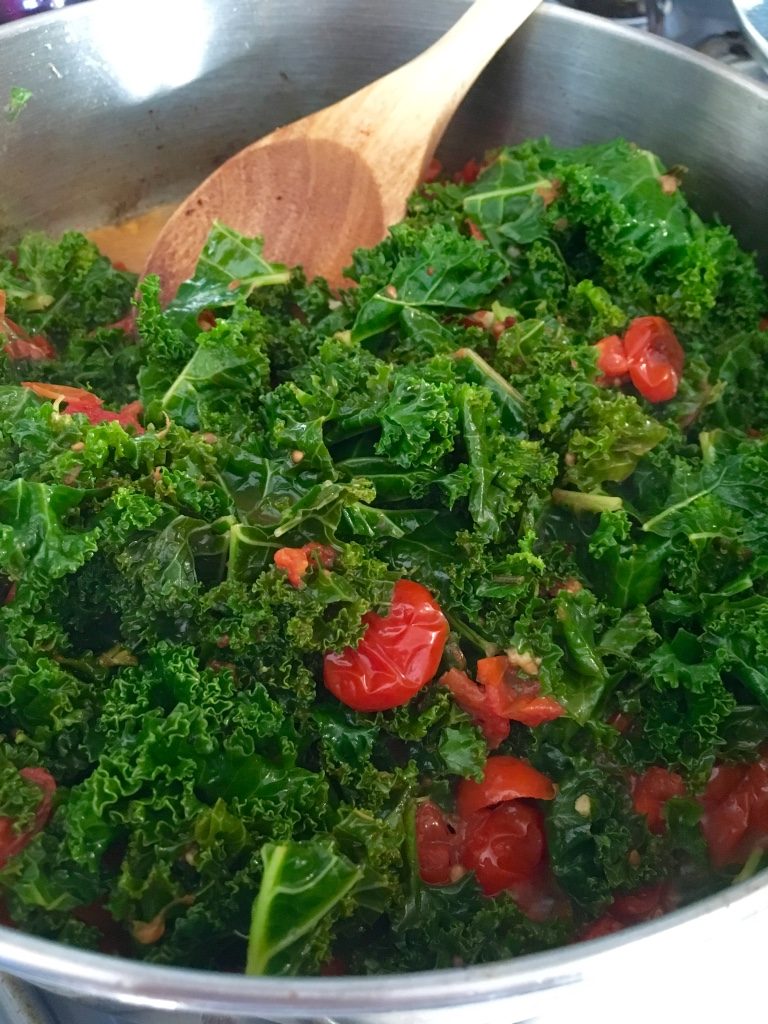
Chop the kale into small pieces. Add the kale, rosemary, remaining 2 cloves minced garlic, and a dash of salt to the skillet. Briefly stir to combine all of the ingredients.
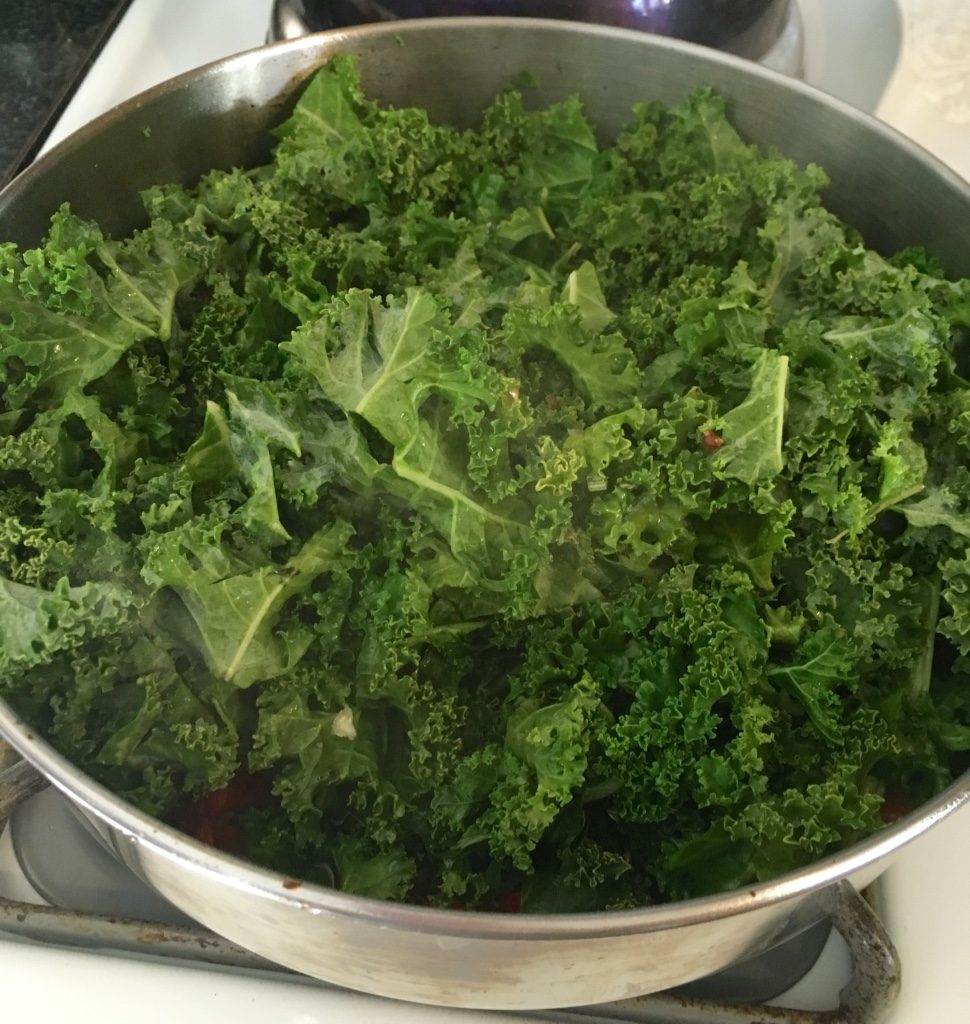
Add 1/2 to 1 cup of reserved pasta water to the pan; cover and let cook over medium heat until kale is wilted and cooked down.
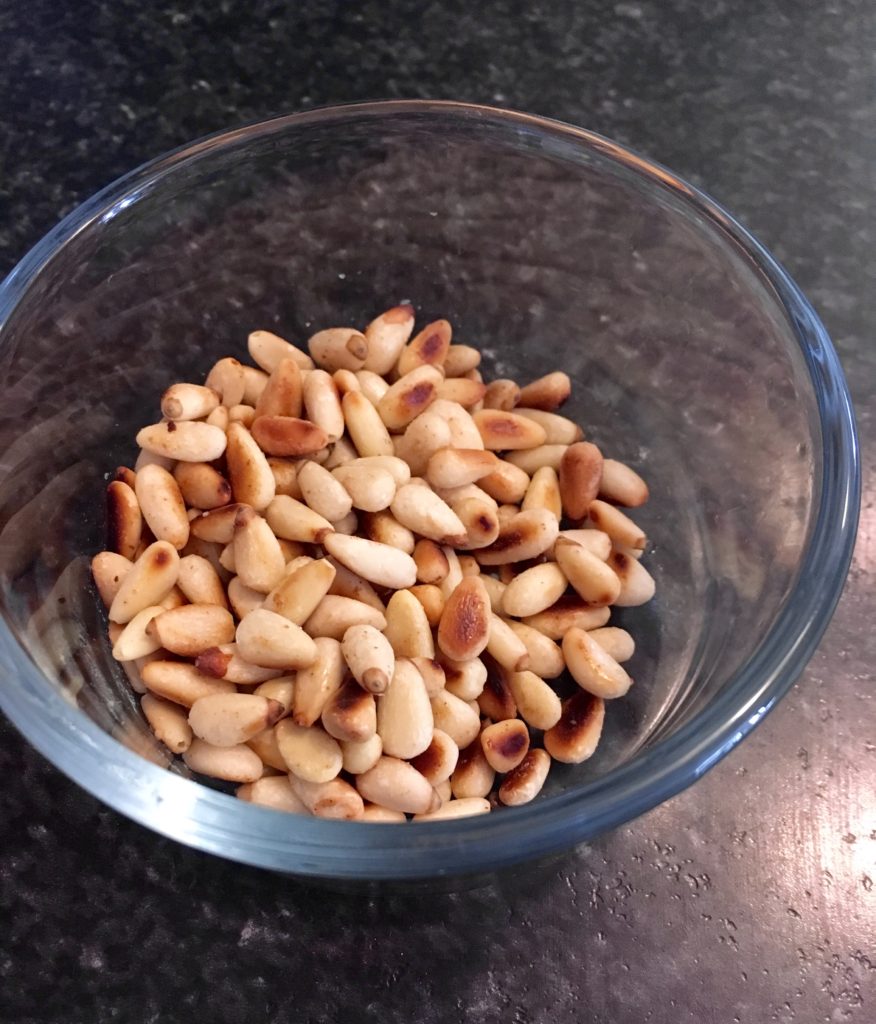
While kale mixture cooks down, pour pine nuts into a small skillet over medium heat. Stir the nuts occasionally until they start to turn brown and smell toasty and nutty. Remove from heat and set aside.
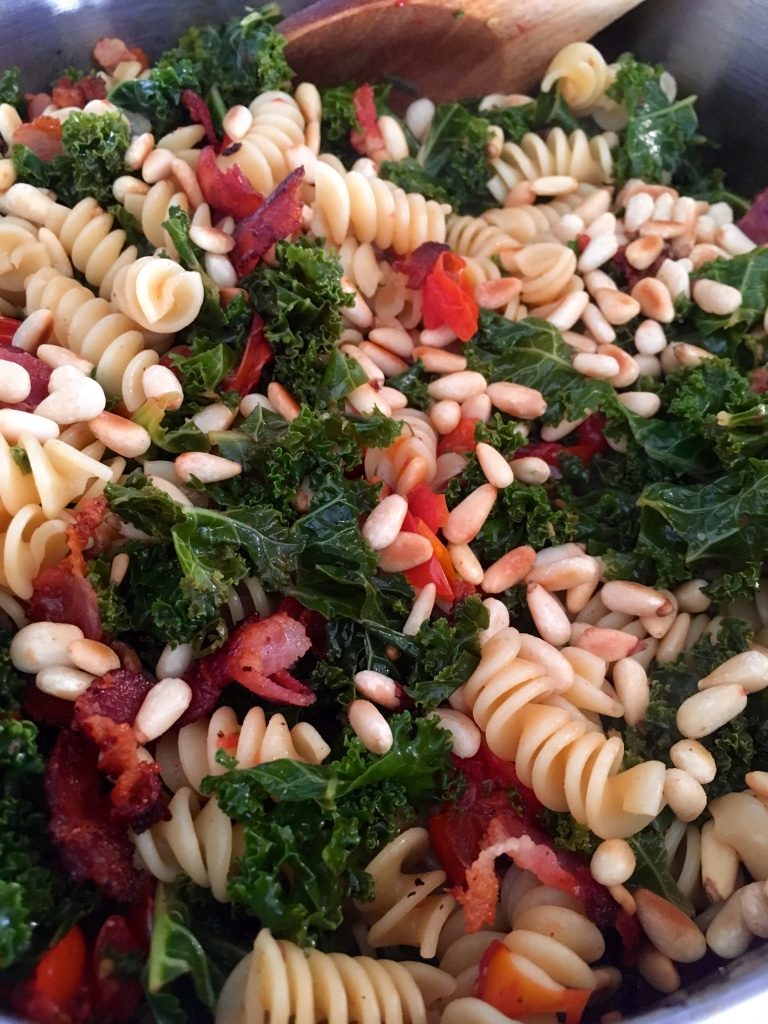
Once the kale mixture is cooked down, add pasta, pine nuts, roasted tomatoes, and bacon to the mixture. Toss to combine ingredients.
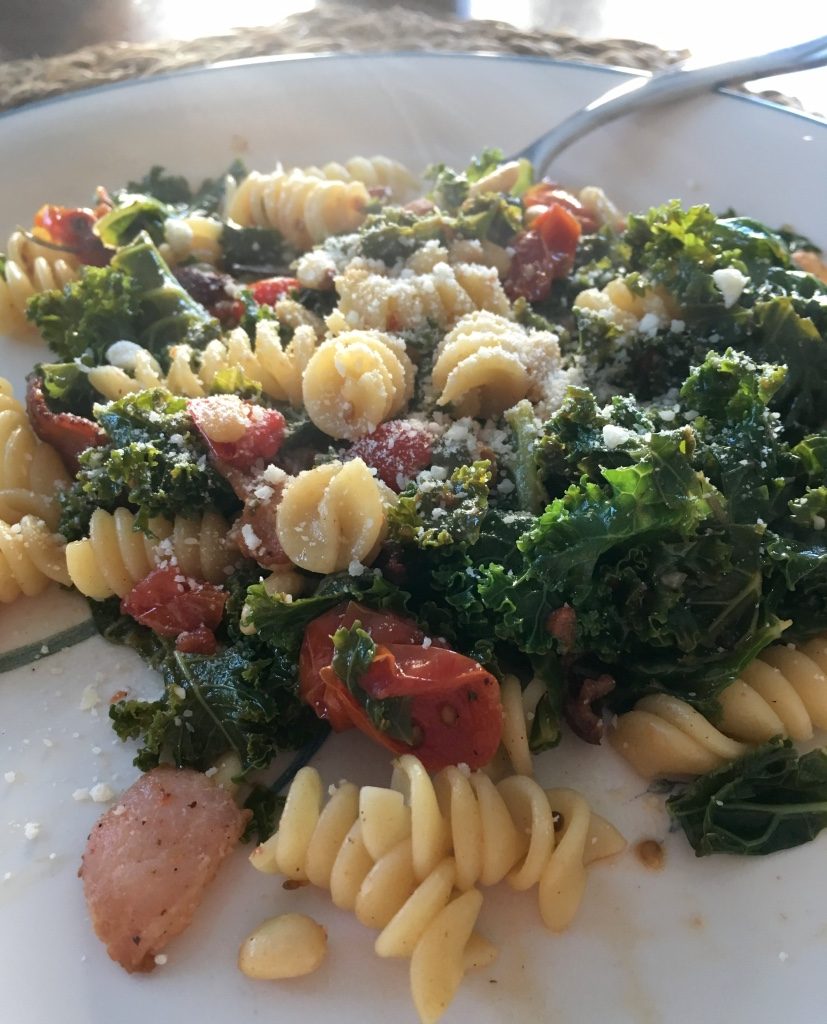
Serve with Parmesan cheese, and enjoy! Happy cooking!
Easy Babaganoush
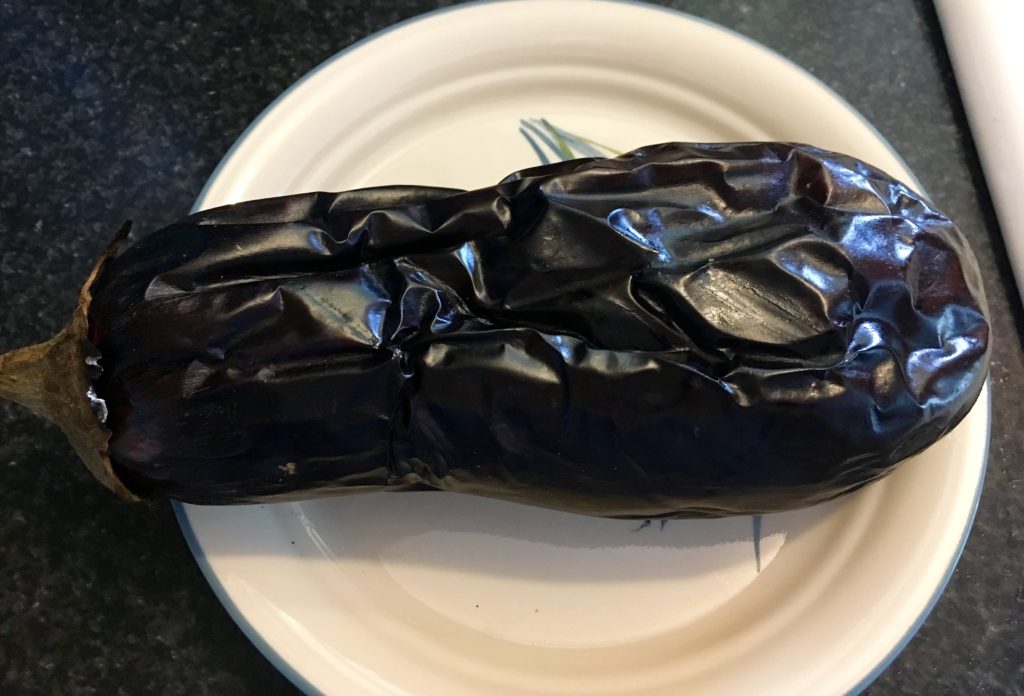
Hi, all! Happy August- I can’t believe the summer is flying by so quickly! I’ve been loving the summer produce coming from my garden and from my Misfits Markets boxes, and this new recipe takes full advantage of that! I had a spare eggplant that I needed to use up and had heard great things about babaganoush, a Lebanese dip, so I decided to try it. My hopes of liking it were pretty low, but I was very pleasantly surprised with how good it was- even my dad, who normally doesn’t like eggplant, enjoyed it! This dip has a really clean, refreshing flavor, with a little kick at the end from the garlic in it. Here’s the recipe:
- 1 small to medium eggplant
- 1 clove garlic, minced
- 1/4 tsp salt
- 1/4 cup finely chopped flat-leaf parsley or 2 tbsp dried parsley
- 2 tbsp tahini (sesame seed paste)
- 2 tbsp lemon juice
First, preheat a gas grill to 450F. Prick the eggplant all over with a fork. Grill the eggplant on all sides over the flame until all sides are charred and the skin is wrinkled, about 10 minutes. Alternatively, heat an oven to 450F and place the pricked eggplant on a foil-lined cookie sheet; bake in the oven for 20 minutes until soft.
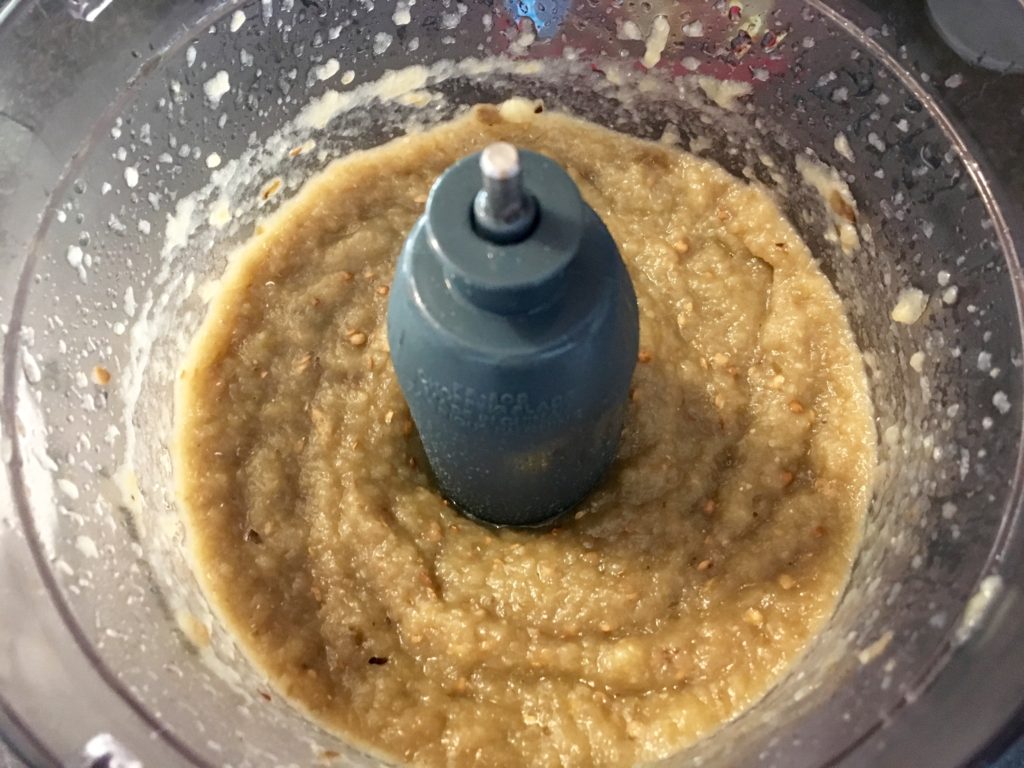
Let the eggplant cool. Then, cut the eggplant in half lengthwise and drain any excess liquid. Scoop out the flesh into a food processor and process until smooth.
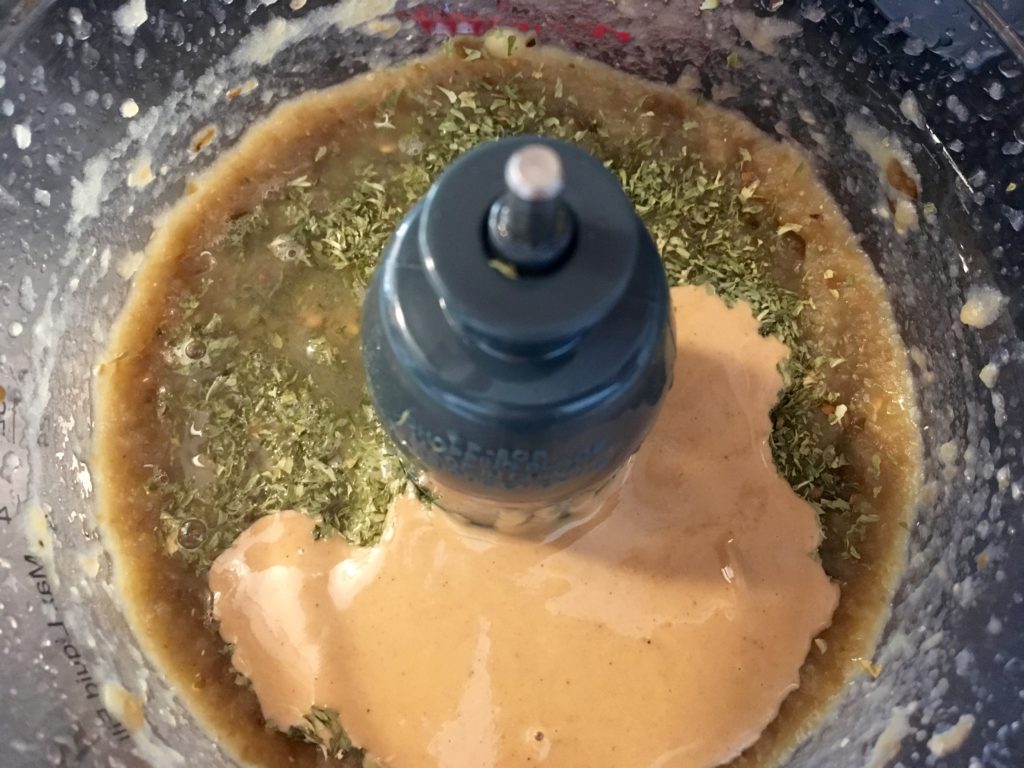
While the eggplant is processing, mash garlic and salt together with the flat side of a knife until they form a paste. Add the garlic paste, lemon juice, parsley, and tahini to the processor. Note: tahini tends to separate, so make sure to mix it up really well before using it!
Process all of the ingredients together until they are fully mixed and smooth.
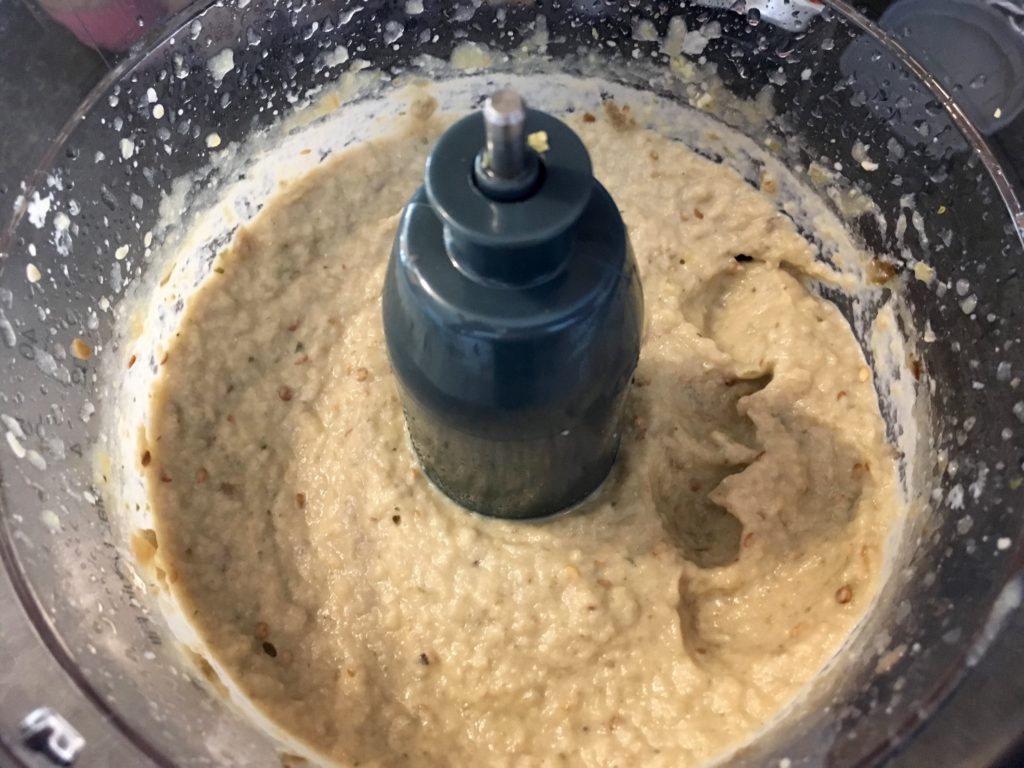
Scoop the dip into a bowl and serve with pita chips or a veggie platter, and enjoy! This dip keeps well in a closed container in the fridge for 3 days- just stir it up before eating as it may slightly separate.

Happy cooking!
Arugula Pesto
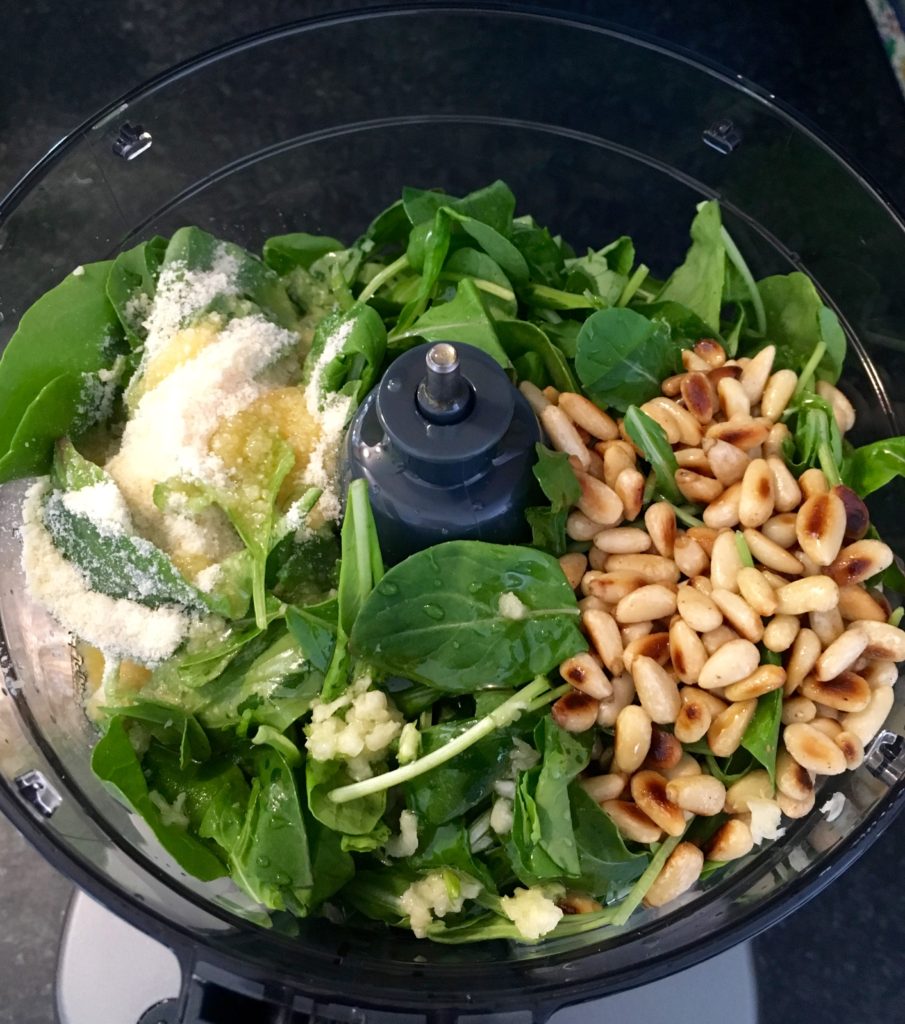
Hi, all! Summer is in full swing and the summer produce is really starting to take off. Thanks to my Misfits Market box, I recently got some fresh arugula to use. I had some leftover pine nuts, so I decided to try making an arugula pesto- and it came out super well! It tasted delicious and really fresh, and went well with the pizza I made that night (recipe also below!). Here’s the recipe:
- 2 cups arugula
- 1/4 cup basil
- 1 cup olive oil
- 1 cup grated Parmesan
- 1/3 cup pine nuts
- 1 tbsp lemon zest
- salt and pepper
- 1 clove garlic, crushed
First, toast the pine nuts in a sauté pan over medium heat. The trick to toasting them without burning them is to just toss the nuts in the hot pan and remove them from the heat as soon as you start to smell them.
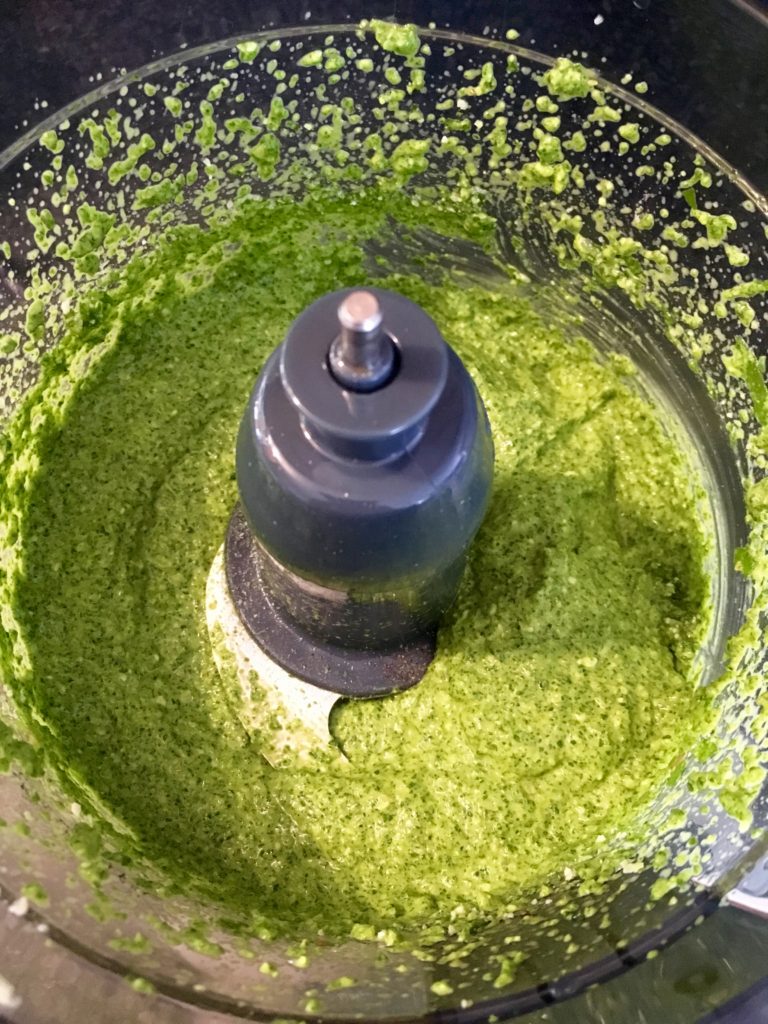
Next, put all the ingredients (including the toasted nuts) into a food processor.
Process the ingredients together until they come together. If the consistency is too runny, try adding extra cheese; if too thick, try adding extra olive oil and pulsing the mixture to loosen it. Taste and adjust the seasoning.
And that’s it! You can freeze this pesto to use later, or you can make it up to 3 days ahead of when you’ll need it. This works well with pasta or as a sauce for vegetables, and also is delicious as a substitute for pizza sauce in the pizza recipe below:
- 1 pre-made pizza crust (I like Stonefire crusts)
- Arugula pesto
- 1 heirloom tomato
- Shredded mozzarella (or other Italian cheese blend)
- Shredded Parmesan cheese
Spread a layer of the pesto over the crust. Slice the tomato and layer that over the pesto. Sprinkle the cheese over the top.
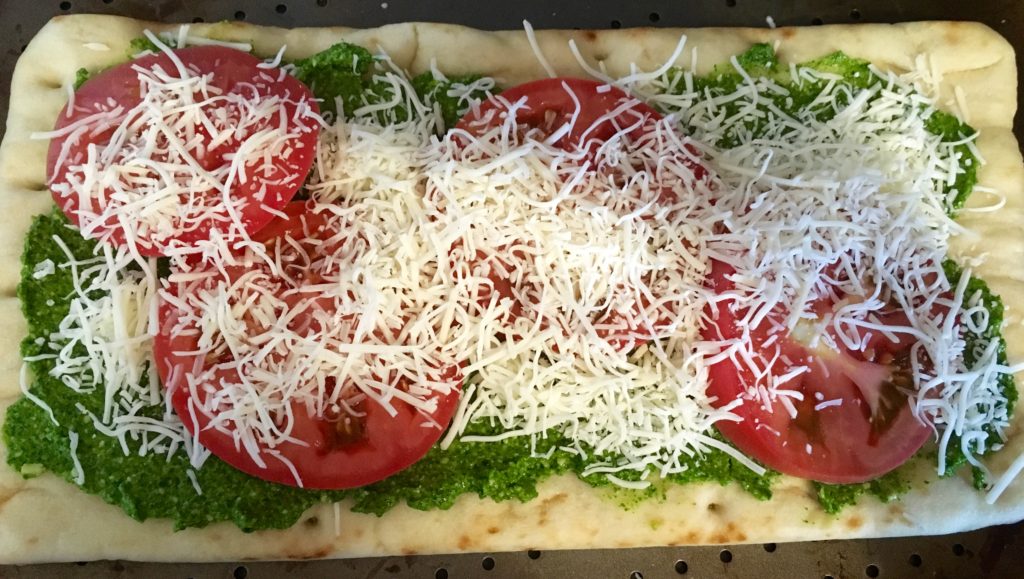
Bake according to the crusts’ reheat directions until the crust is fully heated and the cheese is bubbling. Slice it up and enjoy!

Happy cooking!
Enchilada Verde Sauce (& Enchiladas)
Hi, all! Happy June! I hope this summer is off to a good start for you all! Today I’ve got a fun recipe for a homemade enchilada verde sauce that I made using veggies from my Misfits Market box- and also the recipe for the enchiladas themselves! Enjoy!
- 12 medium tomatillos
- 1 large onion, roughly chopped
- 2 garlic cloves, ends cut off
- 1 bunch cilantro leaves
- 2 jalapeño peppers, ribs and seeds removed if you prefer milder heat
- 1 tsp salt
- 2 tbsp oil
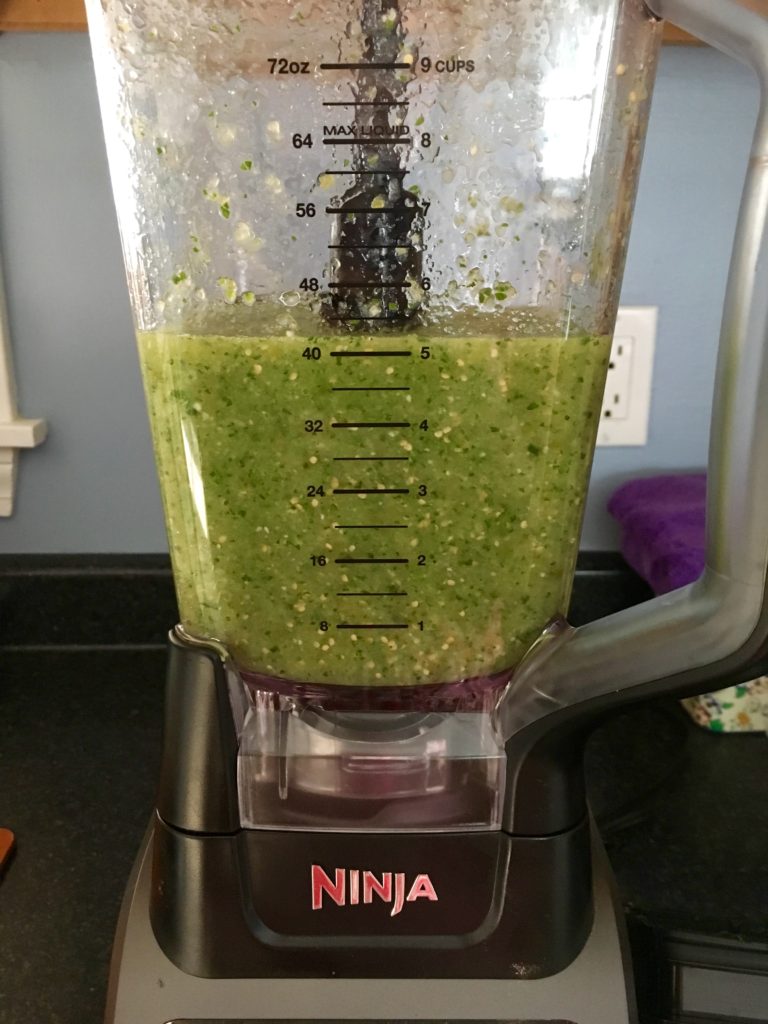
First, cook the tomatillos in boiling water for a couple minutes to soften them and help remove the sticky papery skin. After 2-3 minutes, remove them from the boiling water and remove the skin. Add the tomatillos and all other ingredients except the oil to a blender/food processor.
Blend the ingredients together until they are completely mixed and there are no large chunks left in the sauce.
Heat the oil in a medium saucepan (you can just re-use the one you boiled the tomatillos in to save dishes). Pour in the tomatillo mixture and cook for 3-4 minutes or until the mixture is slightly thickened.
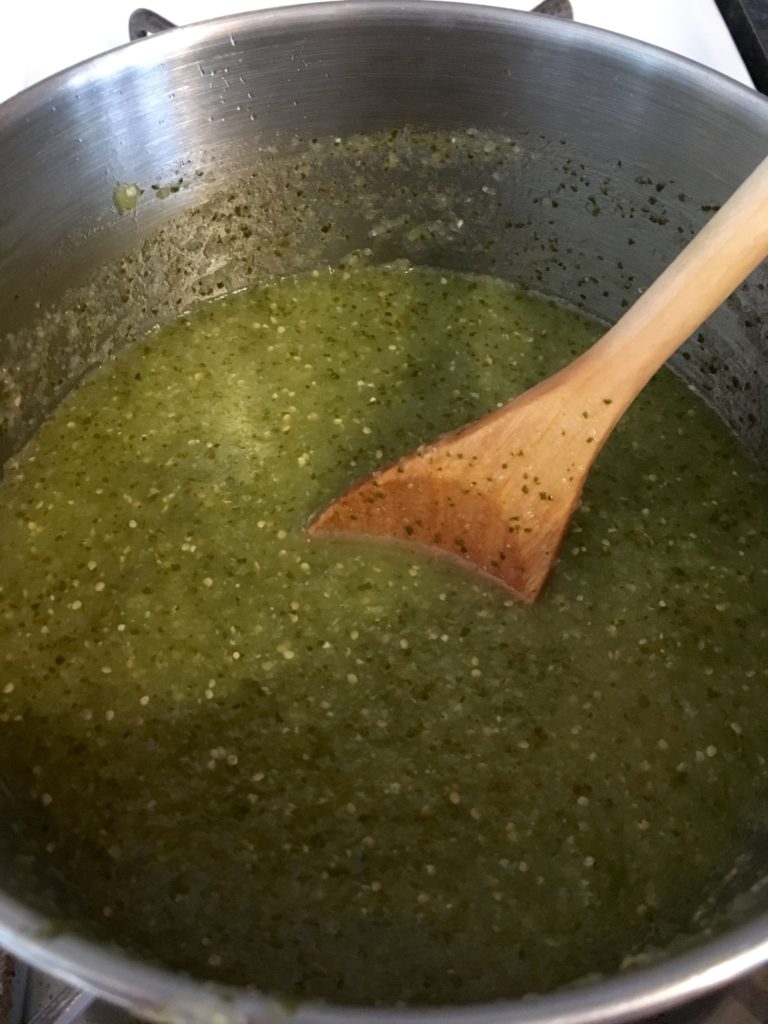
And that’s it! This is a super easy but flavorful and fresh sauce.
Here’s my recipe for enchiladas verdes:
- ~2 cups homemade enchilada sauce
- Corn tortillas
- 4oz Monterey Jack cheese, shredded
- 4oz cheddar cheese, shredded
- Scallions for topping, if desired
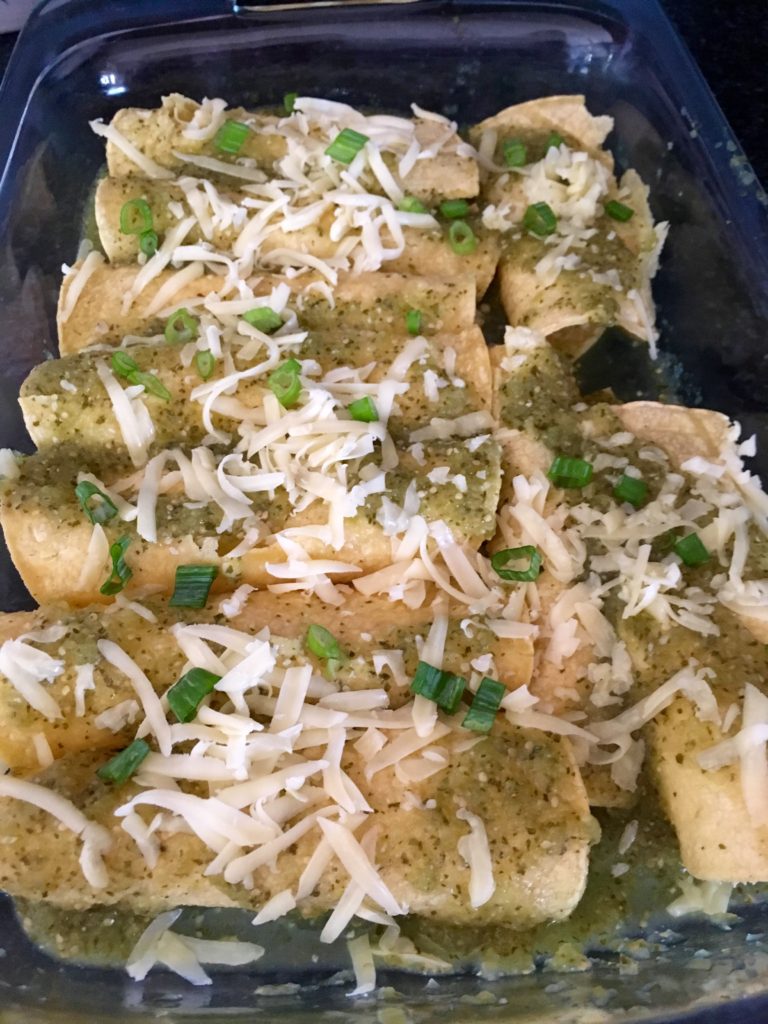
Pour some of the enchilada sauce in the bottom of a 9×13″ casserole dish. Dip each tortilla into the enchilada sauce in the dish, coating each side. Sprinkle a small amount of cheese in the middle of each tortilla. Roll the tortilla up and place seam-side down in the casserole dish.

Repeat until your dish is filled with rolled tortillas. Then, pour the remaining sauce over the top of the rolled tortillas. Sprinkle with cheese and scallions.
Bake at 350F for 20-25 minutes.
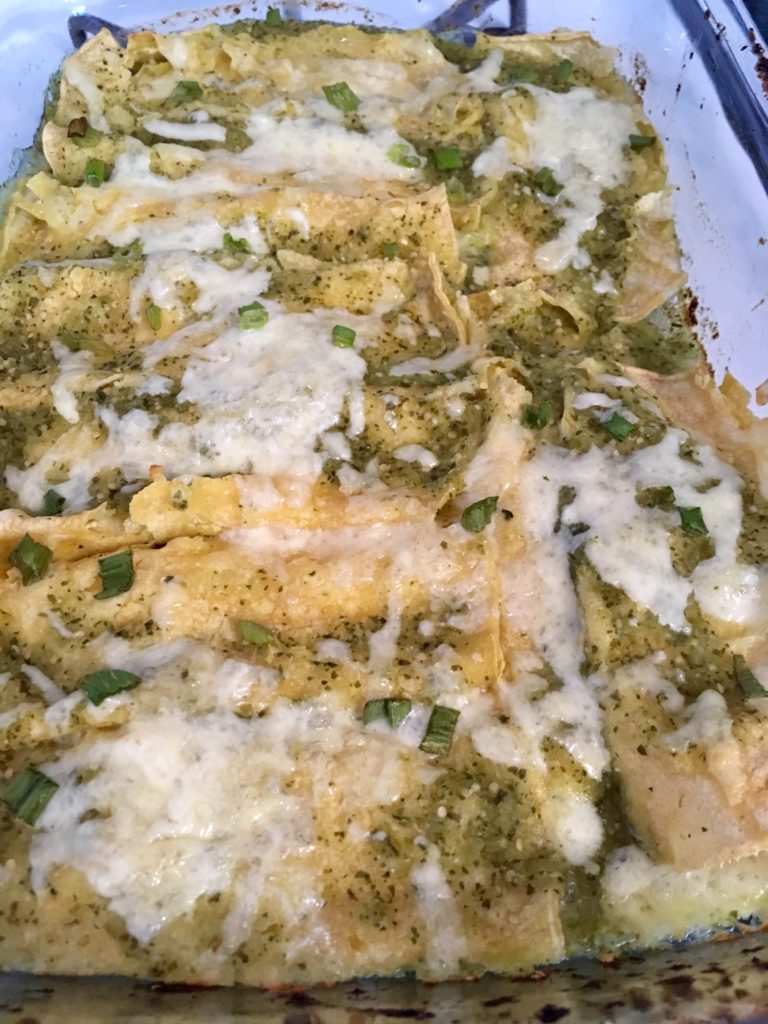
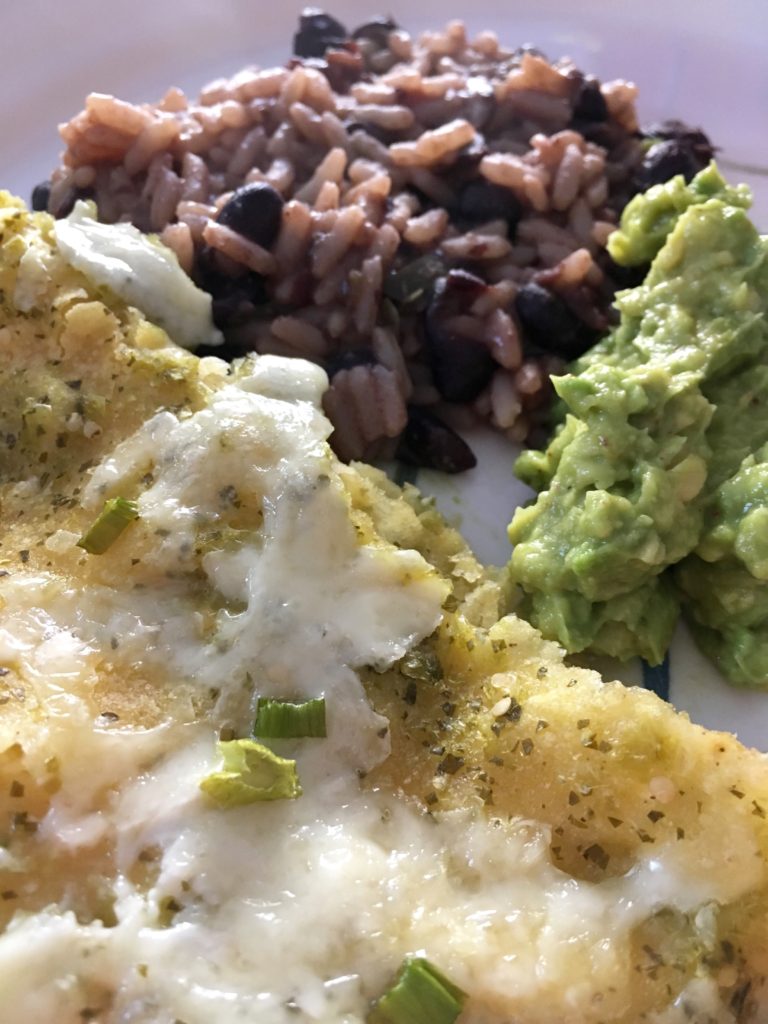
And then serve the enchiladas hot with some rice and beans and guacamole on the side! Super easy, but super delicious! Happy cooking!
Basil Flower Pesto
Hi all! Hard to believe that we’re already about half way through summer! My garden is in full bloom and my plants are growing like crazy in the summer sun. I have a bunch of flowers and a few vegetable plants, and lots of herbs. My basil plant has started to go to seed, so I had to prune it back to keep it producing basil leaves. I ended up with a whole bunch of basil flower cuttings, and wondered if they were usable as more than just a pretty centerpiece. Turns out, they are!
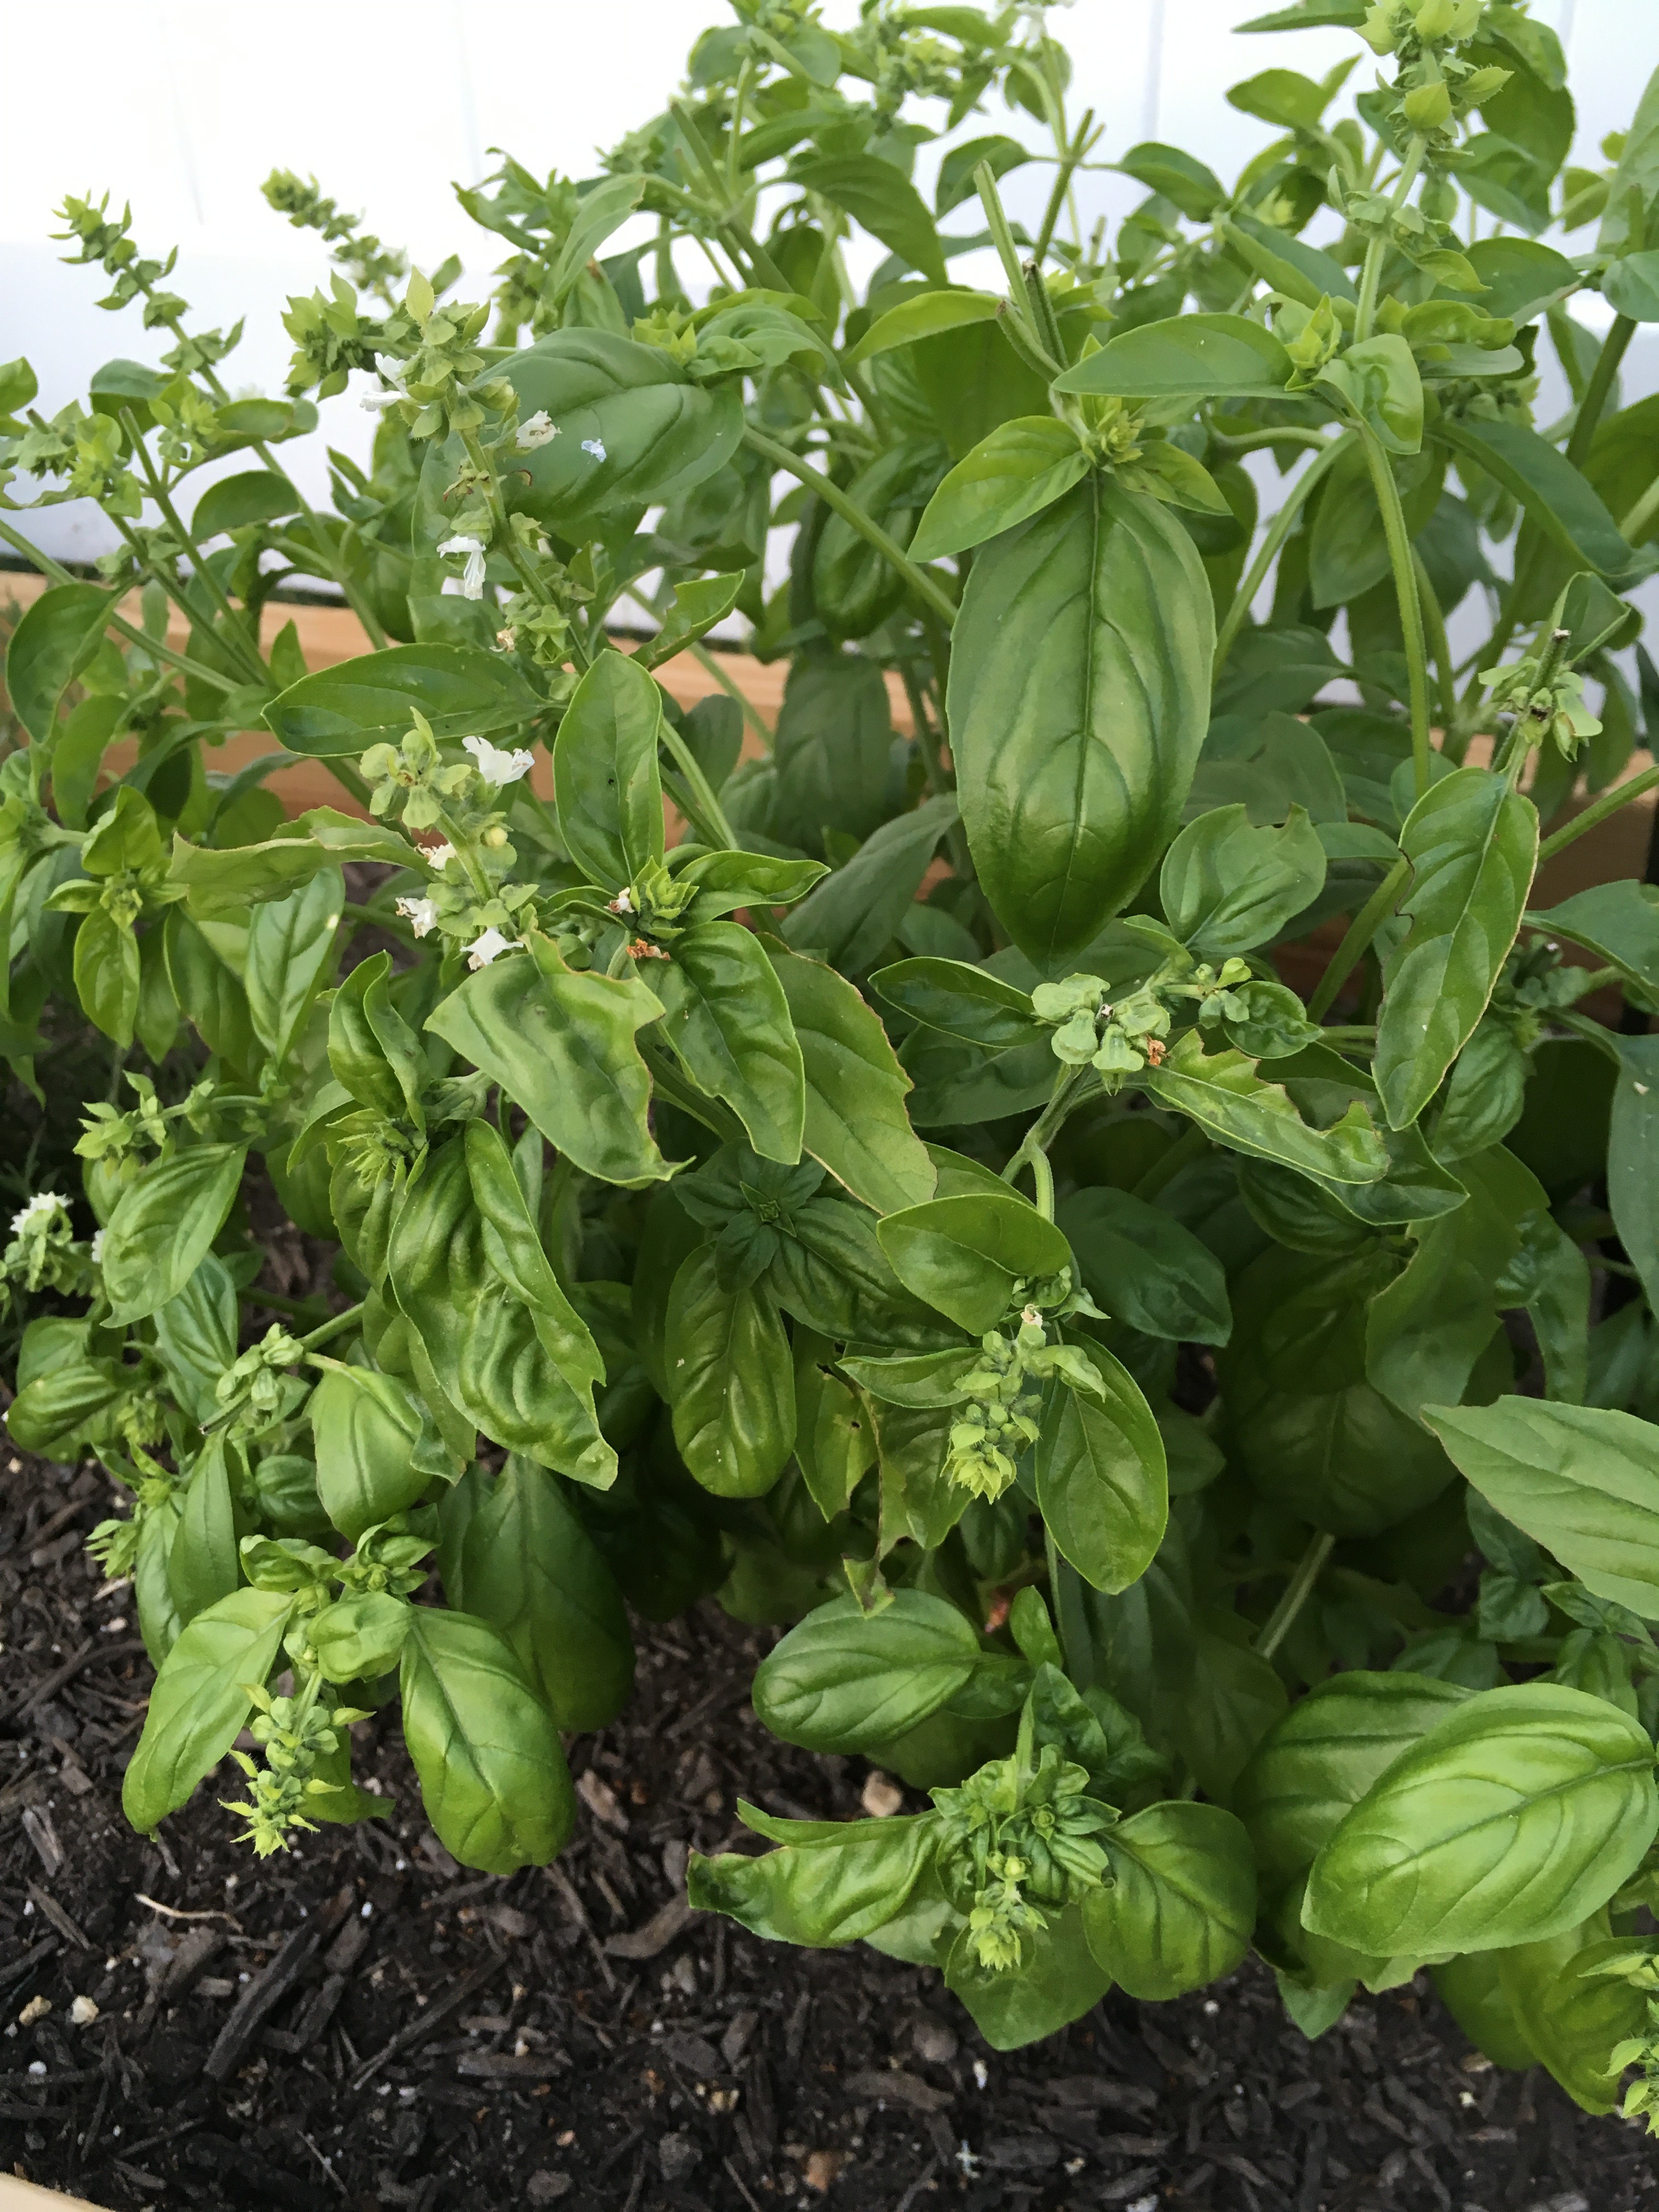
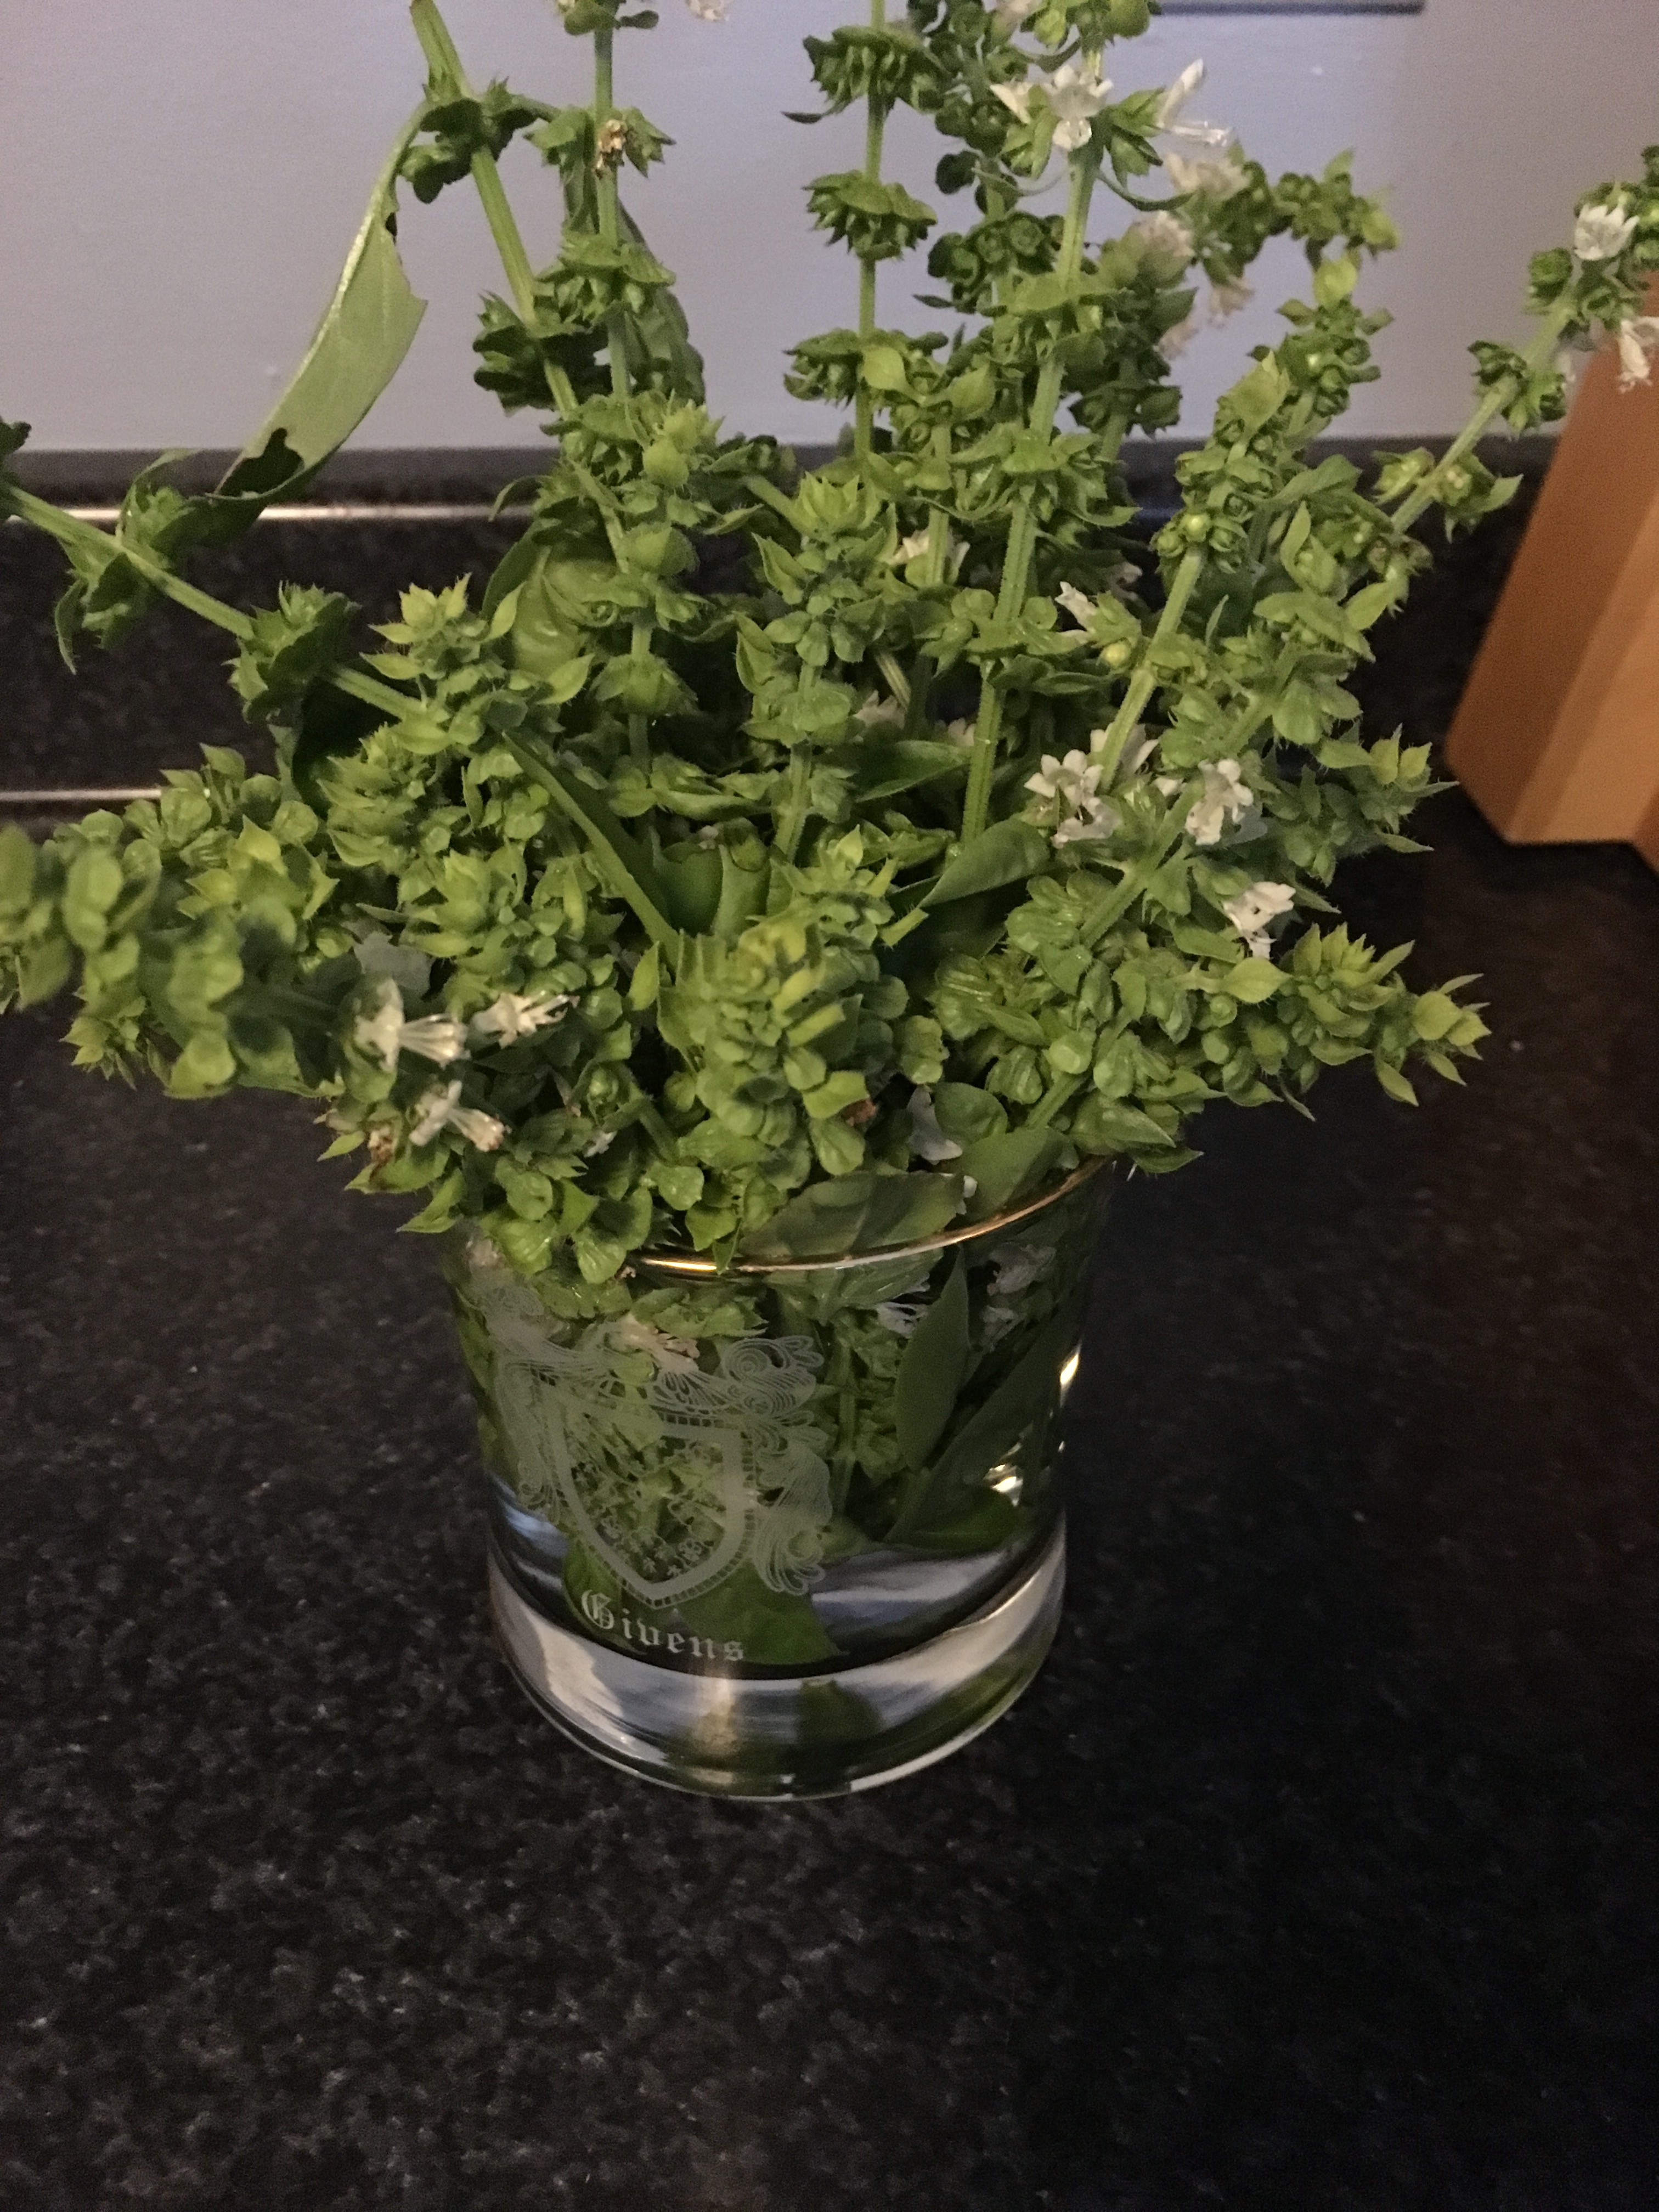
Usually the flowers of herbs/vegetables have a milder taste than the adult version of the plant, but still have a yummy hint of the traditional flavor. I decided to try making a pesto out of the basil flowers, and it worked amazingly well! But don’t worry, if you don’t have basil flowers, you can just use basil leaves and will have a wonderful traditional pesto. Here’s the recipe:
Ingredients:
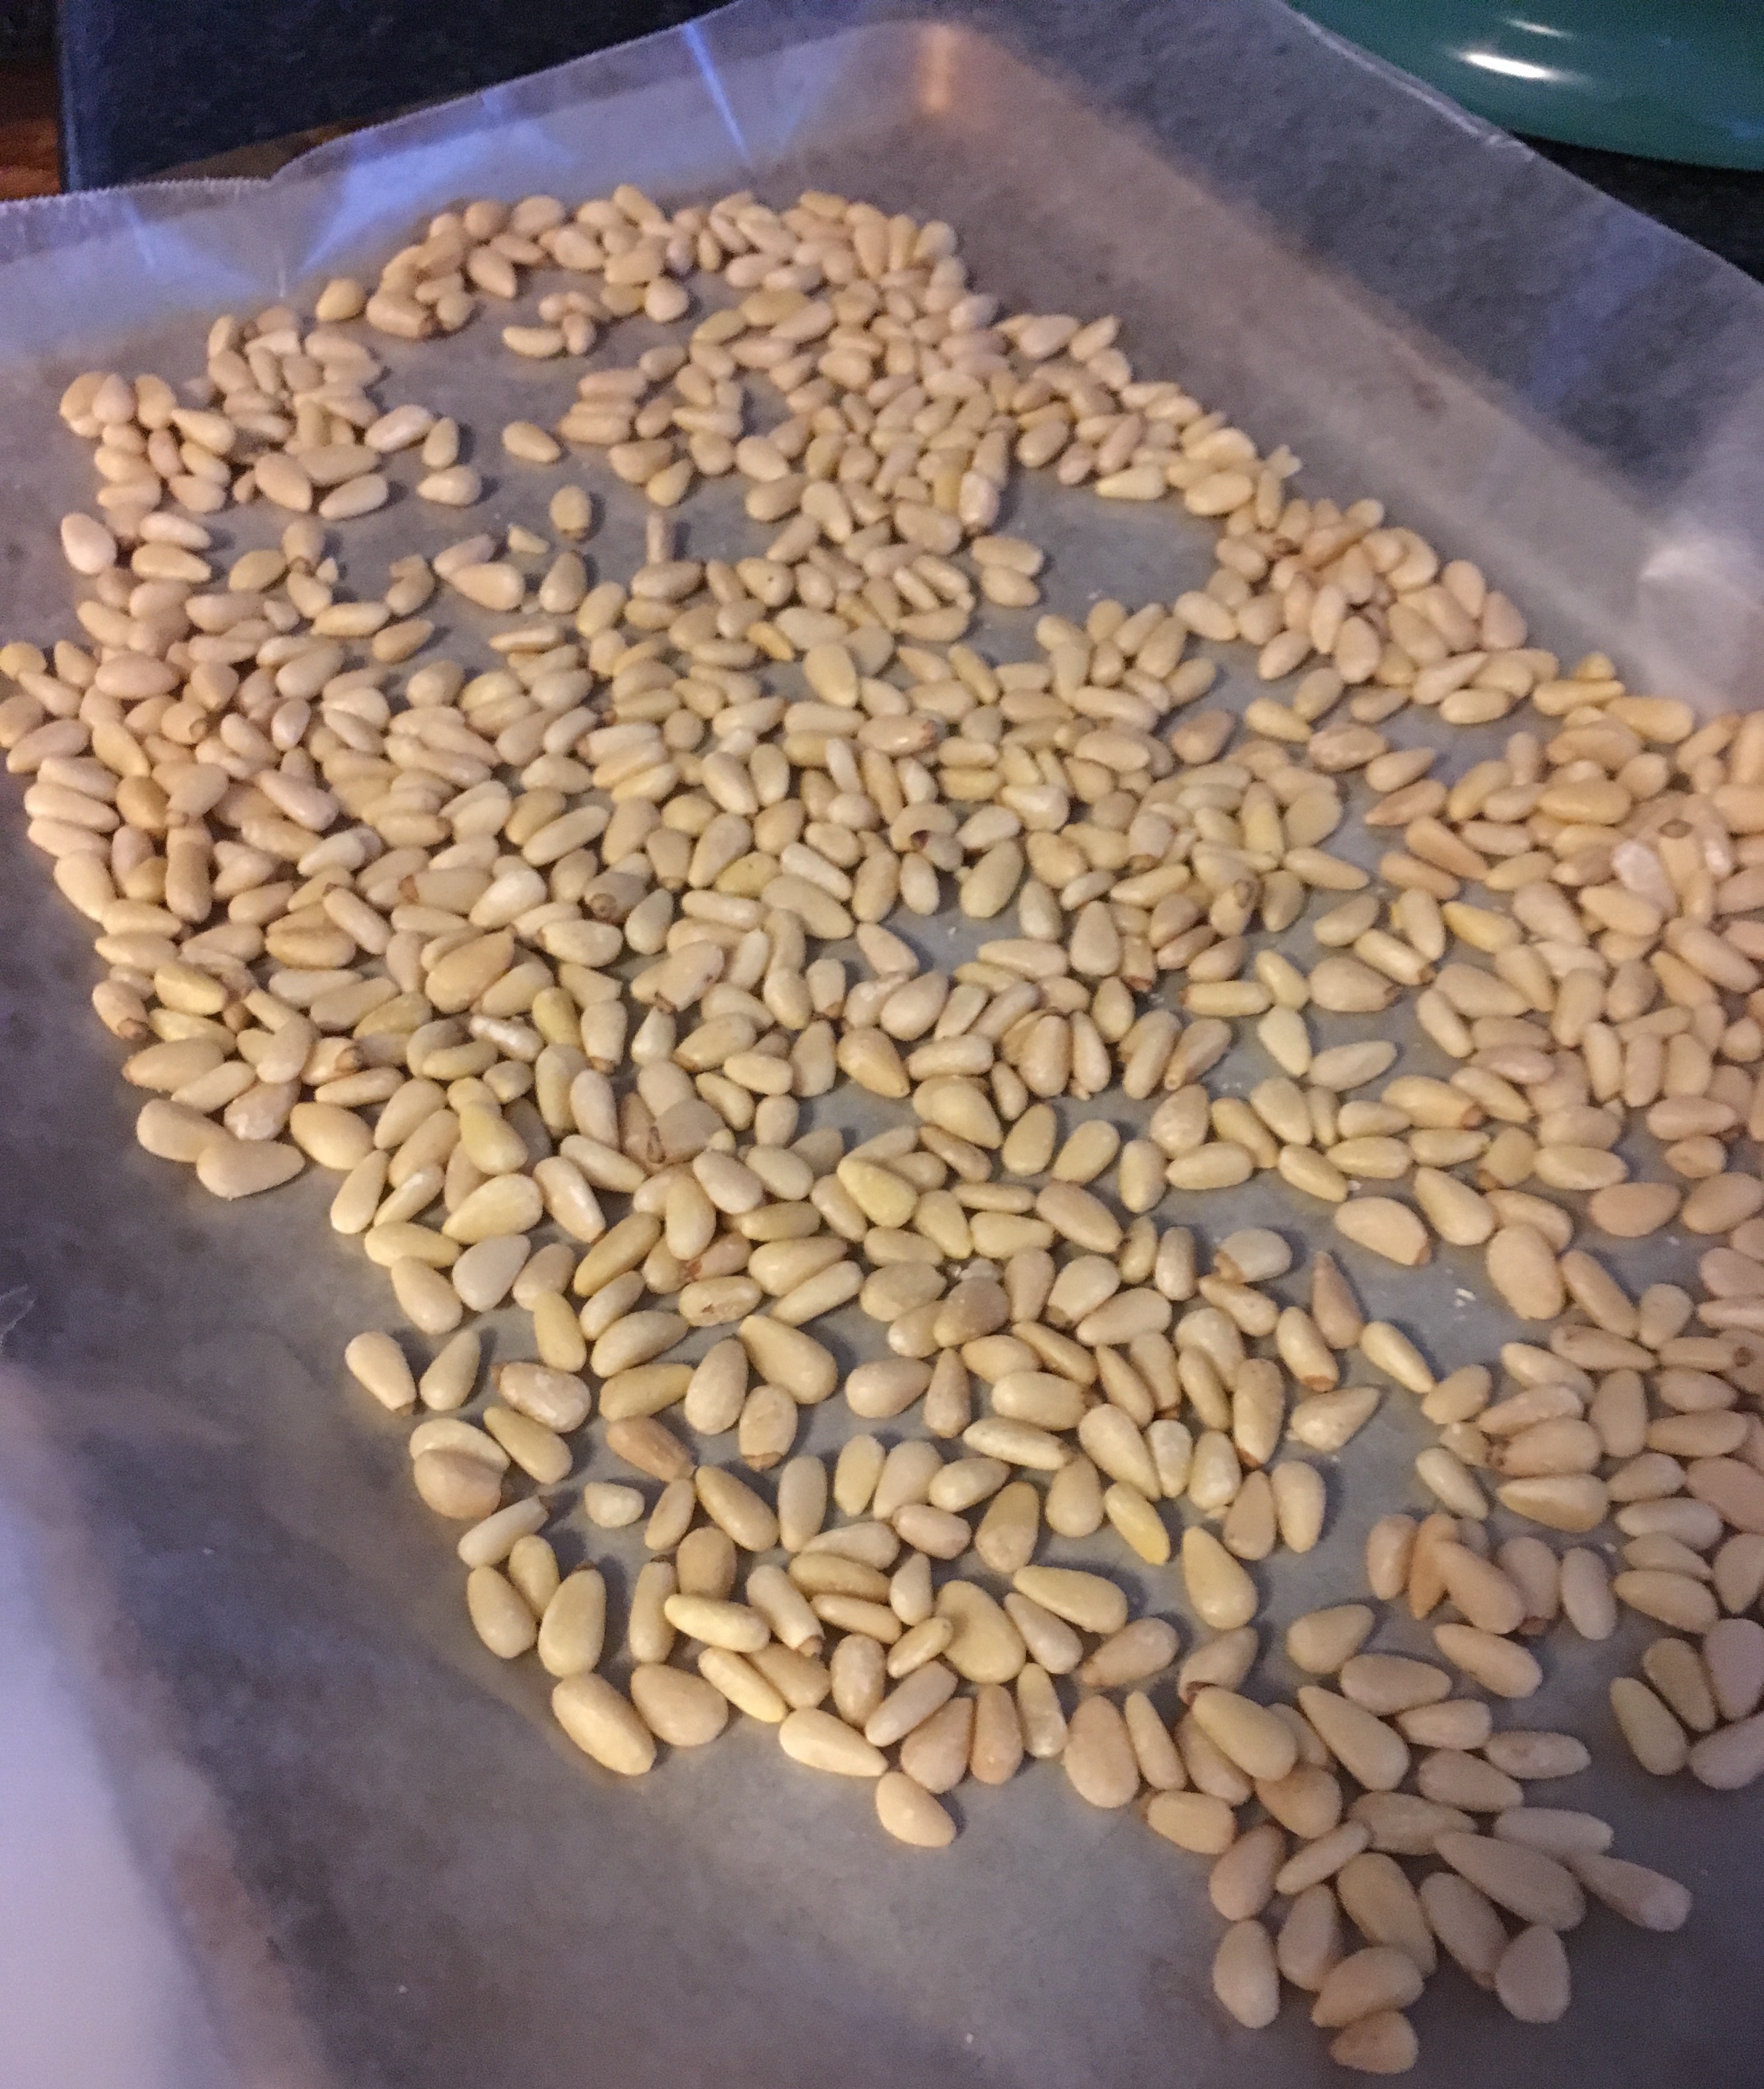
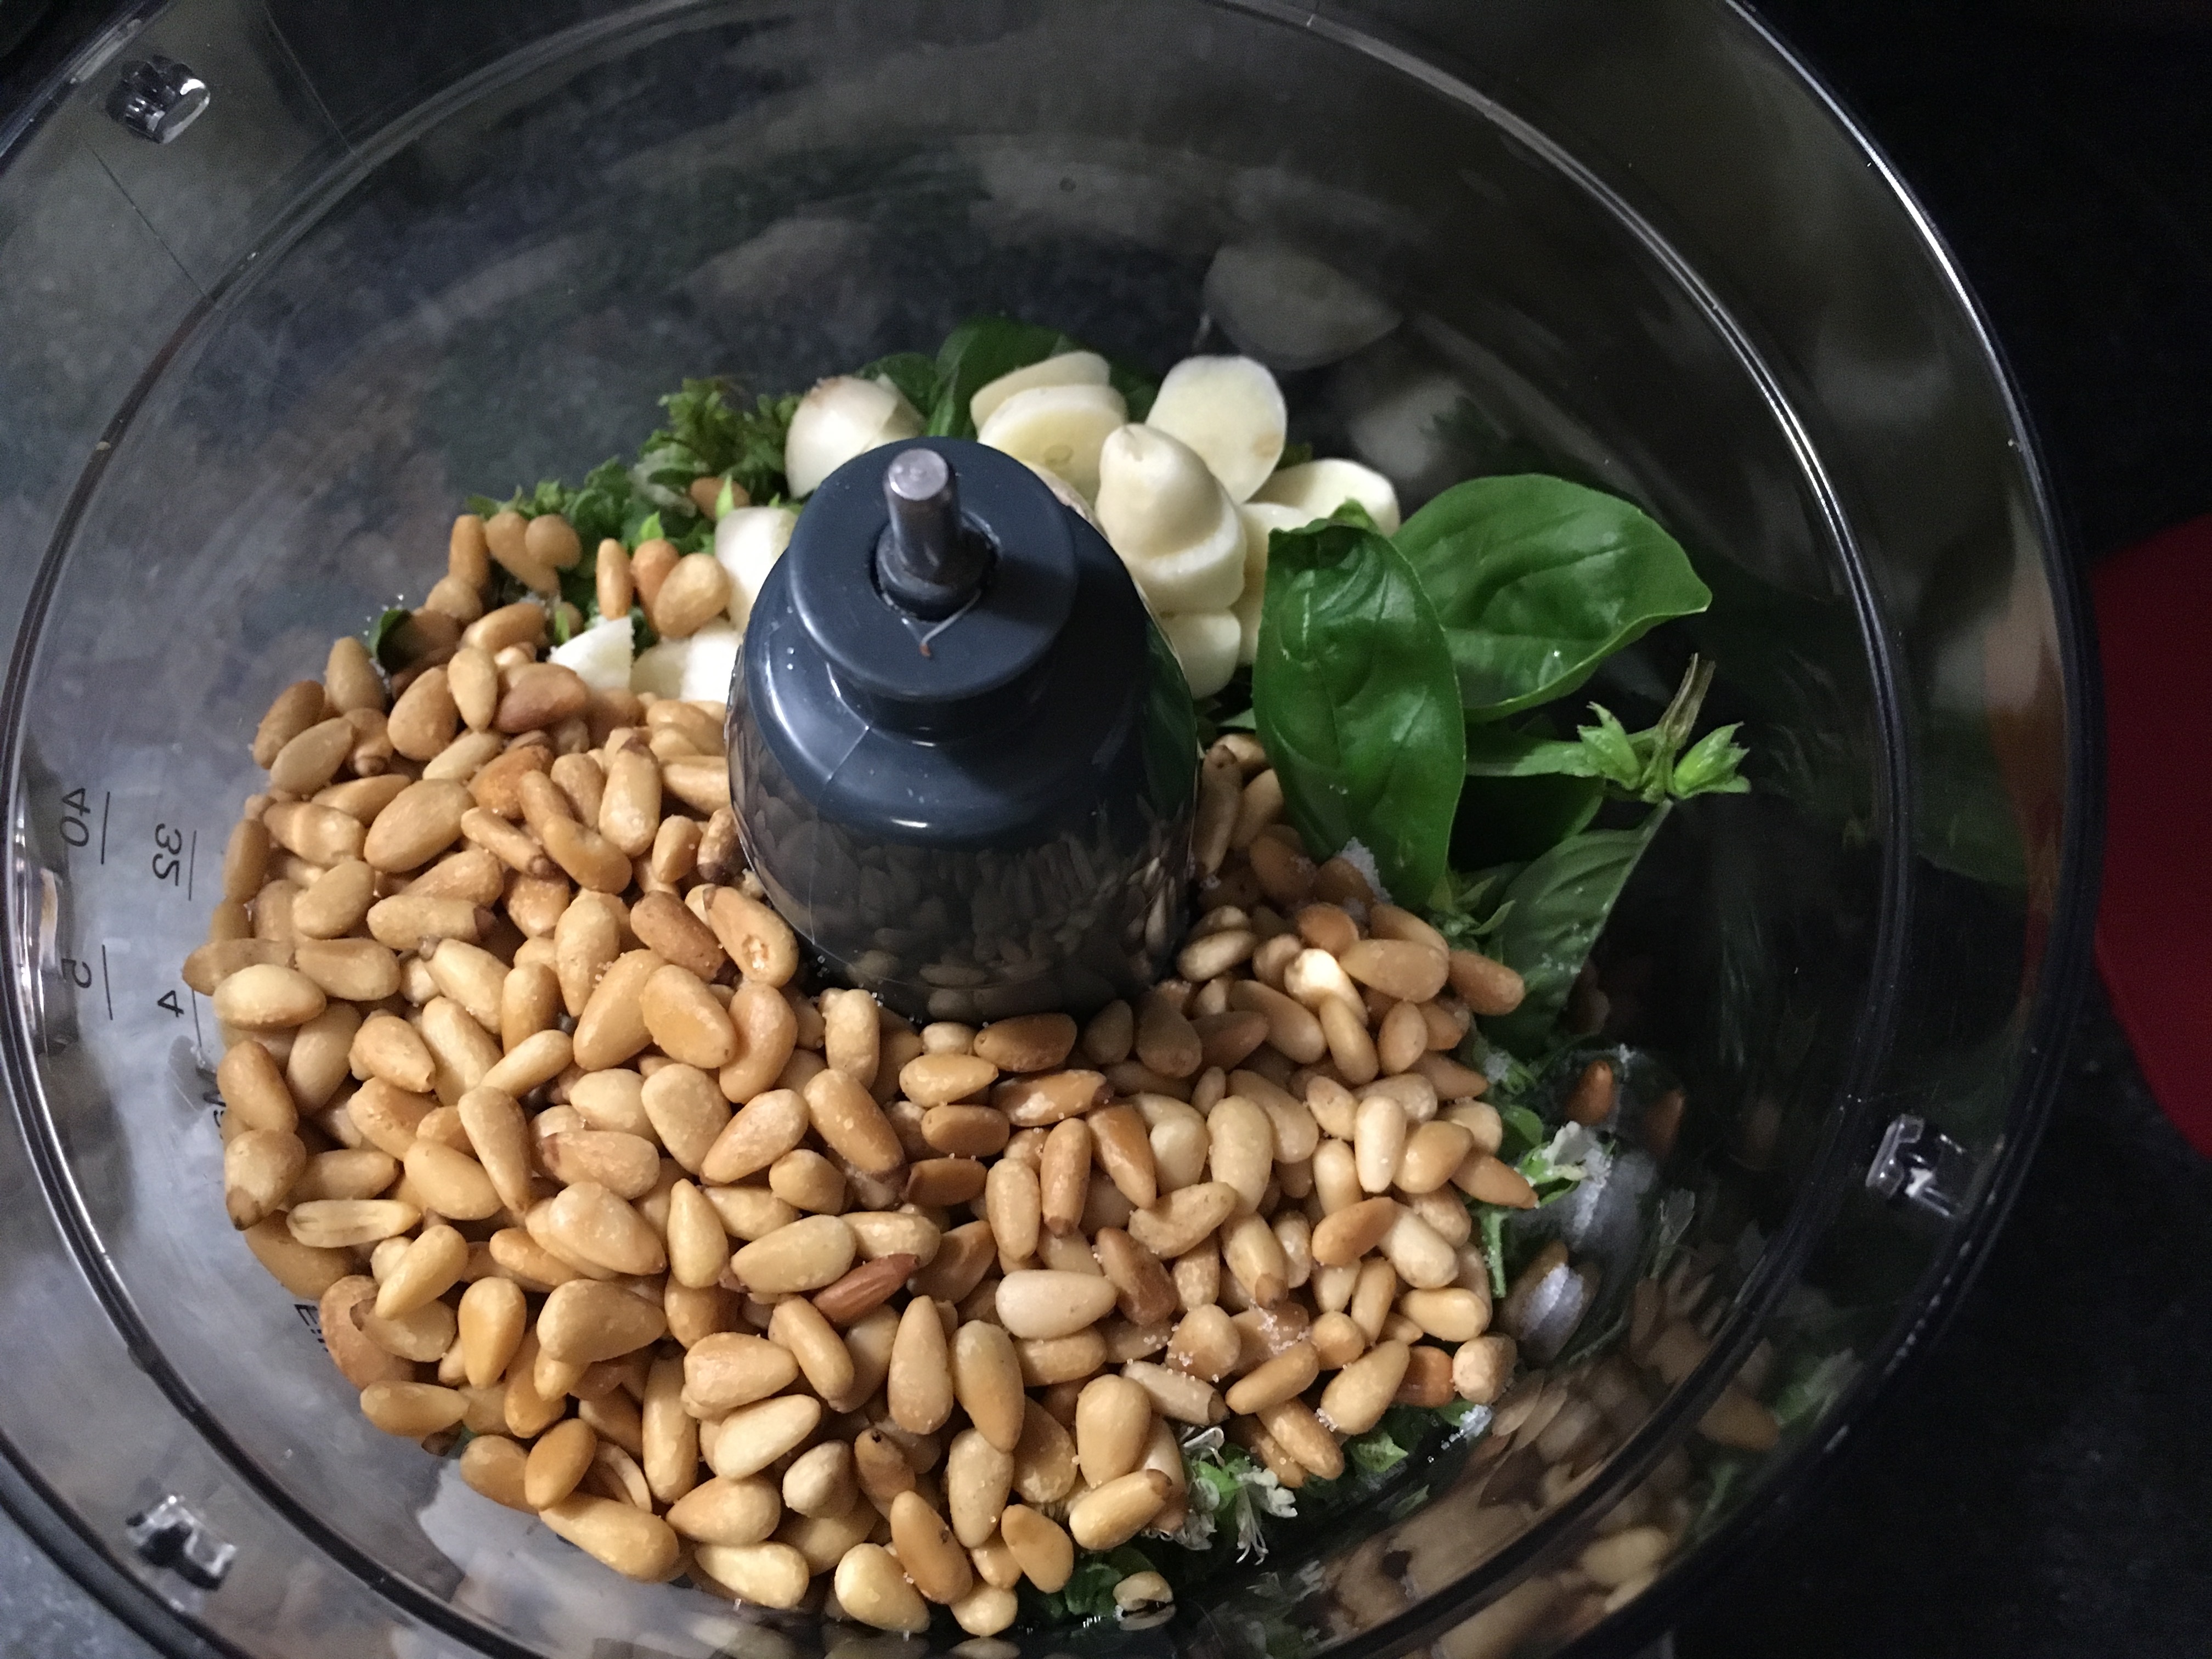
- 3/4 cup pine nuts
- 3 1/2 cups basil flowers (off the stem)
- 4 cloves garlic, peeled and roughly chopped
- 1/2 tsp salt
- 1/2 cup extra virgin olive oil
- 1/4 cup Parmesan cheese
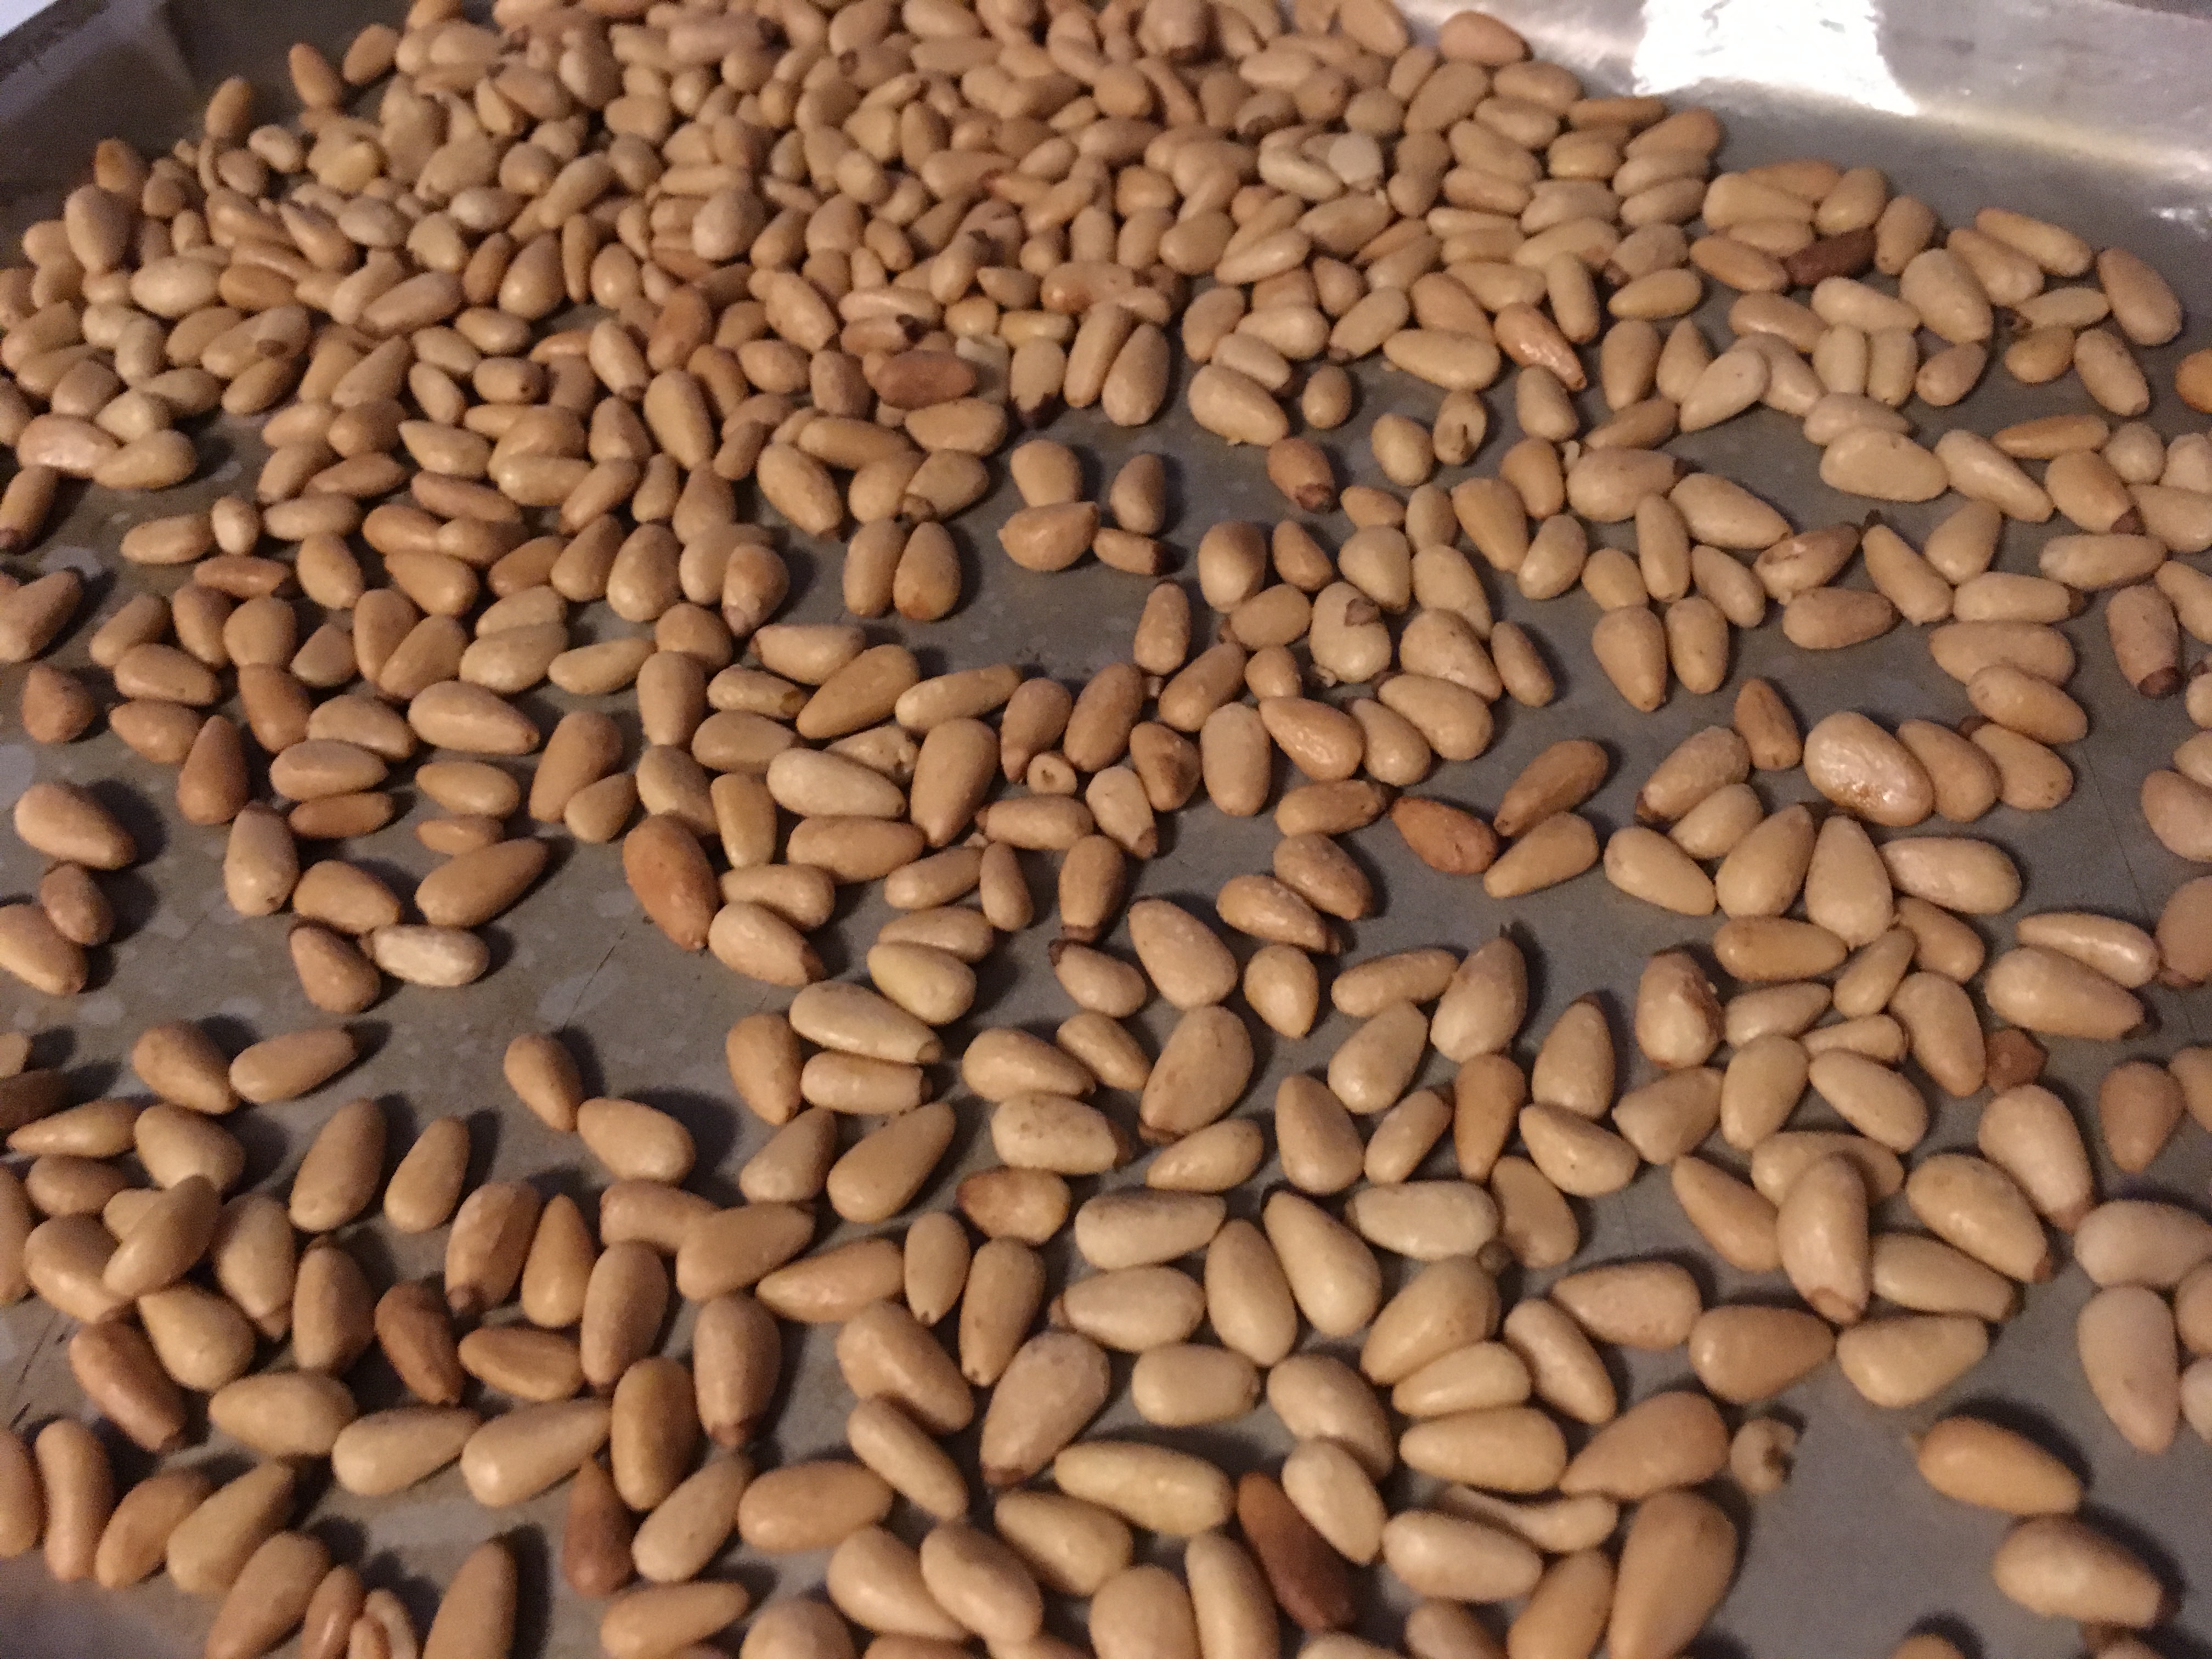
First, toast the pine nuts by placing them on a paper-lined baking sheet in a single layer and roasting them in a 350° oven for 5-8 minutes, or until they’re golden brown and smelling good.
Add the pine nuts, garlic, basil flowers, and salt to a food processor.
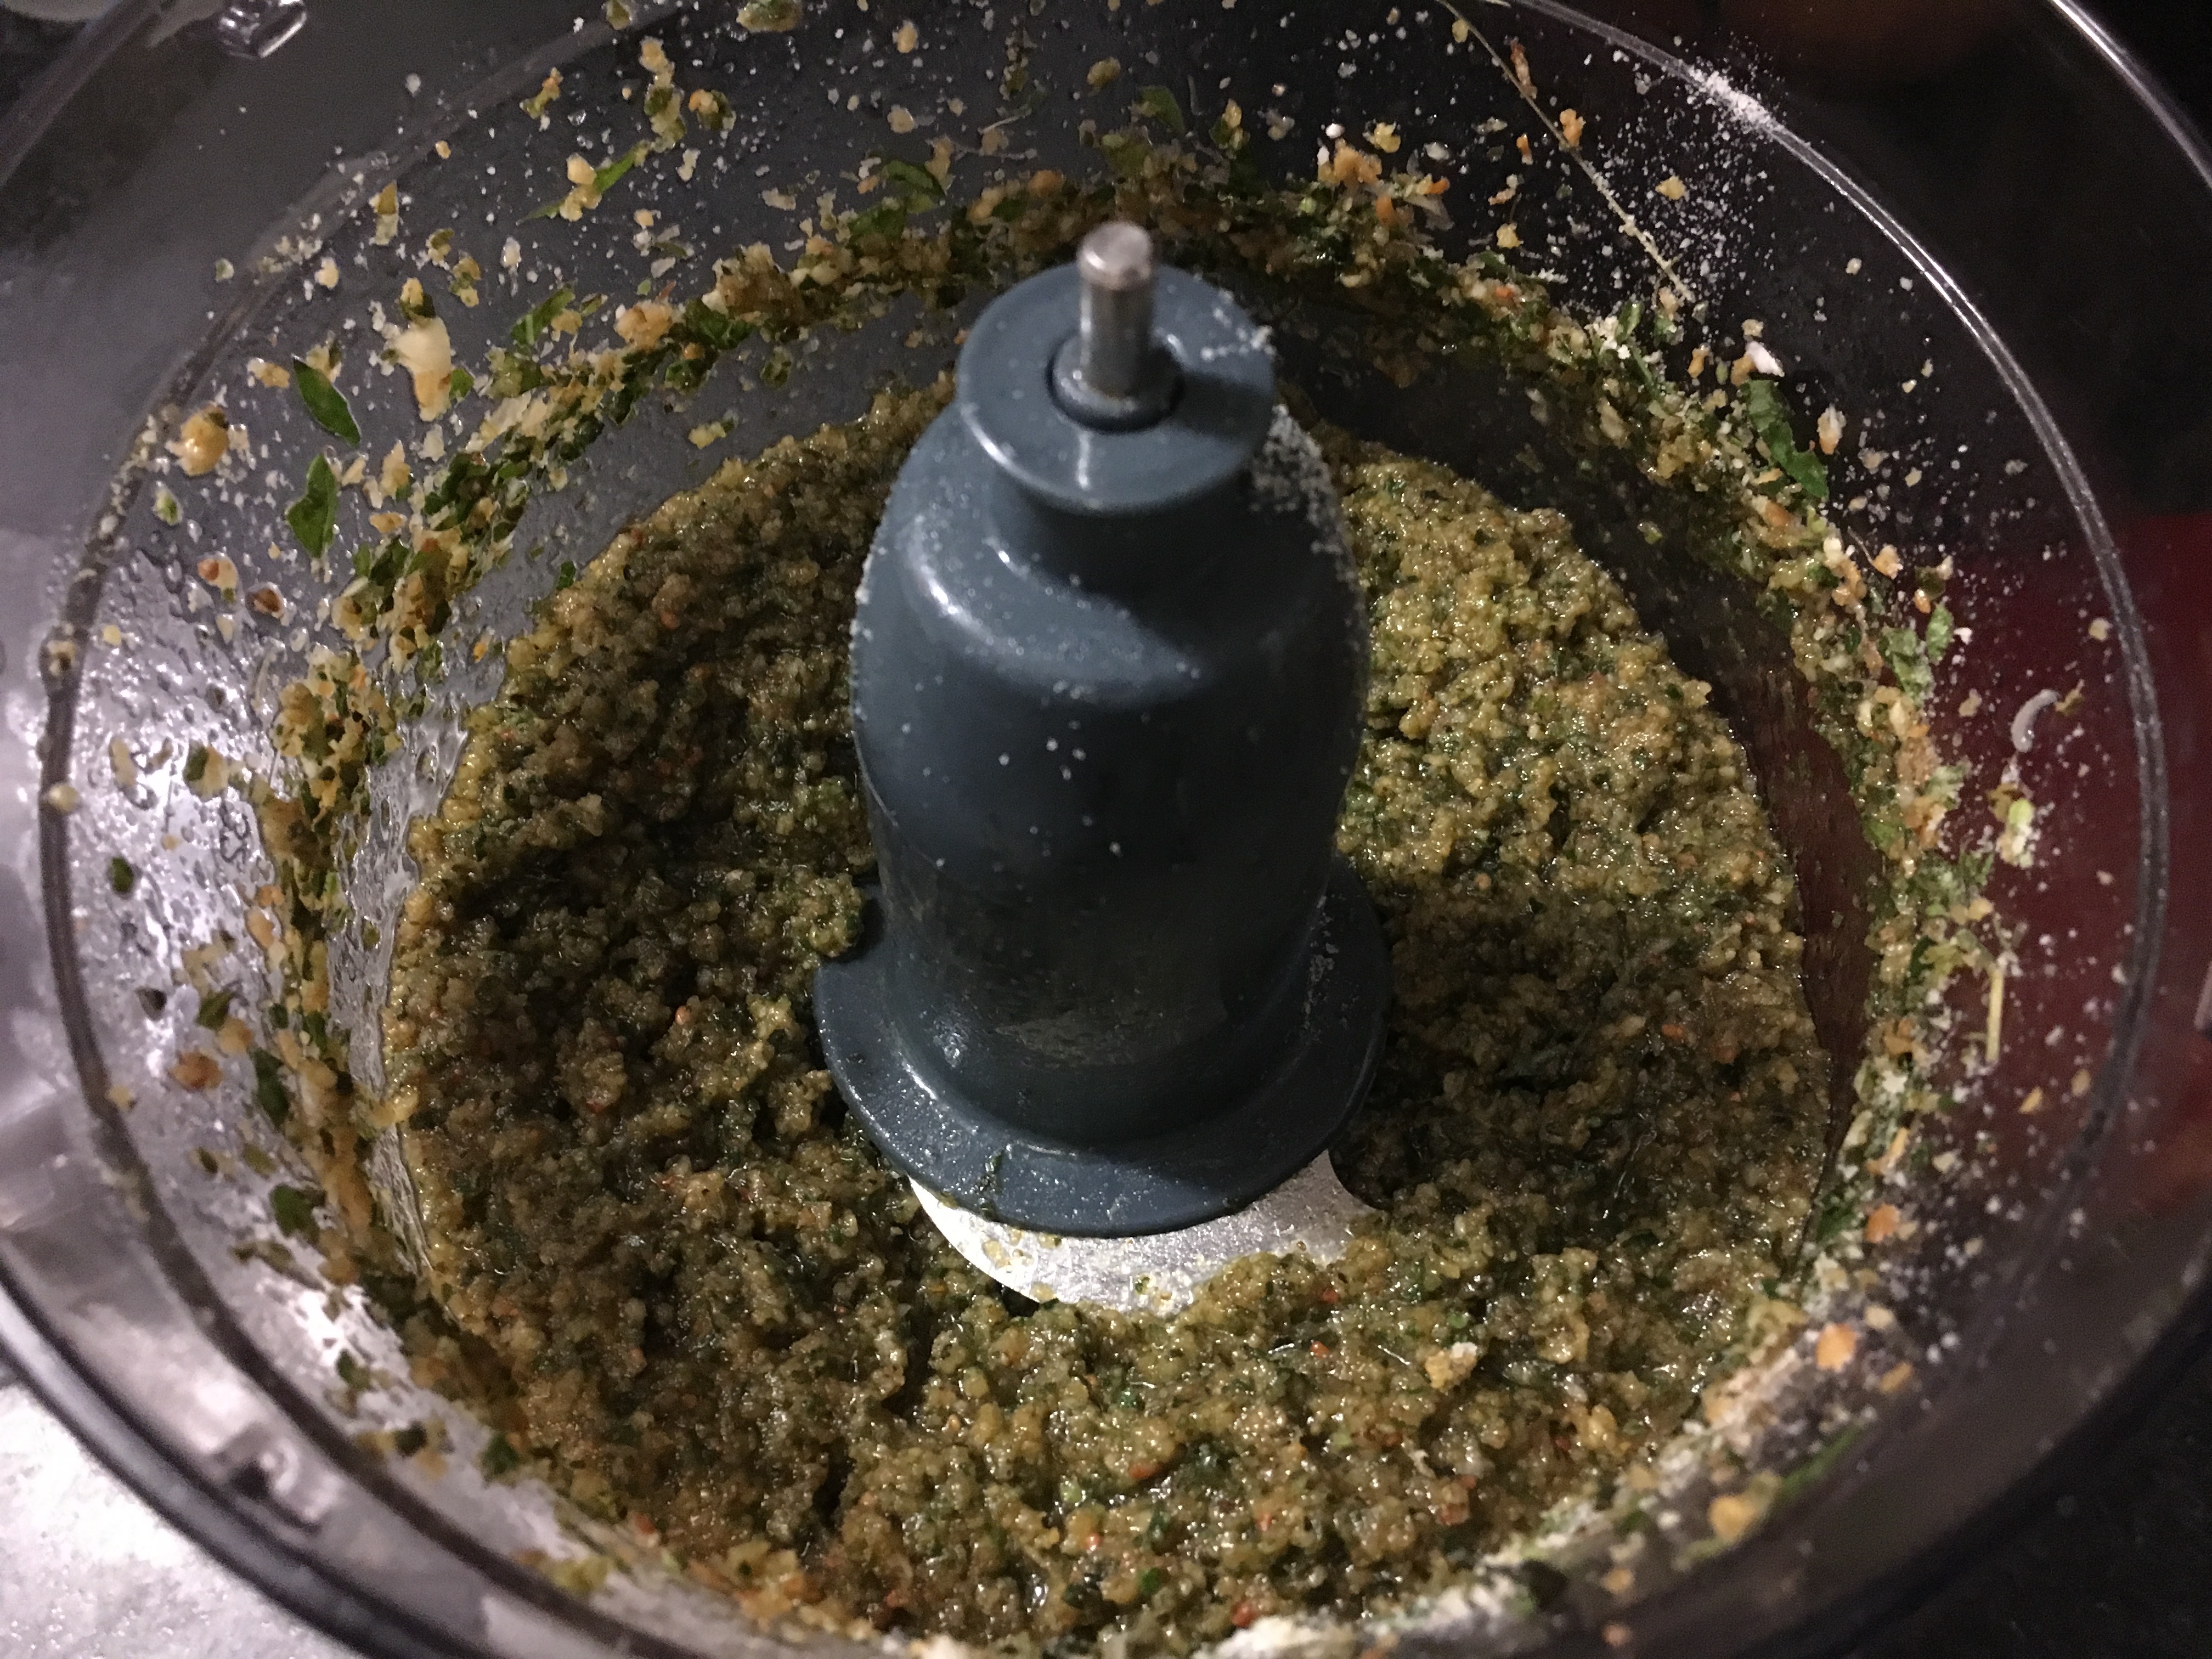
Pulse them in the processor until they become well chopped and mixed. Then, turn the processor to low and pour in olive oil and Parmesan cheese while the processor is running. Continue to process until all ingredients are mixed.
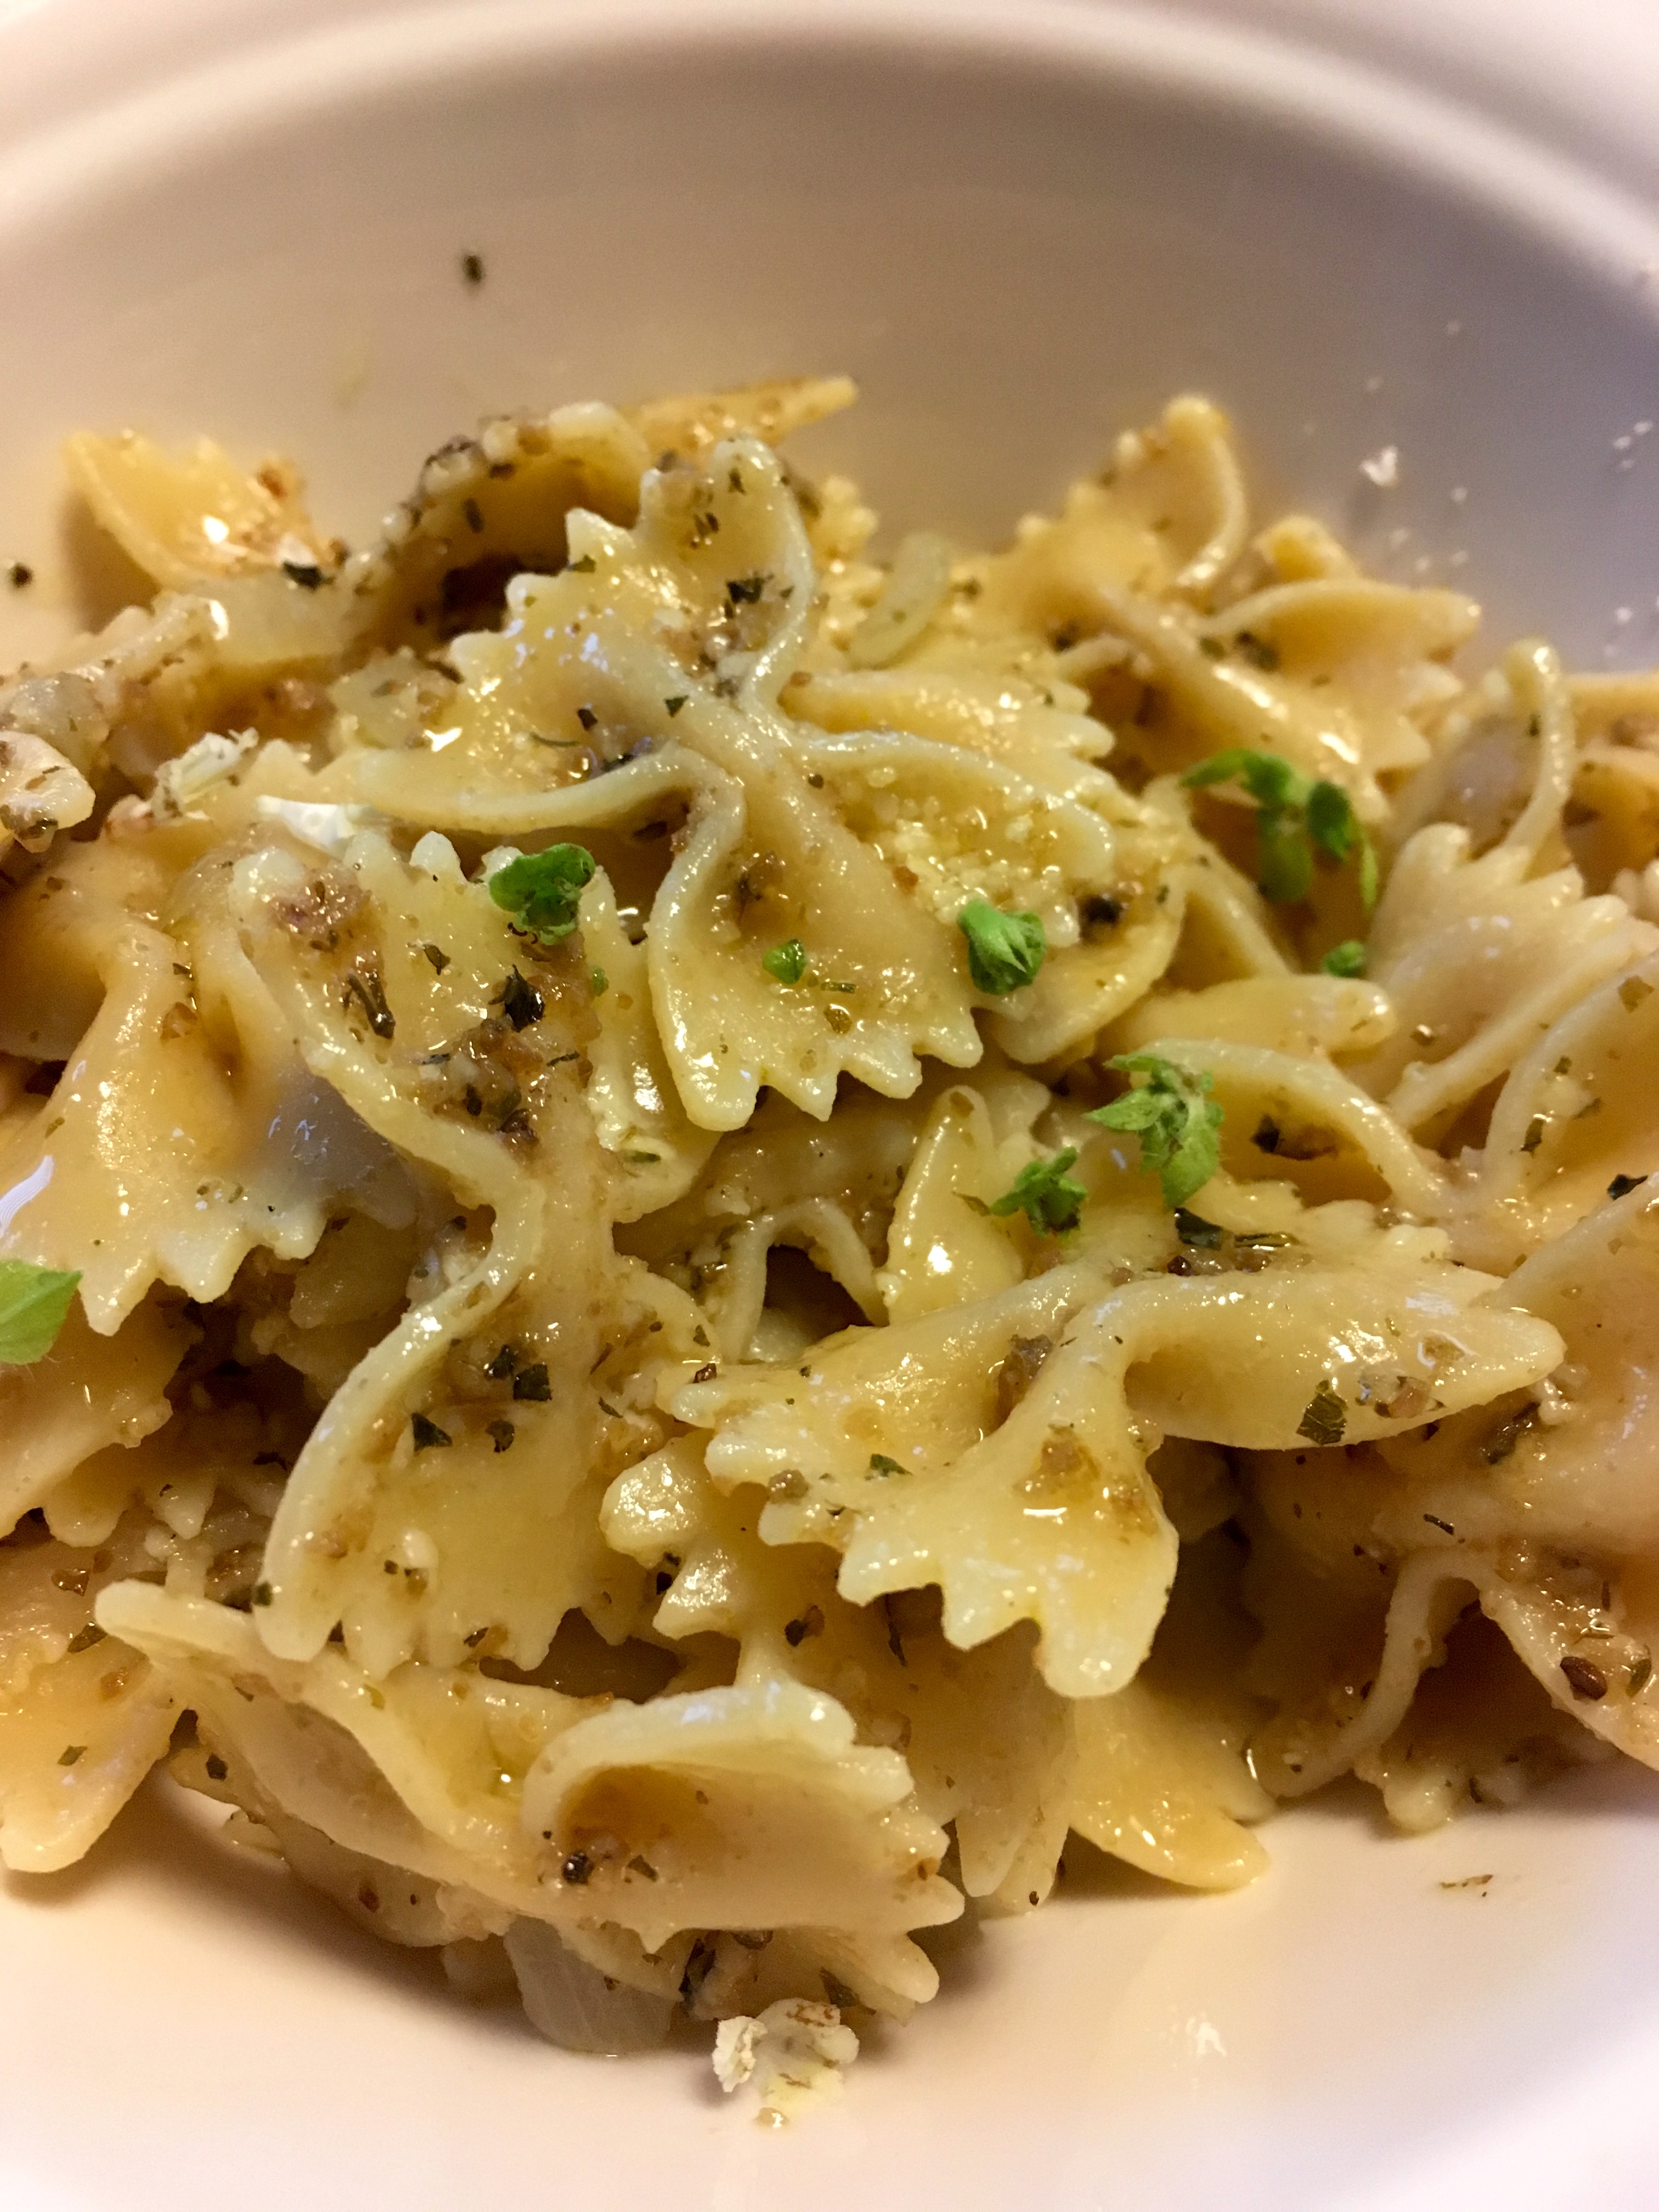
And now, eat it! This recipe goes well with a lot of things- bruschetta, flatbreads, pasta, pizza… the list goes on! I used it to make a pesto pasta and loved it.
To make the pasta recipe, cook 12 oz pasta of your choosing according to the box instructions. While the pasta cooks, sautée 1/2 chopped onion in 2 tbsp olive oil until onions are soft. Mix in 2 tbsp pesto and salt and pepper to taste. Stir and cook until heated through. Stir in the pasta and top with Parmesan cheese. I sprinkled some extra basil flowers on the top as a garnish!
I hope you enjoy this summer recipe! Happy cooking!
The Best Chicken and Waffles
Hi all! I have SUCH a good recipe to share today. It’s the ultimate comfort food that my husband and I crave: chicken and waffles. The mixture of crunchy, spicy chicken with the sweet and fluffy waffles is to die for. There’s this popular waffle house near our house that makes awesome chicken and waffles. The downside is that the wait is usually about 30-40 minutes and the food is fairly expensive for what it is. After a couple trips to the waffle house, I decided to try my hand at making this delicious meal, and was very pleasantly surprised. Here’s the recipe:
Ingredients:
- 1-2 lbs chicken tenders (depending on how many people you want to feed)
- 2 cups buttermilk, divided (you can also use 1 cup regular milk and add 2 tsp lemon juice or vinegar)
- 1 tsp salt, divided
- 1 tsp black pepper, divided
- hot sauce to taste
- 1 1/4 cup all purpose flour
- 1/2 cup yellow cornmeal
- 1 tsp paprika
- cayenne pepper to taste (I used ~1/4 tsp)
- chili powder to taste (~1/8 tsp)
- canola oil for frying
- Belgian waffle mix, prepared according to box directions
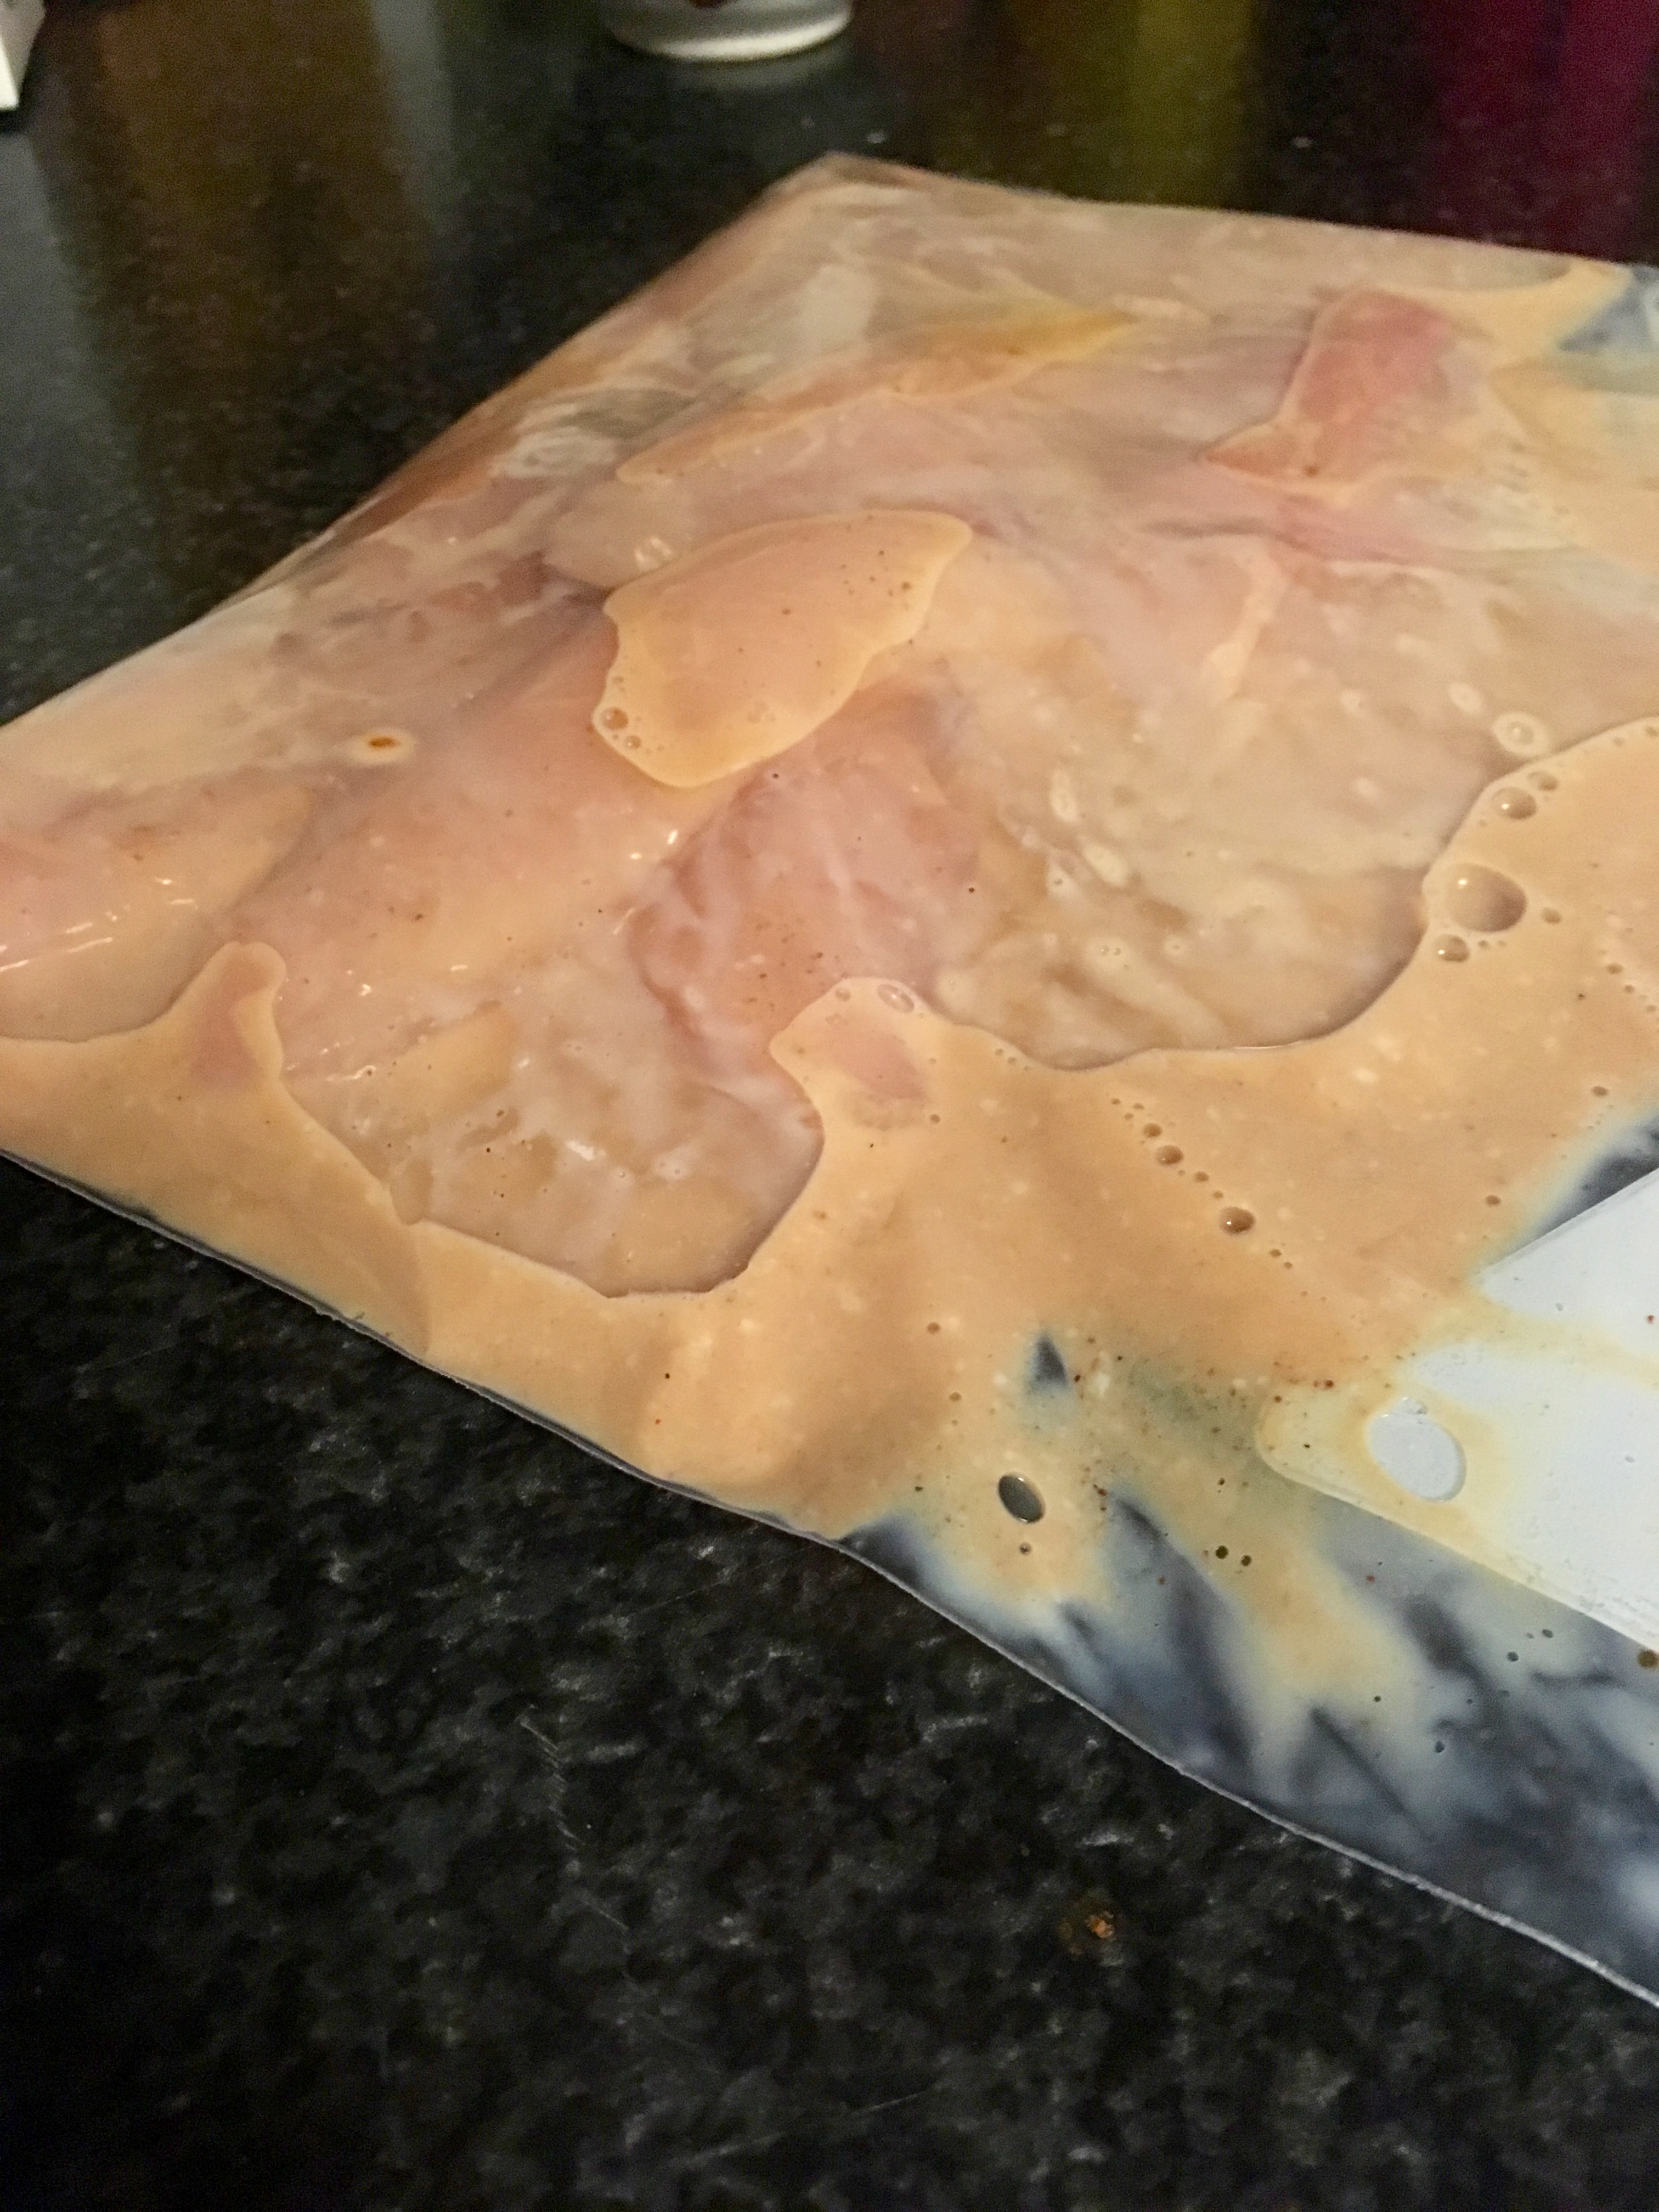
First, get started on the marinade. Mix up 1 cup of buttermilk, 1/2 tsp salt, 1/2 tsp pepper, and hot sauce. Pour into a food storage bag with the chicken. Let the air out before sealing the bag, and massage the bag to get the marinade all over the chicken. Refrigerate the marinating chicken for at least 4 hours.
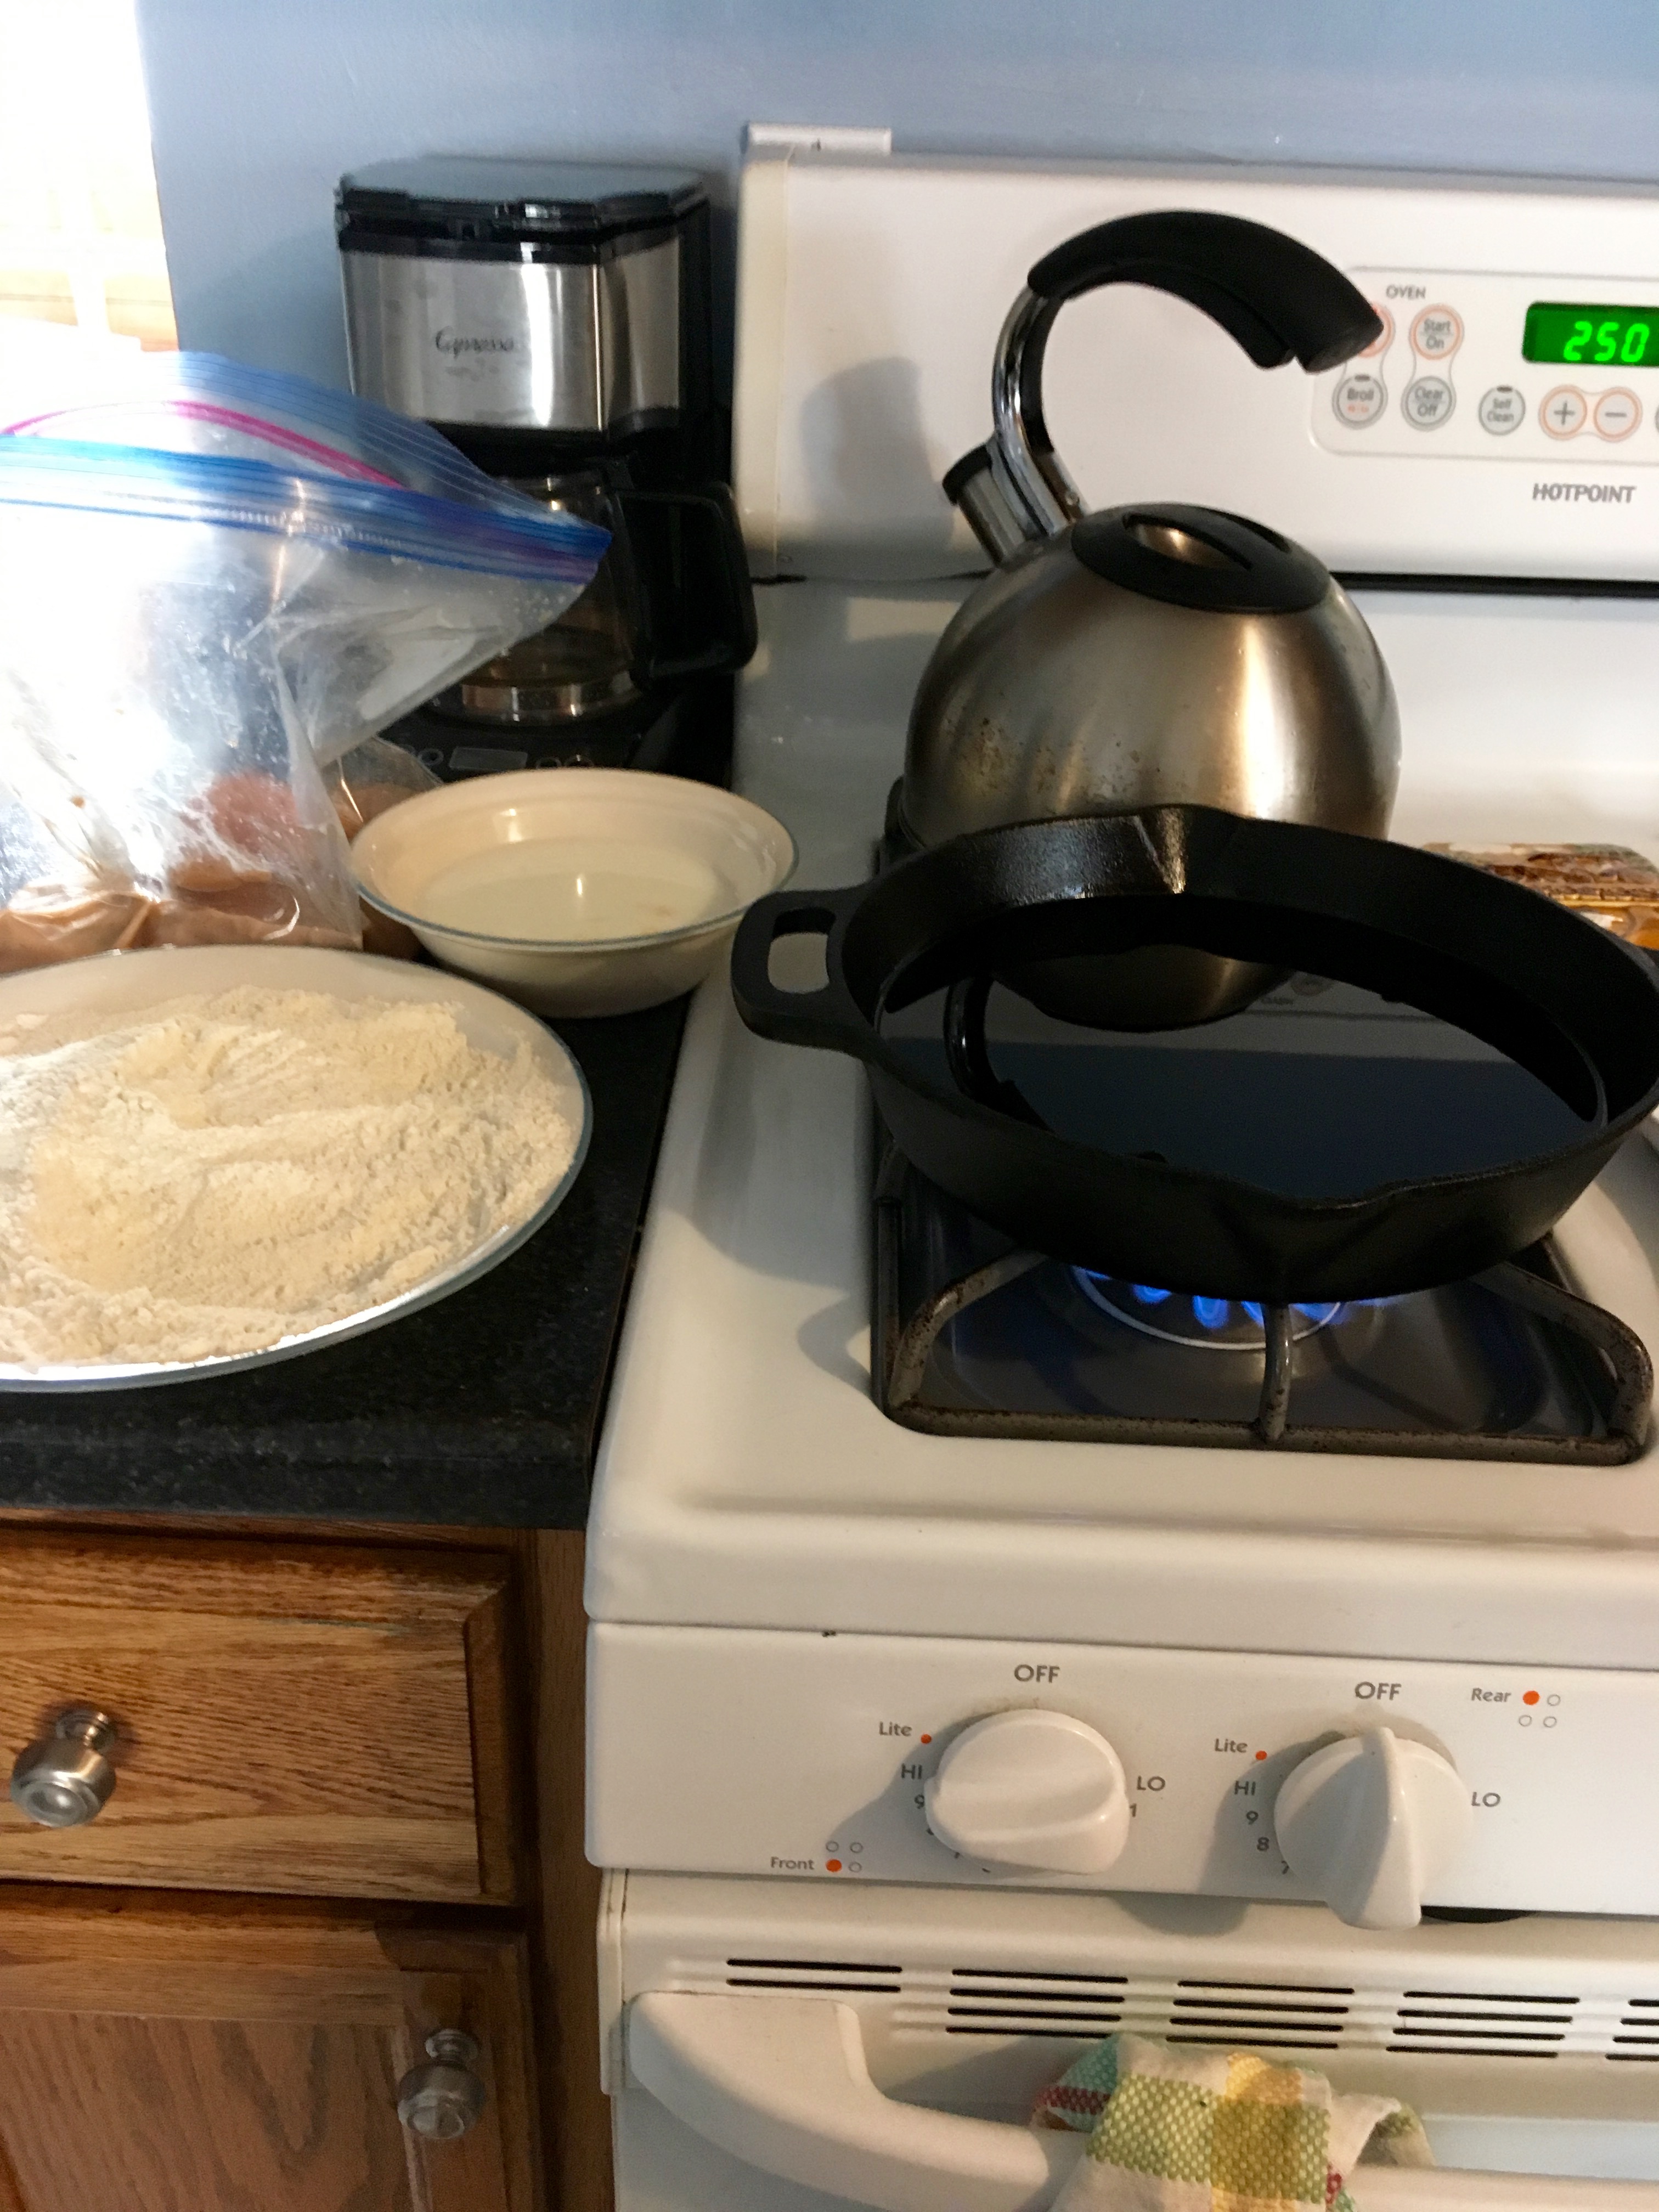
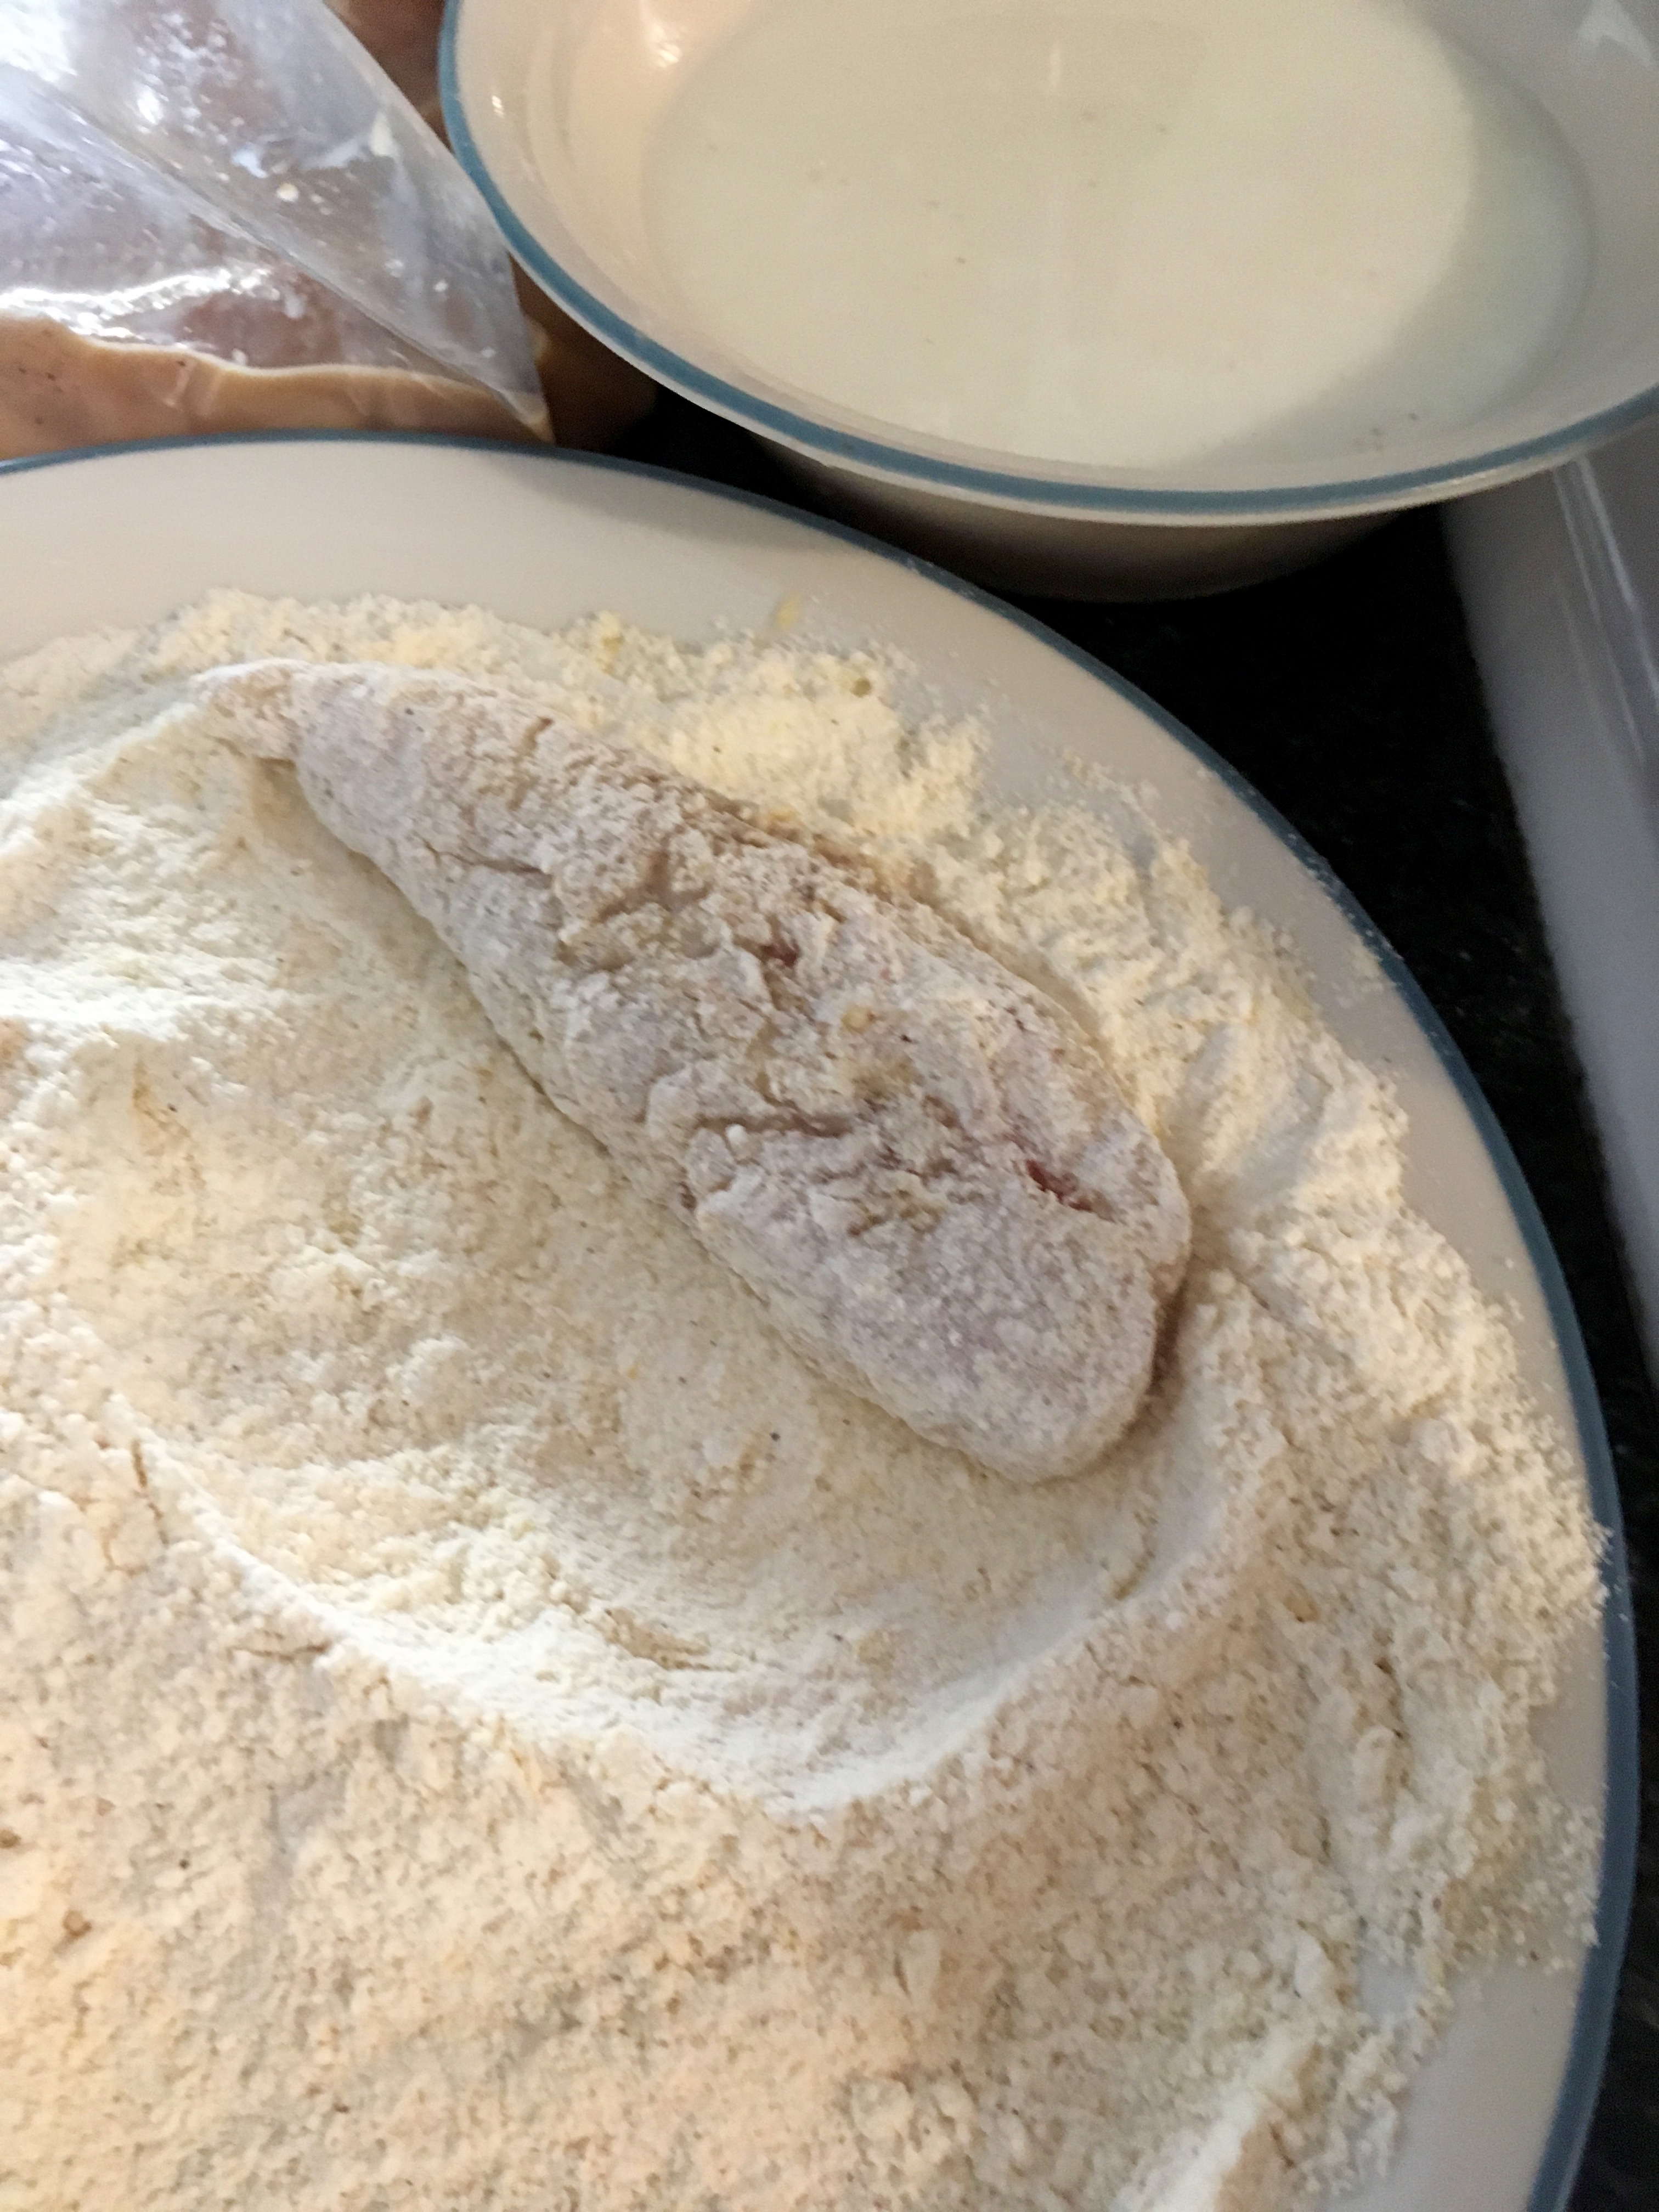
After the chicken is done marinating, it’s time to prep. Preheat the oven to 250°F. Whisk together the flour, cornmeal, chili powder, cayenne, 1/2 tsp salt, and 1/2 tsp pepper on a plate or in a large shallow bowl. Pour remaining 1 cup buttermilk into a separate bowl.

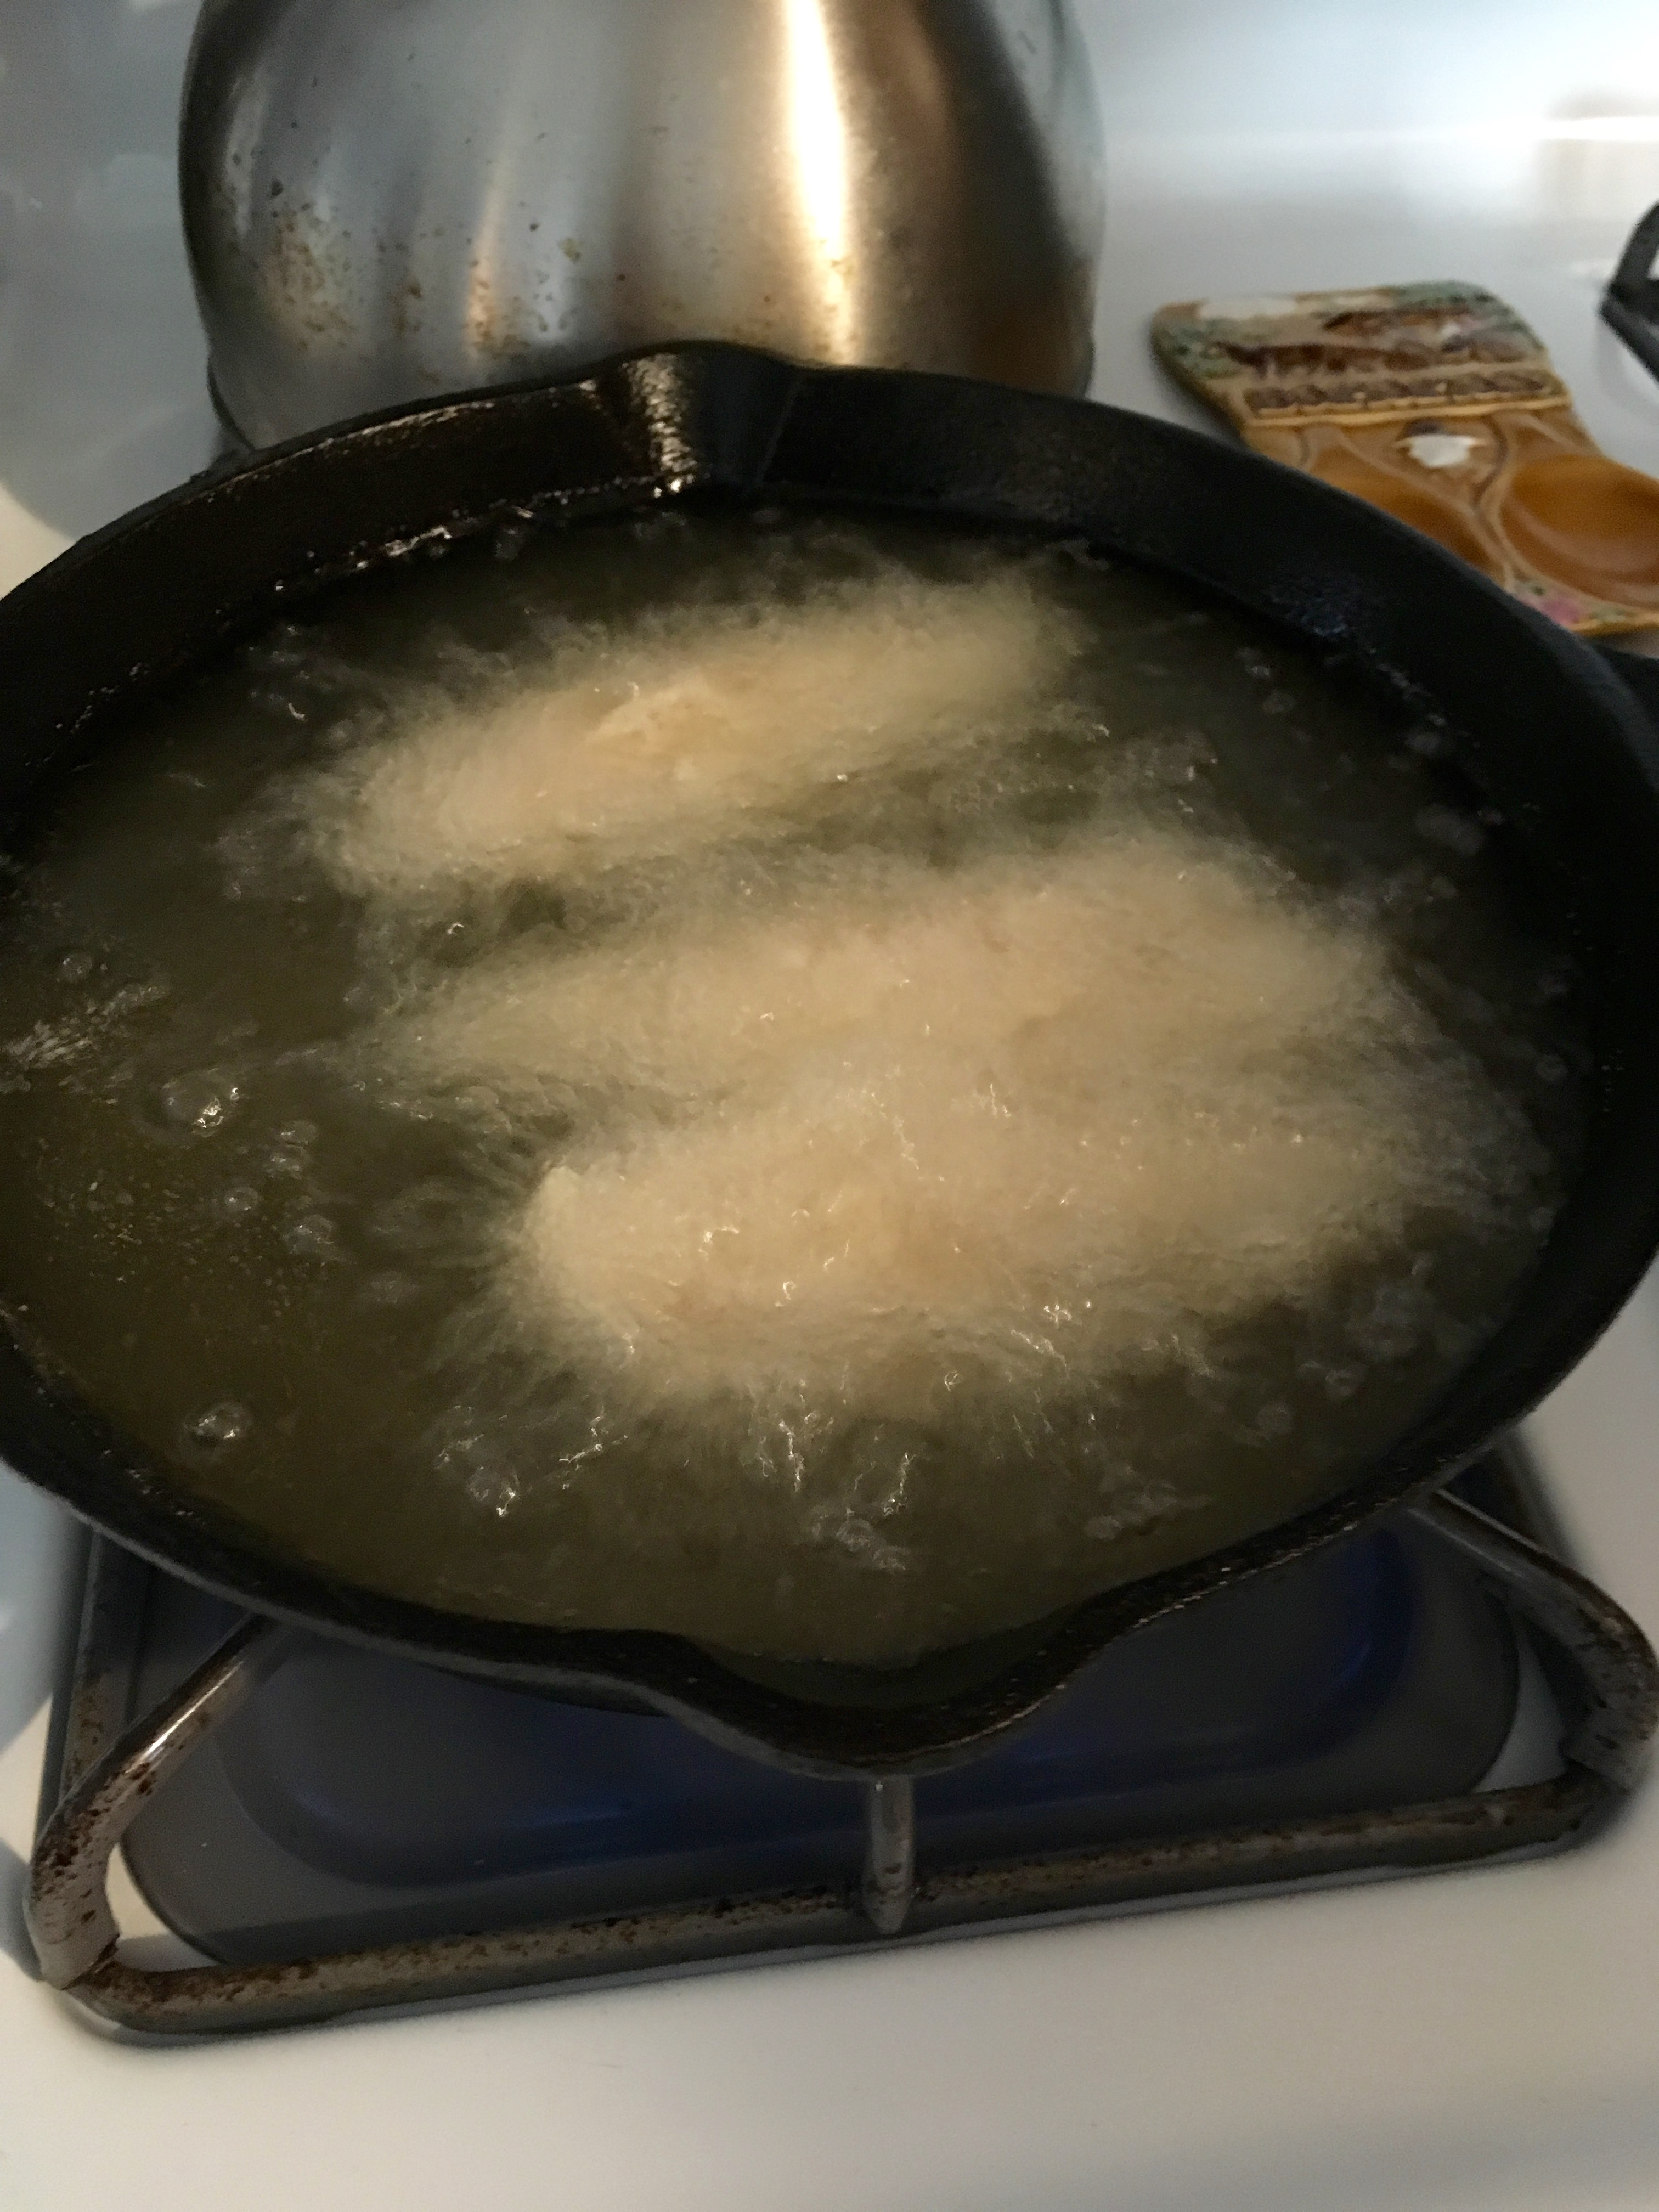
Now, get your frying station ready. Have the oil heated to about 350°F, with the marinated chicken, dry mixture, and buttermilk close by. This is also a good time to get started on making waffles (it does involve some multitasking).
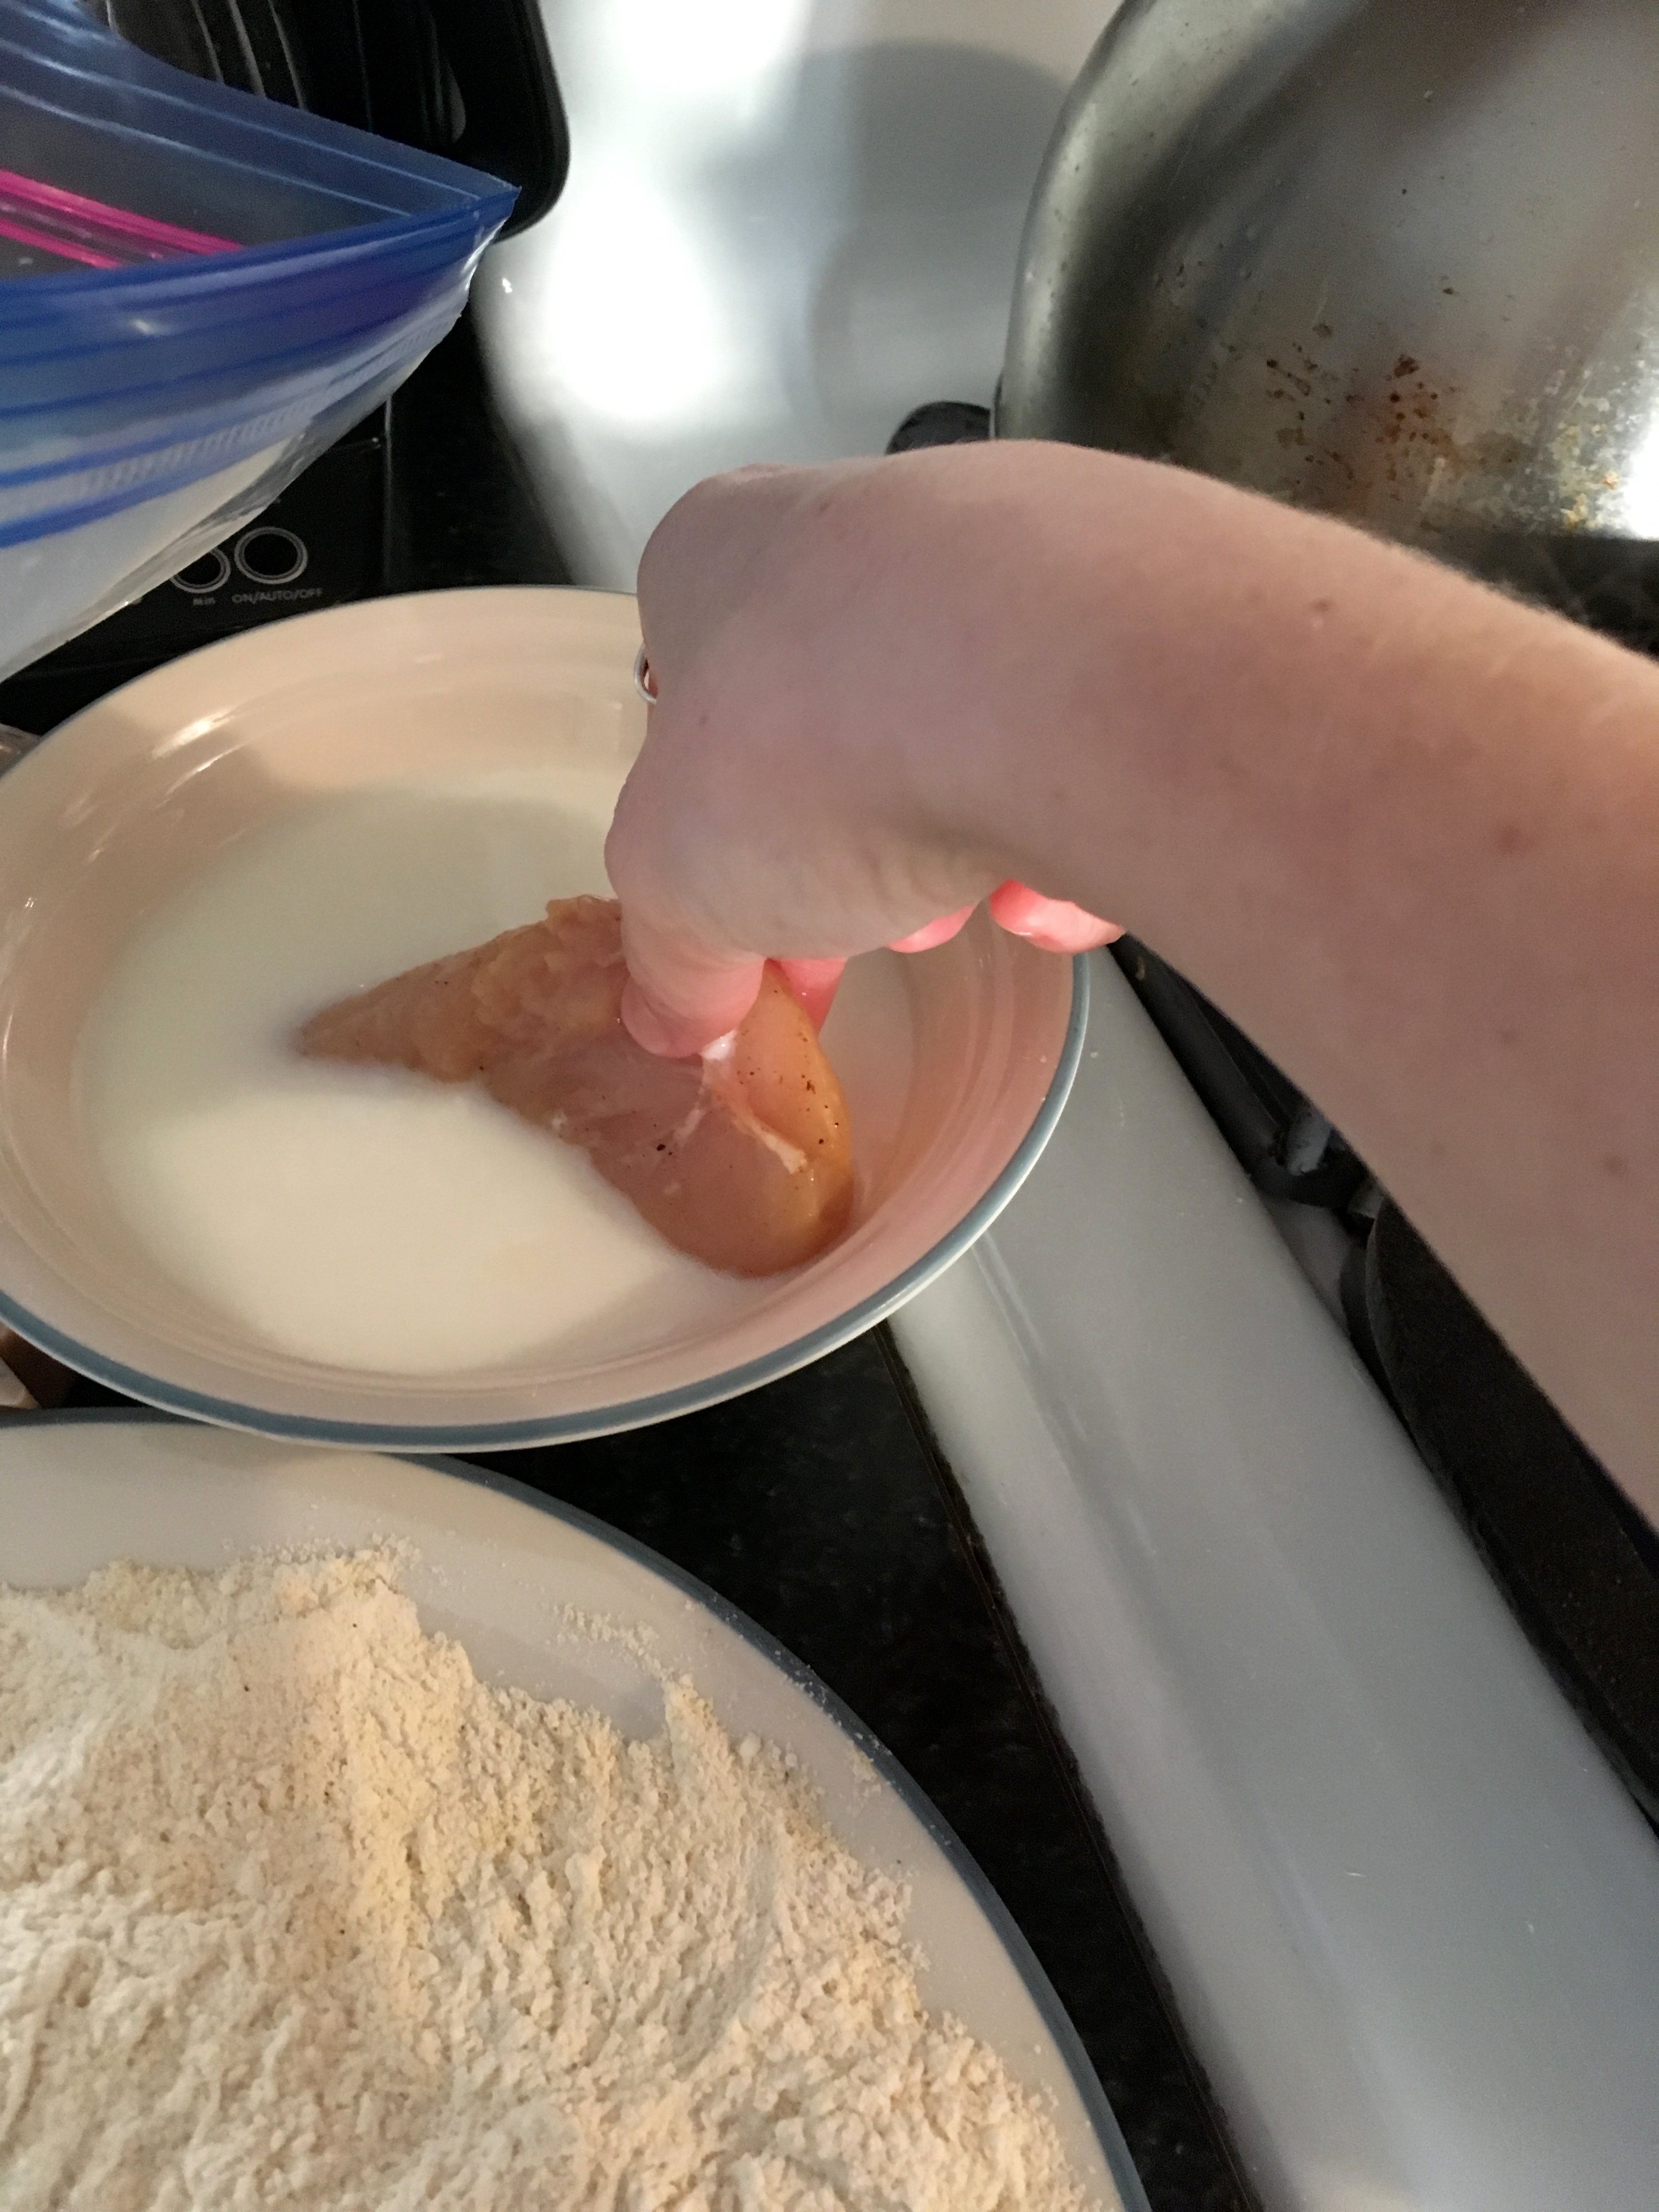
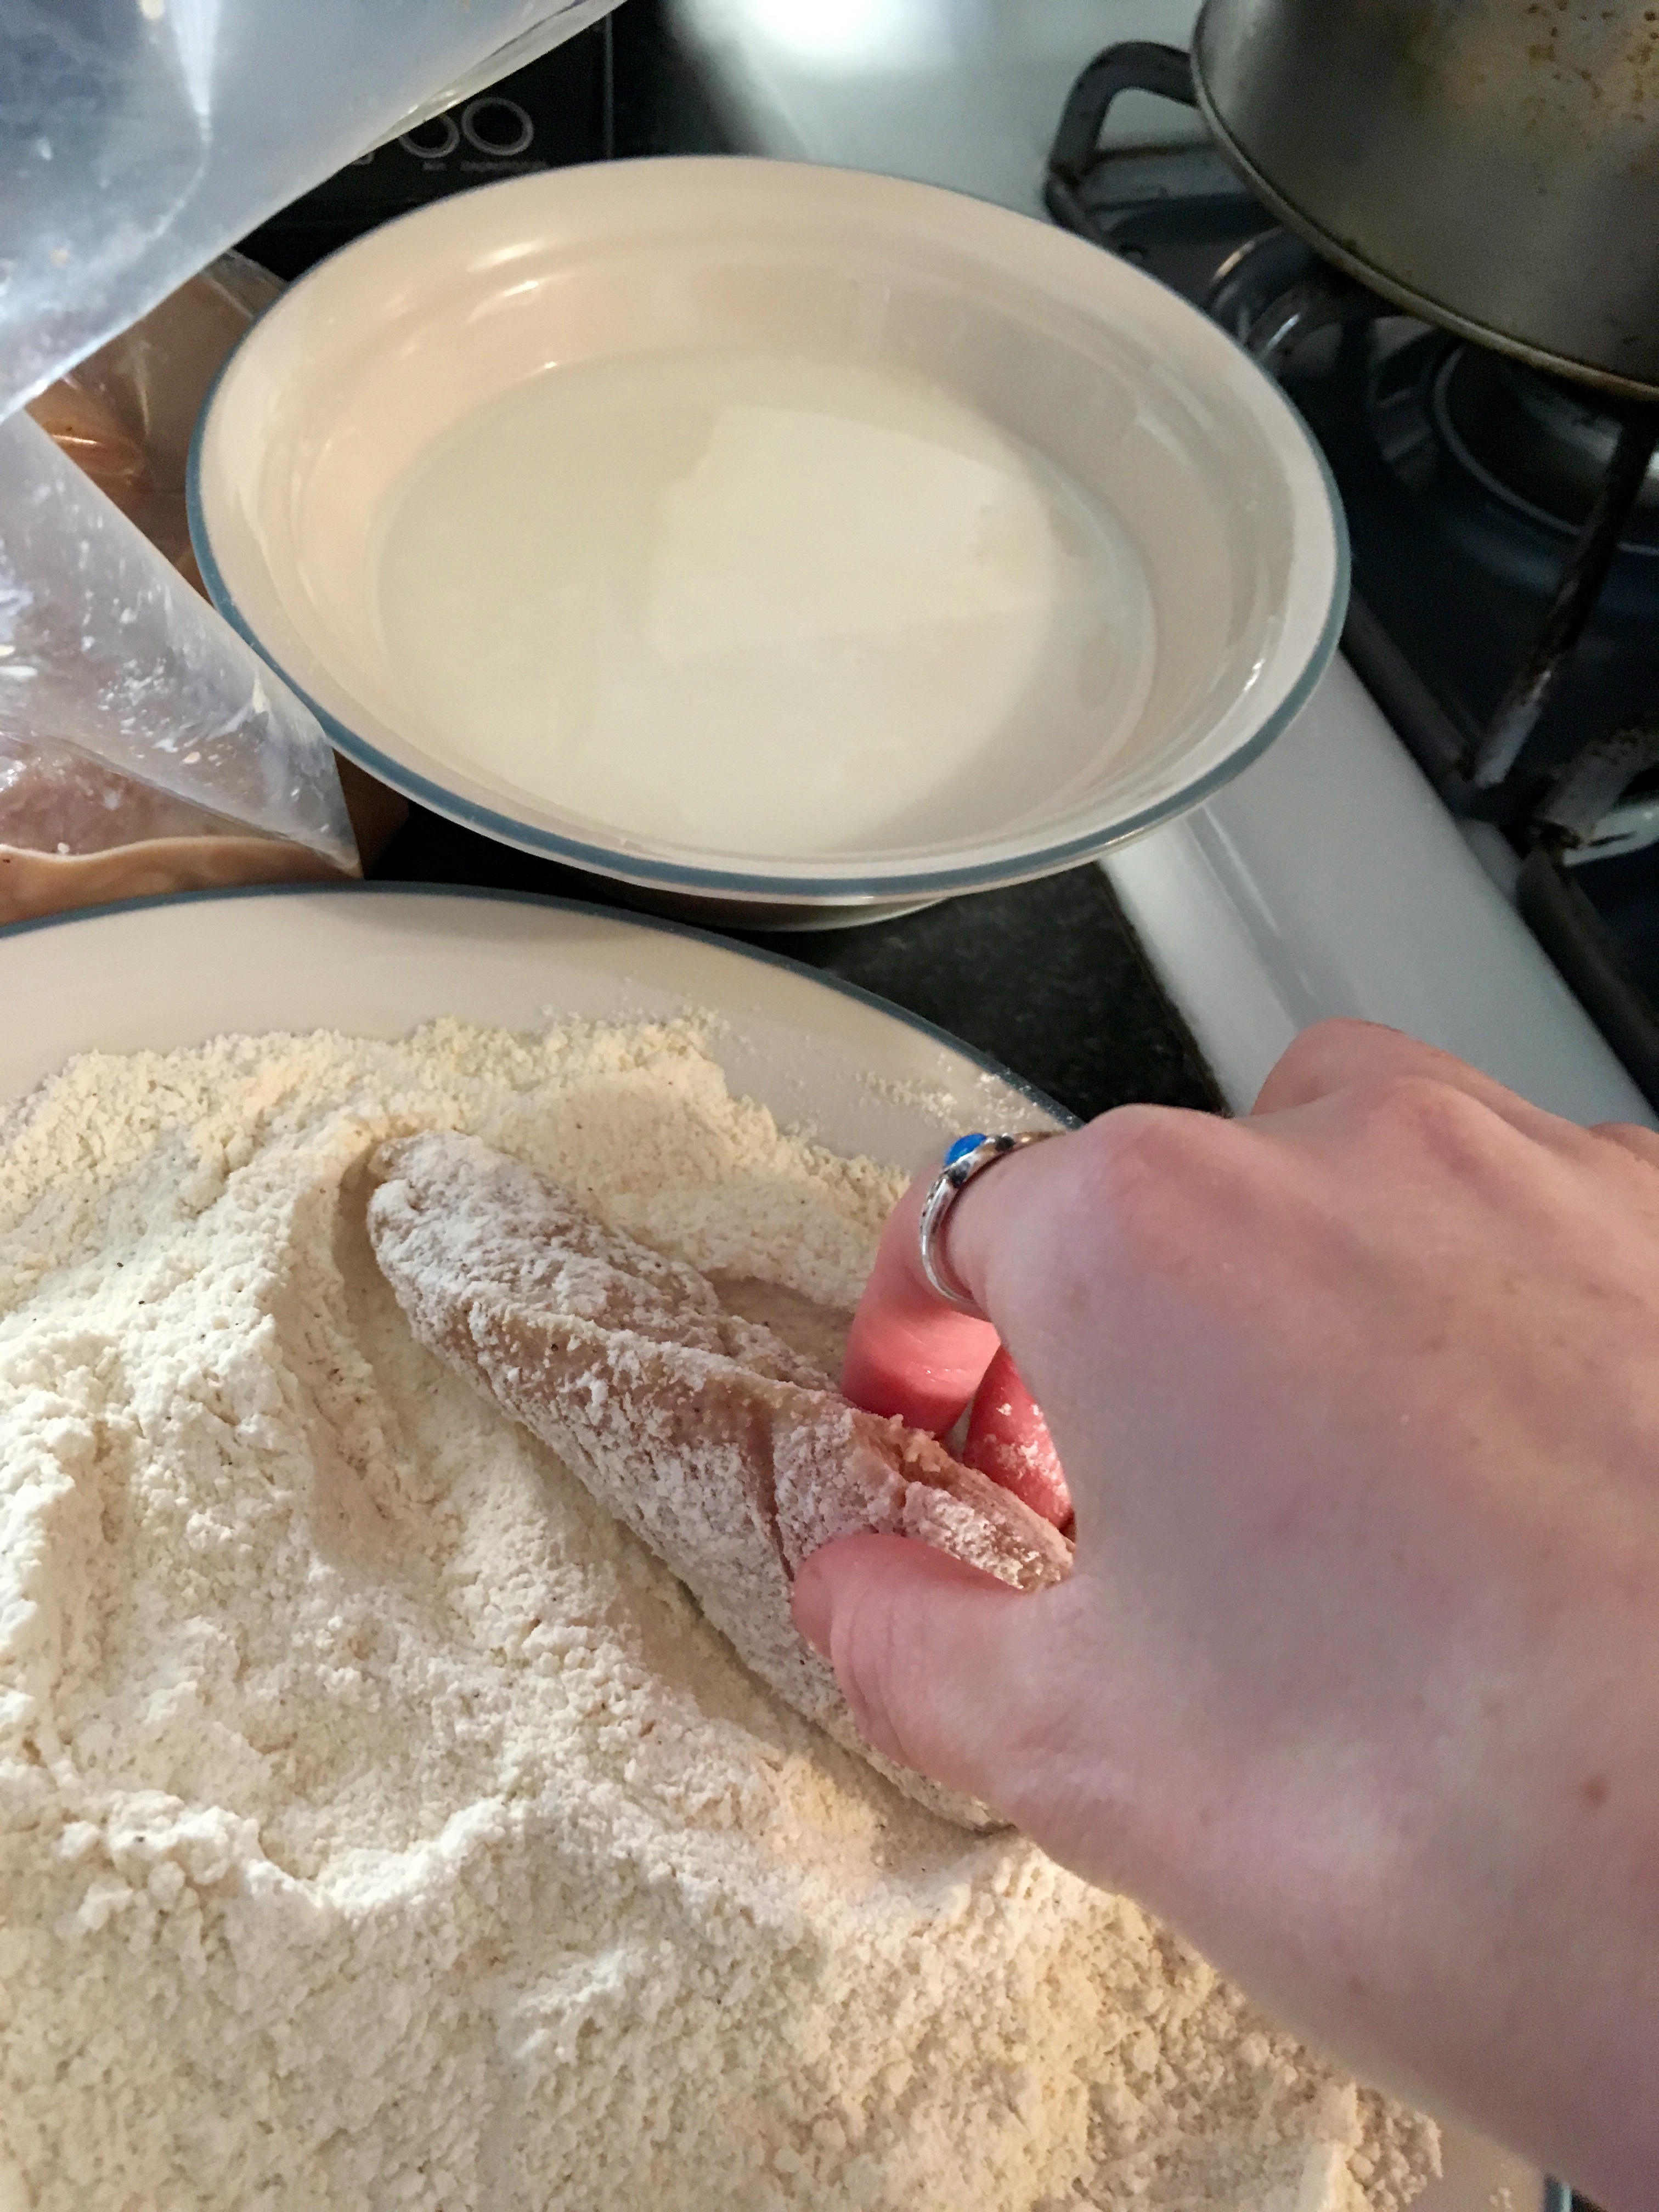
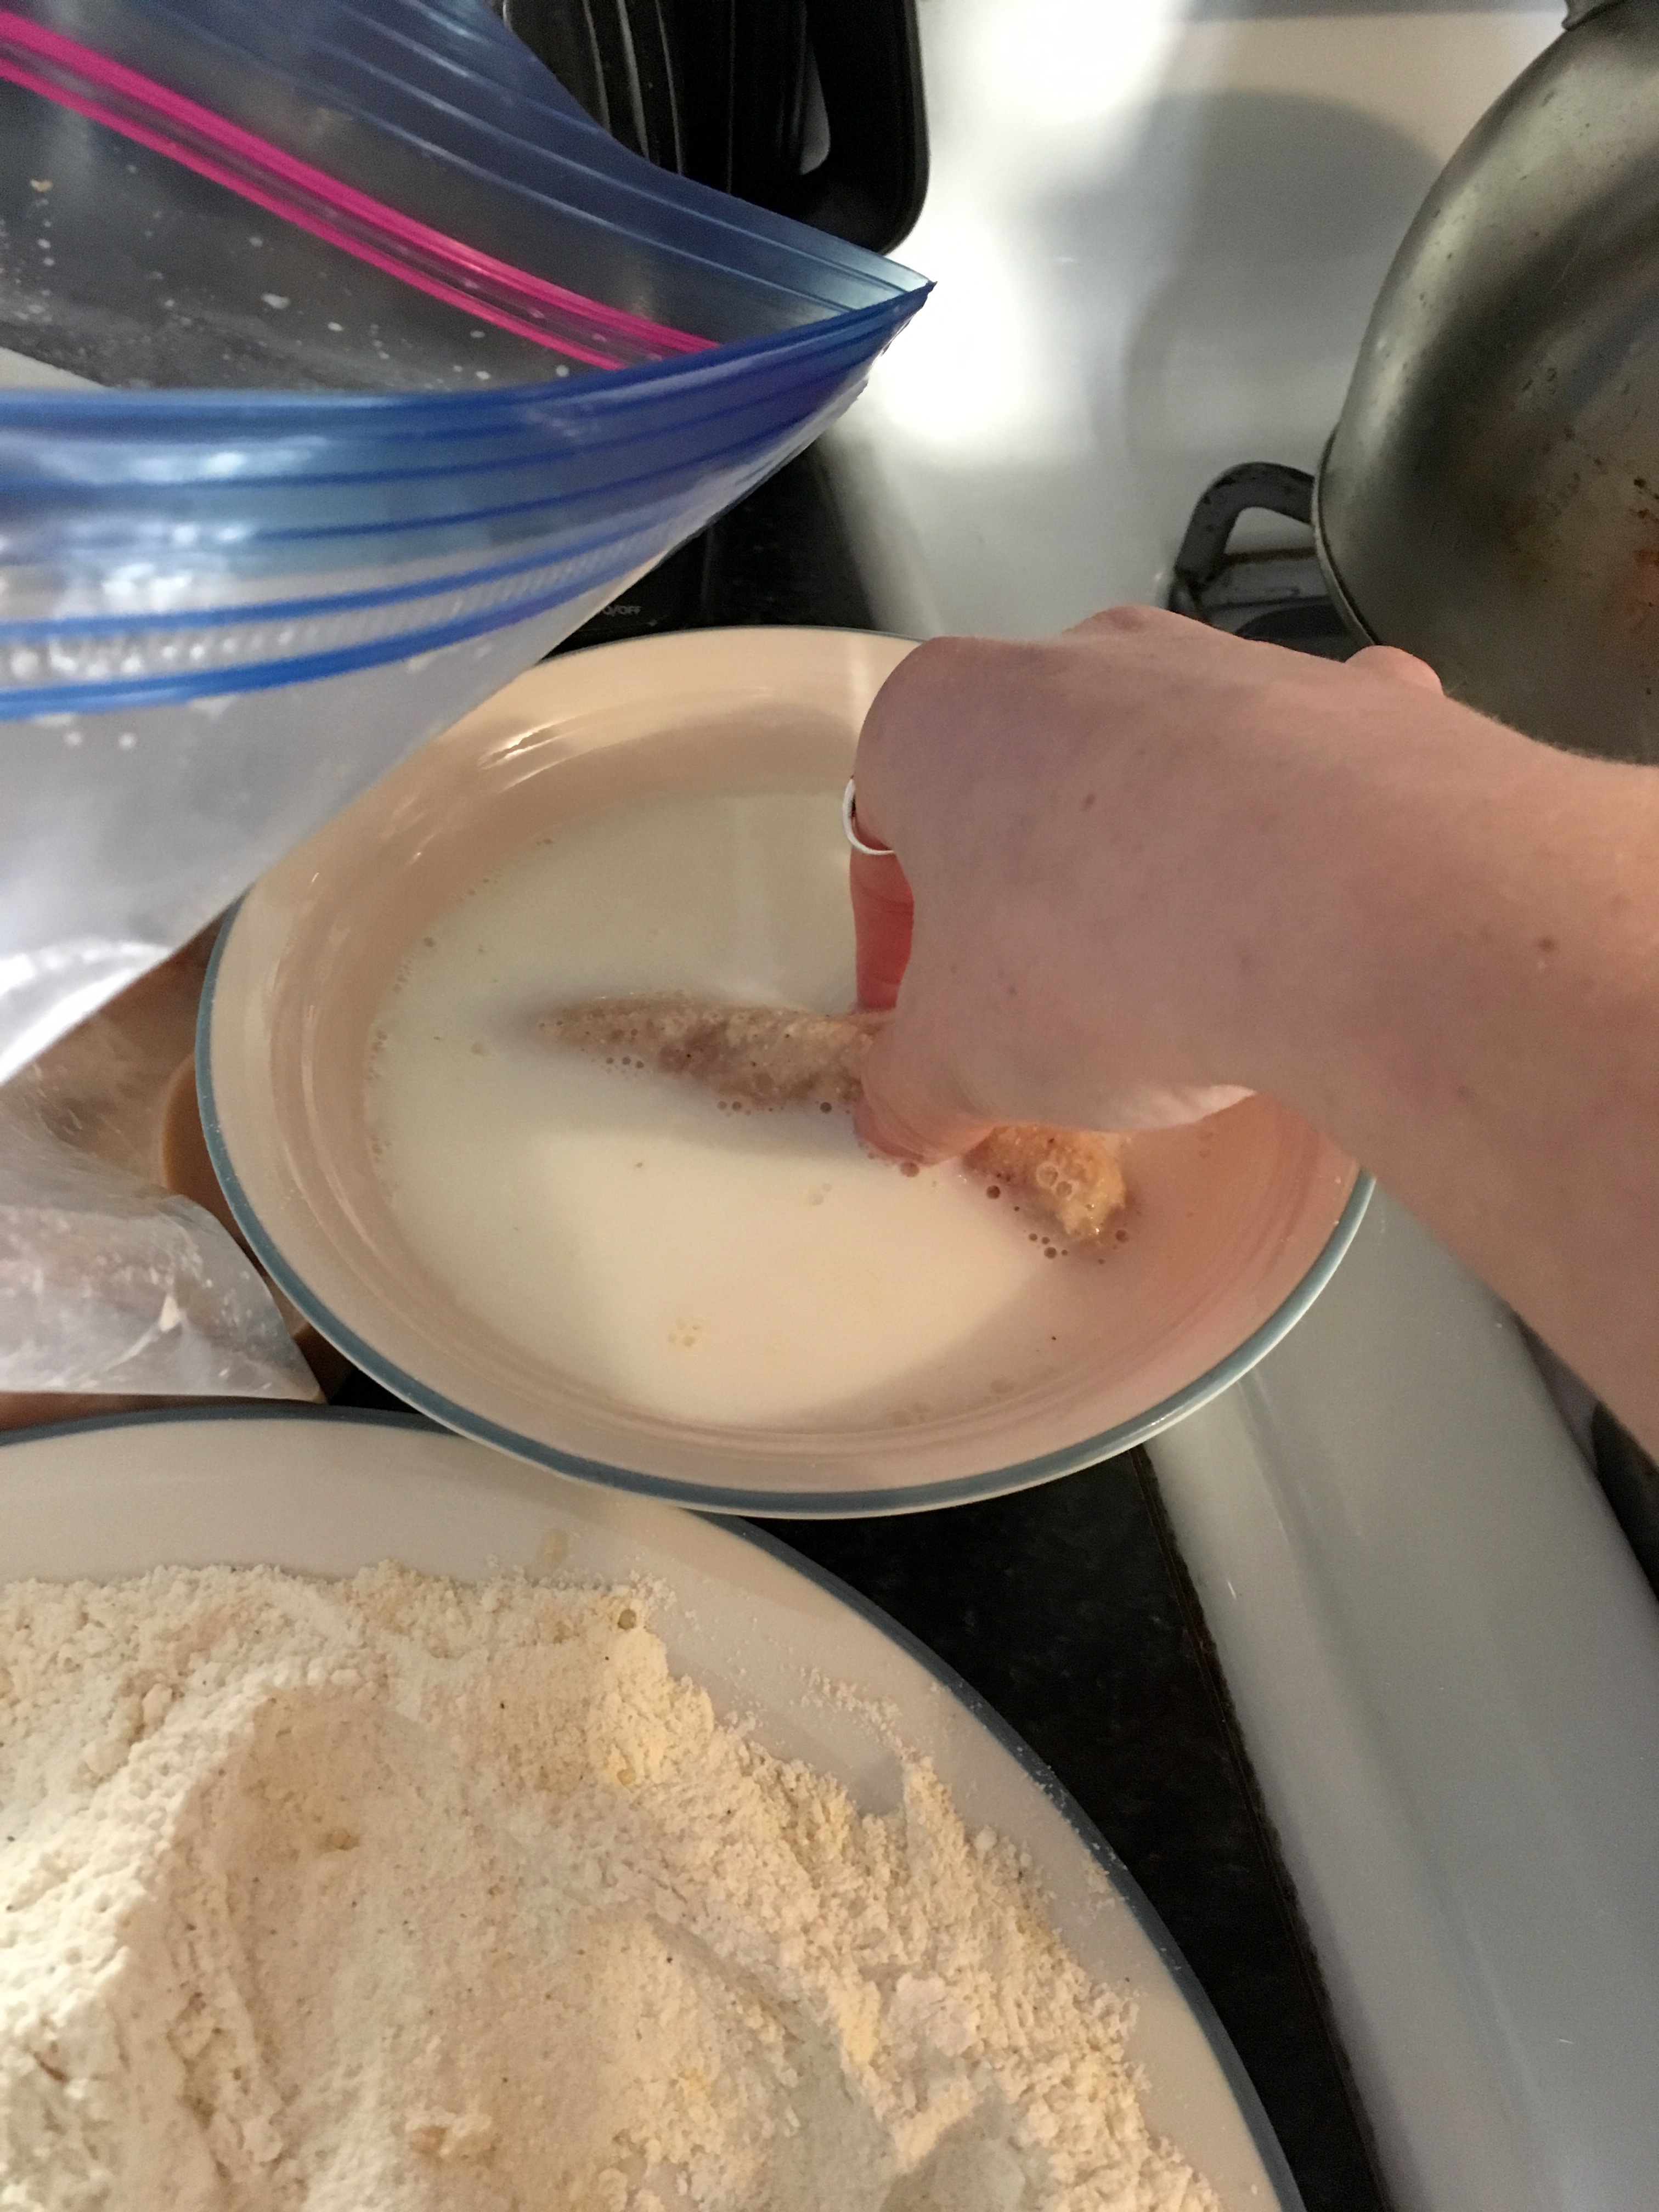
Dip the chicken into the buttermilk, then into the dry mix- then back into the buttermilk, and back into the dry mixture. This double dipping ensures a good thick crust around the chicken for perfect crunch.
Fry the chicken in the hot oil, turning a few times, until a food thermometer inserted into the thickest part of the tender reads 165°. Tip: put only a few tenders in the fryer at the same time to prevent cooling down the oil and making the crust soggy.
When the tenders are done, transfer to a paper towel lined baking sheet and keep warm in the preheated oven.
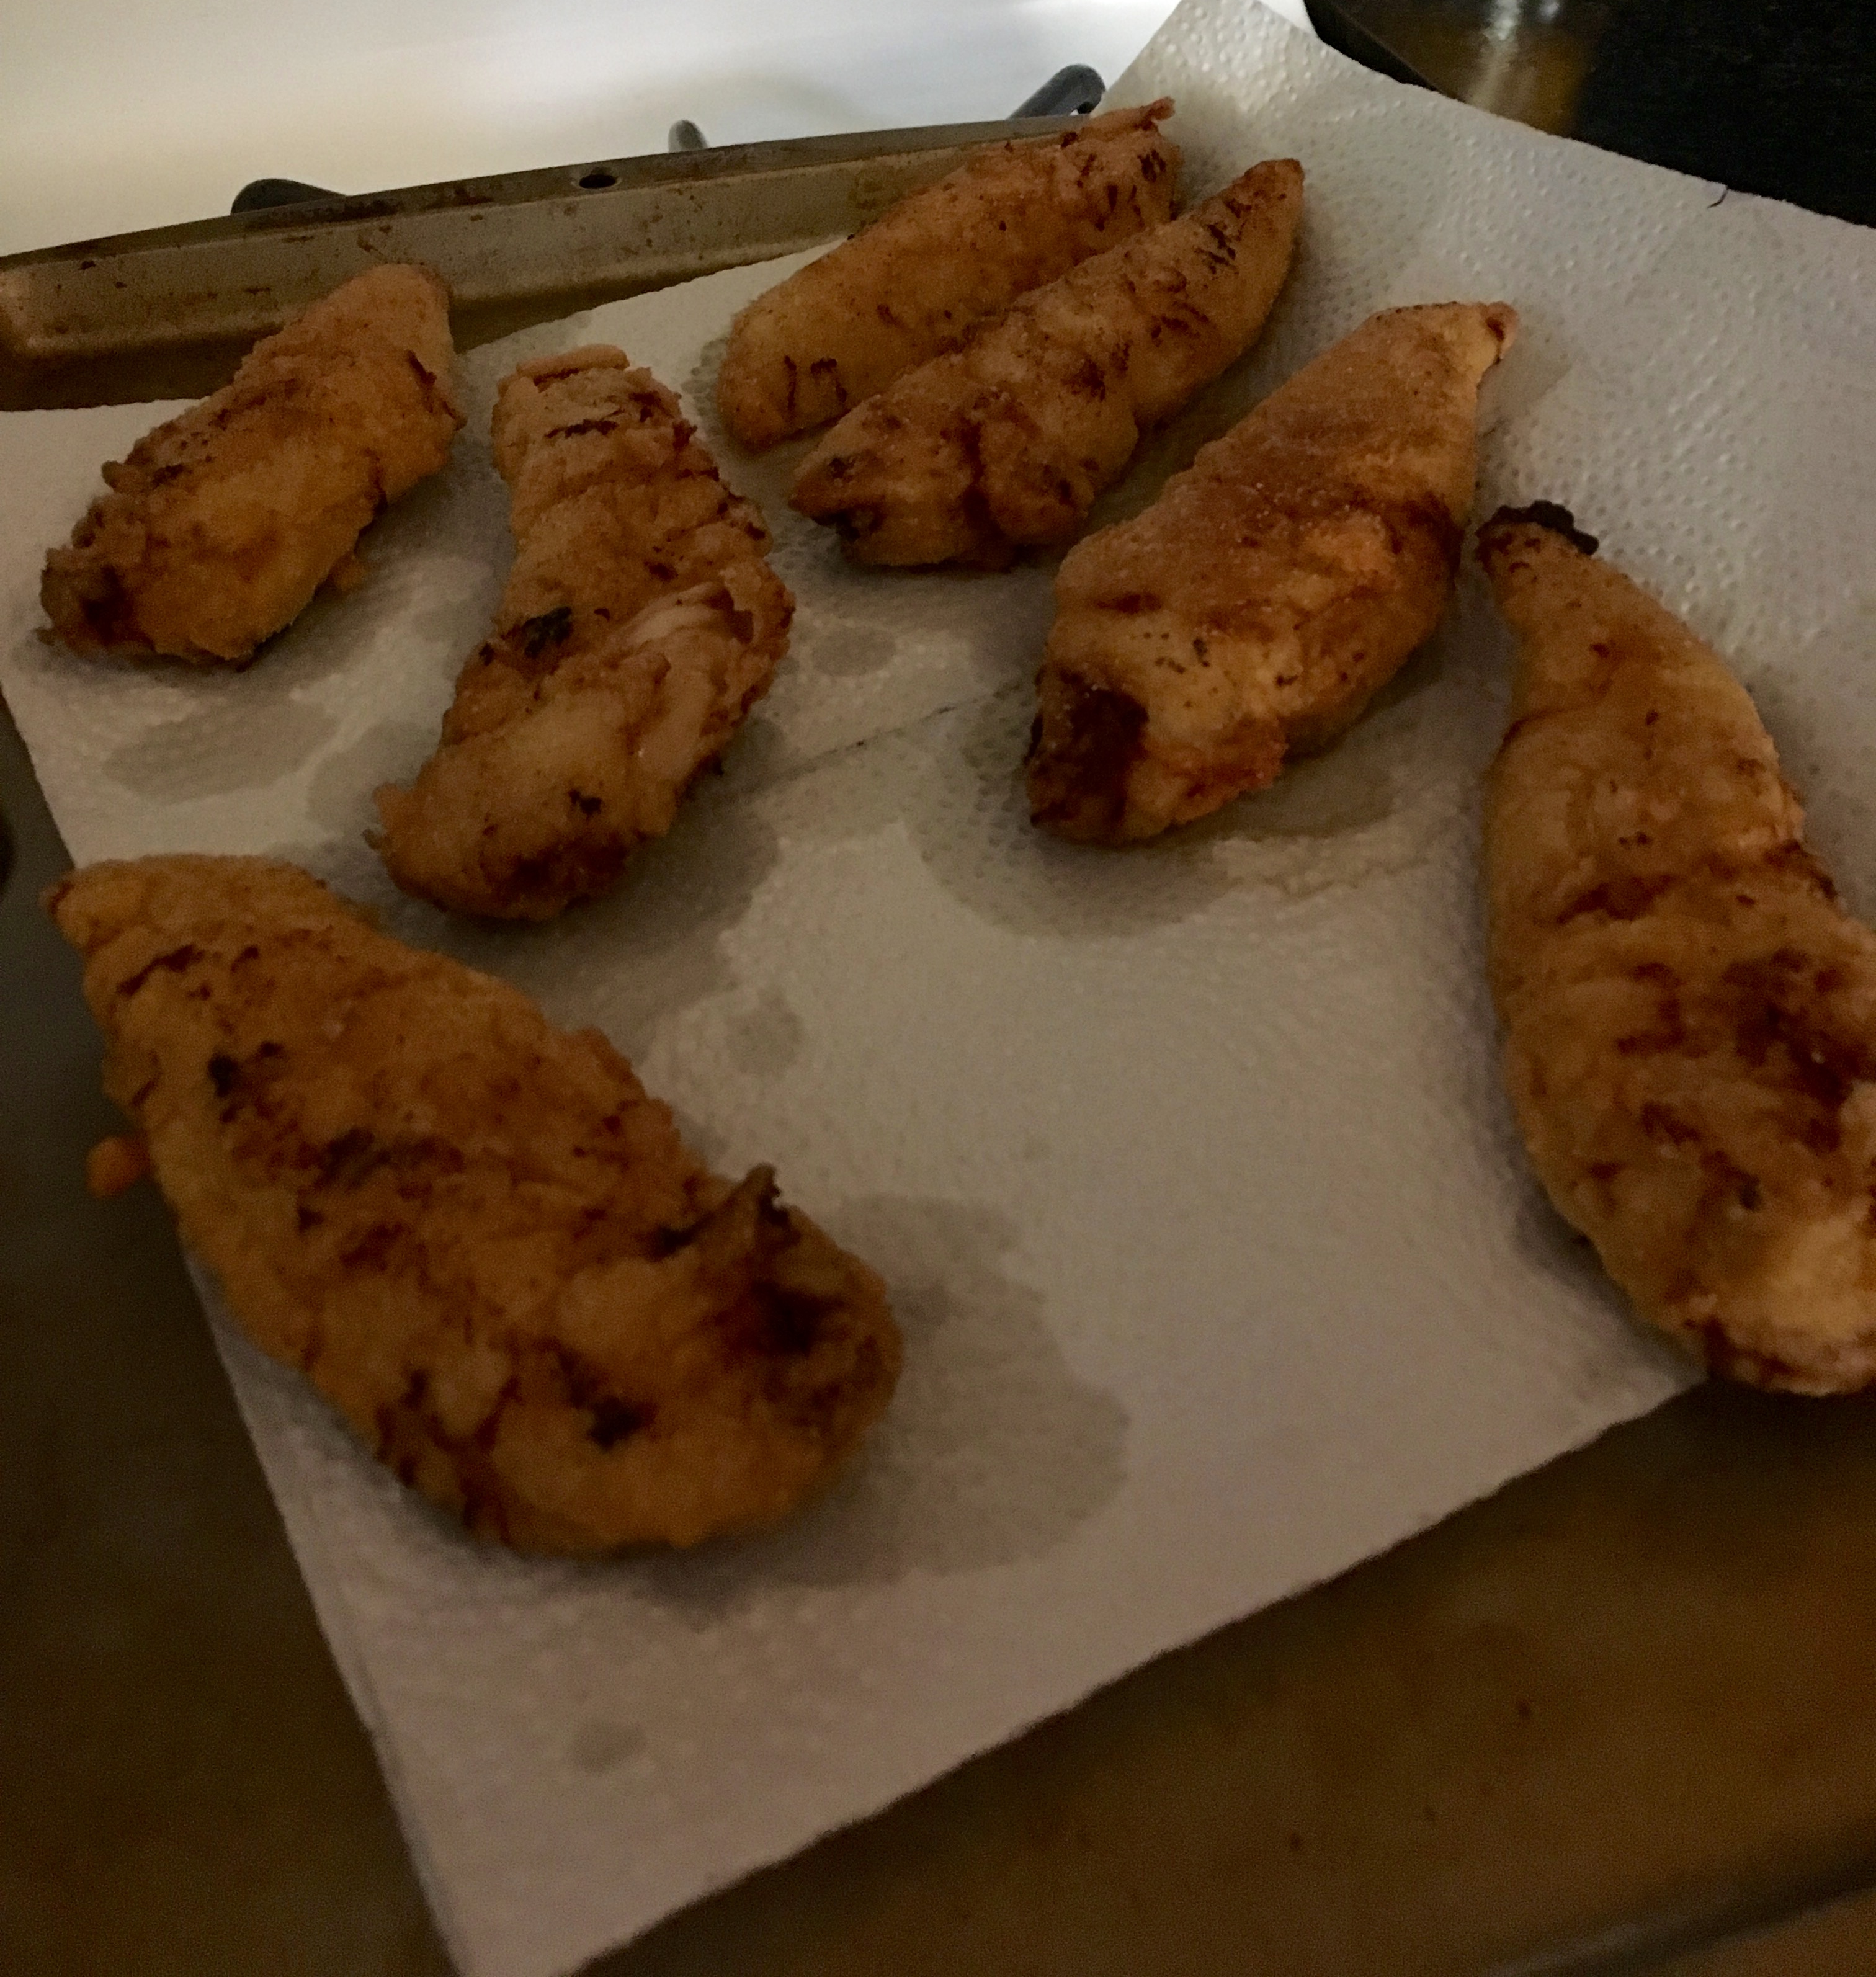
Once all your tenders are done, pop a few on top of a golden brown waffle and drizzle with syrup! You could definitely mix your syrup with some red pepper flakes or cayenne for an extra kick of spice, or you could keep it traditional (my personal favorite).

Shout out to the waffle making king, my husband!

Enjoy making, and eating, this awesome comfort food!
Dinner with Foodie Dice
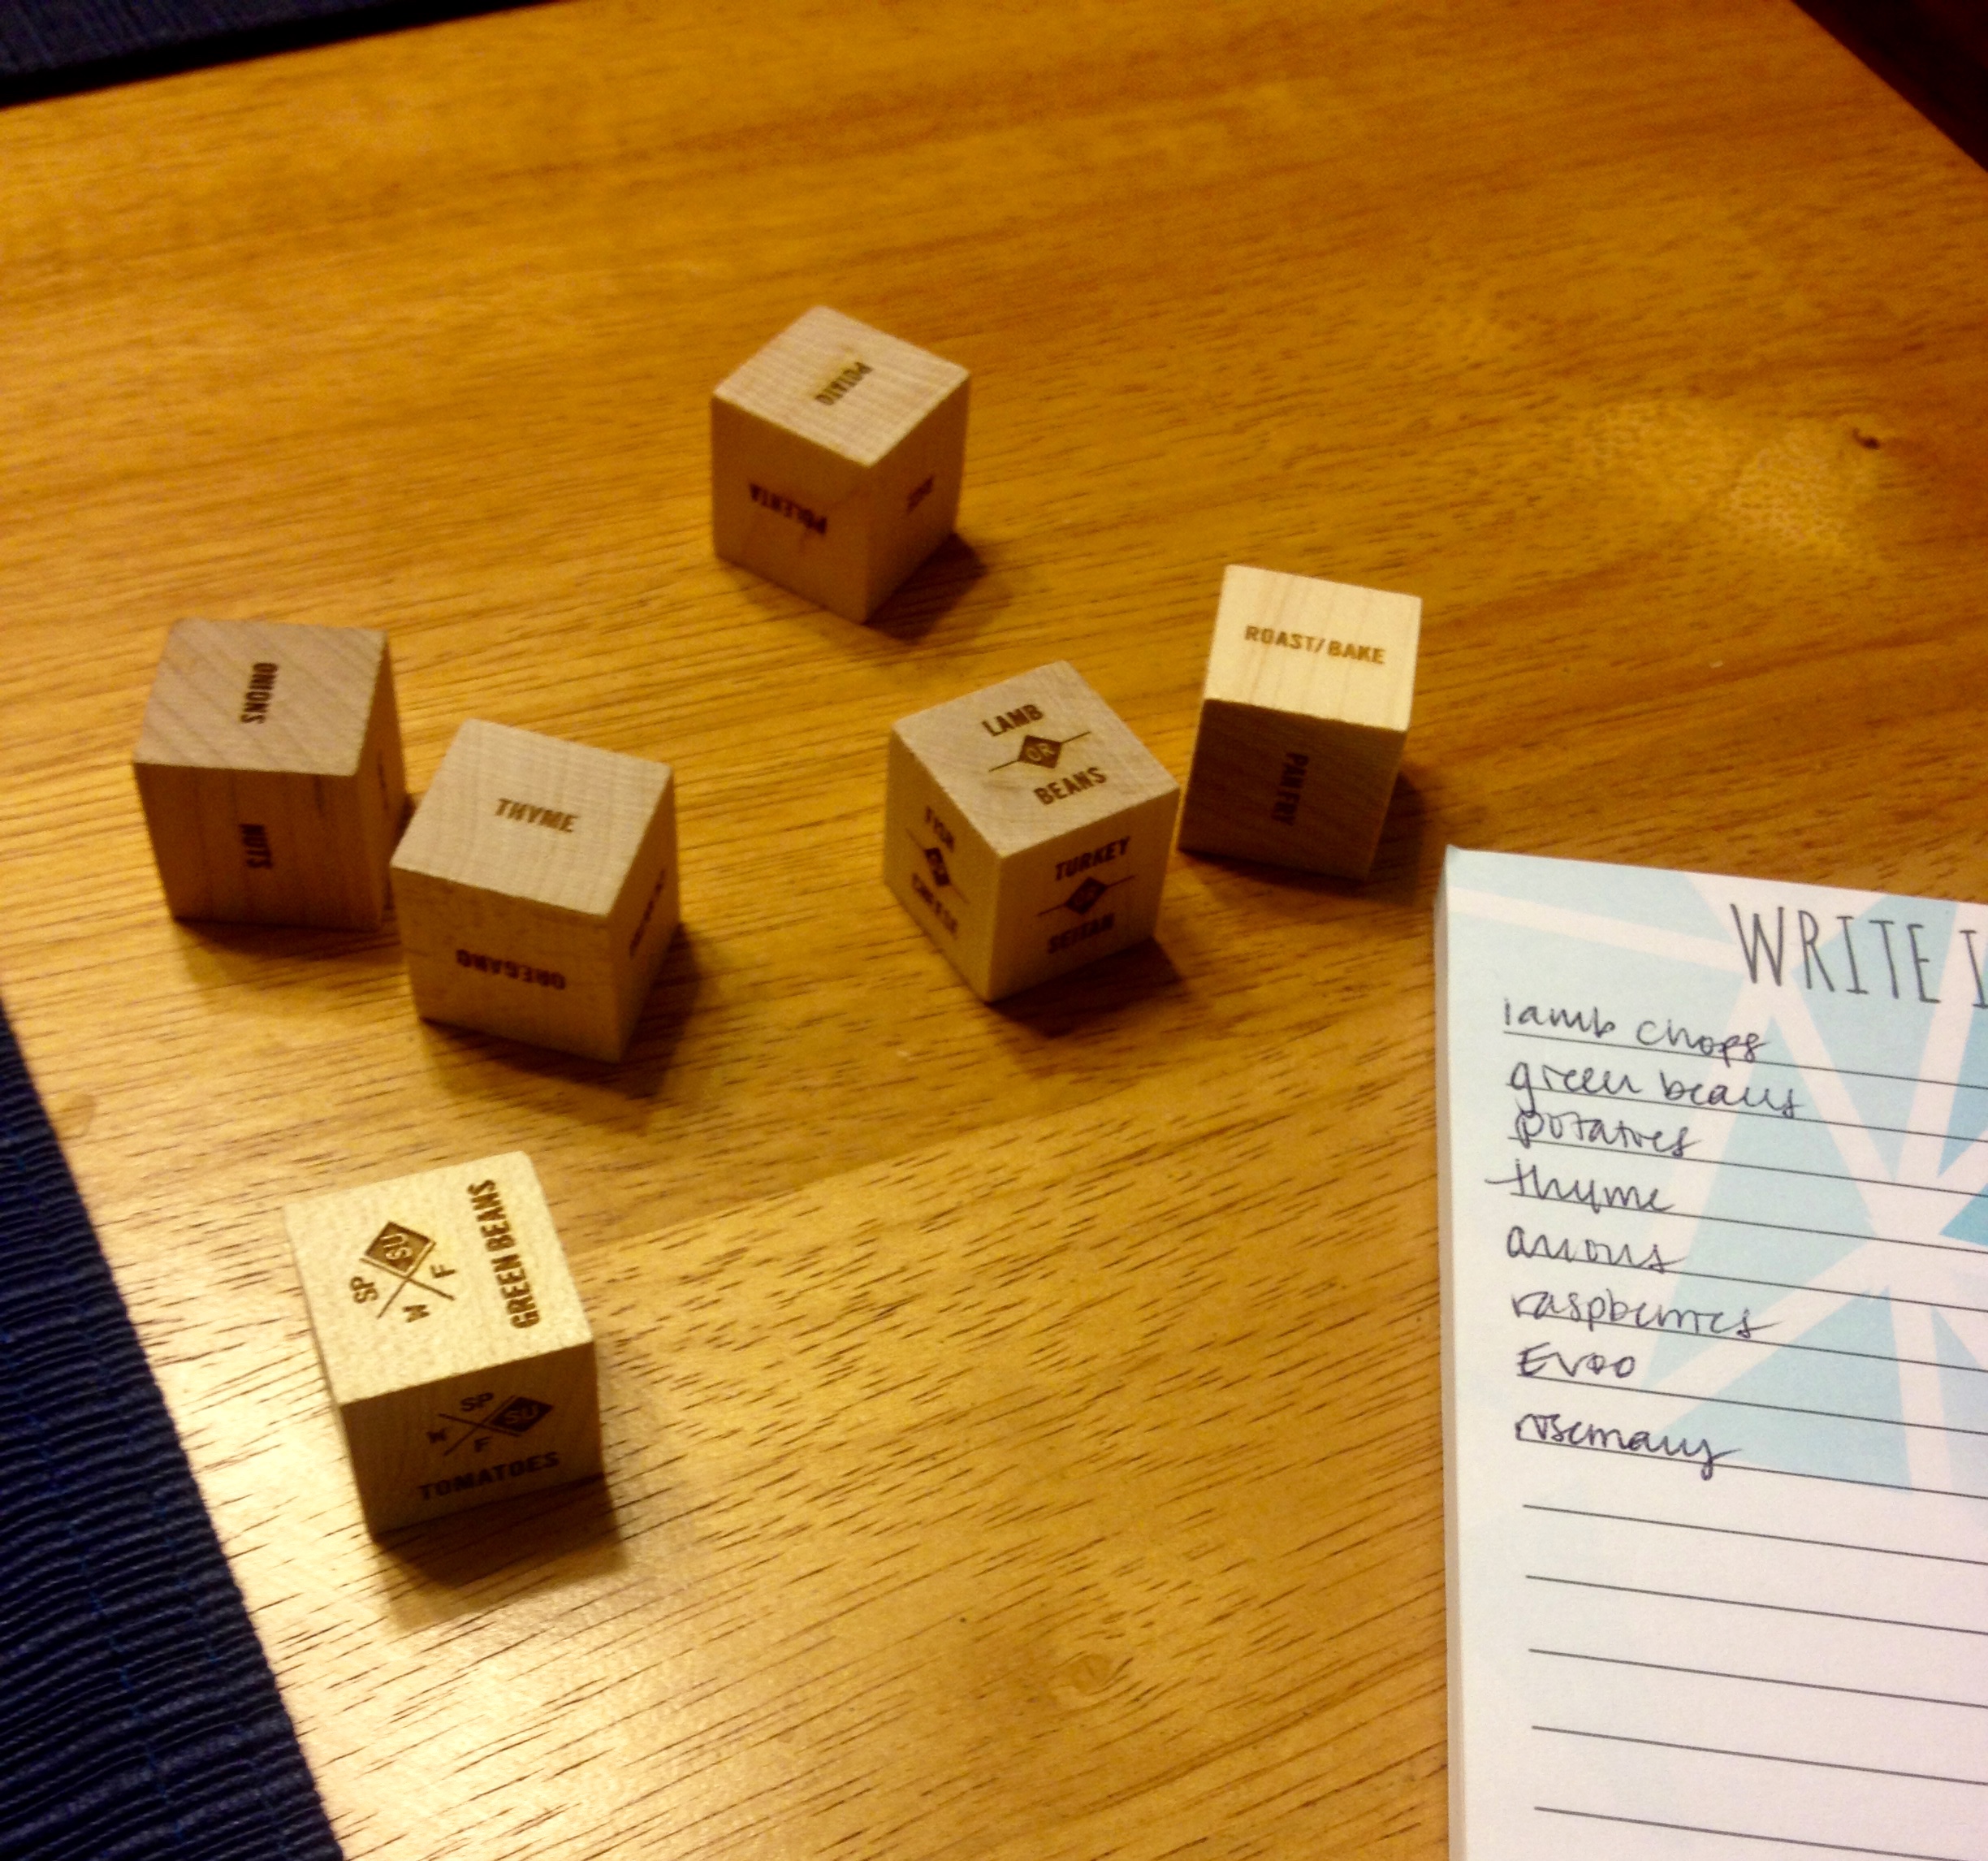
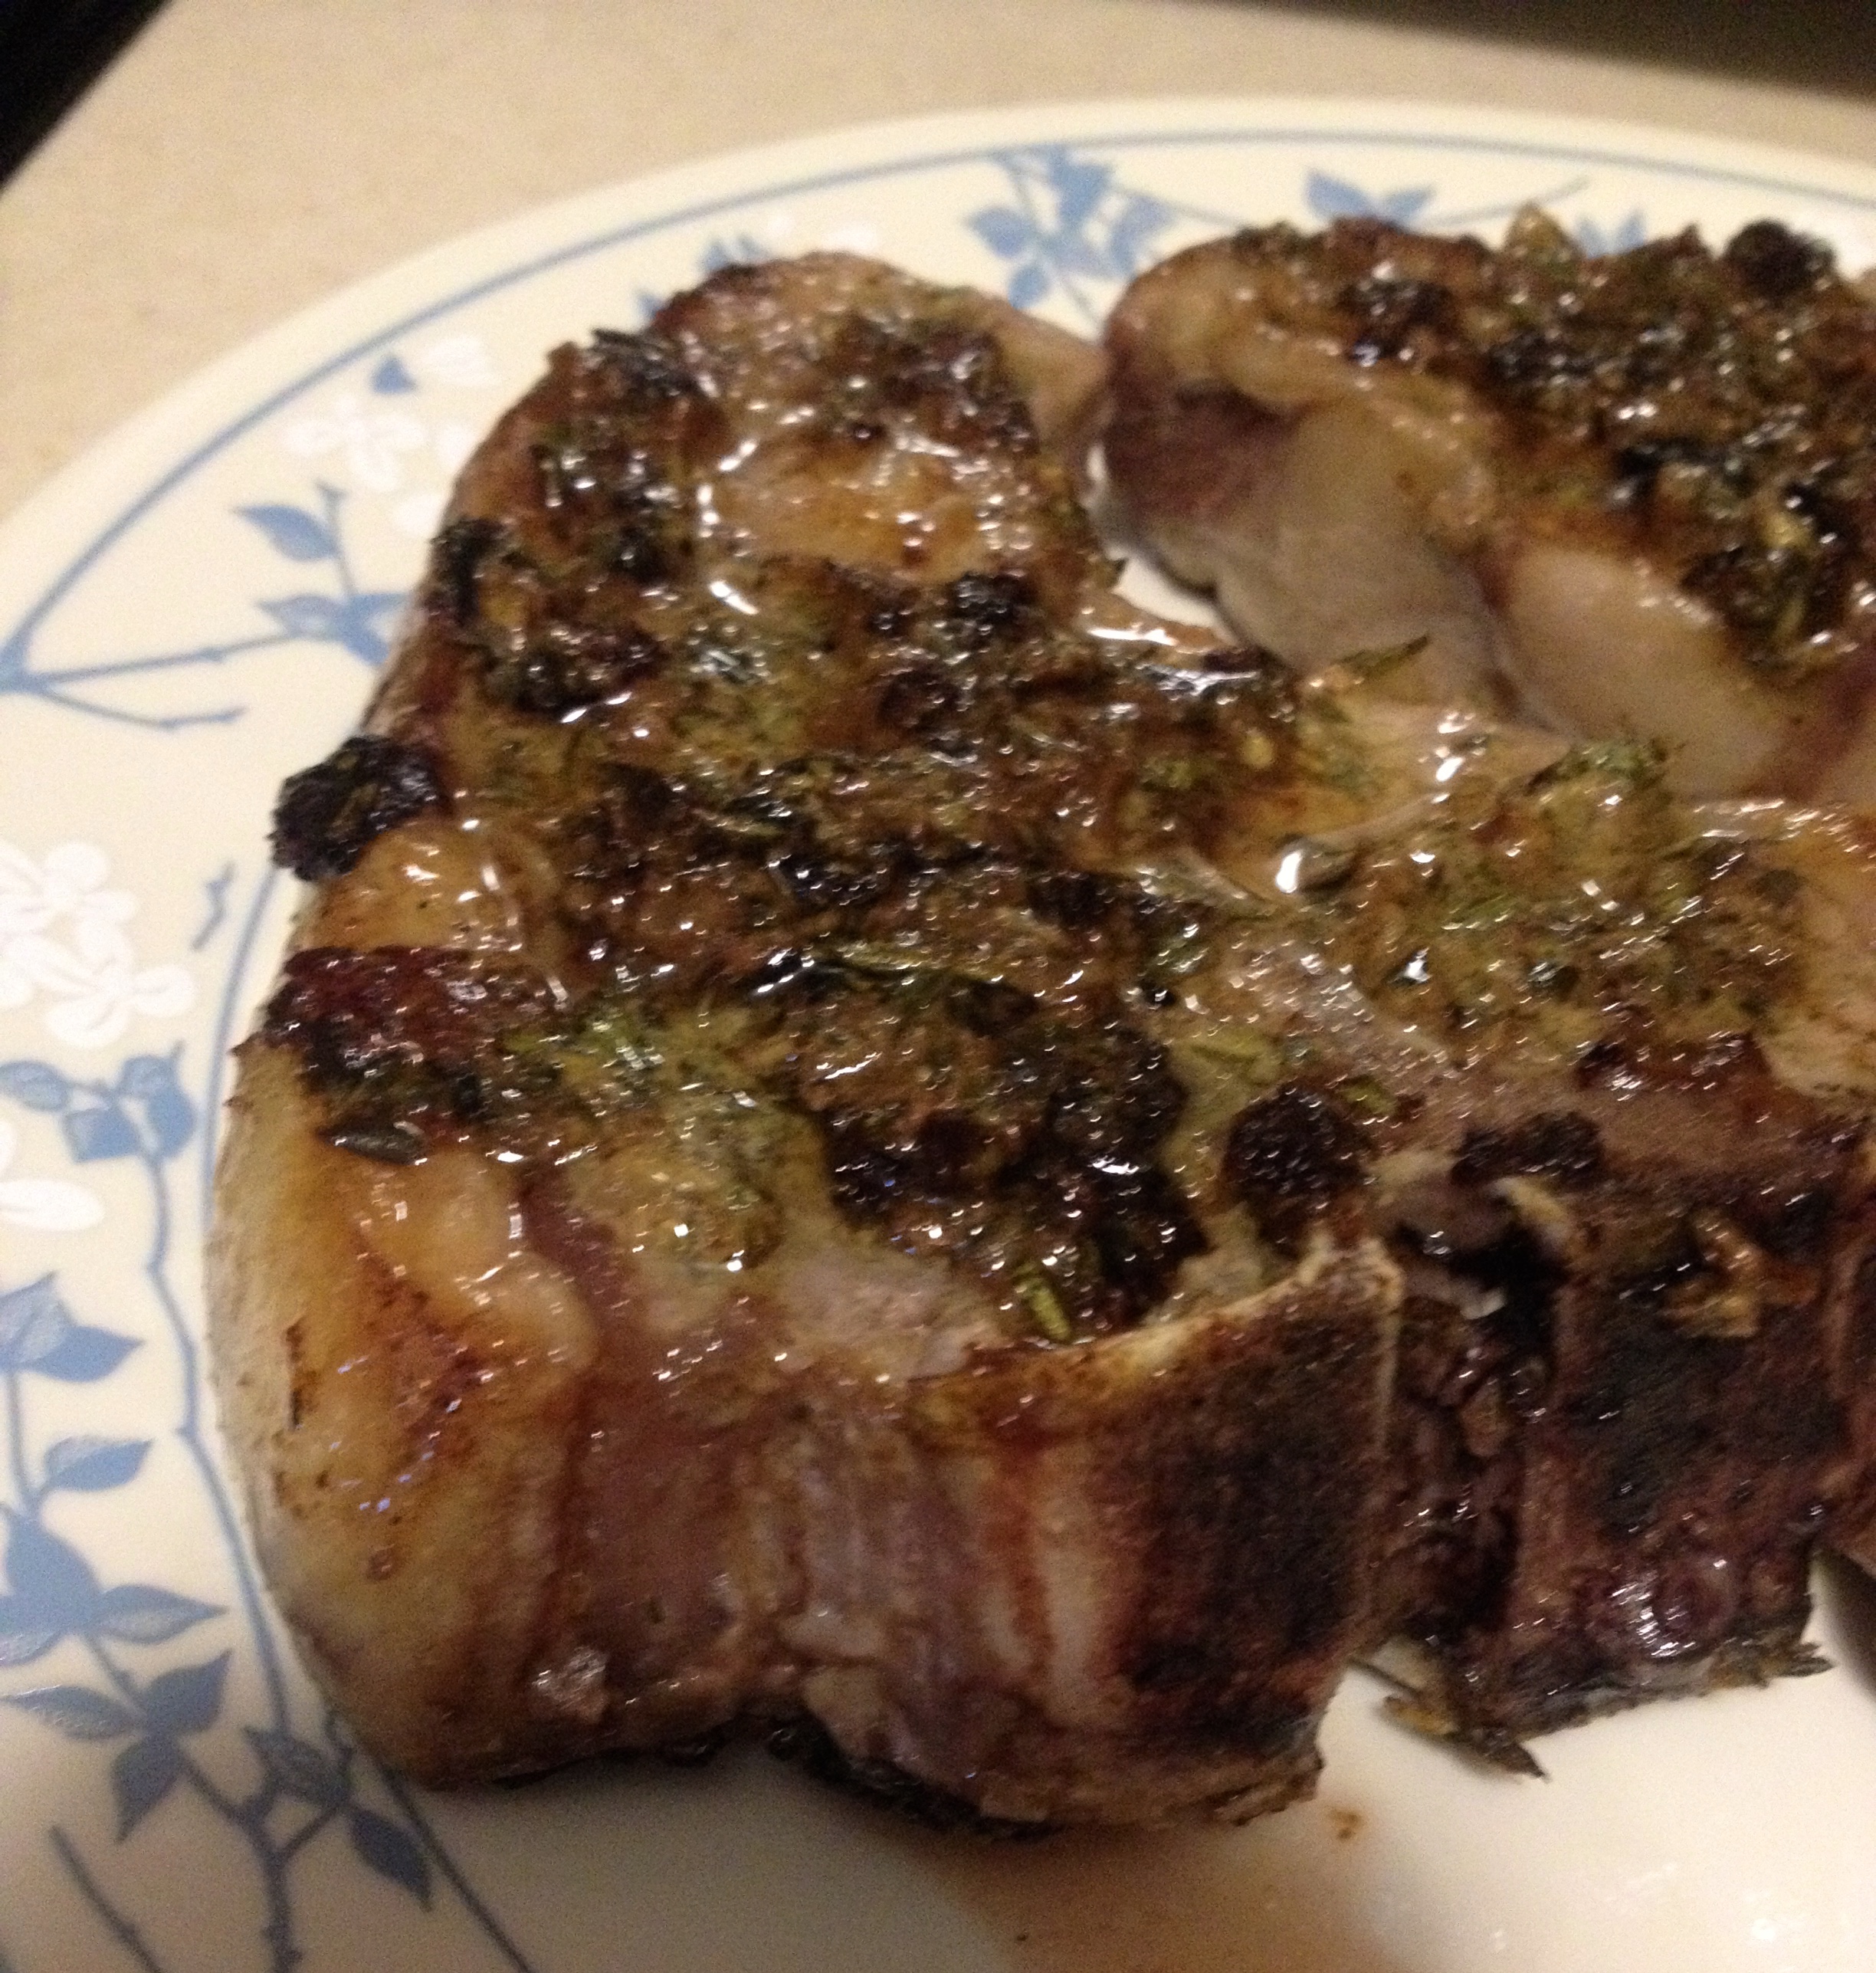
Hi, all! Happy Labor Day! I hope you all enjoyed your long weekend. My husband and I spent ours in Pennsylvania, visiting my sister. She lives in this great foodie/artsy town, so we went for a “First Friday” weekend, where we saw a lot of local art as well as enjoyed some awesome food! My sister loves to cook as much as I do, so we wanted to do something fun for dinner while we were there. My husband’s aunt had recently bought me “Foodie Dice” for my birthday, so we decided that we would use the dice to decide our meal! With the dice, you roll for a seasonal vegetable, protein, starch, herbs/spices, and type of cooking- then you have to combine all those ingredients into one delicious dish! We rolled lamb, potatoes, thyme, green beans, onions, and something in the dish had to be roasted.
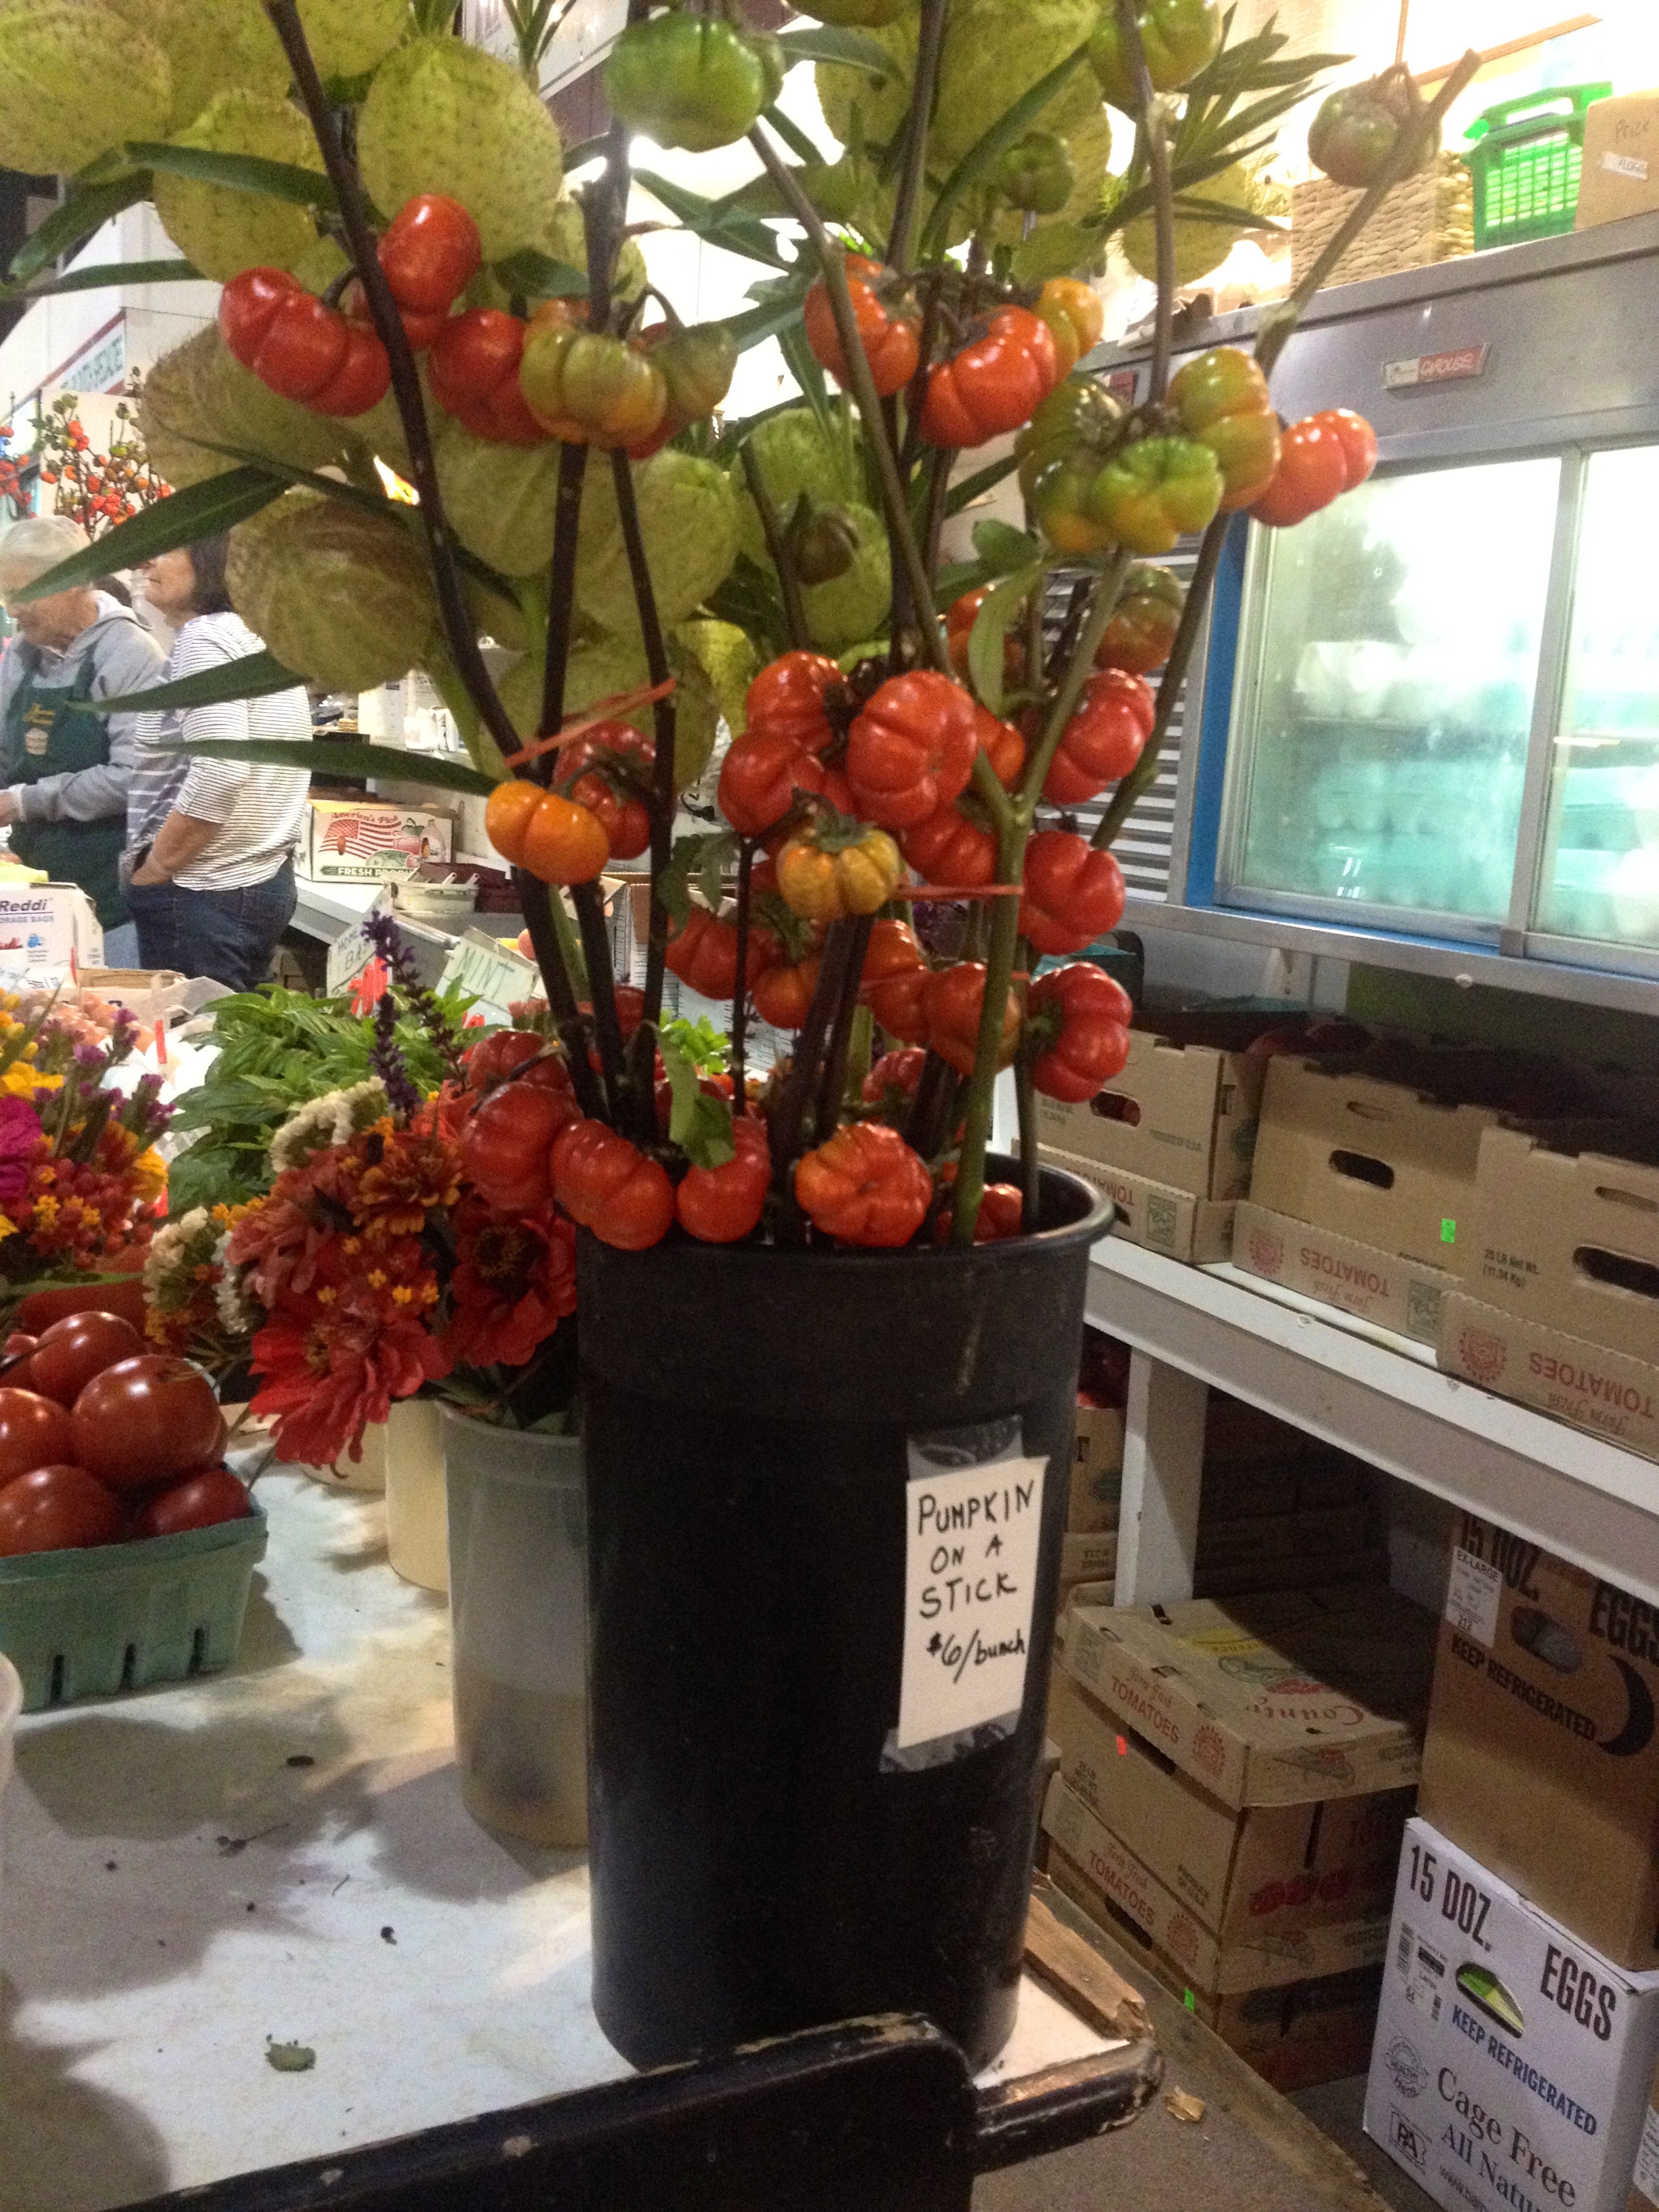
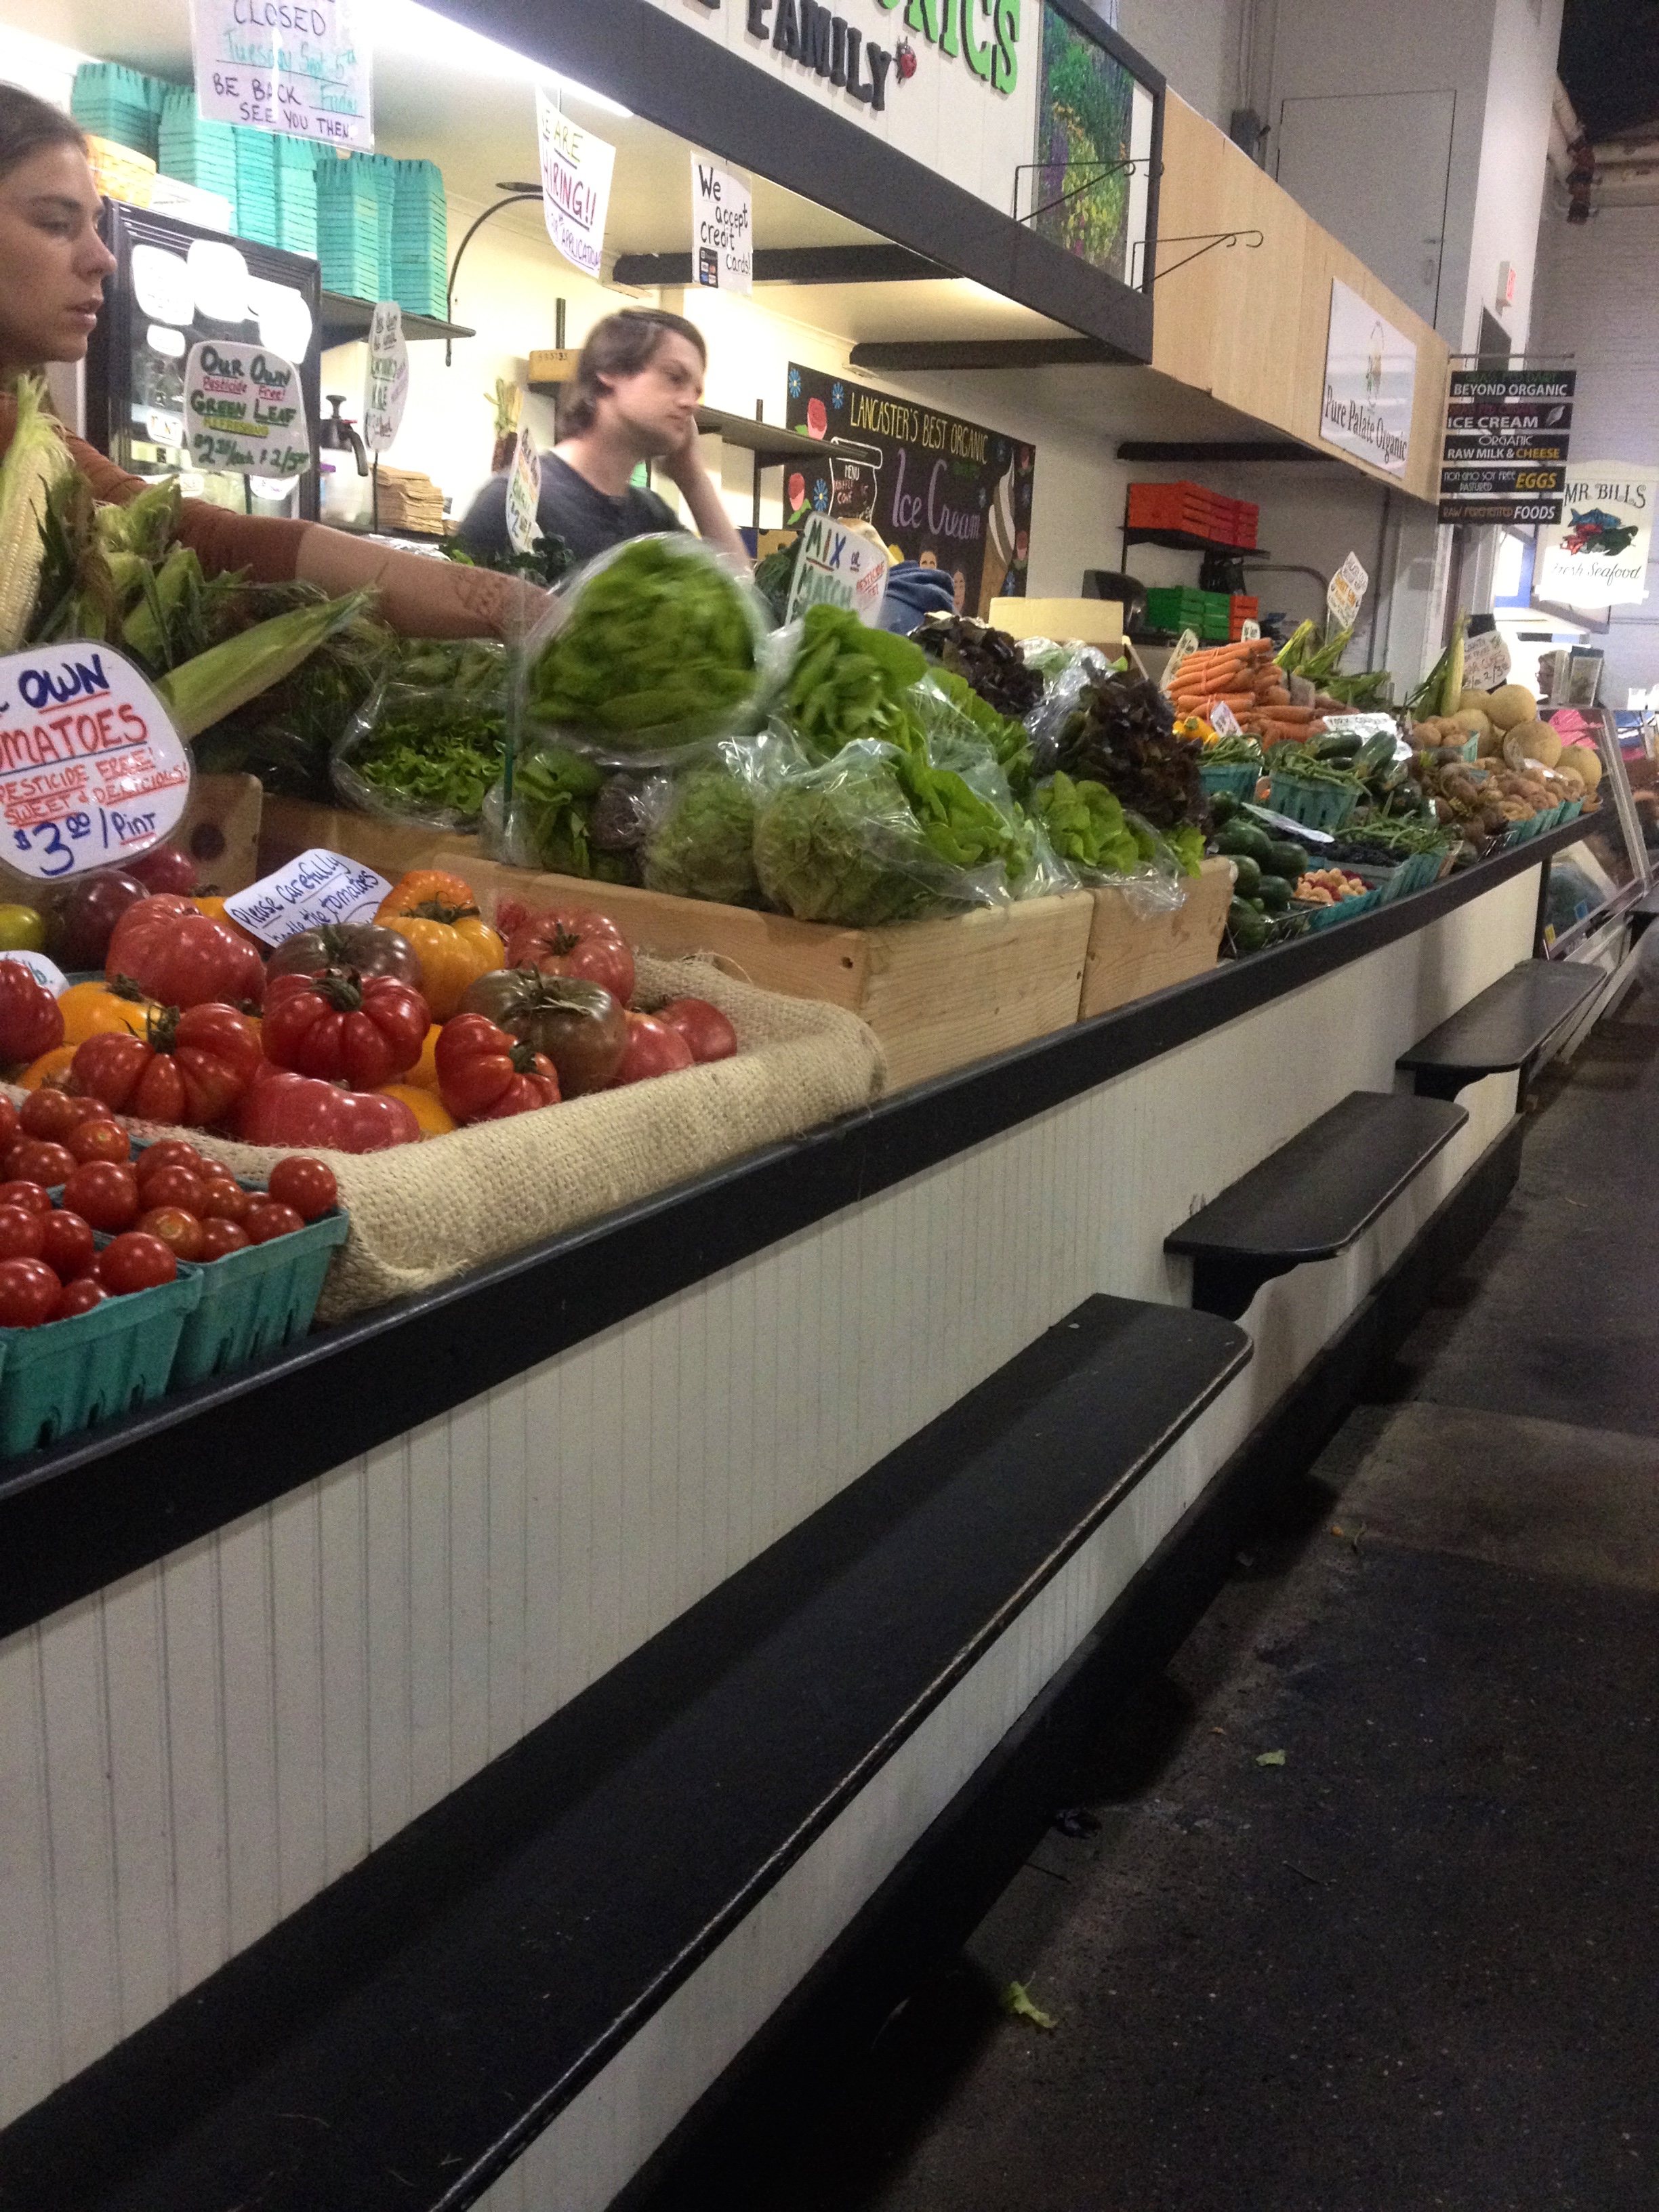
We decided to get all our ingredients from Central Market, which is the longest continuously run indoor farmers’ market in the USA. Here are some pictures of the market:
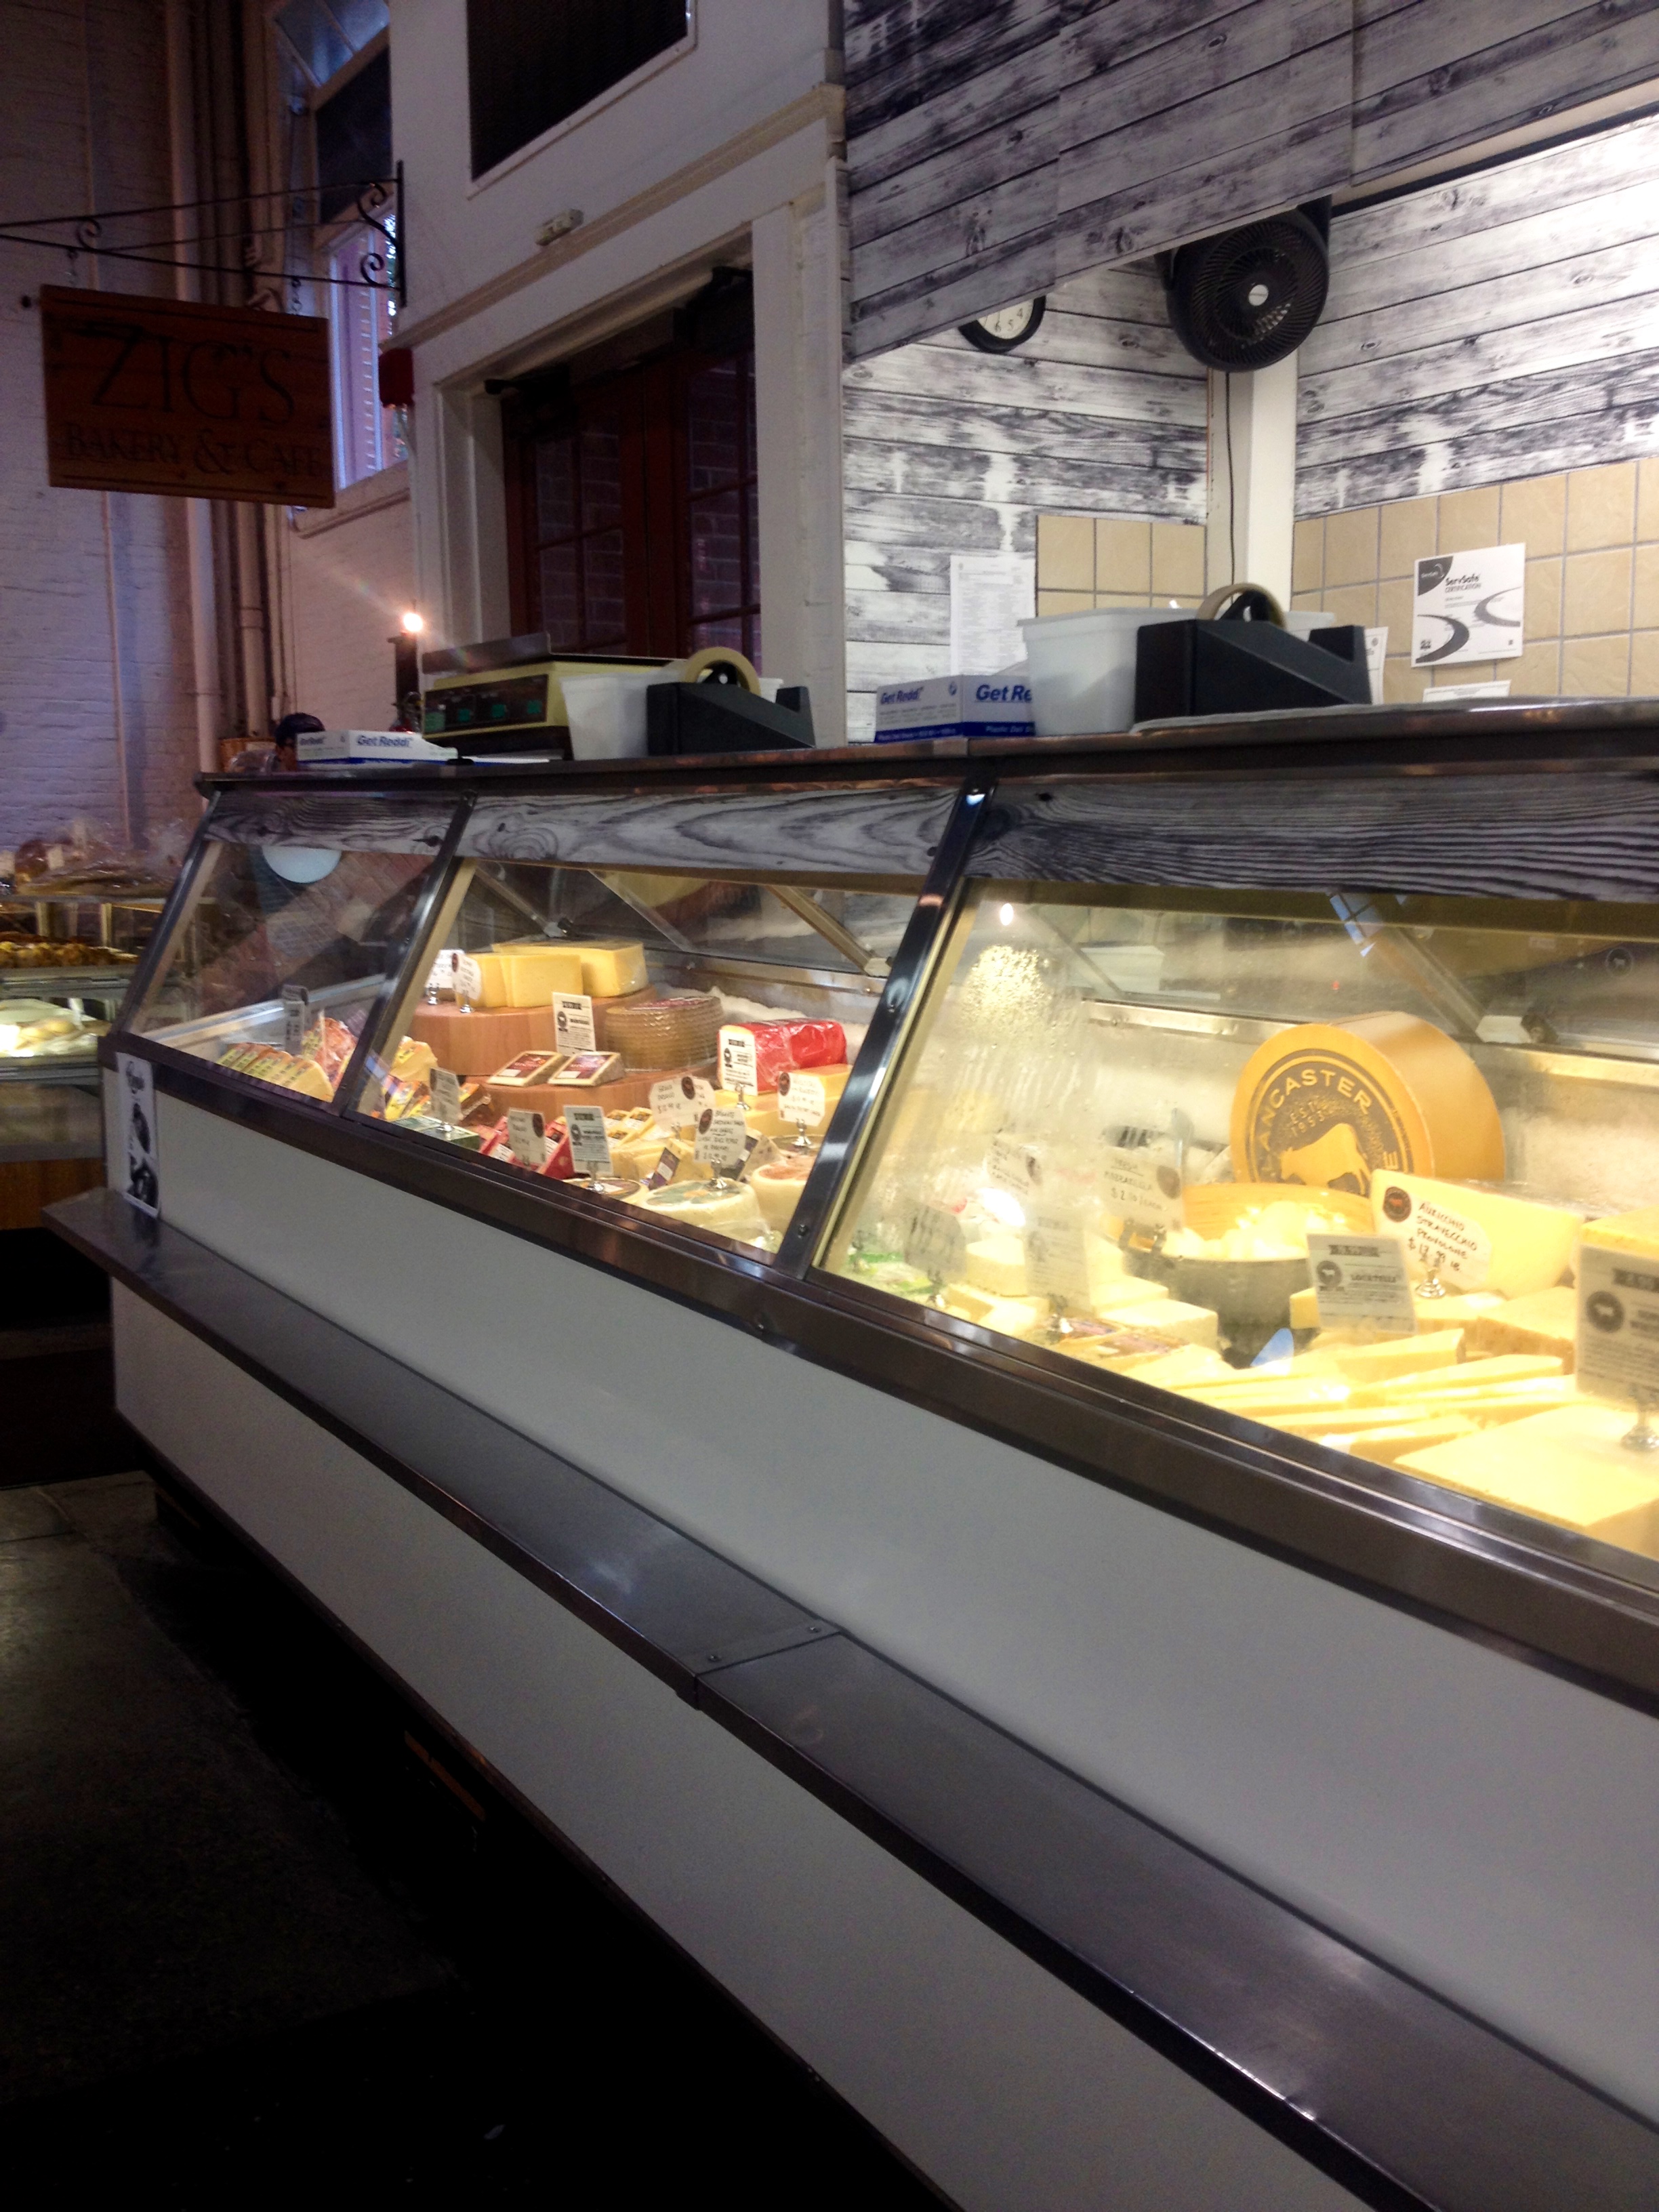
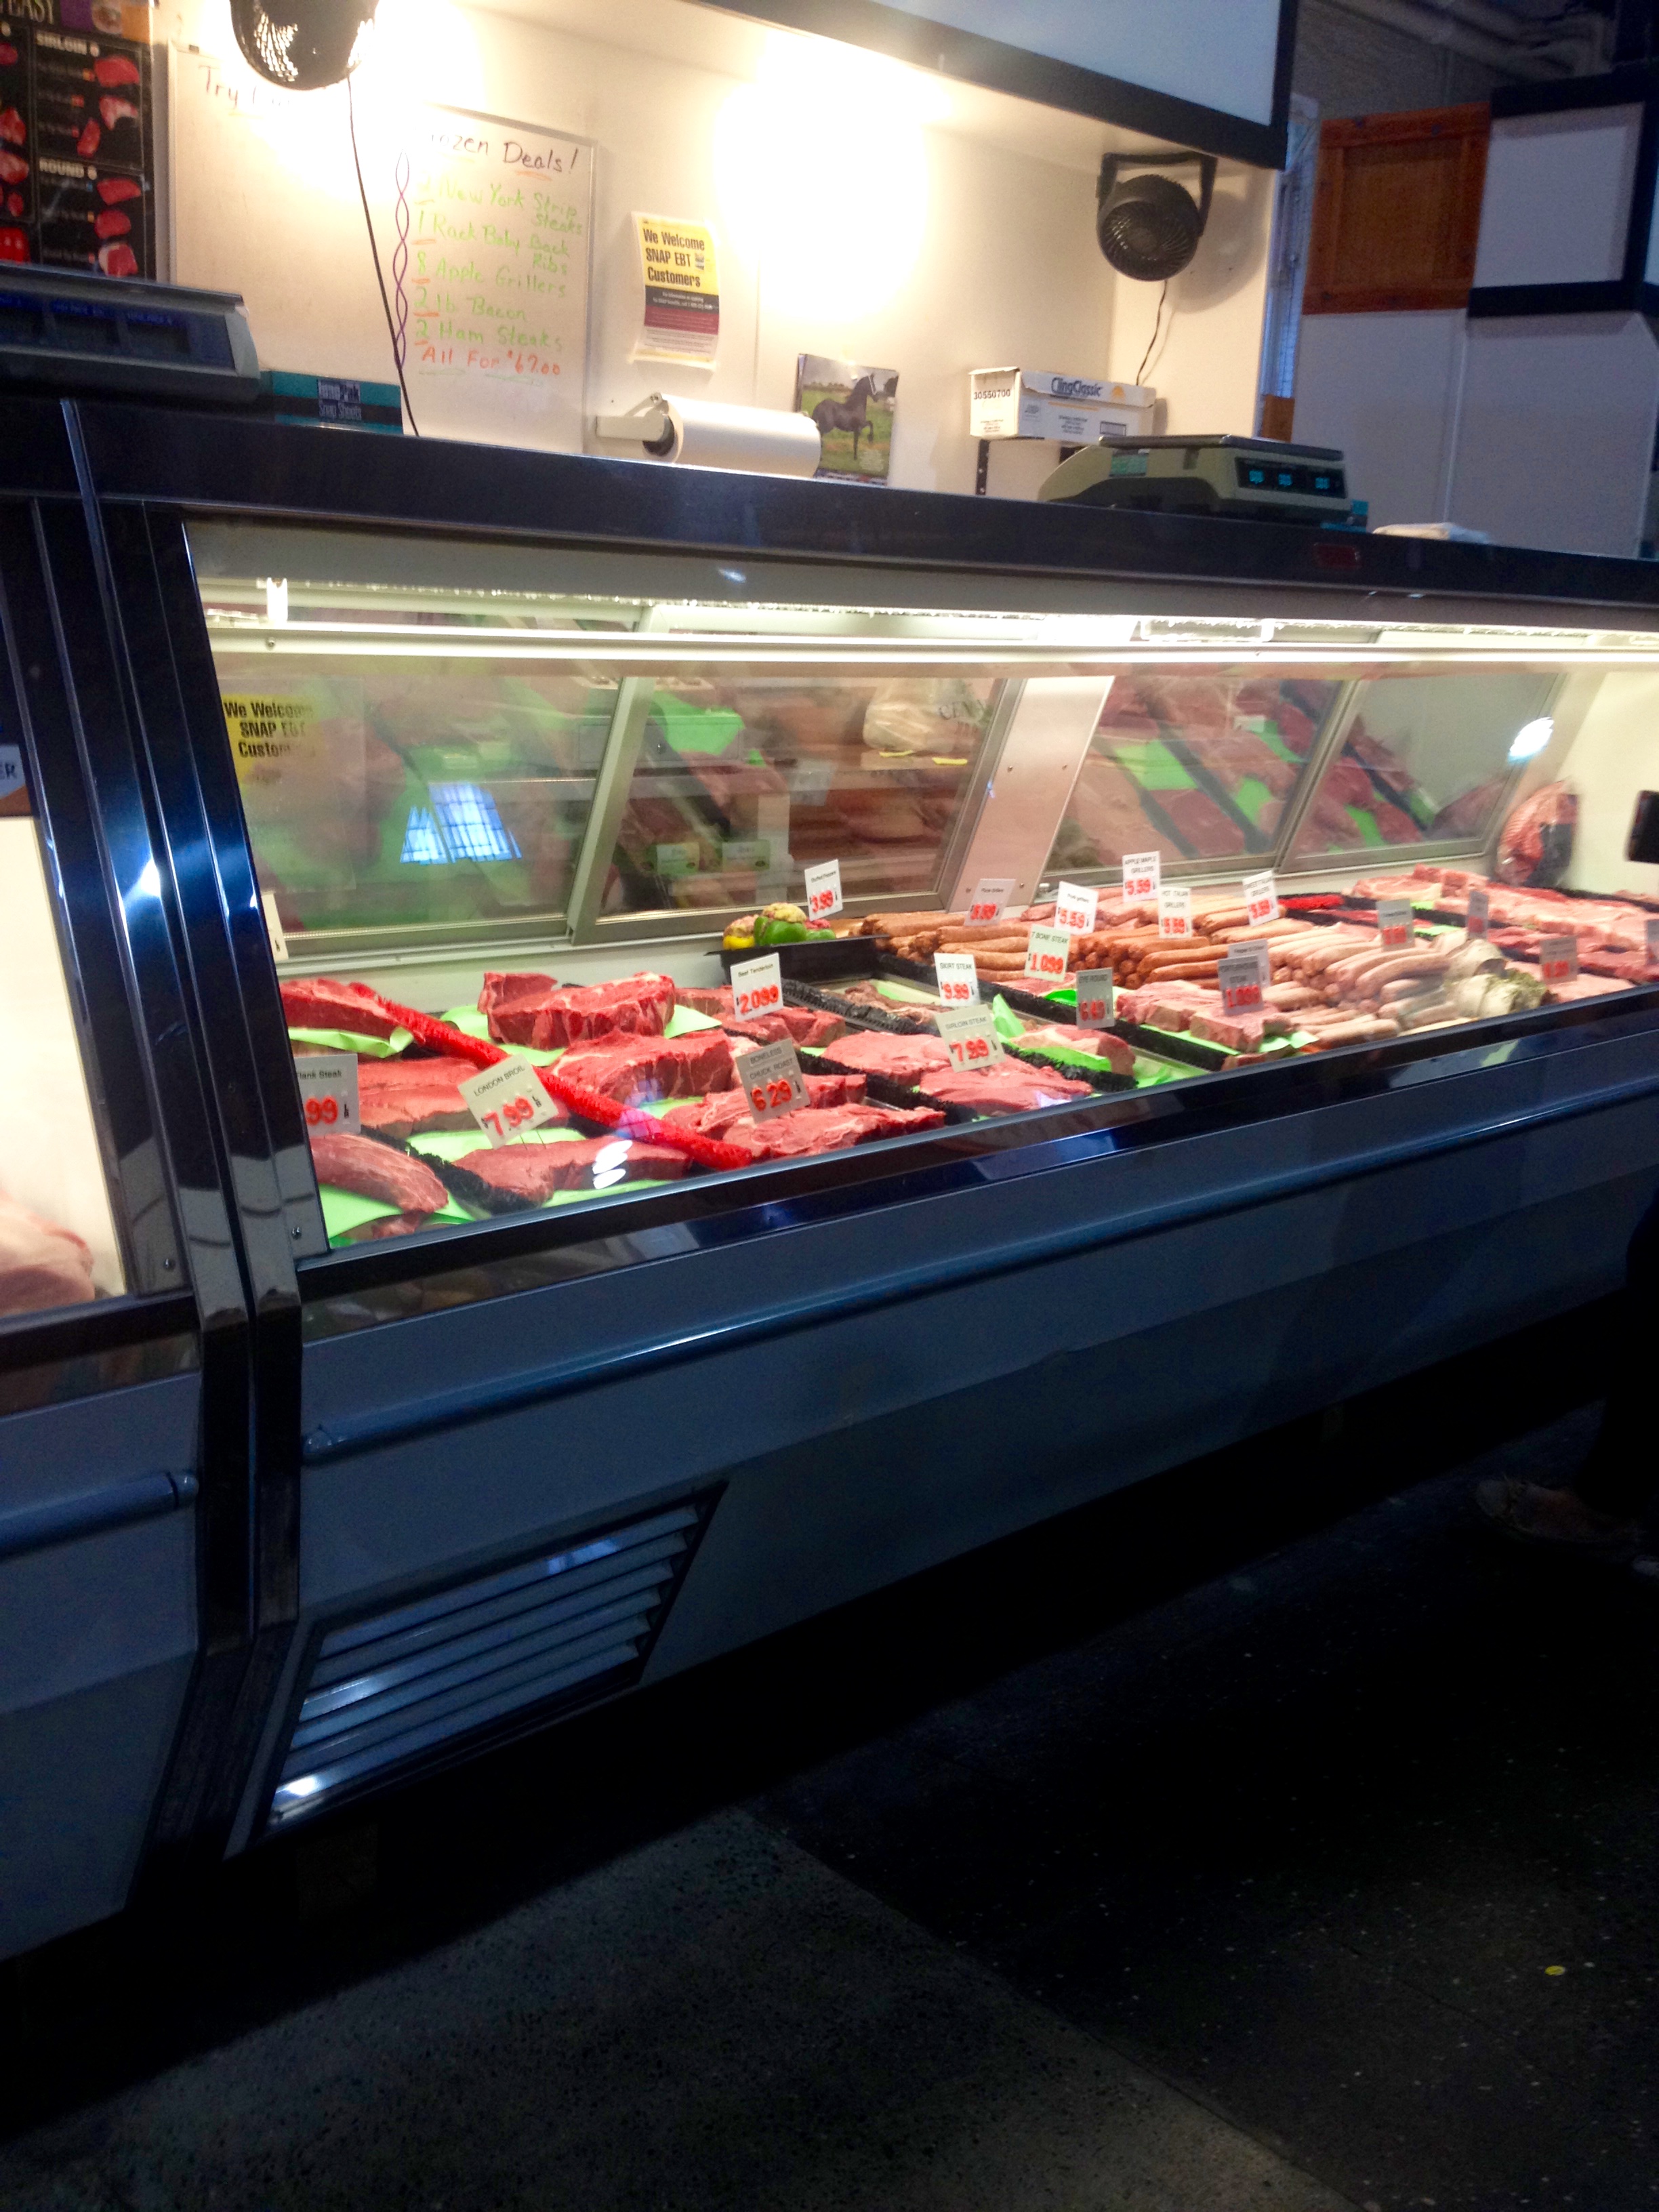
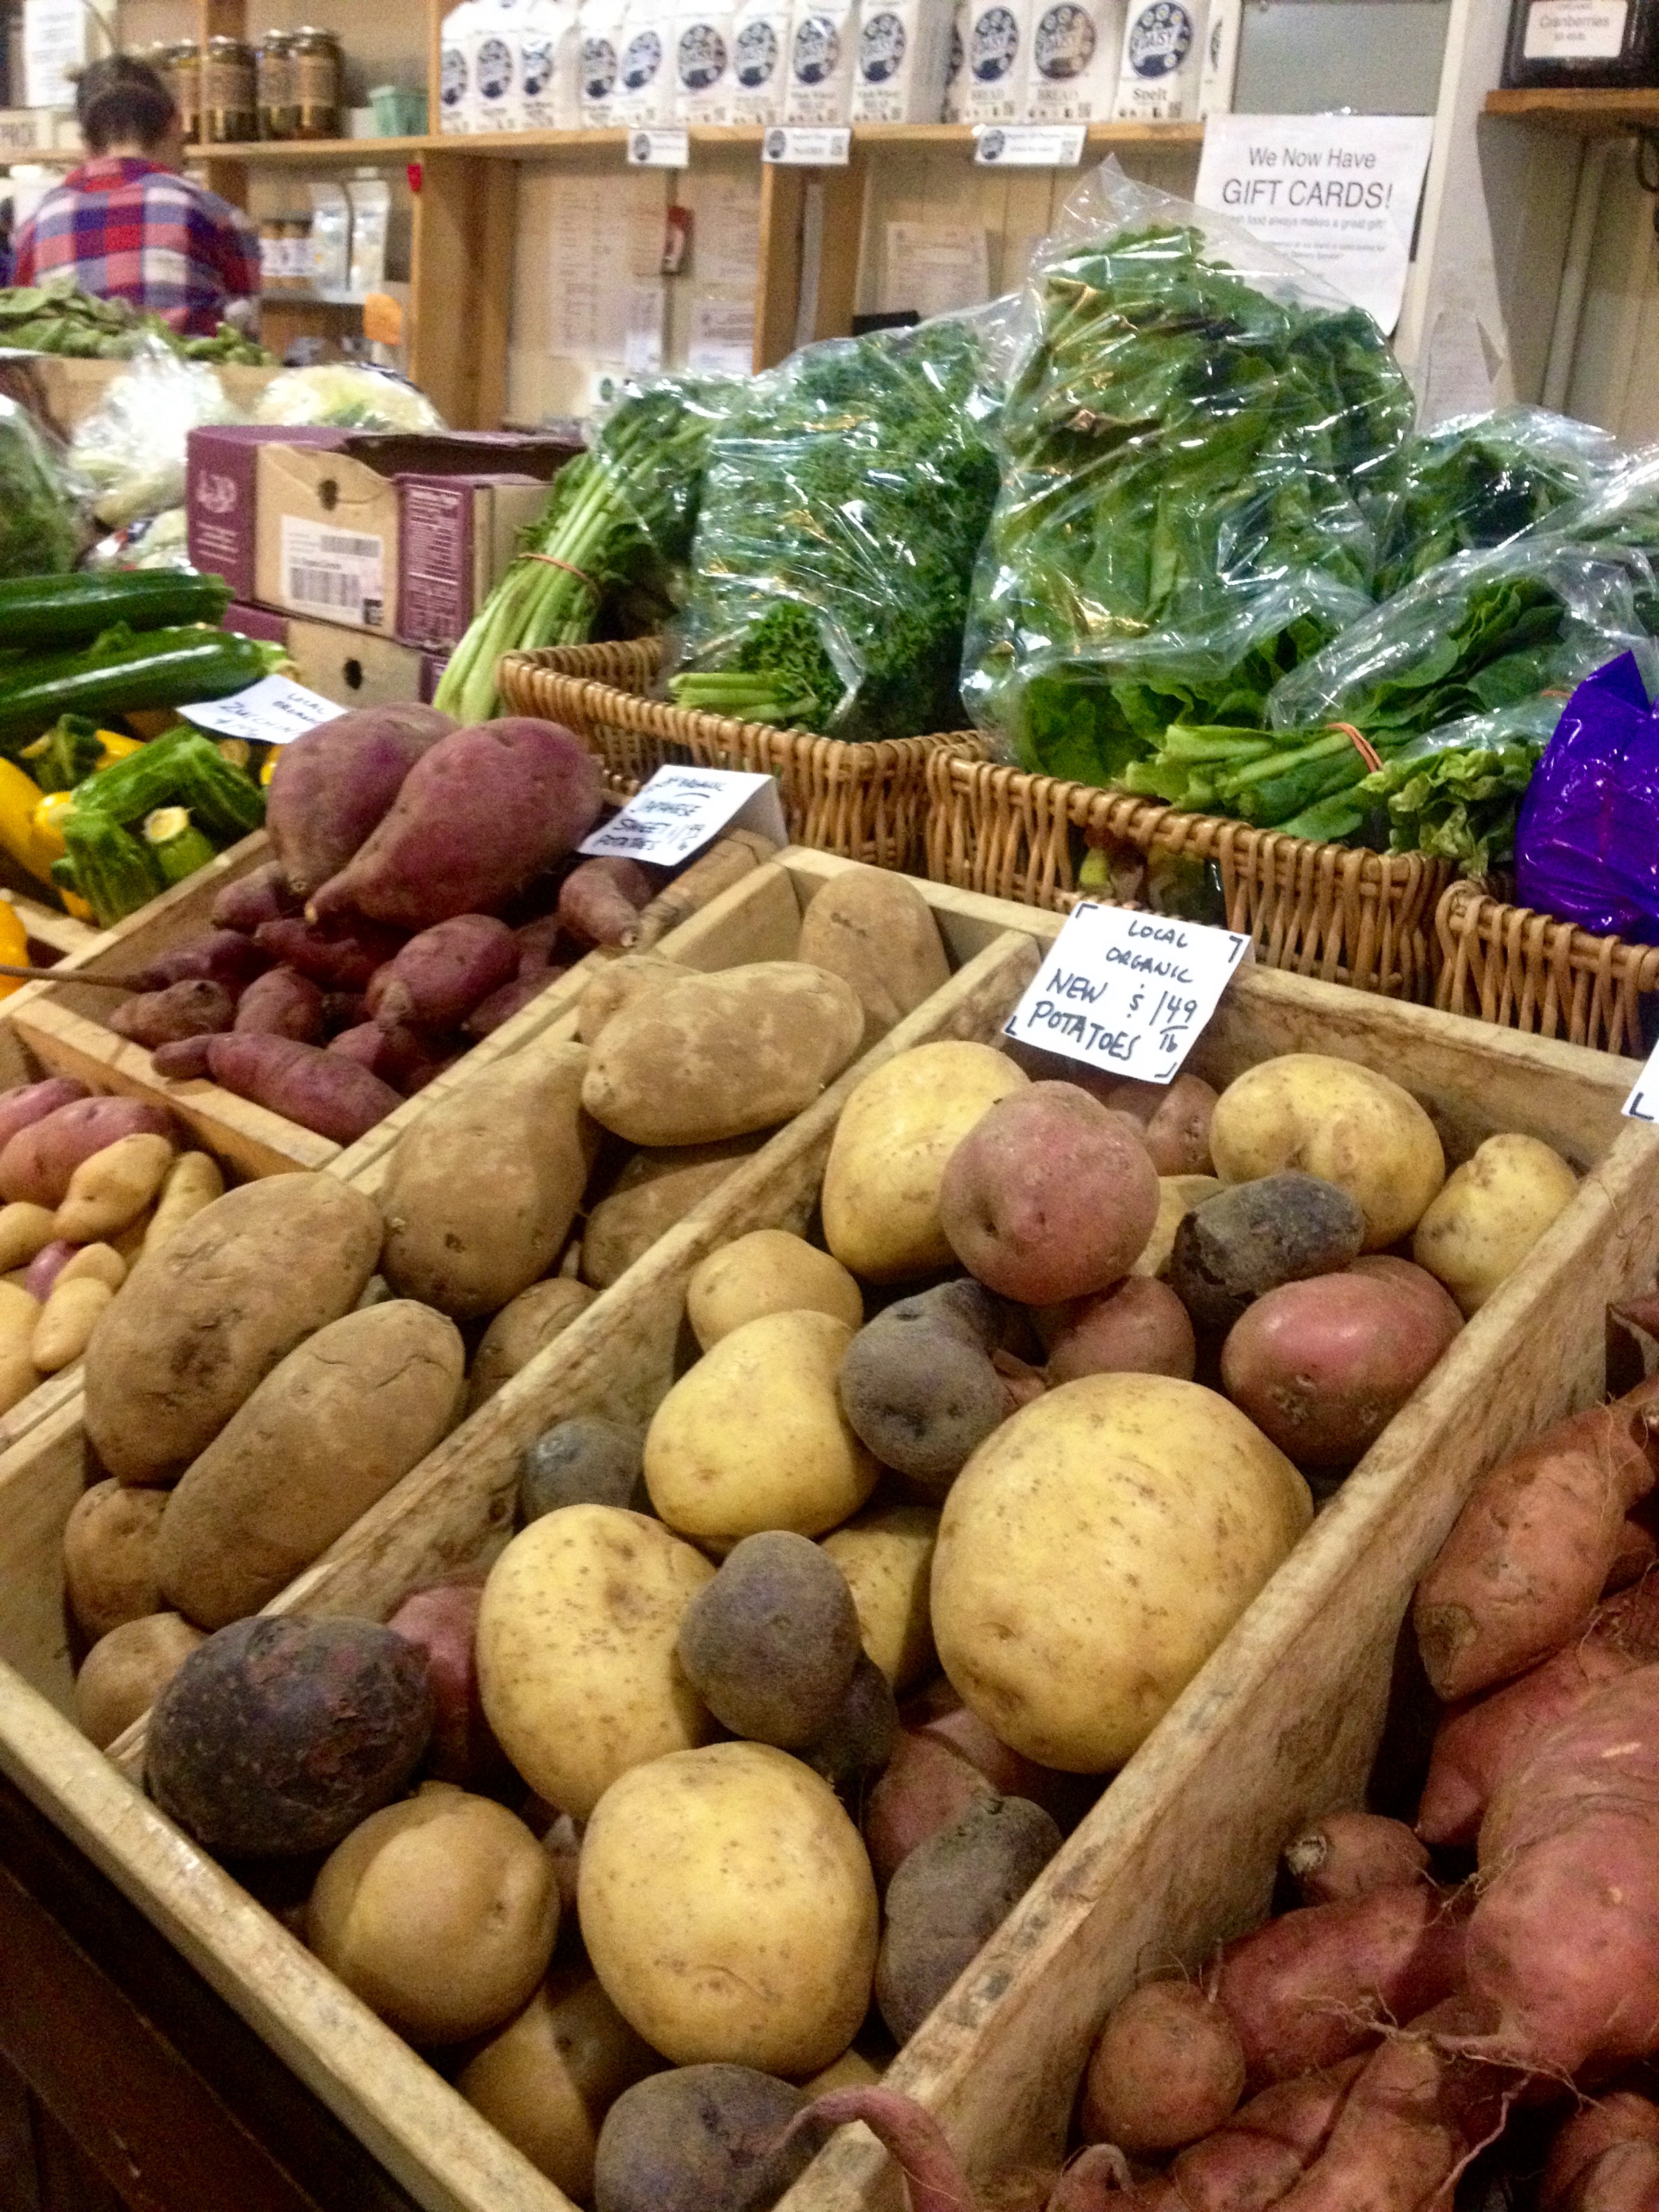
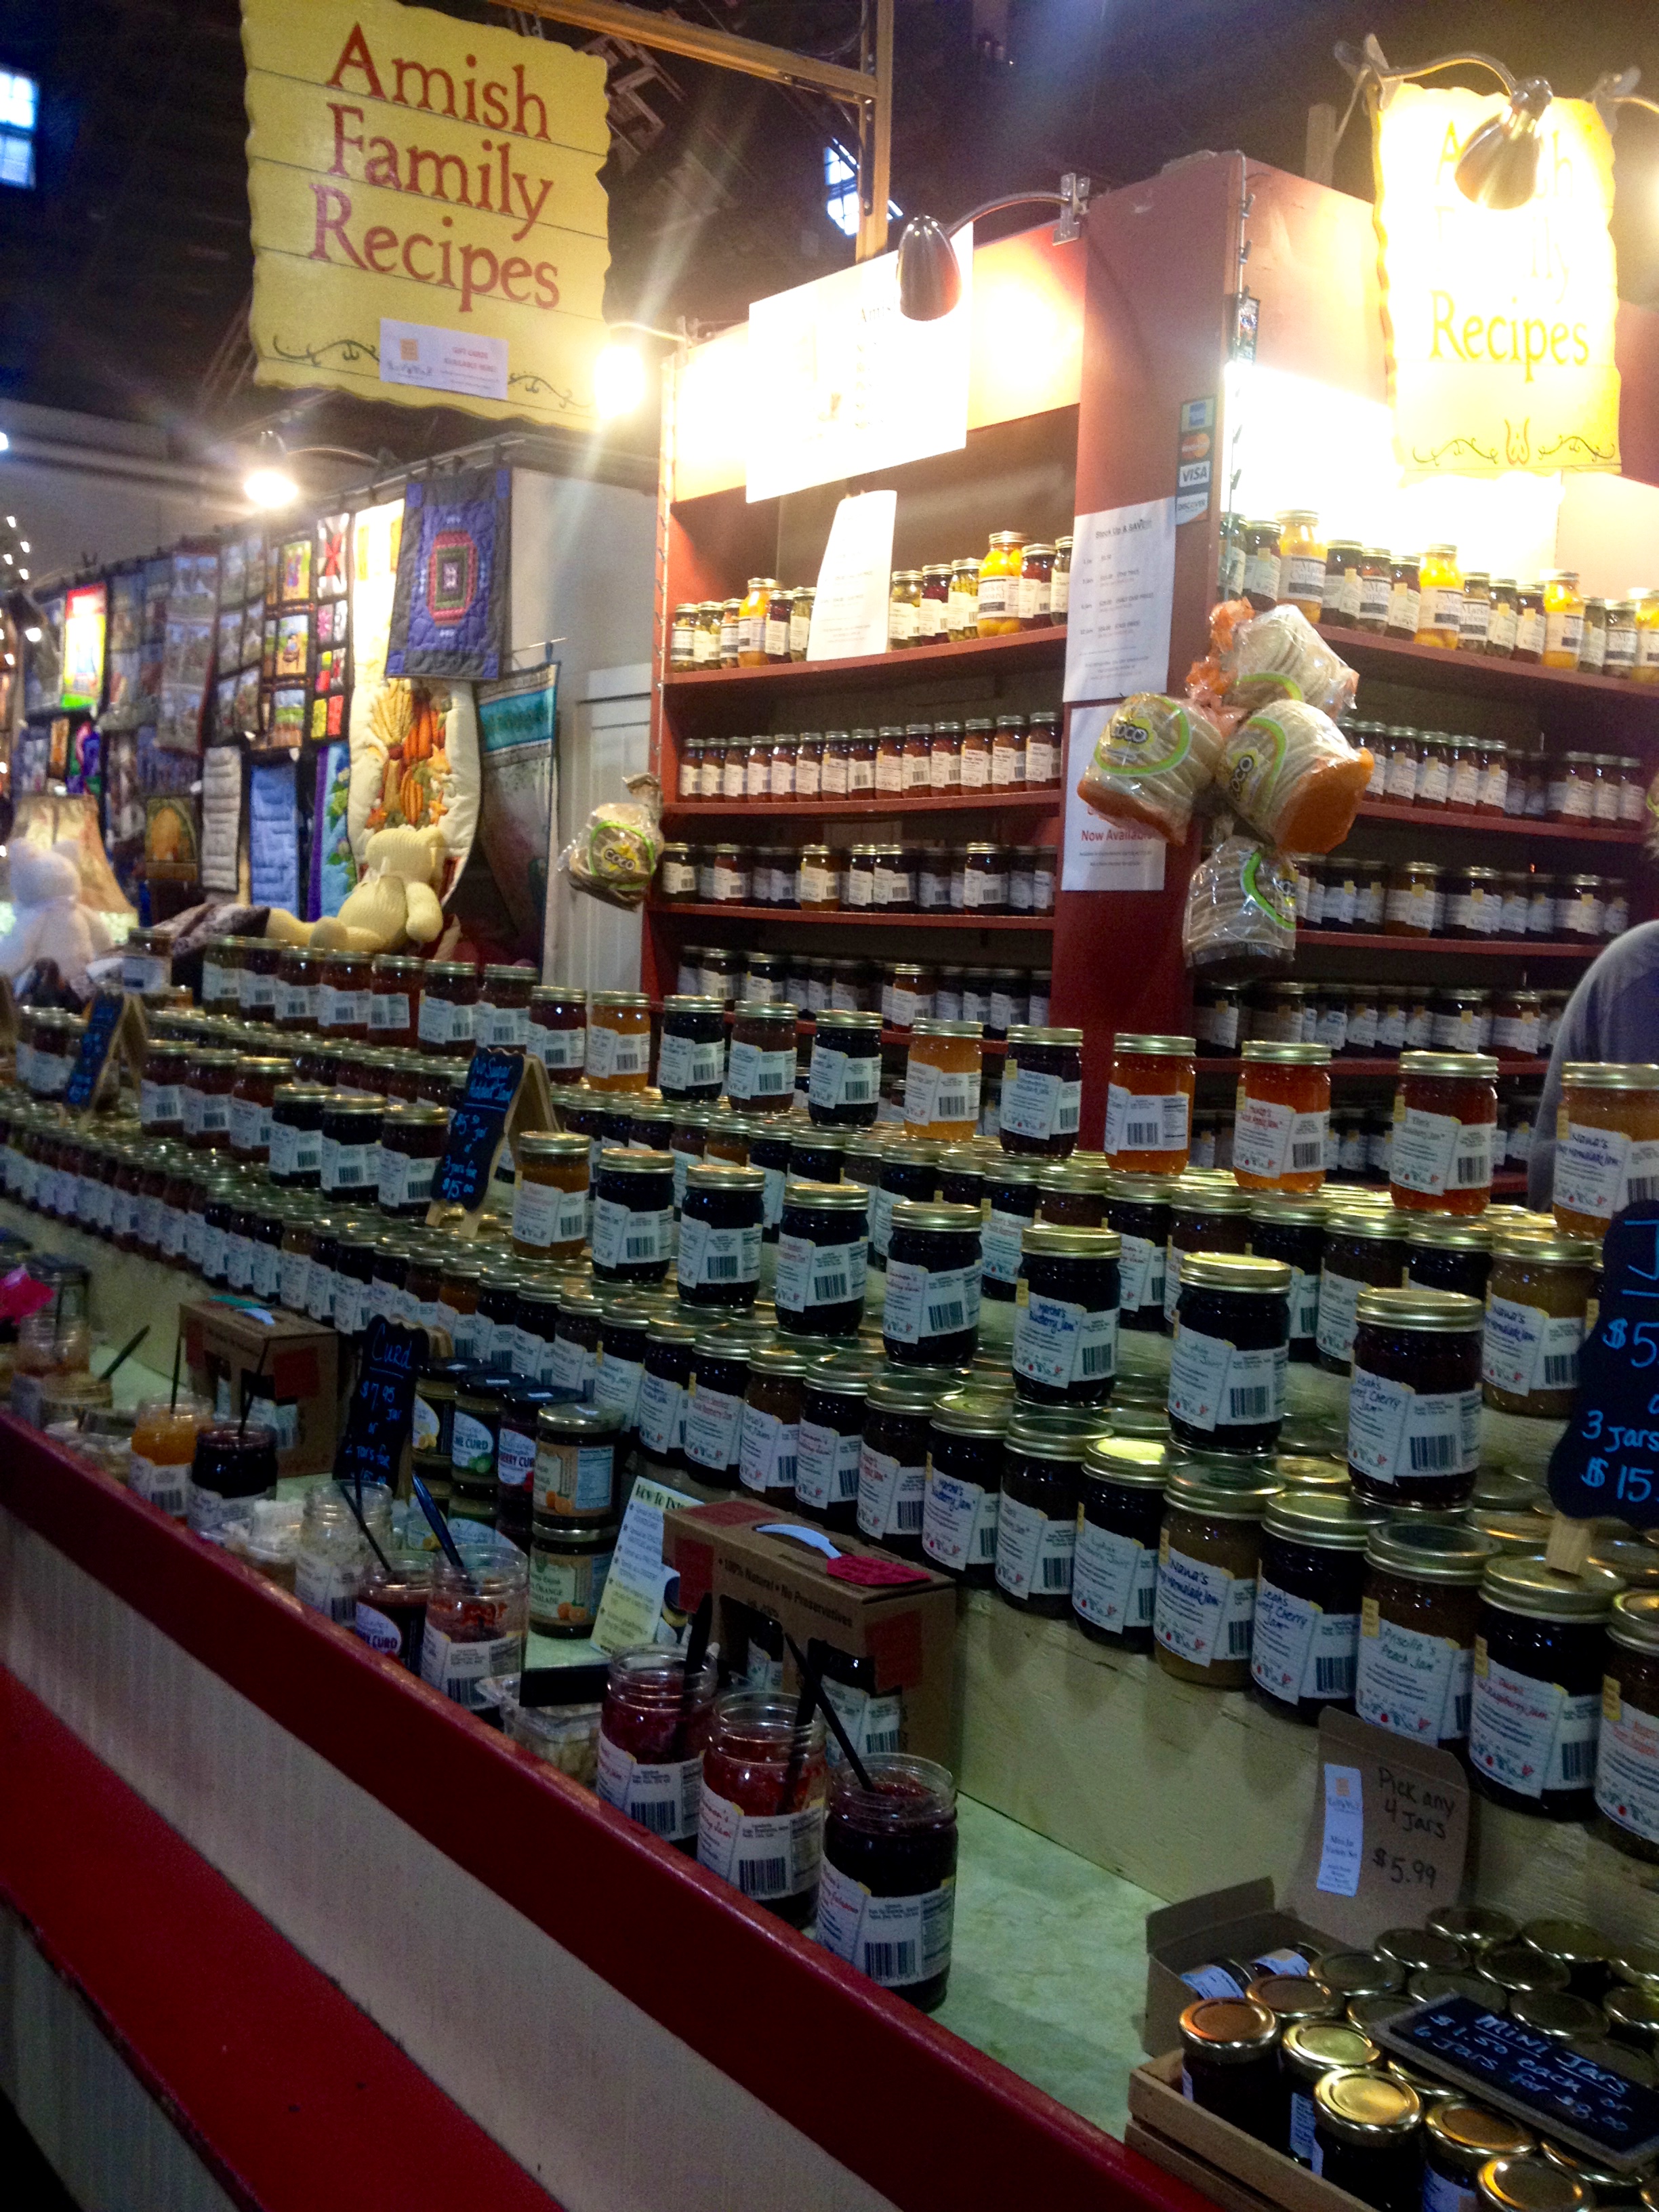
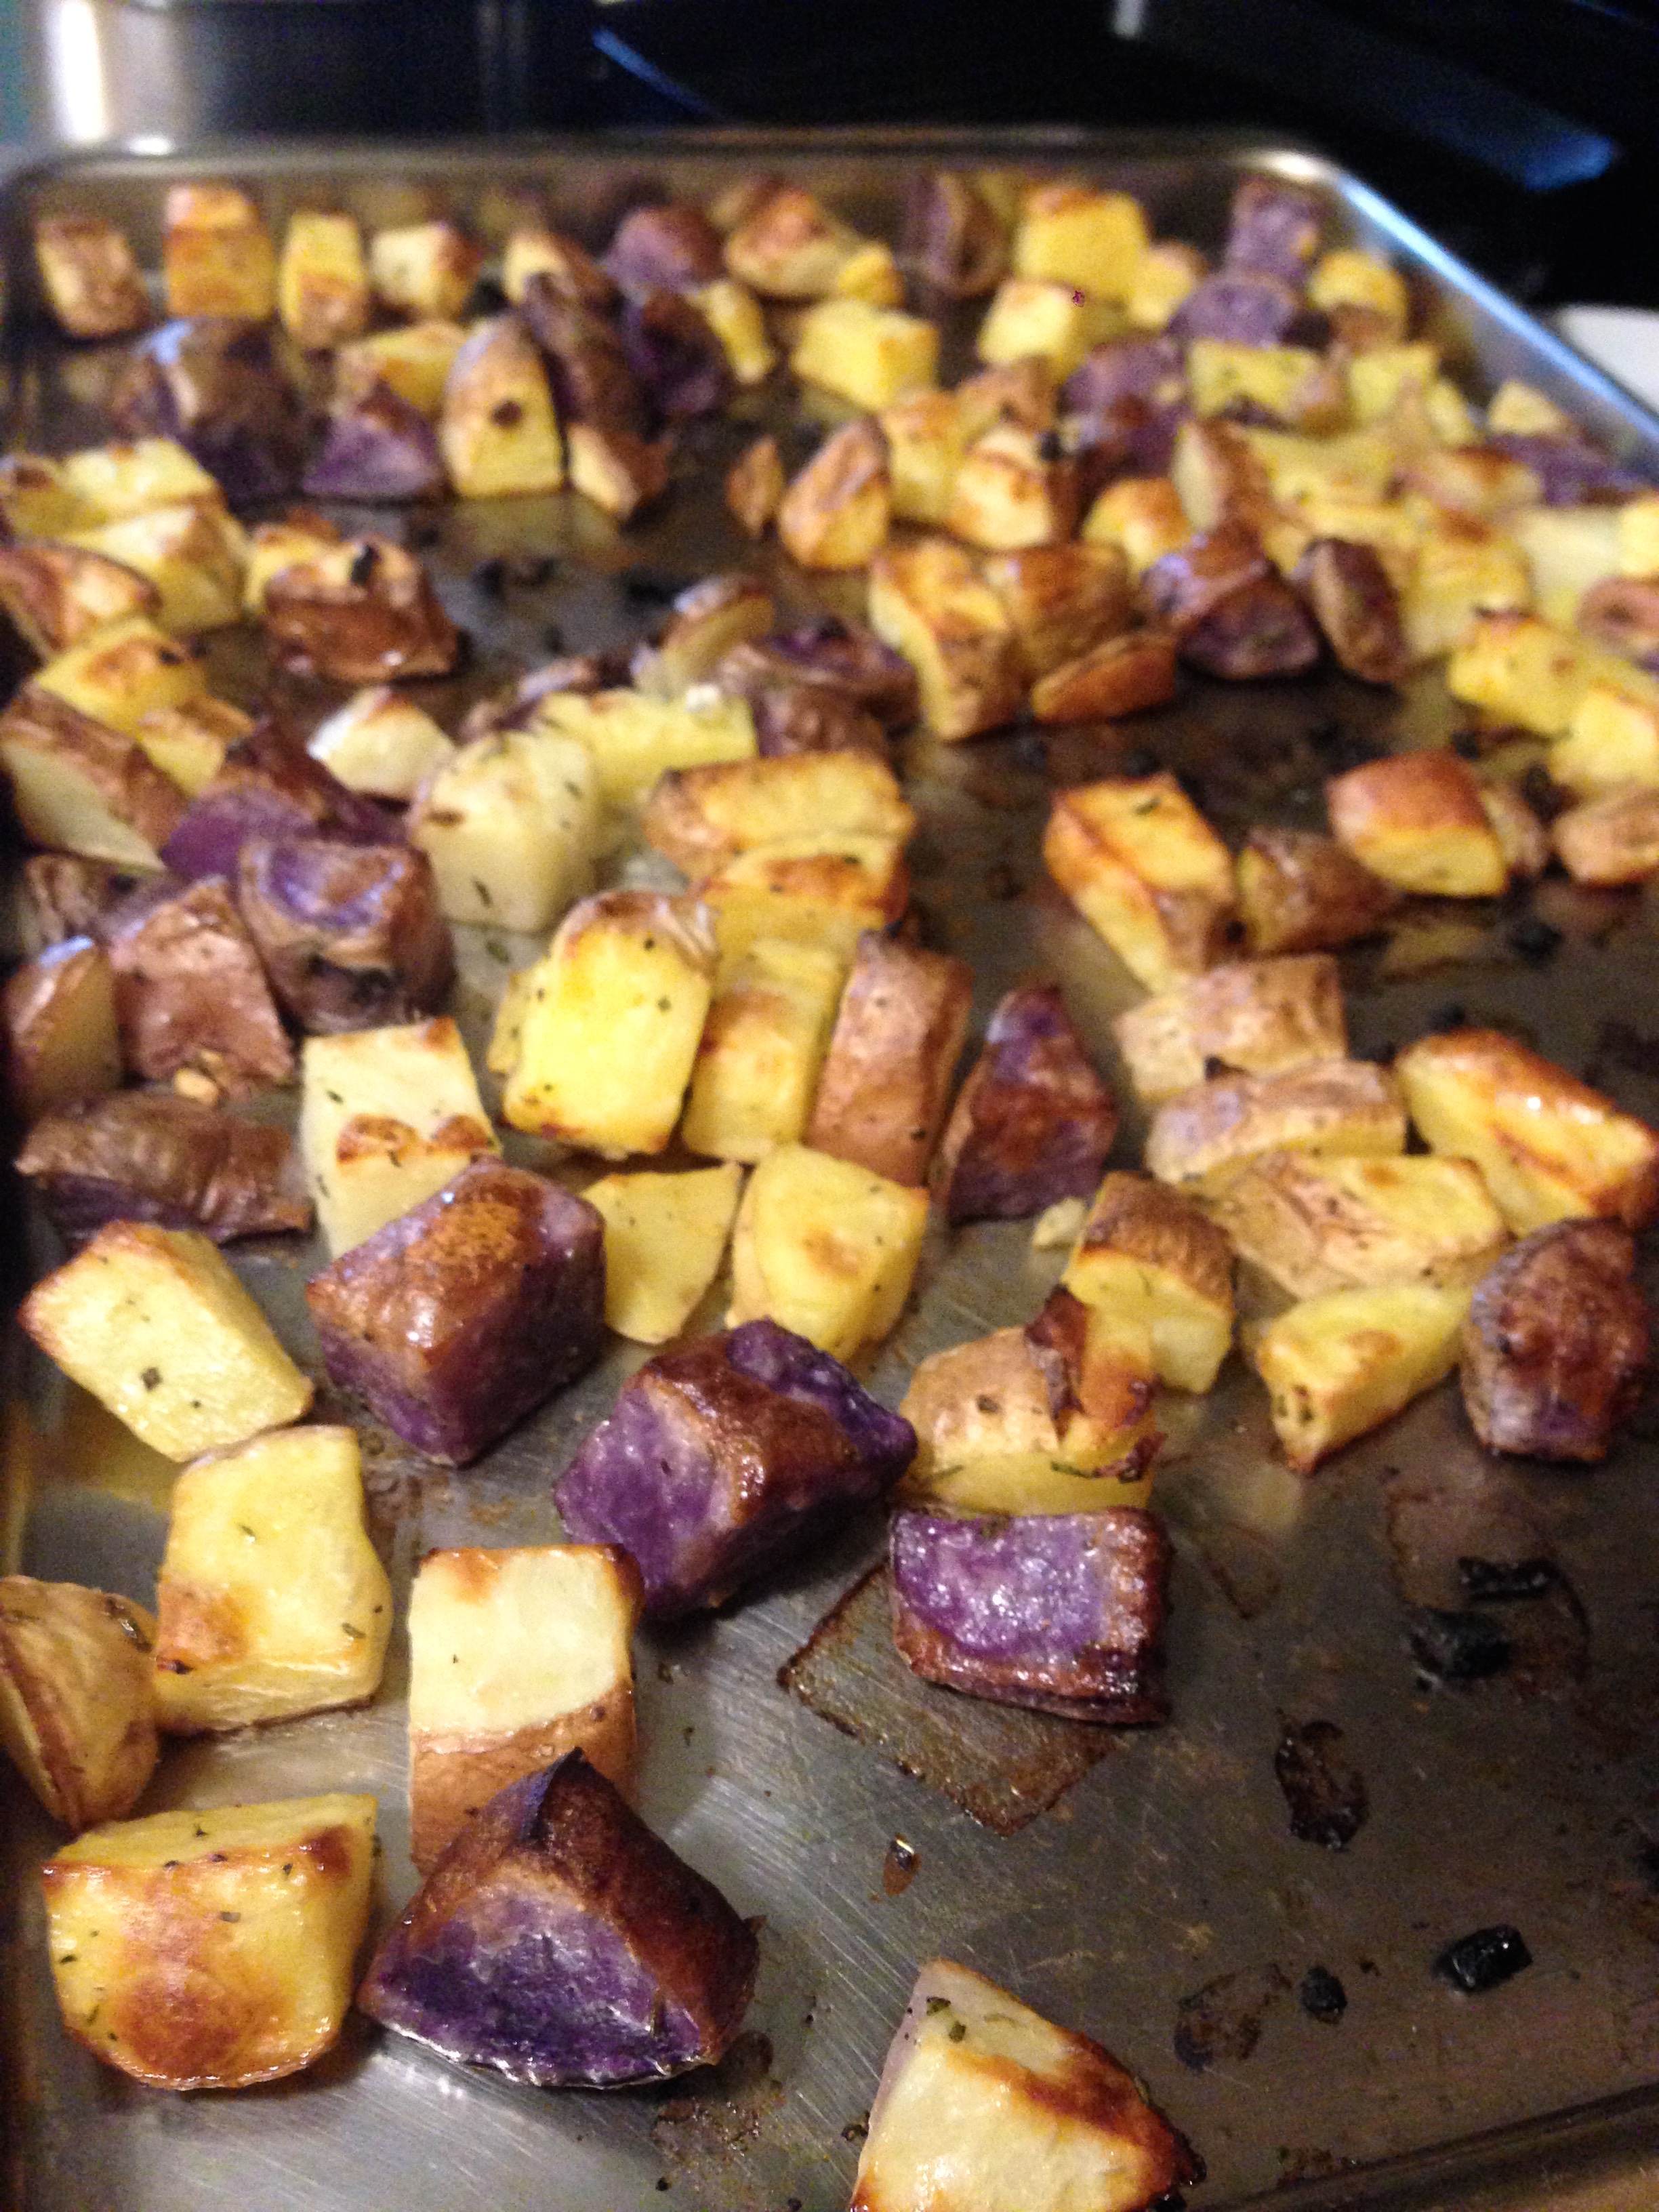
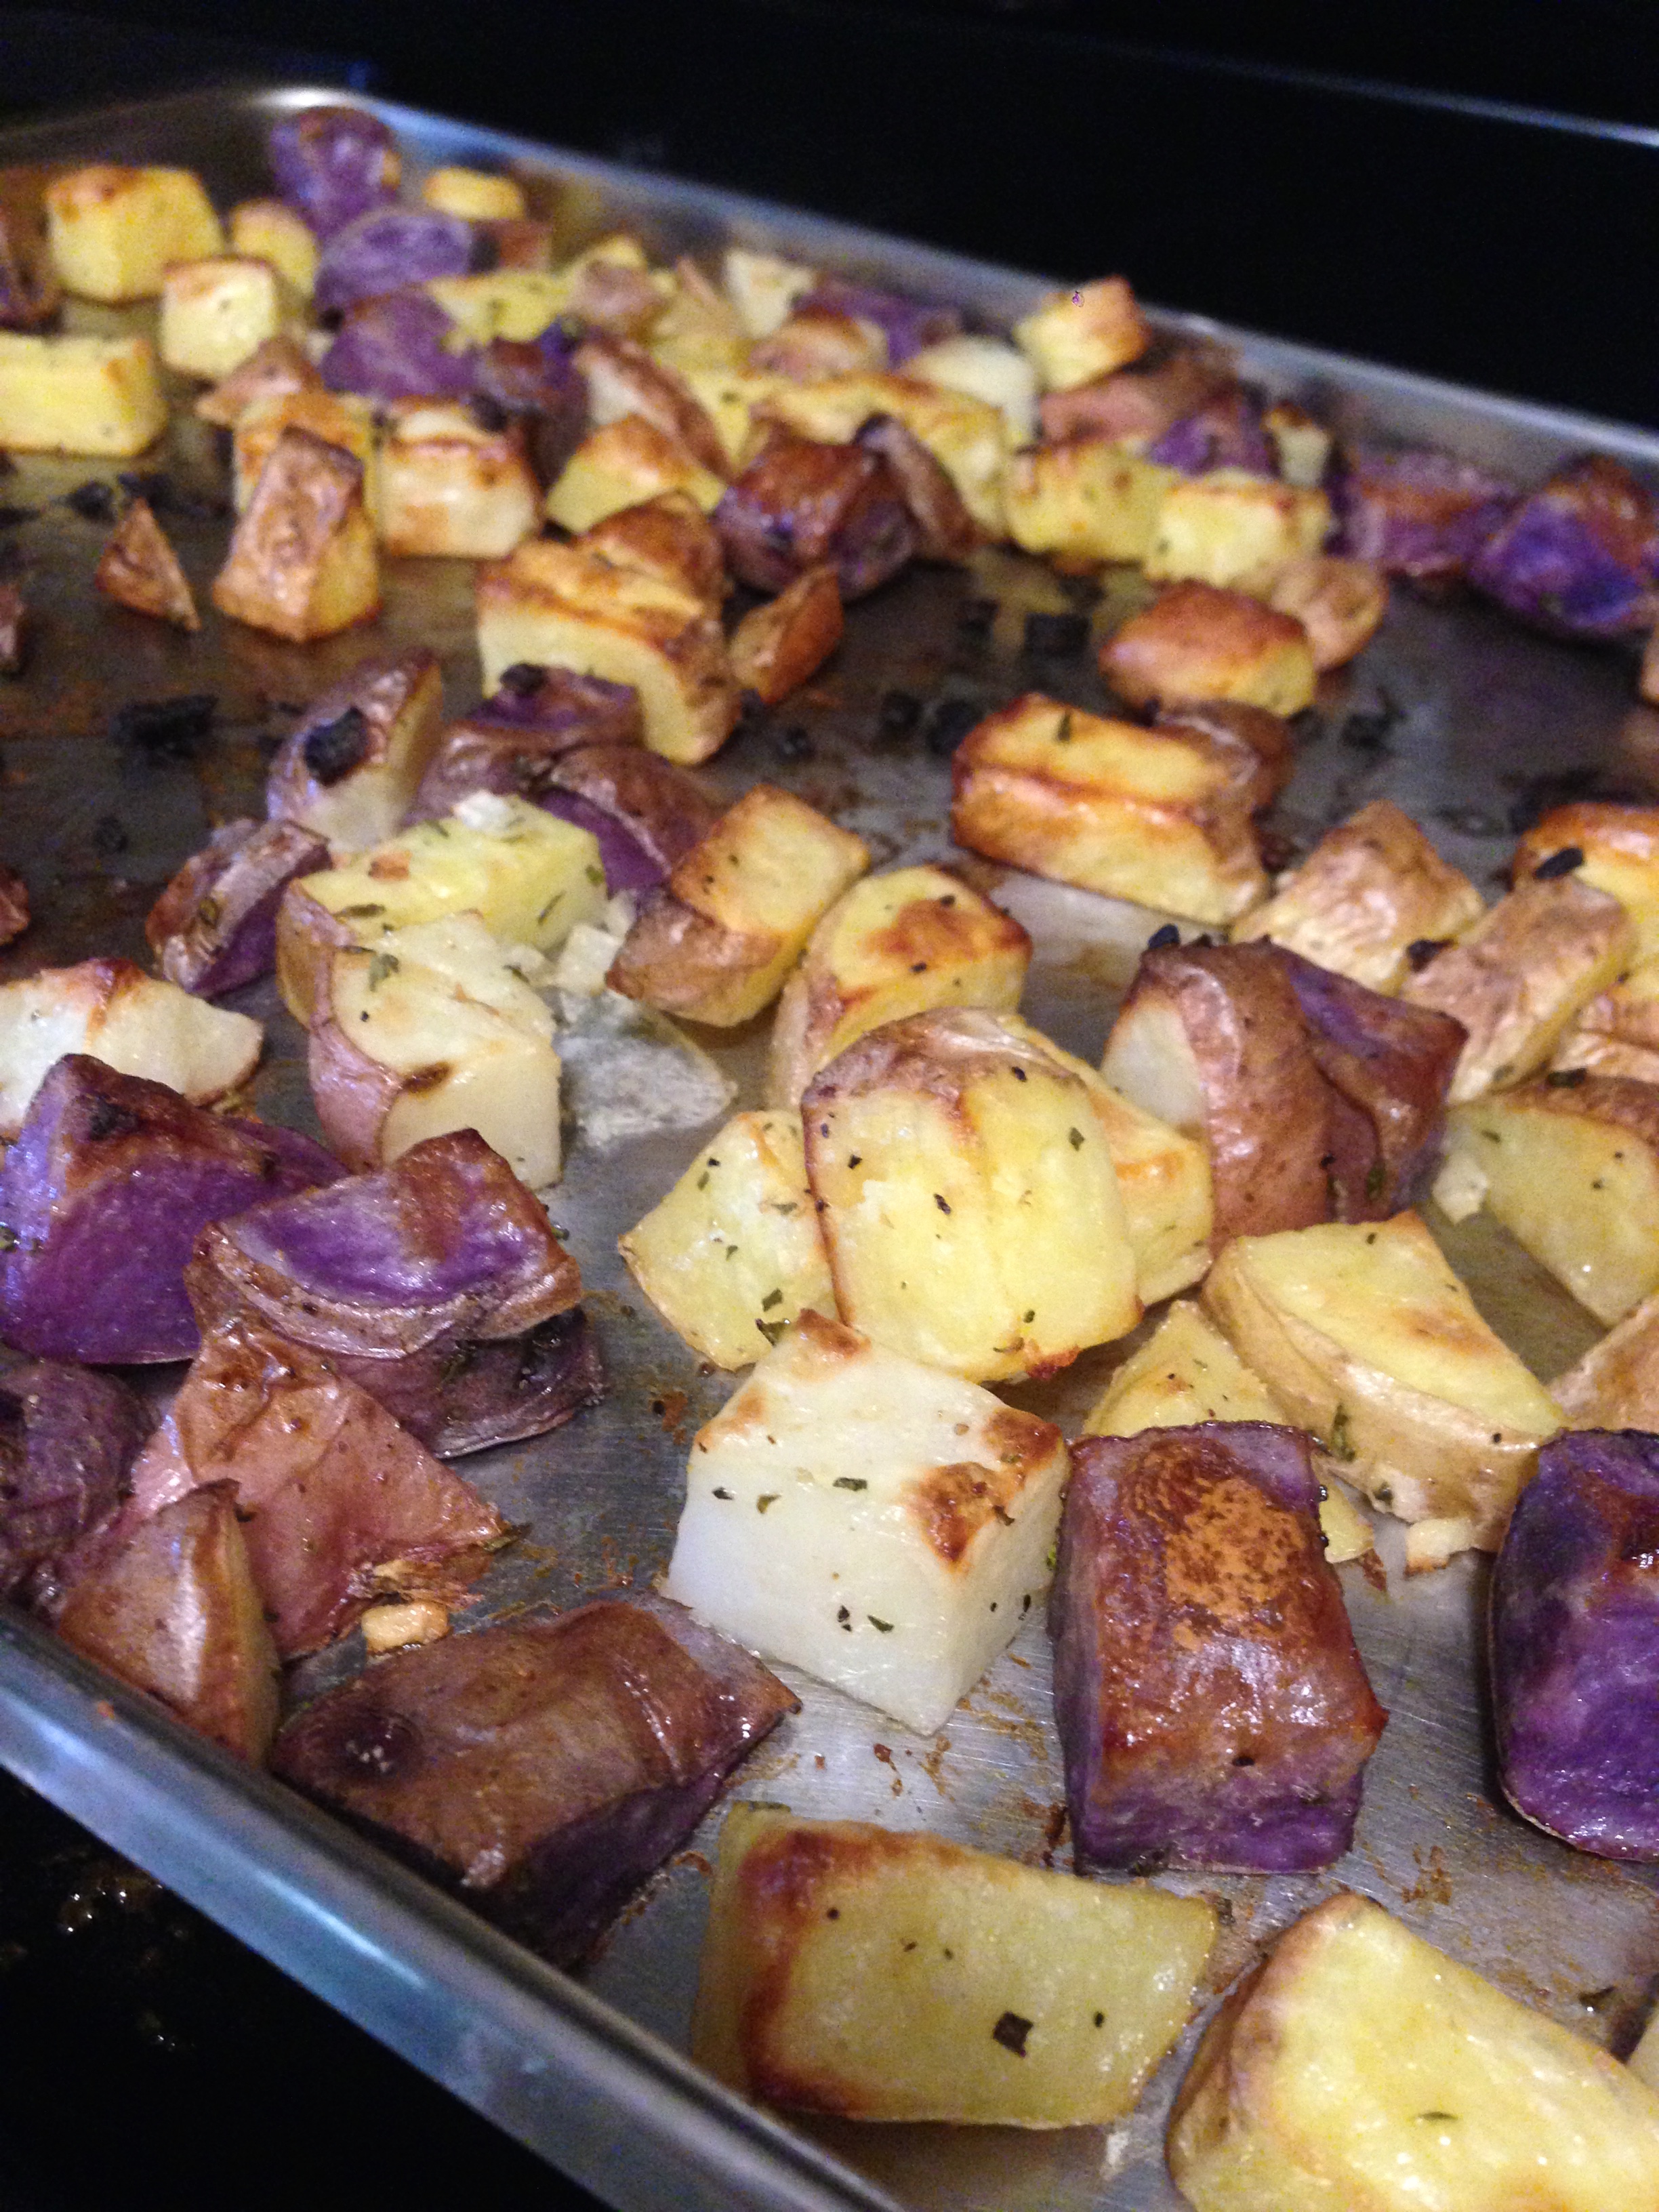
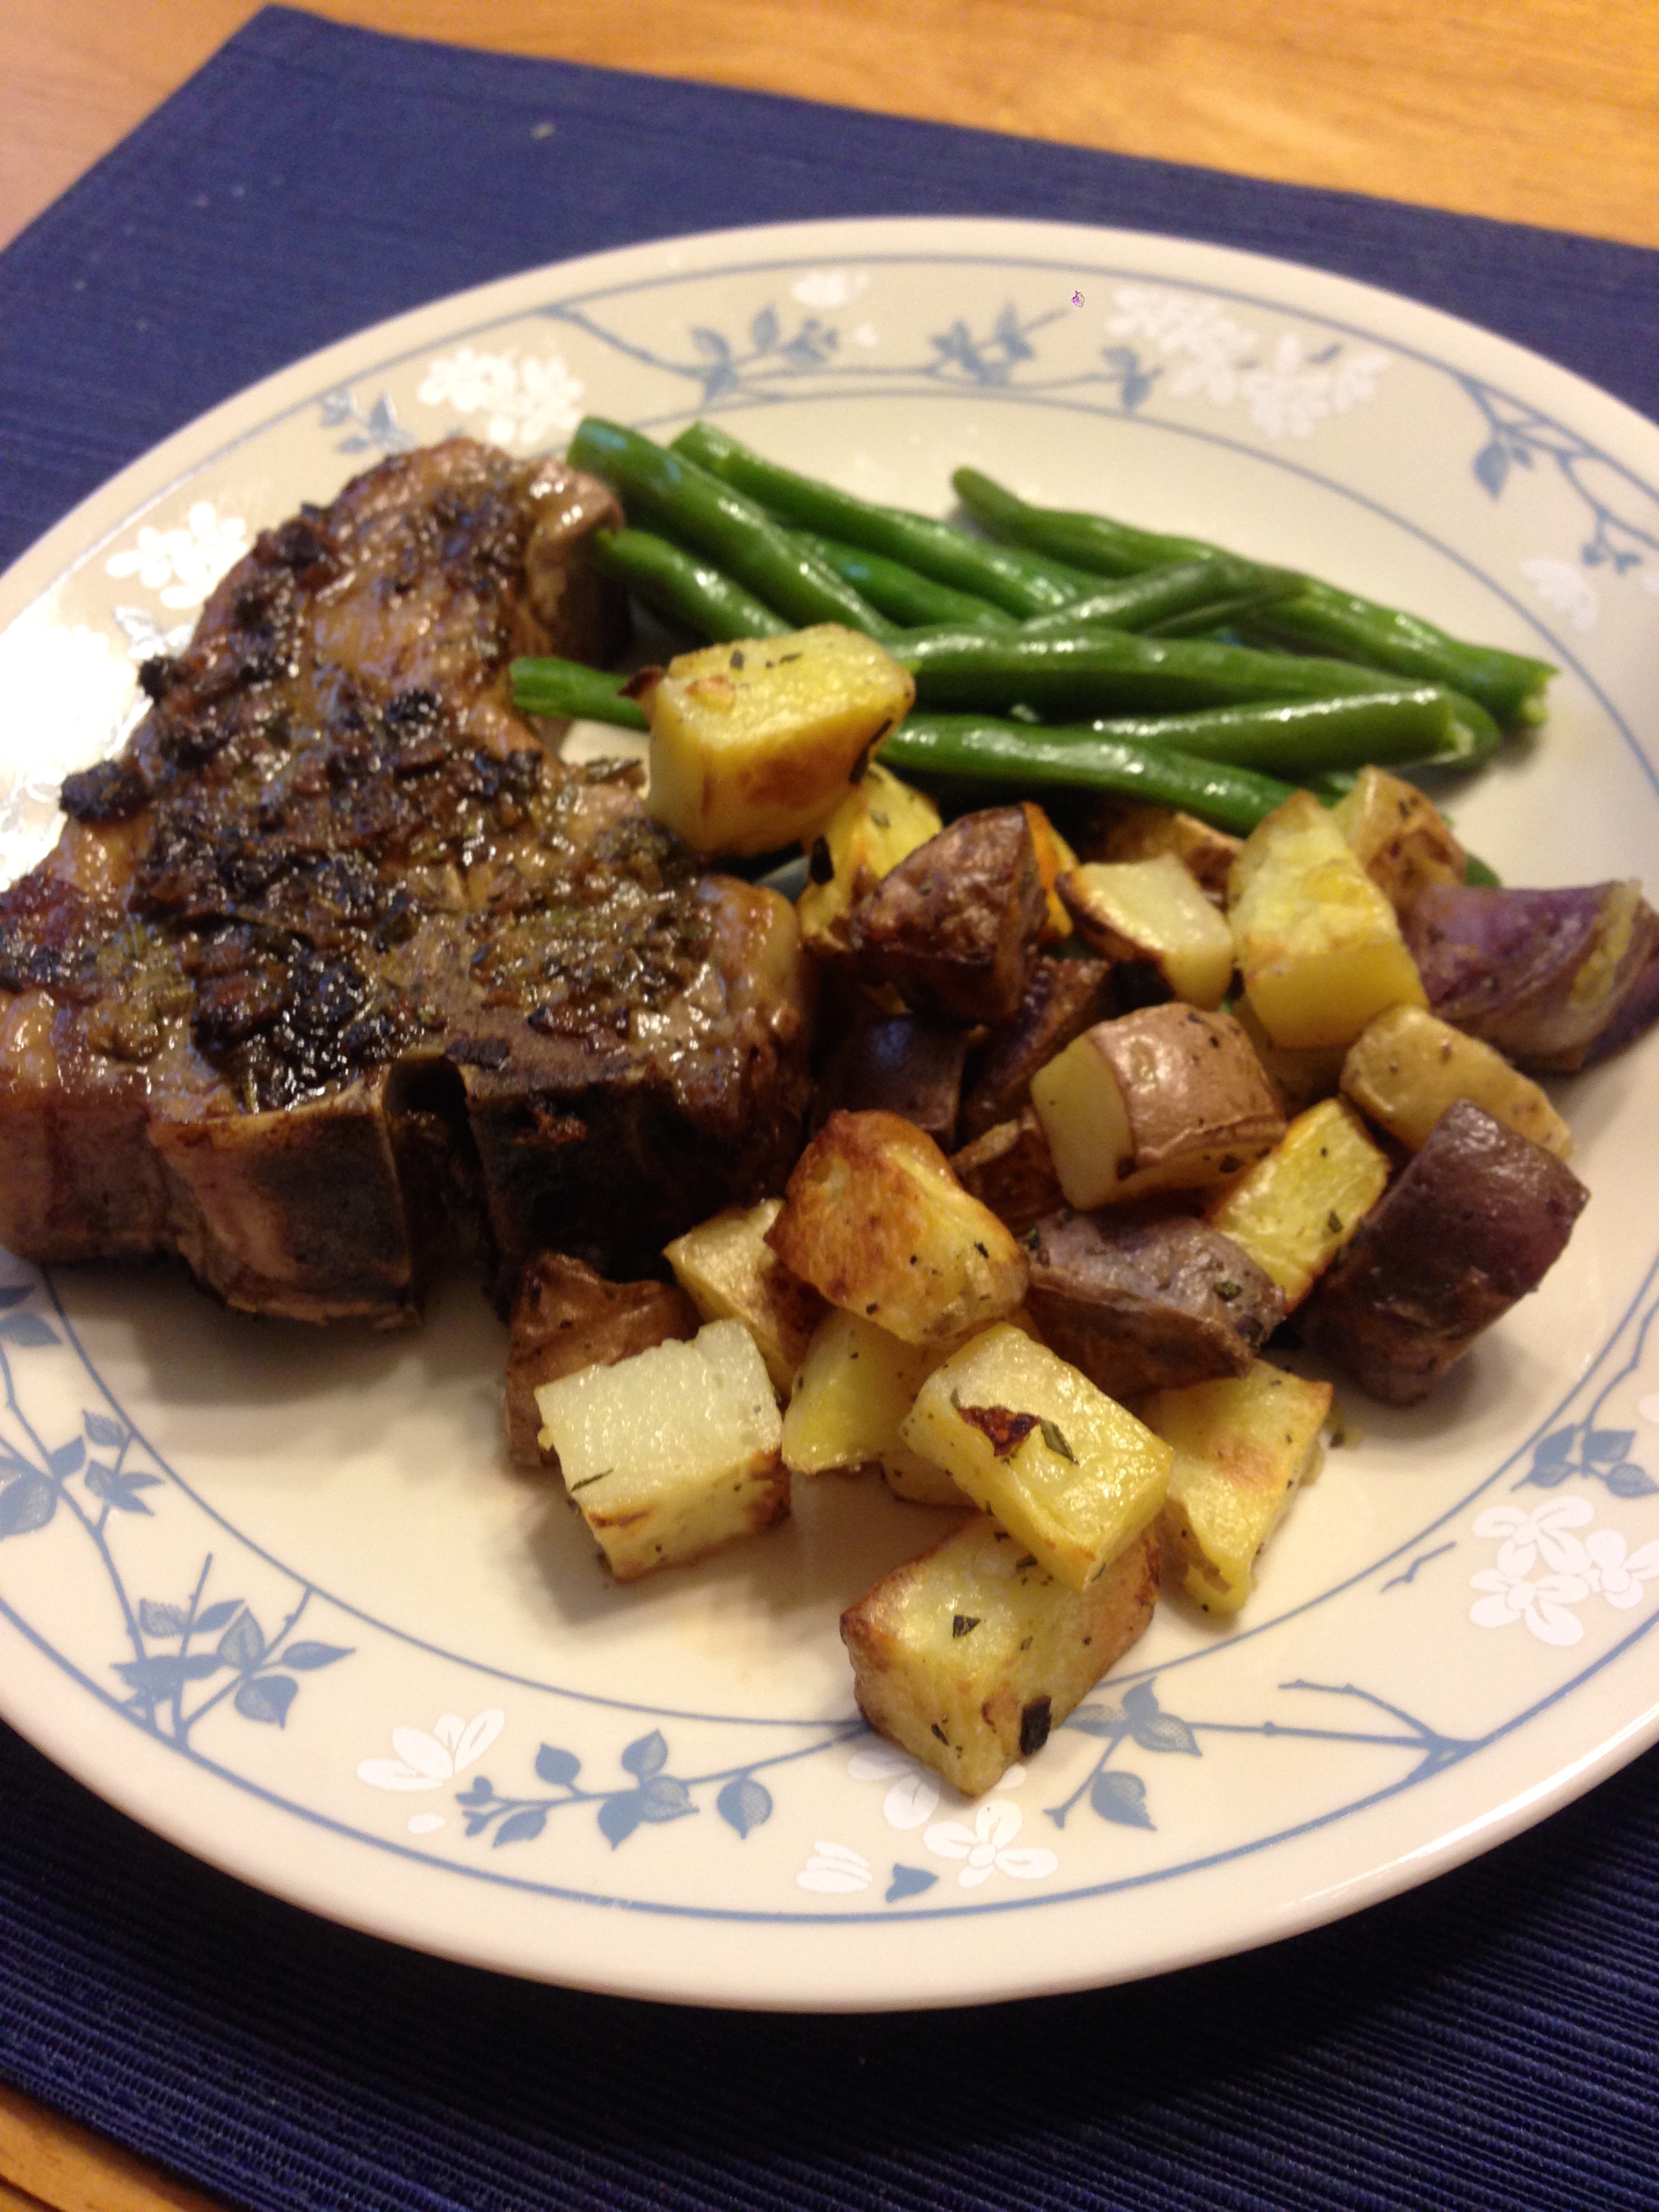
We got some thick bone-in lamb chops and multi colored potatoes, along with some fresh green beans. Here’s what we did with them:
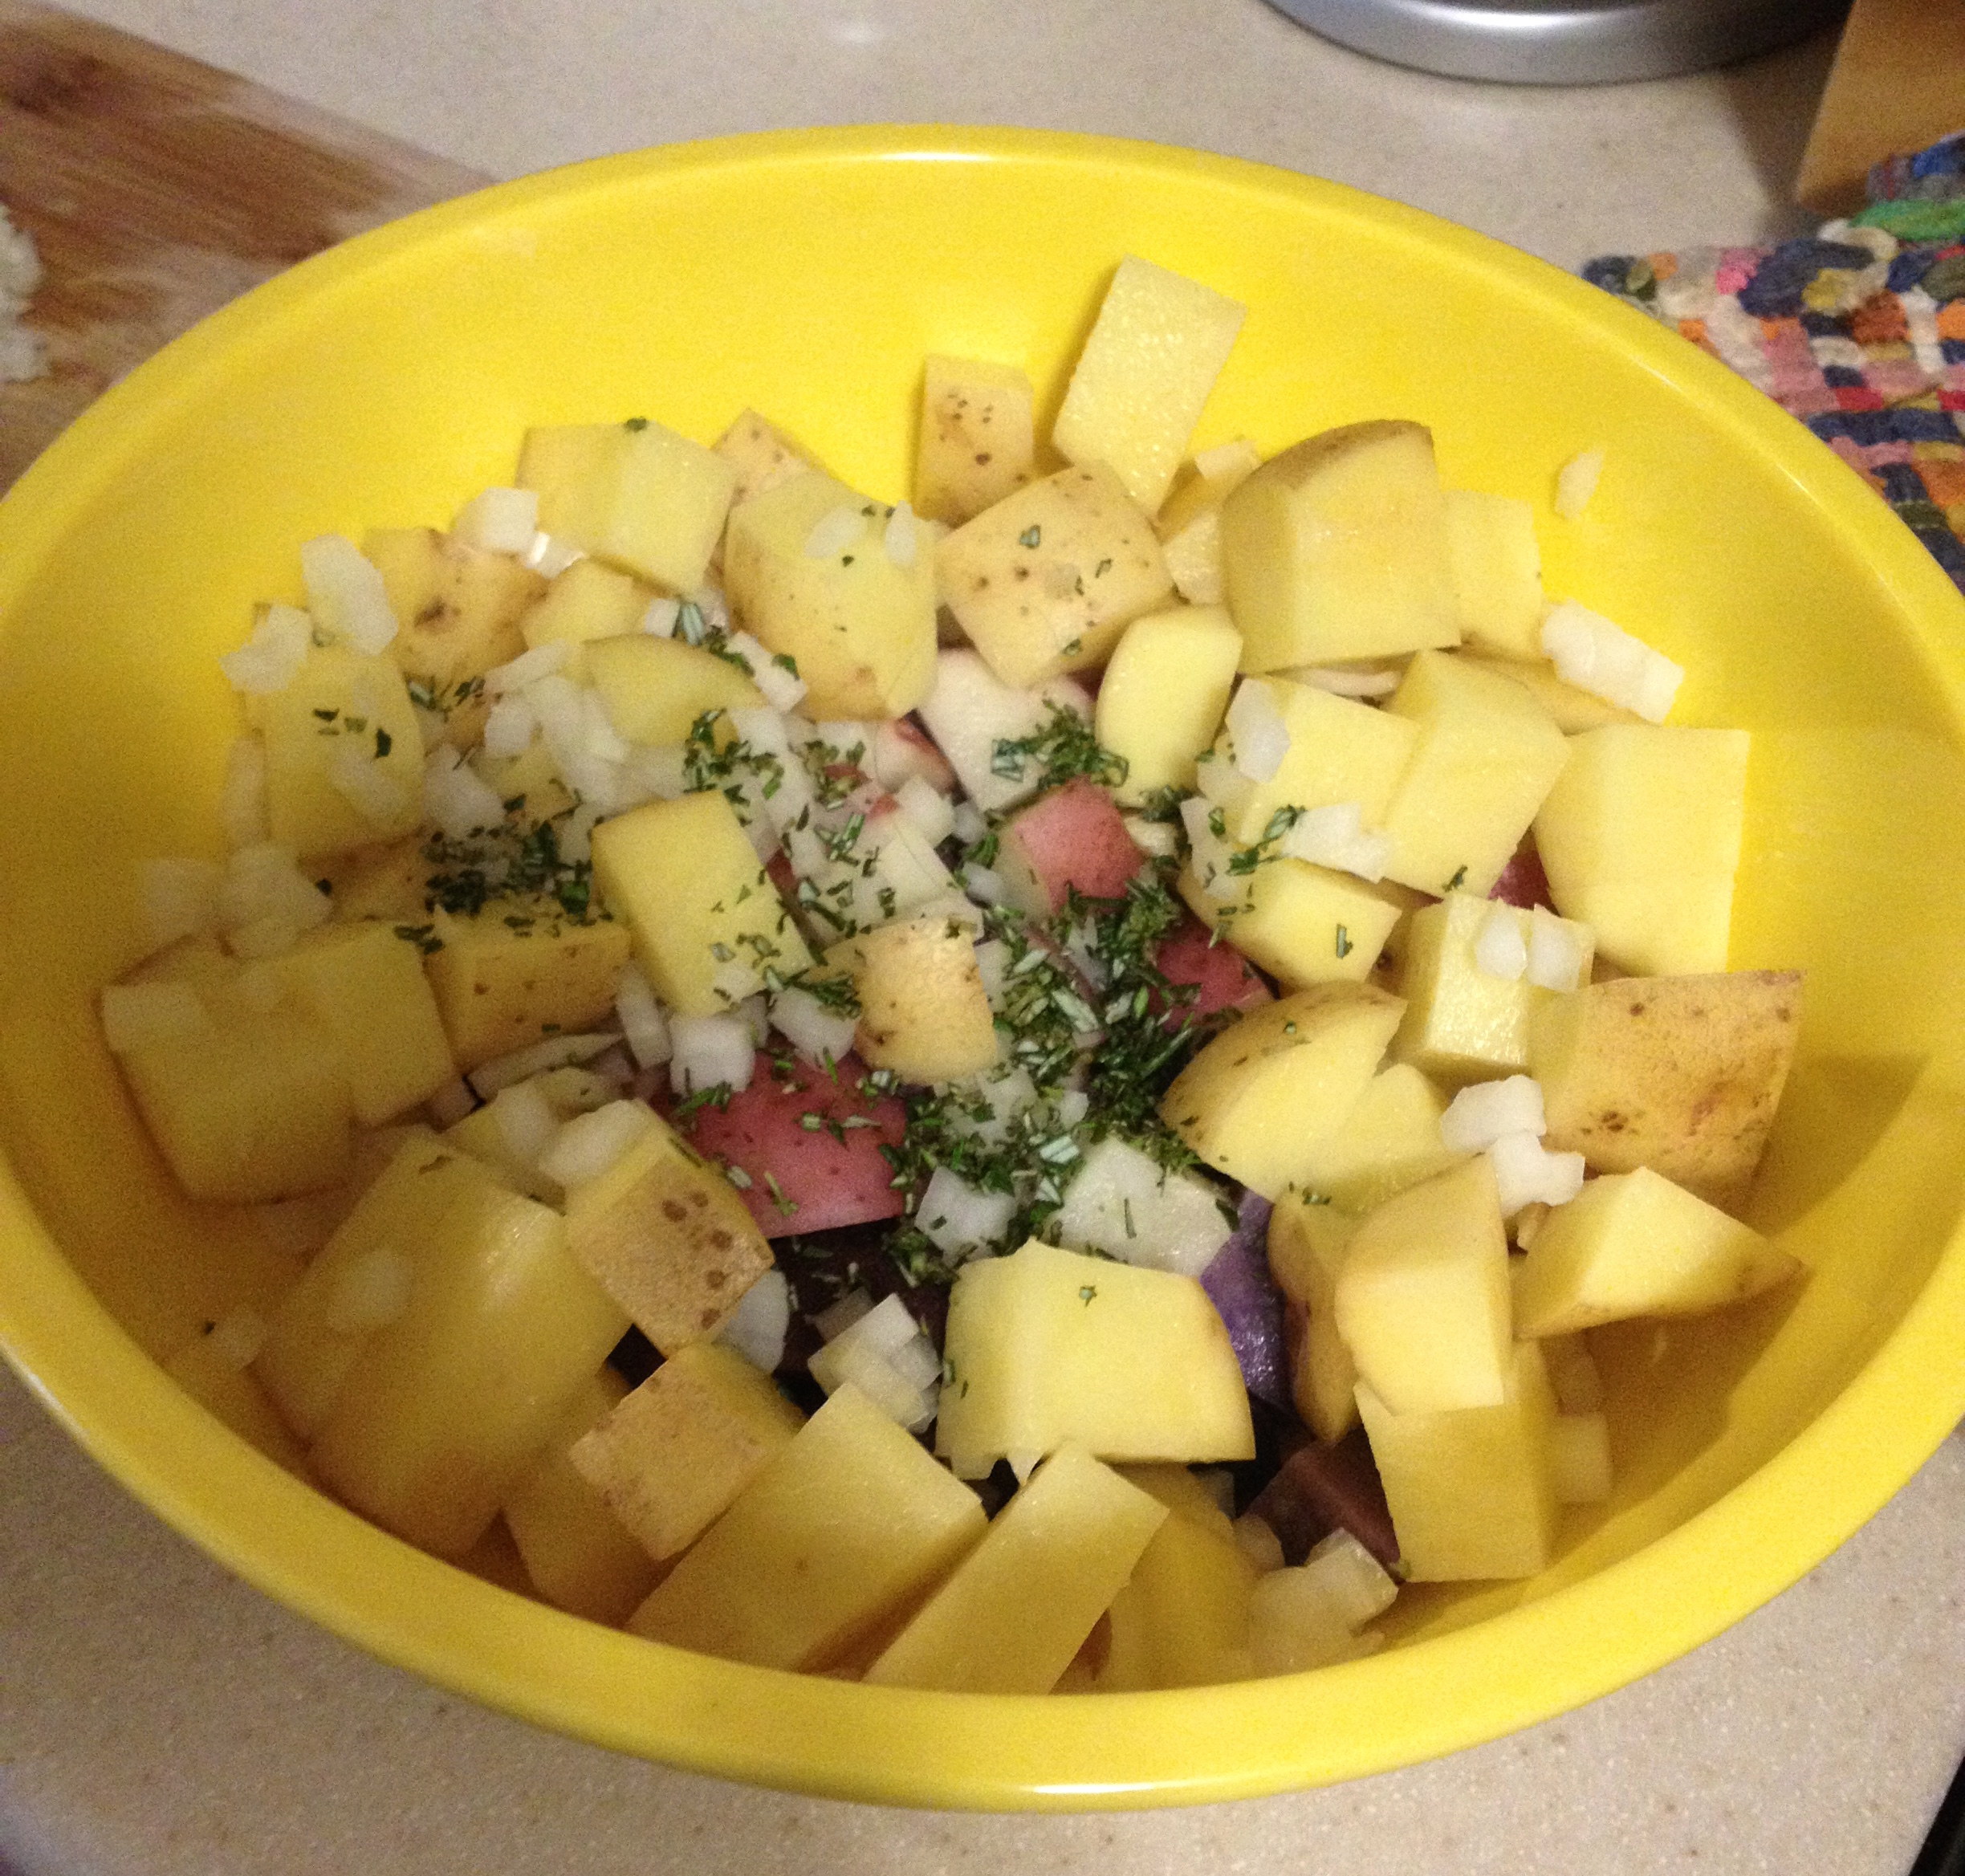
Roasted Multicolor Potatoes
- 3-4 large potatoes of varying colors (we used purple, red, and yellow- don’t use sweet potatoes unless you want a very different flavor!).
- chopped rosemary to taste
- chopped yellow onion to taste
- powdered garlic to taste
- extra virgin olive oil
- salt and pepper
Toss all the ingredients together and arrange in a single layer on a baking sheet.
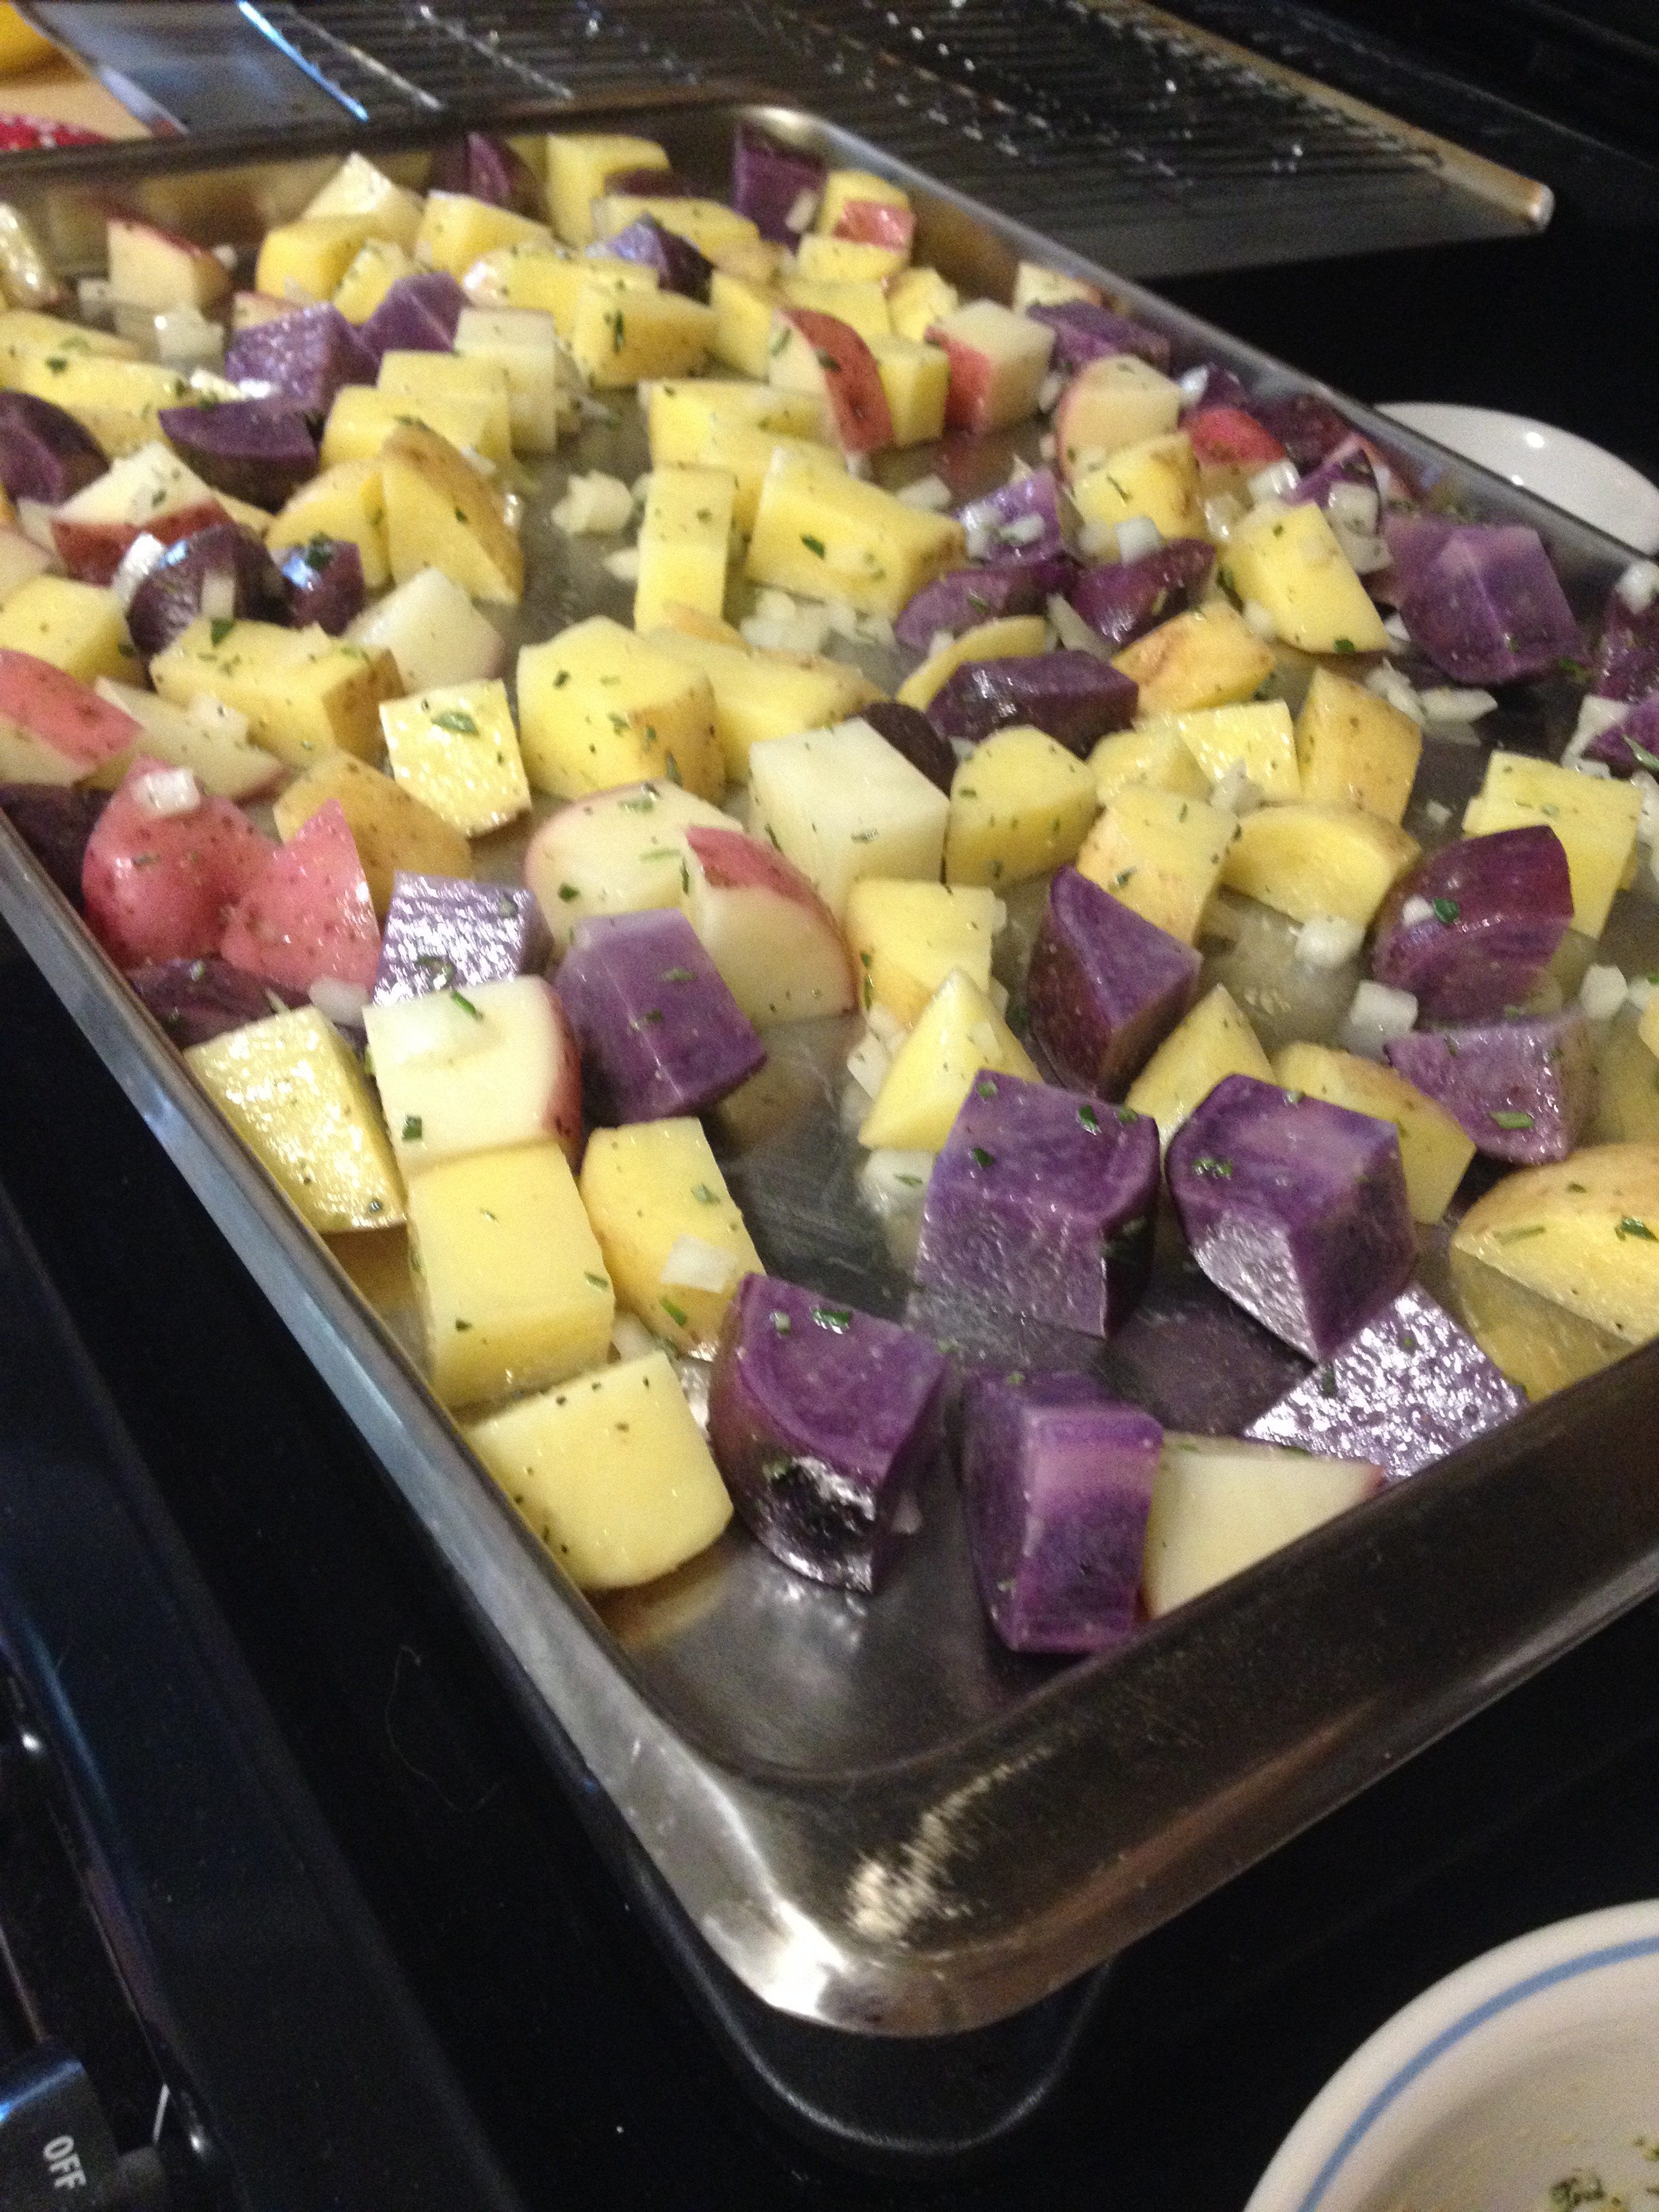
If you’re making these only, you can roast them at 425°F for about 30 minutes or until they’re fork tender. We roasted them so that they would be done at the same time as the lamb, so we put them in at 425°F for 10 minutes, then lowered the oven to 325°F for 20 minutes while the lamb cooked, and then raised the temperature to 475°F for 10-15 minutes until they were done.
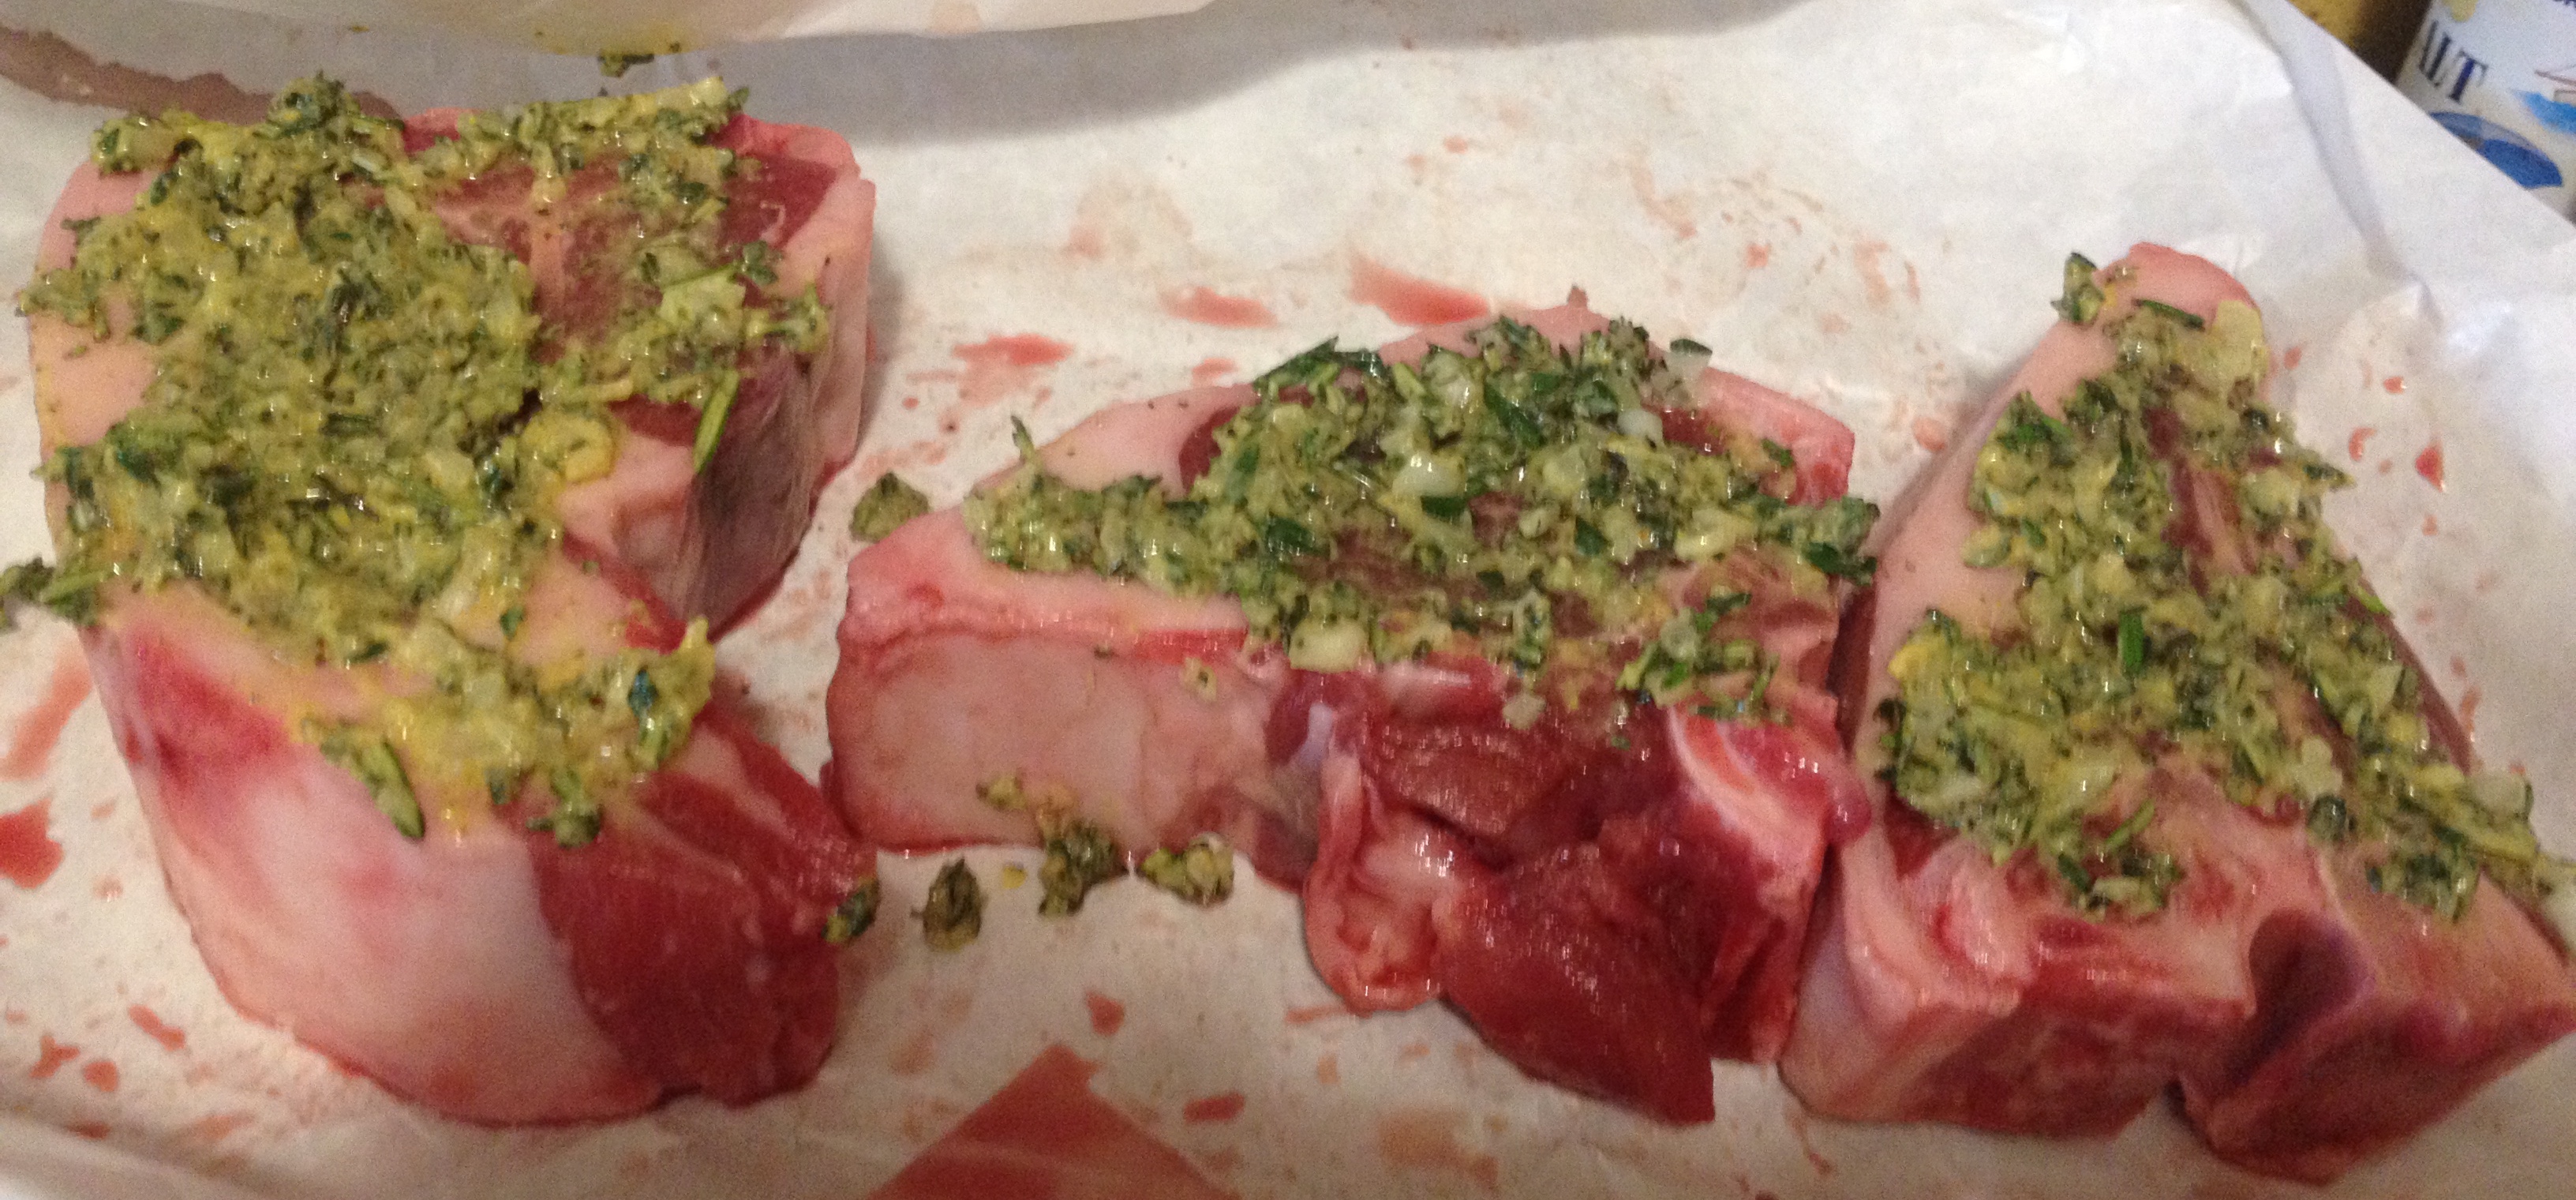
Herb Rubbed Lamb Chops:
- 3 tbsp chopped rosemary (or to taste)
- 3 tbsp chopped thyme (or to taste)
- bone-in lamb chops
- 2 tbsp brown mustard (or Dijon mustard)
- salt and pepper
- 3 tbsp minced onions
Combine the herbs, minced onion, and mustard together until it forms a paste. Rub on each side of lamb chops.
Heat 1-2 tbsp olive oil in a cast iron skillet over high heat. Sear the lamb on one side in the skillet until it is browned. Flip the chops over and put them in the oven at 325°F for about 20 minutes.
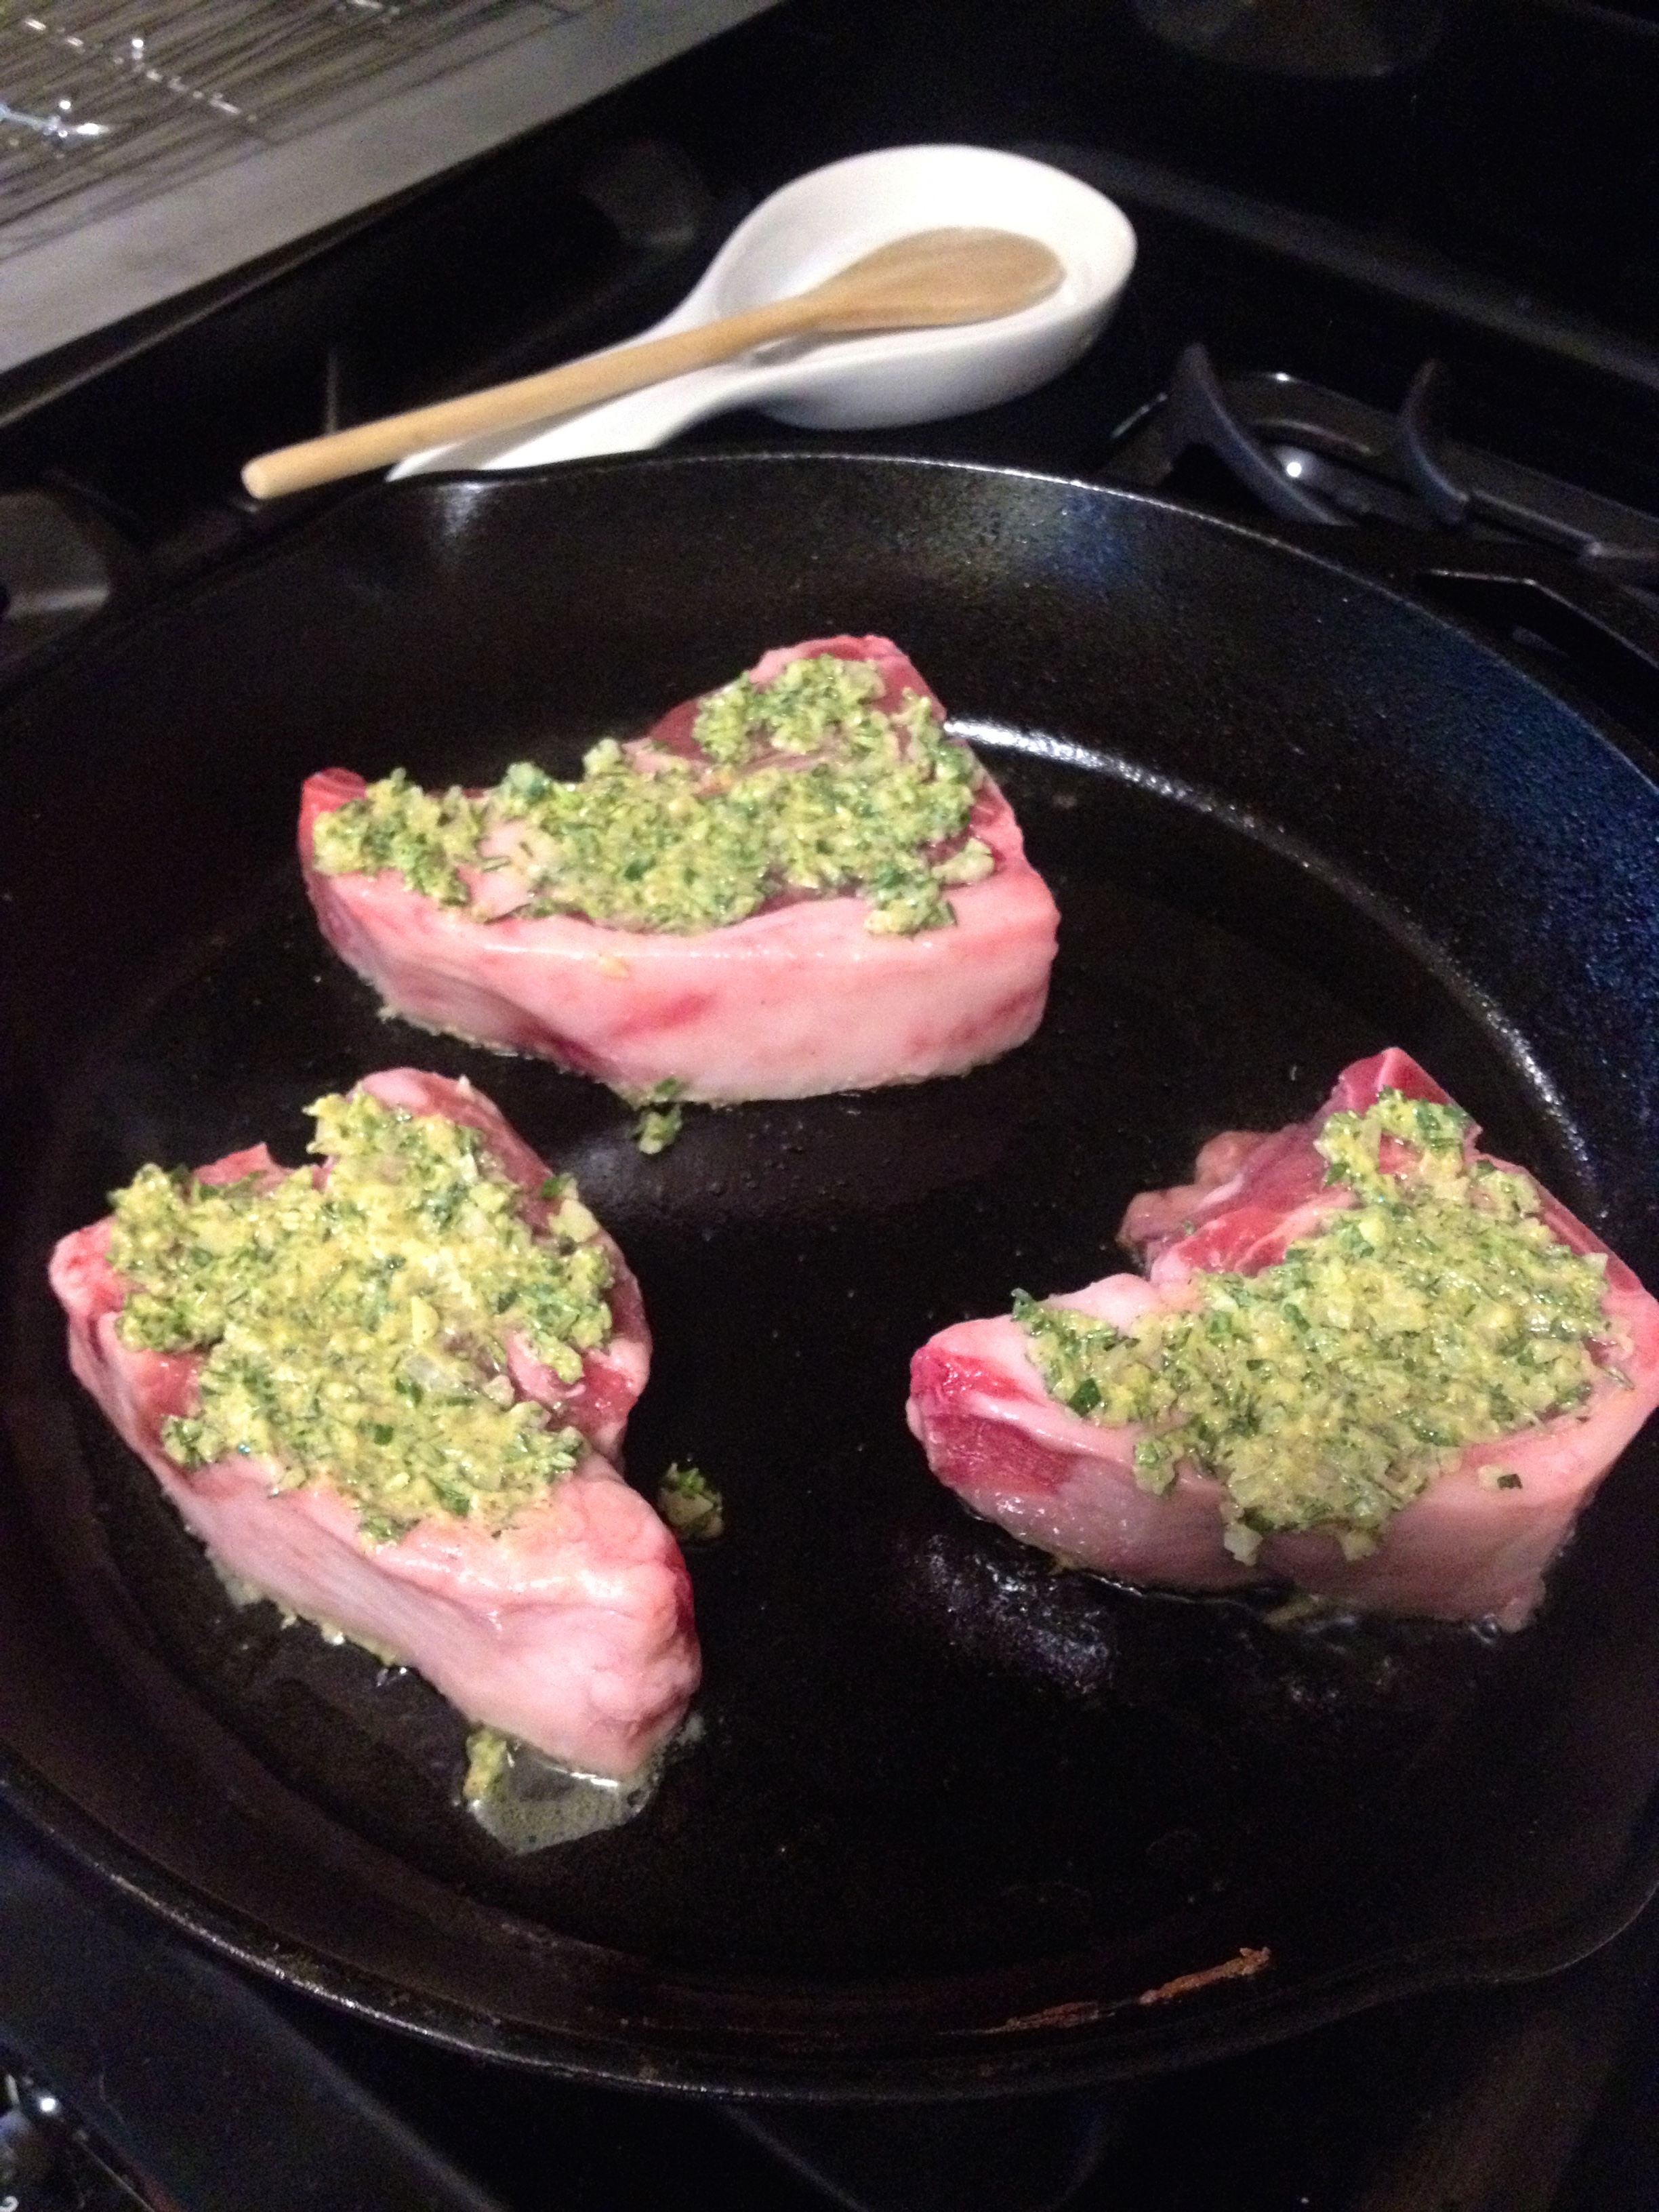
When the chops are cooked (must be between 145-160°F to be medium rare to medium well), remove them from the oven. Put aluminum foil loosely over skillet, and let the chops rest for 10 minutes. Then, serve warm.
We also steamed some green beans and just dusted them with salt and pepper for our vegetable. All in all, it was a delicious meal!
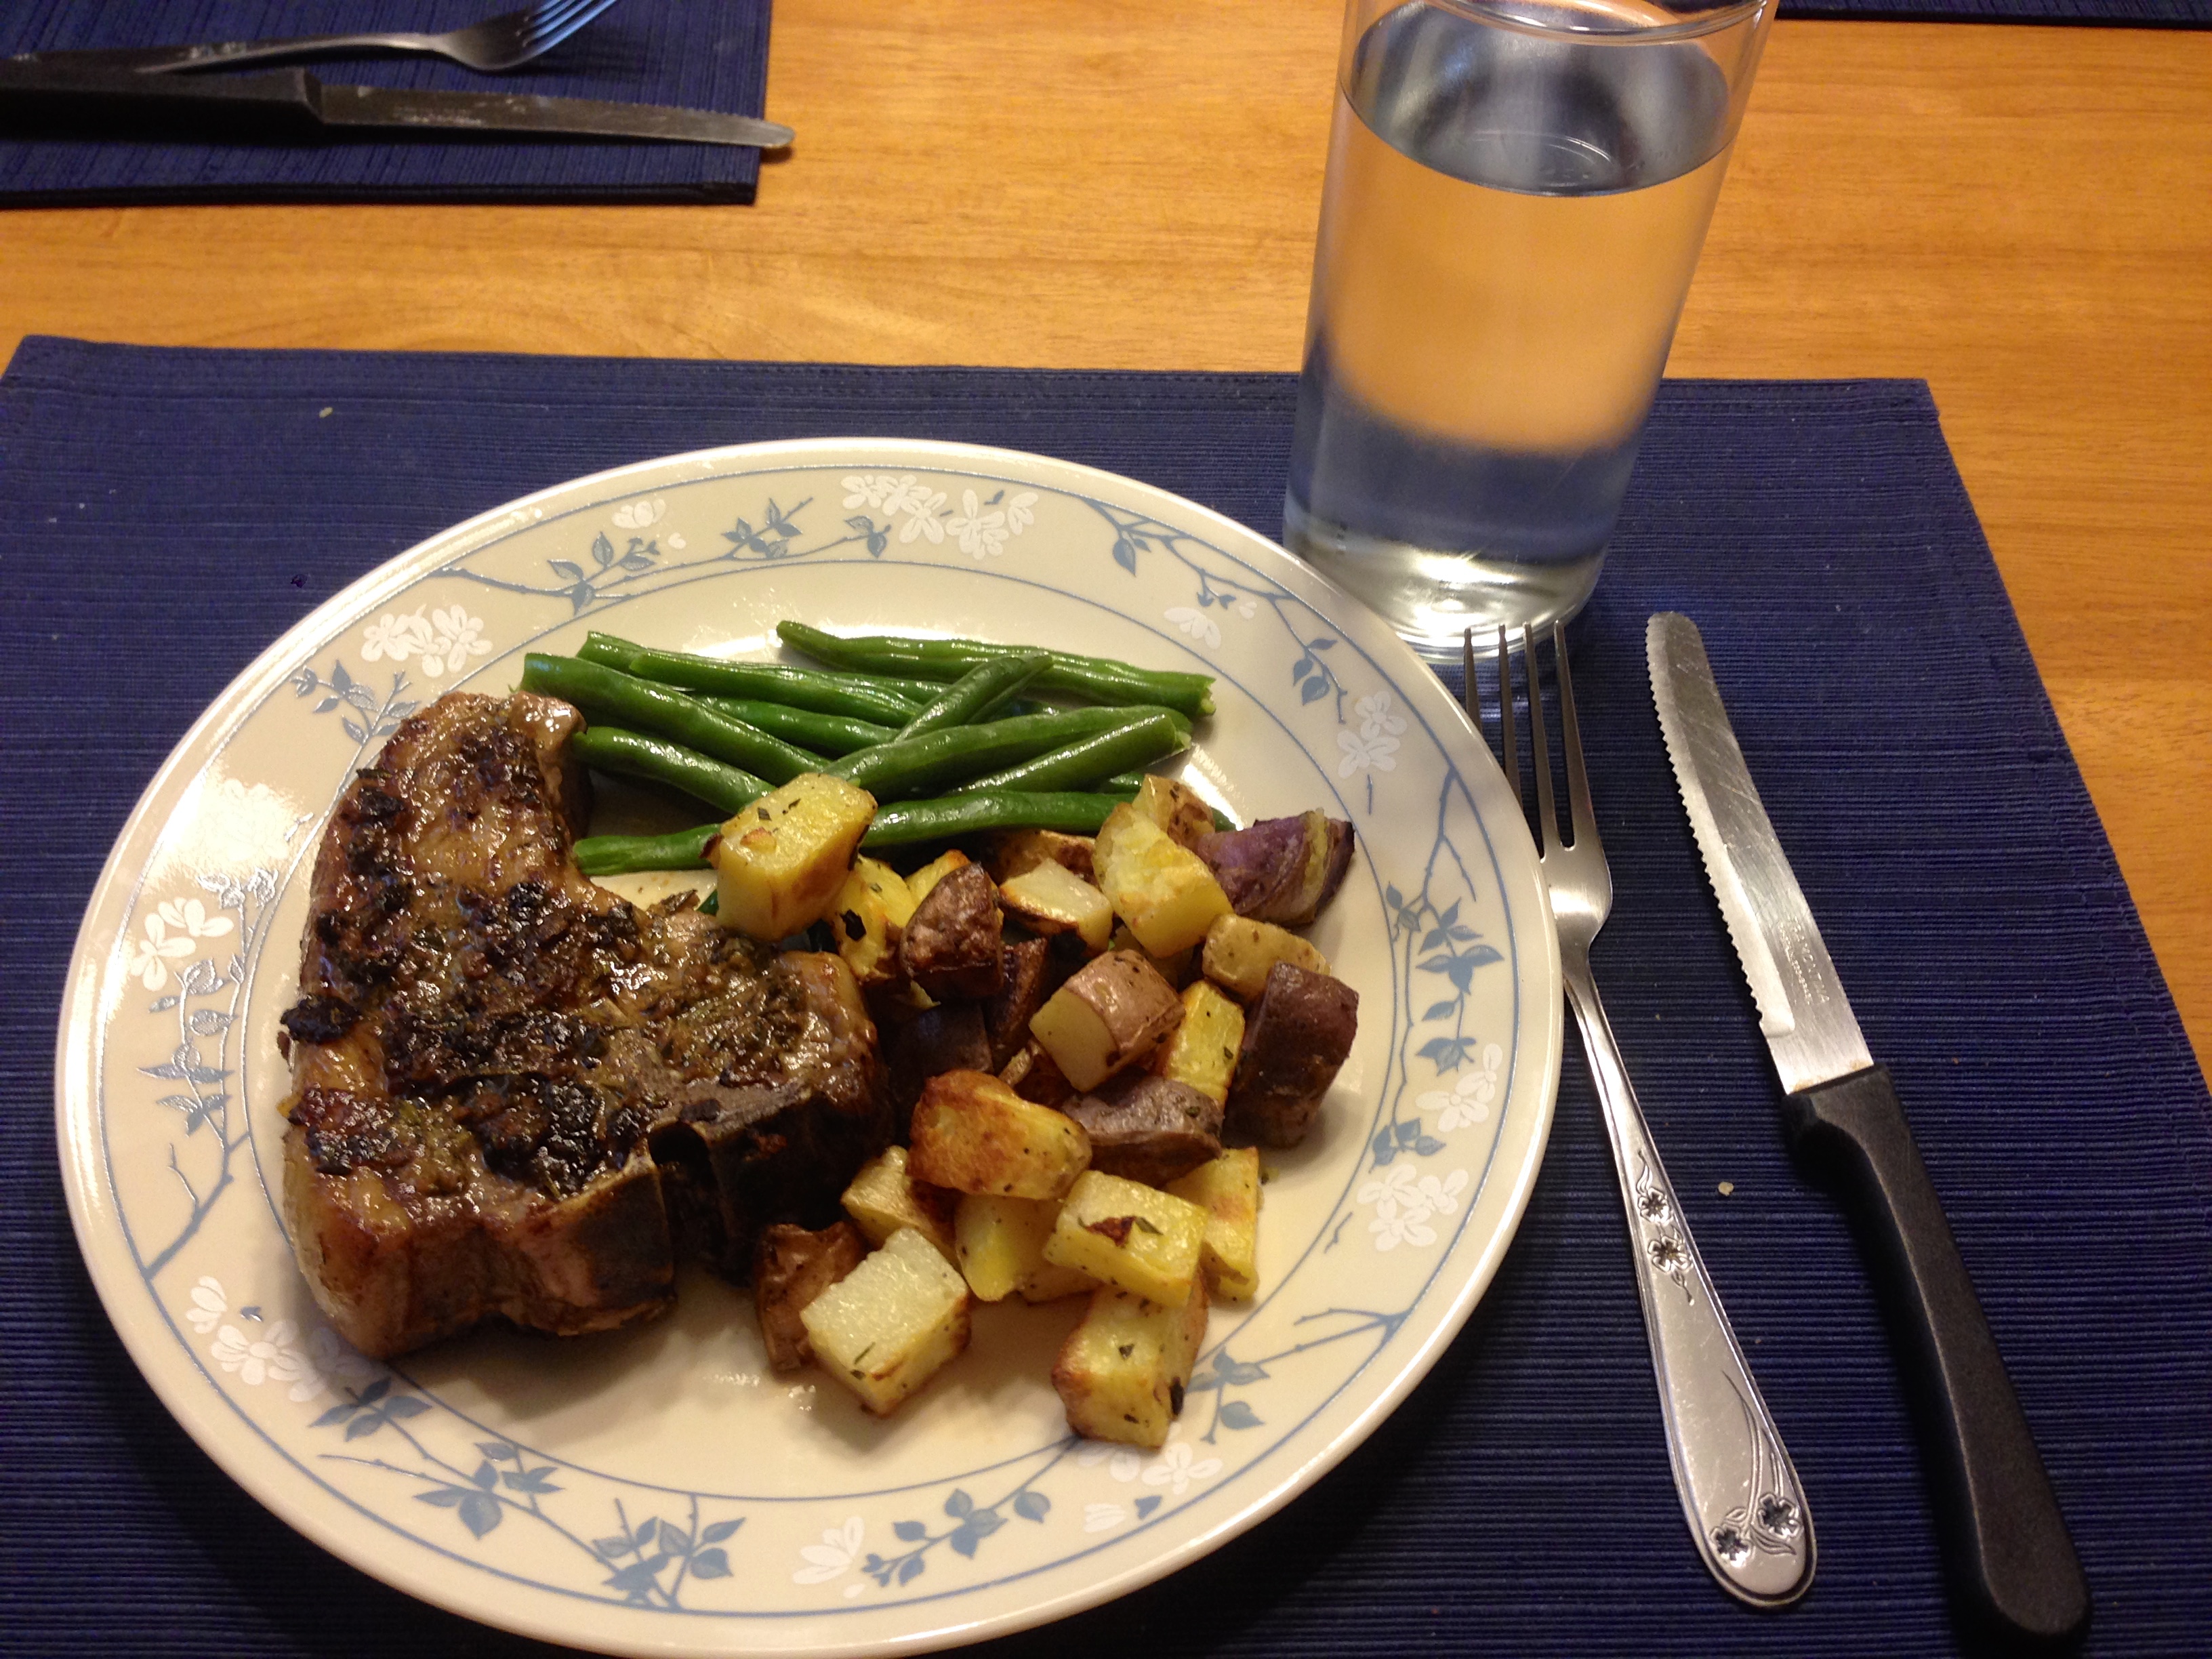
I would definitely recommend giving these recipes a try. The food was seriously so good. Happy cooking!
Aunt Sadie’s Baked Beans
Ingredients:
- Two 15oz cans of pork and beans
- 3/4 cup light brown sugar
- 1 tbsp yellow mustard (the recipe calls for 1 tsp dry mustard, but Aunt Sadie wrote “I use regular mustard” next to this line- so regular mustard it is!)
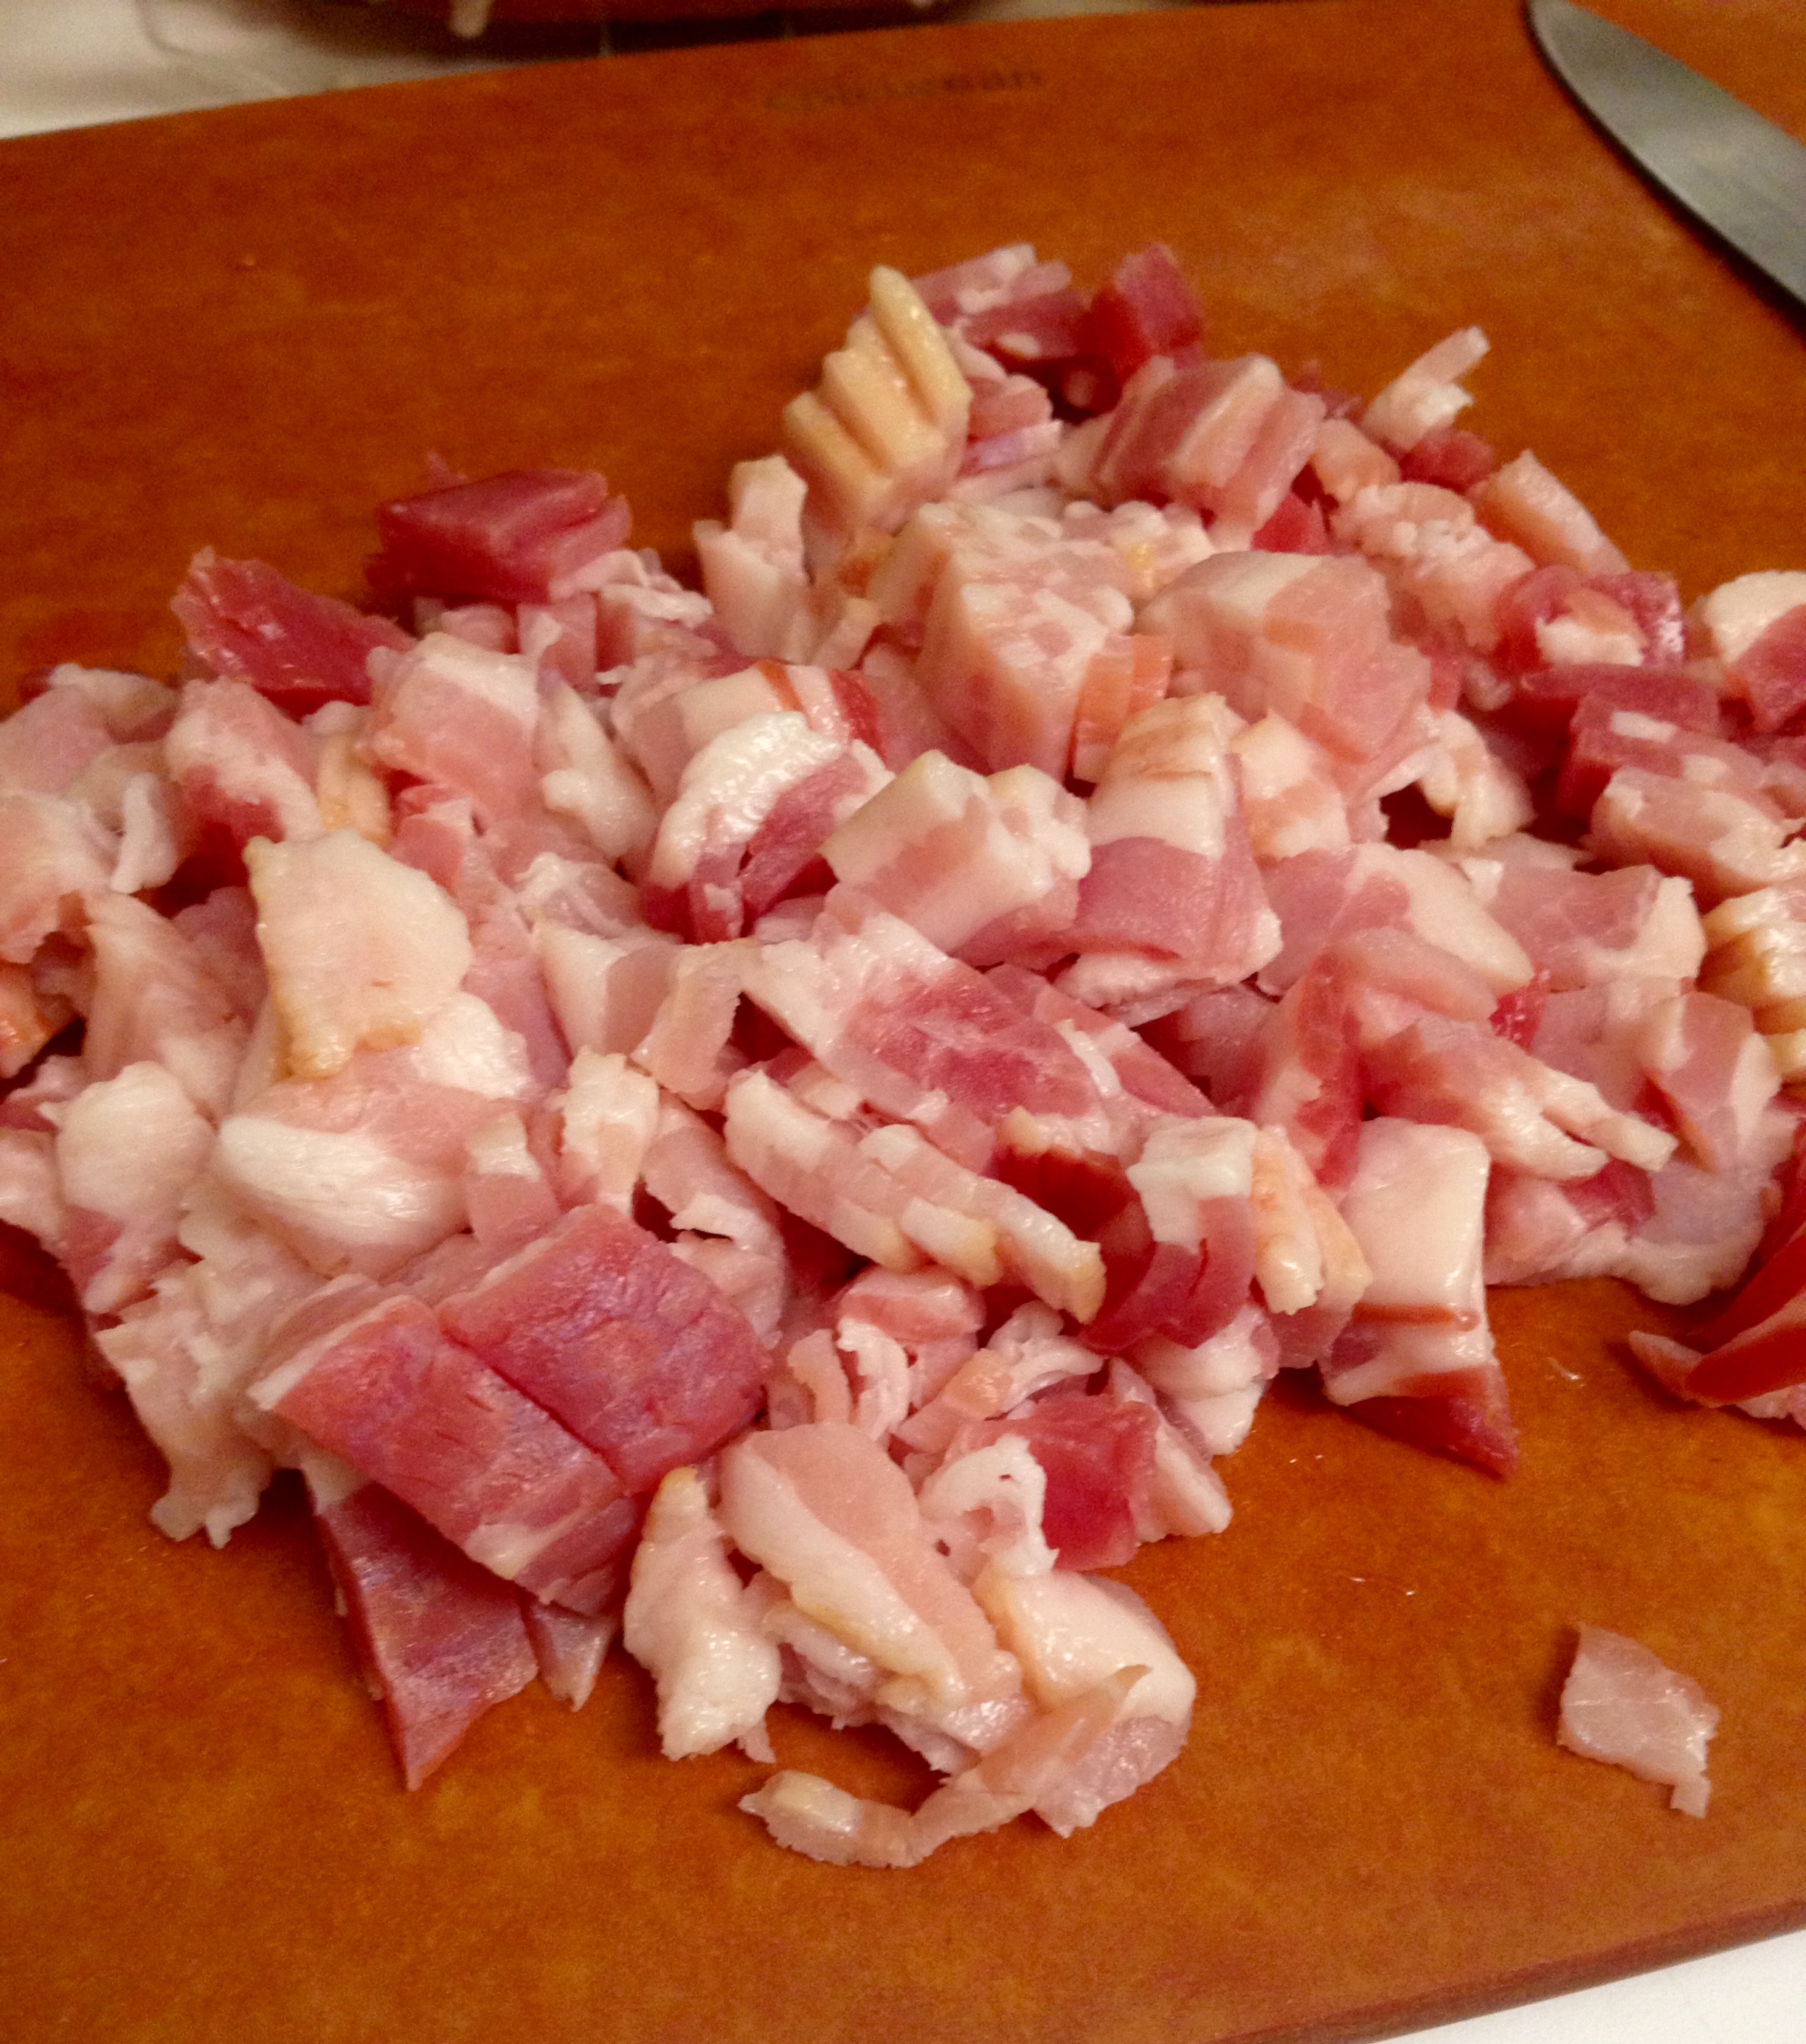
- 6 slices bacon, chopped (I used 8)
- 1/2 cup ketchup
I will start by saying this was a bit of a trial run on the beans. I had never made them before, and Aunt Sadie’s recipe has a few edits that made the dish a little difficult to be specific with. They came out well, though, so all’s well that ends well! I suppose the easiest way for me to write this is to write her exact wording, and then put in my personal touches. Here goes:
“Preheat the oven to 325°F. Empty 1 can of the beans into a 1.5qt casserole dish. Combine brown sugar and mustard and sprinkle half over beans…”
Okay, first personal note. It is not easy to combine brown sugar and yellow mustard into a mixture that is easily sprinkled. It would make sense to use dry mustard as the original recipe called for to make a dry mixture, but Aunt Sadie says yellow mustard, so yellow mustard it shall be!
I tried it two different ways, one where I added the sugar and mustard separately, and one where I combined them and then added them. The combined sugar and mustard ended up being difficult to sprinkle, so I put the mixture in the dish with the beans and then just stirred it around. For sprinkling purposes, I am definitely an advocate for adding them separately! Here’s what it looked like separately:
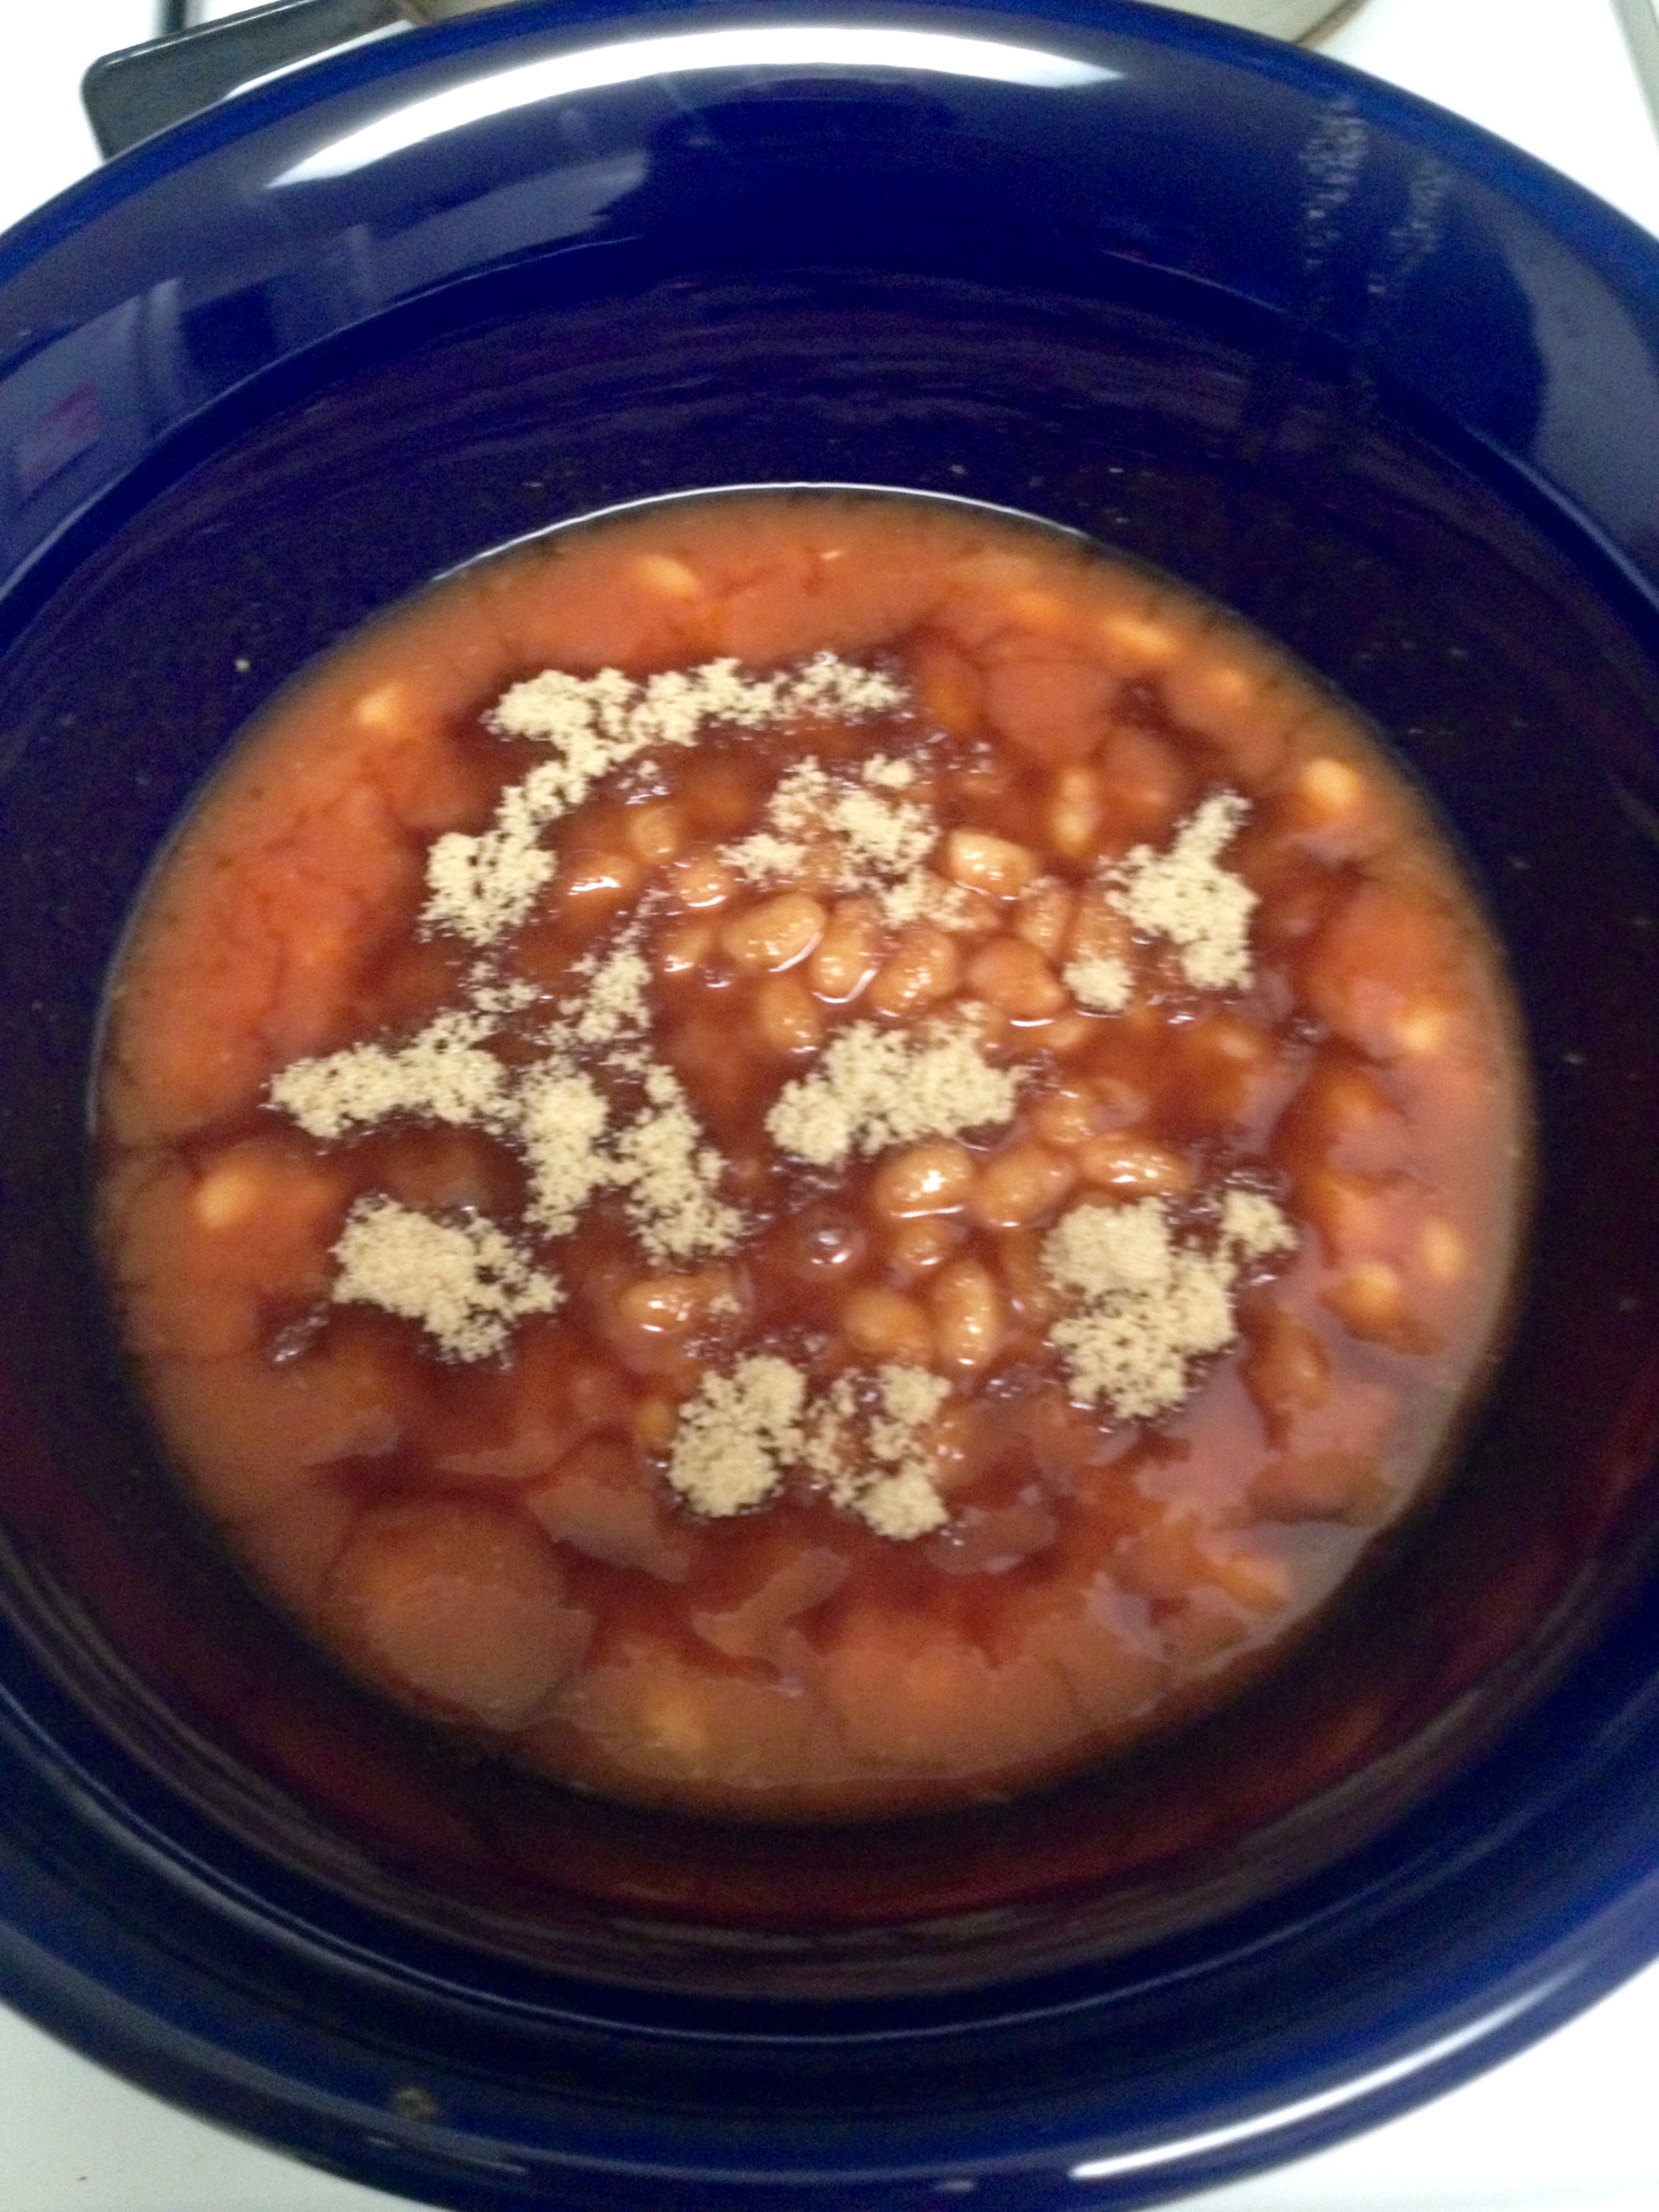
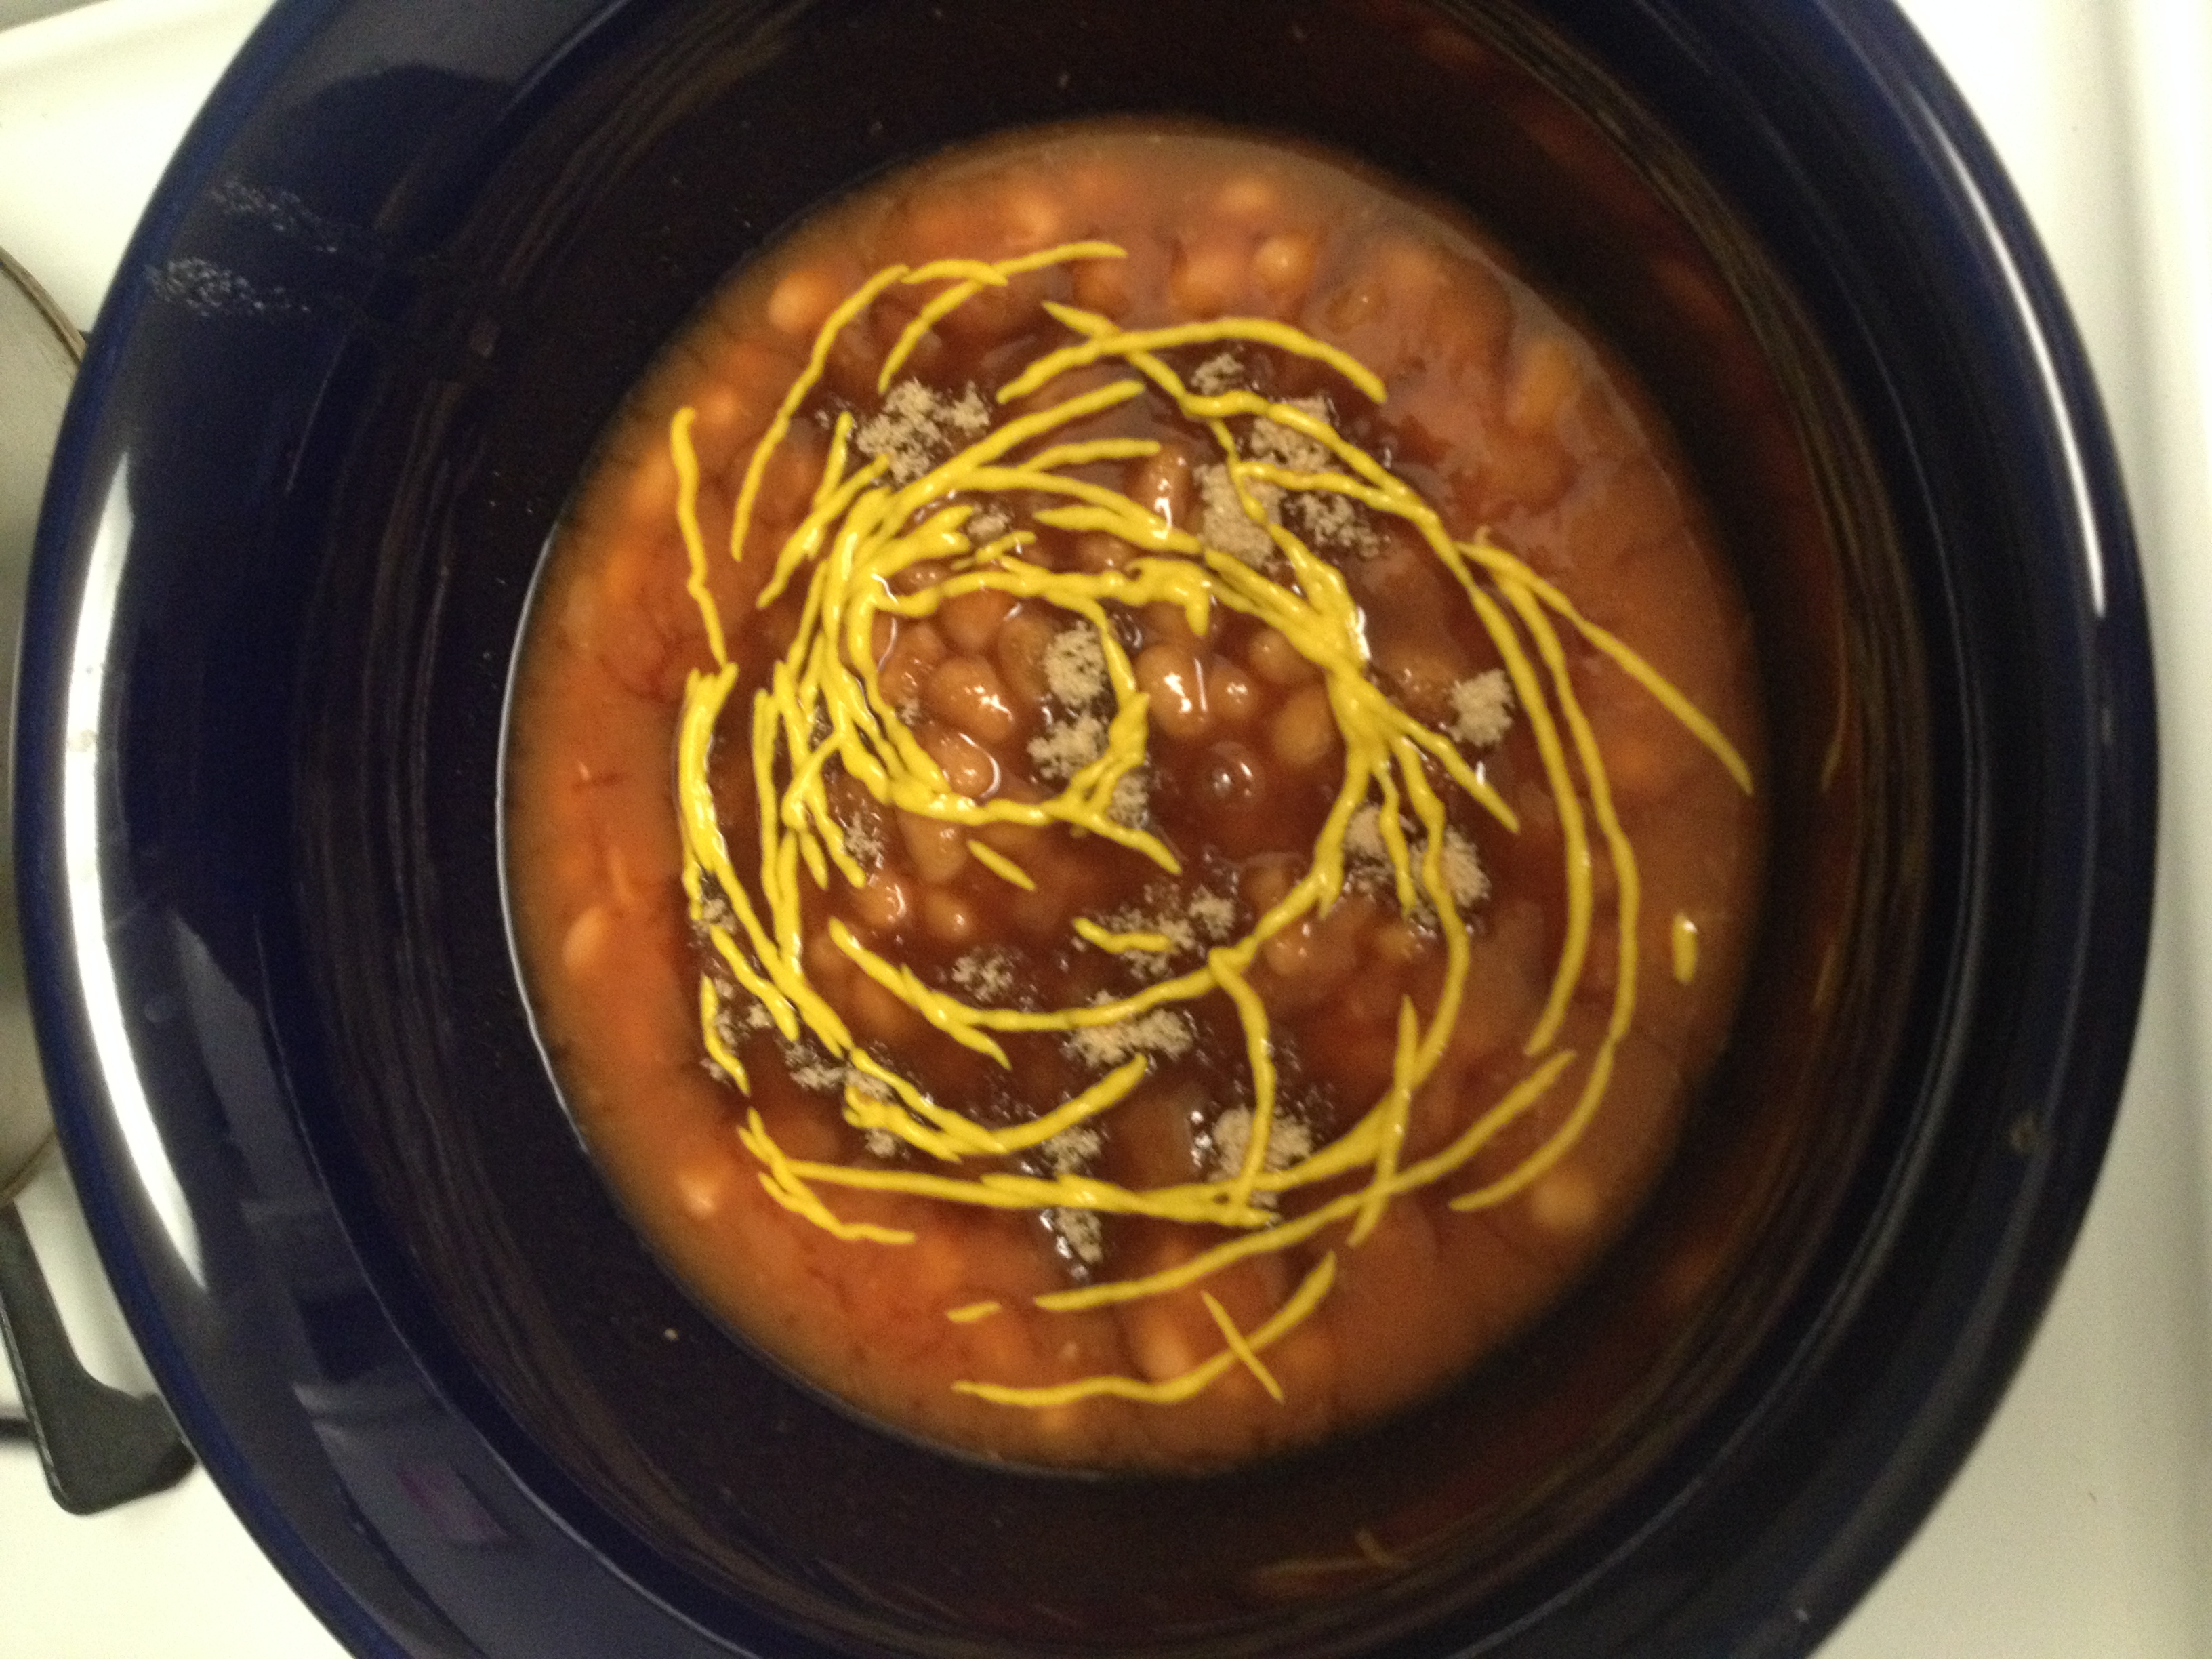
I clearly wasn’t too worried about adding the exactly correct amount of mustard. I figure a good swirl did just fine. On to the next part of the recipe!
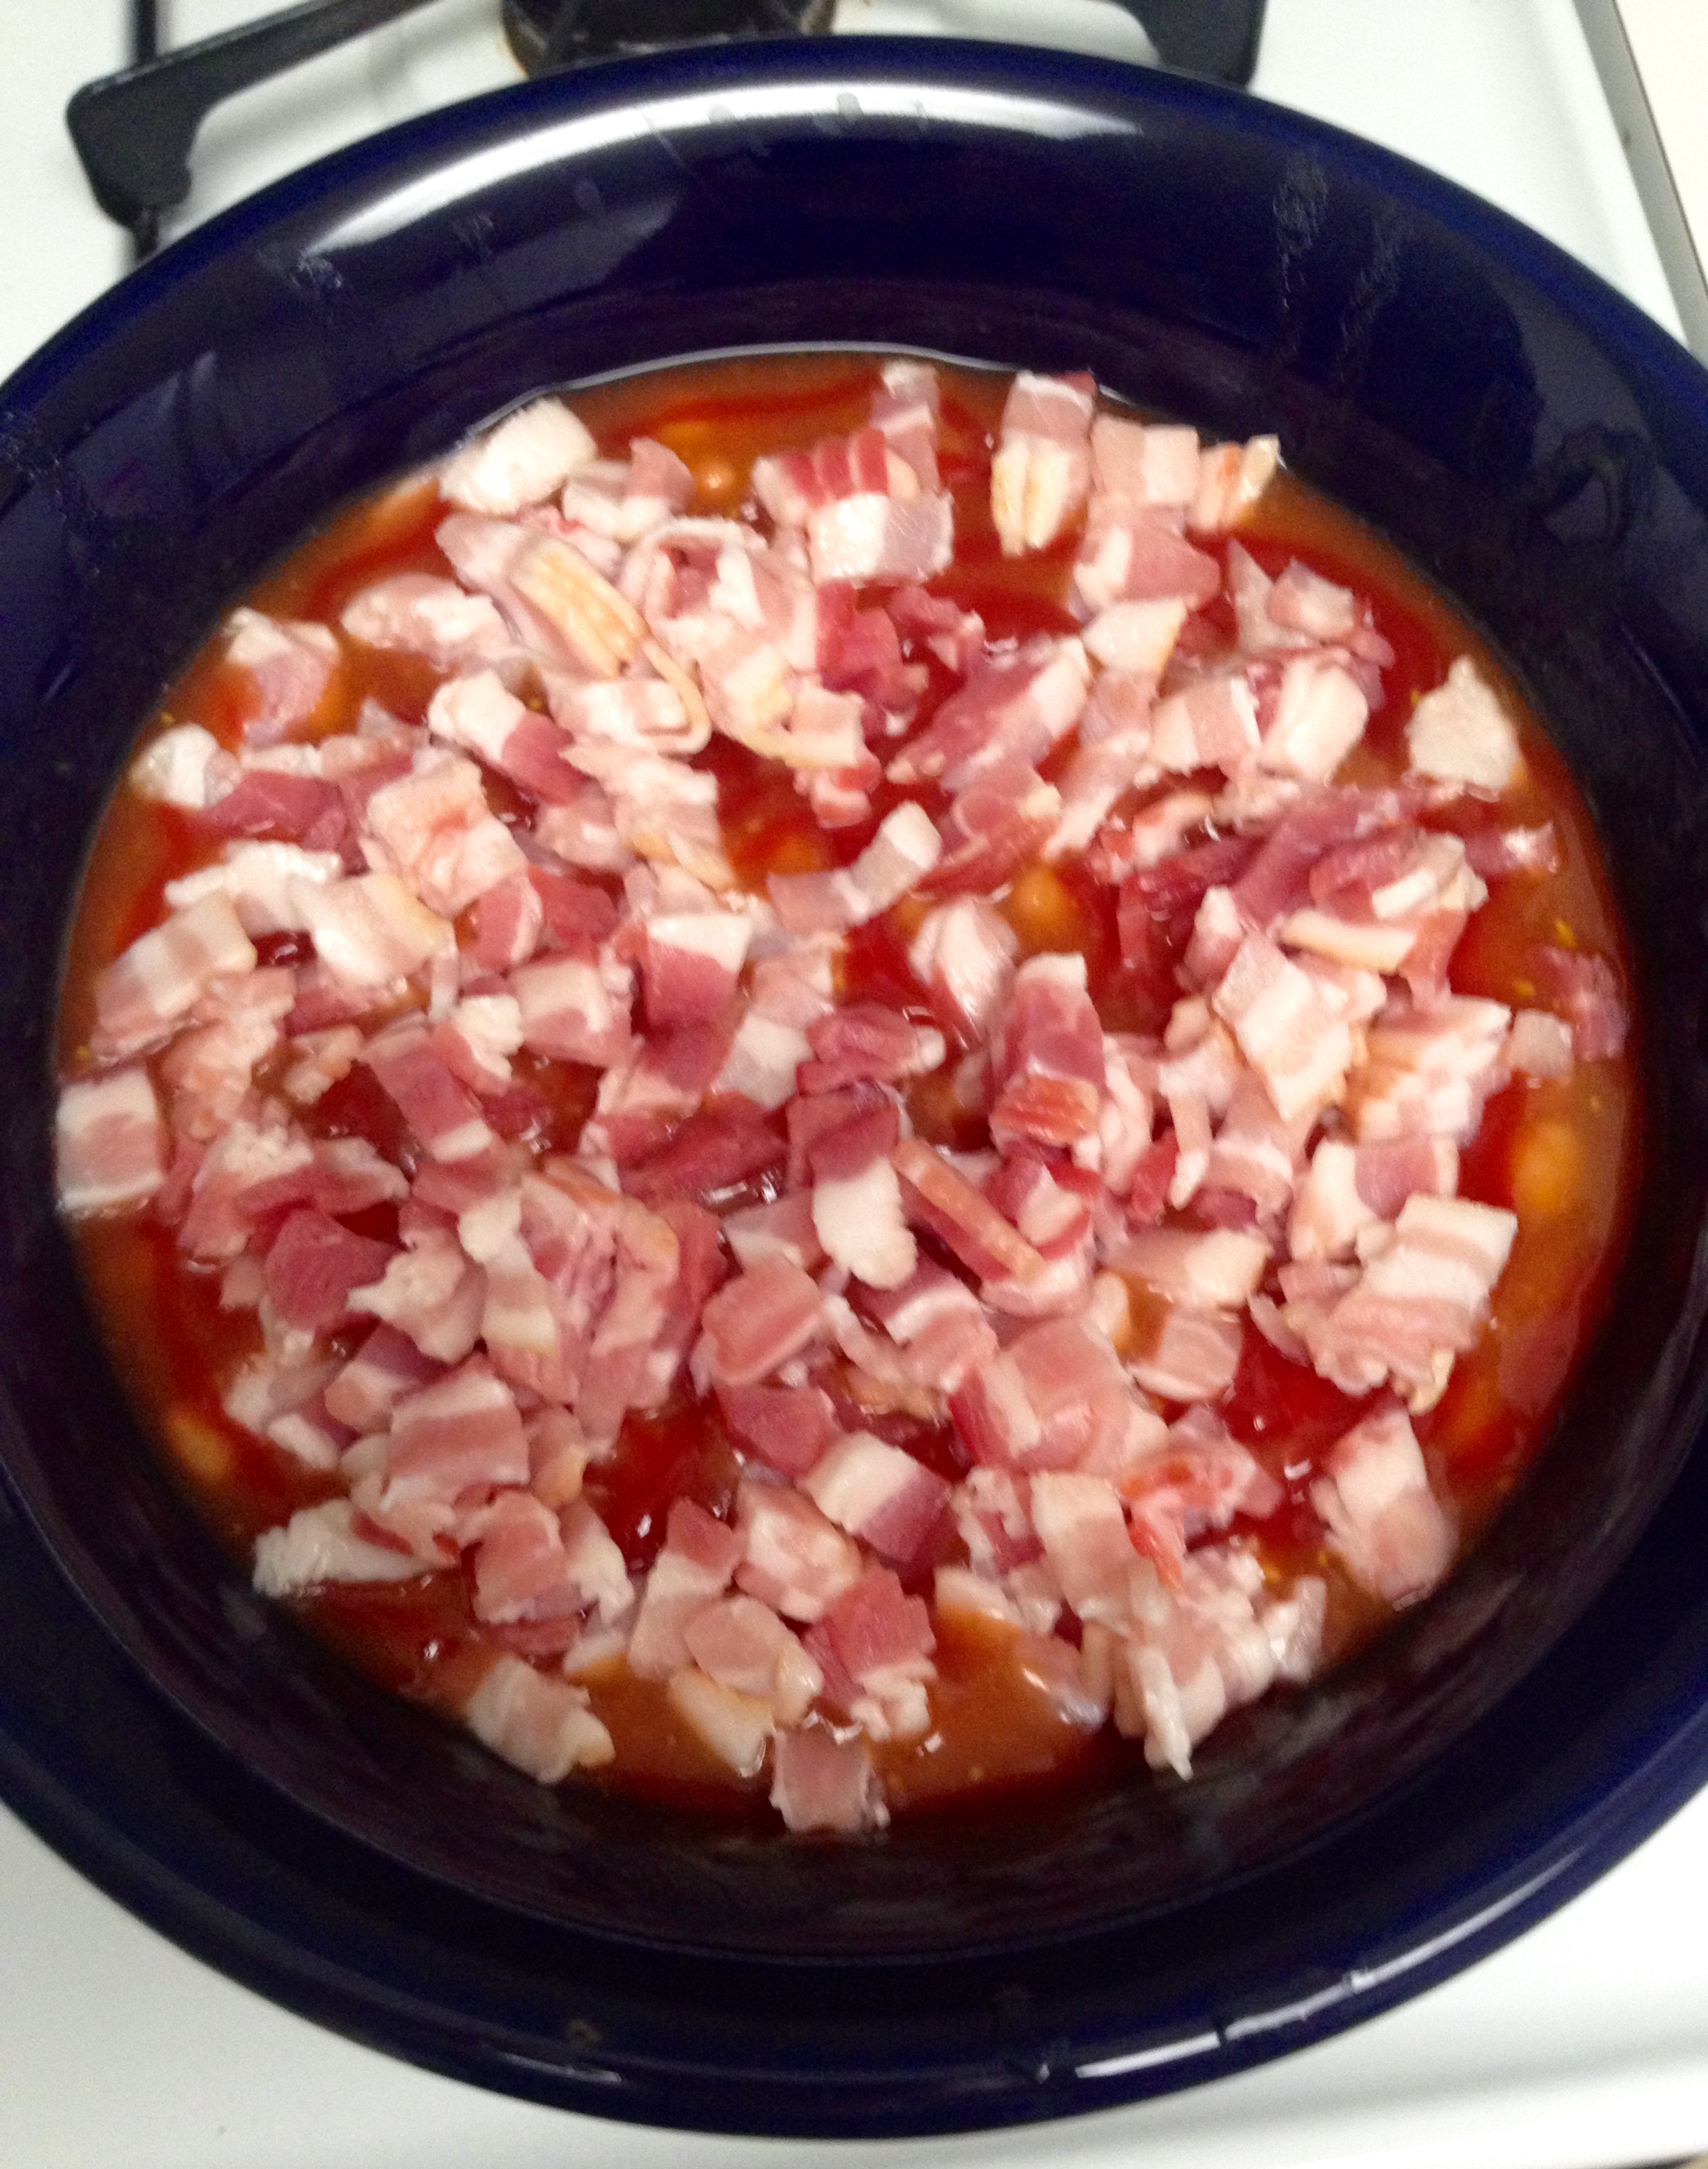
“Top with other can of beans and sprinkle with remaining brown sugar mixture, the chopped bacon, and ketchup.”
Again, highly recommend adding ingredients separately. With the bacon, Aunt Sadie writes that she only used about 4 slices. But c’mon, it’s bacon!! I doubled it and used 8 slices, chopped fine, and I have no regrets.
To finish off the dish, I swirled the ketchup over the top (again, not too concerned with the exact amount) and sprinkled the bacon over the top.
“Bake uncovered in slow oven (325 degrees) 2 1/2 hours.”
Easy enough!
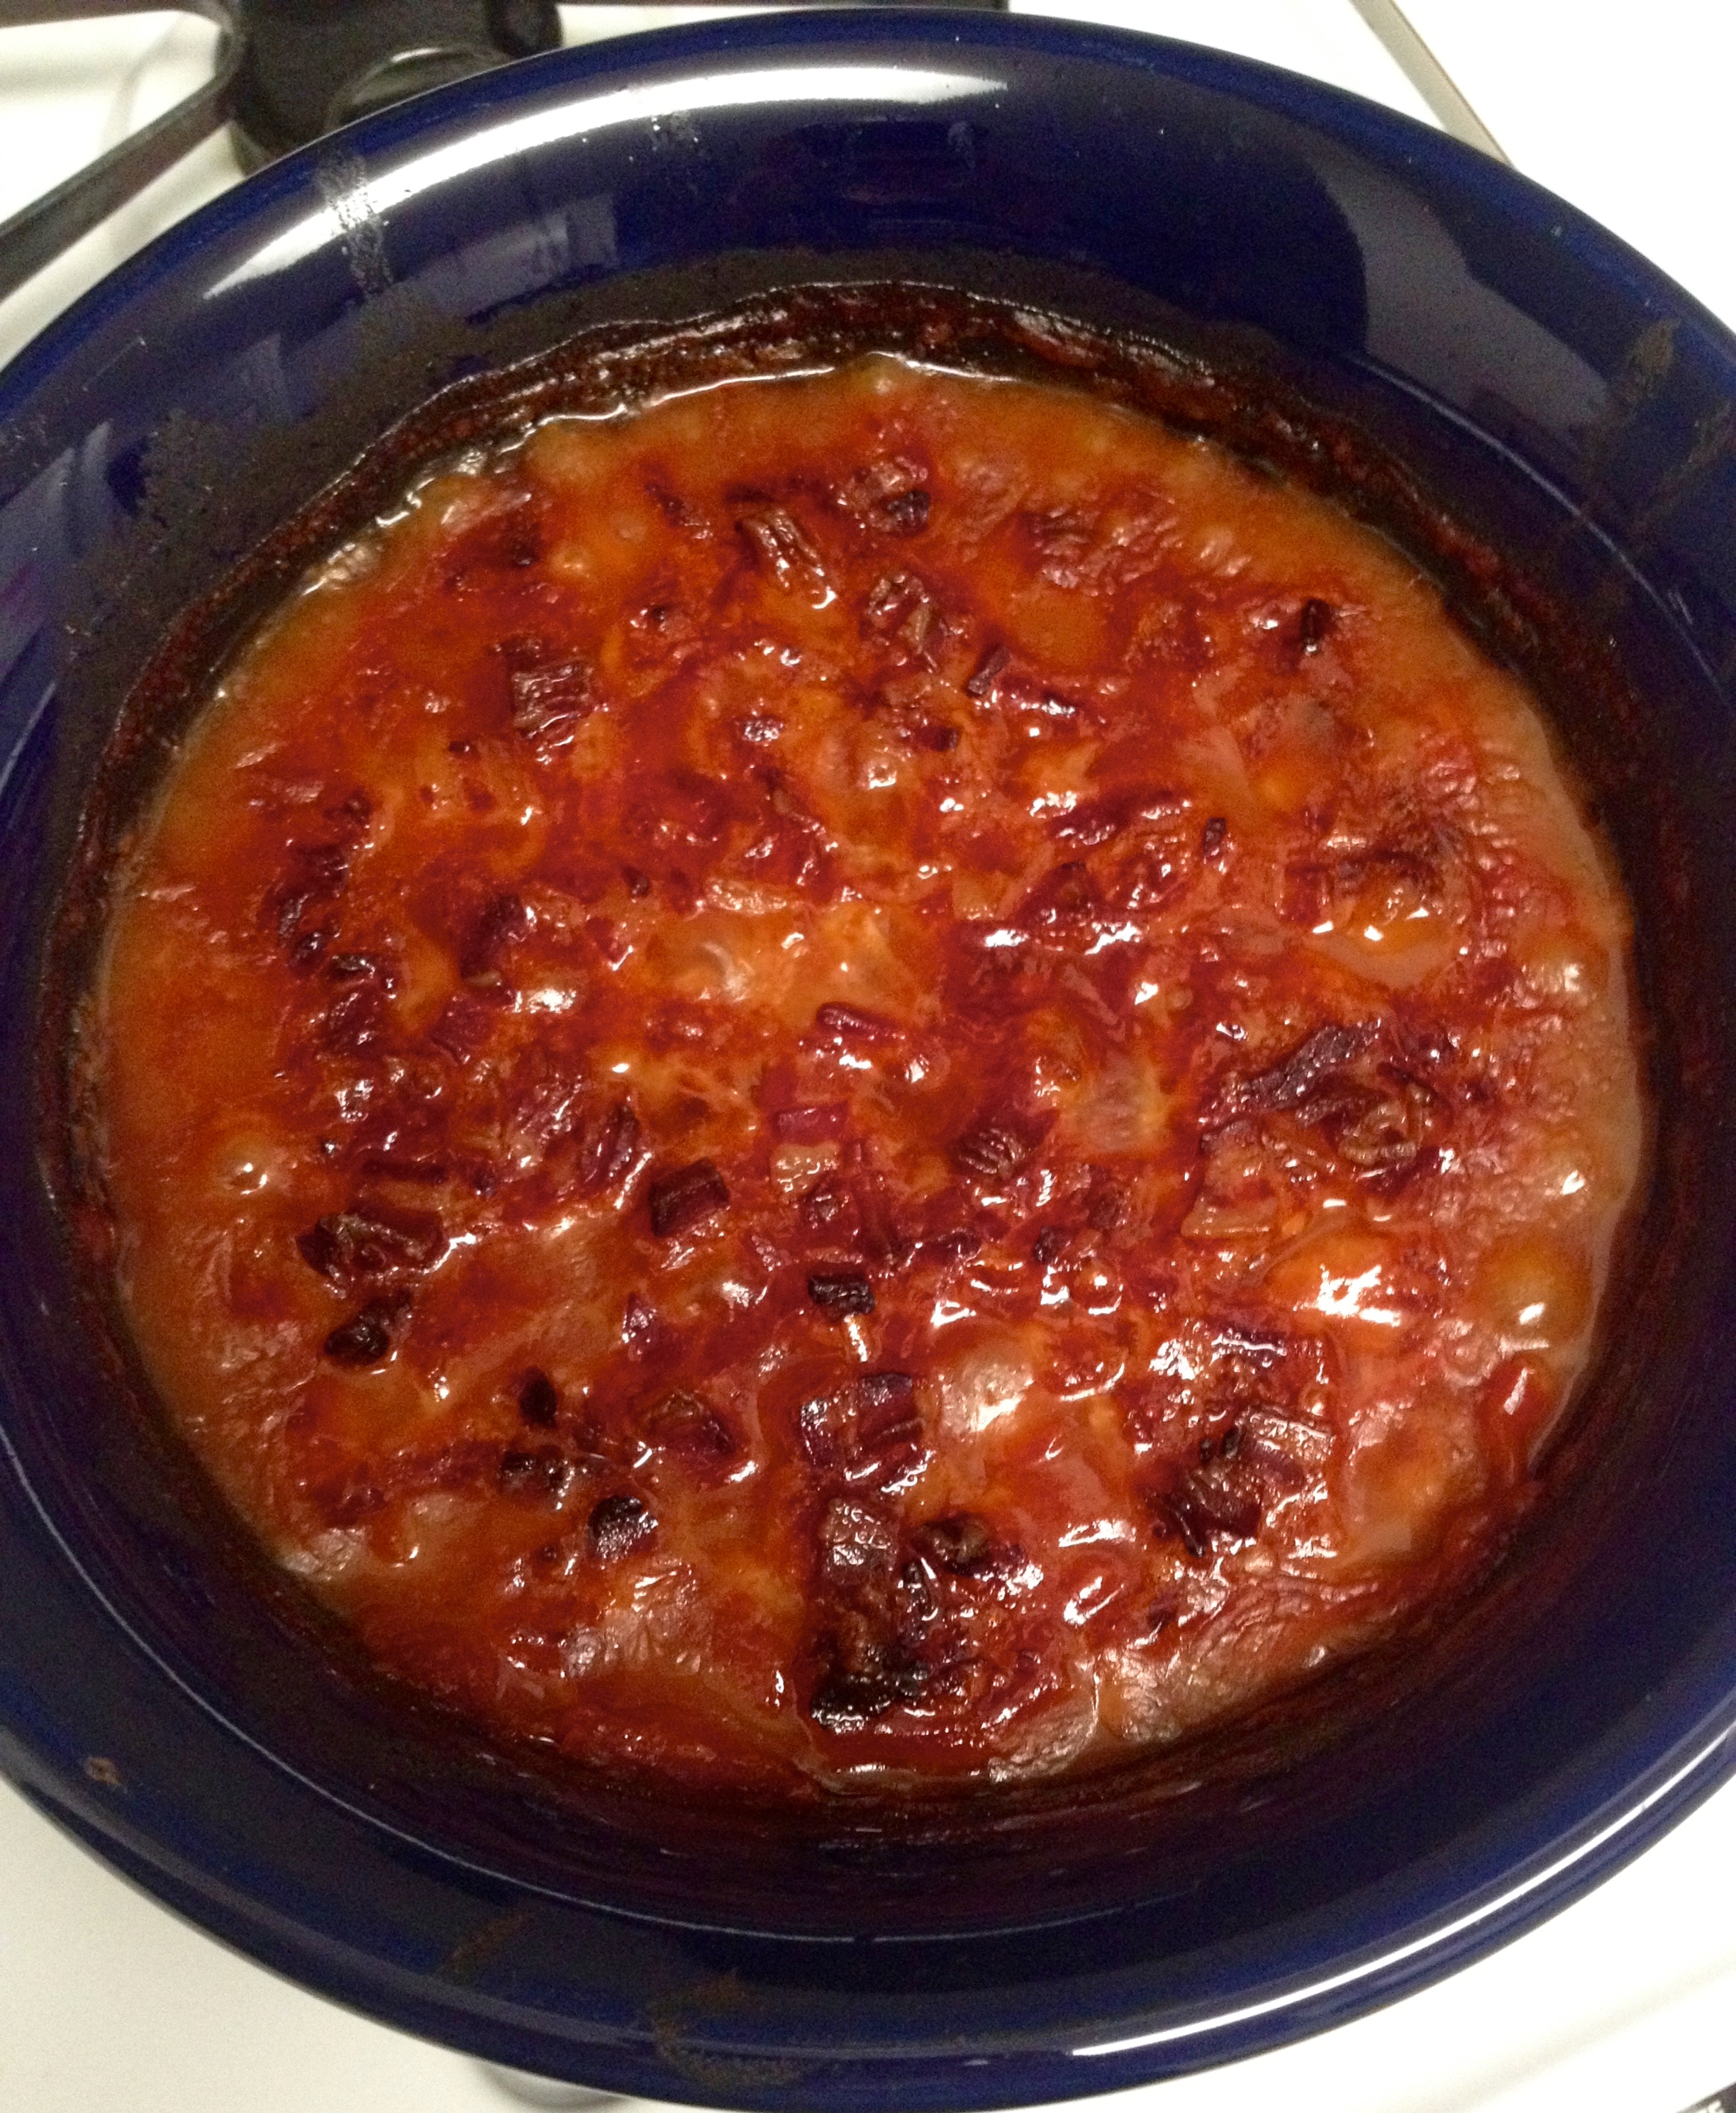
I was really happy with how these turned out. As always, they were eaten up in no time, so I guess everyone else liked them, too! Thank goodness for old family recipes!
I hope you enjoy this recipe and that you get to use it at your next cookout! Happy baking!
Crock Pot Chicken Pot Pie Filling
Hi all! Here is a super yummy recipe that I adapted from my Mom’s chicken pot pie recipe into a crock pot recipe. There’s no crust, so I made biscuits to put over the top for some crunch. SO yummy! Here’s the recipe:
Sauce Ingredients:
- 1/3 cup margarine
- 1/3 cup flour
- 2/3 cup milk
- 1 1/2 cup chicken broth
Chicken Ingredients:
- 3 boneless, skinless chicken breasts
- 1/2 cup chopped onion
- 1/2 cup chicken broth
- 2 cups frozen veggies
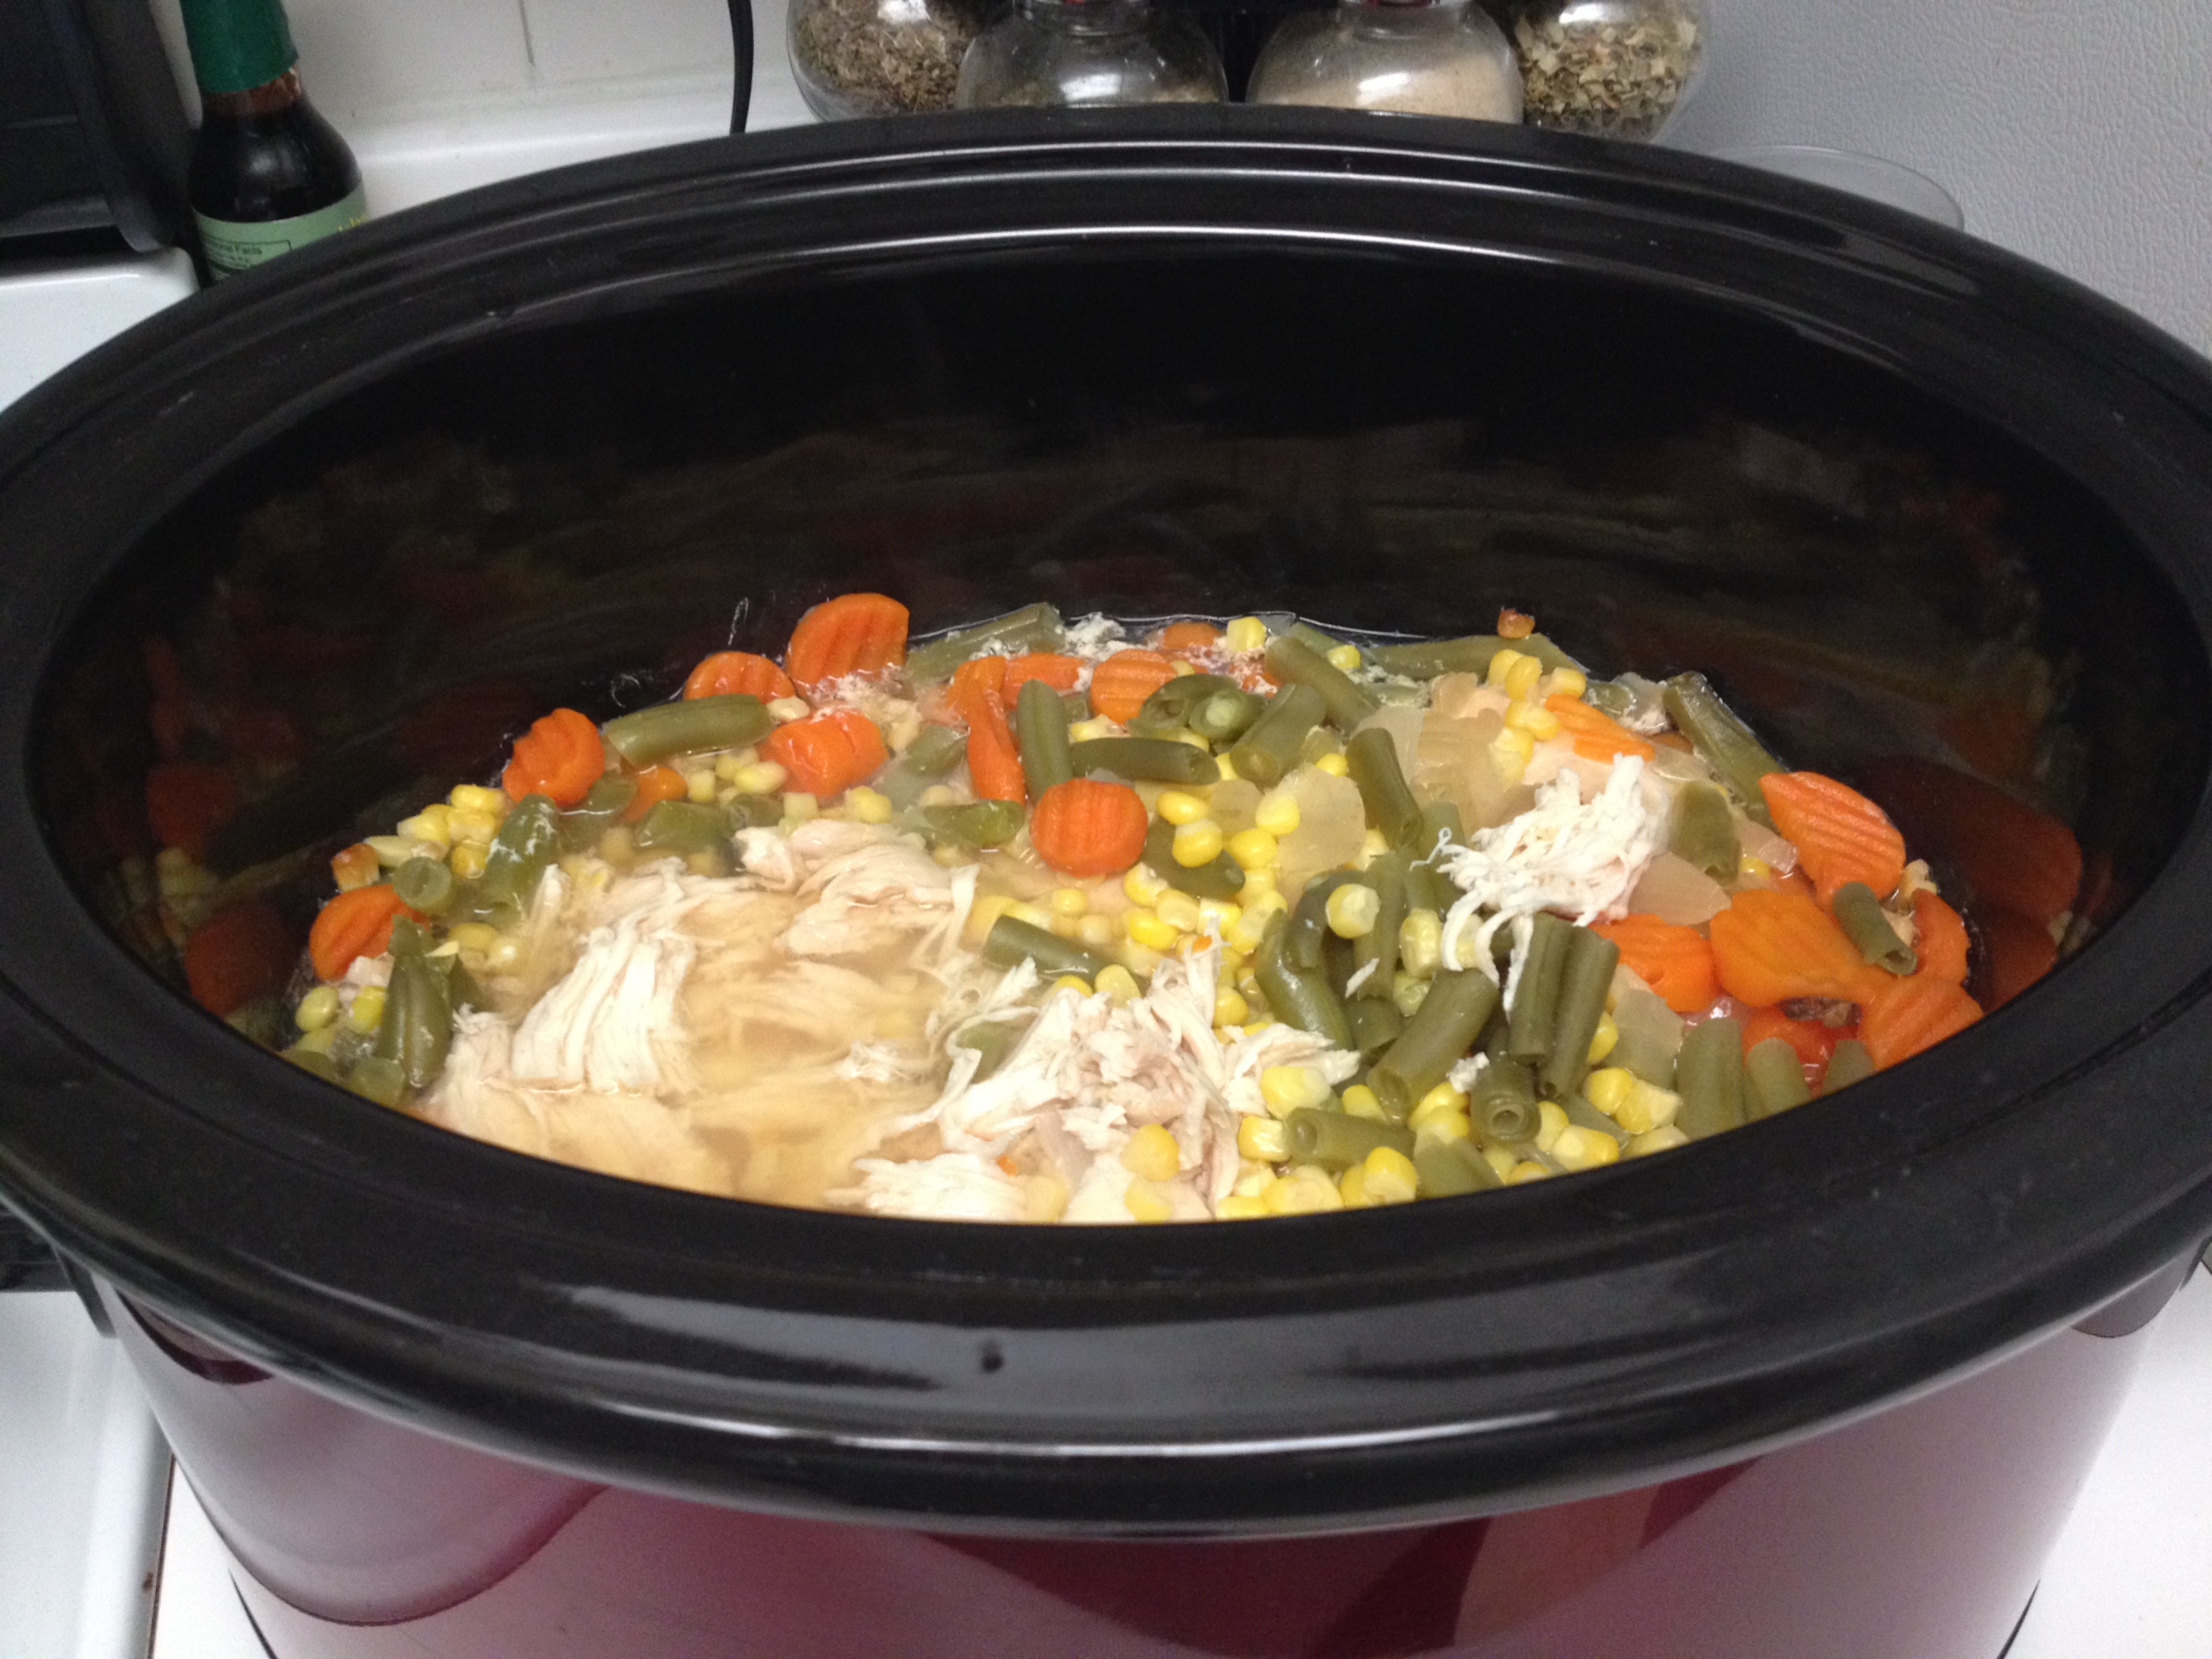
Arrange chicken, 1/2 cup broth, veggies, and onion in crockpot. Cook on high for four hours until chicken is fully cooked. Using two forks, shred chicken.
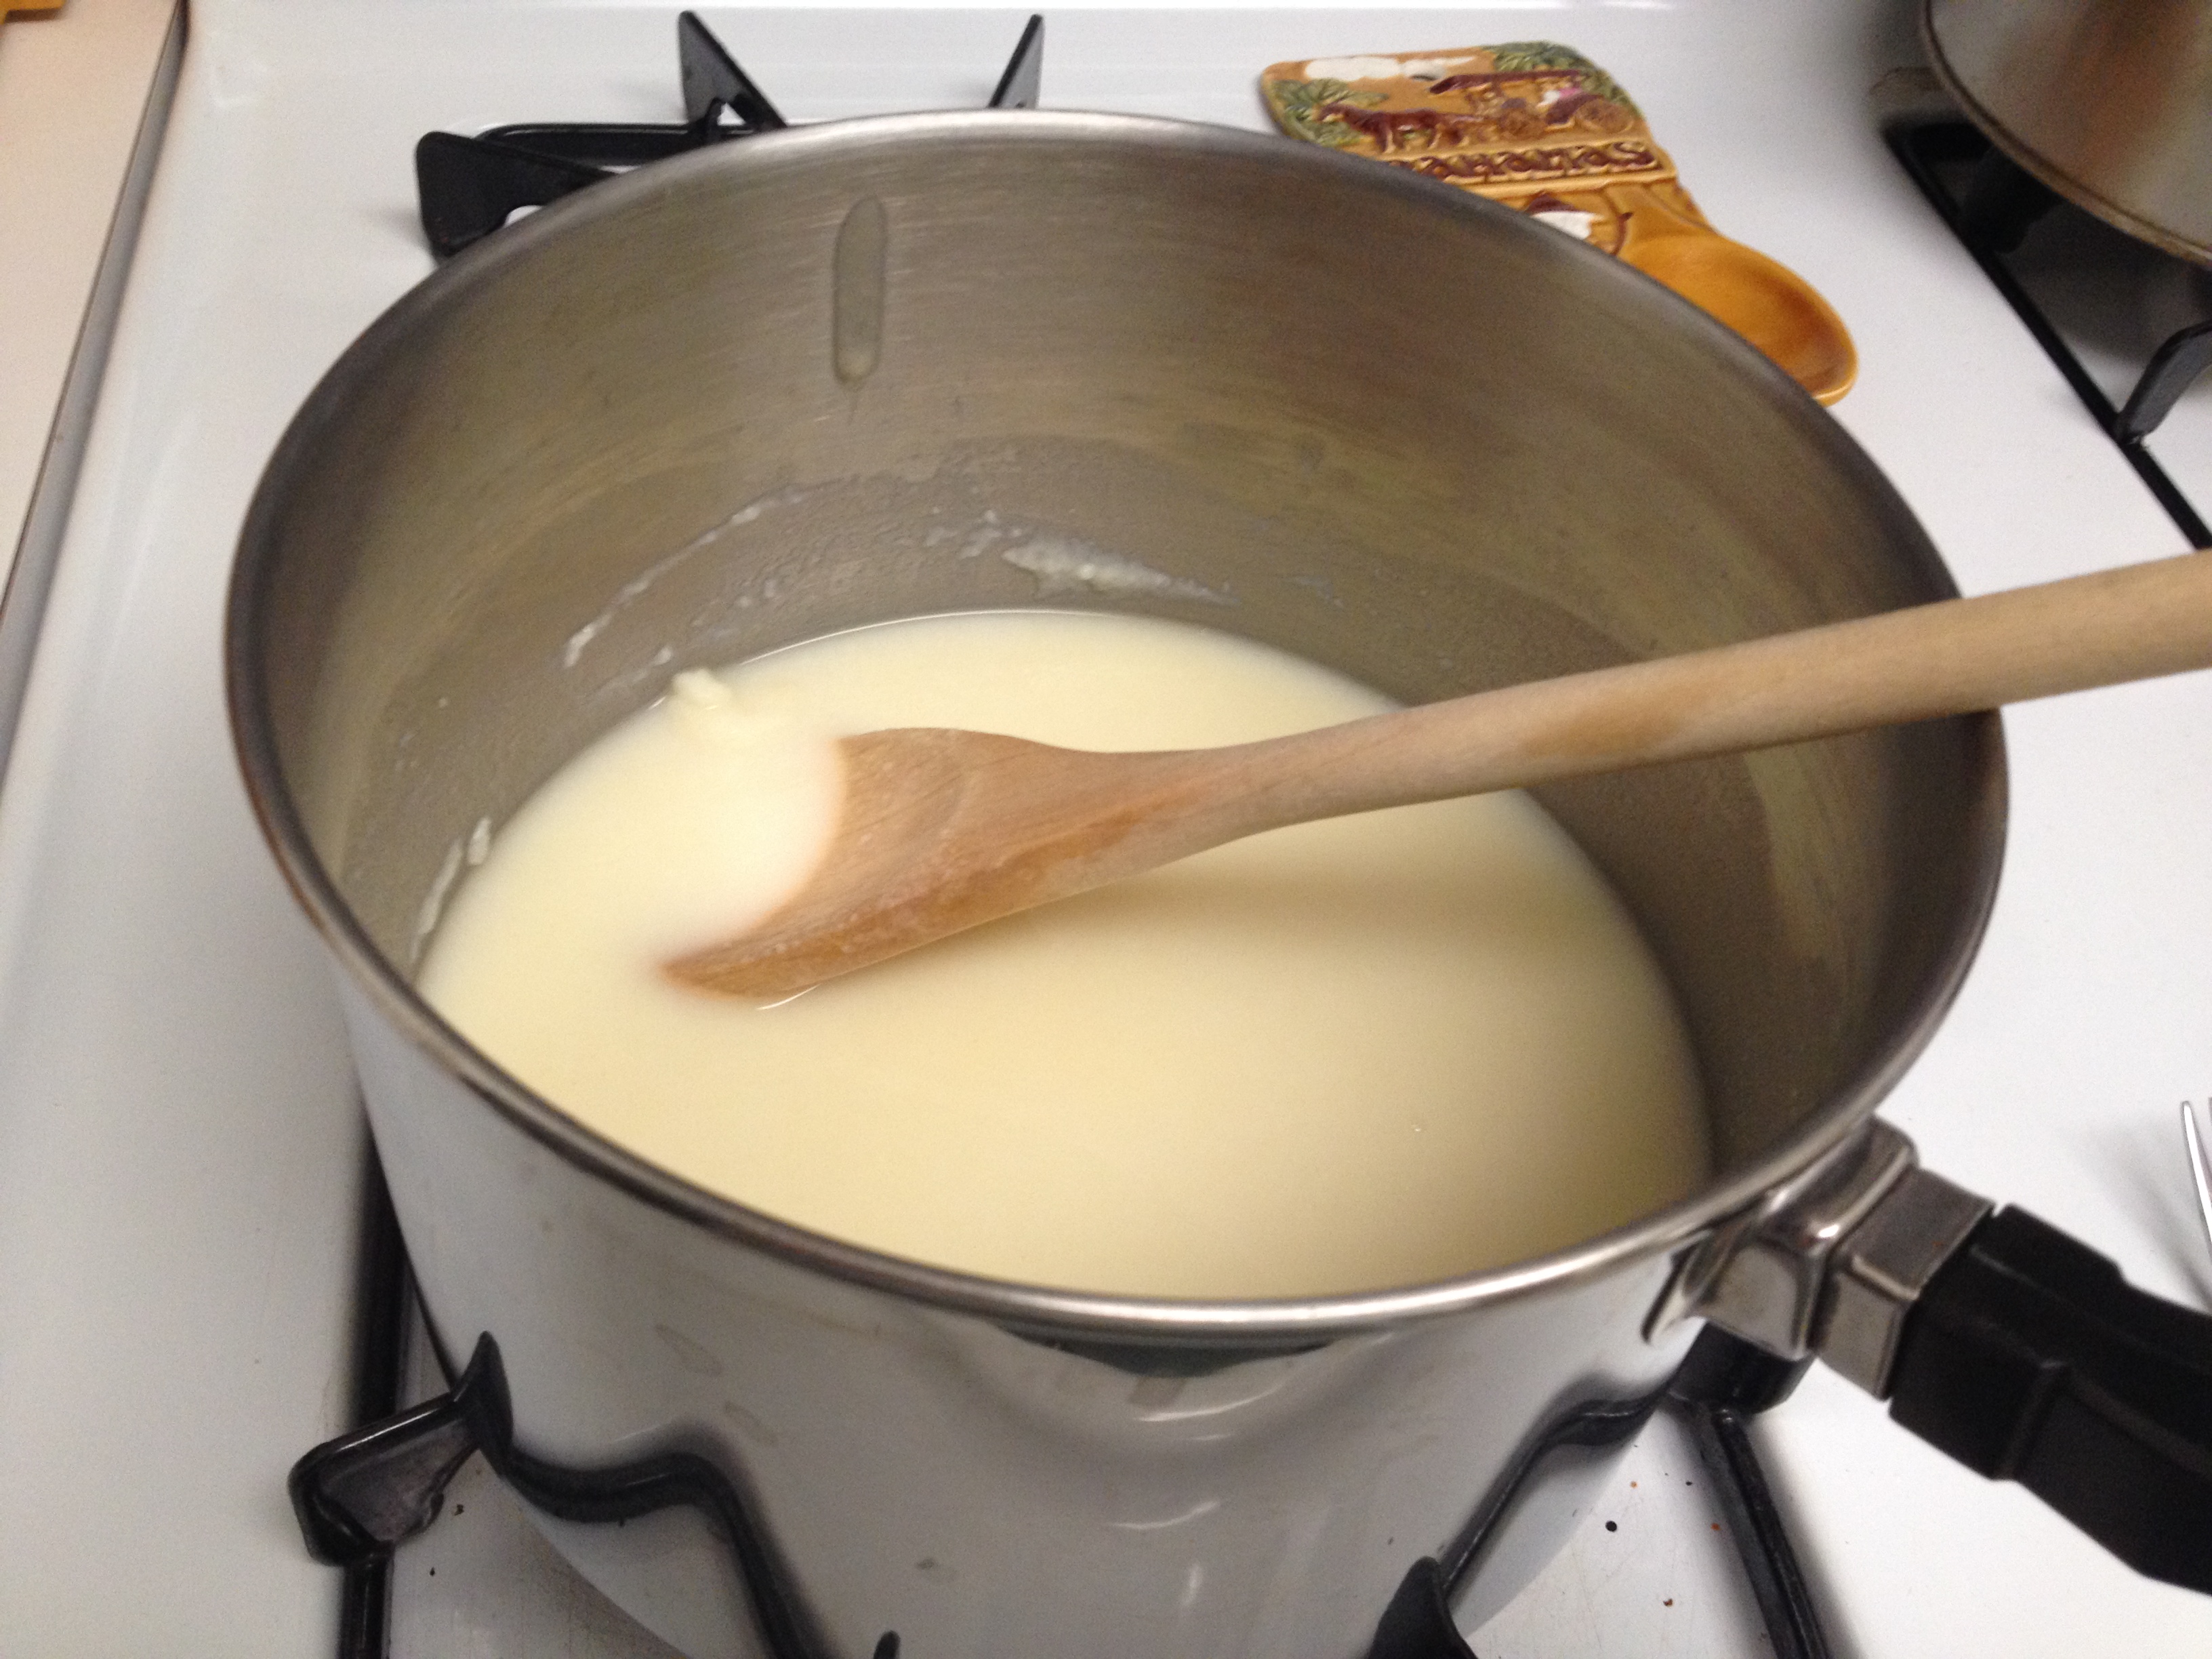
Now, we make the sauce to add to this. Combine the margarine and flour over heat and stir until they form a paste (called a roux). Add the milk, and stir until the sauce is thickened. Finally, add the 1 1/2 chicken broth, and salt and pepper to taste. You can also add some cheddar cheese if you want! Stir until fully combined.
Pour the sauce into the crockpot and stir.
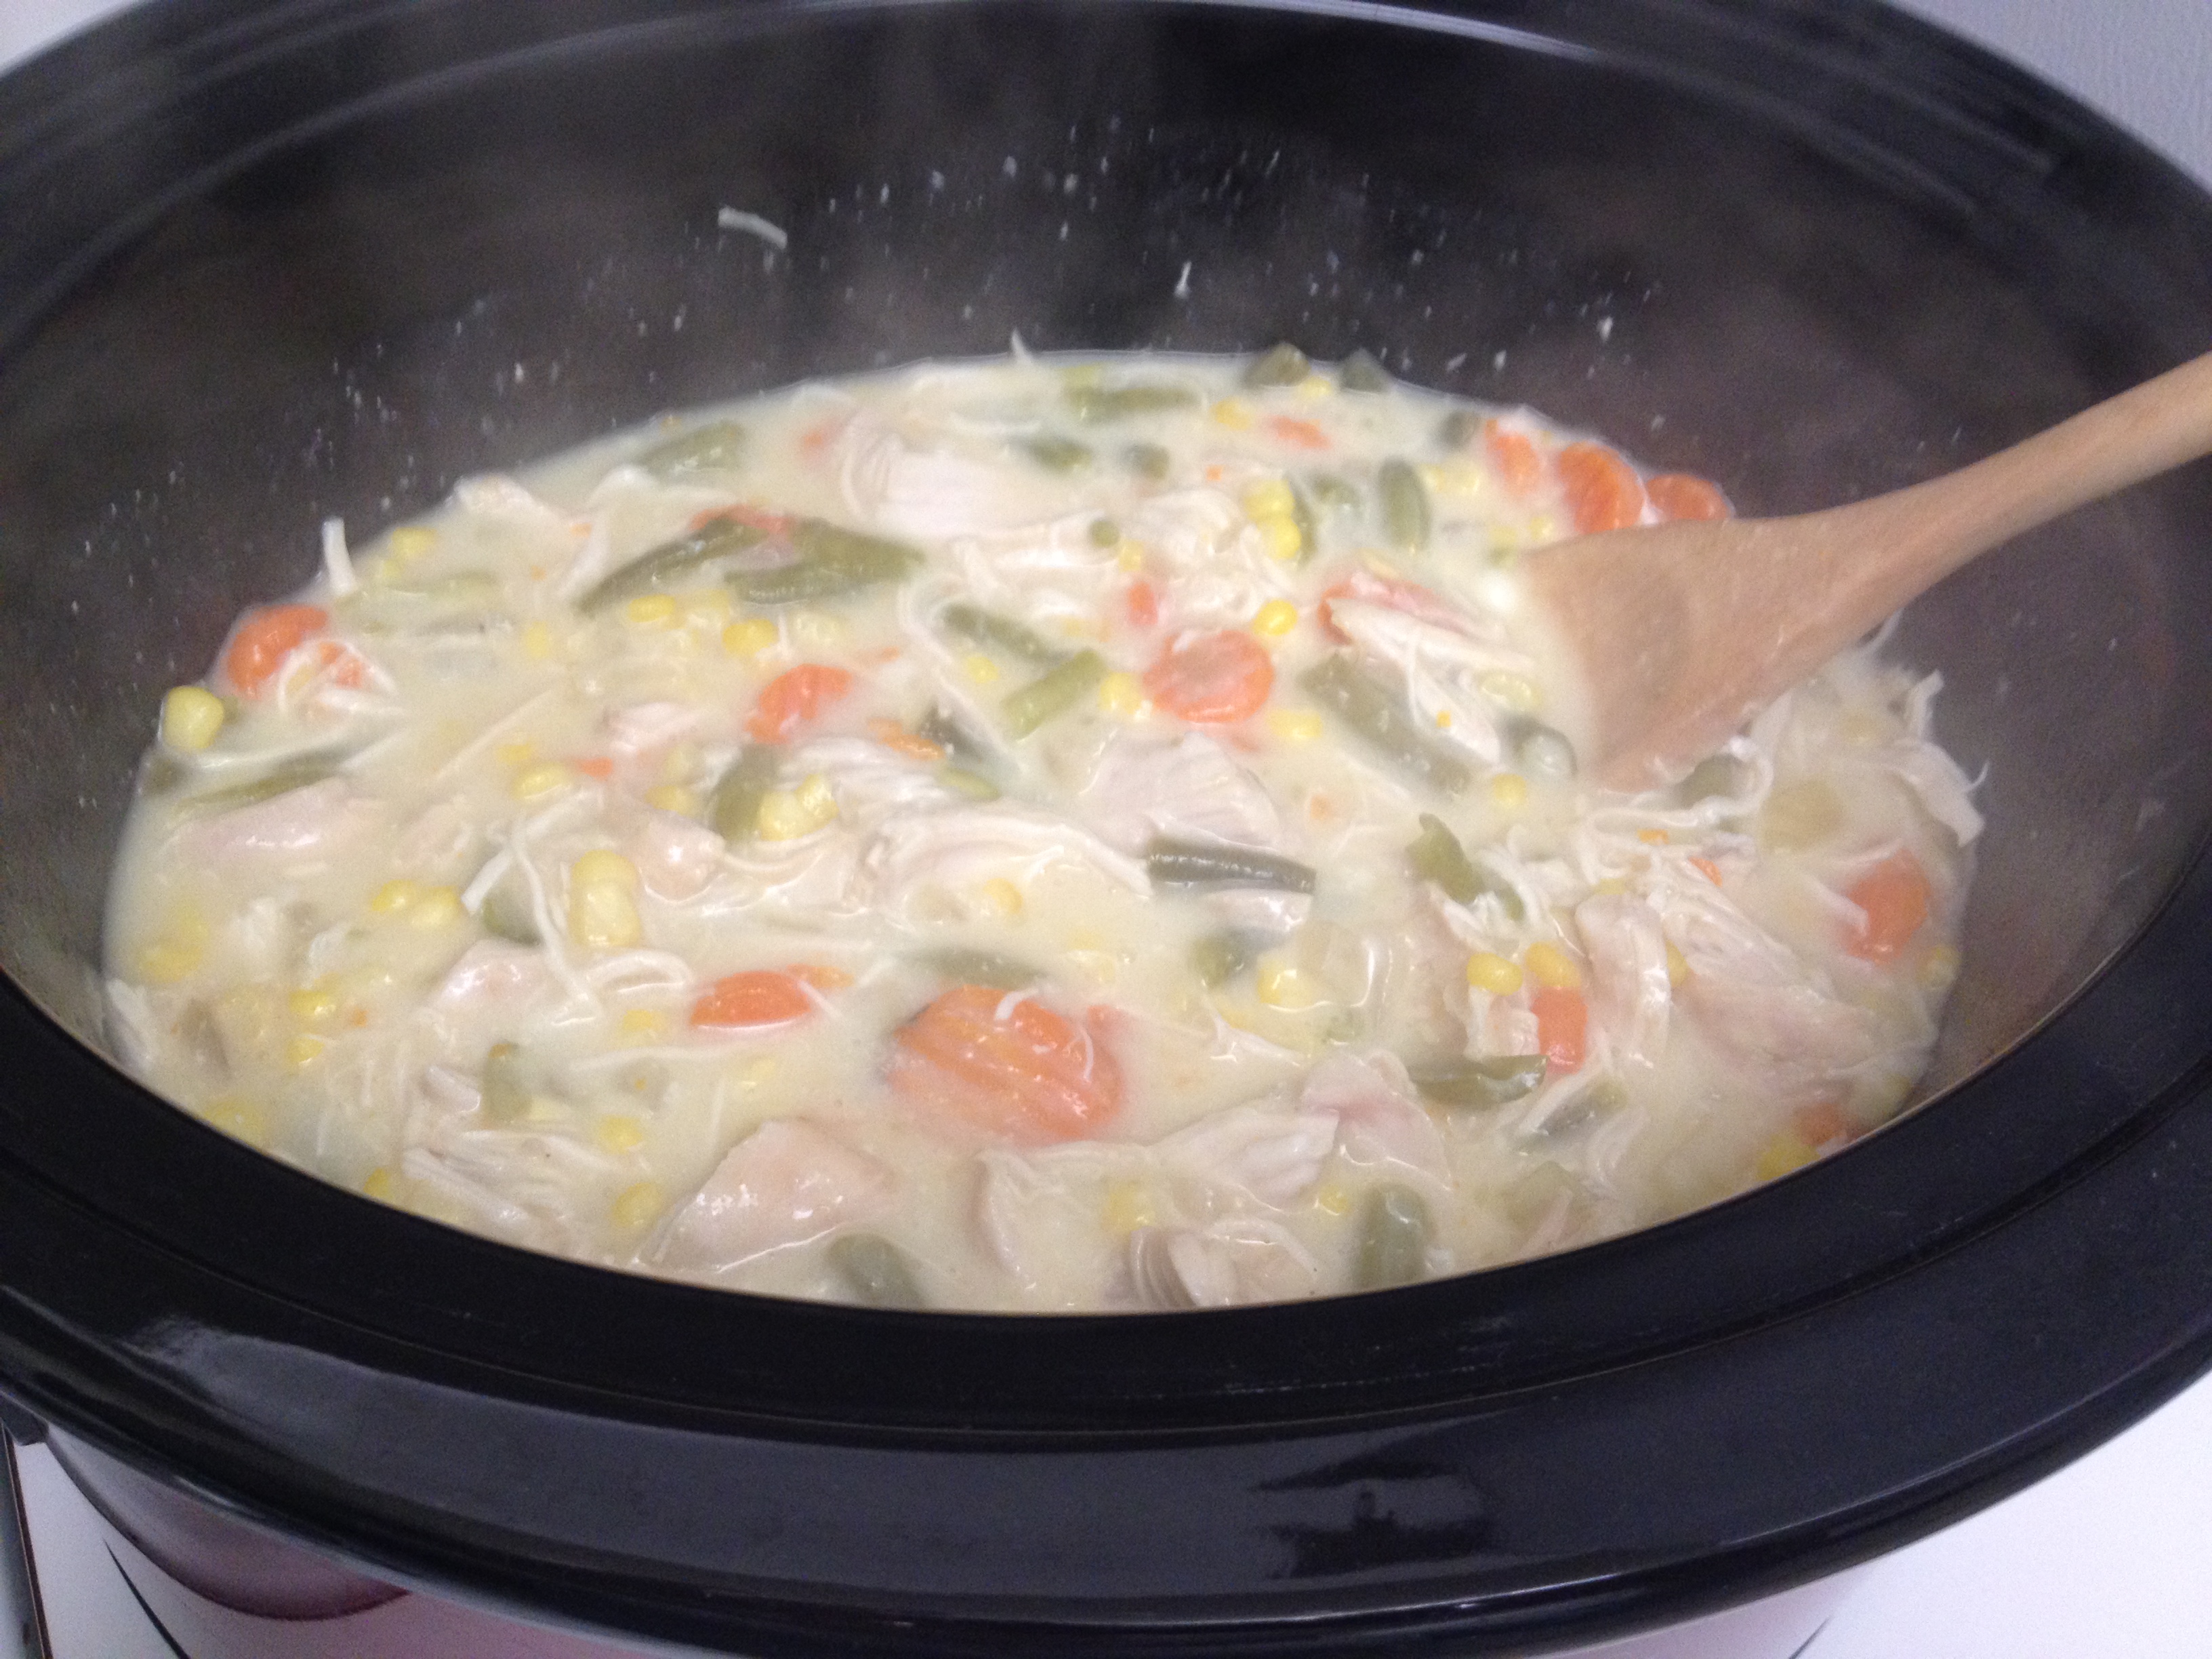
And now, eat your chicken pot pie filling with biscuits on top and be happy. Enjoy!
Homemade Mac ‘n Cheese (Extra Cheesy!)
Hi, all! I’m back with yet another edition of great food (although this time not very healthy)! Today I wanted to share the recipe for my husband’s all-time favorite meal ever… Homemade Baked Mac ‘n Cheese. Before trying this dish, he had only tried the boxed stuff and had long since written off macaroni and cheese as unappealing. Little did he know that a whole world of cheesiness was waiting for him! That is, until my Mom made this recipe for dinner, and he ate it to be polite, and a new love for mac ‘n cheese was awakened. It’s really only fair that you all have the recipe, so that you can share in this mac ‘n cheese goodness. Here’s the recipe:
Ingredients;
- 1/2 box elbow macaroni (or large elbows)
- 3 tbsp butter or margarine
- 3 tbsp all-purpose flour
- 2 cups milk
- 1- 8oz block of sharp cheddar cheese
- Parmesan cheese to taste
- Italian breadcrumbs to taste
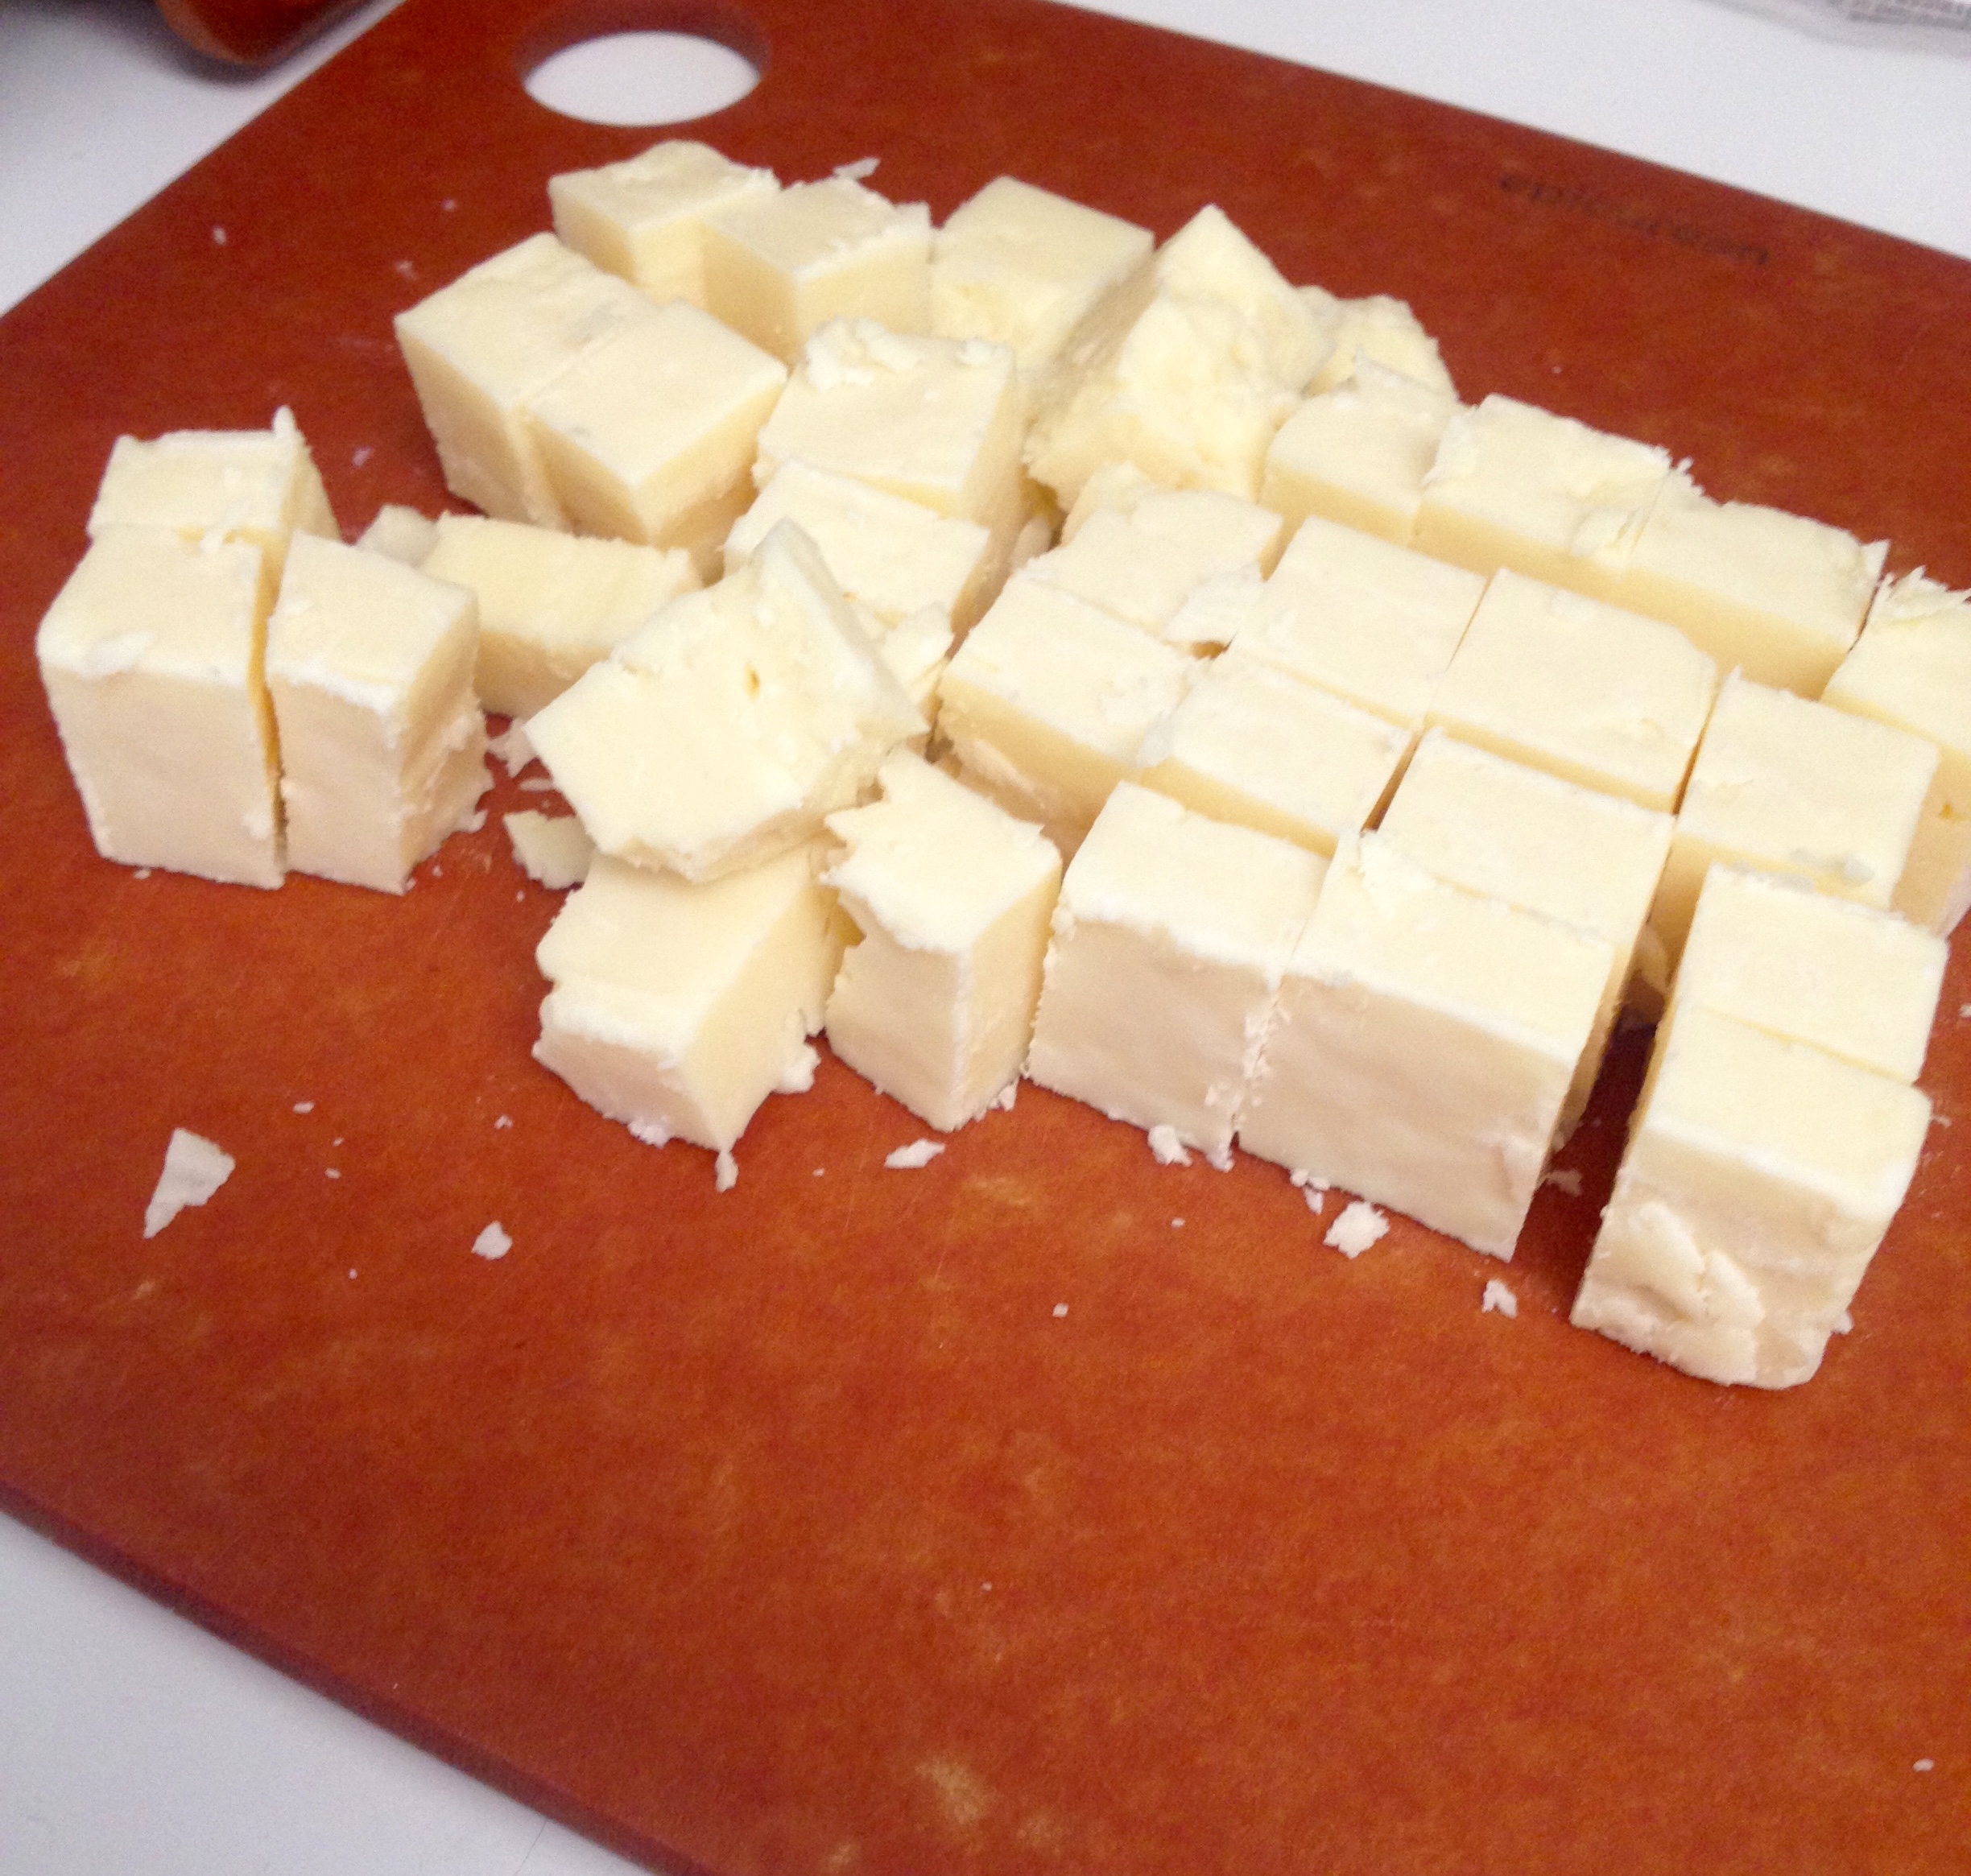
First, cube a whole 8 oz block of cheese. This is the step that takes a couple minutes, and once this recipe gets going you have to be ready to add the cheese right away. I tend to cut the cheese length-wise into quarters, and then width-wise into about 1″ cubes. This makes the cubes small enough to melt quickly.
Now, bring a medium saucepan of water to boil. Boil the macaroni in the water for 5 minutes. Drain the pasta in a colander and set it aside.
Now starts the part of the recipe that is super simple, but makes you feel like a restaurant quality chef. We’re going to make a basic French white sauce known as a bechamel. It starts with a roux (which is a fancy way of saying cook flour and butter together until they start bubbling and form a starchy paste).
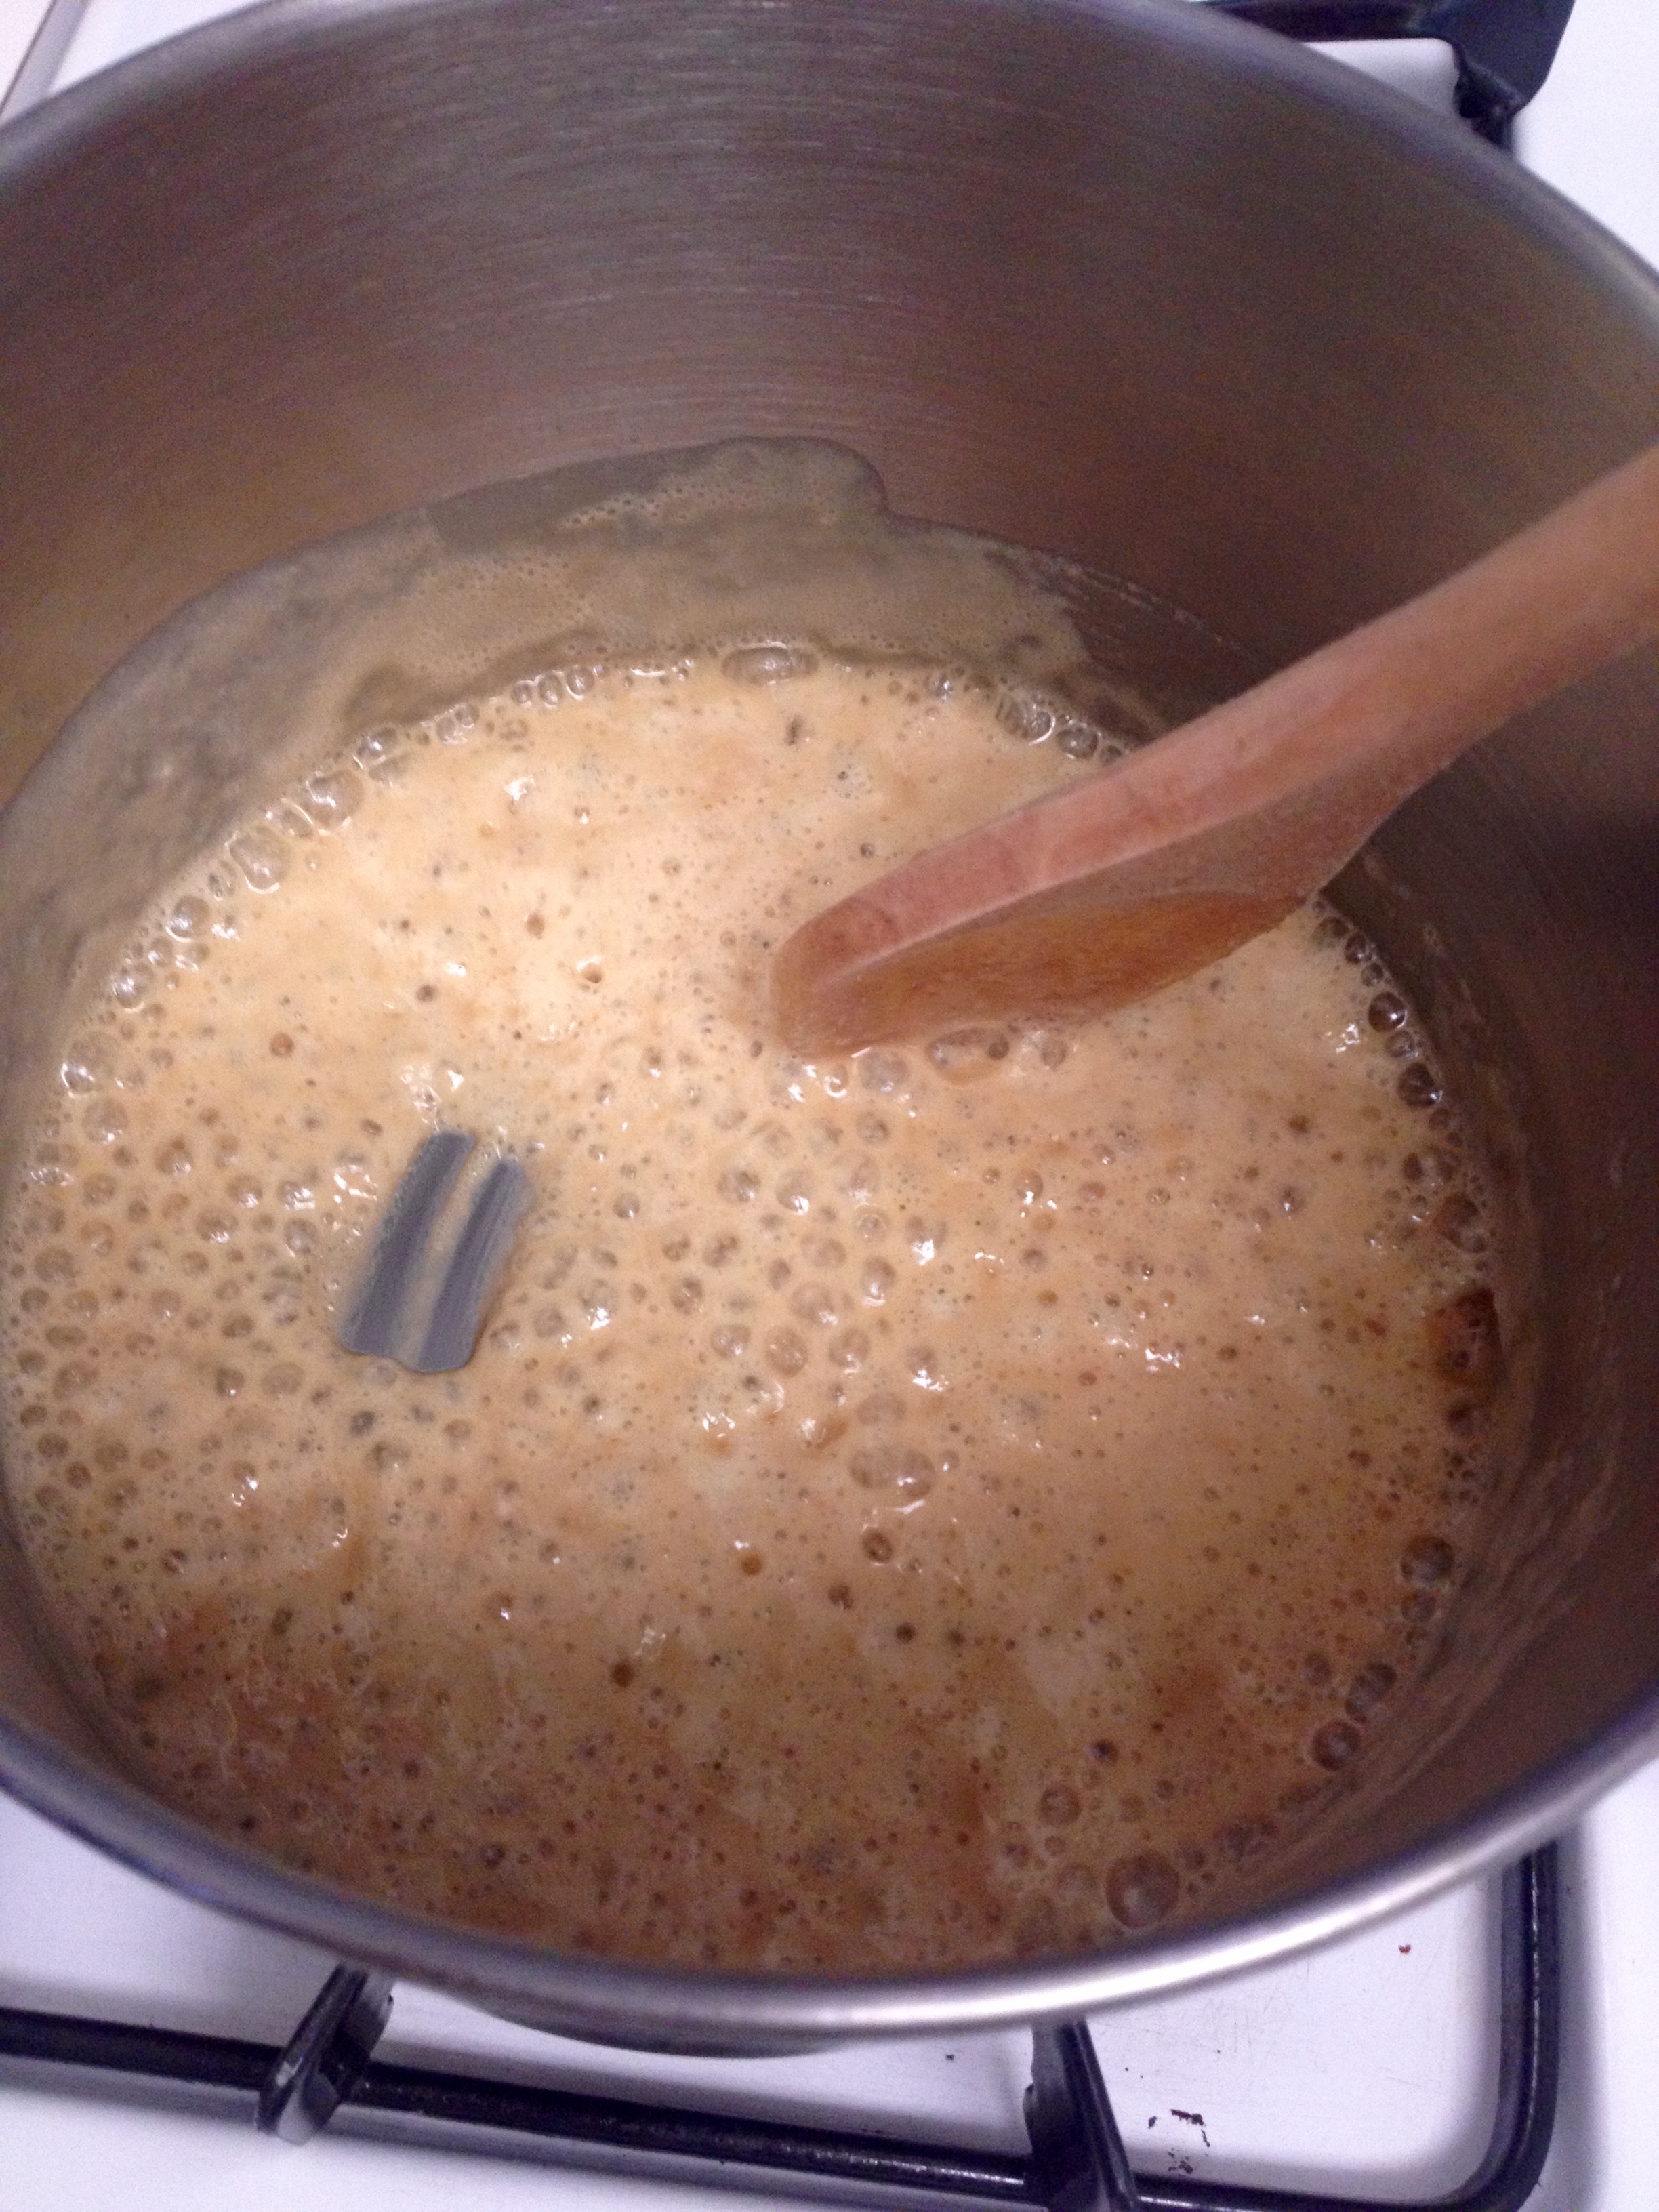
To make the roux, melt the 3 tbsp of butter in a saucepan over medium-high heat (you can use the same one you used for the pasta). Once it’s melted, add the 3 tbsp flour and stir with a wooden spoon or spatula. The flour will eventually dissolve and combine with the flour to form a bubbly paste. For this recipe, you want to have what is known as a “blonde roux”, so you only want it to be golden brown in color before adding the next ingredients.
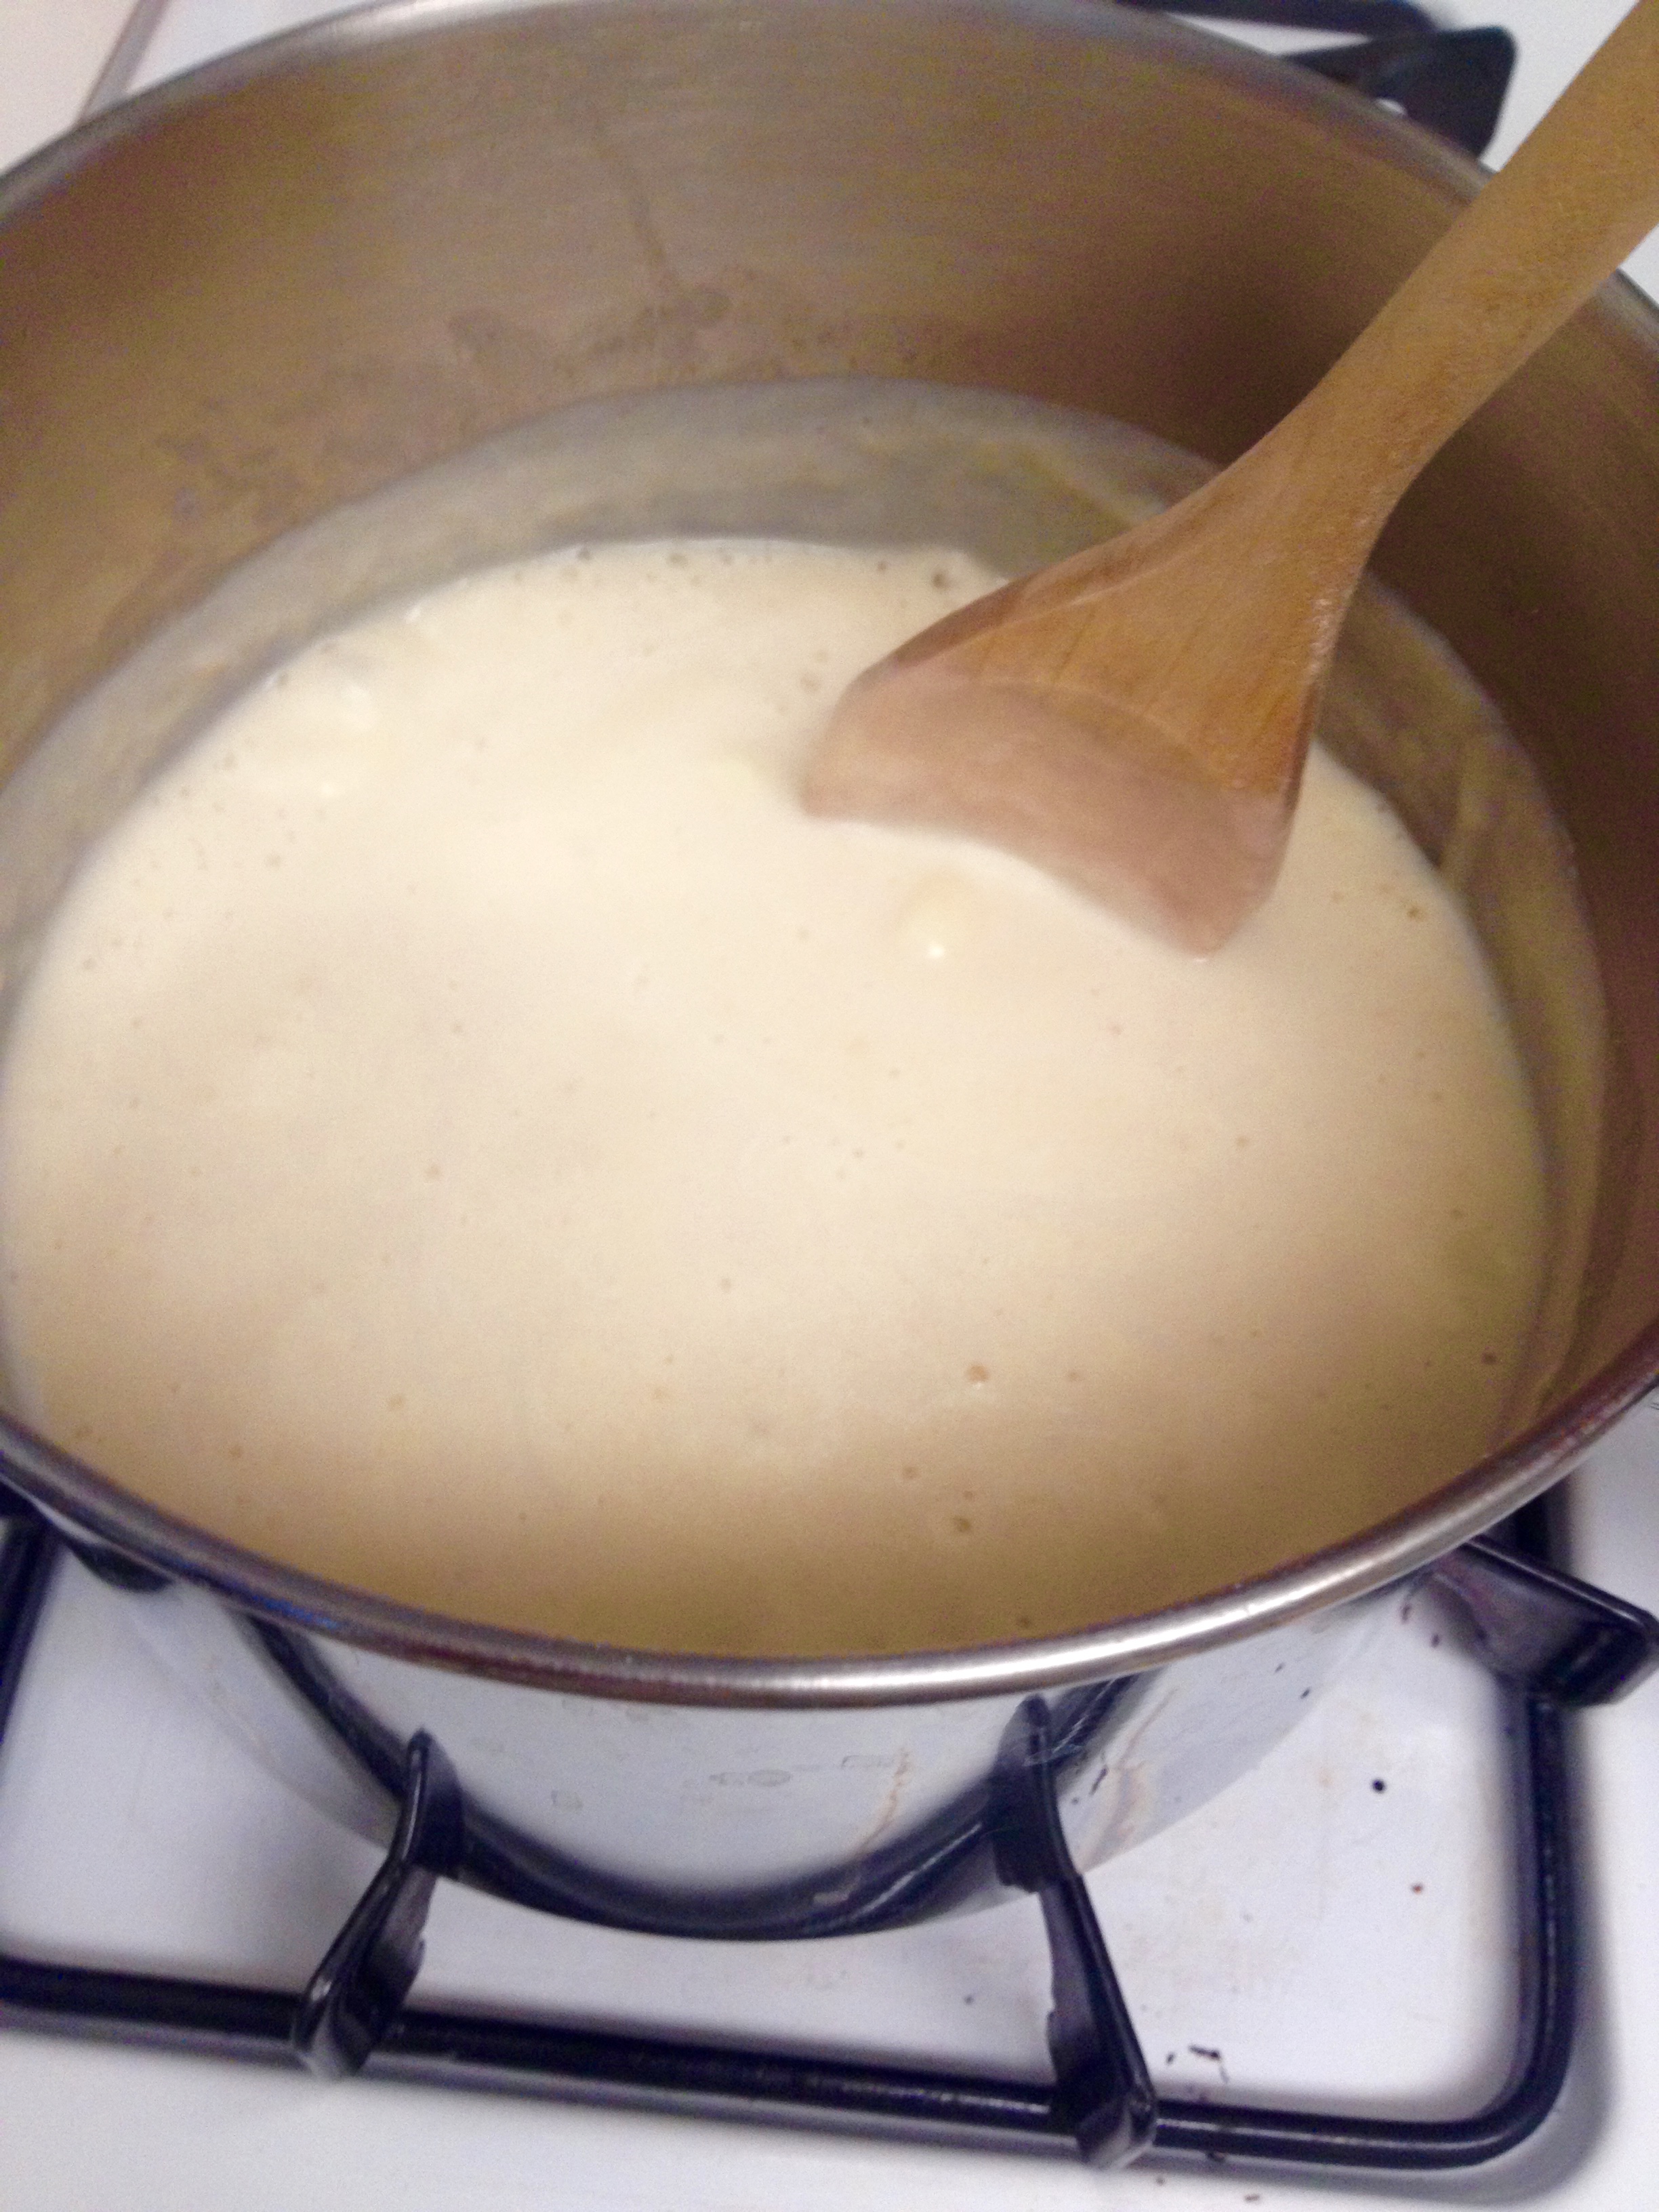
Once you have your roux, add the 2 cups milk and stir continuously. At first, the roux will be clumpy in the milk, but after a few minutes the ingredients will combine and start to thicken into a great white sauce (aka the bechamel). Once it starts to bubble slightly and really thicken, it’s time to add the cheese.
Add the cubed cheese to the sauce and stir until it melts. After several trials of different cheeses, my husband and I have decided we like either New York Extra-Sharp Cheddar or “Seriously Sharp” cheese by Cabot. I also like to add 1/8 cup Parmesan cheese to this, with some in the sauce and some sprinkled over the top.
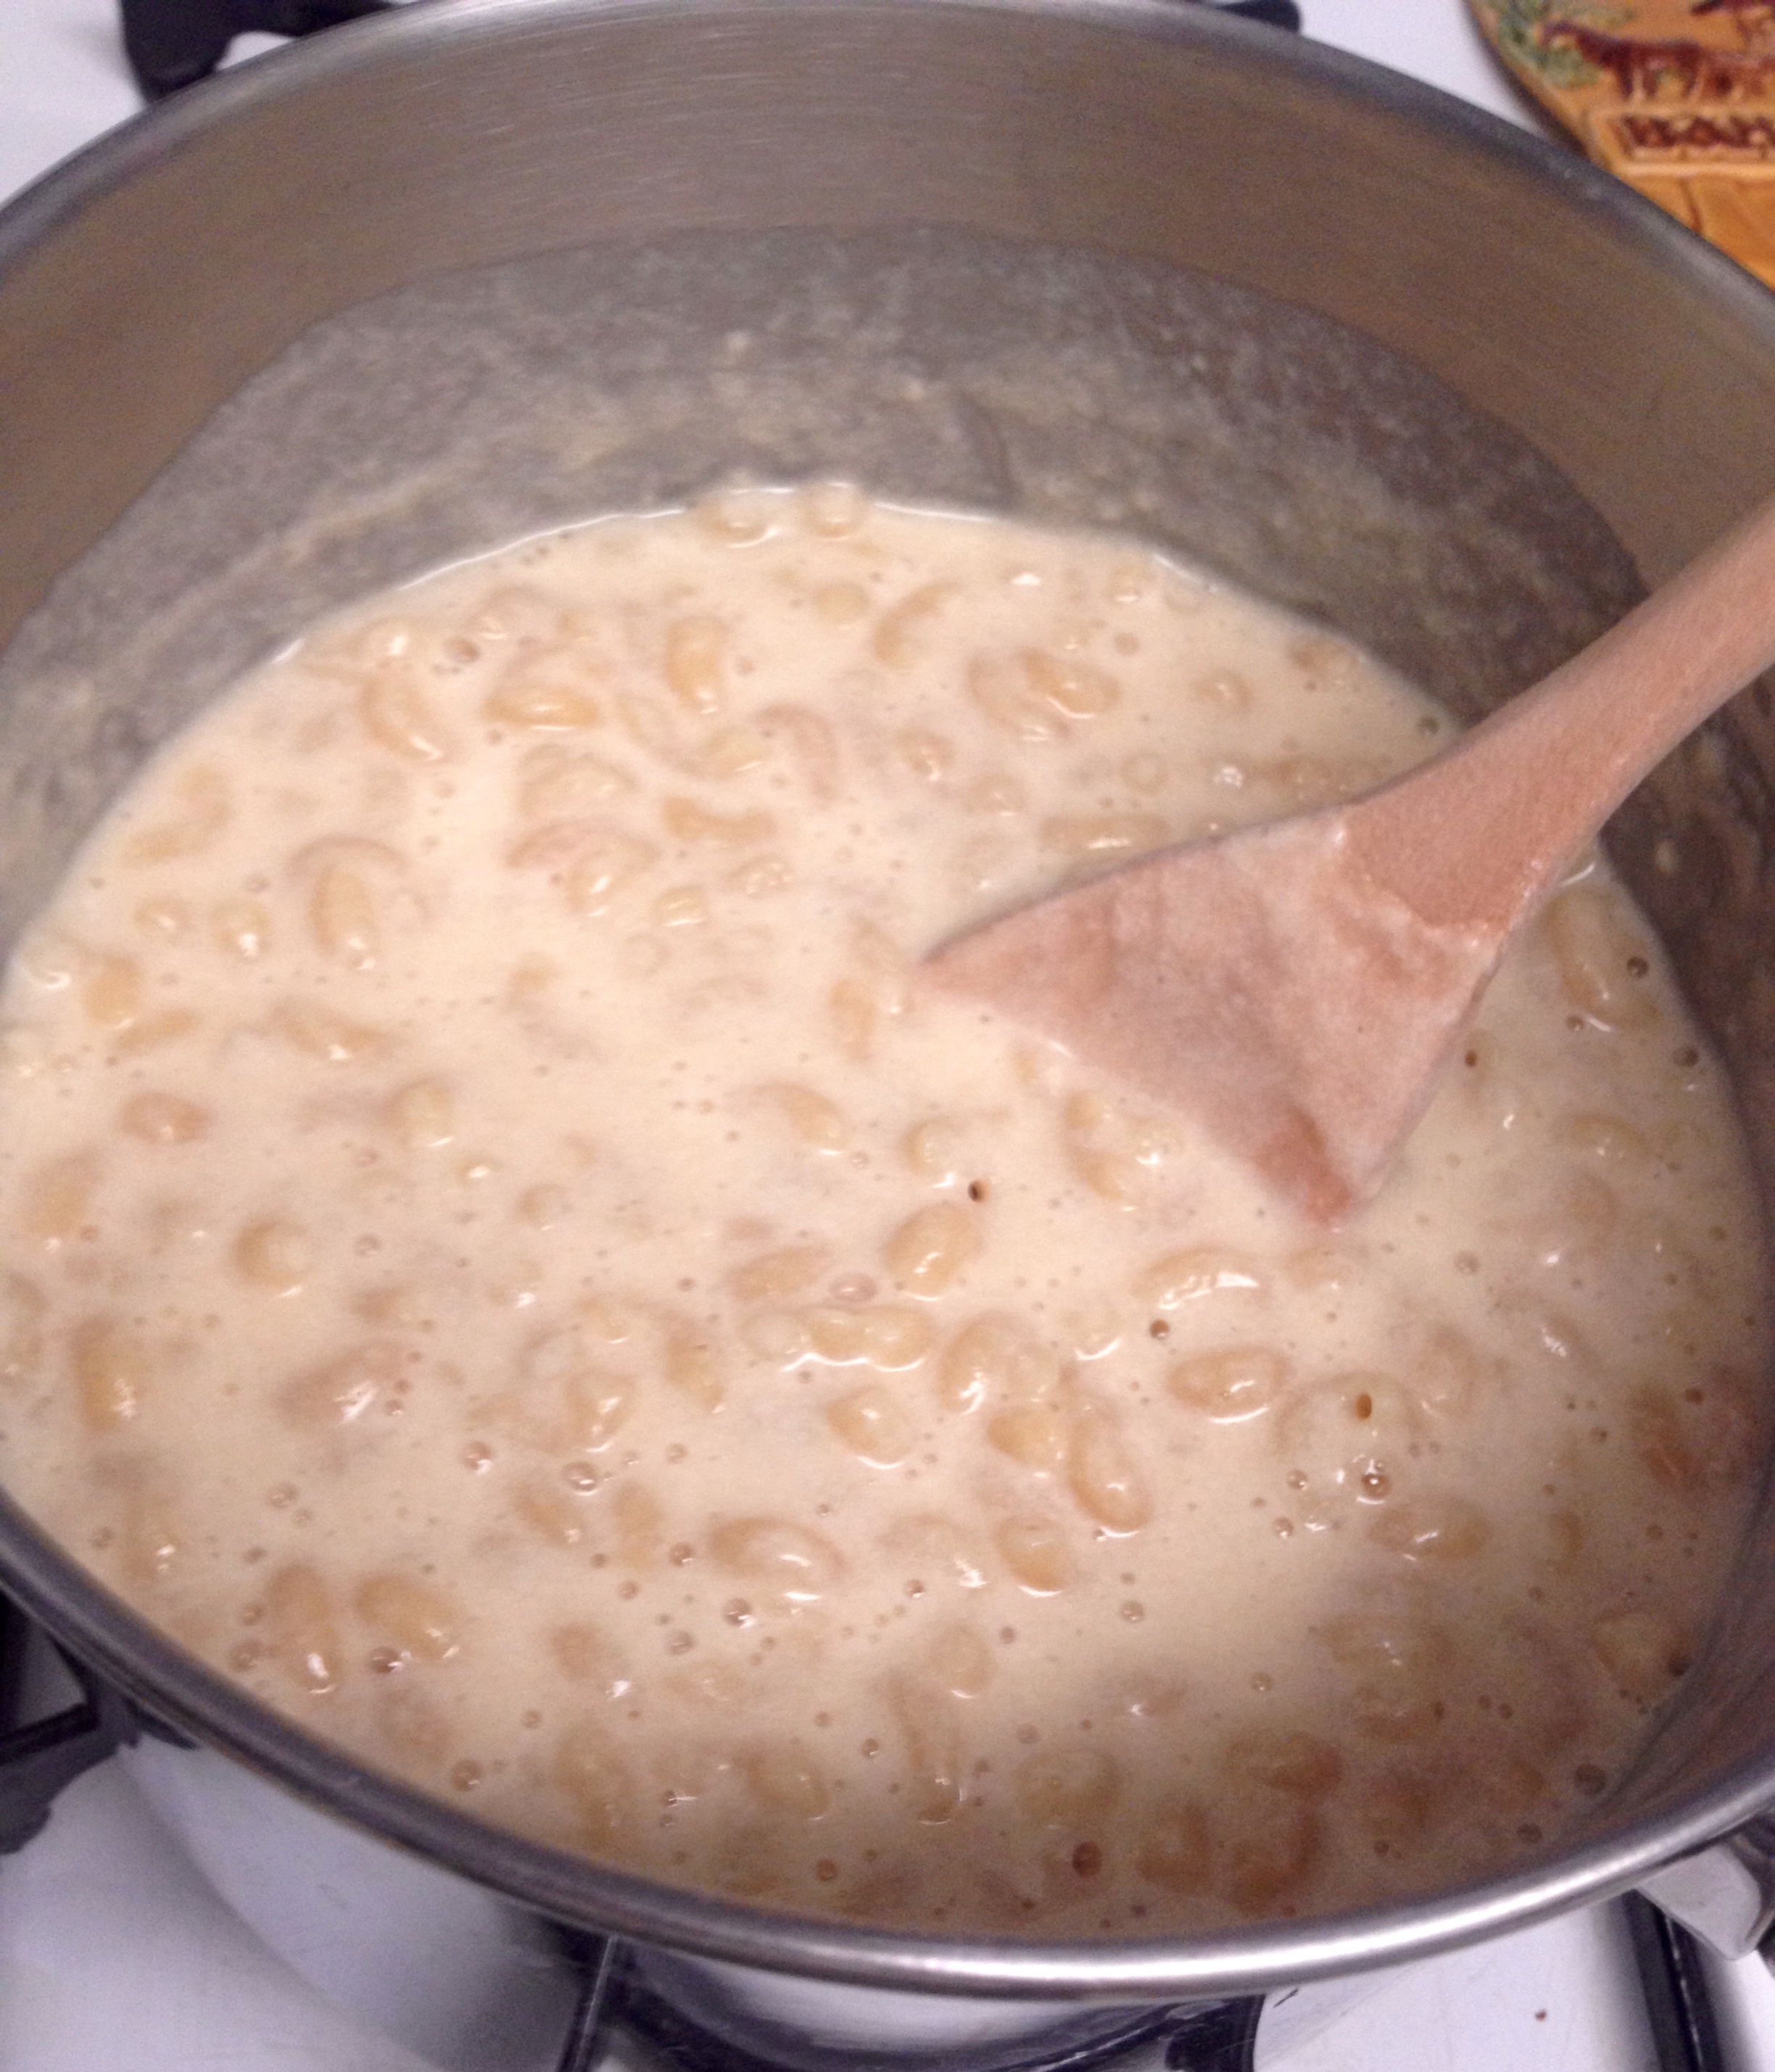
When the cheese is melted, turn off the heat and add the macaroni to the saucepan, stirring until all the macaroni is drenched in sauce.
Pour the mixture into a casserole dish (~1 qt or so). Sprinkle the top with Italian breadcrumbs and Parmesan cheese to taste.
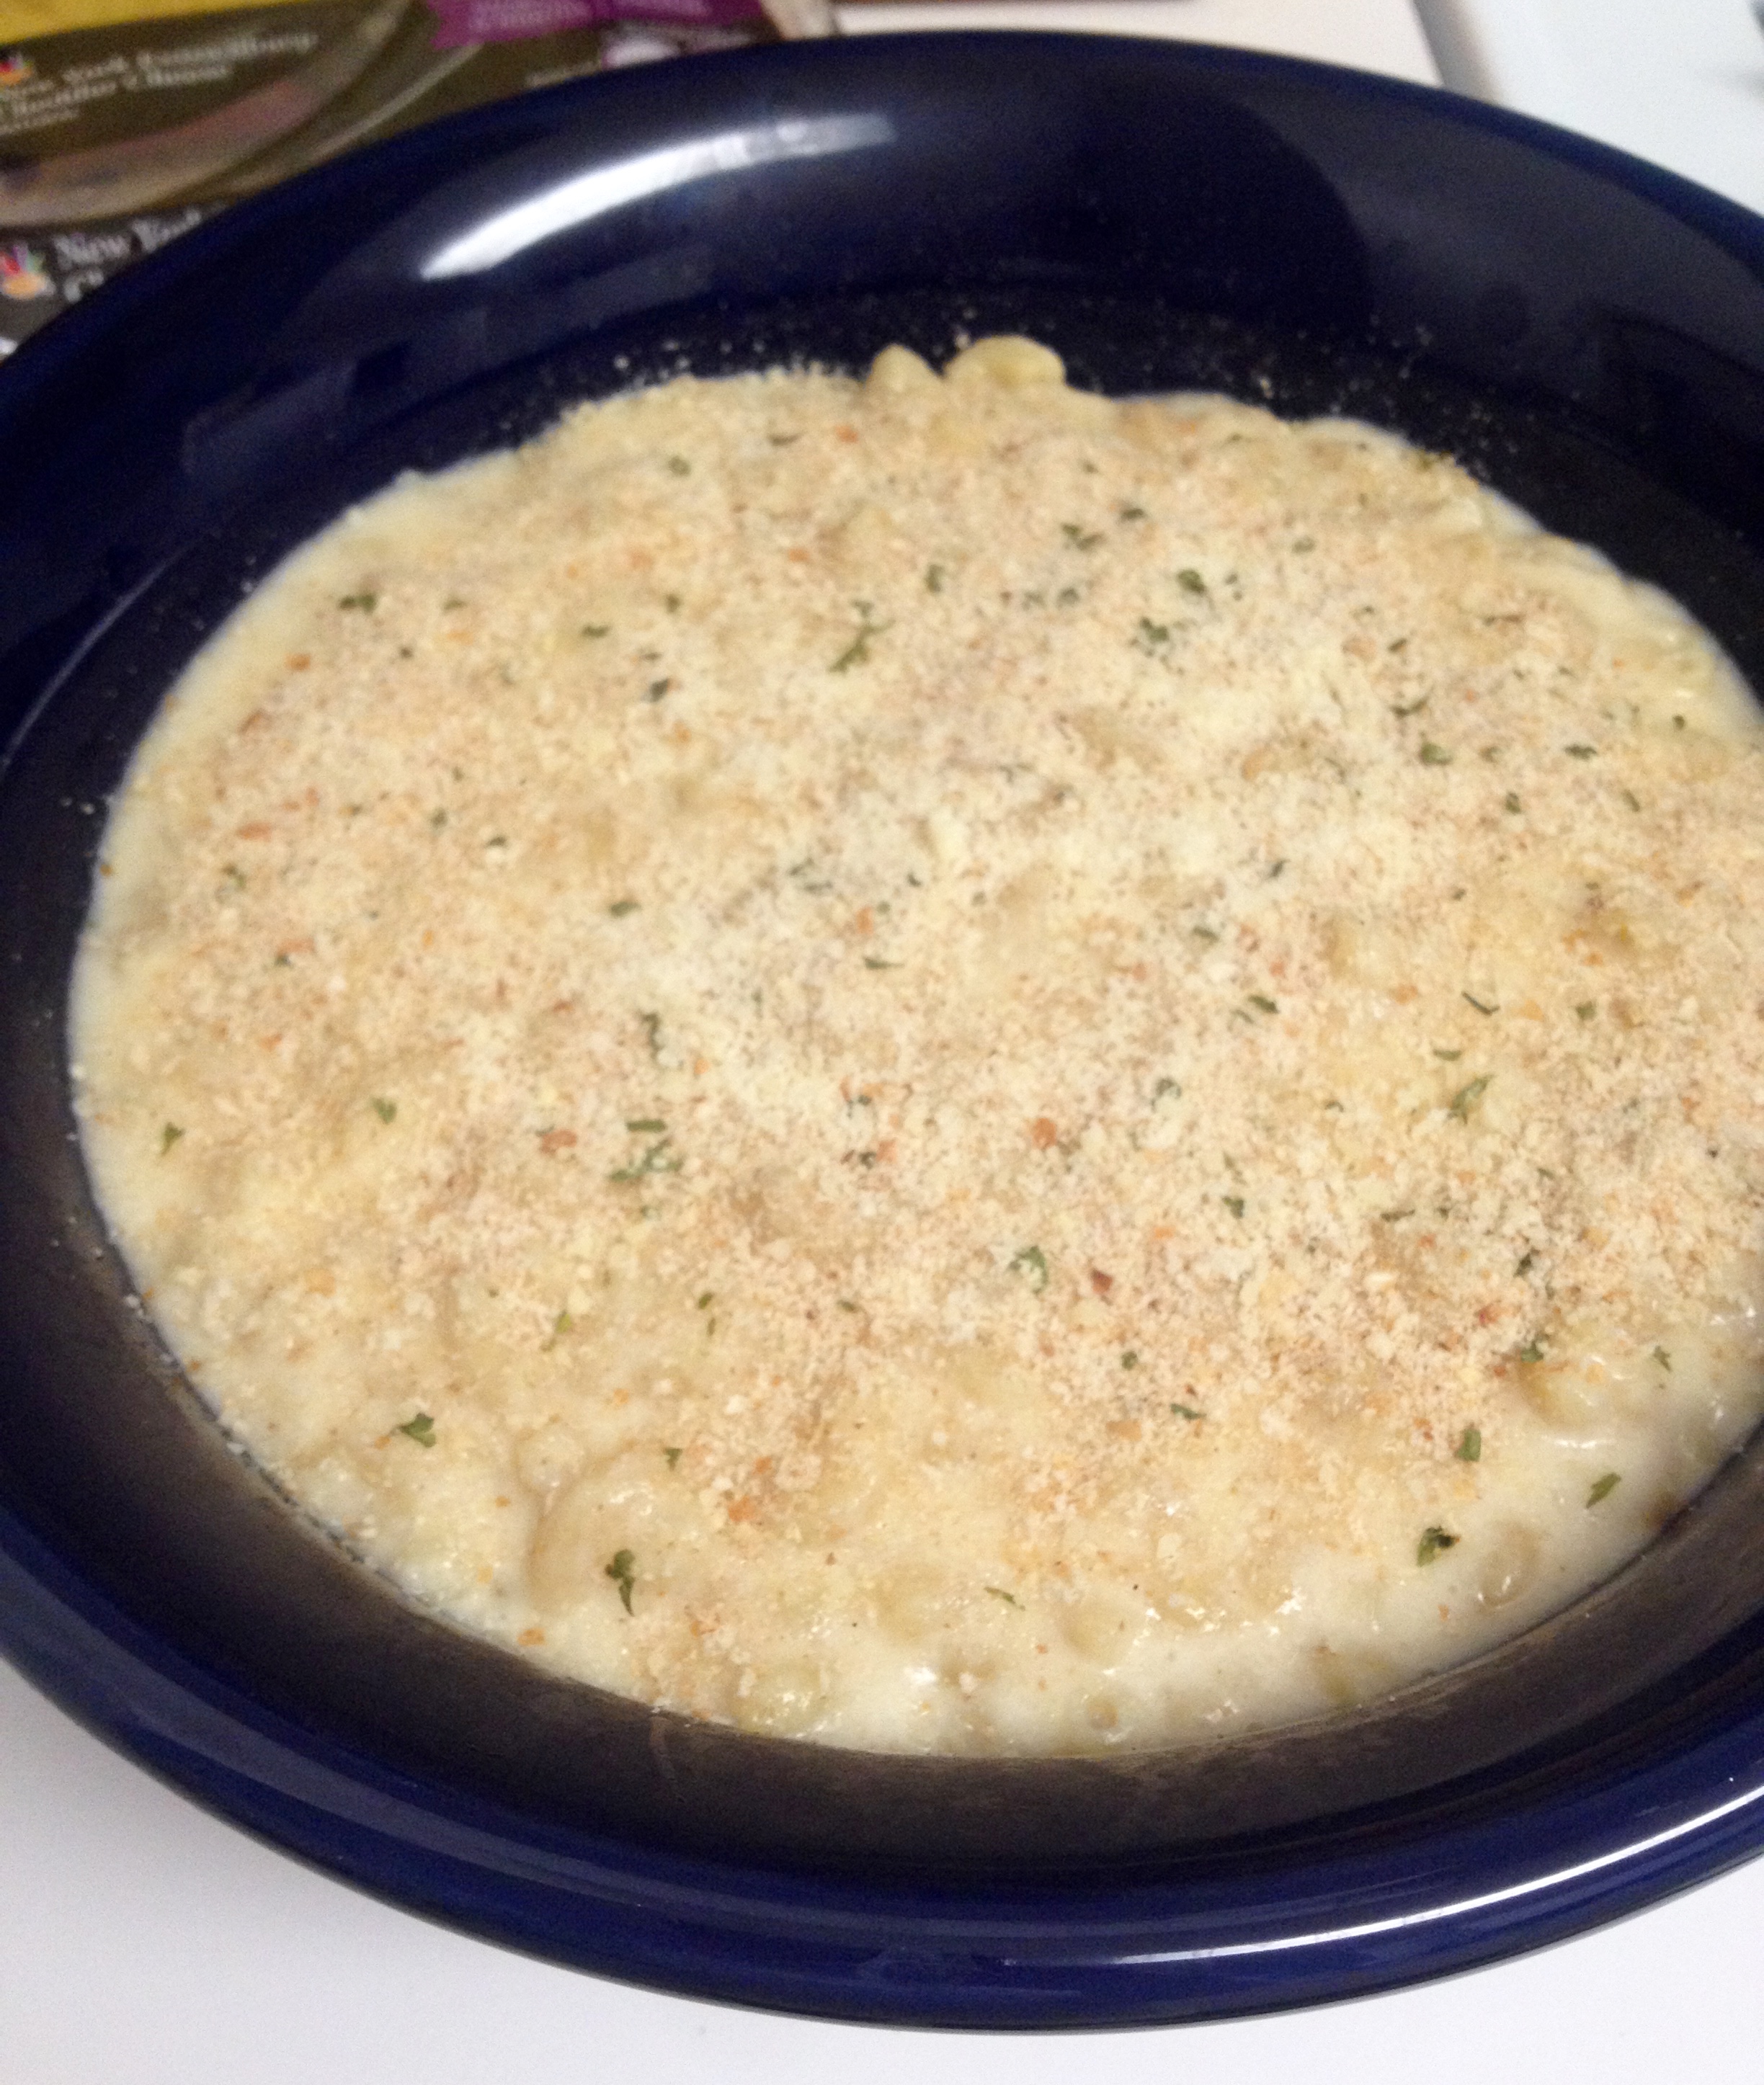
Bake it for 30 minutes at 375°F. Serve it immediately.
A fair warning: there are rarely leftovers of this dish. My husband can put away an entire casserole dish worth of this stuff, so make sure you get a big spoonful of it before it’s gone! Enjoy!
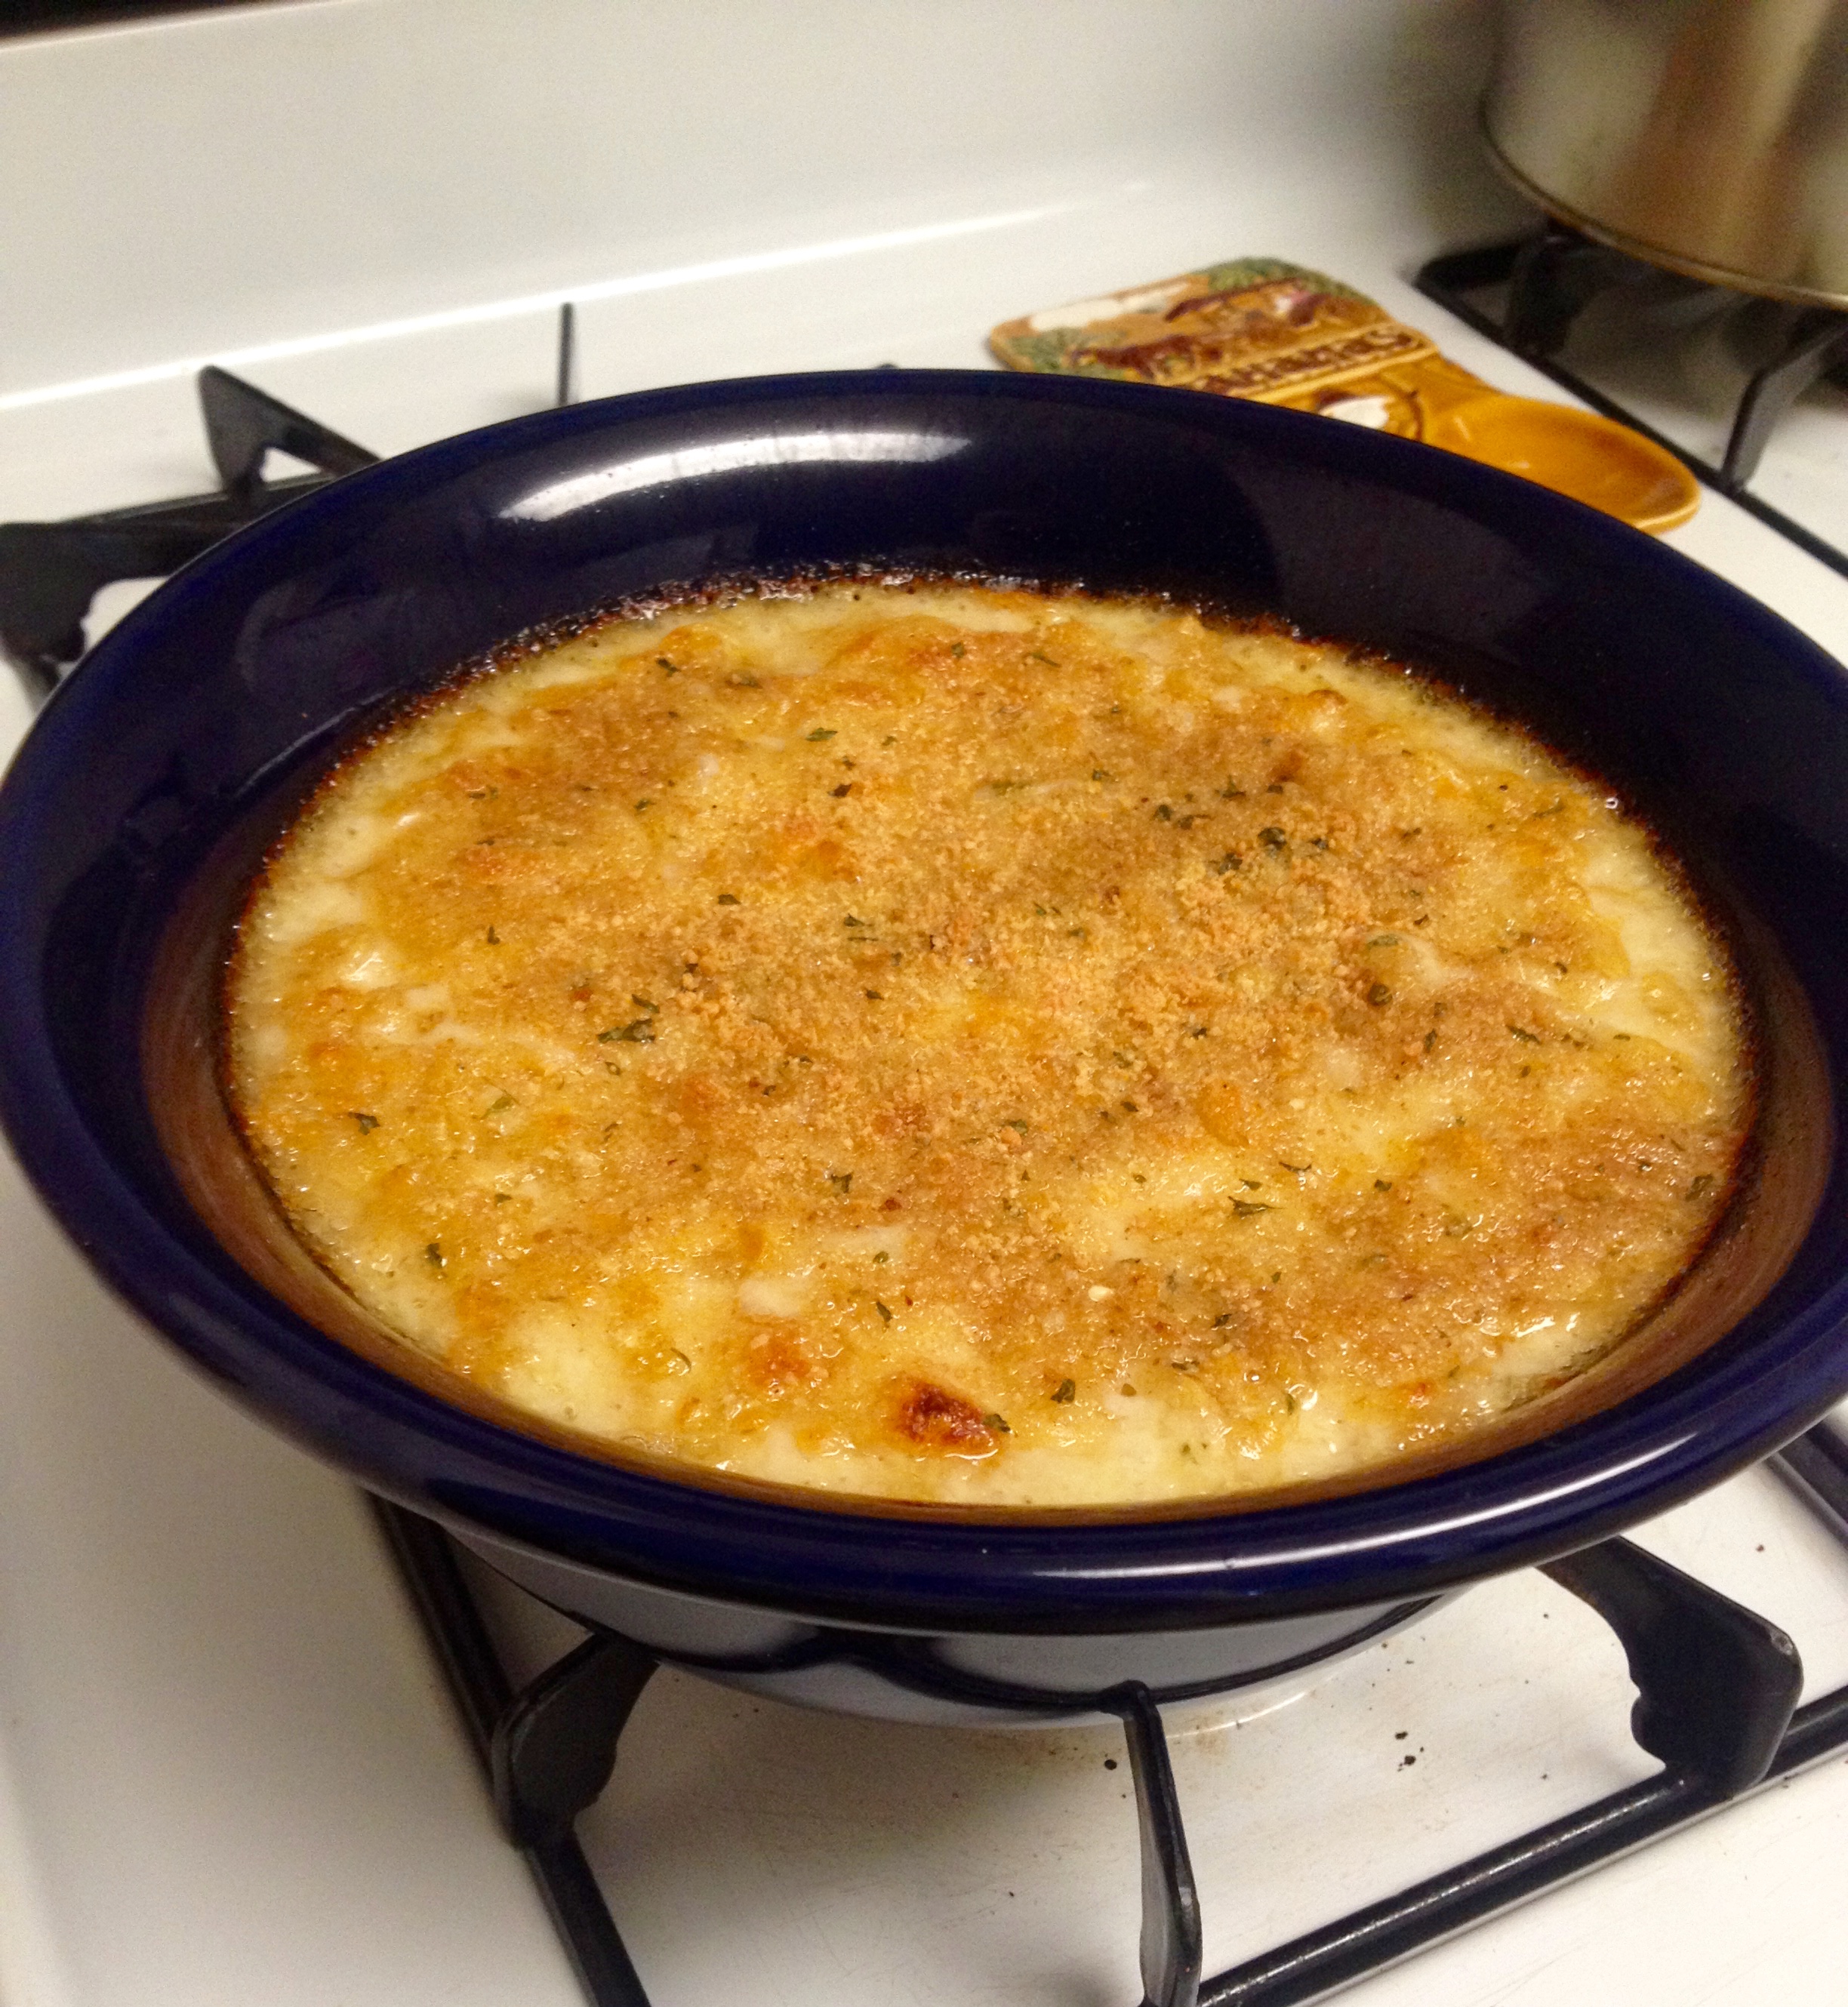
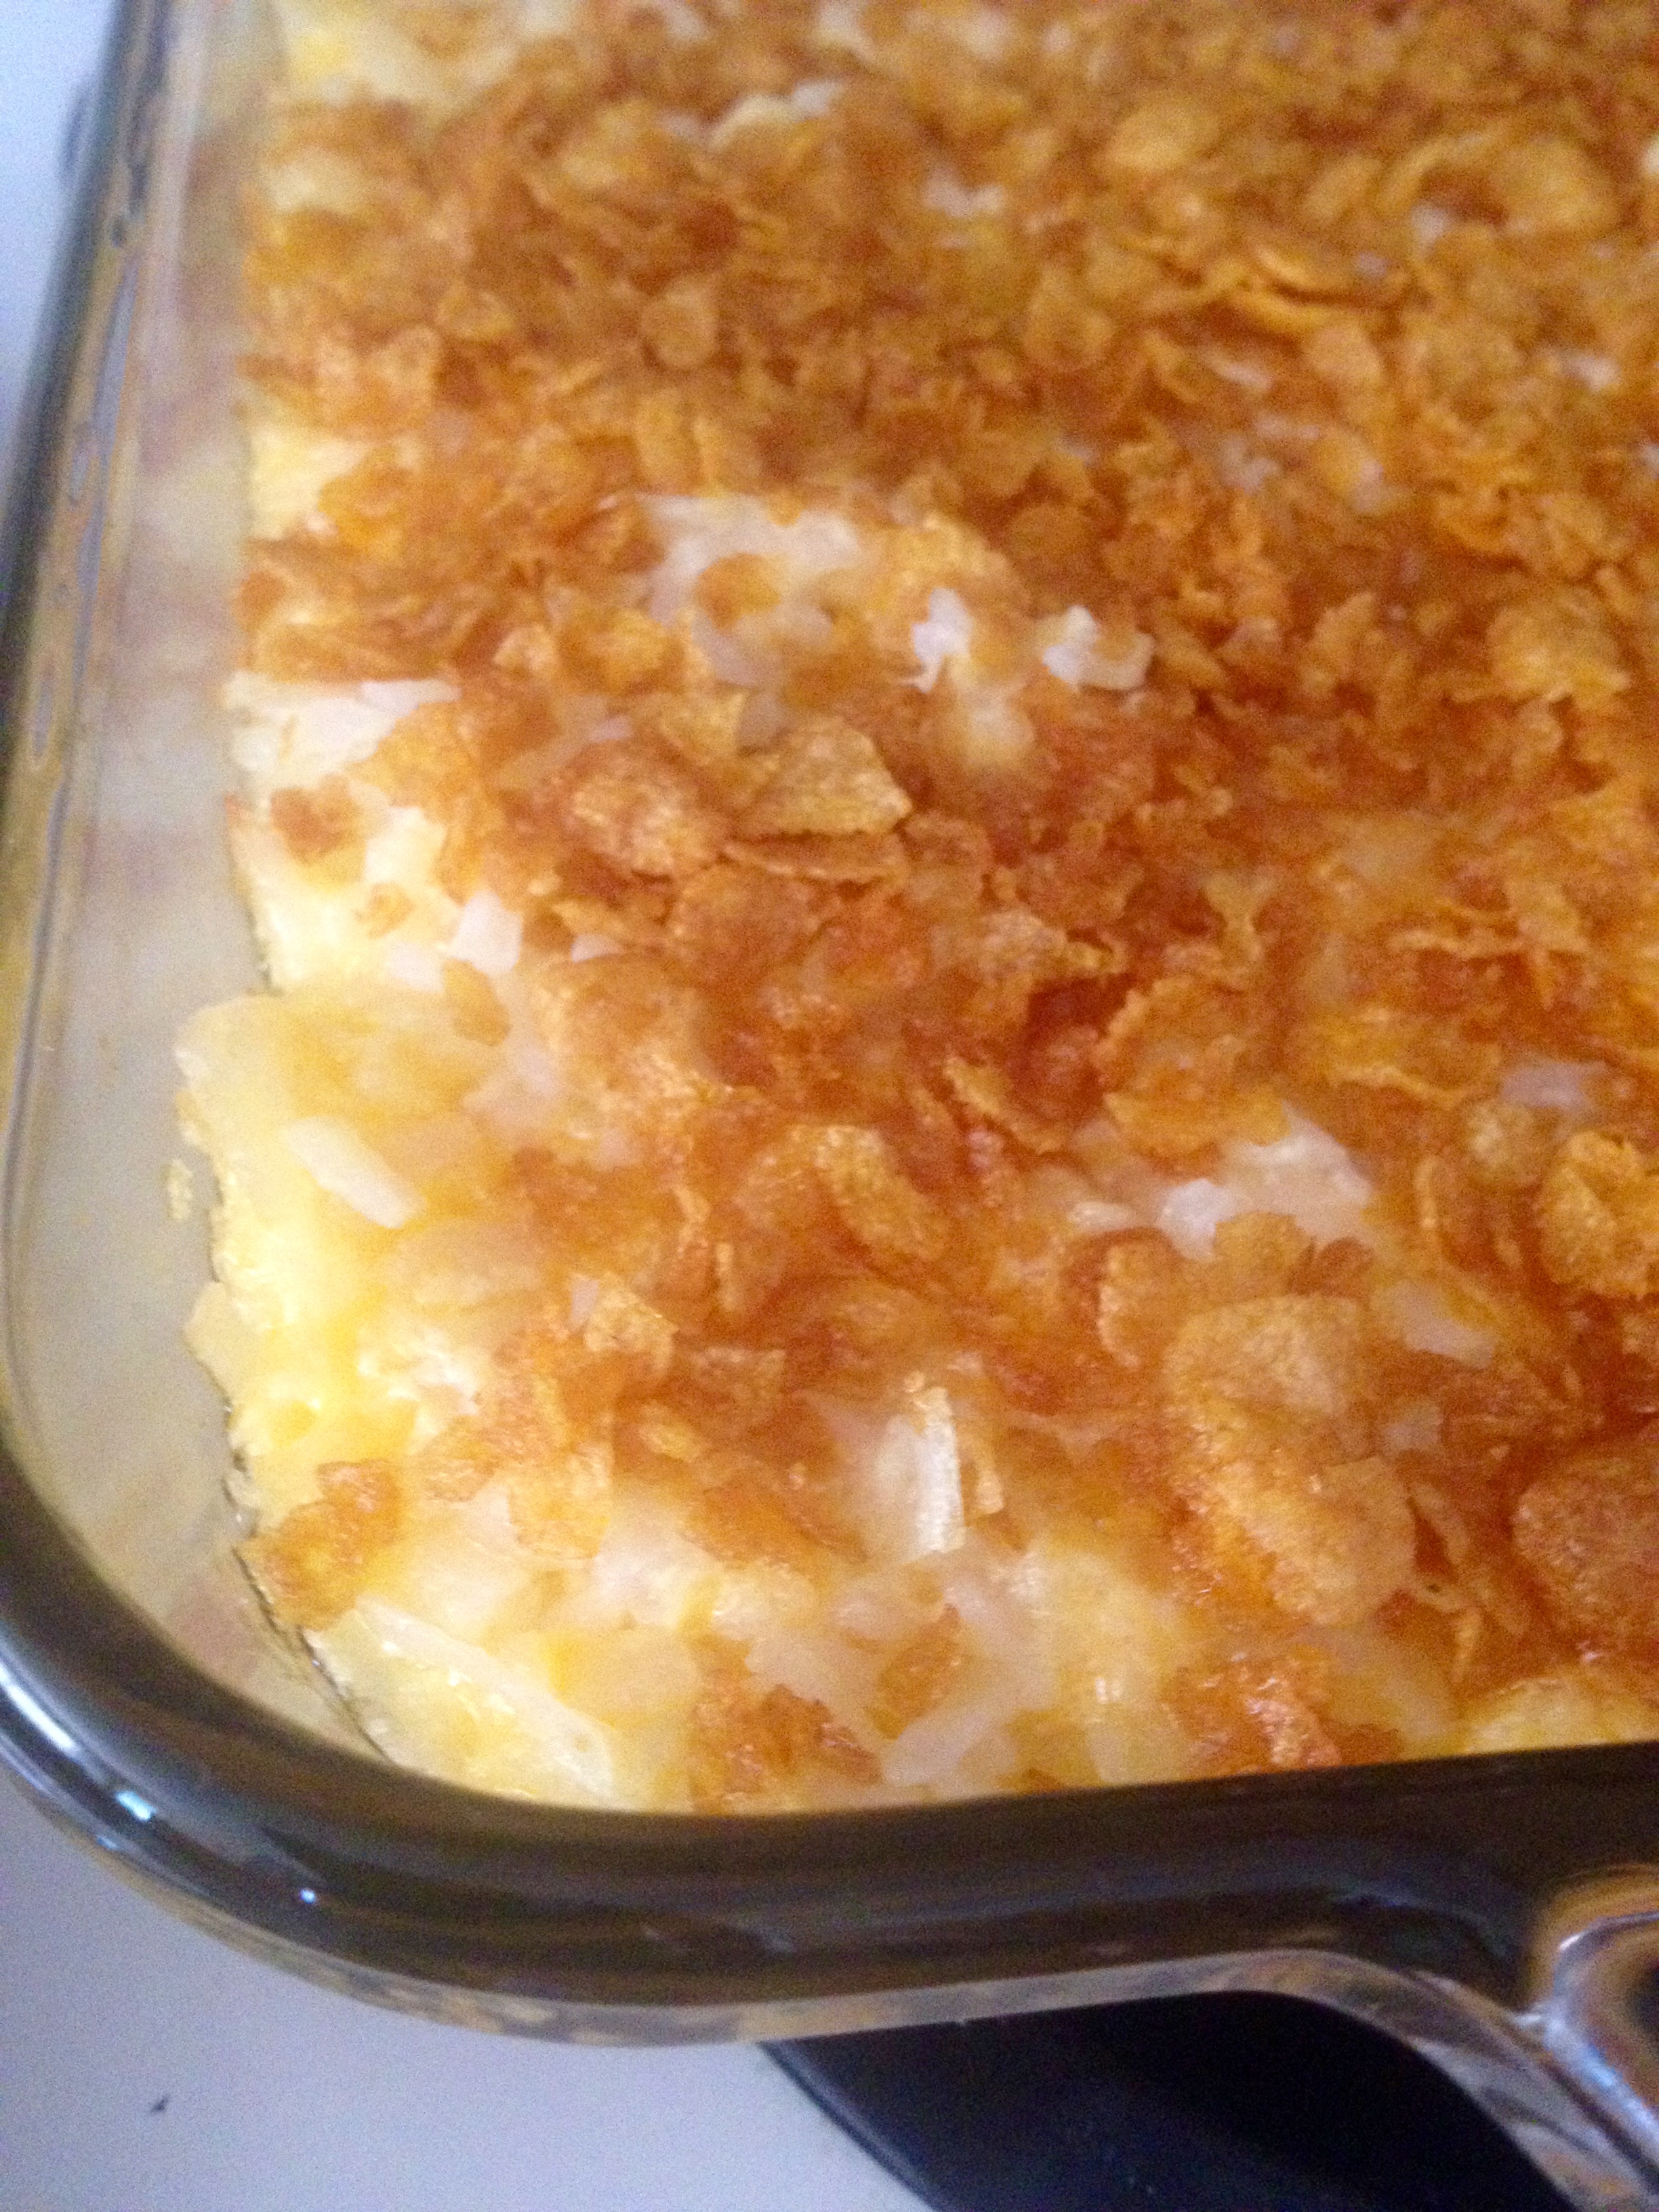
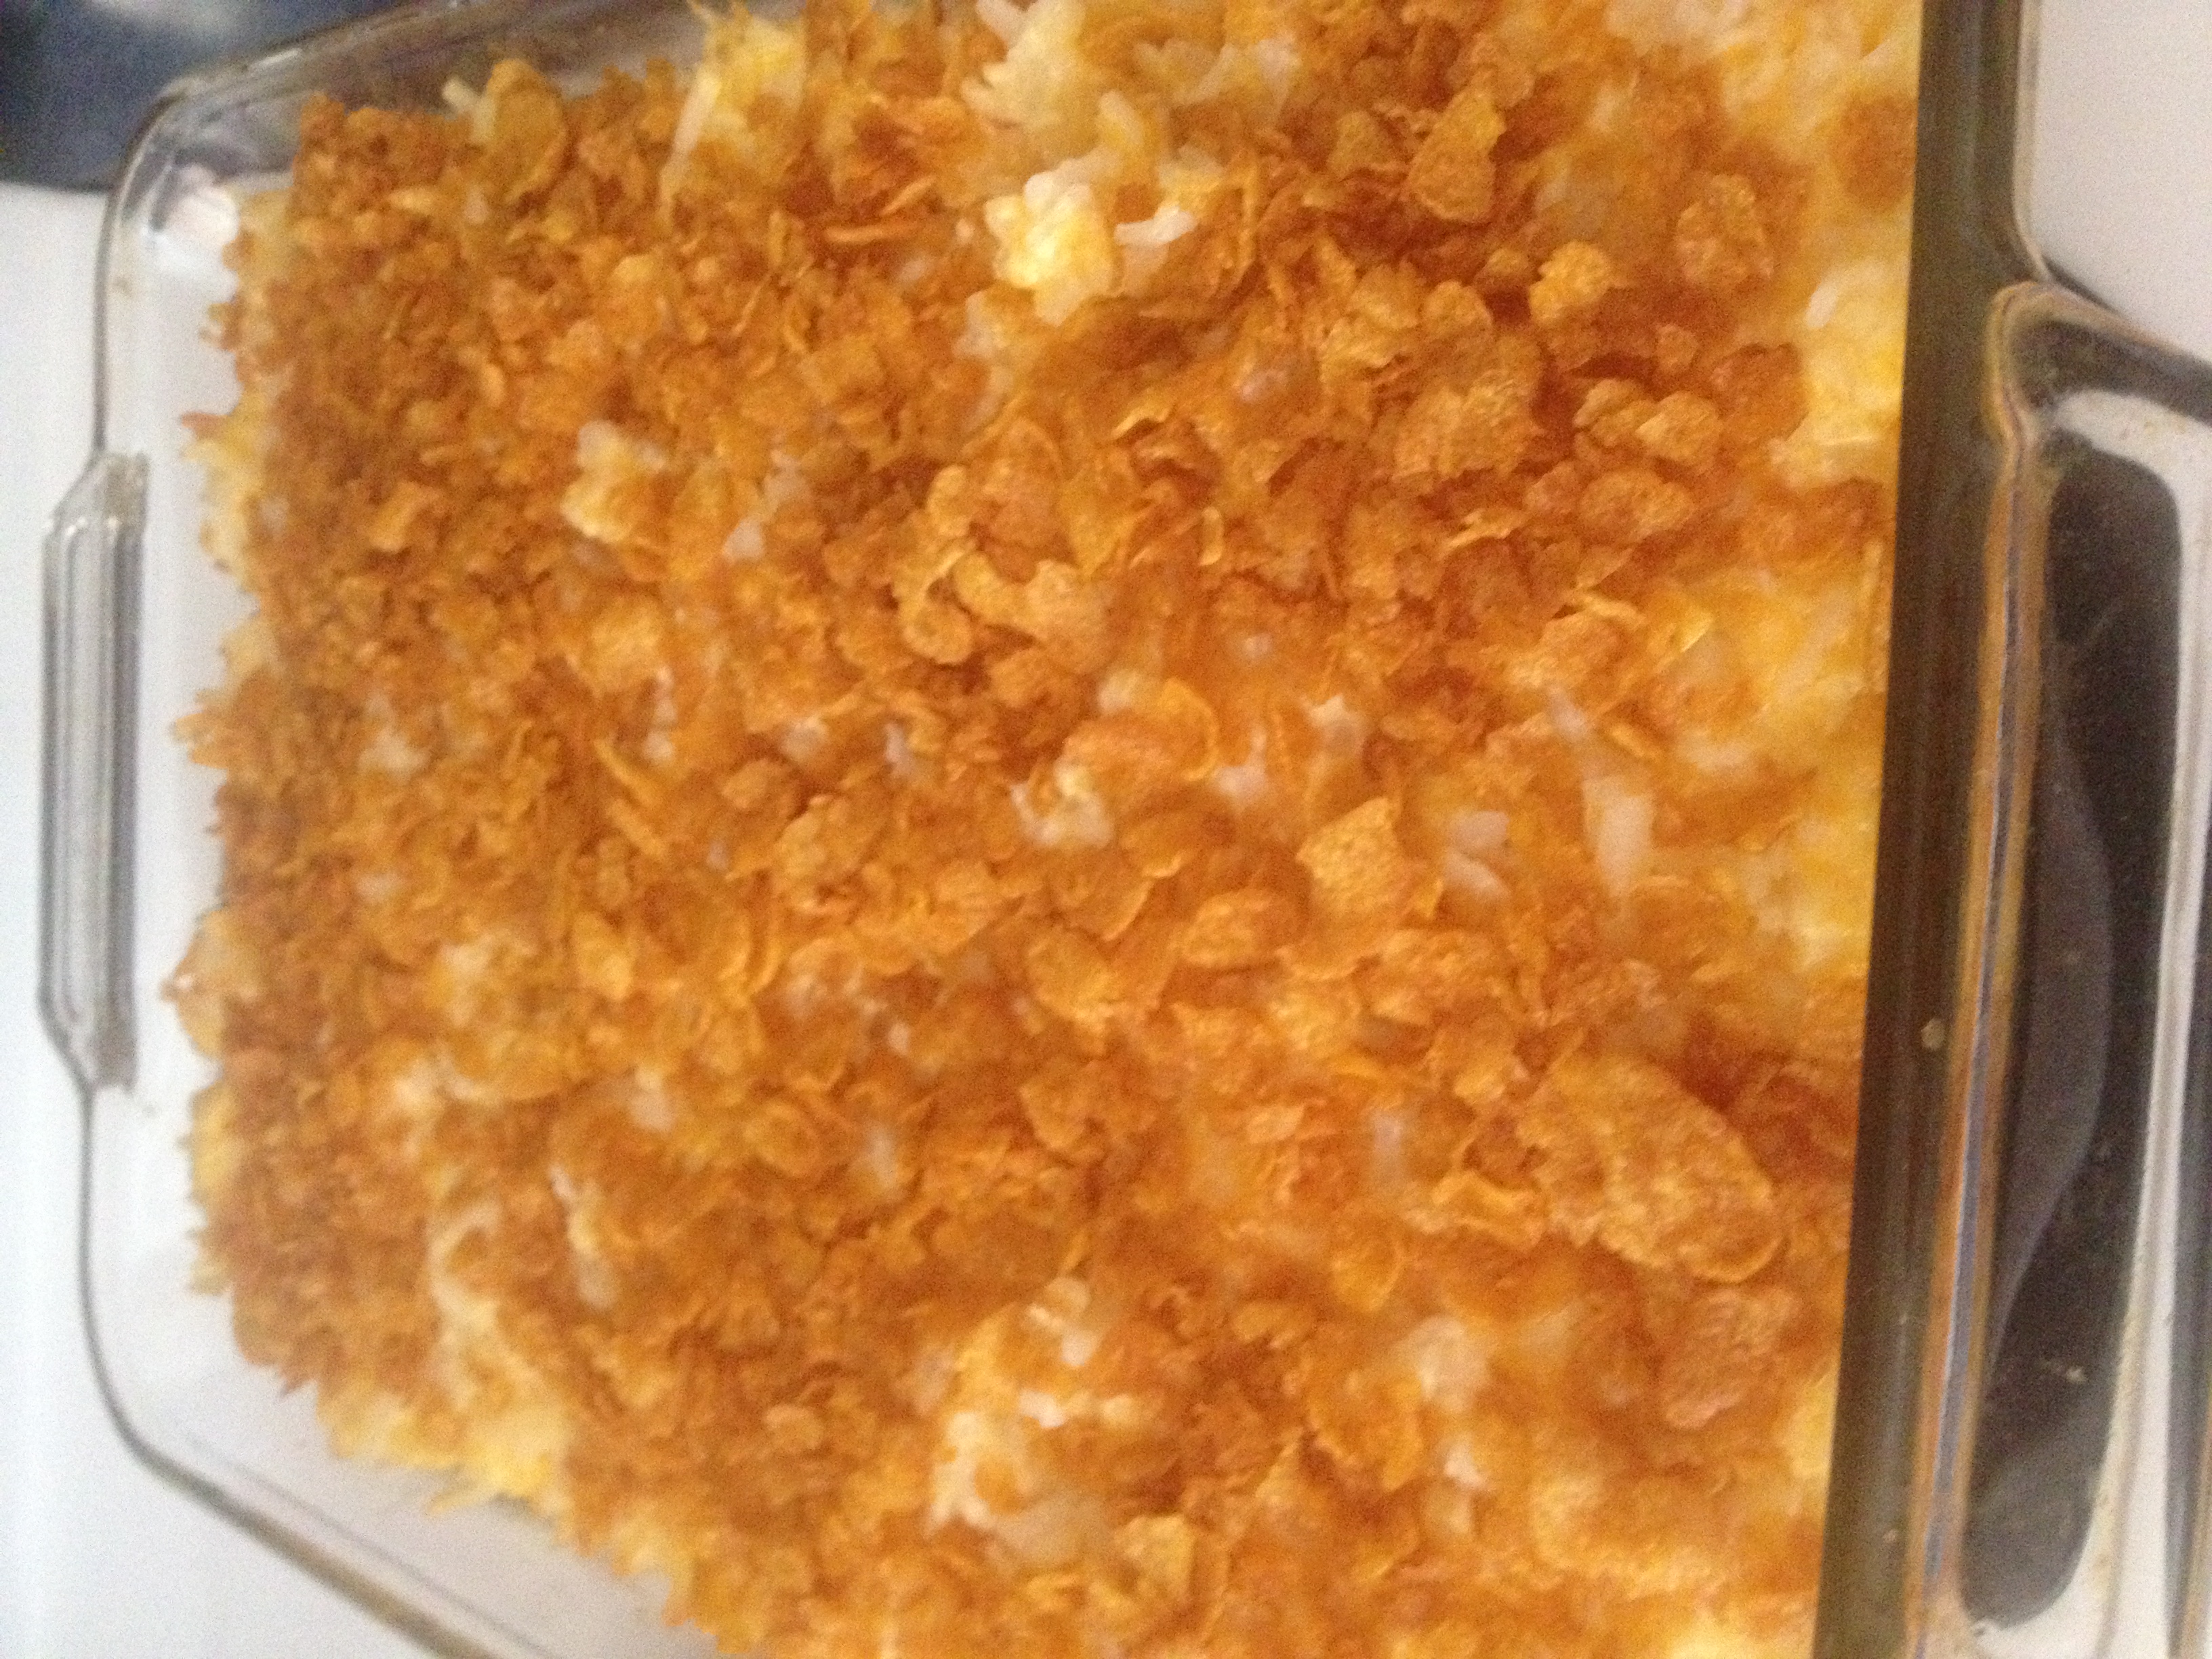
Not Your Average Hashbrowns
Hello, friends! Happy Monday! I’ve been visiting my fiancé in Oklahoma this week, and decided to treat him to a special dinner with his grandparents. I have a fantastic recipe to share today from that dinner, given to me by his mother- Potato Casserole! Perhaps not the most glamorous name, but there you have it. I’ll tell you now, this recipe isn’t low-fat, low-sodium, or really low-anything. However! It is high-delicious, high-crowd-pleaser, and high-easy-to-make.
Ingredients:
- 2 lb. frozen hashbrowns, thawed
- 1 stick melted butter or margarine
- 1 cup cream of chicken soup (you can use low-sodium)
- 8 oz sour cream (you can use low-fat)
- 1/2 cup chopped yellow onion
- 2 cups shredded sharp cheddar cheese
- 1 tsp salt (I didn’t put this in)
- 1 tsp pepper (I didn’t put this in either)
- 2 cups crushed corn flakes
- 1/2 stick melted butter or margarine
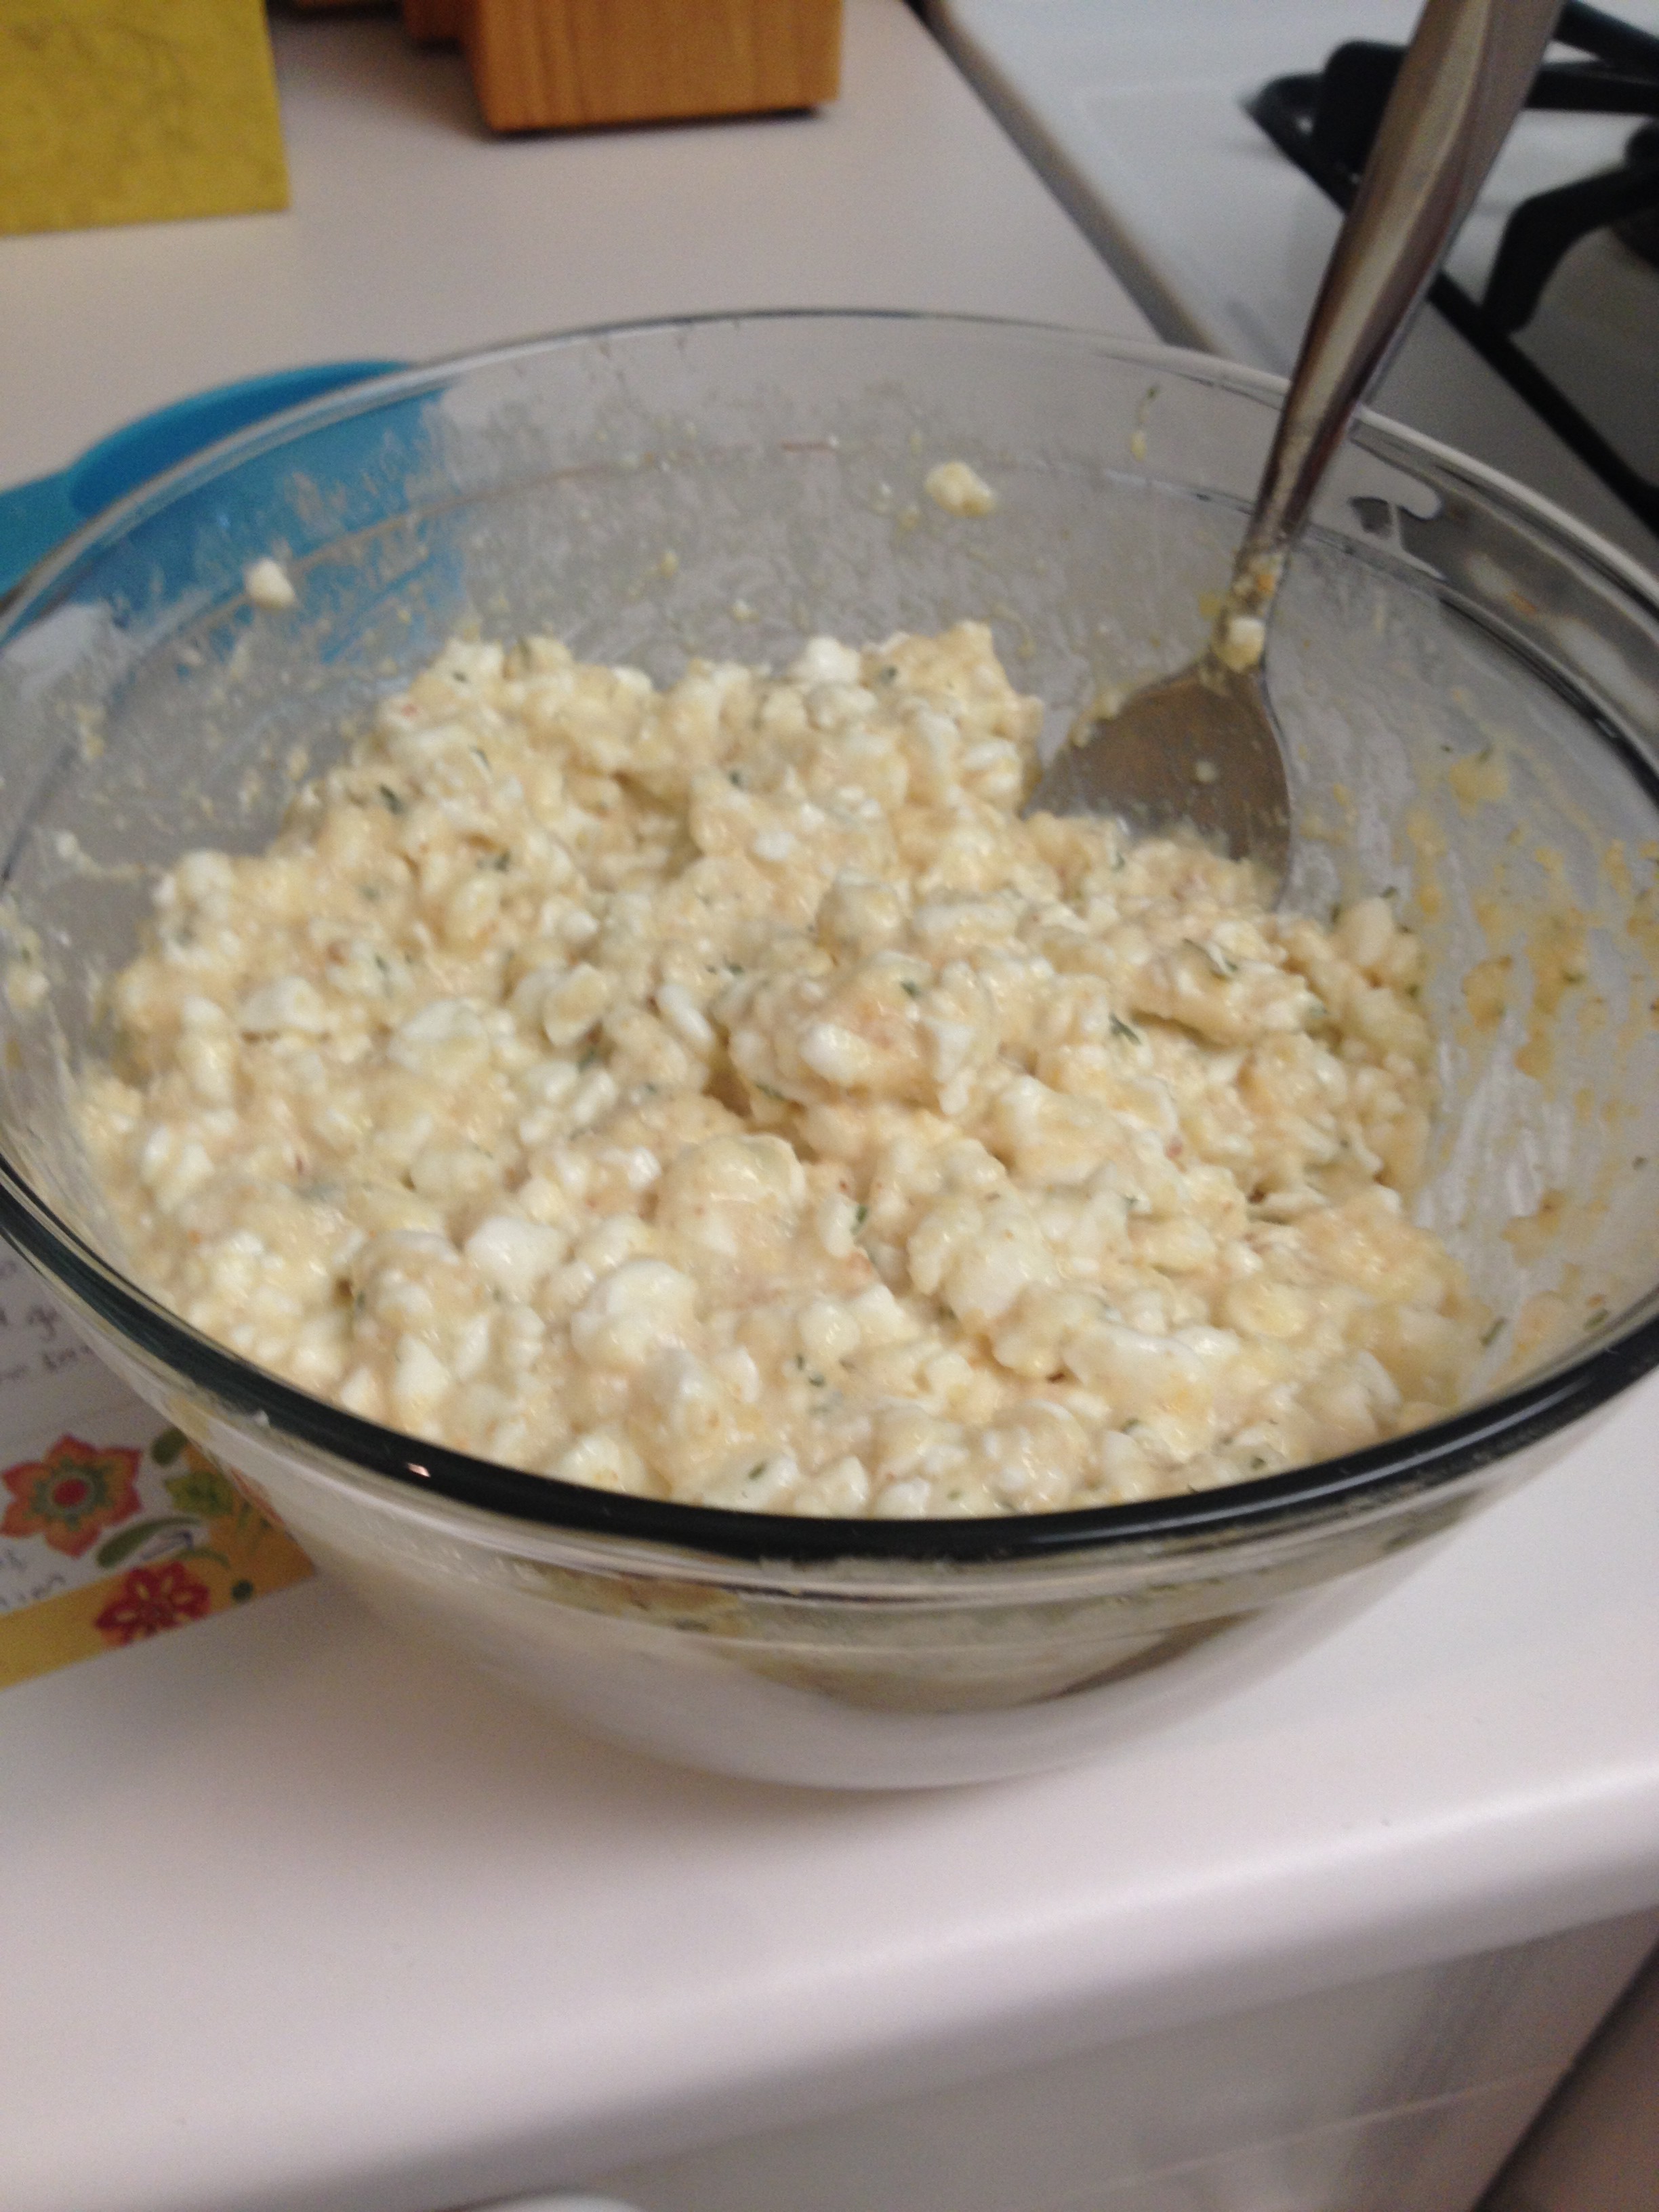
Preheat the oven to 350ºF. Combine all but the last two ingredients in a large mixing bowl. 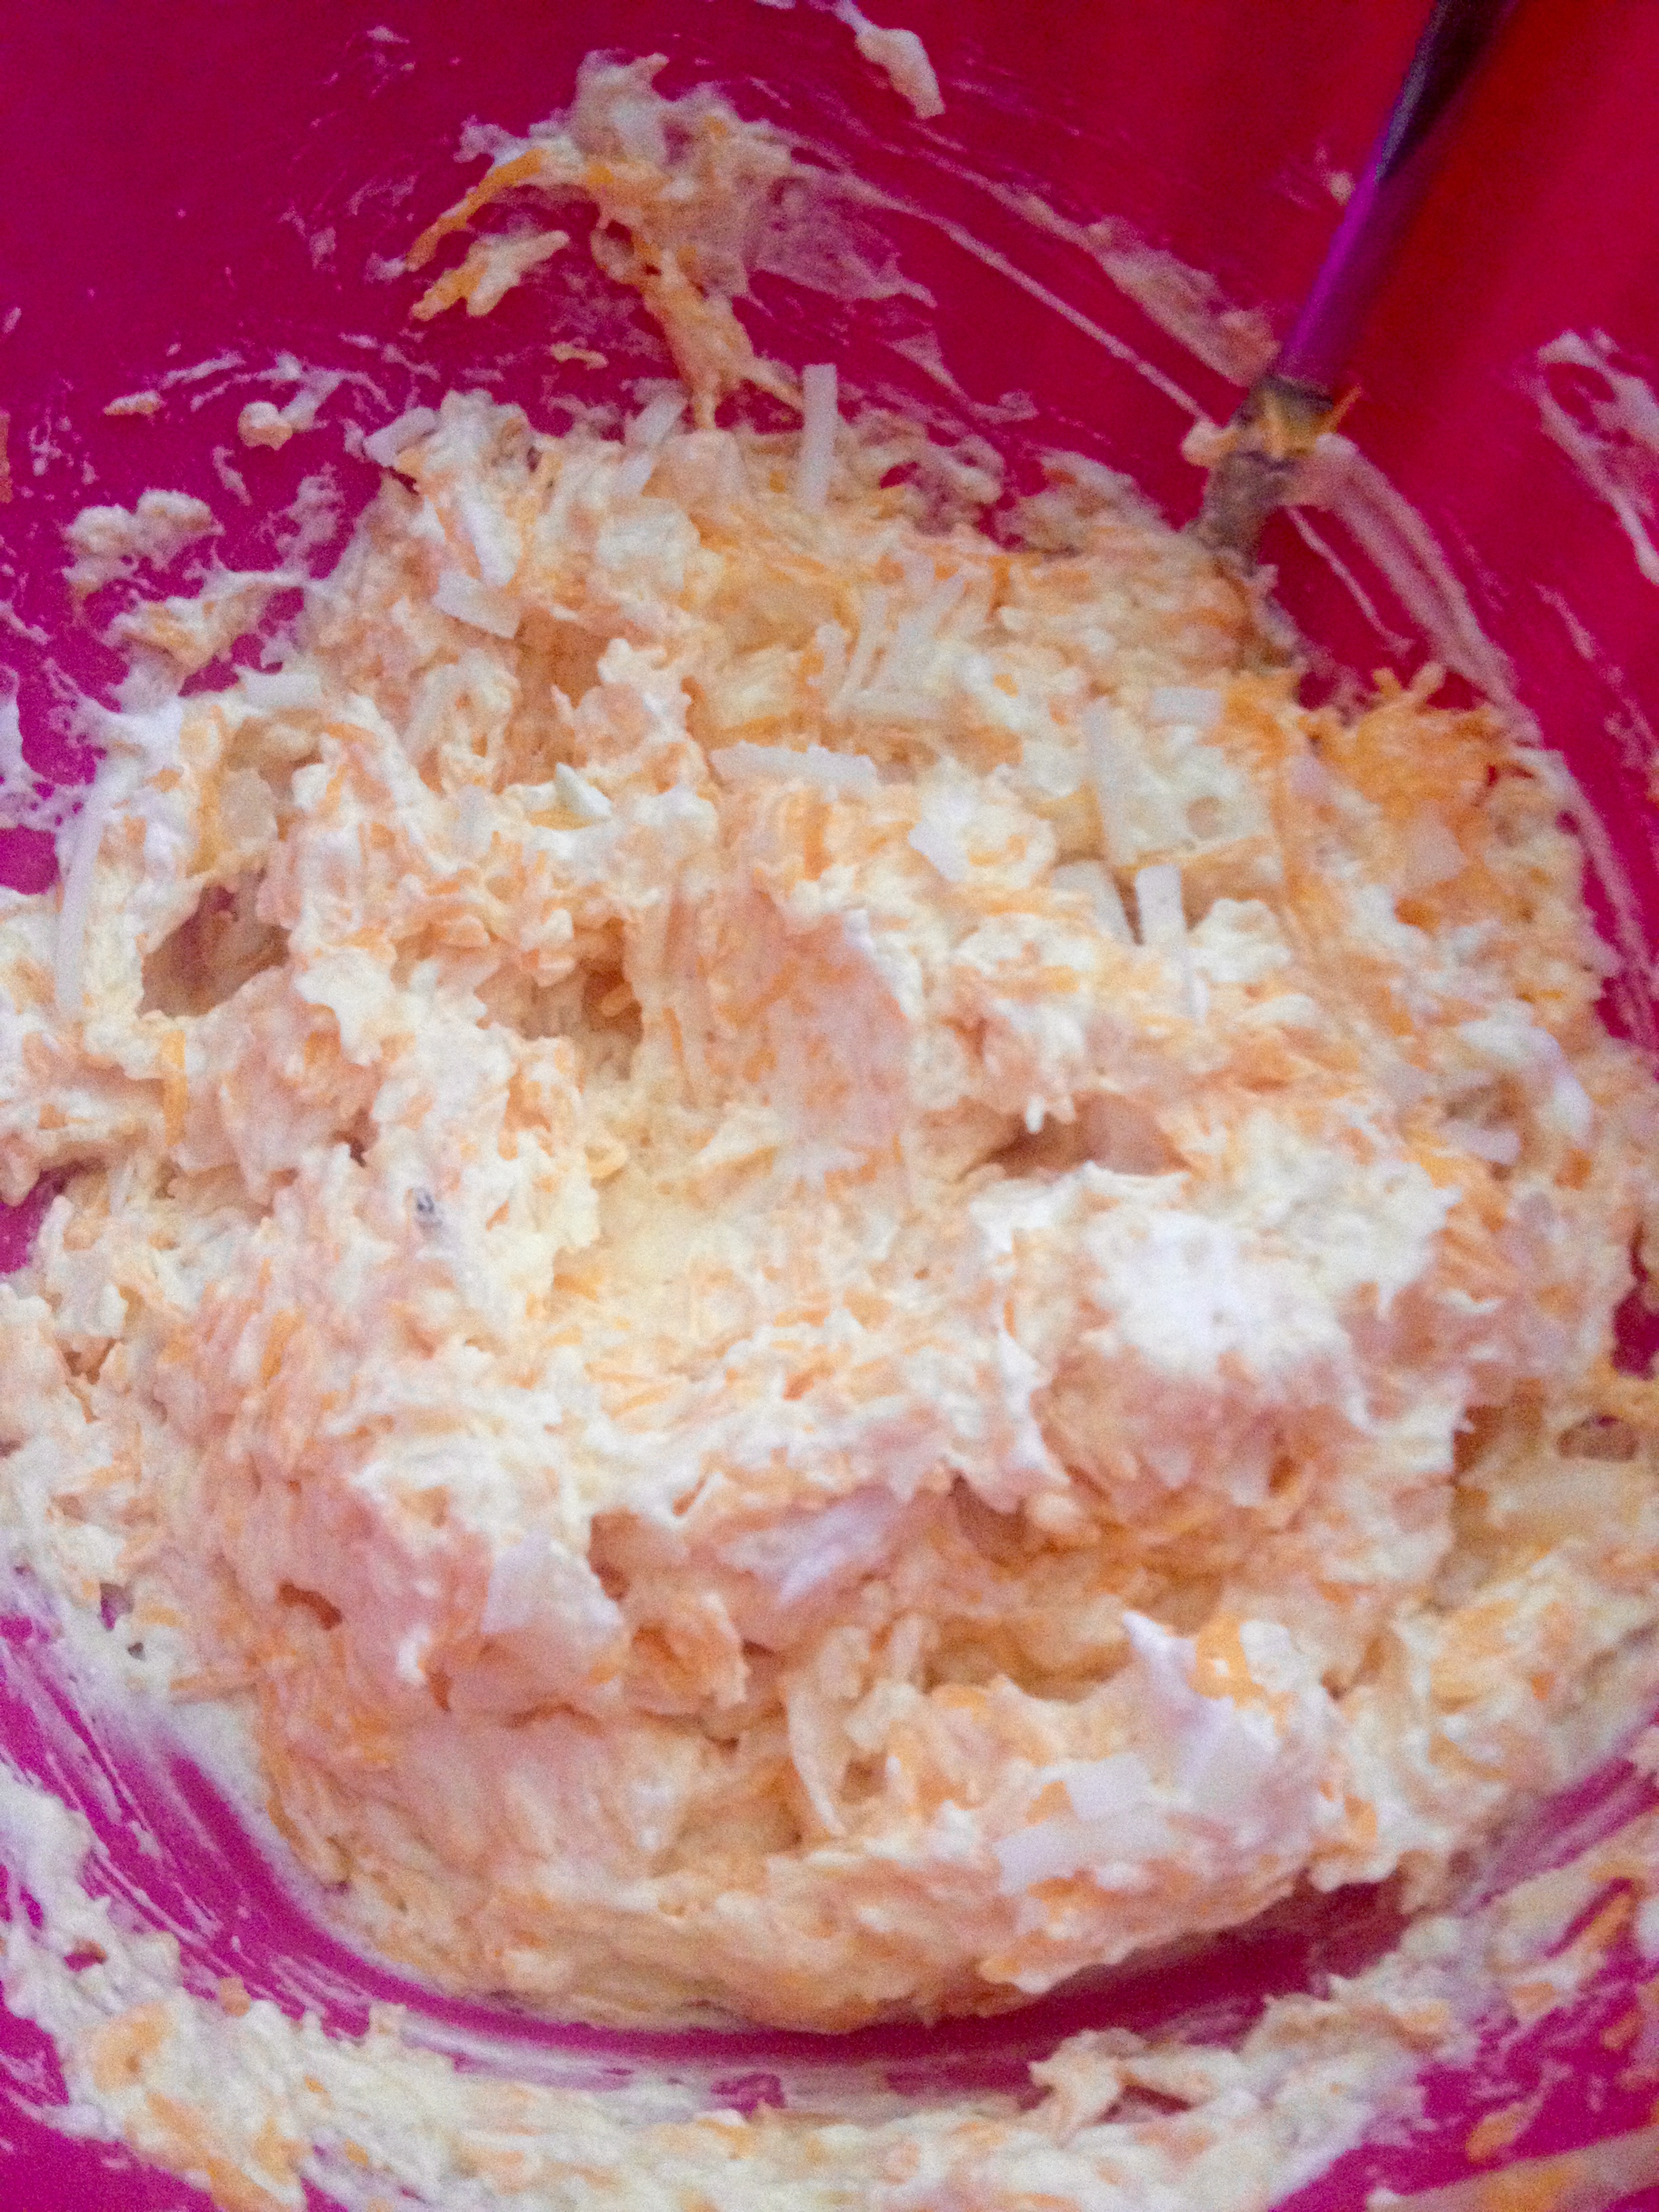
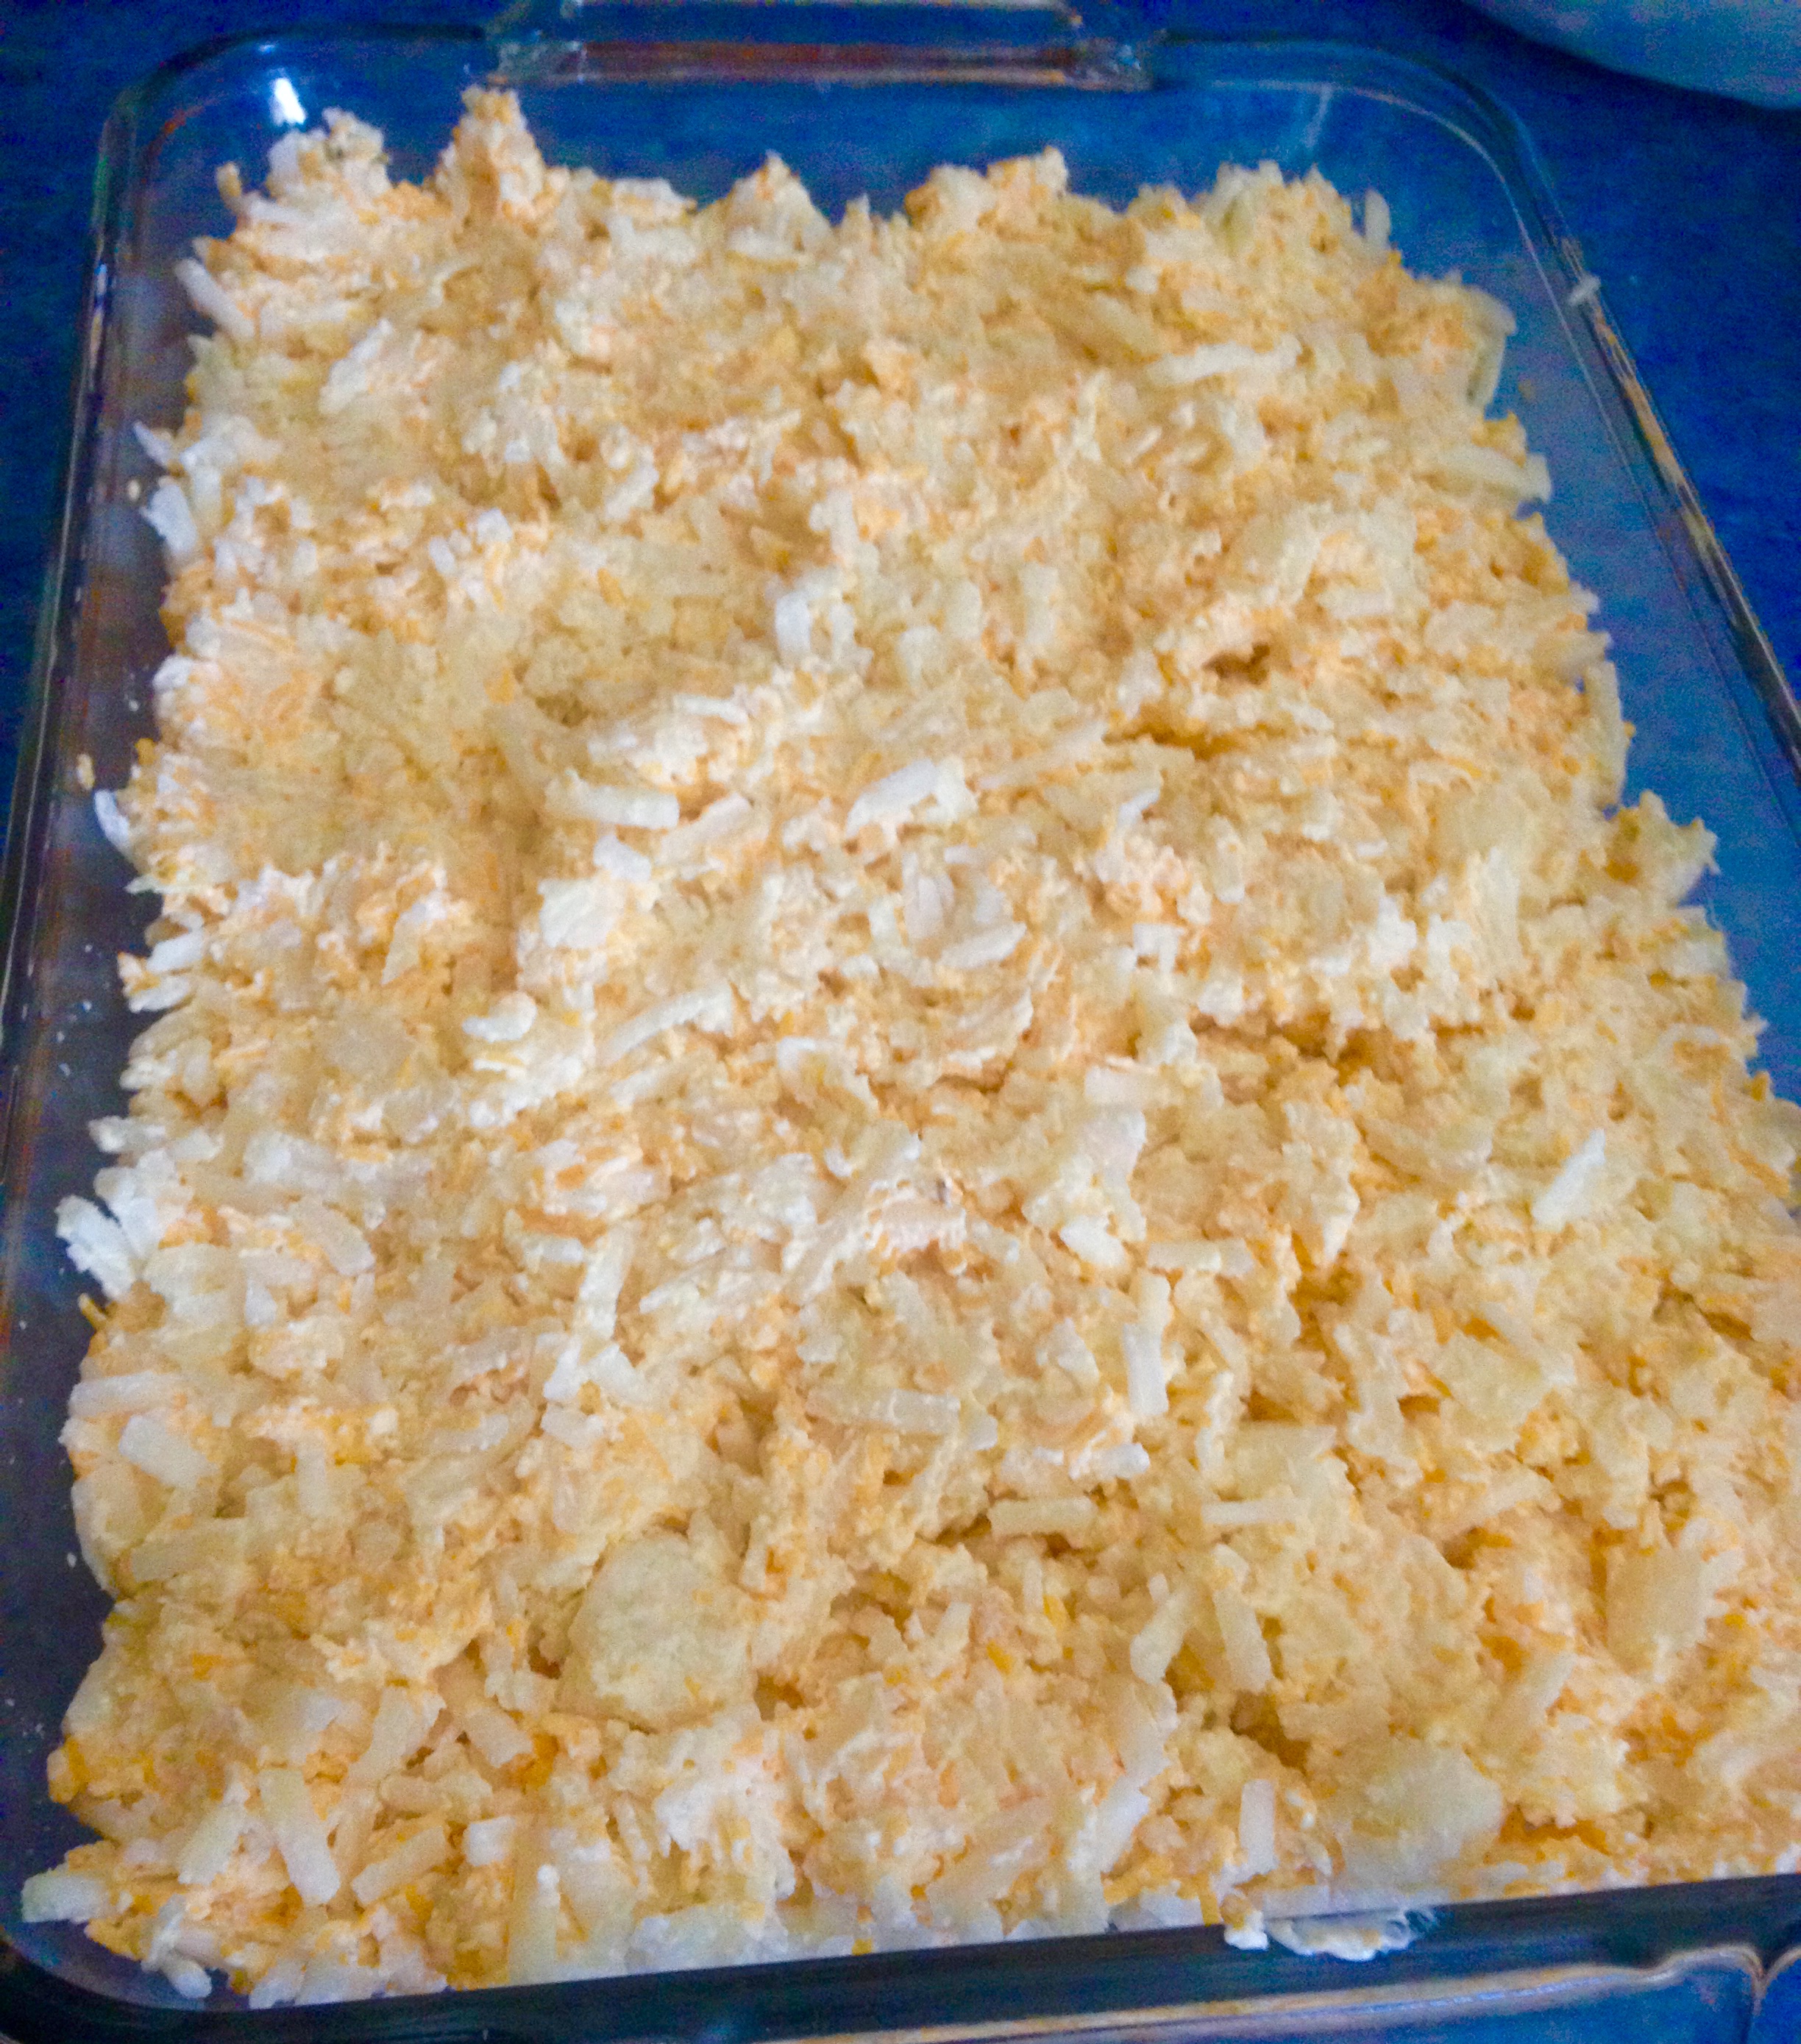
Spoon the mixture into a large glass casserole dish. The one I used was pretty huge, like 15″x10″. If you have a 9×13″, that will definitely work- you just may have to cook it for a few minutes longer!
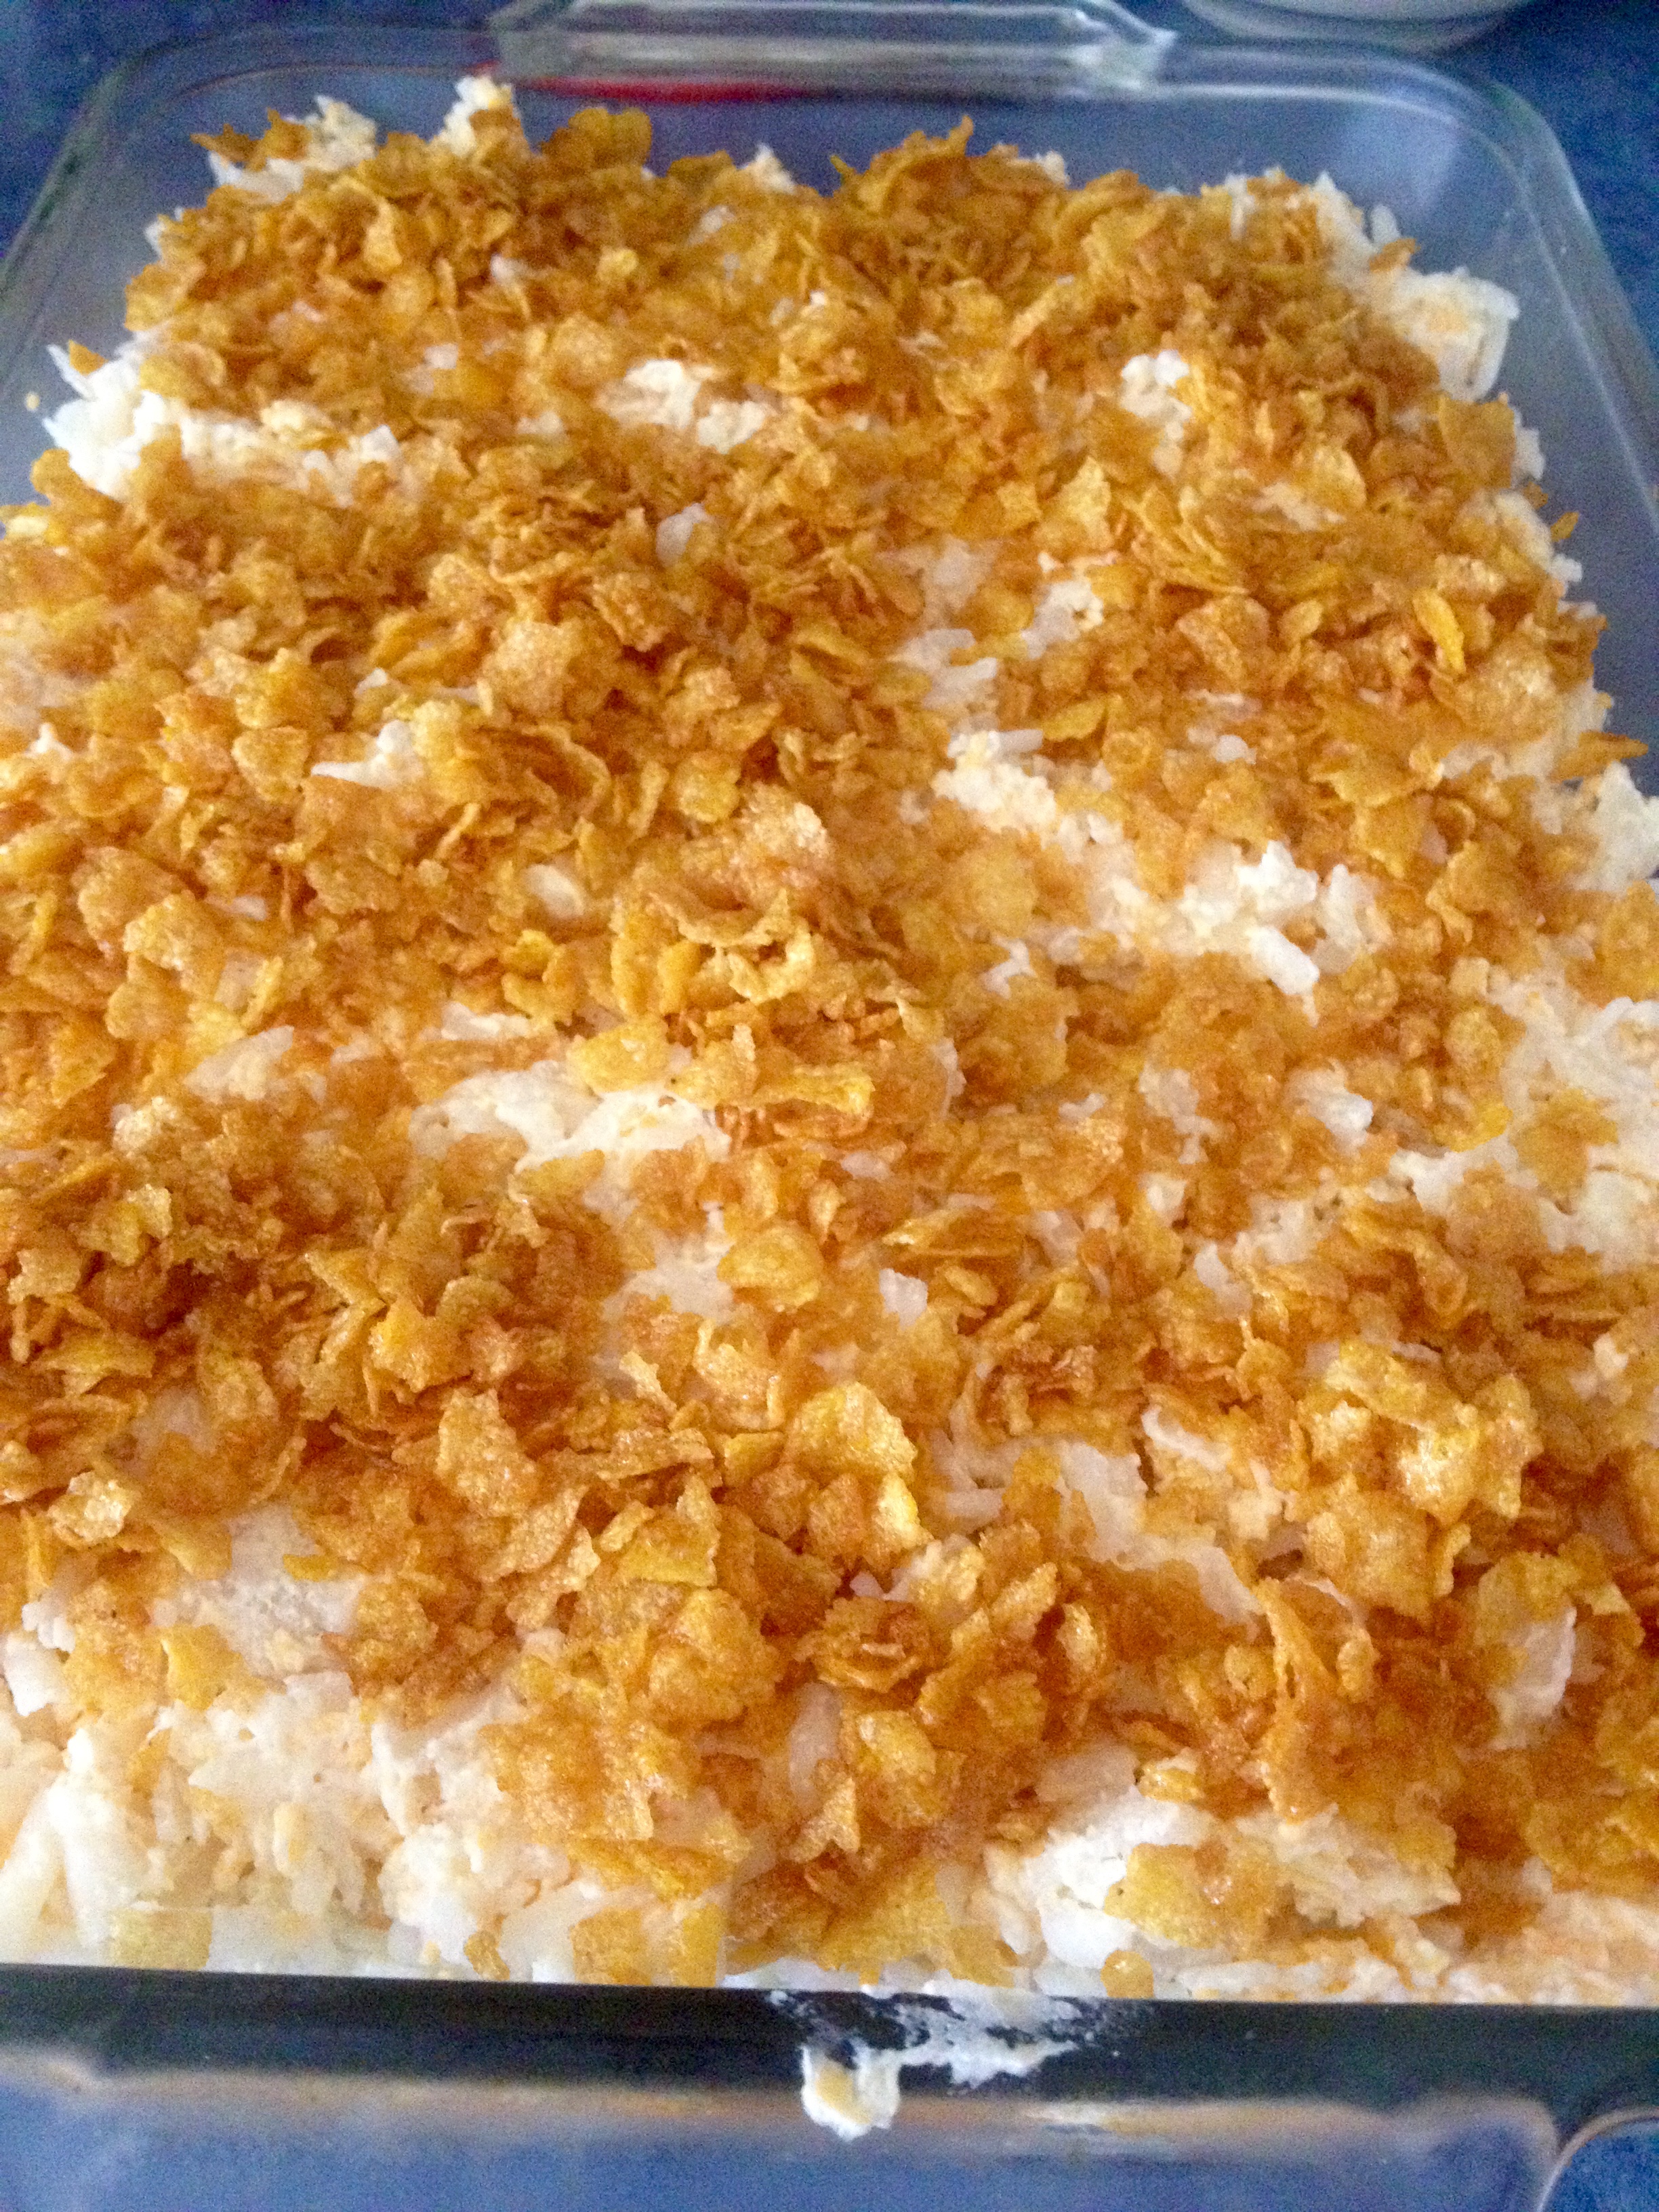
Sauté the corn flakes in the 1/4 cup butter, just until they’re darker brown but still crunchy.


Sprinkle the corn flakes over the top of the casserole so that it’s evenly coated.
Bake the casserole, covered with aluminum foil, for 40 minutes to 1 hour. I baked mine for 45 minutes and it was absolutely perfect. I’m talking bubbly cheese, crunchy topping, creamy potatoes… it seriously doesn’t get better than that. I have a picture of a yummy cheesy corner of the casserole, just so you can get an idea for how good this looks.
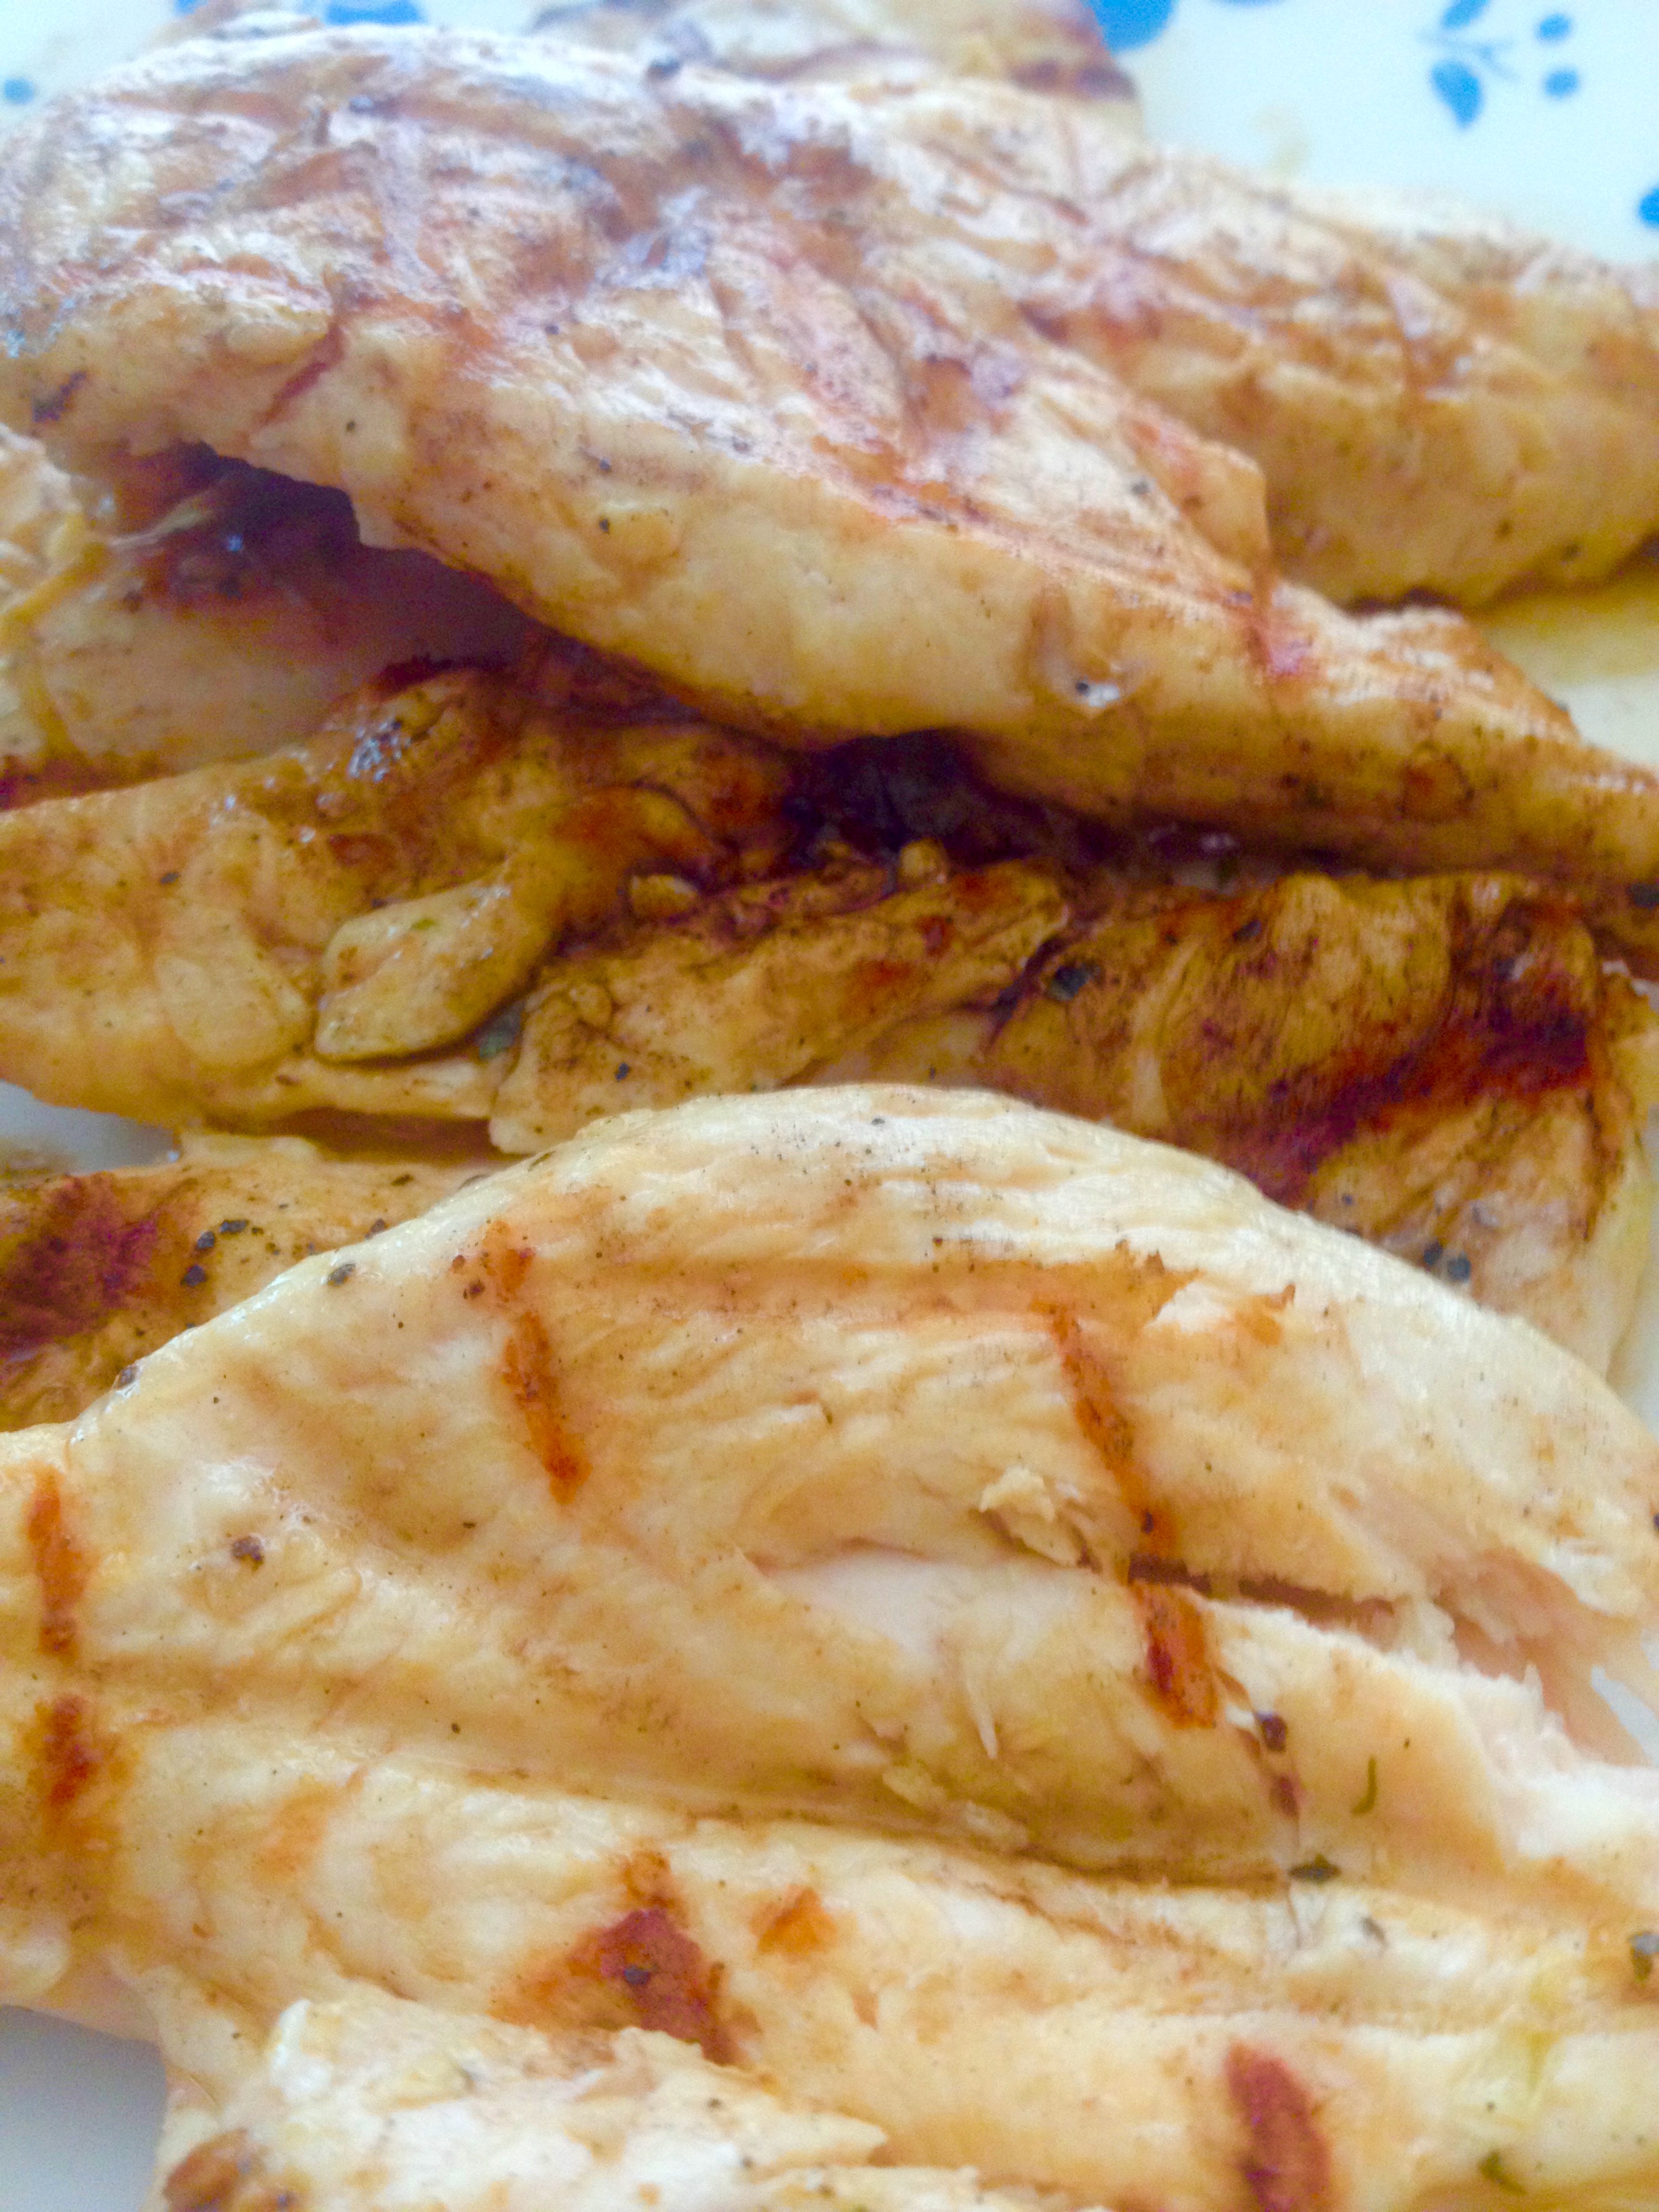
And there you have it! I served this with marinated chicken breast (olive oil, salt, pepper, minced garlic, chopped onion, lemon juice, cilantro- put it all in a Ziploc bag with the chicken and leave it in the fridge for about 2 hours, then grill it), steamed broccoli, and crescent rolls. We had quite the spread!


We were quite full afterwards, and were also quite happy. I hope you enjoy this fantastic recipe, and give it a try! Happy cooking!
A Family Get-Together-With Yummy Food!
Hi all! It’s been a long time since I’ve posted here, and quite a bit has happened since my last post. I became a Registered Dietitian, began working at a long-term care center, got married, and lots of other things! After all the excitement and change, it’s finally time to get back to posting recipes and sharing food with others. For my first post in a while, I thought it was appropriate to share an old family recipe that I made for a family dinner. The recipe is for stuffed shells, but this is a healthier recipe than traditional ricotta-stuffed shells. It’s made with cottage cheese, which saves quite a few calories (about 300 calories per cup), has a comparable amount of protein as ricotta, and tastes absolutely delicious! Here’s the recipe:
Ingredients:
- 1 box giant pasta shells
- 1/4 tsp salt
- 1 1/2 lb (24 oz) low-fat cottage cheese
- 1/4 cup Italian bread crumbs
- 1/2 cup Parmesan cheese, shredded or powdered
- 2 Tbsp chopped fresh parsley or 1 Tbsp dry parsley
- 1 egg, beaten
- 1 jar of your favorite pasta sauce
Preheat your oven to 375ºF. Pour 1/2 of the pasta sauce into the bottom of a large casserole dish and set aside. Cook the giant pasta shells according to the instructions on the box and drain the pasta. While the pasta is cooking, mix up the cottage cheese, salt, bread crumbs, Parmesan cheese, parsley, and the egg. It should look like this:
When the pasta is cooked and drained, you can start assembling the shells. Scoop a rounded tablespoon or so into each shell. Basically, scoop enough into the shell to fill it.
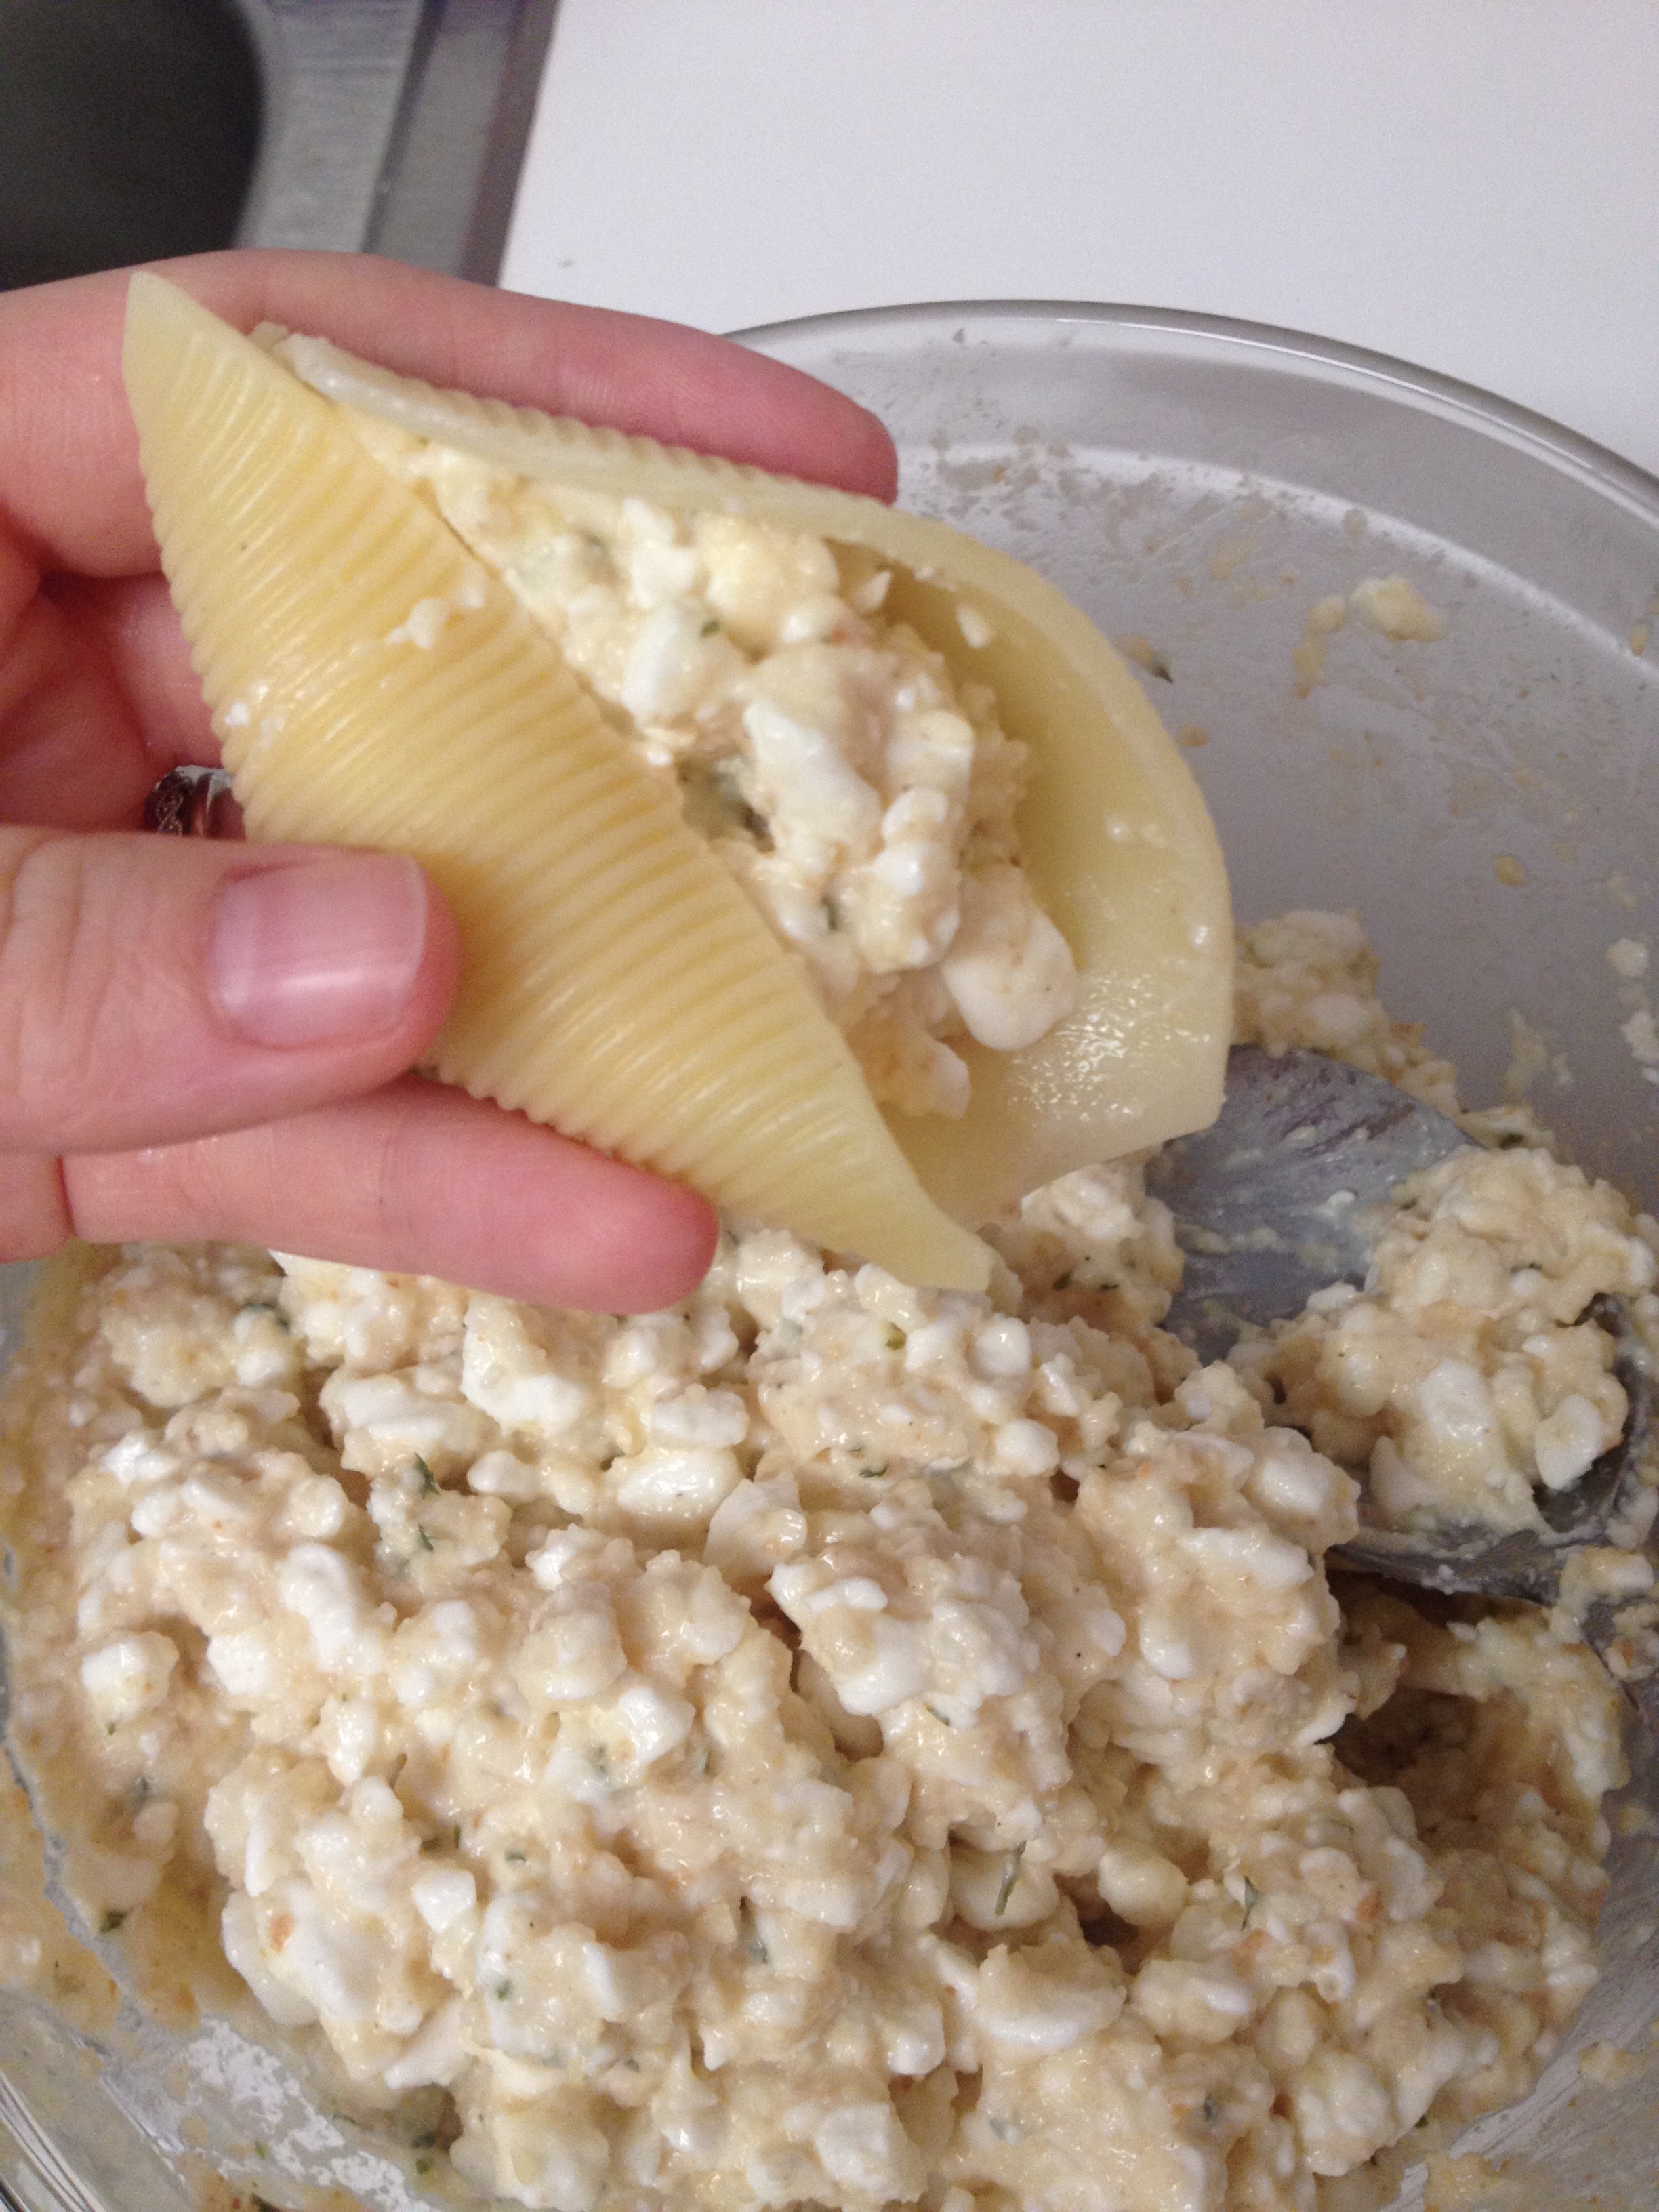
As you fill each shell, lay it seam-side down in the casserole dish like this:
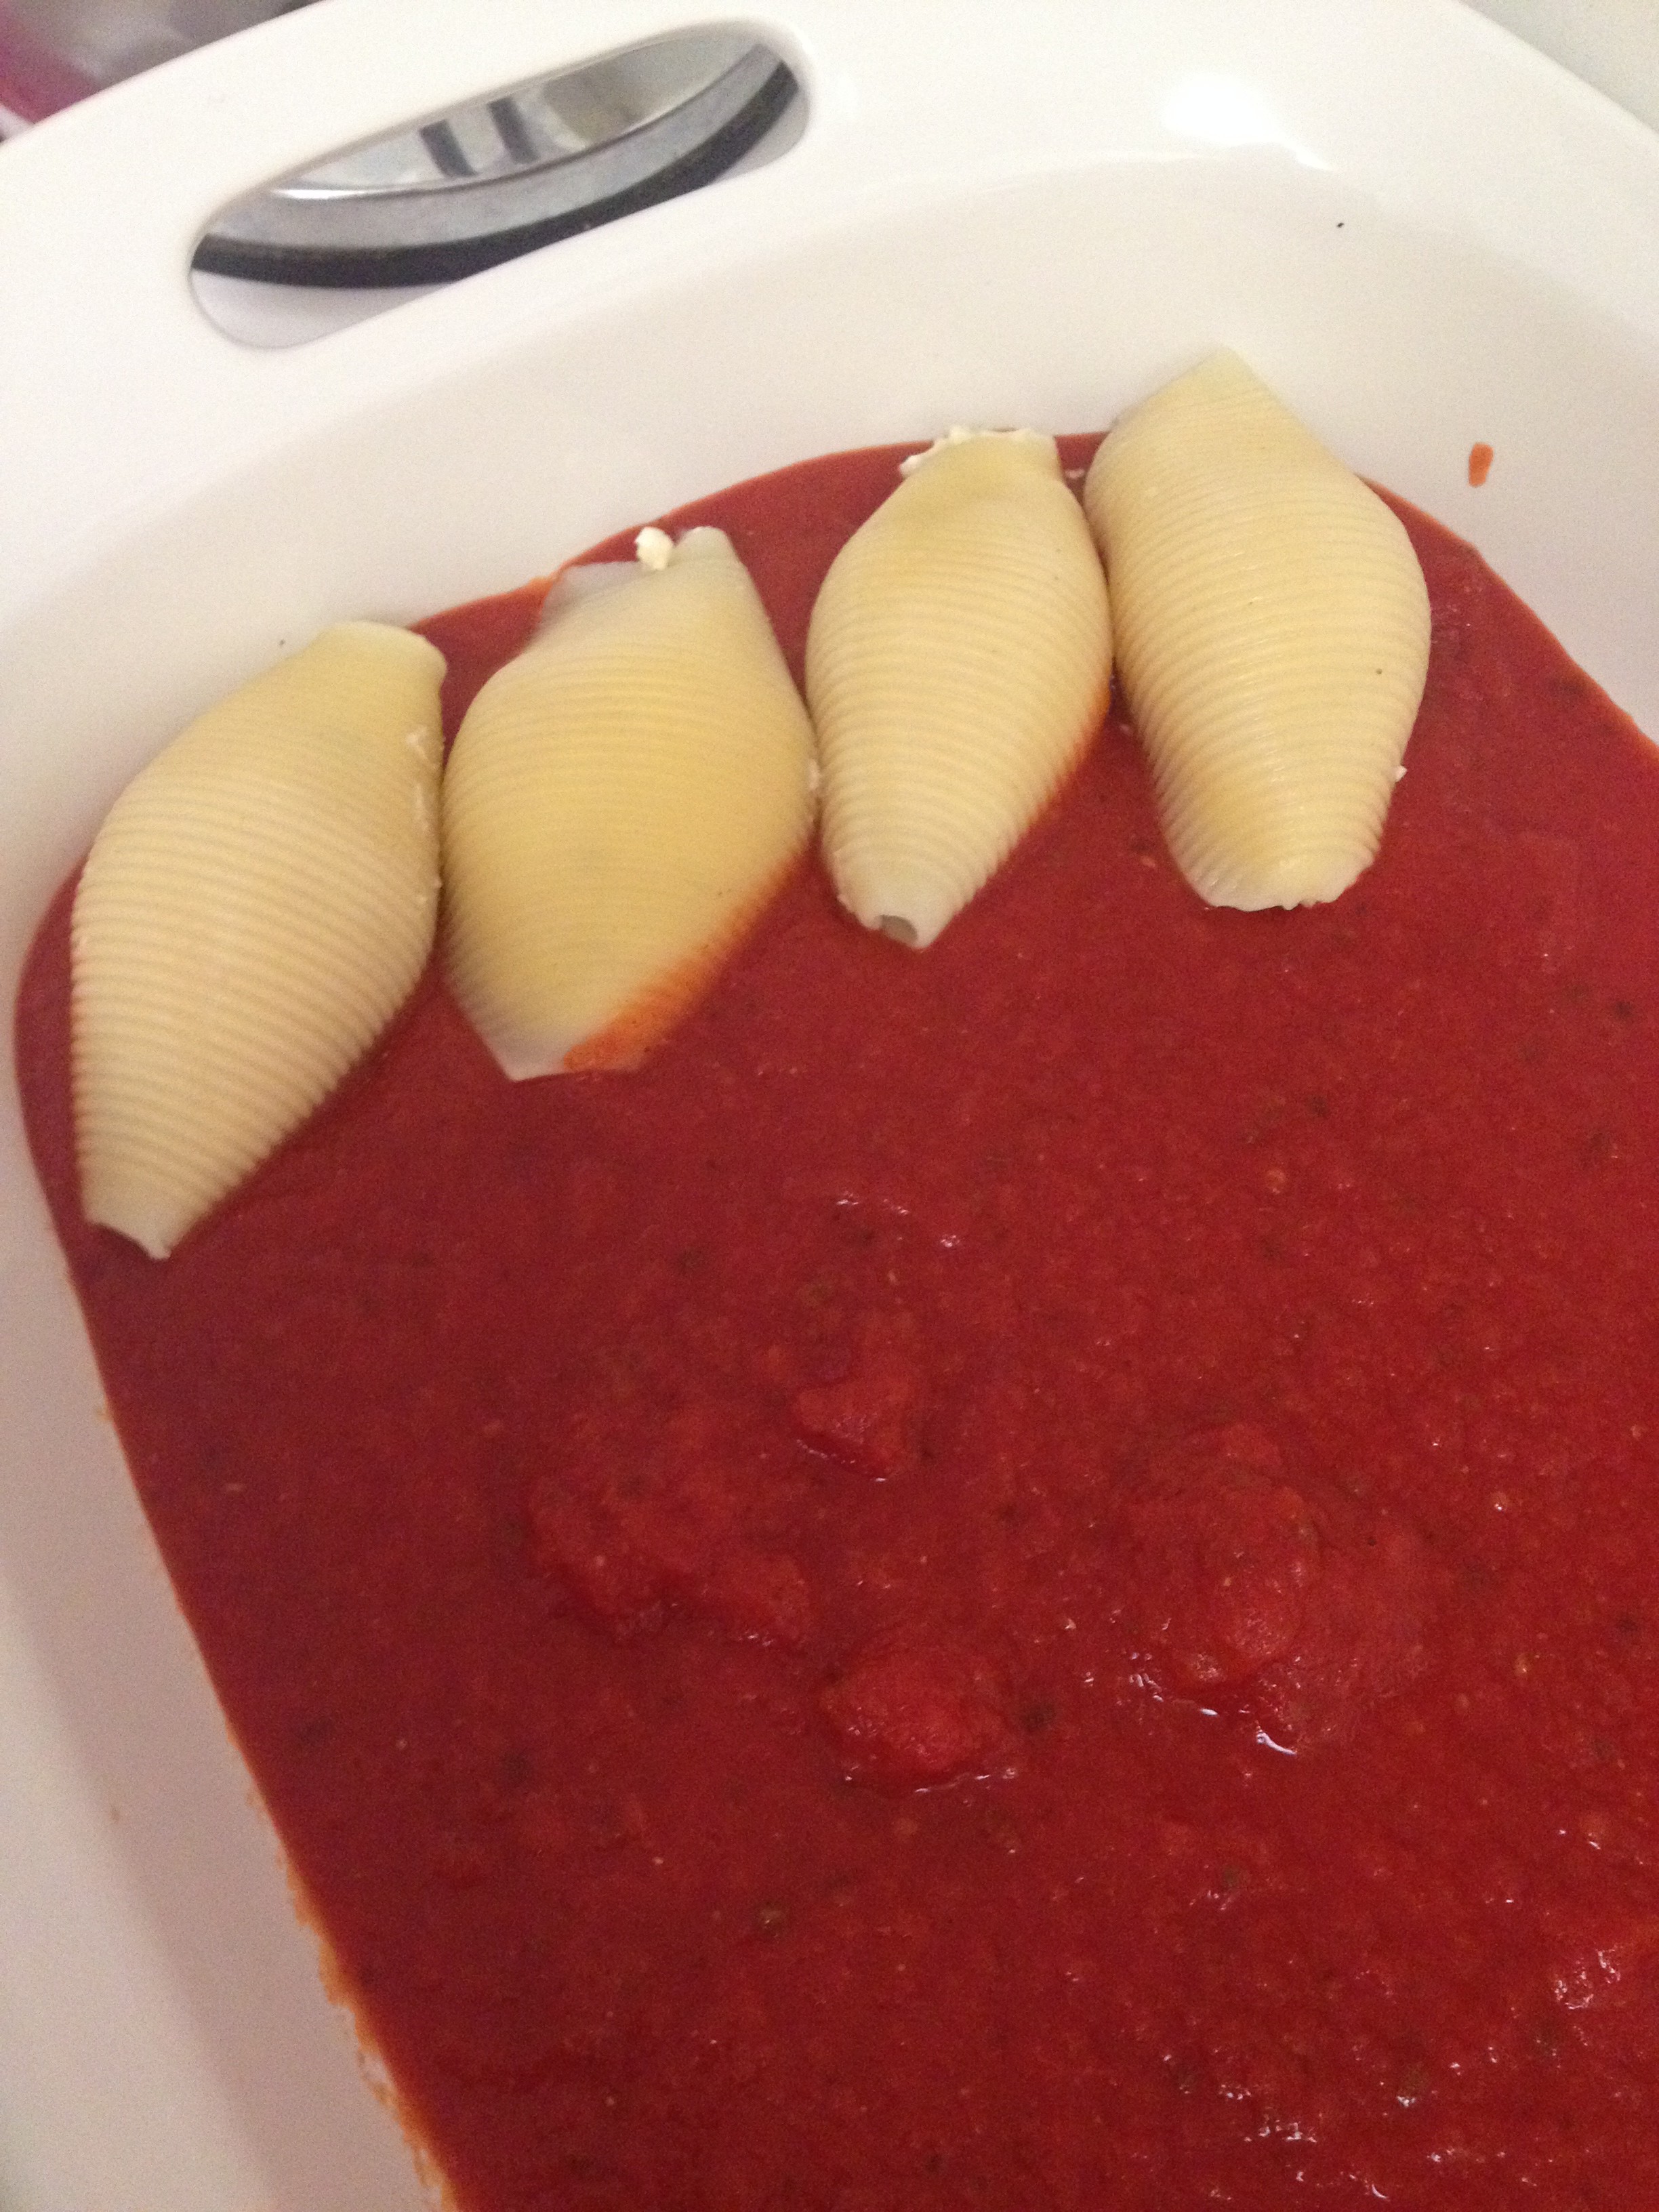

The number of shells that you’ll be able to make varies with the size and shape of your casserole dish, and it’s likely that you’ll have some plain shells left over. Those are actually my favorite part, because as I was growing up my Mom always saved those plain shells for me to eat with Parmesan cheese! We still snack on the plain shells together when we make this recipe.
After you’ve arranged the shells in the casserole dish, pour the other half of the pasta sauce over the top of the shells.
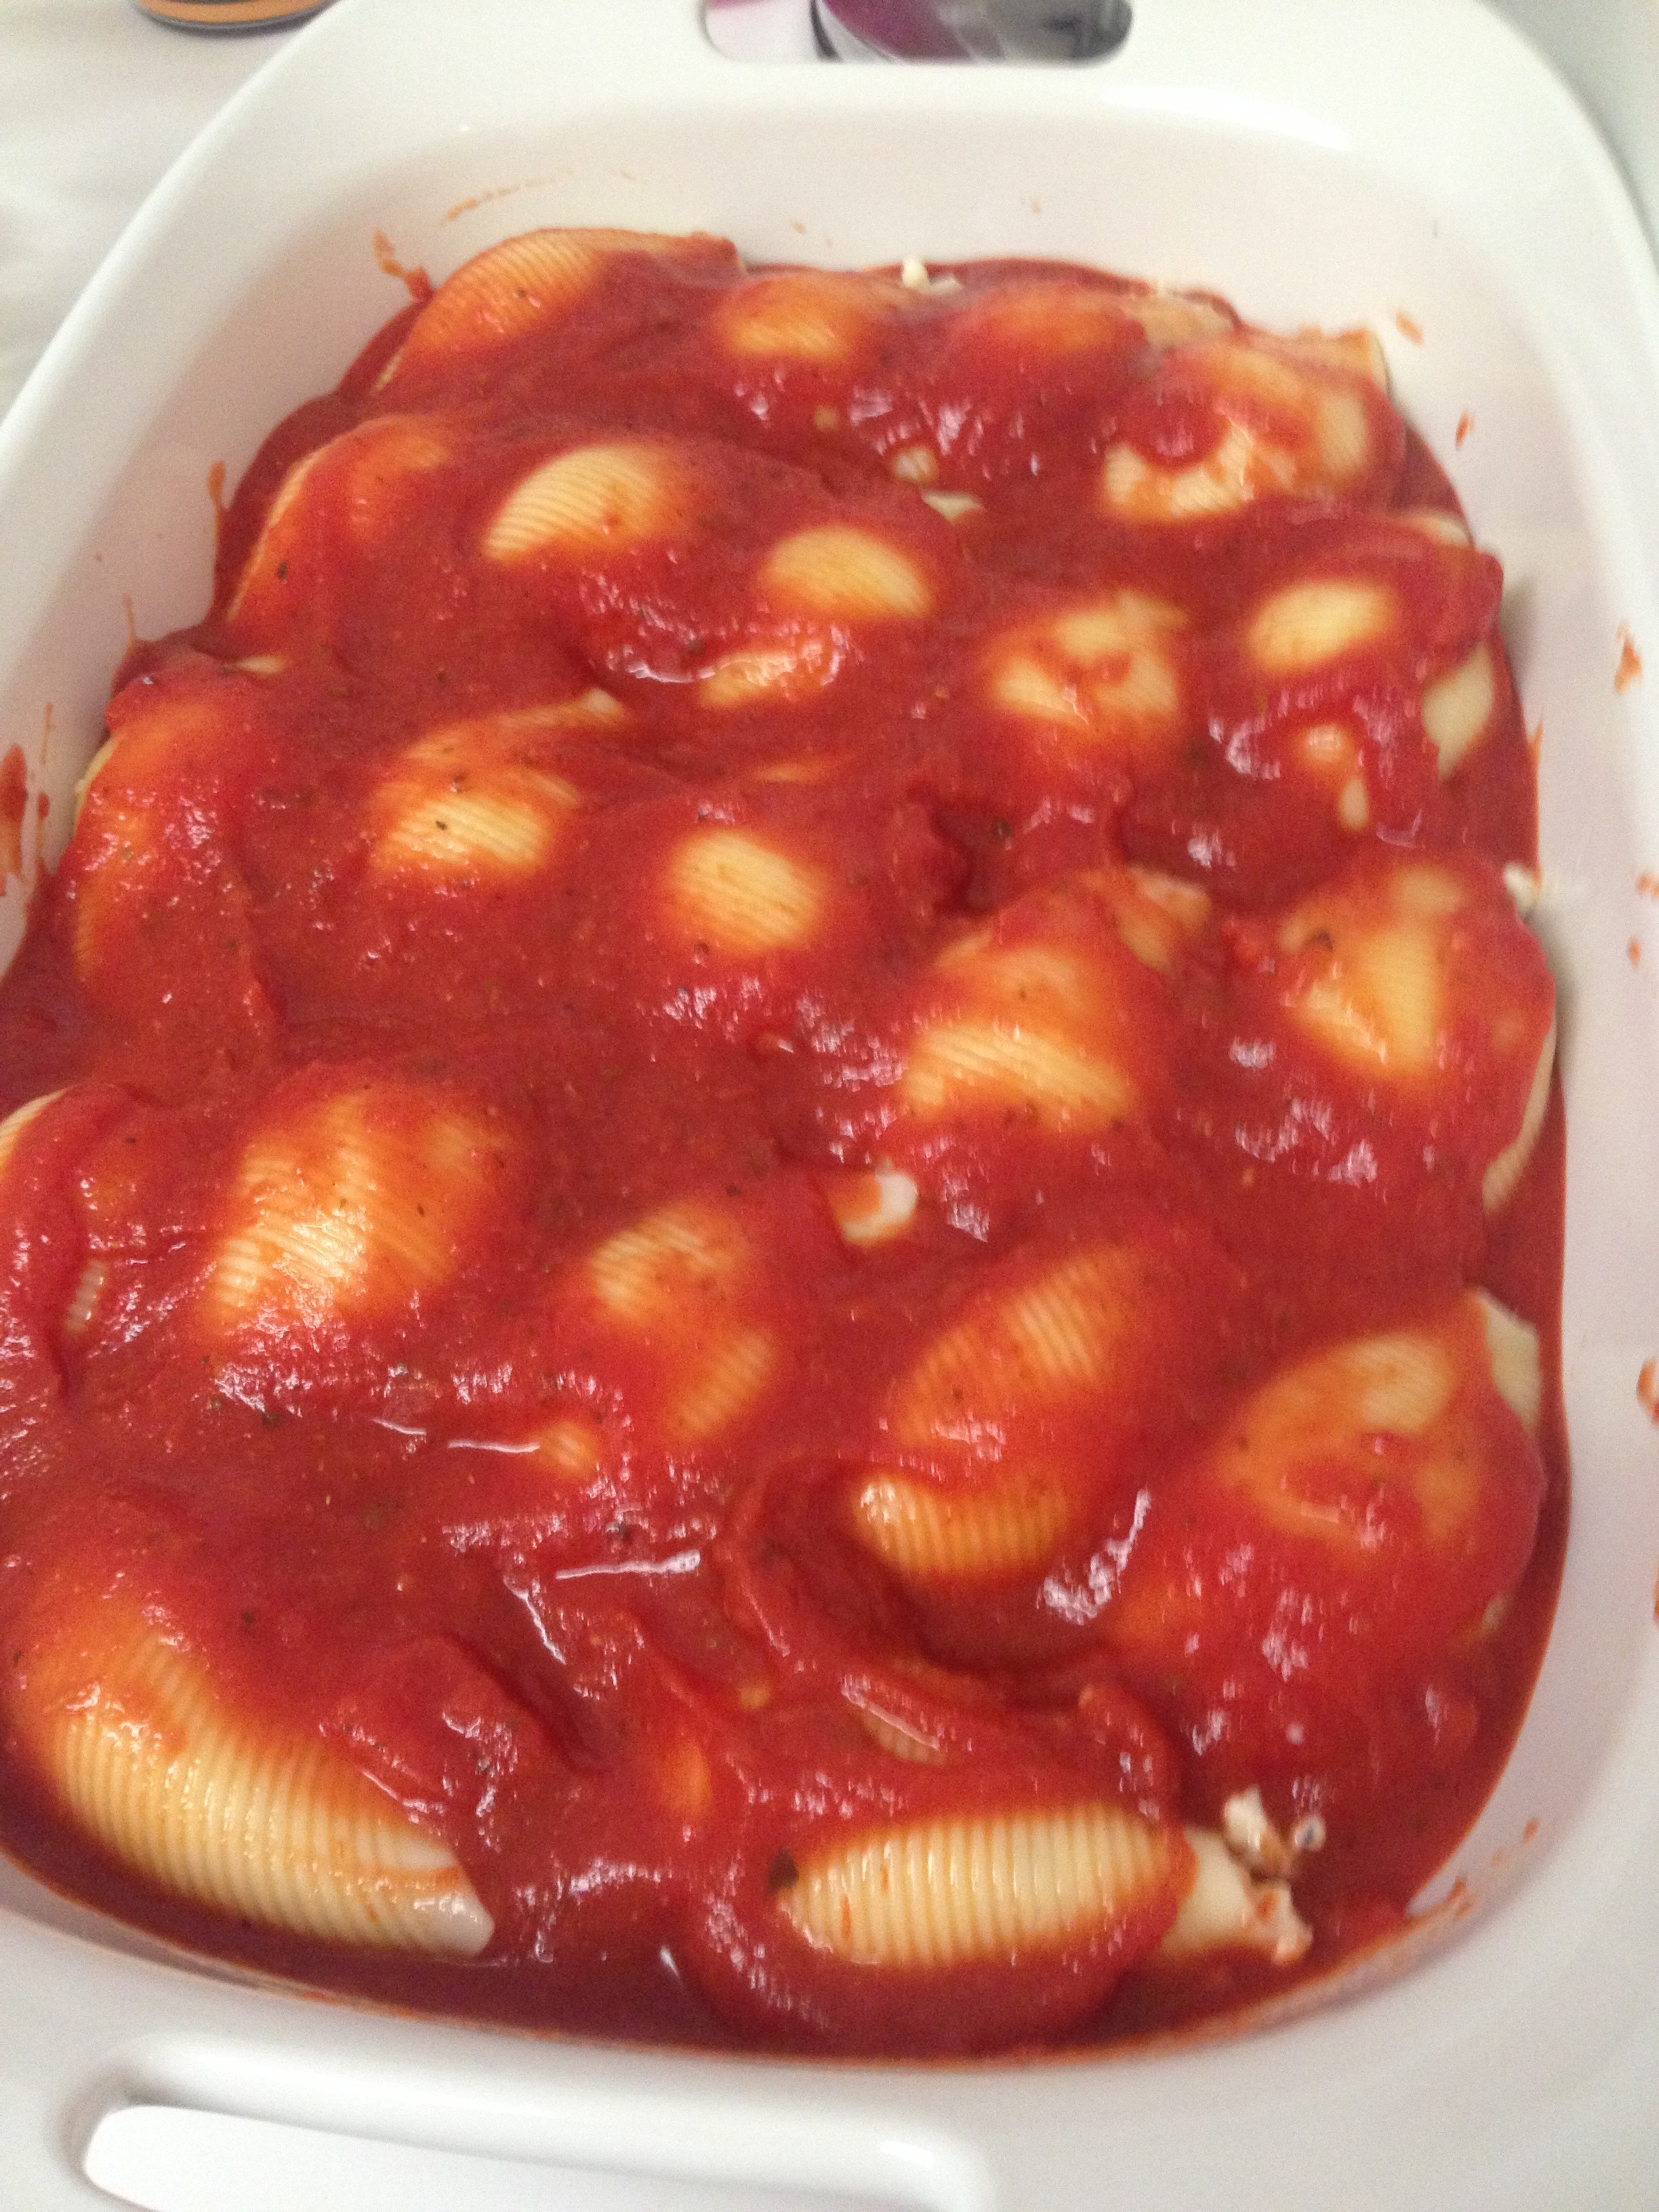
Cover the dish with foil and bake it for 30 minutes. Then, take the dish out of the oven, remove the foil, and sprinkle Parmesan cheese over the top. Return the uncovered dish to the oven and bake it for another 15 minutes. When it’s done, it should look like this:
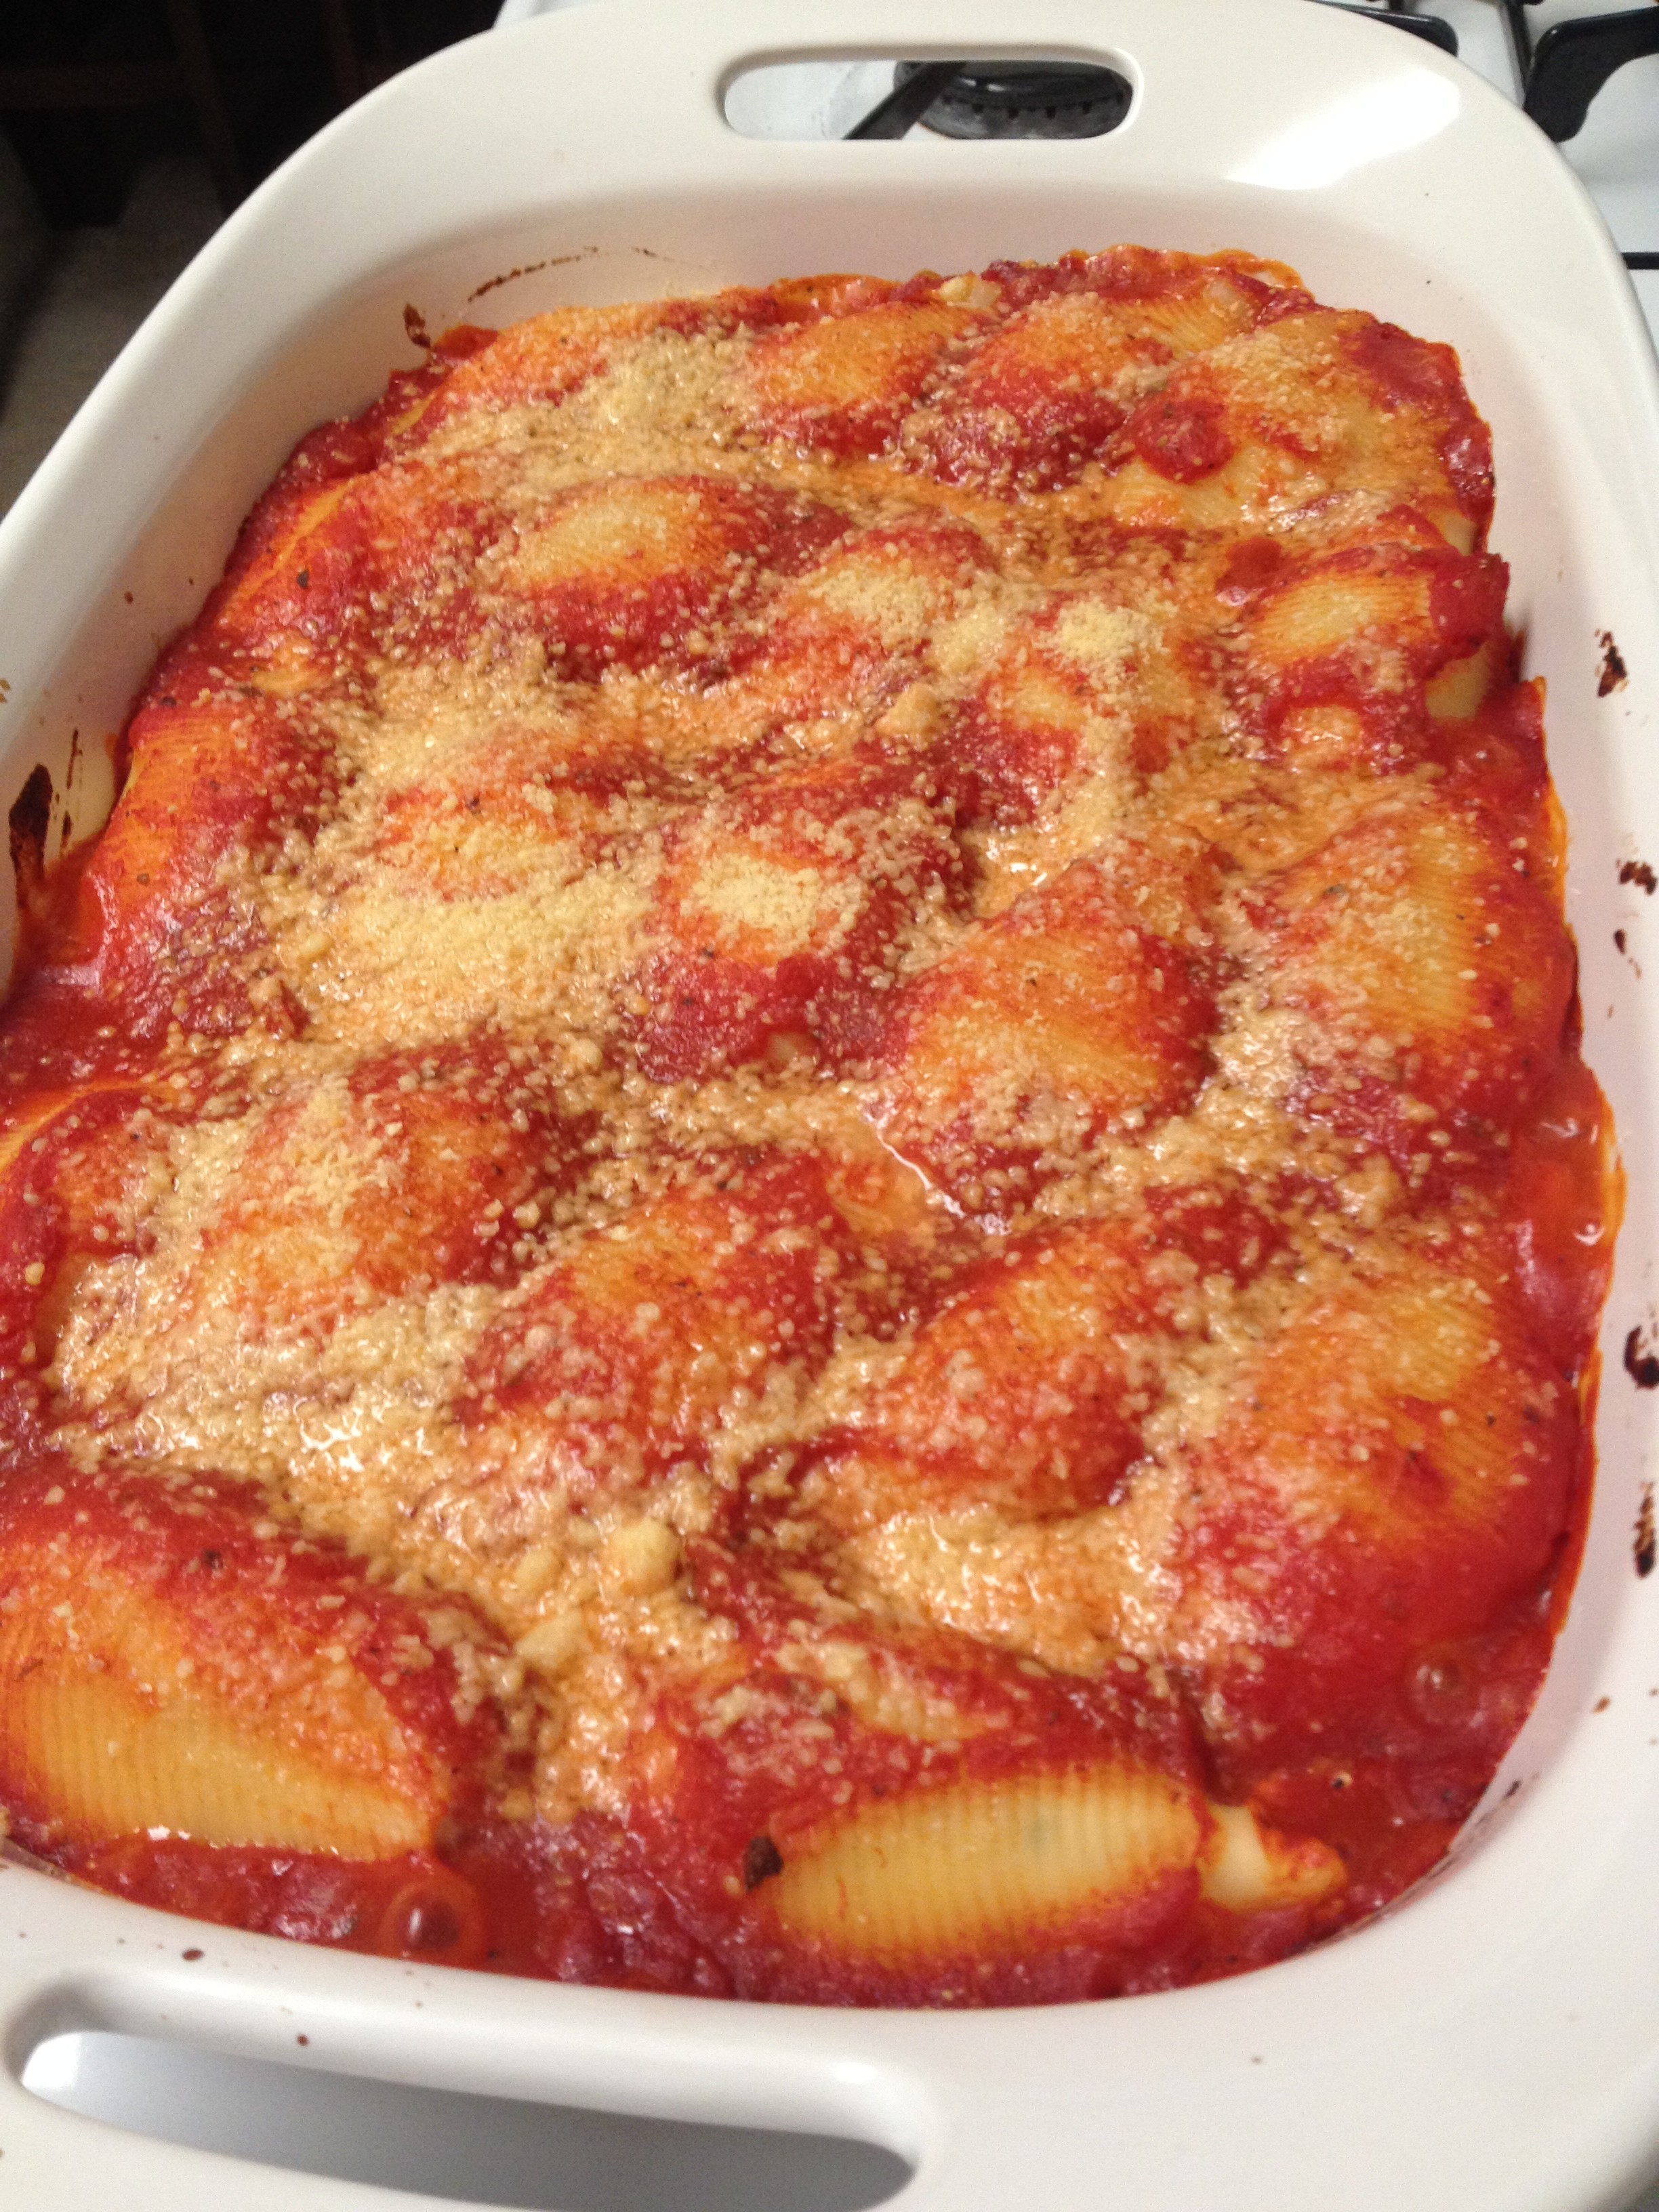
Now, go ahead and dig in! These shells are so good, and your family and friends will love them. When my family came over, there were absolutely no leftovers. It was great! I hope you give these a try and enjoy them as much as my family does! Have a great rest of your week!
Springtime at Last!
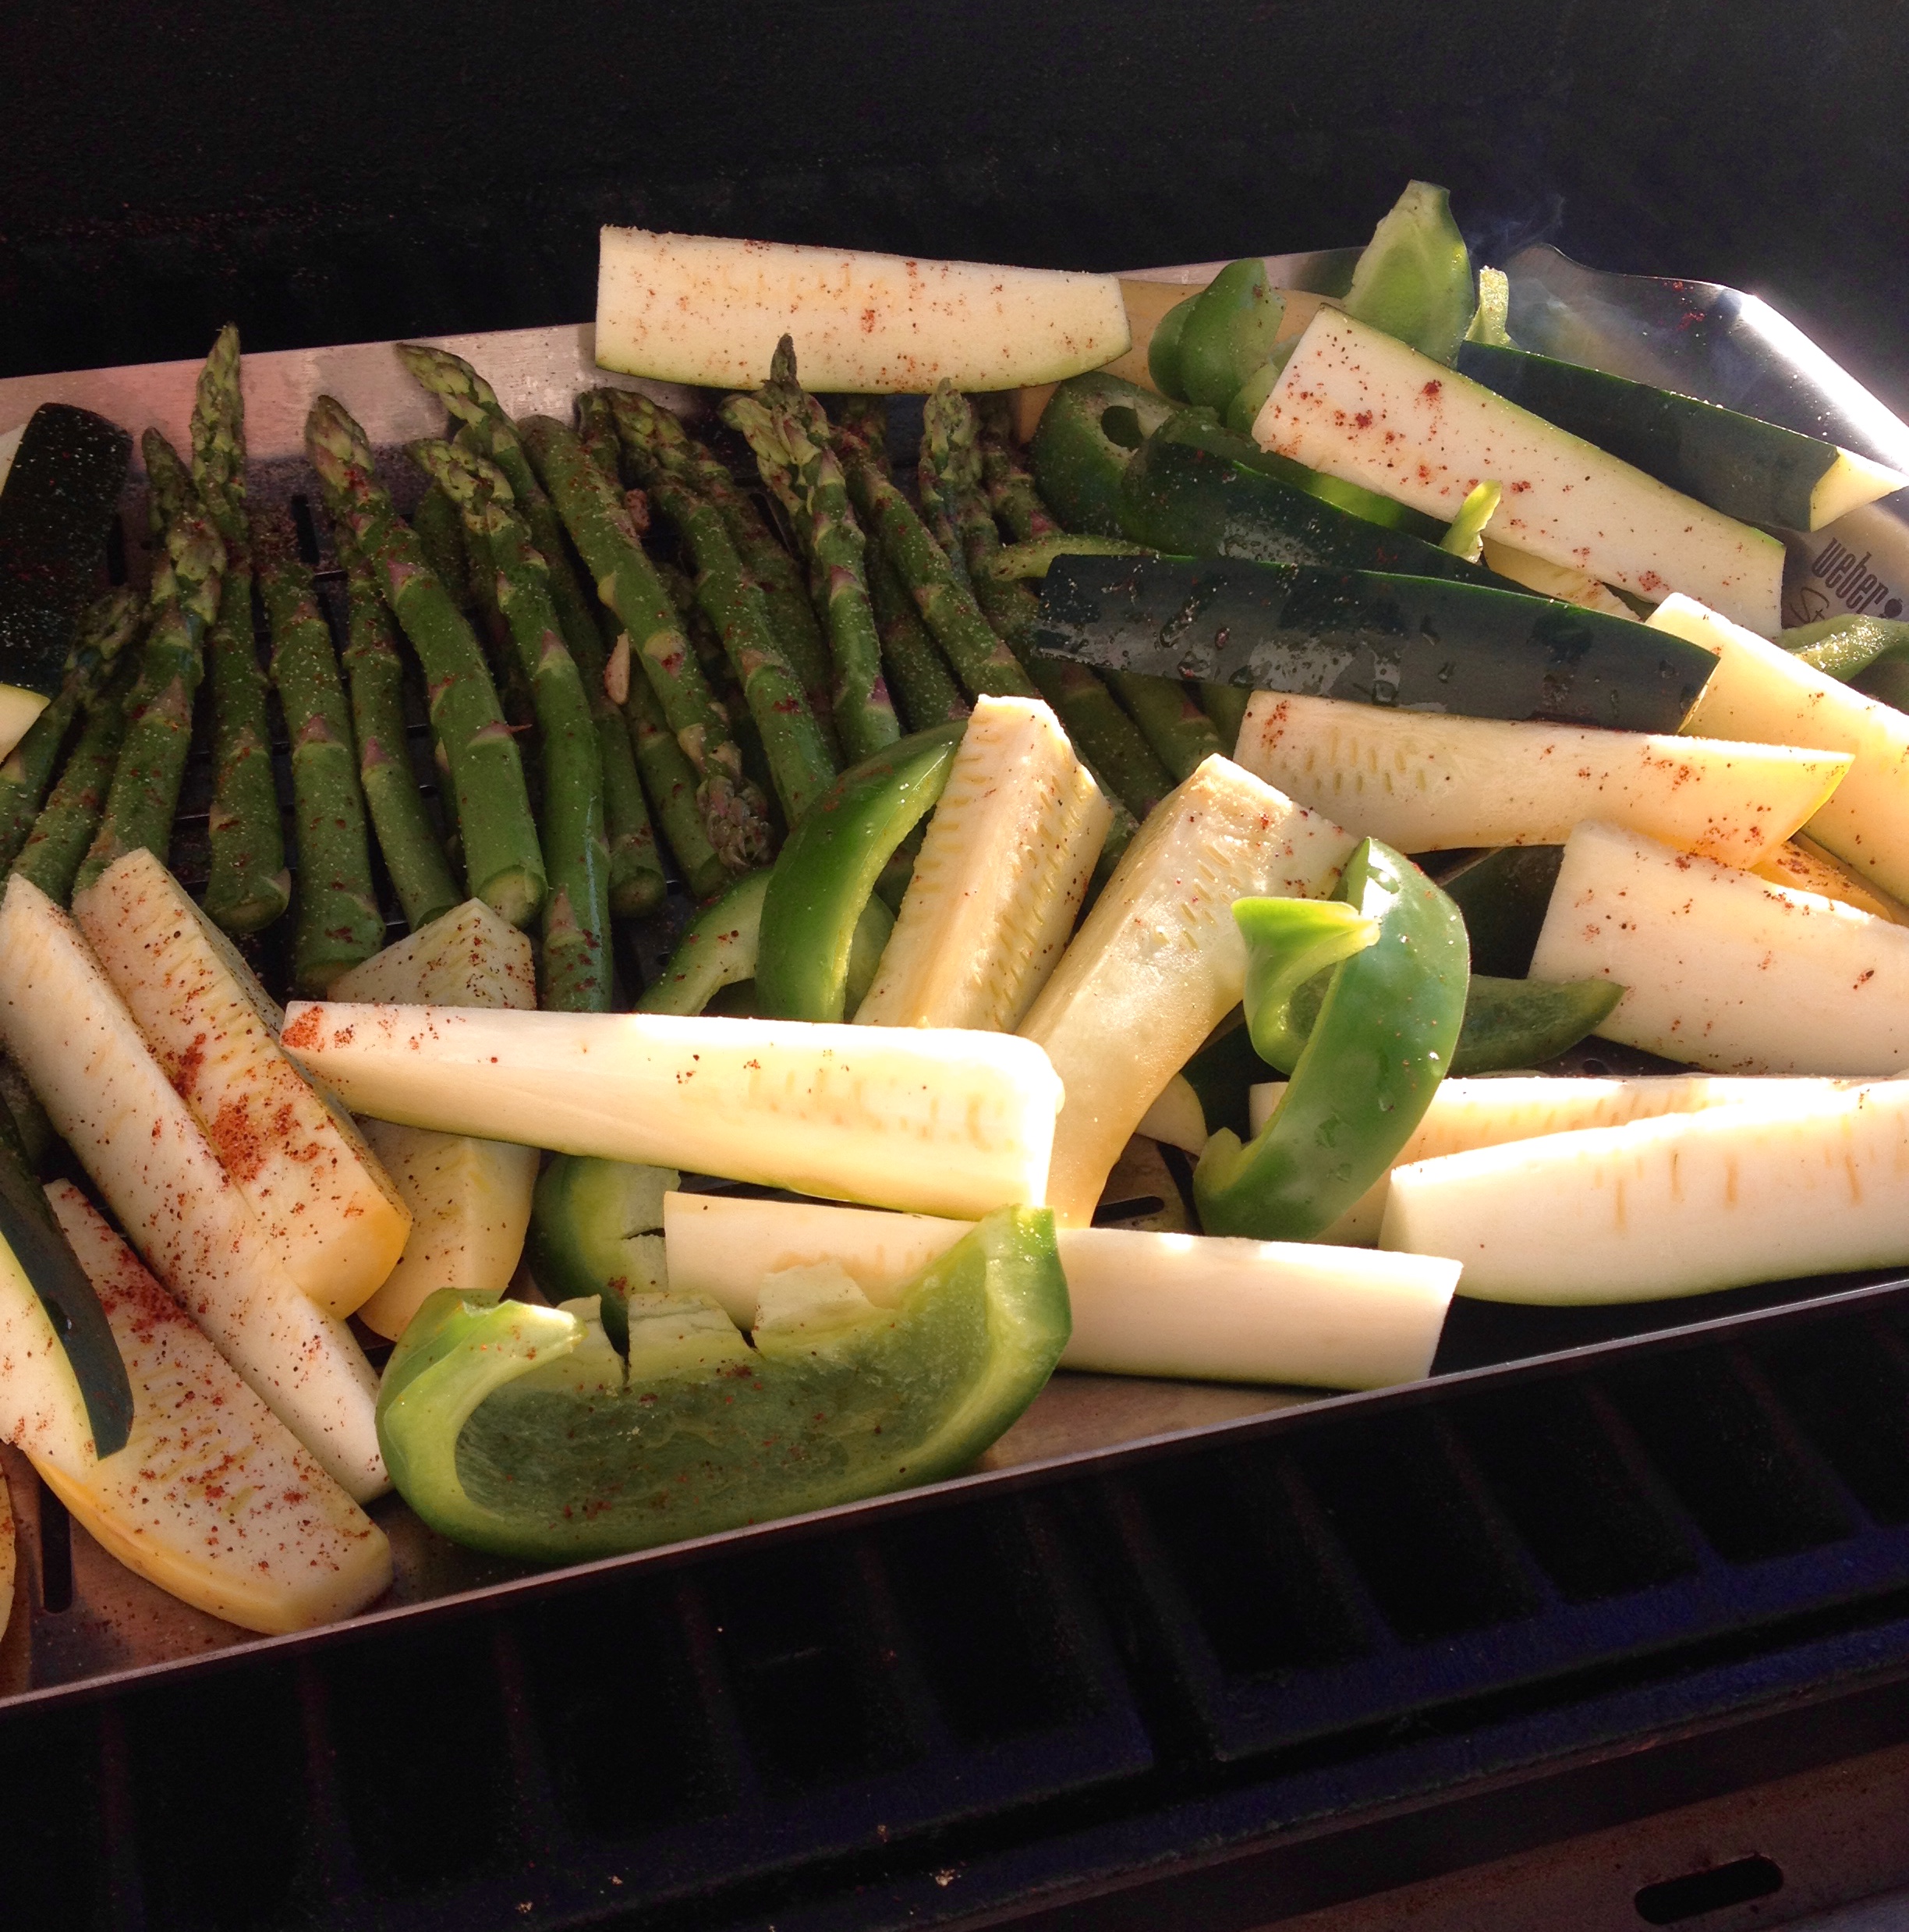
Hi everyone! I don’t want to jinx it, but it seems like Spring might finally be upon us! The warm weather rekindled our itch to get outside and grill, and so that’s what this post is all about! My dad got a new grill with a rotisserie for his birthday, so we had rotisserie chicken, and spice-grilled vegetables that were my responsibility. Here are the spices and other ingredients you’ll need for the veggies:
- Garlic powder
- Chili powder
- Ground mustard
- Fresh lemon juice
- Salt
- Black pepper
The veggies I used were zucchini, summer squash, asparagus, and green peppers. I cut the zucchini and squash into spears, the green pepper into wedges, and just cut the woody ends off of the asparagus. Arrange them on a baking sheet or a grilling pan.

Squeeze lemons over the vegetables until they’re thoroughly coated to your liking.

Now, sprinkle the spices over the vegetables in whatever quantities you choose! I used a few tablespoons of chili powder and garlic powder, and a very small amount (maybe a teaspoon) of the ground mustard. Then, sprinkle salt and pepper generously over all the vegetables.
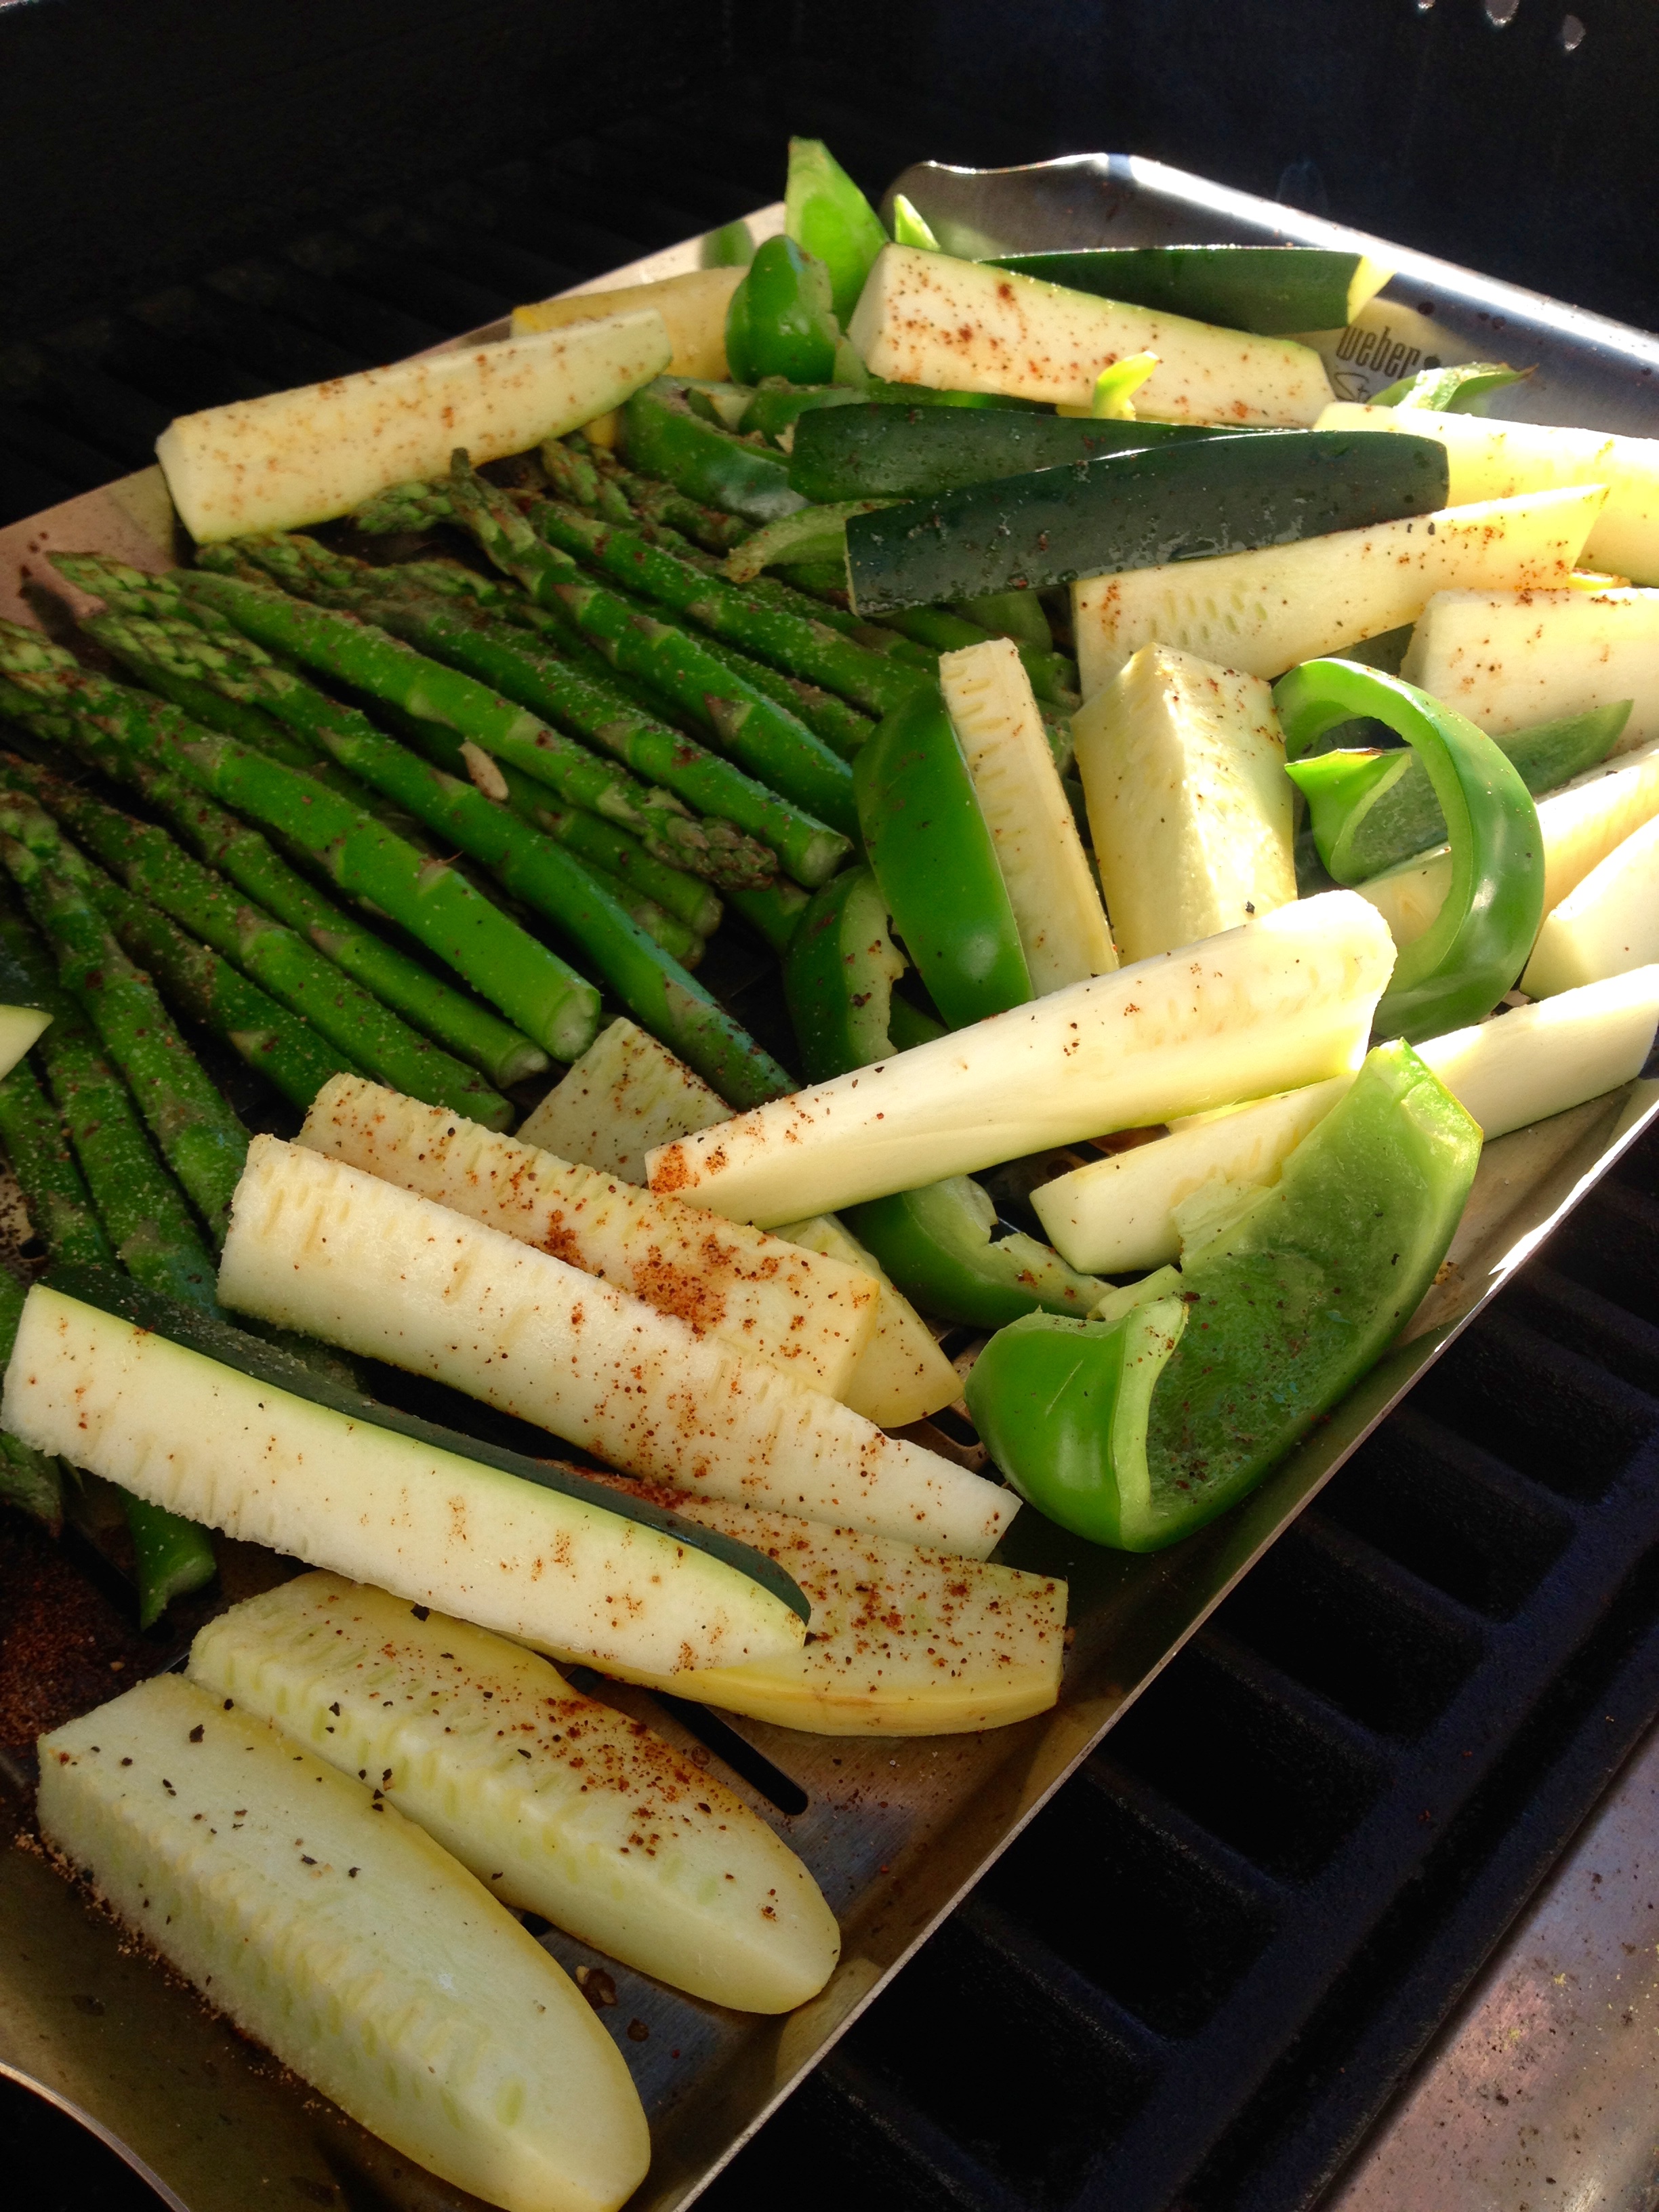
Put the pan in the grill at 350ºF, for about 10 minutes. You can turn the vegetables on the pan to get them browned all over, or you can just leave them. We tossed them at the very end, because we just wanted to get them softened and a bit browned.

And now, just to show you how well the rotisserie worked, here’s a picture of the yummy chicken!
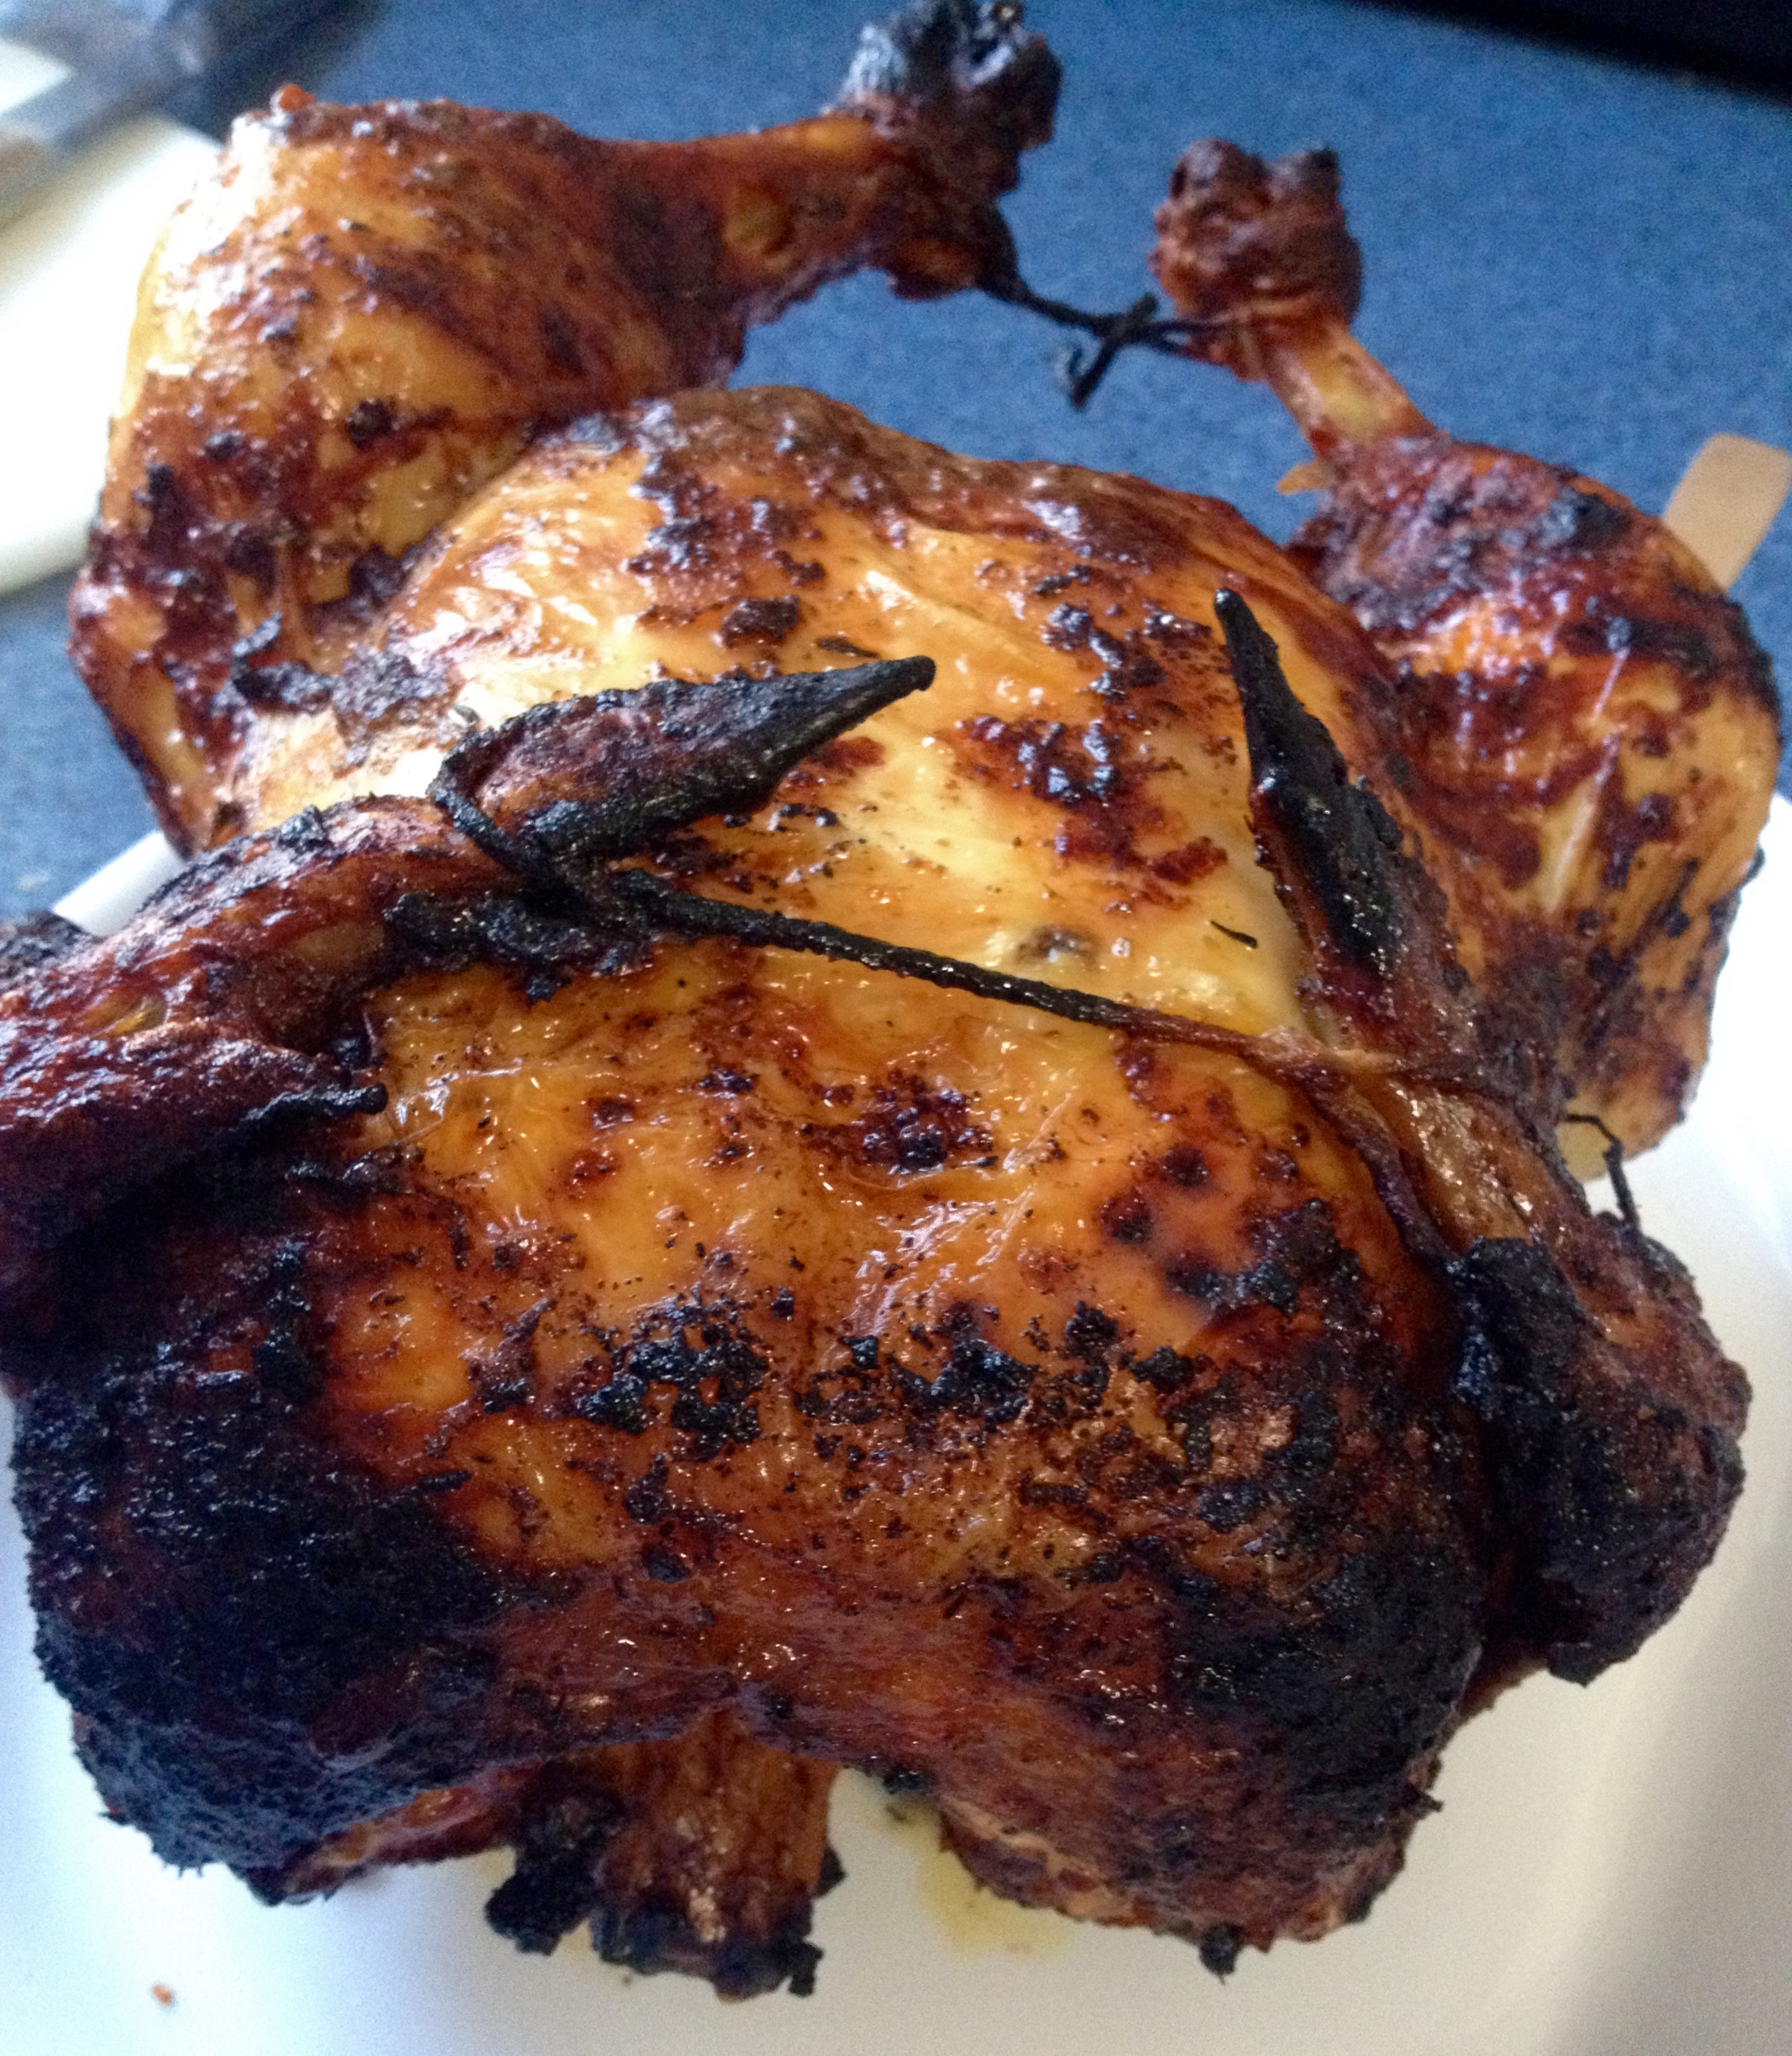
Perfect, right? This was such a great spring meal- we ate like kings and the food was so light and fresh! This may be a simple recipe, but those vegetables were so delicious, and the spices brought out the natural flavor of the veggies. Seriously, you should try it! Happy grilling!
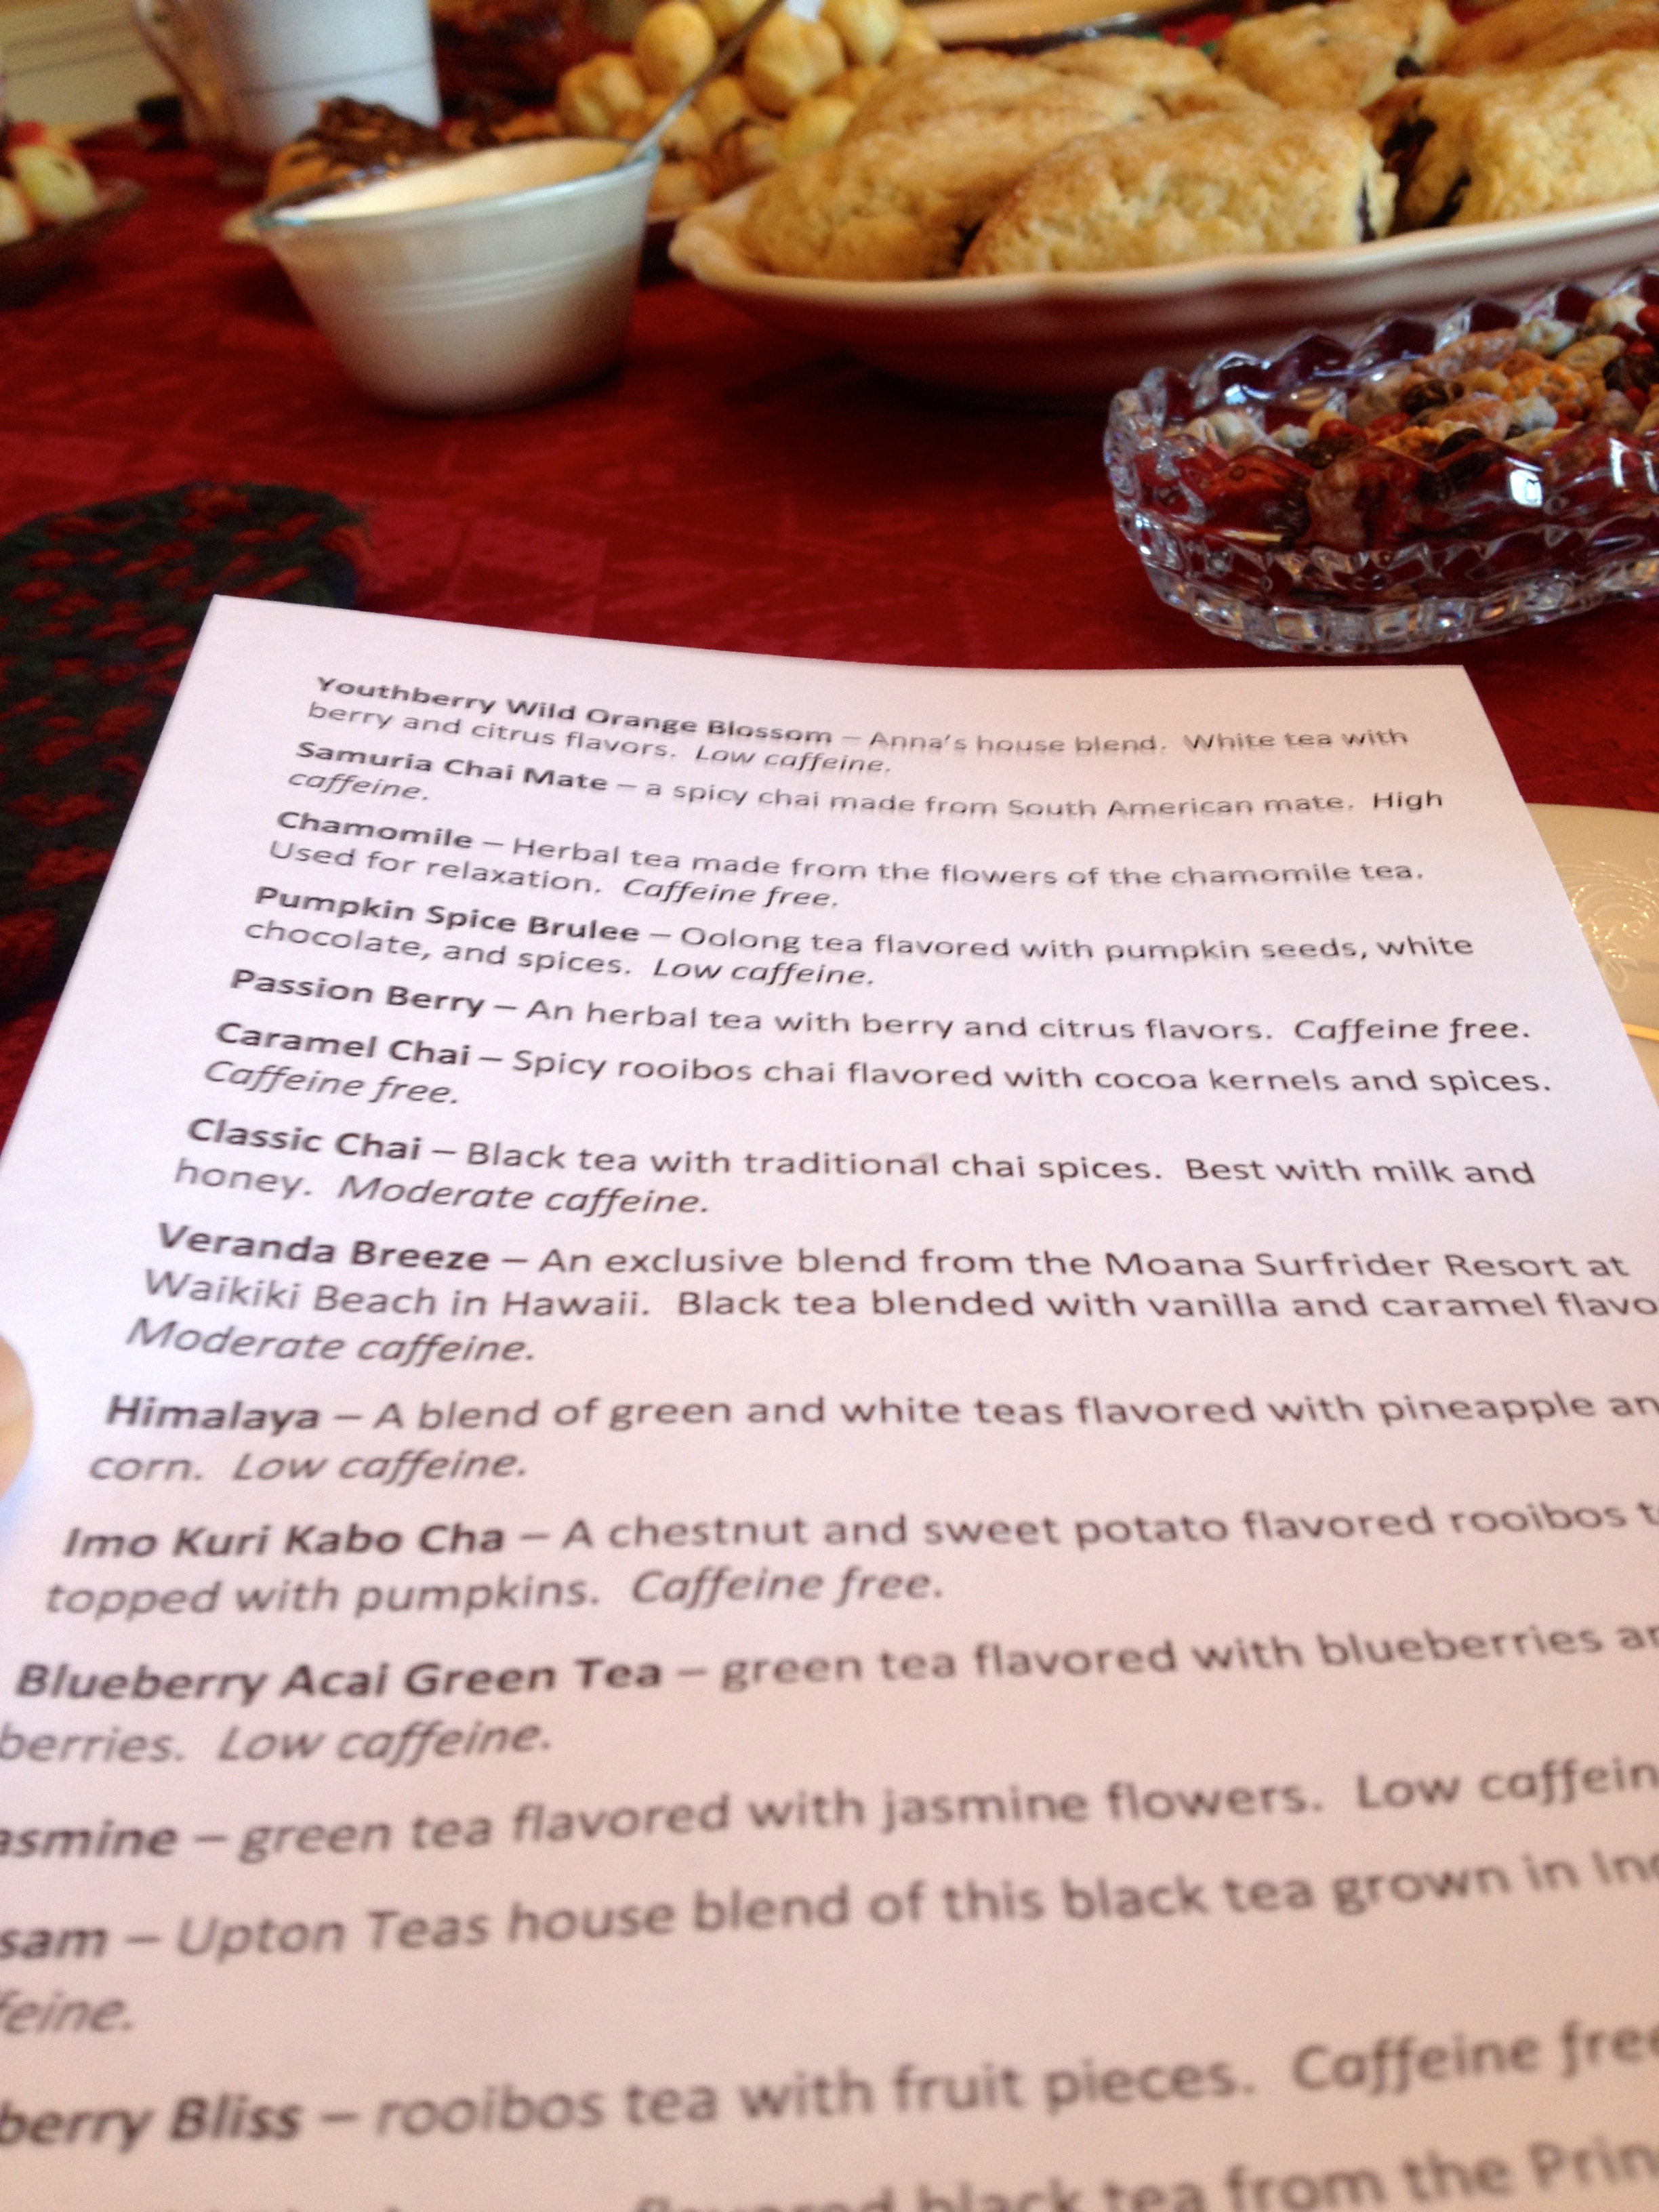
Hosting Tea!
Hi all! Well, the holidays are officially over- time to start creating special occasions and making reasons to have friends over! For my most recent get-together, it was our annual tea party. Usually, our group goes out to a tea house and the daughters treat their mothers to tea. This time, though, we decided to stay in and make the whole thing ourselves! We had a delicious strata, blueberry scones, cream puffs and éclairs, chocolate covered strawberries, chicken salad sandwiches, and different types of cheese. And of course, the teas! We each had our own teapot thanks to the contributions of teapots by all the ladies, so we could all pick our own tea to try. We even used antique teacups!

The recipe that I wanted to give you all is the recipe for the chicken salad sandwiches. It is such a simple recipe, but it was absolutely delicious! It’s elegant and traditional, but not so fancy that little kids wouldn’t love it as well! Here are the ingredients:
- 1 can chopped chicken or one boiled chicken breast (The canned chicken was scary to me at first, but it’s a great shortcut and is actually really nice and moist!)
- 1/4 cup mayonnaise, light or regular
- Dried sweetened cranberries to taste (I used about 1/8 cup)
- Scallions to taste (I used about 1/8 cup)
- Wheat bread
Drain the water from the chopped chicken, and put it in a mixing bowl. Using two forks, shred the chicken further so that you have very small pieces of chicken. Hint: This will prevent your guests from taking a bite of the sandwich and having a huge chunk of chicken fall out onto their plate. Now add the rest of the ingredients and mix thoroughly. If you want to make tea sandwiches, cut the crusts off 16 pieces of the wheat bread. If you’re just making sandwiches for the family, it’s up to you about the crusts!
Spoon the chicken salad onto the bread to make about eight sandwiches. You might have some chicken salad left over, so either make more sandwiches or eat it from the bowl- it’s great either way! Cut each sandwich into two triangles and arrange them on a plate, and you’re ready to serve!

I hope you all enjoy this recipe, and remember- you don’t have to be in the holiday season to spend time with friends and family! You can make the time and make the plans, and feel the joy of the holidays year round. Maybe take these sandwiches on a picnic! Whatever you choose, enjoy!
Parmesan Roasted Asparagus
Hello everyone! I hope you all had a wonderful Christmas! I certainly did- the whole day was filled with family, friends, and lots of food. We had a delicious rib roast, broccoli, baked potatoes, and some fantastic asparagus! The asparagus was inspired by a book called The Flavor Bible that my brother gave me for Christmas, and it was so good that I decided you all should get the recipe too. Here are the ingredients:
Ingredients:
- 1 lb. green asparagus
- 1/4 cup extra virgin olive oil
- 1/4 tsp salt
- 1/4 tsp black pepper
- 1/2 tsp lemon juice
- 1/4 cup grated Parmesan cheese
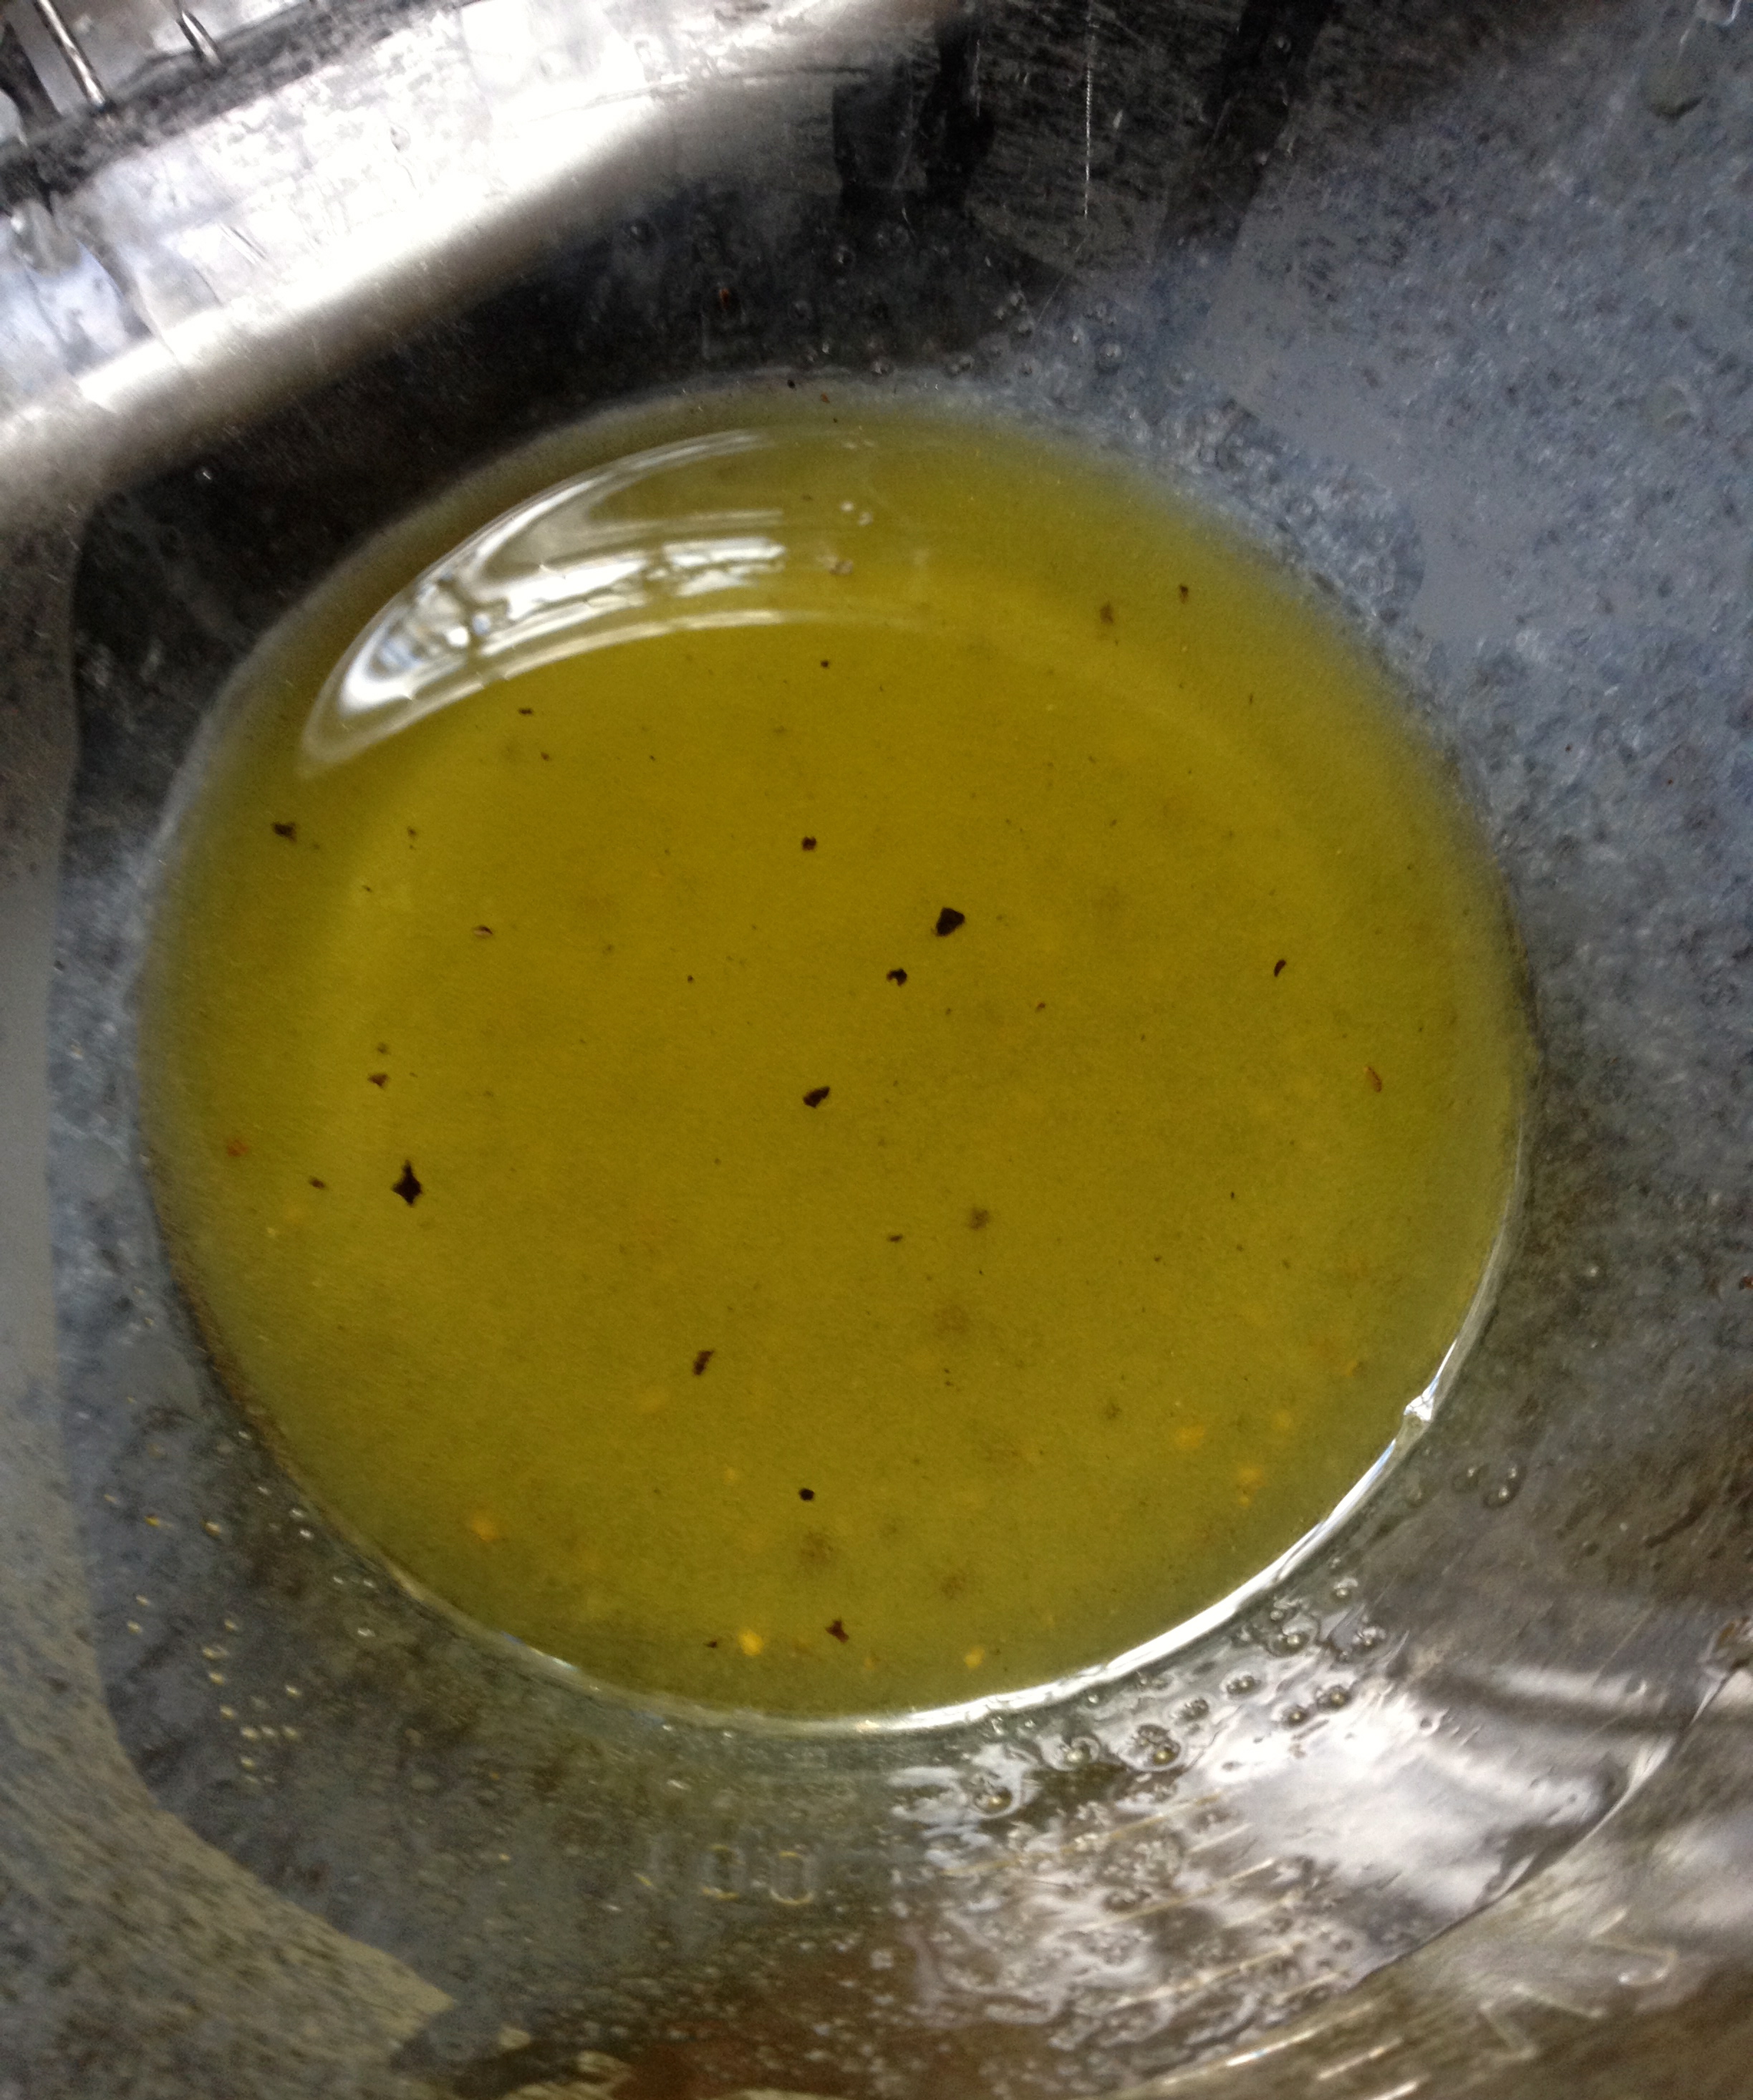
First, preheat the oven to 400ºF. Set a wire rack in a baking sheet that the asparagus can sit on and roast. Then, wash the asparagus and trim the bottoms of the asparagus so that you only get the tender, green part instead of the woody ends. Set the asparagus aside. Now, combine the olive oil, salt, pepper, and lemon juice in a shallow plate or bowl.
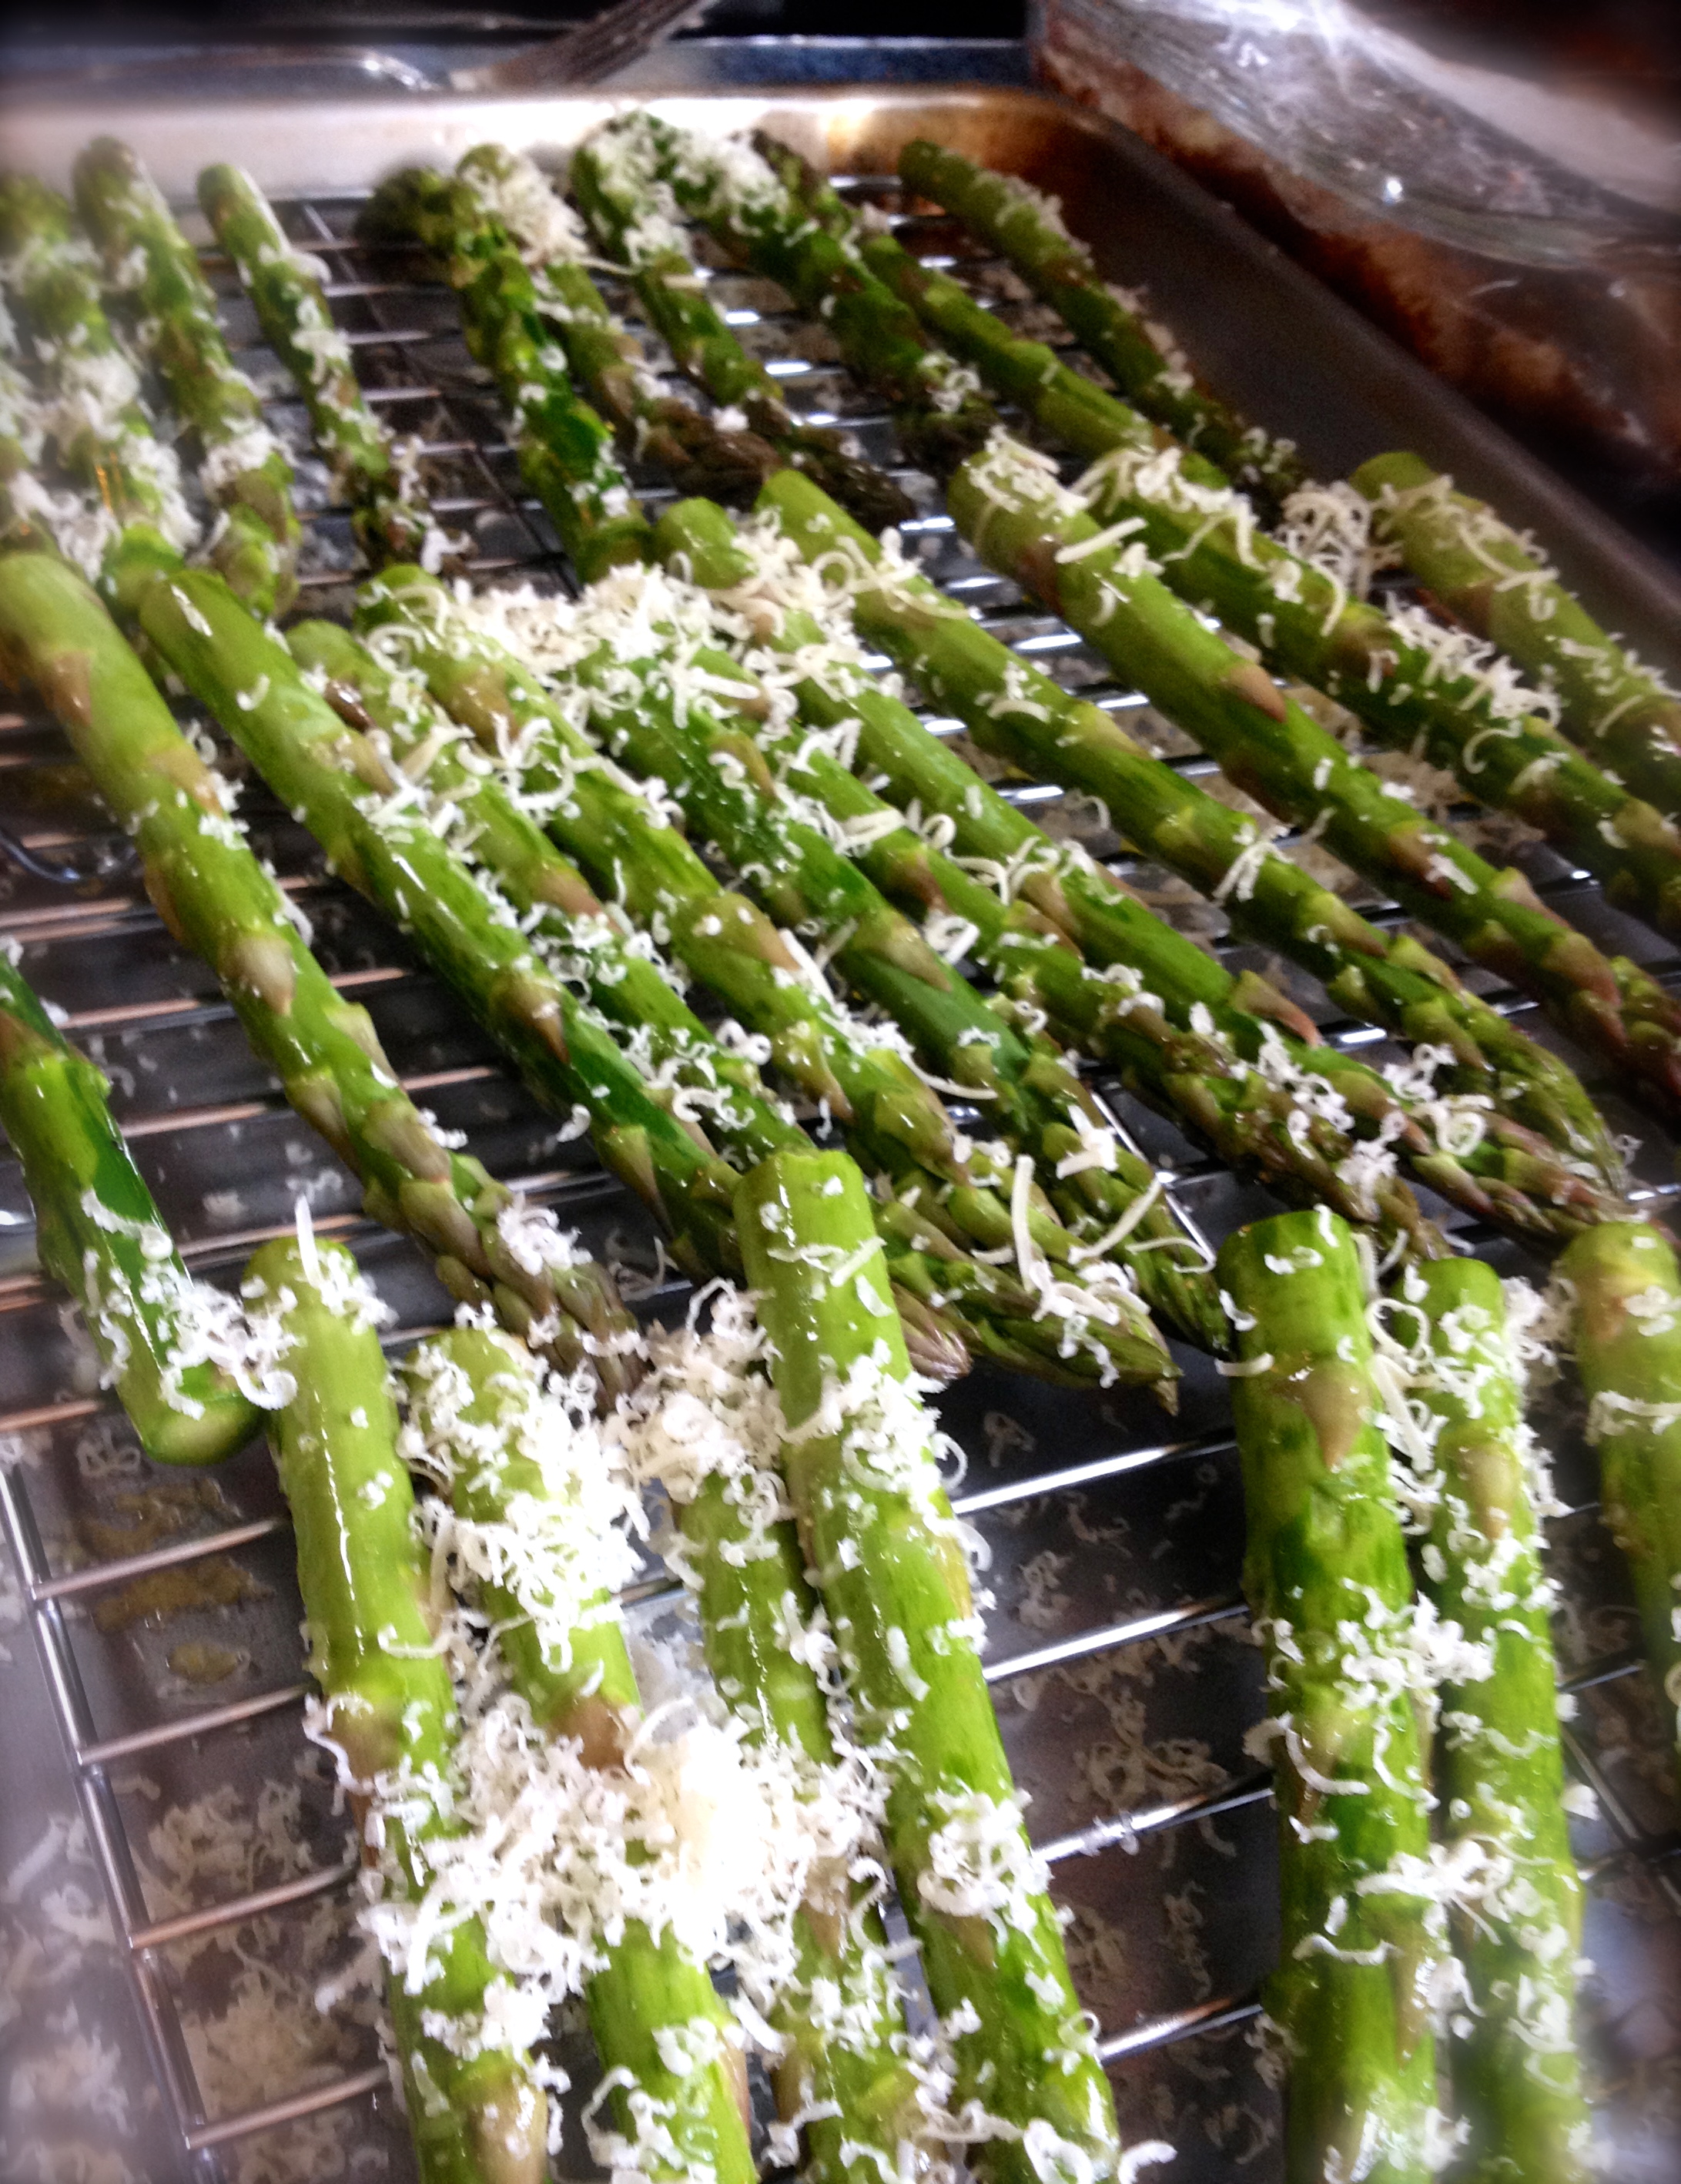
Toss the asparagus in the olive oil marinade and shake the excess marinade off. Arrange the asparagus on the baking sheet rack. Sprinkle the grated Parmesan over the top.
Put them in the oven, and roast them for about 15 minutes. When they come out, the cheese should be melted and golden and bubbly, and the asparagus will be incredibly tender!
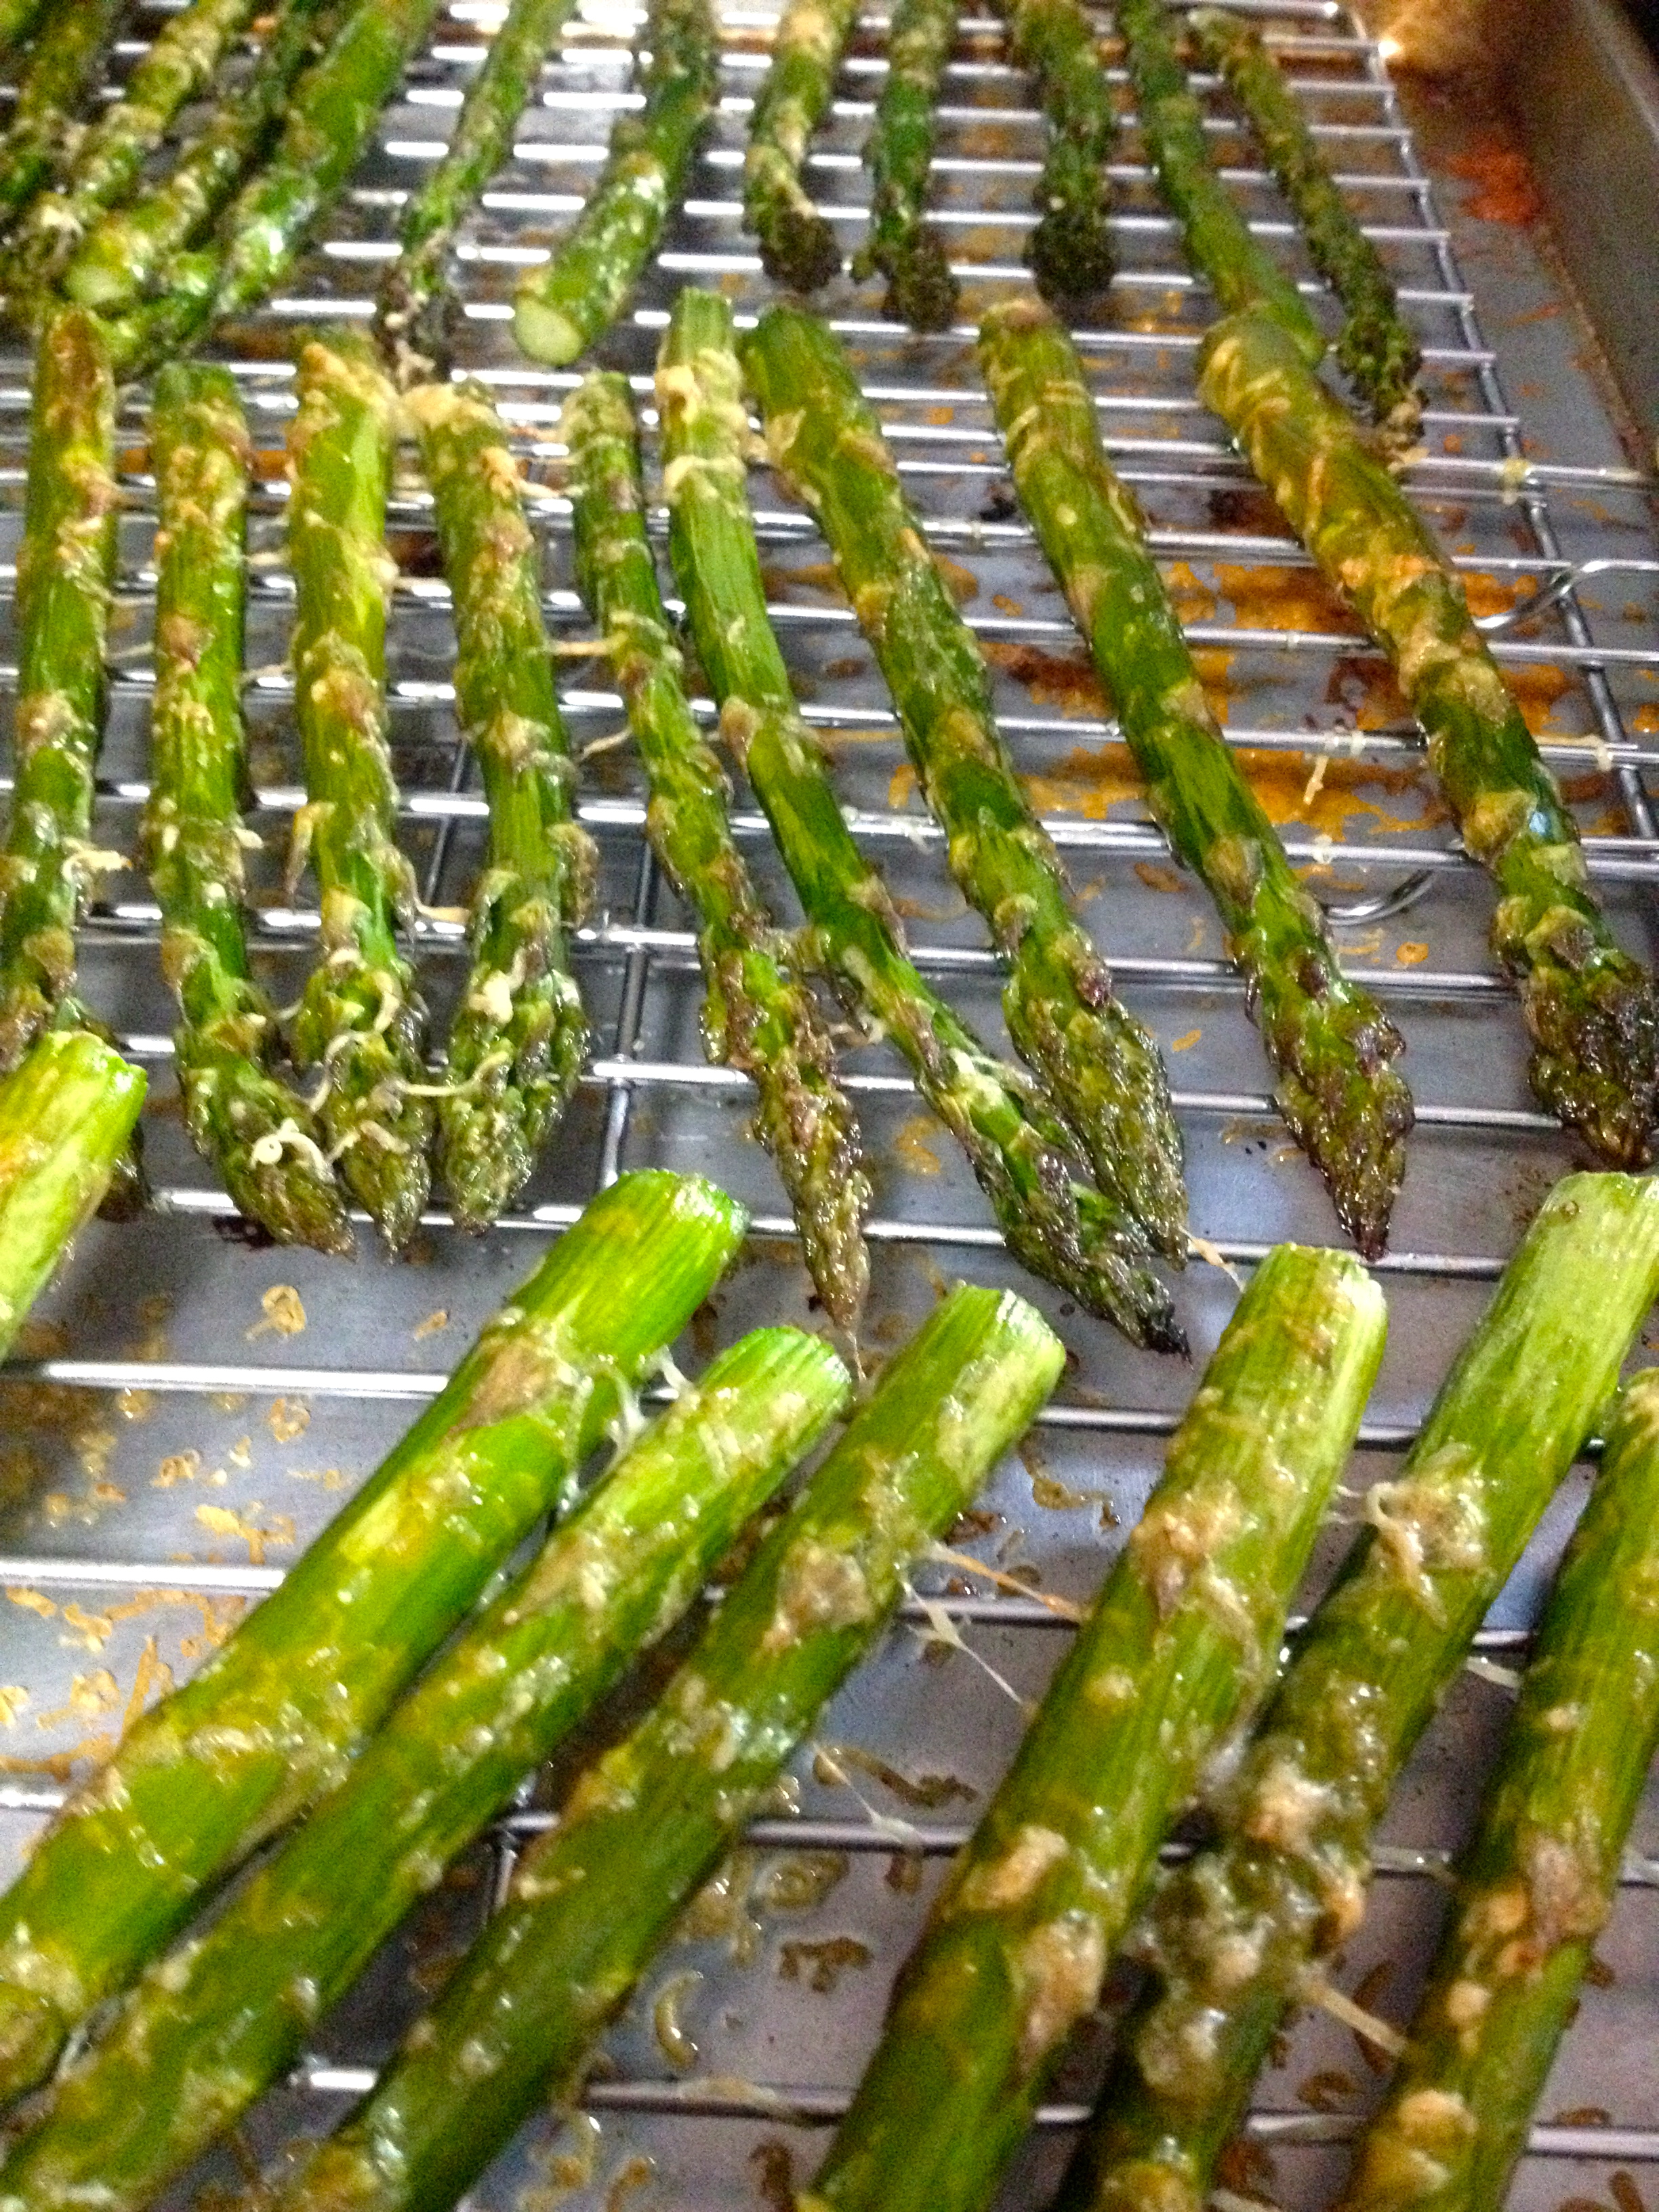
Now you can either eat them from the rack, or plate them for a family dinner!
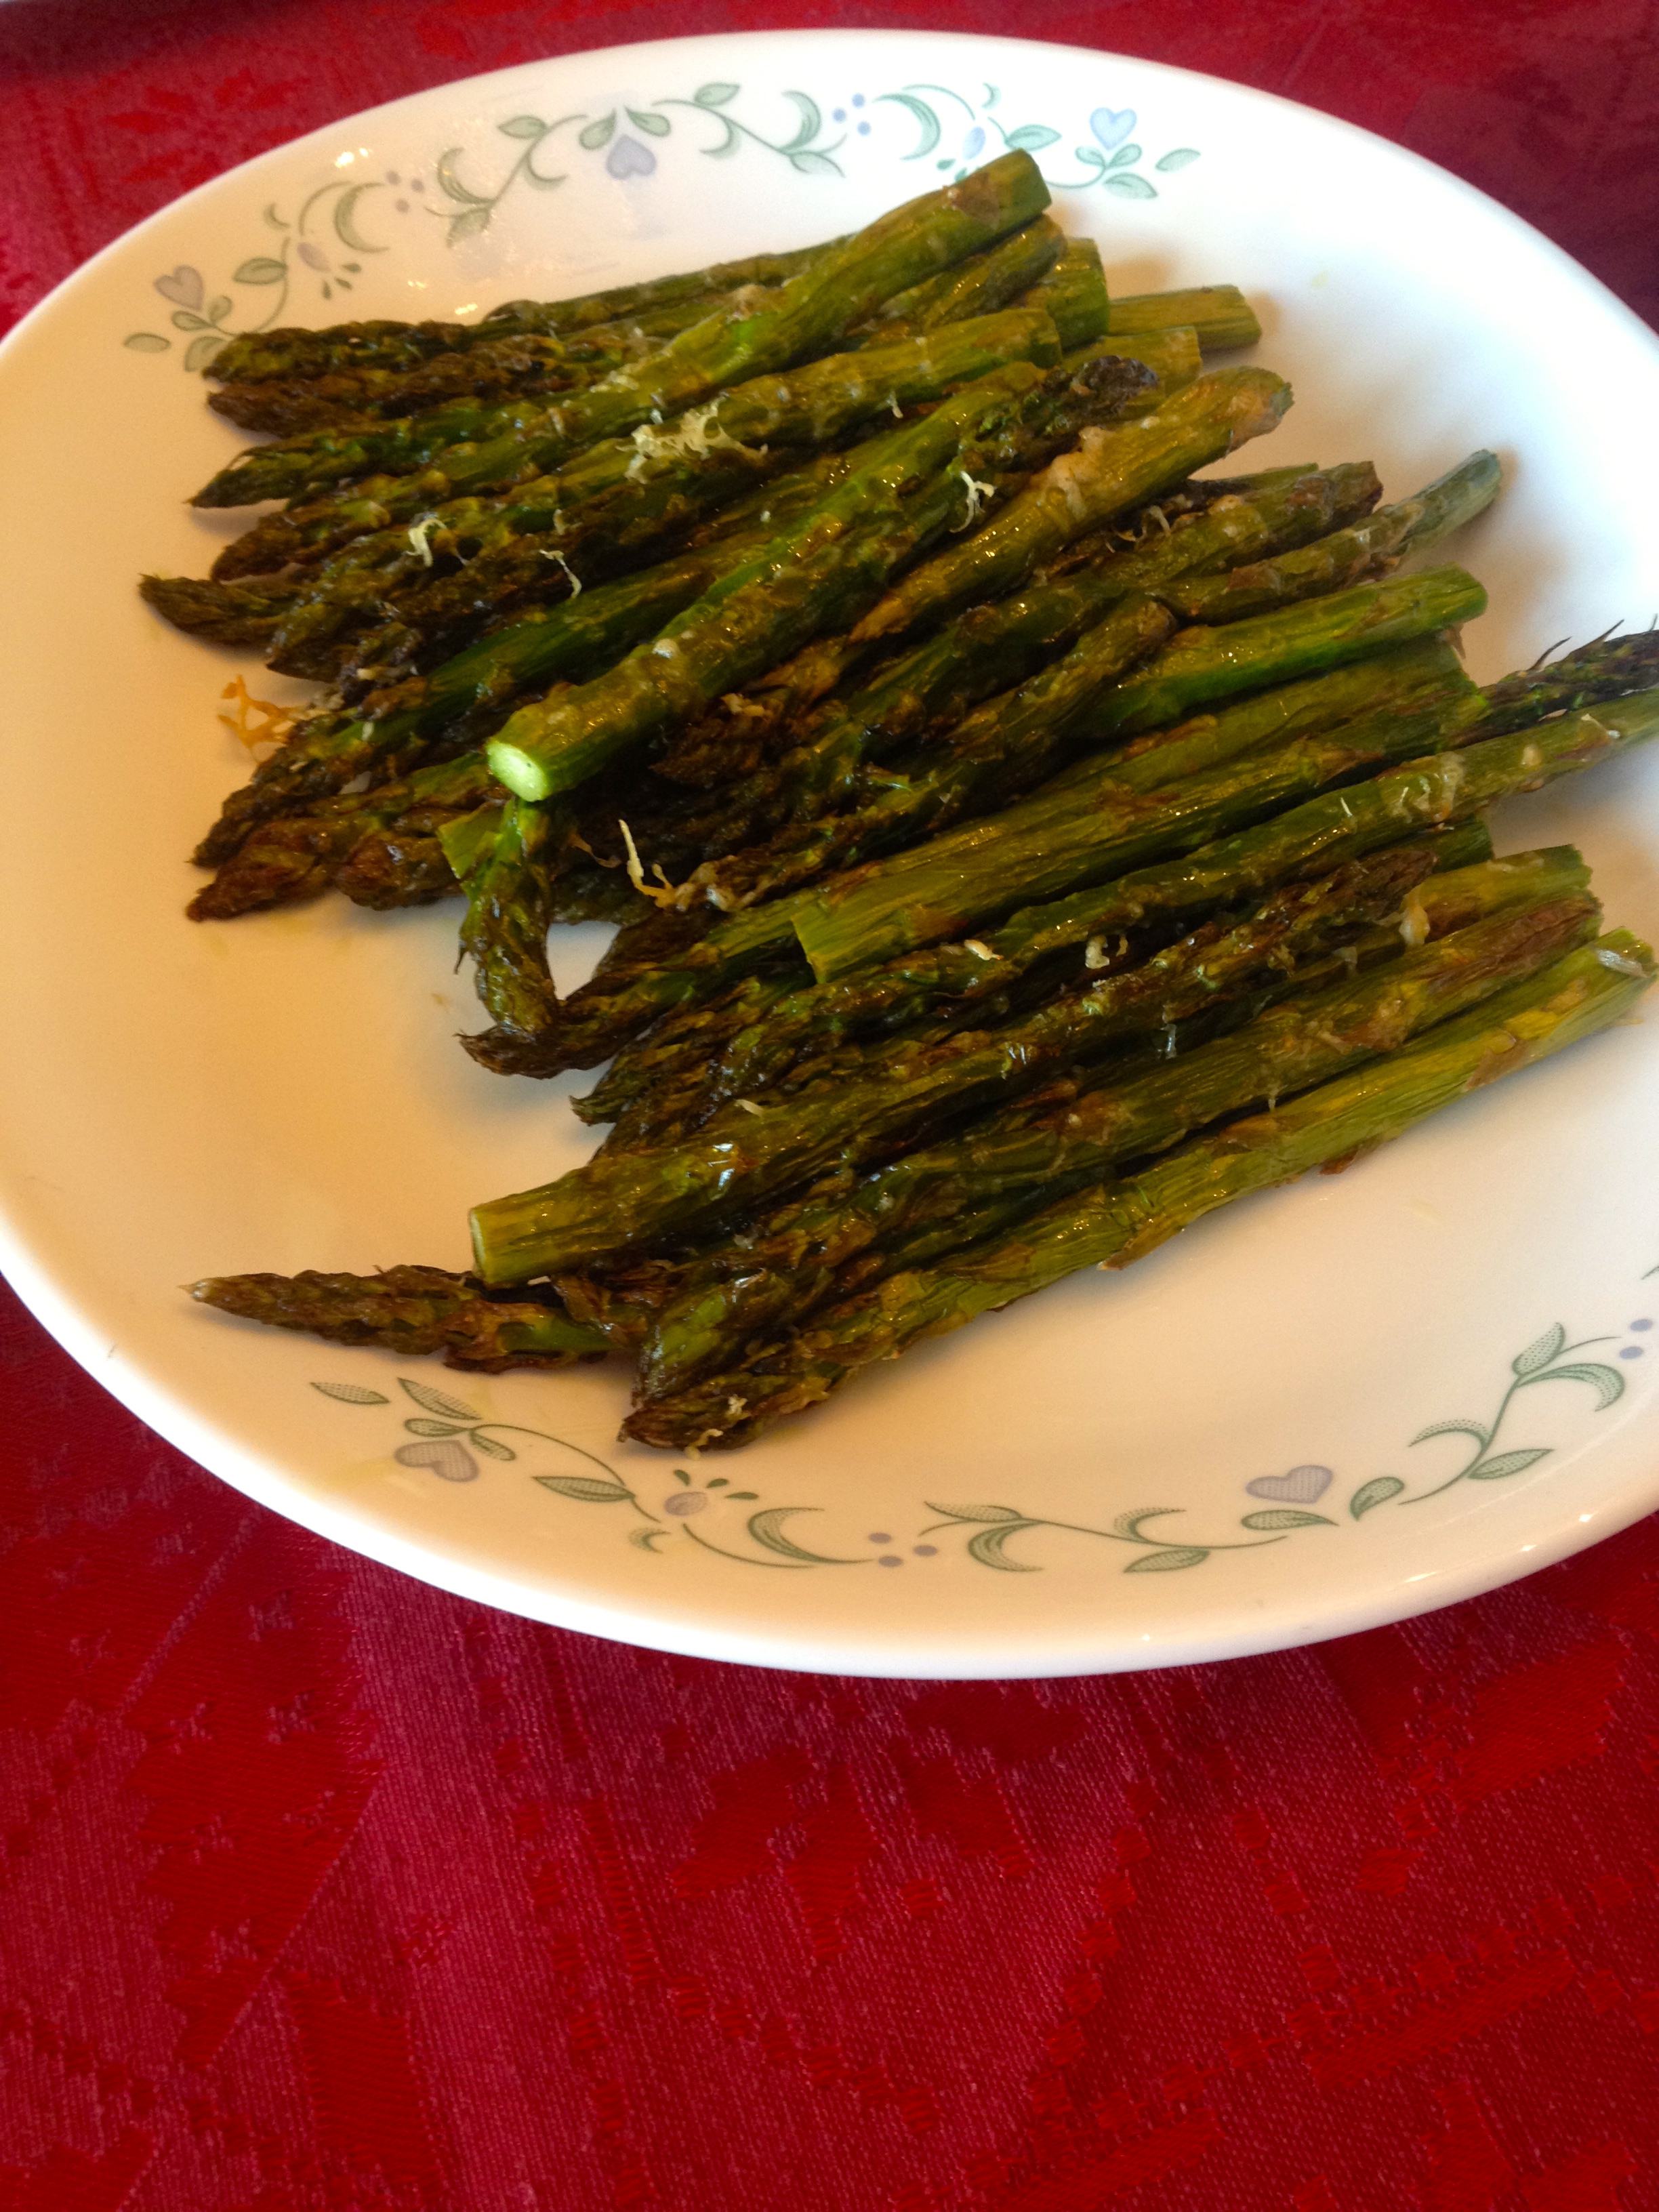
These asparagus were so good! They were the first menu item gone, and we were wishing we had some more. I would also suggest that you take a look at The Flavor Bible- it’s just a list of foods and different flavors that work well with those foods. Super helpful but still allows you to be creative! I hope you enjoy this recipe, and that you all have a happy New Year!
Peanut Chicken- Without a Wok!
Here I am again! Honestly, after my last recipe about the Oreo ball cookies, I’m not sure I need to continue blogging. Everyone just keeps asking me to make those cookies! But man cannot live on Oreo ball cookies alone- so here’s my peanut chicken recipe! Maybe I’m alone in this, but I am lacking a wok in my kitchen, so this recipe is for those who also lack one!
Here are the ingredients:
- 1 tbsp vegetable oil or peanut oil
- 1 pound boneless, skinless chicken breast, cut into bite sized pieces
- 1 bag sugar snap peas
- 1 red bell pepper
- 1 can of sliced water chestnuts
- 1 1/2 cups chicken broth (I used chicken bouillon cubes for convenience)
- 2 tsp soy sauce
- 1 clove minced garlic
- 1/4 tsp ground cayenne pepper
- 1 inch ginger root, peeled and chopped
- 1 tbsp cornstarch
- 1 cup scallions, chopped
- Fresh cilantro to taste (I used about a cup of chopped leaves)
- 2 cups dry, roasted peanuts
- Dried wonton noodles (optional)
Two hints: For the ginger, use a knife to peel it instead of a veggie peeler. When you’re done with the ginger piece, put the rest in the freezer to preserve its freshness for longer. For shelling the peanuts, I tried Alton Brown’s salad spinner method (see my Homemade Peanut Butter recipe) and it worked really well! It definitely saves time and angst.
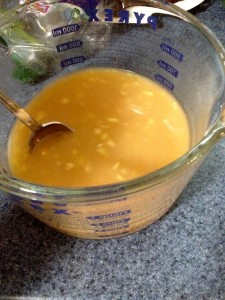
Start by cooking the chicken in a large skillet in the vegetable oil. It’s best if your skillet has high sides to prevent splashing, but if you don’t have one that’s fine! Also add the peas and the bell pepper to the chicken, and let them soften. While the chicken is cooking, mix up the broth, soy sauce, ginger, garlic, sugar, cayenne, and cornstarch. This will be the sauce for the chicken.
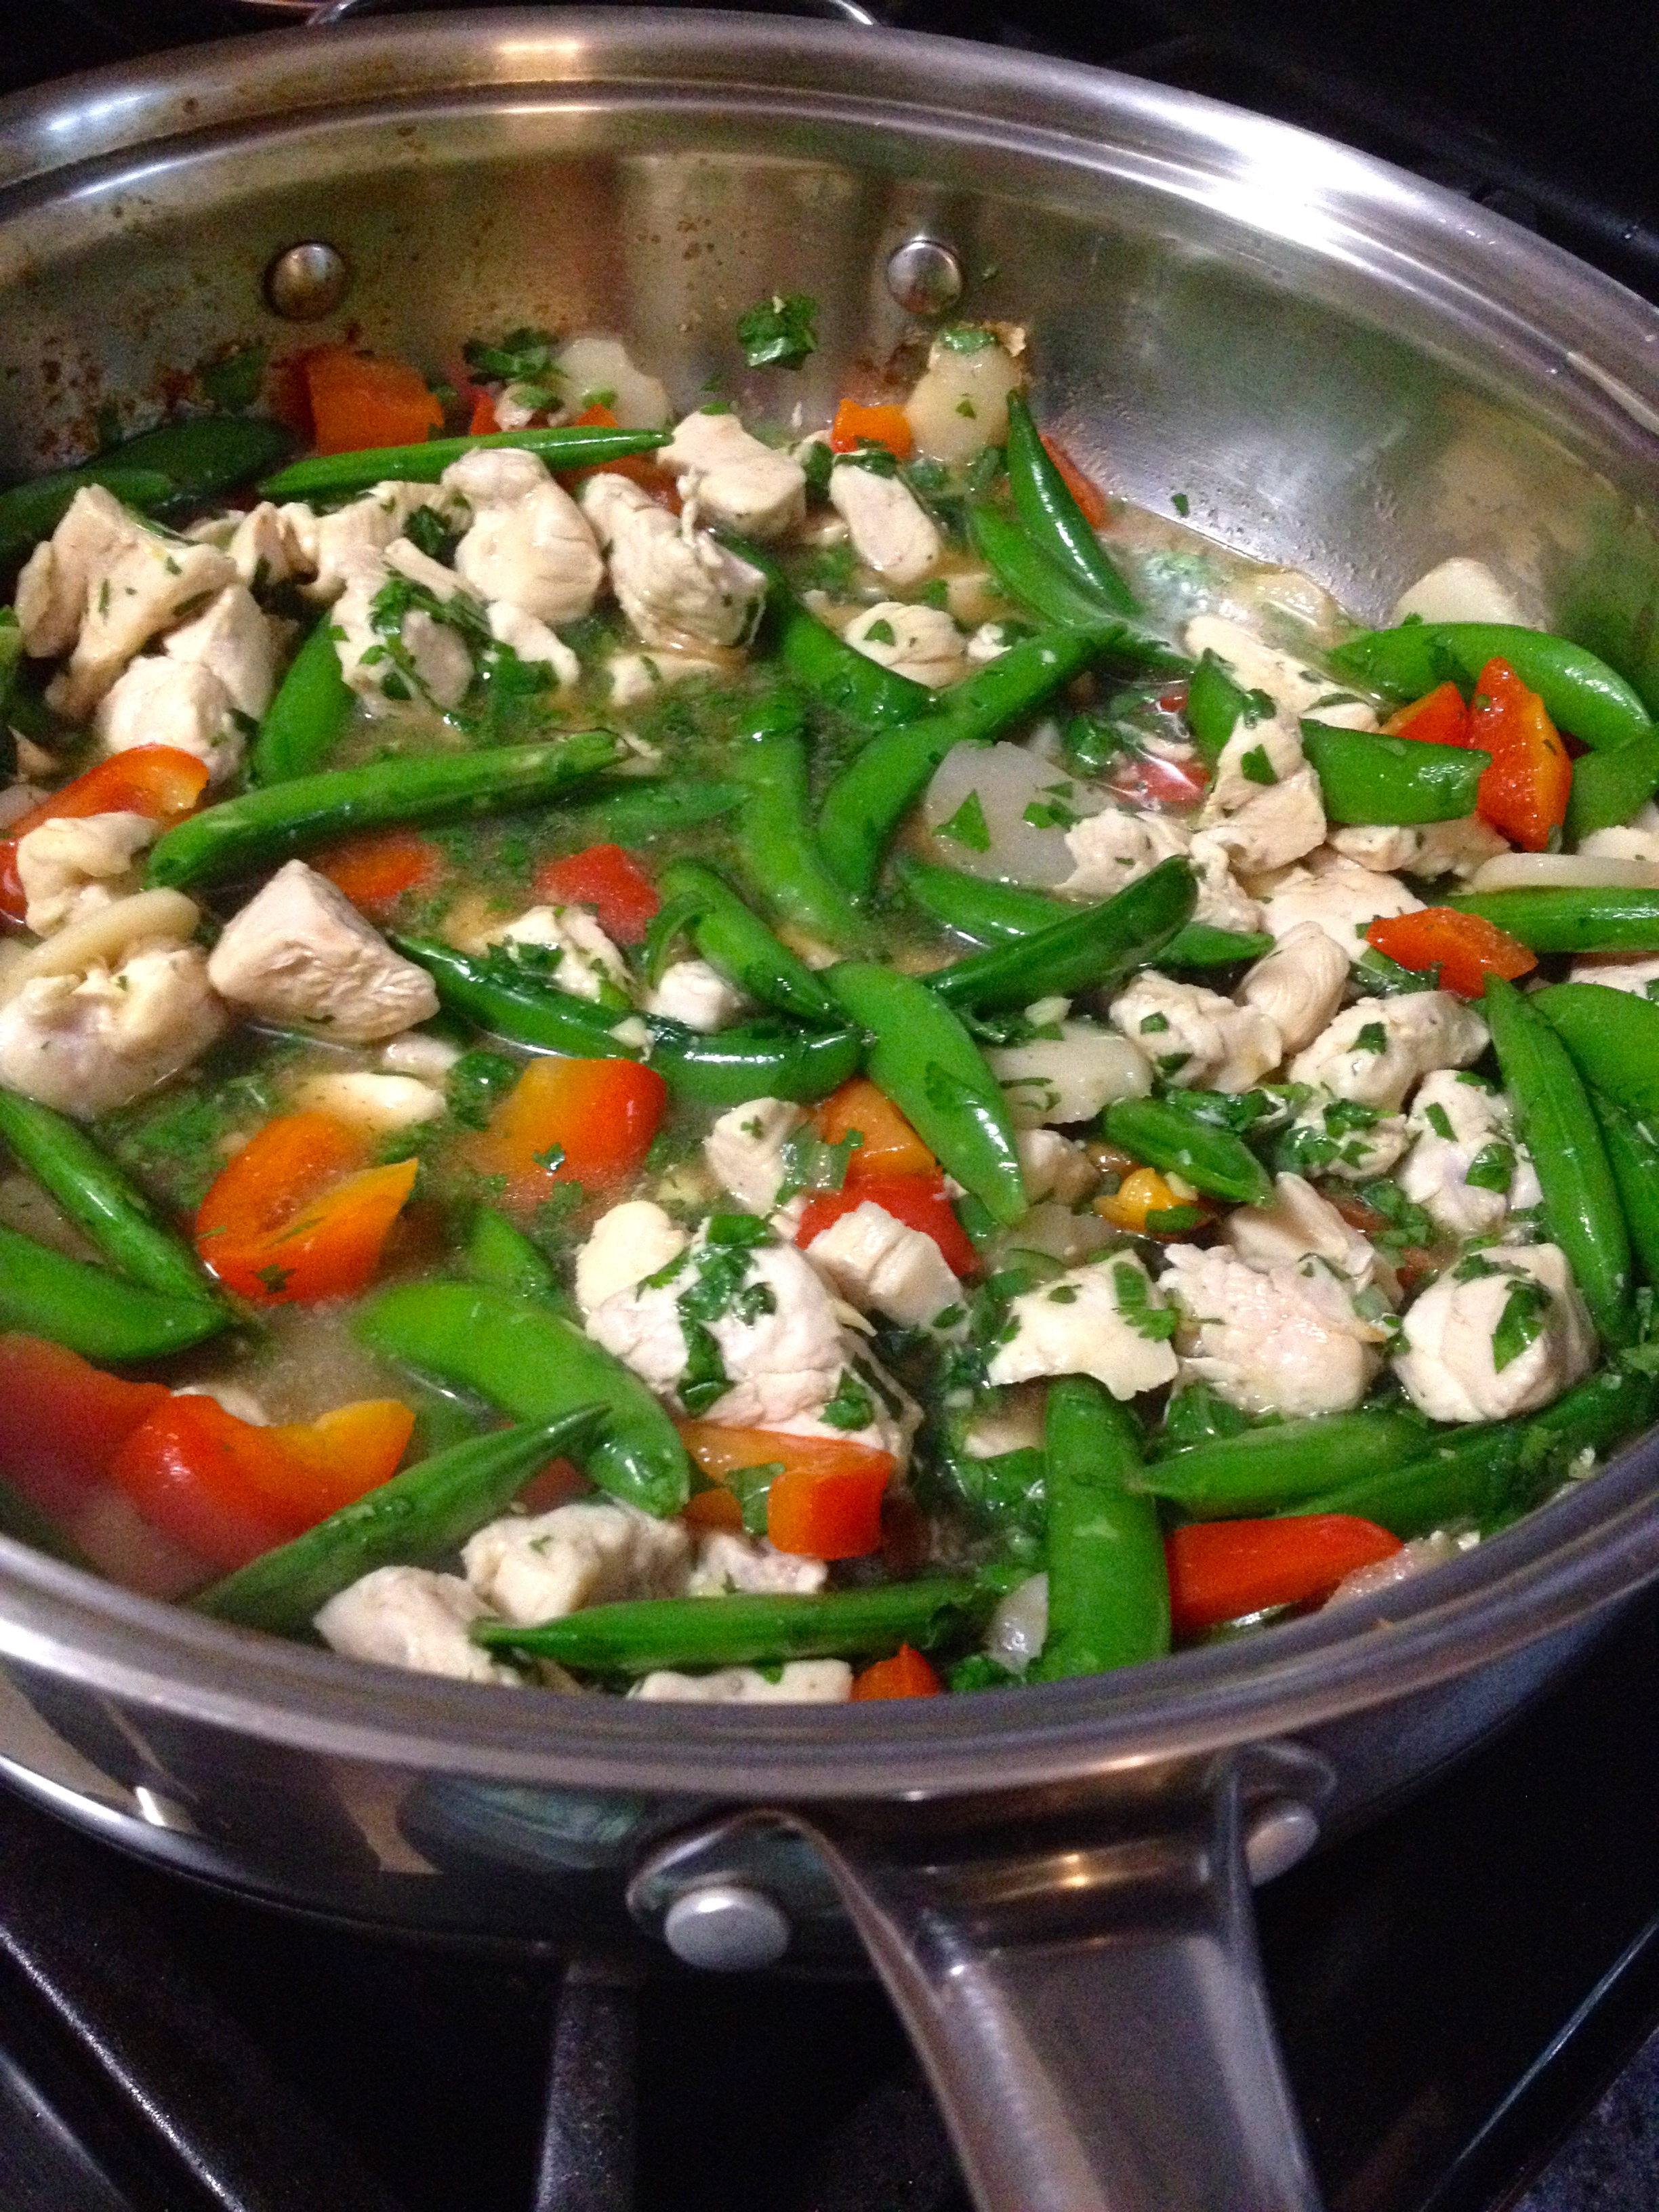
When the chicken is done cooking, pour the sauce over it. Also put the water chestnuts and most of the scallions and cilantro in the skillet, saving some for a garnish. Let the sauce reduce over high heat for about 5 minutes, or longer depending on how thick you want the sauce to be.
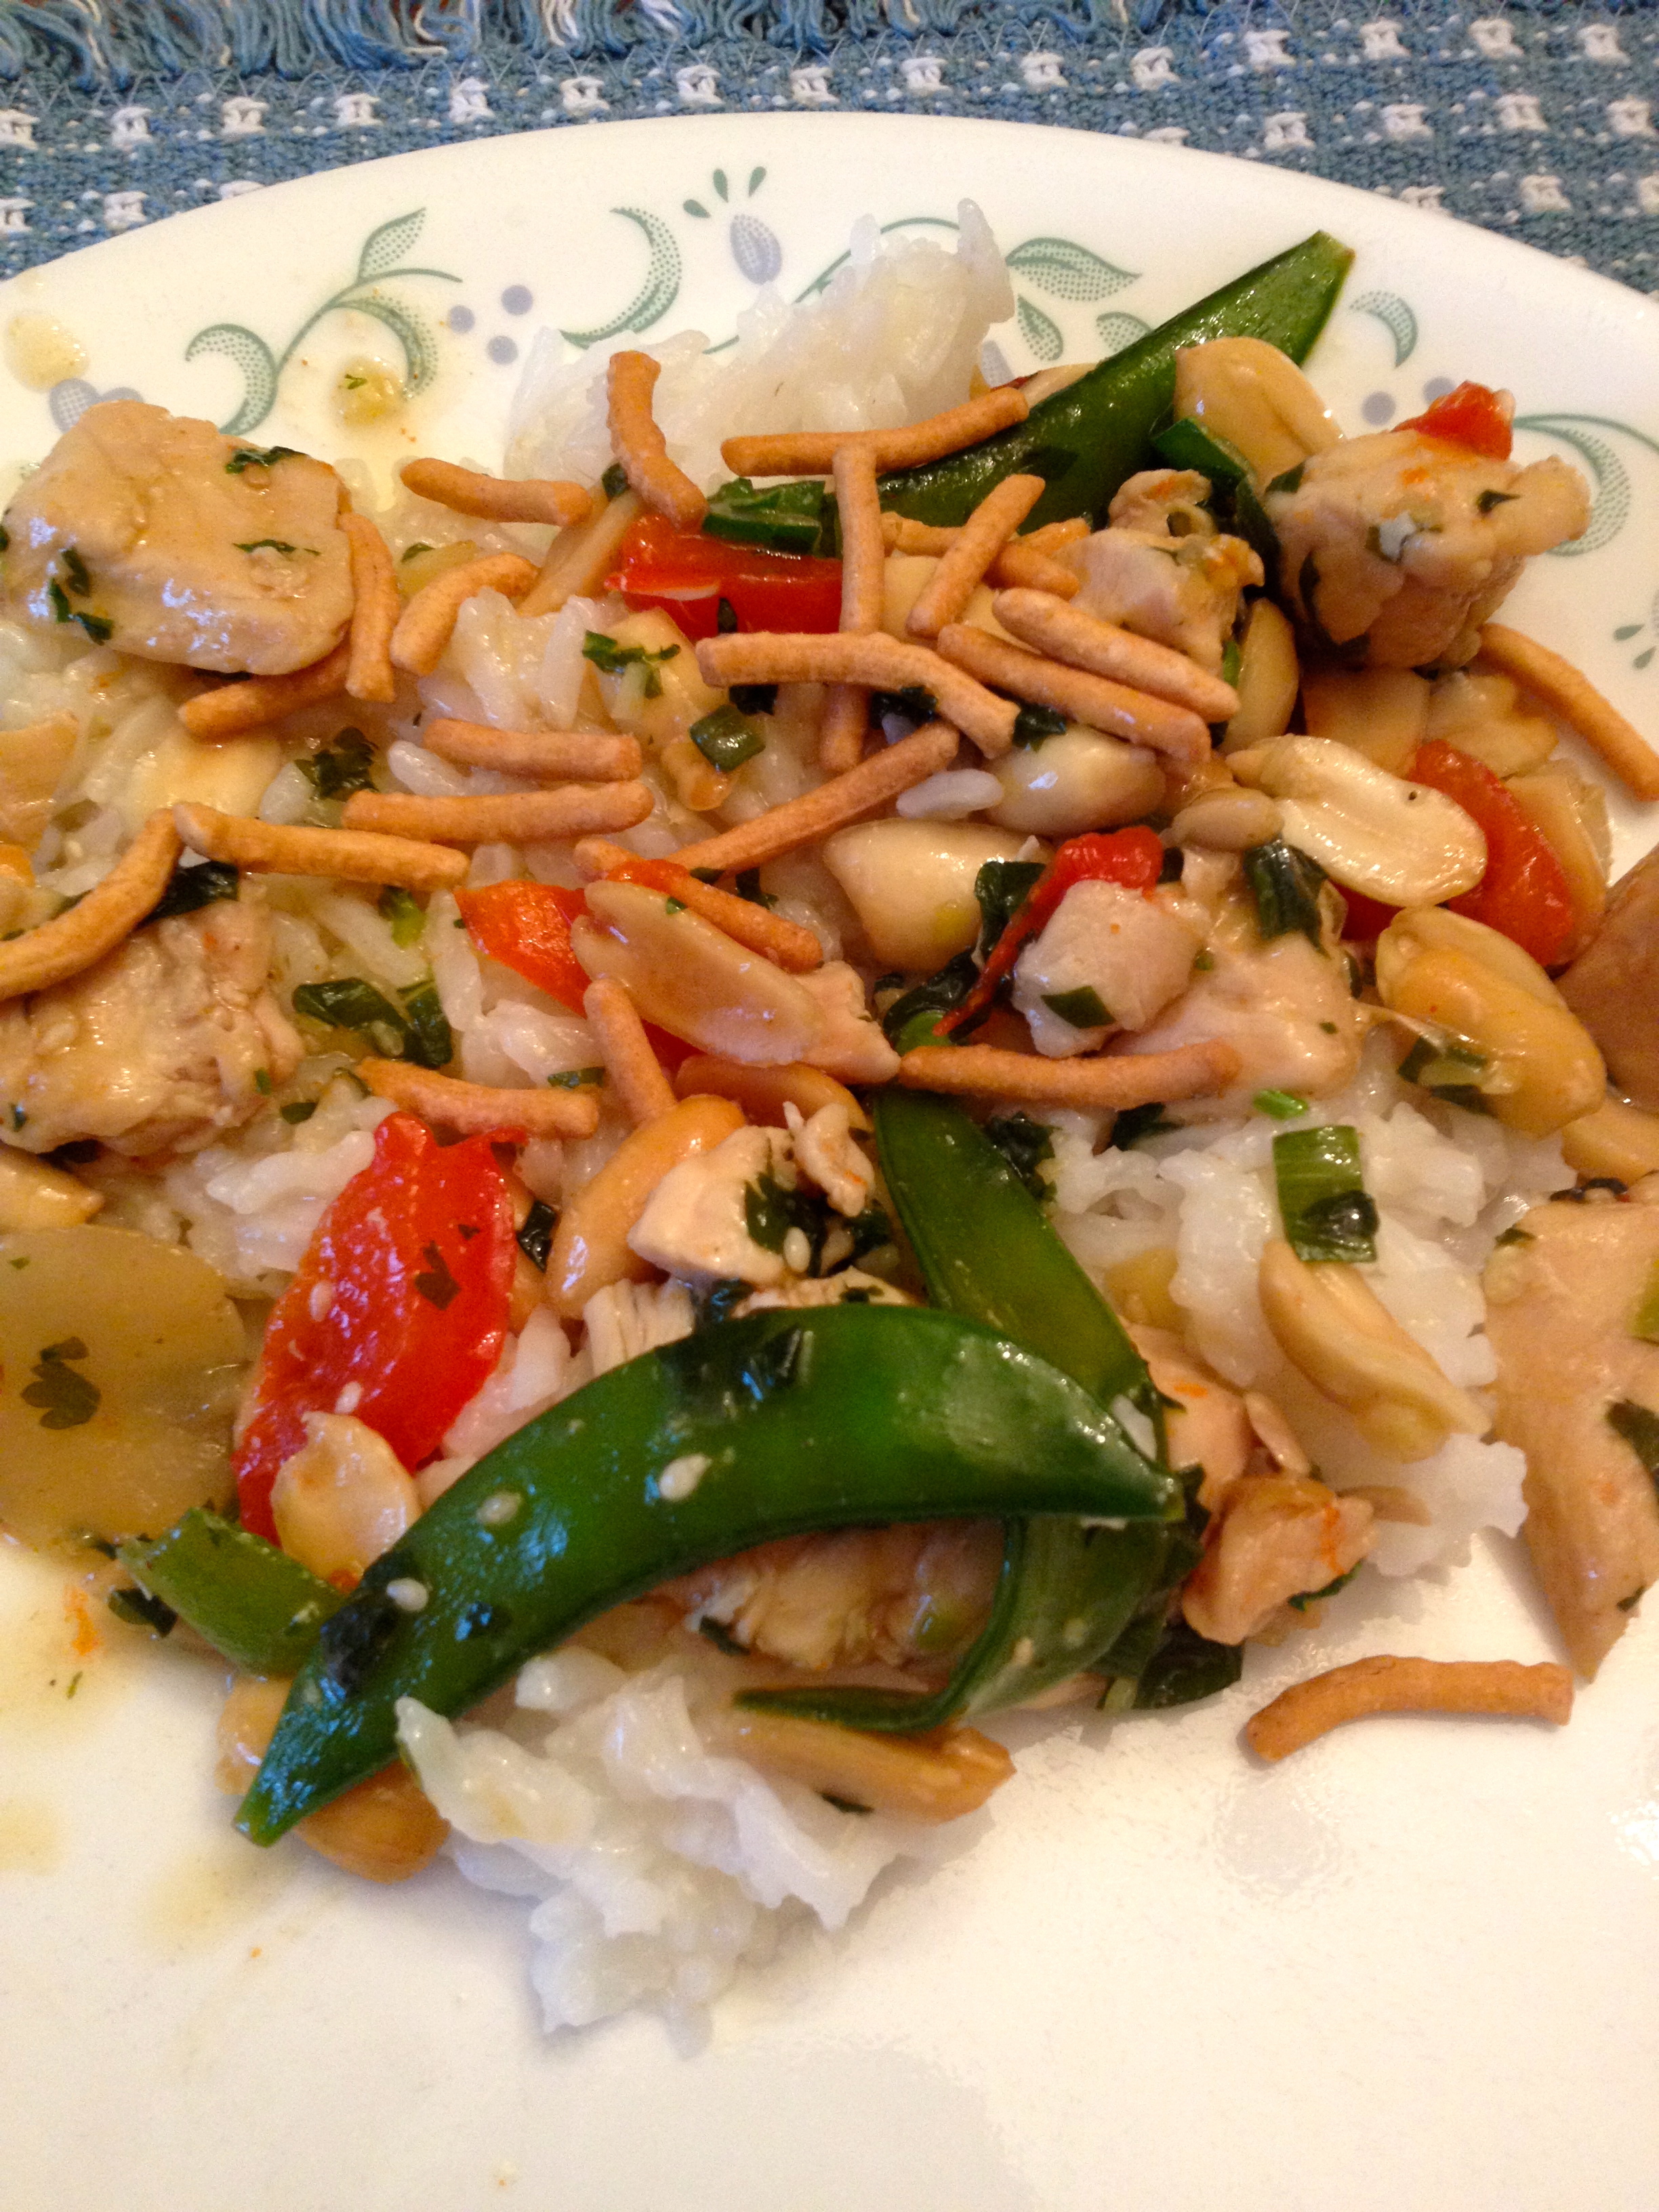
When the sauce has thickened slightly, add the peanuts in and mix until the peanuts are coated. Then, serve over white jasmine rice and garnish with the remaining cilantro, scallions, and dried noodles!

This recipe was just a whim because I had left over peanuts from making my homemade peanut butter, but it turned out to be a solid recipe for my collection. It’s a very light, tasty dish that’s full of vegetables and protein, and also full of flavor. The savory chicken broth and soy sauce glaze has incredible depth of flavor, and the vegetables and peanuts add a satisfying crunch and earthiness to the dish. And of course, who can resist the dried wonton noodles- they’re as addictive as potato chips! Happy cooking!
Game Days and Gardens
Well, it seems that Spring has finally arrived! That’s pretty indicative of the fact that football tailgating parties are out of season, but I figure, it’s Game Day somewhere! Today’s post will be a mix of a few yummy tailgating recipes, and then a healthier, fresher twist on one recipe that uses yummy veggies from spring and summer harvests!
The first recipe on the list for Game Day parties is for honey mustard chicken wings.
Ingredients:
- 3 lbs chicken wings (the little drumettes work well for this recipe)
- Salt and pepper to taste
- 1 tbsp butter or margarine
- 1/4 cup dijon mustard
- 1/4 cup honey (you can also just buy honey Dijon mustard instead of mixing them yourself, and that tastes great! Just use 1/2 cup.)
Preheat the oven to 400ºF. Line a baking sheet with foil and place a wire rack on top of it (if you’re planning on using a cooling rack for this, make sure the rack is oven-safe first!). Salt and pepper the wings liberally and then line them up on the wire rack. Bake them until they’re golden brown, around 45 minutes. You can also grill the wings.
While they’re baking, melt the butter in a saucepan and whisk in the honey and mustard. When the wings come out of the oven (or off the grill), brush the sauce onto them until they’re evenly coated. Then, put them back in the oven/grill for around 10 minutes, and they’re ready to be enjoyed! If you’re grilling the wings, make sure you still have some sort of pan under the wings, or else the sauce will drip into the coals and could cause flare-ups or spitting.
You can also use boneless chicken strips, if you don’t feel like getting sauce on you from the wings!
Next up, the recipe is twice-baked potatoes.
Ingredients:
- Large golden potatoes (or any potato that you’d like to bake); one potato makes two servings, so plan accordingly if your guests will want one or two servings.
- Salt and pepper to taste
- Whatever toppings you’d like; I used broccoli and cheese for our party, but you can also use bacon, sour cream, chives, chicken, etc.
Bake the potatoes either in the oven at 400ºF for around an hour and 15 minutes, or in the microwave on high heat for about 10 minutes. When baking the potatoes, make sure you poke numerous holes in them with a fork first, so that they don’t explode. You can also grill them, wrapped in foil, and take them off the grill when they’re fork tender.
When the potatoes are baked, cut them in half length-wise (they’re screaming hot, so be careful!). Then, scoop out about 2/3 of the soft insides and put the insides into a bowl. Mash them with whatever toppings you want and a little milk or sour cream, and then pile the mixture back into the potato skin. It won’t fit perfectly because there are more ingredients, so just pile them high! Put them back in the oven for around 10-15 minutes until they’re heated through and all the cheese is melted. If you’re using a grill, just put them on until everything is hot and melty, about 10 minutes. Enjoy!
The final party recipe is for a simple fruit dip. It’s short and sweet, but adds a great touch to any fruit salad or fruit platter!
Ingredients:
- 1 cup vanilla Greek yogurt
- 2 tbsp brown sugar, more or less to taste
Mix these all up, and adjust the brown sugar amount or add a dash of vanilla extract in to taste, and you’re good to go! You can pour it over fruit slices or have it in a bowl for dipping. It stores very well in the fridge, too.
Now for the healthier twist on the honey mustard chicken: stir-fry!
My dad is super big on gardening, and has transformed our yard into a mini produce market. We have all sorts of vegetable plants and fruit trees, and love taking advantage of the fresh produce. It’s so good for you, and really makes a difference in the taste!
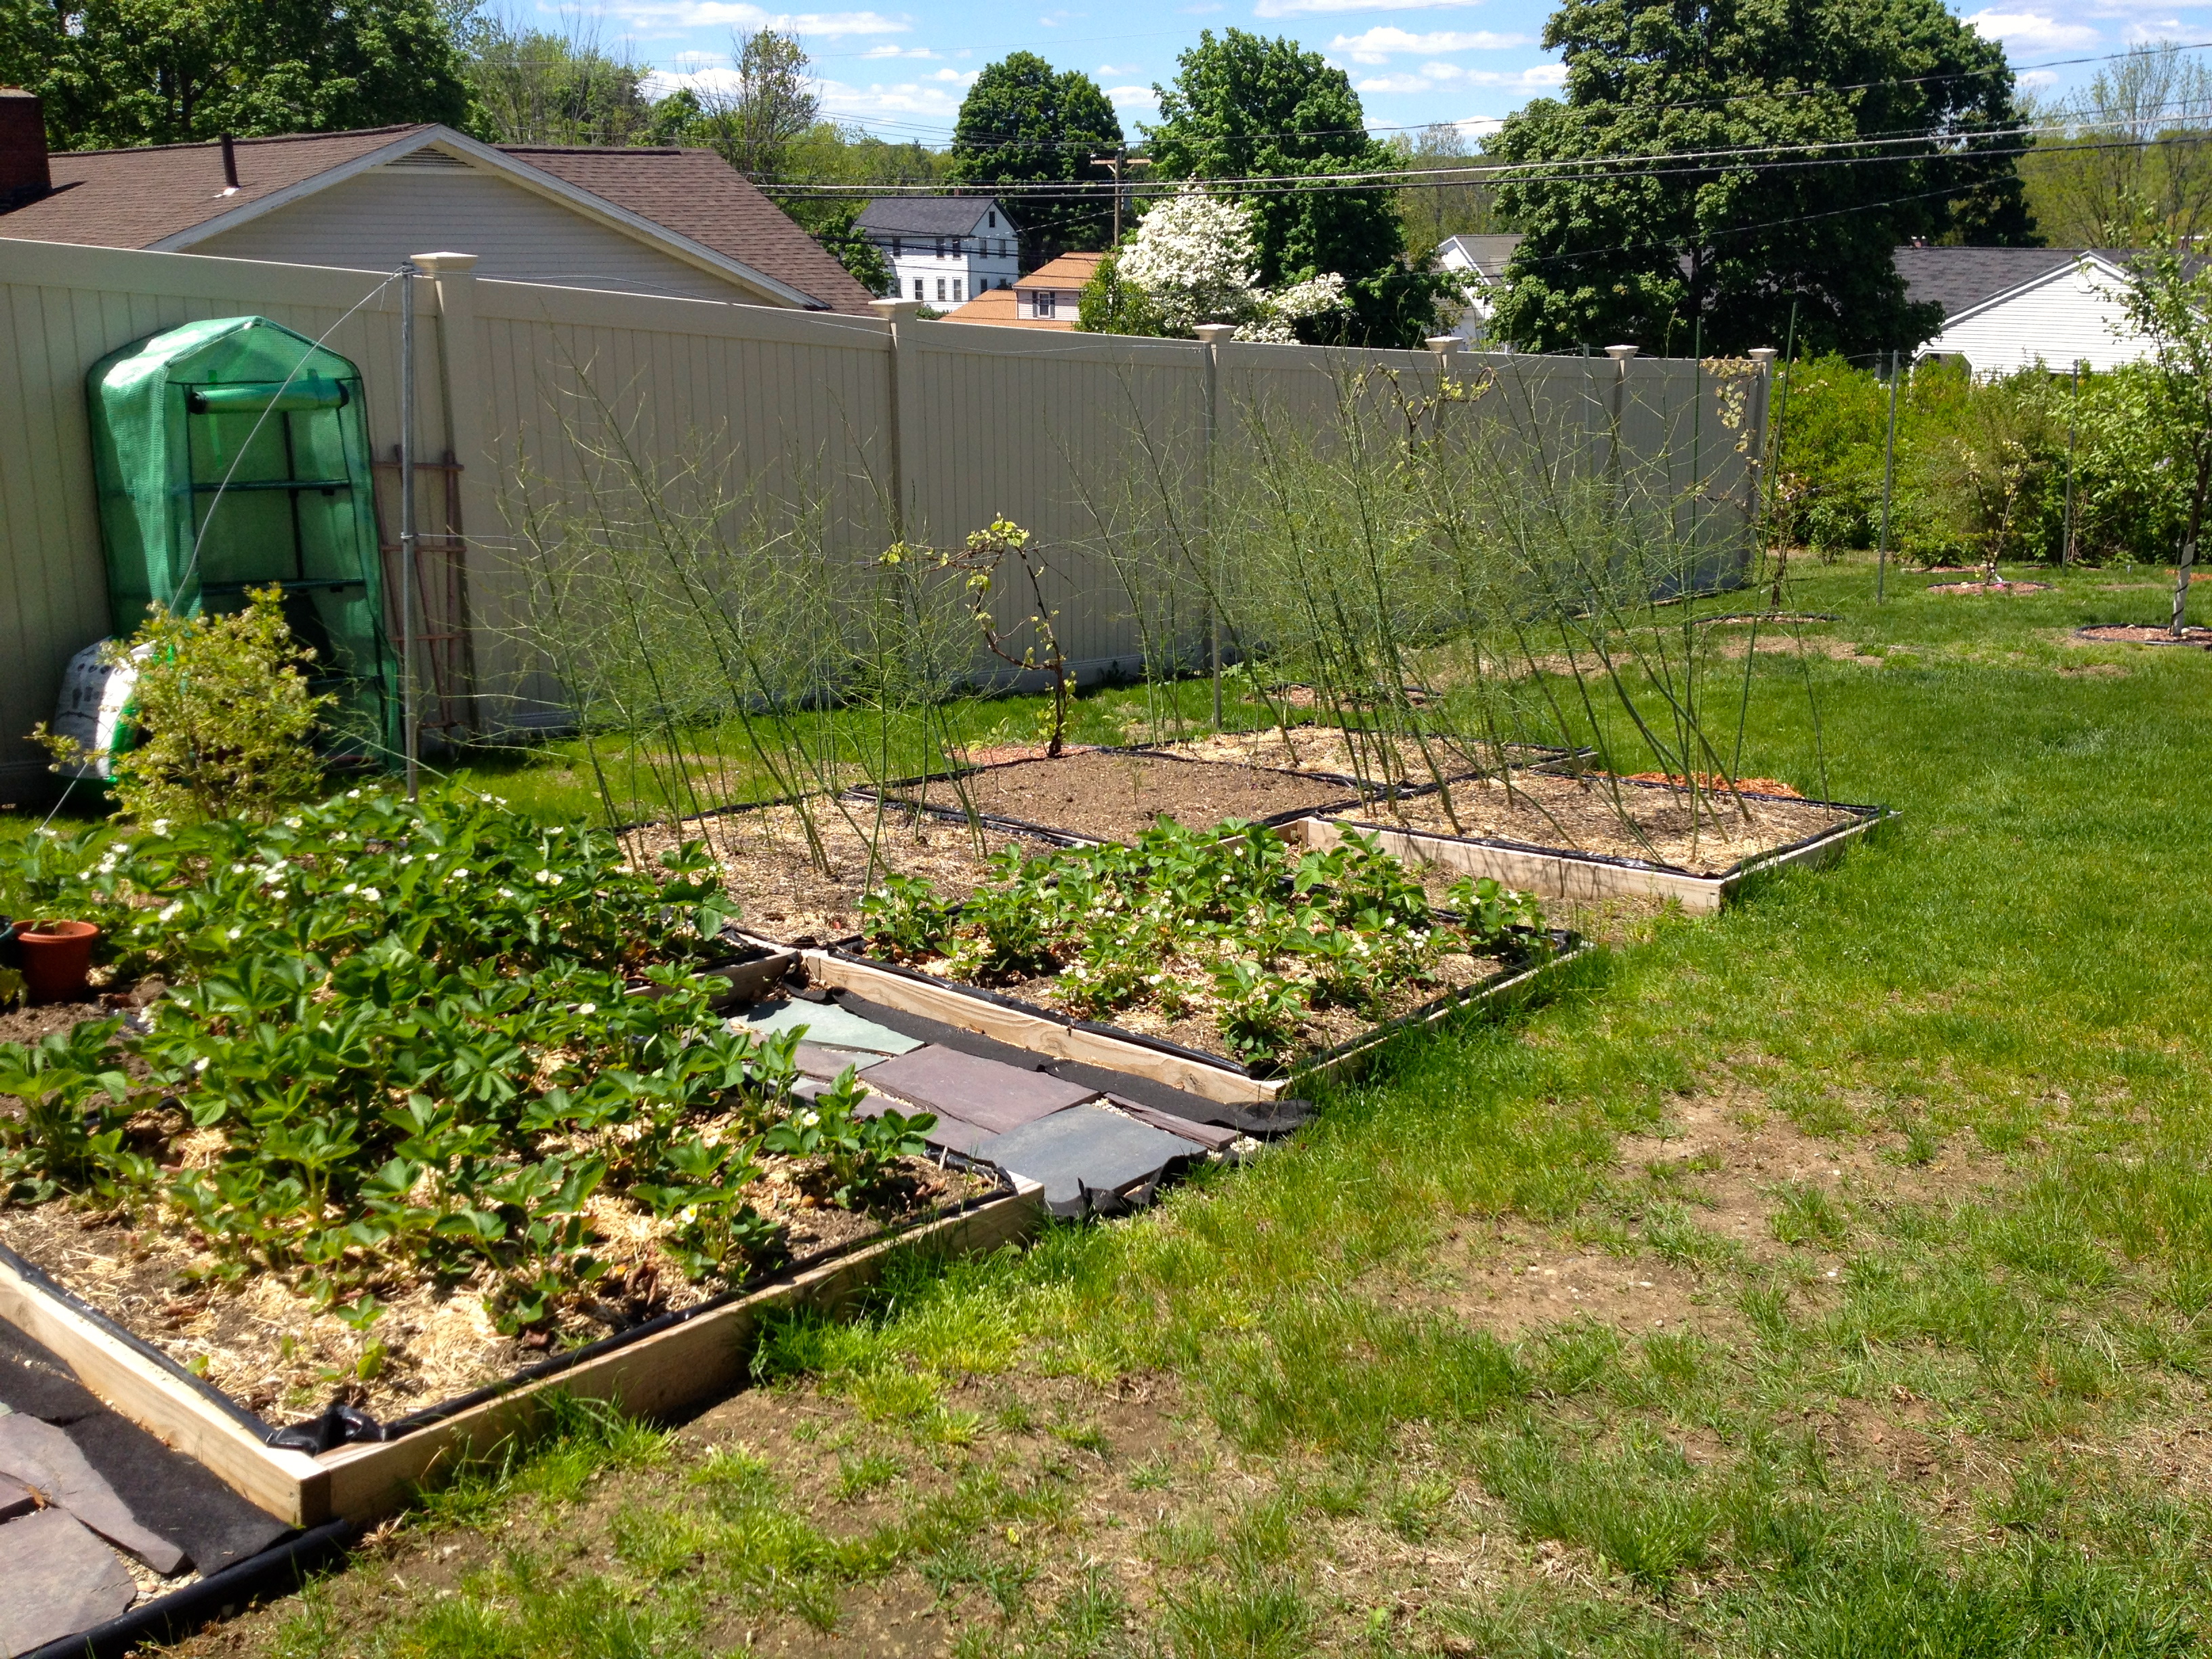

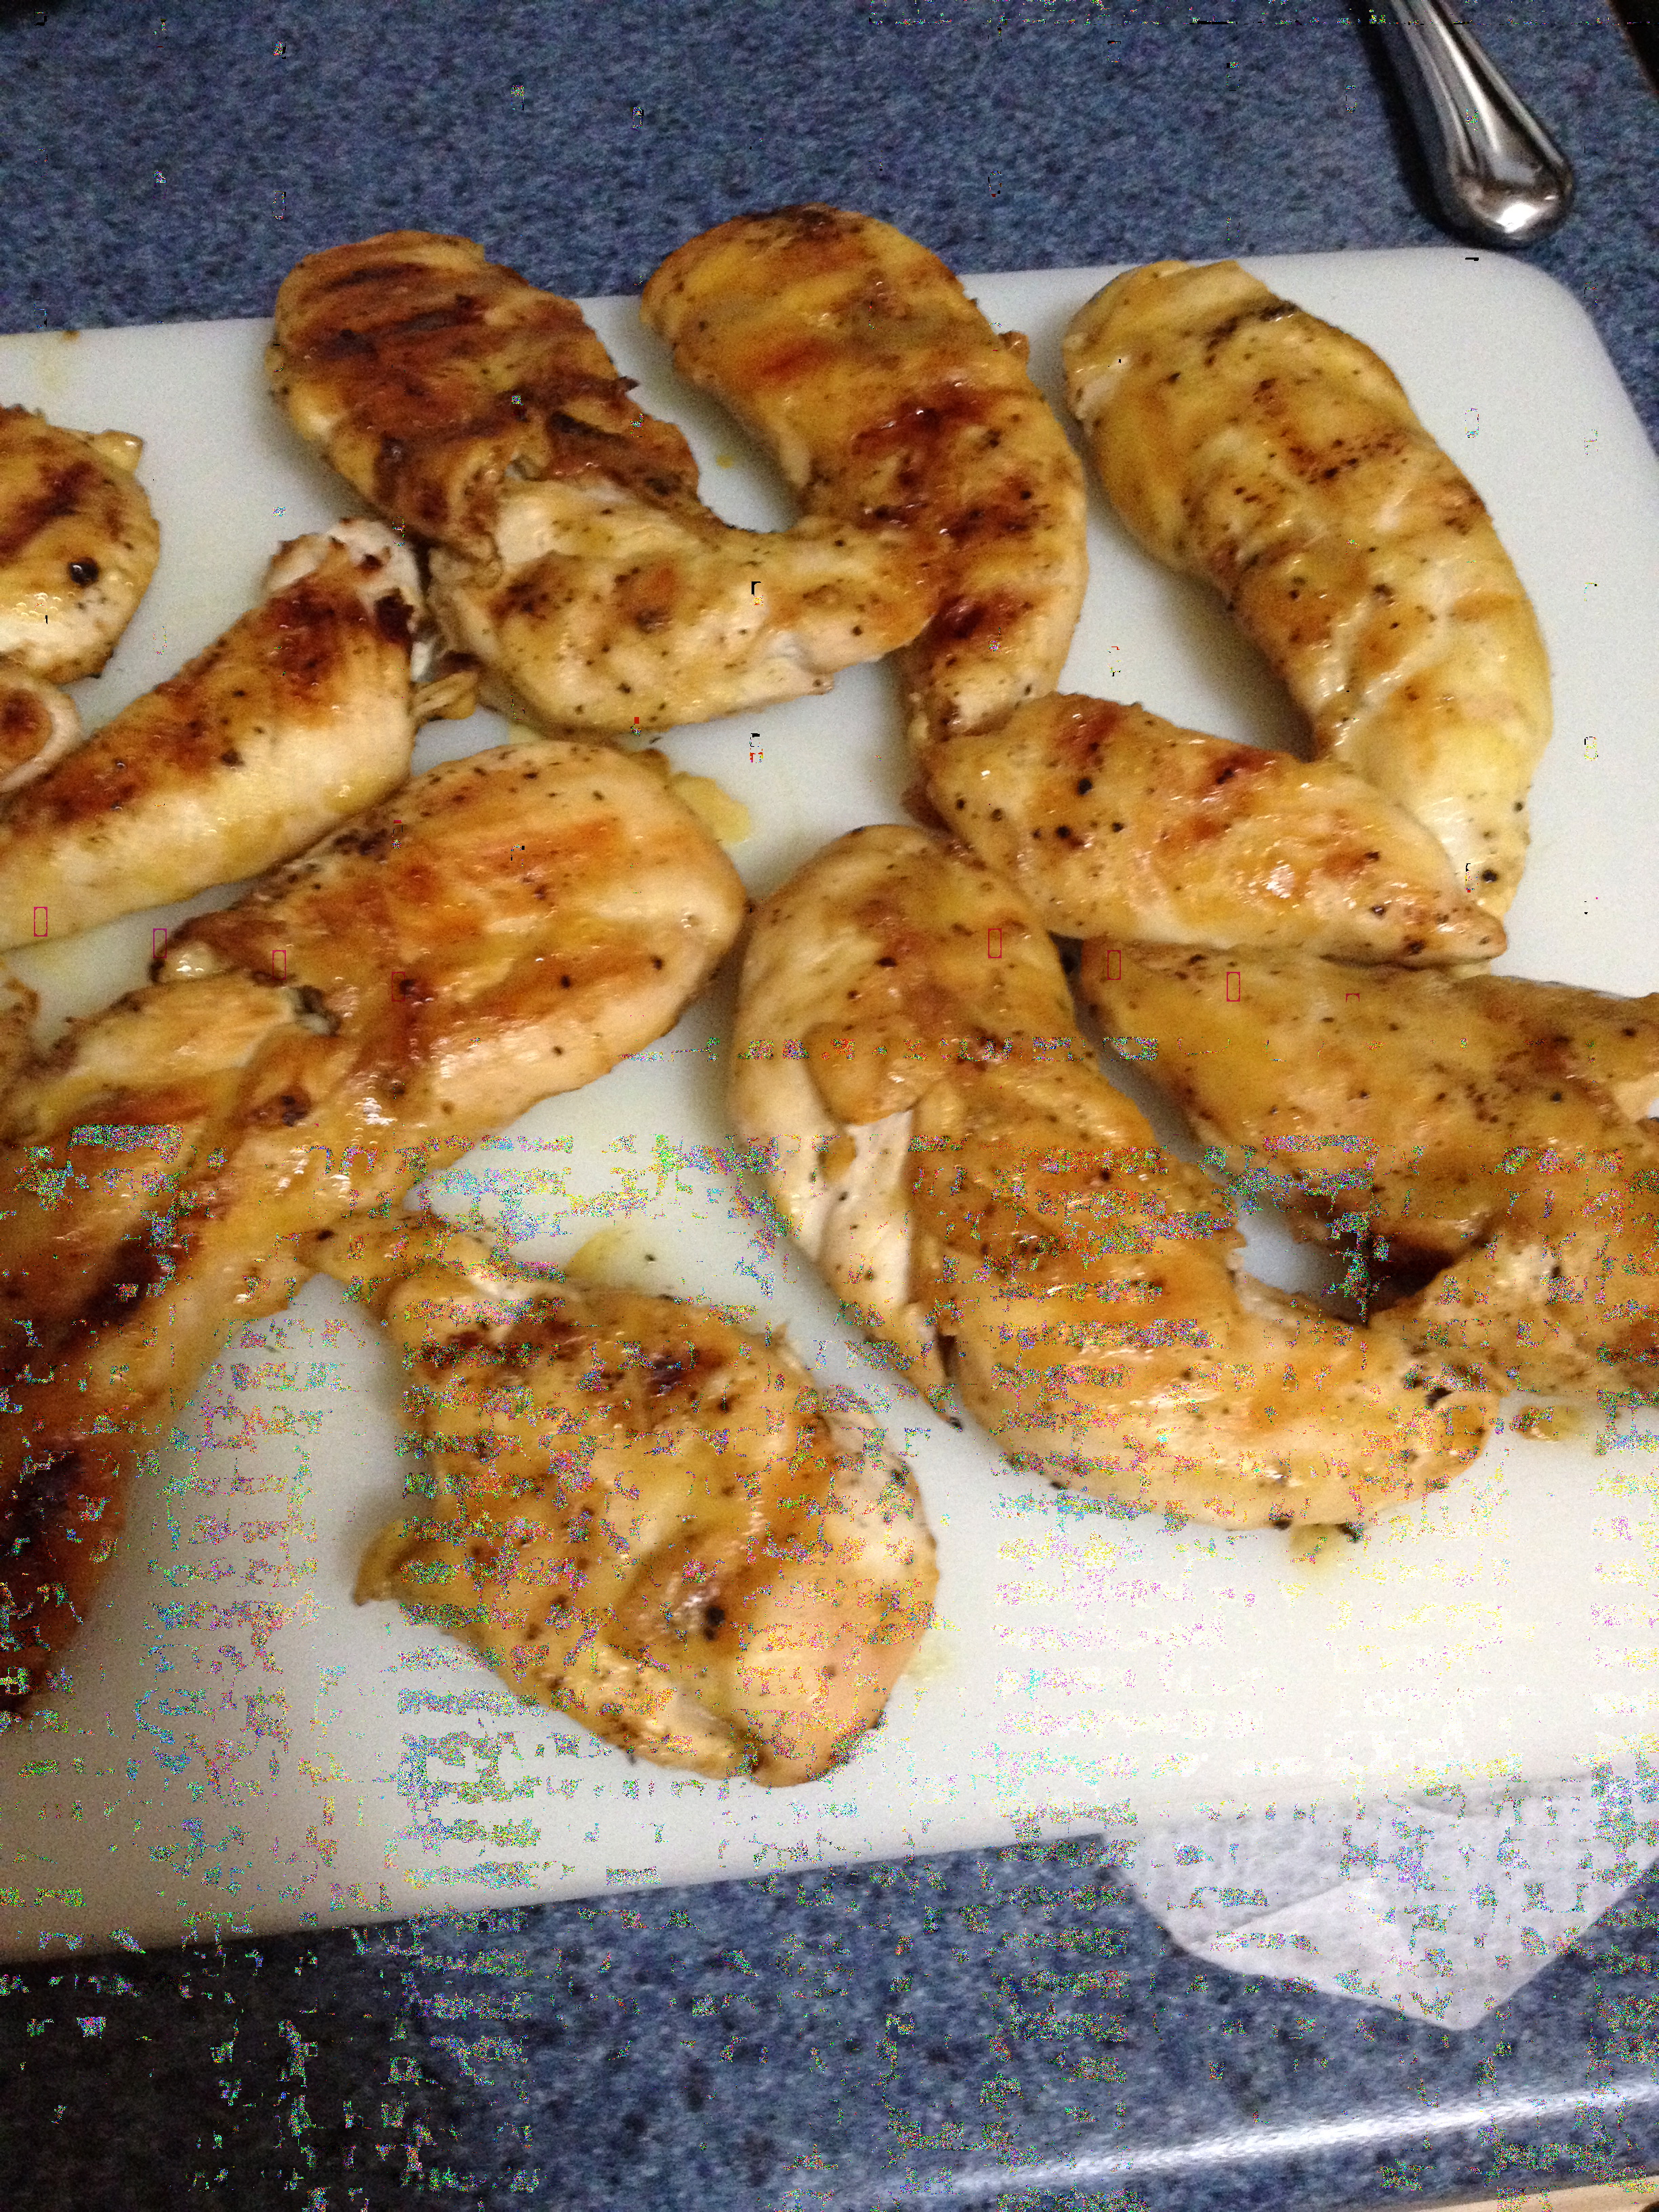
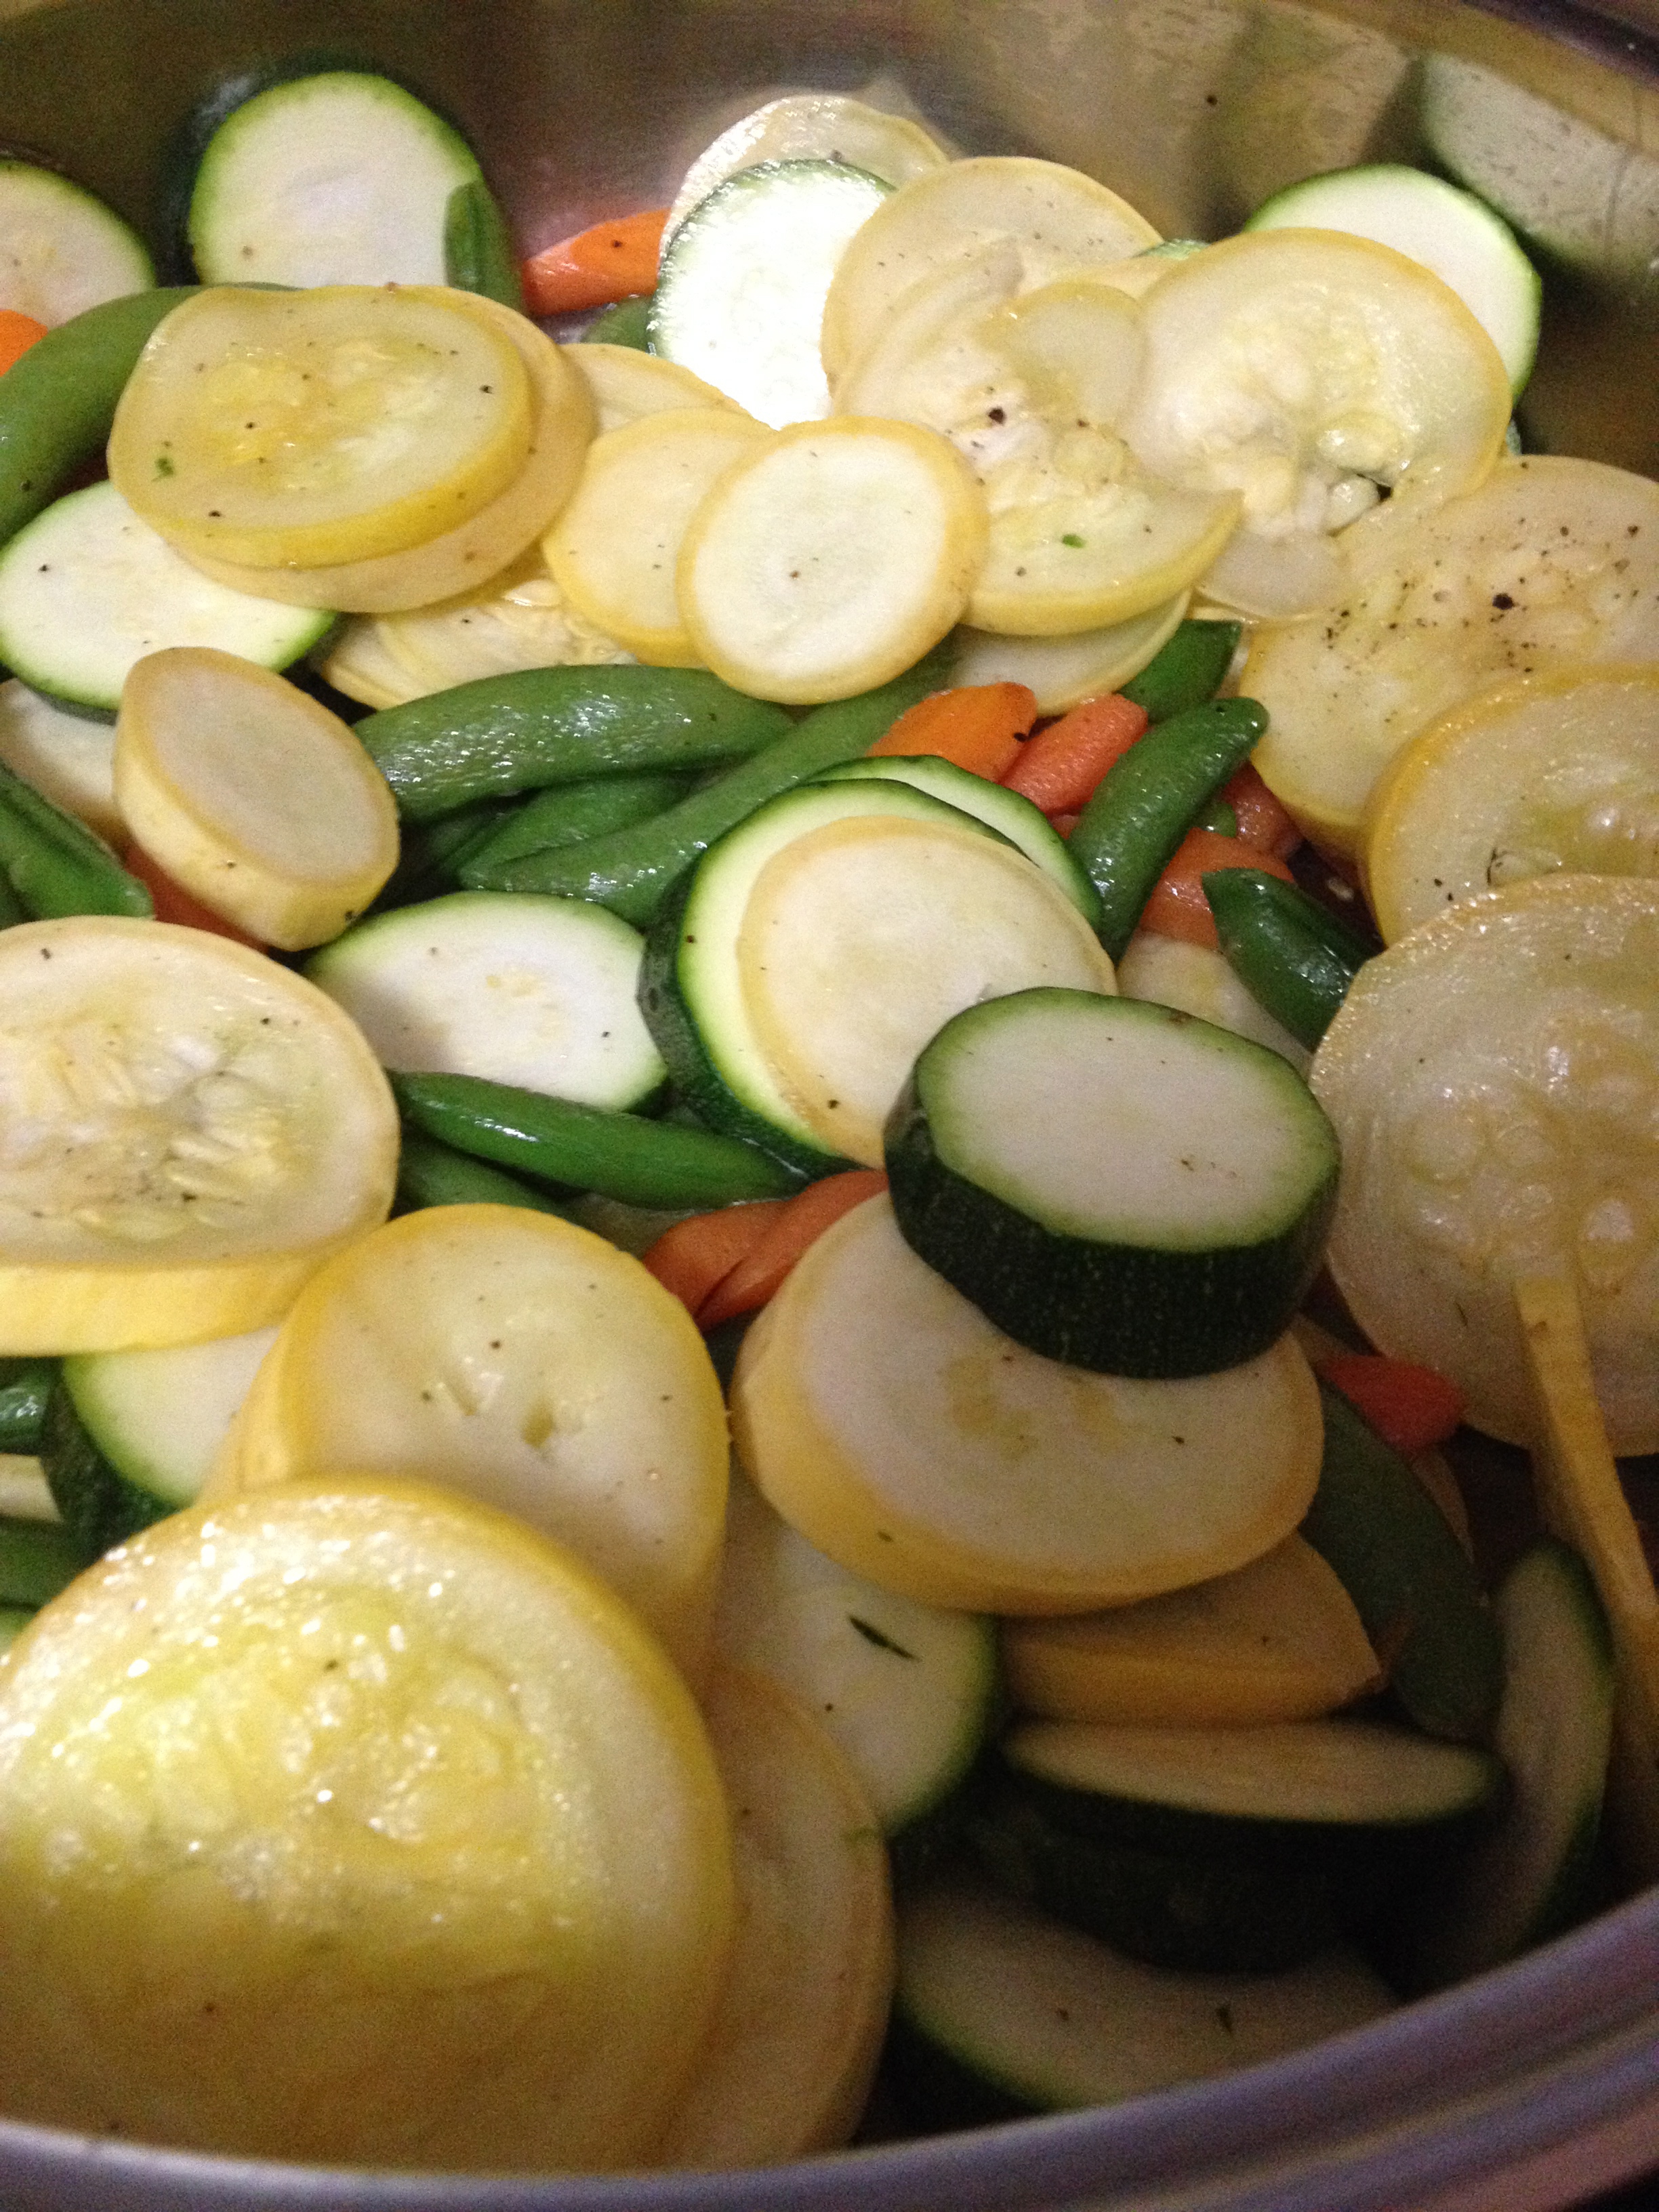
Today’s recipe includes honey mustard chicken, sugar snap peas, summer squash, carrots, and zucchini, all from our garden (well, not the chicken). You can either use leftover chicken from the chicken wings and pull it from the bones, or buy boneless strips, grill them, and coat them in sauce. You don’t have to put them back on the grill, because you’ll be sautéing the chicken with veggies and you want the sauce to get on the veggies!
This recipe is really simple: just chop the vegetables and either pull the chicken from the bones or quickly grill it. Then, put a little olive oil into a sauté pan and let it heat. Put the carrots in first and let them soften a bit, then the peas, then the squash and zucchini.
Tip: when cooking vegetables in a pan, always put the hardest ones in first, because if you put them all in together, the softer vegetables will be burned mush by the time the harder ones are done.
When the vegetables are soft, add the chicken and heat it, mixing everything around so that the sauce gets on the other vegetables. When the chicken is hot, turn off the heat and serve the stir-fry!
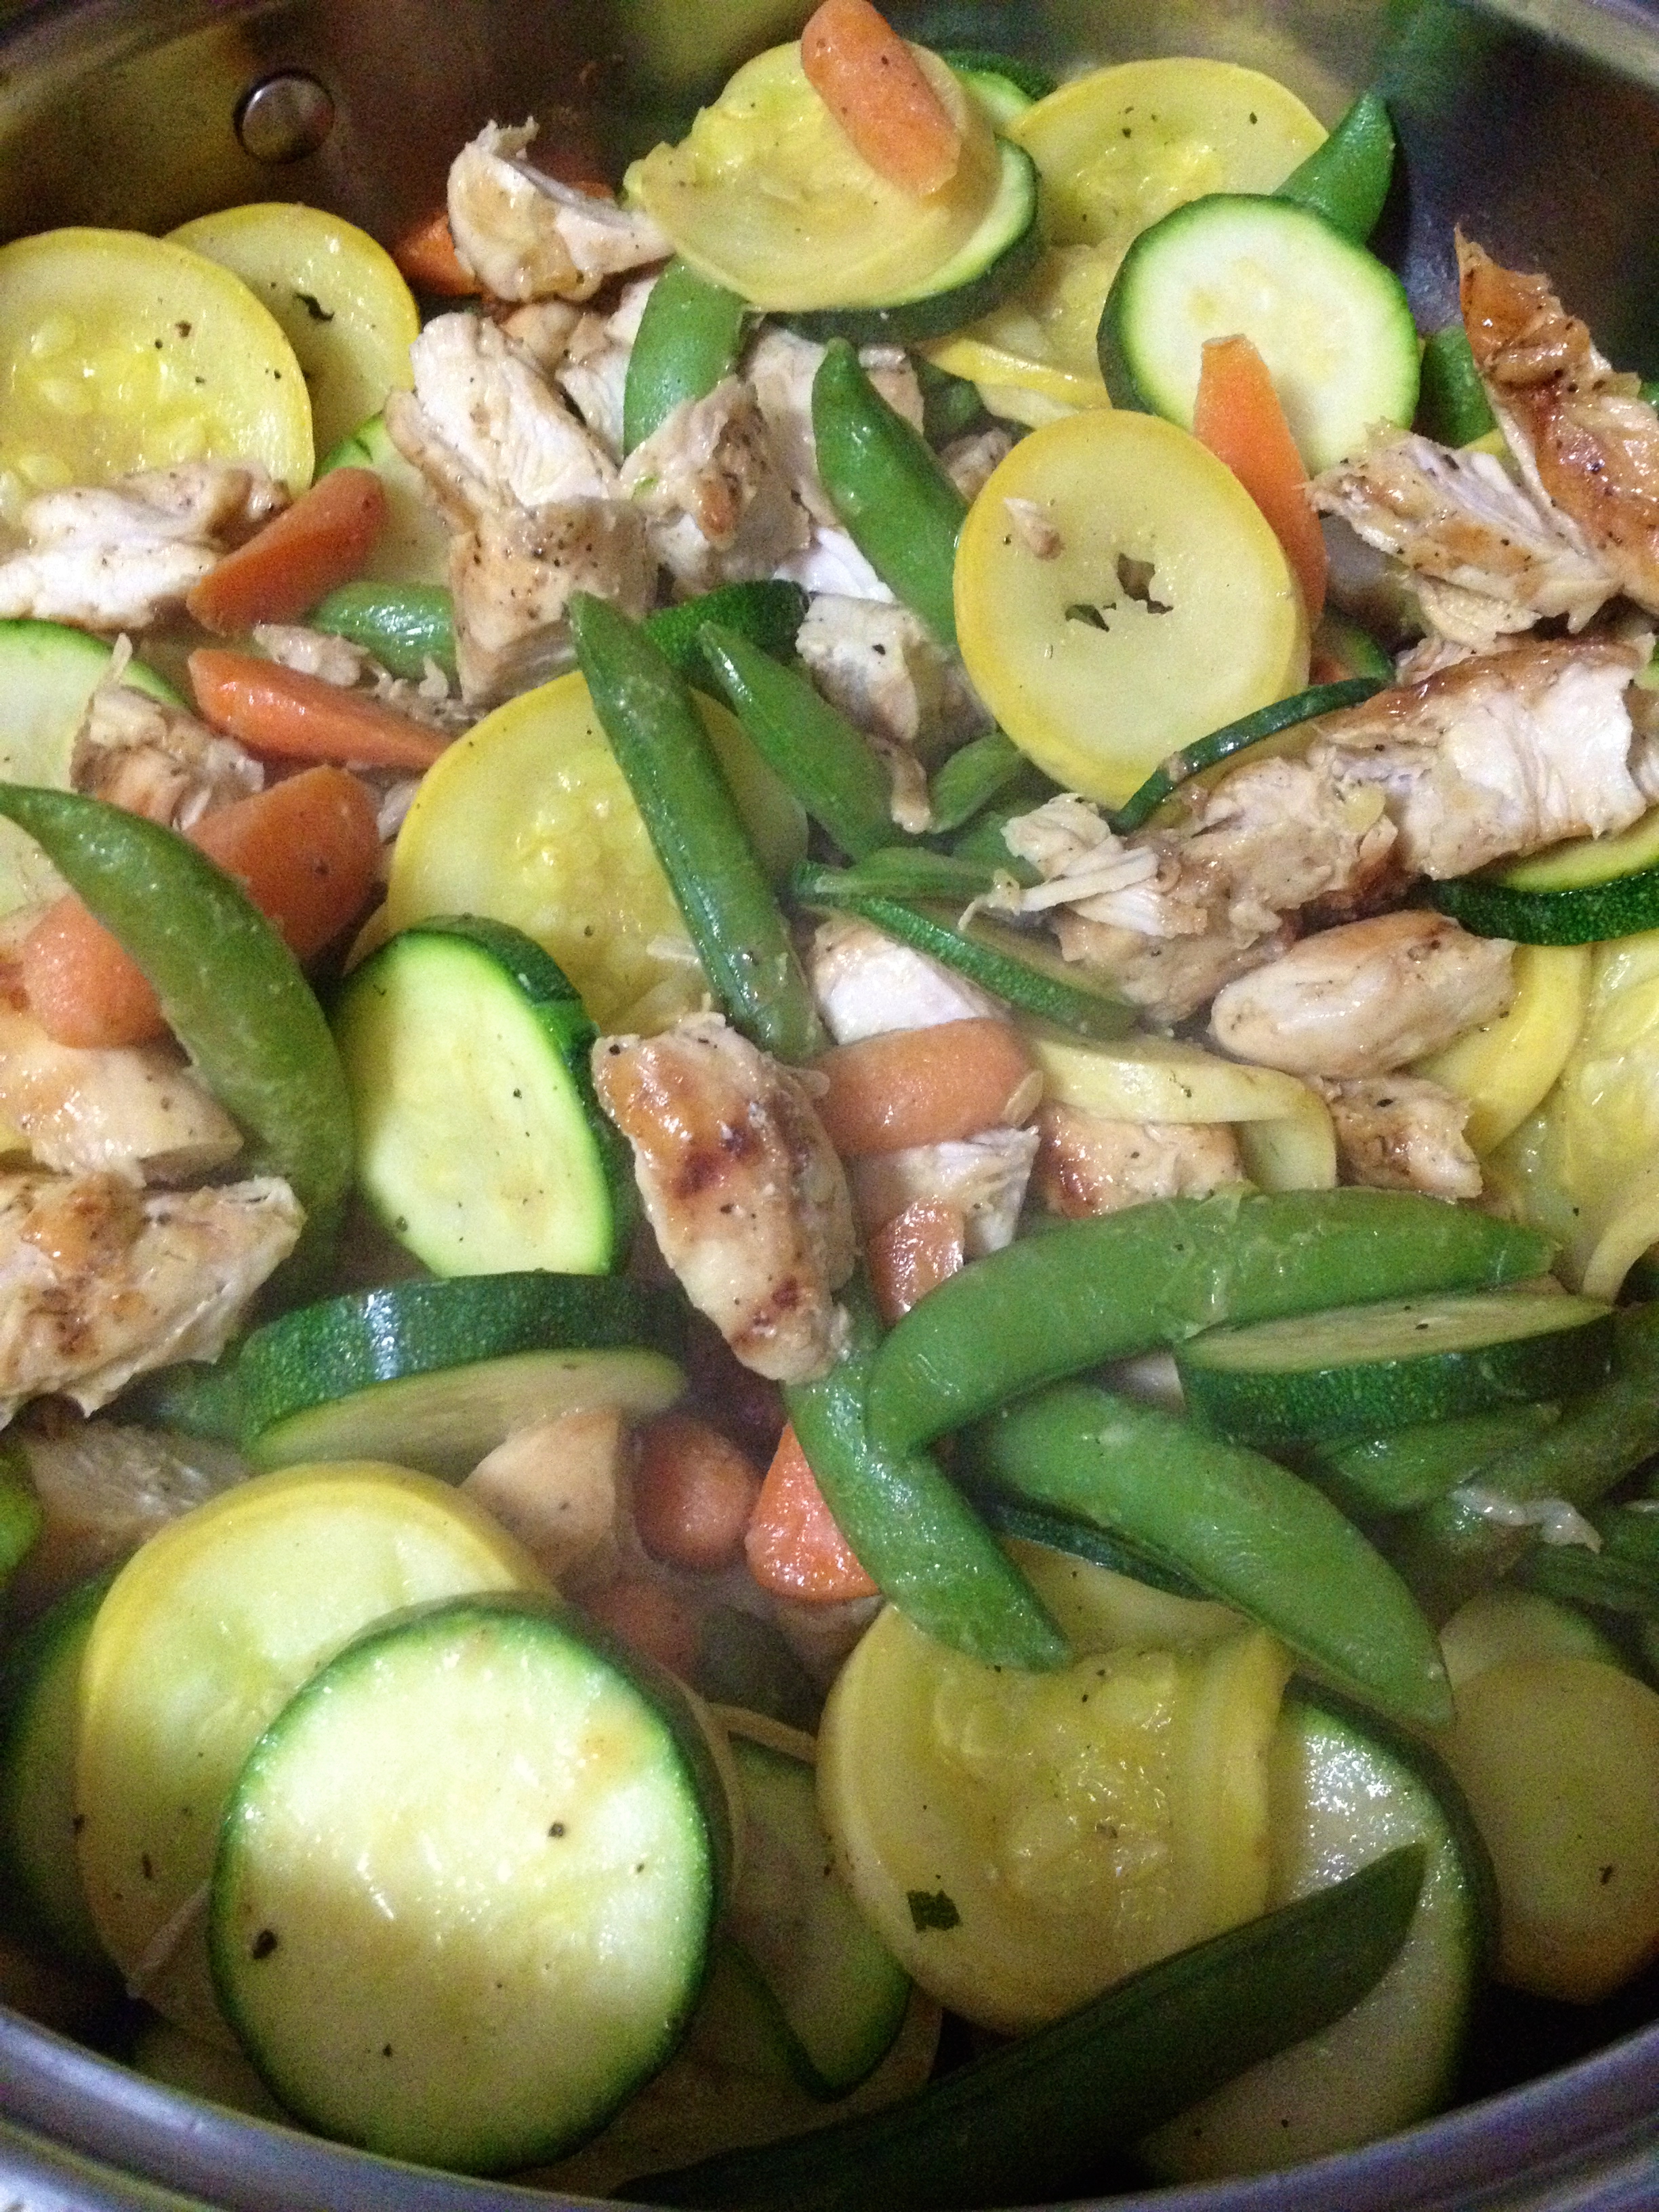
A few variations on this stir-fry recipe could be with balsamic vinaigrette and dried cranberries, or a Thai version using the peanut butter from my previous post and scallions. Does that sound yummy, or what?
Game Day parties are a great way to bring people together to enjoy some great community, as well as some rockin’ food. And gardens, well, the benefits are endless! Fresh food, great taste, and a chance for the whole family to get their hands dirty together. I hope these recipes give you some great ideas and tips for your next party or summer dinner!
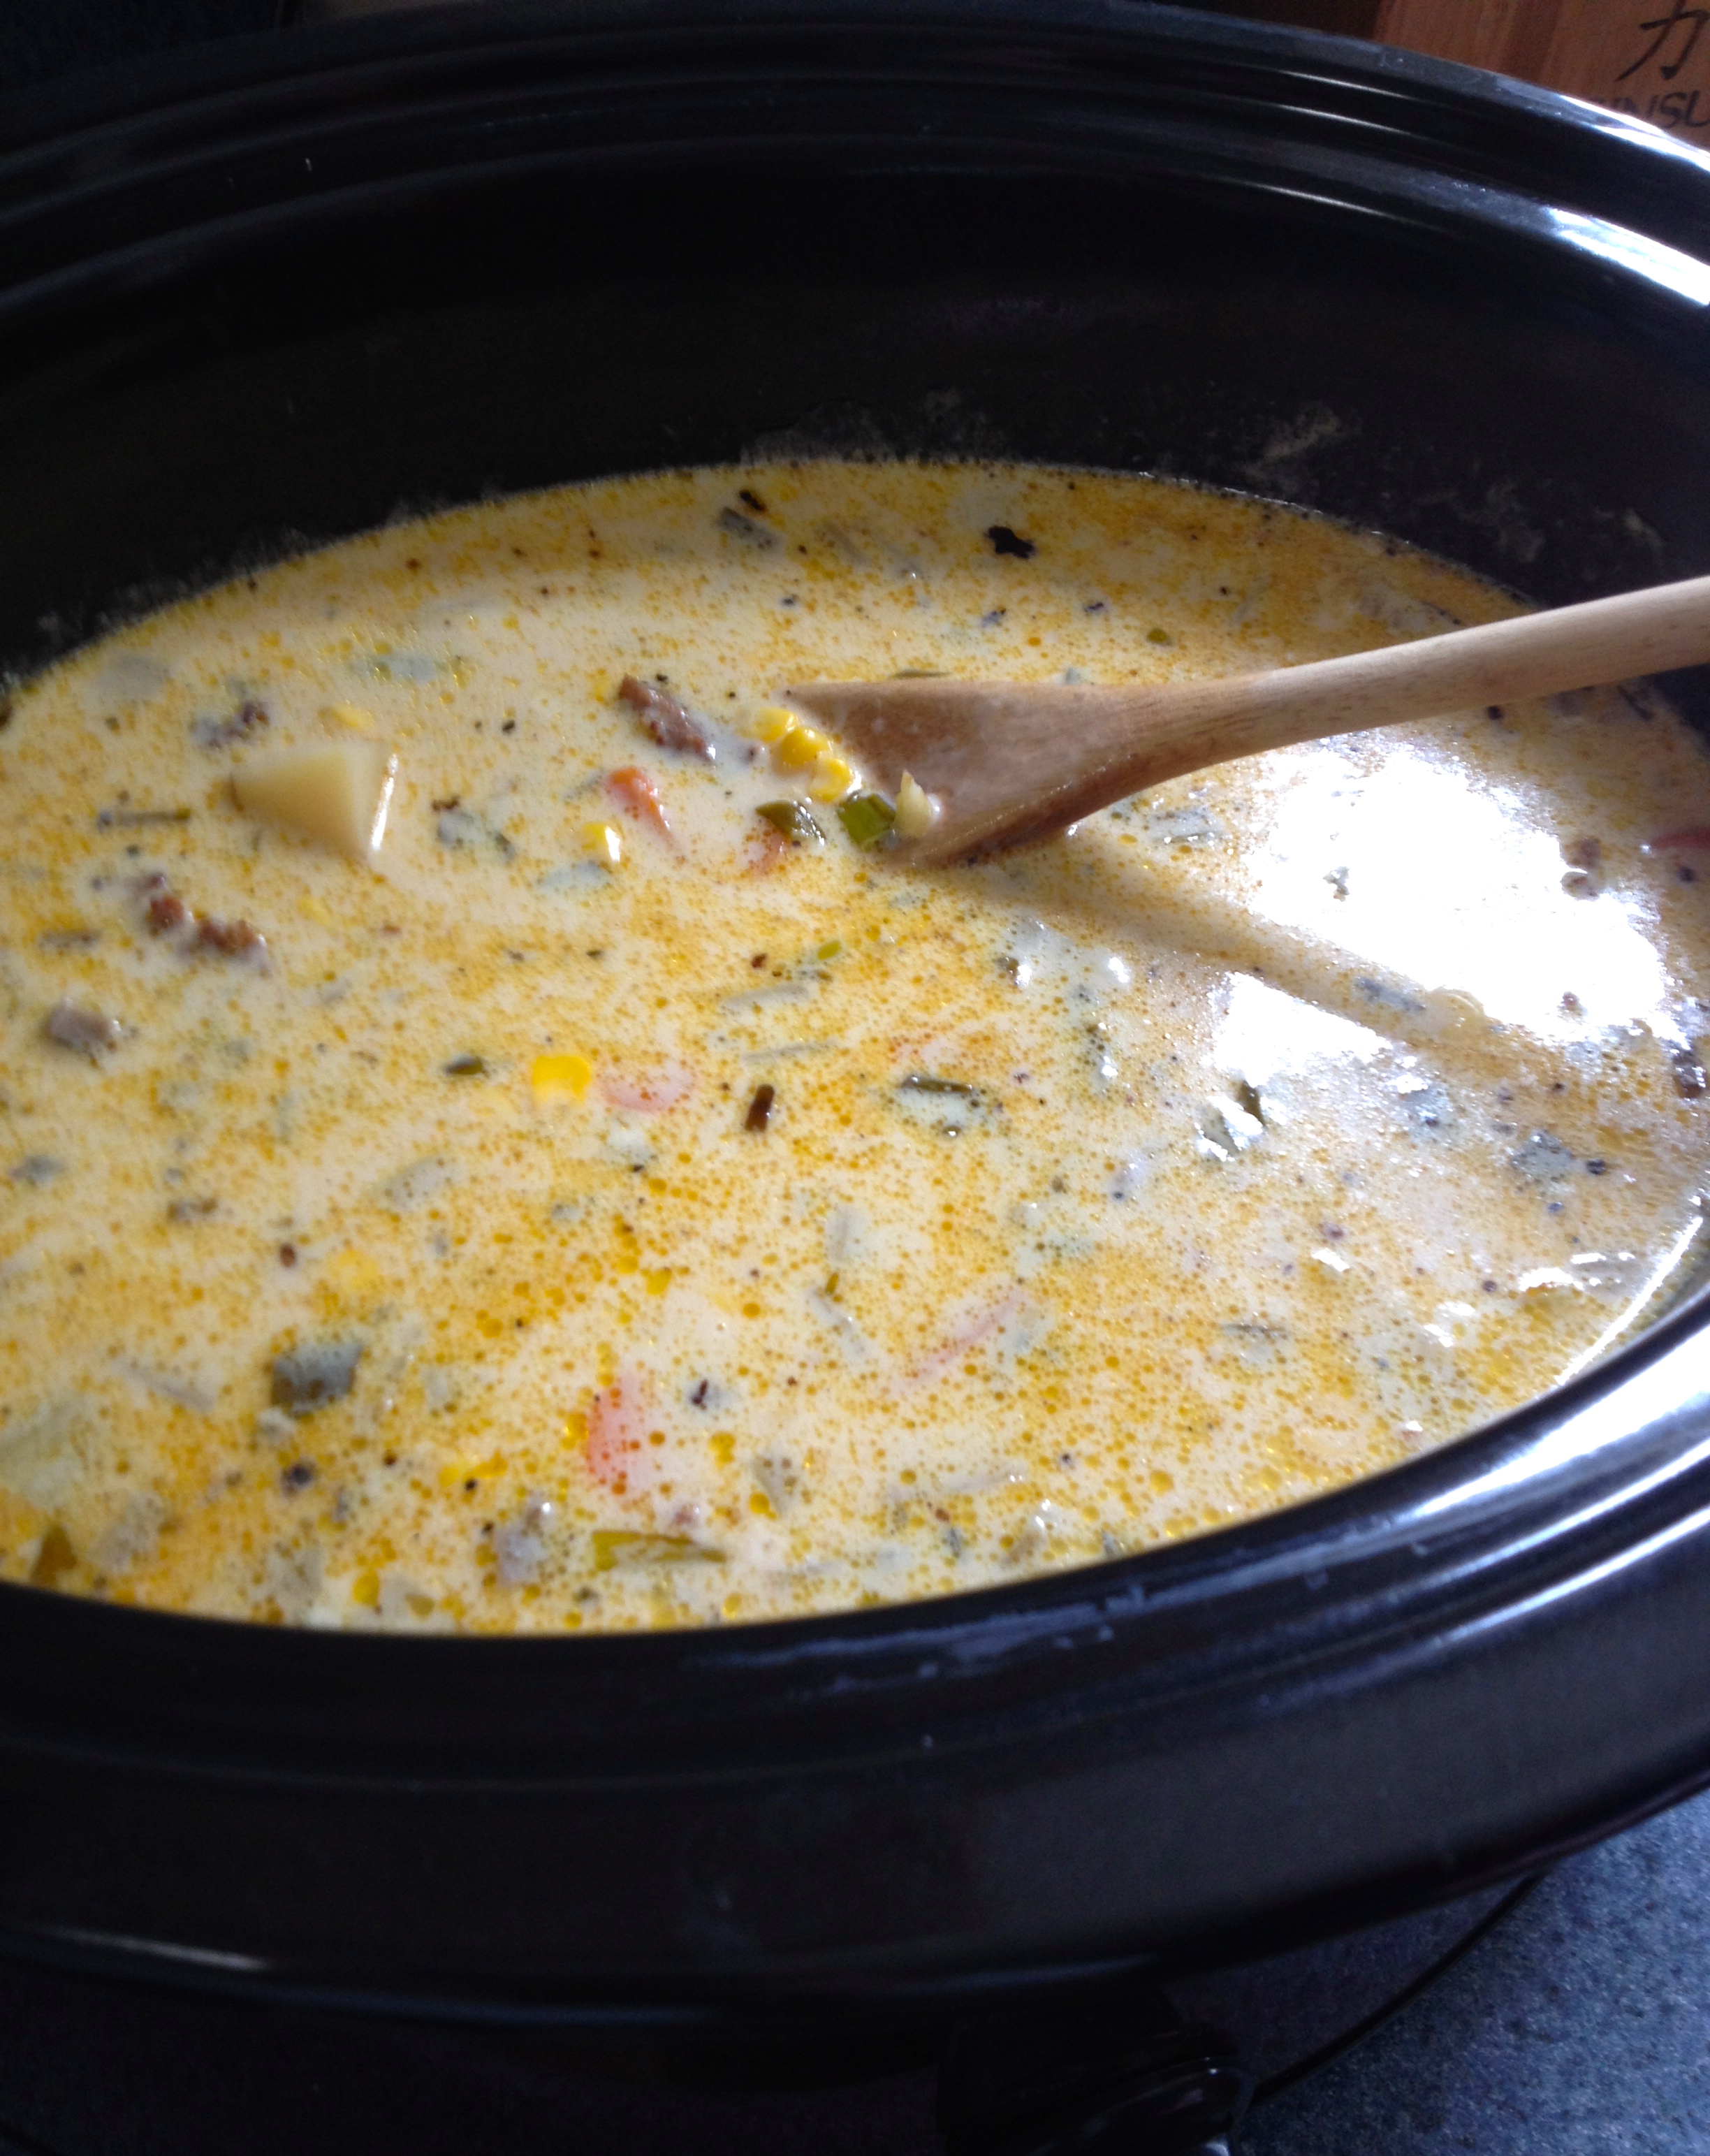
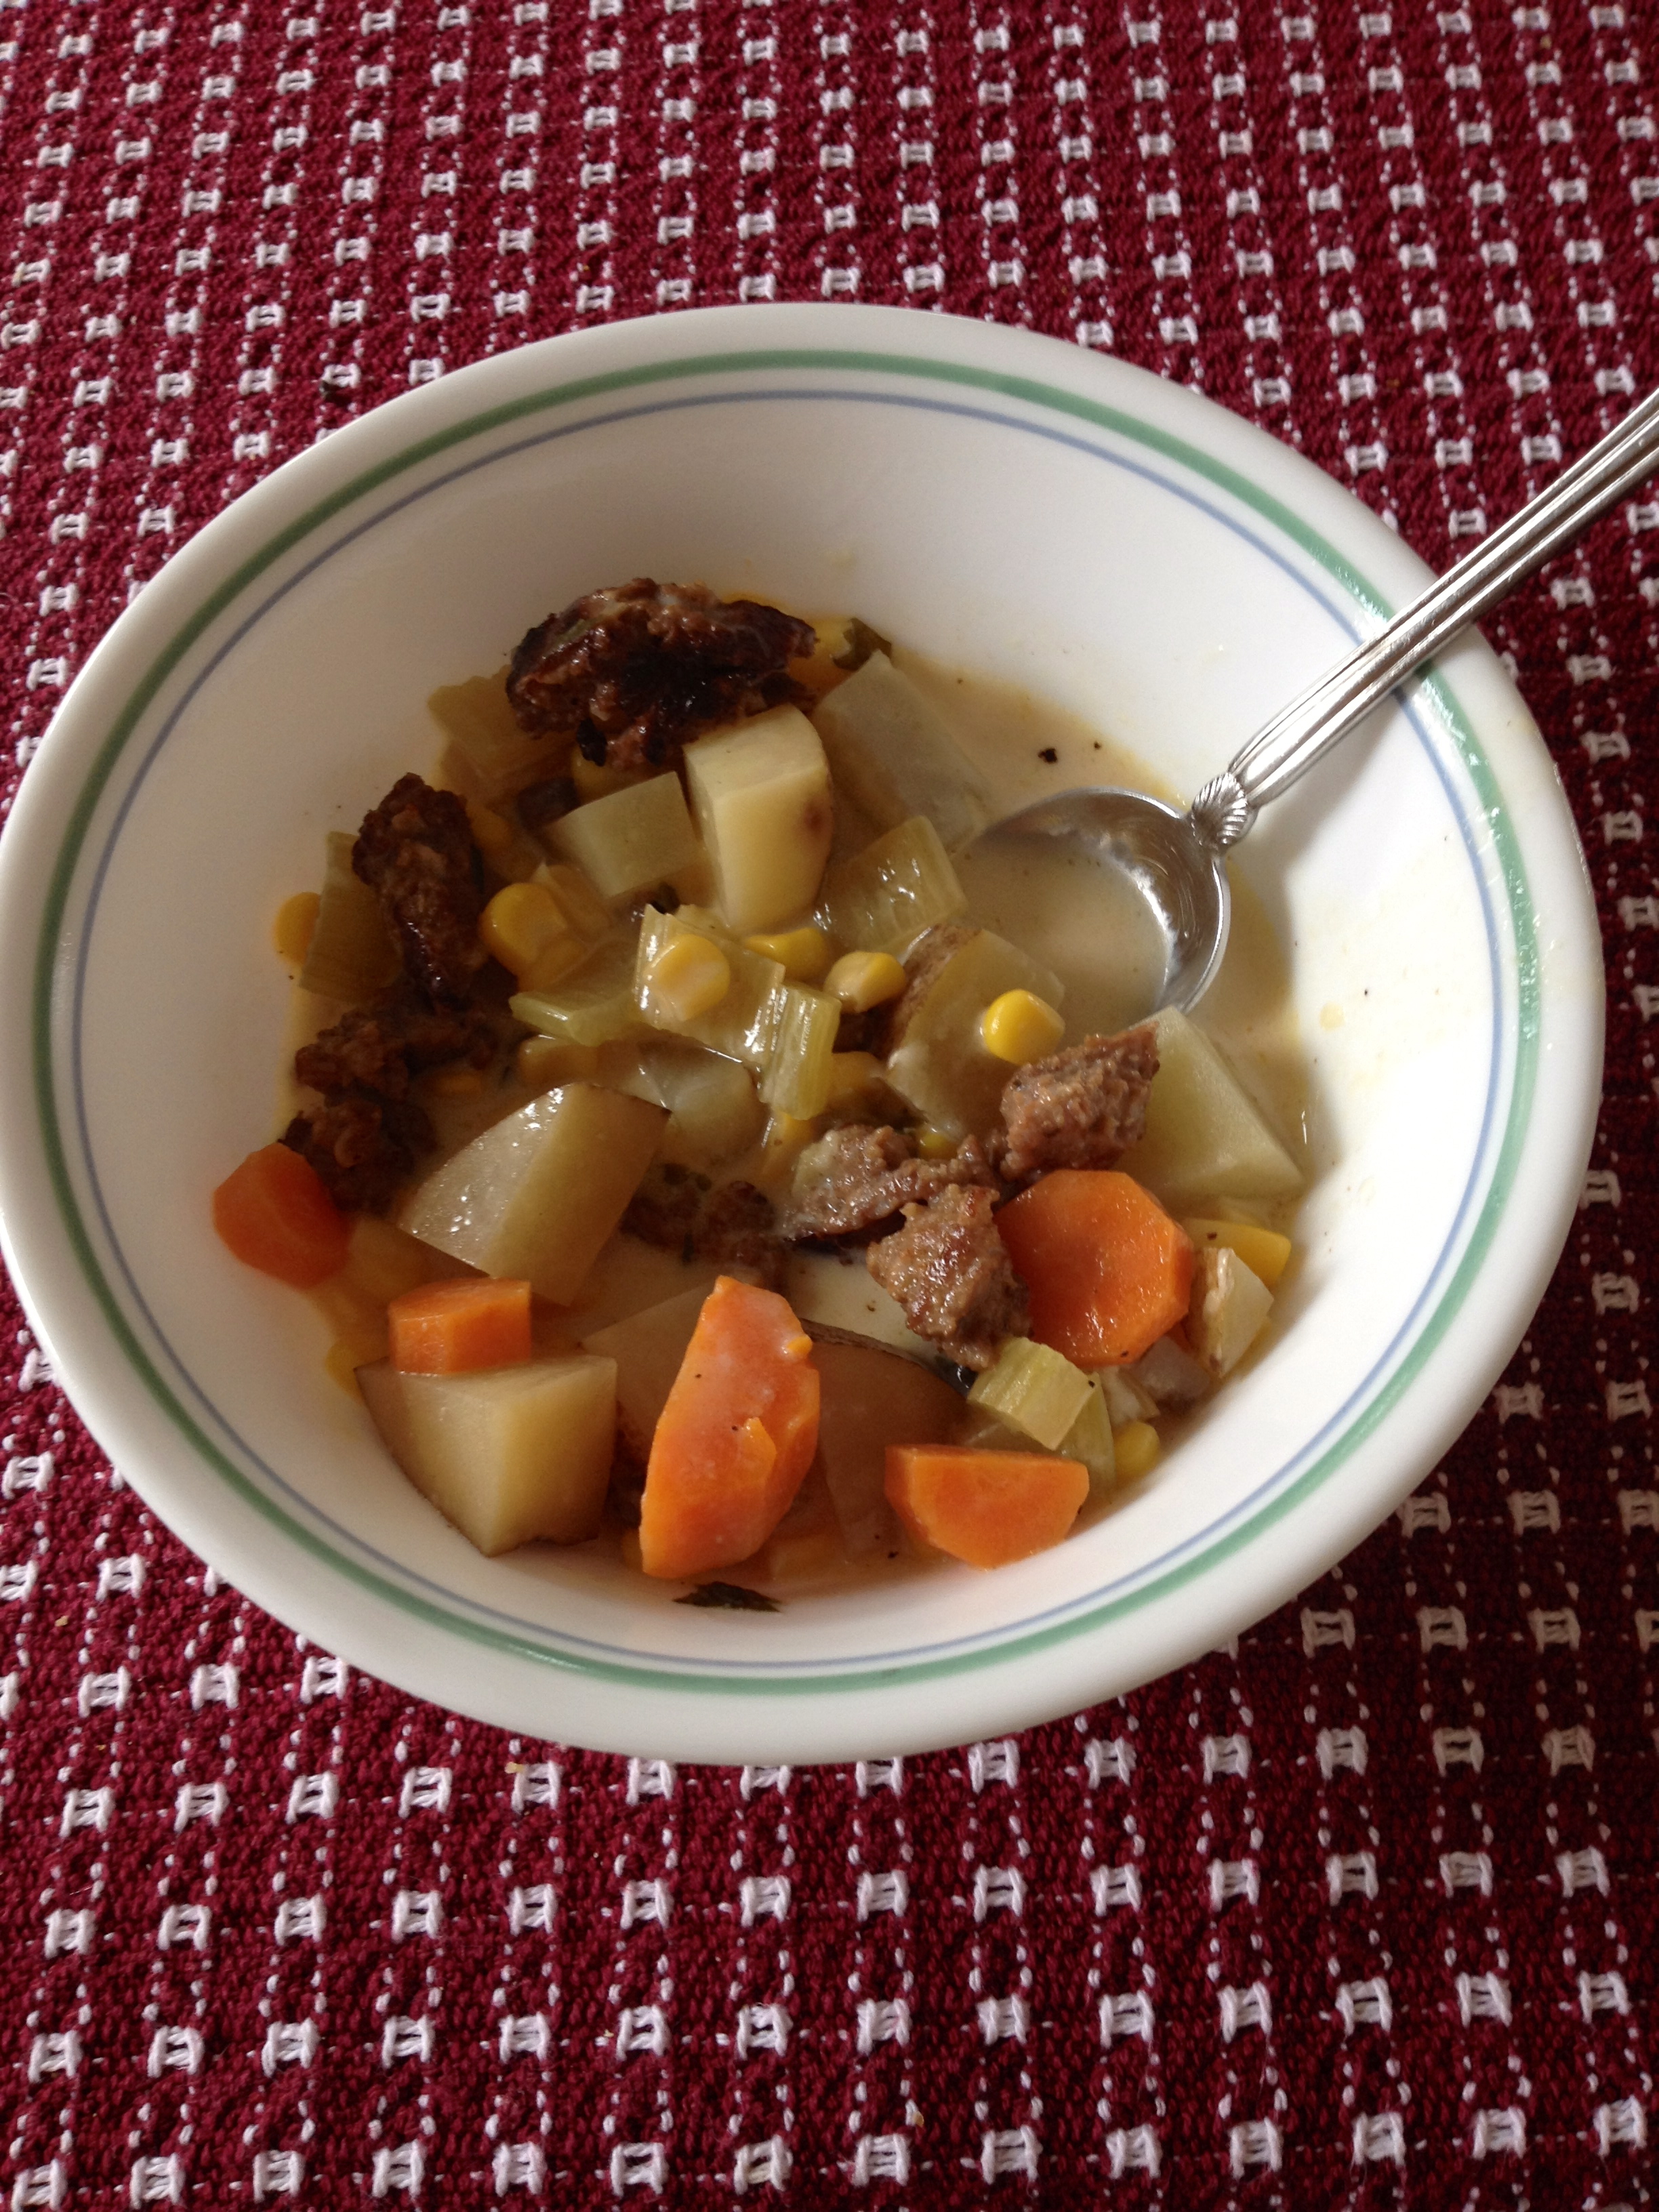
Homage to the Kingochowdah
I’m back again! Today’s post is a tribute to my friend’s late husband. He was a fabulous cook, and the self-proclaimed “Kingochowdah”. He used to cook for numerous church events, and his food always was superb. I decided, in his honor, to make his award-winning “Potato, Corn, Sausage and Cheese Chowder”. It’s absolutely delicious, and I was actually able to make it have slightly (but seriously, only slightly) fewer calories. Here’s his recipe:
Potato, Corn, Sausage and Cheese Chowder
- 2-3 cups unpeeled and diced potatoes (red or white)
- ~1 cup sliced carrots
- ~1 cup sliced celery
- 2 medium finely diced onions (I used scallions because of an onion intolerance, and it still tasted great!)
- ~4 cloves minced garlic
- ~1 tsp olive oil (his recipe says “a little” but this is about how much I used)
- 1 cup diced red bell pepper (optional)
- 1 cup diced green pepper (optional)
- ~1 cup sliced mushrooms (optional)
- 1-2 cups corn (if frozen, thaw first)
- 15 oz. creamed corn (I omitted this to save on sodium and calories)
- 2 cans chicken broth (I used low-sodium)
- 1 lb cooked sliced sausage
- 1 tbsp fresh chopped basil
- 1 tbsp fresh chopped parsley
- 1 tbsp salt (I didn’t use that much salt, maybe more like 2 tsp)
- 1 tsp black pepper
- 1-2 tbsp Worcestershire sauce
- 1 tbsp Dijon mustard
- 2-3 cups grated cheddar cheese
- 12 oz. evaporated milk
Sautee the carrots, celery, scallions, and garlic together in the olive oil until they are wilted but not browned. To do this, you’ll need to cook the carrots and celery for a few minutes before adding the garlic and onions, because they’re much harder veggies. Then, cook the sausage if needed. Add all the ingredients except the cheese and evaporated milk into a large crock pot.

Cook it on low for 7-9 hours, or on high for 4 hours. Then, add the cheese and evaporated milk and cook further until the cheese is melted.
Then, ladle and enjoy!
The way I made this chowder, it’s lower sodium and has fewer calories. It’s also less thick than the original recipe because I didn’t add the creamed corn. That didn’t make it any less delicious, though! I promise you’ll love it.
The Kingochowdah was dedicated to community and making sure everyone was well-fed. He is well-deserving of his culinary accolades, and certainly left a delicious legacy behind! For more of his recipes, feel free to visit www.kingochowdah.com and order his cookbook. You won’t be disappointed! Happy eating!
Too Busy to Eat?
Hello, all! It feels like forever since my last post- life gets busy at the end of a semester! This post will be fairly short, because I should be working on a project as I type! In the spirit of having no time and needing to eat on the go, I thought I would post some of my favorite sandwich recipes. They’re healthy, delicious, and easy to eat anywhere! In fact, you can prepare some of the ingredients over the weekend, and then have sandwich ingredients on hand all week!
Here are the sandwiches of the day:
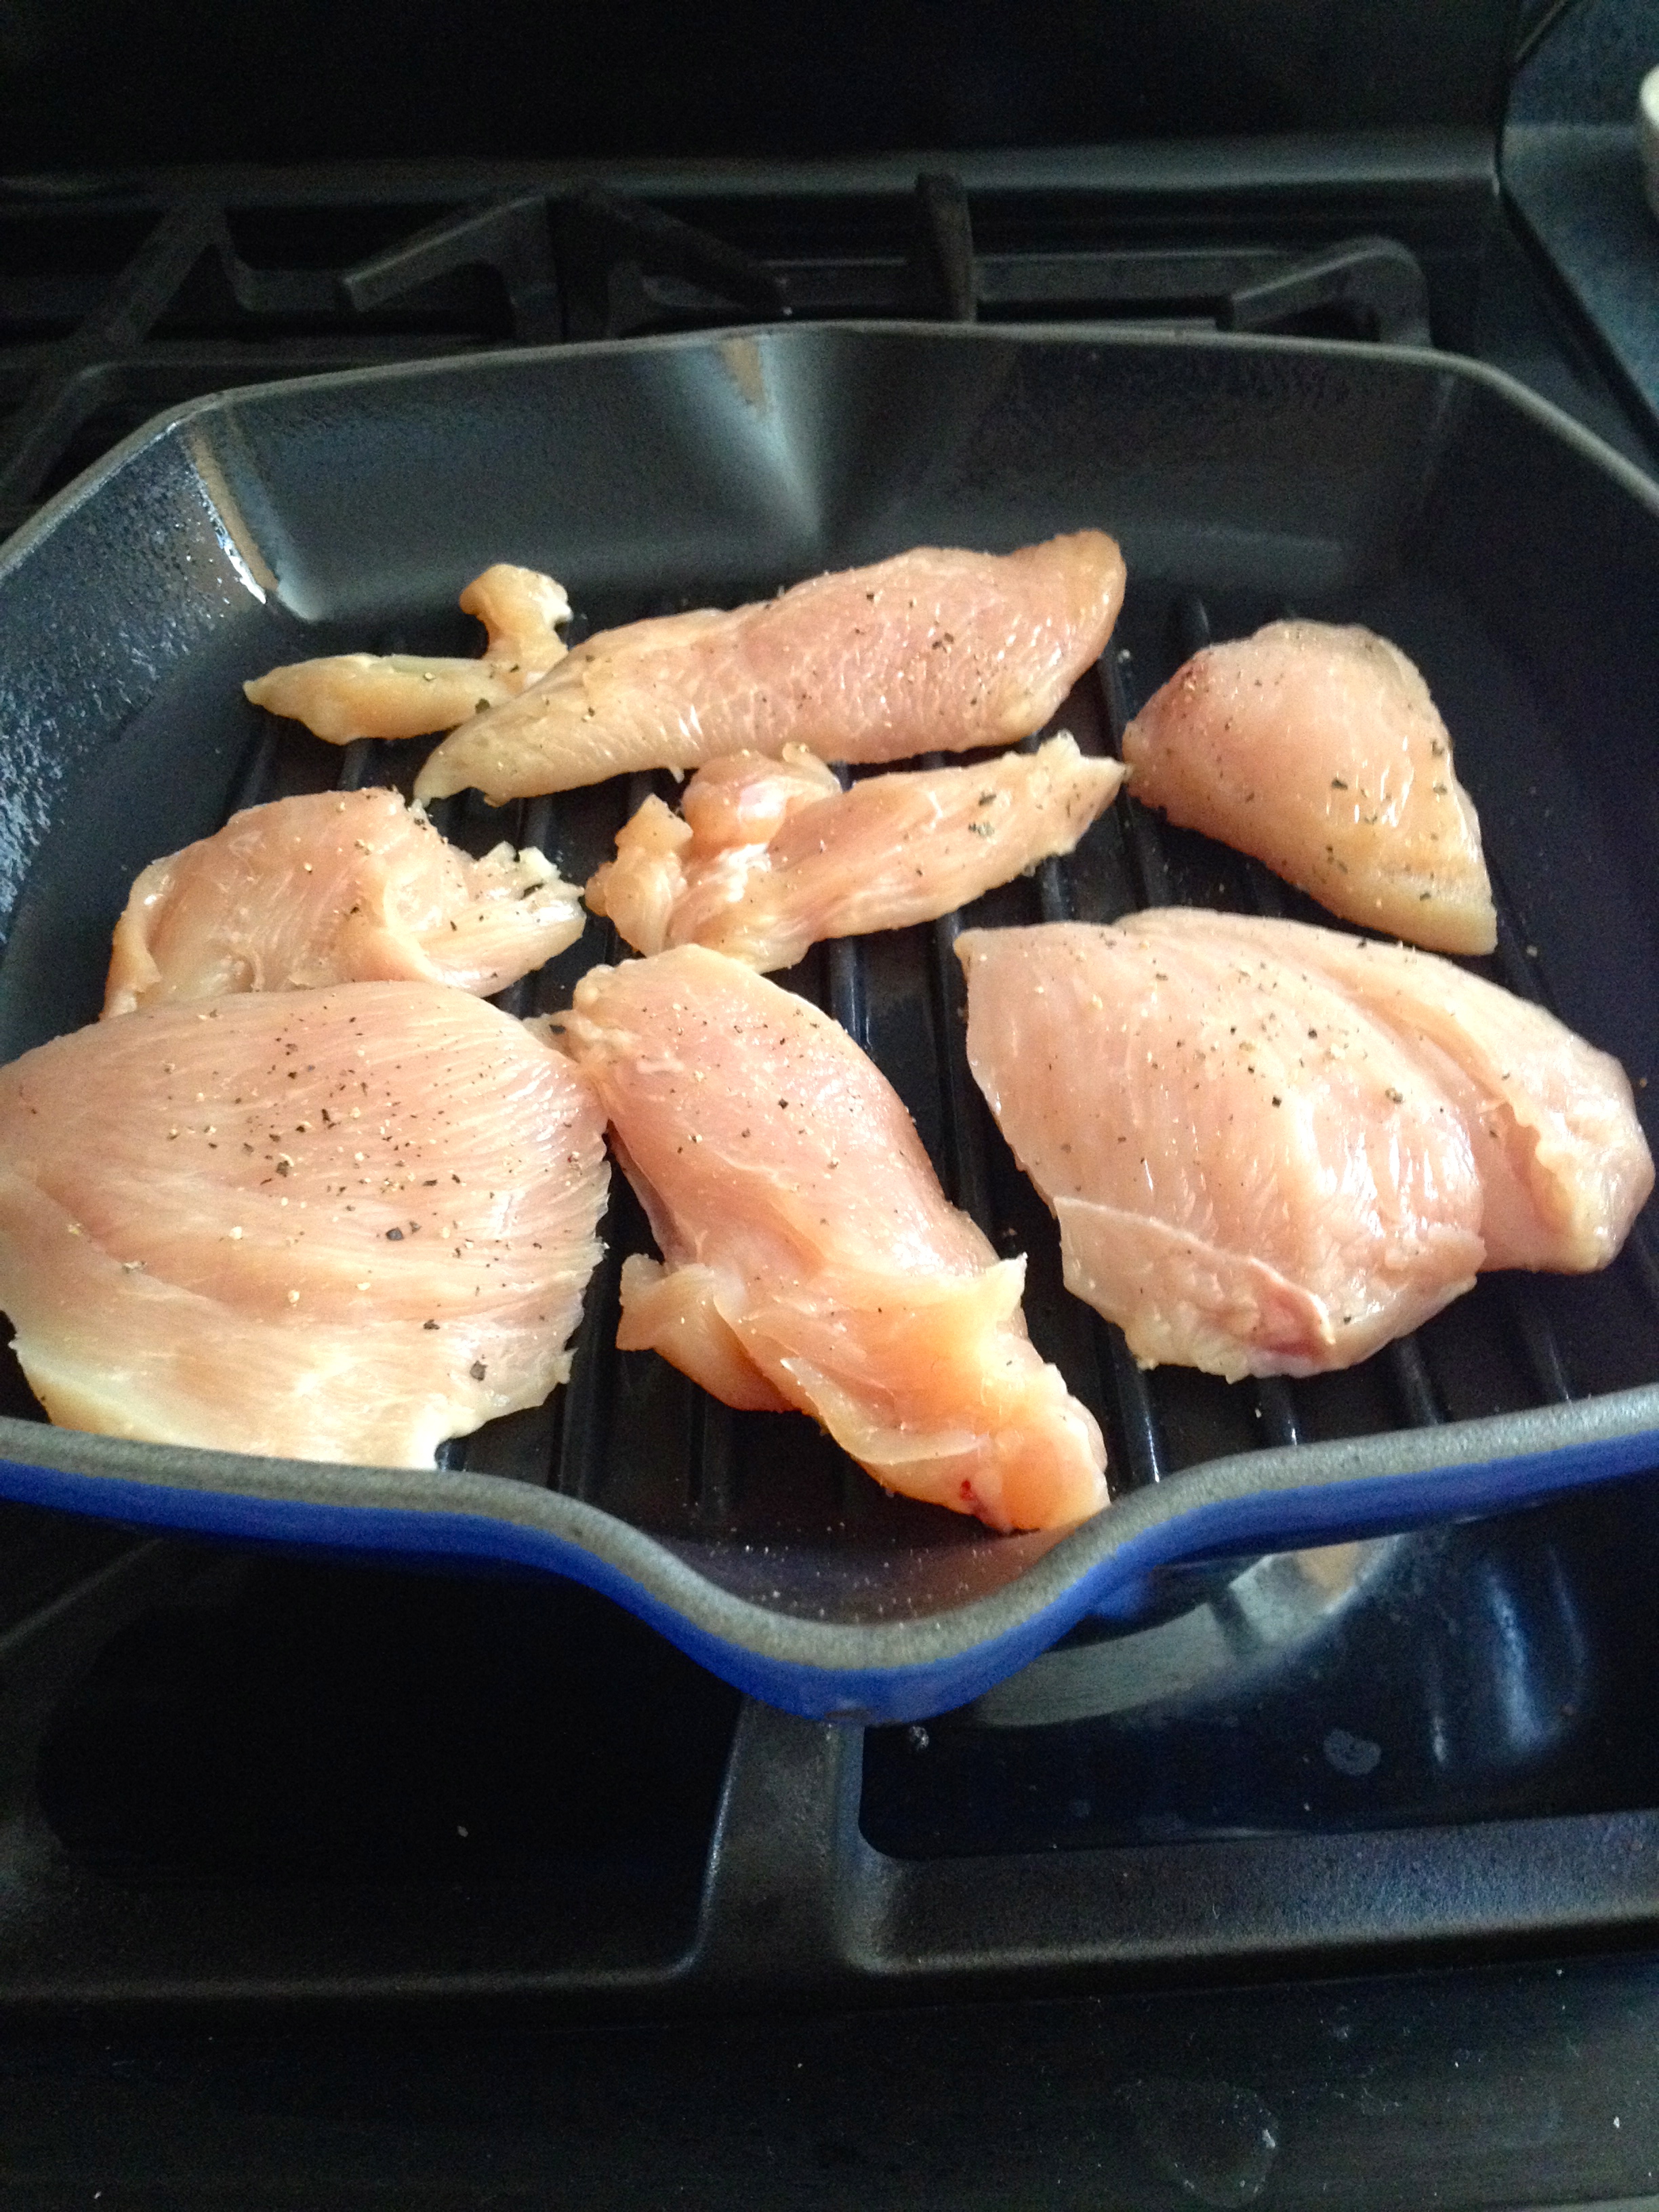
Grilled basil chicken salad with shredded cheese, apple slices, dried cranberries, and shredded lettuce in a pita pocket.
1. Grill boneless chicken tenders, sprinkling with salt, pepper, and dried basil on both sides of the chicken. When the chicken is cooked through, remove it from the heat and let it cool fully before touching it again. (Tip- do this before hand and refrigerate it to save time!)
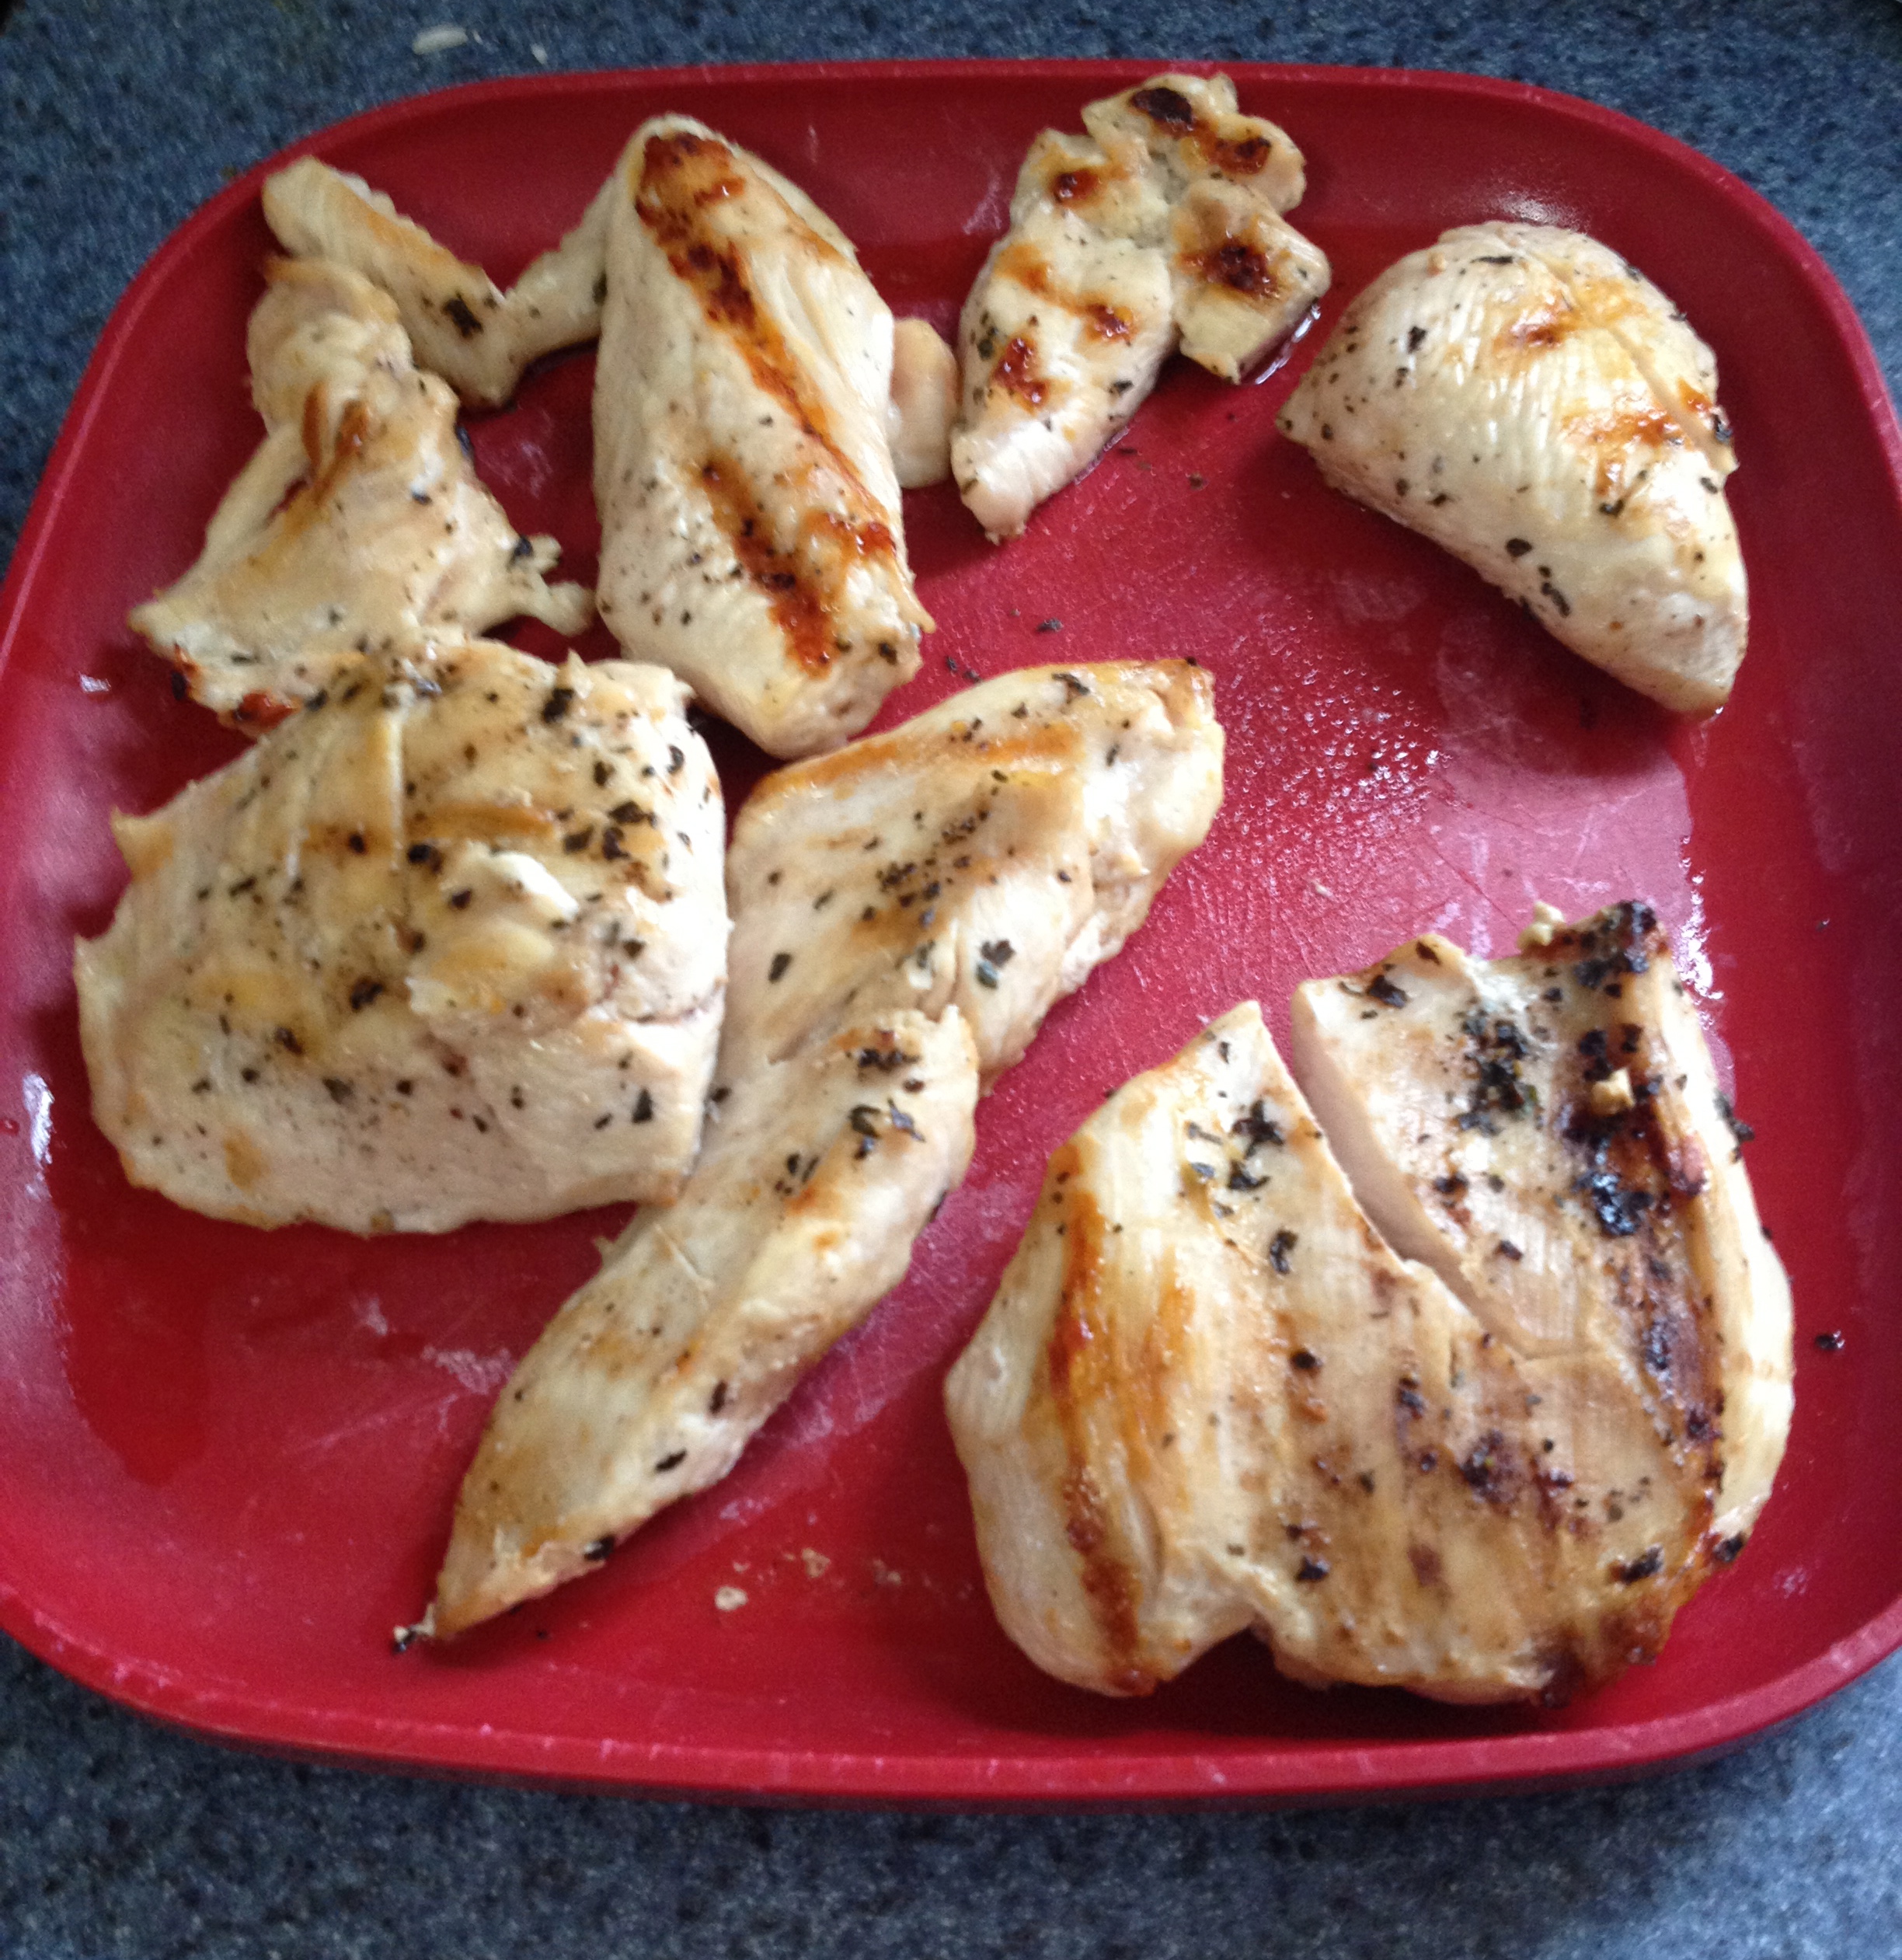
2. When the chicken is fully cooled, cut it into small squares and mix it with a dollop of mayonnaise. Then, add the dried cranberries to the mixture.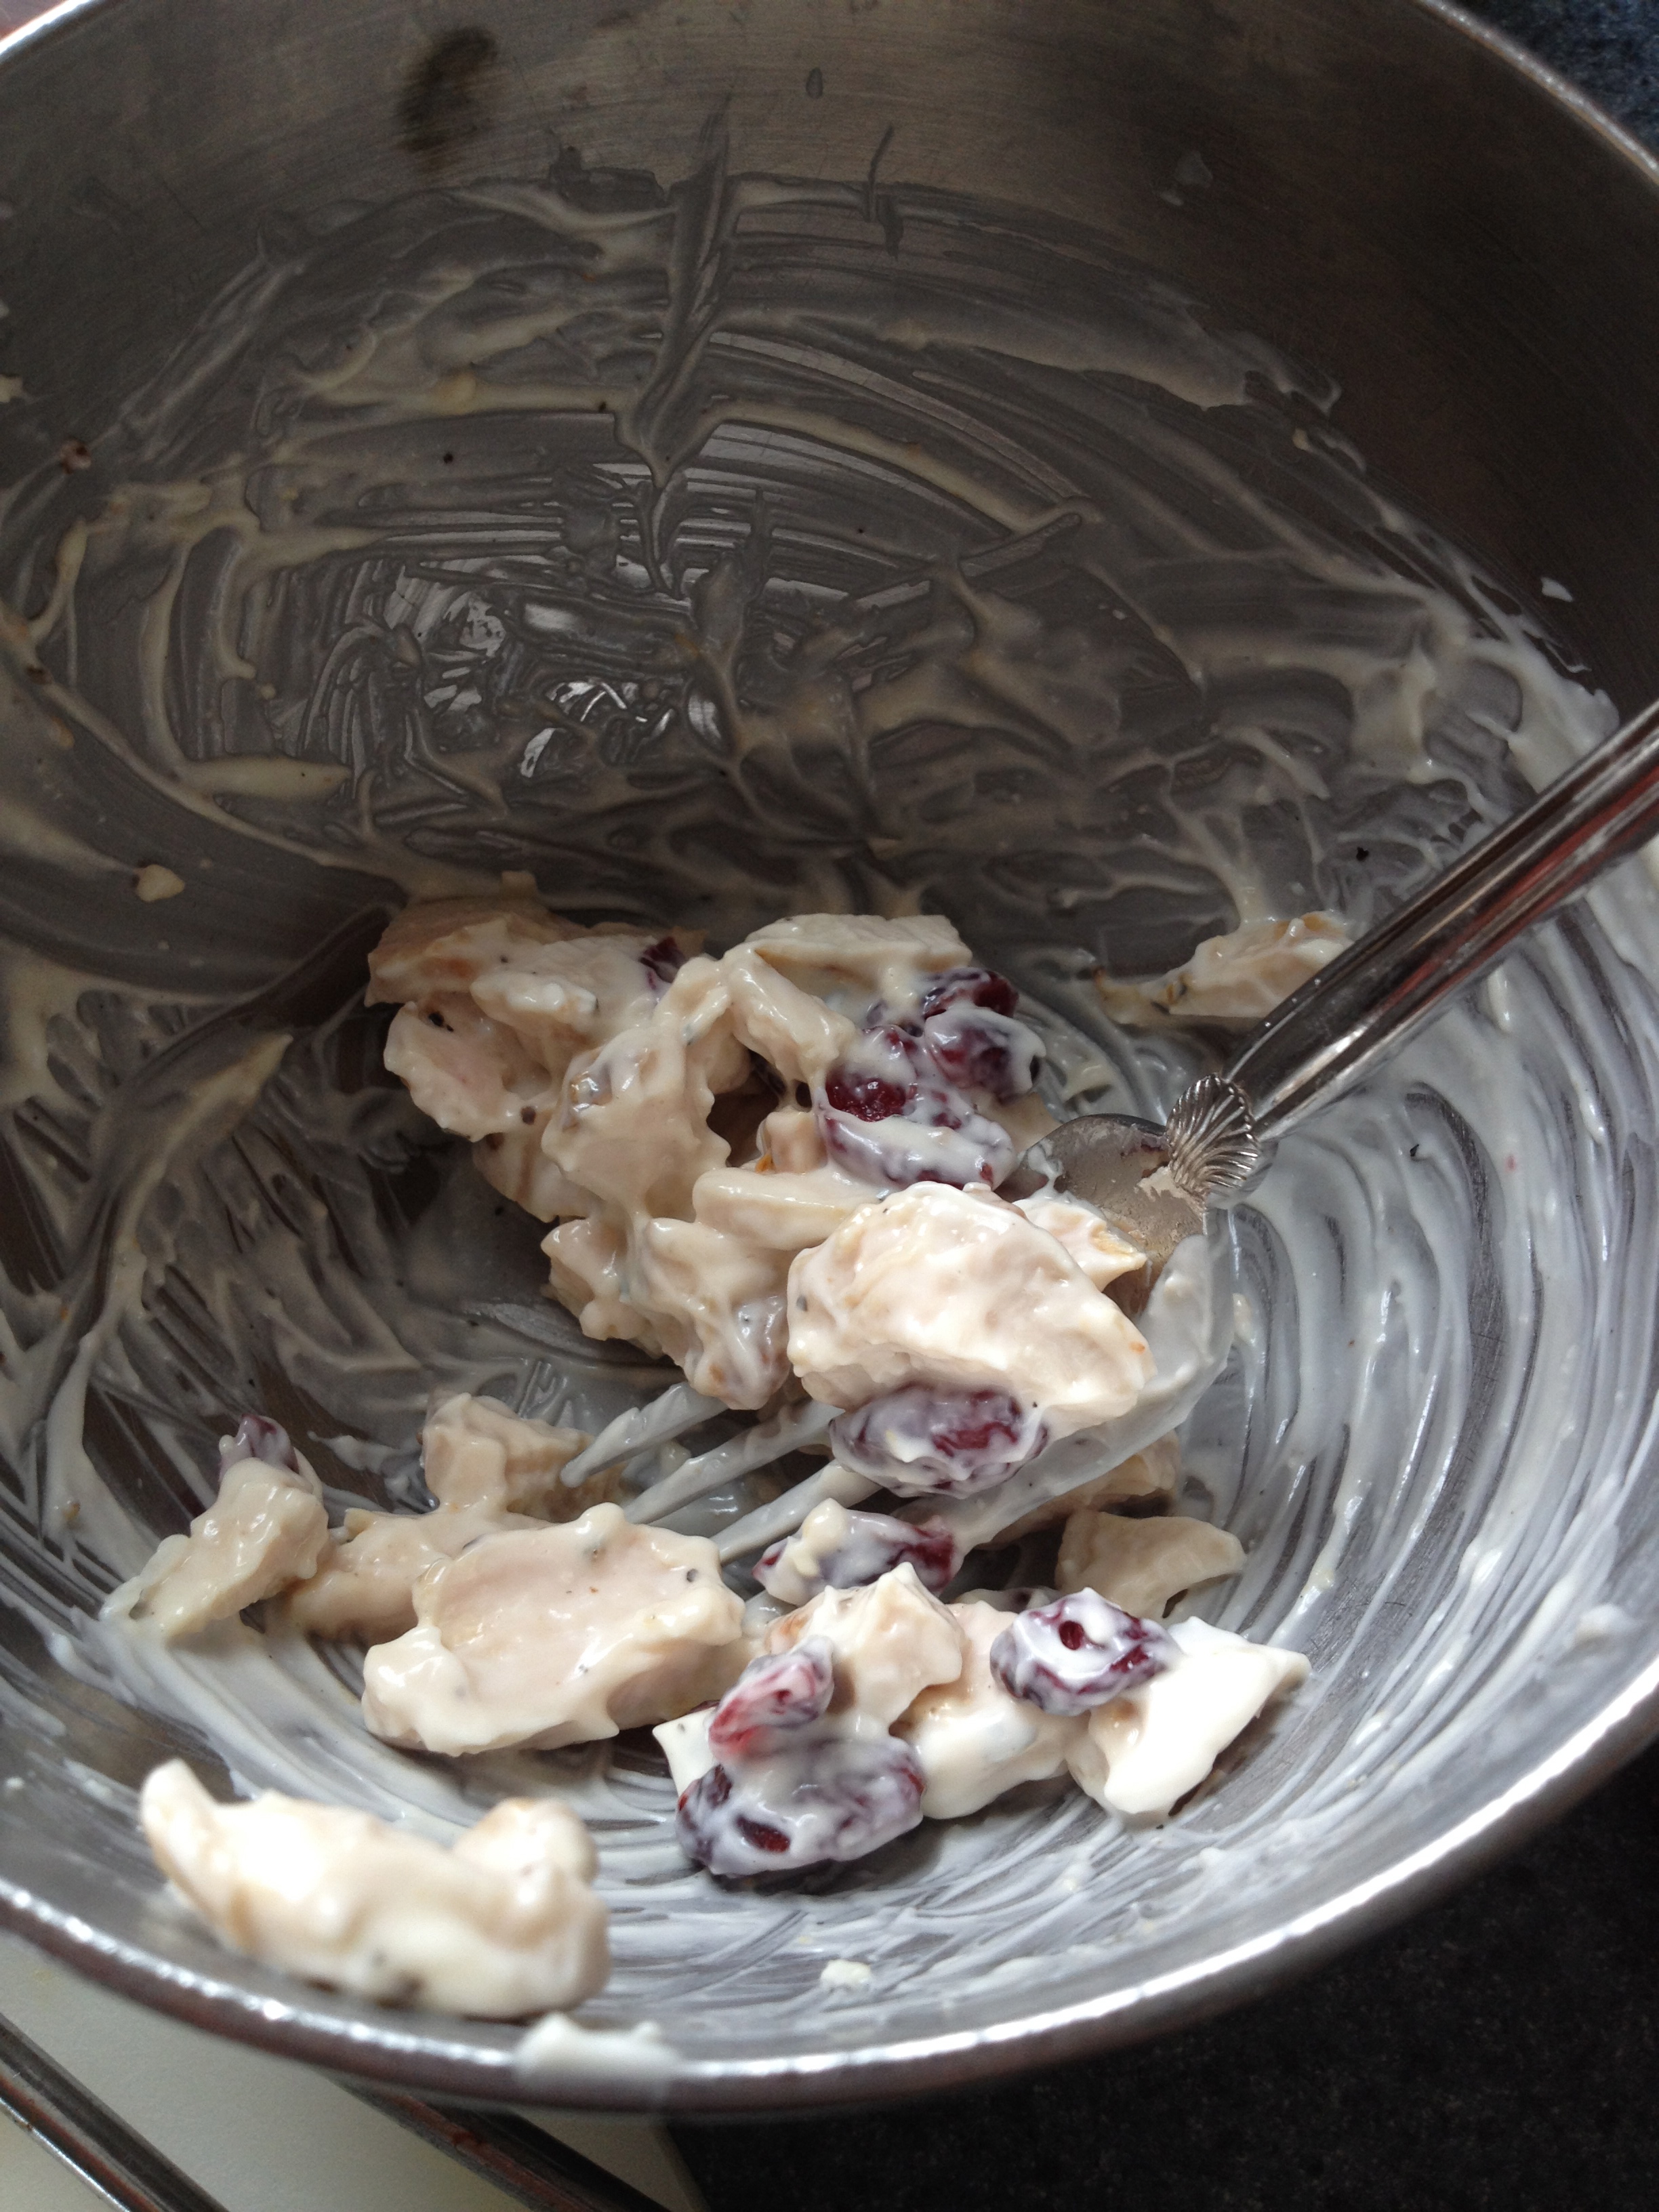
3. Assembly time! Take a half-circle pita pocket and put shredded lettuce and shredded cheese on the bottom of the pita. This will prevent the bottom of the pita from getting soggy, and also adds great crunch. Then, load the chicken salad into the pocket. Finally, thinly slice a green apple and layer the slices on top of the salad for more crunch and tartness. Wrap the sandwich in foil and you’re ready to go!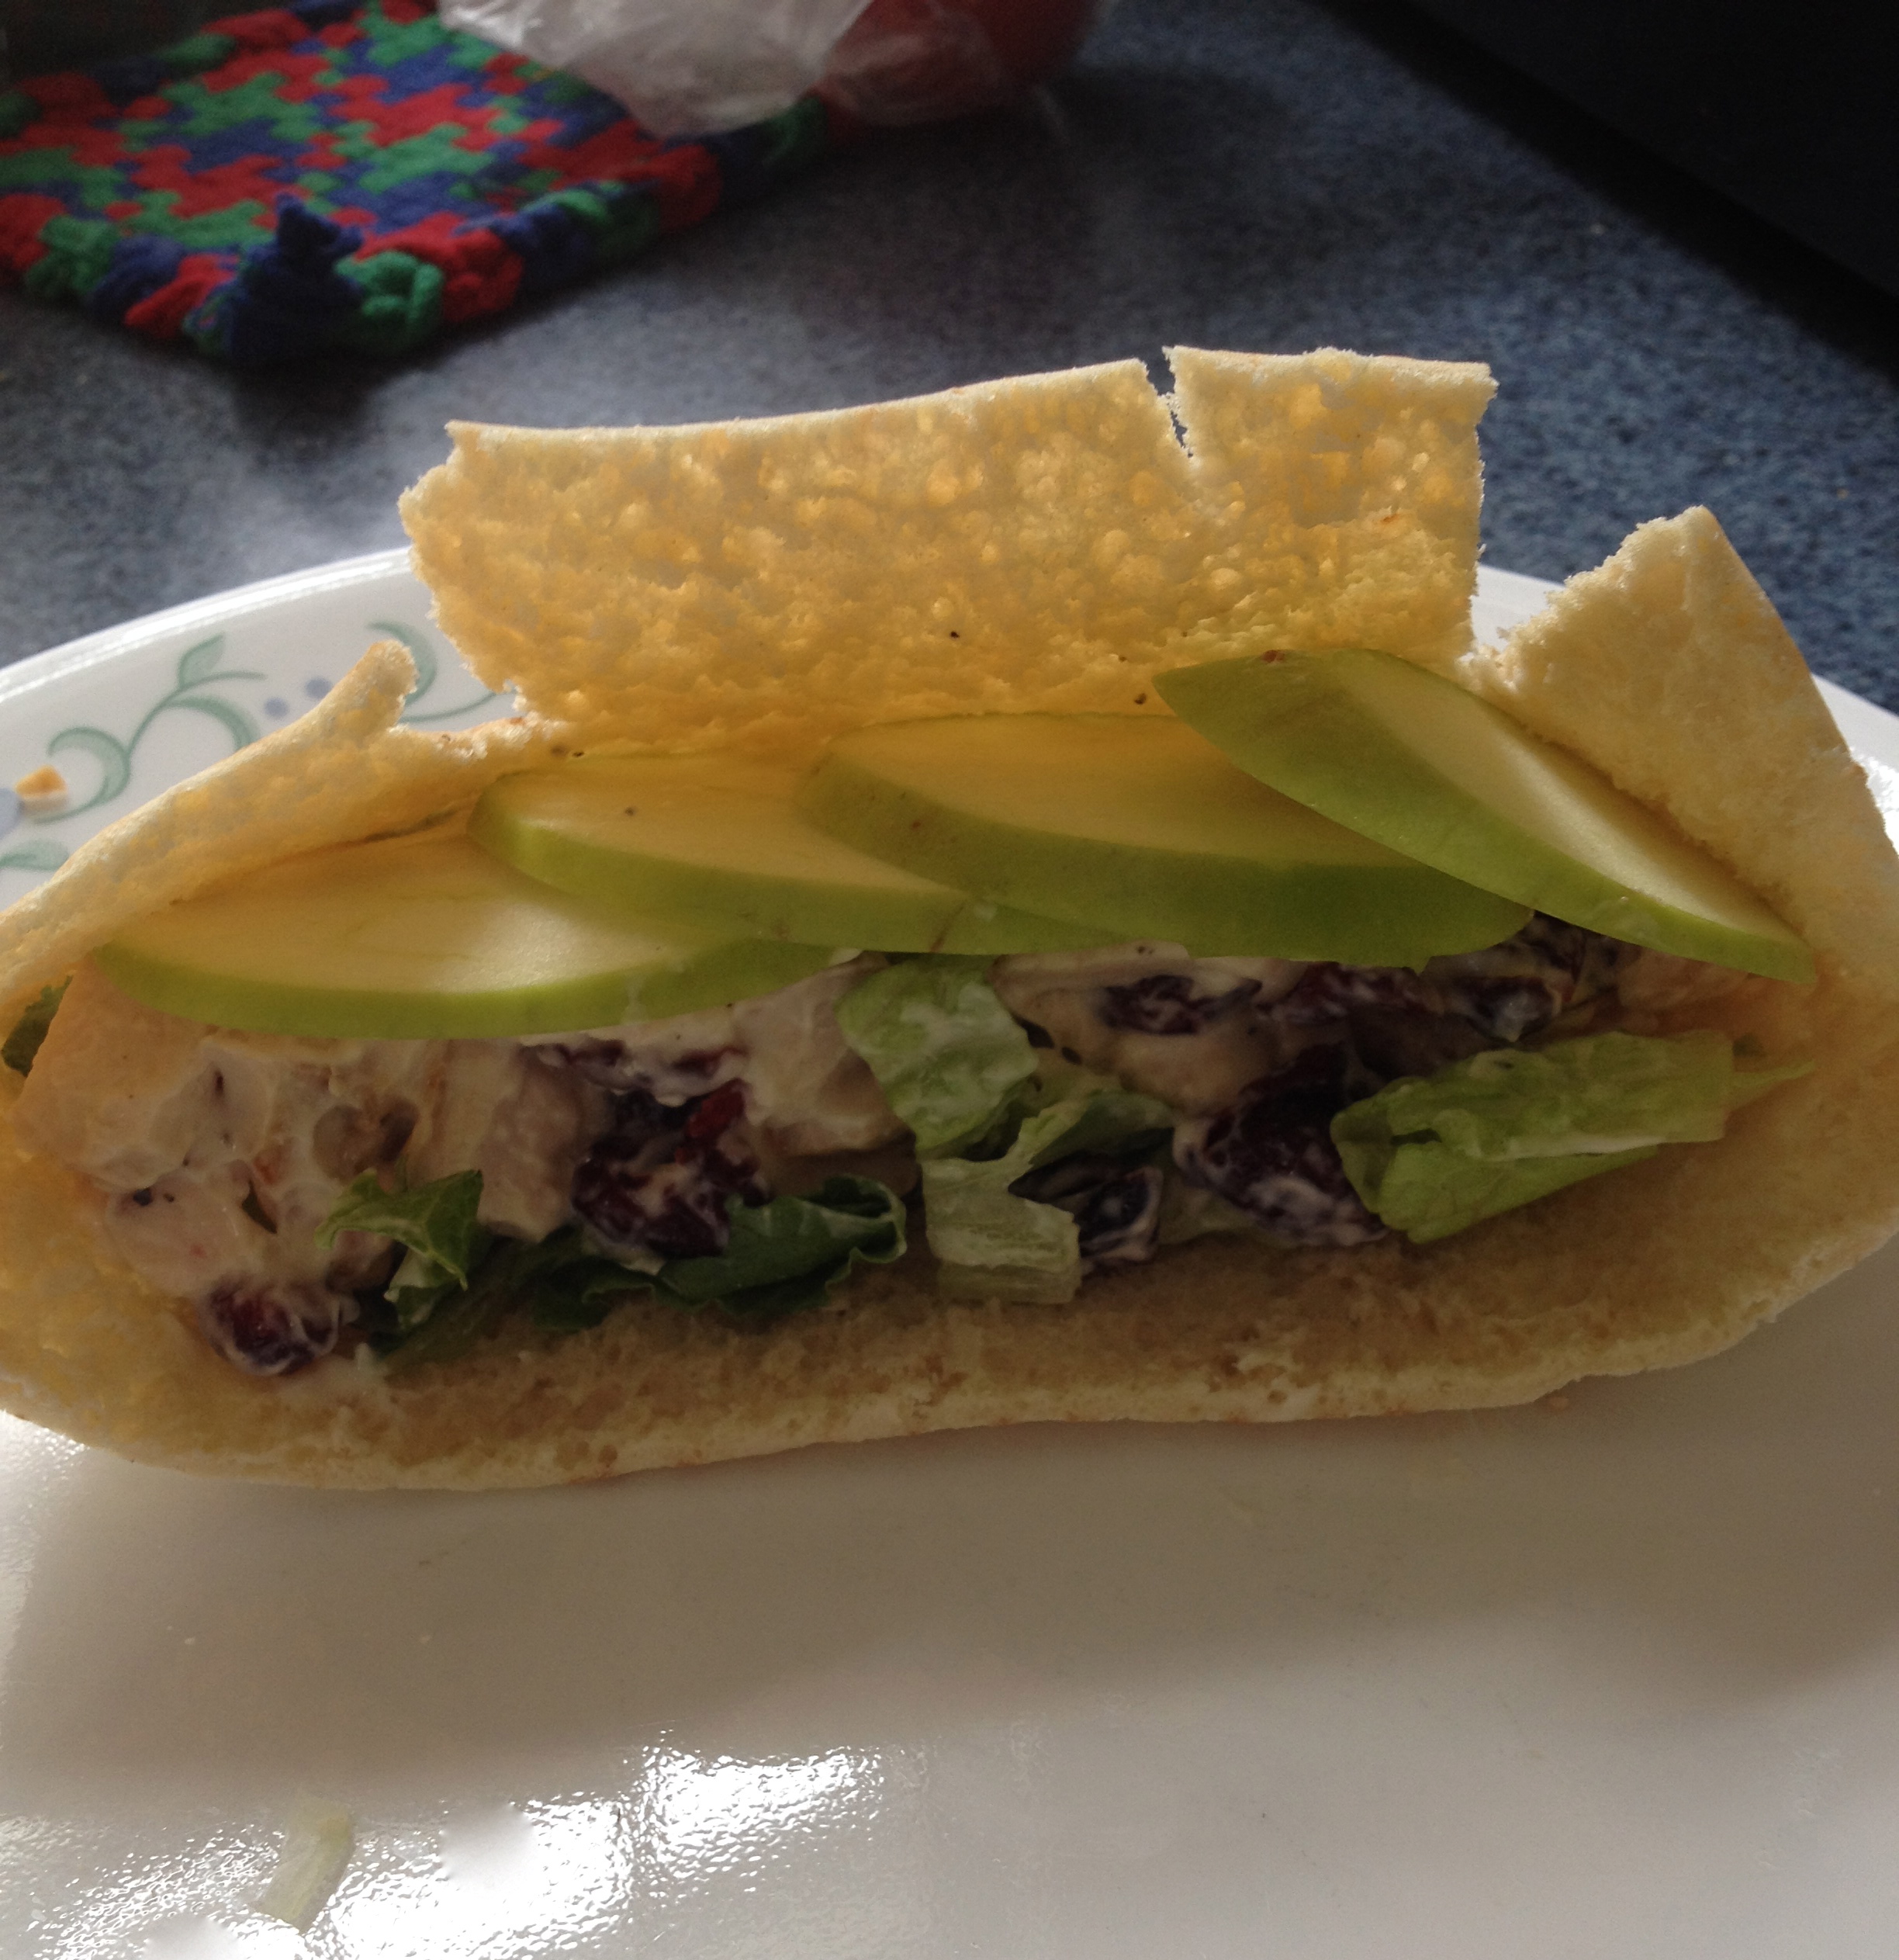
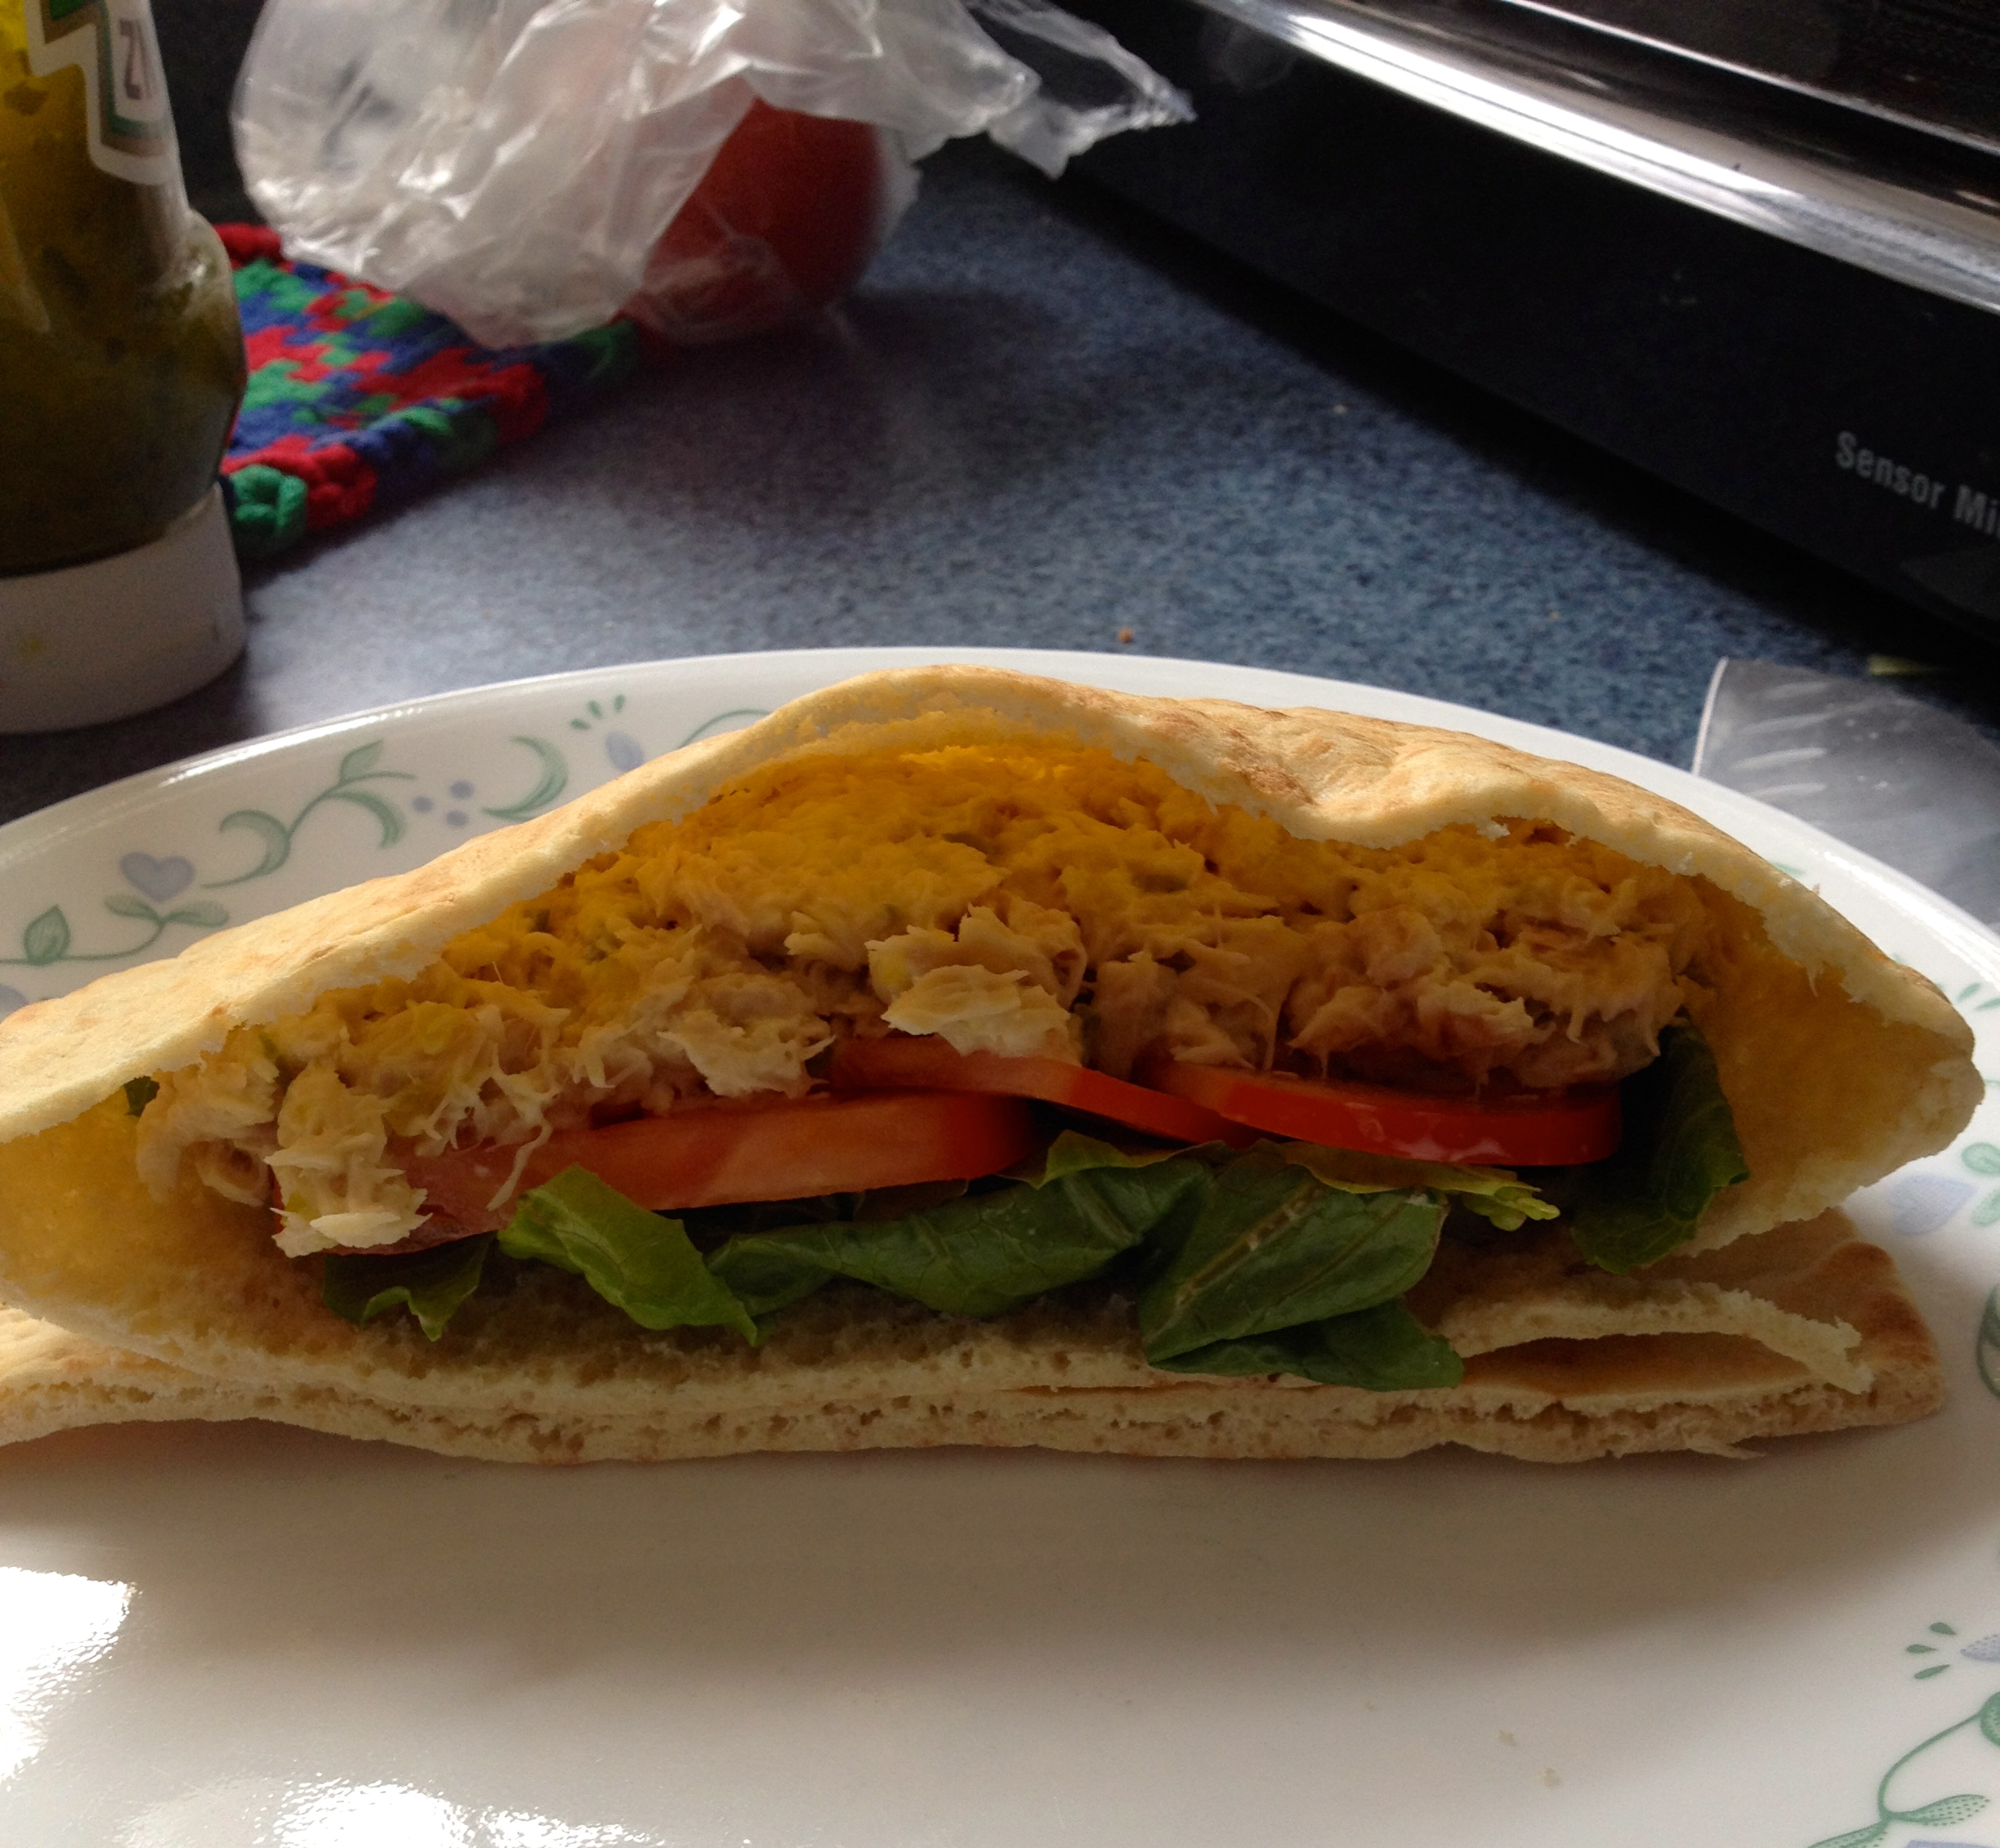
Tuna salad with sliced tomato and lettuce in a pita pocket.
1. Open and drain a can of tuna, and then mix the tuna in a small bowl with a dollop of mayonnaise and a dollop of pickle relish (you can leave the relish out if you don’t like it). 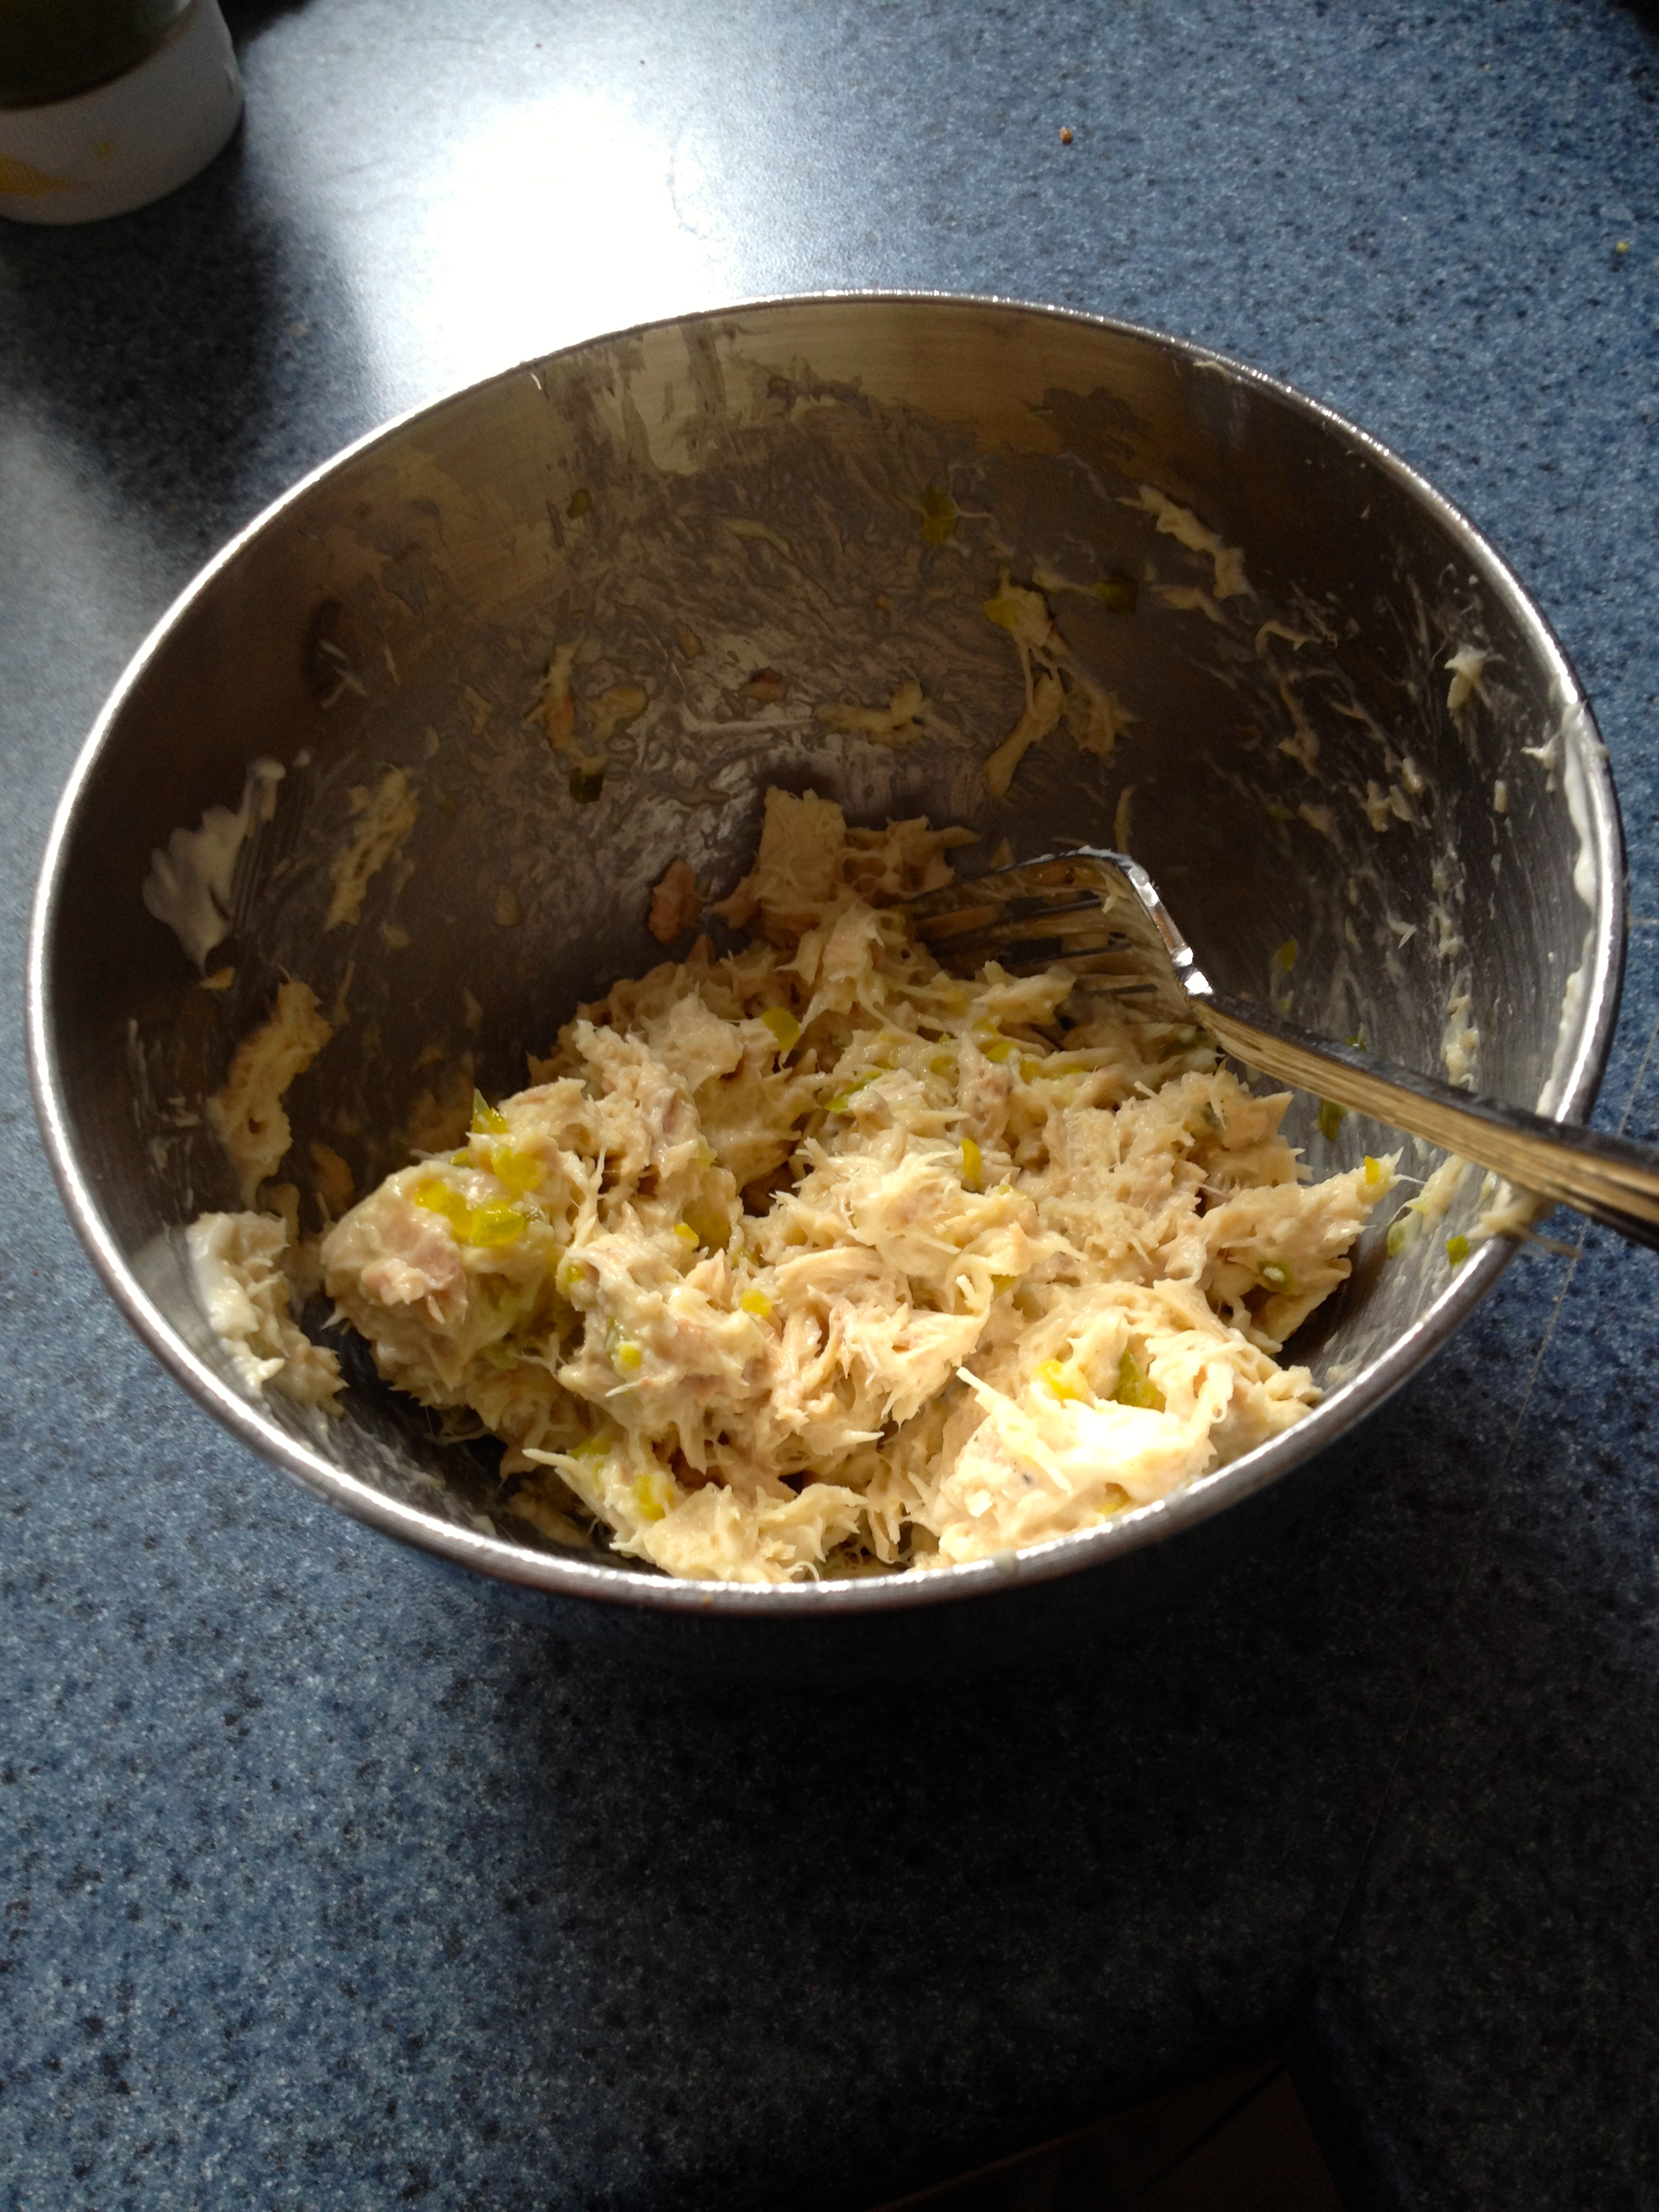
2. Open the pita pocket and put the lettuce leaves on the bottom, to prevent sogginess. (TIP: if you don’t like soggy bread, always put your dry and crunchy ingredients on the bottom of the sandwich. It really does work!) Then, put tomato slices on the lettuce leaves, and then the tuna on top of the tomato. This way, the tomato (the wettest item) is in the middle so there’s the least chance of it leaking all over the bread).
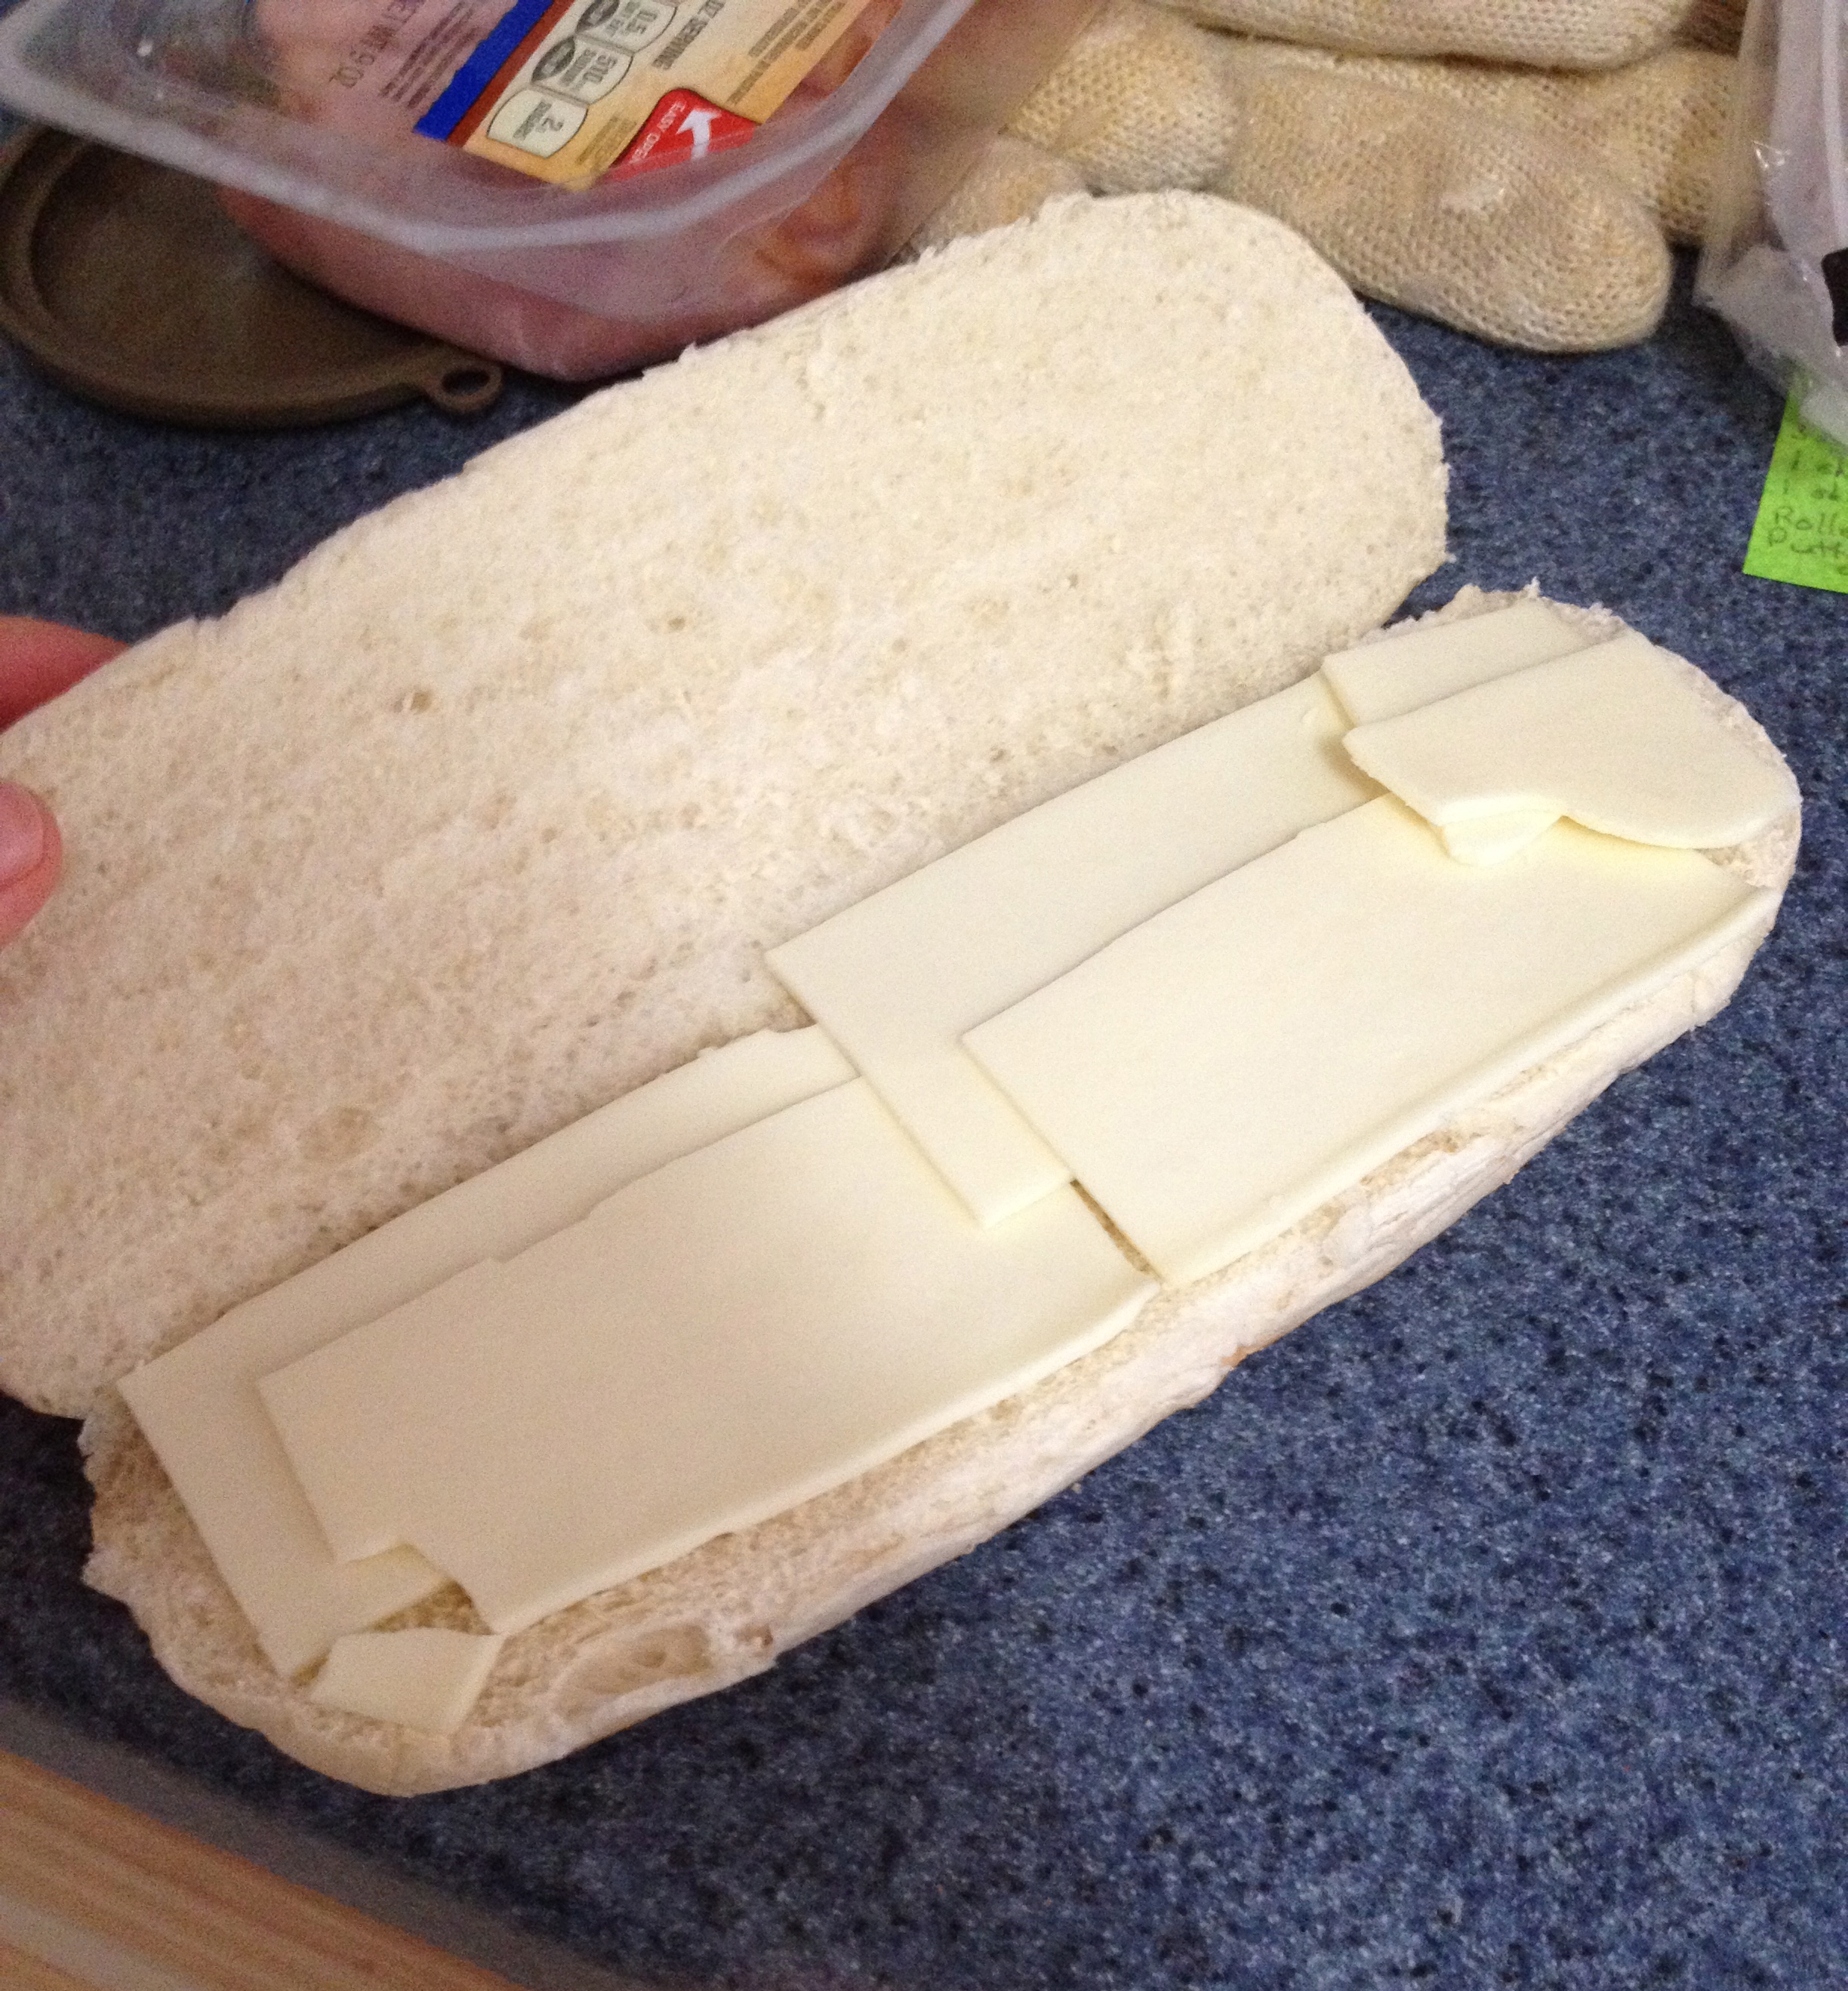
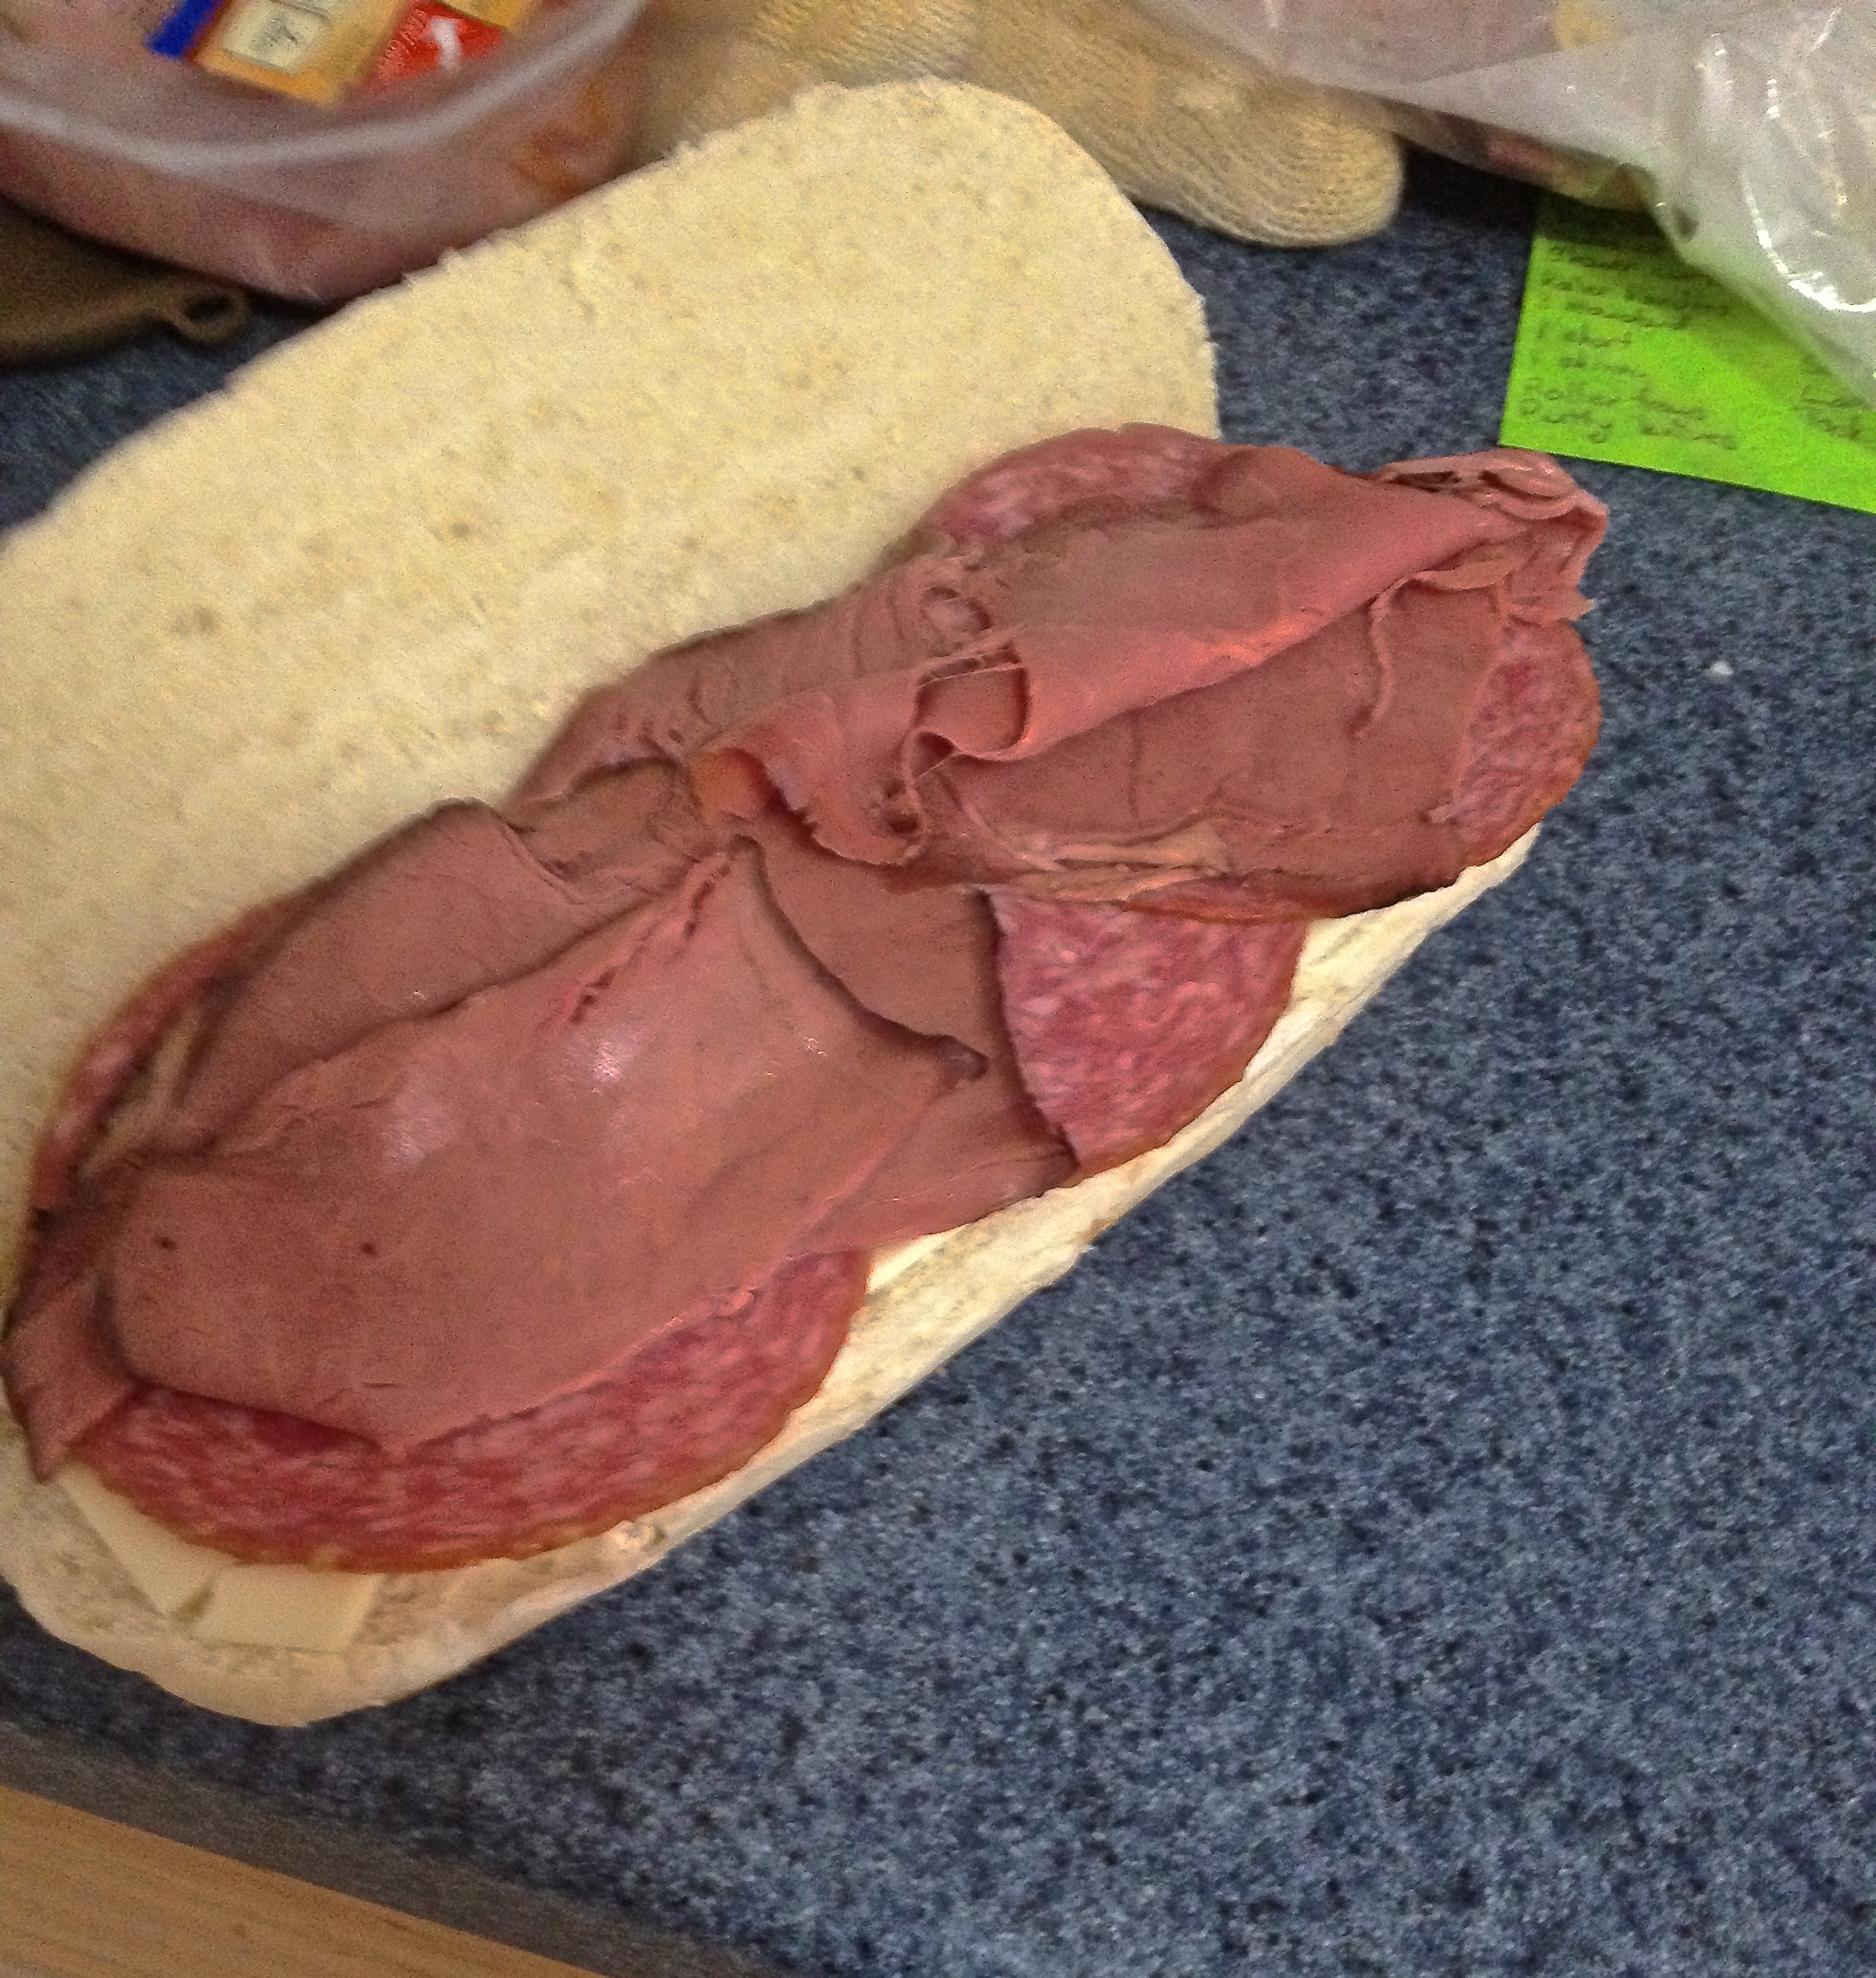
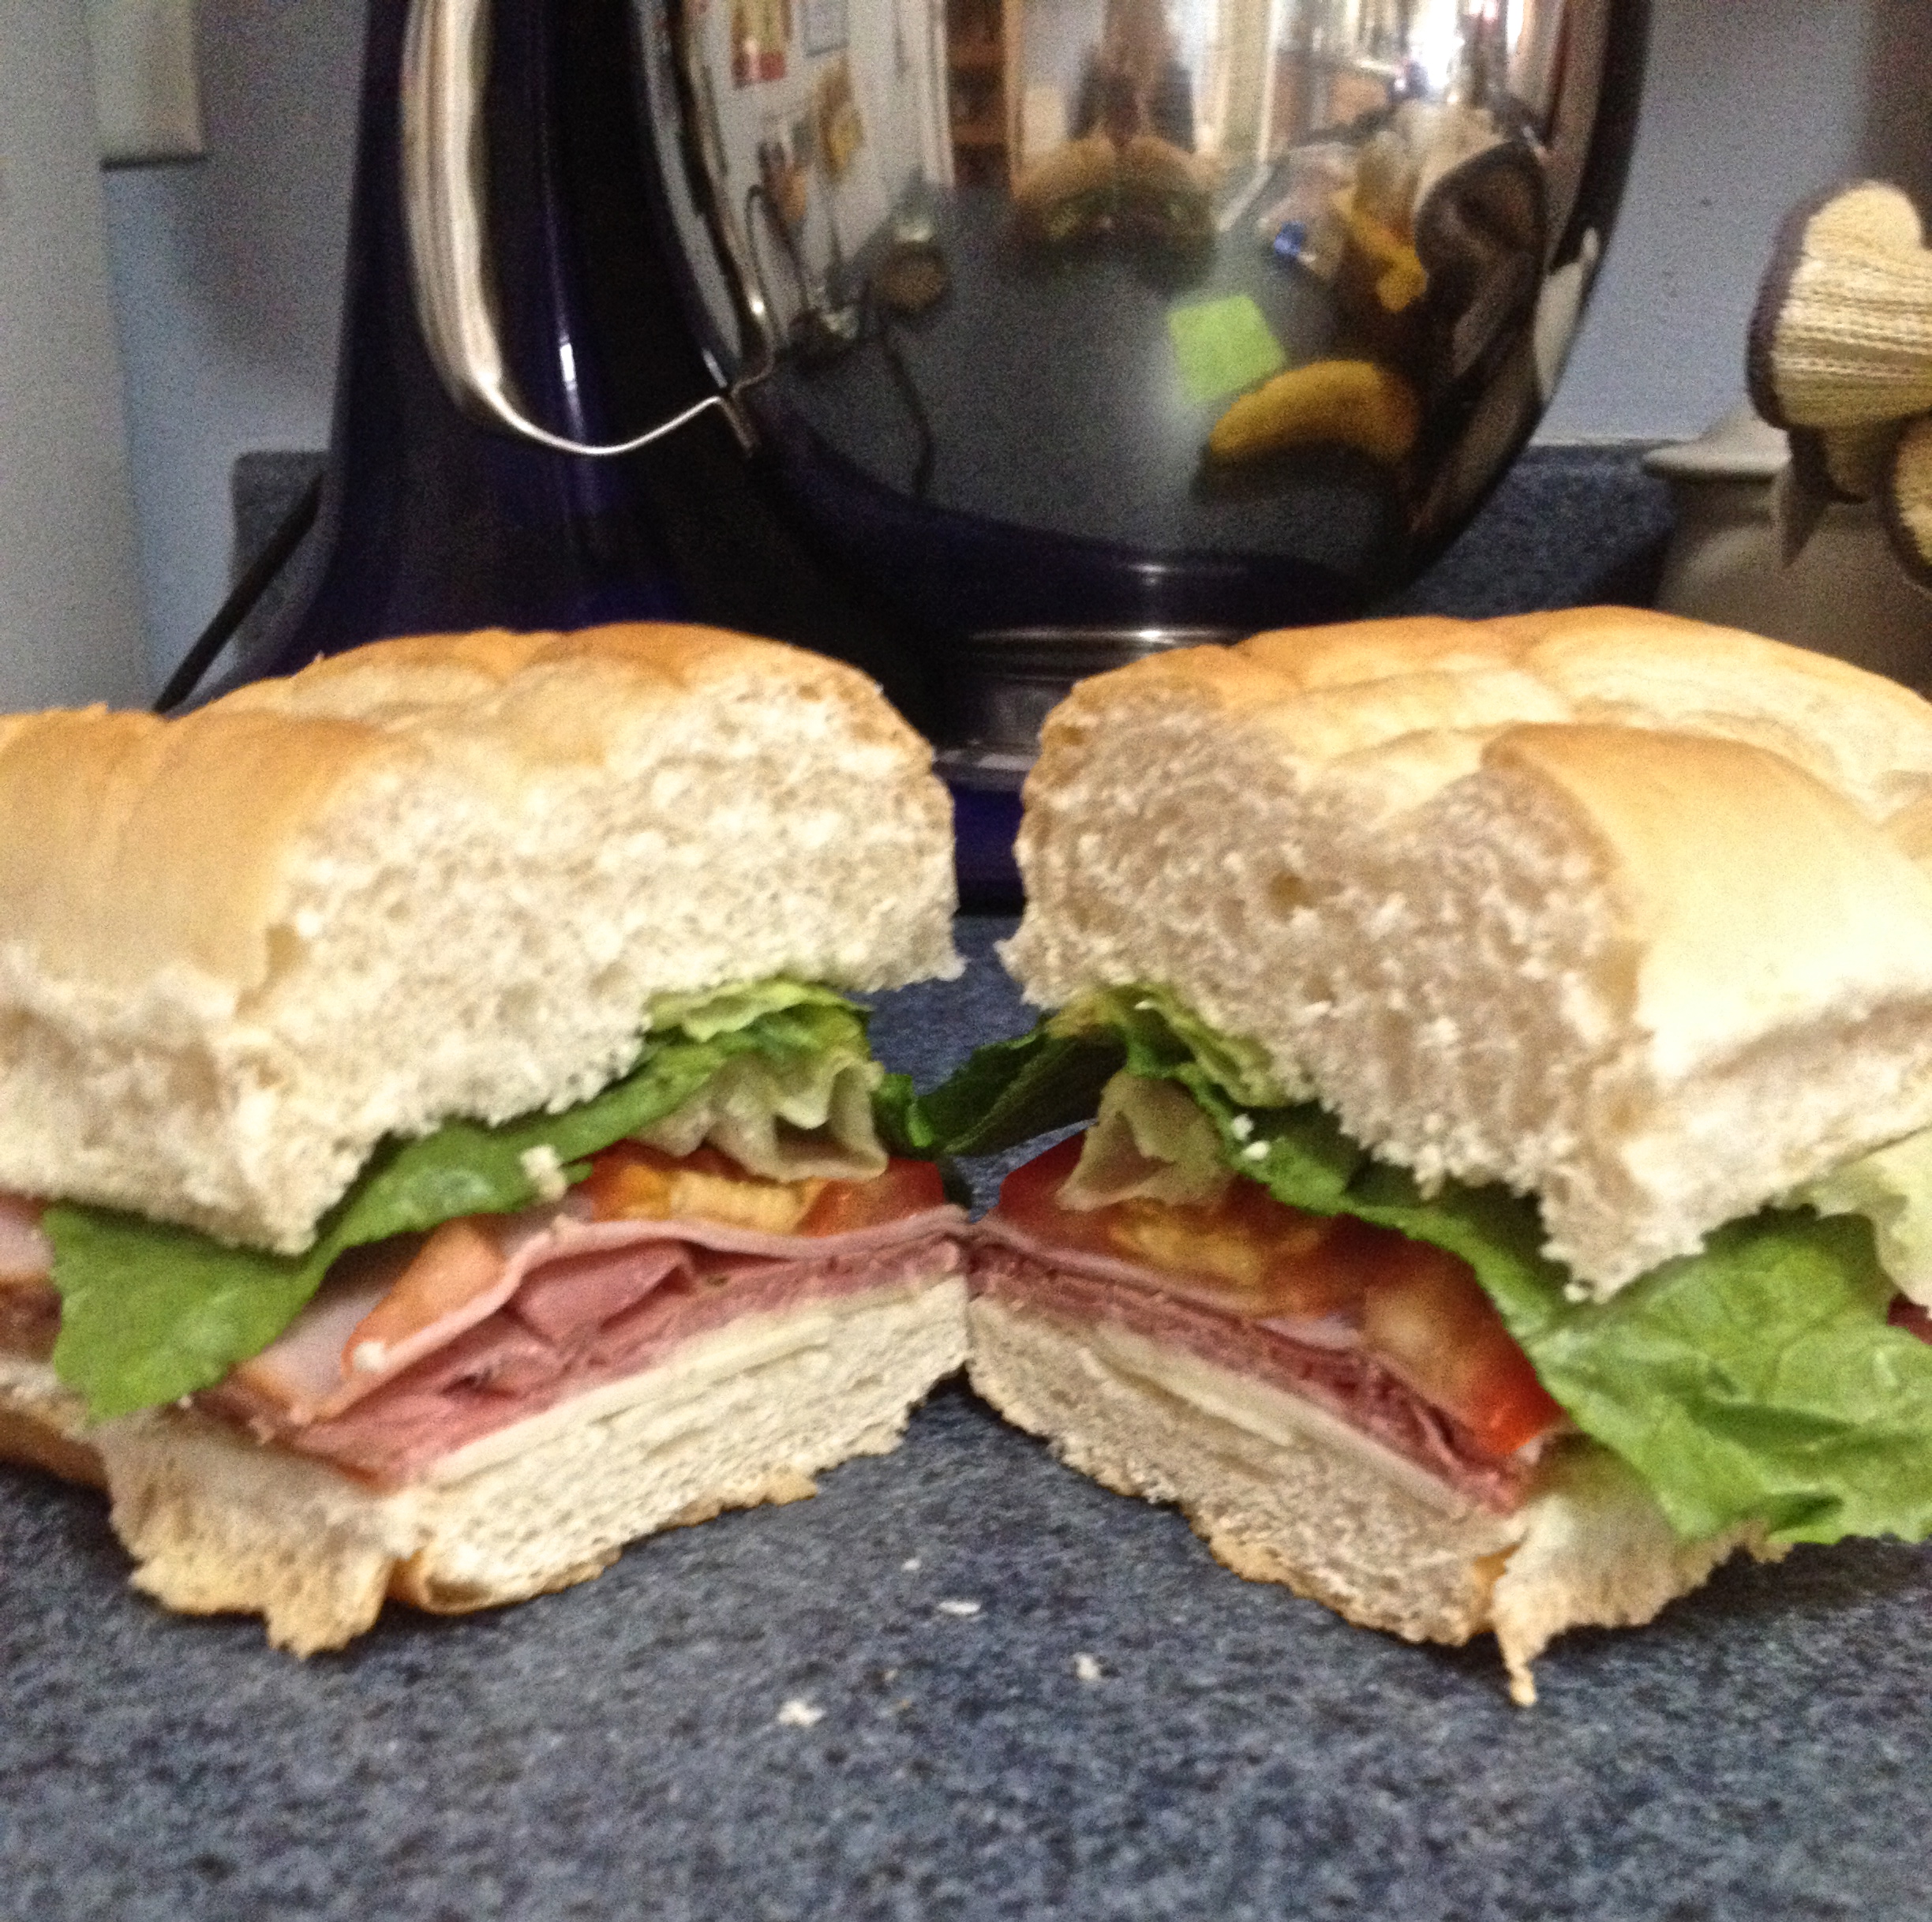
Italian Sub on a Grinder Roll
This sandwich really is all about the assembly. The ingredients are simple: roast beef, salami, ham, sliced cheese, lettuce/tomato, and Italian dressing. But in order to make this sandwich last until lunch without getting soggy (can you tell I hate soggy bread?), you have to really think about the layers of the sandwich. Here’s the assembly process:
Cut the roll in half length-wise. Then, on the bottom piece of bread, layer American cheese all the way across. Then, the salami. Next comes the ham, and then the roast beef. Now comes the tomato- once again, it goes in the middle to prevent soggy bread! And then the lettuce goes over the tomato. Since an Italian sub includes Italian dressing, put that in a little separate container and either pour it on the sandwich right before eating, or dip the sandwich into it as you’re eating. Here’s the assembly process in pictures:

You can obviously make your own variations on these sandwiches, too. For example, you can use canola mayo or low-fat mayo, and you can just use plain grilled chicken or tuna instead of making a salad with it. You can also simplify the ingredients, or add your own zip to them! That’s the beauty of sandwiches- they’re so individualized and can be as easy or complex as you desire!
I hope these recipes help make the eating process a little simpler. Never skip a meal because you’re too busy- eating is WAY too satisfying, and also keeps you going throughout the day! Enjoy!
Highly energetic blog, I loved that a lot. Will
there be a part 2?
My site windows 8 loader – wihatec.com,
We stumbled over here from a different page and thought I may as
well check things out. I like what I see so now i am following you.
Look forward to checking out your web page again.
my web blog windows 8 crack