Monthly Archives: January 2014

Peppermint Hot Chocolate Cupcakes

Snowy days are pretty typical in my area of the US. Make that really typical. Snowmen and snow angels and snowball fights are great and all, but sometimes it just gets too cold for that! On those days when all I want is warmth, I love baking. I don’t have to leave my house, and the oven makes the kitchen nice and warm.

On one of our recent freezing-cold-can’t-leave-the-house days, I decided that I was craving a peppermint hot chocolate. Sadly, Starbucks is not in my house (and thus unattainable), so it turned into a peppermint hot chocolate cupcake. It was definitely every bit as good as a peppermint hot chocolate.

This cupcake is a delicious soft chocolate cake, coated with a cocoa peppermint glaze, and then frosted with yummy vanilla icing and sprinkled with crushed peppermint candies. Here’s the recipe for 12 cupcakes.

Chocolate Cake:

Peppermint Chocolate Glaze:

  • 1 ¼ cup powdered sugar
  • 3 tbsp milk
  • ½ tsp vanilla extract
  • 1 tbsp cocoa powder
  • 1 tsp peppermint extract

Add all the ingredients except peppermint together and blend until completely smooth with a hand mixer on medium speed, about 2 minutes. Then add the peppermint extract and mix until fully blended. Adjust the powdered sugar and milk content until your desired consistency is reached. It will be fairly runny.

Vanilla Frosting:

  • 2 cups powdered sugar
  • 2 tbsp salted butter, softened
  • 2 tbsp milk
  • ½ tsp vanilla extract

Add all the ingredients together in a large bowl. Mix on low speed with a hand mixer until blended, and then high speed until the frosting is fairly thick and holds its shape completely.

Assembly:

  • Bake cupcakes, and cool them on separate cooling sheet until fully cooled
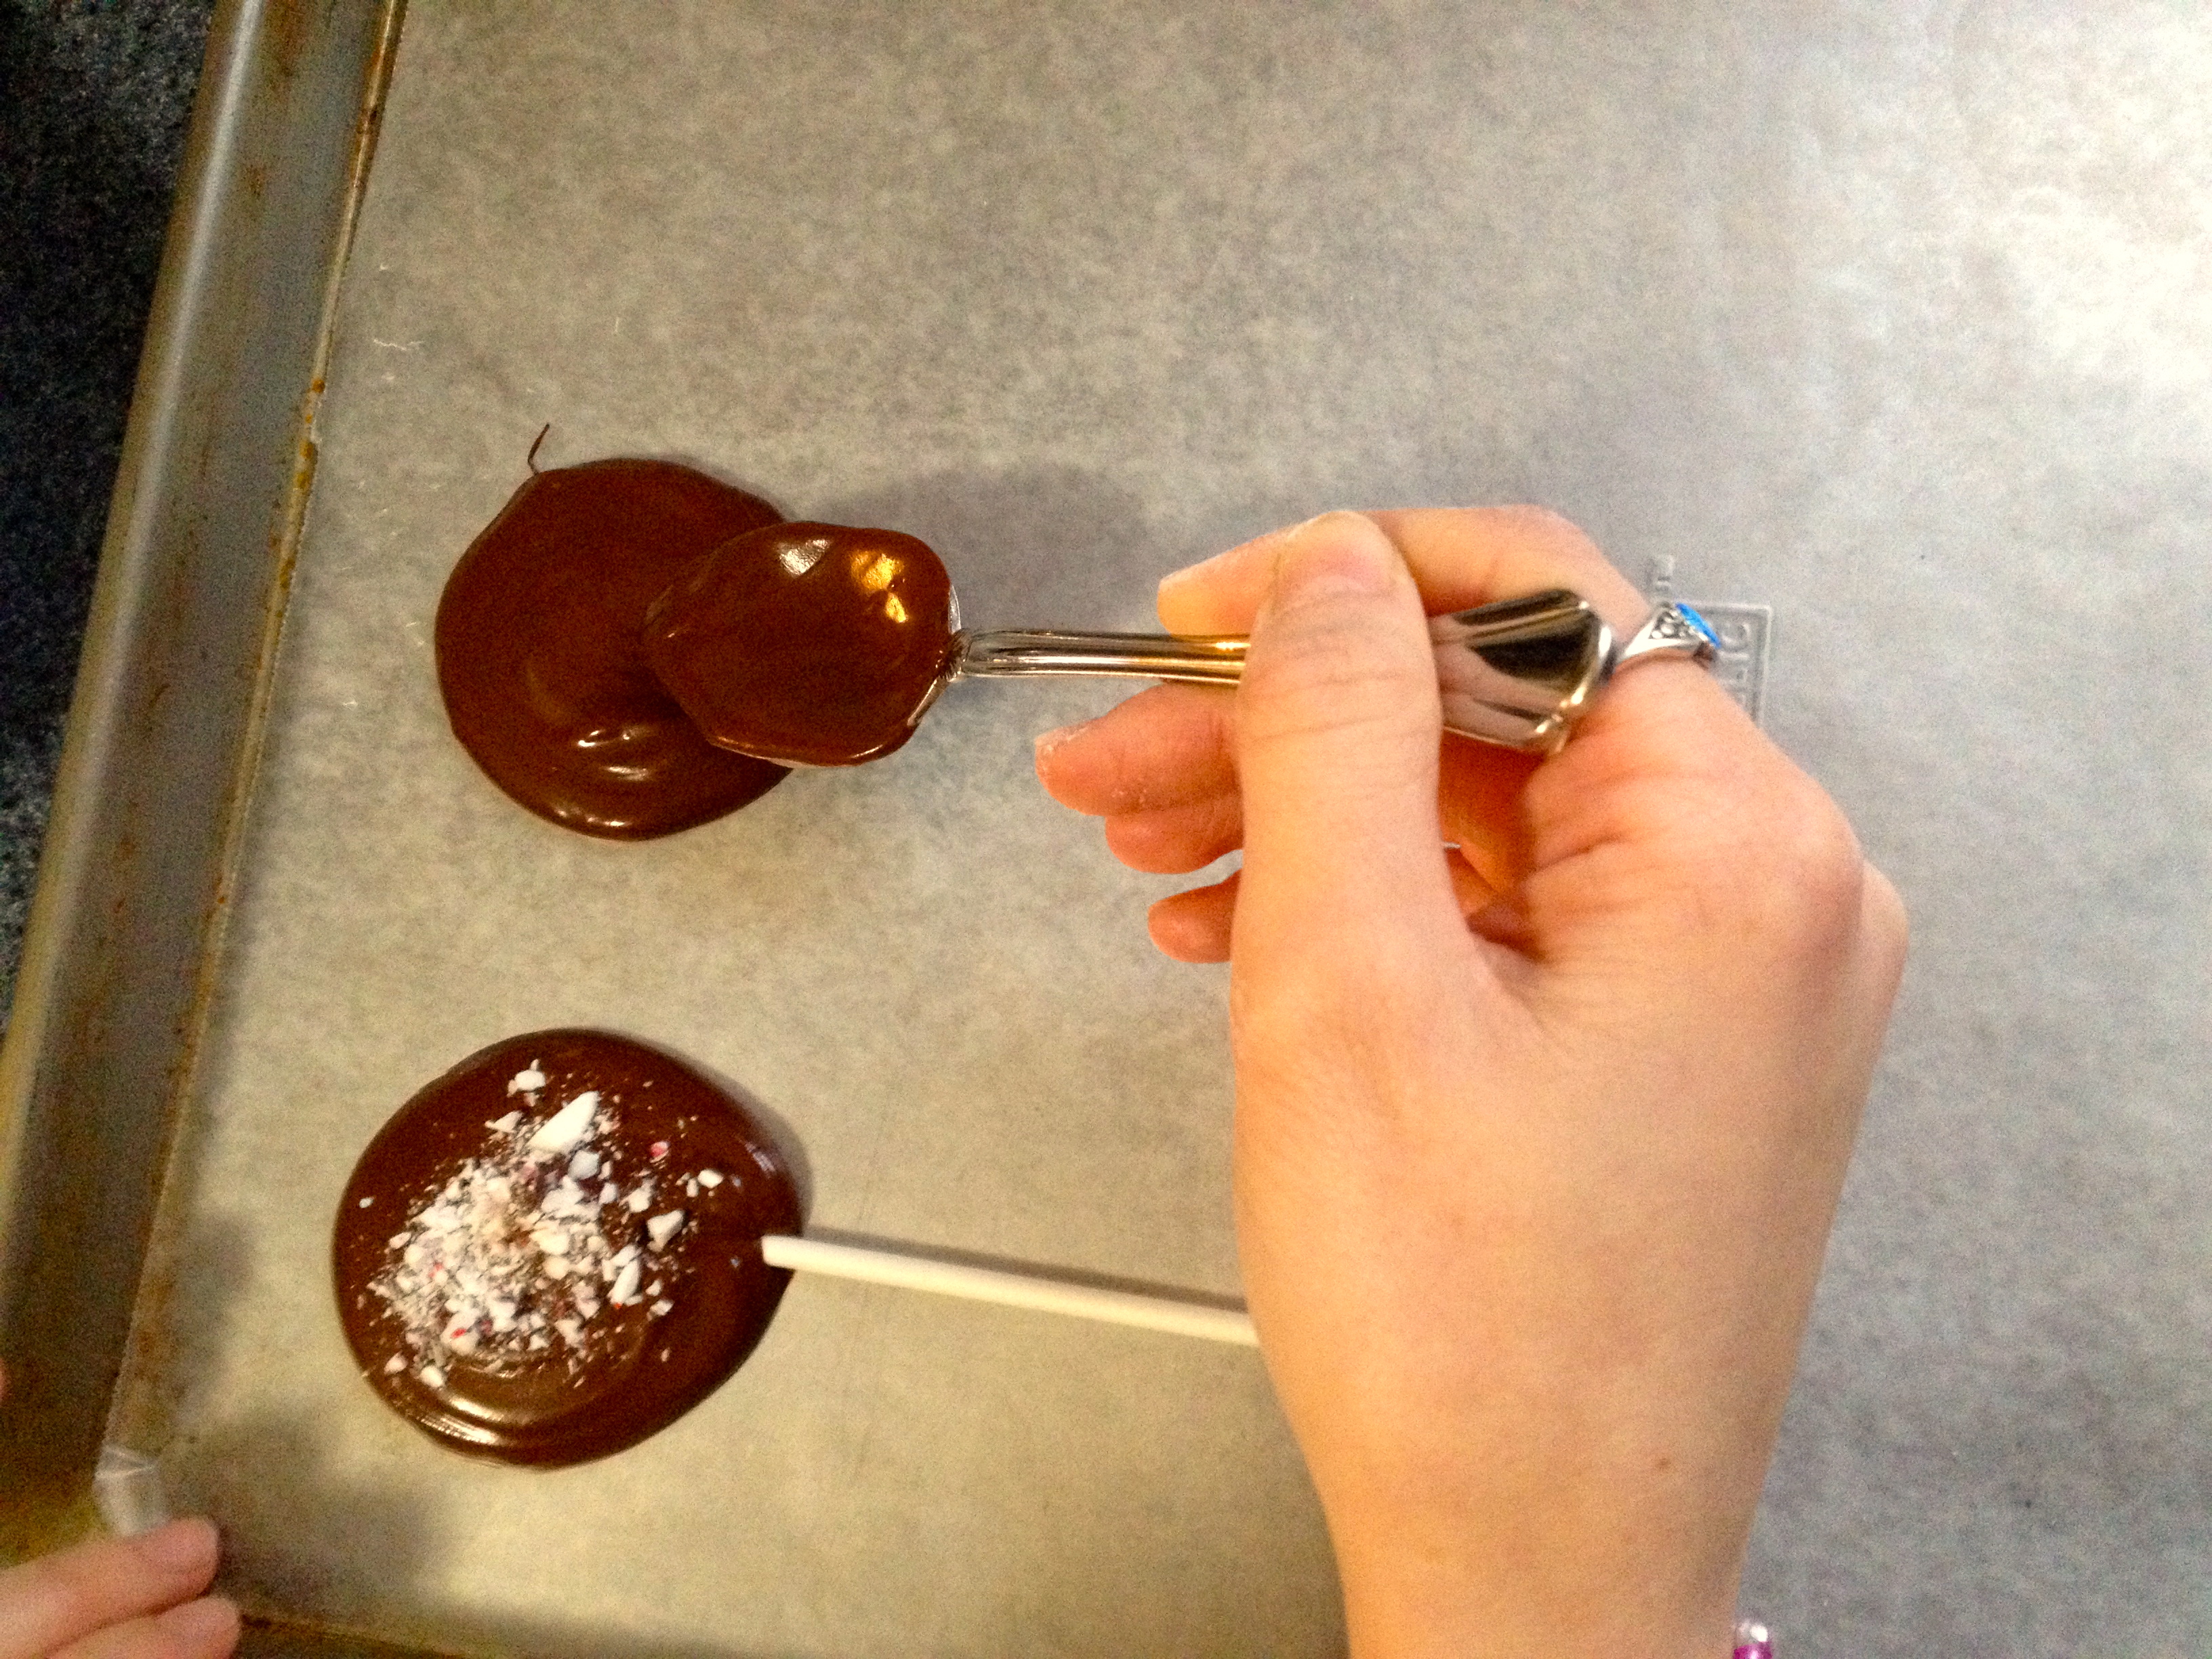
  • Put peppermint glaze on top- this is pretty runny, so I used a little storage bag that I cut the corner off of, and used that to funnel the glaze right into the middle of each cupcake. Then spread the glaze around using a spoon or knife. Let it harden- it should form a little shell and be fairly firm to the touch. If you want to speed up the process, you can put them in the fridge for a little while.
  • Put on vanilla frosting. You can either use a pastry bag, or a knife to just glob the frosting on. The glaze will probably break and combine with the frosting- that’s ok! The white frosting and chocolate glaze look swirly and beautiful together.
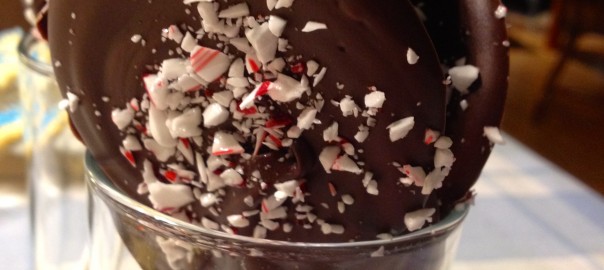
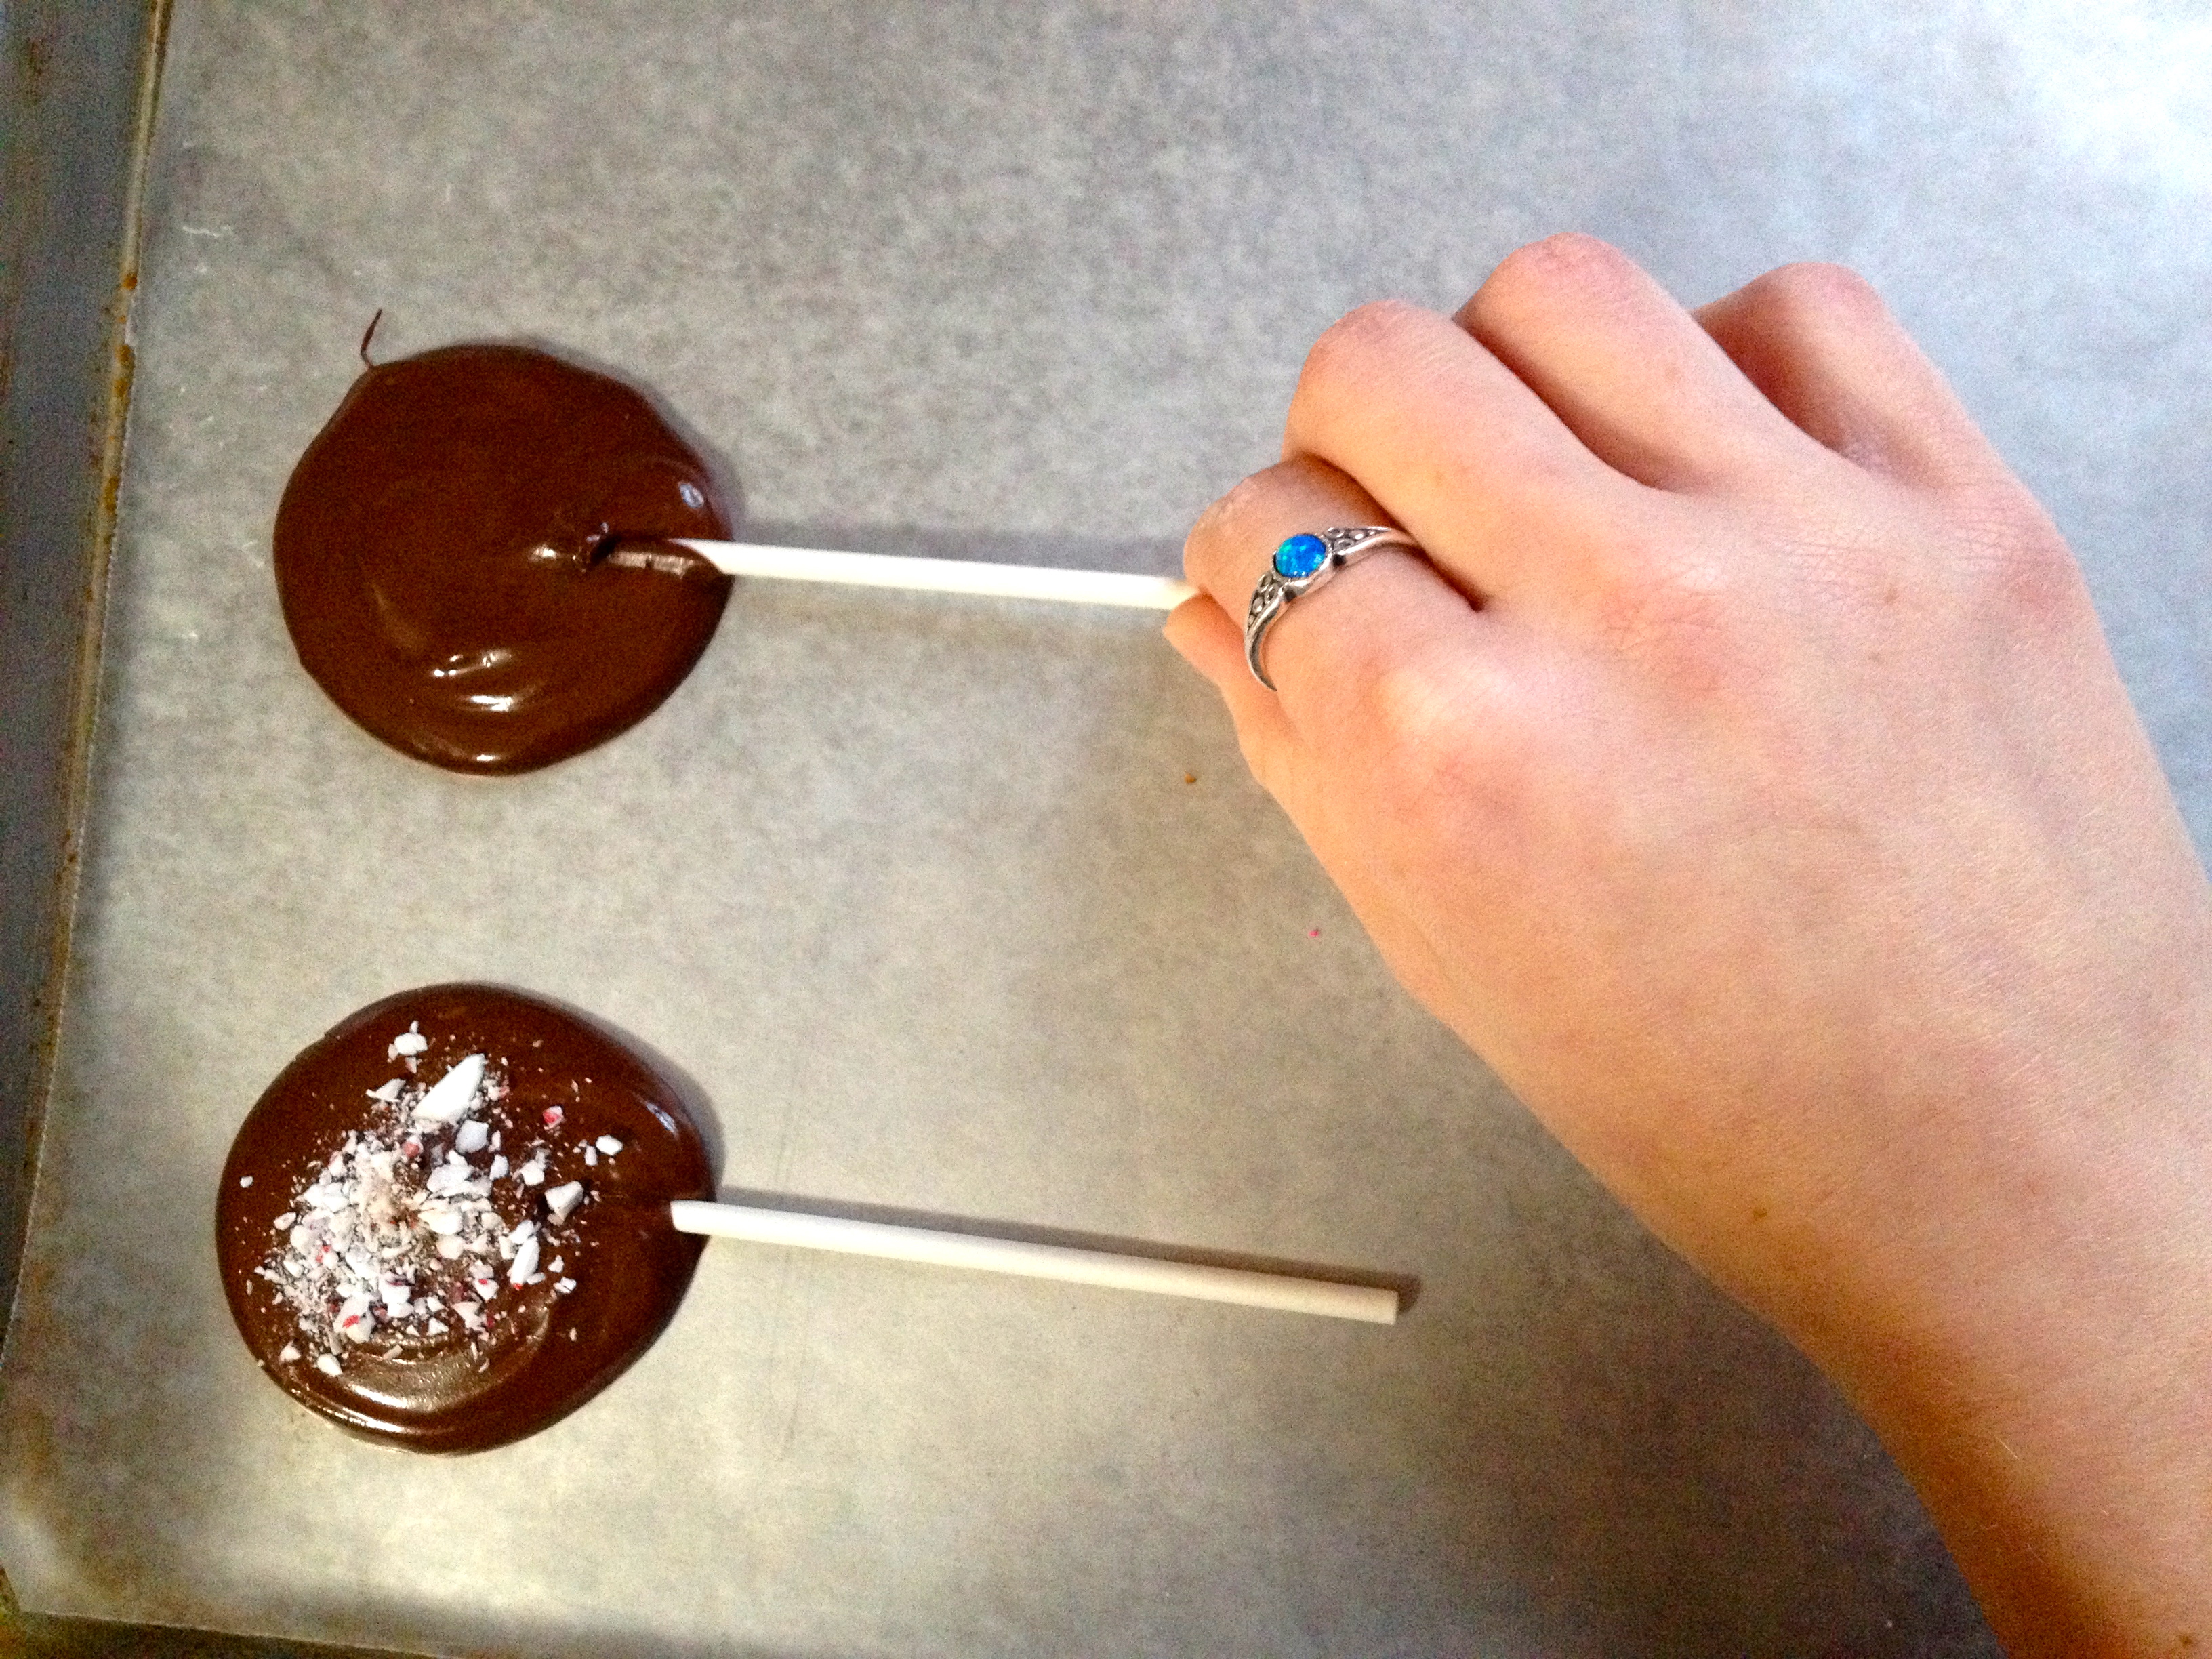
  • Sprinkle crushed peppermint candies on top

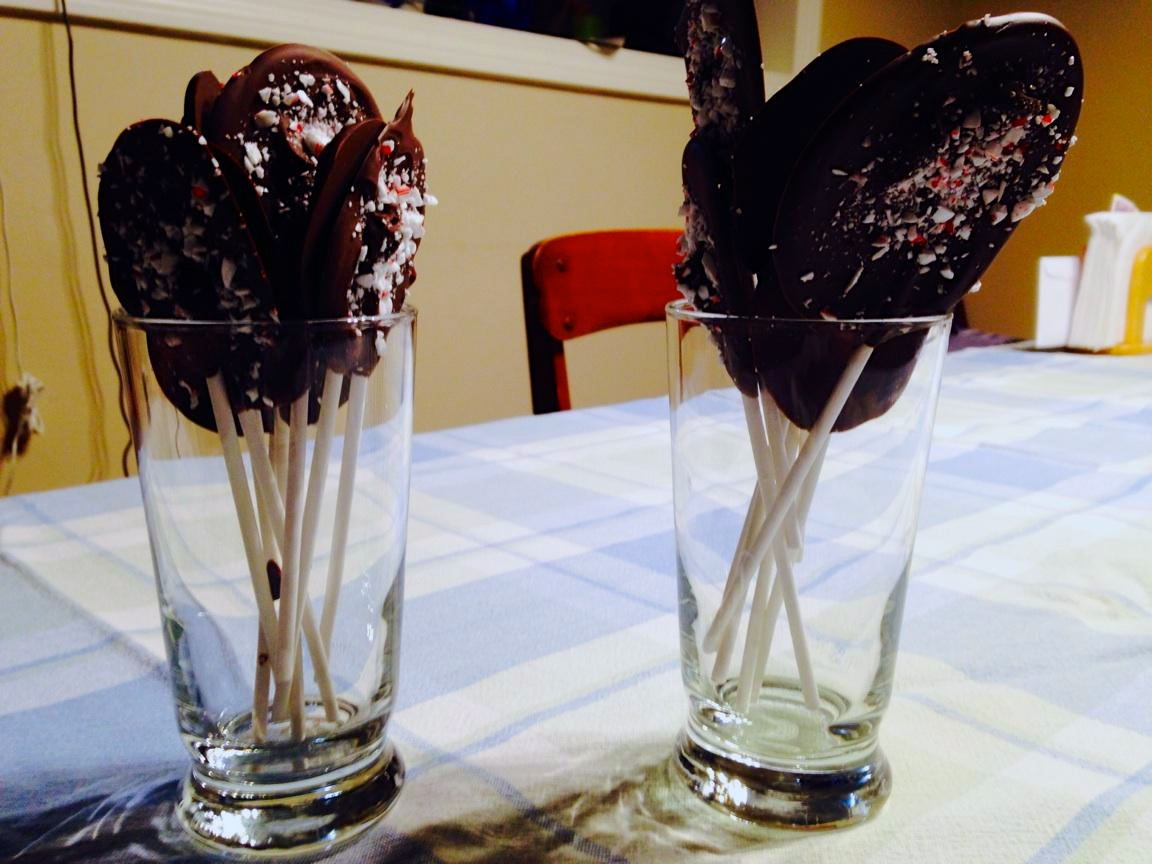
Here’s the final result:

Peppermint Hot Chocolate Cupcake

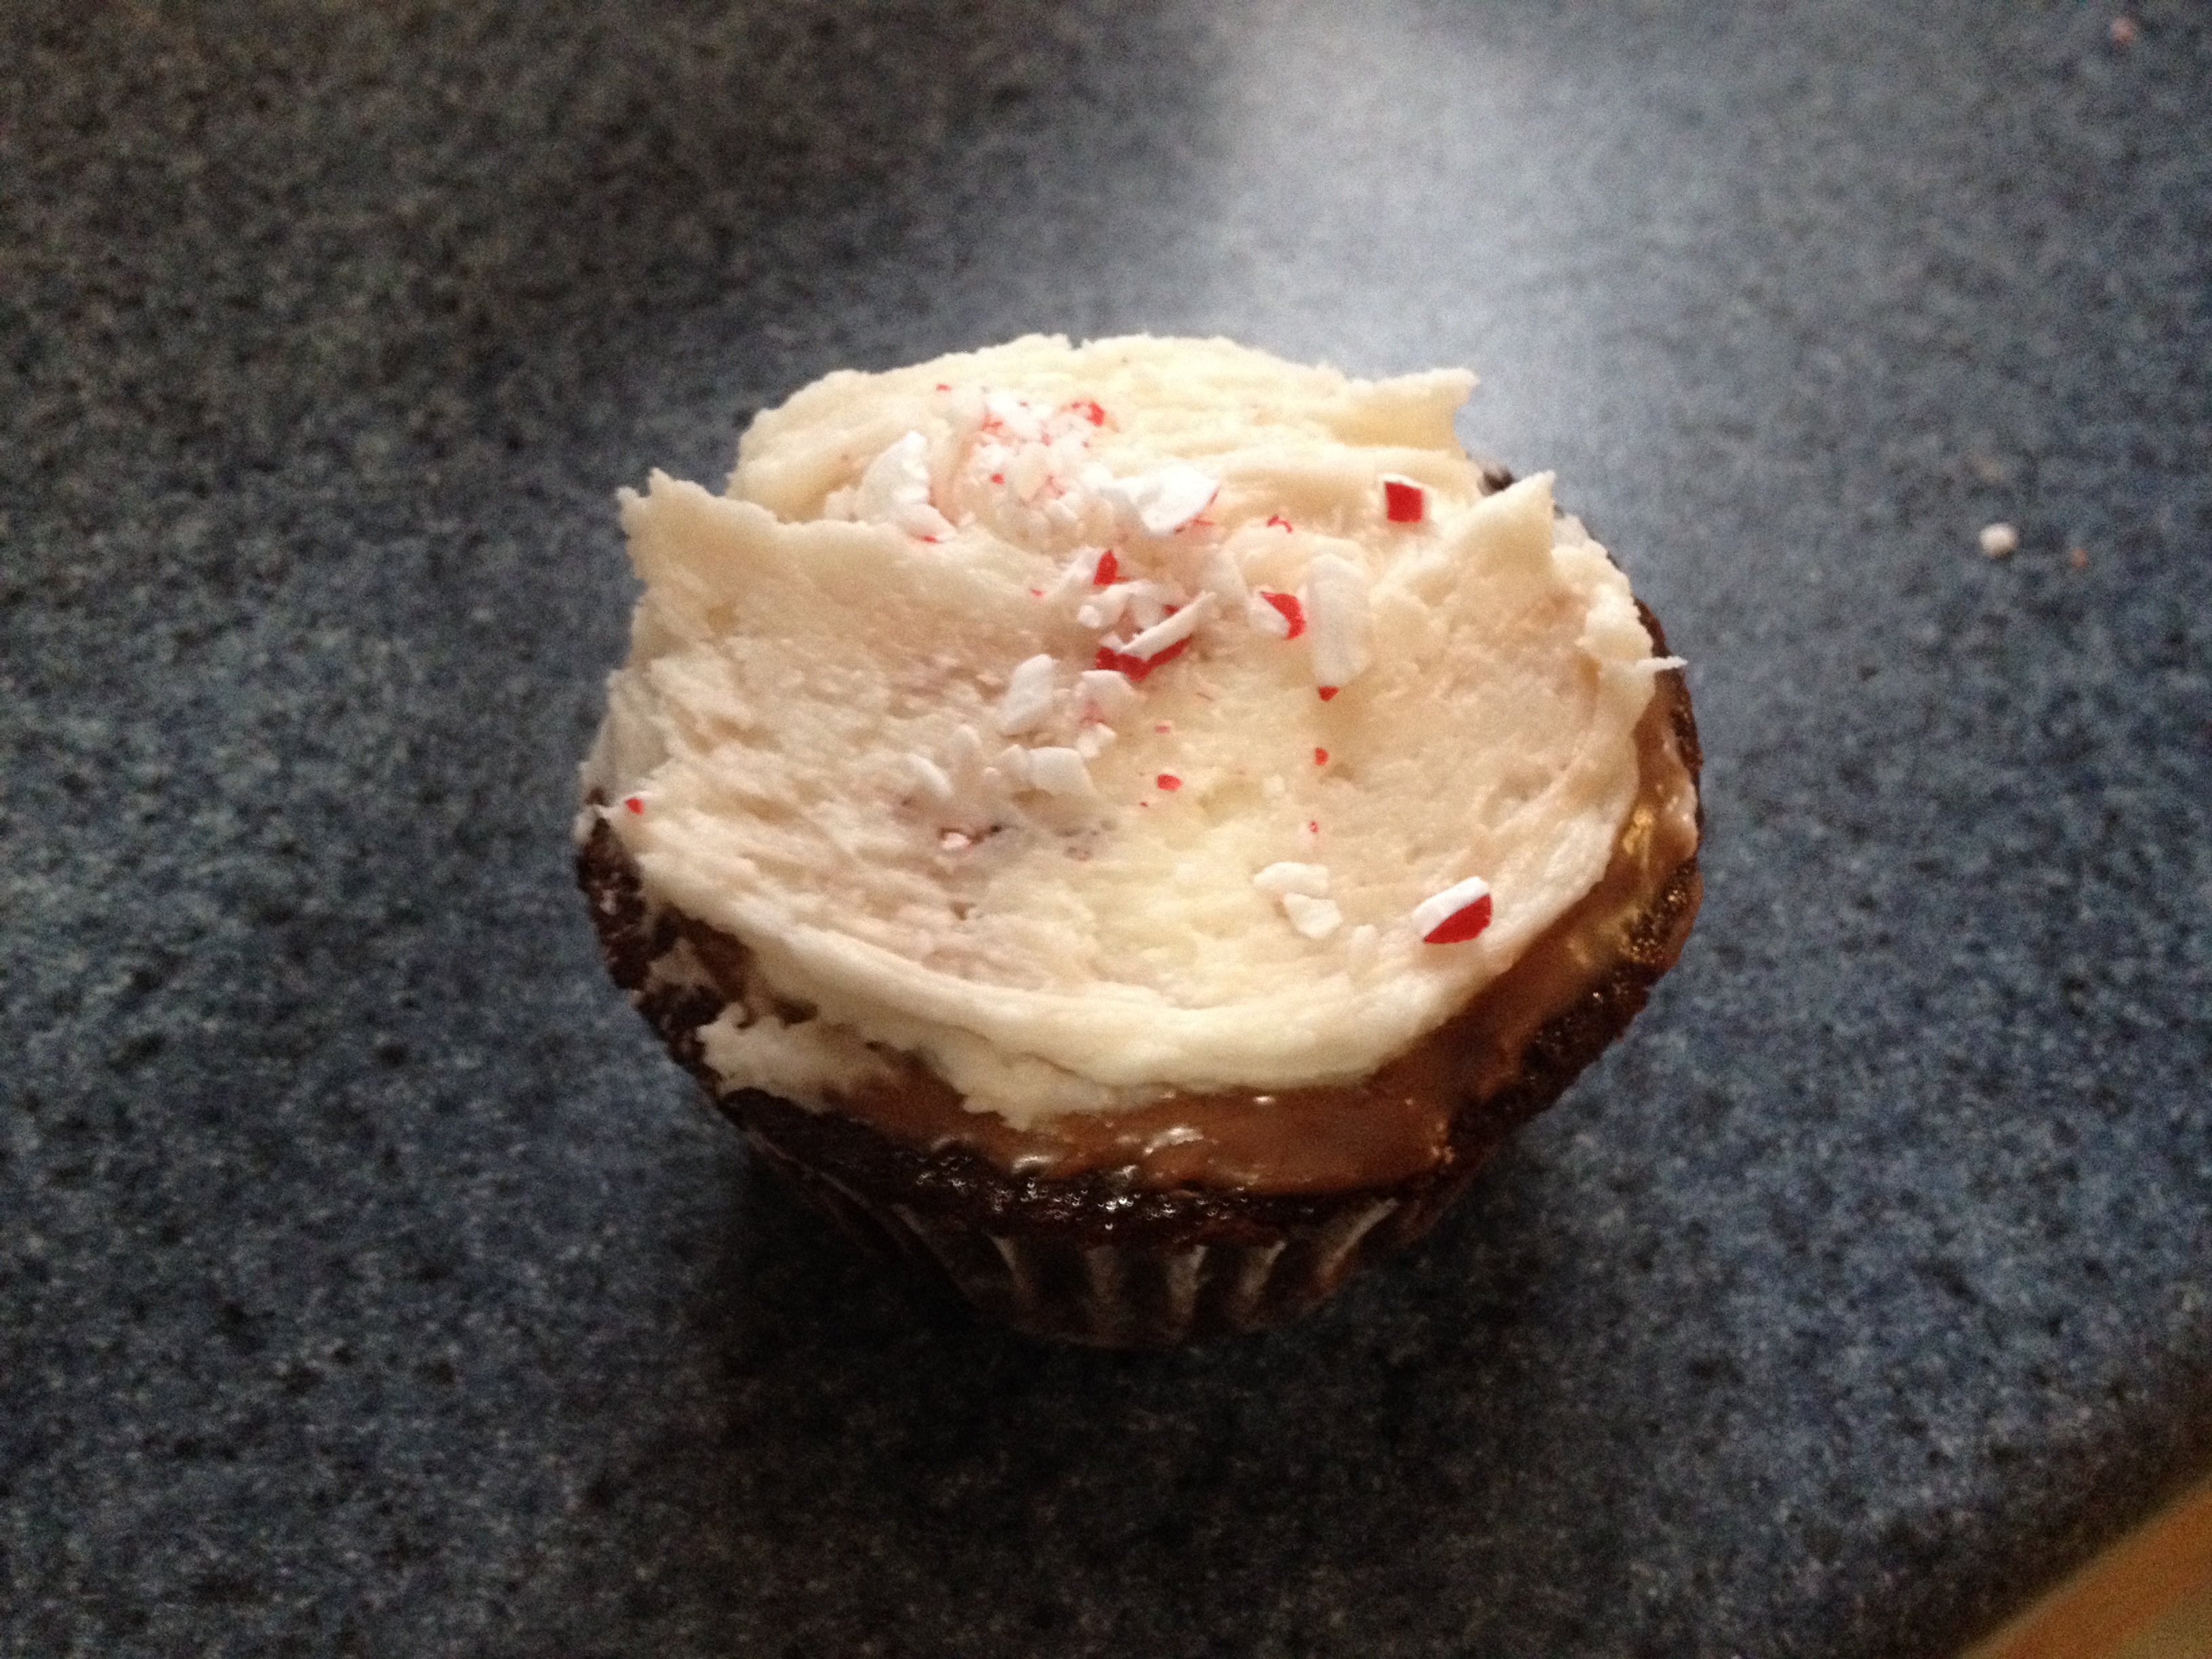
These cupcakes are so decadent and rich, and totally irresistible. Sharing them with others was such a treat, because they were a huge hit. It is so satisfying when people love your food!

The Cookies That Were Worth It

So I know it’s a bit late to be posting about New Year’s Eve parties, being January 14th and all. But I figure, better late than never, plus these cookies were too yummy not to share!

Now before I start this, I’ll preface by saying I hate making roll-out cookies. That shouldn’t be a problem, because I could just avoid making them. Sadly, I apparently suffer memory loss when it comes to making roll-out cookies, because I always forget how much I hate making them until I’m past the point of no return. However, since I made the cookies, I figured I might as well make them look great as well as taste great.

For the New Year’s Eve party, I made sugar cookies and decorated them to look like different New Year’s themes. I’m proud to say they came out looking great, even though the process was a little messy!

For the cookie recipe itself, you can use any sugar cookie recipe you have. I personally used a vanilla cookie recipe because I don’t like citrus-y sugar cookies.

Here’s my sugar cookie recipe:

  • 3 3/4 cups all-purpose flour
  • 1 tsp baking powder
  • 1/2 tsp salt
  • 2 sticks unsalted butter (room temp. or softened)
  • 2 cups granulated sugar
  • 2 eggs
  • 1 tsp vanilla extract

Sift the flour, baking powder, and salt together and set aside in a separate bowl. Cream the butter and sugar together in a mixing bowl (or by hand), and then add the eggs one at a time and mix thoroughly. Add the vanilla extract and mix. Then gradually add the flour mixture until the dough is well mixed. Wrap the dough in plastic wrap and put it in the fridge for a couple hours to chill, or the freezer for a little while. Either way, make sure the dough is nice and cold, so that it’s easier to roll out.

When the dough is chilled, lightly flour a pastry board- or some large flat surface- and roll the dough out on it until the dough is about 1/4 inch thick.

IMG_0746

Then, pick your favorite cookie cutters and cut out shapes, putting them on a baking sheet. Some recipes call for the sheet to be lined with parchment paper, but if you take the cookies off when they’re right out of the oven, it should be fine to leave it ungreased/unlined.

IMG_0747 IMG_0749

When all your shapes are cut out, make the dough scraps into a ball, and roll it out again. Andddd repeat. Over and over again. Until all the dough is used. This is the part I hate, because I’m not exactly the most patient person!

When all the cookies are rolled and put on the baking sheet, put them in the oven at 350ºF for 8-10 minutes. If you’re not using a convection oven, switch the cookie sheets to a different oven rack after 5 minutes so that they bake evenly.

IMG_0750

Now comes the fun part- decorating!

I used royal icing to decorate my cookies, because it hardens nicely so you can stack the cookies without getting frosting everywhere, and they’re easy to hold. Here’s the recipe:

  • 1 box confectioner’s sugar
  • 2 large egg whites (if you’re making this recipe for anyone who can’t handle raw egg whites, use 5 tbsp meringue powder instead)
  • 1/4 tsp cream of tartar (this is a back-up if your frosting isn’t getting stiff enough, it’s not entirely necessary otherwise)

Combine all the ingredients together in a large mixing bowl. Start mixing on LOW speed, or else you’ll get powdered sugar all over you. After the sugar and eggs are combined, turn the mixer up to higher speeds and whip the heck out of it until it’s shiny and beginning to stiffen (not quite forming stiff peaks, but almost there). Then it’s ready to be put into pastry bags! If you don’t have one, you can just cut the corner off a Ziploc bag and use that as a decorating bag! And if you don’t have decorating tips, just make the hole in the bag teeny so that the frosting is controlled. I made blue, yellow, and white frosting, so I divided the batch of frosting into three bowls and colored them accordingly.

You can obviously decorate the cookies however you want, but I made some New Year’s balls, stars, and fireworks. I think they came out pretty well! Ps, the shimmer on the white balls is from “pearl dust”. I bought it at our local craft store, and it gives a nice sparkle to the frosting. Then I used blue sprinkles on the blue frosting to enhance the color.

IMG_0759 IMG_0757

The party was a huge success, and I’m proud to say the cookies were all gone by the end of the night! Roll-out cookies are tedious, but so yummy and worth it if you’re planning to share!

Peppermint Bark Lollipops

Well, I think I’ve finally caught up on my sleep from the New Year’s Eve party we held. We had quite a few families at our house, and stayed up until about 2 am. That may not seem late for a New Year’s Eve party, but I’m not exactly a night owl.

It was totally worth it, though. I made a few desserts, including some yummy peppermint bark lollipops. They’re super easy to make!

Ingredients:

  • 1 bag semi-sweet chocolate chips
  • 2 crushed candy canes
  • Lollipop sticks (you can find them at most craft stores)

Instructions:

Melt the chocolate chips in a bowl in the microwave. My trick is to put all the chips in the bowl, and microwave the bowl for 30 seconds at a time, and stir after each microwaving. That ensures that you won’t burn the bottom chips while the top ones aren’t even melted yet.

Next, take spoonfuls of chocolate and swirl them onto a baking sheet lined with wax paper, so that little chocolate circles are formed.

IMG_0754

Then, take a lollipop stick and put it on the bottom part of the circle. Spin the stick around so that the entire stick is covered in chocolate.

IMG_0755

Sprinkle the lollipop with crushed candy cane. You can crush the candy cane by putting it in a plastic bag on a cutting board and hammering it with a meat tenderizer or a rolling pin. Repeat until the baking sheet(s) are filled with lollipops, and then put the baking sheets into the freezer until the lollipops are hard.

When the lollipops are done, gently take them off the baking sheet (they should come right off if they’re hard enough) and put them in any glass or platter you want. I used a clear drinking glass, and it looked really pretty!

IMG_0762

We all had a great time at the party! We played ping pong, poker, board games, and watched the ball drop together. It was great having so many friends and family together. Now we just have to make it through the winter! Stay warm, everyone!

Out for Tea… Coffee?

My mom, sister and I have an annual tradition: we and the women from another family go out for tea (and this year, we invited our sisters-in-law to come). It’s a great opportunity to catch up, relax, and giggle uncontrollably.  Without fail, “You can dress them up, but you can’t take them out” is said about my friend Kristin and I. There was the time Kristin and I tasted rose petals that were meant for a garnish, the time Kristin ate carnations, and the regular occurrence of Kristin and I adding about ten sugar cubes to our tea for the sake of watching them dissolve. Obviously, Kristin and I aren’t quite ready for a prim and proper tea.

We’ve tried a few tea places, but the one that we most recently visited was called the Wenham Tea House. It’s a quaint restaurant and shop, where they sell things like these decorated sugar cubes!

Annual Tea
Annual Tea

We each got our own different flavor of tea, which we were allowed to smell and choose before we were seated. Actually, I’ve never liked tea, so I got coffee. I enjoyed it a lot more than the other times when I’ve had to chug tea, so it worked for me!

Tea, schmea.


After we got our pots of tea/coffee, we were served sandwiches, scones, and desserts on a little tiered plate.

Before...
Before…


We also got our own teeny jelly jars! The jelly was super yummy, and we even had a jar of orange marmalade left over, so I got to bring it to work and give it to one of the residents at the nursing home (as a side note, he loved the marmalade and now uses the jar to hold his cribbage pins!) I thought that was pretty awesome!

Now I’ve had the “normal” tea sandwiches before, like cucumber & cream cheese, chicken salad, and tuna & dill. At this place, I had a sandwich that surprised me and delighted me at the same time. It was… peanut butter and bacon! Of all the combinations I had never thought of, that was a definite contender for strangest concept. But it worked. It was smoky, sweet, salty, savory, crunchy, smooth… everything rolled into one little bite. And the thin wheat bread it was served on added just enough chew and doughiness to balance out the strong peanut flavor and fattiness of the bacon. It was great!

Naturally, I didn’t stop eating after that sandwich. It’s a known fact that when faced with sweets and pastries, I can’t help myself. After my sister, my friend Kristin, and I shared our three tiers, this was the result:

After!
After!

And after several cups of coffee, I thought I was going to explode. That’s why it’s also a tradition that on tea day, we don’t eat supper! Instead, we all just hang out together and continue giggling.

We love going out for tea together! Cheers to family, friends, and trading being prim and proper for just being ourselves.

All the friends together!