Hi, all! I hope you’re all enjoying our warmer weather and that you’re getting outside in the sunshine! For my vegetable gardeners who will soon be wondering how to use your surplus of zucchini, I have a recipe for you. I’m sure you’ve tried multiple zucchini bread/cake/loaf recipes with varying degrees of enjoyment, but this recipe is the actually best zucchini bread recipe. Ever. Another perk? You don’t have to drain and squeeze the zucchini like in other recipes! Seriously, you should try this recipe. You’ll never make a different one again!
Ingredients:
- 3 large eggs
- 3/4 cup granulated sugar
- 3/4 cup brown sugar
- 1 cup canola or vegetable oil
- 1 tsp vanilla extract
- 3 cups whole wheat flour
- 2 tsp ground cinnamon
- 1 tsp baking powder
- 1 tsp baking soda
- 1 tsp salt
- 3 cups shredded zucchini (~2 zucchini)
- 1/2 cup almond meal
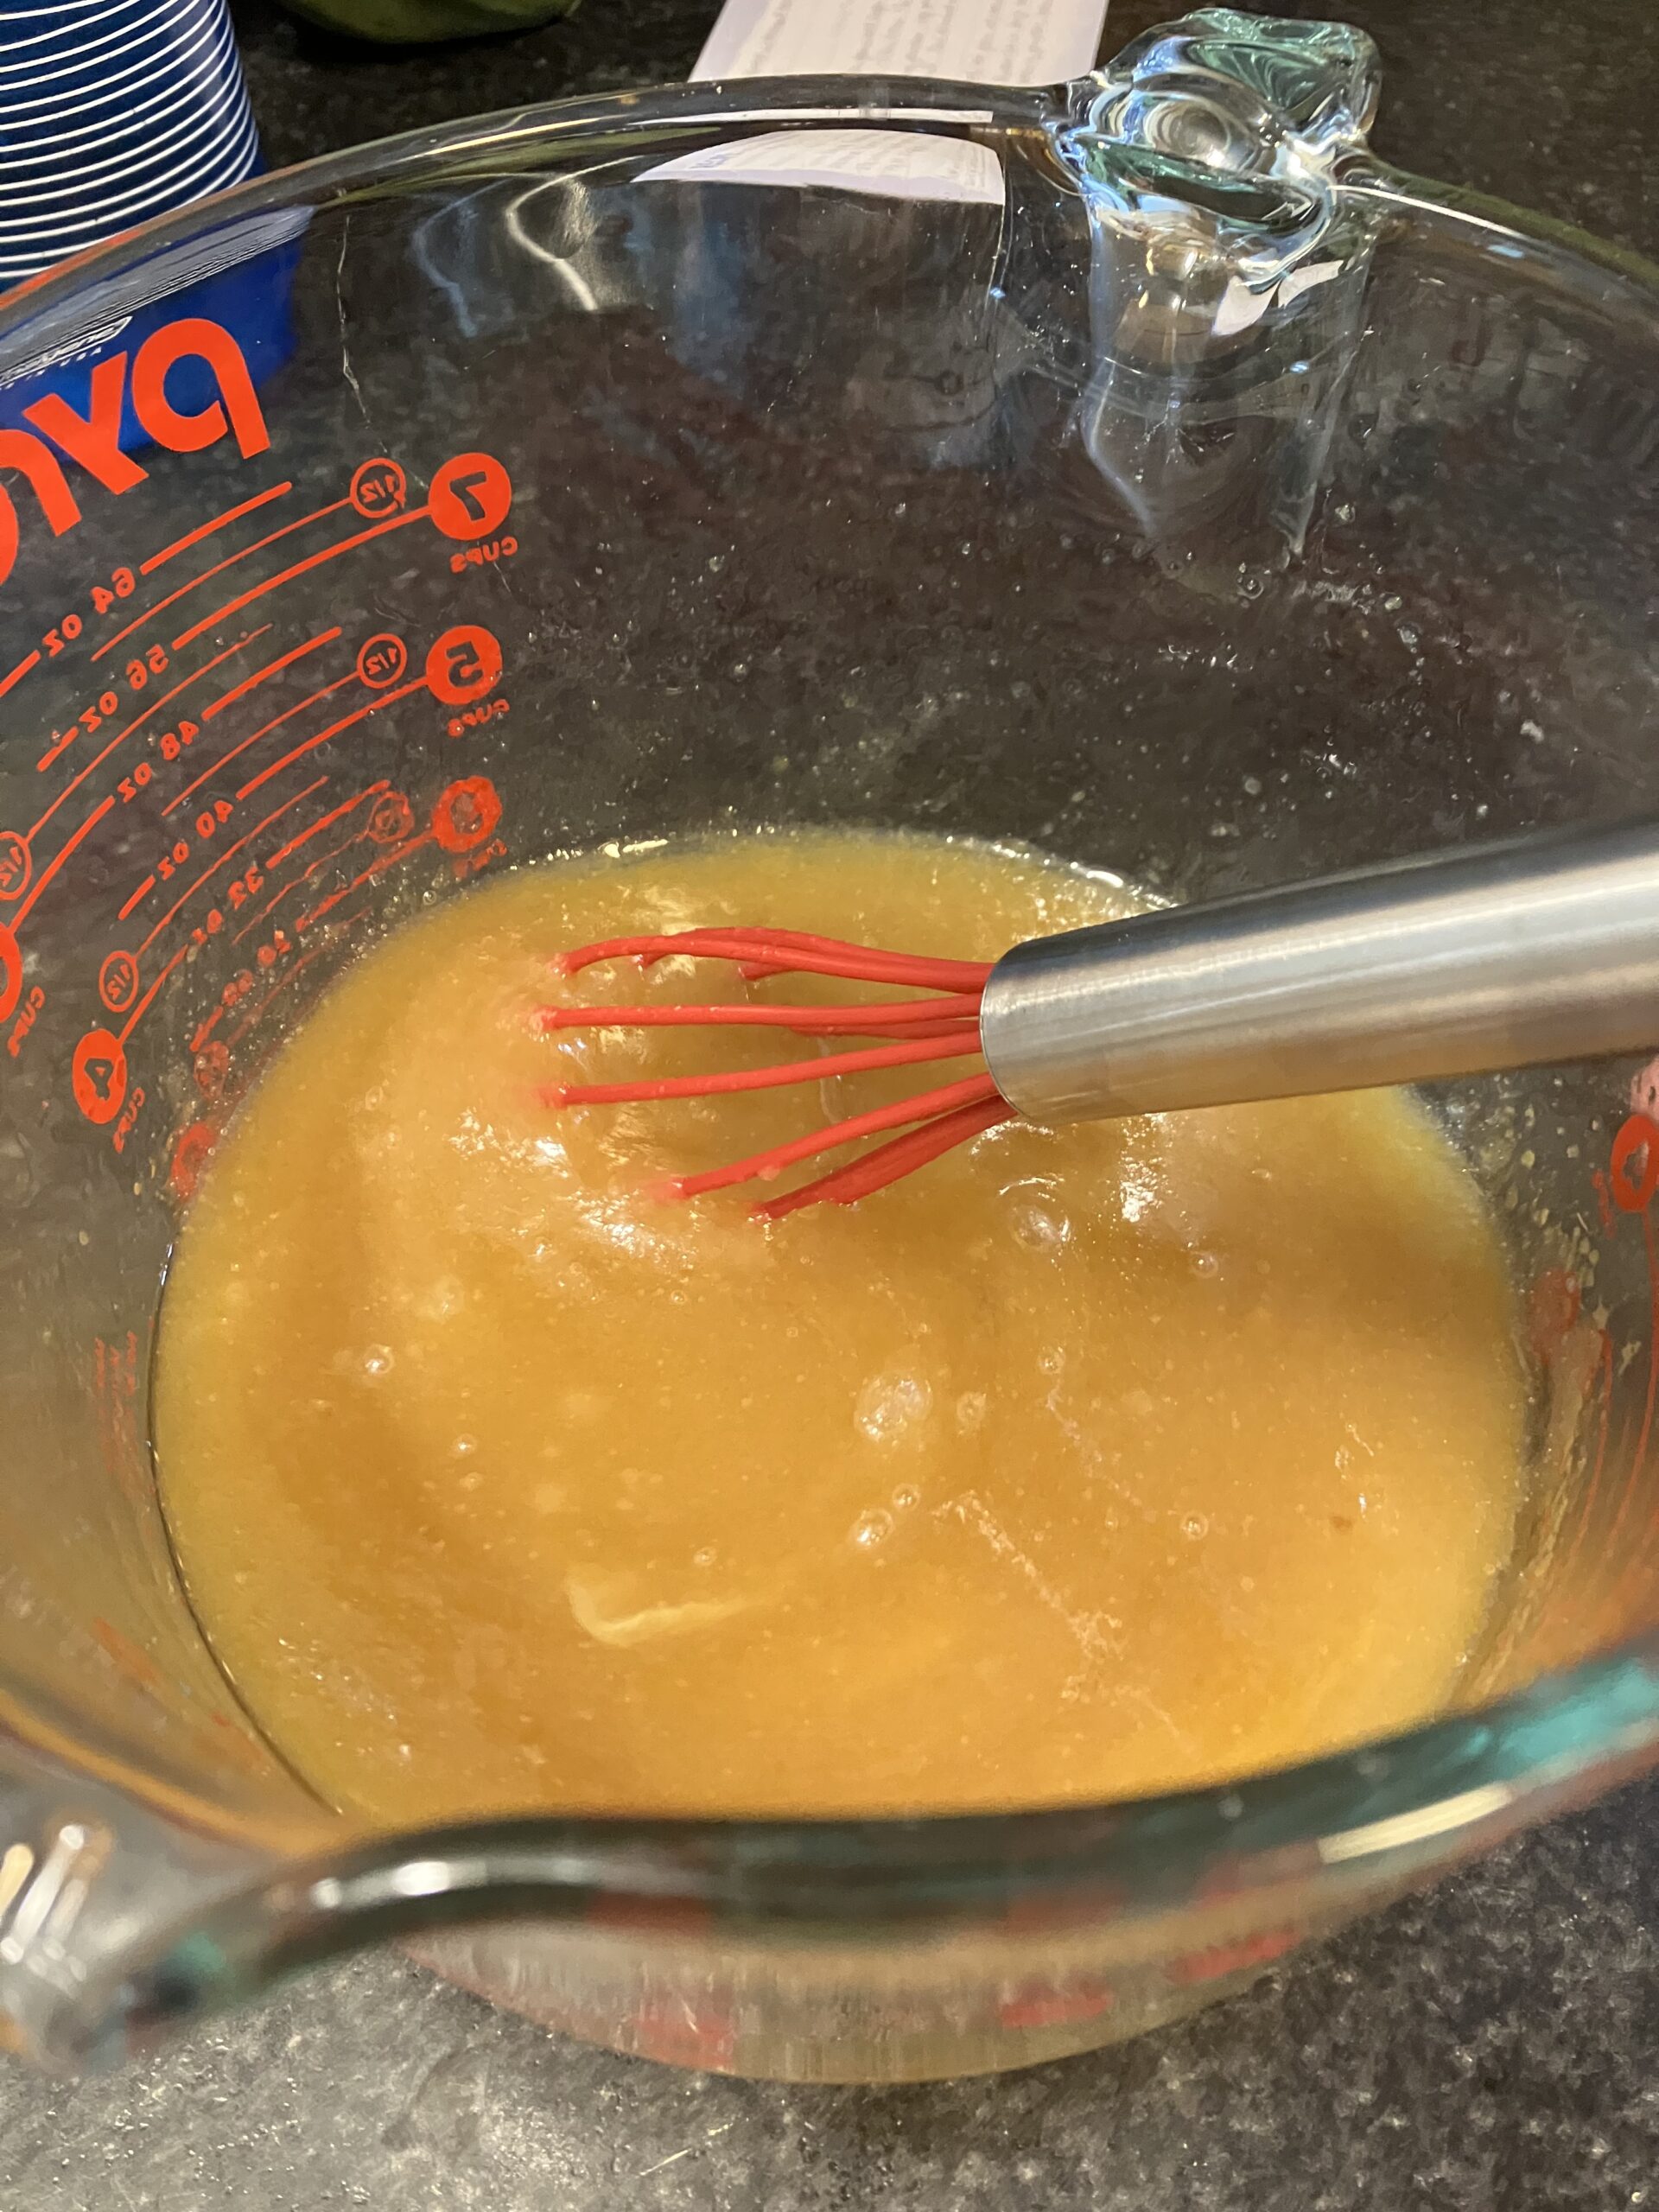
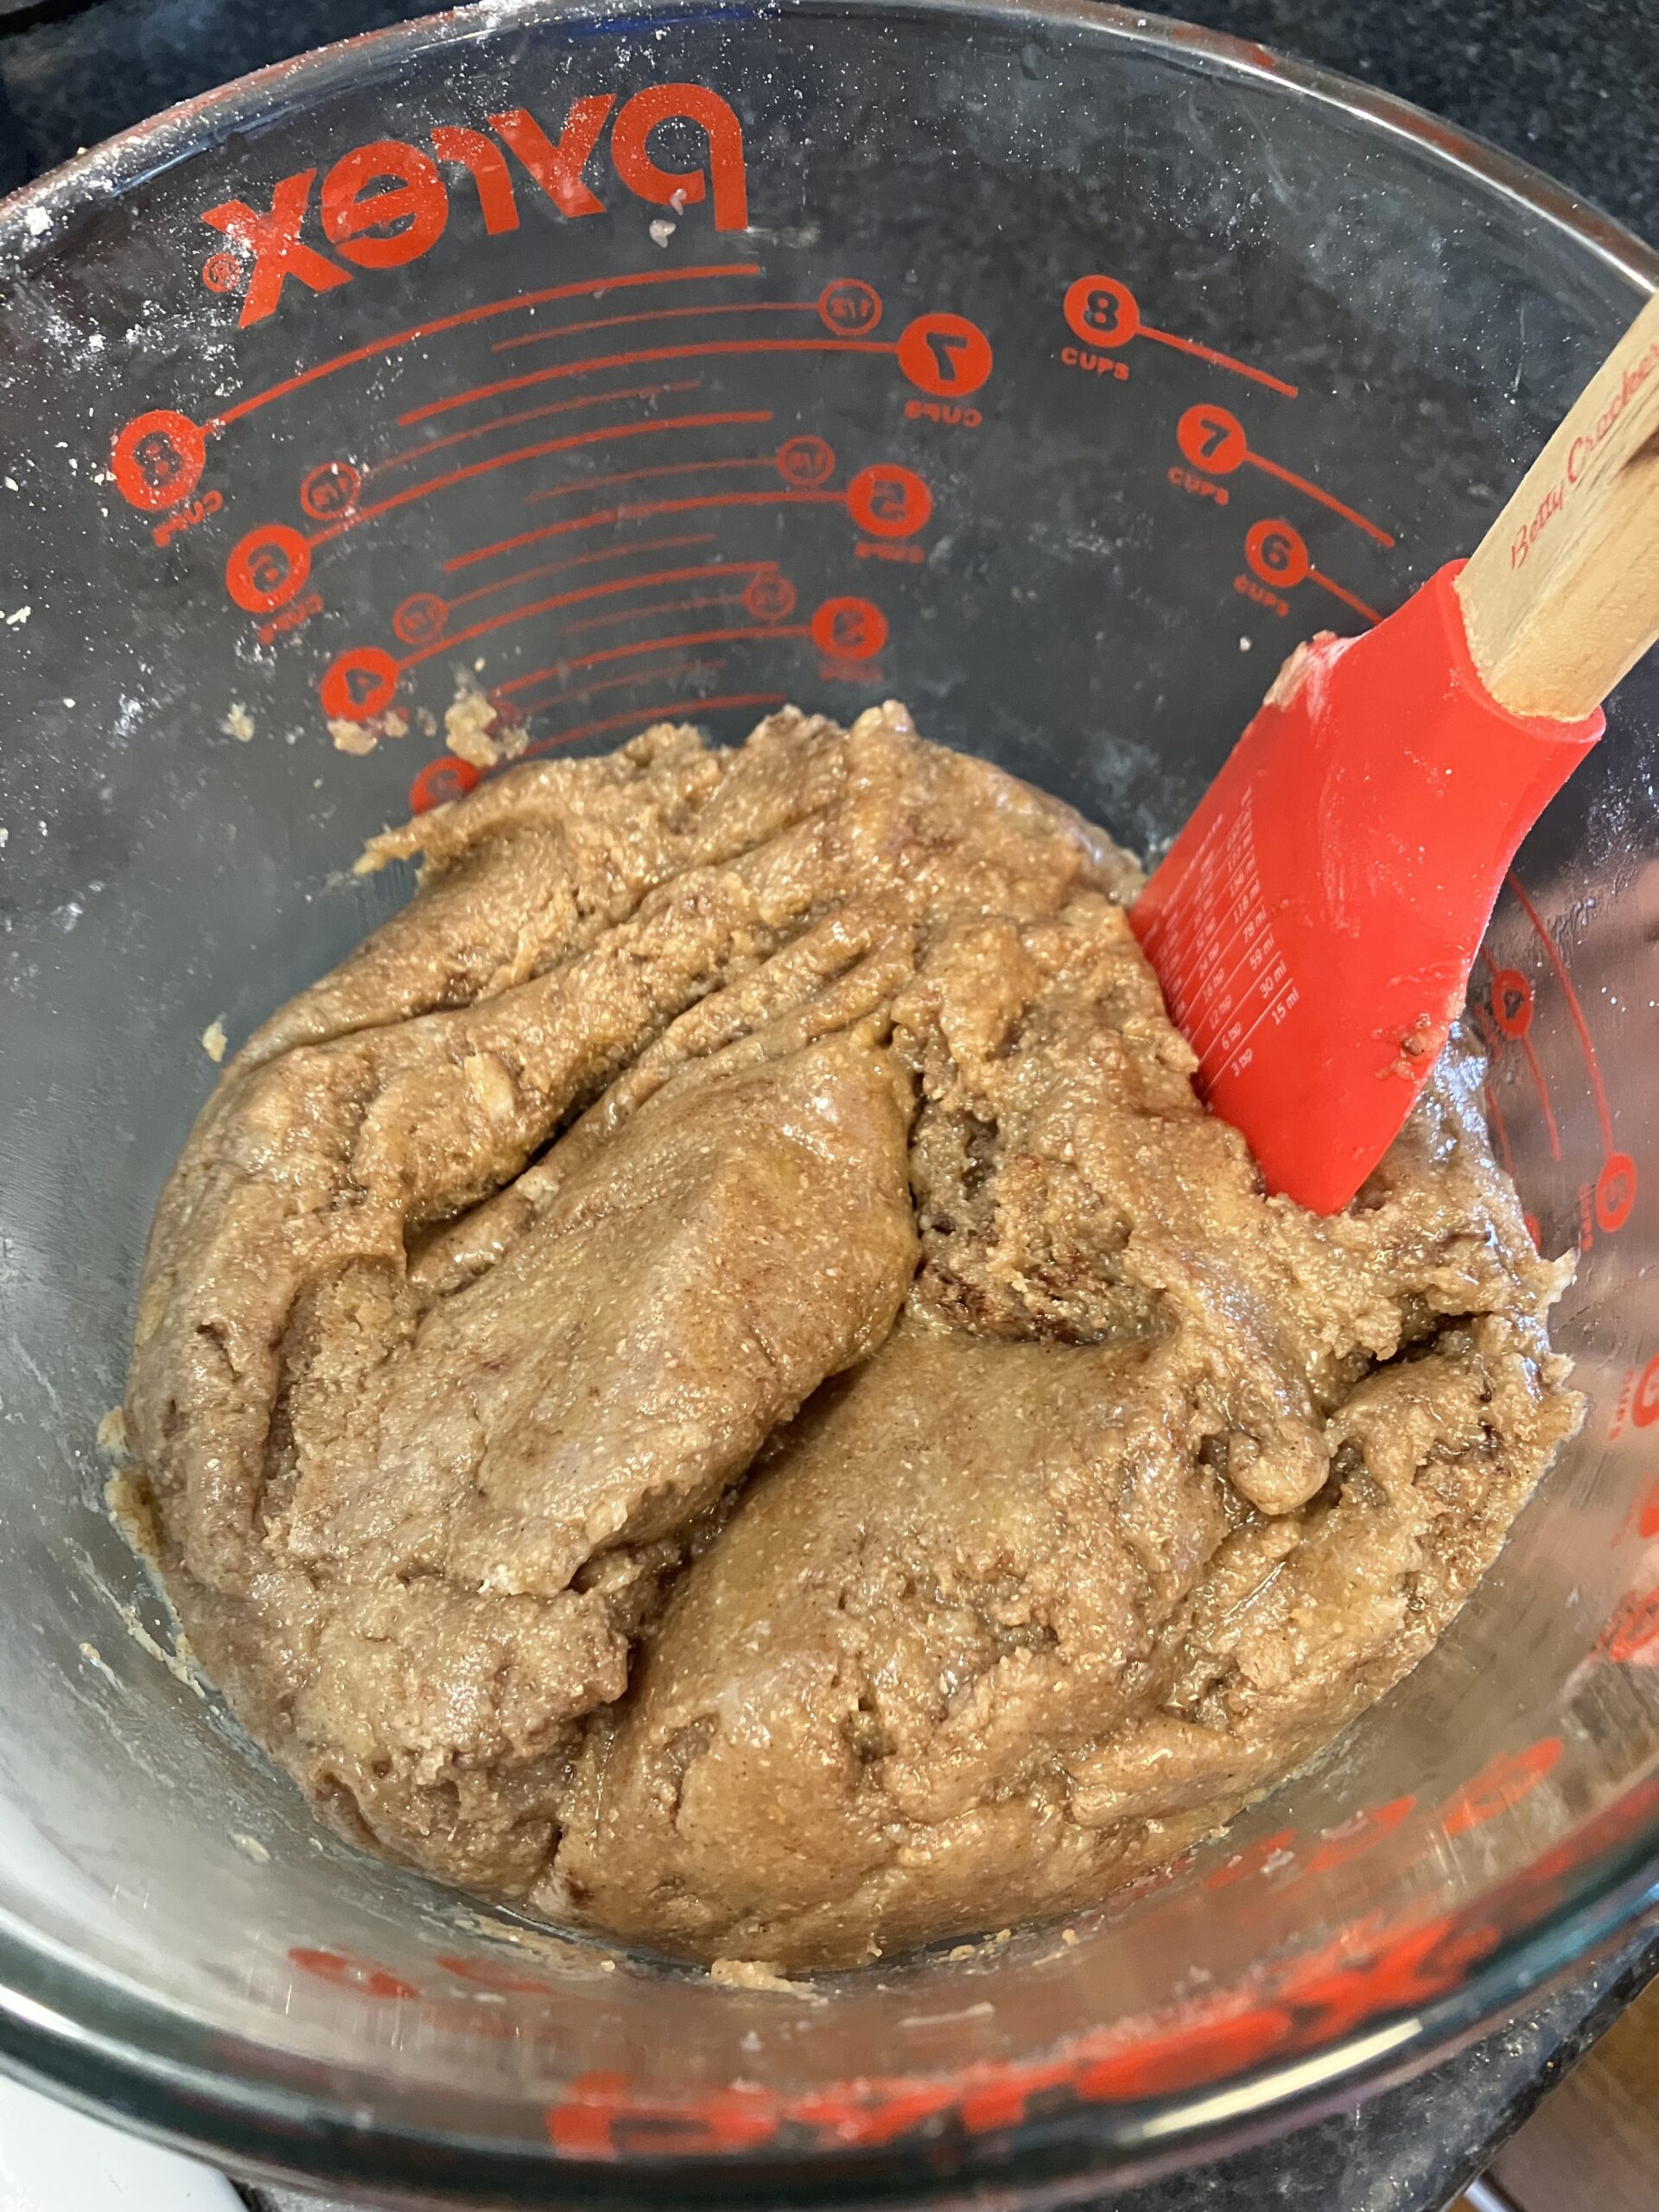
Preheat the oven to 350 degrees and grease two 9×5″ loaf pans with baking spray. Then, whisk the eggs, sugars, oil, and vanilla in a large bowl.
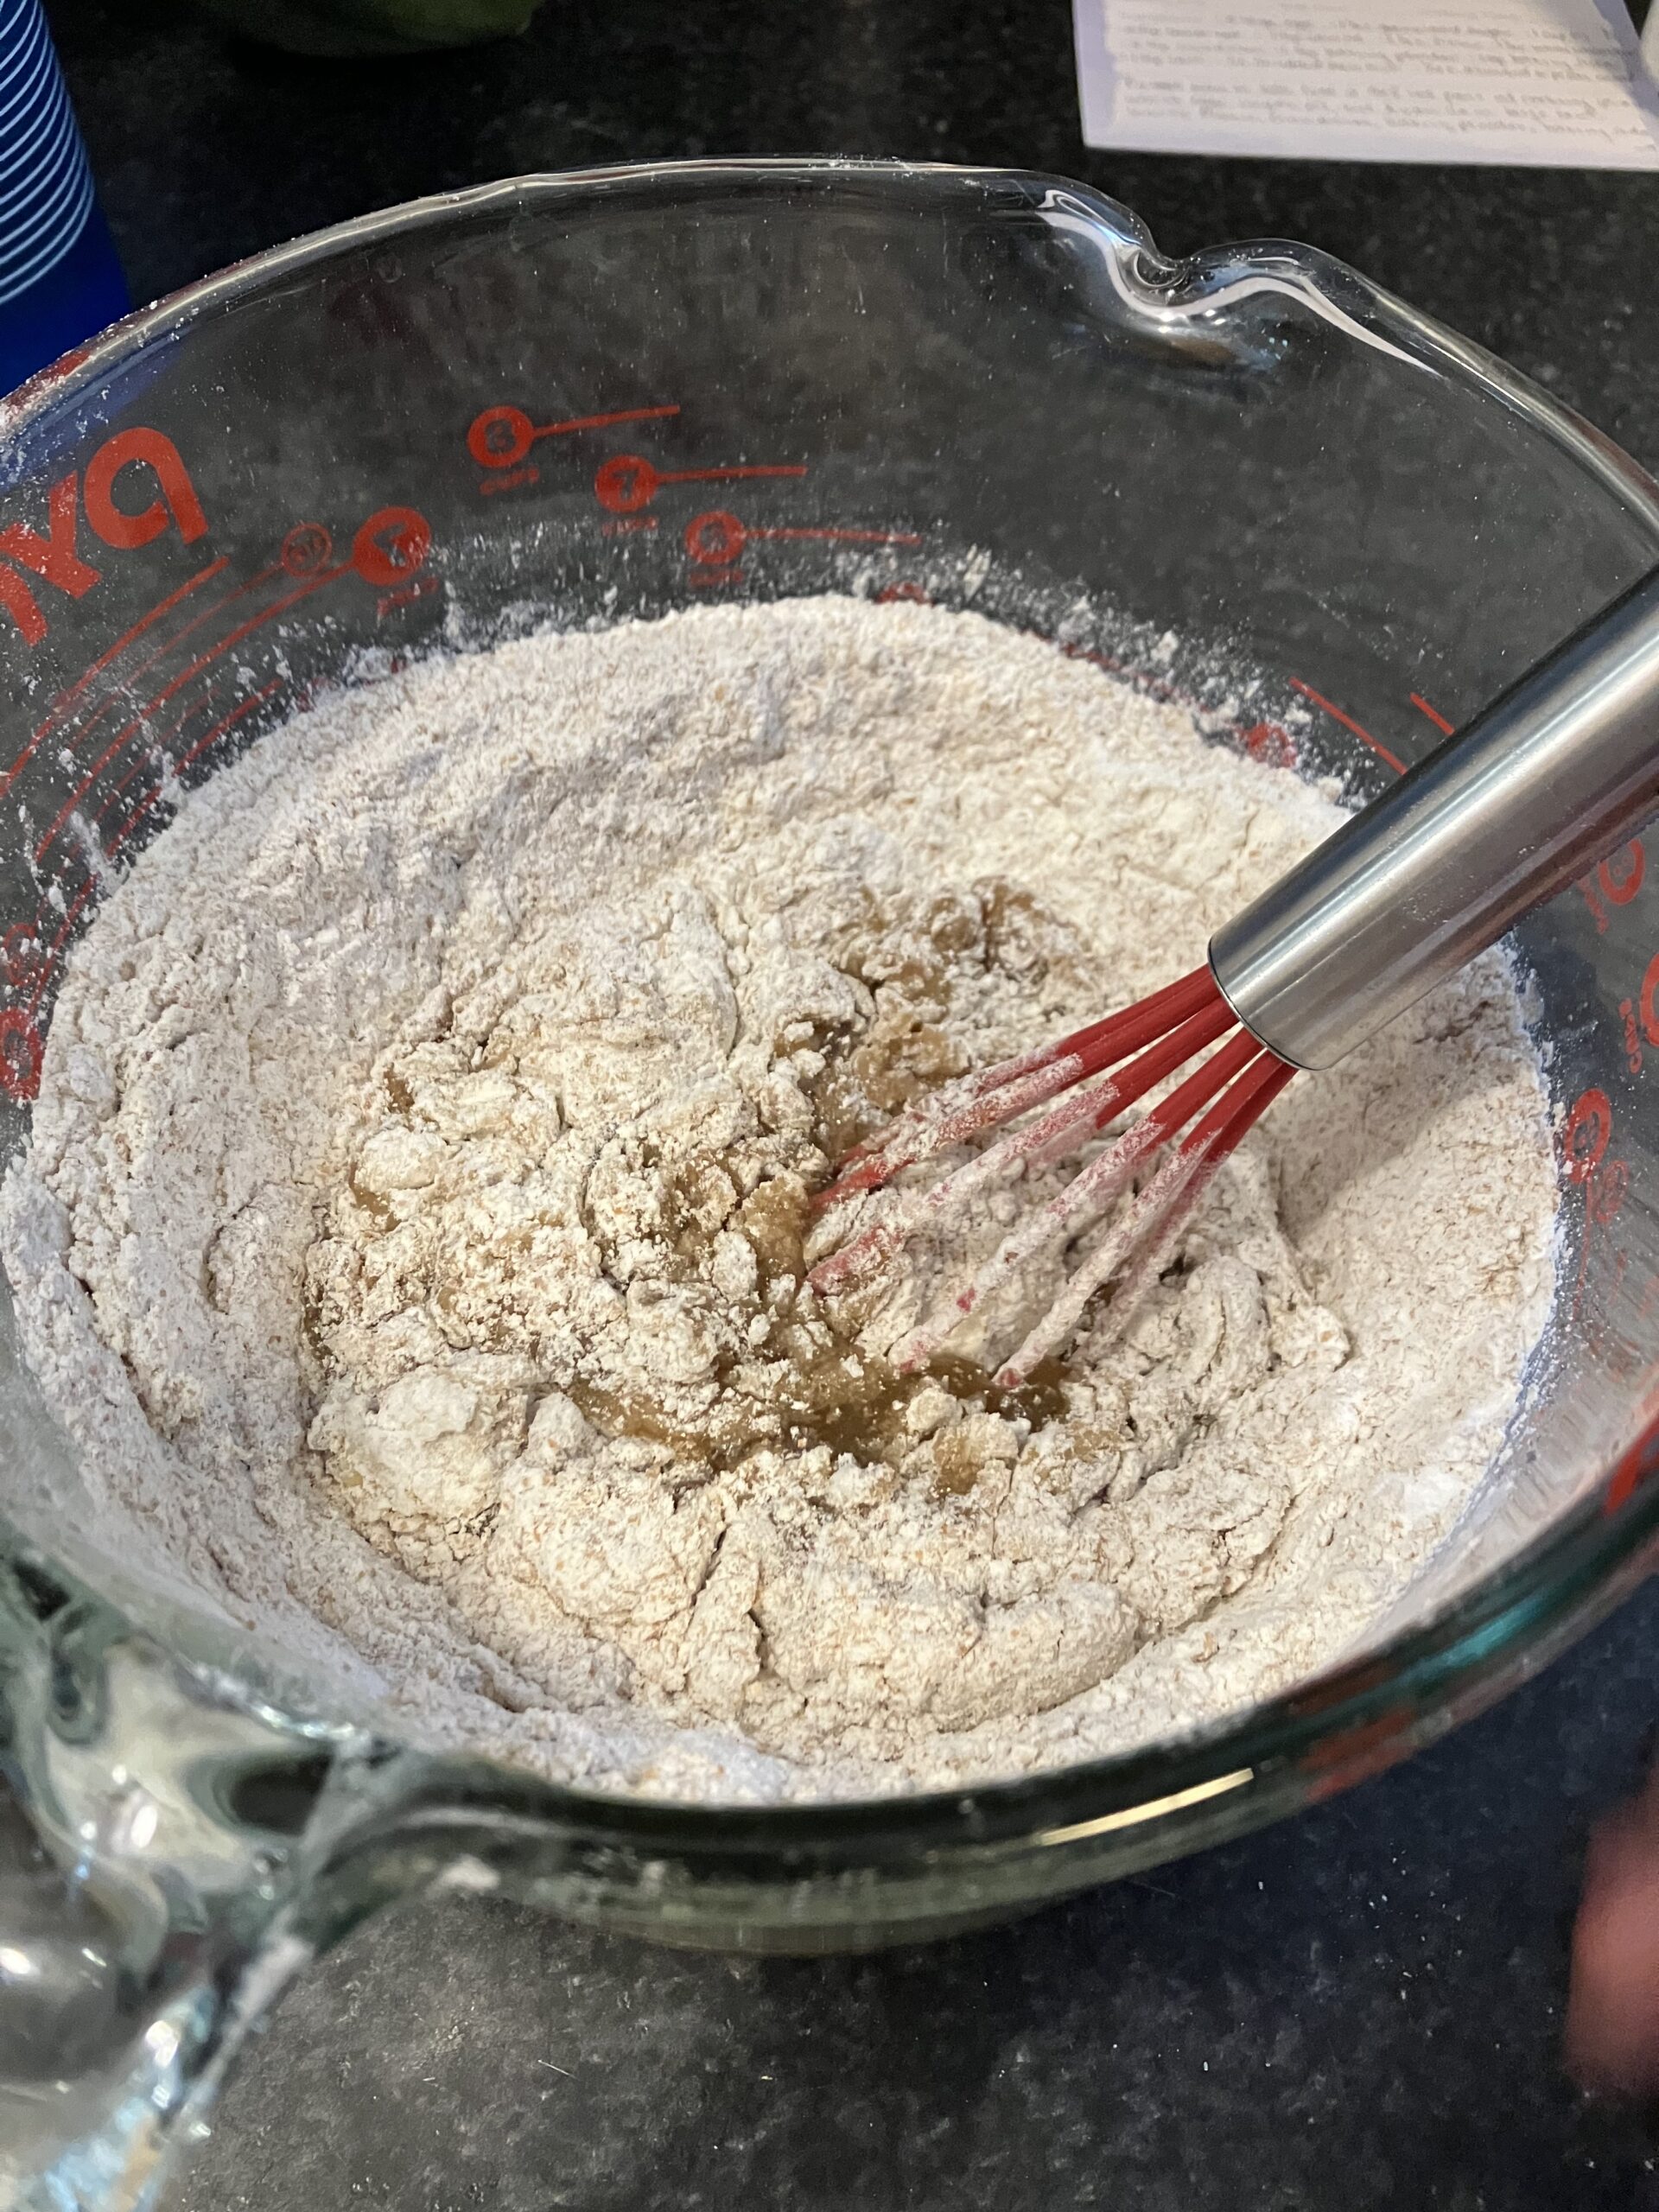
Combine the flour, cinnamon, baking powder, baking soda, and salt and mix into the wet ingredients.
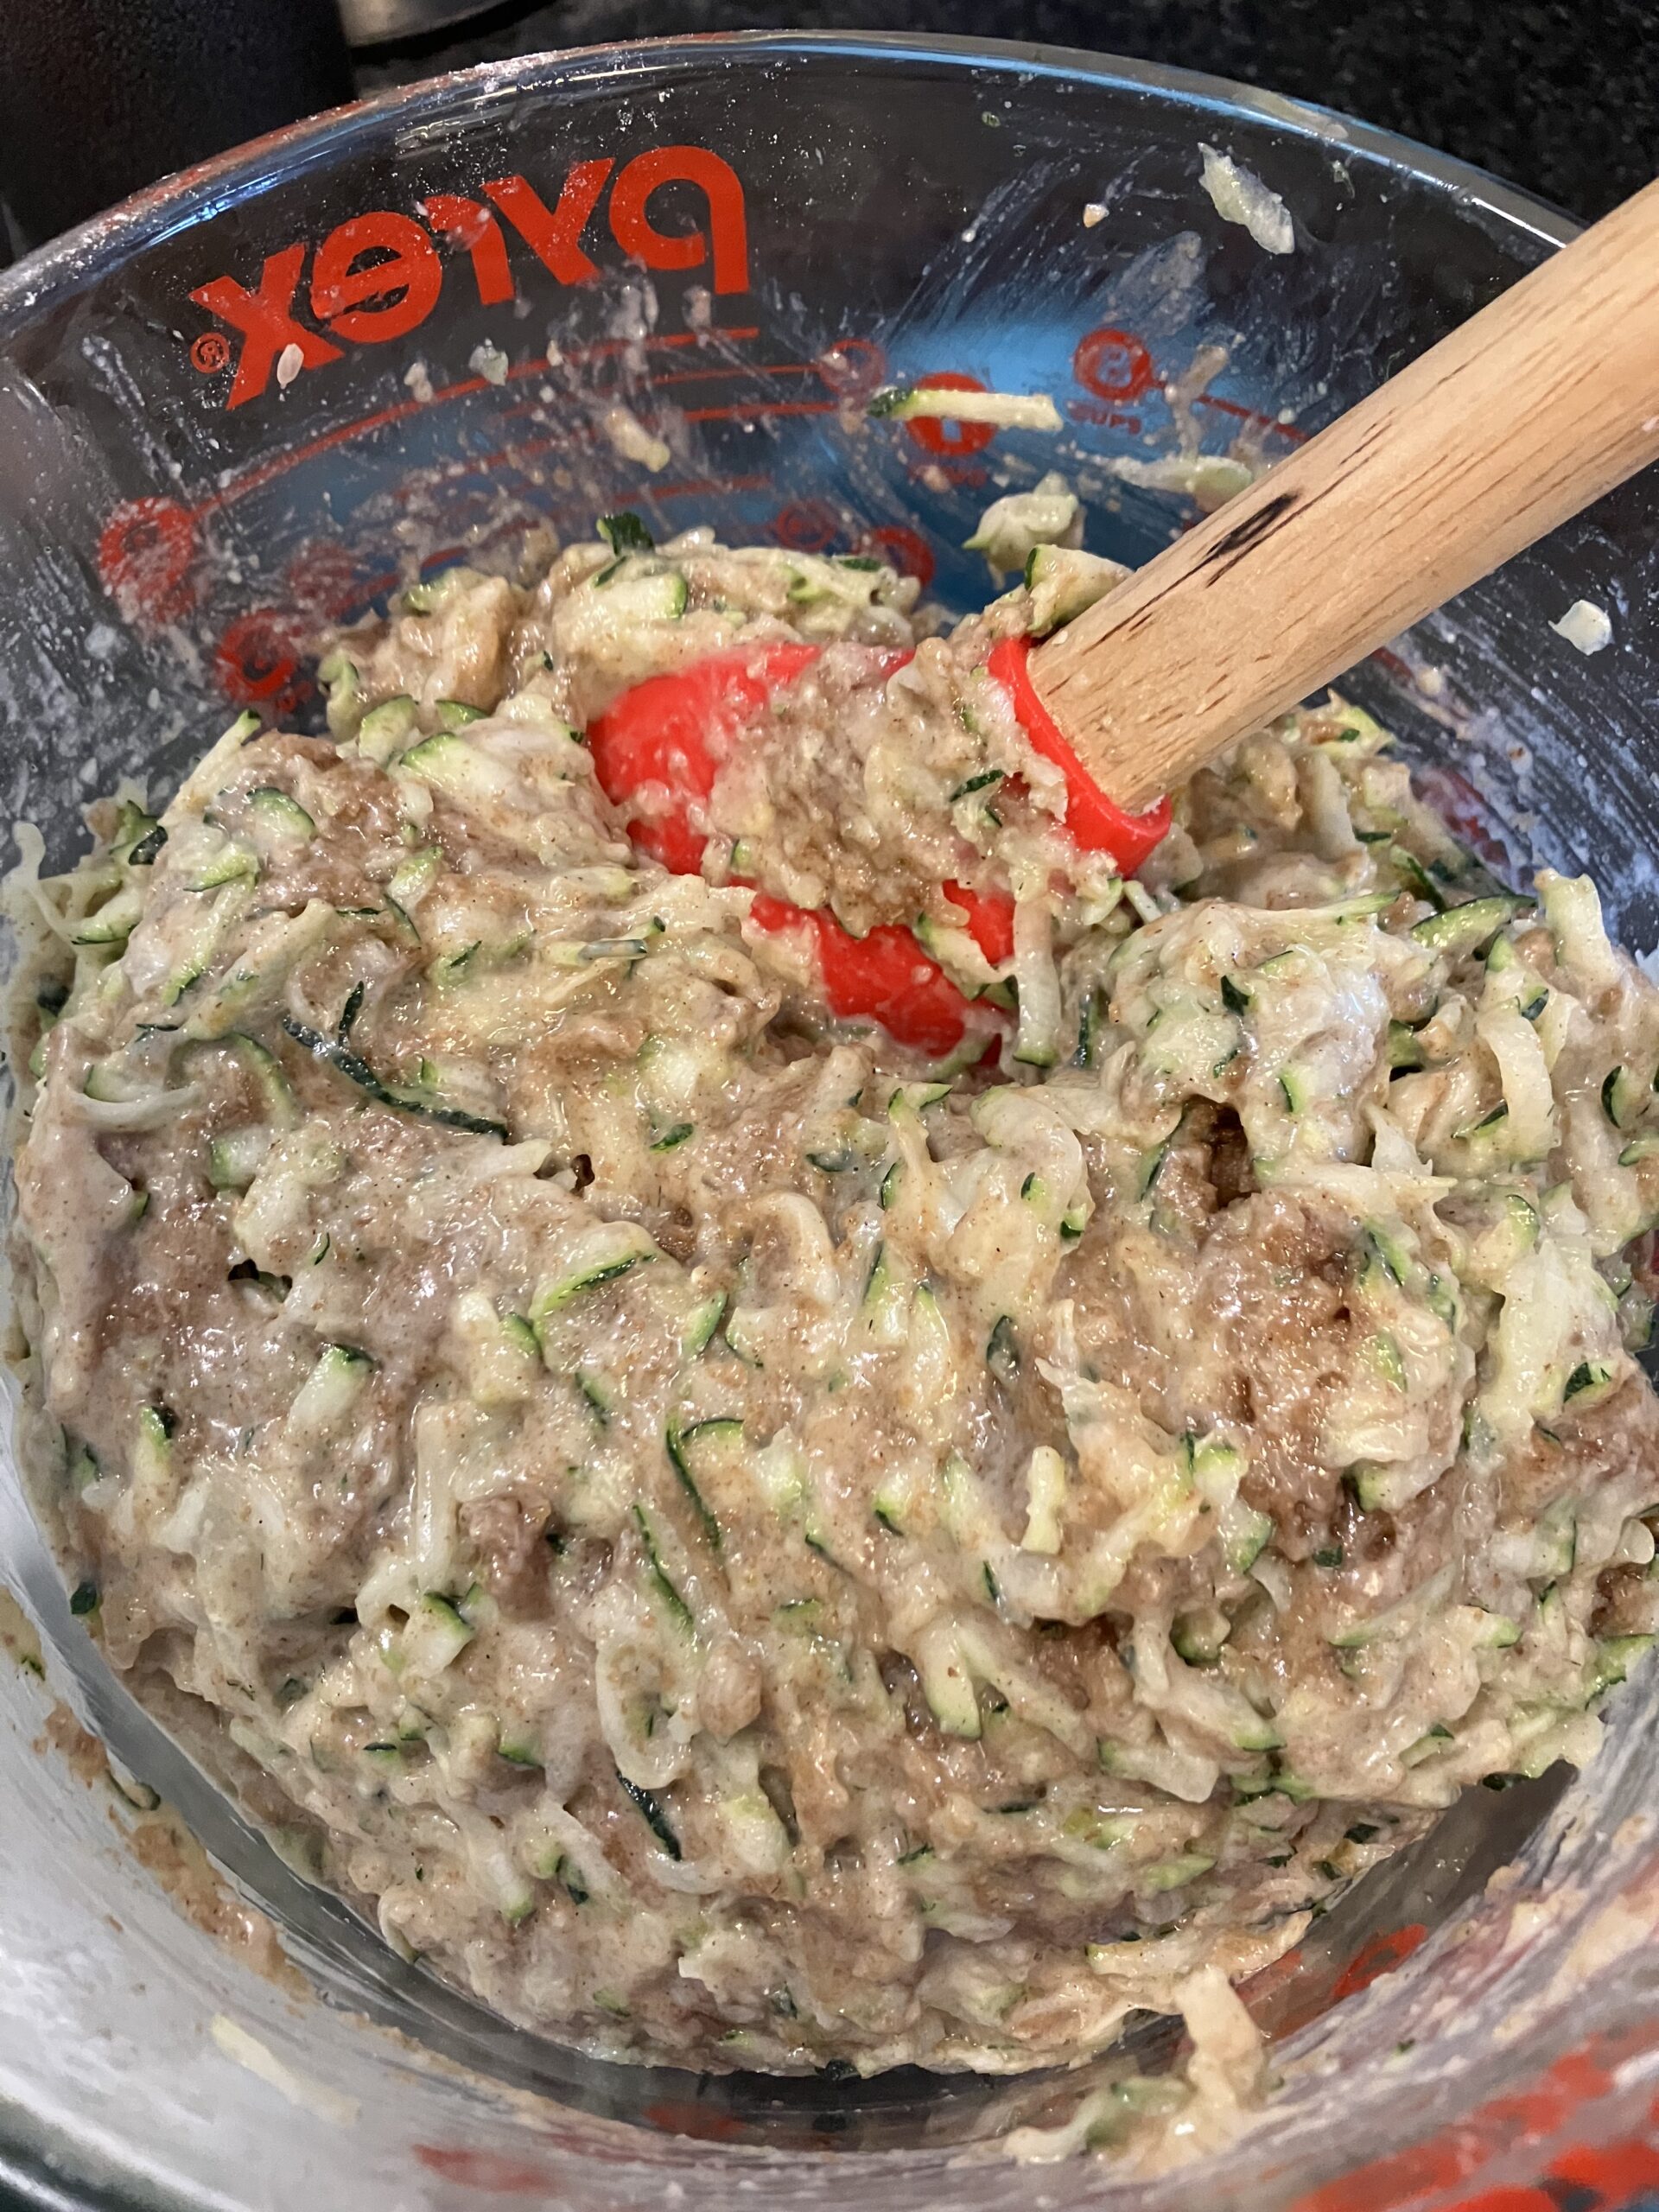
Fold in the zucchini and the almond meal.
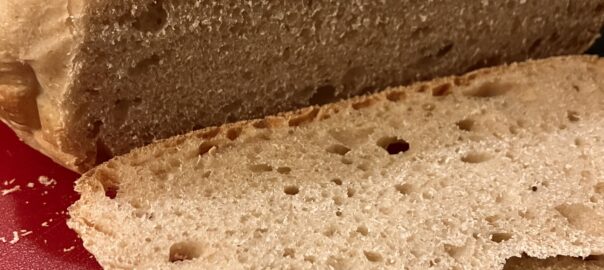
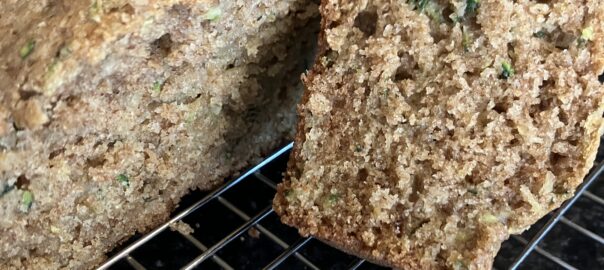
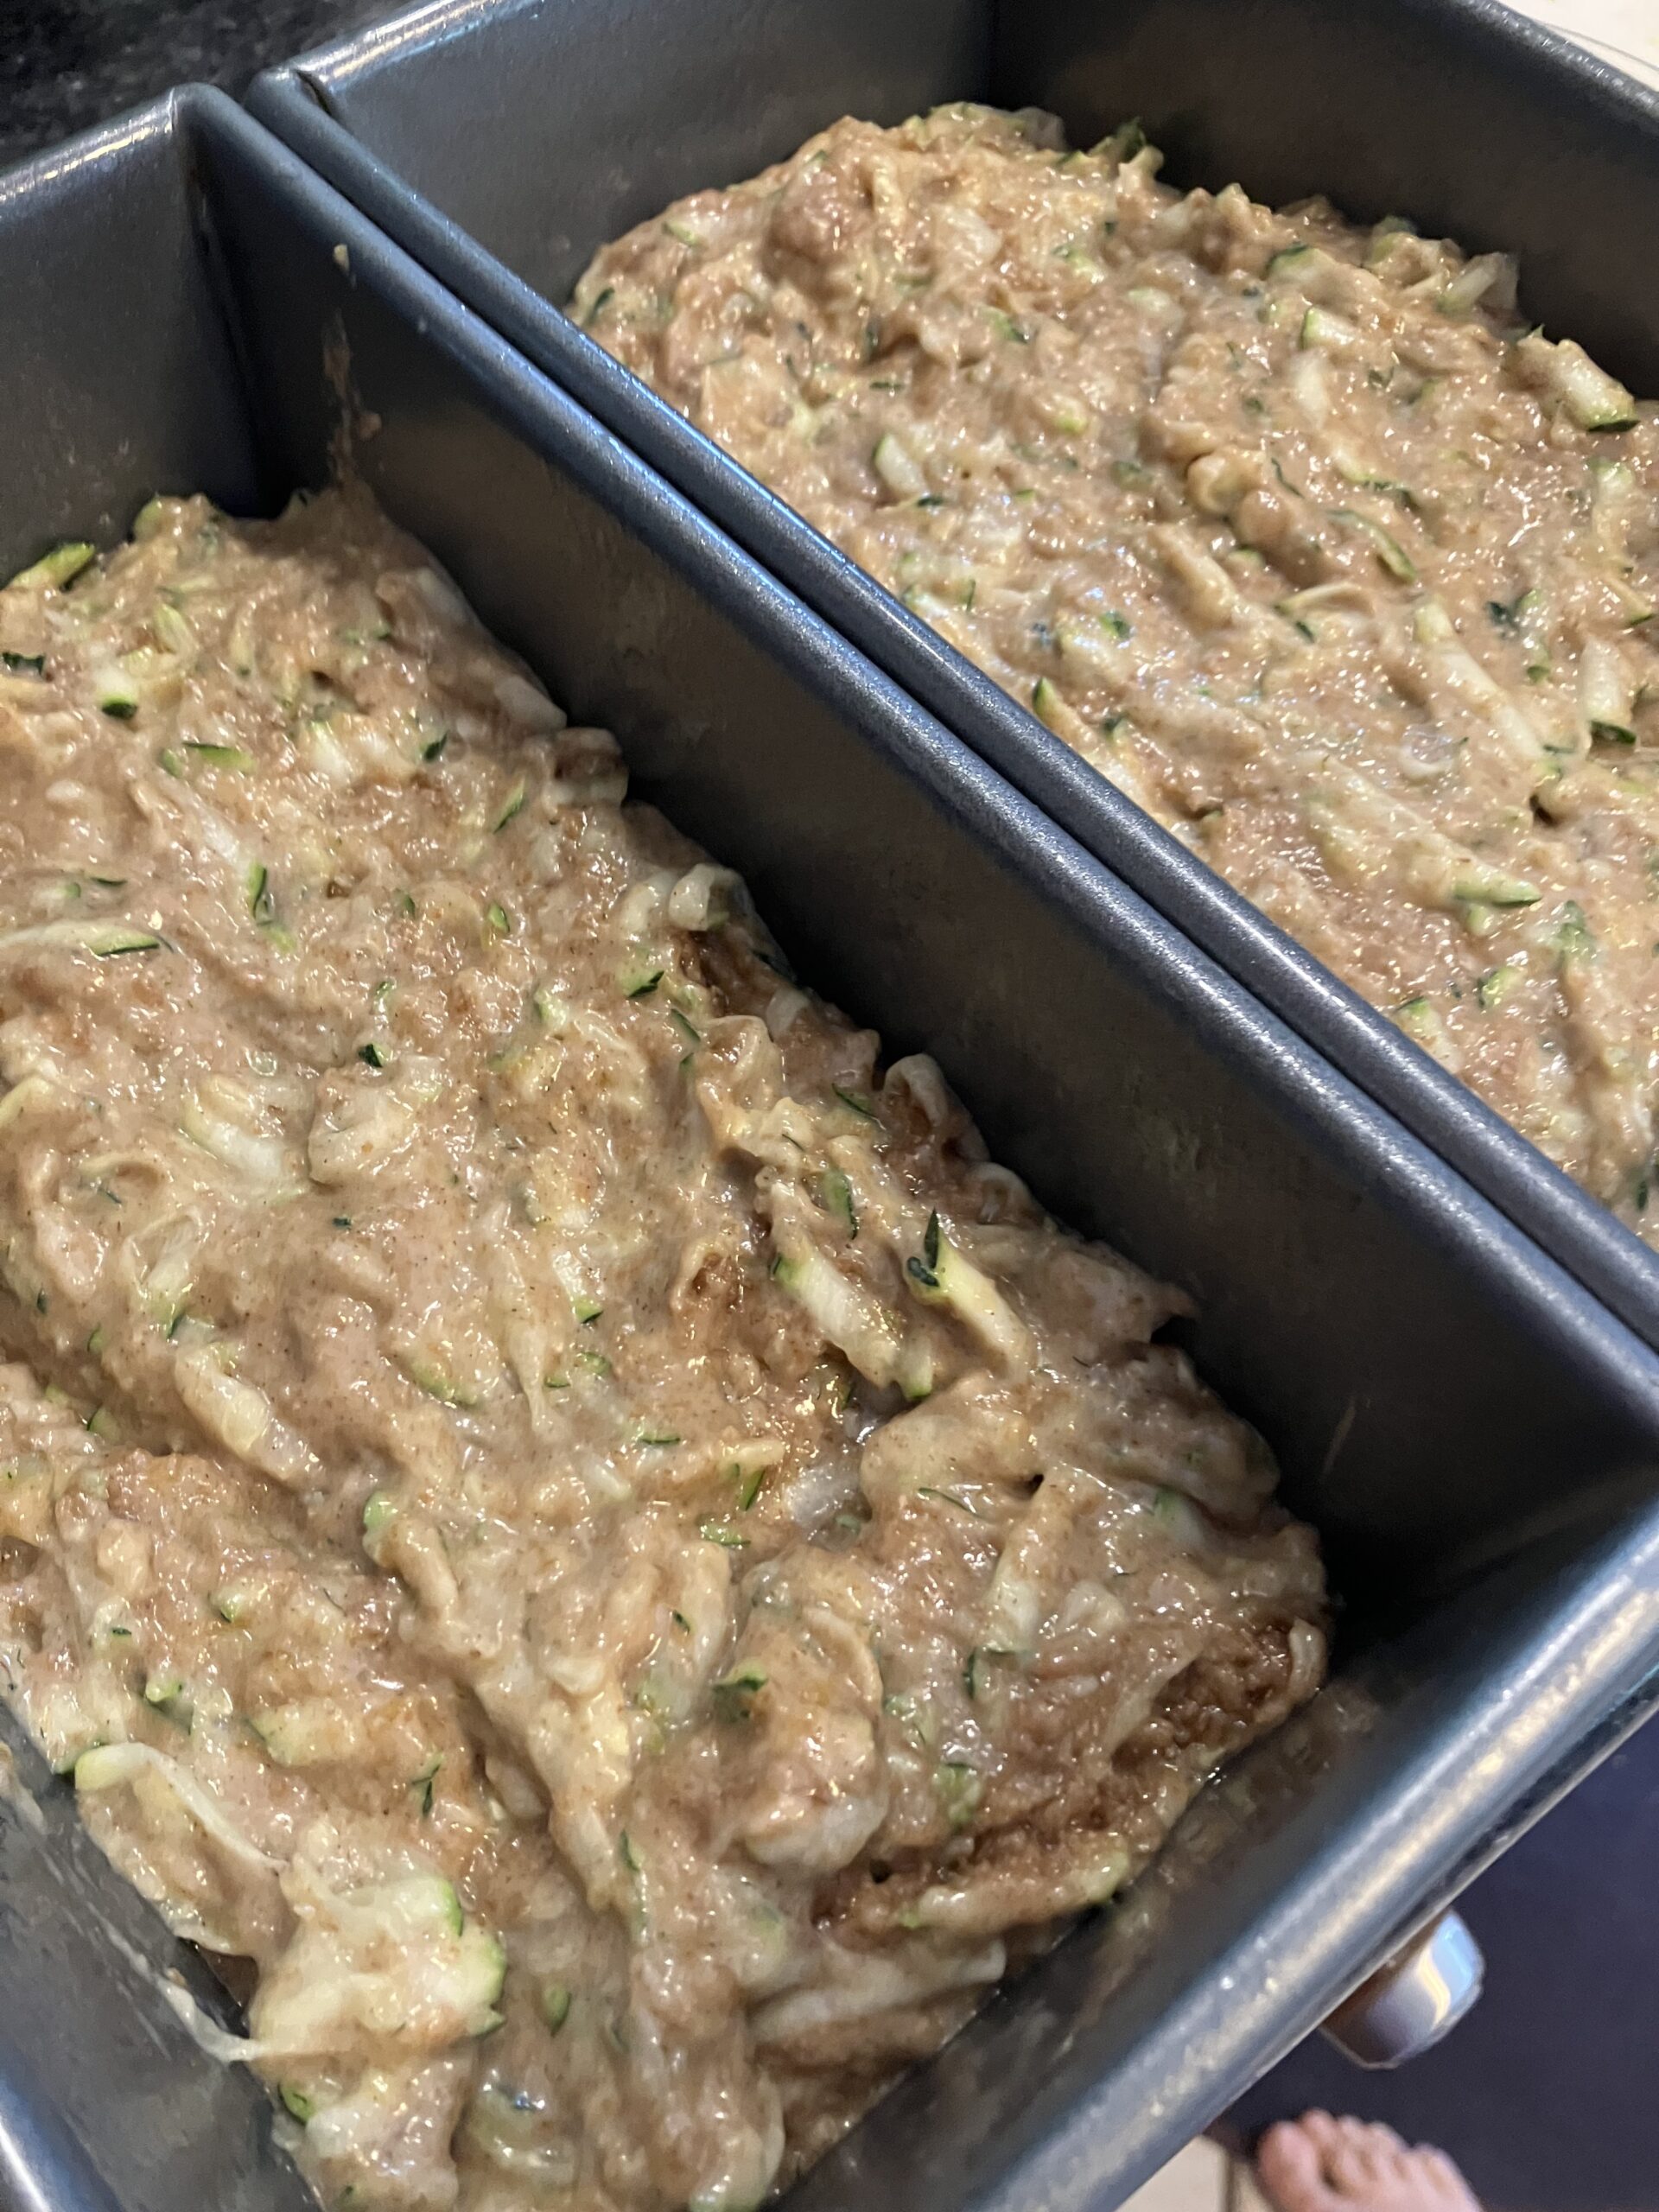
Divide the mixture evenly between the two prepared loaf pans and bake for 1 hour or until a toothpick inserted in the middle comes out clean. Let the loaves cool in their pans for about 10 minutes, and then remove to a cooling rack to finish cooling.

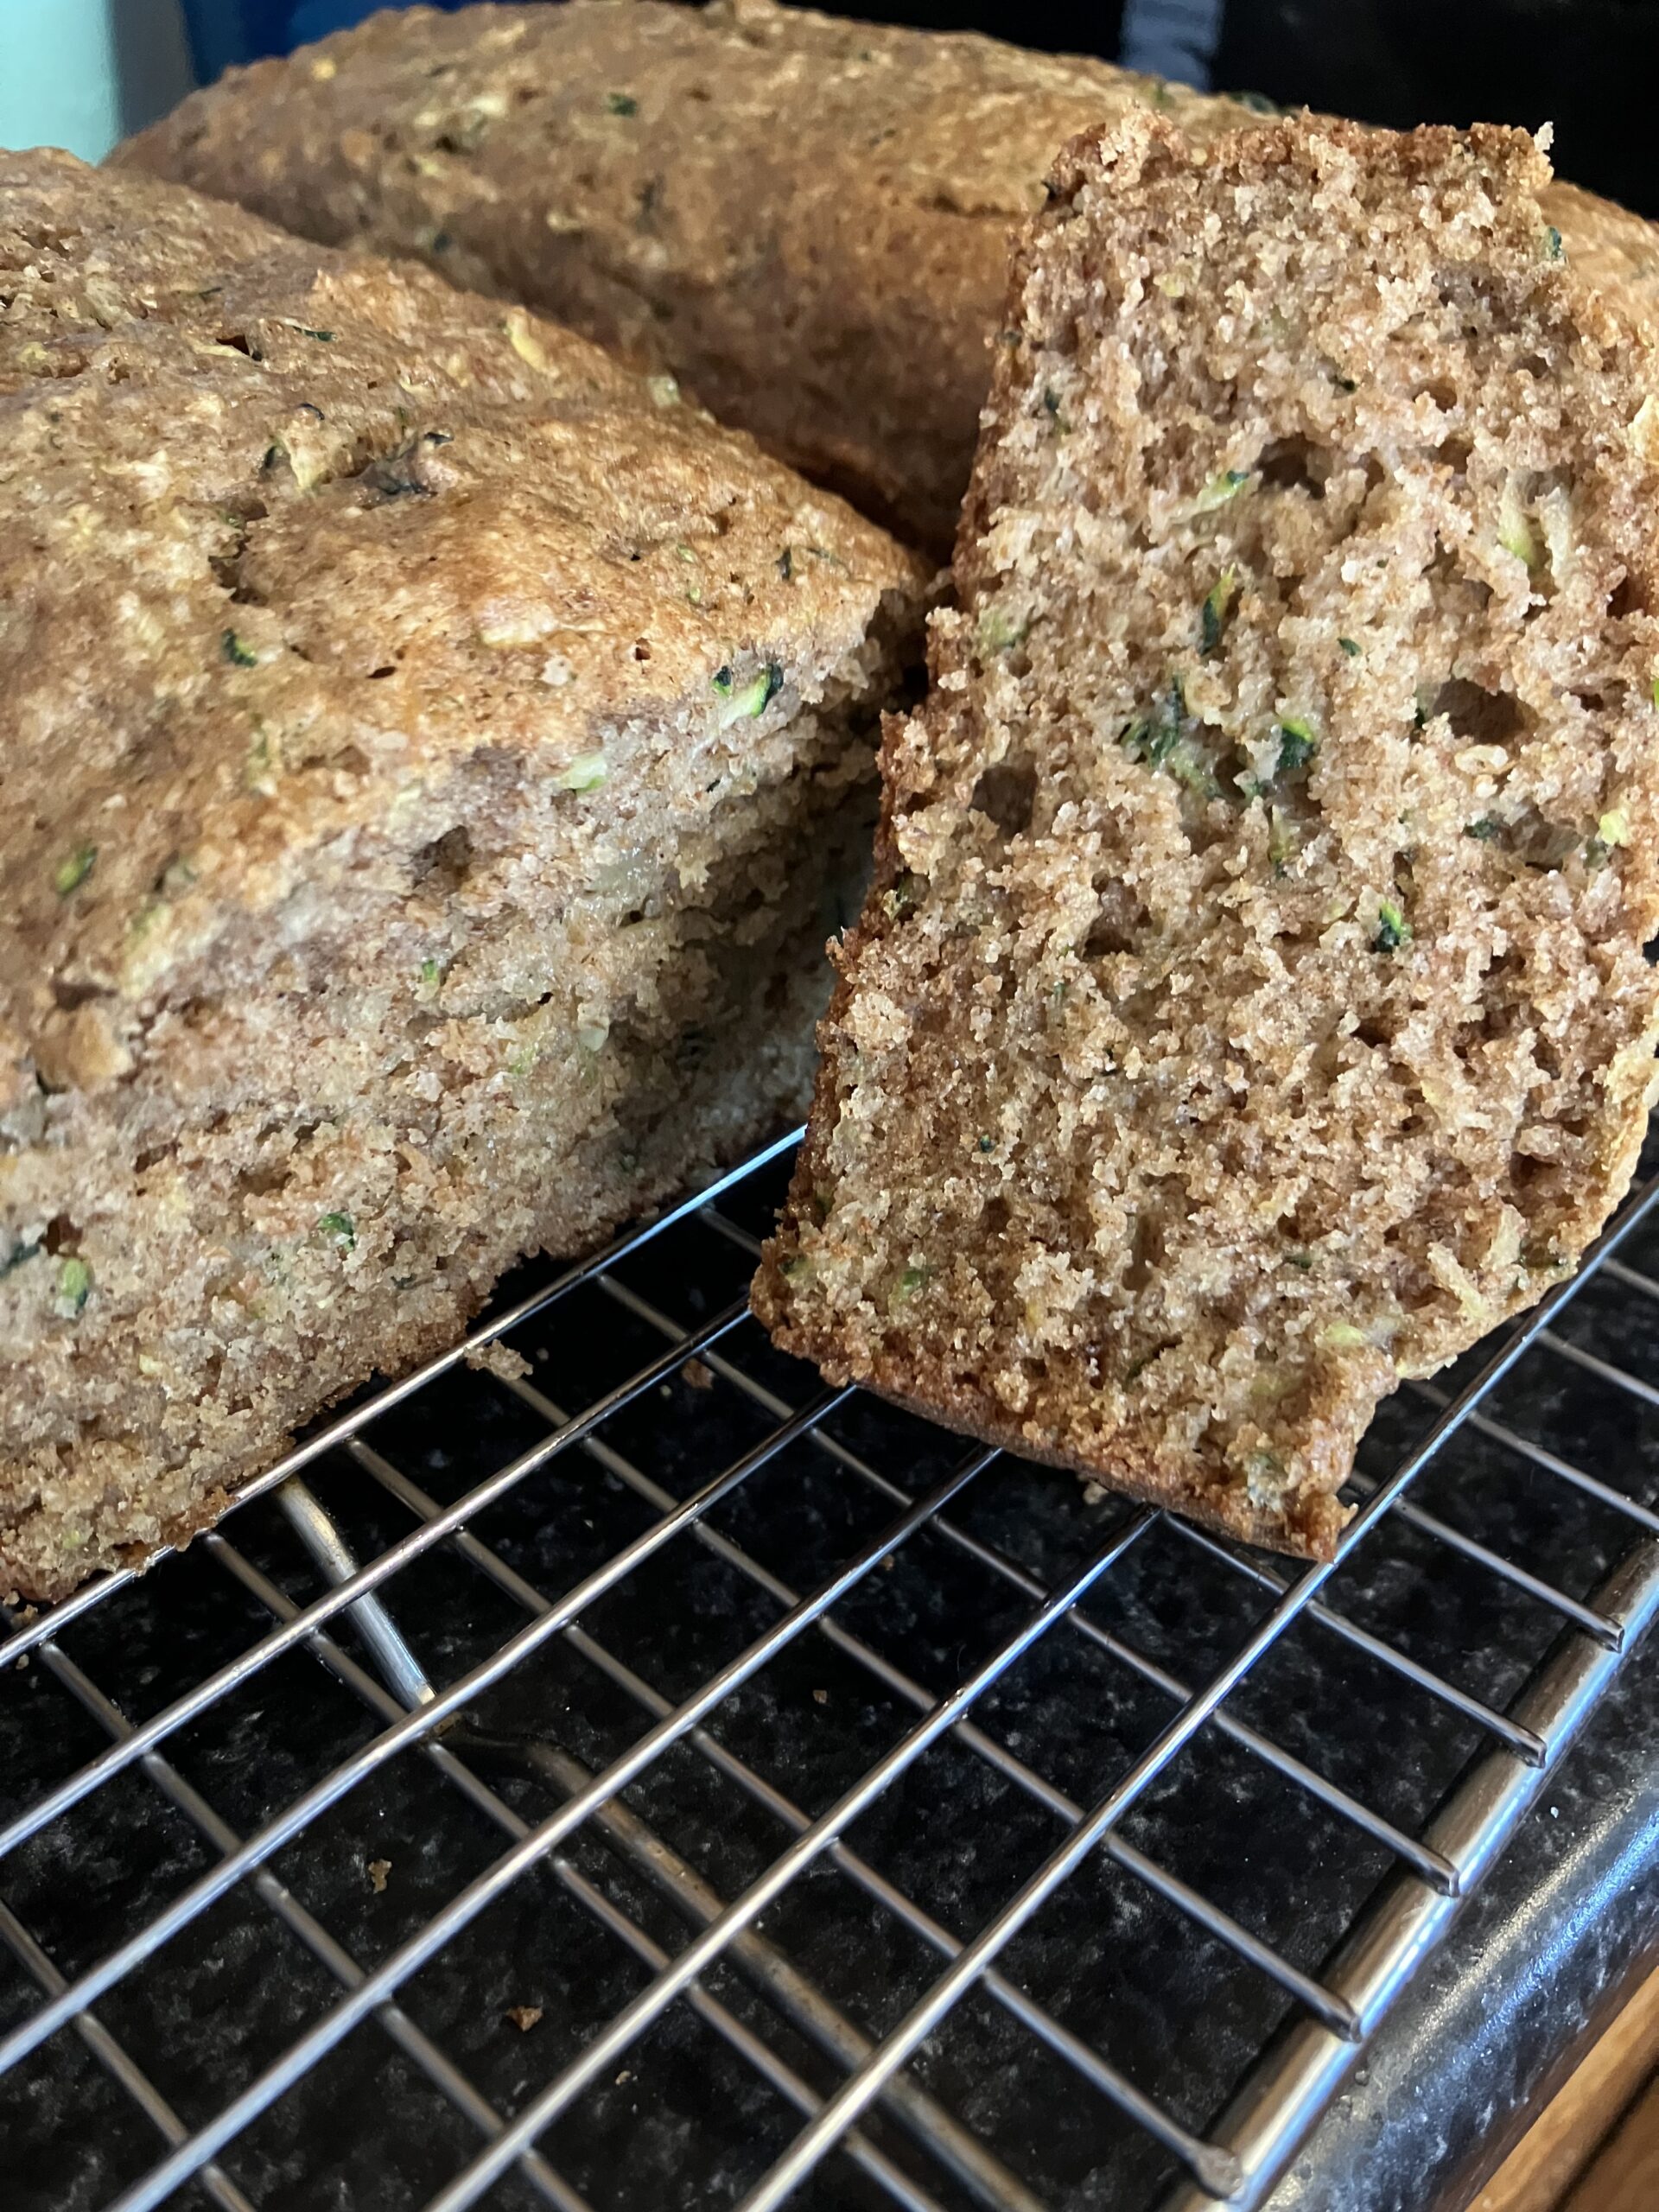
And that’s it! It doesn’t take long to prepare and is a great way to use up those couple extra zucchini. This bread freezes well and stays beautifully moist thanks to the undrained zucchini and the almond meal. You will be so glad you made this! Happy baking!