I'm a musician, Registered Dietitian, cook, and baker. I love food, and want to share my delight for it with the world. I hope you enjoy my recipes and, if you haven't developed a love for baking already, I hope you will!
View all posts by Ruth Wendel →
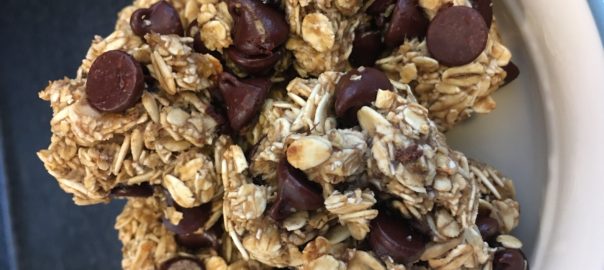
Hi, all! Happy February! I don’t know about you, but I’m feeling pretty ready for Spring and warm weather. Hopefully we only have a few weeks to go of chilly temperatures! In the meantime, I have a super easy, fast, healthy and yummy recipe for you to try: two-ingredient cookies! The only two things you need to make these are bananas and oats. After those base ingredients, you can customize these cookies with mix-ins (so of course I added chocolate chips). Here’s how to make them:
Ingredients:
2 ripe bananas, mashed
1.5 cups old fashioned oats
Mix-ins of your choice (chocolate chips, peanuts, cinnamon, raisins or other dried fruit, slivered almonds… the world is your oyster)
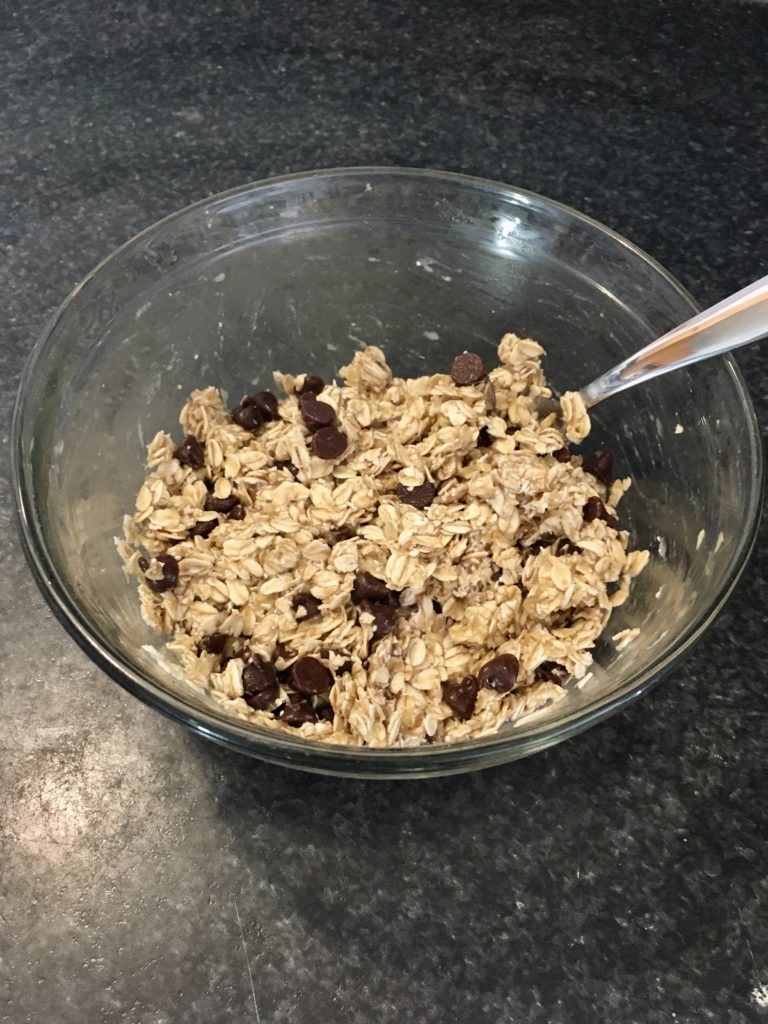
First, preheat the oven to 350F. While the oven is heating, mash the bananas in a bowl until they resemble baby food. Then, mix in your oats and stir until everything is combined. Finally, stir in whatever mix-ins you want.
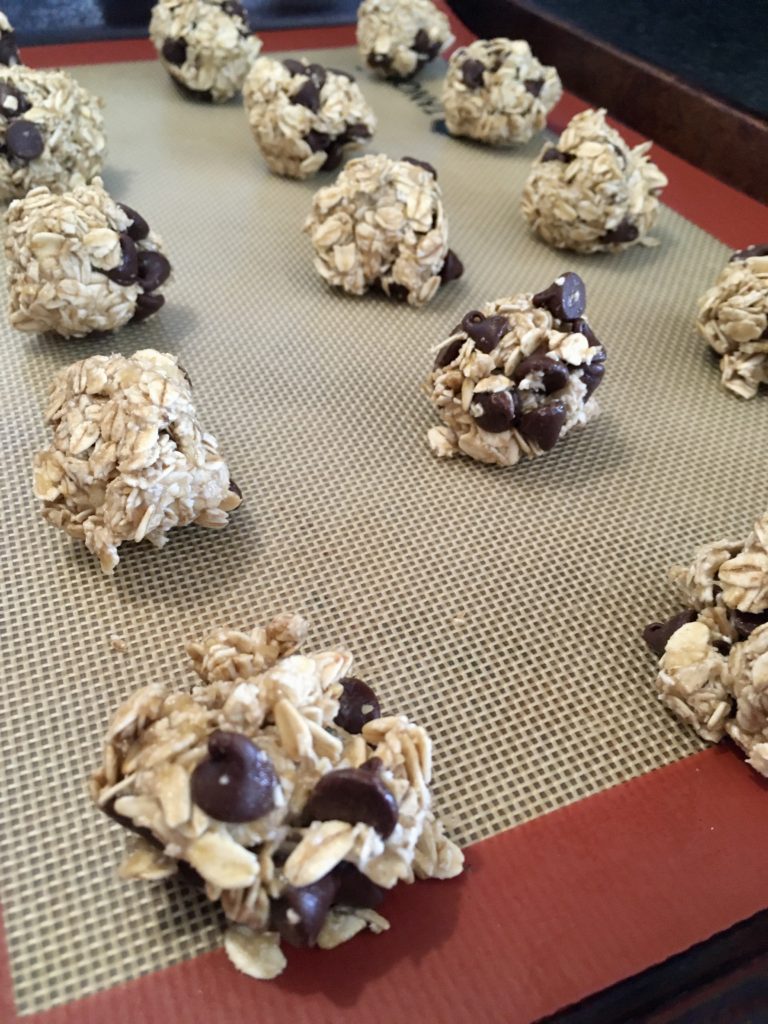
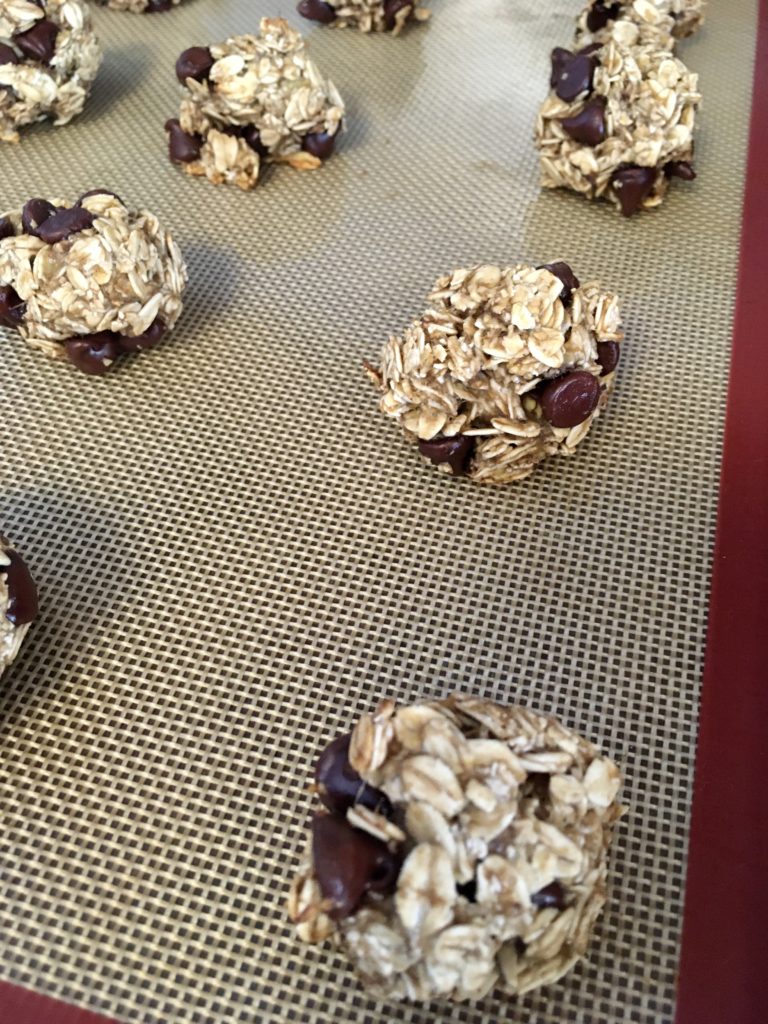
Form the mixture into balls and place on a baking sheet. I used a baking mat for easy cleanup, but you can just put the “dough” right on the baking sheet too.
Bake at 350F for 20 minutes.
And that’s it! The cookies should be crisp on the outside but chewy and soft on the inside. It seriously tastes like banana bread when you bite into them but it’s healthier AND took way less time. Win win!
To keep these fresh for longer, I recommend storing them in the fridge (unless your family eats them all in a day, which is very possible). Happy baking!
Hi all! Happy September (not quite time to say happy fall yet)! Hope you’ve all been doing well! I just finished training for (and competing in) a triathlon, which is basically the origin for this recipe. I was doing lots of early morning swims before work and needed a good, healthy breakfast to eat on the way to work. I did some searching online for a healthy baked oatmeal recipe and found a few options to try. I’ll be honest, the first couple I tried were absolutely disgusting. This recipe from EatingBirdFood.com that I’m sharing with you today, though, pleasantly surprised me by how yummy the oatmeal cups were and how well it worked to freeze them, so I wanted to share it with you. Here’s the recipe:
Ingredients:
3 cups old fashioned rolled oats
1/2 tsp ground cinnamon
1 tsp baking powder
1/2 tsp salt
1 1/2 cups milk
1/4 cup maple syrup
2 tbsp ground flaxseed
1 tsp vanilla extract
2 tbsp peanut butter
2 mashed bananas (about 1/2 cup)
1/4 cup chocolate chips
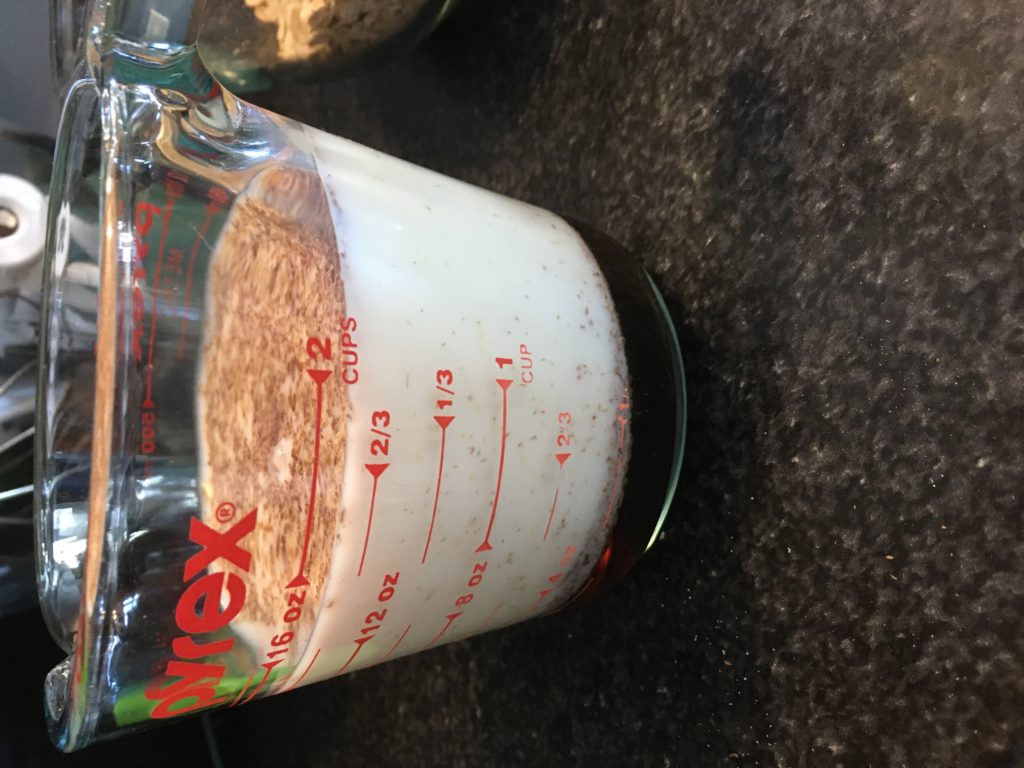
Preheat the oven to 350F and line 12 muffin cups with paper baking cups. Spray the liners with baking spray. In a medium mixing bowl, combine milk, flaxseed, maple syrup, and vanilla. Let sit for about 5 minutes.
While that mixture is sitting, combine the oats, cinnamon, baking powder, and salt.
Mix the bananas, peanut butter, and half the chocolate chips in with the wet ingredients. Add the wet ingredients to the dry ingredients and mix well.
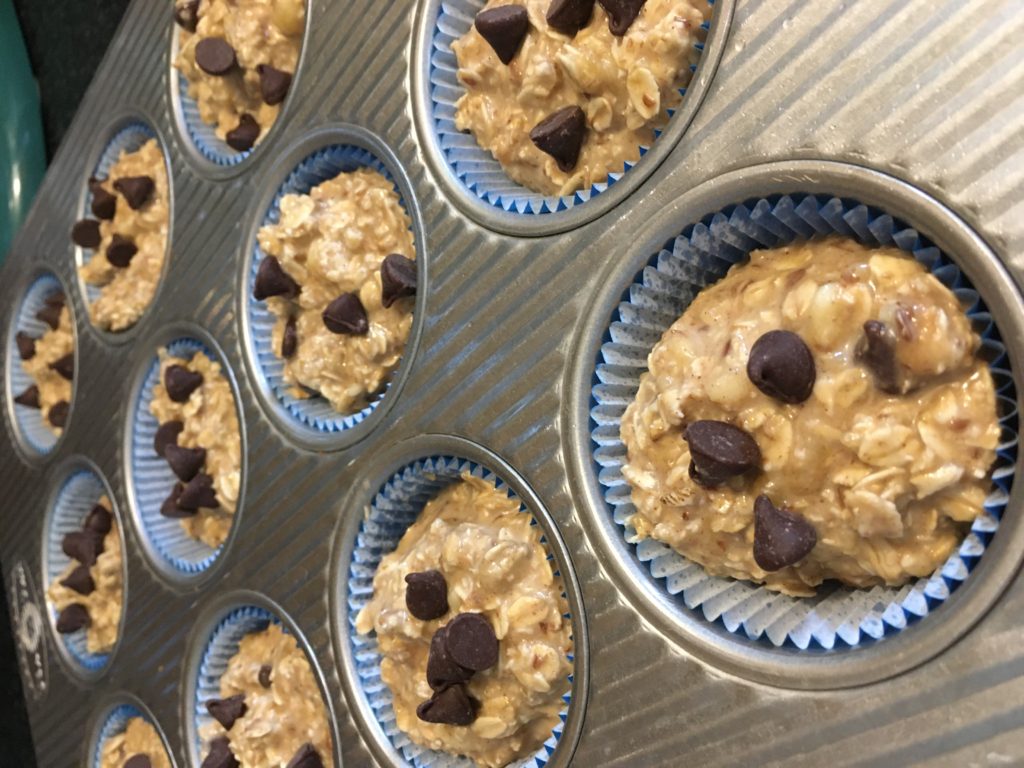
Divide mixture evenly among the muffin cups and top with remaining chocolate chips.
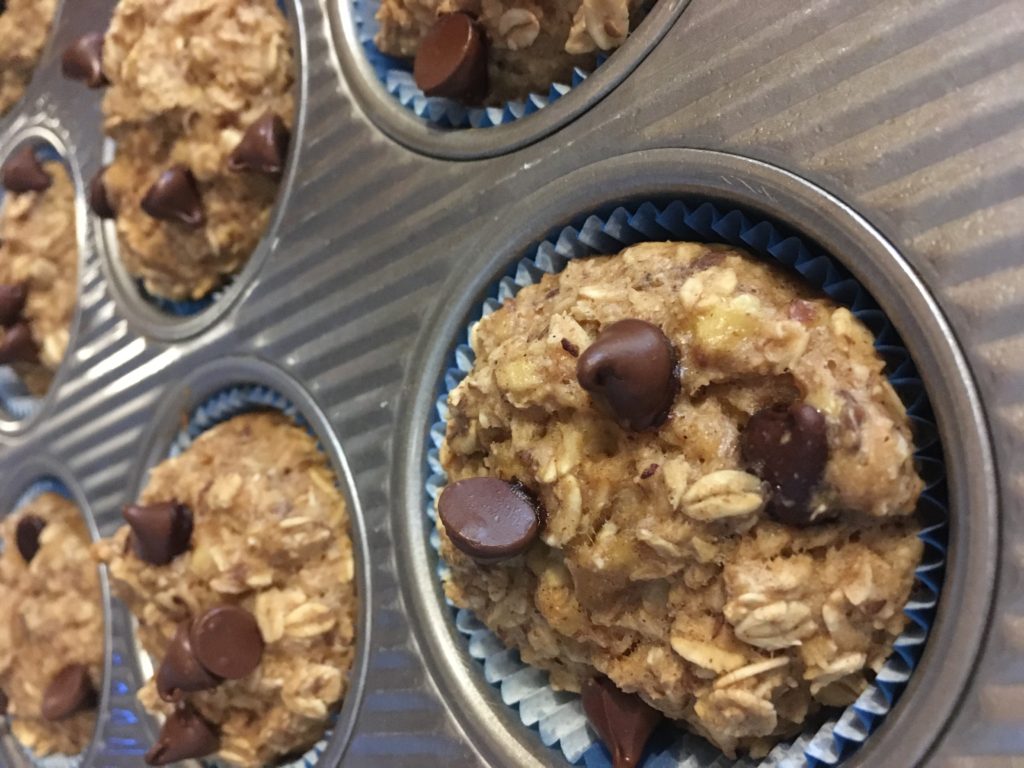
Bake for 30-35 minutes or until a toothpick inserted in the middle of the cup comes out clean.
Let cool completely and then store in the fridge or the freezer. I kept mine in the freezer and just put two in the fridge the night before my swimming mornings, and they’d be perfectly thawed about 8-10 hours later.
Hi, all! Hope your August is going well. I’m sure many of you have started the yearly struggle of, “What am I supposed to do with all these tomatoes I grew?” now that peak tomato season is here. Luckily my way forward was clear due to the jalapenos, cilantro, green onions, and garlic that also came from my garden. I spent my afternoon yesterday cooking up all sorts of garden-related things to use up my veggies, and wanted to share this salsa recipe with you. I seriously make a huge batch almost every week because my husband, Tanner, likes it that much. We currently have four bags of tortilla chips in the cabinet that are strictly reserved for salsa dipping. This salsa is that good!
One fun thing about it is that there are no set measurements for most of the ingredients, because every vegetable is different- for example, one jalapeno could be very mild, meanwhile the one that grew next to it is crazy hot. I’ve given my usual starting quantities here, but it’s a taste-as-you-go kind of recipe!
Ingredients:
28oz tomatoes, roughly chopped (you can use fresh or canned unsalted diced tomatoes)
1/4 red onion, roughly chopped
2 jalapenos, roughly chopped
2 scallions, roughly chopped
3 cloves garlic, peeled and ends removed
1 bunch cilantro, washed and stems removed
1/2 tsp salt
Combine all the ingredients together in a blender and blend until well combined. Taste the salsa using either a spoon or a chip (be careful sticking your hand into the blender, though!) and adjust heat and seasoning as needed. When you’re finished, pour the salsa into containers and store in the fridge for up to 2 weeks. My favorite containers for the salsa are 2 old pasta sauce jars- a good size for the batch, good pouring vessels, and dishwasher safe!
Pour yourself a bowl of salsa and pull out the tortilla chips, and enjoy! Happy cooking!
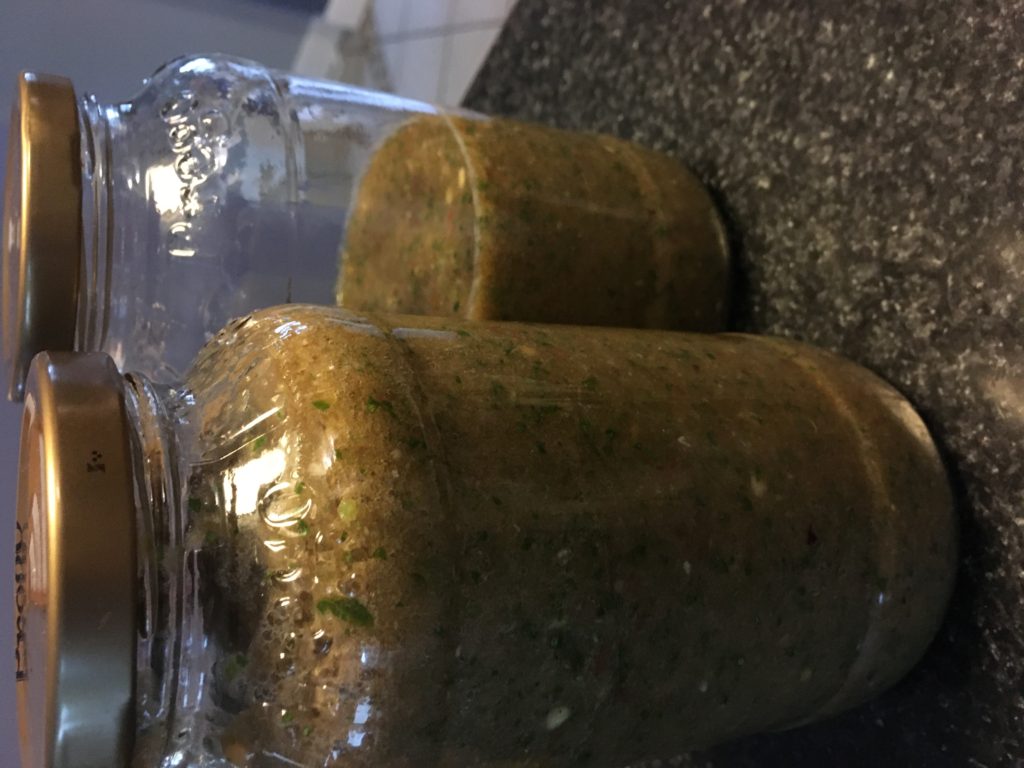
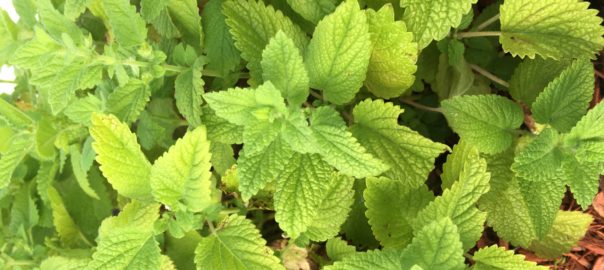
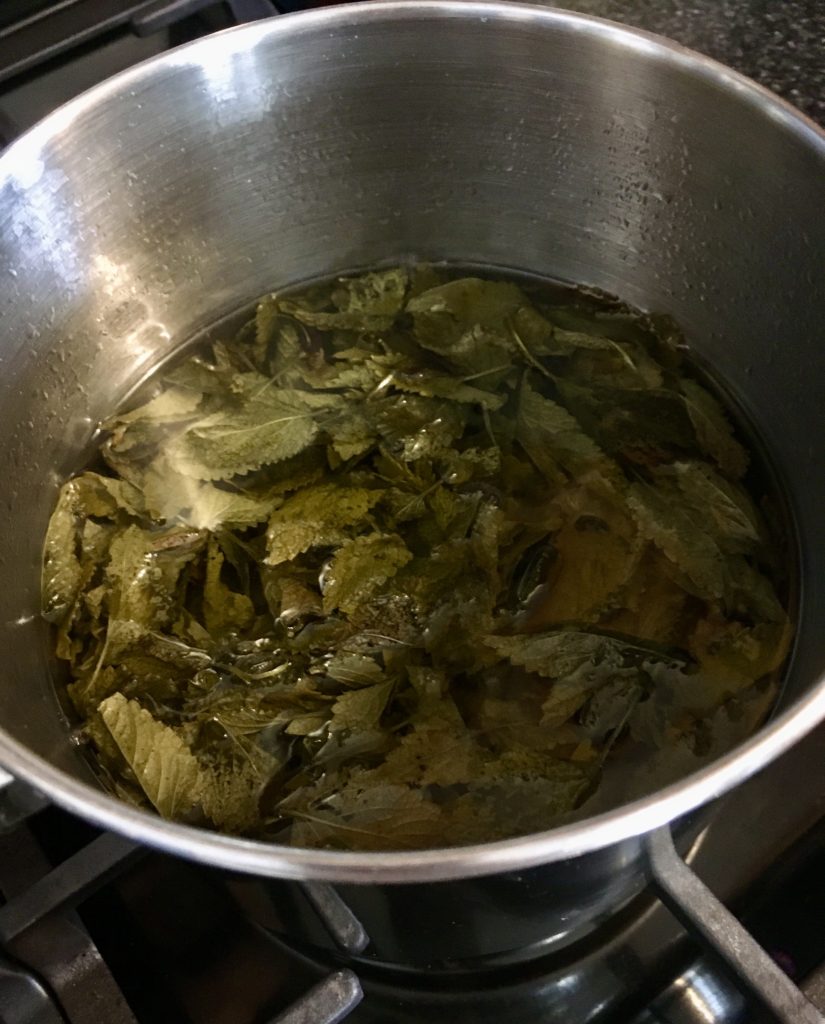
Hi, all! Hope you’re doing well and enjoying your summer! Now that the summer weather is in full swing, my garden is really starting to grow, including my lemon balm plants. What is lemon balm, you ask? It’s a lemon-flavored and scented herb from the same family as mint- meaning it’s pleasantly fragrant and deliciously flavored, but also that it grows like a weed and takes over! In the interest of keeping my plants to a reasonable size, I had to give my four plants a substantial trim today- and of course I didn’t want those trimmings to go to waste! I was trying to figure out what to do with the leaves I cut, and finally landed on the idea of making a lemon balm simple syrup. I was so happy with the results of both the syrup and the resulting drink I made that I knew I had to share it. Here’s the recipe for the syrup:
2 cups water
2 cups granulated sugar
At least 2 cups lemon balm leaves, more if you have them
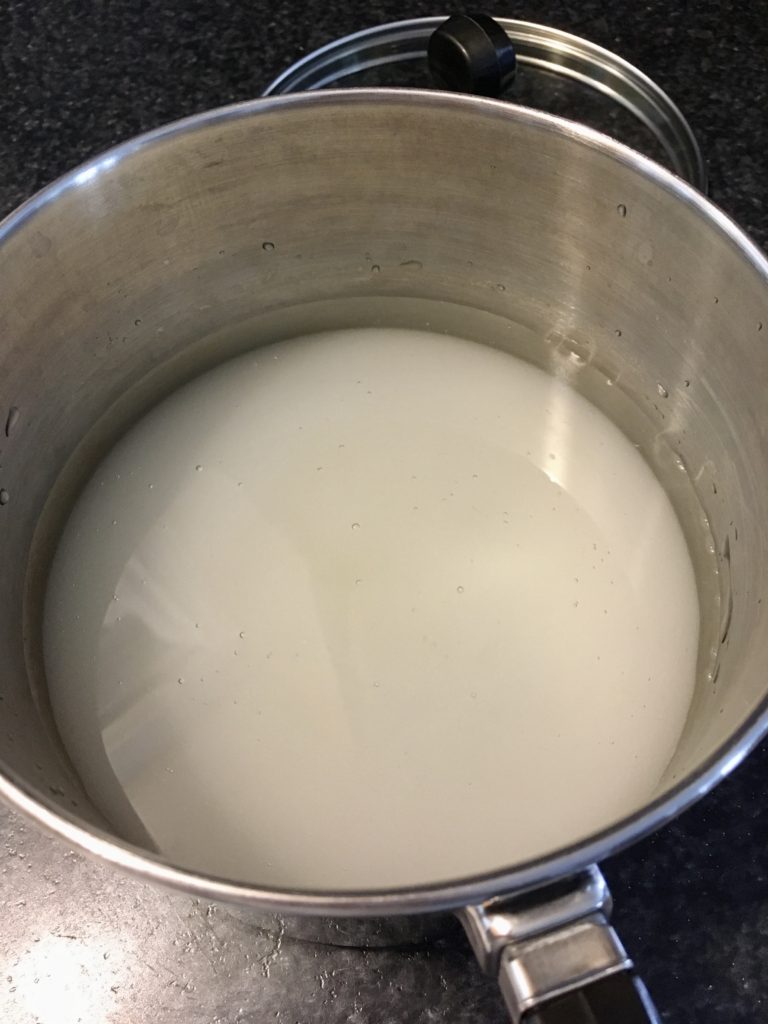
In a medium or large saucepan (depending on how many leaves you use), mix the water and sugar.
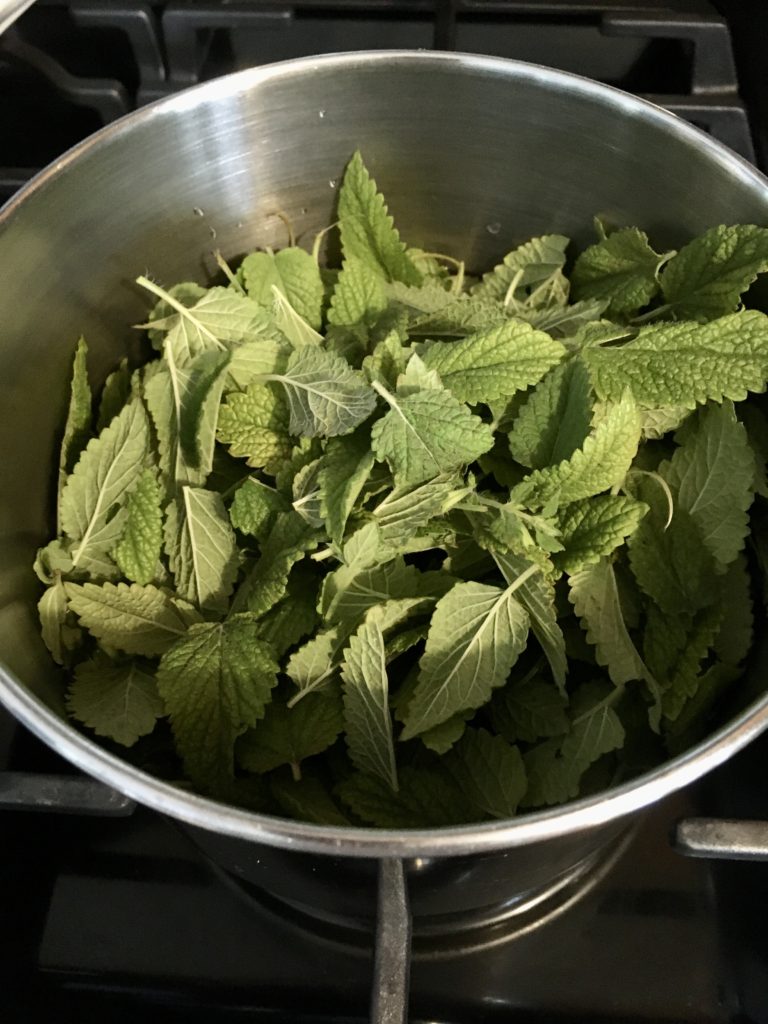
Add the lemon leaves into the pot and stir to incorporate.
Bring the mixture to a boil over medium heat. Then, reduce the heat to low and simmer for 25 minutes, or until the lemon flavor is infused to your taste, stirring occasionally.
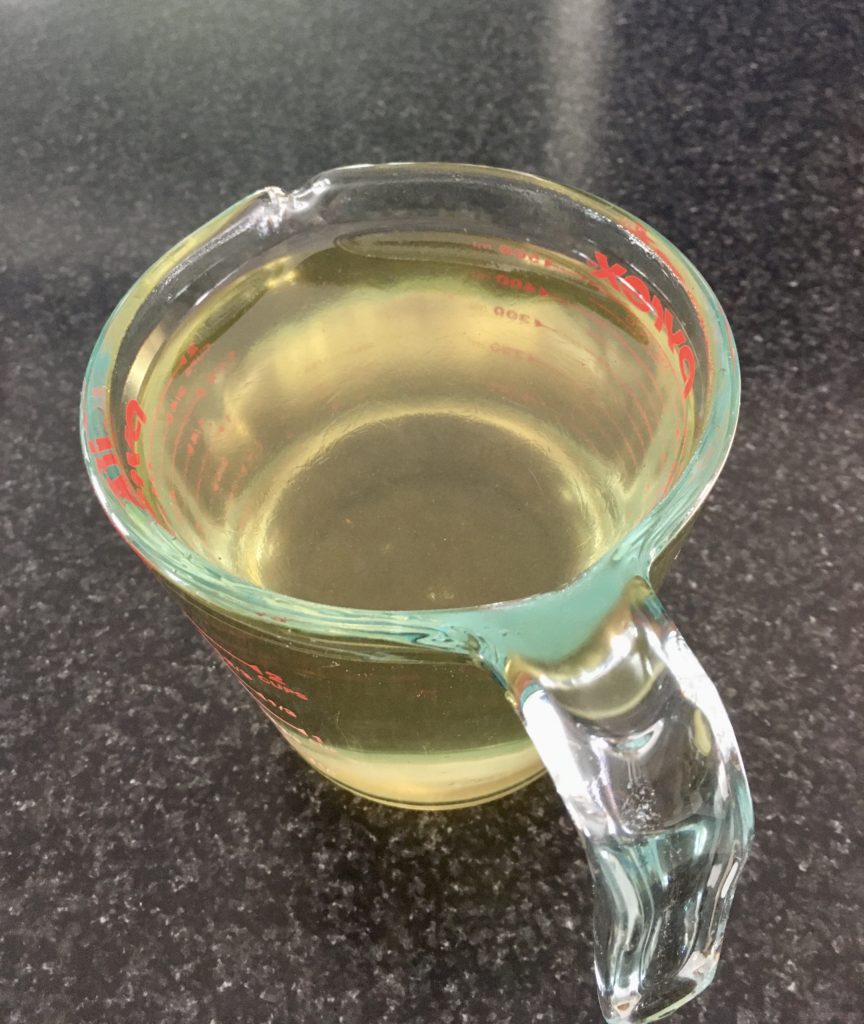
Strain the mixture into a heatproof container and let cool. The mixture should have a slight yellow-green tint from the lemon balm leaves.
And that’s it! Bottle it up and refrigerate it, or use some right away in this yummy drink recipe:
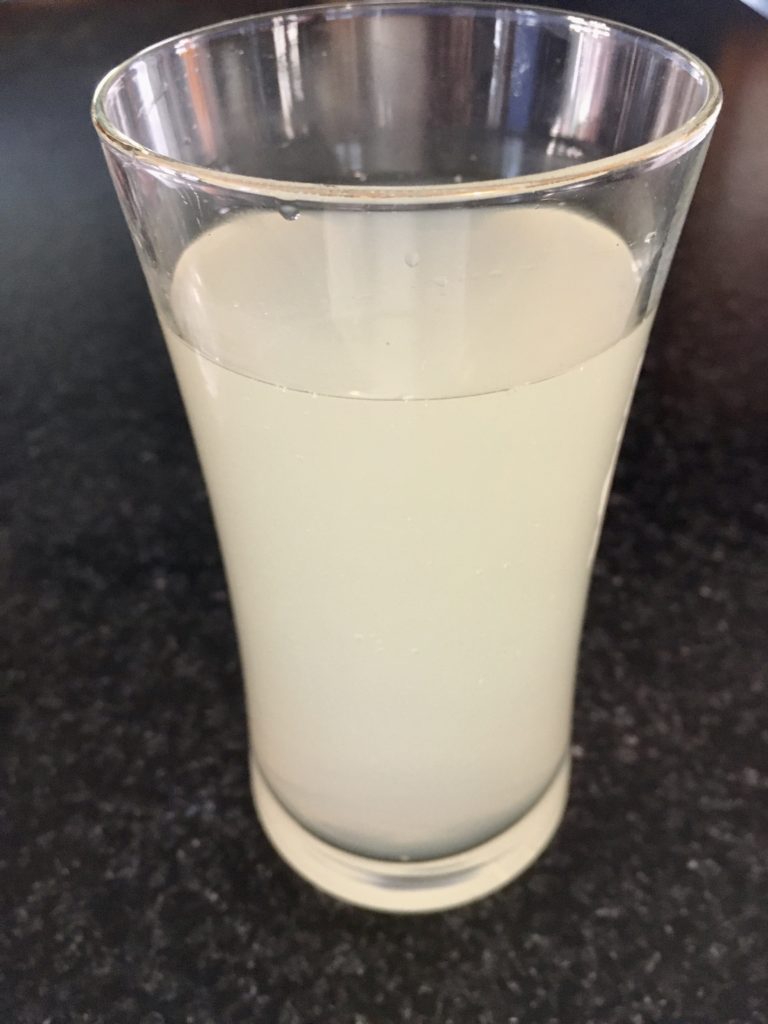
2 oz lemon balm simple syrup
3 oz lemon juice
4 oz tonic water
Mix all ingredients together in a tall glass. Add ice if desired.
Both the syrup and the drink recipes would also work very well with mint. Feel free to experiment with other herbs as well- who knows what awesome combinations you could come up with!
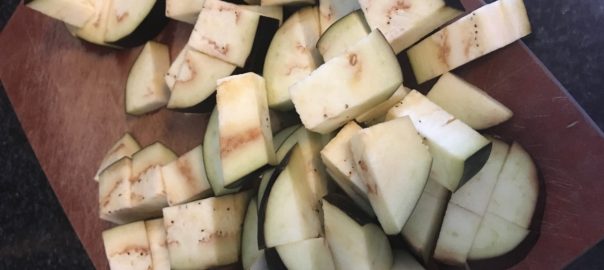
Hi, all! Hope your week is going well and that you’re enjoying the warmer weather! I’m coming to you on this lovely Wednesday with an absolutely delicious recipe for eggplant parmesan burgers! Even if you think you’re not an eggplant fan or if eggplant seems slightly intimidating, trust me on this one- these burgers are amazing! Here are the ingredients:
Olive oil
1 medium eggplant, cut into 1″ cubes
2-3 cloves garlic, minced (more or less to taste)
salt and pepper to taste
red pepper flakes to taste
1 cup Italian breadcrumbs
1 egg
1/4-1/3 cup Parmesan cheese
Tomato sauce of choice (I use Prego Lower Sodium)
Mozzarella cheese
Hamburger buns
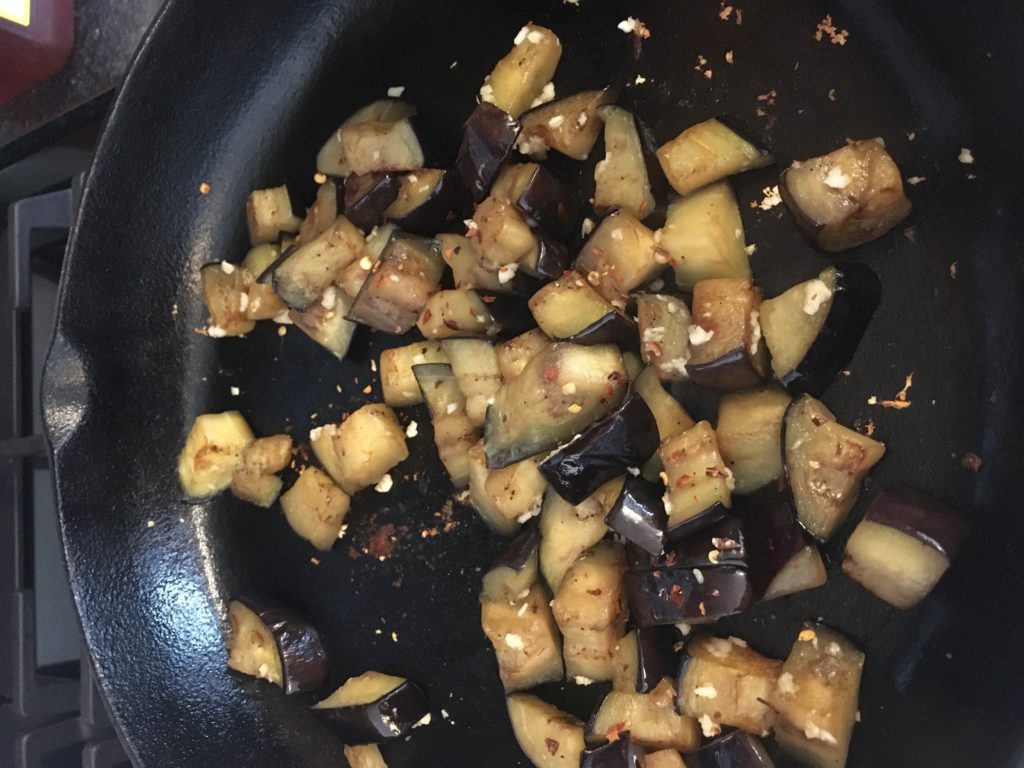
In a large ovenproof skillet or sauté pan, heat olive oil and add eggplant. Cook, stirring frequently, until eggplant is beginning to brown. Add salt, pepper, and red pepper flakes to taste. Continue to cook until eggplant is fork tender. Add minced garlic and stir, cooking just until garlic is browning slightly and very fragrant. Remove from heat and allow to cool slightly.
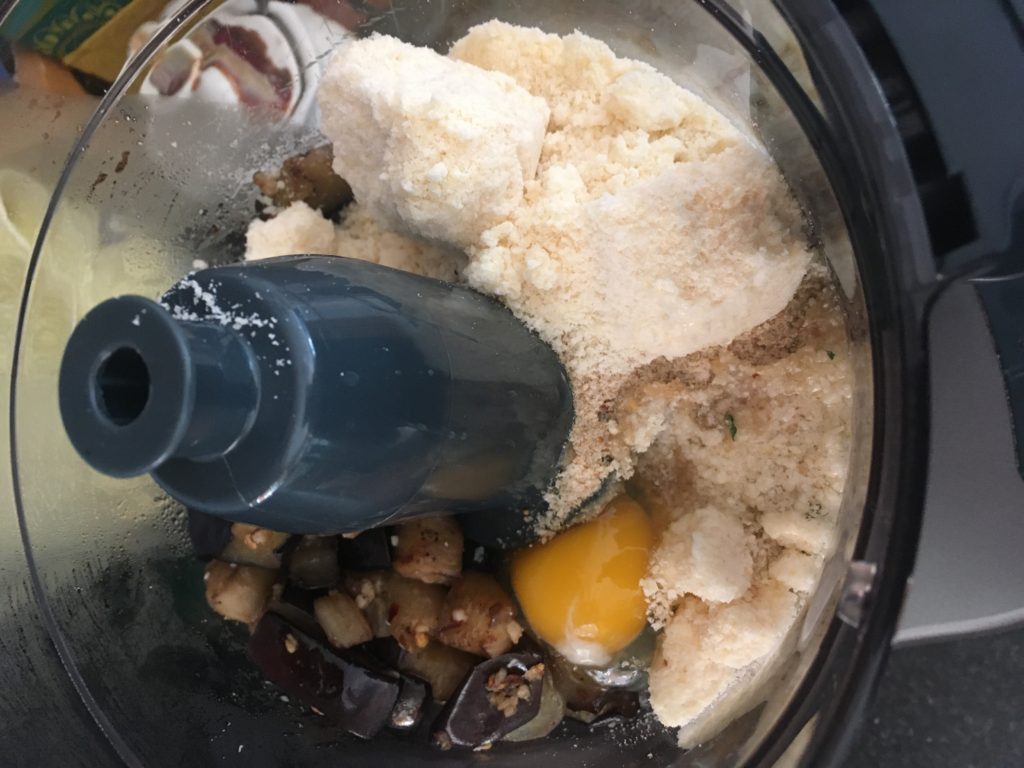
In a food processor, combine cooked eggplant, egg, breadcrumbs, and Parmesan. Process until smooth.
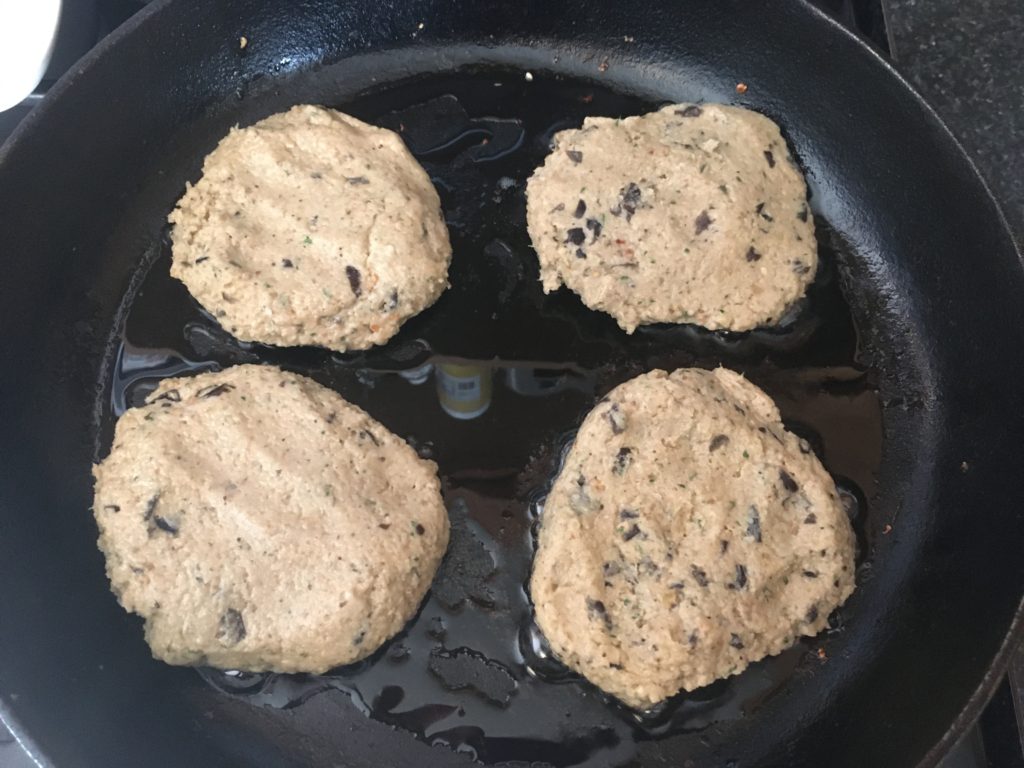
Remove blade from food processor and empty processor bowl onto a plate or cutting board. Divide mixture into four equal parts and shape into patties. Hint: it really helps to oil your hands so that the mix doesn’t stick to you! Add more olive oil to your skillet that you cooked the eggplant cubes in, and add the patties to the pan.
Cook 3-5 minutes over medium heat, and then flip to other side.
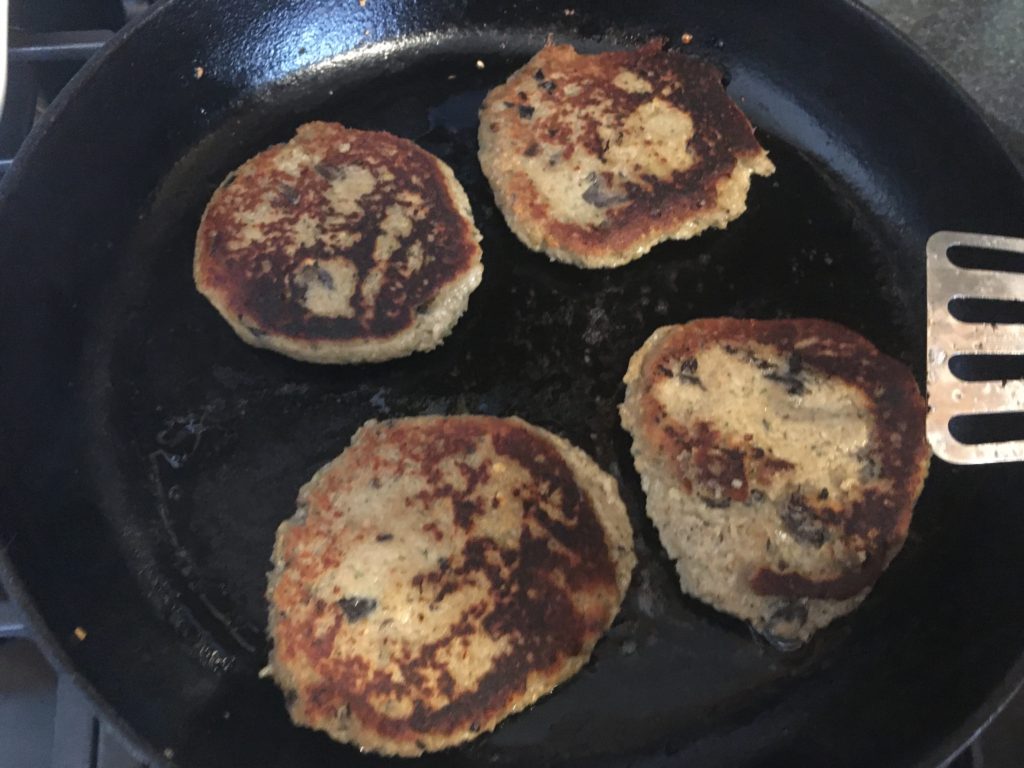
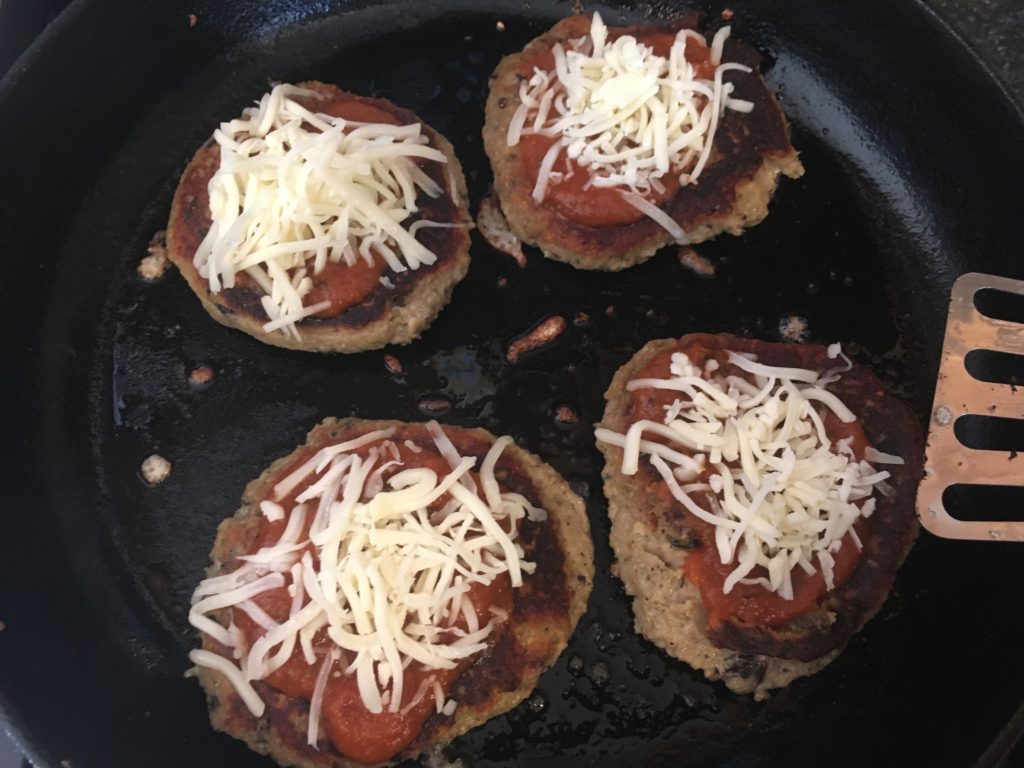
After you’ve flipped the patties, top with a dollop of tomato sauce and a sprinkle of mozzarella cheese. Preheat your broiler to high.
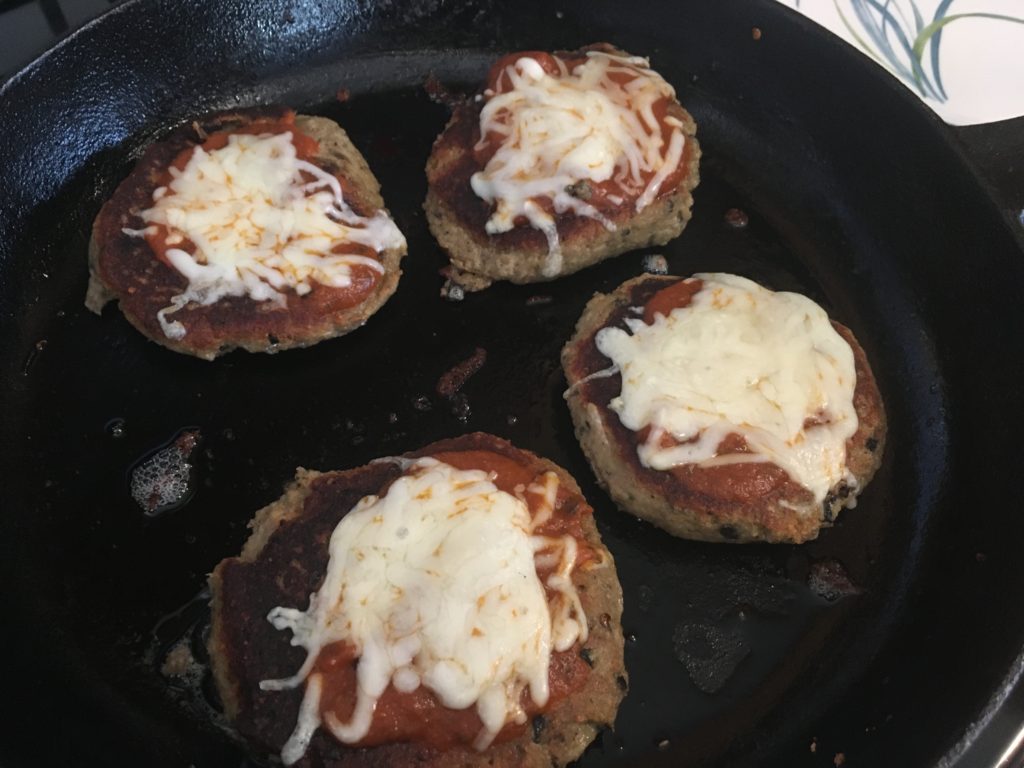
Cook 2-3 minutes on the stove. Then, place skillet under the broiler for 1-2 minutes, or until the cheese is melted and bubbly.
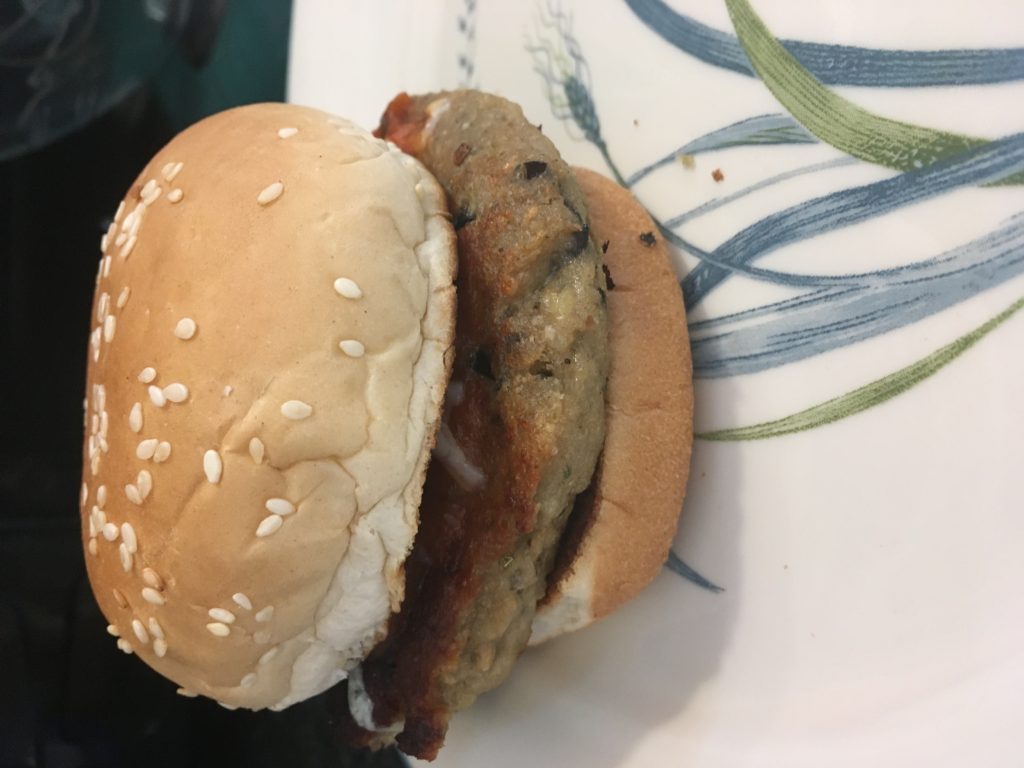
Put the patties in a toasted burger bun, and you’ve got yourself a great sandwich!
And that’s it! Super quick and simple, and a really delicious way to get in some veggies at dinner. Happy cooking!
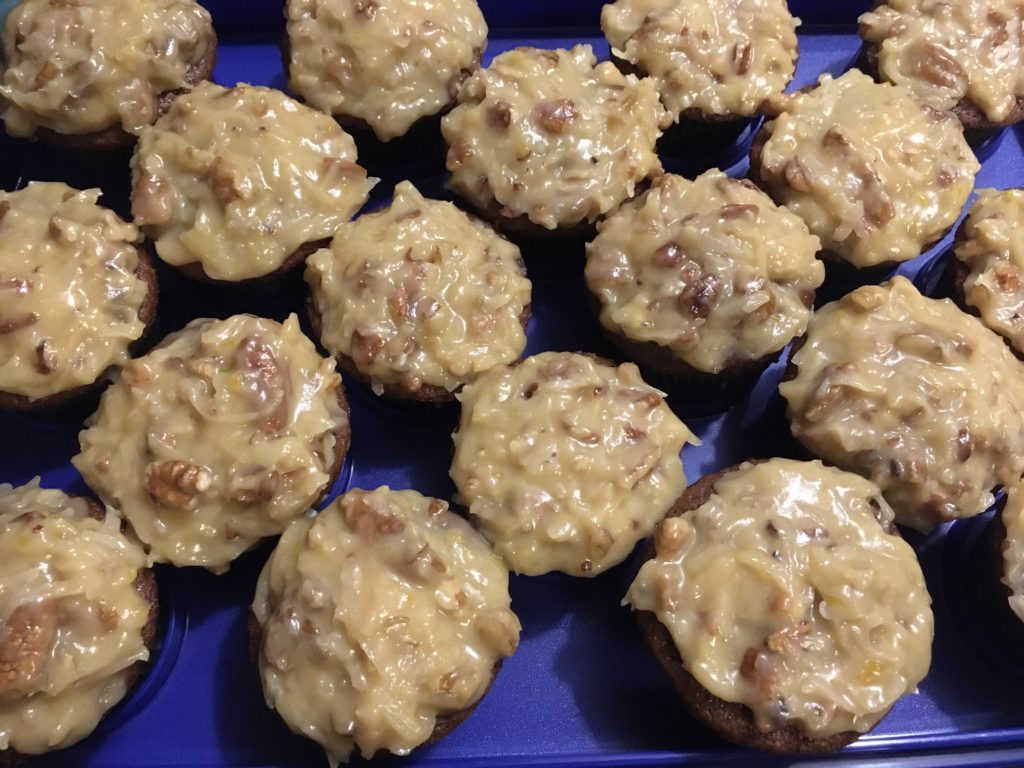
Hi, everyone! Good to be back after my break from all things social media-related for Lent. Hope you’ve all been well and that you enjoyed your Easter! We enjoyed an outdoor Easter lunch and then birthday party desserts for my Dad and sister-in-law who both have birthdays this week. For my Dad’s birthday dessert, I made his favorite German chocolate cupcakes- and that’s the recipe I’m sharing today! They are so good: a light chocolatey cake, not too rich or heavy, with a sweet coconut and pecan custard topping. Here’s the recipe:
Cake Ingredients:
4oz German sweet chocolate (Baker’s chocolate has a specific German chocolate bar that I used that you can find in the grocery store, but you could also use semisweet chocolate for a slightly more chocolatey taste)
3/4 cup butter
1 1/2 cups granulated sugar
3 whole eggs
1 tsp vanilla
2 cups flour
1 tsp baking soda
1/4 tsp salt
1 cup buttermilk (I use the dried buttermilk and will explain how that works in the mixing)
Topping Ingredients:
3 egg yolks
1 cup granulated sugar
1 stick butter (1/2 cup)
1 cup evaporated milk (I used 2%)
1 tsp vanilla
1 1/3 cups sweetened flaked coconut
1 cup chopped pecans
For the cake:
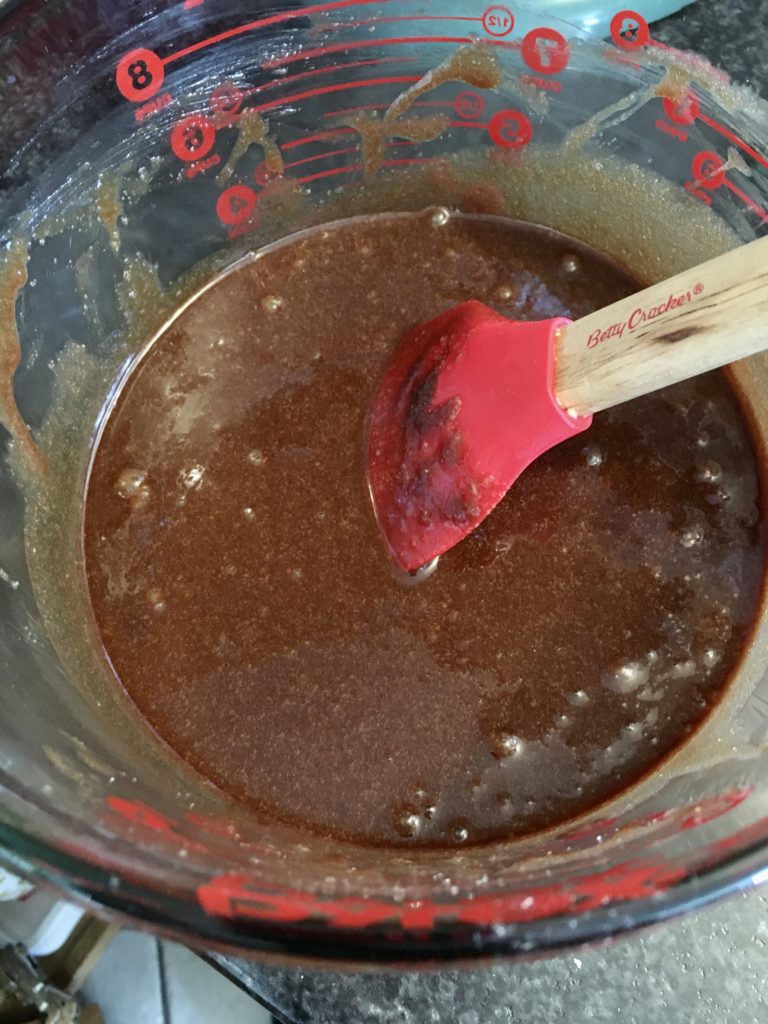
Preheat oven to 350F and line 2, 12-cake cupcake tins with cupcake papers. Melt the chocolate and butter together in a large bowl in the microwave until both are completely melted and well mixed.
Add in sugar and stir to combine. Beat in eggs, one at a time, mixing after each one until fully incorporated. Add vanilla to mixture and beat to combine.
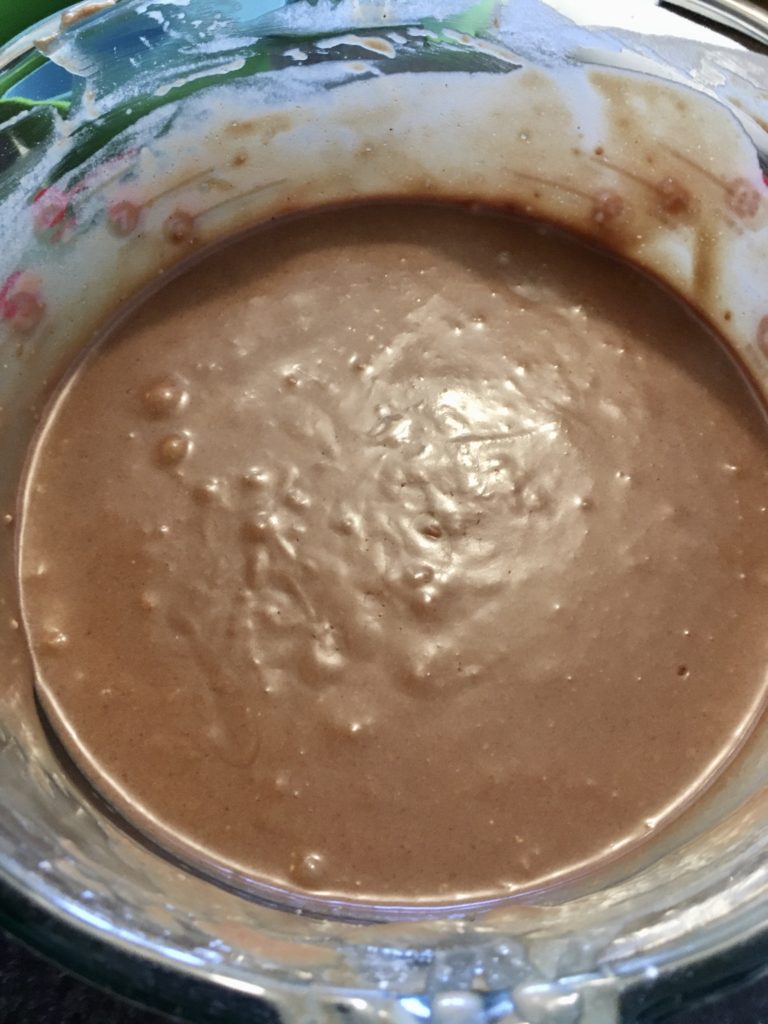
Add in 1/2 cup of the flour, baking soda, and salt and stir to combine. Then, add another 1/2 cup of the flour and beat until mixed, followed by 1/2 cup buttermilk, beating until fully mixed. Repeat with remaining flour and buttermilk, stirring well after each addition. If you are using dried buttermilk: combine the buttermilk powder with the flour and then use water for your liquid instead of liquid buttermilk. In the end, you should have a smooth batter.
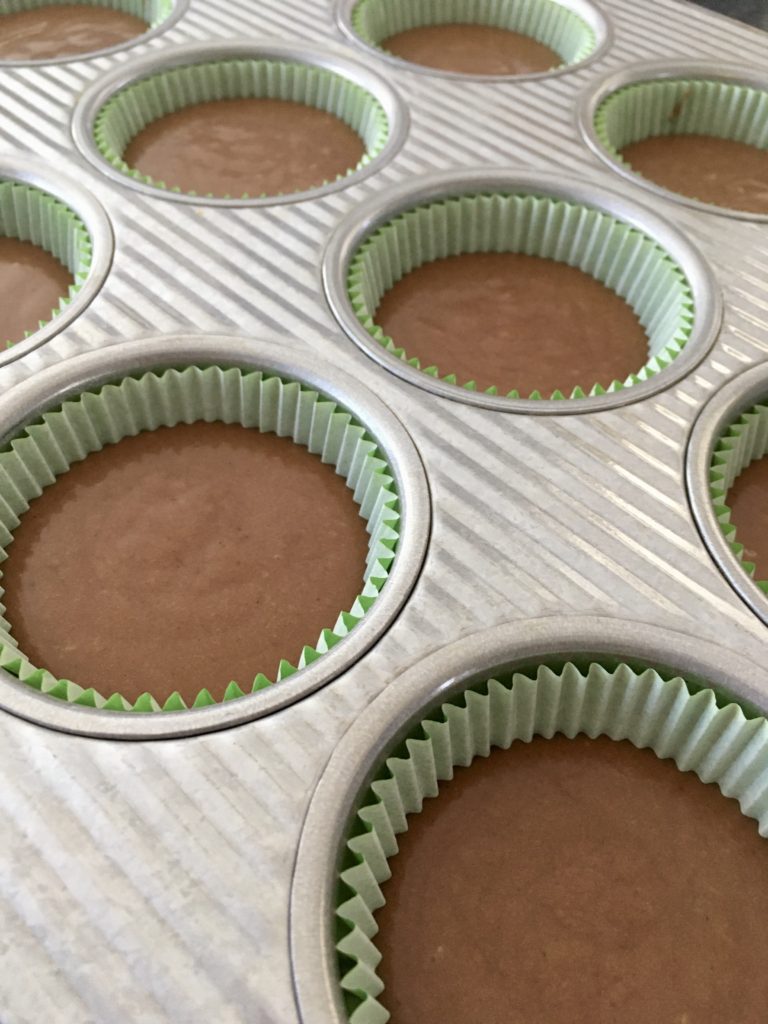
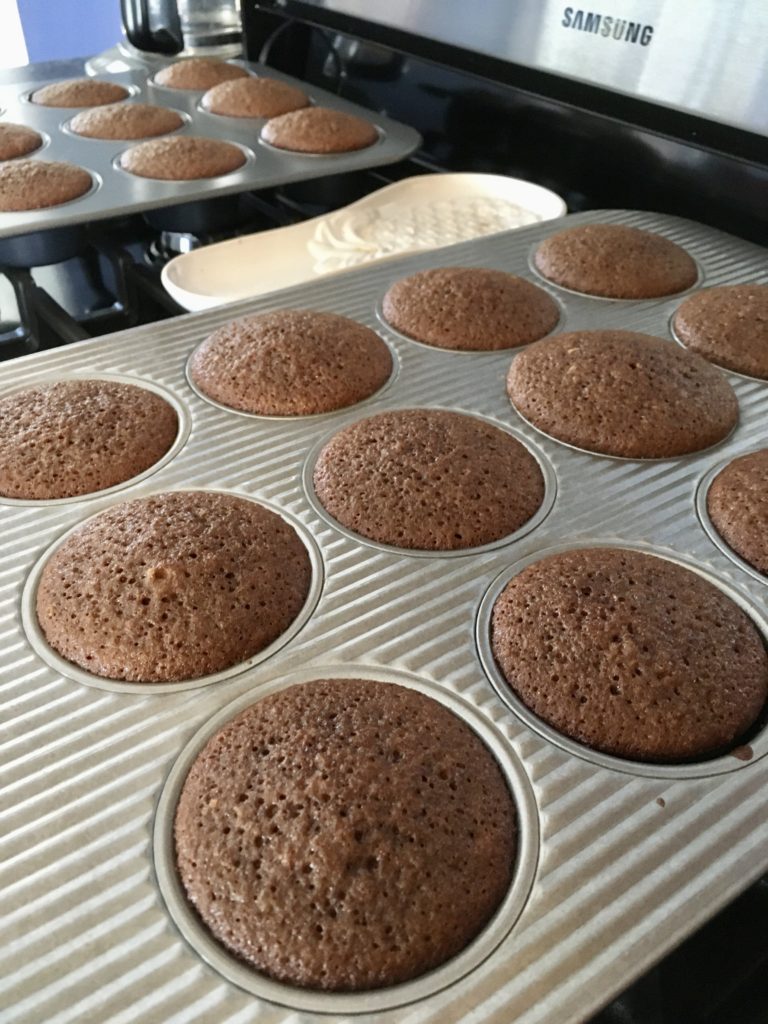
Pour the batter into the cupcake tins, filling each well about 2/3 full. Bake for 25-30 minutes or until a toothpick inserted in the middle comes out clean.
Remove the cupcakes to a wire cooling rack and let cool completely. While the cakes are cooling, start the frosting.
For the frosting:
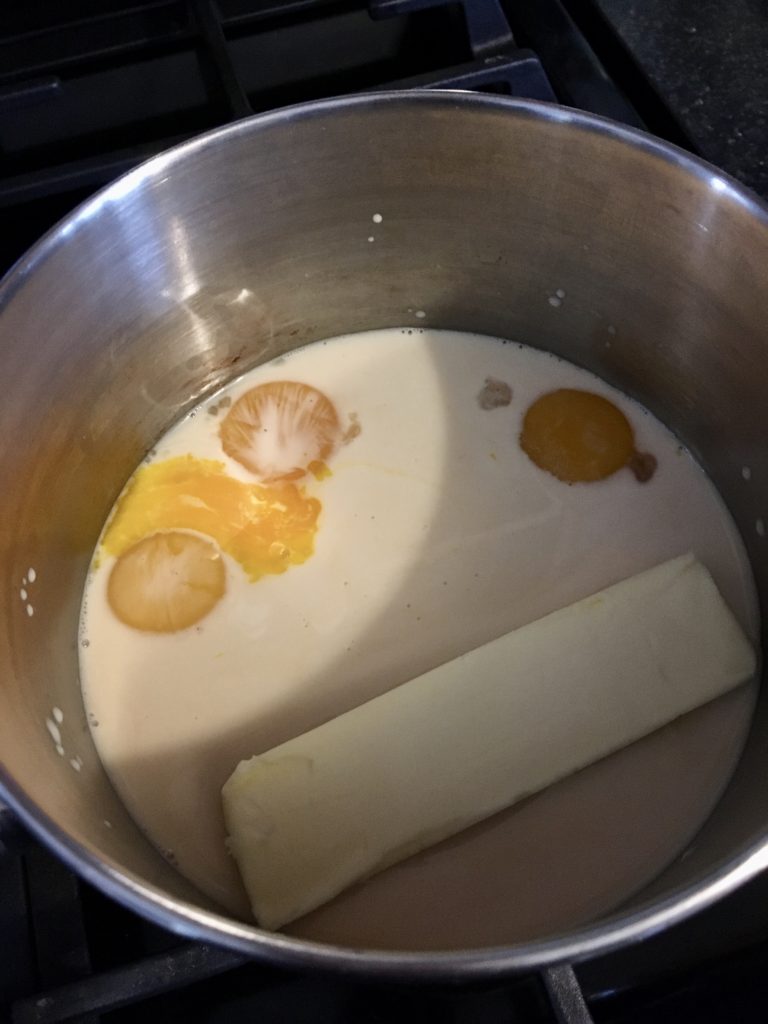
In a medium saucepan, mix together the butter, sugar, egg yolks, vanilla, and evaporated milk over medium heat. Stir frequently so that nothing boils and the egg yolks don’t curdle- we don’t want scrambled eggs in our frosting!
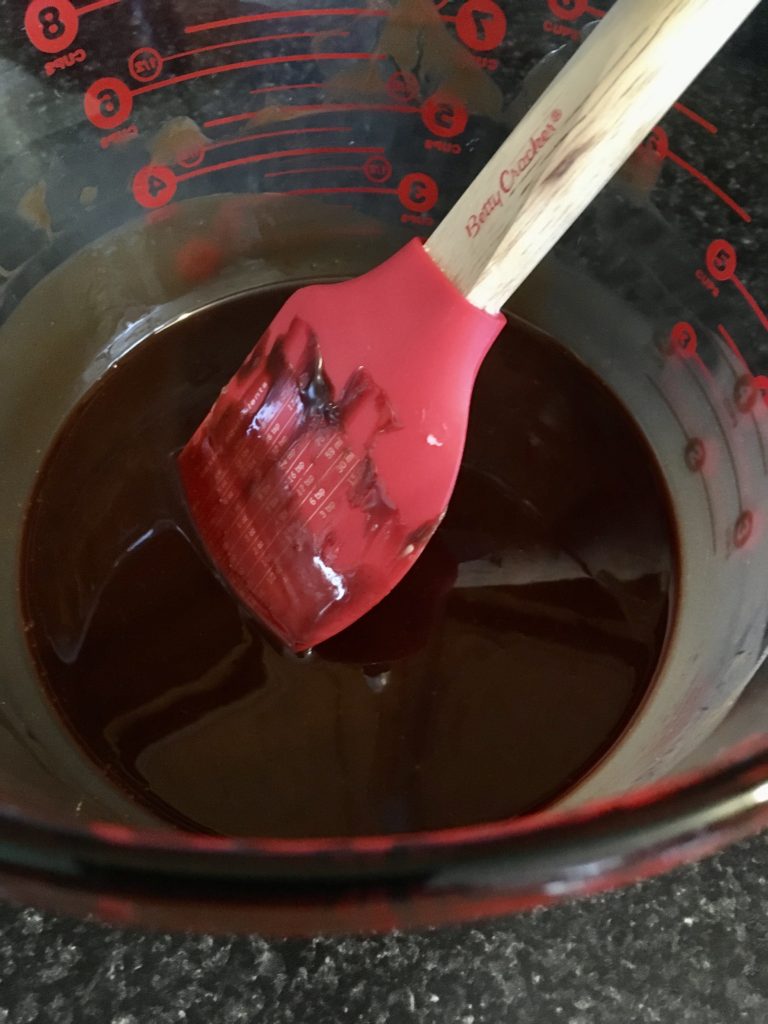
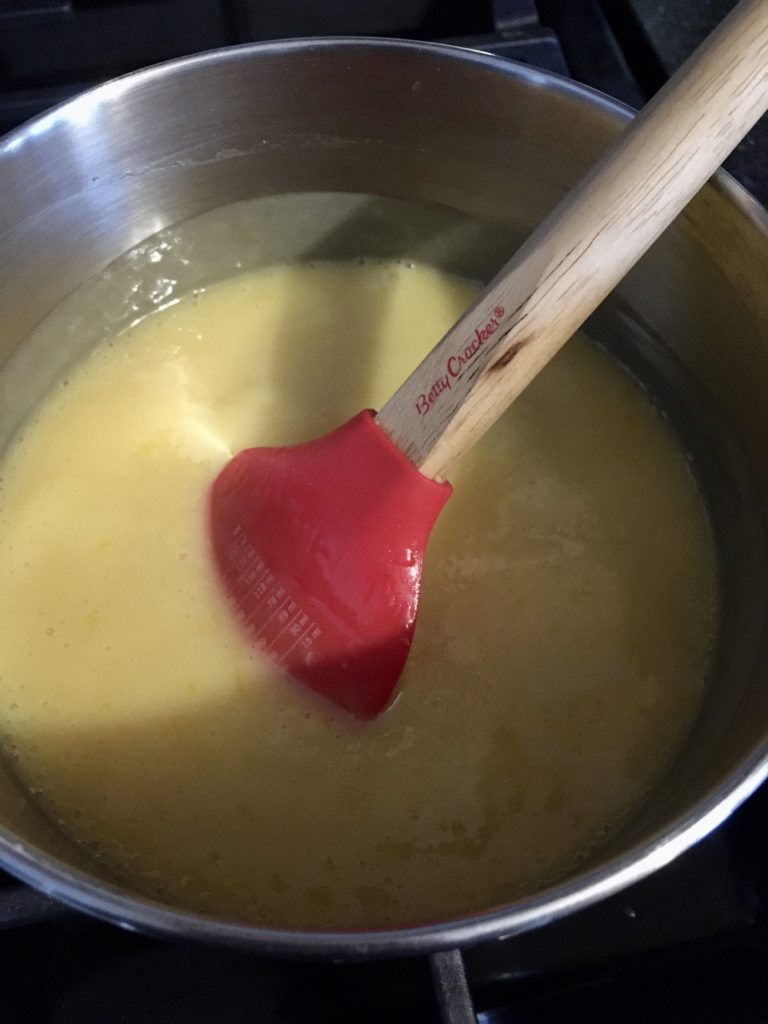
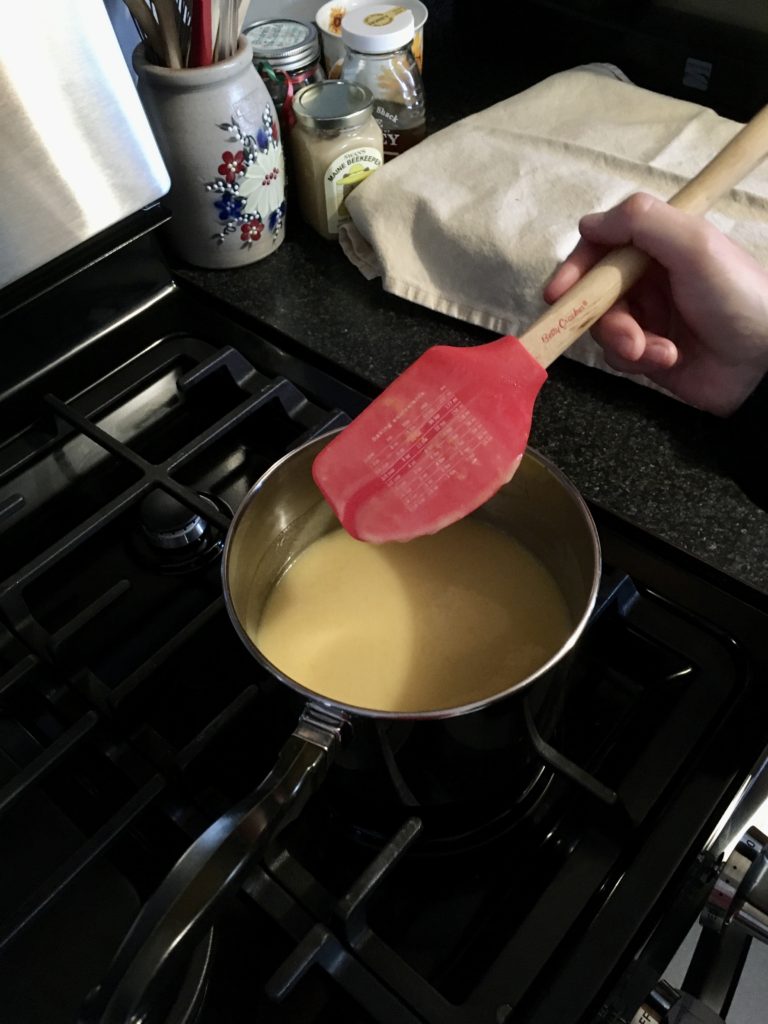
Once everything is melted together, keep stirring frequently until the mixture starts to thicken and bubble. Here’s a good test for whether the mixture is thick enough: if you can draw a line across the back of your spatula and the line stays for a few seconds (see below), it’s thick enough.
Note that clean line down the spatula- the custard is ready!
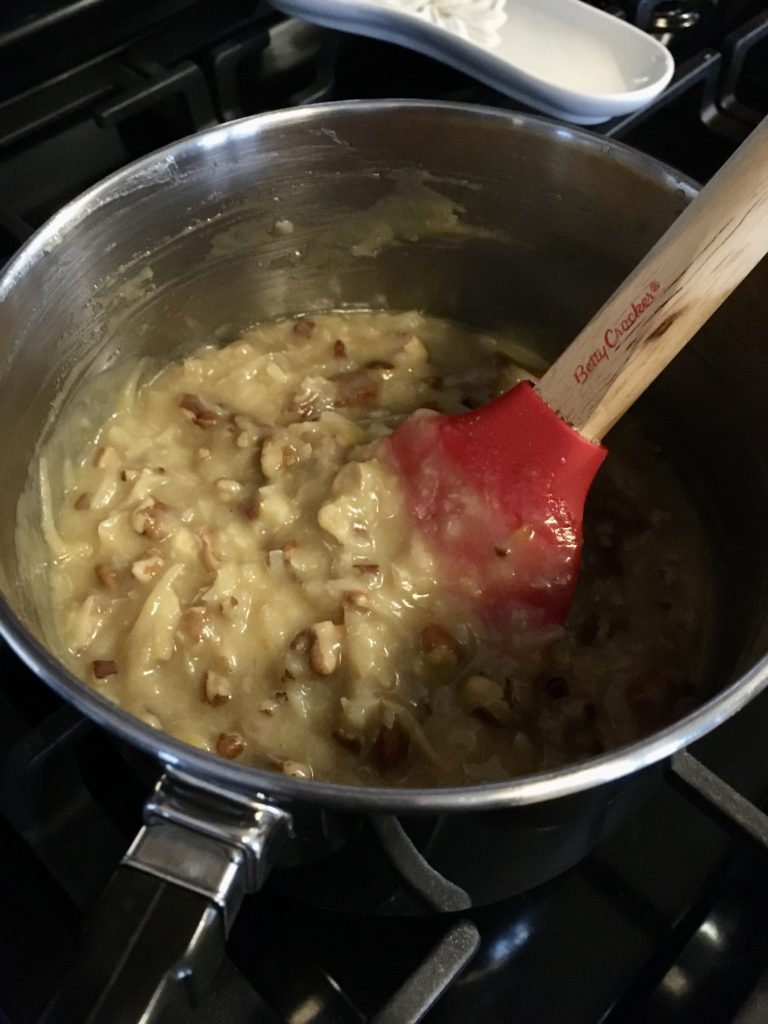
Now, turn off the heat and stir in the coconut and pecans. Stir until fully mixed and then leave the mixture to cool about 30 minutes, stirring occasionally, or until the mixture is thick and easy to spread without running all over the place.
And now, just dollop the frosting on the cupcakes and spread it all around! Super easy, super tasty, and my Dad’s favorite. Happy baking!
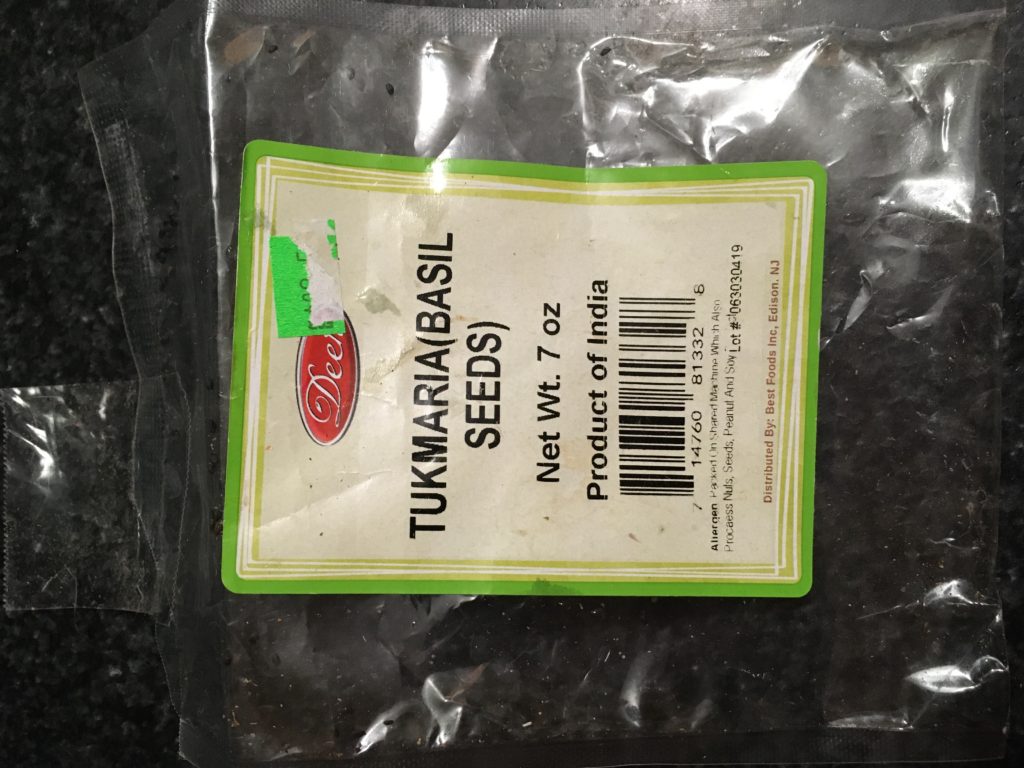
Hi, all! Hope you’re doing well and staying warm in the snowstorm! I have a fun and interesting recipe for you today- jam made with basil seeds rather than with pectin or another thickener! This came about from my work where one of my patients, a man from India, was describing to me a drink that he makes using basil seeds (known as tukmaria) and water. I started researching basil seeds a bit more, and found that they’re a lot like chia seeds: rich in soluble fiber and omega-3 fatty acids, and really good at making whatever fluid they touch turn into a gel-like substance (due to the soluble fiber they contain). My patient gave me a package of basil seeds to try, but having had the experience of drinking chia seed goo and hating it, I knew I had to go a different avenue. I remembered an episode of Great British Baking Show where a baker made a jam using basil seeds, and figured I’d give it a go! Here’s my experimental take on basil seed jam that, happily, yielded great results!
Ingredients:
16oz frozen or fresh strawberries
12 oz frozen or fresh raspberries
1 tbsp sugar (more or less to taste)
3 tbsp basil seeds (can also use chia seeds, and can adjust amount for desired thickness of jam)
First, put the fruits in a large saucepan and cook over medium heat until the fruits are really soft and cooked down. You may need to mash a couple bits of fruit, but for the most part they should cook down to a liquid on their own.
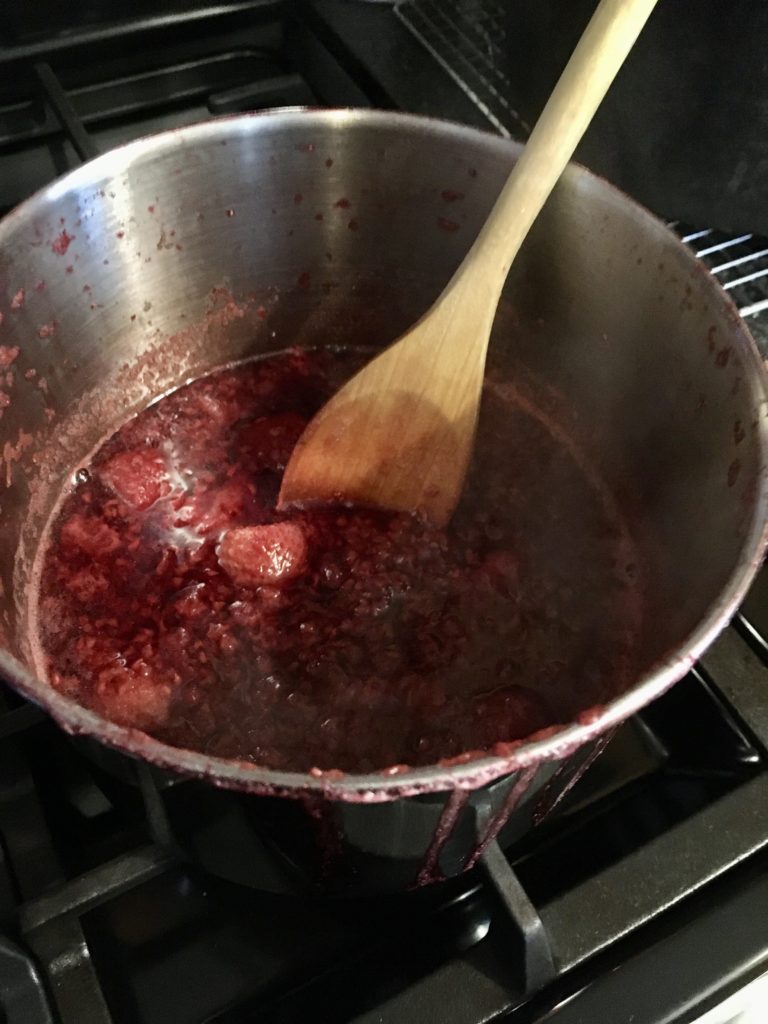
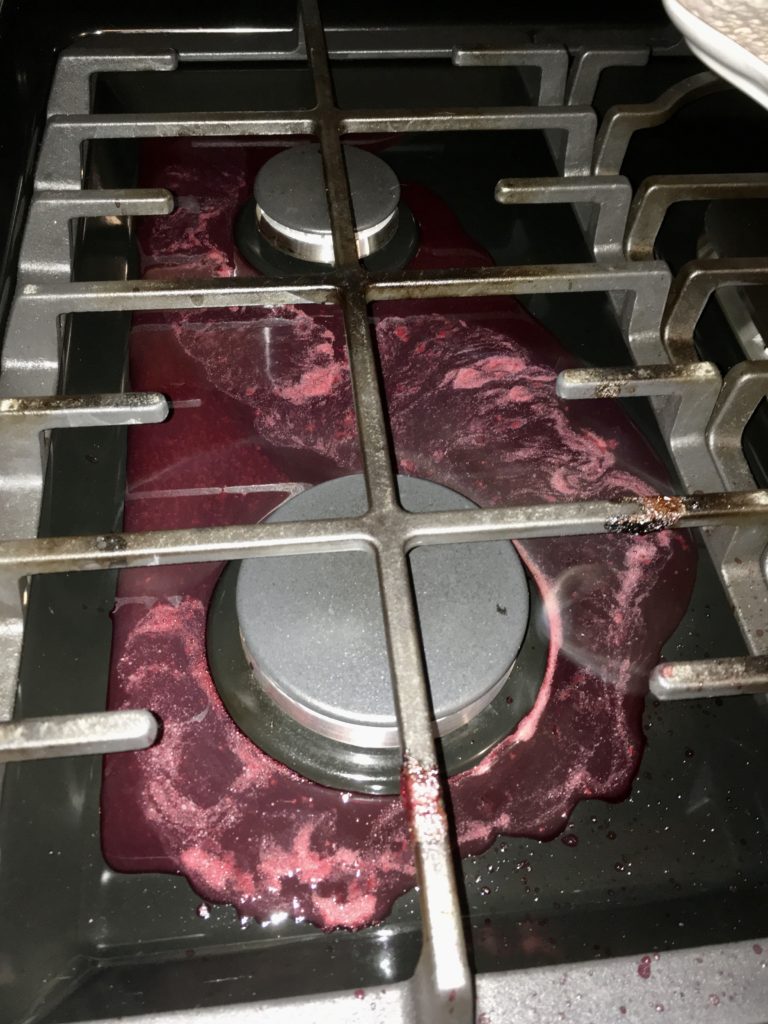
Brief pause for a word to the wise- be on the alert when your fruits are starting to really get cooking. I stepped away for several minutes to do the laundry and the pot boiled over- absolute disaster as you can see in the picture below!
Anyway, back to the recipe! Stir in the sugar and the basil seeds and remove from the heat. Wait 5-10 minutes.
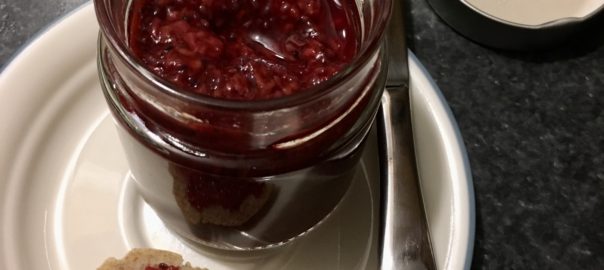
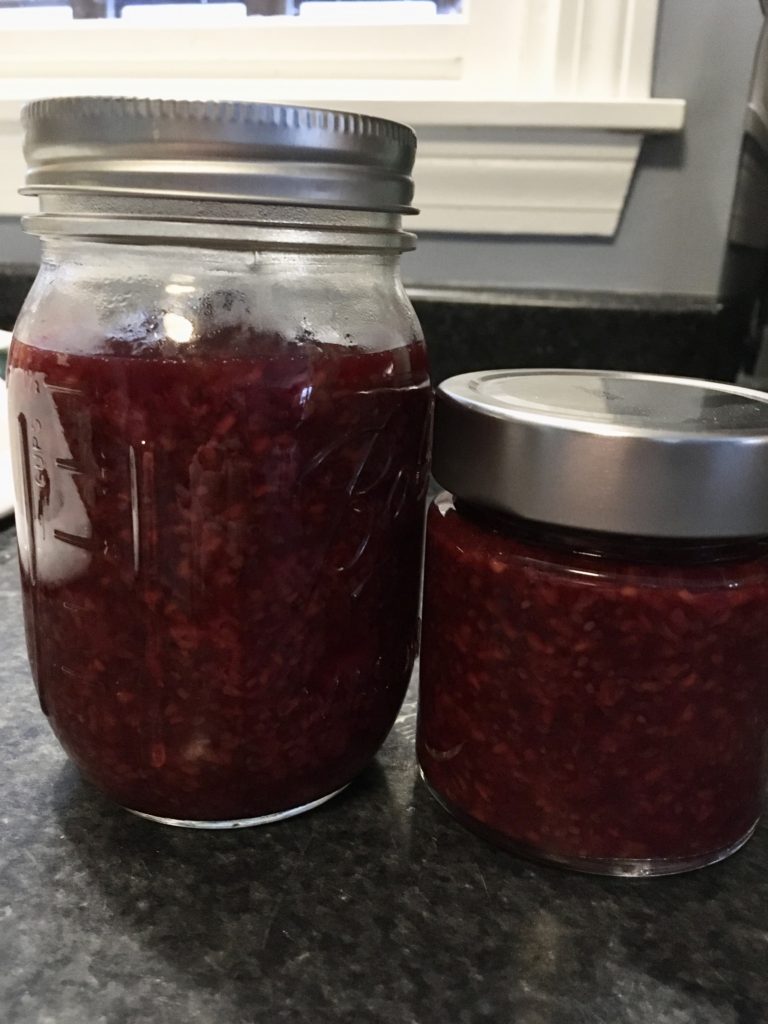
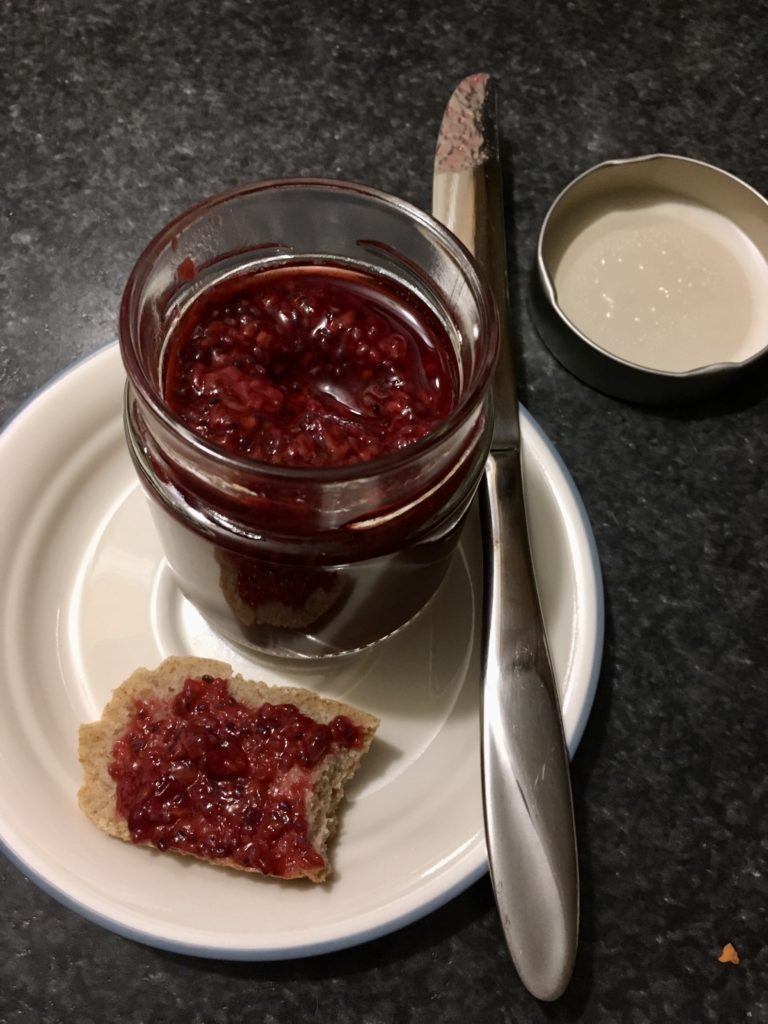
After 5-10 minutes are up, your basil seeds should have absorbed most of the liquid and turned the mixture into more of a preserve-like texture. It’s ready to be jarred and eaten! This especially struck me as something that would be AMAZING with plain or vanilla yogurt.
You could definitely swap the basil seeds out for chia seeds in this recipe and have fine results, and you could also use almost any other fruit that you like! I just wouldn’t use apples because they carry natural pectin and gelatinize on their own when cooked, and if you added basil seeds or chia seeds you might end up with too stiff of a gel. Have fun trying this out and using your own choice of fruits- it was a fun adventure for me and I hope it is for you as well! Happy cooking!
Hi, all! Hope you’re absolutely loving the warm weather we’ve been getting this weekend! I’ve been spending as much time as I possibly can outside biking, hiking, playing tennis, playing pickleball, reading… pretty much everything I can think of to do outside! Maybe you’ve been spending your time cleaning out your garden and pulling up the last of the tomato and pepper plants- as was the case for me a couple weekends ago. If you’re finding yourself with lots of unripe green tomatoes and a few straggling jalapenos, I’ve got the recipe for you! This salsa verde recipe comes from a canning book that my mom let me borrow a few weeks ago, and it is so good- it uses up those green tomatoes rather than using the traditional tomatillos, and is zingy, acidic, bright, and really flavorful. Here are the ingredients:
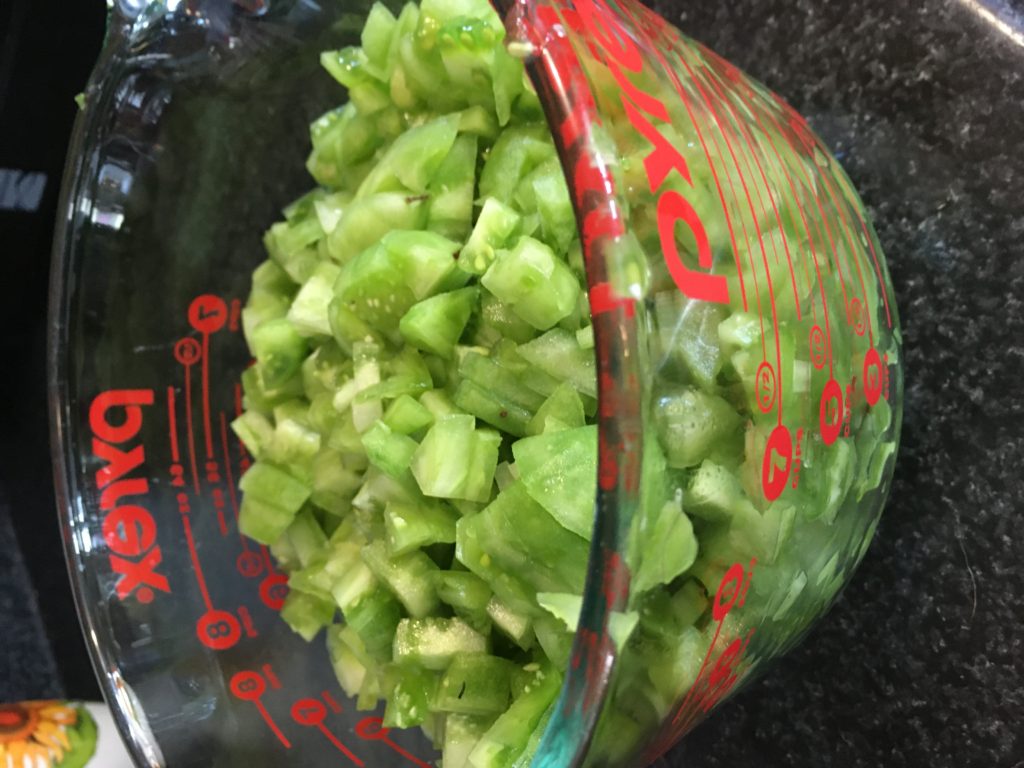
7 cups peeled, cored, chopped green tomatoes (see tip below for easier chopping)
3-6 jalapeno peppers, finely chopped (you can use more peppers if you have them, just take the seeds and ribs out if you need to tamp down the spice level)
2 cups finely chopped red onion
2 large cloves garlic, minced
1/2 cup lime juice
1/2 cup chopped cilantro leaves
2 tsp ground cumin
1 tsp dried oregano
1 tsp salt
1 tsp black pepper
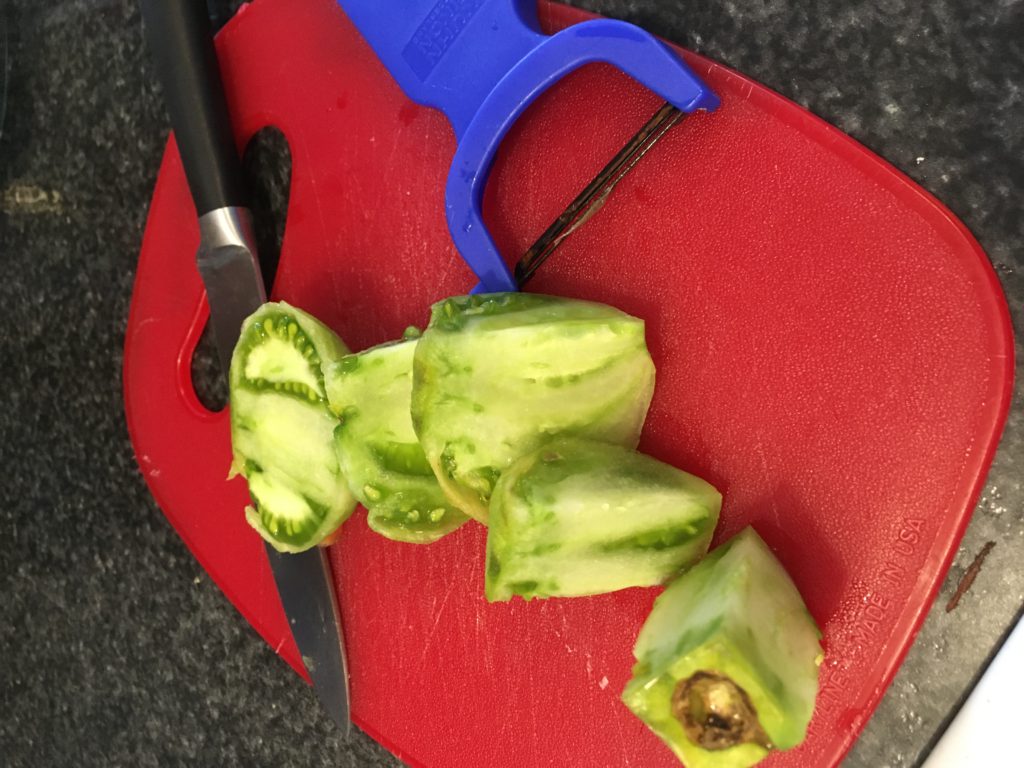
Ok, so first things first: how to easily peel and chop what seems like a gazillion green tomatoes. Take a potato peeler or a Y-peeler and peel all around the tomatoes. Using a potato peeler or a Y-peeler instead of a knife will make it go quicker and will also probably save you from wasting a good amount of each tomato. Then, instead of taking a corer to the tomato, just cut chunks off from around the core.
Green tomato chunks cut off from the core
Chop those chunks into pea-sized pieces, and keep working until you have 7 cups of chopped green tomatoes. It will take a little time, but it’s totally worth it and gets much easier after this point!
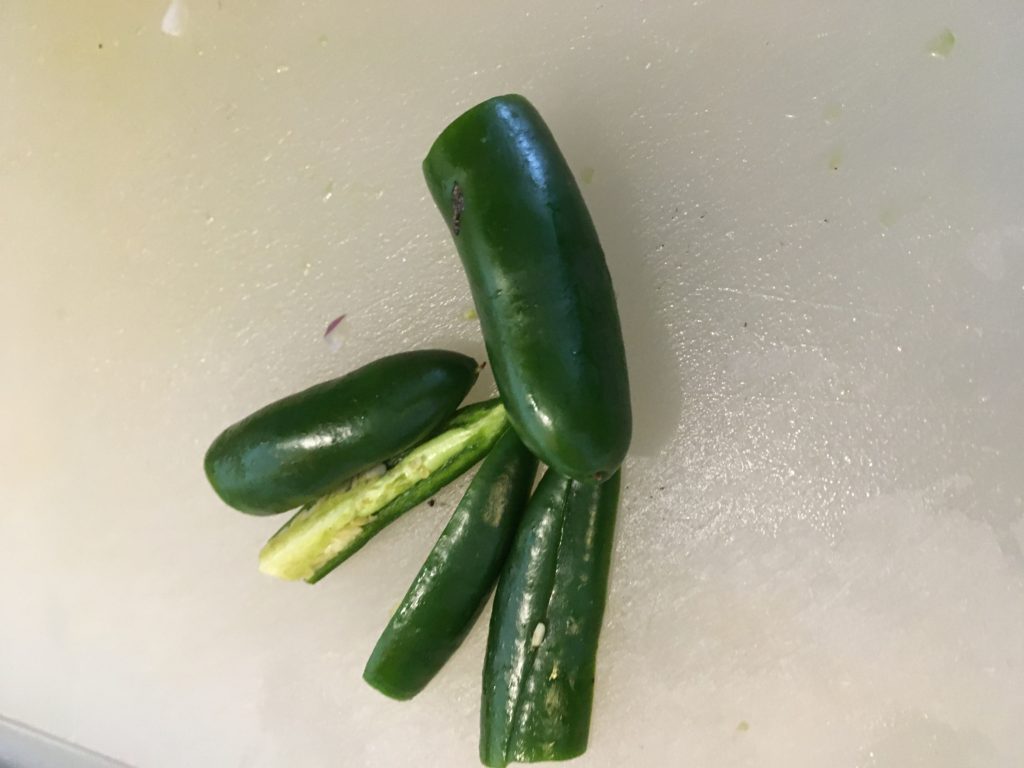
Next, chop up all your other veggies. Be careful when you chop the peppers to either wear gloves or to wash your hands VERY thoroughly afterwards, especially before touching your eyes/nose/mouth. Trust me, you don’t want jalapeno oils in your eye.
My last few home grown jalapenos!
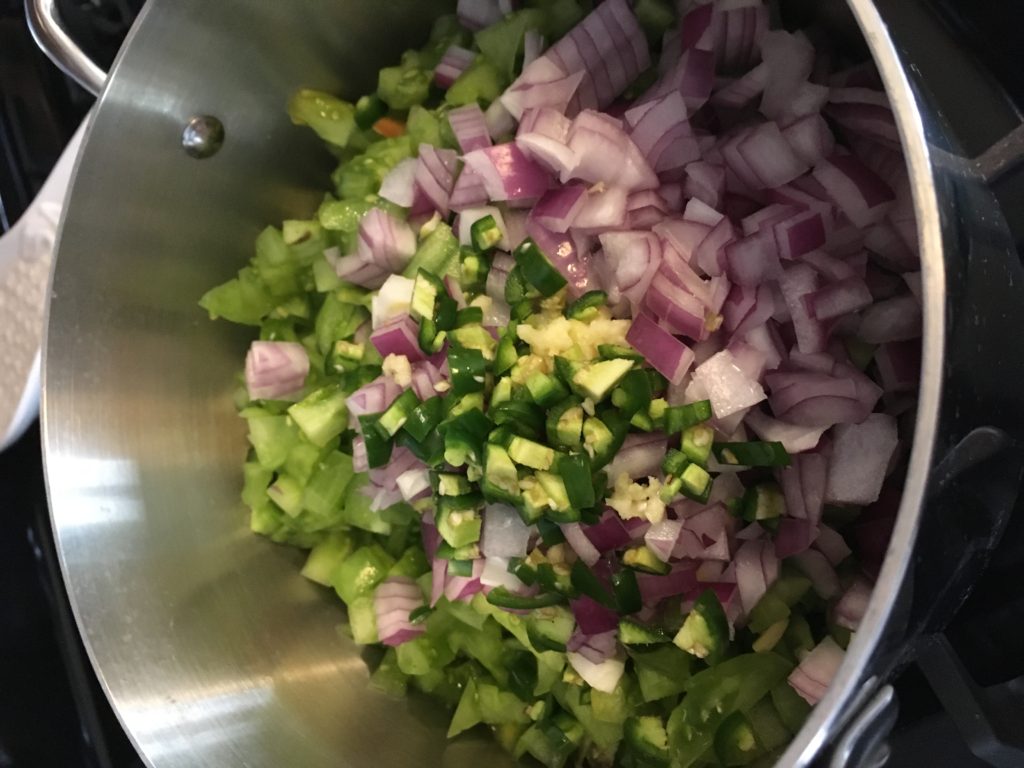
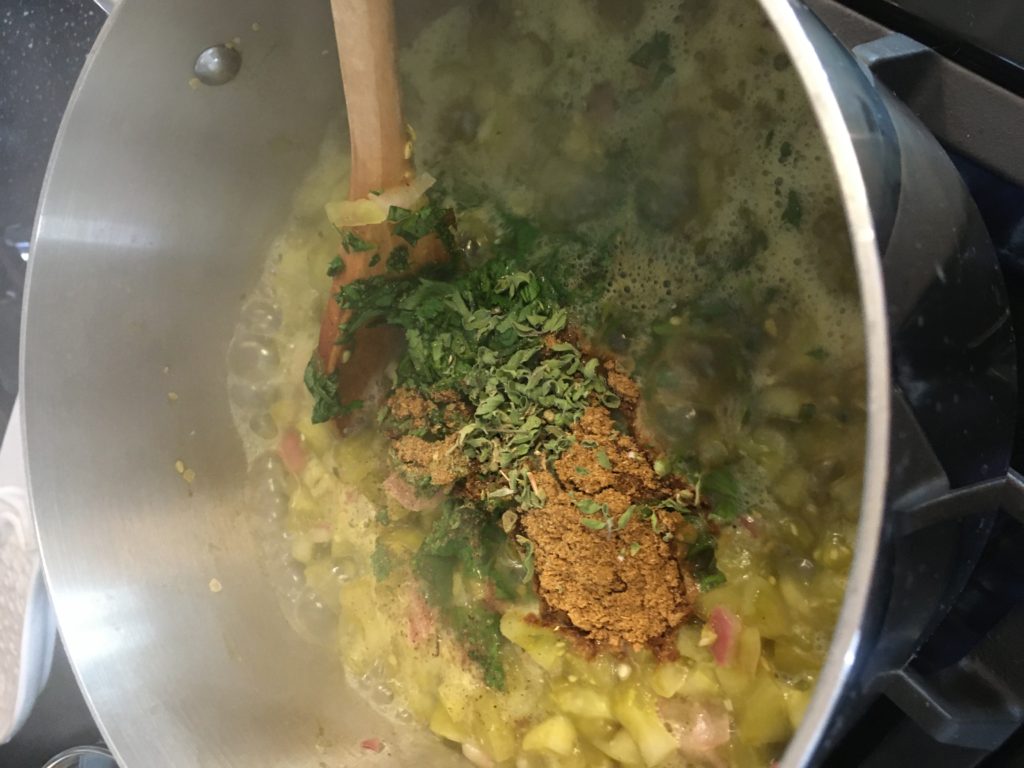
Once you’ve got all your veggies chopped, combine the tomatoes, peppers, onions, garlic, and lime juice in a stainless steel sauté pan.
Stir the mixture frequently over medium-high heat until the mixture cooks down a bit and comes to a boil. Then, add the remaining ingredients and continue to boil the salsa gently for an additional five minutes, stirring frequently.
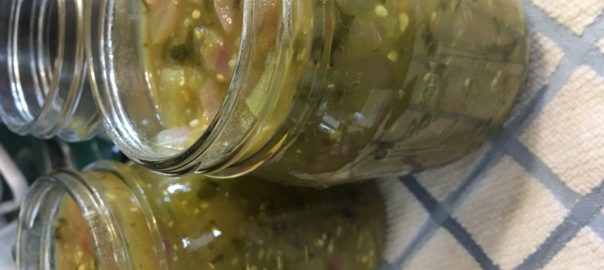
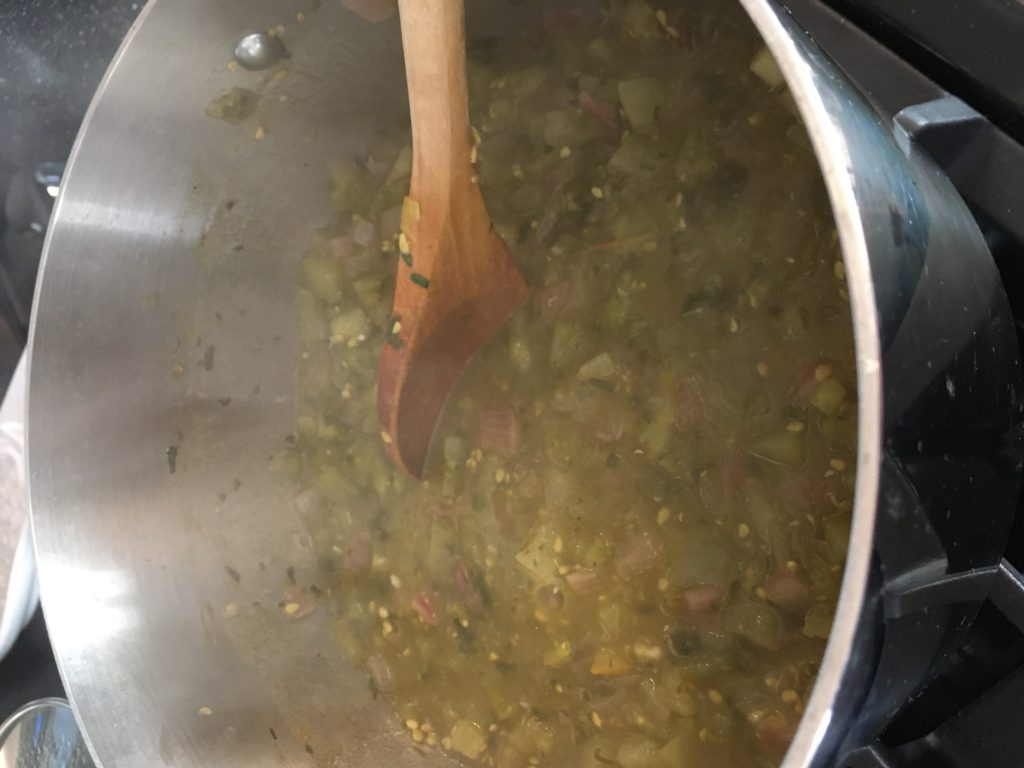
All done!
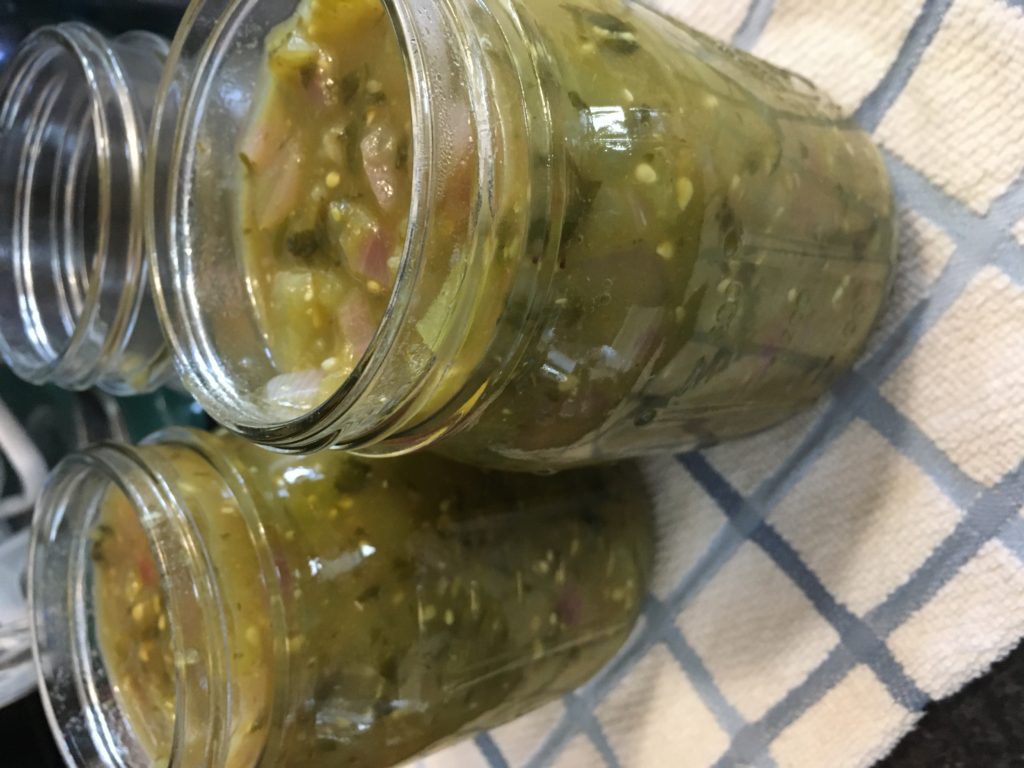
And that’s it! You can either let the salsa cool and put it in the fridge to use within a few days, or you can put it in canning jars to preserve for the winter (canning instructions below). Happy cooking!
For hot water canning: boil pint jars in canning pot to sterilize. Fill jars with salsa, leaving a 1/2″ space at the top. Put a clean lid on (one that has been dipped in hot water to soften the seal) and screw bands on until fingertip tight. Boil for 20 minutes, completely submerged in water. After 20 minutes remove the canner lid. Wait 5 minutes, then remove jars, cool, and store.
Hi all! Hope you’re doing well and staying warm in the suddenly freezing weather! Unless you’re growing really cold-hardy vegetables, the coming snow and ice potentially (probably) means the end of your growing season. I’ve been growing a lot of herbs this season and am totally not ok with letting all my hard work go to waste by just having the herbs die in the snow and become unusable, and I’m guessing you’re not ok with it either! So, you could do what I did last year (spend an entire day digging up the herbs, putting them in pots for the winter, and getting a fungus gnat infestation because you brought the bugs in from the outside…), OR you could learn from my mistakes and do what I’m doing this year: drying them! It’s super easy and works on any herb. Here’s the process:
Start by cutting your herbs. If you’re not cutting the whole plant down for harvest, you’ll want to make the cuts just above where a leaf is so that the plant is encouraged to grow back.
Tie your cuttings together. You can use garden twine or something fancy, but I always just use twisty-ties.
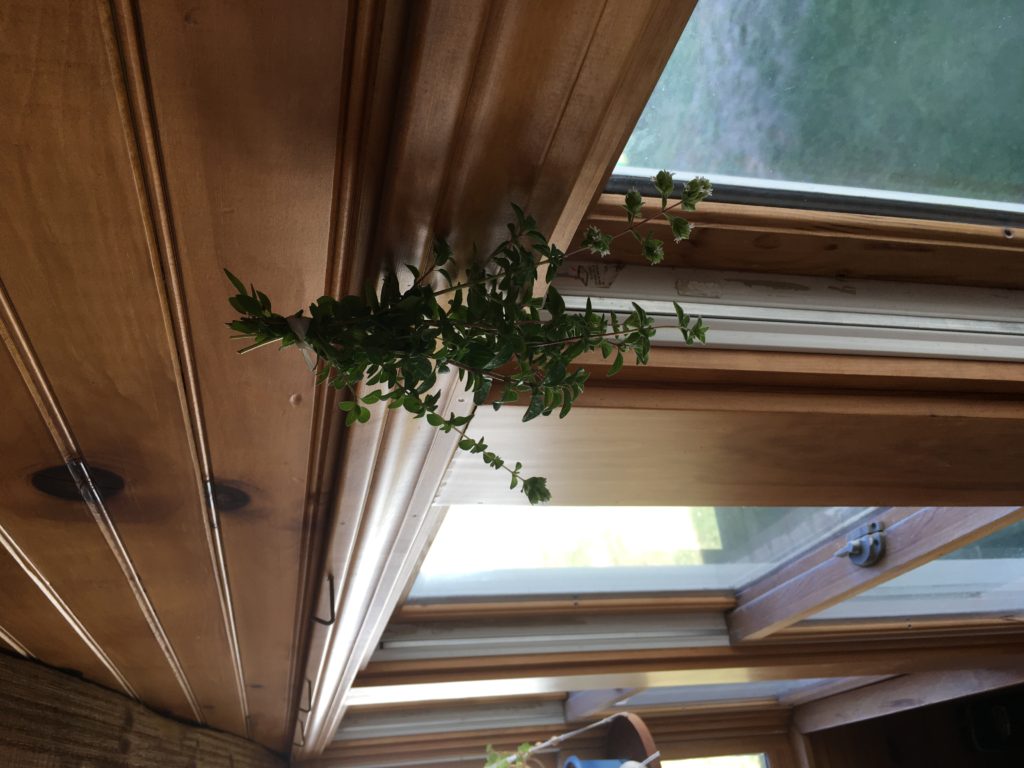
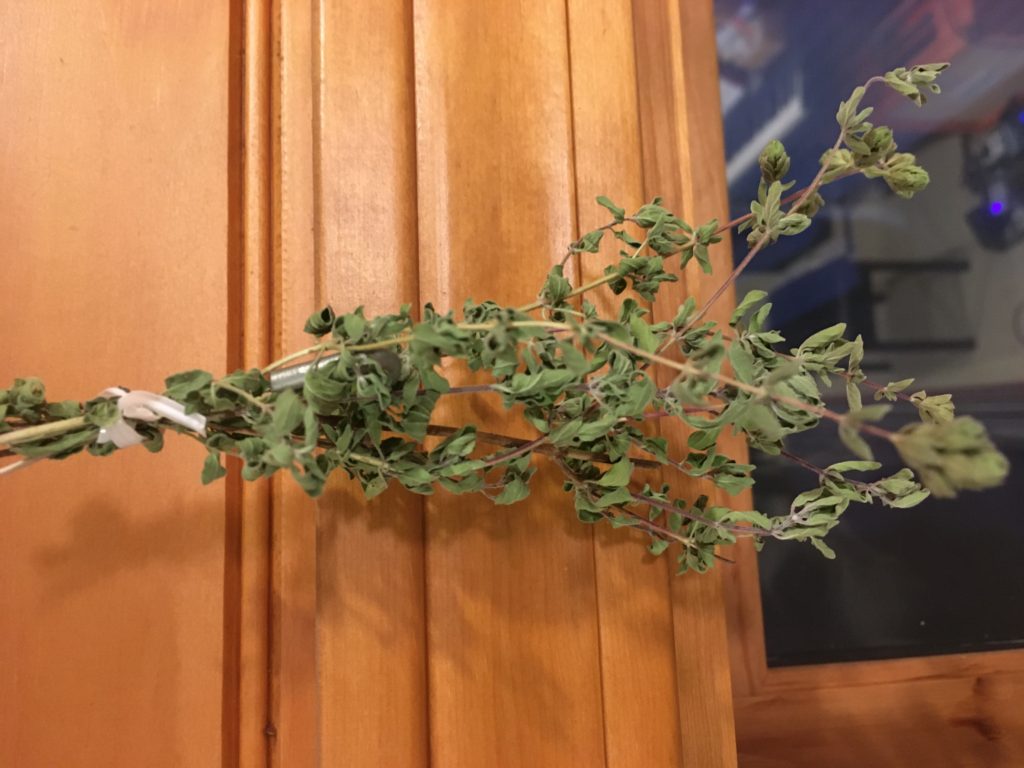
Twist-tied bunch of oregano
3. Hang the bunches of herbs upside-down to dry. You’ll want to hang them in a dry place so that they dry fully. You can hang them from really anything- counter handles, a small hook, or anything else you can think of.
4. Wait until the herbs have shriveled and crumble to the touch. This could be anywhere from a couple days to a couple weeks, depending on how dry your air is and how warm the room is.
And that’s it! Now you can crumble the herbs off the stems into spice jars and use the herbs all winter. Like I said, this works well with any herb, so go nuts. You could even use this technique if you bought a packet of fresh herbs from the store that you won’t use up before it goes bad. Hope this helps you save those herbs that you’ve worked so hard to grow! Stay warm, and happy cooking!
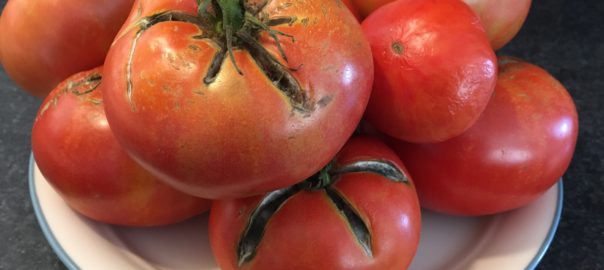
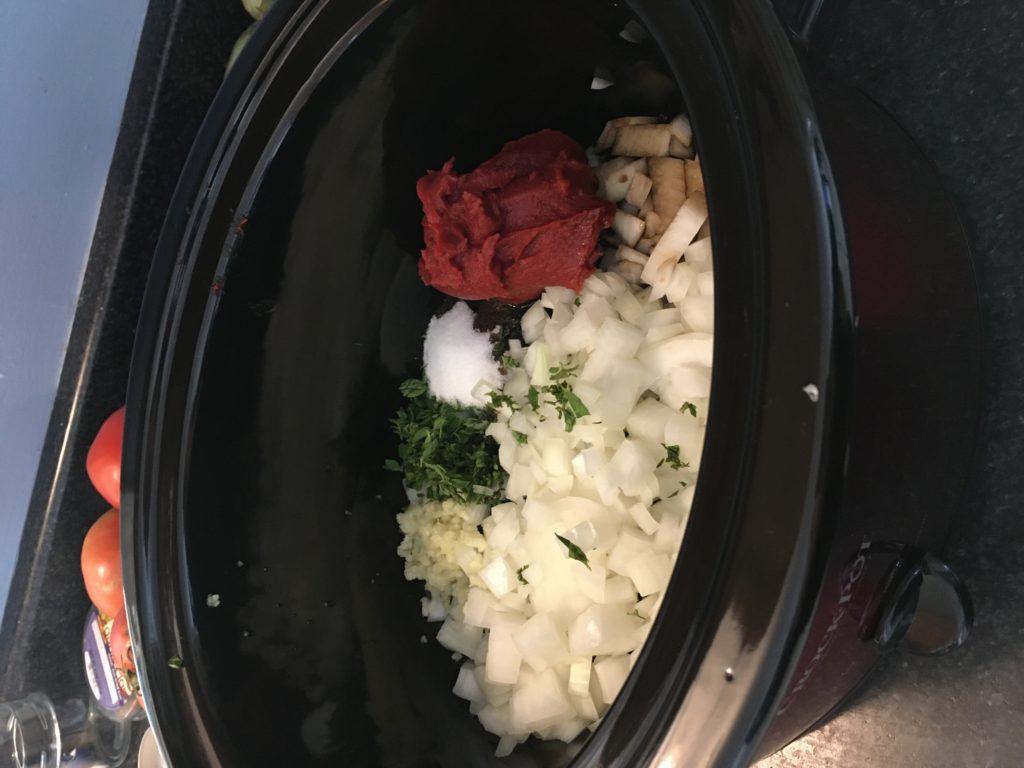
Hi, all! It’s been a while since I wrote last, and I hope you’ve been well since then! Hard to believe it’s already October, when all the good fall harvests happen. I’ve been hard at work tending my own little garden, and have suddenly been overwhelmed by a ton of tomatoes ripening all at once! I was wondering what to do with all my tomatoes until I saw a recipe in my favorite magazine, EatingWell, for a slow cooker tomato sauce. You don’t even have to peel the tomatoes! It fit the bill perfectly and the result is so good that I wanted to share it with you! This recipe works best when you use a fleshy, rather than a seedy, tomato, such as a Roma or Brandywine (which happens to be what I’ve been growing). Here are the ingredients:
6 pounds tomatoes
2 cups chopped white or yellow onion
1/4 cup extra-virgin olive oil
1, 6oz can tomato paste
3 tbsp minced fresh garlic
2 tbsp finely chopped fresh oregano
2 tbsp balsamic vinegar
4 tsp granulated sugar
1 1/2 tsp salt, divided
crushed red pepper to taste
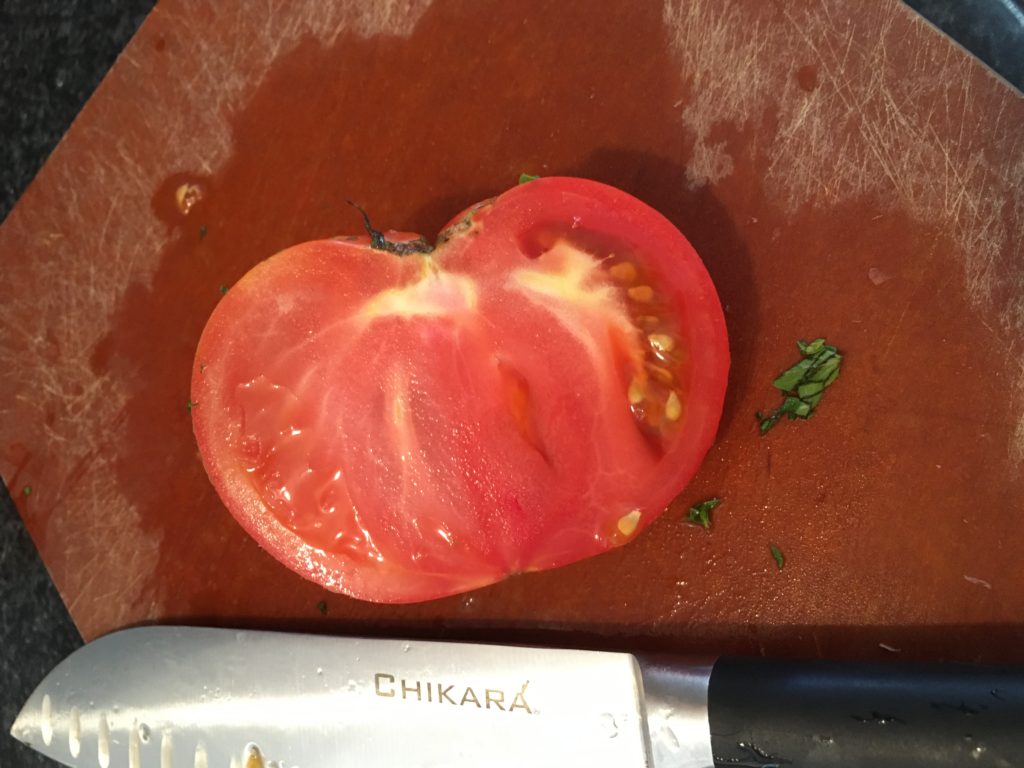
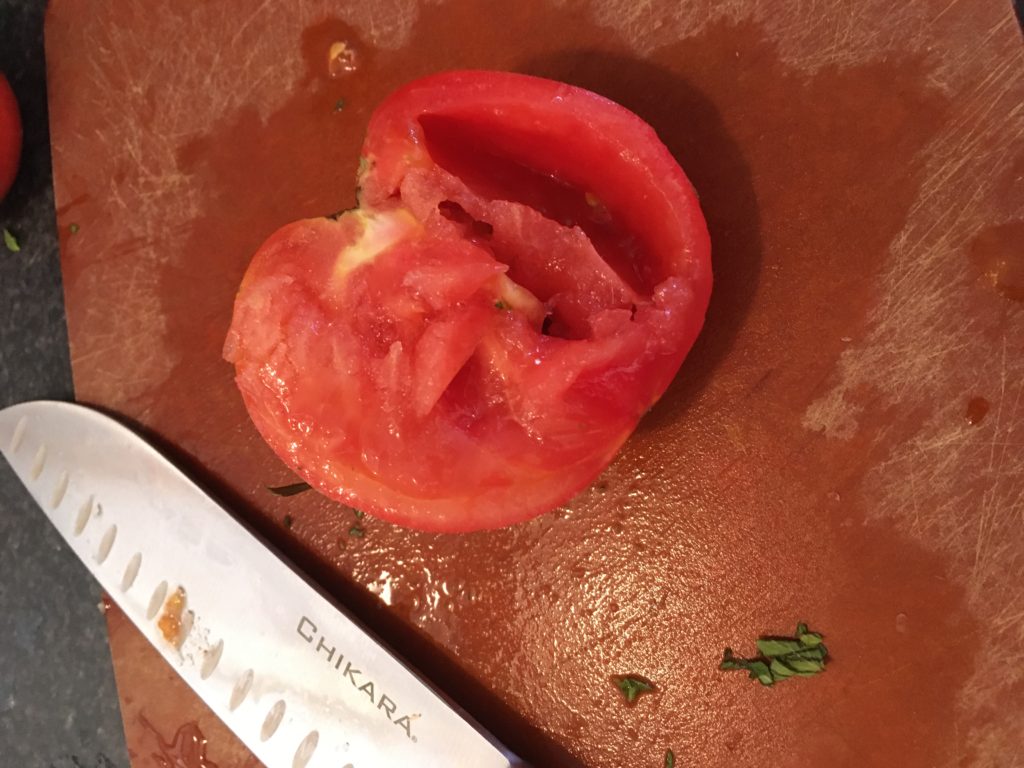
Cut tomatoes in half lengthwise. Gently squeeze out the seeds and discard them.
Before…
After!
Mix onions, oil, garlic, vinegar, sugar, tomato paste, oregano, and 1 tsp salt in the bottom of a 6 quart (or bigger) slow cooker.
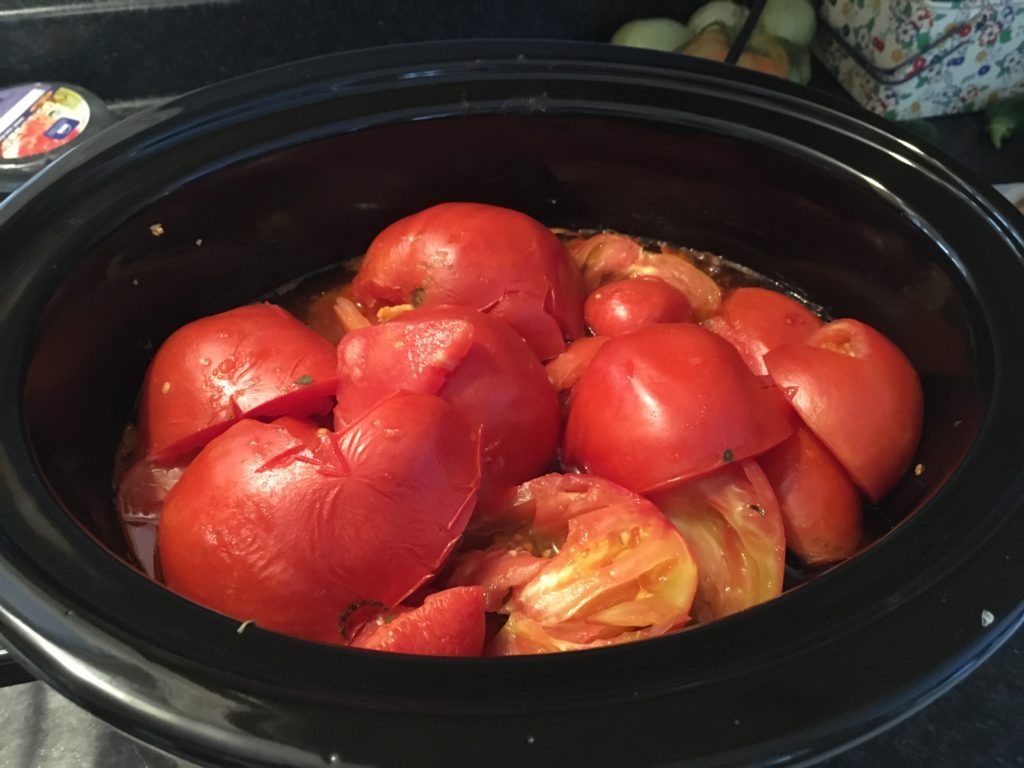
Layer the cut tomatoes on top of the onion mixture.
Cover the slow cooker and cook on Low for 4 hours or High for 2 hours (I’ve used High both times I’ve made this). After the cooking time is over, uncover the slow cooker.
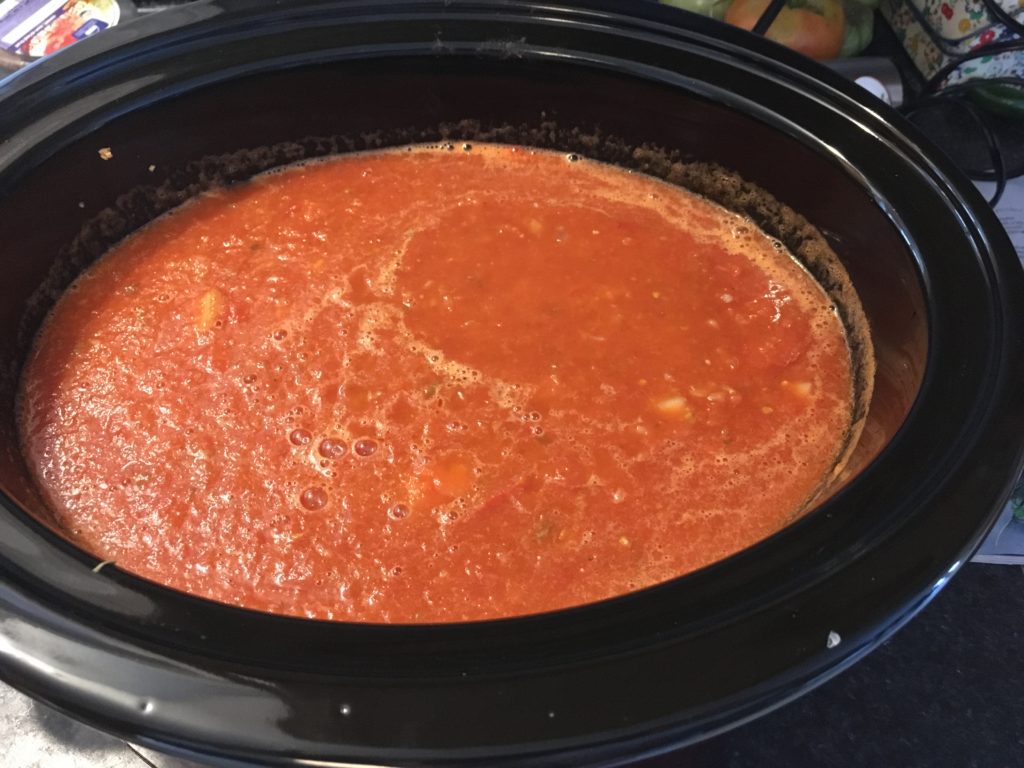
Puree the mixture until chunky using either an immersion blender, or a regular blender in batches.
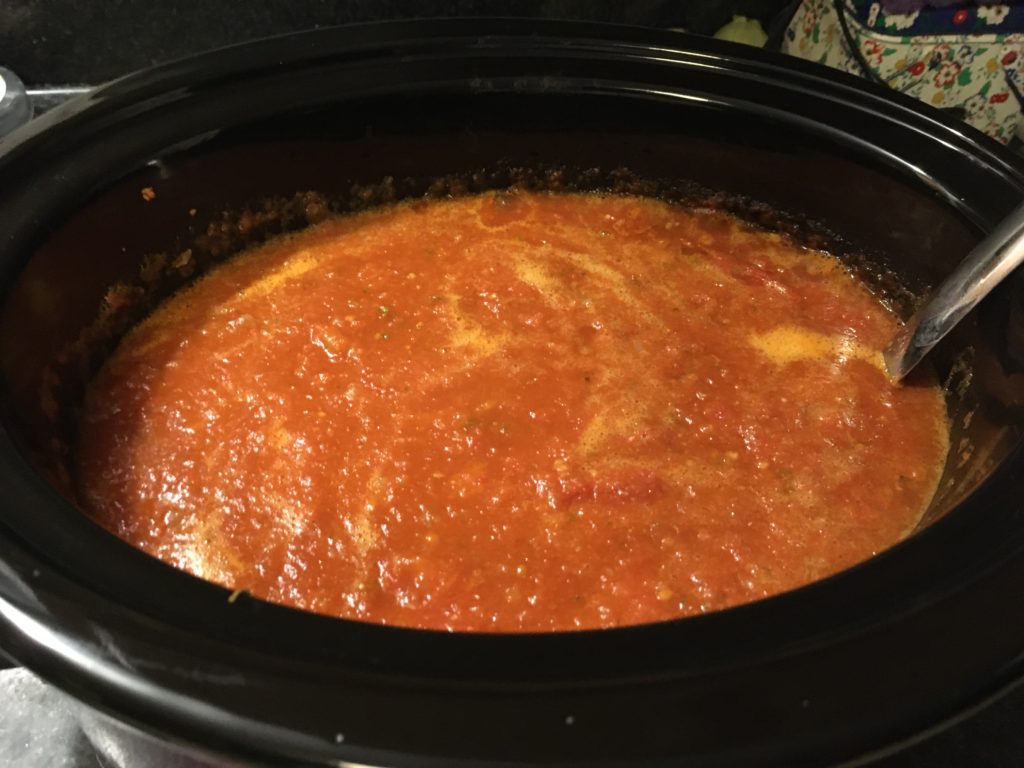
Set the lid of the slow cooker slightly askew on the cooker and cook until the sauce has thickened, an additional 3 hours on High or 6 hours on Low.
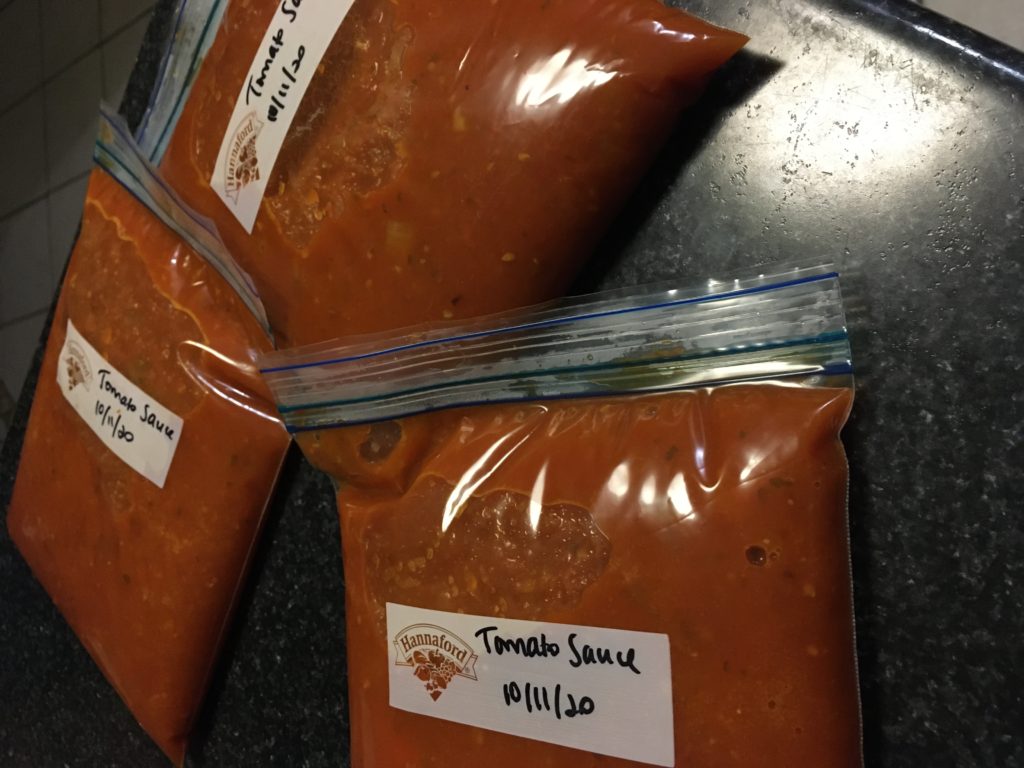
Season with the remaining salt and crushed red pepper to taste. You can either use it now, or you can portion it into quart-size freezer bags and freeze it for up to 6 months.
All ready to freeze!
Ta-dah! No more tomatoes left on my counter (well, until the next day when I went back out to check my tomato plant) and I have sauce to last me for several spaghetti nights! I highly recommend this recipe (and EatingWell magazine!) and hope you enjoy it! Happy cooking!