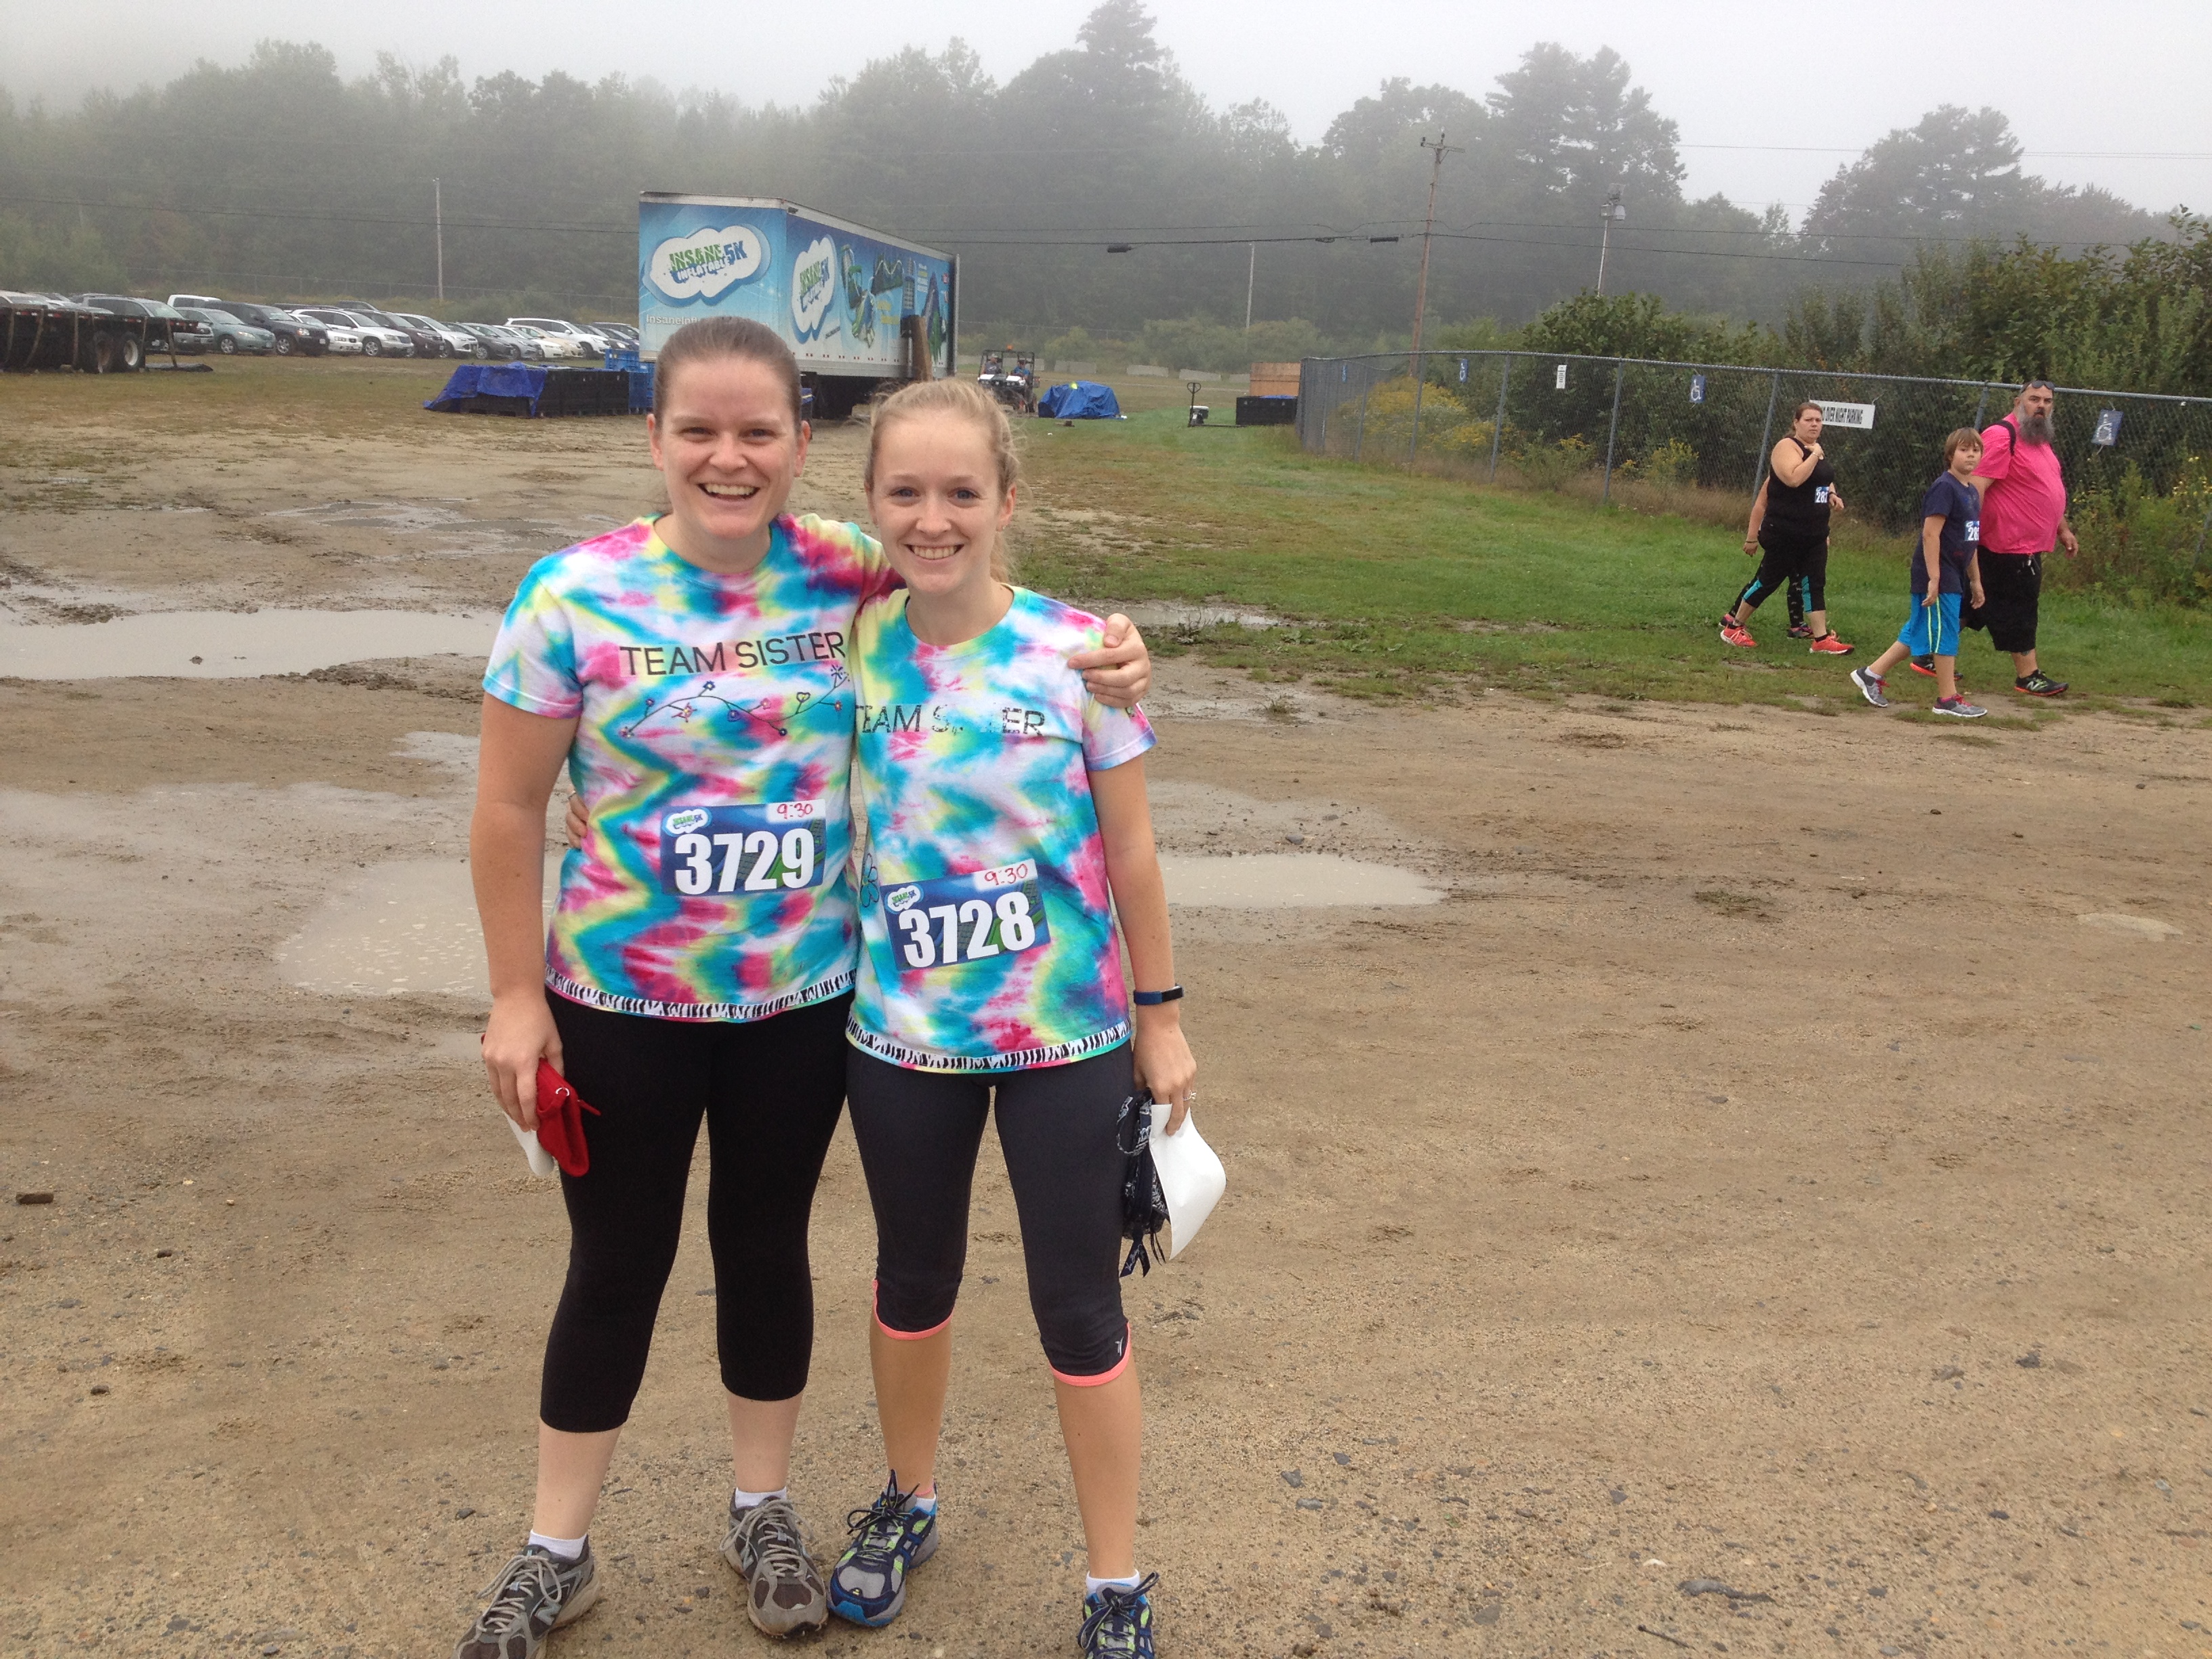
Hi all! Time for fall blogging part two. We covered pumpkin goodies last time, so today we’re talking about everything to do with apples. My sister was in town this weekend to run an inflatable 5k race with me (it was awesome, by the way!), and my nephew wanted to go apple picking with her, so it was a perfect excuse for me to share some new apple recipes.


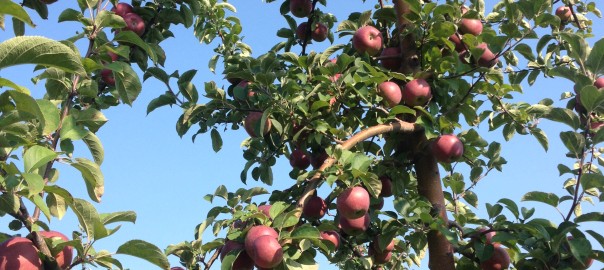
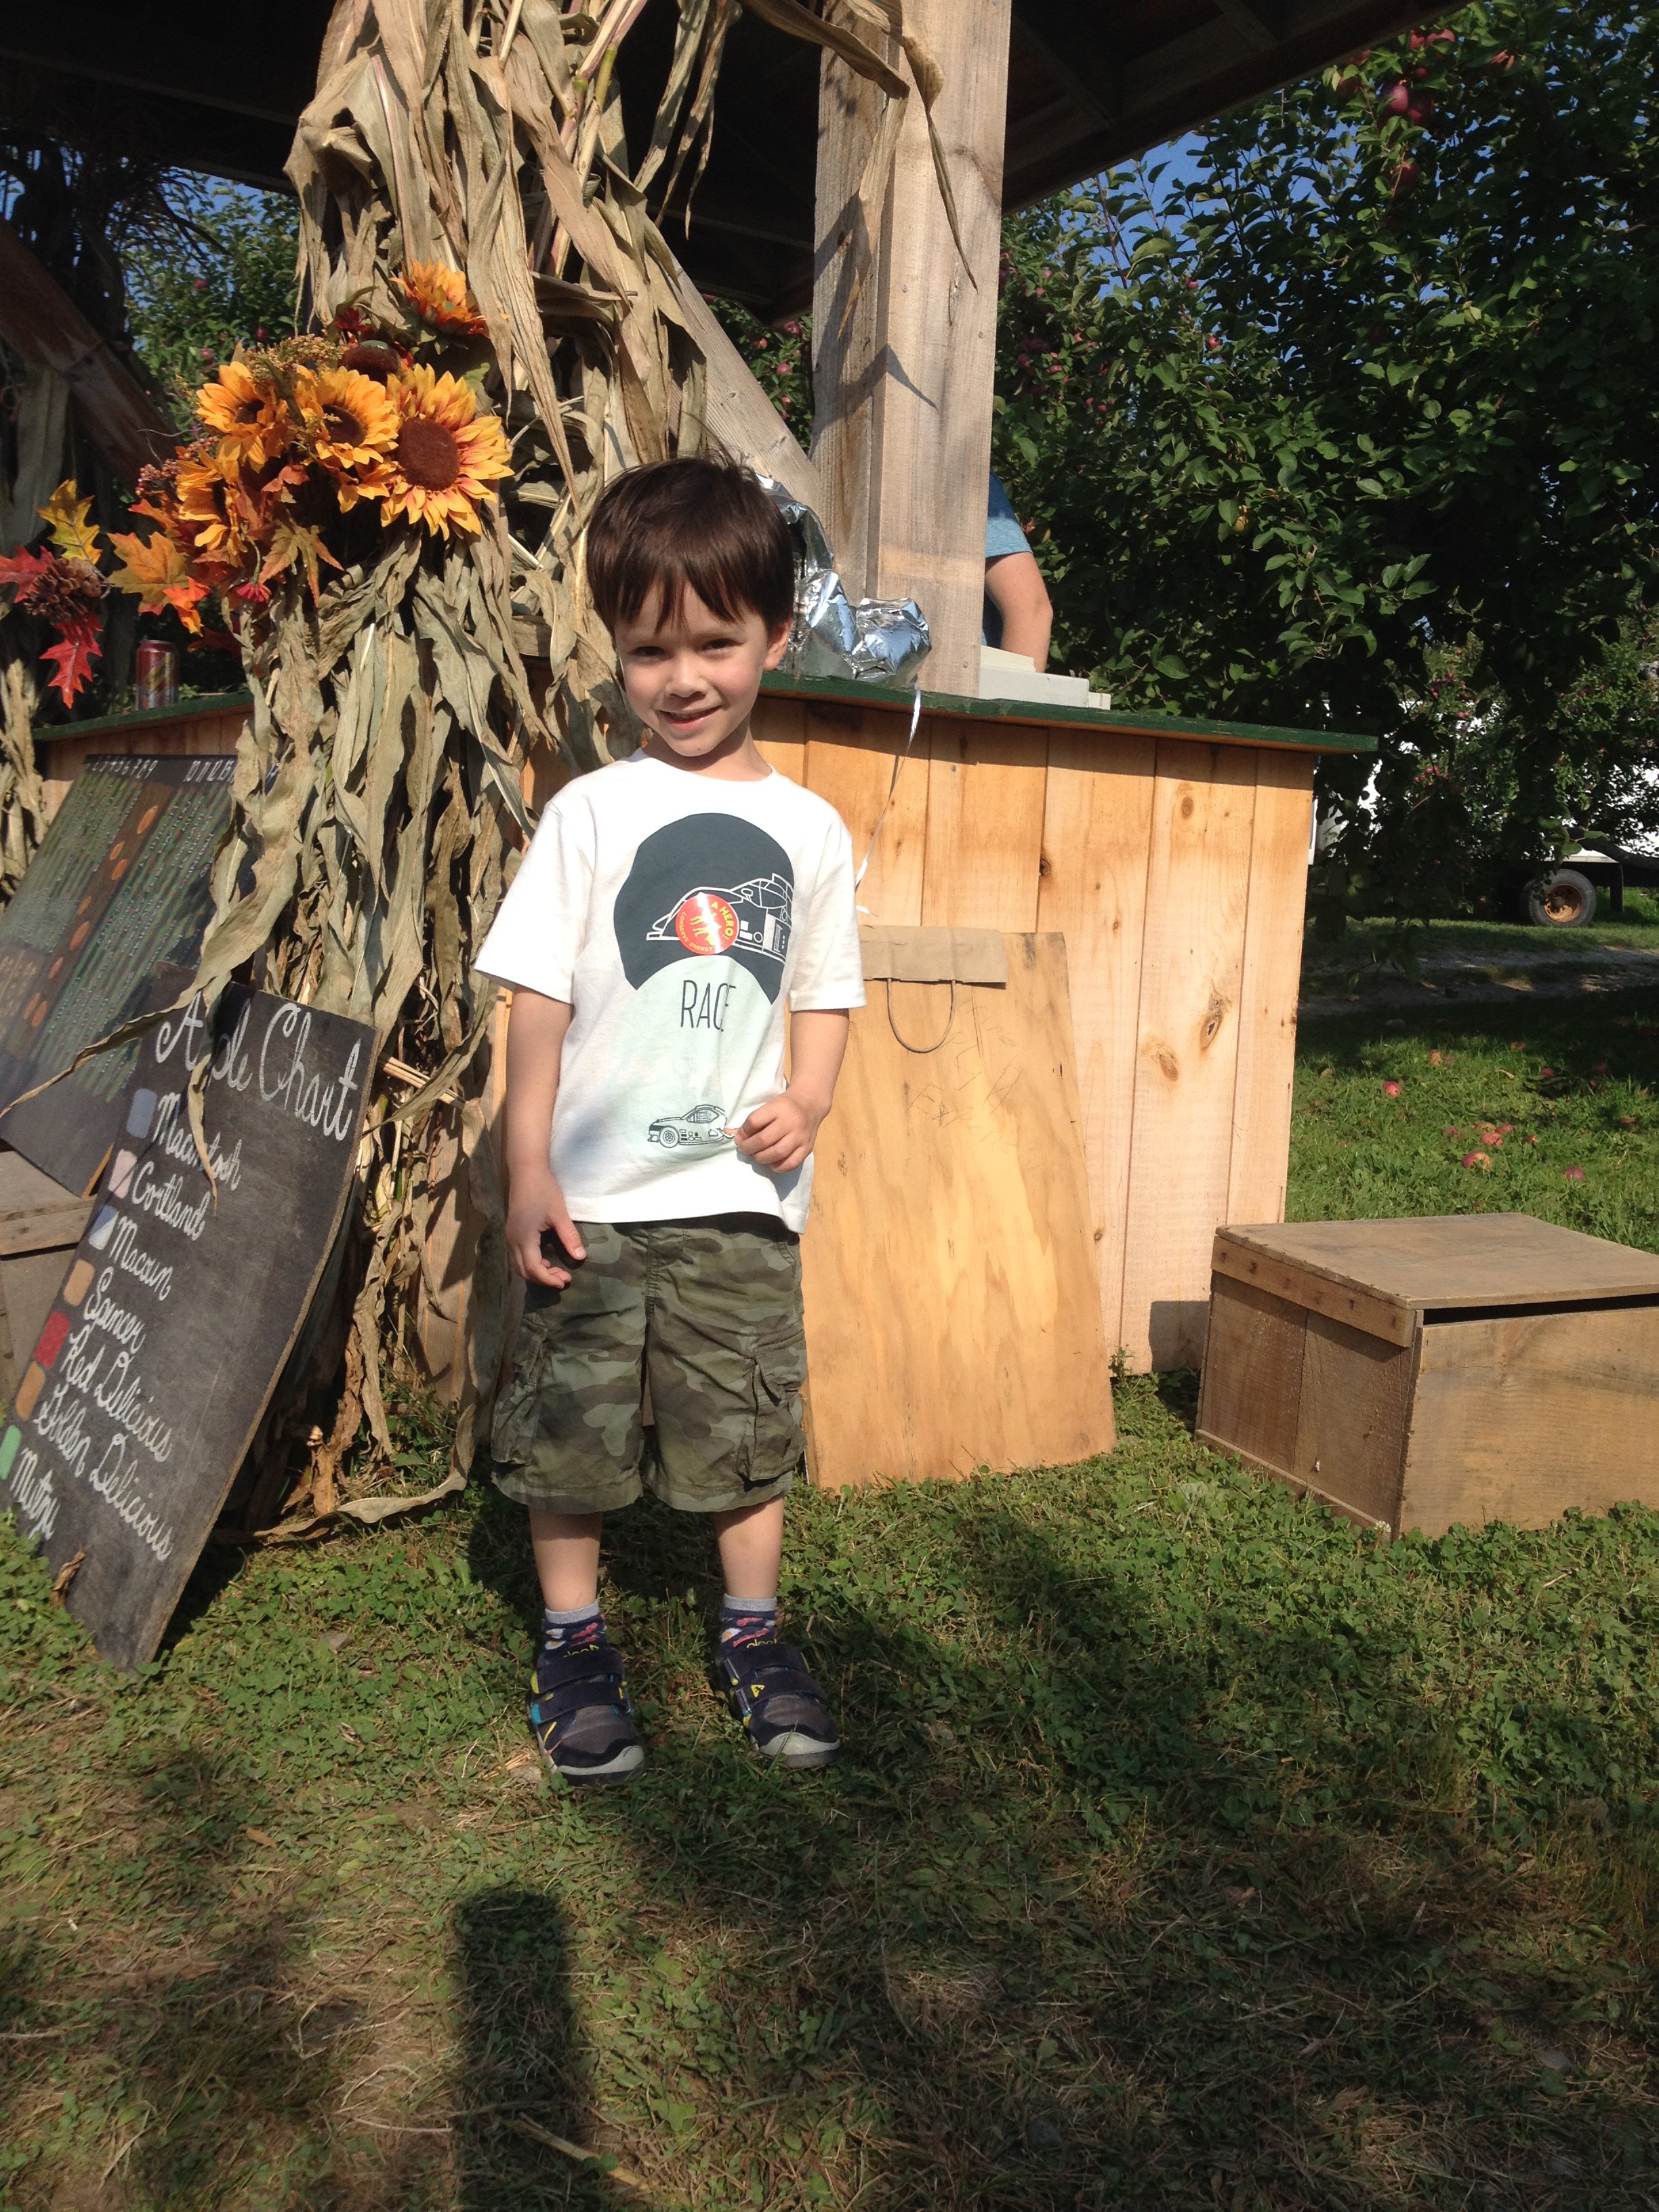
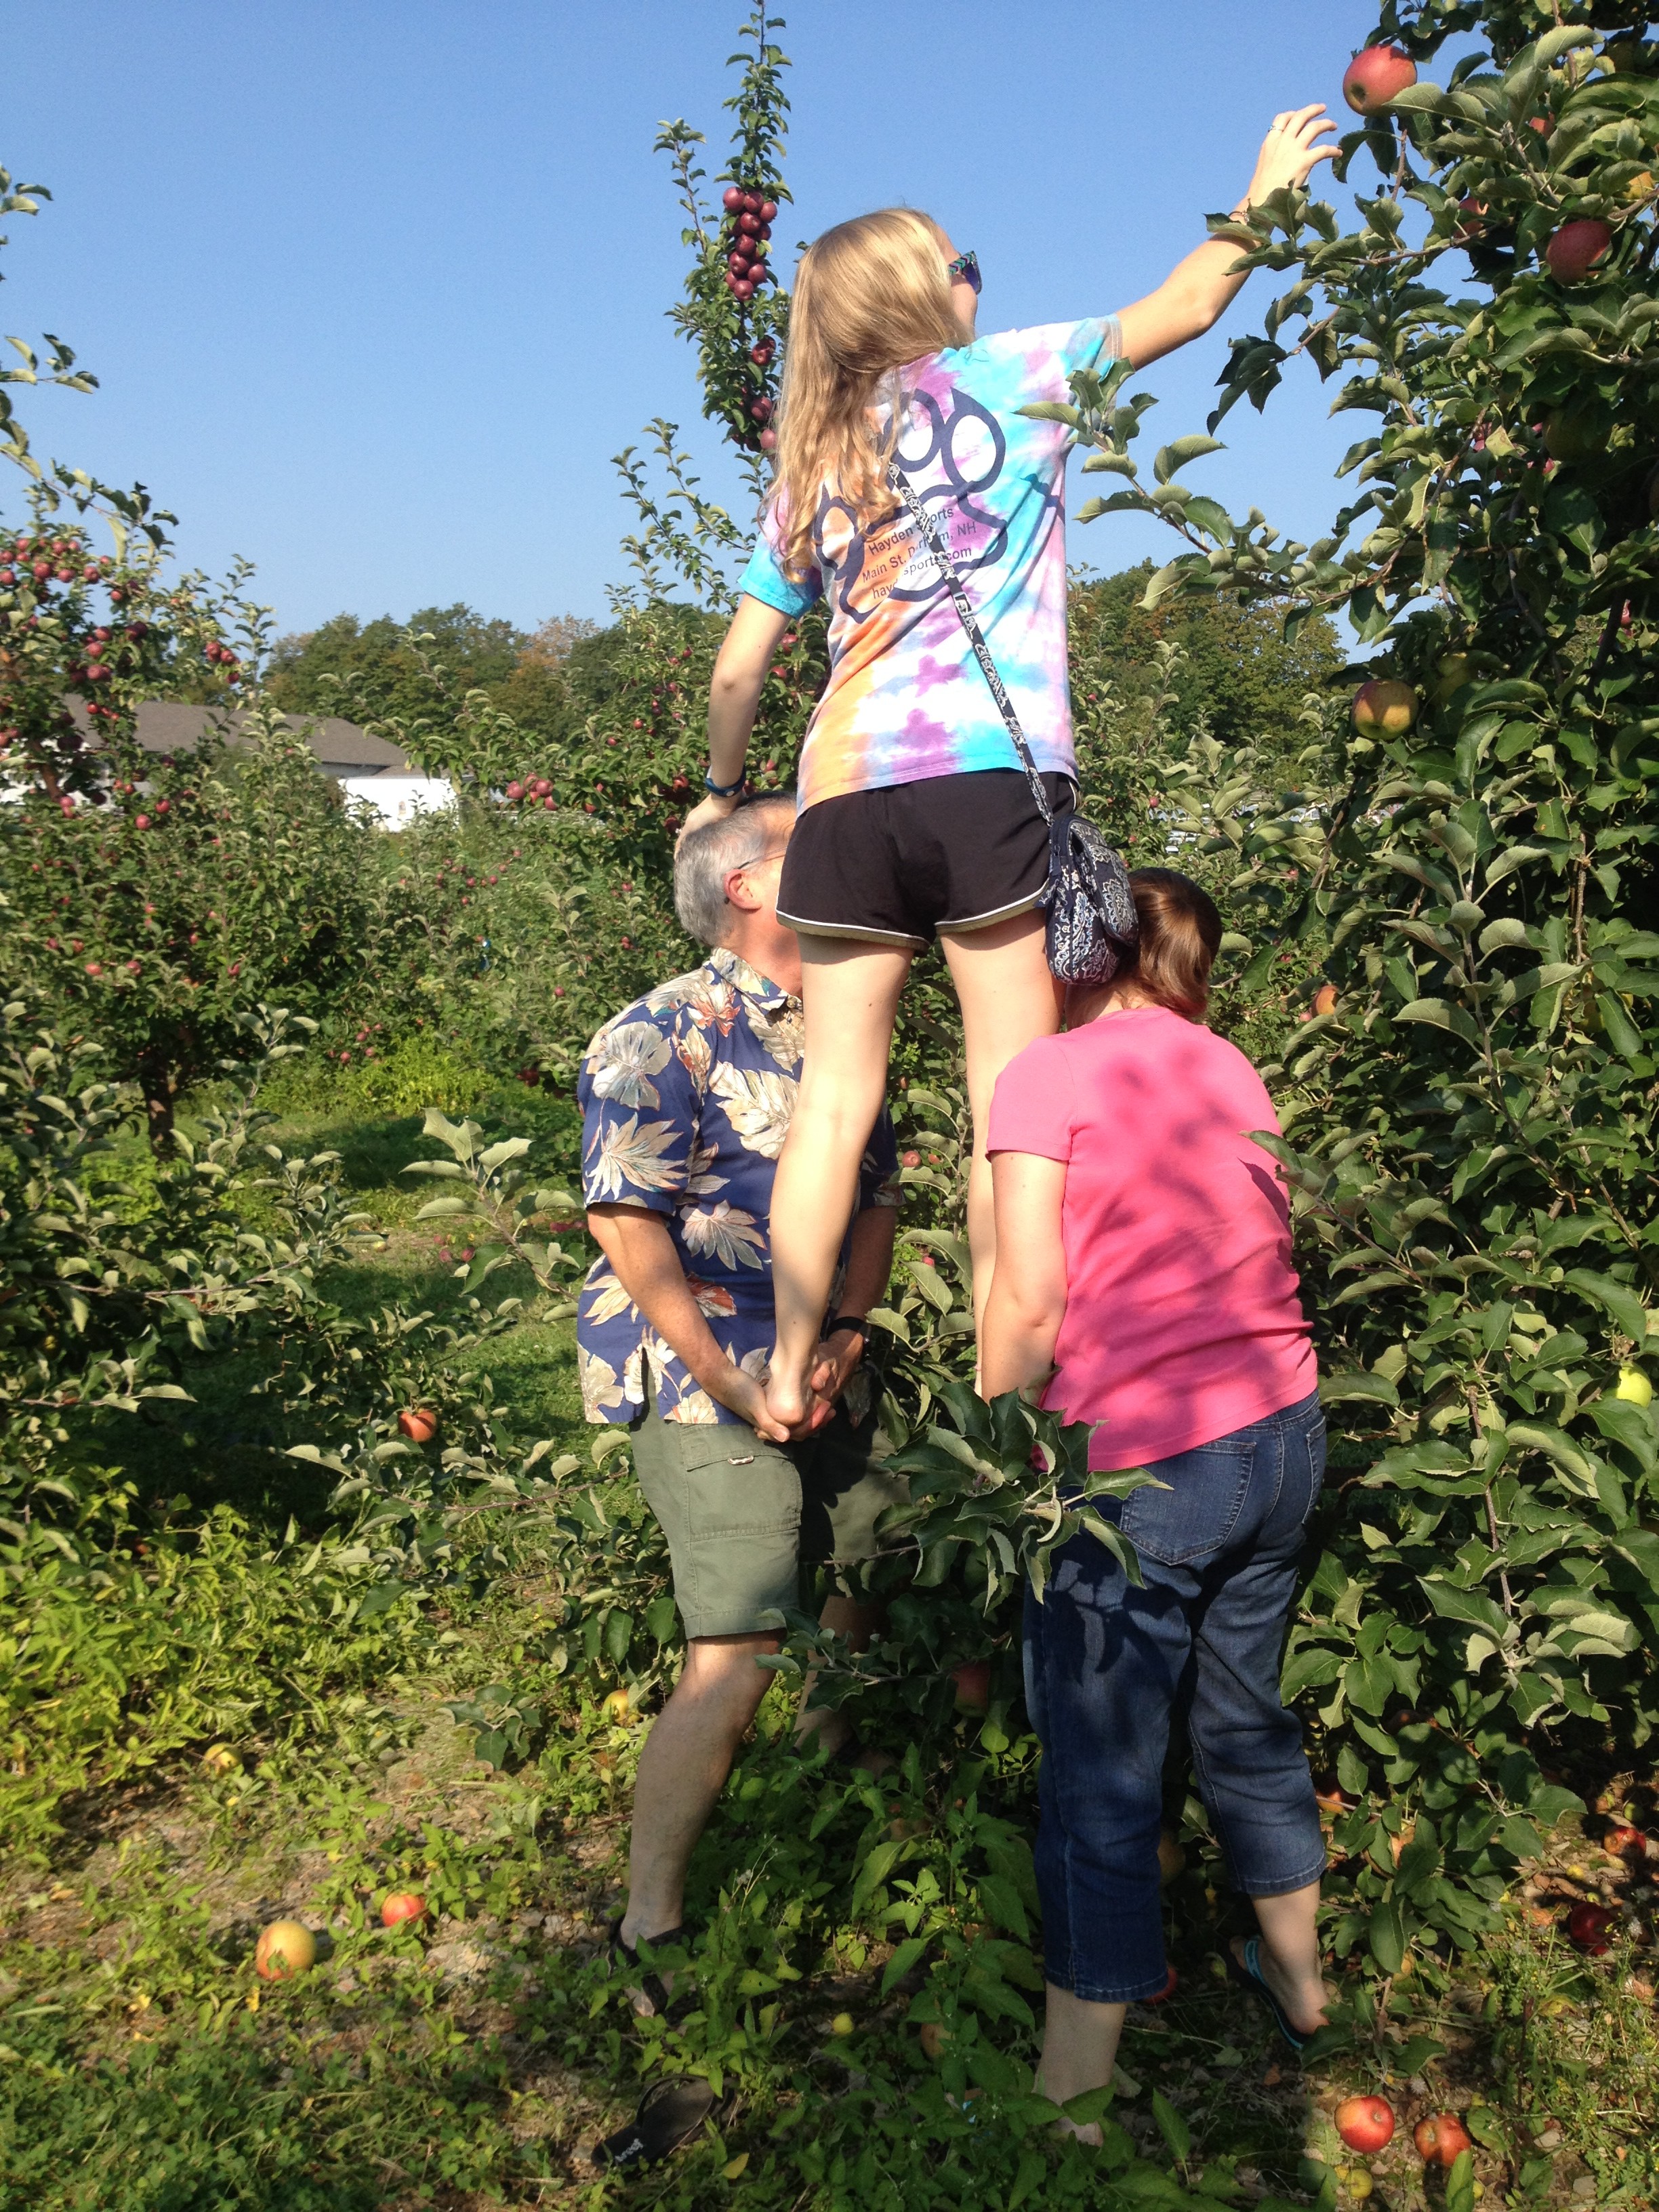
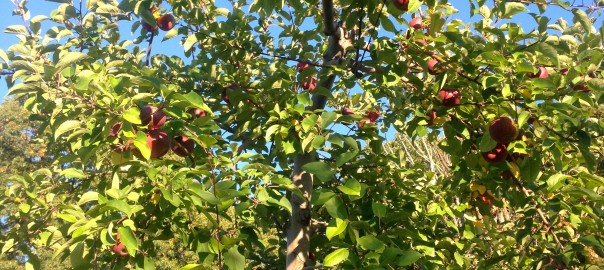
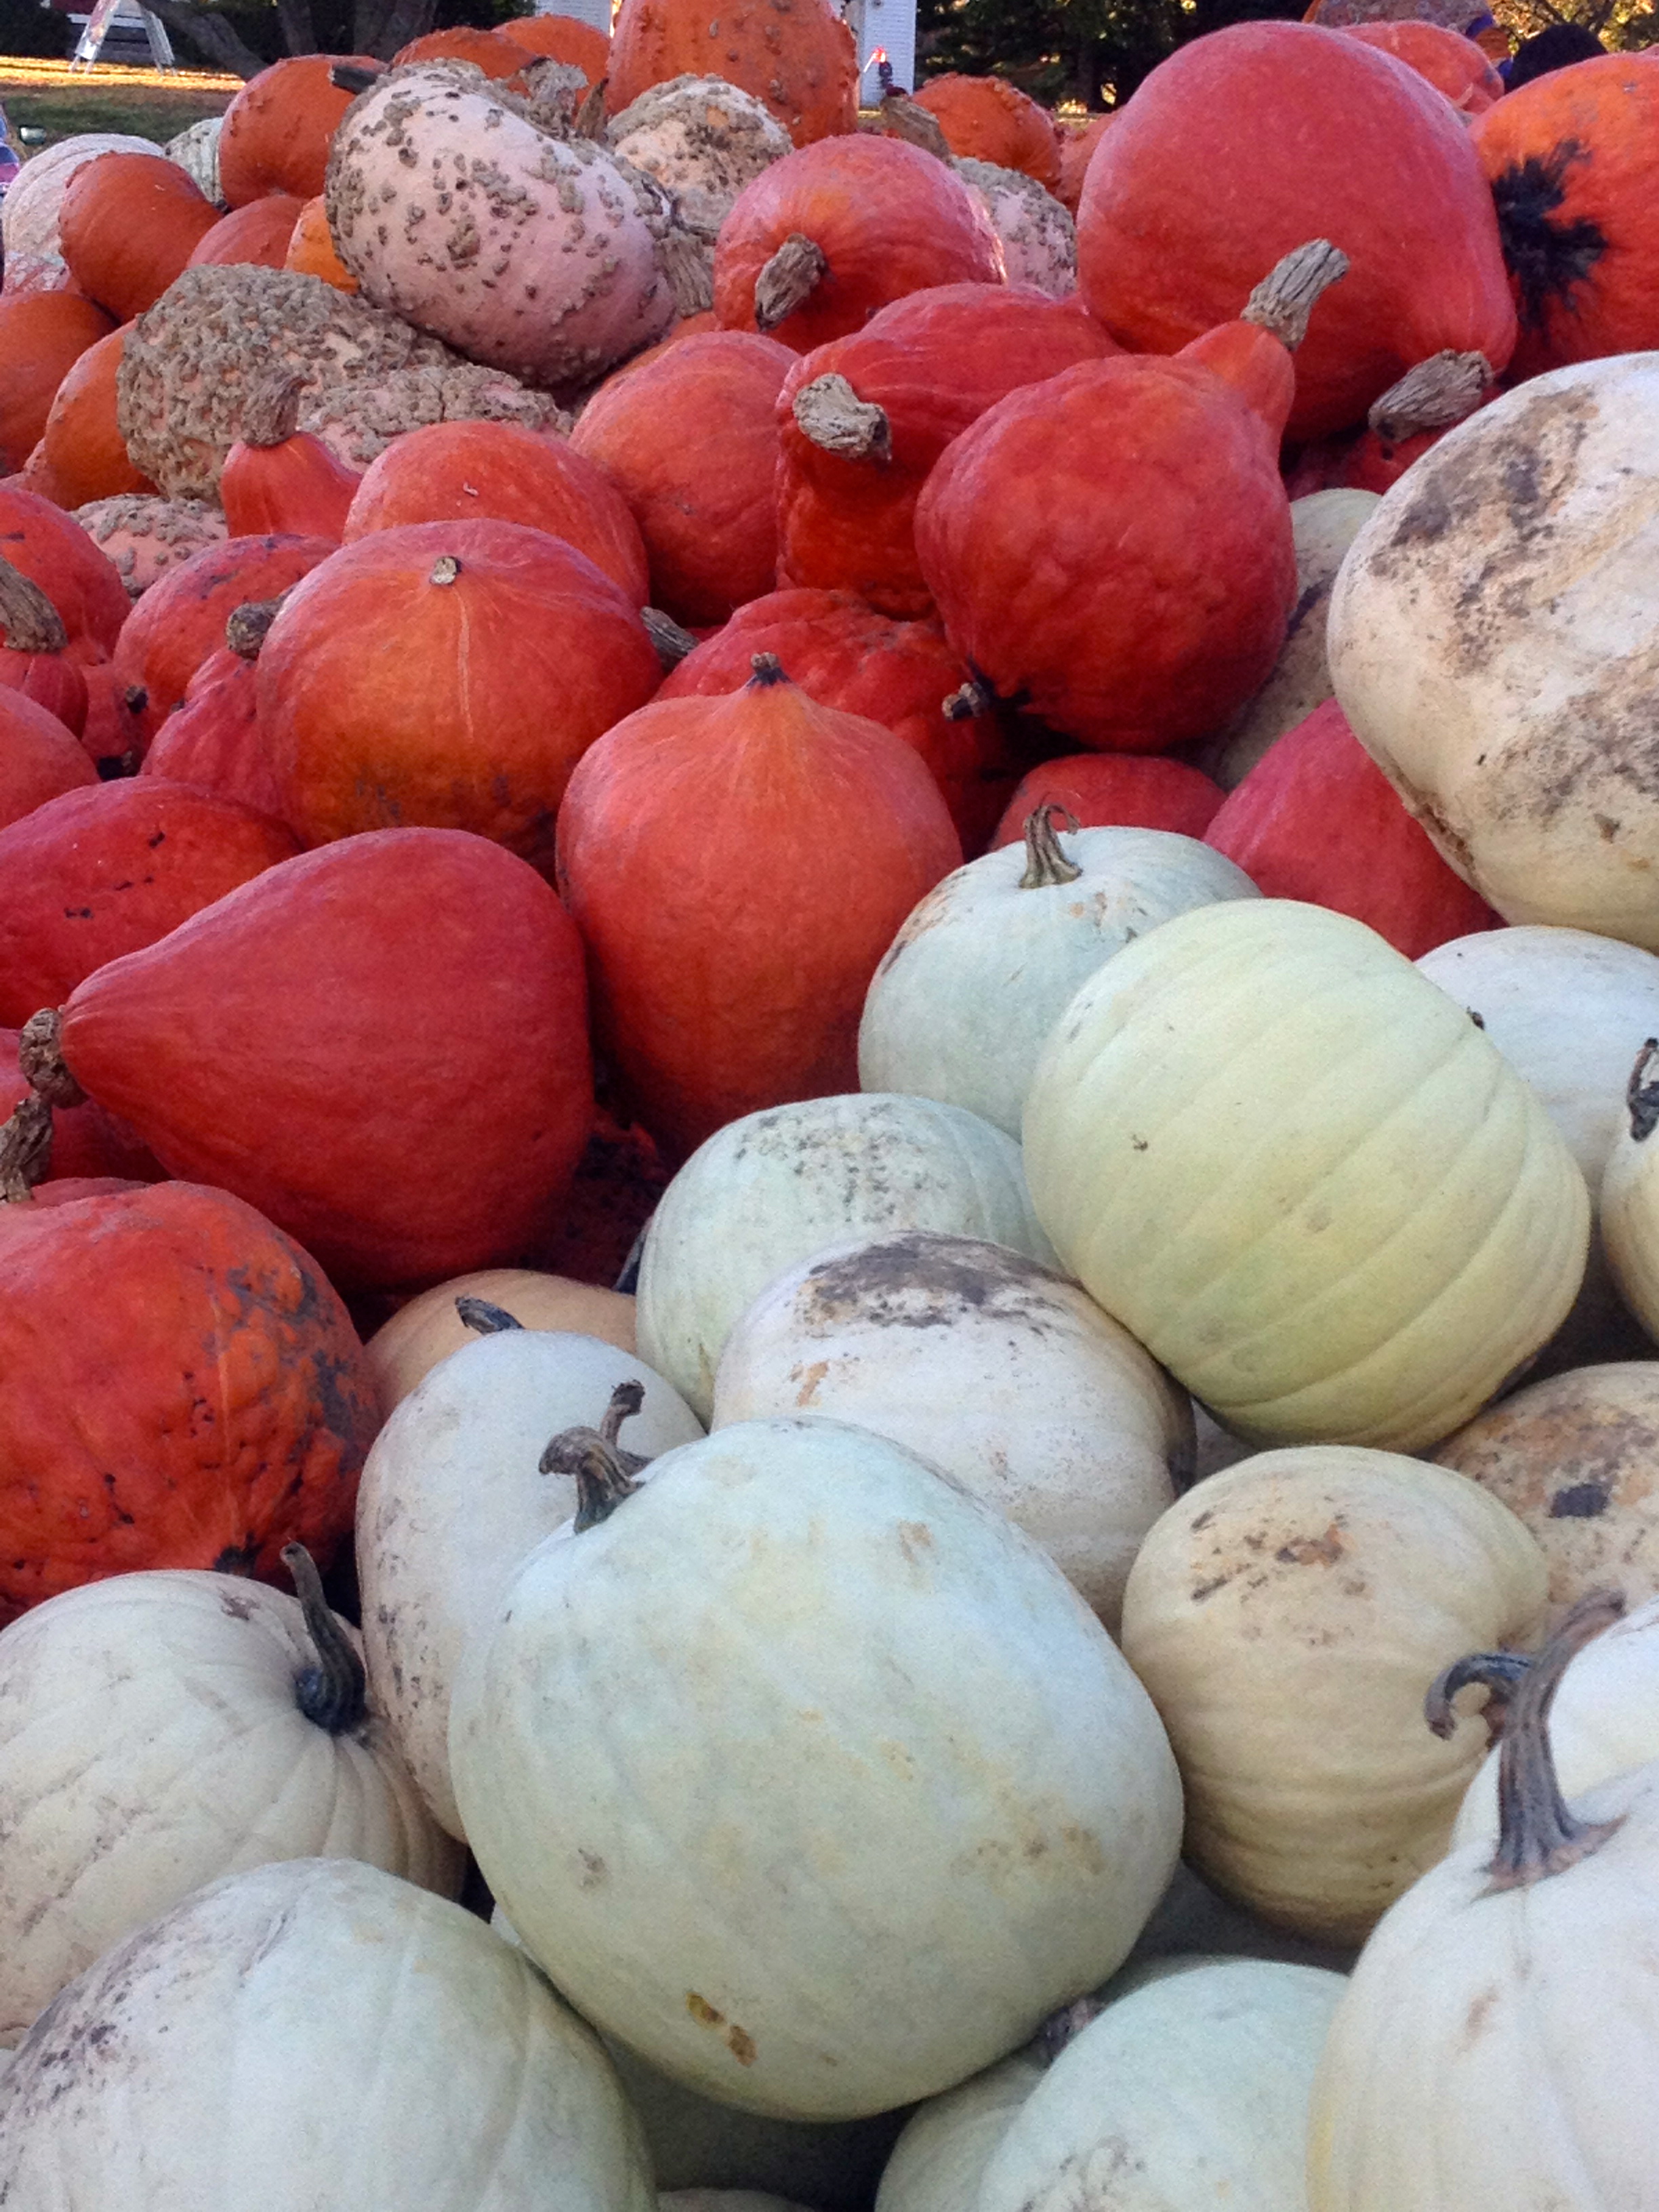
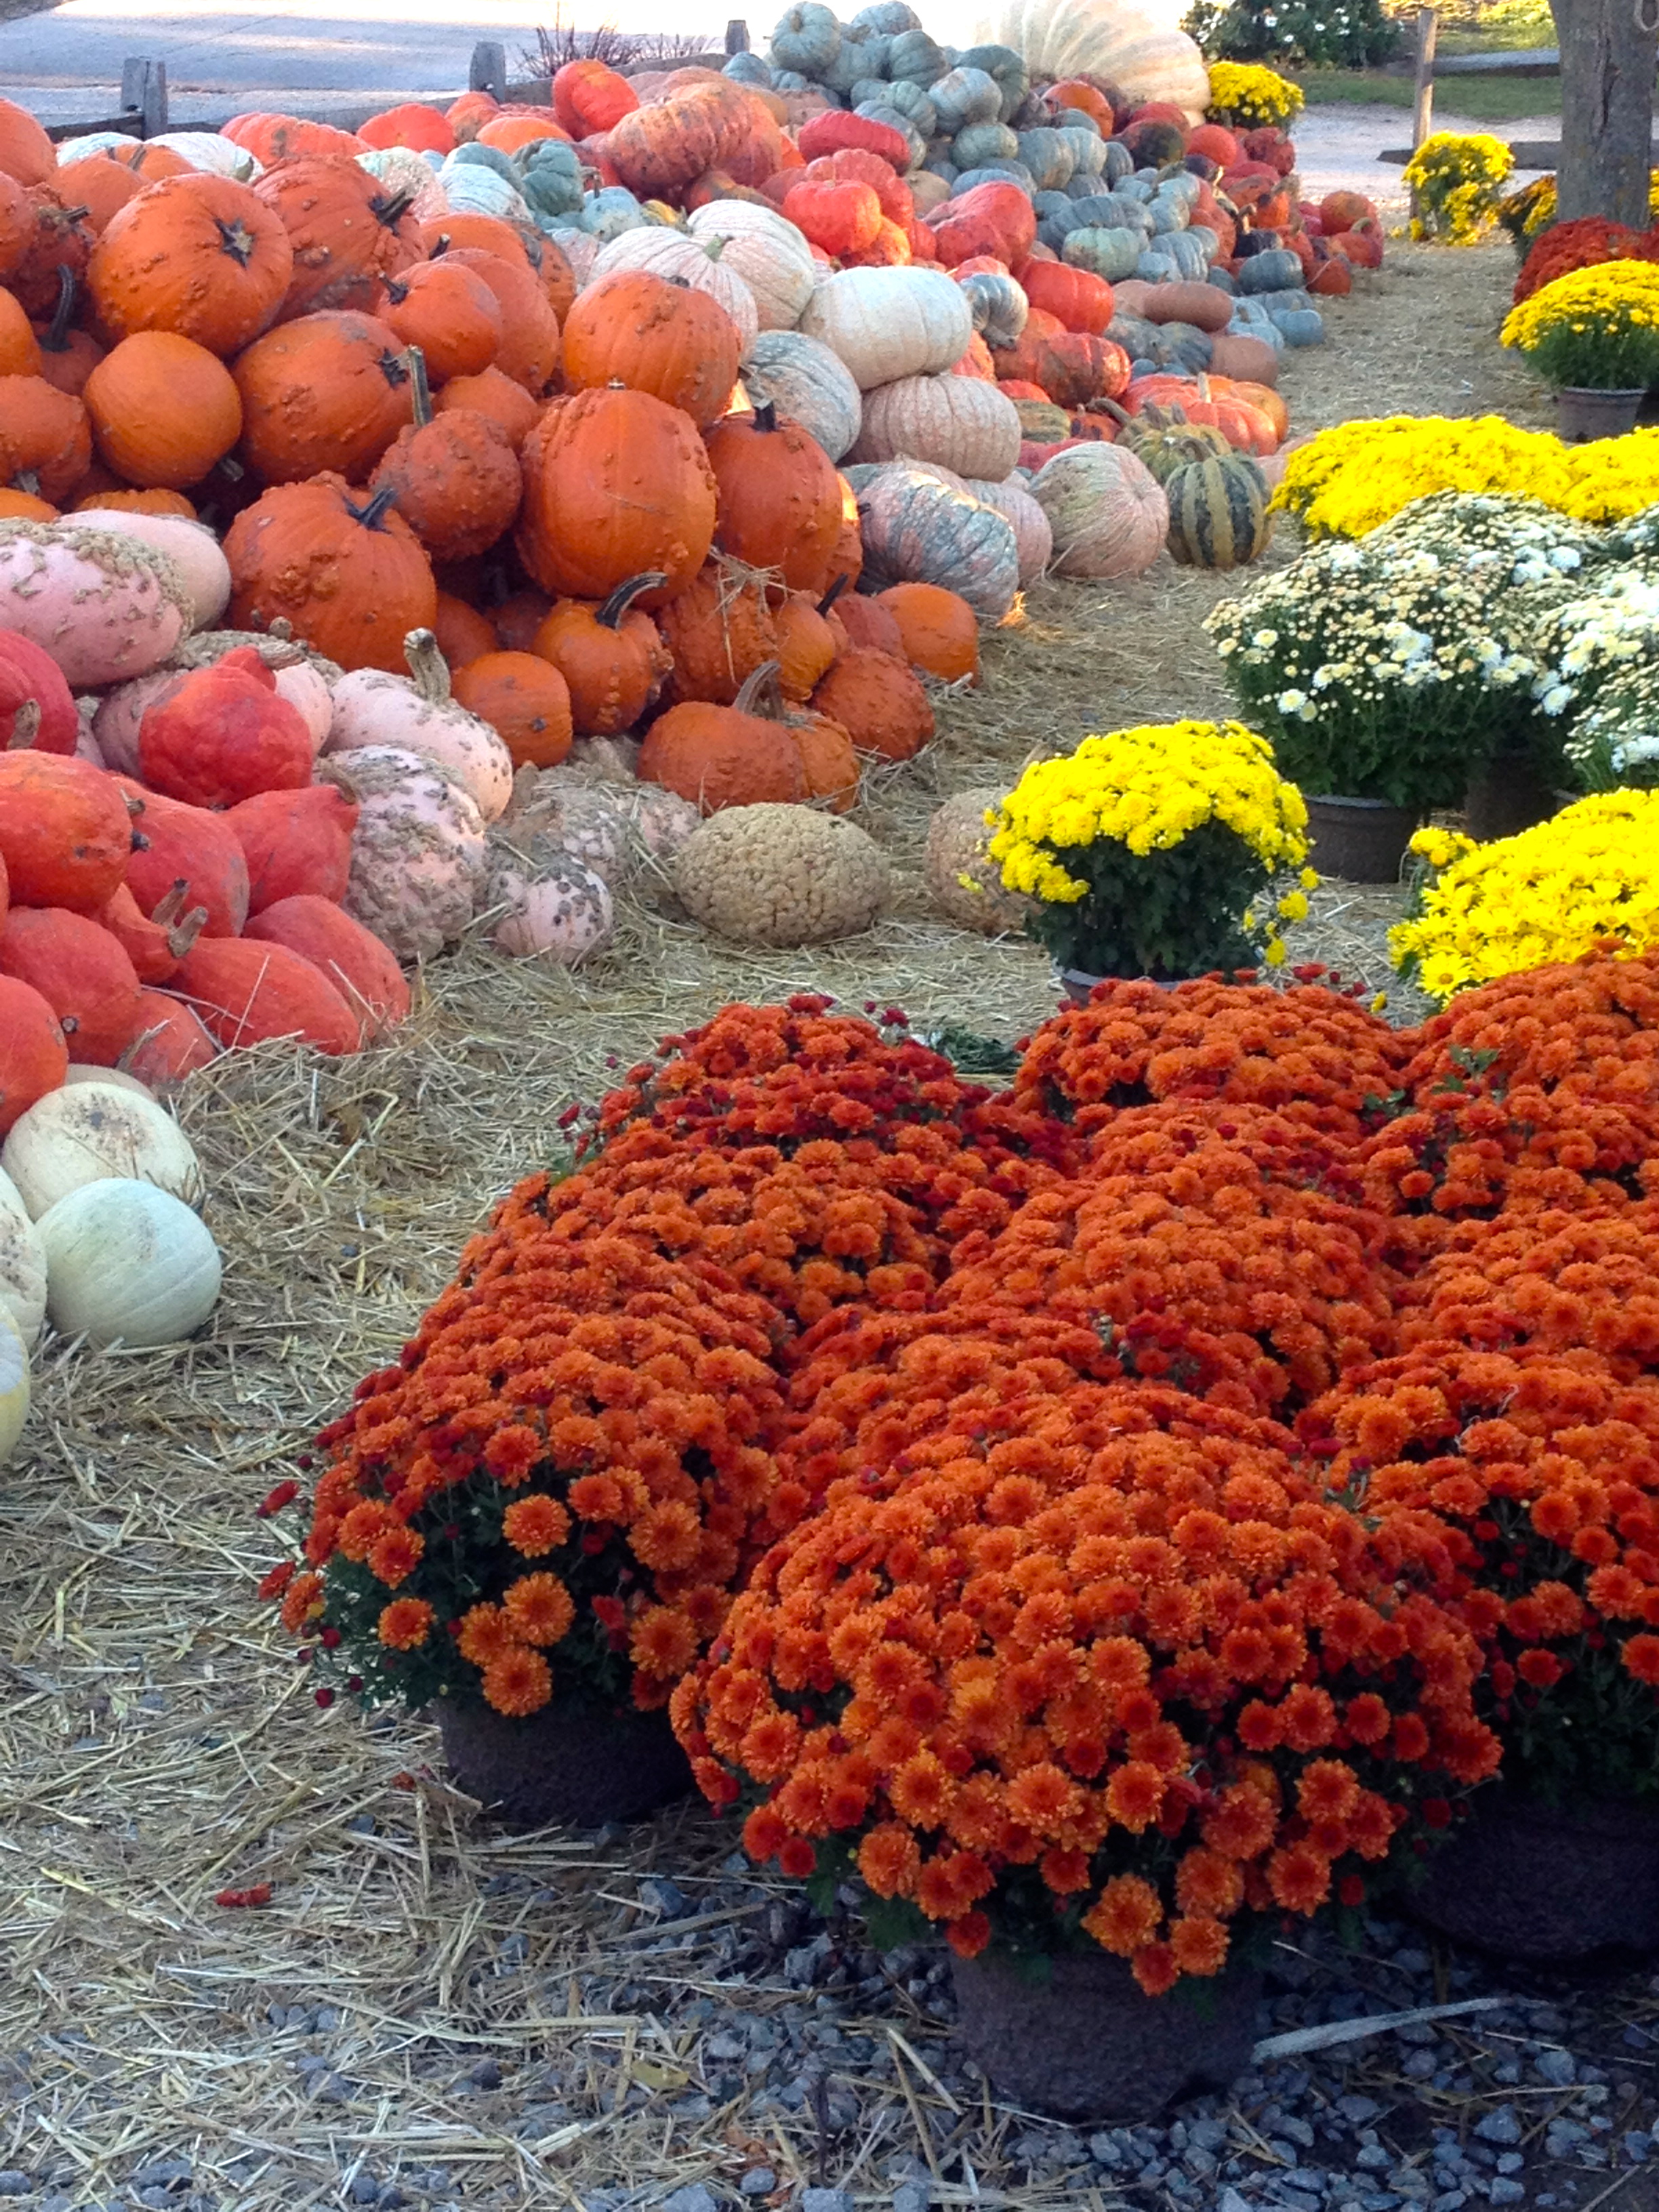
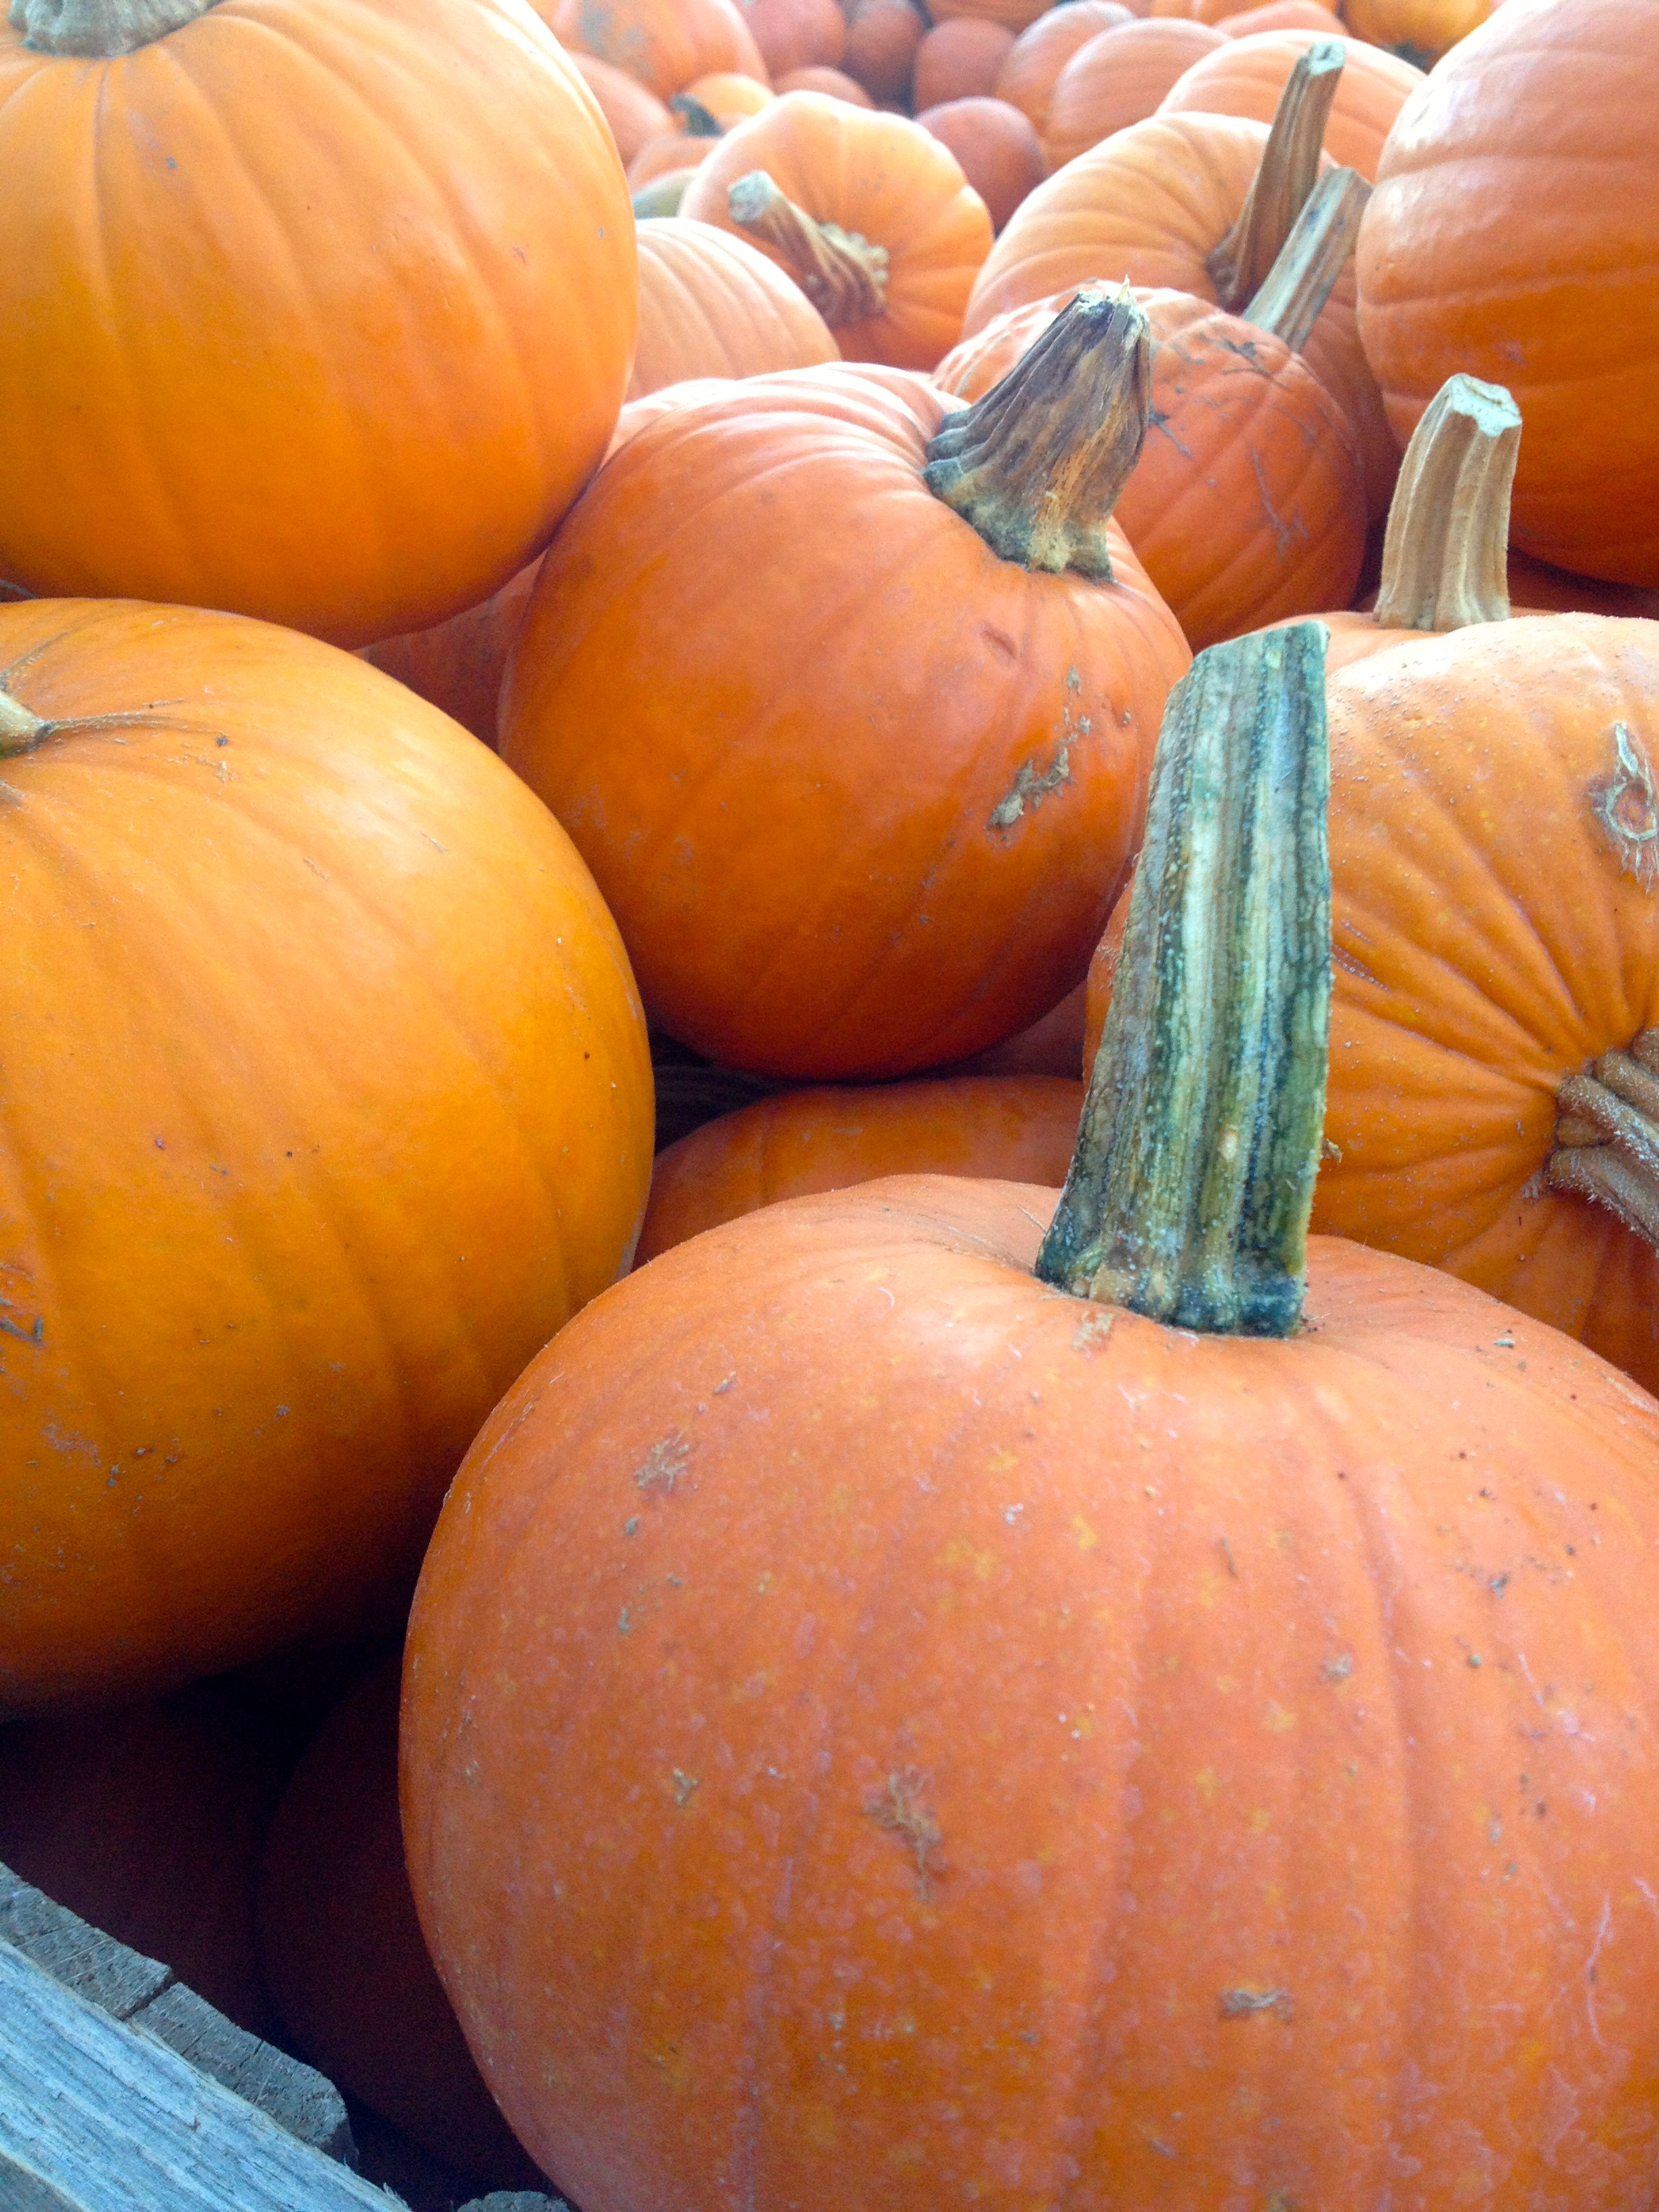
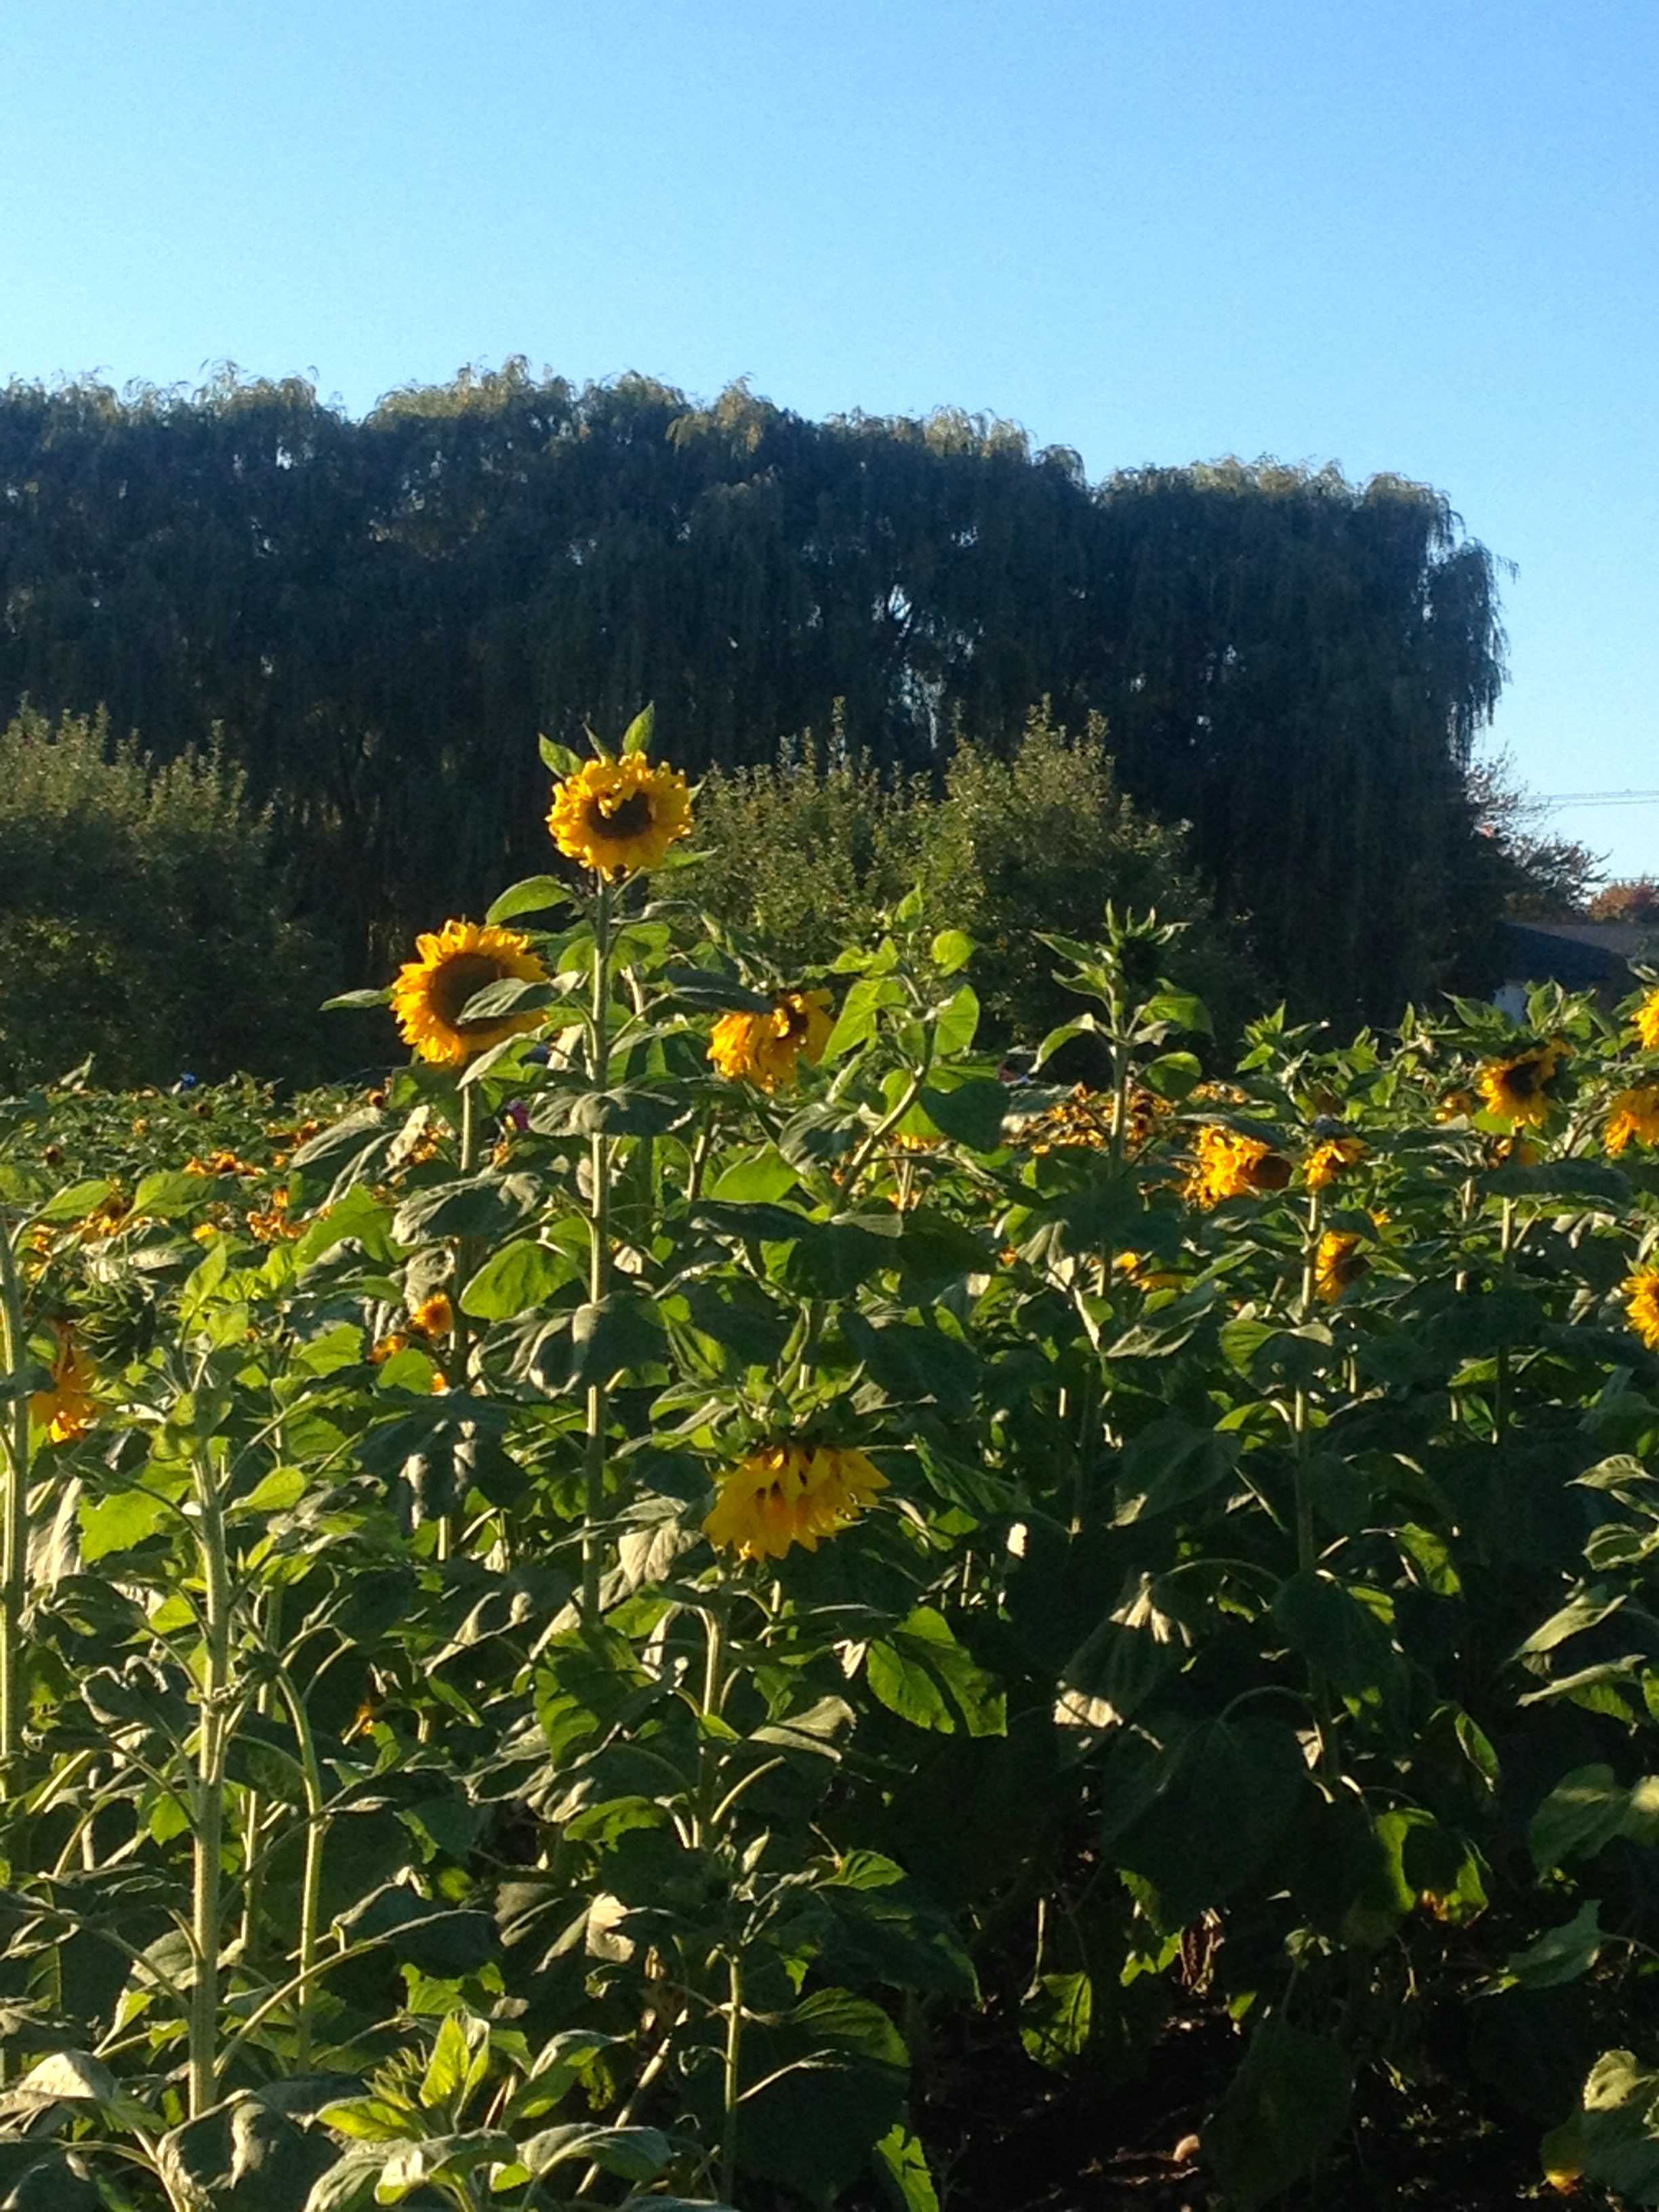
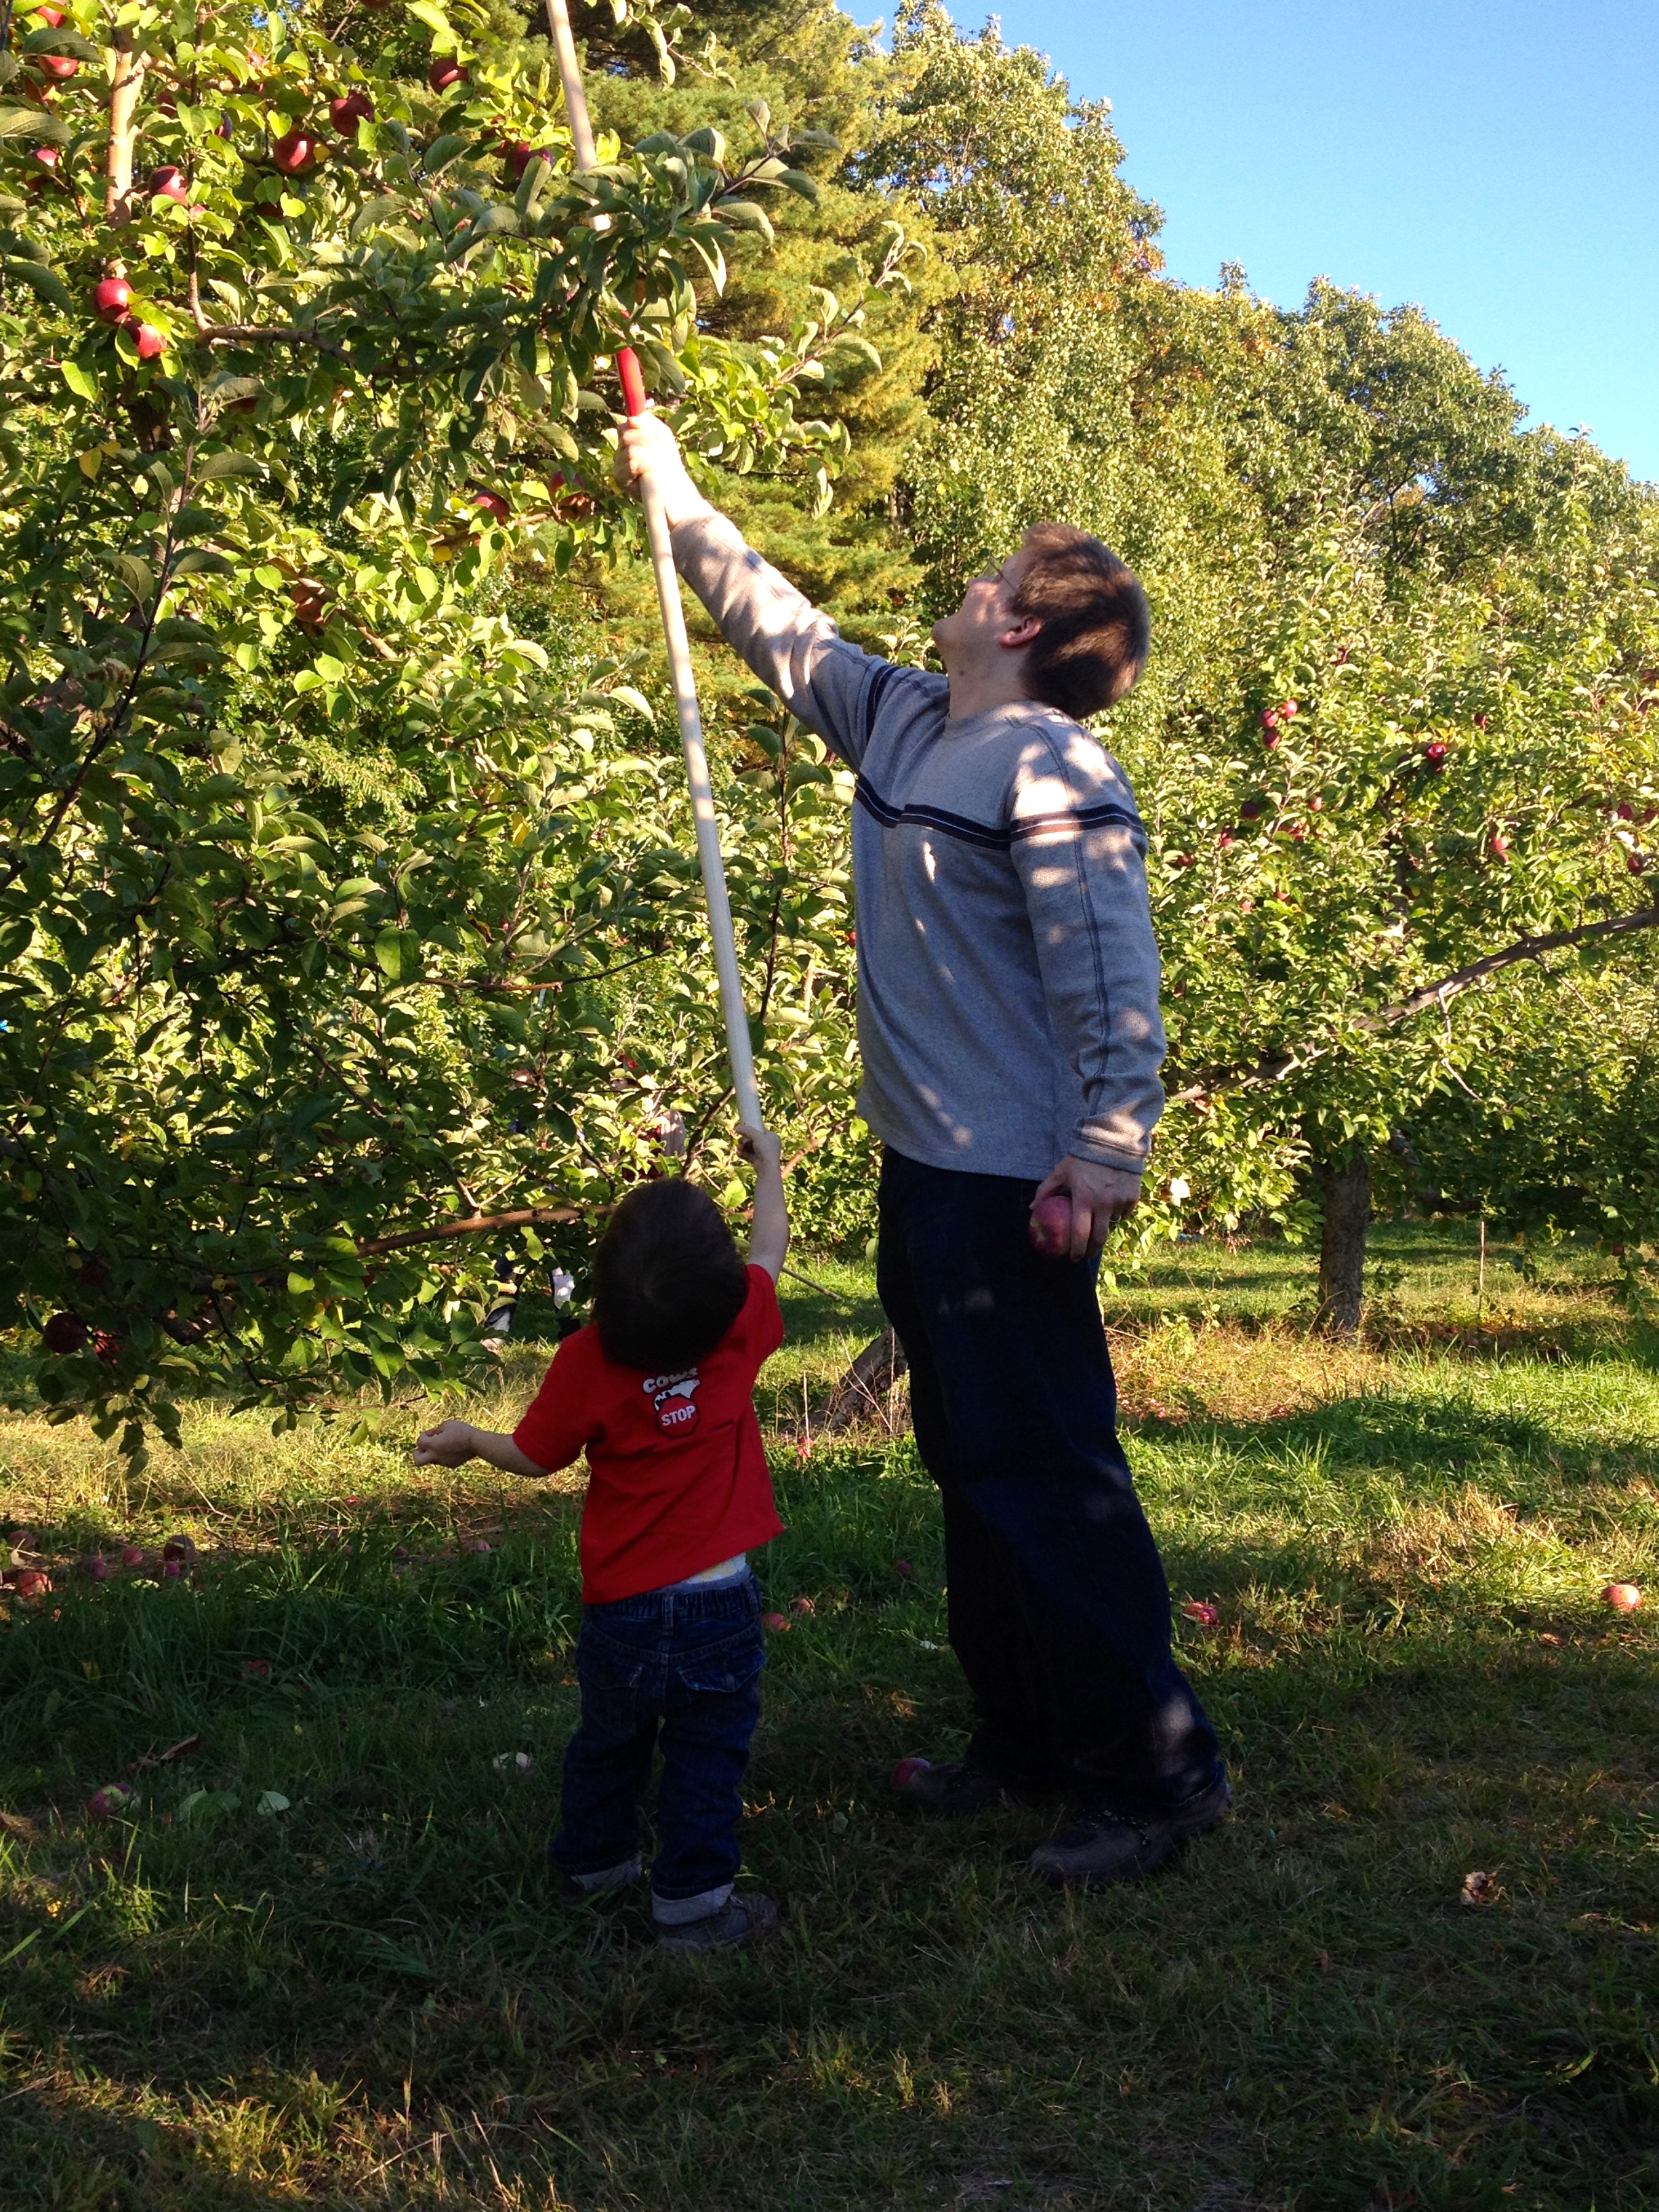
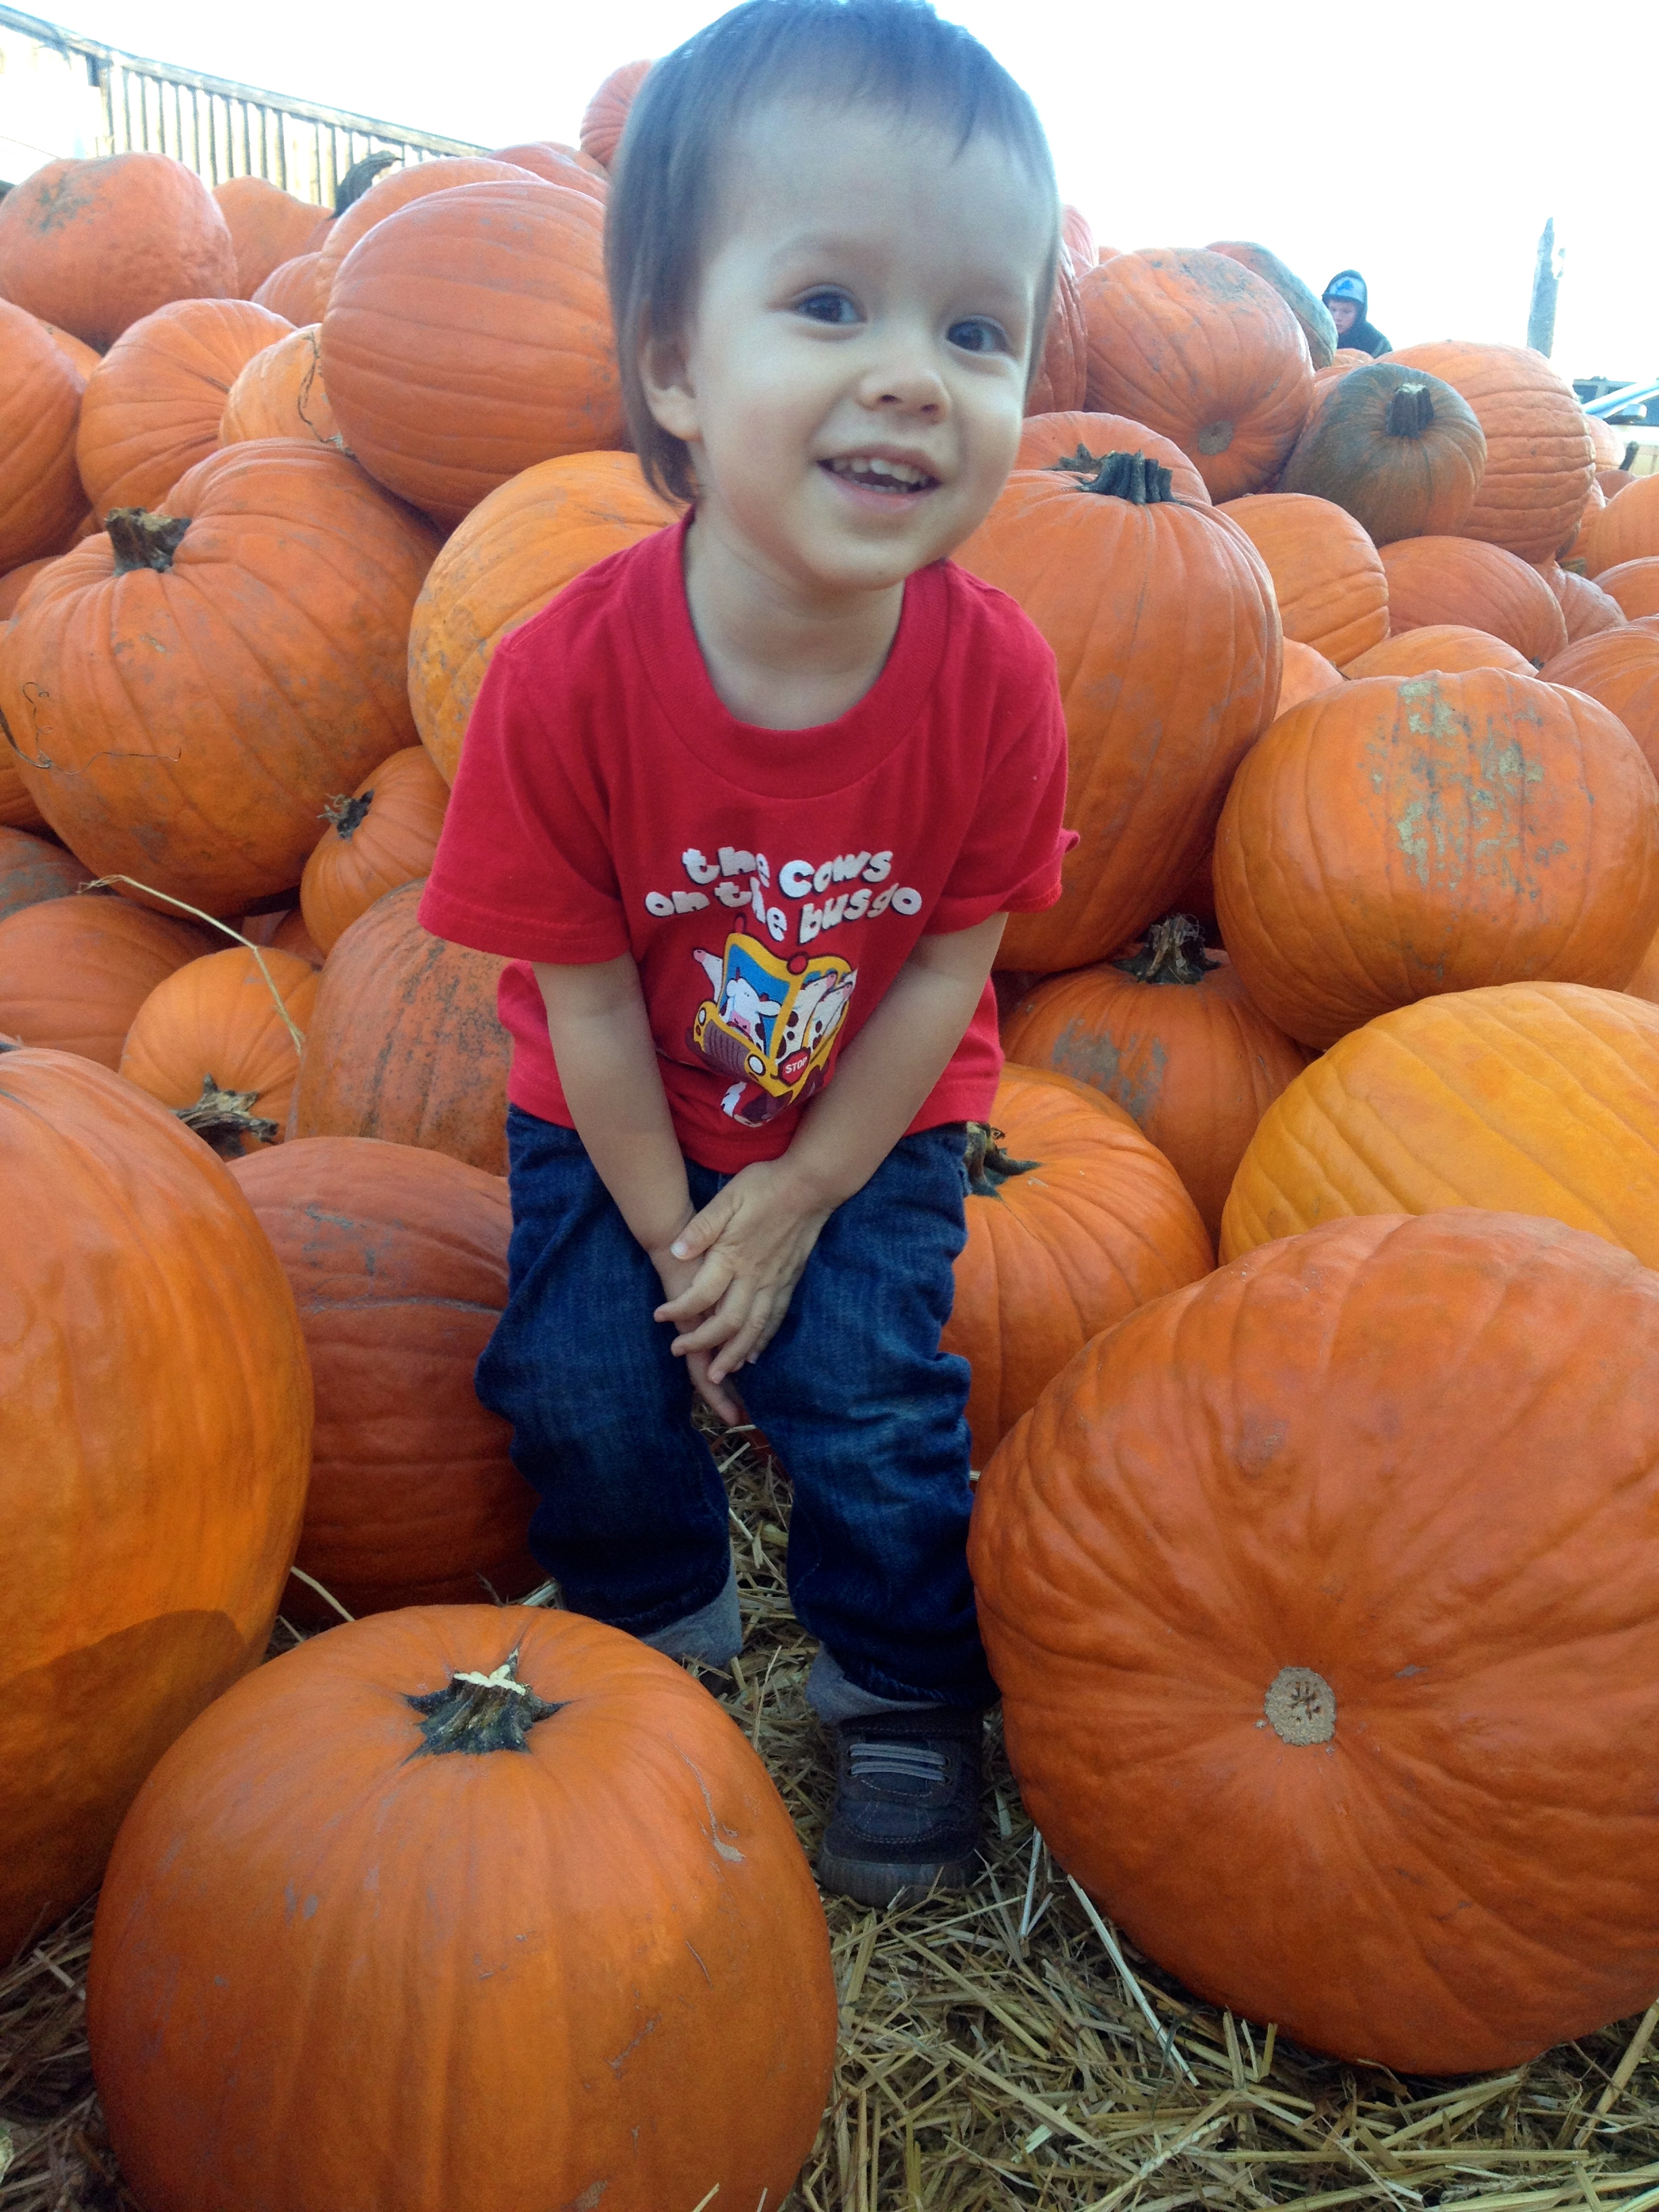
We visited our local farm stand and walked through sunflower fields, some very sincere pumpkin patches (if you don’t get the reference, you should go watch “It’s the Great Pumpkin, Charlie Brown”), and then headed for the apple trees. The farm somehow managed to trim the trees to grow straight up instead of out this year to discourage tree climbing… I guess they’re on to me. My family had to improvise to get the higher apples since we’re all on the shorter side, but we made it work!

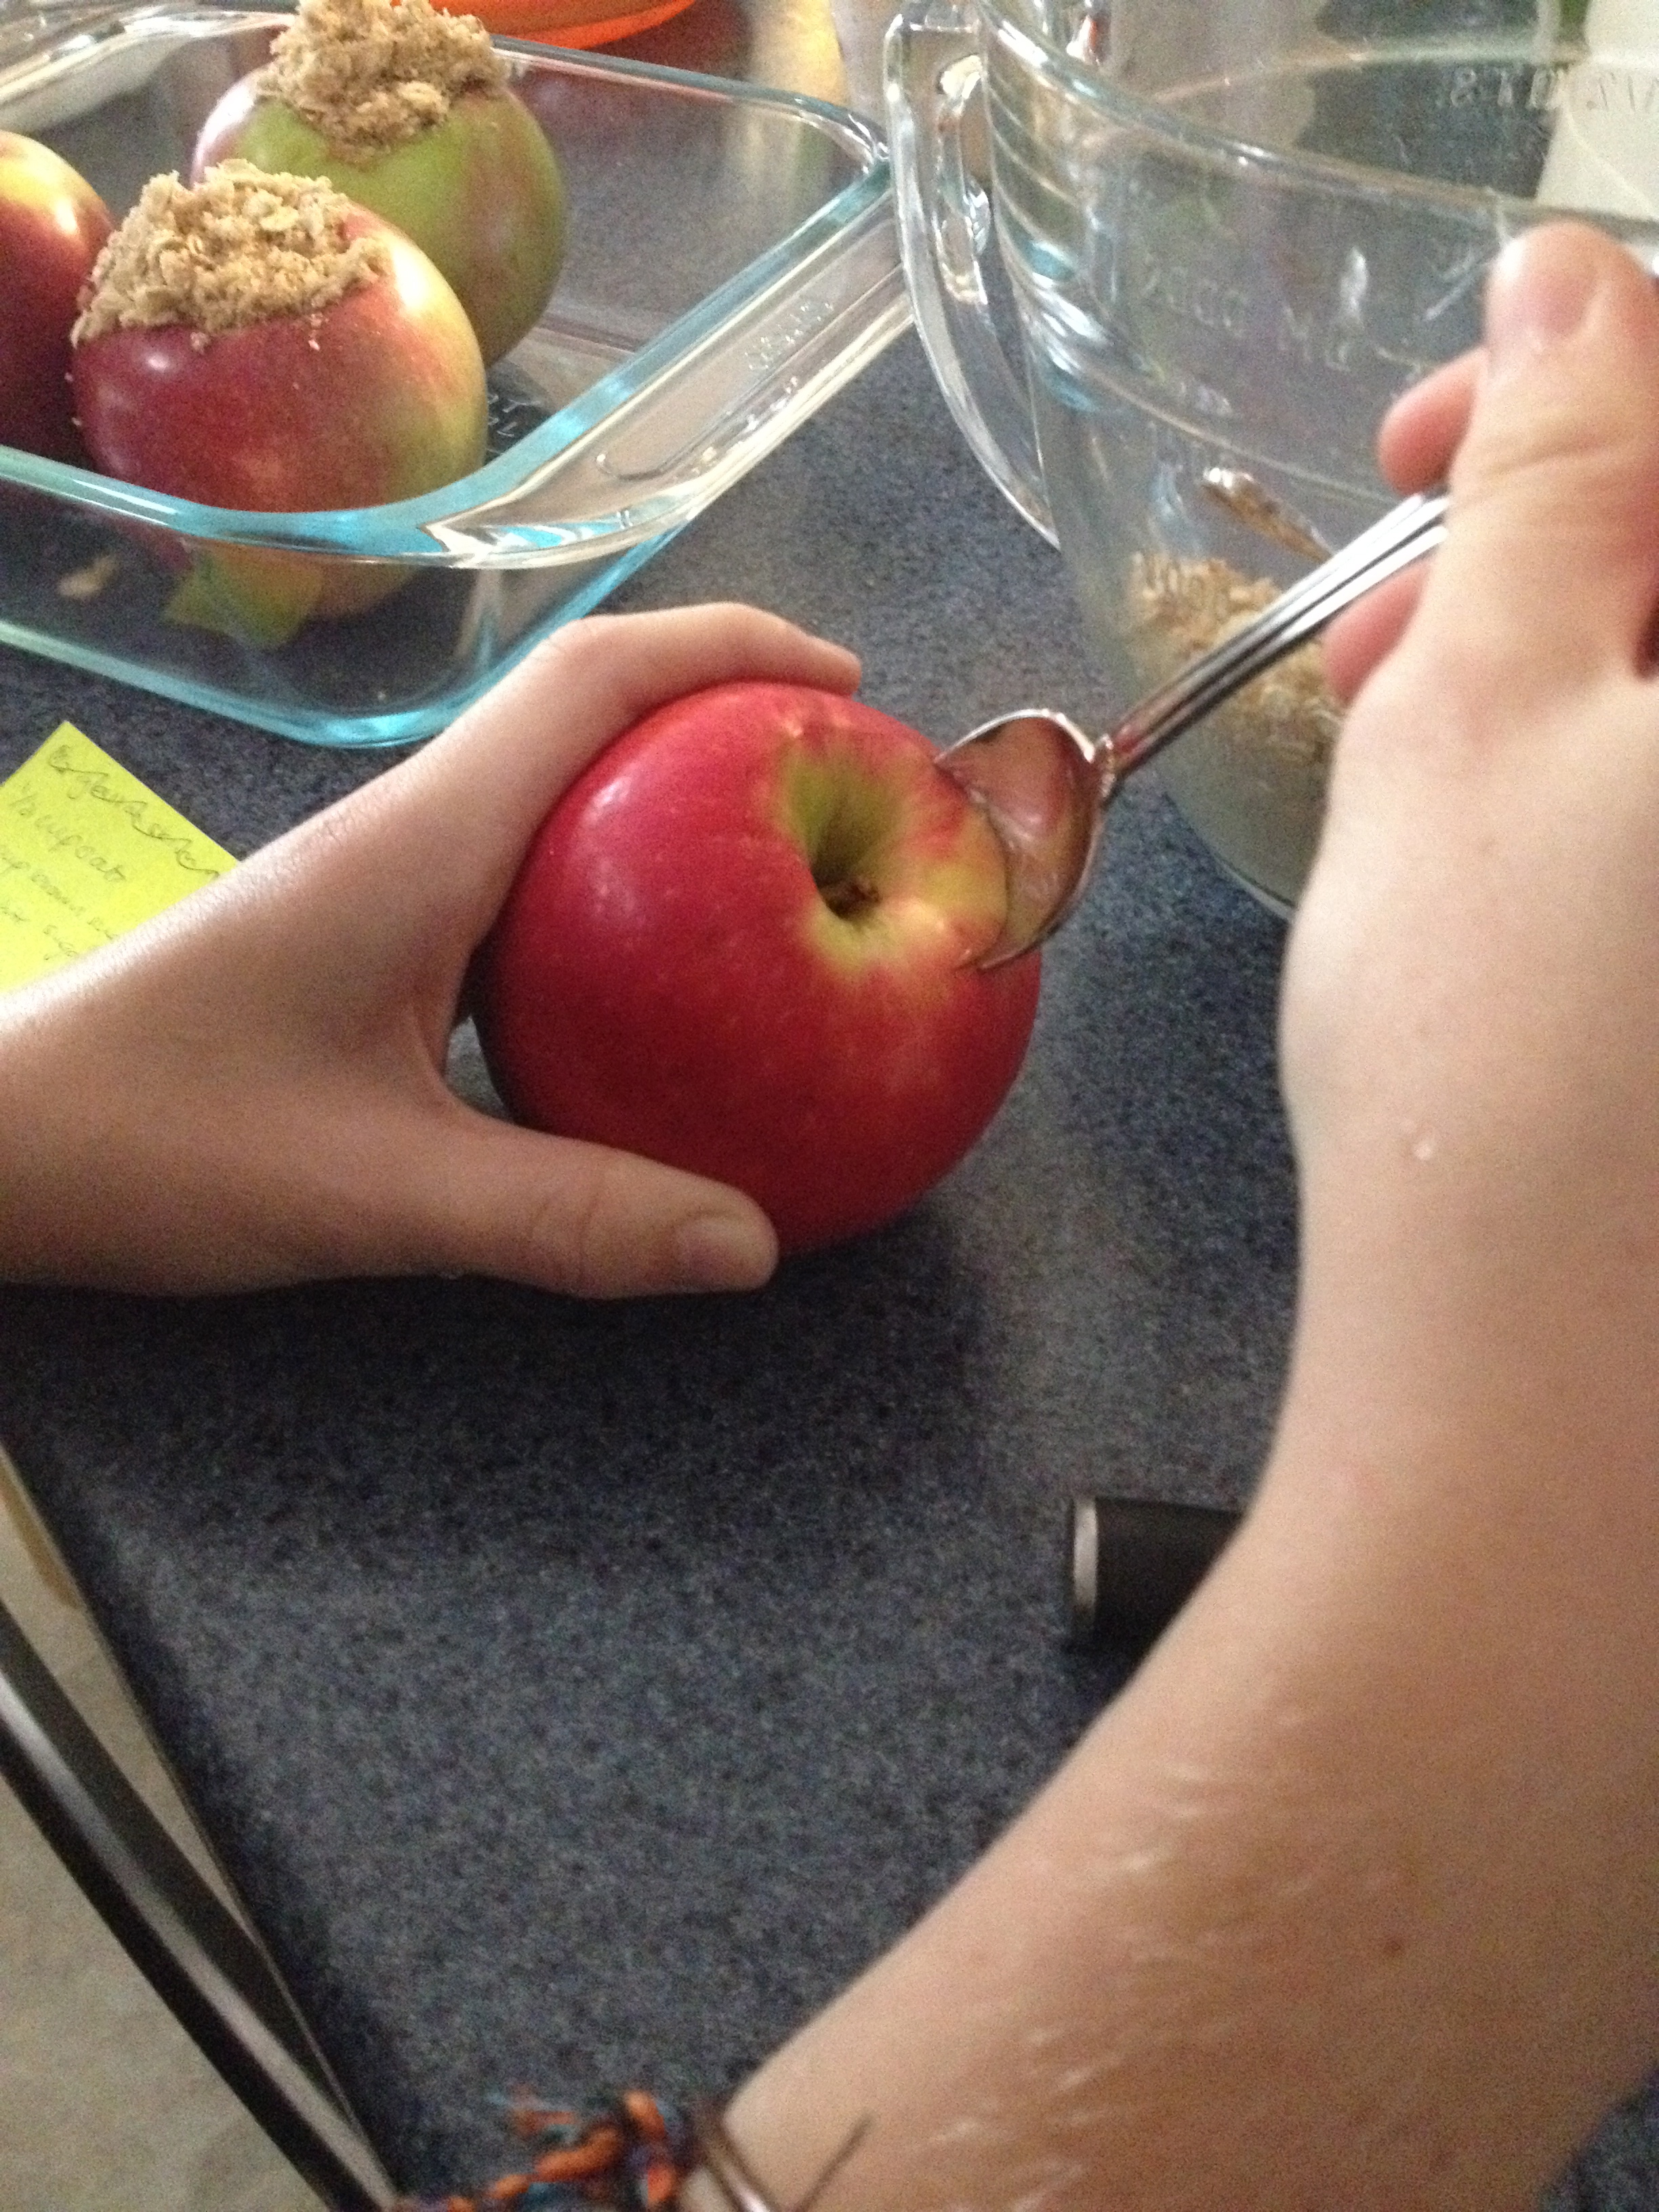
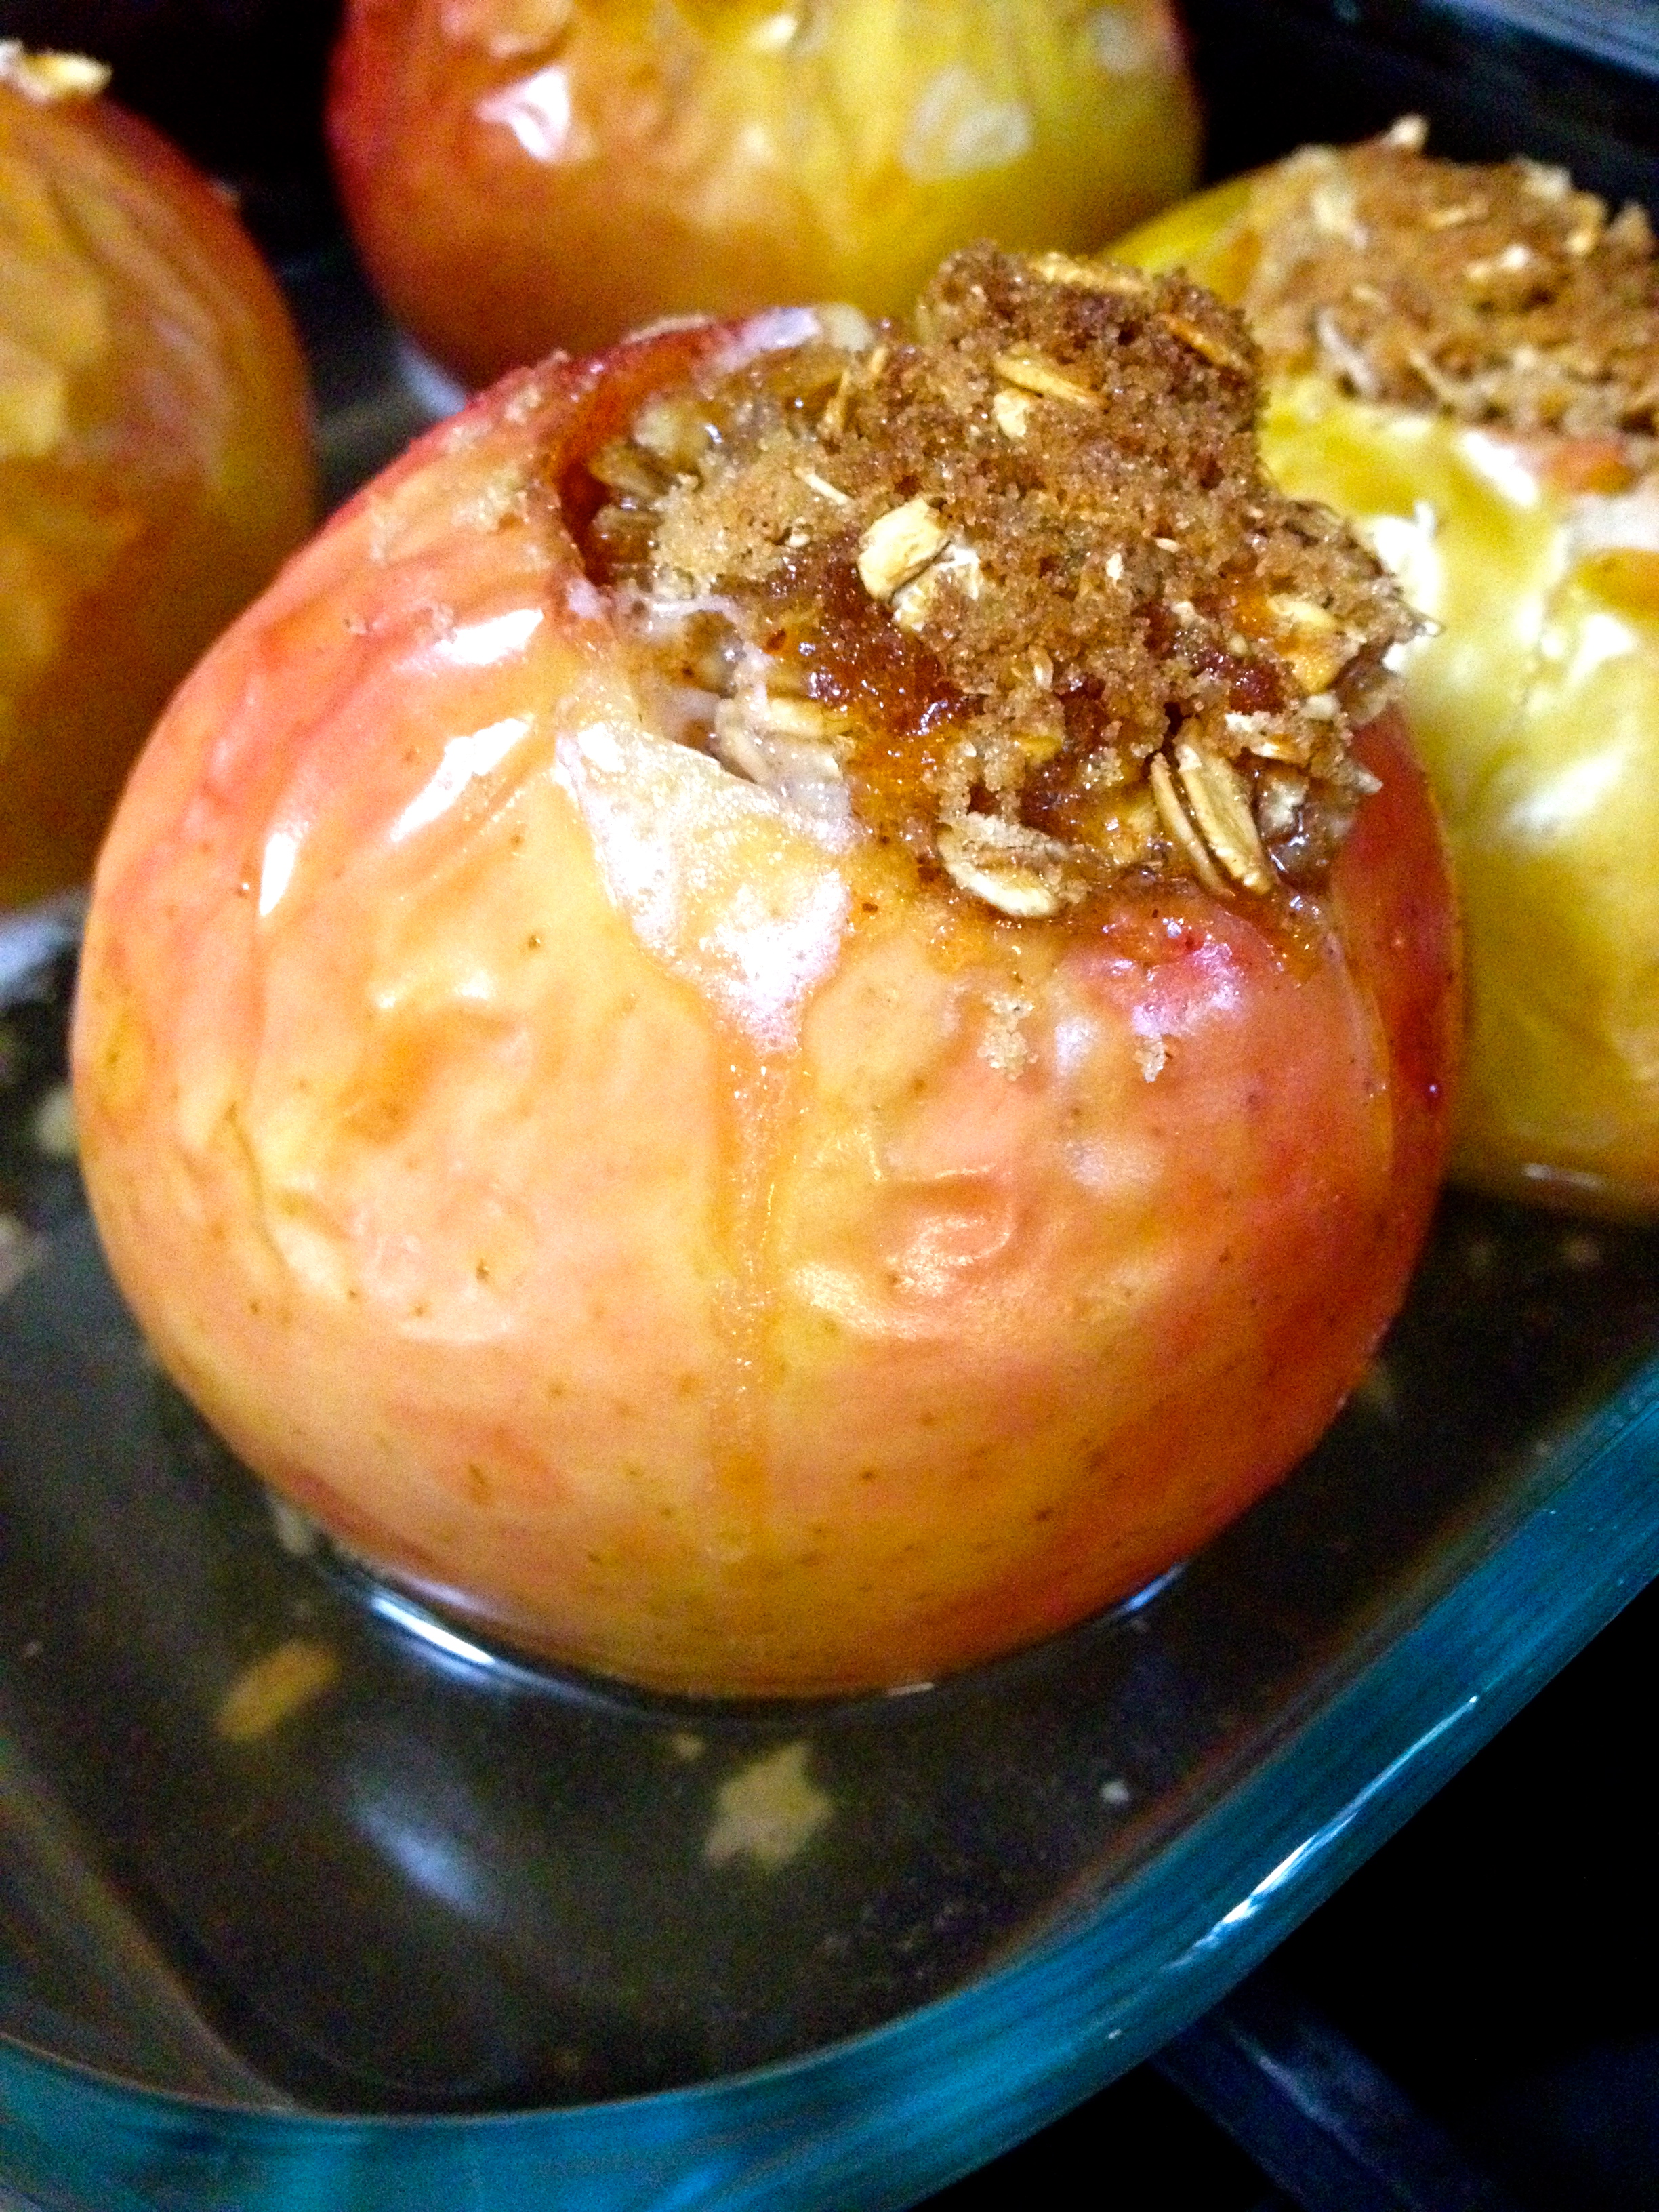
Once we finished our apple picking, we got fresh apple cider at the farm stand and headed home to make some delicious food. First, we decided to make apple crisp, using my great-grandma’s recipe with a small change.
Apple Crisp Ingredients:
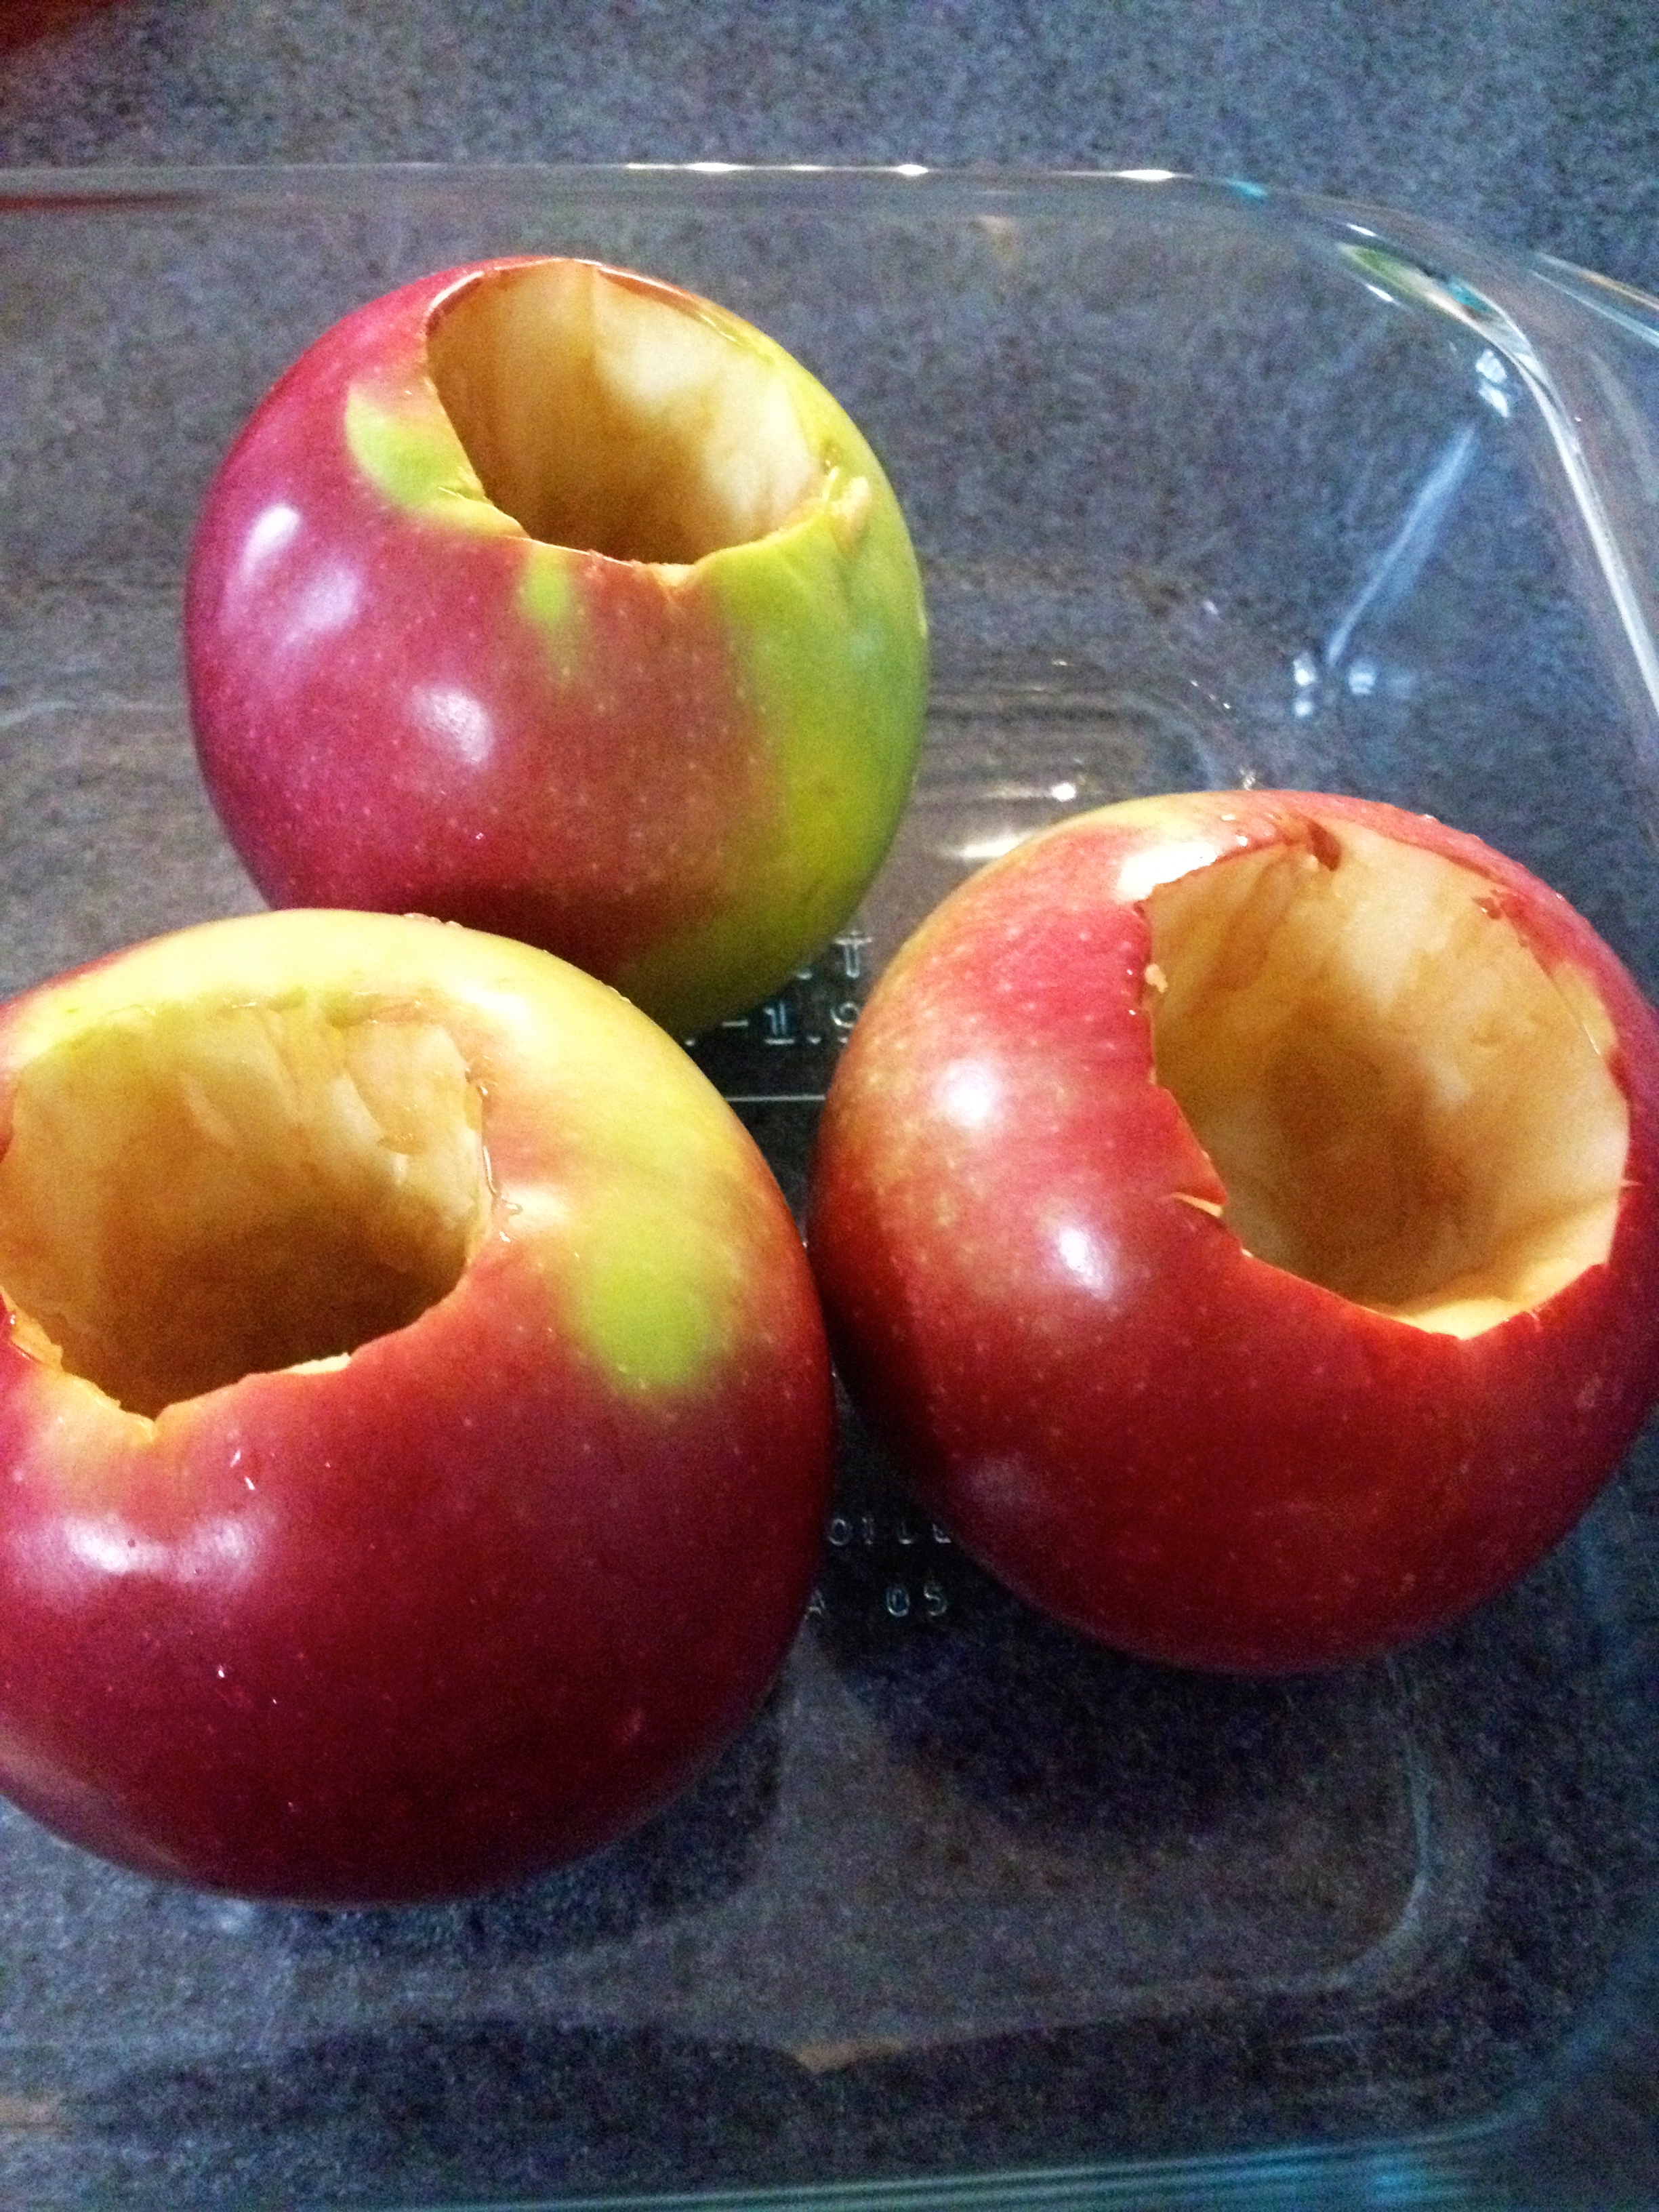
- 6-8 apples, cored and sliced
- 1/2 cup butter, chilled
- 1/2 cup granulated sugar
- 1/2 cup brown sugar
- 3/4 cup flour
- 1 tsp ground cinnamon
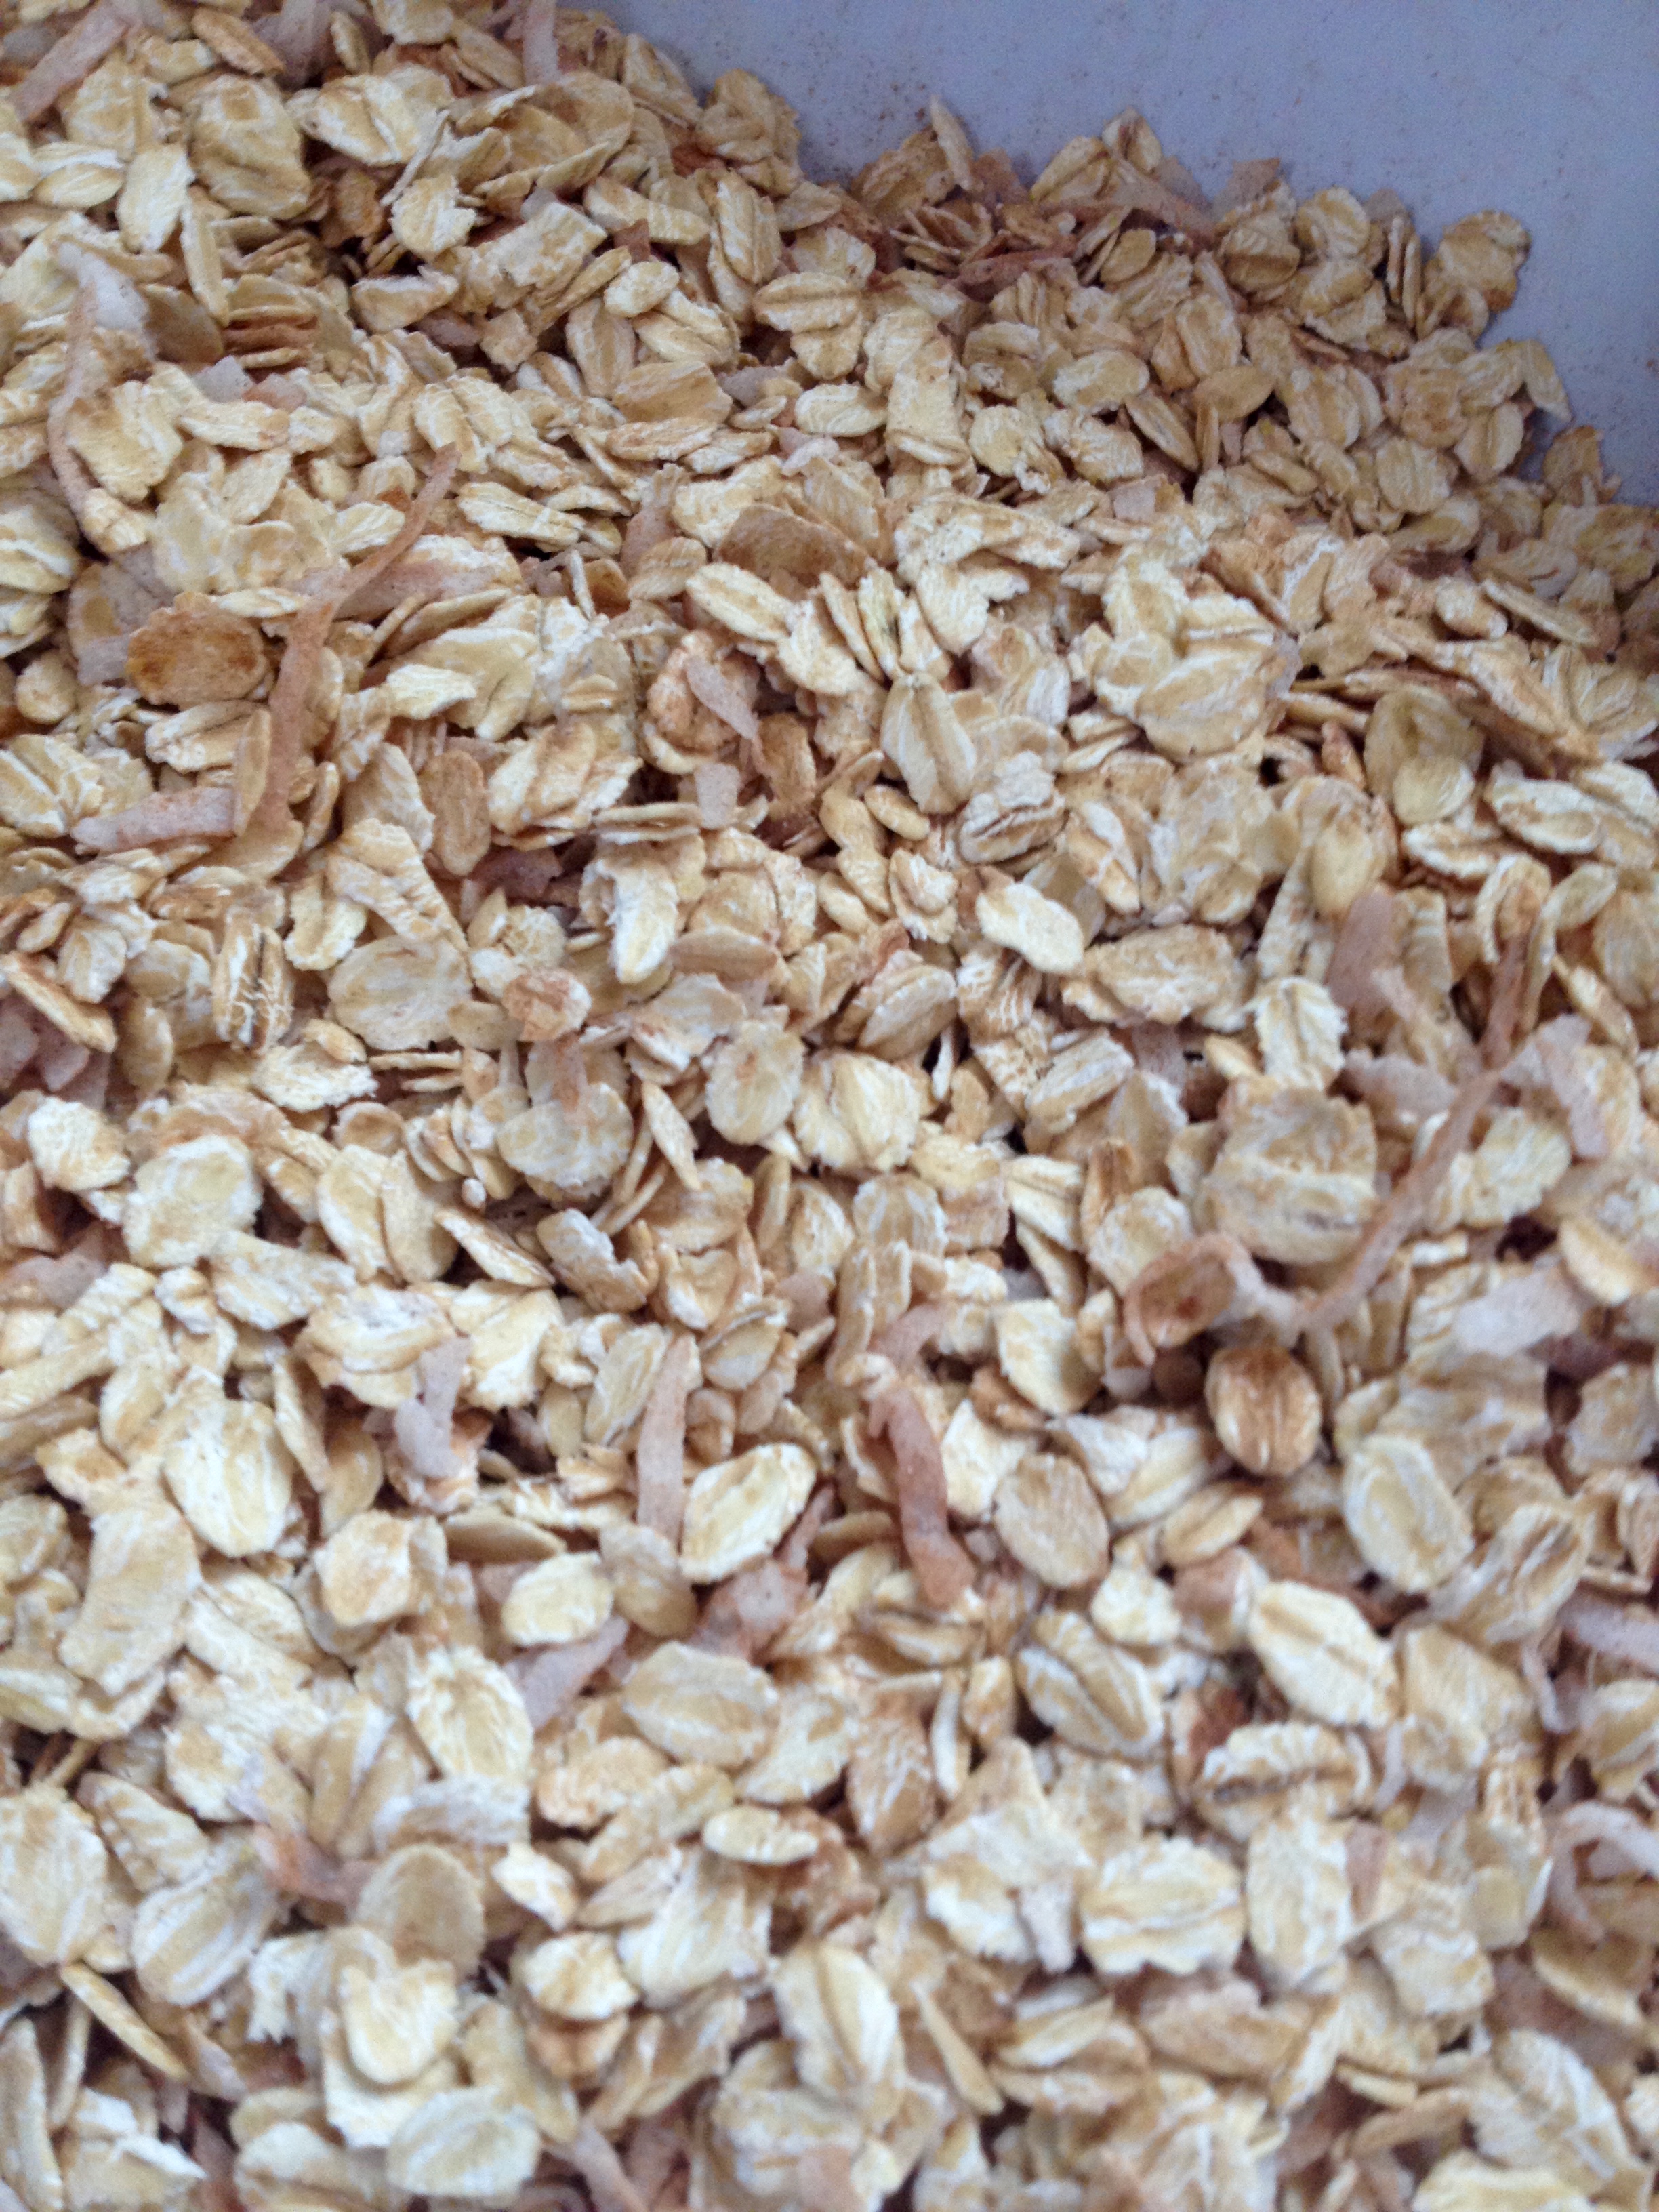
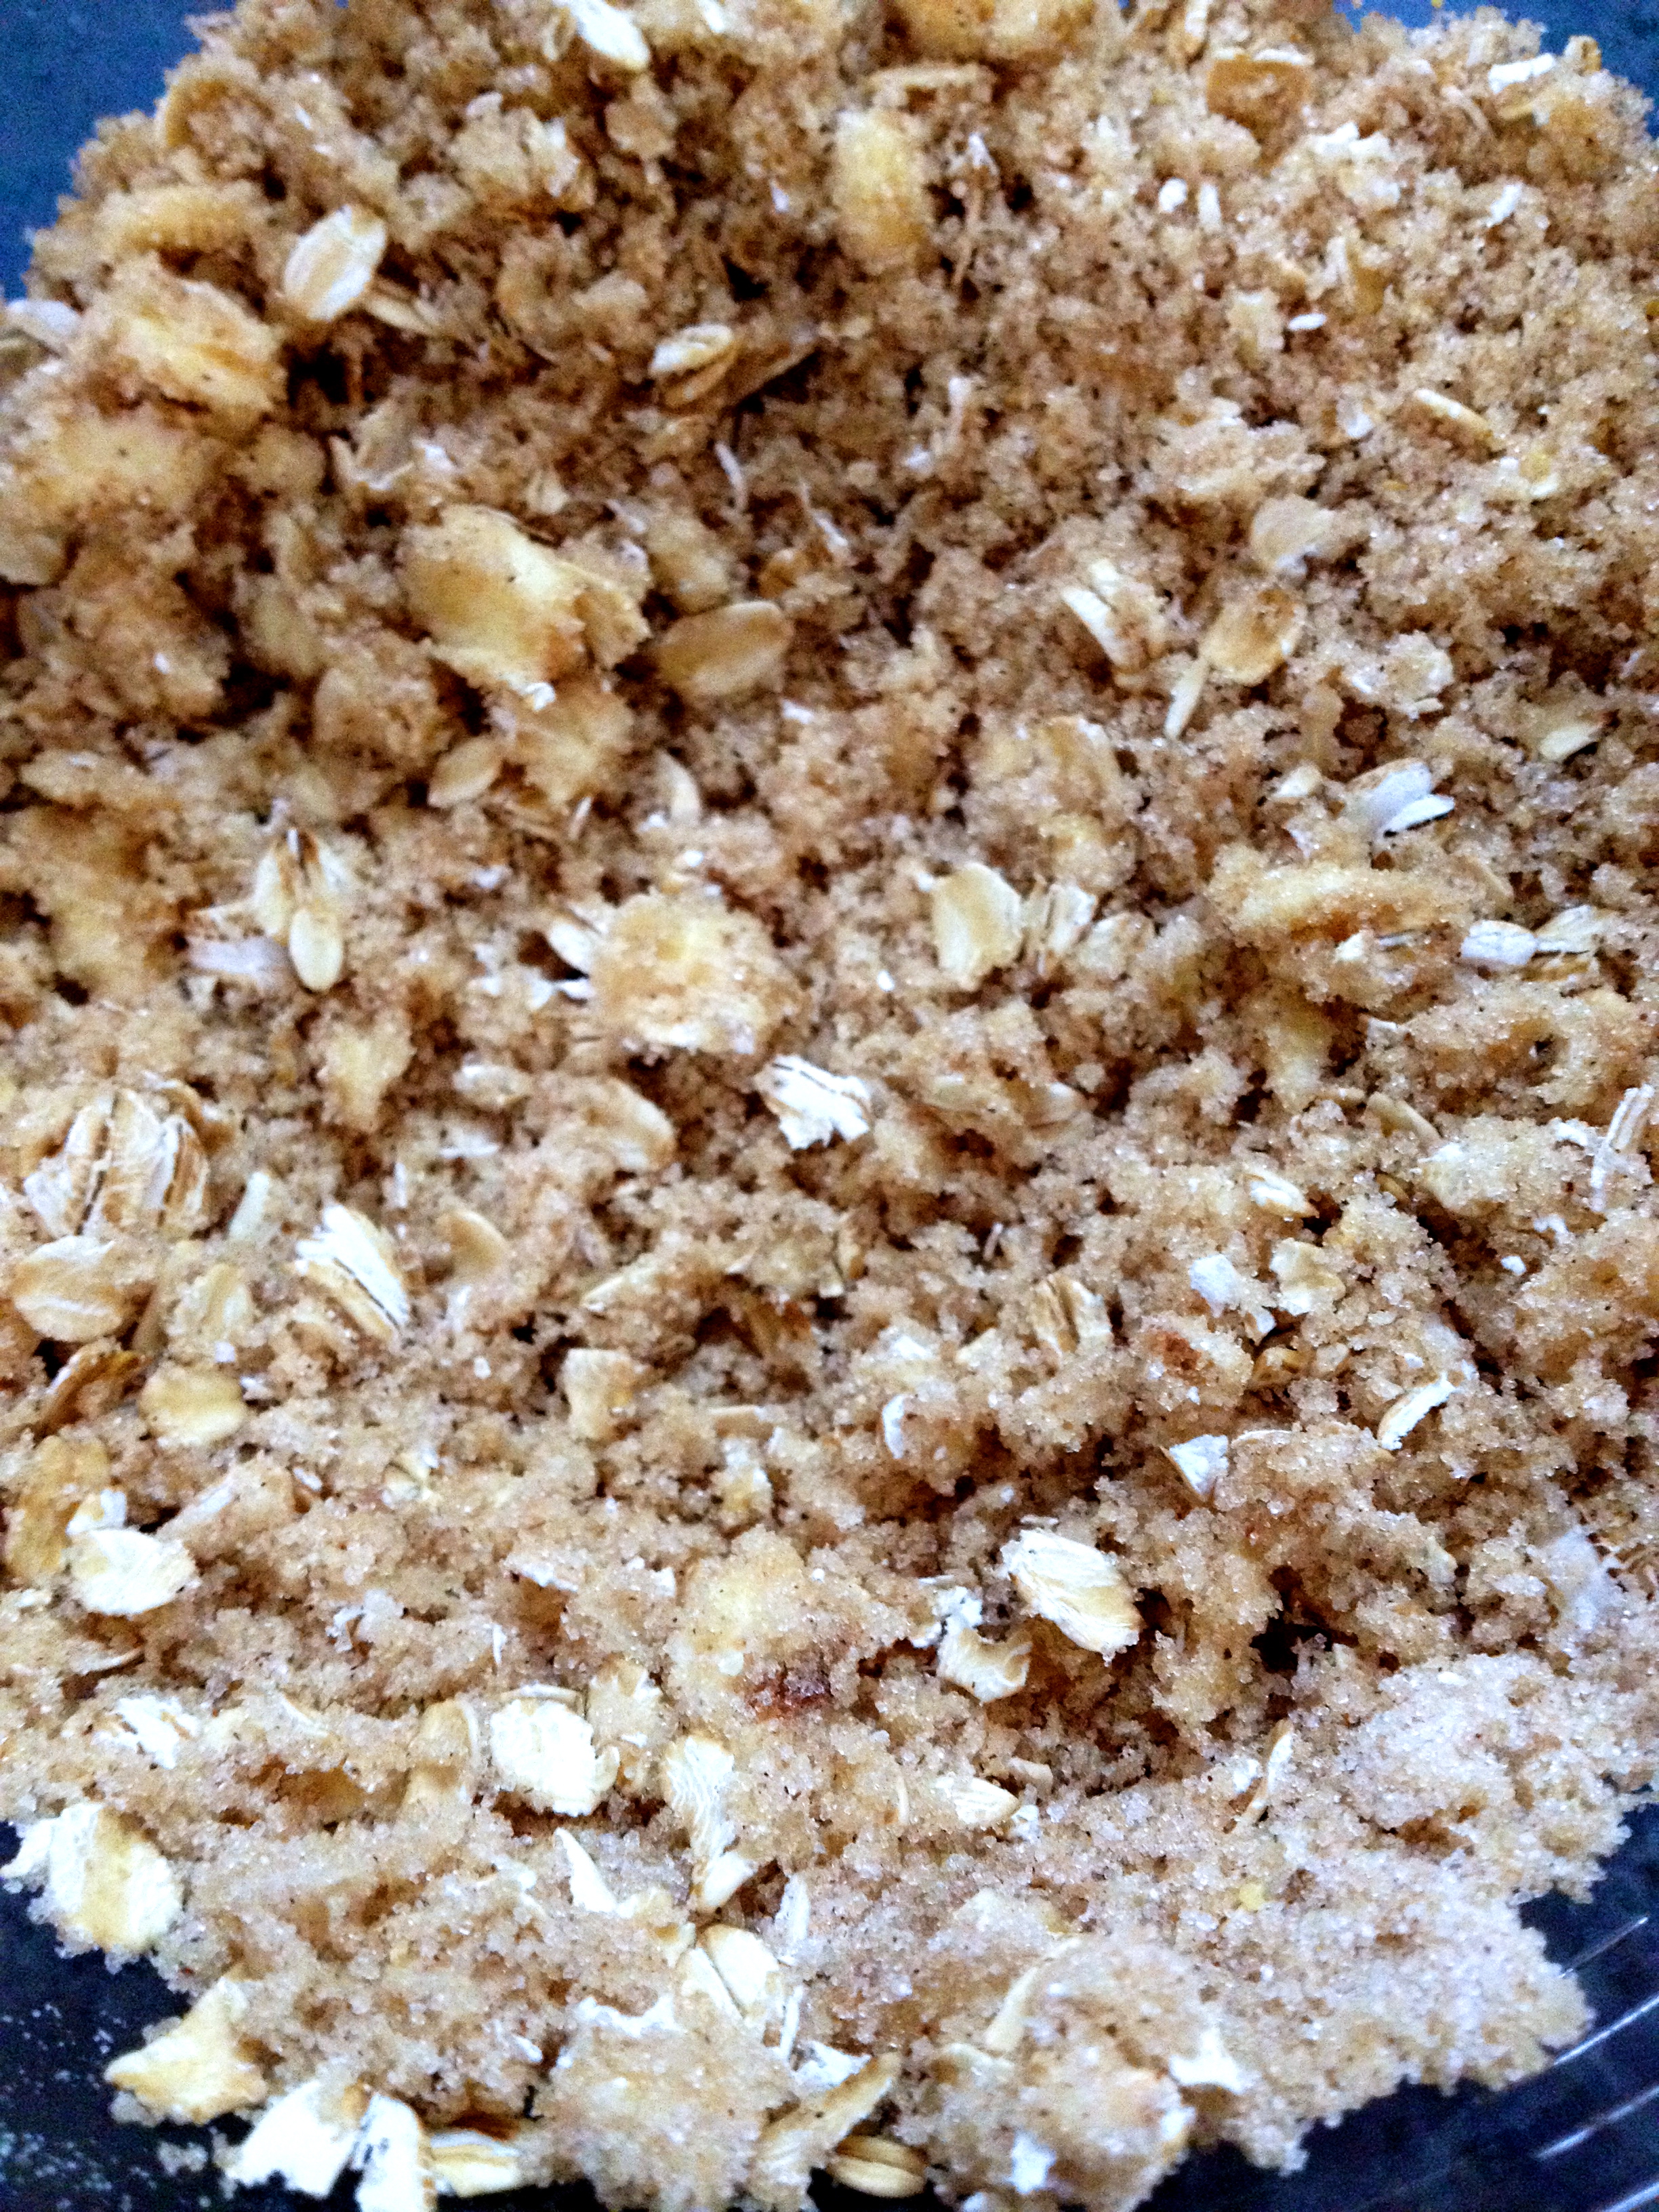
- 1/2 cup oats (not in Grammy’s original recipe, but I think the oats make it so much better)
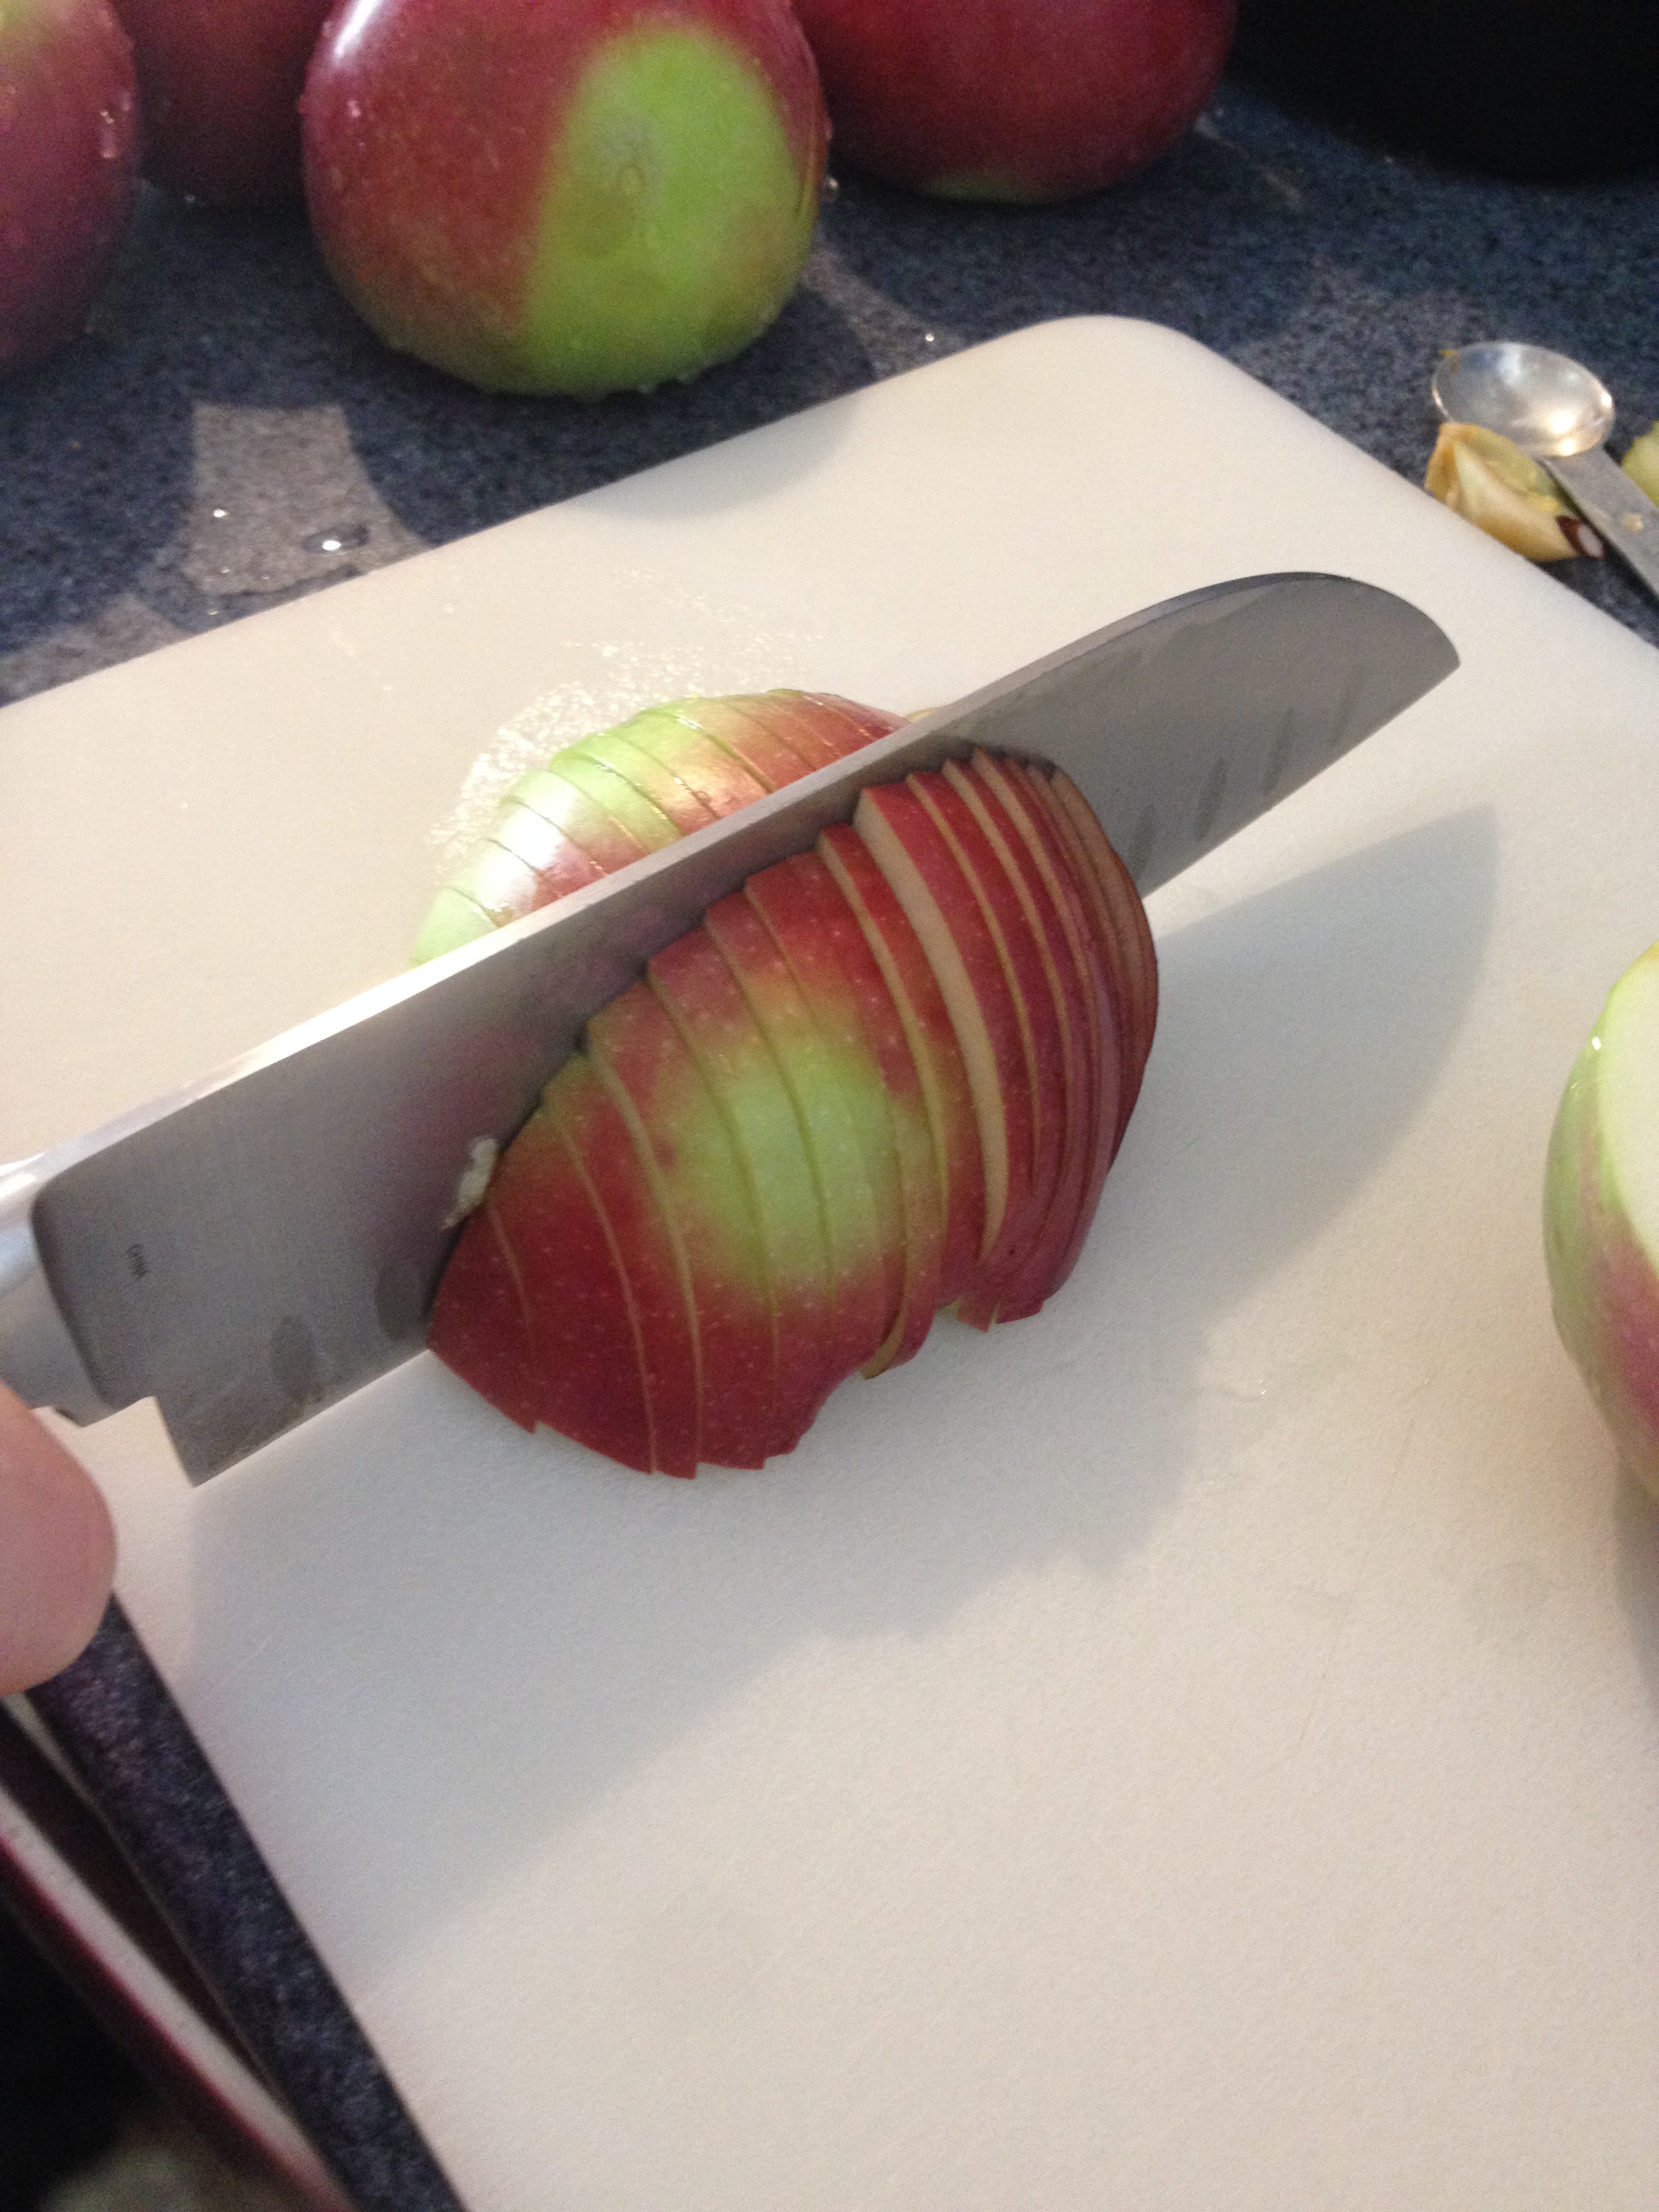
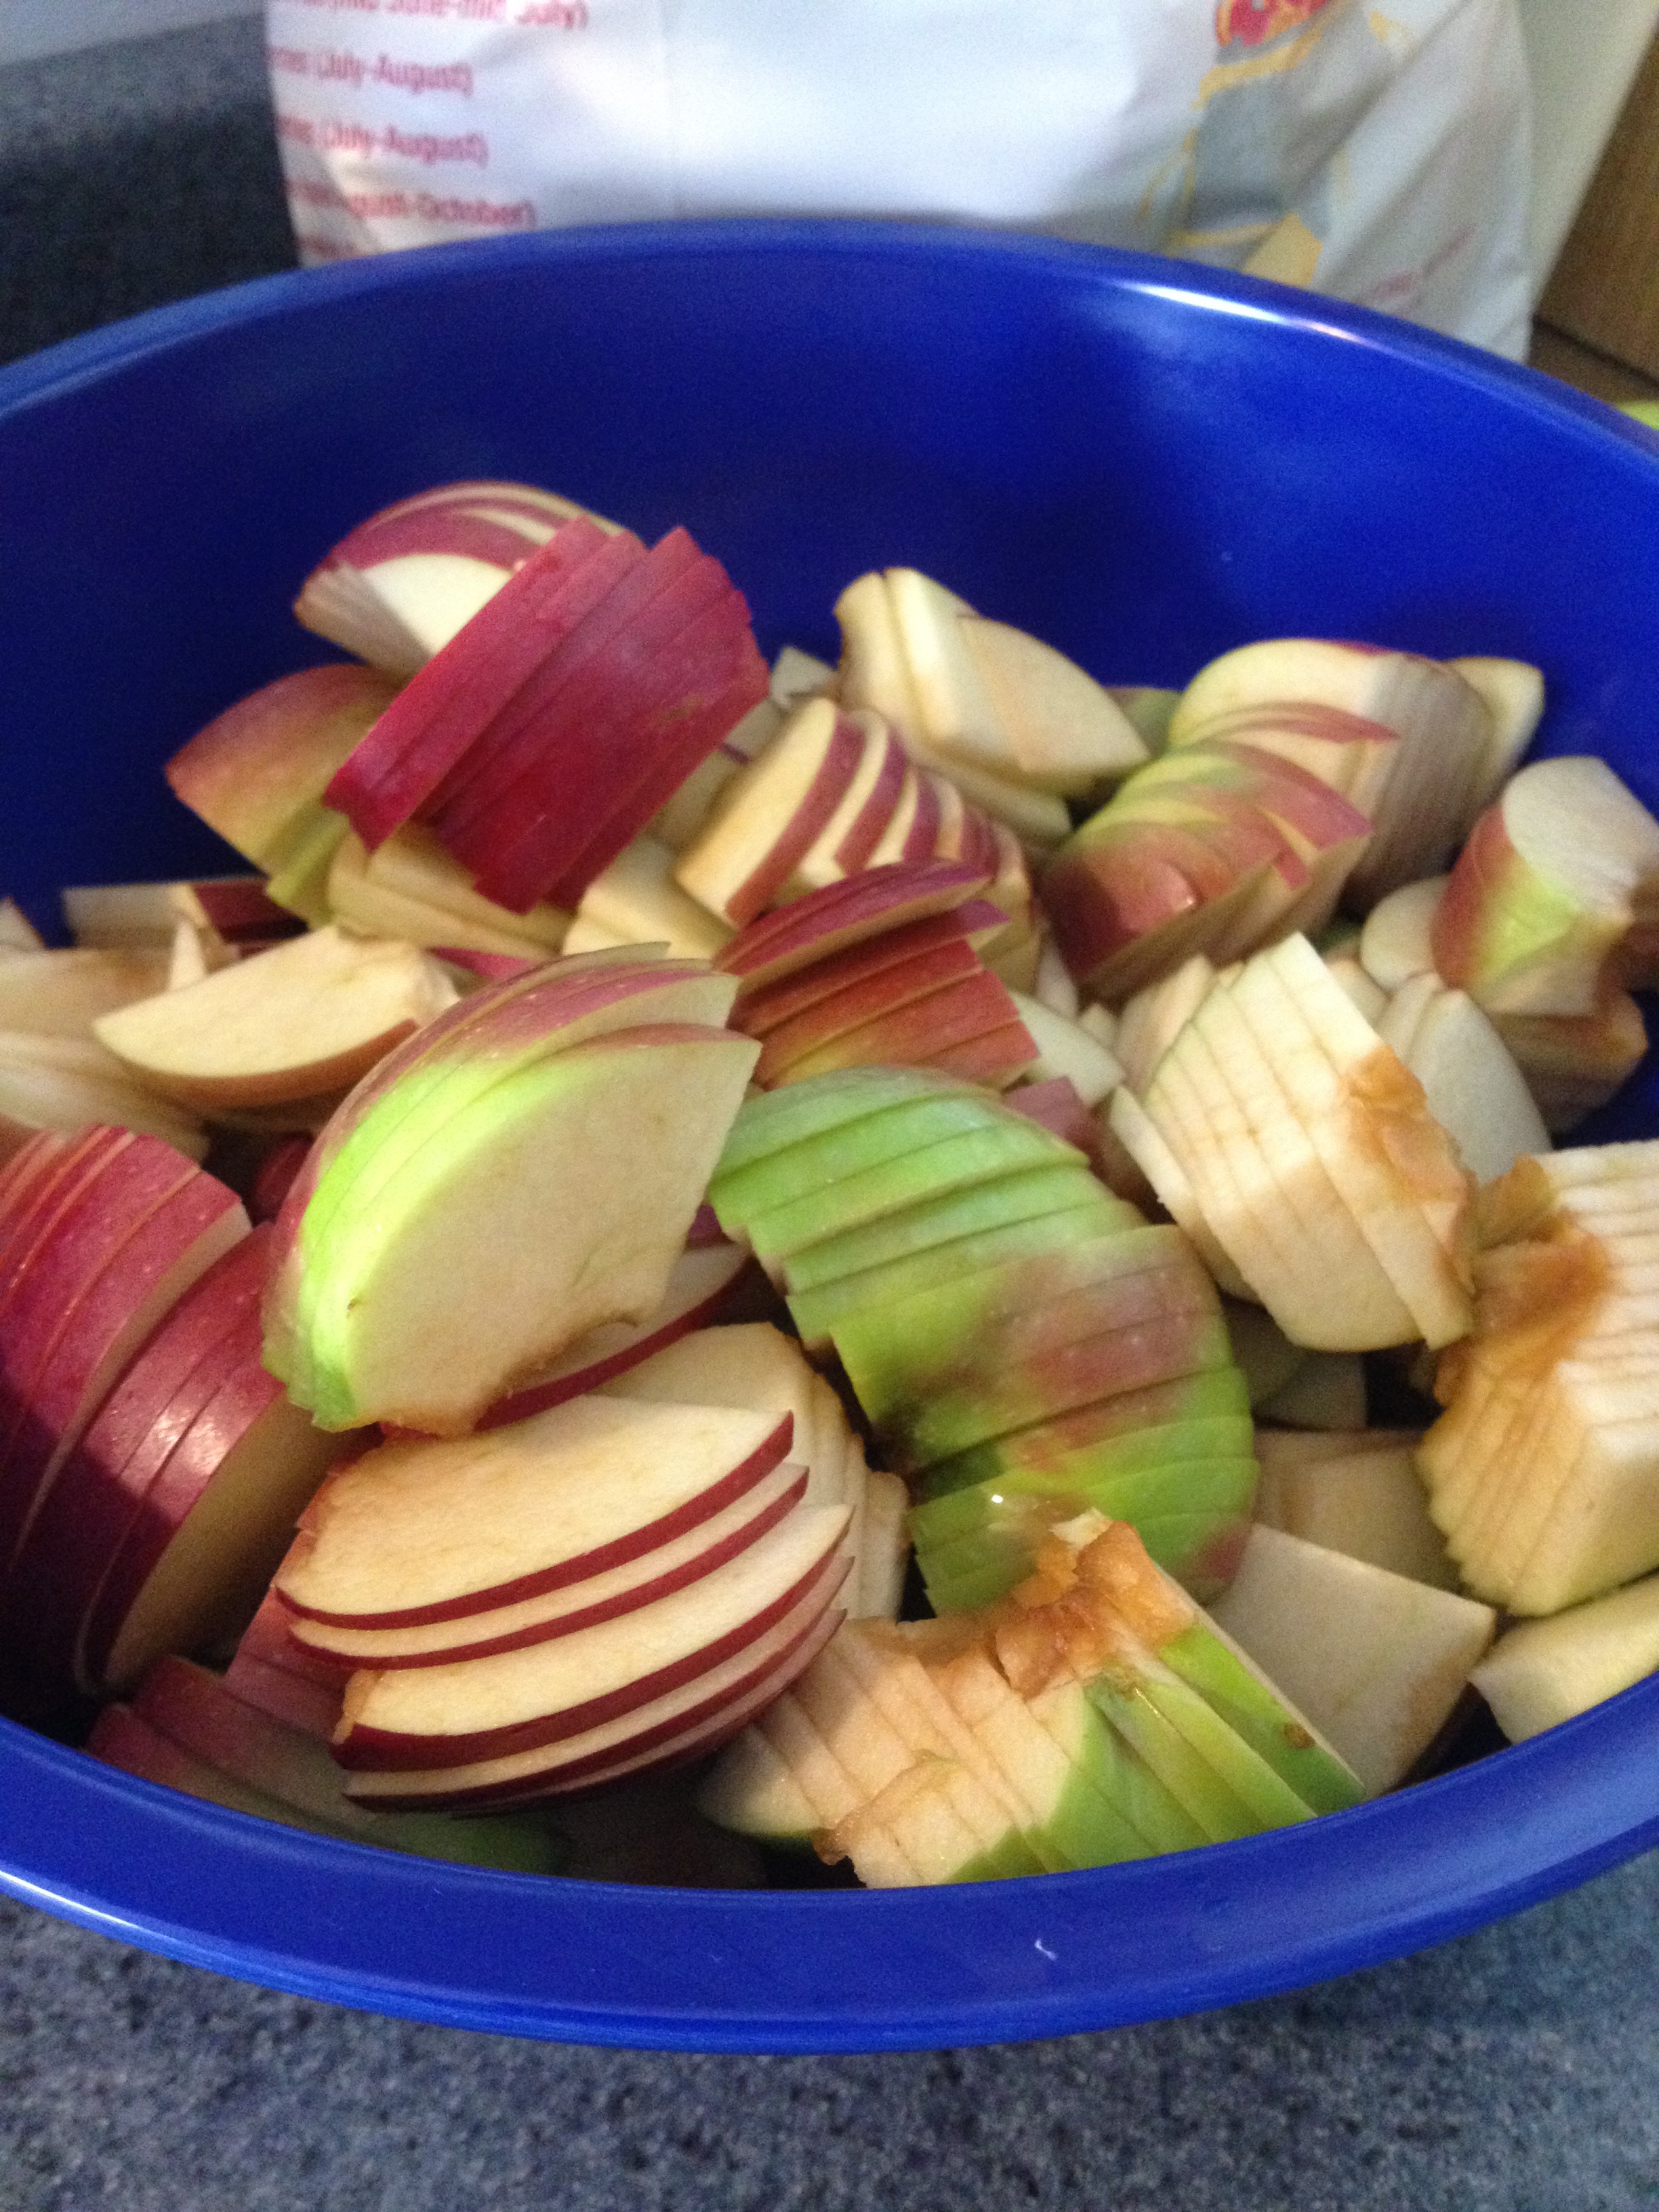
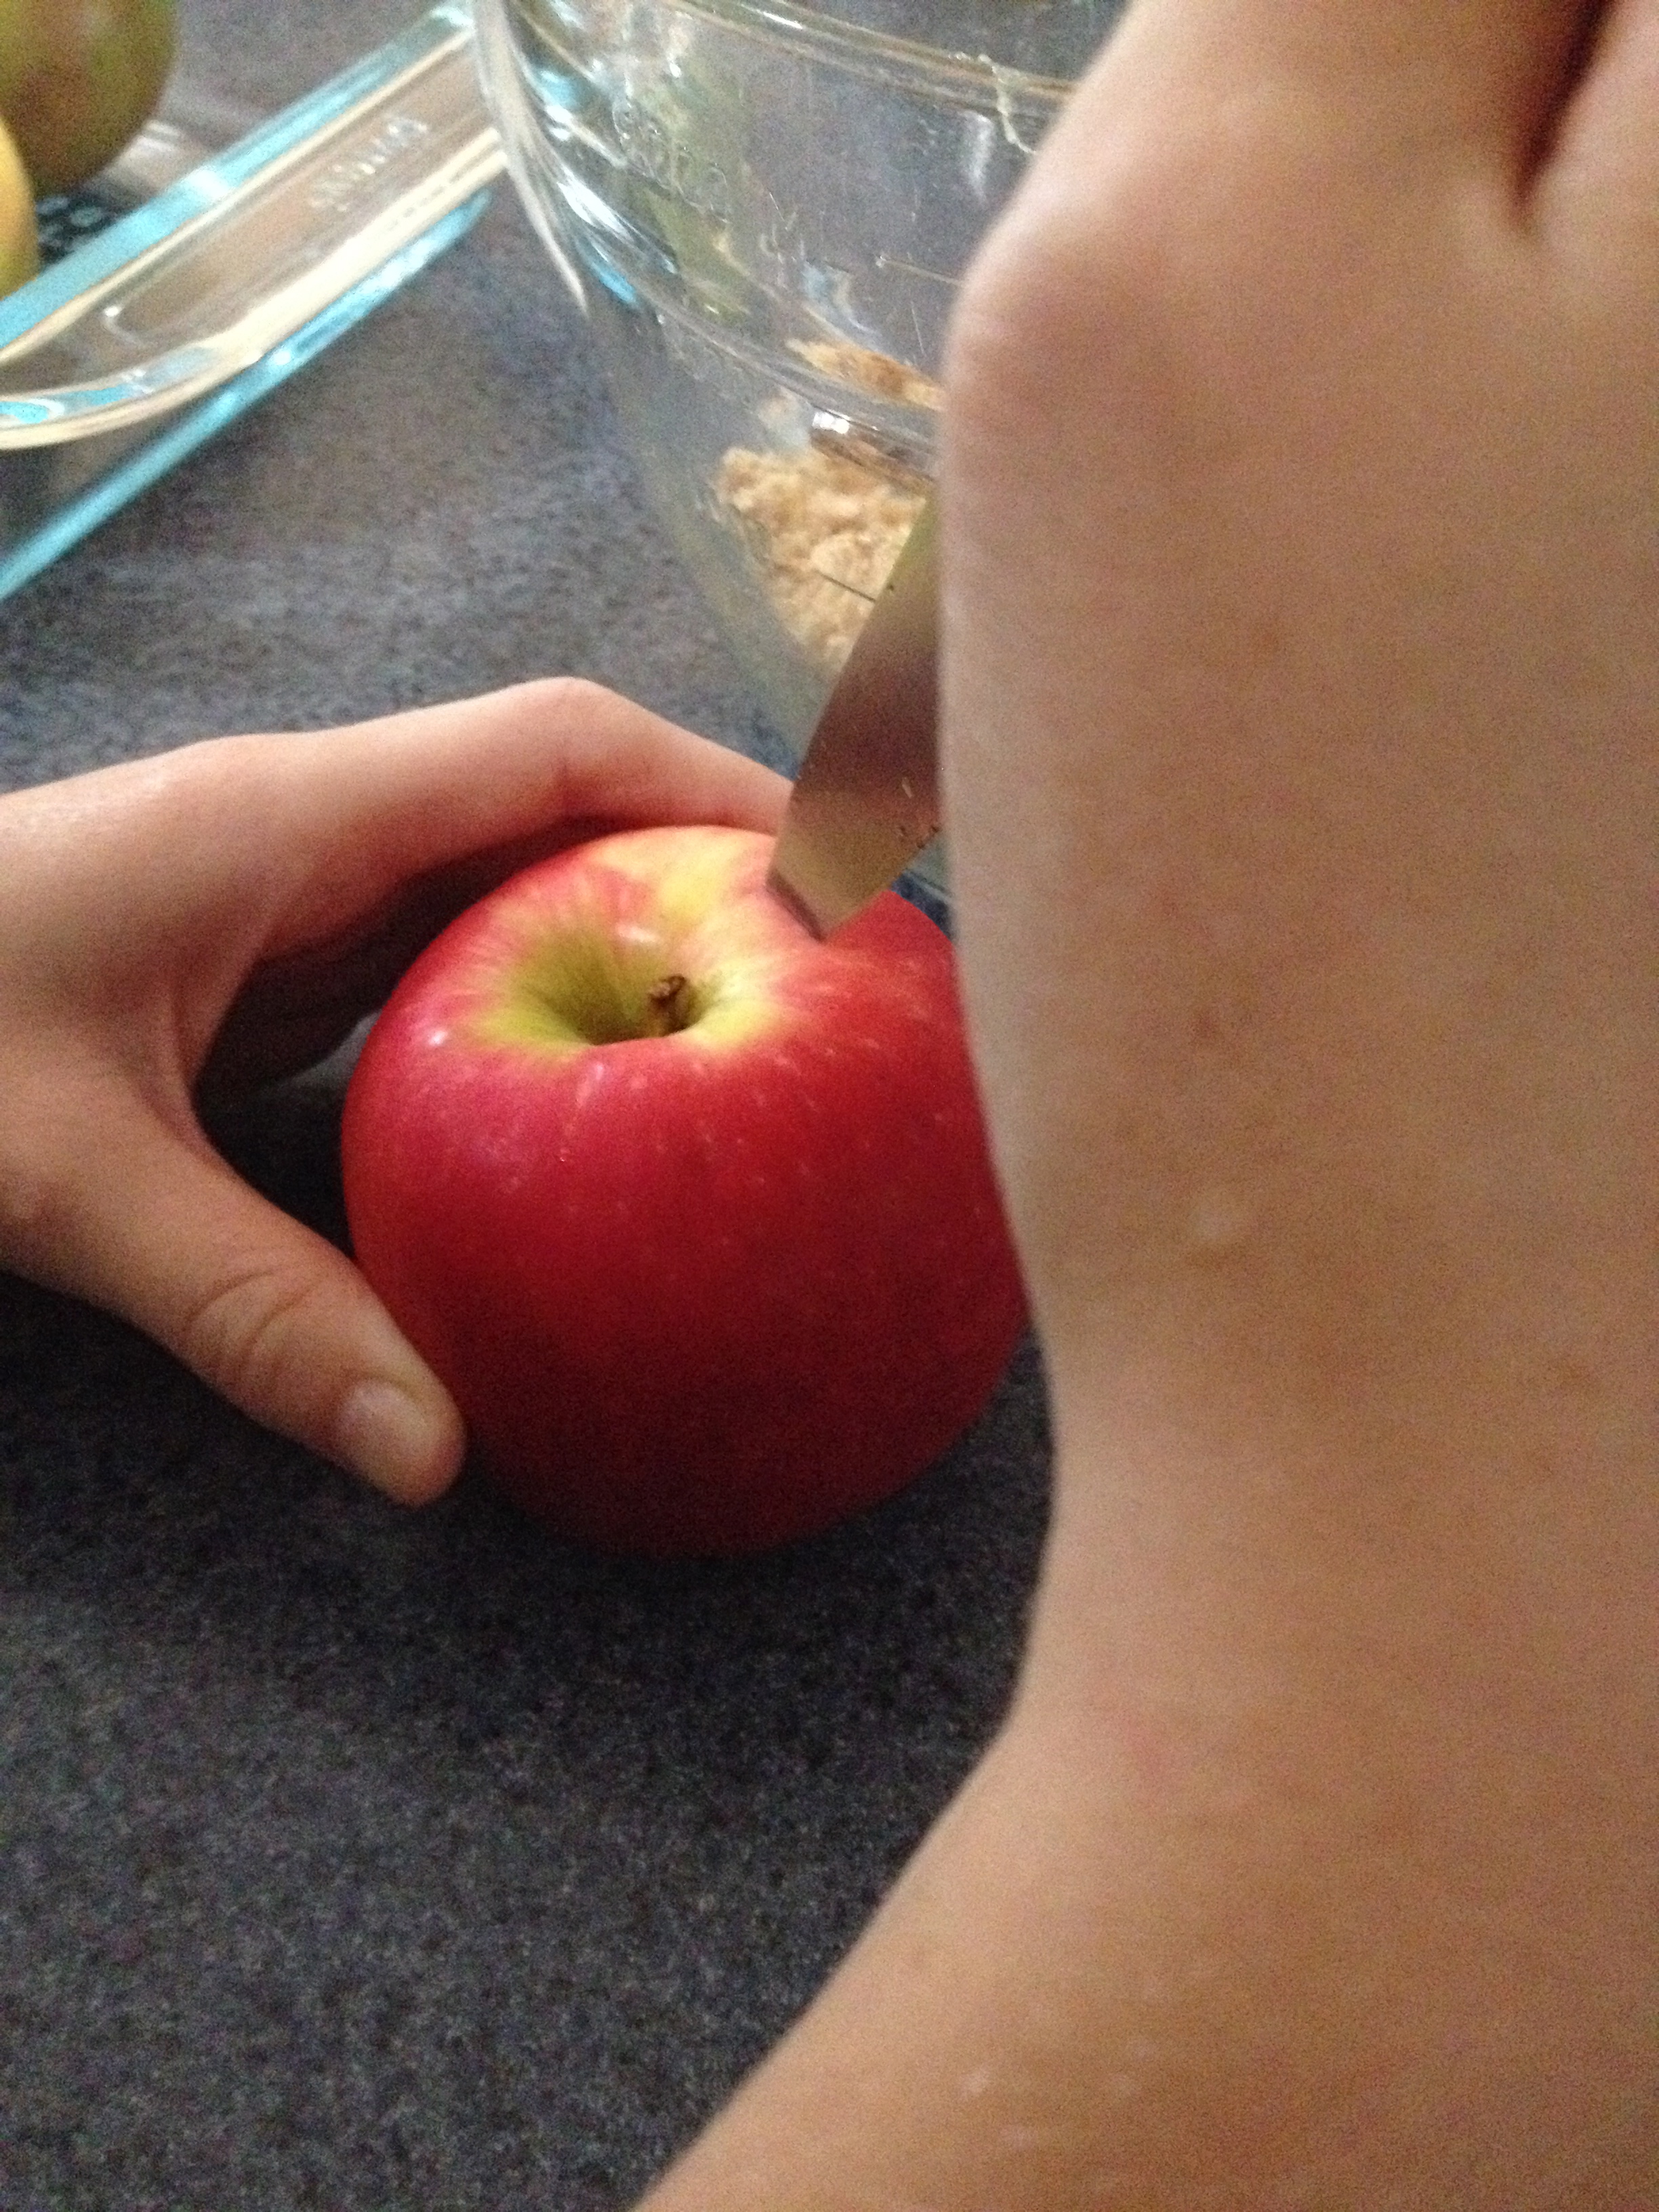
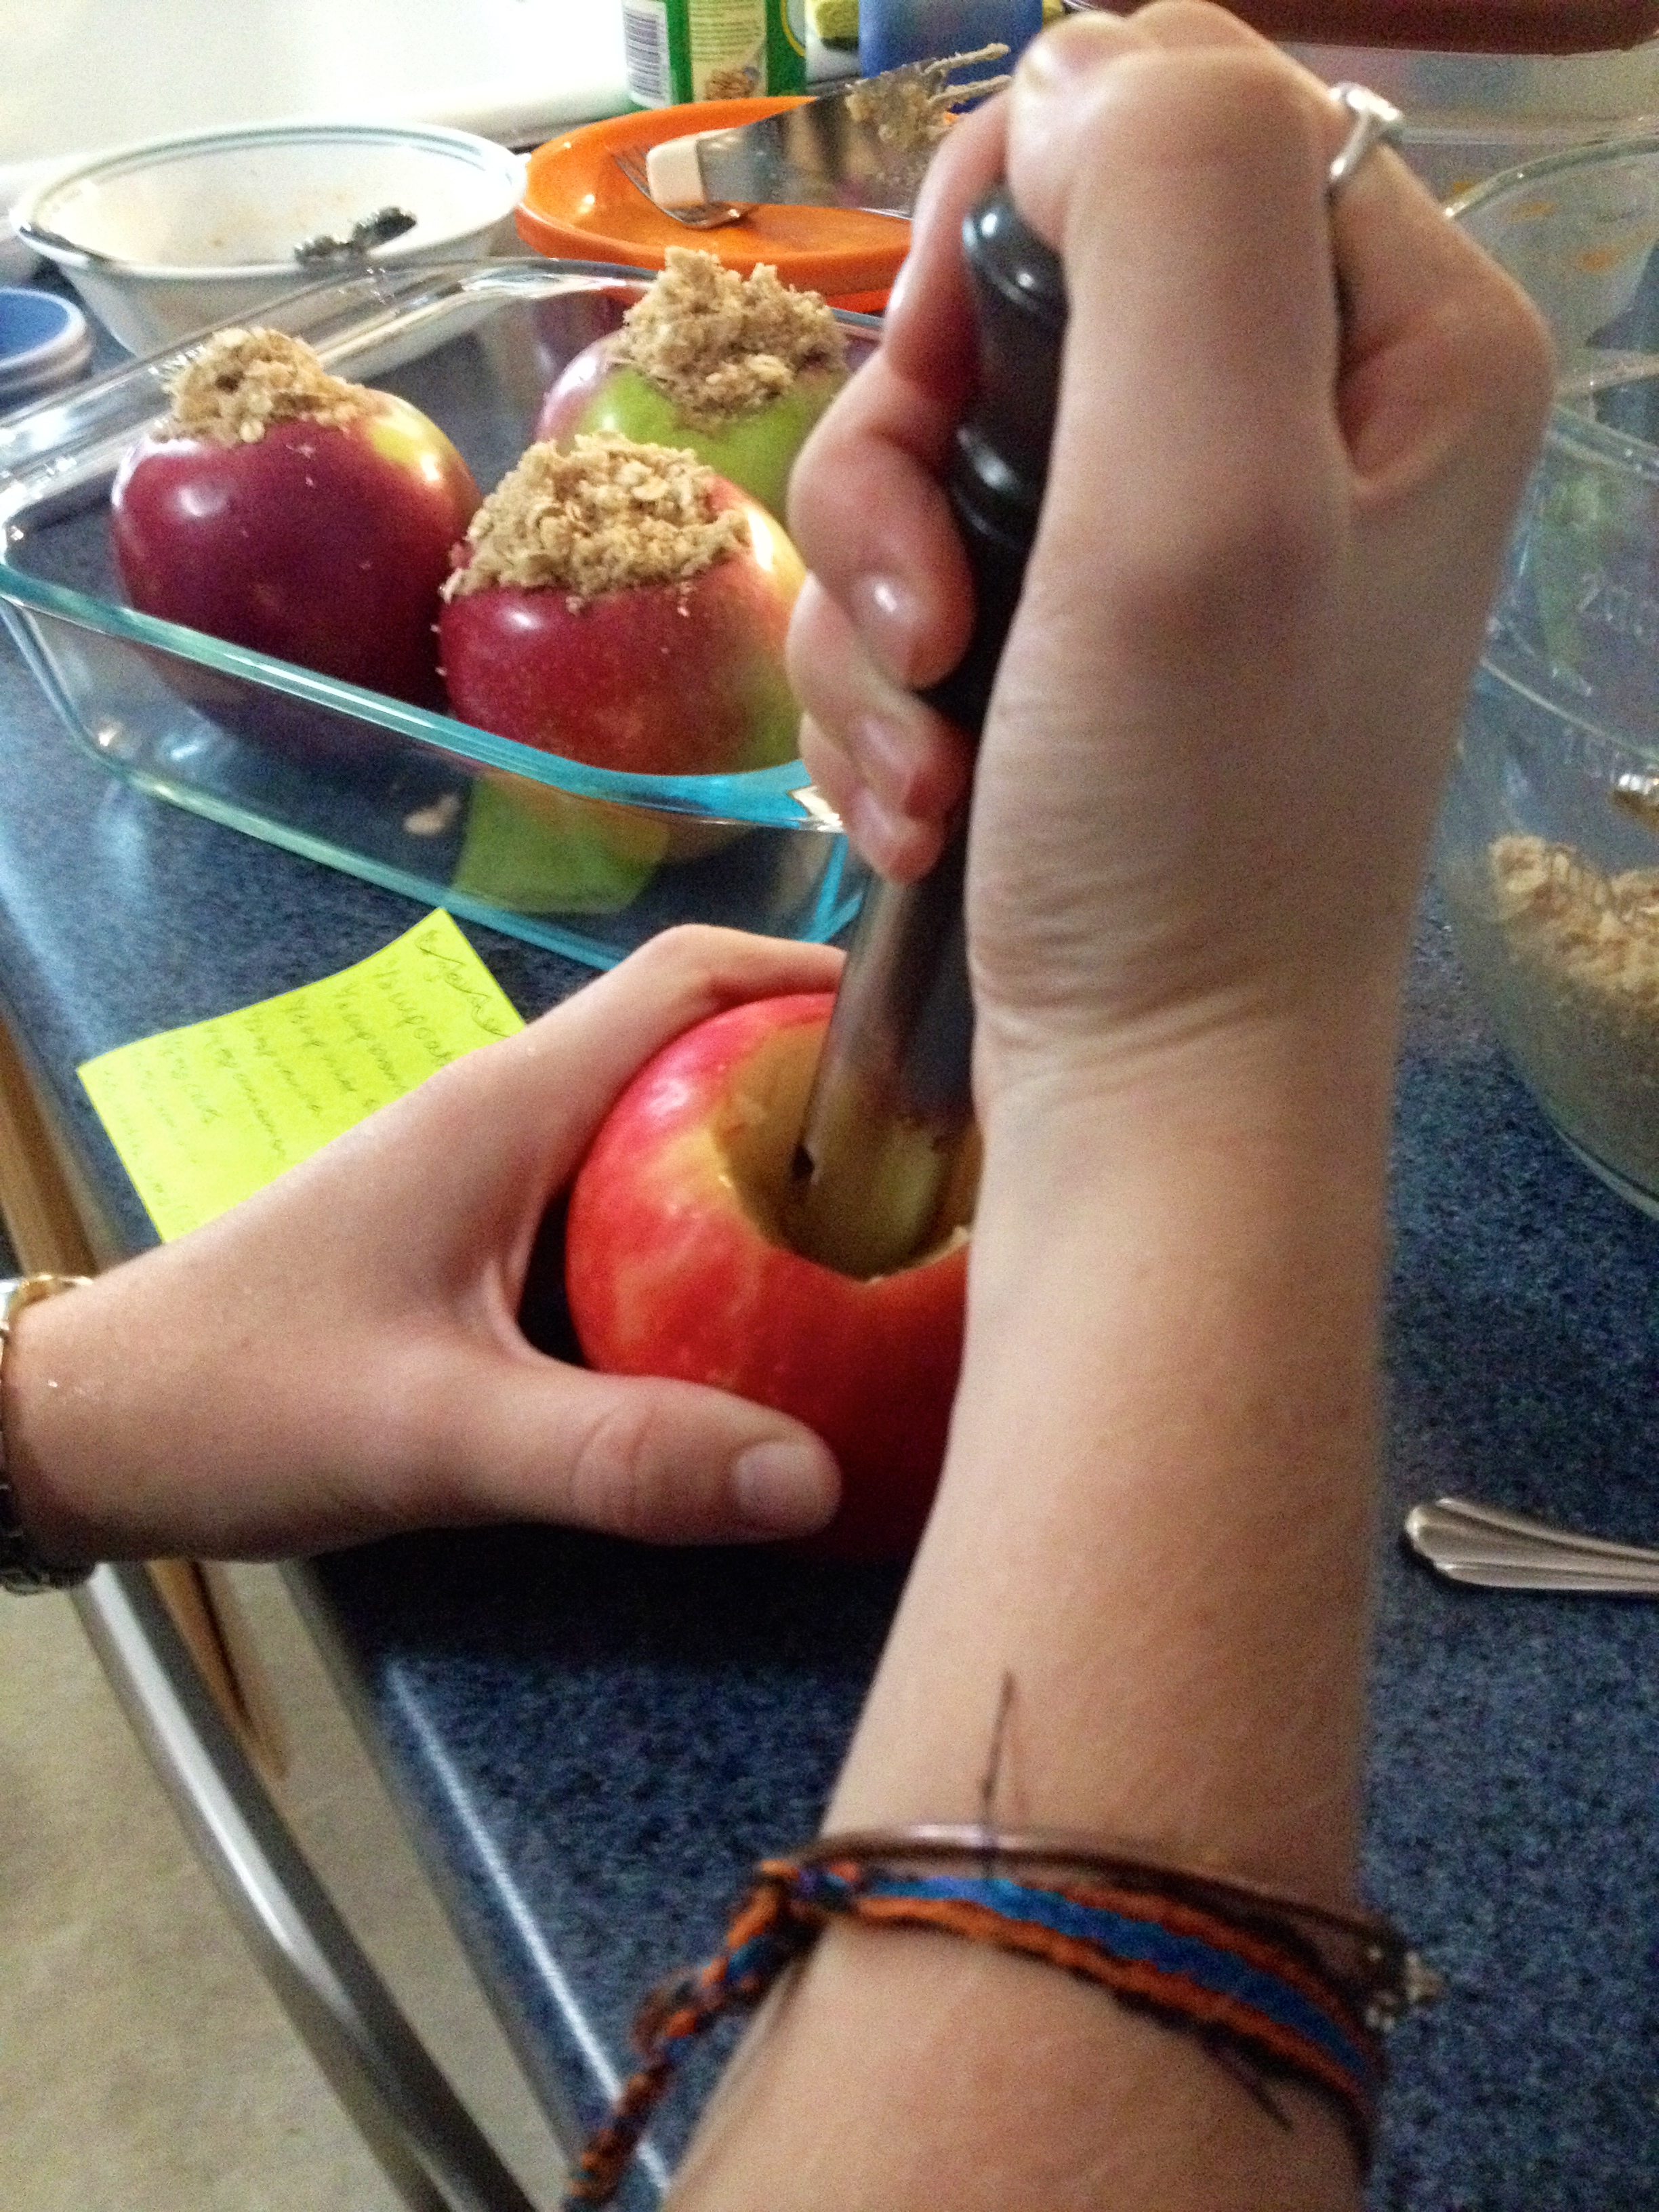
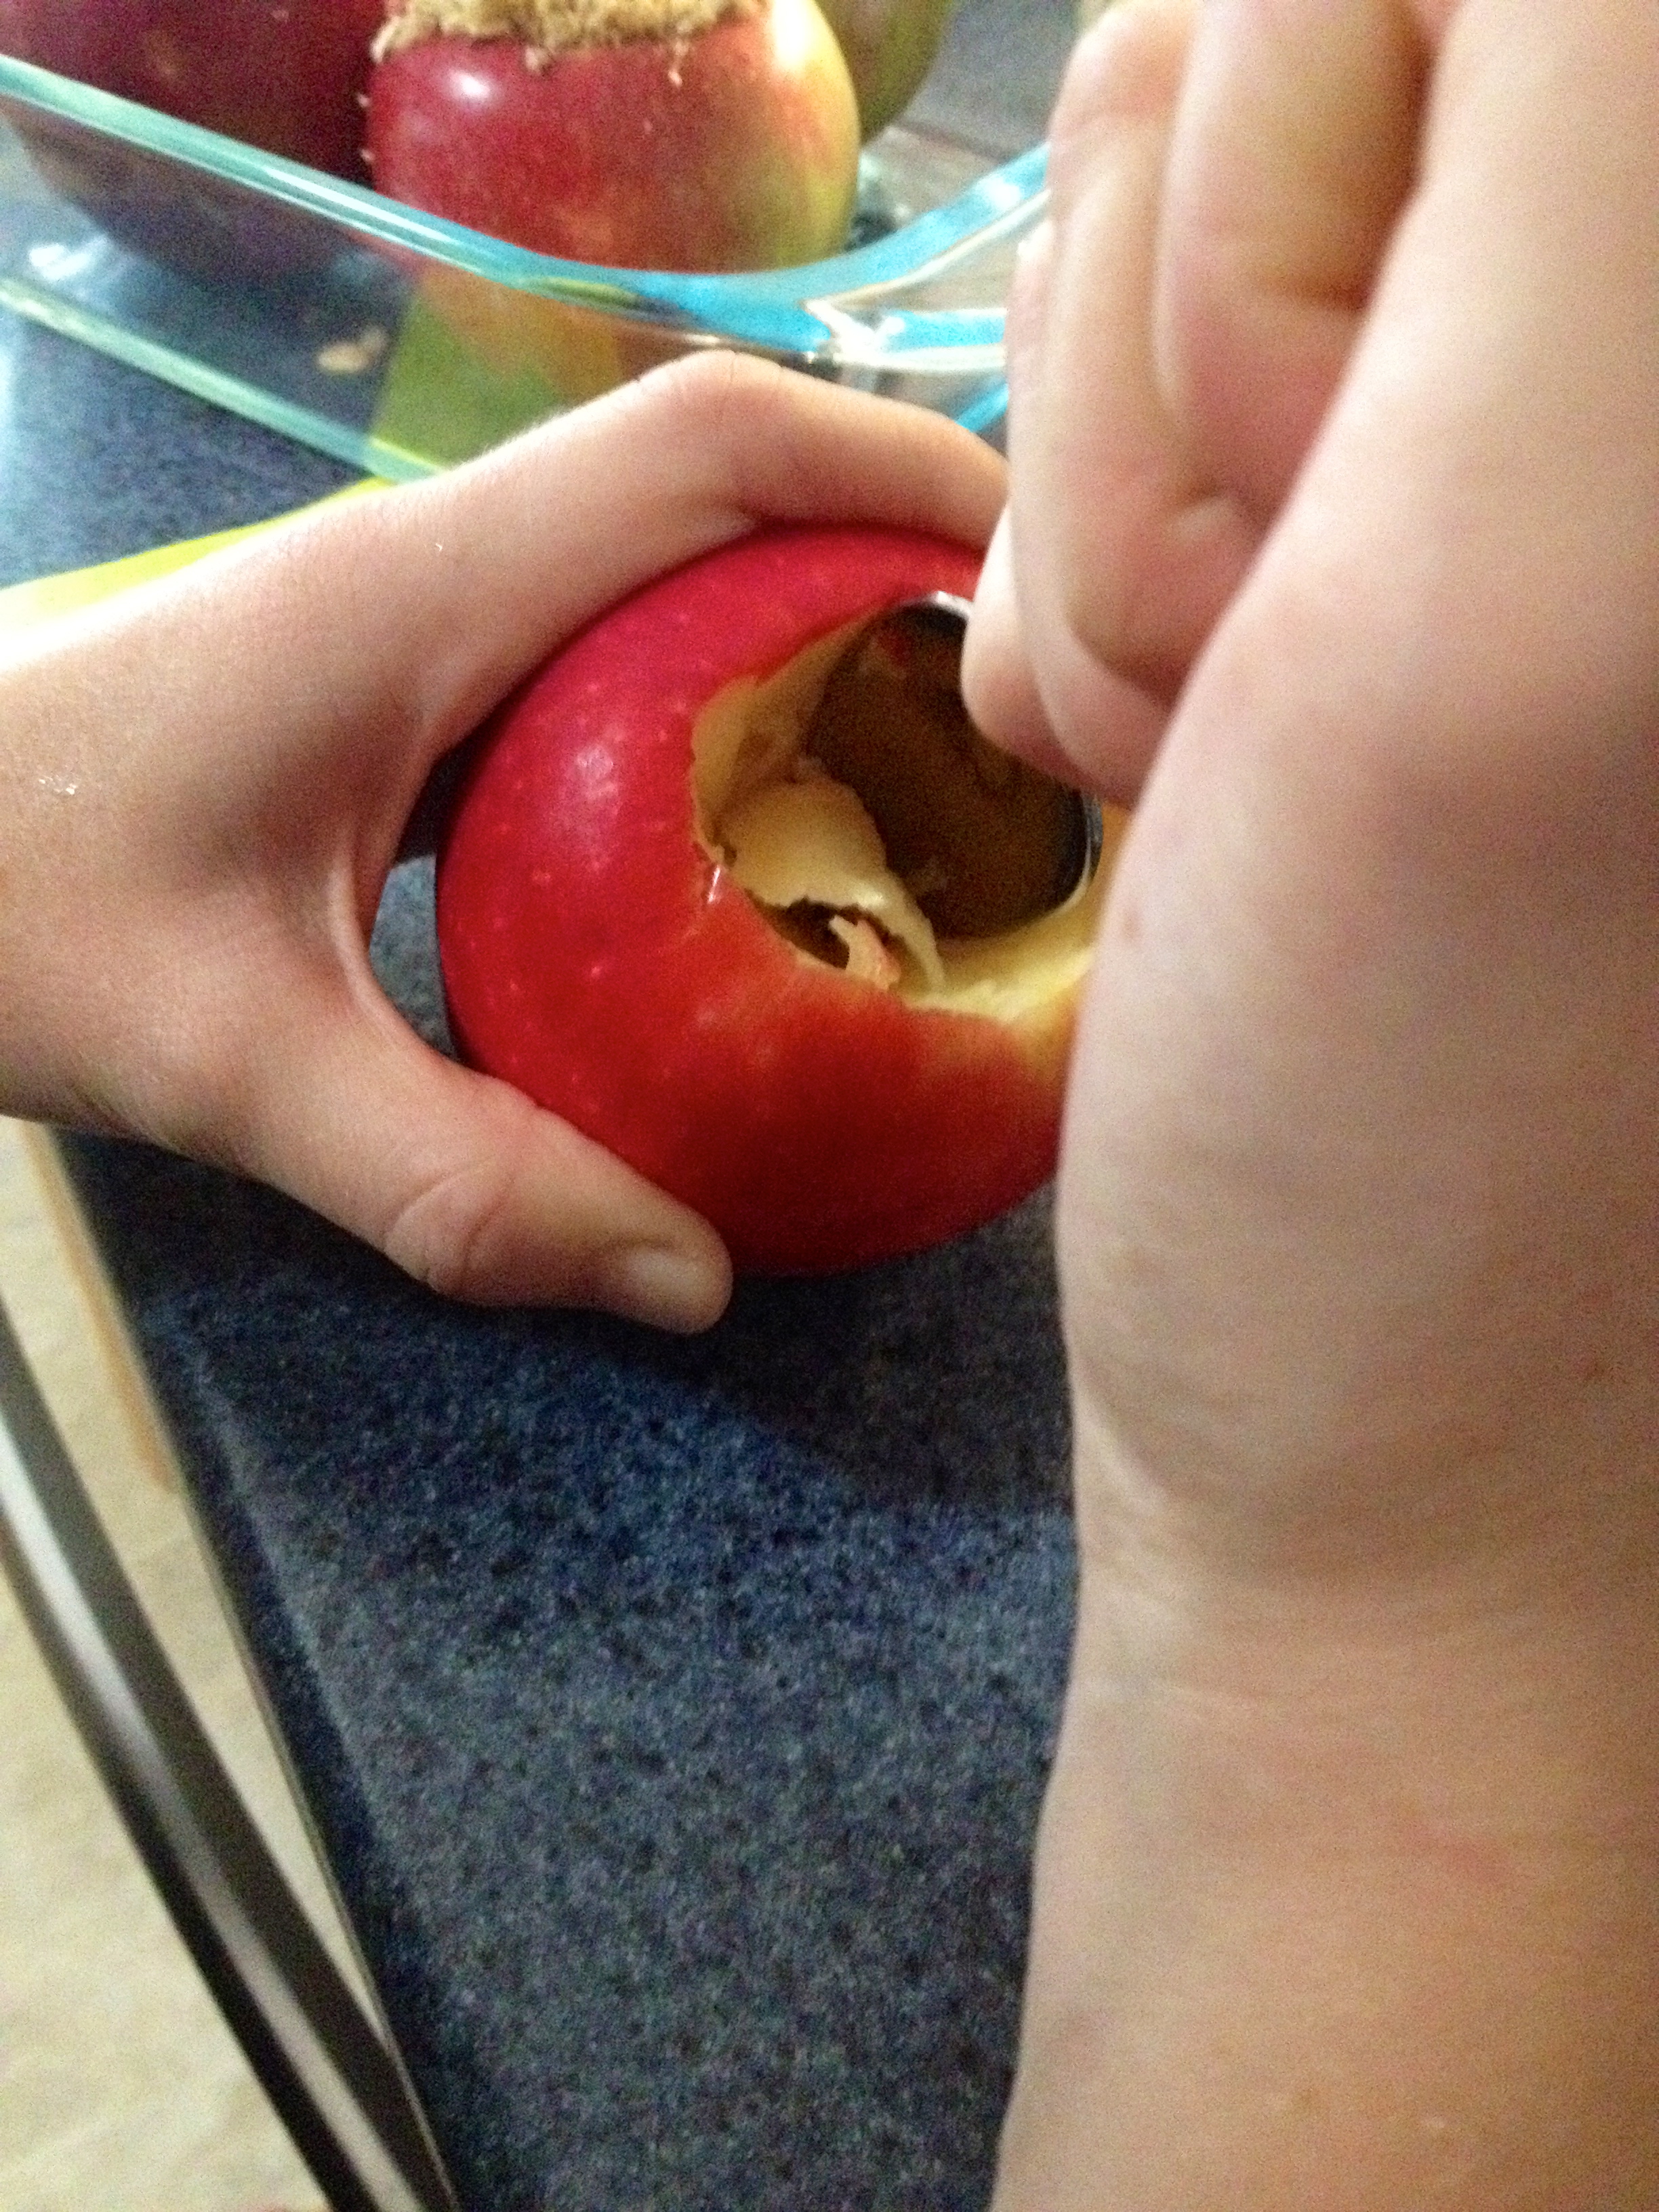
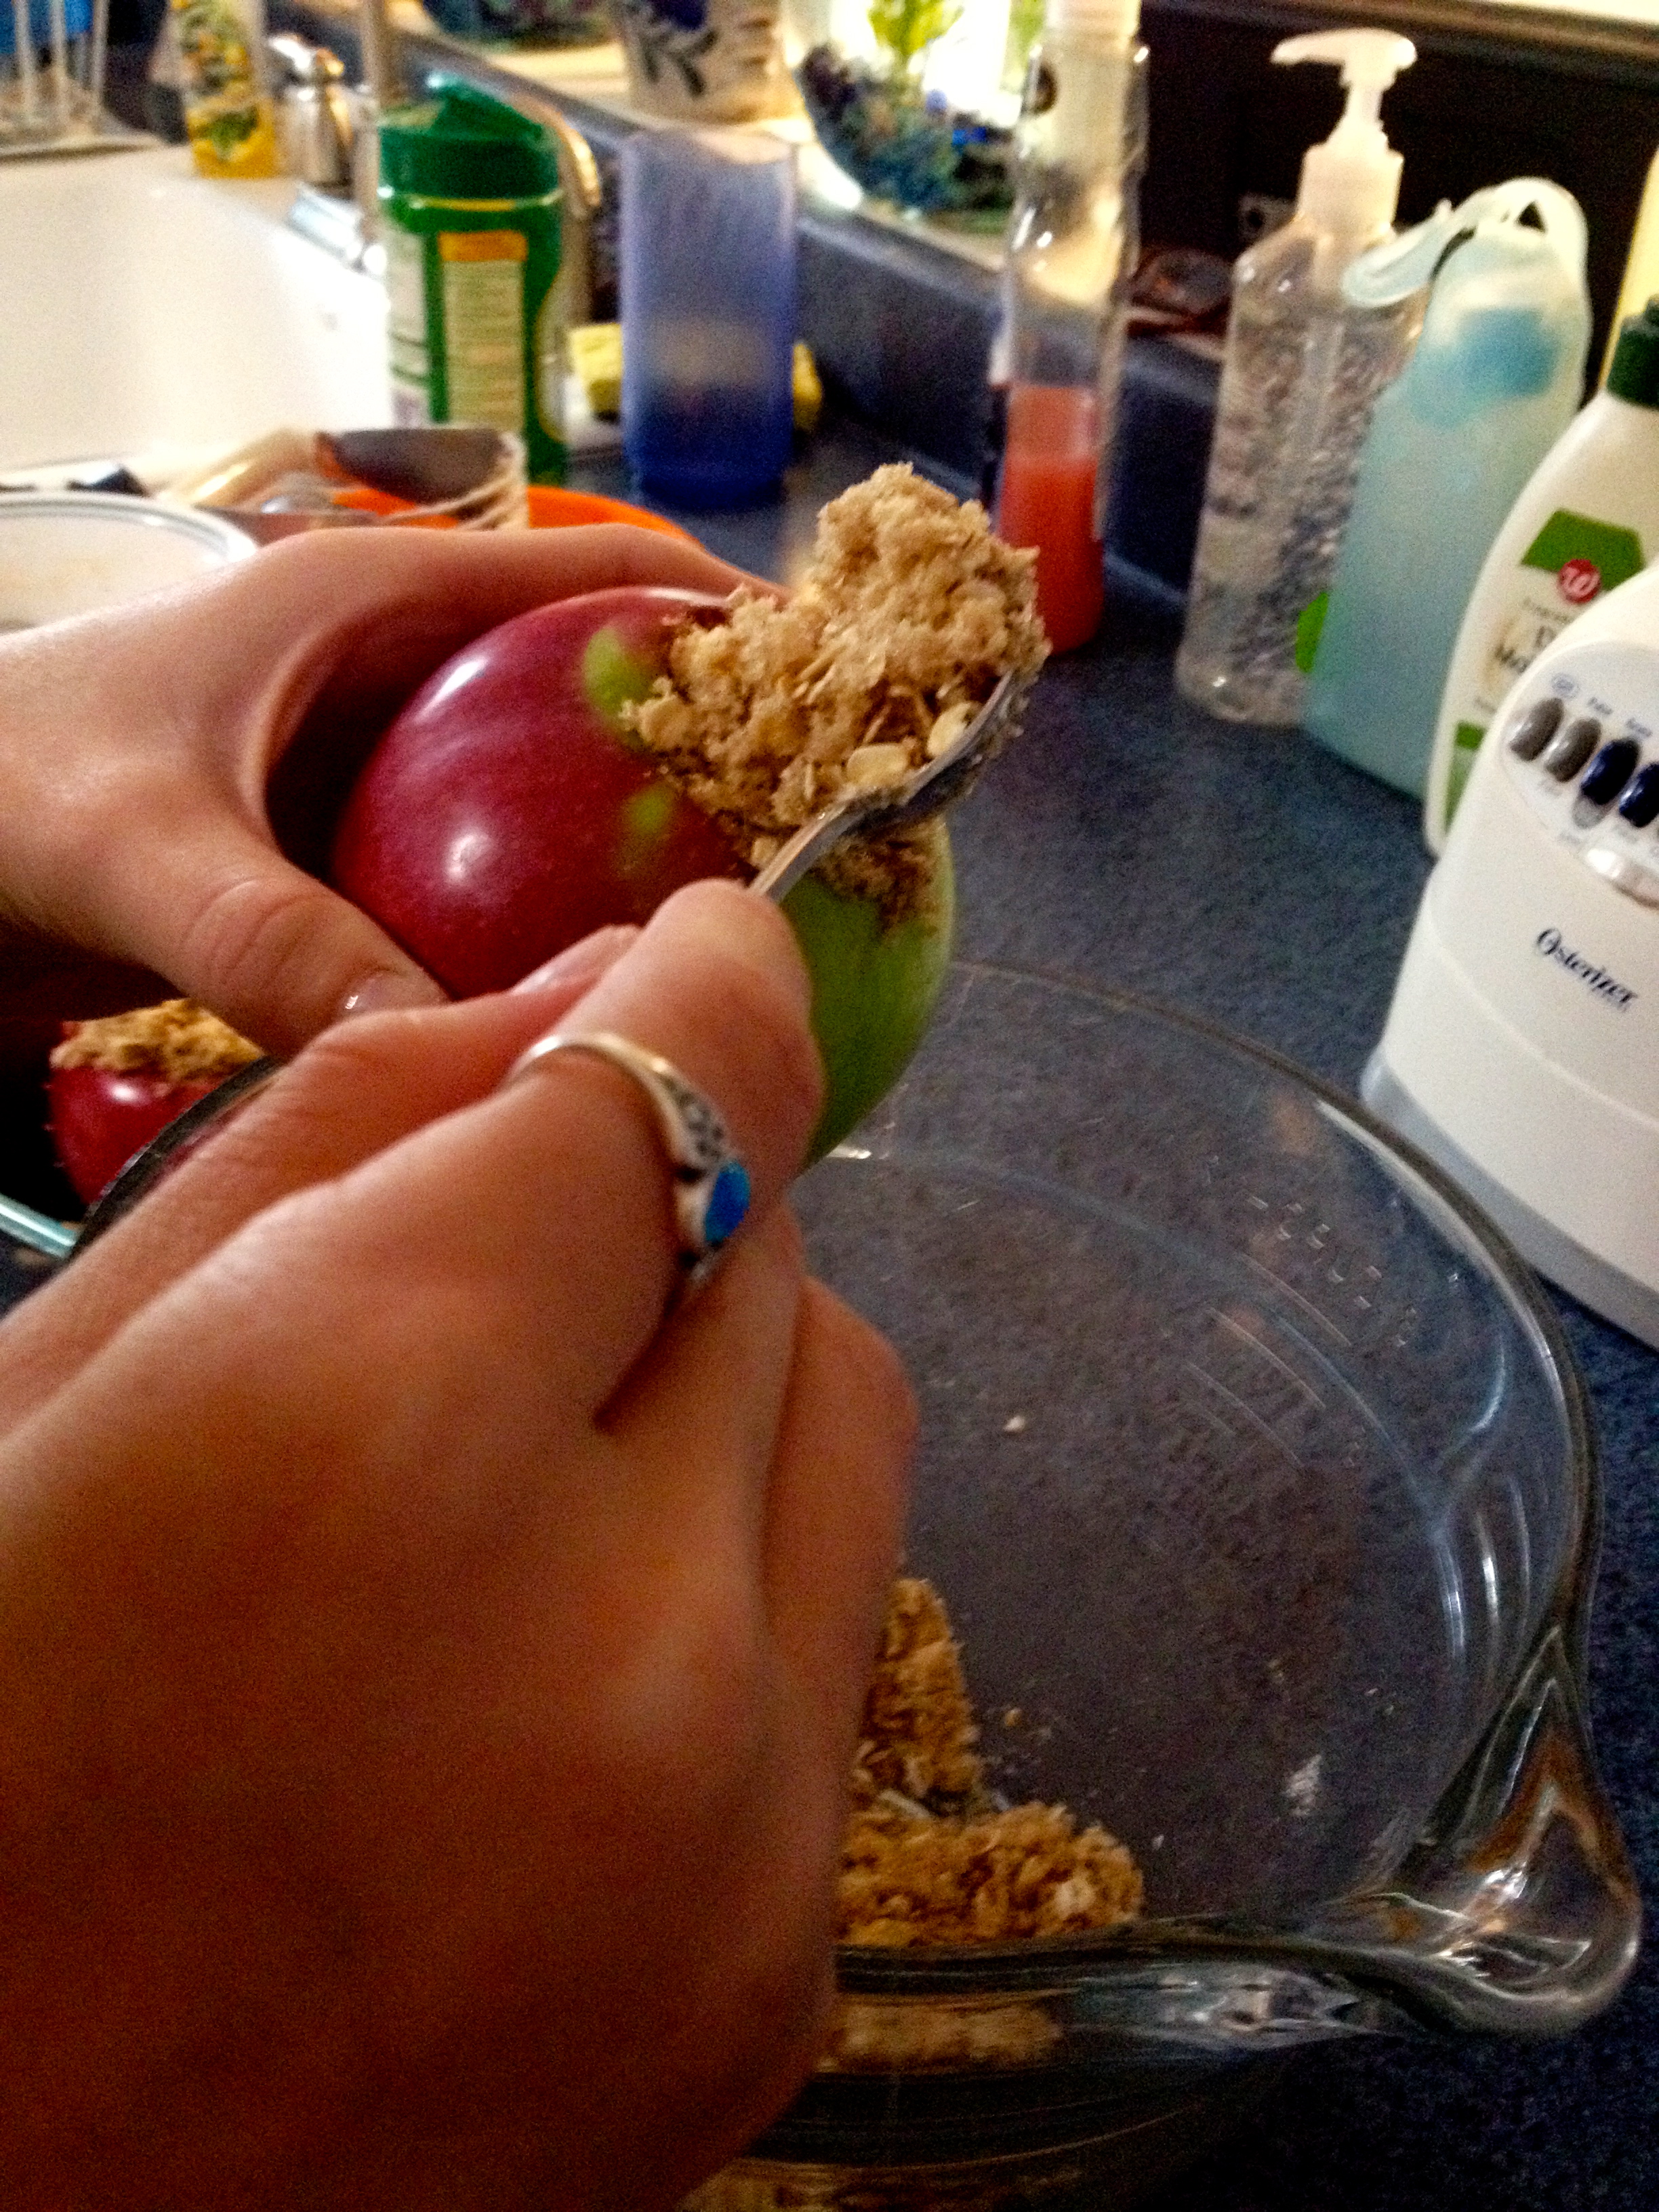
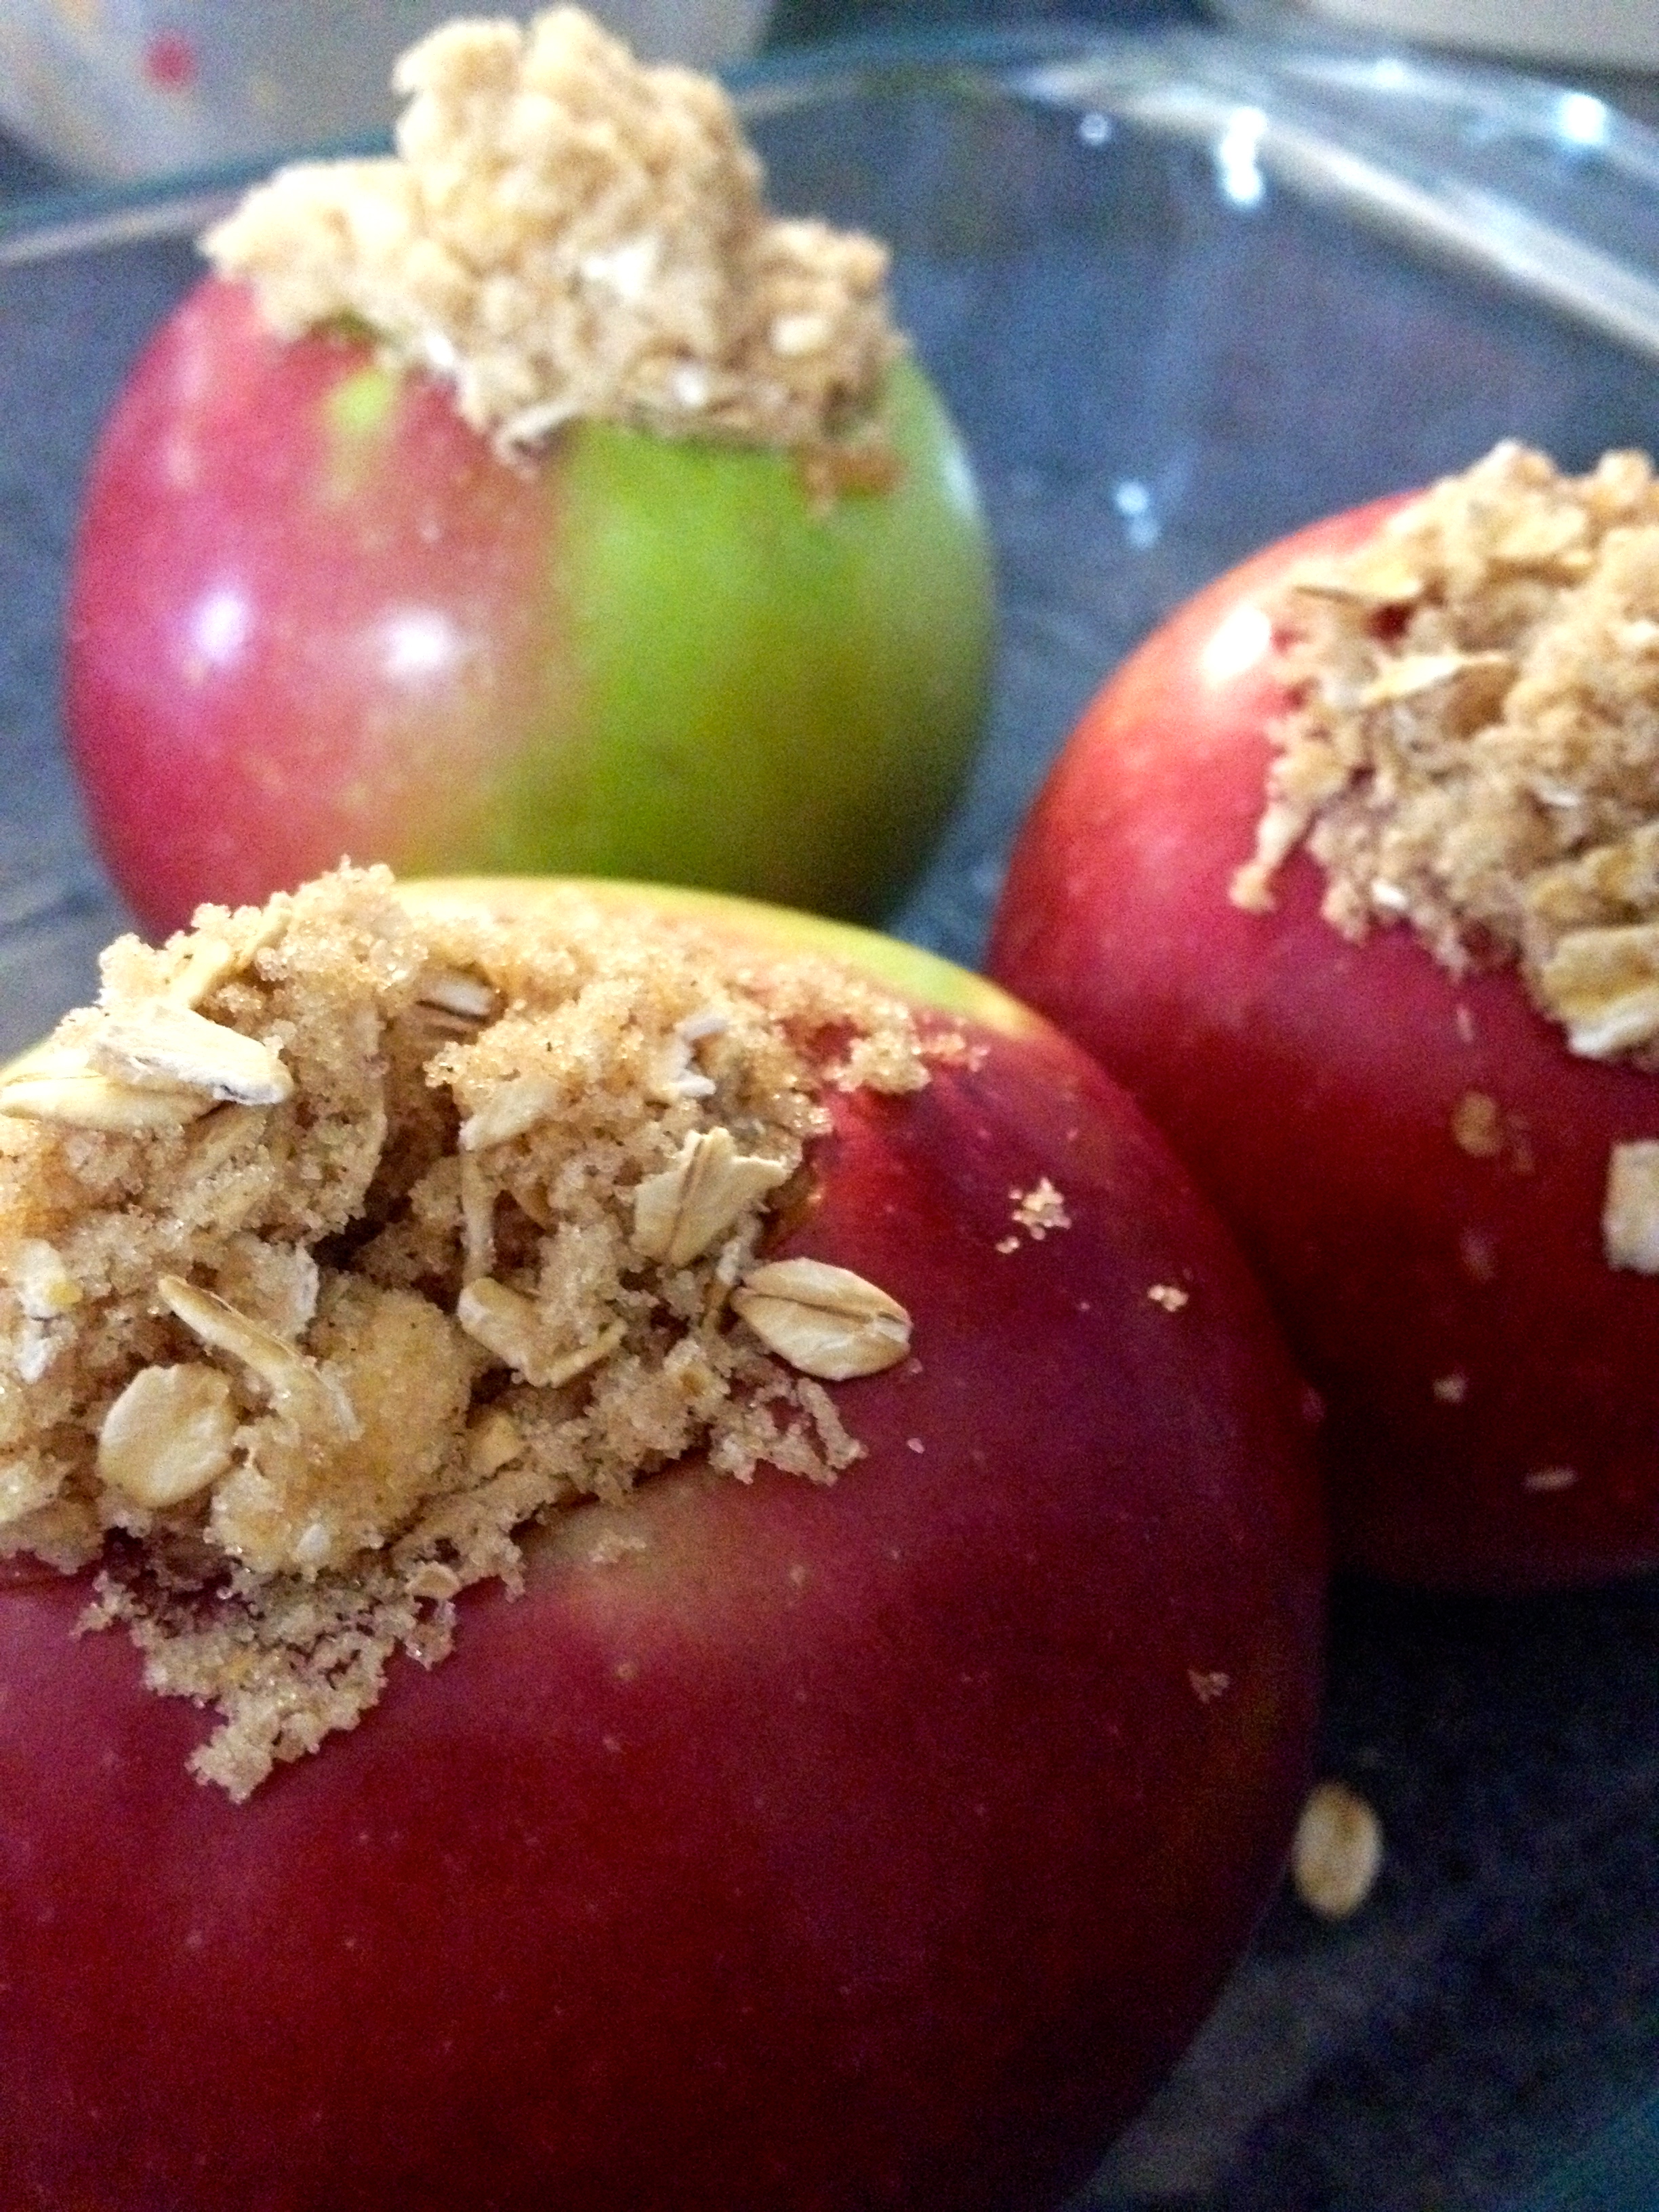
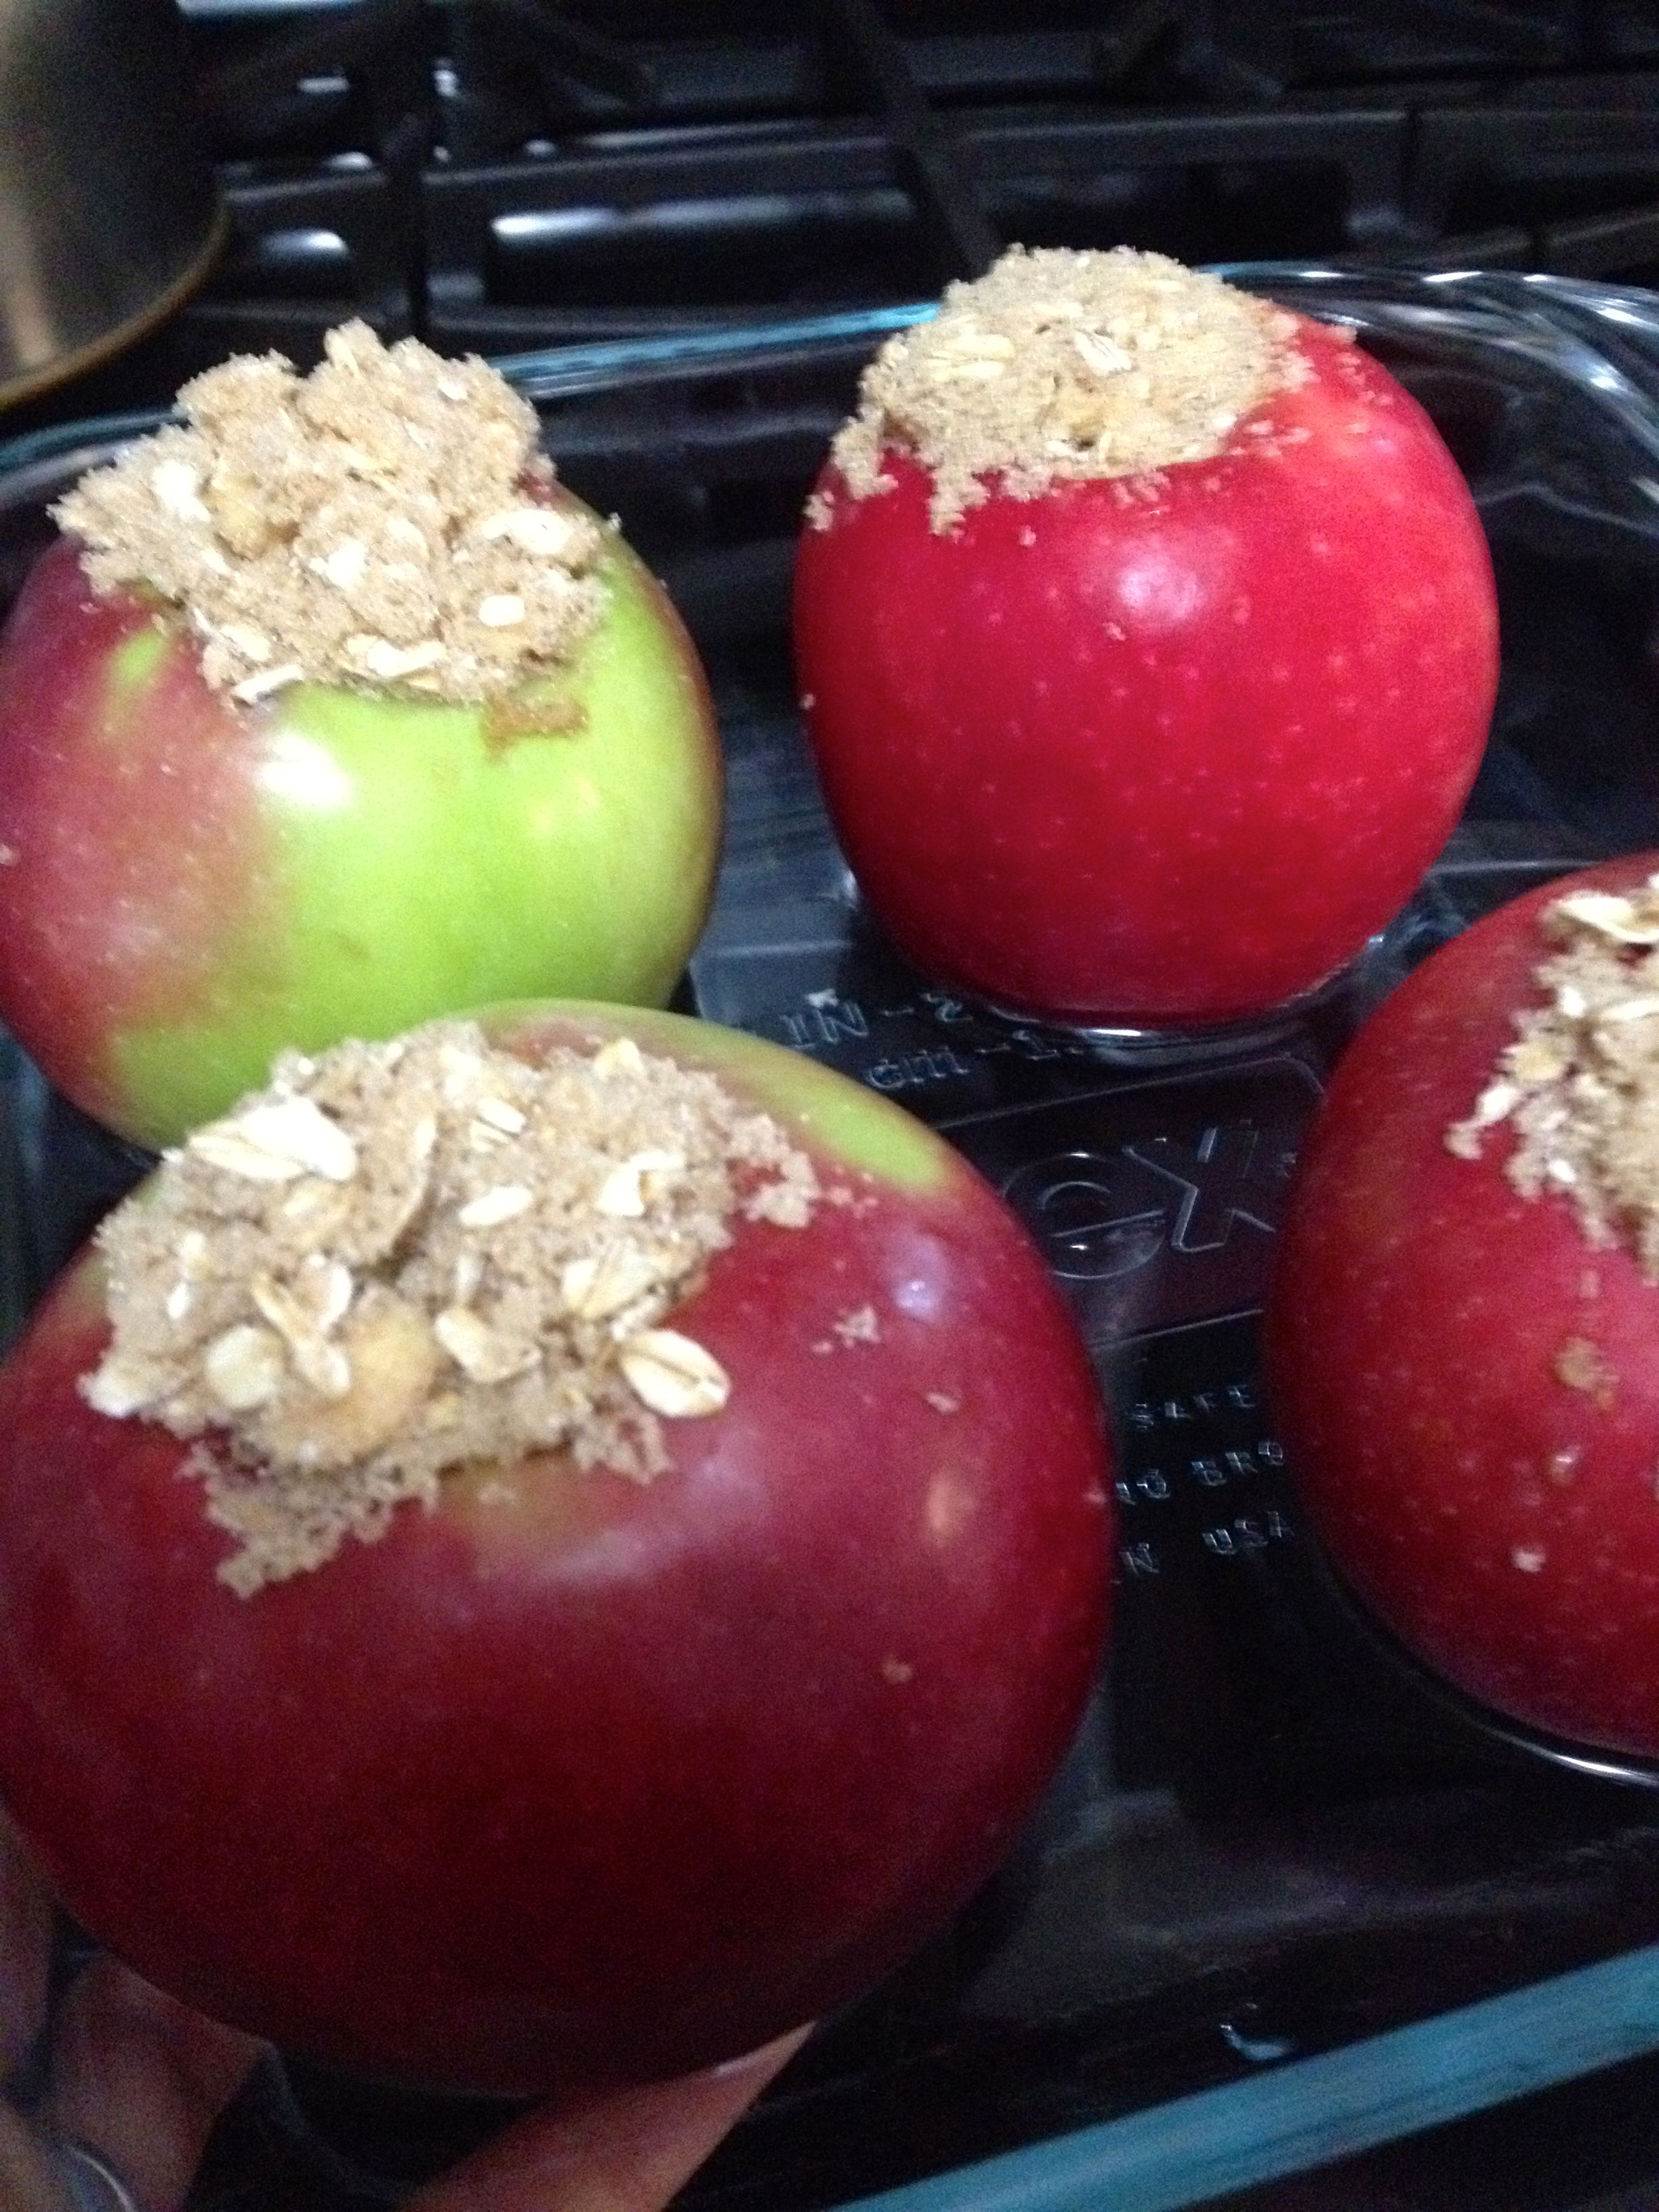
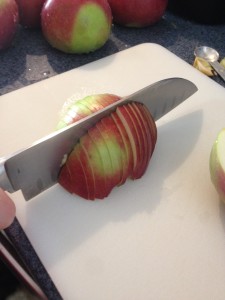
Preheat the oven to 375°F. Slice the apples fairly thin and small, so that it’s easy to scoop them out of the dish when serving. You can also dice the apples if you prefer. We left the skins on because I think it gives the apple mixture a great color, but you can peel the apples if you like.

Arrange the apples in a baking dish. Depending on how many people you’re serving and how many apples you use, the size of the dish can vary. I usually use an 8×8″ dish, but this time we used an 8×10″ dish since we were feeding more people.
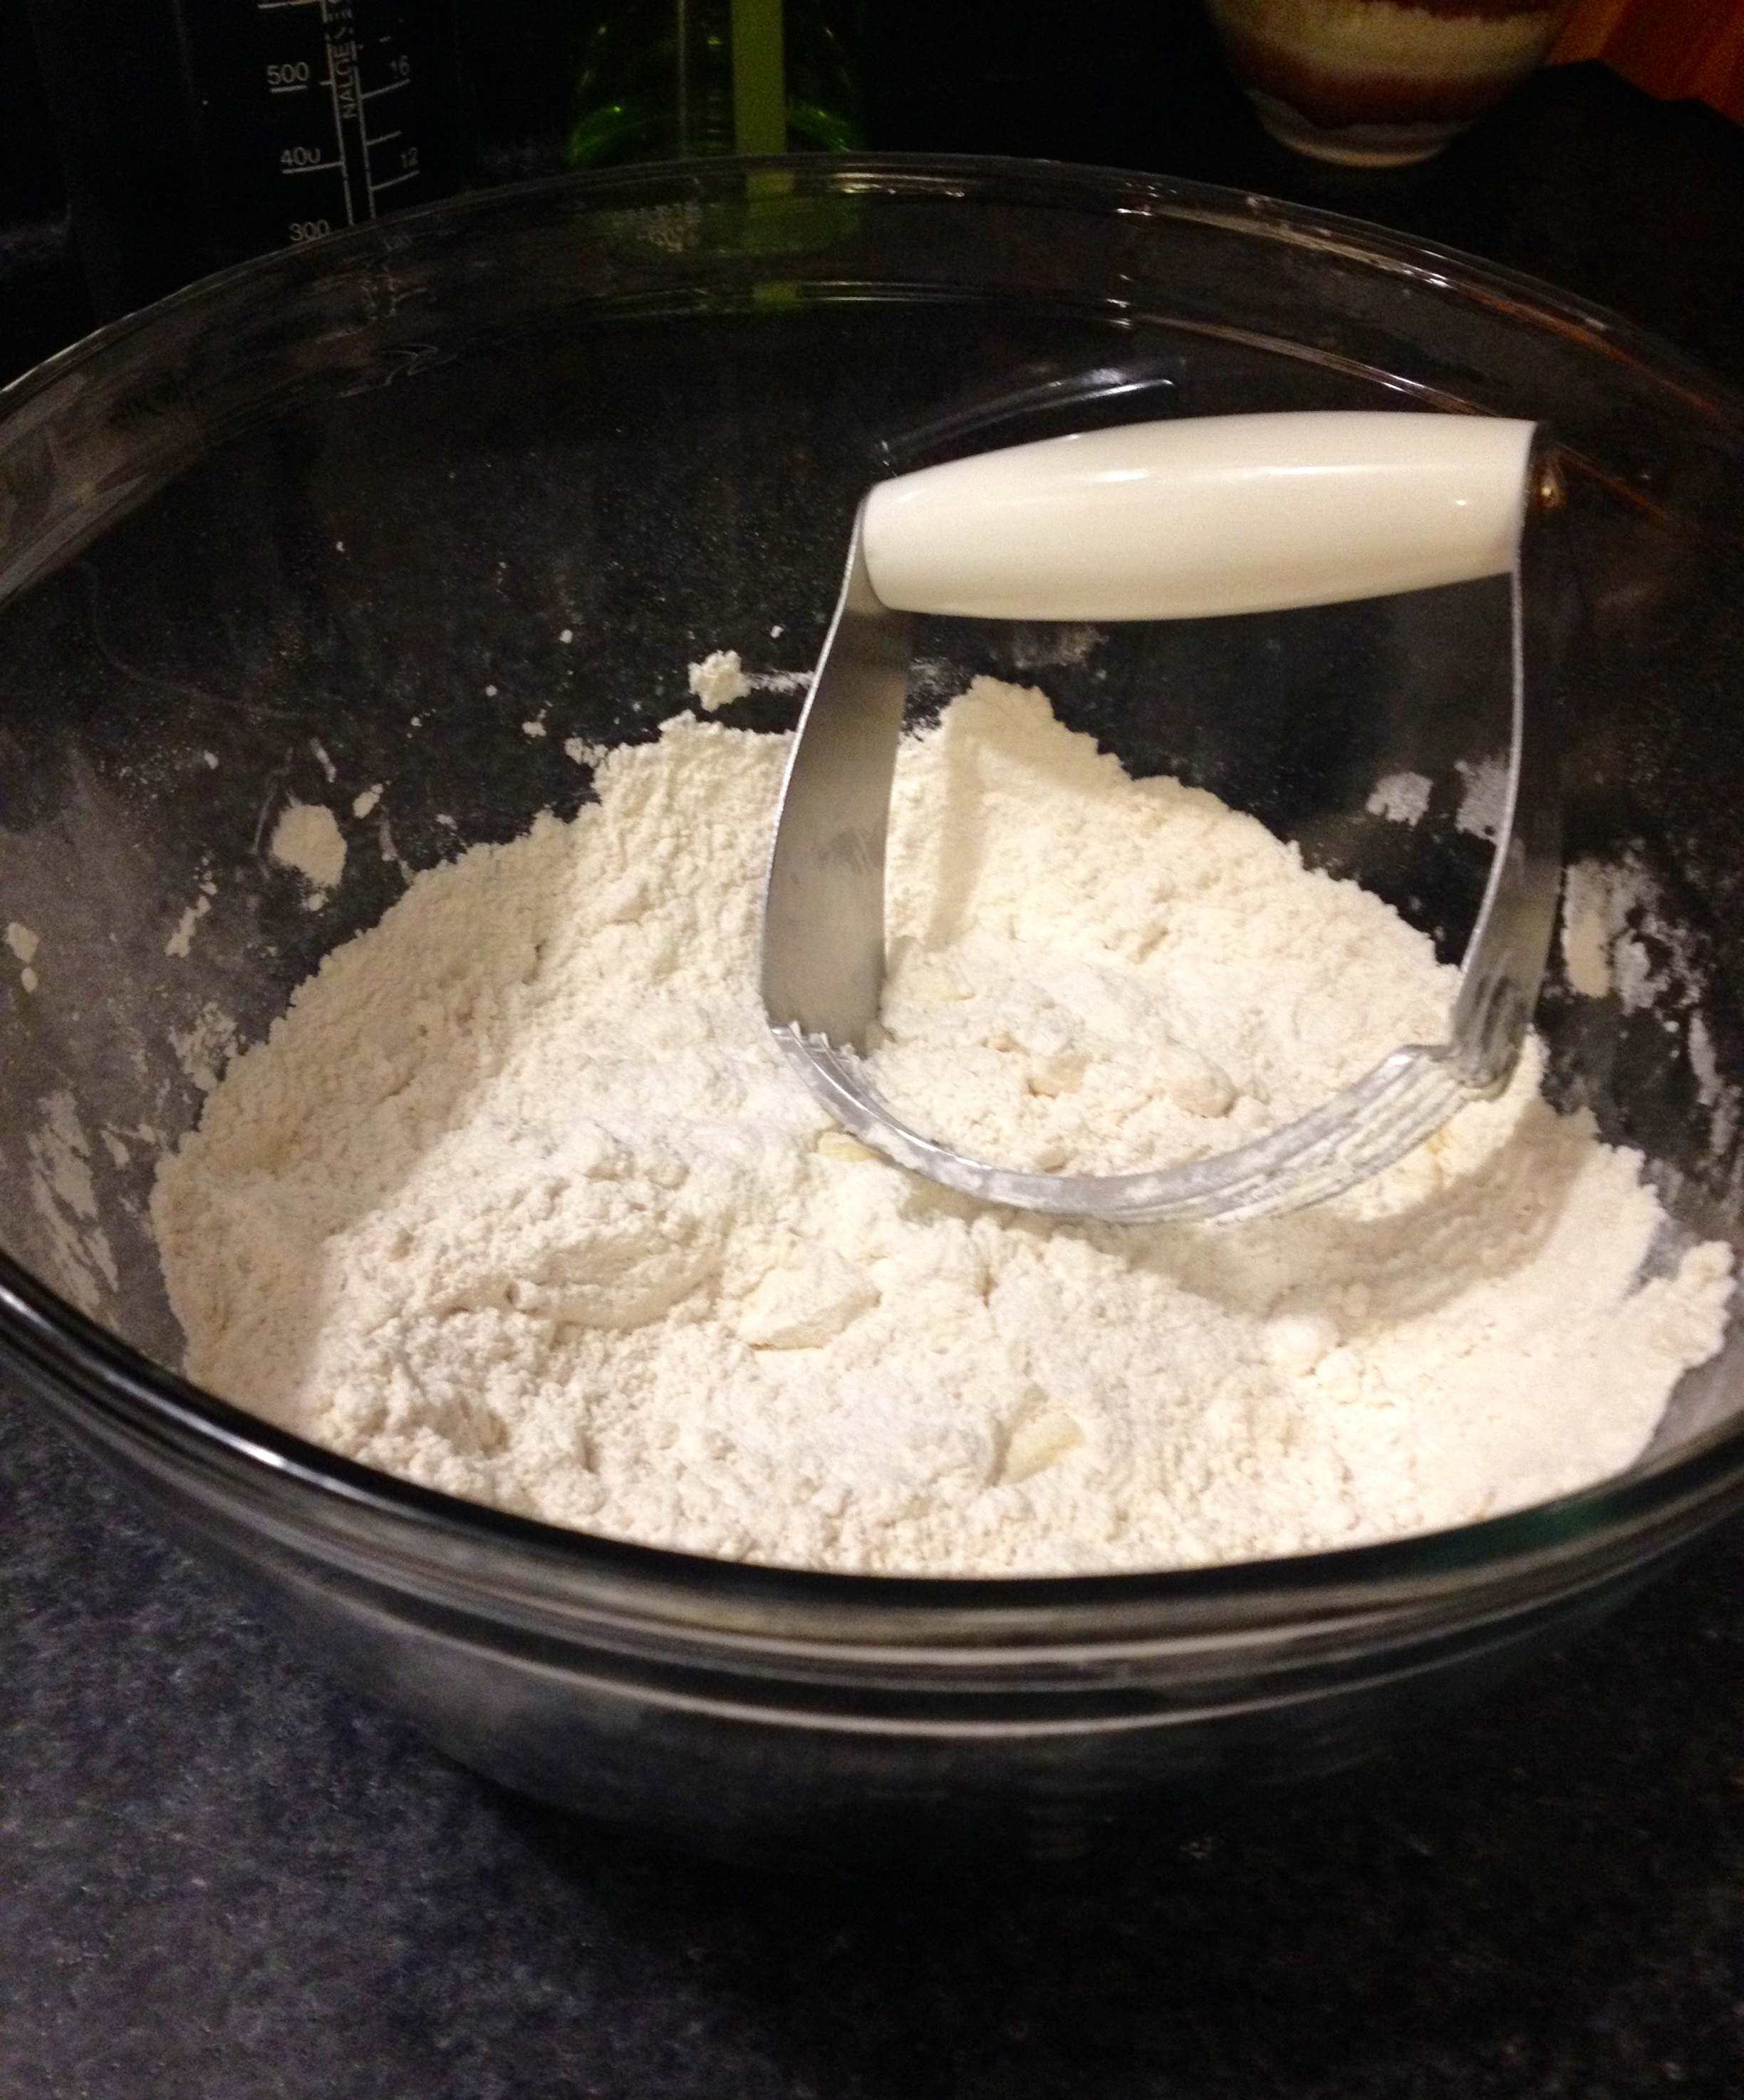
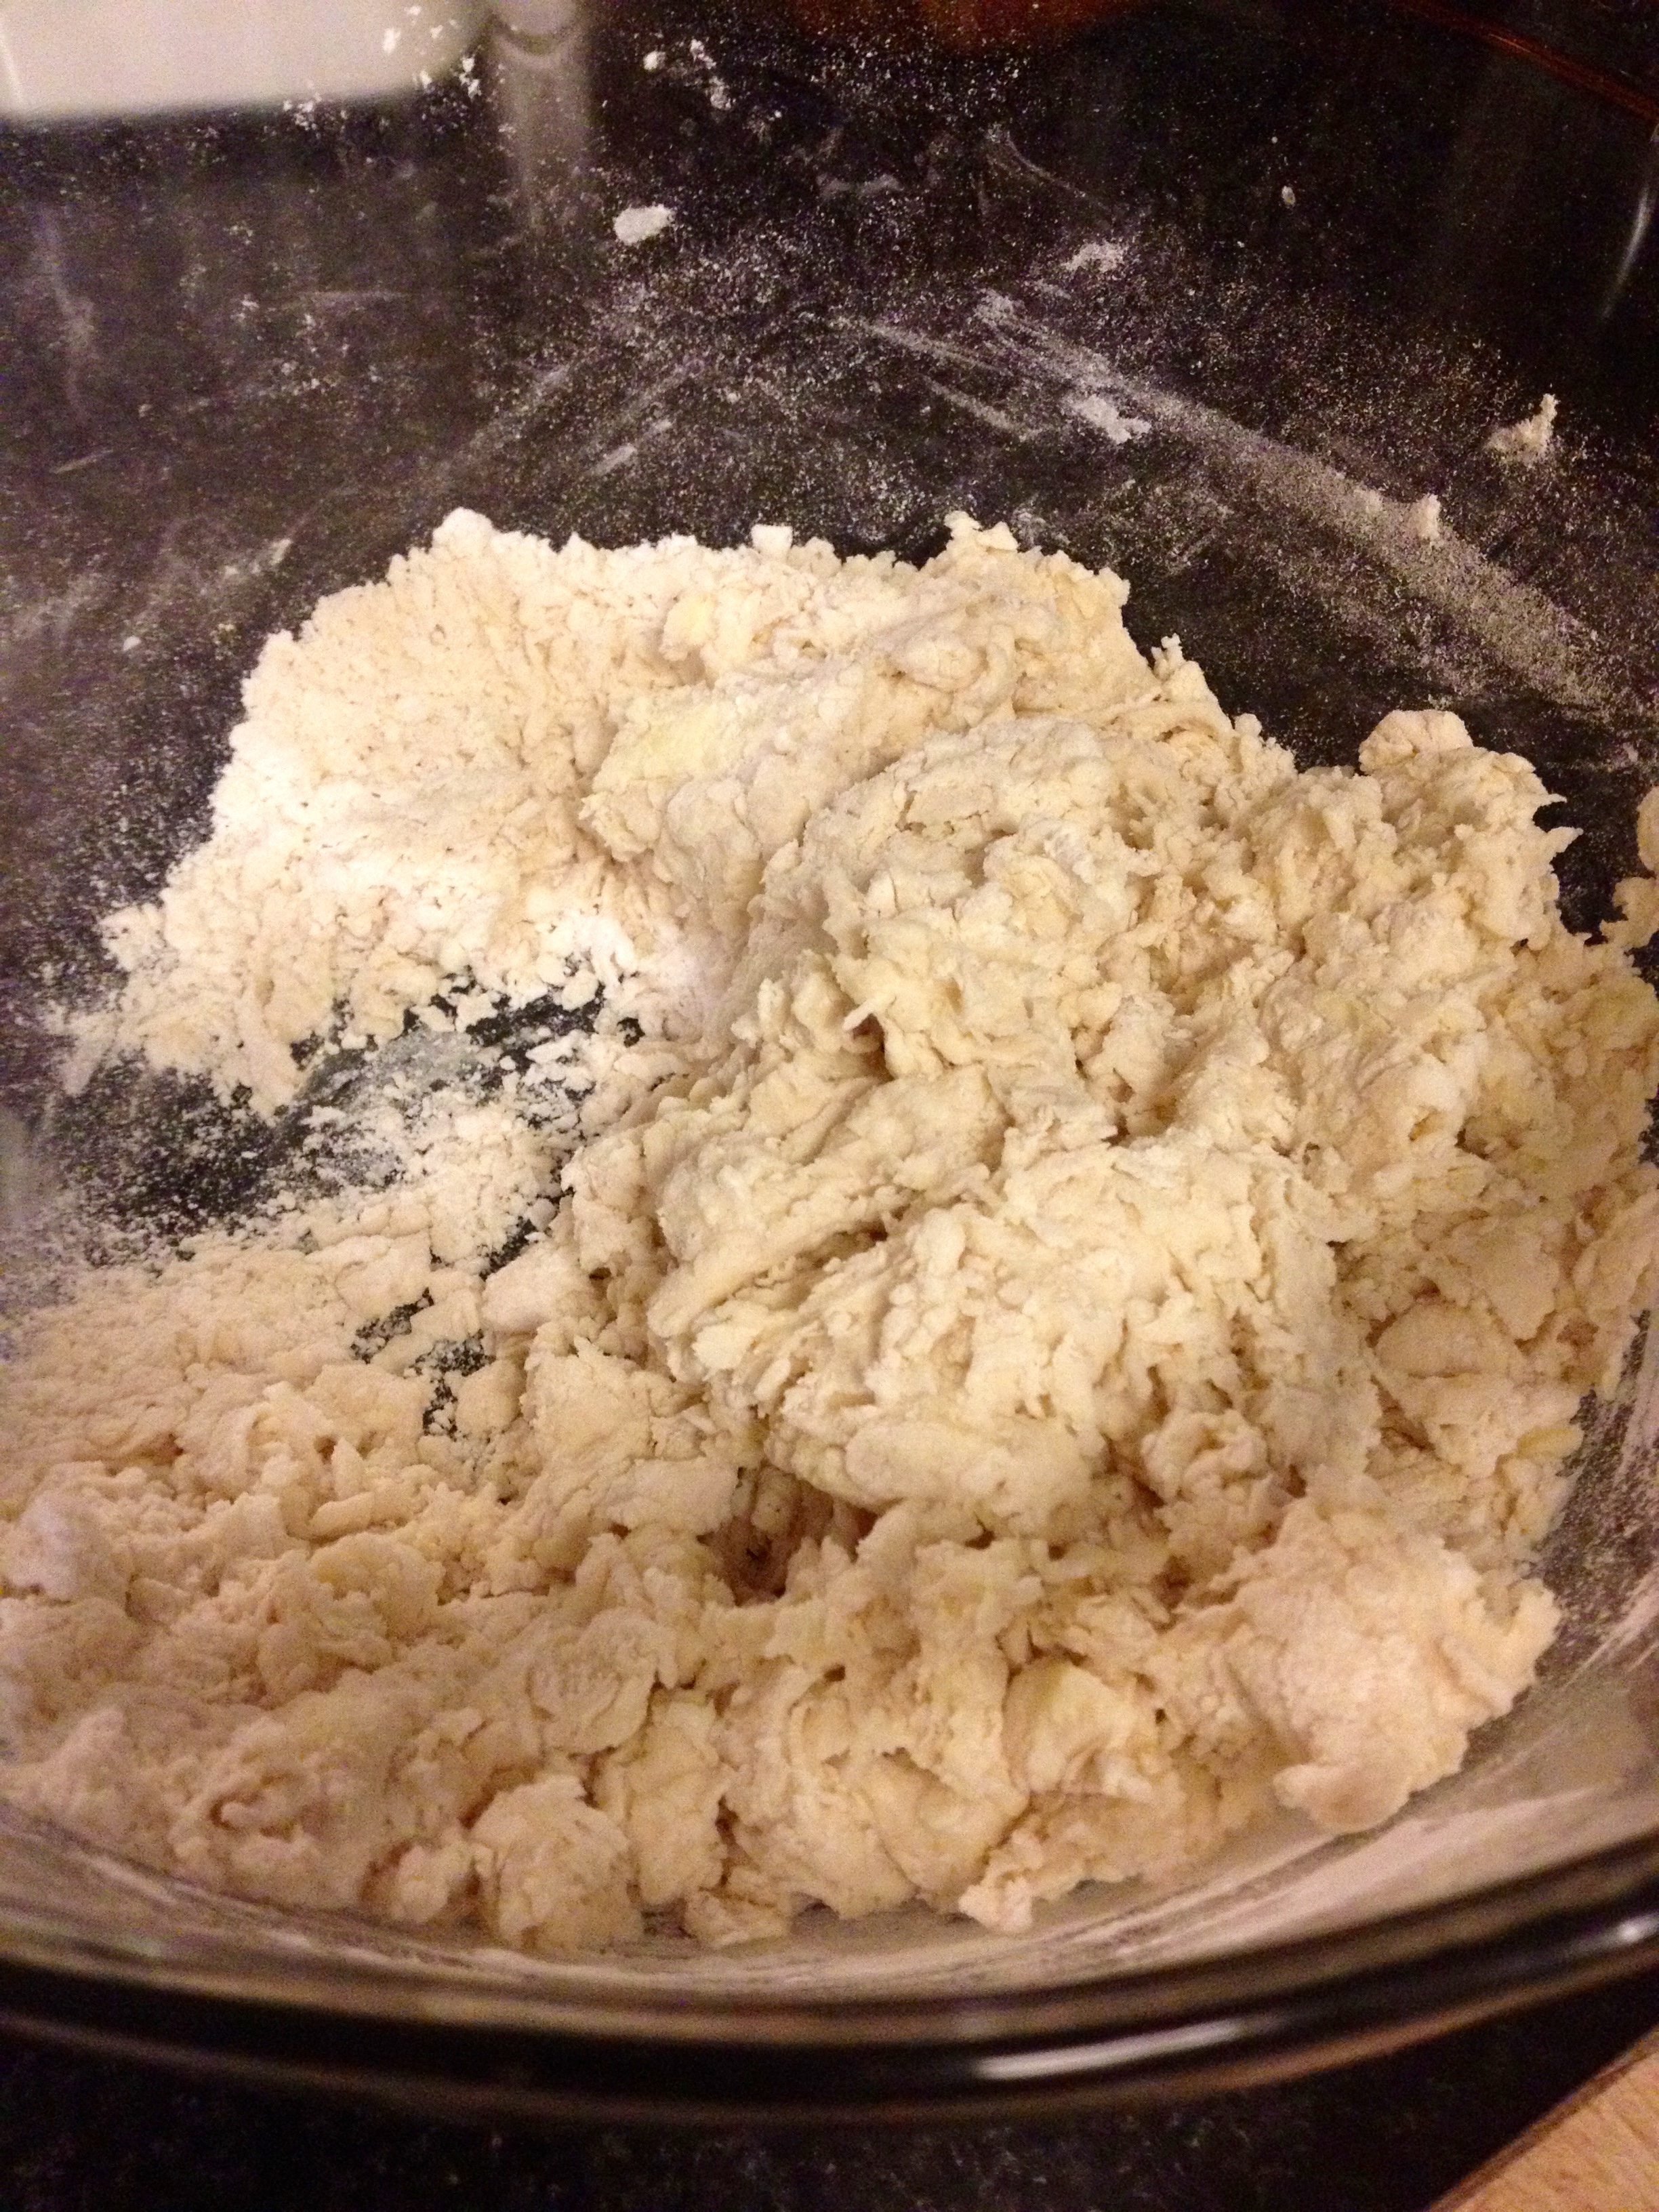
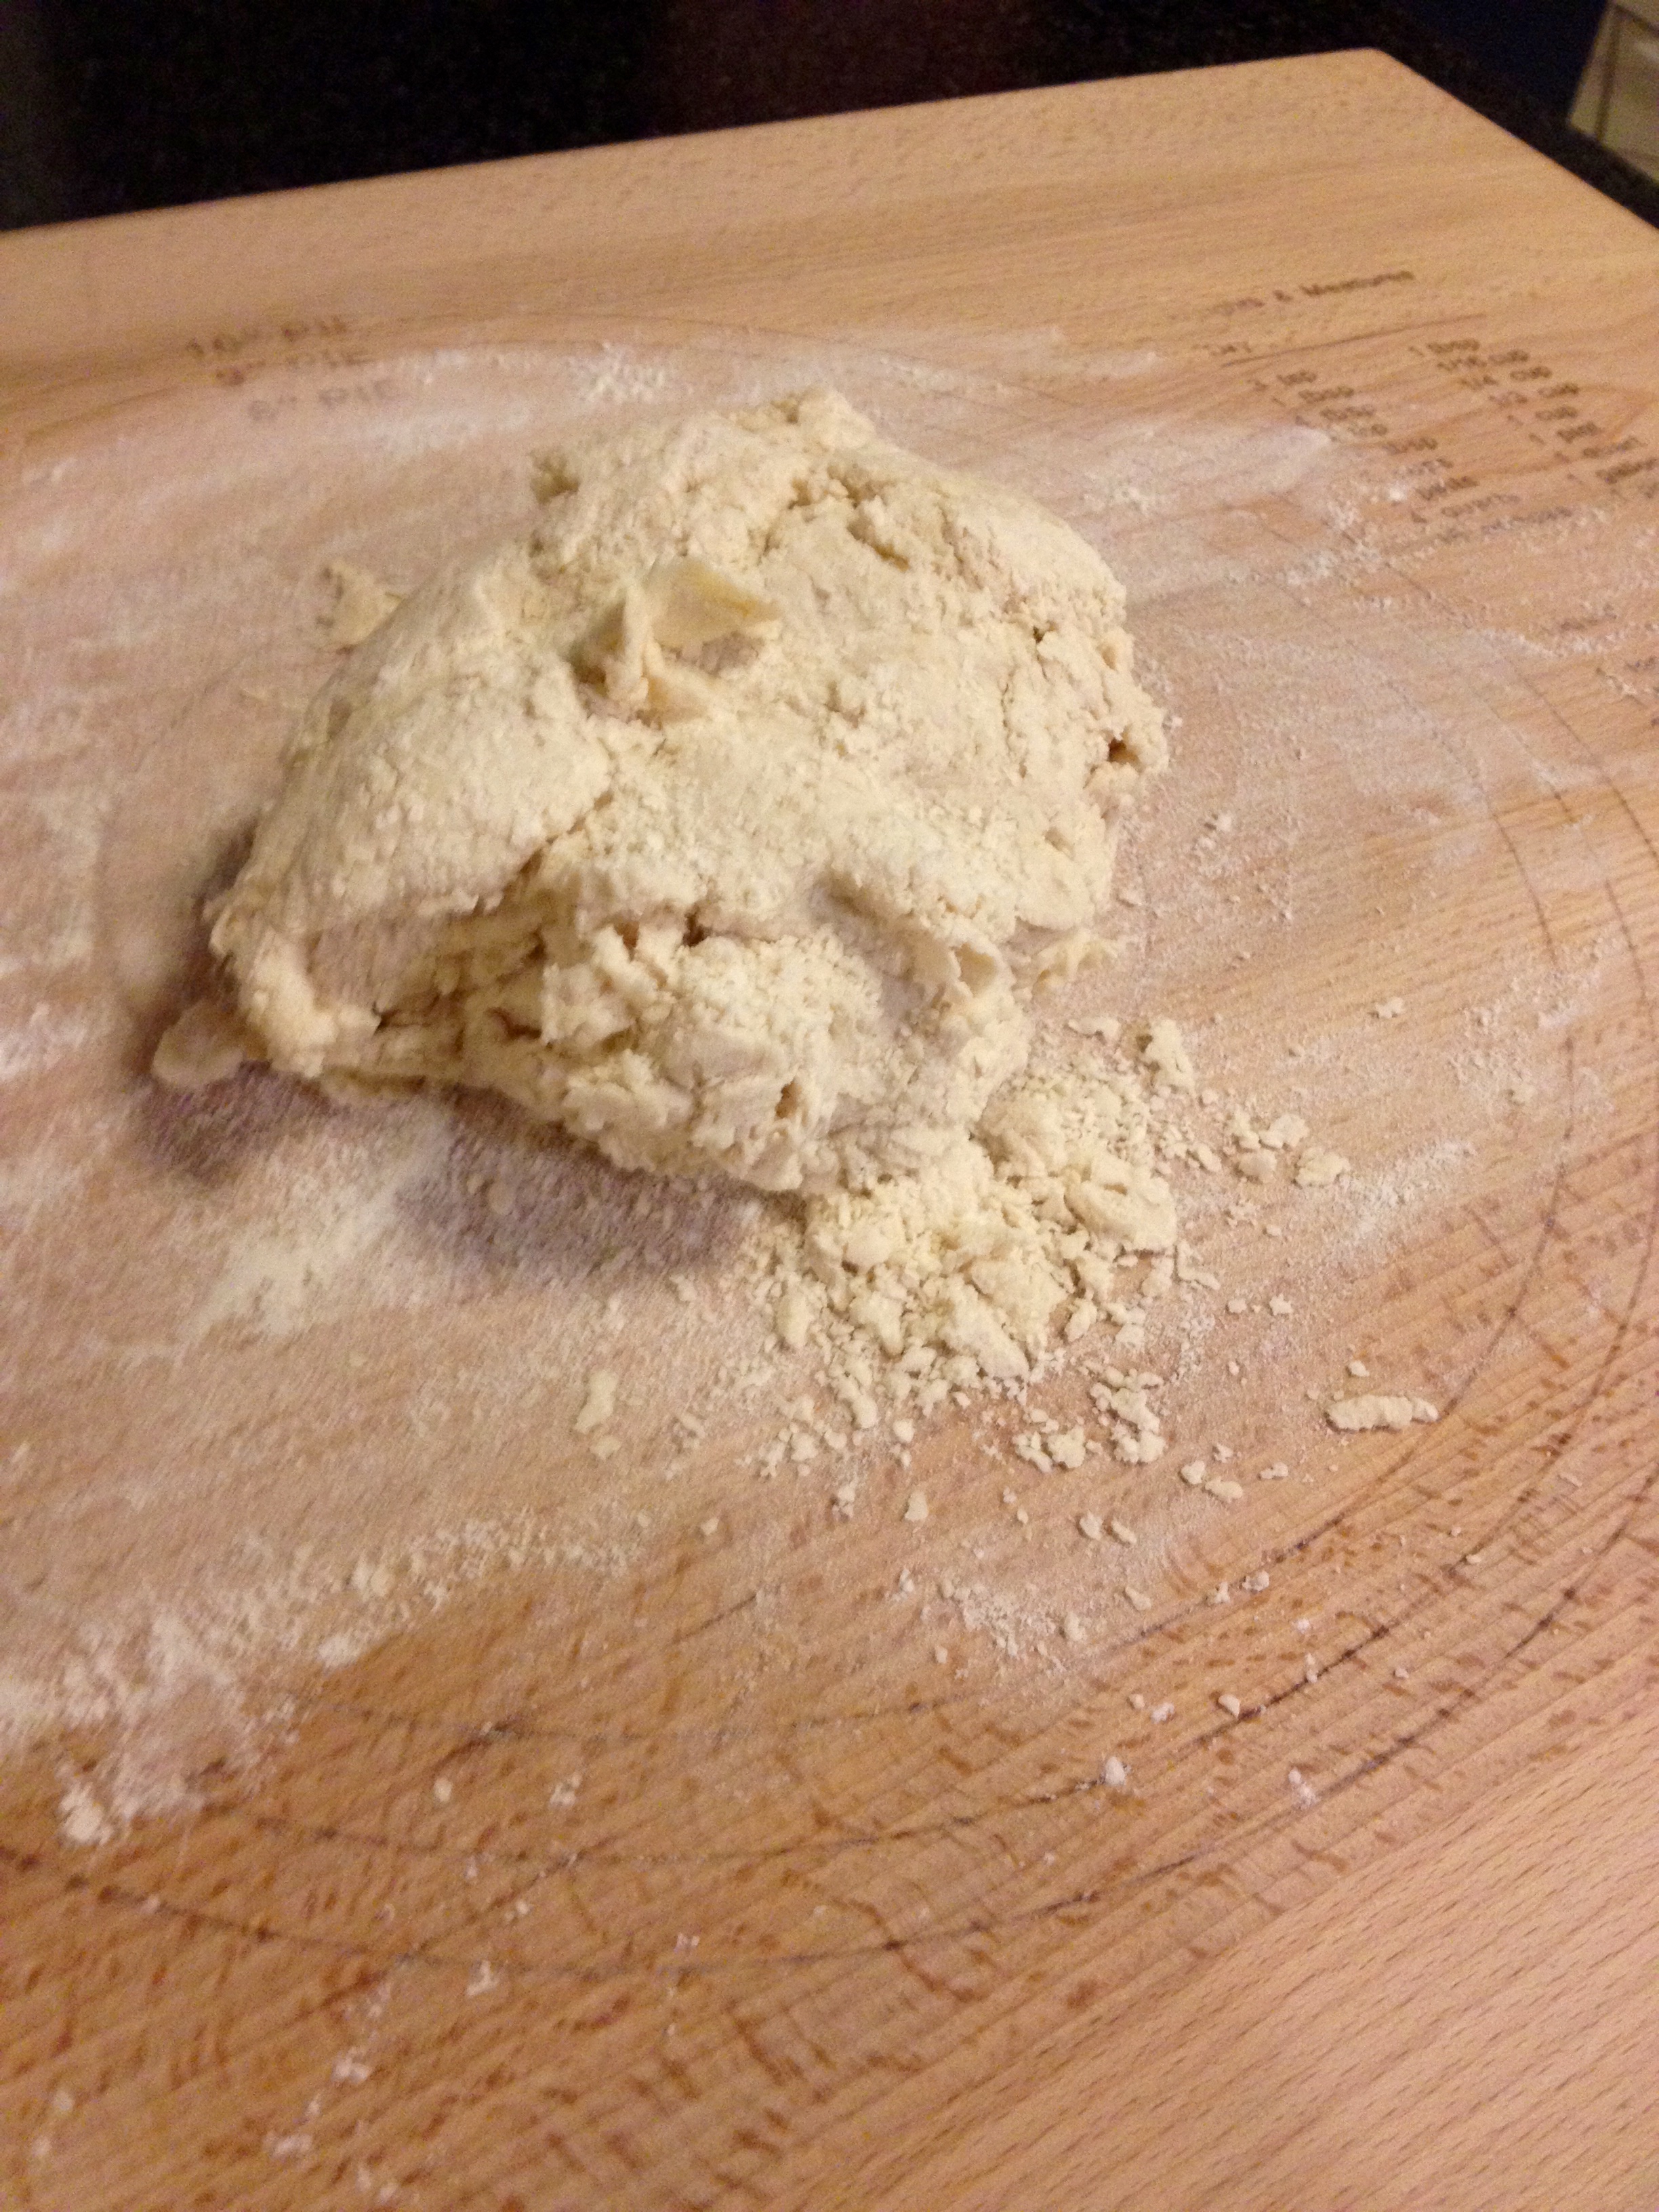
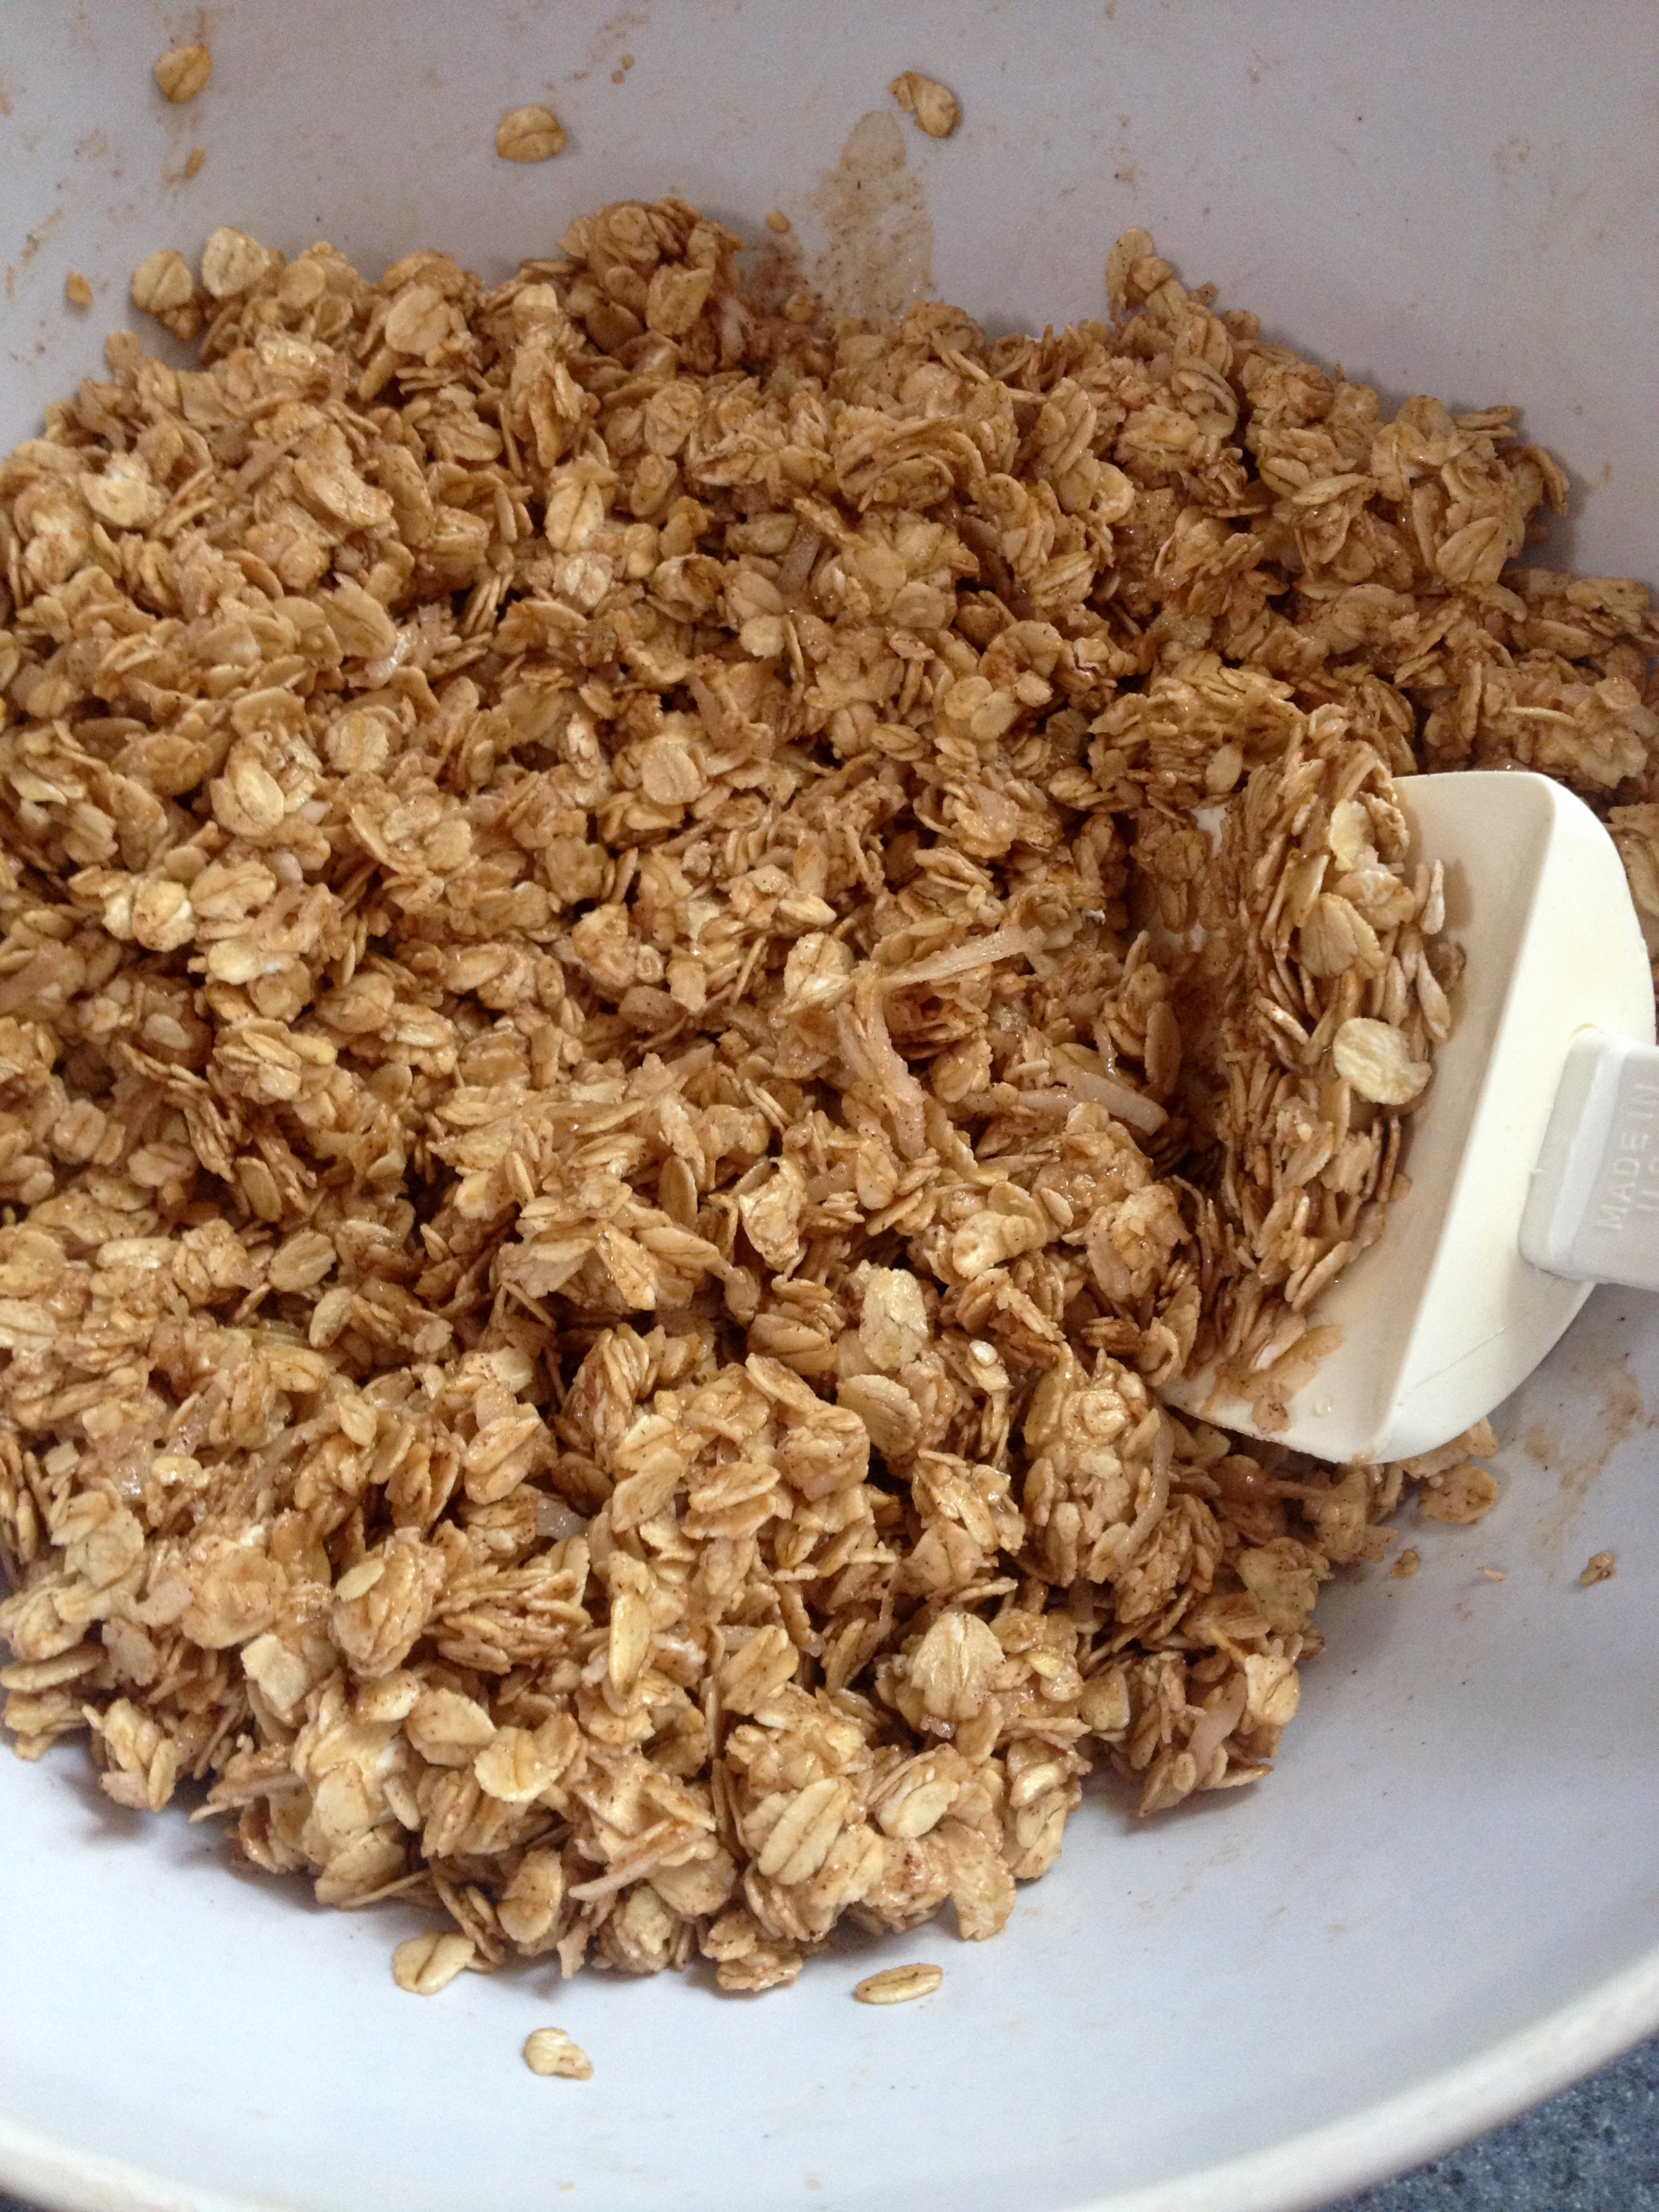
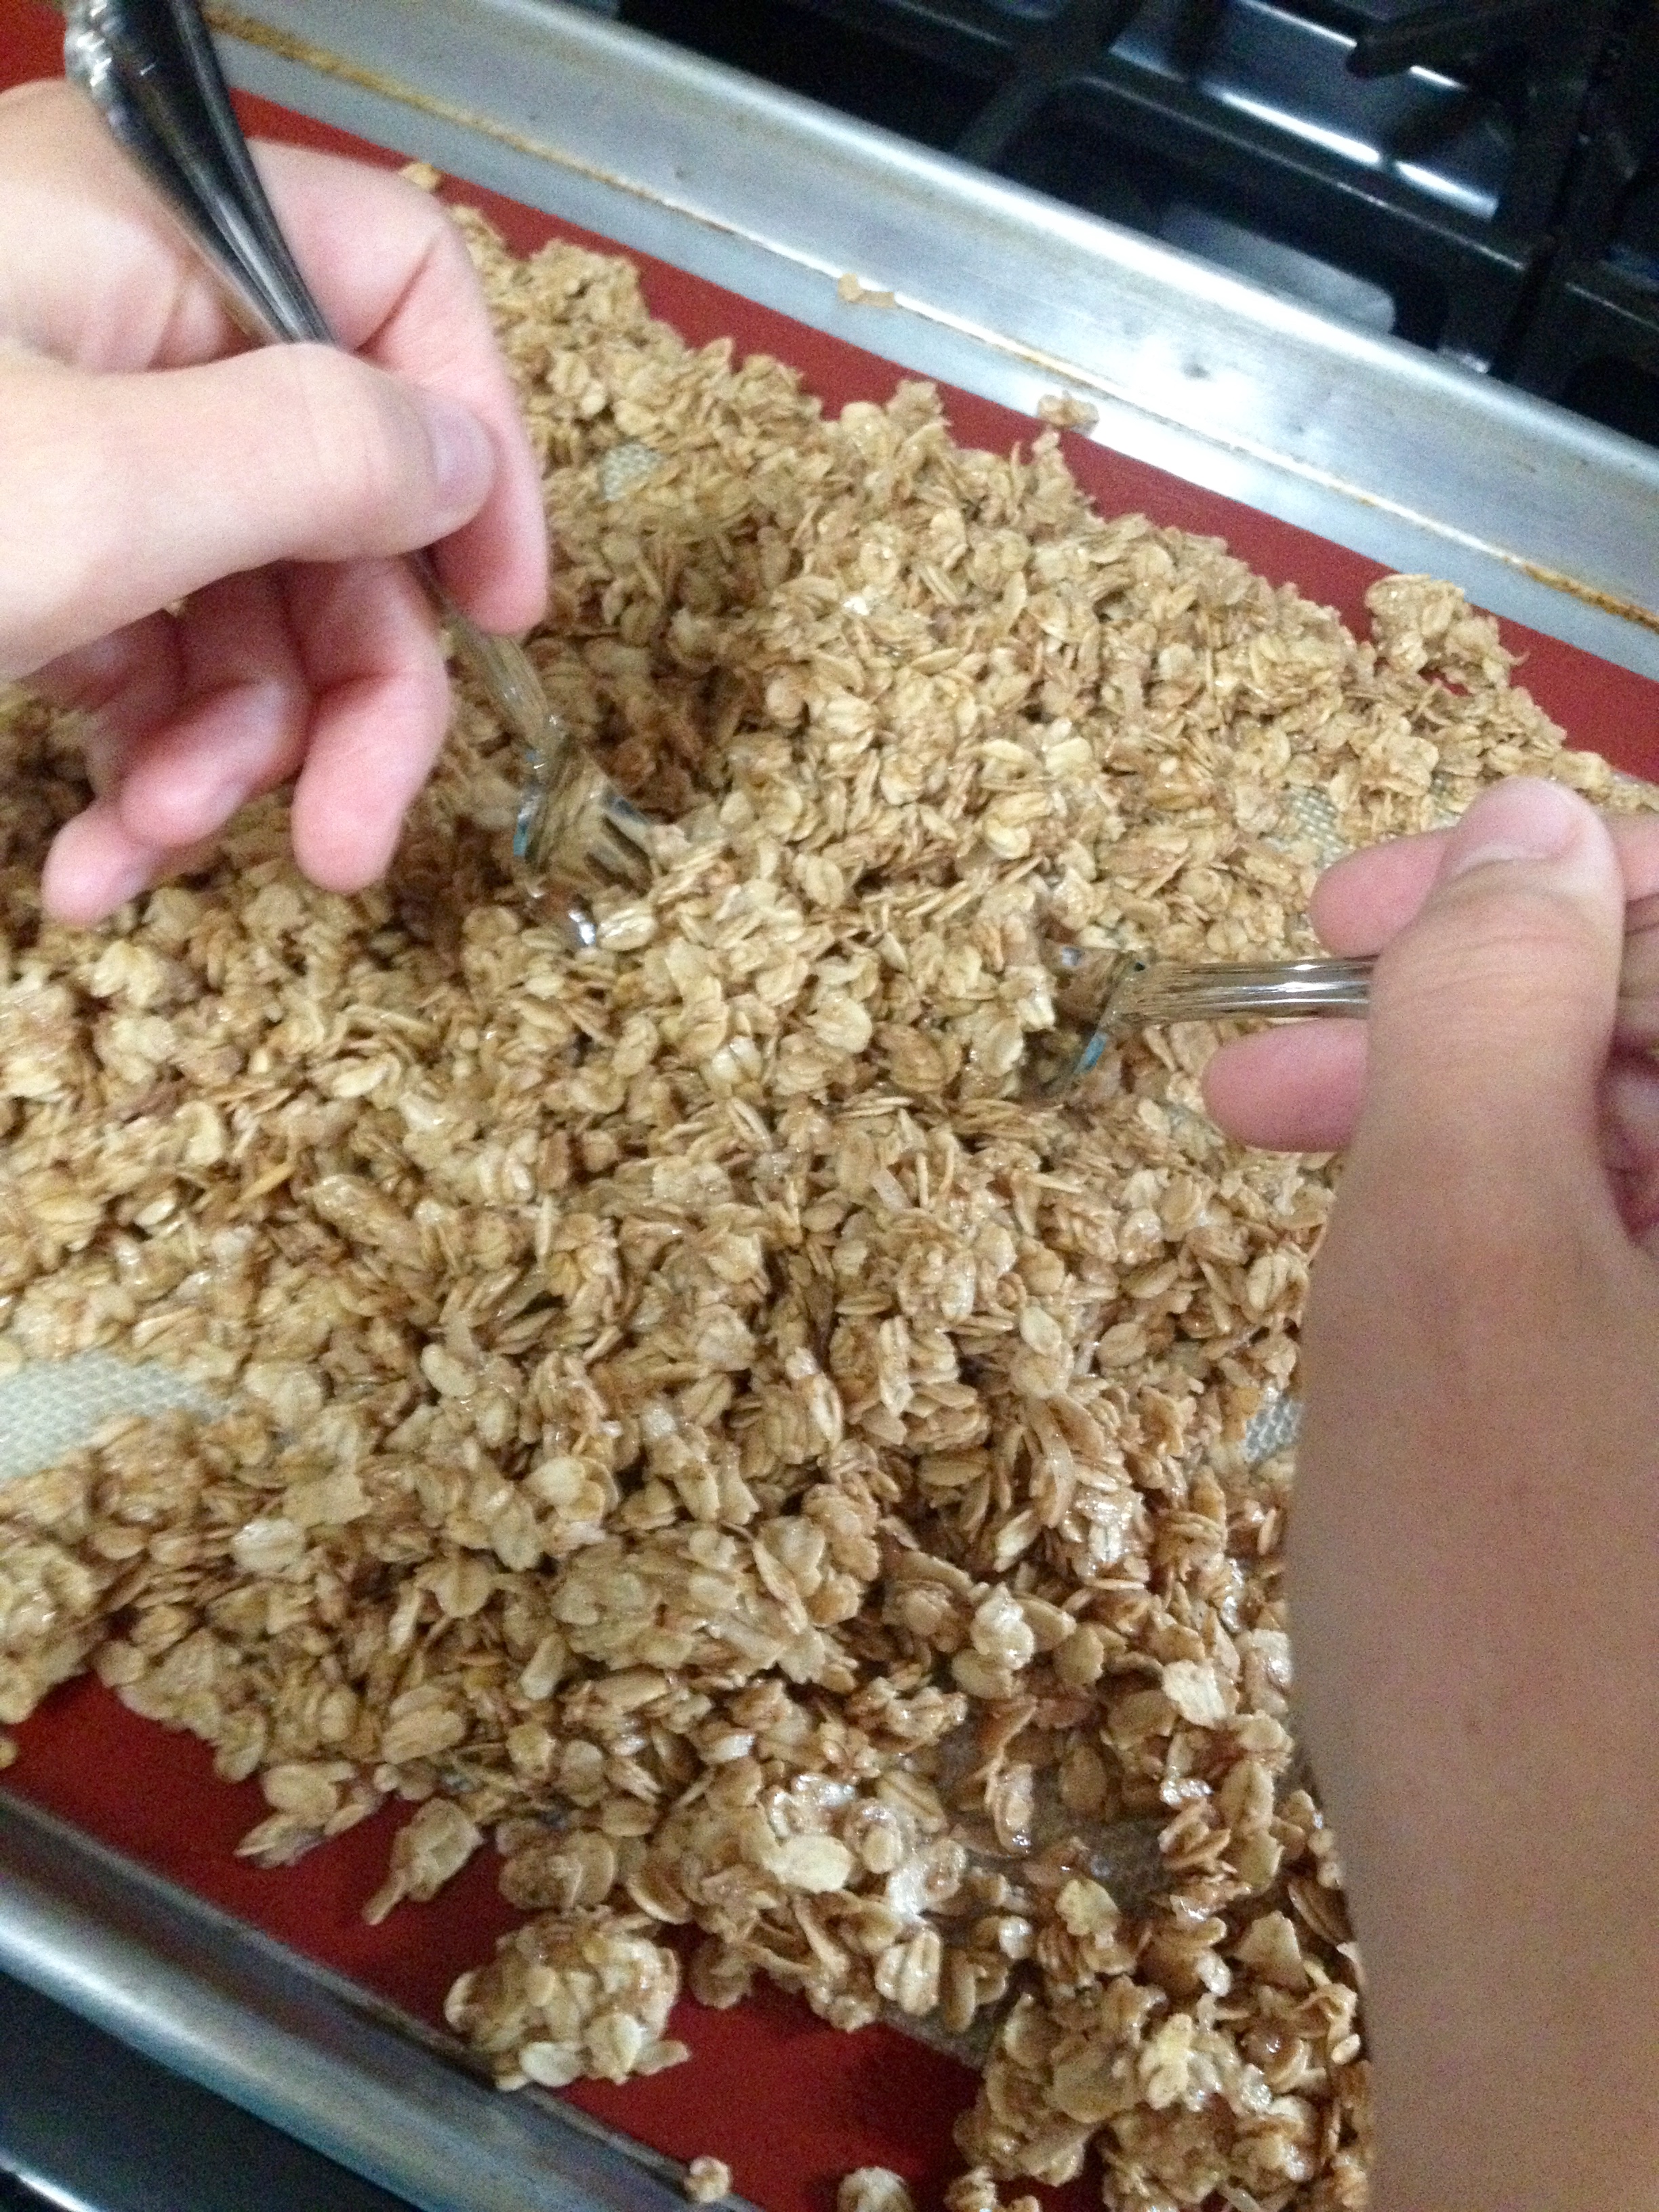
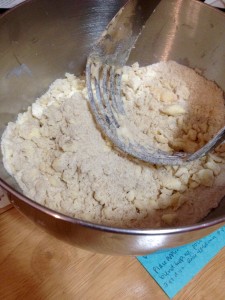
Using a pastry cutter, combine the rest of the ingredients to make the topping mixture. The pastry cutter will help ensure that you get small chunks of butter evenly mixed in with the topping, which will melt in the oven and create a delicious topping.
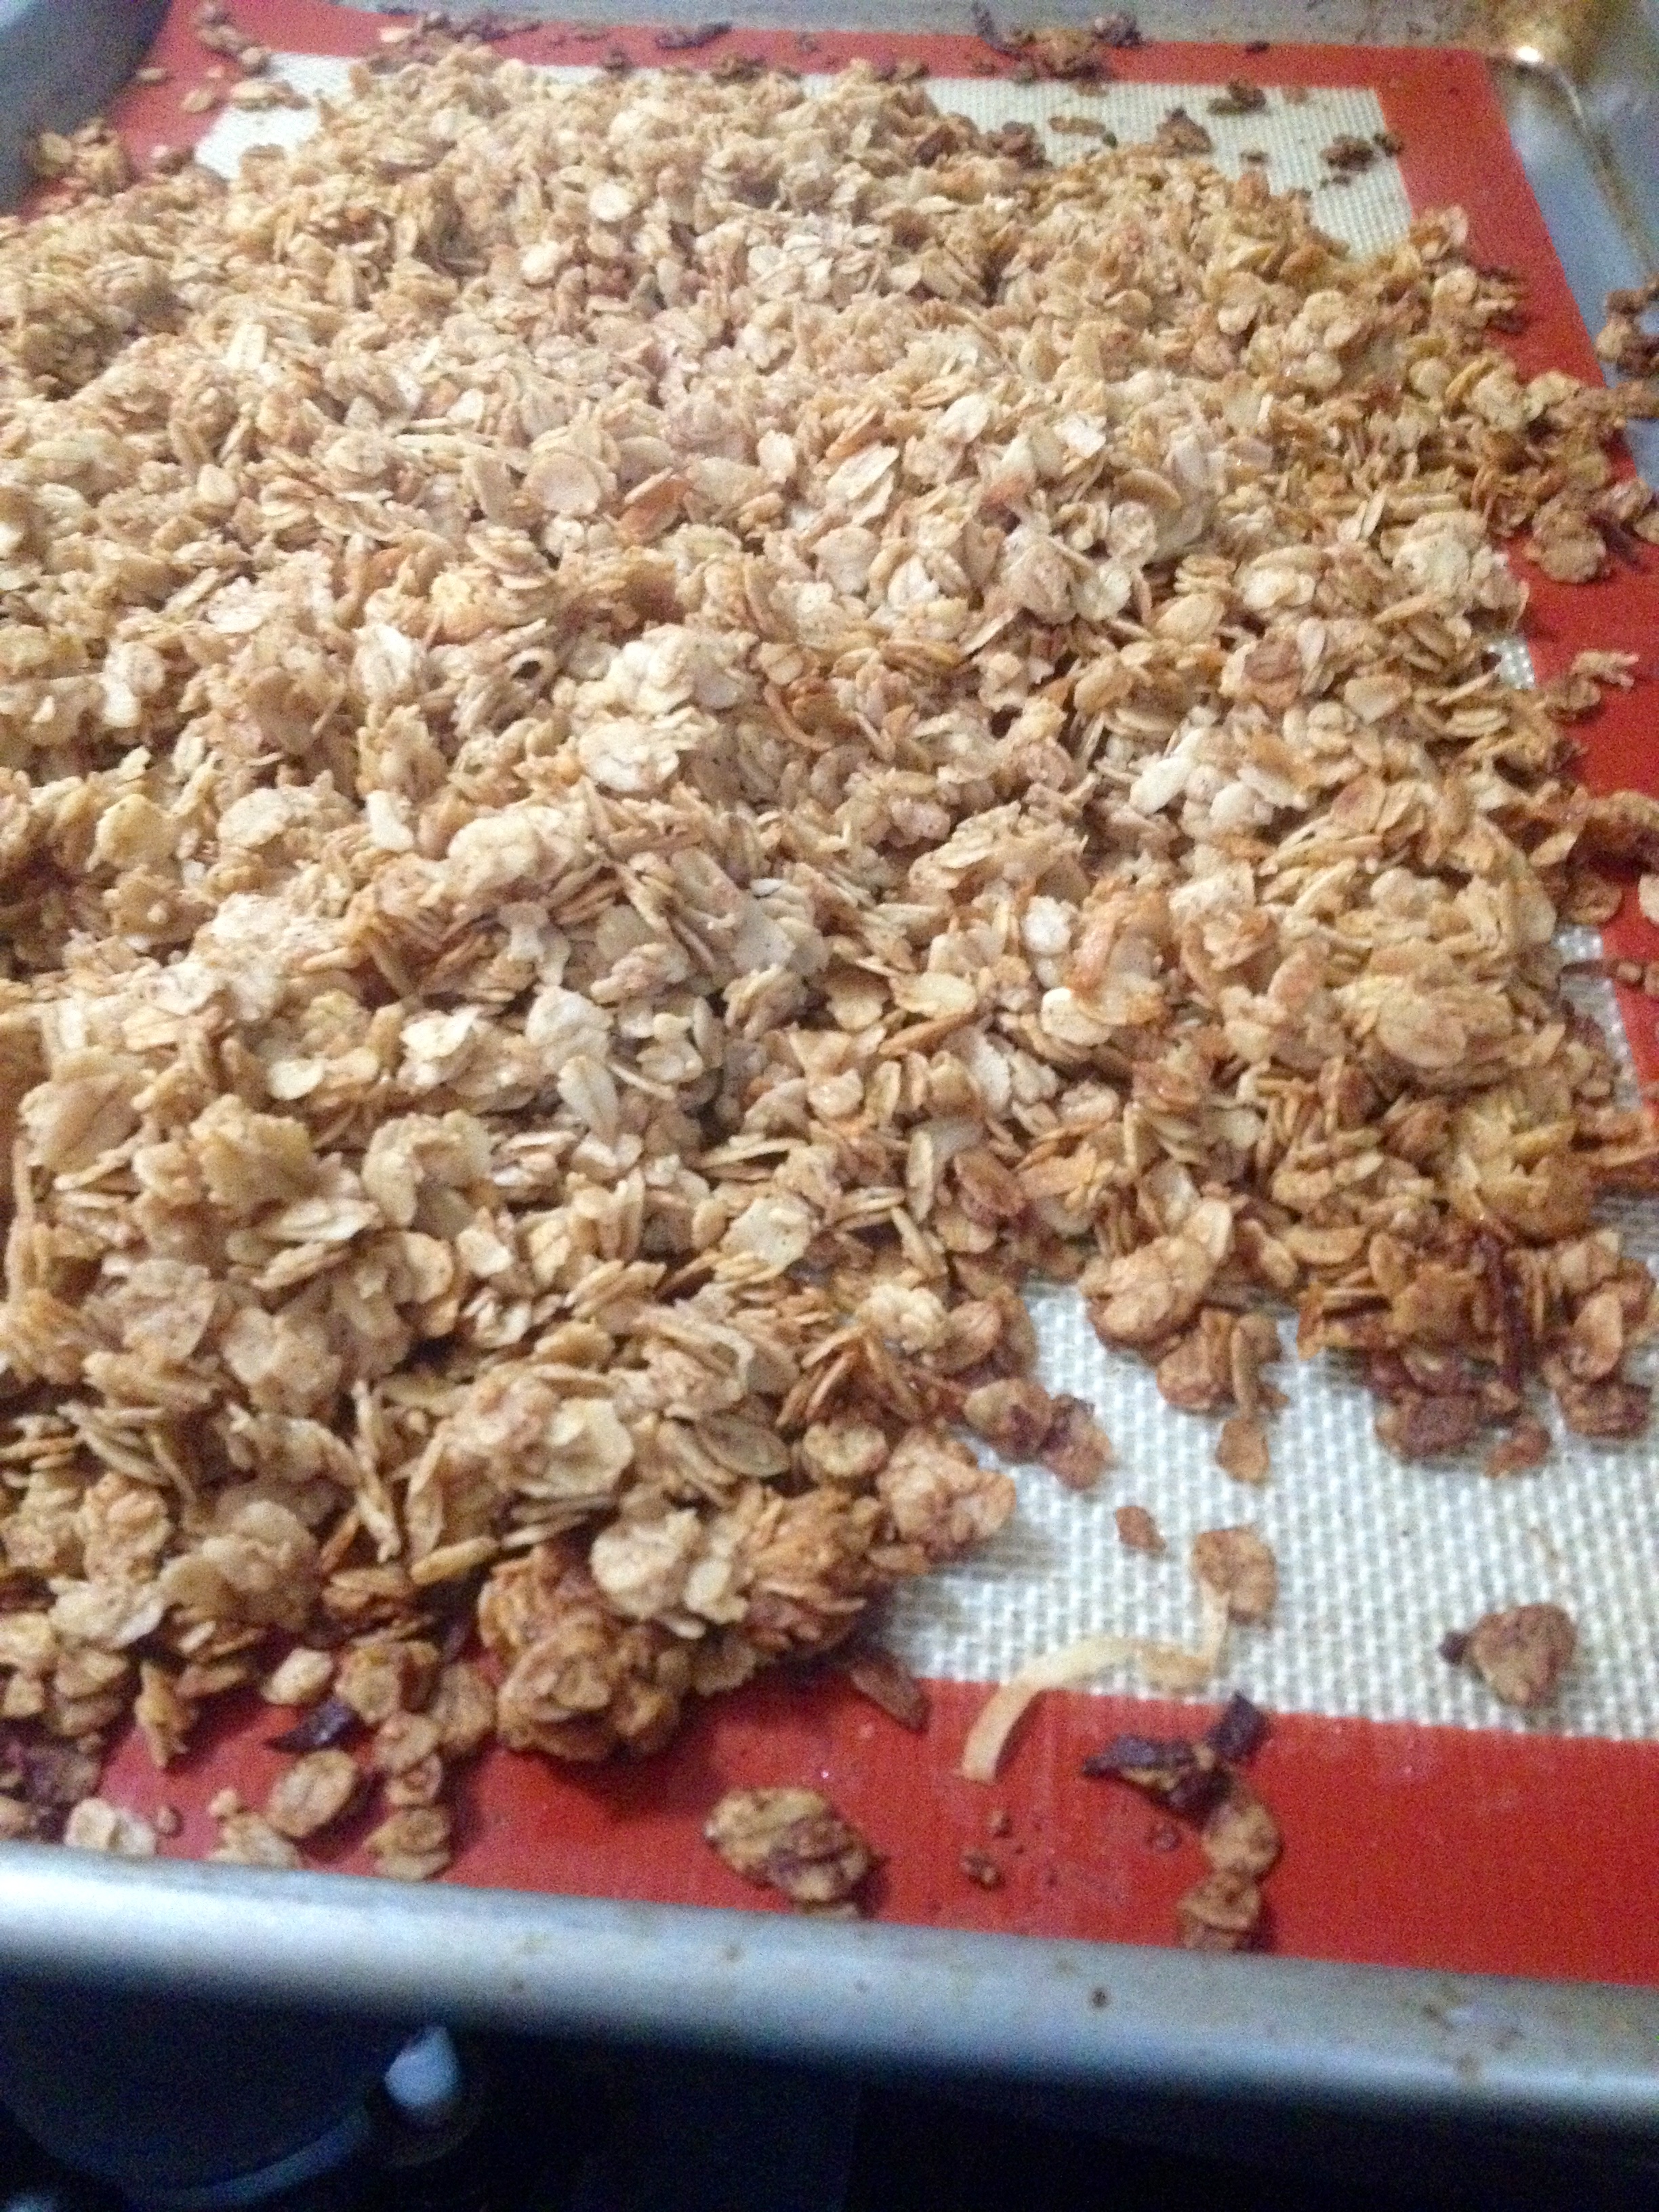
Sprinkle the topping over the apples, and bake for 45-60 minutes or until the topping is golden brown.
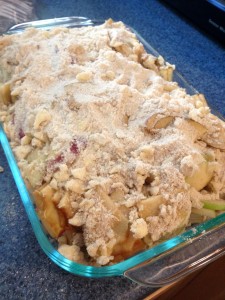

Serve the crisp with ice cream or whipped cream, and enjoy!
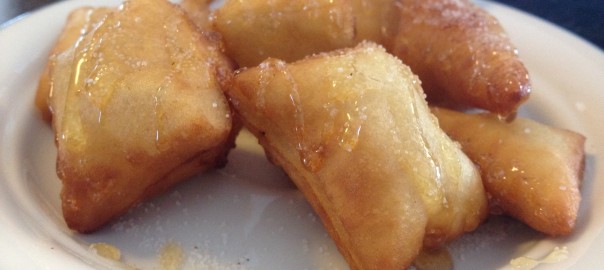
Next up, I tried my hand at making apple cider donuts. The farm stand where we go for apple picking always serves yummy apple cider donuts sprinkled with cinnamon and sugar, so it was a bit of a competition to see if I could make my donuts at least as good as the farm stand donuts. I’m happy to say they turned out to be delicious- I’m probably biased, but I actually preferred them over the farm stand donuts. Here’s the recipe:
Ingredients:
- 2 cups flour
- 1/2 cup granulated sugar
- 1/4 cup brown sugar
- 3/4 tsp ground cinnamon
- 2 tsp baking powder
- 1 tsp salt
- 1/4 tsp cardamom
- ground ginger to taste (I used ~1/8 tsp)
- 1/2 cup apple cider
- 1/4 cup milk
- 2 eggs, beaten
- 1 tsp vanilla
- 1 tbsp butter, melted
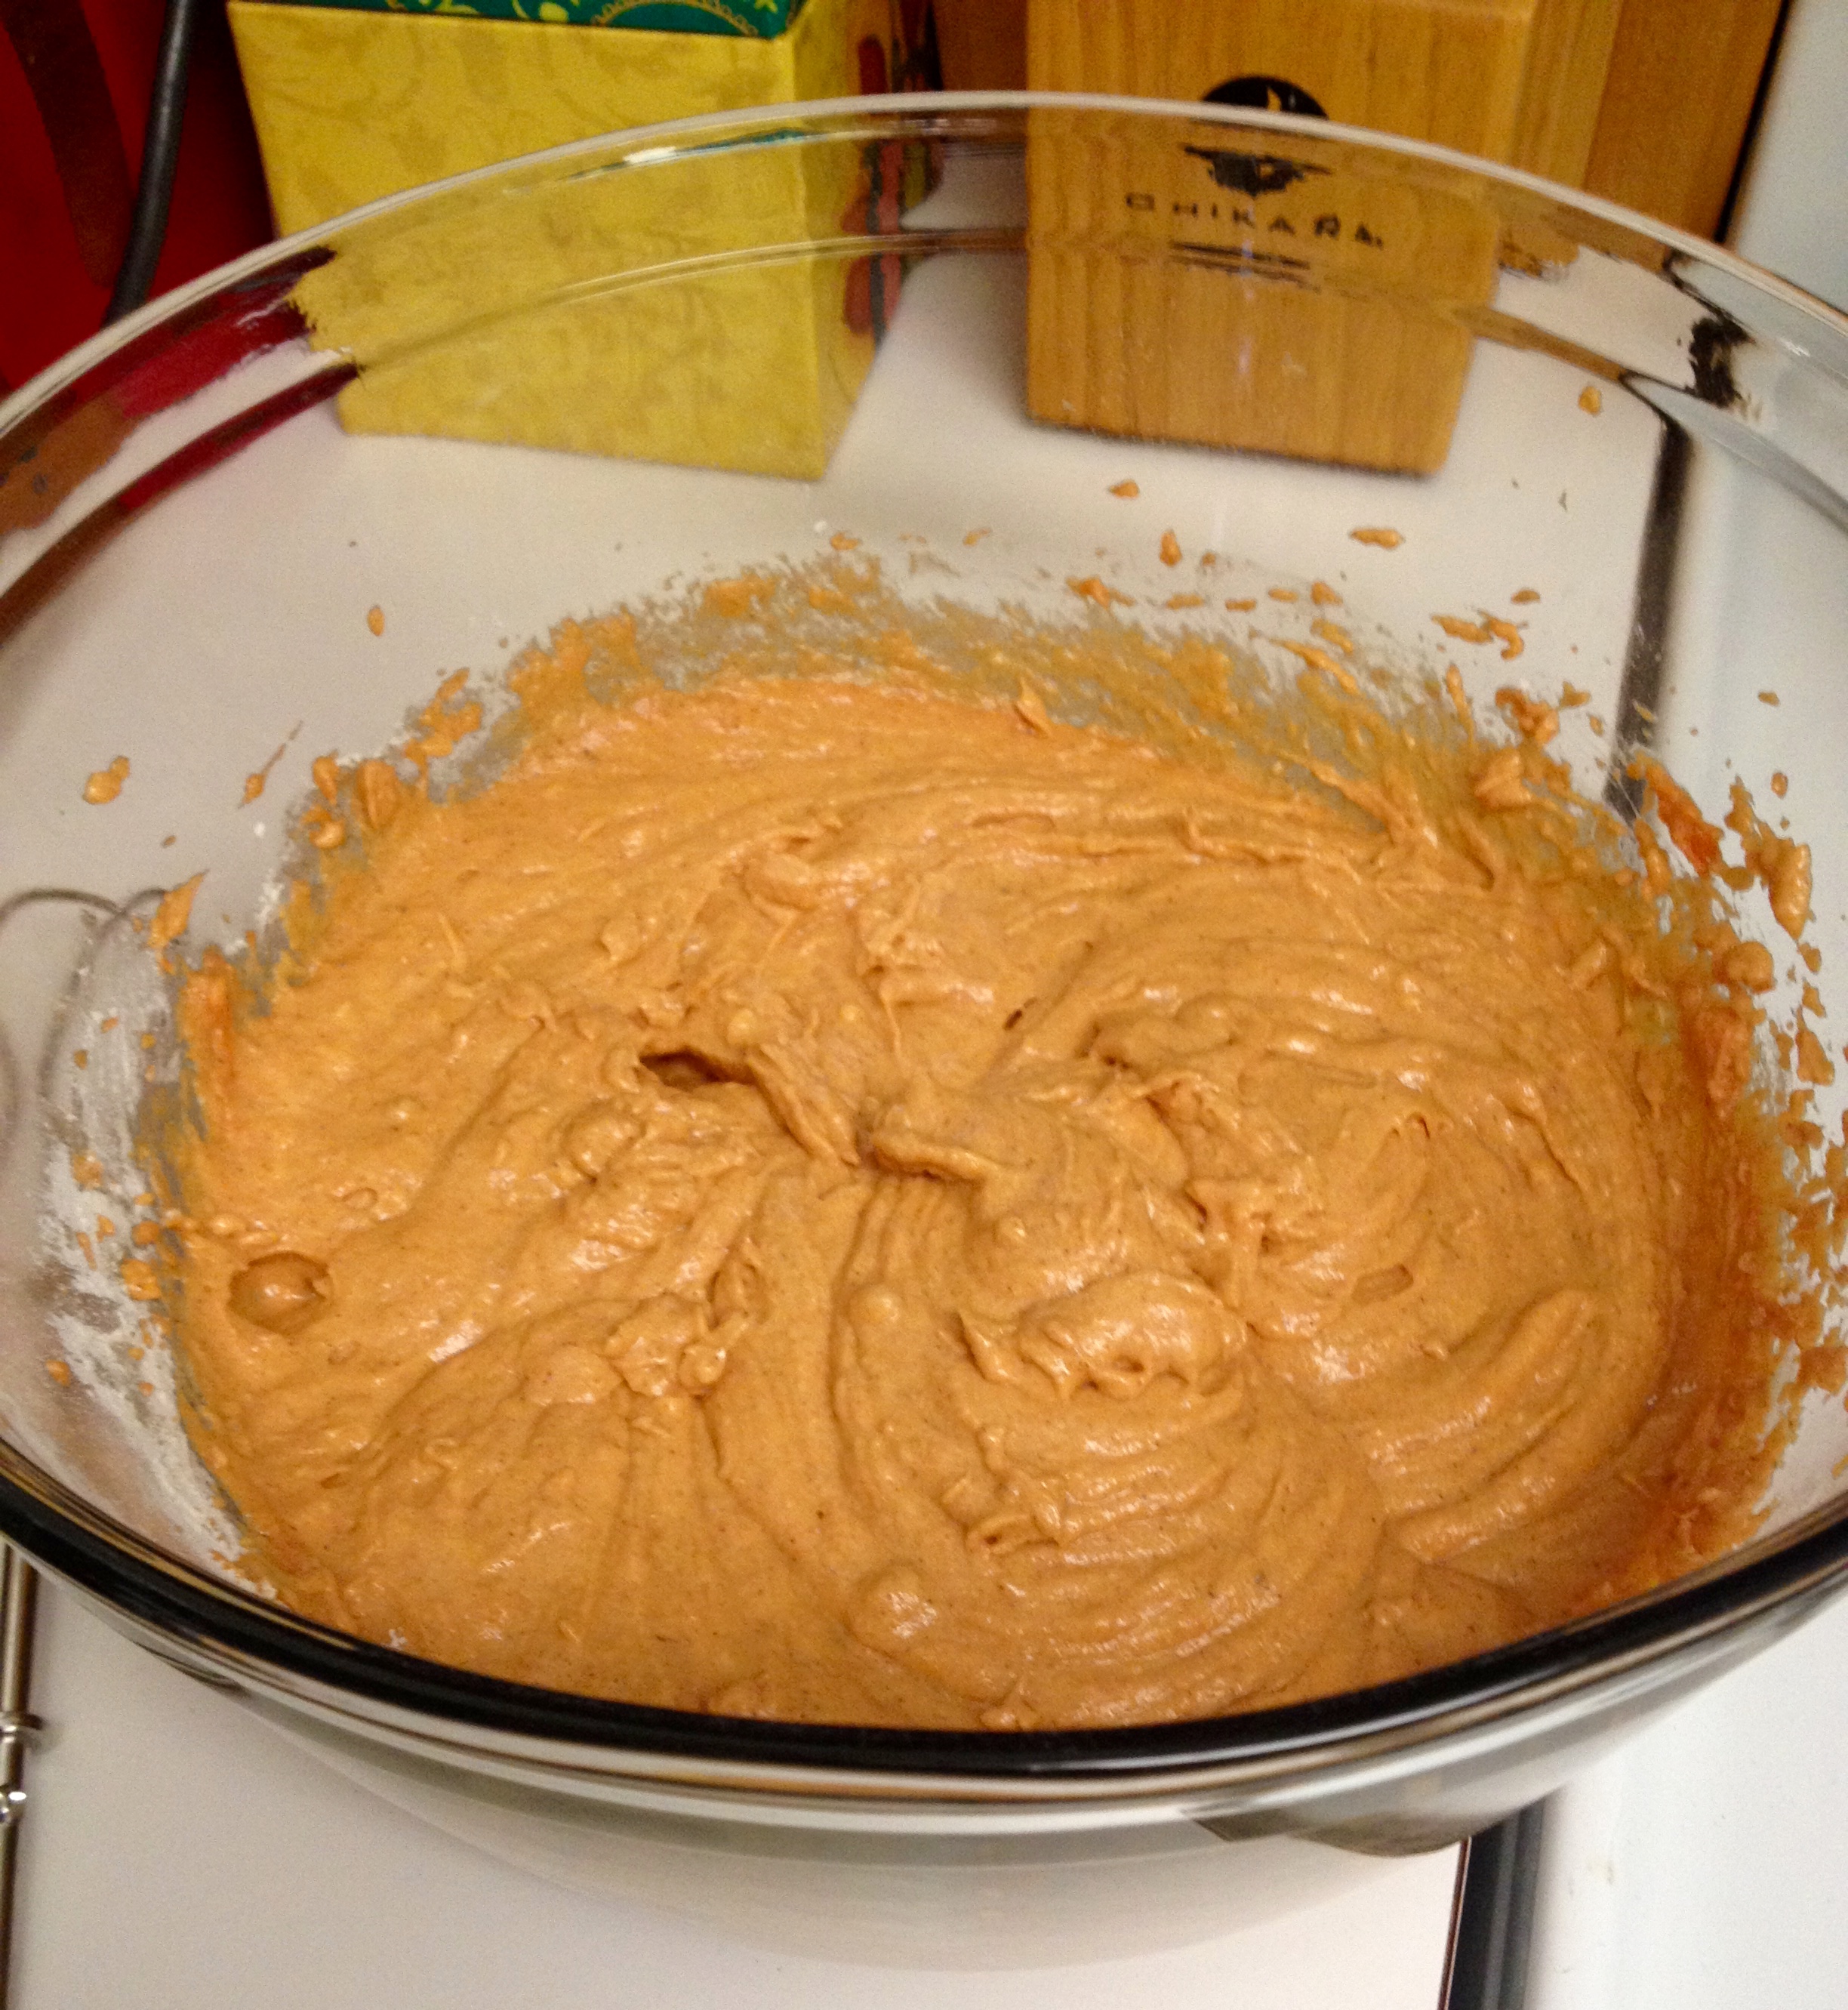
Preheat the oven to 325°F and grease your donut pan. Combine the dry ingredients in a large bowl. Then, add the wet ingredients and mix with a hand mixer until fully combined.
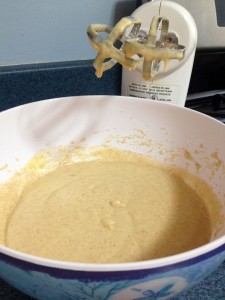
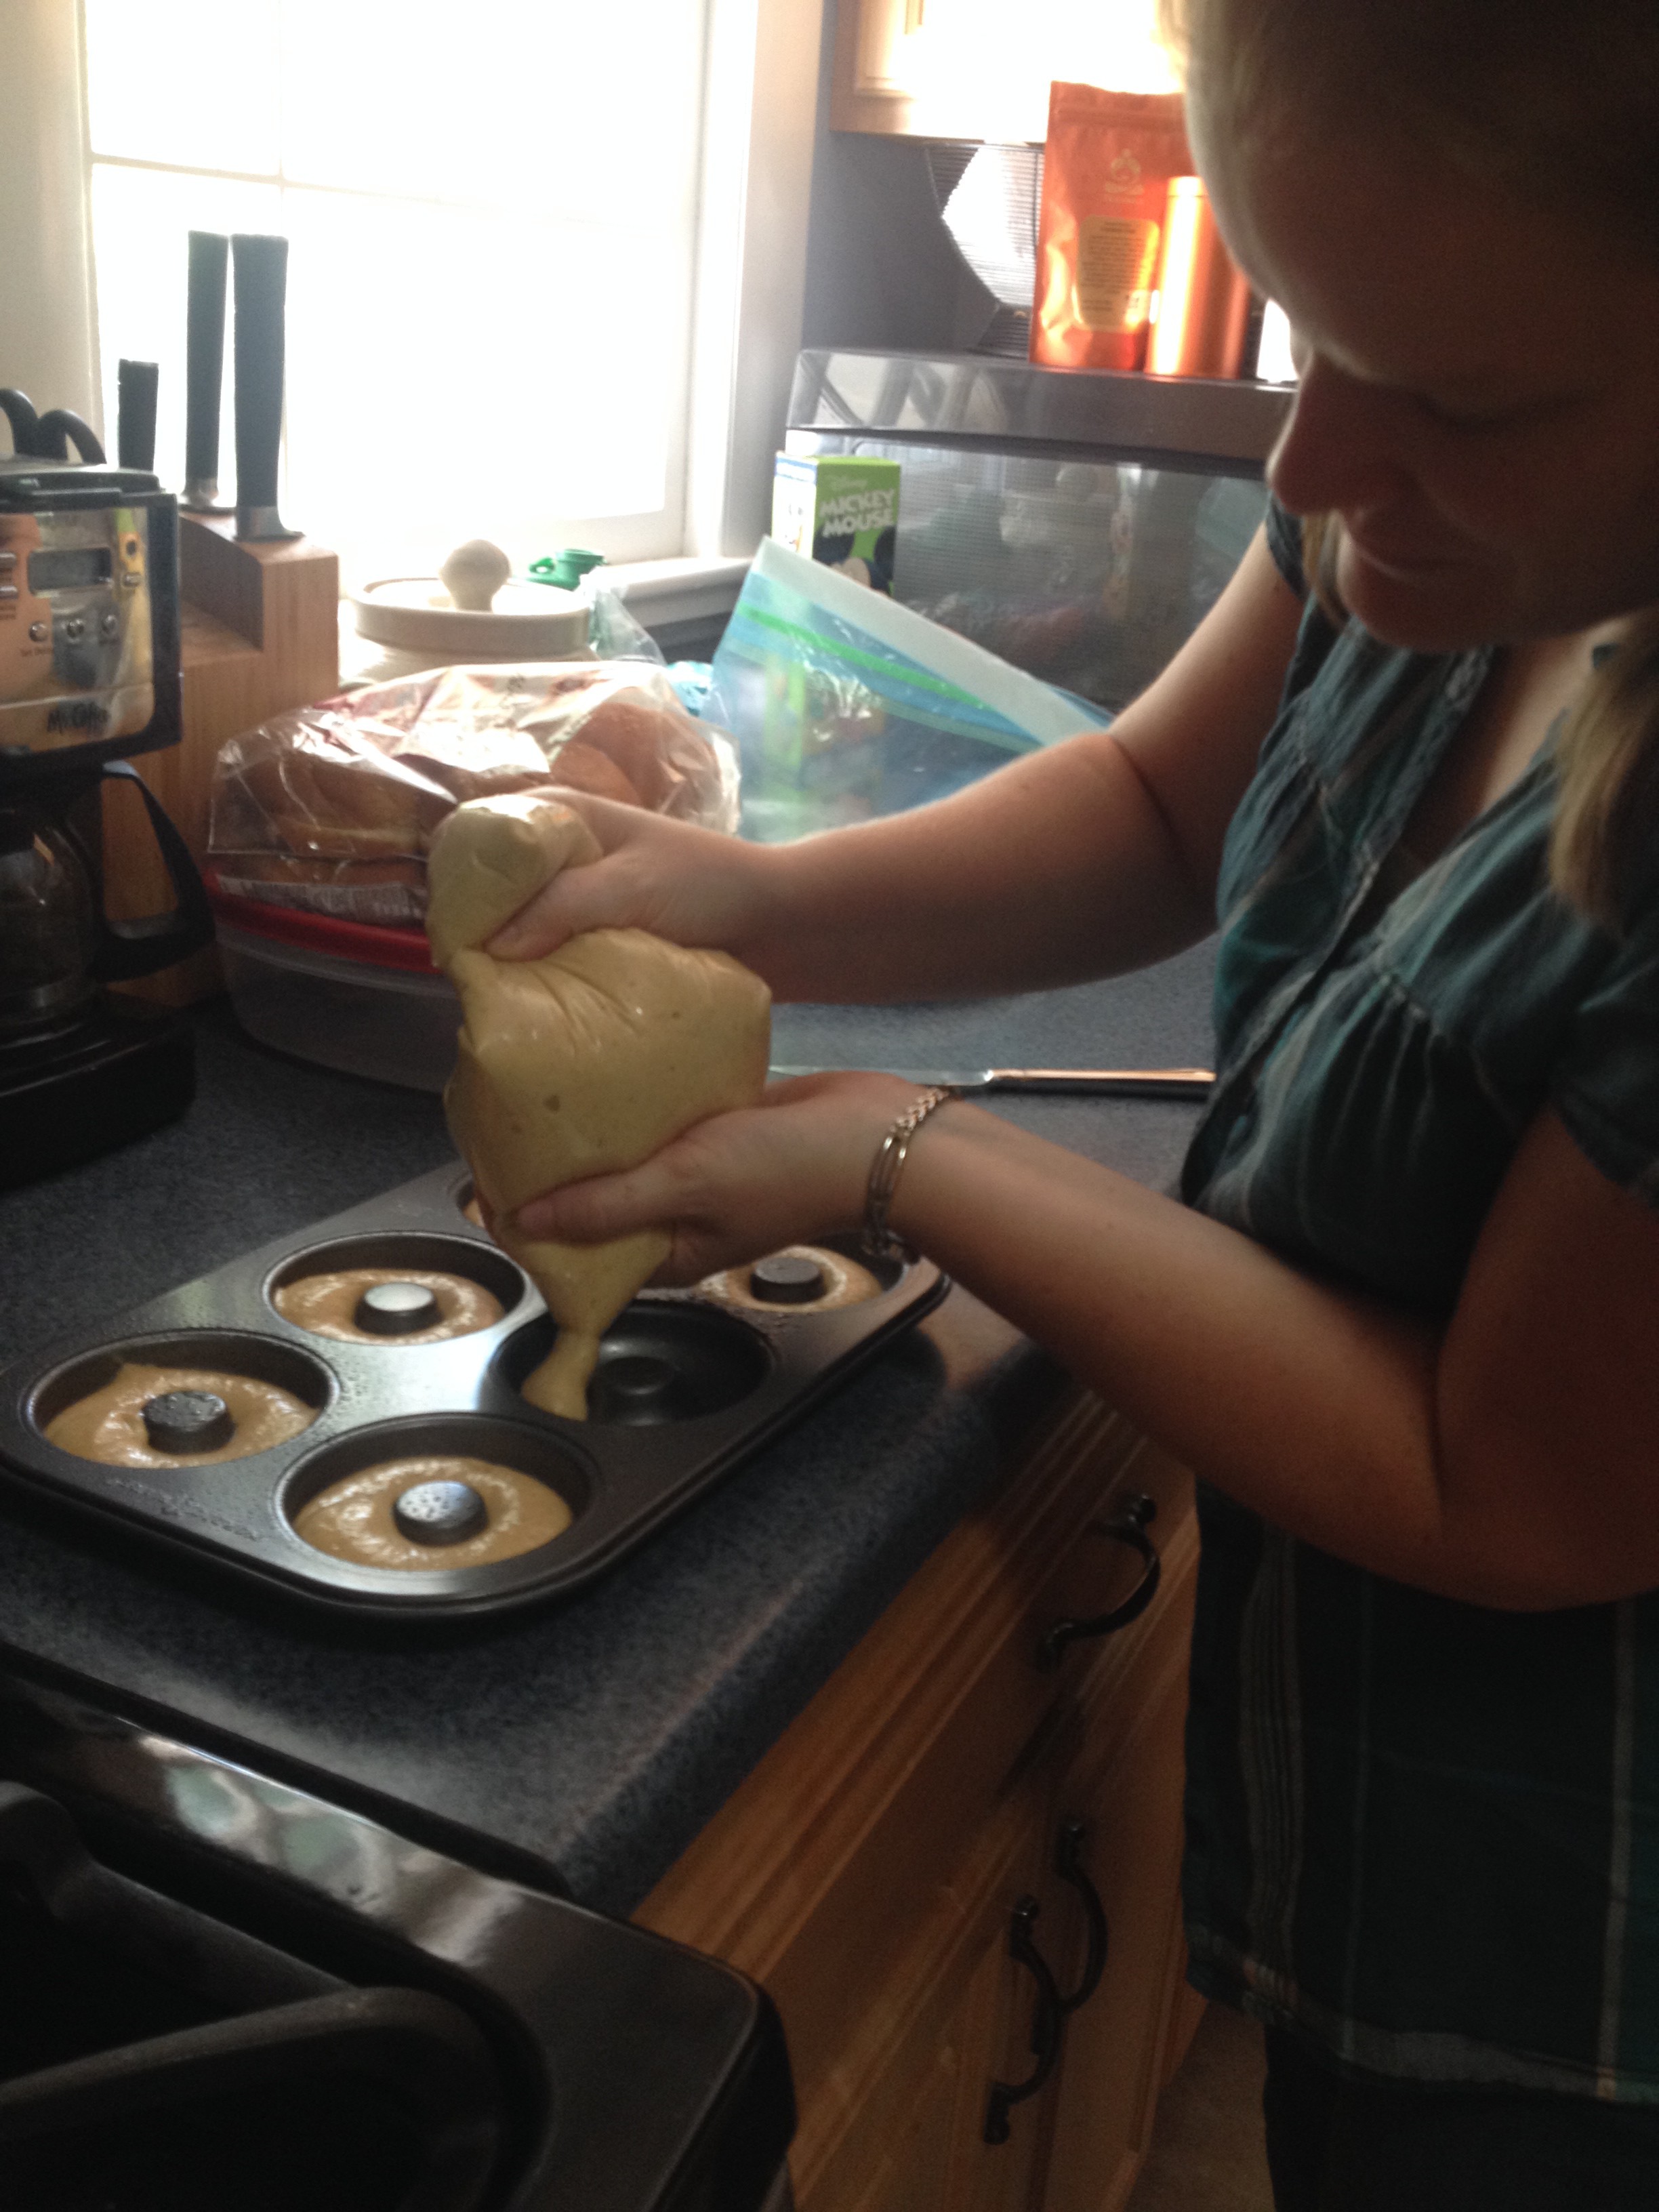
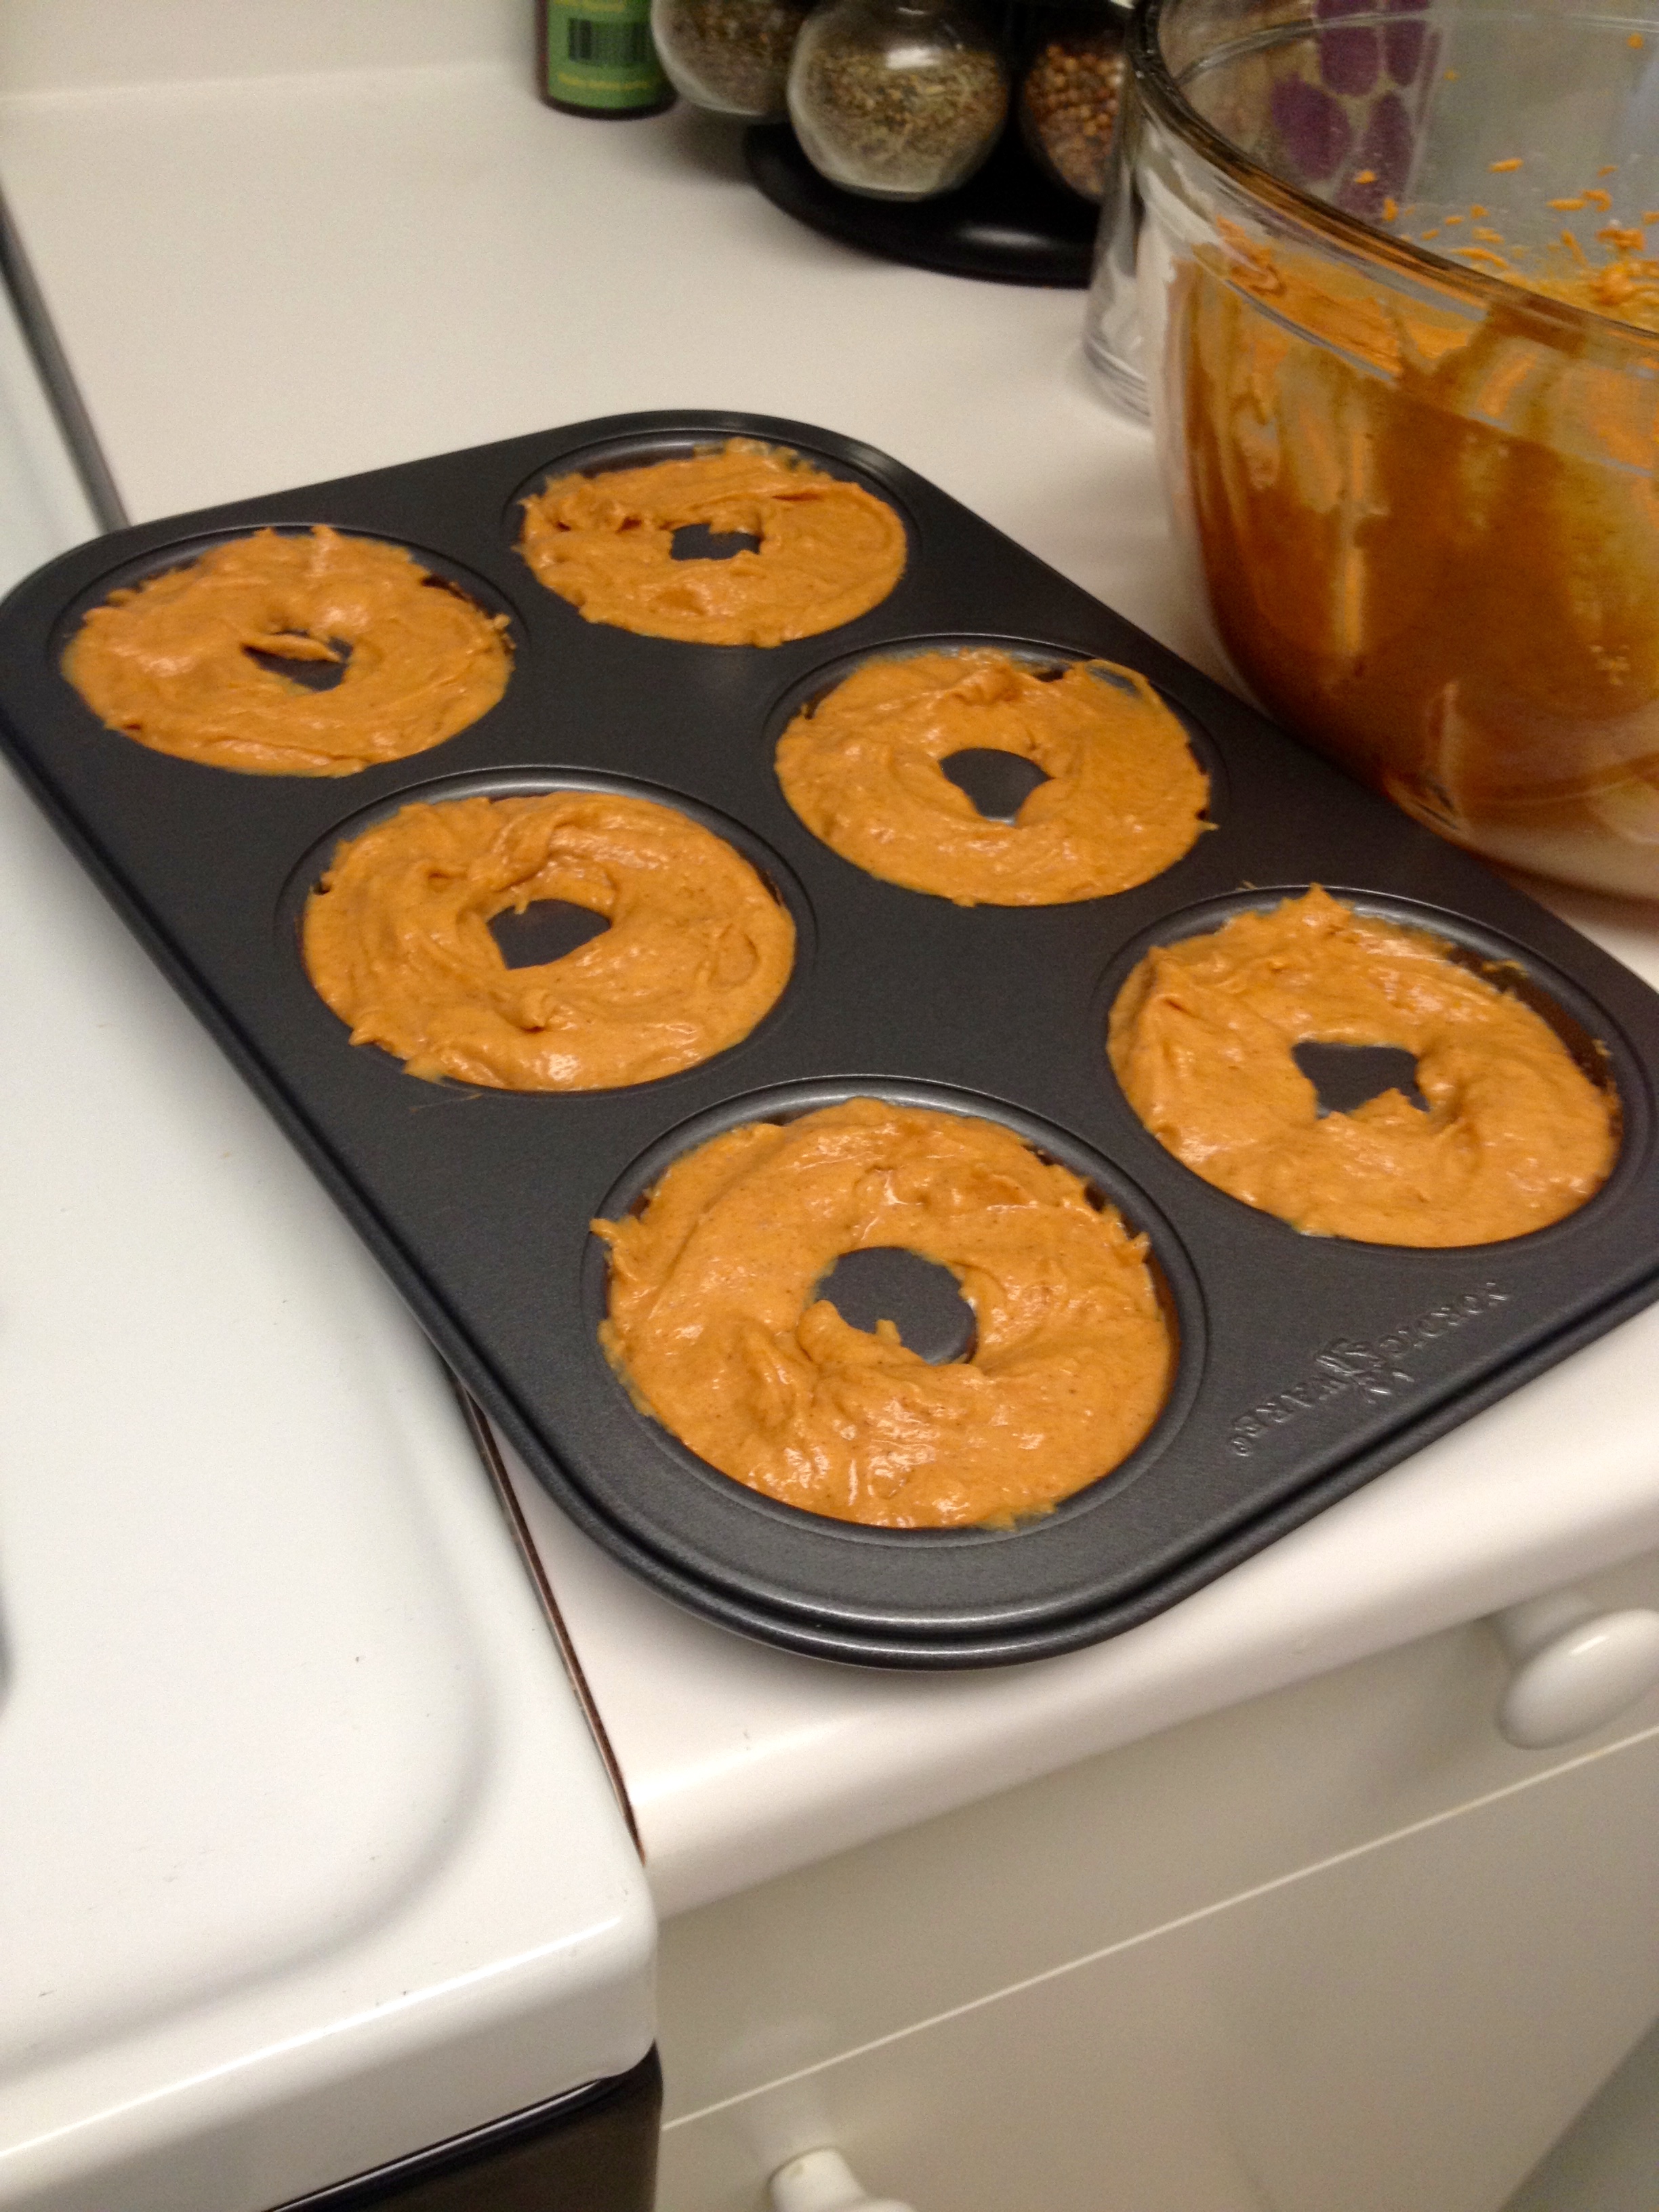
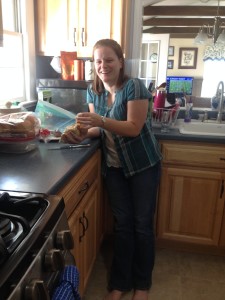
I learned from my previous experience making donuts that it’s easier to pipe the batter into the donut pan to get more even-sized donuts, so my sister was in charge of piping batter into the donut pan.

She was also in charge of holding the bag of batter while the donuts cooked!
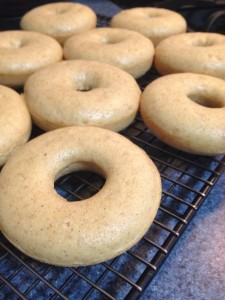
Bake for ~10 minutes, or until a toothpick inserted in the donut comes out clean. Hint: The donuts stayed a fairly pale color, so don’t wait for them to get brown or else they’ll probably be very overcooked. Let the donuts cool in the pan for 3-5 minutes, then turn them out onto a cooling rack to finish cooling. These donuts were so good, even without topping. You could taste the cinnamon right off the bat, but then the cardamom came through after a few seconds, and during the whole bite, you had the warm spice from the ginger- all complementing the tart flavor of the apple cider. So good.
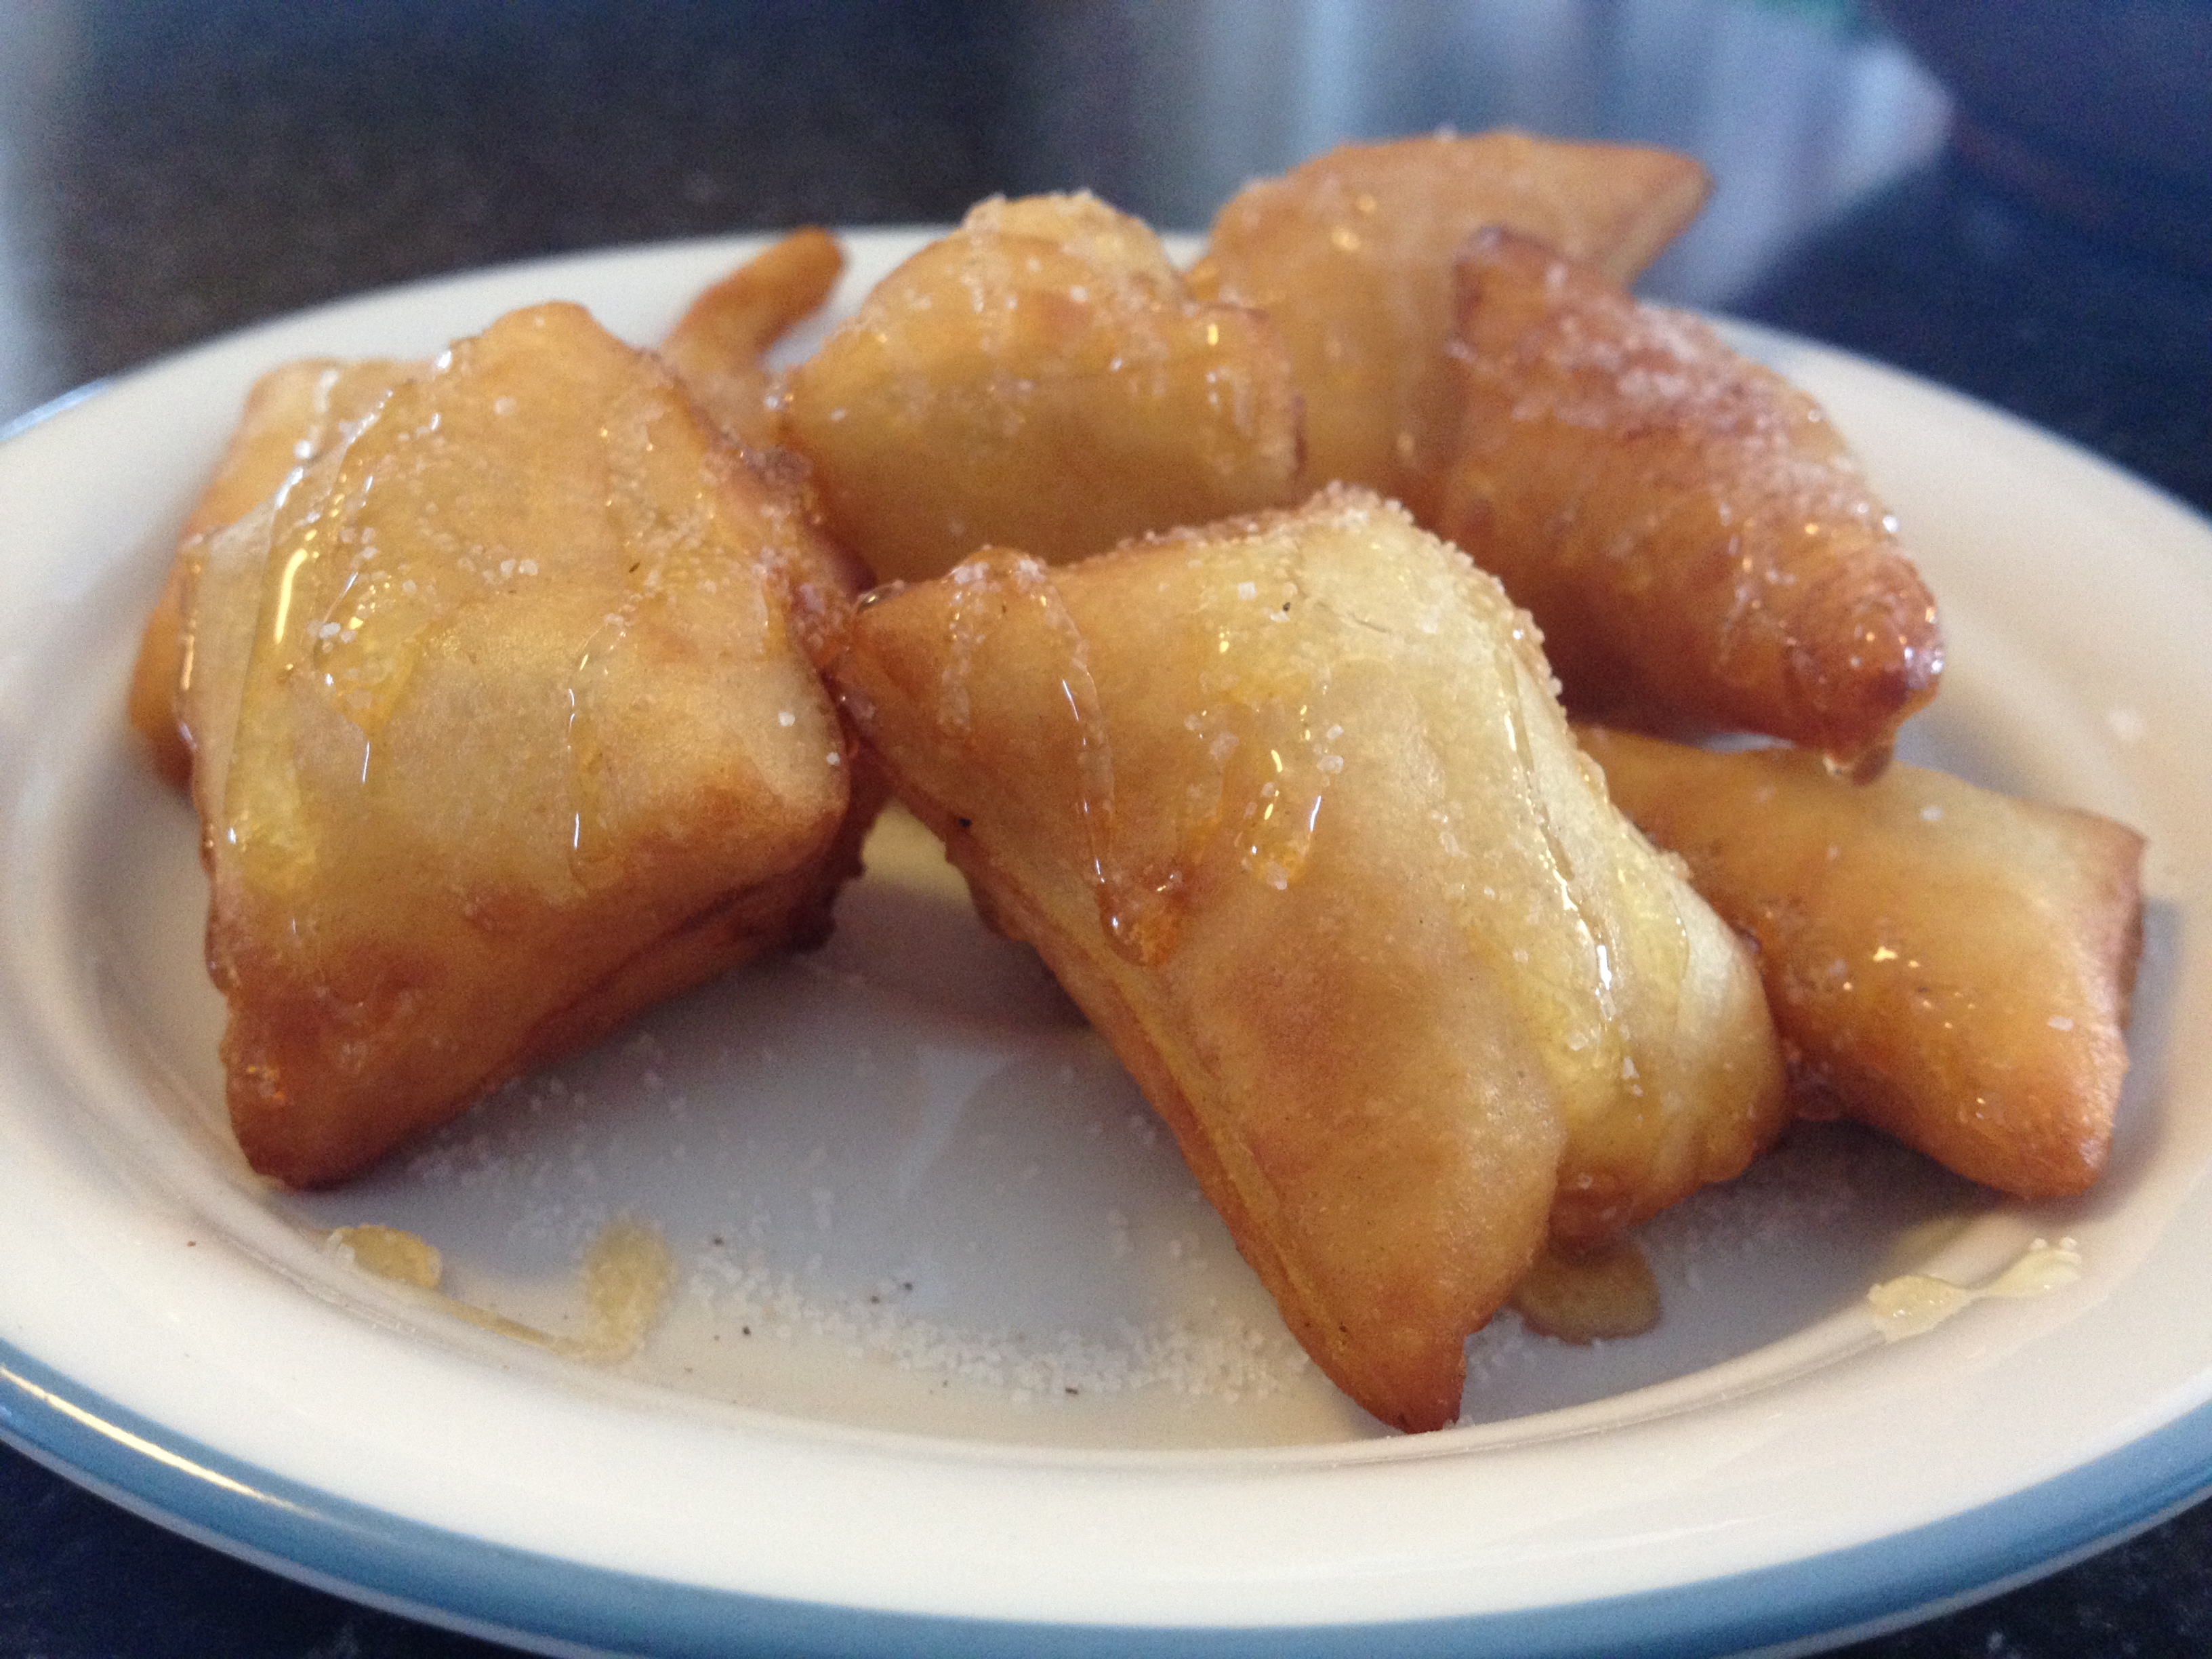
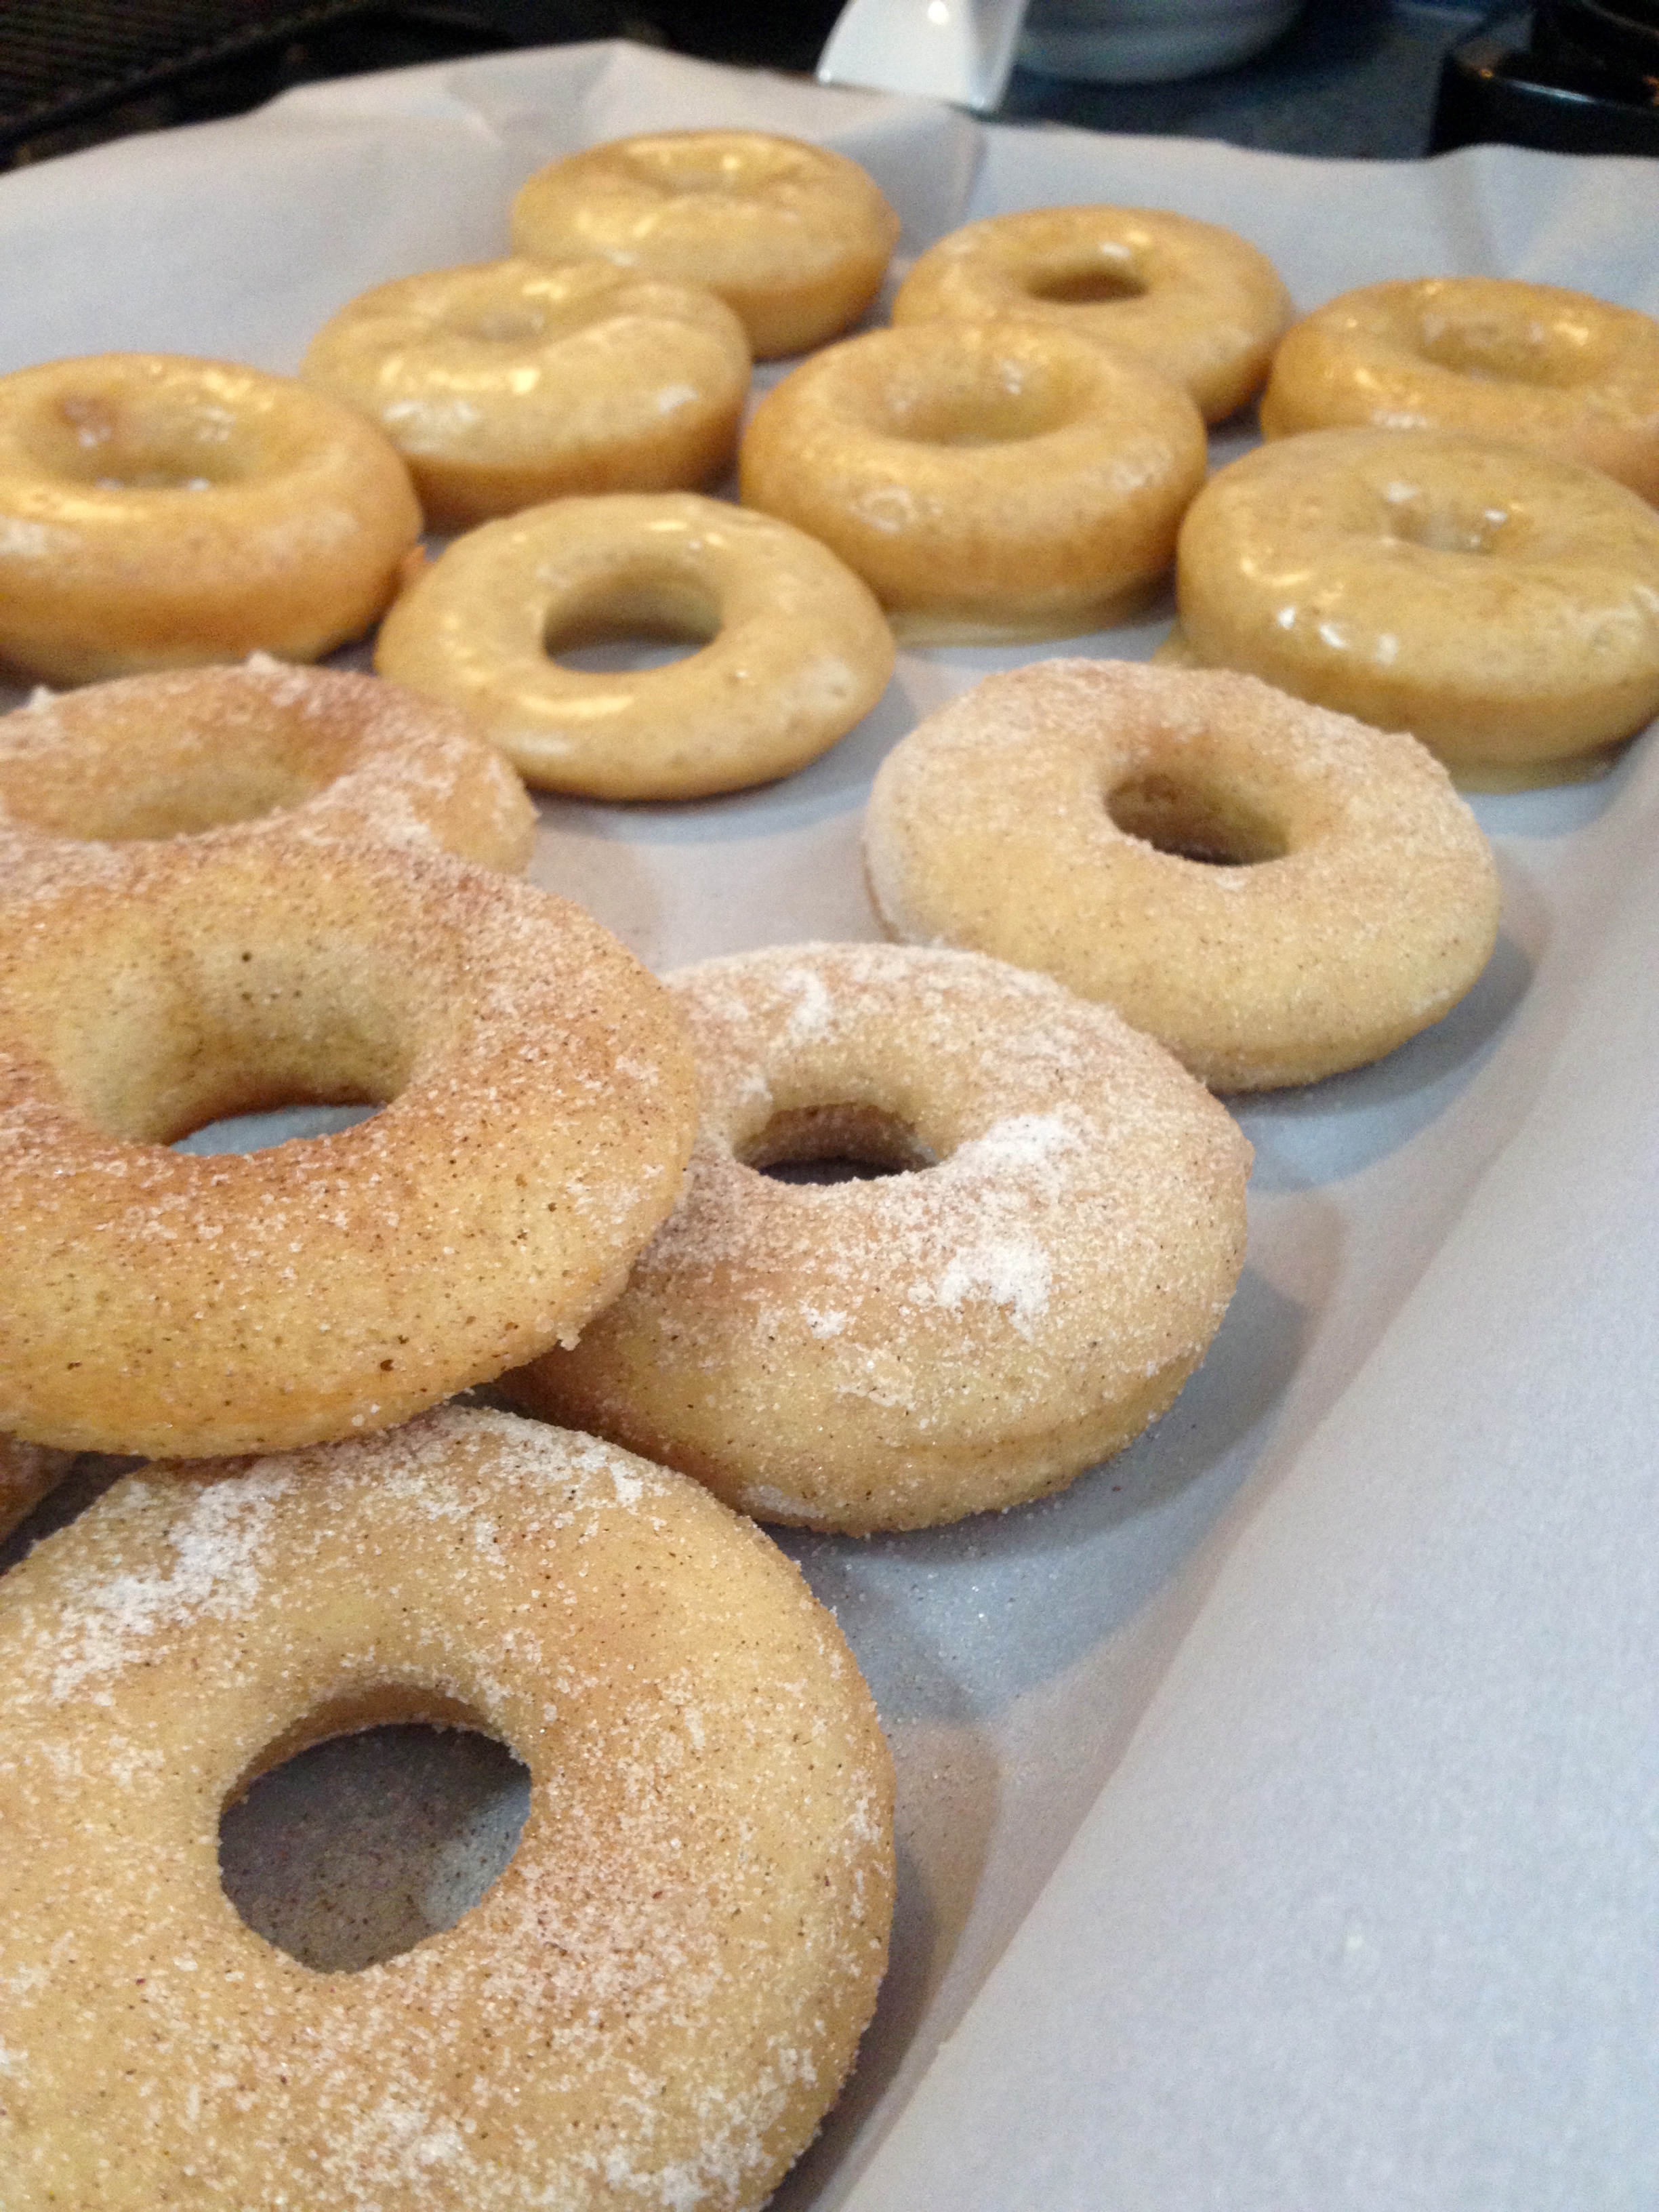
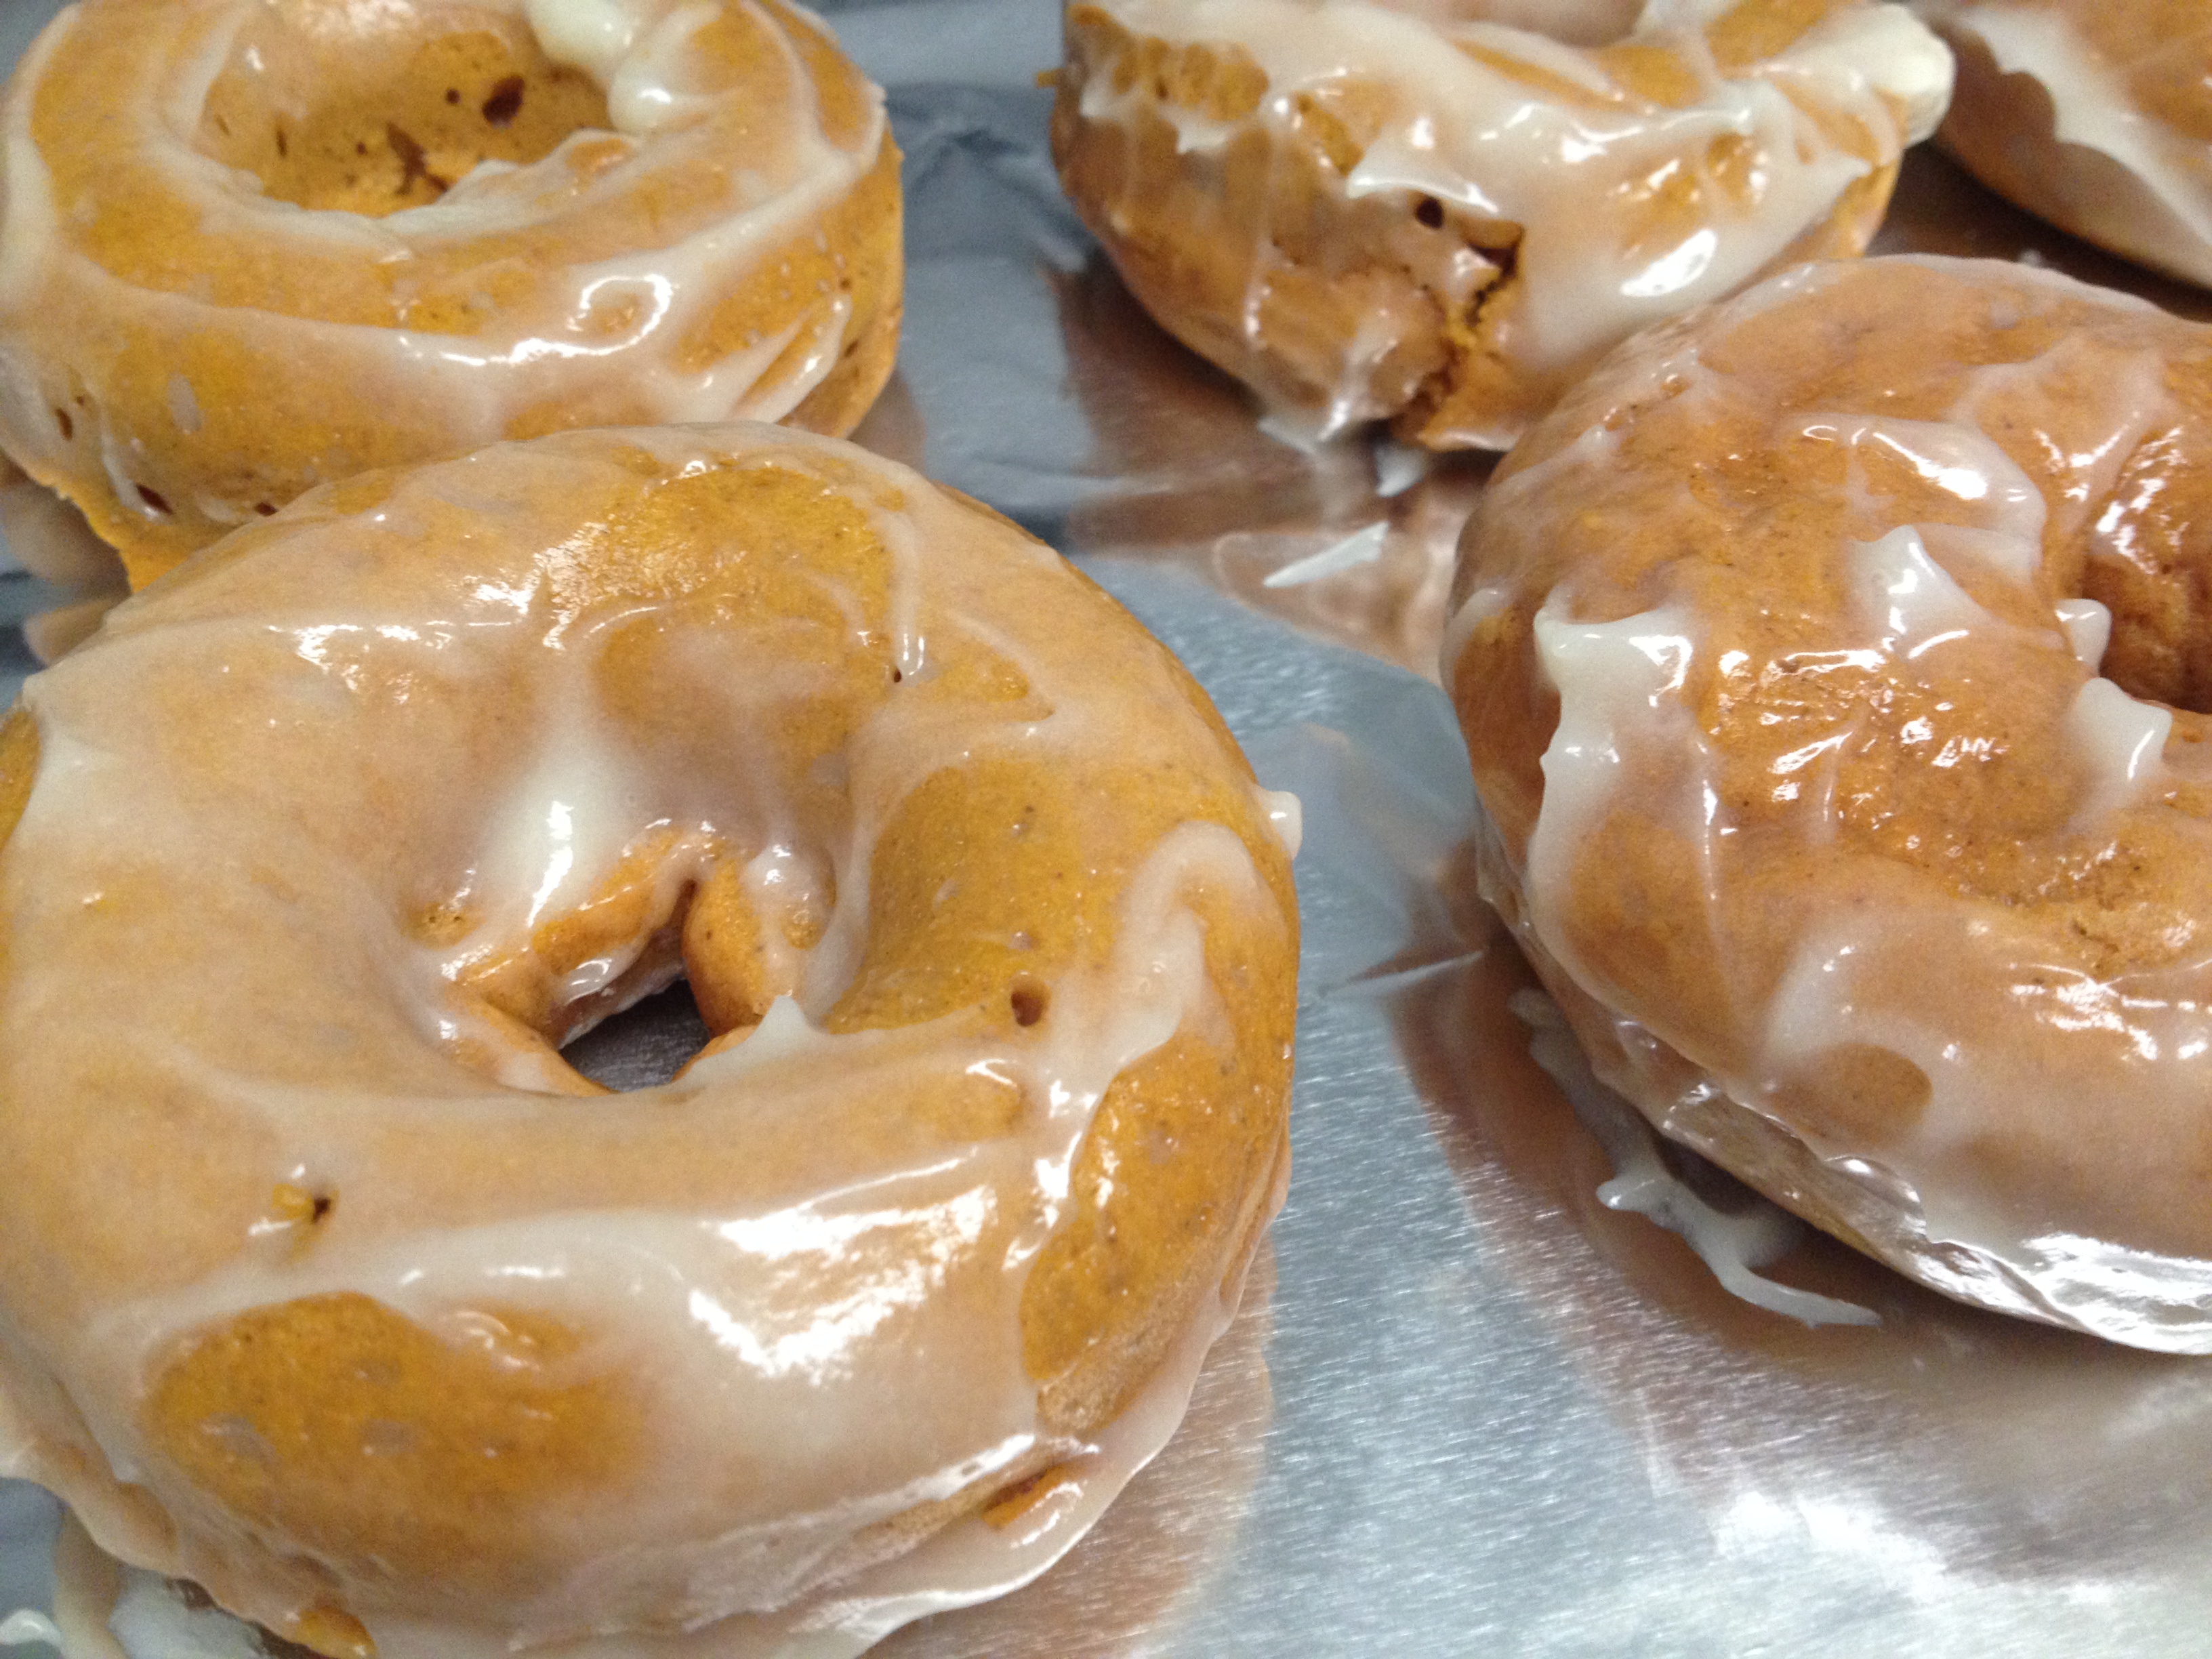
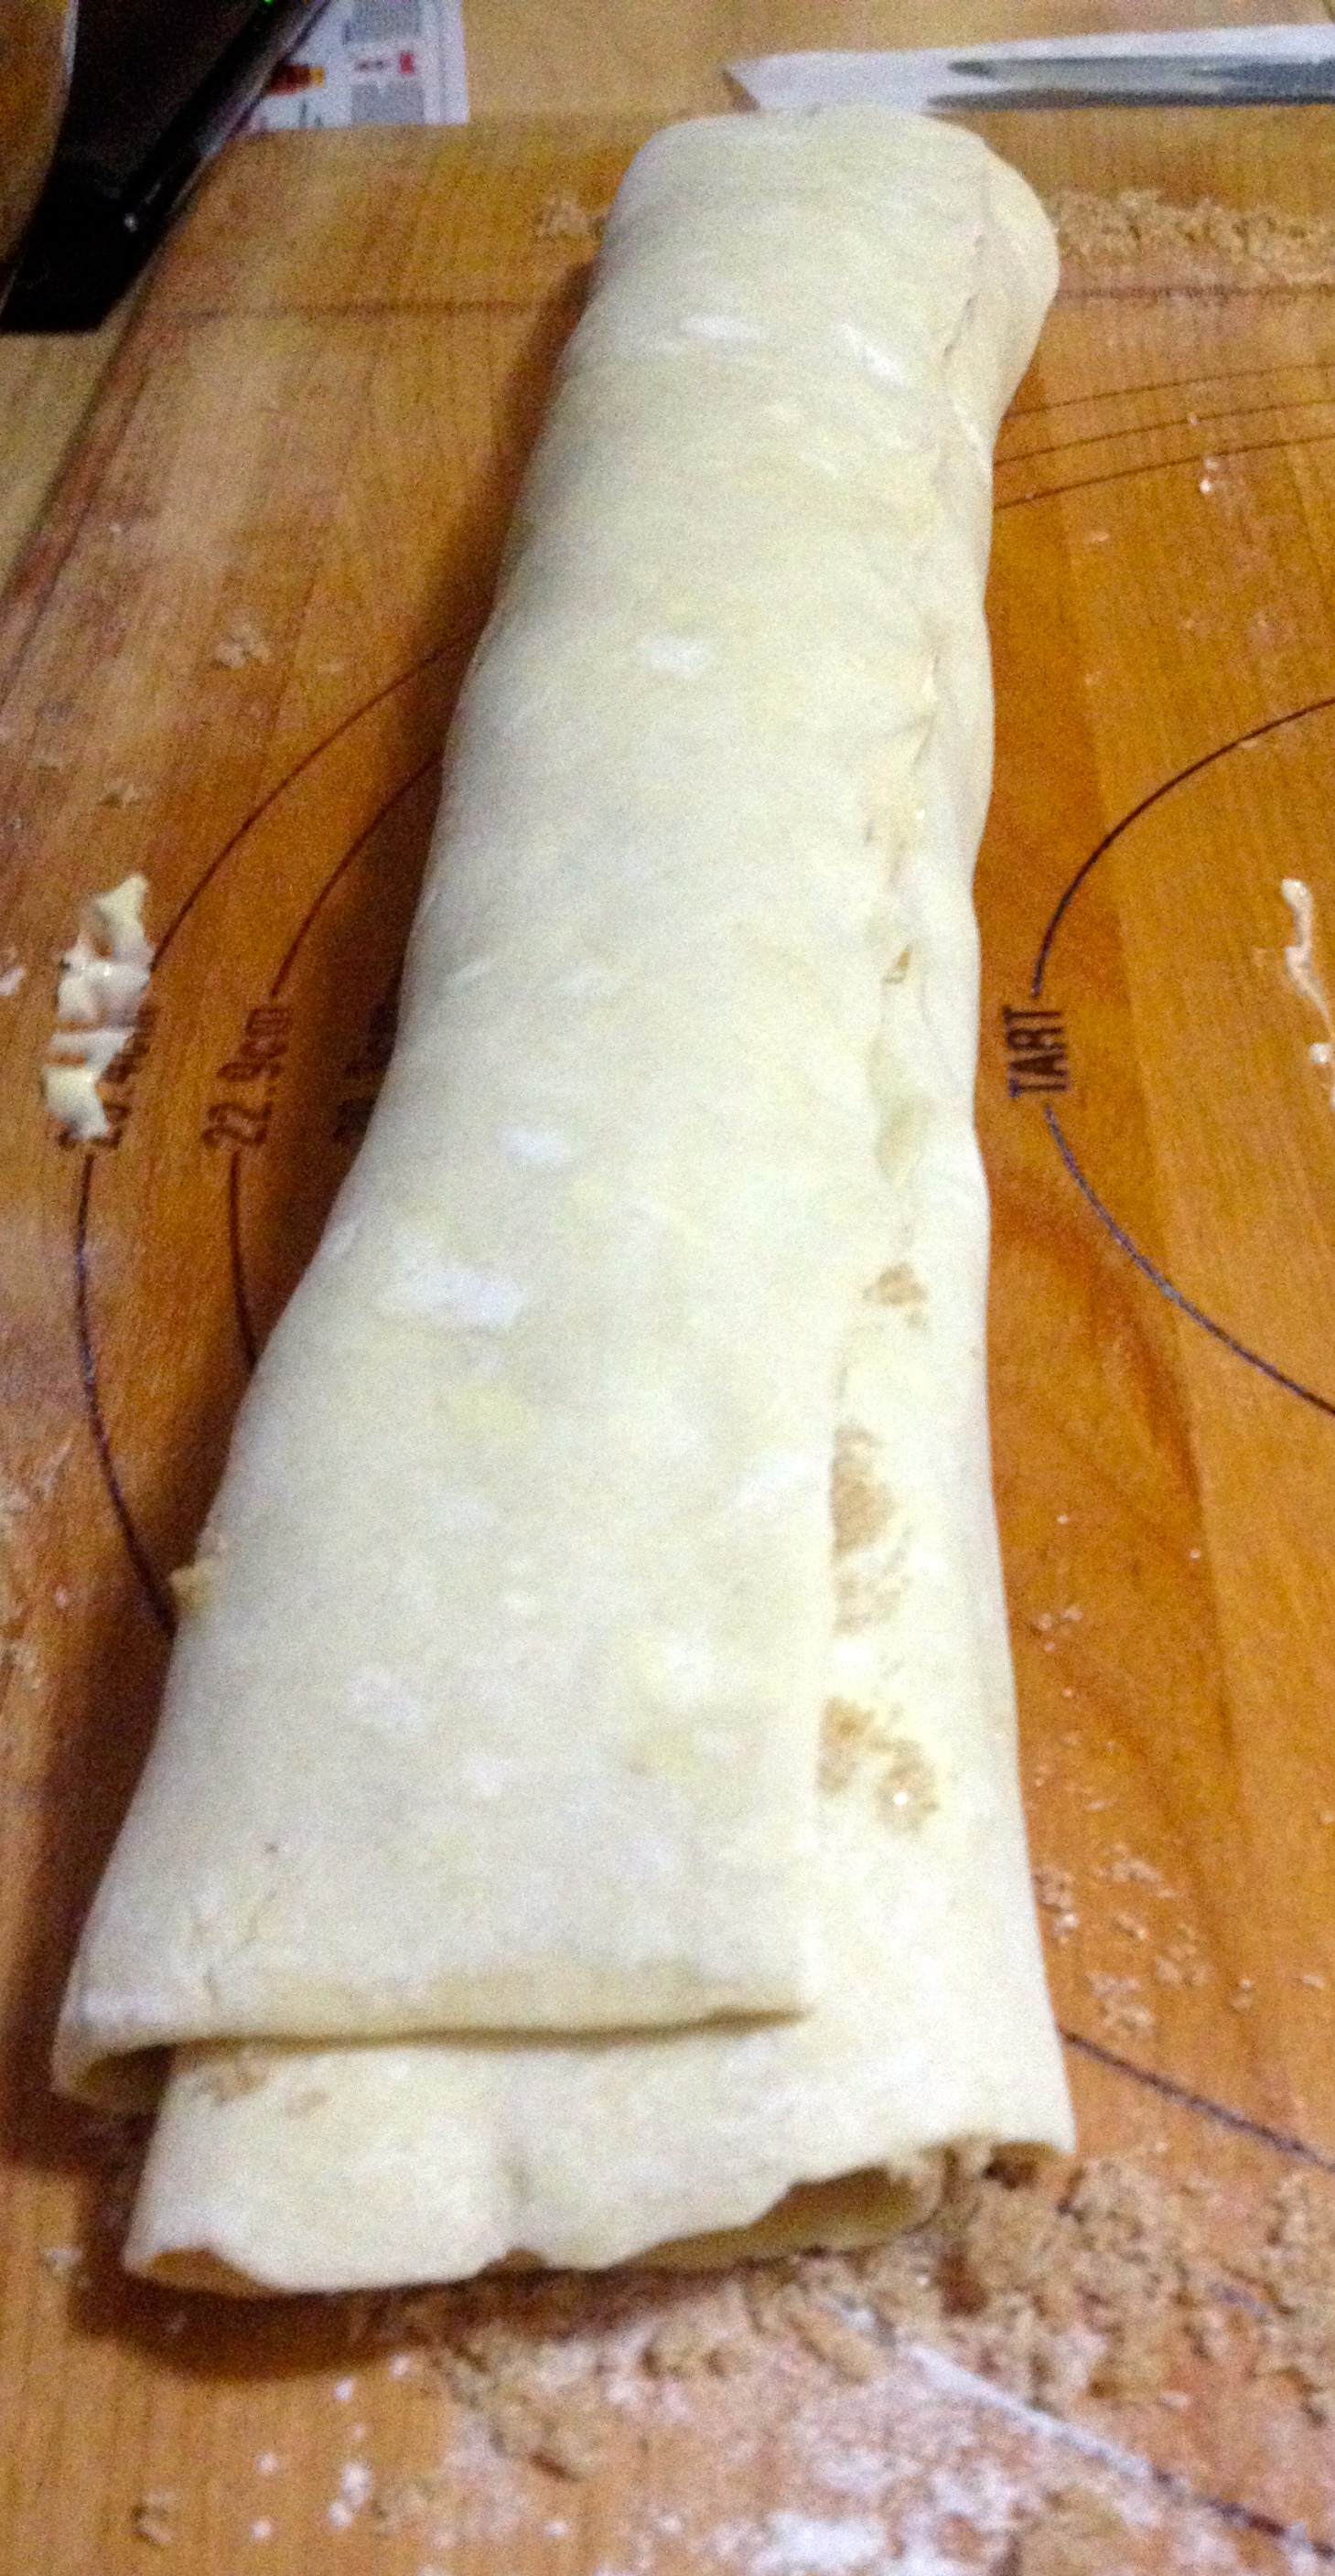
Now for the toppings. We definitely had to make a cinnamon and sugar topping for some of them to copy the farm stand topping, and I also decided to make an apple cider glaze for some, just because I thought it sounded delicious.
Apple Cider Glaze:
- 1 cup cider
- 1 cup confectioner’s sugar
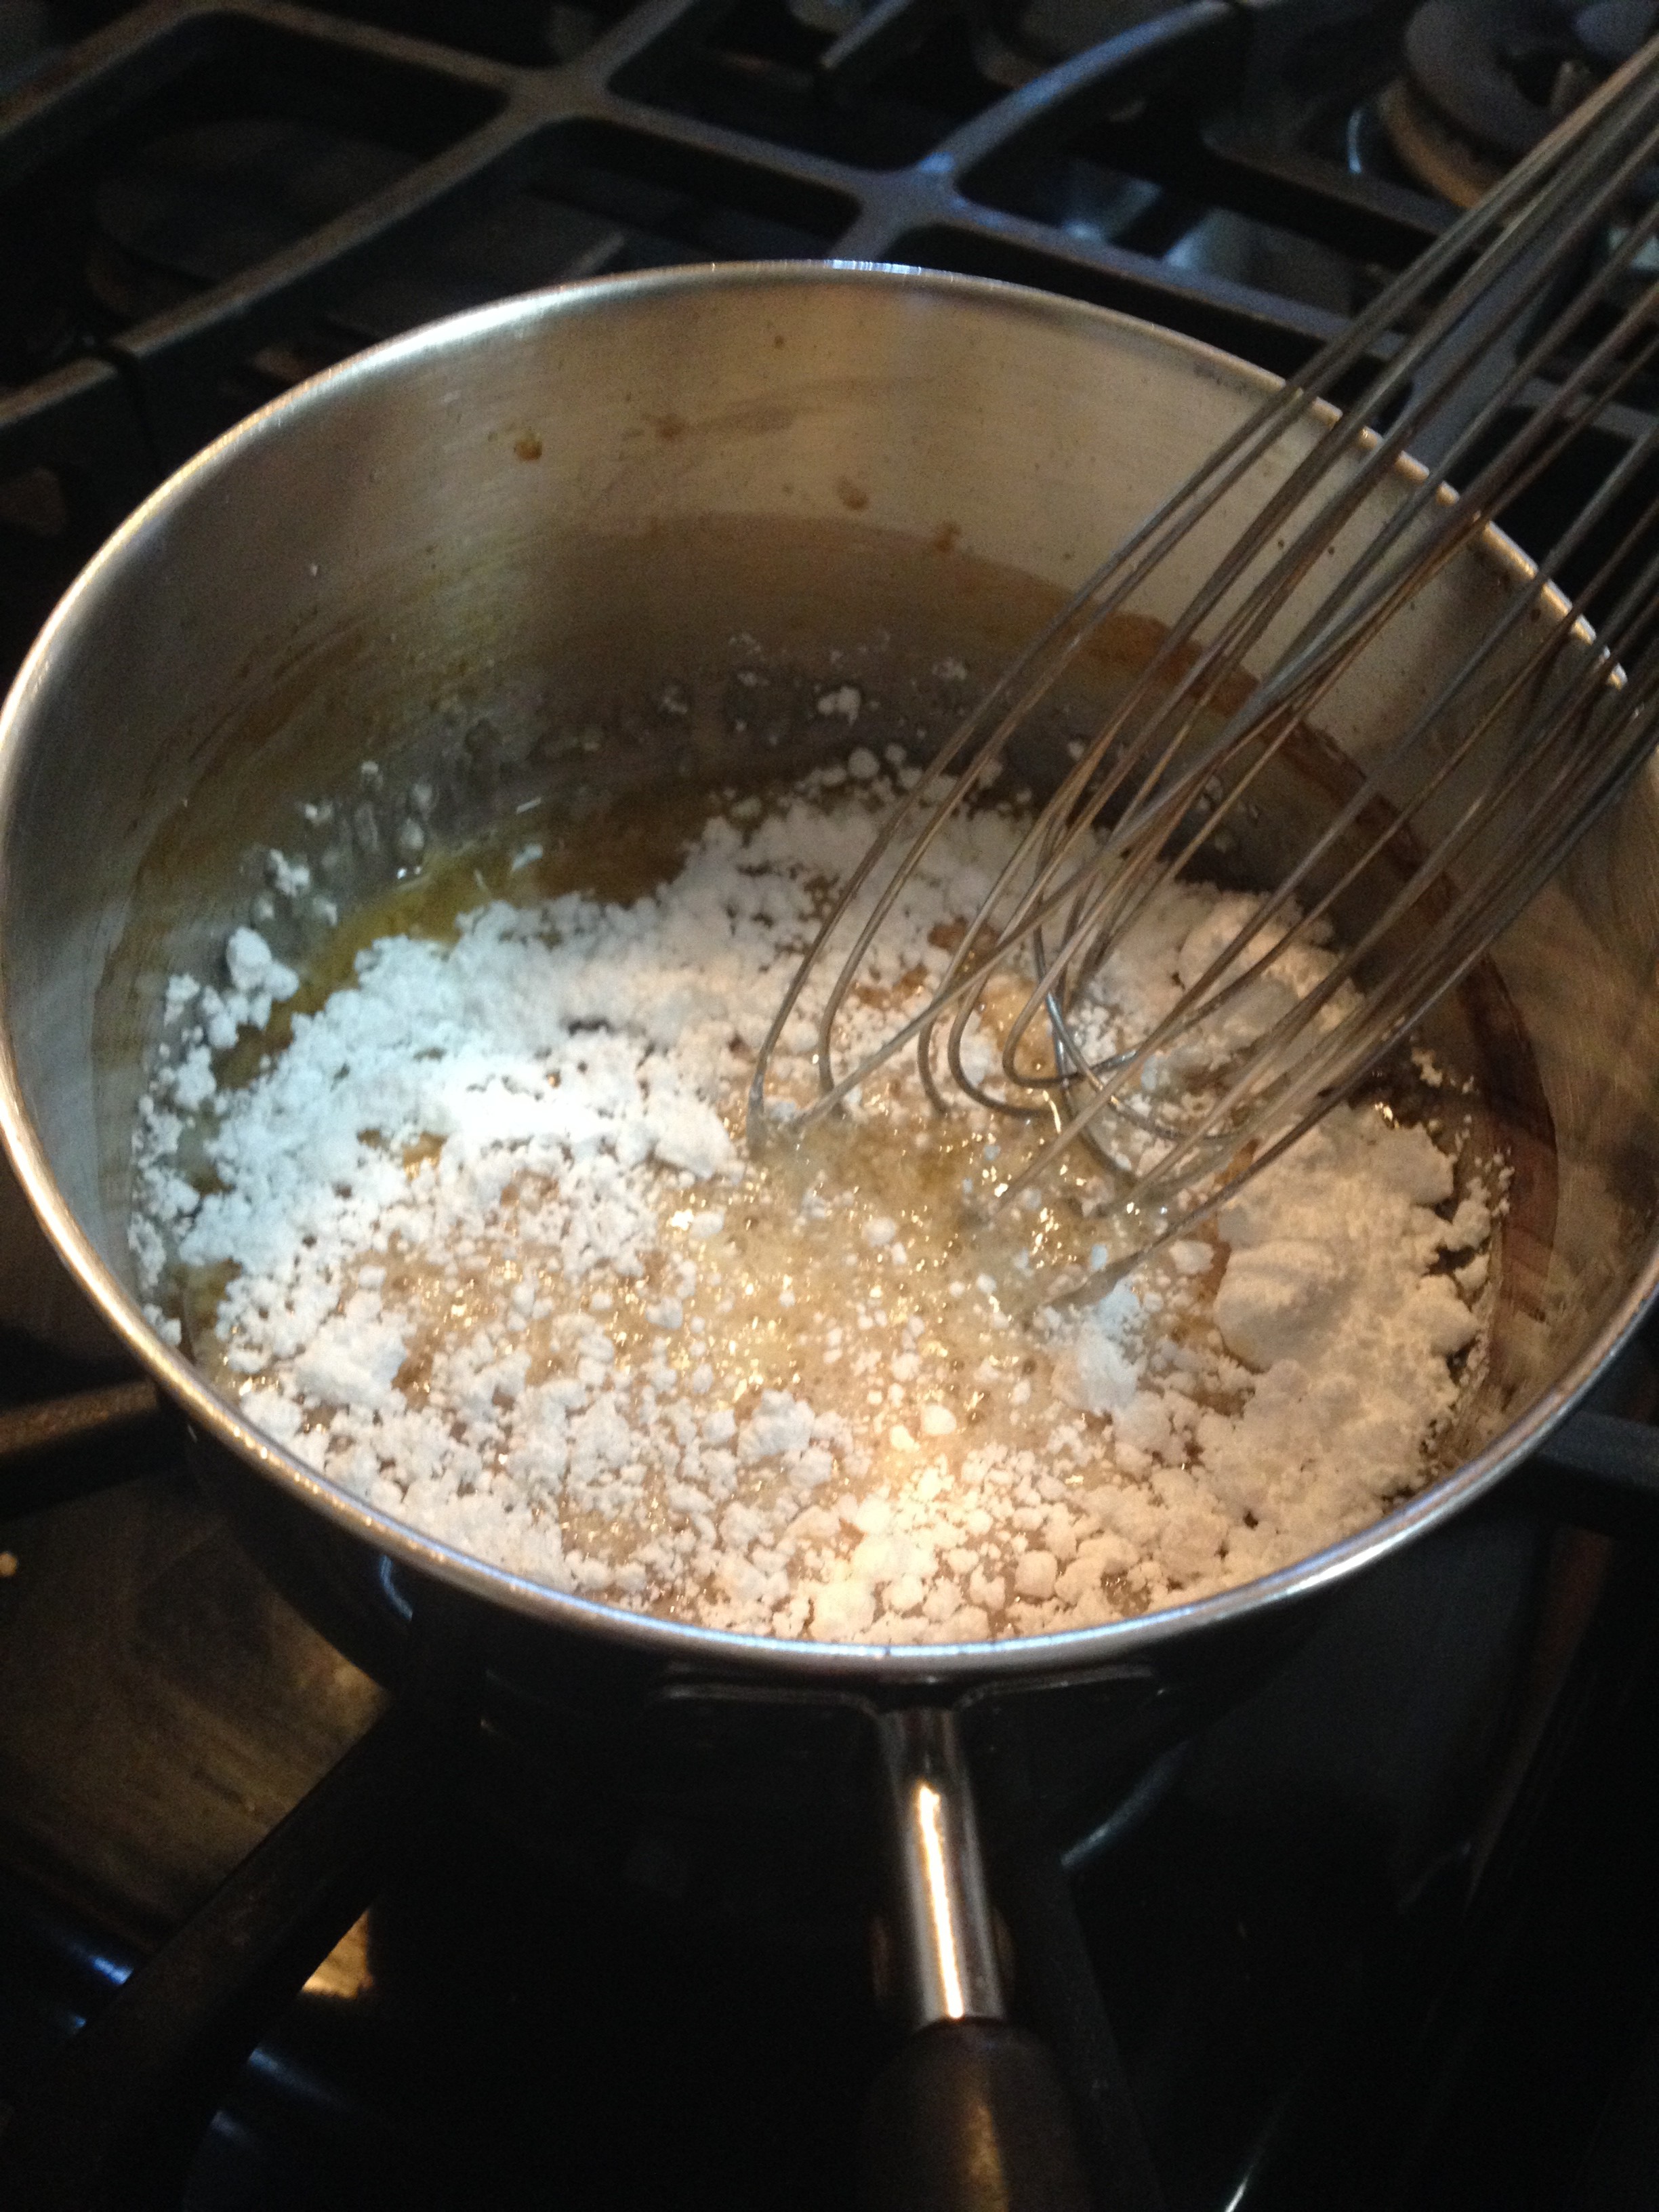
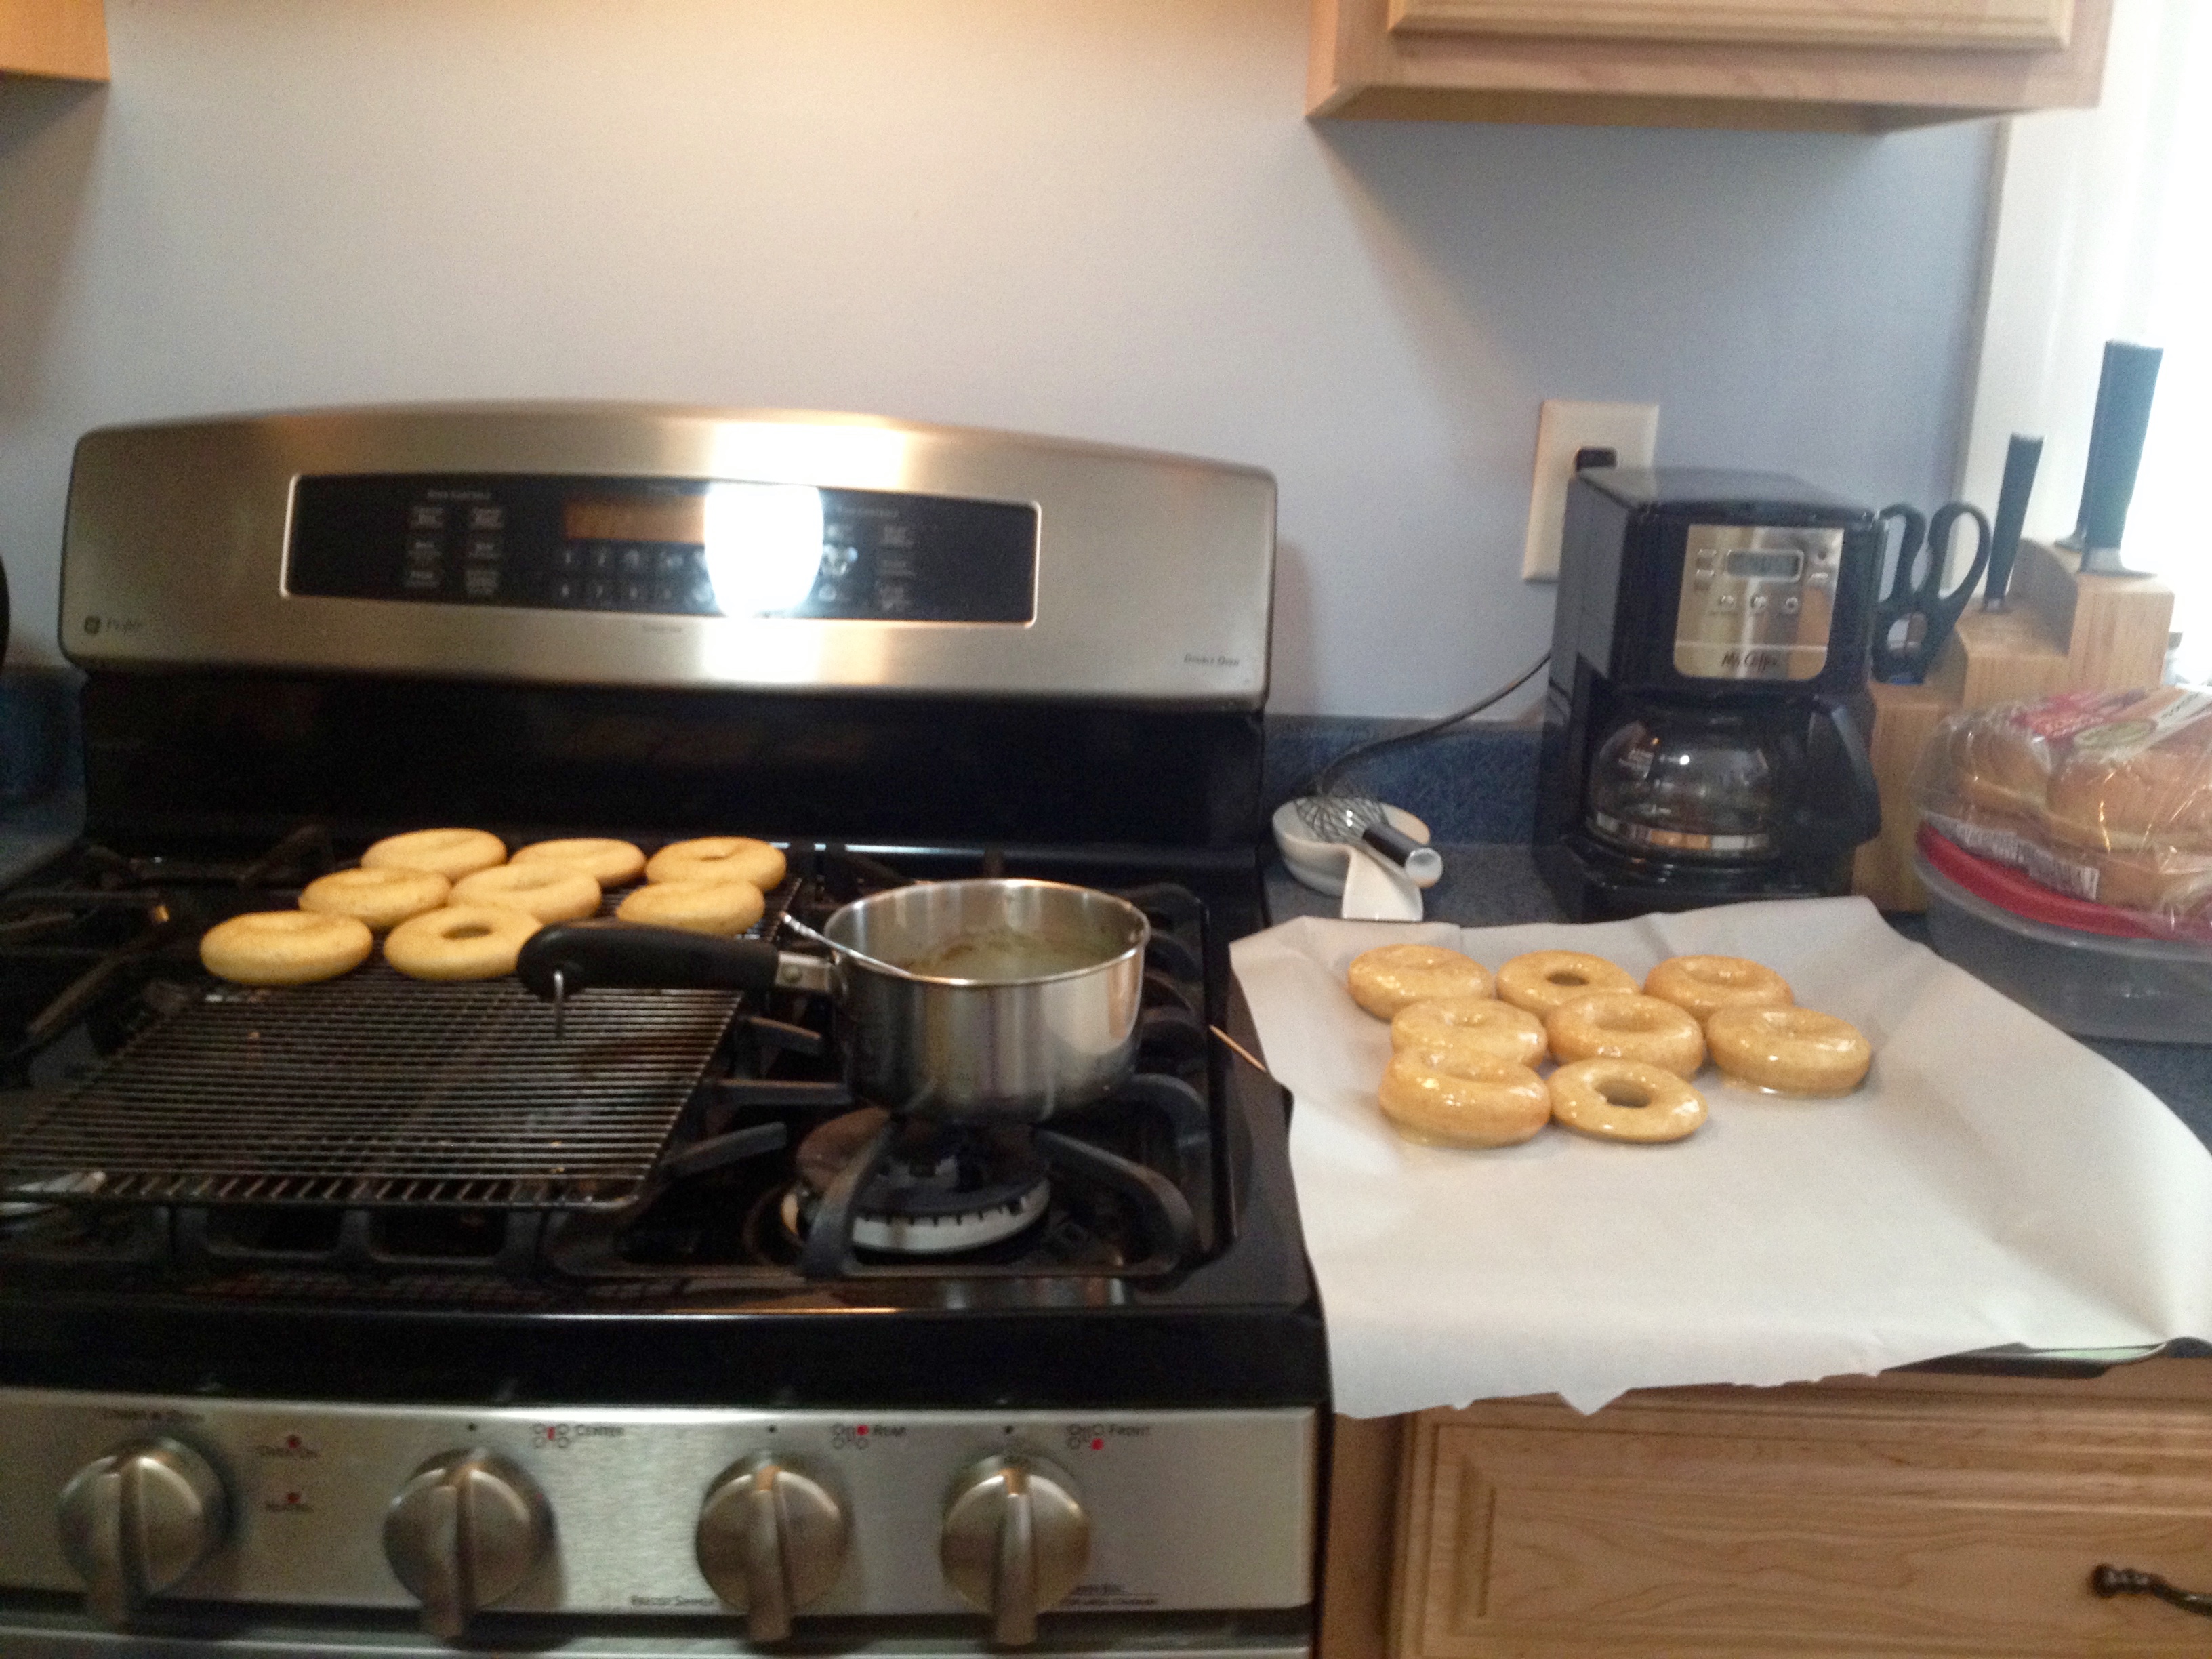
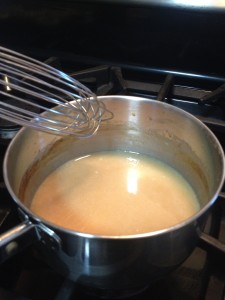
Boil the cider in a small saucepan until it’s reduced down to 1/4 cup. Hint: it doesn’t really thicken, so don’t be looking for a specific consistency- if you think it’s done, just pour it into a small measuring cup to confirm that it’s down to 1/4 cup.
Whisk in the powdered sugar until it’s completely dissolved.

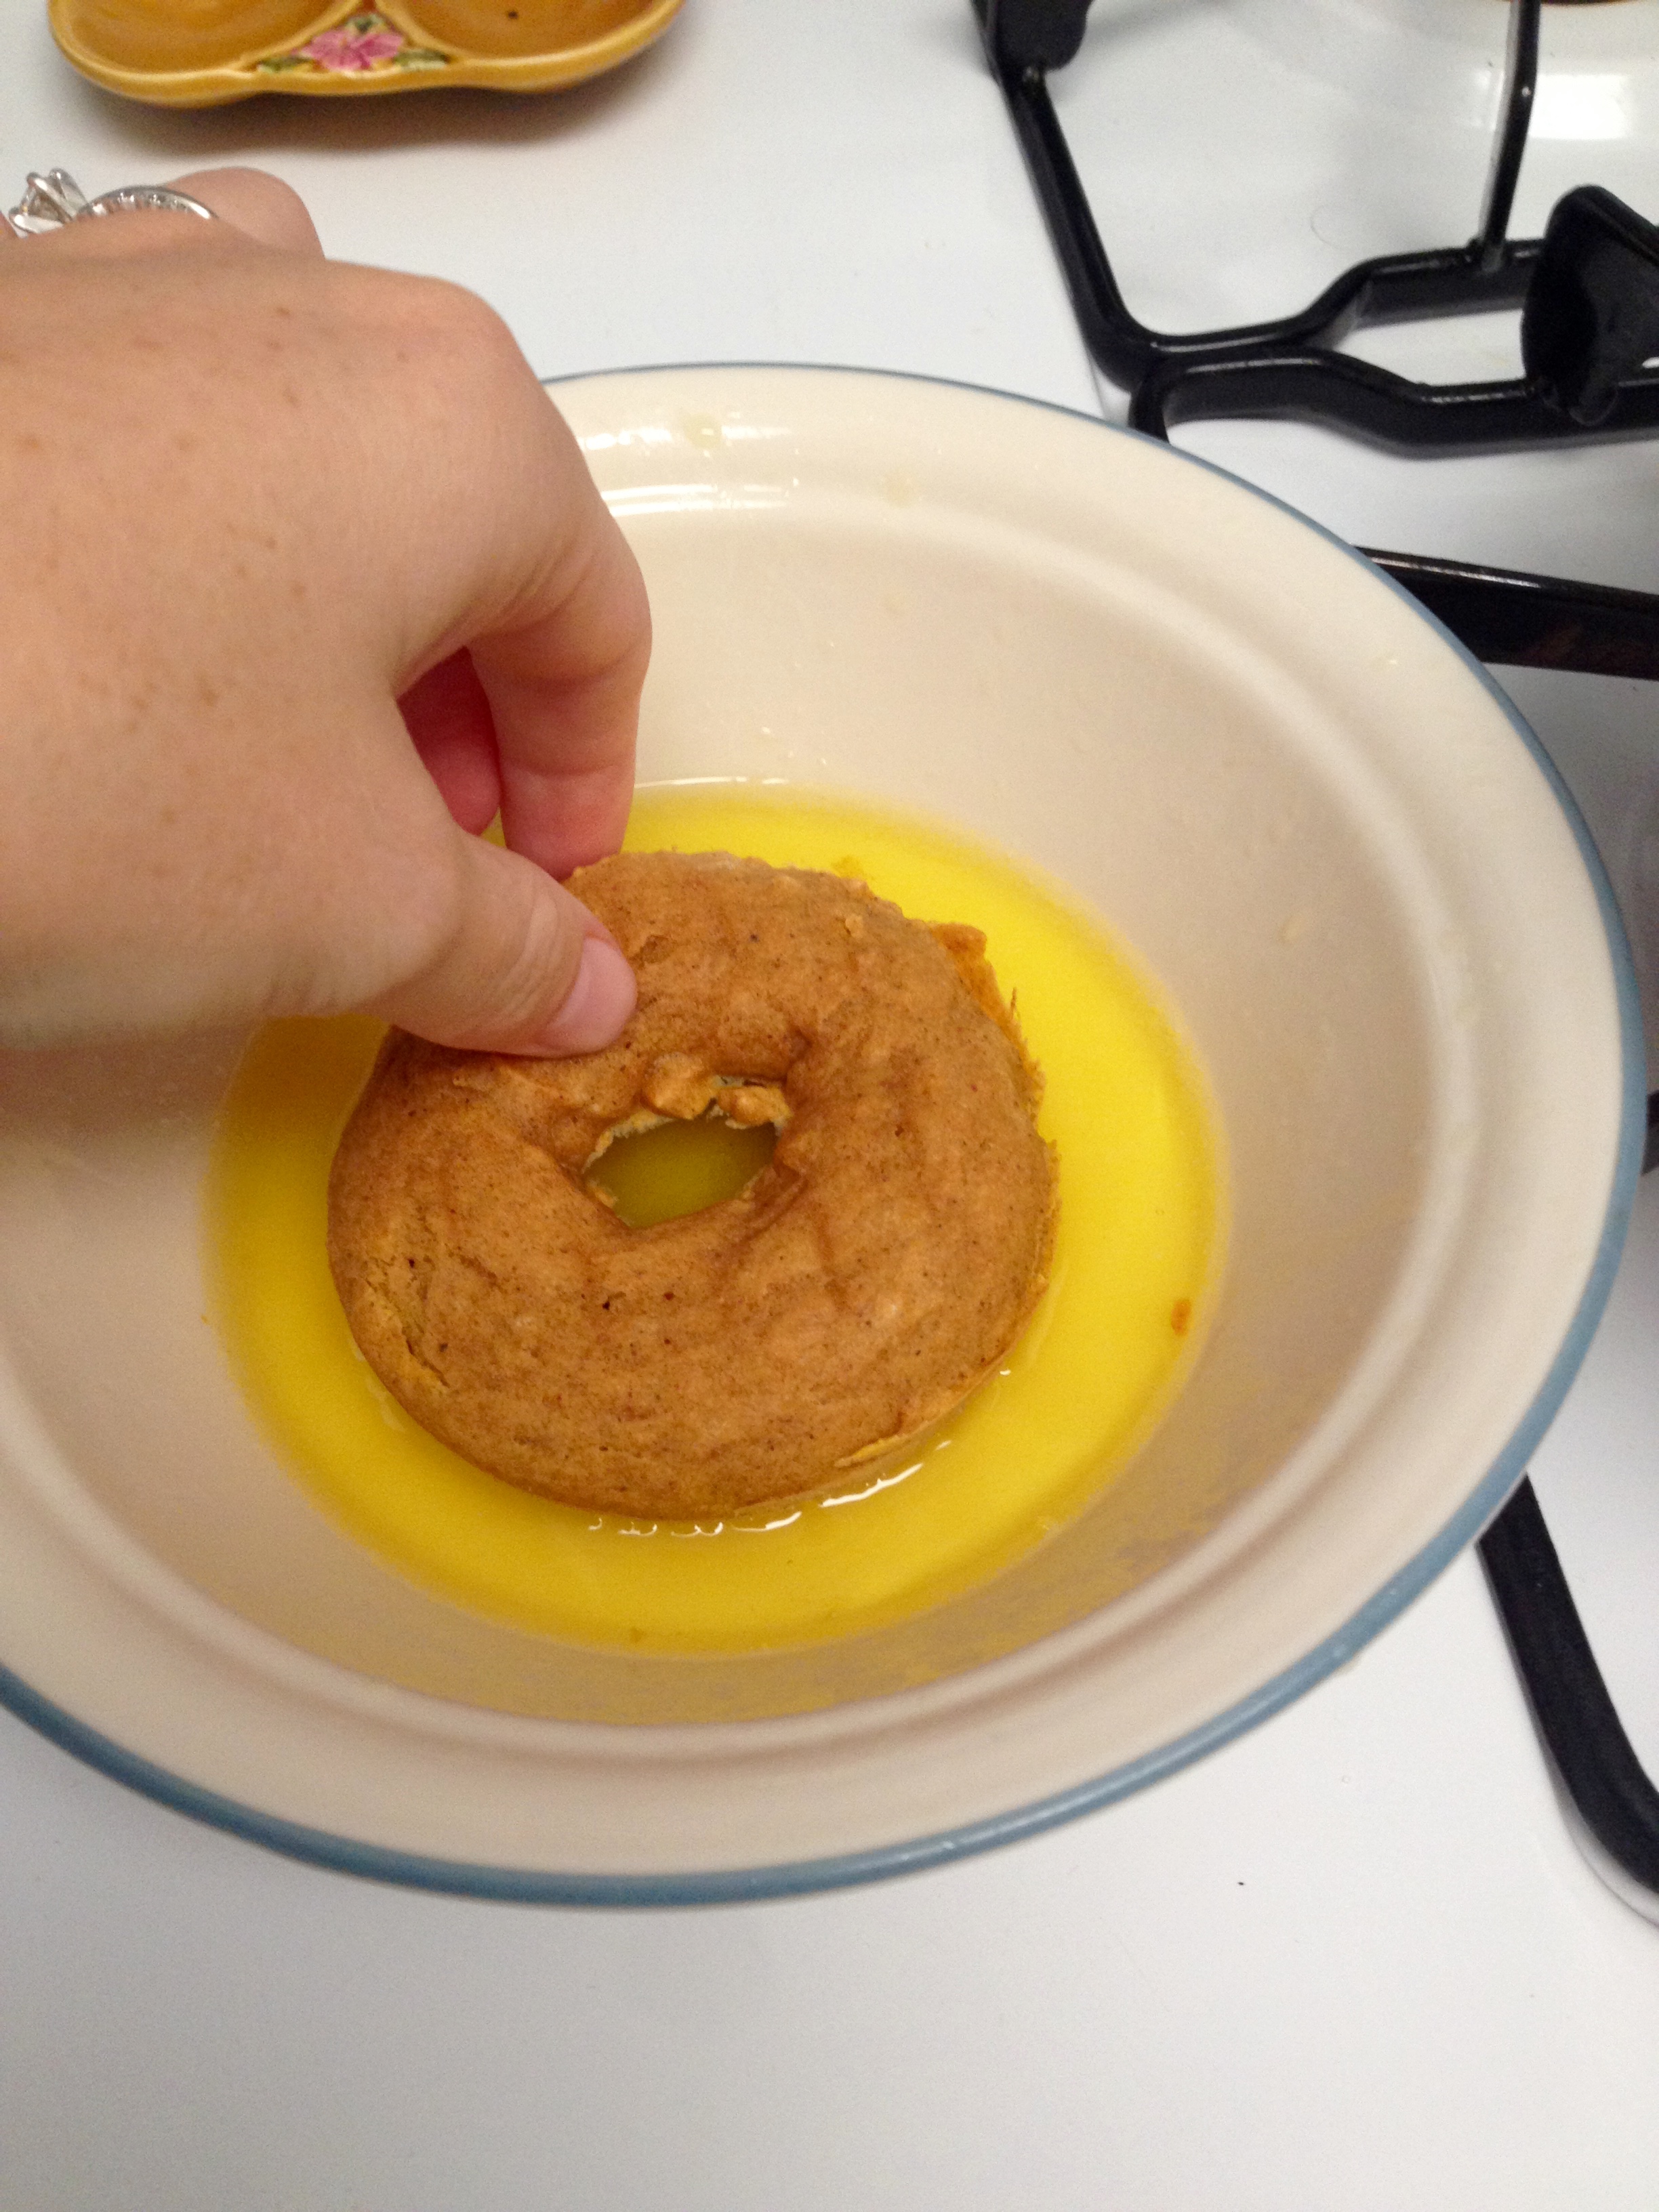
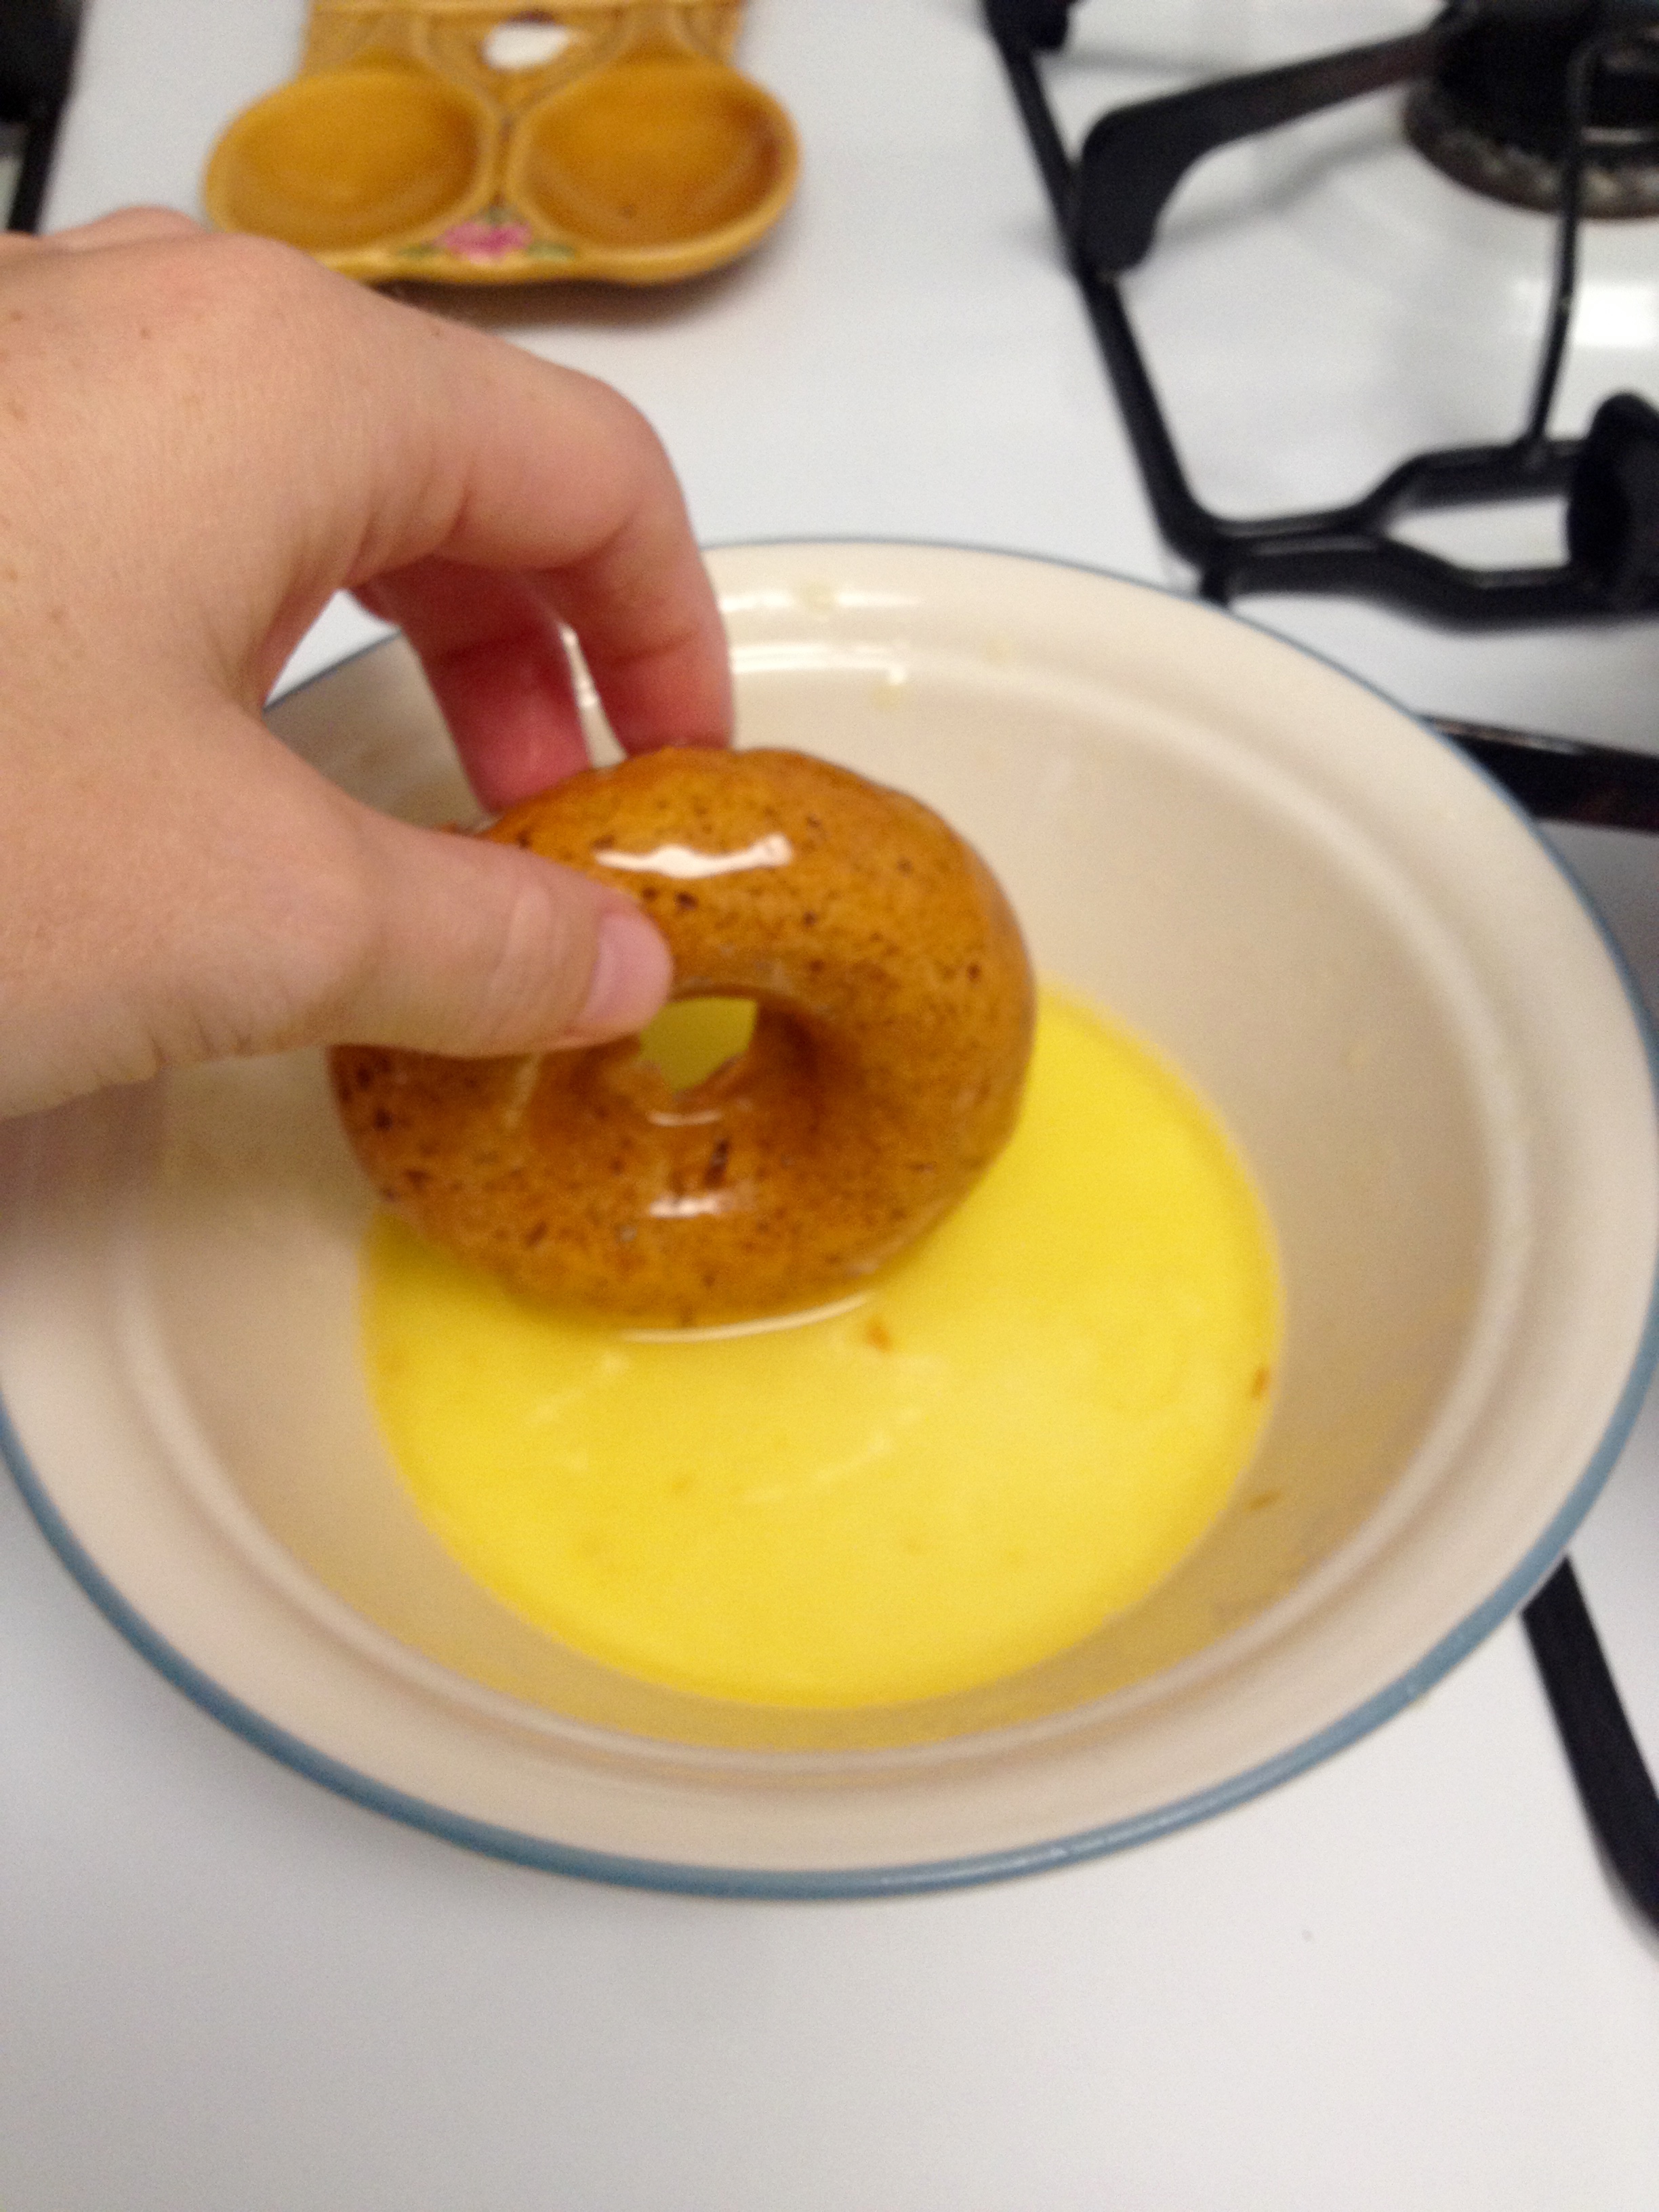
And now, it’s assembly line time. Much like the pumpkin donuts from the last blog, I set up my line so that there would be minimal dripping and overall messiness. Dunk the donuts in the glaze so that they’re covered, then remove them from the glaze with a fork or your fingers, letting excess glaze drip back into the pan, and lay them on a baking sheet covered with wax or parchment paper. This glaze recipe made enough to cover 12 donuts. It was absolutely delicious- it had a tart taste at first which really accented the flavor of the apples, but then had a sweet finish.

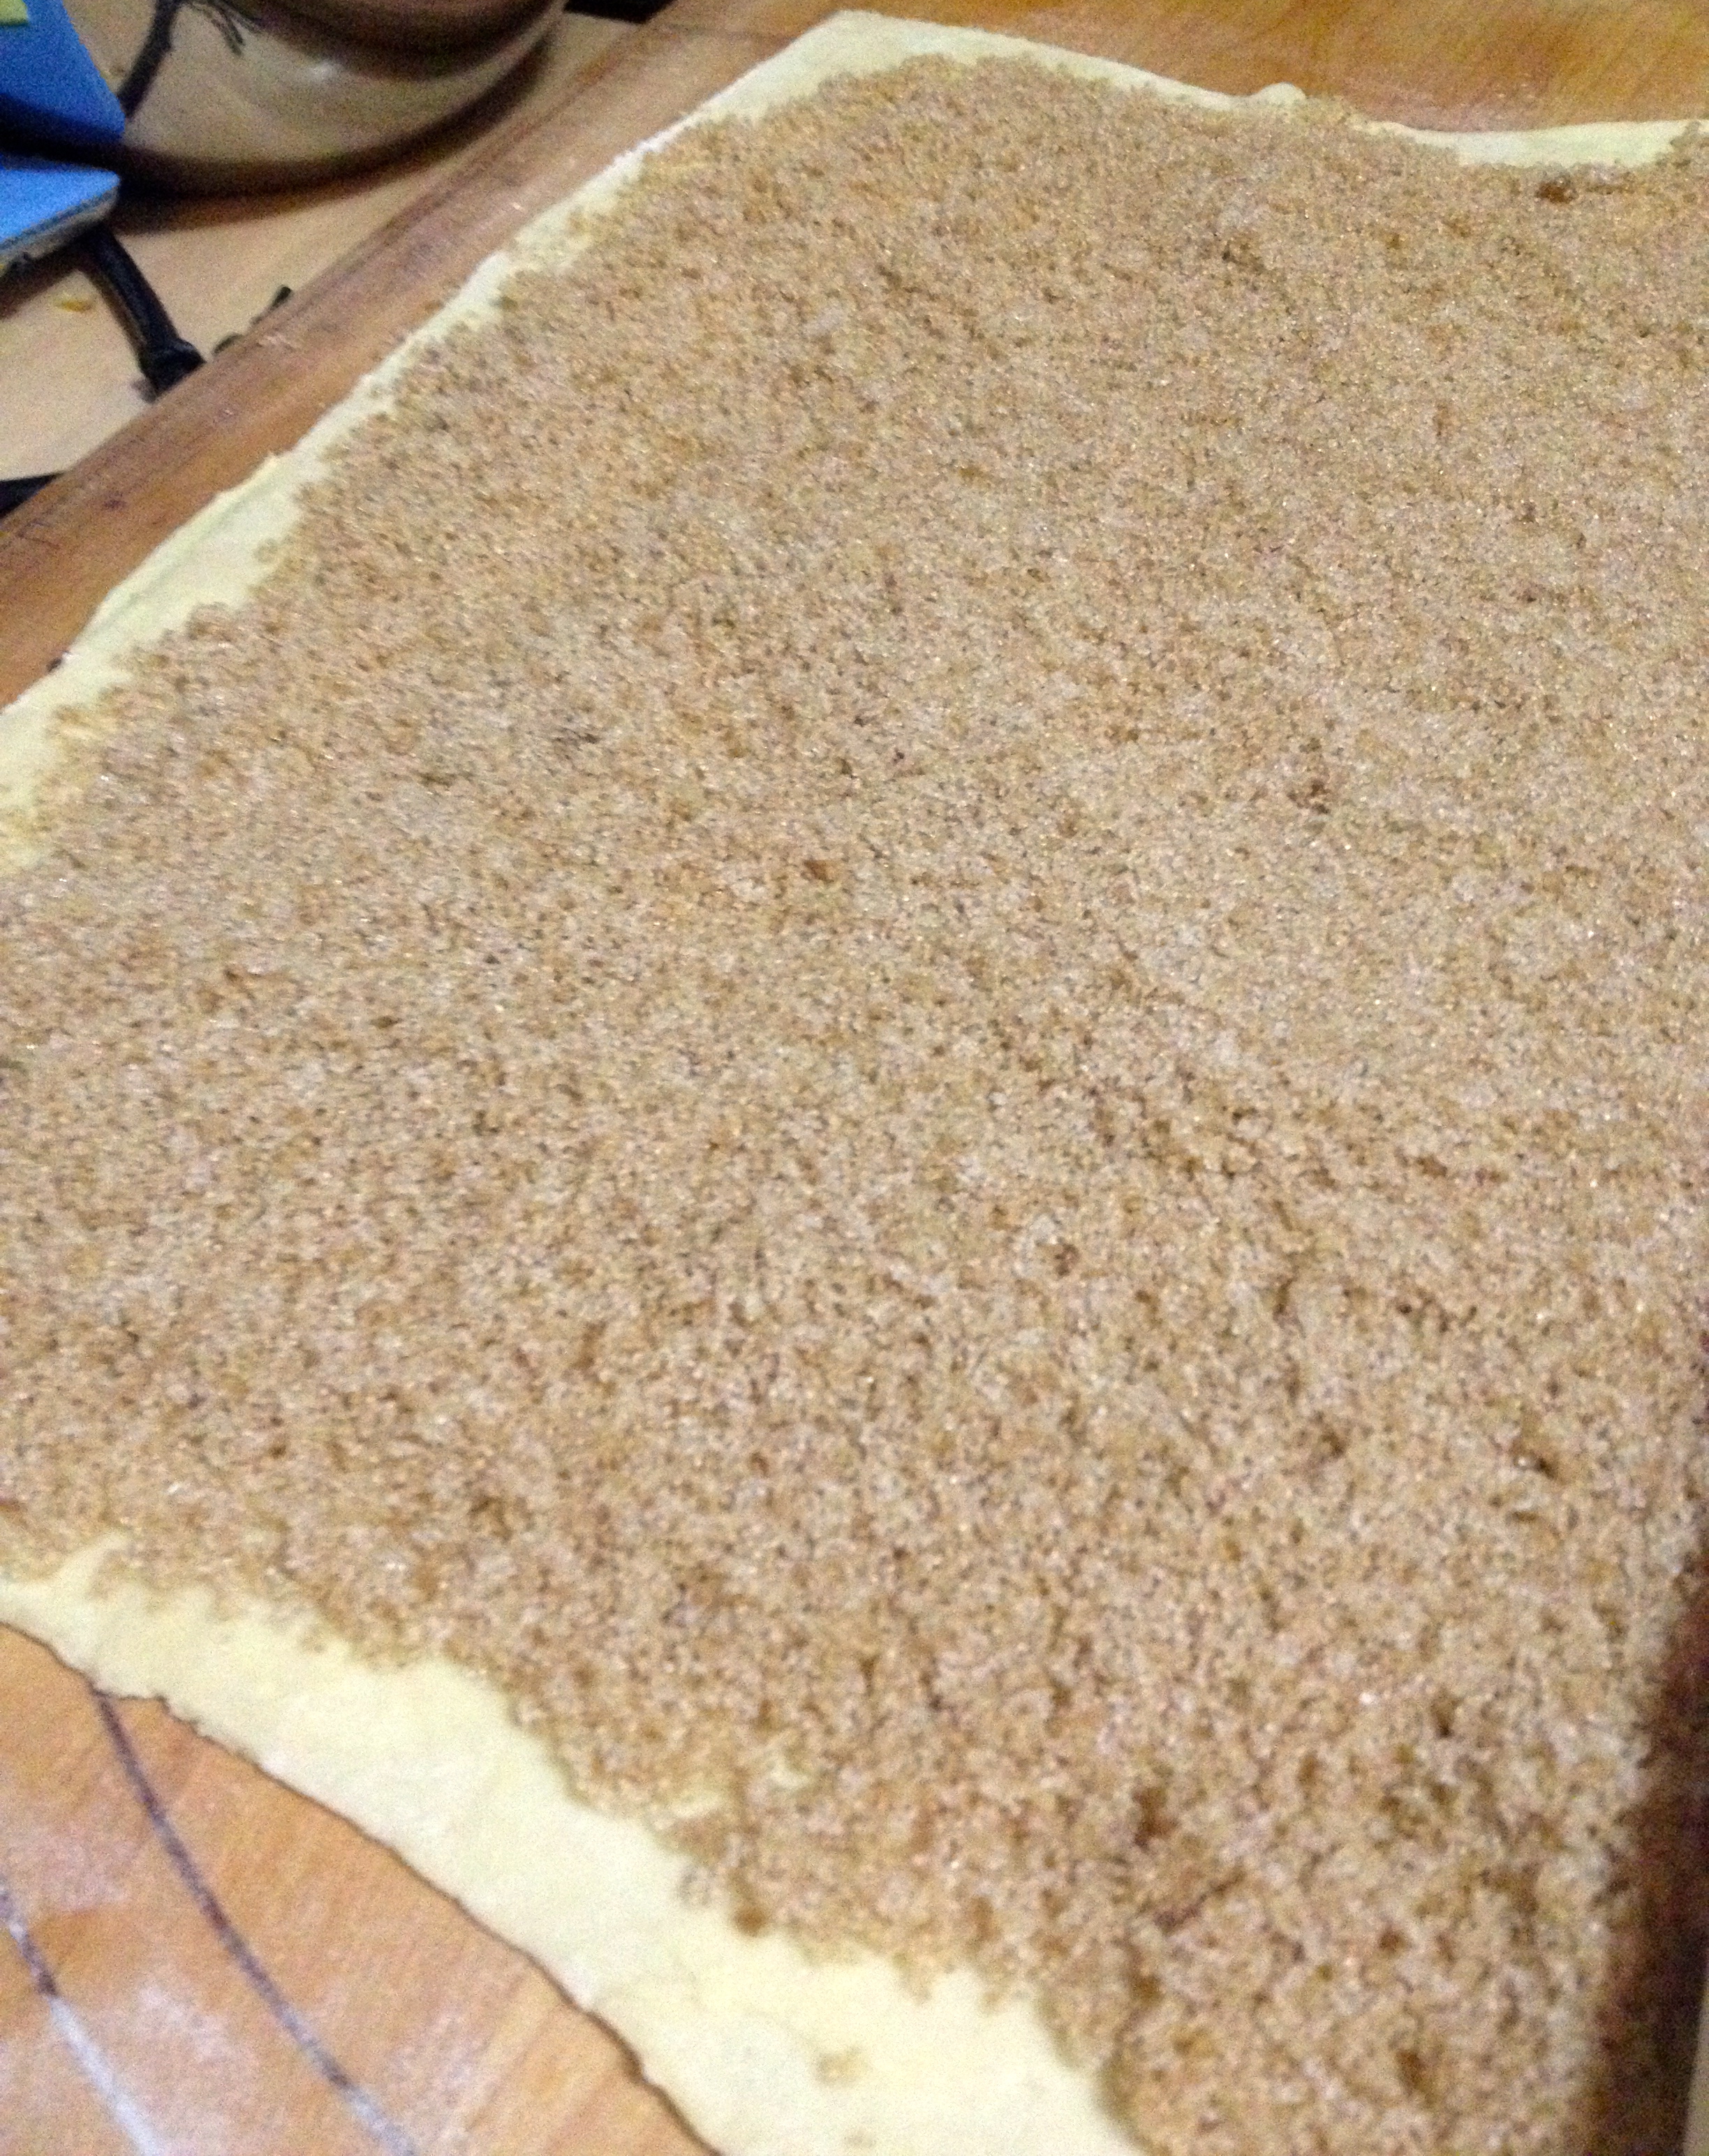
Cinnamon and Sugar Topping:
- 4 tbsp butter, melted
- 1/4 cup granulated sugar
- 1 tsp cinnamon
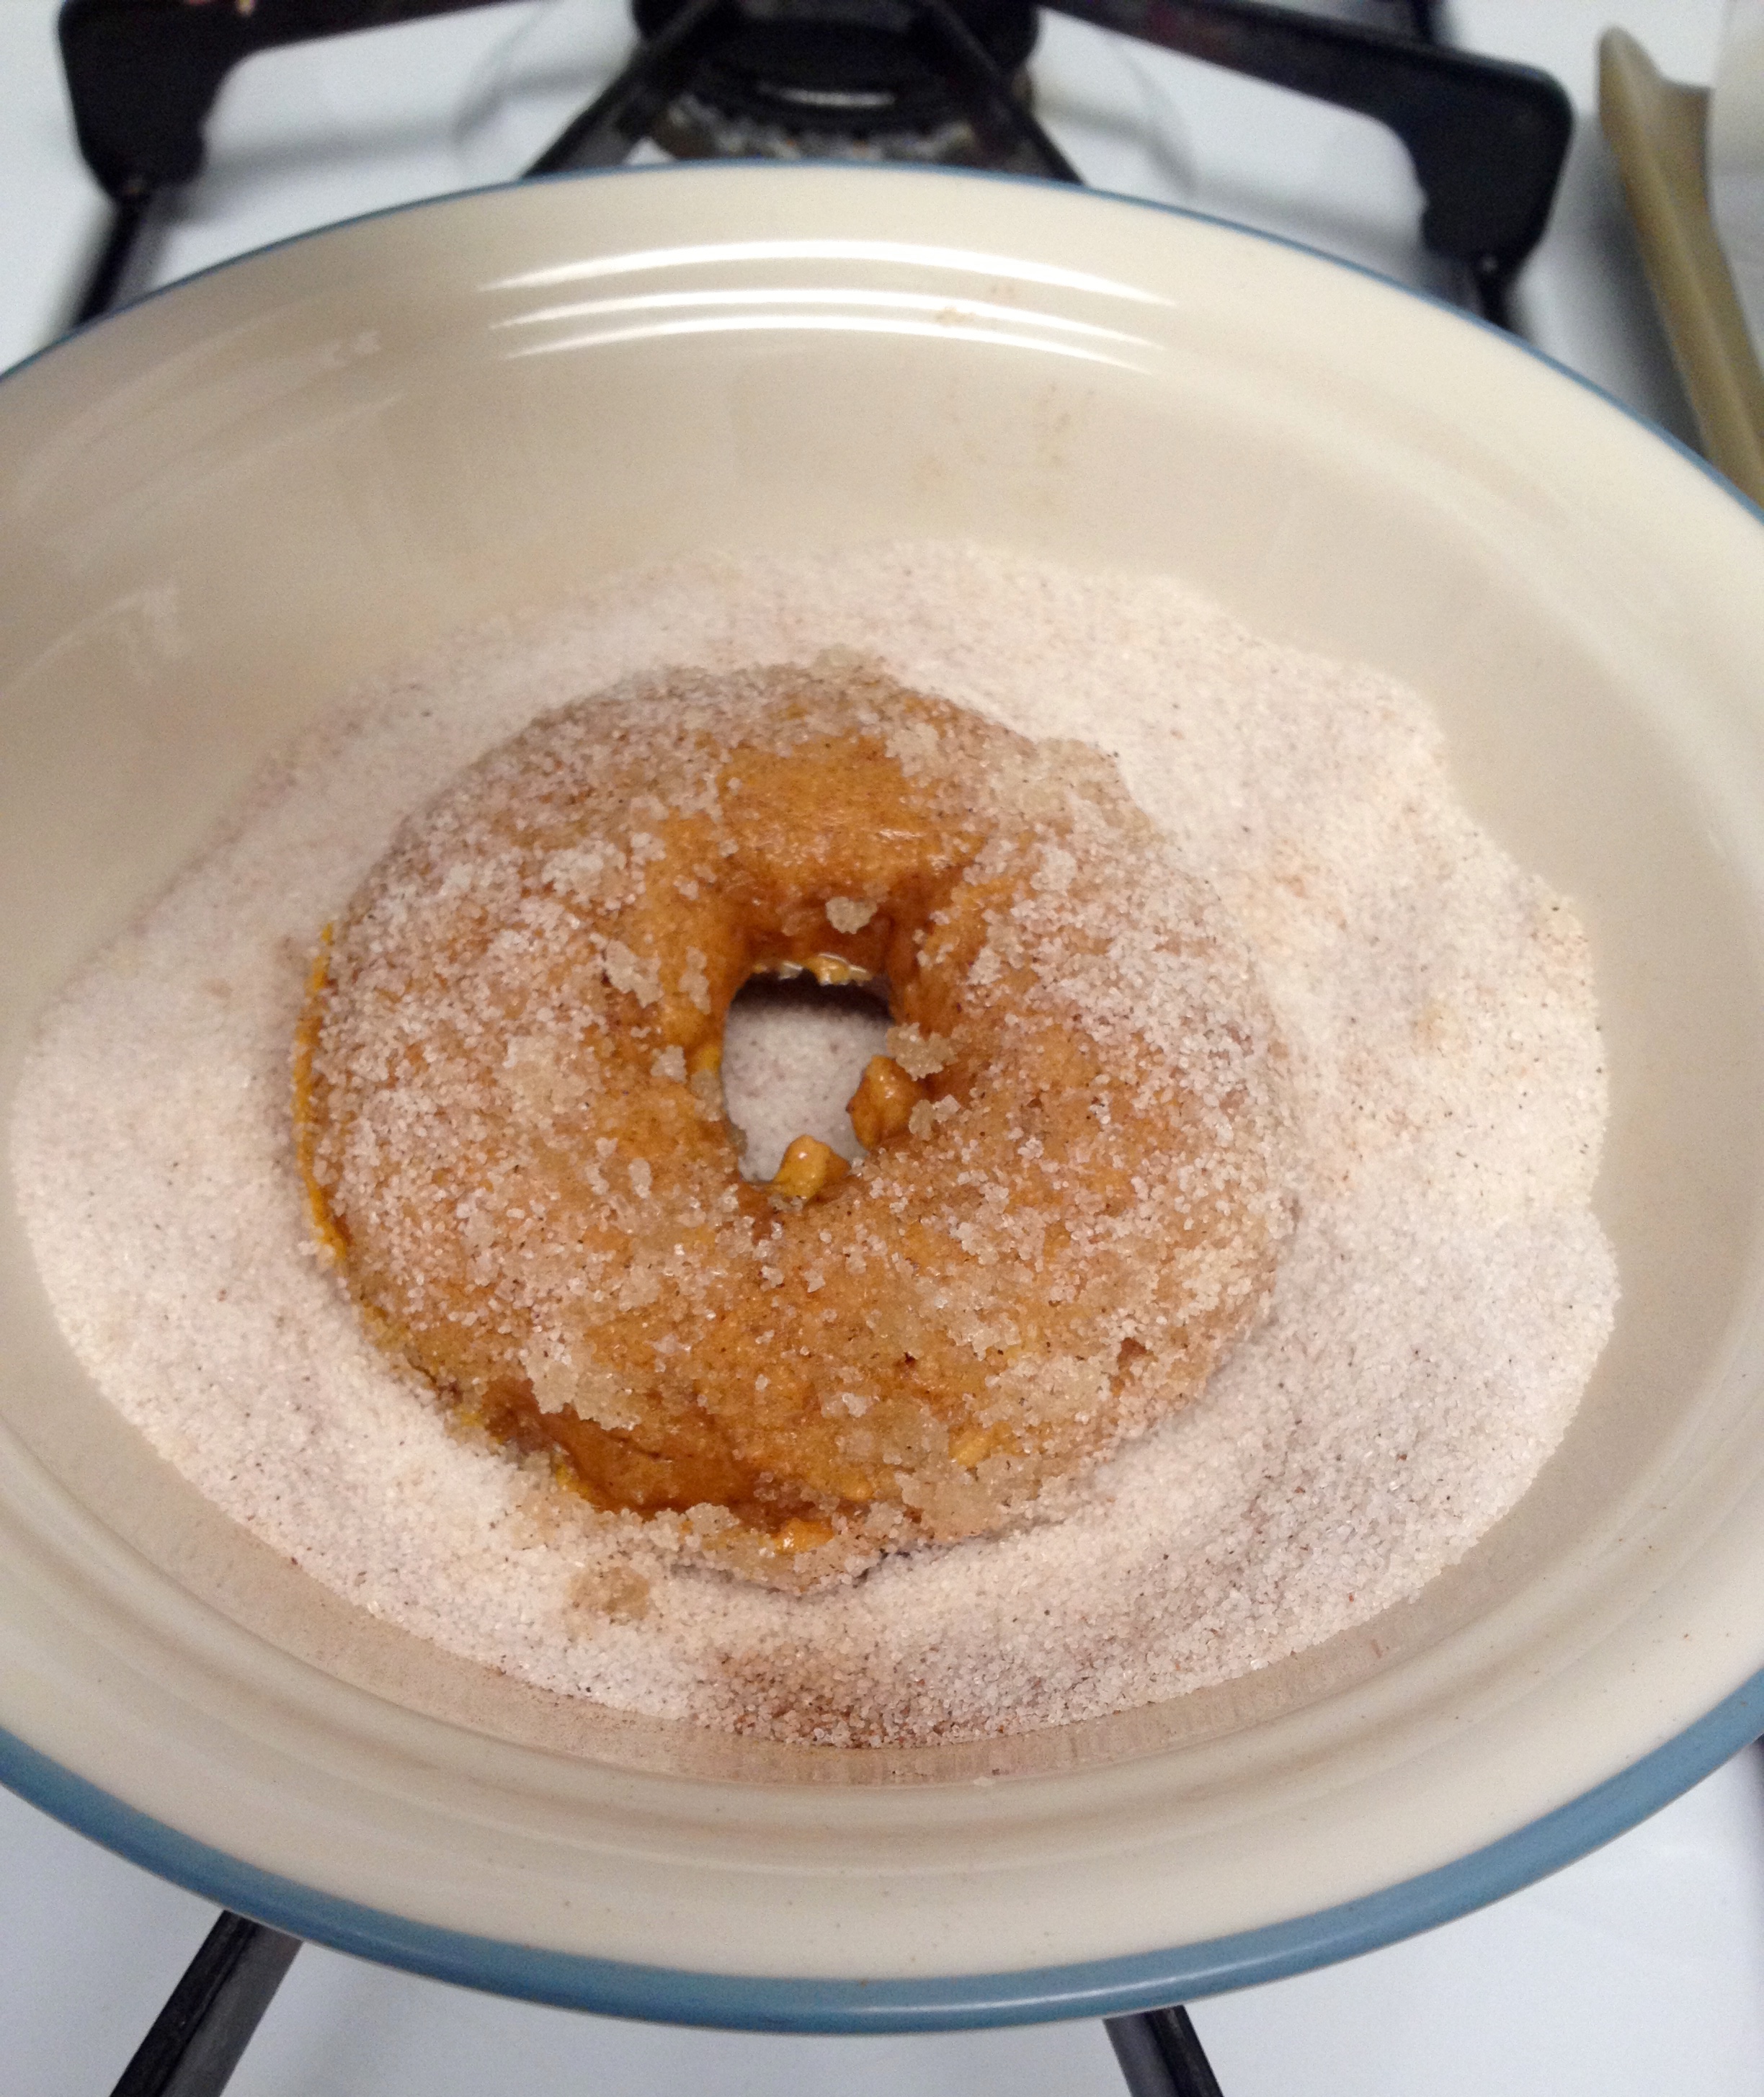
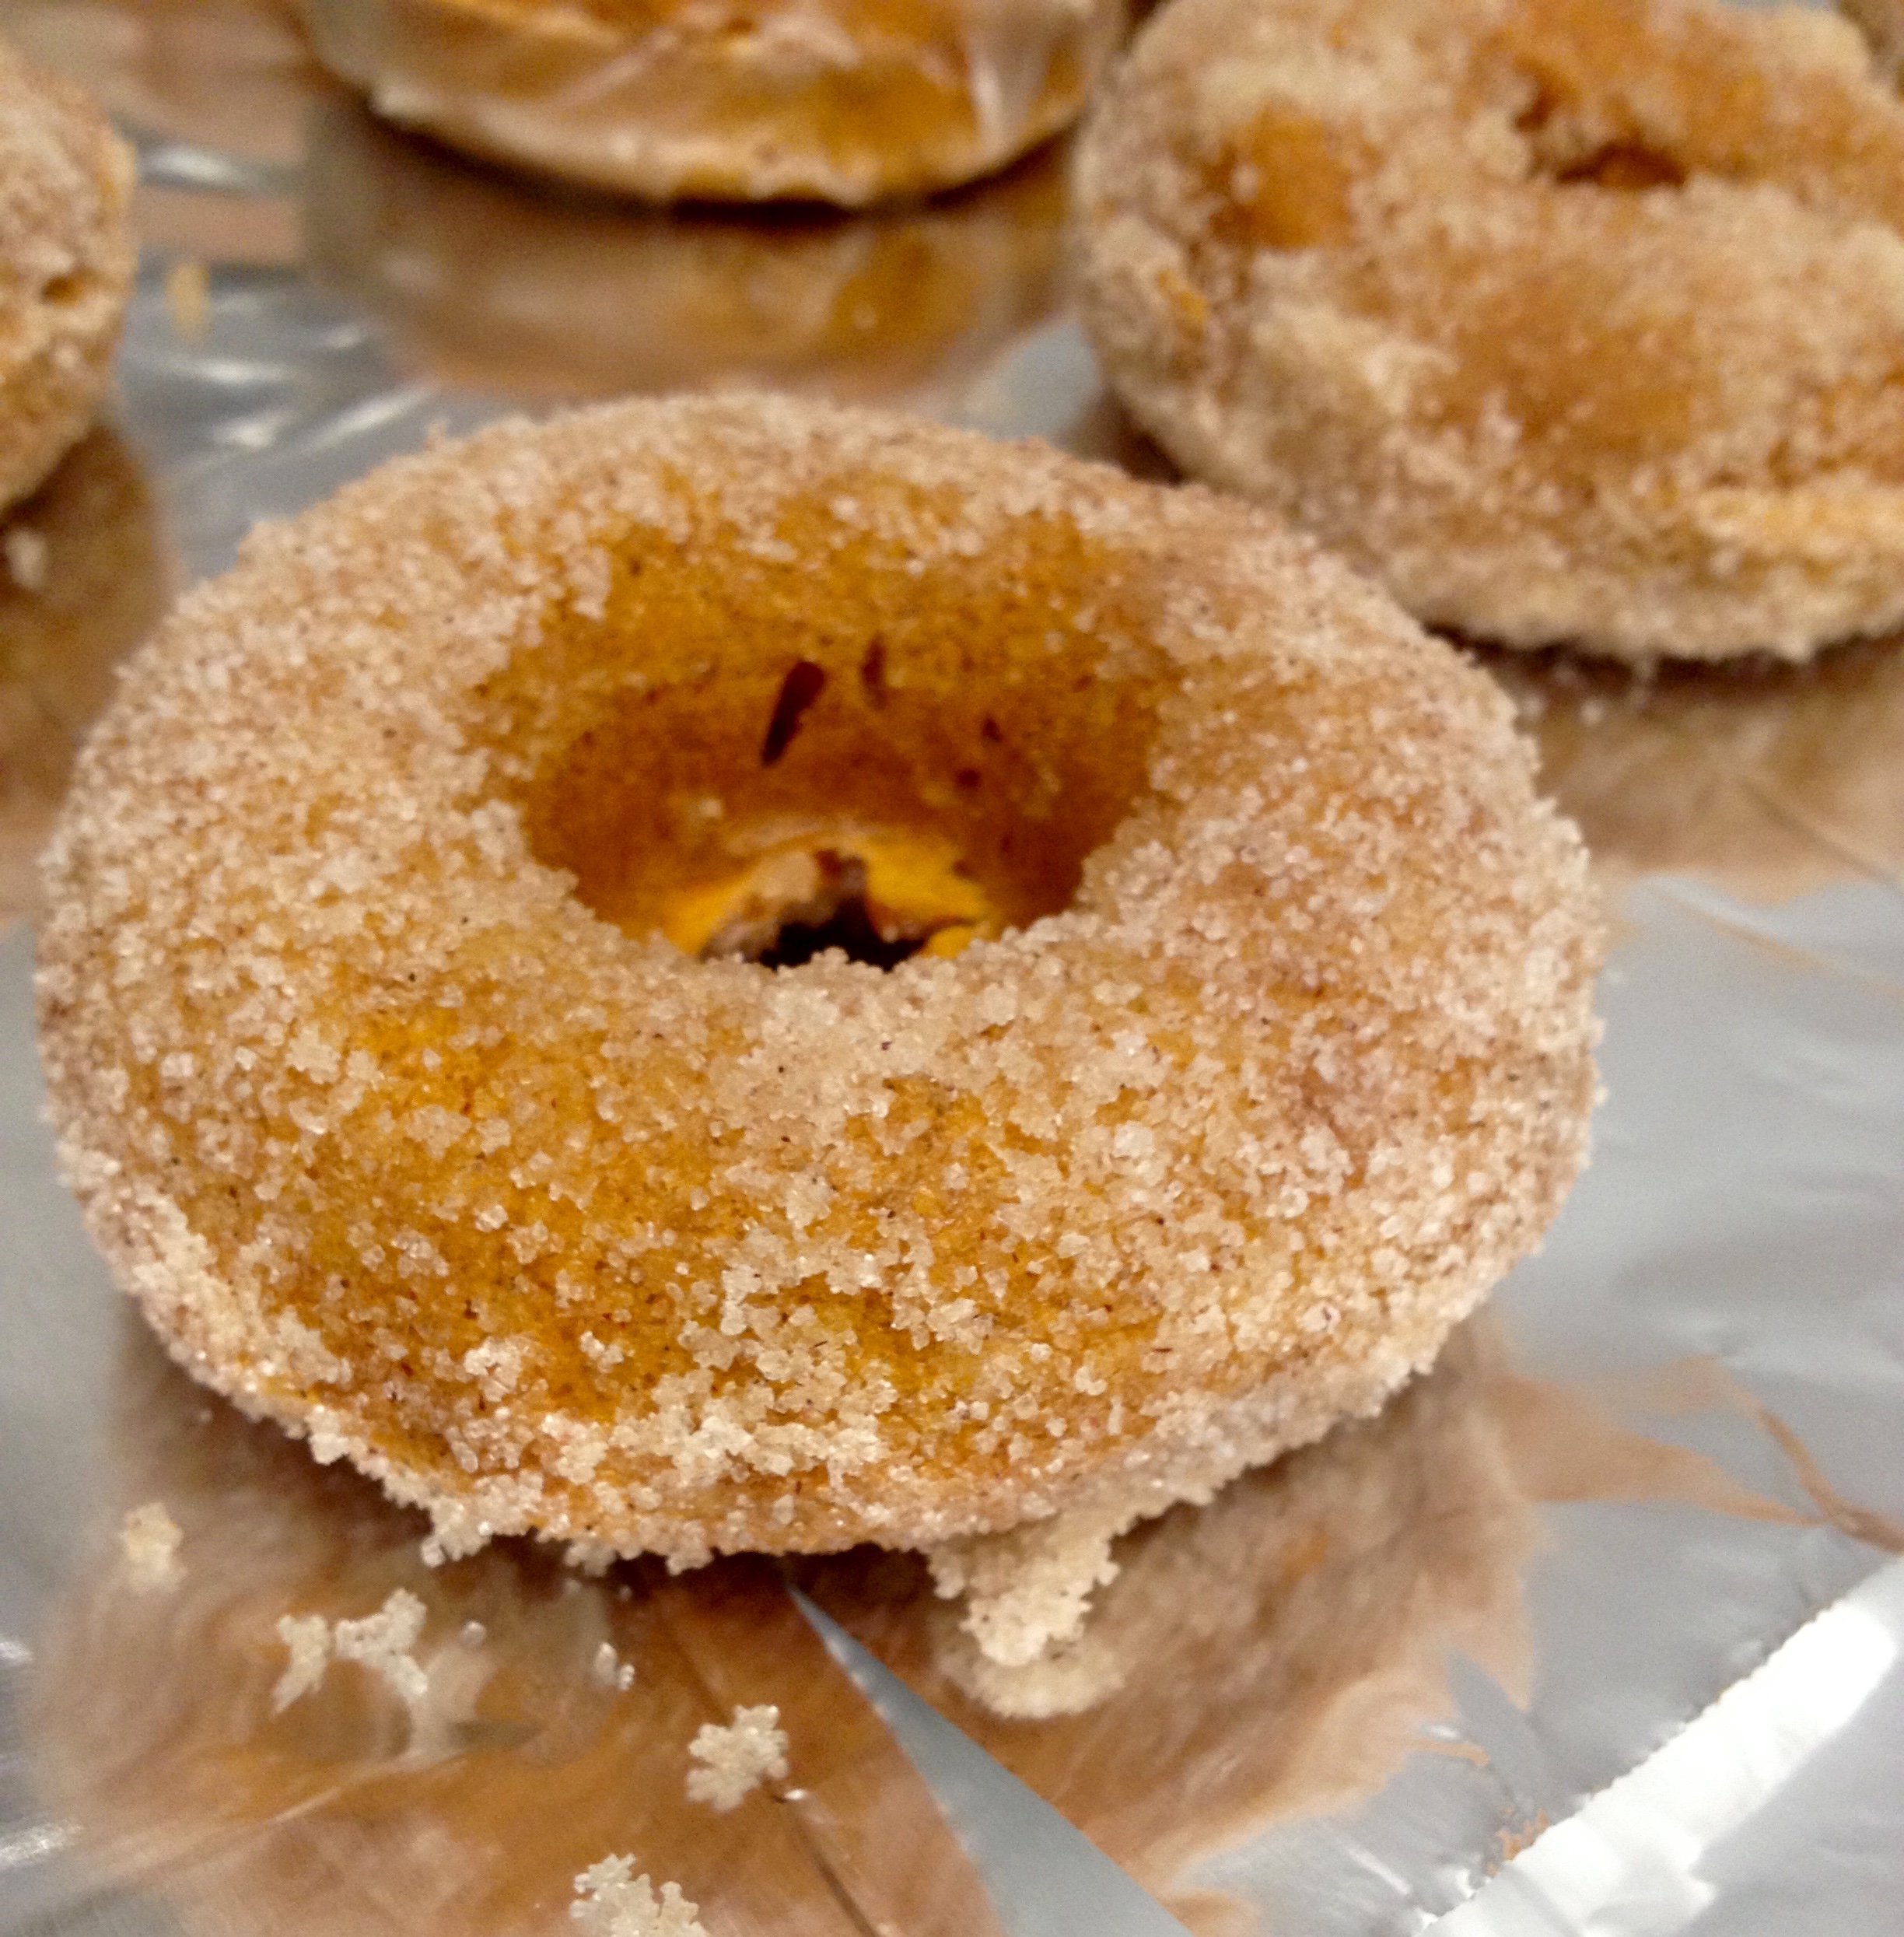
Melt the butter in a small bowl. Combine the cinnamon and sugar in a different bowl. Dunk the donuts in the butter, making sure that the whole donut is covered, and then roll the donuts in the cinnamon and sugar mixture. This mixture made enough to cover 8 donuts, so if you’re planning to top more donuts with this, I would make 1.5 times more of this recipe, or even double it.

And now it’s time to eat! These donuts went really fast- there were no leftovers at all! I hope you guys give these recipes a try, since they were seriously delicious. Happy baking!