Hello all! I’m so pumped to share my new idea with you: cookie painting! Yes, with actual paintbrushes. I’m sure all of you are familiar with frosted sugar cookies, and this is just a fun twist off of that. The best part? It’s simple, and it’s a great activity for kids! I’m really excited about this, so I’m going to jump right in!
The cookie recipe itself is the same as my “Pumpkin Pie Cookies” recipe (check my old posts for that recipe, too!). Here are the ingredients:
- 3 3/4 cups all-purpose flour
- 1 tsp baking powder
- 1/2 tsp salt
- 2 sticks unsalted butter (room temp. or softened)
- 2 cups granulated sugar
- 2 eggs
- 1 tsp vanilla extract
Cream the butter and sugar together. Add the eggs and vanilla, and mix well. Gradually add the dry ingredients, mixing until the dough is absolutely delicious and it’s tempting to just eat the dough (but really until everything is thoroughly incorporated). Then wrap the dough in plastic wrap and chill it in the fridge or freezer until it’s nice and cold, which will make it easier to work with.
Roll it out on a floured pastry board or flat surface until it’s about 1/4 inch thick.
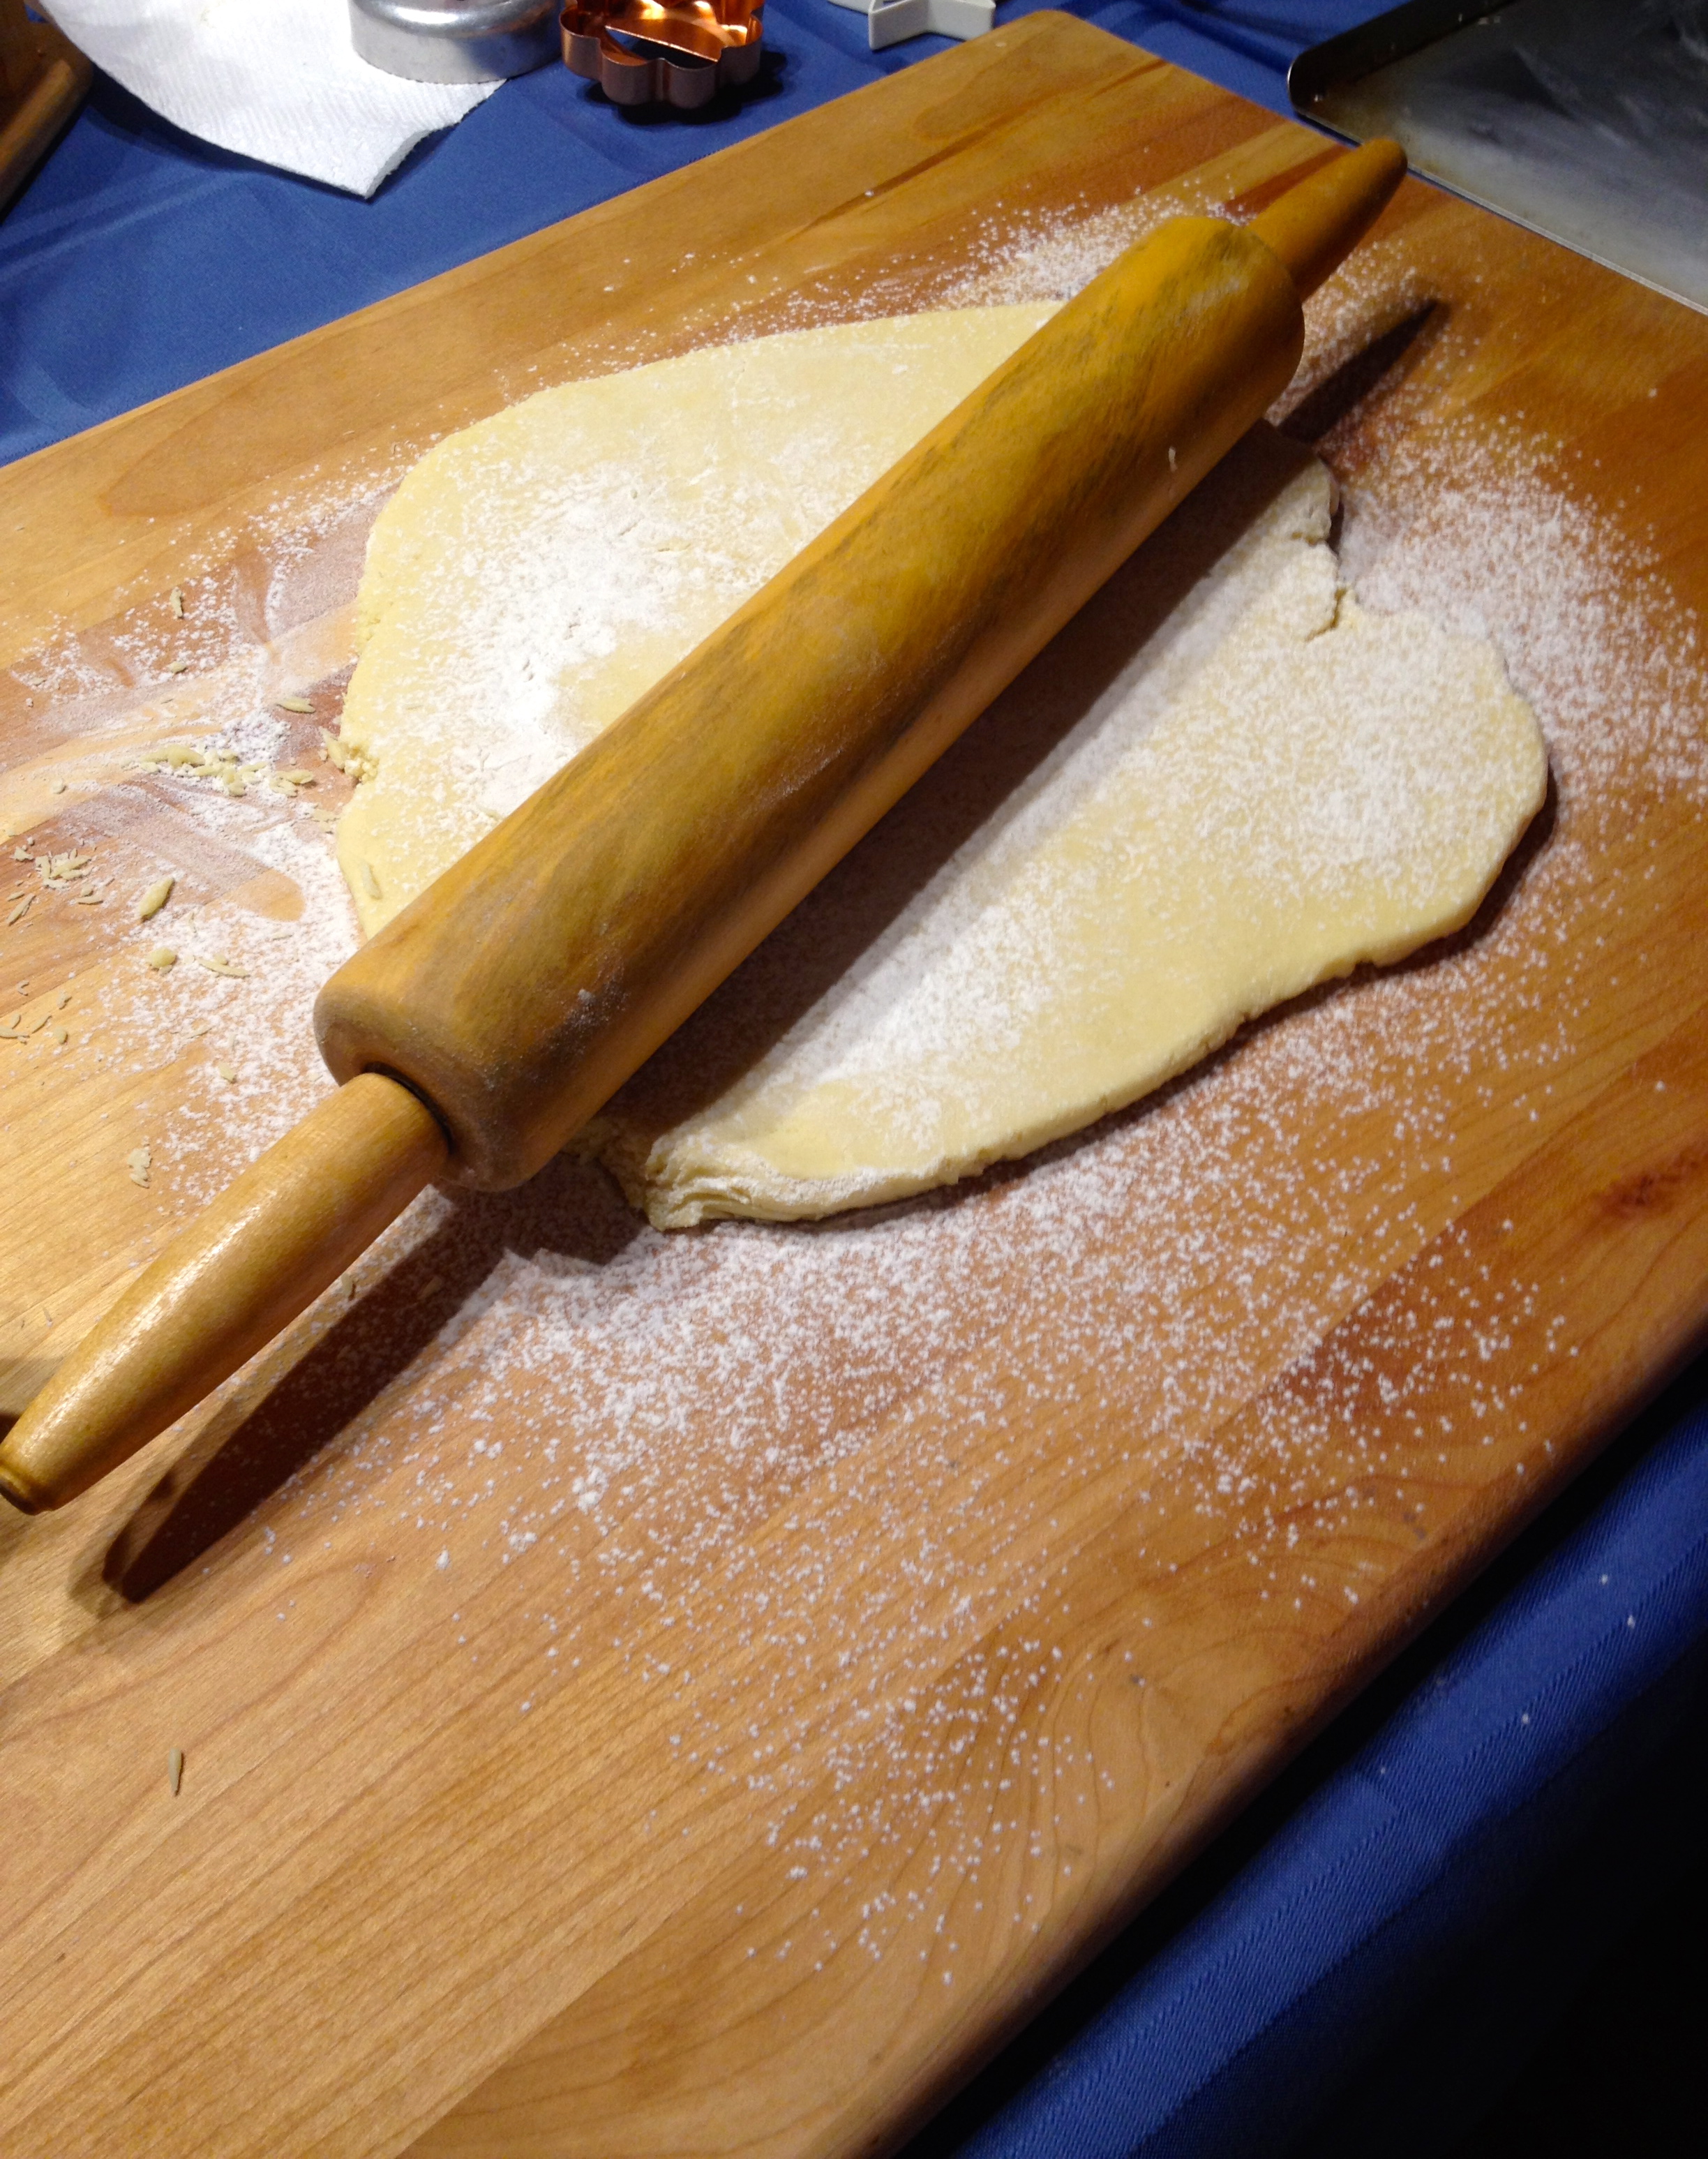
Cut out circles in the dough with a circle cookie cutter (or really any shape that you want to decorate- I just chose generic circles because I wanted the paintings to be showcased!).
Put the cookies on an ungreased baking sheet, and put in them in the oven at 350ºF for 8-10 minutes, switching racks after 5 minutes to ensure even baking. Some recipes call for a parchment-lined baking sheet, but if you take the cookies off the sheet right after they’ve come out of the oven you should be fine.
Let the cookies cool on a wire cooling rack. In the meantime, you can make up your “paint”, which is really a loose powdered sugar icing. There is no set recipe for this, so I’ll give you directions for how I make it.
- Pour 1/2 lb. (half a box) of powdered sugar into a medium mixing bowl.
- Sprinkle a pinch of cream of tartar (~1/8 tsp) in with the powdered sugar (this will help the glaze harden on your cookies).
- A very little bit at a time, add milk to the sugar until you have a runny icing, about the consistency of regular paint.
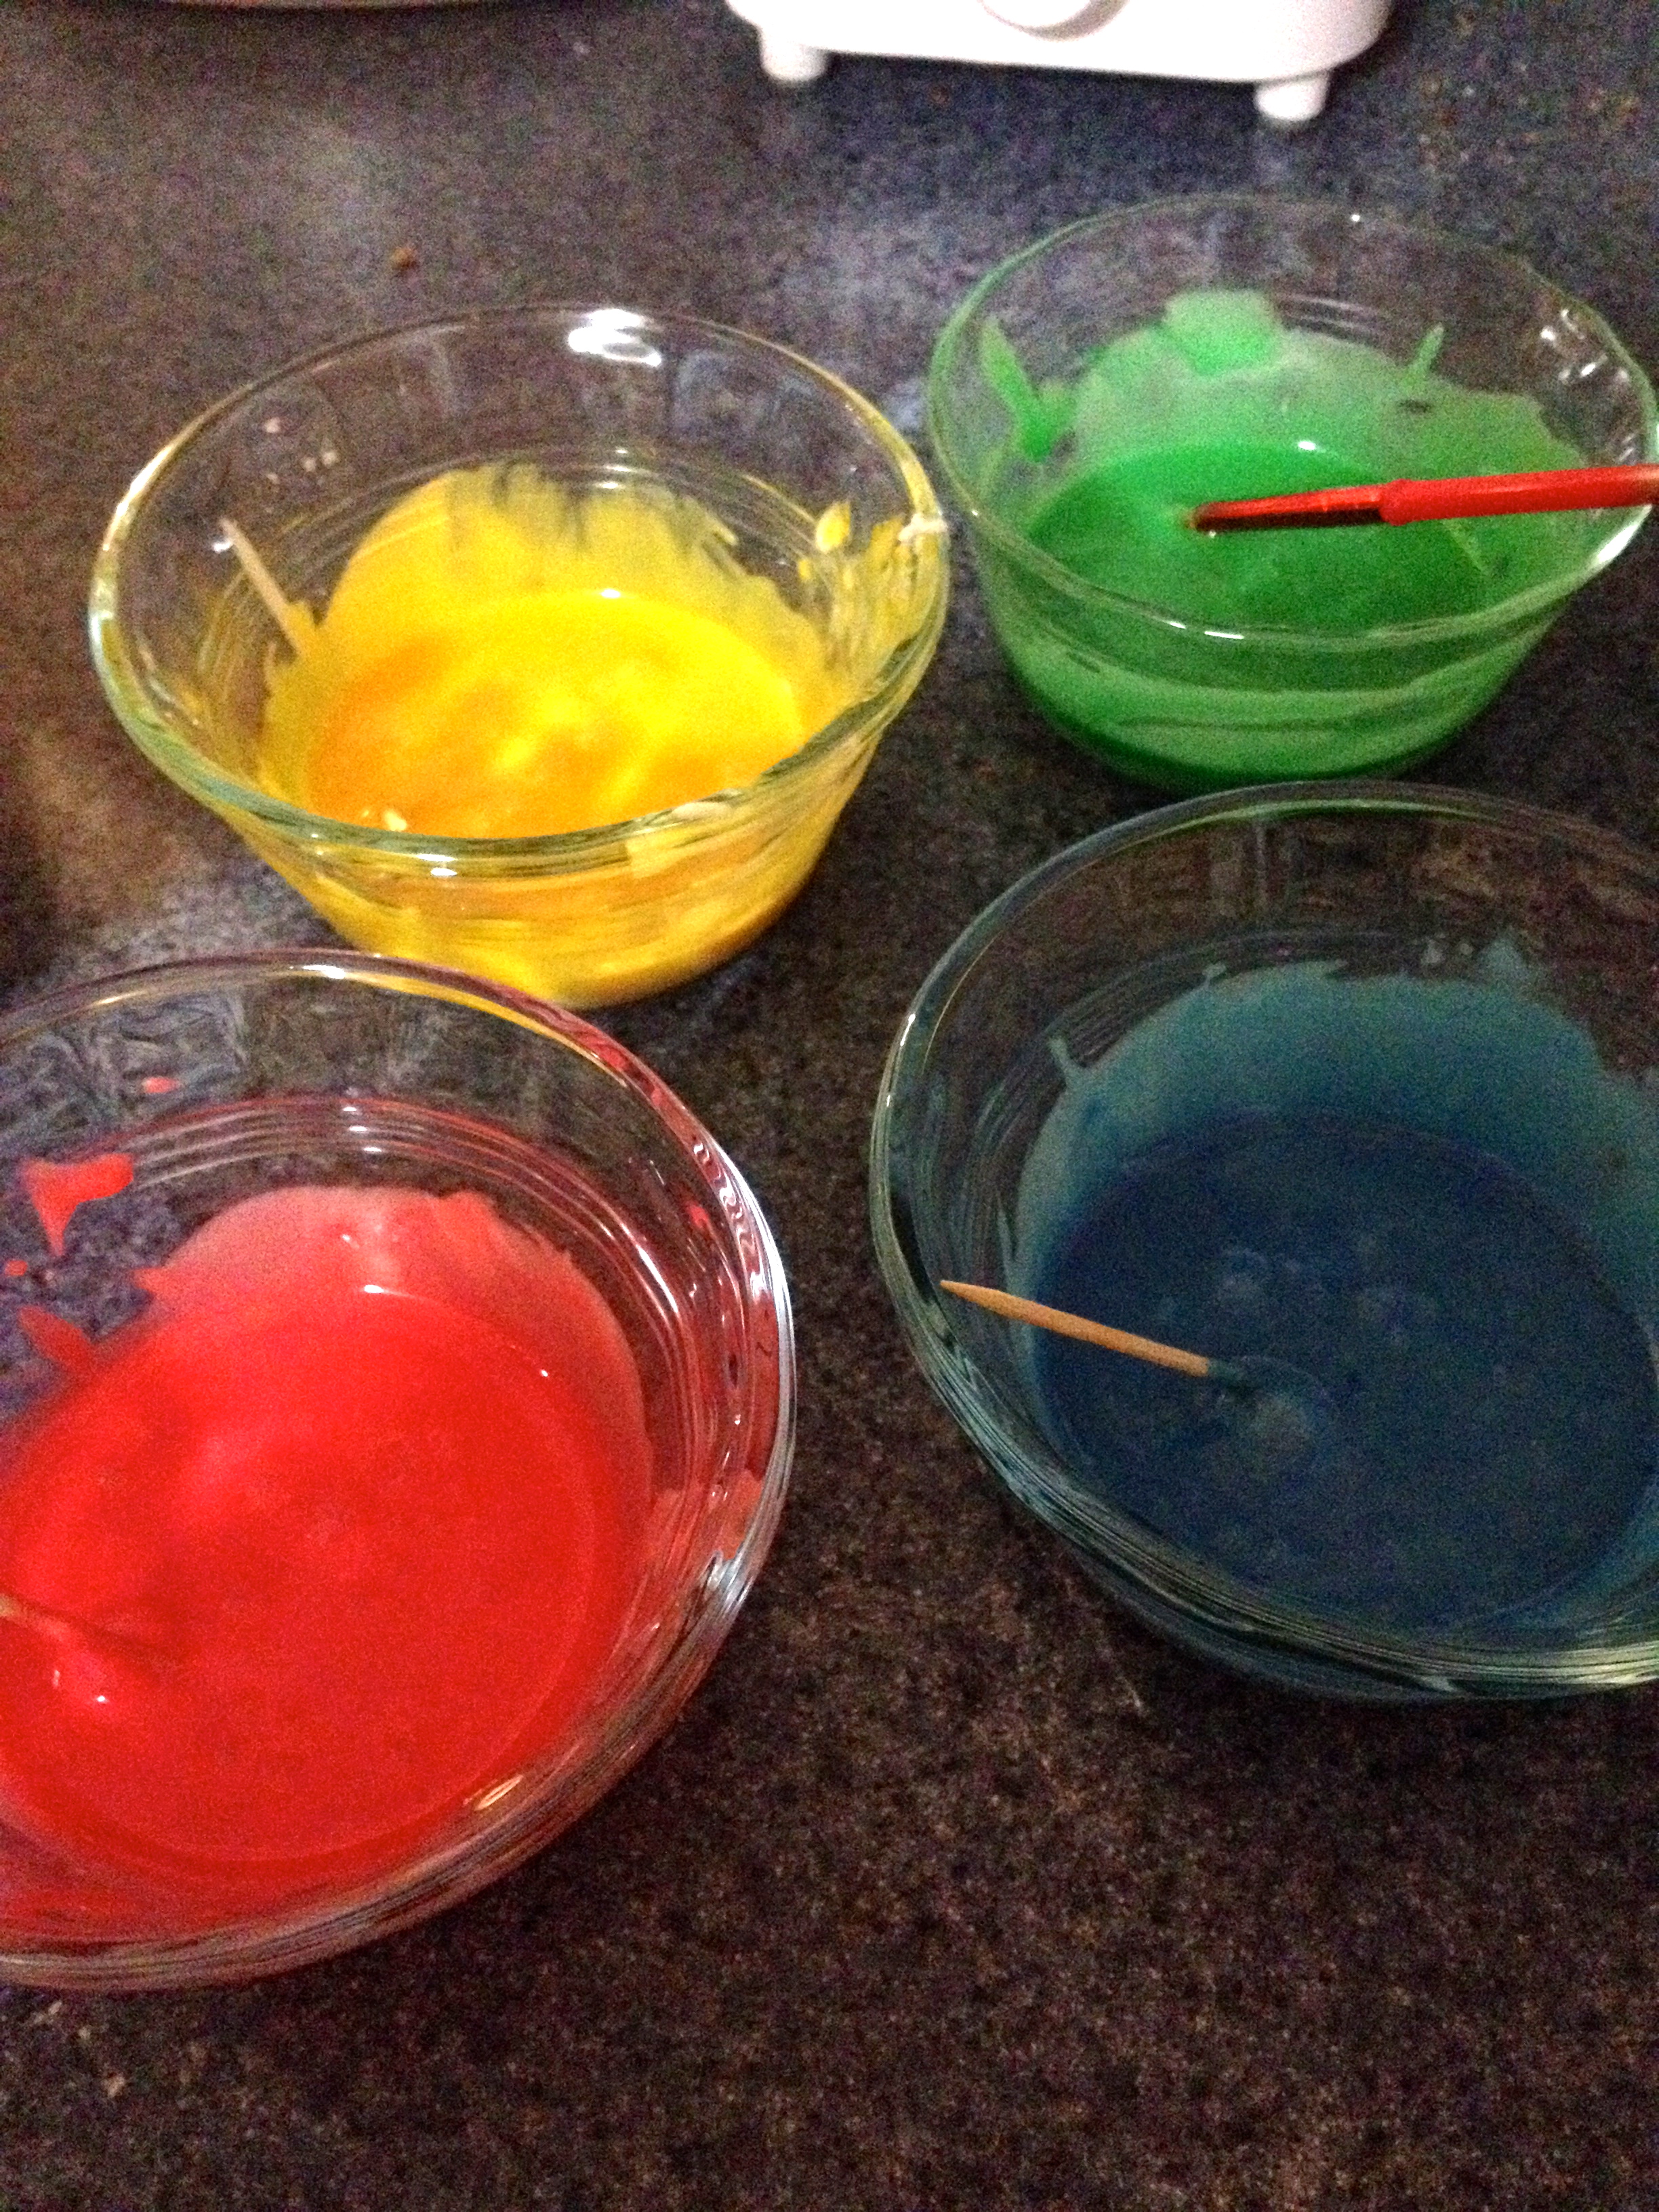
- Divide the icing into 5 separate small bowls.
- Using food coloring, make each bowl of frosting a different color (I made four colors and left the fifth portion white). I made my colors pretty vibrant by adding 4 drops of the food coloring per bowl.
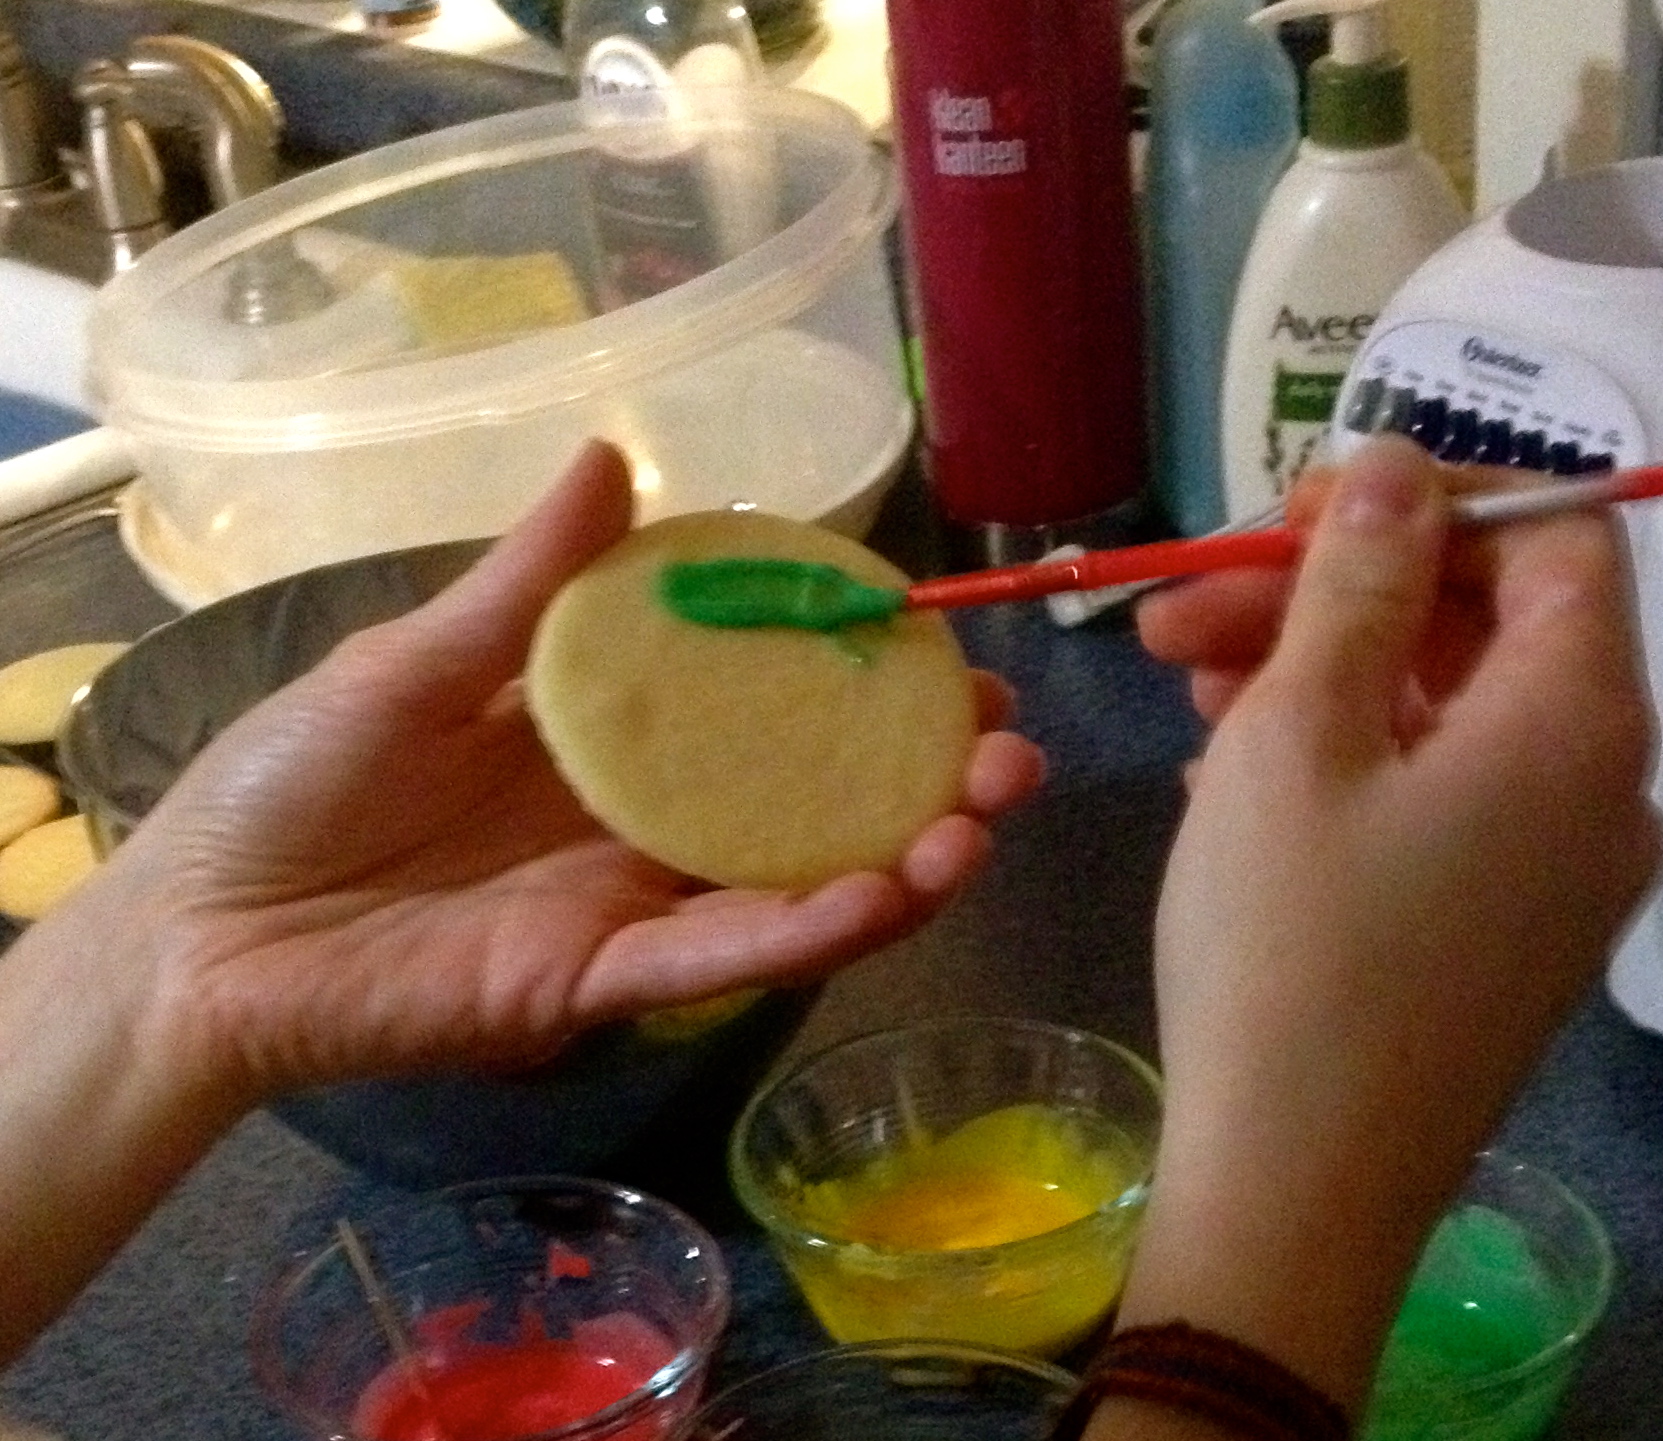
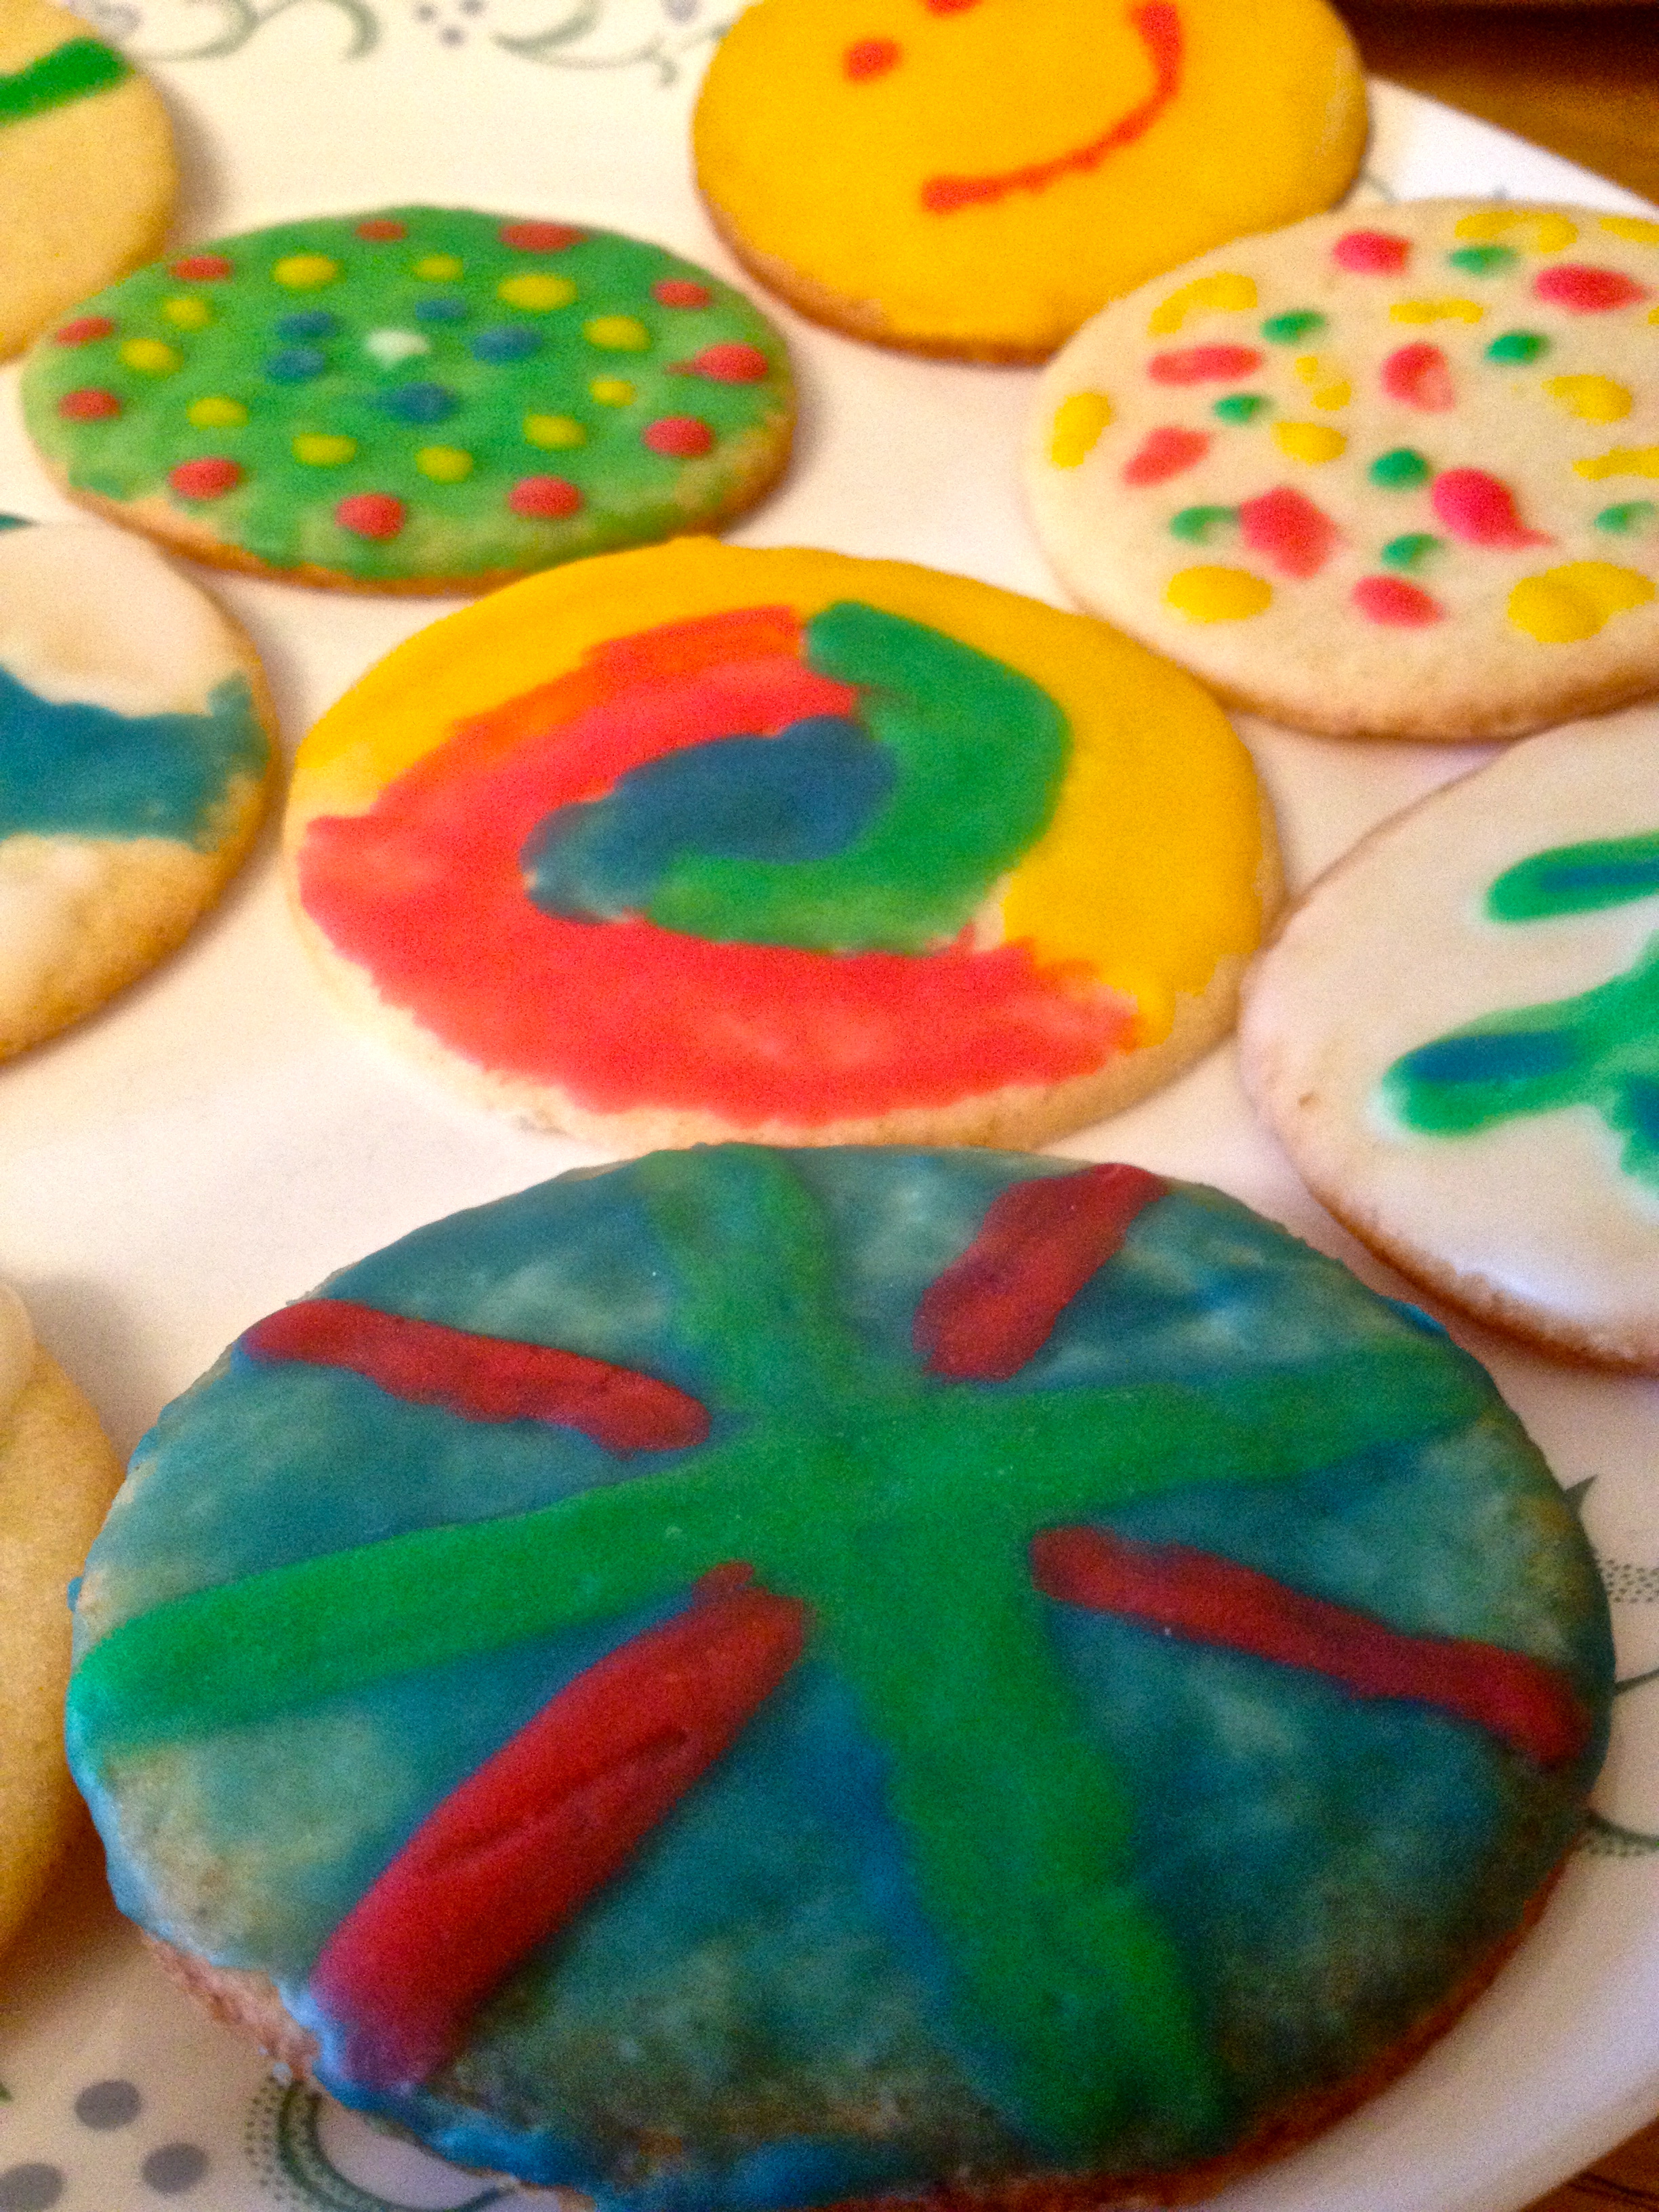
Now you’re ready to paint! This is the fun part, because you can be as creative or not as you please, and the cookies will taste great no matter what! An added perk is that if you mess up on your painting, you can just eat the mistake and start over with a new cookie! Just be sure to be gentle, because the cookies could break. I also suggest having one paintbrush per color, so that you don’t have to clean the brush between every color change.
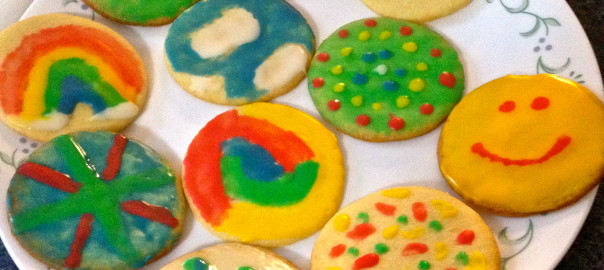
Tip: The colors will be lighter when you first paint them on, and then will darken as the glaze hardens. The white glaze will really be an obvious white color, not the clear color that paints on.
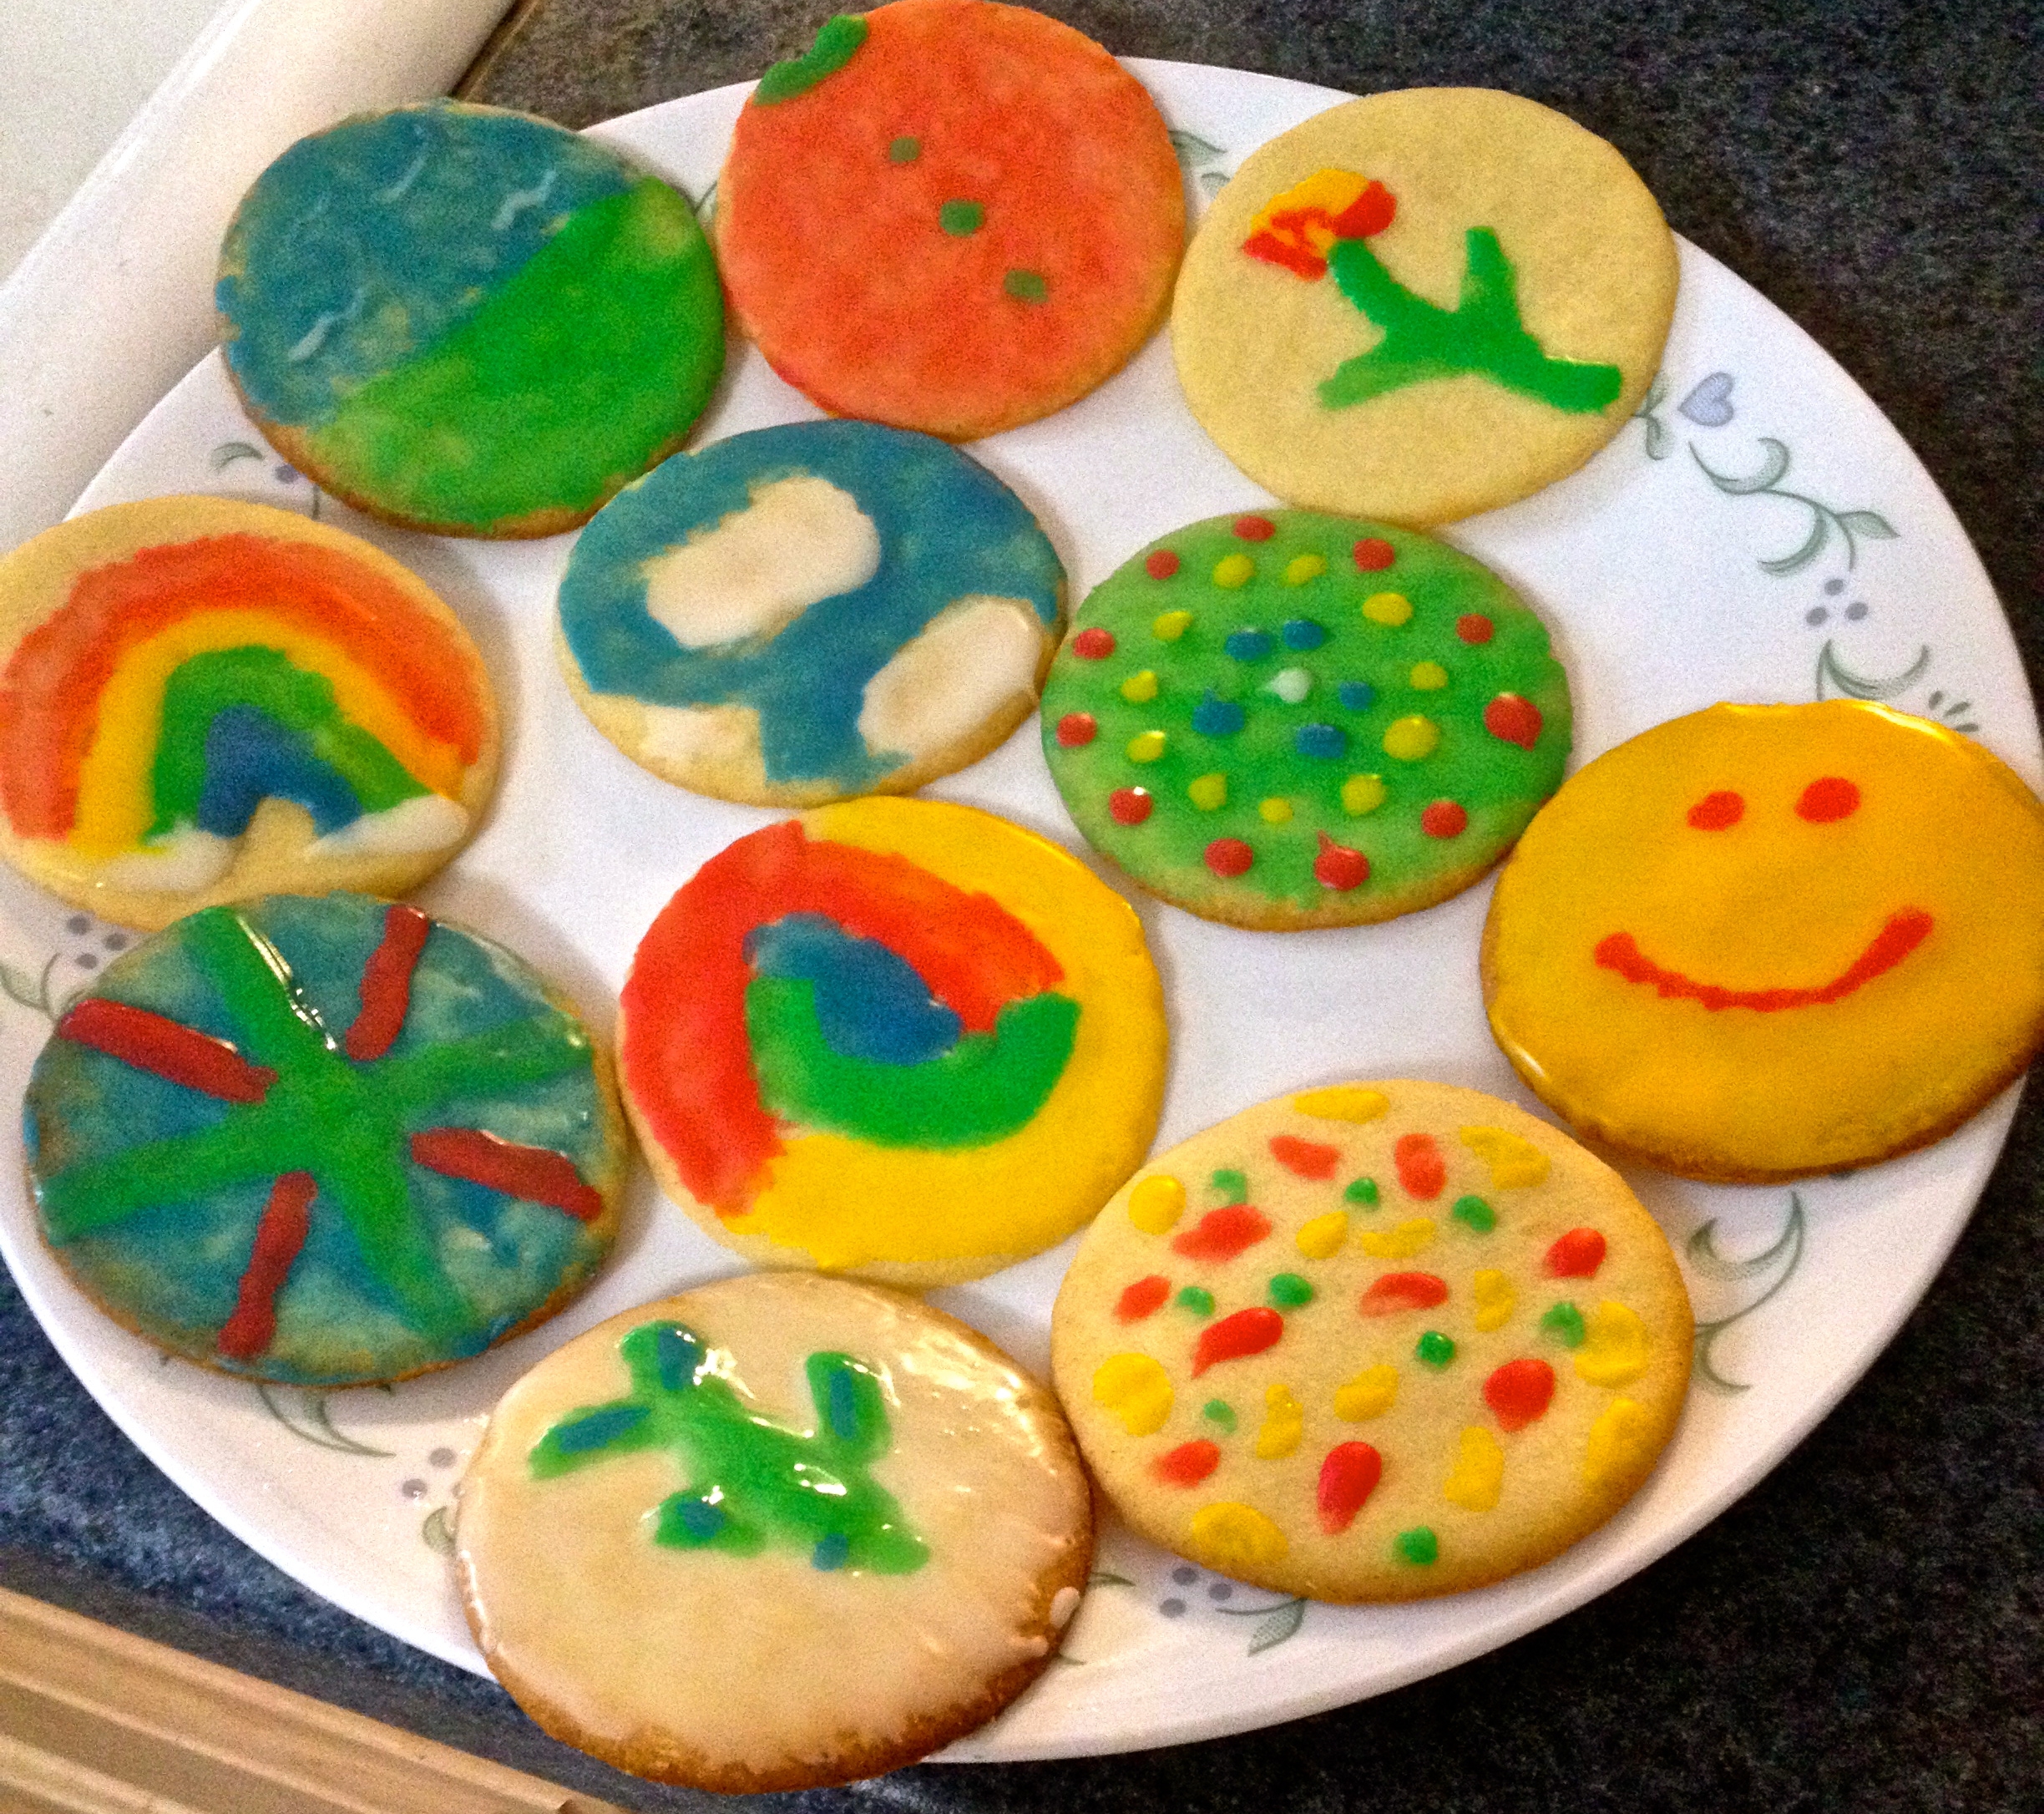
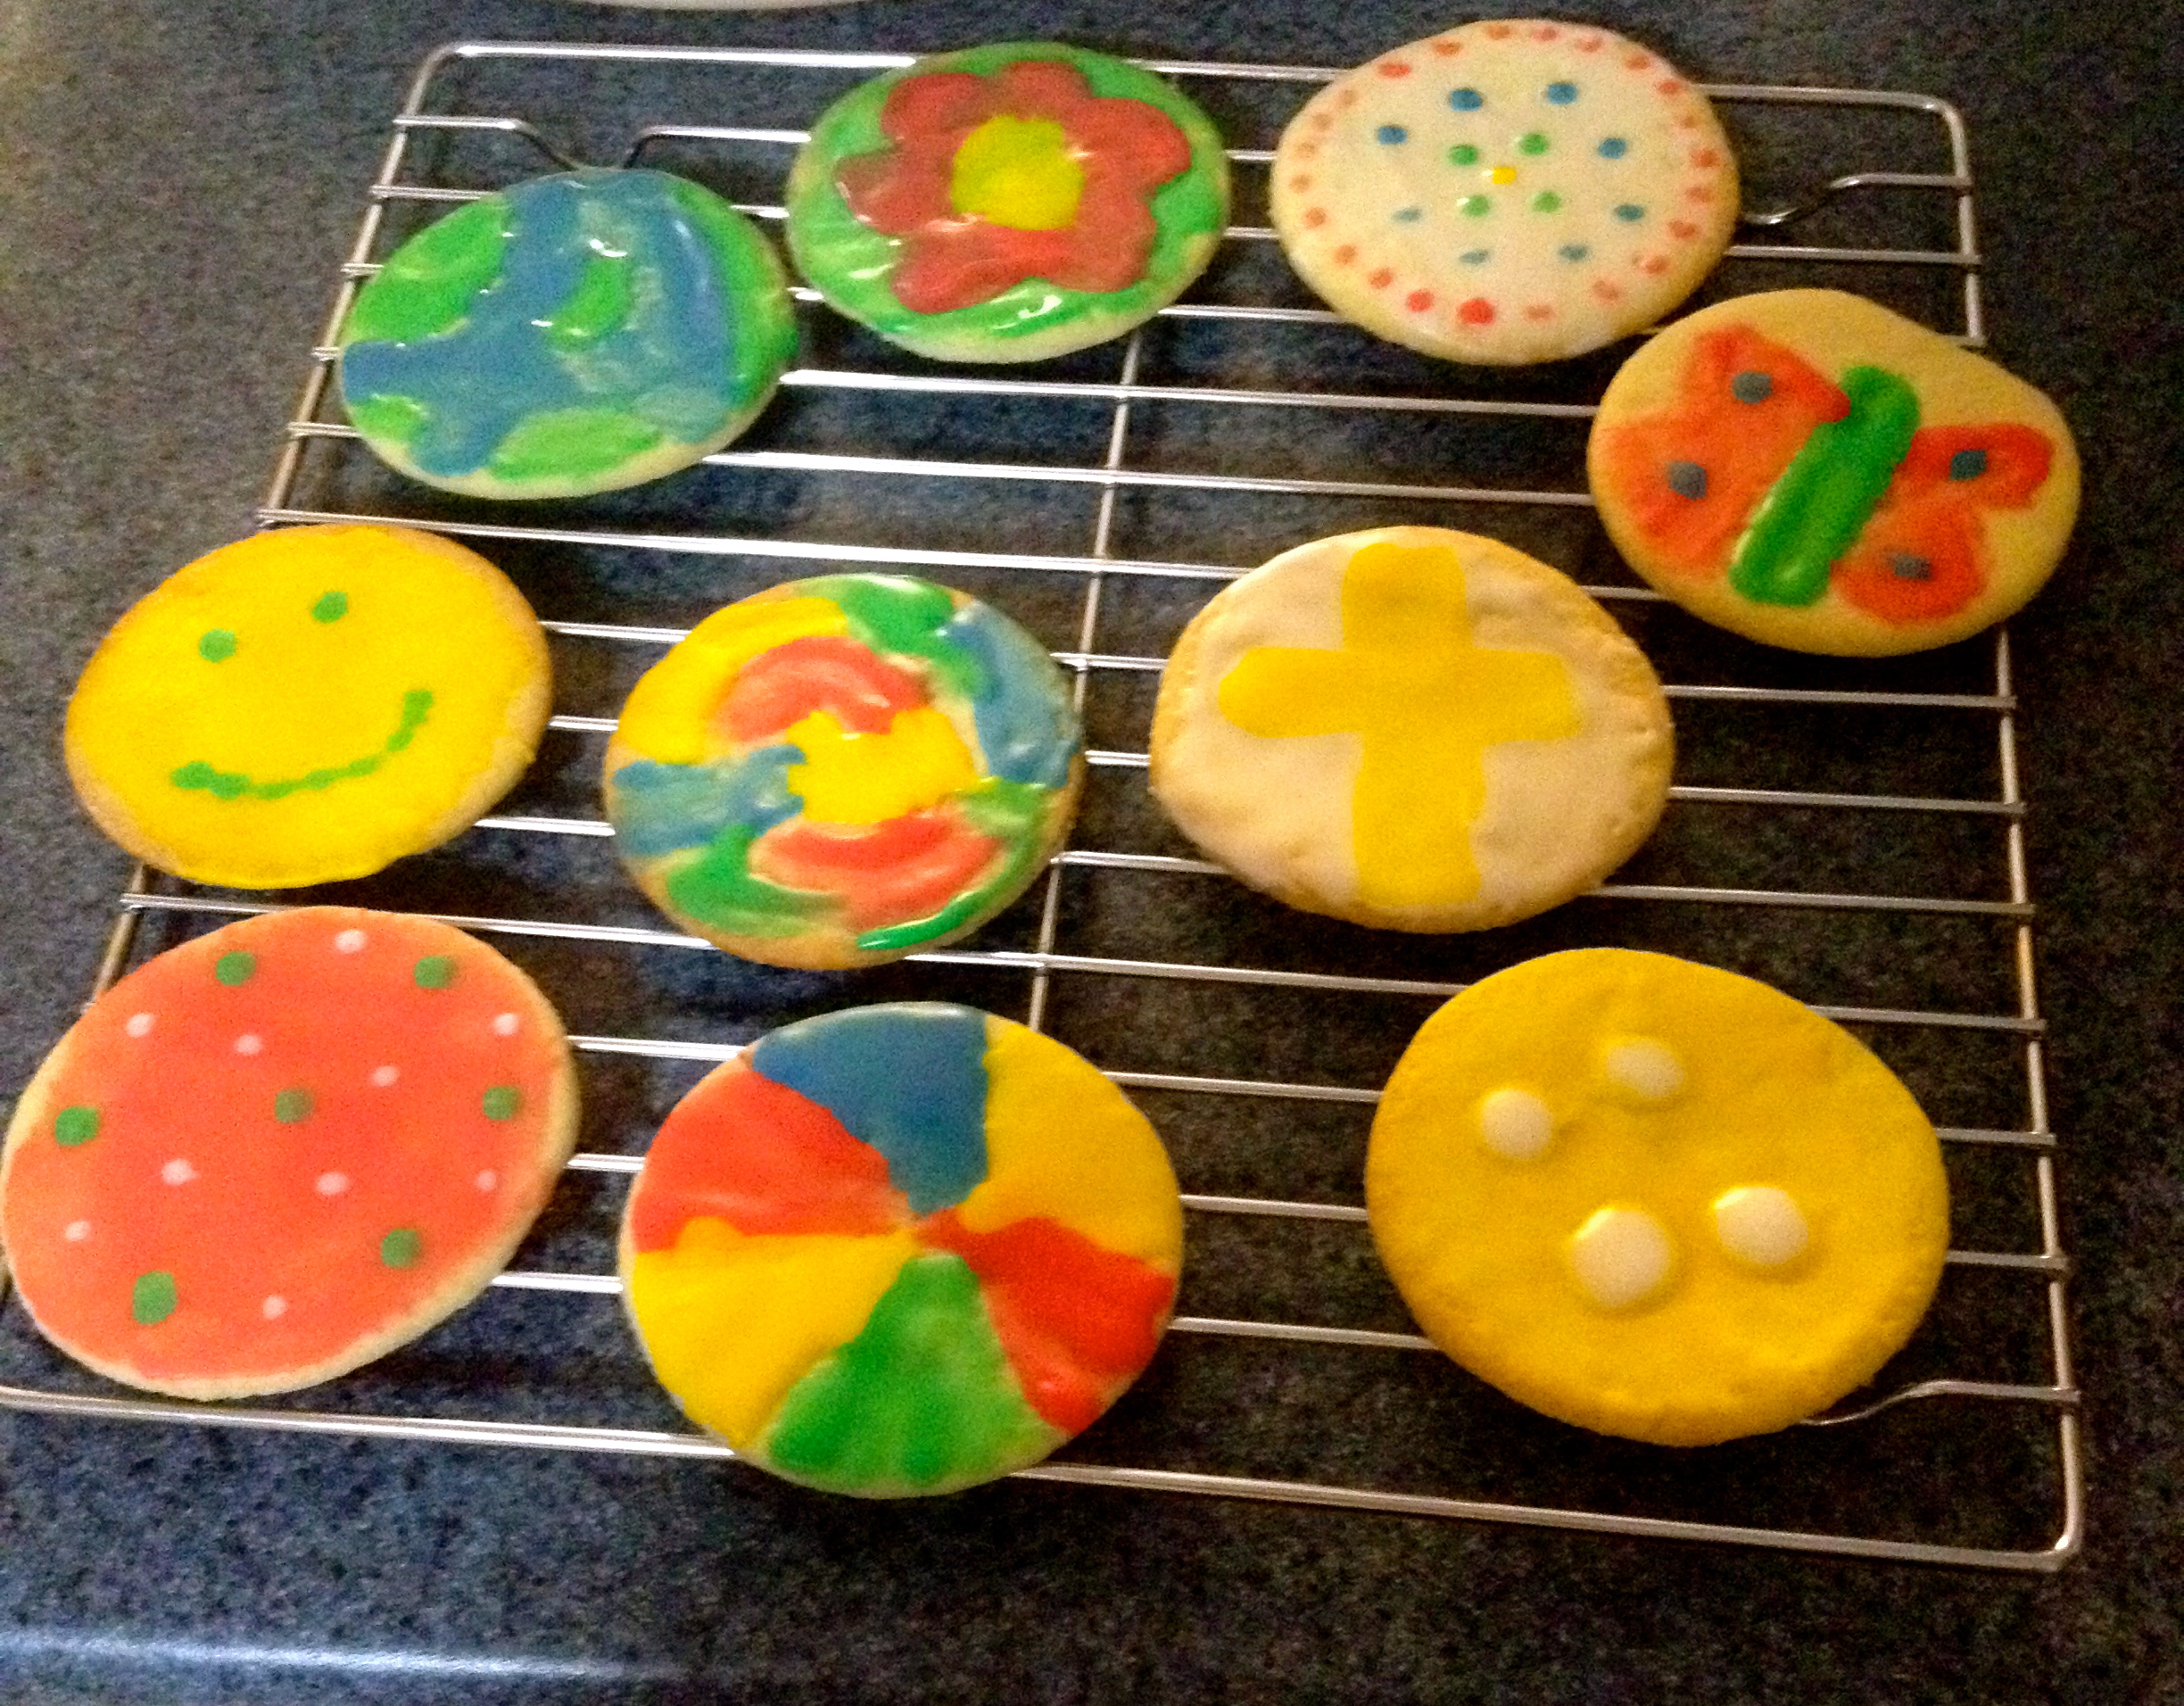
Here are some of my designs:
This recipe is great for kid parties, or for decorating holiday cookies! You can easily switch it up by using a specific cookie cutter, like a Santa shape or a heart. This recipe is just fun and simple! Plus, the sugar cookies are delicious! Happy baking, and happy painting!
Great idea for kid’s birthday parties! Very cool.