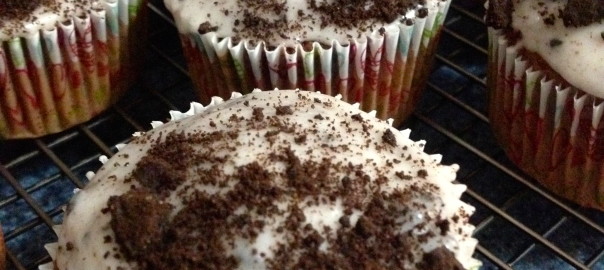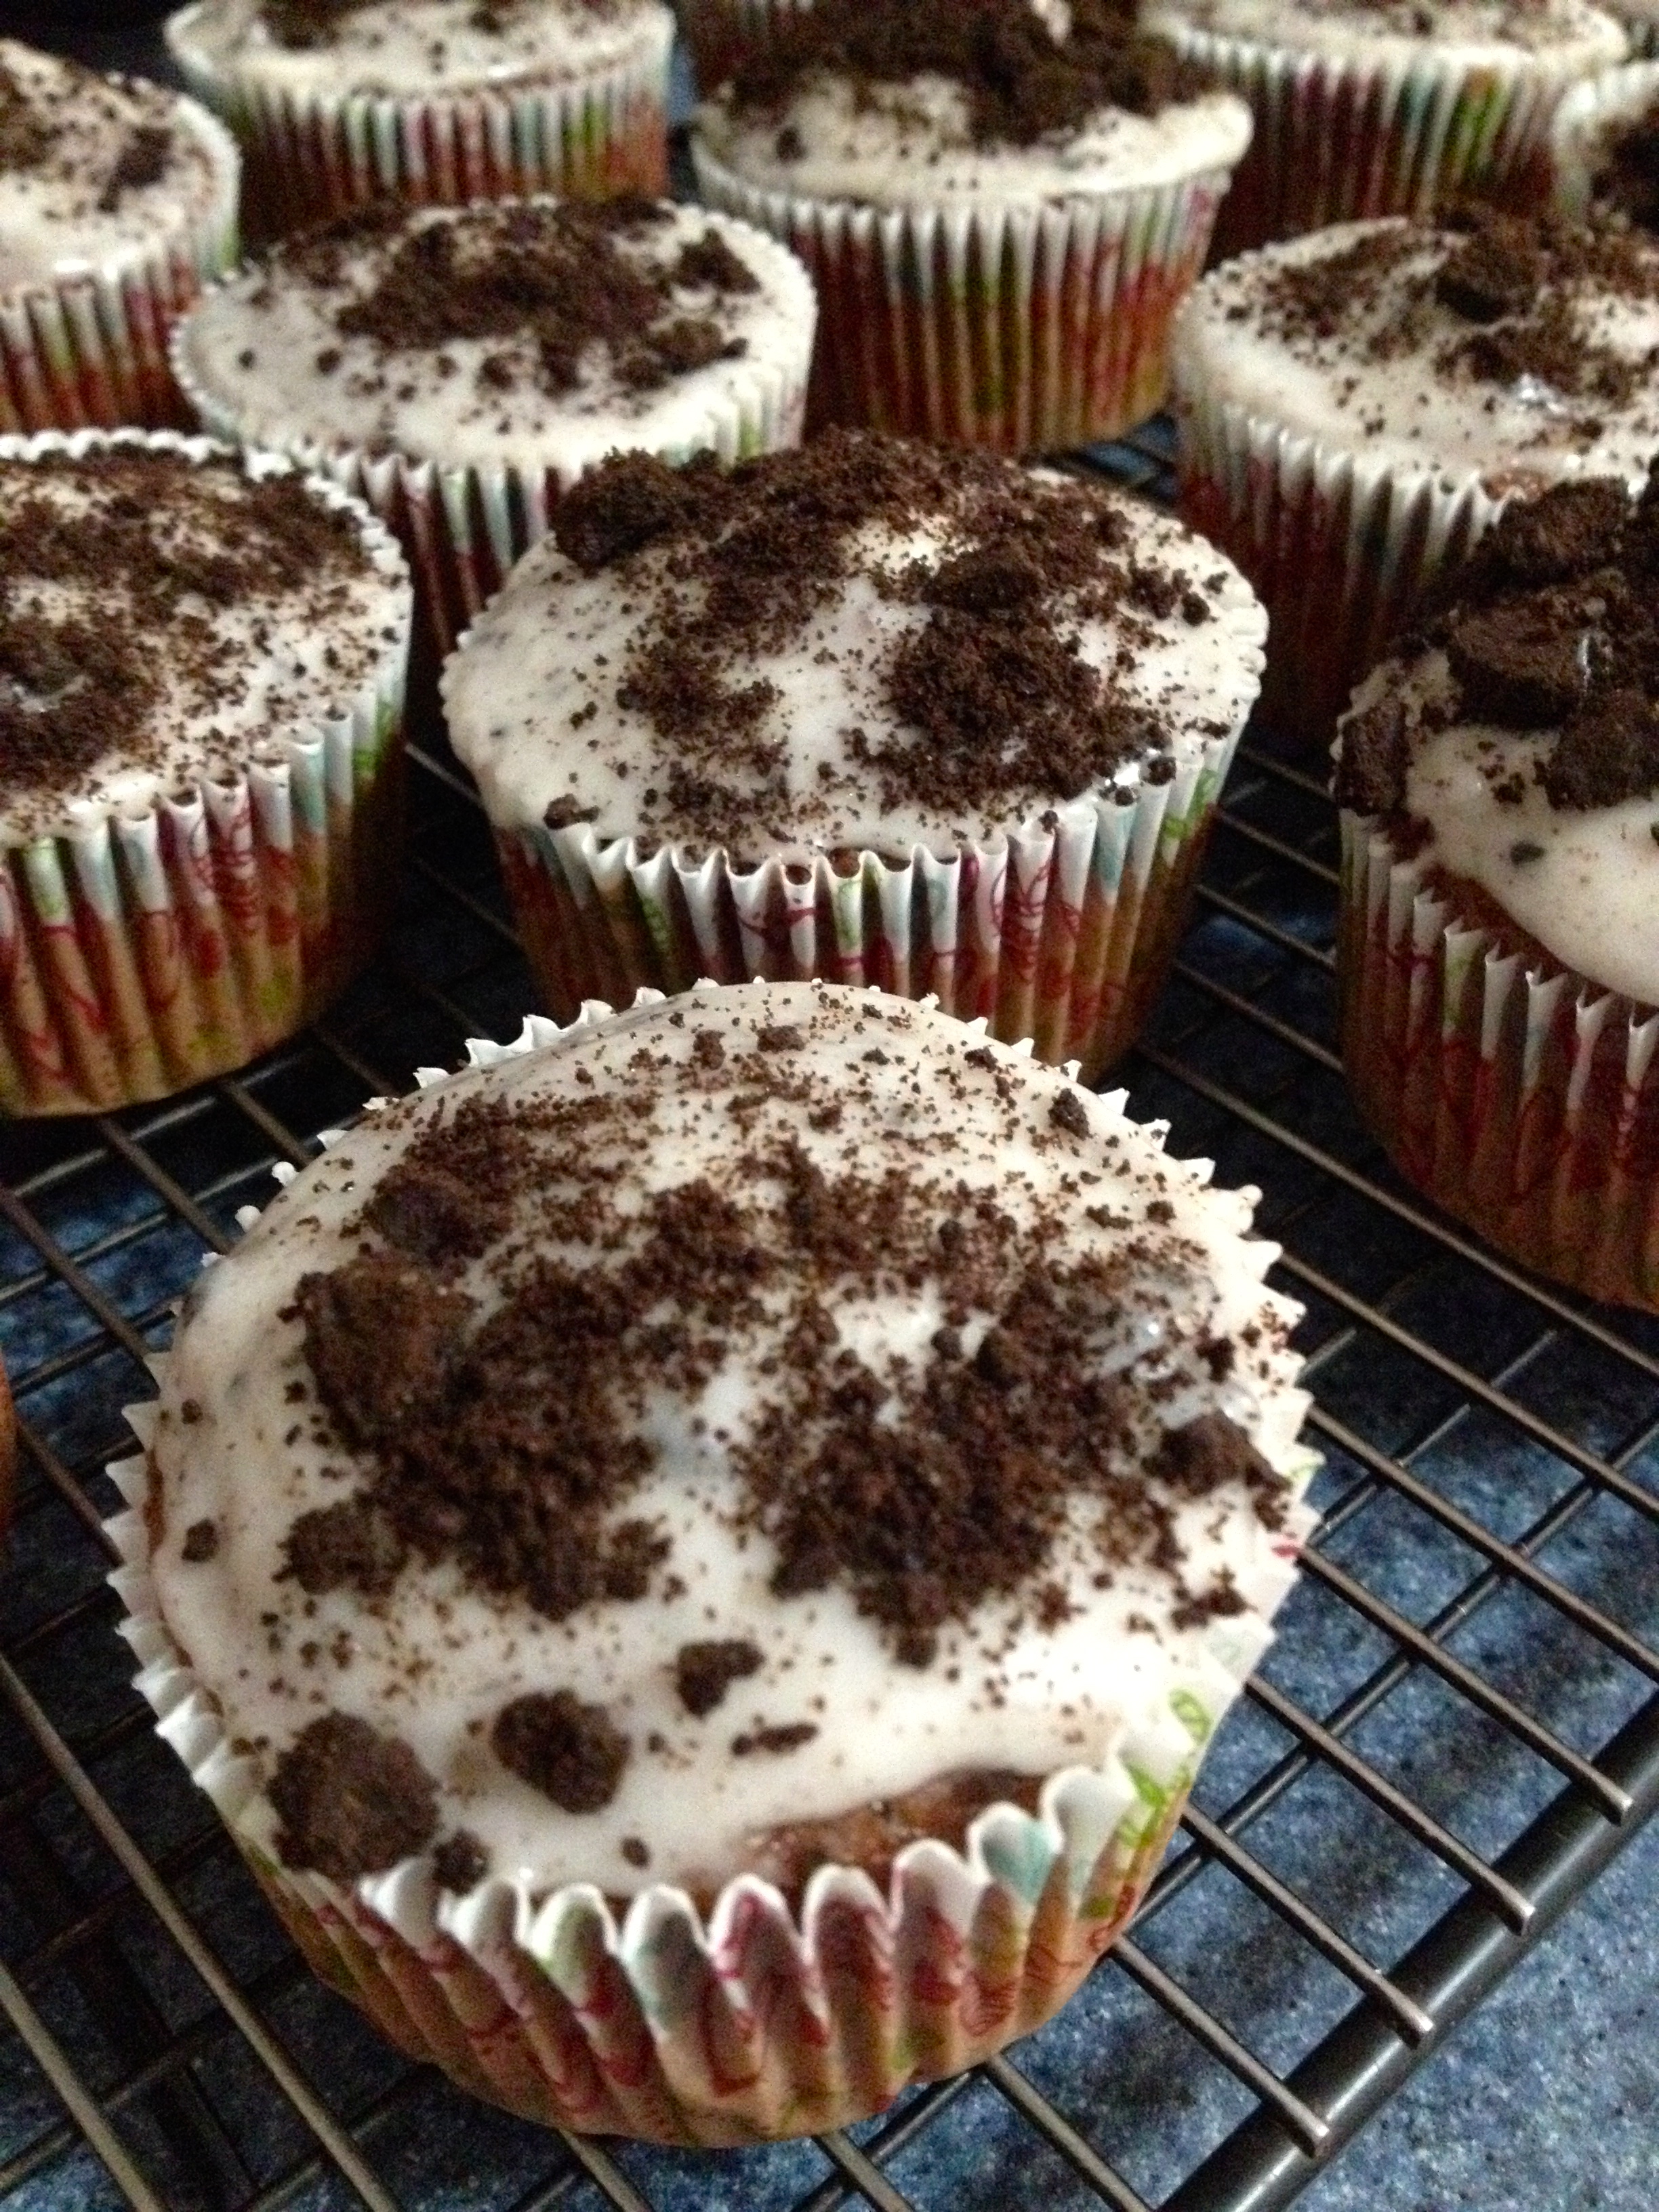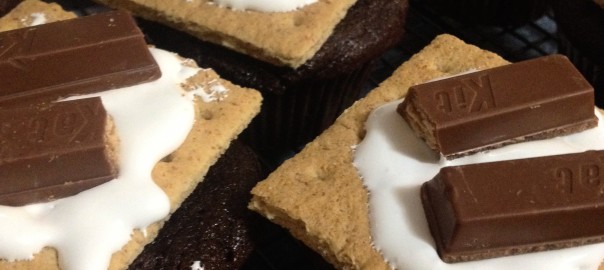
Hi friends! Happy 4th of July weekend! I was flipping through my Cupcake Bible this past week and came across a great recipe for S’mores Cupcakes. Since my last S’mores Dip recipe was so popular, I decided to go round two for the s’mores! This recipe is really simple and cute, and was a huge favorite among my family and my dad’s coworkers. Here’s the recipe:
Ingredients:
- 1 and 1/4 cups all-purpose flour
- 1/2 cup unsweetened cocoa powder
- 3/4 tsp baking soda
- 1/2 tsp salt
- 1 stick softened butter or margarine
- 1 and 1/4 cups granulated sugar
- 2 eggs
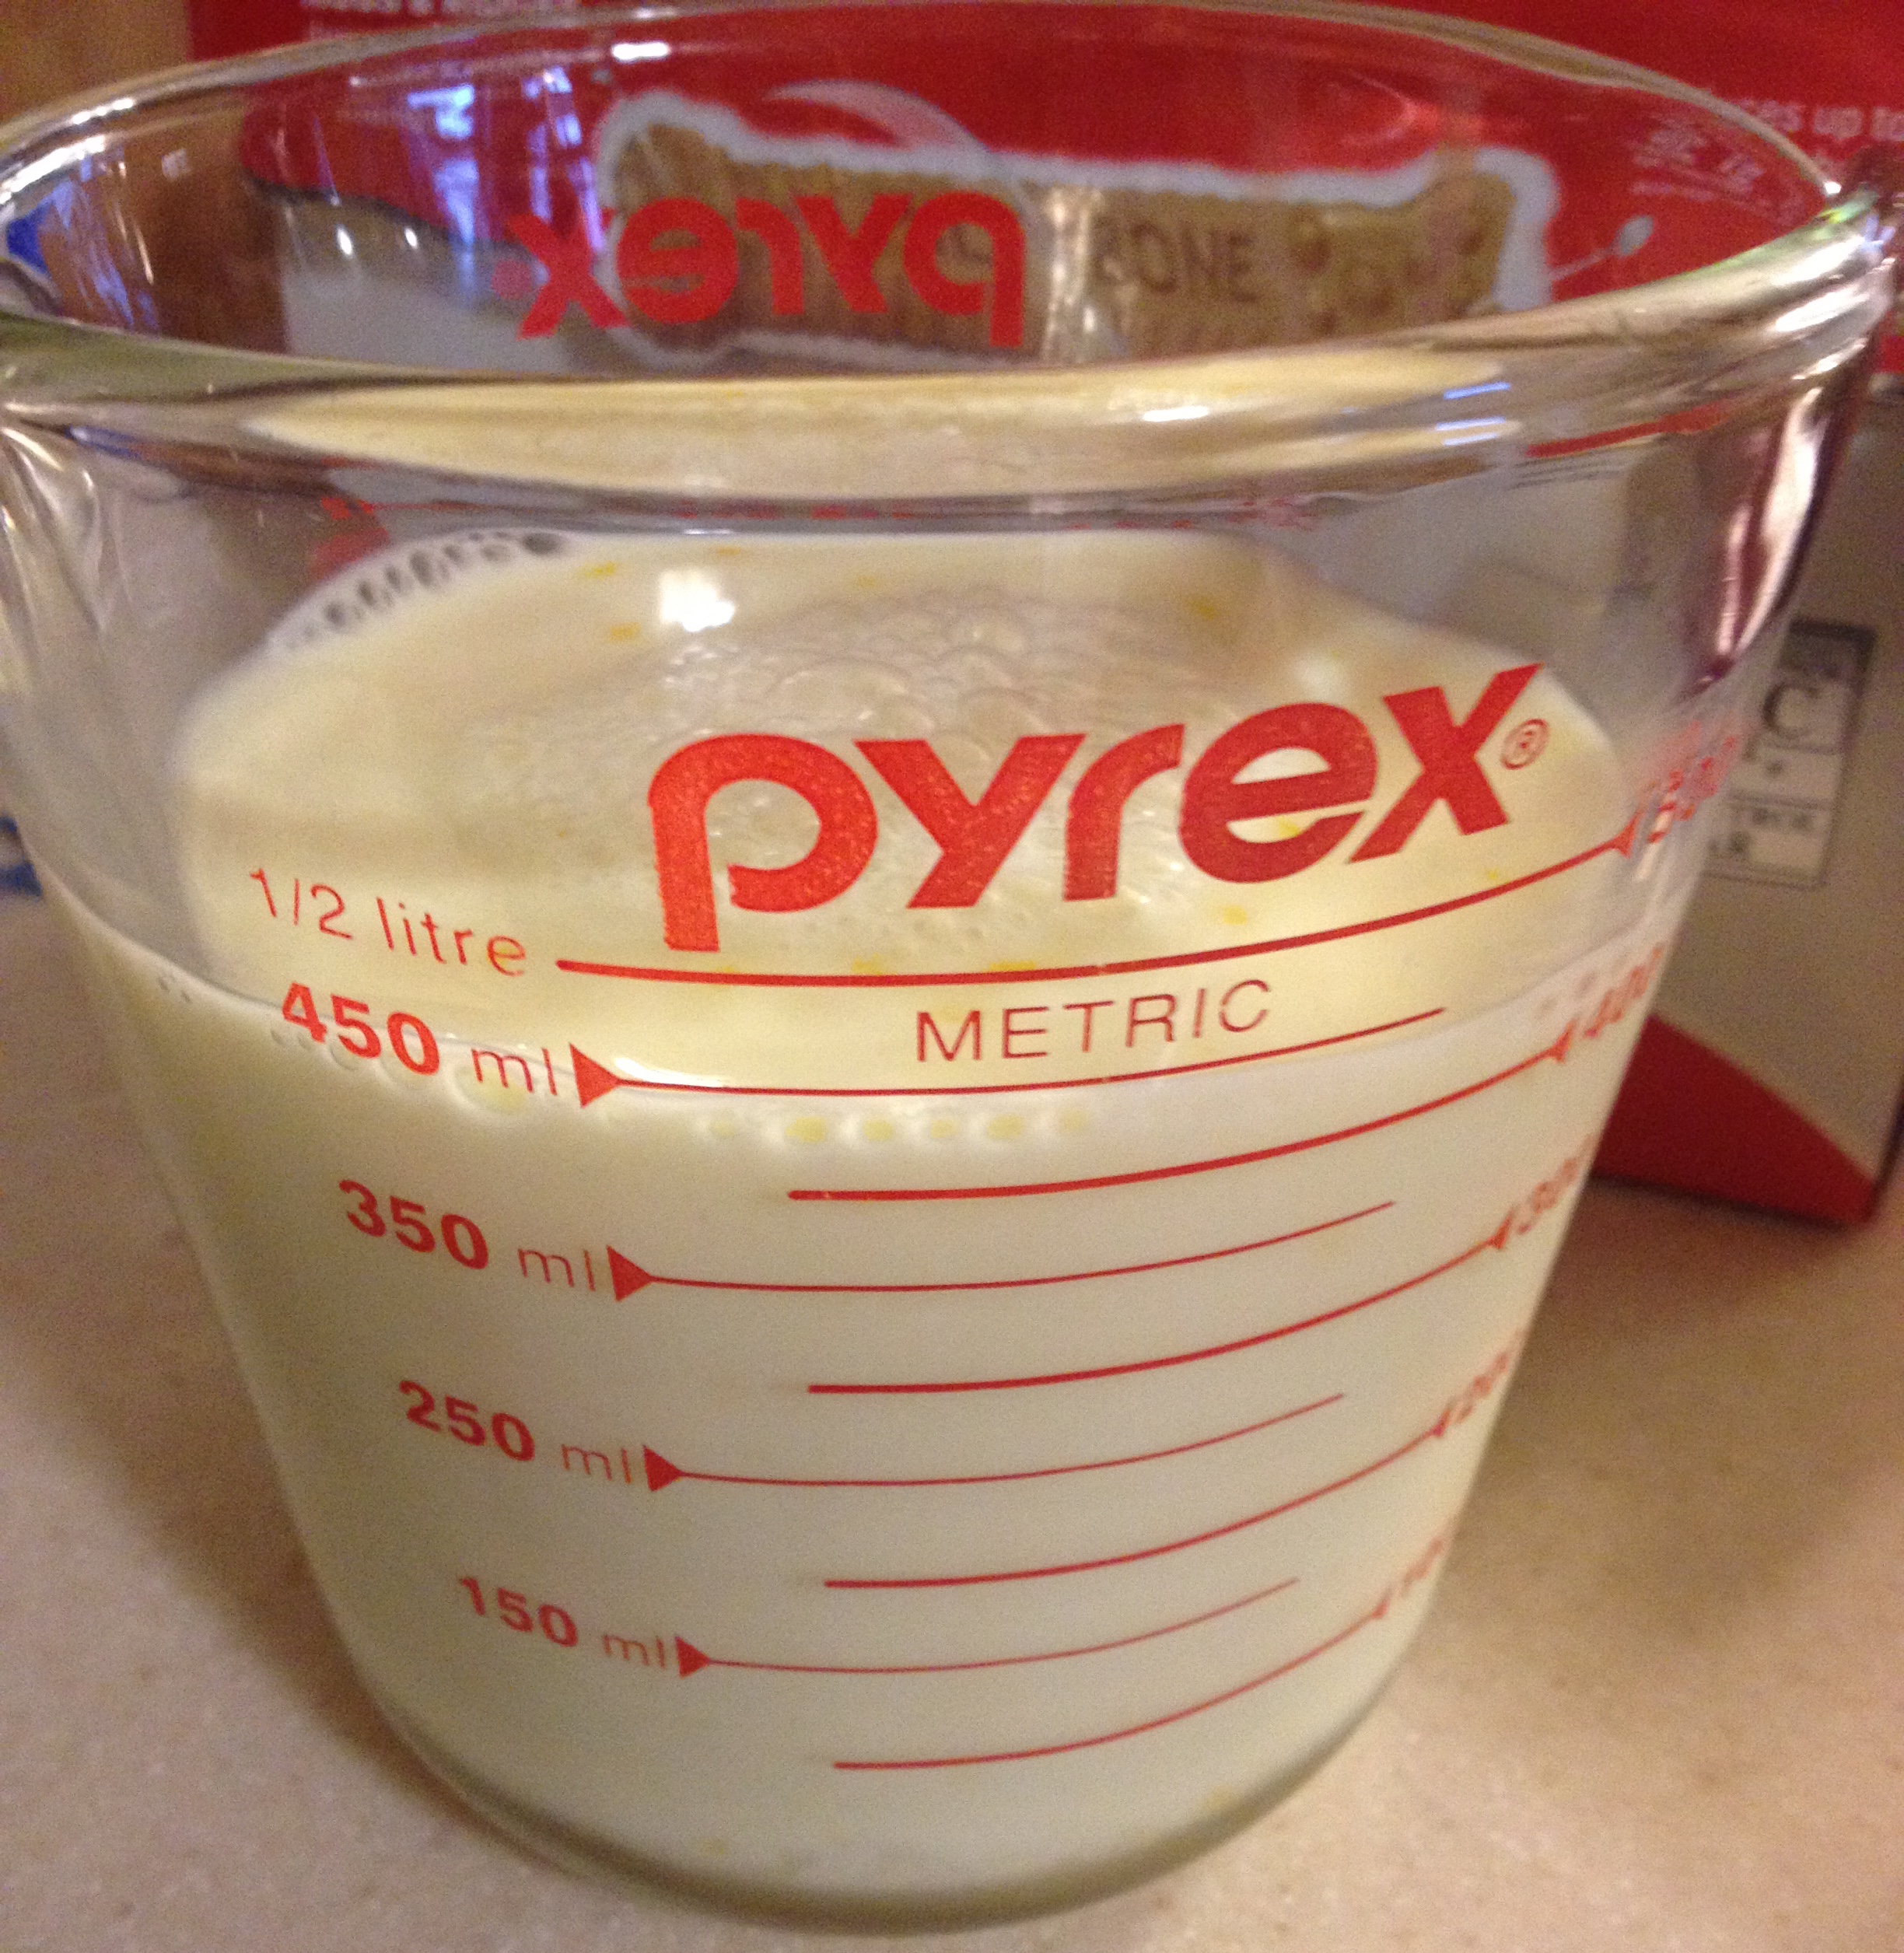
- 1 cup milk
- 1 tsp vanilla
- 7 whole graham crackers (14 squares)
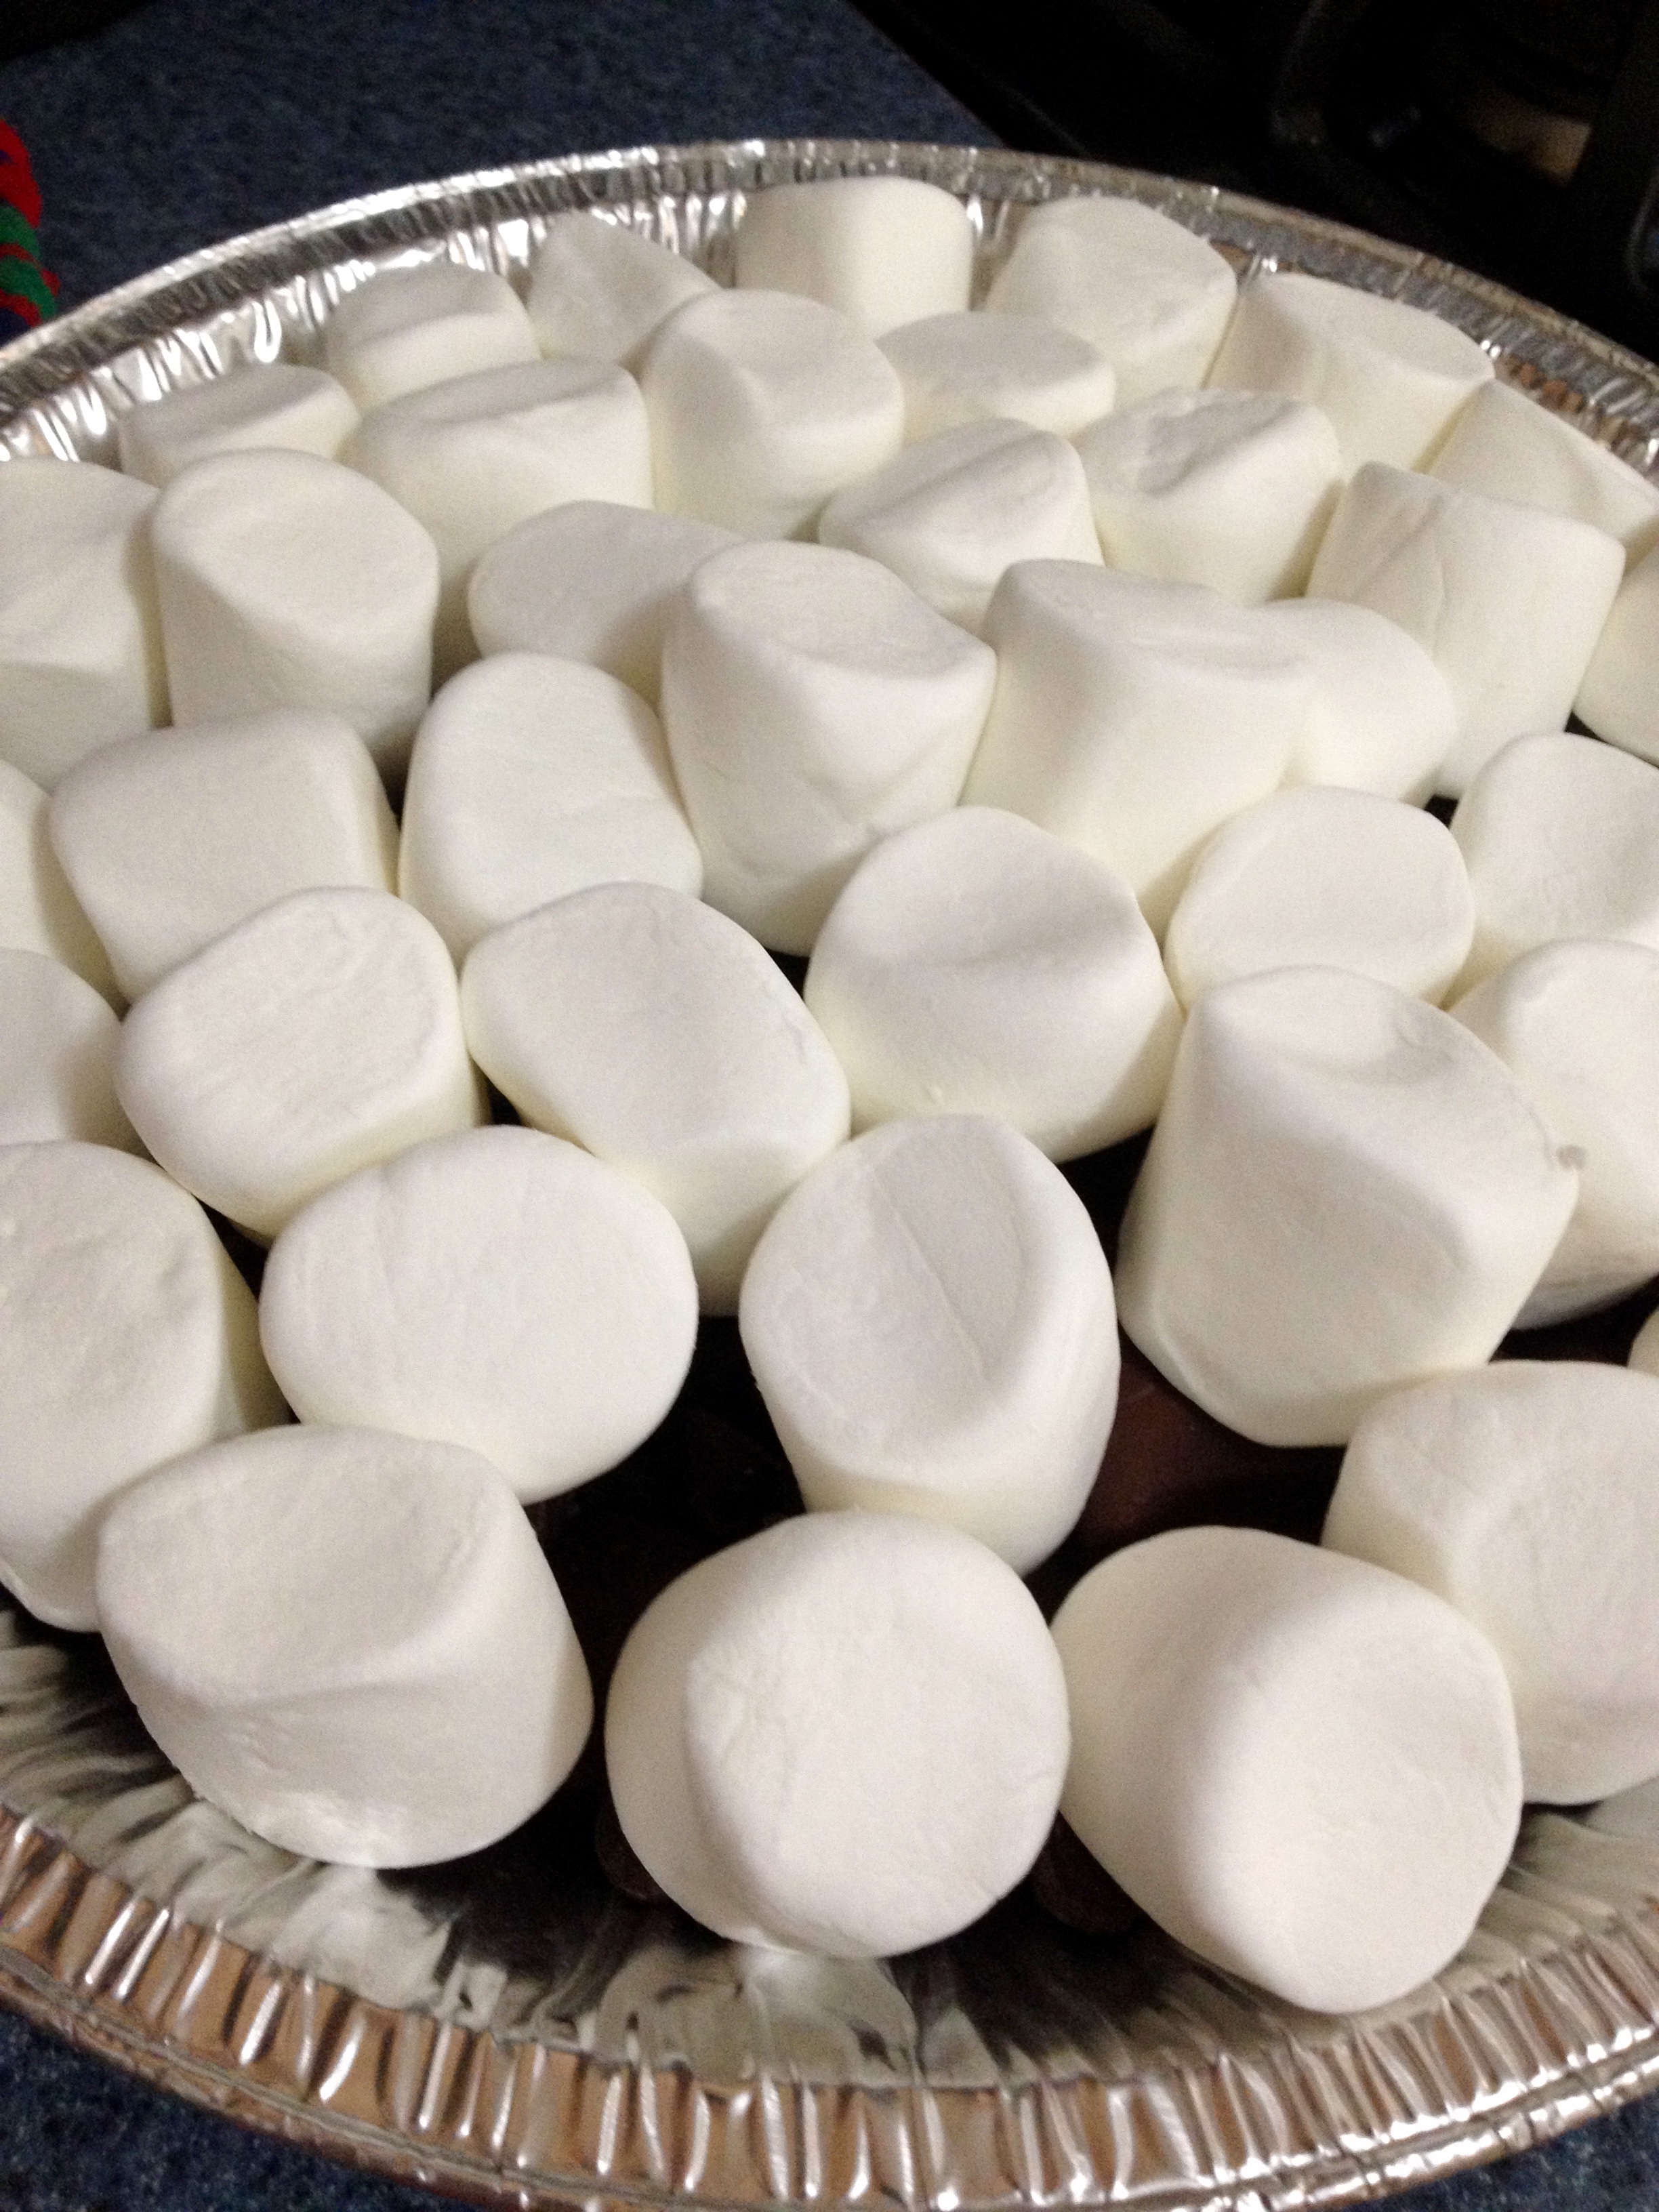
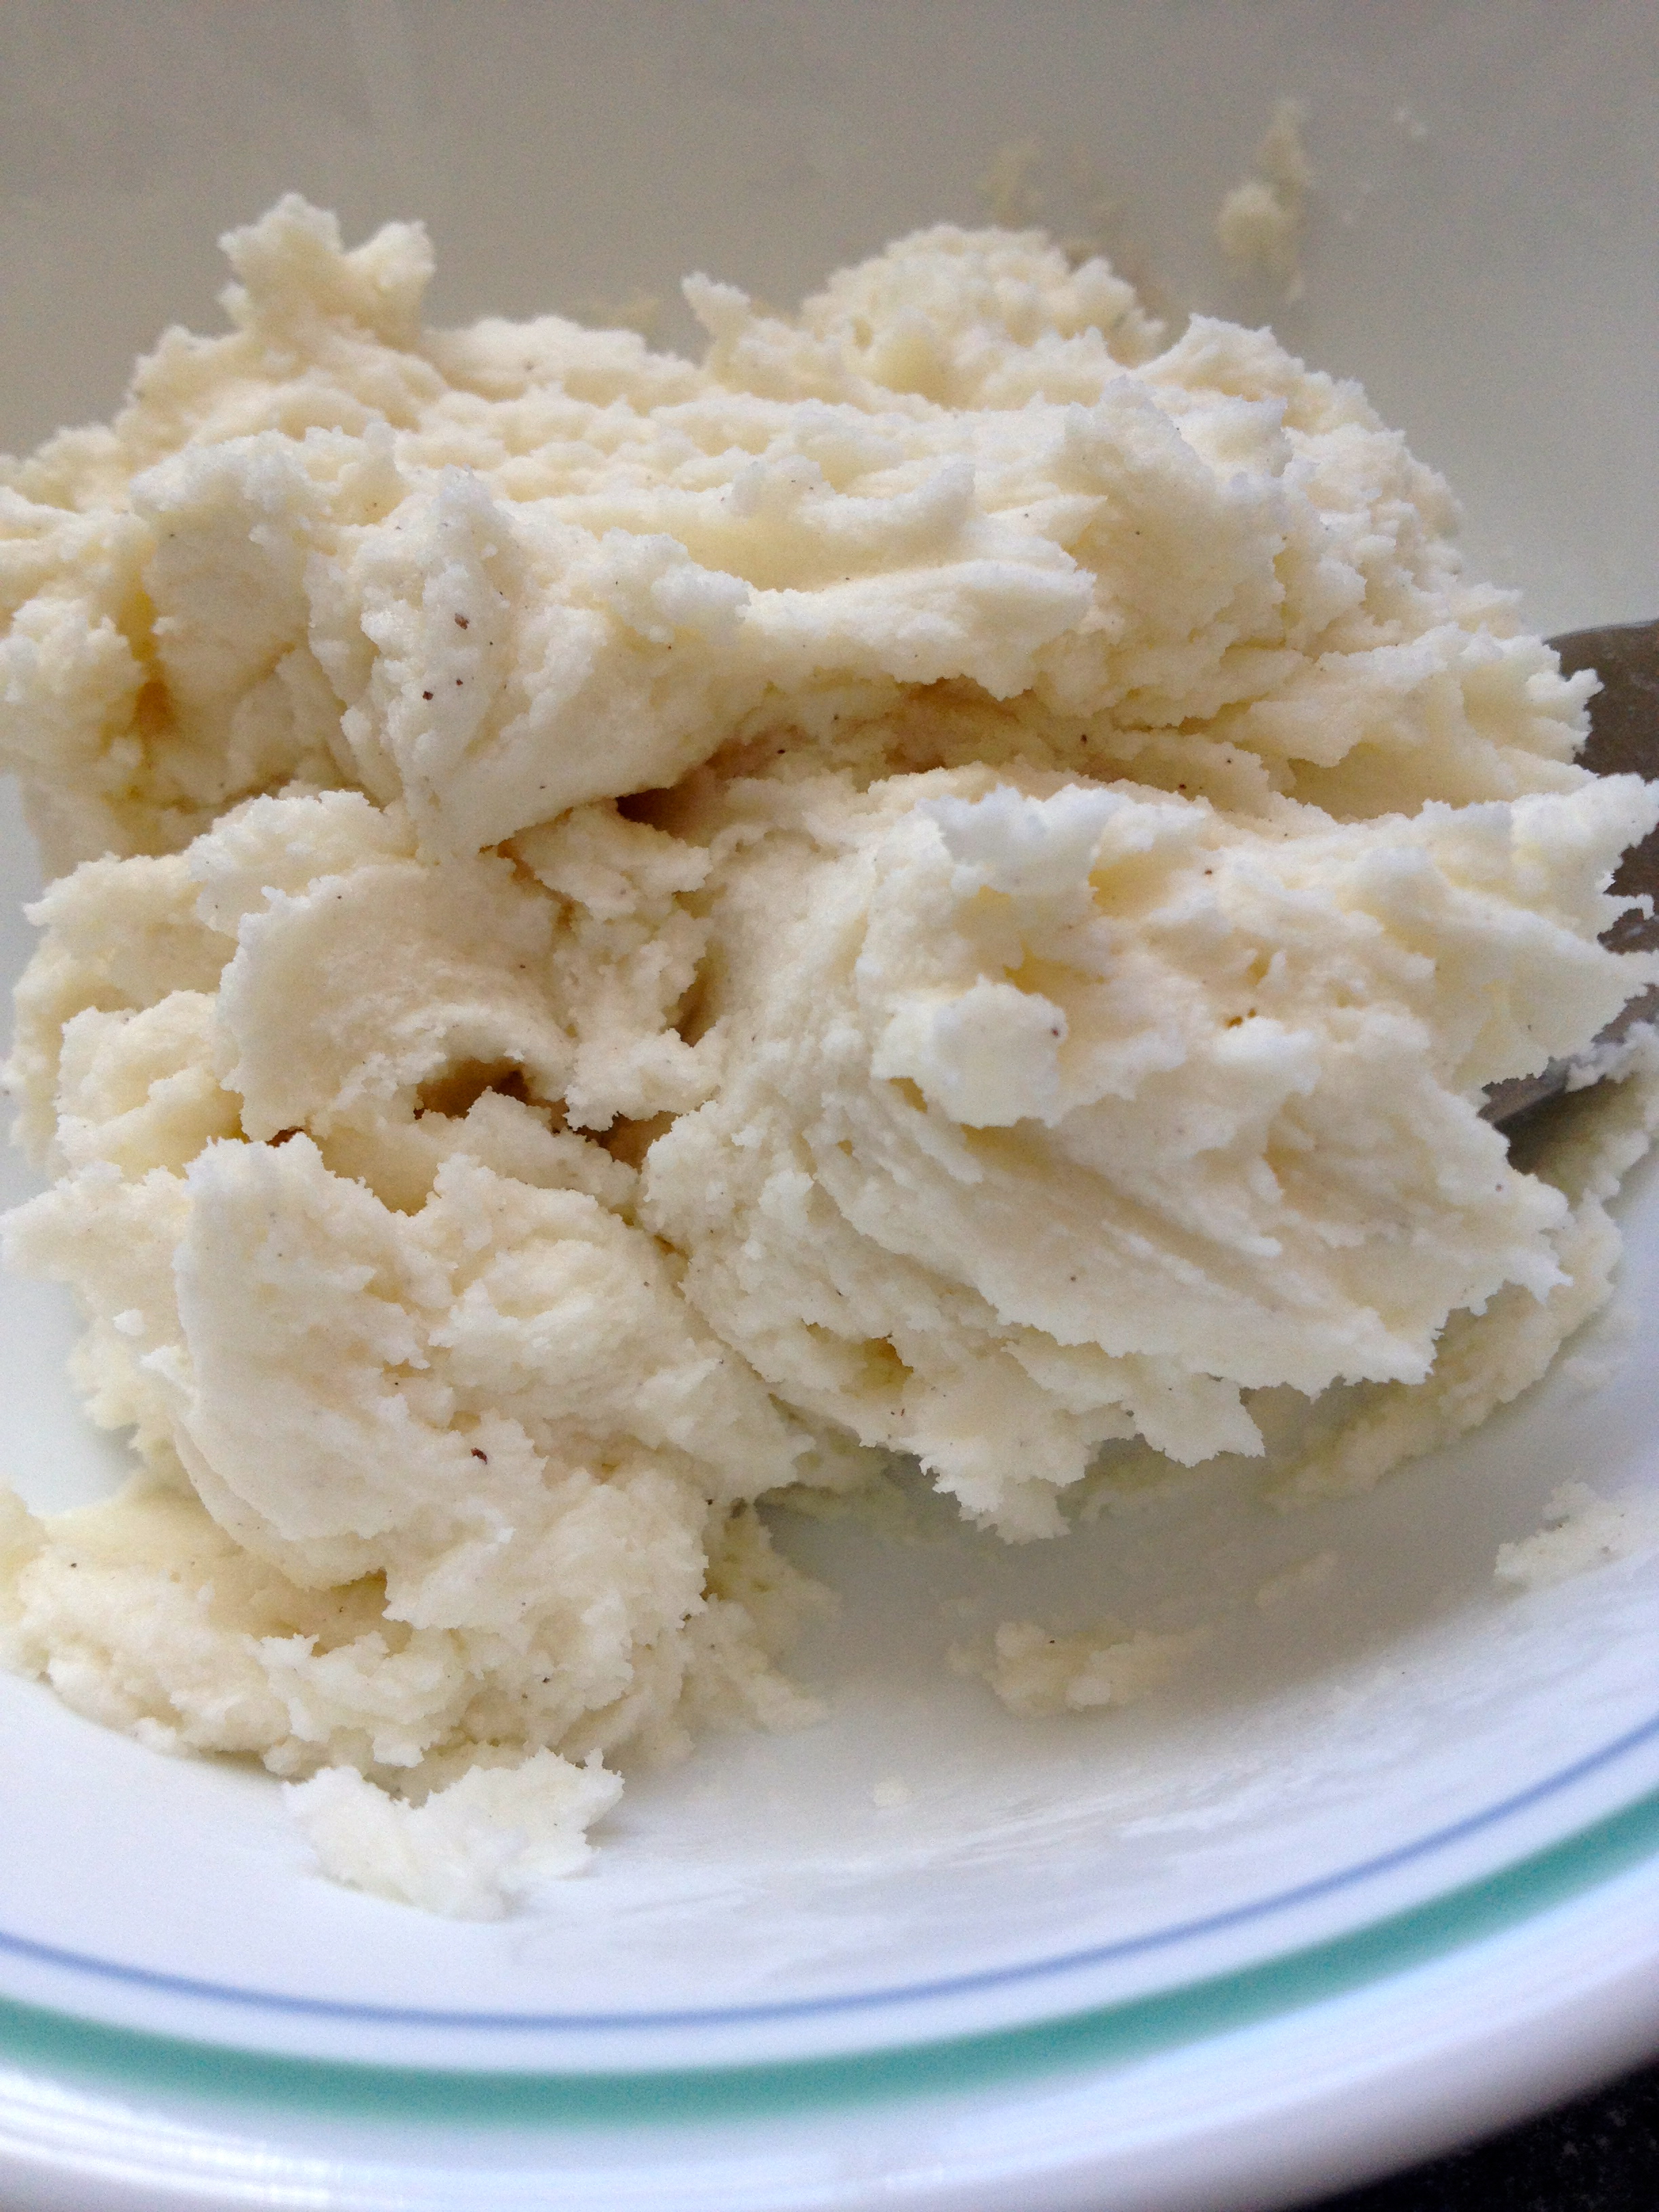
- 1 and 1/2 cup marshmallow fluff
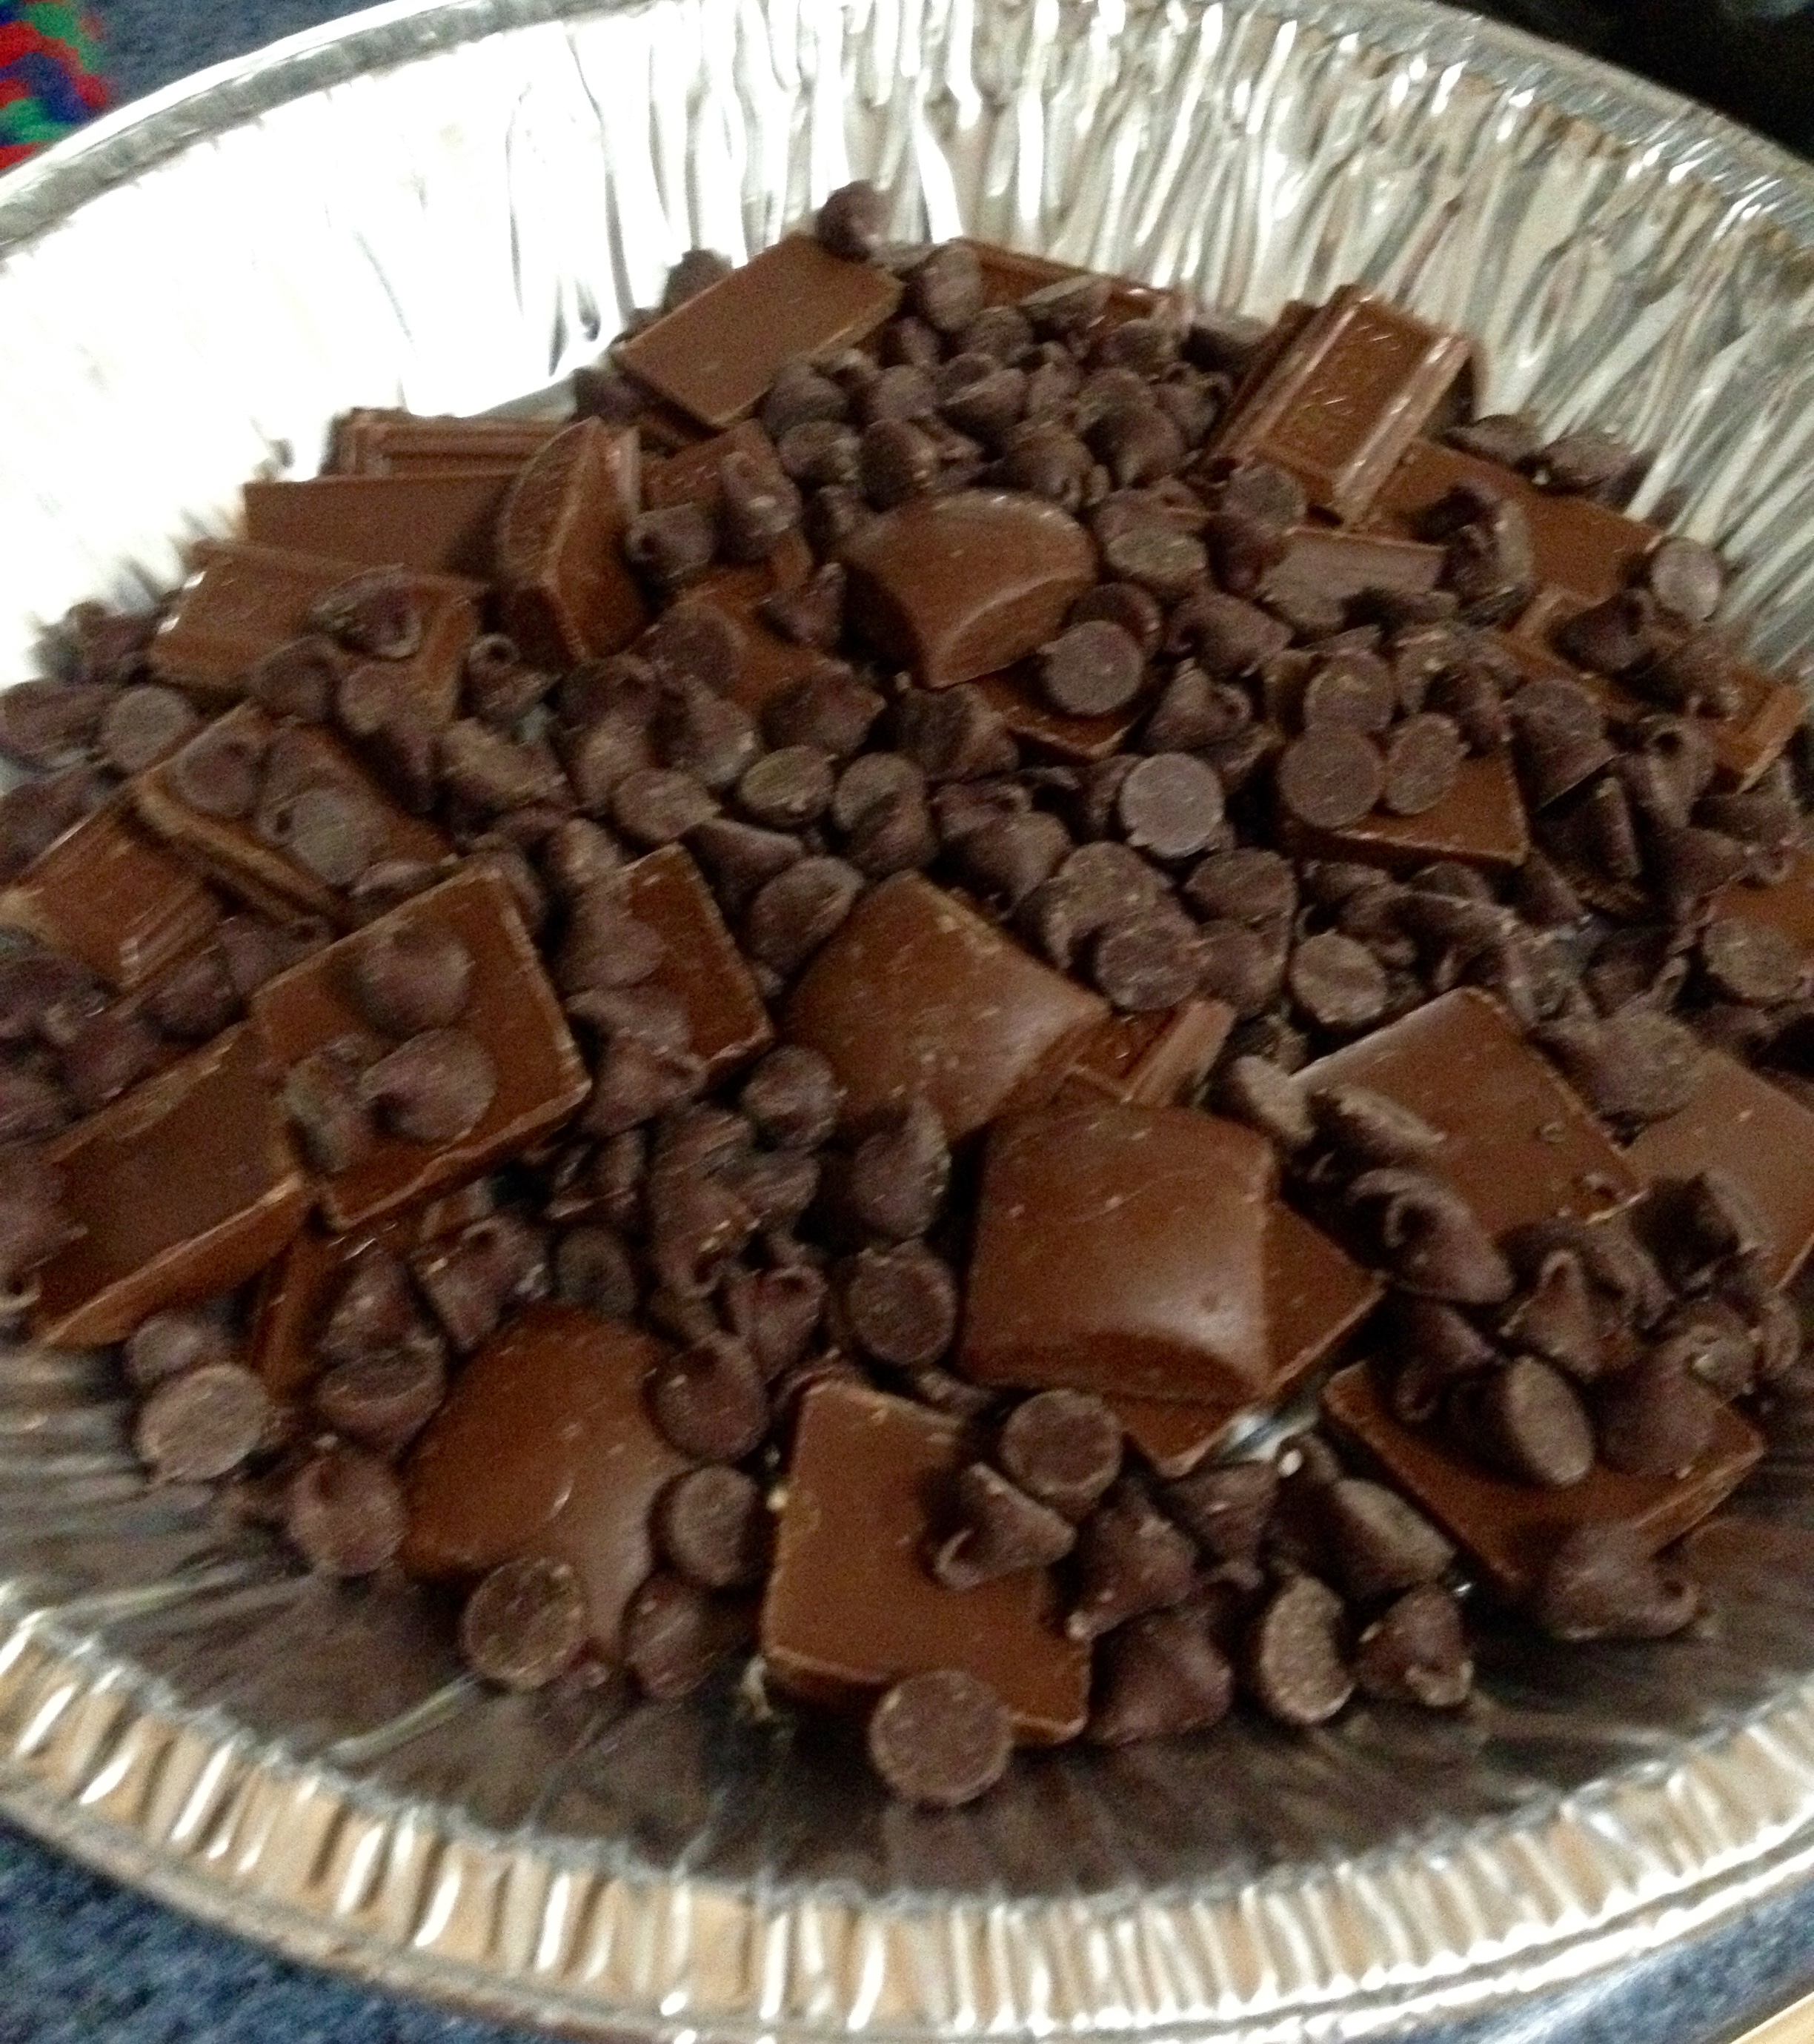
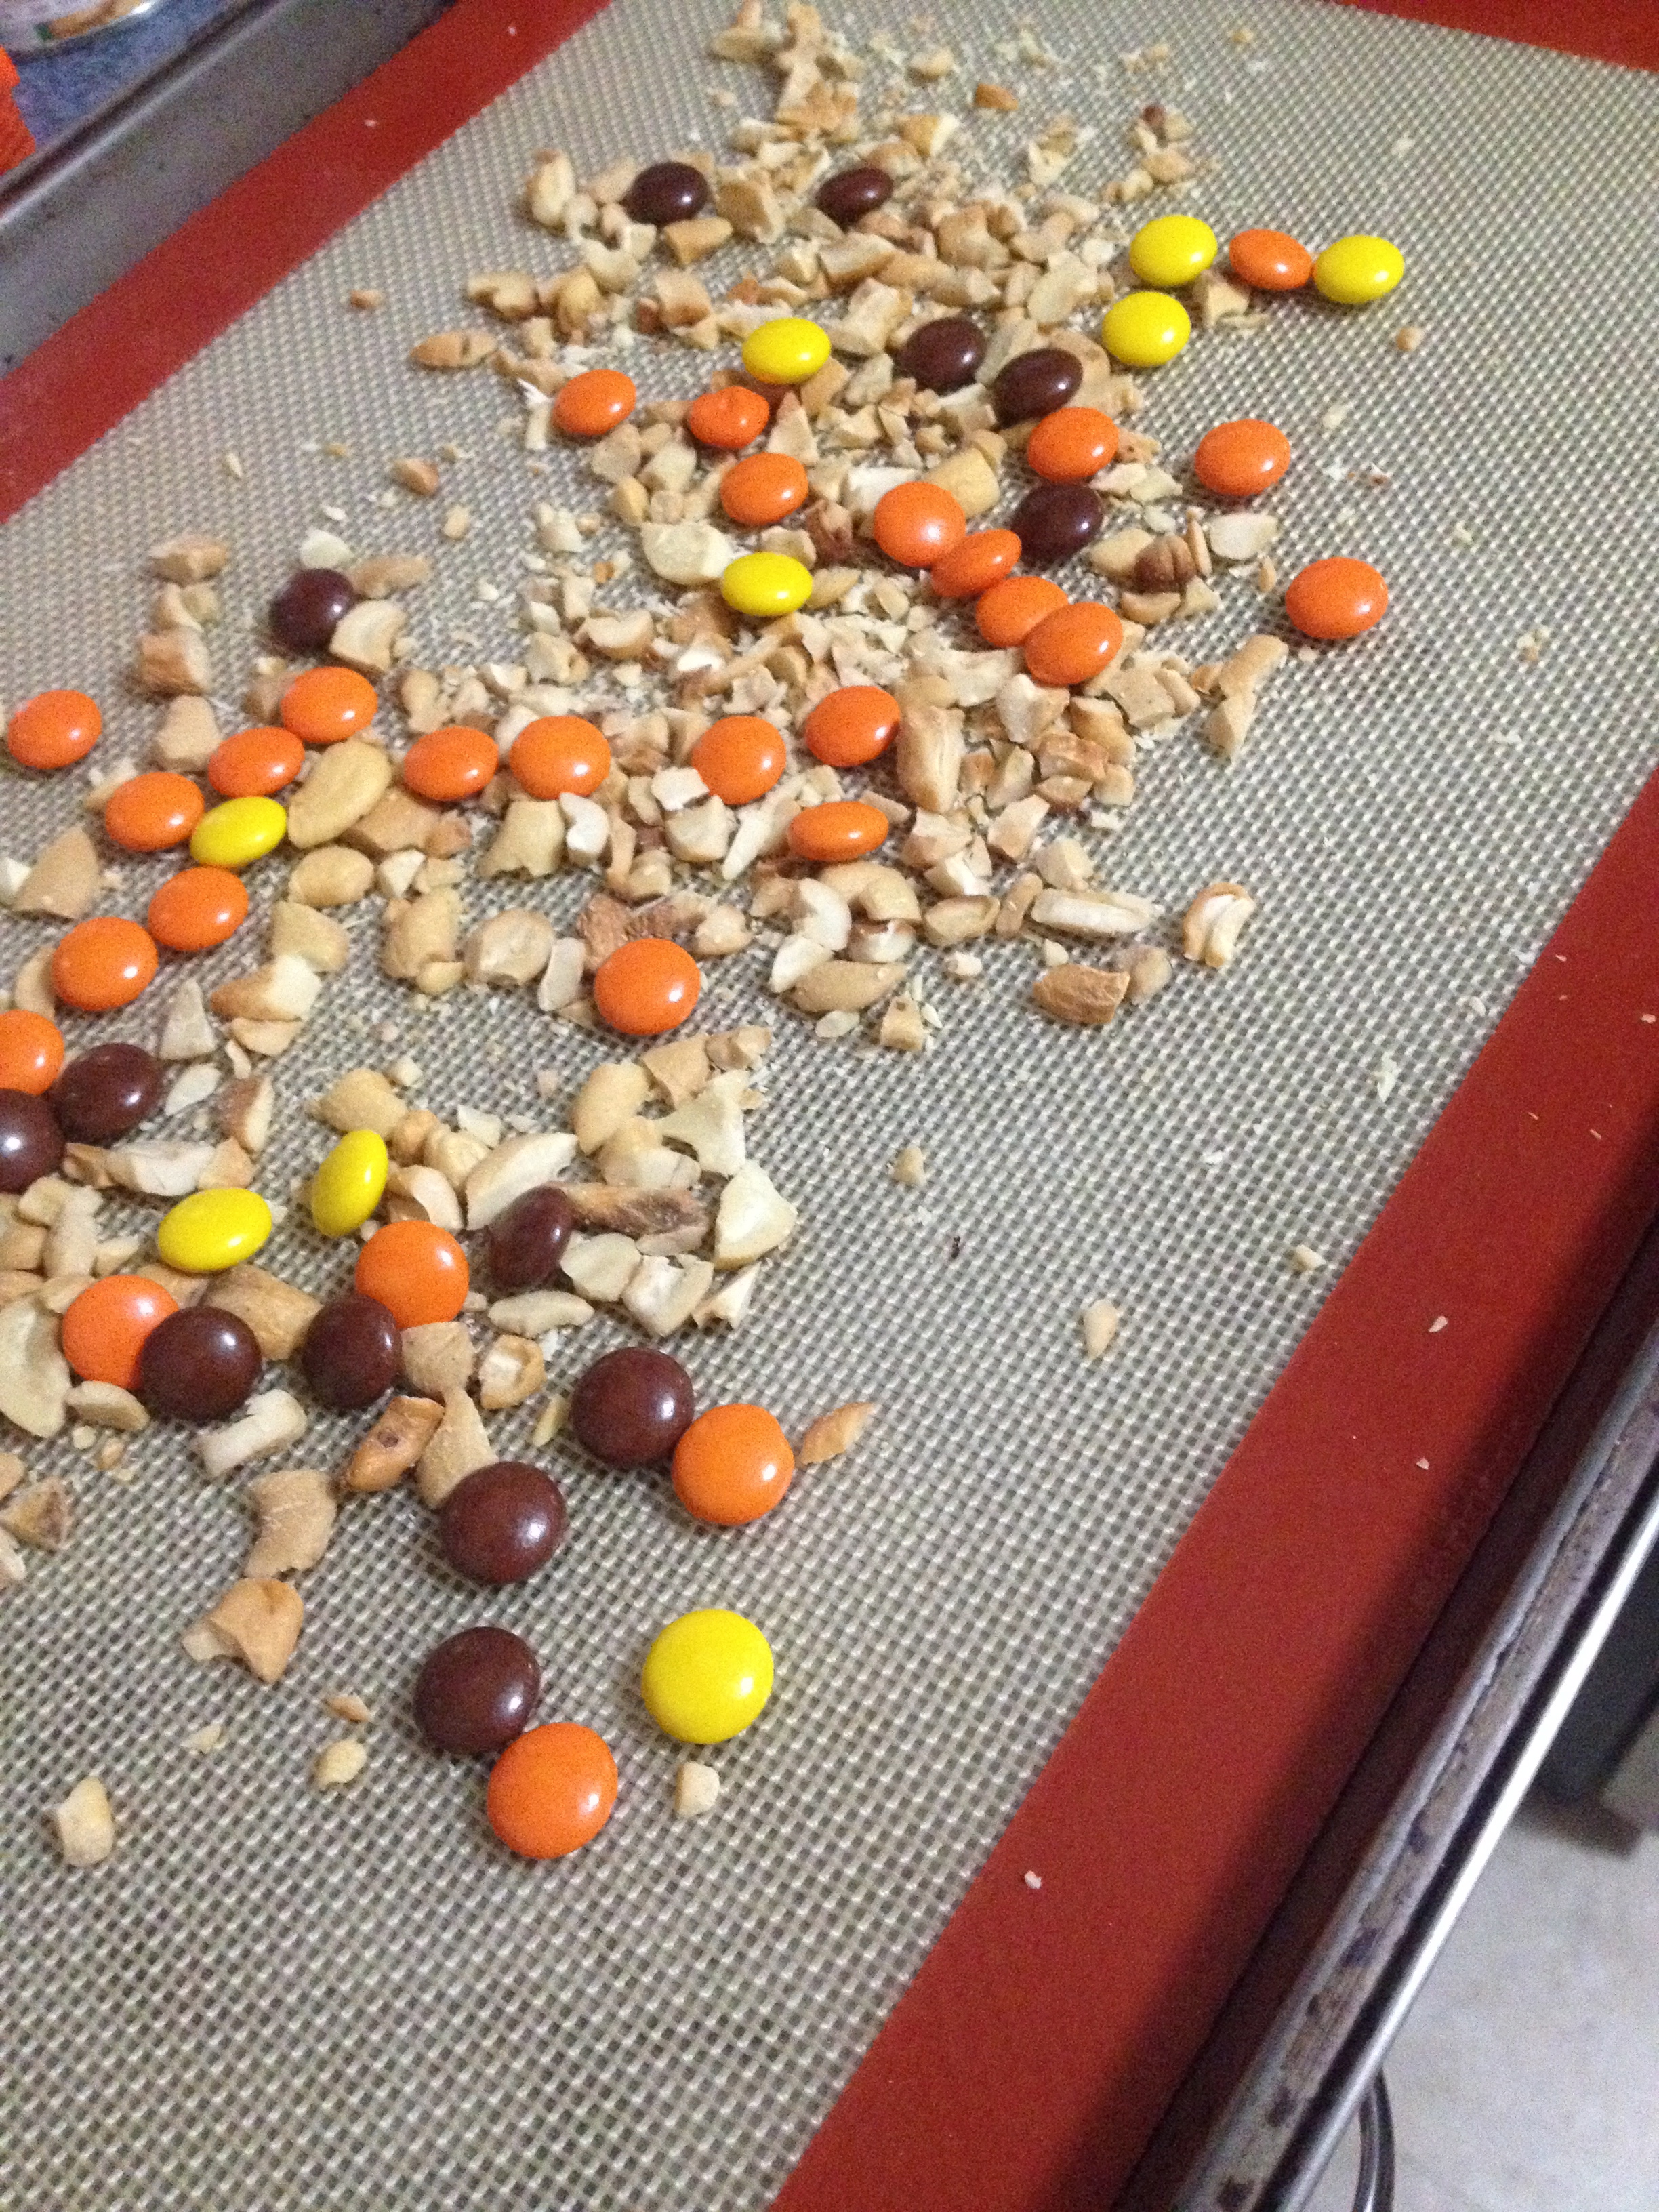
- Chocolate candies of your choosing (I chose Kit-Kats, but Hershey milk chocolate bars are more traditional. You’ll need as much as you want to top each cupcake.)
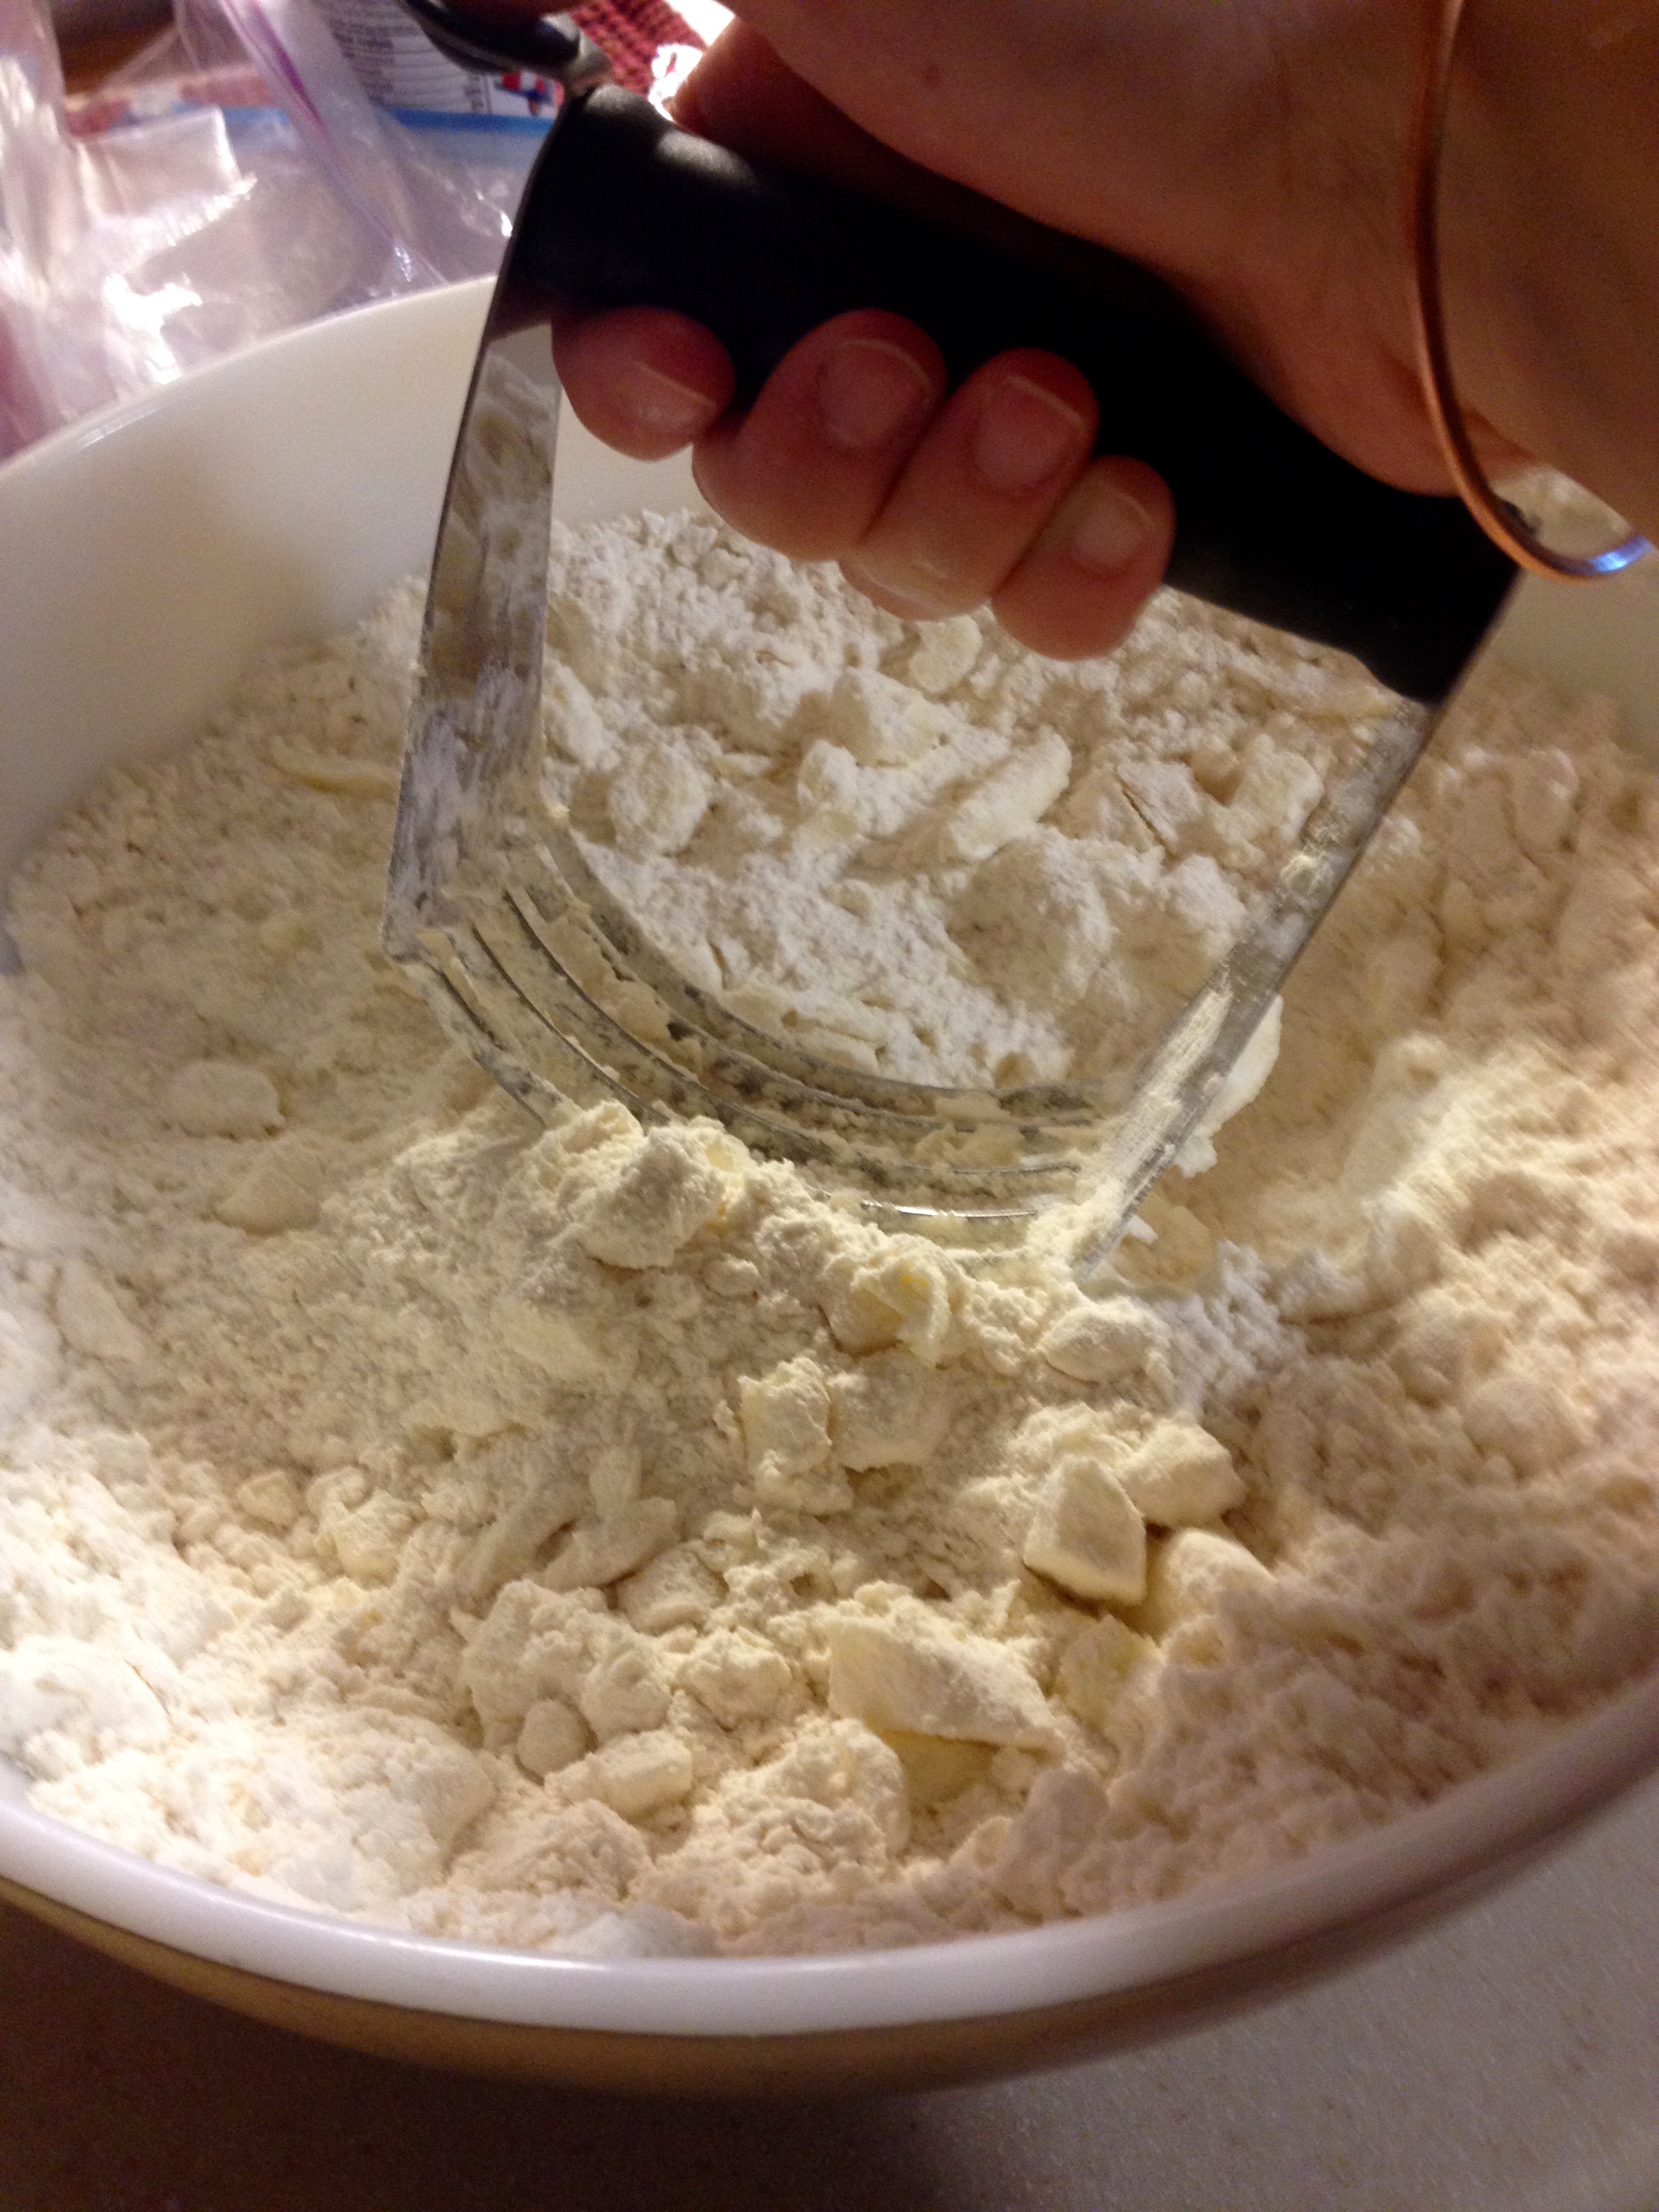
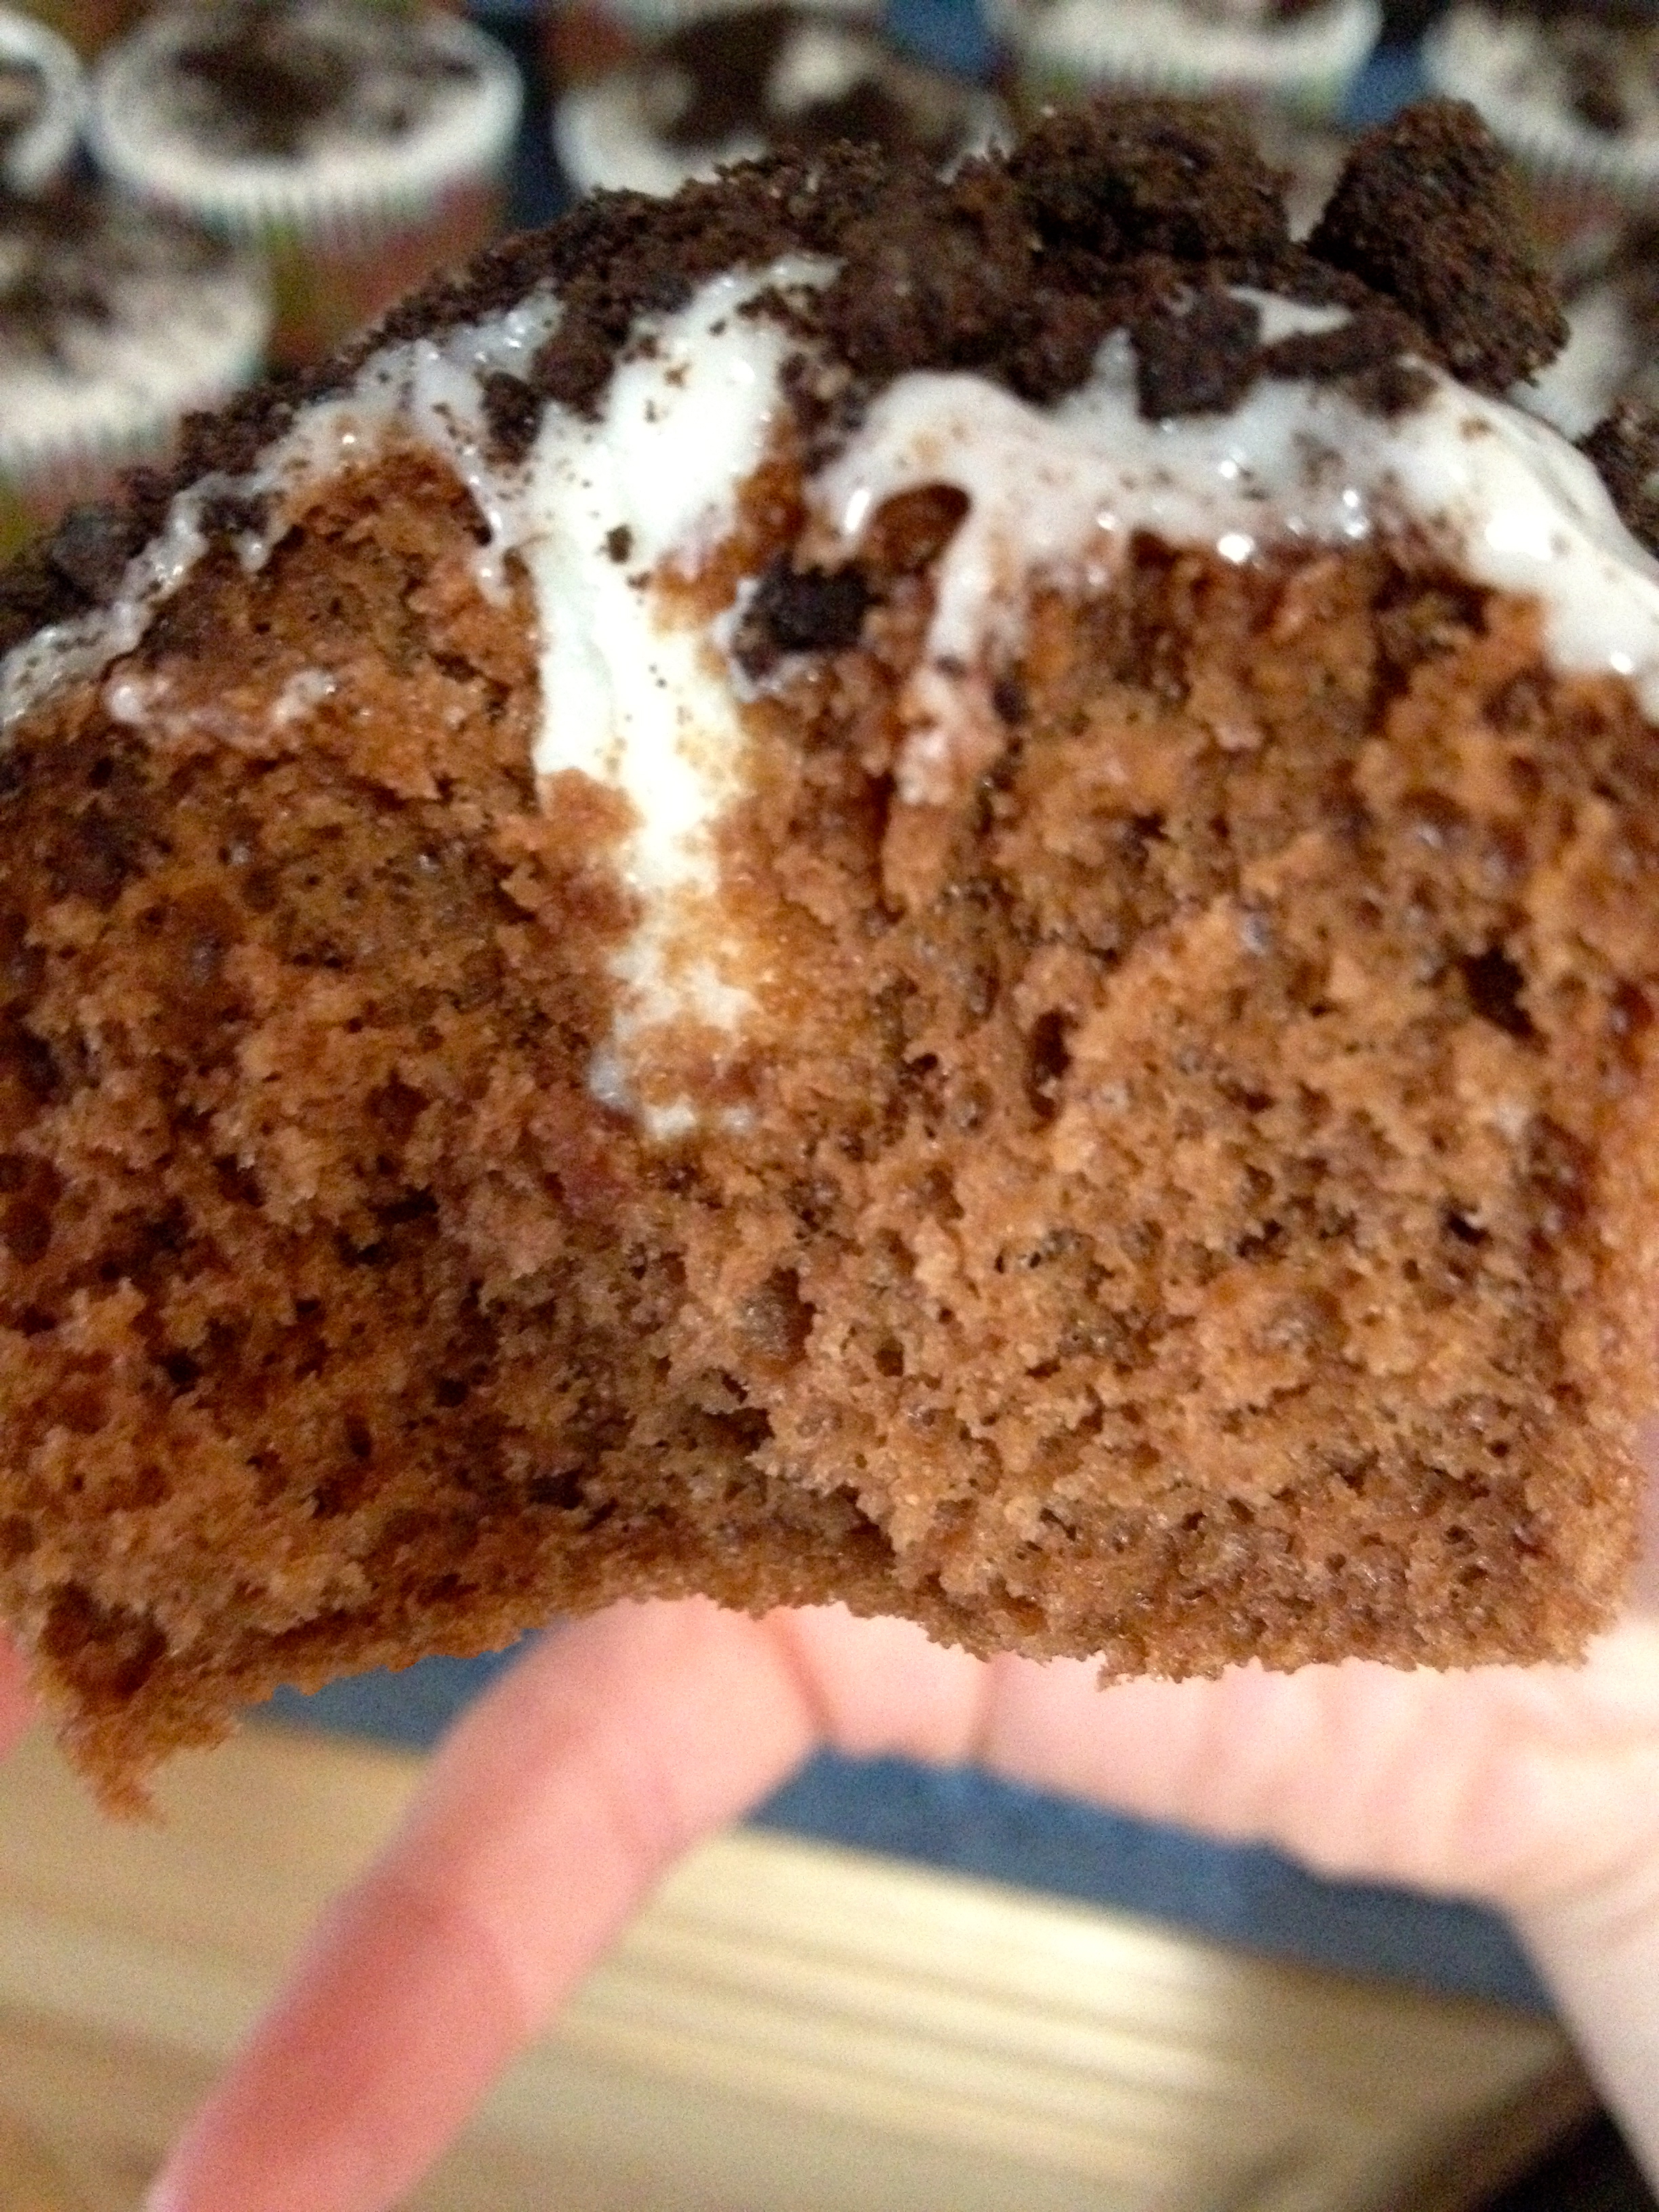
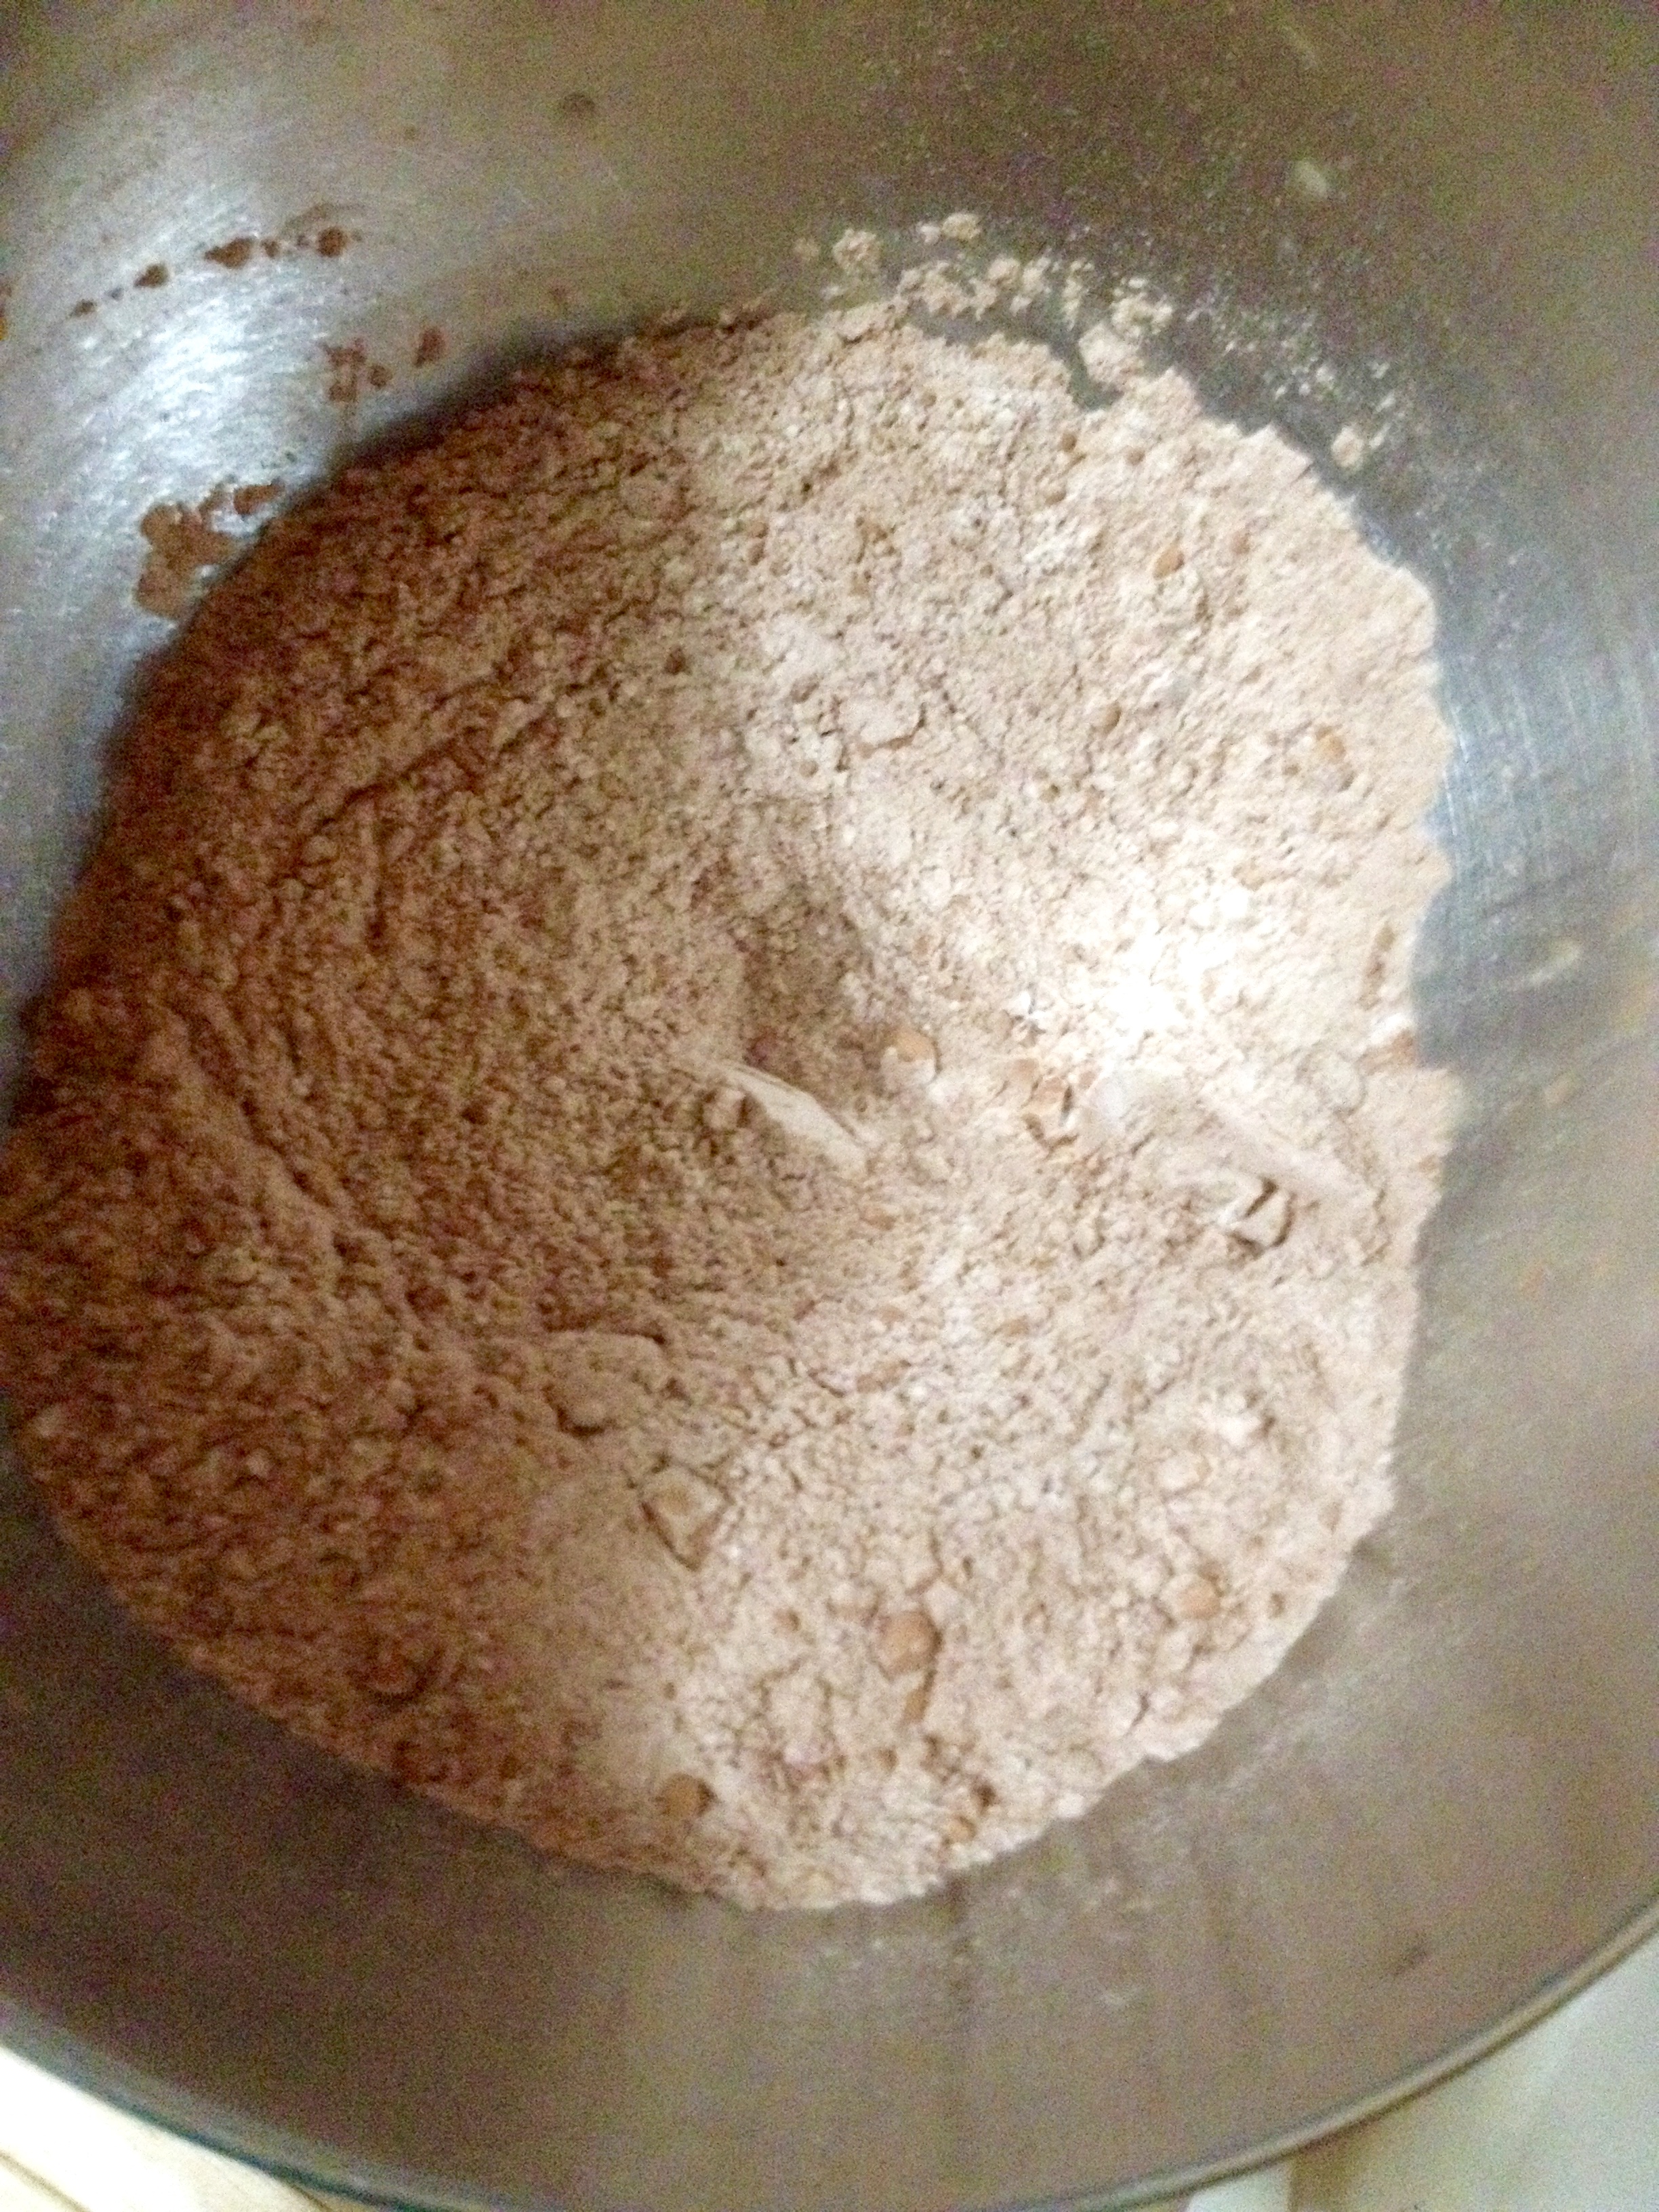
Preheat the oven to 350ºF, and line 14 cupcake cups with the paper baking cups. Combine the flour, cocoa, baking soda, and salt in a mixing bowl, and set it aside.
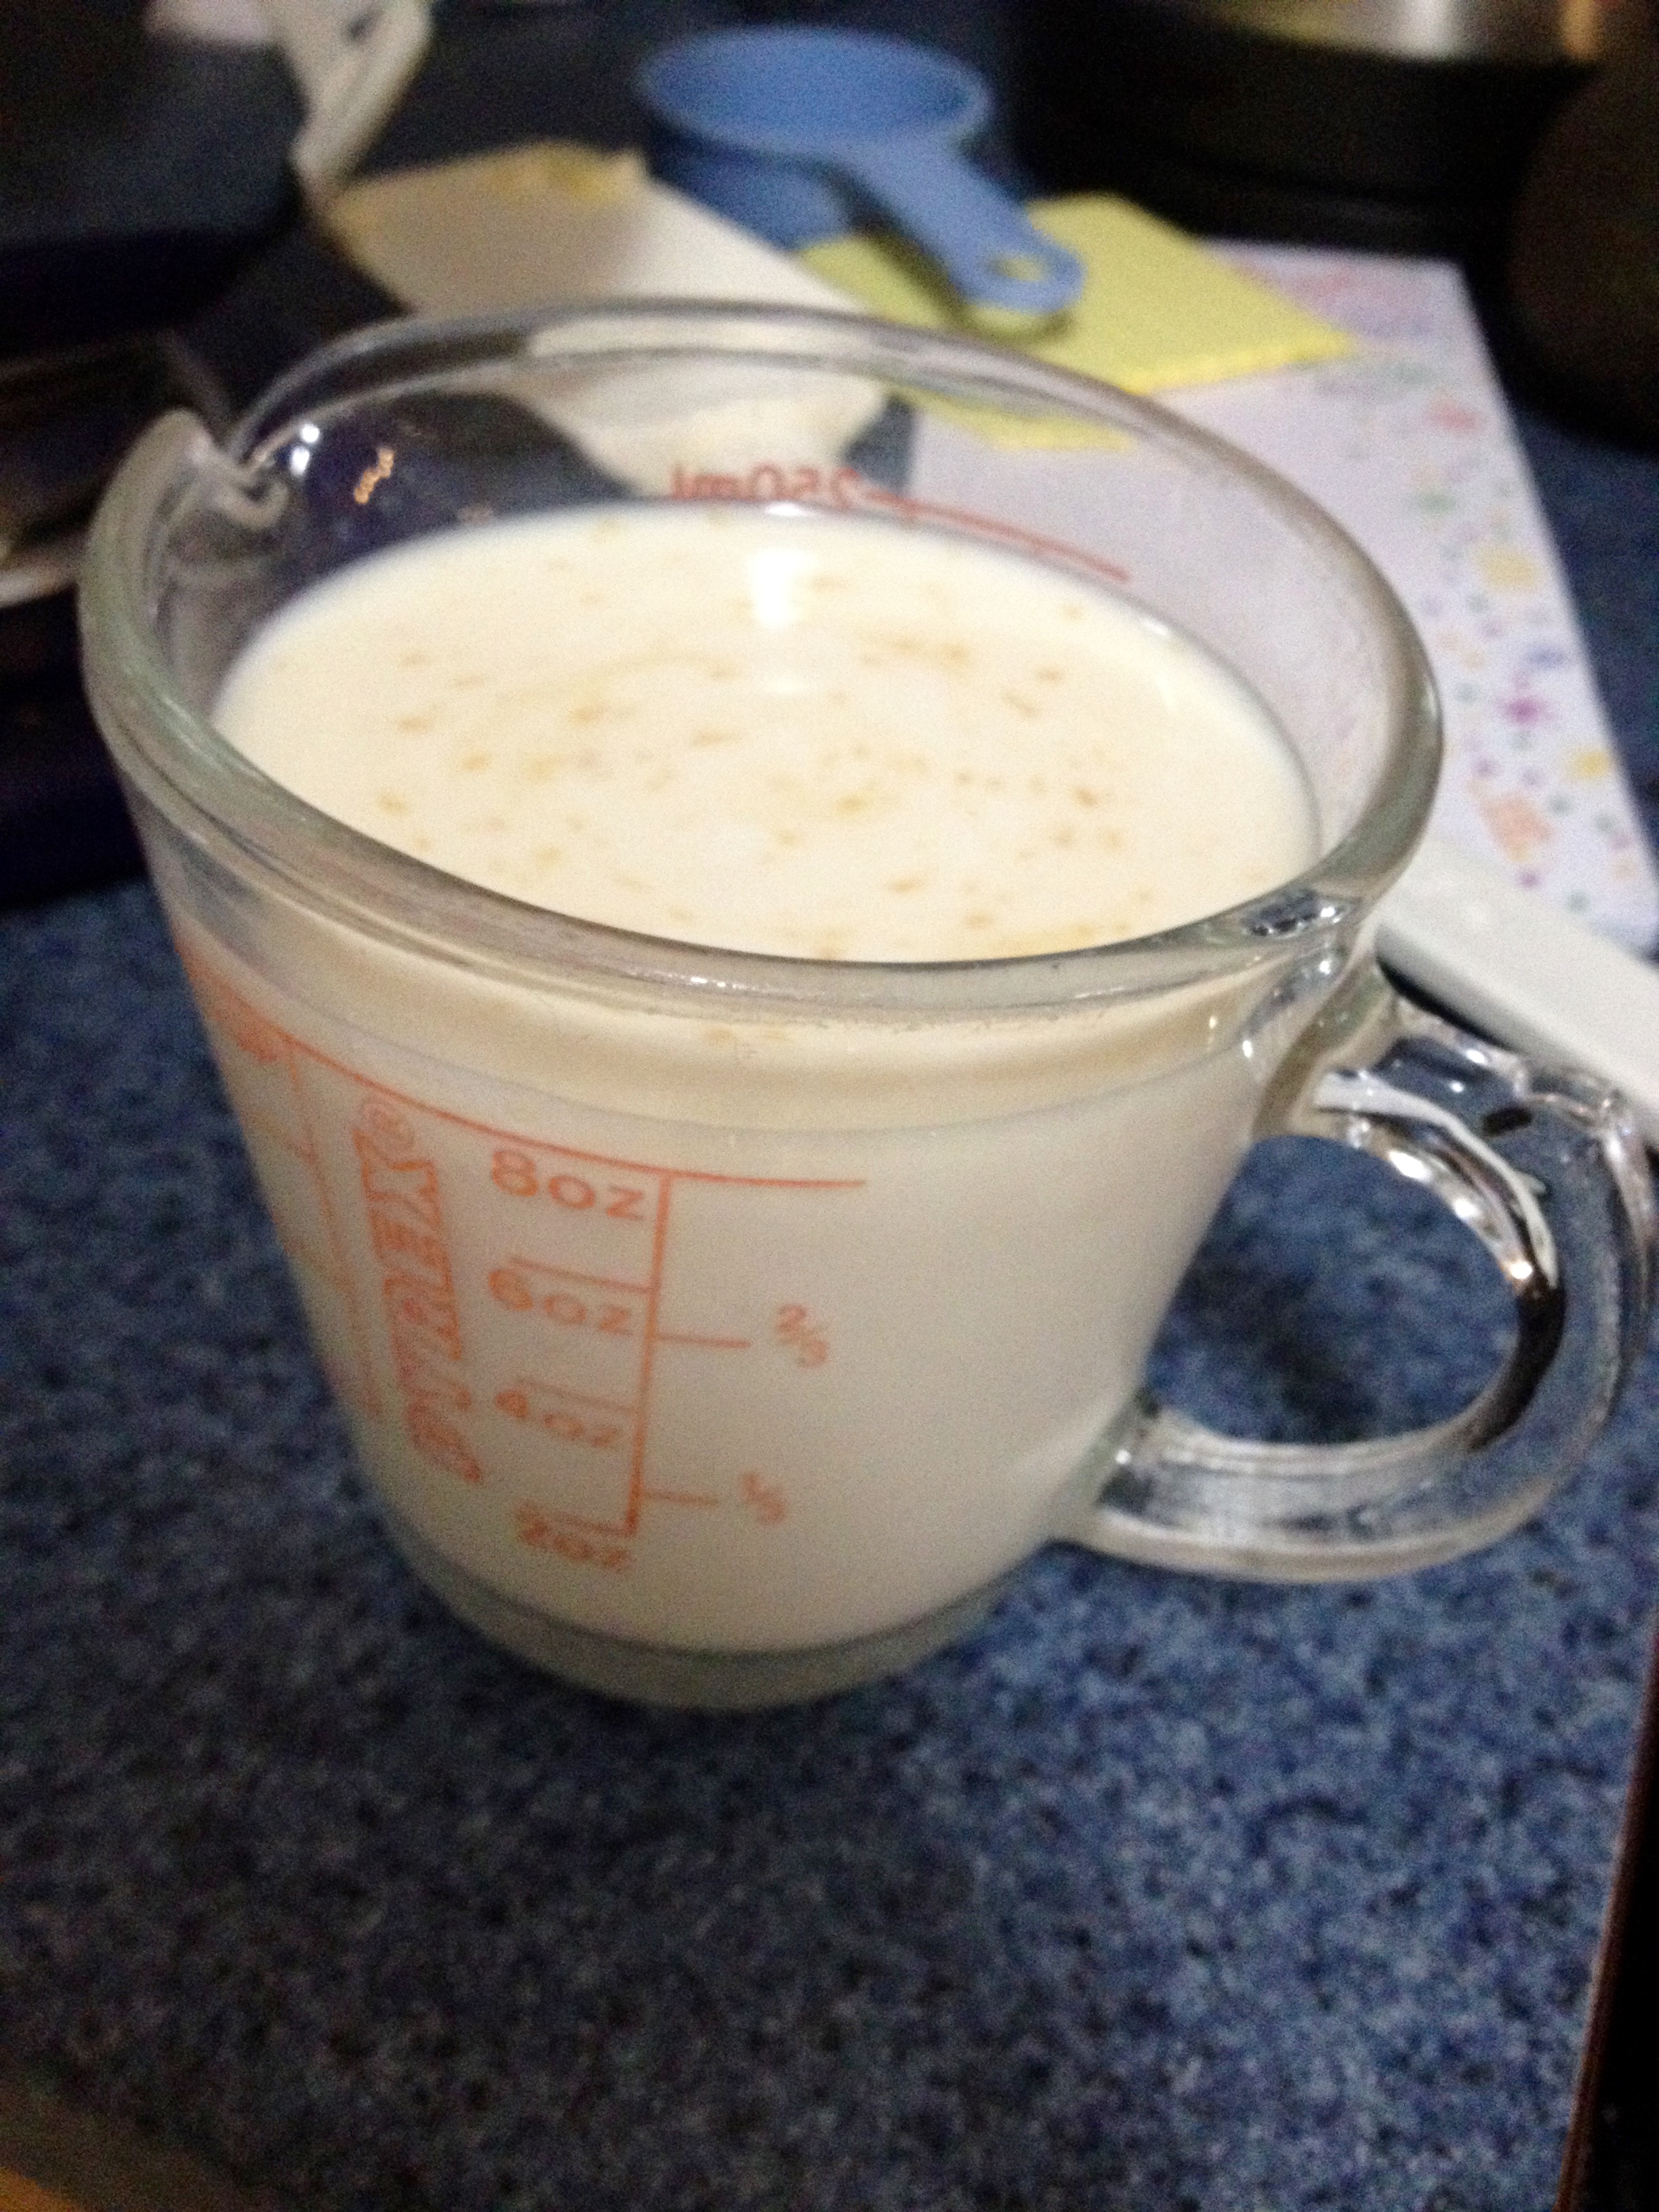
Combine the milk and vanilla, and set those aside.
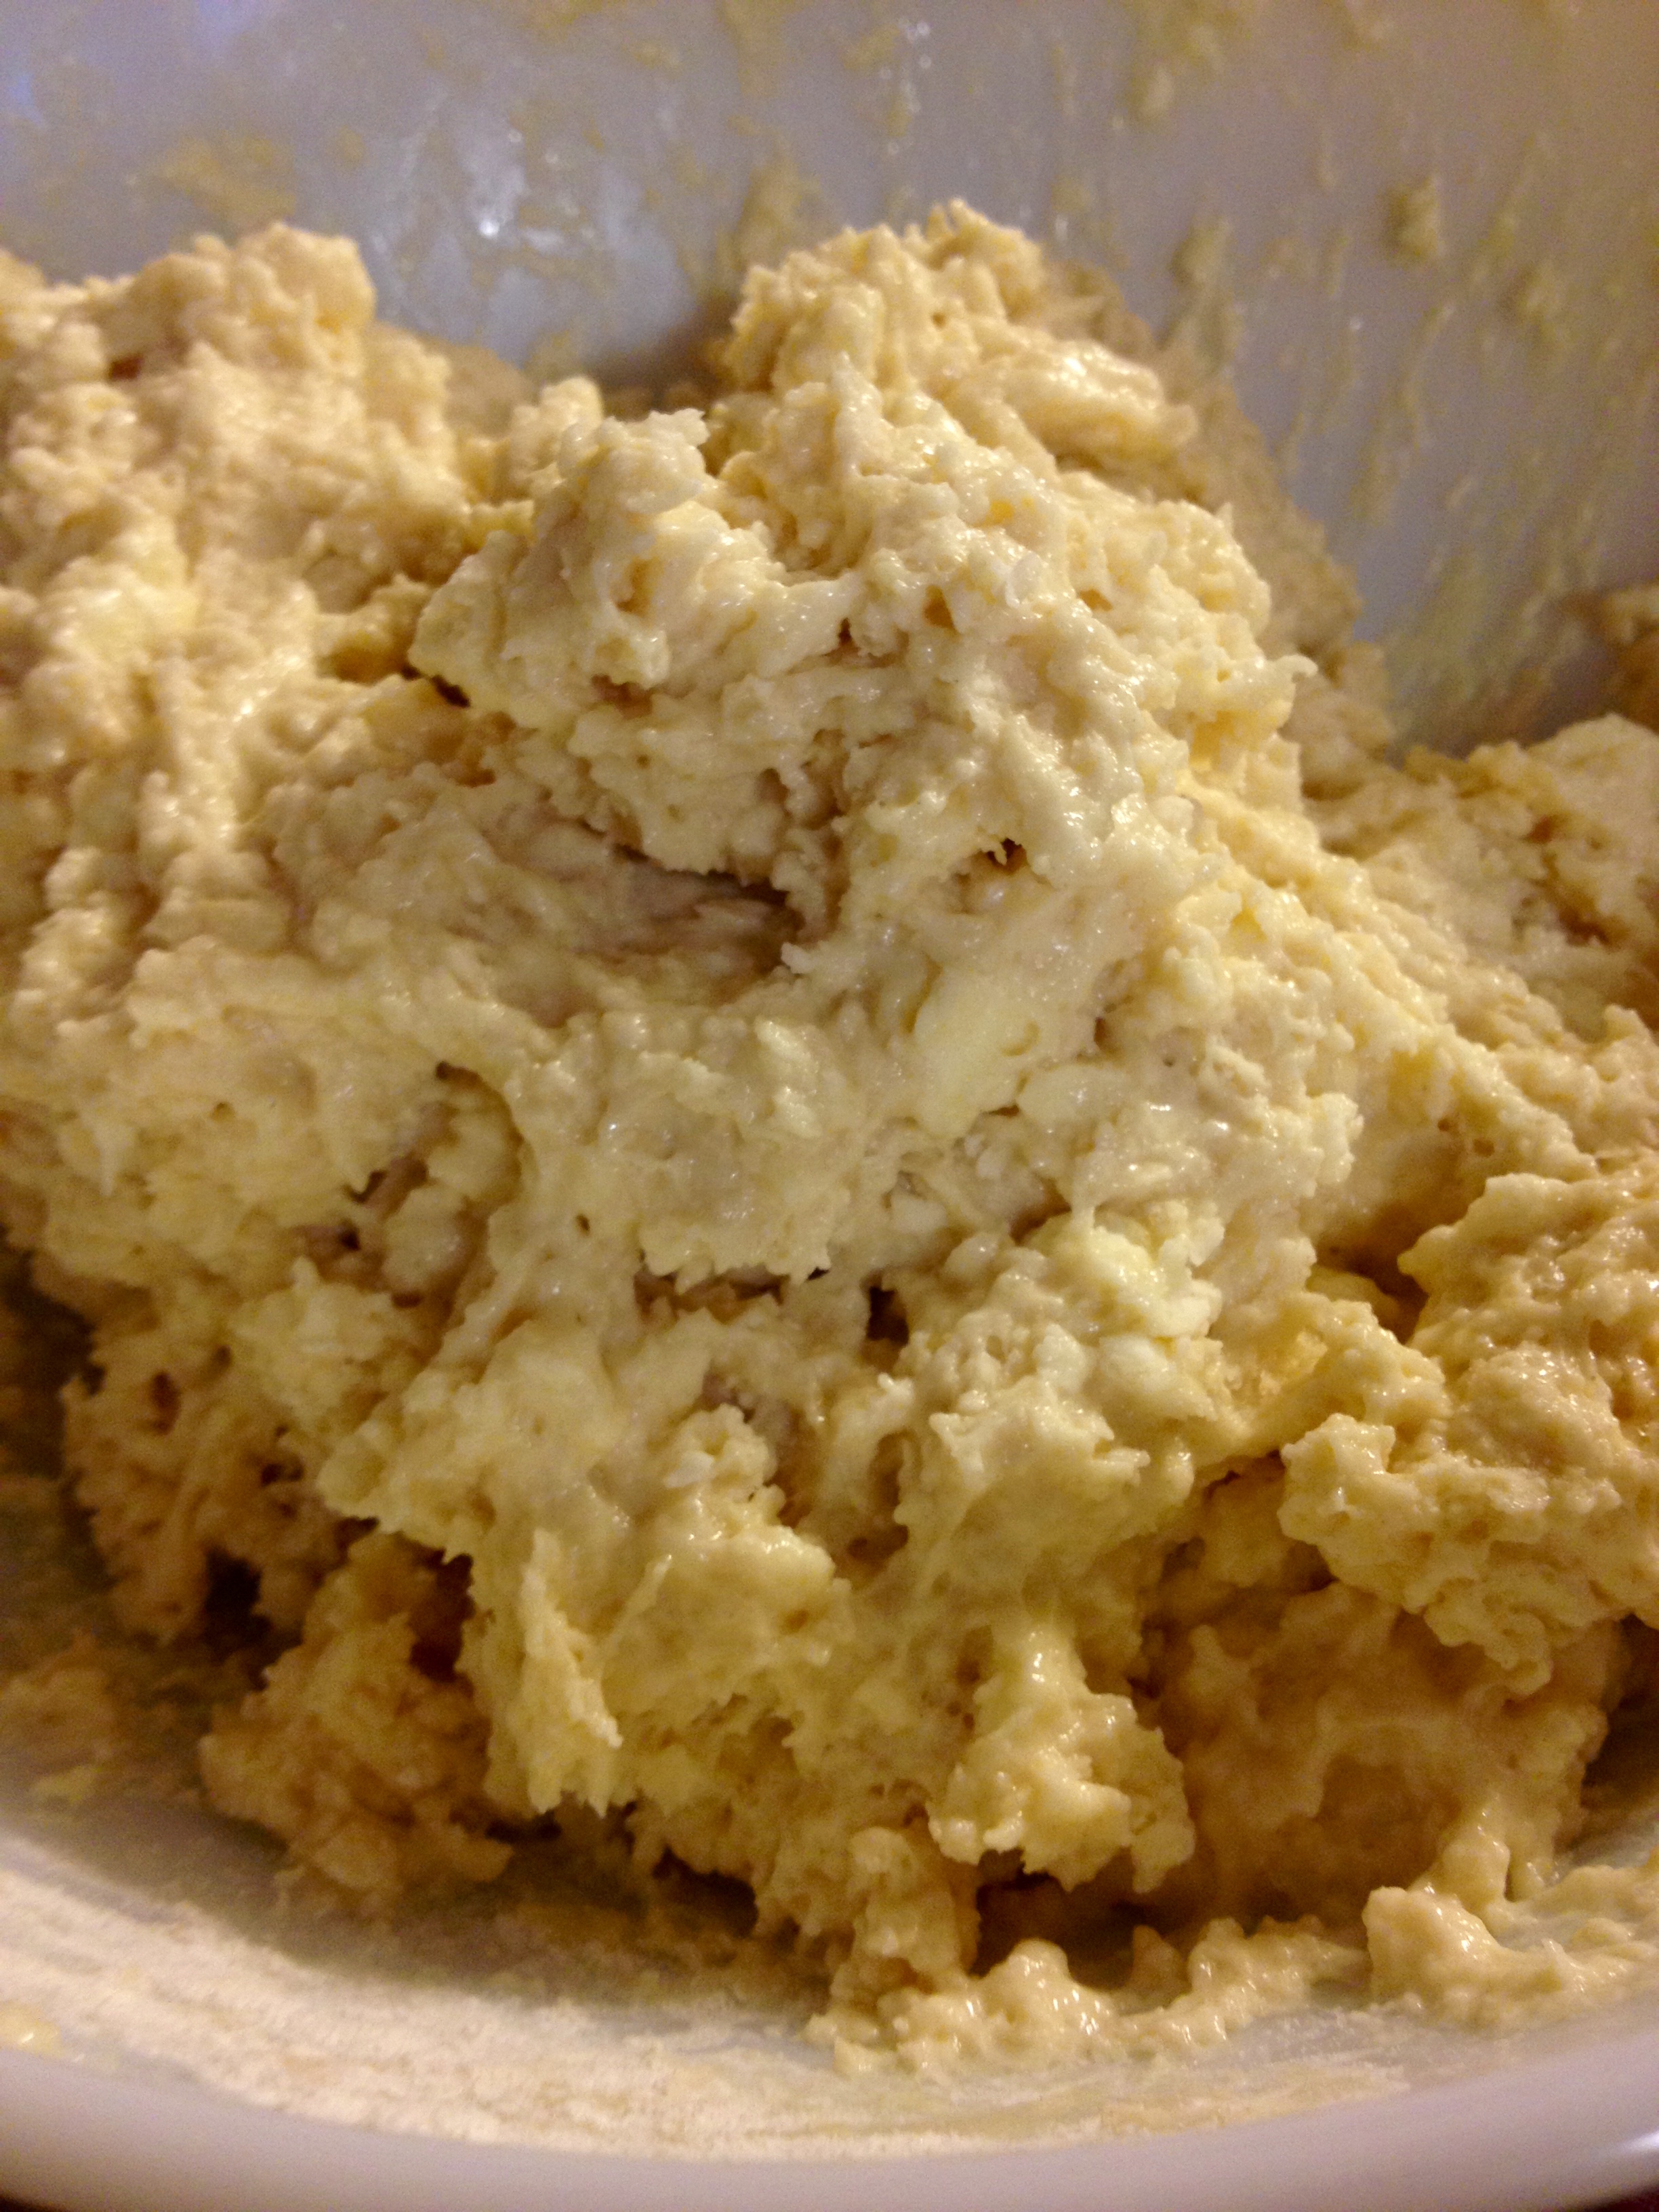
Beat the butter in a large bowl with a stand mixer at medium speed until the butter is creamed. Add the sugar, and beat for three minutes. Add the eggs one at a time, beating well after each addition. Now, put the mixer to medium speed and add the milk mixture and flour mixture alternately, starting and ending with the flour mix.
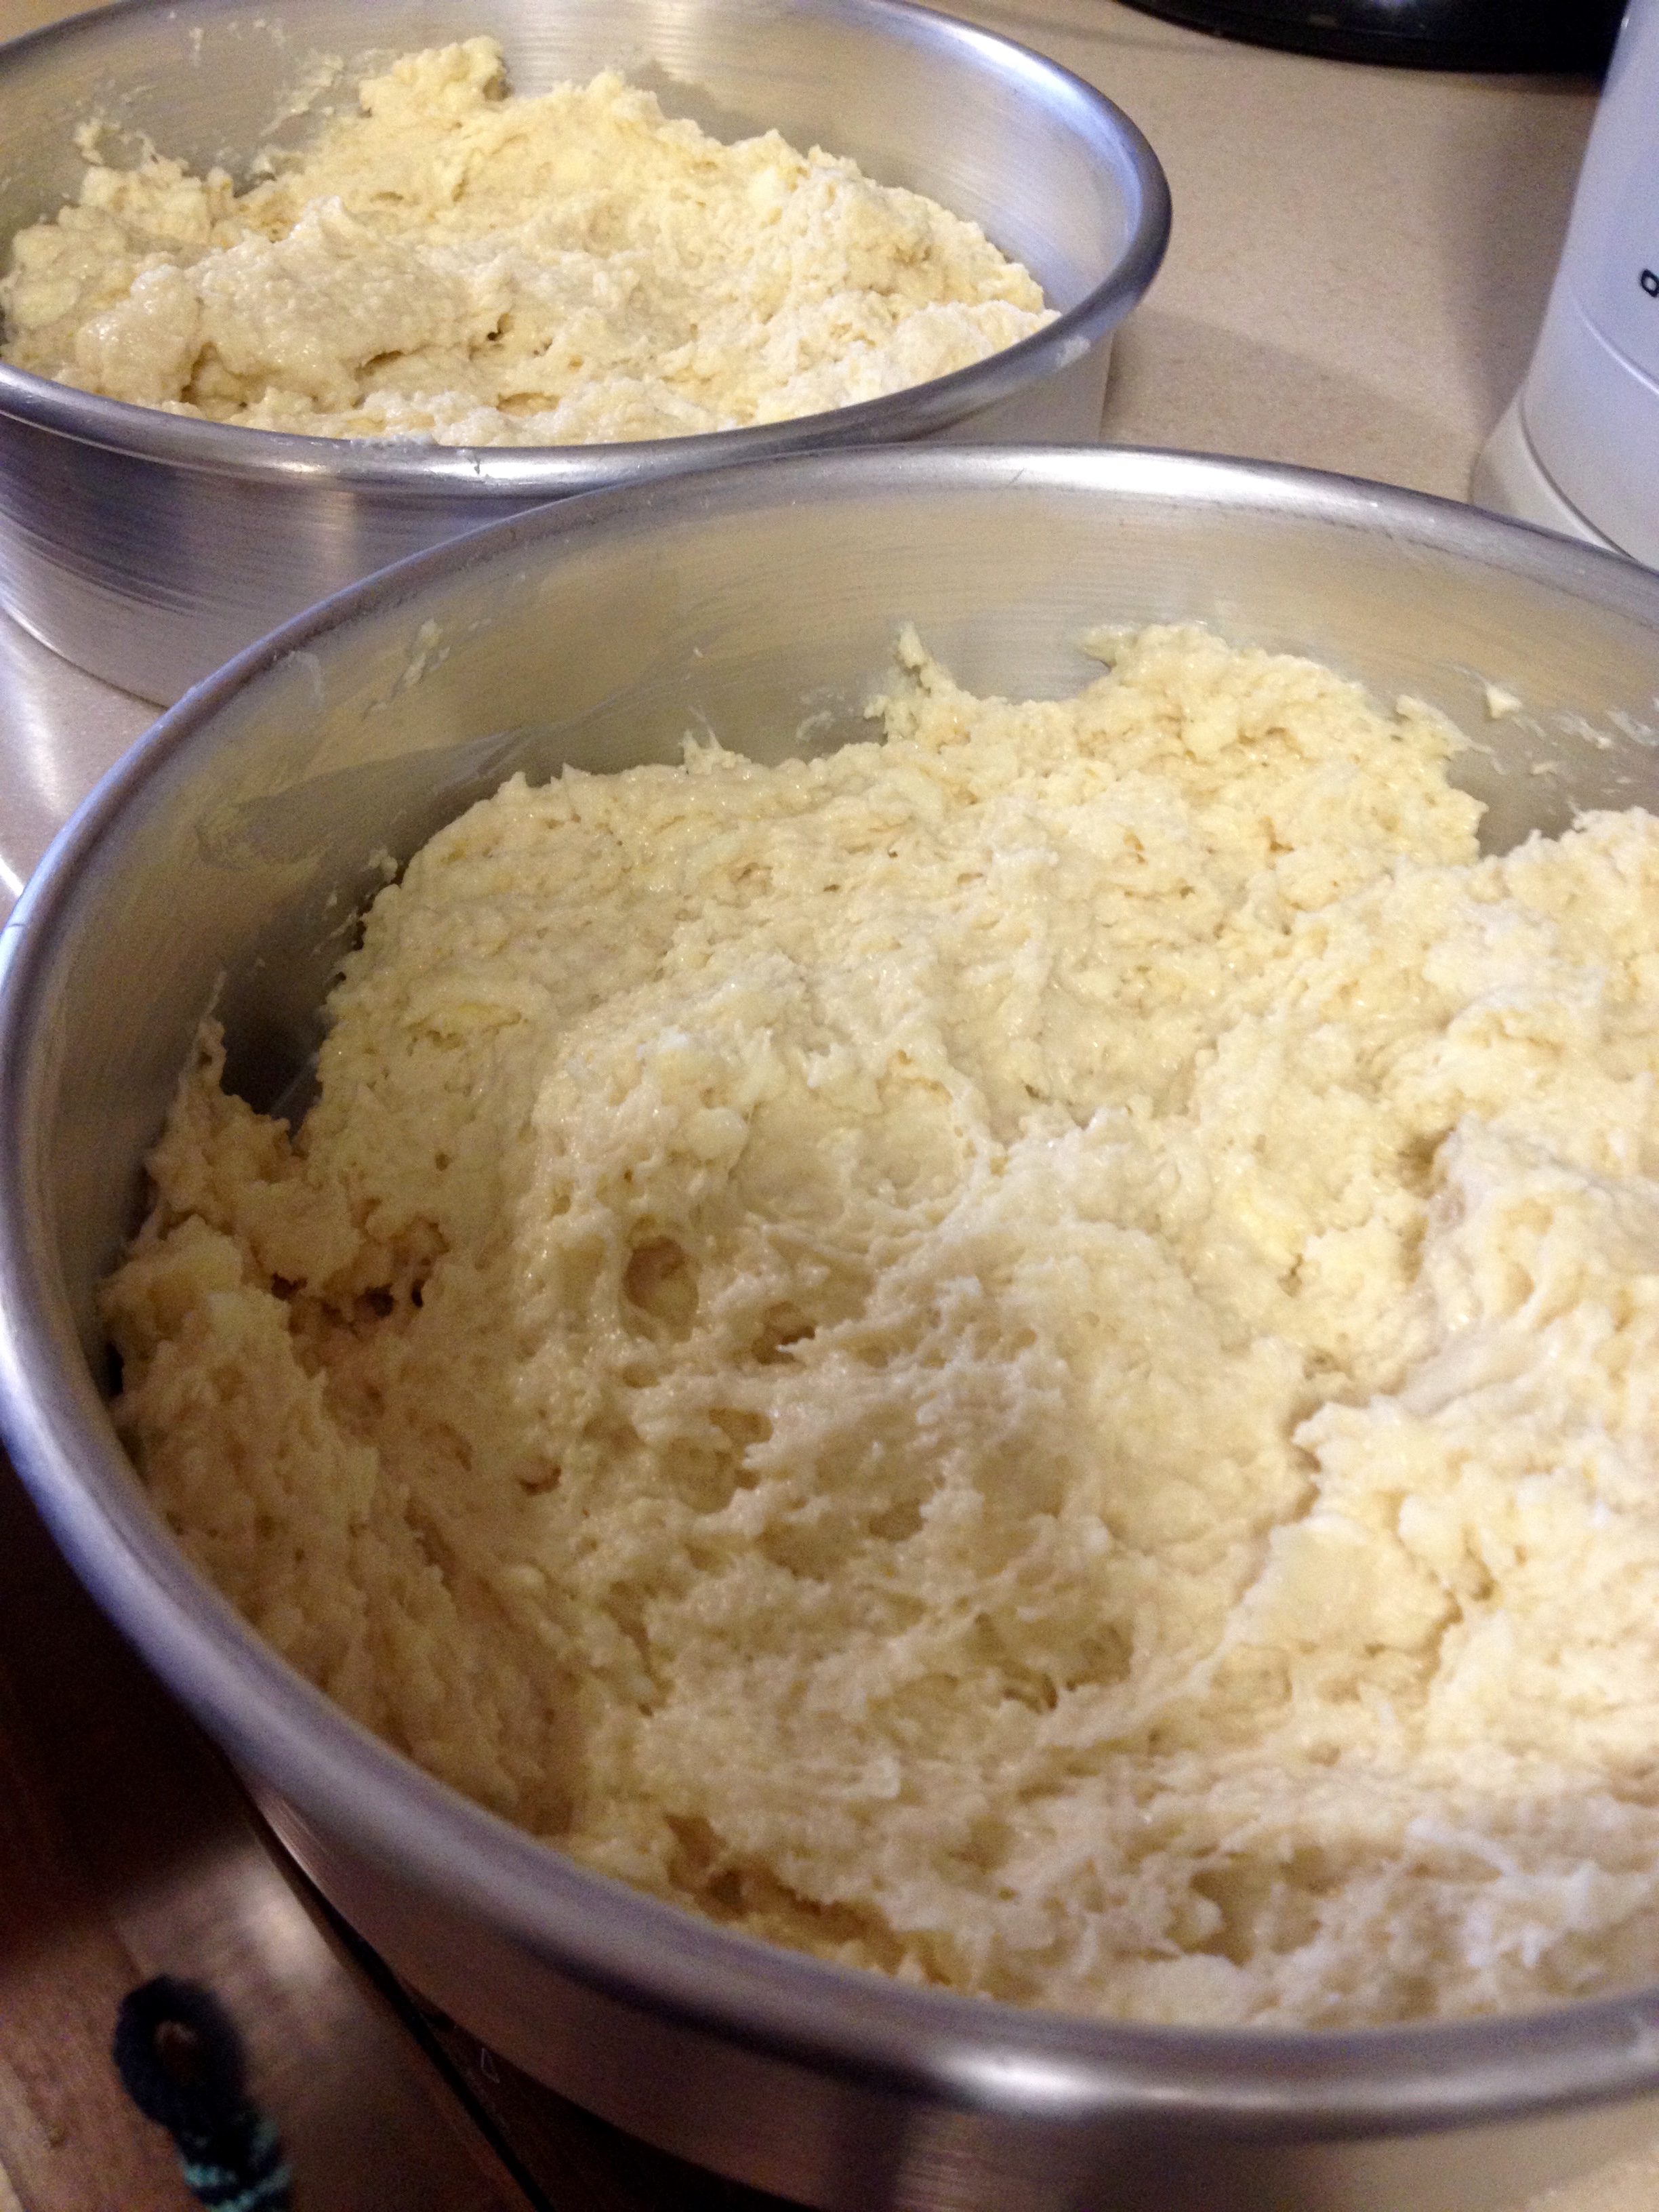
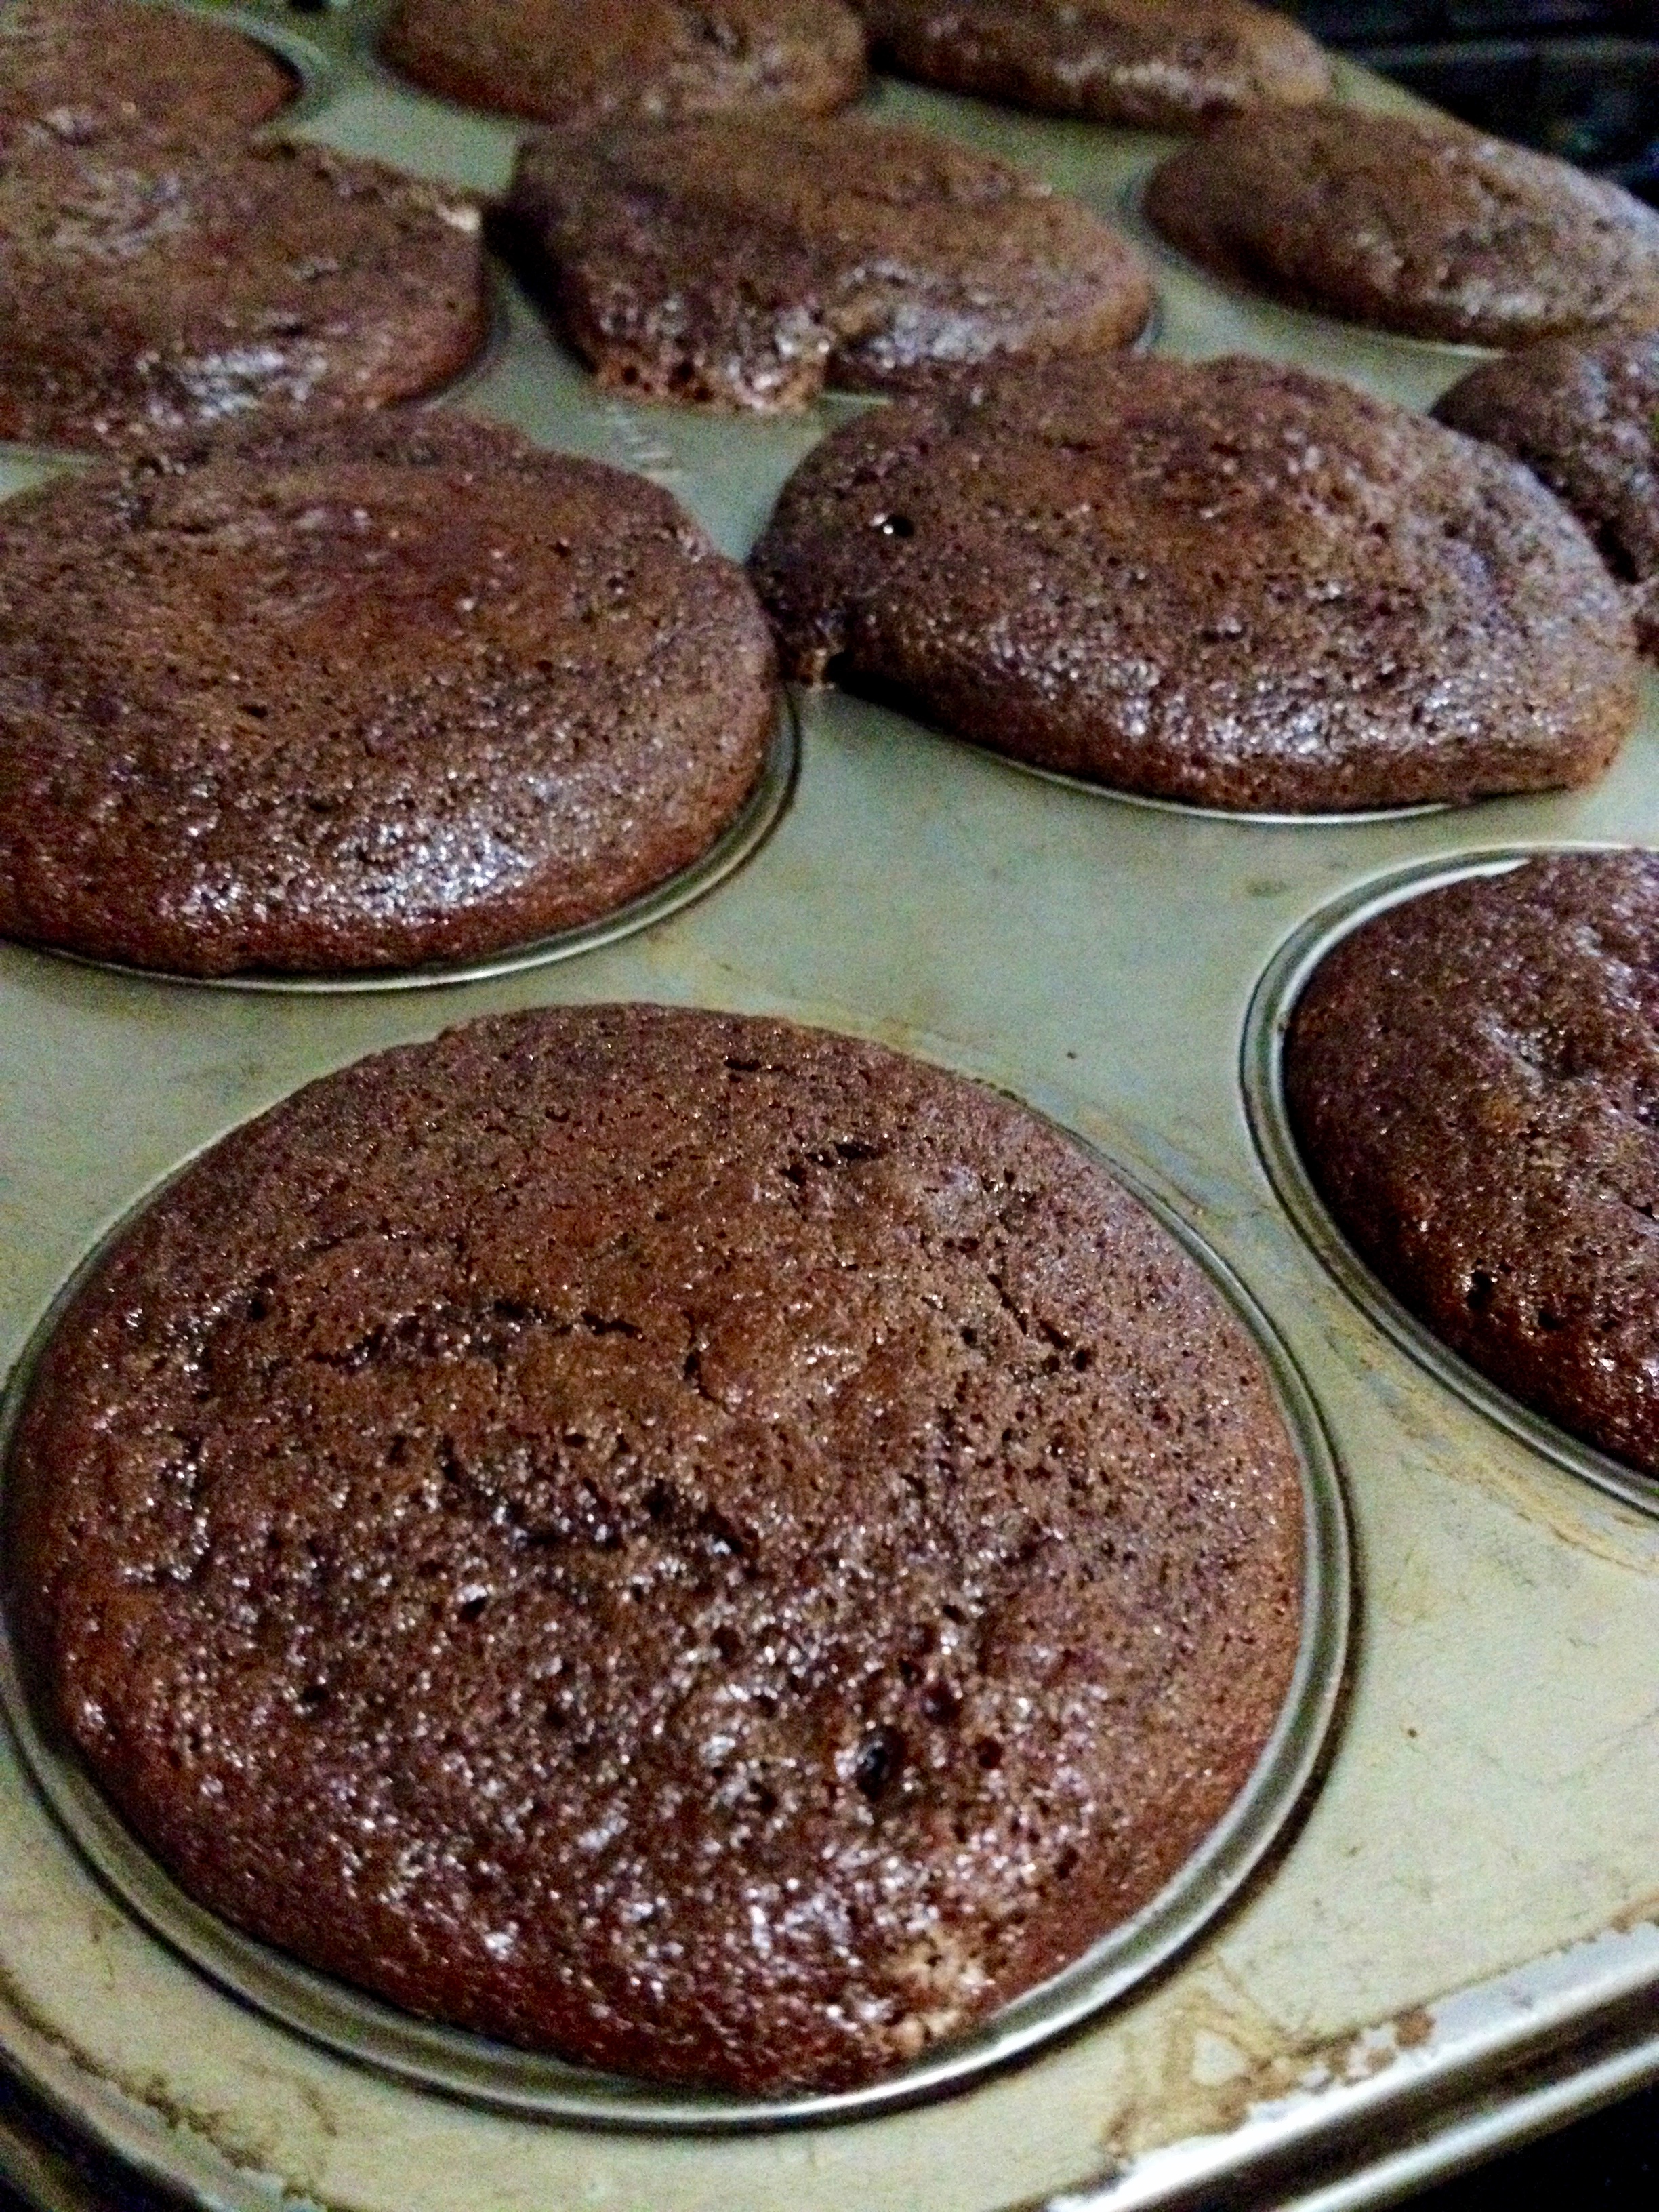
Pour the batter into the cupcake cups, so that they’re about 3/4 full. I got 14 out of the mix, but you may get more or less. According to the book, I was only supposed to get 12. It happens!

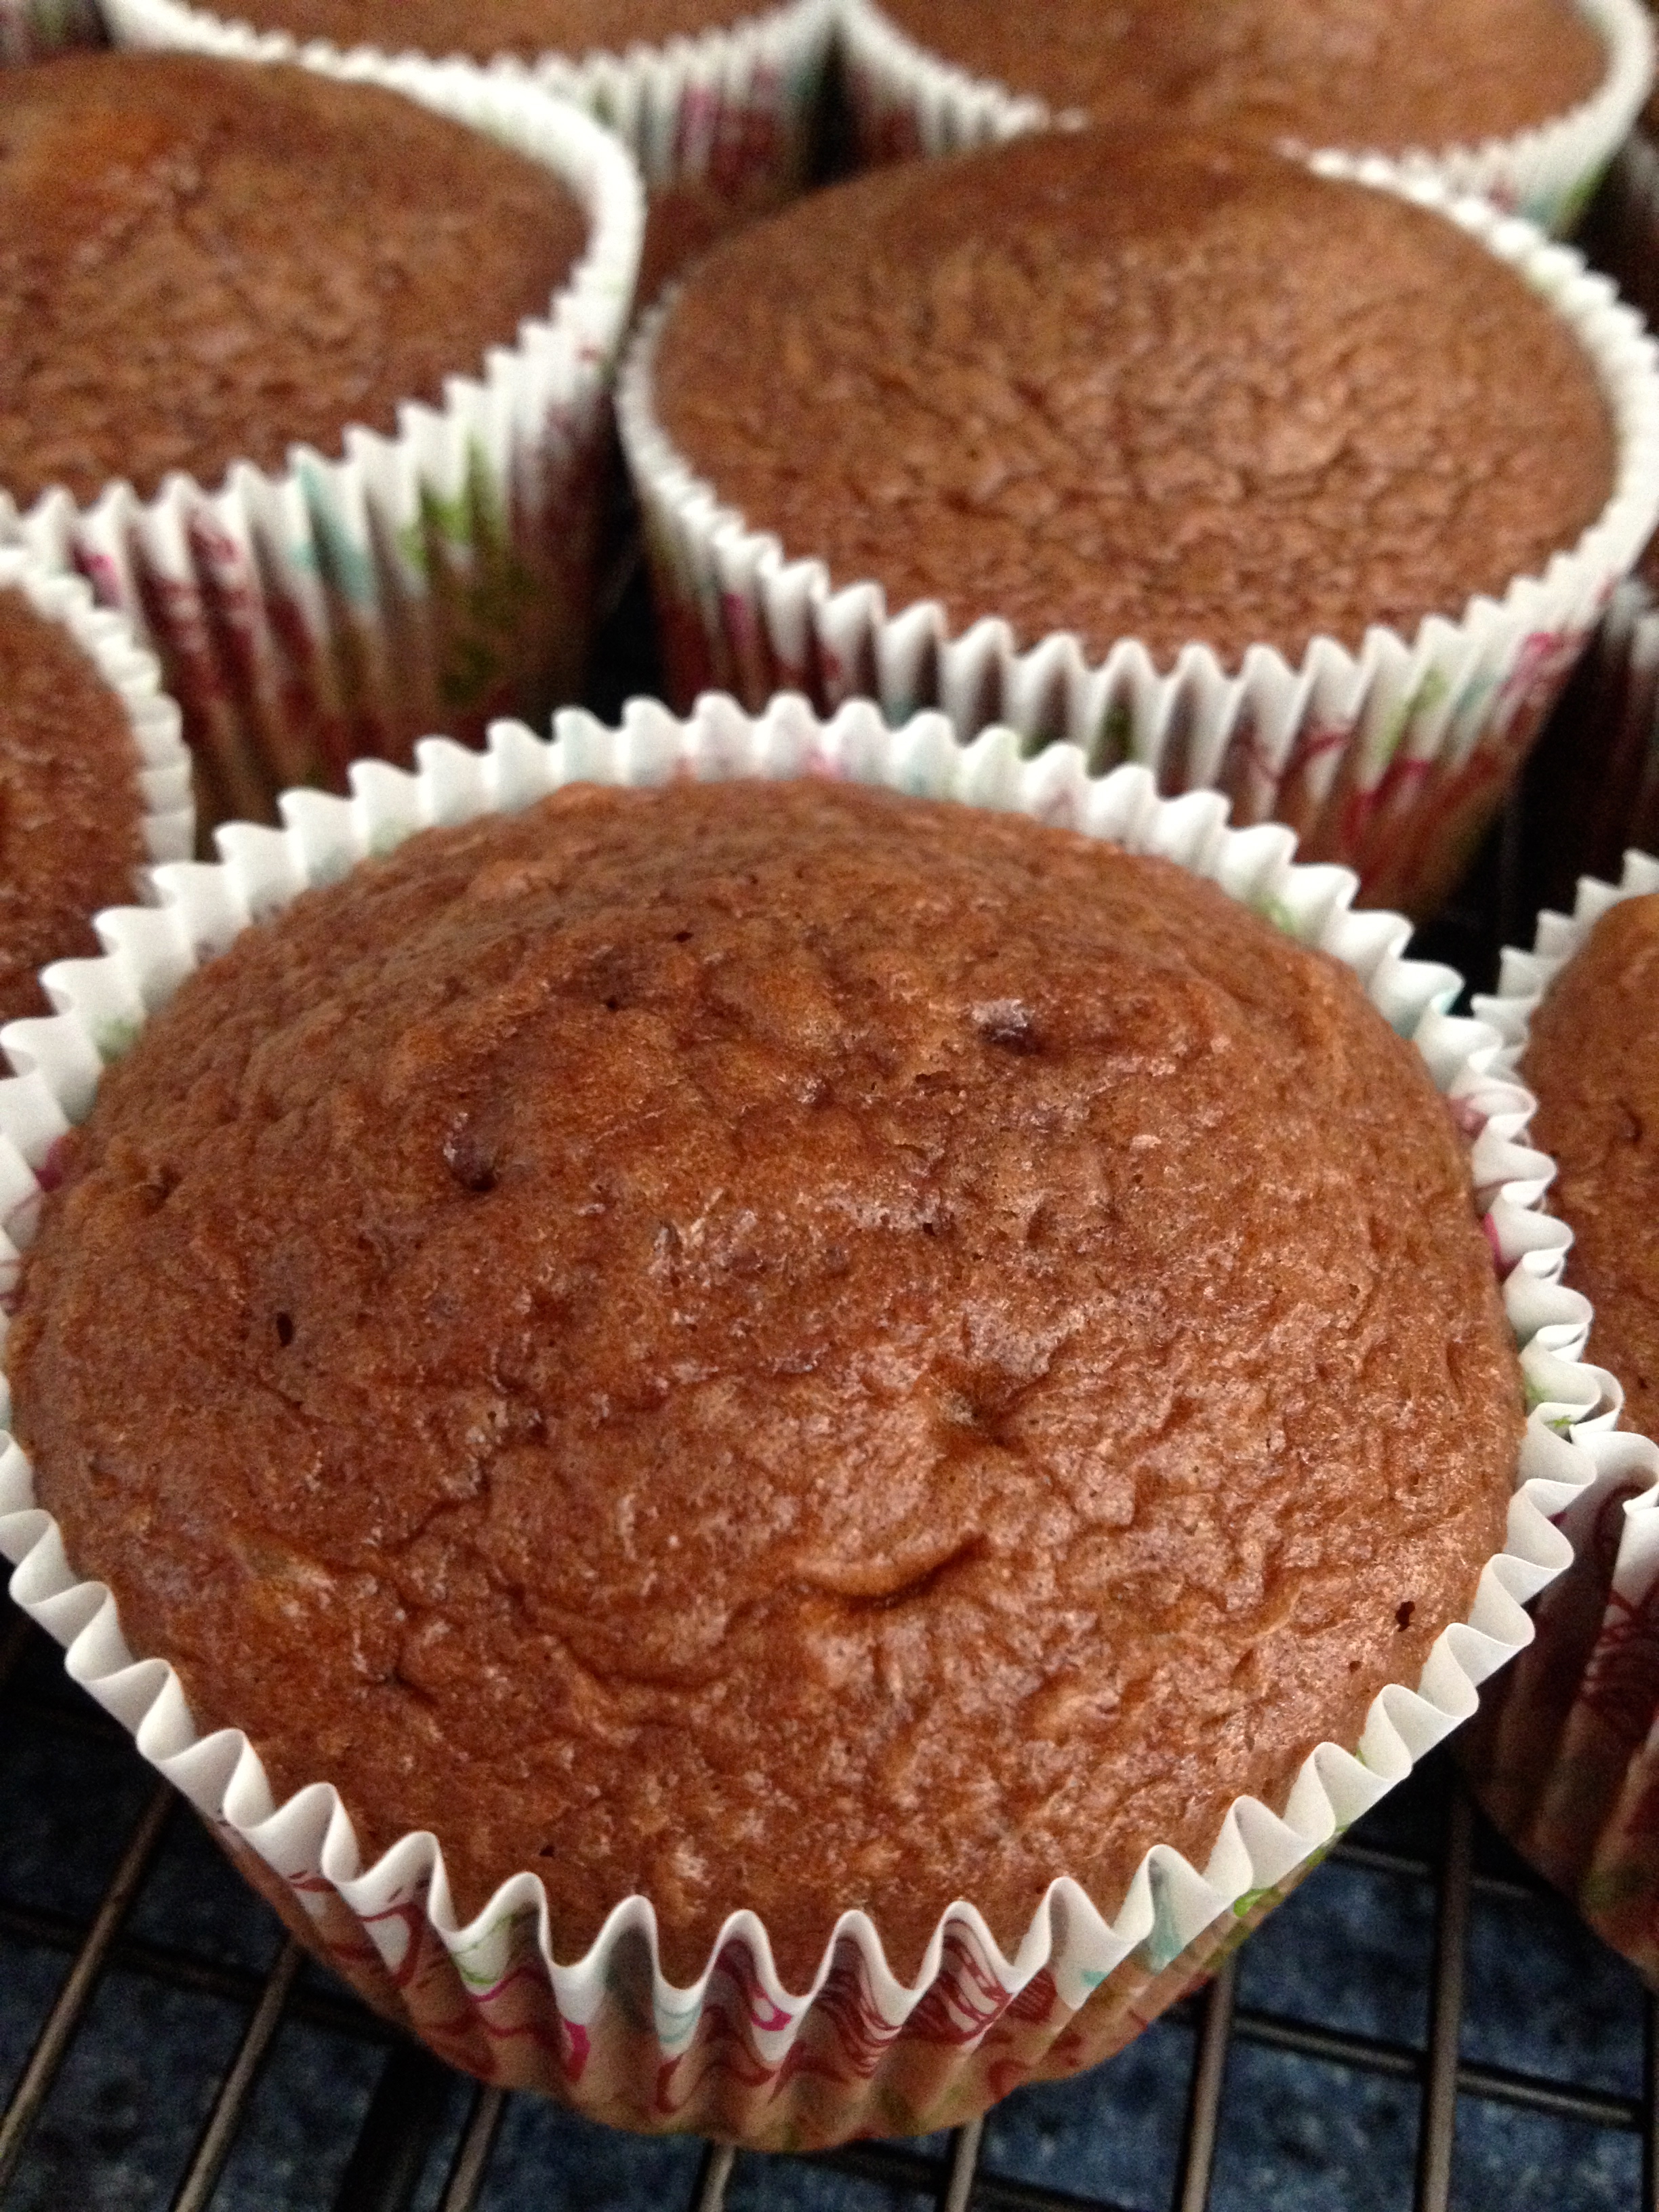
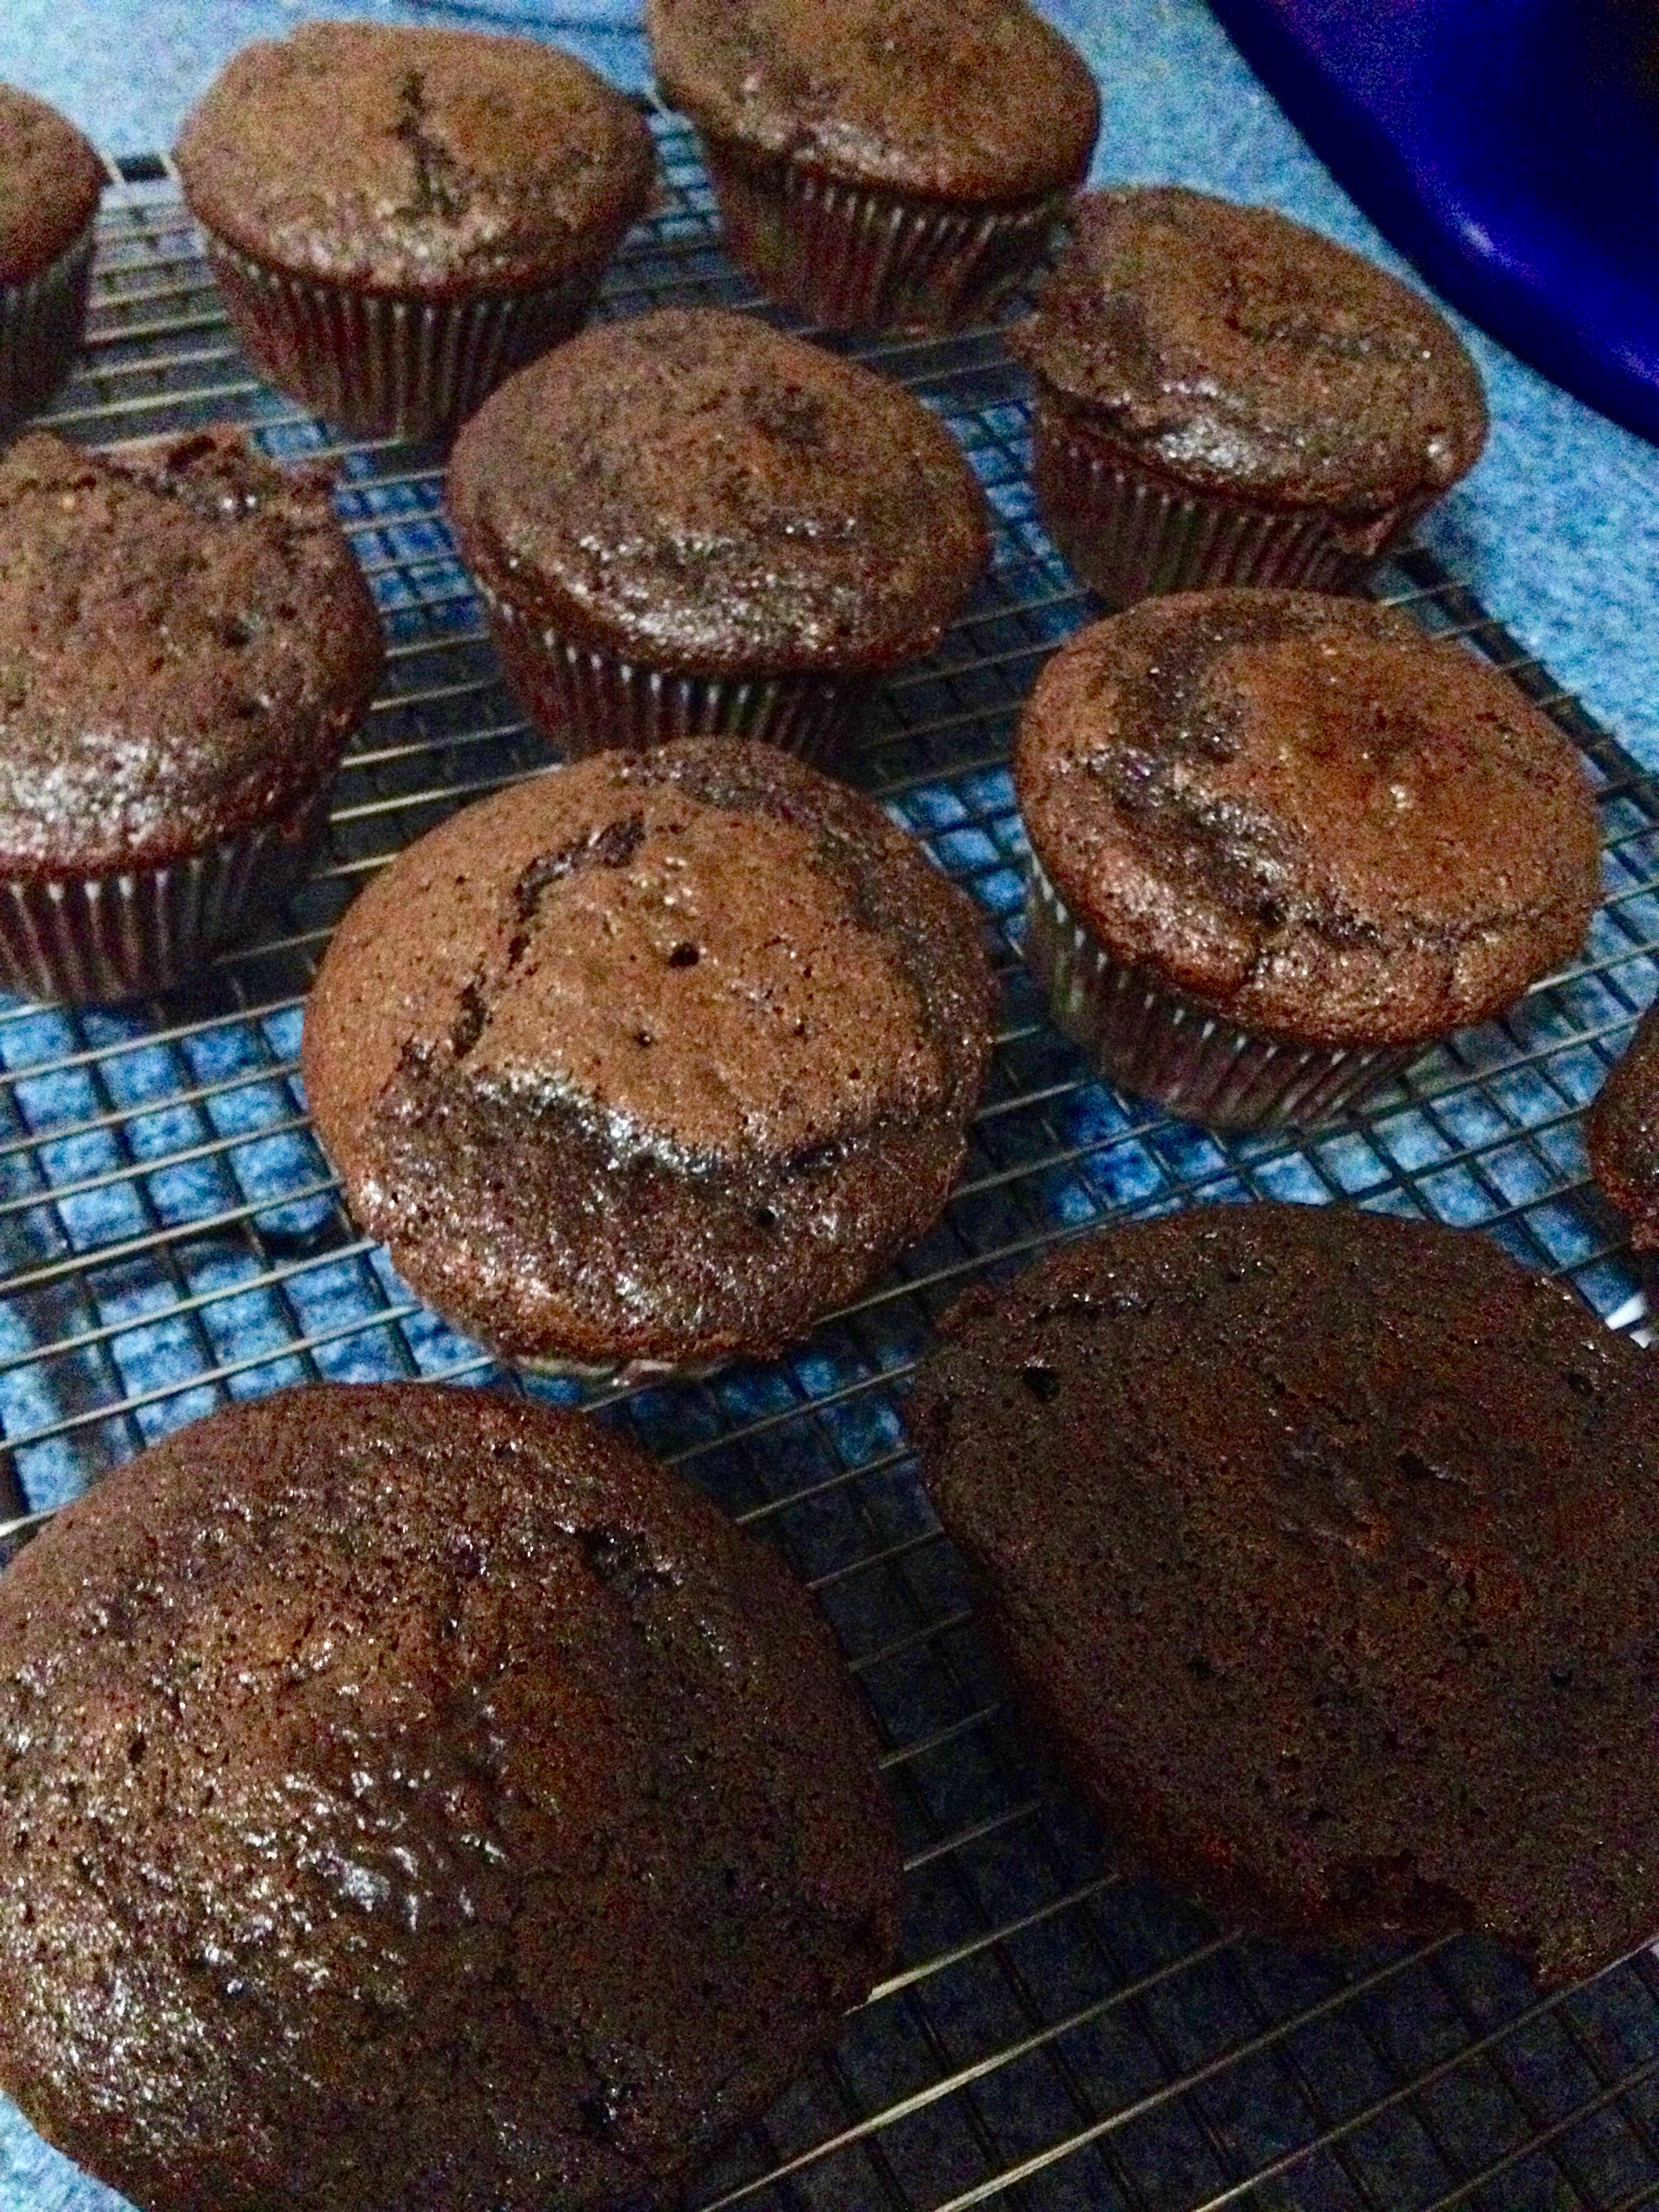
Bake the cupcakes for about 20 minutes, or until a toothpick inserted in the middle of a cupcake comes out clean. Cool them in the pan for 10 minutes, and then take them out and finish cooling them on a cooling rack.
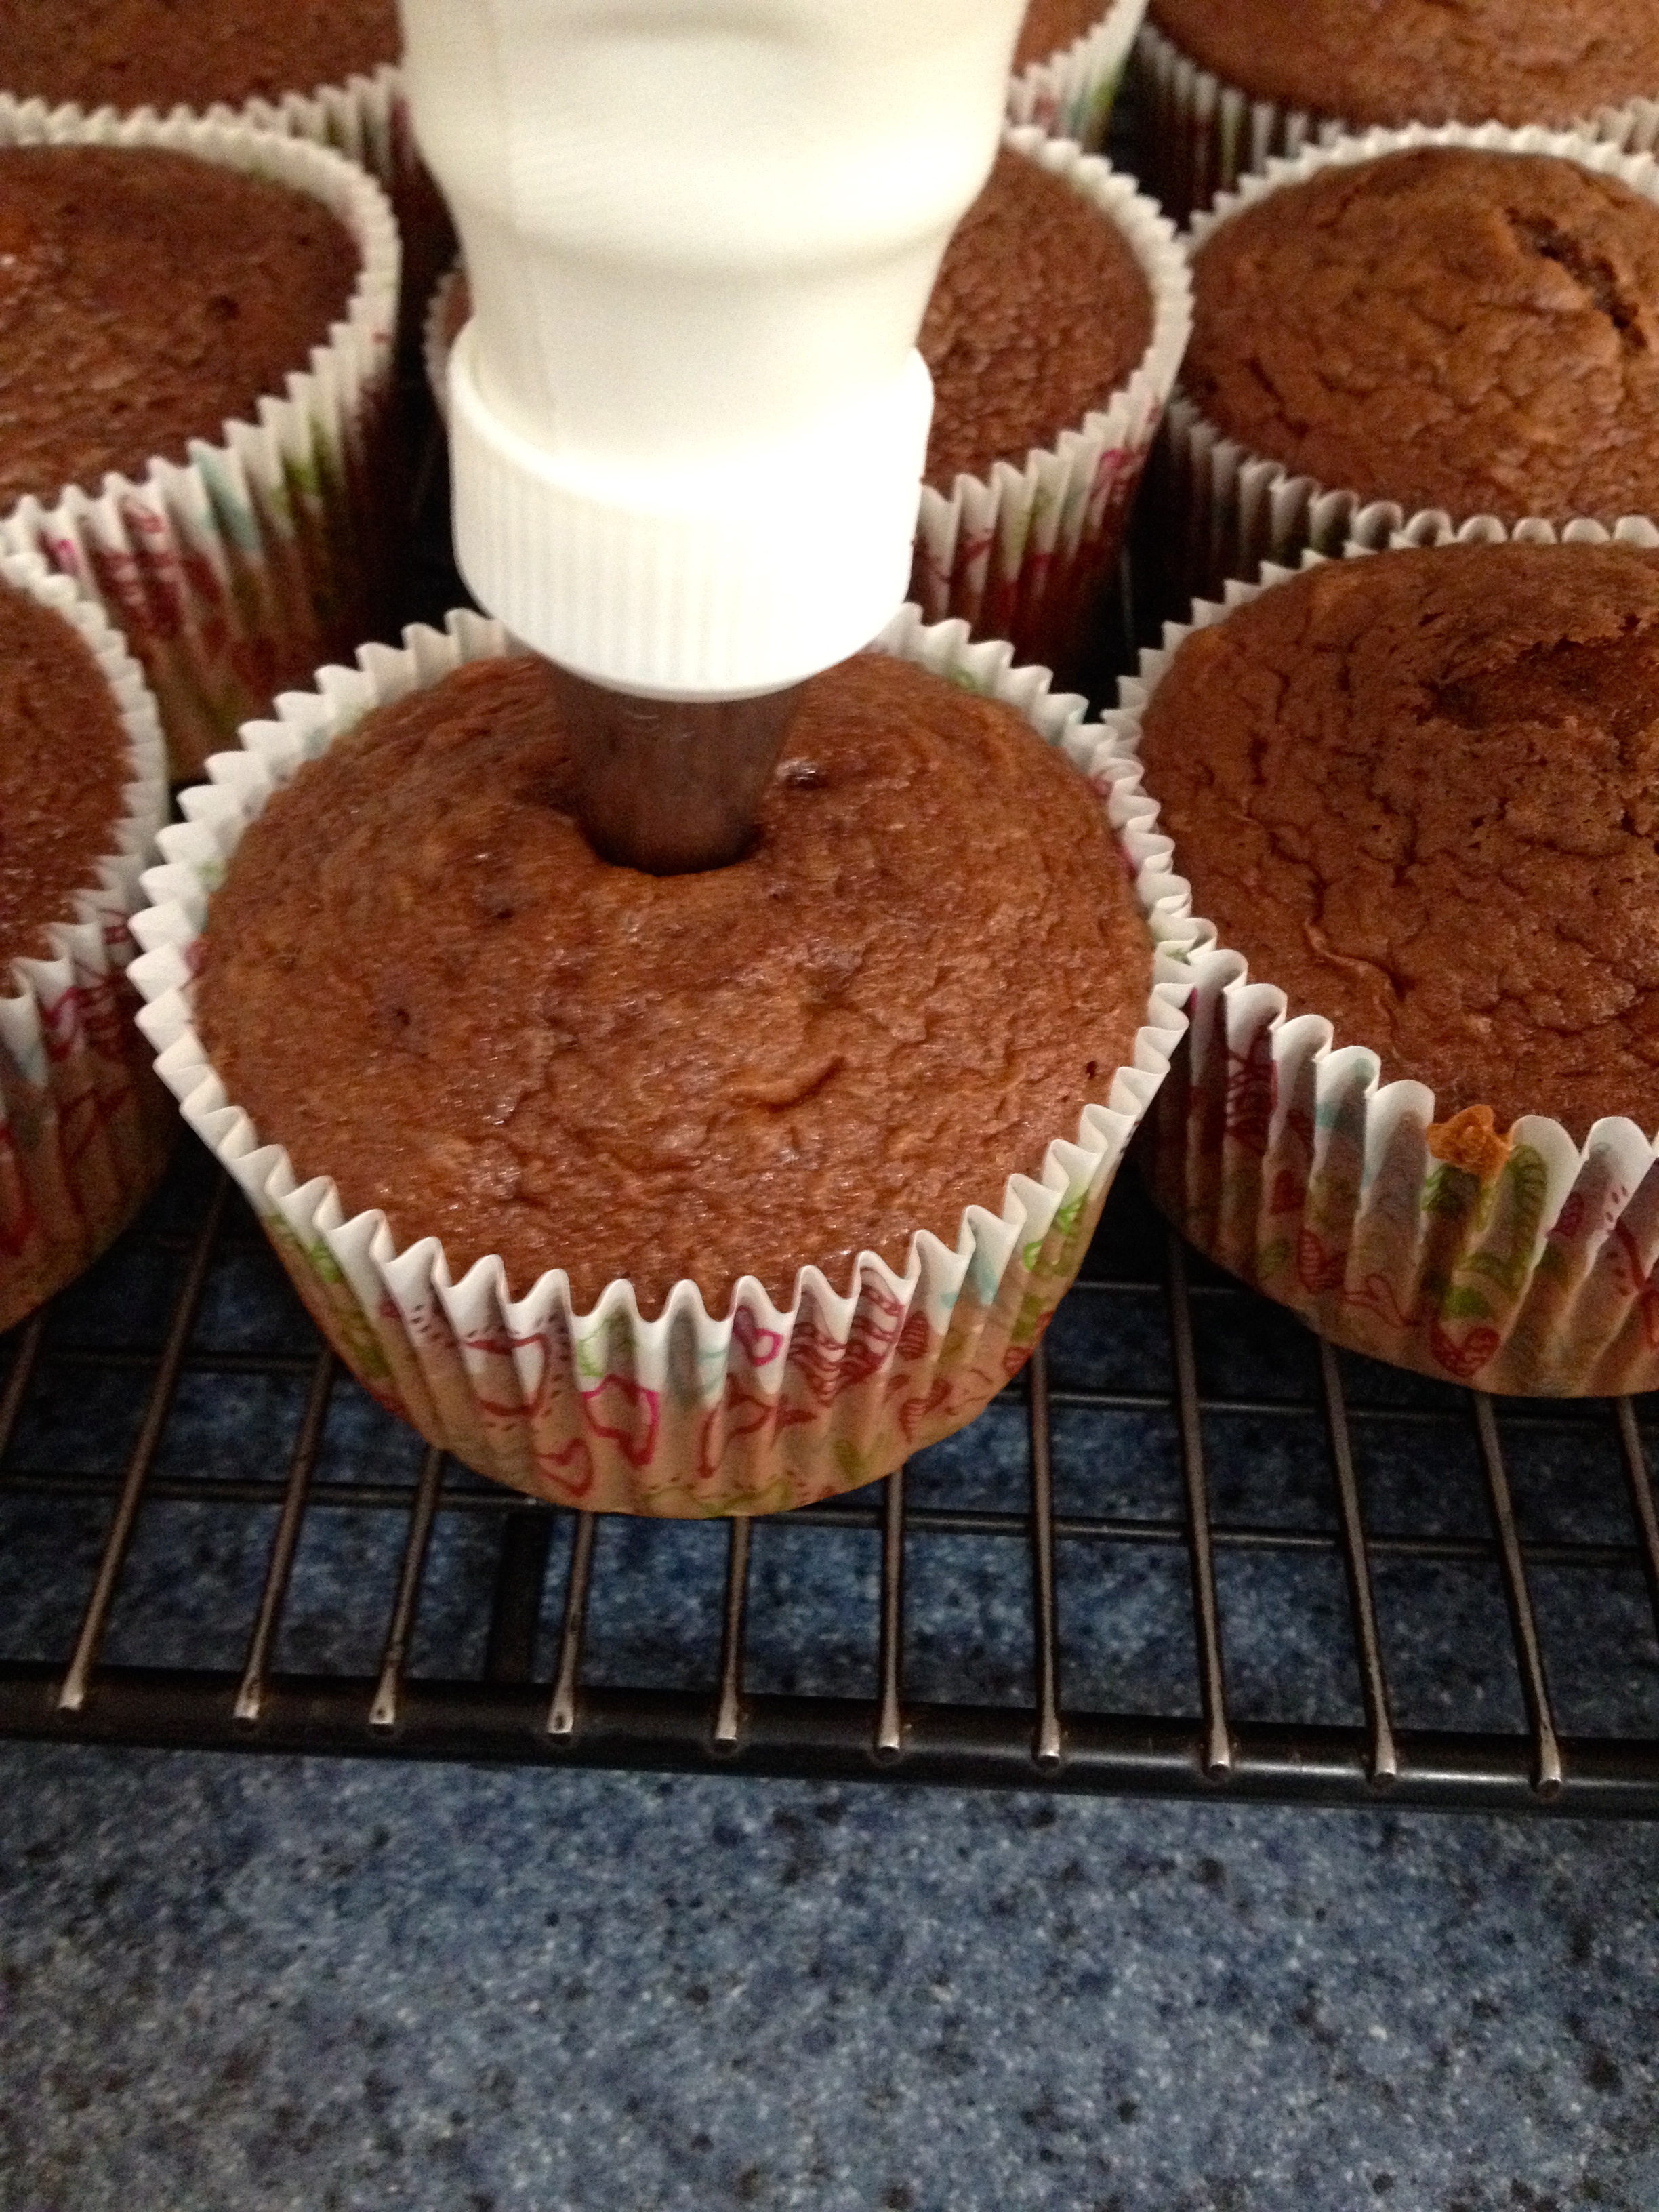
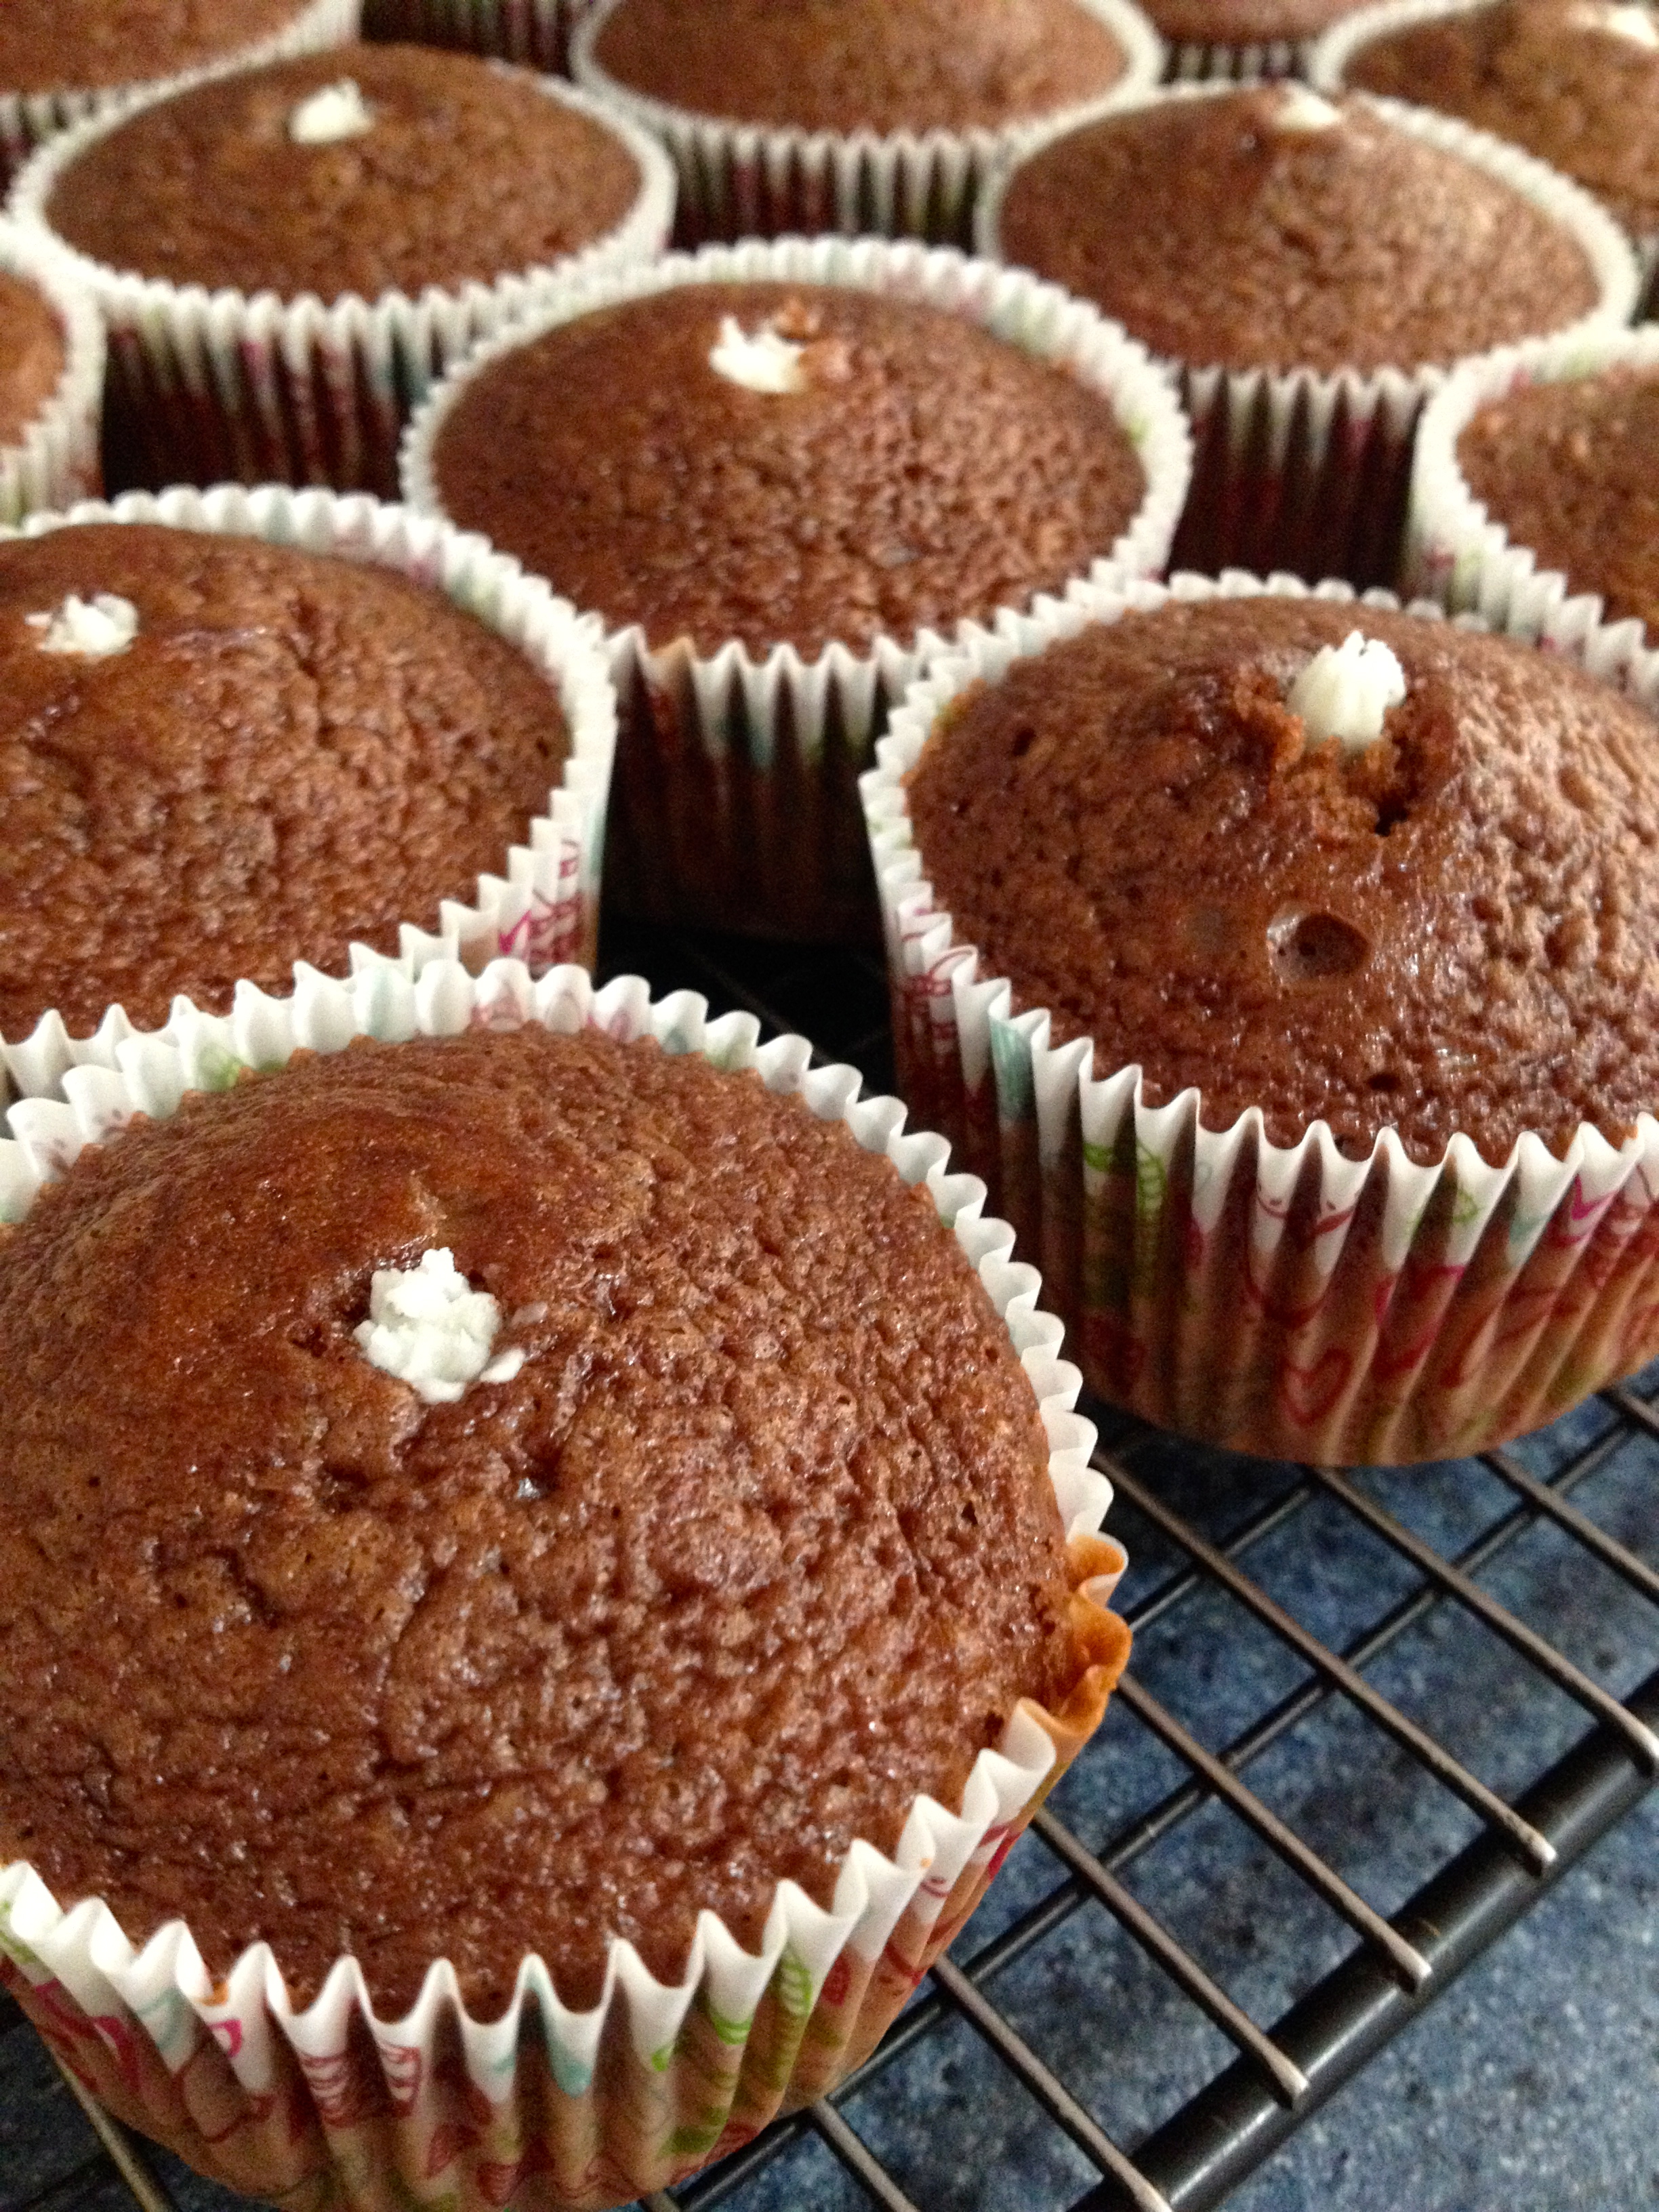
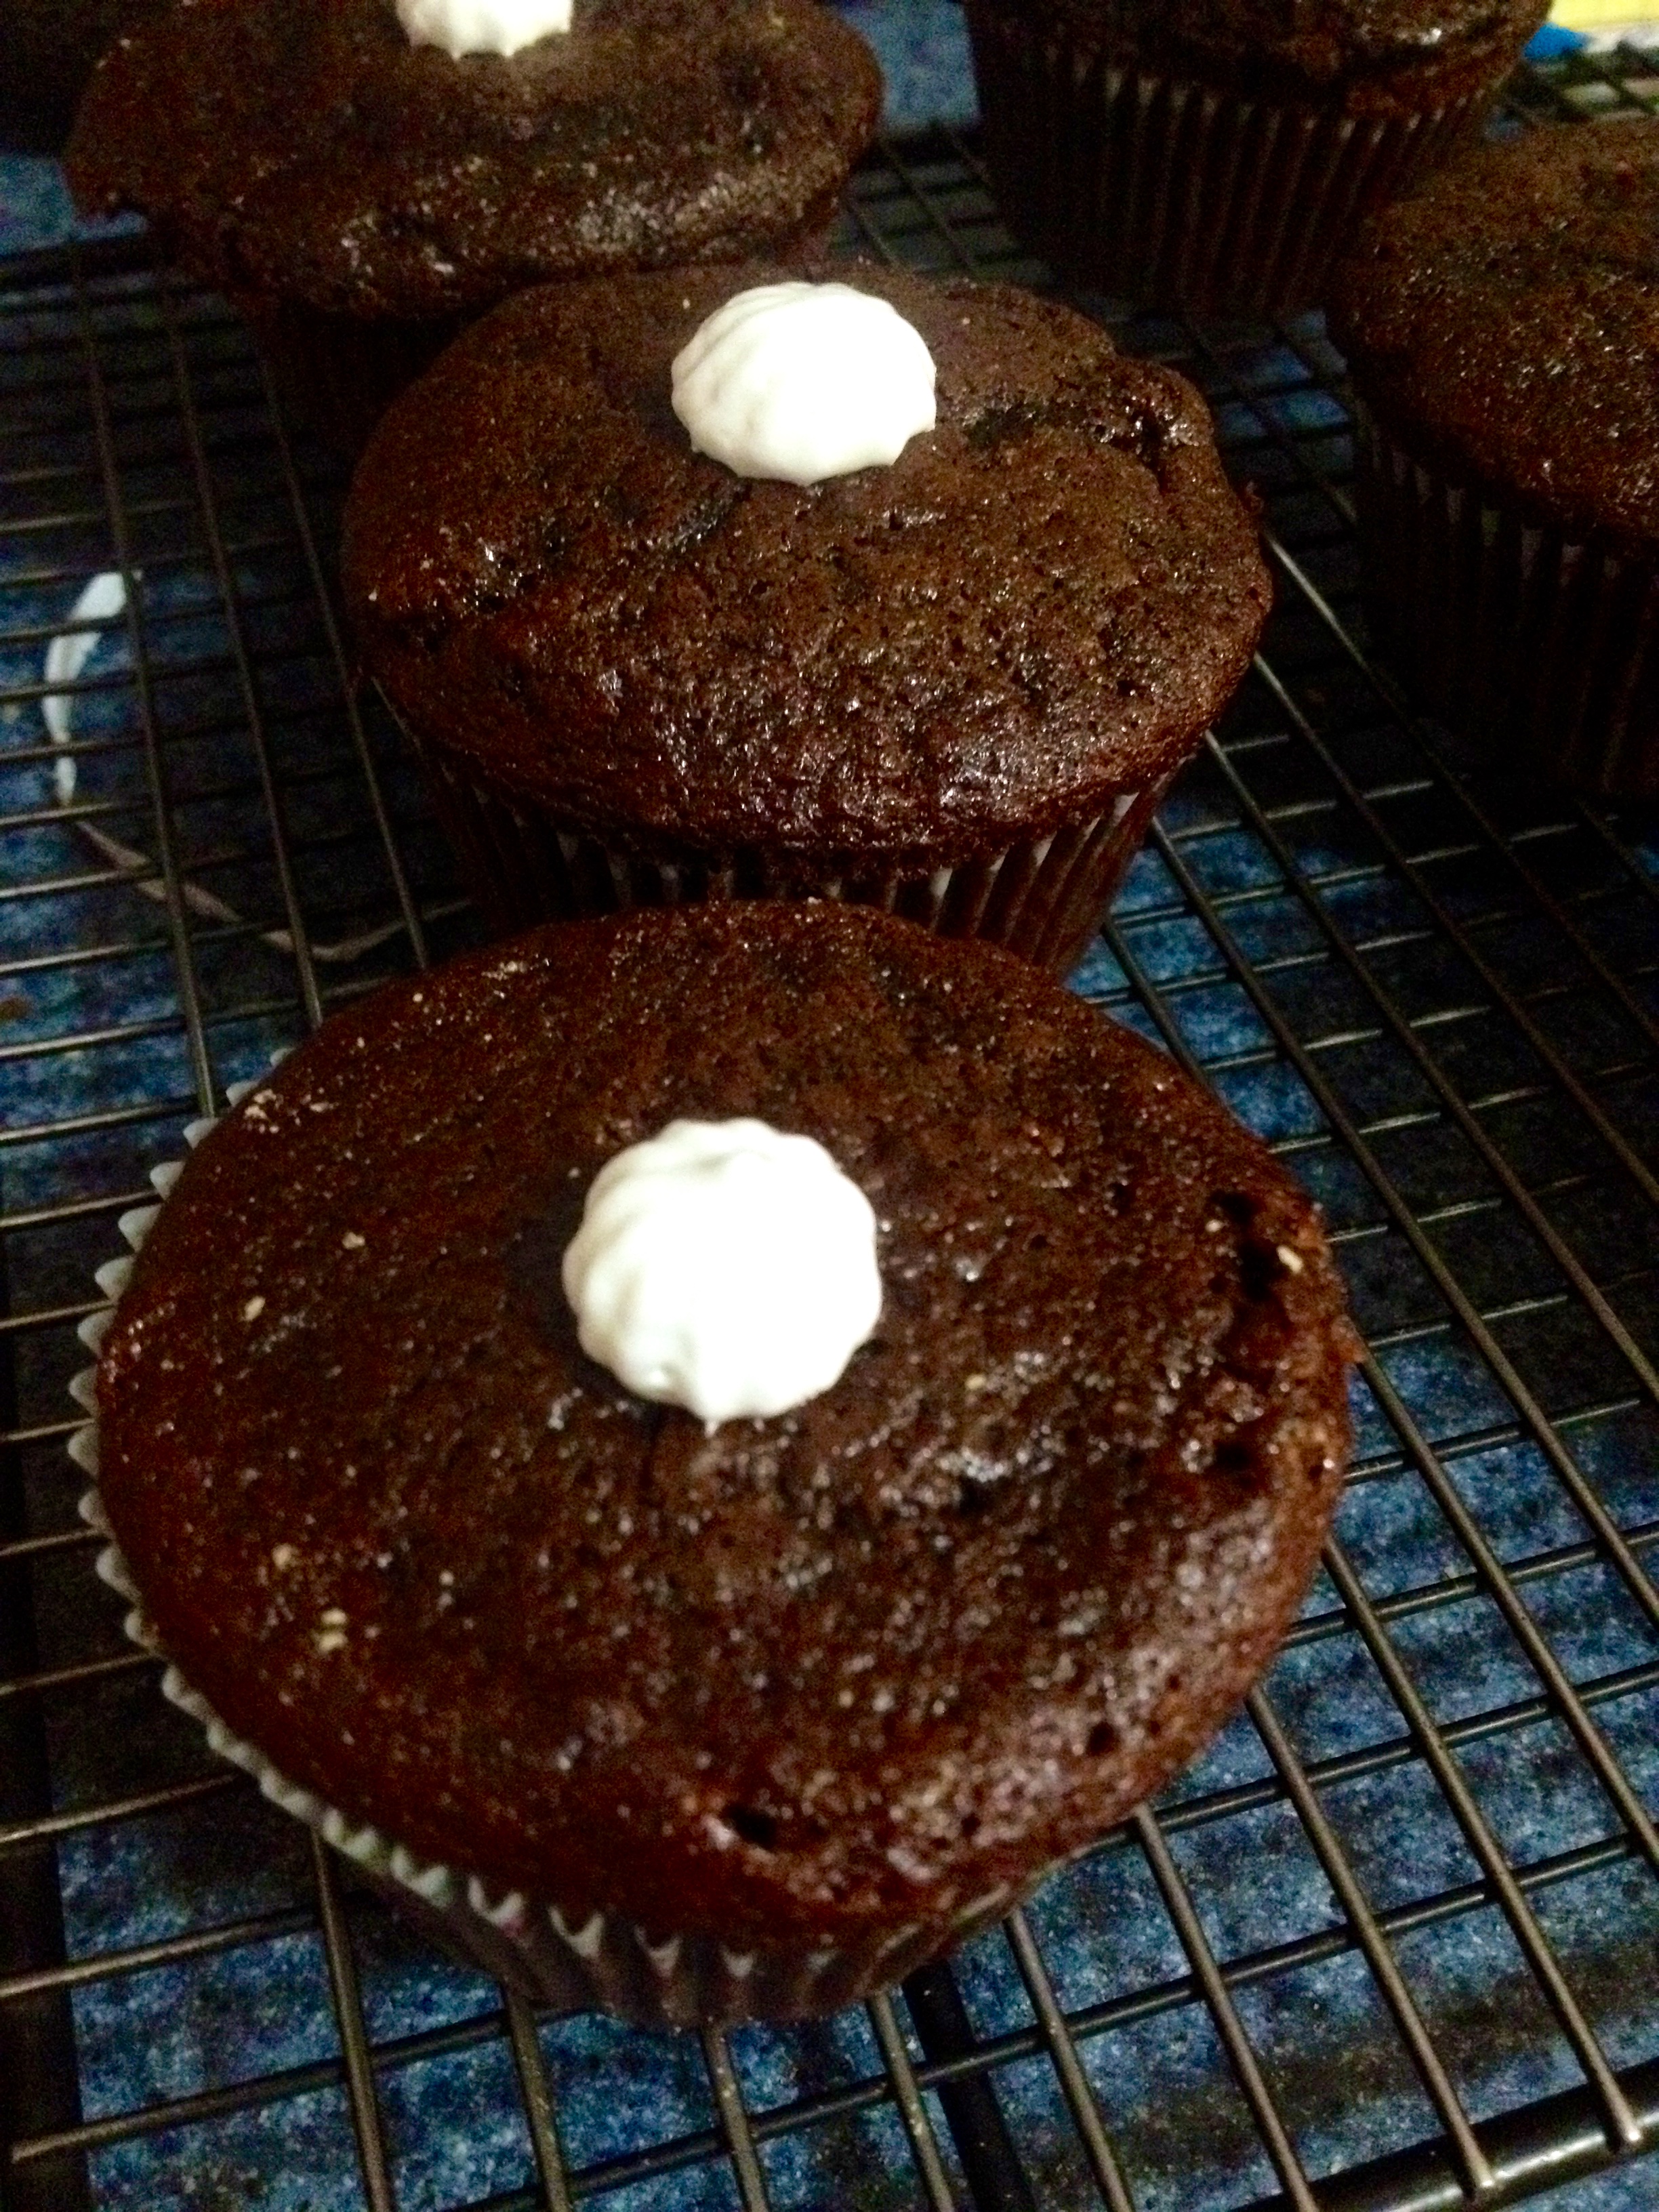
When the cupcakes are completely cooled, put a small dollop of fluff on the top of each one. This will act as the glue for the graham crackers.
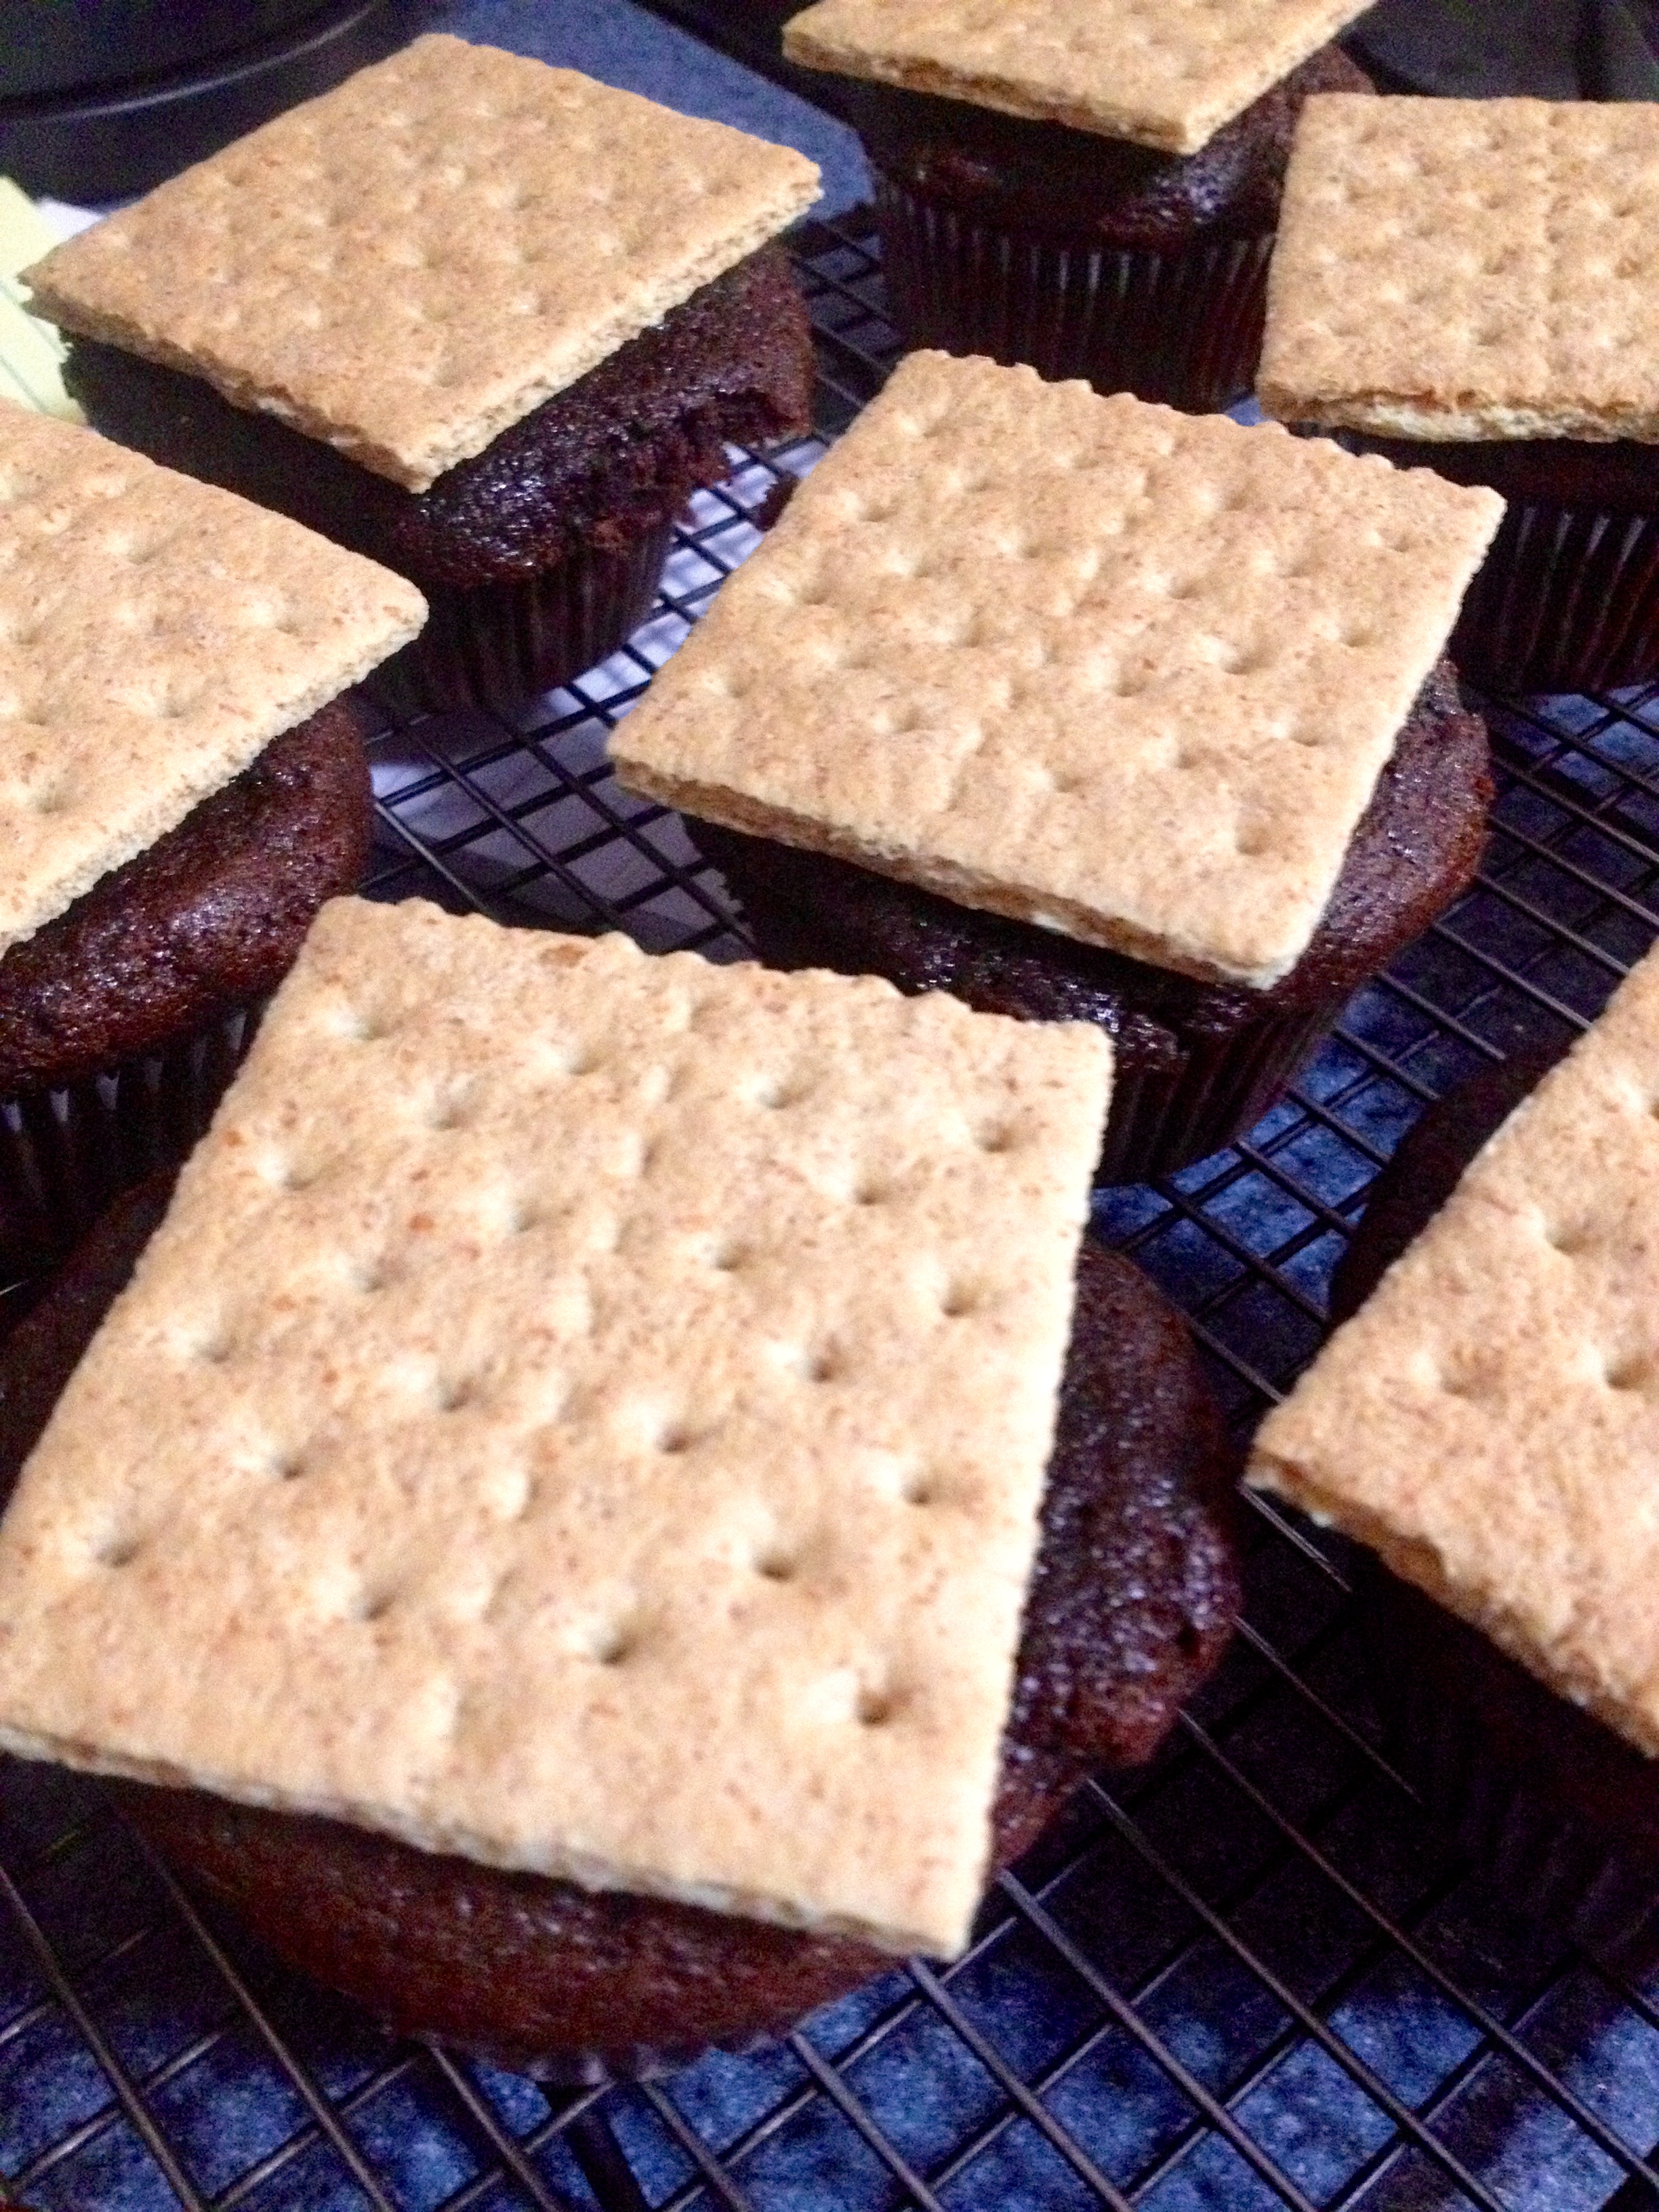
Now, break each graham cracker in half so that you have about 14 squares. Put one square on each cupcake.
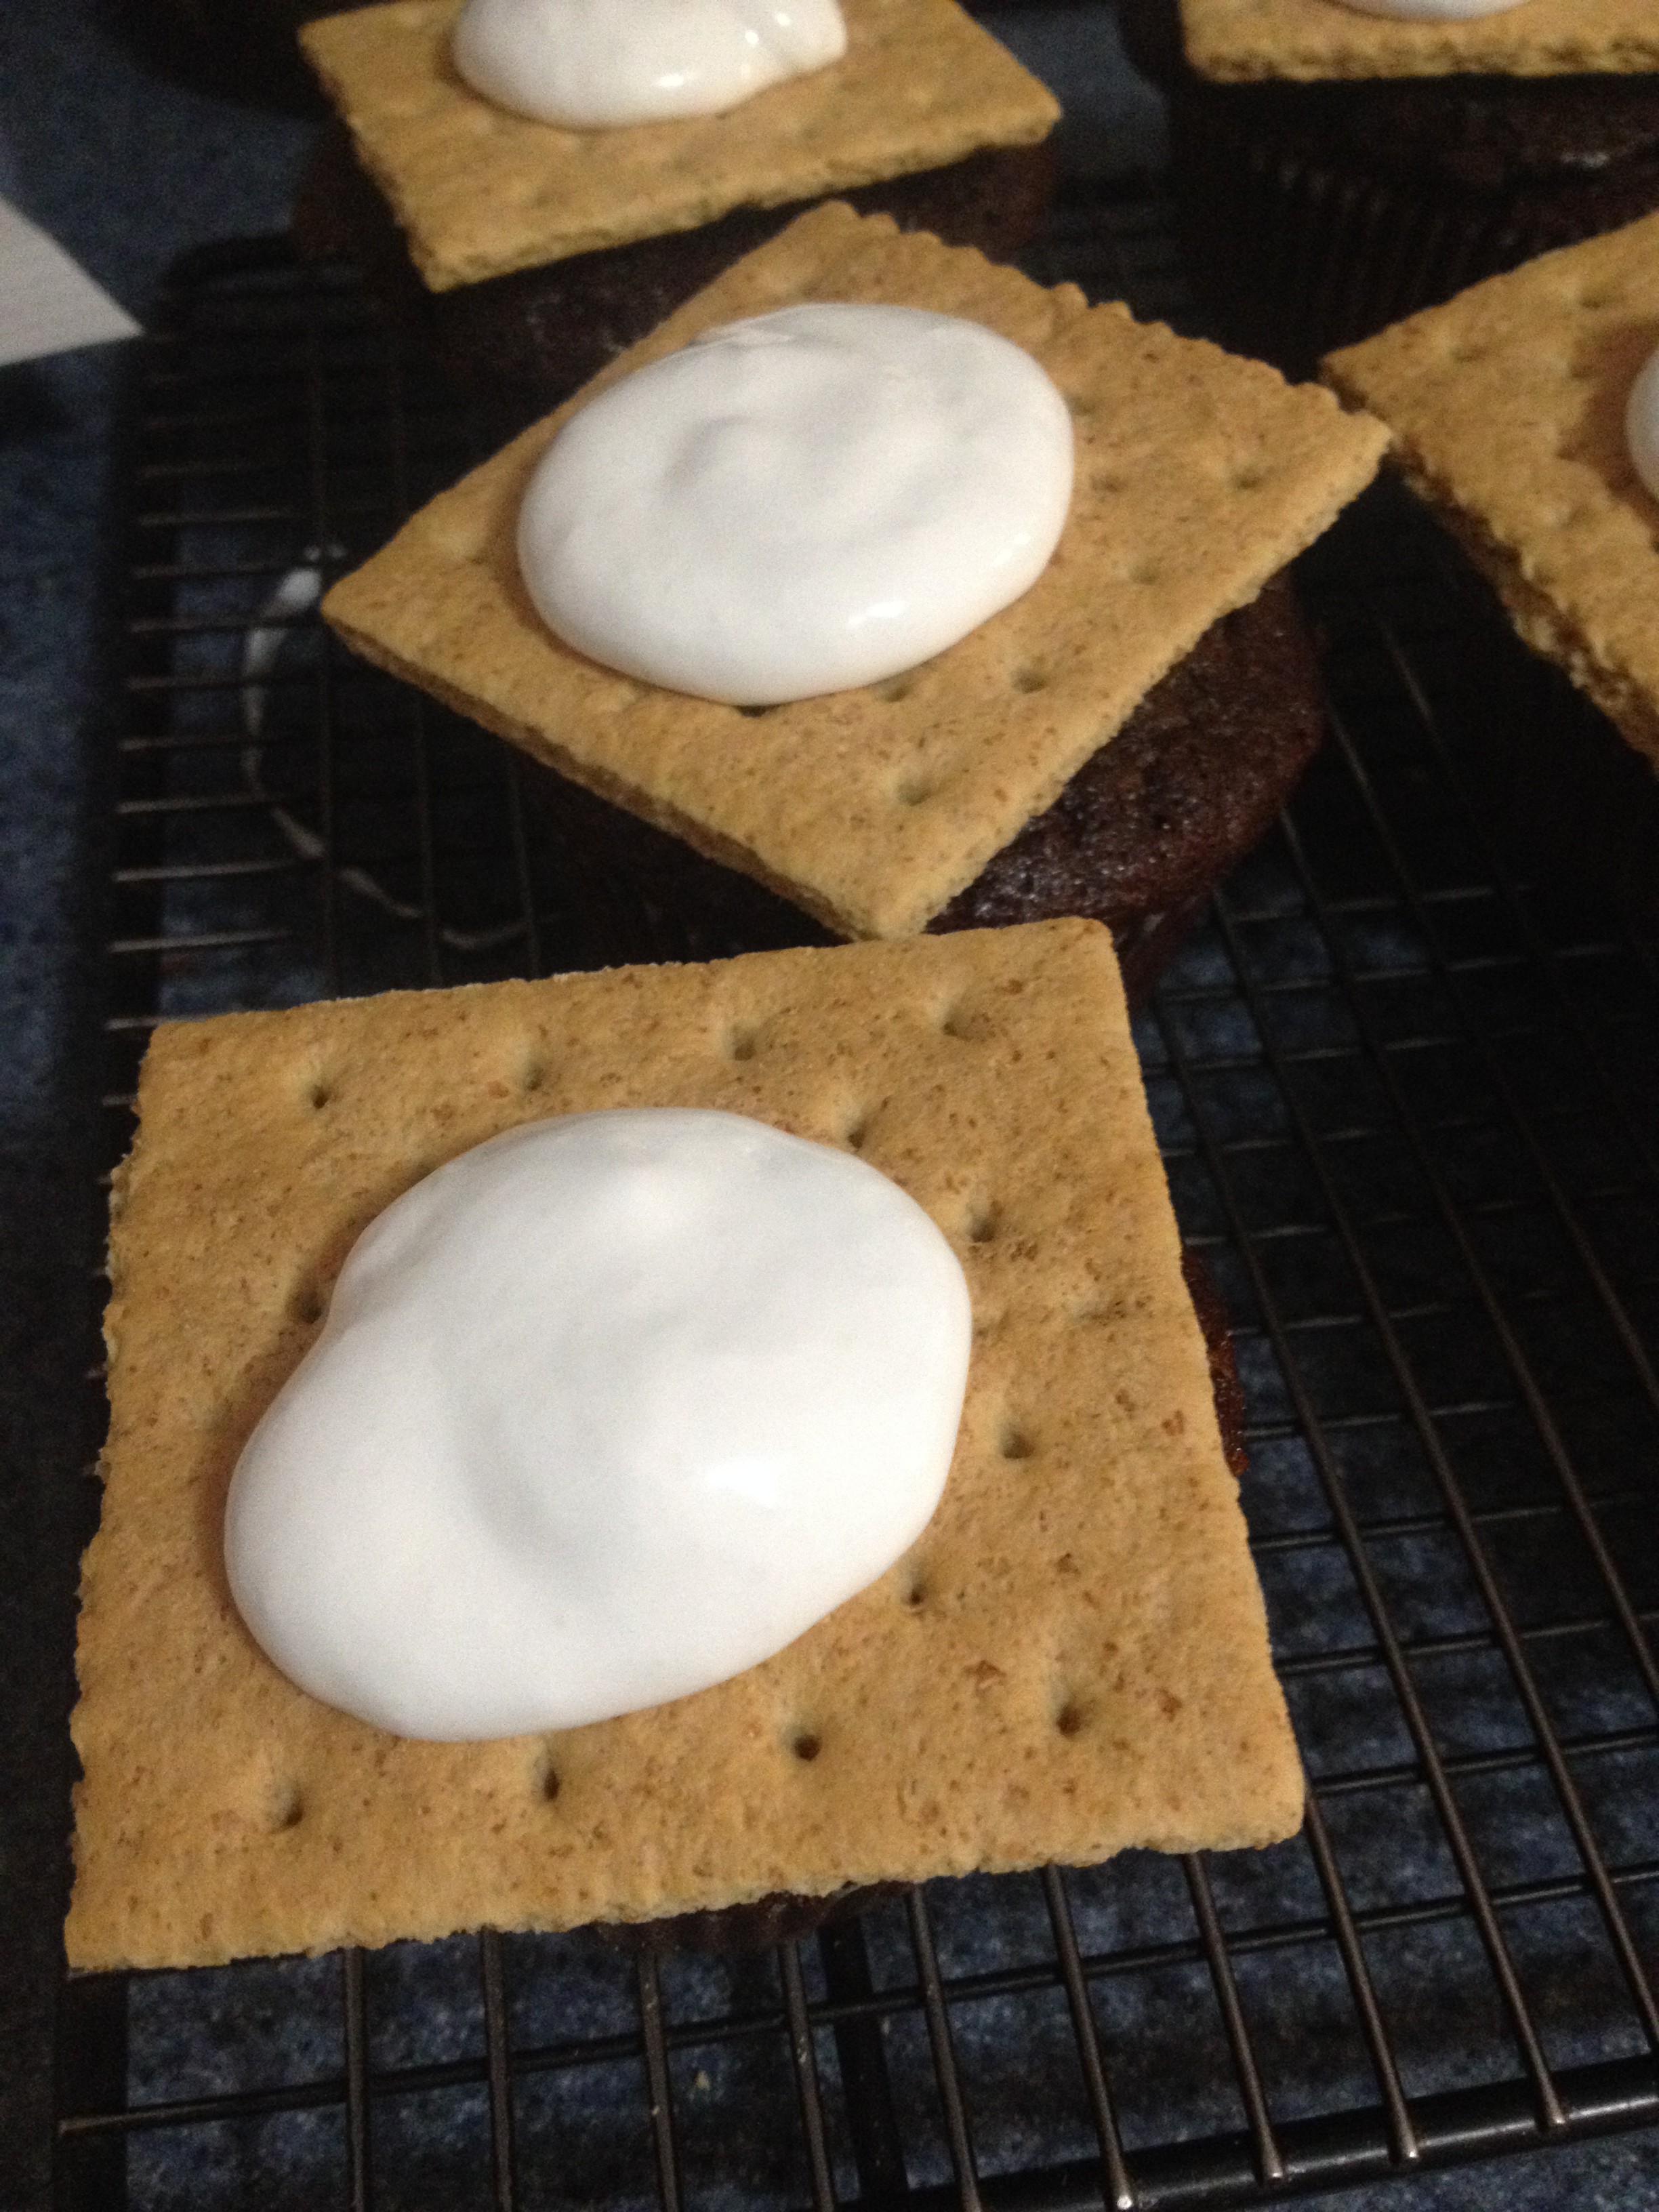
Now, put a larger dollop of fluff on each graham cracker.
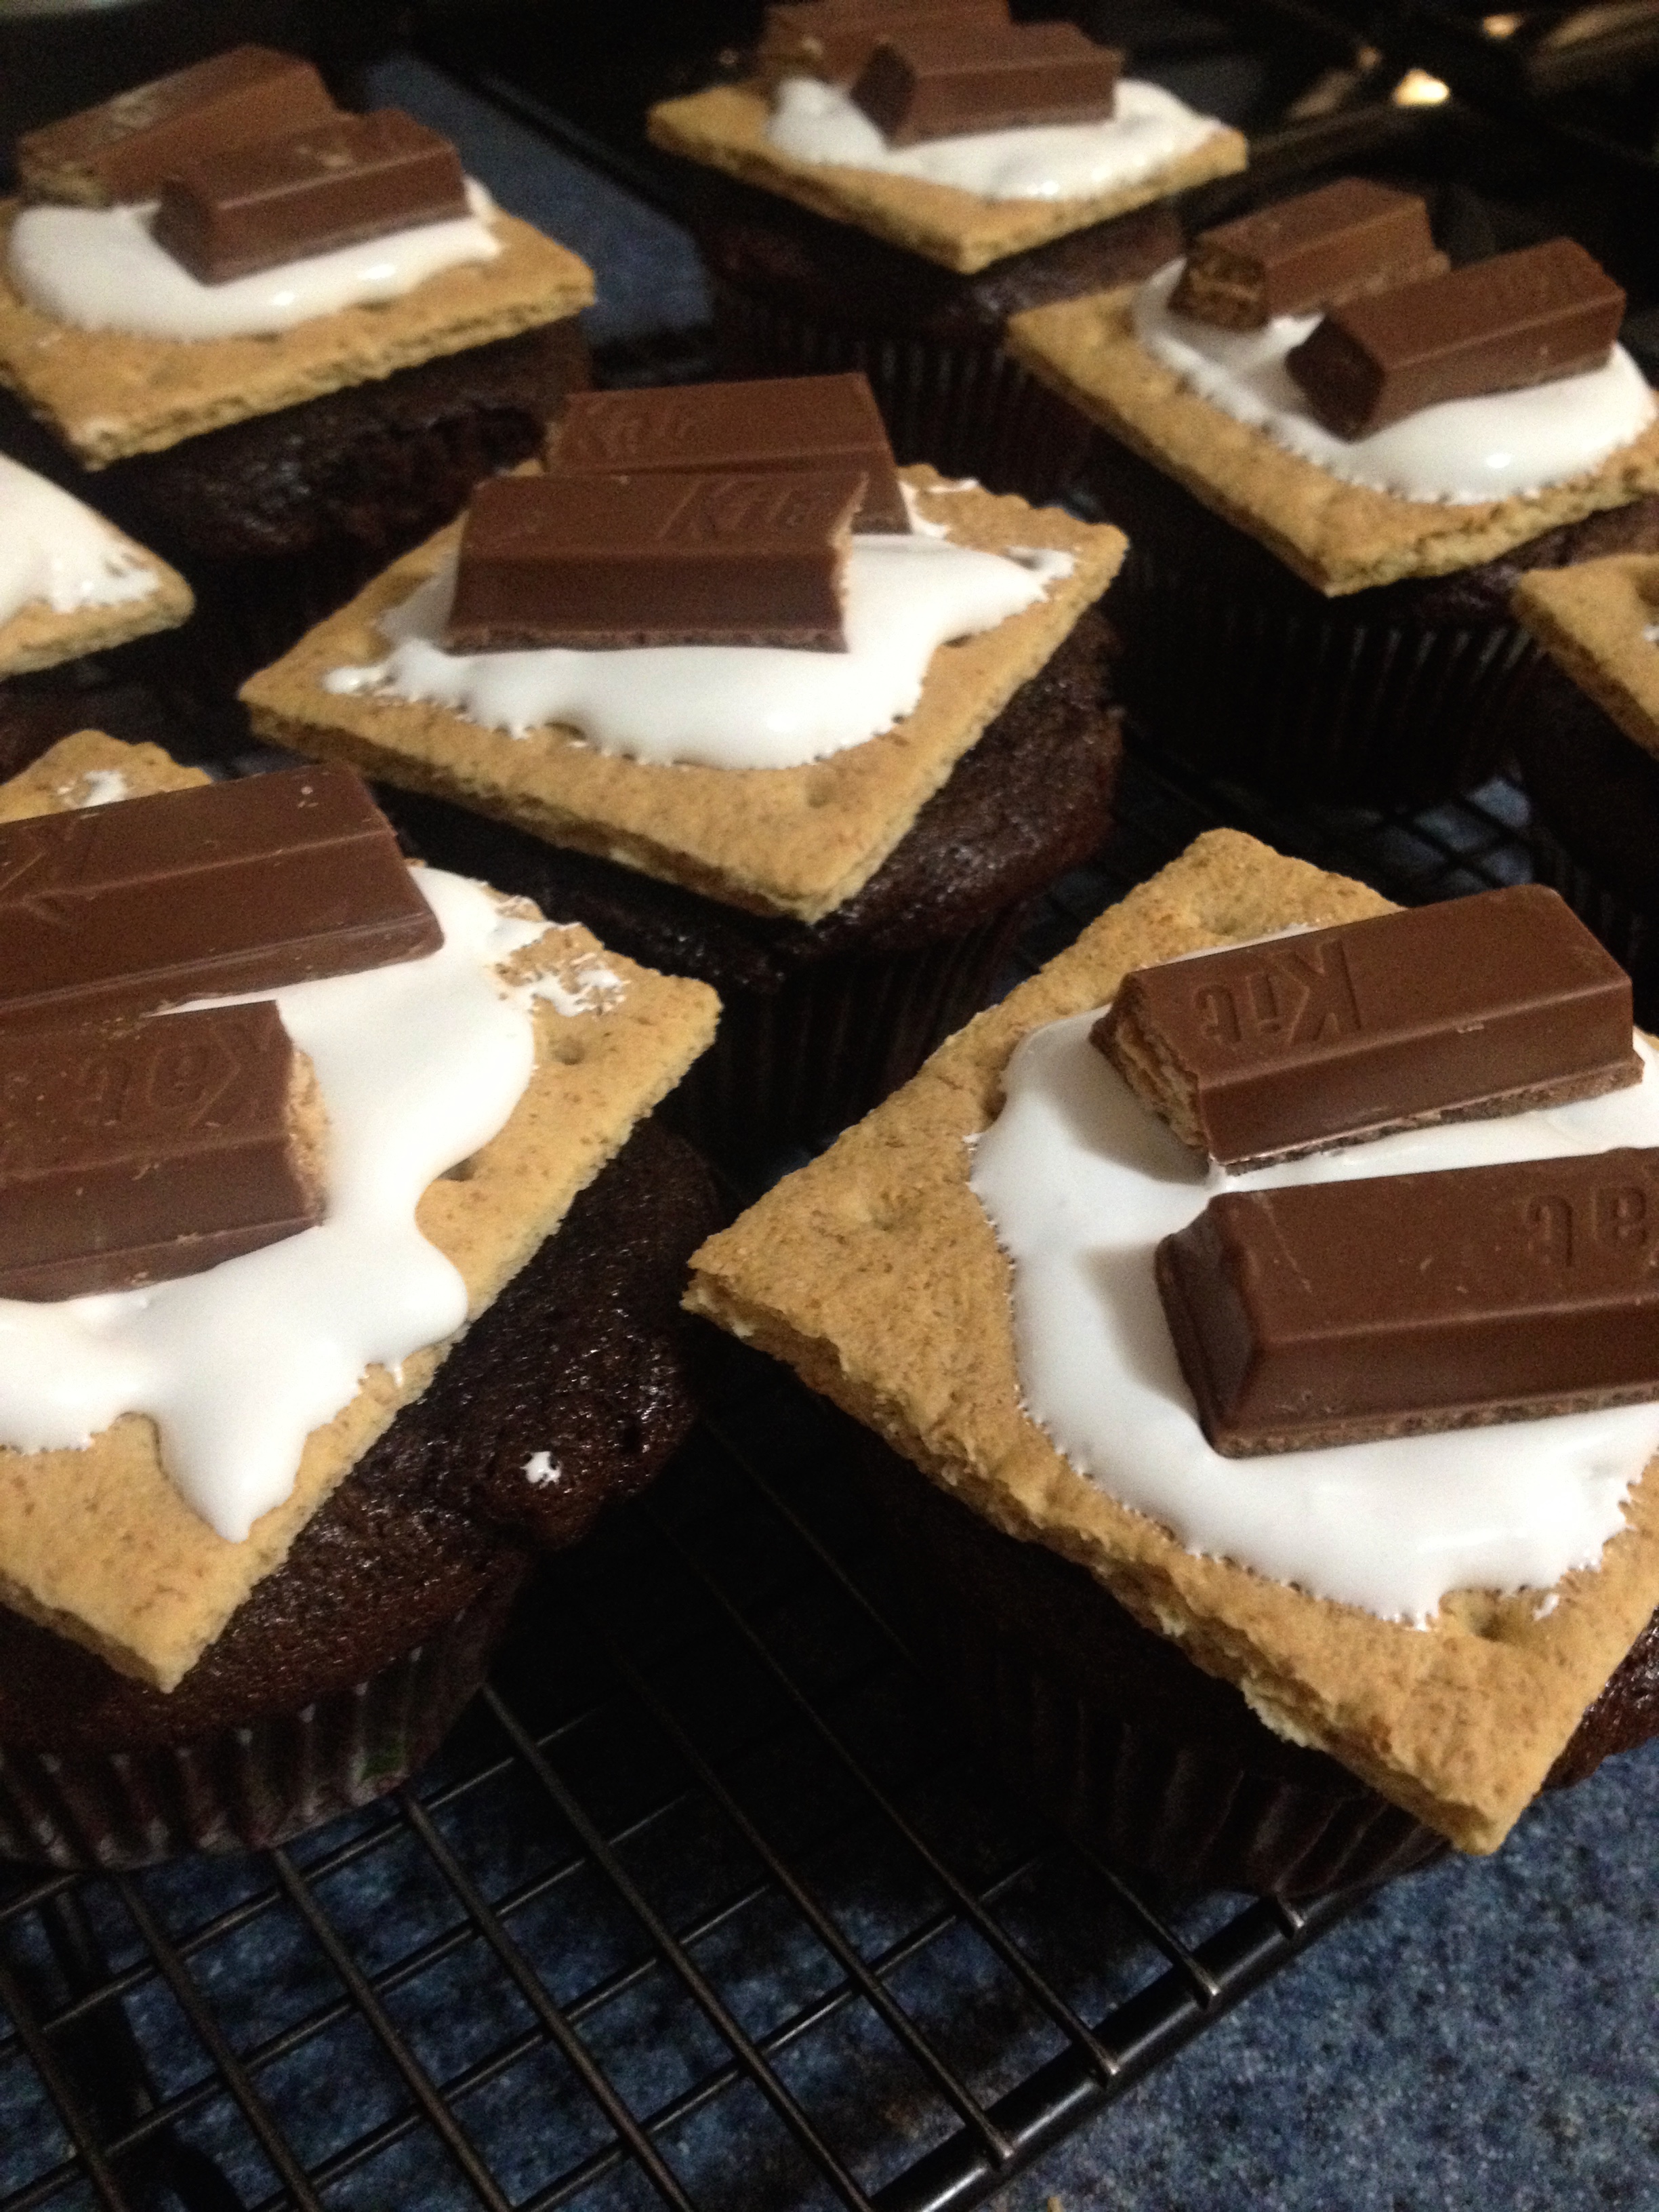
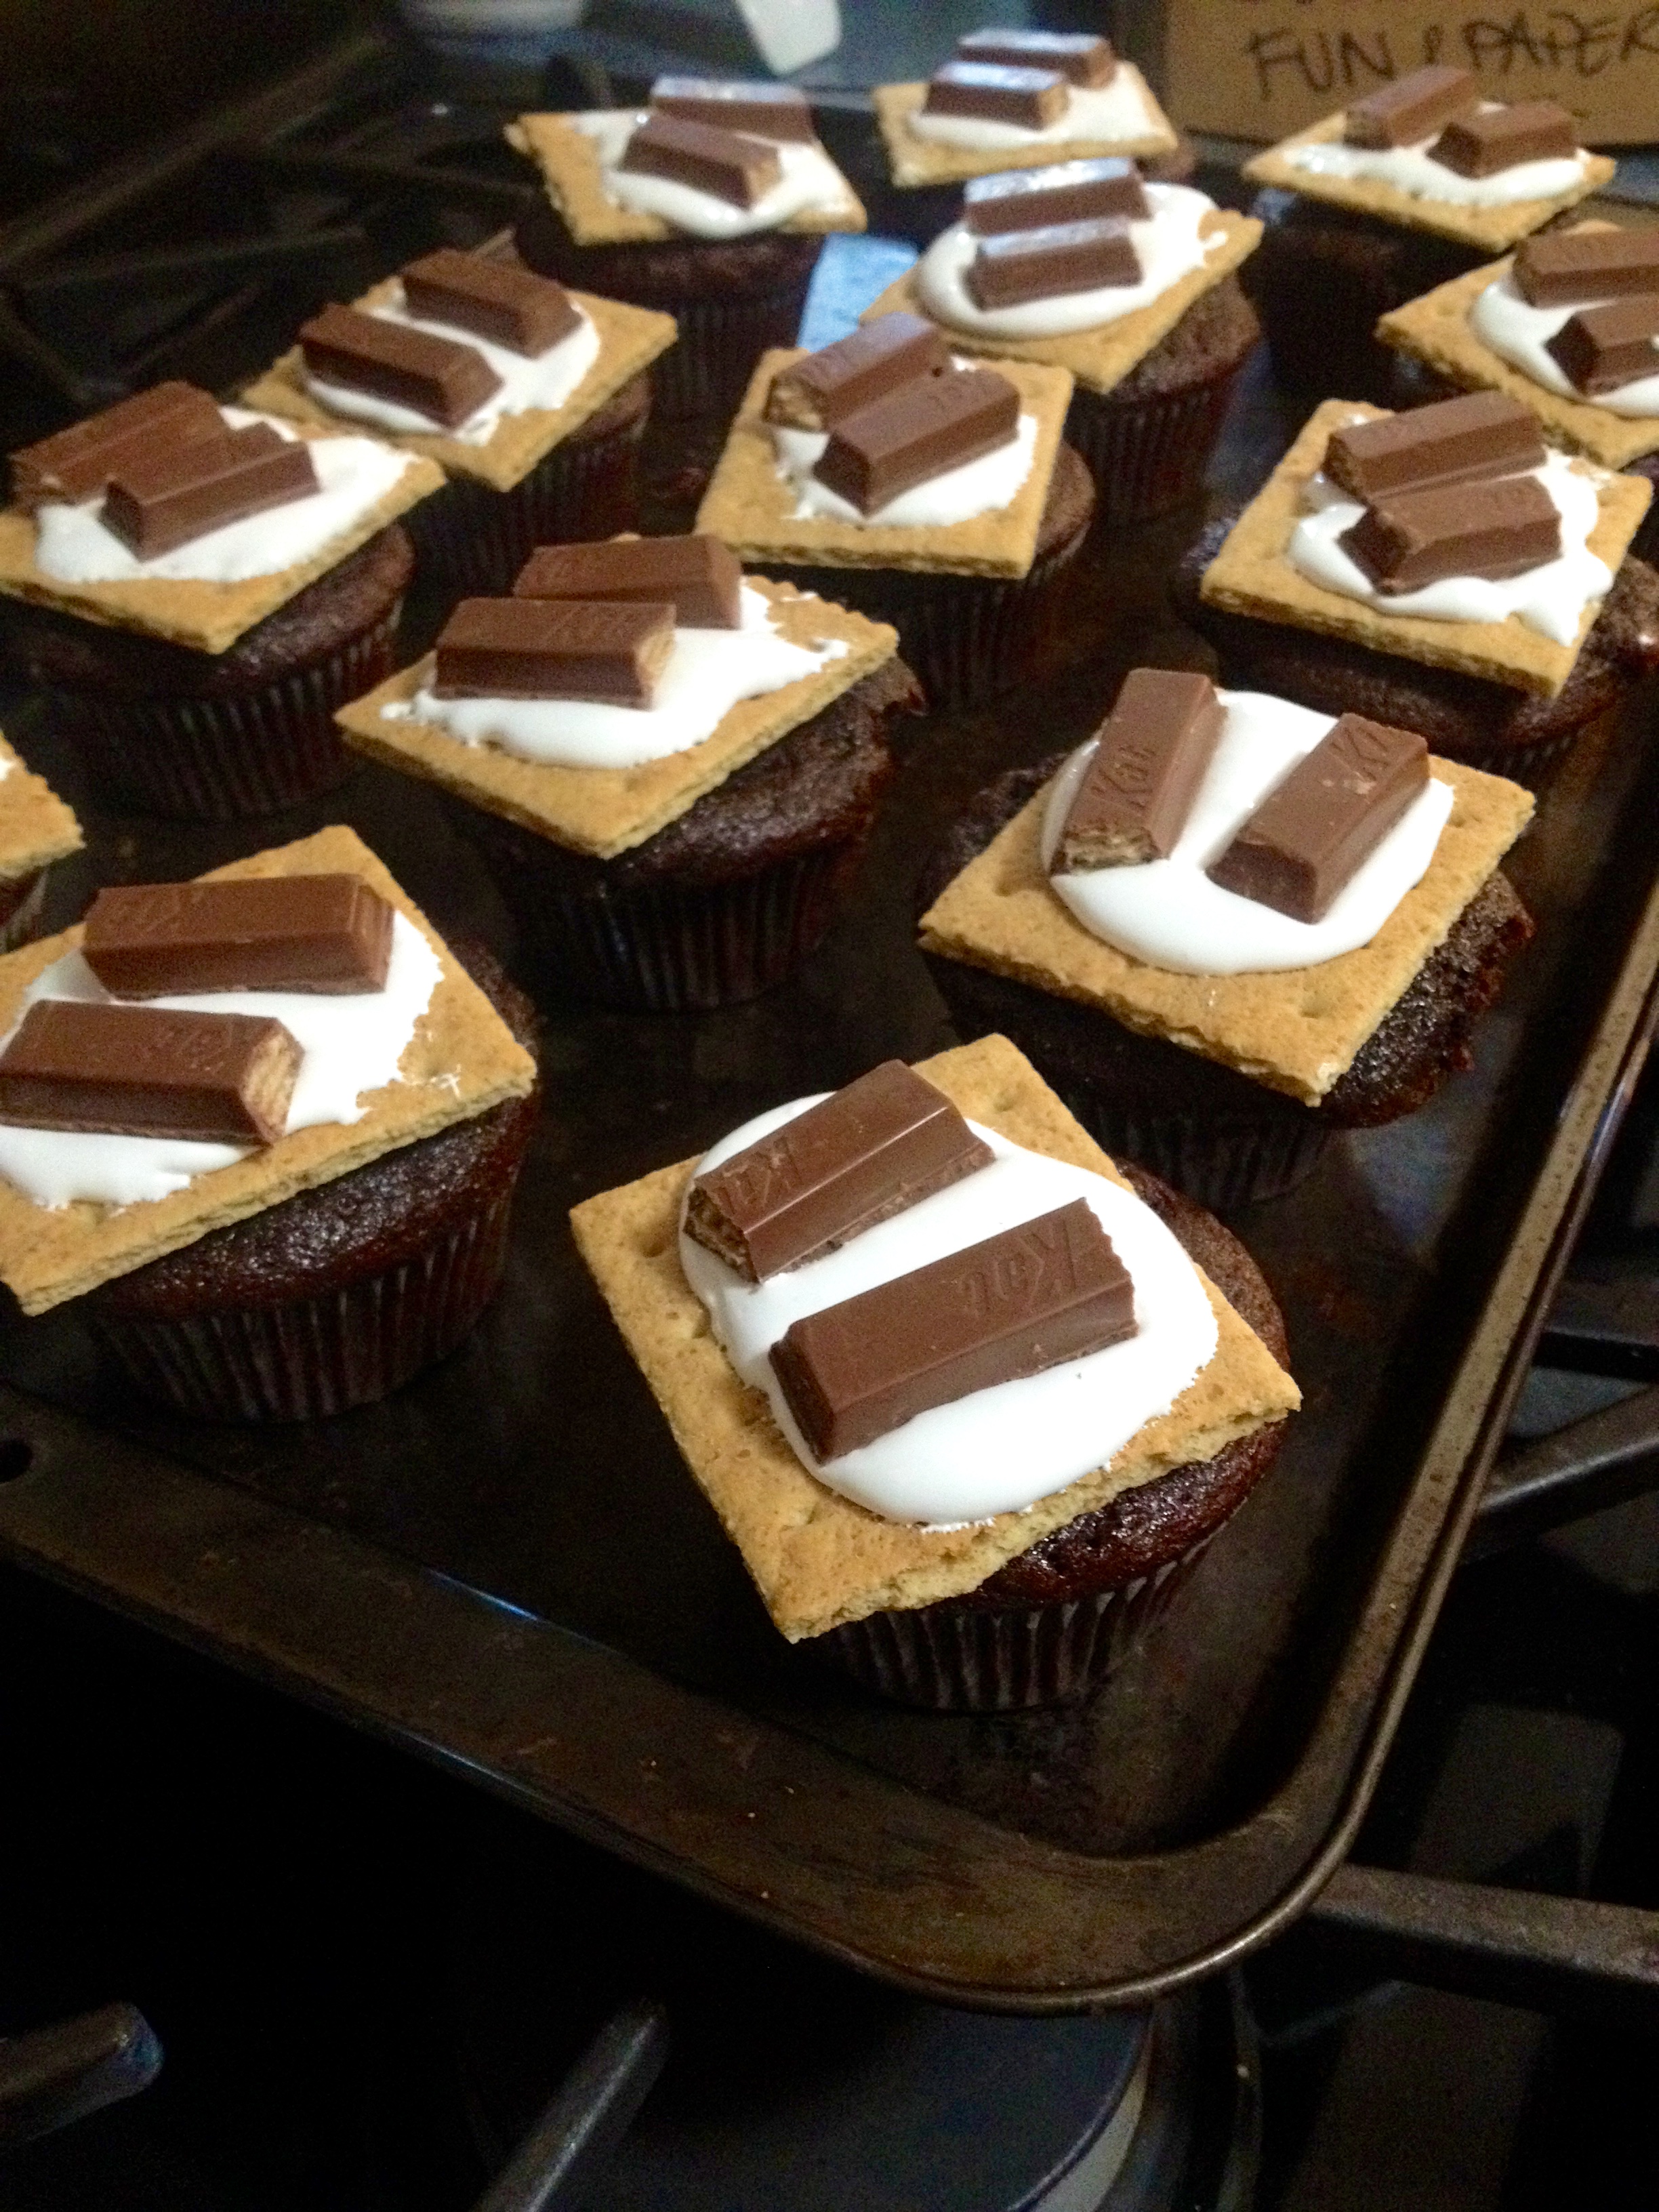
And now, put the candy on top of the fluff like you would on a s’more!
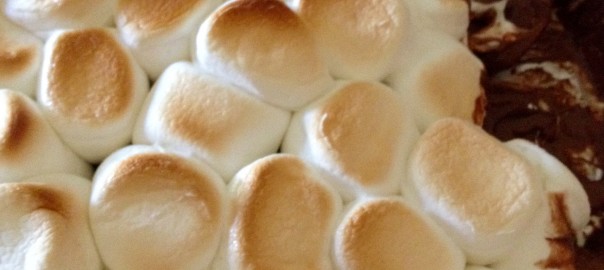
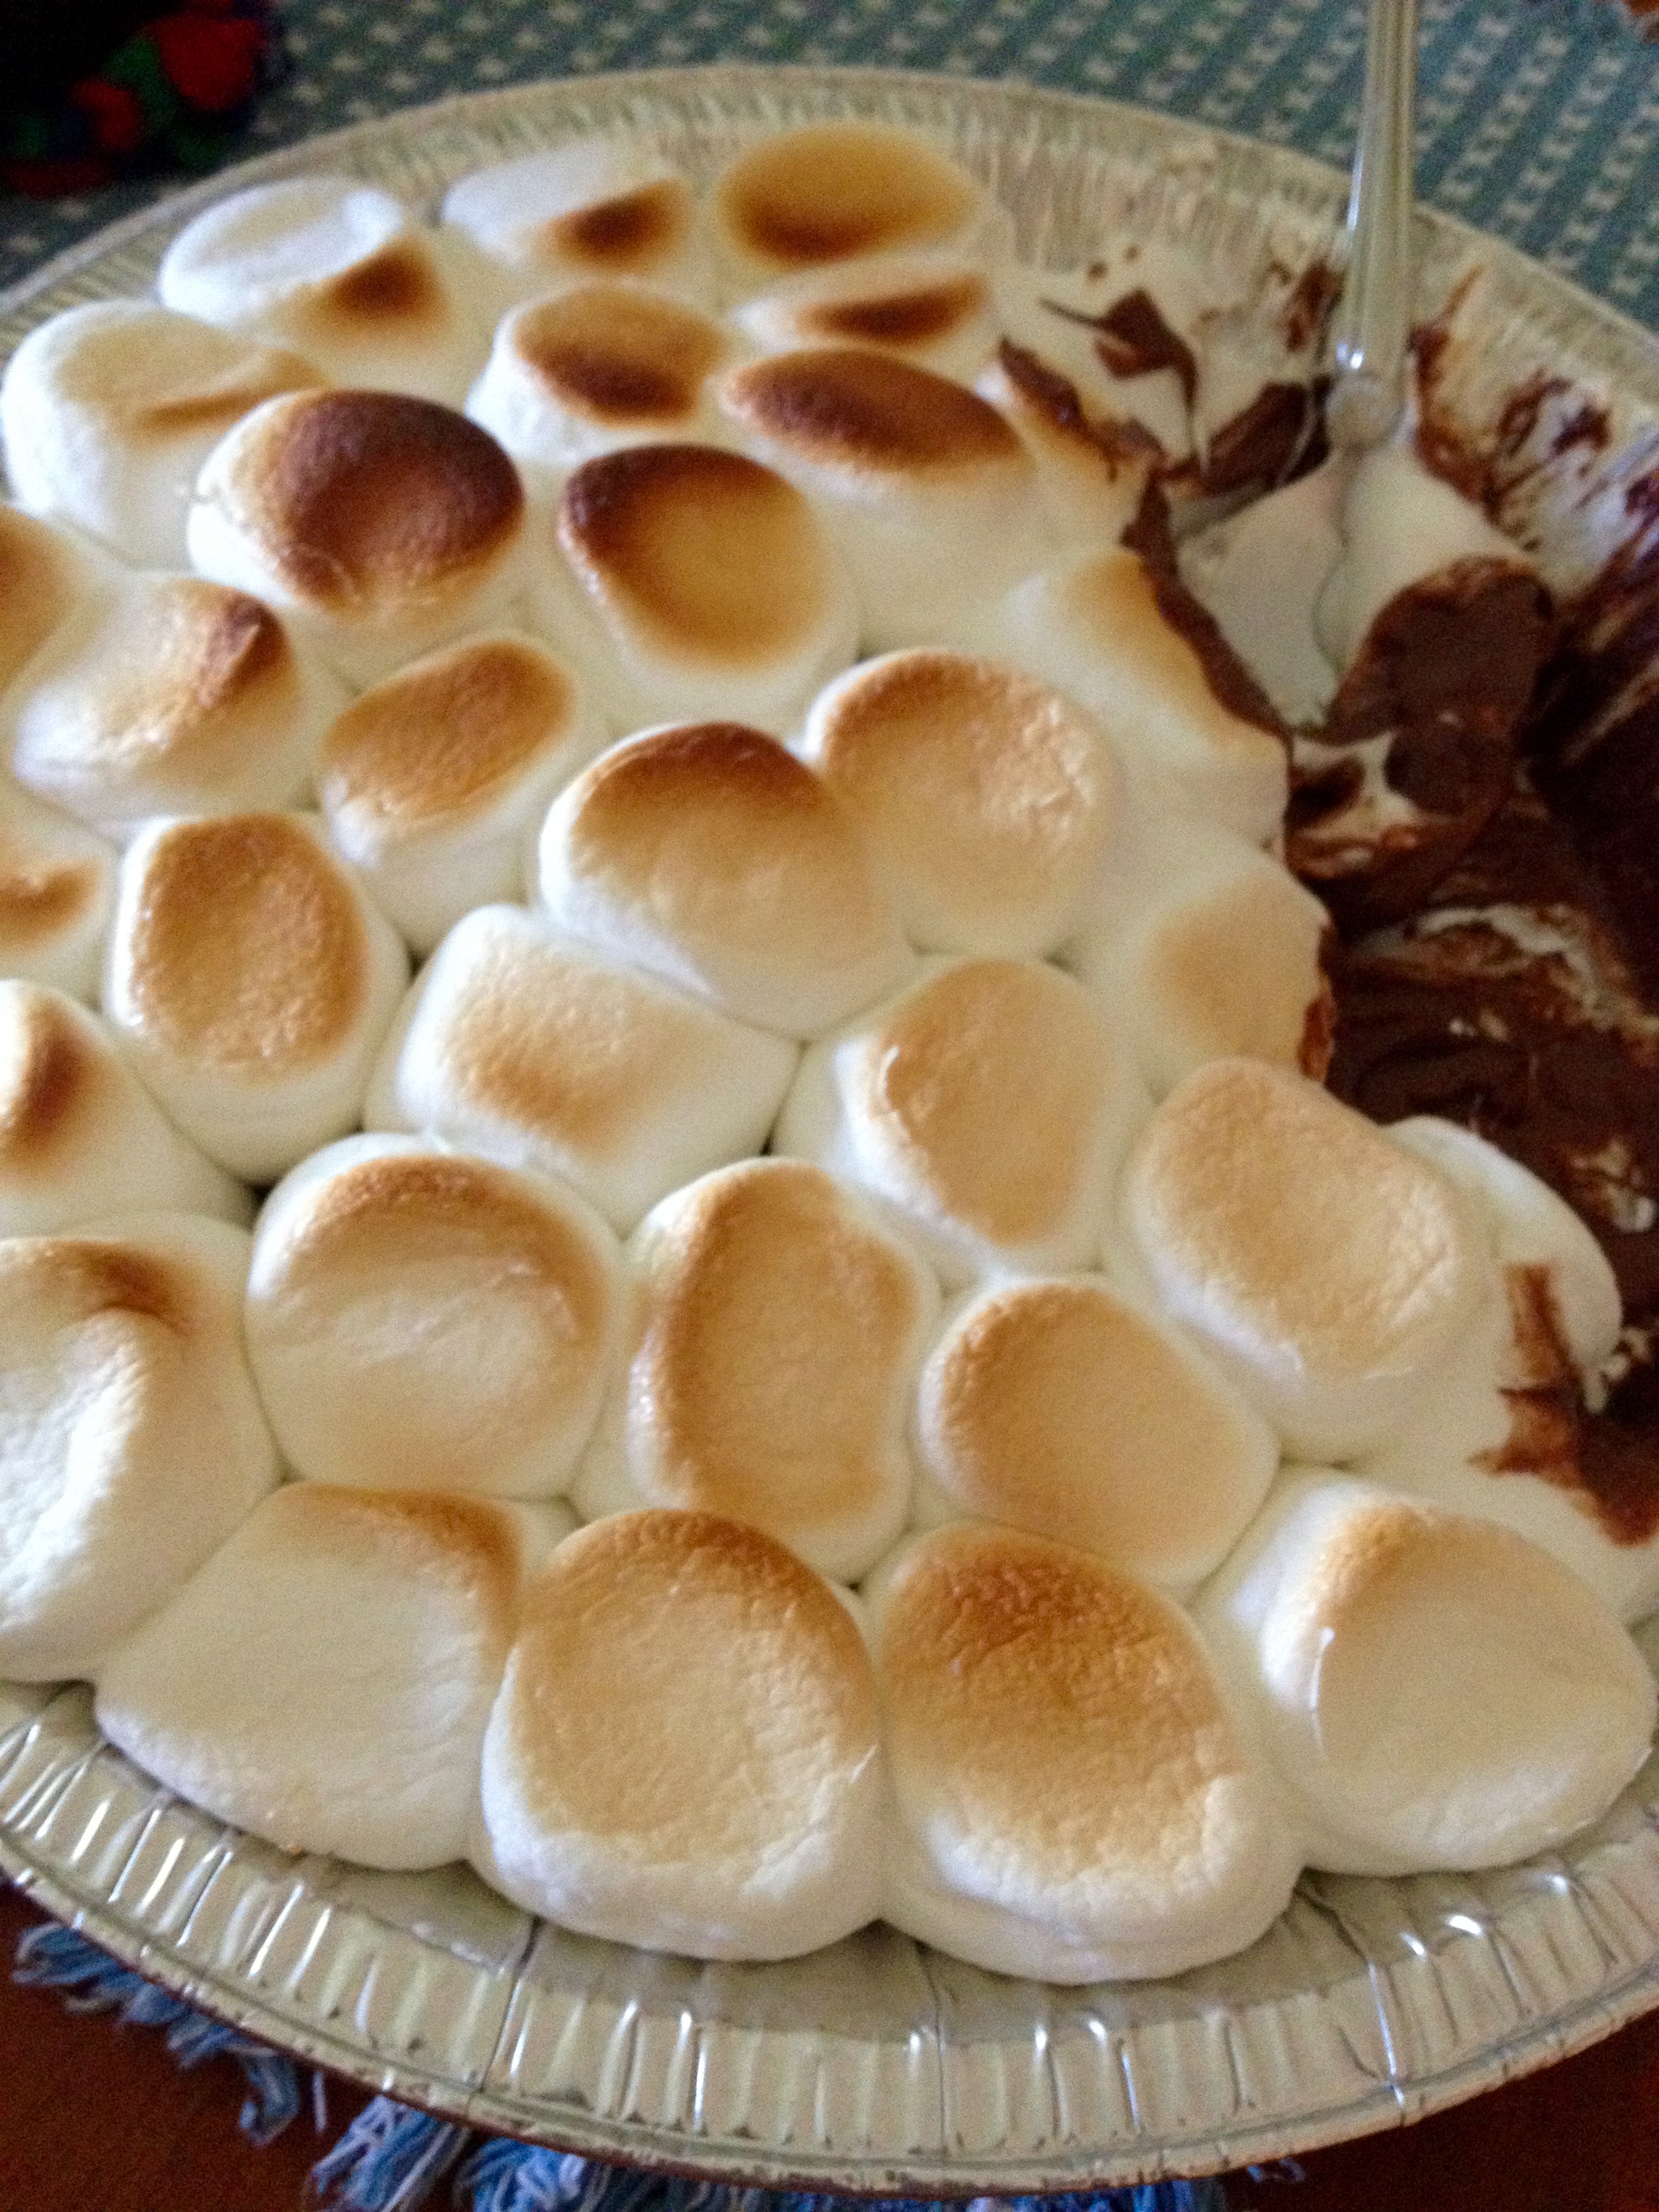
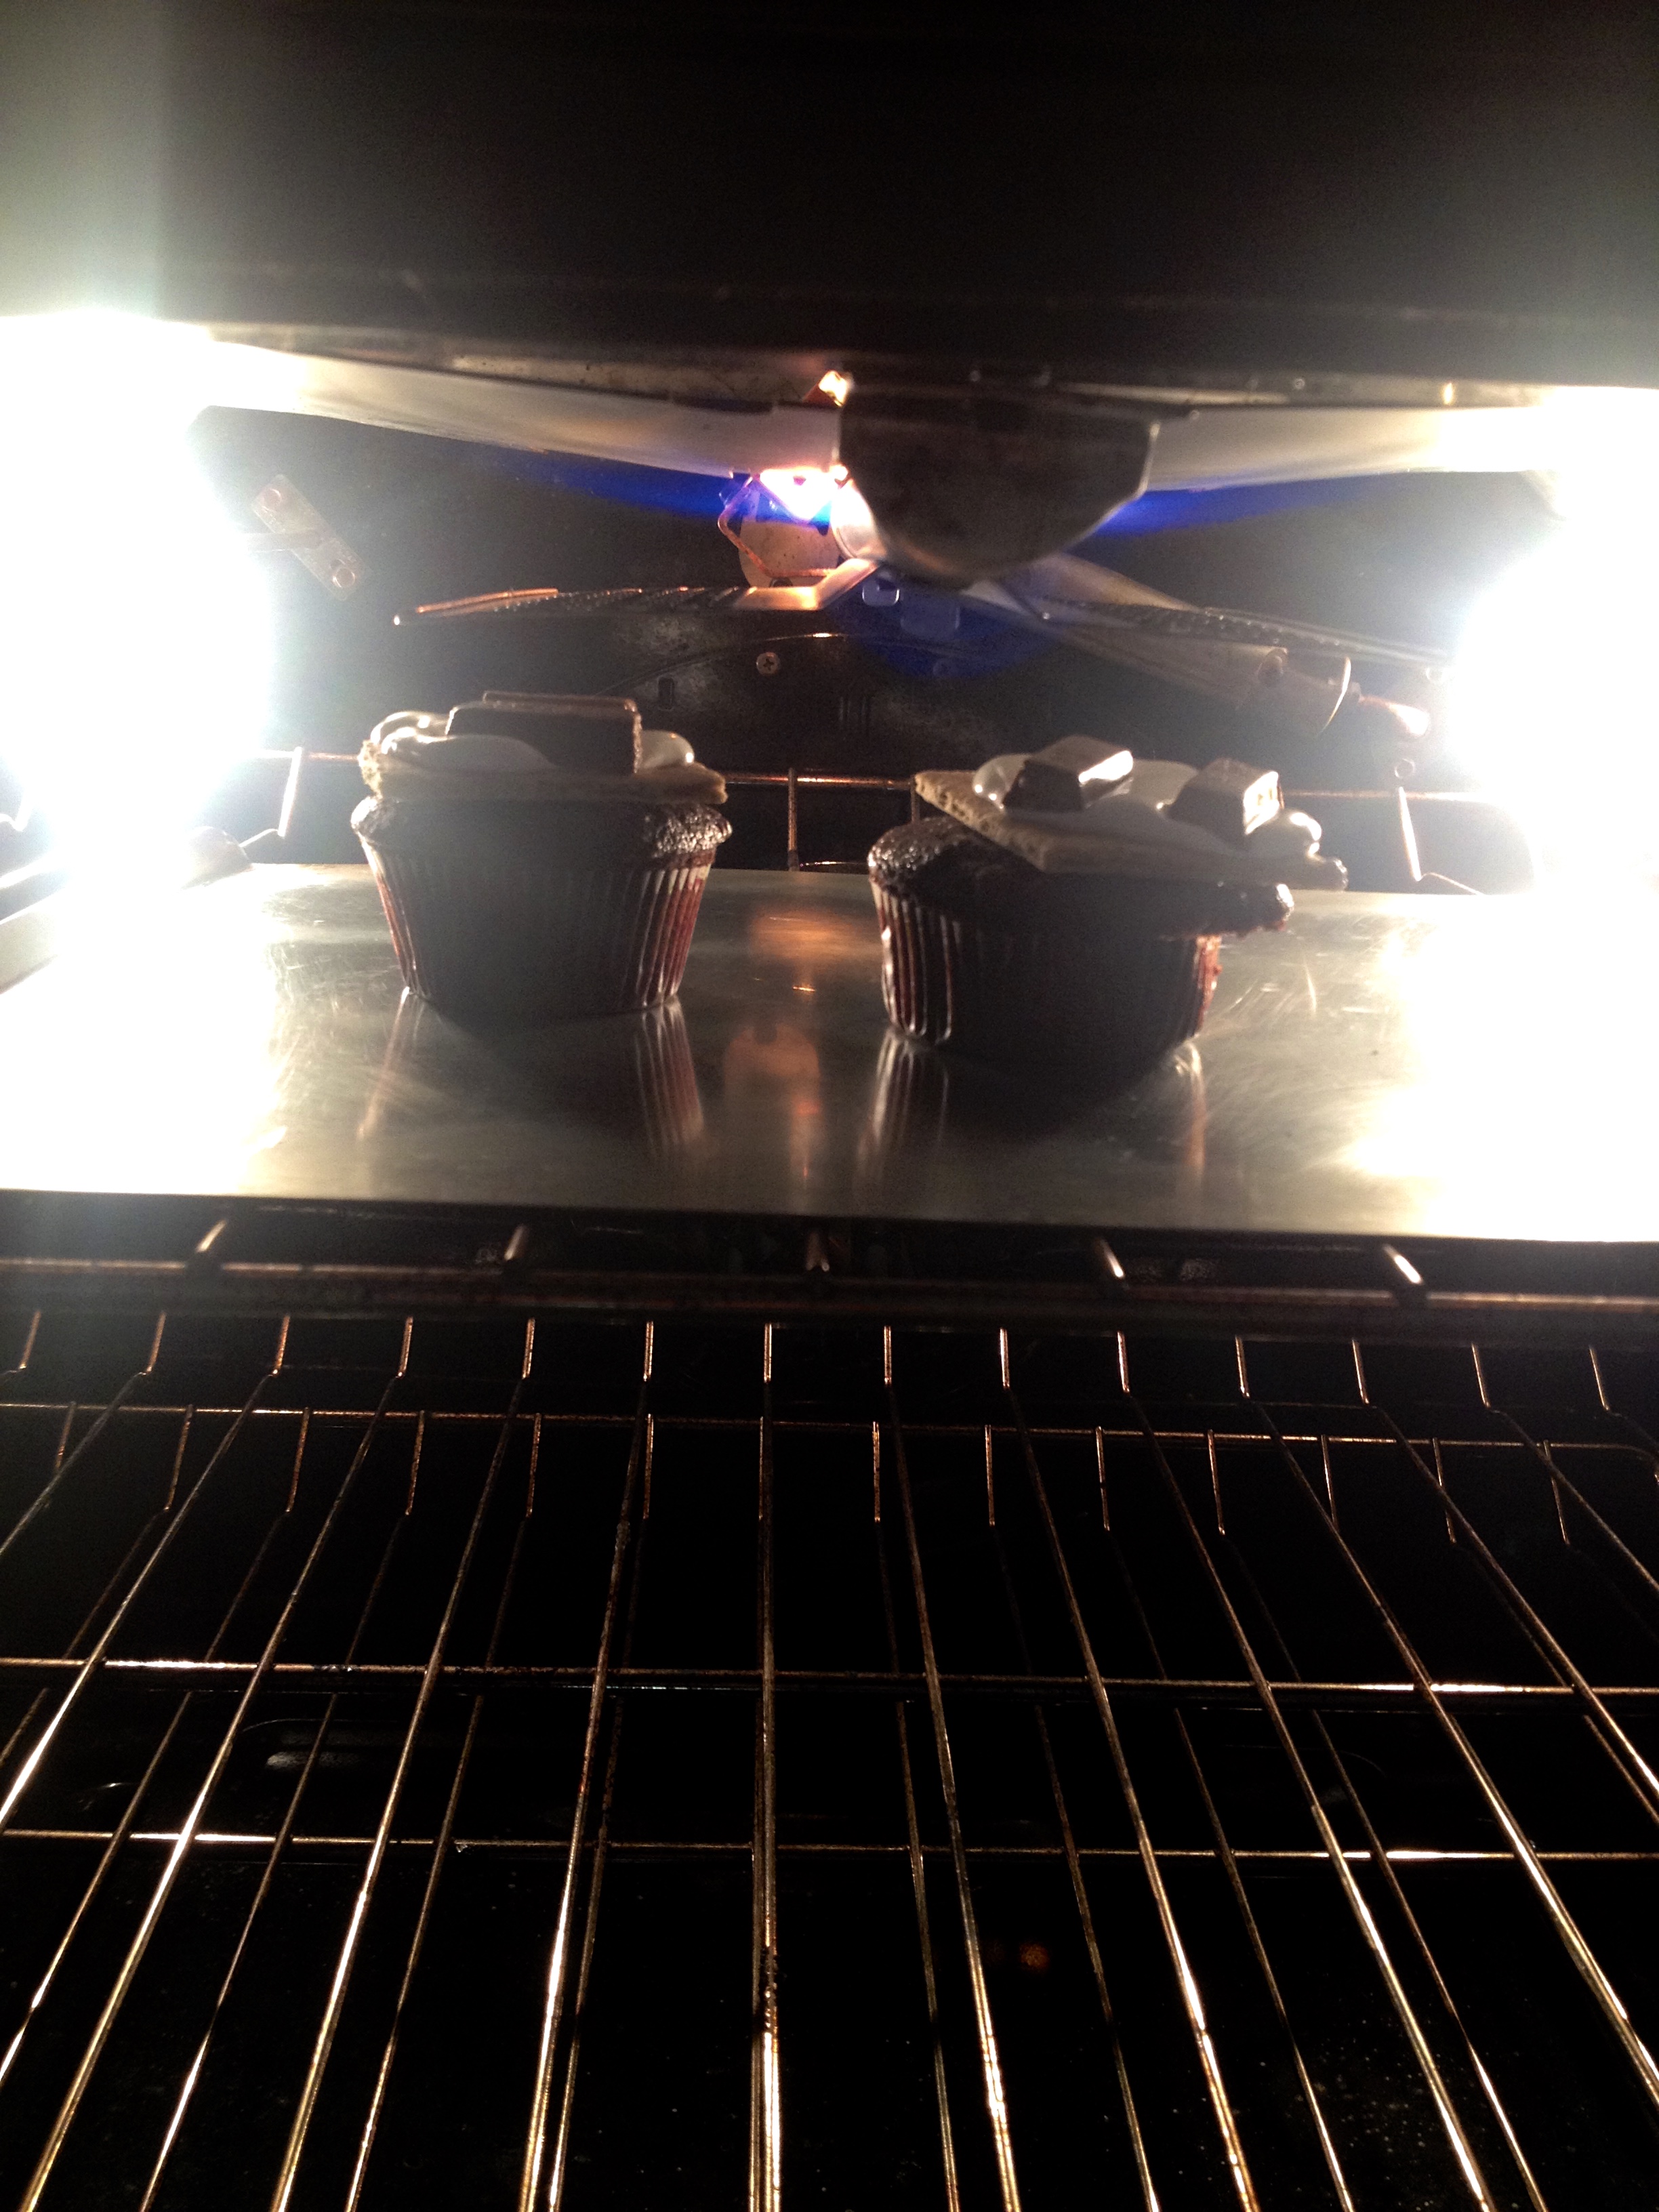
You can either eat the cupcakes like this, or take it up a notch by toasting the fluff. If you want to do that, put all the cupcakes on a baking sheet. Put them in the freezer for about 15 minutes (this prevents the cupcakes from cooking more when they’re under the broiler). When they come out of the freezer, broil them on high heat just until the fluff gets toasted. The chocolate may melt and the cracker may toast- added bonuses!
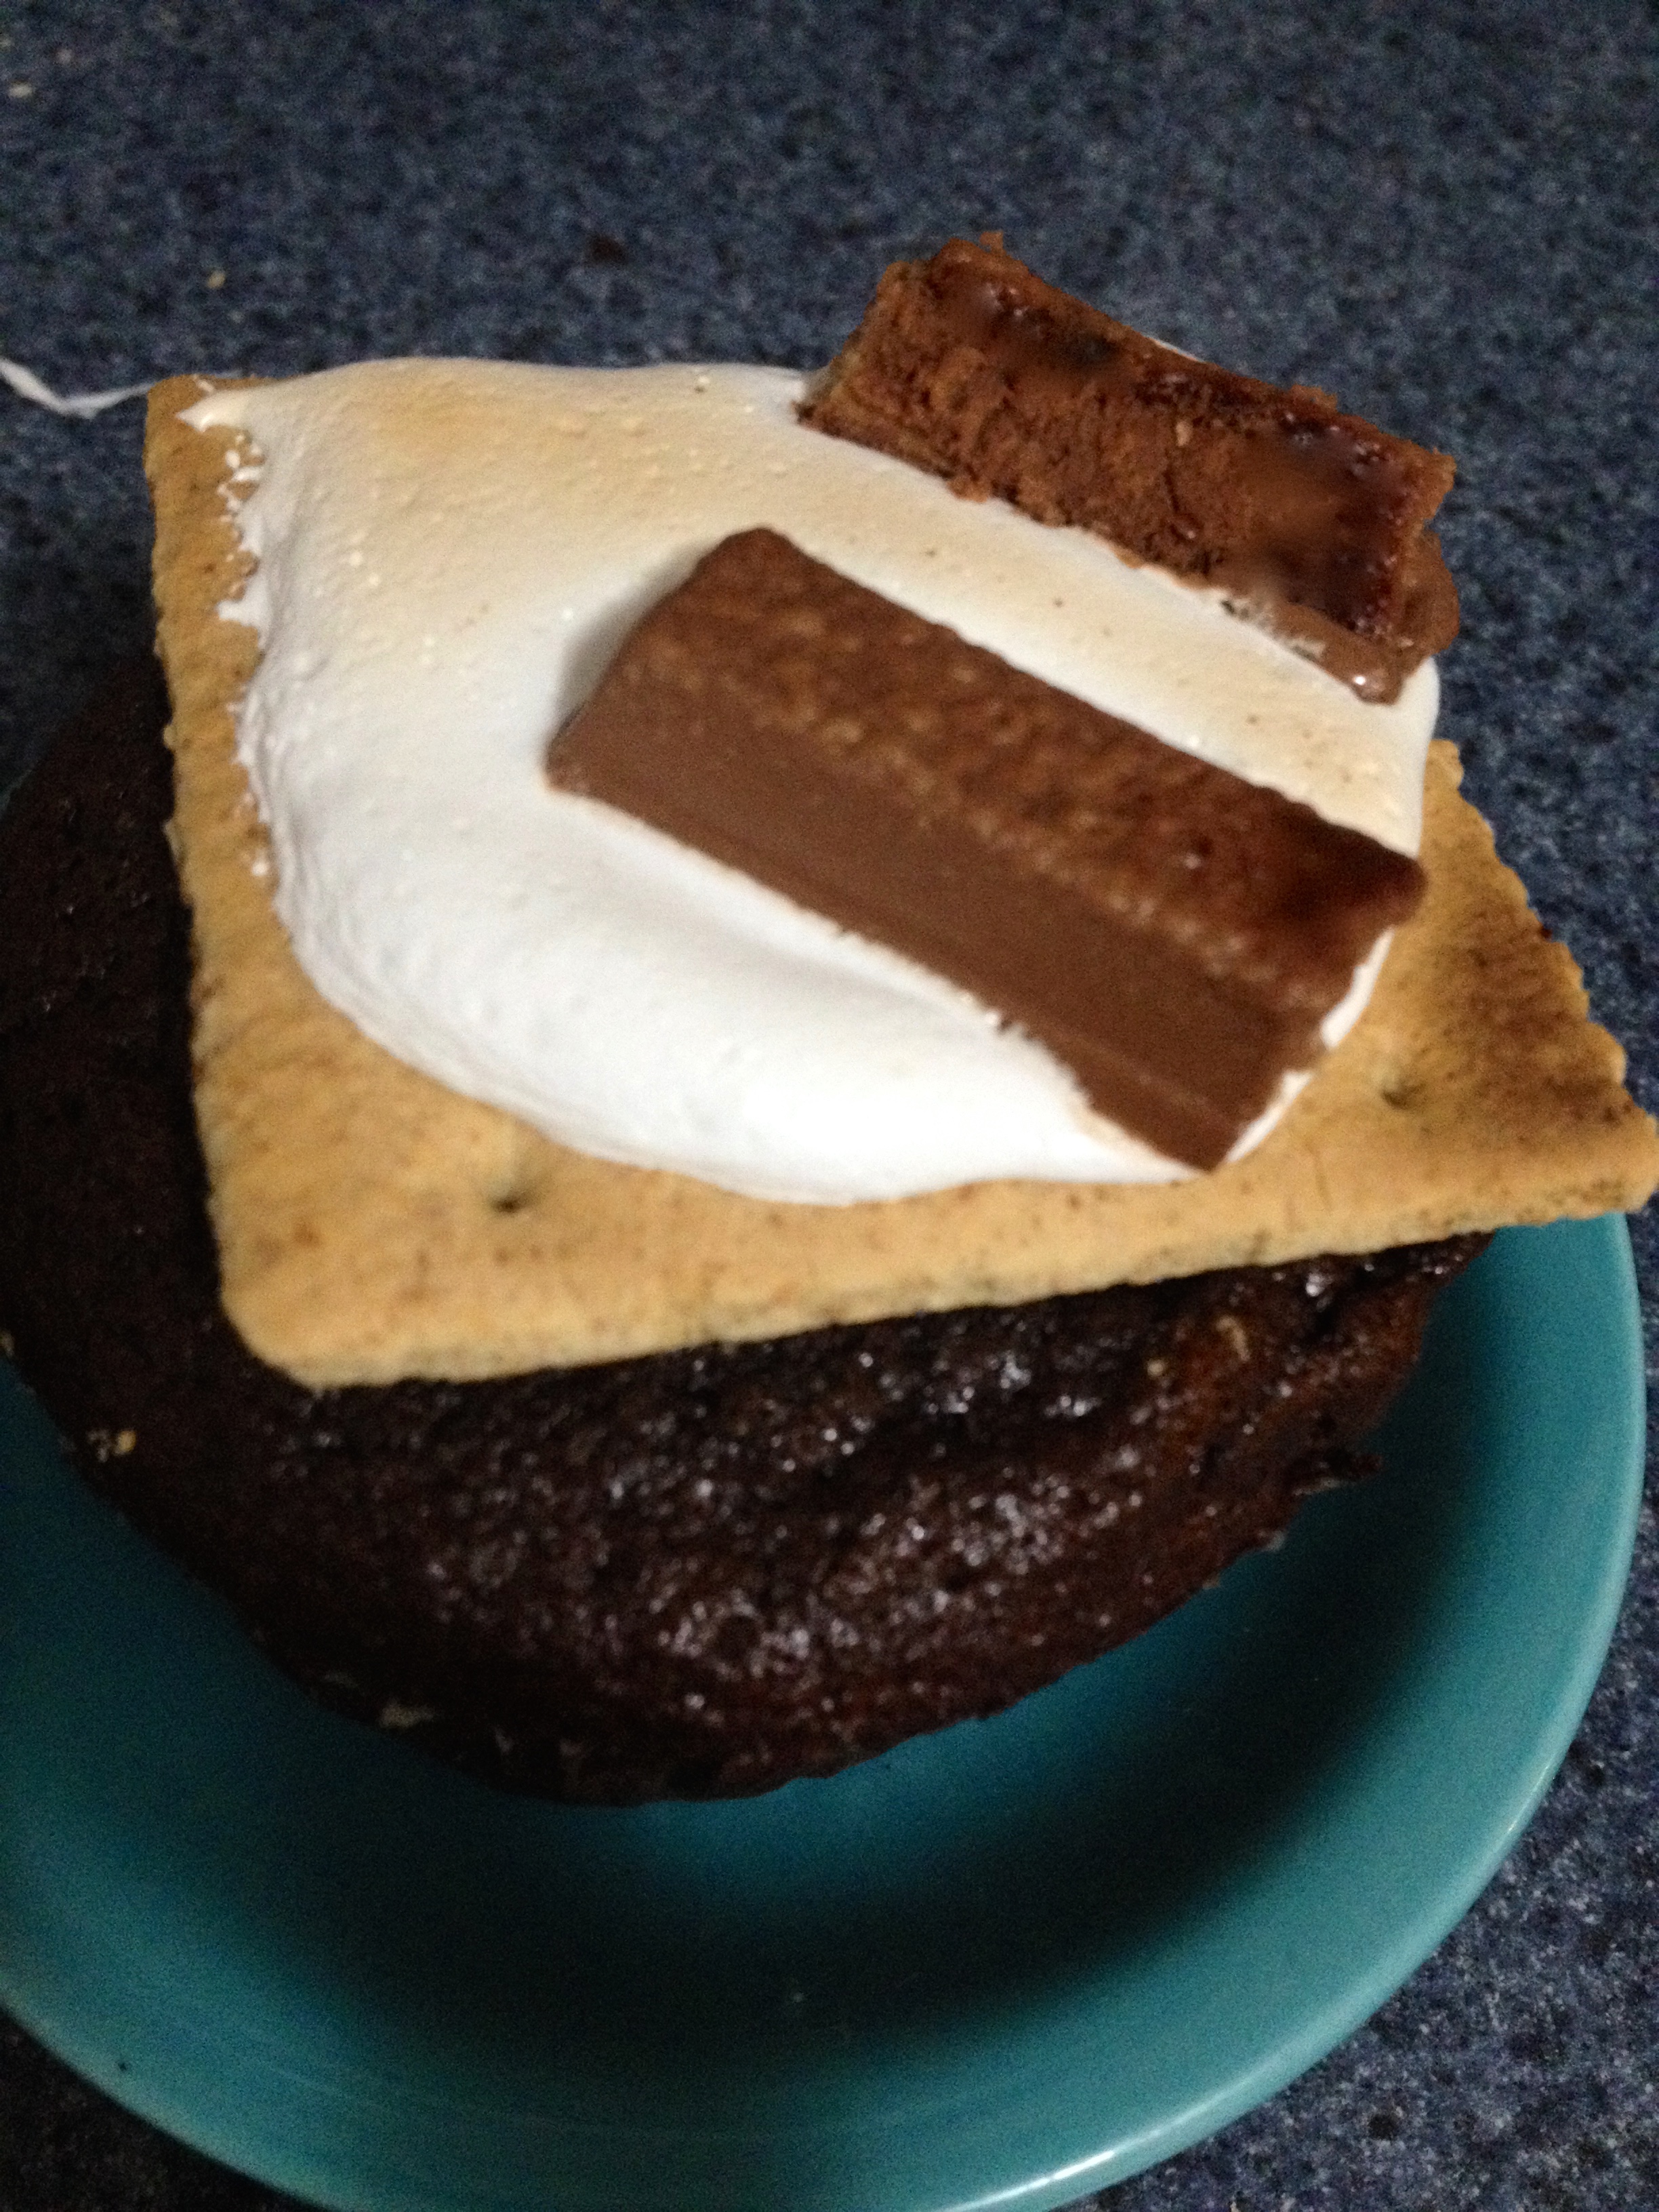
These cupcakes are seriously so good. I hope you’ll give them a try for your 4th of July party! Have fun on the 4th, and happy baking!