Category Archives: Cakes and Cupcakes

Sunday Special Coffee Cake

Hello, everyone! Happy December! We had our first big snowfall where I live recently, and I’m loving it! Not only is it fun to play in, it gives me an excuse to stay inside and bake if I don’t feel like going outside in the cold. Today’s recipe is an oldie but goodie- Sunday coffee cake, originally created by McCall’s Great American Recipe Card Collection. This recipe came out when my mom was a little girl, and it’s still very popular in my family! It’s the perfect warm, sweet, light cake with the cinnamon topping swirled throughout the cake, crisp on the top and soft on the inside. Everything good about cake is in this recipe! Here are the ingredients:

Topping:

  • 1/2 cup granulated sugar
  • 1/4 sifted all-purpose flour
  • 1/4 cup butter or margarine, softened
  • 1 tsp ground cinnamon

Cake Batter:

  • 1 egg
  • 3/4 cup granulated sugar
  • 1/3 cup melted butter or margarine
  • 1/2 cup milk
  • 1 tsp vanilla extract
  • 1 1/2 cup all-purpose flour
  • 2 1/2 tsp baking powder
  • 1/2 tsp salt

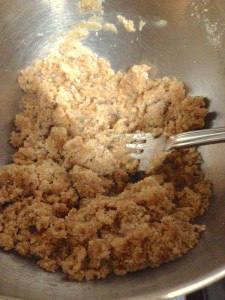
First, let’s make the topping. Put all the topping ingredients into a small bowl, and mix it up with your hands so that all of the ingredients are combined and the topping is crumbly.

IMG_2070

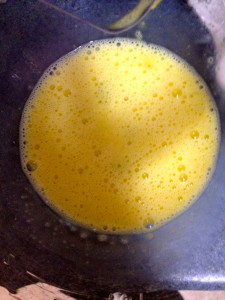
Set the topping aside and start on the batter. First, crack the egg into a small bowl. Using either a hand mixer or a little rotary beater, beat the egg until it’s frothy.

IMG_2069

Now, add in your sugar and butter, and mix until the ingredients are fully combined. Tip: If your butter is still hot out of the microwave when you’re ready to add it, put a little of the butter in and stir it around before adding all of the hot butter to the mixture. If you add all the hot butter in at once, you might end up with a cooked egg. Now, add the milk and vanilla in and mix well. The batter at this point will be very fluid.

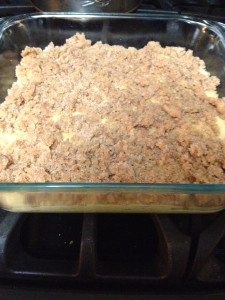
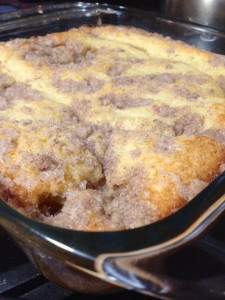
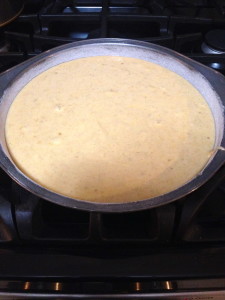
Add the flour, baking powder, and salt, and mix well until everything is fully combined. Pour the batter into a greased 8x8x2″ pan, sprinkle evenly with the topping, and bake at 375ºF for 25-30 minutes, or until a toothpick inserted in the middle comes out clean.

IMG_2071

IMG_2073

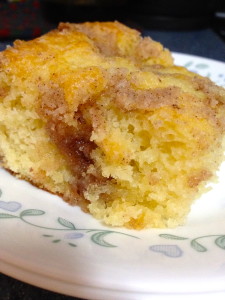
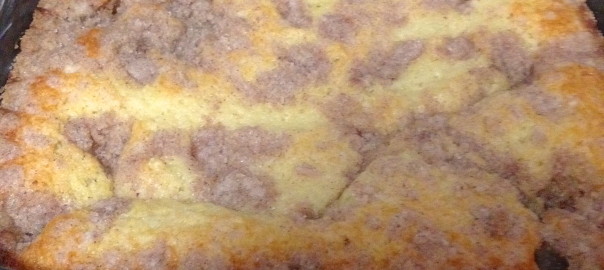
When it’s done, you can either cool it or serve it hot. My family refused to let me cool the cake because they wanted to eat it then, and it tasted great! The topping melted down into the cake, and made delicious cinnamon swirls in the cake.

IMG_2074

Although this recipe is great as it is, feel free to try putting fruit into it, like blueberries, apples, or peaches. After you pour the batter into the pan, put the fruit into a little flour (this will prevent them from sinking to the bottom of the cake) and then drop the flour-dusted fruits on the top of the cake batter. Then, sprinkle with the topping as usual, and bake away! I personally think the peach one sounds the best, but experiment with whatever type you want, and see how it goes!

A warning: once you make this cake, people will beg you to make it again and again! Happy baking!

It’s Like Banana Bread…

Hello everyone! I hope you’re excited for Thanksgiving! I know my family is gearing up for having our usual twenty-something people at our house. More on Thanksgiving and holiday desserts to come in a few weeks, though- for now I’m focusing on something that can be made any time of year, not just the holidays!

I’m sure you’ve all experienced having overripe bananas. No one wants to eat them, but you hate to throw the fruit away because it’s technically still edible. This happened in my house yesterday, and I decided that instead of making my usual banana bread, I would break out of the mold and make something new. A banana cinnamon cake!

This cake is moist, sweet, spiced, and drizzled with the perfect cinnamon and sugar glaze. Here’s the recipe!

Cake Ingredients:

  • 3 very ripe bananas, mashed (until they’re basically pureed)
  • 3/4 cup granulated sugar
  • 1/2 cup brown sugar
  • 1/2 cup vegetable oil
  • 2 eggs
  • 1 tsp vanilla extract
  • 2 cups flour
  • 1 tsp baking soda
  • 1/2 tsp salt
  • 1/2 tsp ground cinnamon

Glaze Ingredients:

  • 1/2 cup powdered sugar
  • 1/4 tsp ground cinnamon
  • 1/8 tsp cream of tartar
  • 1/2 cup milk

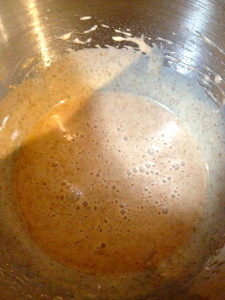
In a stand mixer, stir the bananas, granulated sugar, and brown sugar until they’re well mixed. Add the eggs, oil, and vanilla, and stir to combine. Add the dry ingredients and mix on low speed until the ingredients are fully combined, and then mix on high speed for about 2 minutes.

IMG_2043

Grease and flour a 9×2″ round cake pan, and pour the batter into it.

IMG_2044

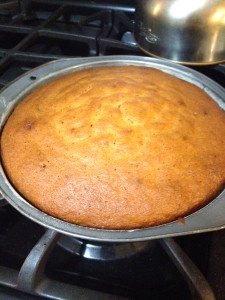
Bake at 350ºF for 40-45 minutes, or until a toothpick inserted in the middle of the cake comes out clean.

IMG_2045

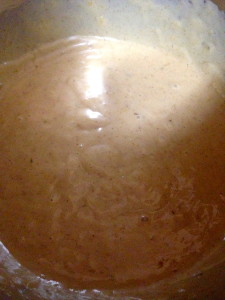
Once the cake is completely cool, start making your glaze. Combine the sugar, cream of tartar, and cinnamon together. Add a little milk at a time and mix the glaze with a hand mixer on low speed until the glaze is fairly loose and runny. When you have reached your desired thickness, turn the mixer onto high speed to add a little air and volume into the glaze.

IMG_2051


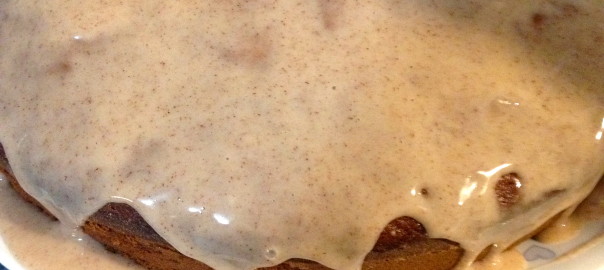
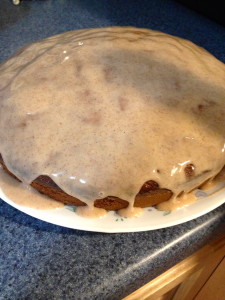
Pour the glaze over the top of the cake. It will drip down the sides, so you may want to put it on a plate to start with so that the glaze doesn’t end up on the counter! The glaze will become firm shortly (thanks to the cream of tartar), so don’t worry about it being sticky and messy.

IMG_2053

And now, enjoy! This cake is so yummy and such a great way to use up those bananas so that nothing goes to waste! I hope you all have a wonderful Thanksgiving, and happy baking (for the bread and for the holiday desserts)!

Cupcakes: The Fall Edition

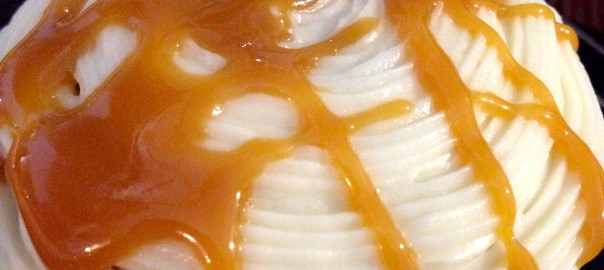
Hello friends! I’m proud to announce a new recipe (a Ruth semi-original) that is the epitome of fall: pumpkin cupcakes with cream cheese frosting and a caramel drizzle. Yeah, you read it right. And they’re every bit as good as they sound! Imagine a light, fluffy pumpkin cake with a soft, creamy, tangy frosting, drizzled with a warm, smoky, smooth caramel. And now that your mouth is watering, I’ll tell you how to make them!

Ingredients:

  • 1 package (16 oz) pound cake mix
  • 1 cup canned pumpkin
  • 1/3 cup water
  • 2 large eggs
  • 2 tsp pumpkin pie spice (or 1/2 tsp cinnamon, 1/4 tsp ginger, 1/4 tsp allspice, and 1/8 tsp nutmeg if you don’t have pumpkin pie spice)
  • 1 tsp baking soda

Frosting:

  • 8 oz light cream cheese
  • 1/4 cup softened butter
  • 1 tsp vanilla extract
  • 1 lb powdered sugar

Caramel Drizzle

  • 1 package soft caramels
  • 3 Tbsp milk (any type)

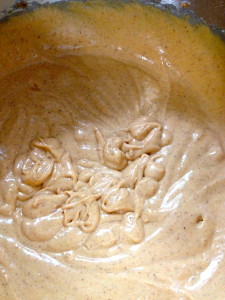
First, mix the cake mix with the water, eggs, and vanilla until it is fully combined. Then, add the pumpkin, spices, and baking soda. Stir until the ingredients are combined, and then beat the mixture on medium speed for 3 minutes. It will be a lovely light pumpkin-orange color.

IMG_1839

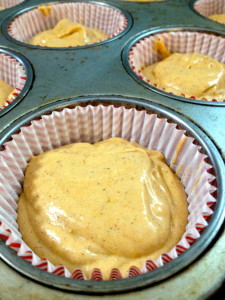
Pour the batter into prepared cupcake pans, filling each cupcake paper about 3/4 full. It should fill about 24 cupcake papers.

IMG_1841

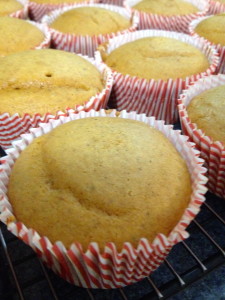
Bake at 325ºF for 25-30 minutes, until a toothpick inserted in the center of the cakes comes out clean.

IMG_1843

Let the cupcakes cool completely before even thinking about frosting them! Nothing is worse than melted frosting!

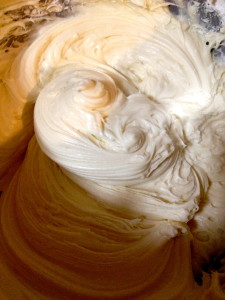
Once the cupcakes are completely cool, cream the cream cheese, vanilla, and butter together. Slowly add the powdered sugar while beating the mixture on low speed until you have reached your desired thickness. Then, turn the mixer up to medium speed and whip the frosting for about 30 seconds, just to give it some lightness. Just a note- the frosting recipe will make more frosting than is needed for these cupcakes, but I would rather have more than enough frosting than not enough!

IMG_1845

Using either a cake decorating set or a knife, frost the cupcakes. Now it’s time for the caramel drizzle!

Put all the unwrapped caramels in a microwave safe bowl with the milk. Microwave them for 30 seconds, and then stir them. Put them in for another 30 seconds, and then stir them again. Repeat this process until they are fully melted and smooth. Tip: the reason you have to continue heating them for 30 seconds is so that nothing burns, and the milk doesn’t cook. Also, don’t be worried if the caramel foams- that’s normal! 

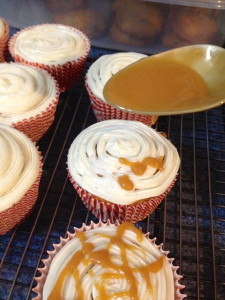
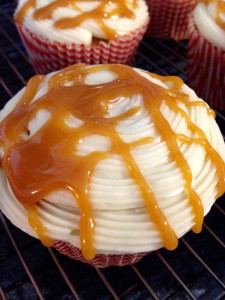
Using a spoon or a knife, drizzle the caramel sauce over the cupcakes. Be warned: caramel is ridiculously hot and sticky! Try your best not to get it on your fingers, and if you do, run them under cold water- don’t put your fingers in your mouth or else you’ll also burn your mouth!

IMG_1846 IMG_1847

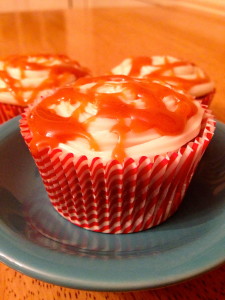
These cupcakes are so good, and surprisingly easy to make. They look beautiful and make your friends think you worked for hours to make them, but we know better than to make a difficult recipe!

IMG_1849

I hope you all try this recipe and enjoy the tastes of fall as much as I do. Happy baking!

The Cupcake Bible

Hello, all you fantastic bakers out there! Sorry I haven’t posted in a few weeks, but college classes have unfortunately been in full swing. Not to worry, because I’ve been baking away in my spare time! This post will be a shout-out to my brother because he gave me brand new cupcake equipment, as well as a review of a cupcake cookbook that my boyfriend gave me for my birthday, called The Cupcake Bible. It has over 150 recipes in it, but I’ll only take you through three of their recipes (with my adaptations included). Here we go!

Peanut Butter and Jelly Cupcakes

This recipe is super simple and so fun! Not to mention the cupcakes are absolutely delicious. I don’t like PB&J sandwiches, but I went out on a limb and made these cupcakes, and loved them. It’s the perfect combination of sweet cake, tangy jelly, and creamy, nutty frosting.

Ingredients:

  • 1 package yellow cake mix (plus ingredients to prepare the mix)
  • ~ 2 cups strawberry jelly
  • 3/4 cup creamy peanut butter
  • 1 stick softened butter or margarine
  • 2 cups powdered sugar (aka confectioner’s sugar)
  • 1/2 tsp vanilla
  • 1/4 low-fat milk

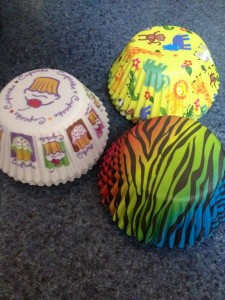
Preheat the oven to 350ºF, and line 24 cupcake/muffin cups with cupcake papers. Speaking of which, check out these adorable new cupcake papers my brother got me! What a guy!
IMG_1720

Make the cake mix as instructed on the box, and then spoon the batter into the cupcake papers, filling them about 2/3 full. (Hint: use a ladle to get all the papers filled about the same.) Bake according to the directions on the box, or until a toothpick inserted in the middle comes out clean. Cool the cupcakes in the pan for 5 minutes, and then transfer them to a cooling rack until they’re completely cool.

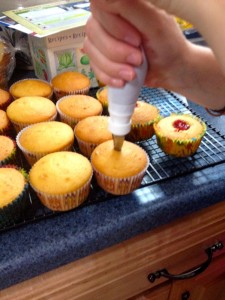
Here’s the awesome part: filling the cupcakes with jelly! You can do this two ways. If you have a pastry bag set (like I now do, because my brother rocks!), go ahead and fill a pastry bag with the strawberry jelly and attach a small circular tip. If you don’t, no worries! Cut a small hole in the center of the cupcake either using a knife, or a nifty cupcake corer- like the one my brother got me!

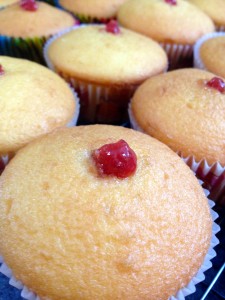
If you cut holes in the center of the cupcakes, spoon a little jelly into the holes. If you’re using a pastry bag, insert the tip into the center of the cupcake and squeeze out jelly until the jelly just starts coming out the top of the cupcake.  It should look like this:
IMG_1813 IMG_1815

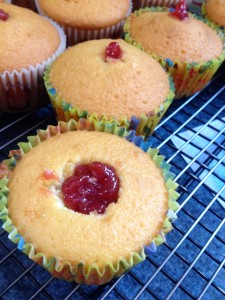
If you cored your cupcake, it should look like this:
IMG_1816

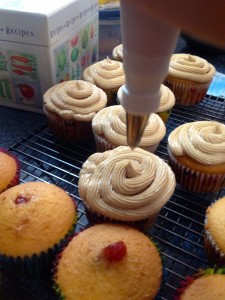
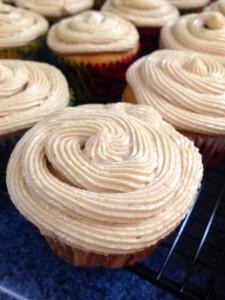
Now on to frosting! Beat the peanut butter and margarine together with a hand held mixer for 2 minutes on medium speed. Add the powdered sugar and vanilla, and mix on low speed for 1 minute. At this point, it’ll be really thick. Then, gradually add the milk and mix the frosting until it’s really smooth and creamy. To frost, you can either use a knife and spread the frosting onto the cupcakes, or use a pastry bag and pipe the frosting on. Since I wanted to play with my new pastry bags, I piped my frosting. Here’s the final product!
IMG_1821 IMG_1822

IMG_1824

I’m telling you, that’s the perfect cupcake. Peanut butter and jelly really is a match made in Heaven. So, this recipe is a total winner. On to the next one!

Taffy Apple Cupcakes (renamed by me to Caramel Apple Cupcakes)

These mini cupcakes are the perfect little bite: the warm spiced applesauce cake, with a smooth and smoky caramel, rolled in just the right amount of toffee crunch. This was a huge hit with my roommates, and I know it will be for you!

Ingredients:

  • 1 & 3/4 cups all-purpose flour
  • 1 tsp baking soda
  • 1 tsp ground cinnamon
  • 1/2 tsp salt
  • 1 cup unsweetened applesauce
  • 3/4 cup granulated sugar
  • 1/2 vegetable oil
  • 1 egg
  • 1 package caramels (~14 oz)
  • 3 tbsp low-fat milk
  • 30 wooden craft sticks
  • 1 bag toffee bits (optional- you can use whatever topping you prefer, or none at all)

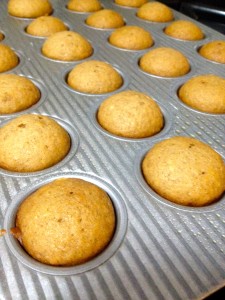
Preheat the oven to 350ºF, and spray 30 mini muffin cups with nonstick cooking spray. Combine the applesauce, sugar, oil, and egg in a large bowl. Add the flour, baking soda, cinnamon, and salt, and mix well until thoroughly combined. Fill the cups about 3/4 full. (Tip: These mini muffin cups are a lot smaller than you might think- I overflowed my first few, so go easy at first.) Bake 15 minutes, or until a toothpick comes out clean. Cool in the pans for 5 minutes, and then transfer them to a cooling rack to cool completely.
IMG_1781

Line a baking sheet with wax paper, and spray the paper with nonstick cooking spray. Also, pour your toffee bits out onto a plate. Then, insert the craft sticks into the tops of the cupcakes. Make sure it’s the tops of the cupcakes, because otherwise the cupcakes won’t be able to stand up. Next, put the package of caramels with the milk in a large, microwave-safe bowl and put them in the microwave for 2-3 minutes on high, stirring each minute. They might bubble up pretty high, but that’s totally normal! It’ll go down when it comes out of the microwave. Here comes the fun part!

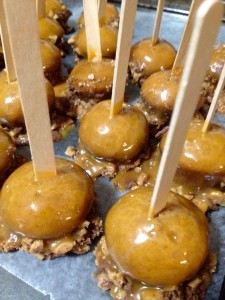
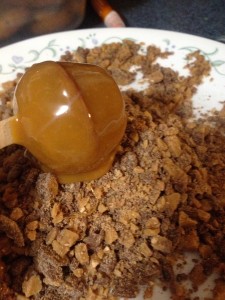
Dip each cupcake into the melted caramel sauce, rolling the cupcake around to fully cover it. Quickly, roll the cupcake in the toffee bits and set it, stick up, on the baking sheet.
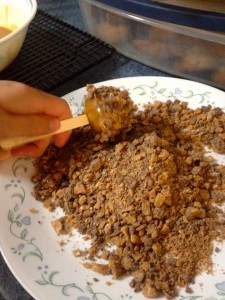
IMG_1797 IMG_1791 IMG_1798

Just a heads-up, the toffee does tend to slide down the cake and pool at the bottom. Although the toffee was yummy with the cupcakes, I wouldn’t use it again. I would go without a topping, because the caramel soaks into the cake and makes it perfectly moist and delicious on its own, and I thought the toffee just got in the way of the caramel. However, if you want to use it, go right ahead!

This recipe was fantastic! The size of the cupcakes is great, because they’re just a little bite for when you get a sweets craving, instead of having to commit to a large cupcake. The cake recipe on its own is also perfect for an applesauce cake! I made mini applesauce cake muffins with this recipe, and ate them as snacks and breakfasts. Delicious!

And last but not least…

Filled Rich Chocolate Cupcakes (Chocolate Cheesecake Cupcakes)

Ingredients:

  • 3 cups all-purpose flour
  • 2 cups sugar
  • 2/3 cup cocoa powder
  • 2 tsp baking soda
  • 1 tsp salt
  • 2 cups water
  • 2/3 cup vegetable oil
  • 2 tbsp white vinegar
  • 2 tsp vanilla extract

Filling:

  • 8 oz cream cheese, softened
  • 1/3 cup granulated sugar
  • 1 egg
  • 1/8 tsp salt
  • 1 cup semi-sweet mini chips (I used more, and no one was complaining!)

A note about the vinegar, before any questions arise: this is the coolest recipe ever, because the cake part has no eggs! It uses a reaction between the baking soda and the vinegar to foam the cake and make it lighter, so no eggs are needed! I promise you can’t taste the vinegar.

Preheat oven to 350ºF, and line 24 cupcake cups with cupcake papers. Prepare the filling by beating the cream cheese, sugar, egg, and salt in a small bowl with a hand held mixer. Then, stir in the chocolate chips.
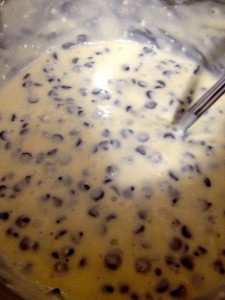
IMG_1762

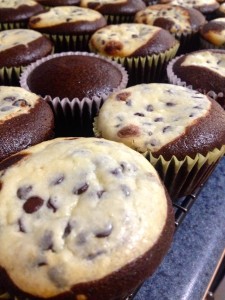
Stir the flour, sugar, cocoa, baking soda, and salt in a mixing bowl. Add the water, oil, vinegar, and vanilla, and beat the mixture on medium speed for 3 minutes. Fill the cupcake papers 2/3 full with the batter. Then, spoon about 3/4 tbsp of the filling into the center of each cupcake.
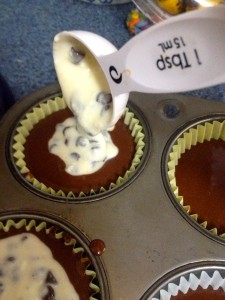
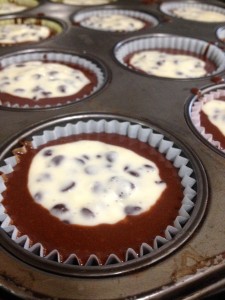
IMG_1767 IMG_1768

Bake the cupcakes for 20-25 minutes, or until a toothpick inserted in the middle comes out clean. Transfer the cupcakes to a cooling rack, and cool completely.
IMG_1774

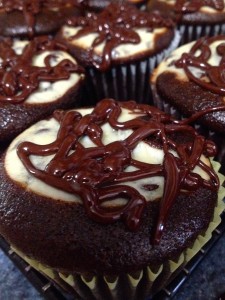
This is where the official recipe ends, but really, what’s a cupcake without some sort of frosting?? So, I made a chocolate glaze to go on top. Here’s the recipe:

Ingredients:

  • 1 cup chocolate chips
  • 3 tbsp butter
  • 1 tbsp corn syrup
  • 1/4 tsp vanilla

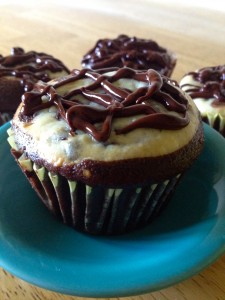
Melt all these ingredients together and stir well, and then drizzle the glaze over the cupcakes. It really gave the cakes a finishing touch, and added another dimension of chocolate heaven.
IMG_1775 IMG_1777

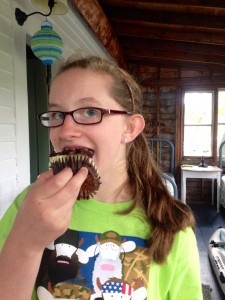
This recipe was a huge hit! I took the cupcakes to a family party, and they were well-loved by all. Even my dog kept barking at the cupcakes because he wanted to try them so badly.
IMG_1802 IMG_1803

I hope you’ve enjoyed reading this post as much as I’ve enjoyed writing it, and I hope you’ll try these recipes, and maybe even buy The Cupcake Bible. I will use this cookbook for years, and can’t wait to try all of its recipes! Happy baking!


The Grammy Cake

I’m back! I’ve been a tad busy recently, because my boyfriend left for college today and I wanted to spend some extra time with him. However, now that he’s gone, I’m back at the baking and ready to share my latest!

Here’s the story of my newest creation: I was feeling sad because my boyfriend was leaving, and his Grammy messaged me and suggested that I bake a “comfort food” cake to help me feel better. For me, that says ‘peanut butter and nutella sandwiches’. I decided to try her idea and see how it turned out, and if it was delicious, I’d call it the Grammy Cake! Now stick with me, here. No, I didn’t actually make a sandwich. What I did make was a moist, delicious, chocolate peanut butter cake with Nutella peanut butter frosting. If you’ve never tried peanut butter and Nutella, don’t knock it until you’ve tried it! Even my dad loved this cake, and he likes neither cake nor Nutella!

Here’s how you make it:

Ingredients/Equipment:

  • 1 chocolate cake mix (any brand should work, but I used Betty Crocker)
  • 1/2 cup & 2 tbsp creamy peanut butter
  • 1/2 jar Nutella (or chocolate hazelnut spread of any kind)
  • A hand mixer and an 9×13″ baking pan

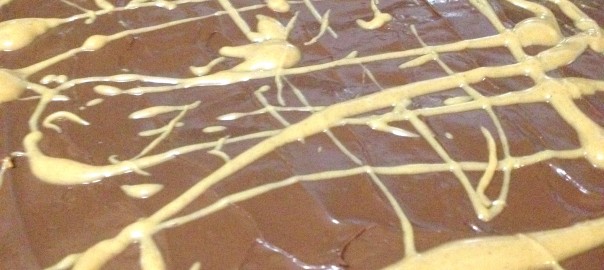
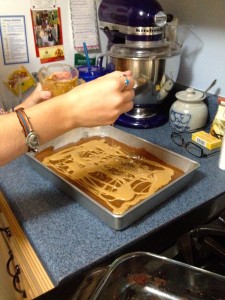
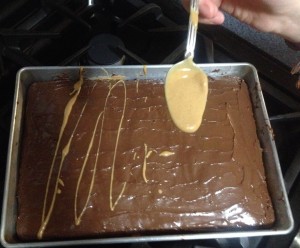
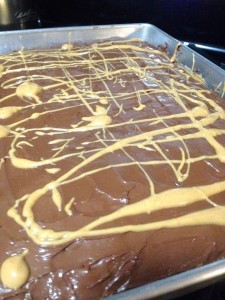
First, mix up the cake mix according to the directions on the box, and pour the batter into the baking pan. Then, put the 1/2 cup peanut butter into microwave for 30 seconds. It sounds unusual to heat it up, but from my experience of toasted peanut butter and Nutella sandwiches, I knew that the peanut butter gets warm and melty and delicious! Drizzle the melted peanut butter over the chocolate batter until the cake is mostly covered in peanut butter.

IMG_1607


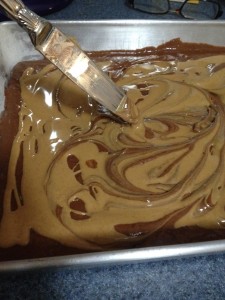
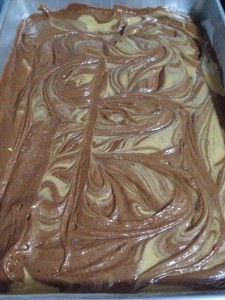
Then, using a knife or toothpick, swirl the melted peanut butter into the chocolate batter.

IMG_1608 IMG_1609


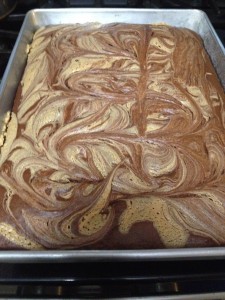
Bake the cake according to the directions for a 9×13″ pan on the cake mix box, until a toothpick inserted in the middle comes out clean. It’s super cool- it stays all swirly after it’s cooked!

IMG_1610


Let the cake cool completely before even thinking about frosting it, or else you’ll end up with melted frosting! When you’re positive the cake is cool and the bottom of the pan is cool, break out the Nutella. You can spread it on as thick or thin as you like! I did a fairly thin layer, because I wanted to save my Nutella for toast. After you frost the cake with Nutella, melt the other 2 tbsp of peanut butter and drizzle it over the top.

IMG_1611


When you’re all done, it should look like this (or at least something like this):

IMG_1616


This cake was for my boyfriend’s going-away party at his work, and it was gone in no time! The Grammy Cake got raving reviews, and my hat comes off to Grammy for such a brilliant idea. I hope you enjoy this cake as much as my family and friends did, and that the end of your summer is wonderful. For everyone going back to school, good luck and study hard!

Peppermint Hot Chocolate Cupcakes

Snowy days are pretty typical in my area of the US. Make that really typical. Snowmen and snow angels and snowball fights are great and all, but sometimes it just gets too cold for that! On those days when all I want is warmth, I love baking. I don’t have to leave my house, and the oven makes the kitchen nice and warm.

On one of our recent freezing-cold-can’t-leave-the-house days, I decided that I was craving a peppermint hot chocolate. Sadly, Starbucks is not in my house (and thus unattainable), so it turned into a peppermint hot chocolate cupcake. It was definitely every bit as good as a peppermint hot chocolate.

This cupcake is a delicious soft chocolate cake, coated with a cocoa peppermint glaze, and then frosted with yummy vanilla icing and sprinkled with crushed peppermint candies. Here’s the recipe for 12 cupcakes.

Chocolate Cake:

Peppermint Chocolate Glaze:

  • 1 ¼ cup powdered sugar
  • 3 tbsp milk
  • ½ tsp vanilla extract
  • 1 tbsp cocoa powder
  • 1 tsp peppermint extract

Add all the ingredients except peppermint together and blend until completely smooth with a hand mixer on medium speed, about 2 minutes. Then add the peppermint extract and mix until fully blended. Adjust the powdered sugar and milk content until your desired consistency is reached. It will be fairly runny.

Vanilla Frosting:

  • 2 cups powdered sugar
  • 2 tbsp salted butter, softened
  • 2 tbsp milk
  • ½ tsp vanilla extract

Add all the ingredients together in a large bowl. Mix on low speed with a hand mixer until blended, and then high speed until the frosting is fairly thick and holds its shape completely.

Assembly:

  • Bake cupcakes, and cool them on separate cooling sheet until fully cooled
  • Put peppermint glaze on top- this is pretty runny, so I used a little storage bag that I cut the corner off of, and used that to funnel the glaze right into the middle of each cupcake. Then spread the glaze around using a spoon or knife. Let it harden- it should form a little shell and be fairly firm to the touch. If you want to speed up the process, you can put them in the fridge for a little while.
  • Put on vanilla frosting. You can either use a pastry bag, or a knife to just glob the frosting on. The glaze will probably break and combine with the frosting- that’s ok! The white frosting and chocolate glaze look swirly and beautiful together.
  • Sprinkle crushed peppermint candies on top

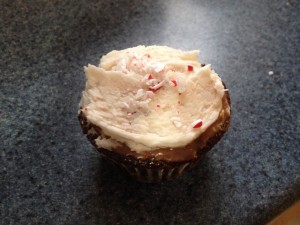
Here’s the final result:

Peppermint Hot Chocolate Cupcake

These cupcakes are so decadent and rich, and totally irresistible. Sharing them with others was such a treat, because they were a huge hit. It is so satisfying when people love your food!