
Well, it’s snowing outside again. It seems like every time I make a post, I get another few inches of snow. But a little snow can’t stop me from baking! This time, I decided to make an old family favorite from my Grandma’s kitchen: cardamom bread. It’s a beautiful braided bread with sugar sprinkled on the top, and really soft, spiced insides. My family makes this bread for special breakfasts, ski trips, and sometimes just for the heck of it.
This recipe takes a little while, but a lot of it involves the bread just rising. Trust me, though, it’s worth every second! This recipe makes such a soft, moist bread, and the sweet crust on the top is the perfect complement to the warm and spicy cardamom. I’m going to write the recipe exactly how Grandma wrote it (with a few tips added in), because I figure if it ain’t broke, don’t fix it!
Here are the ingredients:
- 1 cup milk (to make this recipe lower-fat, use 1% milk)
- 1/3 cup granulated sugar
- 1/3 cup melted butter
- 1/2 tsp salt
- 2 packages dry yeast
- 4 1/2 cups flour
- 1 tsp ground cardamom
- 1 egg (plus 1 more for top)
“Heat milk and butter to lukewarm (115-125°F). Put into a mixing bowl, warm milk and butter, yeast, sugar, salt, egg (room temp.), and enough flour to make a gruel-like mixture. Add cardamom.” The gruel-like mixture should be pretty liquid with a few lumps in it.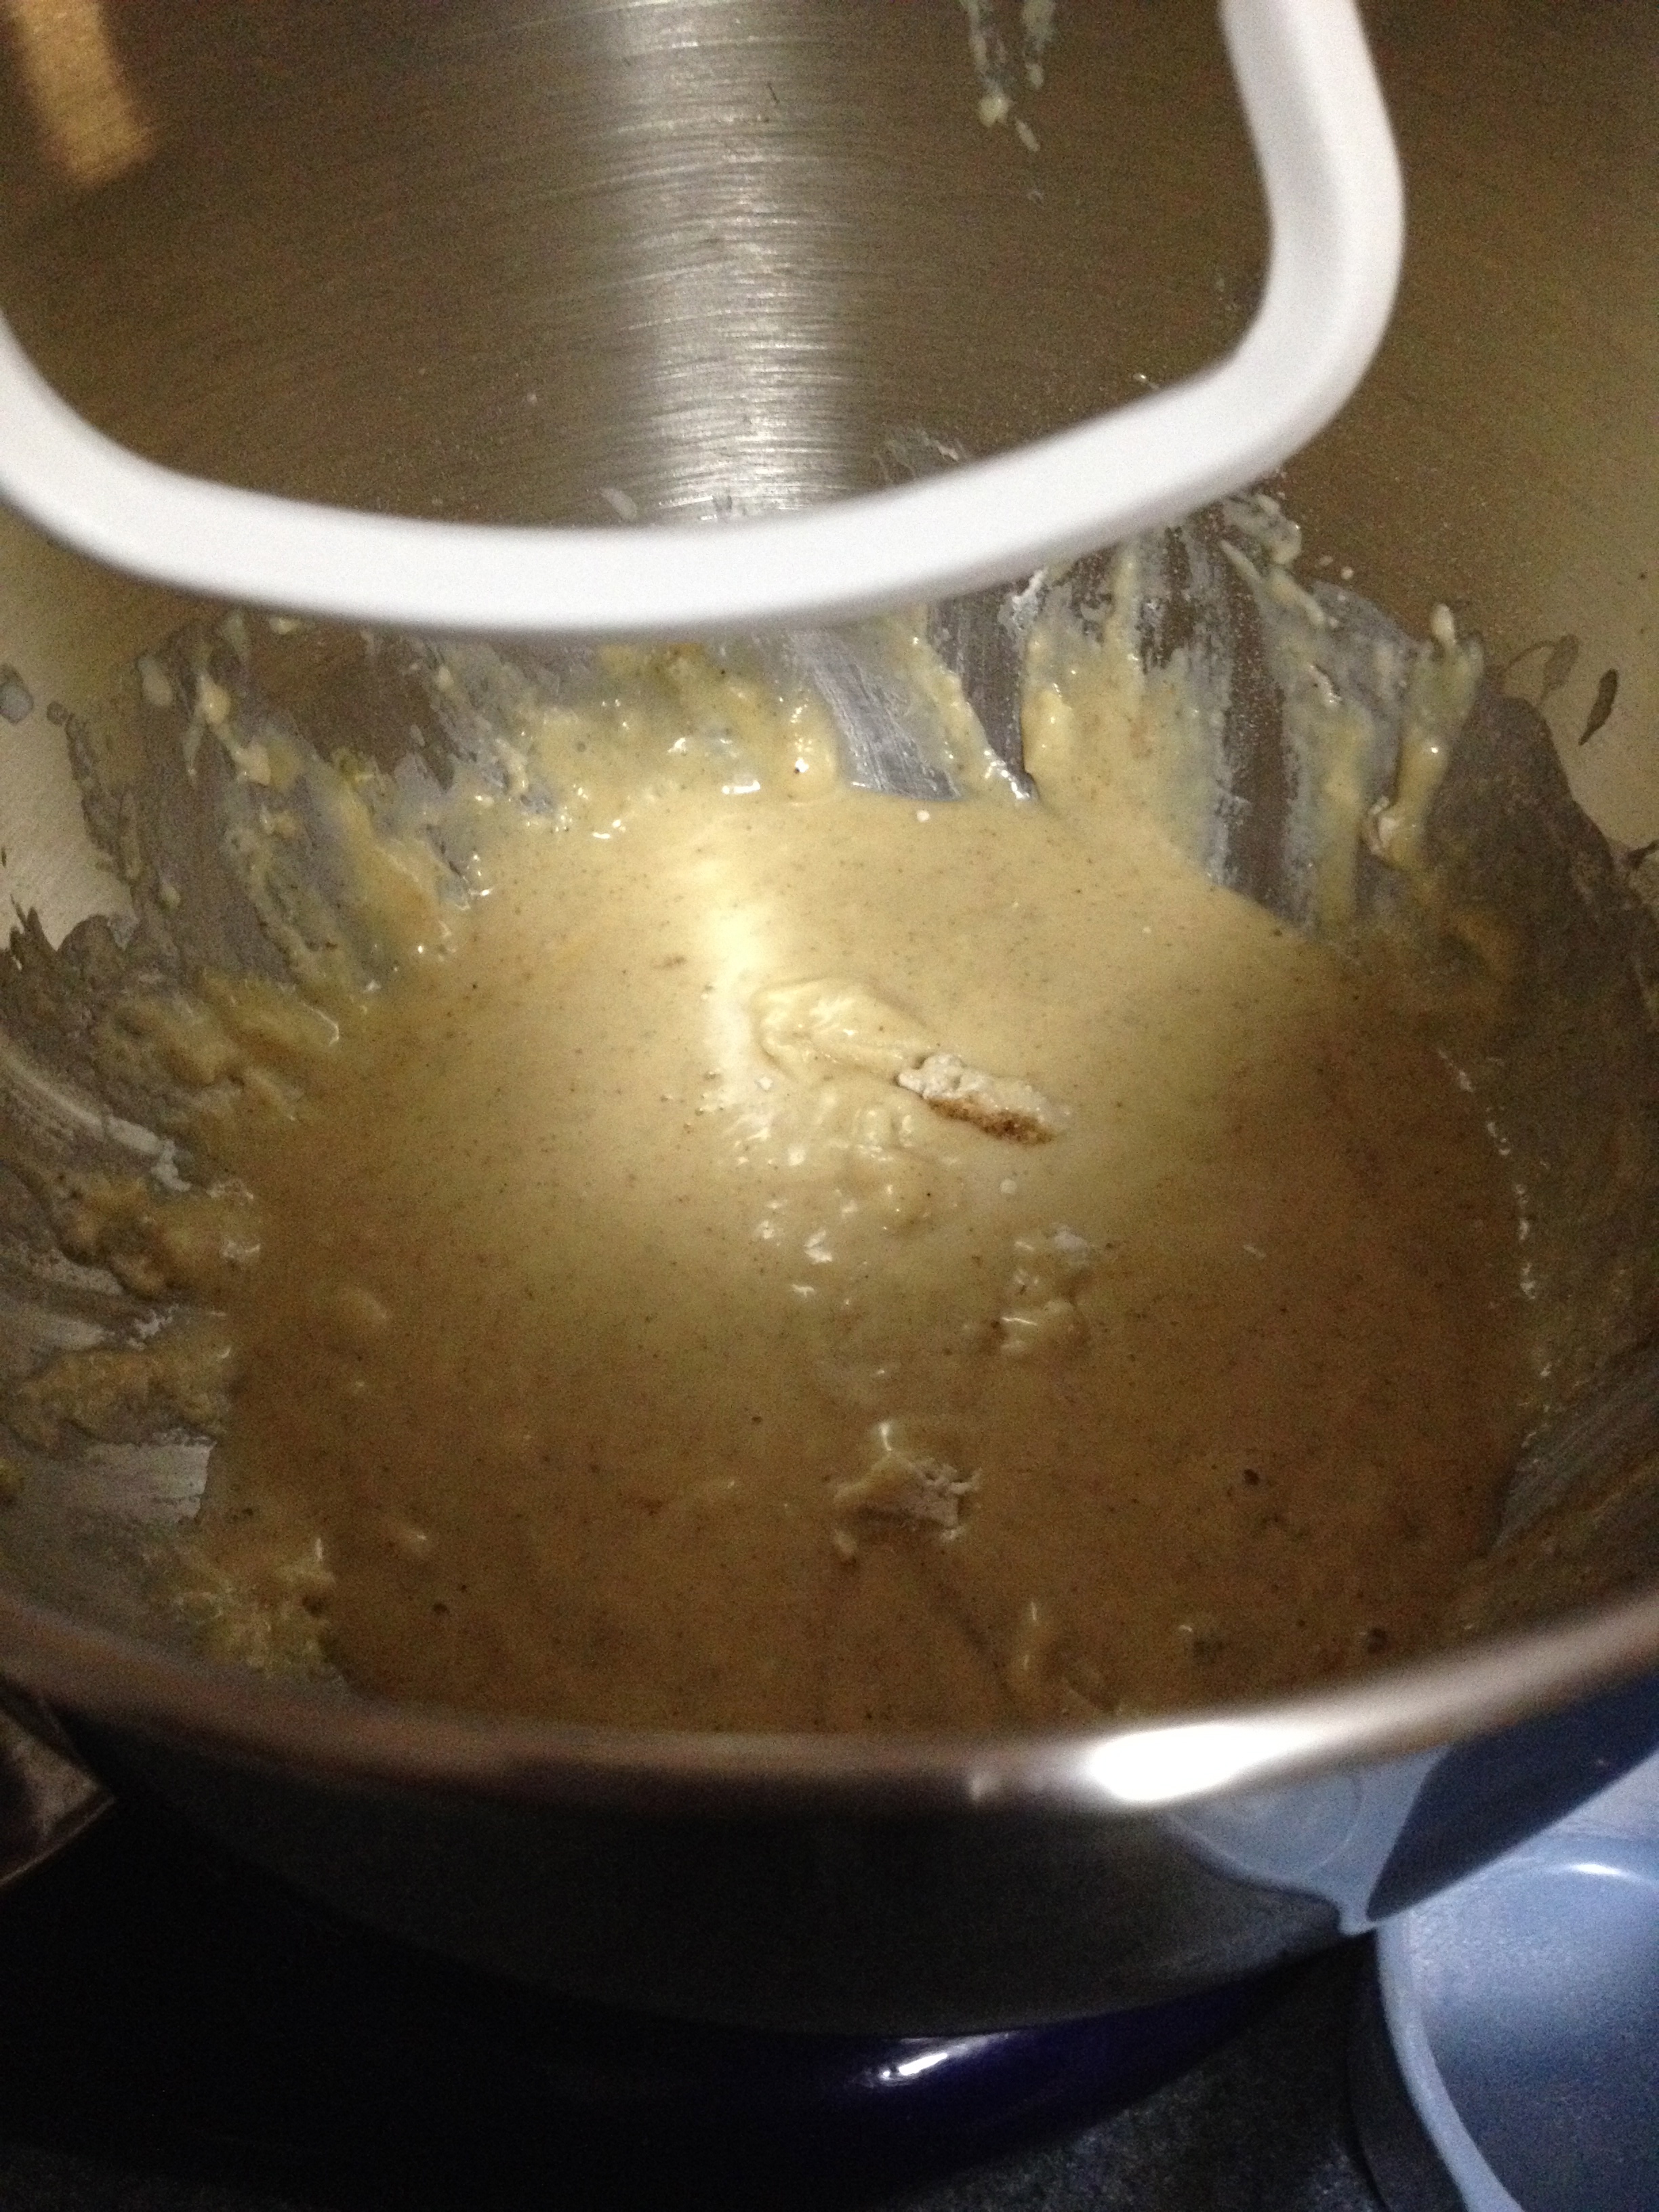
“Keep adding flour, and when dough becomes quite stiff, knead it in bowl till it doesn’t stick to sides. Shape into ball and pat melted butter on top. Place transparent wrap over dough loosely. Cover bowl with towel. Set in warm place- let it rise to 3 times its size.”
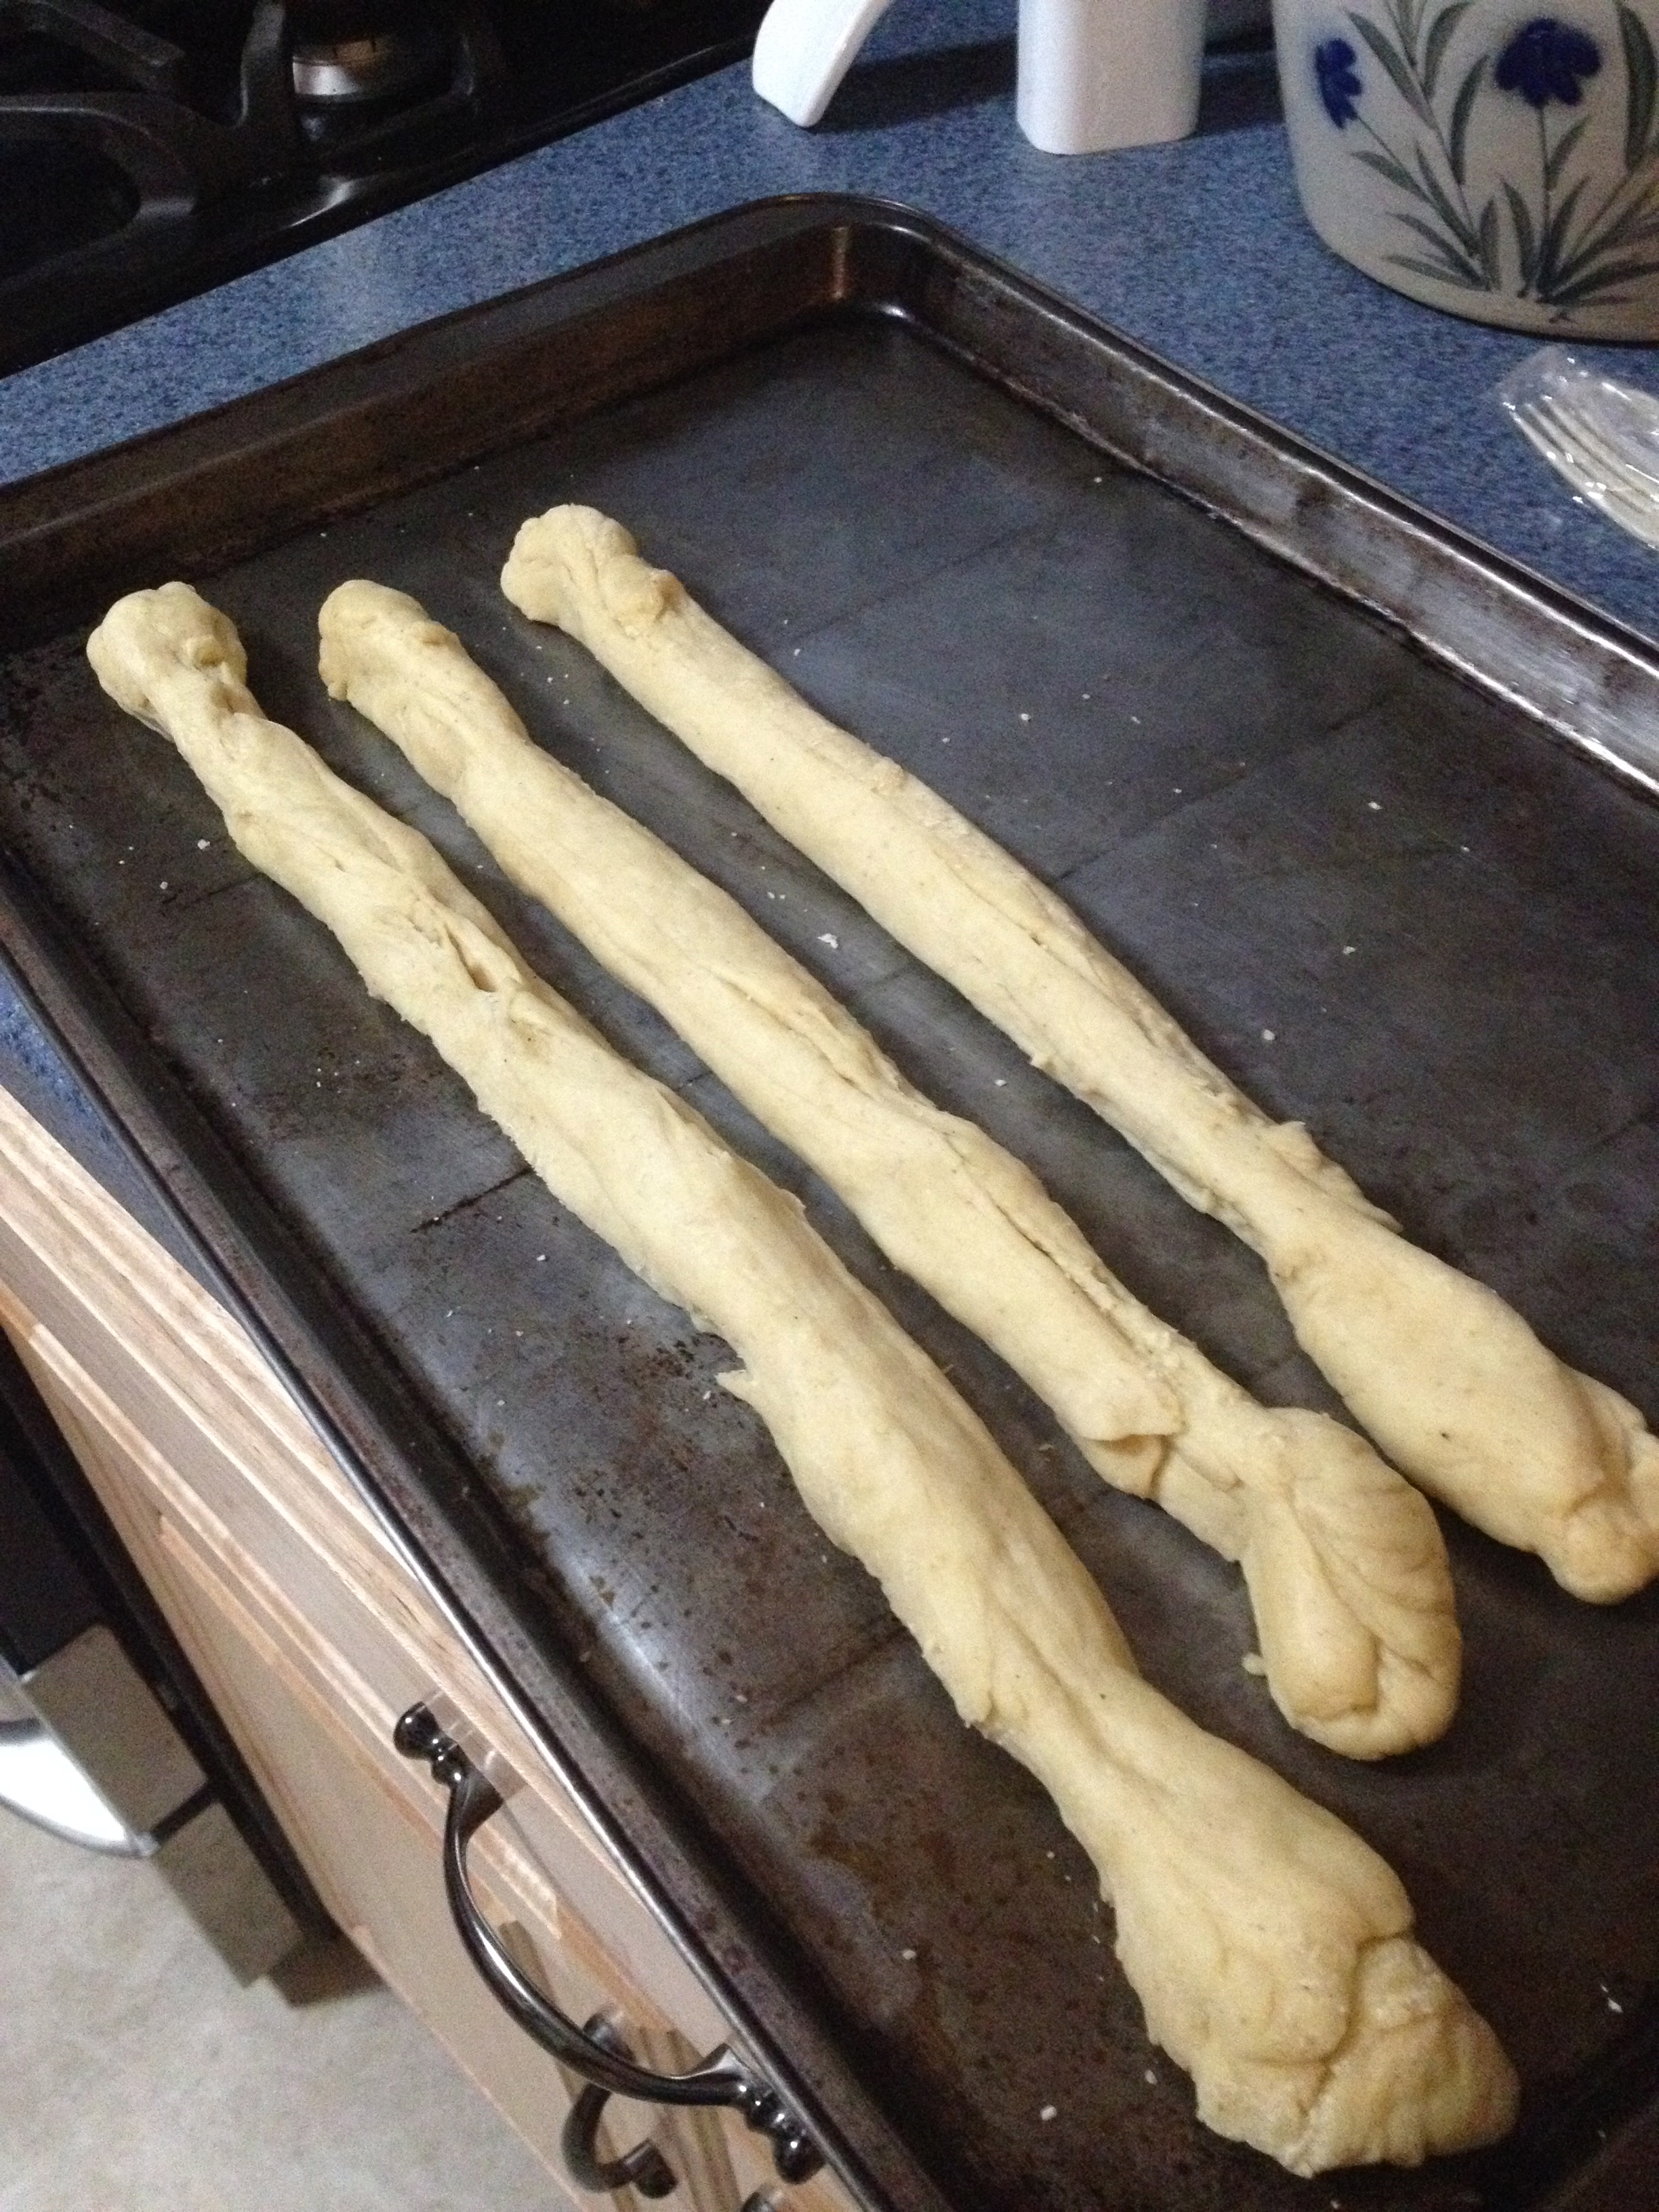
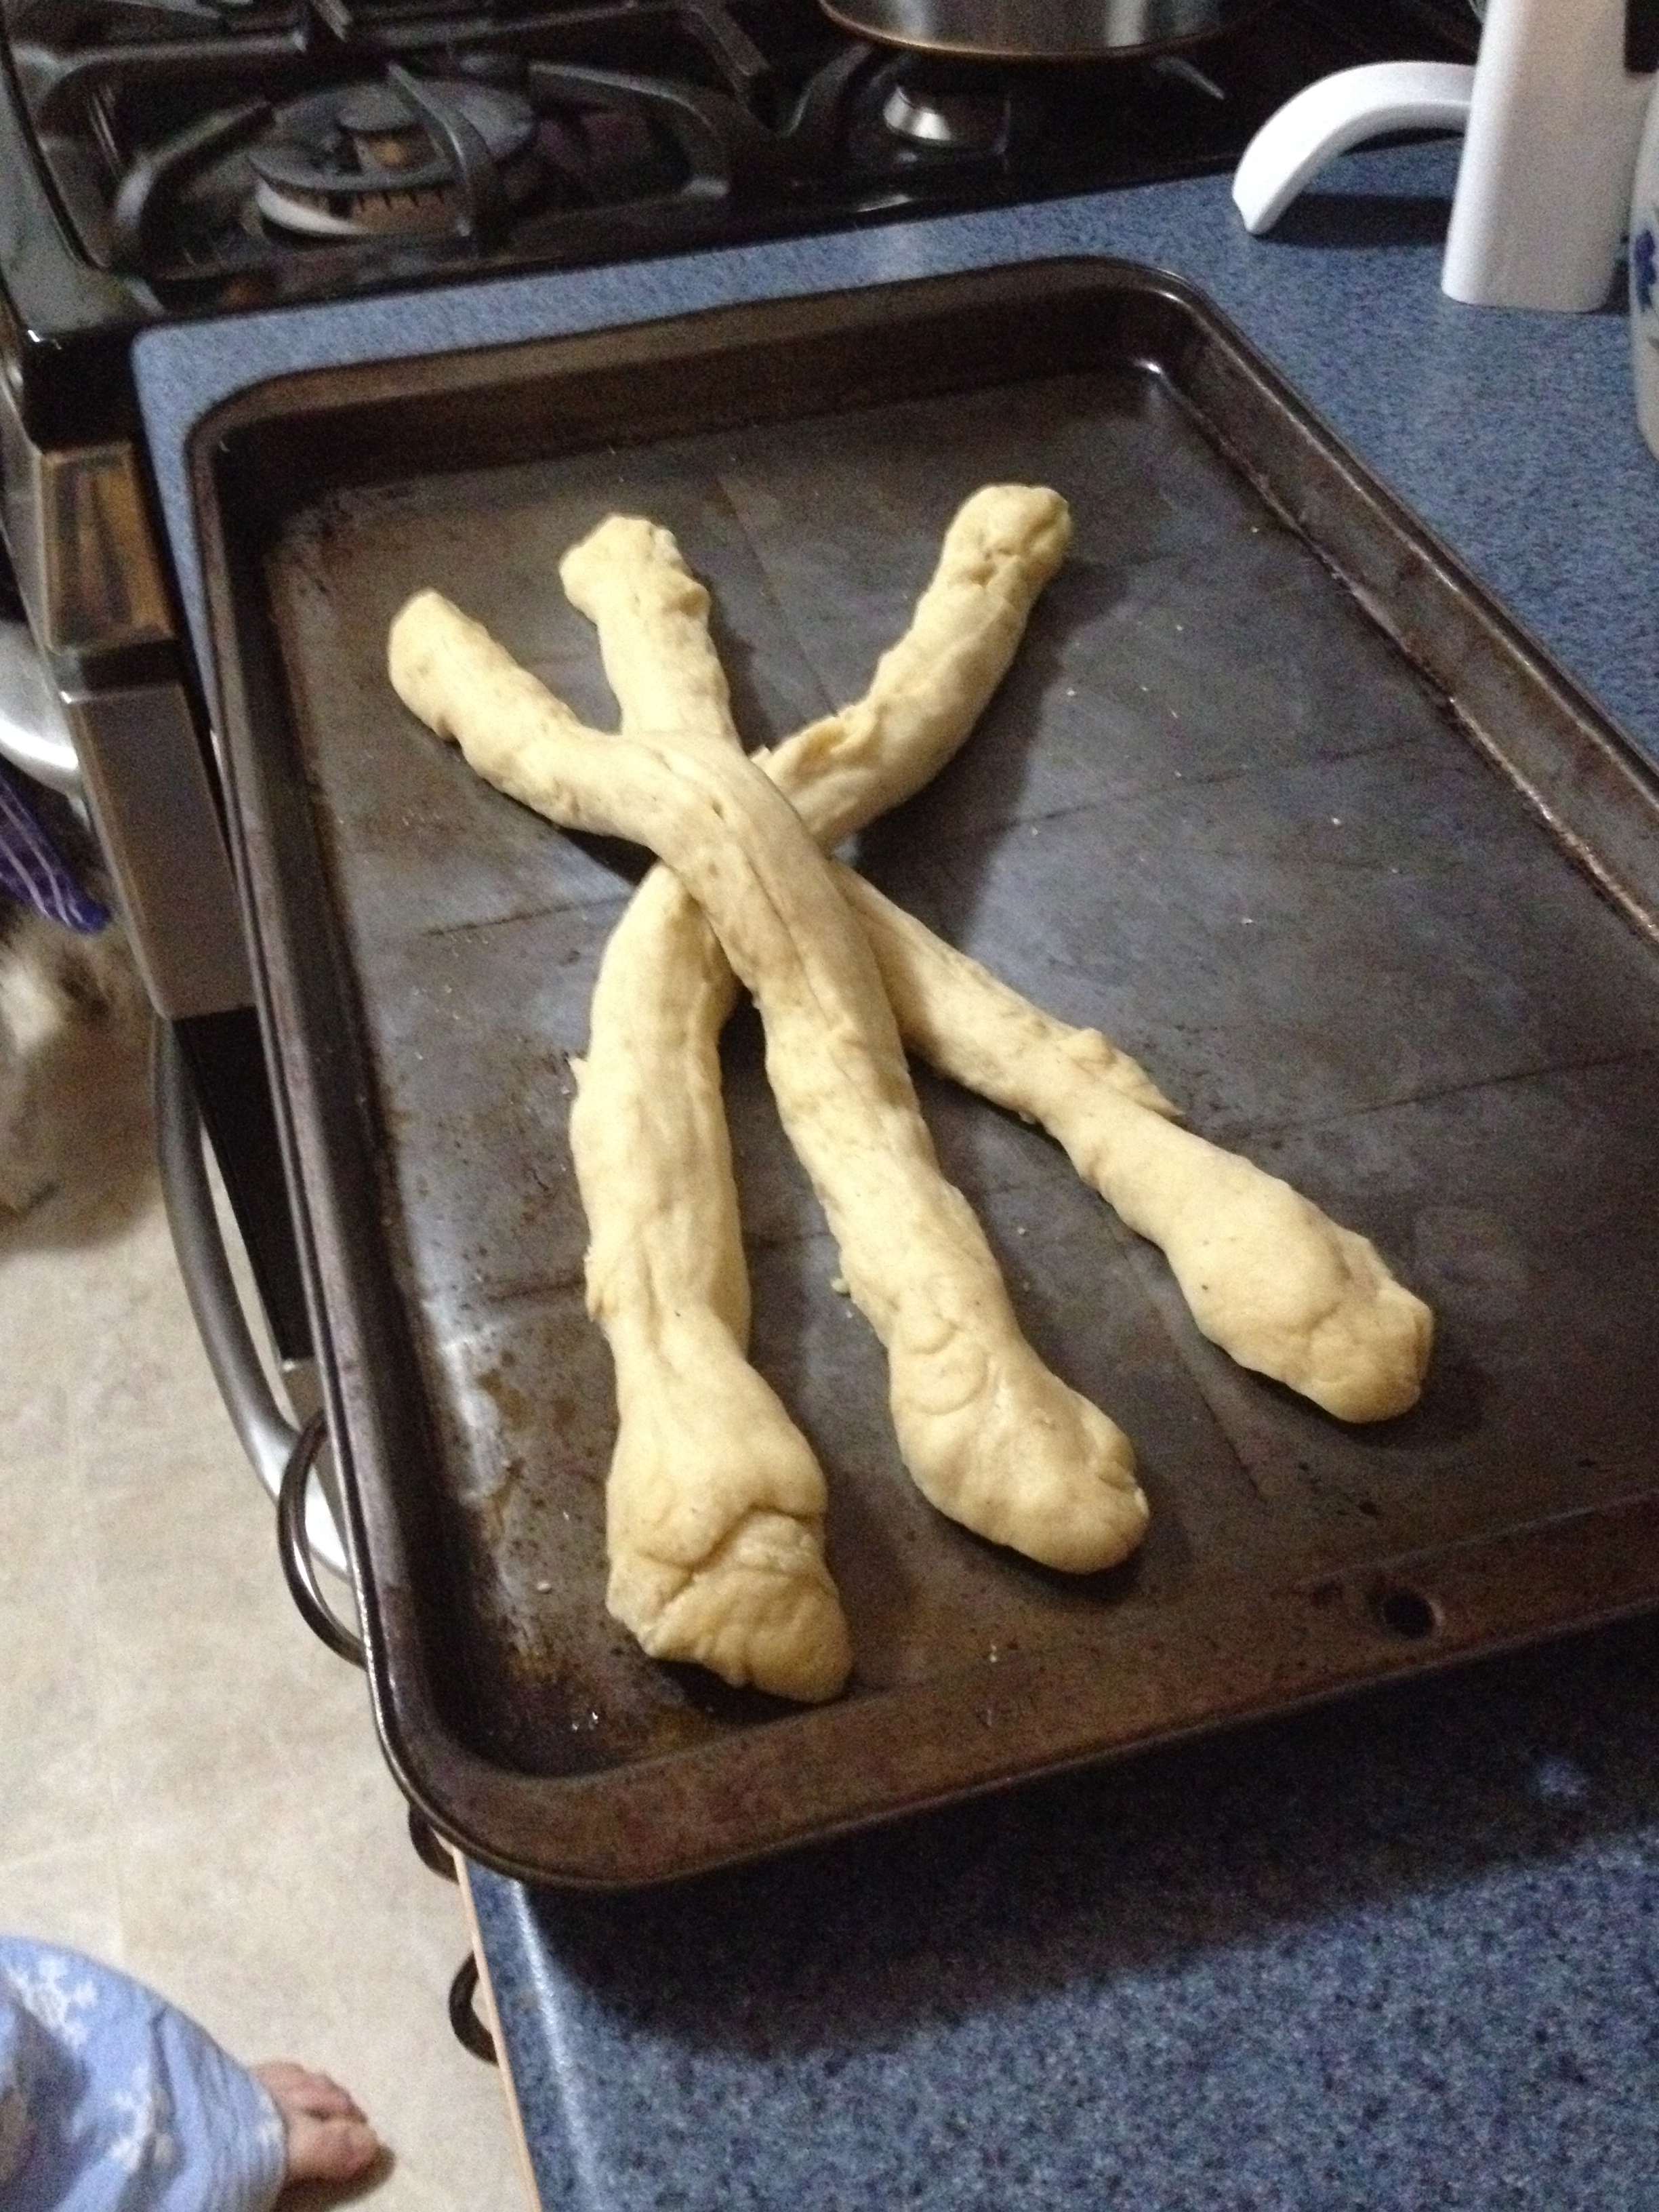
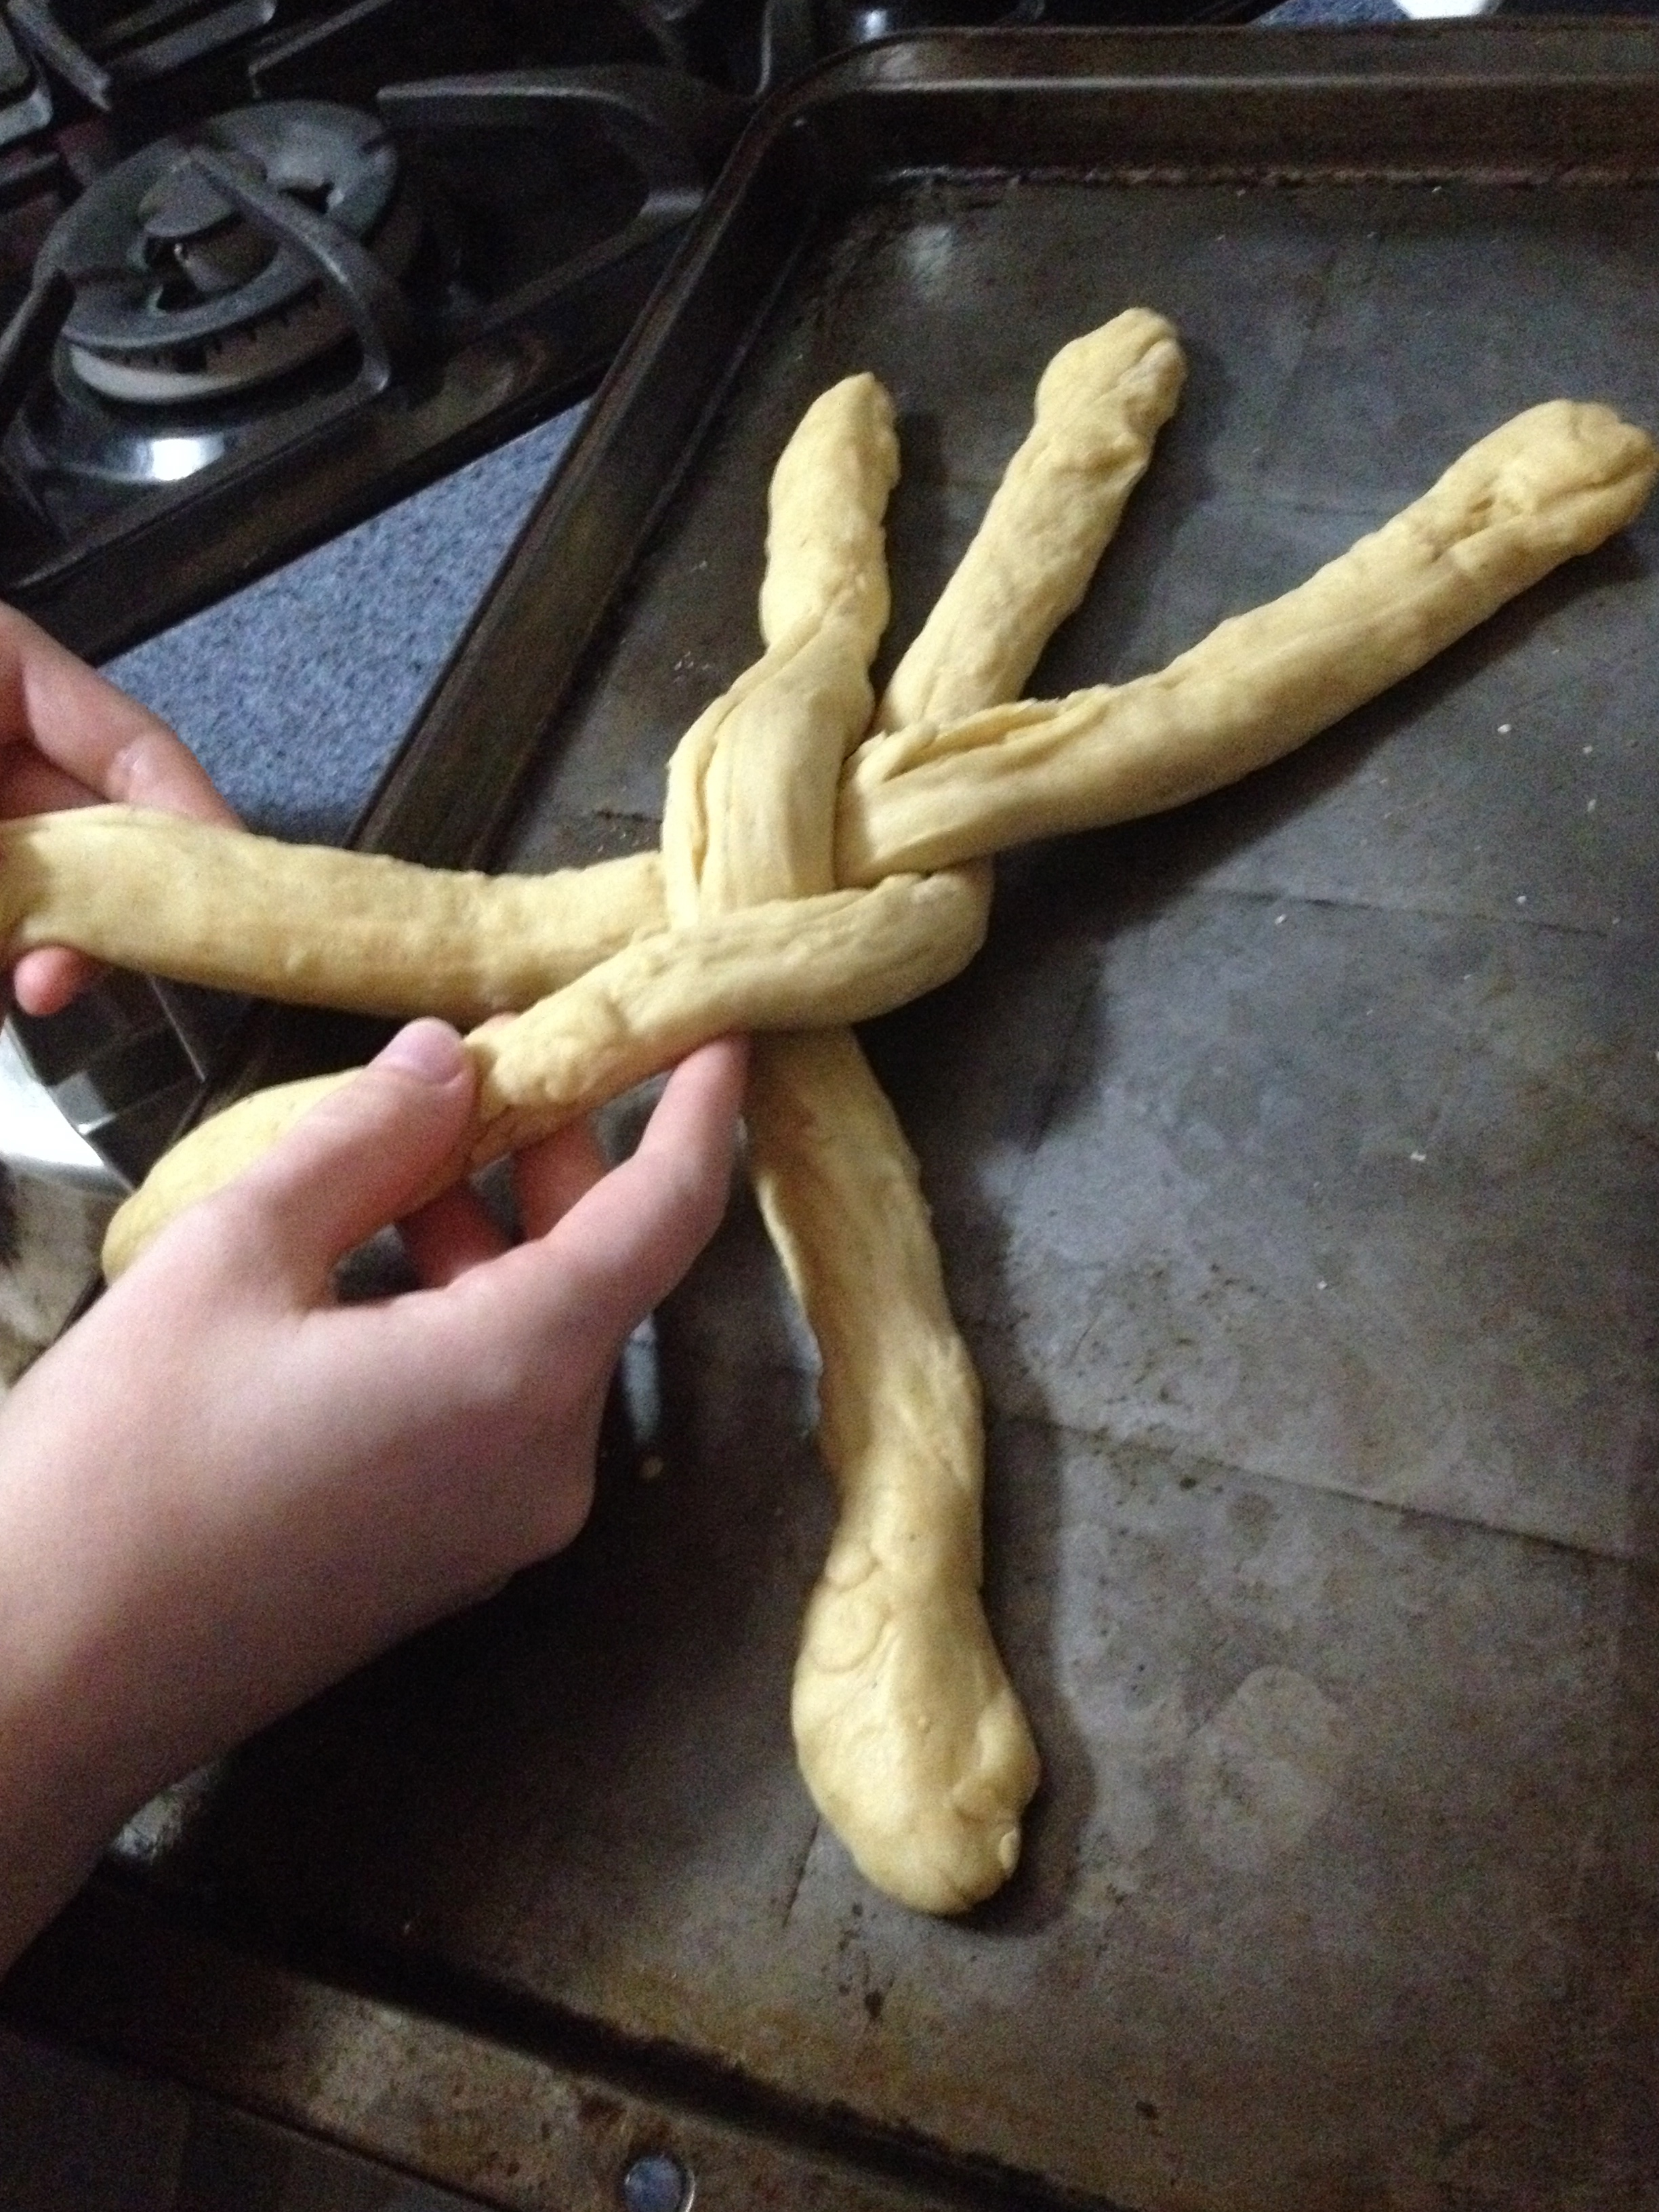
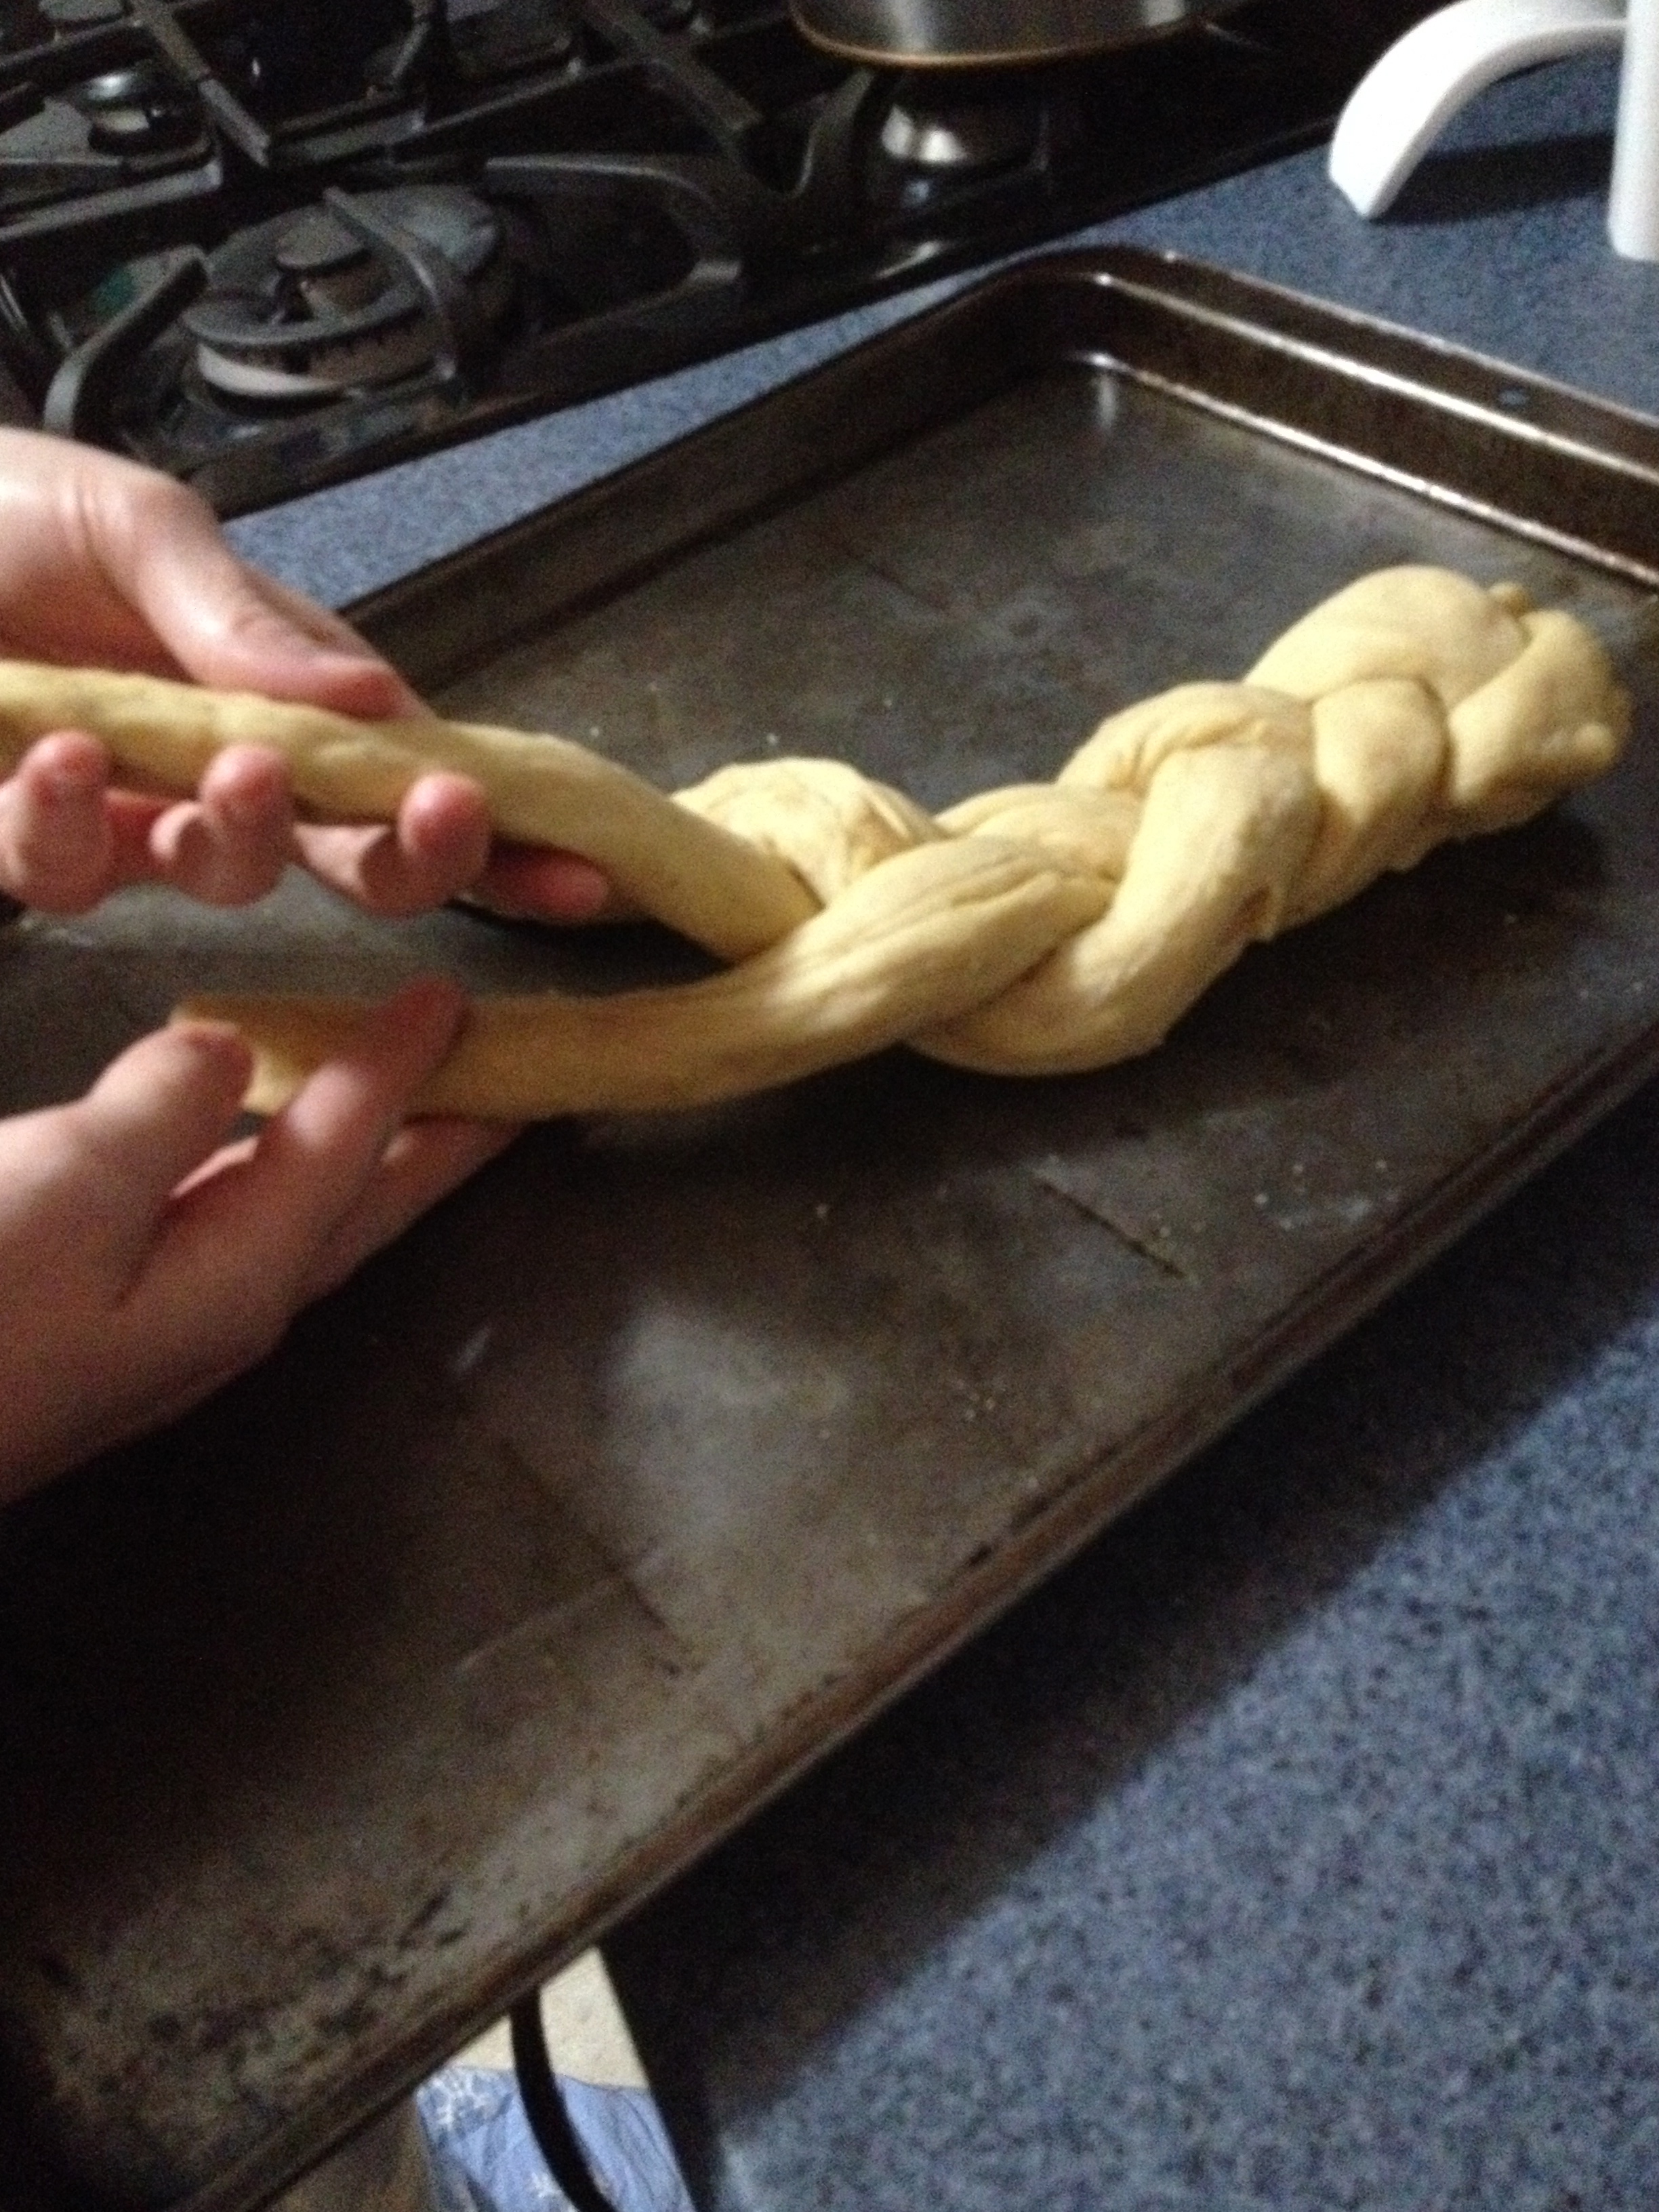
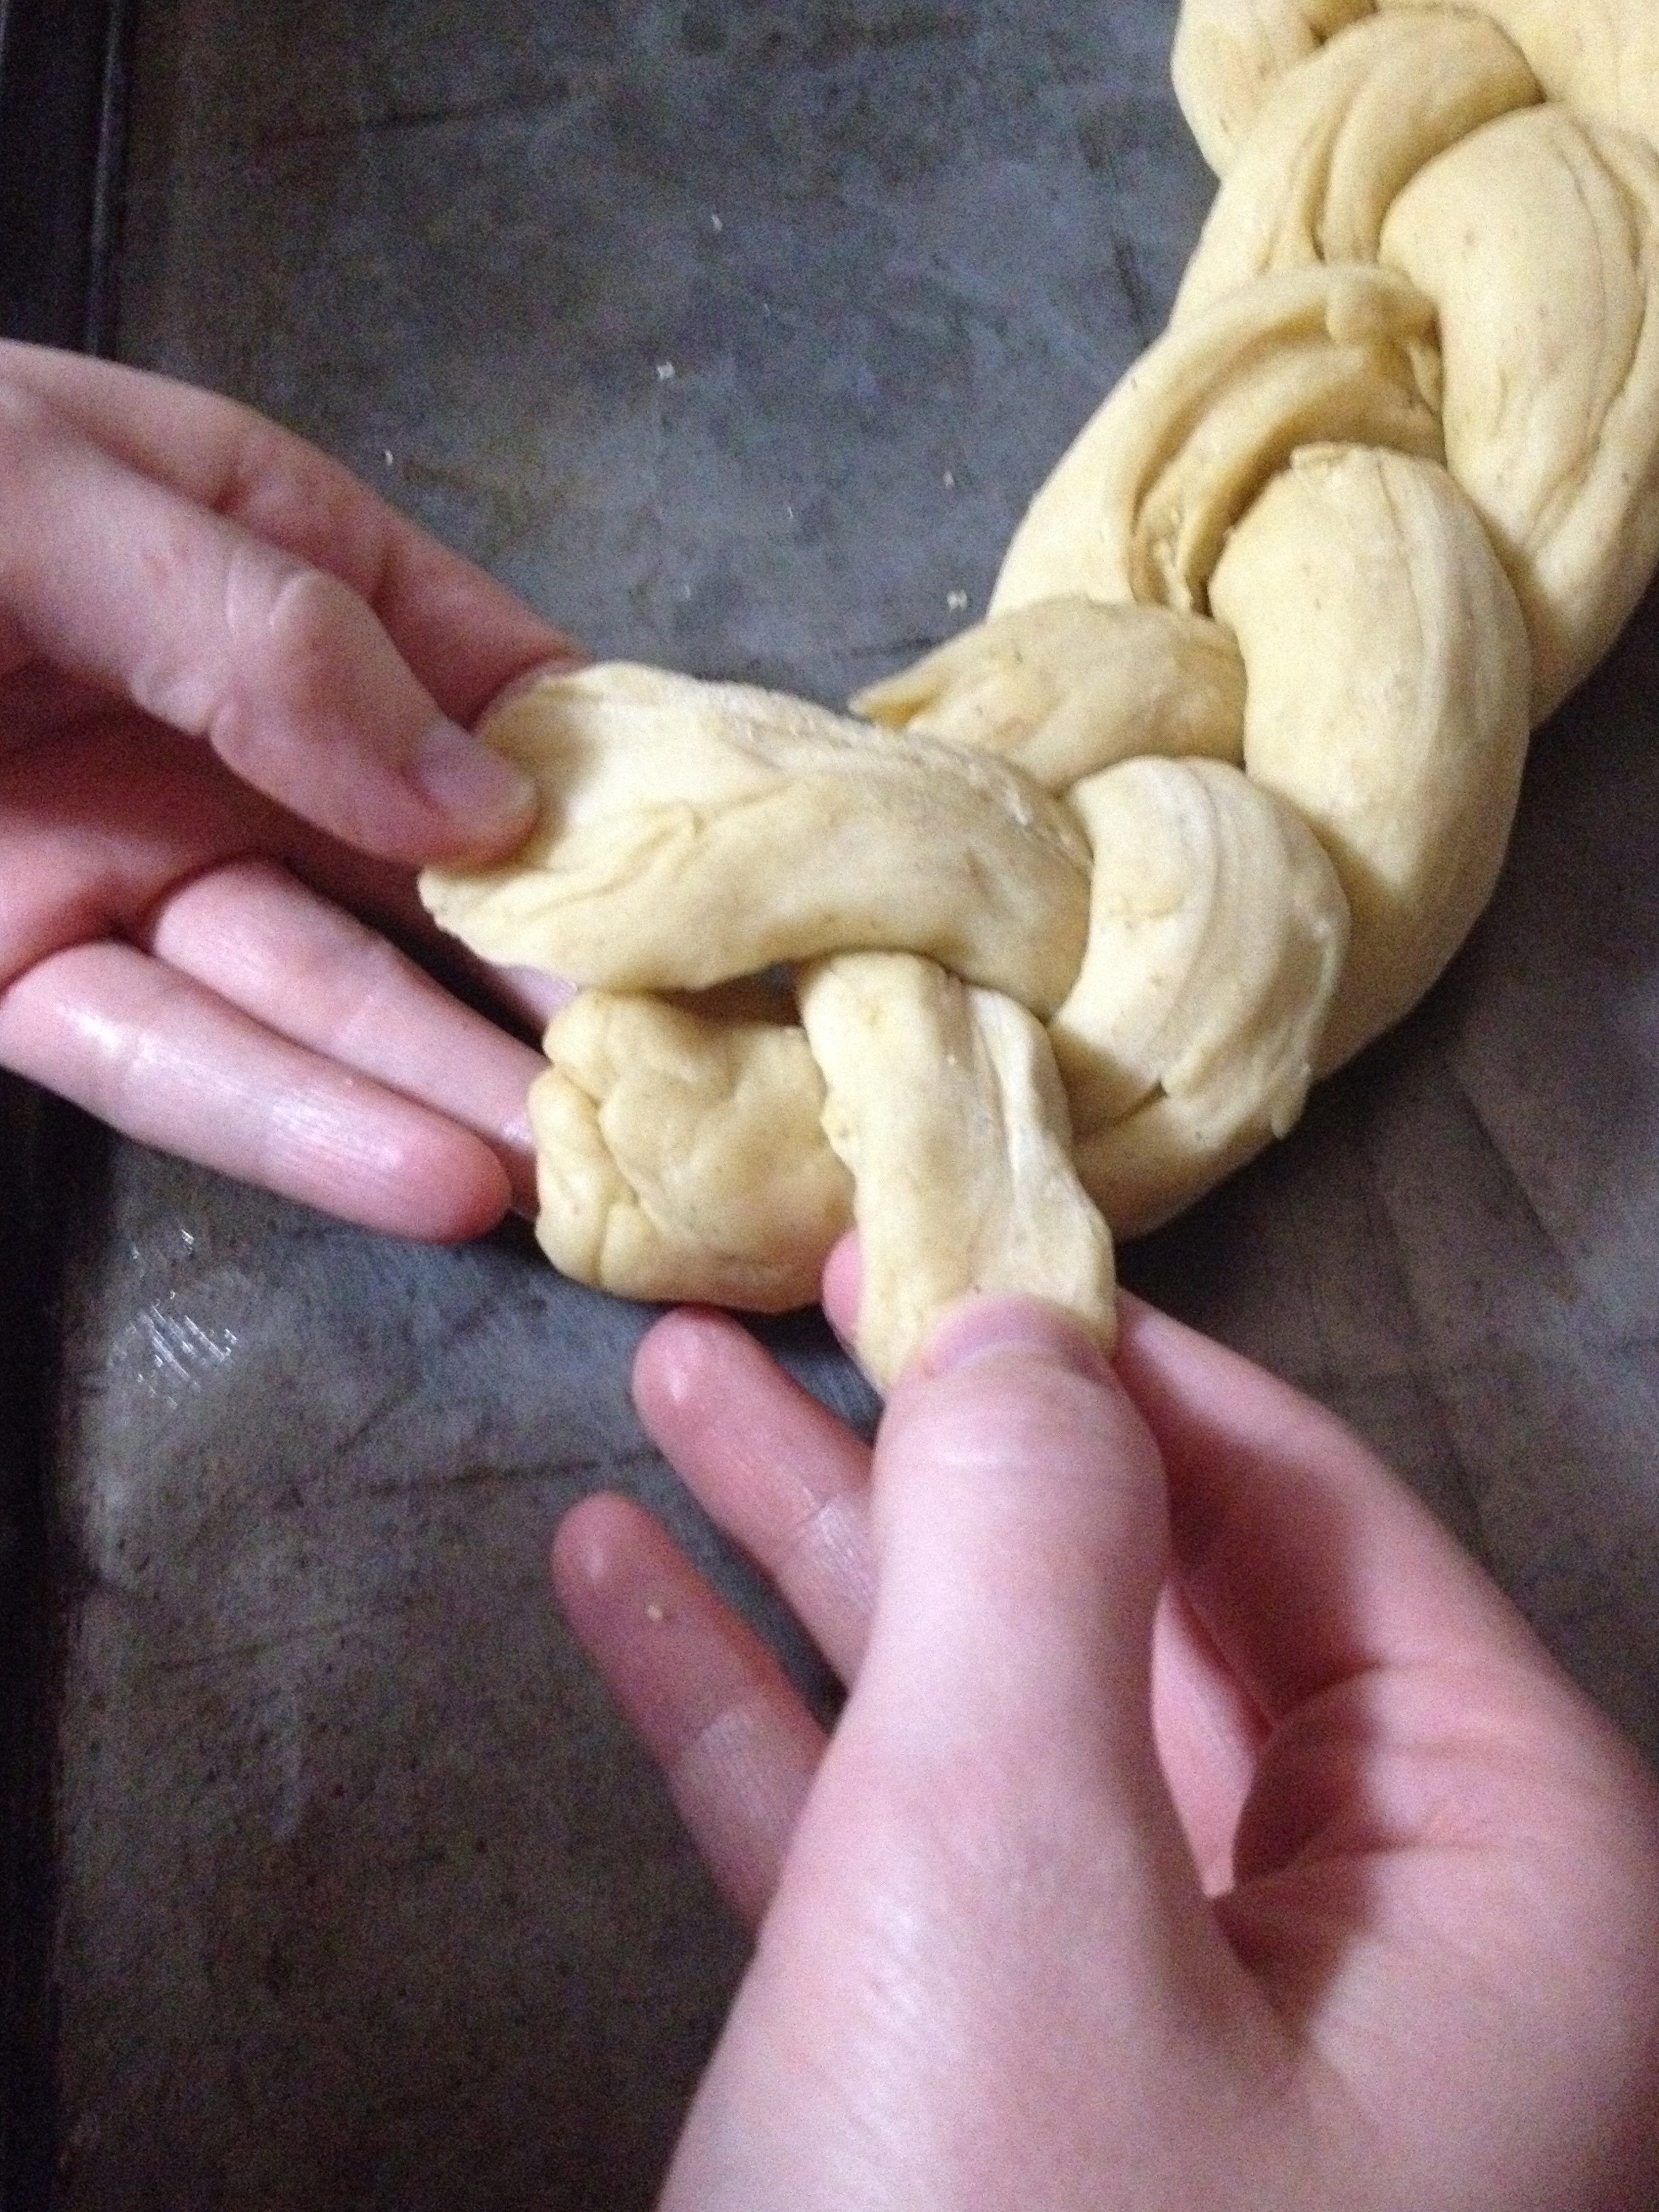
“Cut into 6 sections- 3 for each braid. Form each section into long strip and bread them together.” Here’s a play-by-play of braiding the bread. It’s not hard!
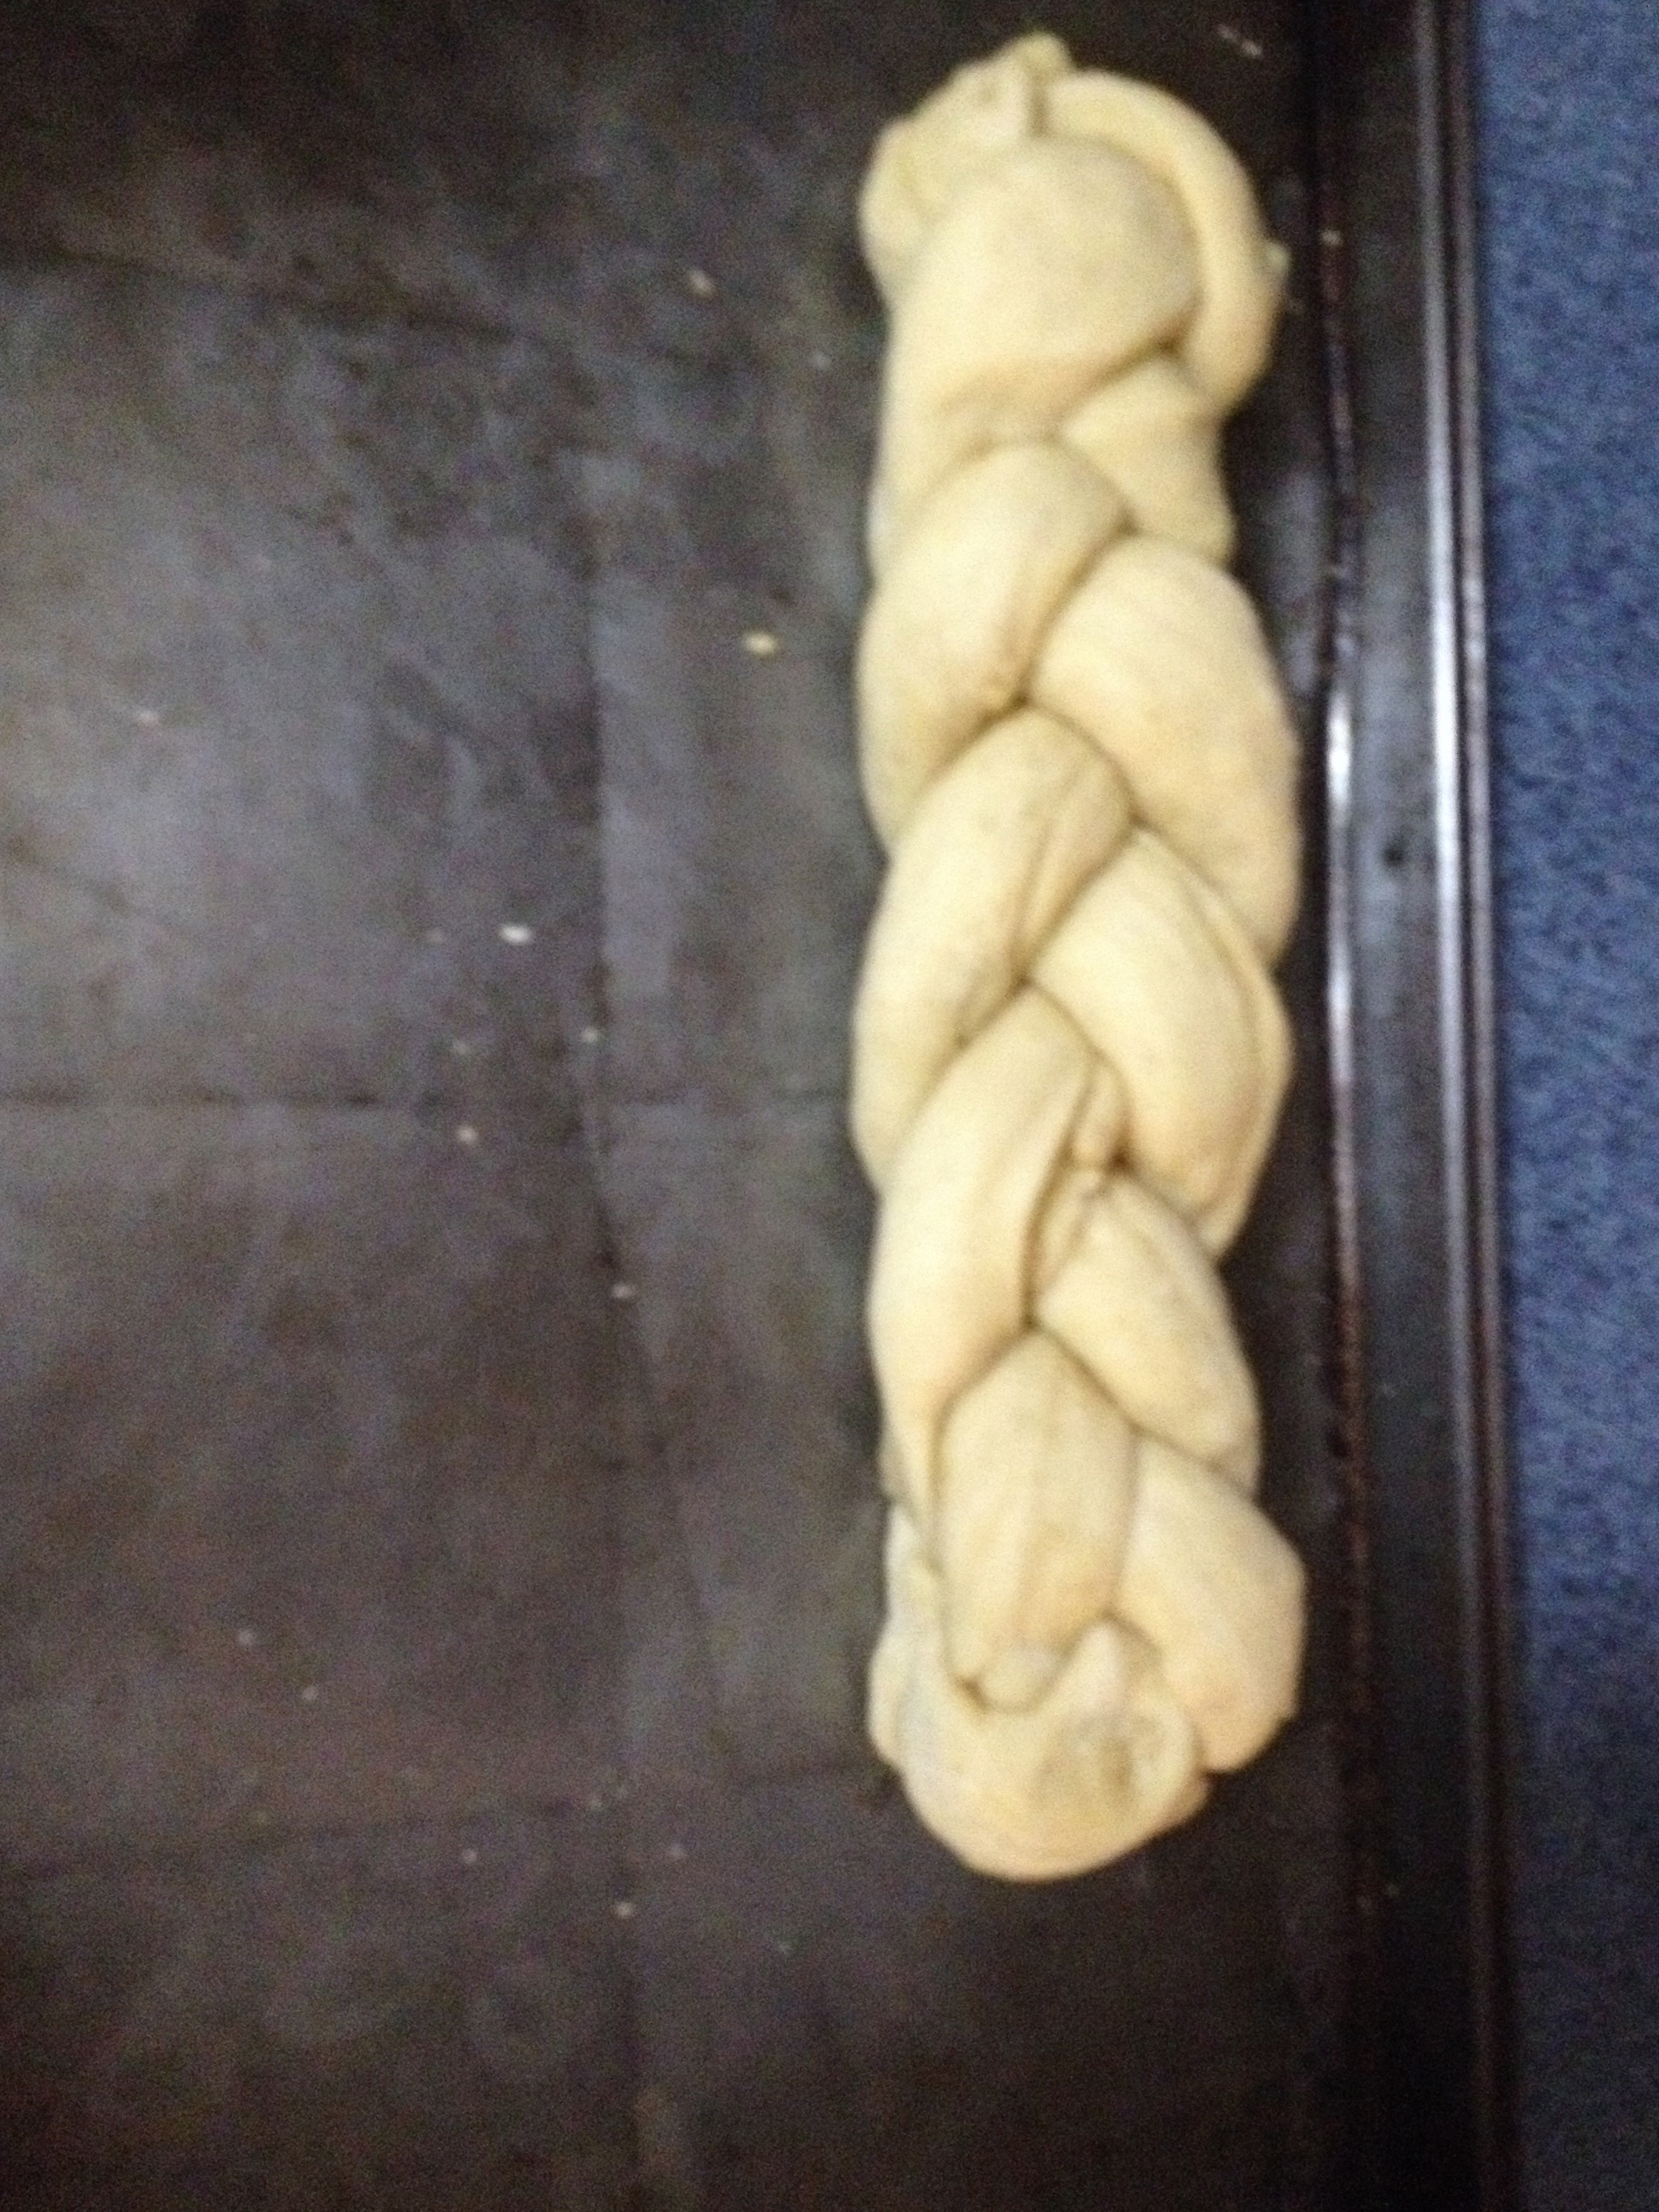
“Place on greased baking sheet and let rise for 30 to 45 minutes. Brush with beaten egg and then sprinkle with sugar (or sugar and cinnamon).” I use Sugar in the Raw, but you can use white sugar too! The beaten egg on top not only acts as a glue for the sugar, it also creates the beautiful golden brown color on the bread.
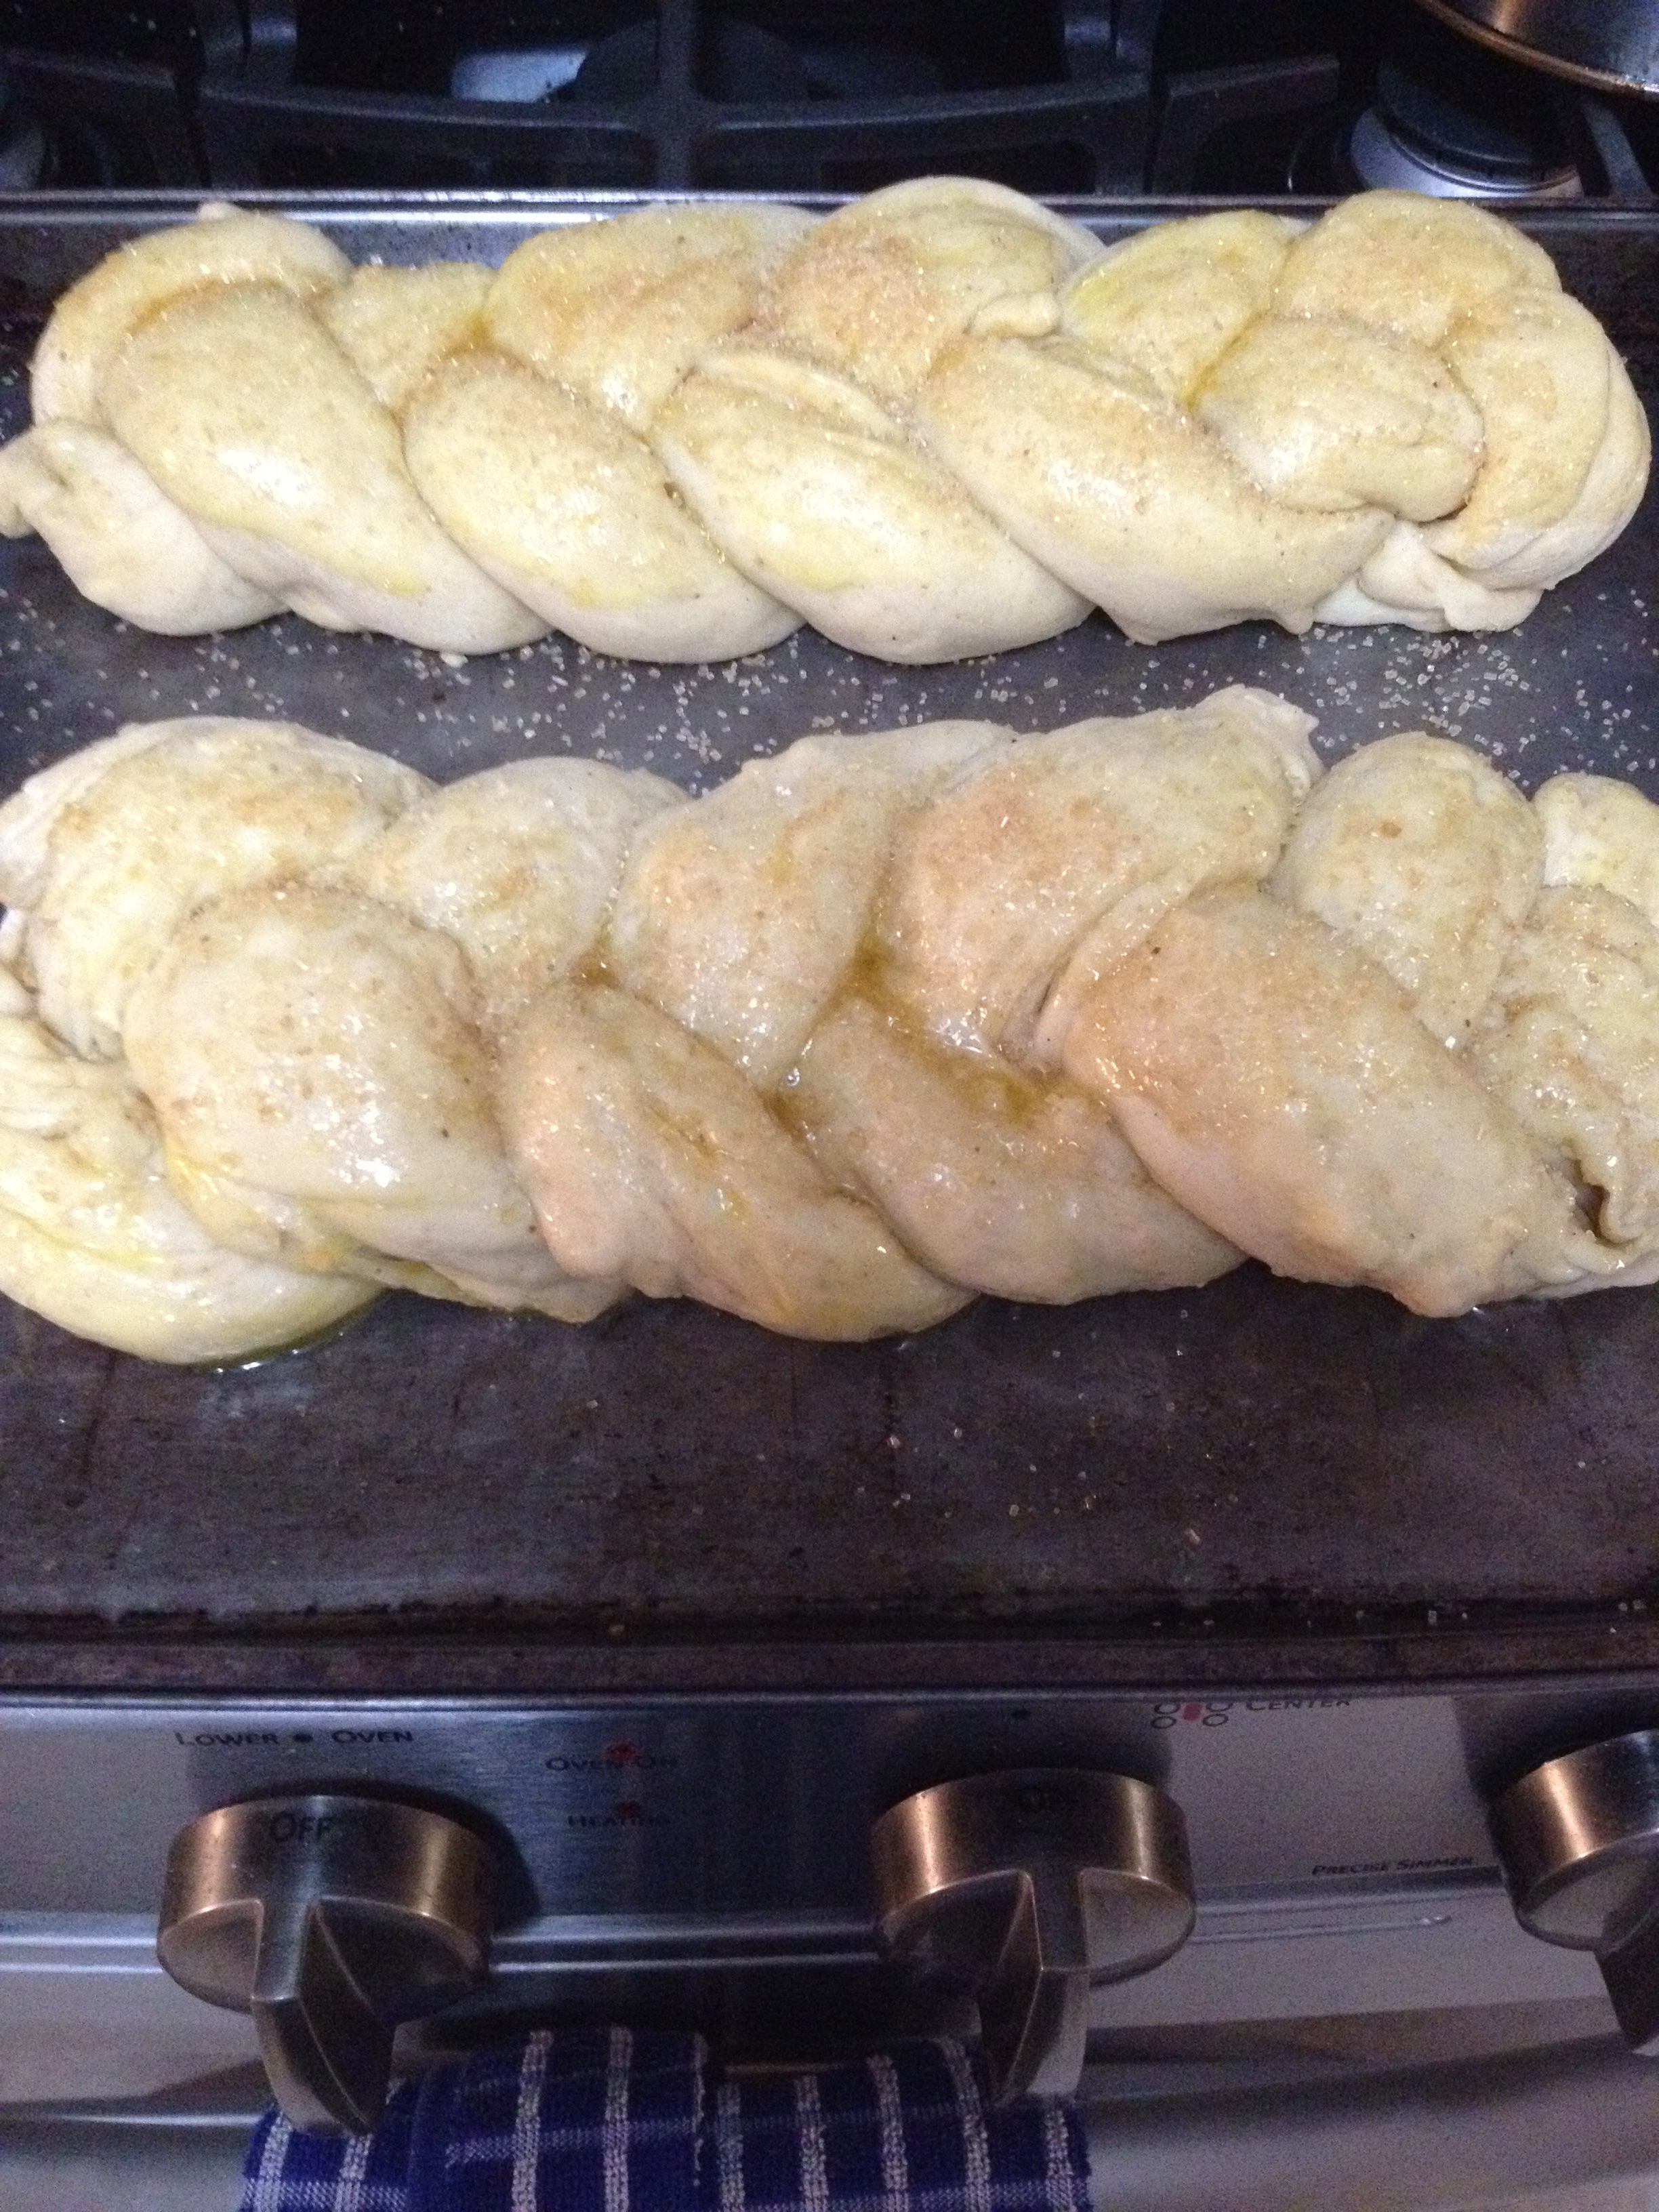
“Bake 350°F oven for 25 minutes (I cook 15 minutes on low or high shelf, then switch for the last 10 minutes). Cover with towel to cool, after removing from baking sheet and placing on cooling rack.”
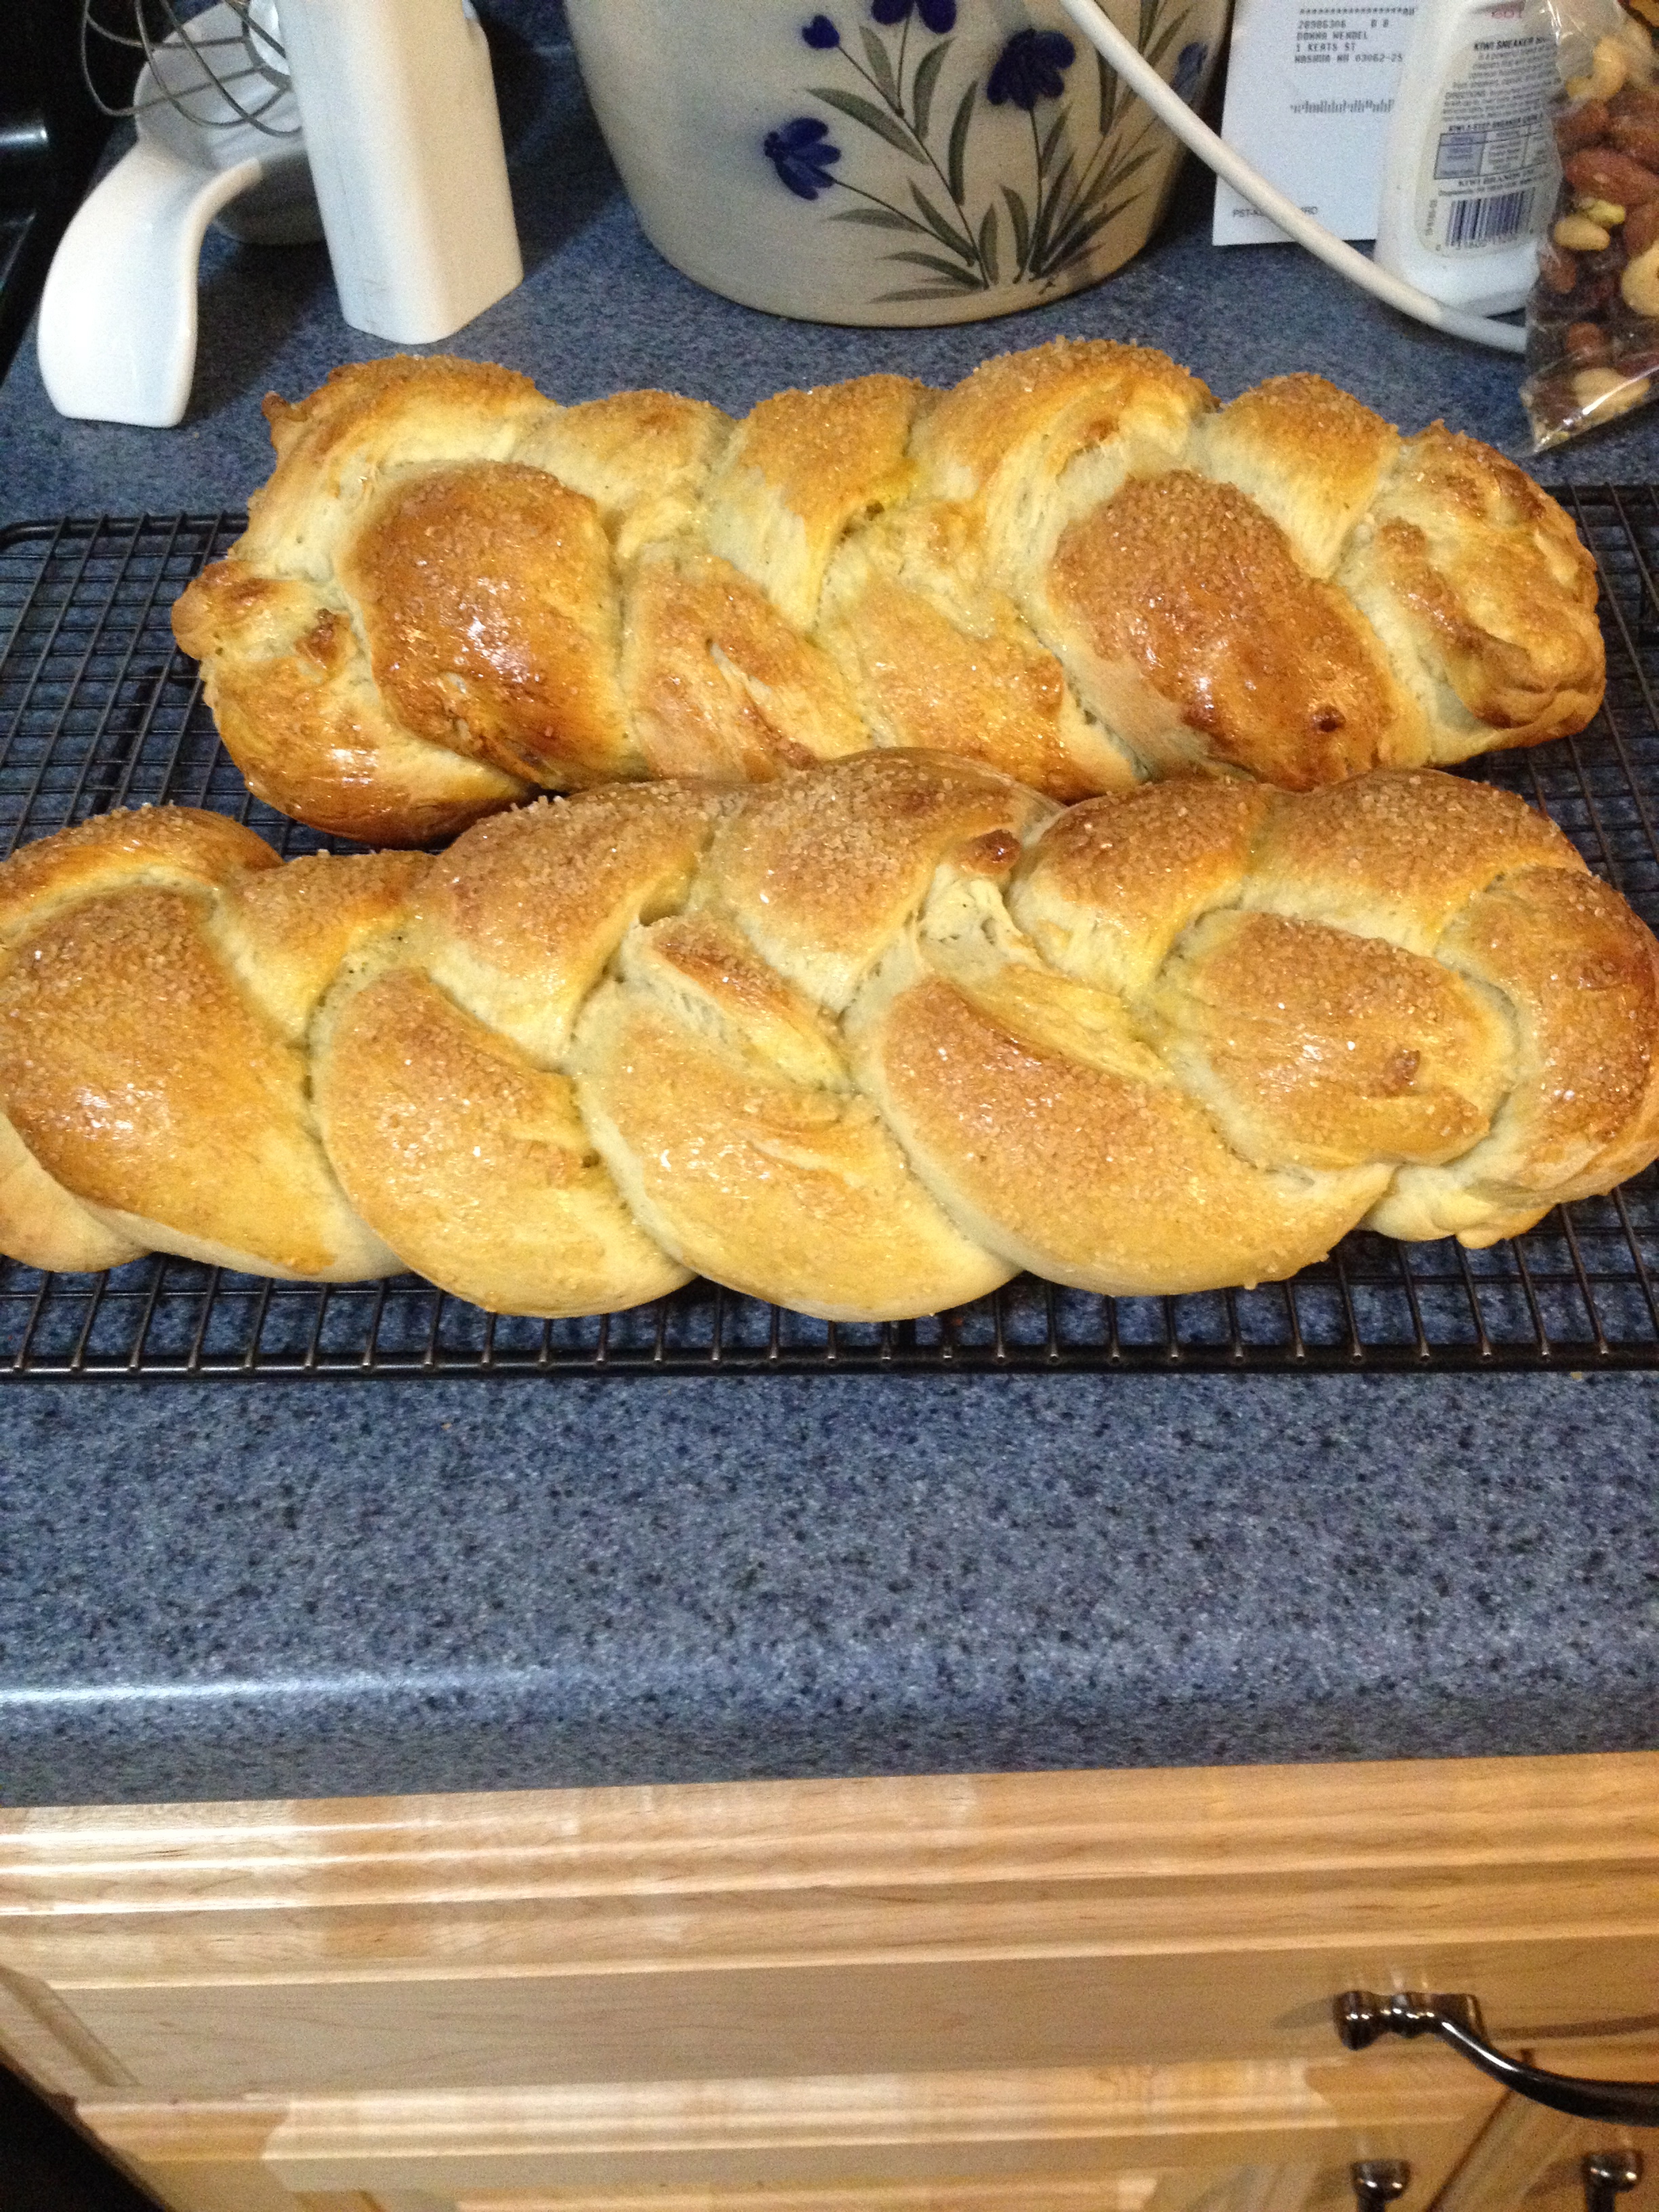
And that’s all there is to it! Be warned, though, this bread gets eaten very quickly, so make sure to snag a few slices for yourself before putting it out! Sometimes, it’s best not to change an old recipe, but just appreciate it for what it is, and for the memories it brings us. Yay for Grandmas!