Hey all! Who’s excited for the Superbowl?!? I know I am (although my favorite team isn’t in it this year)! I’m also really excited for the Superbowl snacks– and this year I have two fantastic gameday recipes for you! This is a double recipe post, with a great recipe for quick cinnamon rolls and easy pizza rolls! Here are the ingredients:
Cinnamon Rolls
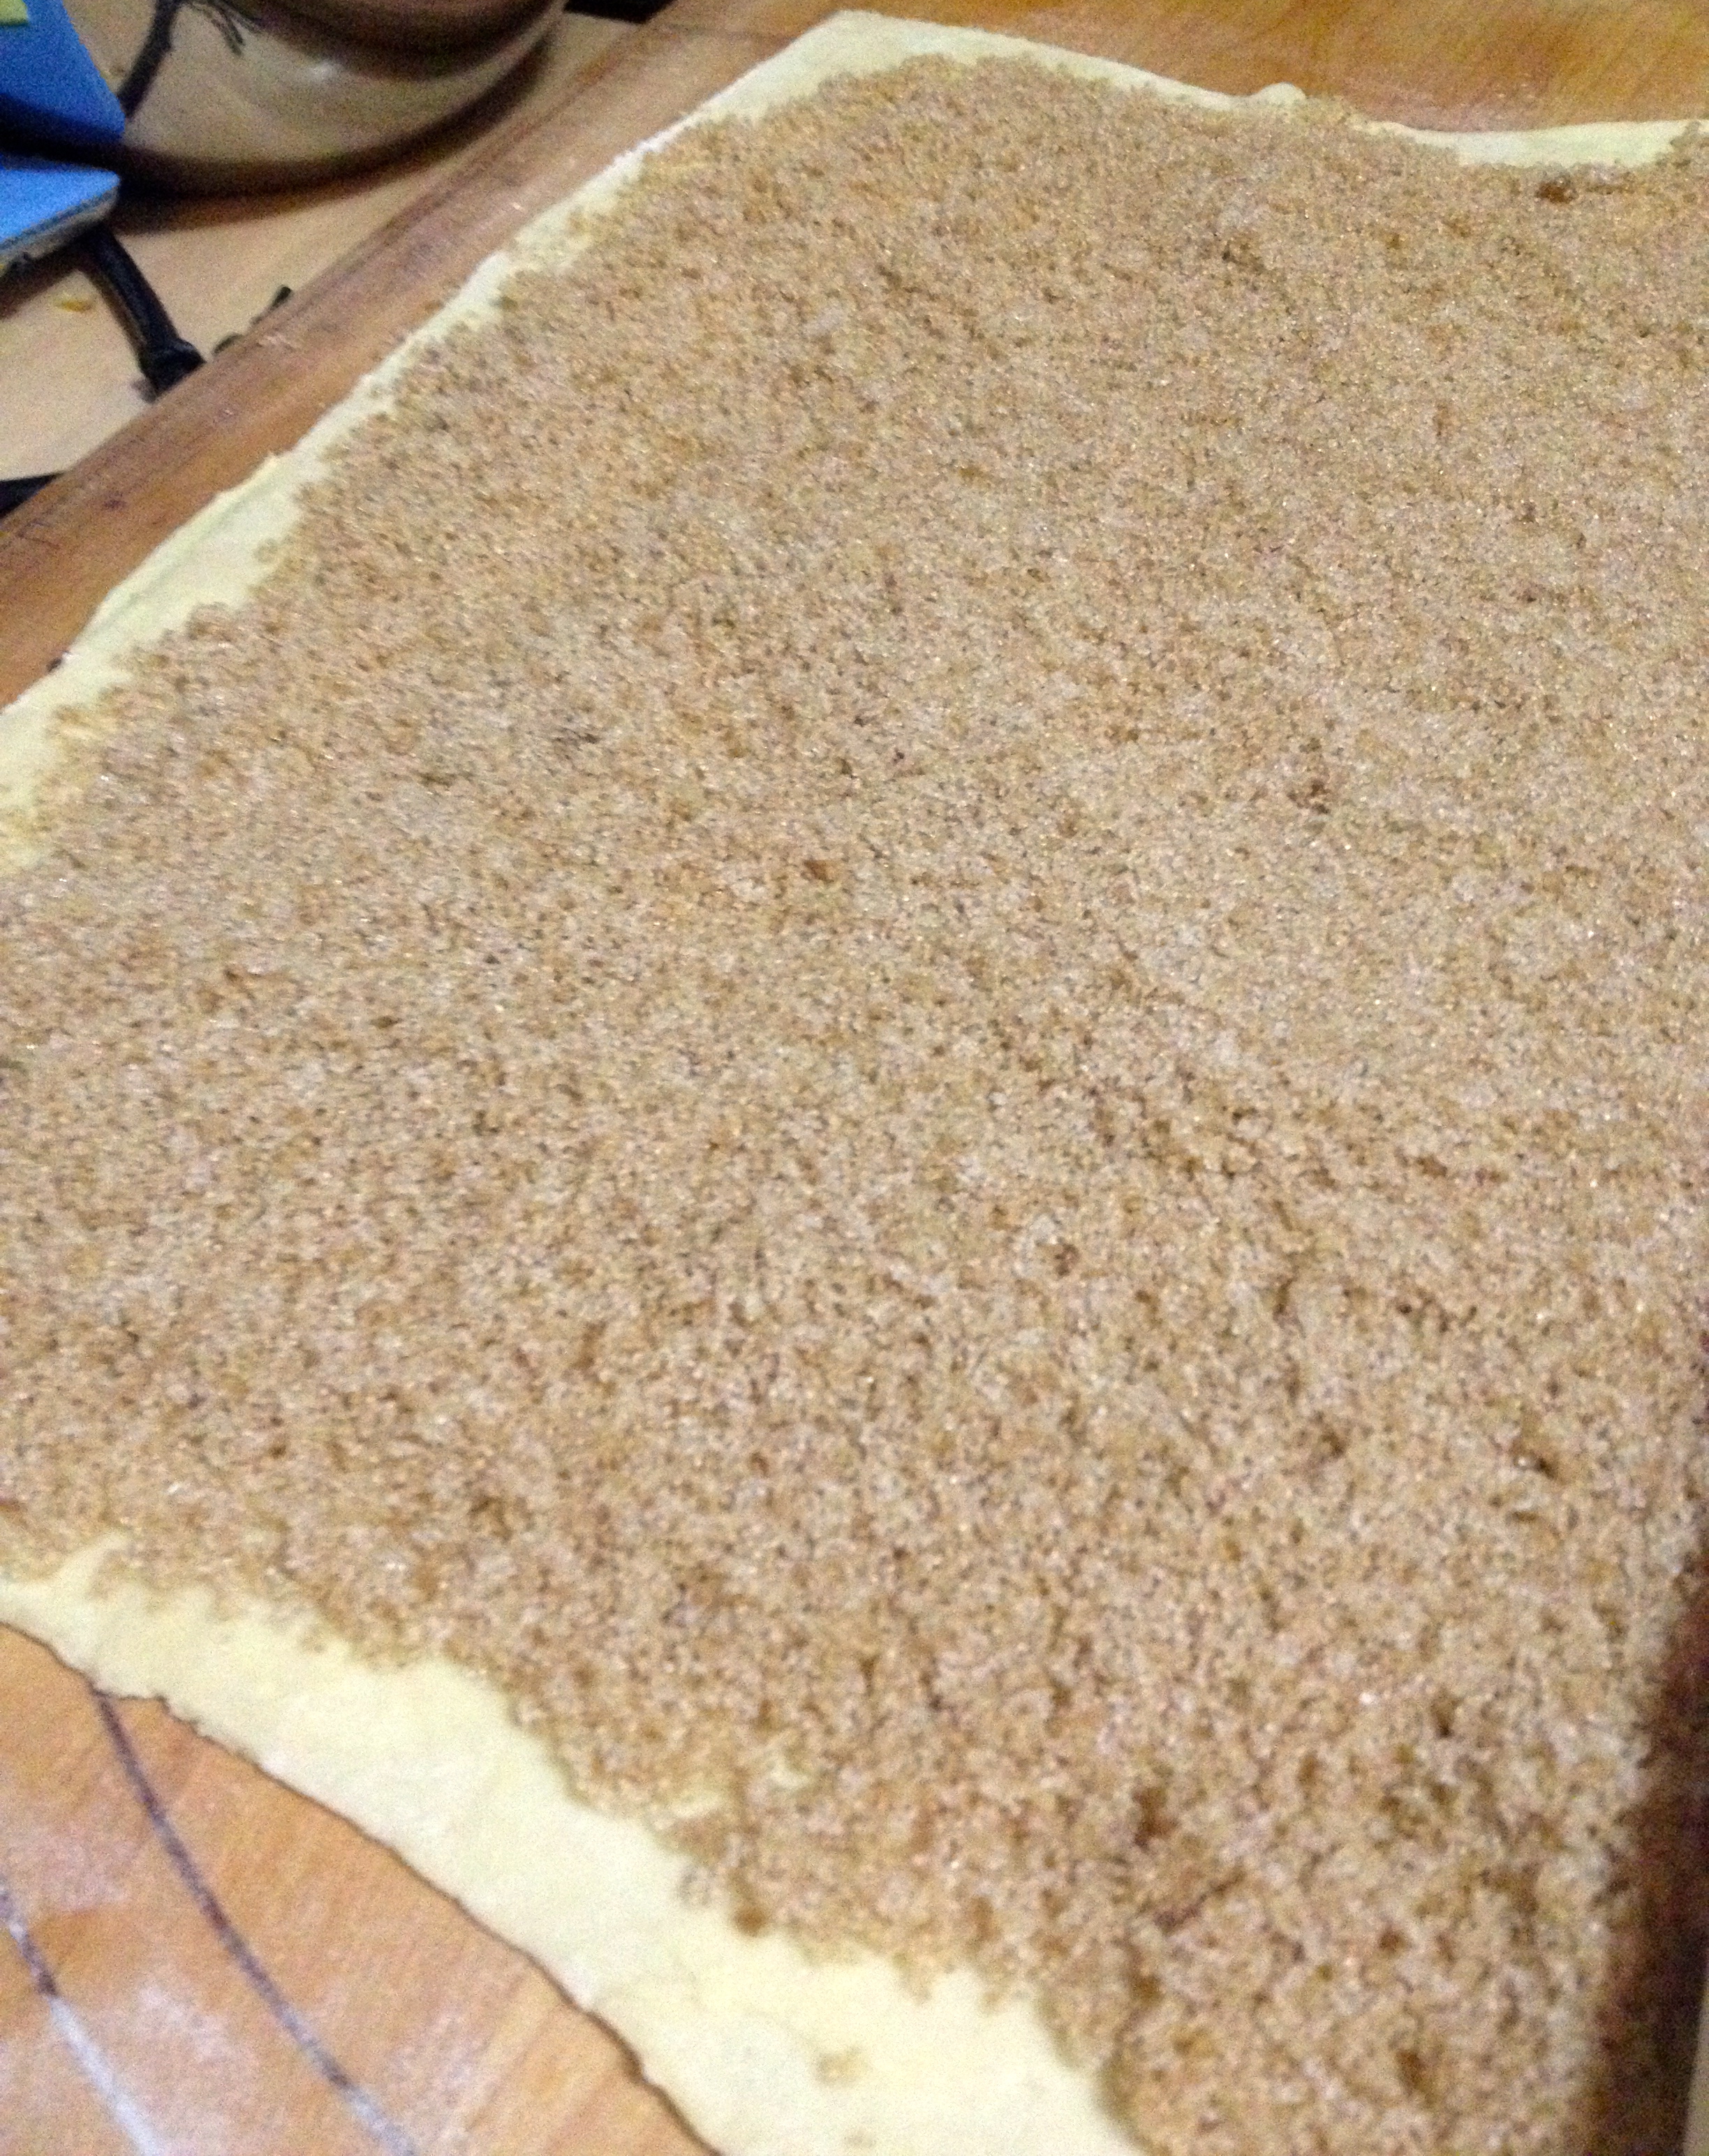
- 1 cup light brown sugar
- 1/2 cup granulated sugar
- 1/2 tsp ground cinnamon
- 1 sheet puff pastry, very cold (you can find this in the freezer section at the store)
- Butter or margarine, to spread over pastry
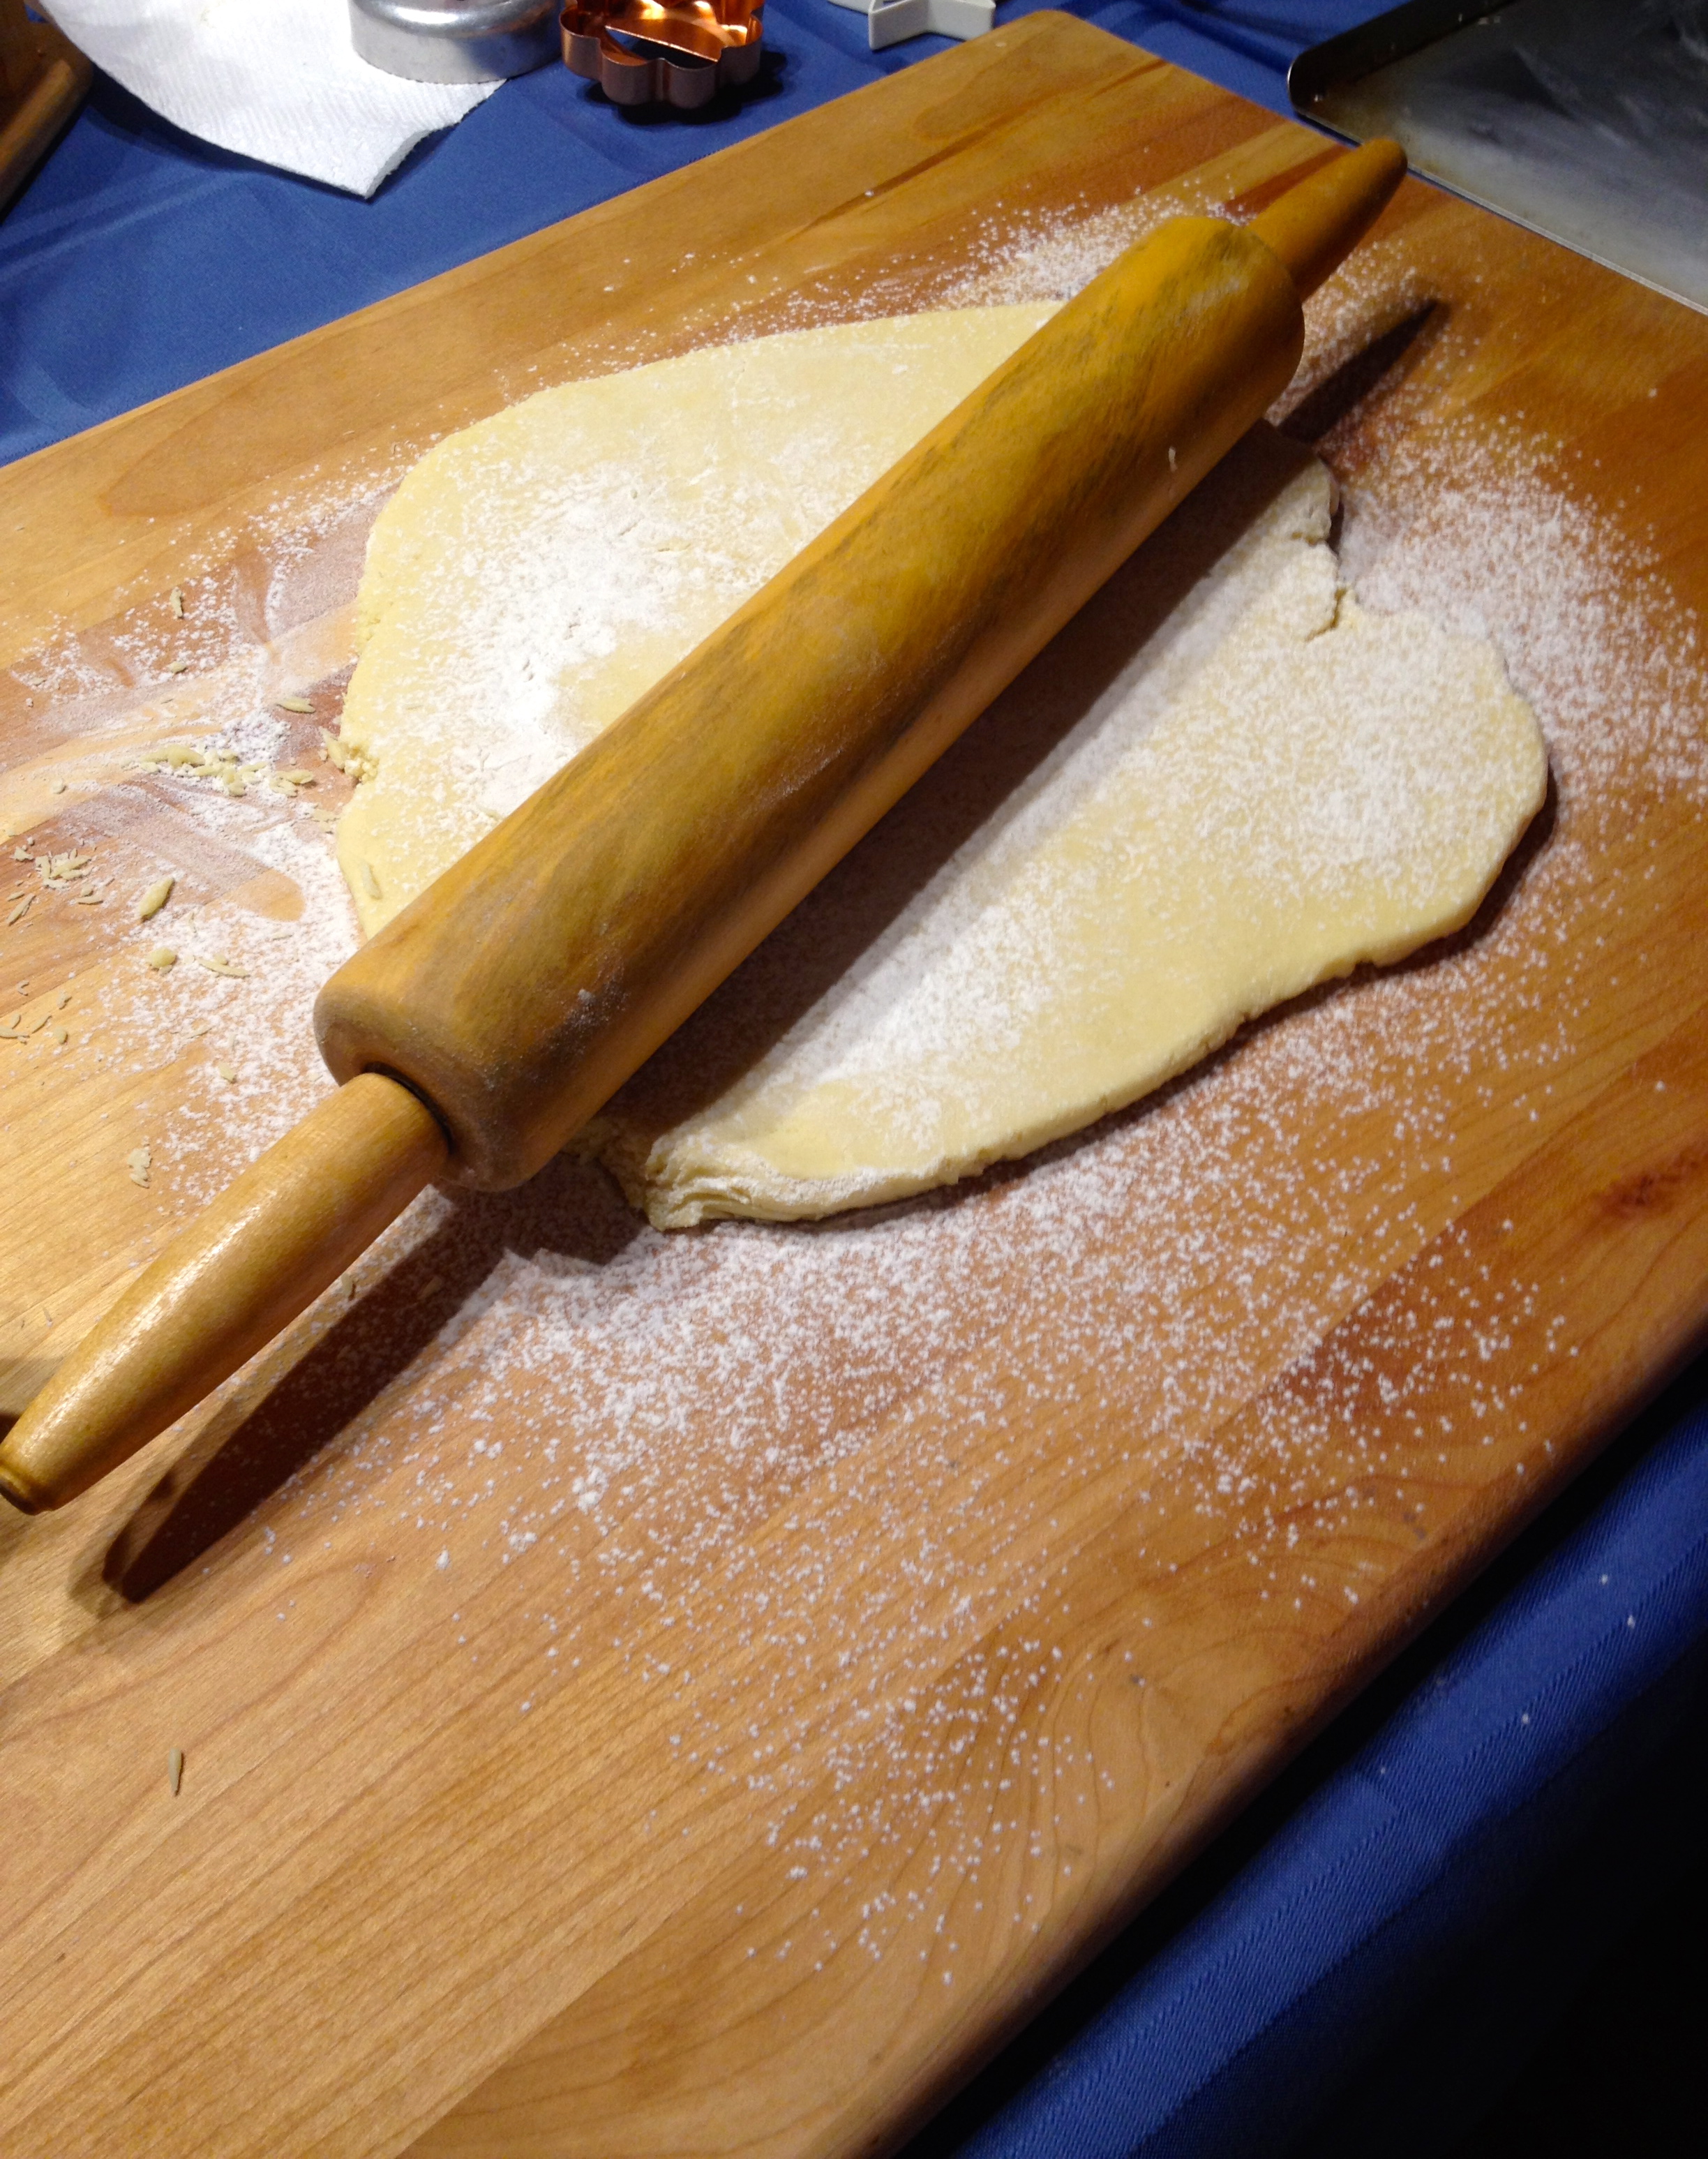
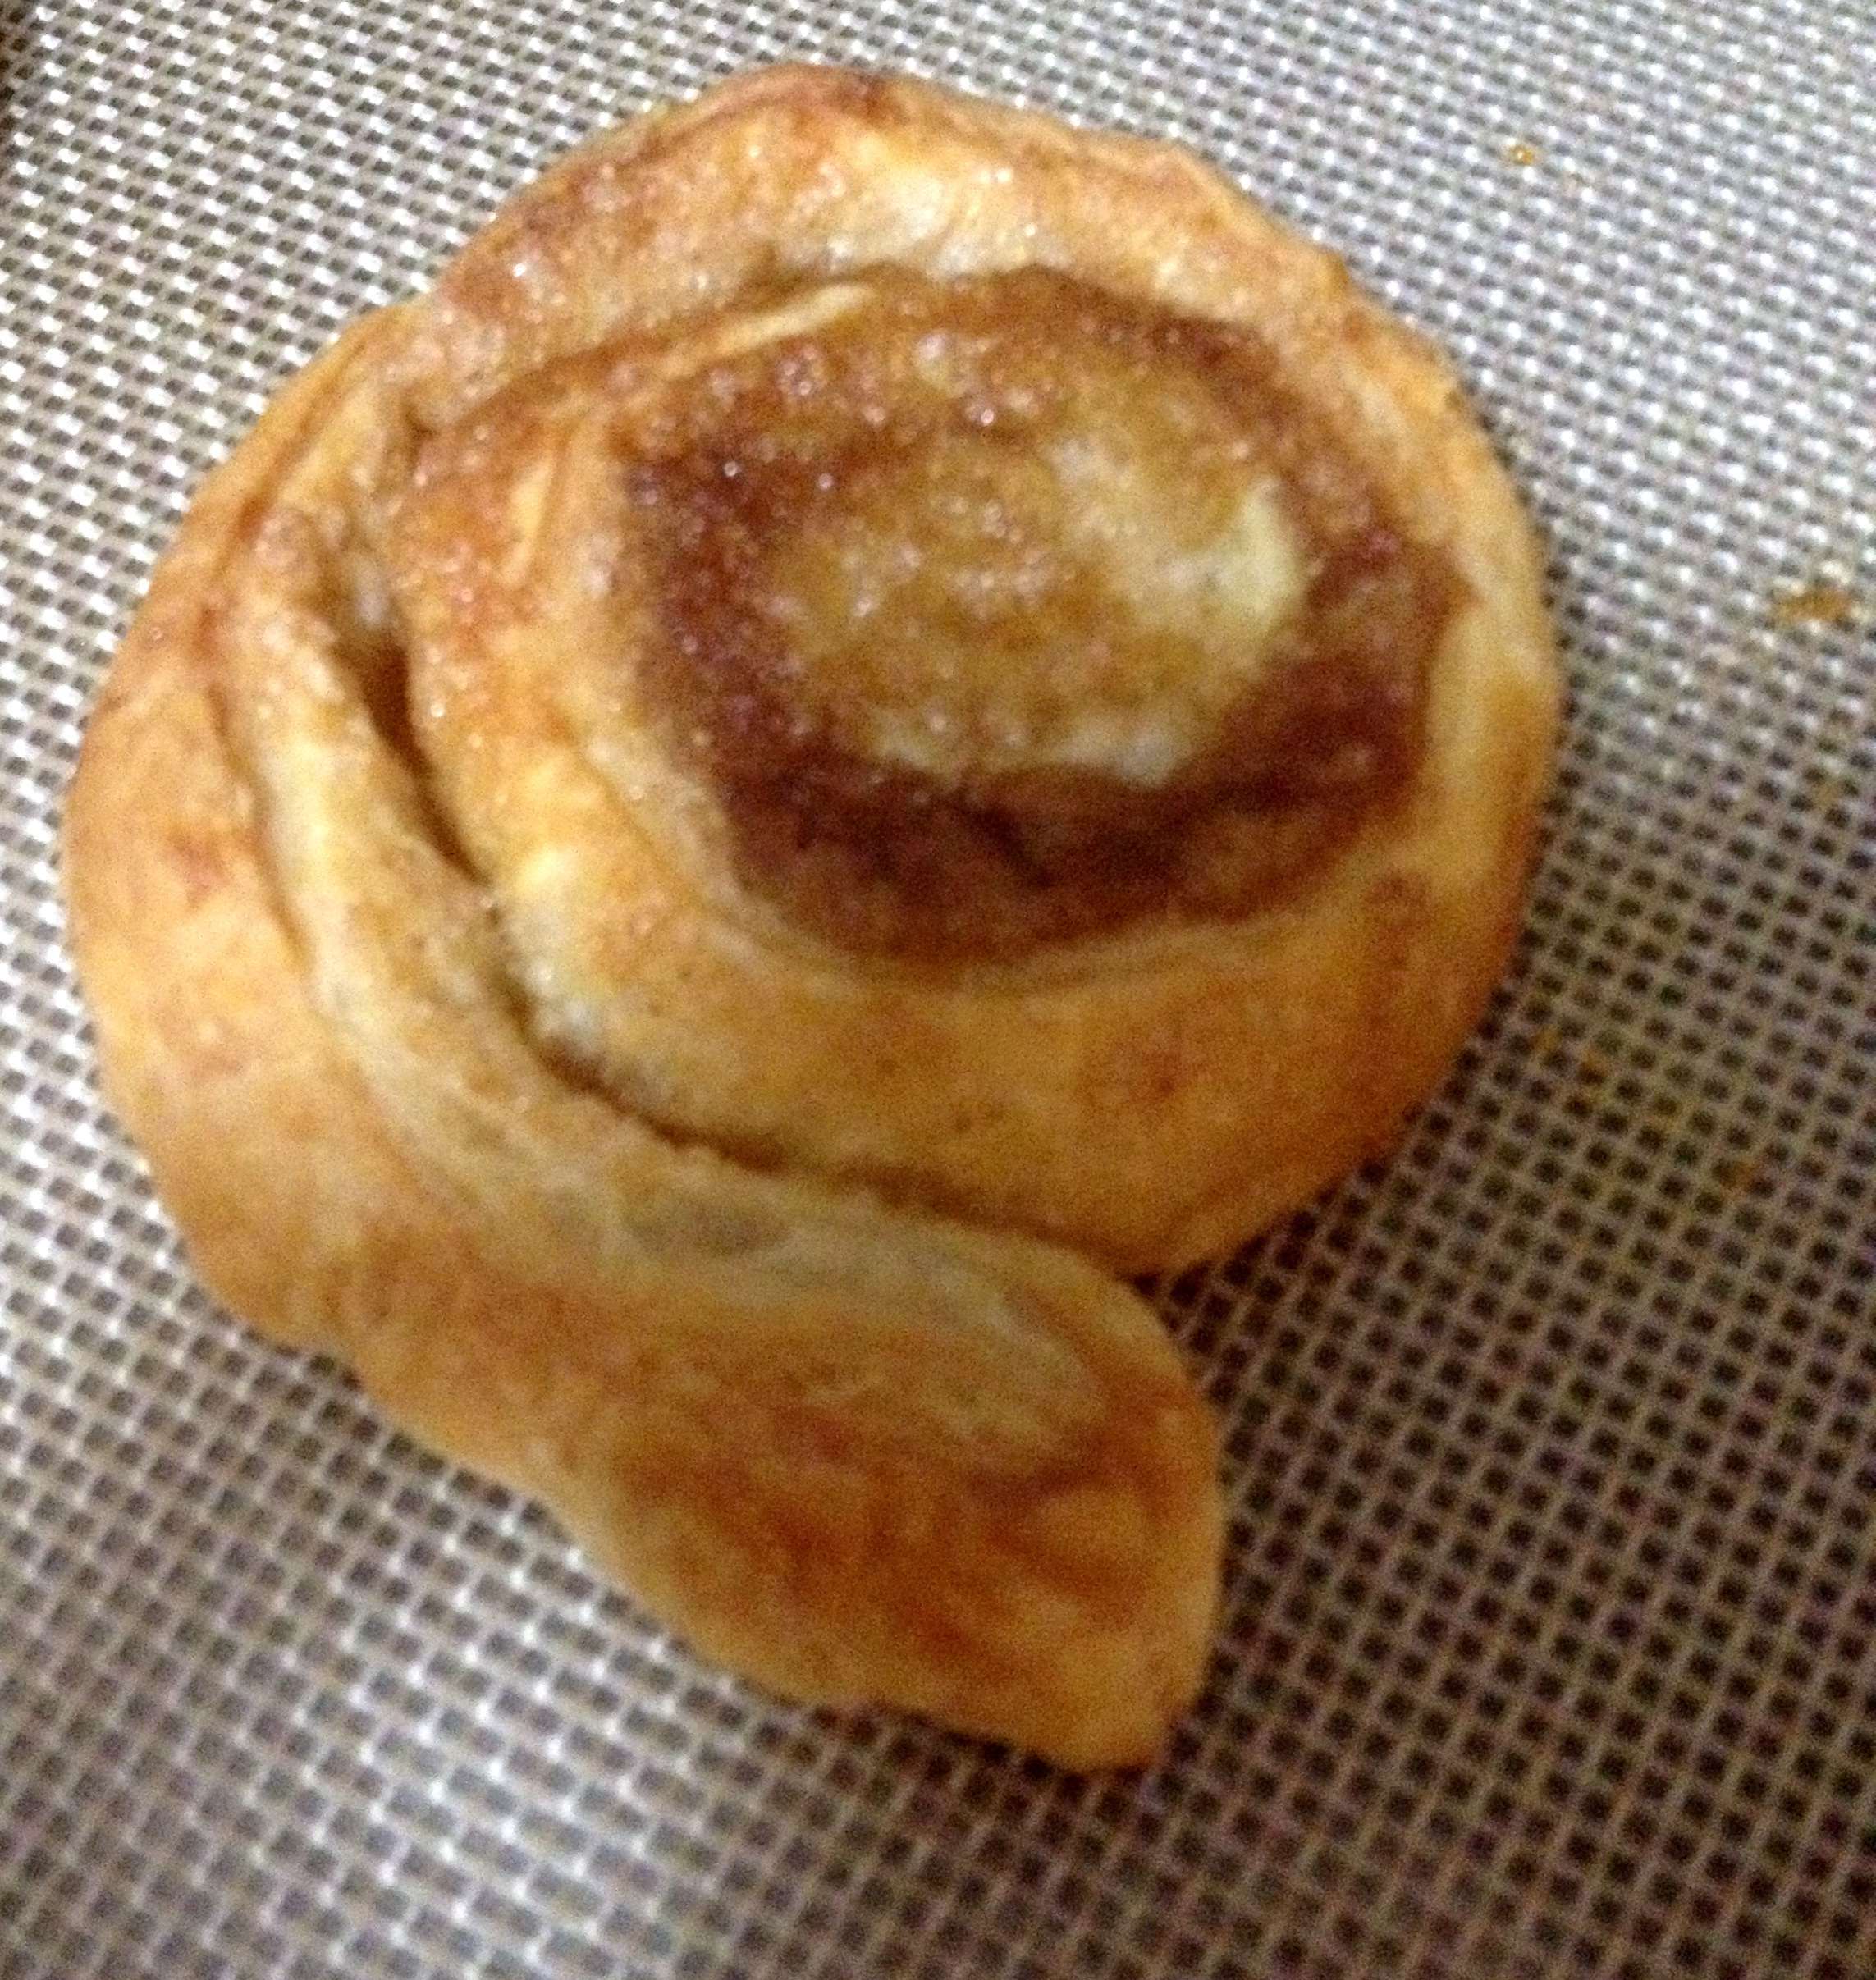
First, combine the brown sugar, sugar, and cinnamon in a mixing bowl. Unfold the puff pastry and roll it out on a floured pastry board until it’s about 18 inches long and wide. Then, butter the pastry lightly. Pack the brown sugar mixture onto the pastry.
Gently, roll the pastry into a log.

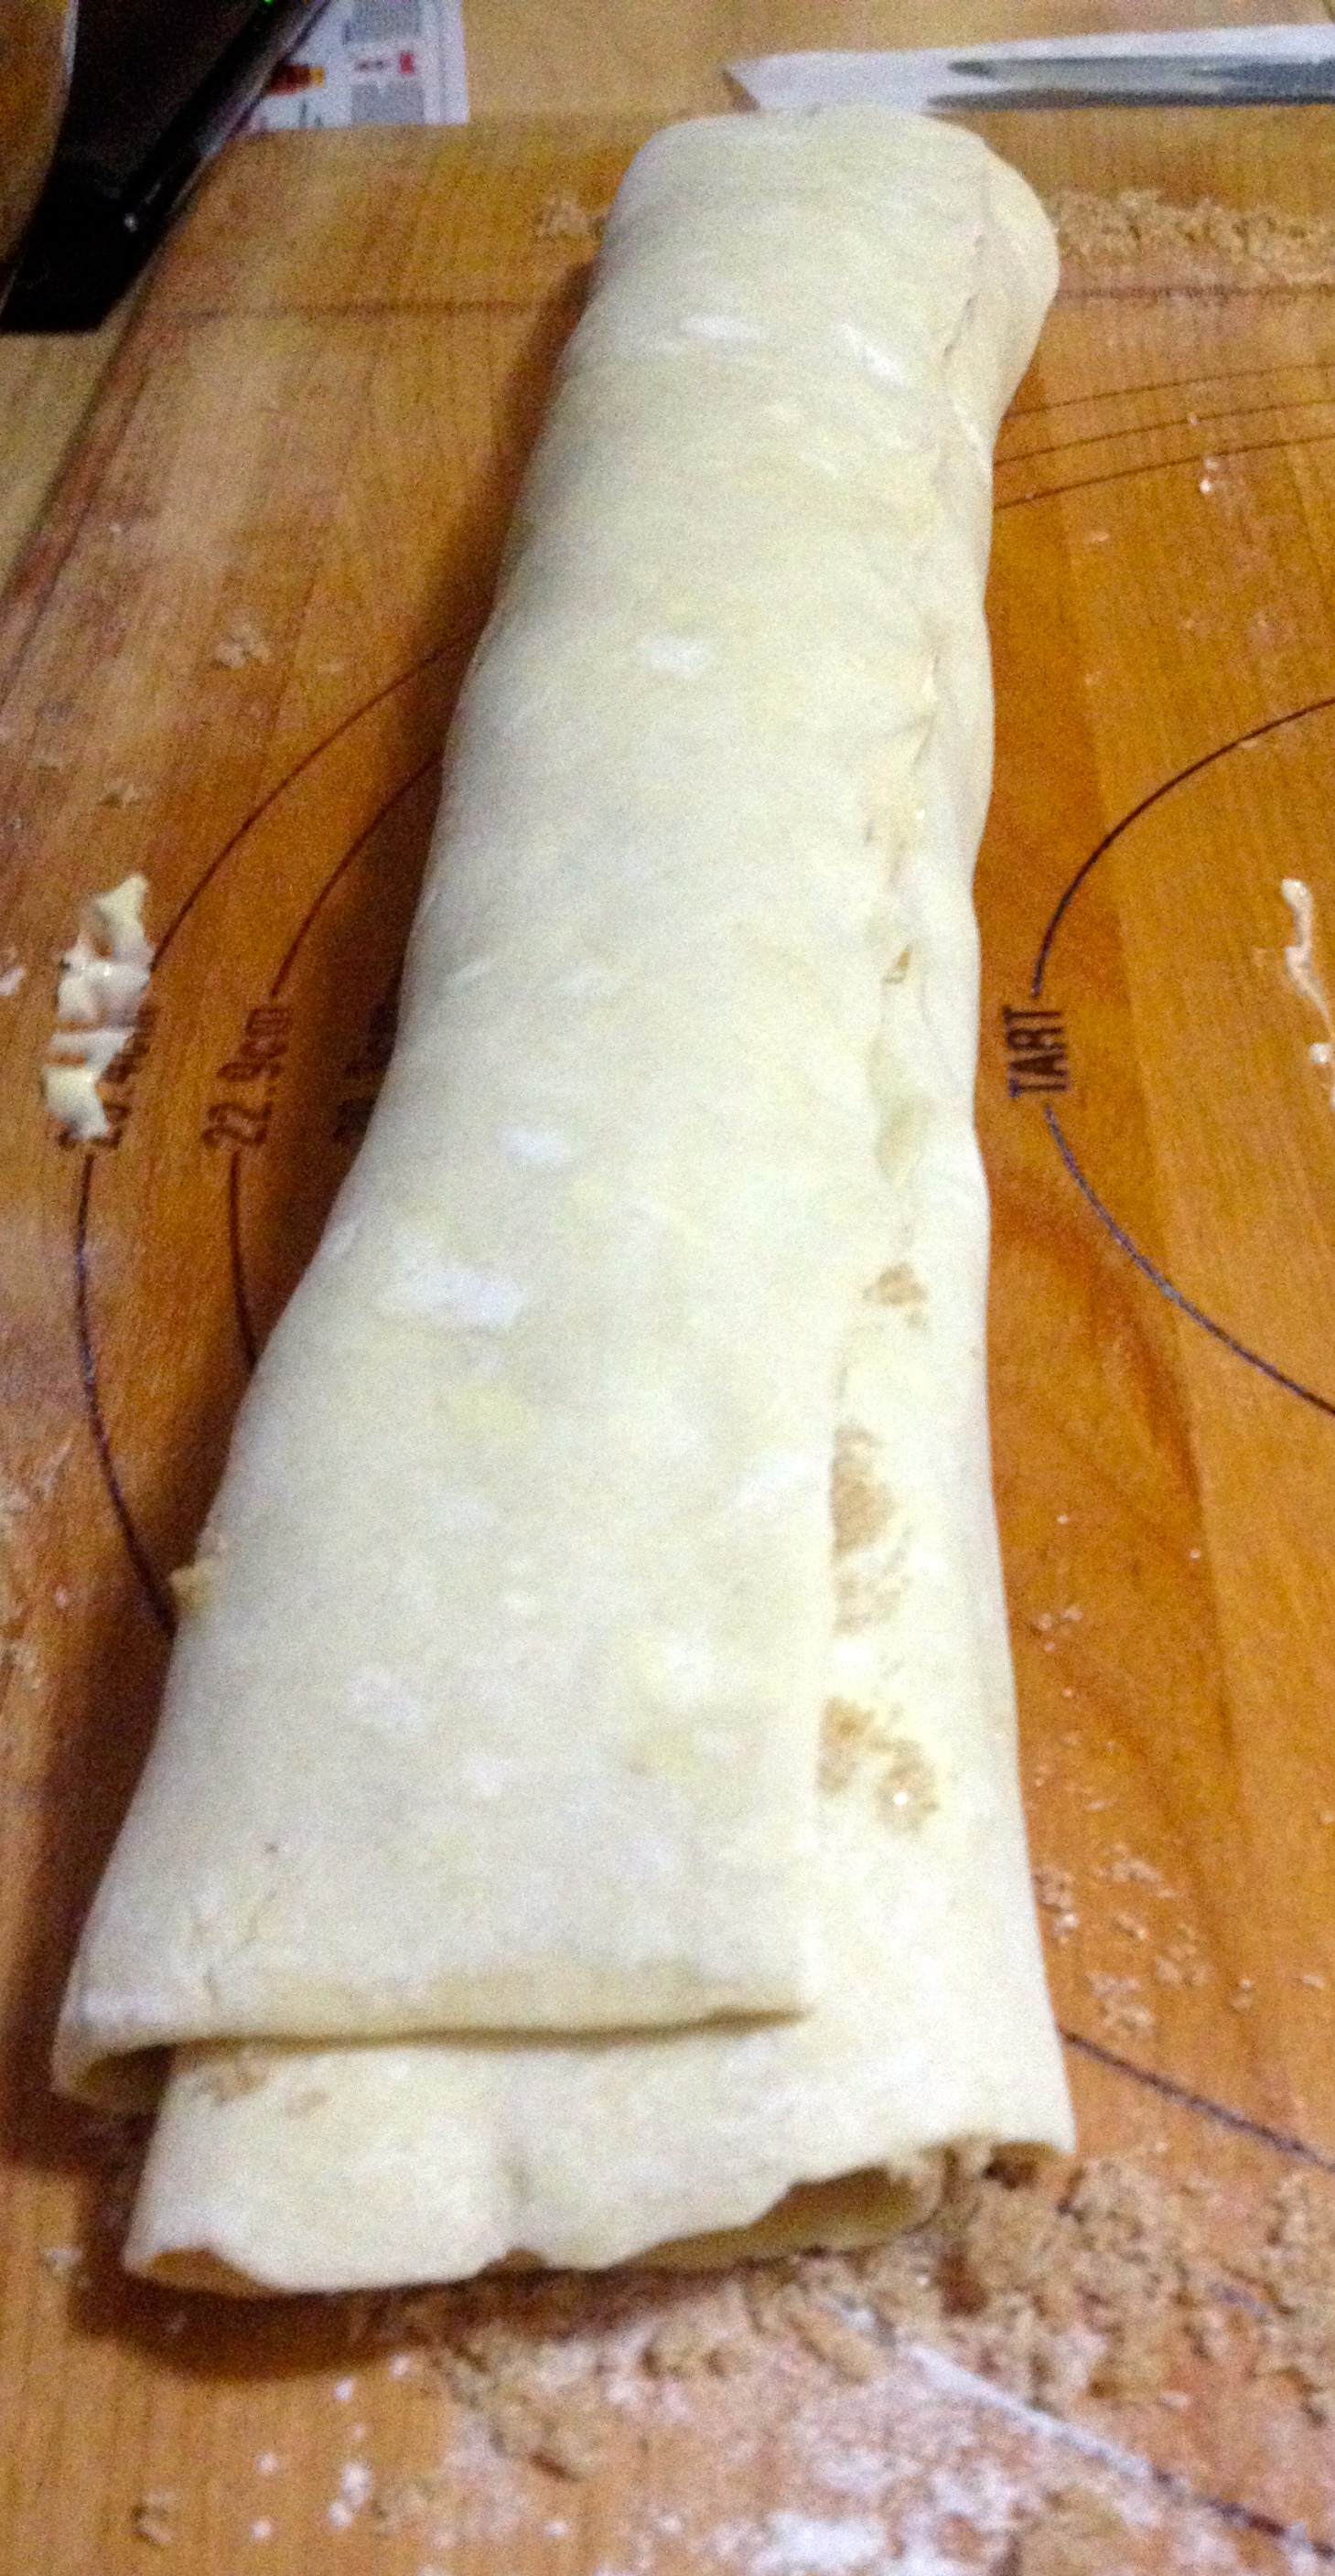
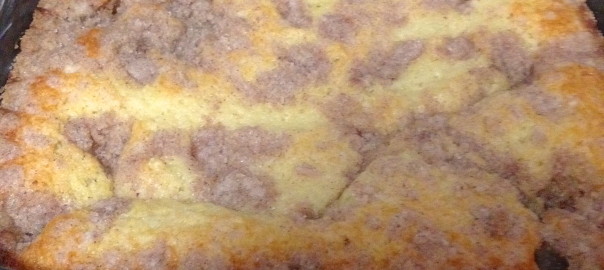
Cut the log into small circles, and lay the circles down on a greased baking sheet (or a silicon baking mat, like I did). Hint: Make sure the pastry is super cold while you’re doing this, or else it will fall apart. If it gets warm, stick the log in the freezer wrapped in plastic wrap for a few minutes until it’s cold and firm again.
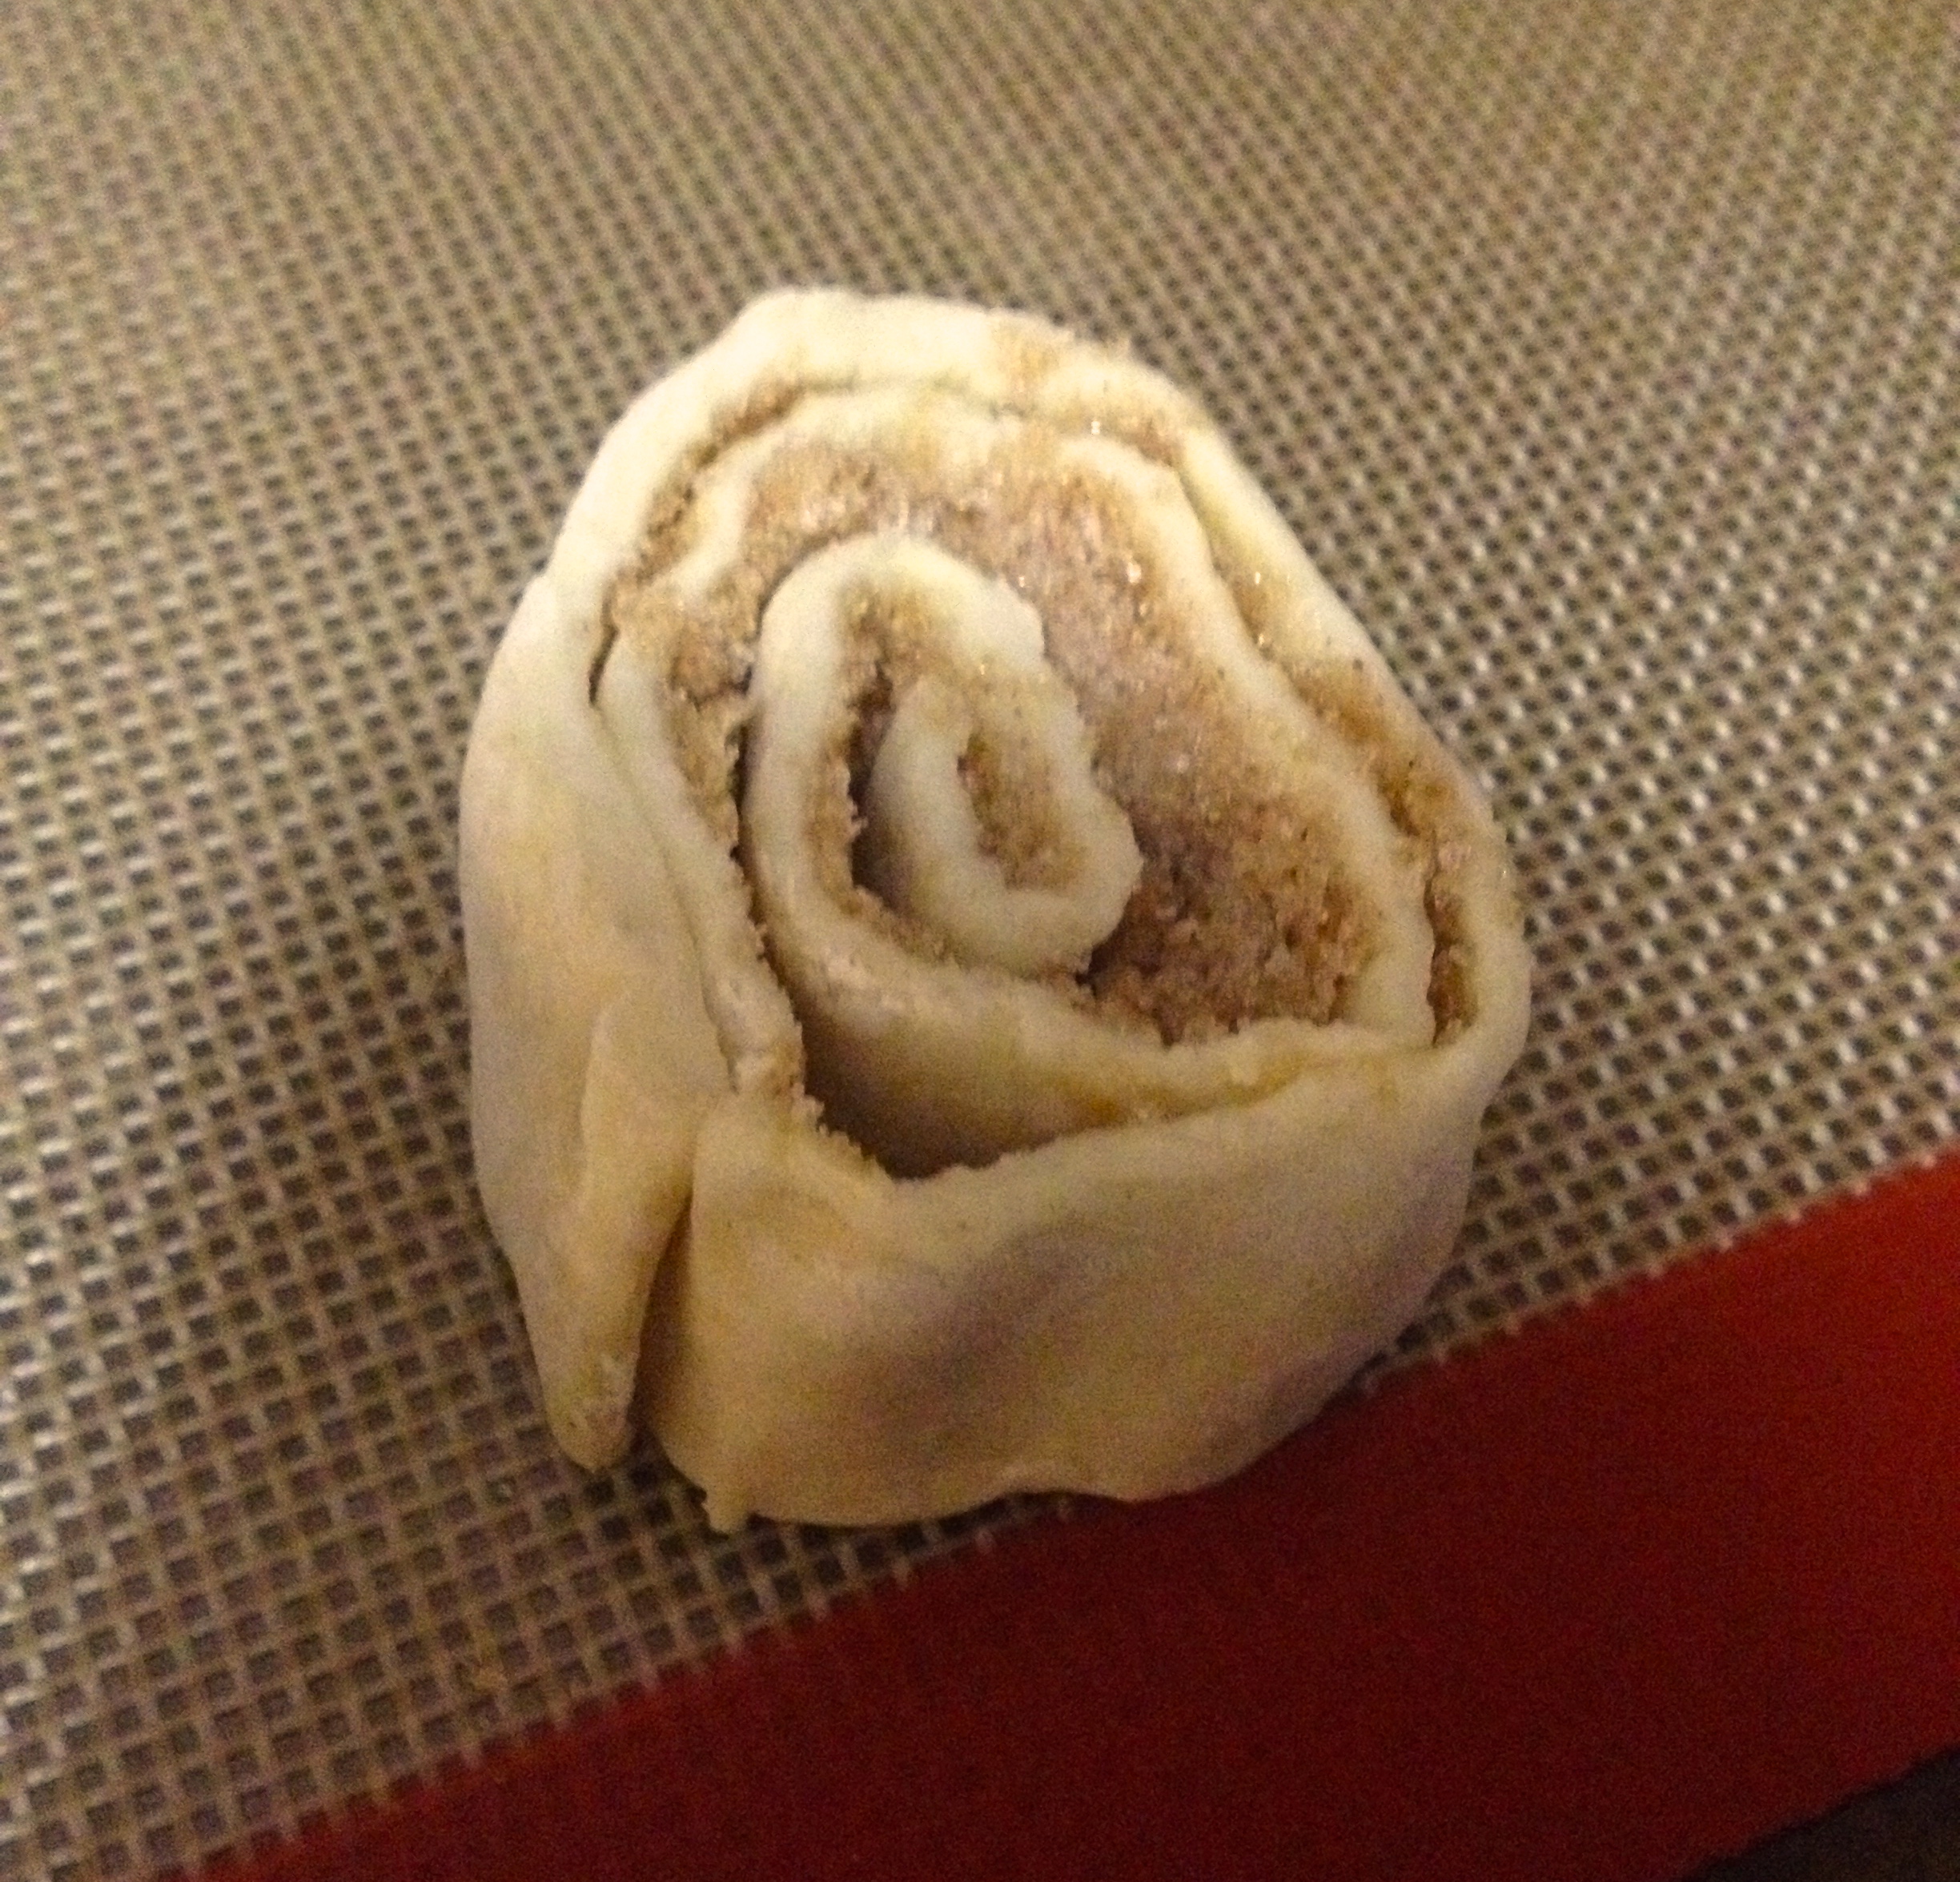
Bake in a 400ºF oven for 15 minutes or until the pastry is golden brown. Then, let the pastry cool on the baking sheet.
Now for the pizza rolls!
Pizza Rolls:
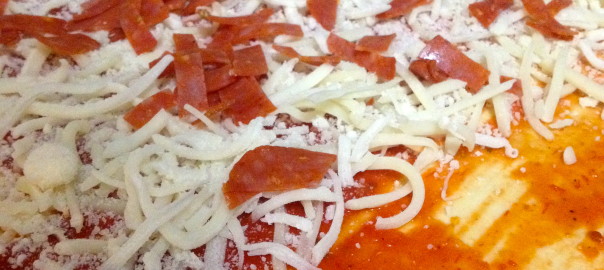
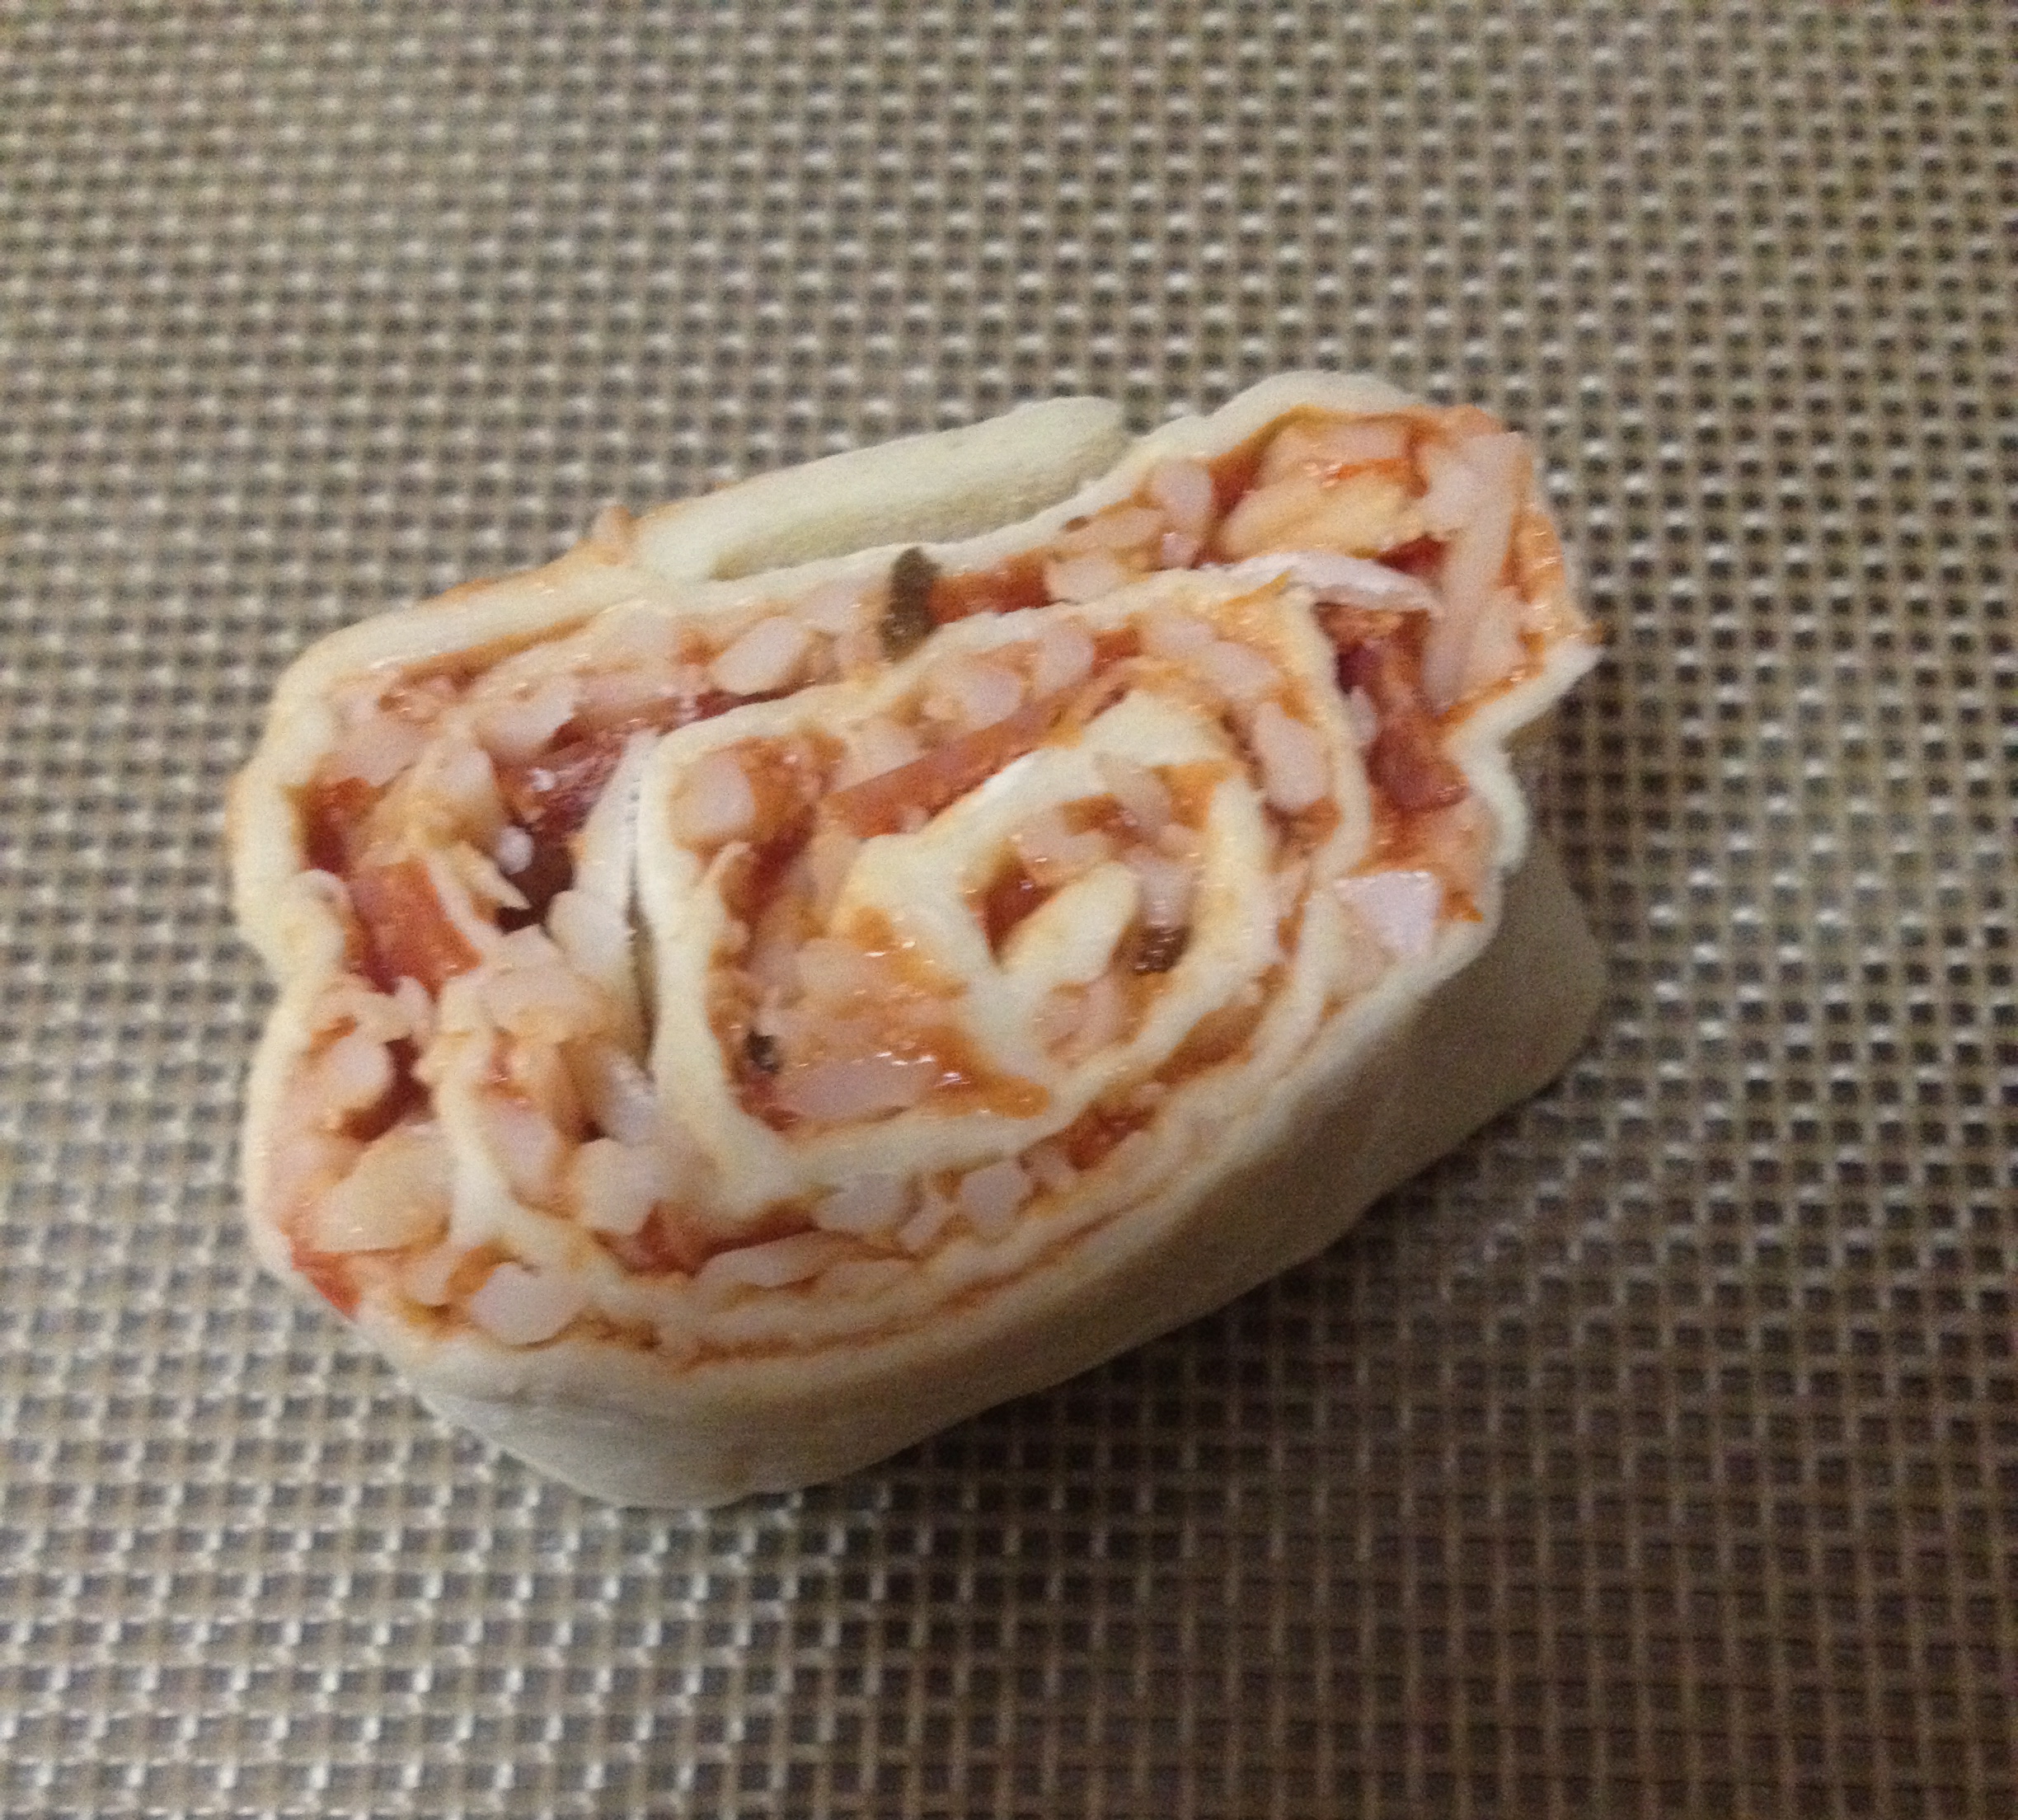
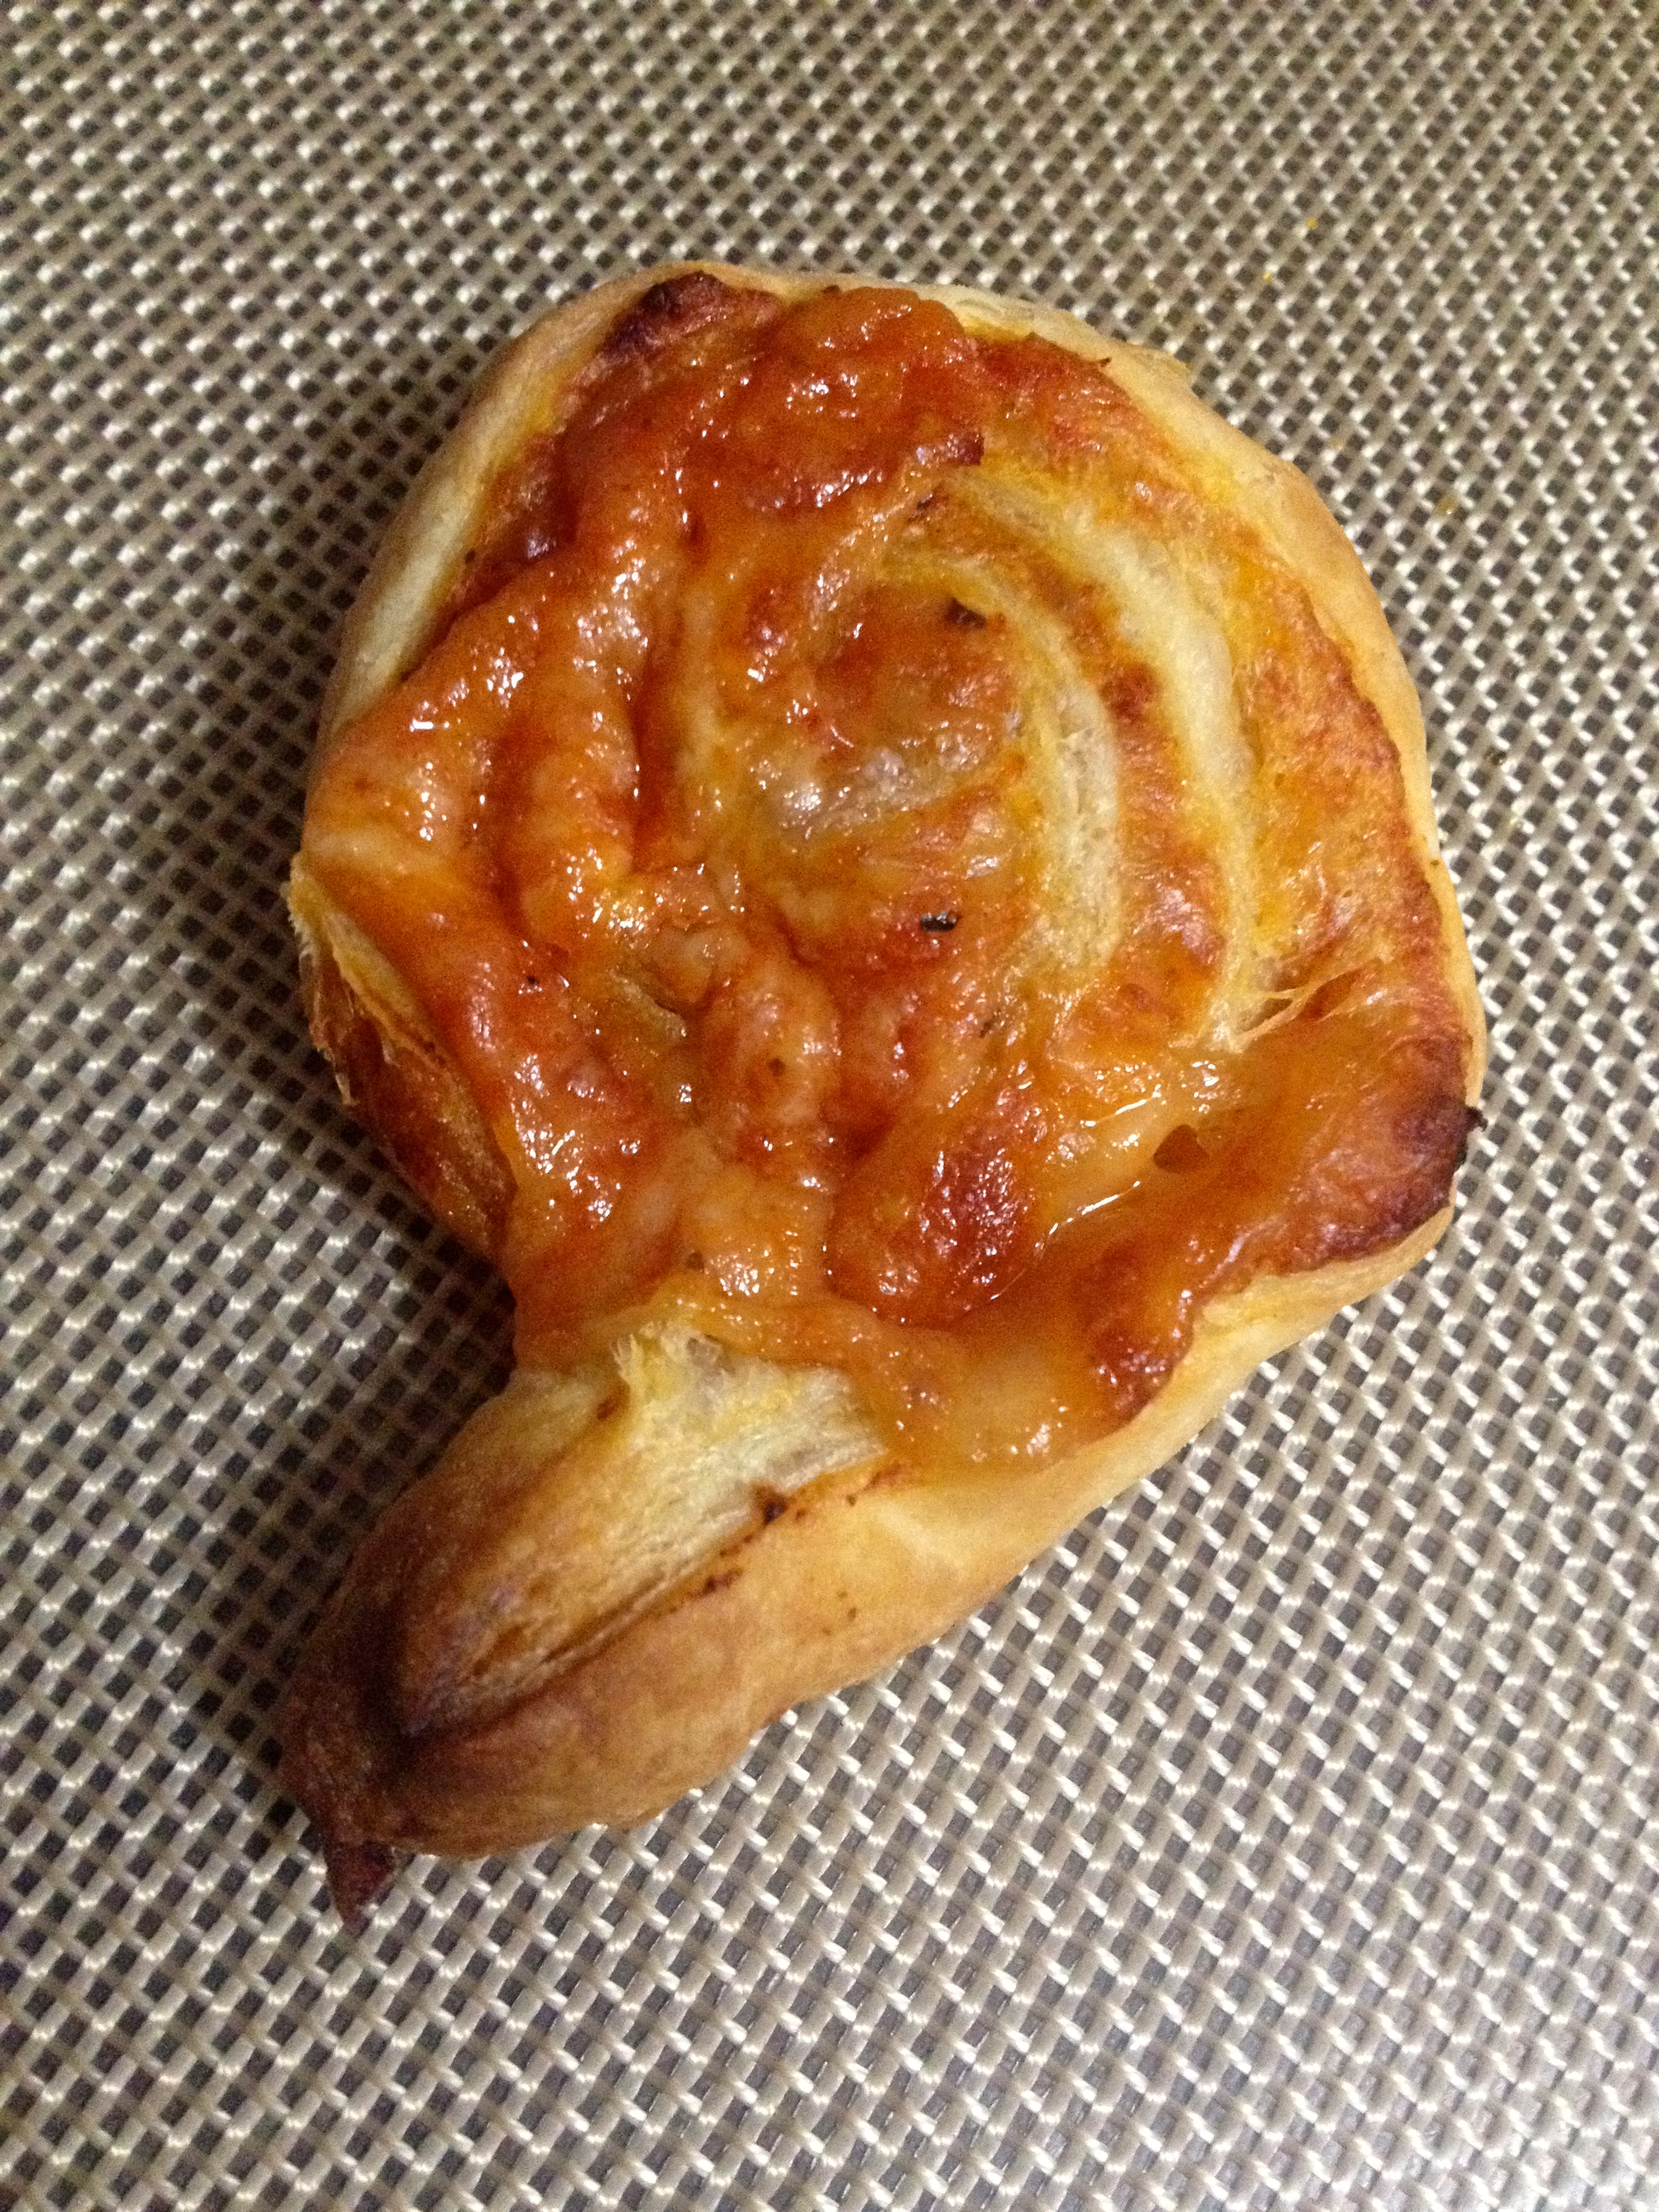
- 1 sheet puff pastry, very cold
- 3/4 cup marinara sauce
- 2 cups shredded mozzarella cheese
- 1/2 cup grated Parmesan cheese
- Chopped pepperoni, to taste (I used turkey pepperoni)
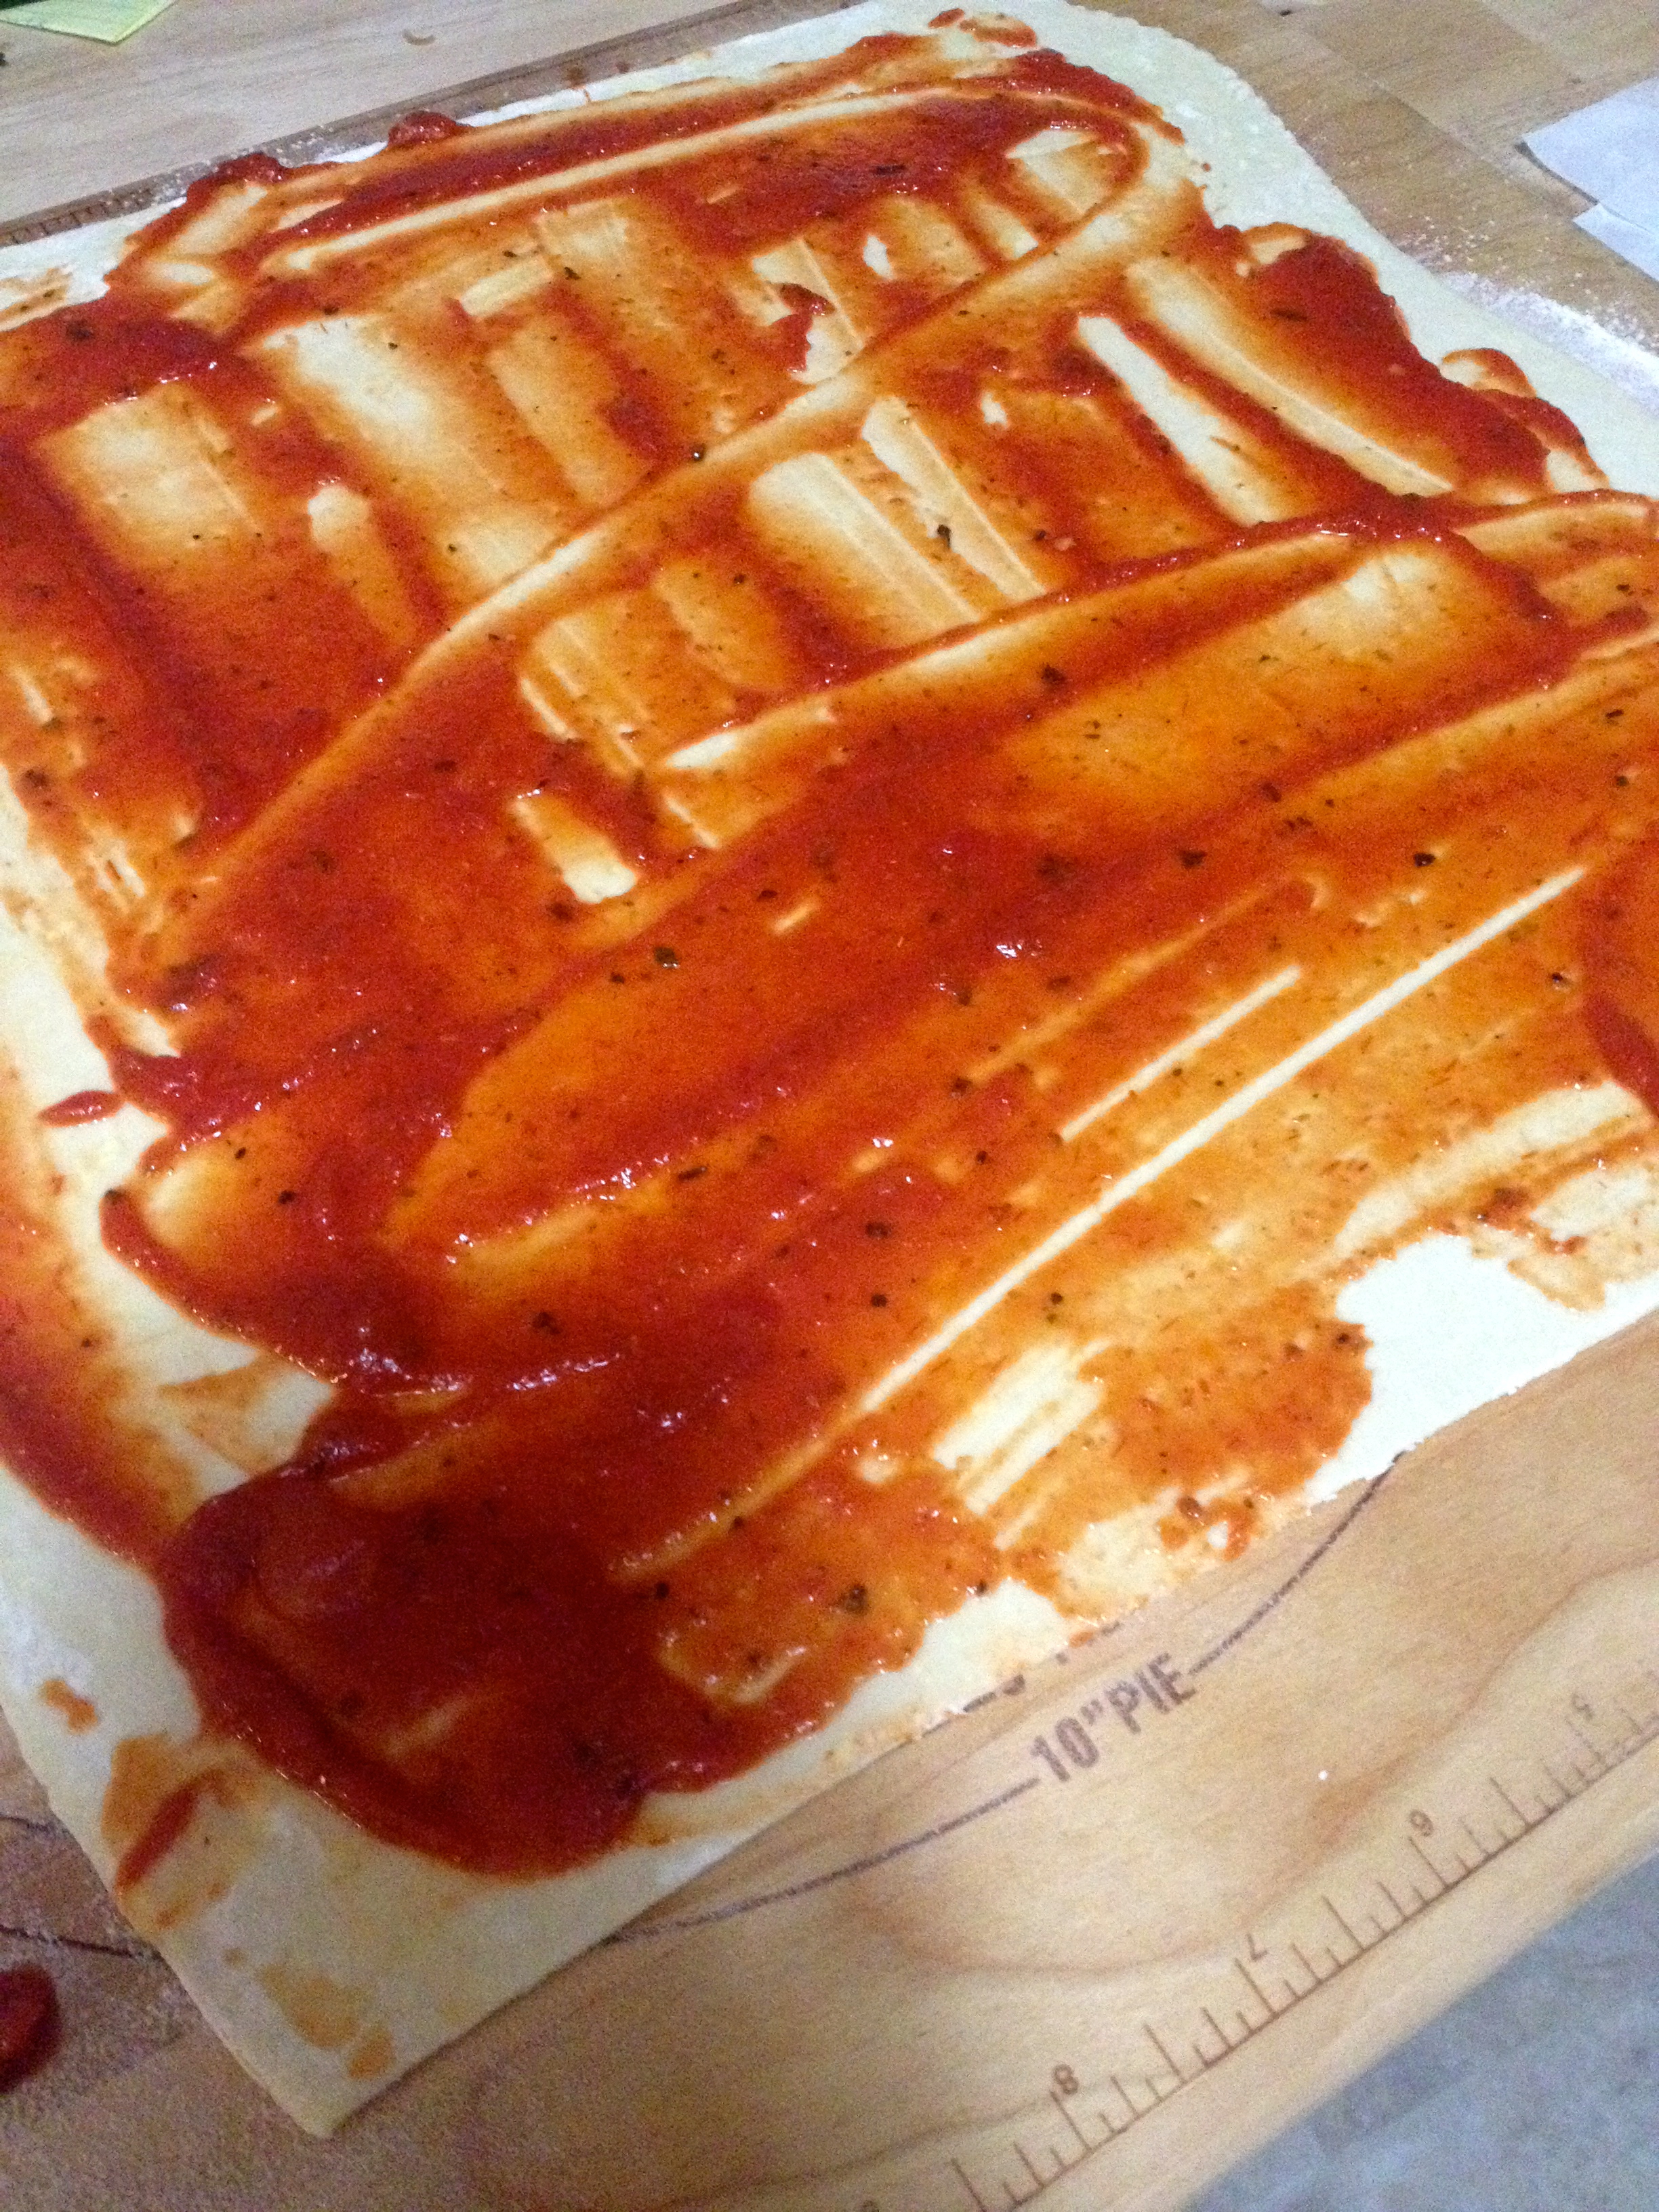
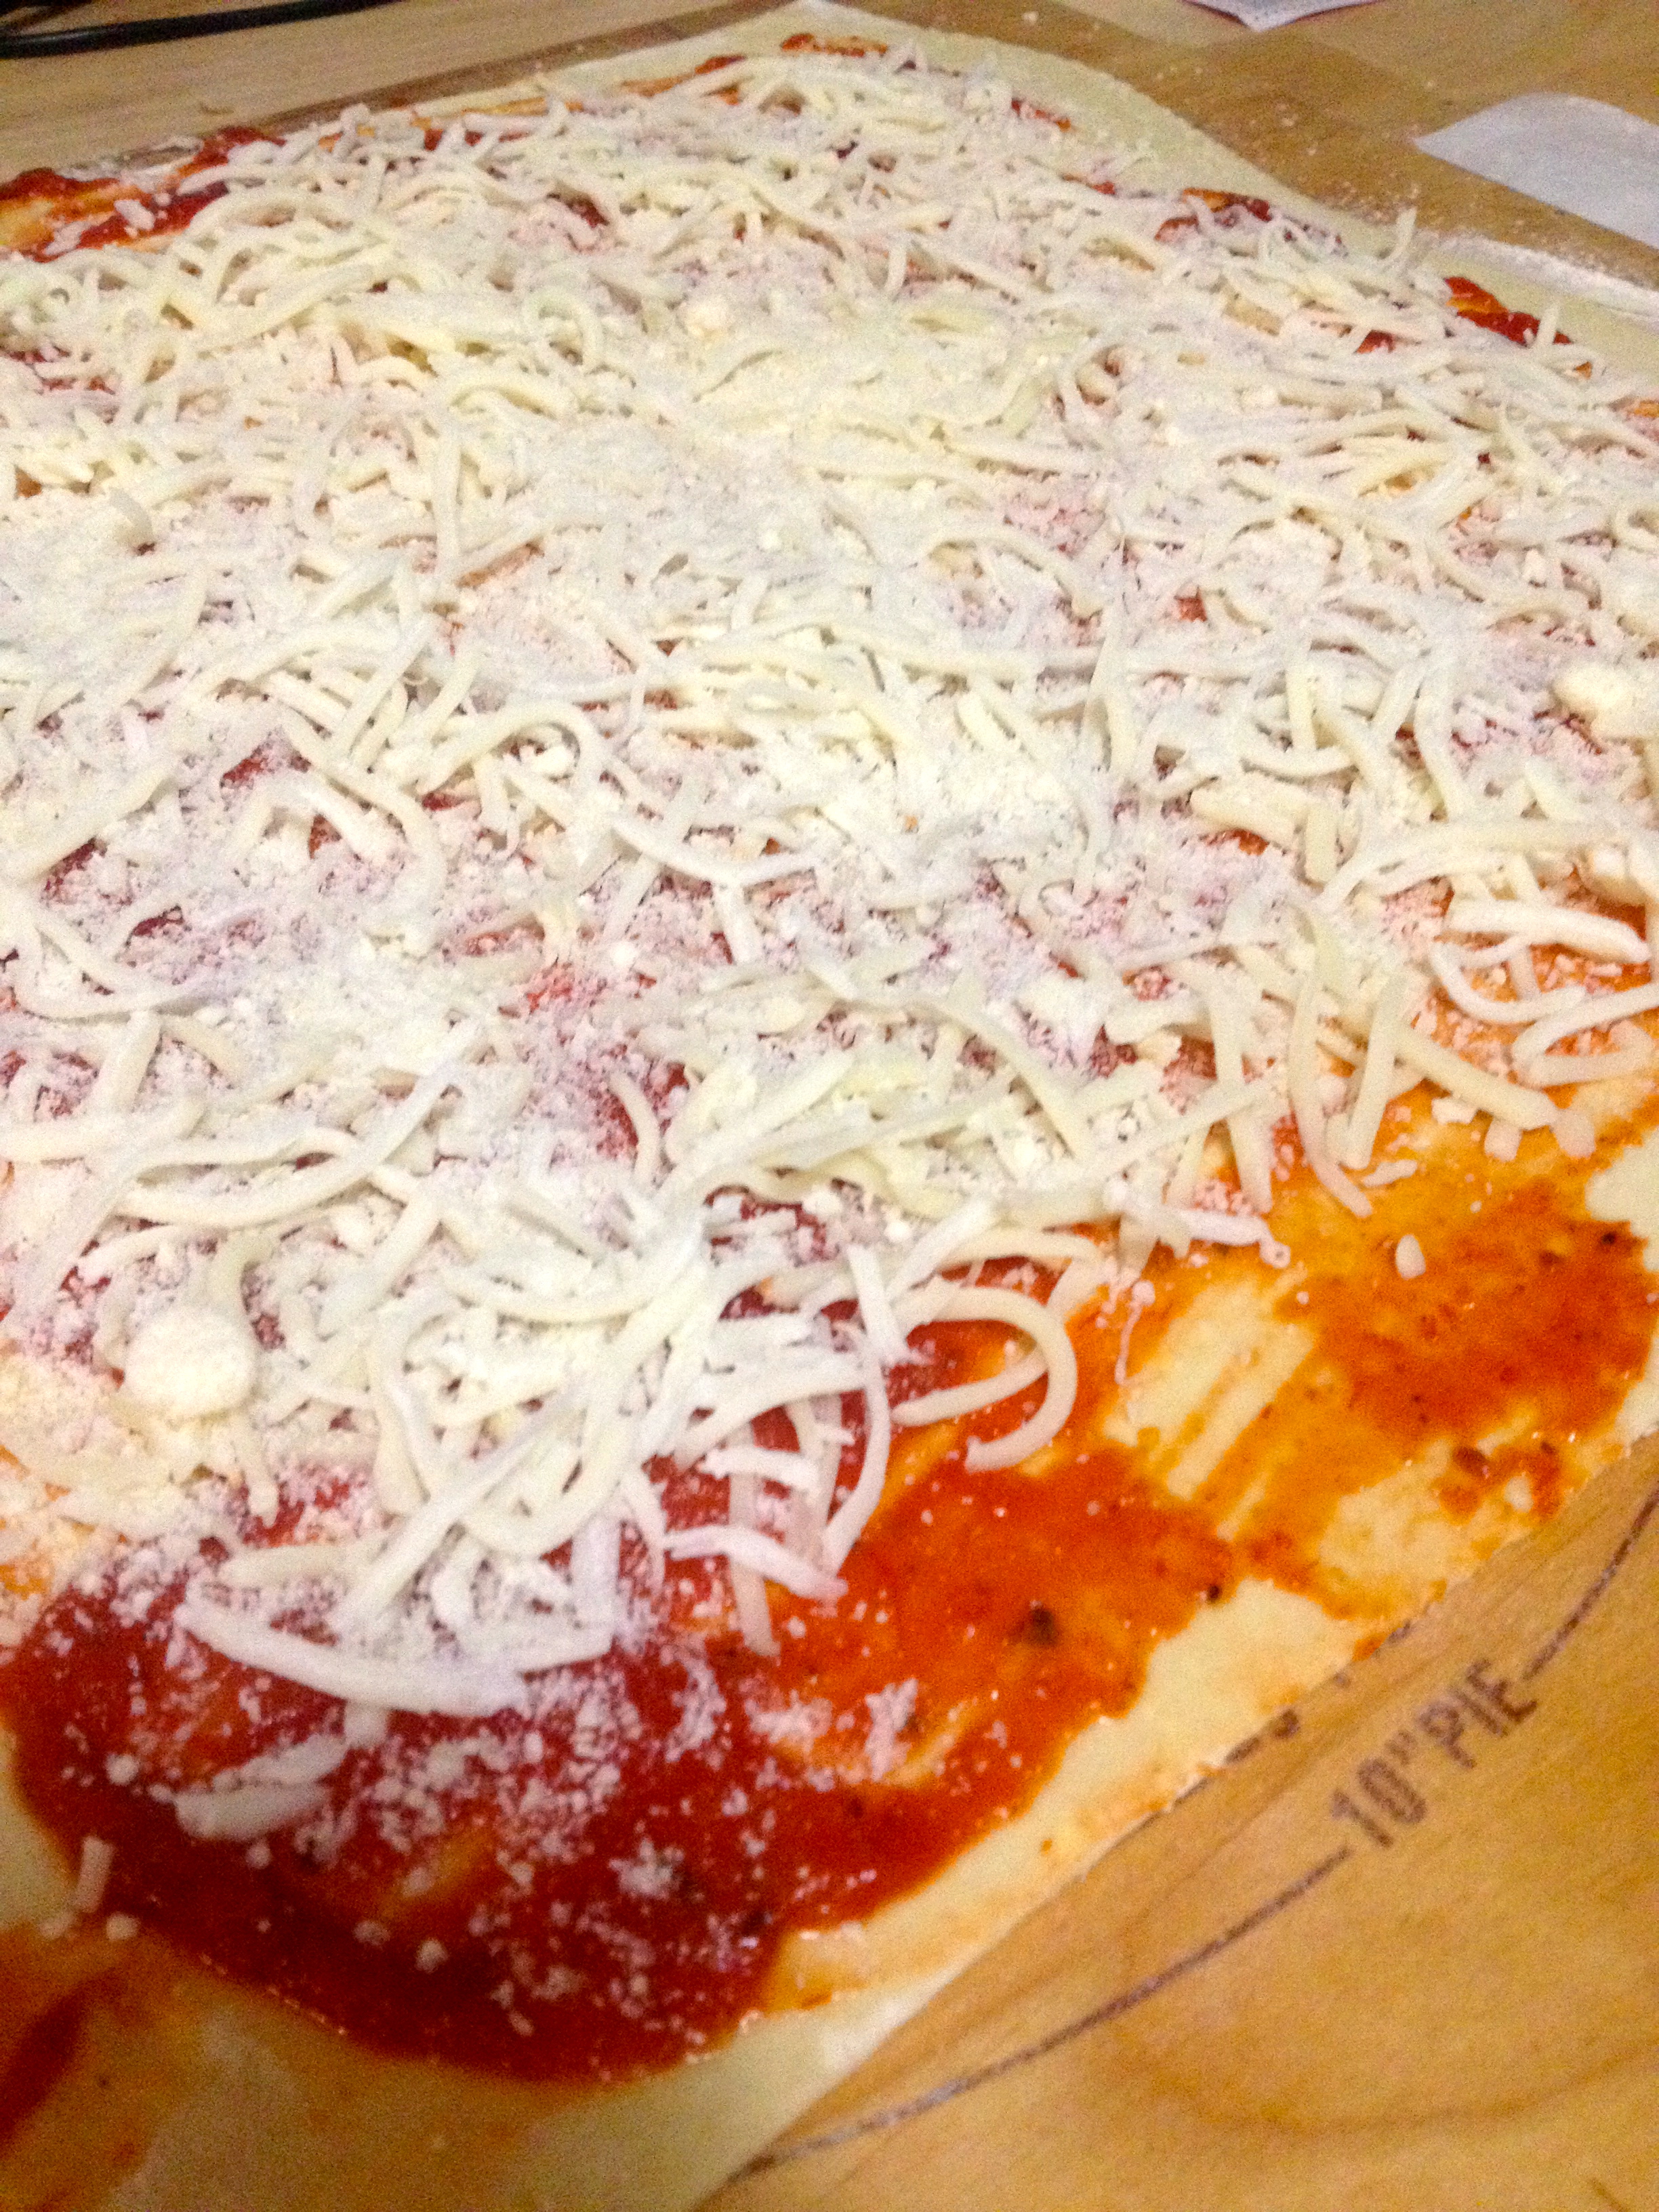
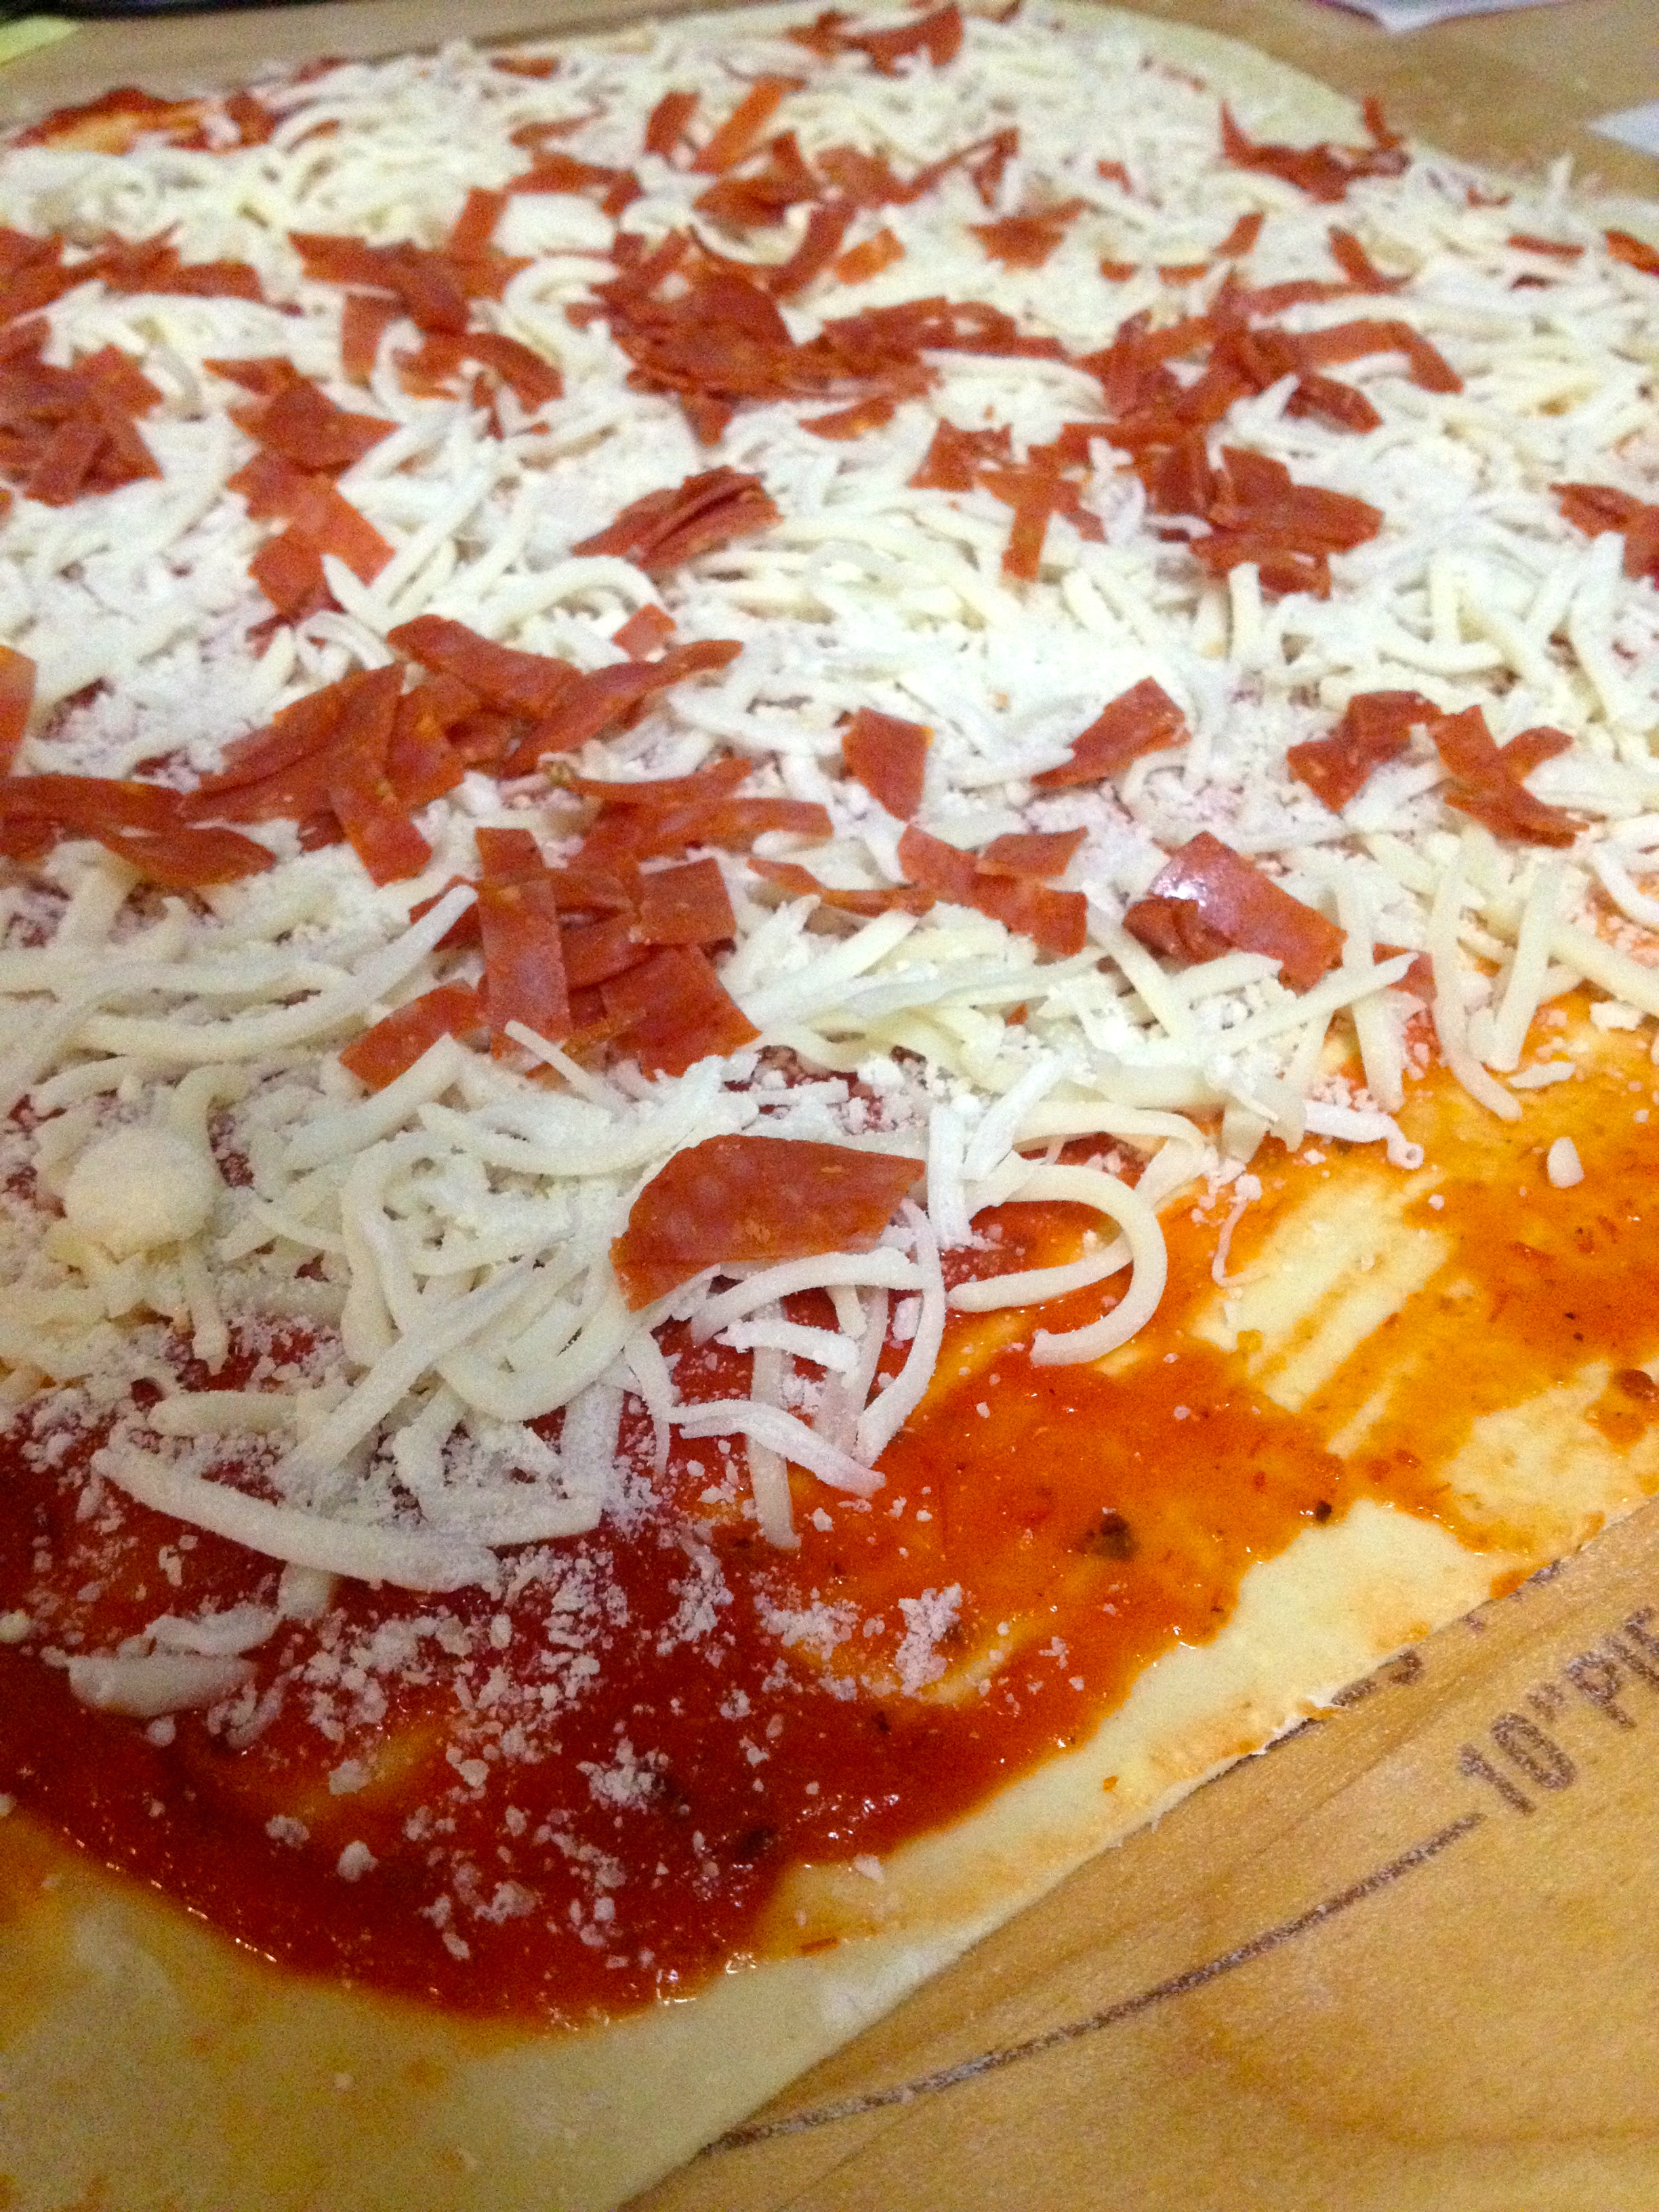
Basically, same drill as the cinnamon rolls. Roll out the pastry on a floured board, and then spread the marinara sauce the sheet. Sprinkle the cheeses on top of the sauce, and then sprinkle the pepperoni on top.
Roll the pastry up. Warning, this log will be much thicker than the cinnamon one! Cut the log into small circles, and bake in a 400ºF oven for 15 minutes or until the pastry is golden brown. Then, let the pastry cool on the baking sheet.
And there you have it! Two delicious snacks that are huge crowd-pleasers, just in time for the big game! I would recommend serving these fresh and hot, so pop them in the oven just a few minutes before the guests show up and you’ll be all set. Happy baking, and may the best team win!