All posts by Ruth Wendel

About Ruth Wendel

I'm a musician, Registered Dietitian, cook, and baker. I love food, and want to share my delight for it with the world. I hope you enjoy my recipes and, if you haven't developed a love for baking already, I hope you will!

No-Churn Ice Cream

Hi, all! Happy summer! I hope that you’ve been able to enjoy the beginnings of summer despite the ongoing craziness of Coronavirus and whatnot. Things have been fairly quiet at my house, but I’ve been taking that opportunity to make yummy food and desserts! This recipe that I’m going to share today is perfect for right now- ice cream that you can make right at home, and you don’t even need an ice cream machine! It only takes a couple ingredients and takes hardly any time to whip up. Here’s how you make it!

Ingredients:

  • 2 cups heavy whipping cream
  • 1, 14oz can sweetened condensed milk
  • 1 tsp flavoring extract of your choice (I used vanilla extract)
  • Whatever toppings or mix-ins you want!

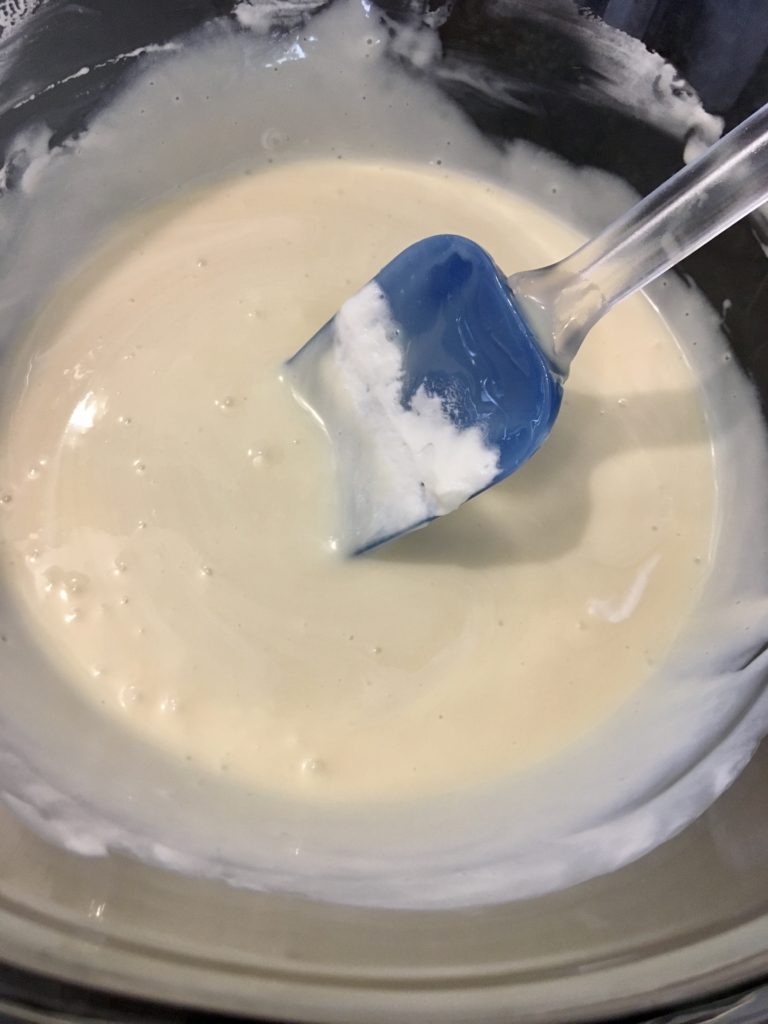
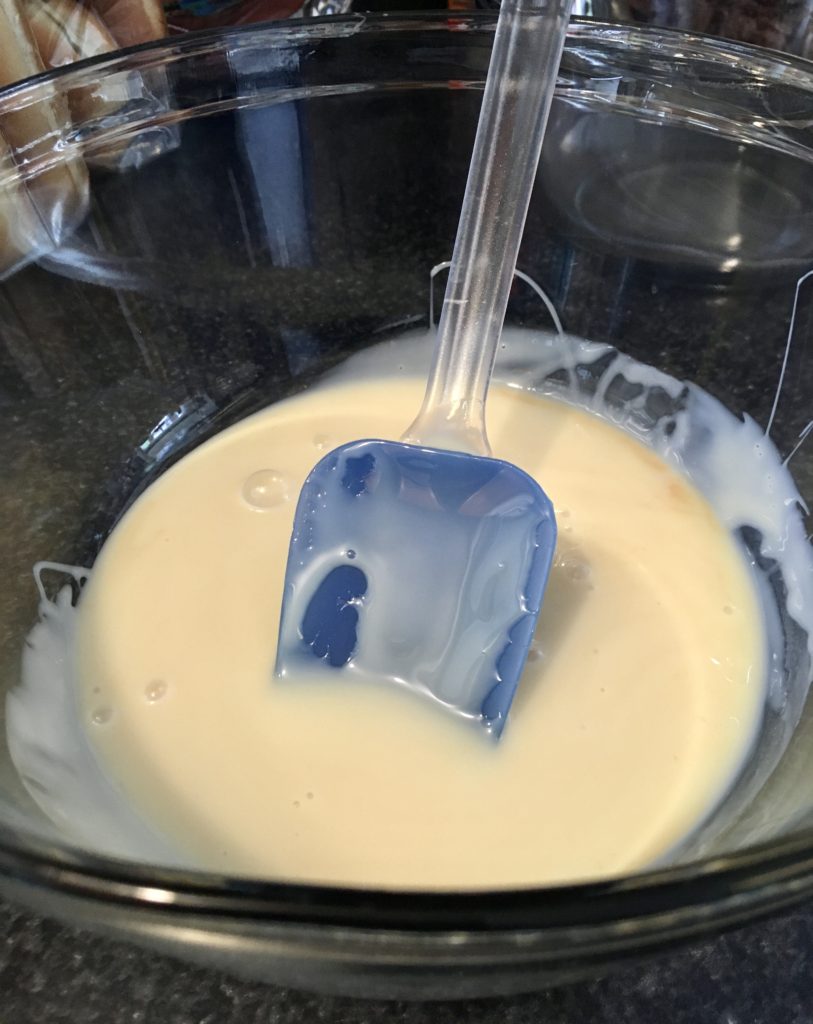
First, empty the can of sweetened condensed milk into a bowl.

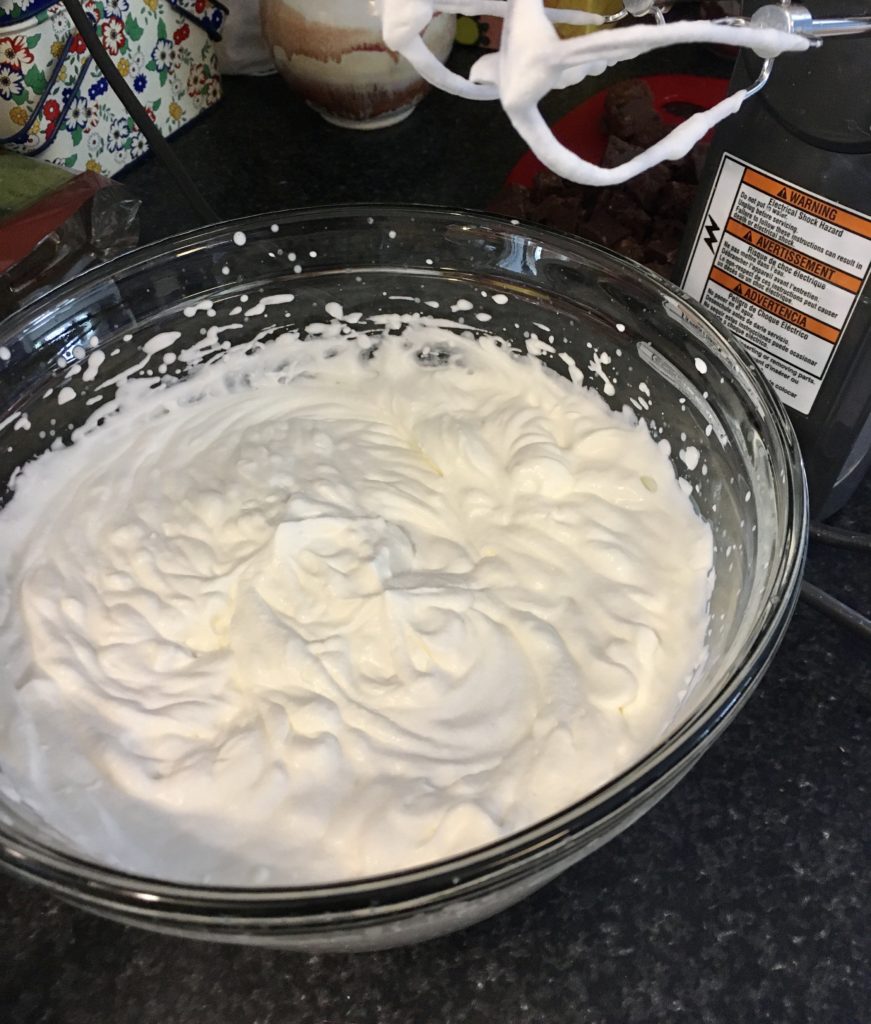
Next, pour the heavy cream into a separate large bowl. Using a hand mixer (or a whisk and some elbow grease if you’re feeling strong), whip the cream until stiff peaks form. You should be able to lift the beaters out of the cream and have peaks stay straight up in the air, without folding back over or sinking into the cream.

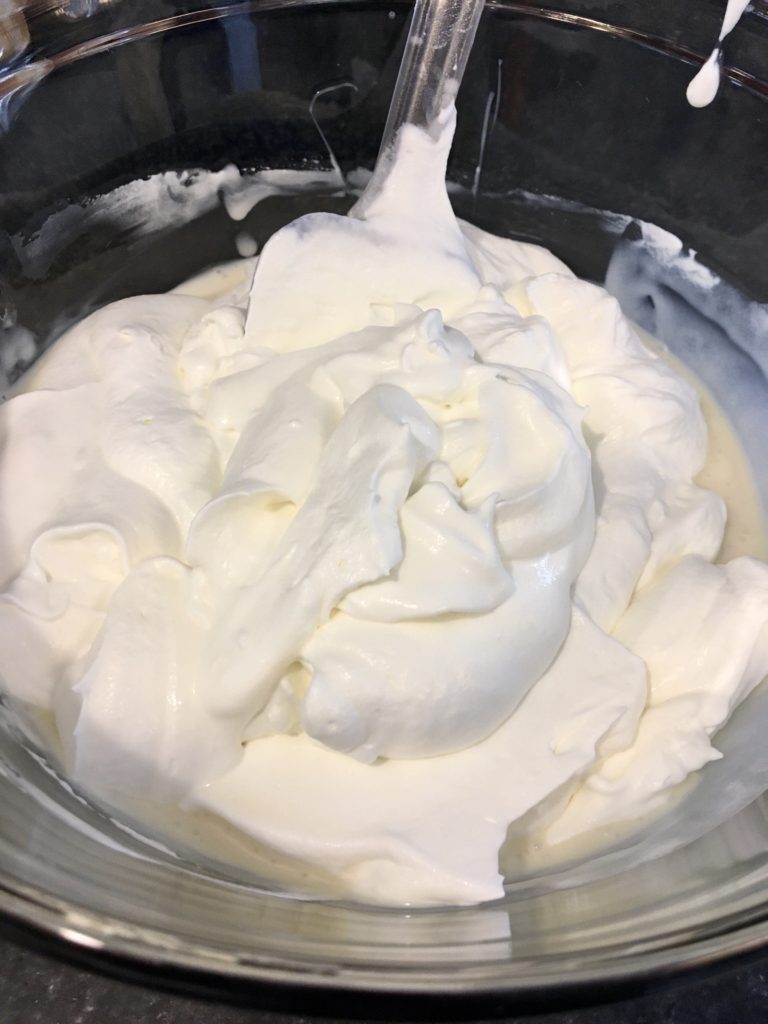
Fold a small amount of the whipped cream into the sweetened condensed milk to lighten the milk. This helps make it easier to fold the rest of the cream in.

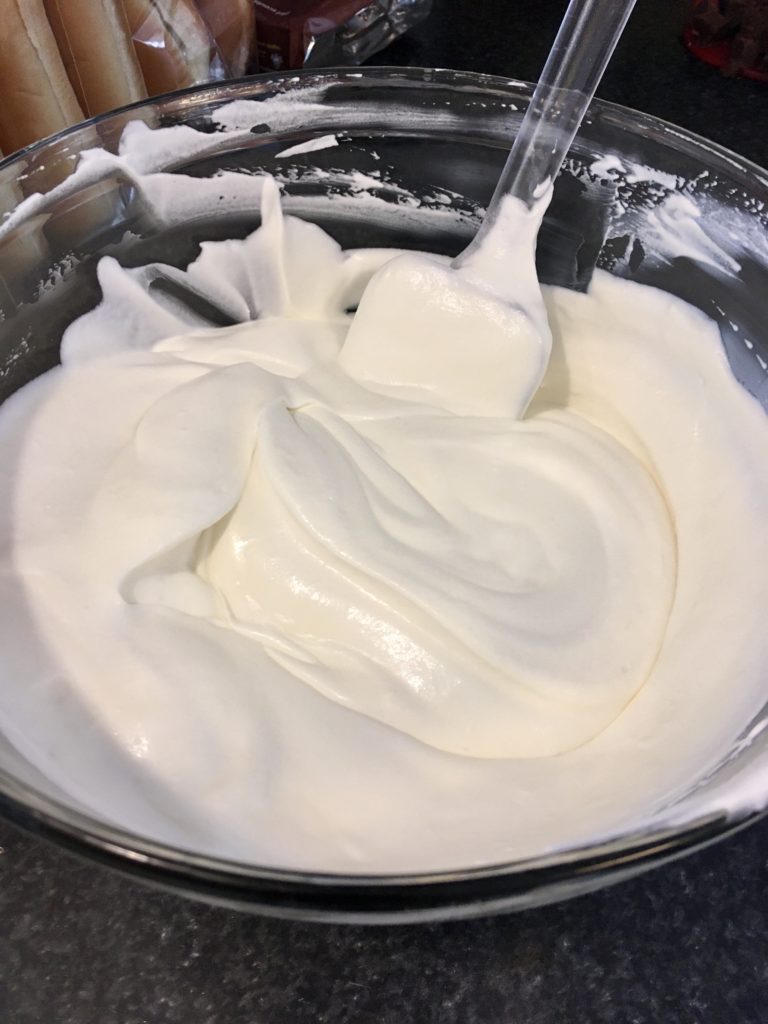
Now, add the rest of the whipped cream and your chosen flavor extract to the condensed milk and fold gently until fully combined.

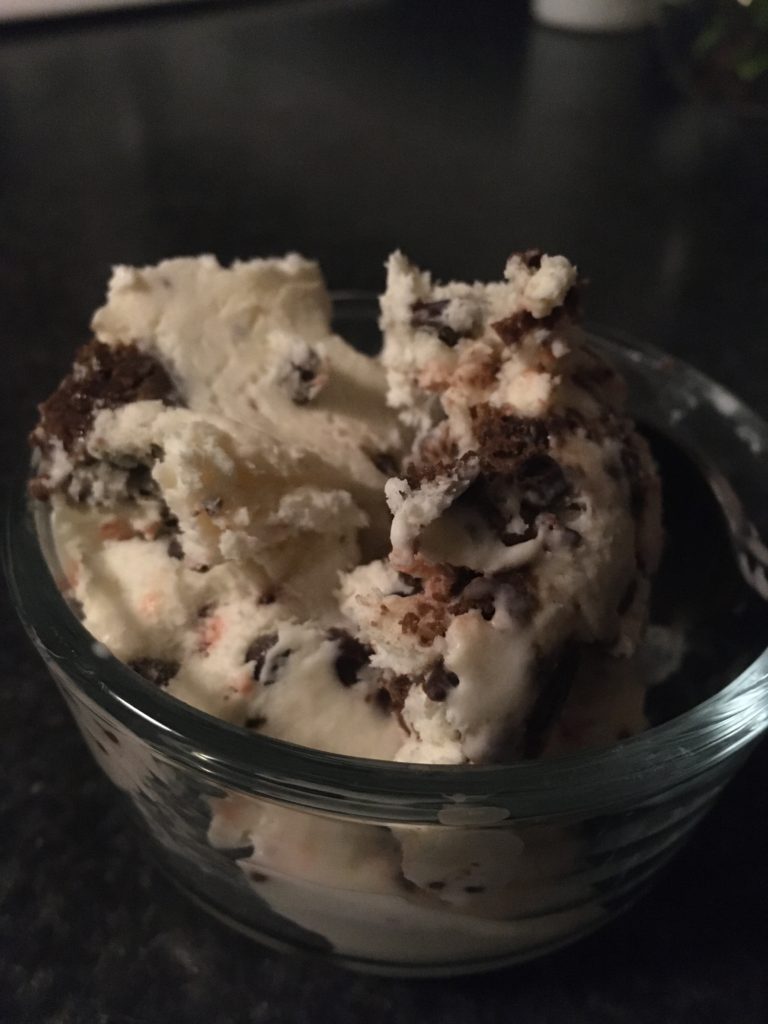
Now it’s time to stir in whatever mix-ins you want! I used chocolate sprinkles (we call them jimmies around here), chocolate chips, and some leftover chocolate-chocolate chip cookie dough that I had in the freezer from when I baked cookies. You could also do:

  • Mint chocolate chip (mint extract with chocolate chips mixed in)
  • Coconut almond (almond extract with sweetened coconut)
  • Heavenly hash (almond extract with nuts and chocolate chips)
  • Candy bar (vanilla extract with pieces of your favorite candy bar)
  • Peanut butter cup (vanilla extract with fudge swirled through and peanut butter cups mixed in)
  • Any other combo you think up!

Now, just spoon the mixture into a freezer-safe container and let it freeze for several hours, preferably overnight. Once it’s frozen, it’s ready to go!

And that’s it! Super quick, super easy, and definitely delicious! Happy baking!

Mini Chocolate Raspberry Cake

Hi, all! How are you doing? Hanging in there? I know we’ve been missing seeing our friends and family and have been missing out on lots of fun times together. However, we can continue to make the best of our situation! My sister’s birthday was yesterday and we obviously couldn’t have an in-person party, so I decided to surprise her with a mini chocolate raspberry cake and drop it off at her house. It was a fun use of time for me, was a nice surprise for her, and yielded some delicious cake- and the best part is, this recipe makes two mini layer cakes so my husband and I got one too! Here’s how you do it!

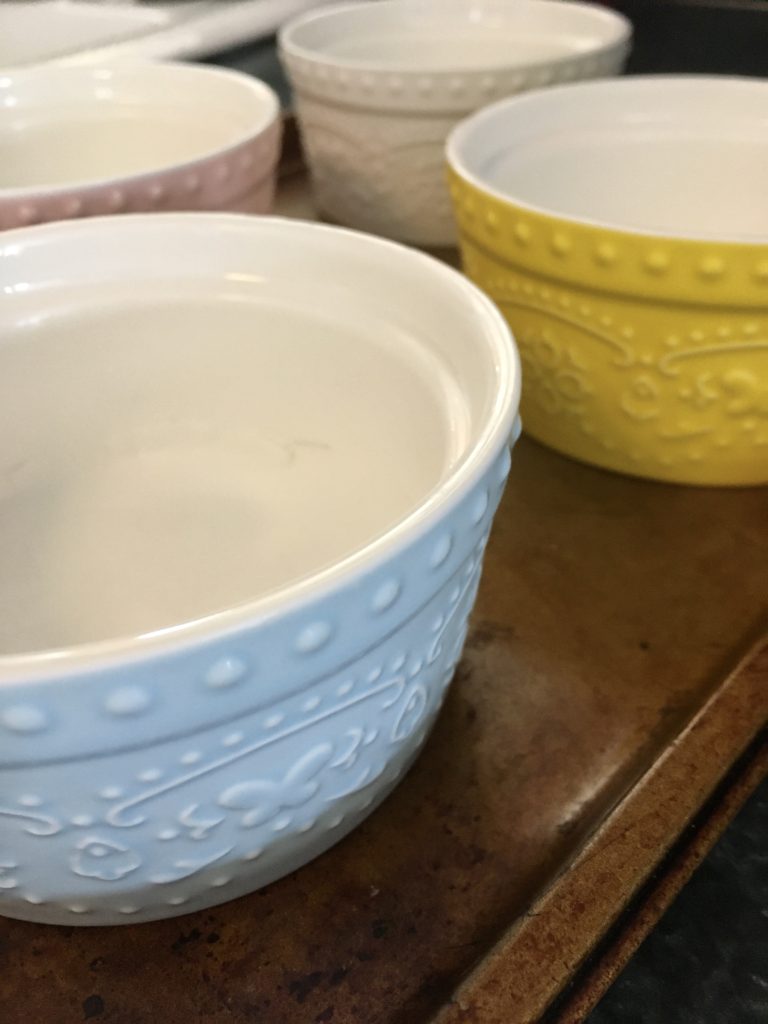
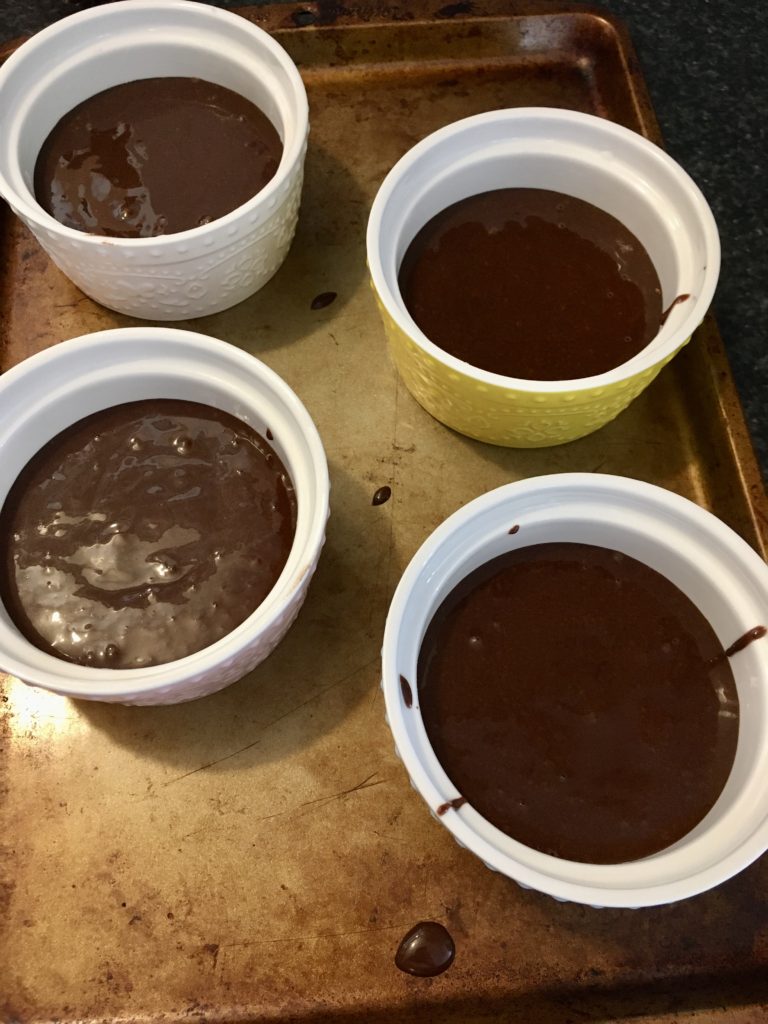
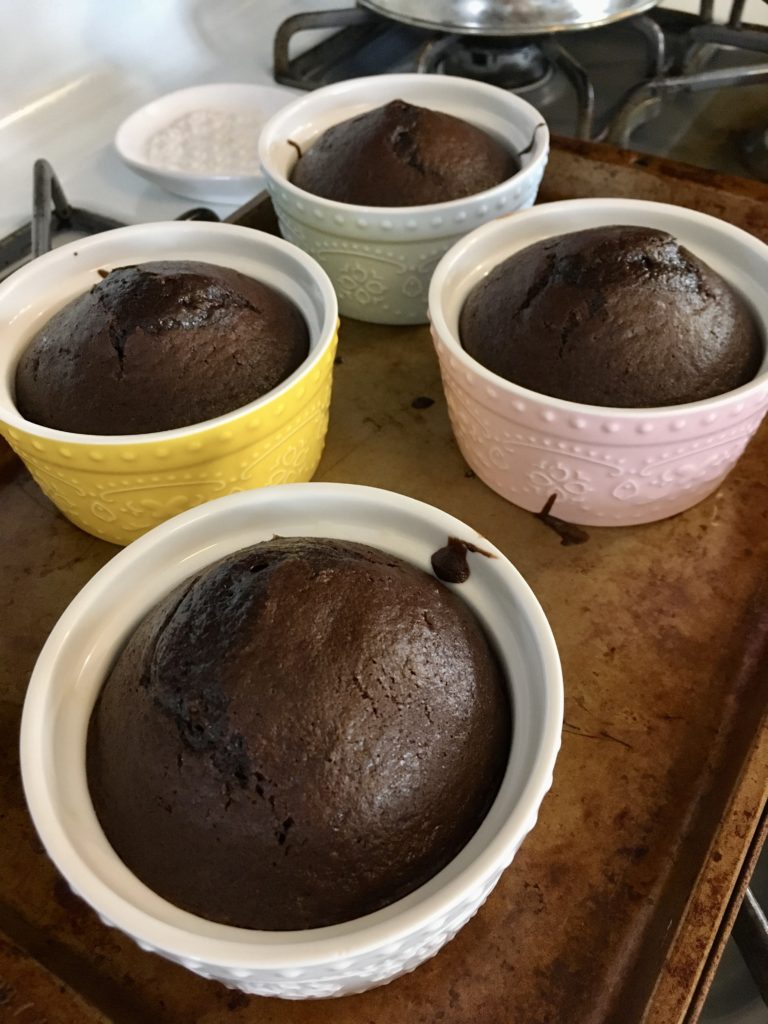
First, grease four 4″ or 7oz ramekins and line the bottoms with parchment paper. Then put the ramekins on a baking sheet so that you’ll be able to move them in and out of the oven easier.

Then, mix up a chocolate cake batter- you can either use a cake mix, or you can make one from scratch (which is what I did). Here’s my recipe for a dark chocolate cake:

Ingredients:

  • 1/2 cup granulated sugar
  • 1/2 cup all-purpose flour
  • 1/4 cup cocoa powder
  • 1/2 tsp baking powder
  • 1/4 tsp baking soda
  • 1/8 tsp salt
  • 1 large egg
  • 3 tbsp milk
  • 2 tbsp vegetable oil
  • 1/2 tsp vanilla extract (or extract of your choice- see note below)
  • 1/4 cup boiling water

Note: You could also use another flavored extract if you prefer, such as almond or mint. Use the same amount as you would the vanilla.

In a stand mixer or with a hand mixer, combine the sugar, flour, cocoa, baking powder, baking soda, and salt. Add the egg, milk, oil, and vanilla and stir to combine. Then increase speed on the mixer to medium and beat for 2 minutes. Then, add the boiling water and beat until fully mixed, about 30 seconds.

Divide the cake batter evenly between the ramekins and bake at 350F for about 20-22 minutes, or until a toothpick inserted in the middle comes out clean. If you’re using a cake mix, preheat the oven to the temperature instructed on the box and then bake for about half the prescribed time, and then check it every couple of minutes until it’s baked.

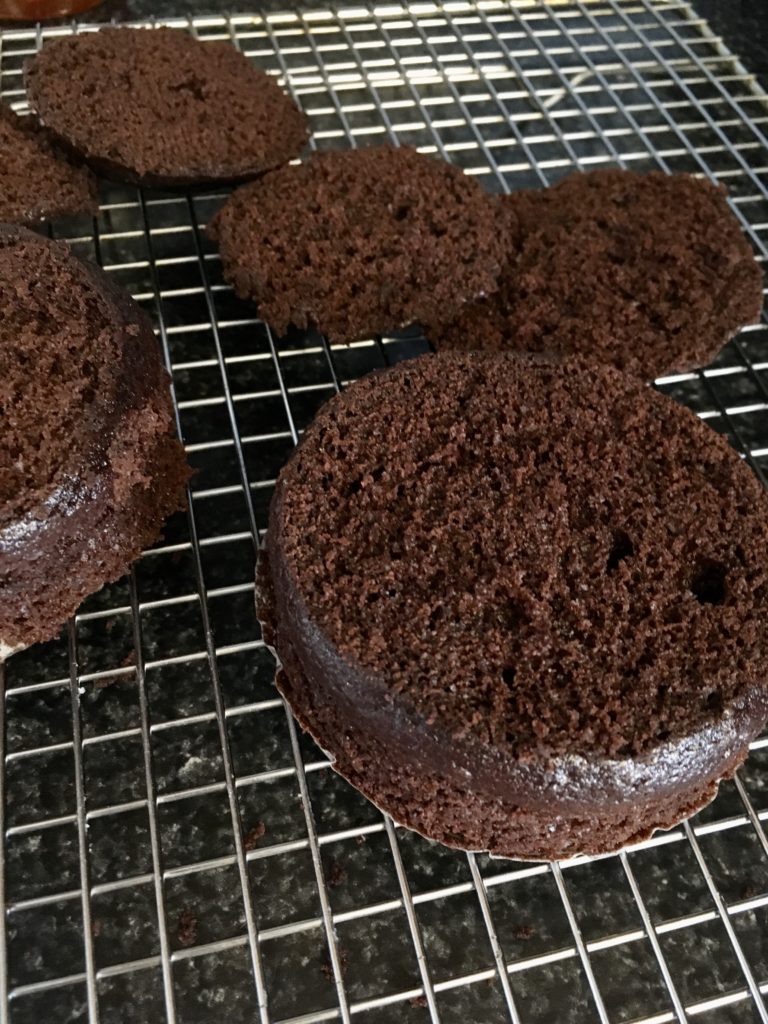
Transfer the ramekins to a wire rack to cool. Once the cakes are cooled, remove from the ramekins and remove the parchment paper. Using a serrated knife, cut the domes off the top of the cakes to create a level, flat surface. Go ahead and eat those yummy cake scraps that you cut off- pro tip, spread a little raspberry jam or peanut butter over them first and make yourself a little cake top sandwich!

Now it’s time to frost. You can either use a canned frosting or one from scratch. Here’s the recipe I used:

Ingredients:

  • 3/4 cup powdered sugar
  • 3 tbsp softened butter
  • 1/2 tsp vanilla (again, could change the extract flavor if desired)
  • 2-3 tsp milk

Note: you will also need about 6 tbsp of raspberry jam (about 3 tbsp per layer cake), or other fruit jam/sauce of your choice.

Using a hand mixer or stand mixer, beat the butter, vanilla and powdered sugar together until they are coming together in small clumps. Then add in the milk, a little at a time, and continue to beat until you’ve reached the frosting consistency you want. If you want stiffer frosting, add less milk; if it’s too stiff, add more milk.

To frost the cakes, you can either use a knife or a piping bag. I wanted to make this cake look a little fancier, so I used a piping bag. To make the cakes easier to frost, freeze them for a few minutes to get them stiff. Otherwise they may crumble a bit when you try to spread the frosting.

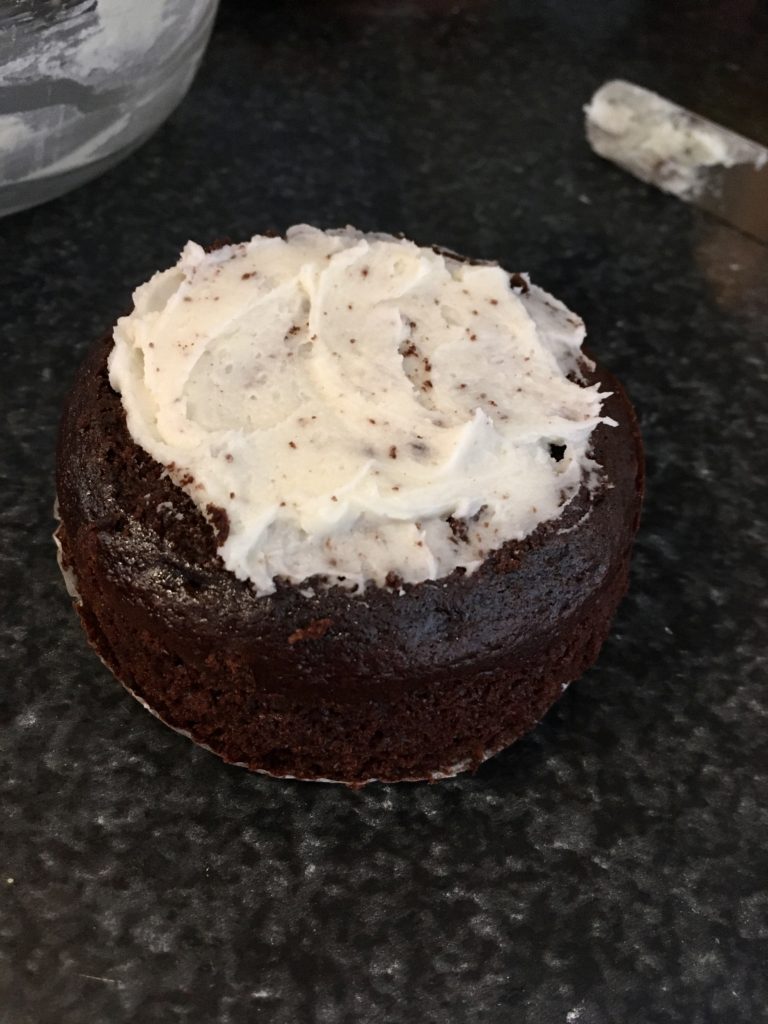
First, put about 2 tbsp of the frosting on top of one cake. Dip a knife into water and spread the frosting over the top of the cake just to make an even layer (the wet knife helps prevent the frosting from sticking too much to the knife).

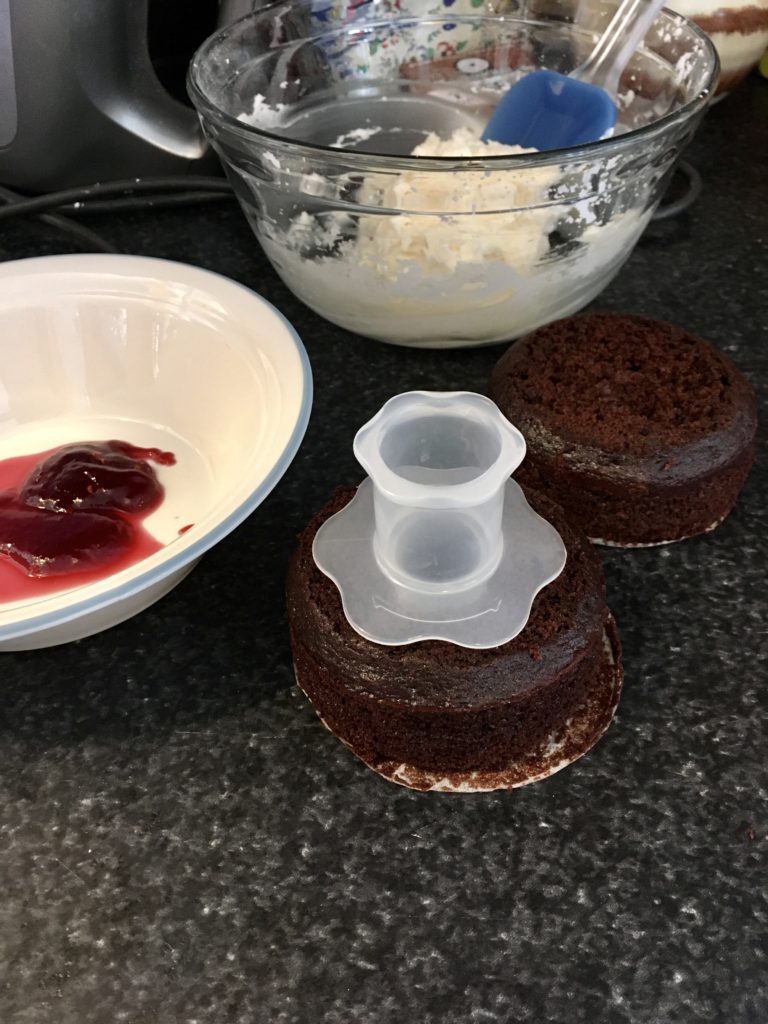
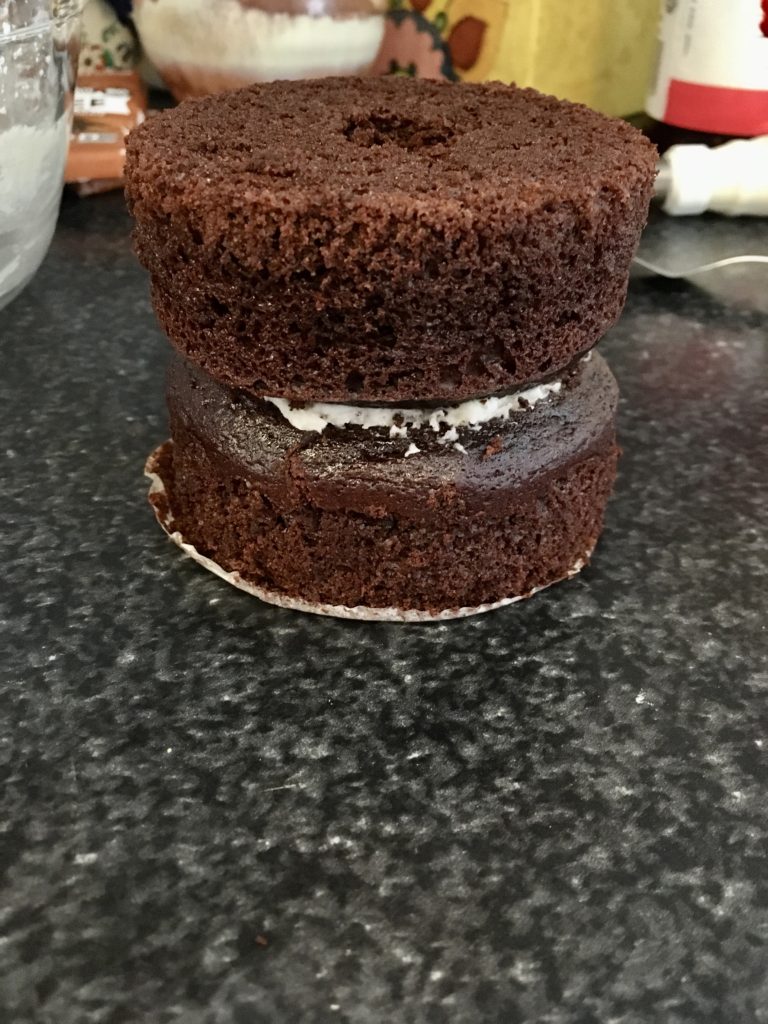
Now take a second cake and cut out a small hole in the middle. You can use a cake corer, a small round cookie cutter, or even an apple corer.

Put the cored cake, cut side down, on top of the first. Putting it cut side down will provide you with a nice flat surface to frost on the top of the cake.

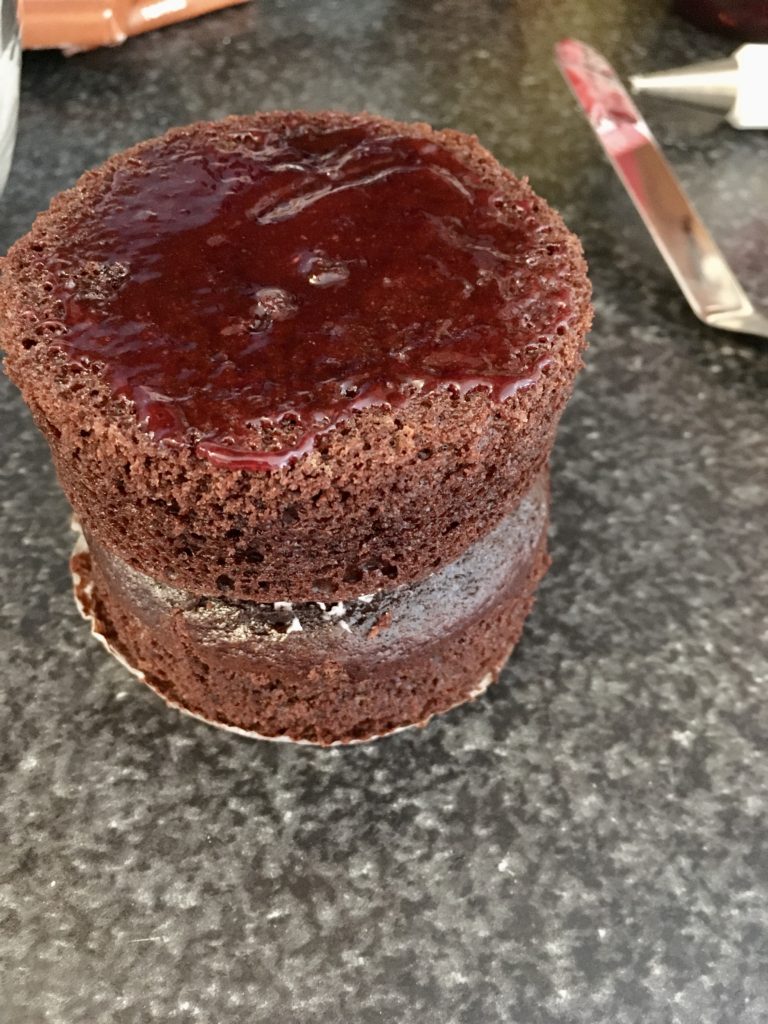
Fill the hole in the top layer with your raspberry jam. I pushed the jam through a fine mesh sieve so that it became seedless, but you can definitely leave it as it is if you’d like! After you’ve filled the hole in the middle, spread a thin layer of the jam over the top of the cake as well. This helps give it a nice glaze and will also help keep the cake moist.

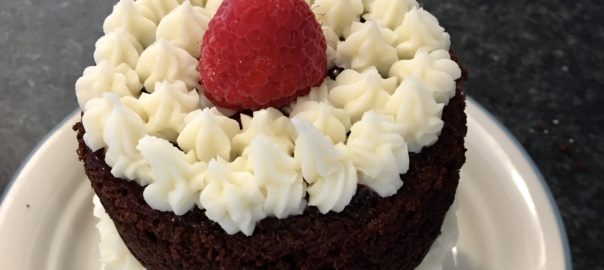
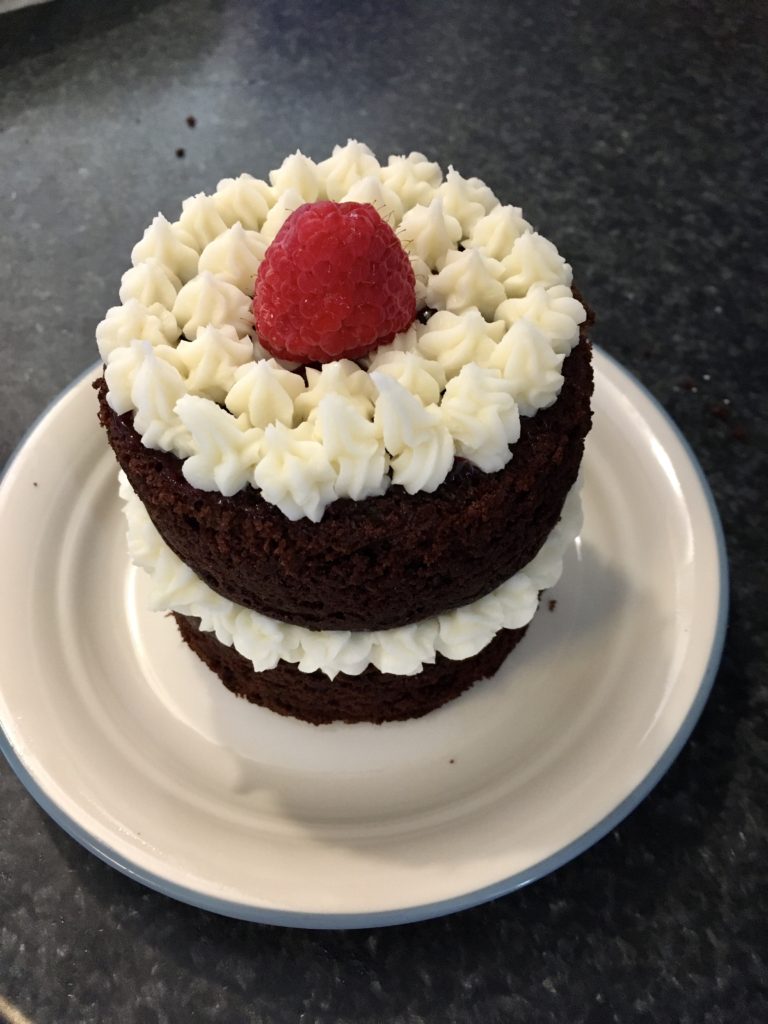
Now you can finish frosting. If you’re using a piping bag, pipe little rosettes around the middle where the two layers meet and also on top of the cake, and finish with a raspberry in the middle or whatever nice garnish you’d like. If you’re using a knife, spread another 2-3 tbsp of frosting on top of the cake and garnish.

Repeat with the other two cakes that are left, to create two mini layer cakes.

And that’s it! Super yummy, and it looks and tastes really elegant, but it’s not very difficult. You could also change the flavors to whatever you like- you could fill it with peanut butter or caramel instead of jam, you could frost it with chocolate or peanut butter frosting, or you could even do a peanut butter flavored cake filled and topped with marshmallow fluff and crushed peanut butter candies! The choices are endless, but all delicious!

Happy baking!
Molasses Cookies

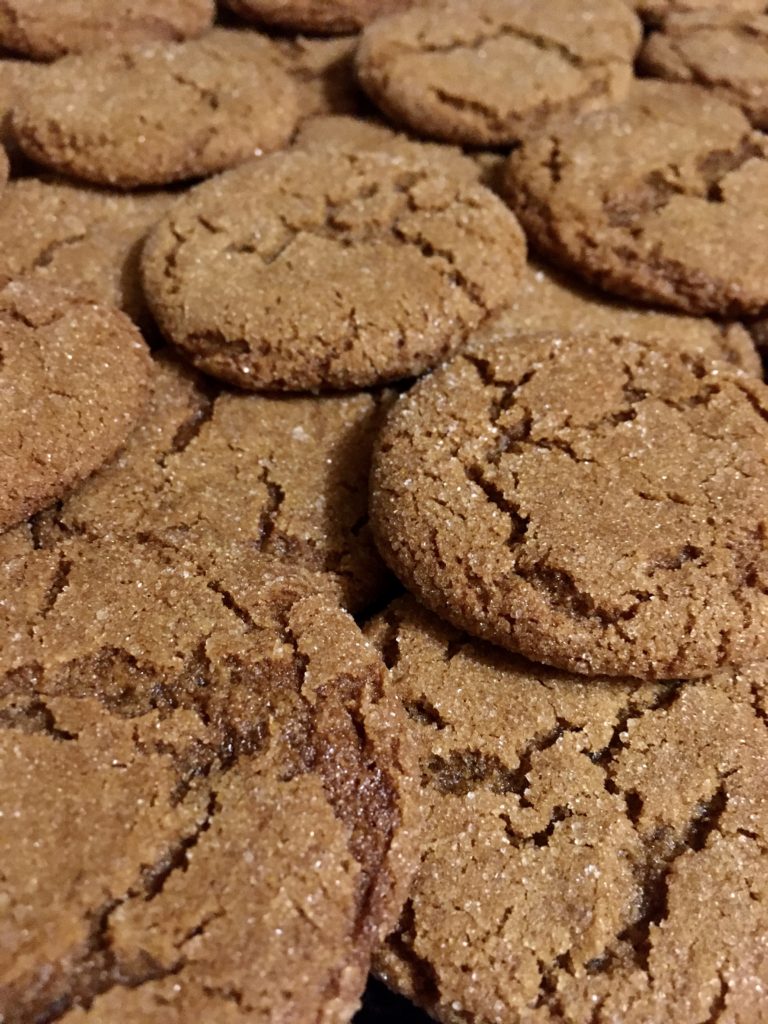
Hi, all! How are you doing? I hope you’re hanging in there during this crazy time, and finding ways to keep yourselves entertained. It seems that my city has taken to baking while they’re at home (or at least, that’s the only explanation I can find for the grocery store being sold out of flour consistently!). To that end, I figured I’d supply a recipe for you to try out: molasses cookies! Crunchy on the outside, chewy on the inside, sweet and spiced, these cookies are seriously so delicious. And, happily, the recipe makes a big batch so you’ll have enough to share with your family. Here’s the recipe:

Ingredients:

  • 3/4 cup shortening, melted
  • 1 cup granulated sugar, plus extra for rolling
  • 1/4 cup molasses
  • 1 egg
  • 1/2 tsp cloves
  • 1/2 tsp ginger
  • 1 tsp cinnamon
  • 1/2 tsp salt
  • 2 cups all purpose flour
  • 2 tsp baking soda

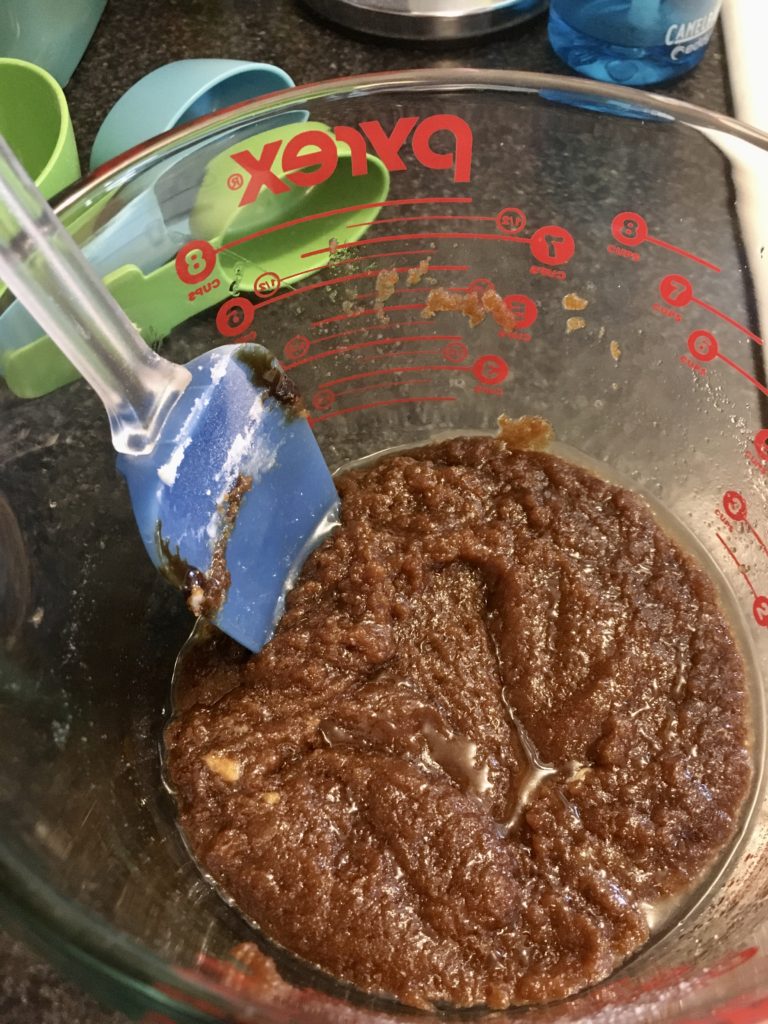
First, combine the melted shortening with the sugar and molasses. A note about the shortening- it’s necessary to use shortening to end up with the right texture and look of the cookies. I’ve tried substituting butter for the shortening, and you end up with a very different cookie (although still delicious, so if all you have is butter then go for it – just don’t expect the same result as will be shown here!)

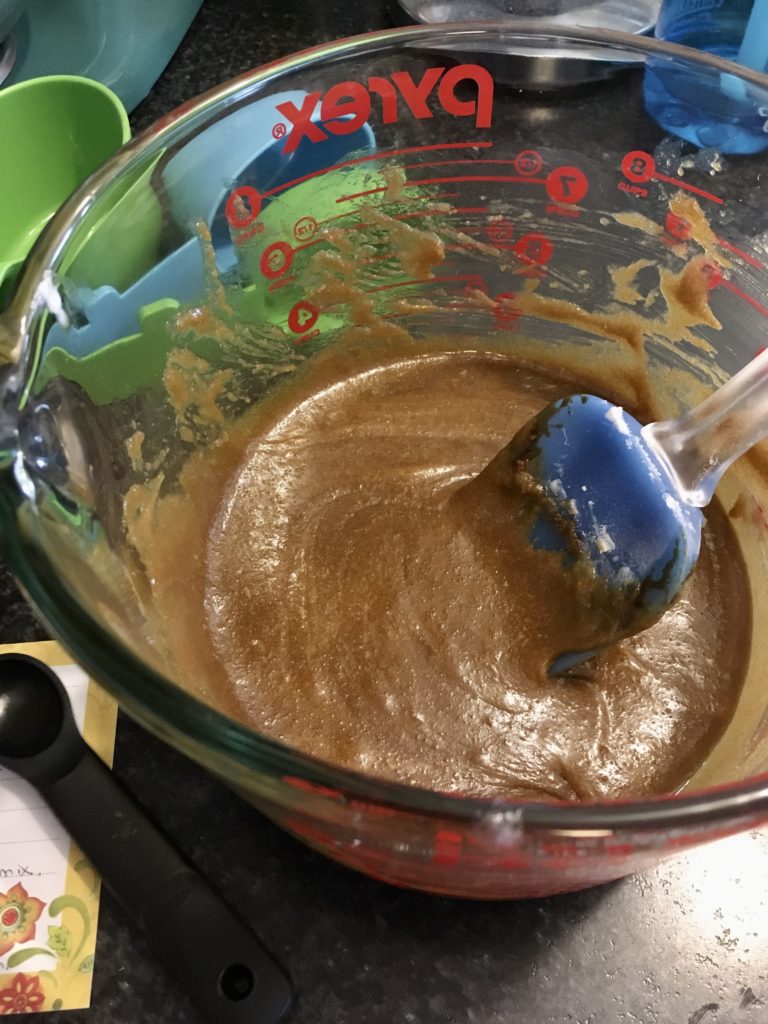
If the shortening is still hot from being melted, let it cool down to lukewarm before mixing in the egg (otherwise, you’ll end up with cooked scrambled eggs in your batter and you’ll have to start over!). Once the mixture is cooled to lukewarm, mix in the egg and beat well. Your mixture will now look smooth and blended since the egg is binding everything together.

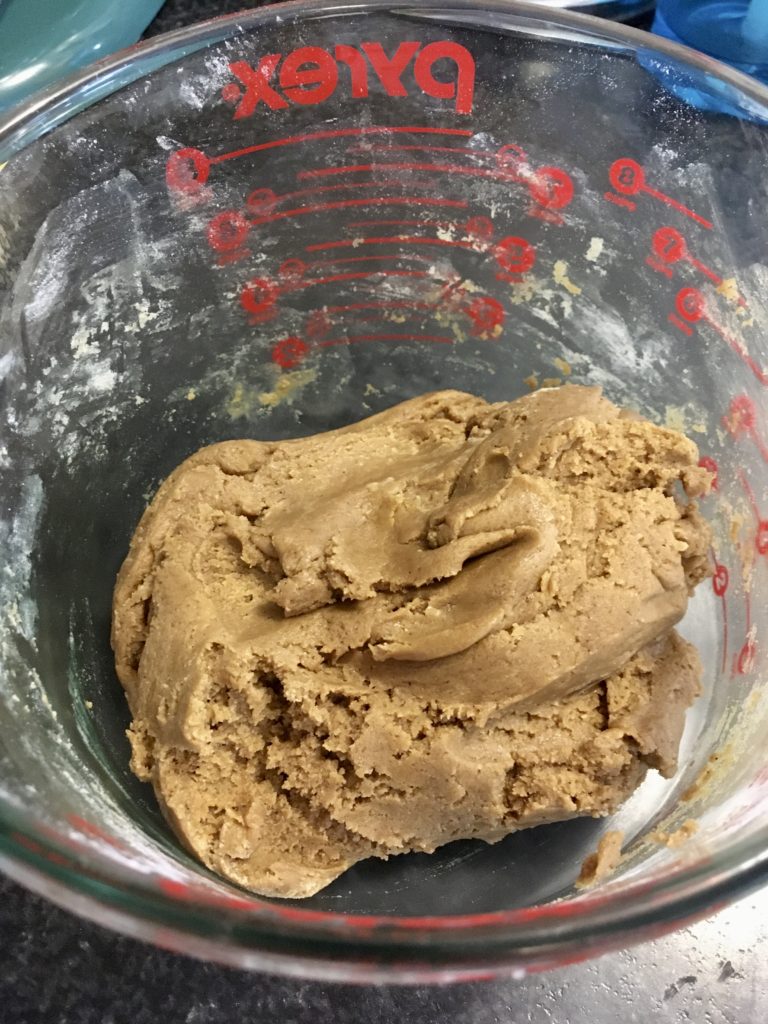
Mix in the spices, flour, and baking soda, and mix until fully combined.

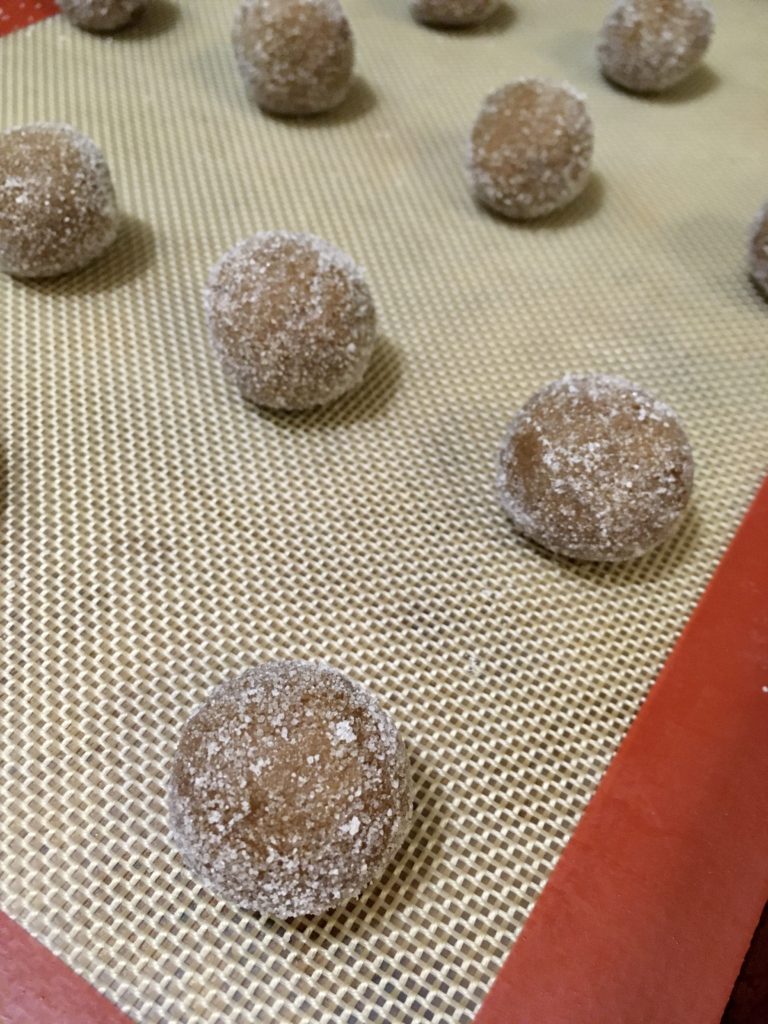
Chill the dough for at least 30 minutes. Preheat the oven to 375F. Once the dough is chilled, roll the dough into 1″ balls, roll them in the extra sugar to coat, and place them on a greased or lined baking sheet.

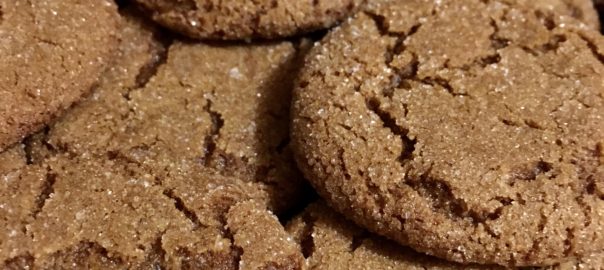
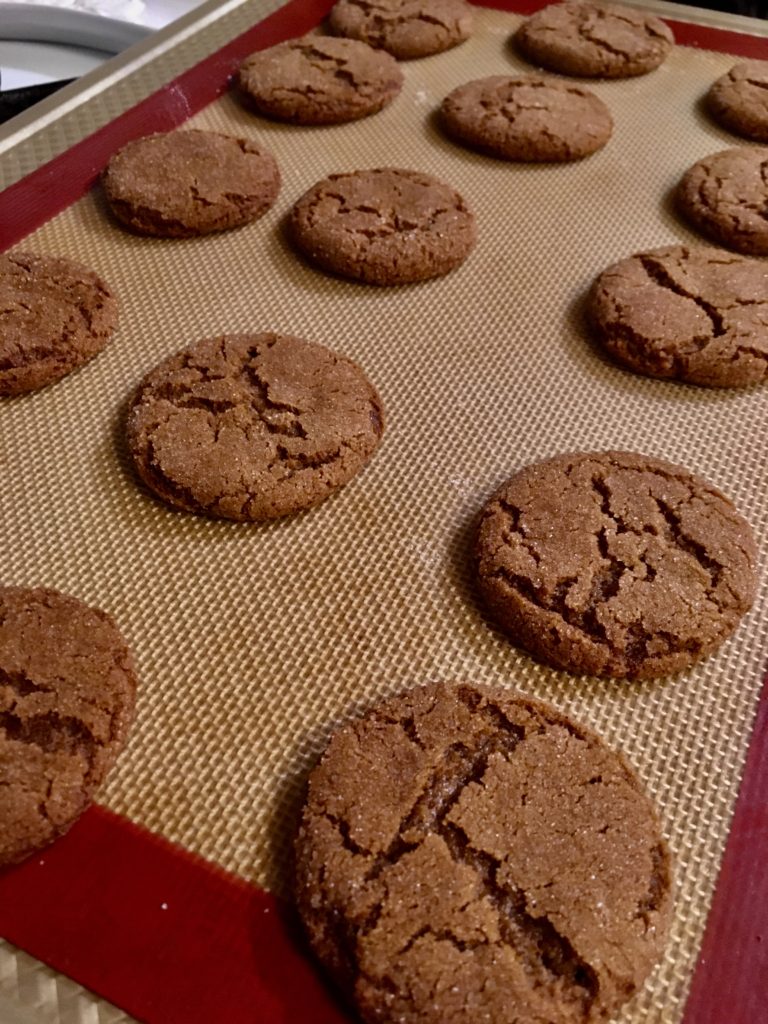
Bake for 8-10 minutes. If you have multiple cookie sheets going at once, switch their position in the oven halfway through baking to ensure even baking. You’ll know they’re done with they flatten, develop the characteristic cracking on top as pictured below, and have darkened to a nice rich brown color.

Remove to a wire cooling rack to cool. Be sure to have a few when they’re still warm, because they are absolutely amazing fresh from the oven.

And that’s it! If these last long in your house, I’ll be impressed. They’re going quick in mine, and there are only two of us here!

Keep your chins up and stay positive, everyone! We will get through this and we’ll be able to meet up and share our baked goods again before you know it.

Happy baking!
Coconut Macaroons

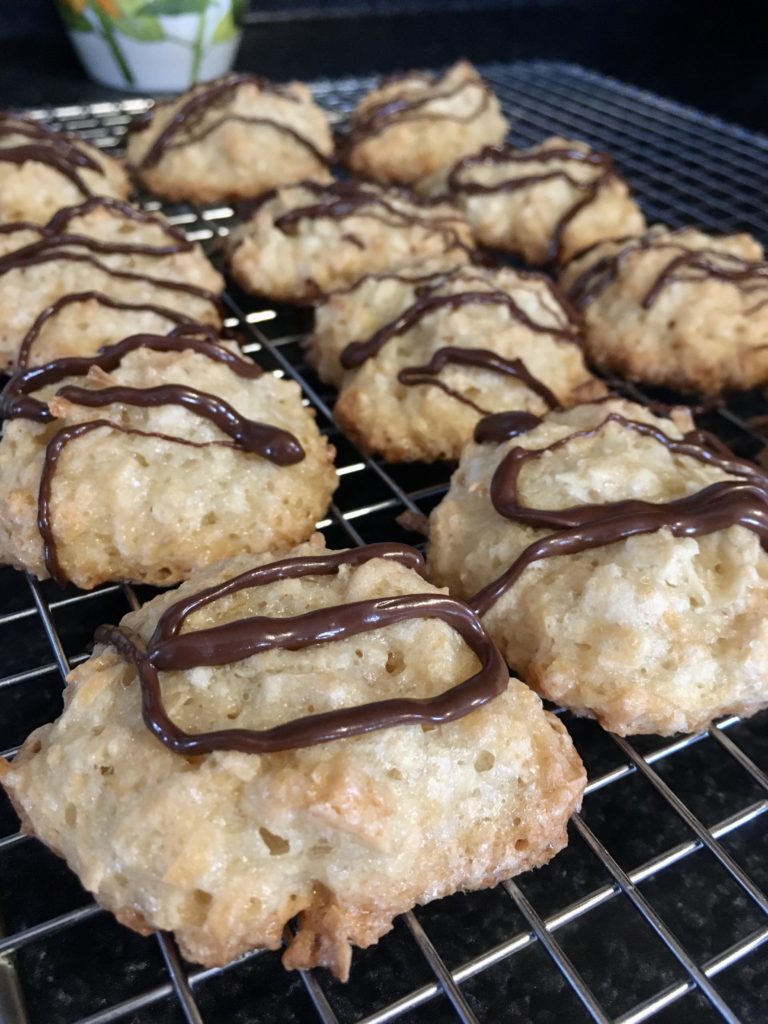
Hi, all! Hope you are all doing well and getting through the chaos of the Coronavirus! I figure, if we have to stay home, might as well bake some yummy treats and eat them! This recipe for Coconut Macaroons is super easy and makes a small enough batch that you can enjoy them between two people. Here are the ingredients:

  • 1 1/3 cups sweetened shredded coconut
  • 1/3 cup sugar
  • 2 tbsp all-purpose flour
  • 1/8 tsp salt
  • 2 large egg whites, room temperature
  • 1/2 tsp vanilla extract
  • Melted semi-sweet chocolate (optional)

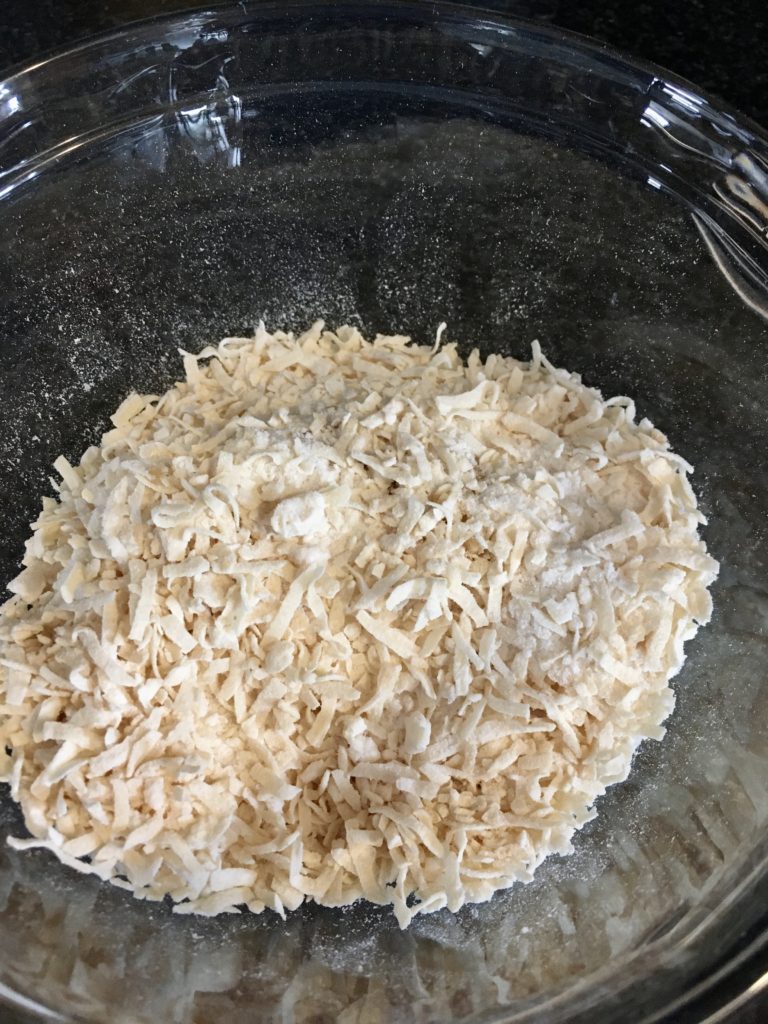
Preheat the oven to 325F. In a small bowl, mix the coconut, sugar, flour, and salt together.

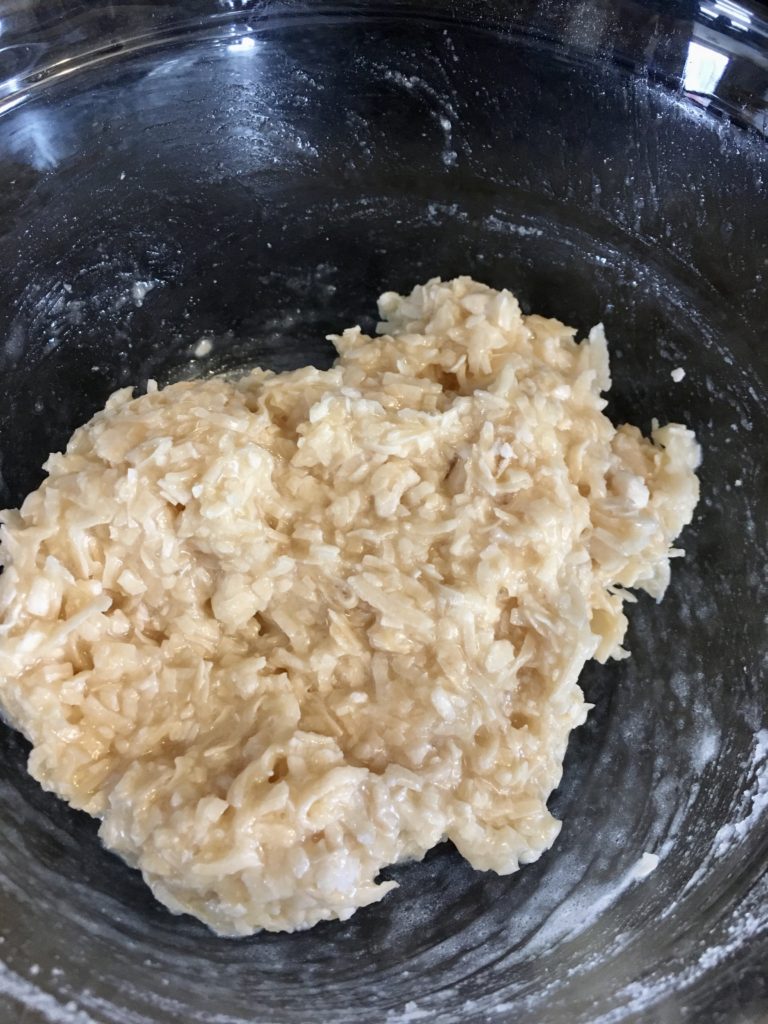
Add the egg whites and vanilla, and mix until the ingredients are thoroughly combined.

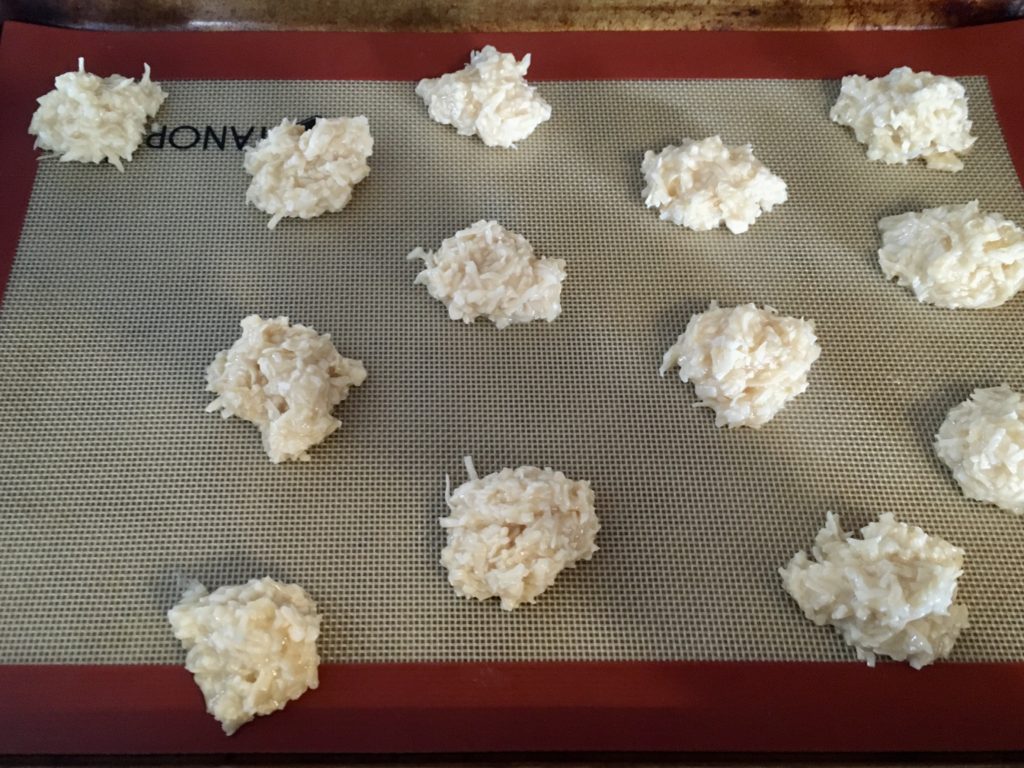
Drop tablespoon-sized balls onto a greased, or baking mat-lined, baking sheet.

Bake 18-20 minutes, or until the cookies are golden brown on top. Cool on a wire rack.

When the cookies are cool, drizzle with melted chocolate if you want!

And that’s it! Super simple, super quick, and super tasty. Happy baking, and stay safe!

Easy Peasy Lemon… Curd

Hi, all! Happy Christmas season! If you’re anything like me, December (and even a little of late November) brings tons of holiday parties, and tons of reasons to bake treats! I recently ran across a recipe for lemon thumbprint cookies, which interested me. I already have a recipe for my Aunt Sadie’s Raspberry Thumbprint cookies and I love lemon flavor, so I figured I had to try it- and luckily I had a Christmas party last night that I happened to need a baked good for! Unfortunately (or perhaps fortunately), my grocery store only sells huge jars of lemon curd, and I only needed a little bit. I say perhaps fortunately because that prompted me to make my own curd! It’s a super easy recipe, and if you have a few lemons at home, then you probably have all the ingredients you’ll need to make it. Here’s the recipe:

Ingredients:

  • 3/4 cup fresh squeezed lemon juice
  • 1 tbsp lemon zest
  • 3/4 cup granulated sugar
  • 3 eggs
  • 1/2 cup (1 stick) unsalted butter, cubed

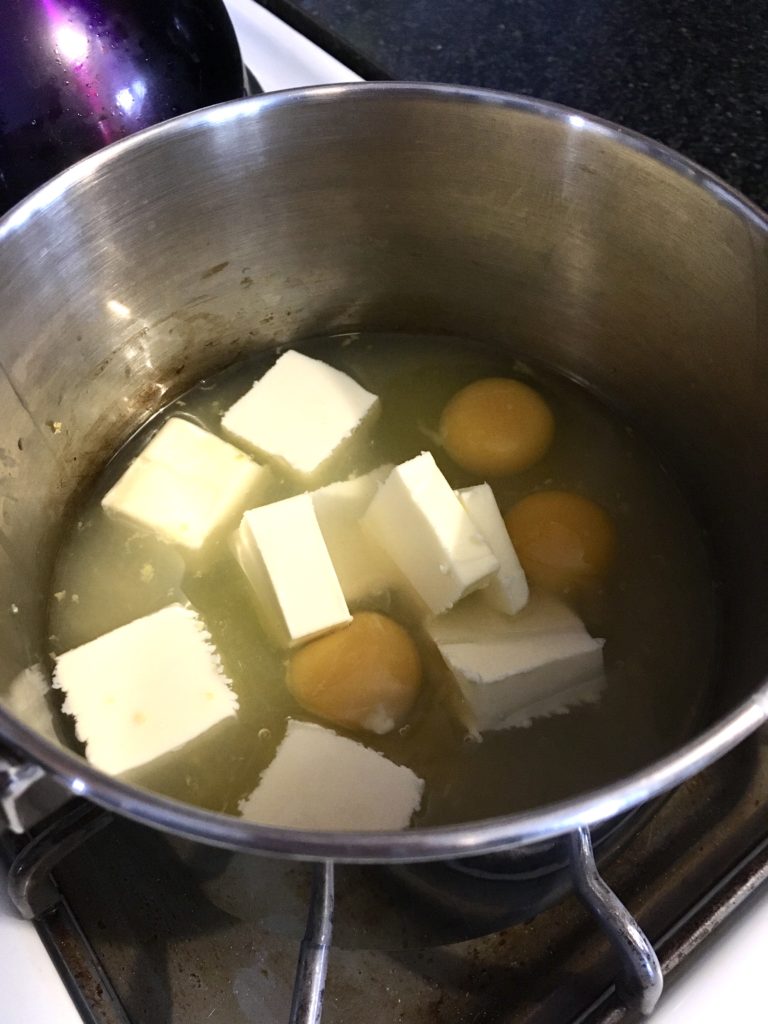
Put all the ingredients into a 2-qt saucepan over medium-low heat.

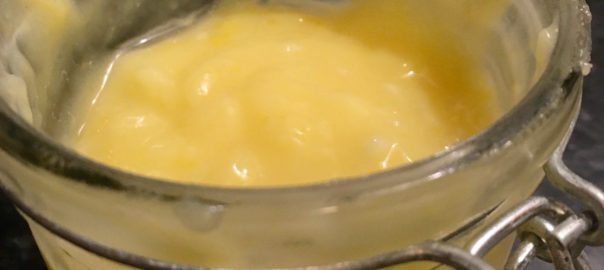
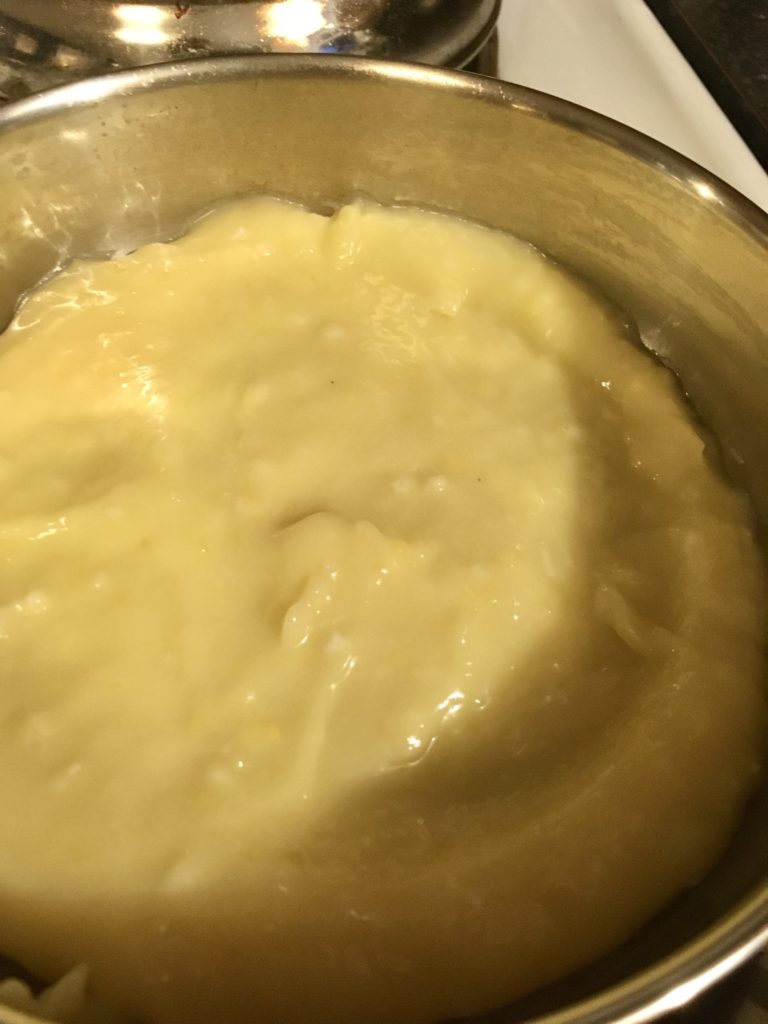
Let the mixture cook together, stirring frequently, until the ingredients are fully combined and the mixture is just starting to bubble. Turn the heat off and let the curd sit in the saucepan, stirring occasionally, until slightly cooled. It will continue to thicken to a jam consistency as it cools.

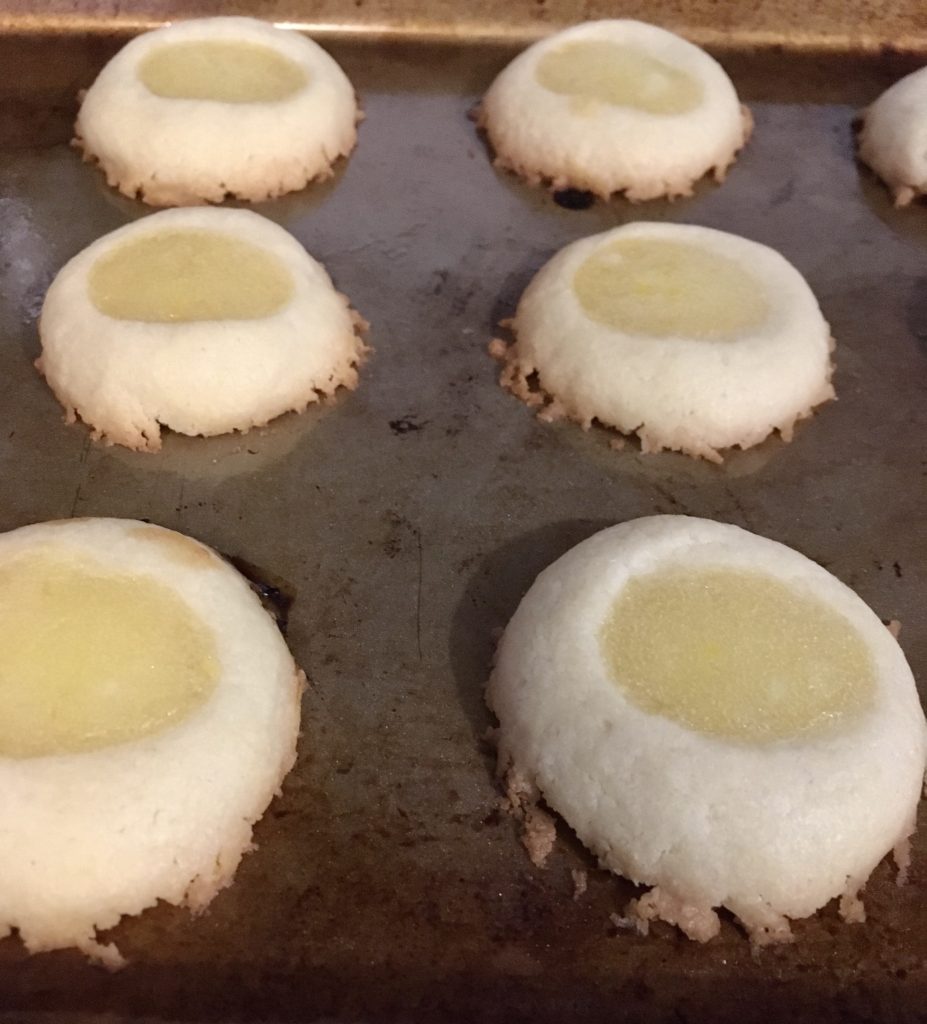
And that’s it! You can use this as a jam on fresh bread or scones, a light topping for a cheesecake or ice cream, or use it as the jelly in my Aunt’s thumbprint cookies as I’ve shown below. This recipe makes approximately 1 1/2 cups of curd.

Happy baking!

Roasted Brussels Sprouts with Bacon

Hi all! This is an easy and absolutely delicious vegetable recipe that goes with just about any meal. Here are the ingredients:

  • 1 lb Brussels sprouts
  • 2 slices thick-cut bacon
  • olive oil
  • salt and pepper to taste

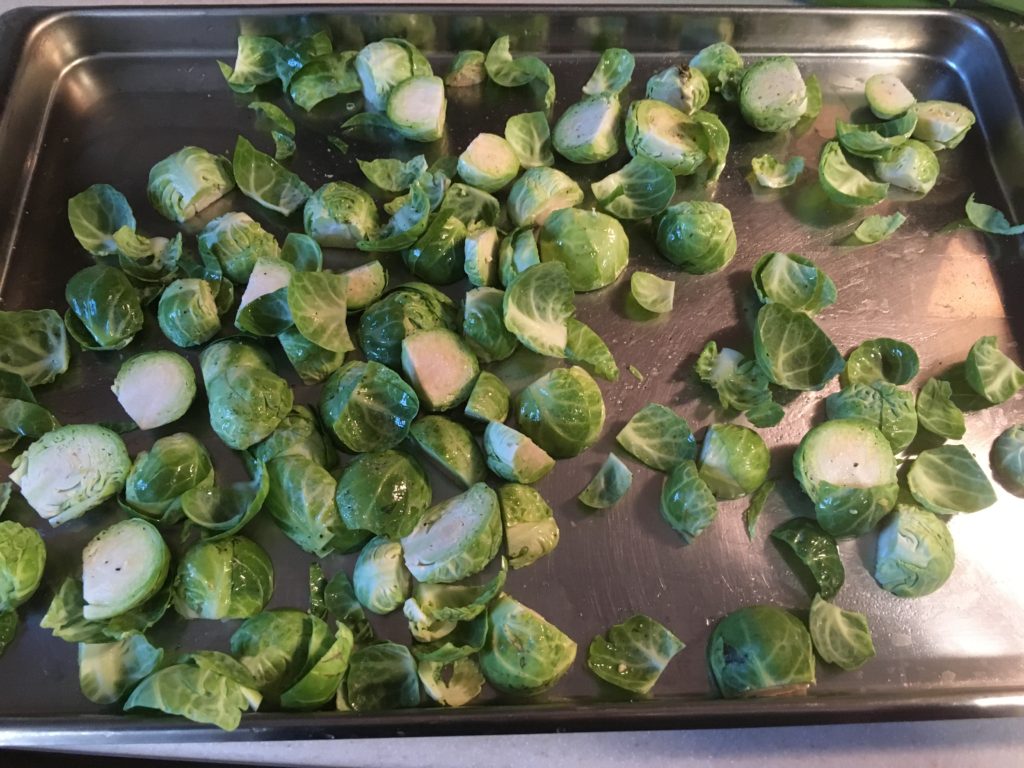
First, preheat the oven to 425F. Wash the Brussels sprouts, cut the ends off, and cut the sprouts in half. Toss with olive oil, salt, and pepper to taste and arrange in a single layer on a baking sheet.

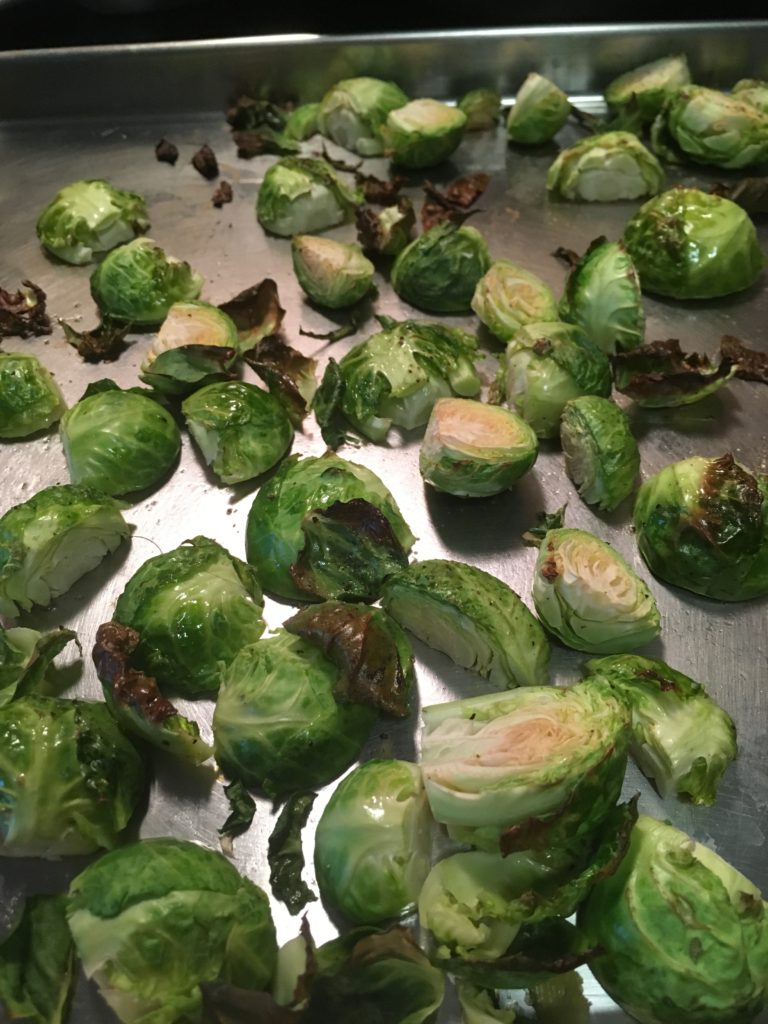
Roast for ~15 minutes. While the sprouts are roasting, cook bacon to medium-crispy either in frying pan or in microwave, depending on your preference (we used the microwave to keep the mess to a minimum!).

When the sprouts have roasted for ~15 minutes or until your preferred degree of doneness, remove them from the oven.

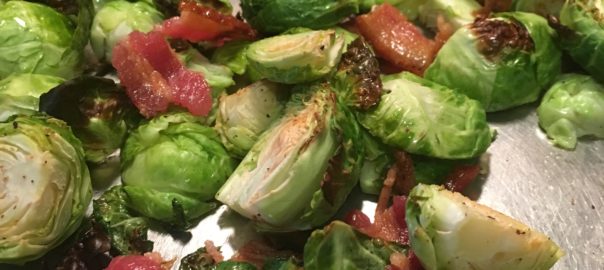
Crumble bacon over the top of the Brussels sprouts and turn broiler to high setting. Broil the sprouts and bacon for 3-5 minutes or until the bacon is very browned and crispy.

So easy and delicious! Happy cooking!
Foodie Dice Chicken and Rice

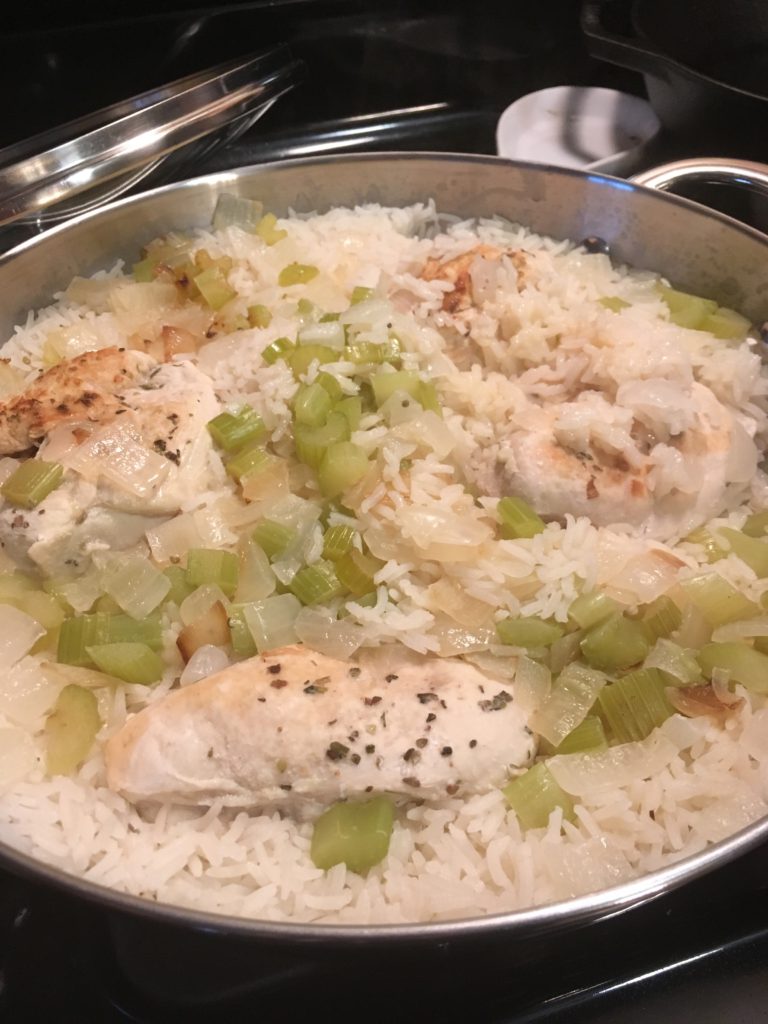
Hi, all! It’s been a while since I’ve posted- I hope you all had a wonderful end to your summers and have been having a great fall! As is tradition for late summer/early fall, my sister and I ran our annual inflatable 5k race last weekend and also made a delicious dinner from my foodie dice. Our six ingredients/cooking methods that we rolled were: rice, chicken, oregano, brussels sprouts, bacon, and broiling. We decided to make a delicious one-pot dish of chicken and rice that we basically made up as we went along, and we roasted (and of course, broiled) up some Brussels sprouts with bacon for the side dish (recipe posted here)! Here’s the recipe for the chicken and rice:

Ingredients:

  • 4 chicken breasts
  • 1 tbsp canola or vegetable oil
  • salt and pepper to taste
  • 1 tsp oregano
  • 2 cups uncooked rice
  • 1/2-1 cup chopped yellow onion (to taste)
  • 1/2-1 cup chopped celery (to taste)
  • 1 quart low sodium chicken stock

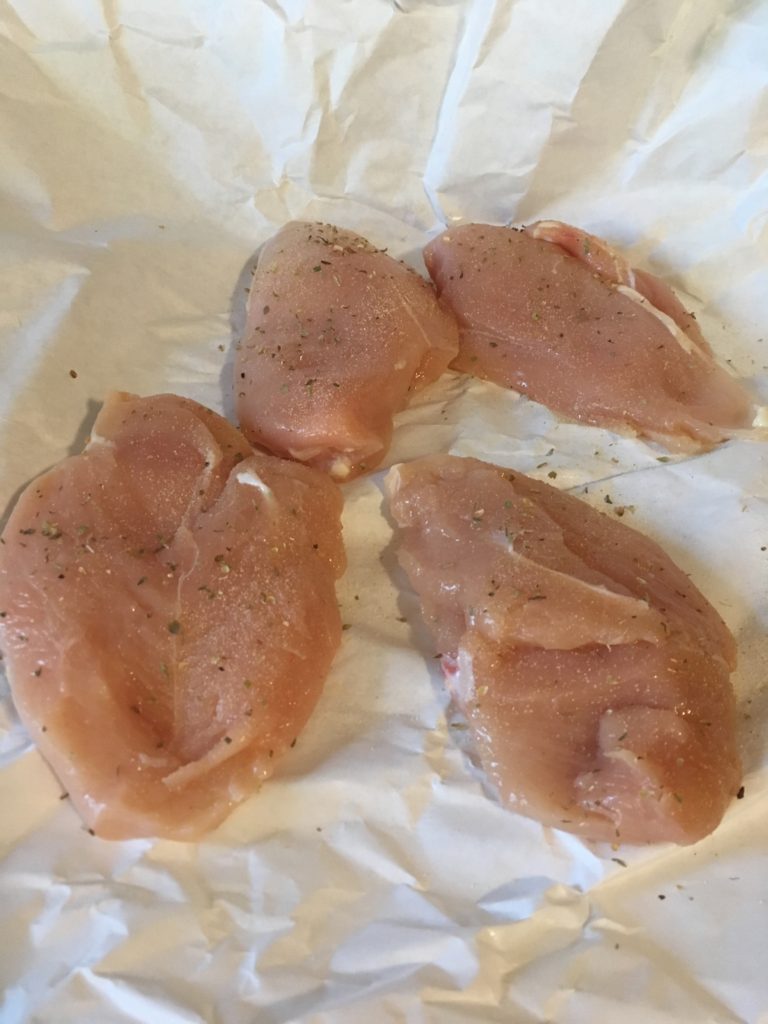
Season the chicken breasts with salt, pepper, and oregano.

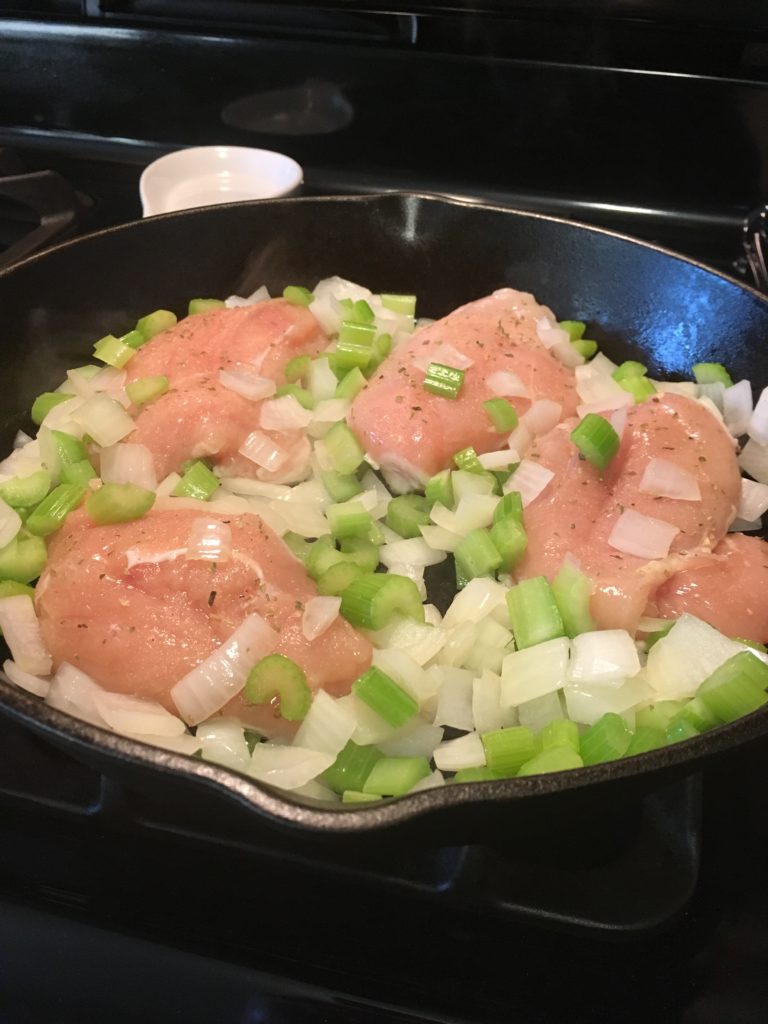
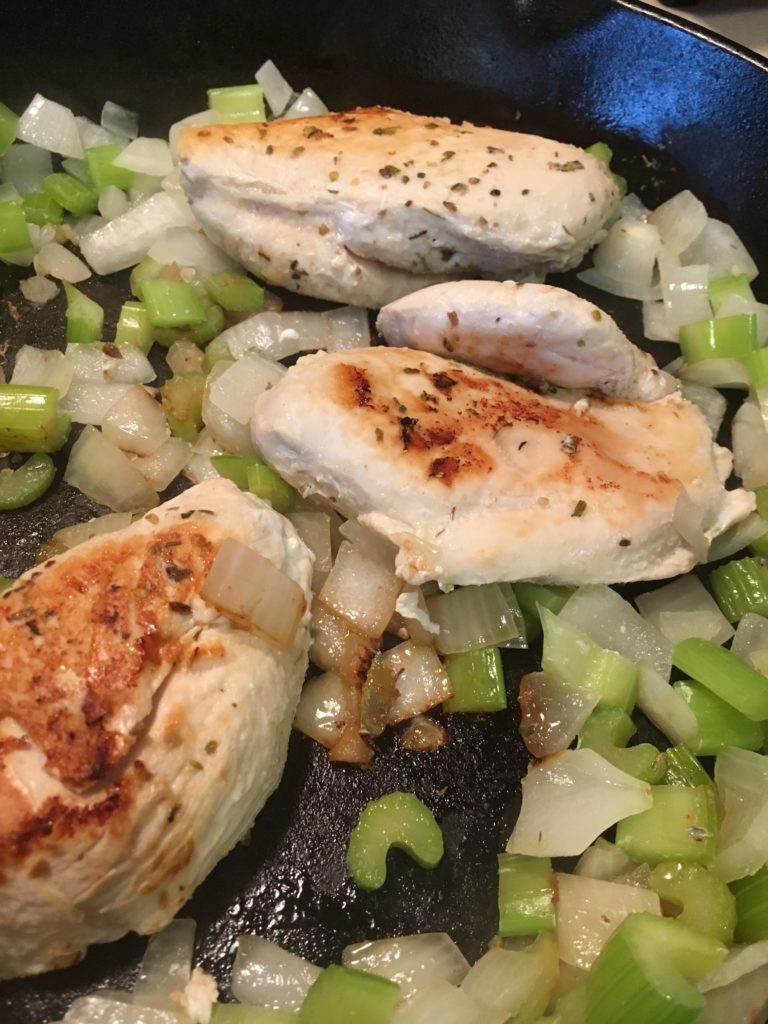
Heat oil in a large wok or deep saucepot over medium-high heat. Add chopped celery and onion to skillet and stir; cook until starting to soften, 2-3 minutes. Add chicken to pan, nestling among the onion and celery, and cook until chicken is seared on both sides (doesn’t need to be fully cooked through since it will continue cooking with the rice).

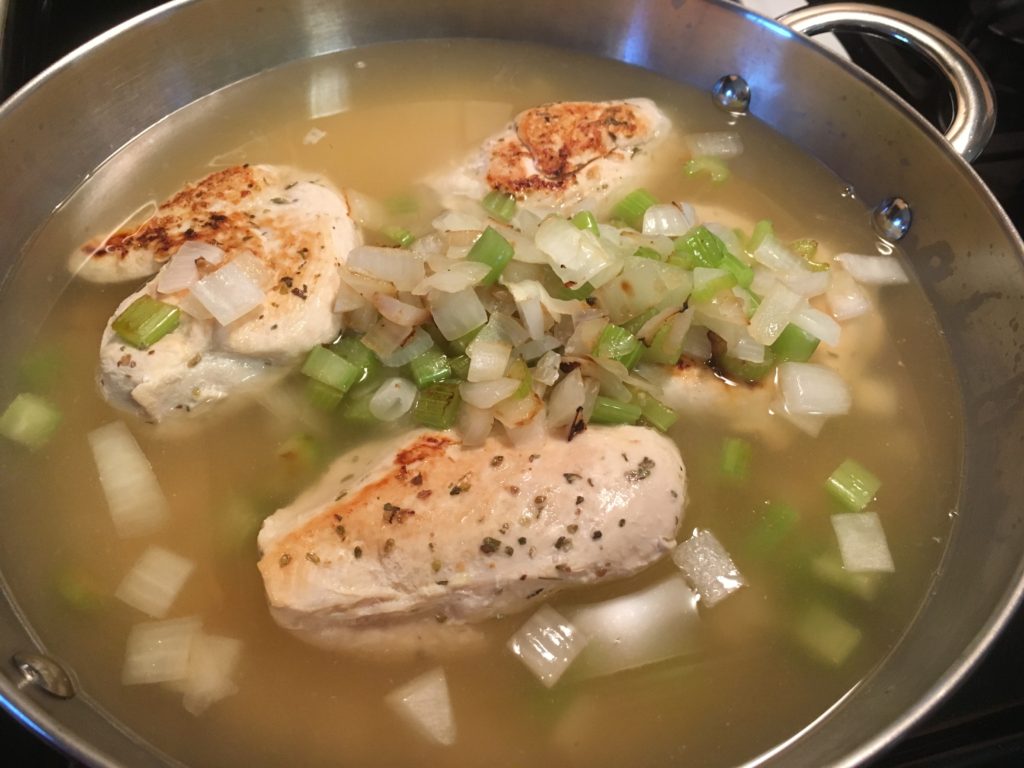
Pour uncooked rice into pot and then cover with chicken stock. Cover pot with lid.

Cook according to rice directions (cooking time will vary based on type of rice you use- we used white, so it took about 15-20 minutes).

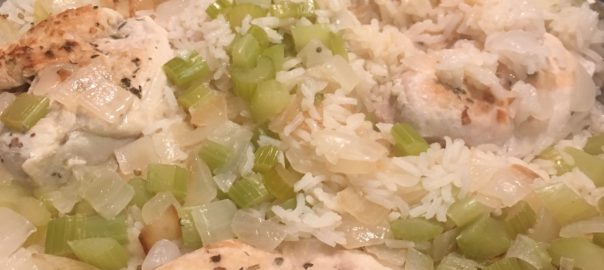
And that’s it! Super easy and quick, and it ended up delicious. The rice was really nicely flavored from cooking it in chicken stock, and the chicken was very tender and moist. Definitely a win for the foodie dice! Happy cooking!
Kale & Roasted Tomato Pasta

Hi, all! Hard to believe how fast the summer is flying by! I’m trying to hold on to summer as long as I can and savor all the good summer dishes that I’ve been able to make with my veggies from Misfits Market. This past week I received a nice bunch of kale and some cherry tomatoes (along with a bunch of other goodies, of course) and figured there must be a good way to put them together other than a typical kale salad. I found a few good ideas for how to combine the two, riffed a bit on all of them, and made this delicious pasta dish from it! Here’s the recipe:

  • 8oz pasta (can be whole grain)
  • 1 pint cherry tomatoes, divided
  • Olive oil
  • 3 slices low-sodium bacon, chopped
  • 1 bunch kale, stems removed
  • 3 cloves garlic
  • dash salt
  • 1 tsp rosemary, finely chopped
  • 2 tbsp pine nuts

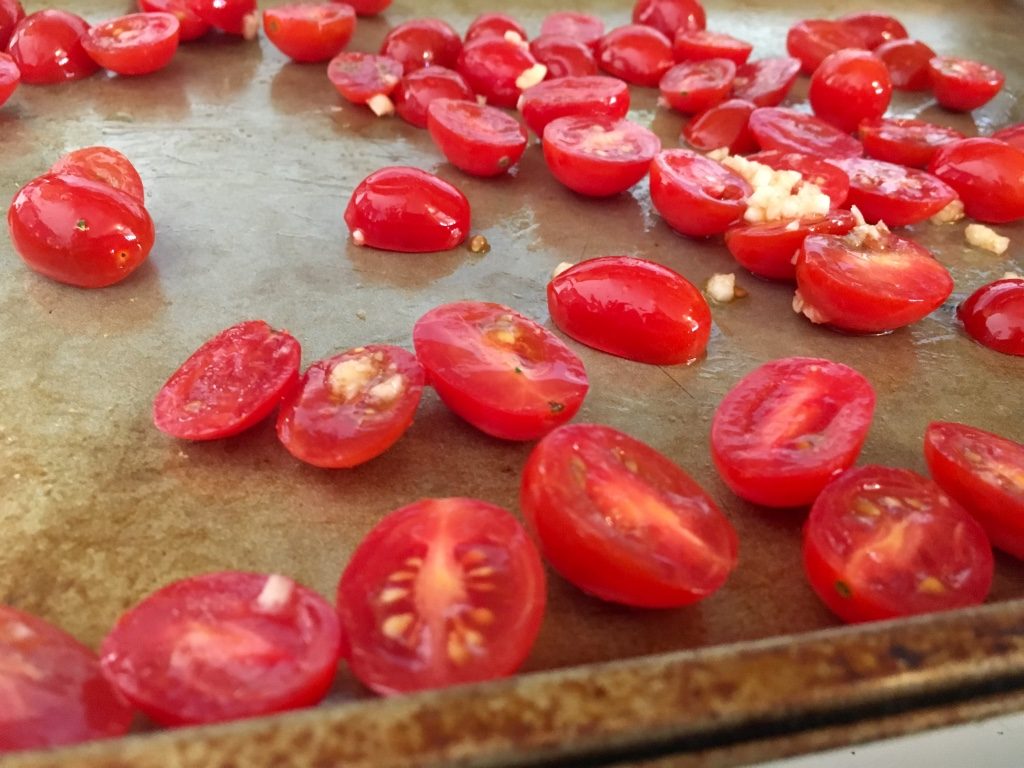
First, preheat the oven to 375F. Slice half of the cherry tomatoes in half lengthwise. Toss in a bowl with a drizzle of olive oil and 1 clove minced garlic.

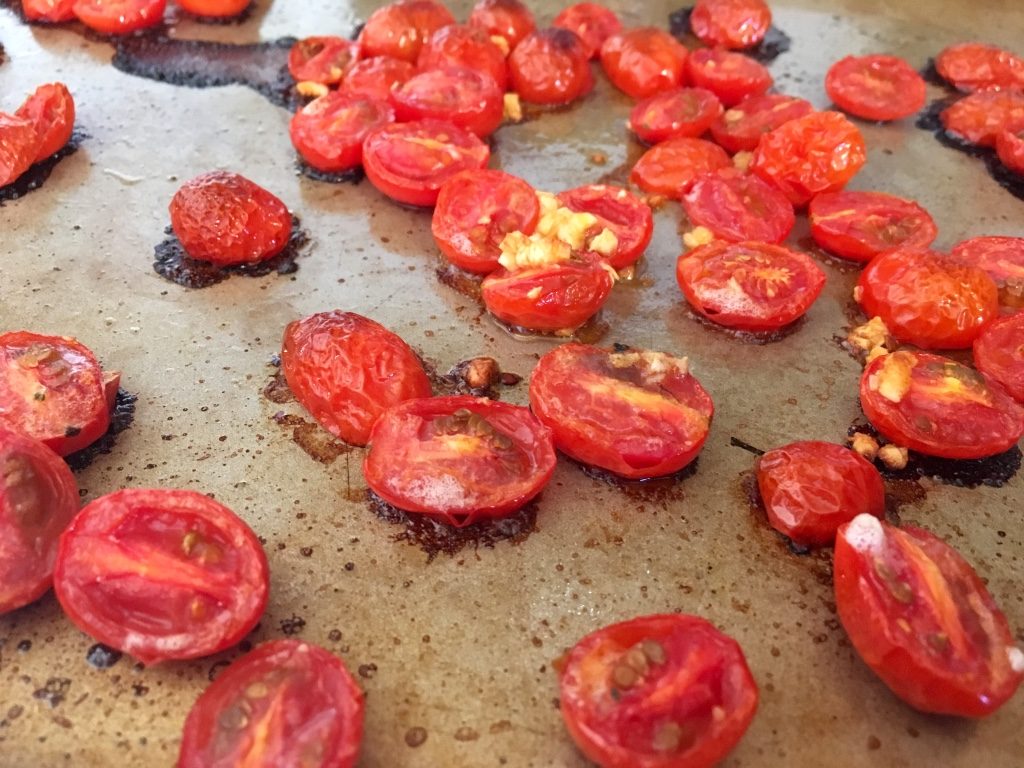
Arrange in a single layer on a baking sheet and roast in the oven for about 20 minutes. Set aside.

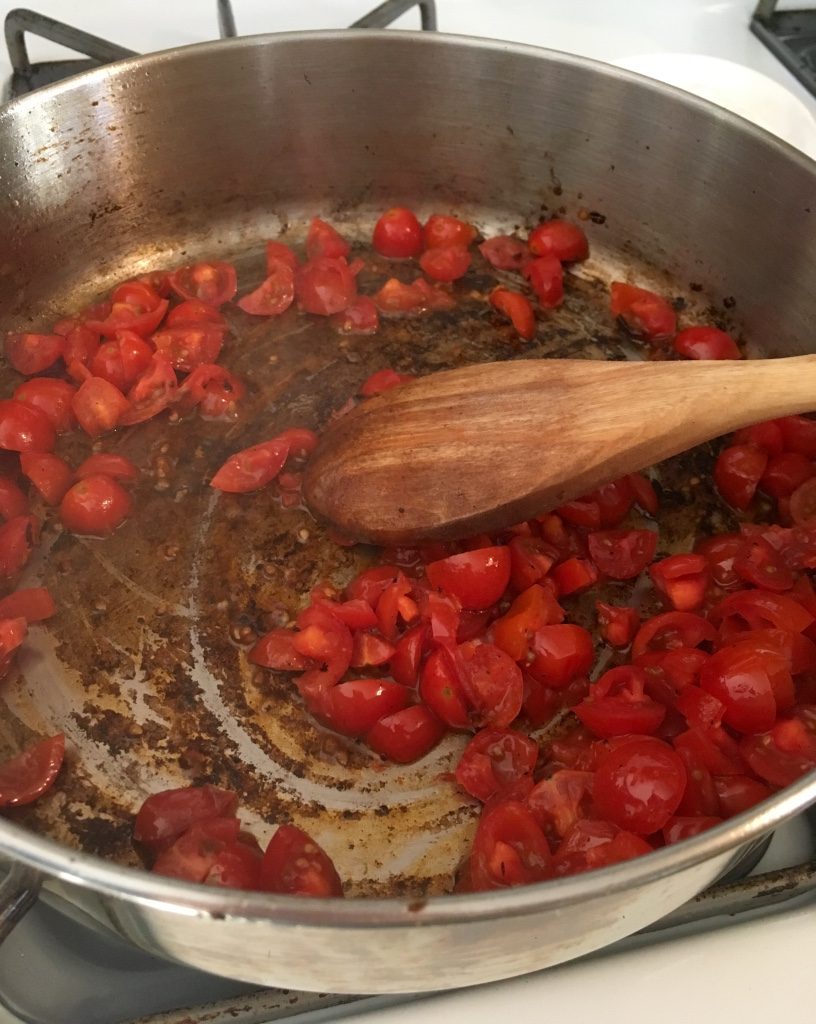
While the tomatoes are roasting, cook the pasta according to the box directions until al dente. Drain, reserving 1 cup of the cooking liquid. Meanwhile, cook bacon pieces in a skillet over medium-high heat until crispy. Remove from pan using slotted spoon and set aside. Chop the remaining cherry tomatoes into quarters and add to the rendered bacon fat in the skillet. Cook over medium heat, stirring often, until the tomatoes soften and release their juices.

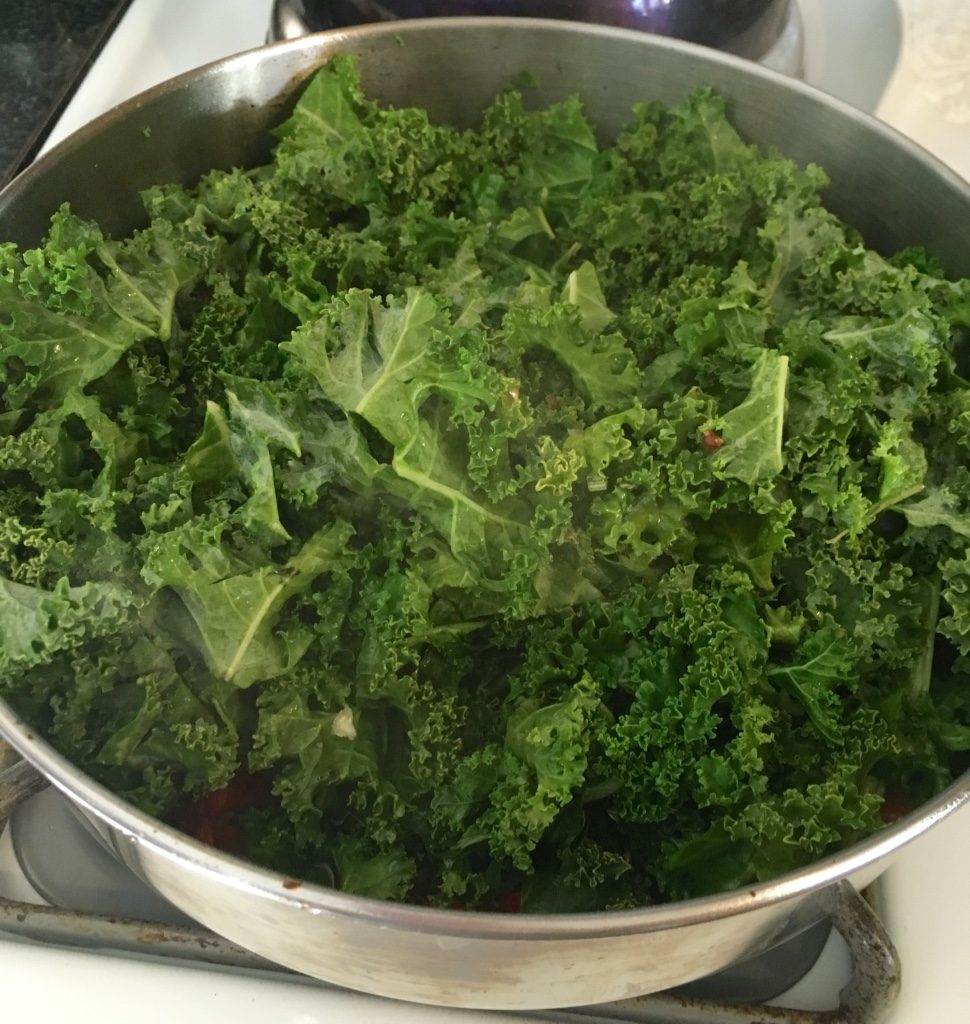
Chop the kale into small pieces. Add the kale, rosemary, remaining 2 cloves minced garlic, and a dash of salt to the skillet. Briefly stir to combine all of the ingredients.

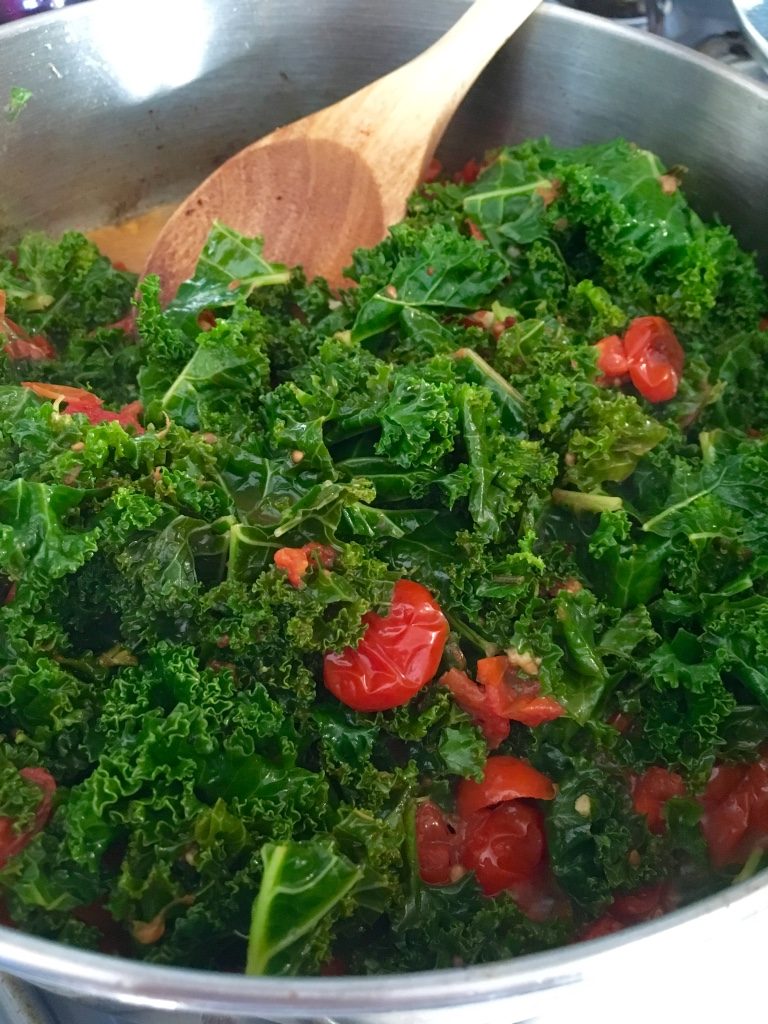
Add 1/2 to 1 cup of reserved pasta water to the pan; cover and let cook over medium heat until kale is wilted and cooked down.

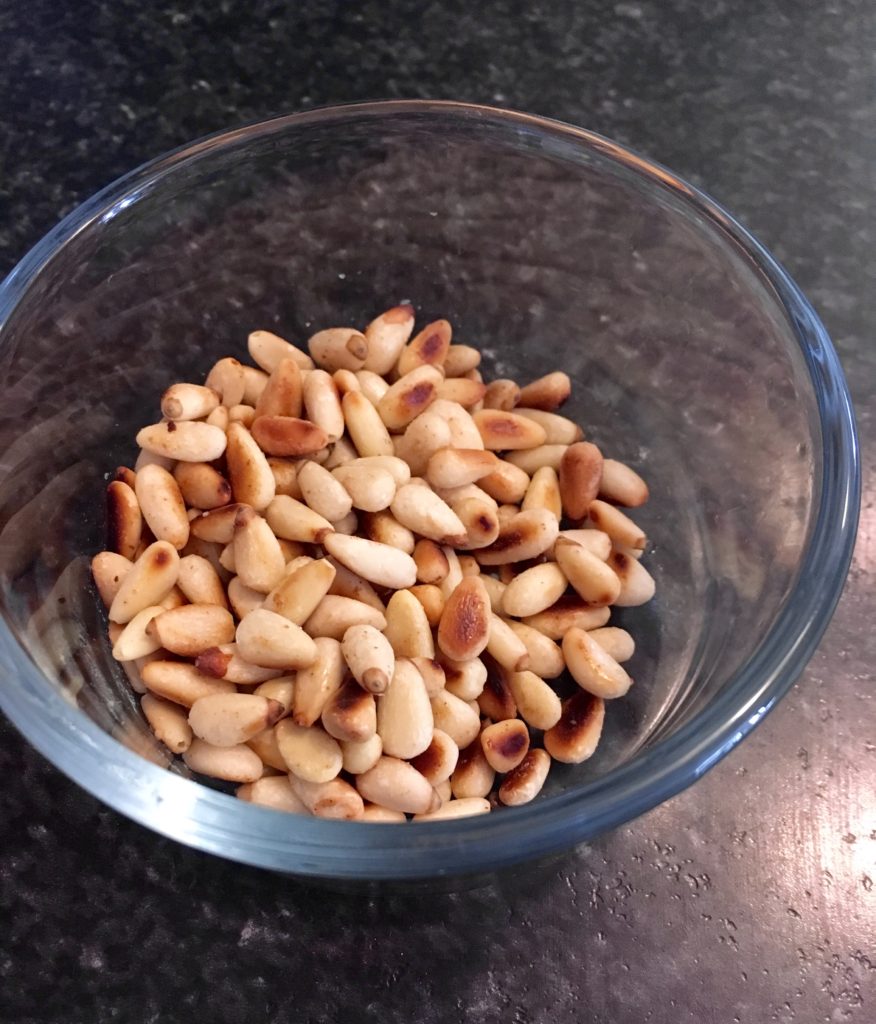
While kale mixture cooks down, pour pine nuts into a small skillet over medium heat. Stir the nuts occasionally until they start to turn brown and smell toasty and nutty. Remove from heat and set aside.

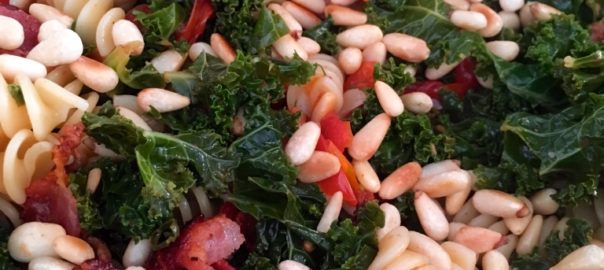
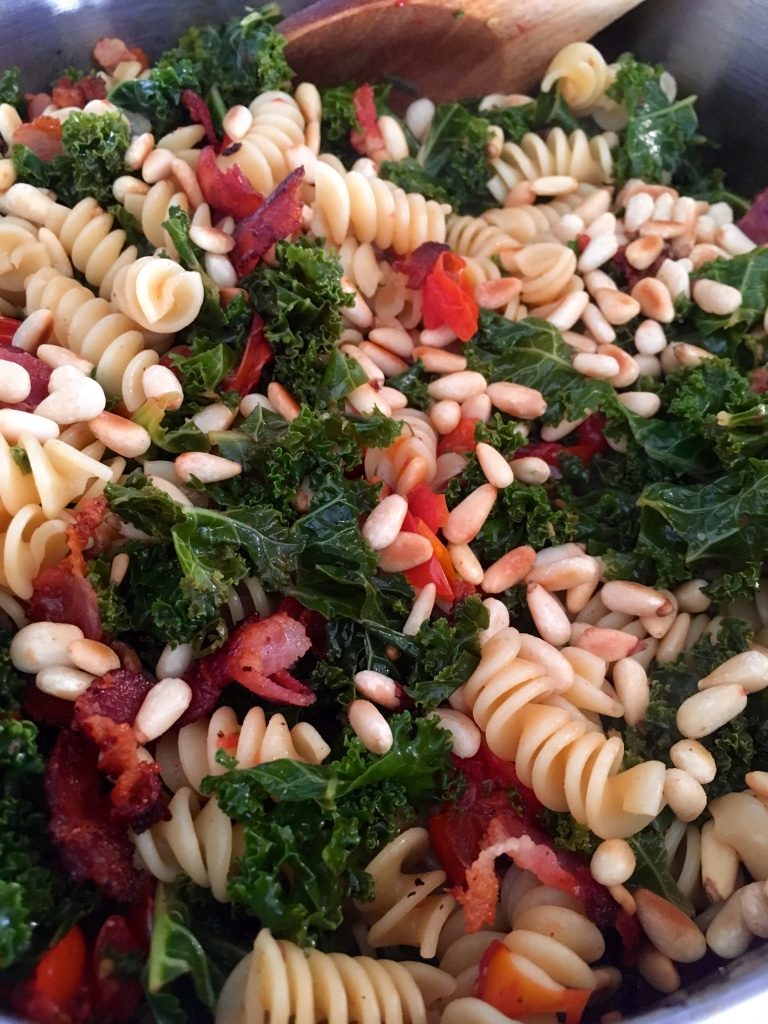
Once the kale mixture is cooked down, add pasta, pine nuts, roasted tomatoes, and bacon to the mixture. Toss to combine ingredients.

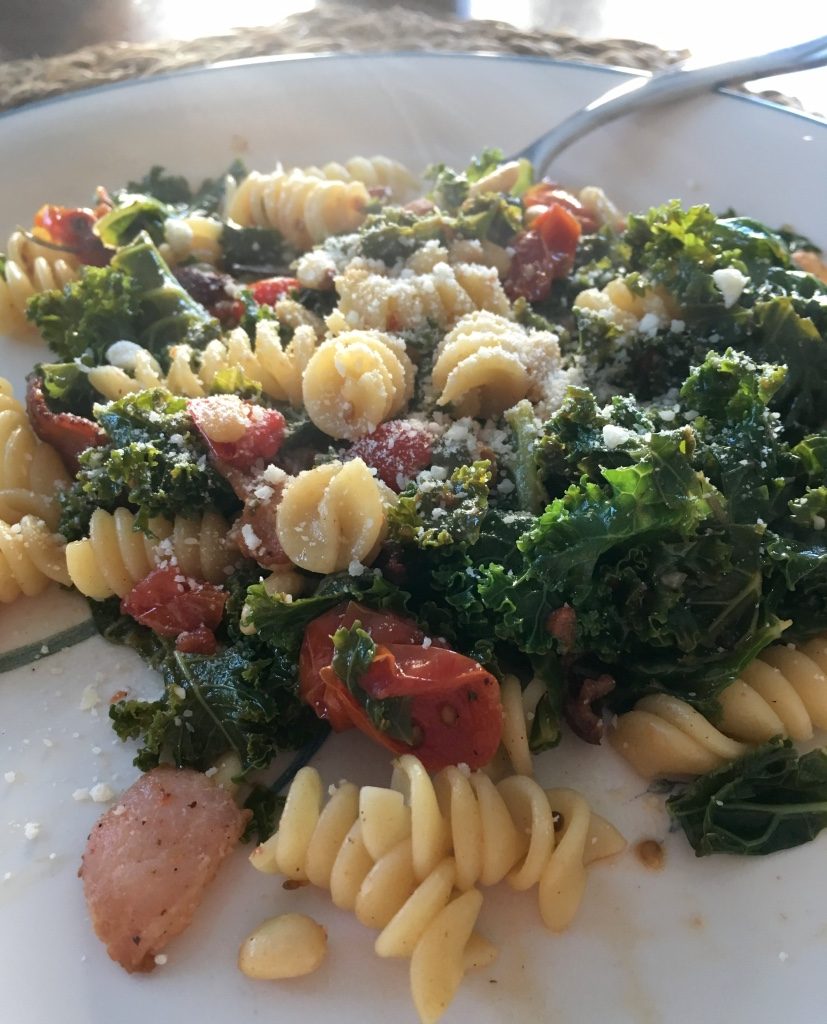
Serve with Parmesan cheese, and enjoy! Happy cooking!

Easy Babaganoush

Hi, all! Happy August- I can’t believe the summer is flying by so quickly! I’ve been loving the summer produce coming from my garden and from my Misfits Markets boxes, and this new recipe takes full advantage of that! I had a spare eggplant that I needed to use up and had heard great things about babaganoush, a Lebanese dip, so I decided to try it. My hopes of liking it were pretty low, but I was very pleasantly surprised with how good it was- even my dad, who normally doesn’t like eggplant, enjoyed it! This dip has a really clean, refreshing flavor, with a little kick at the end from the garlic in it. Here’s the recipe:

  • 1 small to medium eggplant
  • 1 clove garlic, minced
  • 1/4 tsp salt
  • 1/4 cup finely chopped flat-leaf parsley or 2 tbsp dried parsley
  • 2 tbsp tahini (sesame seed paste)
  • 2 tbsp lemon juice

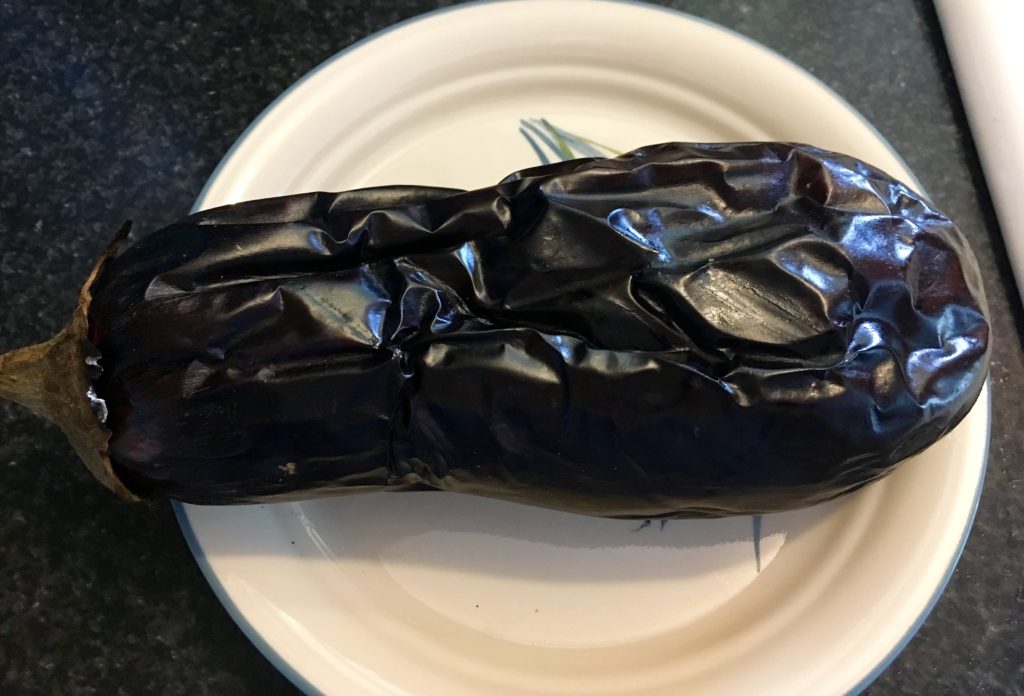
First, preheat a gas grill to 450F. Prick the eggplant all over with a fork. Grill the eggplant on all sides over the flame until all sides are charred and the skin is wrinkled, about 10 minutes. Alternatively, heat an oven to 450F and place the pricked eggplant on a foil-lined cookie sheet; bake in the oven for 20 minutes until soft.

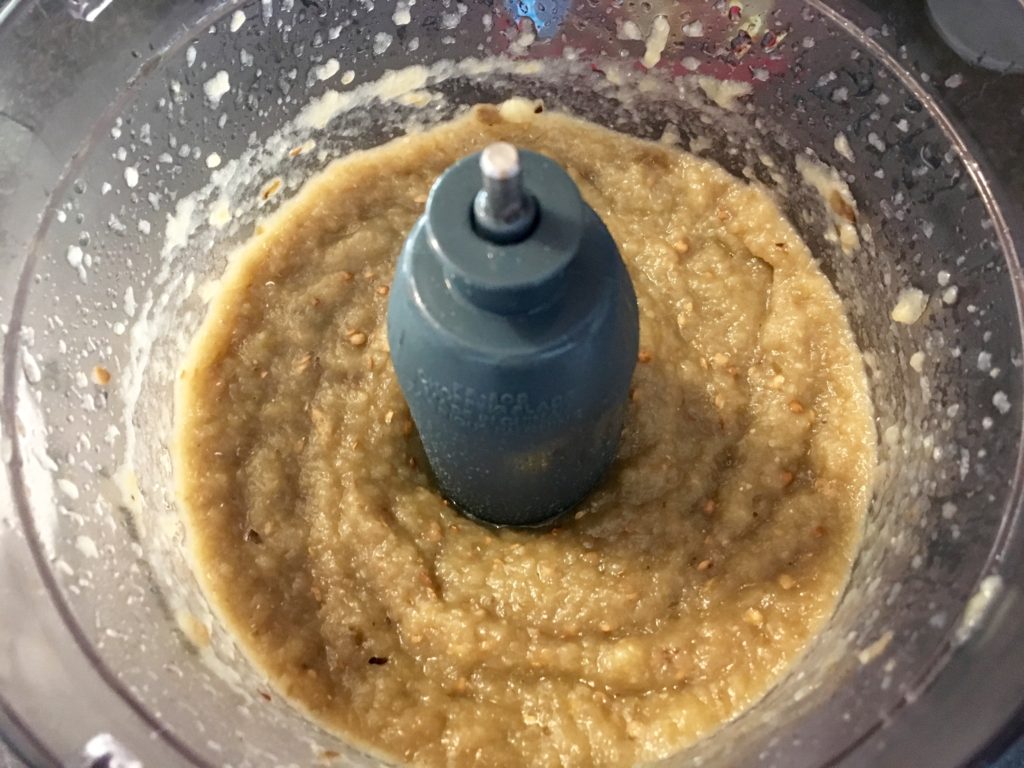
Let the eggplant cool. Then, cut the eggplant in half lengthwise and drain any excess liquid. Scoop out the flesh into a food processor and process until smooth.

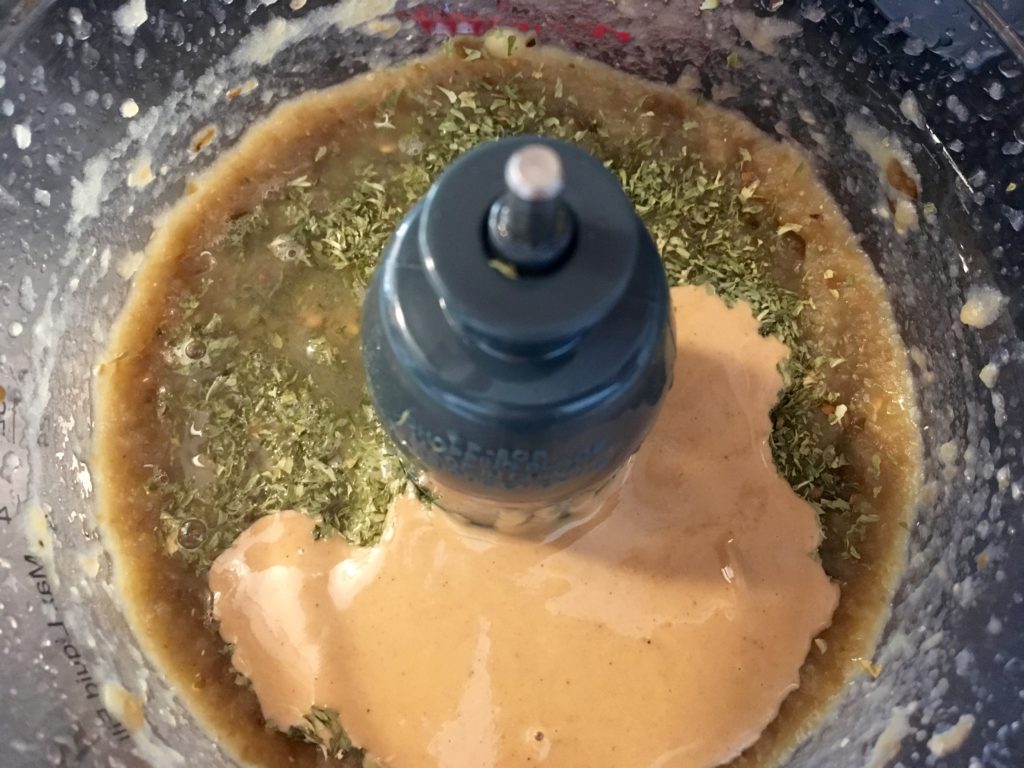
While the eggplant is processing, mash garlic and salt together with the flat side of a knife until they form a paste. Add the garlic paste, lemon juice, parsley, and tahini to the processor. Note: tahini tends to separate, so make sure to mix it up really well before using it!

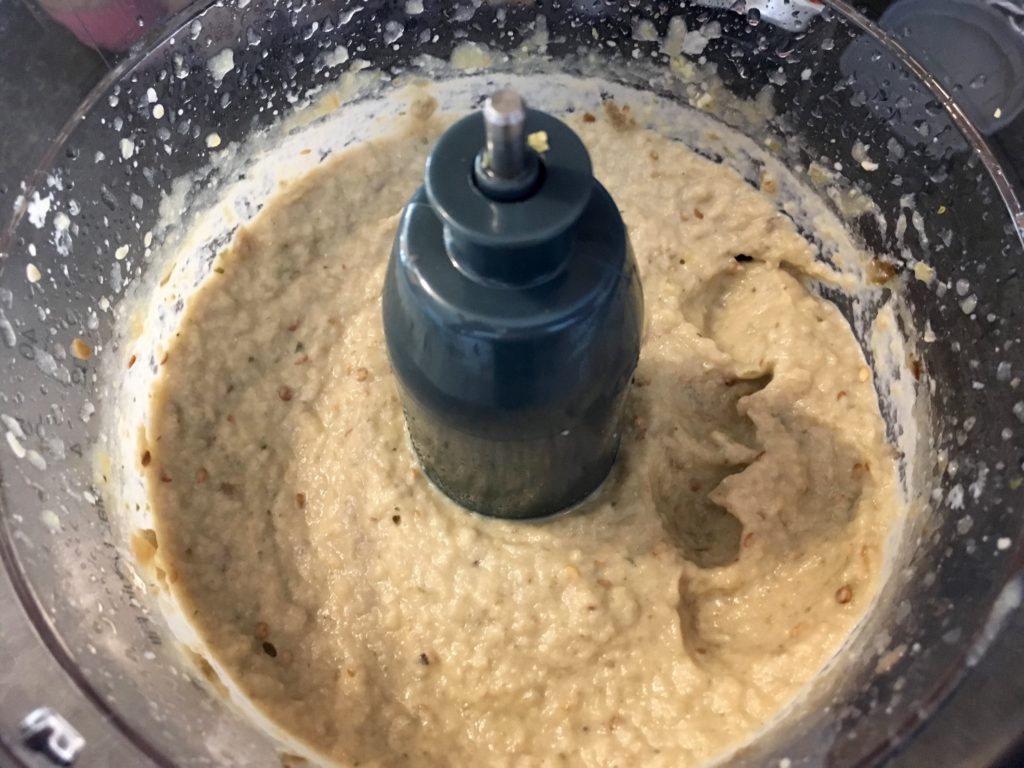
Process all of the ingredients together until they are fully mixed and smooth.

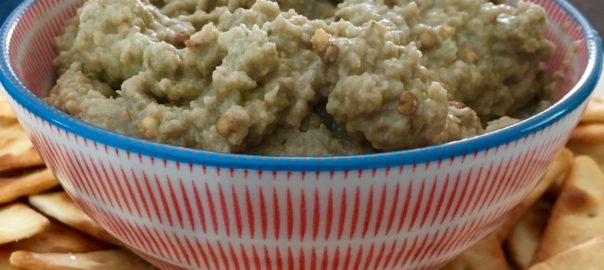
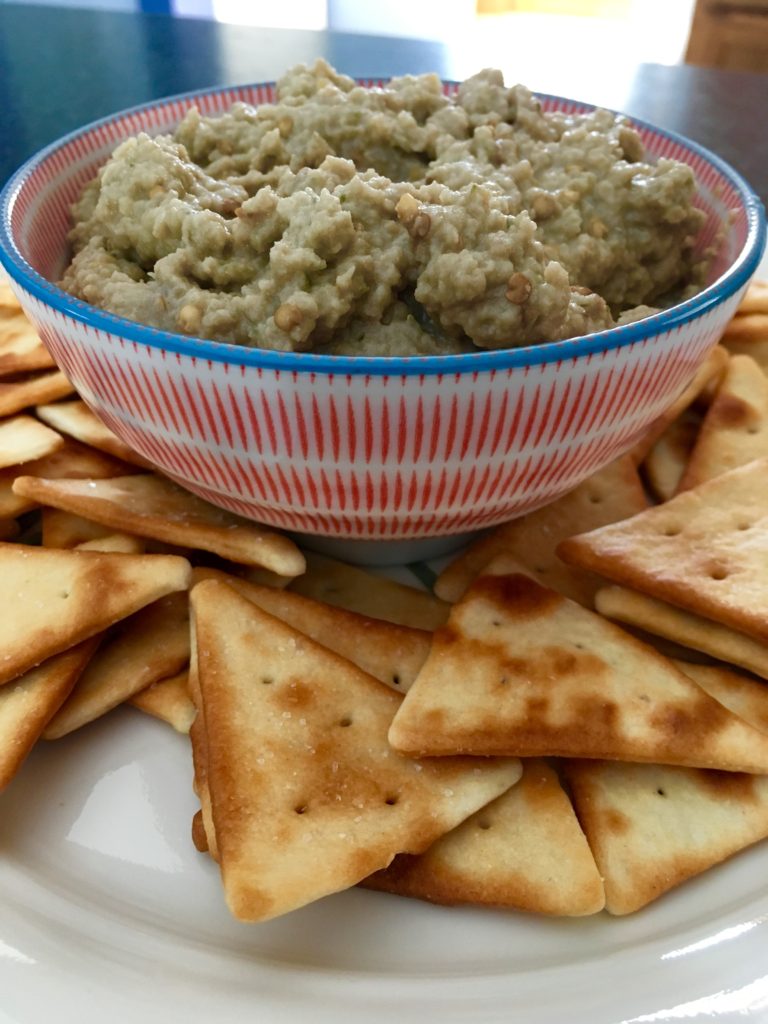
Scoop the dip into a bowl and serve with pita chips or a veggie platter, and enjoy! This dip keeps well in a closed container in the fridge for 3 days- just stir it up before eating as it may slightly separate.

Happy cooking!
Arugula Pesto

Hi, all! Summer is in full swing and the summer produce is really starting to take off. Thanks to my Misfits Market box, I recently got some fresh arugula to use. I had some leftover pine nuts, so I decided to try making an arugula pesto- and it came out super well! It tasted delicious and really fresh, and went well with the pizza I made that night (recipe also below!). Here’s the recipe:
  • 2 cups arugula
  • 1/4 cup basil
  • 1 cup olive oil
  • 1 cup grated Parmesan
  • 1/3 cup pine nuts
  • 1 tbsp lemon zest
  • salt and pepper
  • 1 clove garlic, crushed

First, toast the pine nuts in a sauté pan over medium heat. The trick to toasting them without burning them is to just toss the nuts in the hot pan and remove them from the heat as soon as you start to smell them.

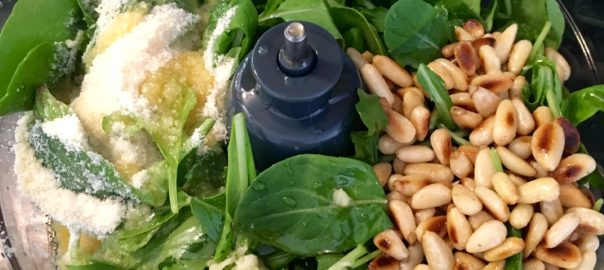
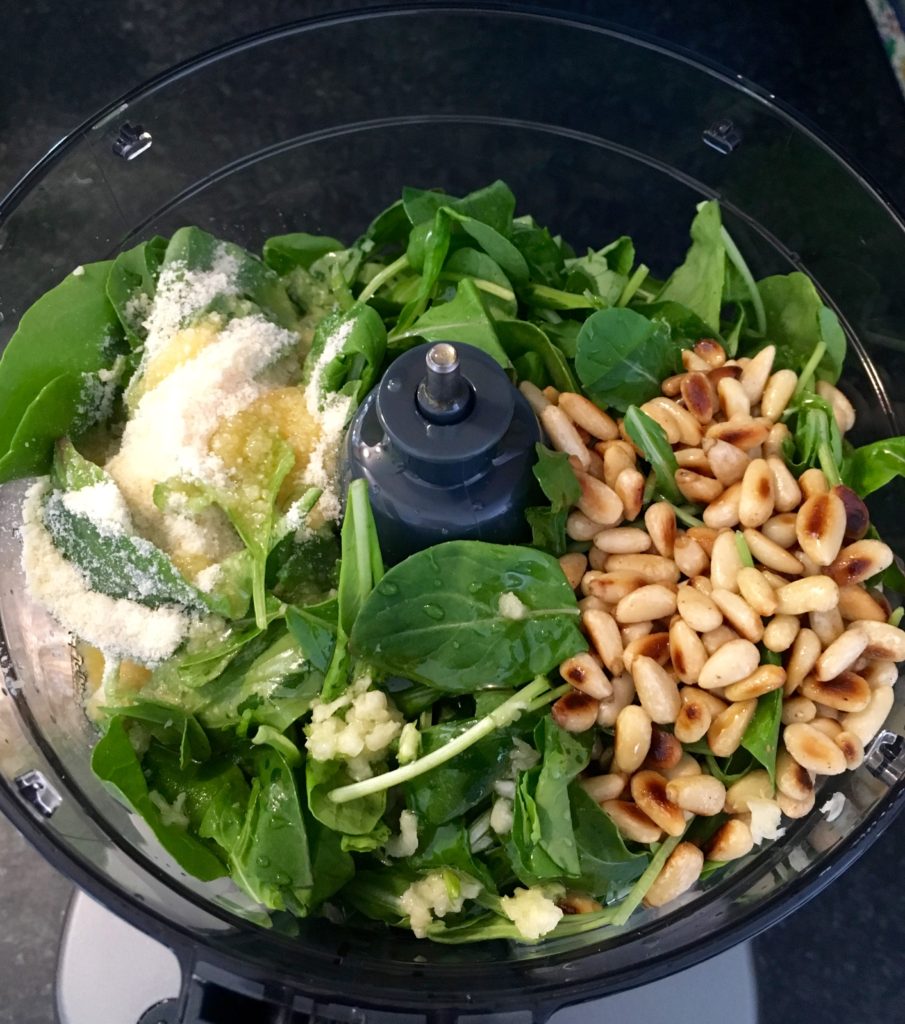
Next, put all the ingredients (including the toasted nuts) into a food processor.

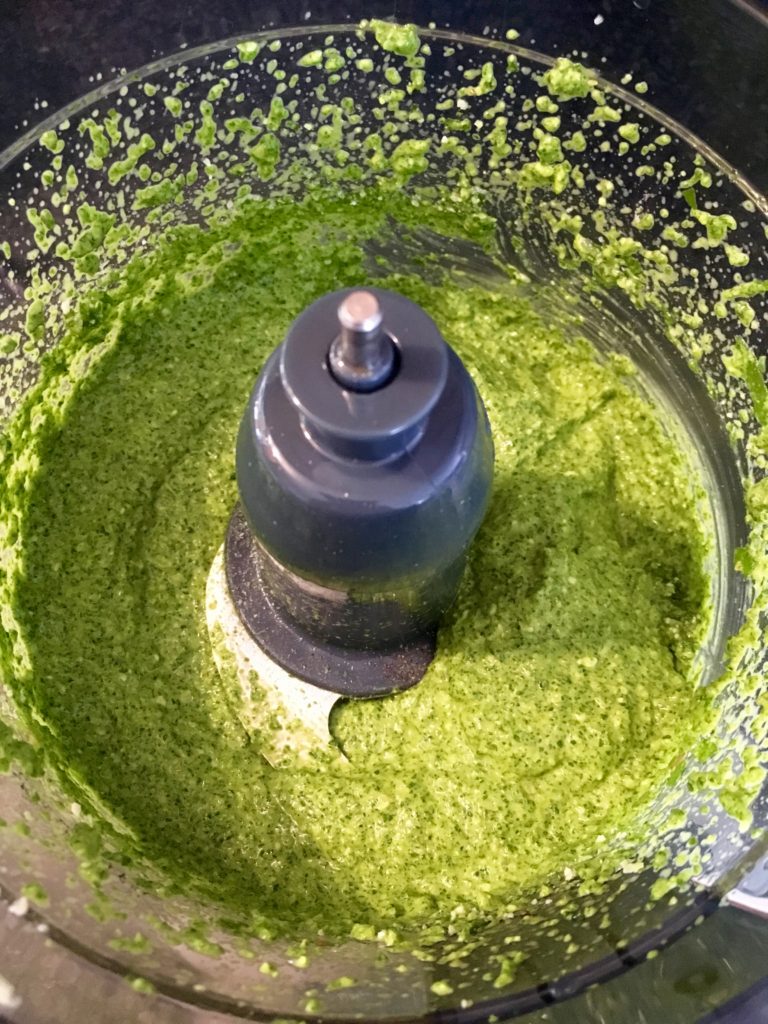
Process the ingredients together until they come together. If the consistency is too runny, try adding extra cheese; if too thick, try adding extra olive oil and pulsing the mixture to loosen it. Taste and adjust the seasoning.

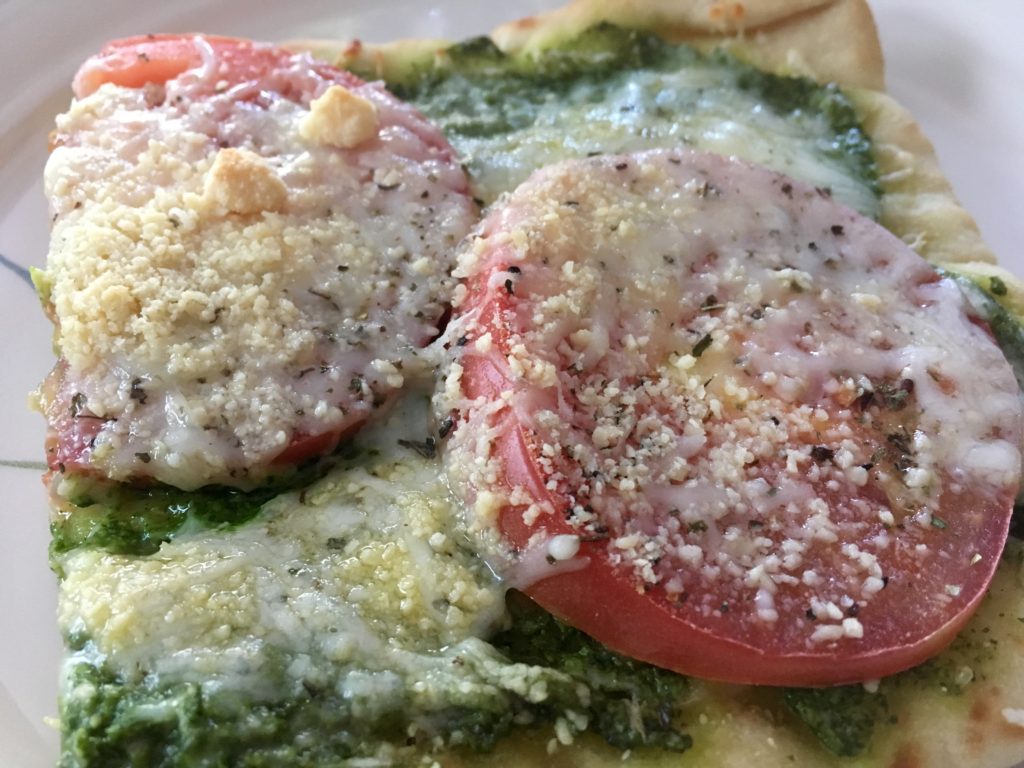
And that’s it! You can freeze this pesto to use later, or you can make it up to 3 days ahead of when you’ll need it. This works well with pasta or as a sauce for vegetables, and also is delicious as a substitute for pizza sauce in the pizza recipe below:

  • 1 pre-made pizza crust (I like Stonefire crusts)
  • Arugula pesto
  • 1 heirloom tomato
  • Shredded mozzarella (or other Italian cheese blend)
  • Shredded Parmesan cheese

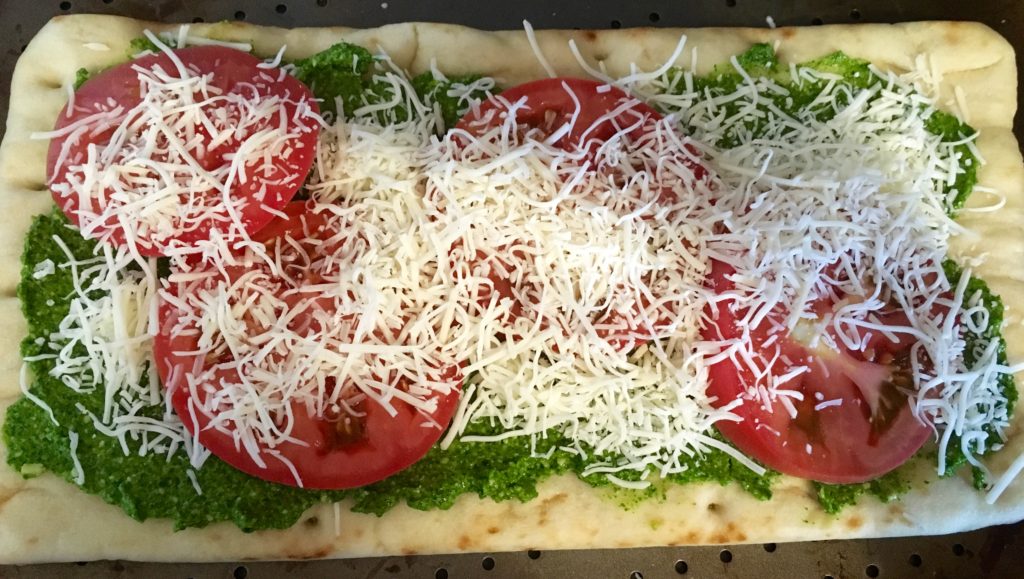
Spread a layer of the pesto over the crust. Slice the tomato and layer that over the pesto. Sprinkle the cheese over the top.

Bake according to the crusts’ reheat directions until the crust is fully heated and the cheese is bubbling. Slice it up and enjoy!

Happy cooking!