All posts by Ruth Wendel

About Ruth Wendel

I'm a musician, Registered Dietitian, cook, and baker. I love food, and want to share my delight for it with the world. I hope you enjoy my recipes and, if you haven't developed a love for baking already, I hope you will!

Game Days and Gardens

Well, it seems that Spring has finally arrived! That’s pretty indicative of the fact that football tailgating parties are out of season, but I figure, it’s Game Day somewhere! Today’s post will be a mix of a few yummy tailgating recipes, and then a healthier, fresher twist on one recipe that uses yummy veggies from spring and summer harvests!

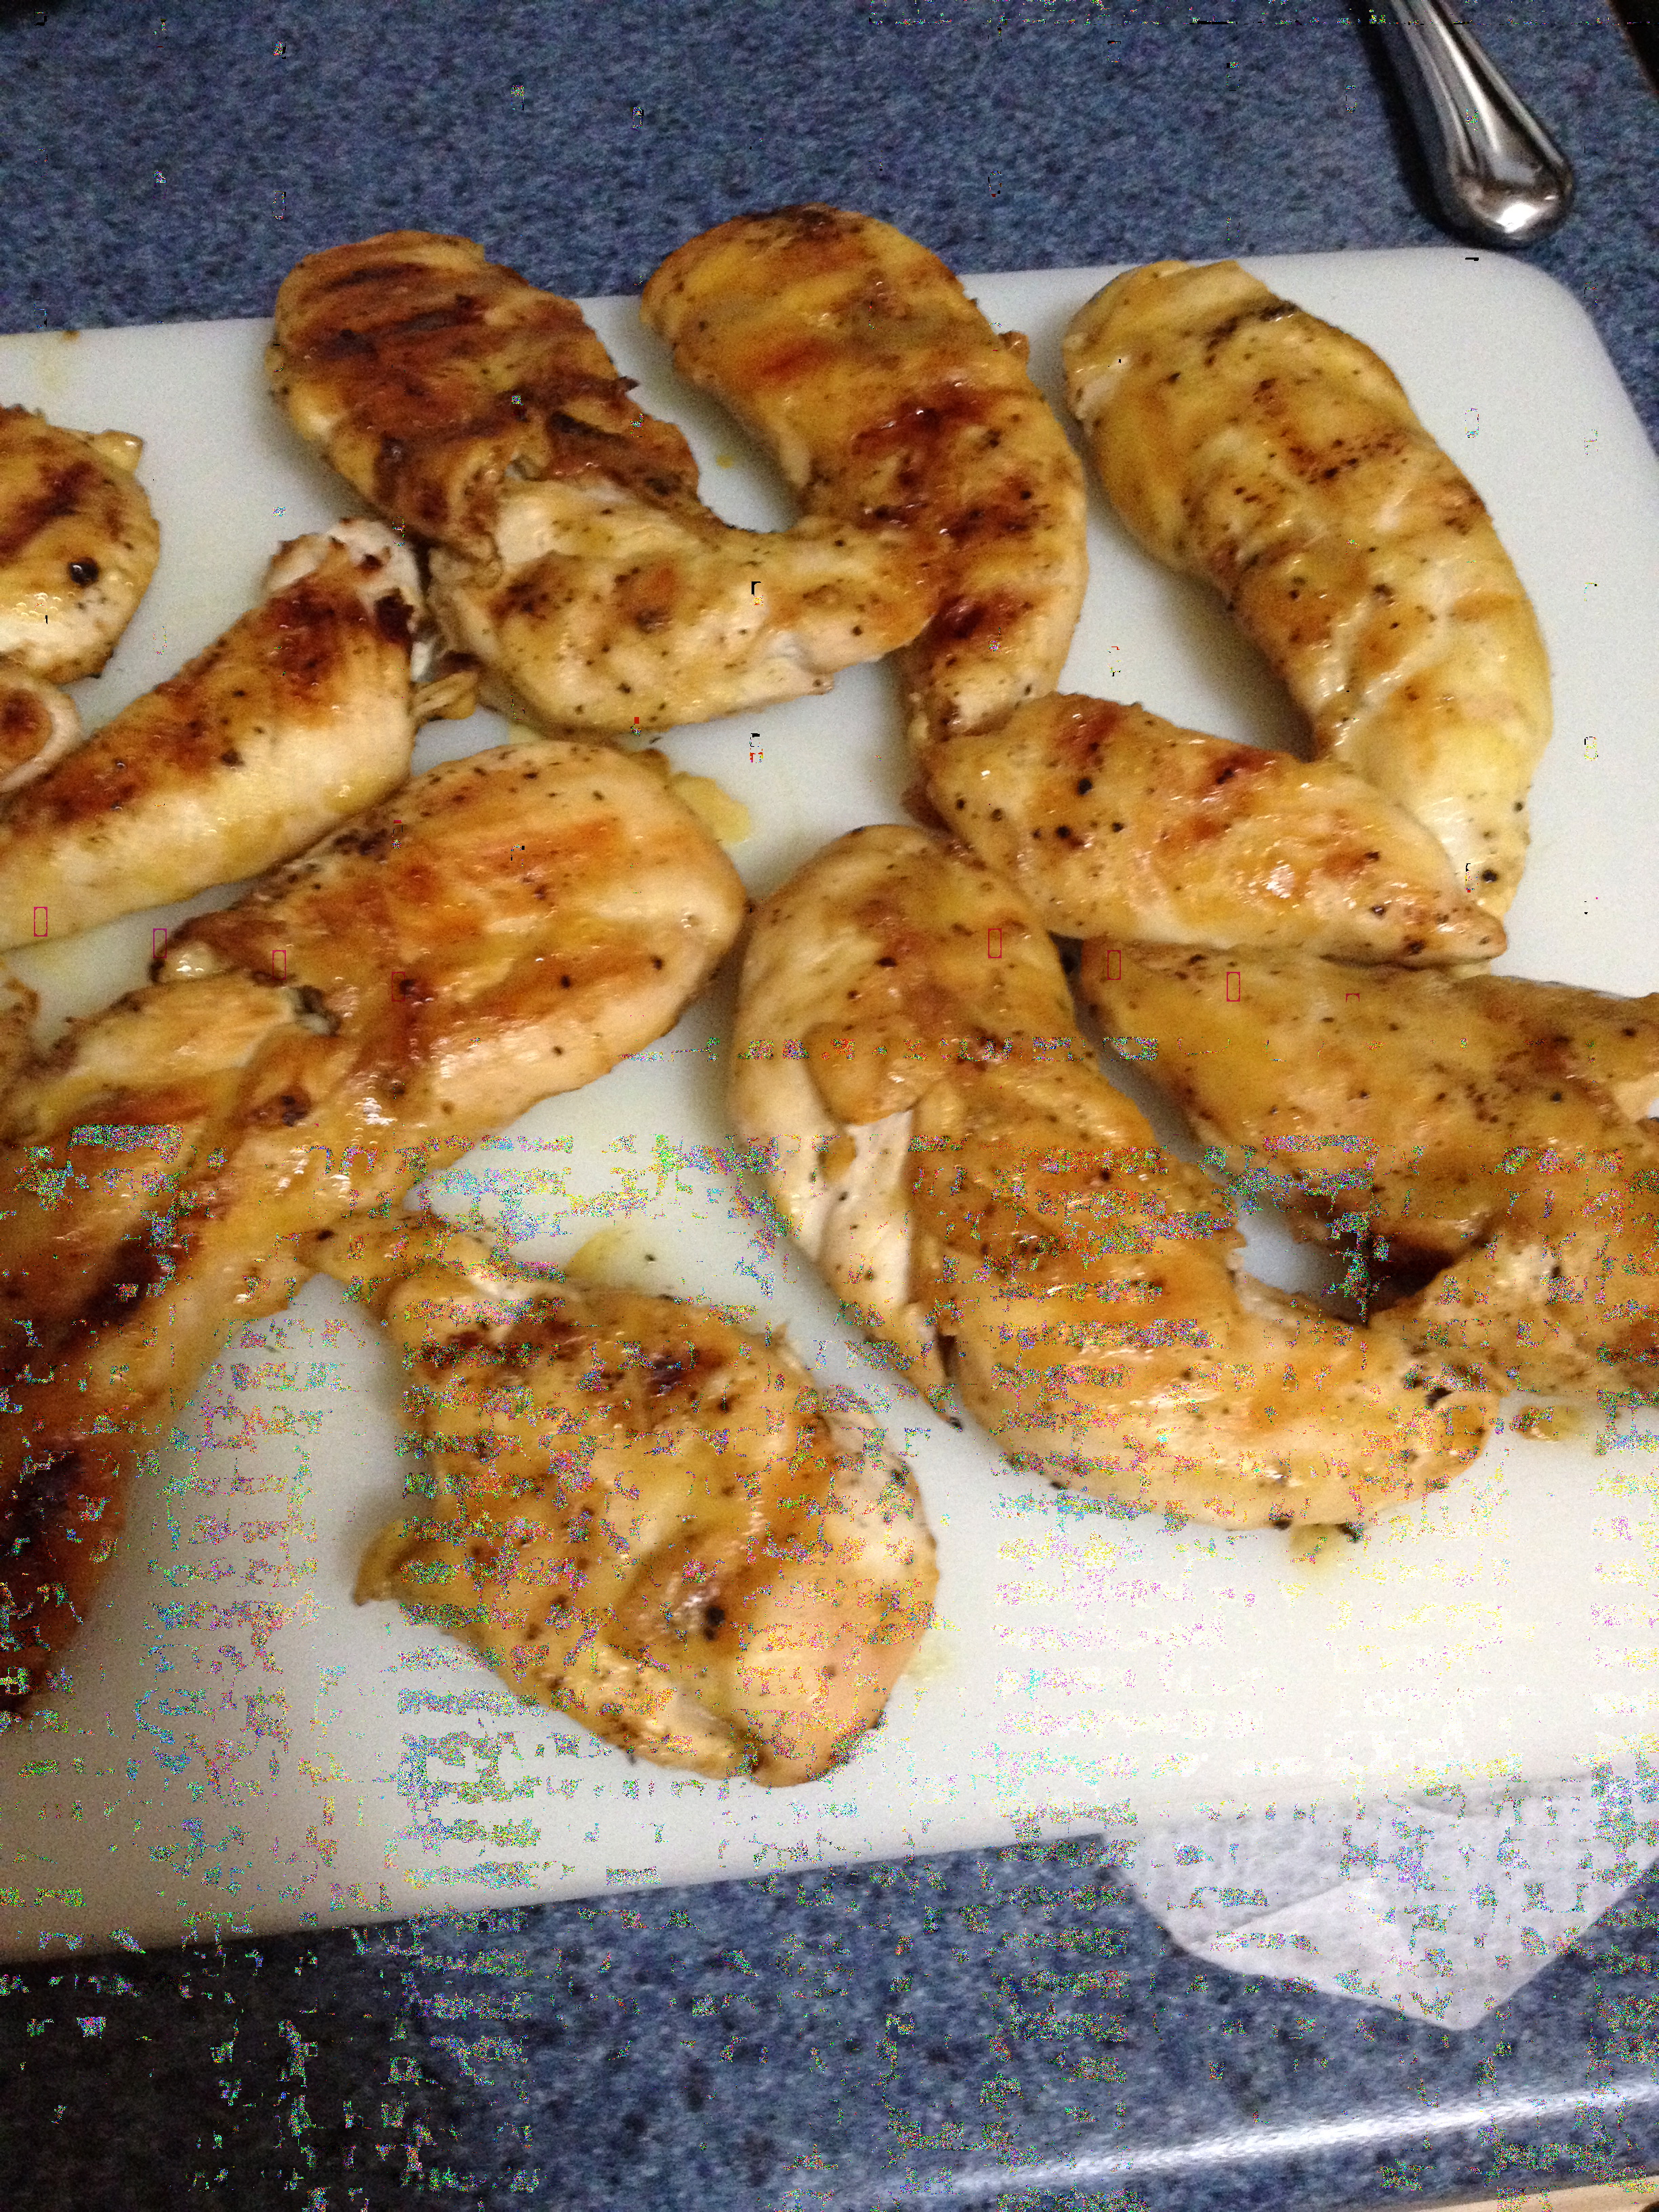
The first recipe on the list for Game Day parties is for honey mustard chicken wings.

Ingredients:

  • 3 lbs chicken wings (the little drumettes work well for this recipe)
  • Salt and pepper to taste
  • 1 tbsp butter or margarine
  • 1/4 cup dijon mustard
  • 1/4 cup honey (you can also just buy honey Dijon mustard instead of mixing them yourself, and that tastes great! Just use 1/2 cup.)

Preheat the oven to 400ºF. Line a baking sheet with foil and place a wire rack on top of it (if you’re planning on using a cooling rack for this, make sure the rack is oven-safe first!). Salt and pepper the wings liberally and then line them up on the wire rack. Bake them until they’re golden brown, around 45 minutes. You can also grill the wings.

While they’re baking, melt the butter in a saucepan and whisk in the honey and mustard. When the wings come out of the oven (or off the grill), brush the sauce onto them until they’re evenly coated. Then, put them back in the oven/grill for around 10 minutes, and they’re ready to be enjoyed! If you’re grilling the wings, make sure you still have some sort of pan under the wings, or else the sauce will drip into the coals and could cause flare-ups or spitting.

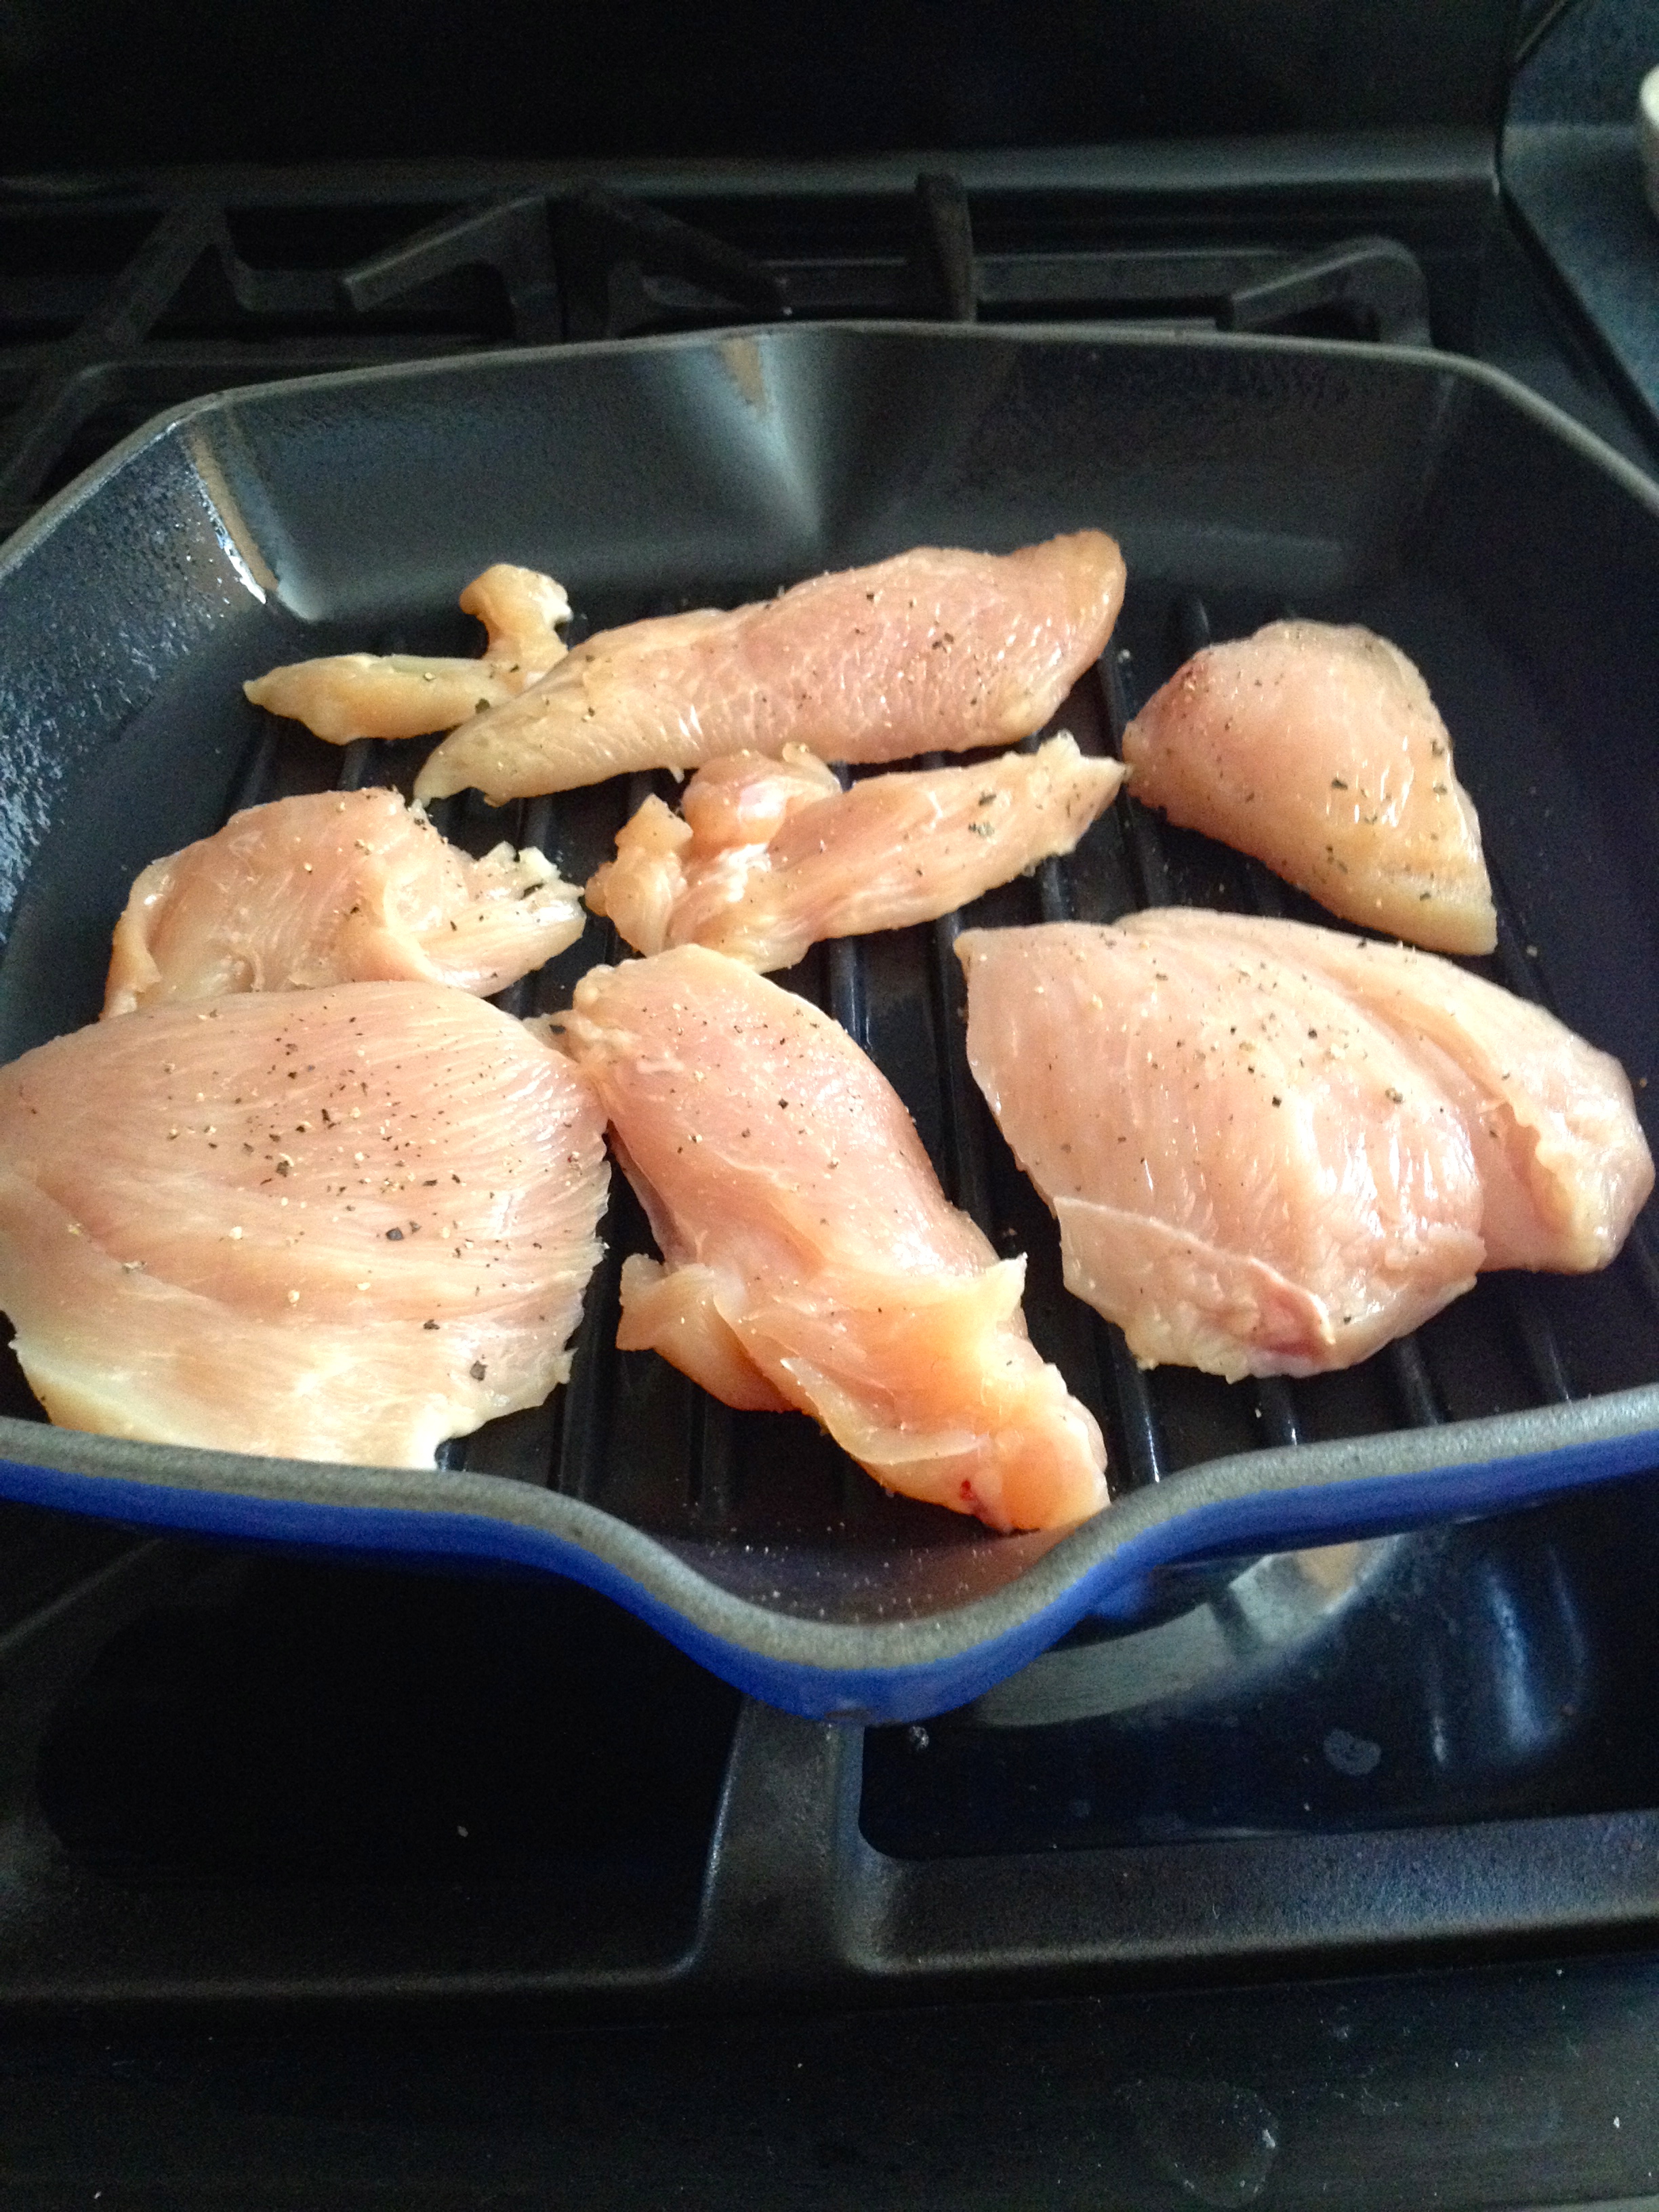
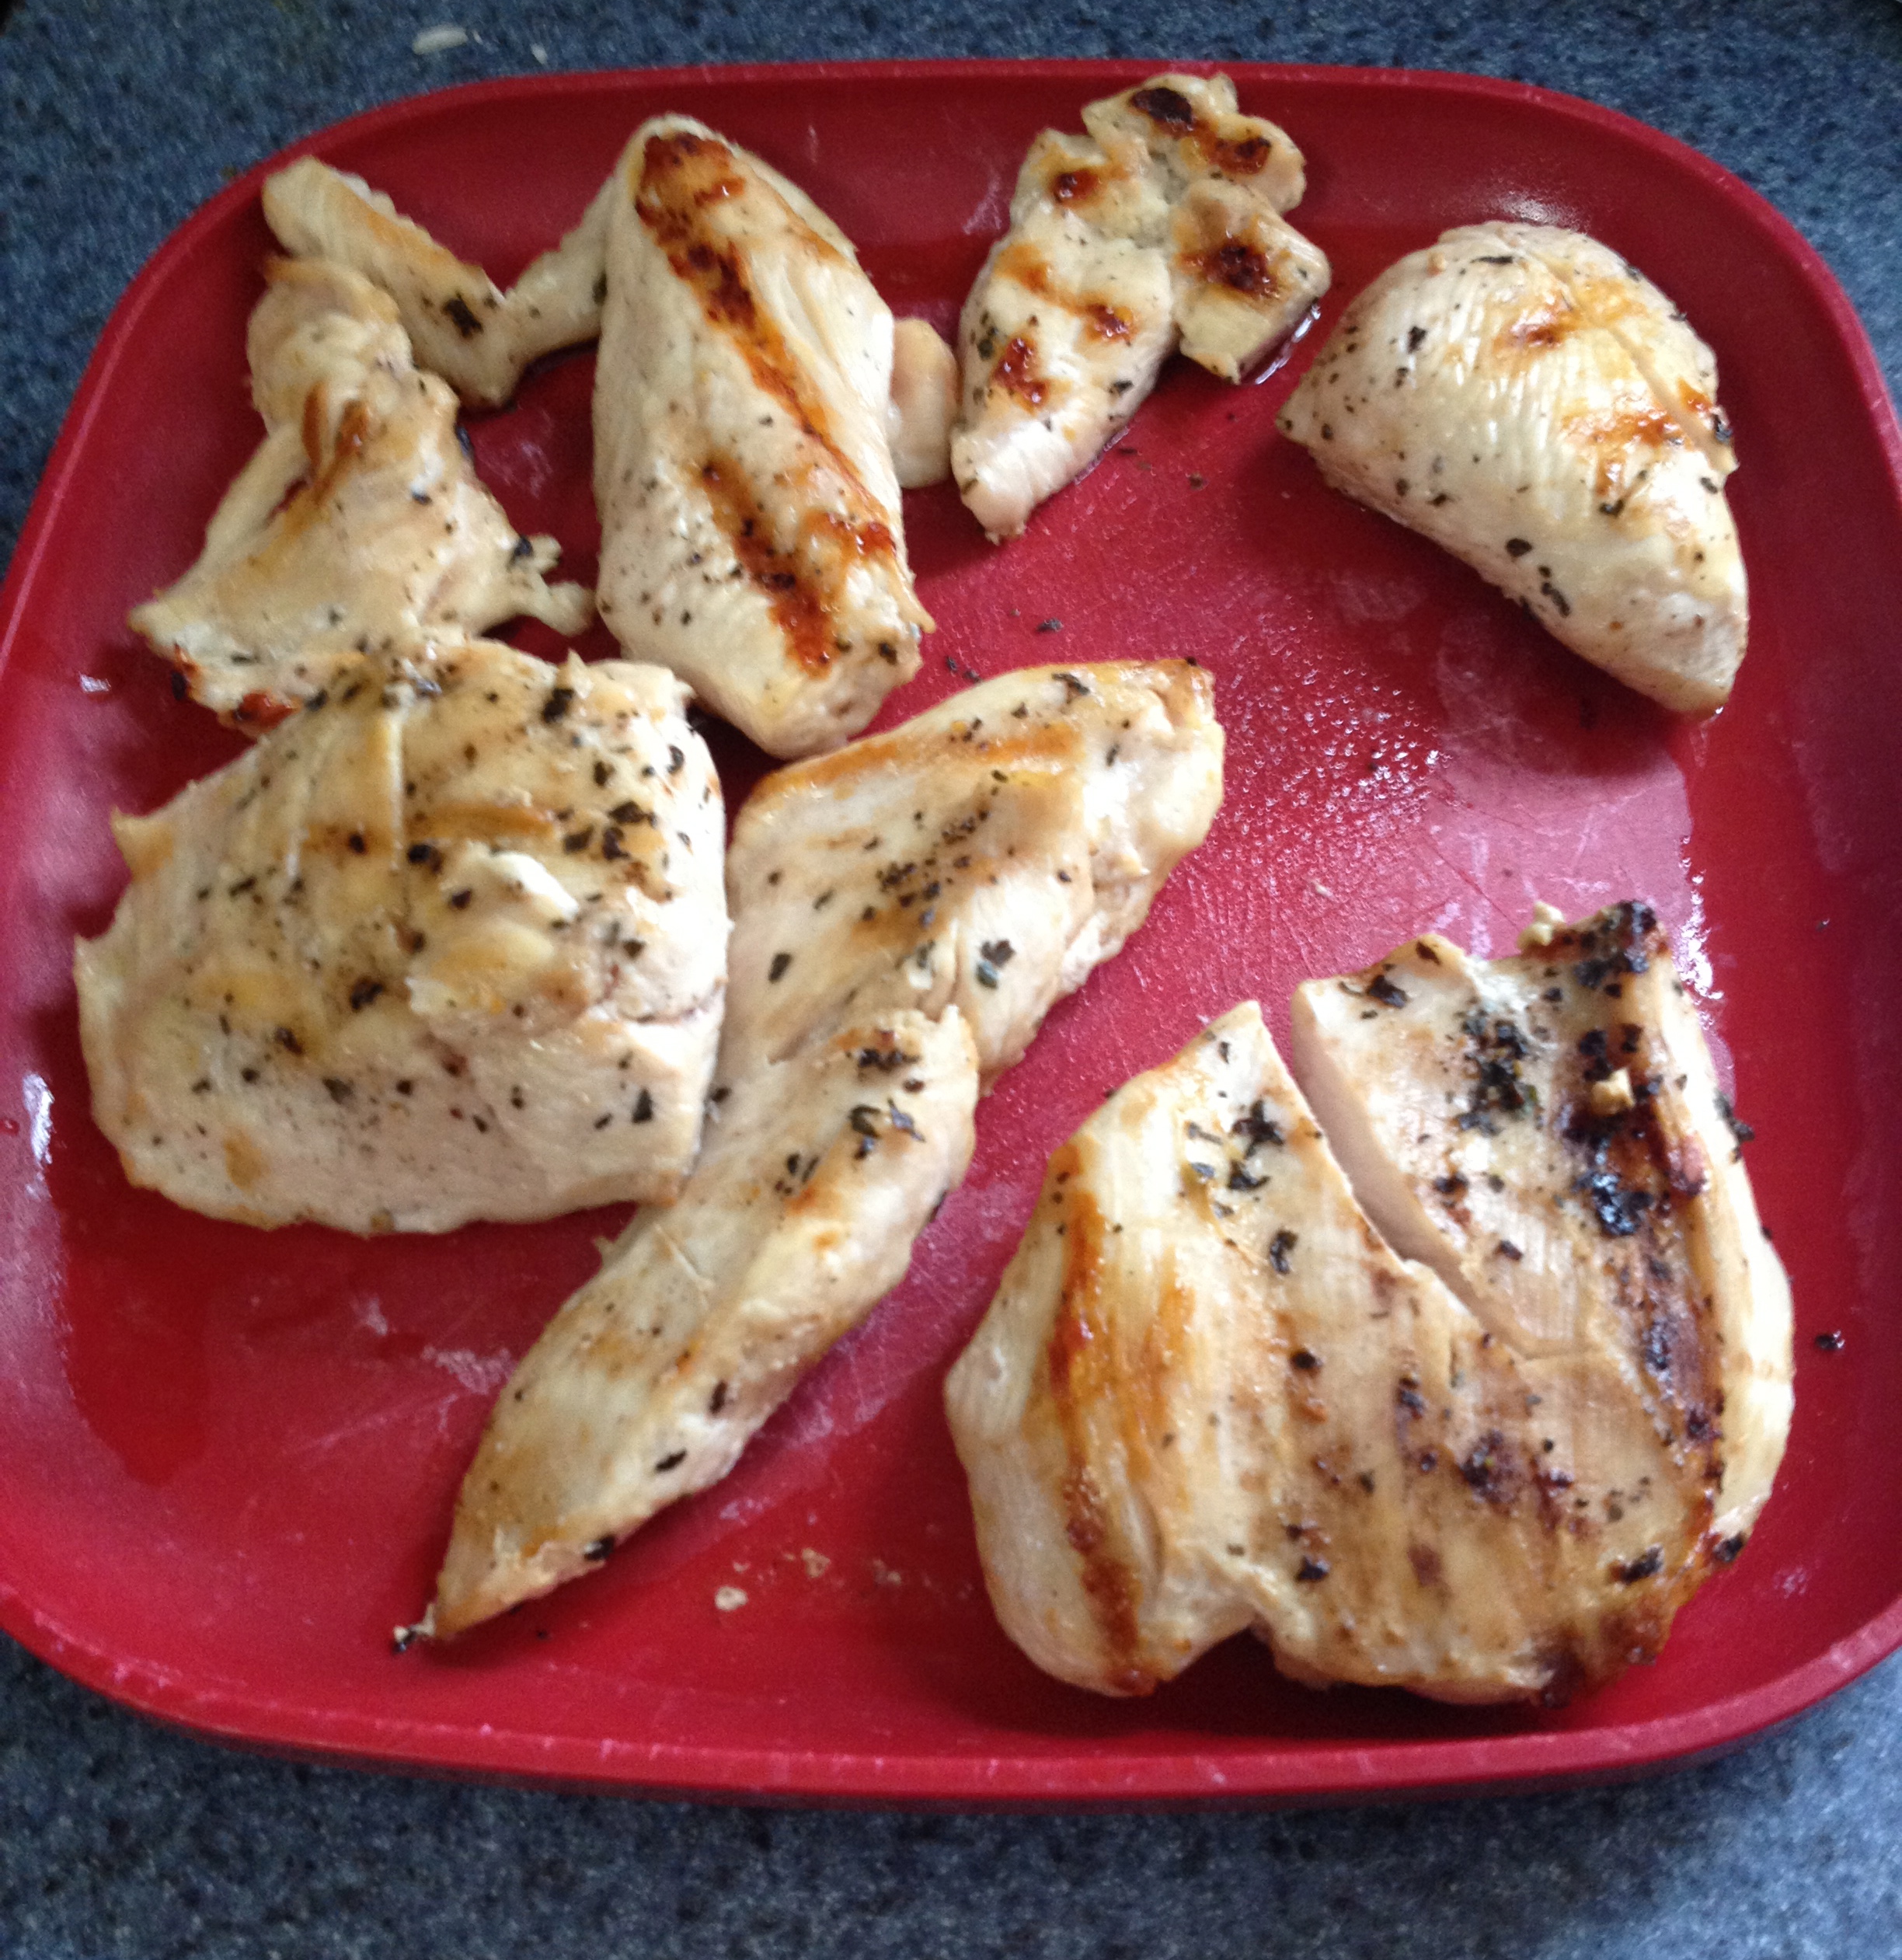
You can also use boneless chicken strips, if you don’t feel like getting sauce on you from the wings!

IMG_0784

Next up, the recipe is twice-baked potatoes.

Ingredients:

  • Large golden potatoes (or any potato that you’d like to bake); one potato makes two servings, so plan accordingly if your guests will want one or two servings.
  • Salt and pepper to taste
  • Whatever toppings you’d like; I used broccoli and cheese for our party, but you can also use bacon, sour cream, chives, chicken, etc.

Bake the potatoes either in the oven at 400ºF for around an hour and 15 minutes, or in the microwave on high heat for about 10 minutes. When baking the potatoes, make sure you poke numerous holes in them with a fork first, so that they don’t explode. You can also grill them, wrapped in foil, and take them off the grill when they’re fork tender.

When the potatoes are baked, cut them in half length-wise (they’re screaming hot, so be careful!). Then, scoop out about 2/3 of the soft insides and put the insides into a bowl. Mash them with whatever toppings you want and a little milk or sour cream, and then pile the mixture back into the potato skin. It won’t fit perfectly because there are more ingredients, so just pile them high! Put them back in the oven for around 10-15 minutes until they’re heated through and all the cheese is melted. If you’re using a grill, just put them on until everything is hot and melty, about 10 minutes. Enjoy!

The final party recipe is for a simple fruit dip. It’s short and sweet, but adds a great touch to any fruit salad or fruit platter!

Ingredients:

  • 1 cup vanilla Greek yogurt
  • 2 tbsp brown sugar, more or less to taste

Mix these all up, and adjust the brown sugar amount or add a dash of vanilla extract in to taste, and you’re good to go! You can pour it over fruit slices or have it in a bowl for dipping. It stores very well in the fridge, too.

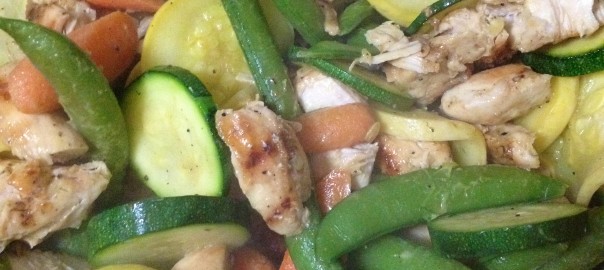
Now for the healthier twist on the honey mustard chicken: stir-fry!

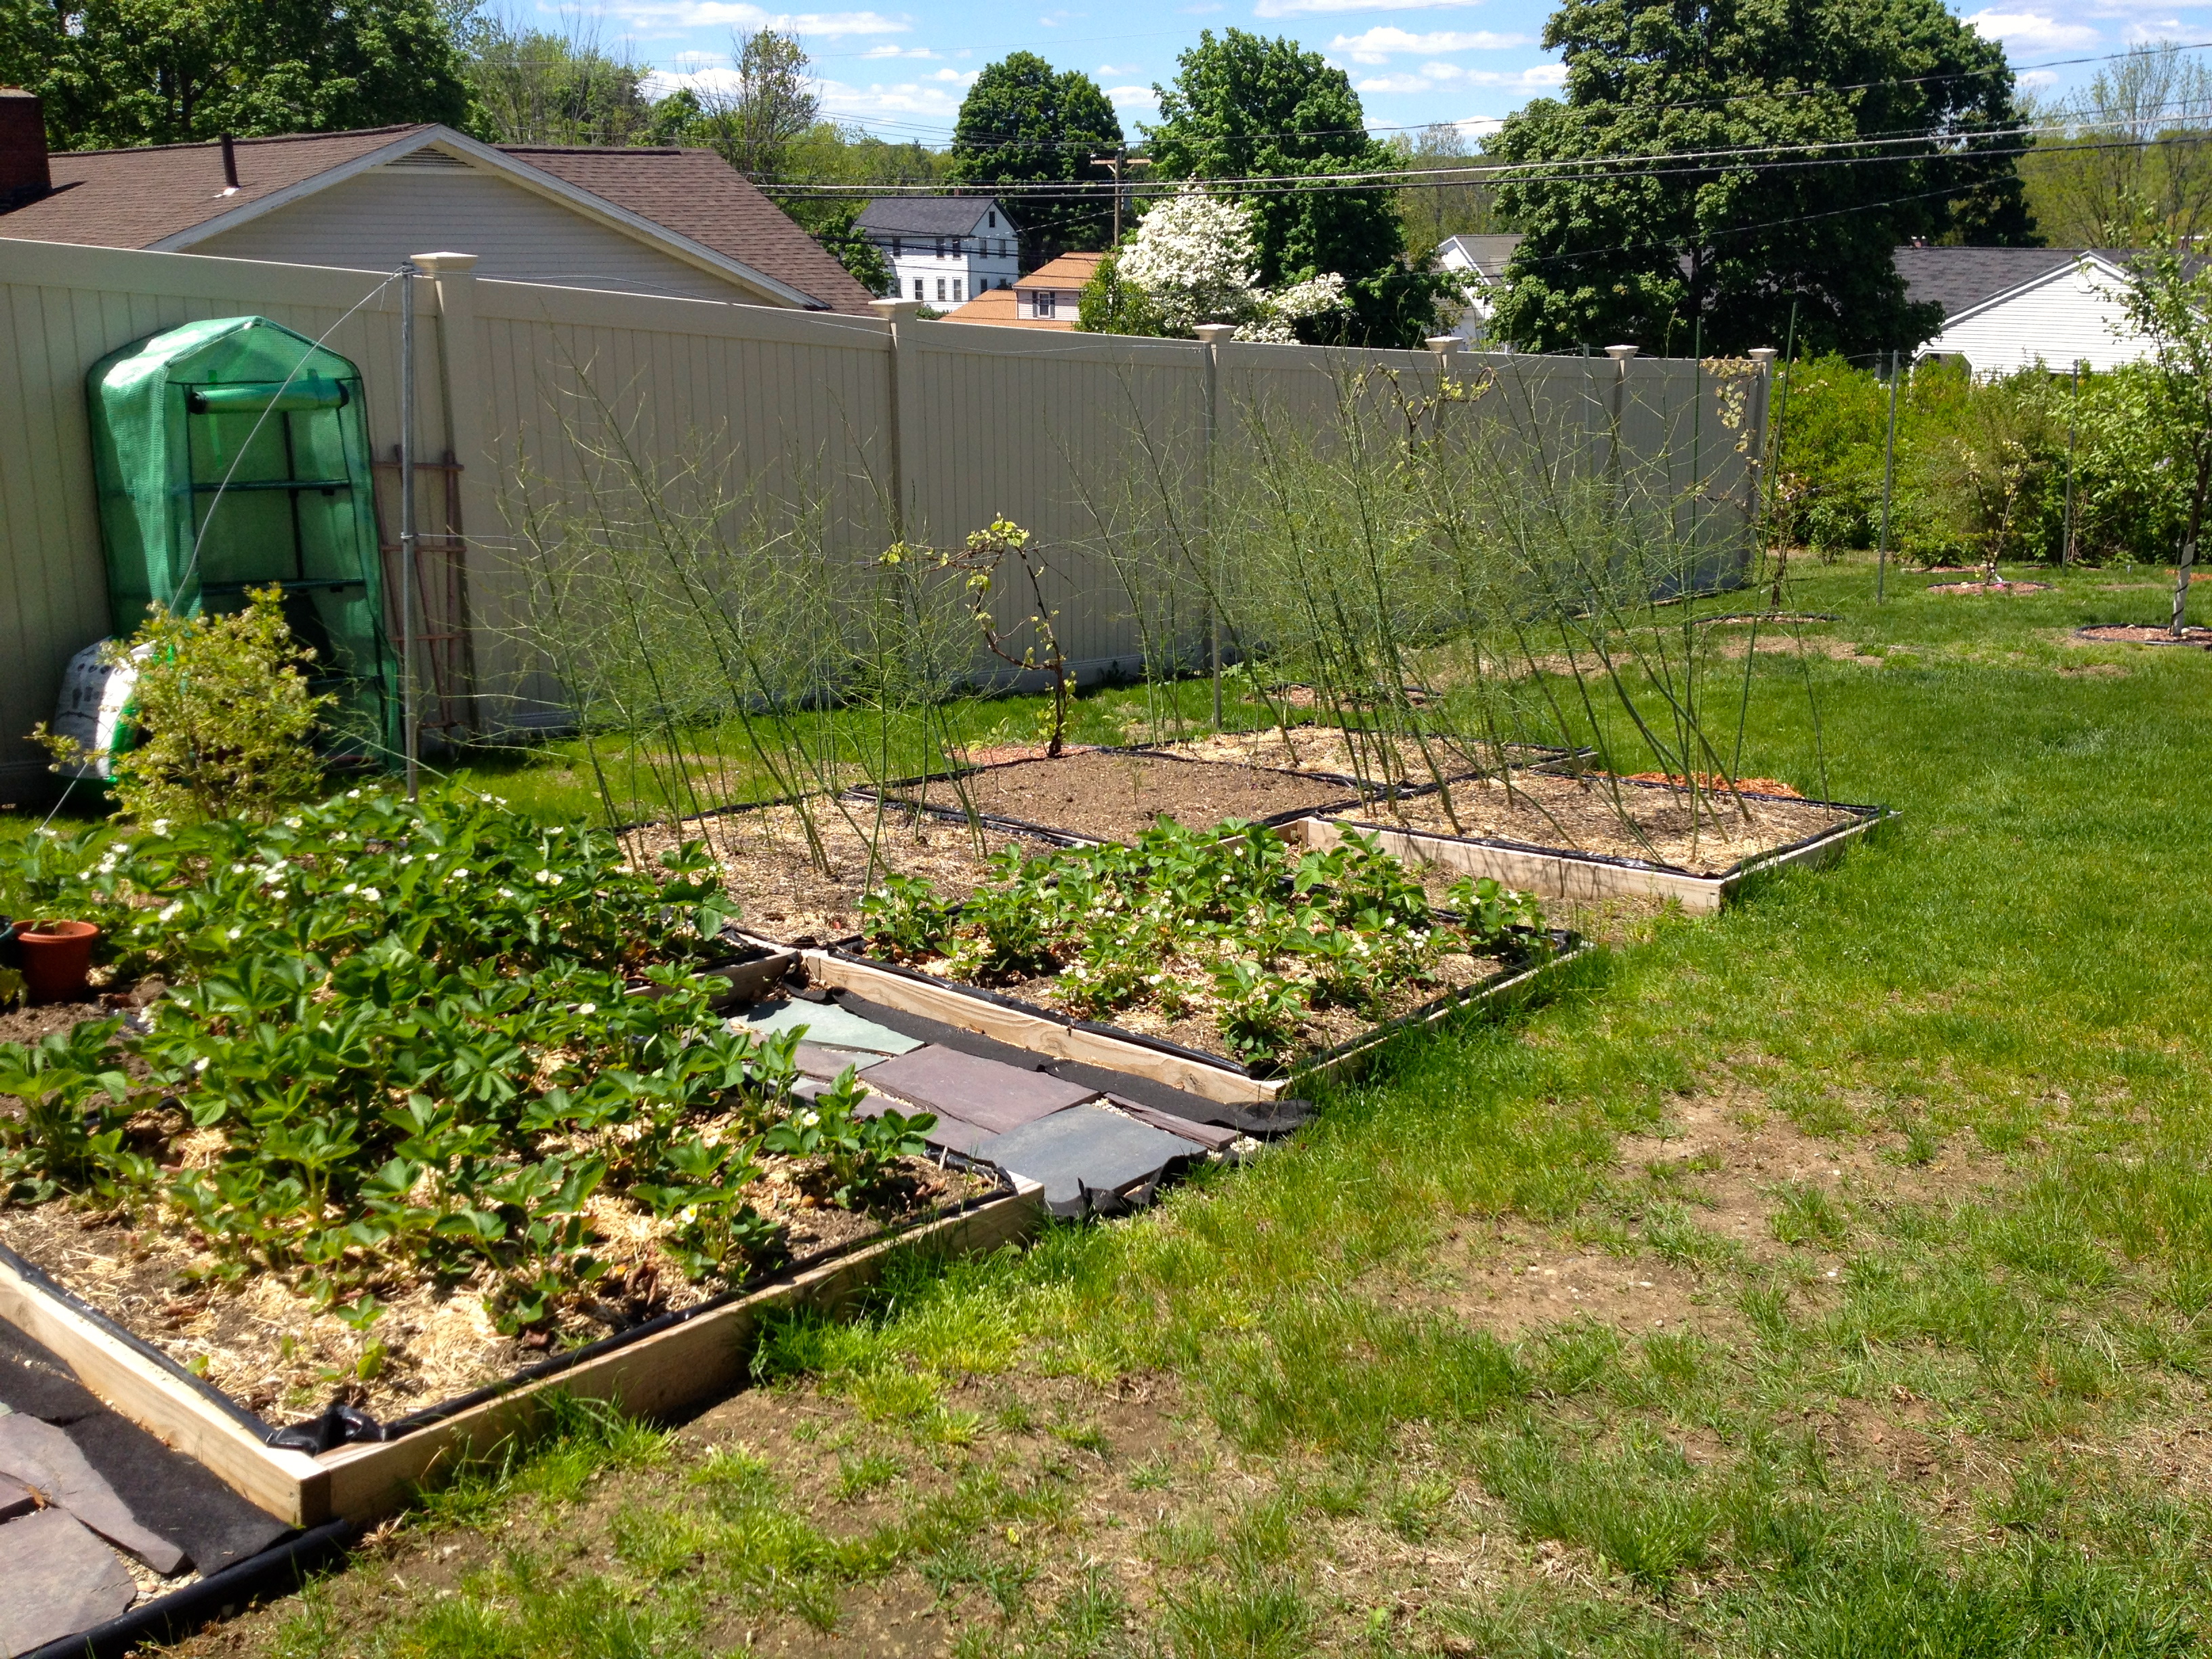
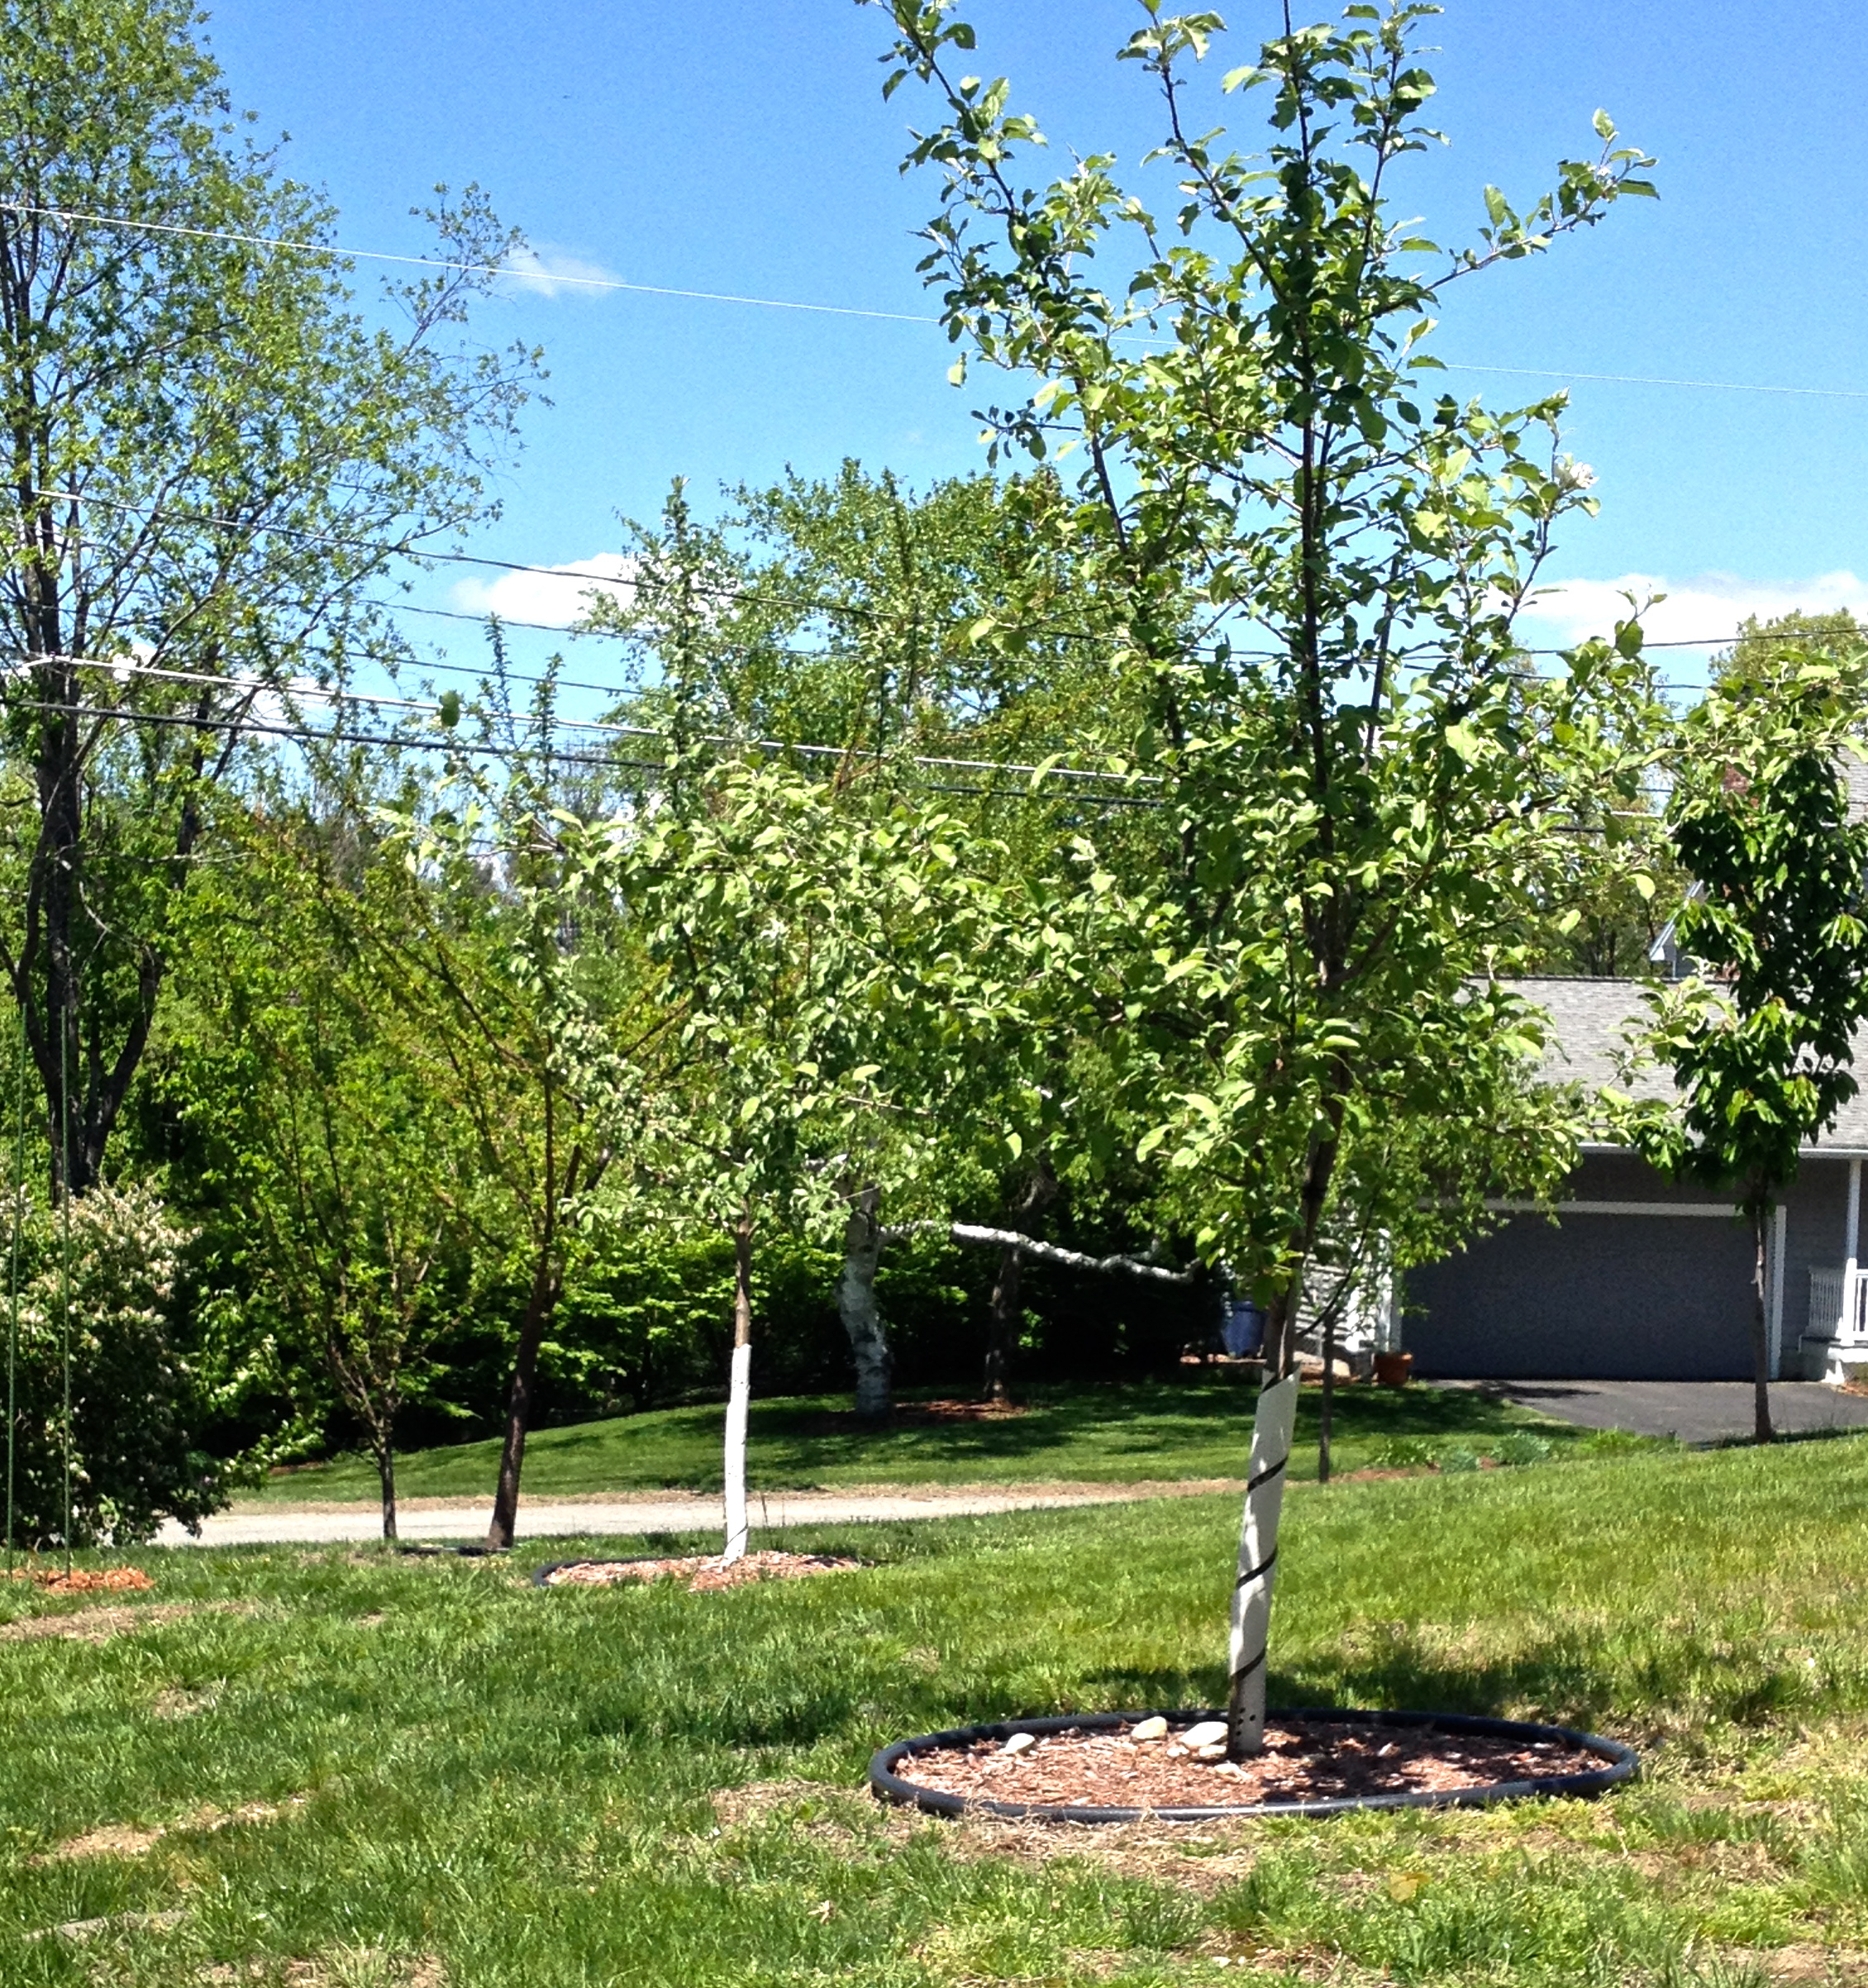
My dad is super big on gardening, and has transformed our yard into a mini produce market. We have all sorts of vegetable plants and fruit trees, and love taking advantage of the fresh produce. It’s so good for you, and really makes a difference in the taste!

IMG_1111

IMG_1109


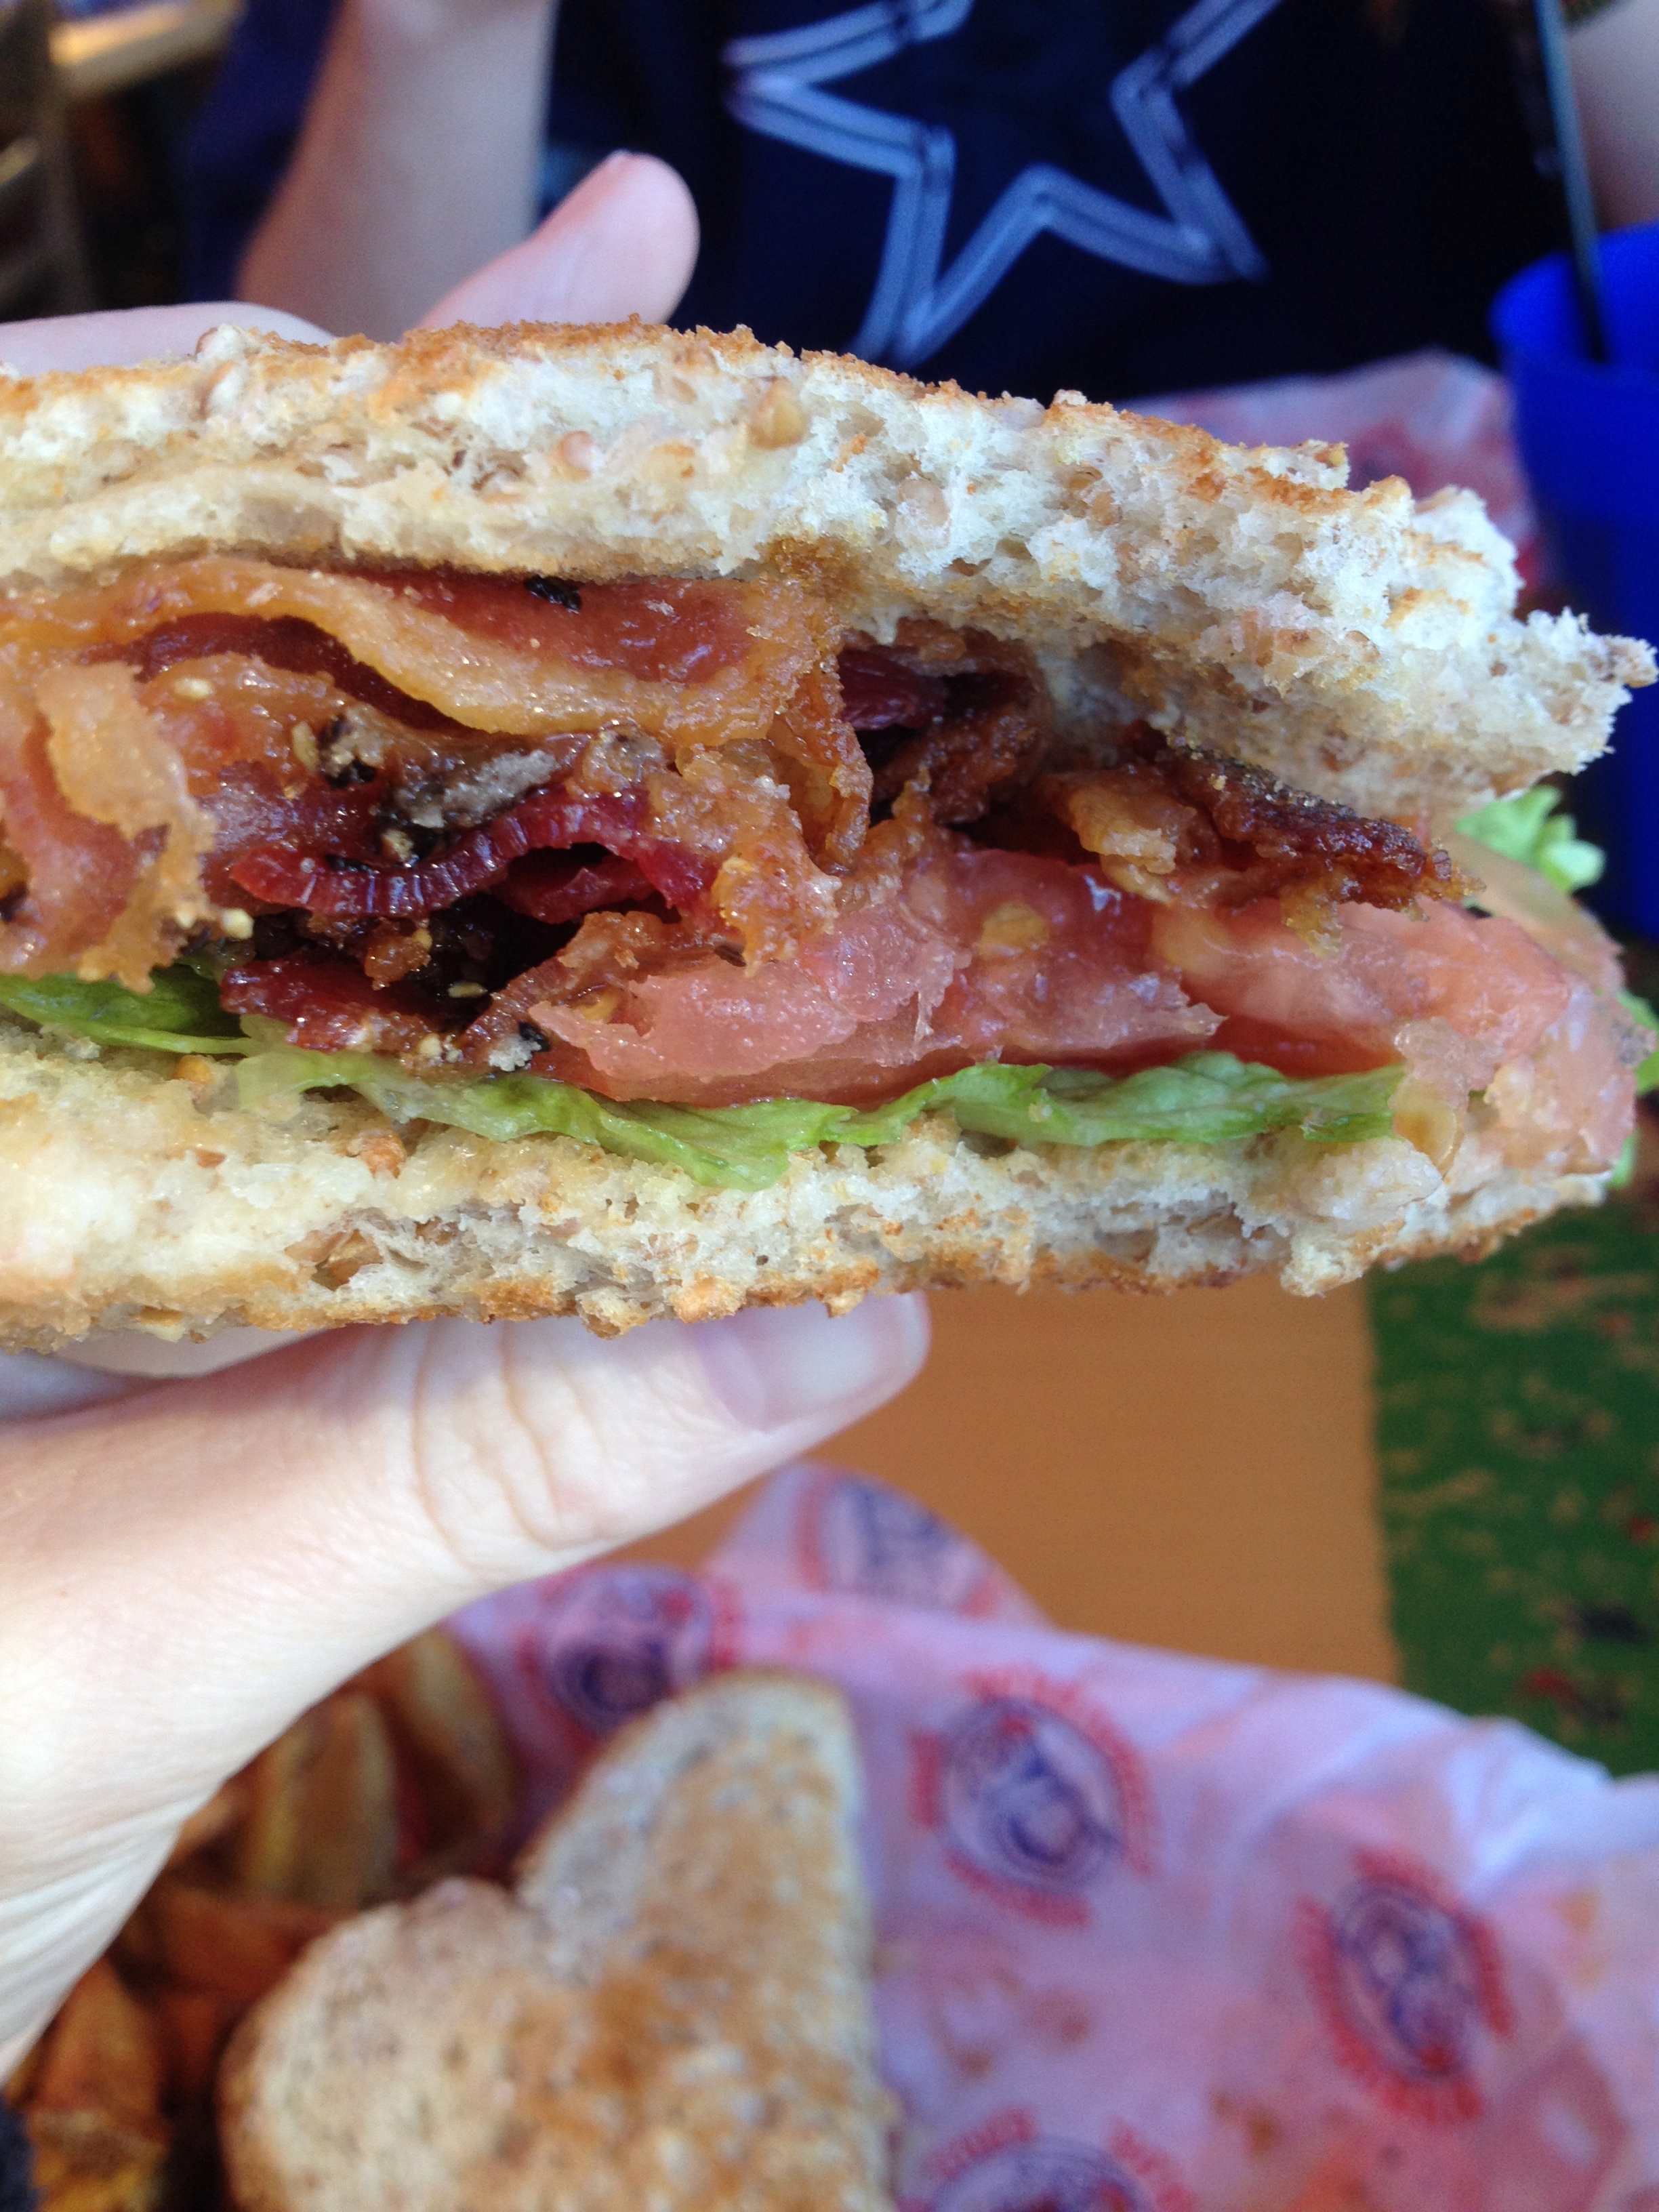
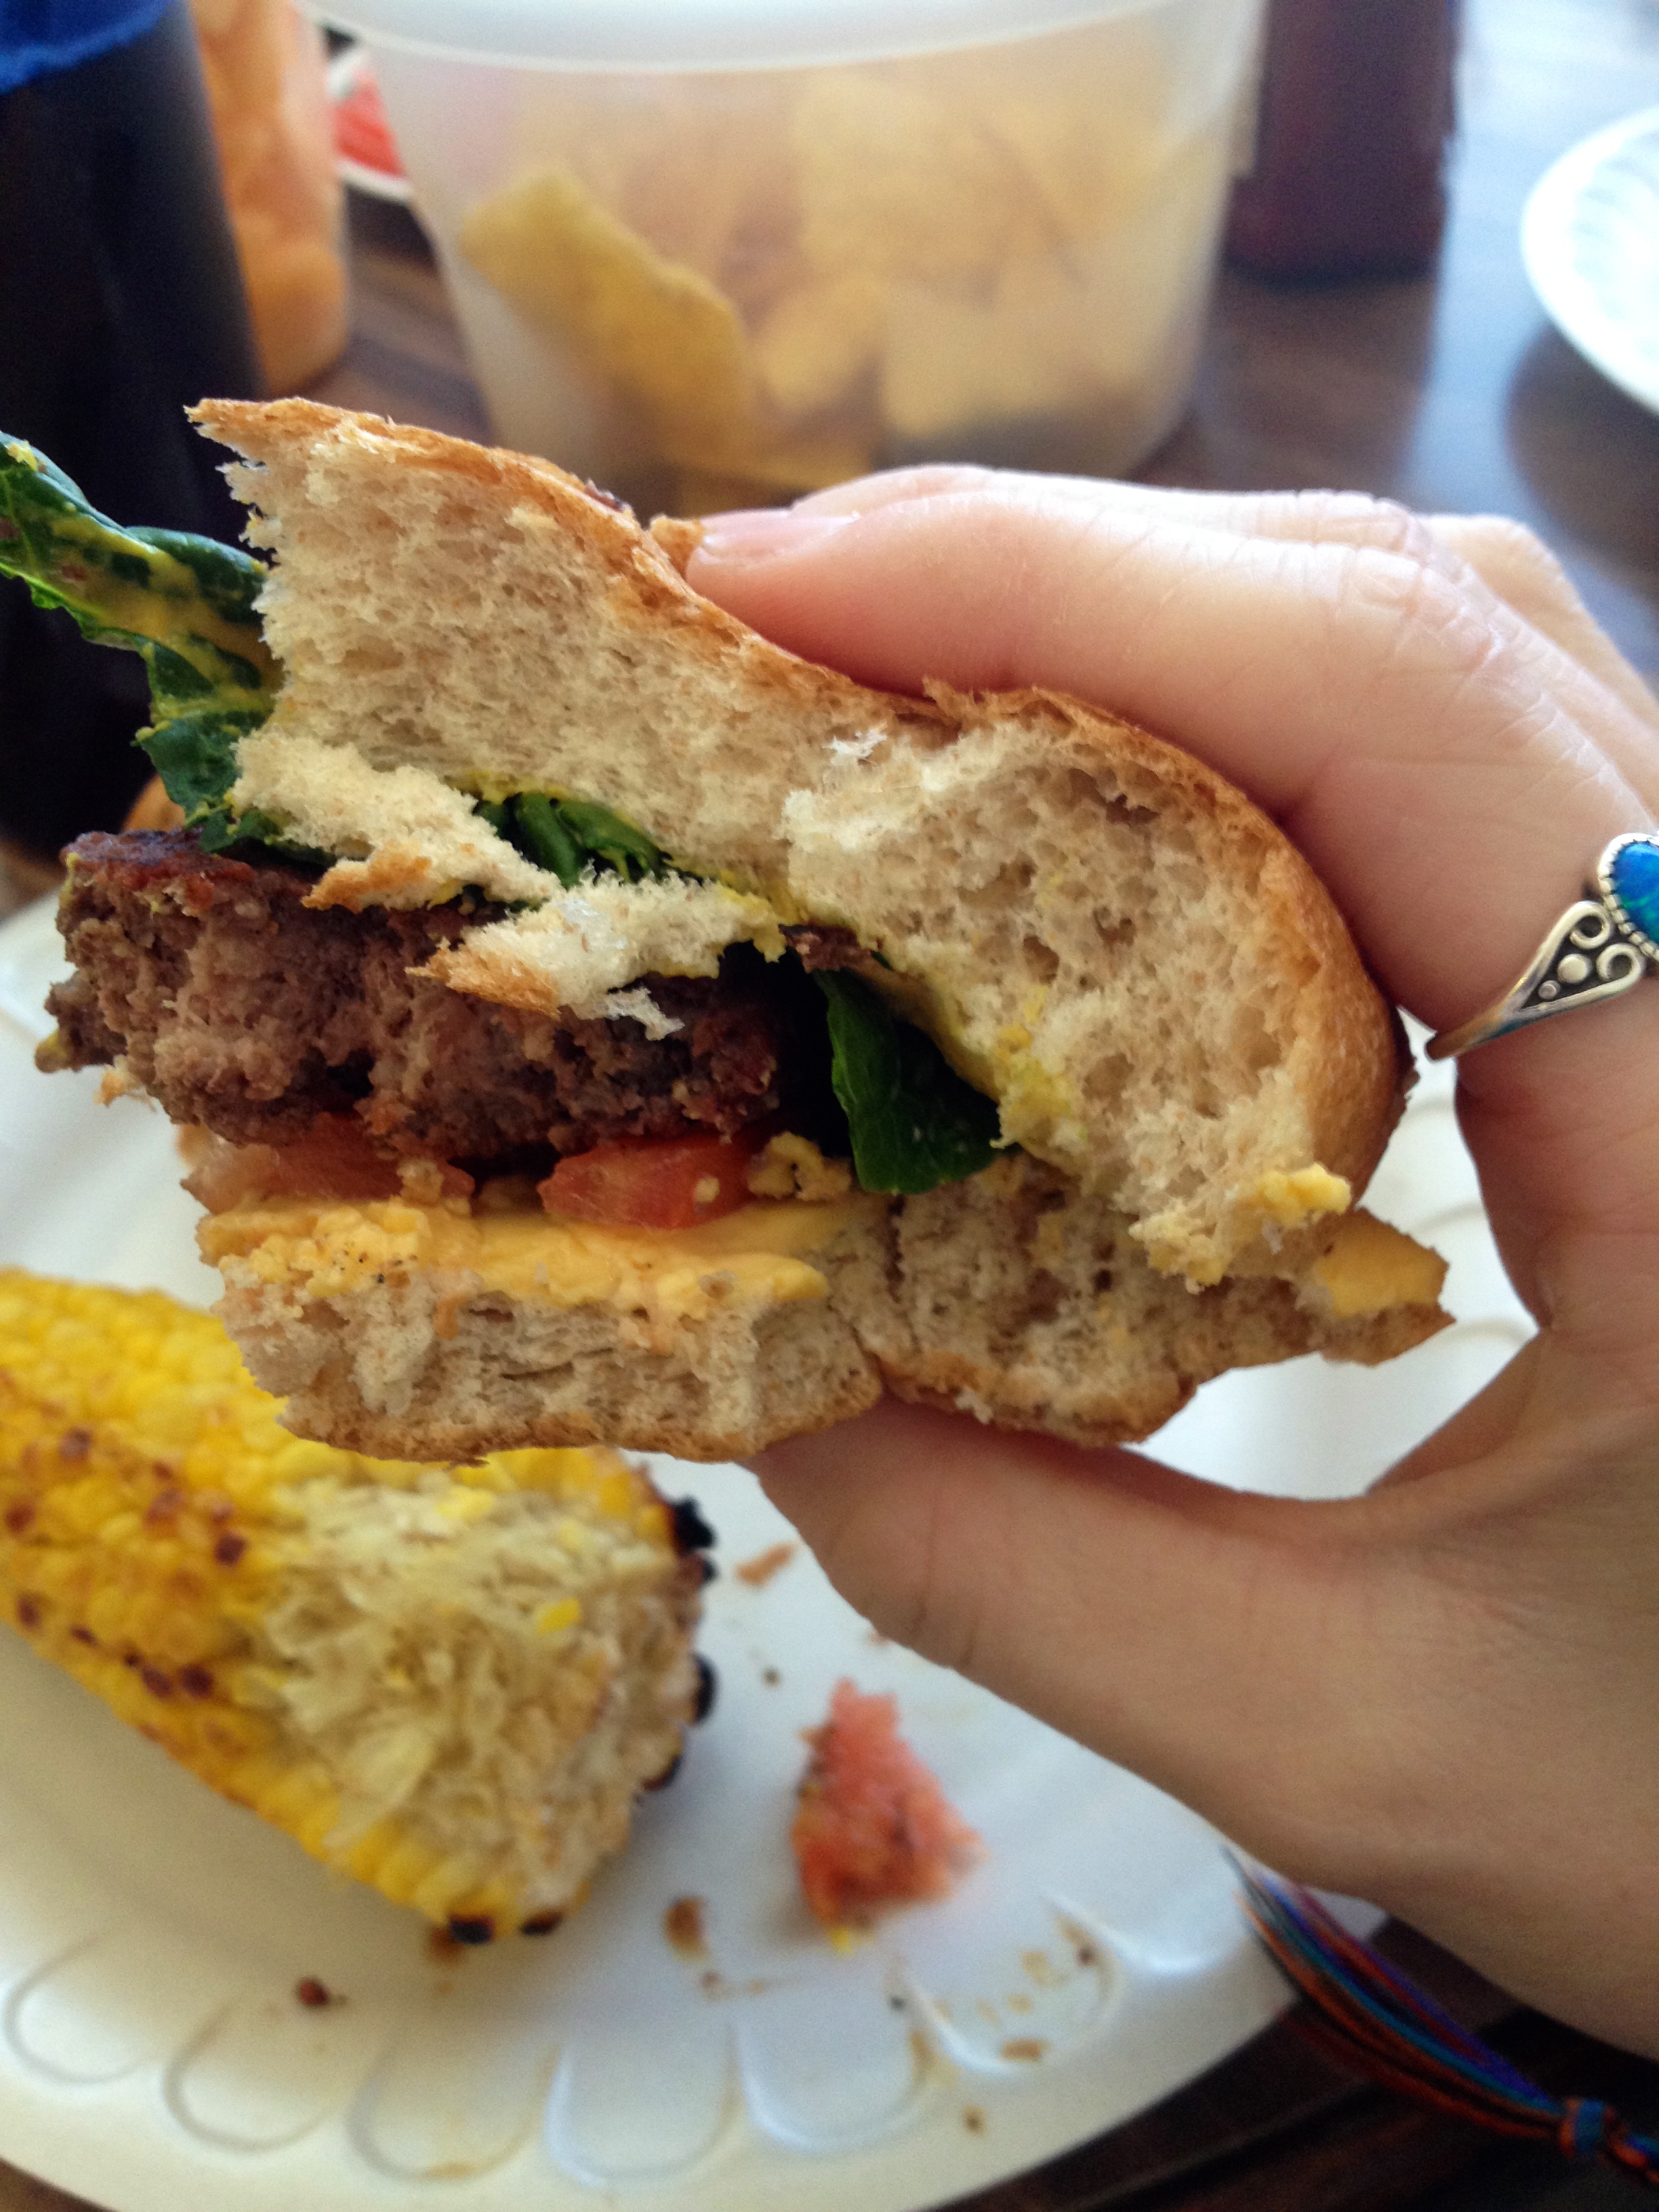
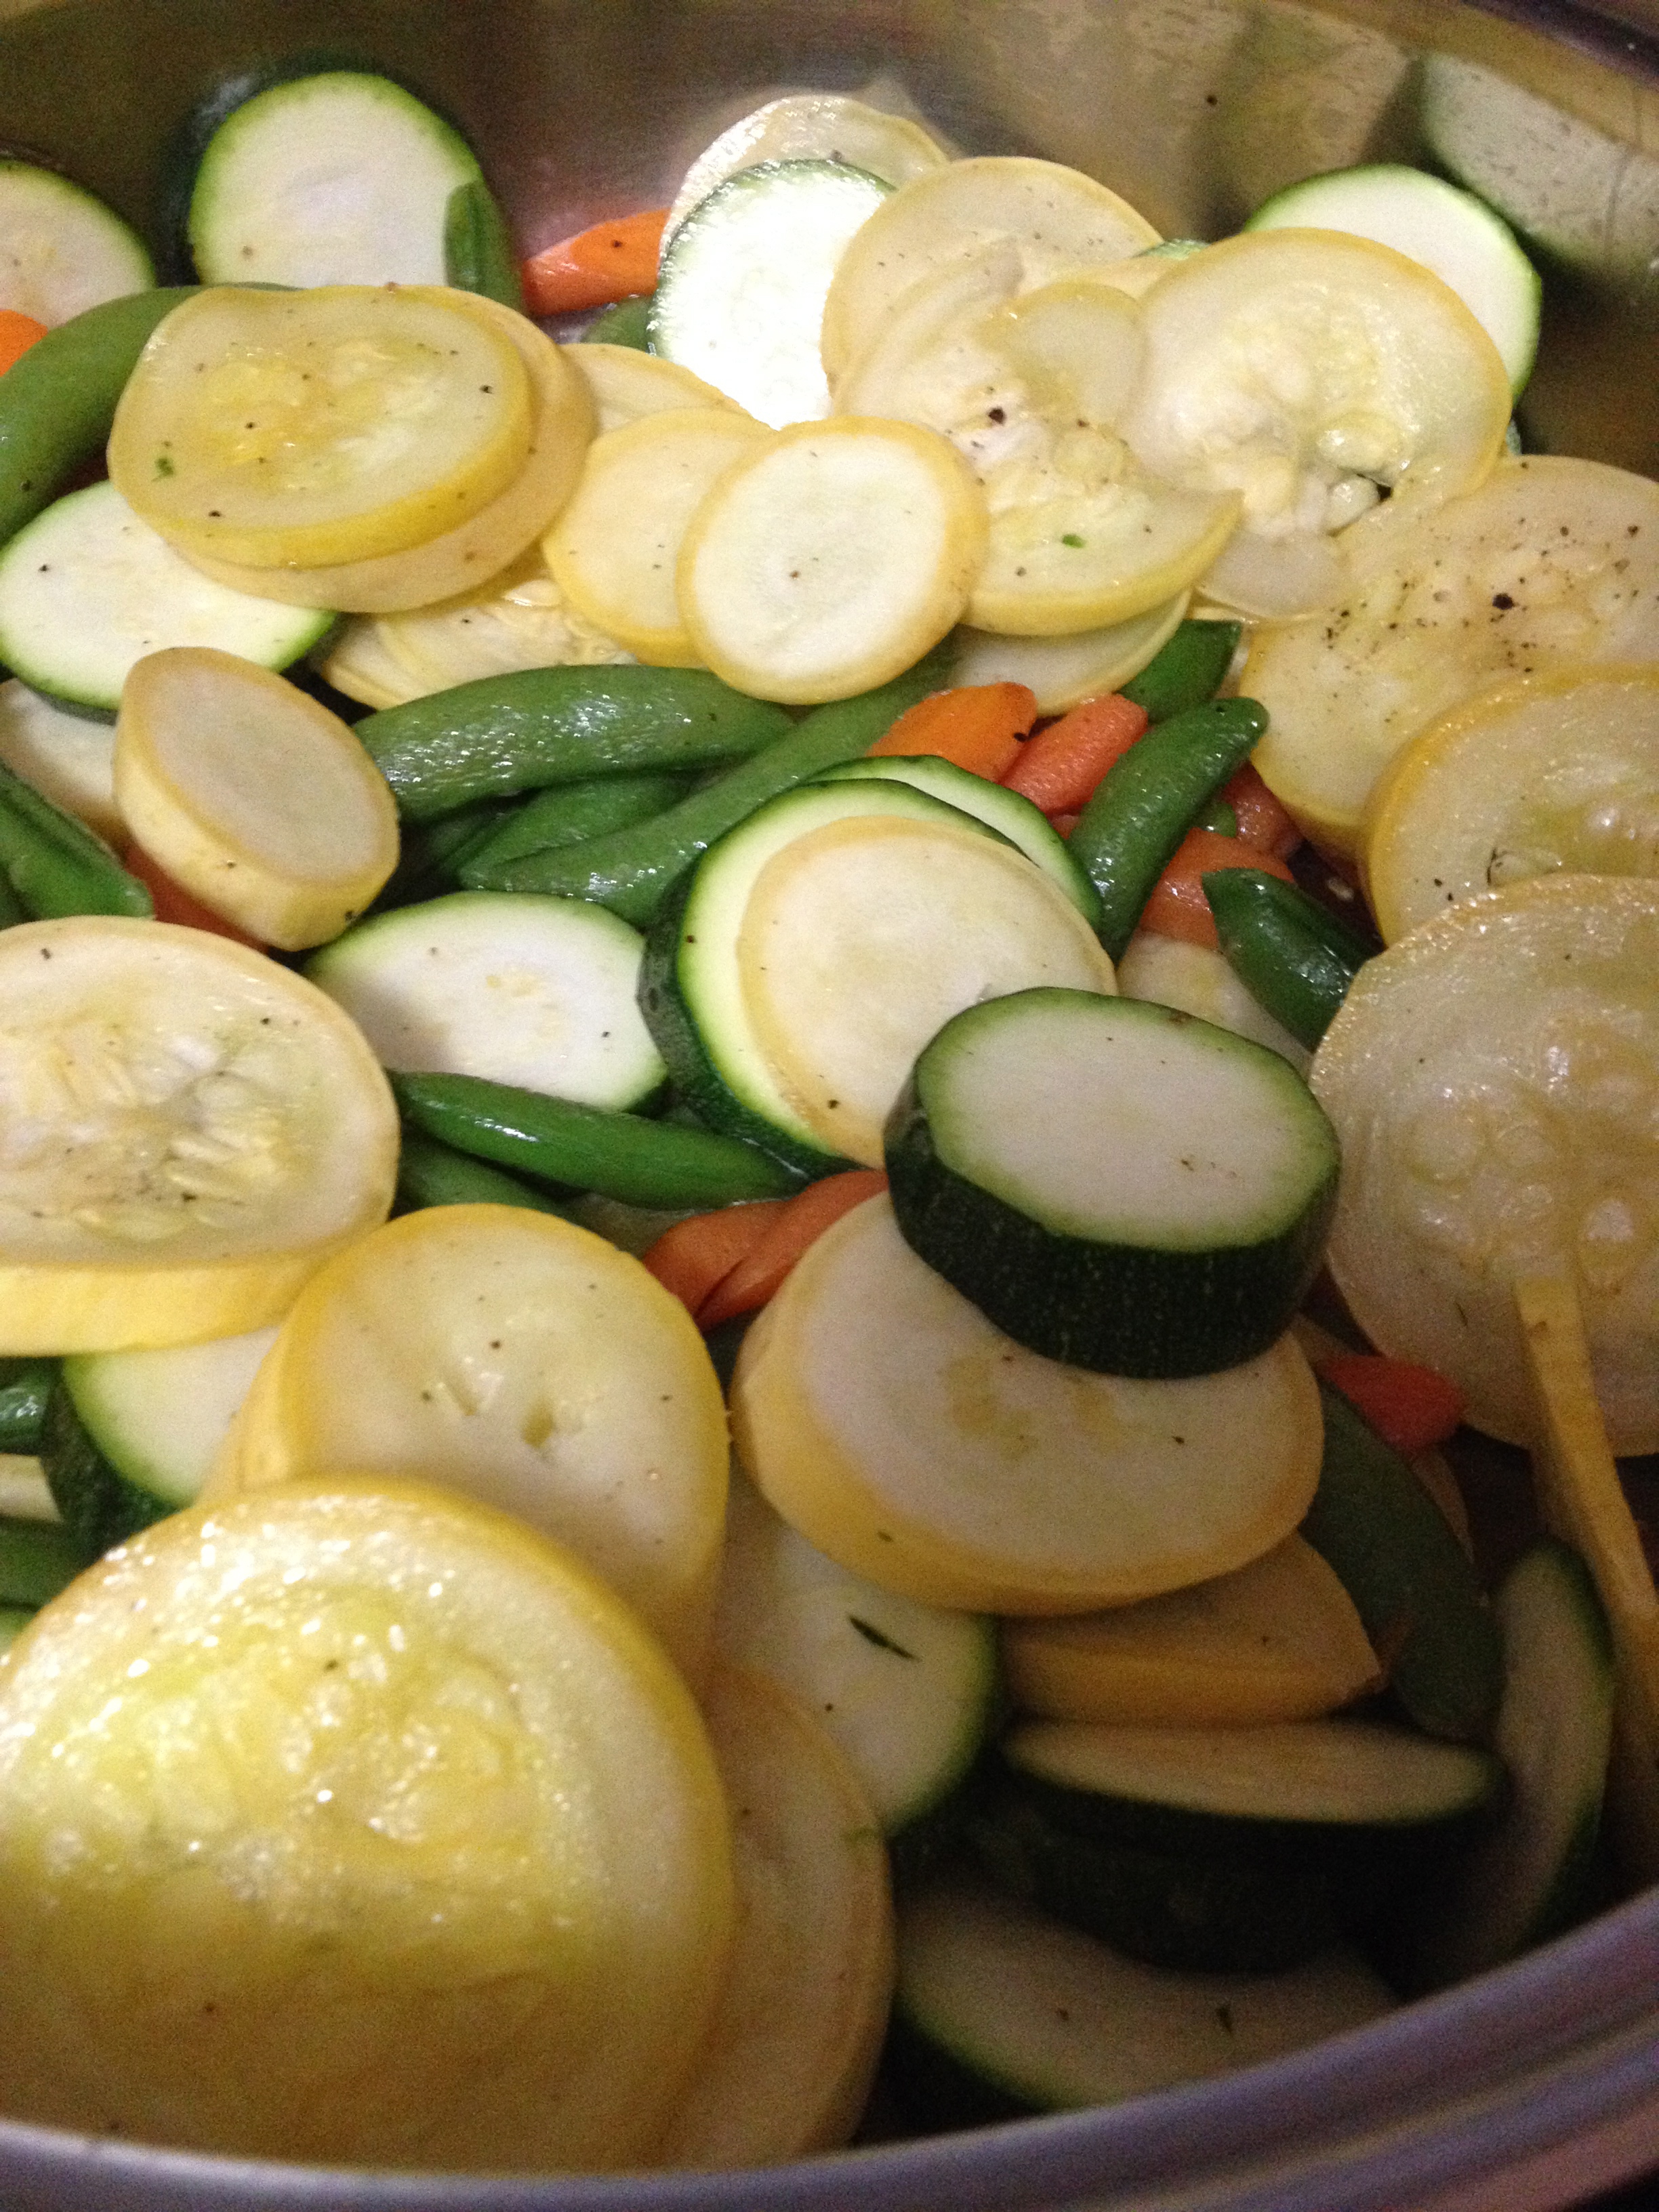
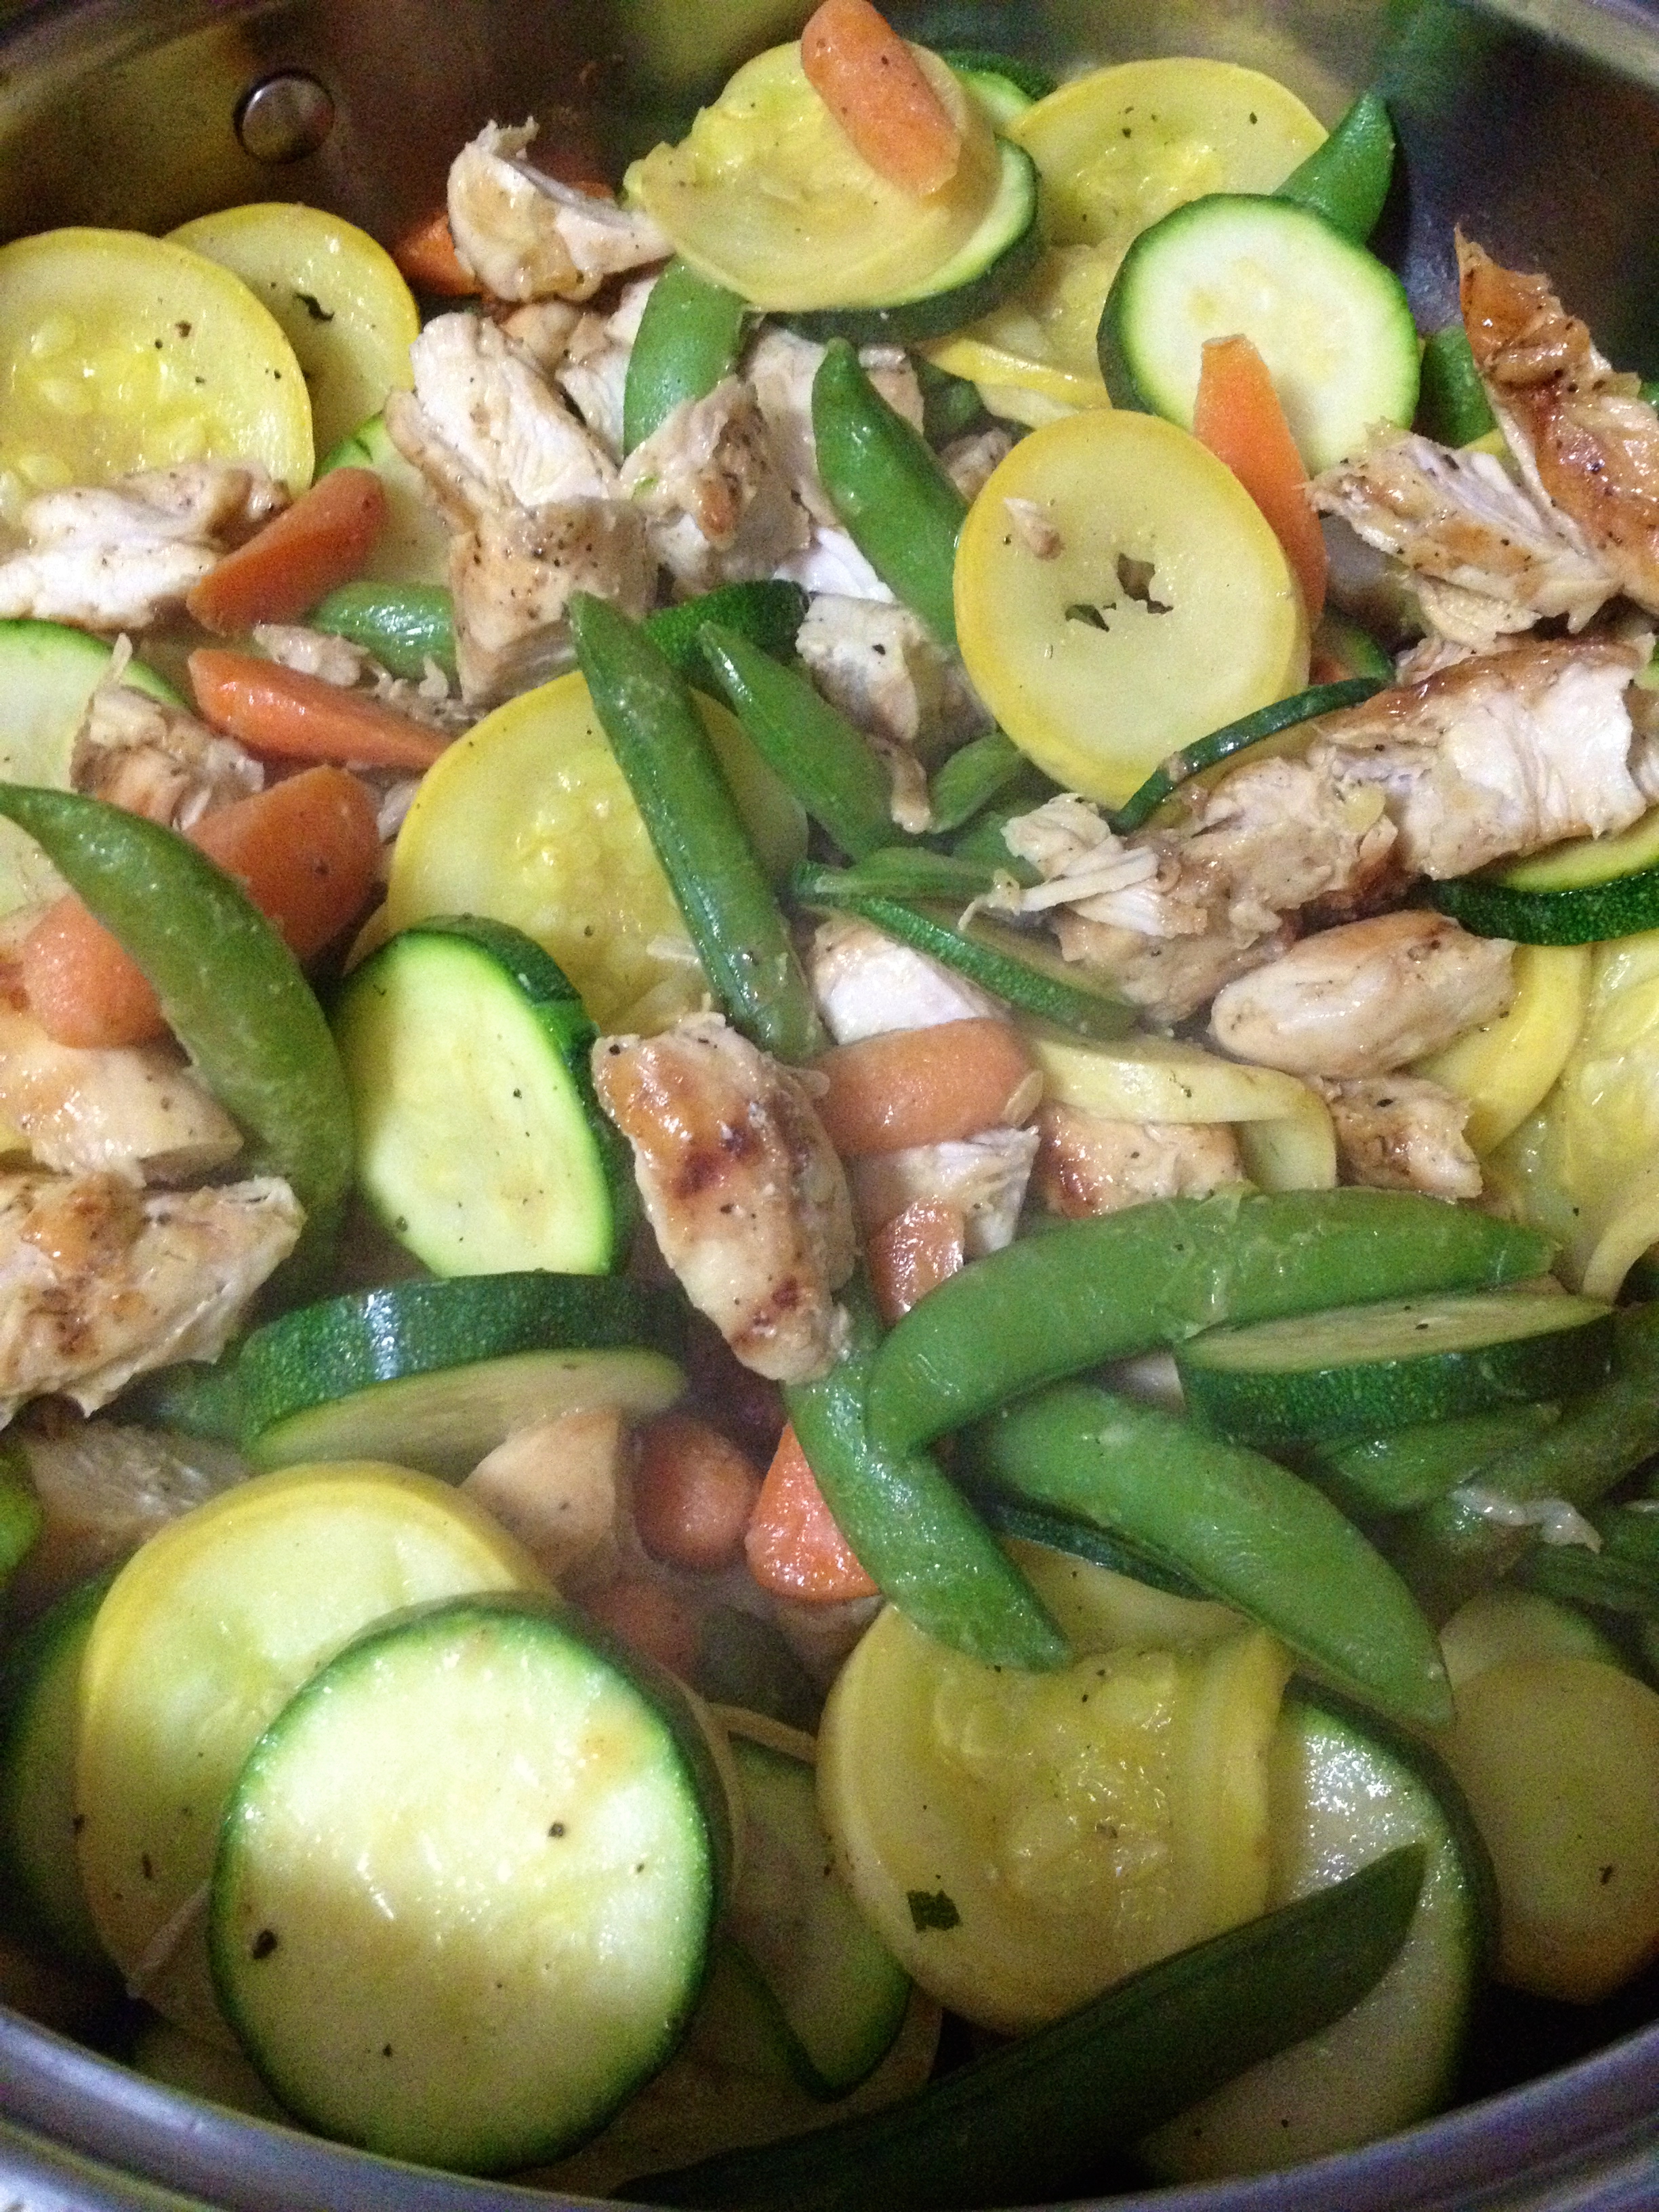
Today’s recipe includes honey mustard chicken, sugar snap peas, summer squash, carrots, and zucchini, all from our garden (well, not the chicken). You can either use leftover chicken from the chicken wings and pull it from the bones, or buy boneless strips, grill them, and coat them in sauce. You don’t have to put them back on the grill, because you’ll be sautéing the chicken with veggies and you want the sauce to get on the veggies!

This recipe is really simple: just chop the vegetables and either pull the chicken from the bones or quickly grill it. Then, put a little olive oil into a sauté pan and let it heat. Put the carrots in first and let them soften a bit, then the peas, then the squash and zucchini.

Tip: when cooking vegetables in a pan, always put the hardest ones in first, because if you put them all in together, the softer vegetables will be burned mush by the time the harder ones are done.

When the vegetables are soft, add the chicken and heat it, mixing everything around so that the sauce gets on the other vegetables. When the chicken is hot, turn off the heat and serve the stir-fry!

IMG_0785 IMG_0786


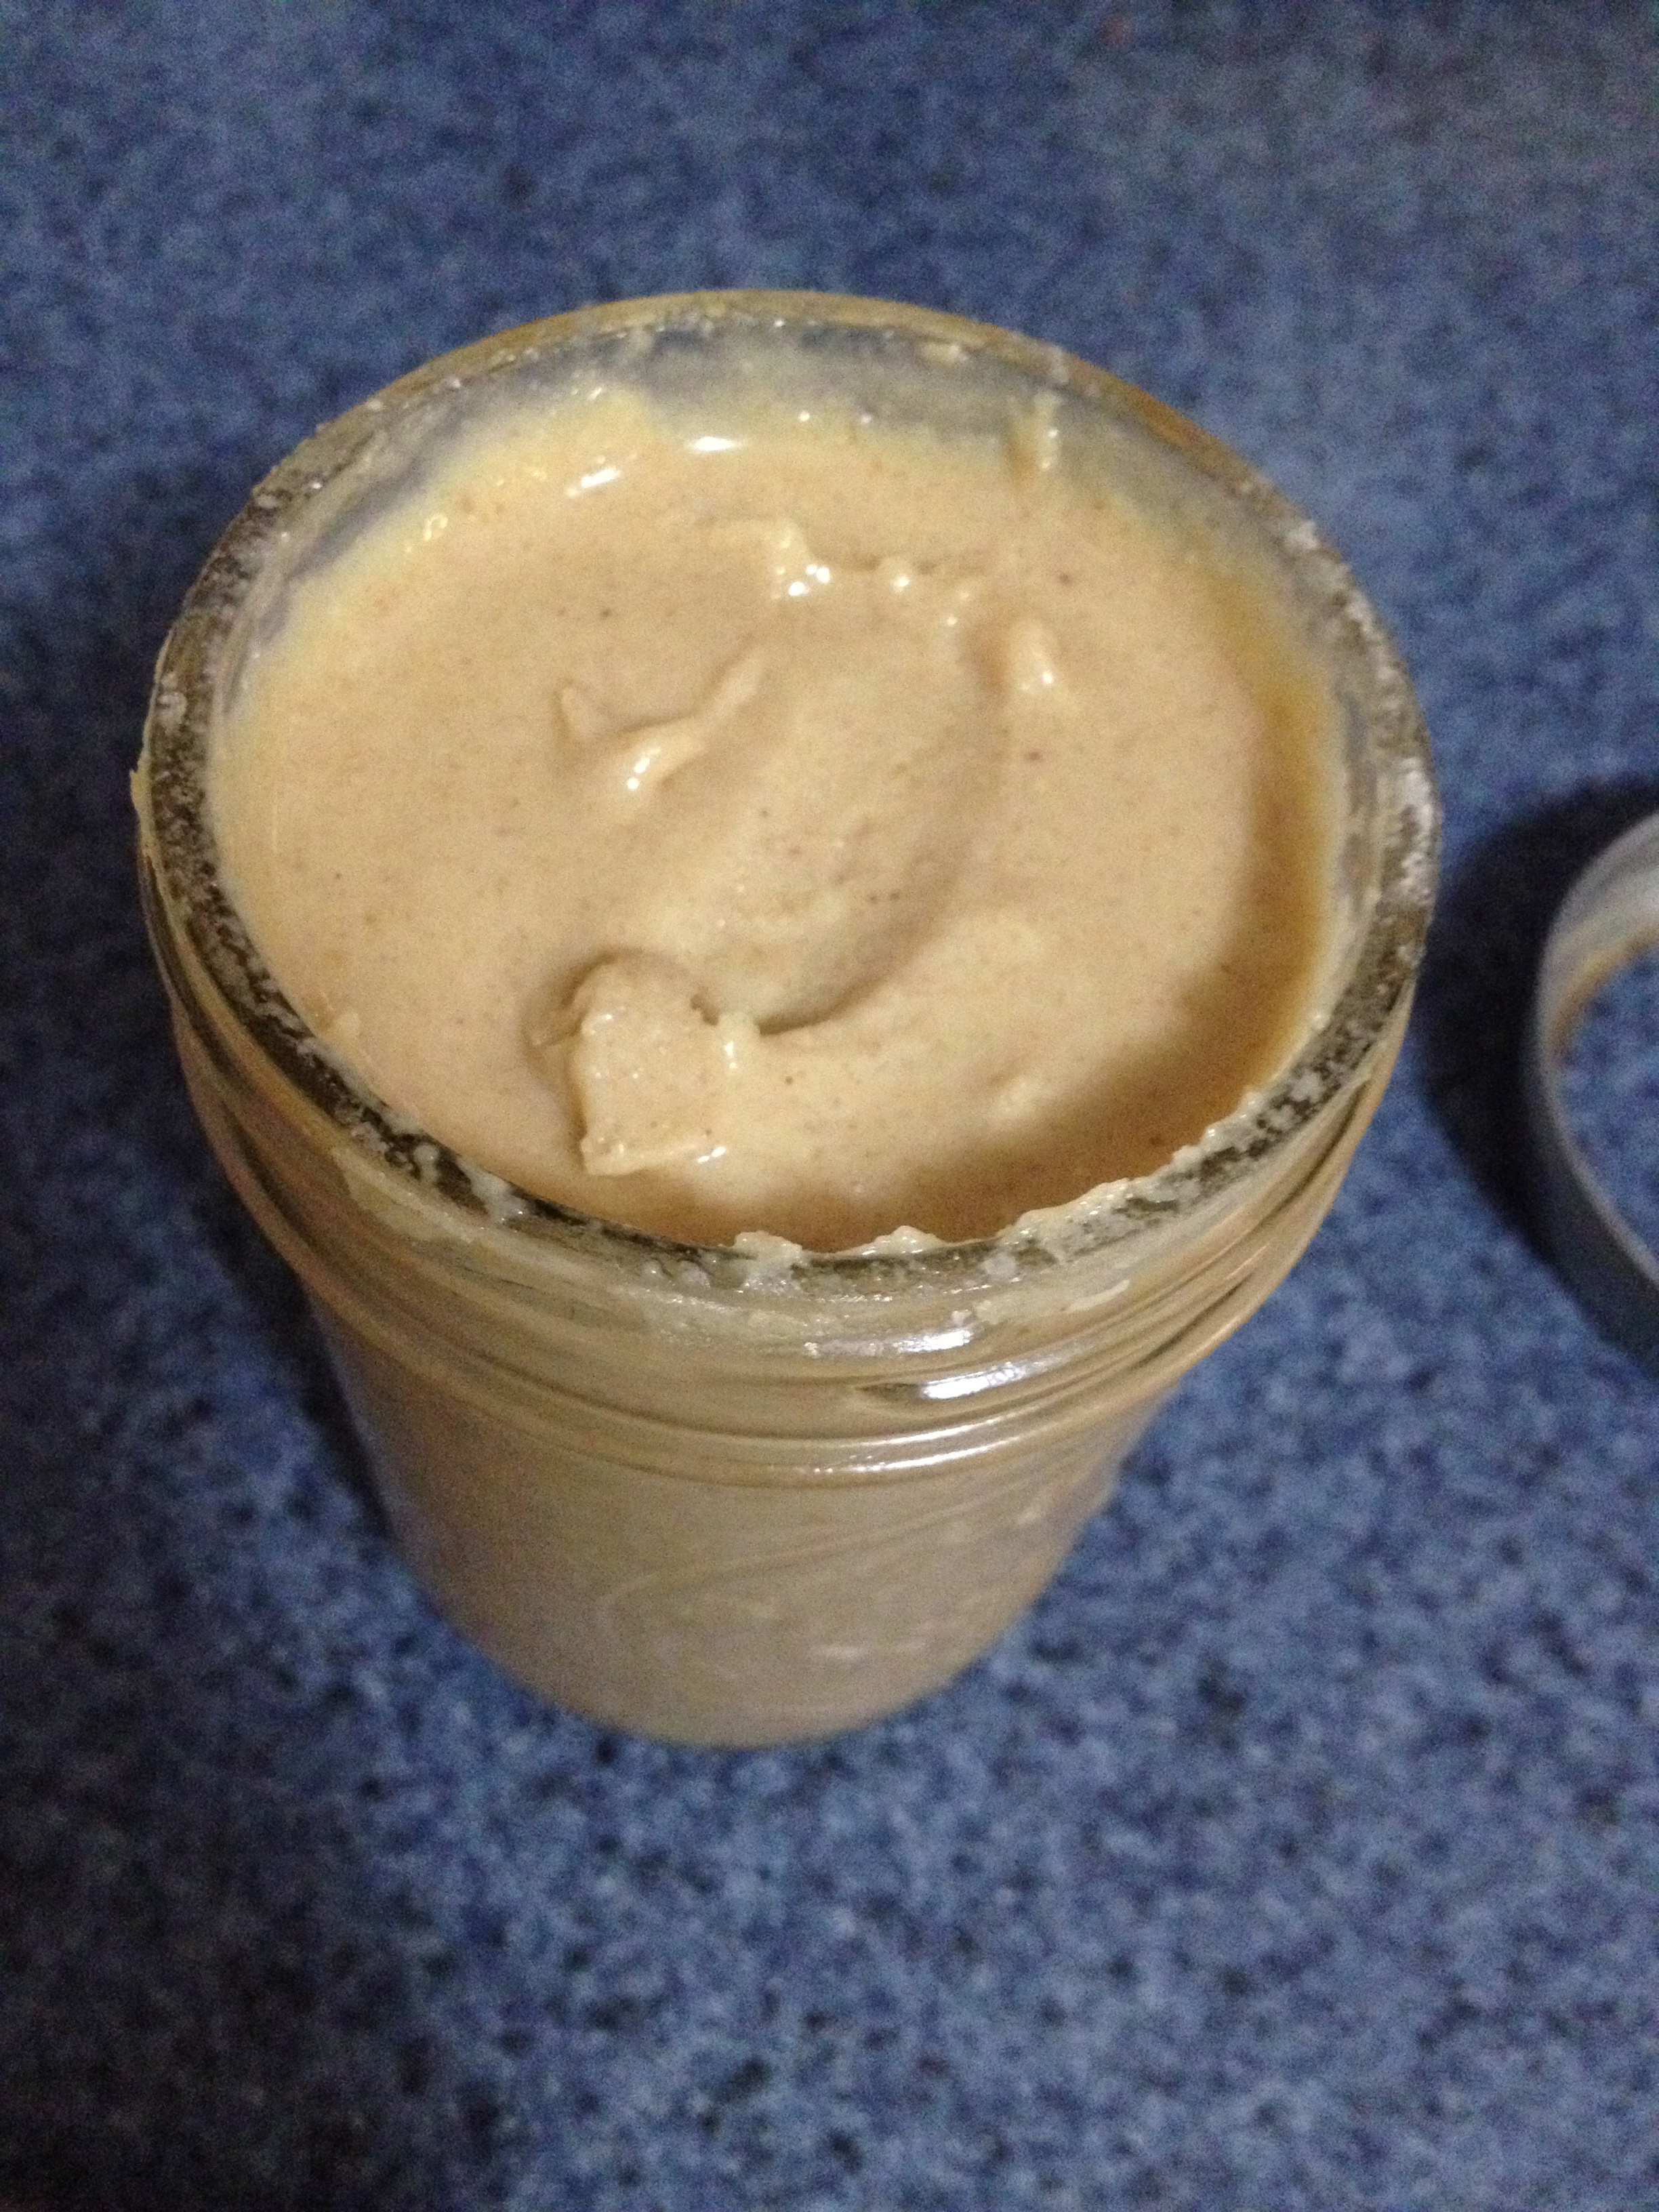
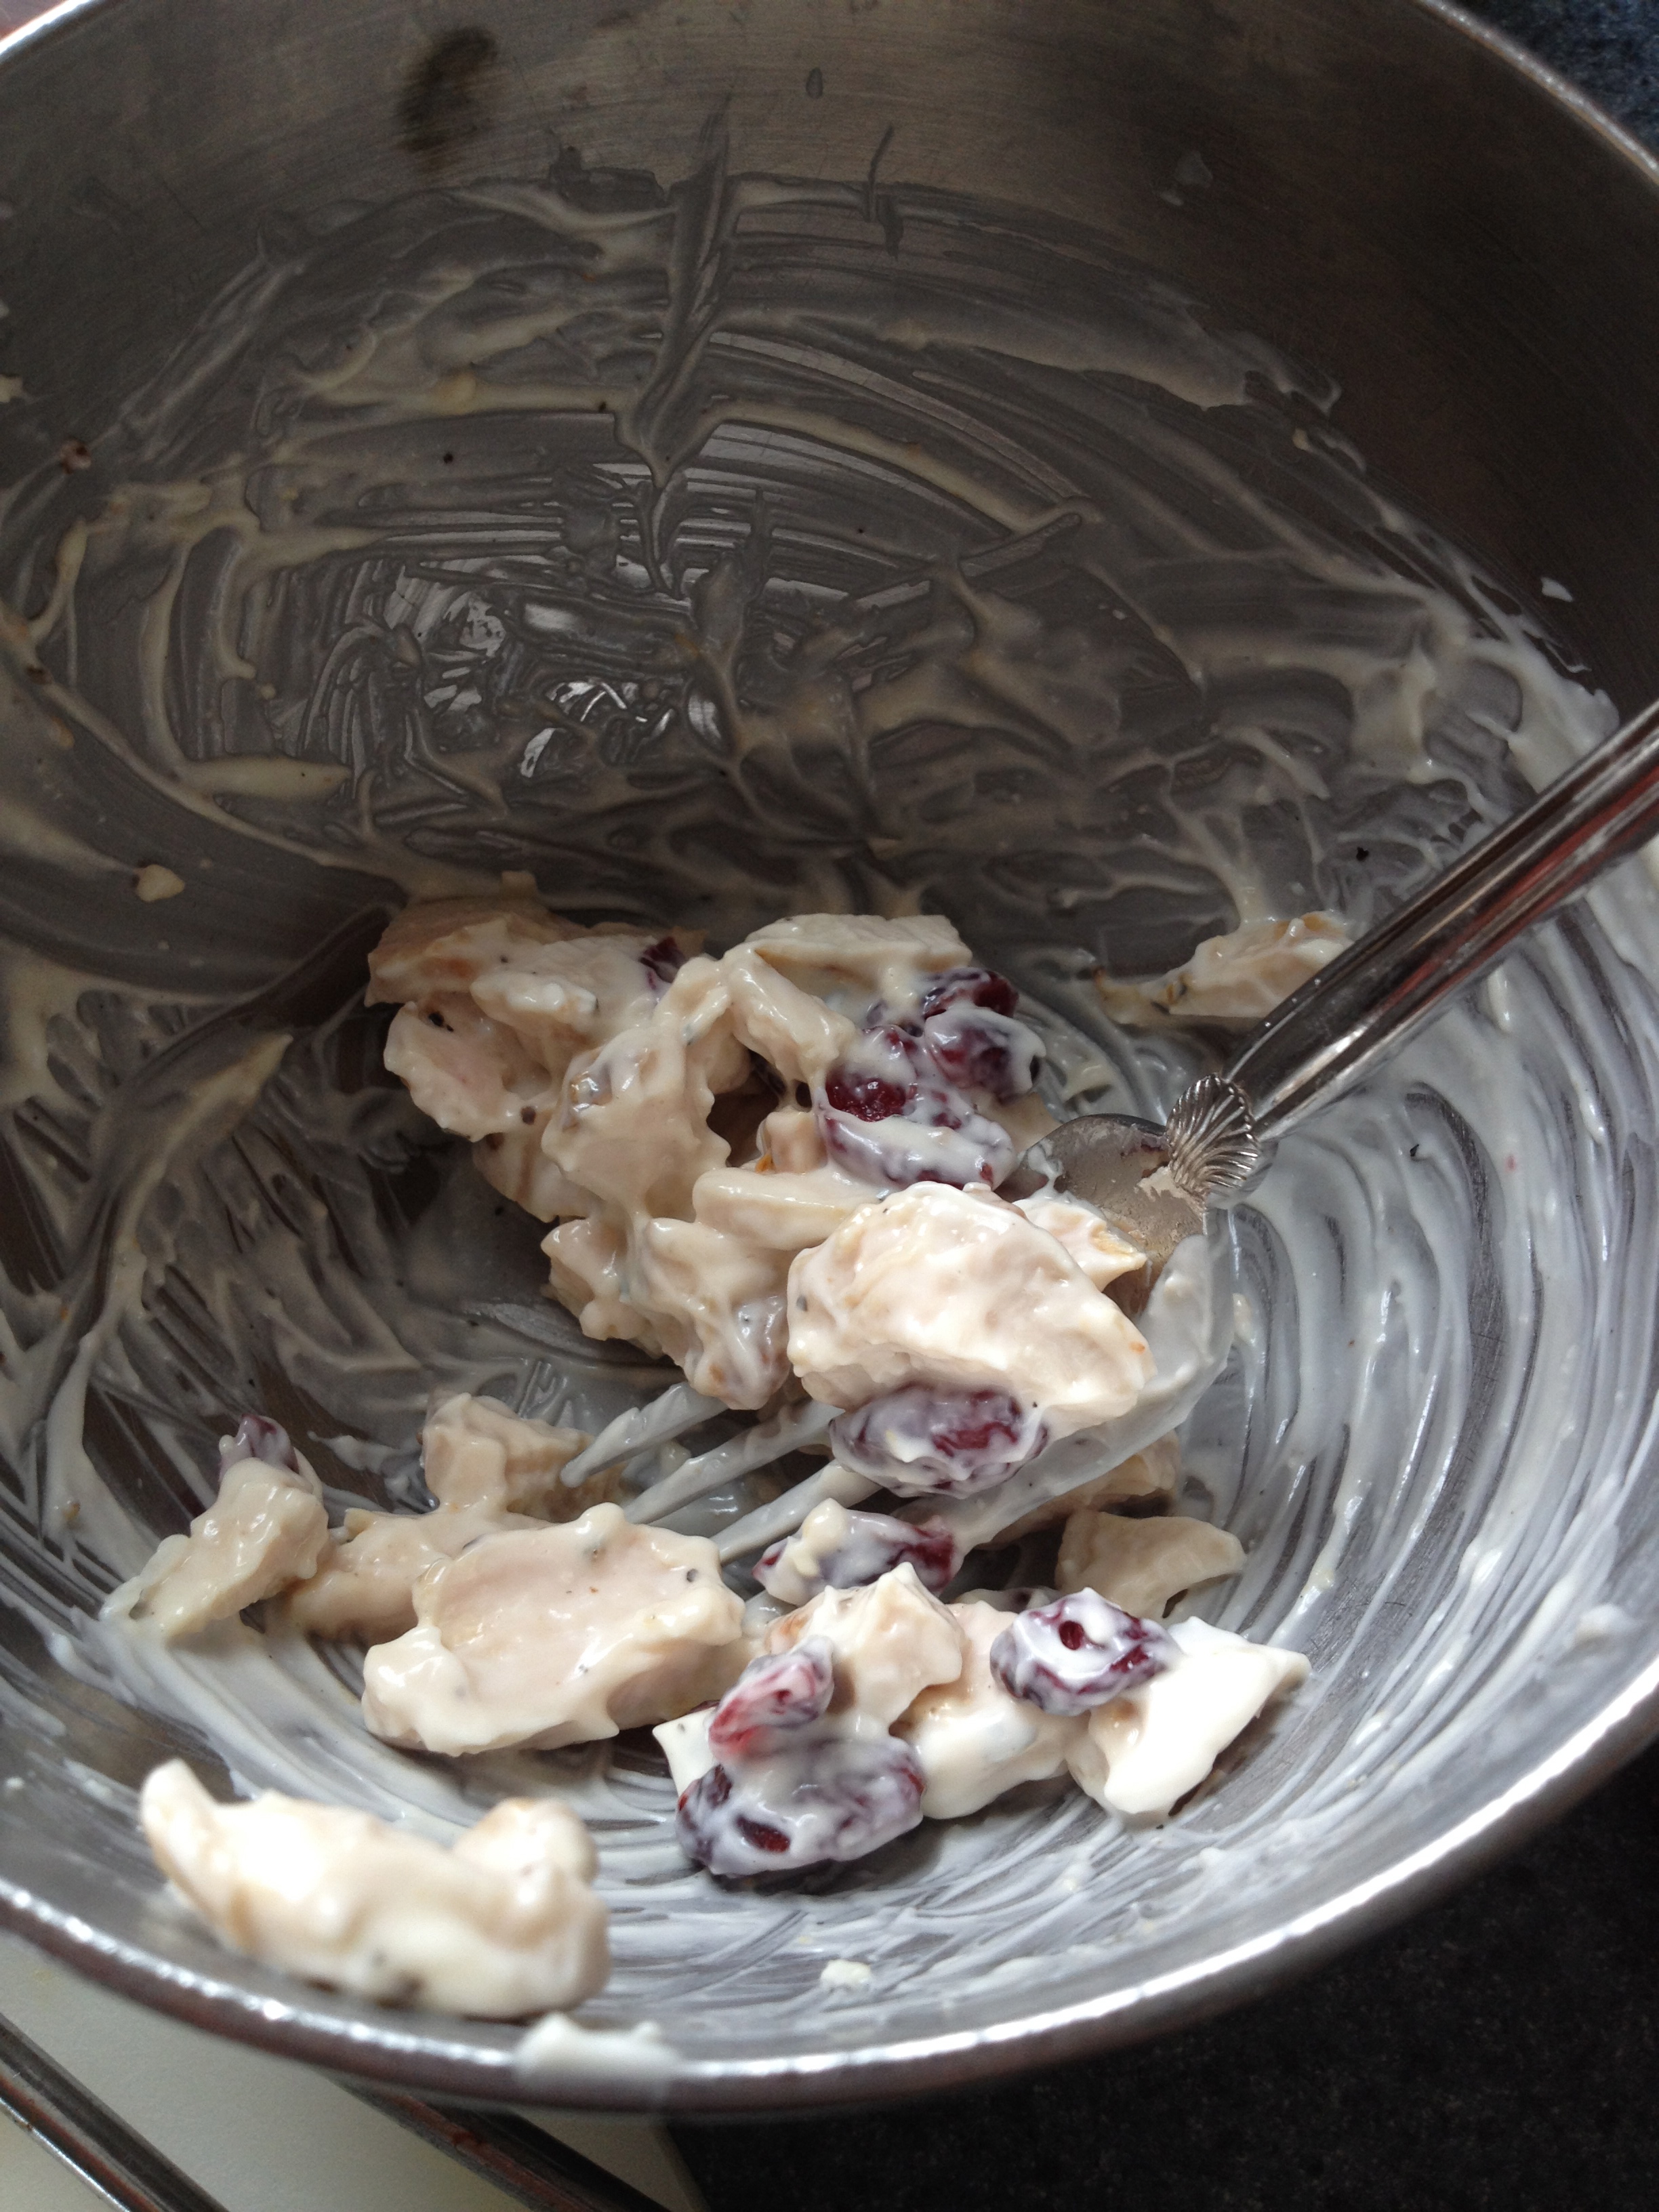
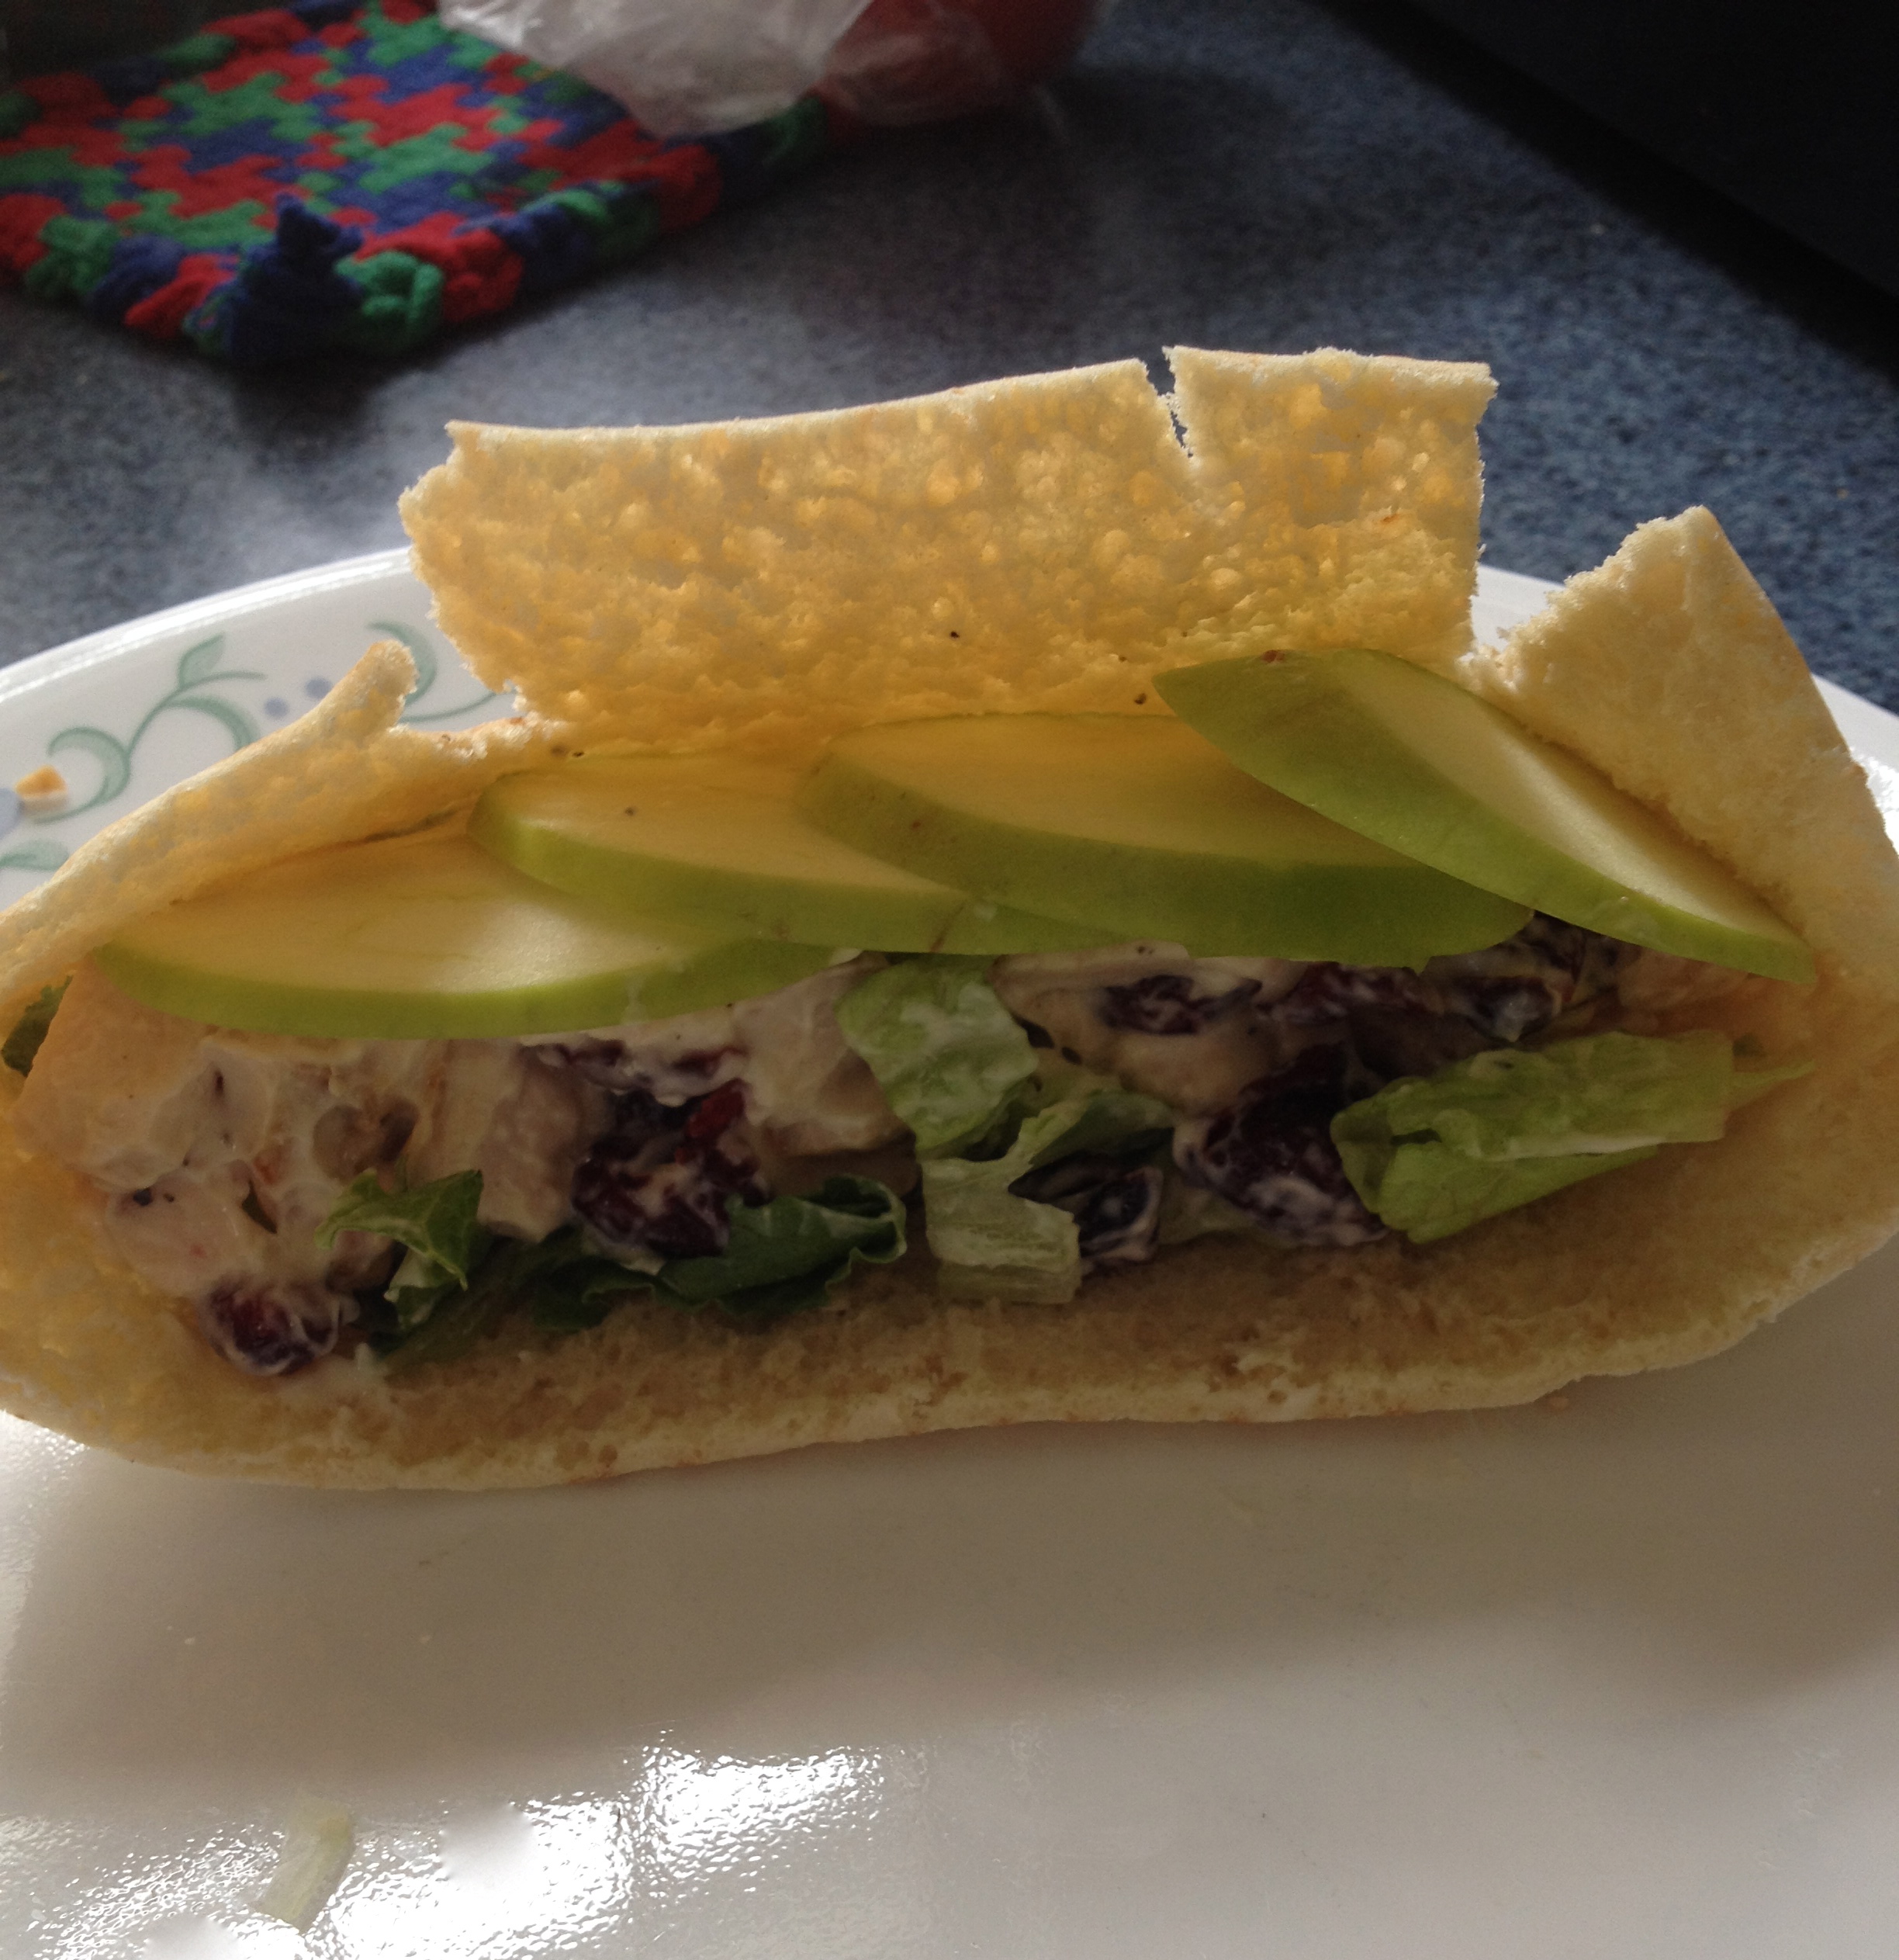
A few variations on this stir-fry recipe could be with balsamic vinaigrette and dried cranberries, or a Thai version using the peanut butter from my previous post and scallions. Does that sound yummy, or what?

Game Day parties are a great way to bring people together to enjoy some great community, as well as some rockin’ food. And gardens, well, the benefits are endless! Fresh food, great taste, and a chance for the whole family to get their hands dirty together. I hope these recipes give you some great ideas and tips for your next party or summer dinner!

Peanut Butter, the Natural Way!

So how many people like PB&J’s? Actually, I really don’t. But my roommate is a peanut butter fanatic! Recently I went to the Mennonite Relief Sale in Pennsylvania,  where there was a stand selling homemade peanut butter, and I bought some for her to try. It was delicious! I figured I would try my hand at it, and came up with this recipe. It’s seriously the easiest thing ever, and takes a grand total of 5 minutes. It’s also gluten-free, dairy-free, low-sodium, and FULL of omega-6 fatty acids, as well as super inexpensive (like $1.99 for the whole recipe kind of inexpensive).

Ingredients:

  • Peanuts- I’ve left this open-ended, because they can be roasted or raw, flavored or not, salted or unsalted, and it all ends up tasting great. I used a 12 oz. bag of unshelled, roasted, unsalted peanuts.
  • ~1 tsp oil, unflavored or with a complementing flavor. I used vegetable oil, but you can use coconut, peanut, sunflower, etc.
  • ~1 tsp honey, to taste
  • 1/4 cup sugar, more or less to taste
  • 1/3-1/2 tsp salt, to taste

First, if you bought unshelled peanuts, you’ll have to shell them by cracking open the skins and pulling out the peanuts. This part can be slightly tedious, but I turned on Frozen while I was doing it and that made any potential frustration go away!

One shelling technique that I’ve read is from Food Network Chef Alton Brown: get out a salad spinner and rub the peanuts between your hands over the spinner until the shells come loose and break. Once all the shells and peanuts are separated, close the spinner and just spin it until all the shell fragments are on the outside and the peanuts are still on the inside!

When you’re shelling the peanuts, it’s ok if the little red skins stay on the peanuts, but I took most of them off. If you bought raw peanuts and want to roast them, you can roast them in the shell at 350ºF for 30 minutes, and then shell them.

IMG_1069

Then, after the peanuts are shelled and ready to go, put them in a food processor or blender (preferably food processor, though) and grind them up. At first they’ll turn into peanut dust, and then get clumpy (this is after about 2 minutes of processing). At this point, you can add the oil to loosen it up a bit, as well as any other flavorings such as honey, cayenne, cinnamon, black pepper, etc.

Keep grinding the peanuts for a couple minutes, until they become loose and look like peanut butter. Add in the sugar and salt and give it one final spin for just a few seconds to combine everything.

Now you’re ready to eat it or store it! Just a heads-up: the peanut butter will be warm, so don’t be surprised by that! It can be a bit disconcerting if you’re used to room temperature peanut butter. It’s also a little looser than store-bought peanut butter, but you can make it thicker by not processing it as much and leaving it chunkier. Also, if you still like whole peanut fragments in your peanut butter, you can reserve some peanuts for the very end and stir them in by hand.

IMG_1070


Maybe this is the peanut butter that will make me enjoy PB&J’s! This peanut butter can be used in any recipe, from peanut butter cookies to a Thai peanut sauce. You can also jazz it up however you want by adding different spices and oils. And finally, you can make it using other nuts or adding cocoa powder to it (can you say homemade Nutella?!). The sky is the limit here, so be creative and enjoy!

Homage to the Kingochowdah

I’m back again! Today’s post is a tribute to my friend’s late husband. He was a fabulous cook, and the self-proclaimed “Kingochowdah”. He used to cook for numerous church events, and his food always was superb. I decided, in his honor, to make his award-winning “Potato, Corn, Sausage and Cheese Chowder”. It’s absolutely delicious, and I was actually able to make it have slightly (but seriously, only slightly) fewer calories. Here’s his recipe:

Potato, Corn, Sausage and Cheese Chowder

  • 2-3 cups unpeeled and diced potatoes (red or white)
  • ~1 cup sliced carrots
  • ~1 cup sliced celery
  • 2 medium finely diced onions (I used scallions because of an onion intolerance, and it still tasted great!)
  • ~4 cloves minced garlic
  • ~1 tsp olive oil (his recipe says “a little” but this is about how much I used)
  • 1 cup diced red bell pepper (optional)
  • 1 cup diced green pepper (optional)
  • ~1 cup sliced mushrooms (optional)
  • 1-2 cups corn (if frozen, thaw first)
  • 15 oz. creamed corn (I omitted this to save on sodium and calories)
  • 2 cans chicken broth (I used low-sodium)
  • 1 lb cooked sliced sausage
  • 1 tbsp fresh chopped basil
  • 1 tbsp fresh chopped parsley
  • 1 tbsp salt (I didn’t use that much salt, maybe more like 2 tsp)
  • 1 tsp black pepper
  • 1-2 tbsp Worcestershire sauce
  • 1 tbsp Dijon mustard
  • 2-3 cups grated cheddar cheese
  • 12 oz. evaporated milk

Sautee the carrots, celery, scallions, and garlic together in the olive oil until they are wilted but not browned. To do this, you’ll need to cook the carrots and celery for a few minutes before adding the garlic and onions, because they’re much harder veggies. Then, cook the sausage if needed. Add all the ingredients except the cheese and evaporated milk into a large crock pot.

IMG_1049


Cook it on low for 7-9 hours, or on high for 4 hours. Then, add the cheese and evaporated milk and cook further until the cheese is melted.

IMG_1050

Then, ladle and enjoy!

IMG_1051


The way I made this chowder, it’s lower sodium and has fewer calories. It’s also less thick than the original recipe because I didn’t add the creamed corn. That didn’t make it any less delicious, though! I promise you’ll love it.

The Kingochowdah was dedicated to community and making sure everyone was well-fed. He is well-deserving of his culinary accolades, and certainly left a delicious legacy behind! For more of his recipes, feel free to visit www.kingochowdah.com and order his cookbook. You won’t be disappointed! Happy eating!


Too Busy to Eat?

Hello, all! It feels like forever since my last post- life gets busy at the end of a semester! This post will be fairly short, because I should be working on a project as I type! In the spirit of having no time and needing to eat on the go, I thought I would post some of my favorite sandwich recipes. They’re healthy, delicious, and easy to eat anywhere! In fact, you can prepare some of the ingredients over the weekend, and then have sandwich ingredients on hand all week!

Here are the sandwiches of the day:

Grilled basil chicken salad with shredded cheese, apple slices, dried cranberries, and shredded lettuce in a pita pocket. 

1. Grill boneless chicken tenders, sprinkling with salt, pepper, and dried basil on both sides of the chicken. When the chicken is cooked through, remove it from the heat and let it cool fully before touching it again. (Tip- do this before hand and refrigerate it to save time!)IMG_0972IMG_0975

2. When the chicken is fully cooled, cut it into small squares and mix it with a dollop of mayonnaise. Then, add the dried cranberries to the mixture.IMG_0980

3. Assembly time! Take a half-circle pita pocket and put shredded lettuce and shredded cheese on the bottom of the pita. This will prevent the bottom of the pita from getting soggy, and also adds great crunch. Then, load the chicken salad into the pocket. Finally, thinly slice a green apple and layer the slices on top of the salad for more crunch and tartness. Wrap the sandwich in foil and you’re ready to go!IMG_0982


Tuna salad with sliced tomato and lettuce in a pita pocket.

1. Open and drain a can of tuna, and then mix the tuna in a small bowl with a dollop of mayonnaise and a dollop of pickle relish (you can leave the relish out if you don’t like it). IMG_0973

2. Open the pita pocket and put the lettuce leaves on the bottom, to prevent sogginess. (TIP: if you don’t like soggy bread, always put your dry and crunchy ingredients on the bottom of the sandwich. It really does work!) Then, put tomato slices on the lettuce leaves, and then the tuna on top of the tomato. This way, the tomato (the wettest item) is in the middle so there’s the least chance of it leaking all over the bread).

IMG_0974


Italian Sub on a Grinder Roll

This sandwich really is all about the assembly. The ingredients are simple: roast beef, salami, ham, sliced cheese, lettuce/tomato, and Italian dressing. But in order to make this sandwich last until lunch without getting soggy (can you tell I hate soggy bread?), you have to really think about the layers of the sandwich. Here’s the assembly process:

Cut the roll in half length-wise. Then, on the bottom piece of bread, layer American cheese all the way across. Then, the salami. Next comes the ham, and then the roast beef. Now comes the tomato- once again, it goes in the middle to prevent soggy bread! And then the lettuce goes over the tomato. Since an Italian sub includes Italian dressing, put that in a little separate container and either pour it on the sandwich right before eating, or dip the sandwich into it as you’re eating. Here’s the assembly process in pictures:

IMG_0976IMG_0977IMG_0978IMG_0979


You can obviously make your own variations on these sandwiches, too. For example, you can use canola mayo or low-fat mayo, and you can just use plain grilled chicken or tuna instead of making a salad with it. You can also simplify the ingredients, or add your own zip to them! That’s the beauty of sandwiches- they’re so individualized and can be as easy or complex as you desire!

I hope these recipes help make the eating process a little simpler. Never skip a meal because you’re too busy- eating is WAY too satisfying, and also keeps you going throughout the day! Enjoy!


Feed Those Kids!

“Religion that God our Father accepts as pure and faultless is this: to look after orphans and widows in their distress and to keep oneself from being polluted by the world.”- James 1:27

Hello, all! Today’s post discusses something I’m incredibly passionate about. Yes, it’s still about food, but from a very different perspective. Let’s talk about world hunger.

Friends, we have so much food in America, yet 20 thousand children die daily, many from starvation. I’m sitting here choosing between dinner options in my dining hall, and kids all around the world are wondering when and if their next meal will ever come. This really bothers me, and it also bothers the people of VisionTrust International, a fantastic international nonprofit organization.

lattelosers2

But what can we do about world hunger, you might ask? Well, VisionTrust has formed a daughter organization called Latte Losers. It’s a national collegiate organization that raises money to feed children in danger of starvation, other health risks, and sex trafficking. The idea of this is “Lose a latte, save a life.” For only $5 a month (the approximate cost of a latte or some other small luxury), you can feed a child for the entire month. The entire month. This money feeds the children, and also helps them get an education. For these children, food and education means that they don’t have to sell themselves as prostitutes, become involved in the drug trade, or steal food. This is big. And even bigger is the fact that these children hear the Gospel while they are being fed. Could this get any better?

lattelosers9

At my school, my co-leader and I formed a chapter of Latte Losers, and held an event today to raise support and awareness for Latte Losers, and particularly for the children of Liberia, where this semester’s funds are being sent. We were hugely blessed by many people from my church, as well as by Panera Bread and Aroma Joe’s (a local coffee shop). I had so many donations that I actually couldn’t fit more than one passenger in my car. Now that’s what I call a blessing.

IMG_0935

So much food!!
So much food!!

All told, we raised $282.98 in just cash donations today. That’s amazing! We also got many one-time donations online, which is super. What our most exciting news is, though, is that we got 5 new monthly sponsors who signed up to give $5 each month to feed a starving child. This is absolutely incredible!

So what can we do to end world hunger? It’s simple: go to www.lattelosers.com and sign up to give $5 a month. Give up your coffee, or snacks,  or whatever it is, just for one day a month and give a child a better life.

My co-leader and I have been donating $5 a month for almost a year, and I can personally say that my checking account information is secure on their website, and I get monthly receipts in my checking account, as well as an email confirmation at the time of signing up. It’s so easy; you sign up once, and then they take the $5 out of your checking account regularly, and you don’t have to remember to donate. All you need is a debit or credit card at the time of signing up. You can also do a one-time donation online at www.visiontrust.org, and specify that you want the money to go towards Latte Losers.

Thanks for listening, everyone. As you can tell, this is near and dear to me. If we have enough food to feed everyone, why not give it? This blog is all about inspiring community; why not strive for a global community? Go for it! For more information, check out www.lattelosers.com and www.visiontrust.org.

Liberia projects

On behalf of my coworker and I, we say thank you for your support!

Grandma’s Cardamom Bread

Well, it’s snowing outside again. It seems like every time I make a post, I get another few inches of snow. But a little snow can’t stop me from baking! This time, I decided to make an old family favorite from my Grandma’s kitchen: cardamom bread. It’s a beautiful braided bread with sugar sprinkled on the top, and really soft, spiced insides. My family makes this bread for special breakfasts, ski trips, and sometimes just for the heck of it.

This recipe takes a little while, but a lot of it involves the bread just rising. Trust me, though, it’s worth every second! This recipe makes such a soft, moist bread, and the sweet crust on the top is the perfect complement to the warm and spicy cardamom. I’m going to write the recipe exactly how Grandma wrote it (with a few tips added in), because I figure if it ain’t broke, don’t fix it!

Here are the ingredients:

  • 1 cup milk (to make this recipe lower-fat, use 1% milk)
  • 1/3 cup granulated sugar
  • 1/3 cup melted butter
  • 1/2 tsp salt
  • 2 packages dry yeast
  • 4 1/2 cups flour
  • 1 tsp ground cardamom
  • 1 egg (plus 1 more for top)

“Heat milk and butter to lukewarm (115-125°F). Put into a mixing bowl, warm milk and butter, yeast, sugar, salt, egg (room temp.), and enough flour to make a gruel-like mixture. Add cardamom.” The gruel-like mixture should be pretty liquid with a few lumps in it.IMG_0912

“Keep adding flour, and when dough becomes quite stiff, knead it in bowl till it doesn’t stick to sides. Shape into ball and pat melted butter on top. Place transparent wrap over dough loosely. Cover bowl with towel. Set in warm place- let it rise to 3 times its size.”IMG_0914

“Cut into 6 sections- 3 for each braid. Form each section into long strip and bread them together.” Here’s a play-by-play of braiding the bread. It’s not hard!

First, cut the bread dough into 6 sections and stretch the section out into long strips.
Lay the strips next to each other. Start braiding either from one end, or from the middle. It's easier to start from the end, but looks prettier if you start from the middle.
Lay the strips next to each other. Start braiding either from one end, or from the middle. It’s easier to start from the end, but looks prettier if you start from the middle.
Braid the sections together, trying not to tear the dough. When you come to the end of the sections, tuck the ends under the braid.
Once one half of the braid is done, turn it around and braid the other half and tuck those ends under.

IMG_0921

Here's the finished braid!
Here’s the finished braid!

“Place on greased baking sheet and let rise for 30 to 45 minutes. Brush with beaten egg and then sprinkle with sugar (or sugar and cinnamon).” I use Sugar in the Raw, but you can use white sugar too! The beaten egg on top not only acts as a glue for the sugar, it also creates the beautiful golden brown color on the bread.

IMG_0925

“Bake 350°F oven for 25 minutes (I cook 15 minutes on low or high shelf, then switch for the last 10 minutes). Cover with towel to cool, after removing from baking sheet and placing on cooling rack.”

IMG_0928

And that’s all there is to it! Be warned, though, this bread gets eaten very quickly, so make sure to snag a few slices for yourself before putting it out! Sometimes, it’s best not to change an old recipe, but just appreciate it for what it is, and for the memories it brings us. Yay for Grandmas!

O-o-o-oklahoma!

Occasionally, my wanderings take me to Oklahoma to visit my boyfriend at college. This past winter break, I went out to visit him and came back with quite a few new food experiences (and some old favorites, too!). Although I must admit I did no baking on this trip, I wanted to share some of the foods I tried and loved.

First, let me preface this by saying my boyfriend’s aunt is a foodie like me, and deserves credit because she was the one who showed me all sorts of new foods this winter. What would I do without her?

To start the list, let’s talk about The Hideaway. This in itself is a good enough reason to buy a ticket to Oklahoma. Their pizza is so good. Normally I’m not a fan of anything but cheese pizza, but when you go to Hideaway, it’s meat lovers, hands down. The crust was perfectly crisp and chewy at the same time, the cheese isn’t overpowering, and they put a lot of the meats under the cheese, so they’re not falling off when you’re eating! Here’s a picture of the “Big Country”, aka the meat lovers pizza. Seriously, their pizza is to die for.

IMG_0145 IMG_0146

Next on the list is a huge hit in Stillwater, Oklahoma: Eskimo Joe’s. This place has everything you can think of for a fun place to eat. It has great food, great waitstaff, TV’s everywhere for the big games, and fantastic merchandise. They have their own store attached to the restaurant! But before I get into that, I’ll talk about one thing in particular: sweet pepper bacon. I’ll say that again… sweet. pepper. bacon.

They put that heavenly stuff on top of just about anything, including cheese fries, cheeseburgers, and BLT’s. I personally had the BLT, and loved every bite. The bacon is so unexpected to my taste buds, because where I come from, bacon is smoky and salty and that’s it. This bacon is sugary and molasses-y, a little spicy from the pepper, and gave me a completely new perspective on the world of bacon. Who knew?

IMG_0805

And you can’t forget about the Joe’s merchandise! With every drink you buy, you get a Joe’s cup to take home with you (a perfect opportunity to order sweet tea, which I tried and now love!). This isn’t an ordinary to-go cup. These cups come in all different colors, some change colors, some are sparkly, and I actually have one that glows in the dark. Joe’s isn’t just a restaurant, it’s an attraction. And it rocks.

Next stop, Rocky Mountain Chocolate Factory. This could be considered an ordinary chocolate shop if it weren’t for the fact that you can sit there and watch them make the chocolate fresh behind the counter for you! They even have chocolate covered wine bottles for weddings. I’m telling you, this place is awesome. I’ve been there a couple of times now, and tried a lot of chocolates, and my favorite is still the M&M bark. Their homemade peanut butter cups are a close second, though. Or their Mint Oreo bark. Or their Chocolate Caramel Pretzel bark. Or really any chocolate.

IMG_0142

And finally, a little something that we made on our own! My boyfriend’s aunt took me to Whole Foods (where I tried the salad bar and ate tons of veggies I had never heard of), and a more local grocery store called Sprouts. During our explorations, we came across bison burger patties. We definitely don’t have those in our grocery stores up where I’m from, so we got some and grilled them. They were so incredibly tender and juicy and flavorful! After I had one, though, I was so full I could hardly move!

IMG_0793

It’s always so much fun to go to Oklahoma and visit everyone. They’re welcoming and warm, and feel like family. And of course, when your boyfriend’s aunt loves food too, there’s always a few food adventures  together! I can’t wait for my next trip out there, and to see what my next Joe’s cup is!

Chocolate PB Rice Krispie Treats

“All, everything that I understand, I understand only because I love.”- Leo Tolstoy

Happy Valentine’s Day, one day late! I had to wait to post about these treats until my boyfriend received them in the mail, because otherwise he’d know what his present was! After two weeks of waiting, he finally got the package, and I can finally spill the beans on this yummy dessert. It’s Chocolate Peanut Butter Cocoa Krispie Treats!

This recipe is super simple, and is gluten free (if you make sure the peanut butter is gluten free). It can also be dairy free, if you exclude the Reese’s cups. It’s also a very light dessert, so you can enjoy it completely guilt-free! And it’s OH so good.

Here are the ingredients:

  • 3 tbsp margarine
  • 6 cups Cocoa Krispies cereal
  • 4 cups marshmallows (or 10 oz., which is usually a whole bag)
  • 1/3 cup creamy peanut butter
  • Reese’s miniature cups to taste

Here’s how you make them!

First, unwrap as many Reese’s cups as you want to include in the treats. This is definitely the most tedious part of the recipe- it feels like you unwrapped about 4,000 candies. It’s totally worth it! Then, using a butter knife, cut the Reese’s into small bits on a cutting board.

IMG_0827


Now get all your other ingredients prepped, because this recipe goes pretty fast. Grease a 9×13″ pan to put the treats in. Have your marshmallow bag already cut open, and have your 6 cups of Cocoa Krispies all set. Mix the Reese’s cups with the Cocoa Krispies, so that you can stir it all in together. Also, have your peanut butter out and a wooden spoon or spatula ready.

In a medium saucepan, melt the margarine. Then, add the marshmallows and stir until the marshmallows are fully melted. Add the peanut butter and mix until it’s all fully incorporated. You can add more or less peanut butter depending on how much you like it. I just went for a good healthy dollop.

IMG_0828

After the marshmallow peanut butter mixture is done, turn off the heat. Quickly add all of the Cocoa Krispies and Reese’s and fold the cereal and marshmallow mixture together. It’ll be pretty stiff and sticky, so make sure that you really scoop the mixture from bottom to top, or else all the marshmallow goo will stay at the bottom of the saucepan (never a good thing).

IMG_0829


Scrape all the yummy gooey goodness into your greased pan, and press it down with wax paper to create a flat, even layer of Cocoa Krispie treats.

IMG_0830


When the treats are set, cut them using a dull knife in short, sawing motions. Then, if you’re like me, wrap them in a plastic bag and a cardboard box and ship them off to your loved ones! Or, you can eat them all and be one happy camper.

I know Valentine’s Day isn’t everyone’s favorite holiday (it’s not even my favorite holiday!), but there are ways to make any holiday, no matter how you celebrate it, special. Even from across the country, I’m happy that I was able to help my boyfriend have a great day. These treats are a great way to show a loved one that you’re thinking about them on any day, not just Valentine’s Day. Enjoy!


Mexican Hot Chocolate Fudgesicles

Well, I’m stuck inside during a snowstorm again, and not very excited about it. Since it’s so cold out, I was craving hot chocolate…but I’m also wishing for summer, so I decided to make a fudgesicle (aka a chocolate popsicle). Then I figured, why not combine the two?

This recipe is super simple- it’s based on Mexican hot chocolate, which is just good old hot chocolate with a little flair of cinnamon. It takes about 5 minutes to prepare. It also is gluten free, and can be made dairy free with a few modifications.

Here are the ingredients:

  • Hot chocolate powder (I used Hershey’s powder, but you can use any mix. You could also buy a dairy free hot chocolate mix.)
  • Boiling water
  • 1/8 tsp cinnamon per mug of hot chocolate (optional, you can just make plain hot chocolate)
  • Tall, thin plastic container (I have a little popsicle holder, but any tall thin container will work)
  • Popsicle sticks
  • Milk and whipped cream (optional, and you can use dairy free varieties)

Here’s how you make it:

Boil hot water in a kettle or however you usually boil water. While the water is boiling, put about 4 tbsp of hot chocolate mix and 1/8 tsp cinnamon in your favorite mug. It’s a lot of mix, but it’ll be super yummy and chocolatey. Then, pour the boiling water into the mug and stir until the mix and cinnamon are fully dissolved. Pour a little bit of low-fat milk into the mug. Finally, top it with whipped cream and stir the cream in to make the hot chocolate wonderful and smooth.

Pour the hot chocolate from the mug into your popsicle containers (do this over the sink- mine spilled a bit!). For me, each mug’s worth made about 6 fudgesicles. Put a popsicle stick in the middle of each plastic container. My popsicle holder has these little plastic sticks that fit right in, but popsicle sticks work just fine too!

IMG_0848

Next, carefully put the containers in the freezer for about 6 hours. I know it’s a long time, but it’s definitely worth the wait! When they’re done, hold the plastic container sideways under warm water. Make sure the warm water is only hitting the plastic and not the popsicle, or else it’ll melt too much. After about 30 seconds, the popsicle should slide out of the container with a little bit of pulling.

IMG_0849

Now enjoy! This recipe is so simple, but SO yummy. Its the perfect blend of creamy chocolate and a refreshing cool fudgesicle.

Possible Variations:

1. You can skip the popsicle sticks and just pour the hot chocolate into a regular glass pan. Then, put it in the freezer for 6 hours; but every 45 minutes or so, take the pan out and shave the ice with a fork. This will create a fantastic granular texture, more like an Italian ice or a granita. It’s also easier than trying to balance popsicle sticks! It’ll come out looking like this:

IMG_0851

2. Leave out the cinnamon, and make it regular American hot chocolate. That’s equally delicious!

Pumpkin Pie on a Cookie

Every other week, my parents have a Bible study with some couples from our church. More often than not, I make their desserts, and the following dessert was a result of that!

This is a pretty simple recipe, with a fairly specific decoration process. It’s a “Pumpkin Pie Cookie”, which is really just a sugar cookie that has been slightly flavored to taste like the pie, and frosted to look like it. I made my cookies taste like pumpkin pie, but you can flavor it anyway you want. For example, if you want lemon meringue pie cookies, flavor it with 1/4 tsp lemon zest instead of the pumpkin pie spice.

Here’s the pumpkin cookie recipe:

  • 3 3/4 cups all-purpose flour
  • 1 tsp baking powder
  • 1/2 tsp salt
  • 2 sticks unsalted butter (room temp. or softened)
  • 2 cups granulated sugar
  • 2 eggs
  • 1 tsp vanilla extract
  • 1/4 tsp pumpkin pie spice (or 1/8 tsp nutmeg and 1/8 tsp cinnamon)

Cream the butter and sugar together. Add the eggs and vanilla, and mix well. Gradually add the dry ingredients, mixing until dough is absolutely delicious and it’s tempting to just eat the dough (but really until everything is thoroughly incorporated). Then wrap the dough in plastic wrap and chill it in the fridge or freezer until it’s nice and cold, which will make it easier to work with.

Roll it out on a floured pastry board or flat surface until it’s about 1/4 inch thick.

IMG_0746

Then, if you’re lucky enough to have a triangular pie-piece-shaped cookie cutter, cut out a bunch of little triangles and lay them on a cookie sheet.  For the rest of us who lack a cookie cutter like that, just free-hand the triangles. They’ll be slightly different sizes, but I figure they all taste great and look cute!

Put the cookies on an ungreased baking sheet, and put in them in the oven at 350ºF for 8-10 minutes, switching racks after 5 minutes to ensure even baking. Some recipes call for a parchment-lined baking sheet, but if you take the cookies off the sheet right after they’ve come out of the oven you should be fine.

When the cookies come out of the oven, let them cool and work on the frosting. Here’s the frosting recipe:

  • 1 ¼ cup powdered sugar
  • 3 tbsp milk
  • ½ tsp vanilla extract

Put the ingredients into a mixing bowl, and being mixing it on LOW speed or else you’ll get powdered sugar everywhere. Once the sugar is incorporated, turn up the speed and whip it for several minutes until it begins to stiffen. Adjust the sugar and milk amount based on how it comes out; it differs depending on weather, humidity, etc.

Divide the frosting into three bowls, one with about half of the frosting and the other two with the remaining quarters of the frosting. Now it’s time for food coloring!

The bowl with half of the frosting should be colored like the “pie” that you’re going for. For example, for pumpkin pie cookies you would make orangey-tan colored frosting. For lemon meringue pie cookies, make it vibrant yellow. The coloring of this will take a little time and patience, because there’s no set guideline for how many drops of which color you need. Just keep mixing until you like the color!

One bowl with a quarter of the frosting will stay white for the “whipped cream” on the pie. The other bowl will be colored to look like pie “crust”. This is a pretty simple color to make. The goal is to make it yellow-tan, so add a little bit of yellow, a little red, and a little blue (but of course you can decide what shade looks the best).

After you’ve colored the frosting to your liking, put the crust color and whipped cream color into separate pastry bags. If you don’t have a pastry bag, just cut off the corner of a Ziploc bag and put the frosting in that.

IMG_0756

Now for decorating! Using a knife or a frosting spreader, take the “pie filling” colored frosting and spread it over the top of the cookies. Then, using your “crust” colored frosting, make a thick line across the short end of the triangle to look like the crust. If you want to get really fancy, you can make the crust frosting wavy so that it looks like a scalloped edge. Finally, finish it with a dollop of “whipped cream” frosting. When you’re finished decorating them, let them dry on a wire rack to let the frosting harden.

IMG_0599


Then, put them on a plate and eat them all!

IMG_0603

Having the Bible study group over is always fun because they’re great people and fun to have around, and they’re great guinea pigs for my desserts! It’s so fun sharing my ideas with them and seeing what works and what doesn’t. Give these cookies a try, because I got good reviews on them from the group!